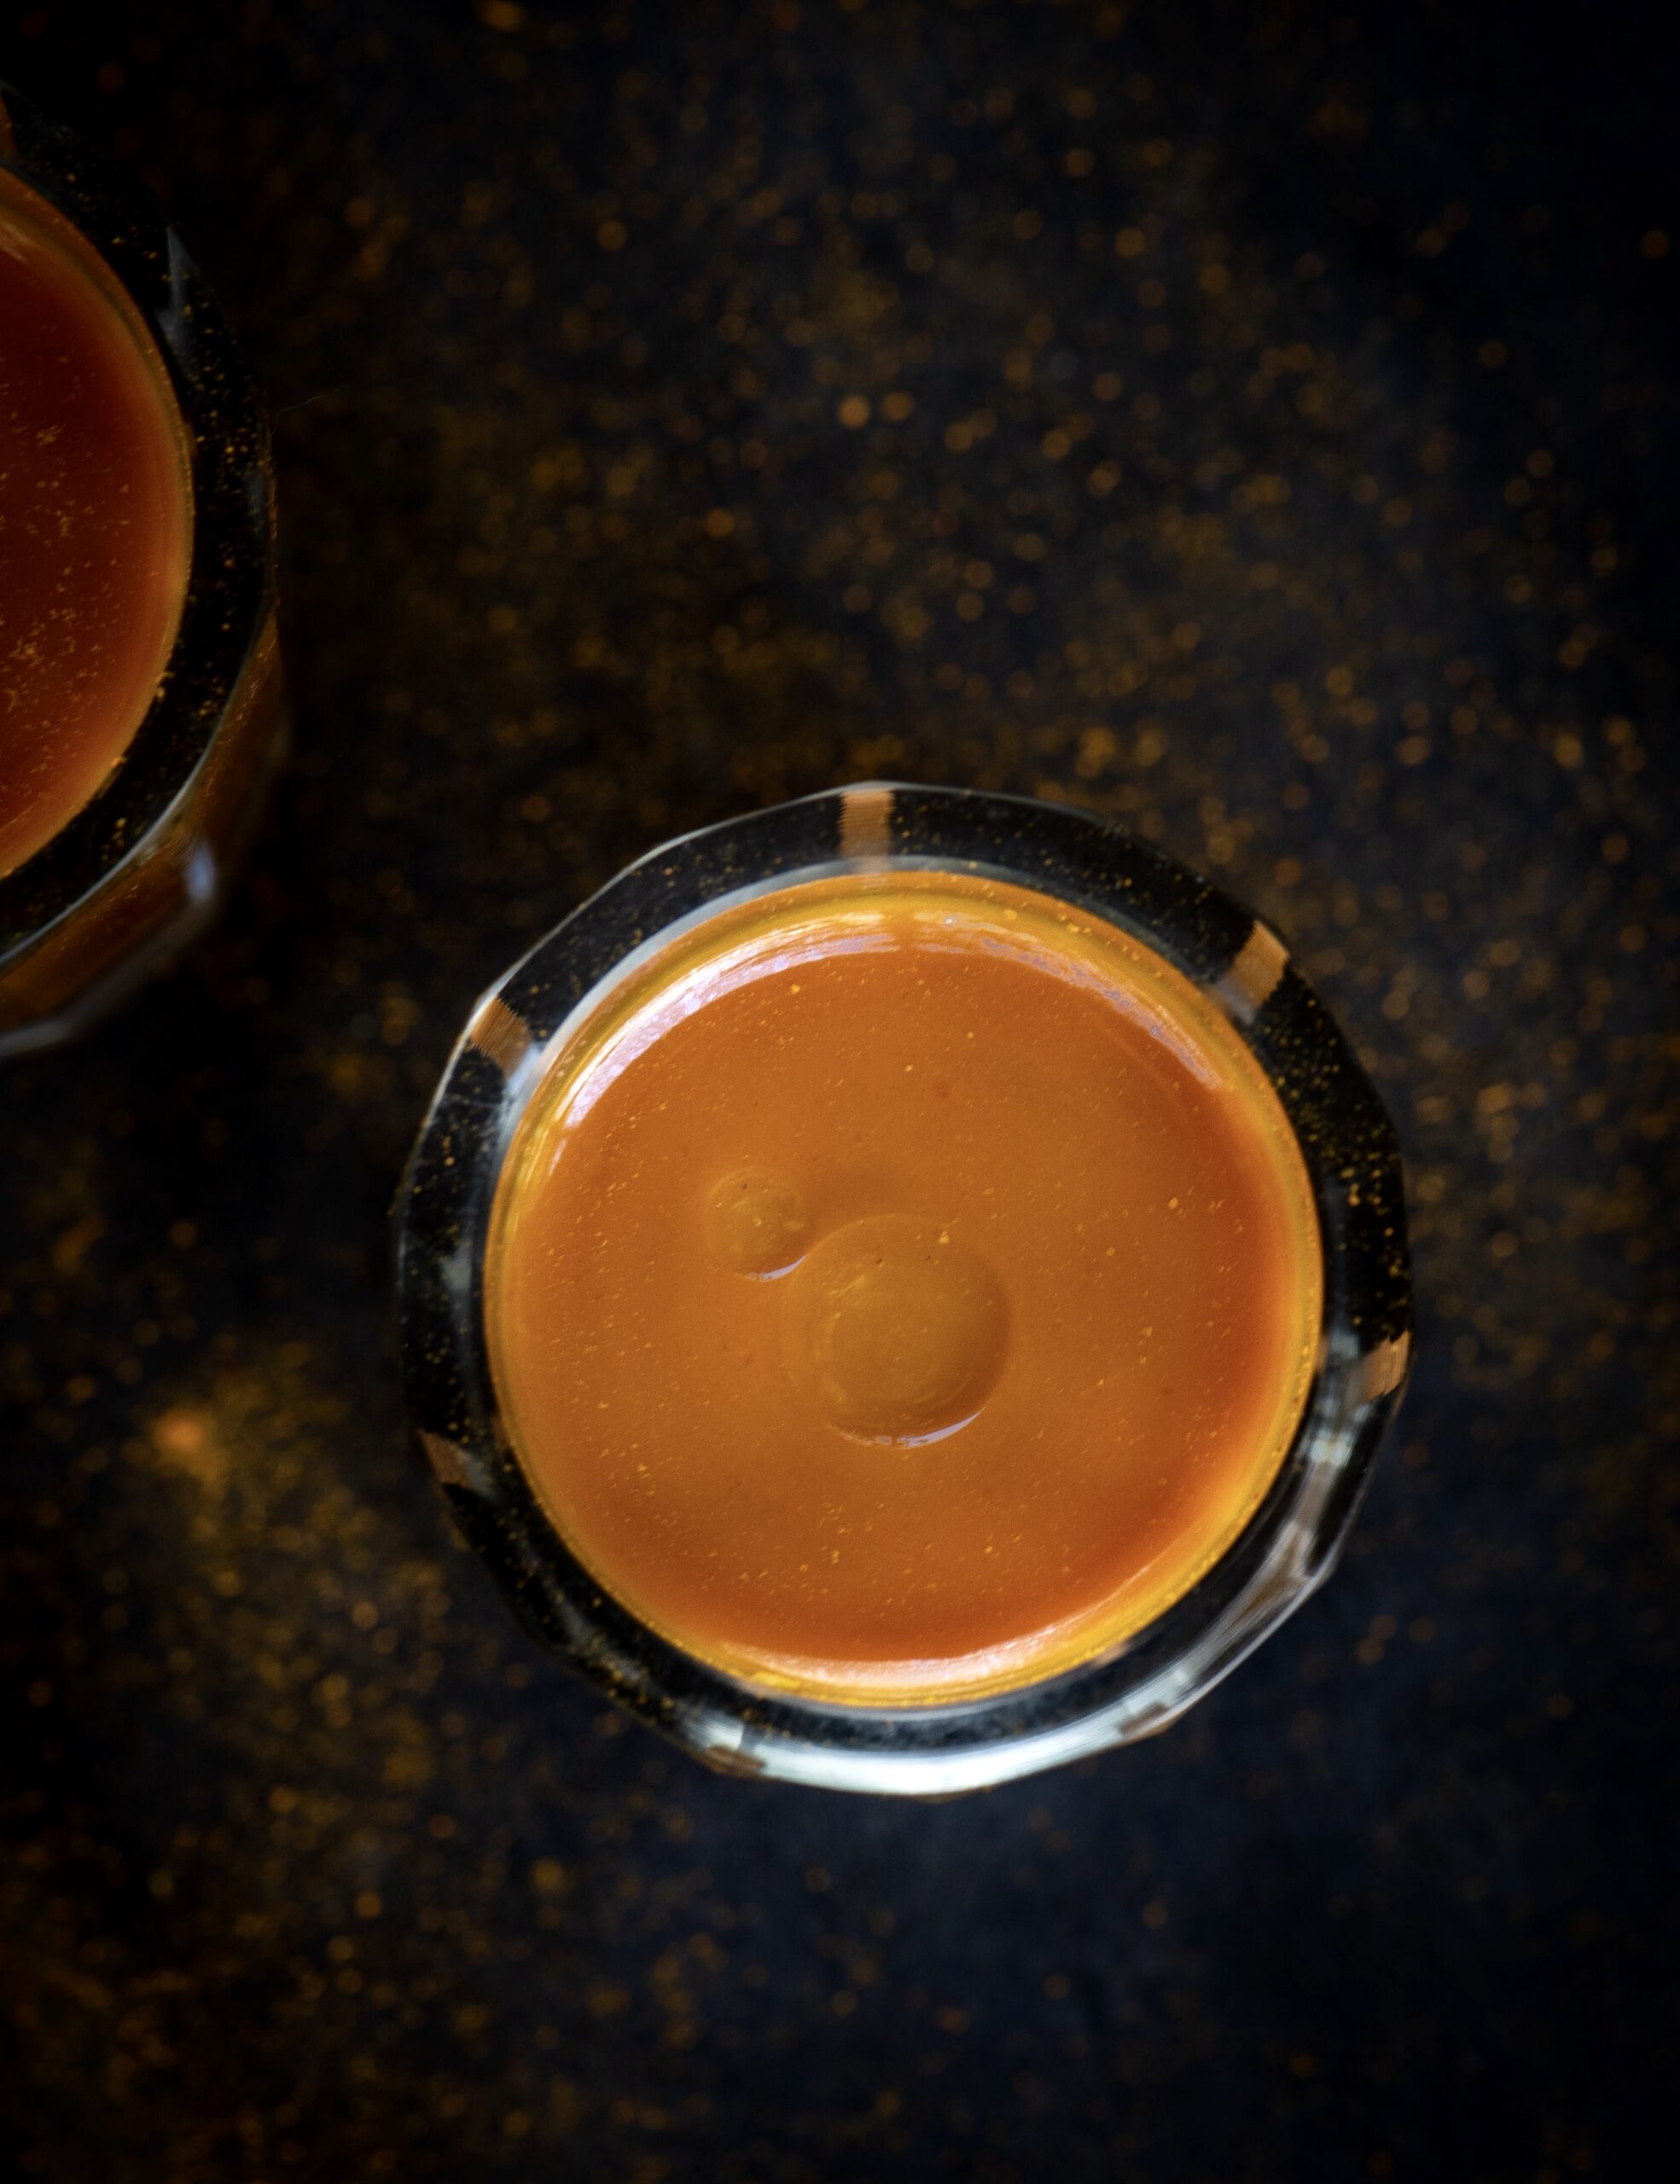
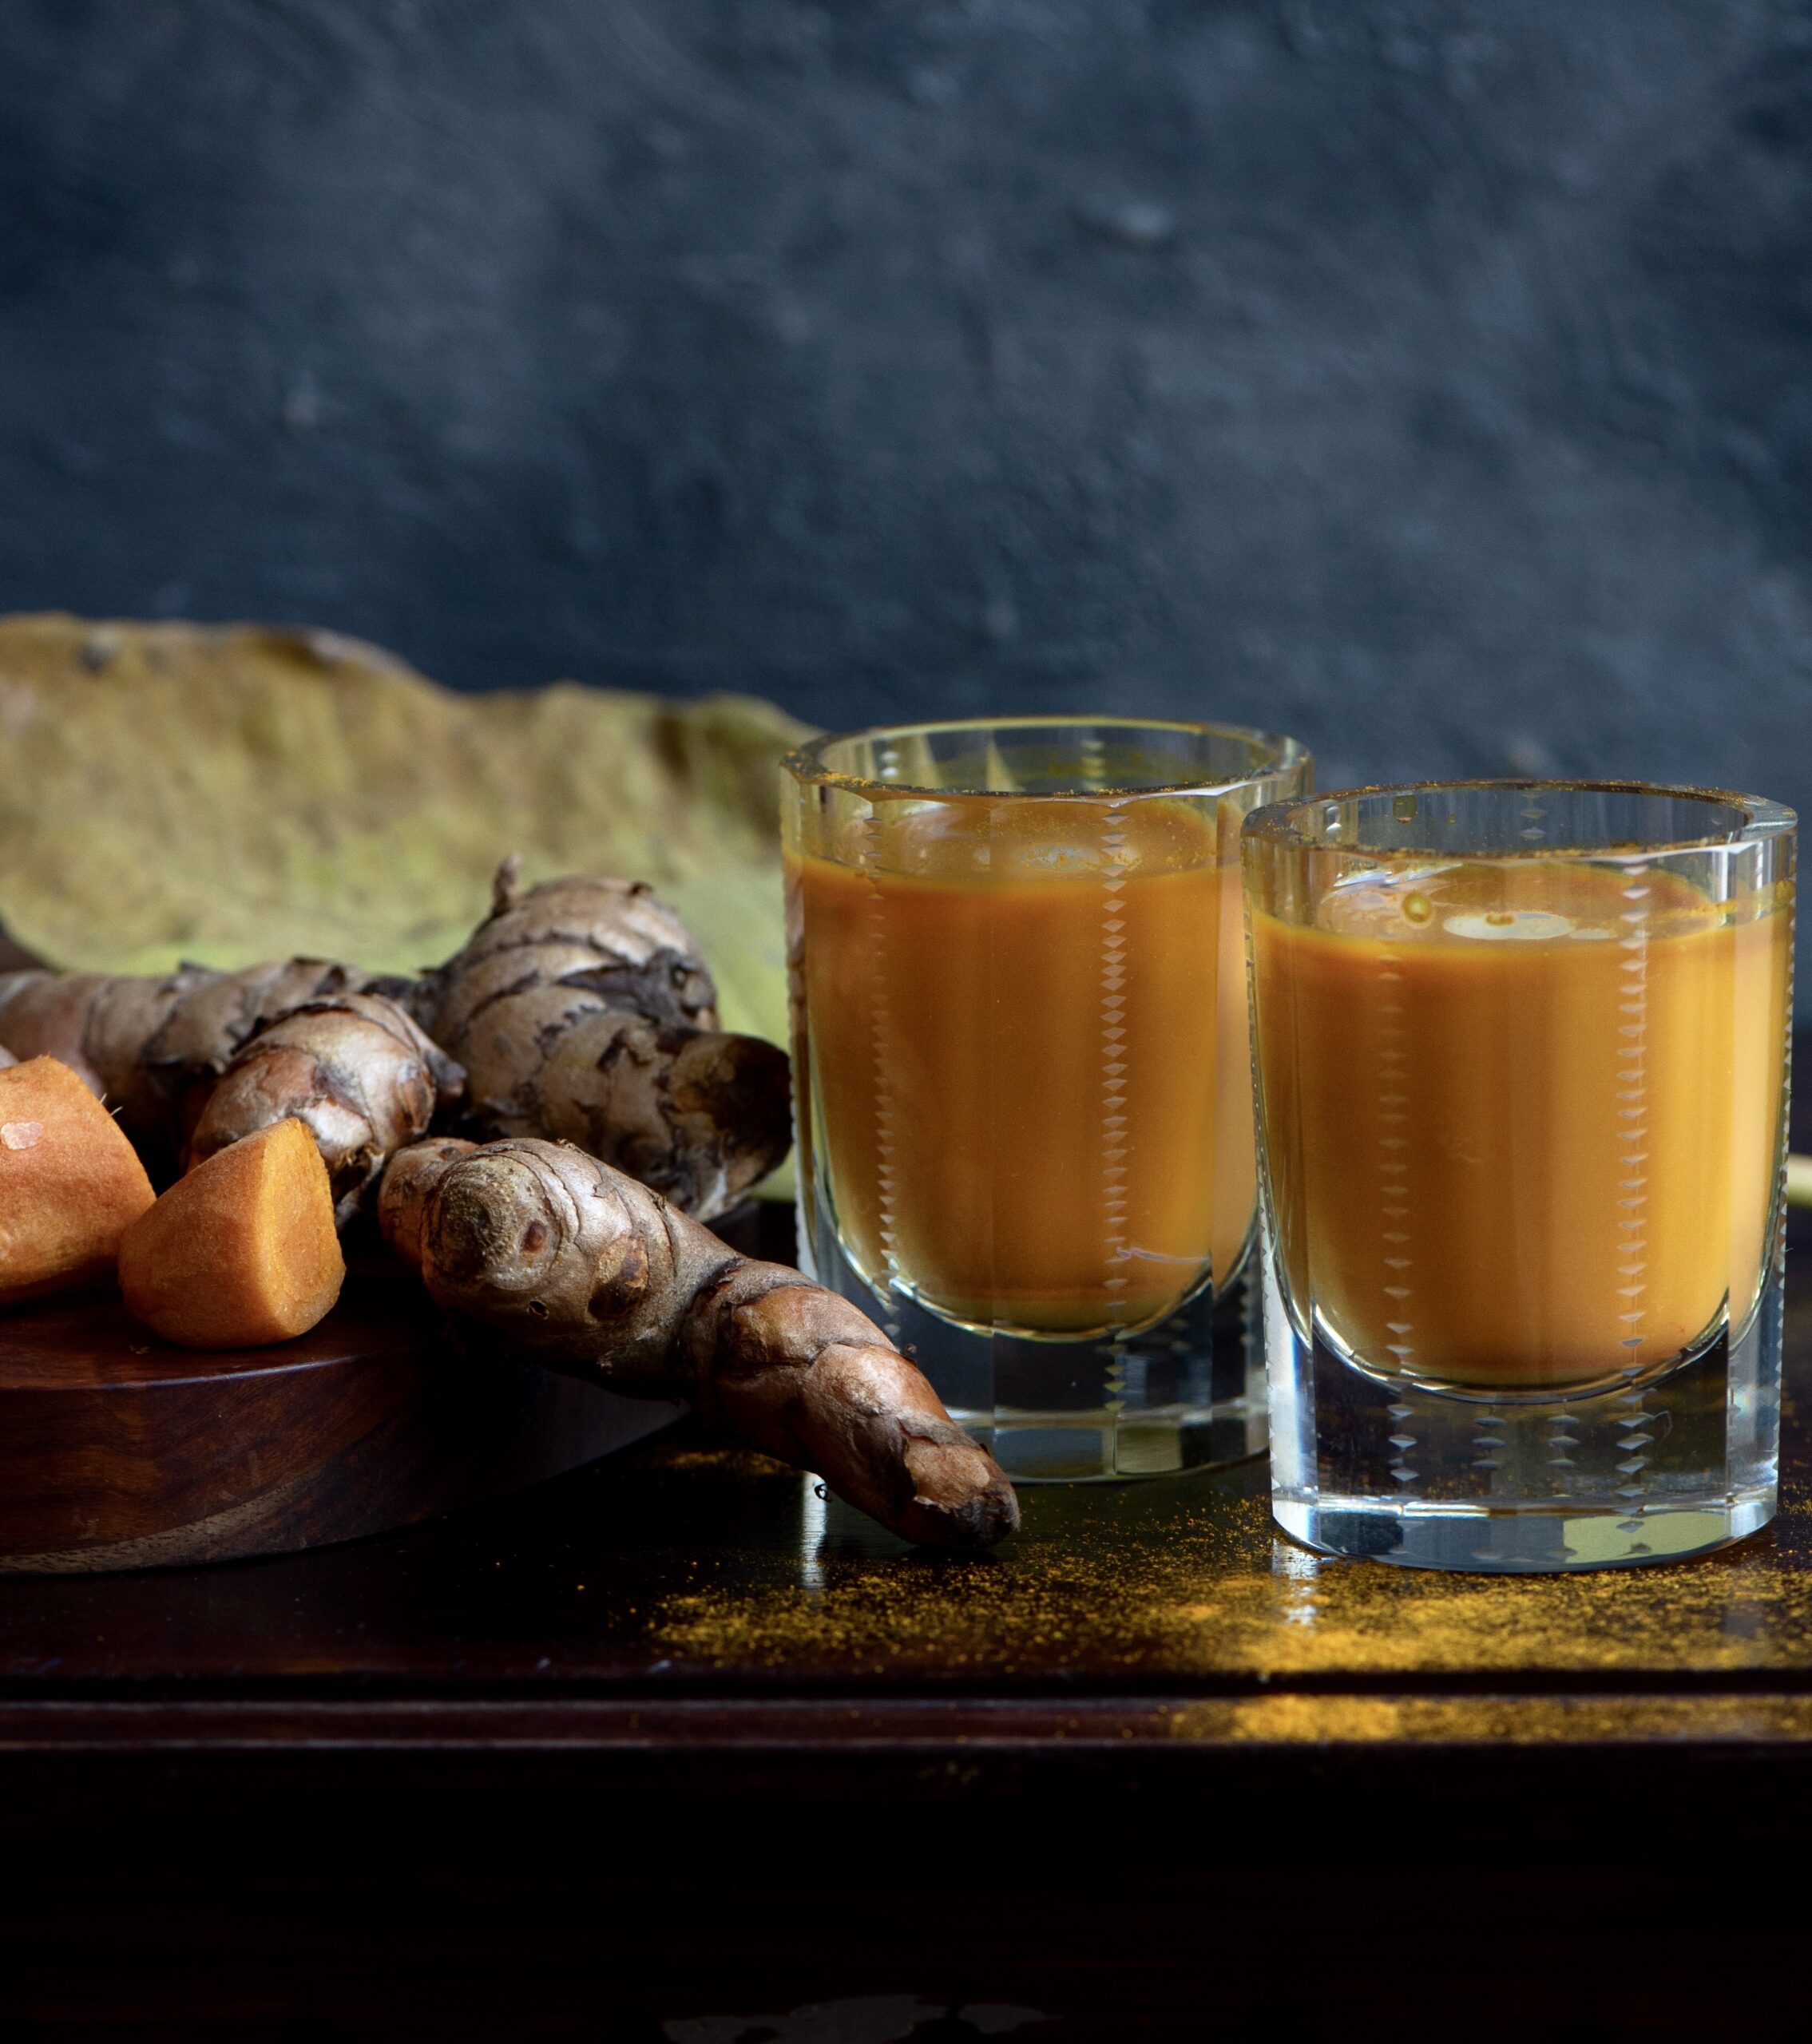
When my sister sent me a huge batch of peaches, brought down from the hills of Himachal Pradesh to the markets of Mumbai and then finally to my kitchen, I was simply bursting with joy. The possibilities were endless. I couldn’t decide between making peach juice for breakfast, or perhaps peach melba accompanied by some classic vanilla ice cream, or maybe baking a fruity cake as a delightful tea time accompaniment. Needless to say I did all of the above and then some more. This vibrant peach salsa, bursting with luscious flavours, has been a frequent feature at my table during the past few weeks.
While peaches aren’t a tropical fruit, they are abundantly available here. I can remember a time when this was not the case. We would encounter a country variety only when we went to the hills, when we would visit Ooty every year through our childhood summers. While we took our familiar fruits like mangoes, guavas and coconuts for granted, the summer fruits of the hilly region were a novelty. I remember the first time I saw pear trees in those hills, for example, and how exciting that was. During these holidays, we became familiarised with various homegrown but somehow exotic produce, including “English vegetable”. As well as local peaches, of course. They were smaller, rustic-looking, greenish in colour and a little more sour in taste than the large juicy imported ones (and even the ones from North India), but they were peaches just the same. The season was short, and as they were a slightly rare fruit, we treated them as a delicacy. In addition, peaches were associated with the holidays in the hills. They are still reminders of a time when things were simpler and carefree. A time when that cool climate was a yearly escape, far from school and the sweltering heat of Chennai.
Peaches are a luscious, sweet fruit which are native to China, which are believed to have made their first appearance in India during the Harappan period. They became popular in Europe via Persia, and are grown in numerous places around the world today. As with all fruits, peaches help regulate body weight. They are also good for cardiovascular health and improve gut function. They are beneficial for the skin, and the phrase “peaches and cream complexion” is derived from this fact.
Now, the world has become a smaller place and we get all kinds of exotic fruits from places like Thailand and beyond. Peaches, too, are now available everywhere in India. They come to us from cooler climes like Ooty and Himachal, as well as from abroad. They are currently in season, but bear in mind that the season is brief. If you’d like to try this peach salsa, there’s no time like the present.
During the recent mango season, in which I made a profusion of fruit-based dishes, a mango salsa was also served during several occasions. The simplicity of a salsa lends itself to quick, easy and usually successful experiments, so I often whip one up using whichever fruit happens to be in season, or on hand. Melbas, cakes and milkshakes aside, the abundance of peaches that arrived in my kitchen were inevitably going to receive this treatment too.
My first exposure to salsa was through Mexican food, which is hands-down my favourite cuisine in the world. Salsa is one of their staple dishes, and made in a versatile number of ways. There are liquidy sauces, creamy dips and coarsely-chopped mixed ingredients which all bear this name. I think the recipe I am sharing today is closest to a pica de gallo (literally “rooster’s beak”) rendition, which is crunchy in texture.
I must confess that I usually get to enjoy the American versions of tacos, enchiladas and the like, and I hope that my travels will take me to South America some day so that I can have an authentic experience of these beloved dishes of mine. My own attempts at recreating these dishes at home have always been warmly received, but perhaps my kids are biased. Others have told me that what I make are Indianised versions of Mexican-American food, but I can take that as a compliment. That’s what we human beings are all about, no? We share our stories and our lives, and keep creating new experiences that are influenced by everything we see and feel… and taste!
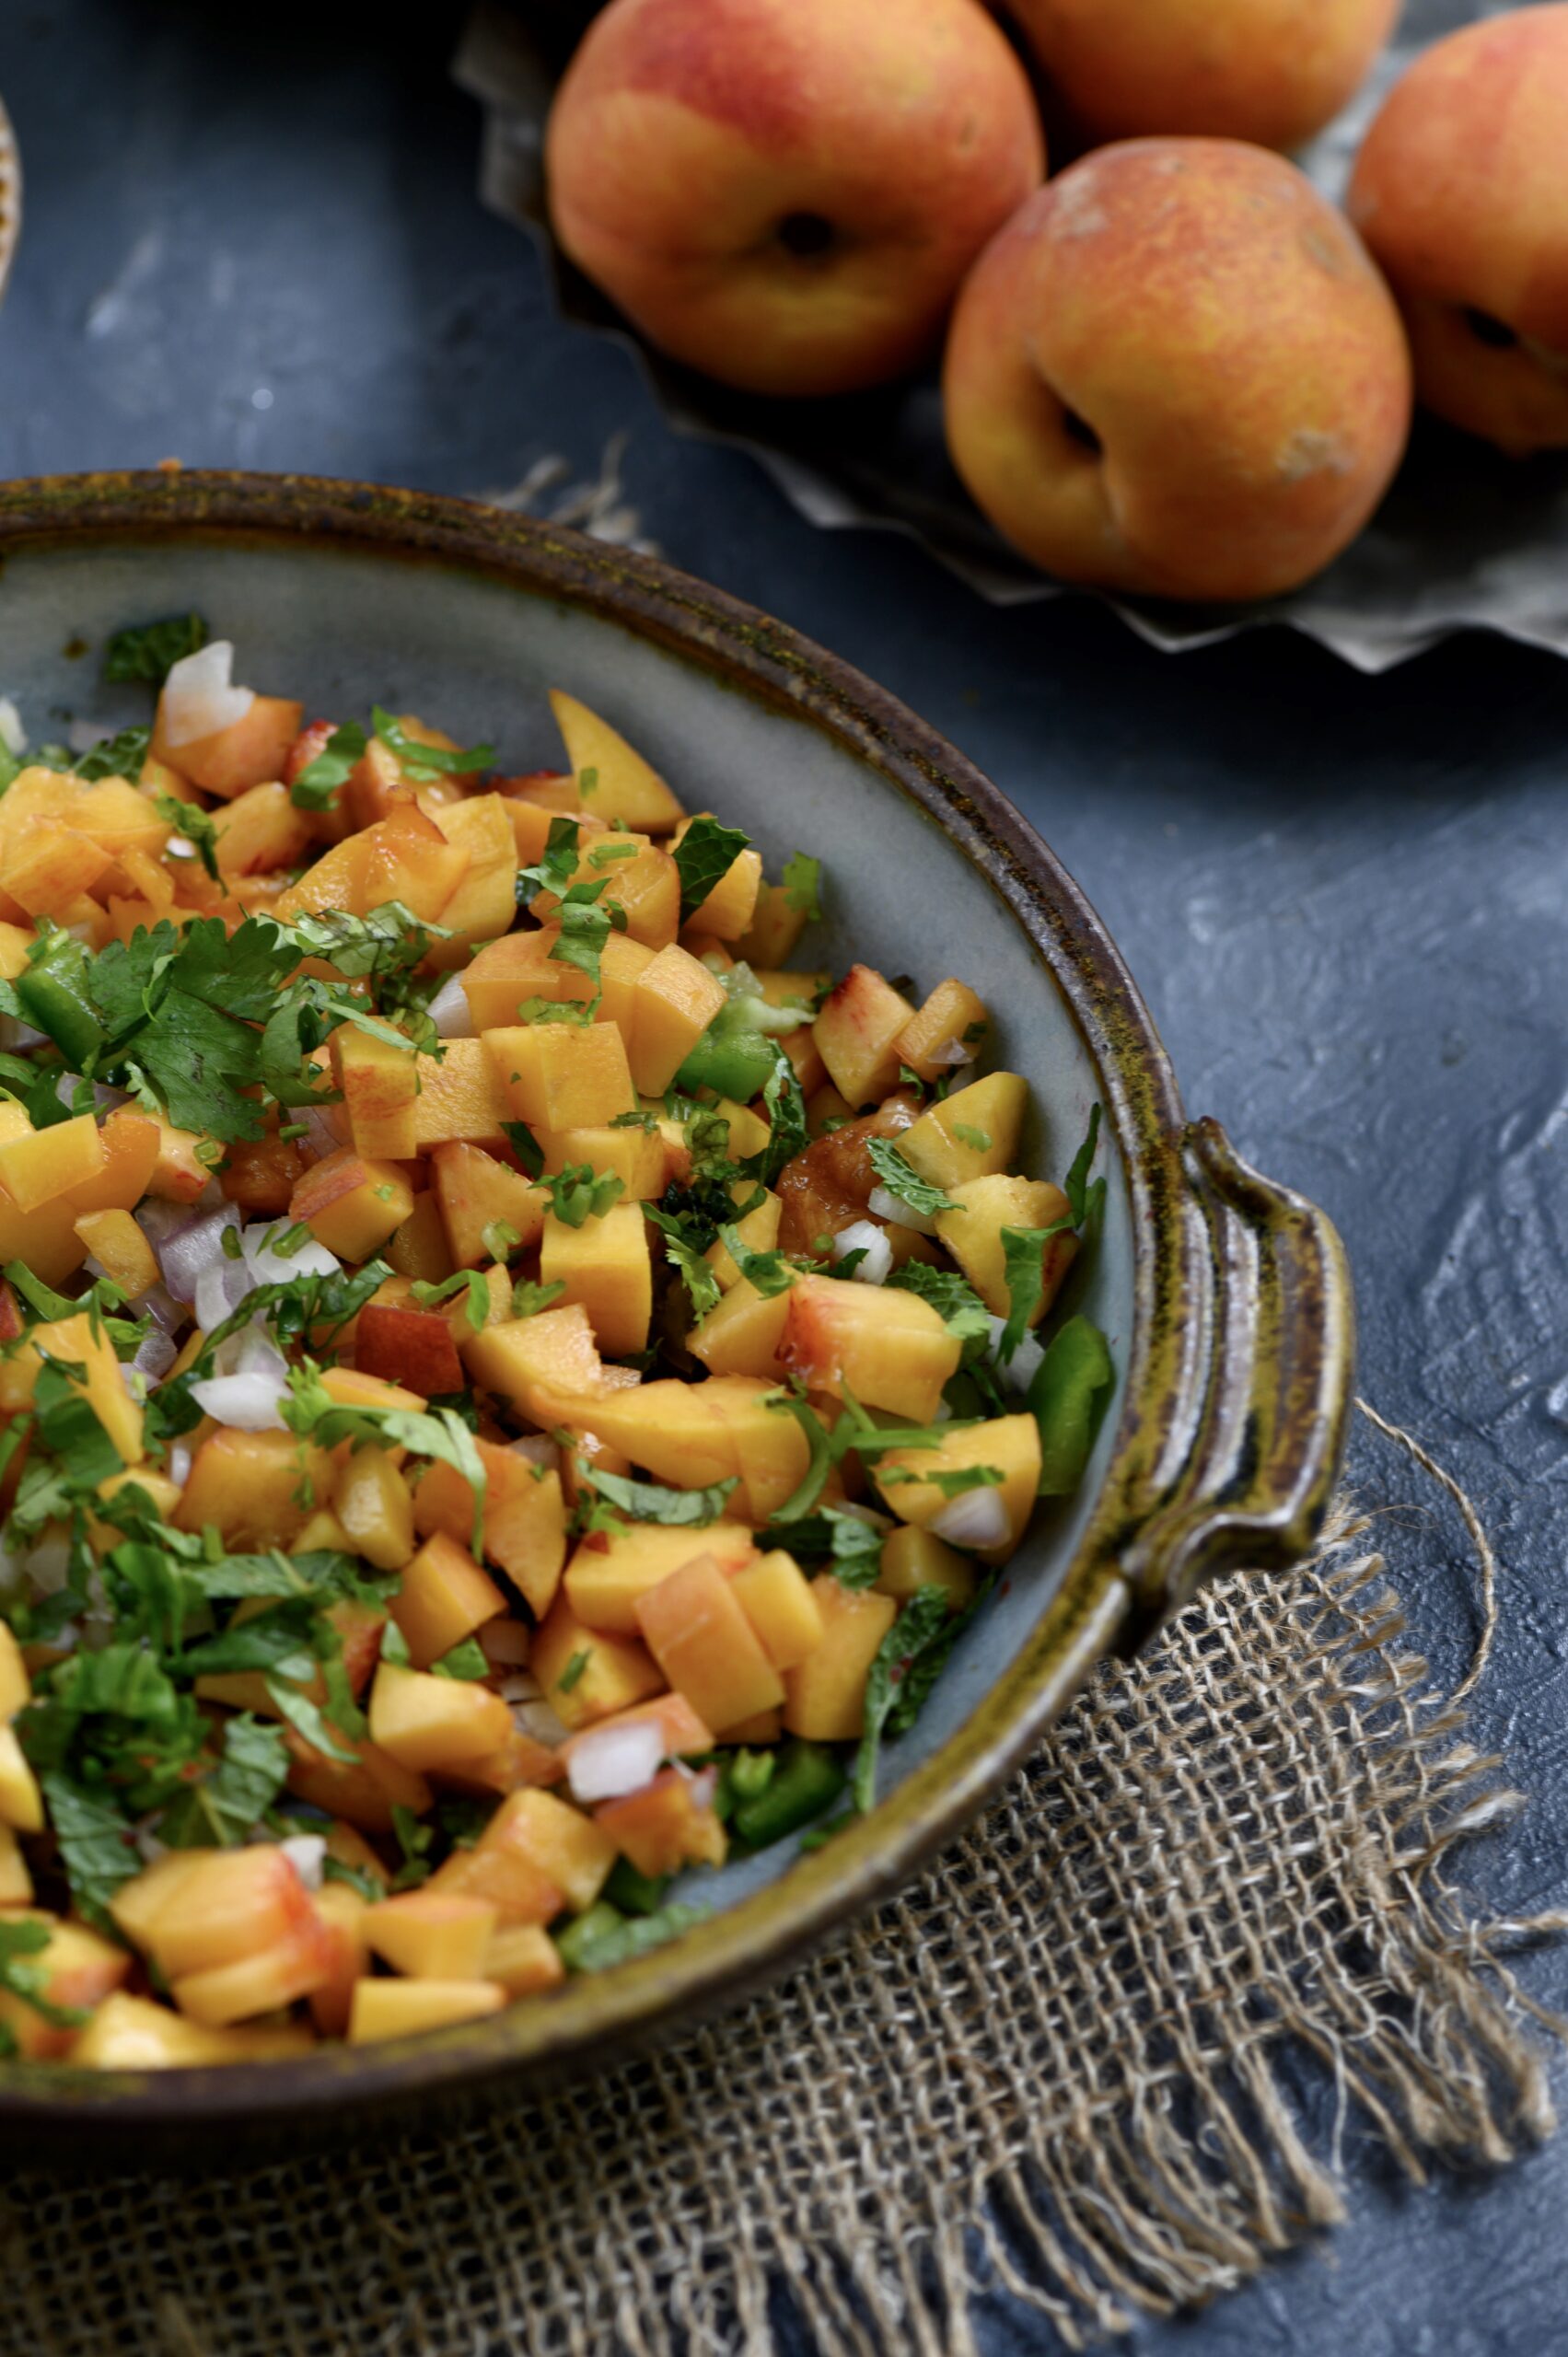
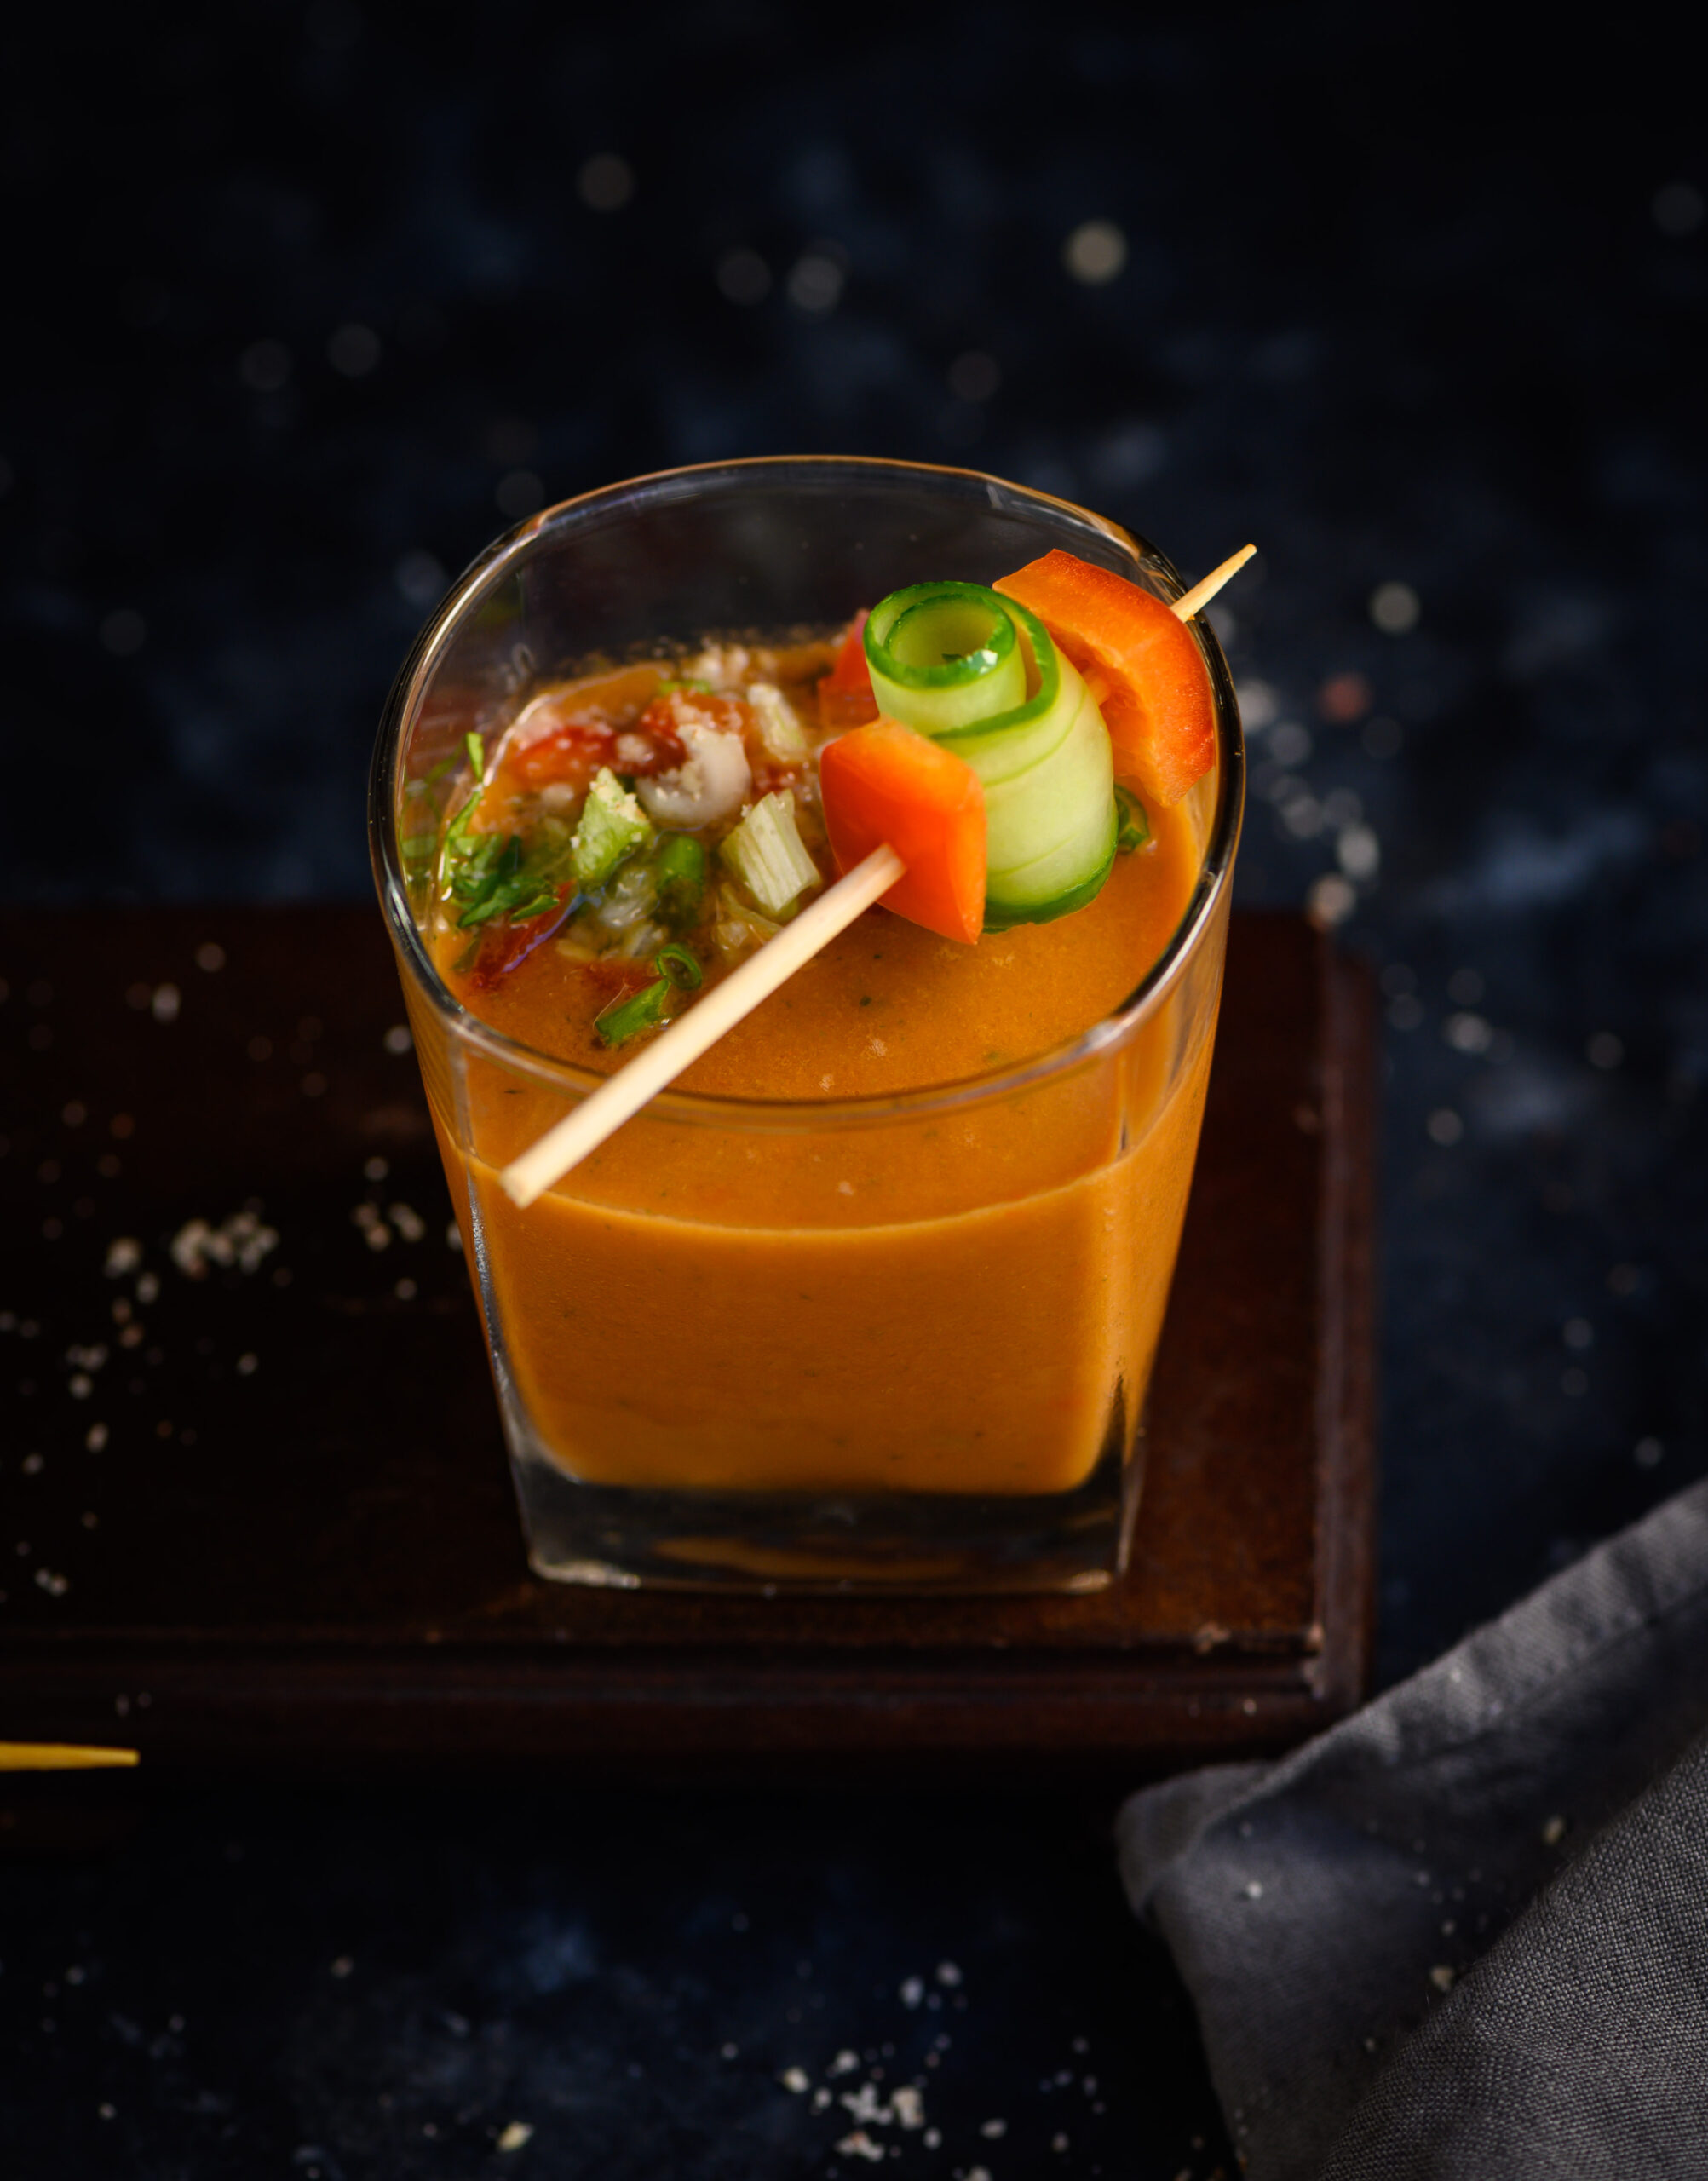
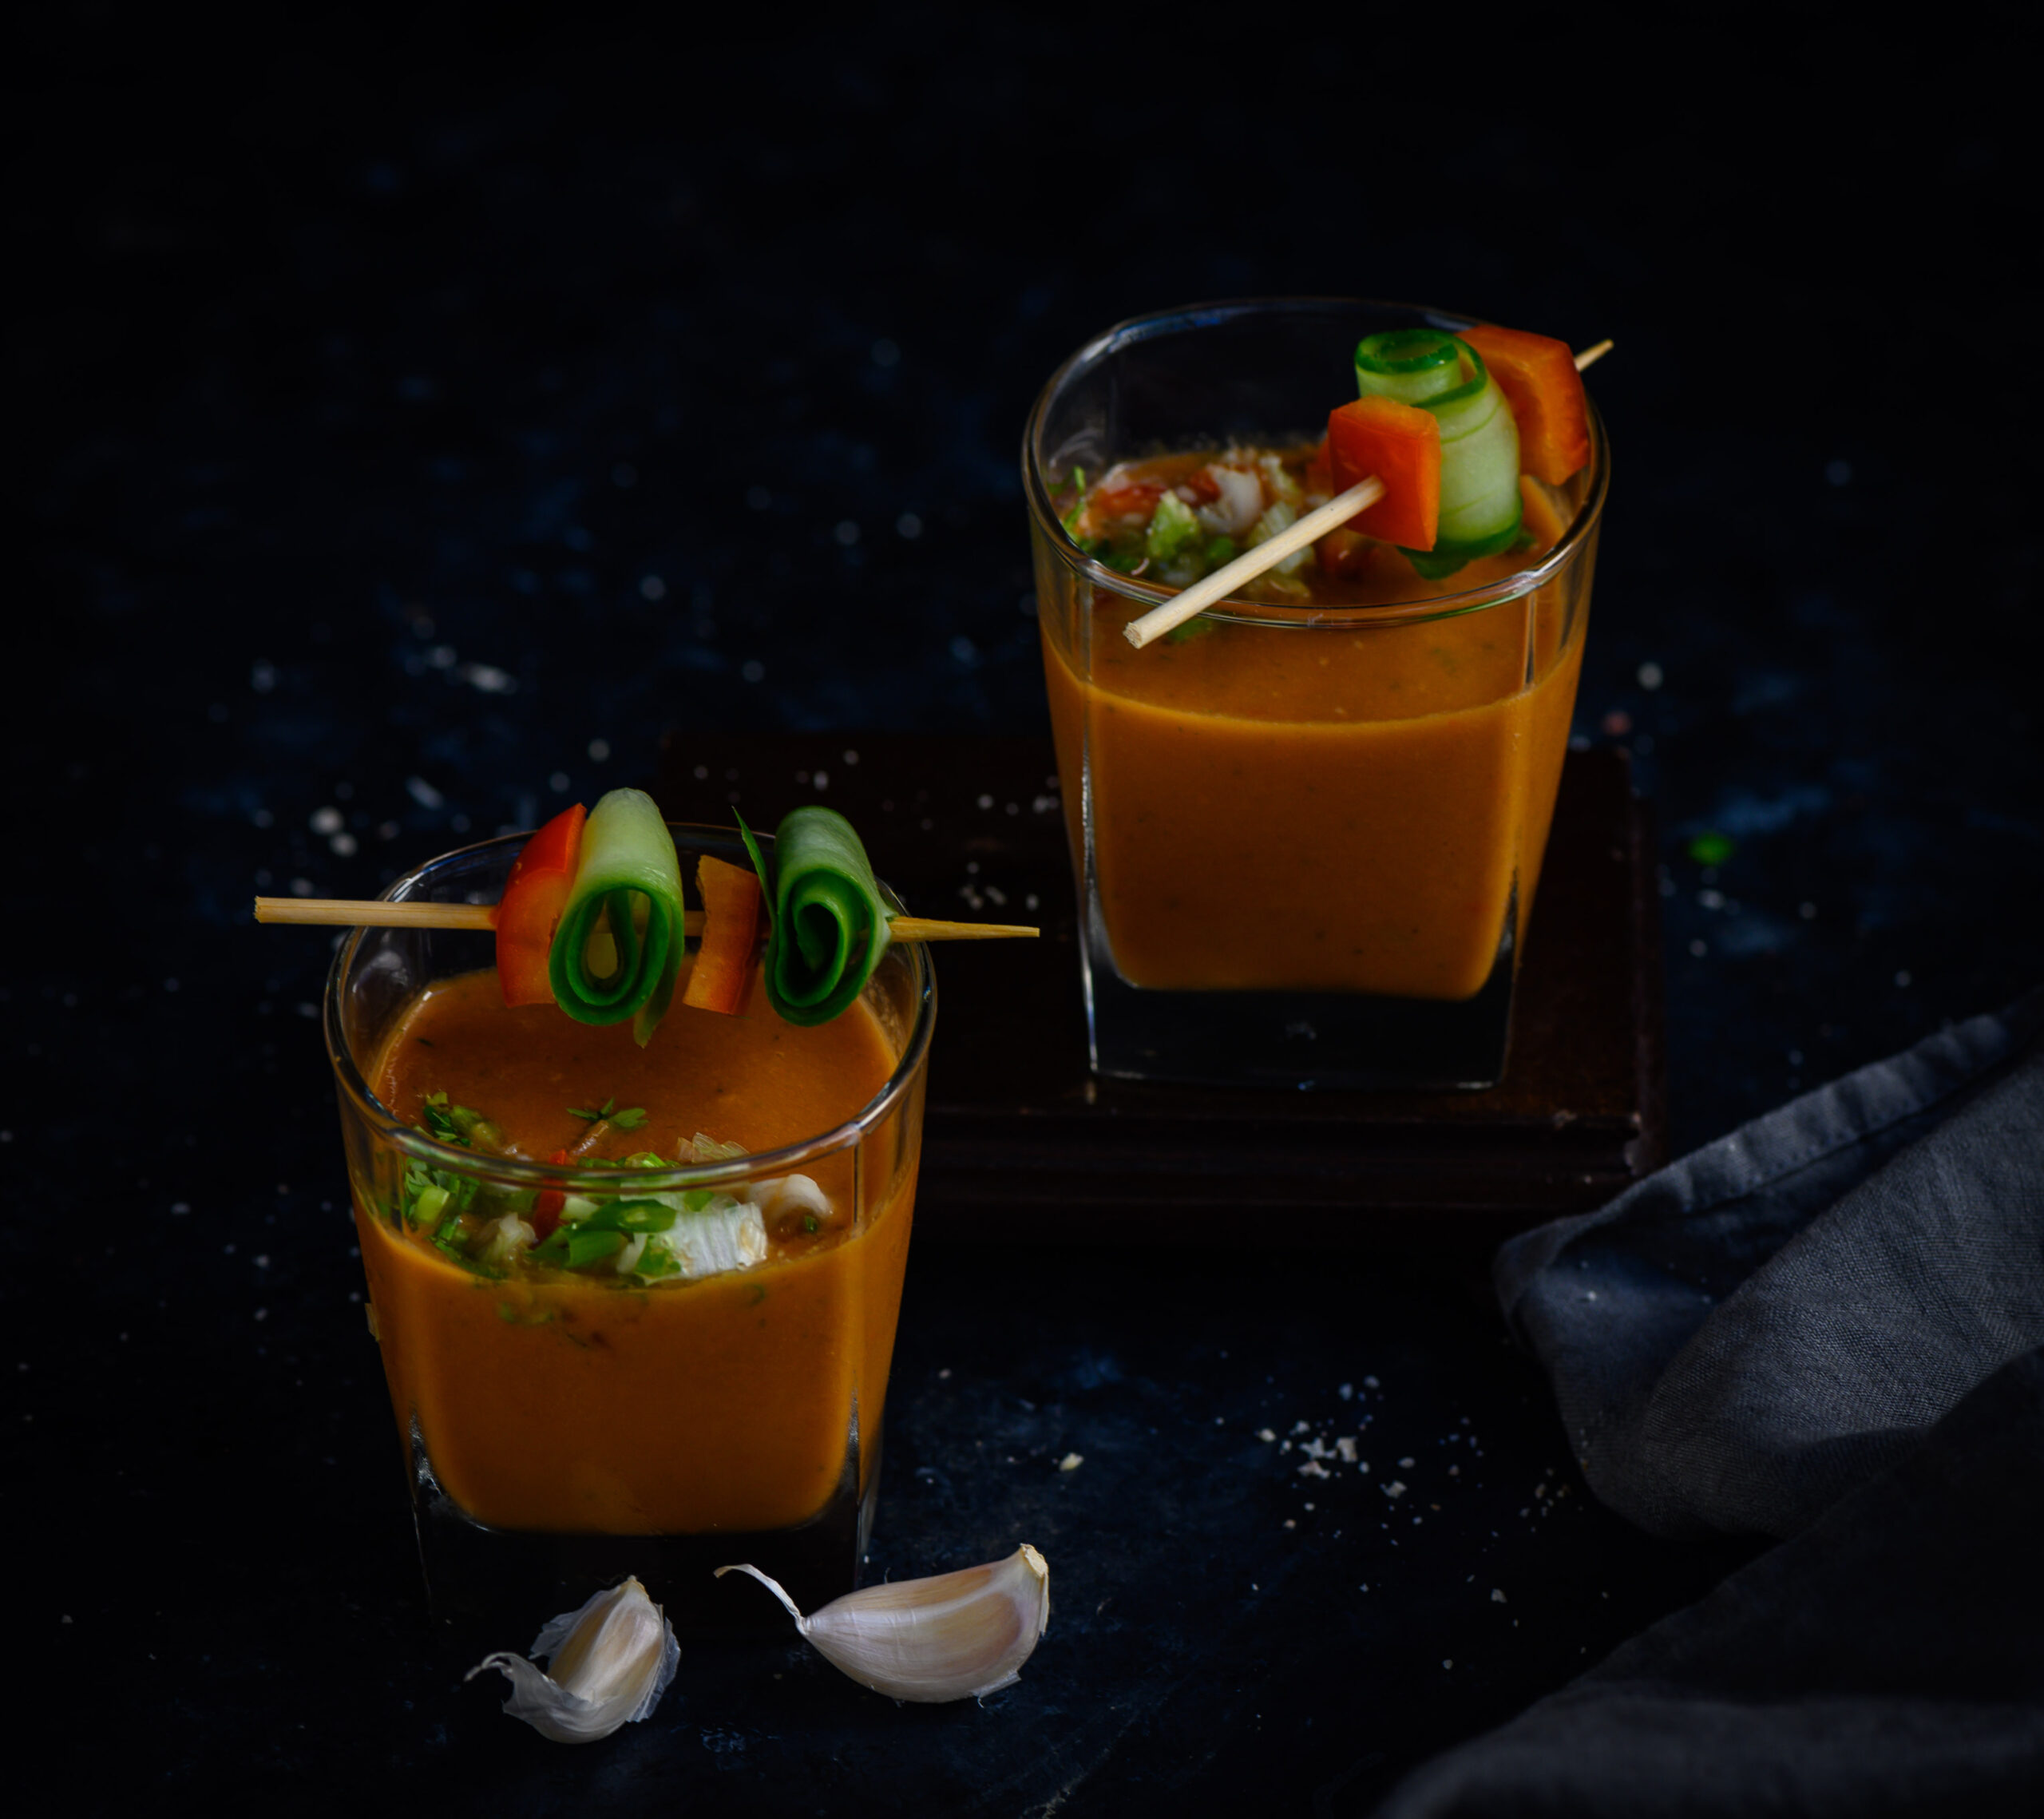
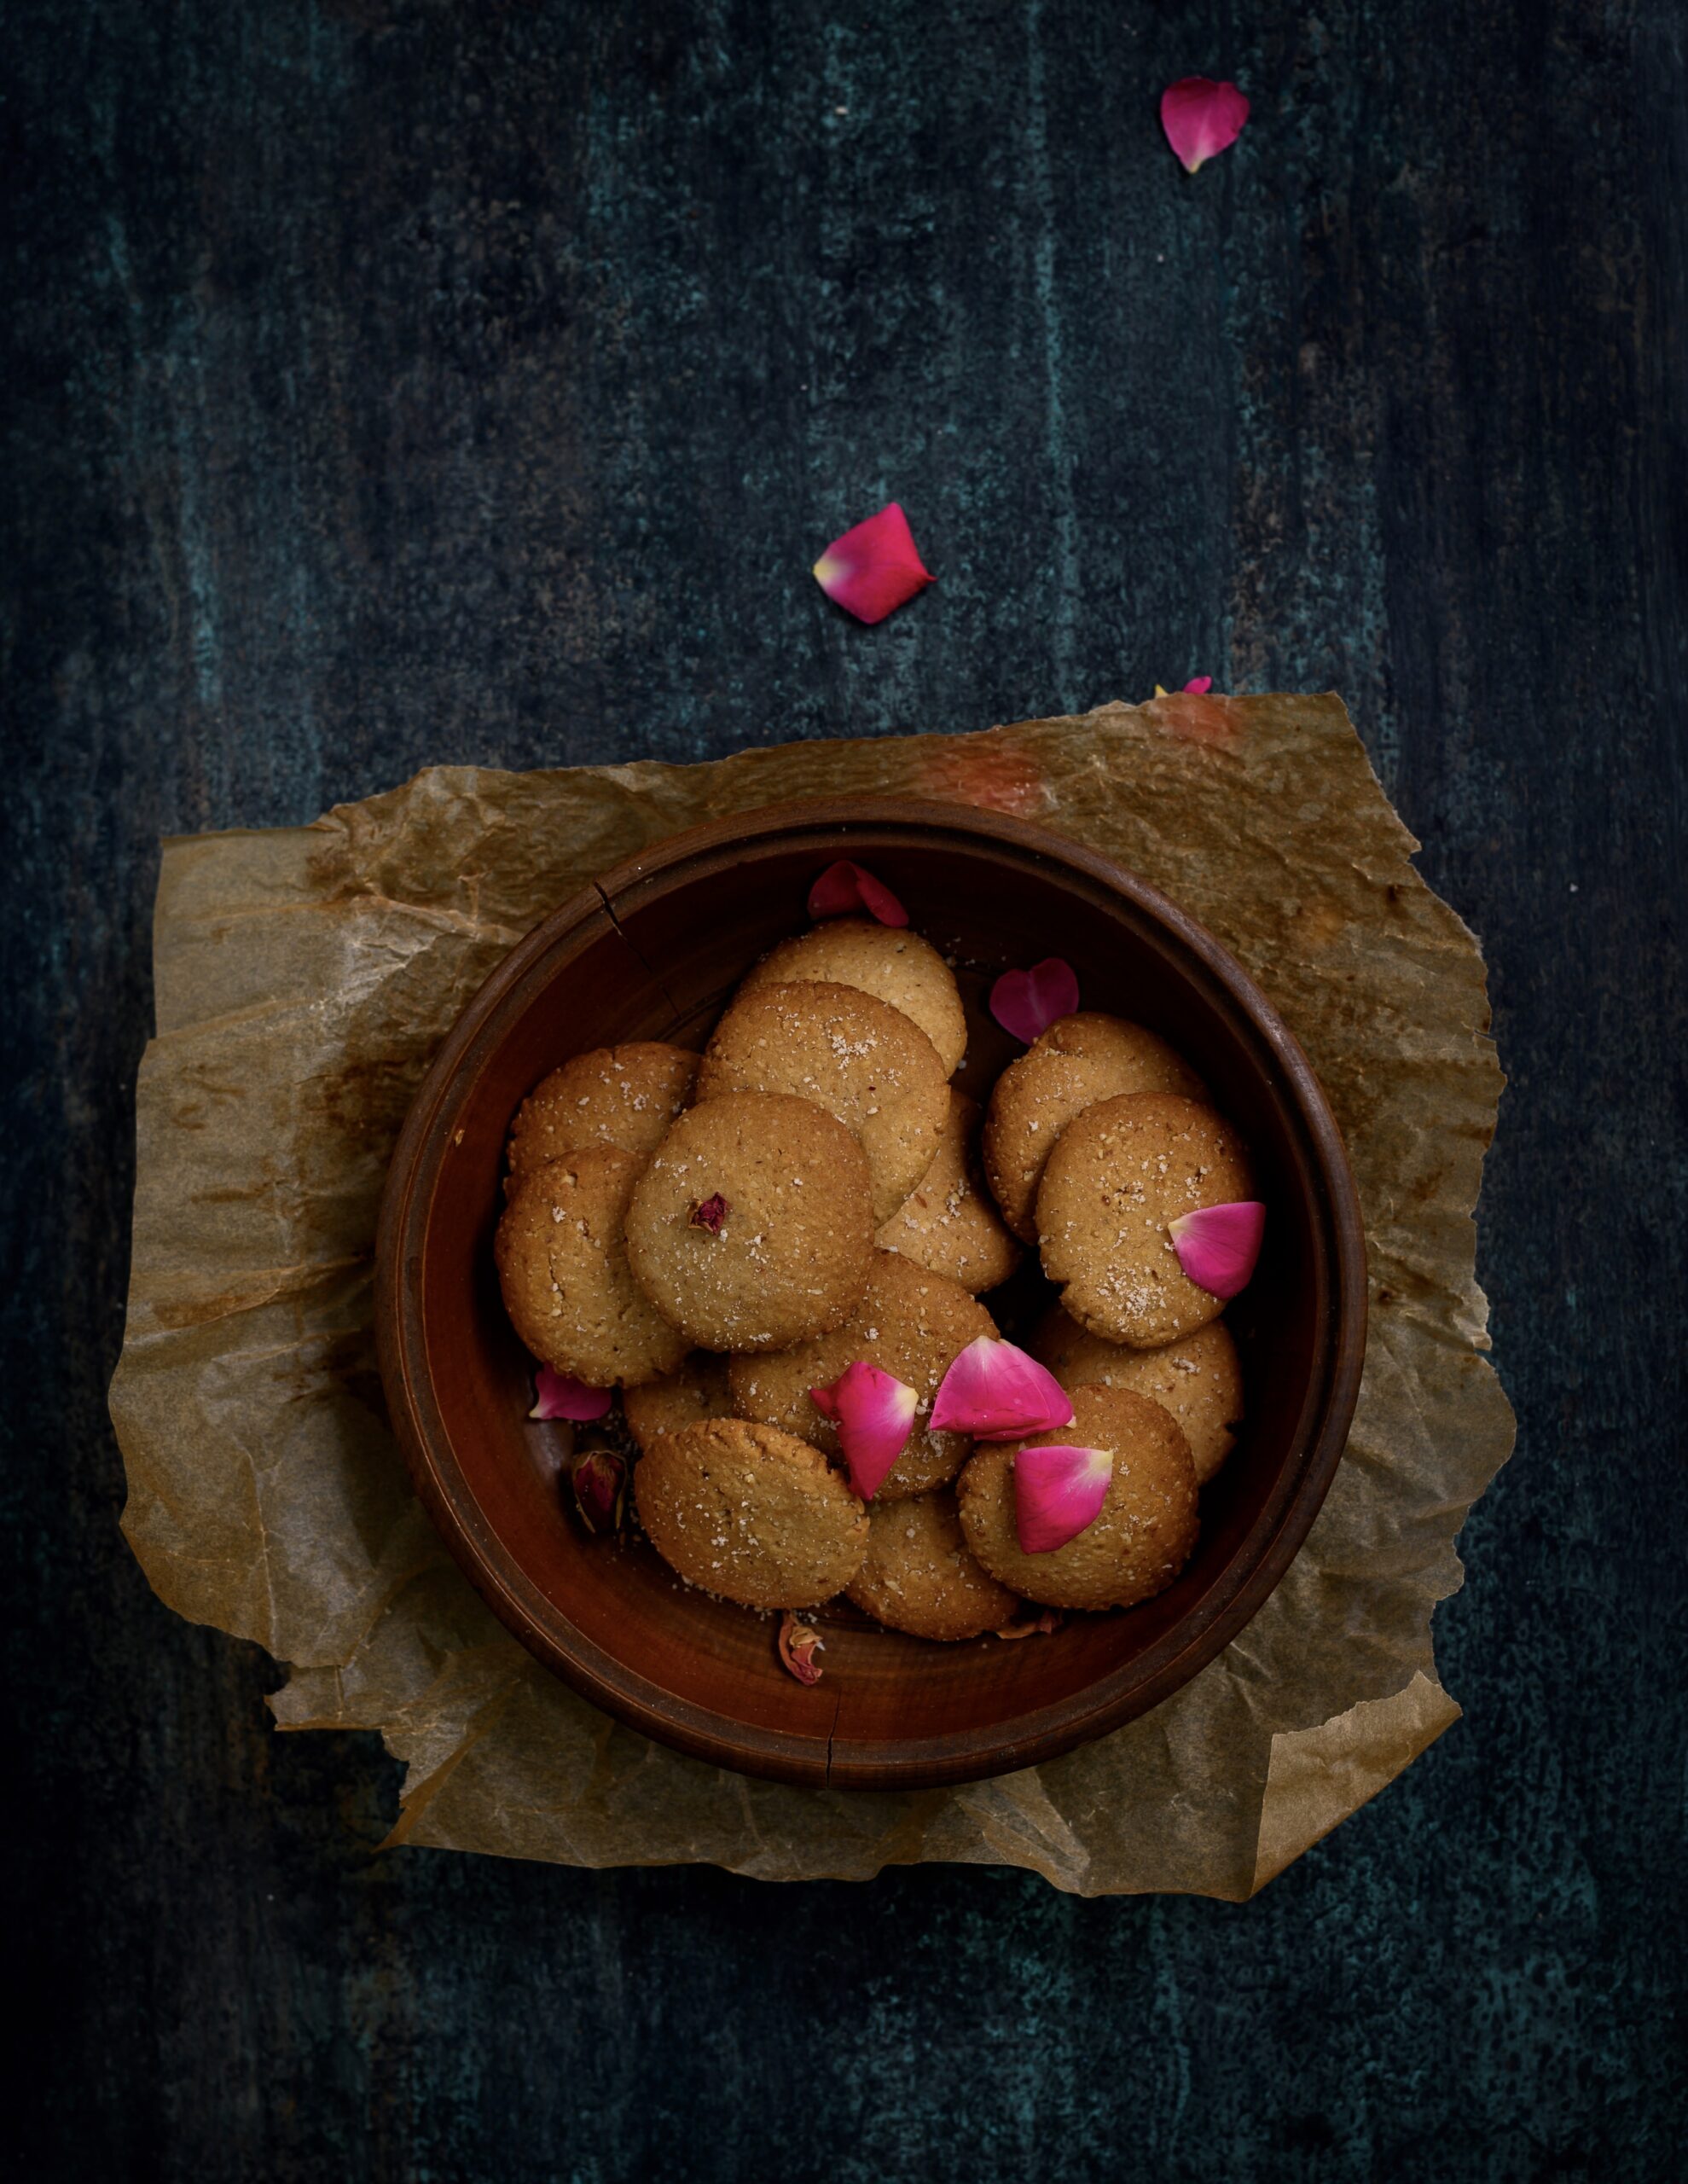
Peach Salsa
(Yield: 1 bowl)
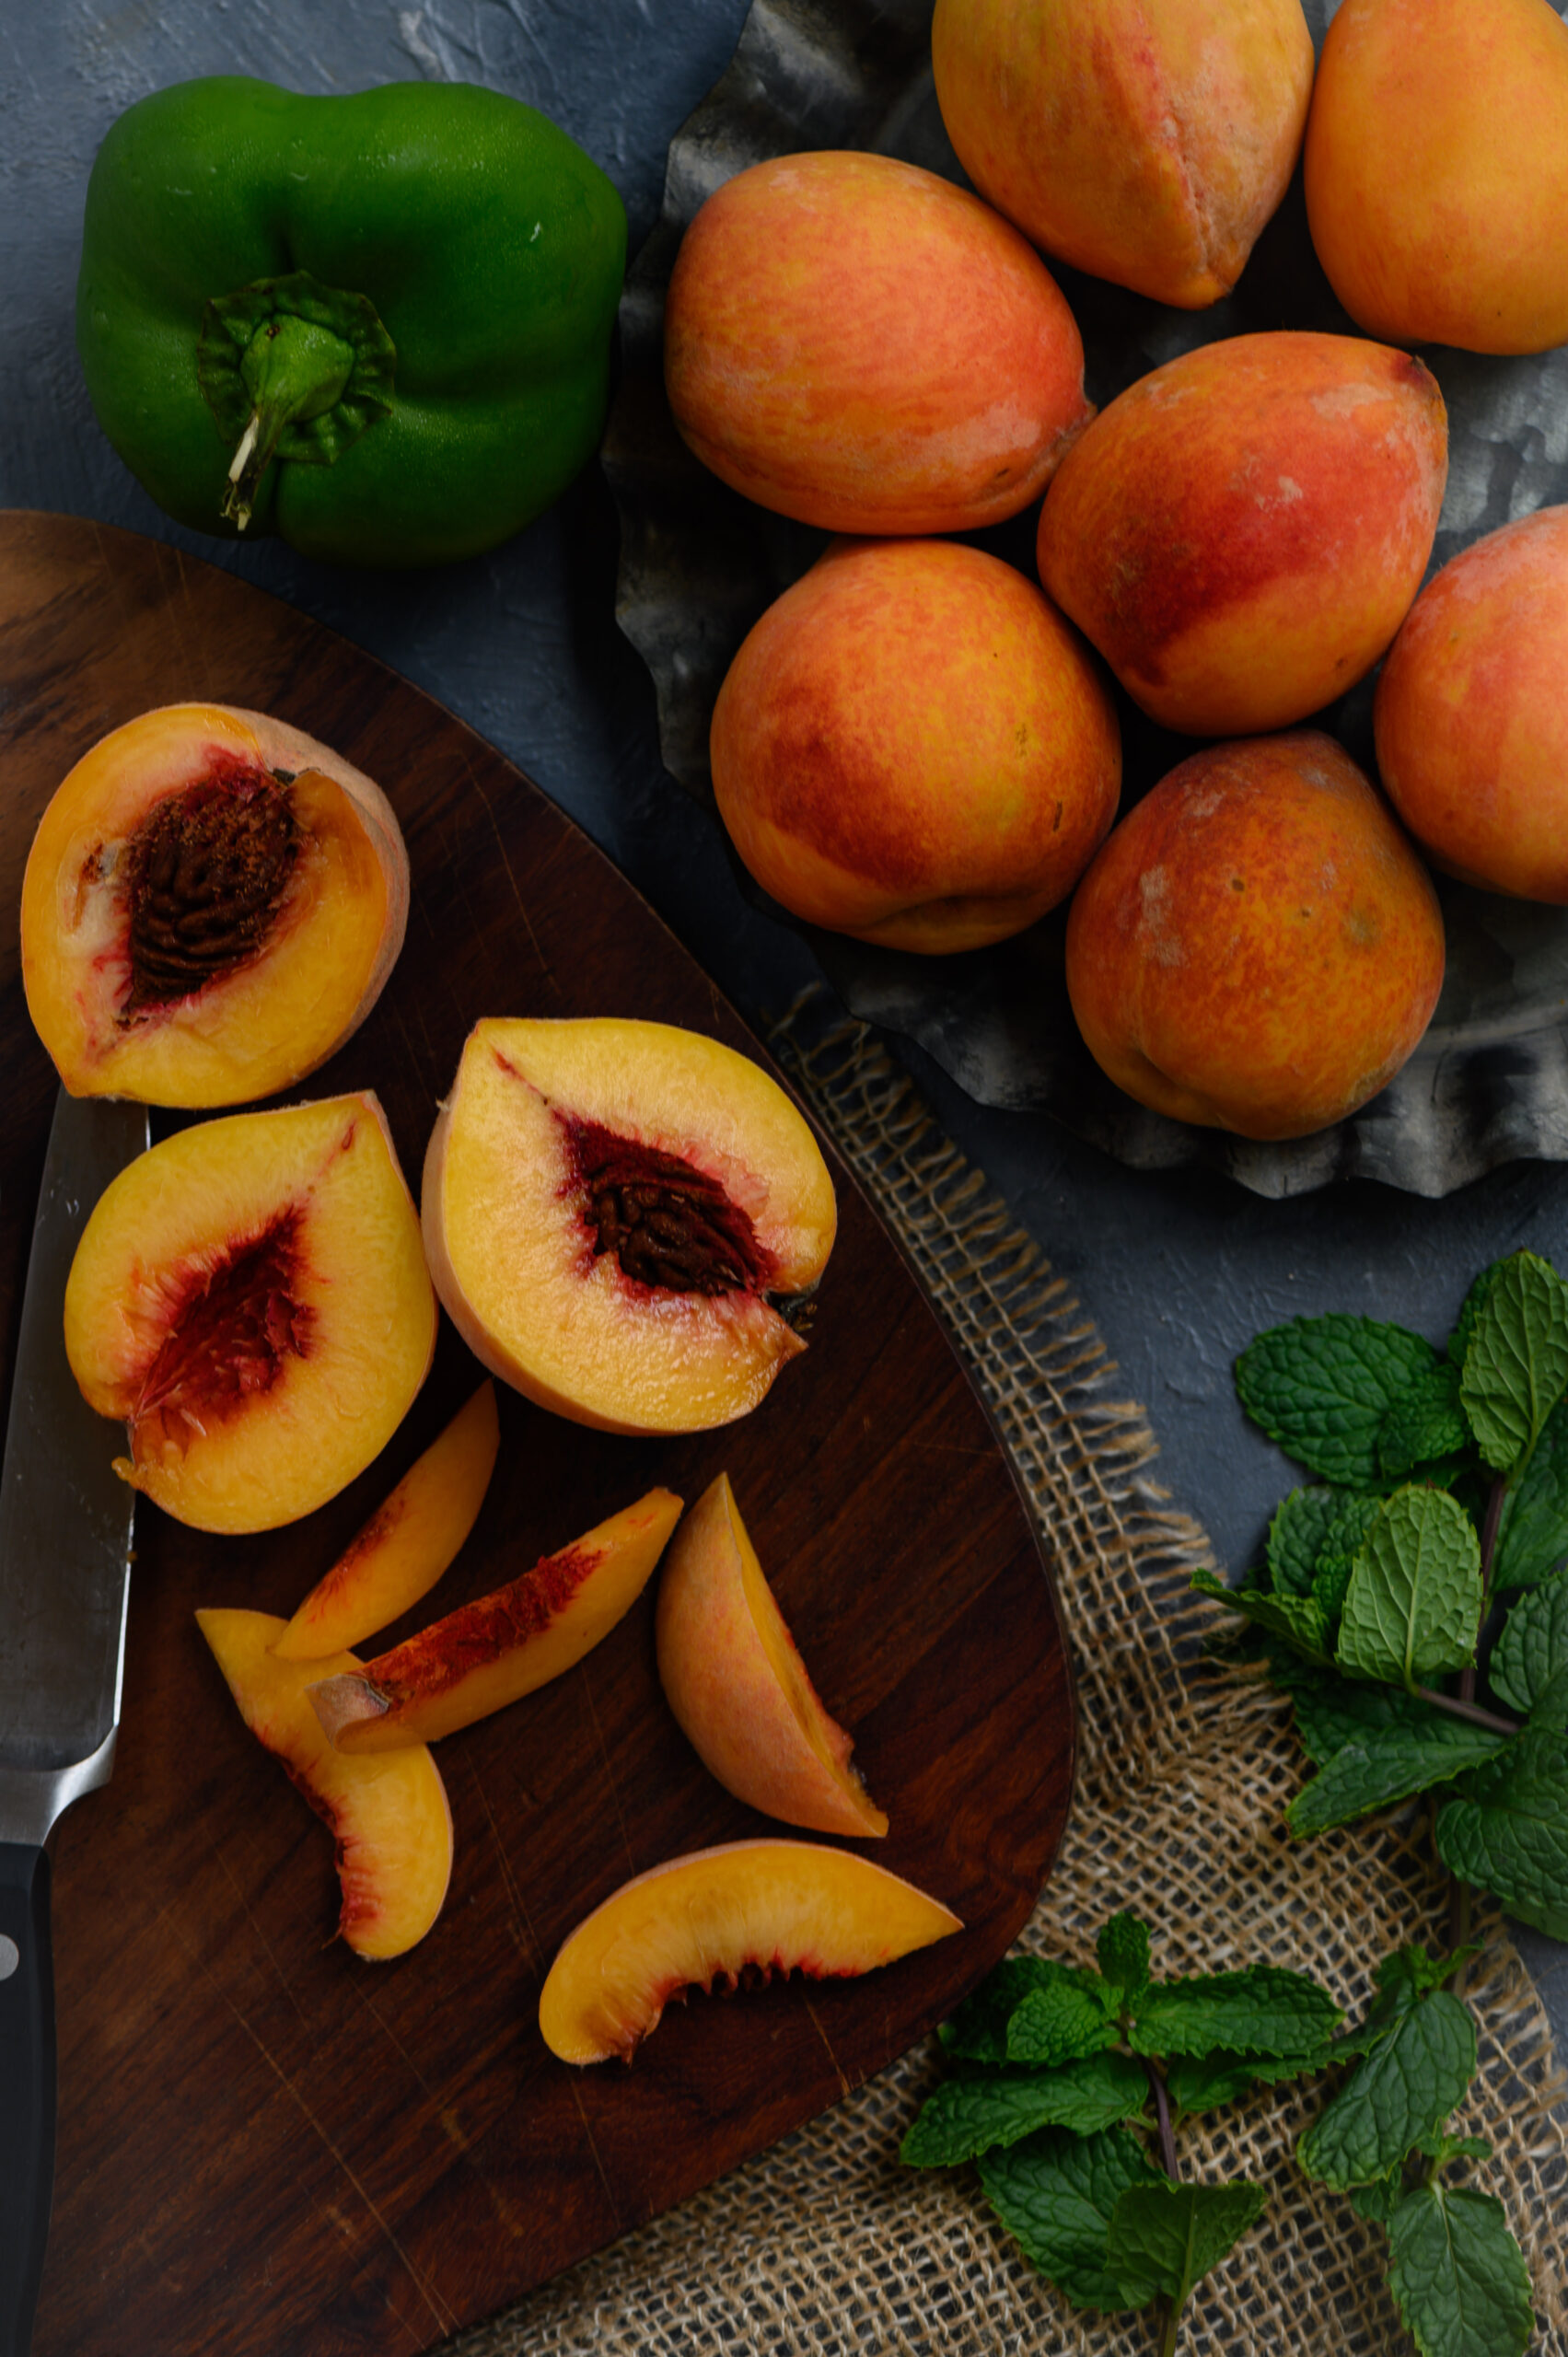
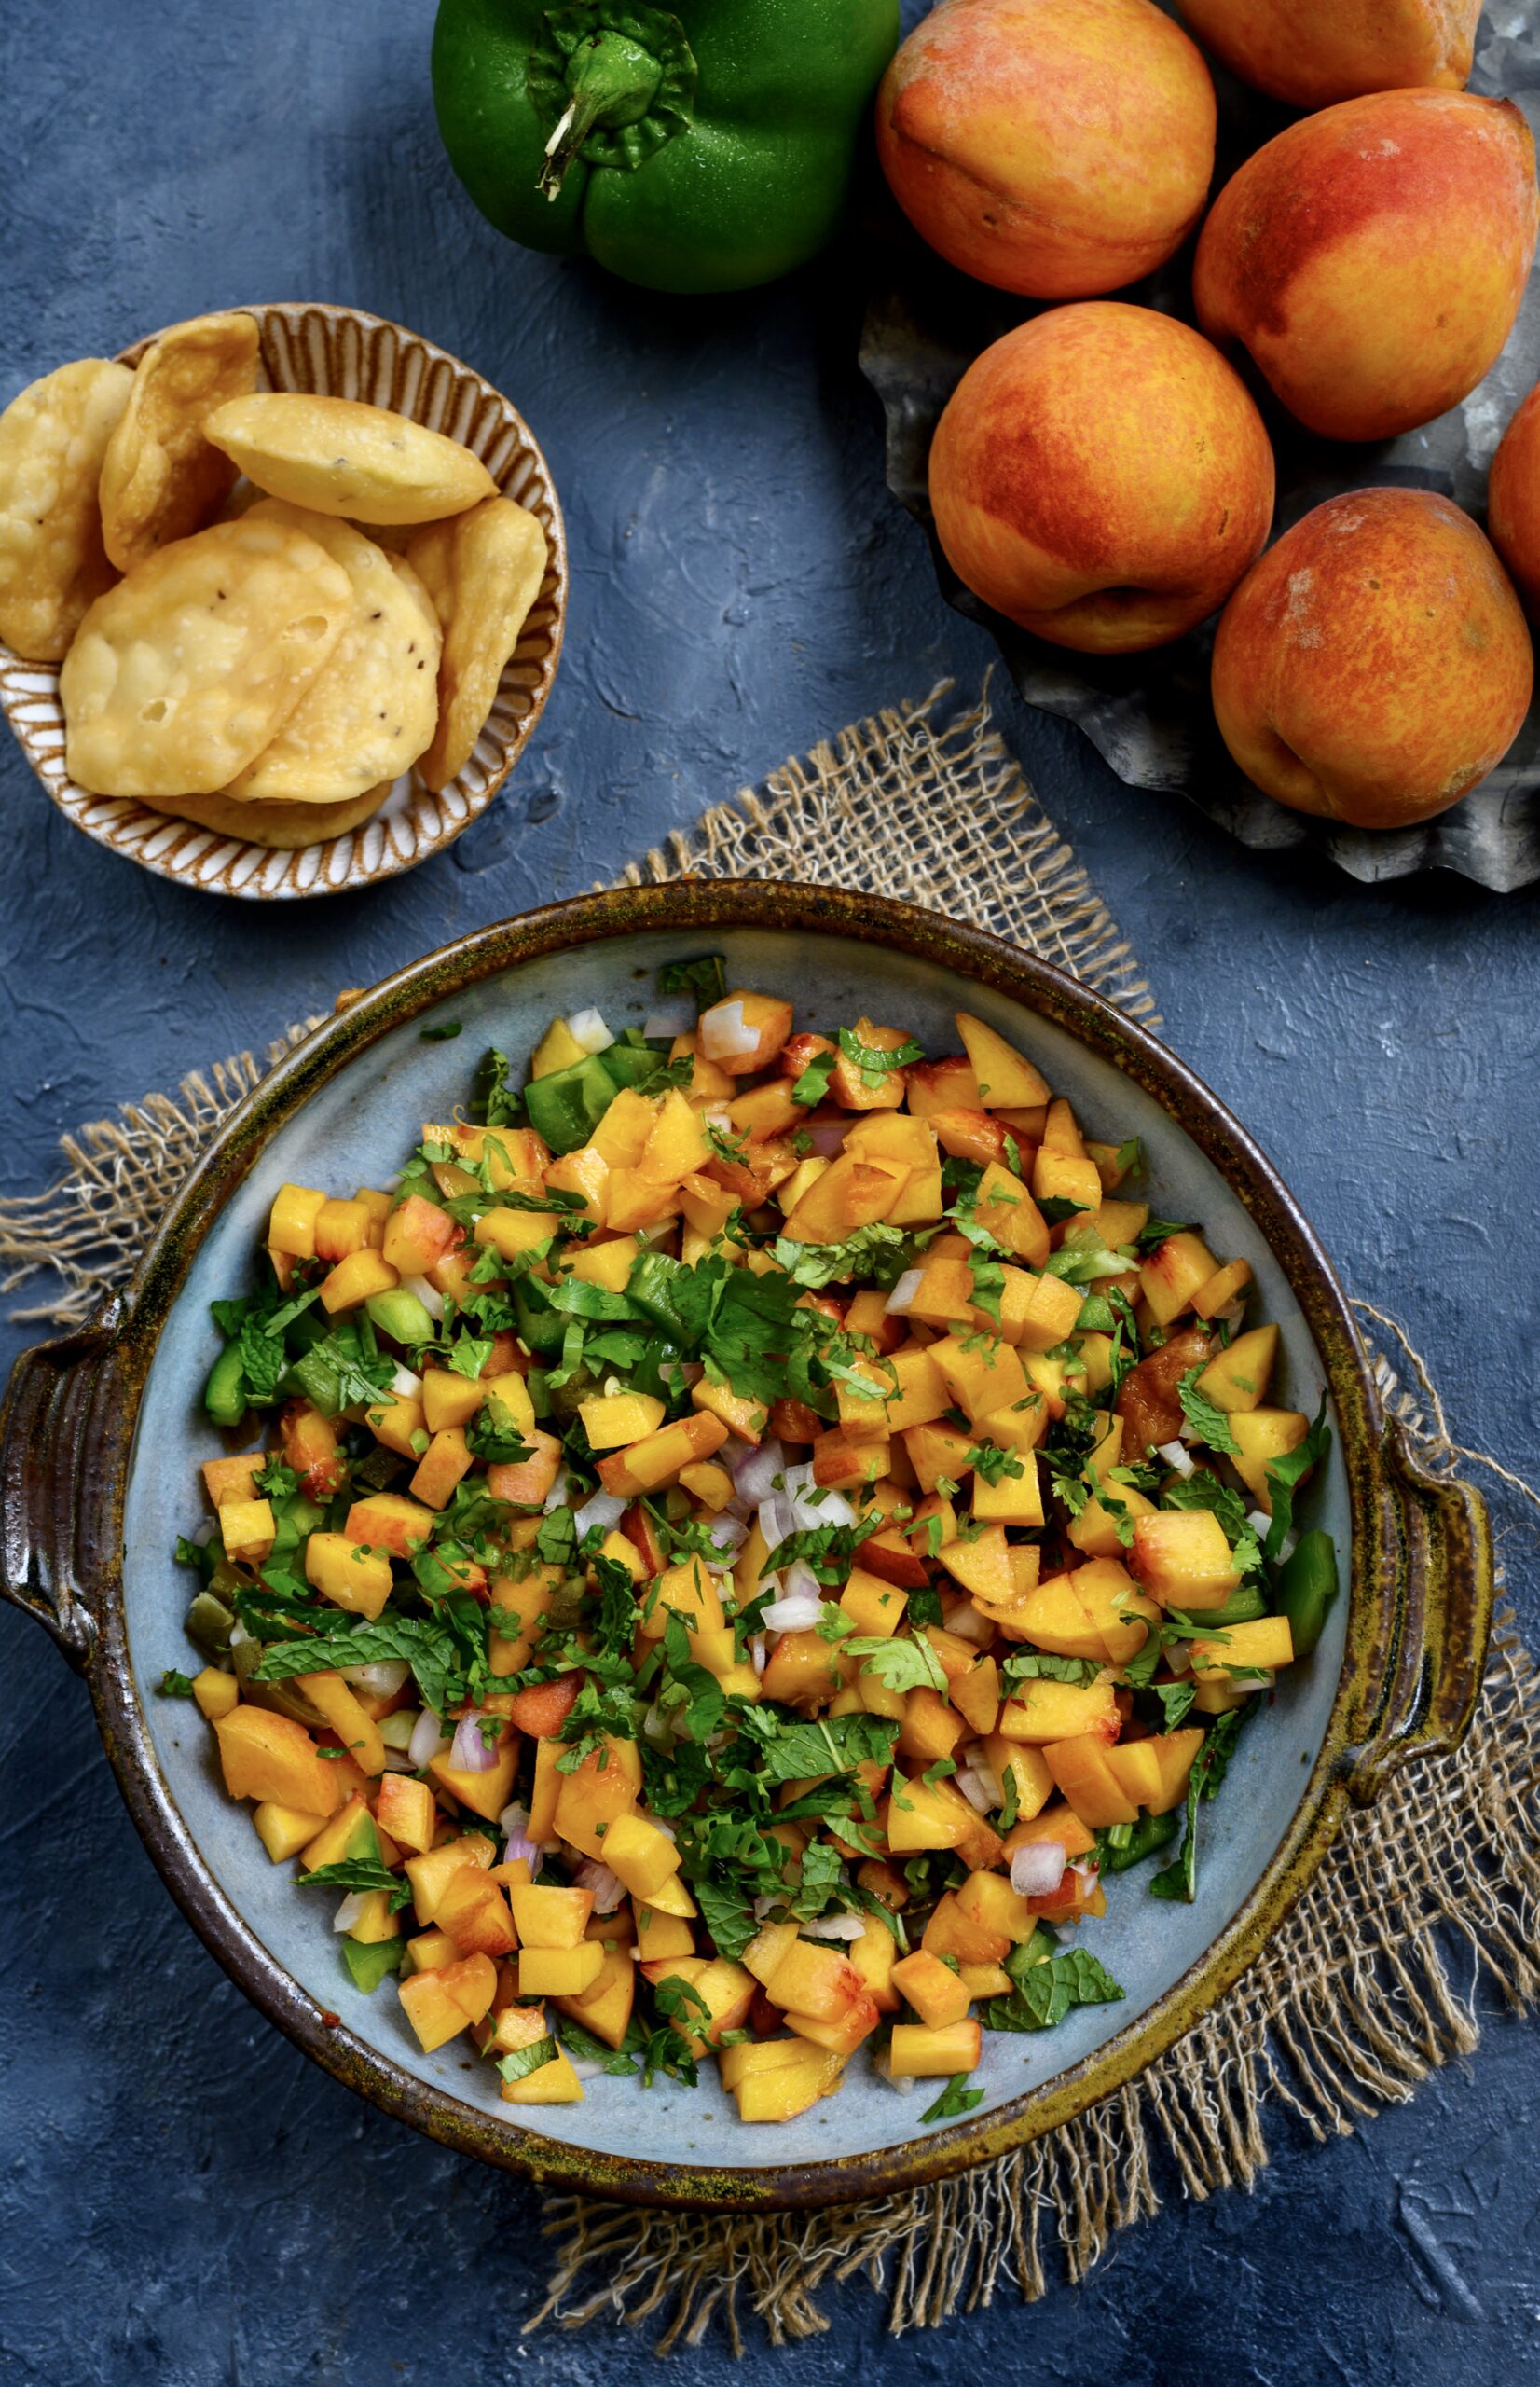
2 full cups cut peaches
¼ cup chopped onions
¼ cup cut green bell peppers
1 tablespoon cut jalapeños
Handful of fresh mint leaves
Handful of finely cut coriander leaves
Dressing:
Salt to taste
A pinch of pepper powder
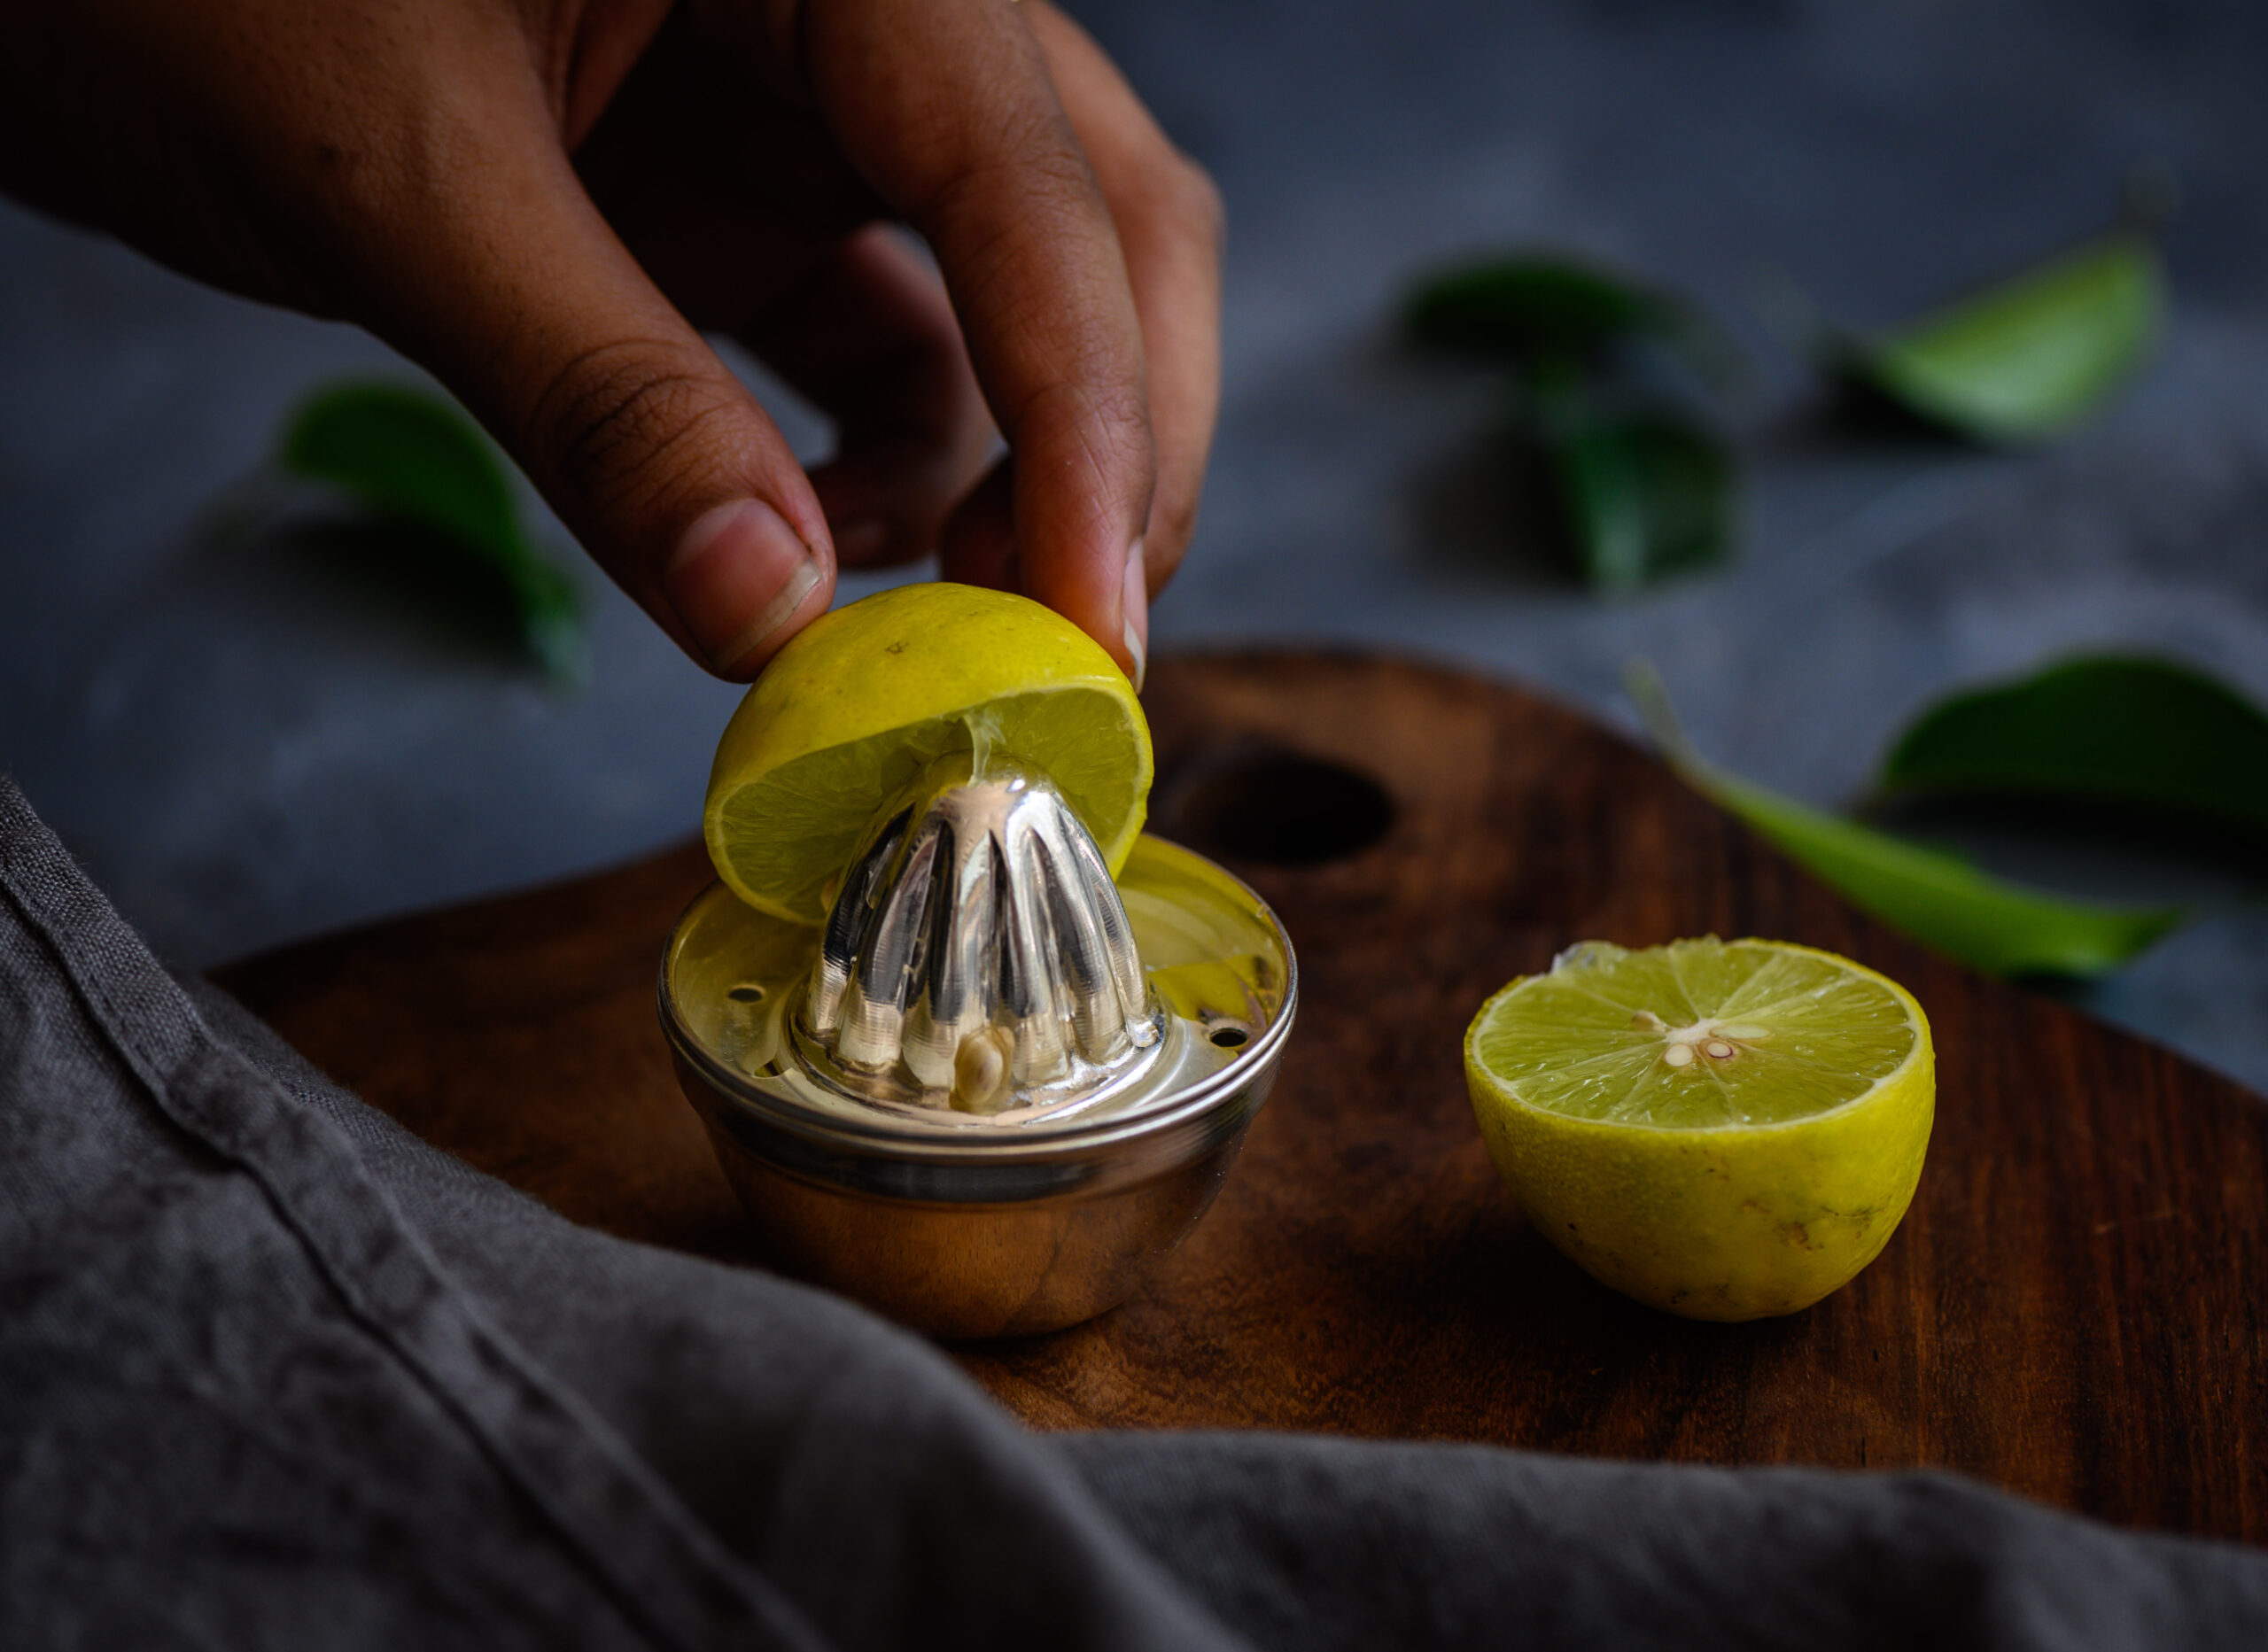
1 tablespoon lemon juice
1 tablespoon olive oil
A pinch of pepper powder
1 tablespoon honey (optional)
In a bowl, add all the freshly cut vegetables and fruit. Feel free to improvise and add some of your own choice, to enhance the flavours you prefer. I like a bit of spice, so I added jalapeños. Since there was some fresh mint available at home, I used a handful of that too, and I found it gives a lovely flavour to the whole salsa.
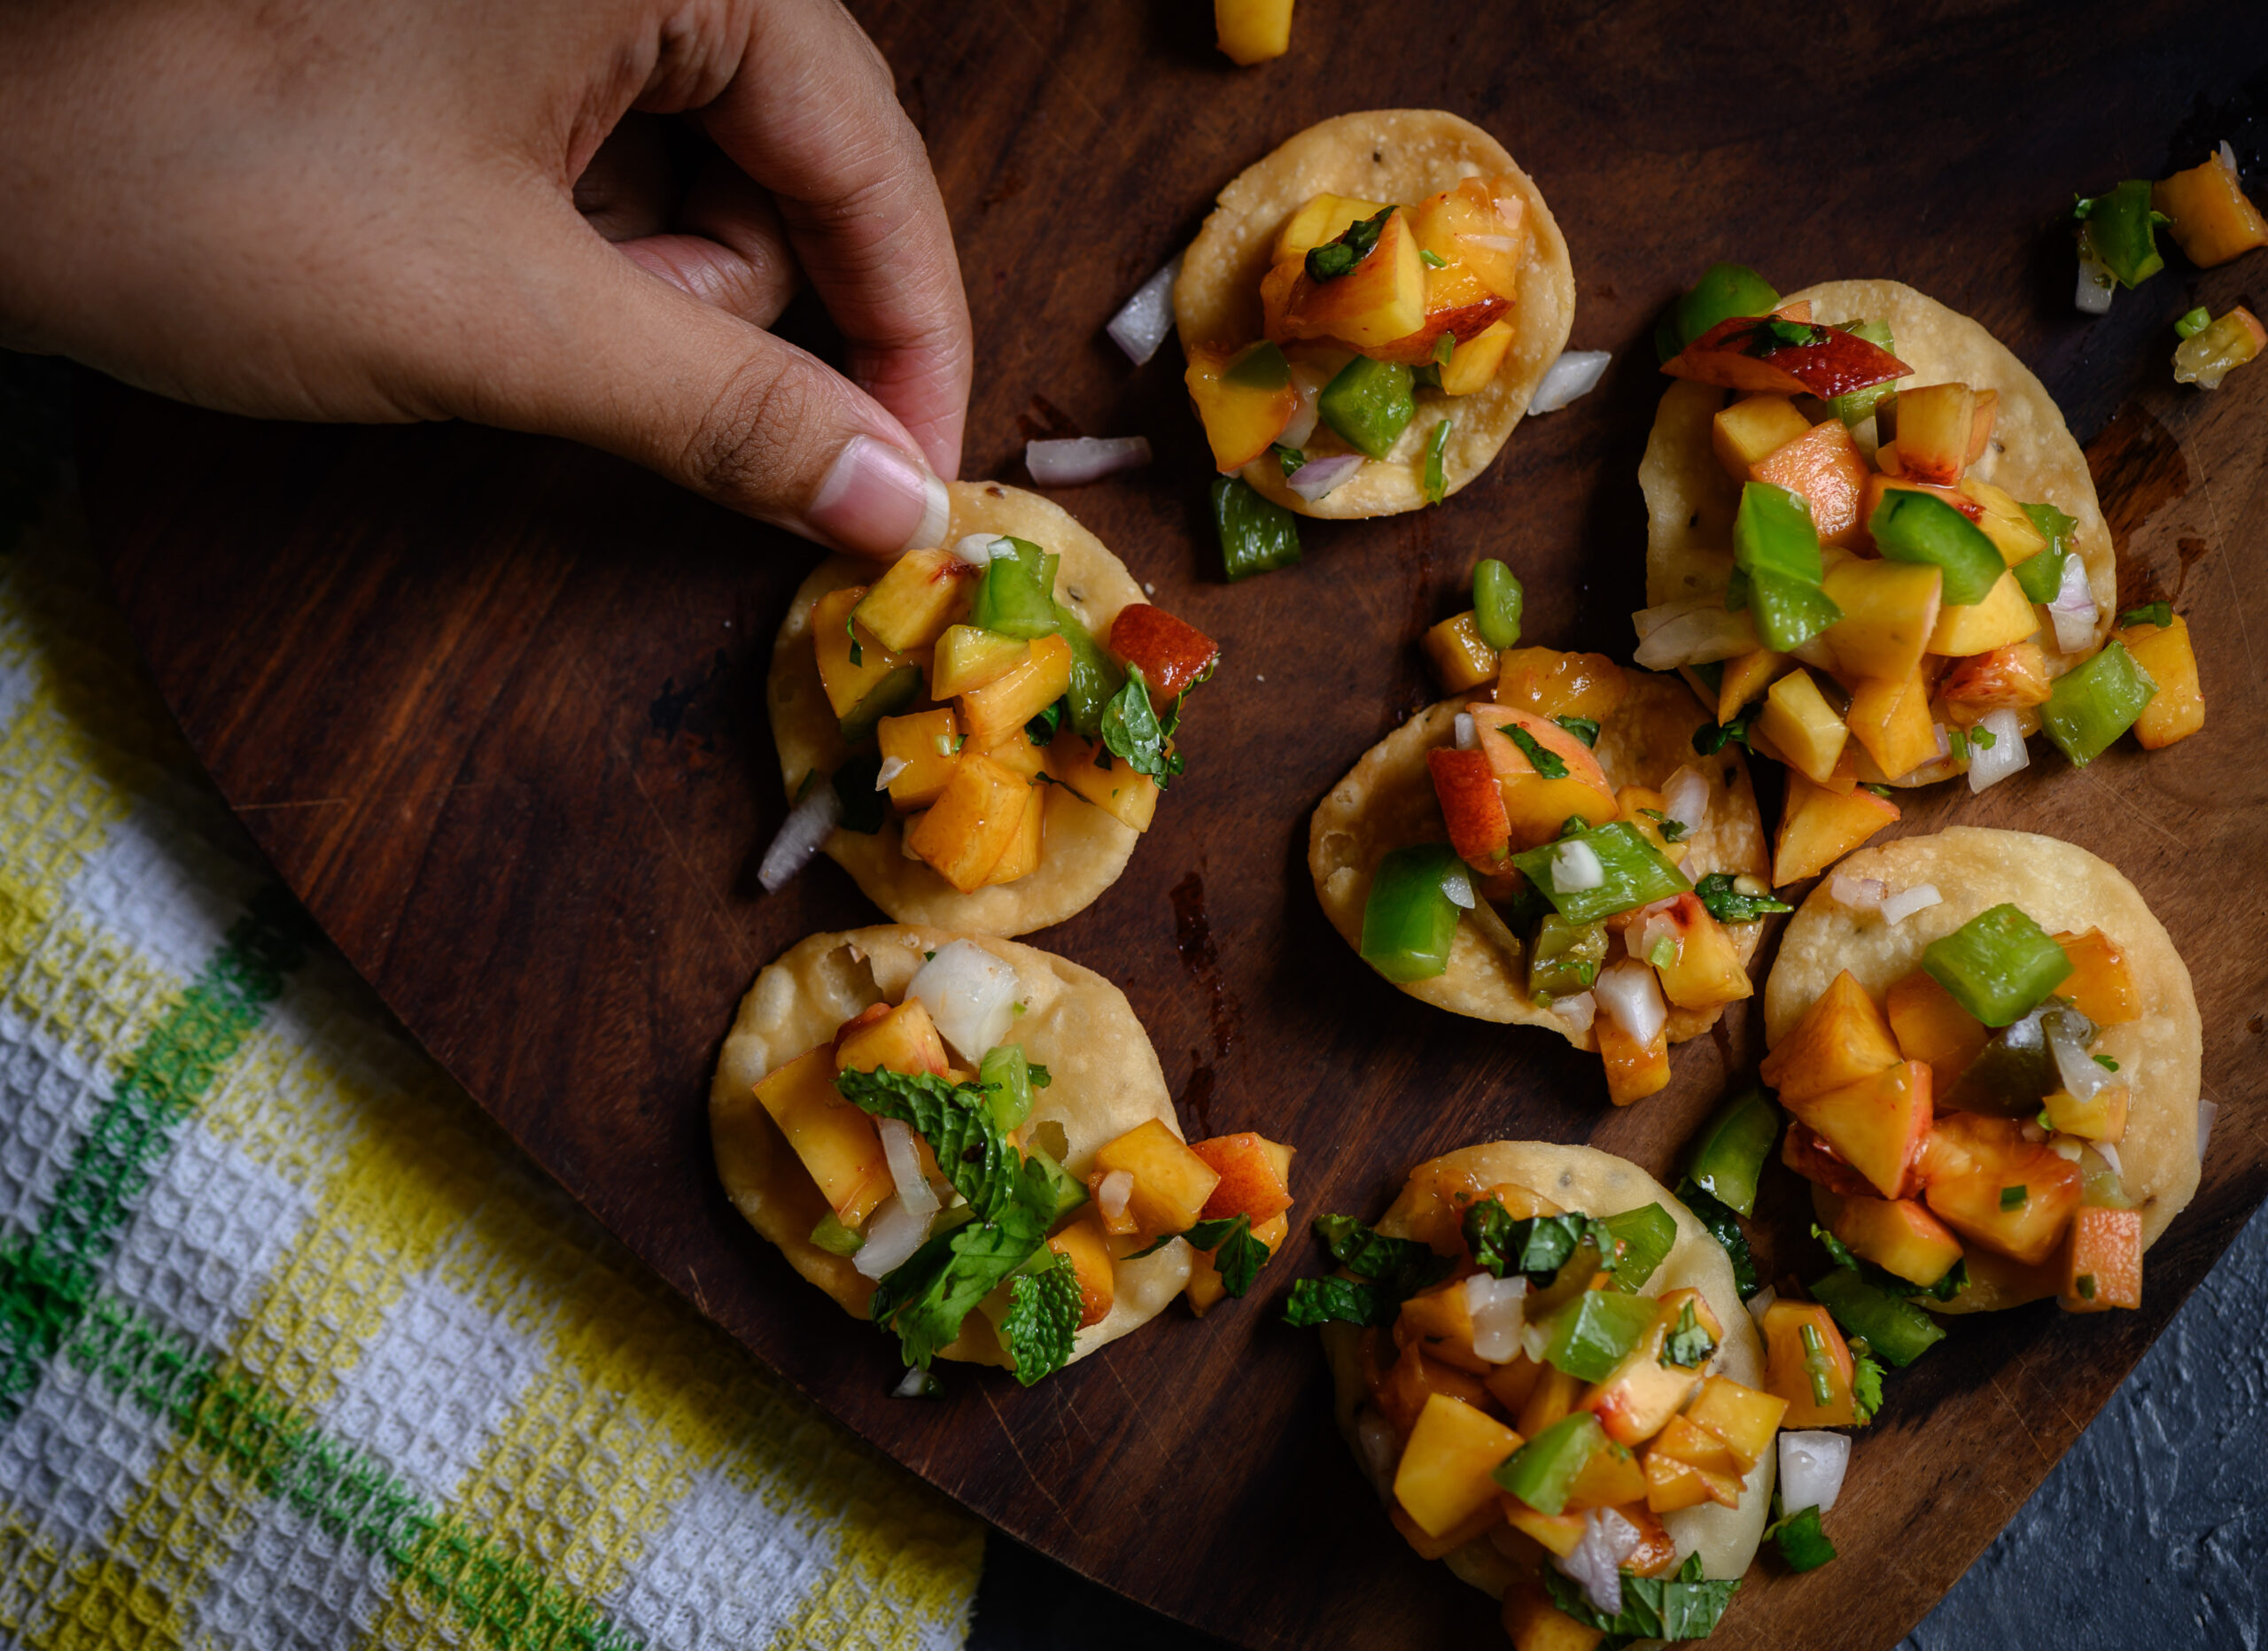
In another bowl, add all the dressing ingredients. Stir well and pour over the fruit/vegetable mixture just before serving. Nacho chips are a traditional accompaniment. Any Gujarati kitchen will have the perfect substitute in one of our preferred snacks – in lieu of nachos, I often fry up some crispy pooris!
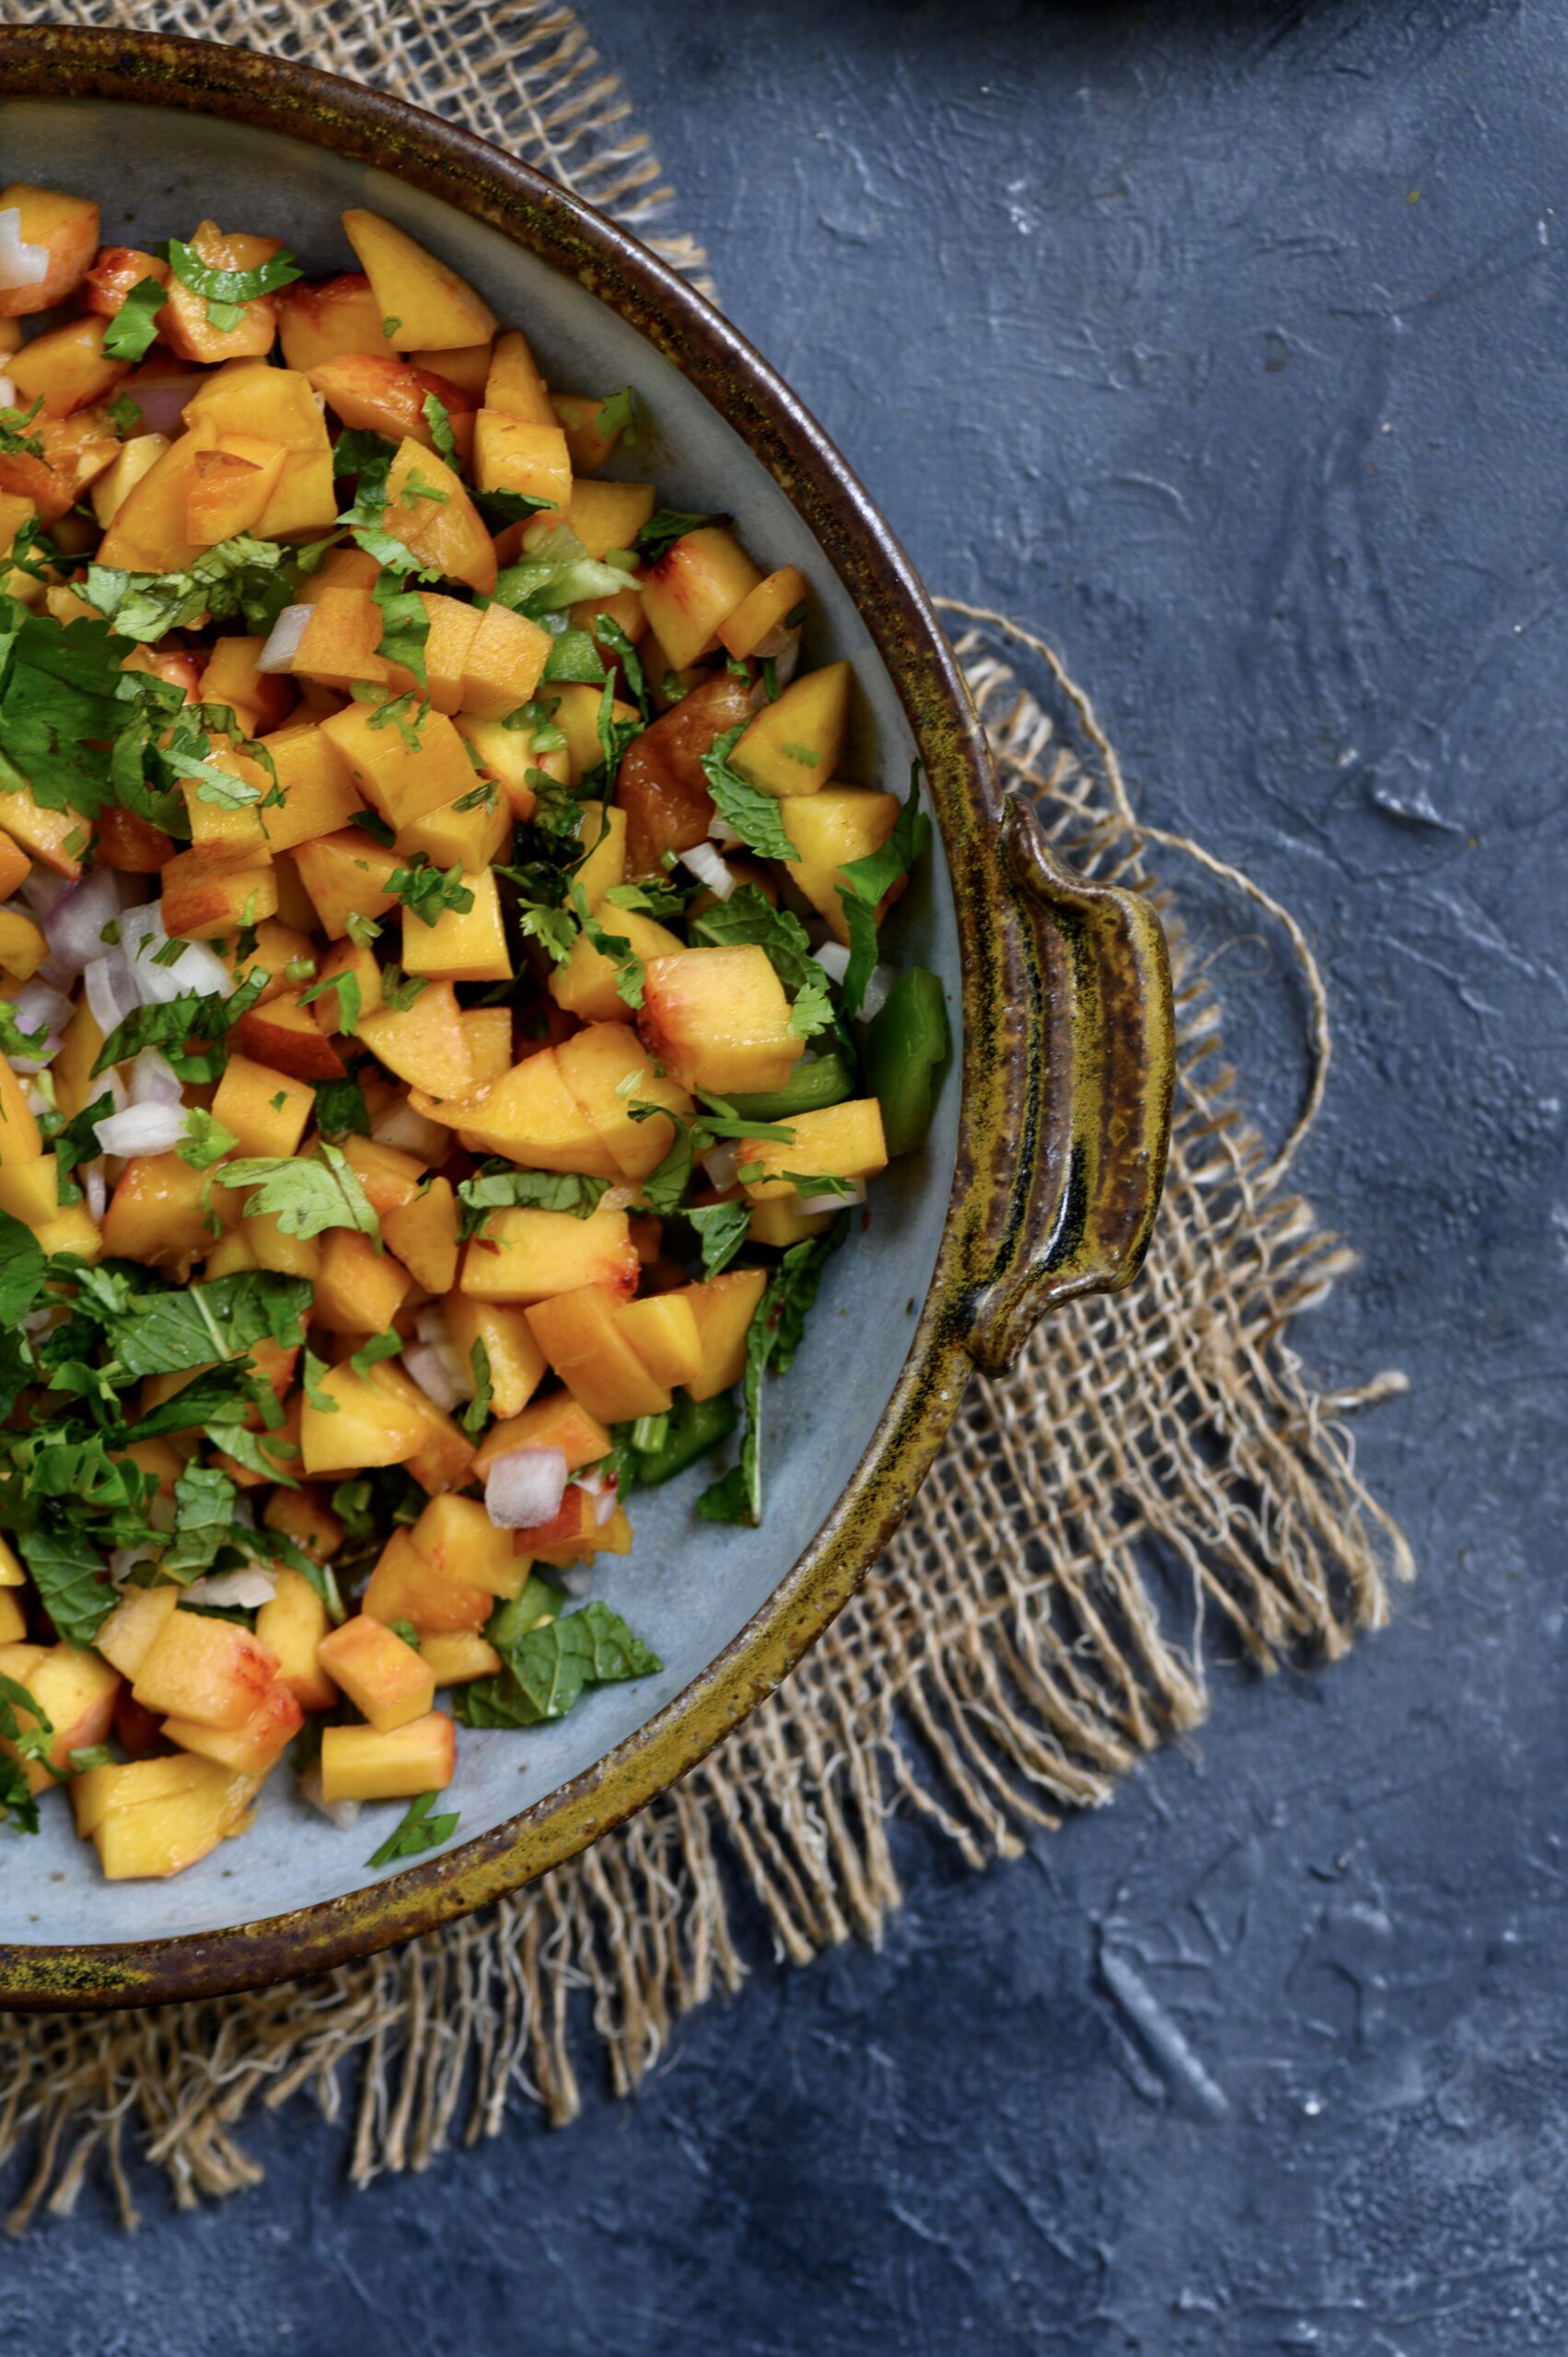
While preparing this salsa, I observed that the cutting technique is crucial. When the fruit slices are larger, they become a salad ingredient, and go well when mixed with greens. When they are finely chopped, as they are here, they become a salsa. Both styles were a big hit at home. If you’re incorporating more salads into your diet, try the former, and add some diversity and sweetness to your menu with a nutritious fruit-loaded salad. If you’ve cut the ingredients finely and have prepared a salsa, serve it with something crunchy, as suggested.
The fresh, ripe fruit and the crispy pooris, laced with the spicy flavours of jalapeño chillies and raw onions, come together to form a dish which may be Mexican, may be Indian, may be neither… but is most definitely one of our favourites at home! I’d love to know what you think of it. For a few more similar dishes, check out my sundal and moong bhel recipes too.


 Syrup")