12 Results

prasad

Search

The thaali as a concept is very common across Indian households. It is basically a meal with a variety of components, and the composition of each thaali varies depending on the region. It used to be a daily affair in many households, but in contemporary times more and more people have opted for lighter or more quickly prepared meals with fewer dishes involved. There is still a Gujarati thaali served in my home for lunch every day, but as my adult children set up their homes, I don’t see this happening. The thaali then becomes much more occasional and deliberate, and perhaps even festive. For that reason, I felt it would be ideal to share what goes into a Gujarati thaali with Diwali just a few days away.

A Gujarati thaali essentially contains roti, rice, a grain, a kachumber (which is a kind of salad), one or two vegetable dishes and a sweet. These are the basic elements. In my home, I do a rather non-traditional thing and eliminate the sweet dish more often than not. However, on special occasions like my mother-in-law’s birthday, a shrikhand will be included in the thaali. If I am doing trials ahead of sharing dessert recipes for this blog, those will show up there too. There’s an exception to this no-sweet tweak: when it’s mango season, aamras (sweet mango pulp), will be present on a daily basis. Of late, I am offering seva to Shrinathji at home, which means that there is prasadam once a week, and this goes into our thaalis too.

This brings in novelty now and then. The regular thaali can also be made more exciting with the addition of something like sabudana vada, paniyaram or yam chips, which can be prepared ahead of time and served again at tea-time as snacks. I tend to avoid fried goodies in my thaali, but these little things can make lunch more worth looking forward to now and then.

The regular thaali itself can be something really important. It is said that eating together itself holds families together, and I am a believer in this adage too. When it comes to something like a thaali, or any meal that is put together on a daily basis, it therefore becomes a part of the bonds that a family shares. My husband works nearby, so it is convenient for him to pop home for lunch on most days. My children are all far away, but when they come home, there is always a hot thaali available at lunch, and while they may have something else prepared if they prefer, the traditional option is always available.

I am so glad that my kids still honour a request we made when they first moved away, which is that they all return home for certain special occasions. They are made all the more special because of the effort taken. After all, that’s what family is about – taking that extra step to bond and to build love that holds for generations to come.

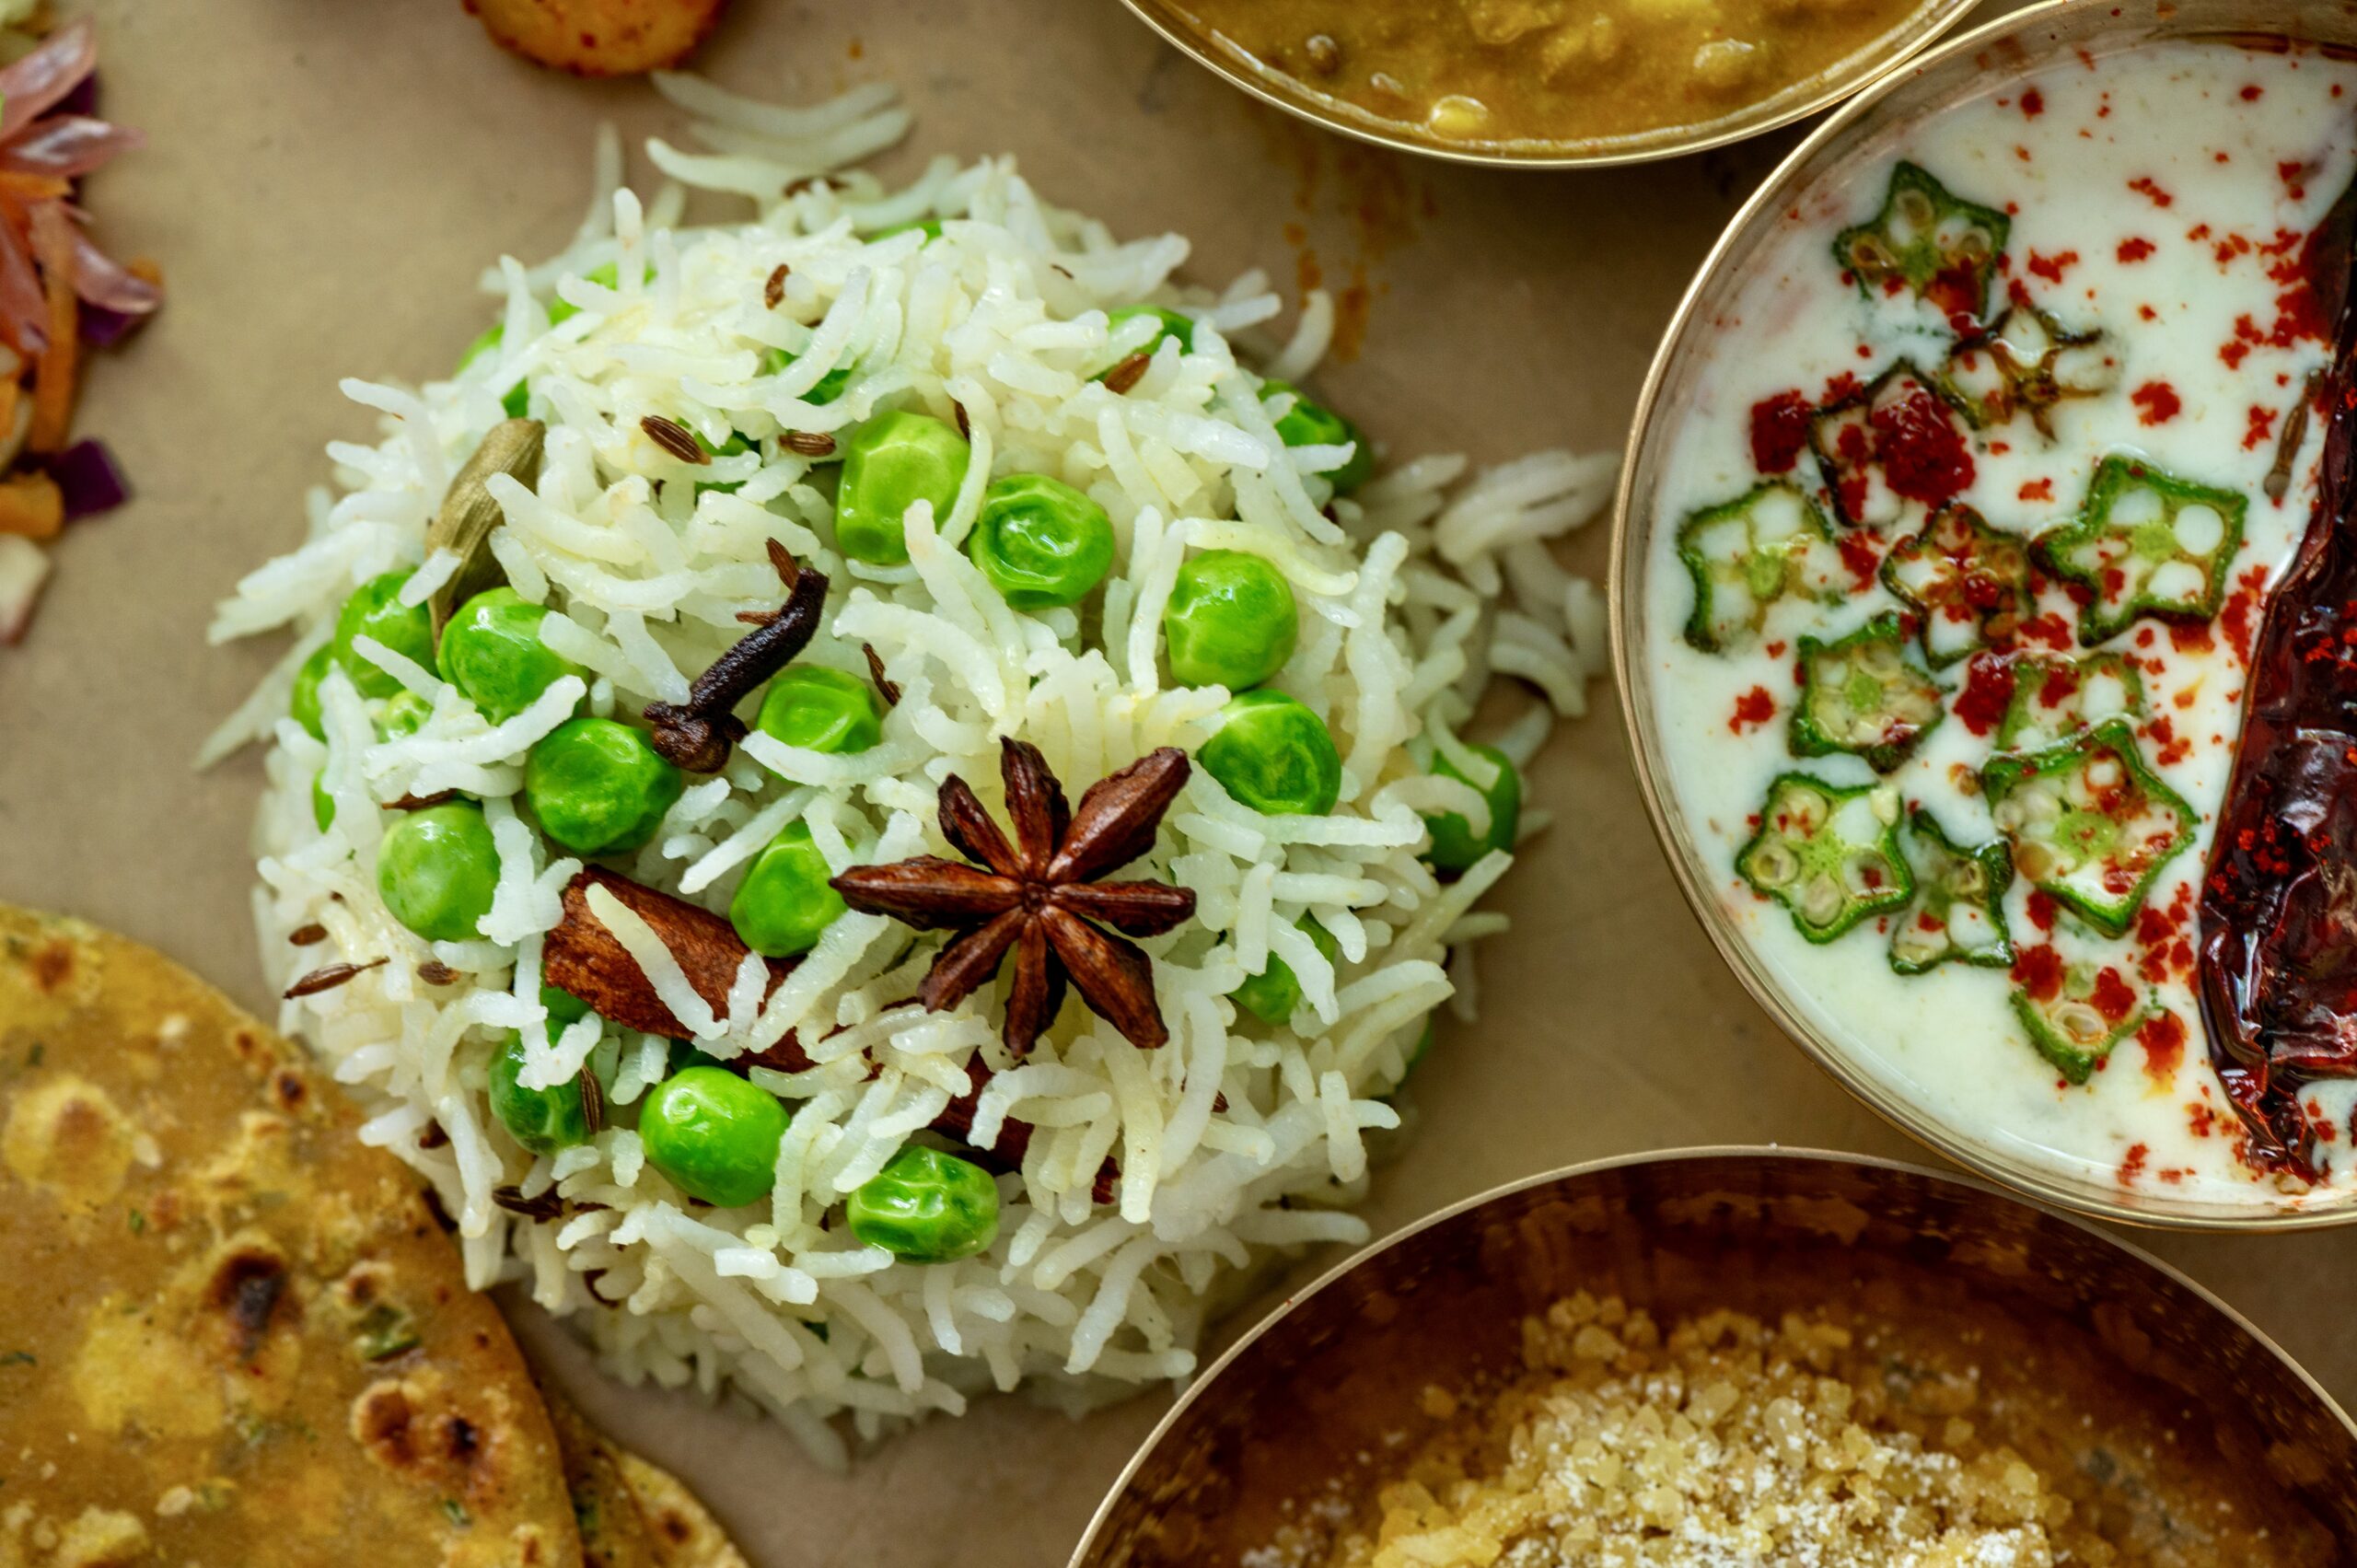
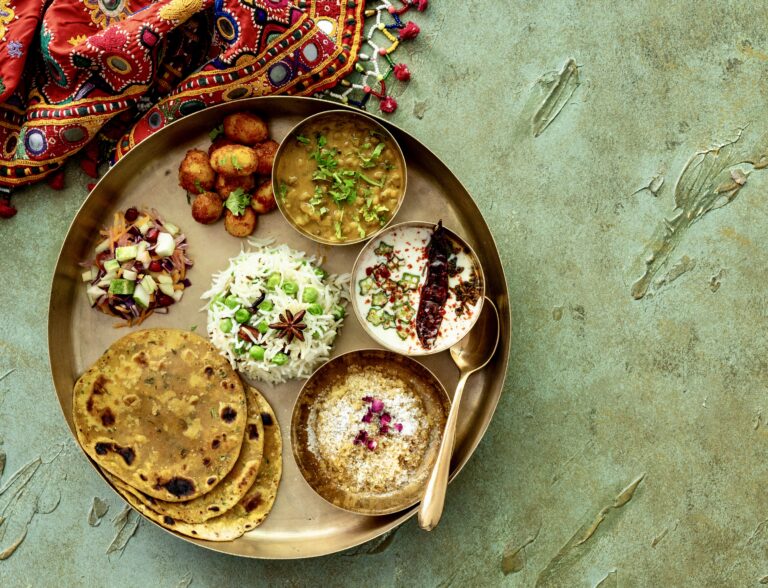
That brings us back to the festivities. Diwali happens to be one of those celebrations that we all gather together for, which is one of many reasons why it is one of my favourite festivals. I’m eagerly anticipating how in just a few days, over the dining table, there is going to be so much camaraderie, noise, chatter, shouting, fighting and affection – each in the right portions, exactly like a thaali should be presented too. Our Diwali lunches are one of the highlights of the year, and an elaborate thaali is always served. Having this experience, year after year, is something I wouldn’t trade for the world. This is the spread in the thaali this year: peas pulao, bottle gourd thepla, raita bhindi, mixed dal, simple salad, potato roast and of course the once-annual laapsi for dessert. I am happy to share this year’s thaali with you too. Most of these recipes have already been shared over the years, and are linked below along with two new ones for your enjoyment.

I would also like to take this auspicious moment to share something that I’ve been working on for a while. This year, this blog turned 8 years old, and it has really been a journey of growth, discovery and enjoyment. Over time, I have grown in my conviction about my own work, encouraged by well-wishers like you. I am happy to share that I will soon release a cookbook, featuring selected recipes from this blog along with an array of new ones. I want it to be a keepsake that can be passed from hand to hand and from kitchen to kitchen. First and foremost, it is so that my children will have something solid through which to reminisce about their growing years and their family, and to replicate some of their comfort foods and festive favourites. Beyond that, my book will also be for you – and for everyone who loves the experience of preparing a meal. I’ll share more about this project in the coming months. In the meanwhile, I wish you and yours a wonderful Diwali!
Gujarati Thaali

Bottle Gourd Thepla

Mixed Dal

Salad [make a simple one of your choice; for more elaborate ones, see the archive]

Roast Potatoes

Laapsi

Peas Pulao

1 cup cooked basmati rice
1-inch stick cinnamon
2 cloves
1 cardamom
1 star anise
Salt to taste
½ cup cooked/tender green peas
½ teaspoon cumin seeds
1 tablespoon ghee

Heat a pan. Add the ghee and once it is hot, add cumin seeds. Once they splutter, add the cinnamon, star anise, cloves and cardamom.

Sauté and then add cooked green peas, cooked basmati rice and salt. Mix well and gently until it all comes together. Your peas pulao is ready.

Bhindi Raita

1 cup curd
¼ cup finely sliced bhindi (okra/lady’s finger)
Salt to taste
2 tablespoons coconut pieces
1 green chilli
½ teaspoon cumin seeds
½ teaspoon + ¼ teaspoon oil
¼ teaspoon mustard seeds
2-3 dry red chillies

In a blender jar, grind together the coconut, green chilli and cumin seeds until coarse. Set aside.

Heat a pan and add ½ teaspoon oil. To this, add the finely sliced bhindi. Allow to cook on a low flame until the vegetable is golden and slightly tender on both sides.

In another bowl, add the curd with the ground coconut-green chilli-cumin mixture, along with salt. Mix well. Add the sautéed okra and mix gently. Refrigerate until serving.

In a heated pan, add the remaining oil, mustard seeds and red chilli. Temper and pour on top of the raita before serving.

Whether you make all the dishes at once and serve them on a thaali, or try them out one by one, I hope that you’ll find much delight in this year’s Gujarati-style Diwali thaali!

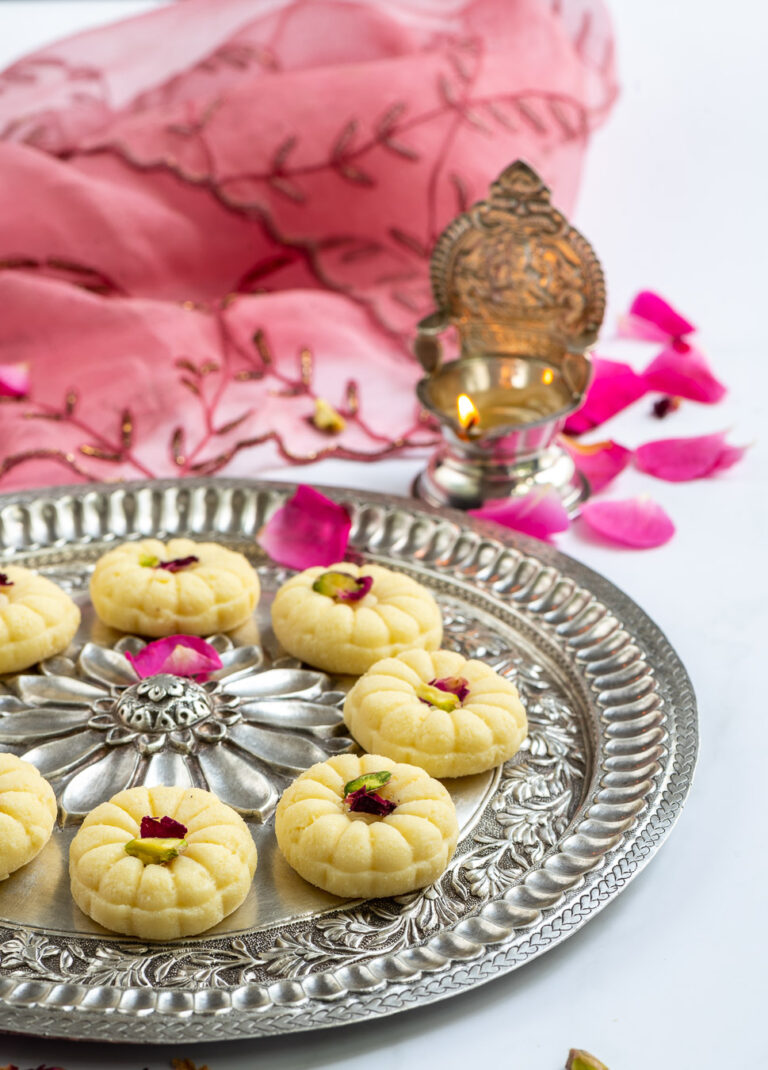
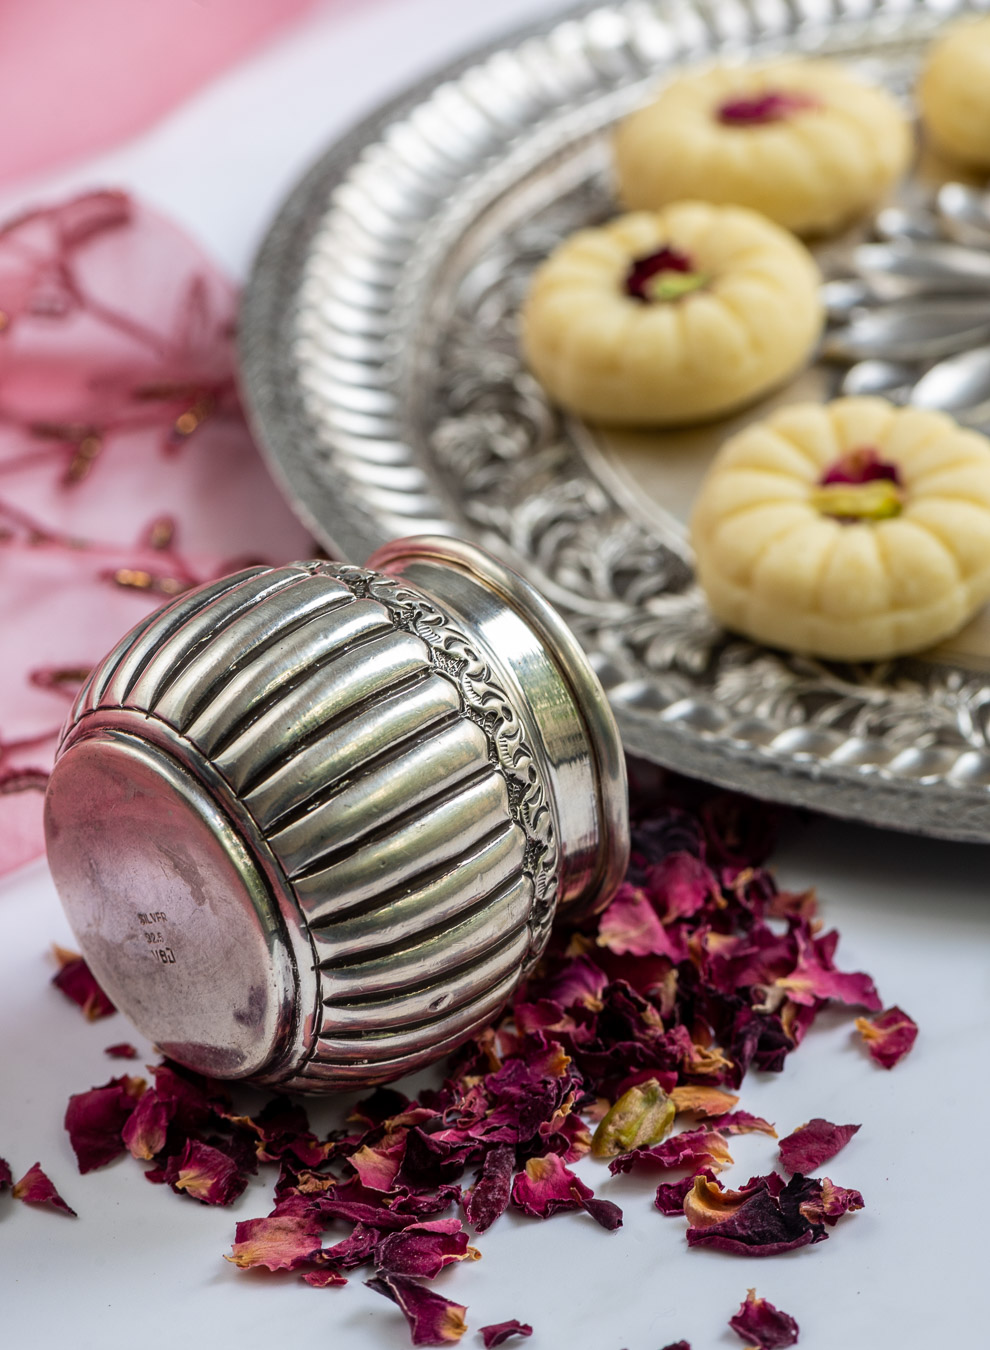
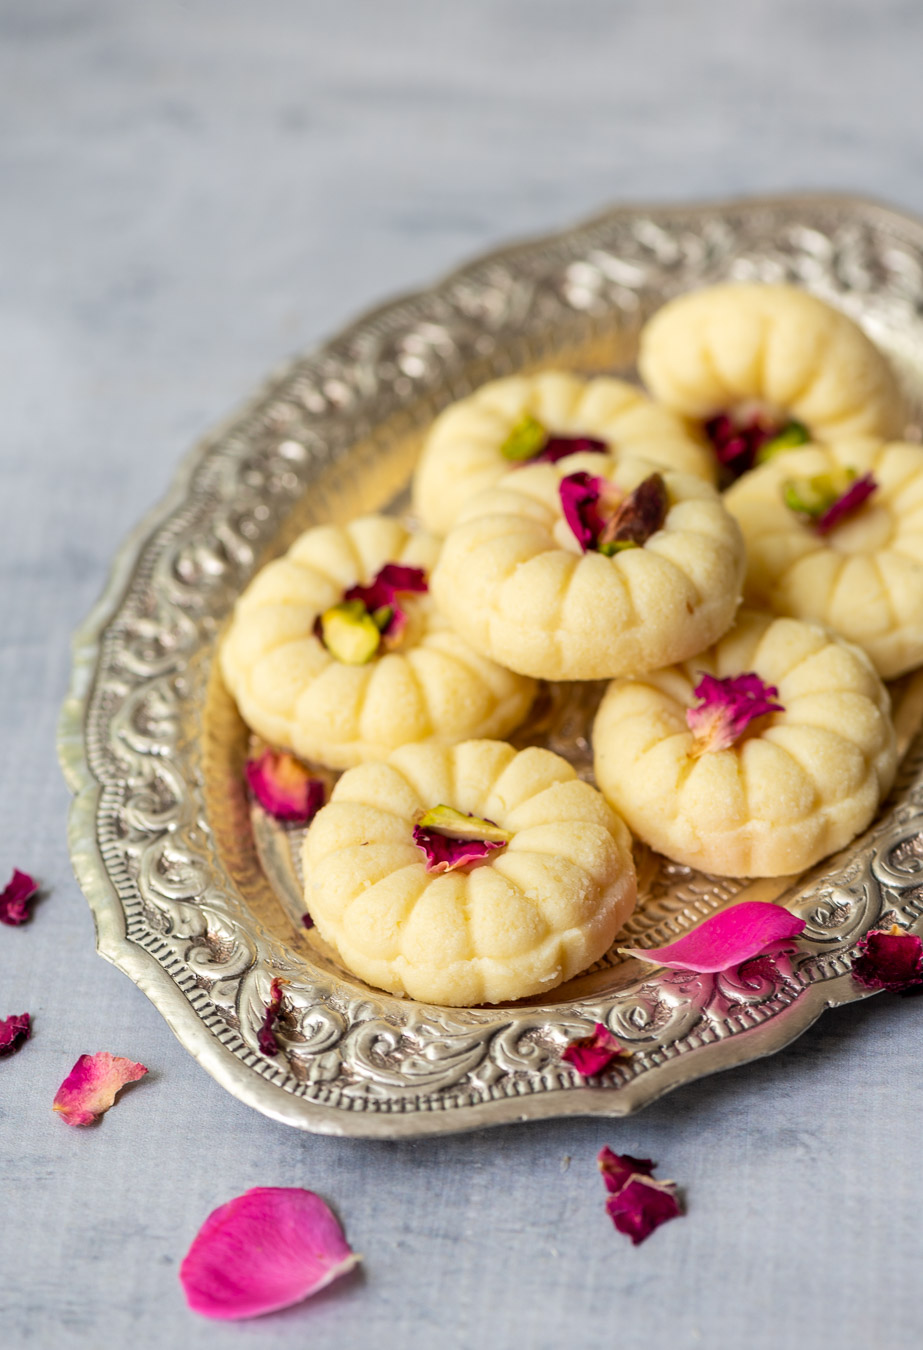
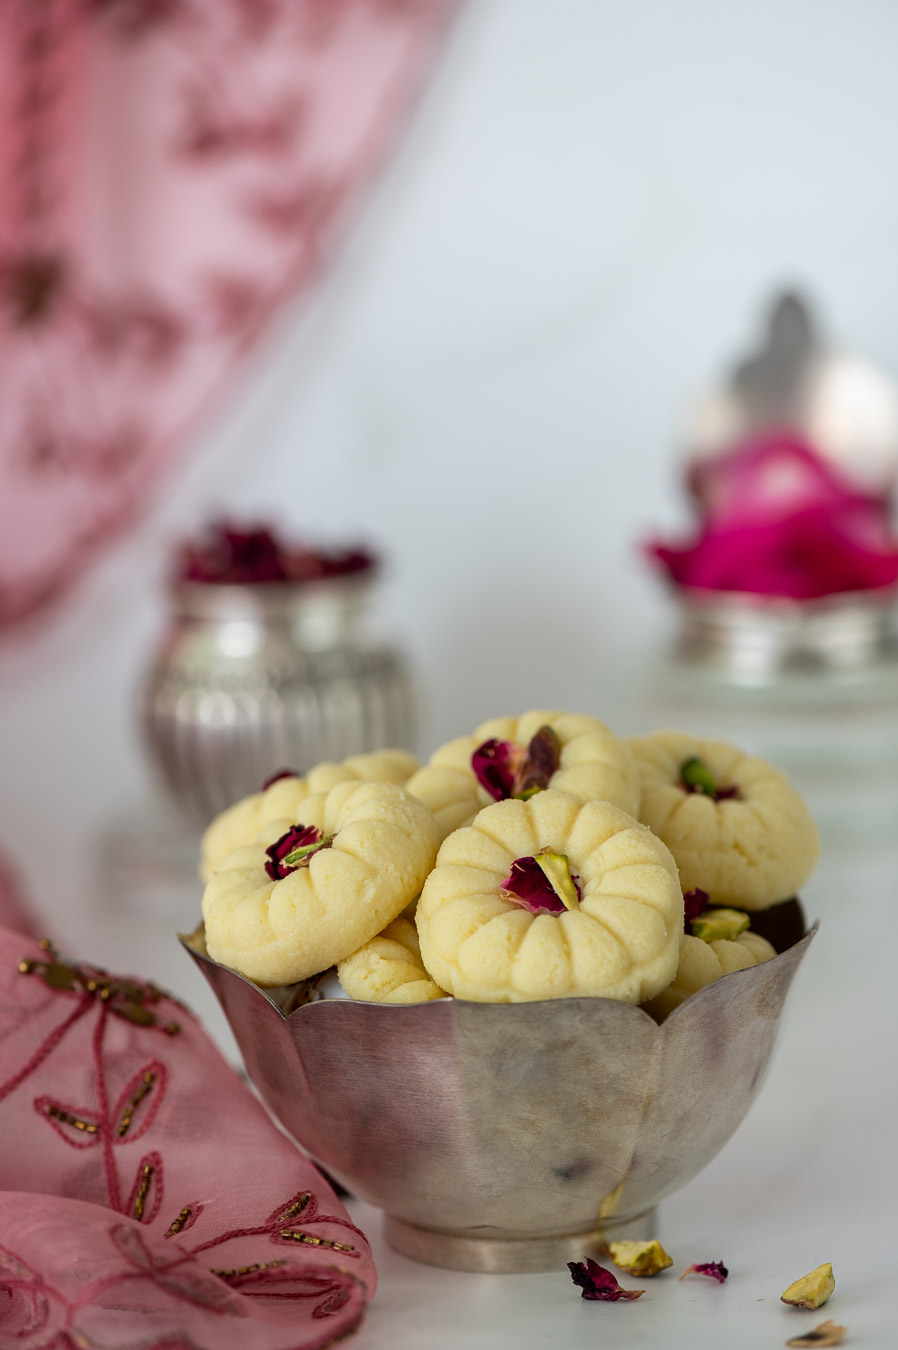
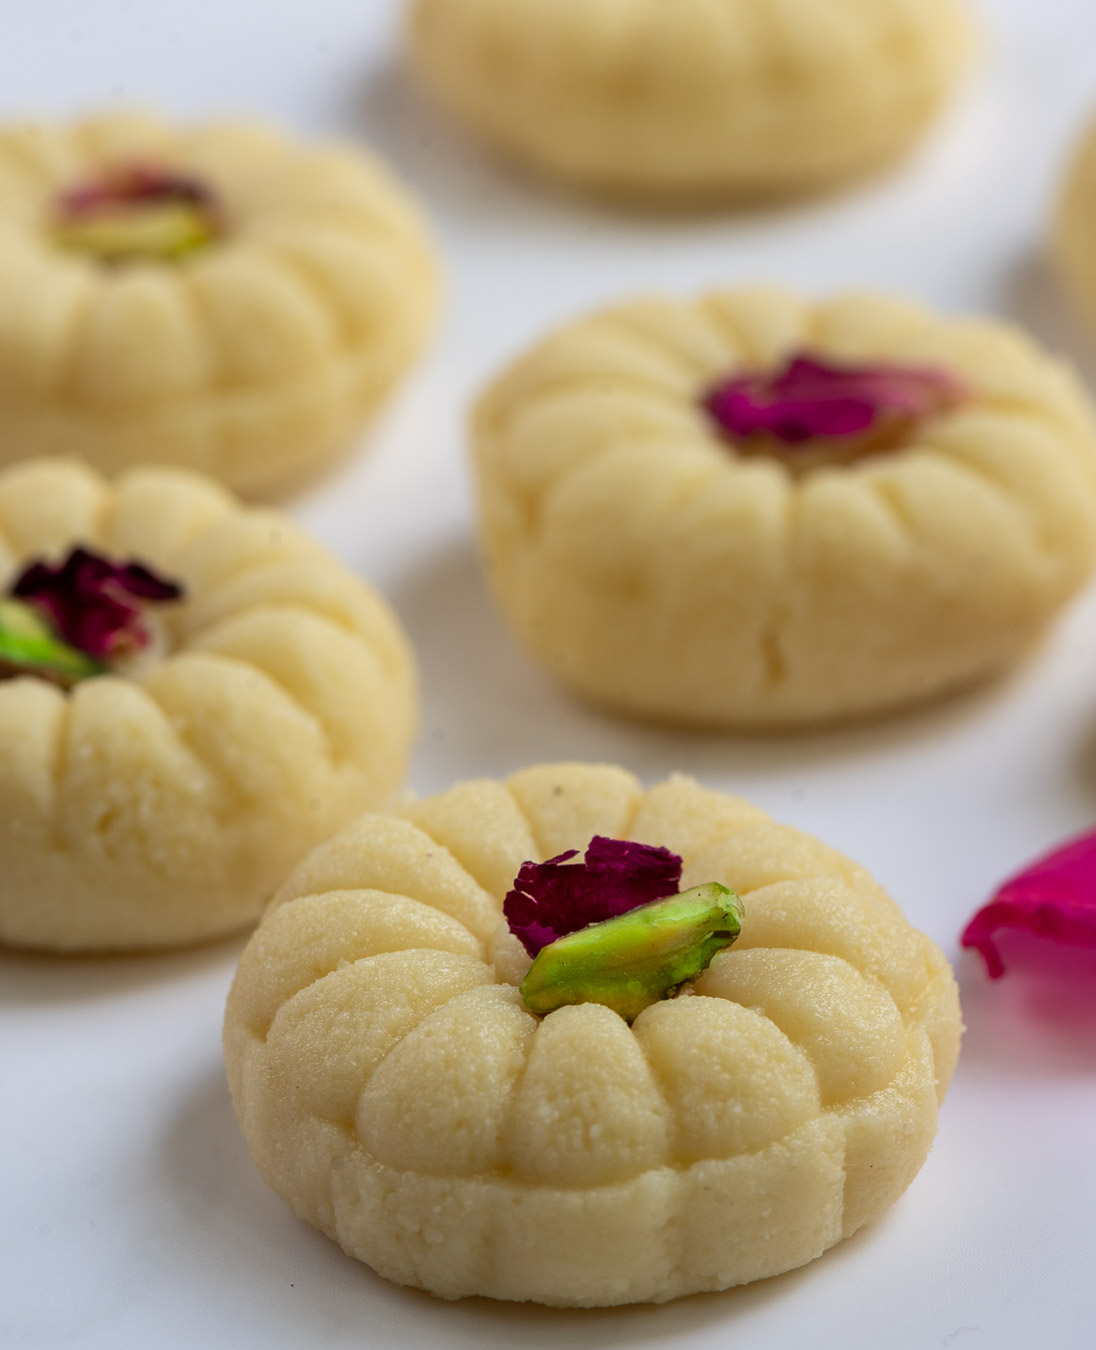
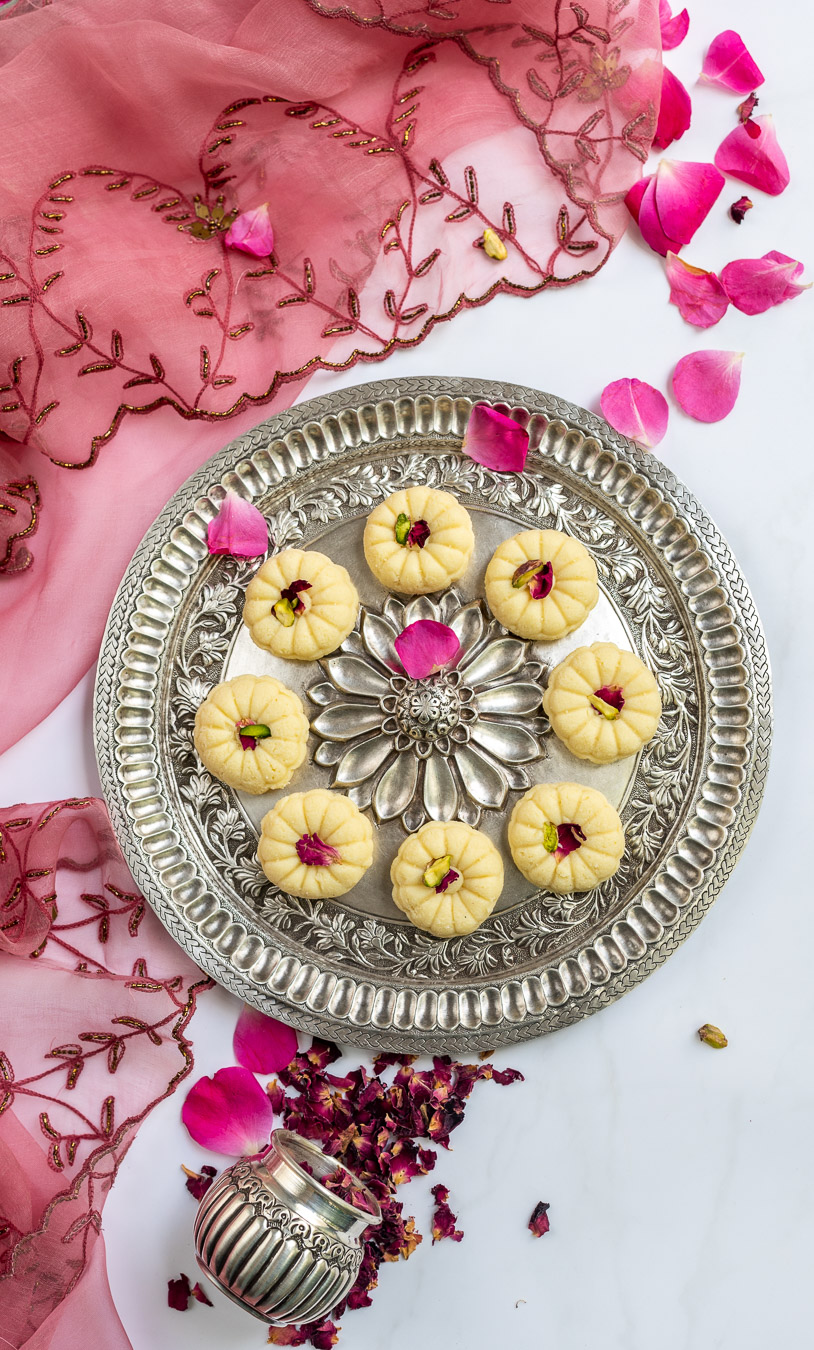
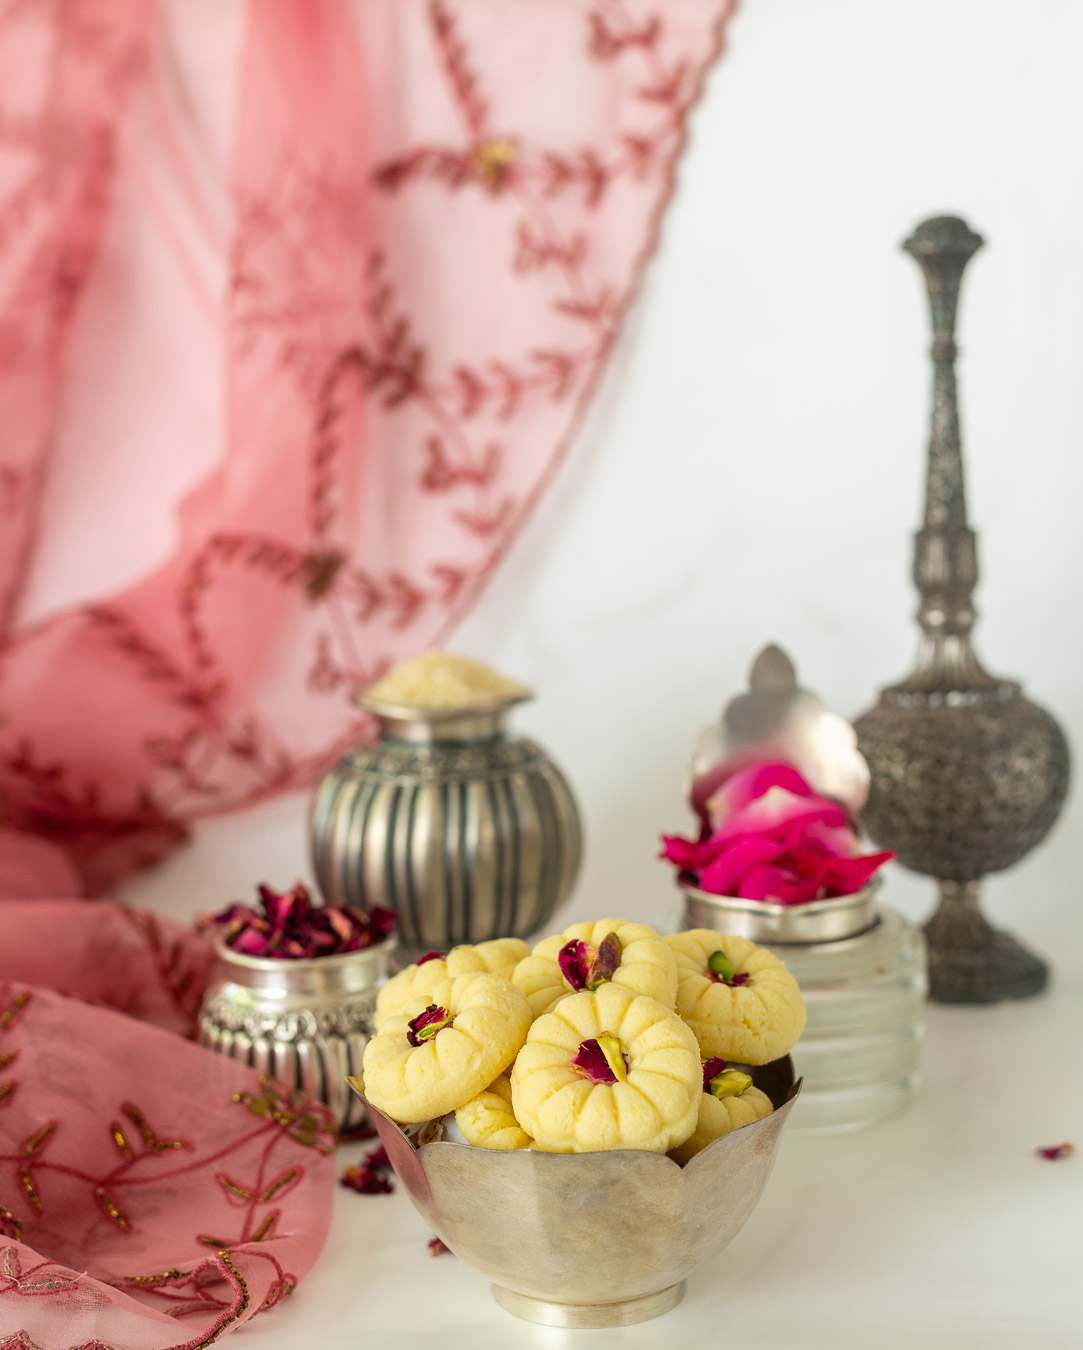
A while ago, I noticed on Instagram that many people had been making pedas in lovely shapes. These Indian milk sweets are always a mood-lifter, and seeing them online inspired me to put them on my own festive menu this year. I’ve always been a believer that presentation goes a long way when it comes to any dish, and we usually eat with our eyes first. That said, taste is ultimately the most important factor. So, while dreaming up my own pedas, the two elements came together. Firstly, I sought out exquisite little moulds that would beautify my sweets, thinking of Kolkata’s famously attractive sandesh. Secondly, I gave the flavouring quite a lot of thought. Through some trials, I eventually settled on one of my favourite flavours, and indeed one of re:store’s signature ingredients: rose water. These rose water pedas are aromatic, delicious and very sweet, just like I hope your Diwali will be.

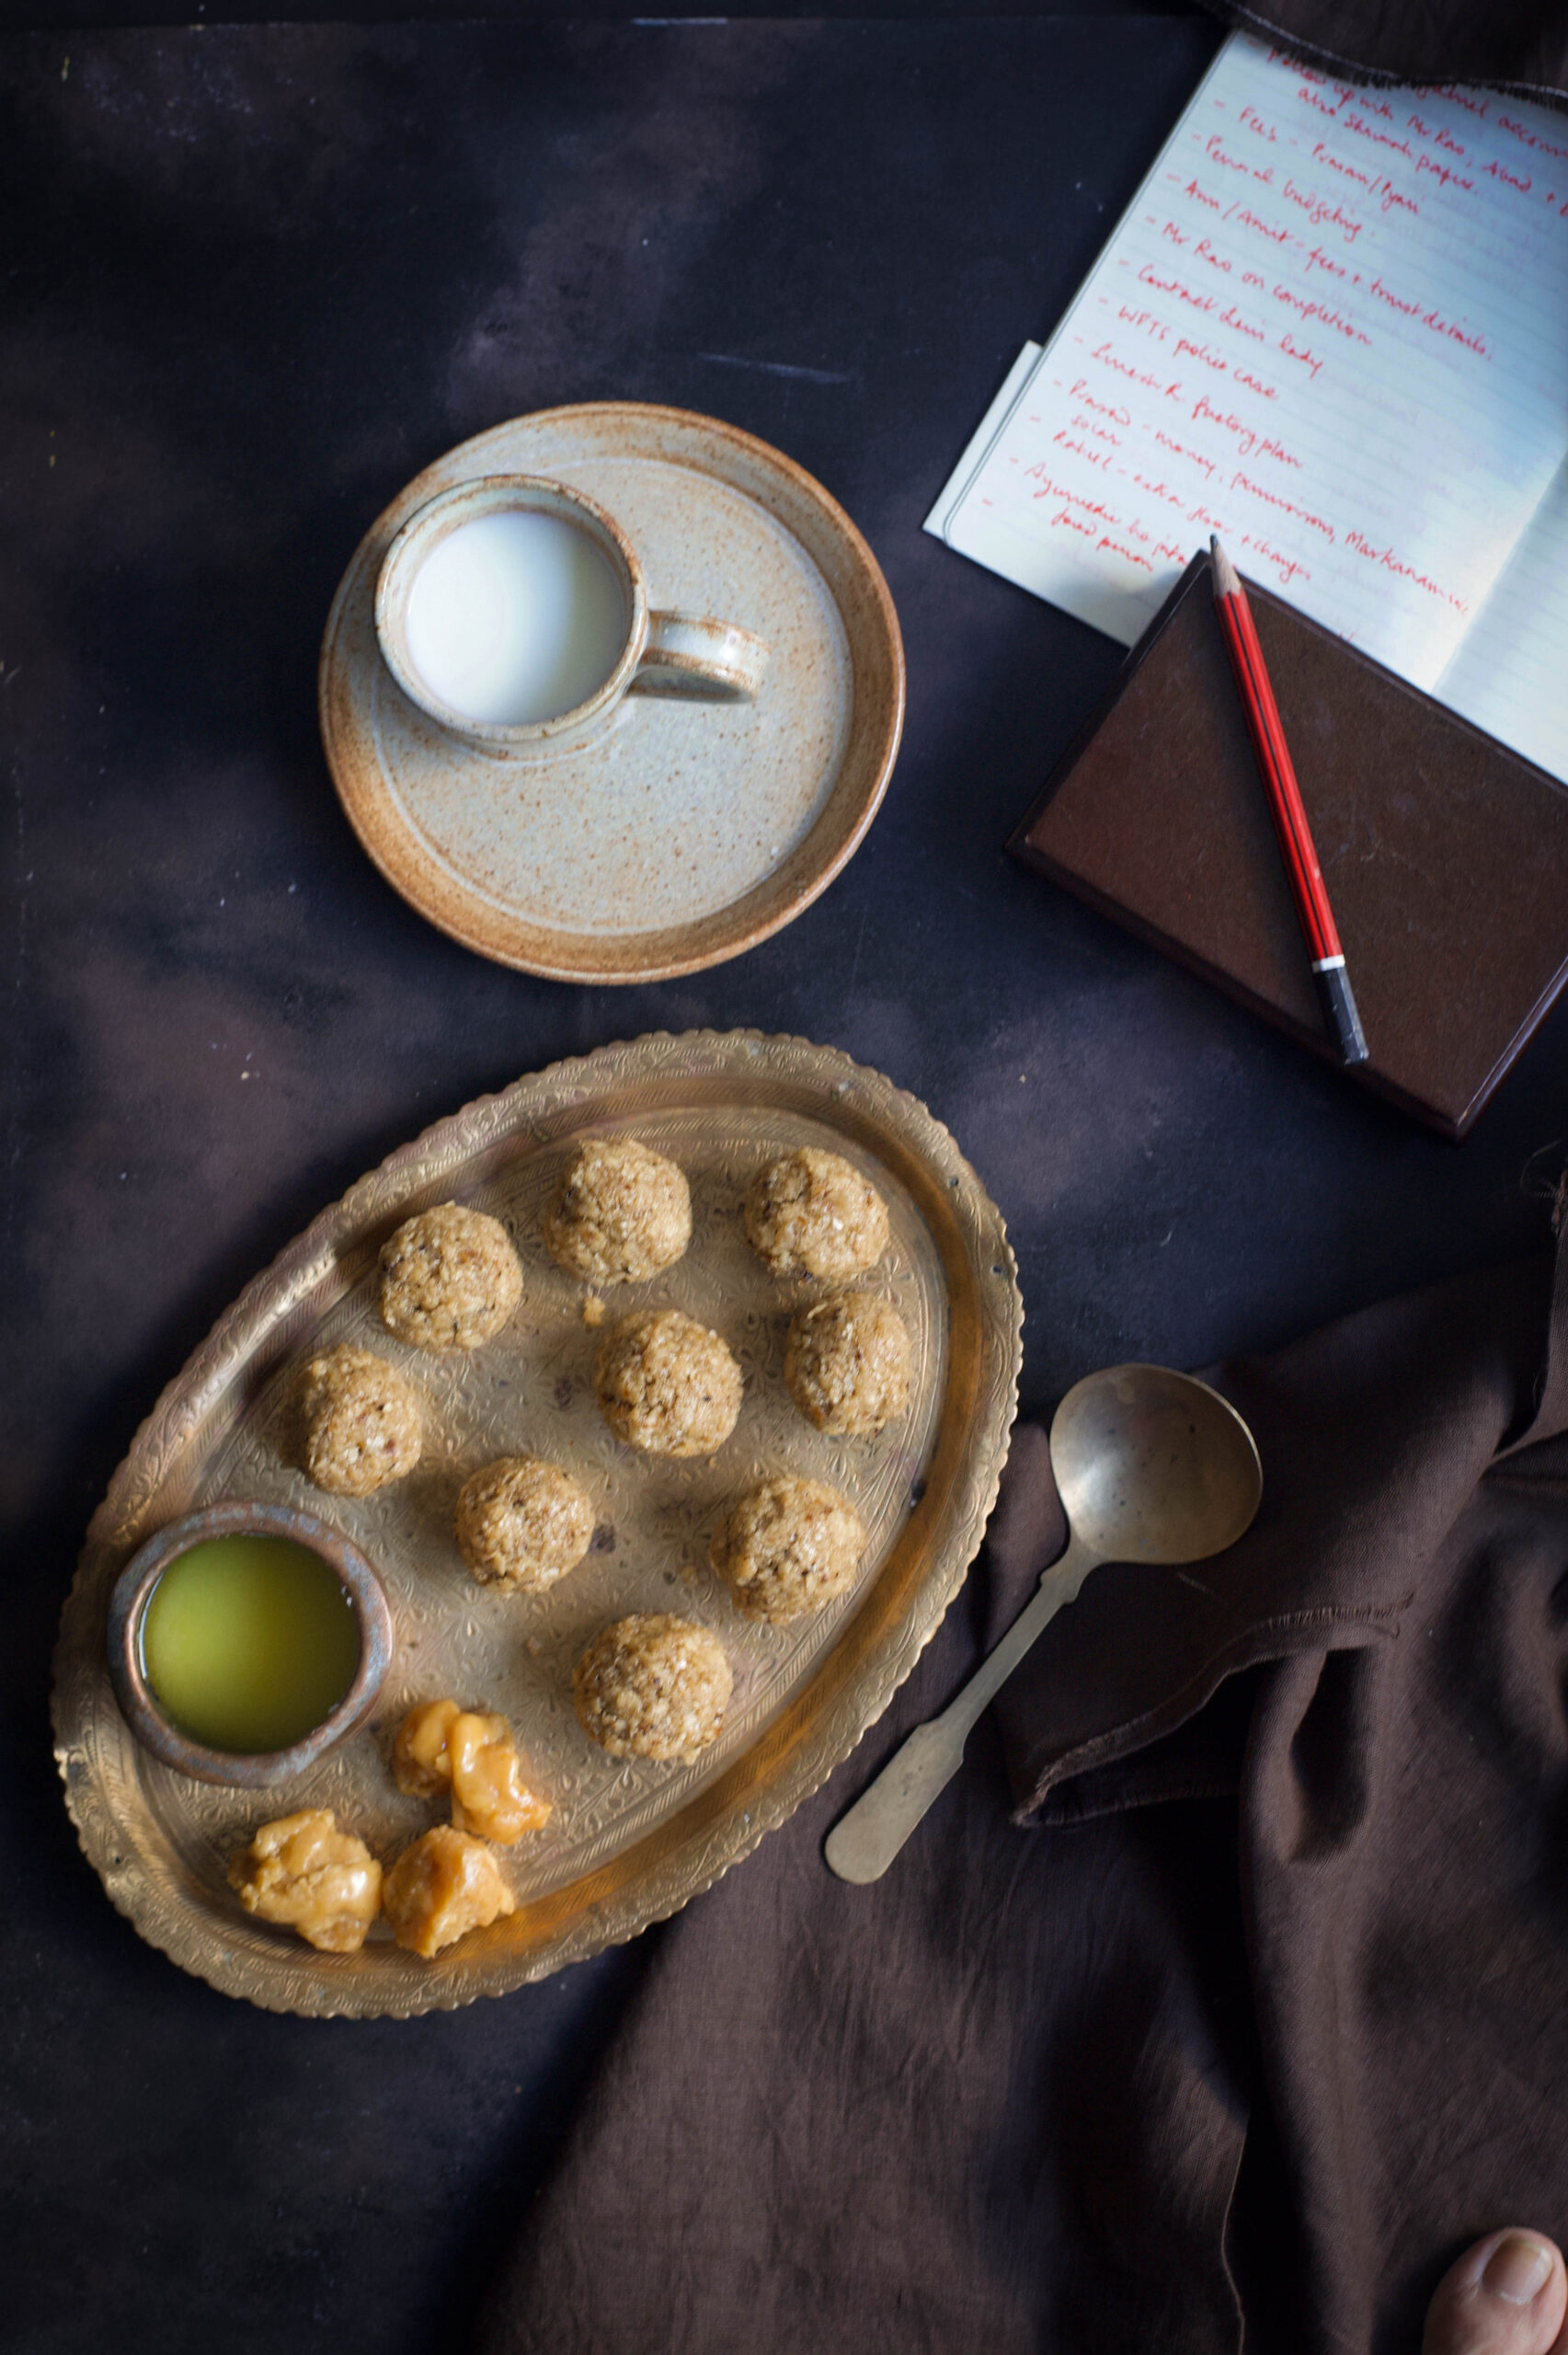
Whenever I see something beautiful – either culinary or creative – I must learn to make it immediately. You could call it a flaw of sorts, or maybe a happy curse, but that’s just how I’m wired. From the moment of inspiration onwards, it becomes an obsession for me until I arrive at a rendition that I am happy with. That’s how I learnt how to bake, to photograph and to cook so many beloved items in my repertoire. I experiment, make mistakes and keep going until I succeed. Only sometimes do I concede that it’s time to give up, but even then I don’t consider those experiences failures. Rather, there are lessons in them too. When I succeed, the journey doesn’t just end at having made something. The next step is sharing it, which is why this blog exists, but also why I am an inveterate giver of gifts. In my case, my gifts are mostly edible nowadays.

The reason for this is that people really do receive enough and plenty of other kinds of gifts, and unlike a memento which may not be to one’s taste, food almost invariably will be consumed. Before I visit a friend, I now bake or cook a little gift, or else select organic vegetables and arrange them in a basket. These are items which I know for certain will be used by the recipient, and will never gather dust. Personally as well, there’s nothing more exciting to me than fresh ingredients, and I love getting gifts of the same. You may have noticed that many of my recipes here have been spurred by a present of some kind: such as lavender, cinnamon, saffron or more wonderful pleasures that travelled to me with love. Recipes, too, are fabulous gifts – and it’s my pleasure to keep gifting you these.

I learnt how to make basic pedas from my sister, who is the peda queen in my eyes. Peda-making was truly in my destiny because of a nickname in my extended family. My mother had nine siblings, and each had many children of their own, among whom I was one of the very youngest. As a baby, I seemed to that huge group of cousins to look like a little peda. So that’s what they called me: “pendo”, the Gujarati word for this dish. I remain Pendo to many of them, even to this day!


Rose Water Peda

(Yield: 10 pieces)

125 grams paneer

50 grams full fat milk powder

50 grams powdered sugar

2 teaspoons ghee

1 teaspoon rose water

1 teaspoon milk

Grate the paneer and place it onto a plate. Knead it with the palm of your hand until it is soft and even, like dough. Form a ball and set aside.

Heat a non-stick pan and add the ghee. Once it is hot, add the paneer. Keep stirring and pressing the paneer down. The paneer will become soft and smooth. This process should take no more than two minutes.

Add the rose water and the milk powder. Mix well. Then add the sugar and turn off the flame. Mix it all well together once more. Spread onto a plate. Allow to cool.

Once cooled, use the palm of your hand to knead this mixture until it’s smooth. It will feel sticky, but do not worry.

Then, wrap the mixture with cling film. Keep it in the refrigerator for between ½ an hour to five hours.

You will notice that this recipe uses milk powder rather than milk, and this is a common modern innovation on the old method, which involved boiling and boiling milk for hours on end. Milk powder makes the process far simpler and faster, while retaining the classic taste of this deeply cherished Indian sweet.

When you are ready to prepare the peda, take out the cold mixture and knead it once again, making sure there are no lumps. Now, make small balls and reshape them as you desire, or use moulds. Garnish with rose petals and pistachio slivers.

Keep the peda at room temperature, but protected by a netted cover. Allow to sit for a few hours.

Serve, and relish the delicate taste of these lovely rose water pedas. You can store any remainder in the refrigerator, as long as you consume them within three days.

In my home, whenever I make peda, the first offering is always to Balakrishna or Baby Krishna, the god who is very fond of dairy according to all the stories about him. He is our family deity and we have a seva or service for him every day, an elaborate process of waking him, bathing him, treating him lovingly like a child and of course feeding him. So when I’m making pedas, I always make tiny ones to offer at the altar, alongside the regular-sized ones. As with all kinds of prasad, it is never tasted while being cooked, as it must be offered pure.

Do you have rituals like these too, in which food and faith come together? I’m always interested in learning more about world cultures, and would love to hear from you.

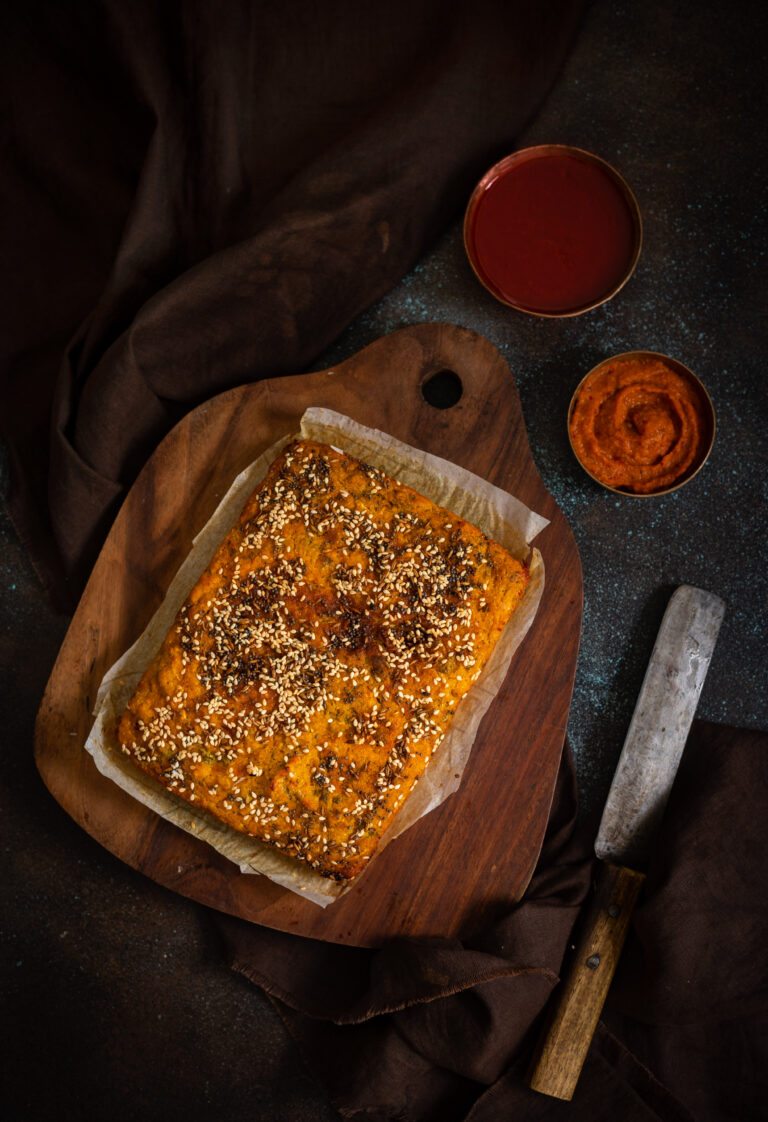
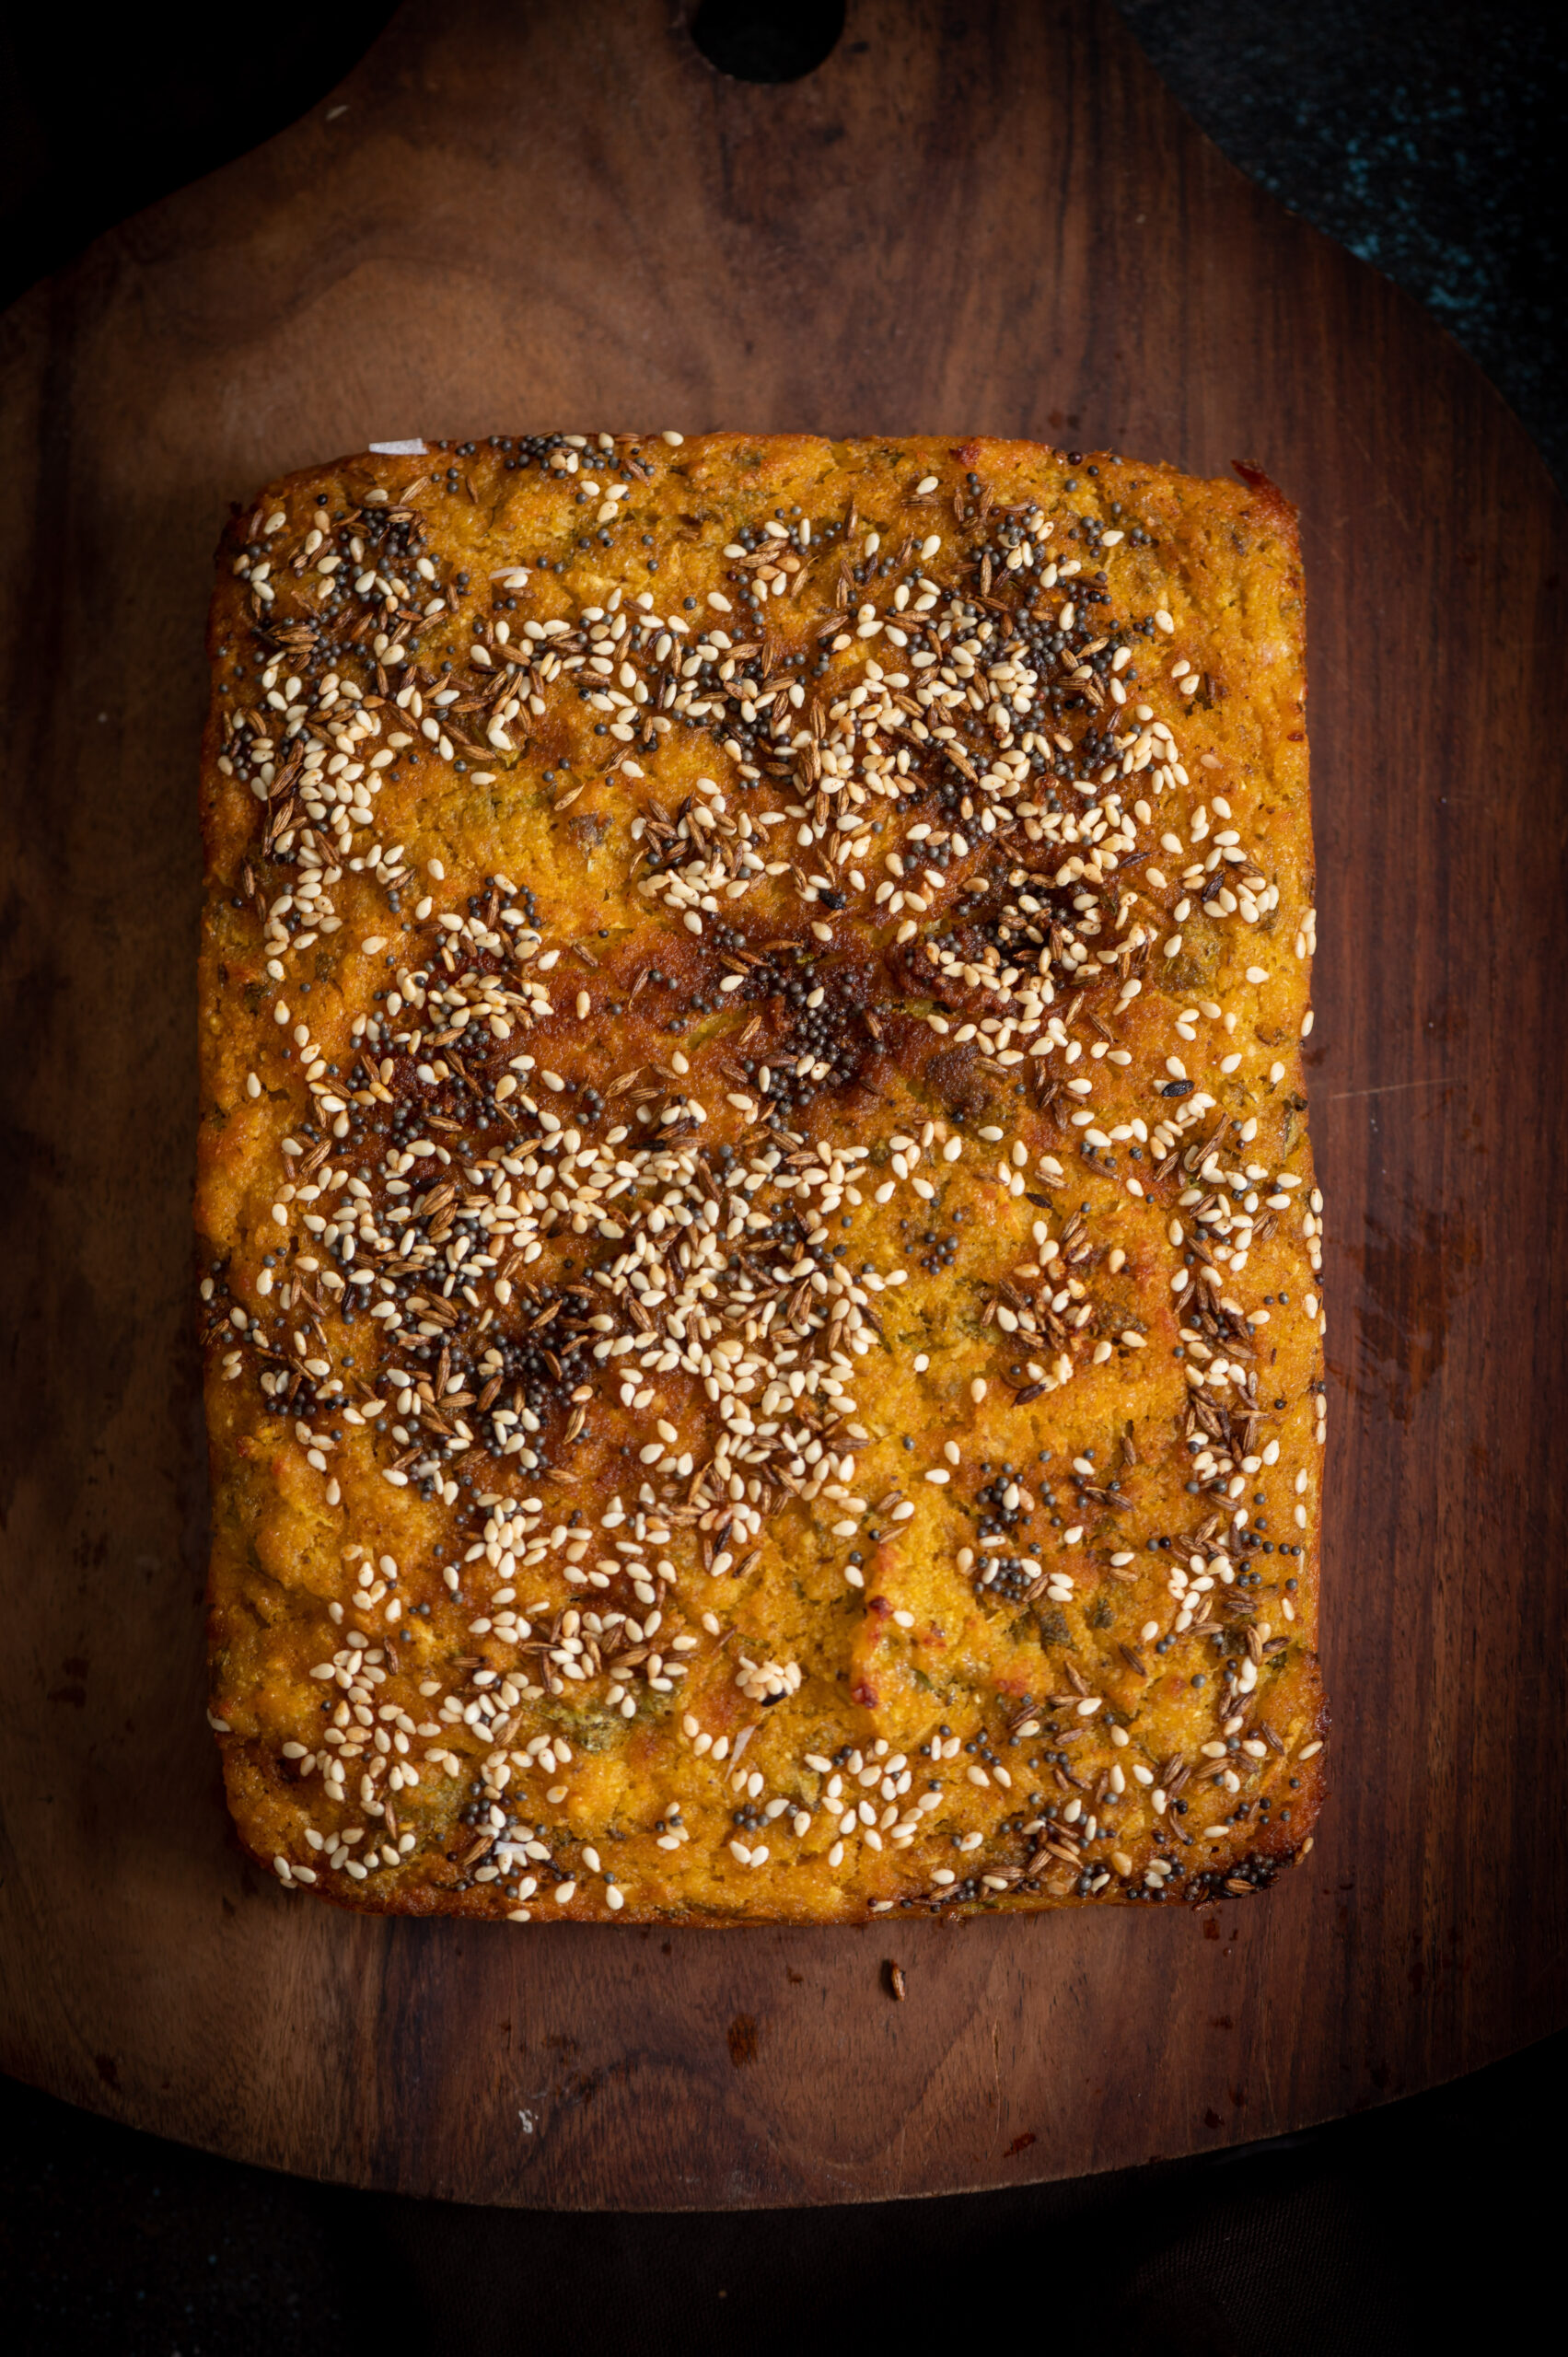
Handvo is a savoury cake made with lentils, from the Gujarati repertoire. Growing up, I would see it being made by my mother in the traditional way: in the backyard, she would prepare it in a heavy-bottomed brass pot placed on charcoal. She would pour the batter – containing lentils, rice and vegetables – into the vessel, then cover it with a heavy iron lid and let it cook. This was how it was made in most Gujarati homes back then. The funny thing is that although I enjoyed watching the elaborate process outside the kitchen, I found the dish itself quite boring. My mother had given herself a culinary education, learning baking and international cooking styles at a time when such classes were considered unusual, and as a child, I much preferred the foreign dishes she was learning to whip up. Over time, my appreciation for traditional cuisine blossomed, and this is why I am sharing the recipe for this handvo today, during the auspicious period of Navaratri.

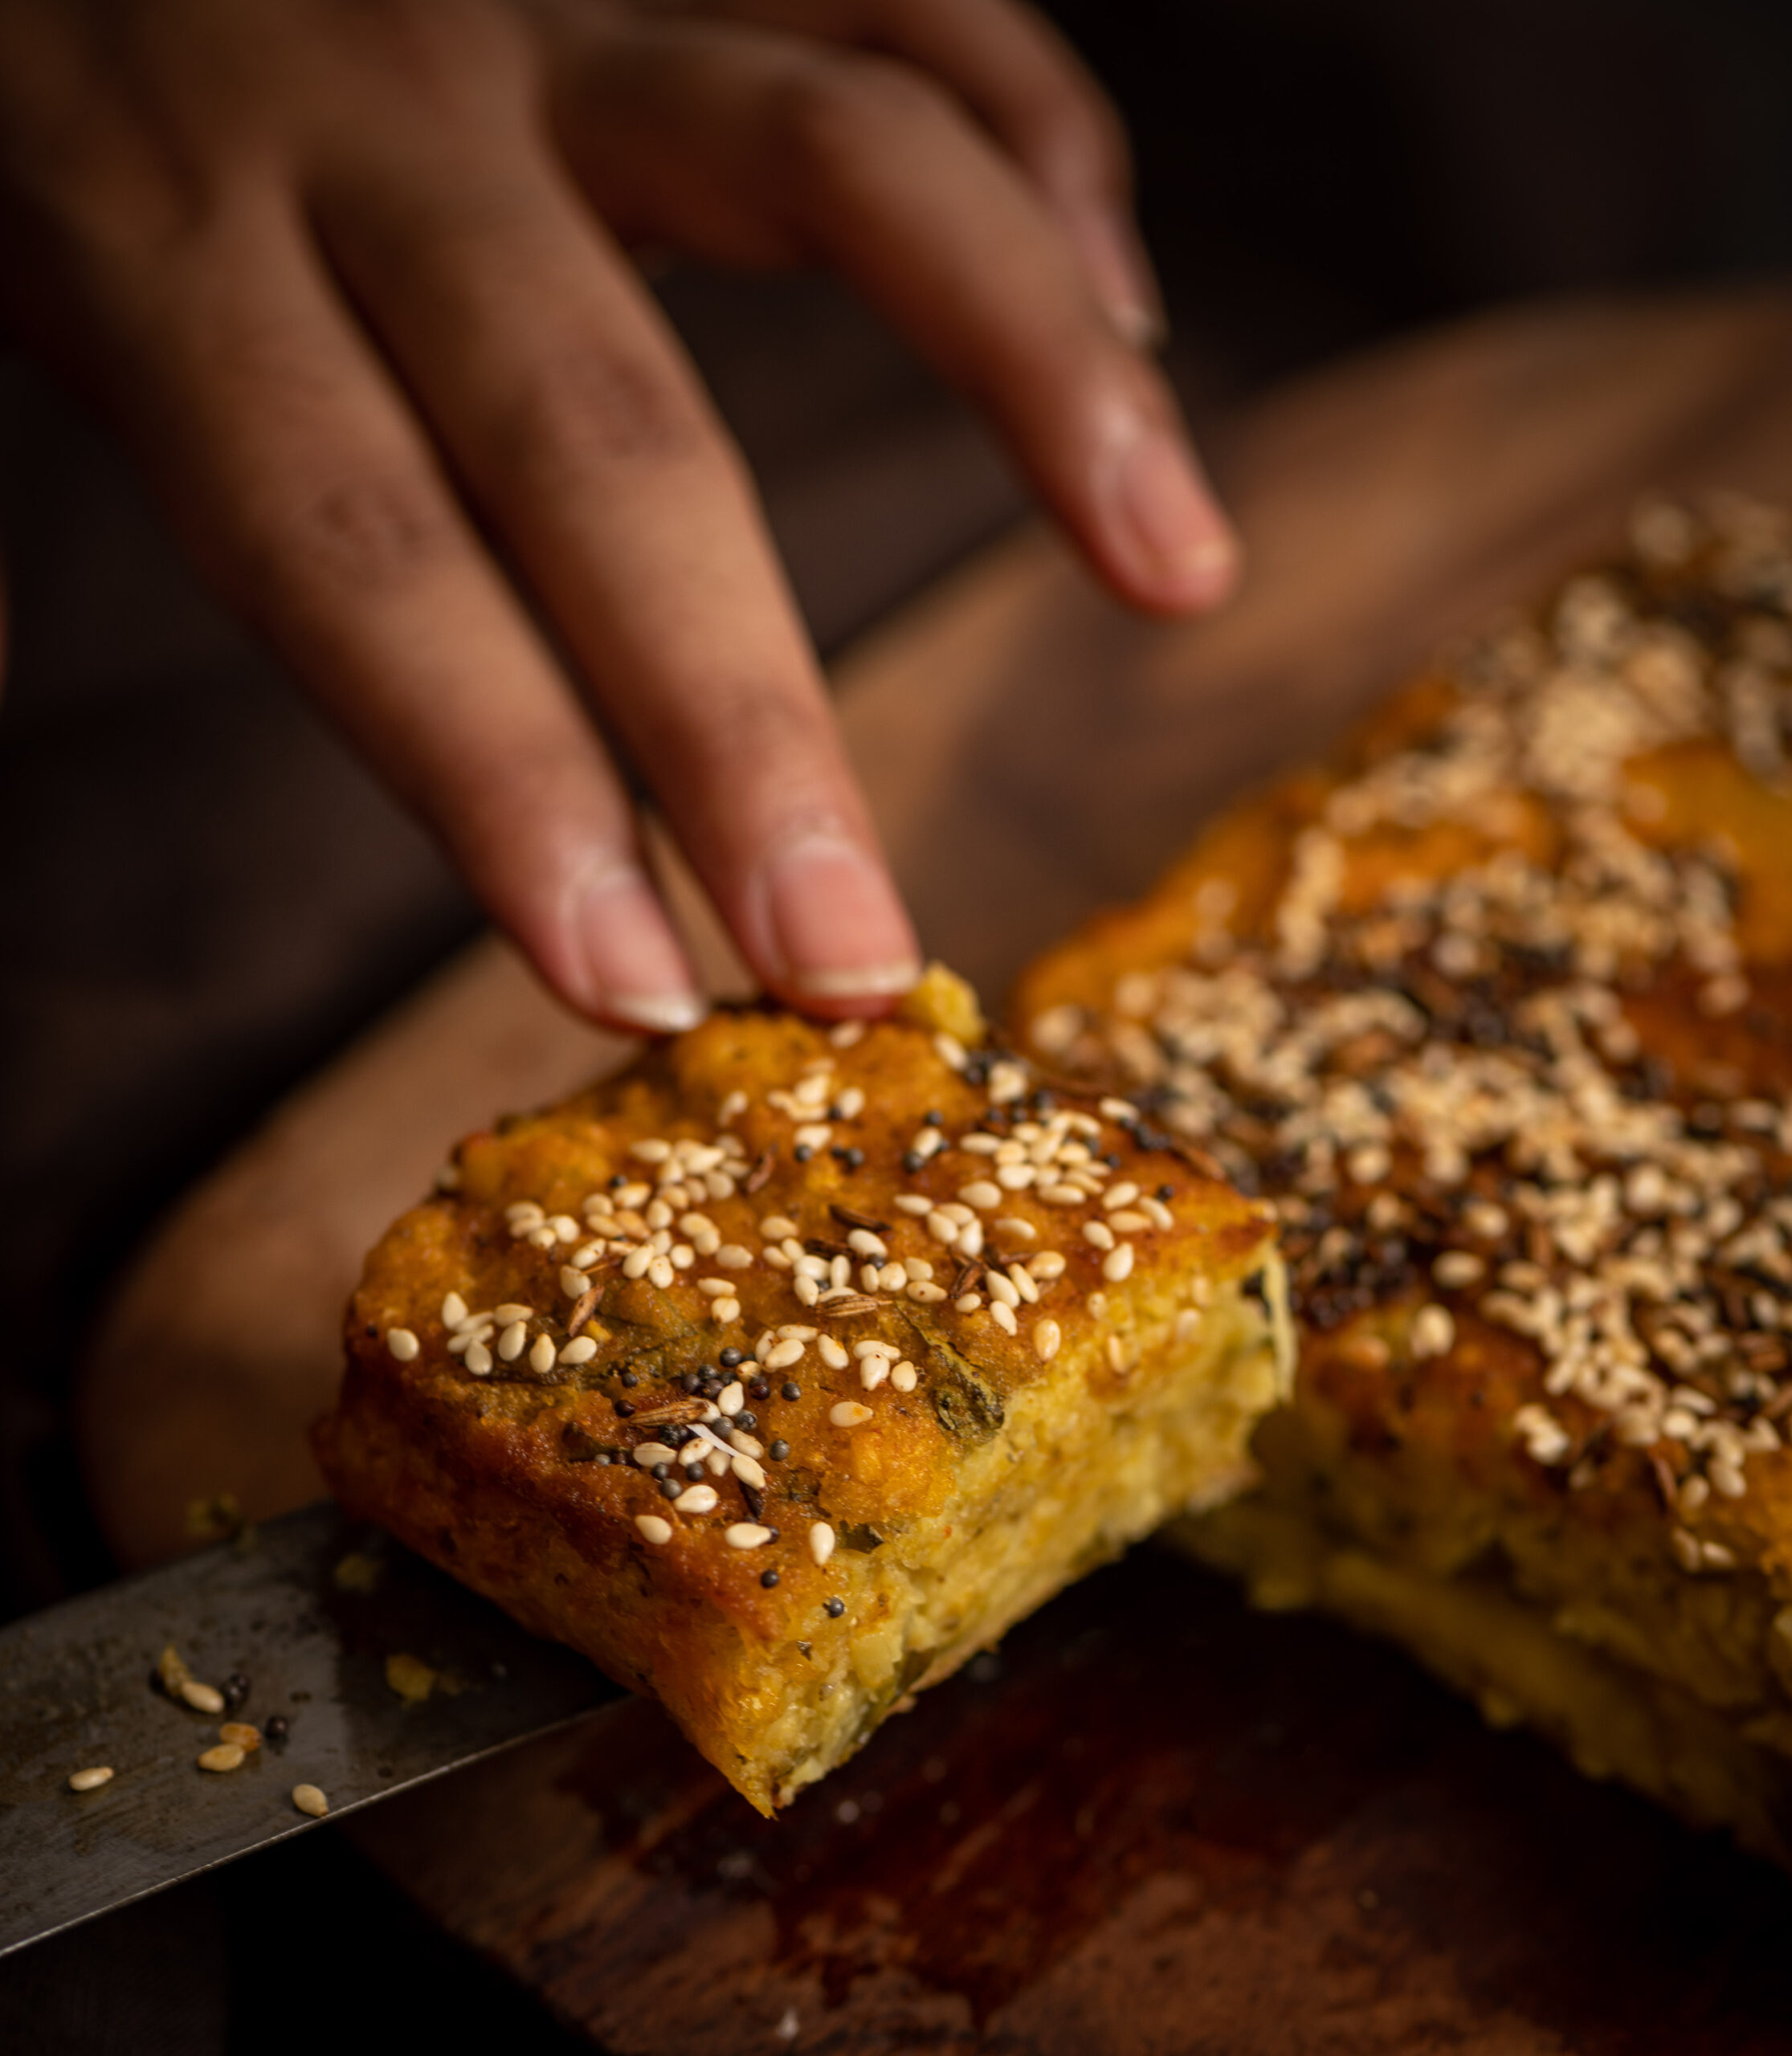
I recall that my mother would make a large pot of handvo only about once a month or so. She would bake it in the evening and we would have it fresh for dinner, with the leftovers becoming our breakfast. The baked handvo comes out looking like a cake in height and shape, with a beautiful crust on top, which as kids we prized and fought over (for a dish I had thought dull, that was my favourite part!). So our mother had to divide it equally amongst us all. During Navaratri, however, handvo became our nightly staple. There’s no real link to the festival itself, except that this was my mother’s go-to during that very busy time of year. Even though the process seemed complicated to a watching child, it is actually a simple one-pot meal. It’s also lovely to have during the monsoon season, which usually coincides with the festival.

For us, Navaratri meant having a quick dinner and then heading out for the garba, a wonderful celebration that my siblings and I looked forward to with great anticipation. In those days, those nine nights of dancing, feasting and prayer were one of the major highlights of the calendar for us Gujaratis in Chennai. No more than 50 to 70 families would get together over the nine nights, and some of these families we’d only get to meet annually, so it was a very special occasion for the whole community. I remember how the fathers would be responsible for blocking the hall and all the event logistics, while the mothers would make the prasad  for the Goddess. Each evening would begin with a prayer, followed by the distribution of prasad, and then… the moment most of us would be waiting for: the dancing would begin. First, the women would begin dancing in a circle. Then, the children would come in, and finally everyone else would join. There would be competitions too, and I would always win a prize.

Garbas and dandiya these days don’t bear much resemblance to how they used to be while I was growing up. Now, they are just another party. The ones in my memory were very graceful and traditional, with a sense of propriety. The whole family used to be involved in those days, and the occasion was about keeping our culture alive. Even the little love affairs and marriages that used to come out of these events all happened under the watch of the parents, and with their blessings. Everything was about a sense of family and community back then, and I cherish those memories. Something about the handvo, which always preceded those evenings of fun, invokes them for me.

There are many varieties of handvo, which use different kinds of grains and dals based on what is in season; warmer grains like bajra are used in winters, while lighter rice and millets are used in summers. Rice leftover from lunch is also used, as are seasonal vegetables, the most common of which is the bottle gourd.

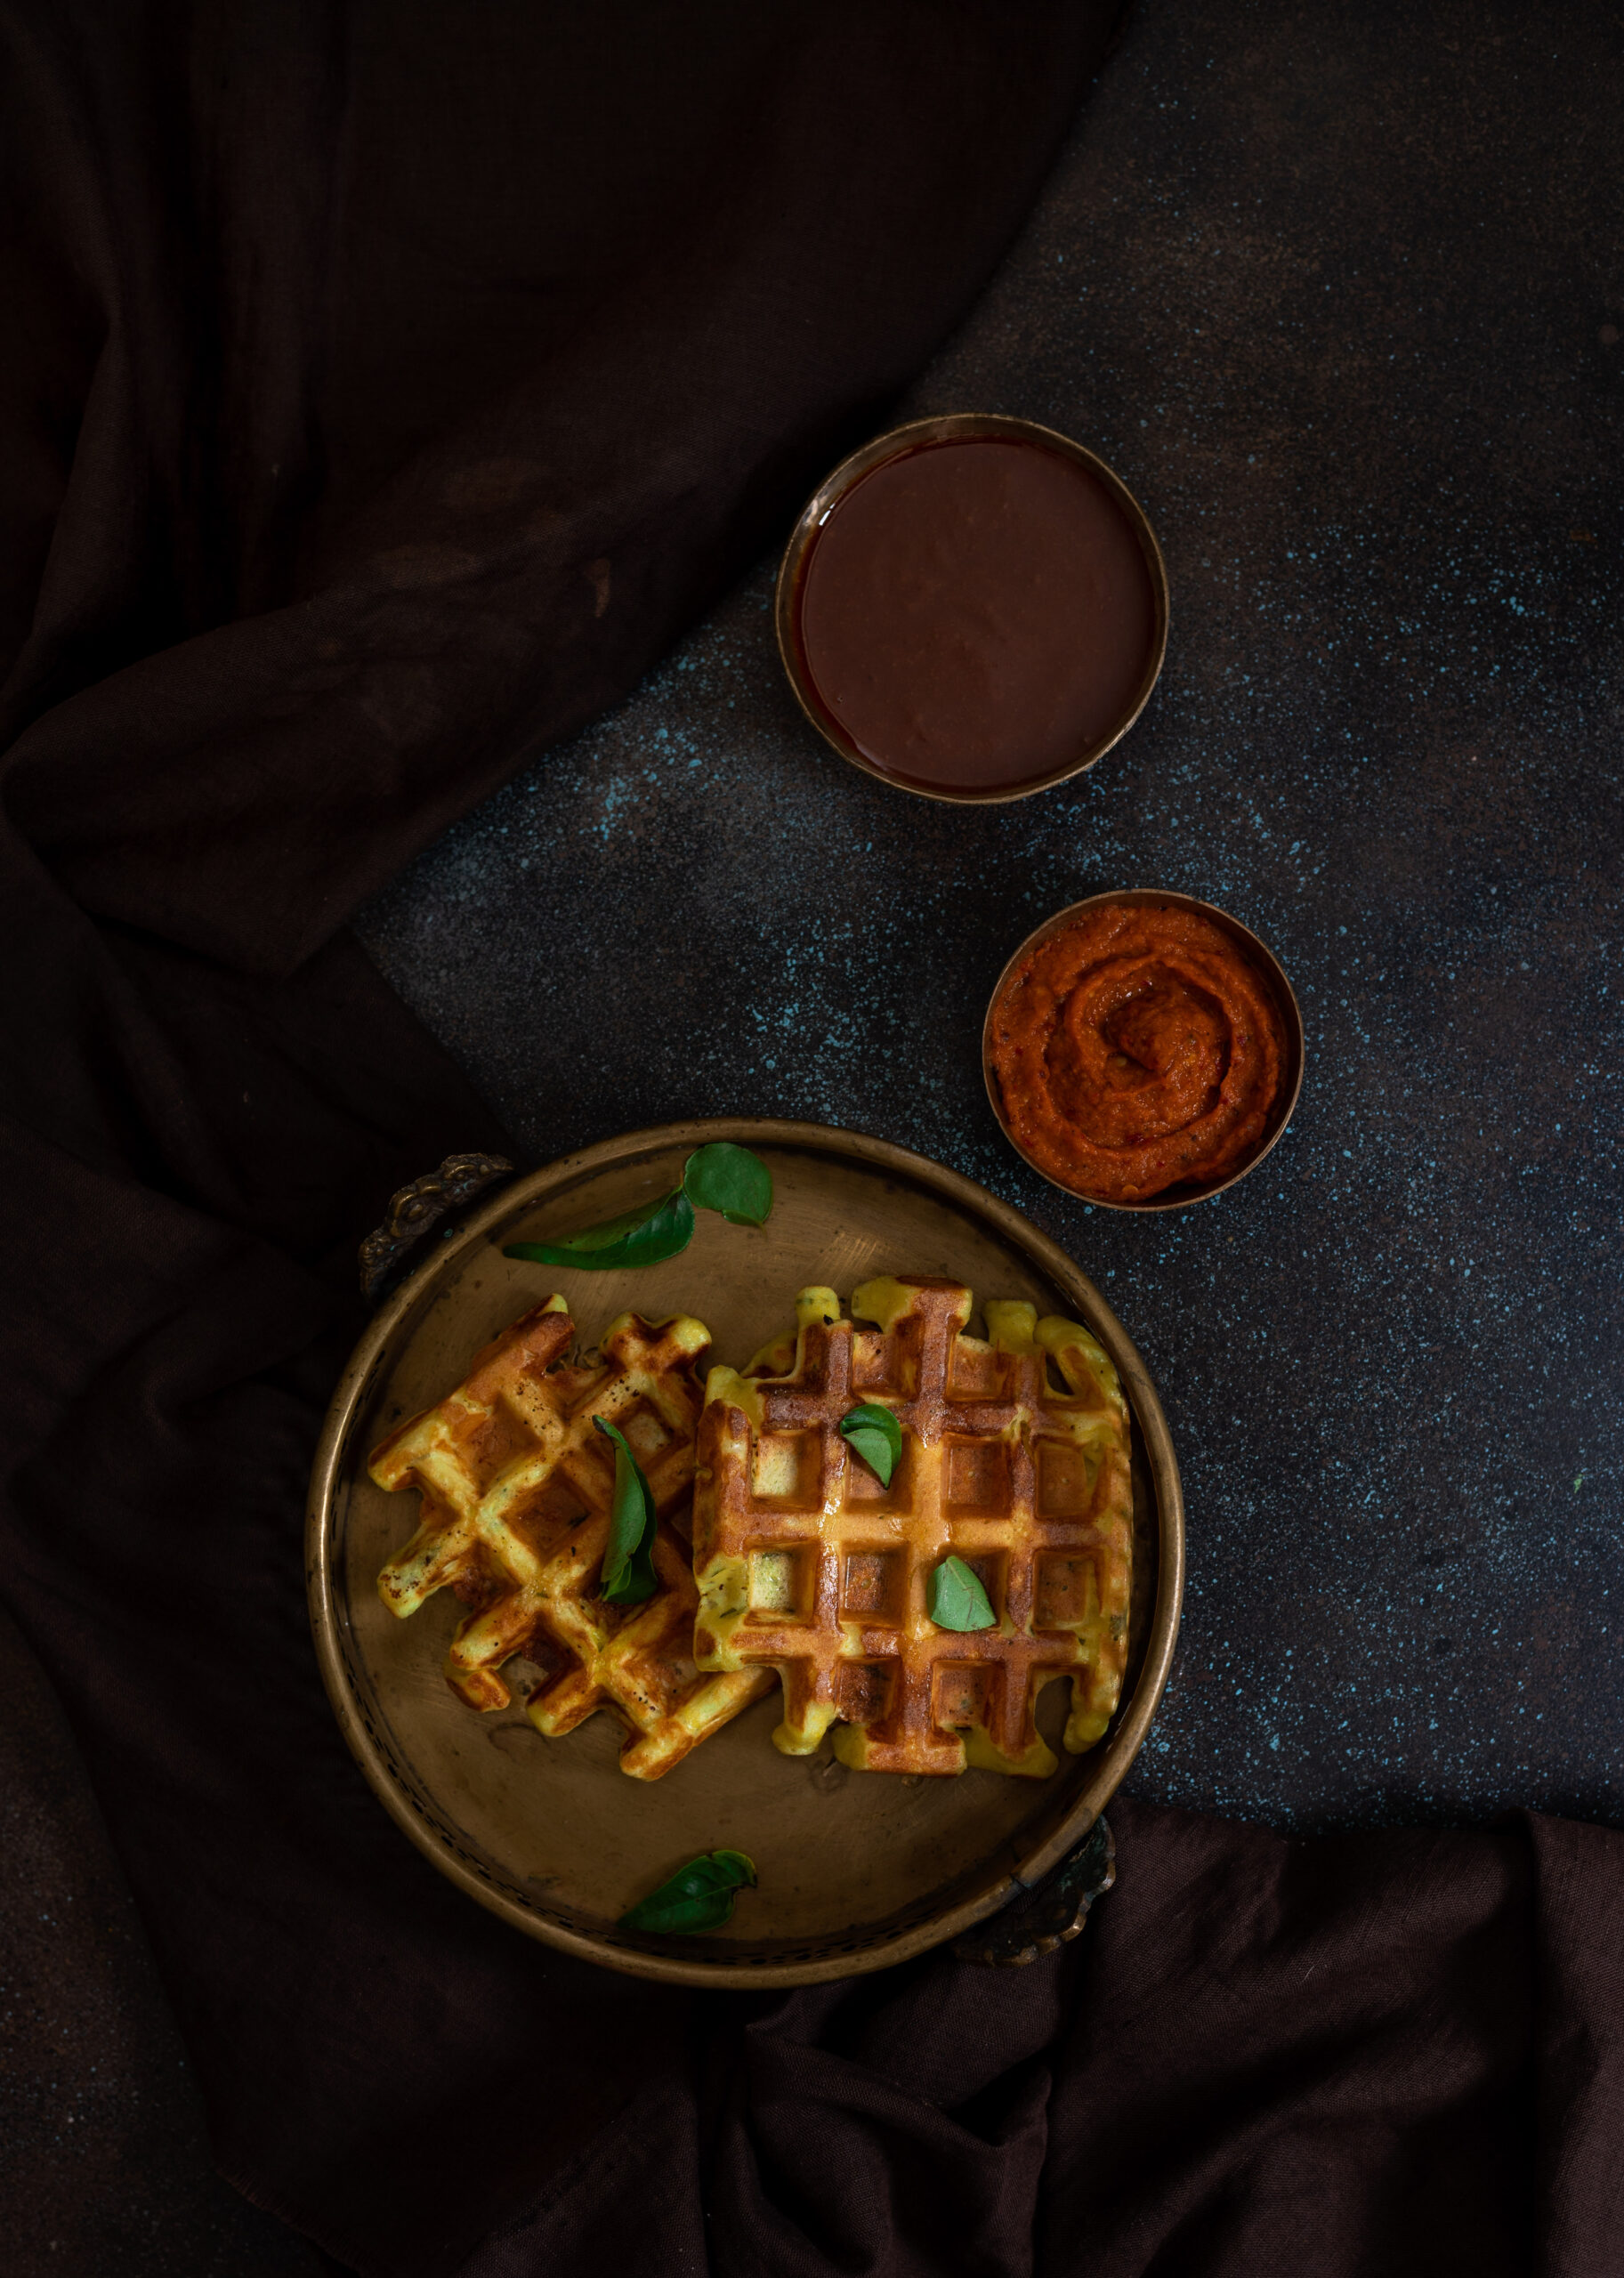
Over the years, the brass pot in the backyard kind of disappeared, and nowadays we see handvos being made in casseroles and glass containers that can be stuck in the oven. This year, I’m making my handvo the same way too, especially as I know that this is how most of you will try out this recipe. In fact, I felt tempted to modernise the method a step further and try out a batch in my waffle pan, as well! (If you’re one of those cooks who uses such tricks-of-the-eye to convince your fussy eaters at home to eat simply and well, this may be something to try out too!)

There are a few other keynotes that make my re:store style handvo distinct from the traditional kind. Firstly, I’ve eliminated the usage of rice, so as to ensure that the dish is carb-free. Most importantly, rather than bake a single large cake-like handvo and cut it into pieces, I’ve experimented with preparing individual portions, similar to dosas or crepes. I find that making the handvo in this method makes the cooking process easier and faster. The fermenting and soaking still require a day’s advance planning (unless you use readymade dal powders), but the actually frying up happens much faster than baking.

Handvo

(Yield: For 3-4 people)

1 cup toor dal

¼ cup urad dal

¼ cup moong dal

½ cup channa dal

¼ cup dahi + 2 teaspoons lemon juice

¾ cup grated bottle gourd (+ optional methi leaves)

¼ cup coriander leaves

2 teaspoons oil

¼ teaspoon turmeric

½ teaspoon green chili paste

½ teaspoon ginger paste

1 teaspoon sugar

Salt to taste


Tempering:

2 teaspoons oil

½ teaspoon mustard seeds

½ teaspoon sesame seeds

¼ teaspoon cumin seeds

½ teaspoon carom seeds

A few curry leaves


Clean the dals and soak them in sufficient water for 5-6 hours.

After this, remove the water and blend the dals coarsely. Add the dahi and lemon juice. Allow to rest for 3-5 hours.

Once the soaking and fermentation processes are completed, add the vegetable of your choice and the remaining spices to the batter. While I’ve made the batter from scratch, you may wish to use readymade dal powders instead.

Heat the oil in a flat pan. Add all the different seeds. Wait till they splutter and then add some curry leaves. Immediately, add 2 cups of the batter. Spread it a little, as you would a thick dosa or uthappam, then lower the flame. Cover the pan with a lid. Allow to cook for about 5-7 minutes. Now open the lid, and be careful as it would have trapped a lot of steam. Flip the handvo. Repeat the same process on this side.

After the handvo cooks and turns golden on both sides, remove it from the pan and make the next one. Cut into pieces and serve with green chutney or sweet mango pickle.

Over a few trials, this was the easiest method of preparing handvo that I discovered. You may of course choose to bake it instead. In that case, put all the batter in a bake-proof bowl. In a small pan, sauté the oil and seeds. Once they splutter, use a spoon to gently drizzle the tempering evenly on top of the batter. Bake at 160°C for half an hour, then slice and serve with the condiments.

The days of brass pots in the backyard and wholesome garba gatherings may have gone by, but the great thing about food is that it lets you keep making new memories. I wish you and your loved ones an auspicious Navaratri. I’d love to know if my easy, uthappam-inspired handvo finds a place in your festivities!


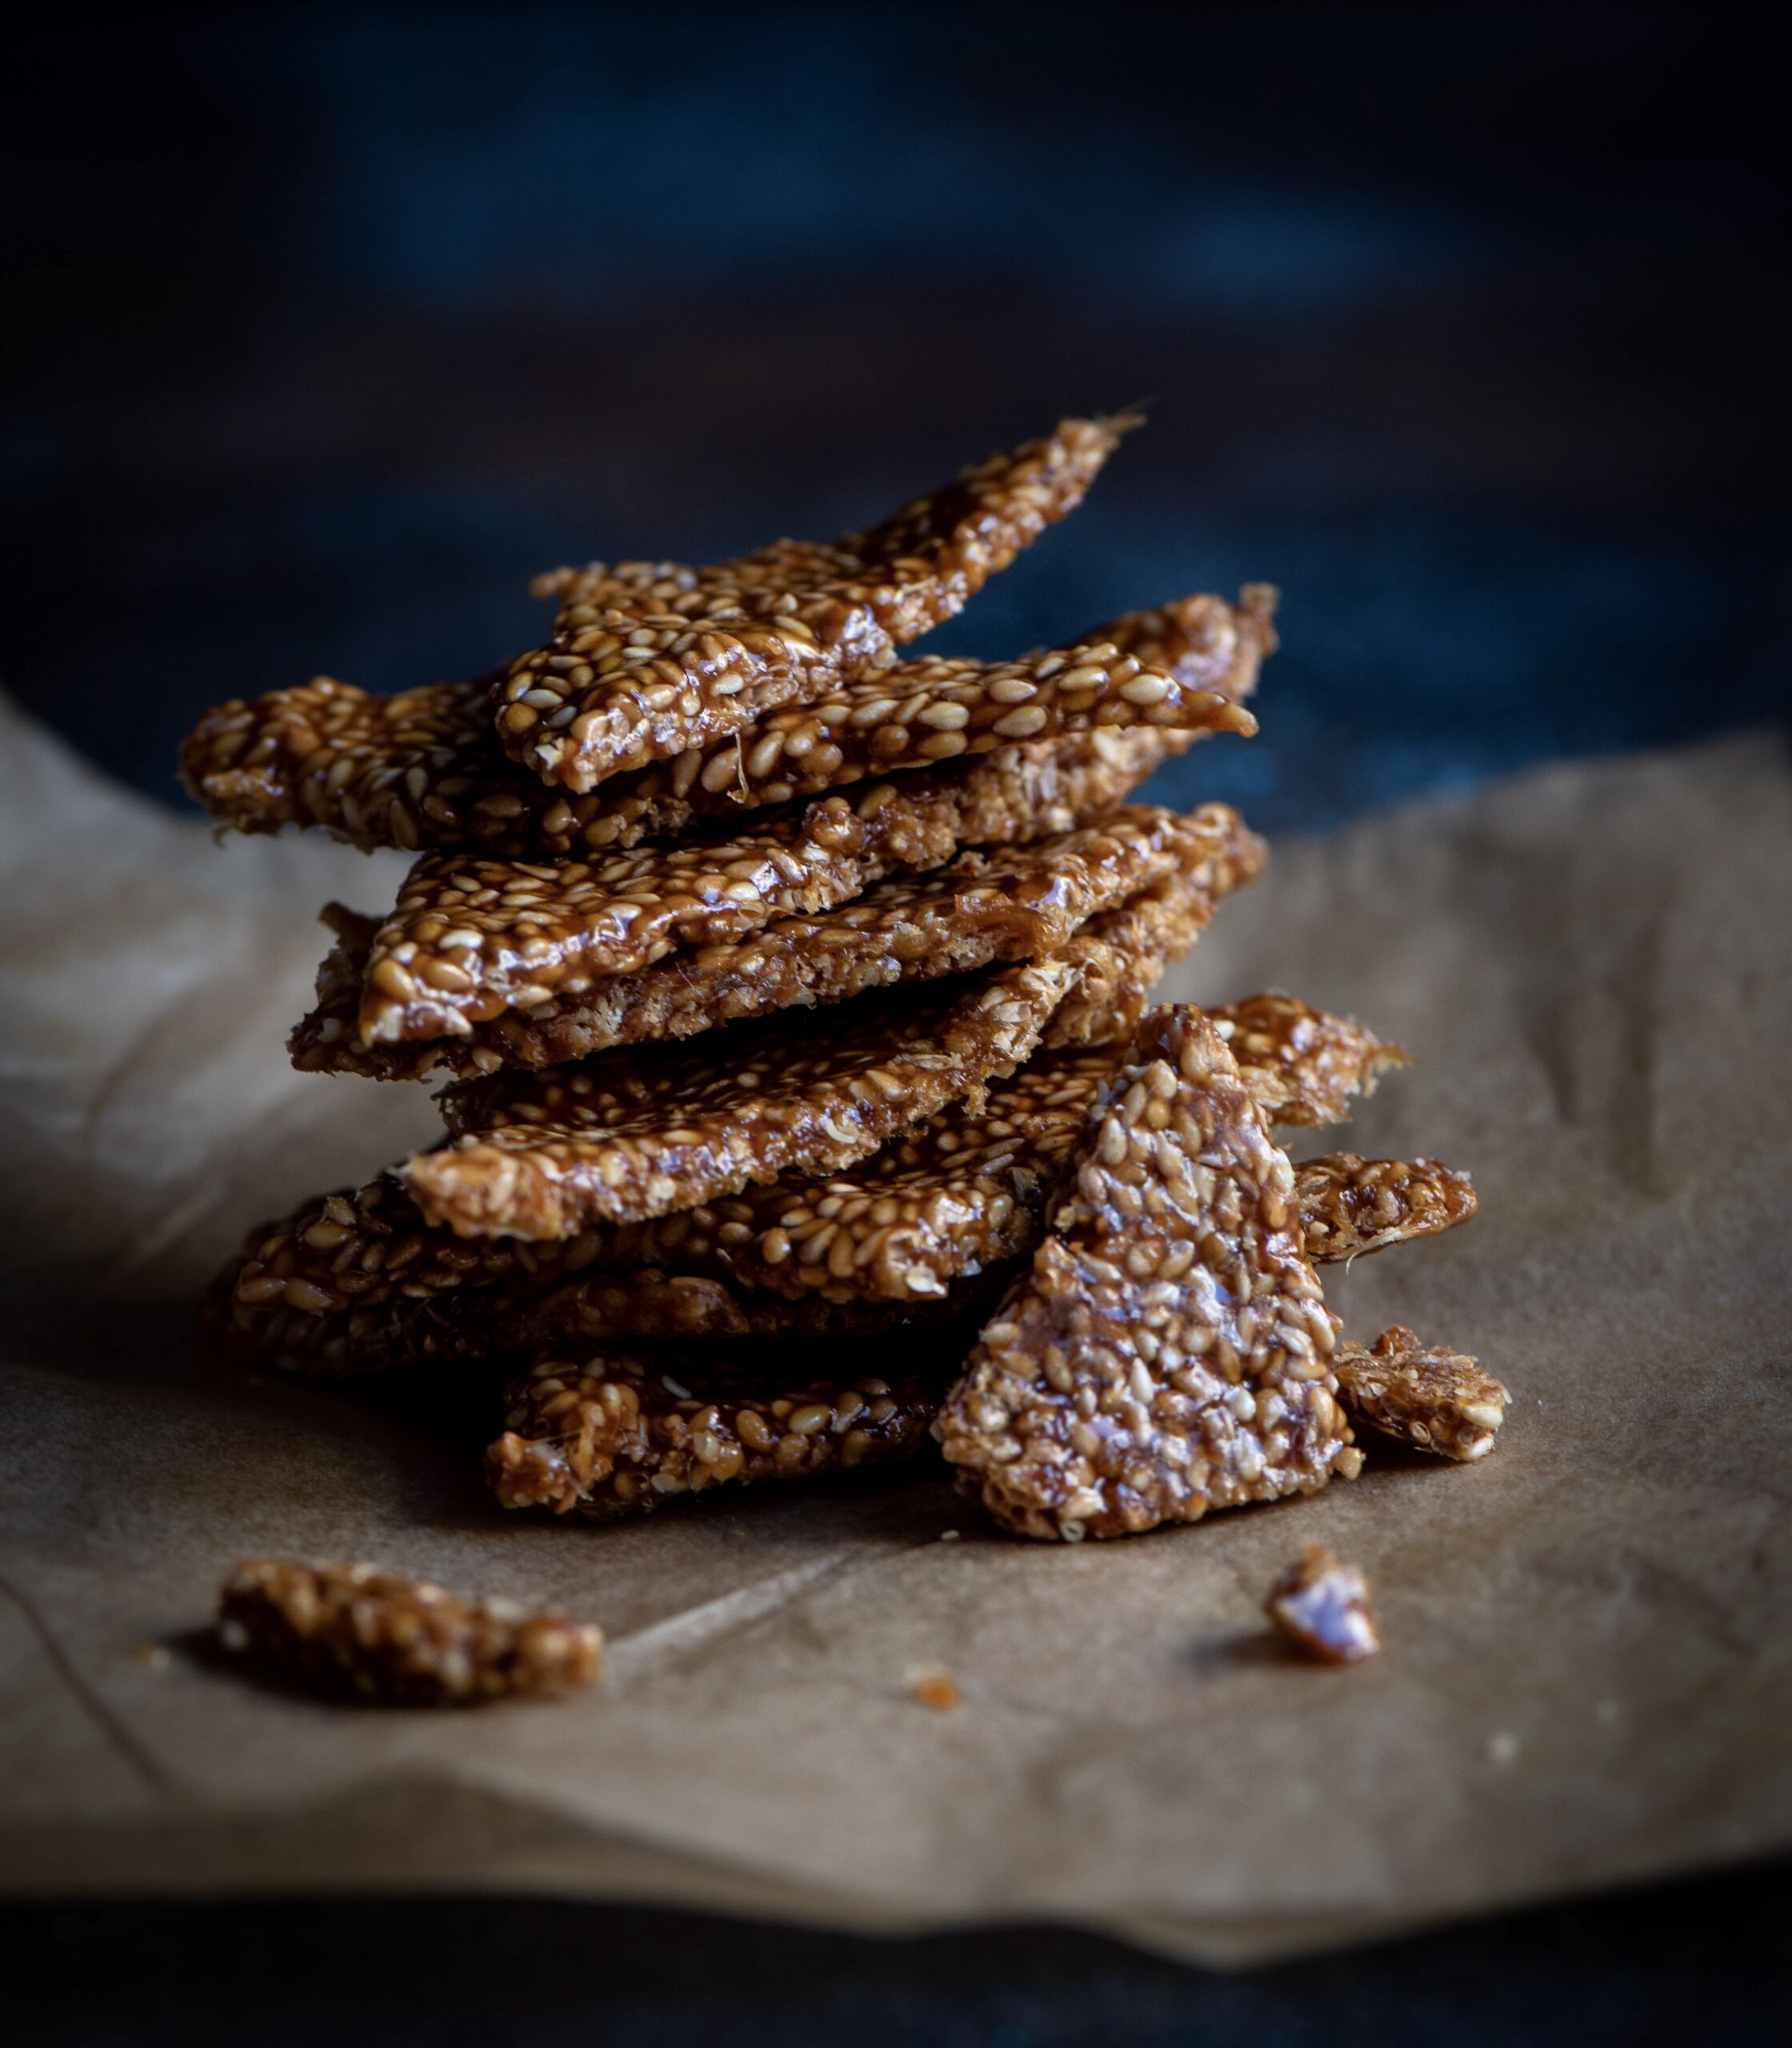
Sankranti, the harvest festival, is here and as we celebrate by giving thanks for the crops we eat daily, it’s til-ka-chikki that strikes me as a perfect dish for the occasion. The chief ingredient of this crunchy sweet is sesame, which is believed to have been cultivated in India for over 5500 years. As a form of produce that can grow with relatively little supervision, and in less than ideal conditions, there is no doubt to me that many of our ancestors would have considered it a perfect if not vital part of their Sankranti. Sankranti is known by various names throughout the country – it is also observed as Pongal, Bihu, Maghi and by other names depending on region. No matter where, it falls in mid-January and is a time when the sun is worshipped for its life-giving properties.

“Til” is the Gujarati word for sesame, as well as in other languages including Hindi and Punjabi. The English word “sesame” is from the Arabic “semsem”, indicating oil or liquid fat. This is because it is an oilseed produce. It’s an excellent digestive aid as it’s full of fiber, and also has high copper, manganese and calcium content, in addition to other vitamins and minerals.

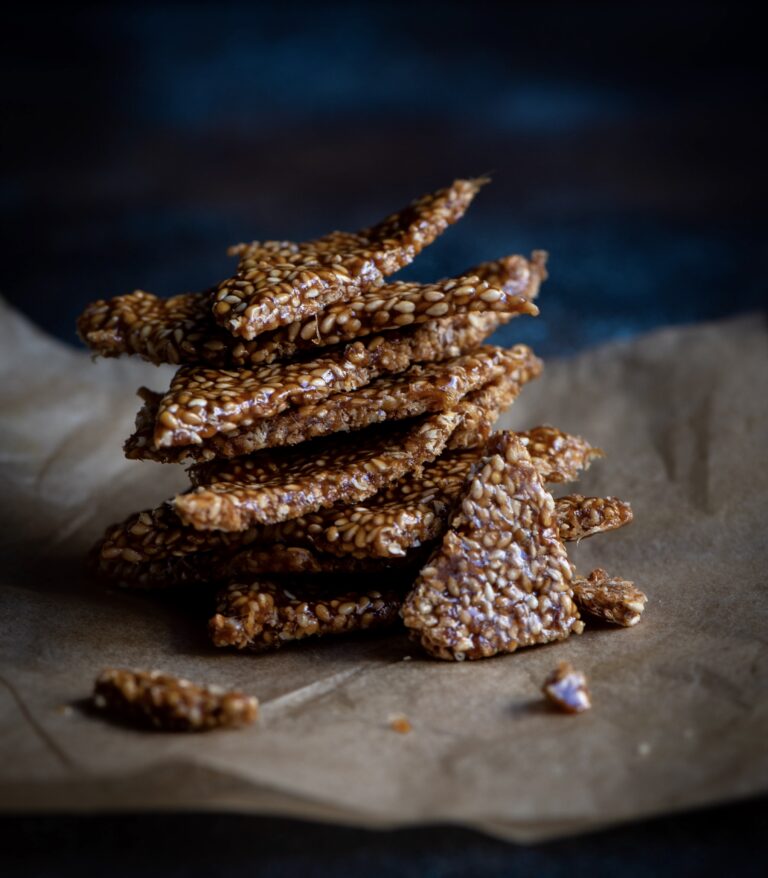
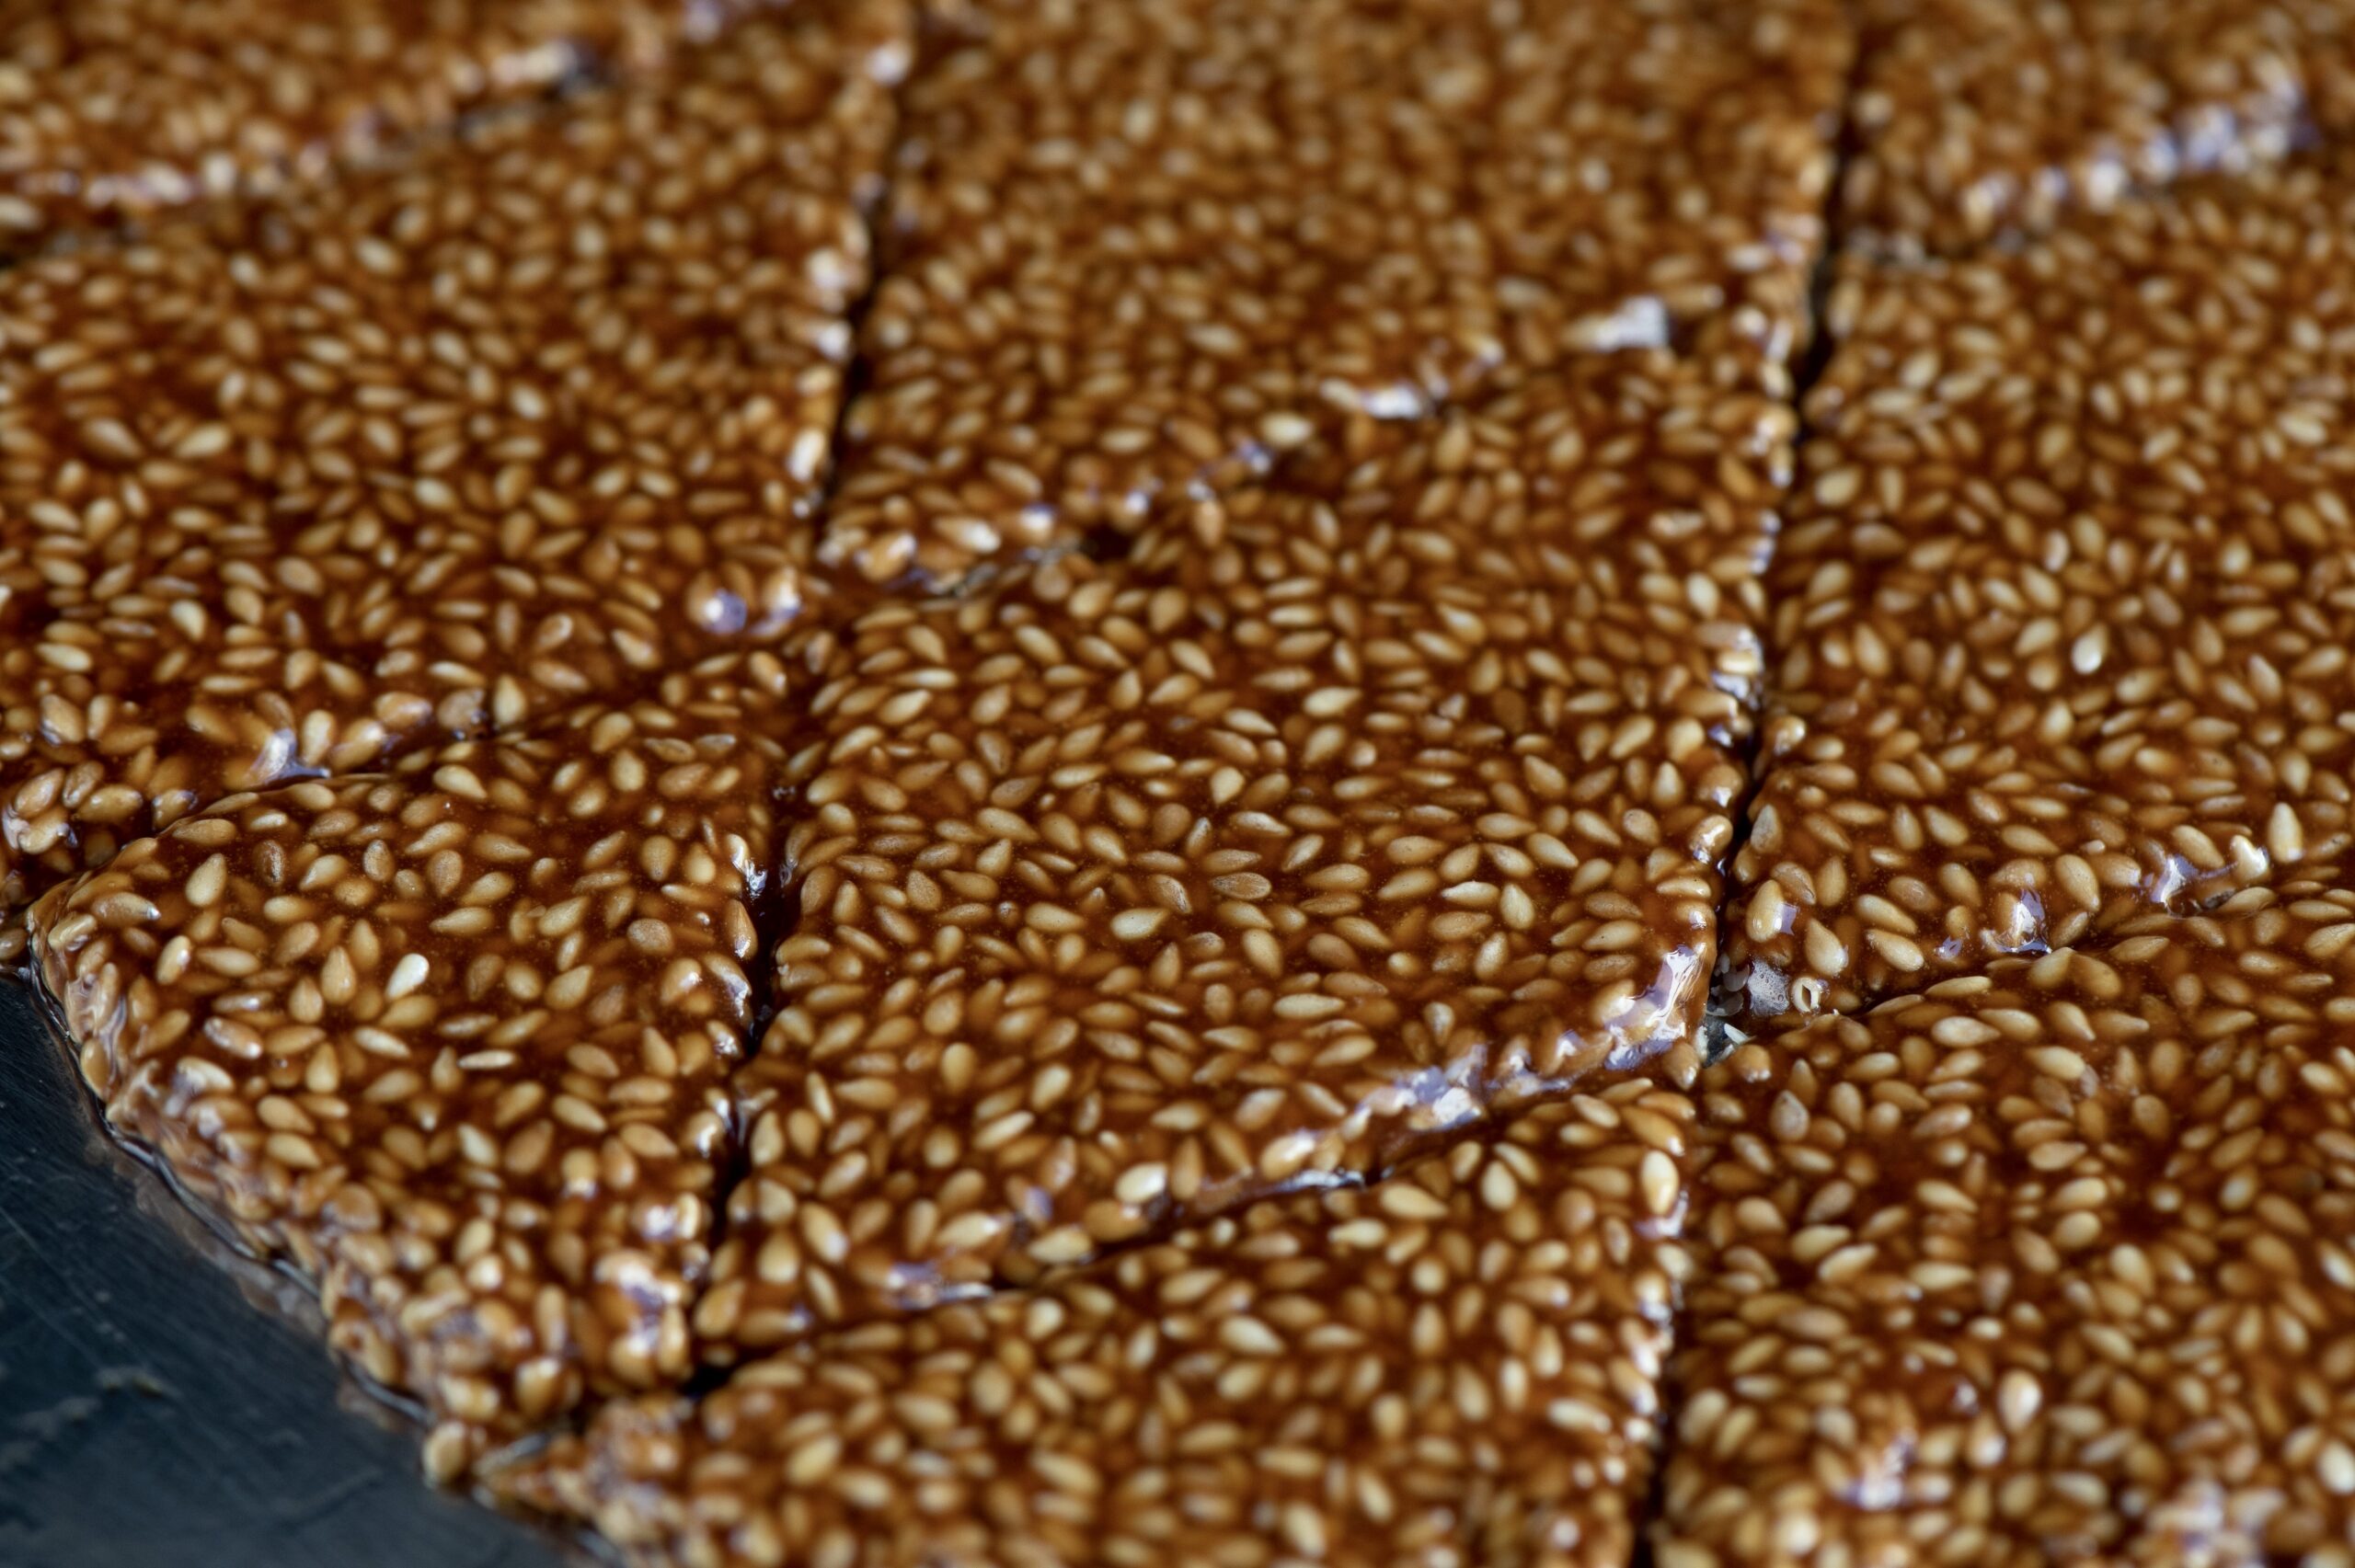
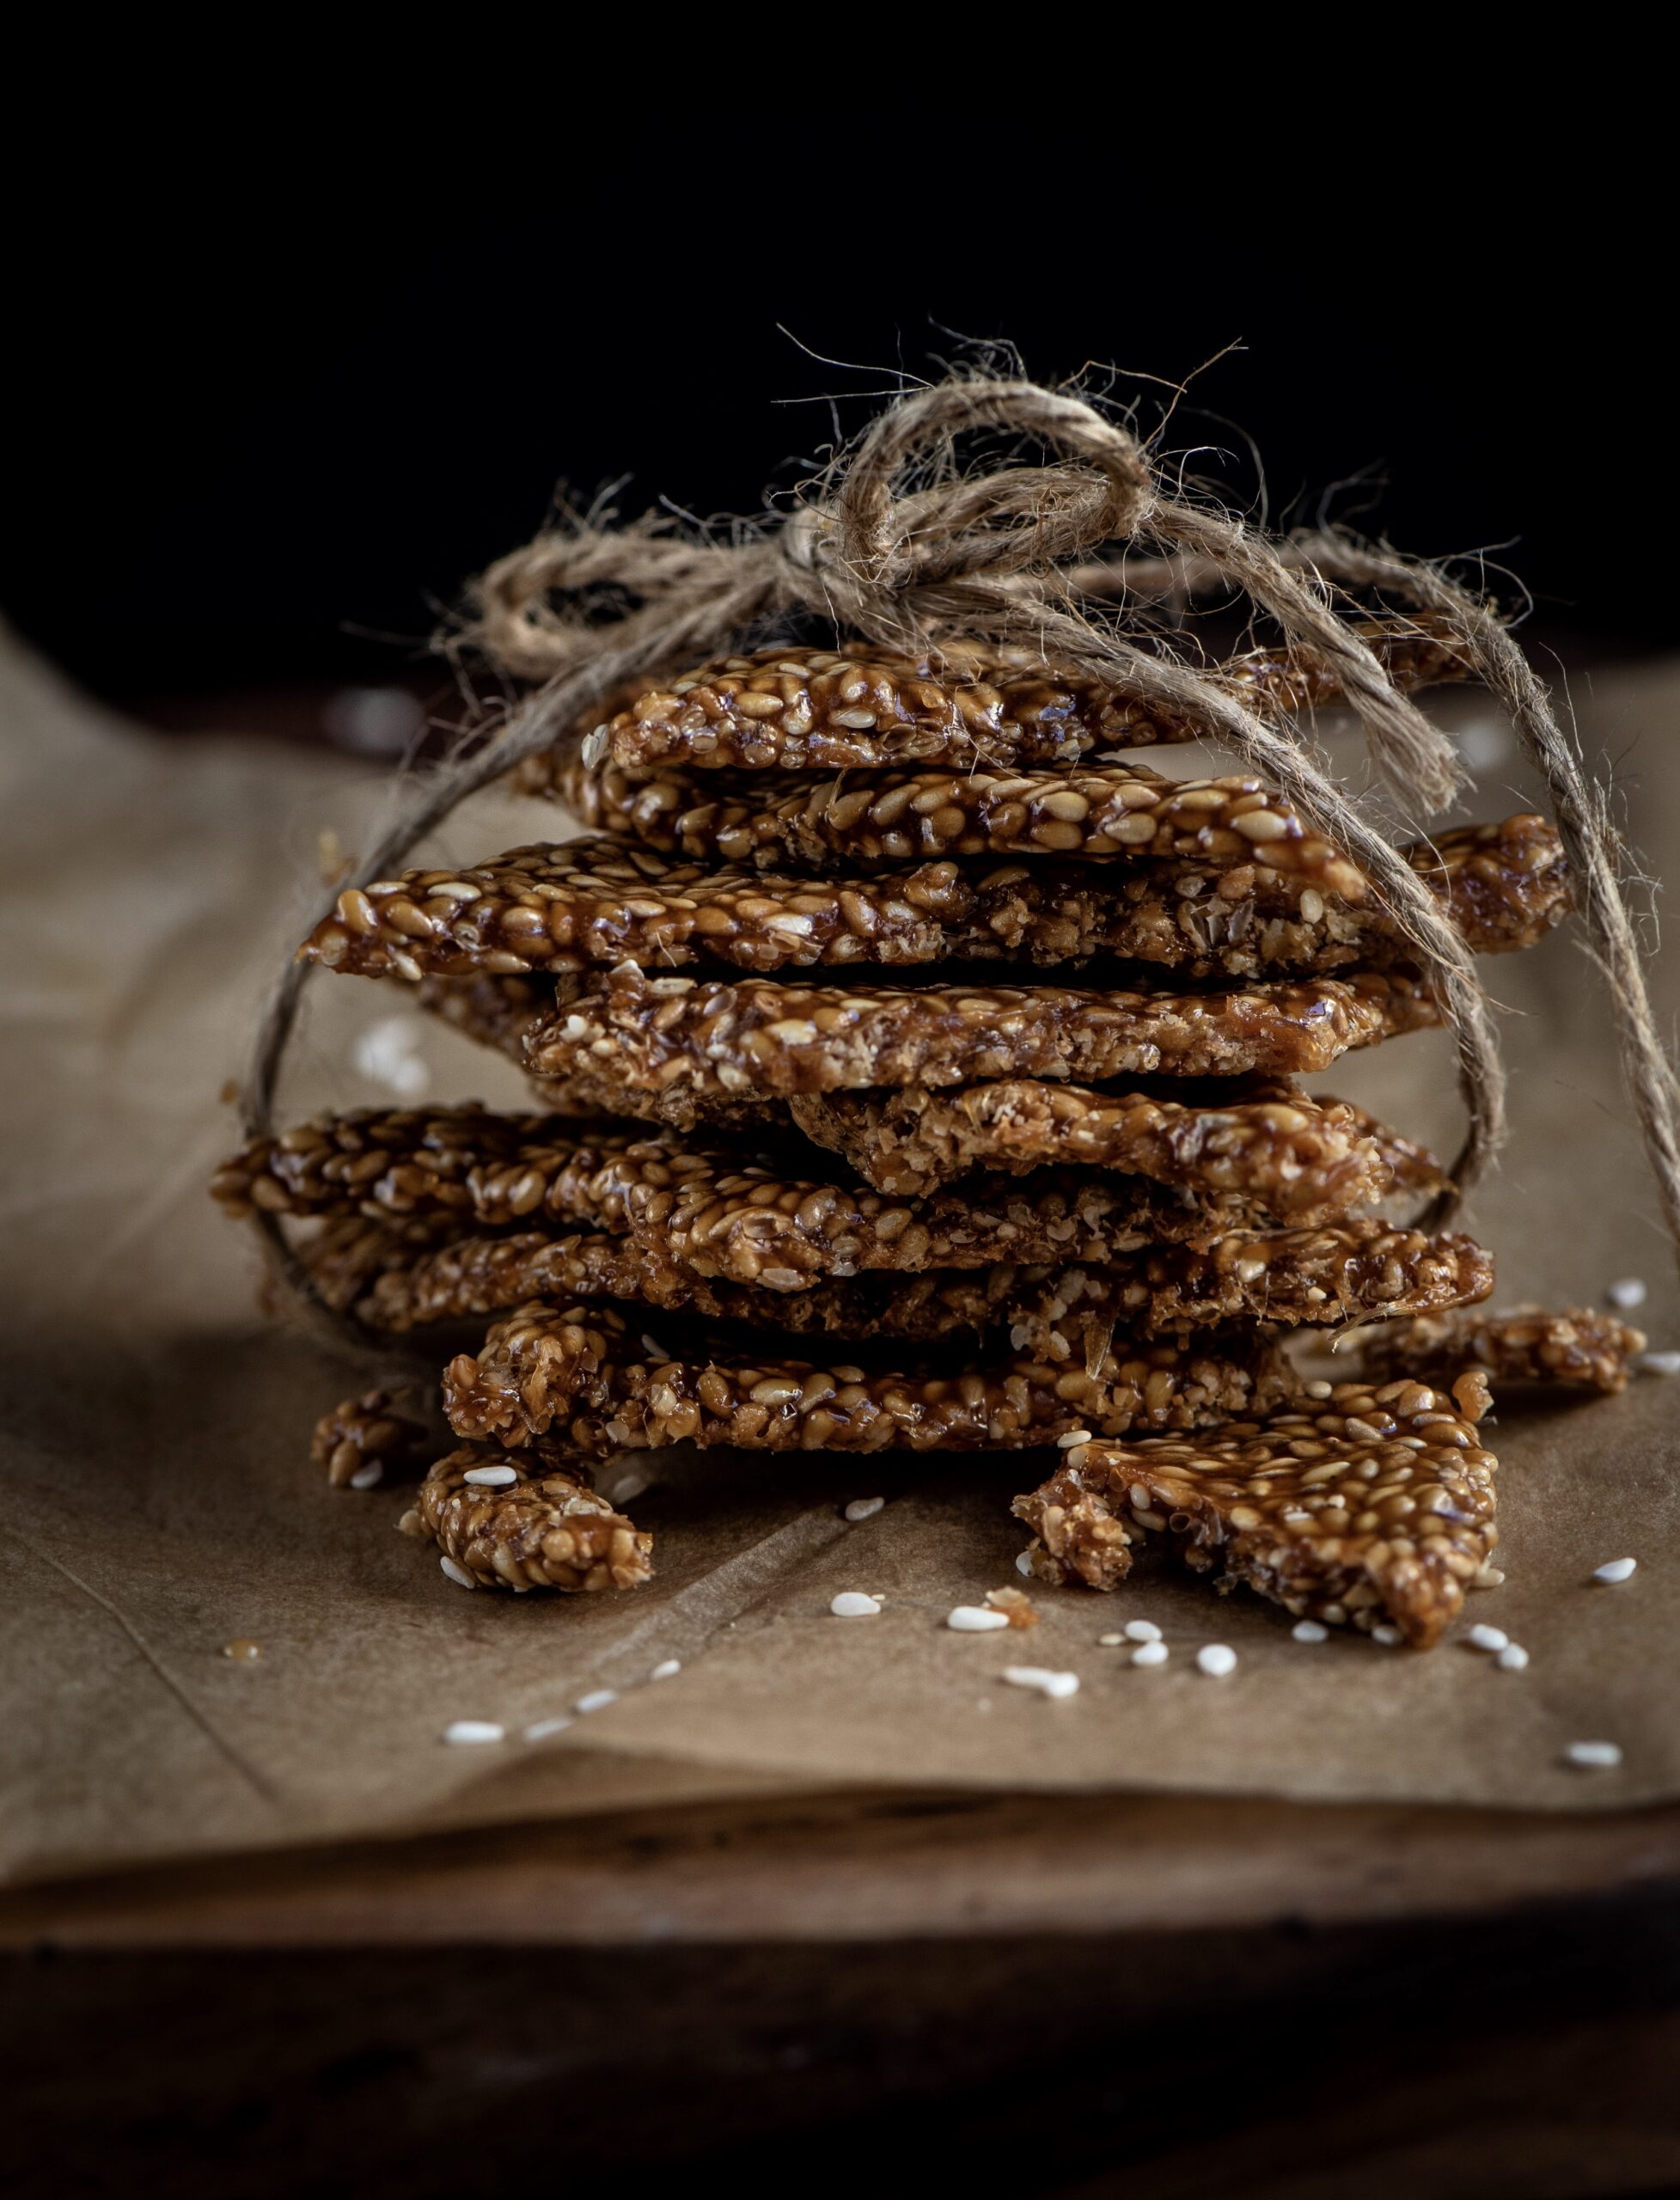
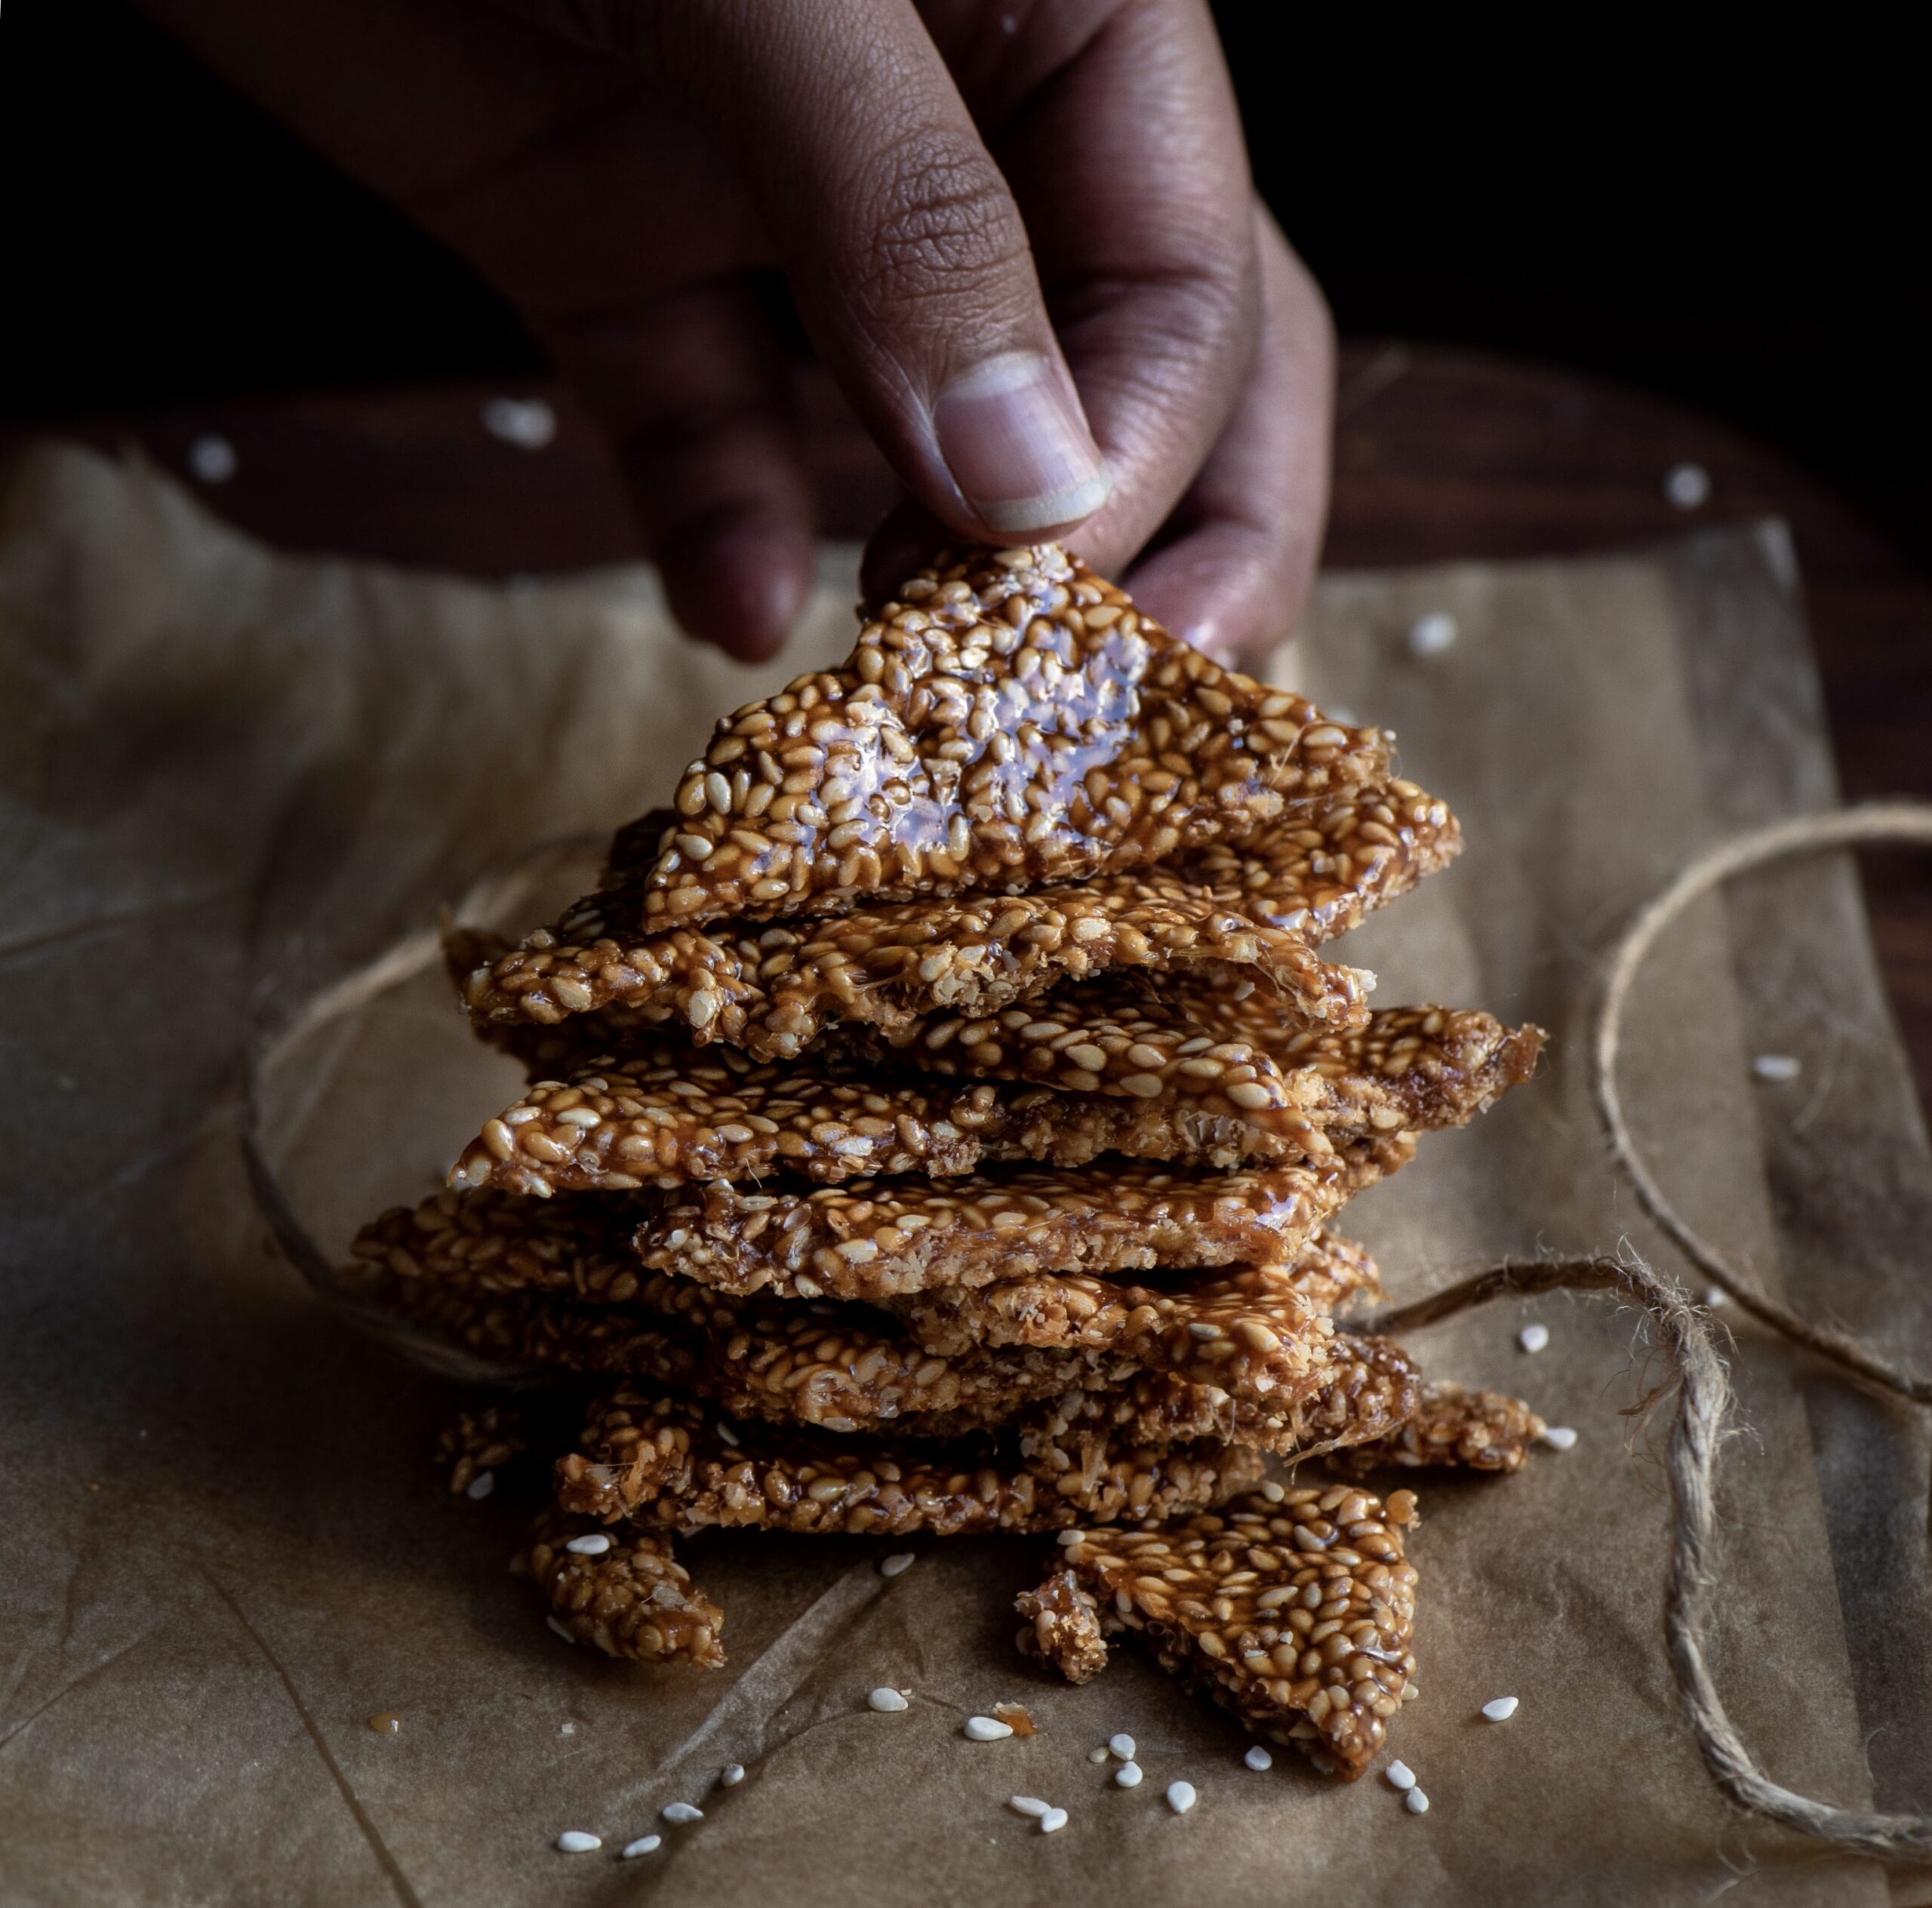
Chikkis are a whole category of snacks, usually sweet thanks to the sticky jaggery that holds them together. We also make them with groundnuts, puffed rice (mora mora) and other variations, depending on the season. You can make them either in bars or in balls, and they also make a great ice cream topping when crushed. Til-ka-chikki is basically a sesame brittle, and today I’ll share the method to make them into bars.

I used to have a huge mental block about til-ka-chikki as I simply hadn’t known how to make it. My sister got married when she was just out of college, and she hadn’t learned how to cook yet. She went to her mother-in-law’s house, where she learned how to make the most beautiful traditional Gujarati dishes. I was still in high school at the time, and am still envious to this day about the culinary skills she picked up back then. Meanwhile, in my mother’s house, I was still studying but also began to slowly pick up recipes and techniques in the kitchen. I was probably inspired by my sister’s newfound talents, and our mother started me off on the basics, like rotli. Over time, I began to regard not only my mother and my own mother-in-law as my culinary teachers, but my older sister as well. My sister’s repertoire is vast. Even to this day, each time I visit her, I insist that she teaches me an entirely new dish  every time.

I overcame my mental block when I finally learned how to make this til-ka-chikki a couple of years ago, with her guidance. And I’ll admit that I am still learning. I don’t quite have the confidence to make it on my own yet, but every experiment has ended in happy mouths and sticky fingers. It would be great if you could learn it together alongside me. We could master it together, just as my sister has.

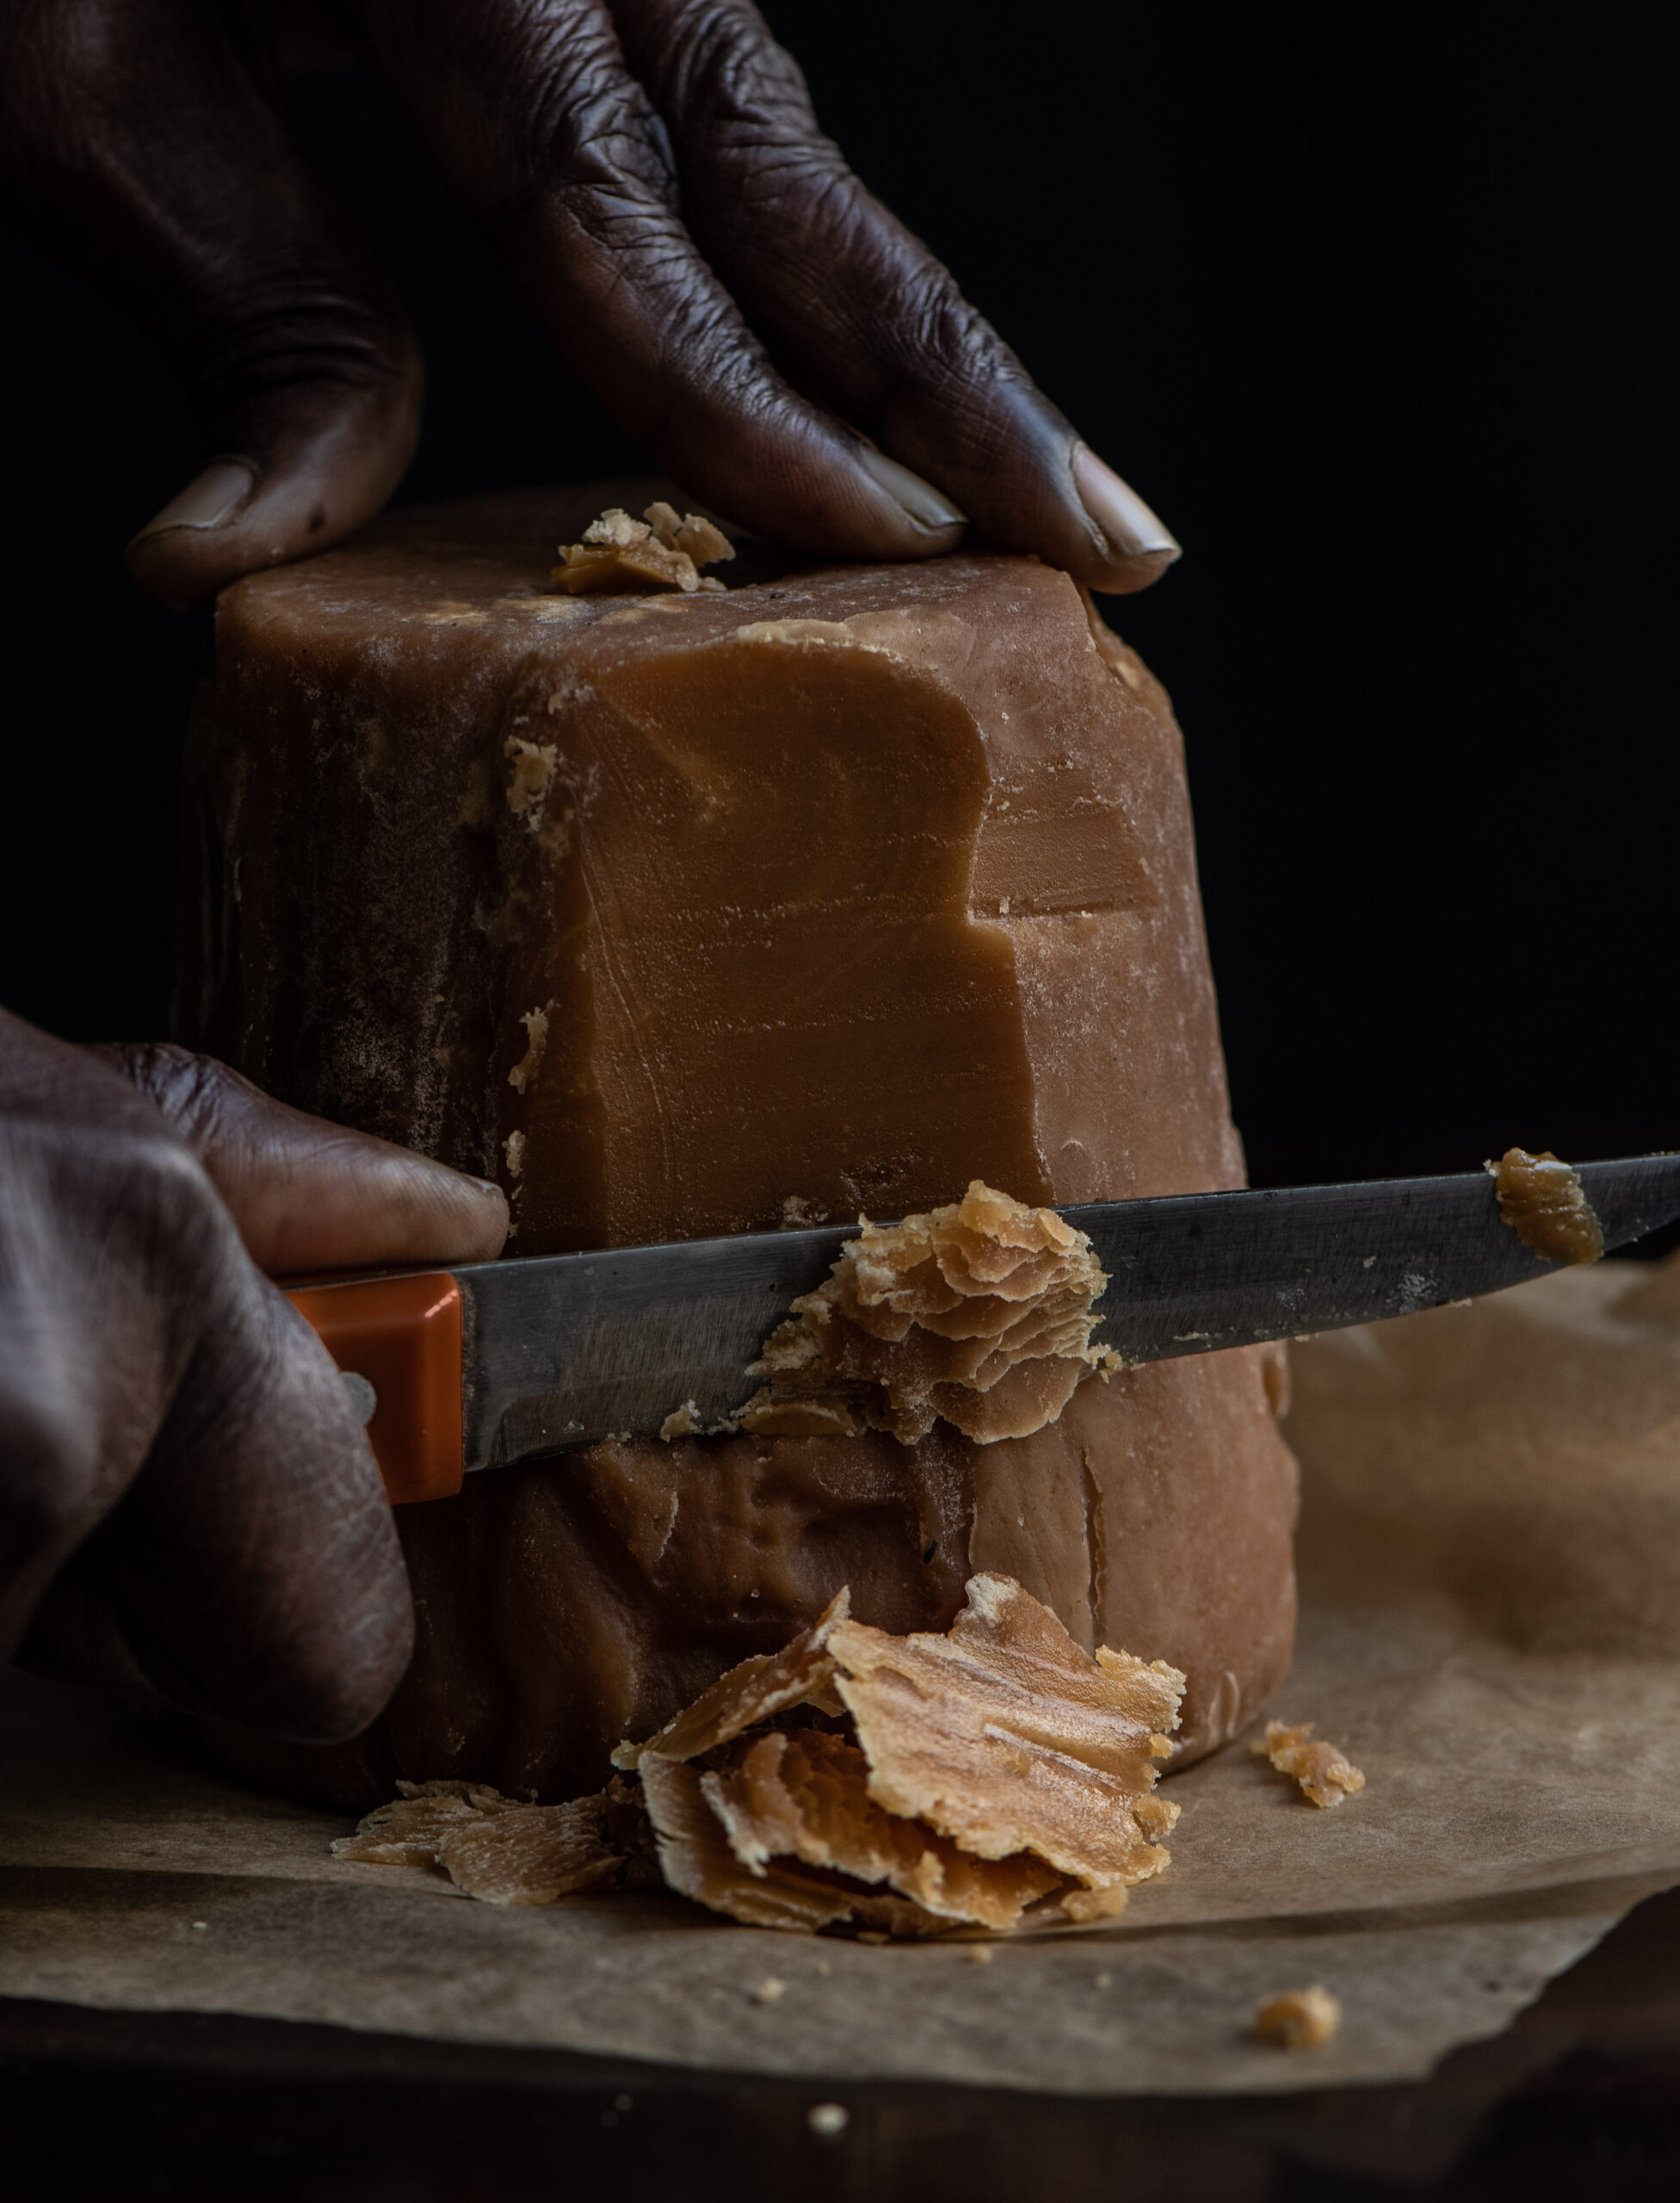
As with most traditional Gujarati sweets and snacks, this too requires only three ingredients. In this case, they are jaggery, sesame and ghee. If you’d like a vegan version, replace the ghee with a flavourless oil of your choice. Til-ka-chikki is also offered as a prasad, so while it is a simple dish it can also be a part of prayers for festive and special occasions. For Sankranti, of course, it’s a beautiful way to honour the sun that gave us this ancient and nutritious crop.


Til-Ka-Chikki (Sesame Brittle)

(Yield: 10-15 pieces)


Ingredients

½ cup sesame seeds

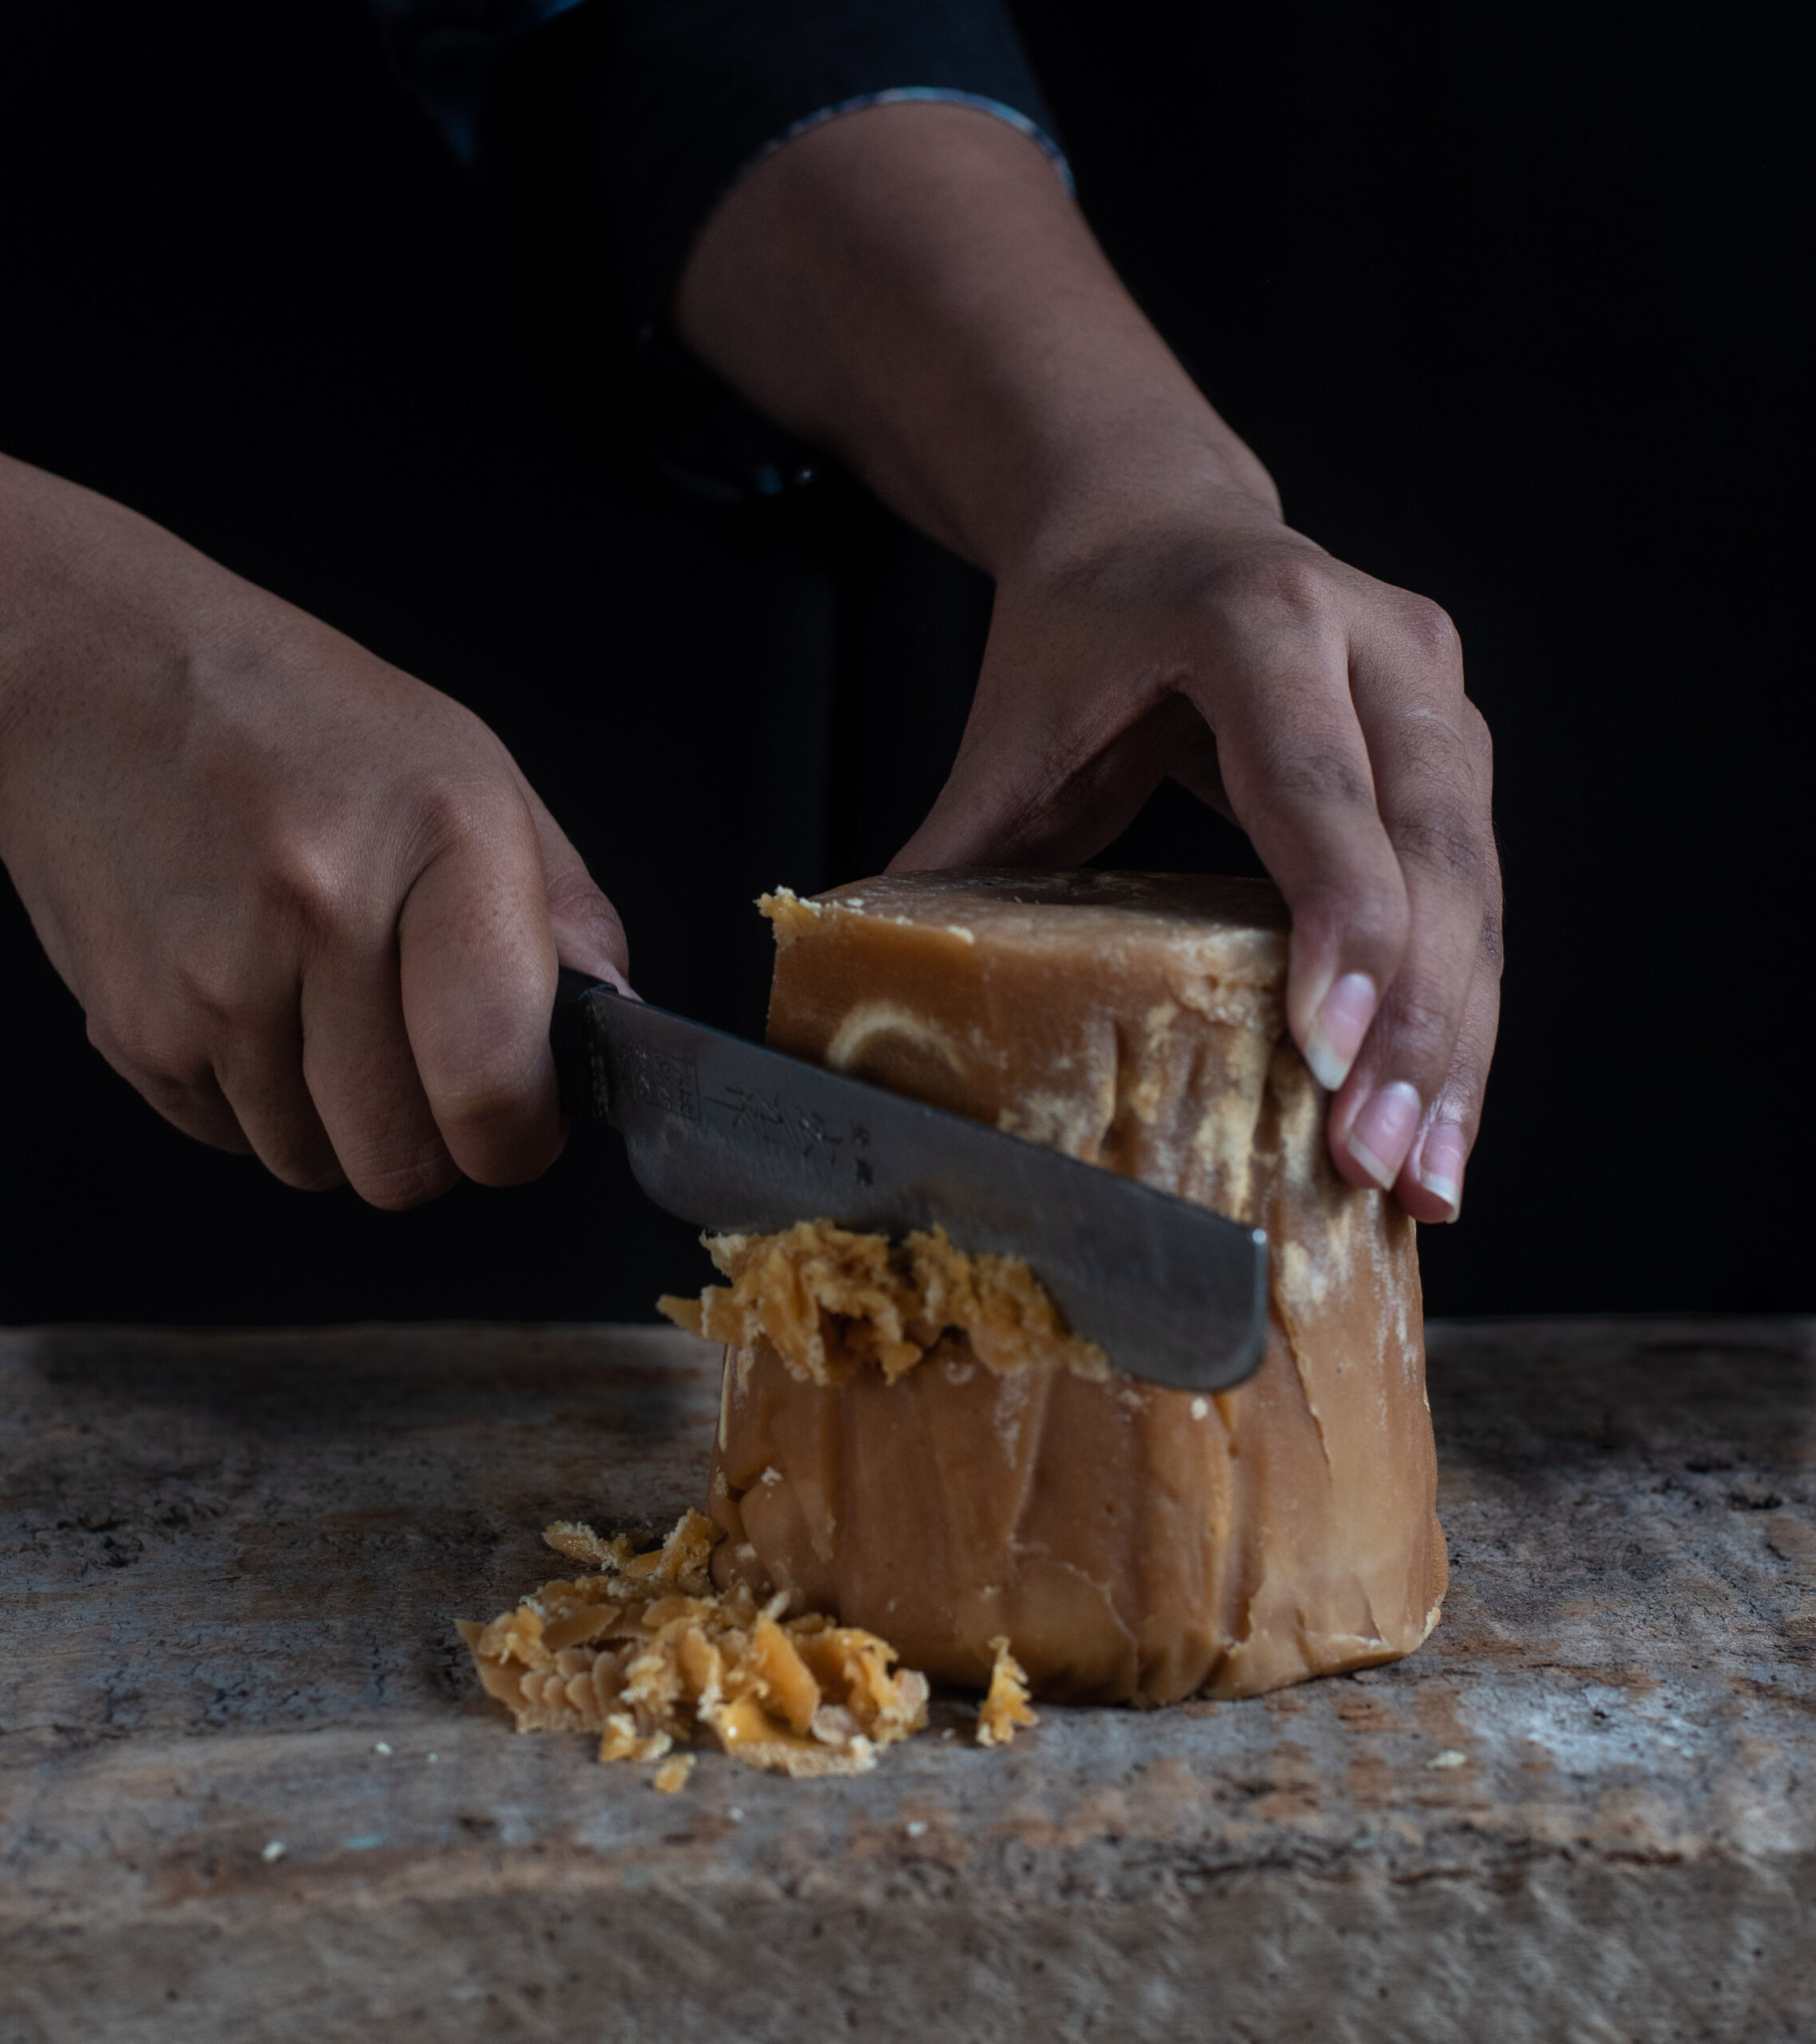
½ cup jaggery

1 tablespoon ghee

Grease an overturned steel plate and a rolling pin and keep these ready. Next, in a wok or kadai, roast the sesame seeds on a low flame. Occasionally increase to a medium flame for short spans. The sesame will take about 7 minutes to roast. Keep stirring until the colour changes.

Once roasted, transfer to a plate and allow to cool. Once cooled, taste a few seeds to check if they have a crunch to it. This means they are ready.

In the same wok or kadai, add the ghee. Then, add the jaggery and stir constantly on a low flame. As with the roasting of the sesame seeds, you may occasionally increase the flame to a medium for short spans, then immediately reduce it to a low again. Take care that the jaggery does not burn. Do see this video for reference: re:store sesame brittle video – 1

Mine took approximately 9 minutes to turn into a reddish colour. Once this happens, turn off the flame. Add the sesame seeds and stir well.

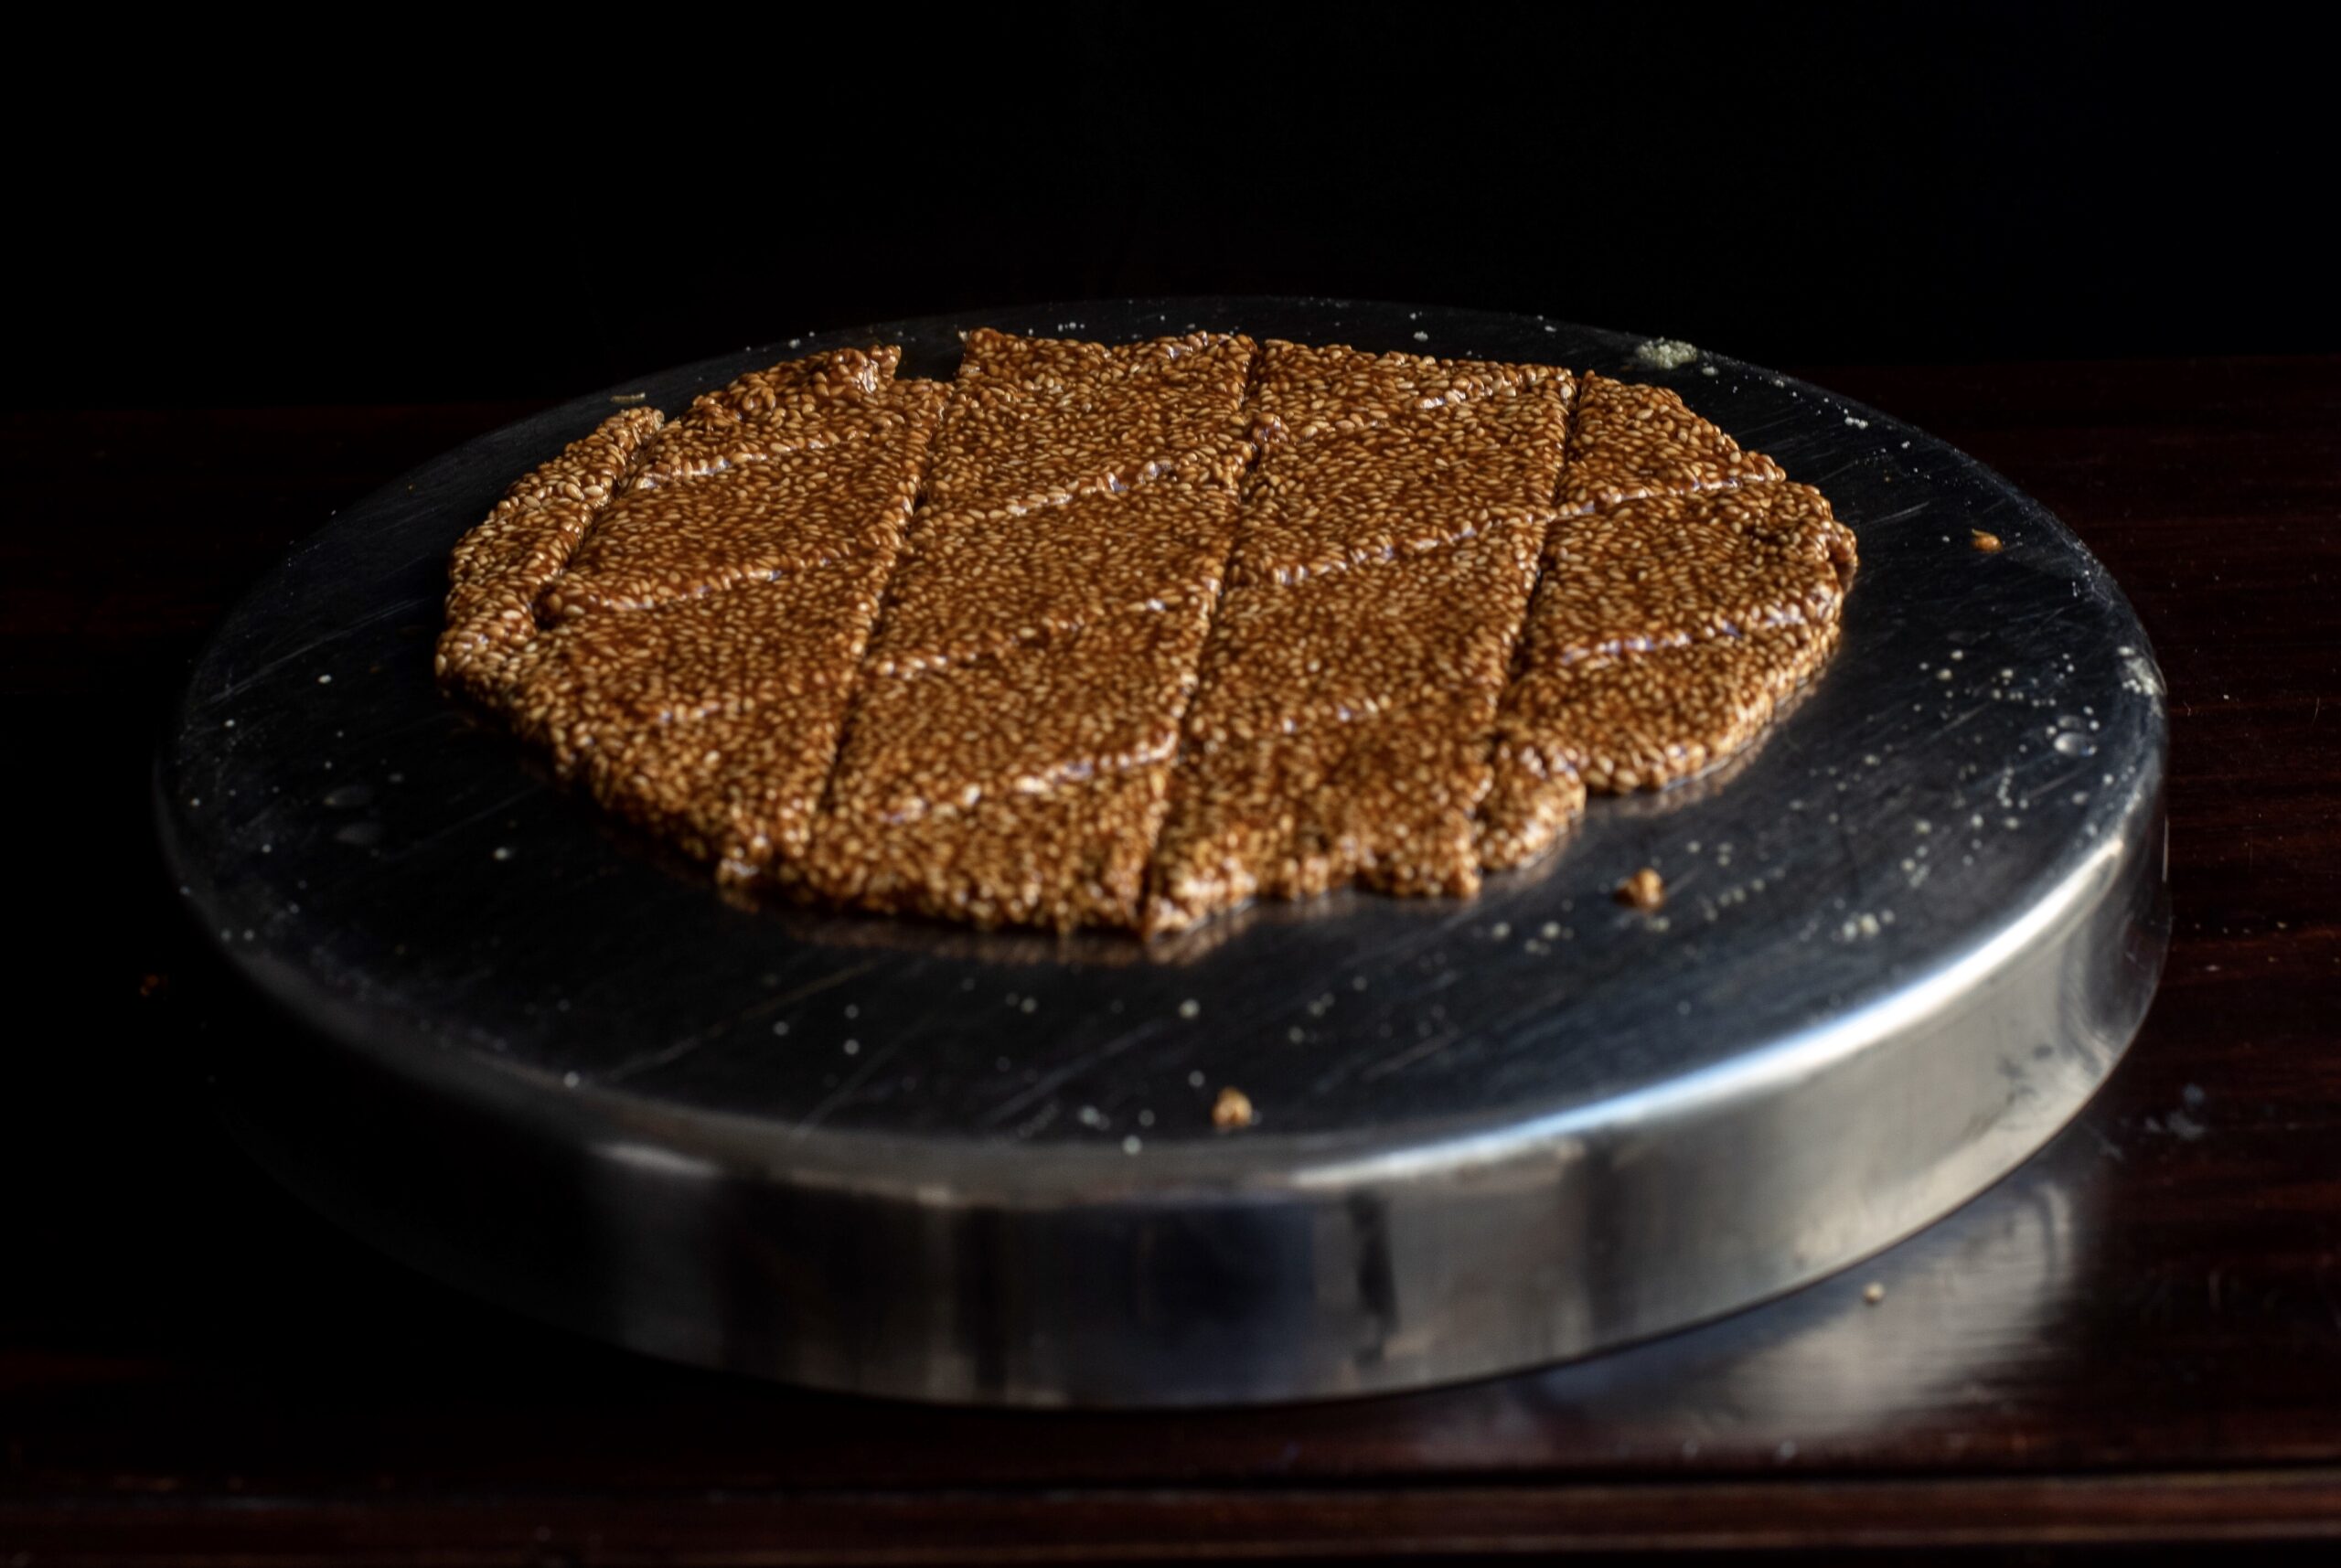
Drop the mixture onto the greased, overturned plate and immediately start to spread it out as thin as possible. You may need to use your fingers (dipped in water), while the rolling pin is coated with ghee. With this combination, try and spread it out in such a way that you mark lines for the pieces later.

Allow the spread mixture, striped with lines to form bars, to cool. Once it has completely cooled, place the plate on the stove and warm from below. The entire piece will come out as a whole. Break it along the marked lines. Store in an airtight container.


Here’s another process video: re:store sesame brittle video – 2

I want to say that this til-ka-chikki is easy to make, but I’ve already told you honestly that it’s not. But I love a challenge in the kitchen, and try again and again to better then perfect my dishes. Even with my photoshoots, it’s the same. When the end result comes out well, it’s all the more delicious when I know the effort that’s gone into it! Tell me how it goes when you try your hand at this dish. Wishing you and your loved ones a happy Sankranti!
 

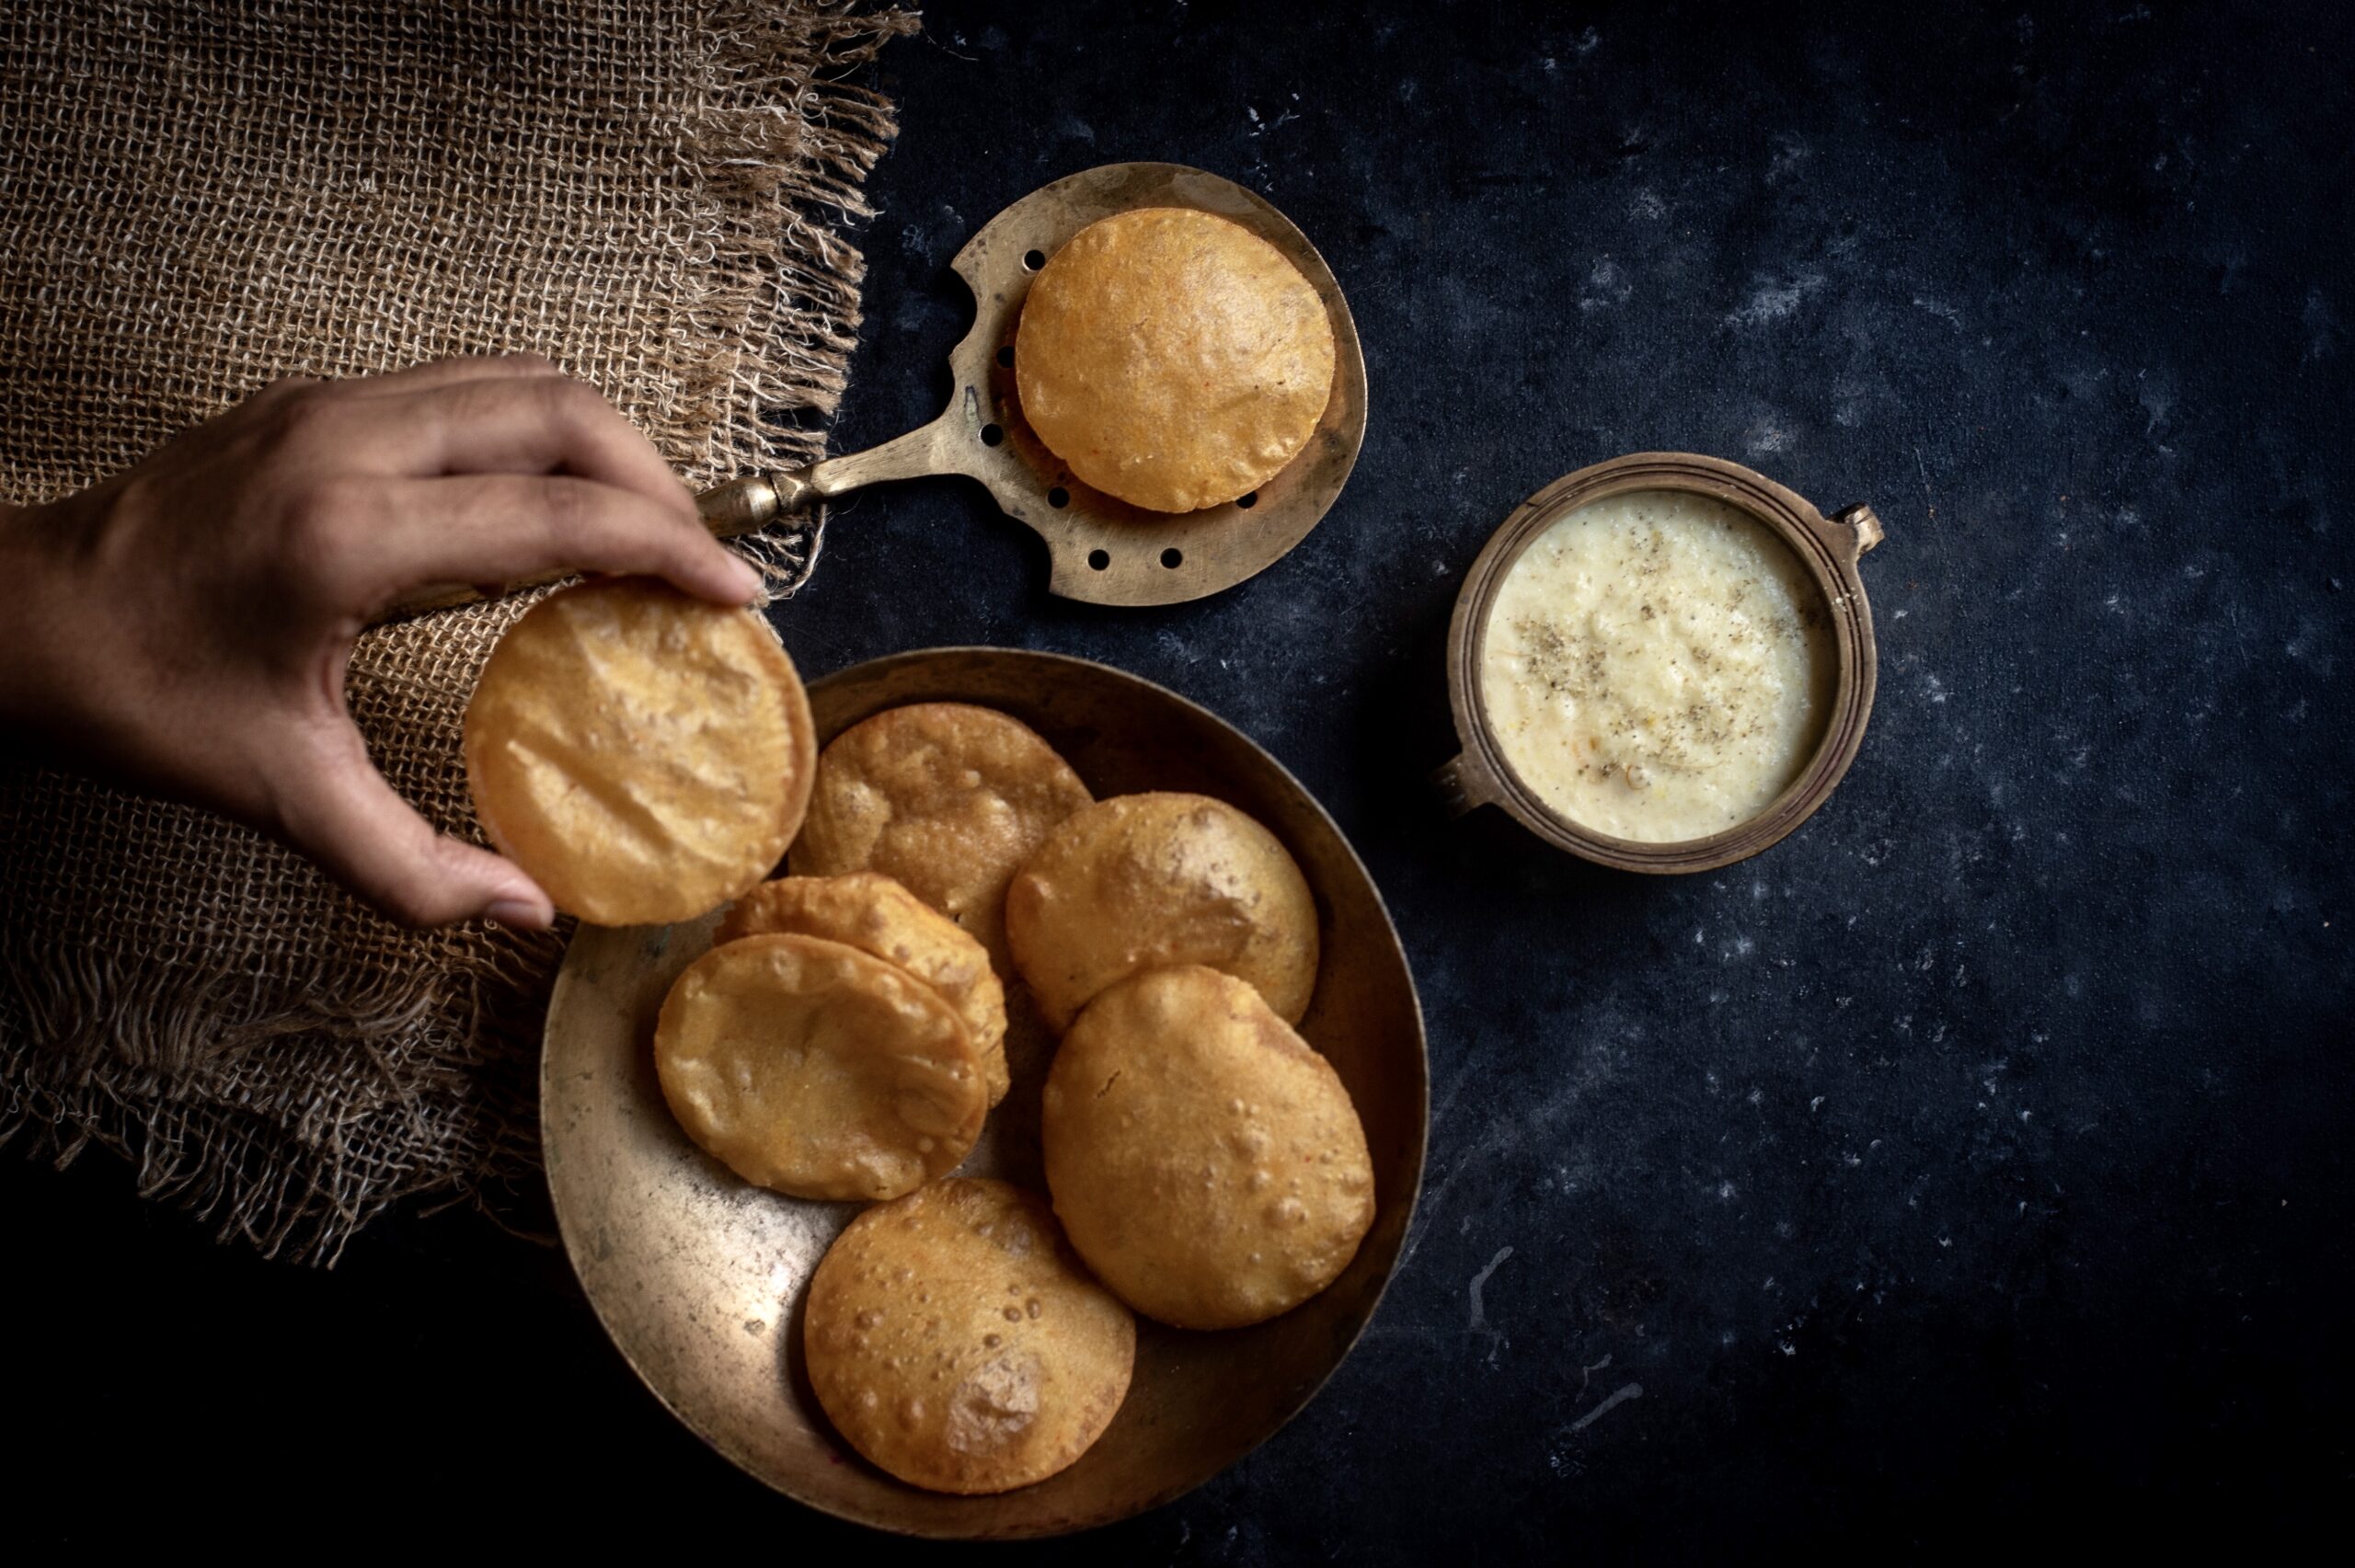
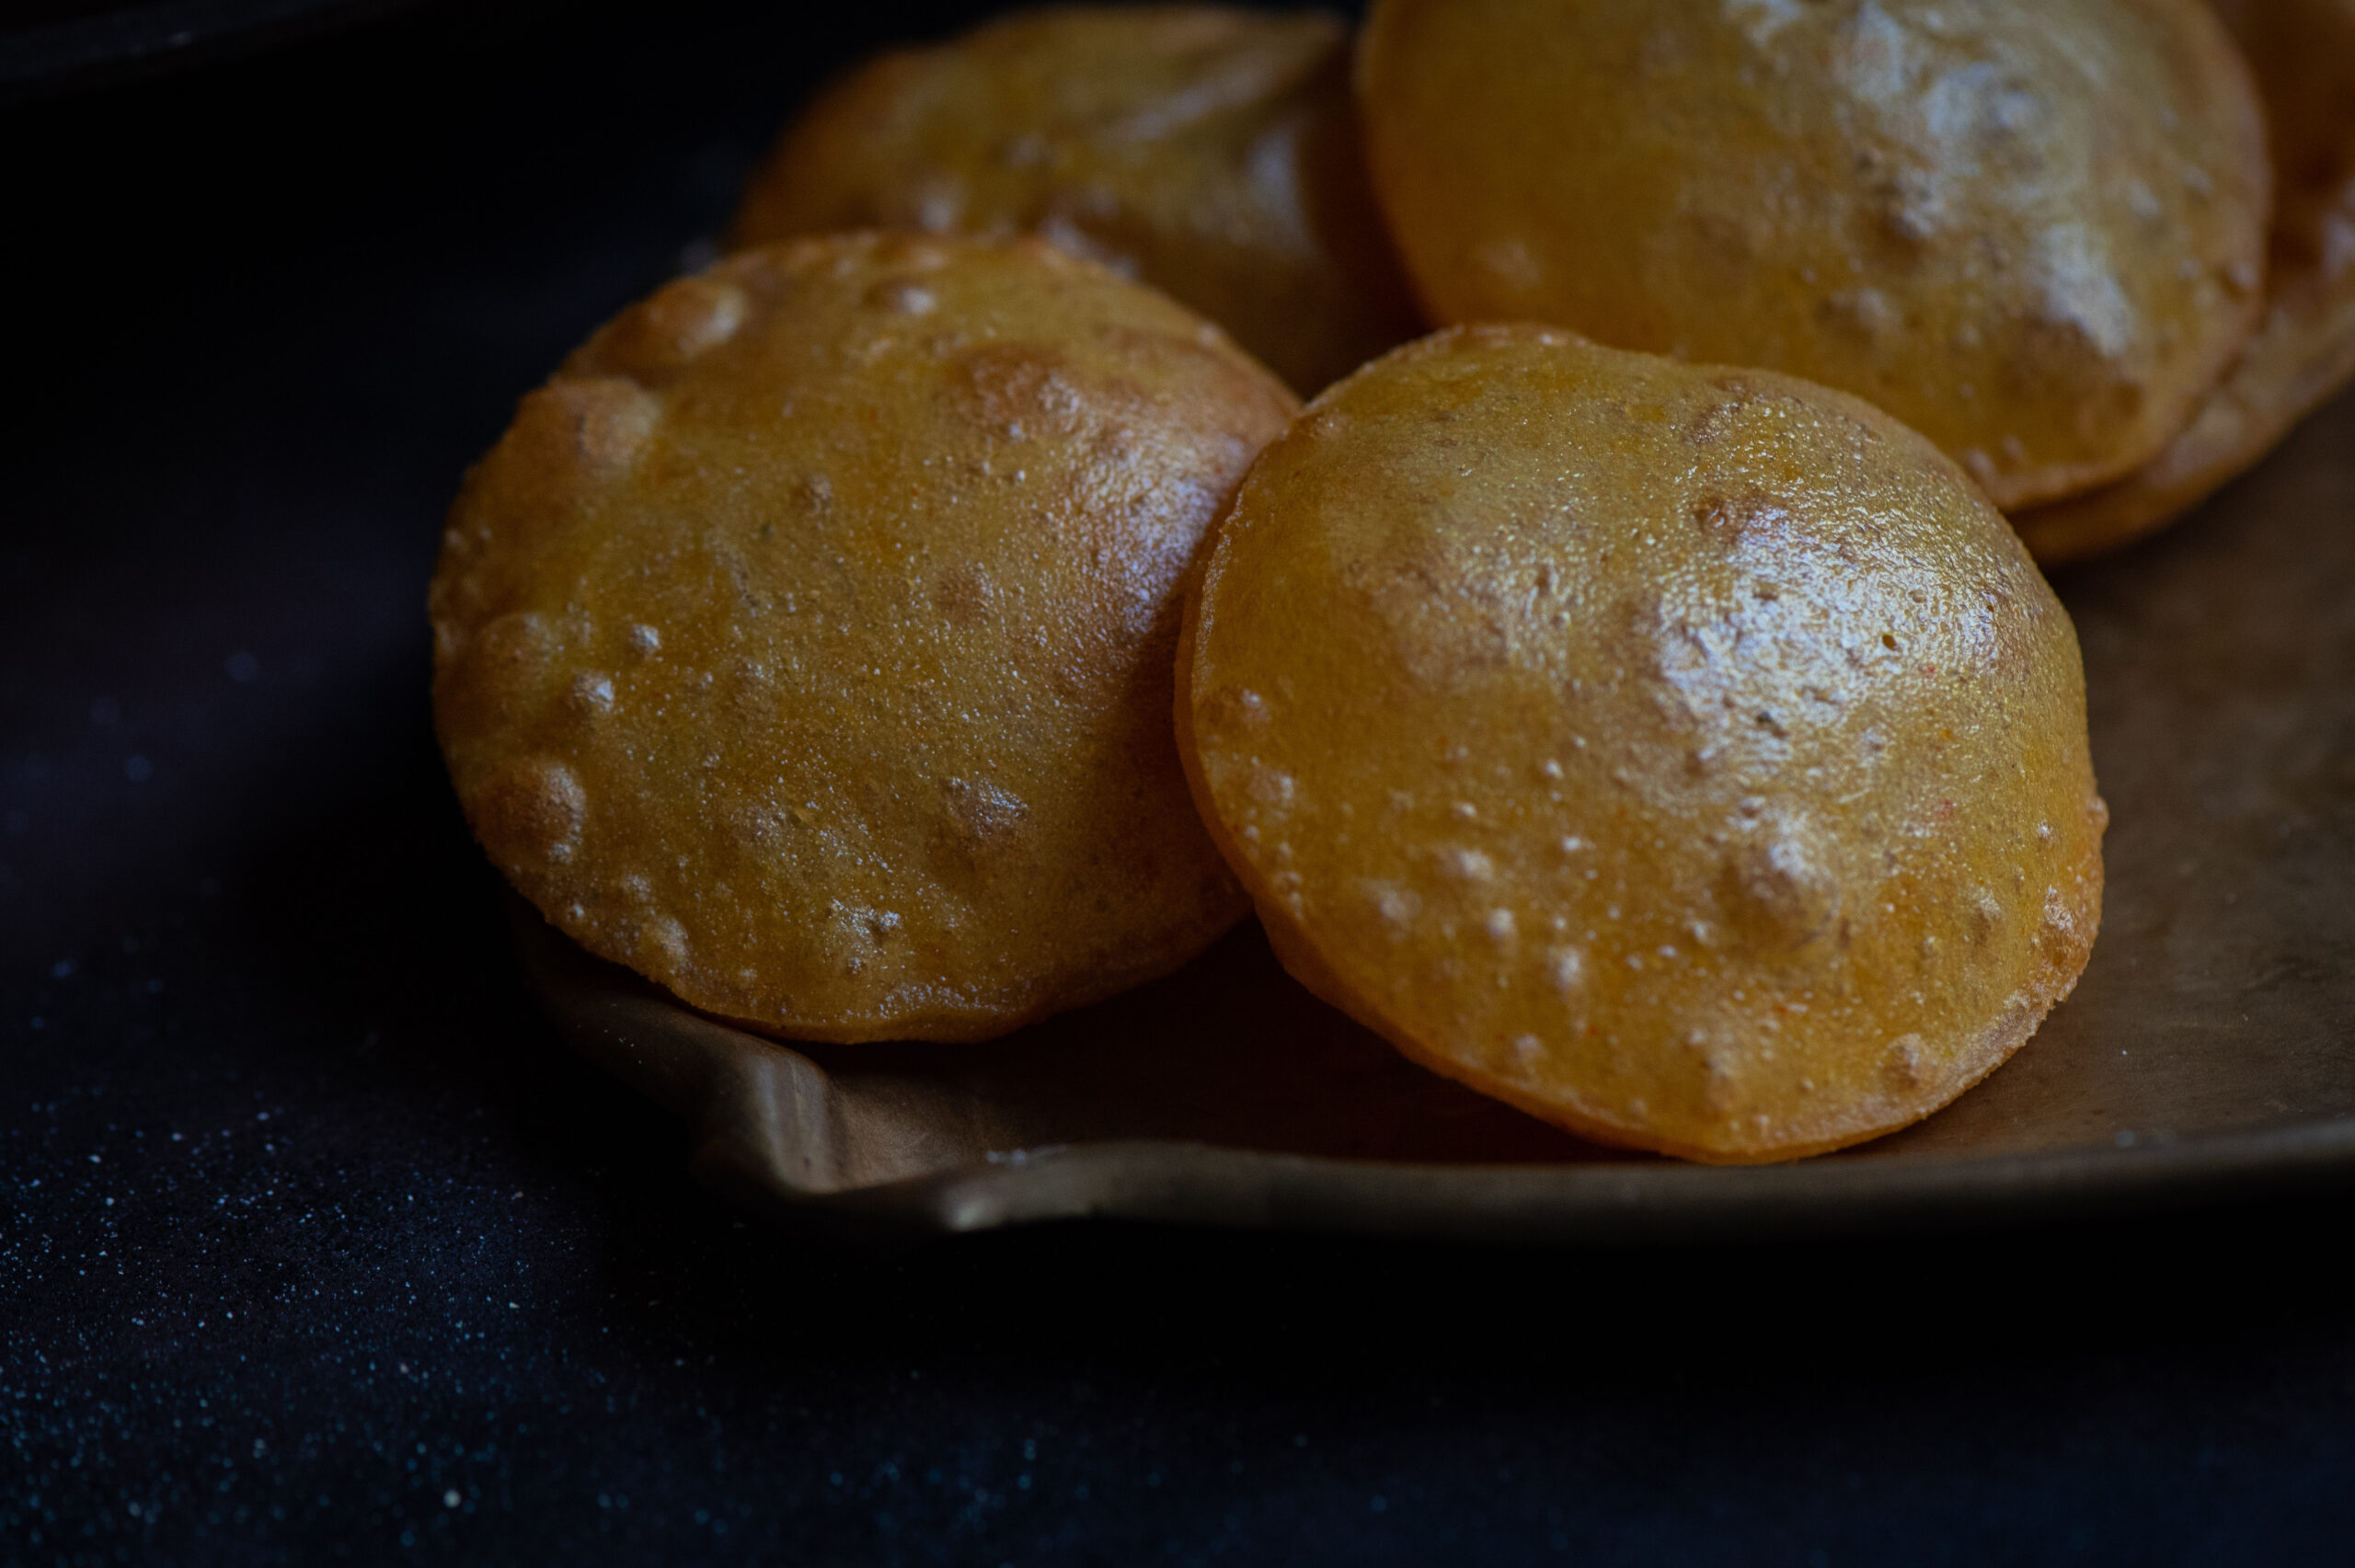
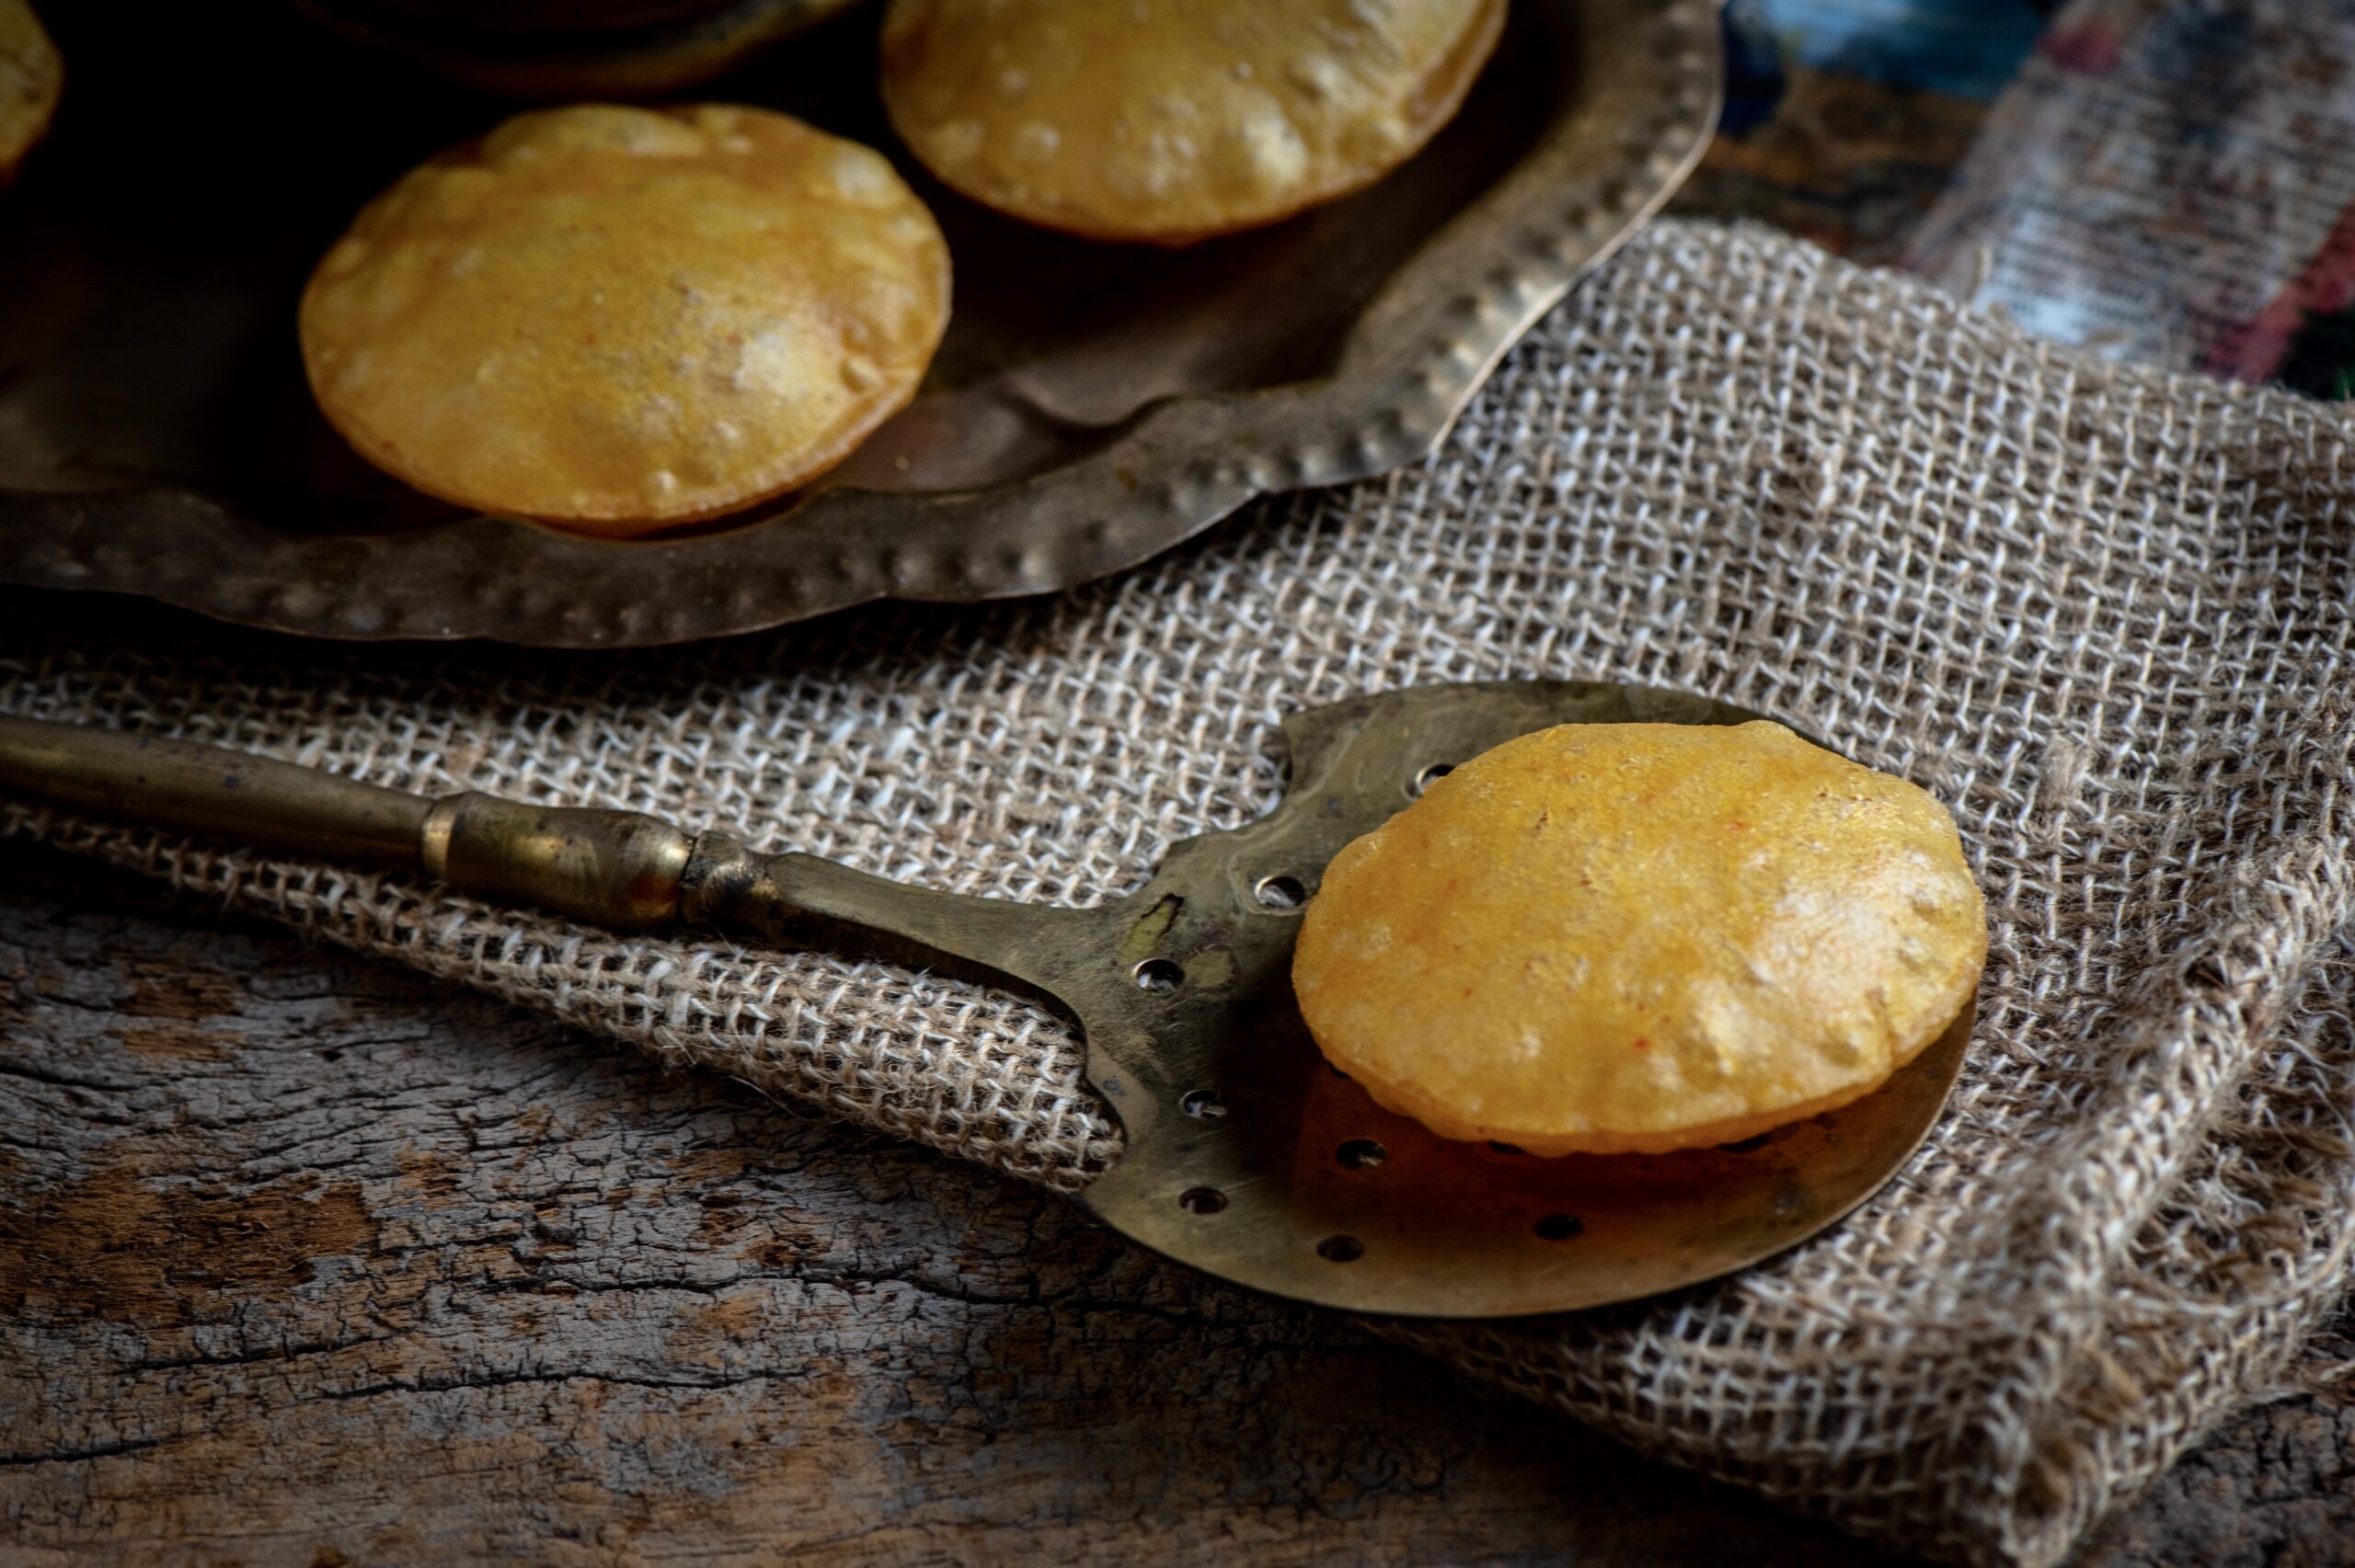
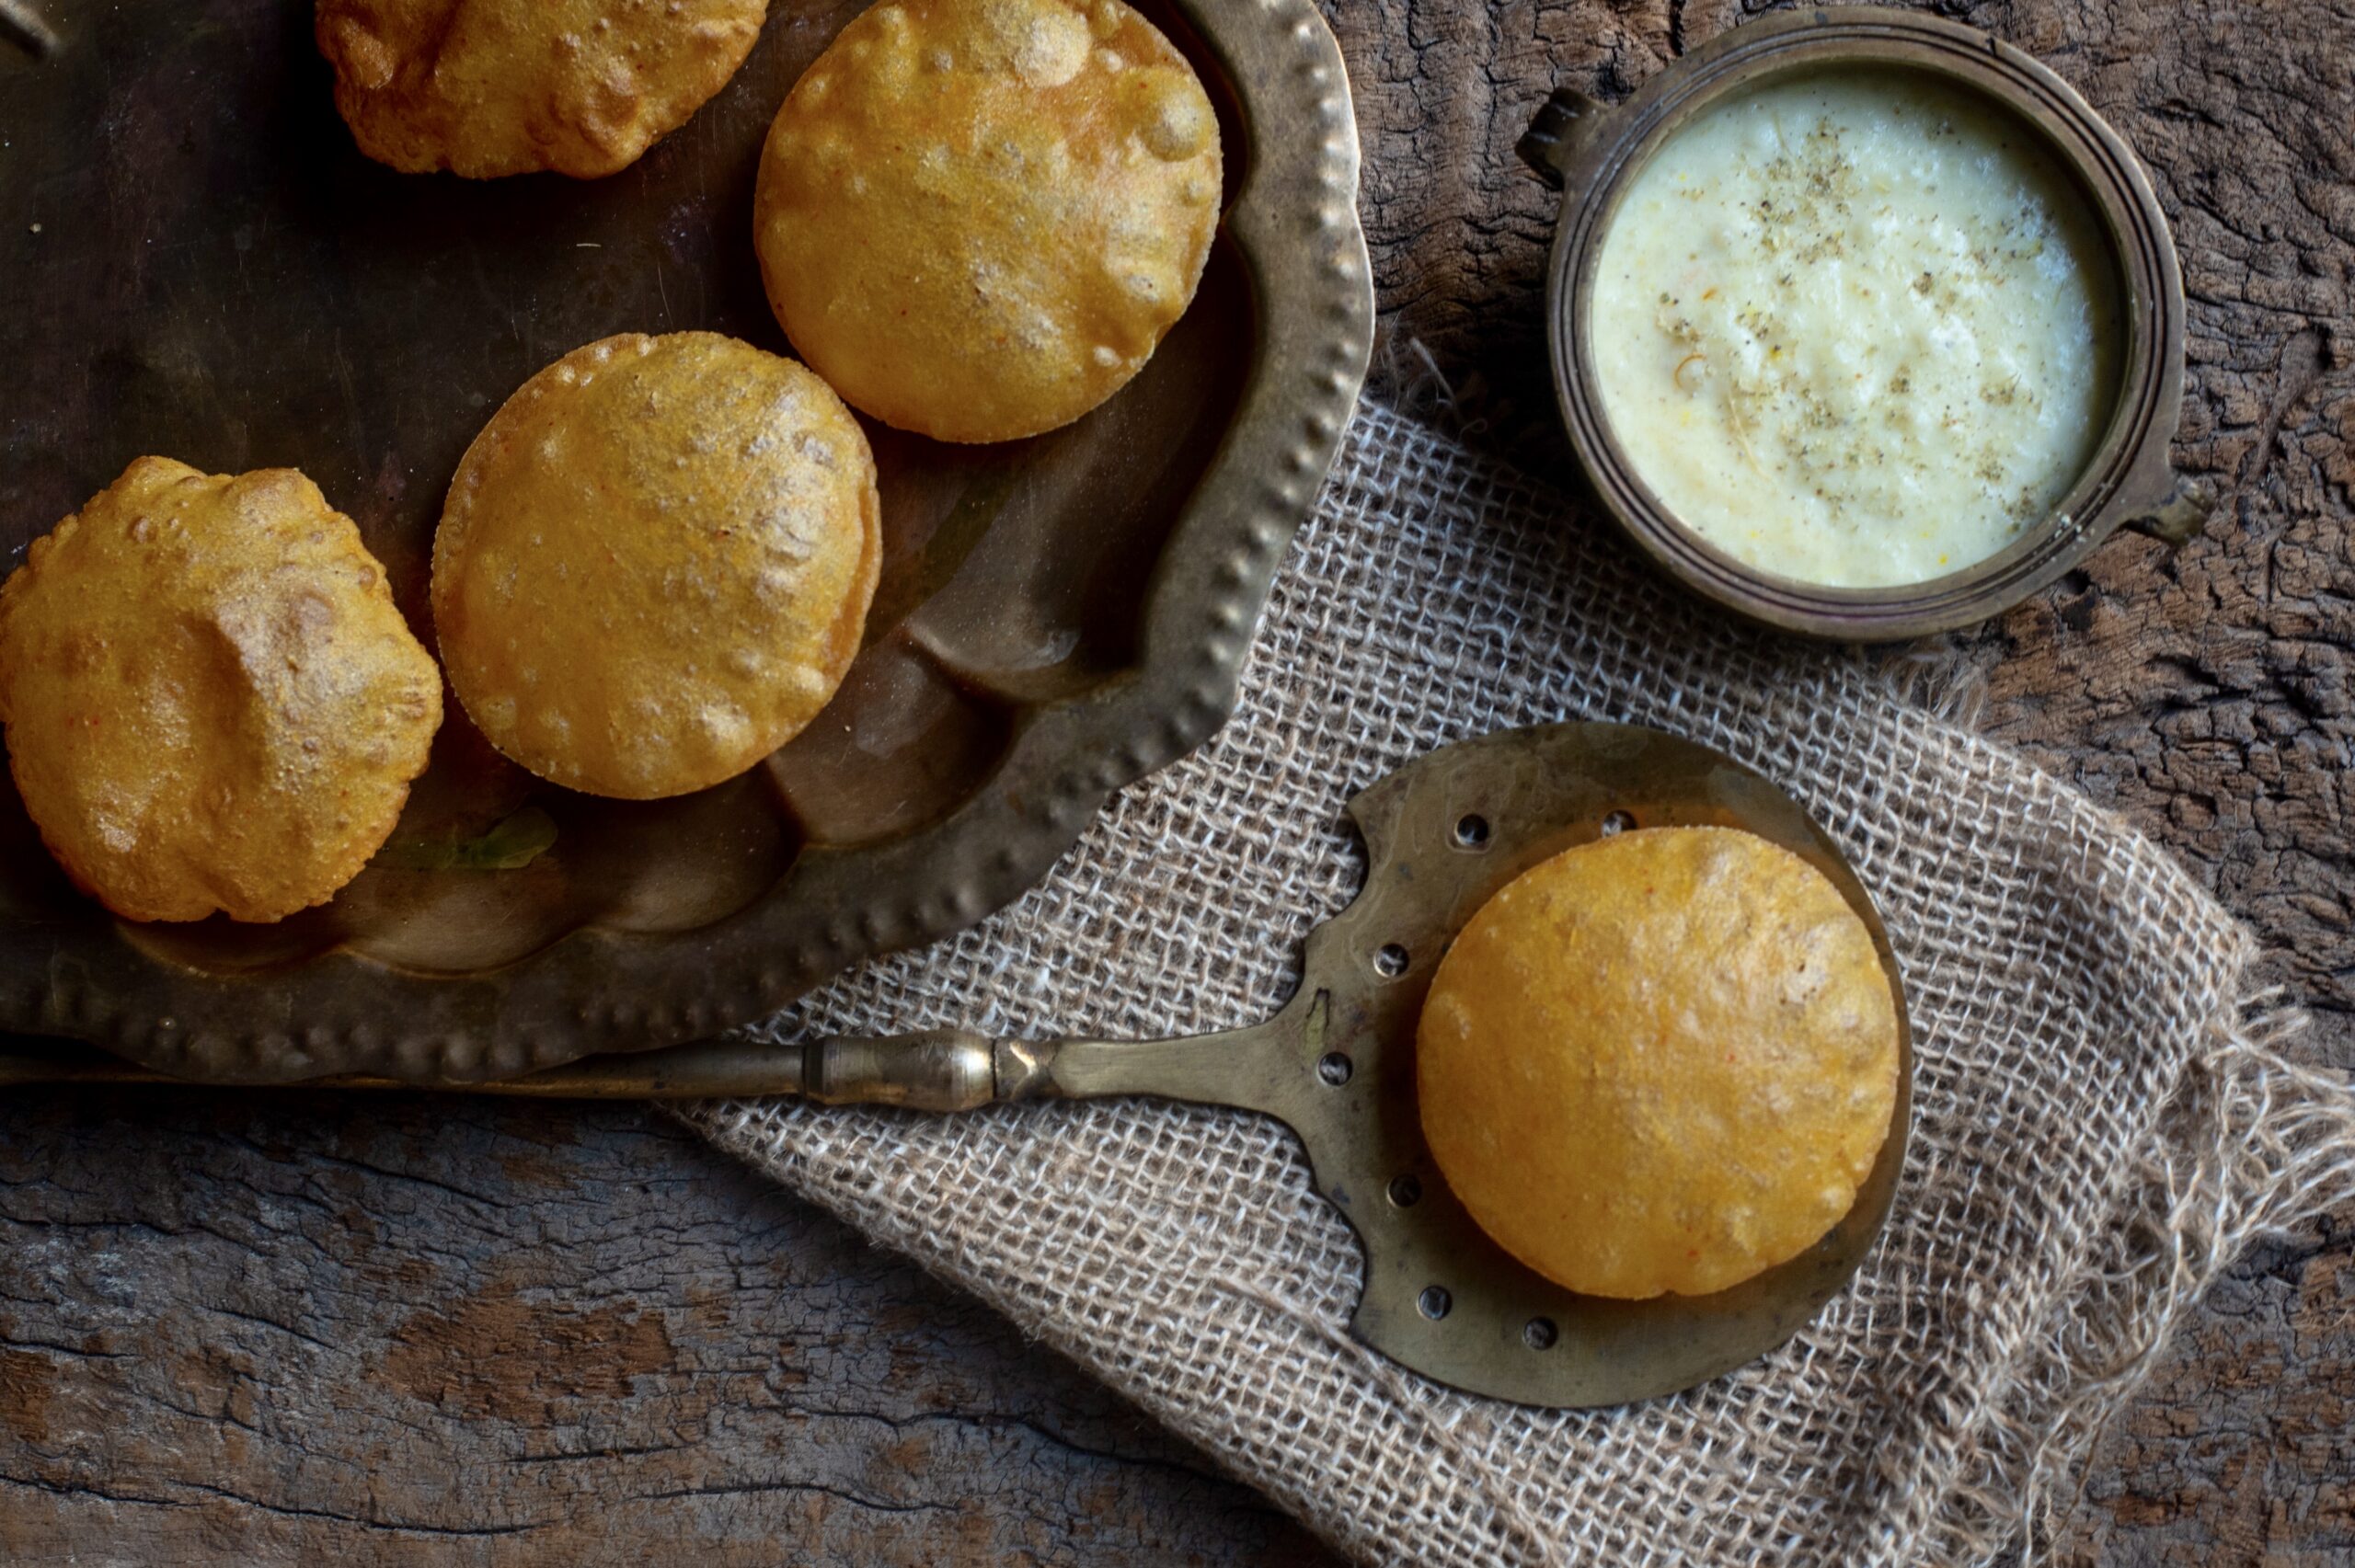
Gujaratis love fried things. Full stop! We love them so much that we even start the day with them. Specifically, with pooris, which are our traditional breakfasts. We never feel guilty or bad about reaching out for our fried snacks either, which includes ganthia (fried mini pappad) and a variety of mixtures (popularly known as chevdo, which vary from region to region and can be sweet, tangy, or spicy). Ganthia and jalebi, a deep-fried sweet, are also popular as breakfast. It will come as no surprise that pooris – discs of dough which fluff up in hot oil – are another such staple. They also come in several variations. Crunchy, crispy-salty (to be had with tea), and soft. Today, I’ll be sharing how to make the soft version… with another typically Gujju twist.
That twist, of course, is sweetness. As you’d already have known from the long list of traditional desserts on this blog, Gujaratis love sweetness just as much or even more than we love fried things. The perfect combination of these two cravings is the kheer poori, which in simplest terms is a poori eaten with kheer, a milk-based sweet.

When I was growing up, cakes were not yet popular in Chennai, and this kheer poori was often a birthday treat that my mother made for us. Especially for me, because I just loved that combination of tastes and temperature: the saltiness and heat of the poori, the sweetness and coolness of the kheer. It was also something made for special occasions, which as you know are usually observed with an offering of sweets to the divine, as well as for weddings and other celebrations.

The frying of pooris is an art, and being a Gujarati, size does matter – in this case, the smaller, the more delicate and dainty, the better. My mother was strict about this. She always said that if a poori did not puff, if it did not bloom in the oil, then the person frying it just did not know how to make a good poori! Pooris are generally eaten hot and fresh. Not only did my mother tend not to serve unpuffed pooris at the table, but if a poori became flattened by the time it reached my plate, I would absolutely refuse to eat it as a child! Perhaps that’s why I became so keen on, and so good at, frying perfectly puffed ones later.

I’ve shared two kheer recipes earlier, and have linked to them below. So this recipe teaches you only how to make pooris – a standard in almost any Indian kitchen, but hard to perfect, as many will tell you! Alternately, you can eat your pooris with any accompaniment of your choice. Once you have the basics in place, it’s fun to experiment. If you don’t have a sweet tooth, you can always have pooris with a potato curry (like the Gujarati bataka-nu-shaak) or another accompaniment, like a pickle. Perhaps because it is so simple, a poori is also an incredibly versatile dish. And yes, you WILL need (and want) more than one, for sure!


Poori (With Kheer)

(Yield: 15-20 small pooris)

Ingredients

1 cup whole wheat flour

¼ teaspoon turmeric powder

½ teaspoon cumin powder

½ teaspoon chilli powder

½ teaspoon salt

1 tablespoon oil

¼ cup water

2 cups oil for deep frying


As I said above, I’ve provided two kheer recipes earlier, and you can pick which one to make based on seasonal availability and individual taste. Whether you go with the sitaphal kheer, the rose-coconut kheer, or your own variation, you should have this prepared and refrigerated first.

I don’t know if I’ve ever shared this with you before, but in most Gujarati homes, we regularly make fresh batches of green chilli and ginger paste. This keeps for two or three days, and we use a dollop of it in lieu of red chilli powder. If you prefer this taste, and have it on hand, you can substitute the red chilli powder in the ingredients for the same. I have fond memories of our helper when I was growing up using the stone rubi-kallu to make the paste. We rarely used the blender, and I can’t even remember if we had one at the time. Now, it’s such a necessity.

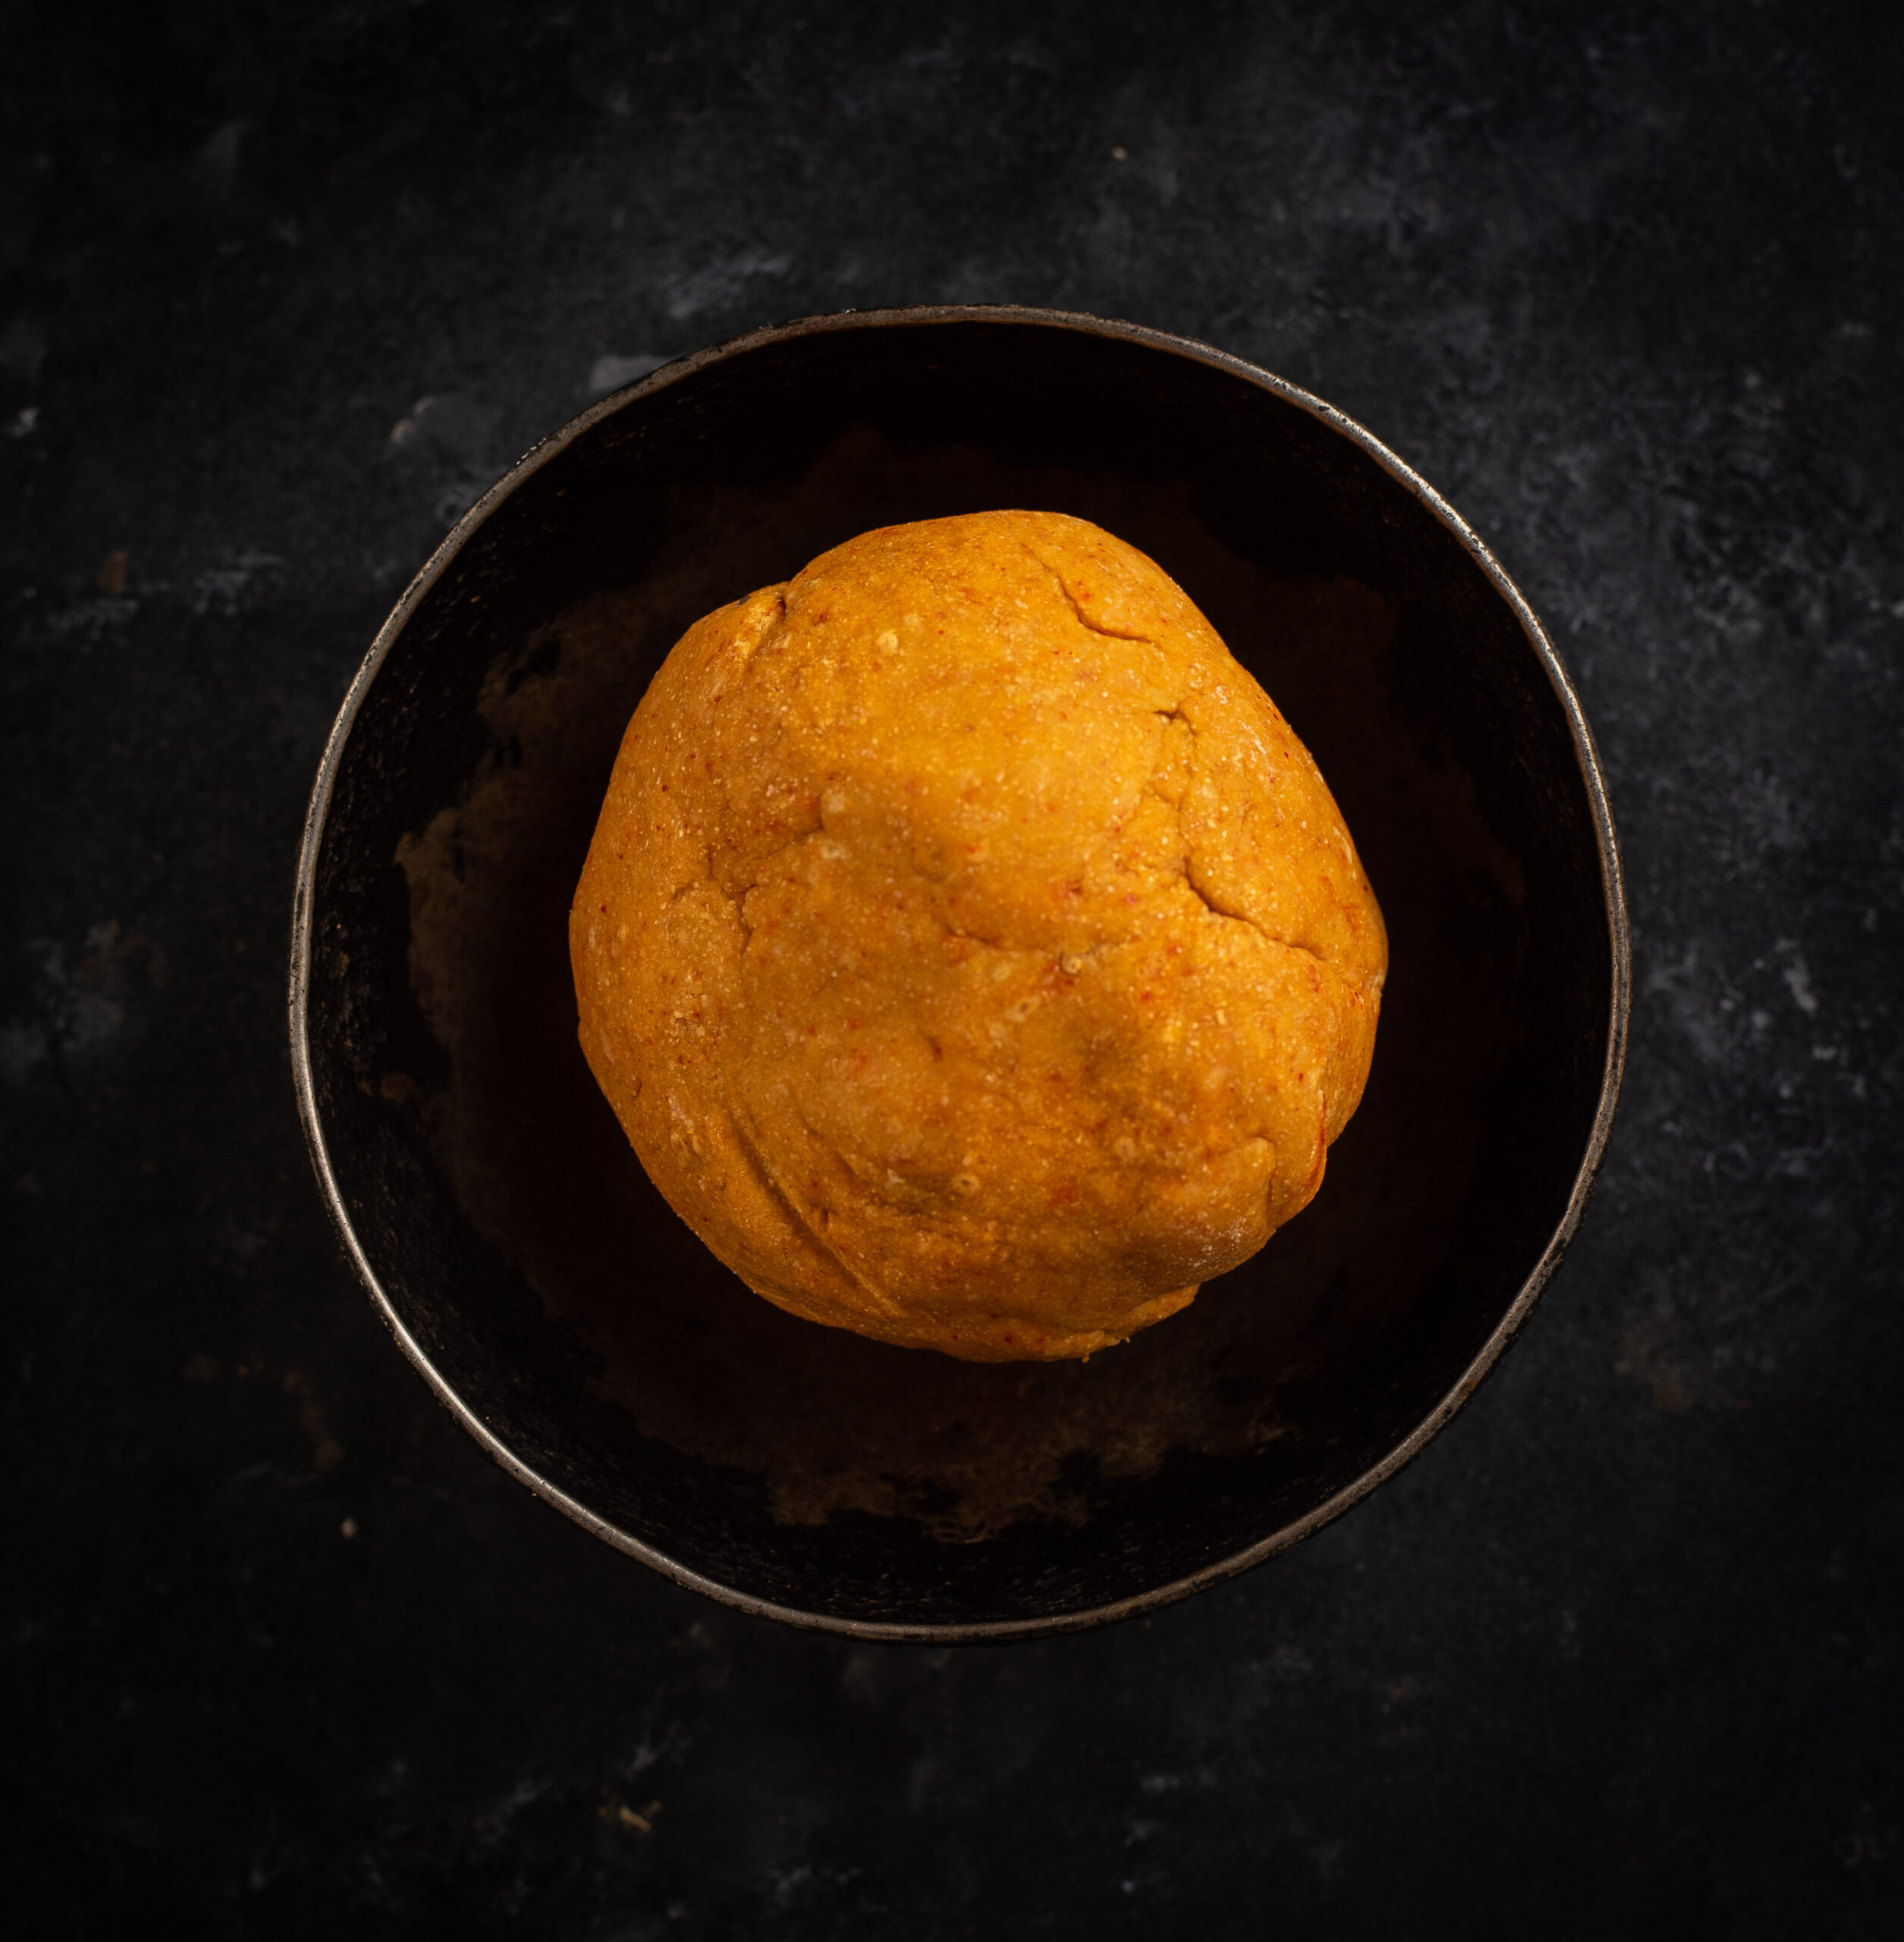
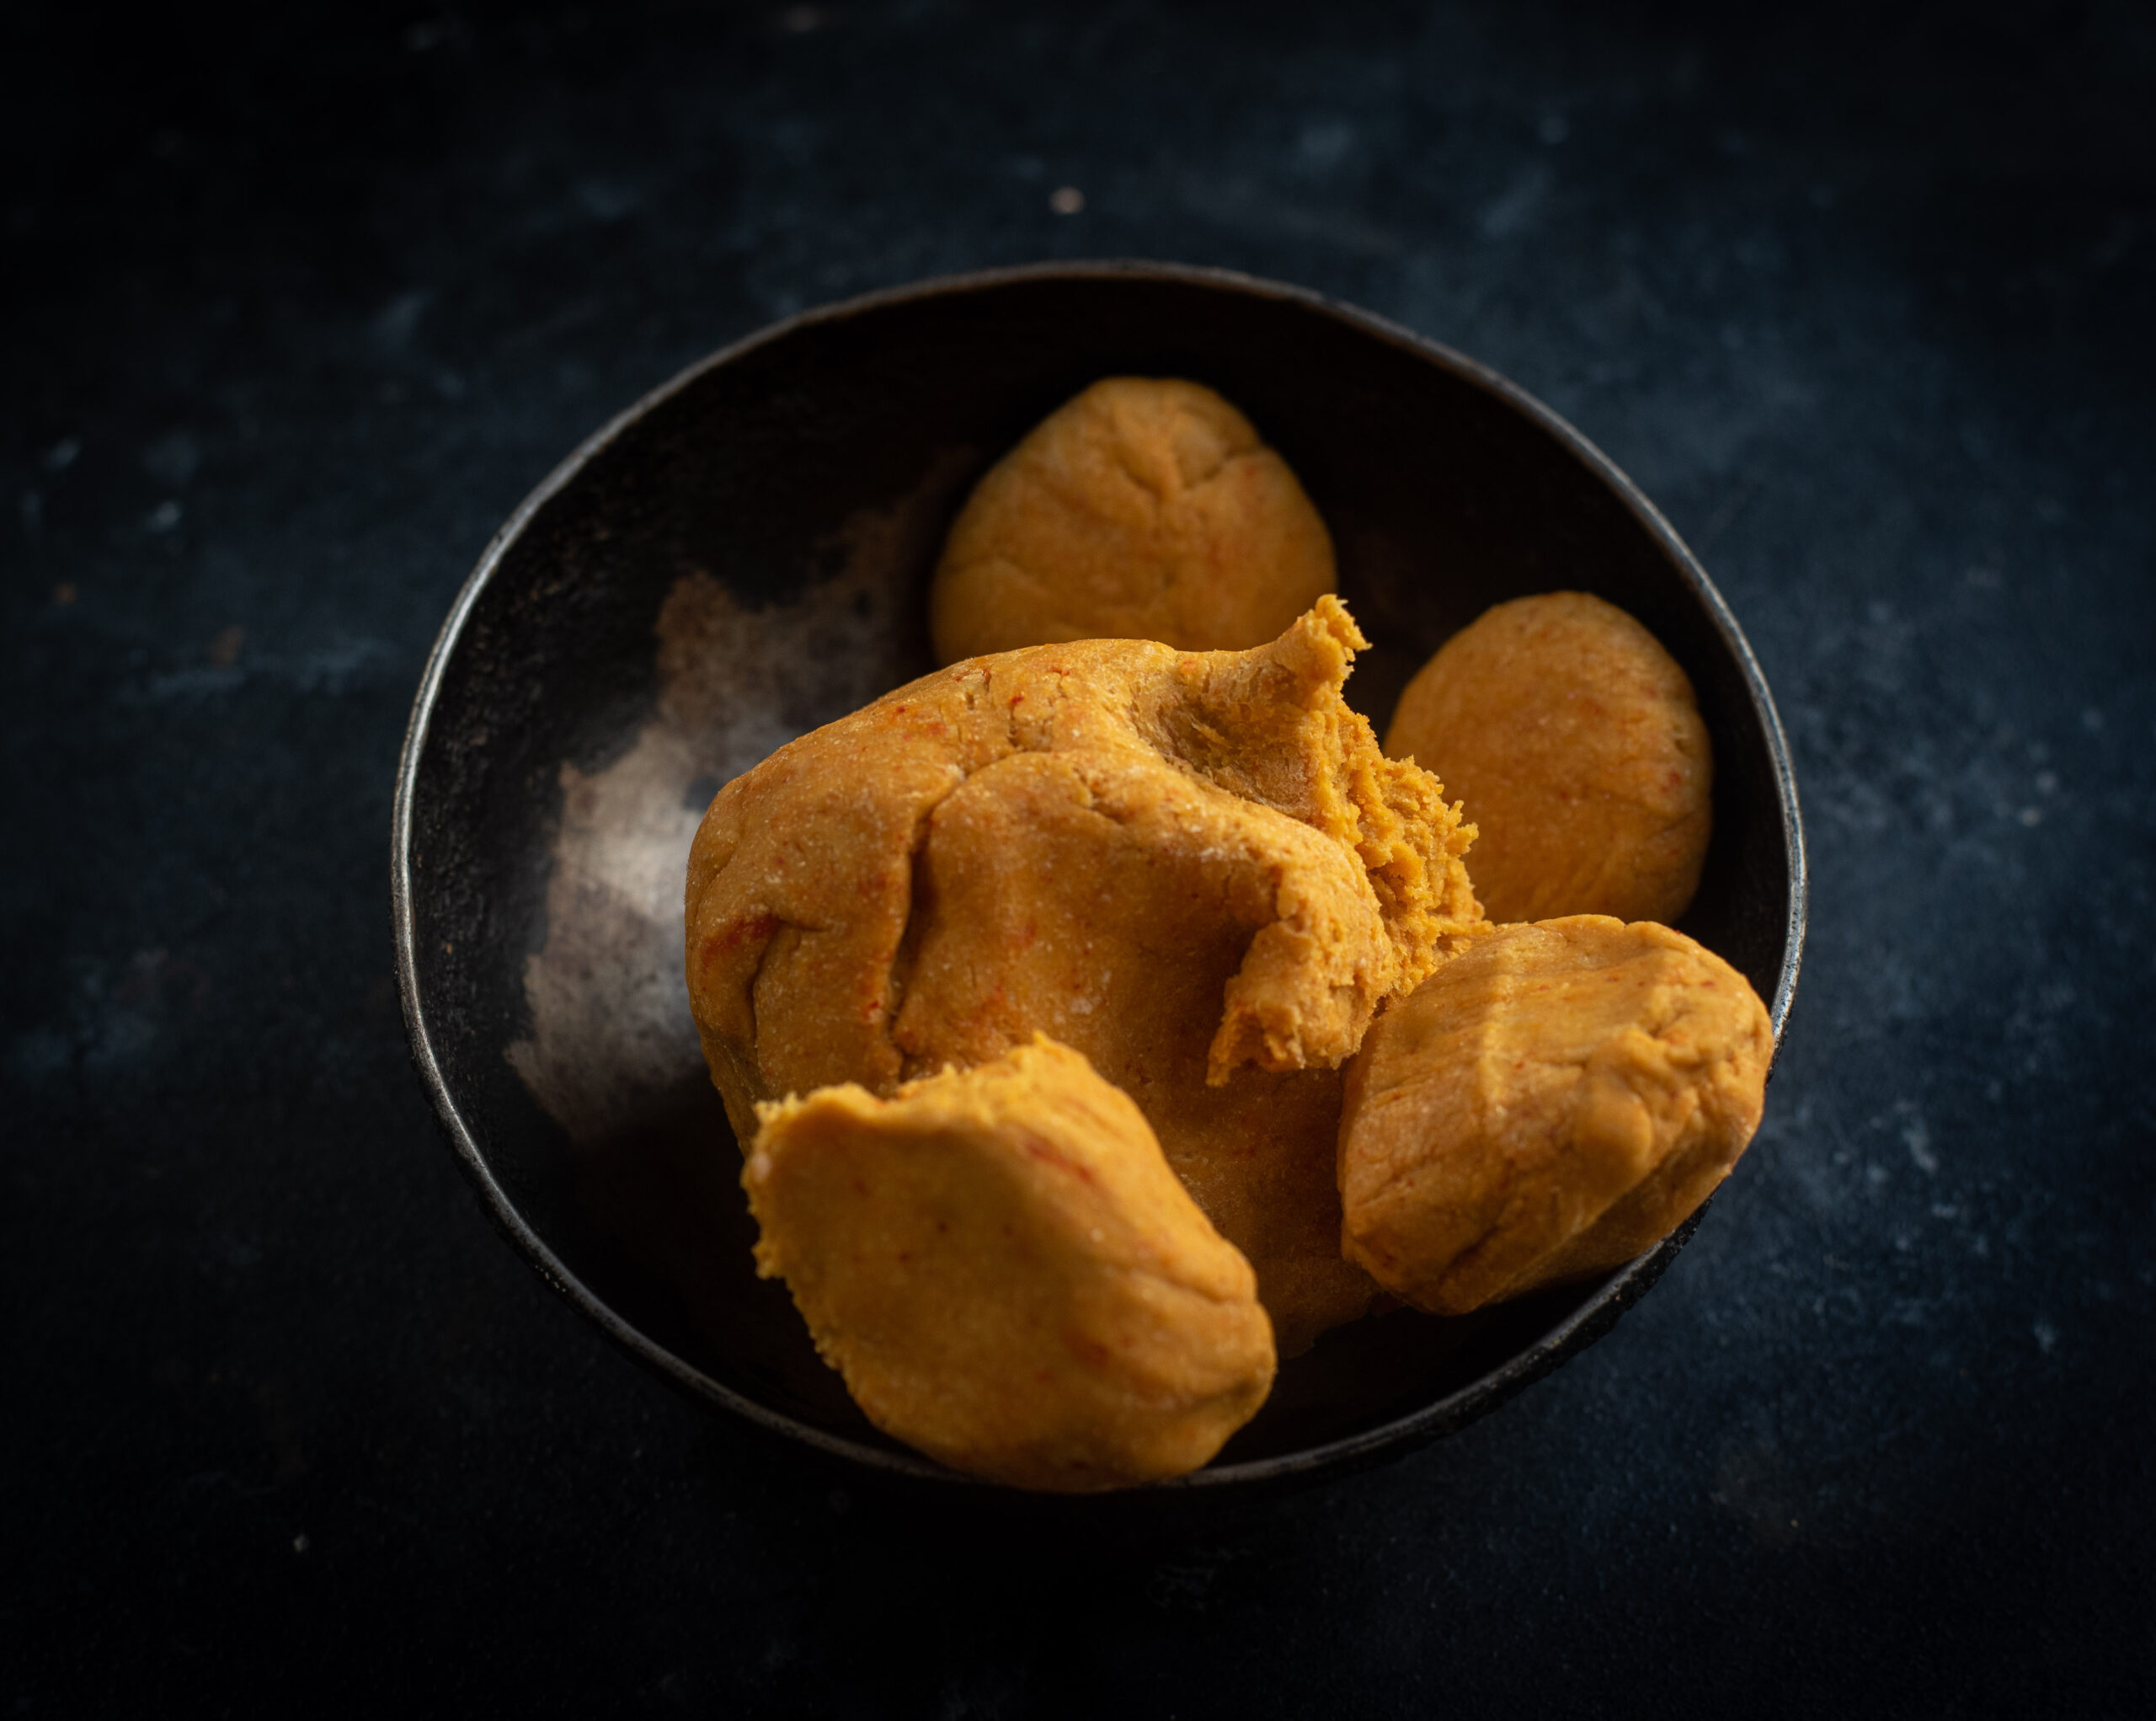
In a bowl, add all the ingredients (except the oil for deep frying) and make a dough. The dough should be equivalent to a tight smooth ball.

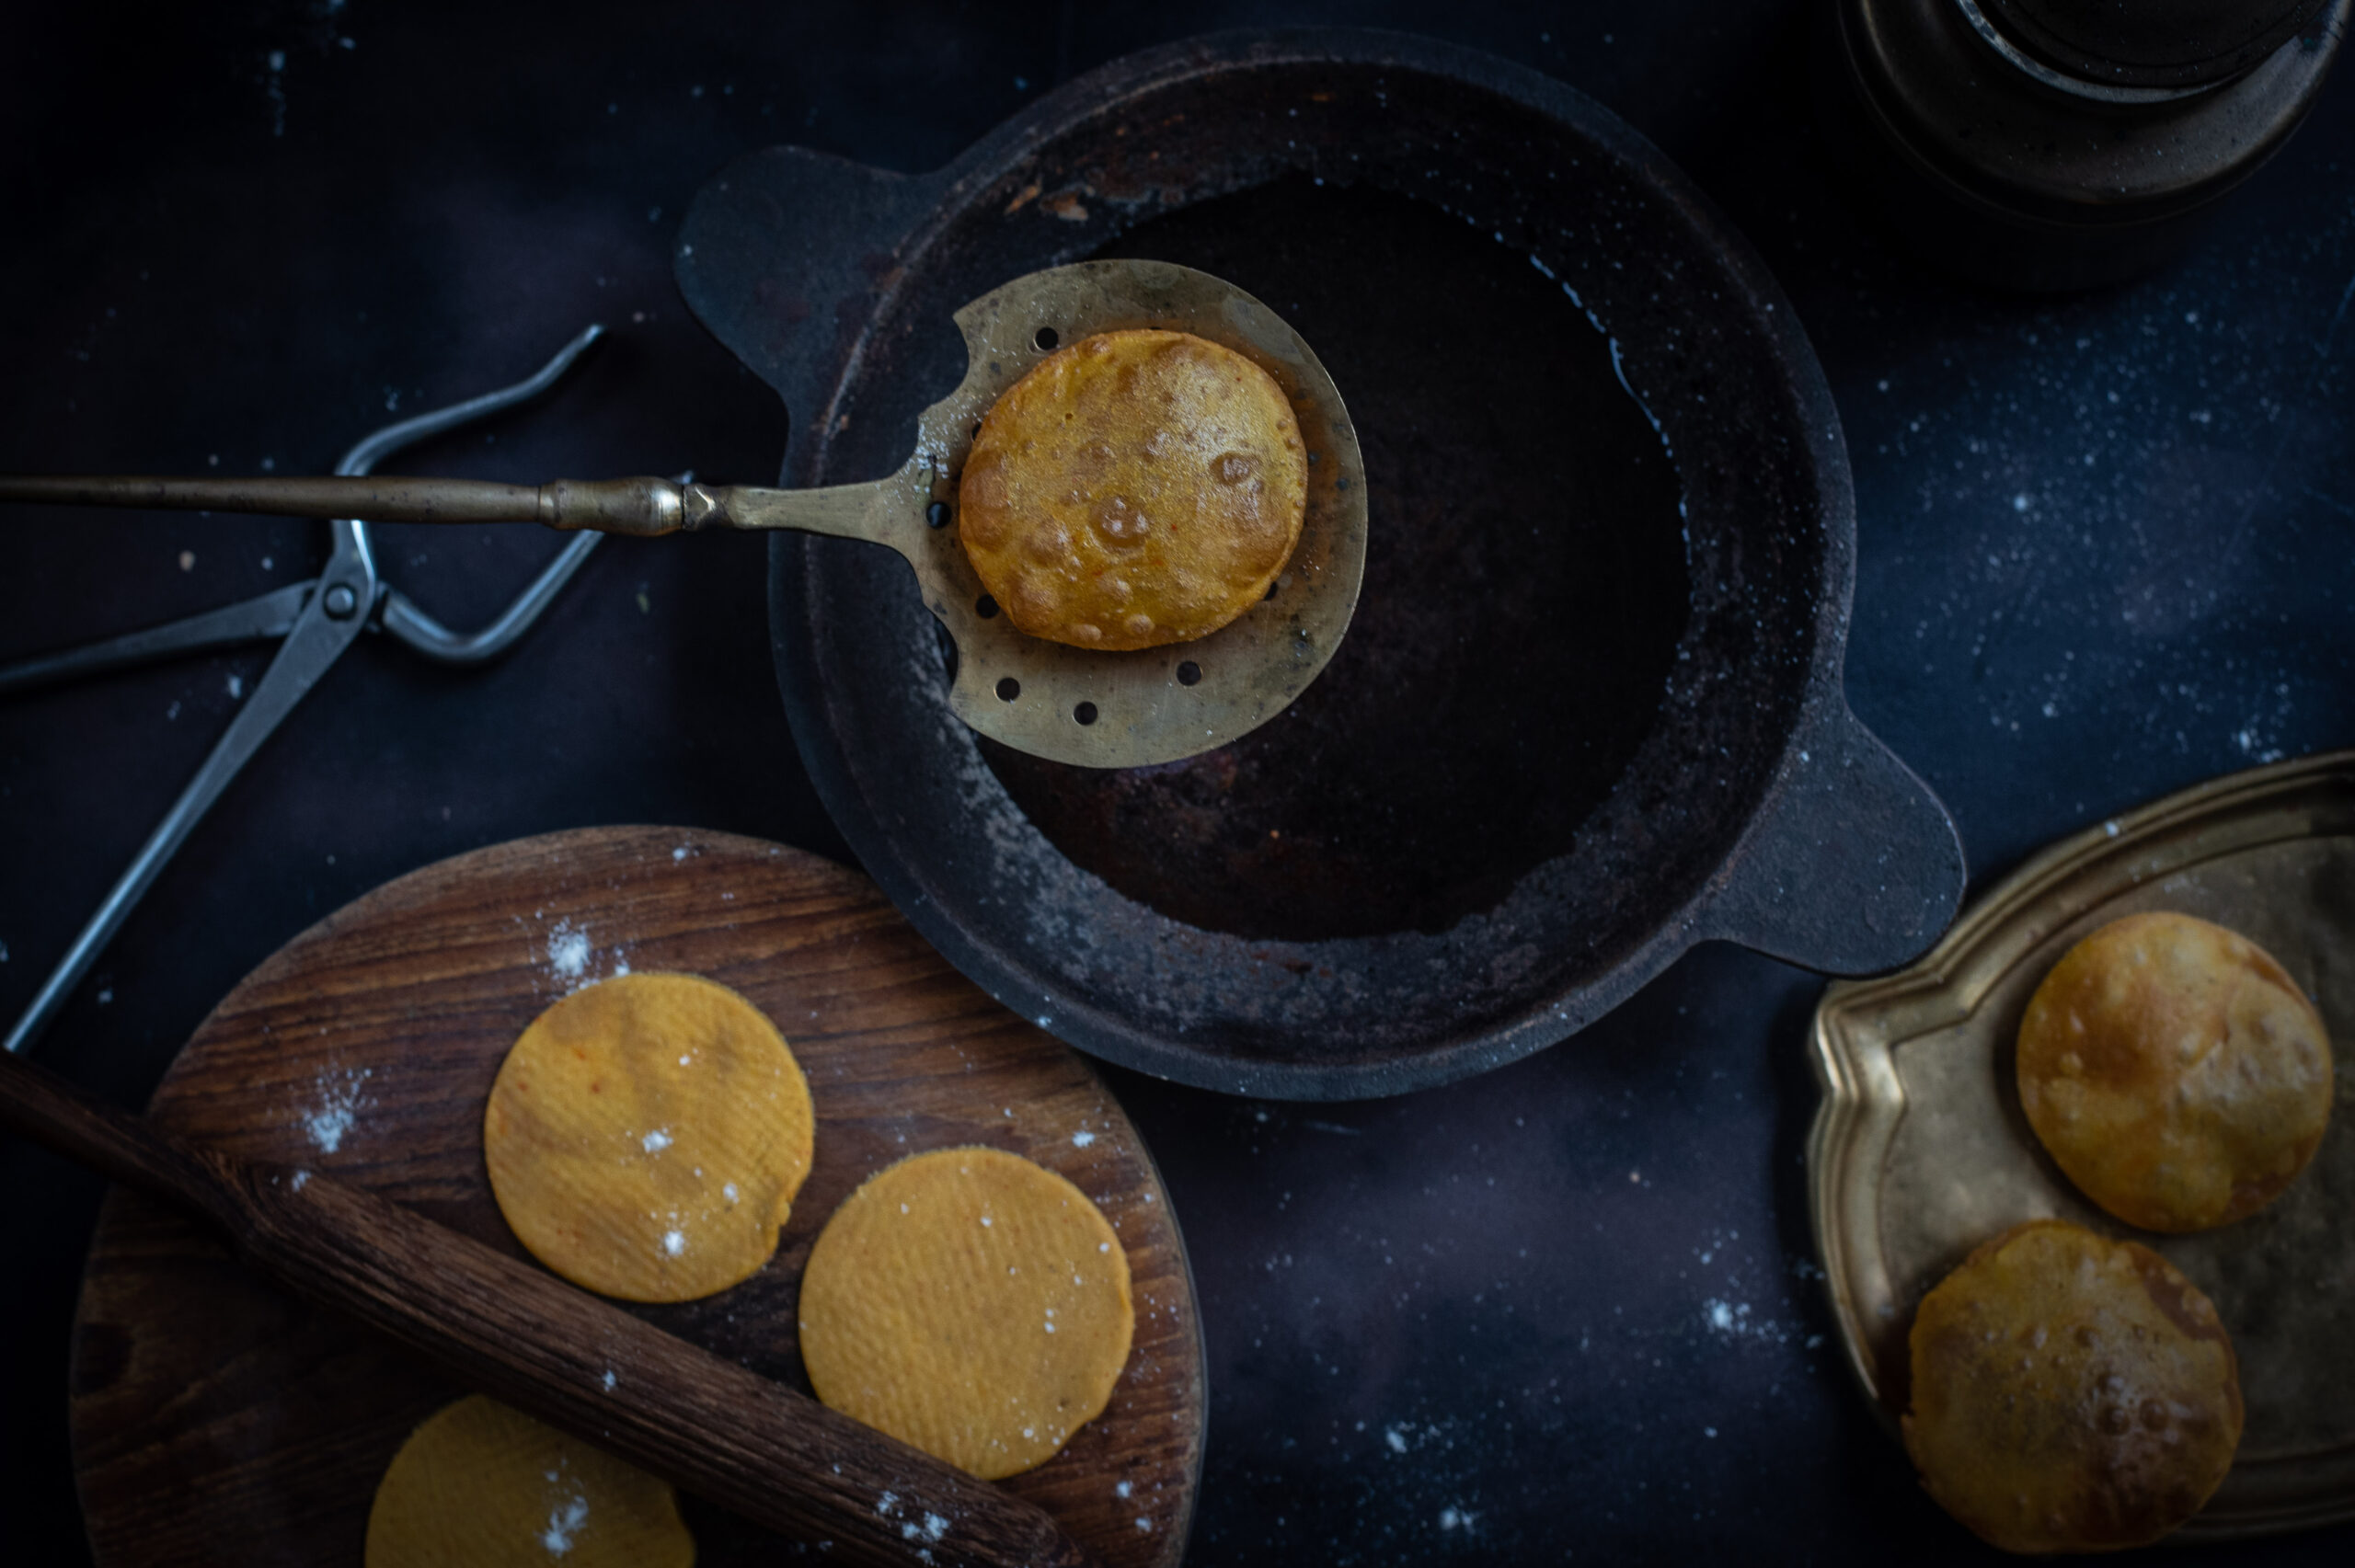
Now, divide the dough into round small balls ready for rolling out. Roll them out evenly shaped as far as possible. They should also have the same, even thickness. Take care that they are not too thin, as they will be unable to puff up if so. Did you get rolling practice when you made these rotis? If you did, it may be worth noting that this dough is similar to thepla dough, except we don’t add yoghurt.

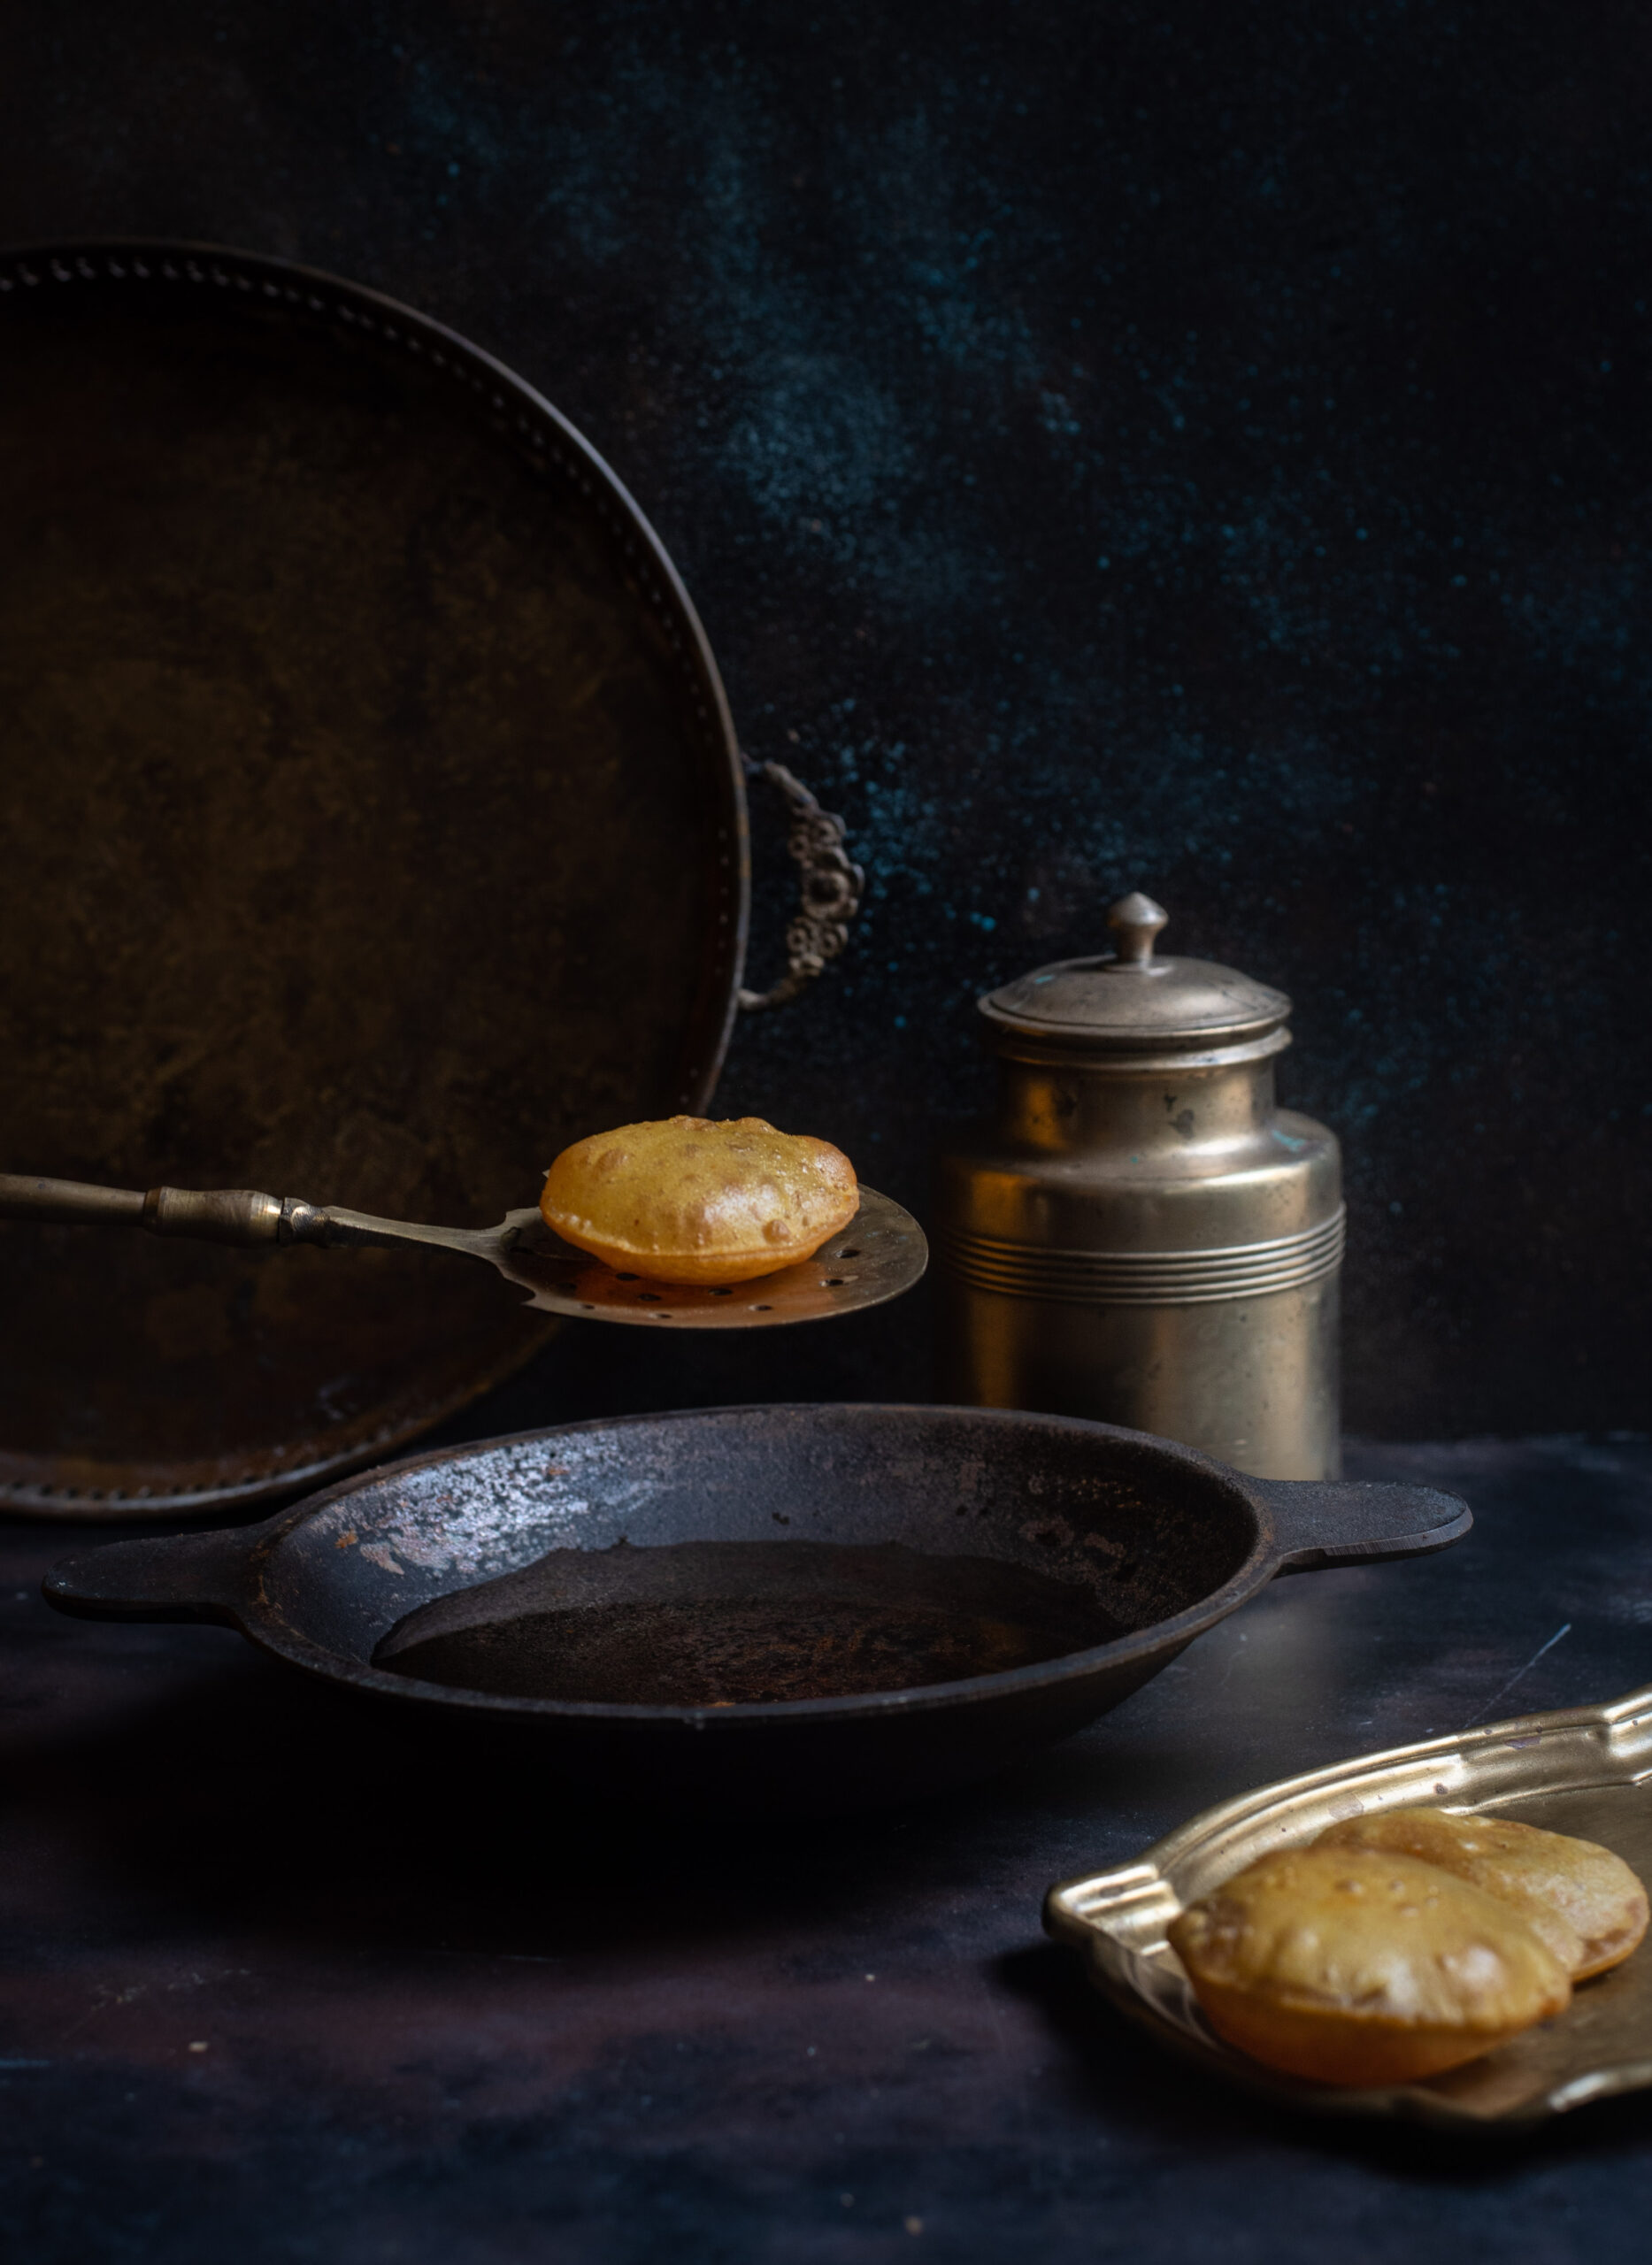
Prepare the oil by heating it. You can check the heat by dropping a pin size drop of dough. If it gathers bubbles, then it means the oil is ready. On a high flame, drop the pooris in one at a time. Wait for each one to rise up, and then flip it over. You need to flip it over just once. The secret to the puffiness lies in a mixture of of the correct level of thickness, the heat of the oil, and timing. It takes practice, and despite my childhood aversion, deflated pooris are perfectly edible too.

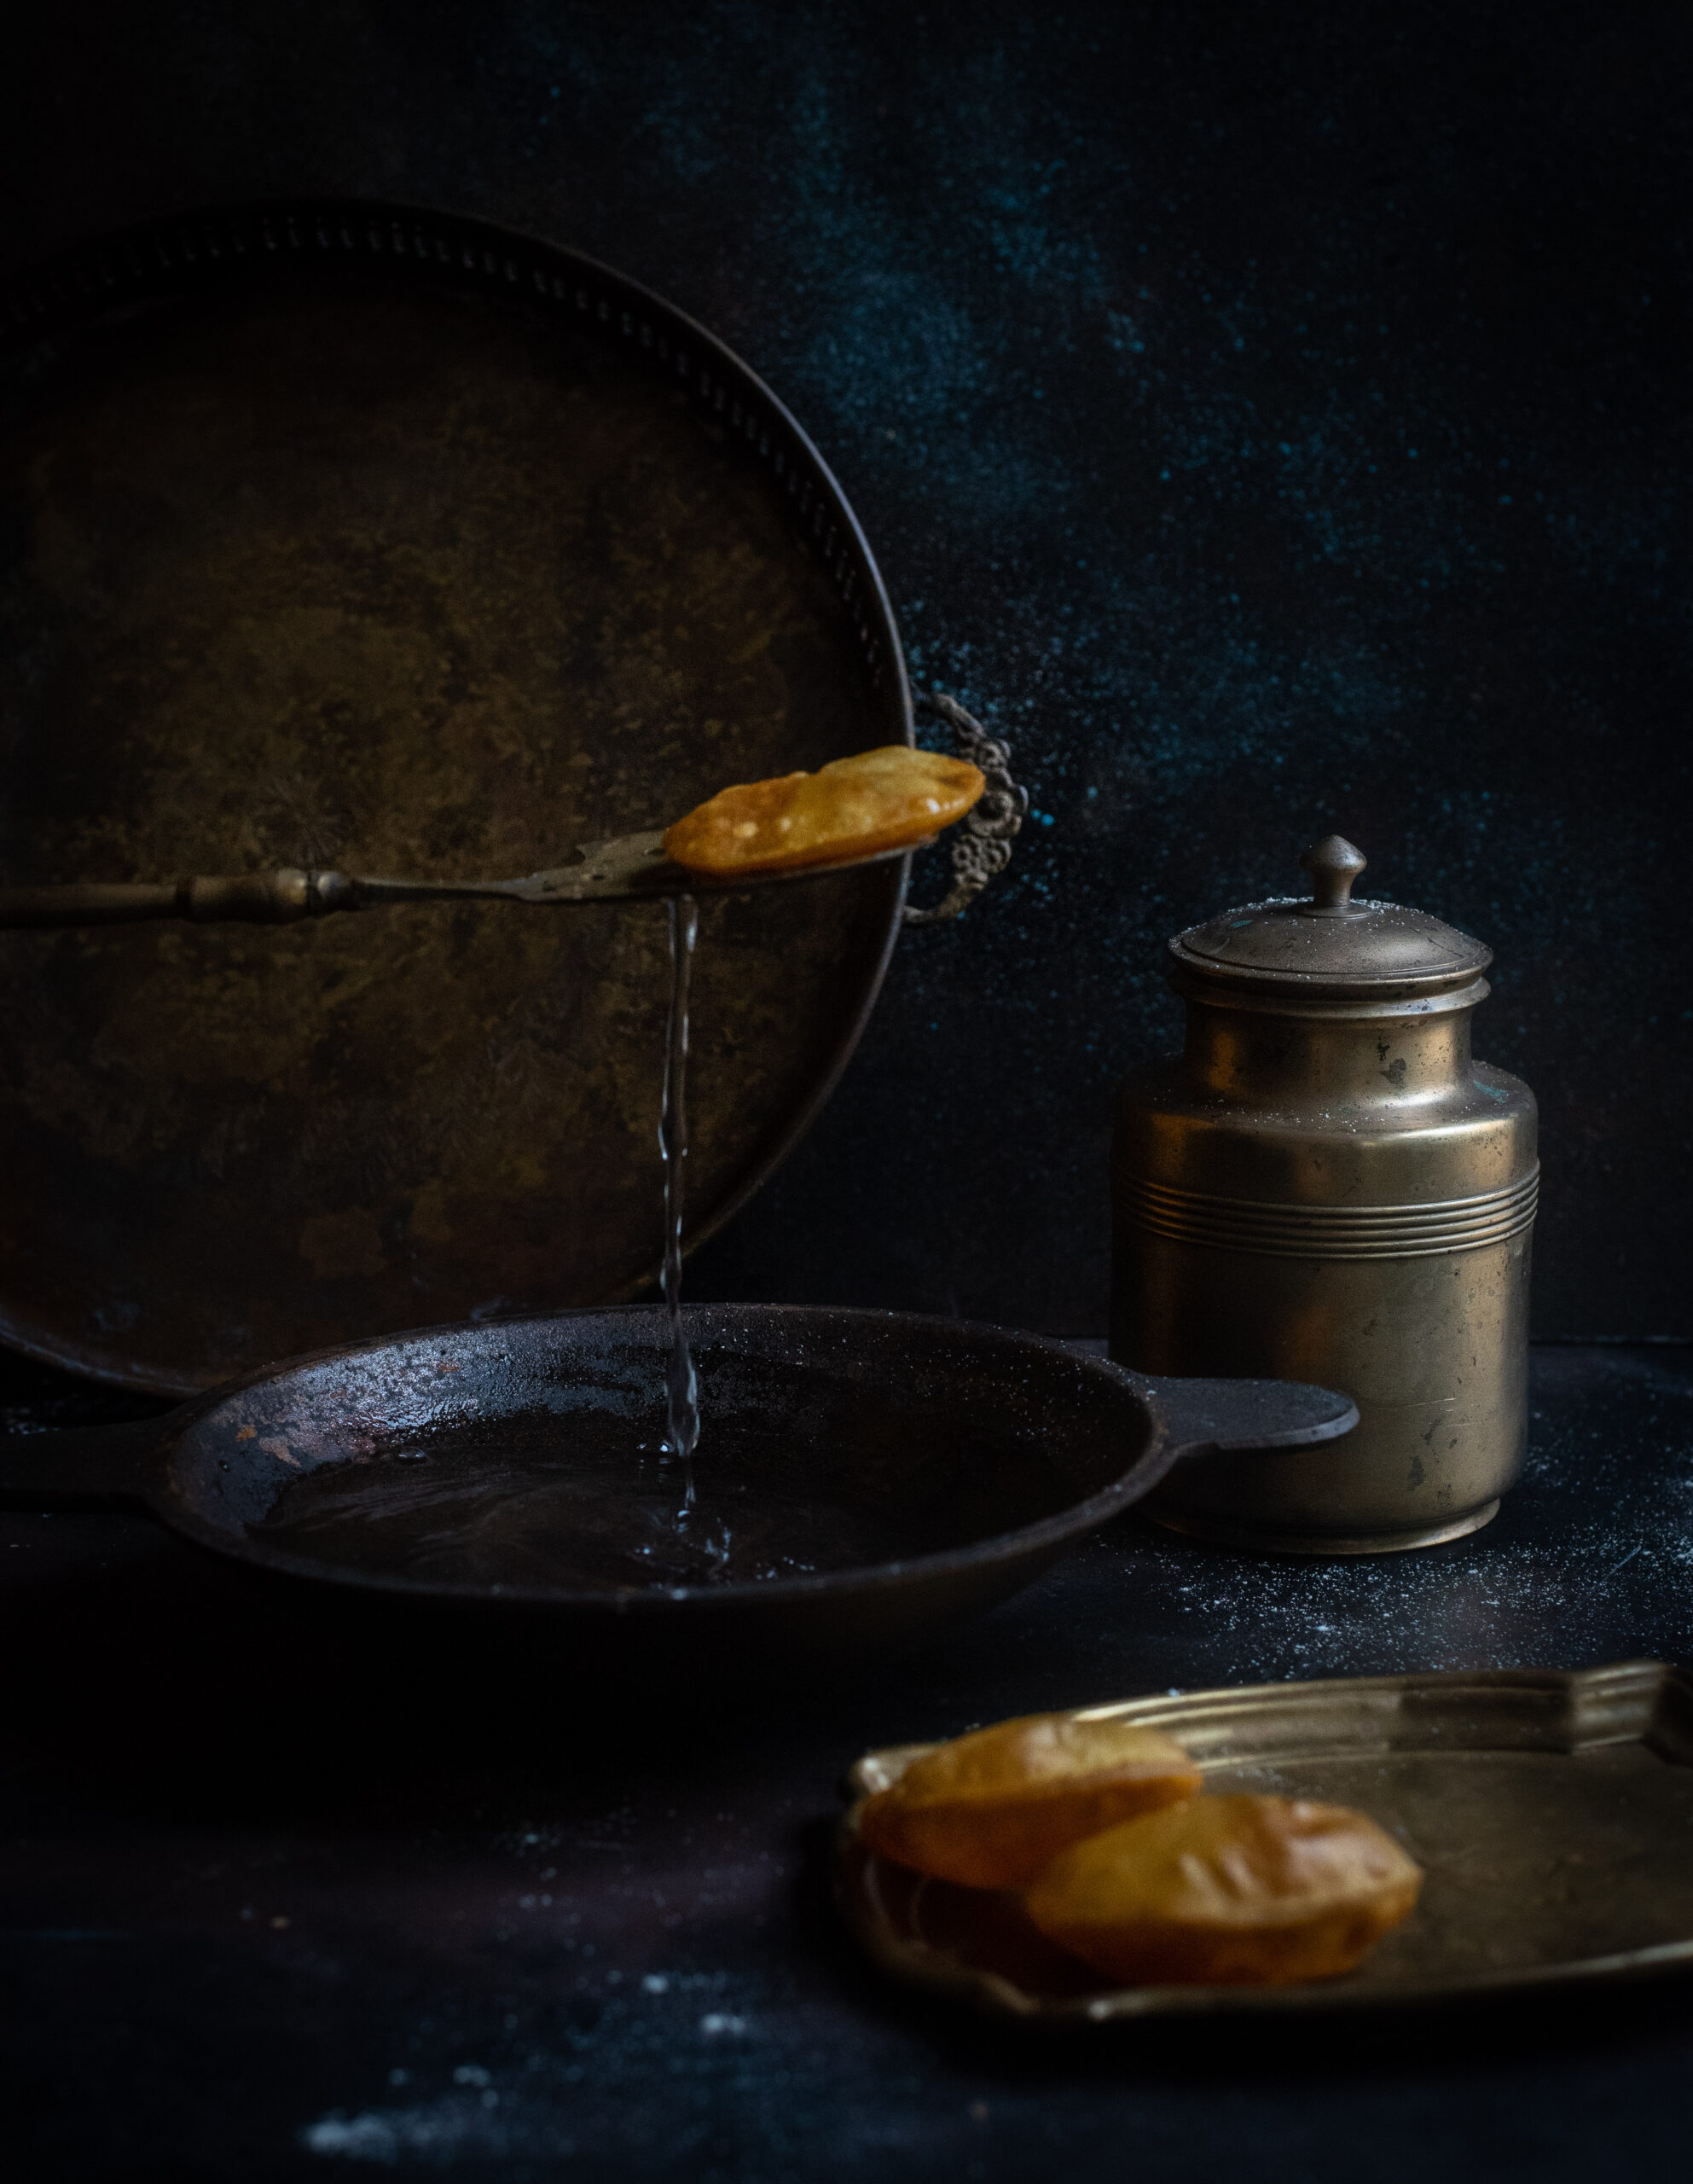
The poori needs to fry for just 8-10 seconds after being flipped. When you remove them from the pan, you will notice that they will be darker on the bottom side, and this is normal. Place on a sheet to drain excess oil. Serve immediately with a generous helping of kheer, fresh from the fridge.

Hot, fluffy pooris are such wonderful comfort food. And when their heat melds with the chilled kheer, the combination is simply divine. The craving-busting deliciousness of fried dough and the sweetness of a Gujarati dessert – no wonder these were birthday treats when I was growing up! I hope you’ll enjoy this simple yet sinfully indulgent recipe. As always, I’d love to hear from you in the comments.


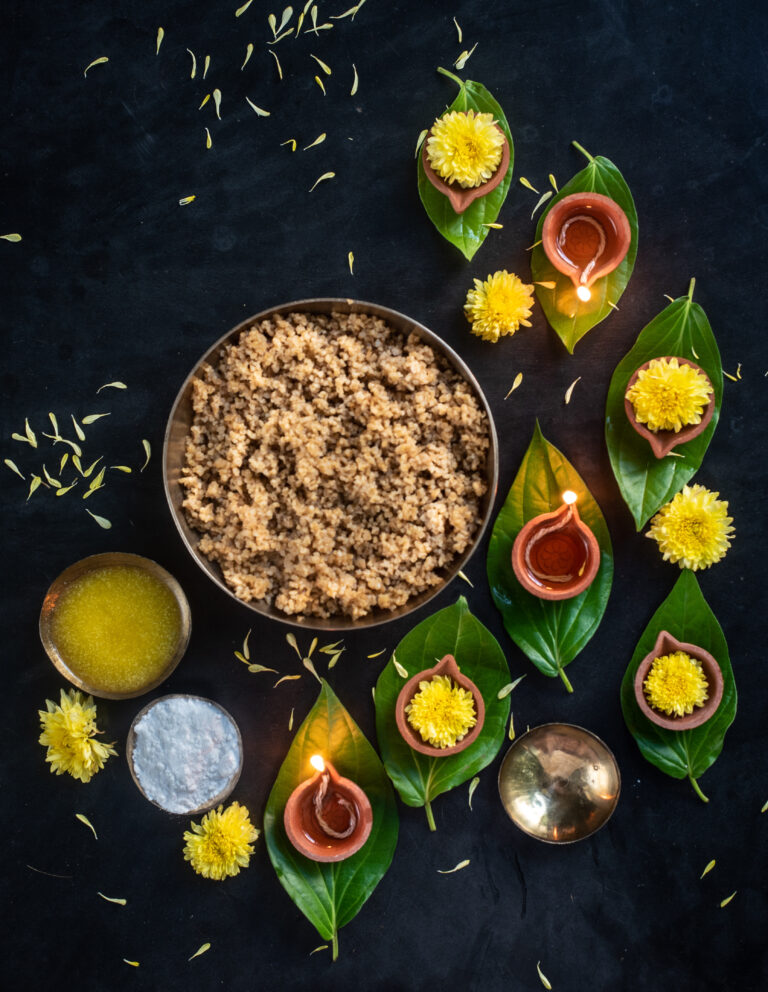
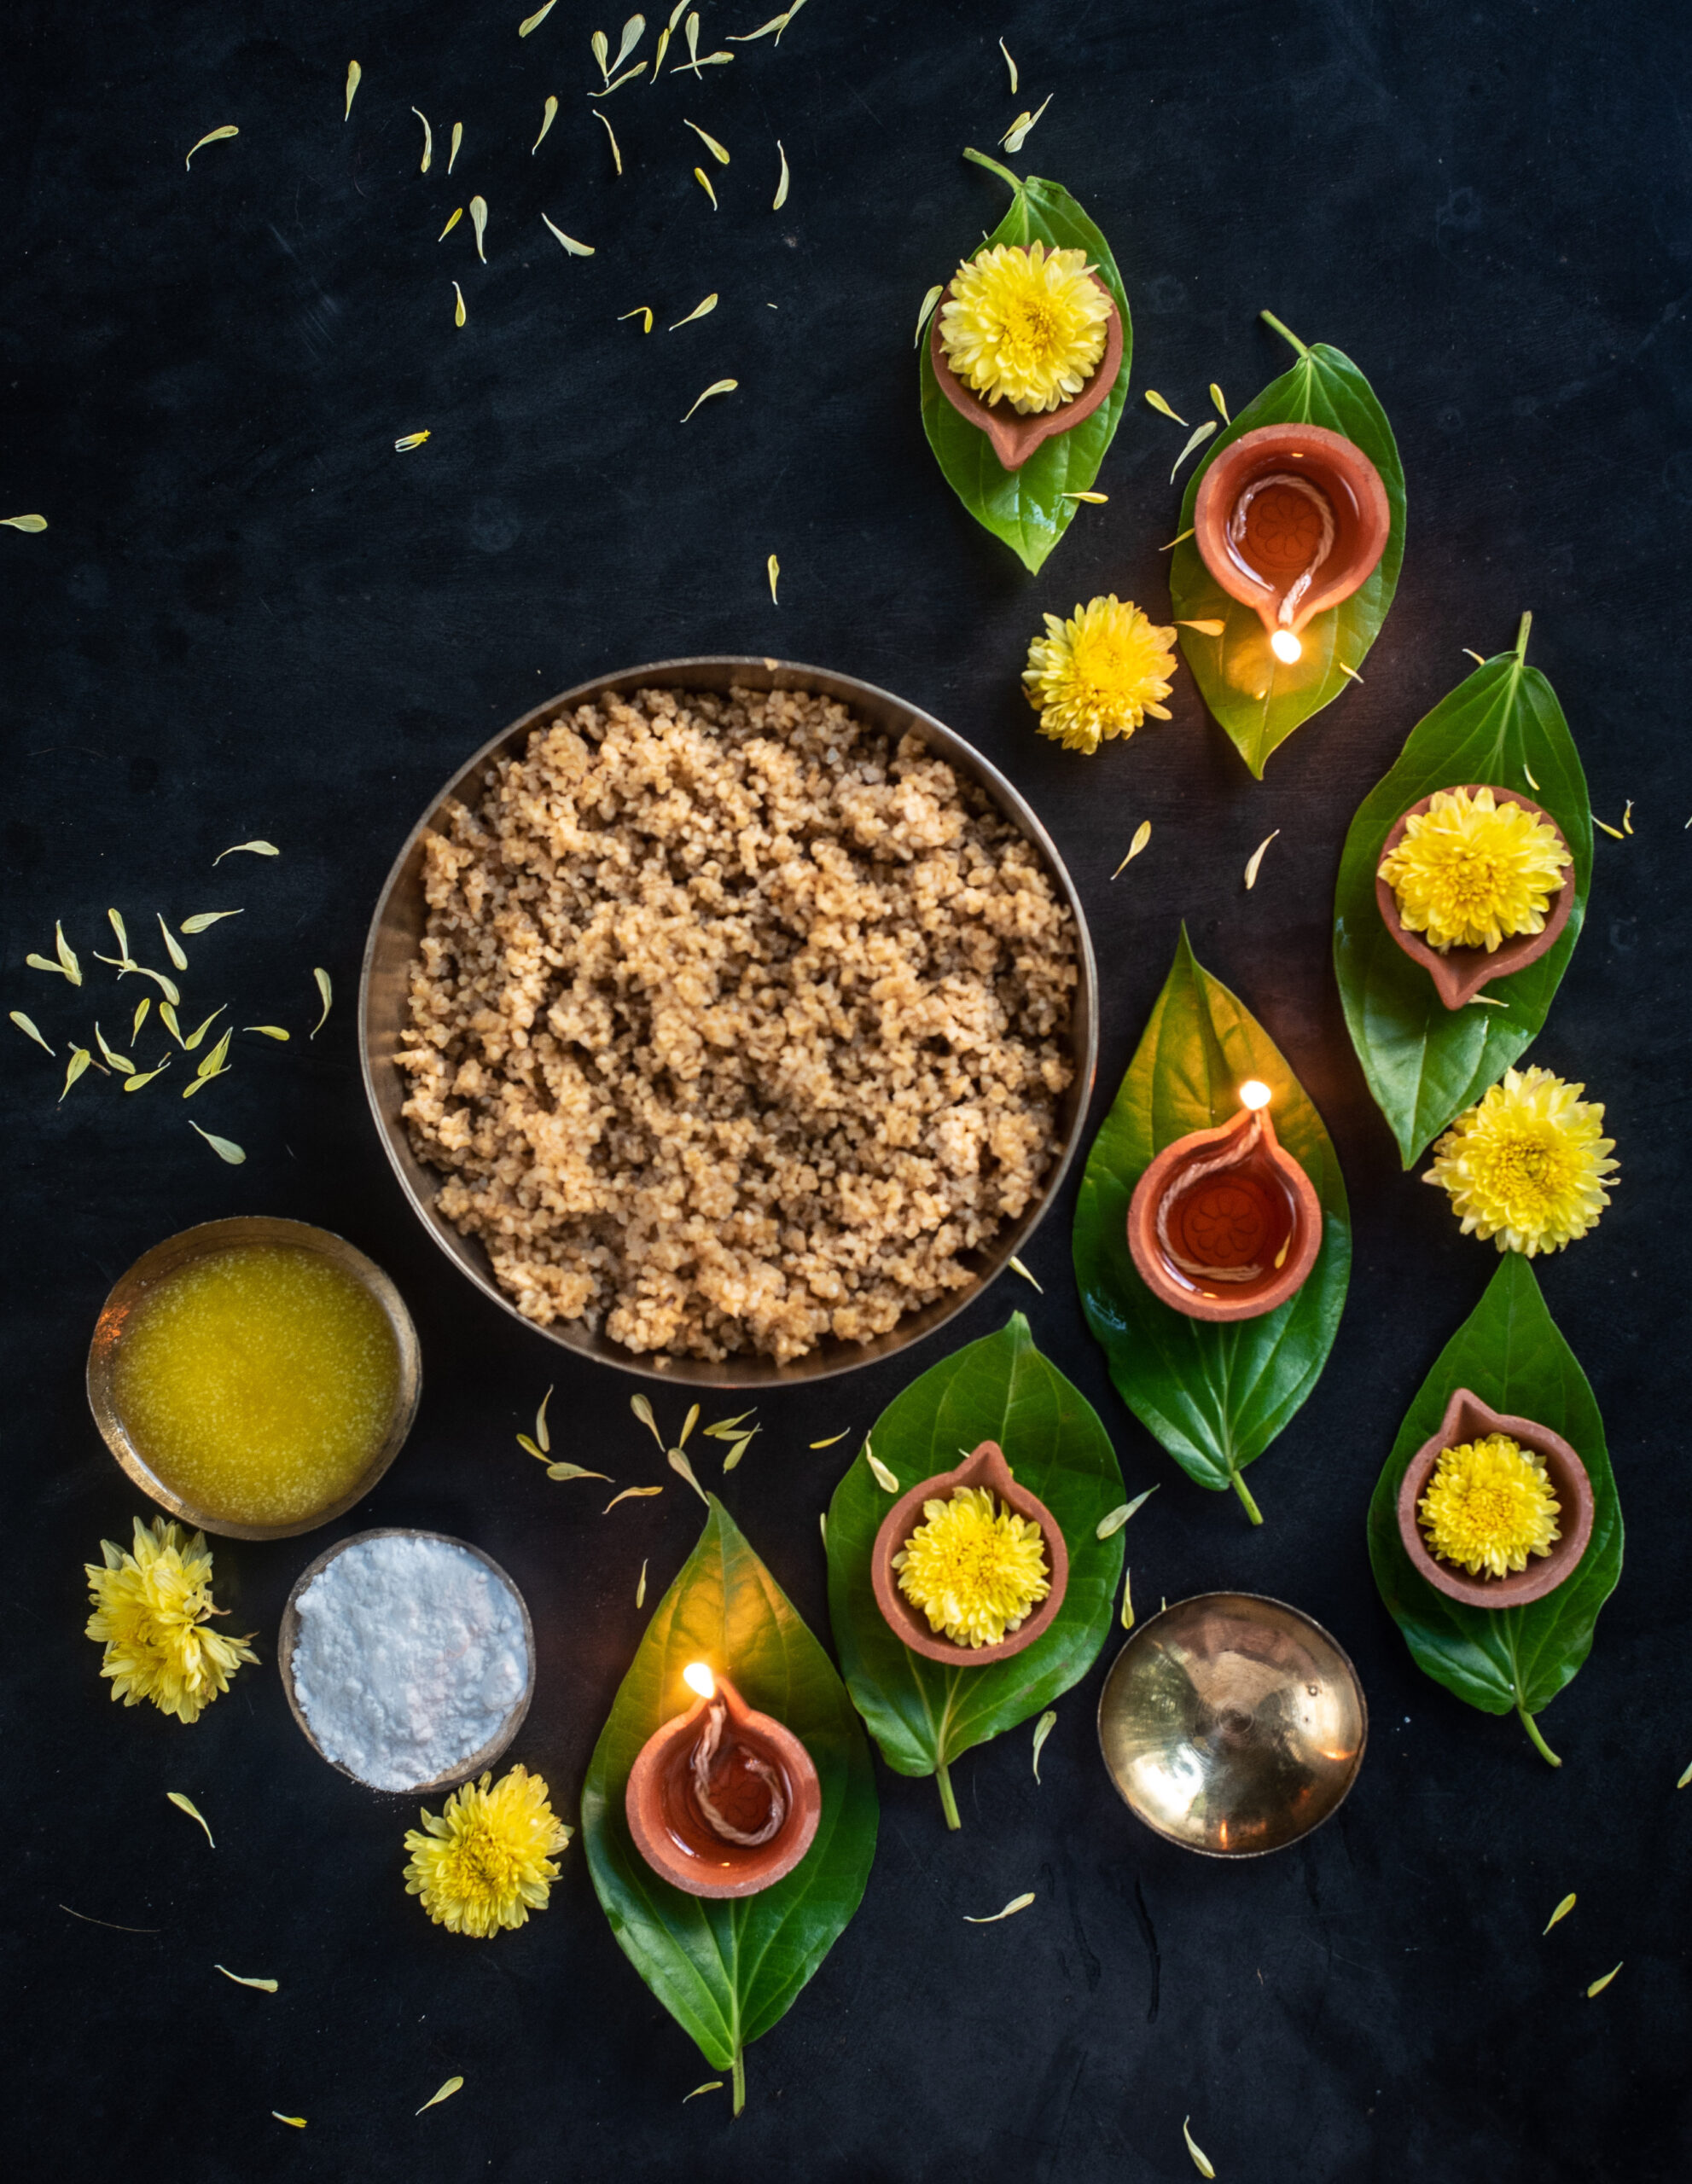
When I was growing up, Diwali was a time when my mother made an entire array of sweets and savouries, such that I cannot point out one as a single most important tradition. All that changed for me when I got married and moved into my new home, when I became introduced to what is now a 30 year tradition for me: the simple and sacred dish of laapsi.

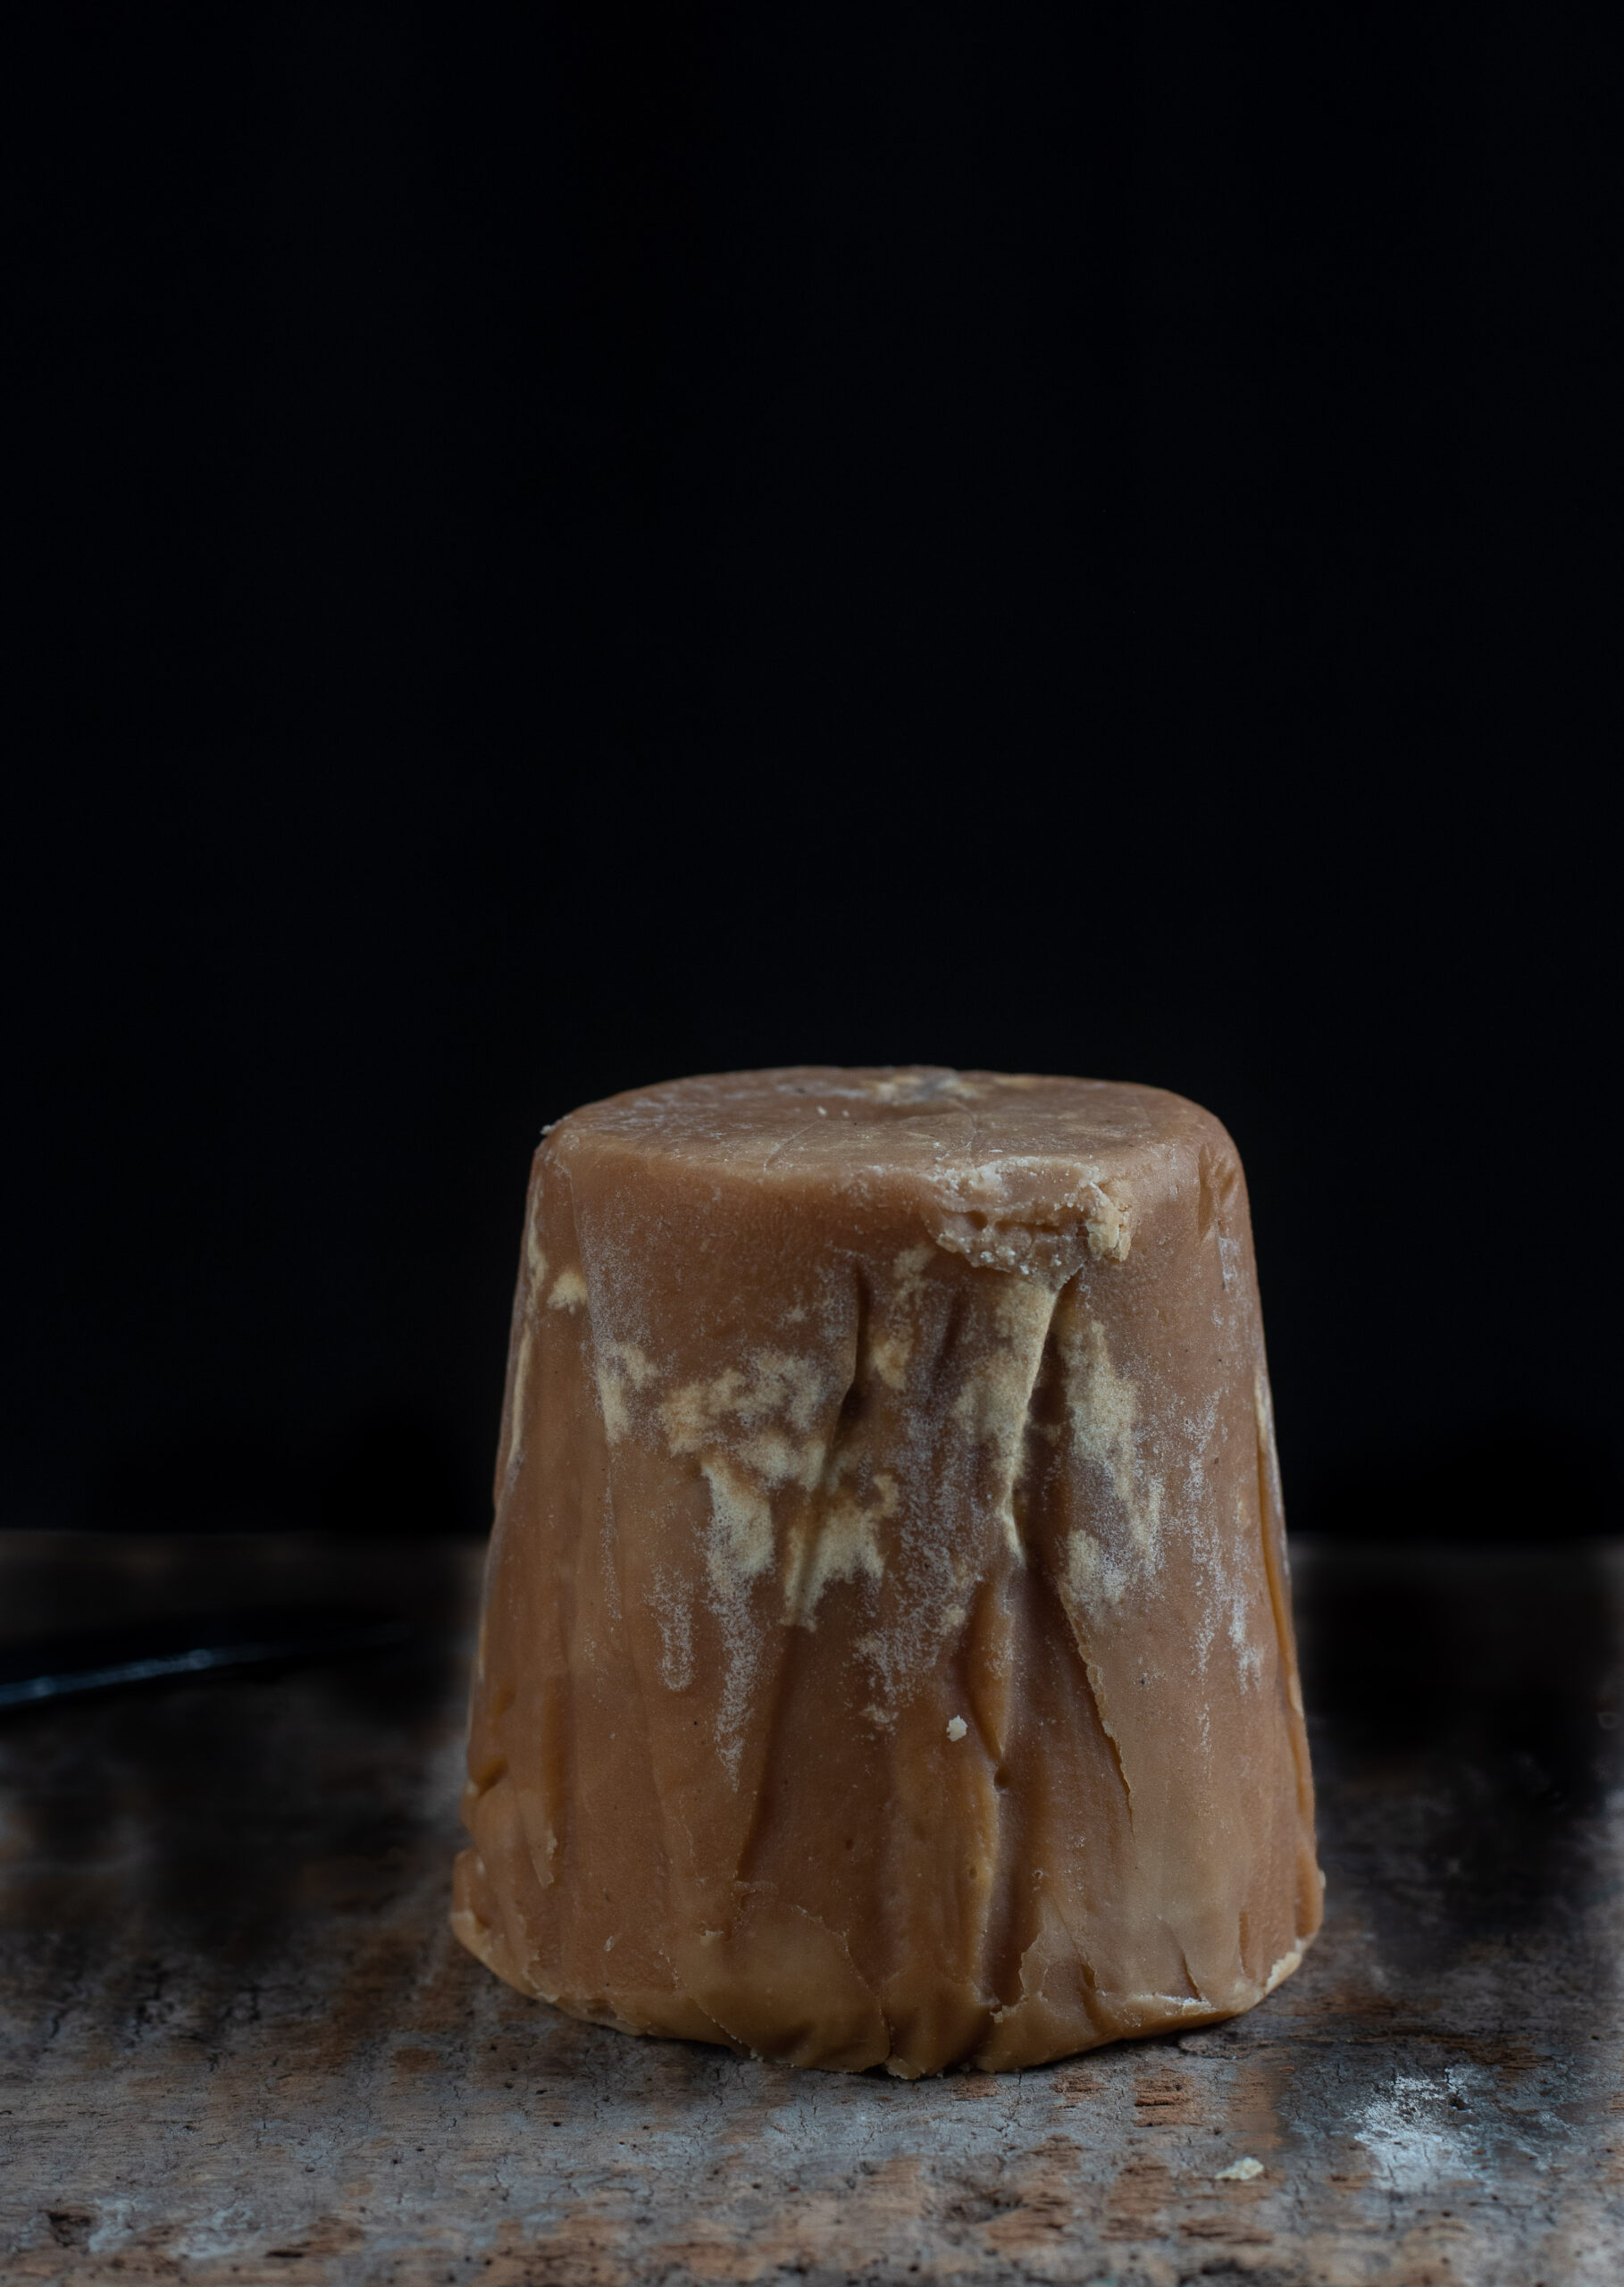
Laapsi is a Gujarati sweet which, like sukhudi uses just three ingredients: jaggery, broken wheat and ghee. In modern versions, people often add nuts, saffron and other flavourings, but the original and deep-rooted traditional method is extremely simple. The three basic ingredients were and are frugal, humble and delicious. In the old days, every household could reliably find enough to make a festive offering. As with sukhdi, laapsi is also first offered as prasad to the gods.

Diwali always falls on amavasai day, or the new moon. Different communities observe their own sets of festivities. For Gujaratis, it begins with Baras (the 12th day towards the waning moon), then Dhanteras (the 13th day, during which we pray to the goddess of prosperity, Lakshmi), then Kali Chaudas (when the goddess Kali is worshipped, not only with a sweet, but with a fried vadai which is symbolically thrown over the shoulder at a crossroads, indicating that you wish to leave behind the previous year) – and then, we have Diwali, which is also Chopda Puja. Chopda means “books”, and this is the day on which we perform a prayer similar to Ayudha Puja in other communities, when all our instruments (from accounting books to cameras and ladles) are kept at the altar and blessed. The day after Diwali is the Gujarati New Year.

I lost my father-in-law earlier this year, and since Indian homes traditionally will not celebrate festivals for a year after a loss, we won’t be going the whole way this year. However, my father-in-law was full of life and spirit and did not believe in observing that grieving period. He believed the life cycle should continue. So while we won’t over-celebrate this year, I will also ensure that we won’t put a full stop to joy. I am sure that is how he would have wanted it too. We had a cool, chilled out relationship. We had many fights and arguments, but I always knew that everything would be taken in the right spirit. And he was someone who was a huge influence on me, in everything from changing my perspectives to gifting me my first camera.

I will certainly miss him this Diwali. Every Diwali, he would give everyone a special token, a crisp 50 rupee note. All of us considered it a lucky charm, and kept it in our wallets until the following year. Who will do it this year? Many recent incidents have reminded me how important roots and traditions are, and how necessary it is to respect them. This is why there are so many things that I insist on doing in a ritualistic way, like keeping the umbrella on Ganesh Chaturthi, and making laapsi on Diwali. I know my kids will not follow all the things that I follow, but at least a few of those traditions will become meaningful to them too…

And if I can be hopeful, I would absolutely name laapsi as one of the traditions I hope my children will keep and cherish. Although we have all became health conscious and started rejecting sweets, I still insist that everyone partakes of our Diwali laapsi.

This year, my mother-in-law has moved back in with us, and it is nice to have her home. It reminds me of all the times that she shared her culinary wisdom with me (such as when she taught me this kachori that many of you enjoyed too). Diwali is just a few days away, and I am calling to mind how I used to watch her make laapsi during the first ten or twelve years of my marriage. Slowly, she stopped coming into the kitchen as often and I began to manage more of the cooking. But for a long time, I would still ask her to come in for certain traditional dishes. Laapsi was, of course, one of them. Different families follow different methods in order to make their own traditions. I follow hers to a T: no garnish, no frills, just three simple ingredients made for God and family.

And just like my mother-in-law taught me, I will not serve laapsi on any day other than Diwali. I consider it sacred. My family and I wish you a very happy Diwali and festive season, and I hope that this special dish brings you sweetness and joy too.

Laapsi

(Yield: 2-3 cups)

Ingredients

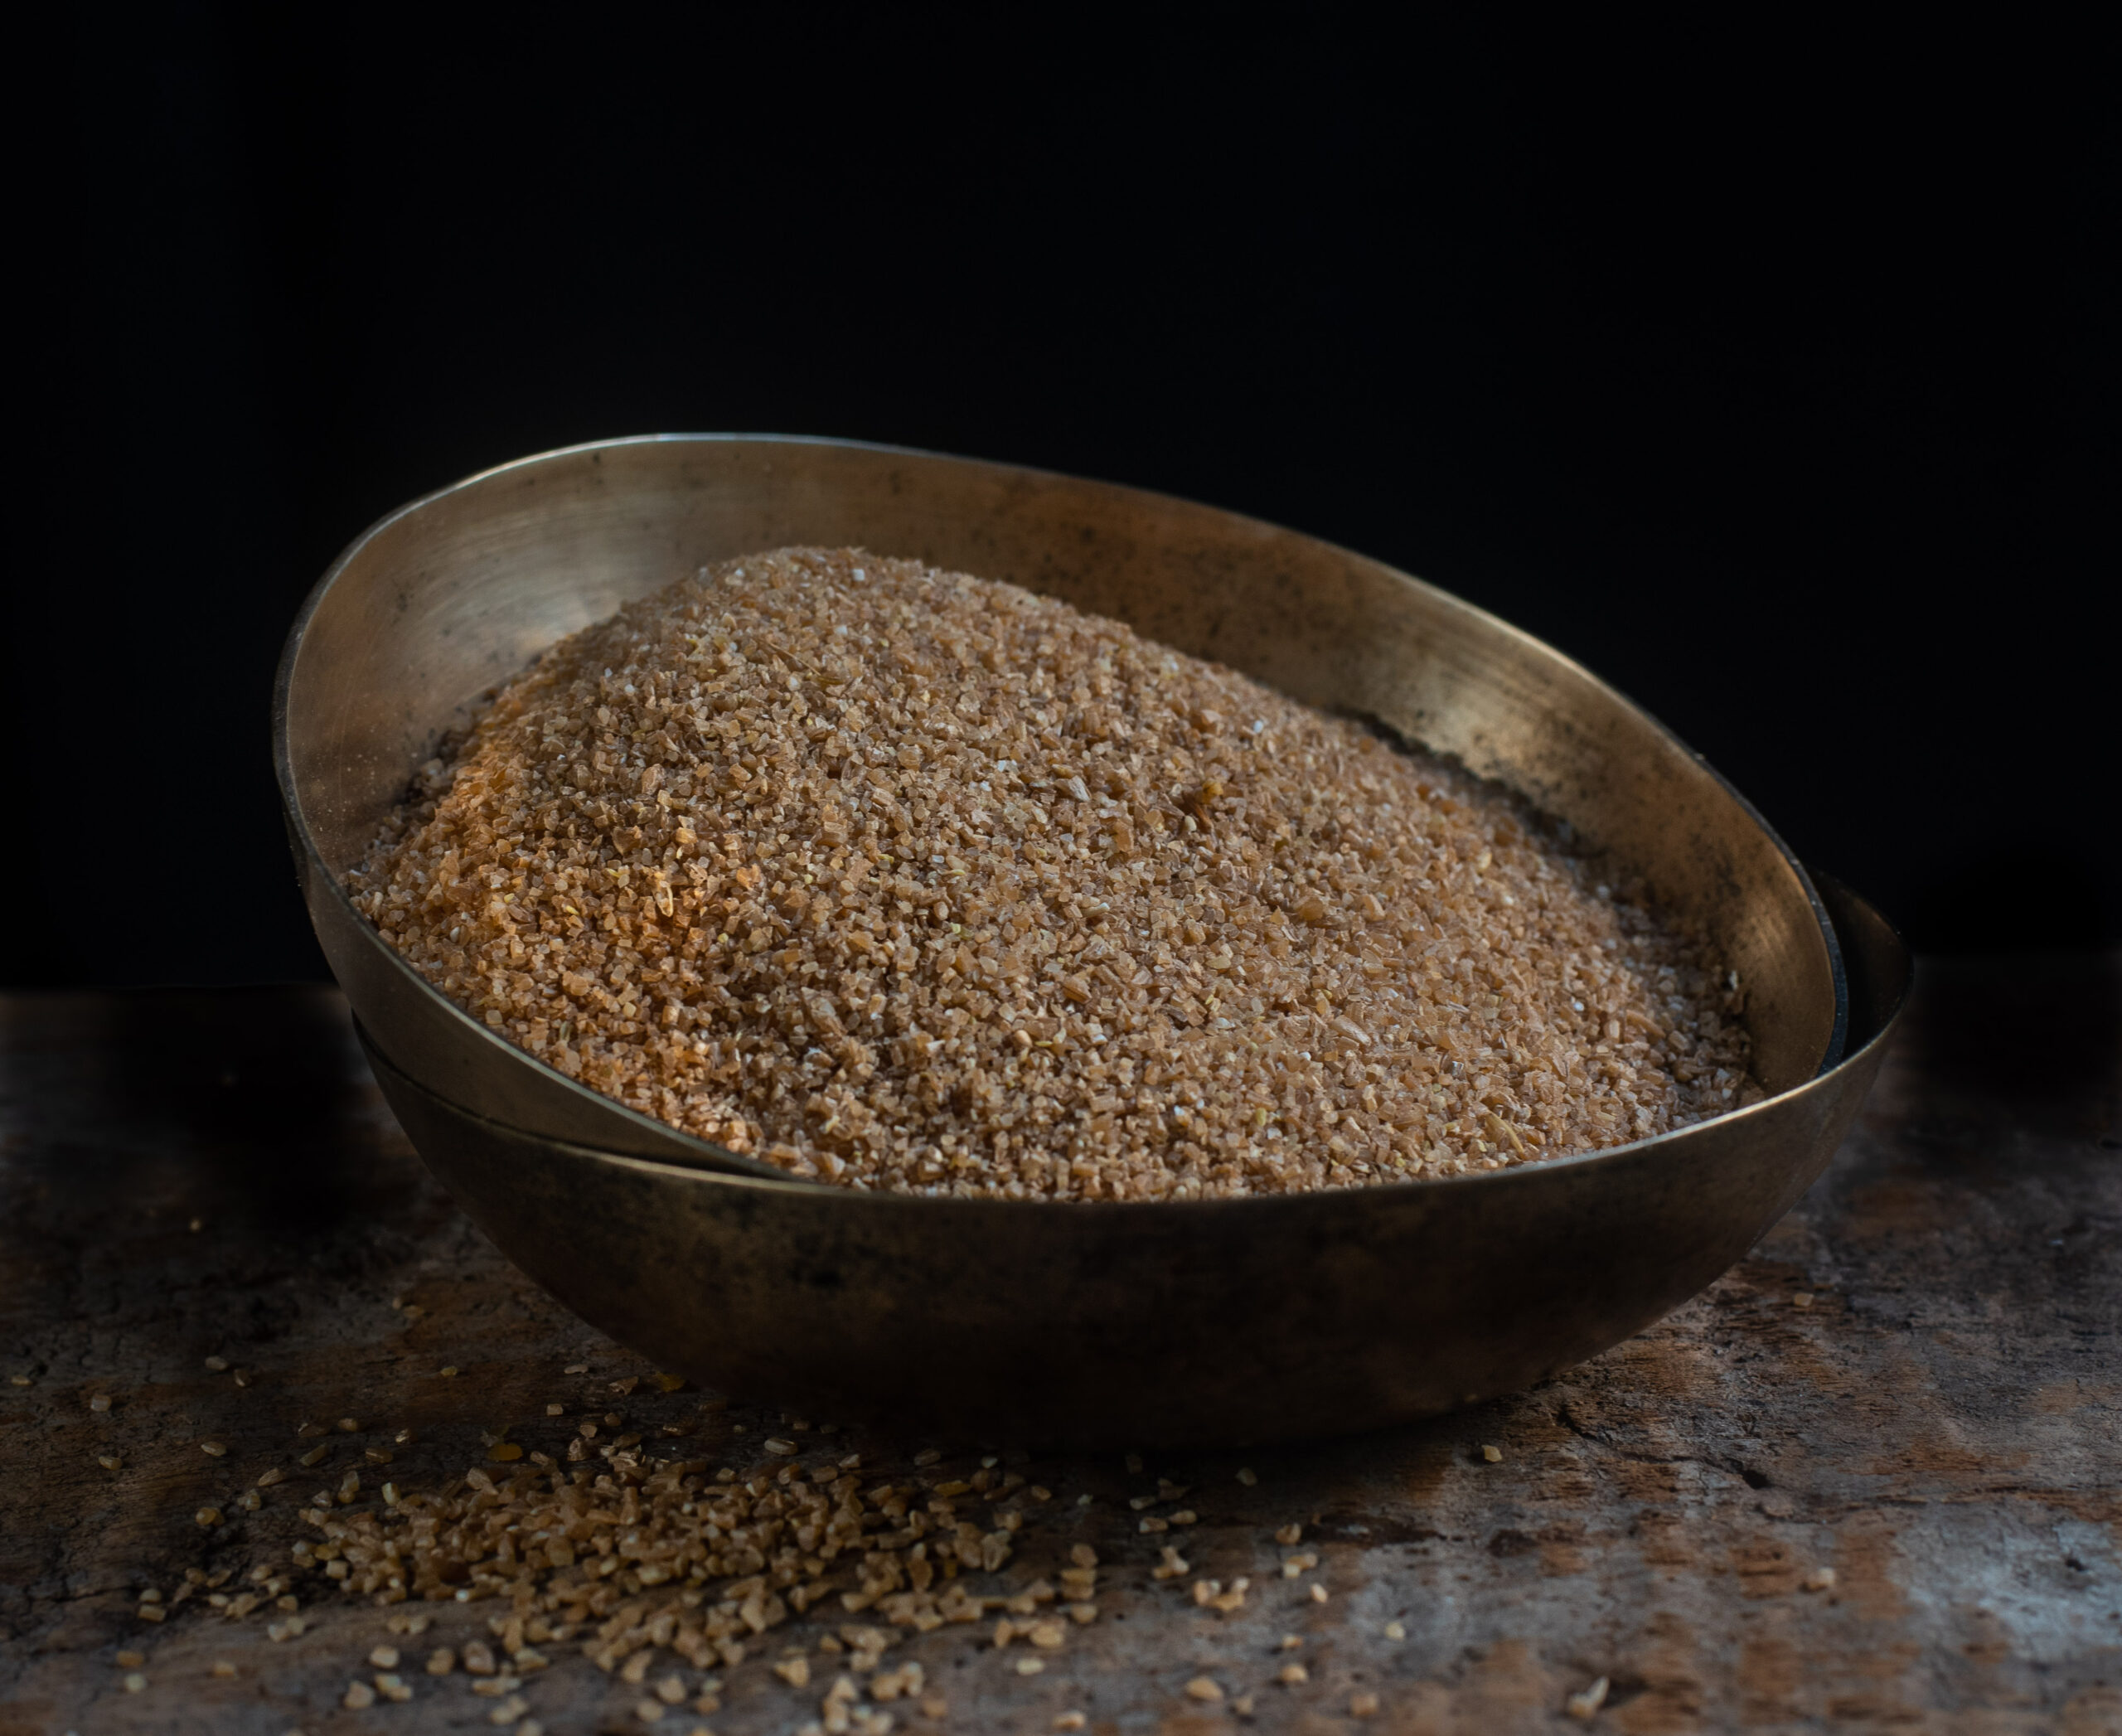
½ cup broken wheat
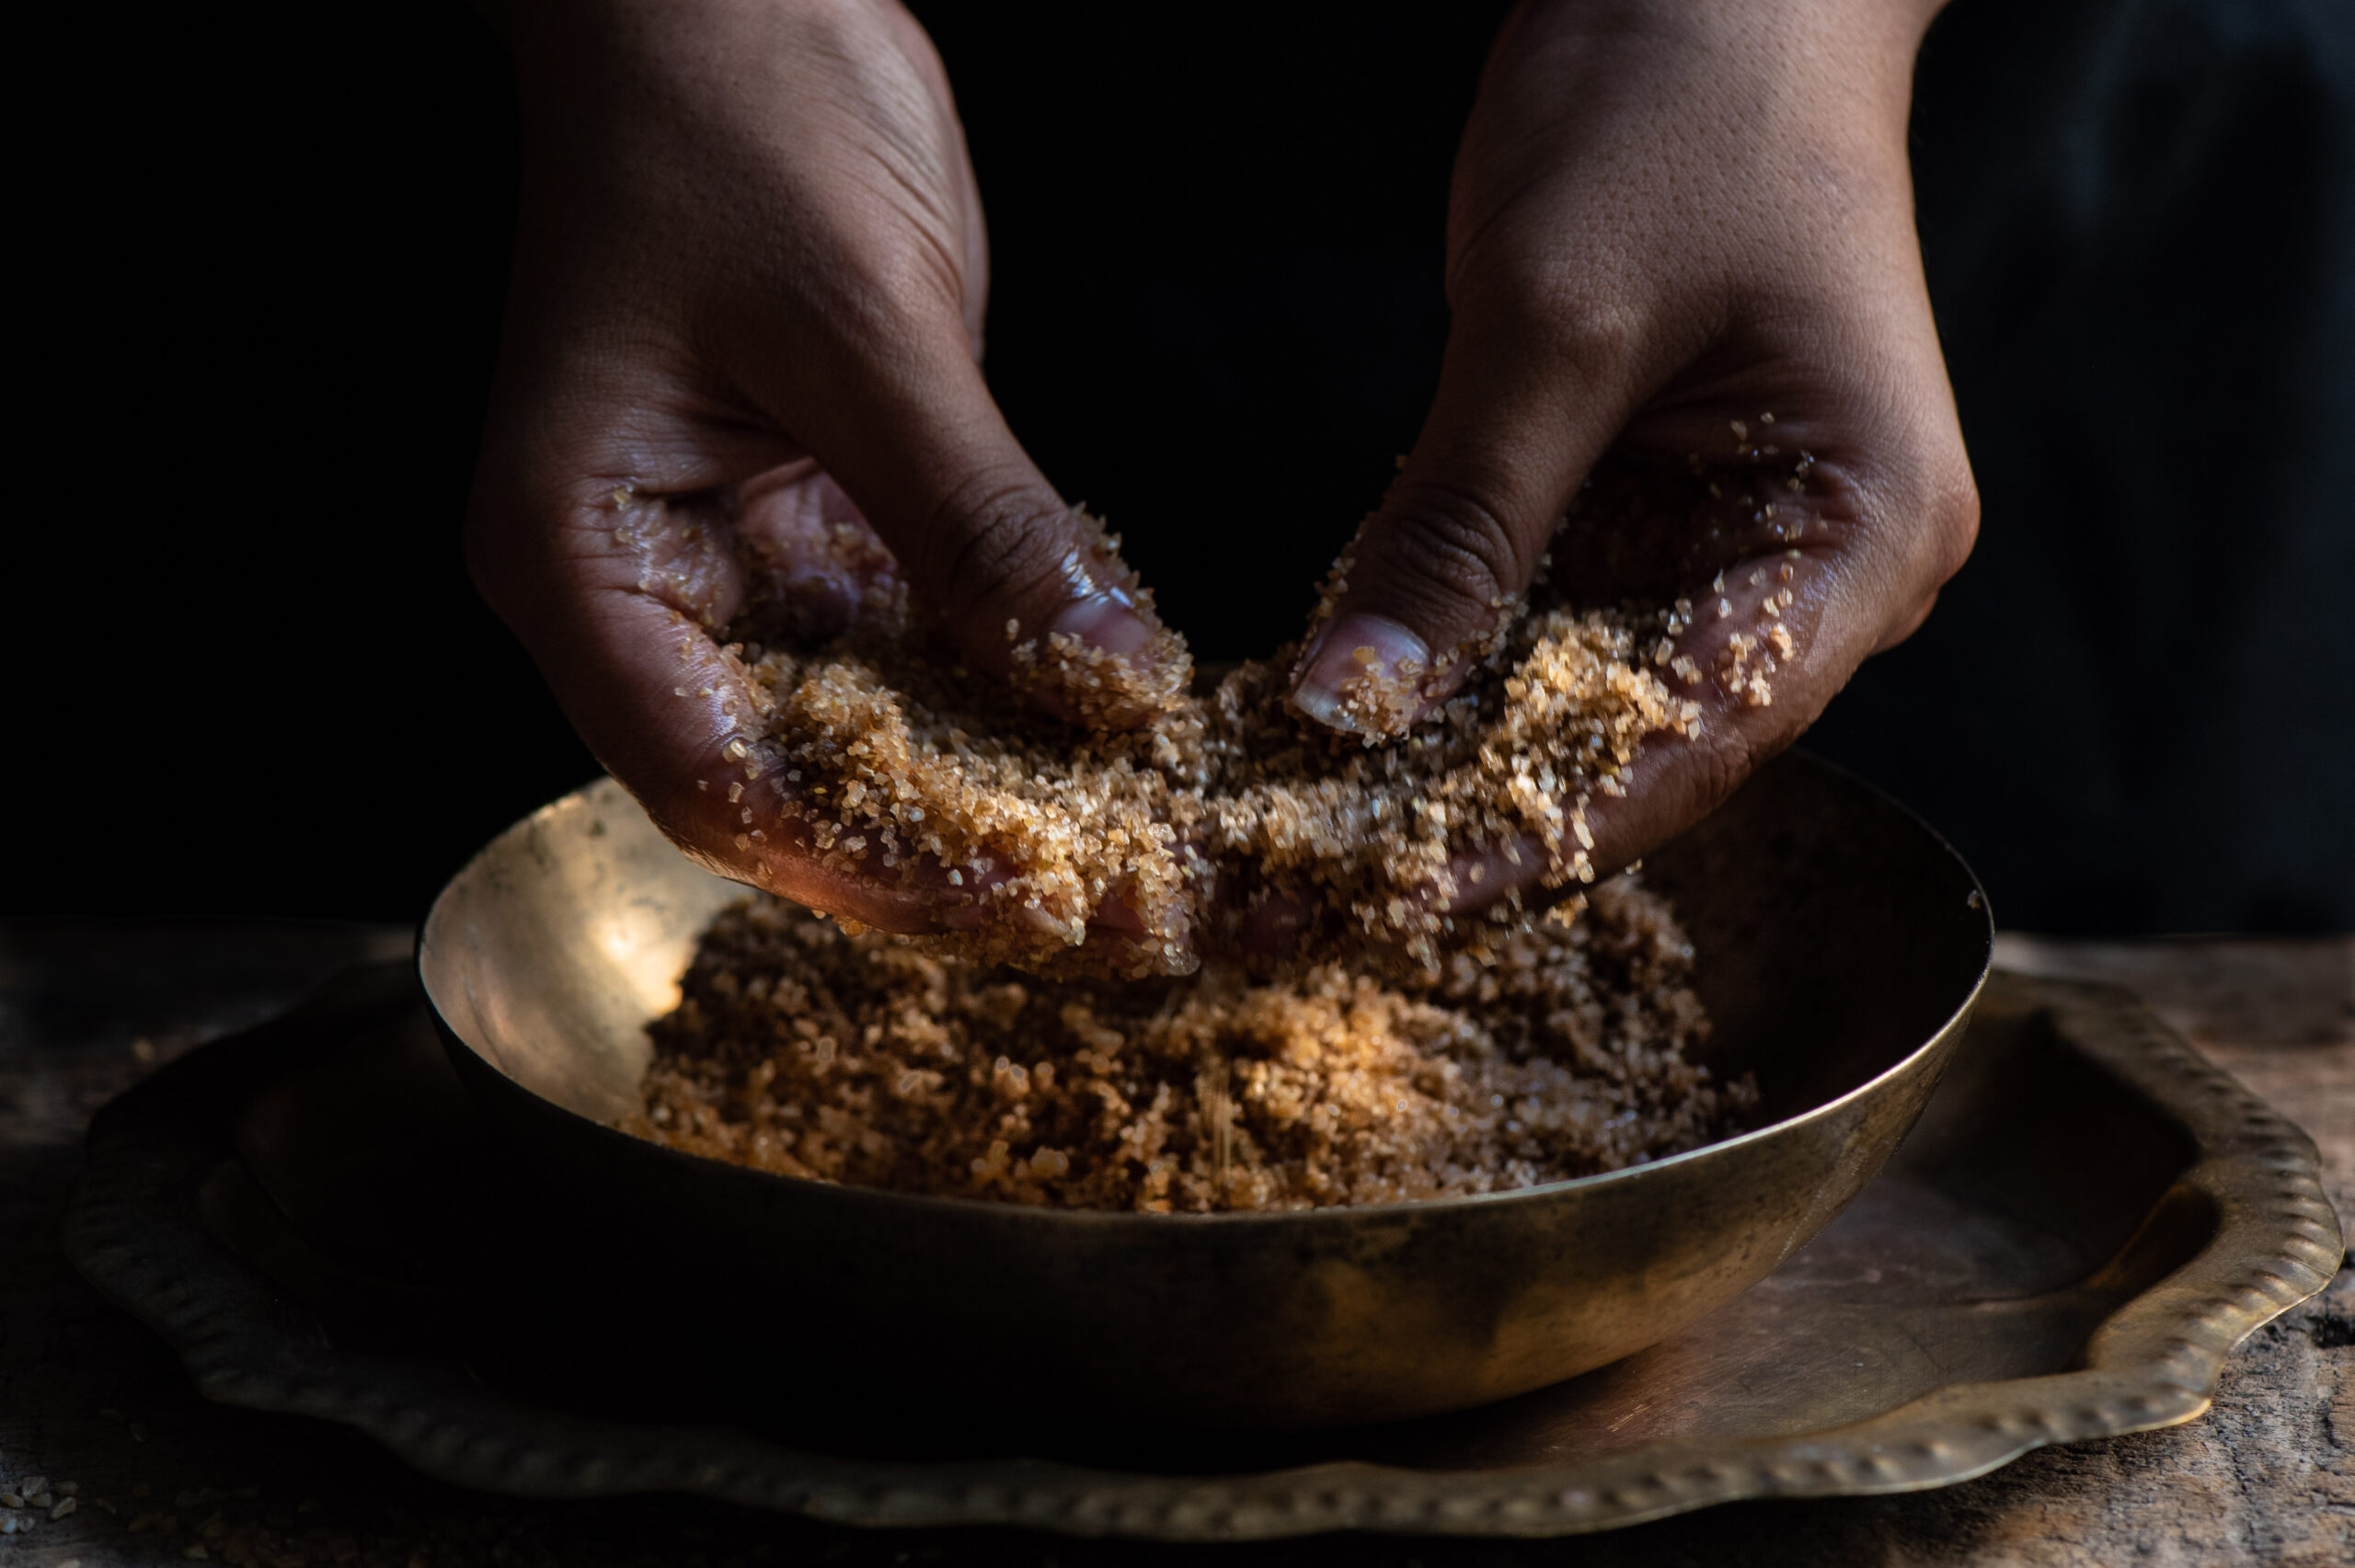
½ cup jaggery
2 ¼ cups water
3 teaspoons ghee

Boil the water in a pot and add the jaggery to it. Stir until the jaggery melts. Then strain the liquid through a strainer, making sure that it is clean. Measure the liquid to check that you now have 2 cups of jaggery water.

Toast the wheat and ghee till slightly golden. This will take approximately 3 minutes. Now add the liquid to the wheat and cover with a lid. Place this in a pressure cooker for 4-5 whistles. Once you open the pressure cooker, you will find that the concoction is still soft. You can now place the pot directly on to a low flame. Cover and let cook until the liquid dries up and its grainy.

I prefer using the cooker as it lessens the cooking time. Alternately, pour the hot jaggery water into the wheat in the pan and allow to cook covered, on a low flame, so it does not stick to the bottom. Let it be on the stove until the grains are cooked perfectly and soft to the bite. Do not stir frequently as this may cause the grains to get sticky.

As I mentioned earlier, there are different ways to make this. I do hope you will find yours once you make this often enough. You don’t have to restrict yourself to an annual occasion like I do!

Typically, we serve the hot lapsi with ghee, powdered sugar and lentils.

Given the deep Gujarati-ness of this recipe and this post, I hope you’ll also take a look at some of my previous recipes that celebrate my traditional cuisine.


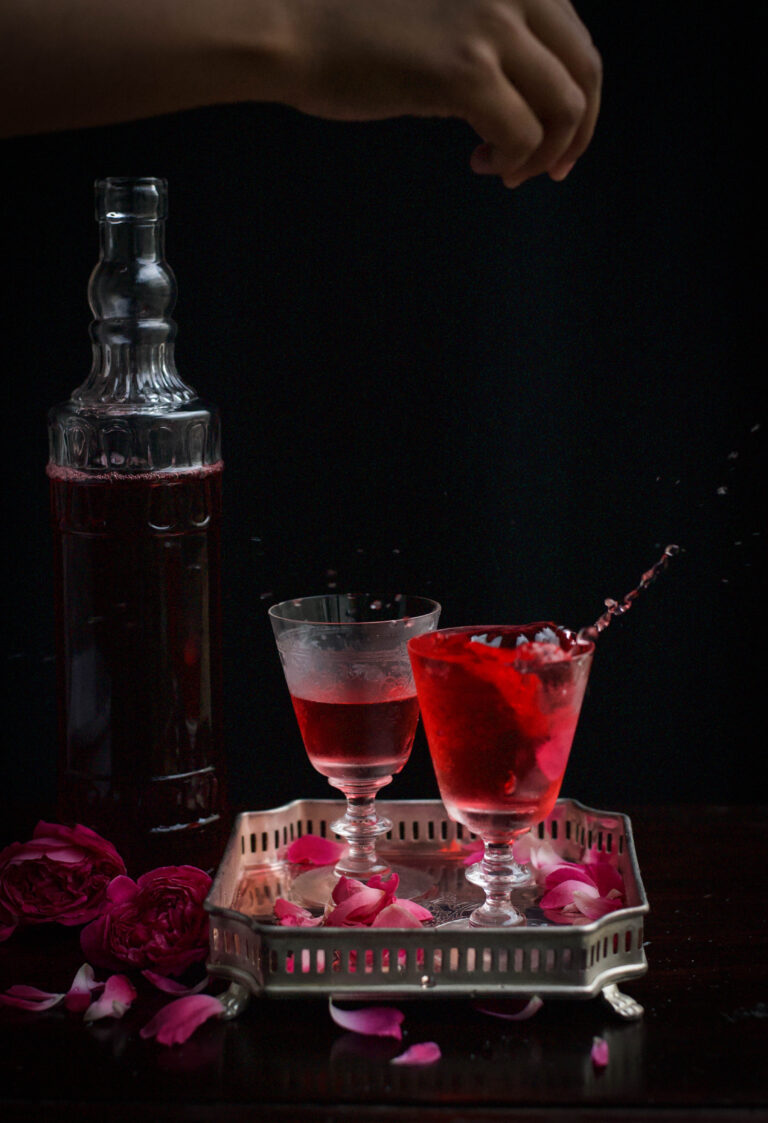
My childhood summers were almost always spent in Vijayawada, where my maternal grandparents lived. If you’ve followed my blog for some time, you may remember when I mentioned their huge fridge or the vetiver-scented curtains in their rooms. So many precious memories were made there as we grew up. Maybe one reason why the scent and flavour of roses are such a vital element in the re:store kitchen is because they always evoke for me one very special taste from those long-ago days:  rose sherbet.

This is my aunt’s recipe, and she made it almost ceremonially every summer in Vijayawada. Or so it felt to me, at least, because the luscious colours and fragrance – and that wonderful, cool taste at the end of it all – were so grand. The household had a very traditional kitchen, despite the ultra-modern fridge, and there was no dining table. In one corner was a puja area, where the gods were always served first, which is why our custom is to never taste food as it is being cooked. Followed by the offering to the gods, the kids would be served. Leaves would be laid on the floor in rows, and my siblings, cousins and I would sit down cross-legged and eat. Banana leaves are popular in South India, but we also used sal or banyan leaves, known as patravali (and locally as istrakku). Leaves are not only a traditional form of crockery, they are also environmentally-friendly. They are biodegradable and are a single-use item, thus requiring no water wastage during cleaning.

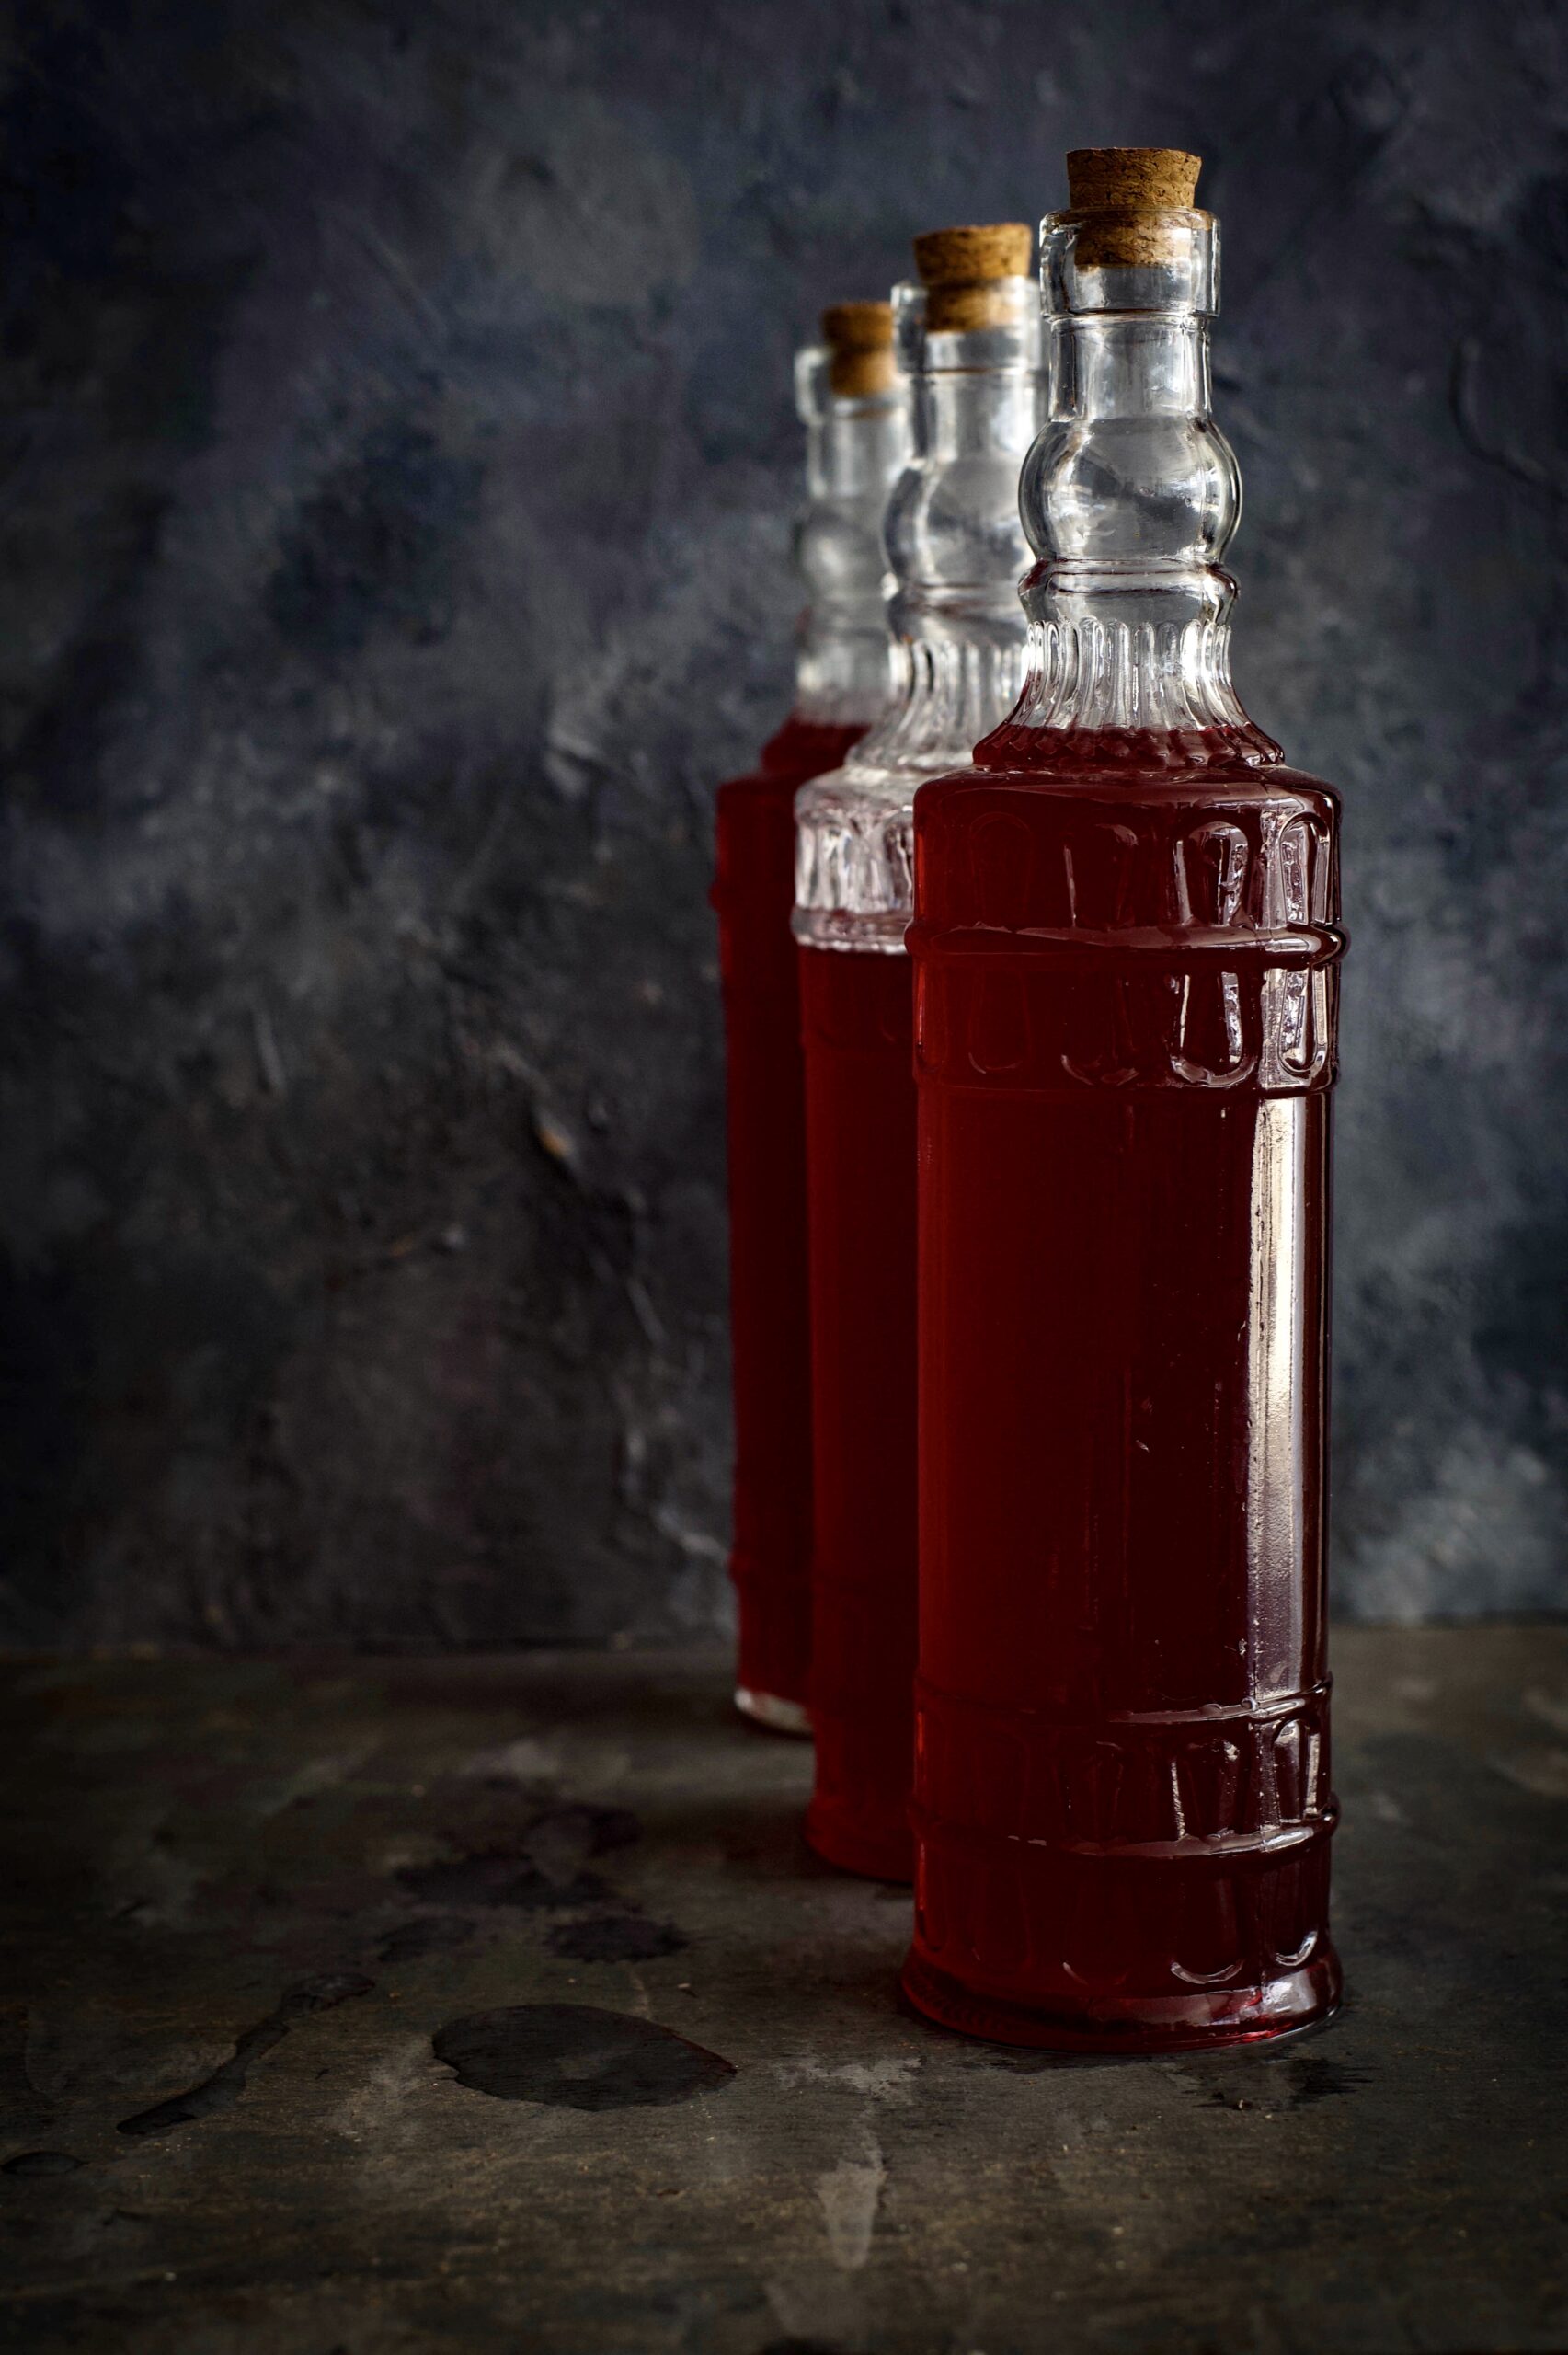
Sitting on the floor expectantly, the leaf before me, I would glance up and look at the amazing array of glass bottles on the shelves. My aunt collected these in every colour and shape, and this beautiful mismatched display was used to store her luscious rose sherbet. We would each be treated to a single glass of it after lunch, so I always looked forward to the end of the meal. The sherbet would be mixed with either water or milk. The latter was a healthy concession (because this is a sugary beverage), as well as a way to get us kids excited about drinking milk.

Sherbet is a drink brought to India from the Middle East, as its name indicates, coming from the Turkish “şerbet”, Persian “sharbat” and Arabic “sharba”. Naturally cooling, it is a concentrate made of either flowers or fruits, which is diluted. It is sometimes spiced but always sweetened.

I had the good fortune of having my aunt visit recently. She is in her 80s now and as we reminisced about the good times, we ended up making a fresh batch of rose sherbet in my home. Now it’s my shelves that are lined with those gleaming pink bottles.

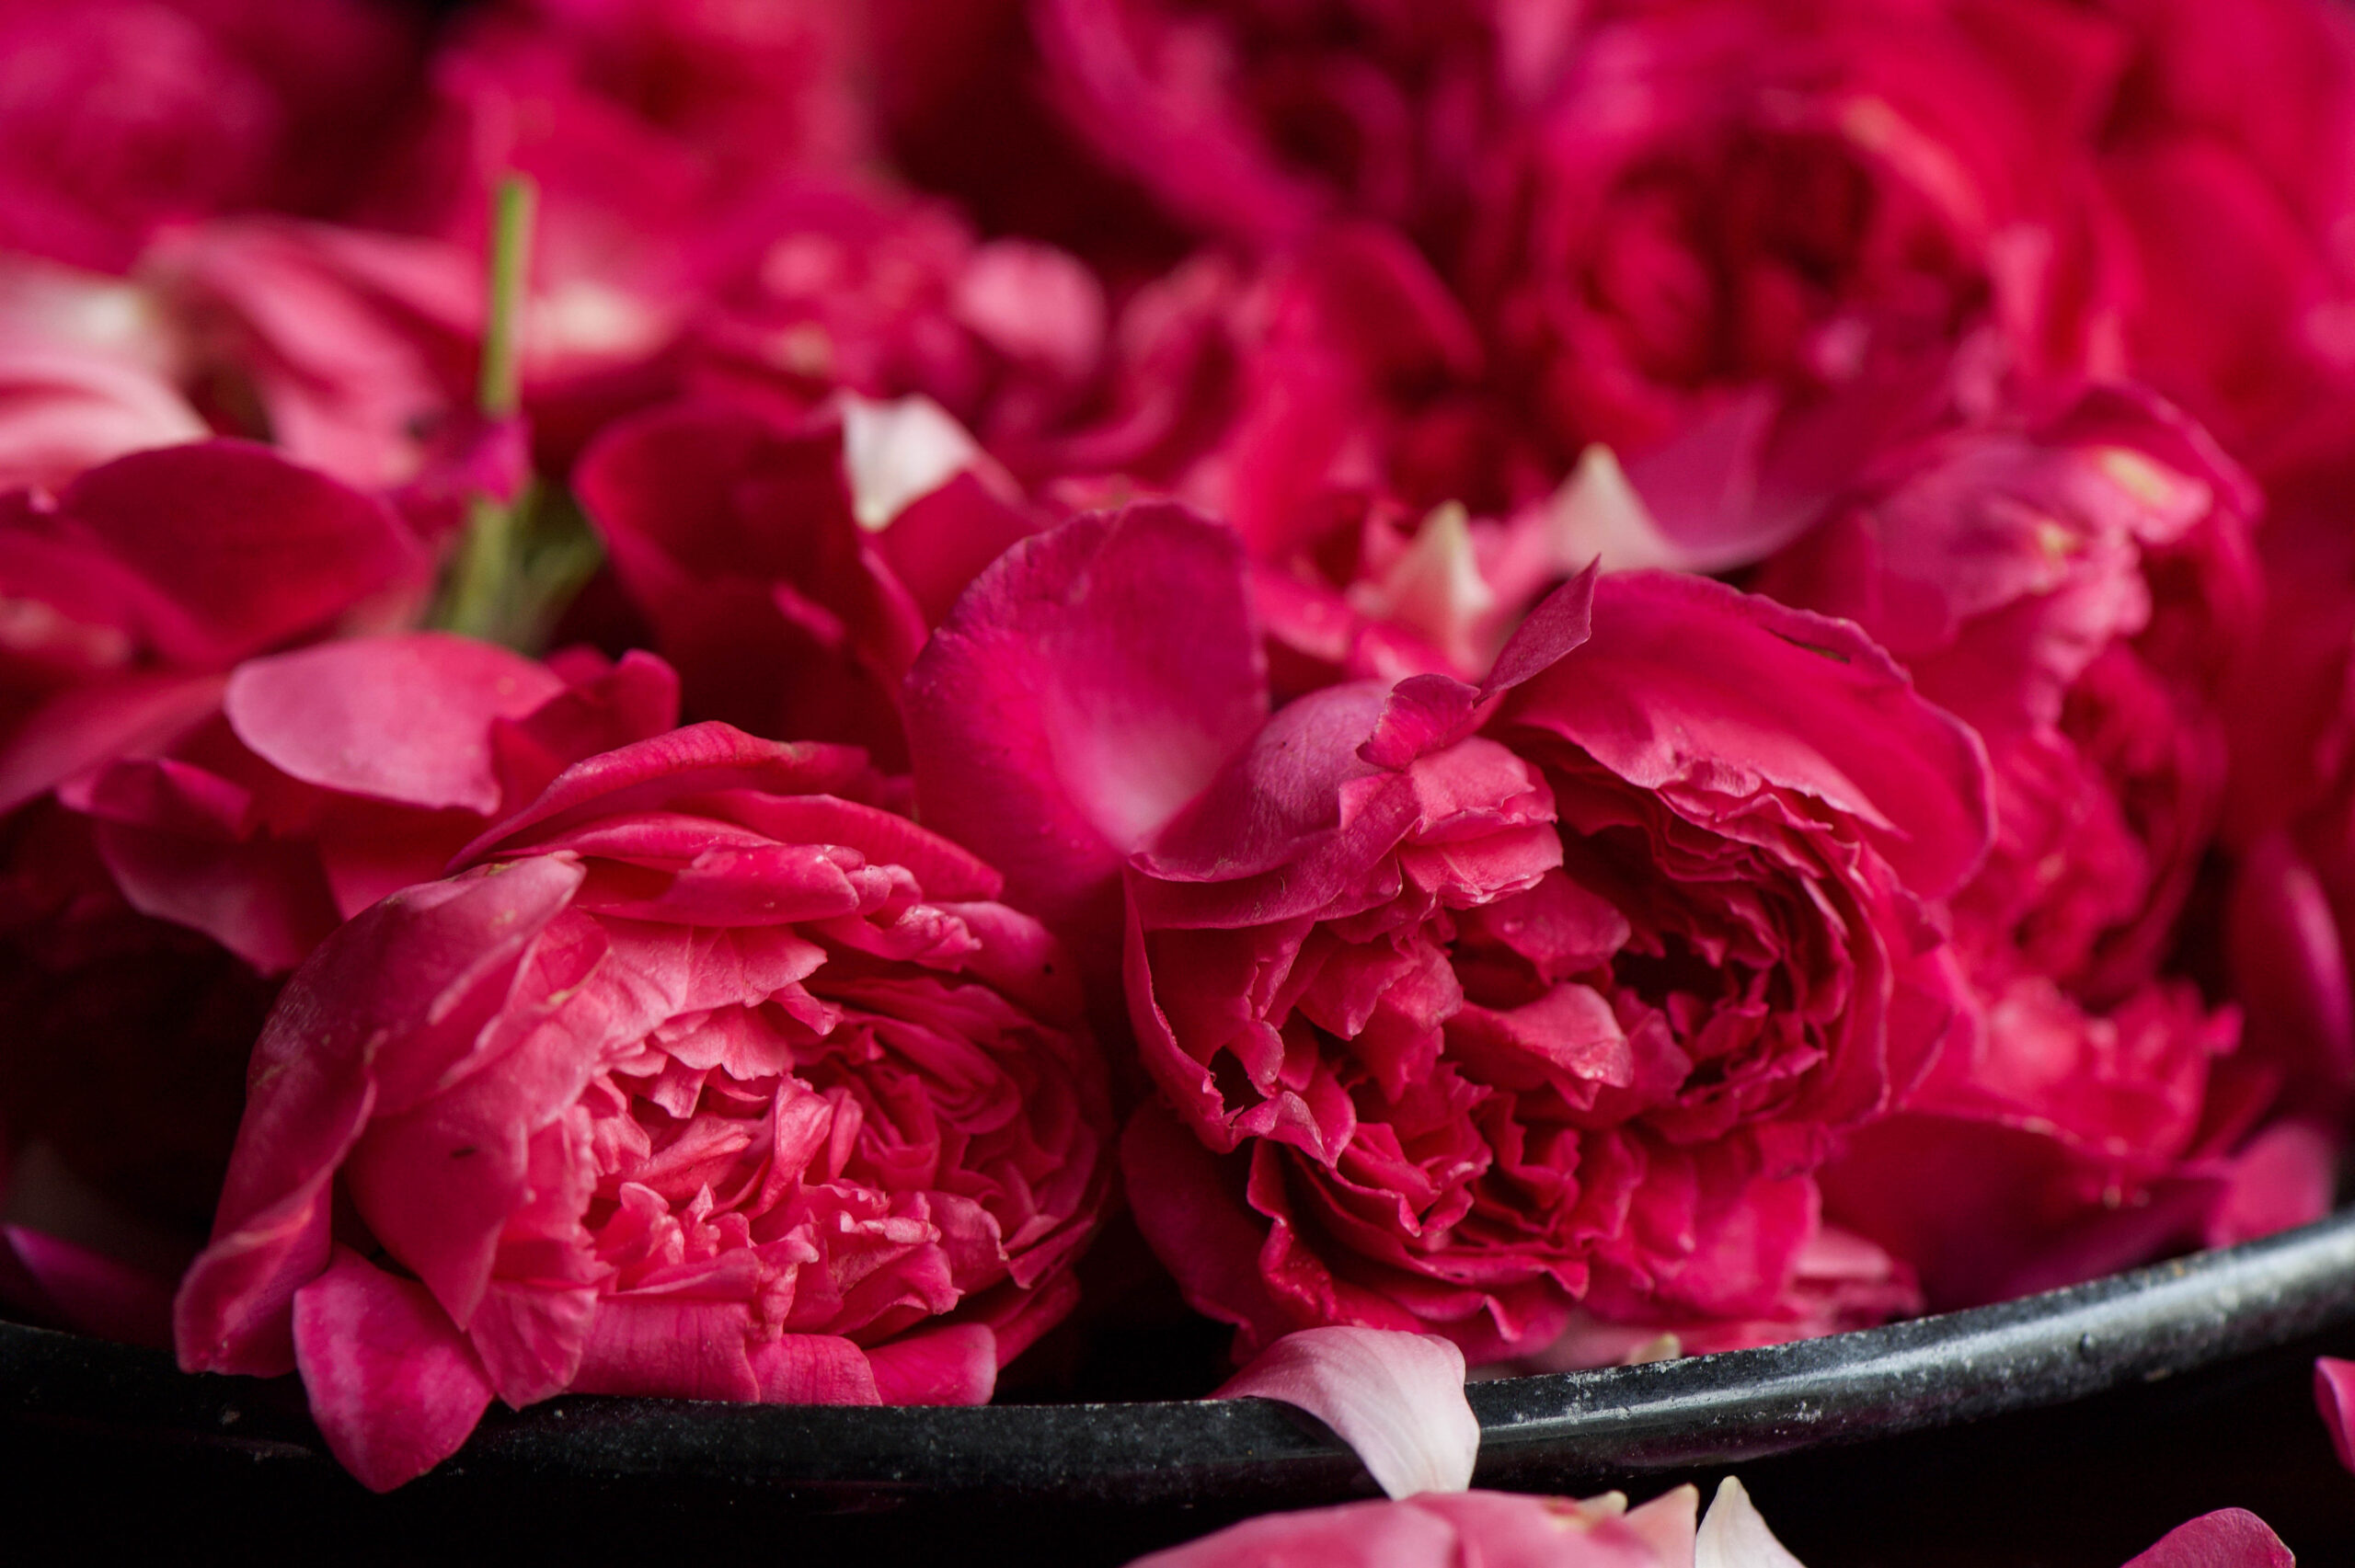
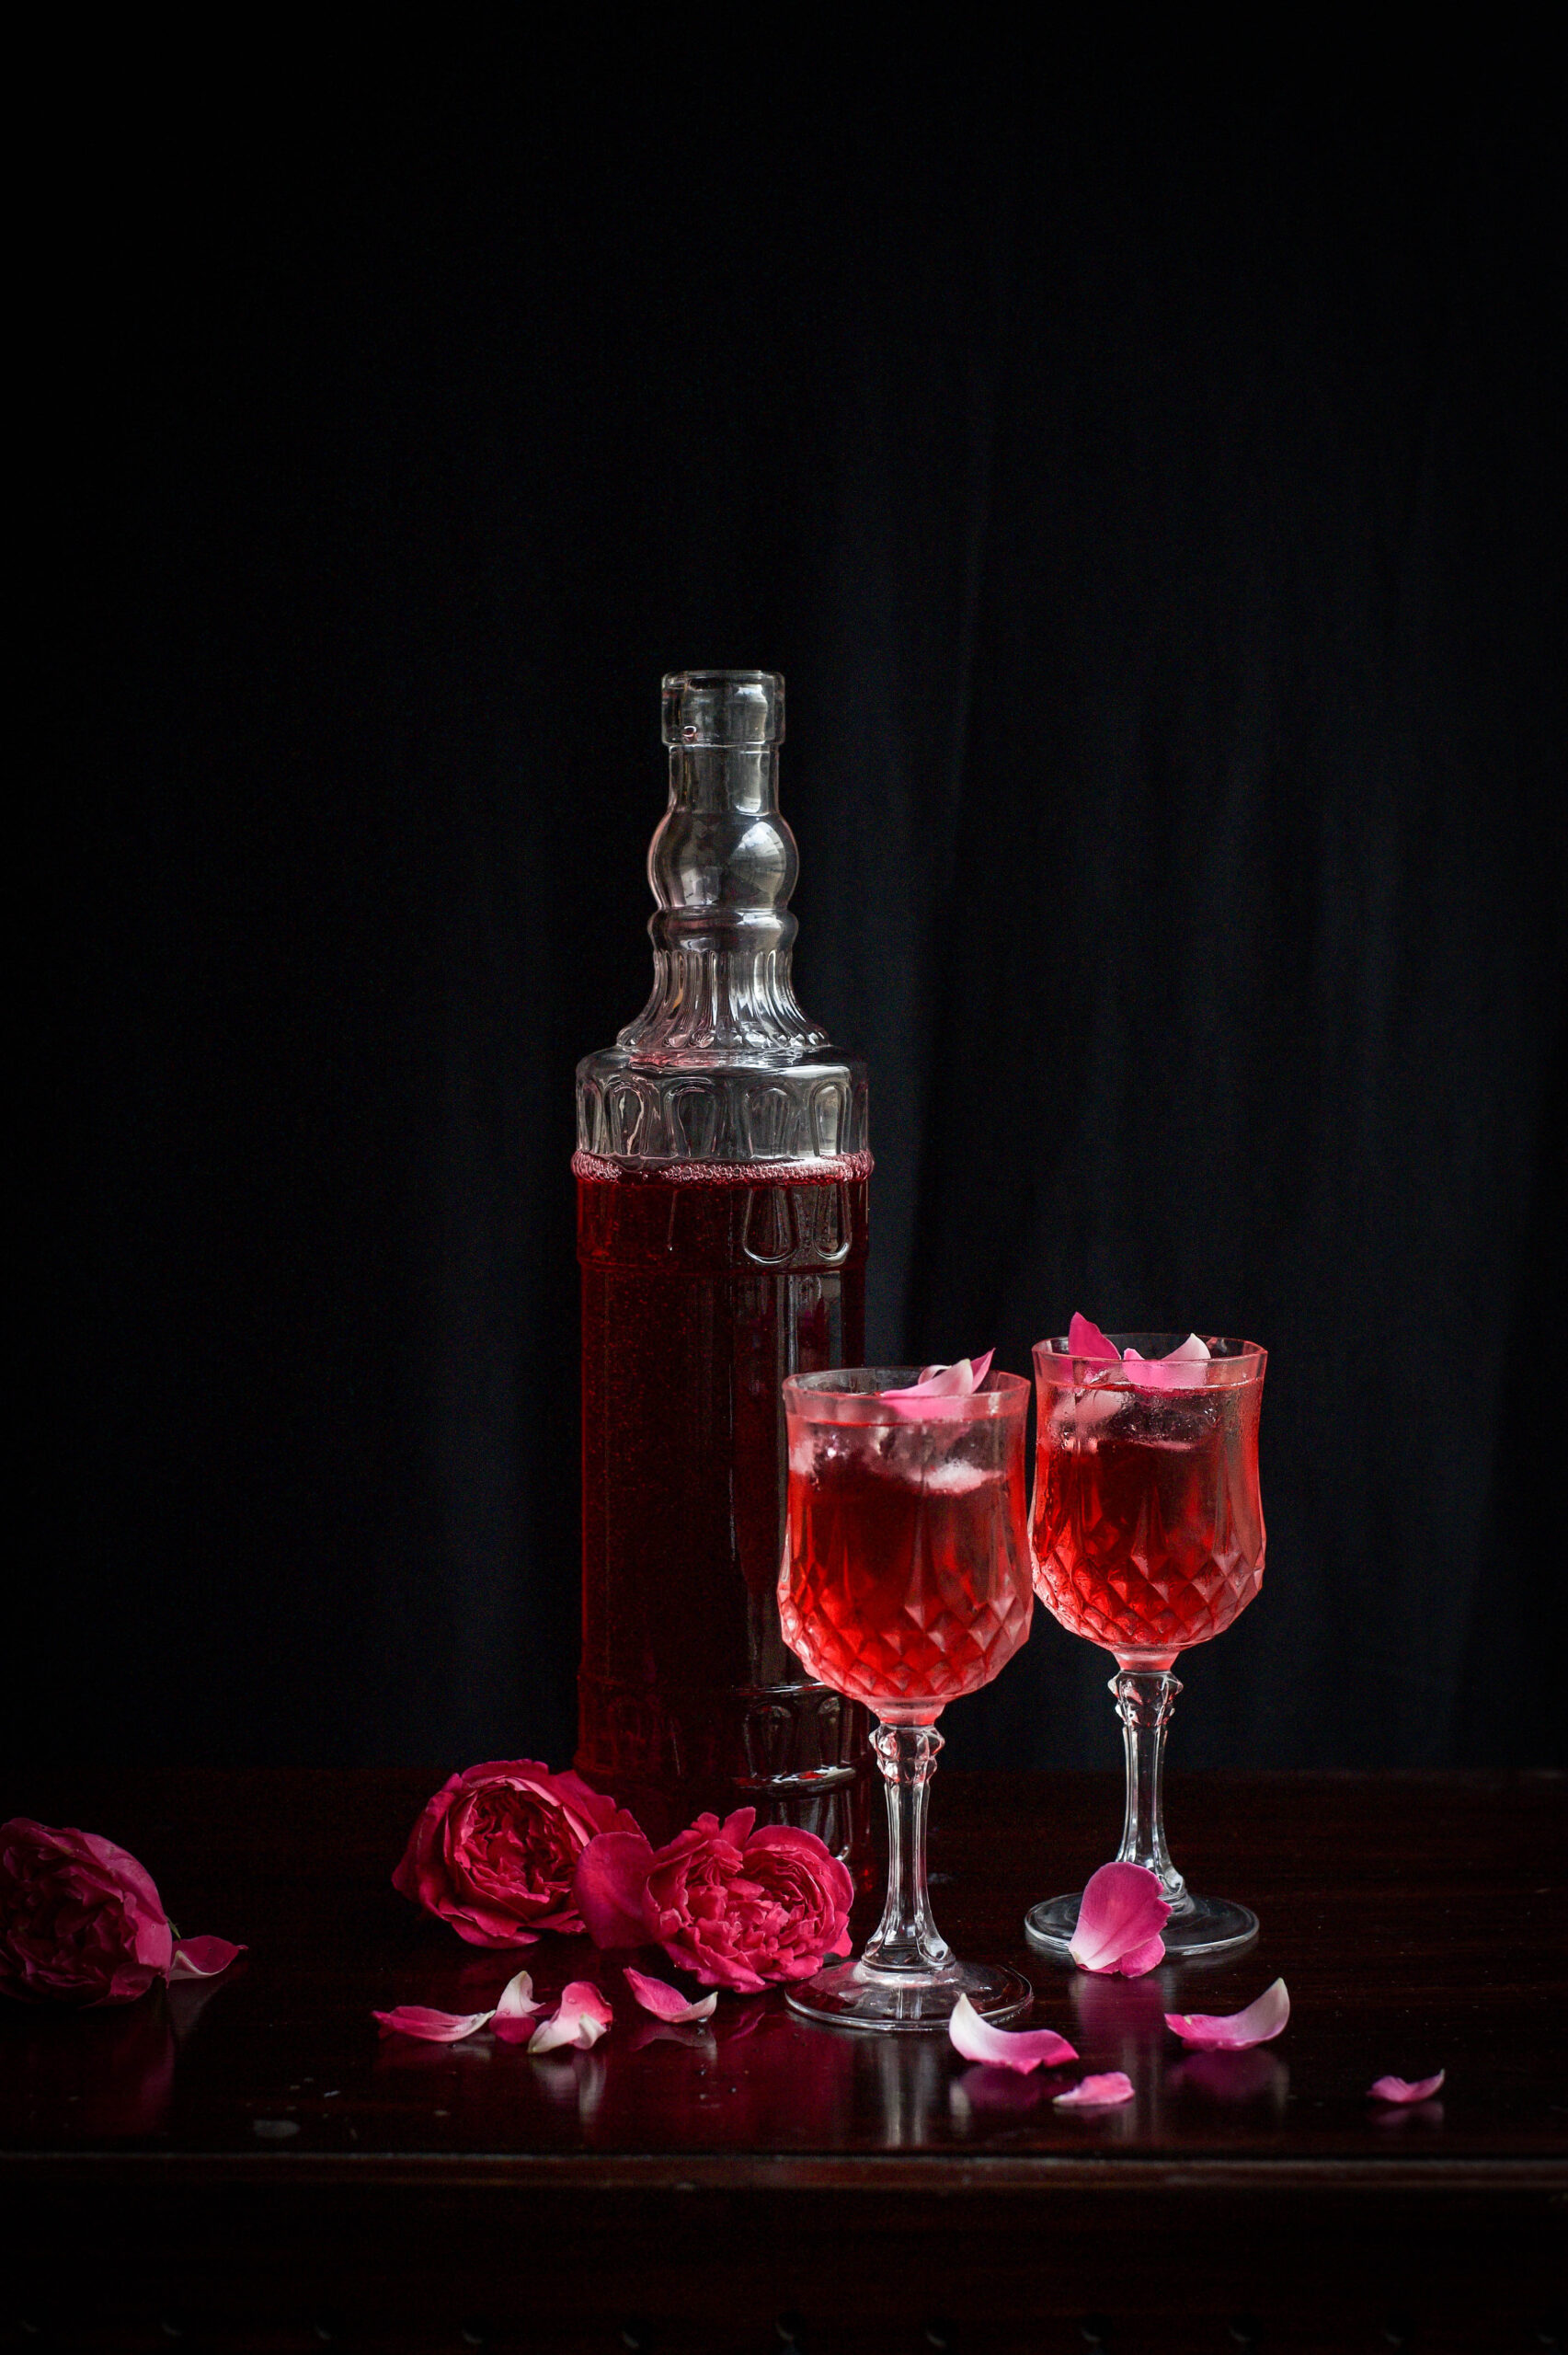
The roses we used are the pretty local ones known as “paneer roja”, which may be familiar to you as damask rose or country rose. They grow well in the tough weather conditions of Chennai, and they are so fragrant. Prepare for your entire kitchen to smell like heaven as you make this recipe. And why not? You deserve it. On those long summer days, like the ones we’ve started to have in Chennai now, it’s the perfect cheat day beverage. So cooling and so decadent!


Rose Sherbet

(Yield: Approximately 2 litres)

Ingredients

2 litres water

150 grams rose petals

1½  kilograms sugar

1 teaspoon citric acid

1 teaspoon rose extract

2 pinches of raspberry colour

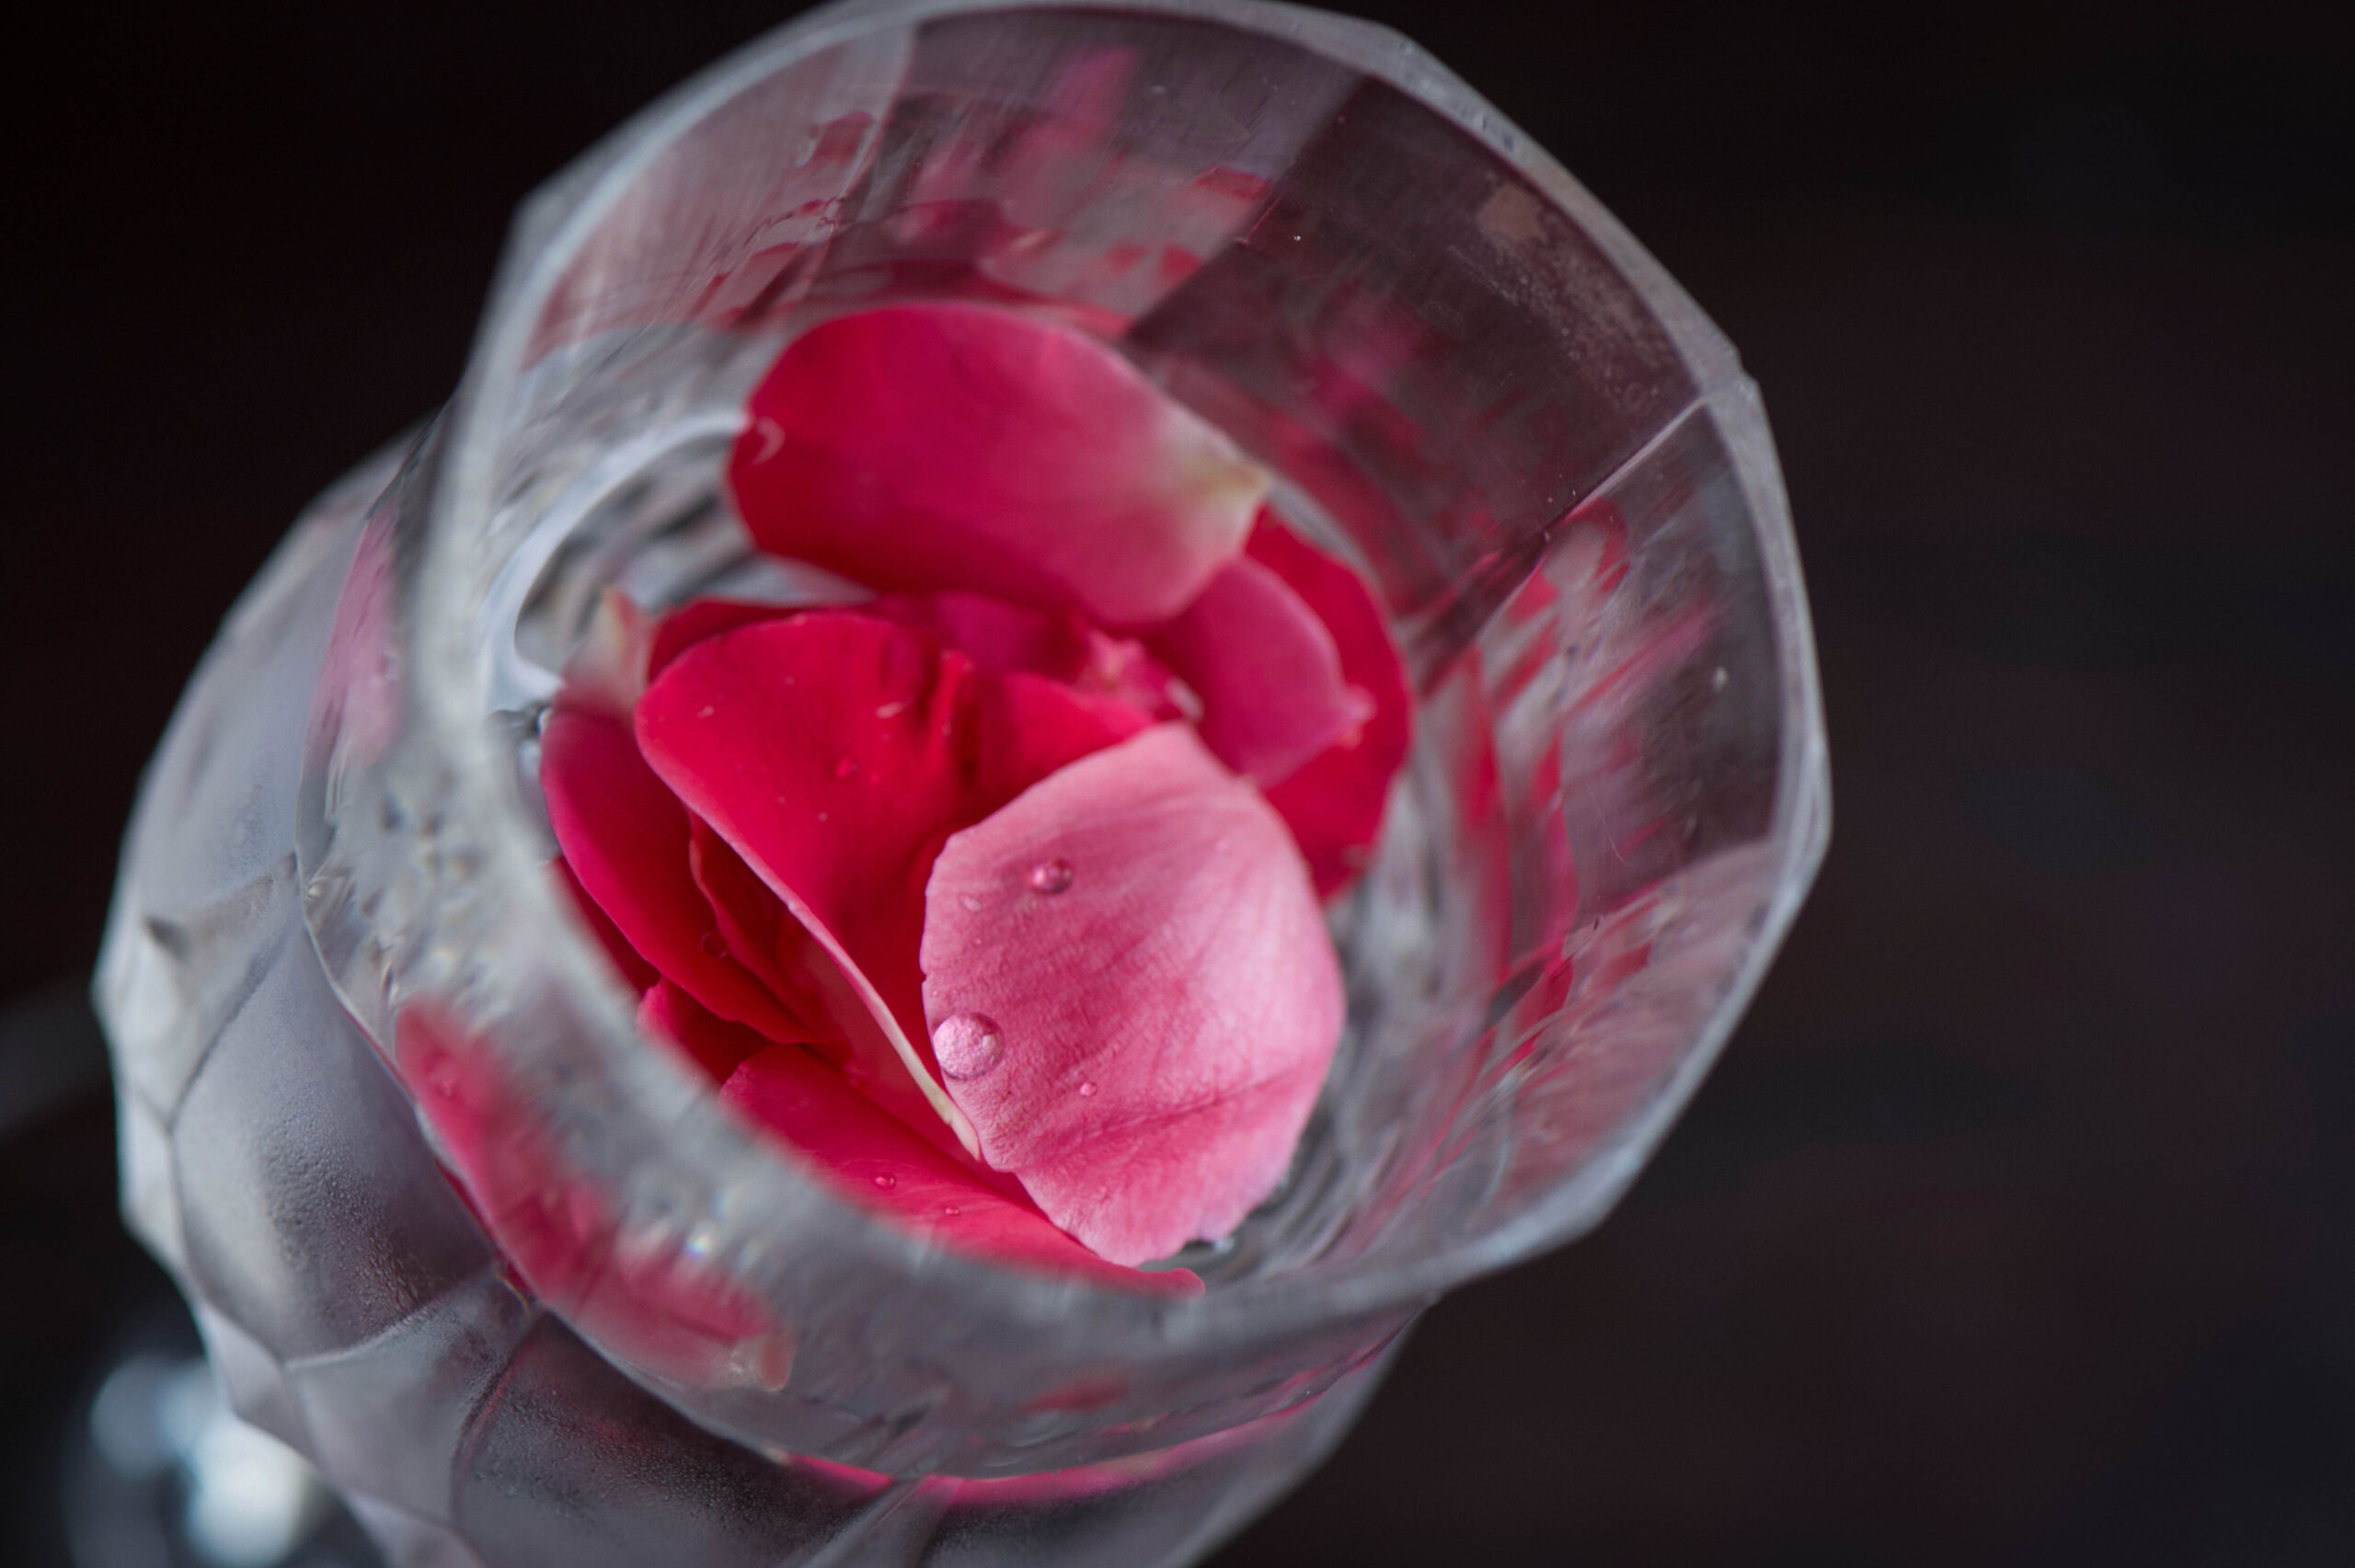
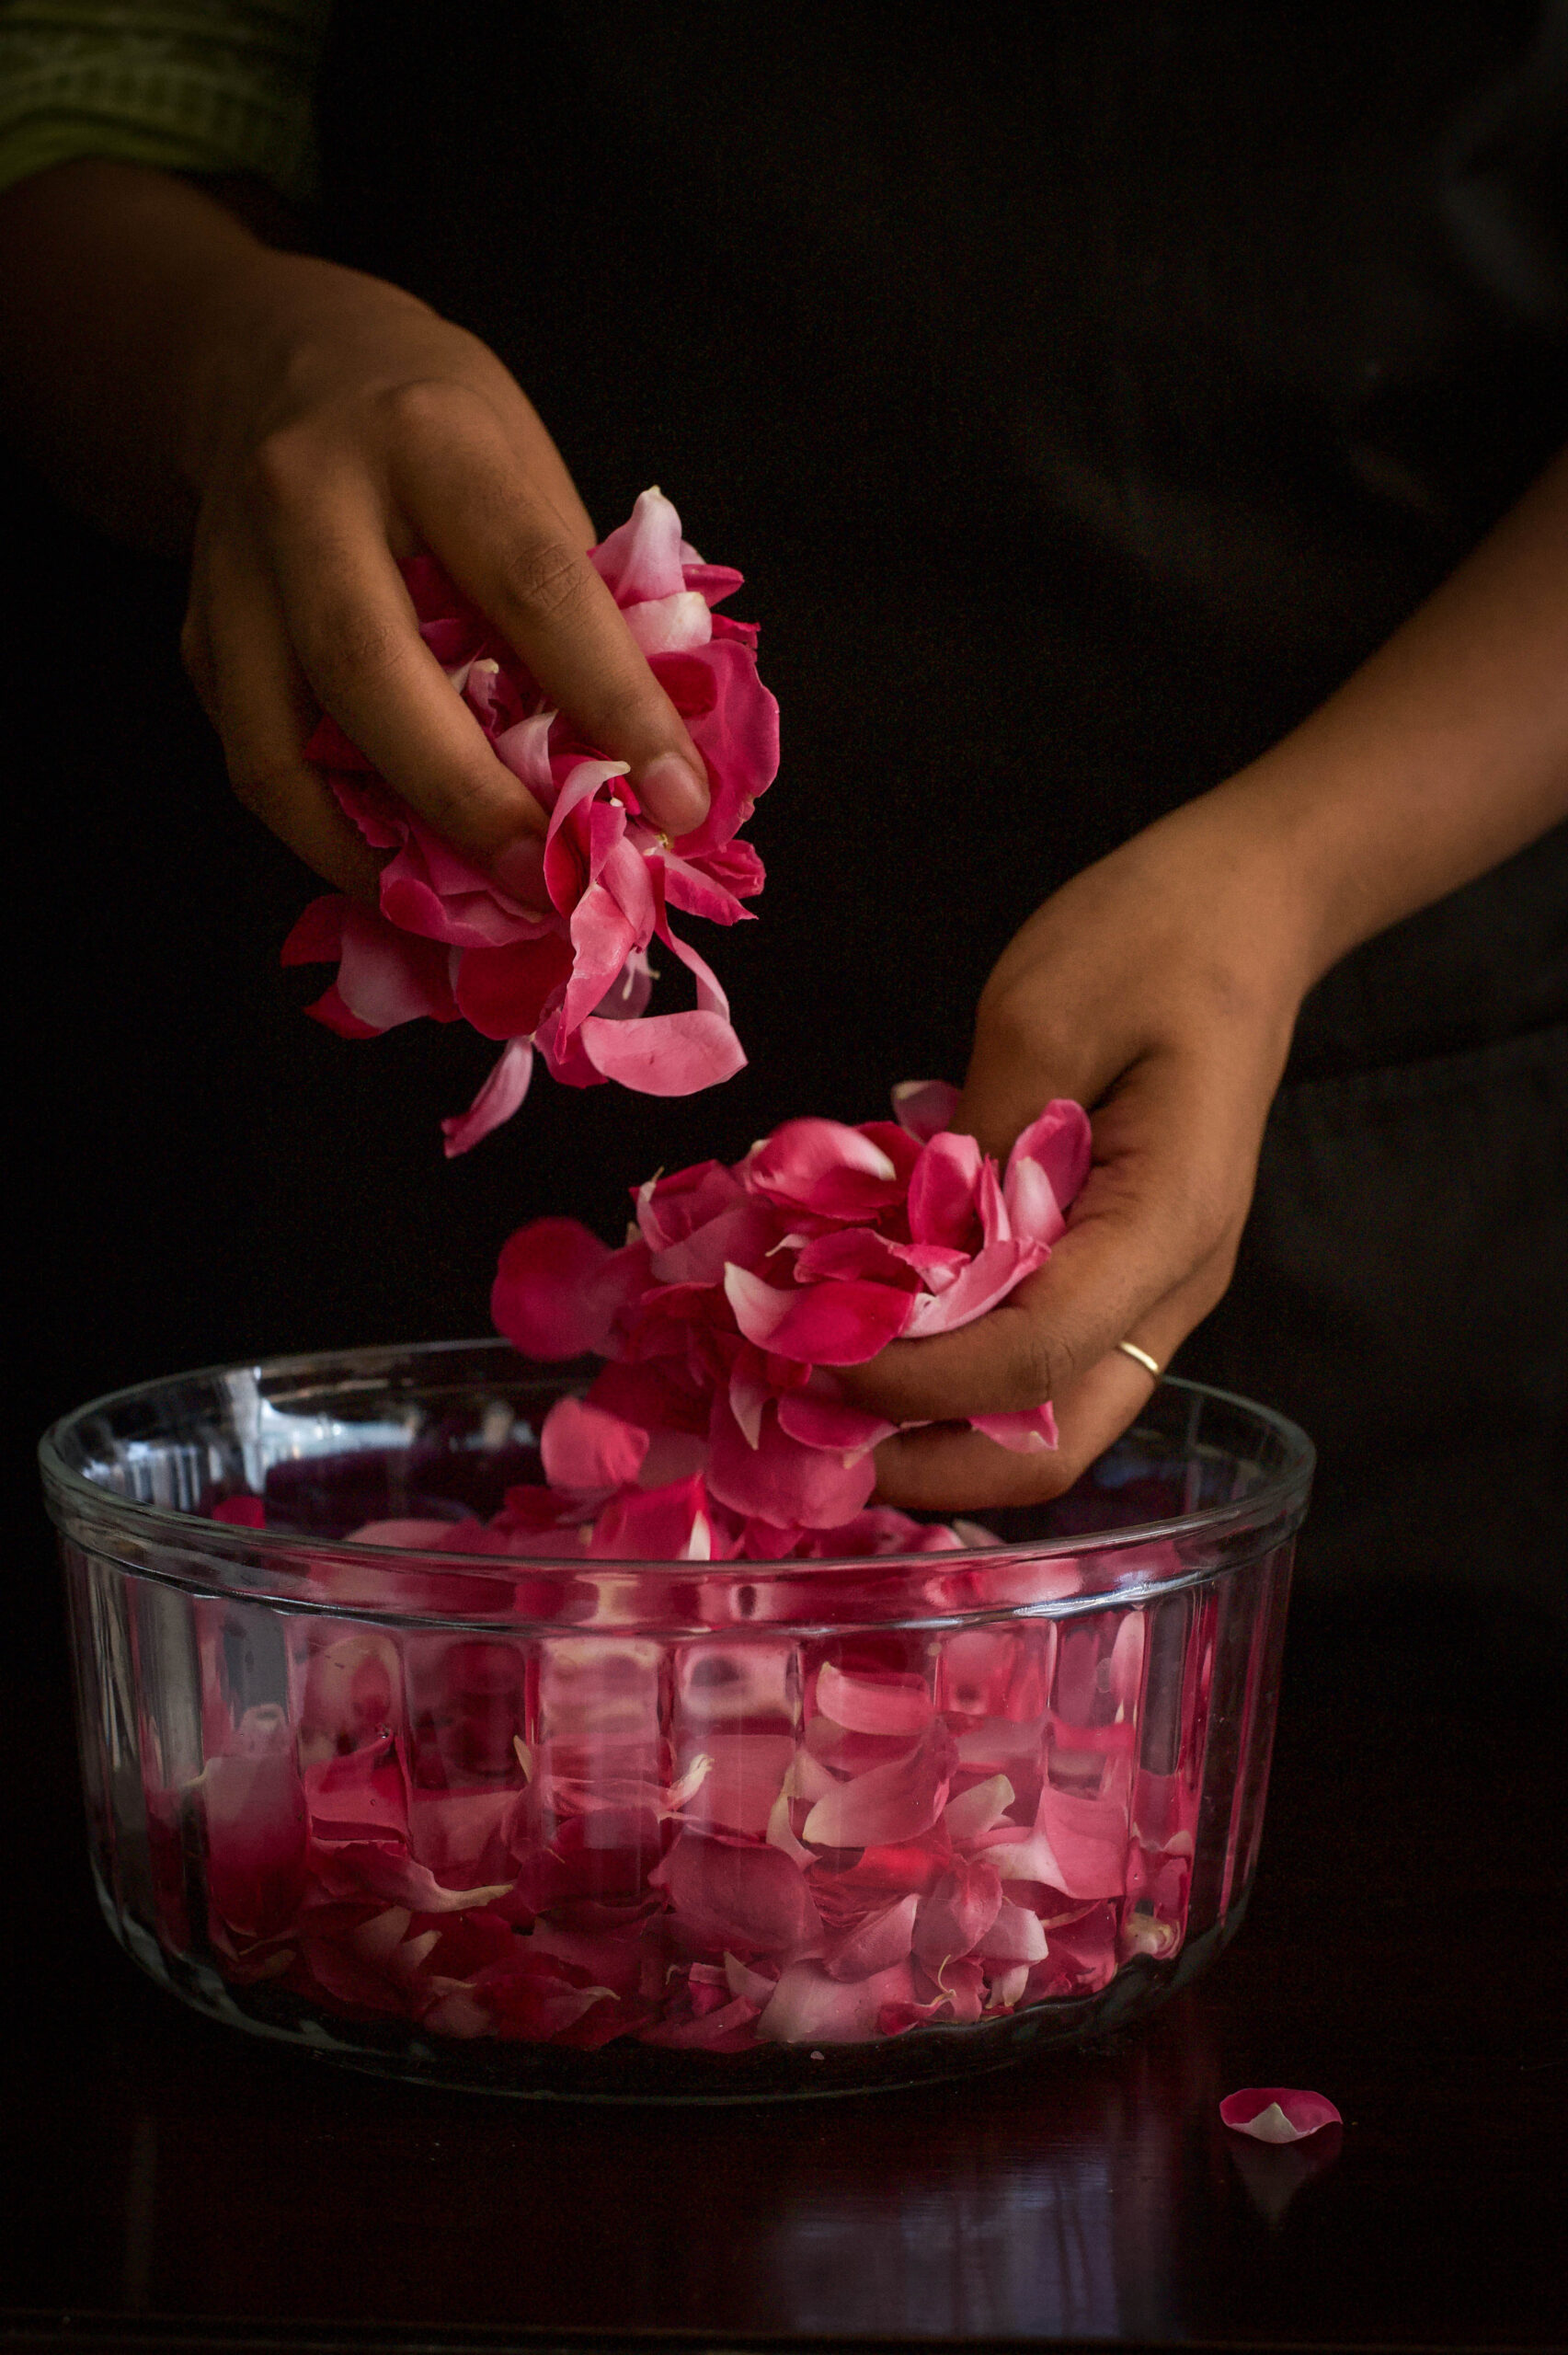
Pick and clean the rose petals. Place them in a vessel, cover with a lid, and let them soak in water overnight.

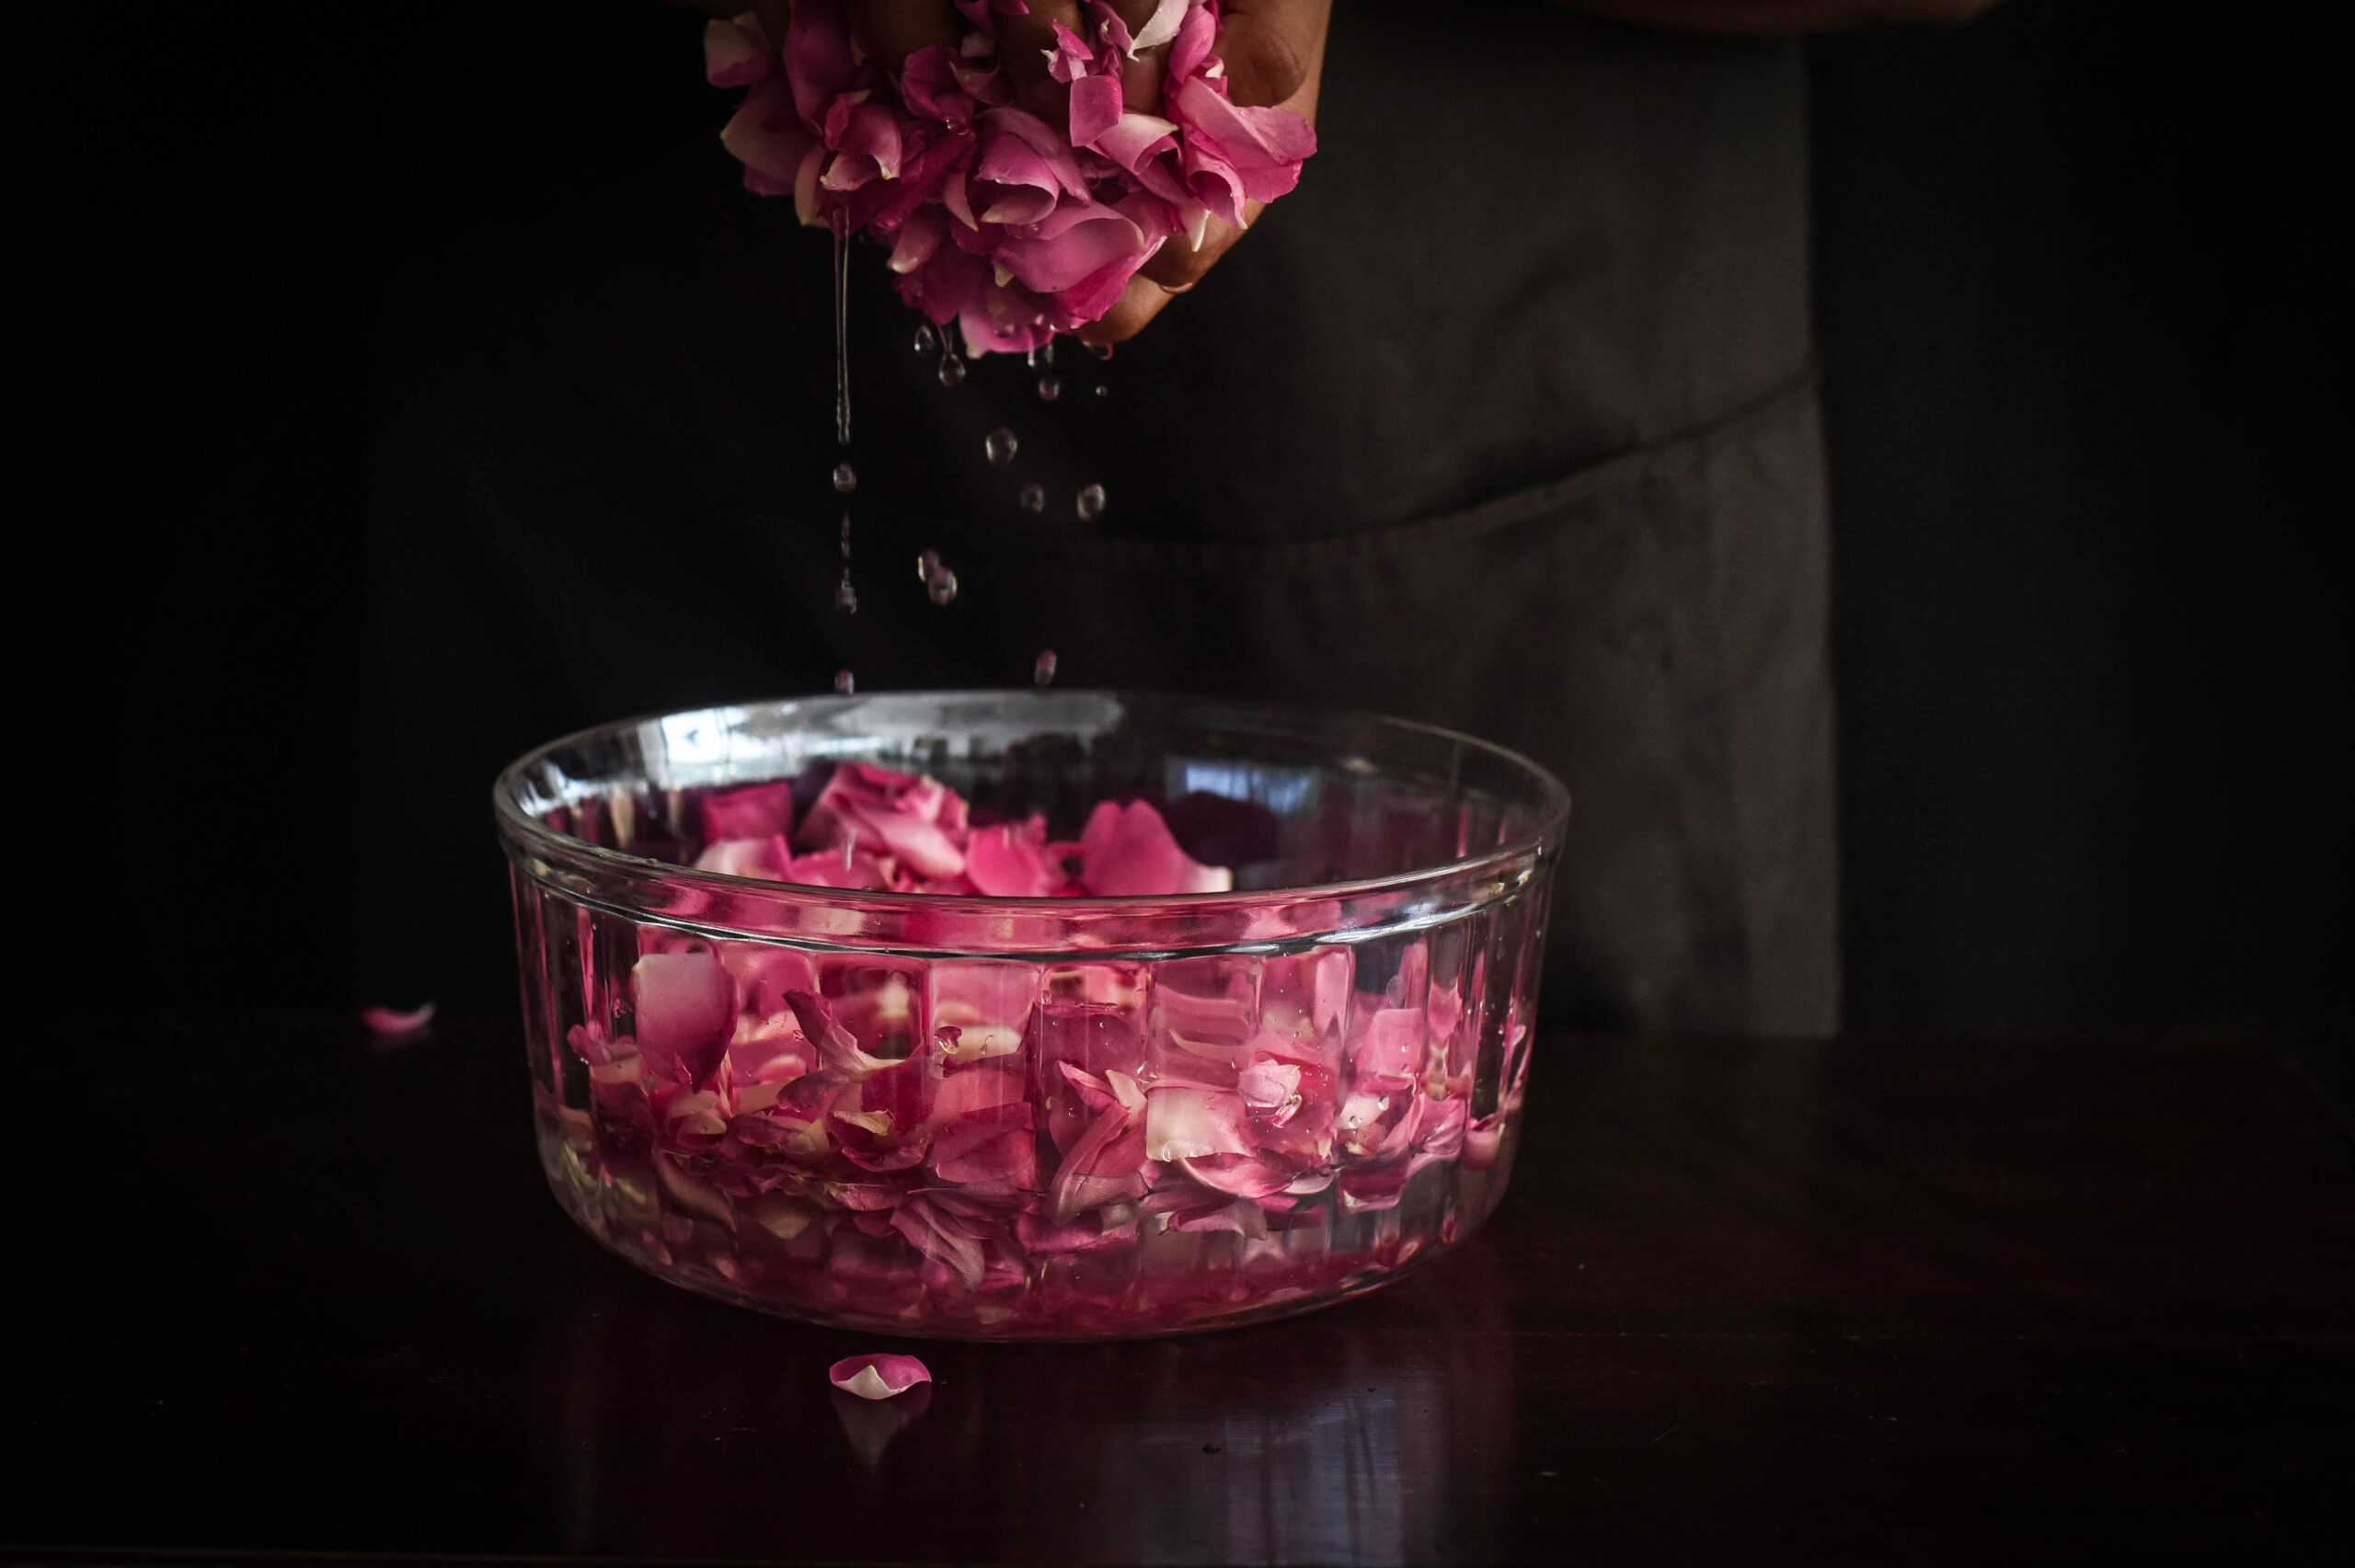
The following morning, crush the petals well using your hands or a hand blender. The water will now change colour.

Squeeze the petals using your hands and strain and pour the rose water into a big steel pot and place it over a medium flame. Discard the petals. Add the sugar and stir constantly. Be careful not to allow the sugar to crystallise – this is a precise art.

Boil and stir until the water turns sticky when touched between your fingers. Then, turn off the flame and add the citric acid. Make sure you stir the pot well and the citric acid blends completely. Cover the pot with a net and allow to cool.

After a few hours, add some rose extract and the raspberry red colour to the sherbet. The latter is optional, but look at how delightful the drink looks when you do it! Kids will especially get a thrill from that rich colour.

Strain the sherbet, then use a funnel to pour the syrup into glass bottles. Store in a cool place. This beverage does not require refrigeration.

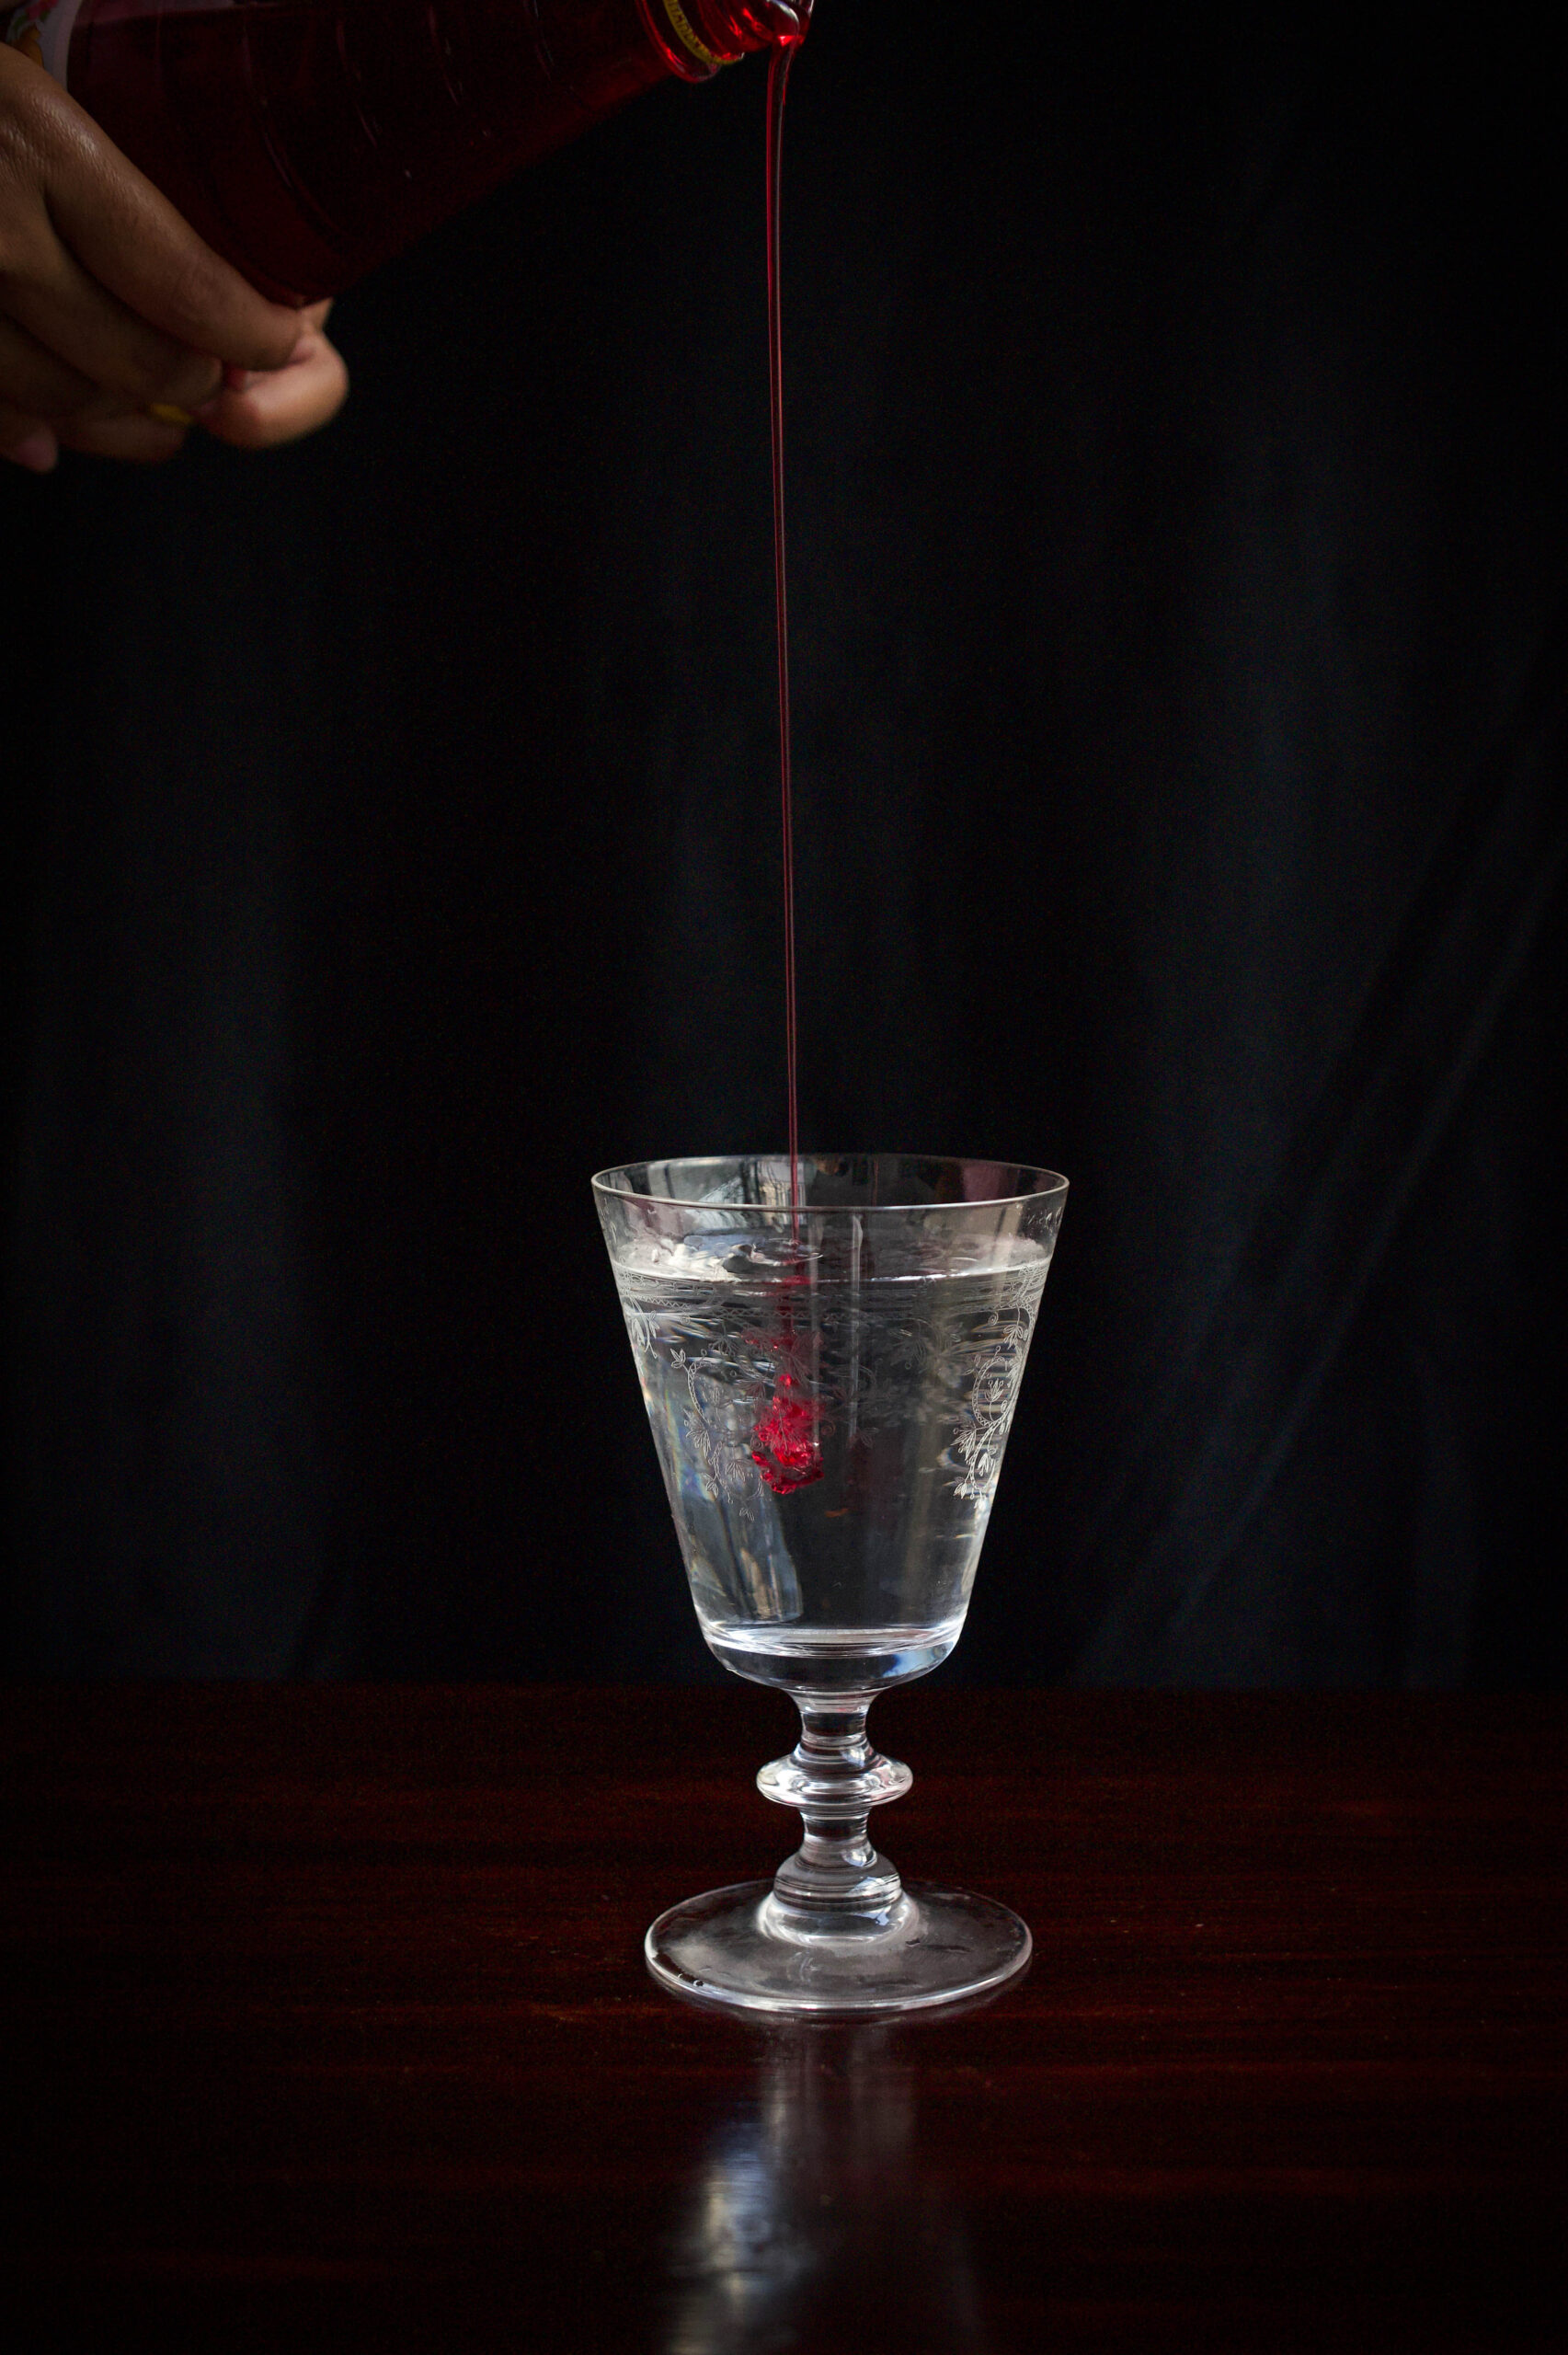
To serve, add 2 tablespoons of the syrup into a glass. Pour cold water until it fills the glass and mix lightly.

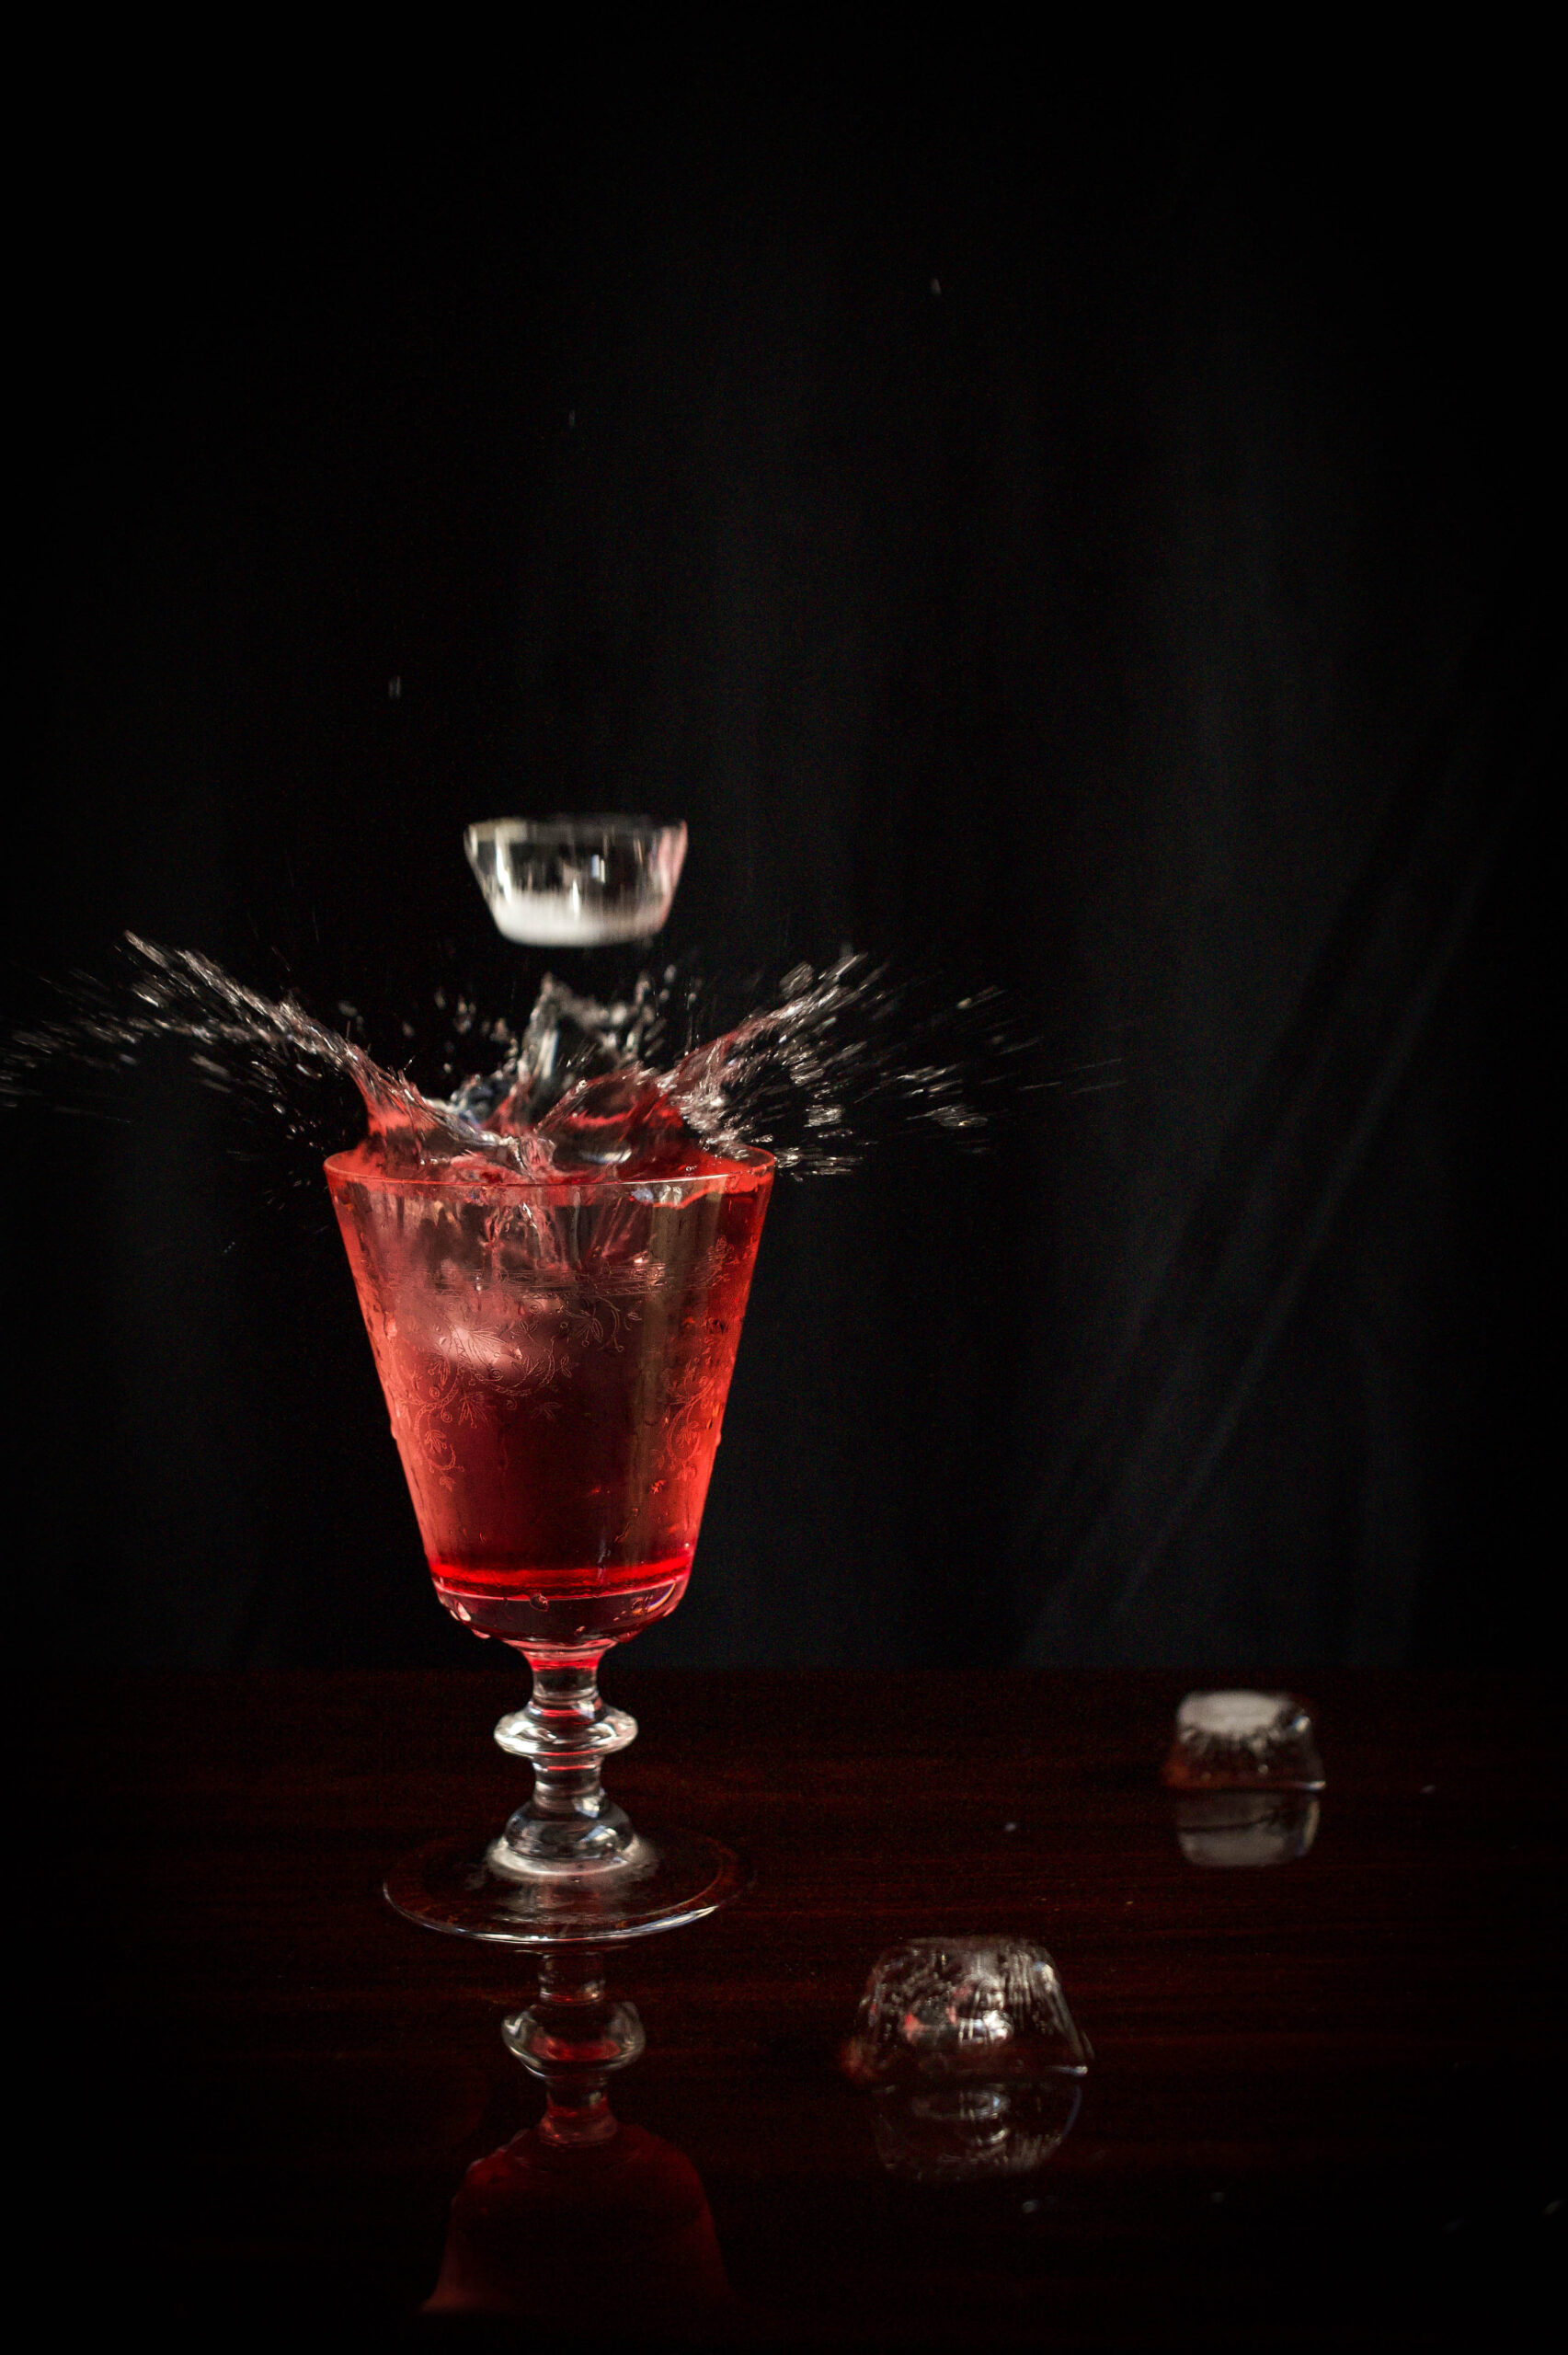
In my home, the favourite finishing touch is always a topping of ice cubes and a squeeze of lemon. Rose sherbet is so very refreshing, as well as so lovely to look at. You’ll have to do what my aunt did when we were kids and restrict yourself – just one sugary-sweet glass a day!


In my previous post, I gave you a fresh spin on the classic dal dhokli, a dinner staple made with leftovers from lunch. In fact, the use of leftovers was so well-designed in traditional cuisines that afternoon snacks would be planned in the morning, and dinnertime planned even while making lunch – and each would be built on the other. In India, no meal is complete without a sweet, and resourceful cooks through the generations also found ways to make sweet snacks using the remnants of a previous meal. Which brings me to the second dish of the promised trio in this series.

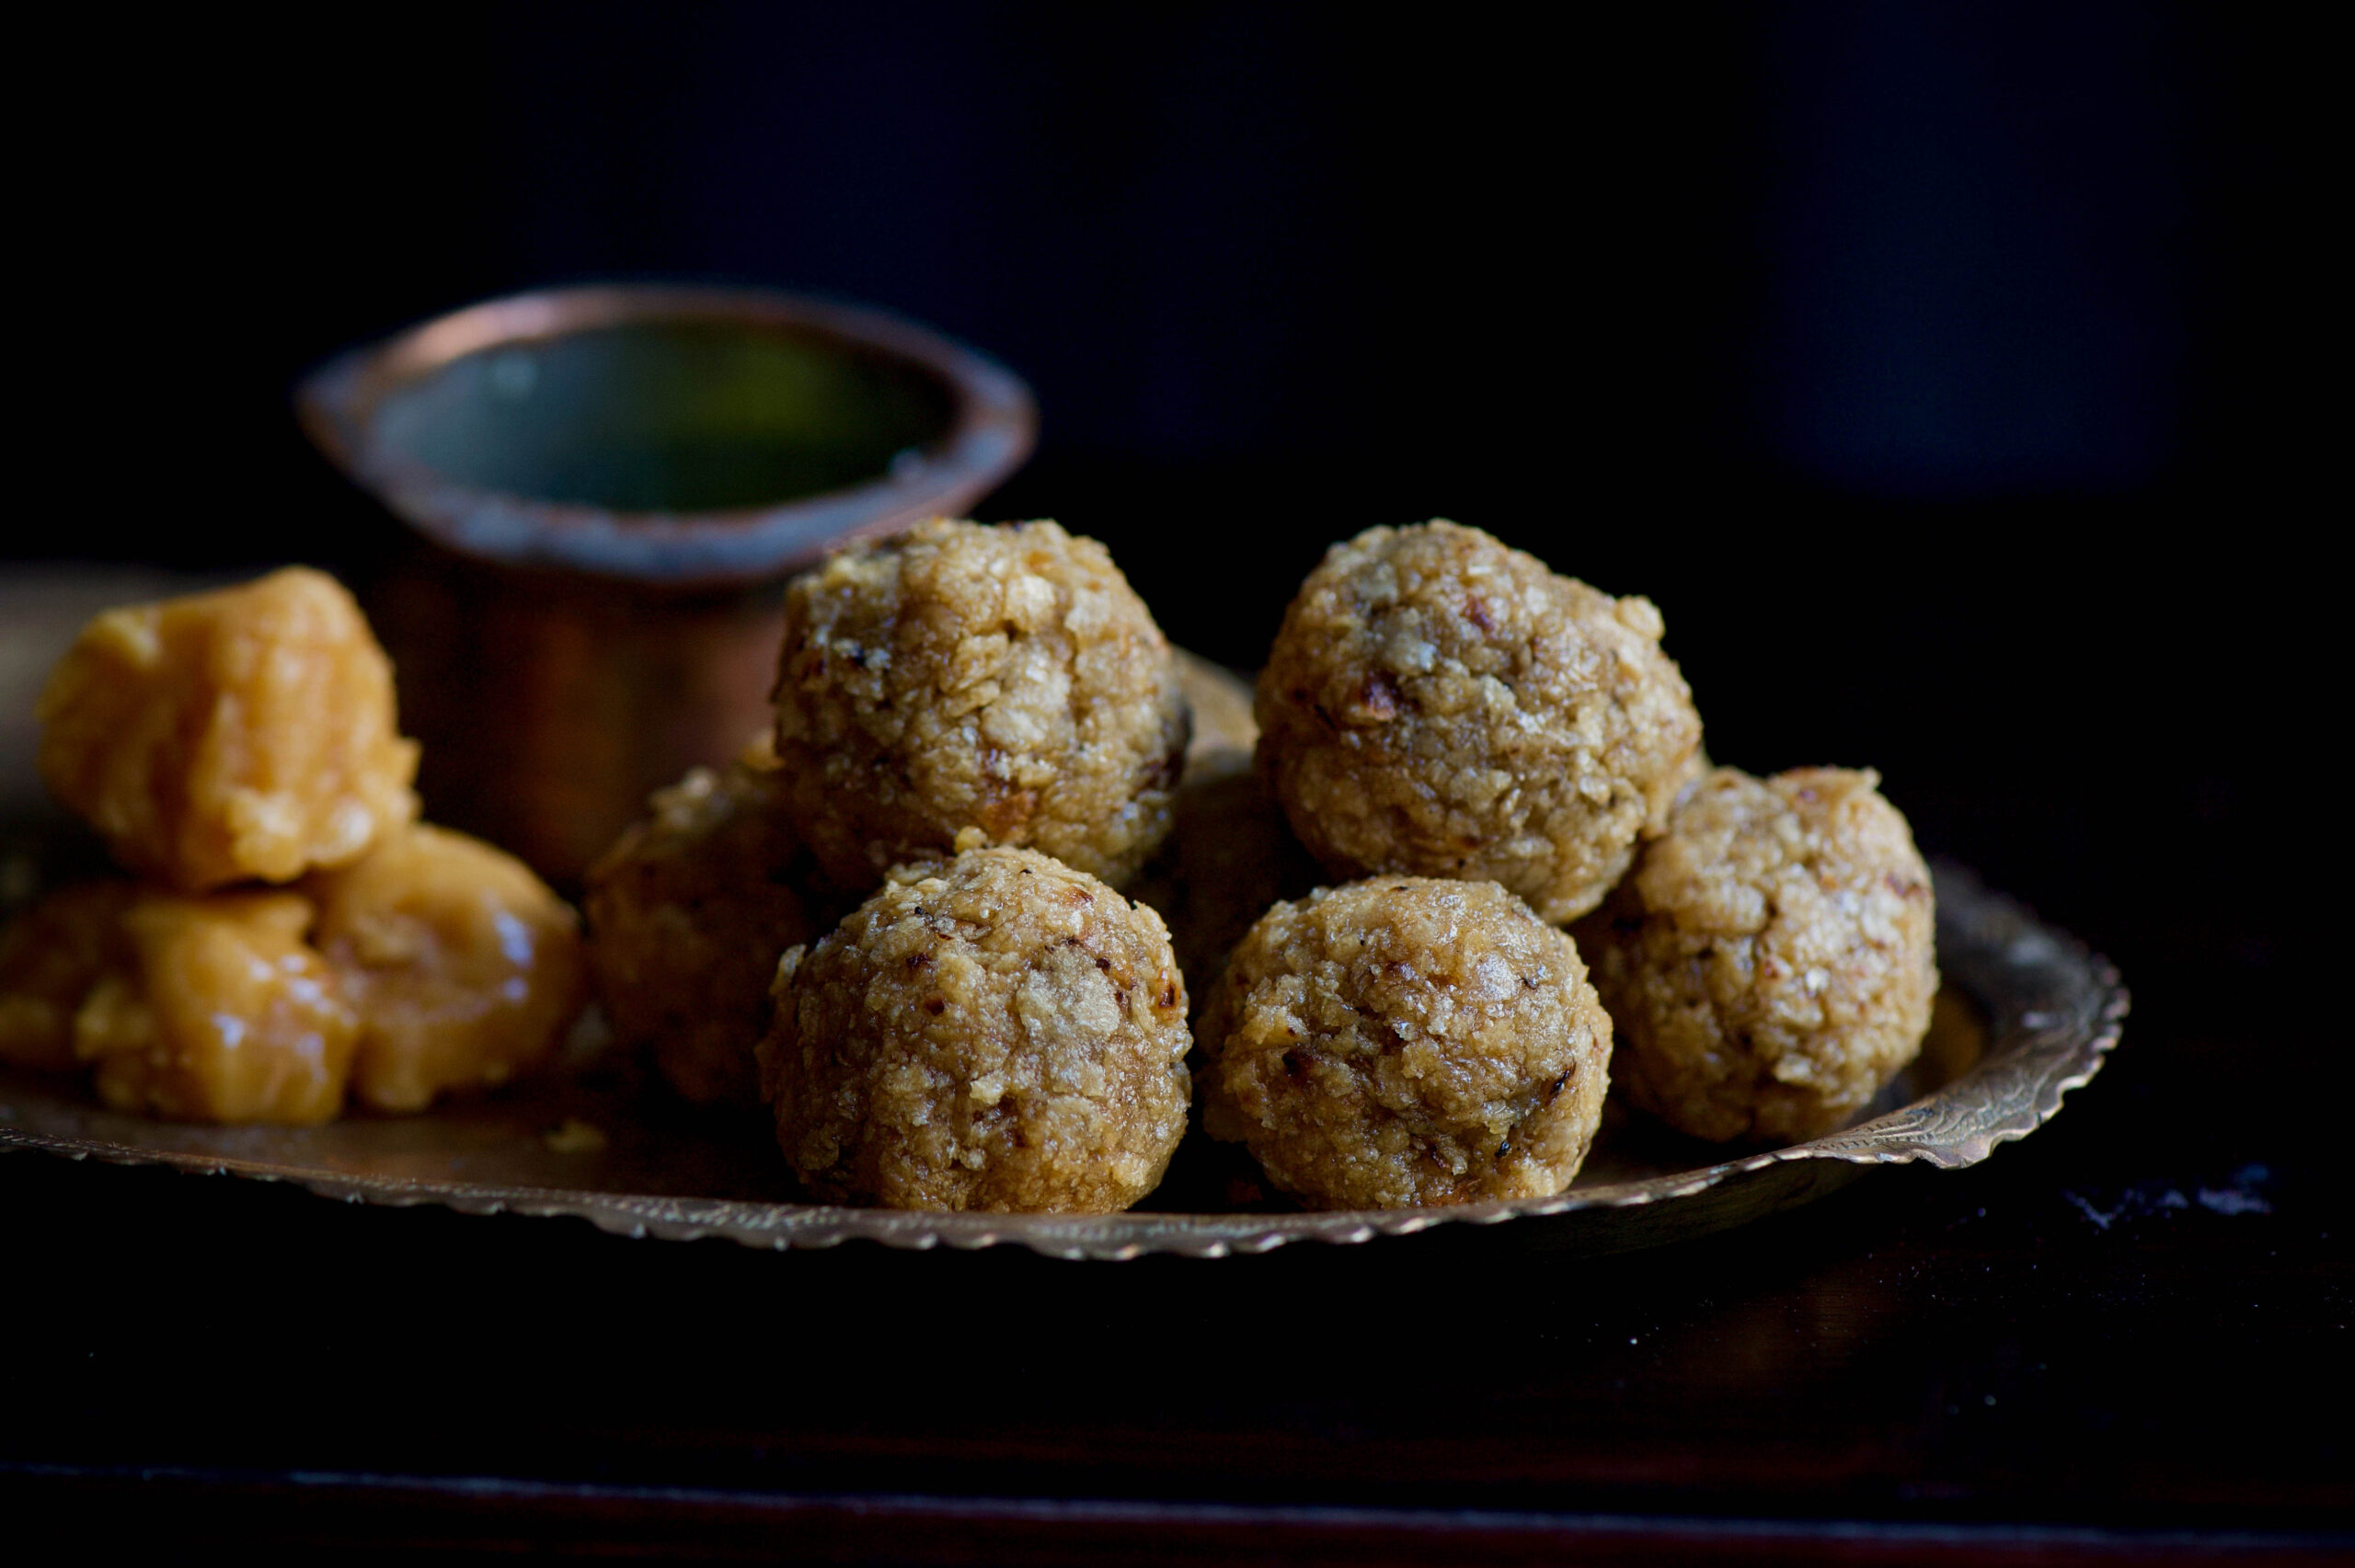
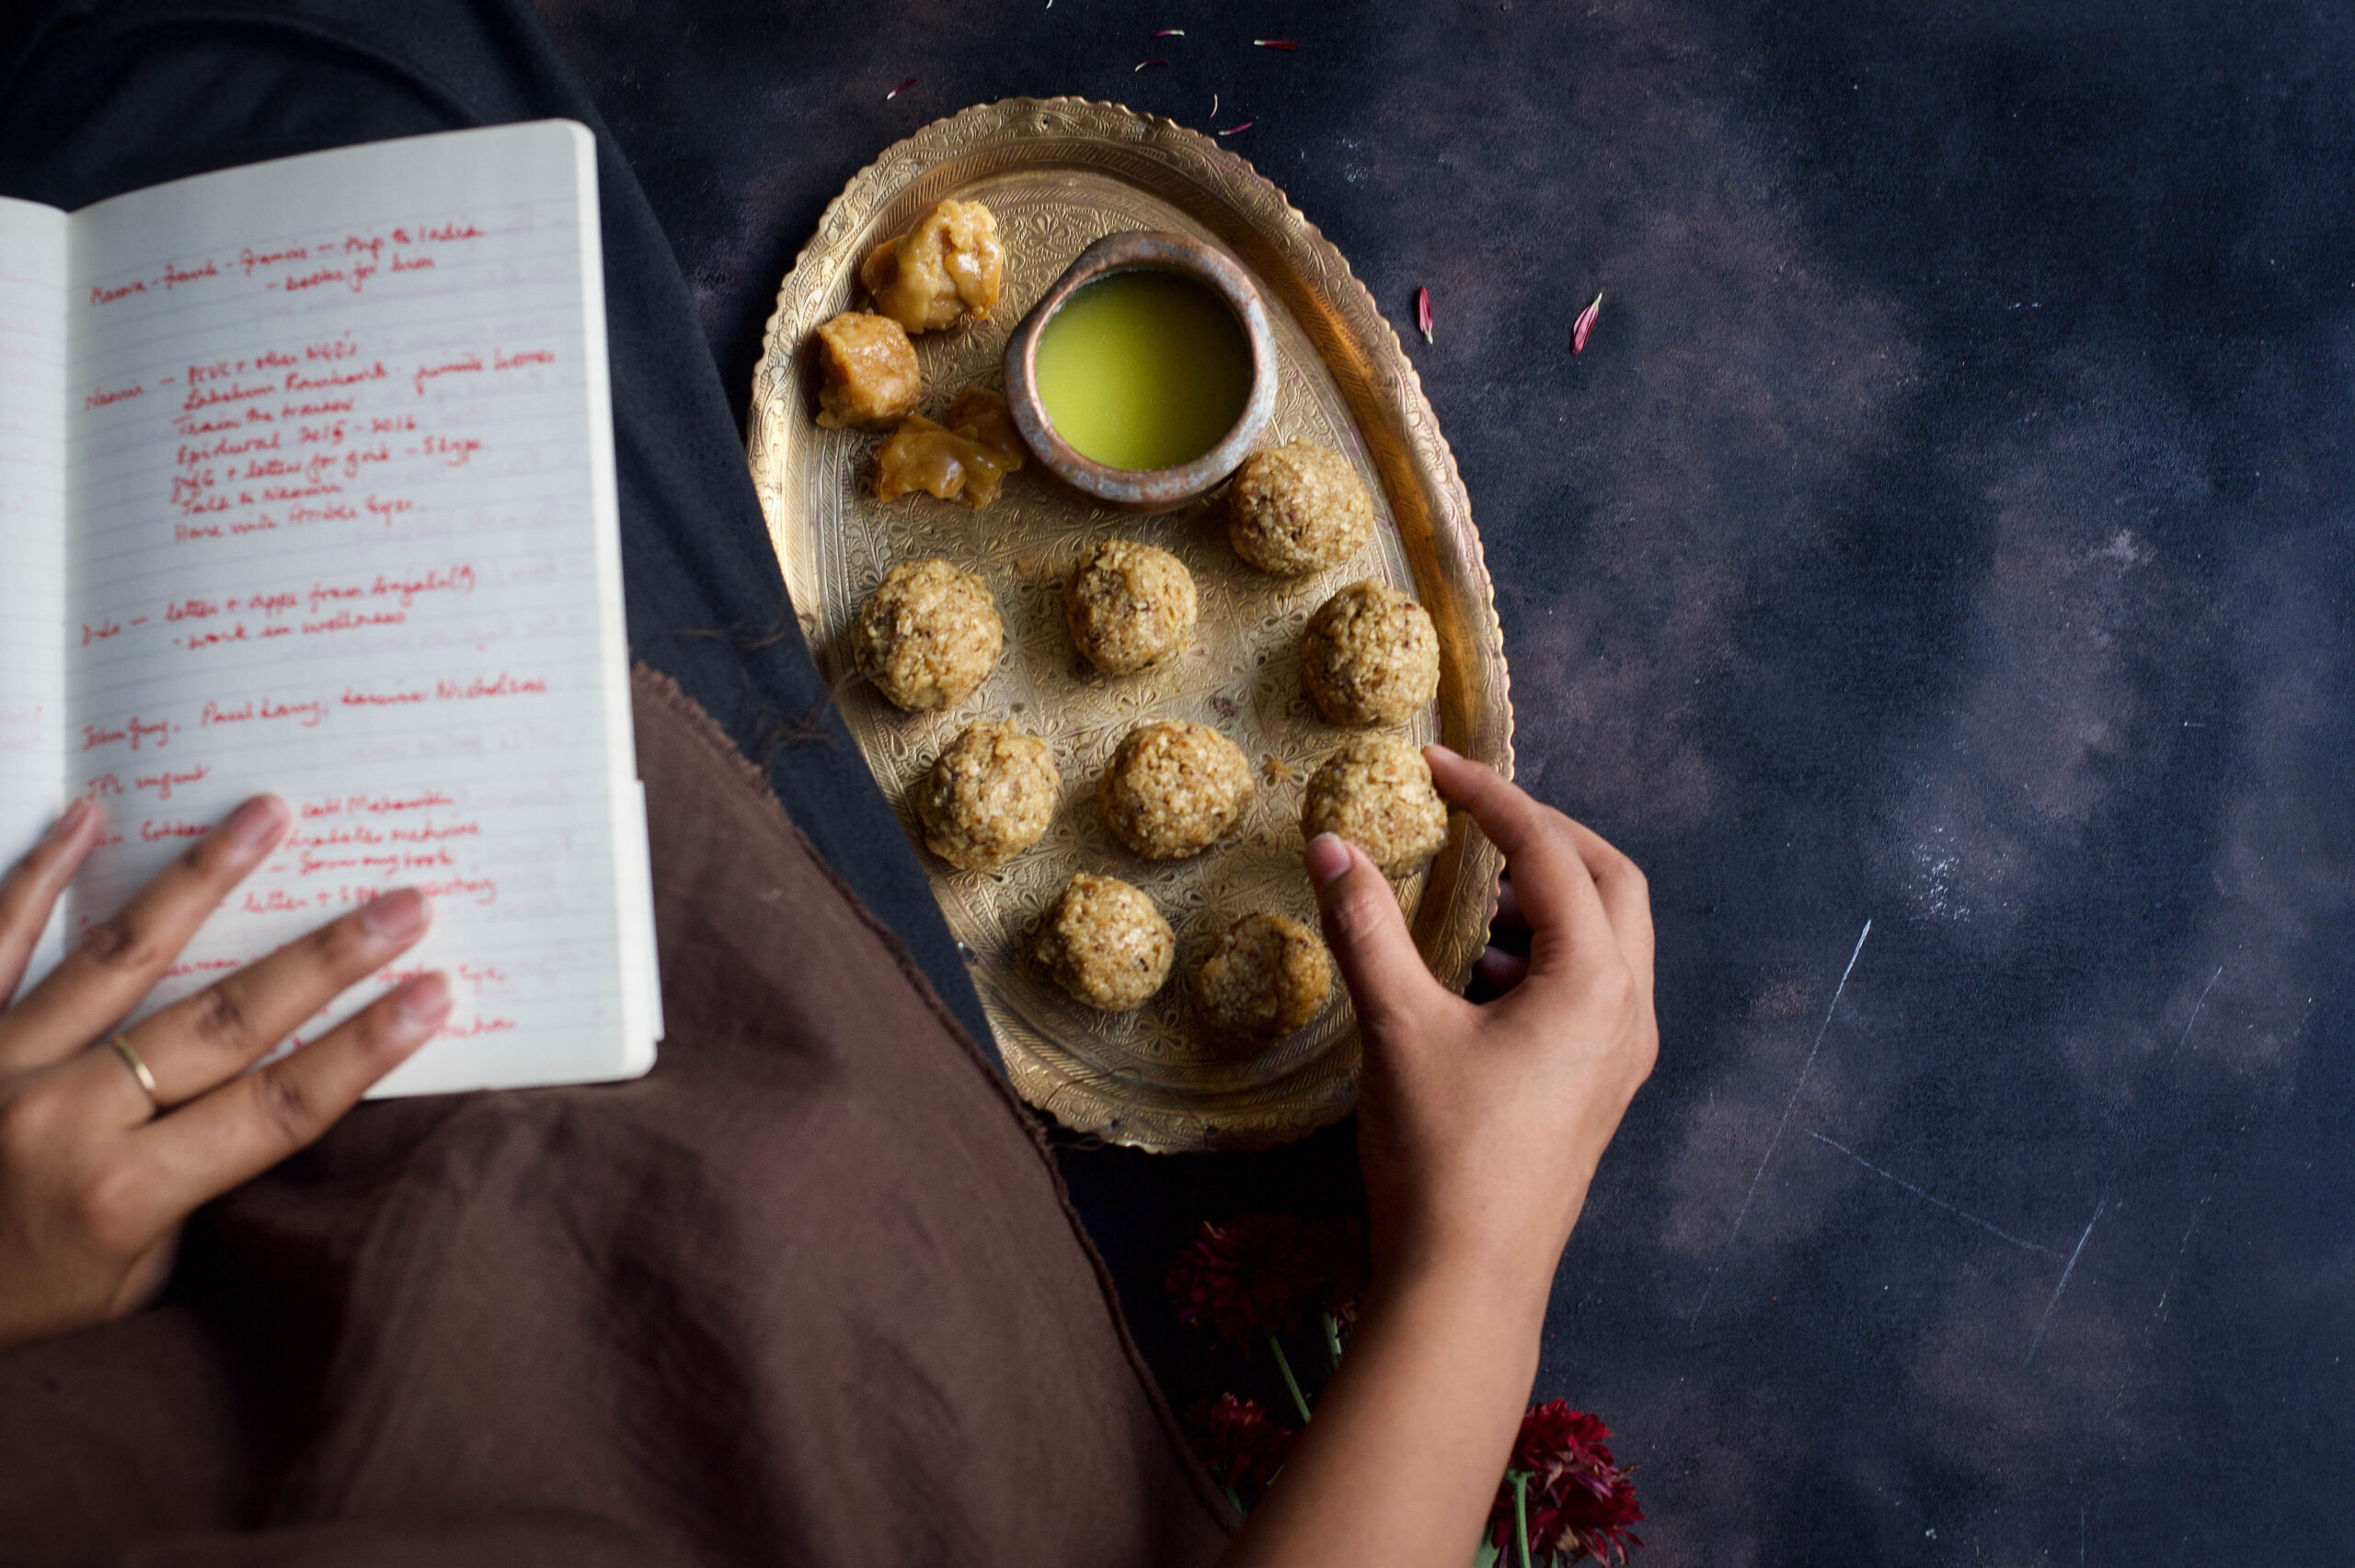
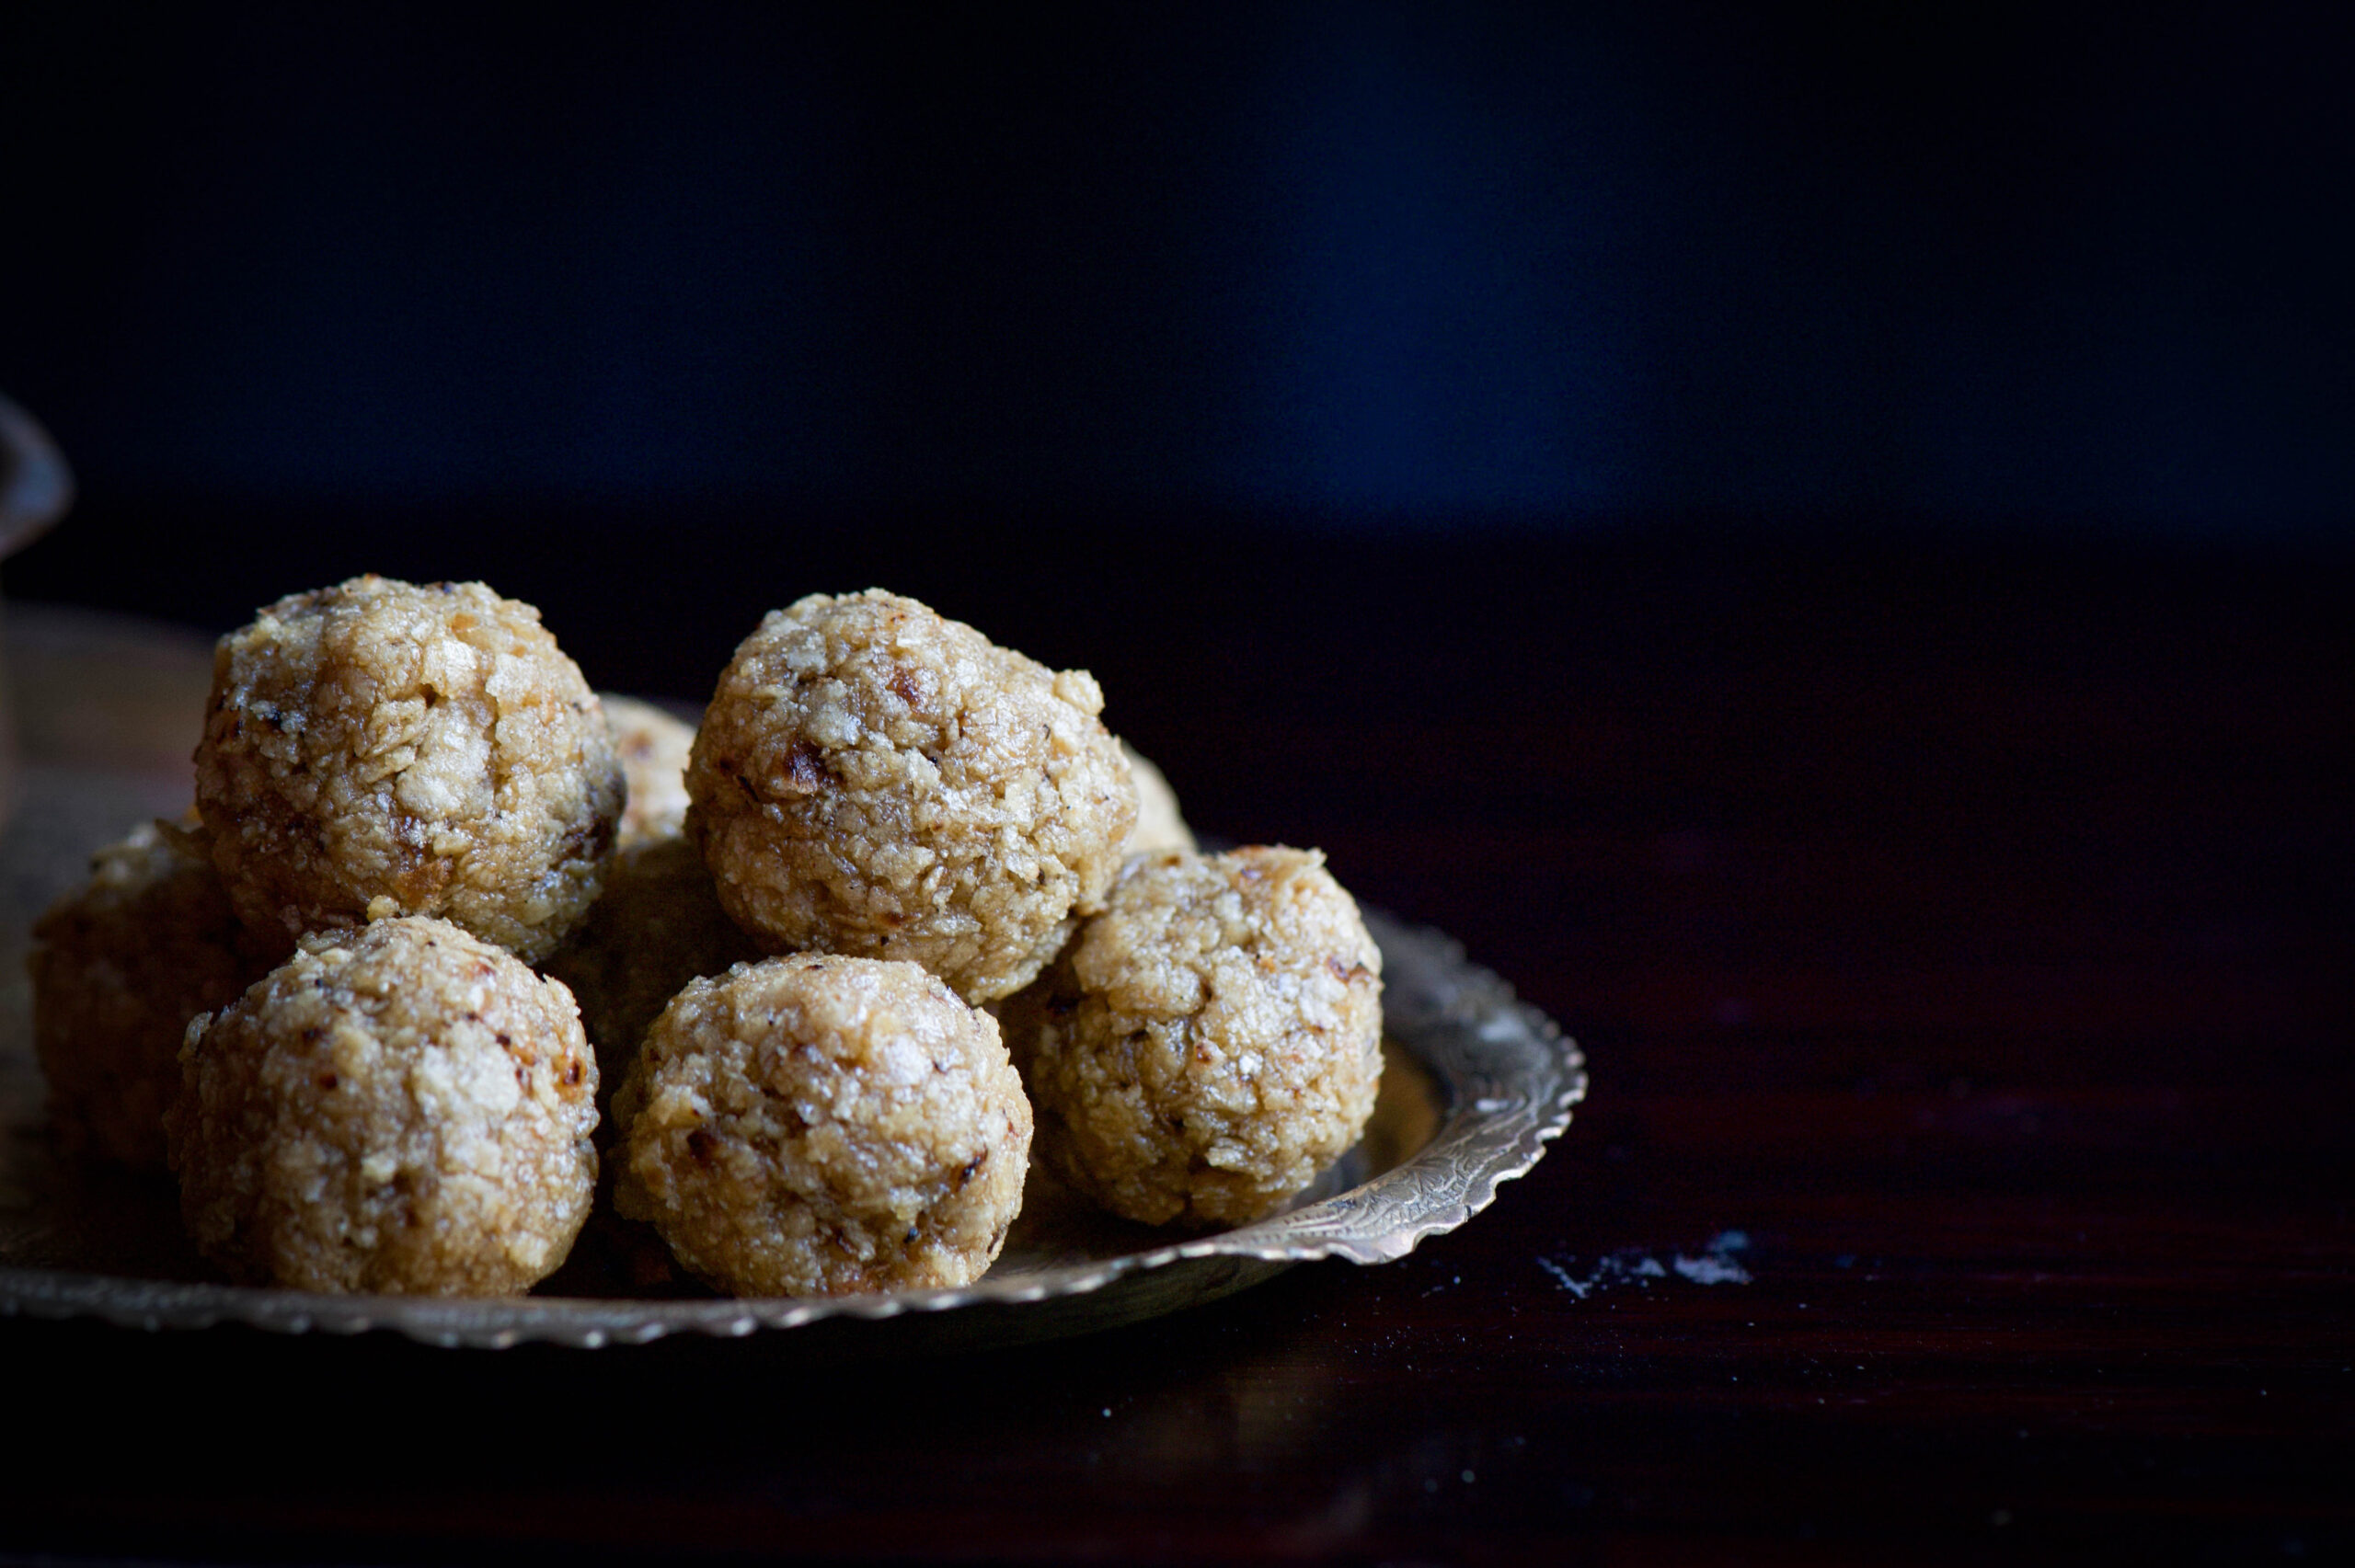
While I was growing up, my mother would often cook a little extra dal and rotli in the morning. Some of it would go into the lunch thali, and some of that would go into the evening’s dal dhokli. And she often found a way to make sure that there was just a little extra rotli to be turned into a wonderful after-school treat: rotli na ladoo.

Just as leftover-based dishes developed to fulfil practical needs like conserving supplies, snacks were often made at home because inexpensive candies and savouries were not freely available like they are now. The Chennai of my childhood wasn’t as developed as it is now, and we didn’t have the chips and junk food that the kids of today enjoy. But I consider myself all the more fortunate for it. From an early age, I was exposed to a culinary ethic that has kept me in good stead. Some of its features include: never wasting food as it is precious, using healthy and nourishing ingredients, and not tasting food while it is being cooked as it is first an offering to god (this trained me to be able to read a dish using sight and smell).

Today, my mother has difficulties with her eyesight but still cooks for herself and her family, using her hands and trusting the fragrances. There is so much wisdom in her kitchen, and when I visit her I still learn new things – and moreover, there are certain dishes, like her sabudana khichdi, that never taste quite the same to me when anyone else makes it. My daughter today makes those same demands of me, for things that taste of my heart and my love.

My very resourceful mother even attended a baking class when I was kid, a rarity in Chennai at the time. So our homemade snacks and sweets included some rather exotic treats occasionally, but the rotli na ladoo holds a place in my heart like no other. There are only three ingredients, and it takes all of three minutes to make it. Well, there is a fourth, secret ingredient. And you can guess what that is.


Rotli Na Ladoo

(Yield: approximately 10 pieces)

Ingredients

2 cups rotli (torn into tiny pieces or coarsely blended)

1/3 cup jaggery

1 tablespoon ghee

In a pan, add the ghee. Once it has warmed, add the jaggery. Allow it to melt, stirring continuously on a medium-low flame, making sure it doesn’t get burnt. When it starts to bubble after a few minutes, add the rotli bits and turn off the flame.

Once you’ve added the rotli pieces, mix everything properly. Now, it’s time to use your hands. Grease your palms and bind a handful of the hot rotli mixture together. Gently press between your palms to shape into a somewhat rounded shape, then very gently roll it. Be careful, as it may crumble. It’s as simple as that, but if you’re having trouble shaping the balls, you can eat the well-blended mixture in a bowl. It will taste the same, but will require utensils! Allow to cool, and enjoy.

The above three-ingredient method is assuming that you already have rotlis prepared. If you don’t, and are making them from scratch, the ingredients and method are below. Rotlis are essentially theplas without the masala and yoghurt, so if you’ve tried your hand at the recipes in this post on Gujarati breads, you should find this easy.

Don’t forget that if you have lots of leftovers from the method below, you can always make yourself some delicious traditional dal dhokli, or eat it with lavender shrikhand. The possibilities for breads are endless!


Rotli

Ingredients

(Yields: 12)

1 cup whole wheat flour

A pinch of salt

1 tablespoon sunflower oil

100 ml water or less

In a mixing bowl, blend the flour and salt. Now add the 1 tablespoon of oil. Slowly add water and continue mixing, until you feel the mixture is slightly tougher to the touch than bread dough. You do not need to use the entire 100ml. Allow to sit for half an hour.

Make small lemon-sized balls. Dust both sides of the ball with flour. Now, dusting more flour as you do, roll out the dough into discs. Make them as thin as you can.

On a heated iron pan, place the rotli on a medium flame for 30-40 seconds. Then turn it to the other side. Now increase the flame, lift the pan, remove the rotli using tongs and place it directly on the flame. Allow it to fluff or rise. Flip over so it cooks on both sides. Set aside and spread ghee over it. Repeat until all the rotlis are made.

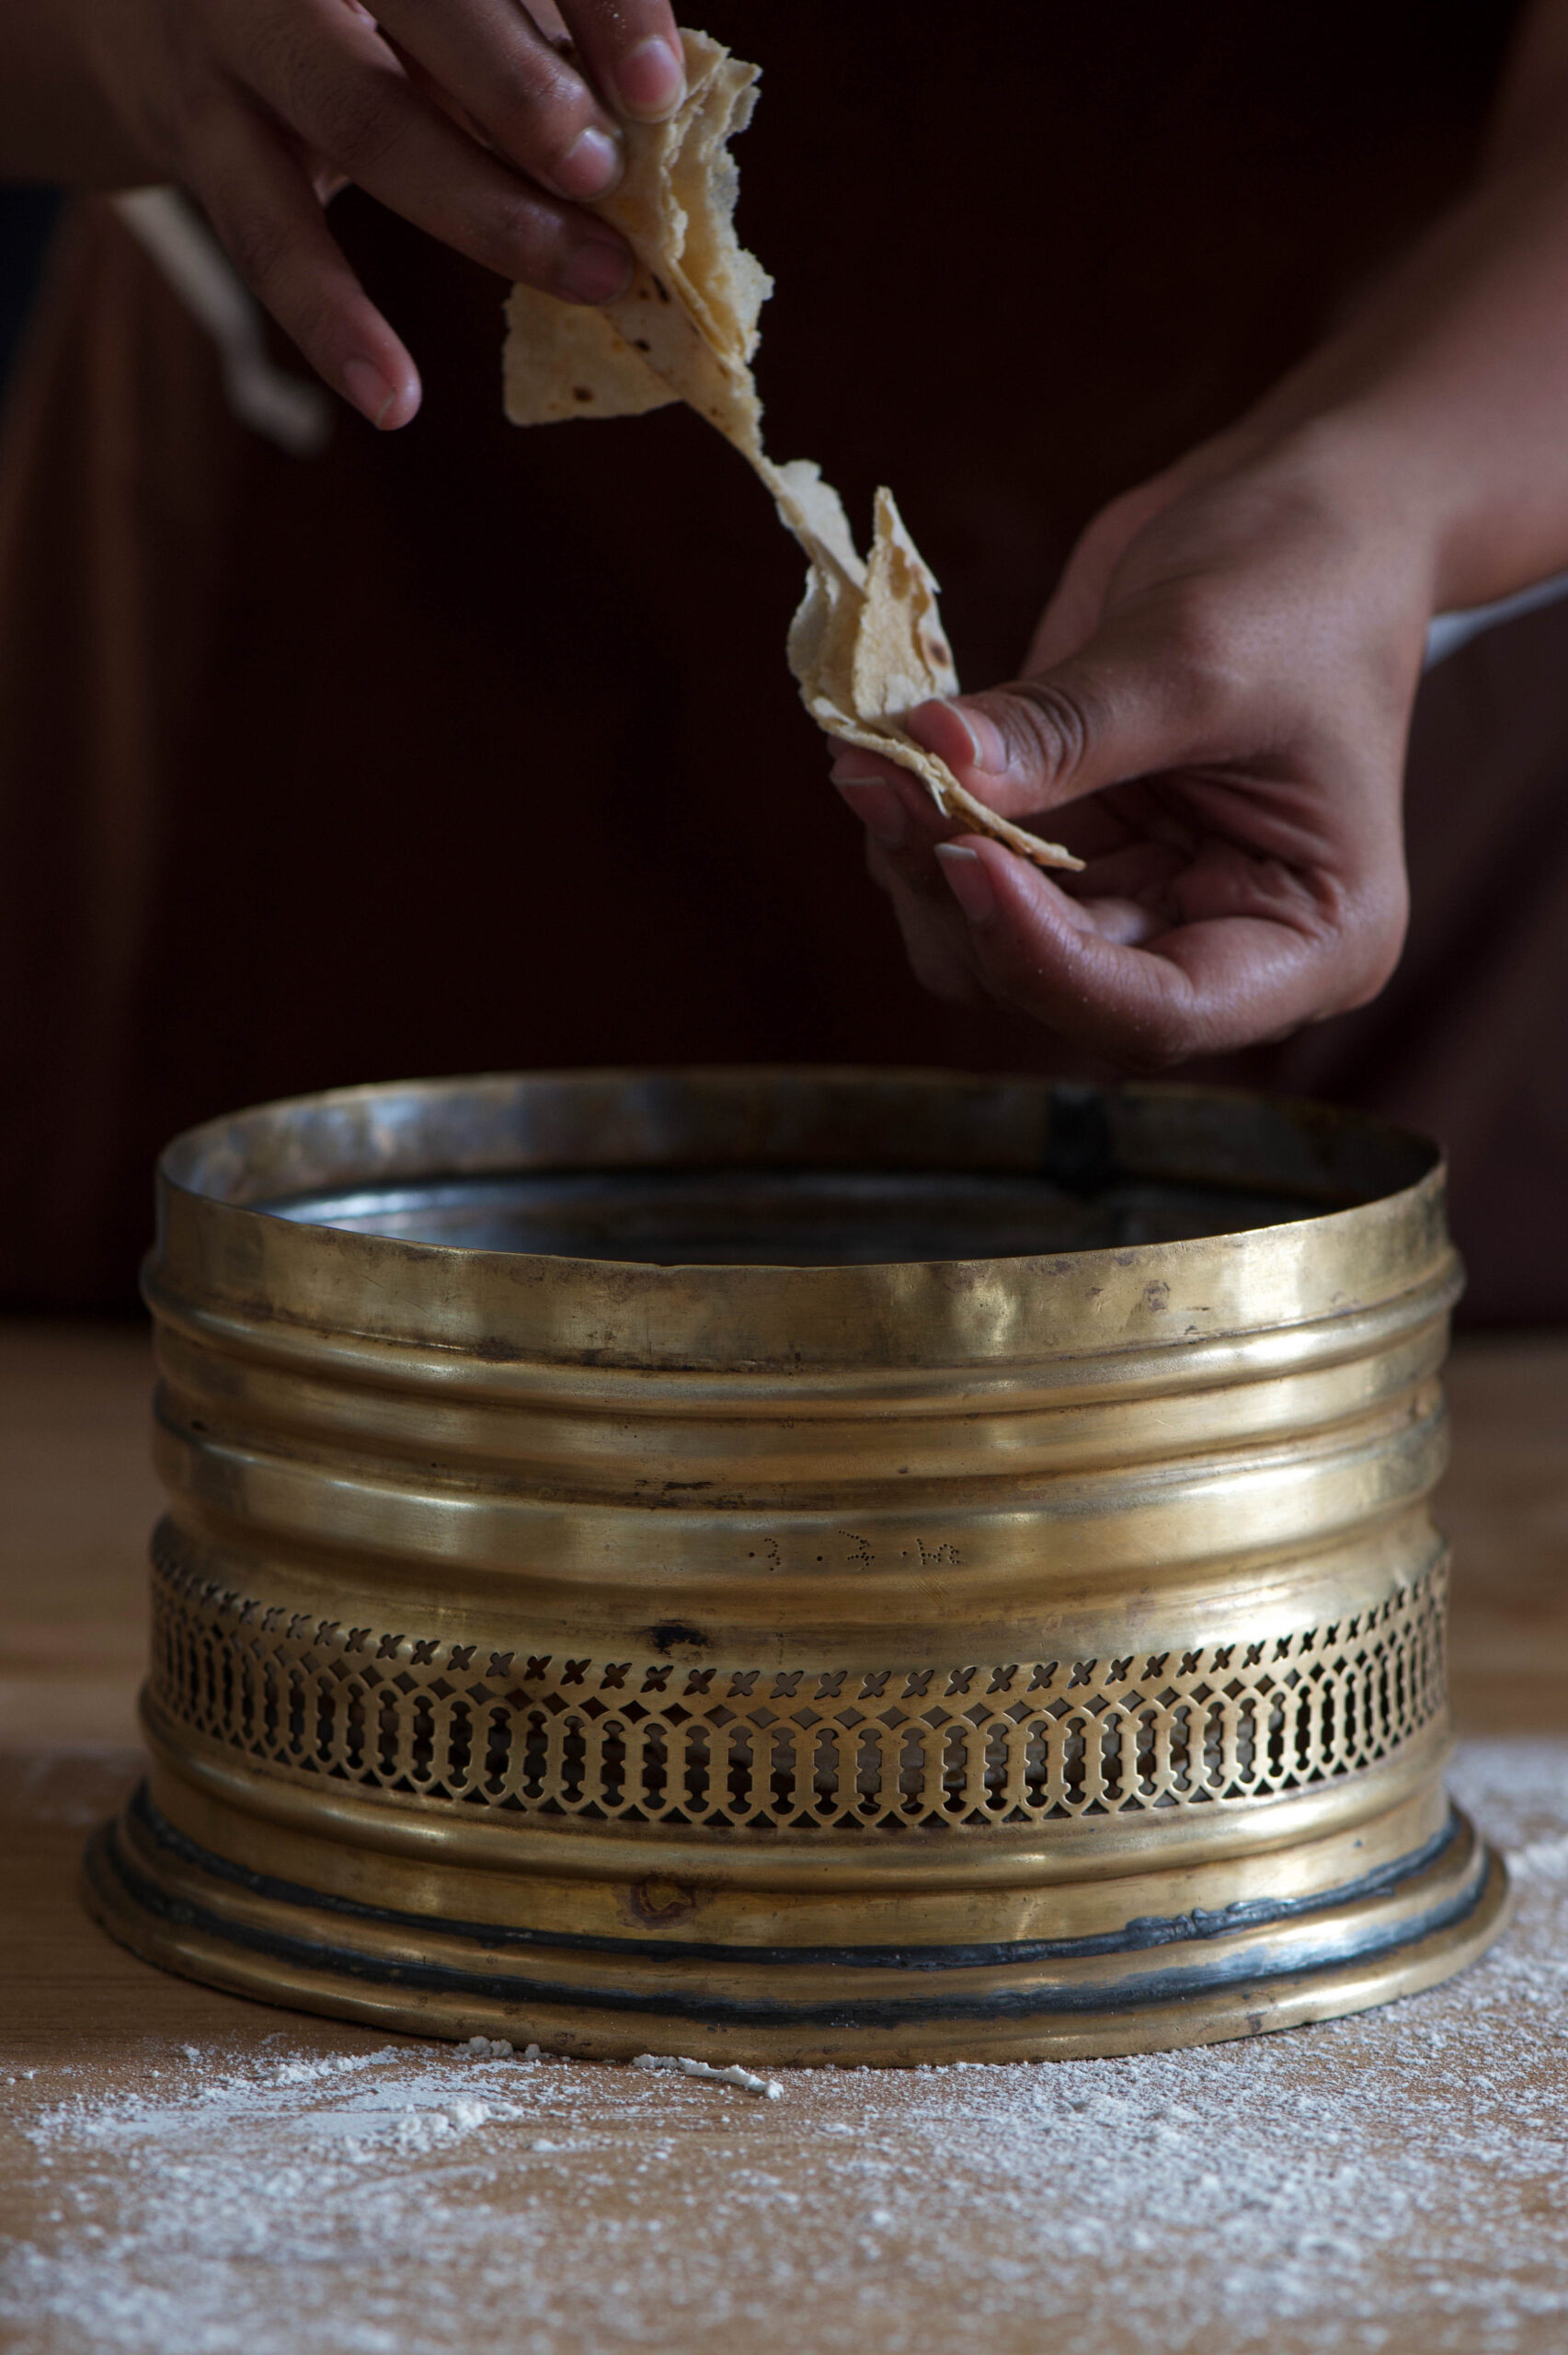
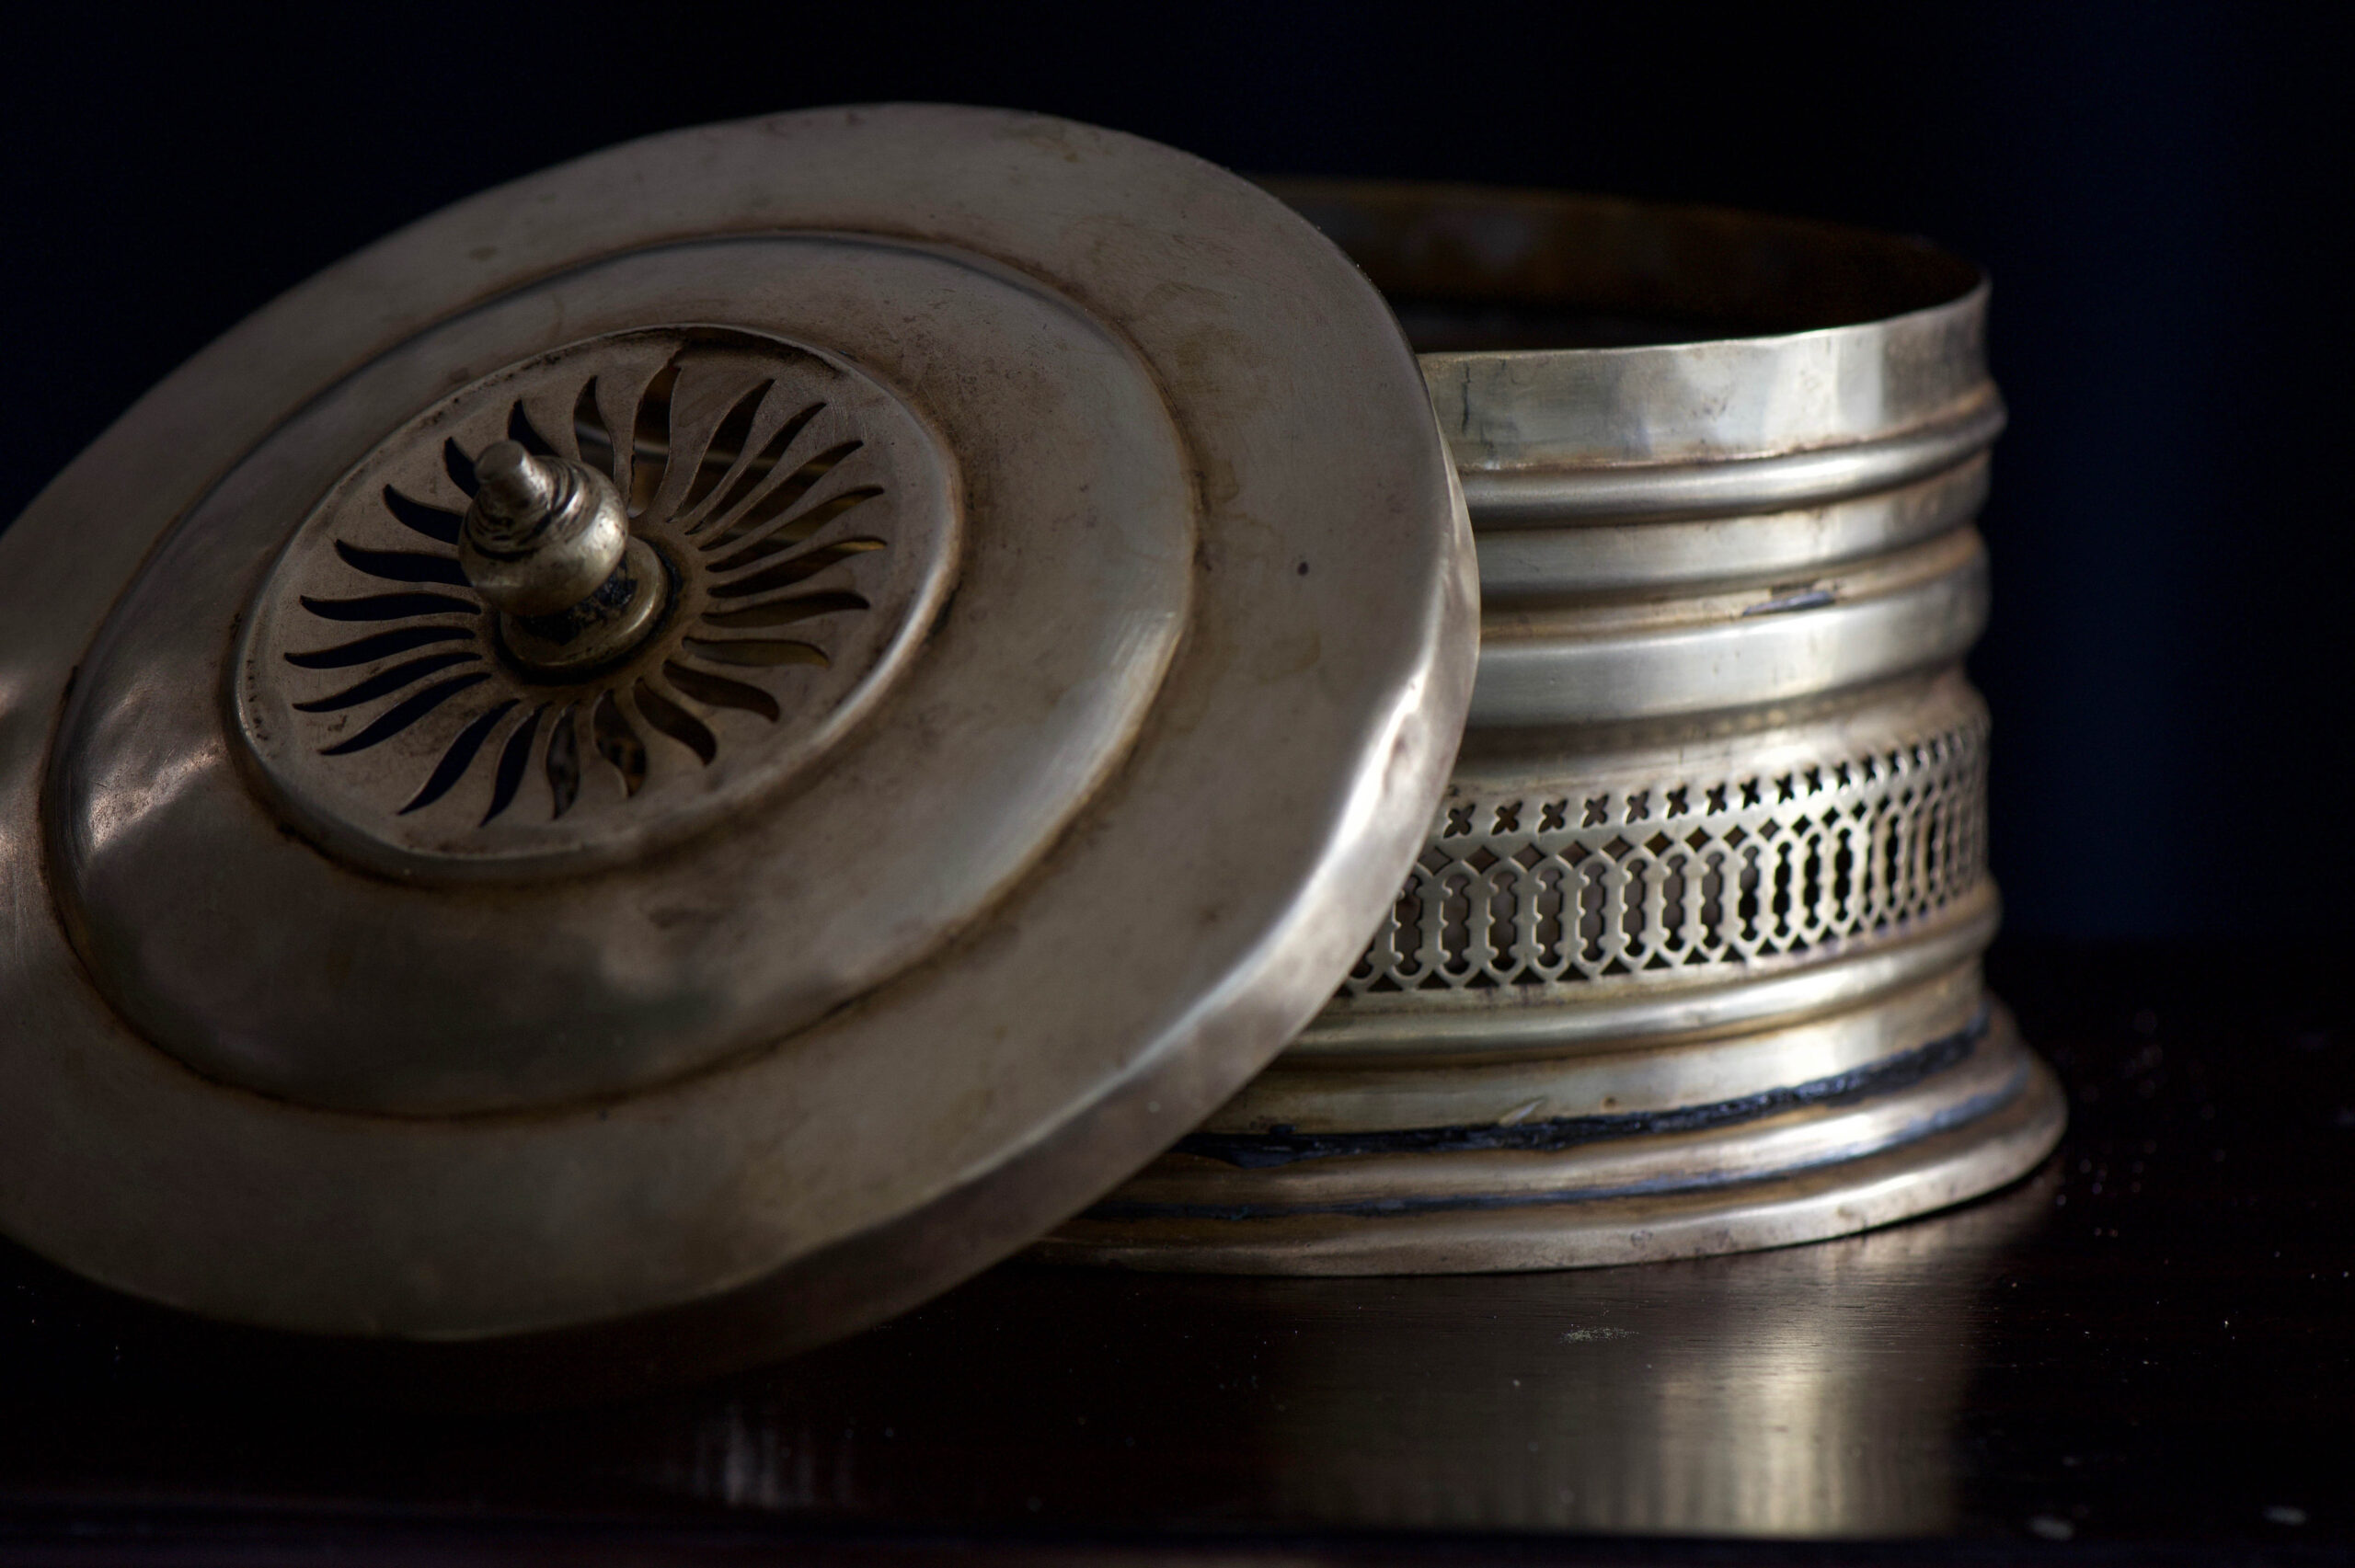
I like storing these ladoos in a “rotli no dabbo”, a traditional box used for breads. It looks beautiful, but also serves a practical purpose. Notice the intricate “jali” work that rings the box. This is a form of ventilation that cools the rotli and removes moisture.


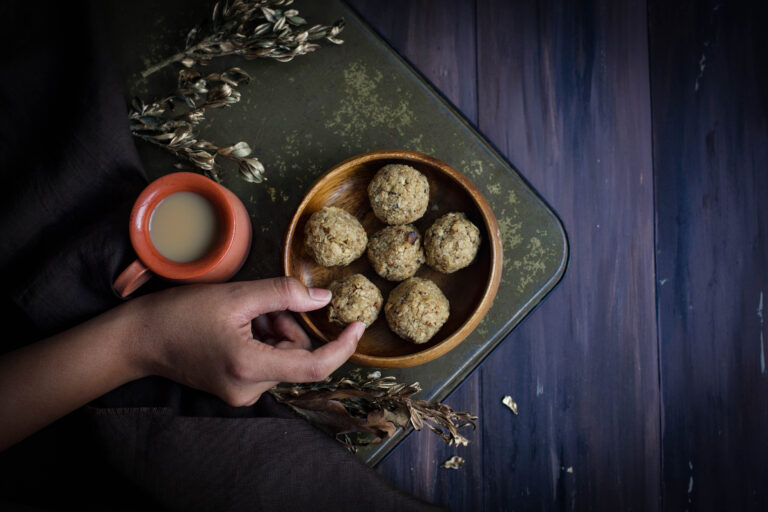
I have fond memories of eating rotli na ladoos in the afternoons, after returning home from school. They are so perfect with a glass of milk or a cup of tea after an exhausting day! It’s funny how torn pieces of bread can be turned into a delicious snack with a little jaggery, a little heat – and a pair of hands that make everything with love.

Do stay tuned for the third and final part of this Second Helpings series. Any guesses on what it might be?


Here in Tamil Nadu, while the Tamil New Year is still months away in April, we celebrate a festival full of joy, renewal and fresh possibilities – just like how the turning of the new calendar year feels. Two weeks into every calendar year, beginning on January 14, Tamil households everywhere observe a series of rituals. Like any Indian special occasion, food and bonding play a huge part of this festival.

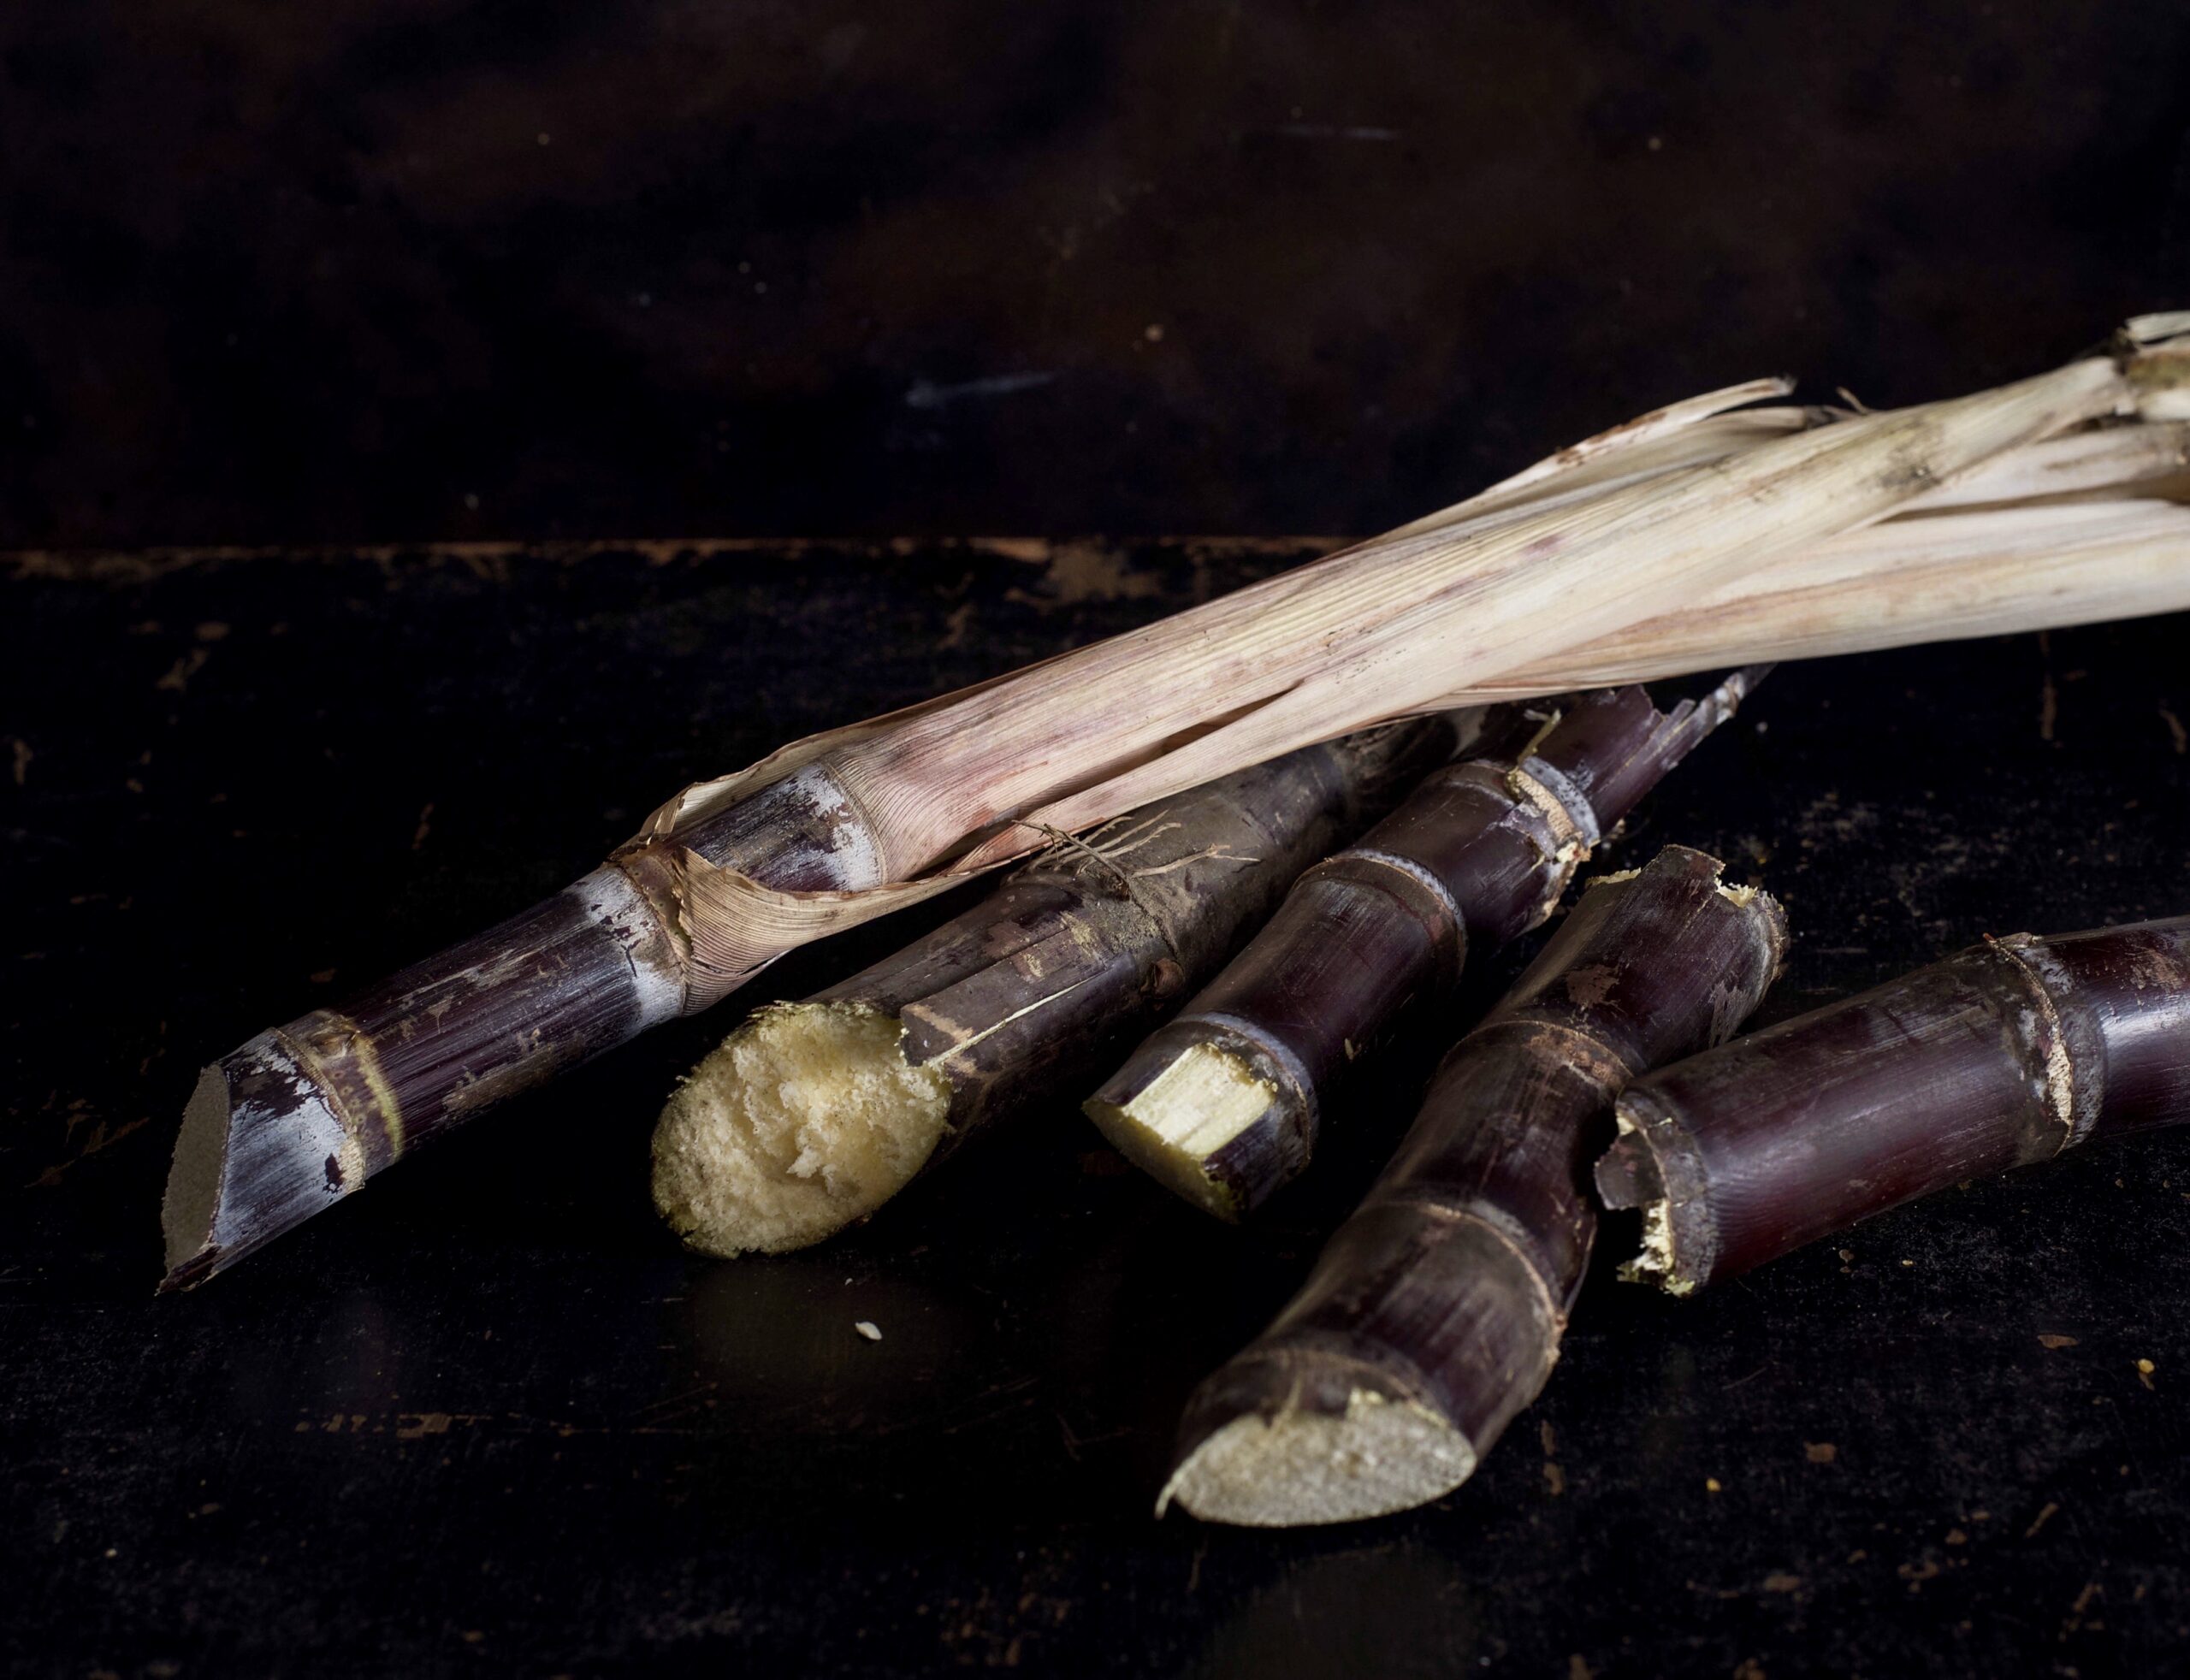
Pongal is spread over four days, which when we were growing up meant… school holidays! Despite being a Gujarati family, our neighbours and friends would observe the festival with delight, which meant we too participated. For me, Pongal always brings to mind sugarcane. As a harvest festival, sugarcane is an important part of the décor at this time – but it is also exactly the kind of thing a child loves to eat! My mother encouraged this, as she said that eating sugarcane made the teeth stronger. Those of you who remember those simpler times will know just what I mean. There’s a technique to it. You peel the cane sideways with your teeth, then scrape the sweet juice from it. I loved the fleshier parts between the joints of the cane.

As this is the season to give thanks for the harvest all over India, similar festivals include Lohri and Sankranti. If we happened to visit Ahmedabad at this time of year, the lasting image I have of the celebrations is of seeing the skies fill with kites on the occasion of Uttaran, as people on terrace rooftops would battle to bring the others’ down, in order to be the owner of the sole reigning kite of Gujarat.

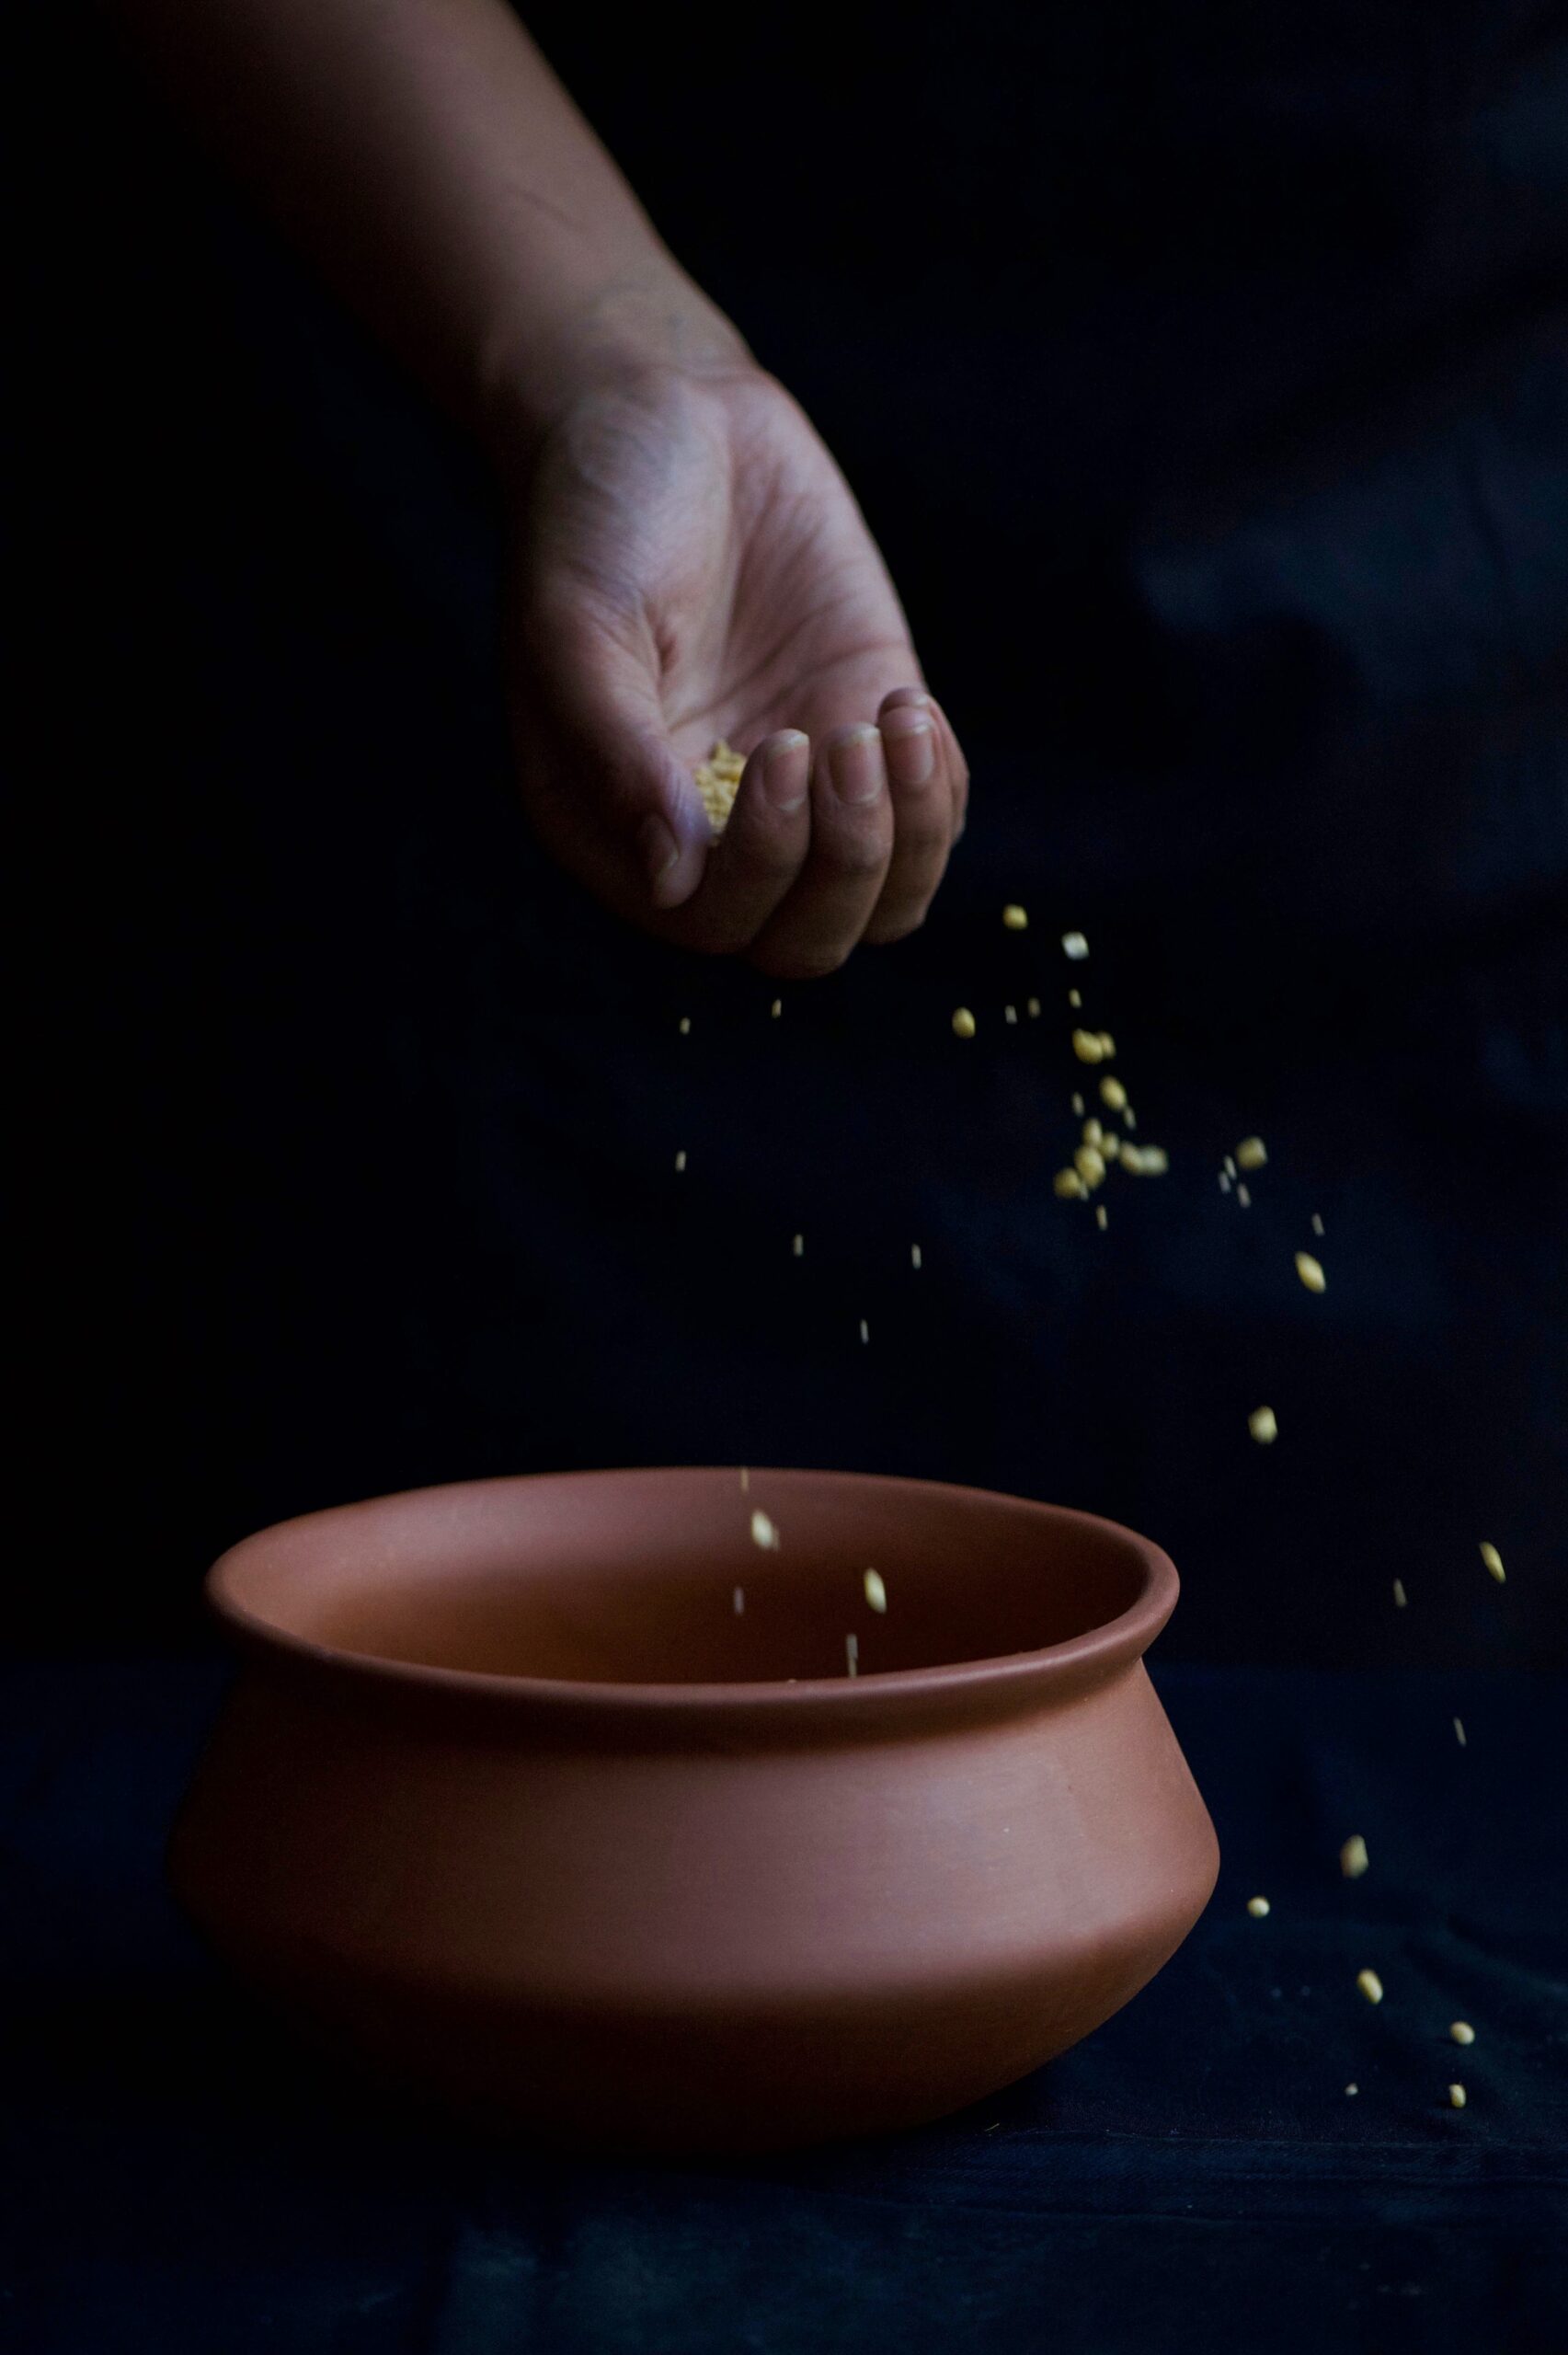
“Pongal” literally means “the boiling over”, and the festival is all about the spirit of abundance. The pivotal moment of the day is when a pot of milk, into which every family member puts three handfuls of rice, boils over. The milk spilling over the brim of the vessel is taken as a sign of auspiciousness. As this happens, the family shouts, “Pongal-o-Pongal”!

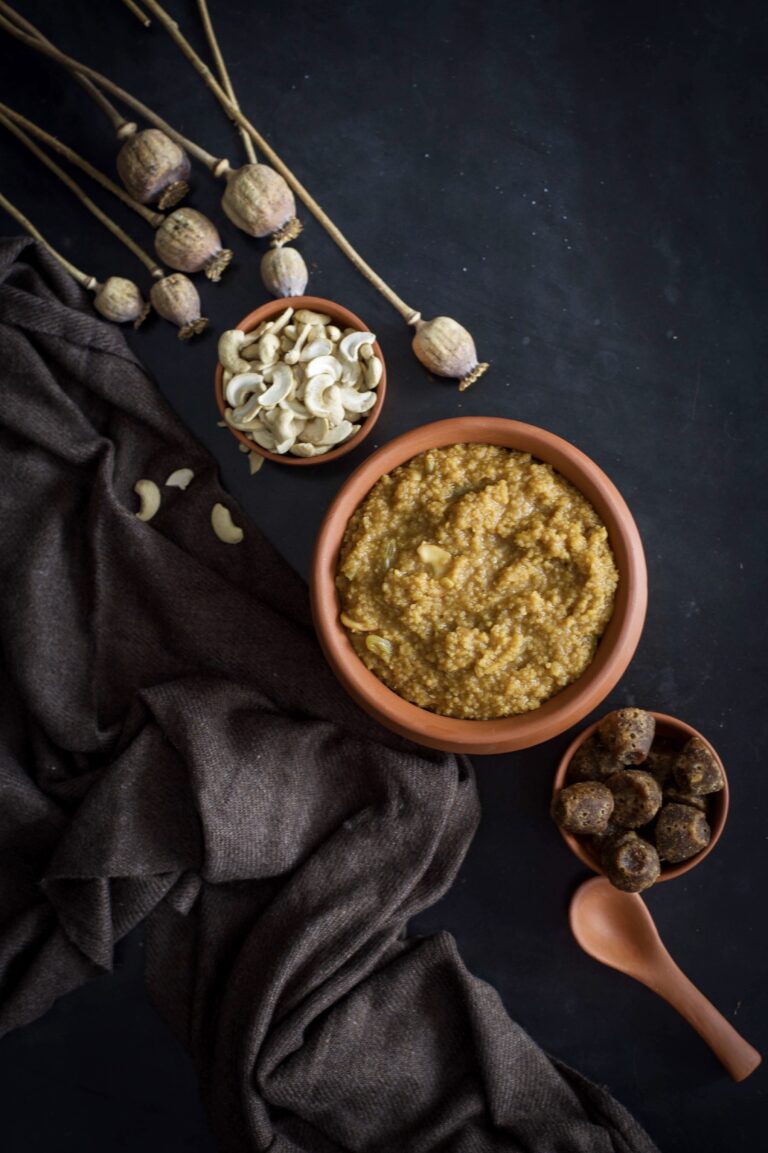
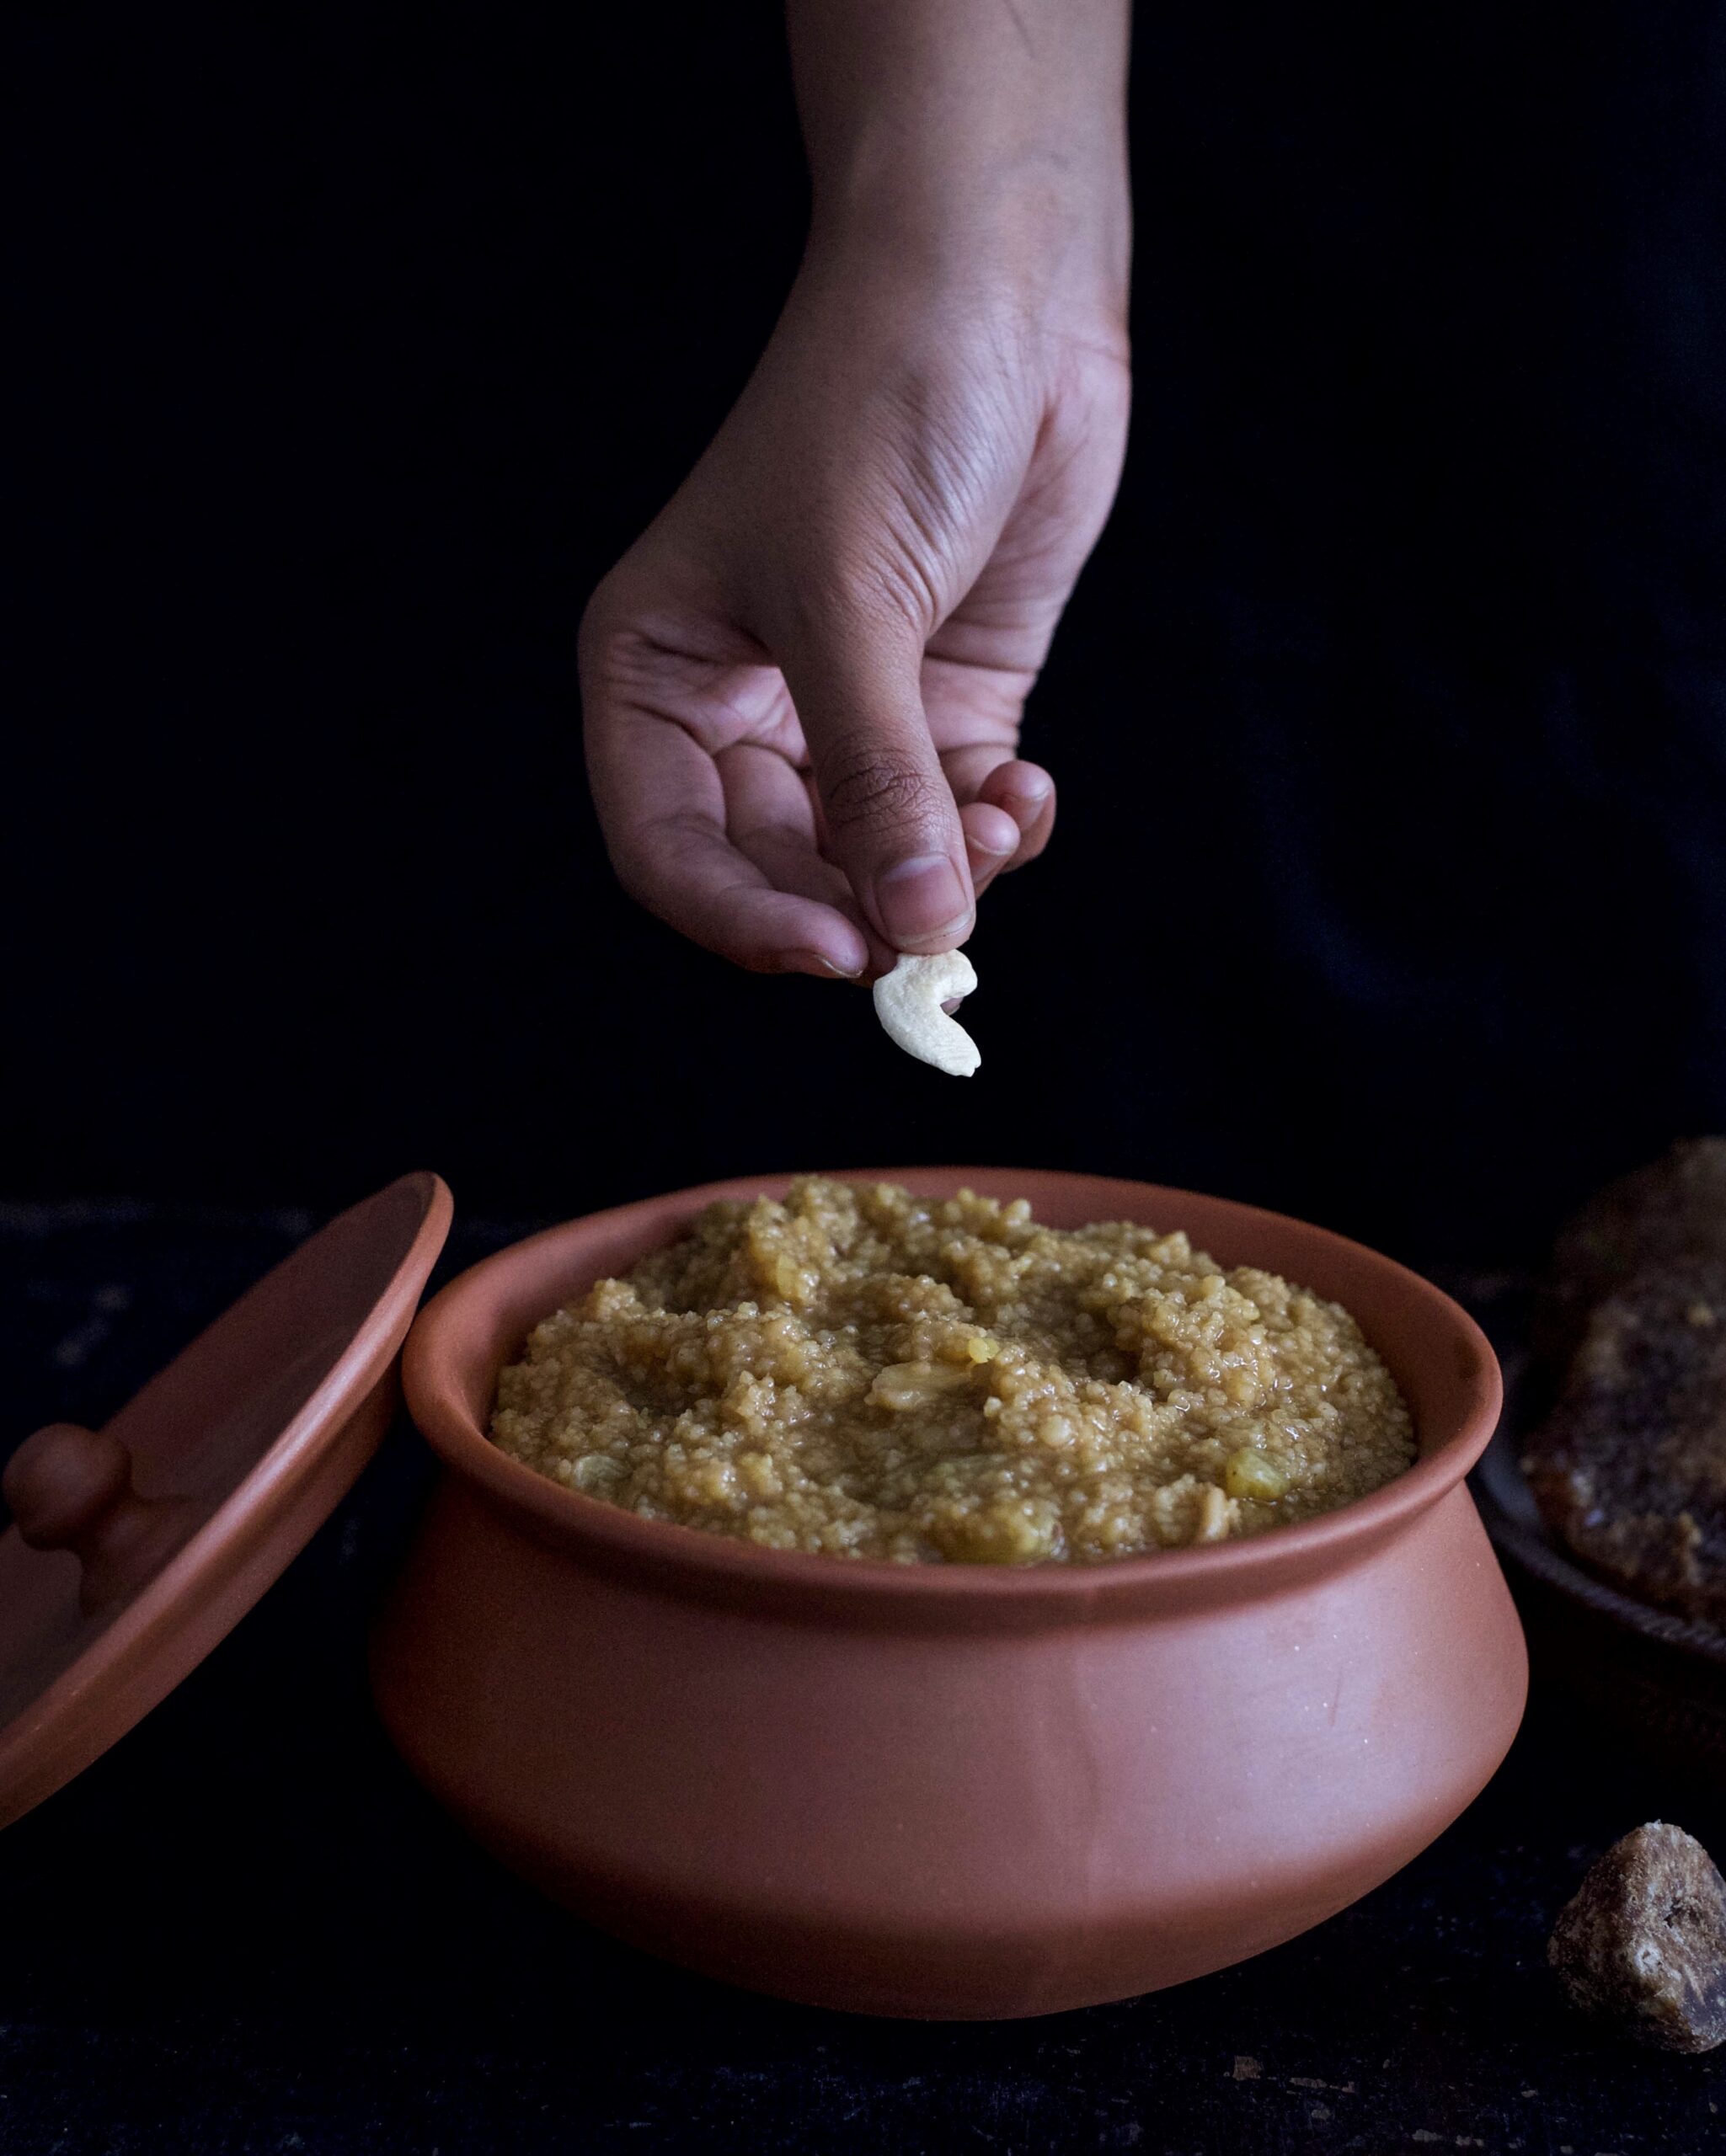
During Pongal, a dish bearing its name is also eaten. Chakkara pongal literally means “sugar pongal”, but it is jaggery that is used – and which gives the dish its rich colour. Chakkara pongal is also popular year-round as a prasadam  in temples, which is offered to the gods and then eaten by devotees. And the sweetest, tastiest chakkara pongal I’ve ever eaten has always been served on a banana leaf at a temple.

Chakkara pongal will taste different at each temple, and each home, that you eat it in. Like all traditional staples, it will contain the memories and idiosyncrasies of the hands that made it. How is tradition formed? One ancestor would have done something a particular way, and generations to follow then say, “Our family does this”. Whenever I cook something that carries cultural attachments, I wonder: if I don’t do it, will my kids?

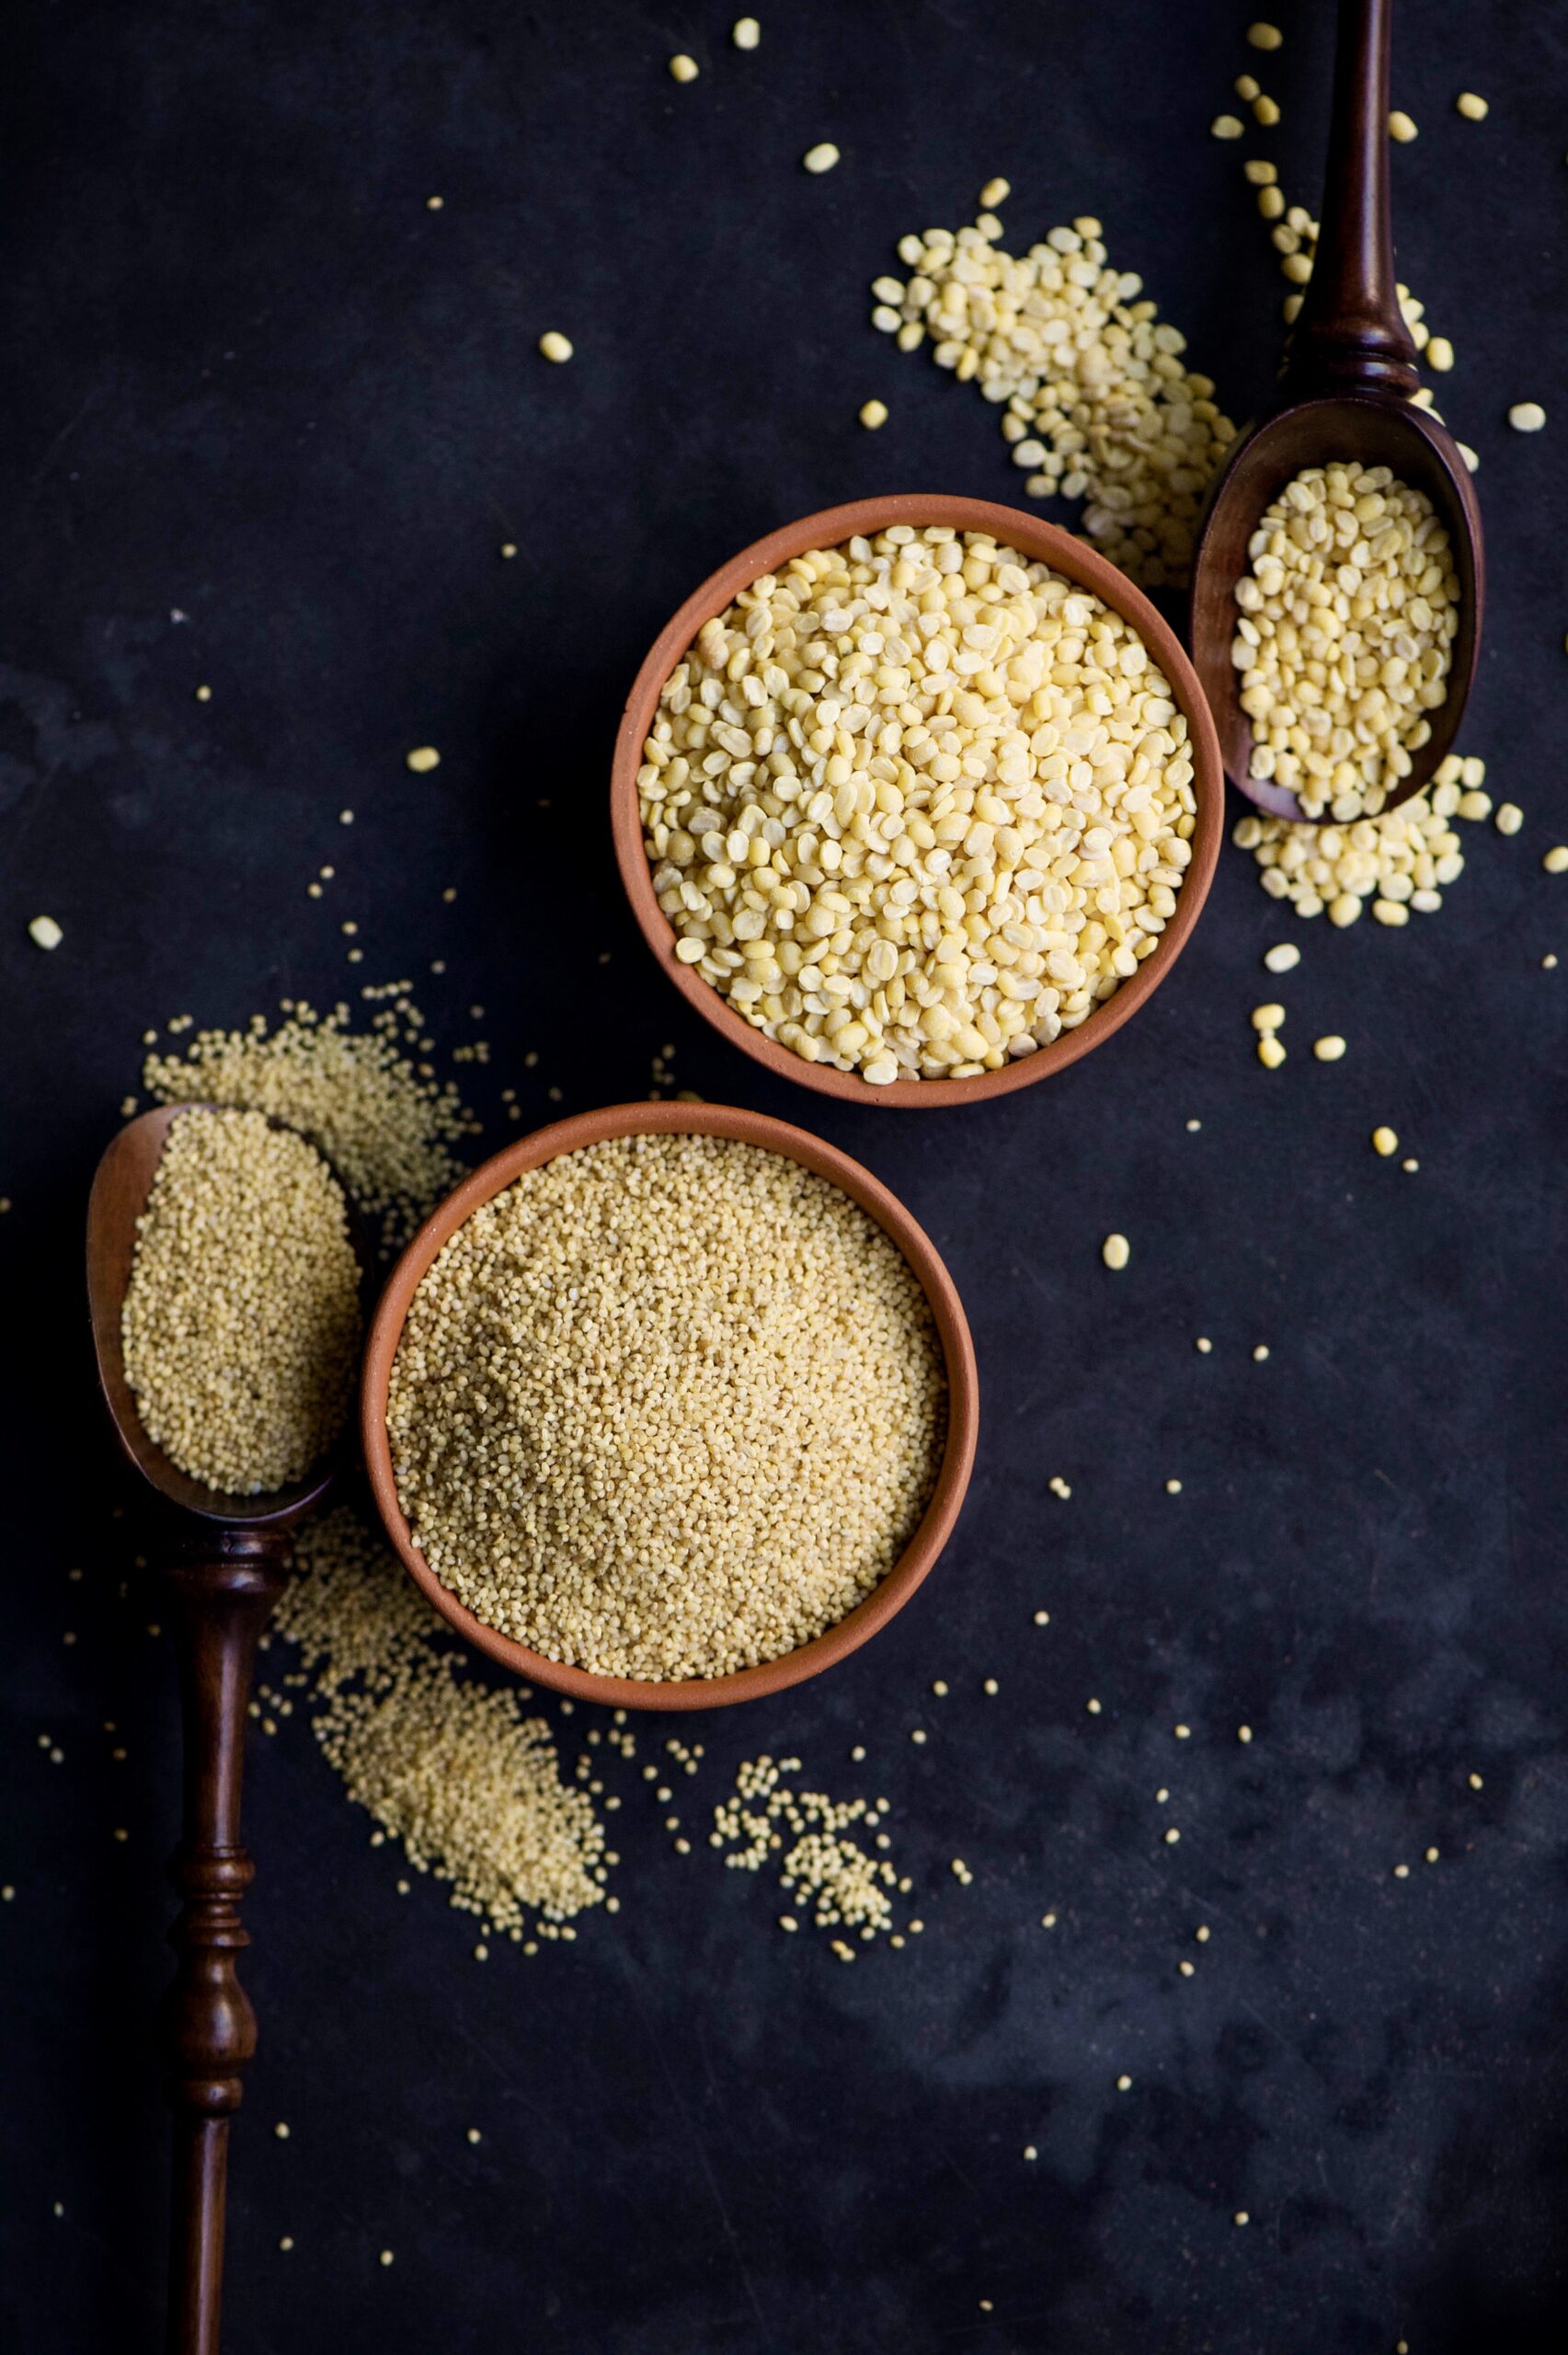
As you may know from following this blog, millets and not rice are the original (and Macrobiotic) staples of this region. This is why a millet known as varugu, which you may know as kodo, is the main ingredient in my variation of chakkara pongal. Varugu is rich in protein and polyphenol antioxidants, and is a better source of fibre than both rice and wheat. It is also gluten-free, which makes it suitable for those with dietary sensitivities. Like all millets, its list of health benefits is long. But make no mistake, as wholesome as its ingredients are, this chakkara pongal is a sweet and sublime dessert.


Chakkara Pongal

(Yield – 5-6 servings)

Ingredients
3-4 tablespoons moong dal
½ cup varugu (kodo millet)
3-4 cups water
½ cup jaggery
1 tablespoon ghee
1 tablespoon cashew nuts
1 tablespoon raisins

The secret to chakkara pongal is simply allowing it to cook properly, with the occasional stir. It is a boiled dessert that is so easy to make that you’ll be preparing it from memory in no time!

Soak the moong dal for about half an hour. Meanwhile, wash the millets well and keep aside,

Add 2 cups of water to the dal and cook until par boiled. Now, add the millets and allow both to cook completely. This will take approximately 15-20 minutes. The boiled dal and millets will become and remain soft.

In a pan, roast the cashew nuts and raisins in ghee. For a vegan variant, substitute ghee with oil. Once roasted, add the jaggery, along with a ¼ cup of water. This will help the jaggery melt, releasing its flavours quickly into the pan.

Once the jaggery has melted into the concoction, add the soft mixture of millets and dal and stir well. Add some more water to loosen the consistency as you prefer. Pongal generally is not meant to be in too liquid a state. What you’re aiming for is a congealed texture. Serve hot as soon as it’s ready.

Glistening with ghee, sprinkled with cashews, glittering with raisins, and with a rich dark colour full of the goodness of jaggery… So simple to make, so good to eat. I hope you’ll enjoy a small bowl or two of re:store style, millet-based chakkara pongal with your family this weekend. As you do, just imagine us here in Tamil Nadu, doing exactly the same. Pongal-o-Pongal!

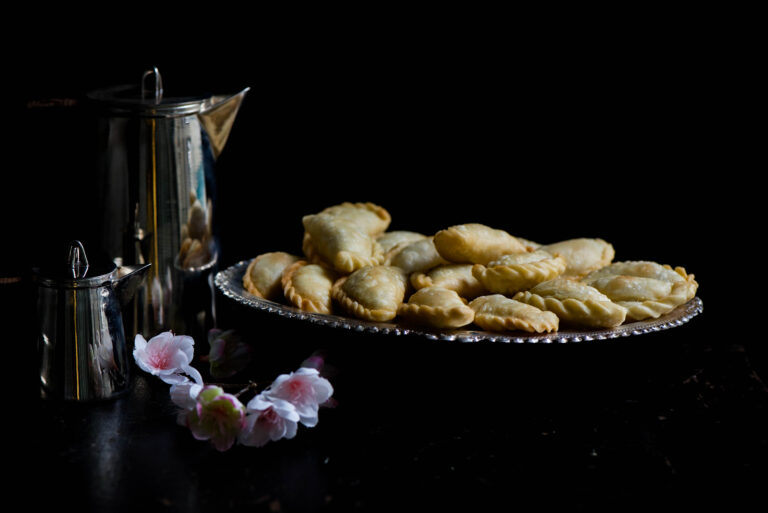
I want to begin with a word of thanks to all my readers around the world. Many of you have stayed with this blog for a whole year! I hope you’ve loved peeking into my kitchen, and I’m so glad to have you here as re:store grows. As the festive season is in full swing here in India, I thought this would be the perfect time to share my mother’s recipe for sweet ghugras, which was promised many posts ago when I gave you my mother-in-law’s recipe for pea-pomegranate kachoris.

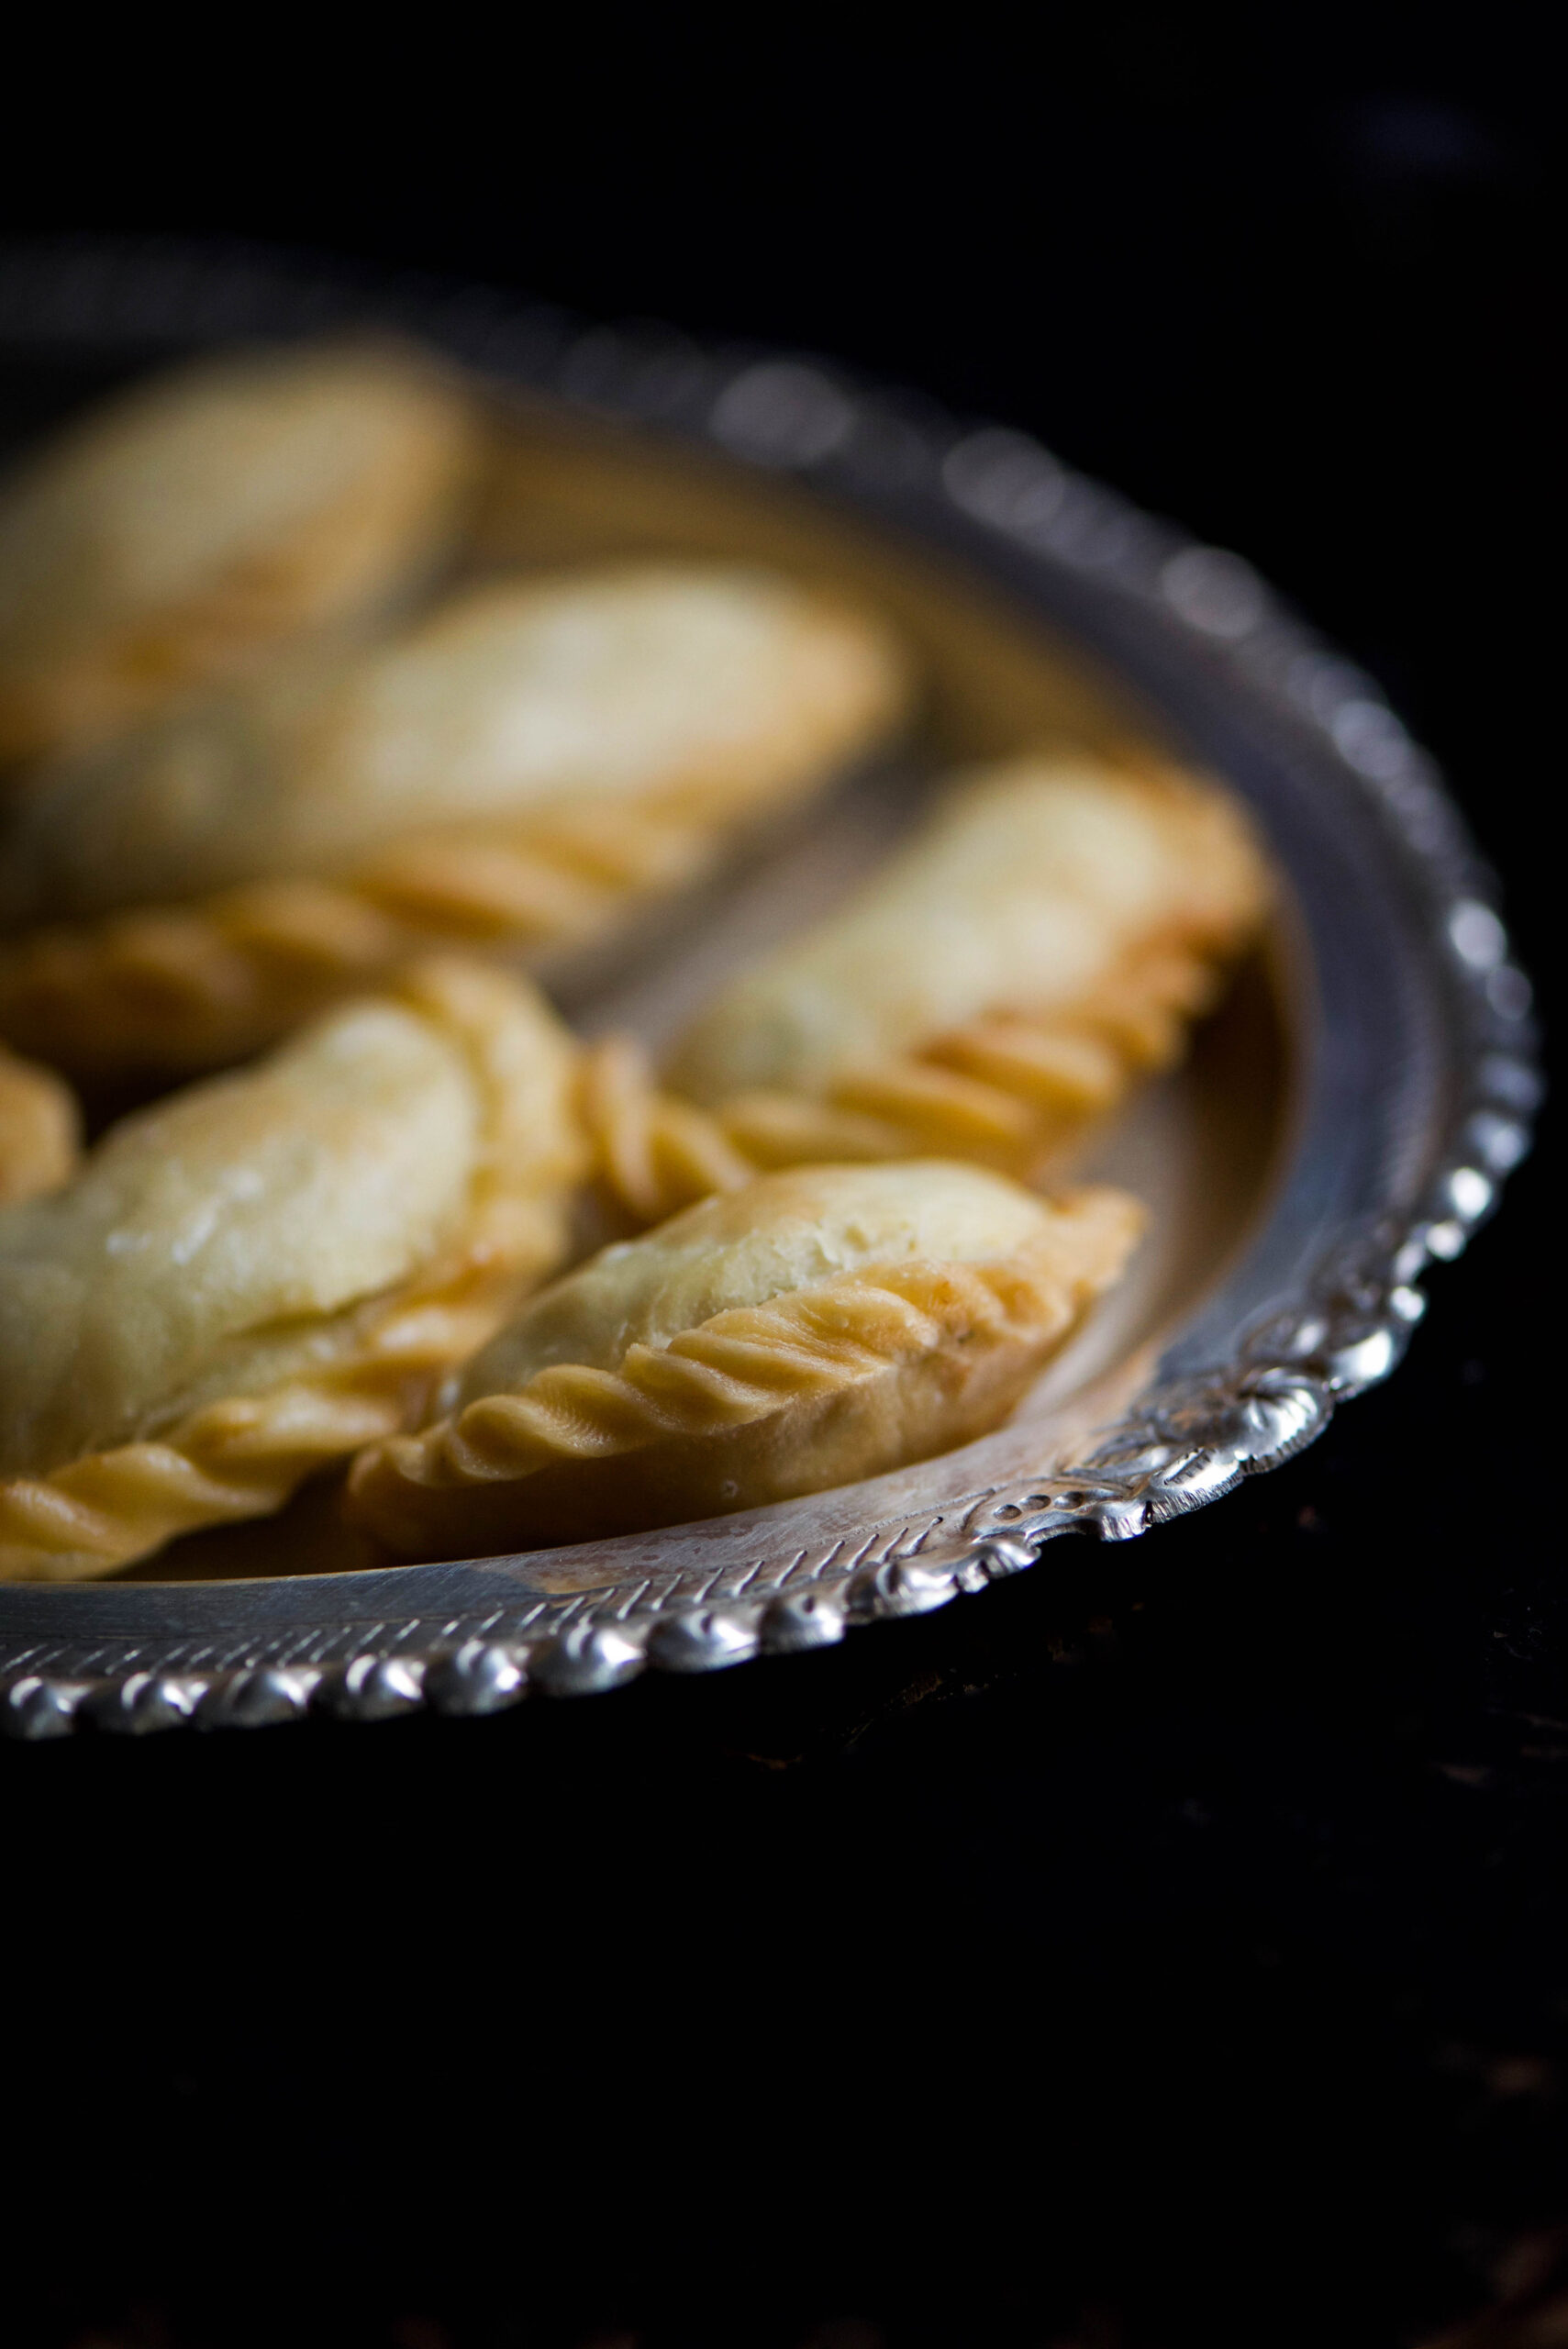
Whether you know them as samosas, kachoris or ghugras, these fried stuffed pastries are a timeless favourite. It’s the fillings that make the difference, and the one I’m sharing today fills my heart with so many beautiful memories of childhood. It was one of the food items that my mother reserved exclusively for Diwali. In the same way that most people make modaks only on Ganesha Chathurti, she made these sweet, nutty ghugras only on Diwali.

Let me paint you a picture of just what these ghugras evoke in me. It’s amazing to recall now just how consistent the scene was: coming home from school year after year the day or so before Diwali to my mother standing in the kitchen, preparing the sweets. The anticipation, and the enjoyment. How does it feel like it was the exact same sight every year, even though both she and I grew older? The scents of that kitchen, the sheer delight of it all!

In those days, all the sweets and savouries were made at home. Each family would make 3 or 4 variants, depending on their status. The preparations began a couple of days before Diwali, and the treats would last for a week – and therefore, in a sense, the celebrations too. It was customary to visit one another’s homes, where we would eat versions of the same sweets. Back home, those who cooked in the families – usually our moms and aunts – would trade notes. Did that person’s cardamom twist suit the sweet? Was her own ghee-rich version of a treat the tastier one?

I grew up in a middle-class home where everything was rationed. Two sweets per child, and the rest for guests – but first, if you remember from my jaggery-whole wheat prasad recipe, to God. Those two sweets each were so relished, and to this day I believe that fulfilment and gluttony are two different things when it comes to dining.

The day after Diwali is the Gujarati New Year, and these two festivities are indelibly linked in my mind. Growing up in Chennai, the latter was not a public holiday, so school remained open. I remember the mix of restlessness and excitement I’d feel through classes all day, waiting for 3pm when our parents would come to pick us up. For that one day of the year, we did not have to take the school bus home – and just having our parents come to collect us to take us for our New Year prayers was such a thrill!

There is a beautiful old haveli, a traditional mansion, in Chennai’s Kilpauk neighbourhood that I still go to every year, and this was where we would drive to – still in our school uniforms, so happy to be celebrating this special day with our extended family and community. Dedicated to Lord Srinathji, the haveli observes an annakut darshan – an unlimited offering – made to the deity on New Year. In the spirit of abundance, it is forbidden to count the number of food items given as prashad. In order to achieve this, the cooking tasks are divided amongst several people. Each person makes a different kind of sweet or savoury, and the total collection is presented to the deity at once. It was always such a wonderful experience, a time when so many families came together and enjoyed ourselves – praying, playing and eating together, keeping our traditions alive through simply being joyous.

Diwali is in fact only one day in a string of special occasions. For us Gujaratis, the season began with Dhanteras (in which goddess Lakshmi is worshipped for prosperity), followed by Kali Chaudas (where a fried vada, a lentil doughnut, is thrown over one’s shoulder at a crossroads; my modern version of this custom is to serve thayir vada, curd-soaked vada, at home on this day), then Diwali (the festival of lights, which invariably falls on a new moon – on this day I make a broken wheat and jaggery dish for good luck). Diwali is followed by the Gujarati New Year (on which I make specialties like kesari or lapsi), and subsequently by Bhaibeej (the day when brothers visit their sisters’ homes to feast, the reverse of which happens on a day in August known as Raksha Bandhan). As you can see, feasting is an integral part of our festivals!

And to your own feasts, this year and for all time, I hope you’ll add this heirloom recipe of mine…

Sweet Ghugras

(Yield – 15-20 pieces)

Ingredients:

Filling

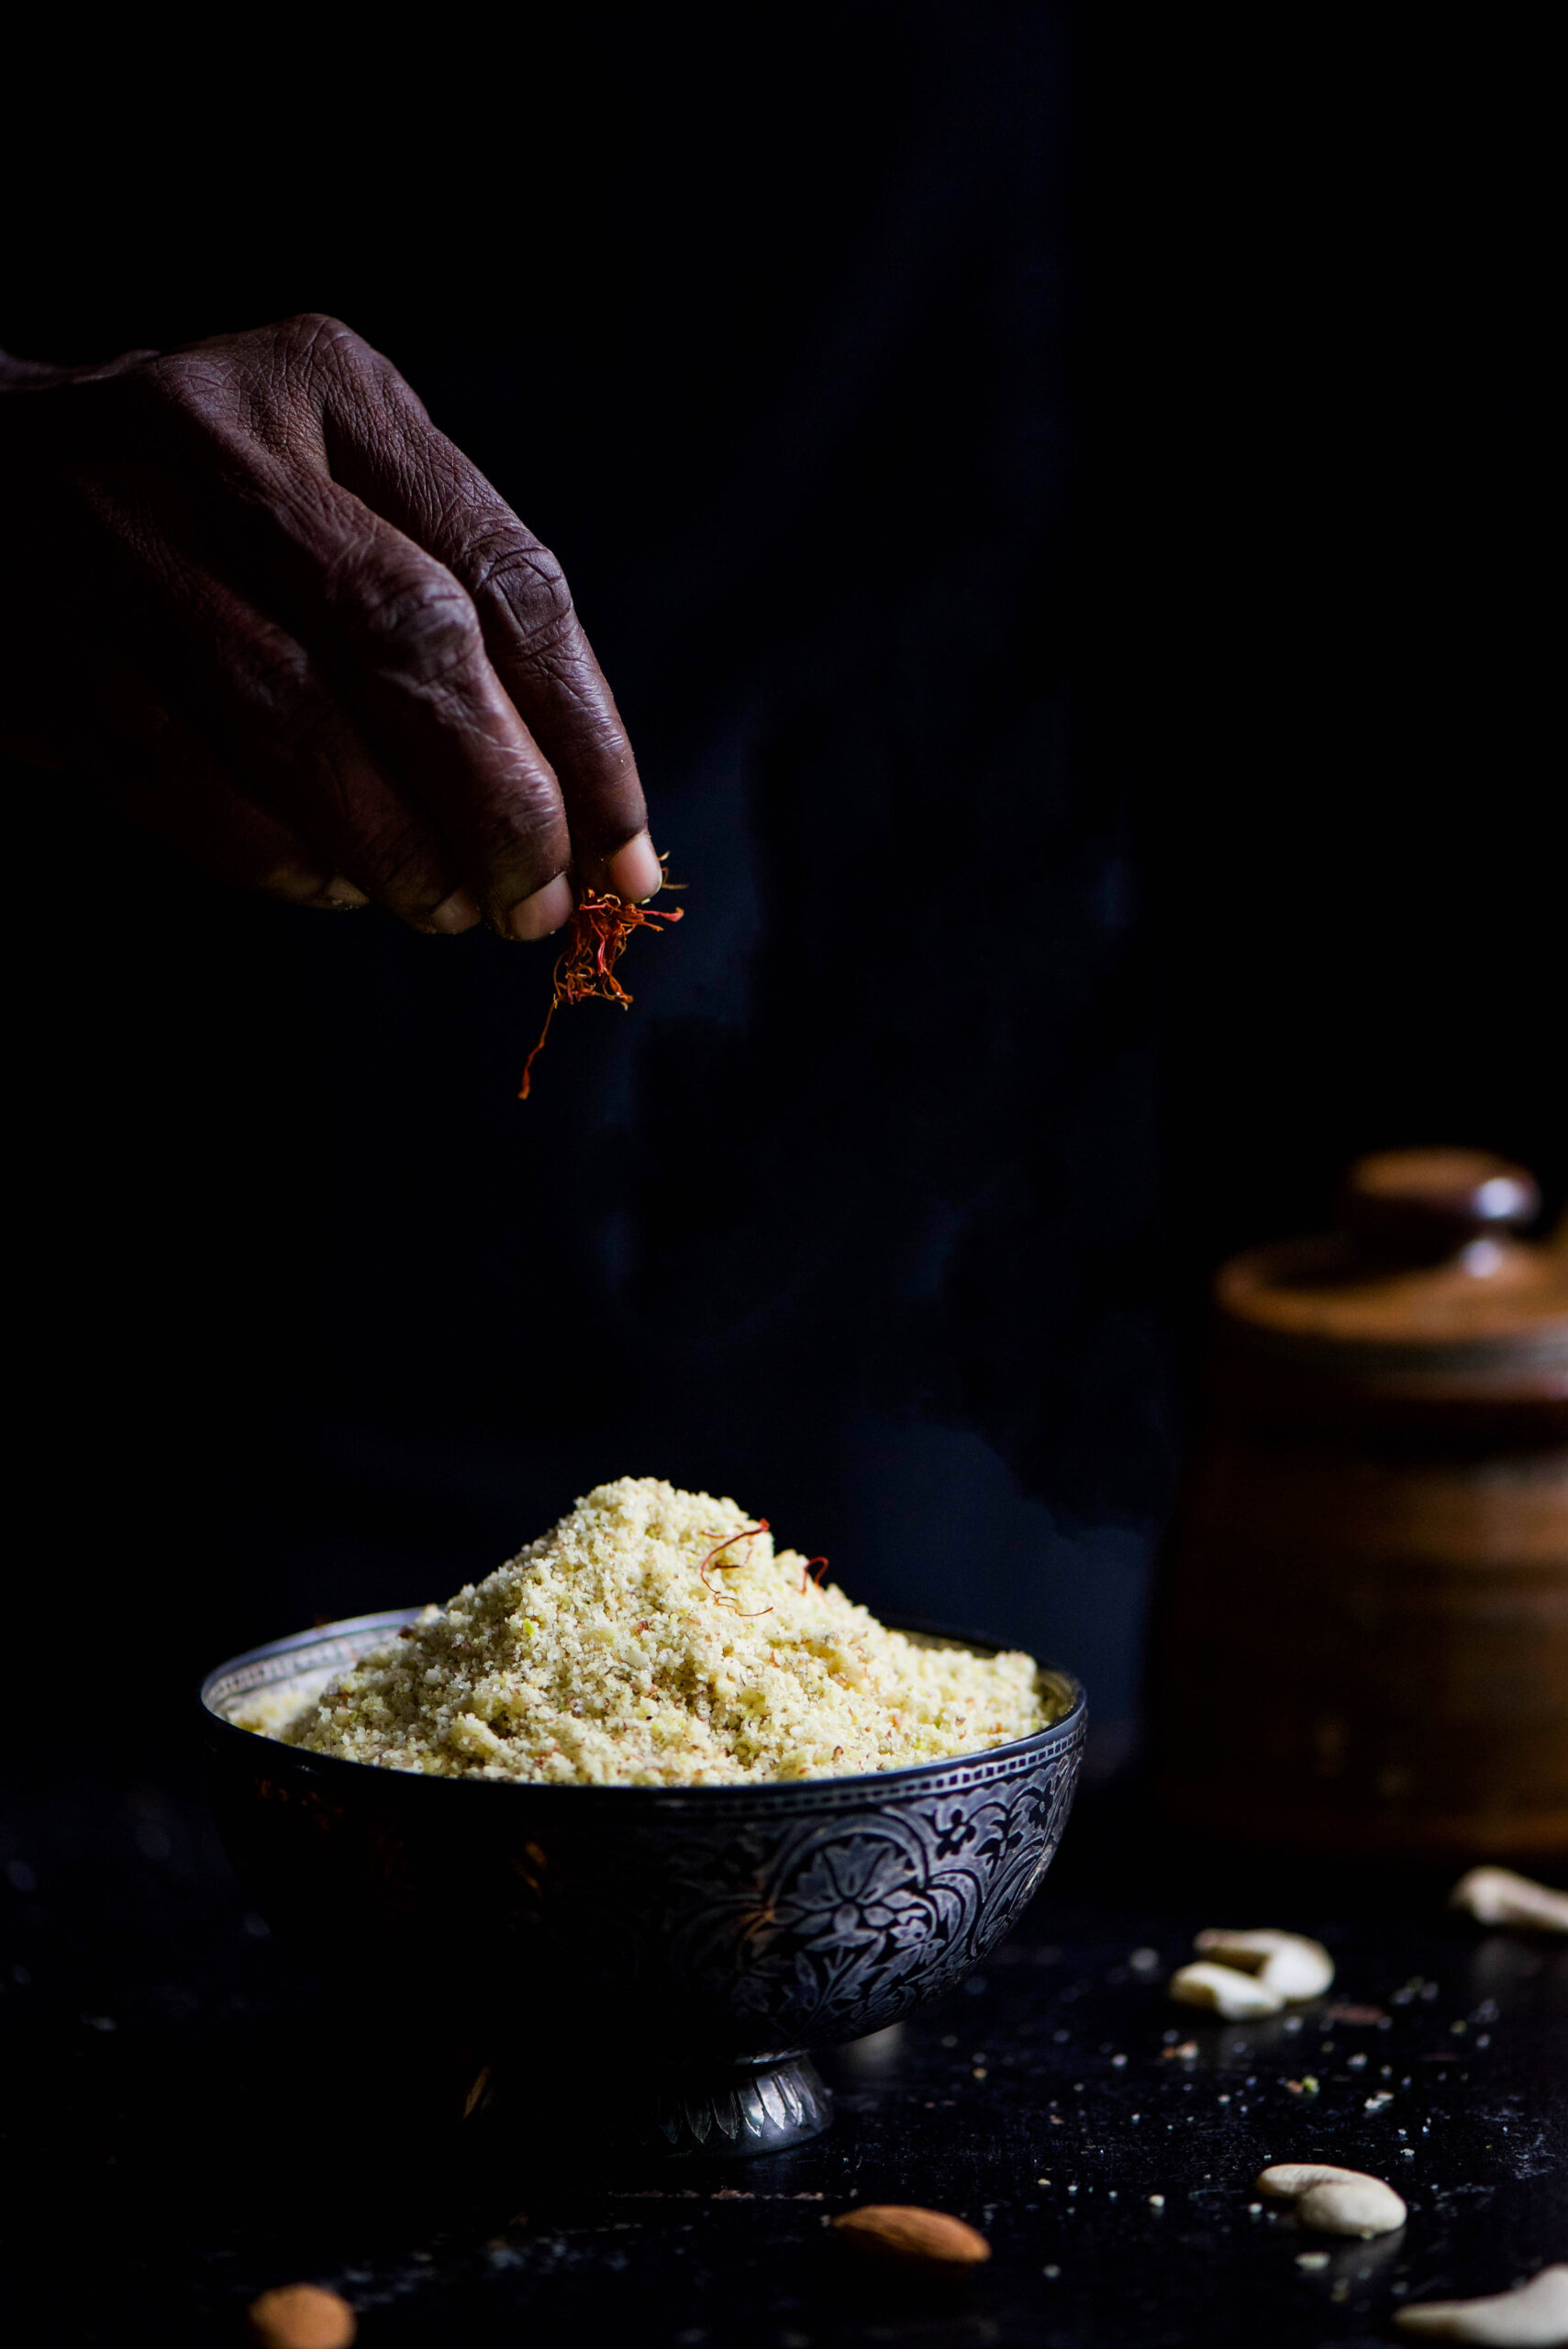
½ cup white raw almonds (with skin)

½ cup shelled pistachio

½ cup powdered sugar

2 tablespoons ghee

1 – 2 pinches of saffron

½ teaspoon cardamom powder


Pastry

See here.


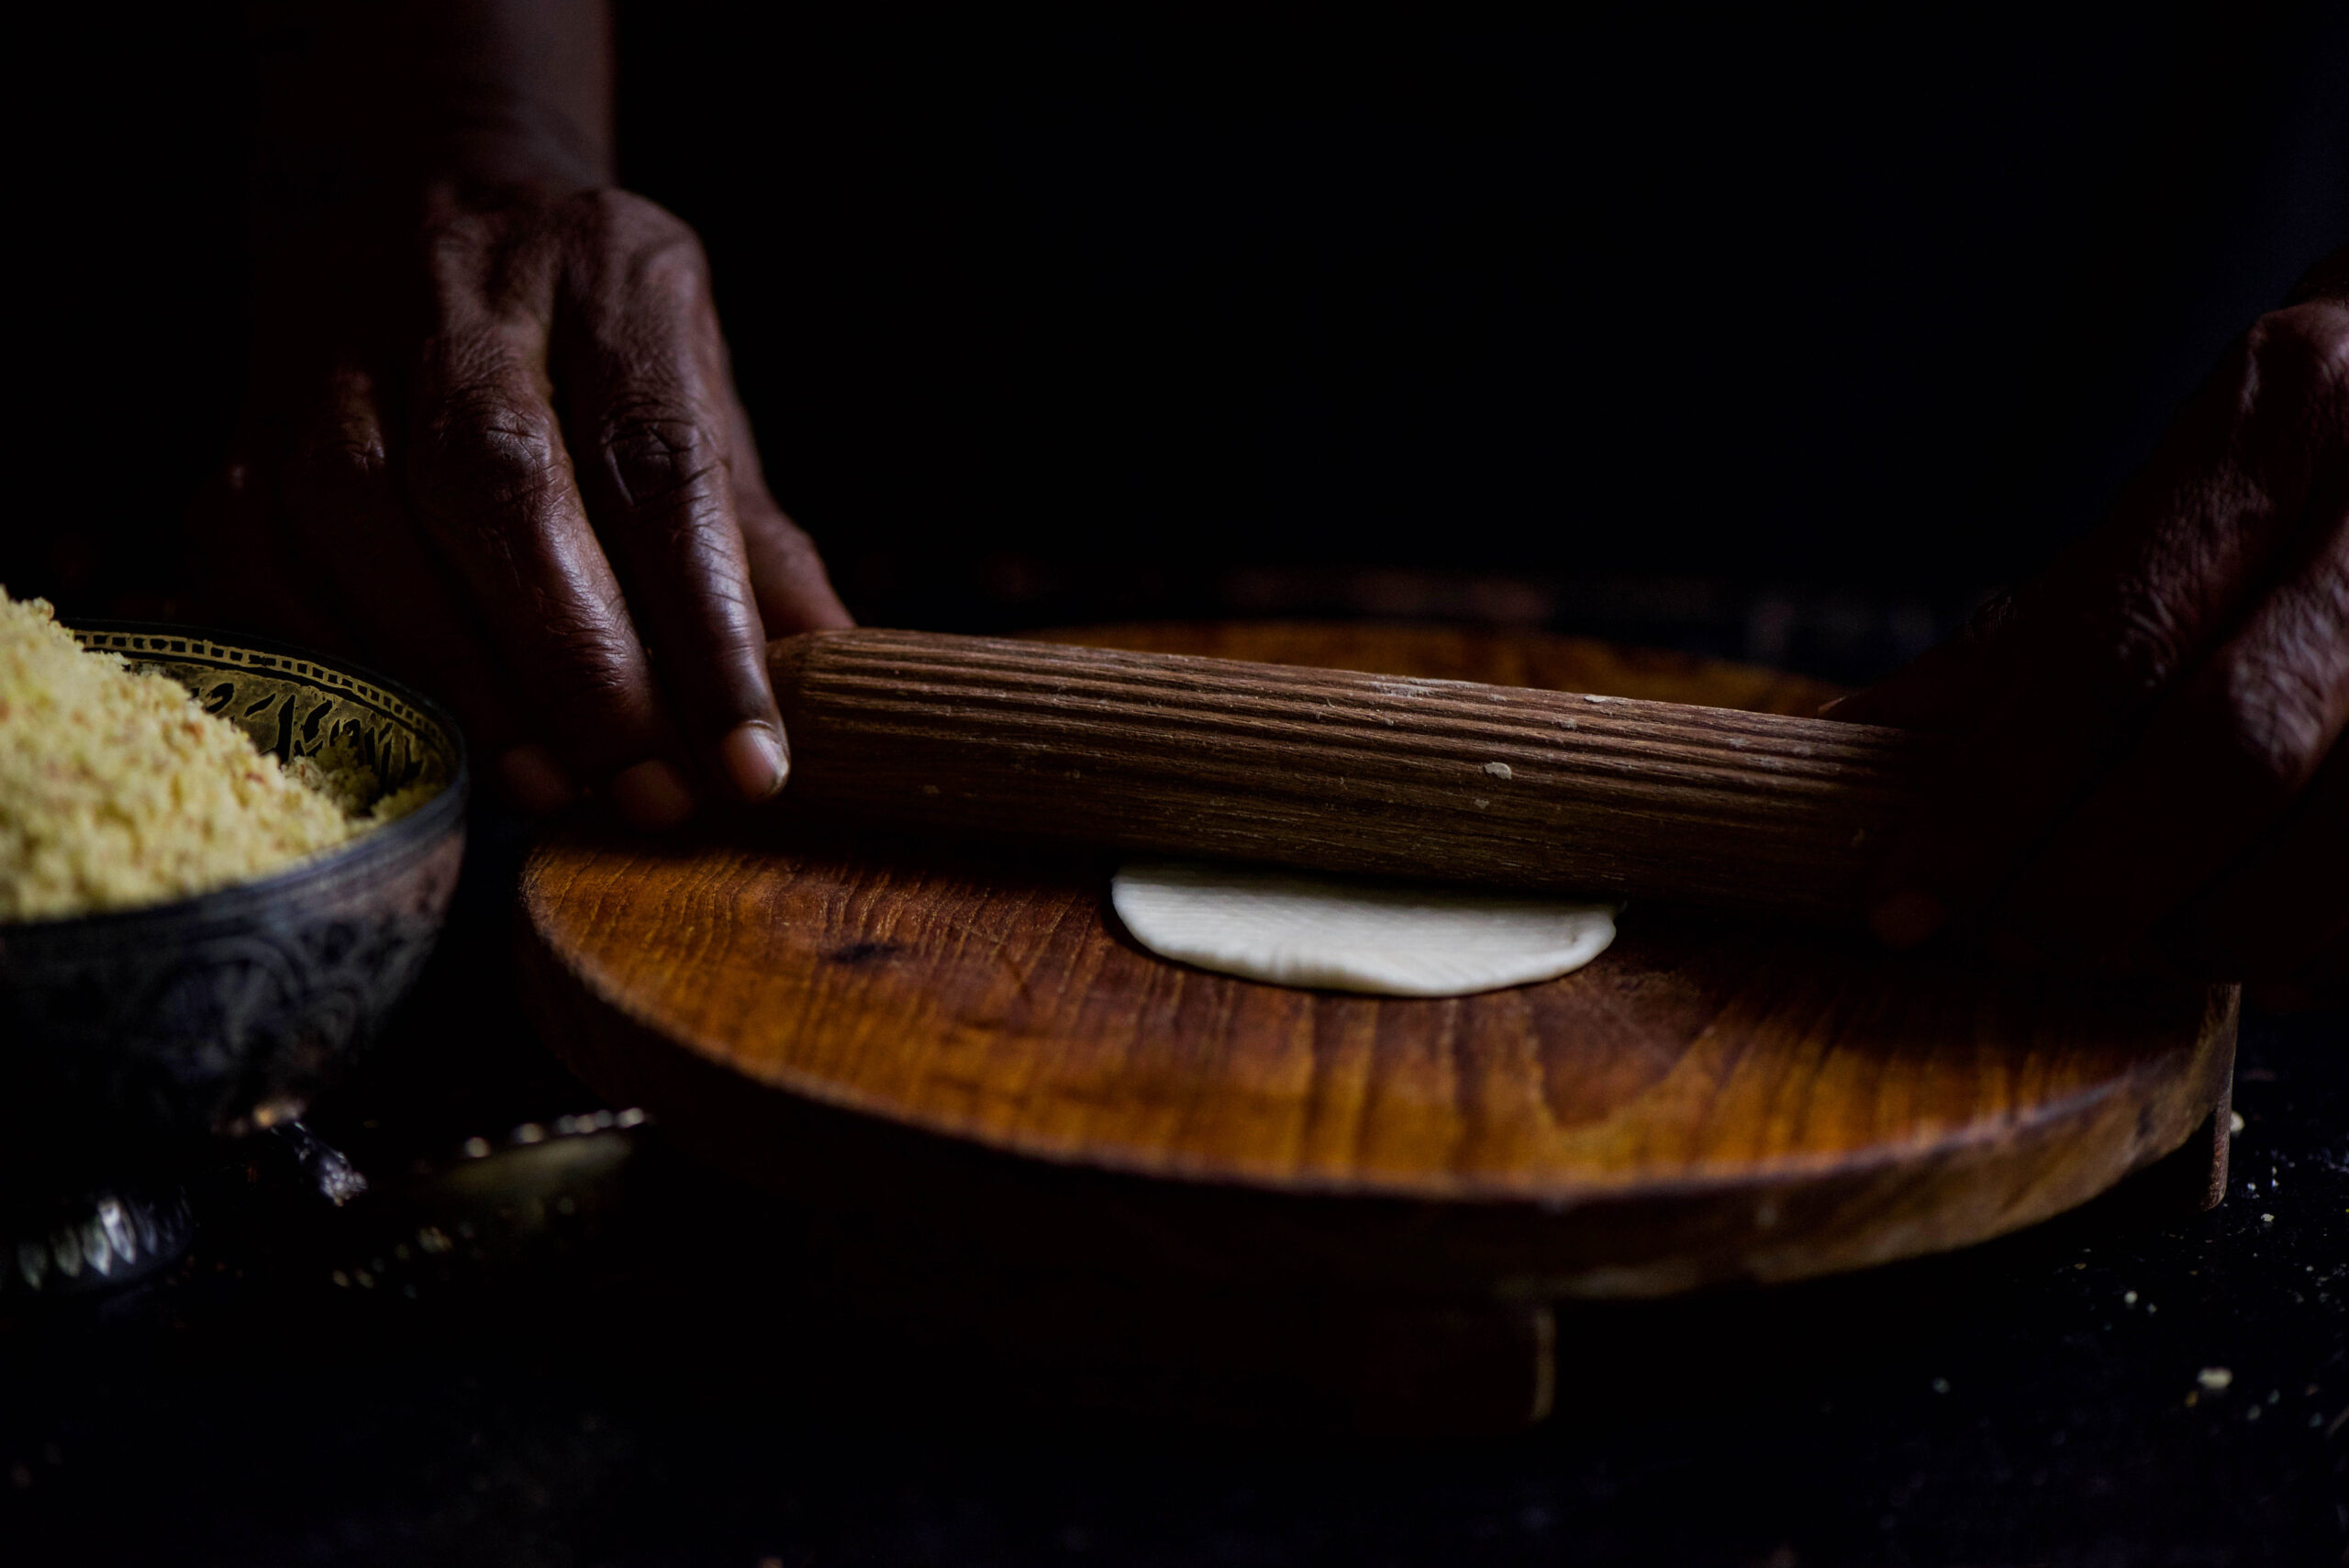
If you tried your hand at my sweet-savoury pea-pomegranate kachori recipe, you’ve already had practice at making the pastry for these ghugras too. The ingredients and technique can be found by clicking through to that post.

Here, let me share the recipe only for the filling of the sweet ghugras. It is the filling that makes each samosa, ghugra or kachori different.

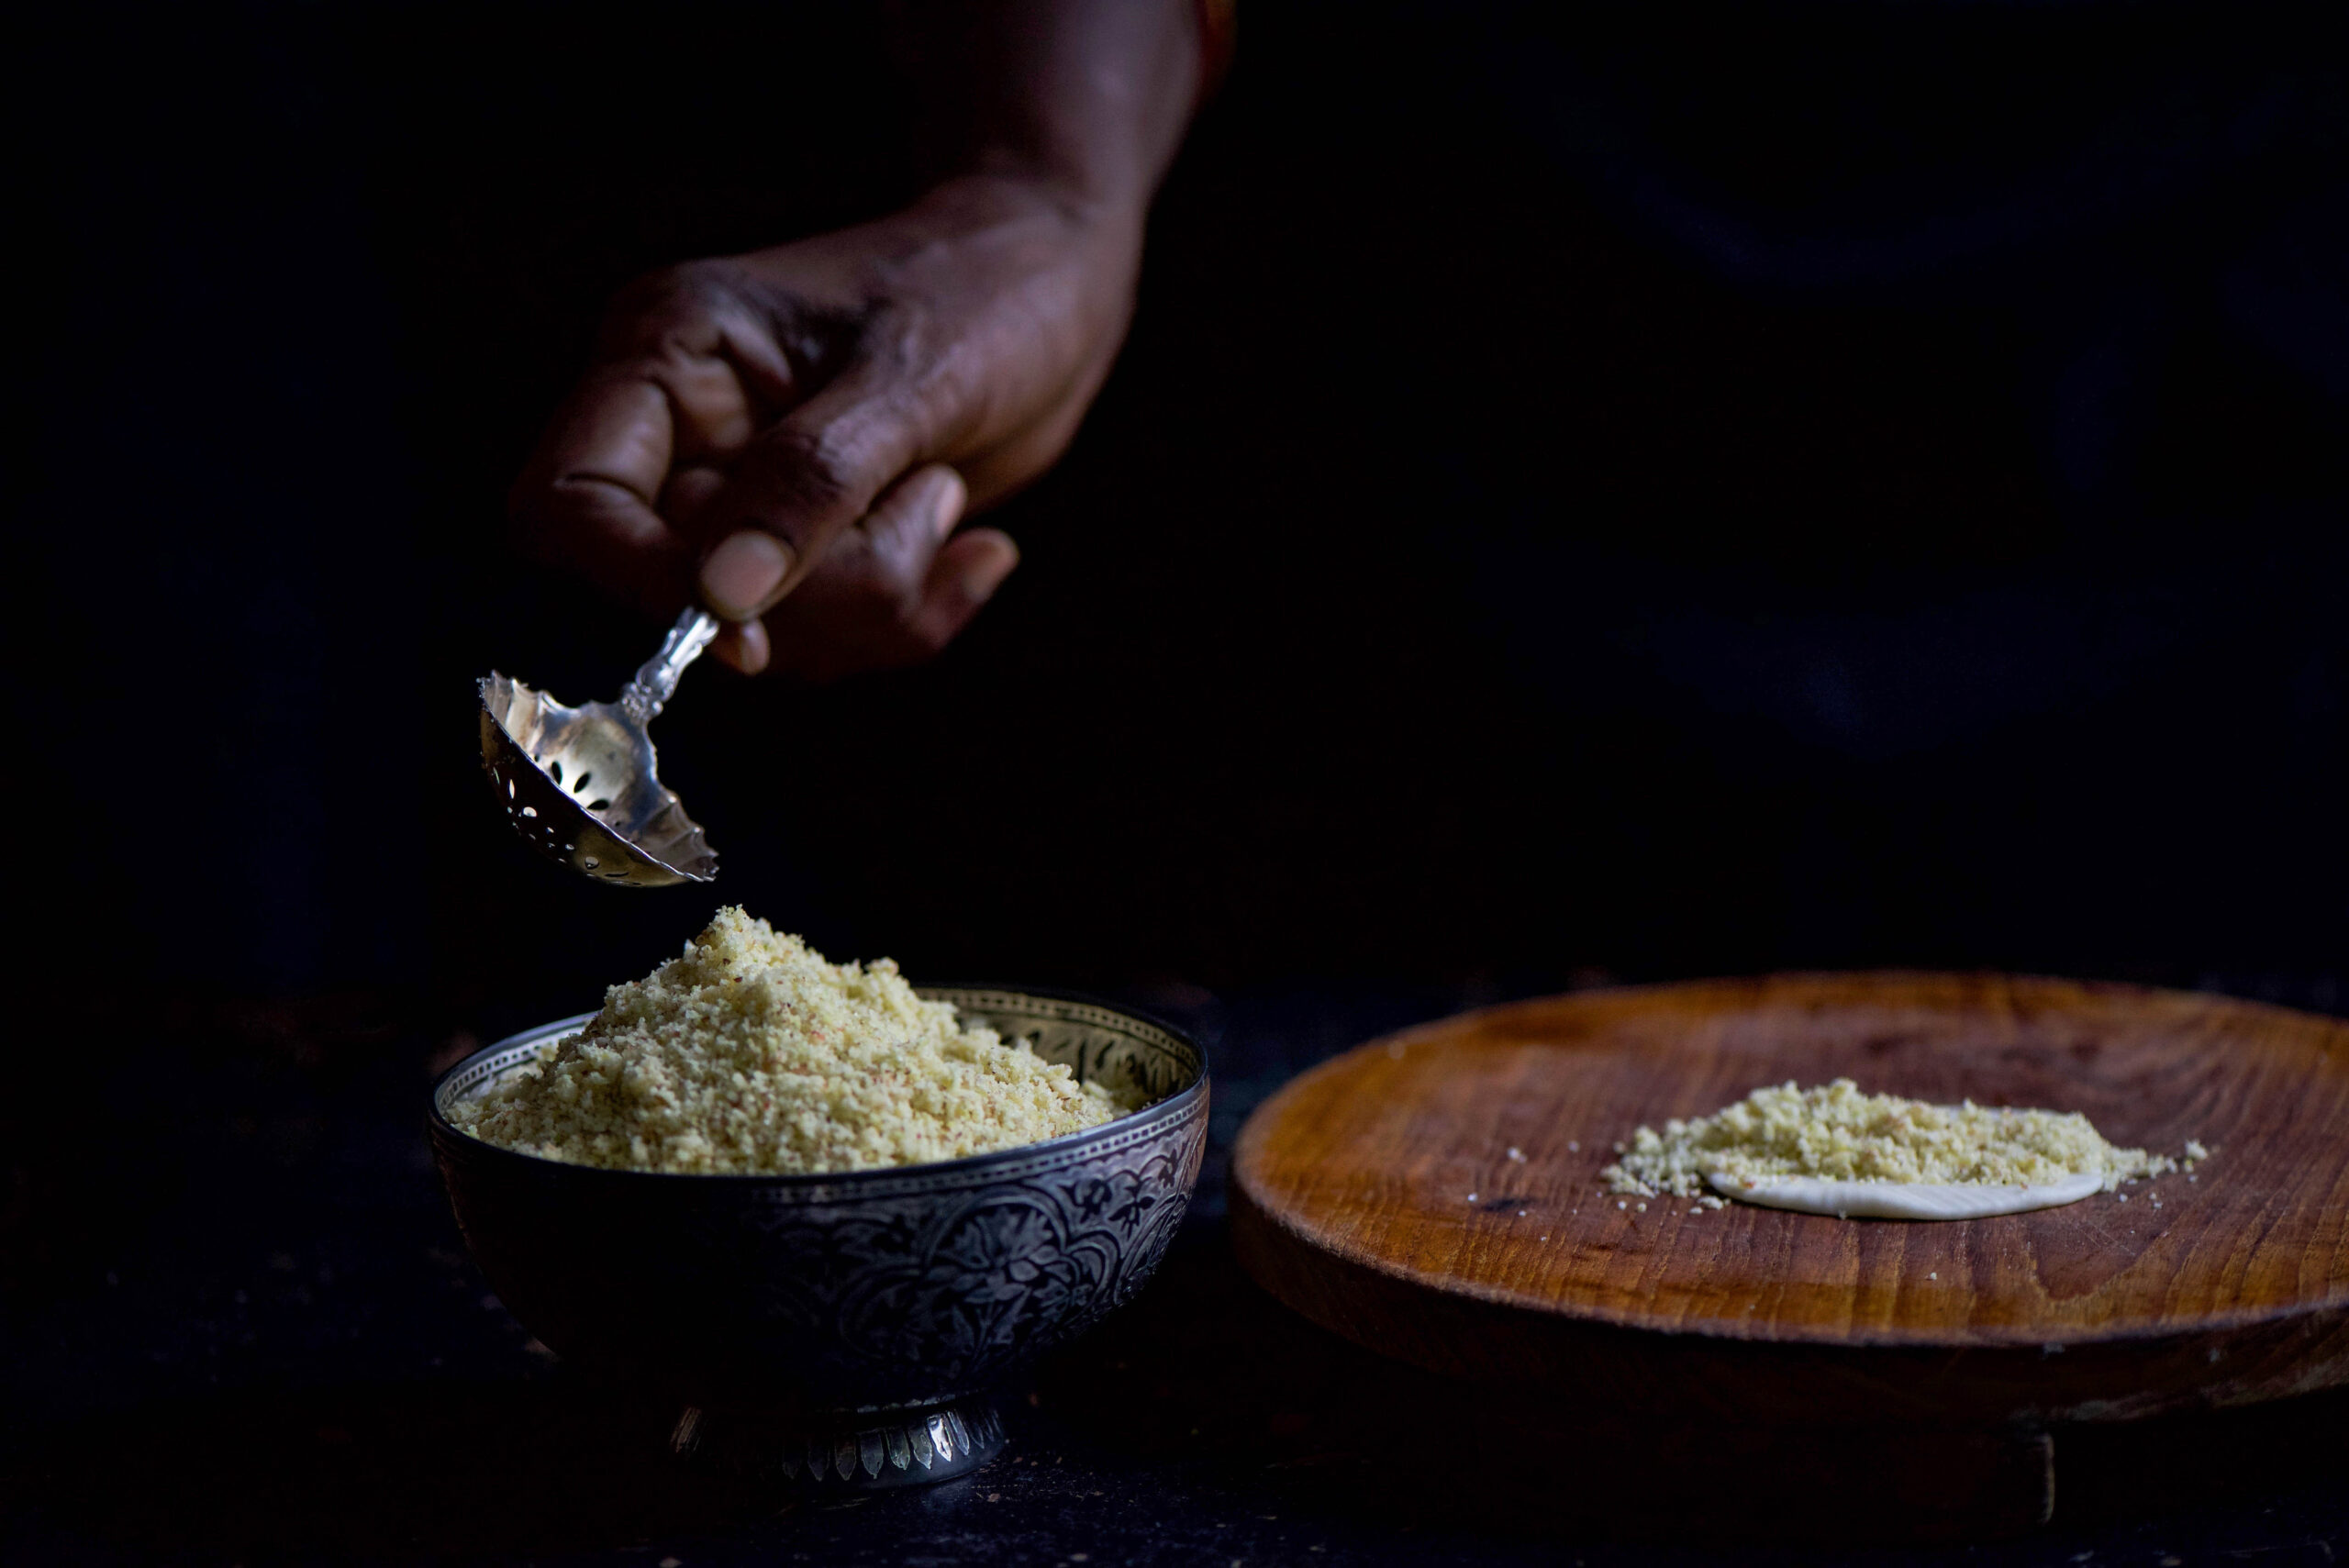
Roast the nuts until they turn into a light golden colour (you may replace the pistachio with cashew nuts if you wish). Allow to cool. Once cool, blend them to a coarse powder.

Now, add the powdered sugar and ghee. The ghee binds all the flavours together. Next, add the cardamom and saffron. Using your hands, gently blend the ingredients together.

The filling is as simple as that. Most Gujarati households will have a similar recipe for sweet ghugras. Many will use mava (known in Tamil as palkova), which is a sugary milk reduction. The mava version was my brother’s  favourite, and my mother made it for him for over five decades of Diwali celebrations – even the one in the hospital. But if you don’t like extreme sweetness in your desserts, you will prefer this nutty variation I’ve shared.

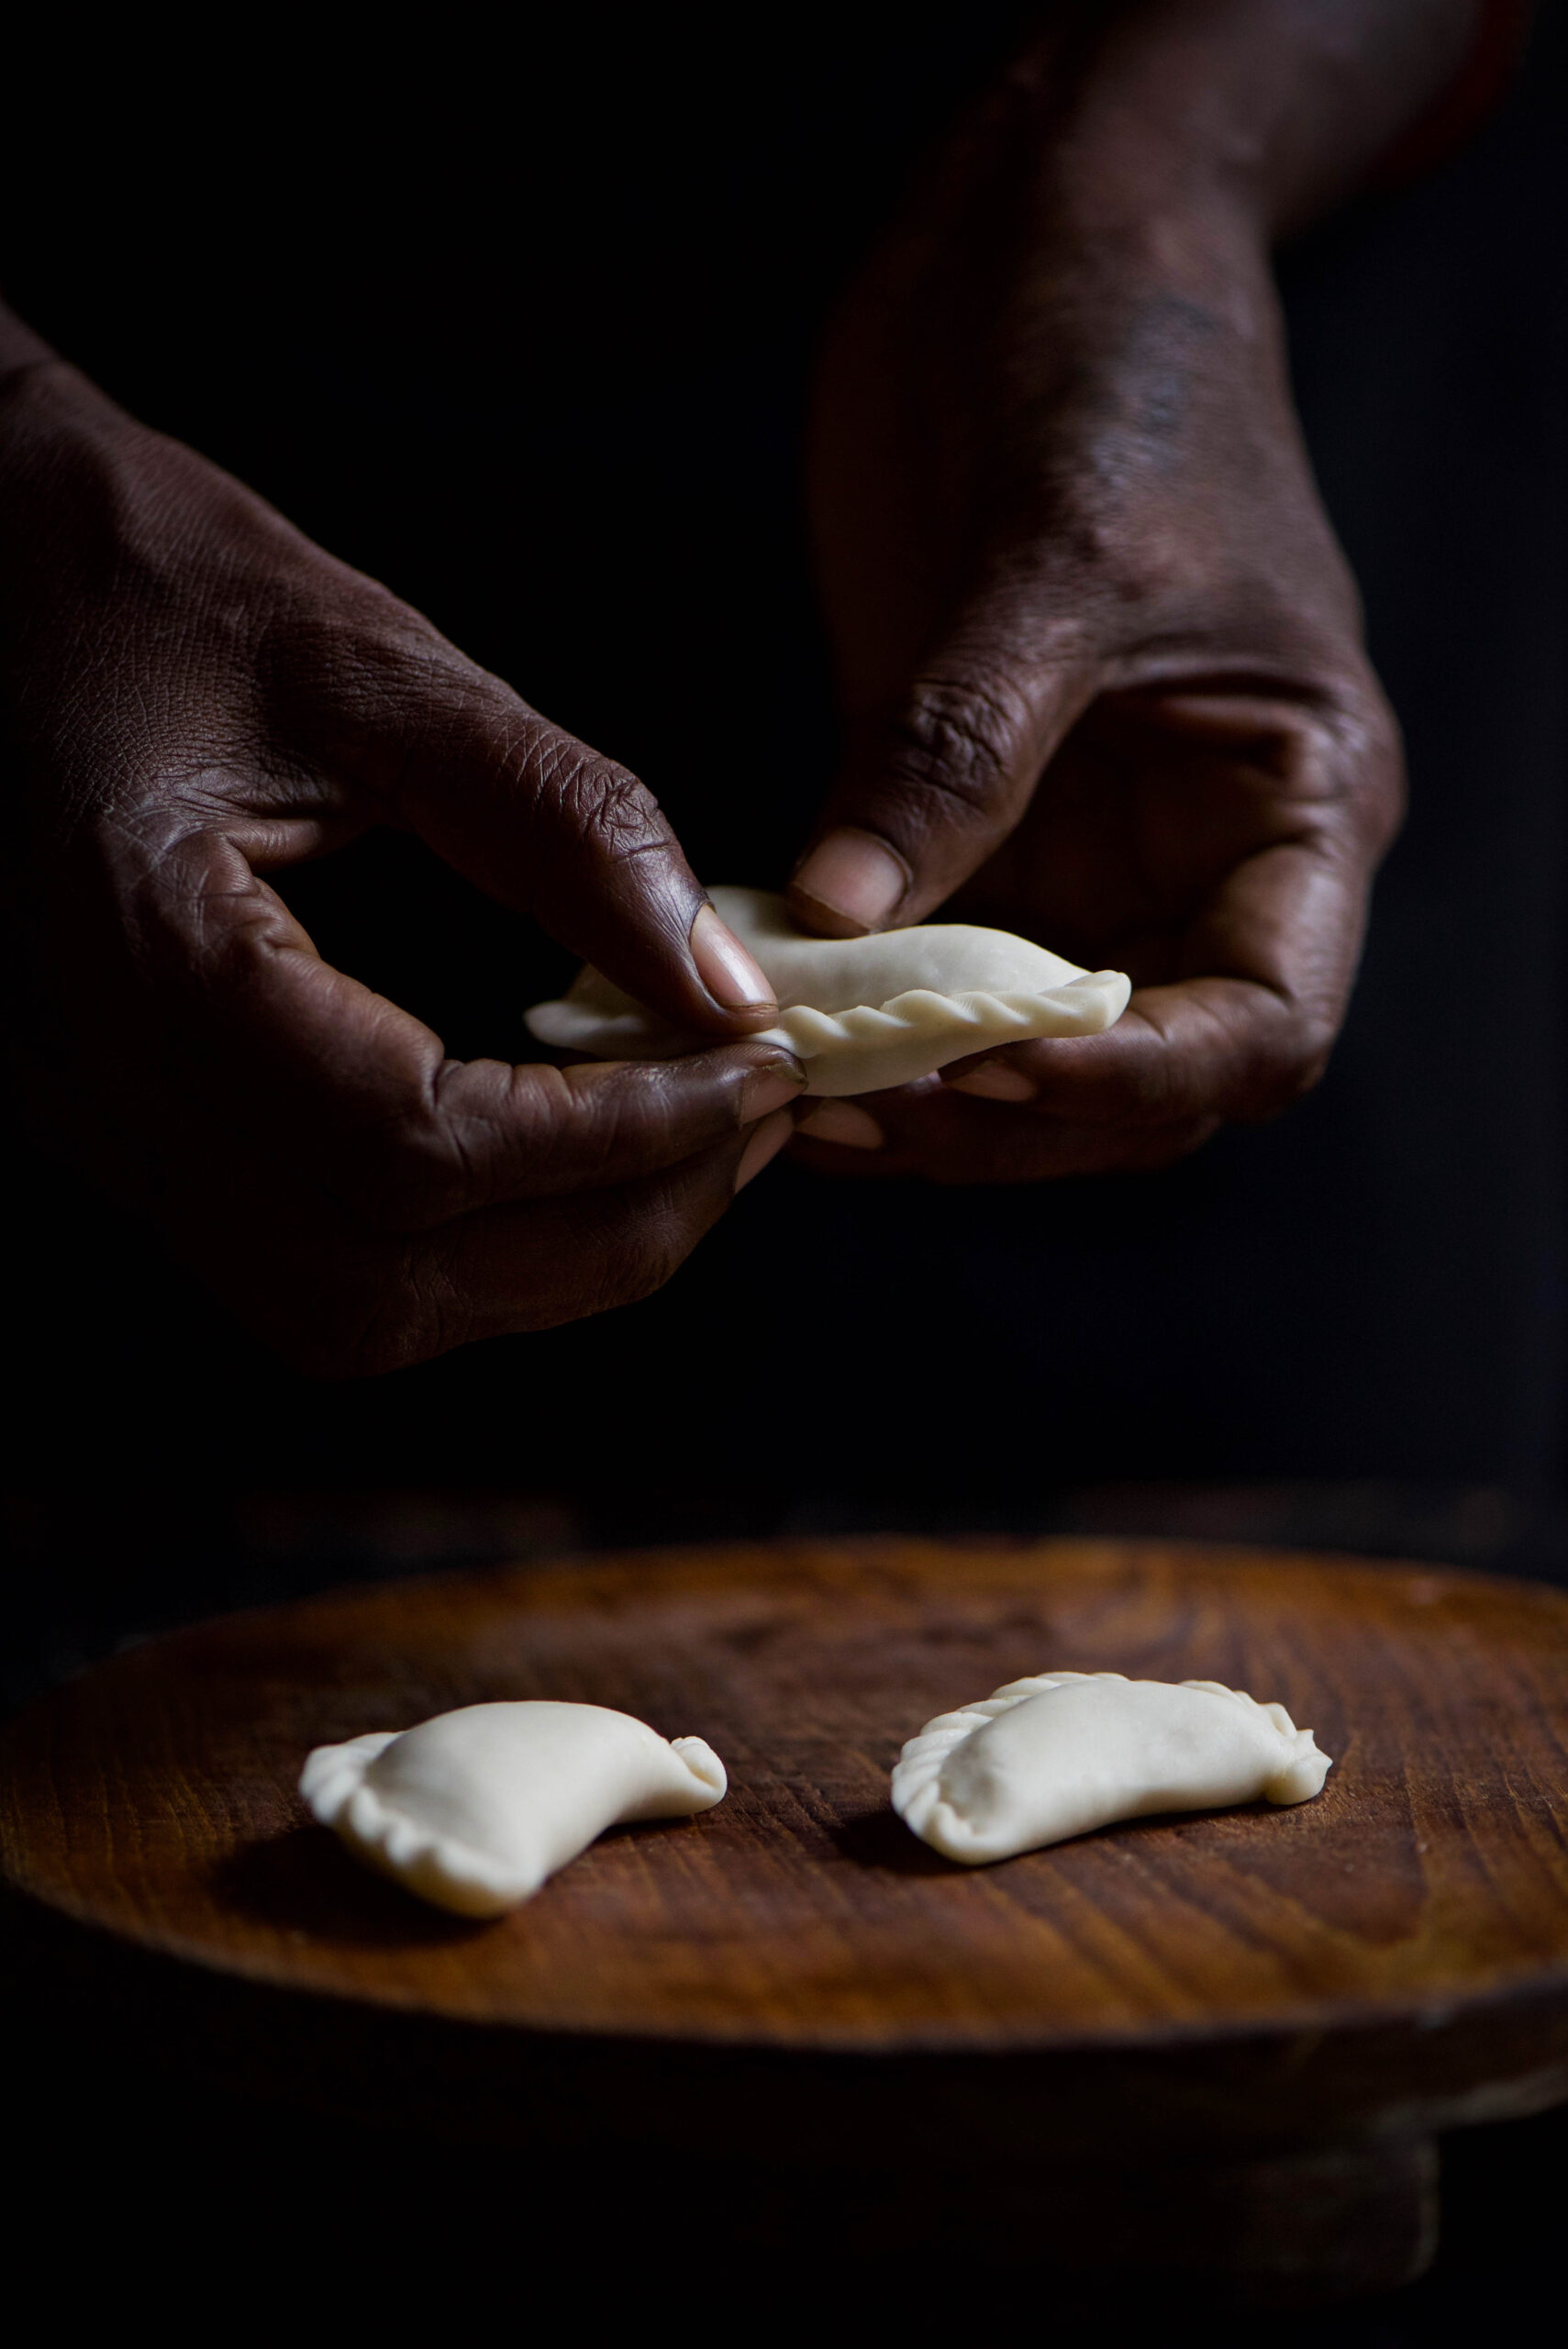
If you made the pea-pomegranate kachori recipe given earlier, making, rolling out and delicately folding the dough into a pretty shape should be very easy for you.

If this is your first attempt, do watch the video below to see how to stuff and fold the pastry casings. You will be able to make between 15-20 ghugras using this recipe, depending on the size. I like mine small and dainty, so that you’re both satisfied in a bite and have a slight craving for one more.

Once the pastries have been filled with the sweet, nutty stuffing, they must be fried.

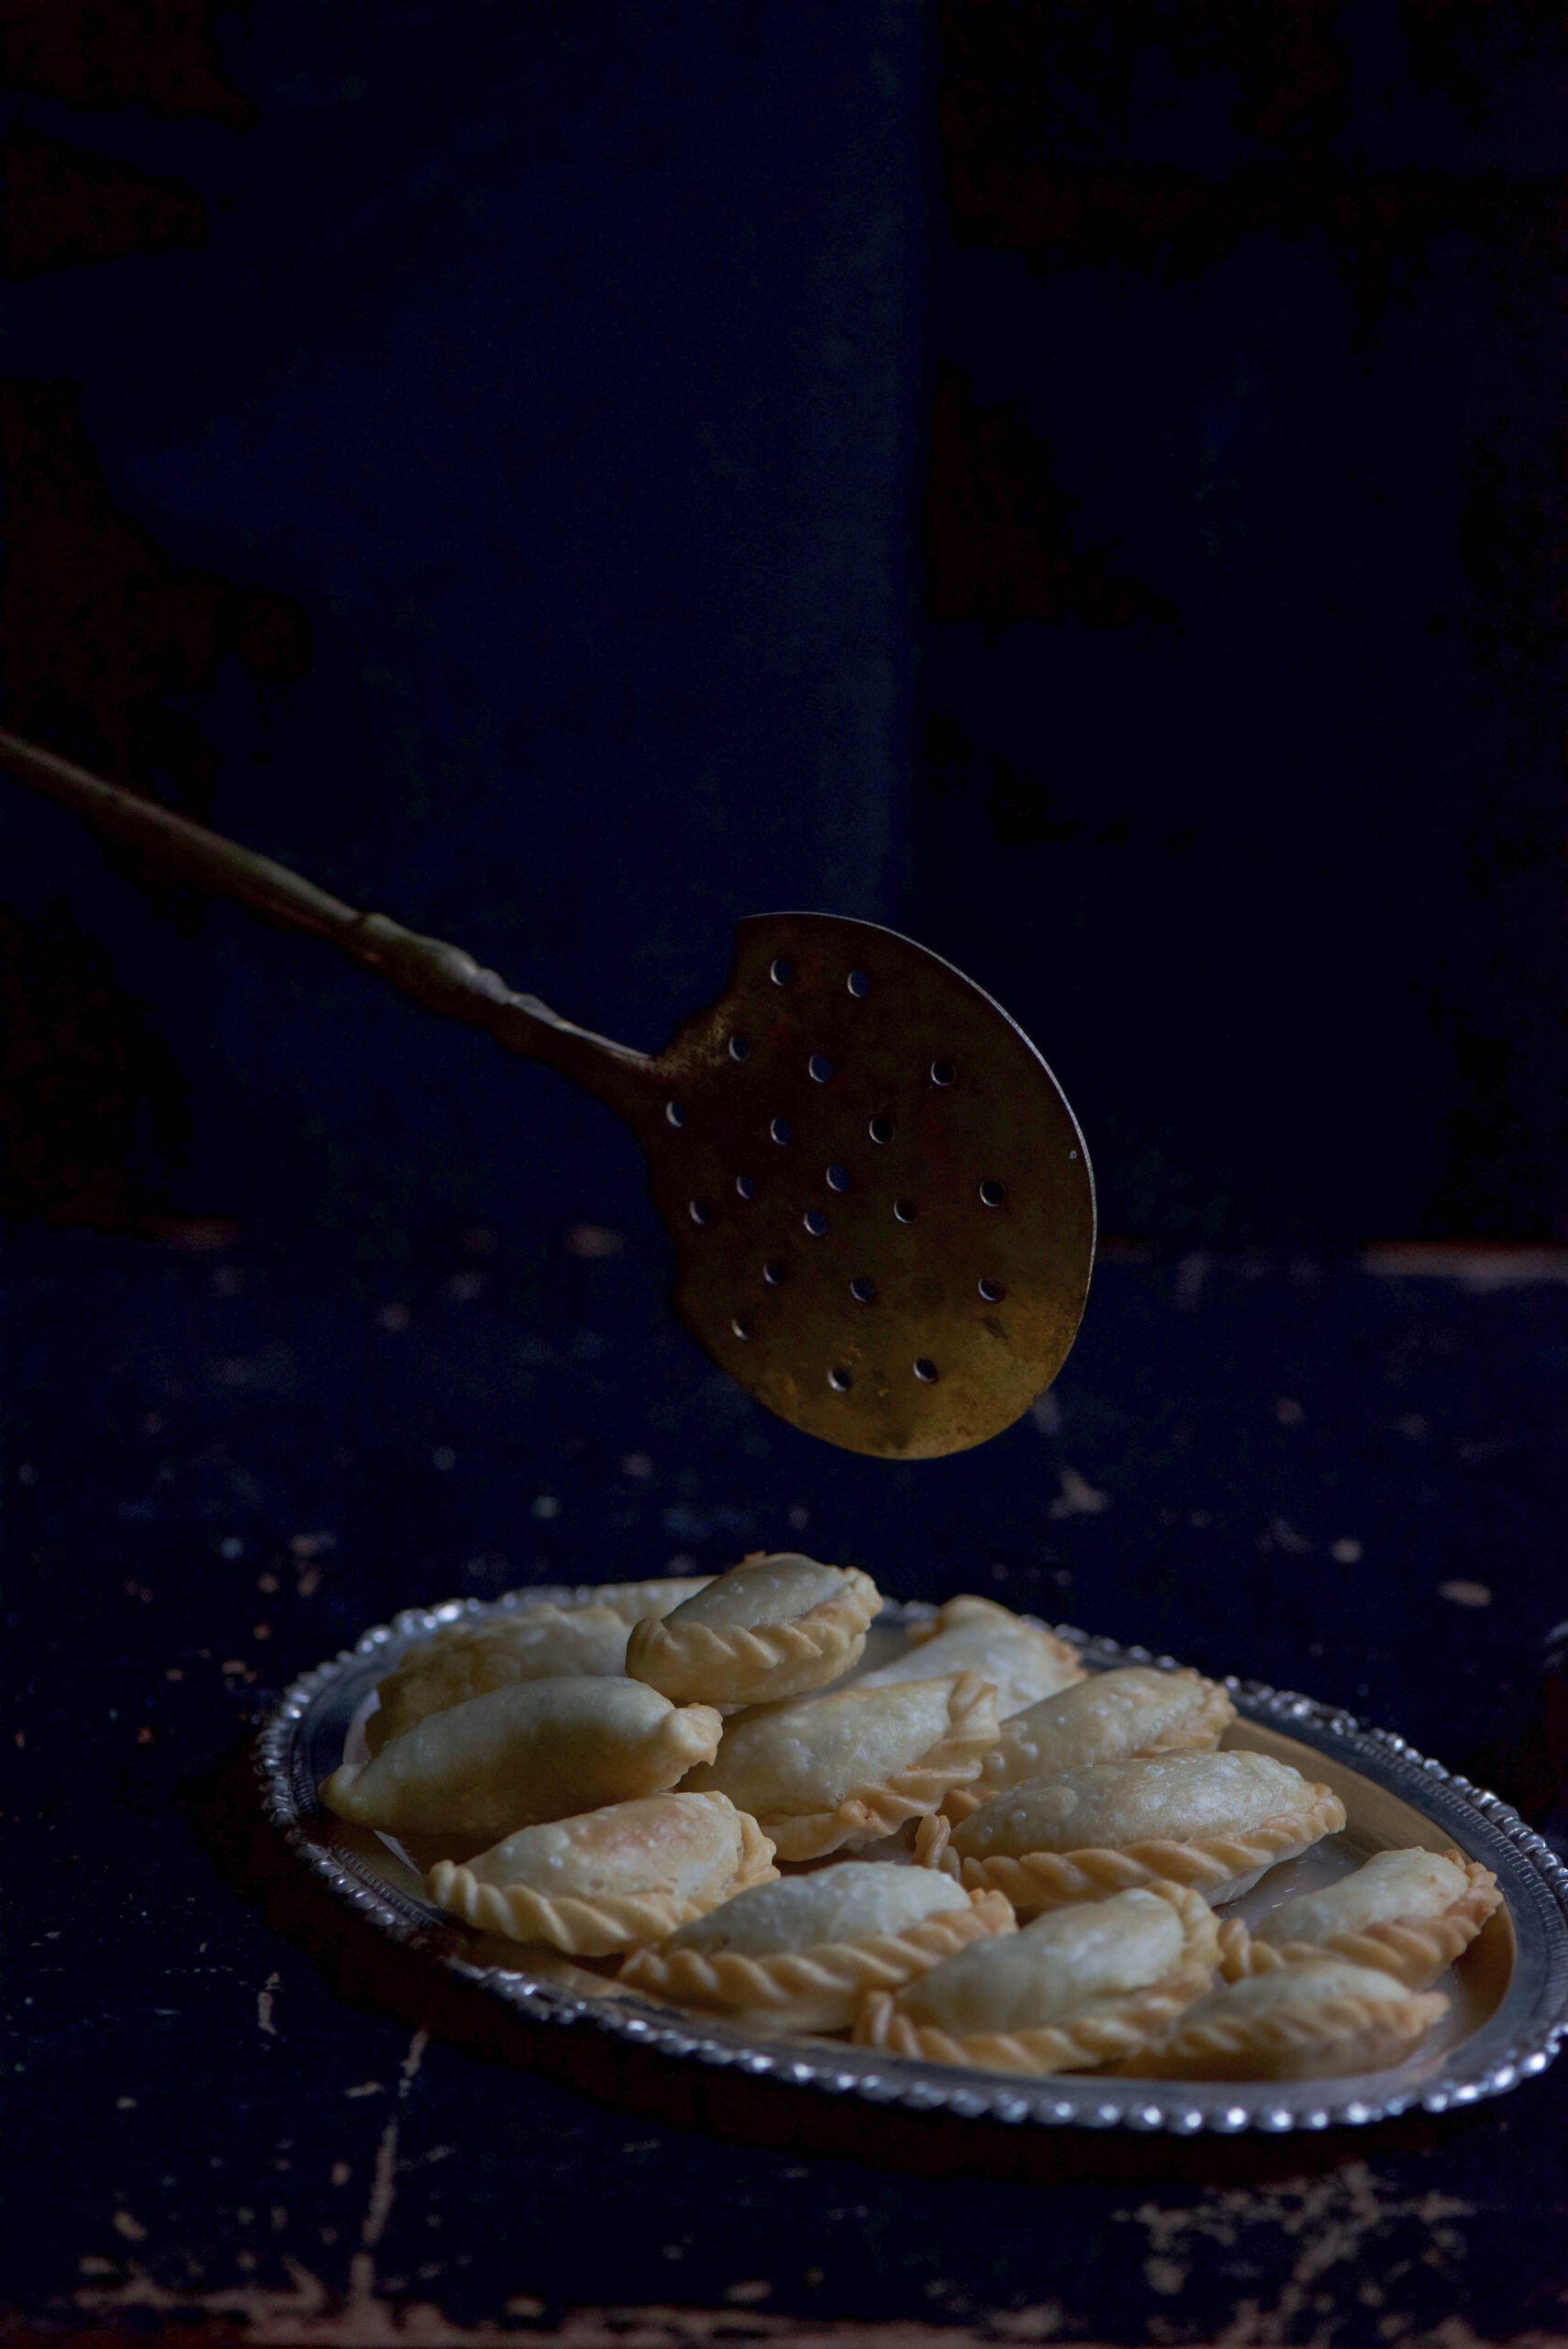
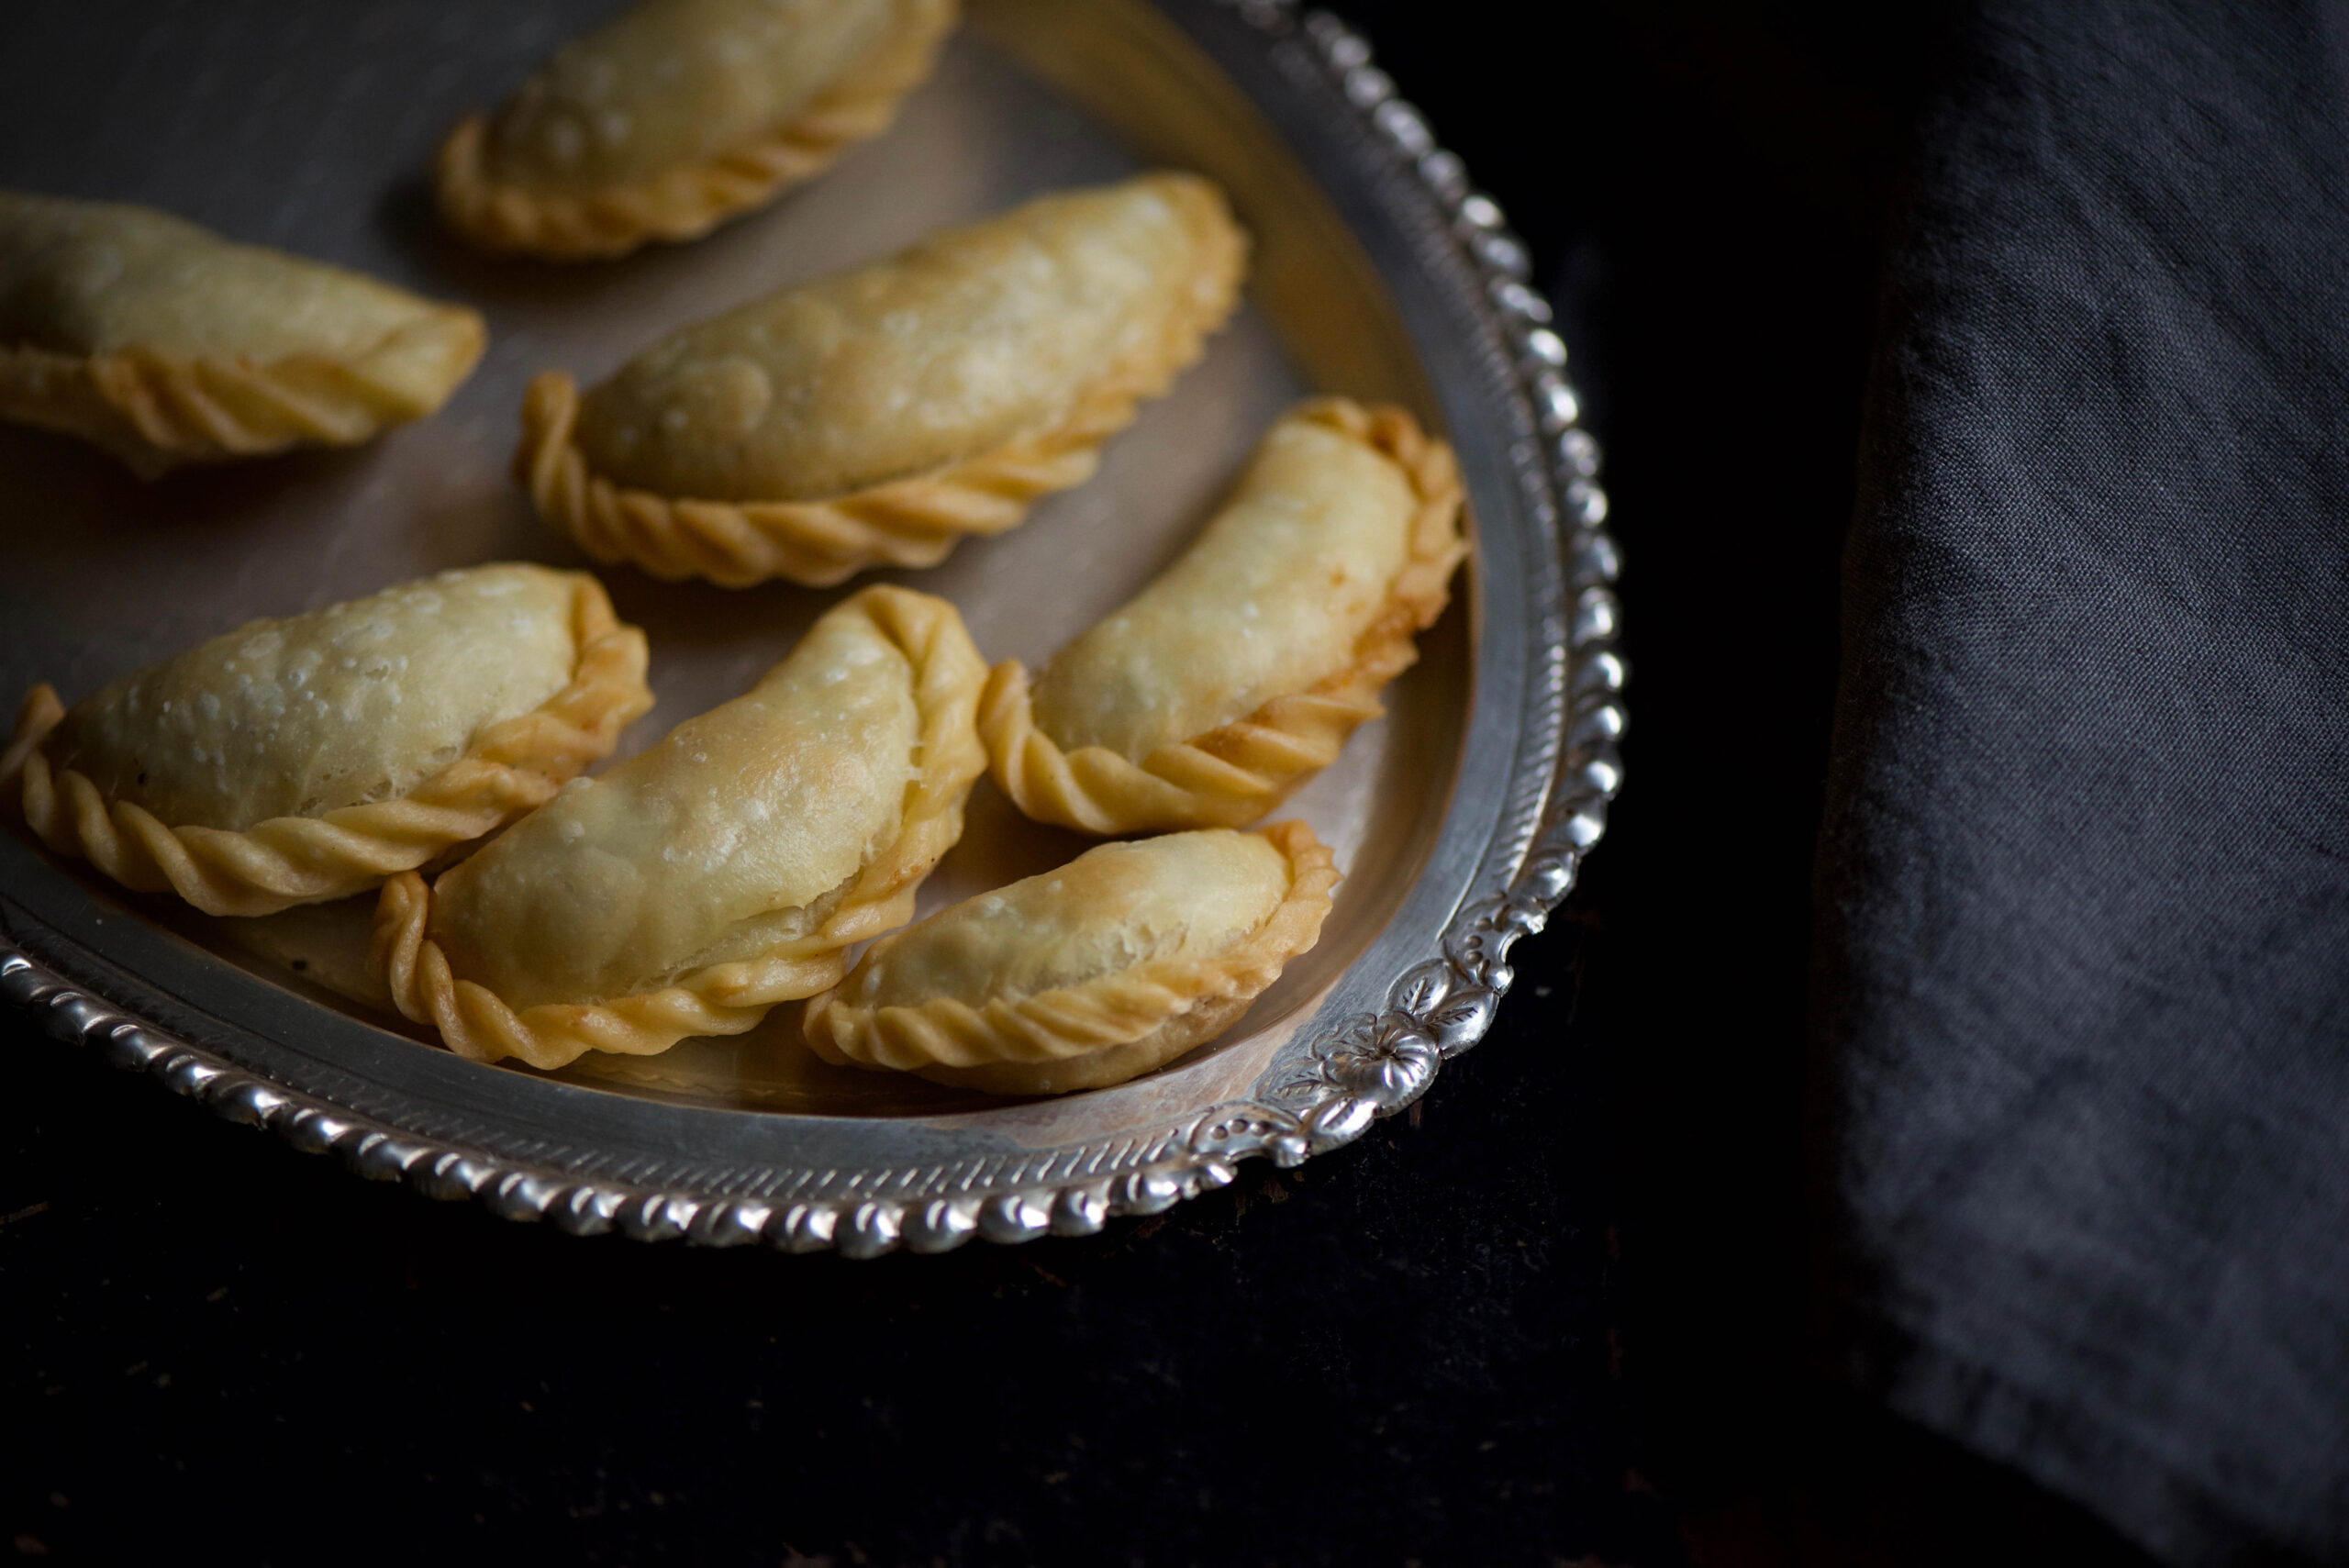
I prefer the traditional method of deep-frying them in ghee over a low flame, but you can use oil if you wish. After a couple of minutes, increase the flame for about 15 seconds then lower it again for a minute. Continue alternating high and low flames. The ghugras will take 12-14 minutes to turn to a light golden colour. And then they are ready to serve.

These sweet ghugras have travelled a long way with me, from childhood. Isn’t it funny how we take our mothers’ food for granted? I’m so glad I made the effort to absorb her culinary wisdom. Now, during special occasions, my kitchen smells just like hers did when I was growing up – and I am filled with all the love she raised us with.

Heartfelt festive wishes from re:store to you and your family!