11 Results

navaratri

Search

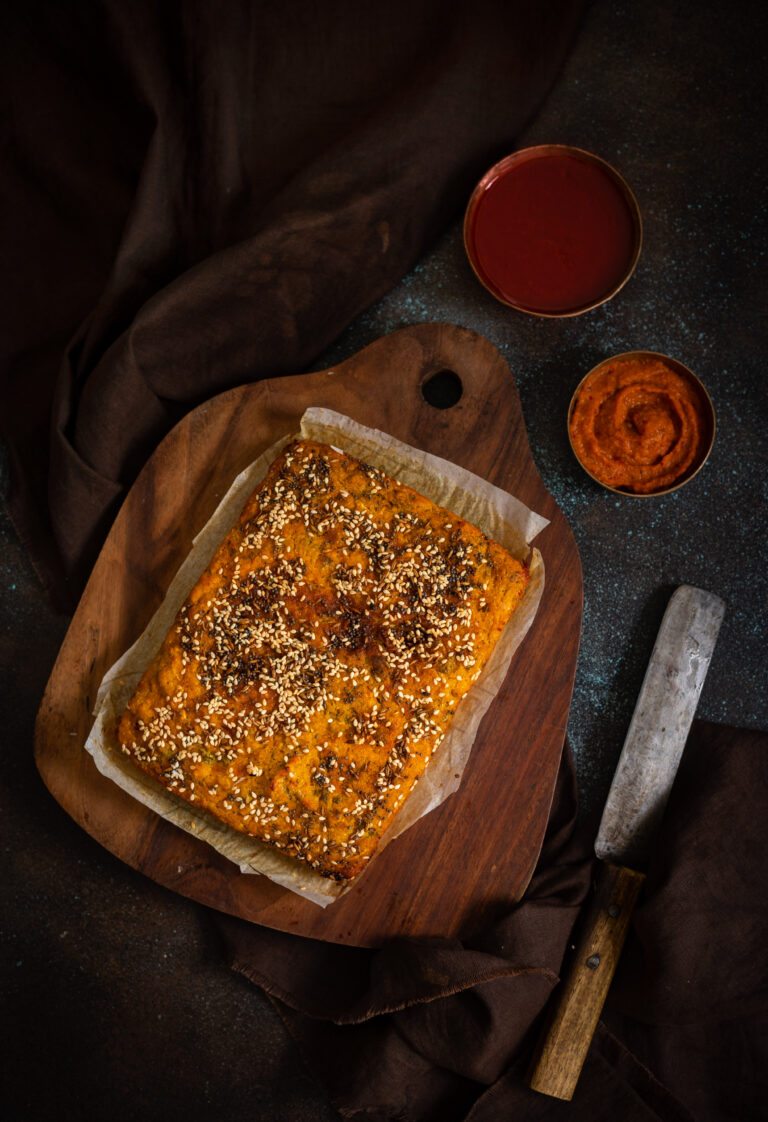
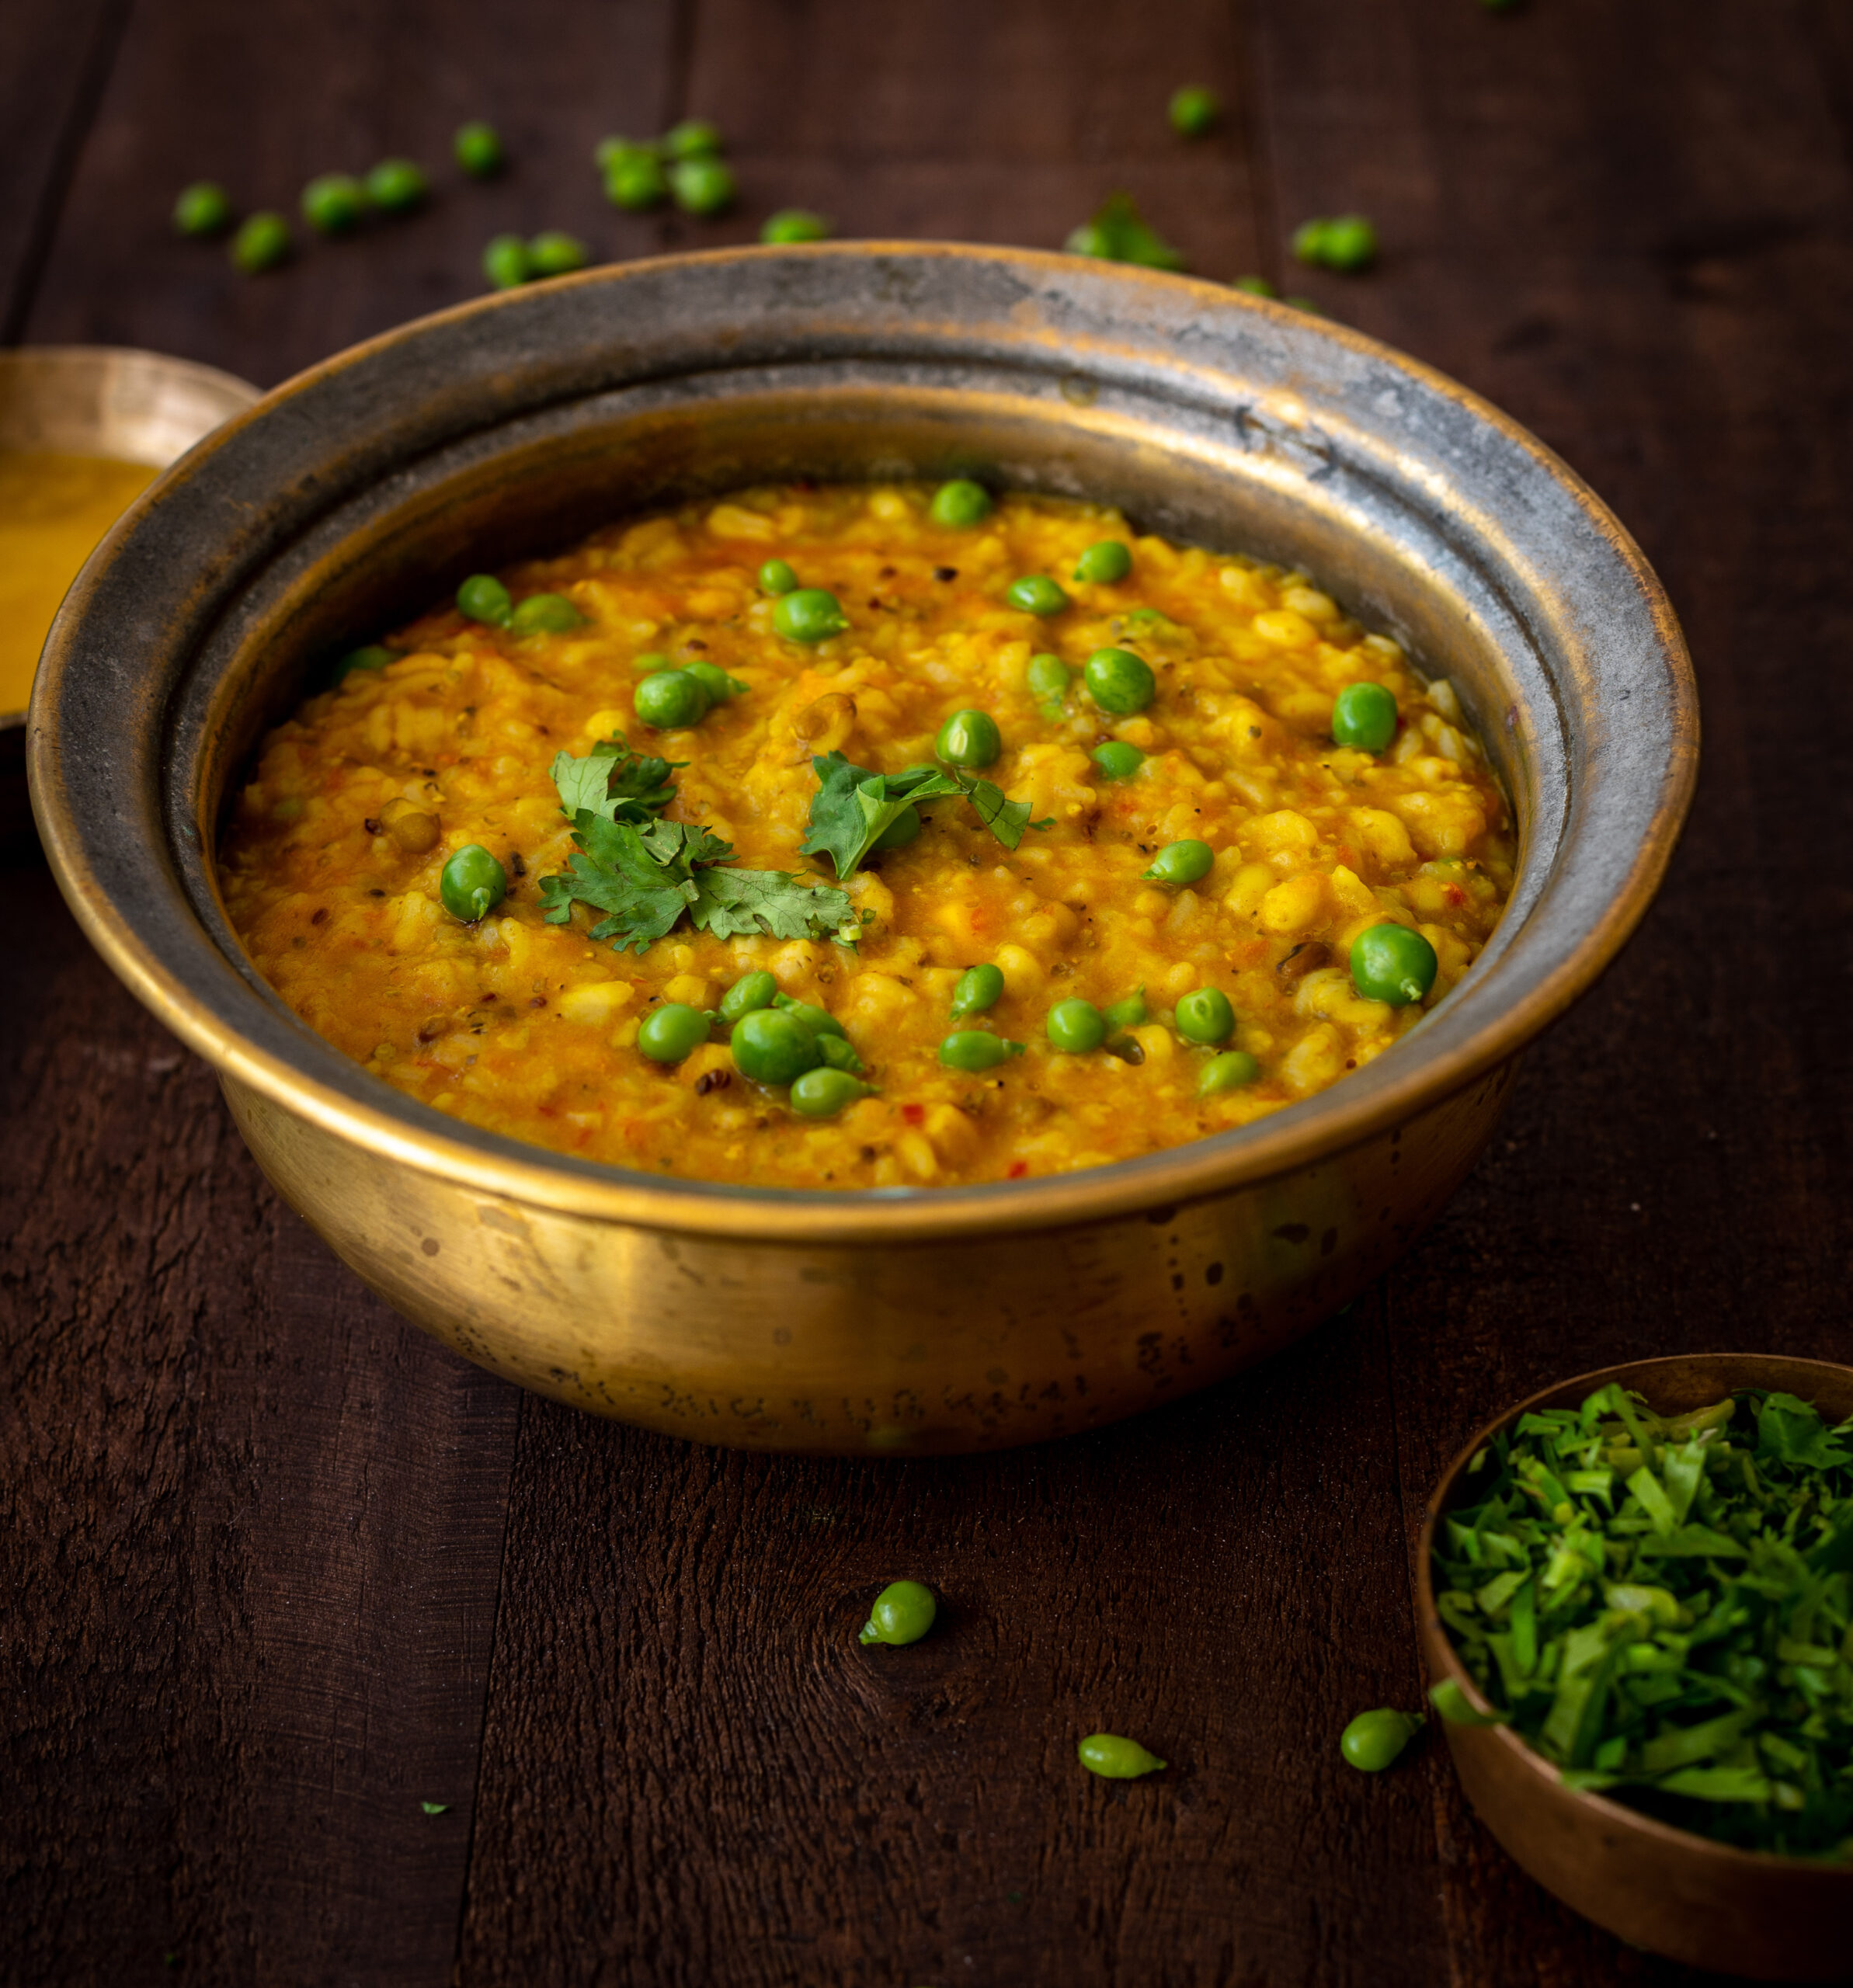
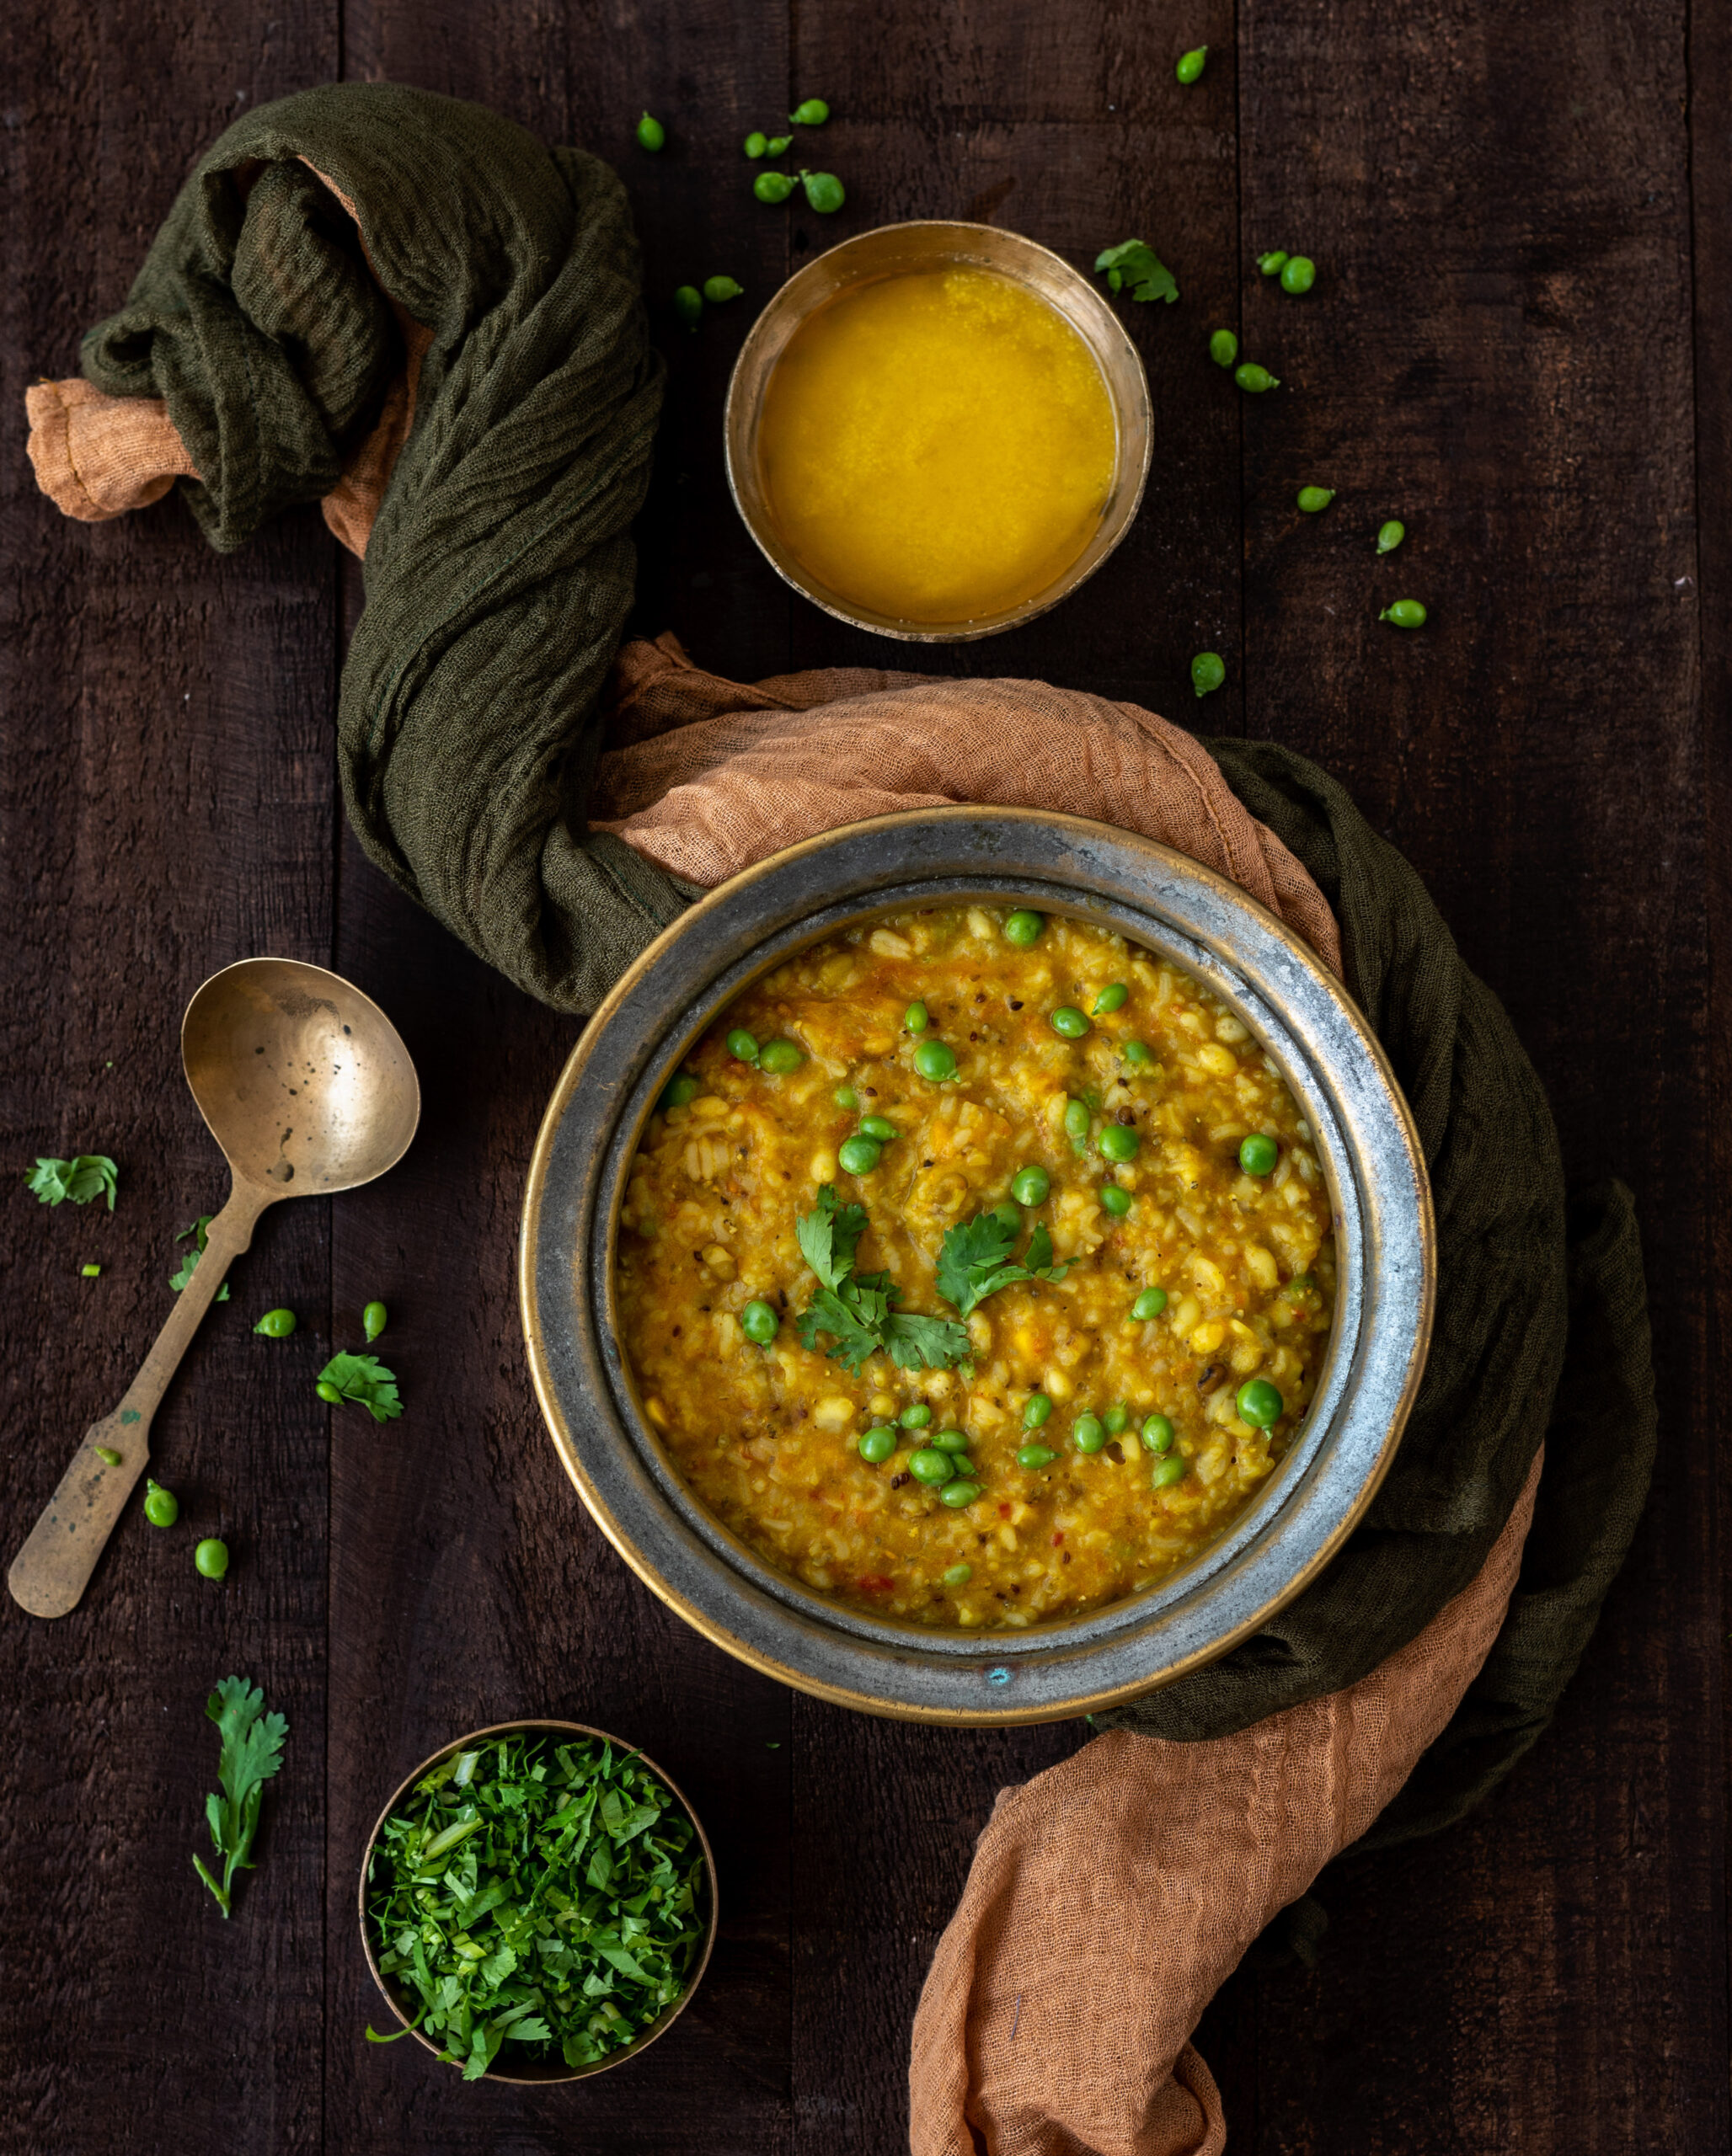
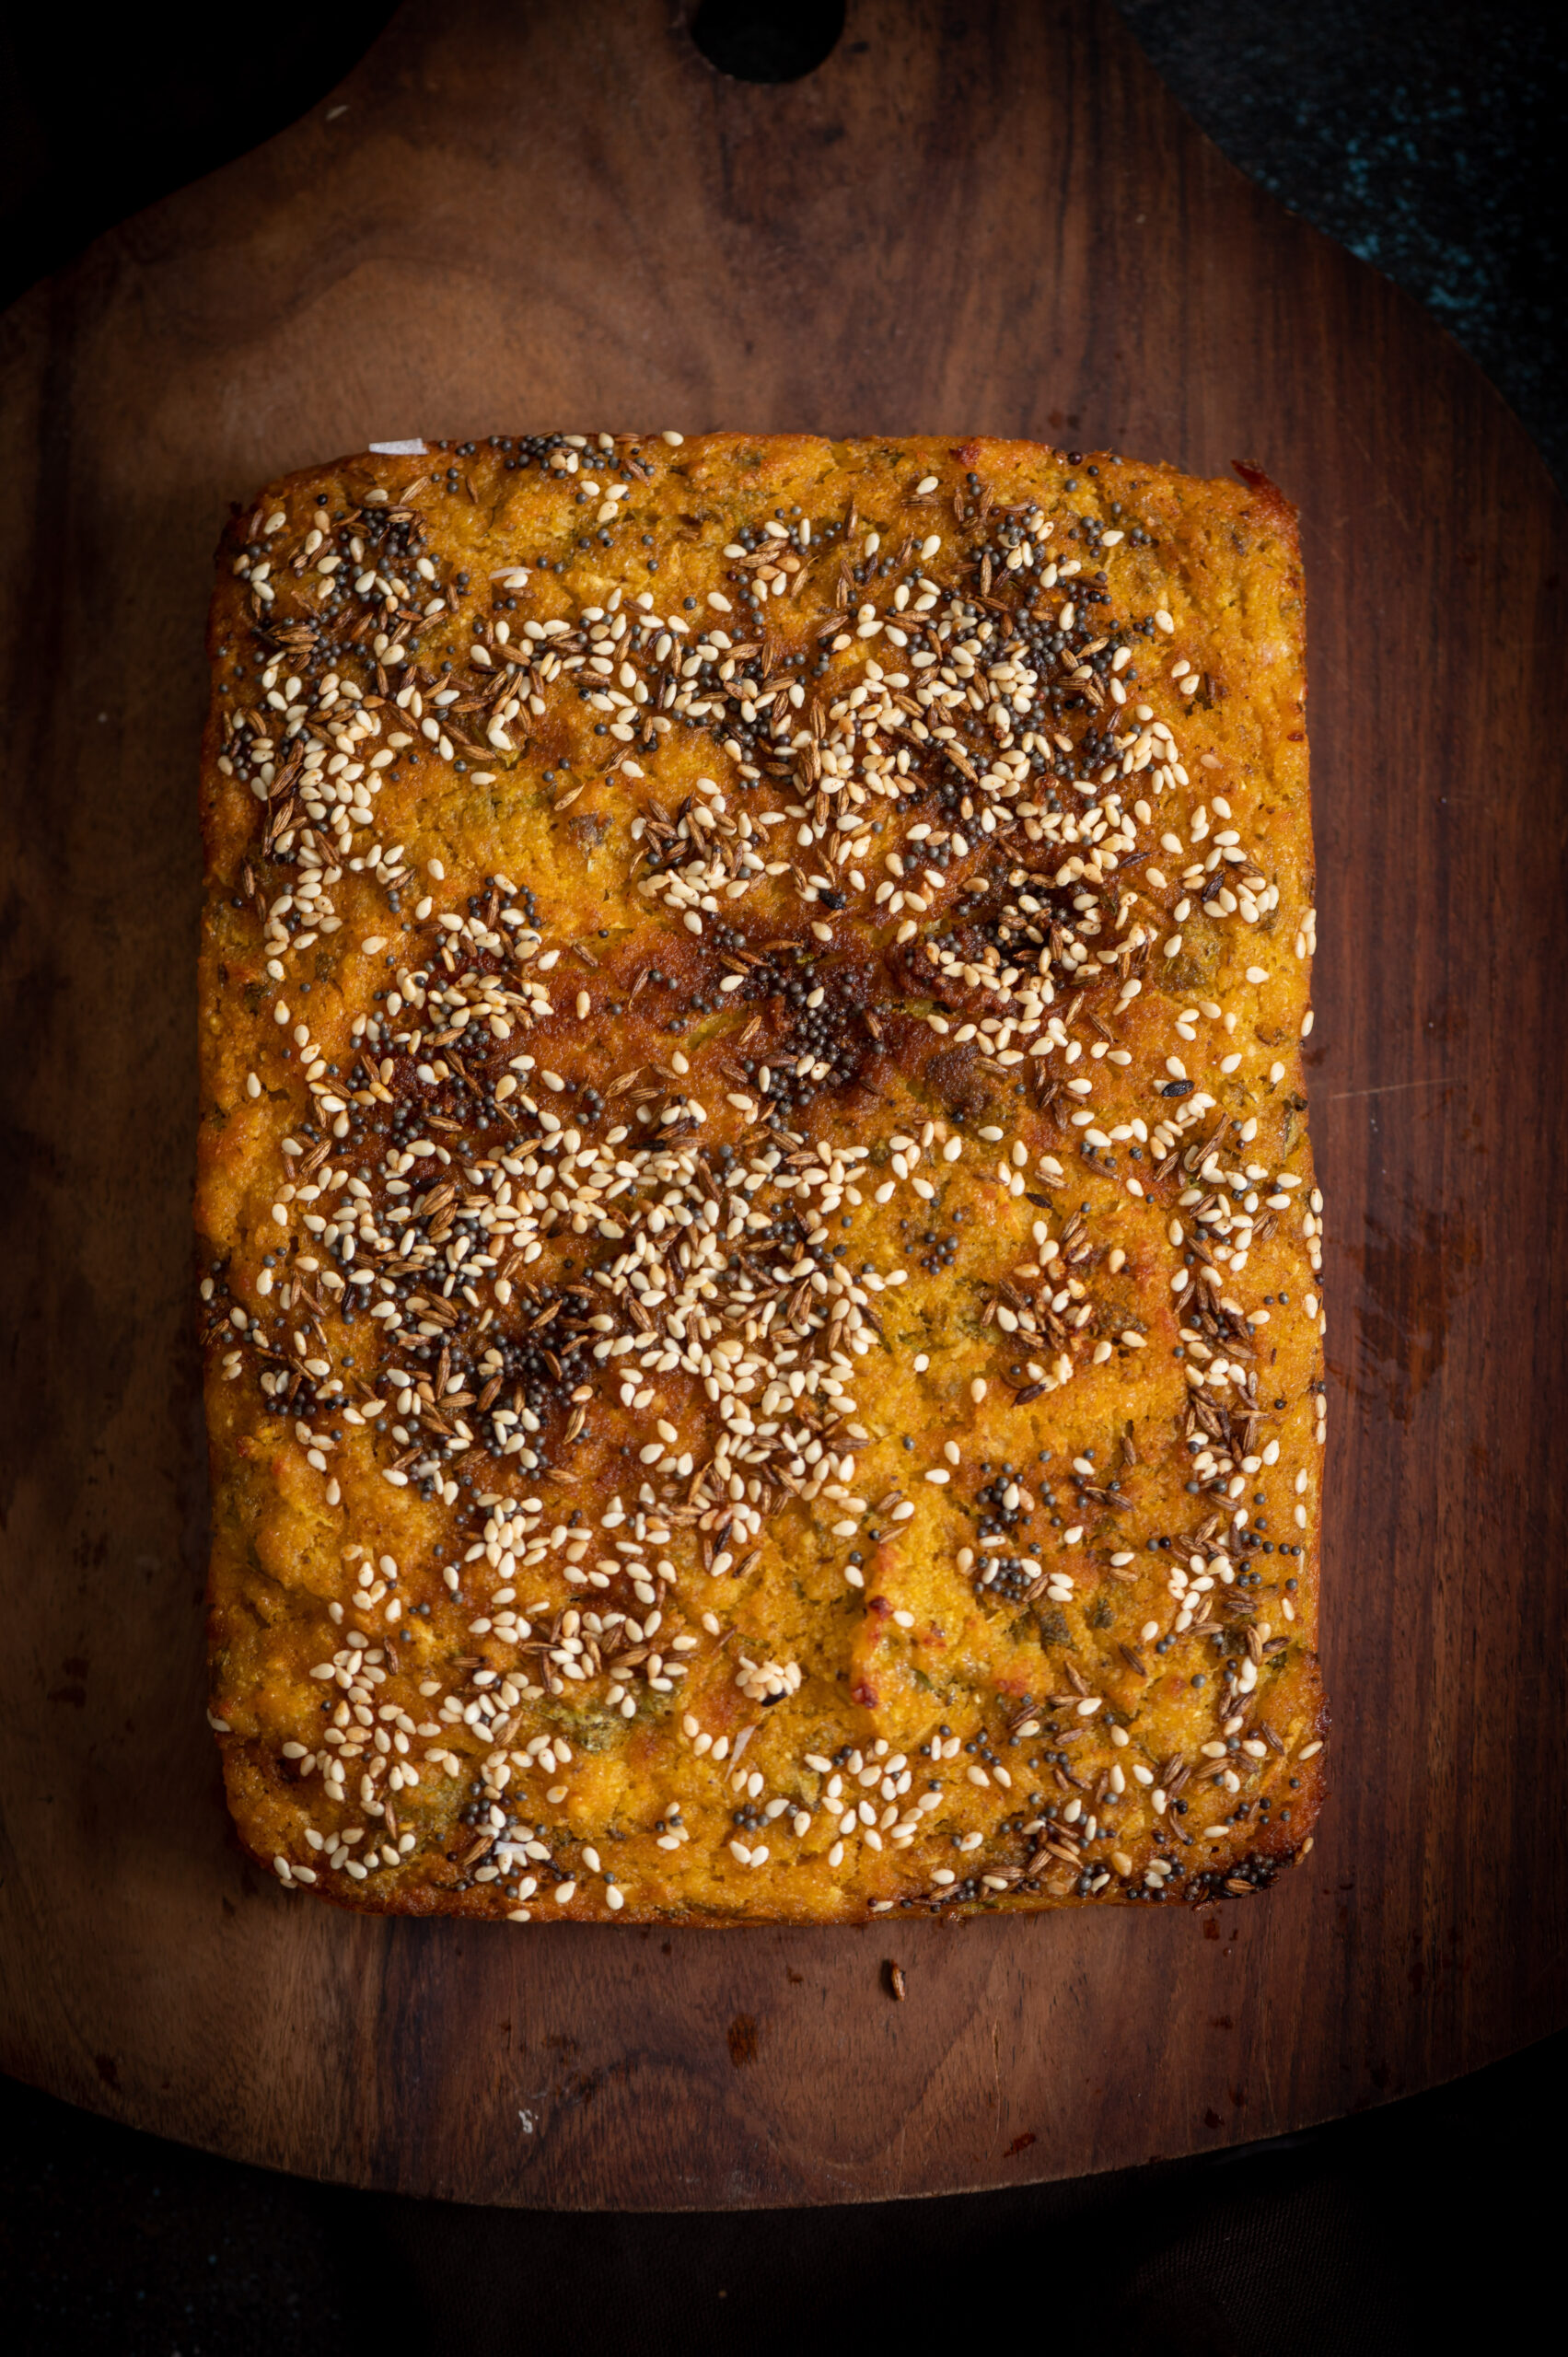
Handvo is a savoury cake made with lentils, from the Gujarati repertoire. Growing up, I would see it being made by my mother in the traditional way: in the backyard, she would prepare it in a heavy-bottomed brass pot placed on charcoal. She would pour the batter – containing lentils, rice and vegetables – into the vessel, then cover it with a heavy iron lid and let it cook. This was how it was made in most Gujarati homes back then. The funny thing is that although I enjoyed watching the elaborate process outside the kitchen, I found the dish itself quite boring. My mother had given herself a culinary education, learning baking and international cooking styles at a time when such classes were considered unusual, and as a child, I much preferred the foreign dishes she was learning to whip up. Over time, my appreciation for traditional cuisine blossomed, and this is why I am sharing the recipe for this handvo today, during the auspicious period of Navaratri.

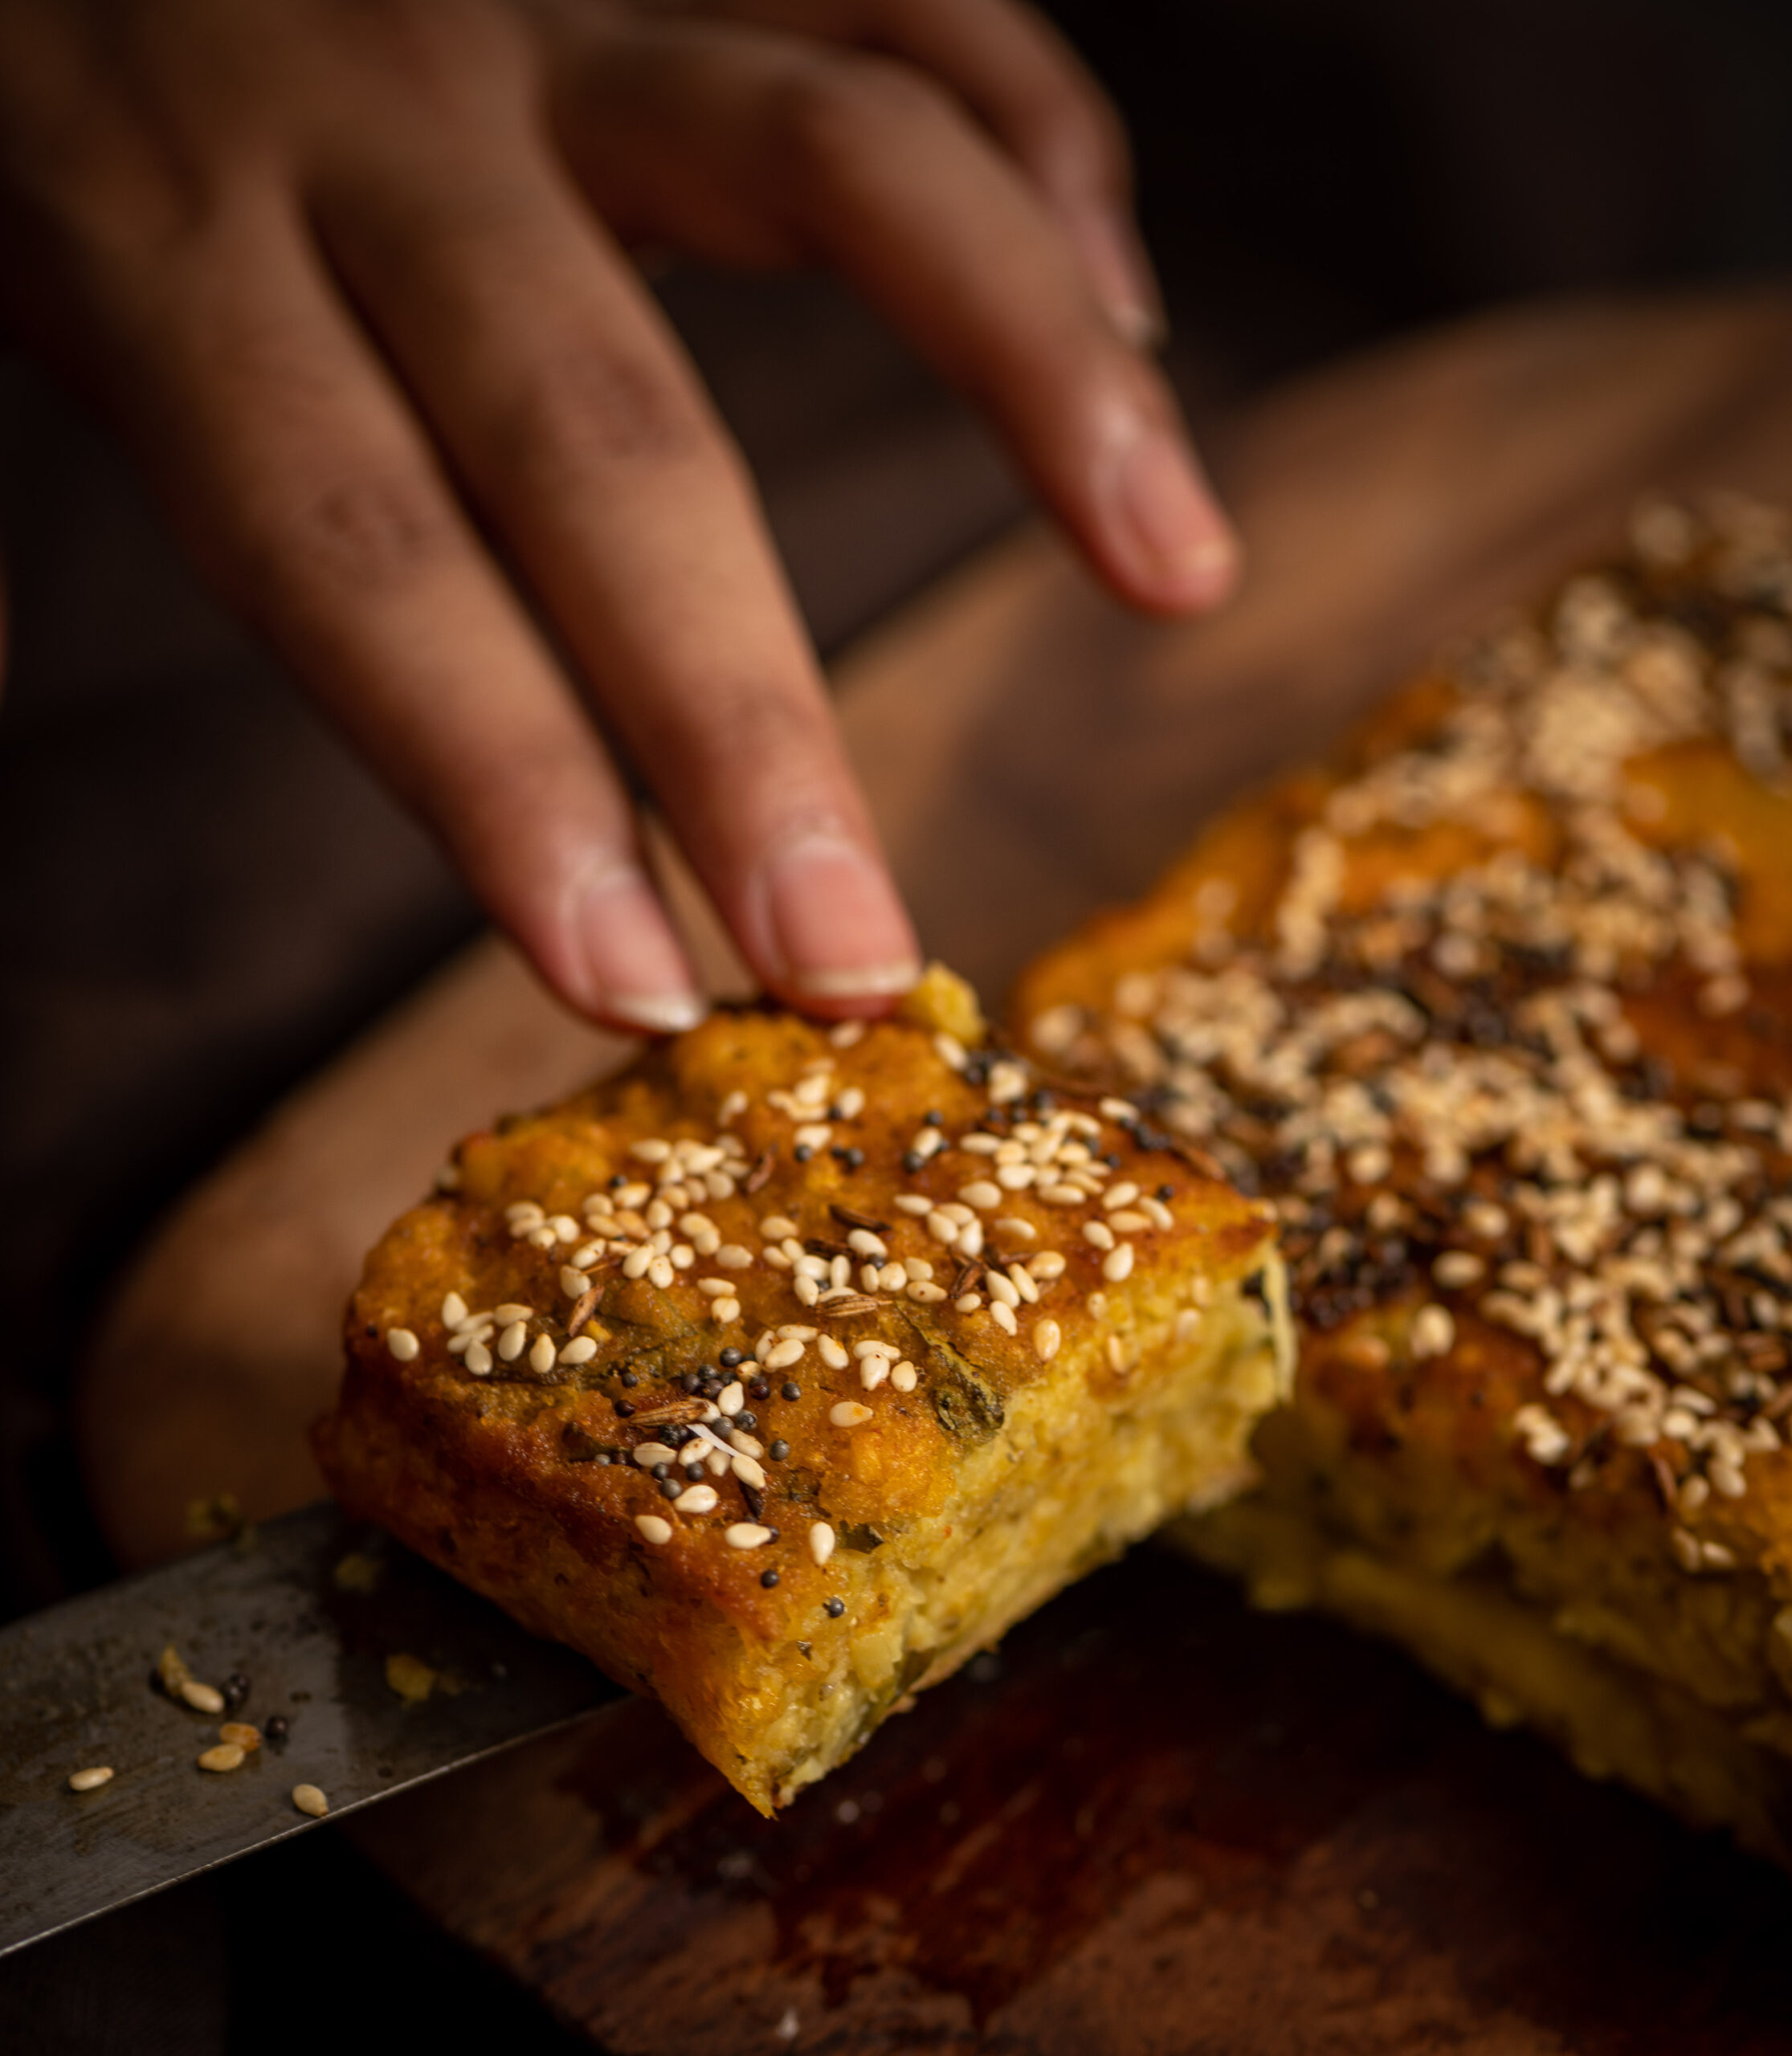
I recall that my mother would make a large pot of handvo only about once a month or so. She would bake it in the evening and we would have it fresh for dinner, with the leftovers becoming our breakfast. The baked handvo comes out looking like a cake in height and shape, with a beautiful crust on top, which as kids we prized and fought over (for a dish I had thought dull, that was my favourite part!). So our mother had to divide it equally amongst us all. During Navaratri, however, handvo became our nightly staple. There’s no real link to the festival itself, except that this was my mother’s go-to during that very busy time of year. Even though the process seemed complicated to a watching child, it is actually a simple one-pot meal. It’s also lovely to have during the monsoon season, which usually coincides with the festival.

For us, Navaratri meant having a quick dinner and then heading out for the garba, a wonderful celebration that my siblings and I looked forward to with great anticipation. In those days, those nine nights of dancing, feasting and prayer were one of the major highlights of the calendar for us Gujaratis in Chennai. No more than 50 to 70 families would get together over the nine nights, and some of these families we’d only get to meet annually, so it was a very special occasion for the whole community. I remember how the fathers would be responsible for blocking the hall and all the event logistics, while the mothers would make the prasad  for the Goddess. Each evening would begin with a prayer, followed by the distribution of prasad, and then… the moment most of us would be waiting for: the dancing would begin. First, the women would begin dancing in a circle. Then, the children would come in, and finally everyone else would join. There would be competitions too, and I would always win a prize.

Garbas and dandiya these days don’t bear much resemblance to how they used to be while I was growing up. Now, they are just another party. The ones in my memory were very graceful and traditional, with a sense of propriety. The whole family used to be involved in those days, and the occasion was about keeping our culture alive. Even the little love affairs and marriages that used to come out of these events all happened under the watch of the parents, and with their blessings. Everything was about a sense of family and community back then, and I cherish those memories. Something about the handvo, which always preceded those evenings of fun, invokes them for me.
There are many varieties of handvo, which use different kinds of grains and dals based on what is in season; warmer grains like bajra are used in winters, while lighter rice and millets are used in summers. Rice leftover from lunch is also used, as are seasonal vegetables, the most common of which is the bottle gourd.

Over the years, the brass pot in the backyard kind of disappeared, and nowadays we see handvos being made in casseroles and glass containers that can be stuck in the oven. This year, I’m making my handvo the same way too, especially as I know that this is how most of you will try out this recipe. In fact, I felt tempted to modernise the method a step further and try out a batch in my waffle pan, as well! (If you’re one of those cooks who uses such tricks-of-the-eye to convince your fussy eaters at home to eat simply and well, this may be something to try out too!)

There are a few other keynotes that make my re:store style handvo distinct from the traditional kind. Firstly, I’ve eliminated the usage of rice, so as to ensure that the dish is carb-free. Most importantly, rather than bake a single large cake-like handvo and cut it into pieces, I’ve experimented with preparing individual portions, similar to dosas or crepes. I find that making the handvo in this method makes the cooking process easier and faster. The fermenting and soaking still require a day’s advance planning (unless you use readymade dal powders), but the actually frying up happens much faster than baking.
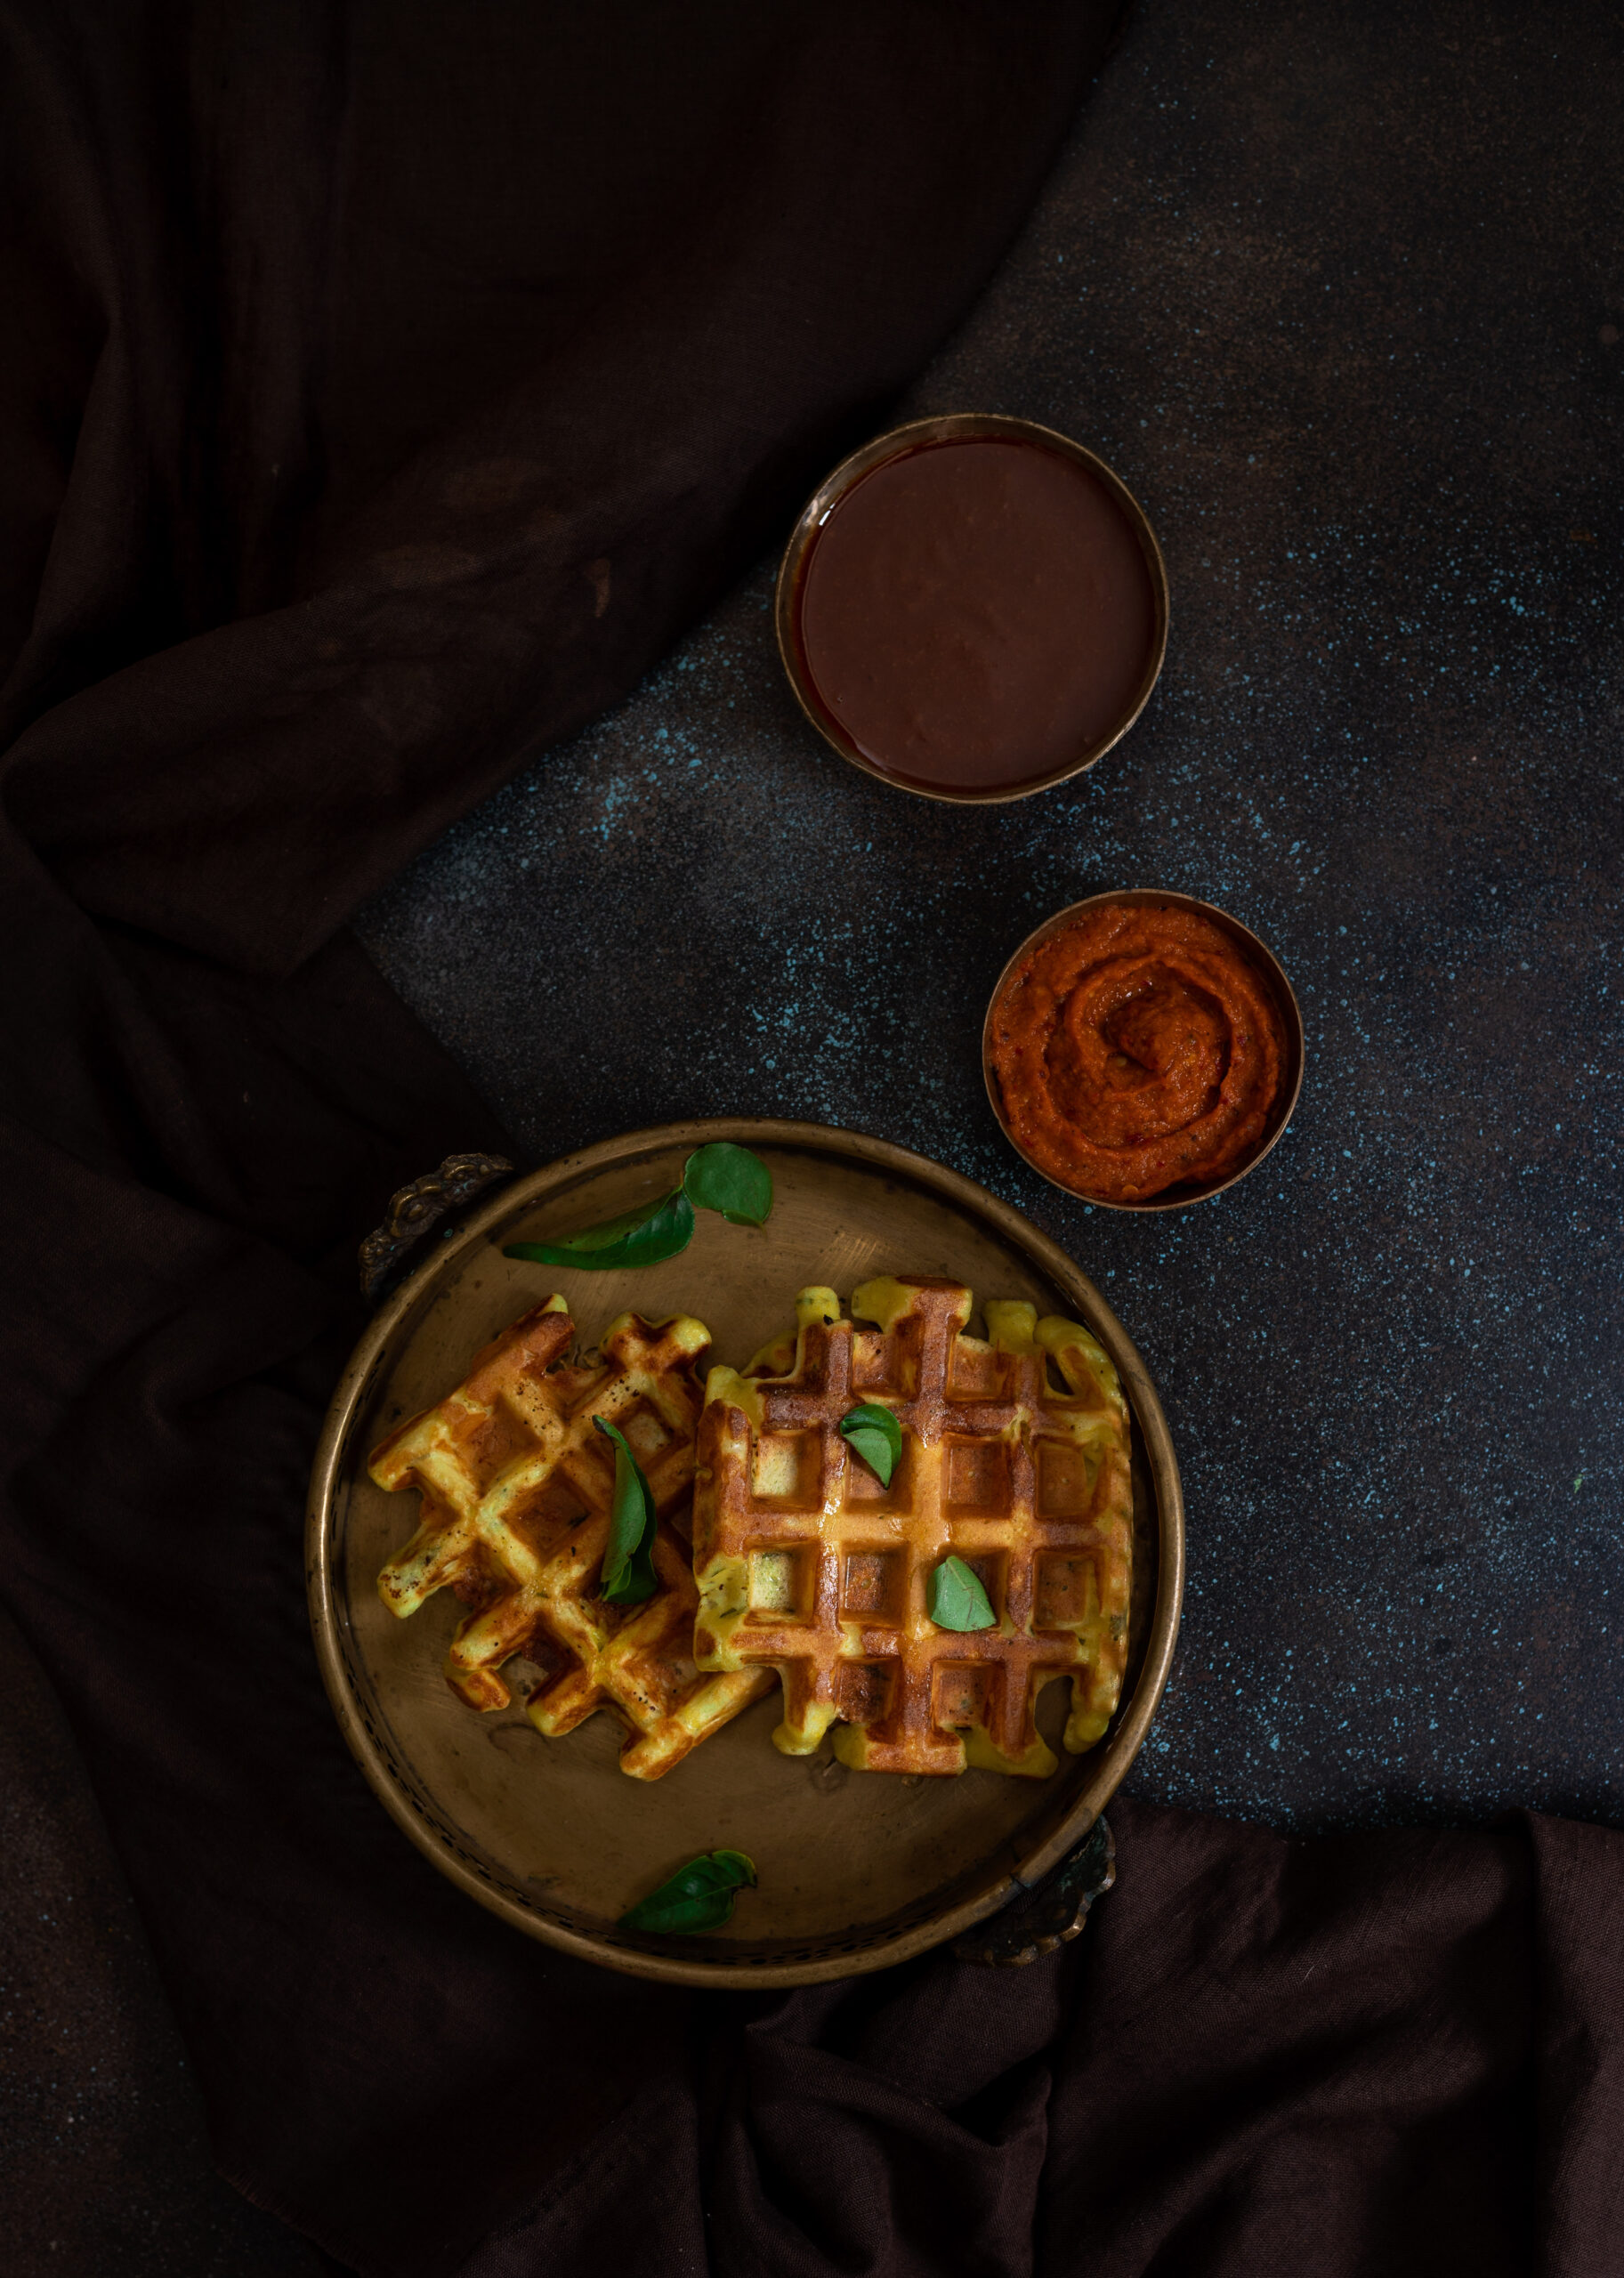
Handvo

(Yield: For 3-4 people)

1 cup toor dal

¼ cup urad dal

¼ cup moong dal

½ cup channa dal

¼ cup dahi + 2 teaspoons lemon juice

¾ cup grated bottle gourd (+ optional methi leaves)

¼ cup coriander leaves

2 teaspoons oil

¼ teaspoon turmeric

½ teaspoon green chili paste

½ teaspoon ginger paste

1 teaspoon sugar

Salt to taste


Tempering:

2 teaspoons oil

½ teaspoon mustard seeds

½ teaspoon sesame seeds

¼ teaspoon cumin seeds

½ teaspoon carom seeds

A few curry leaves


Clean the dals and soak them in sufficient water for 5-6 hours.

After this, remove the water and blend the dals coarsely. Add the dahi and lemon juice. Allow to rest for 3-5 hours.

Once the soaking and fermentation processes are completed, add the vegetable of your choice and the remaining spices to the batter. While I’ve made the batter from scratch, you may wish to use readymade dal powders instead.

Heat the oil in a flat pan. Add all the different seeds. Wait till they splutter and then add some curry leaves. Immediately, add 2 cups of the batter. Spread it a little, as you would a thick dosa or uthappam, then lower the flame. Cover the pan with a lid. Allow to cook for about 5-7 minutes. Now open the lid, and be careful as it would have trapped a lot of steam. Flip the handvo. Repeat the same process on this side.

After the handvo cooks and turns golden on both sides, remove it from the pan and make the next one. Cut into pieces and serve with green chutney or sweet mango pickle.

Over a few trials, this was the easiest method of preparing handvo that I discovered. You may of course choose to bake it instead. In that case, put all the batter in a bake-proof bowl. In a small pan, sauté the oil and seeds. Once they splutter, use a spoon to gently drizzle the tempering evenly on top of the batter. Bake at 160°C for half an hour, then slice and serve with the condiments.

The days of brass pots in the backyard and wholesome garba gatherings may have gone by, but the great thing about food is that it lets you keep making new memories. I wish you and your loved ones an auspicious Navaratri. I’d love to know if my easy, uthappam-inspired handvo finds a place in your festivities!
Maharashtra and Gujarat are neighbouring Indian states, so there is a great deal that is shared between them. Many Gujaratis migrated to Bombay in generations prior and adapted to its culture, as a part of my family did too, and certain customs overlap as a result. A similar climate means that certain types of produce are grown in both places, which then of course go into the cuisines. Like poha, the sabudana vada is a dish that originates in Maharashtra but is often thought of as Gujarati because it is a staple for us too.

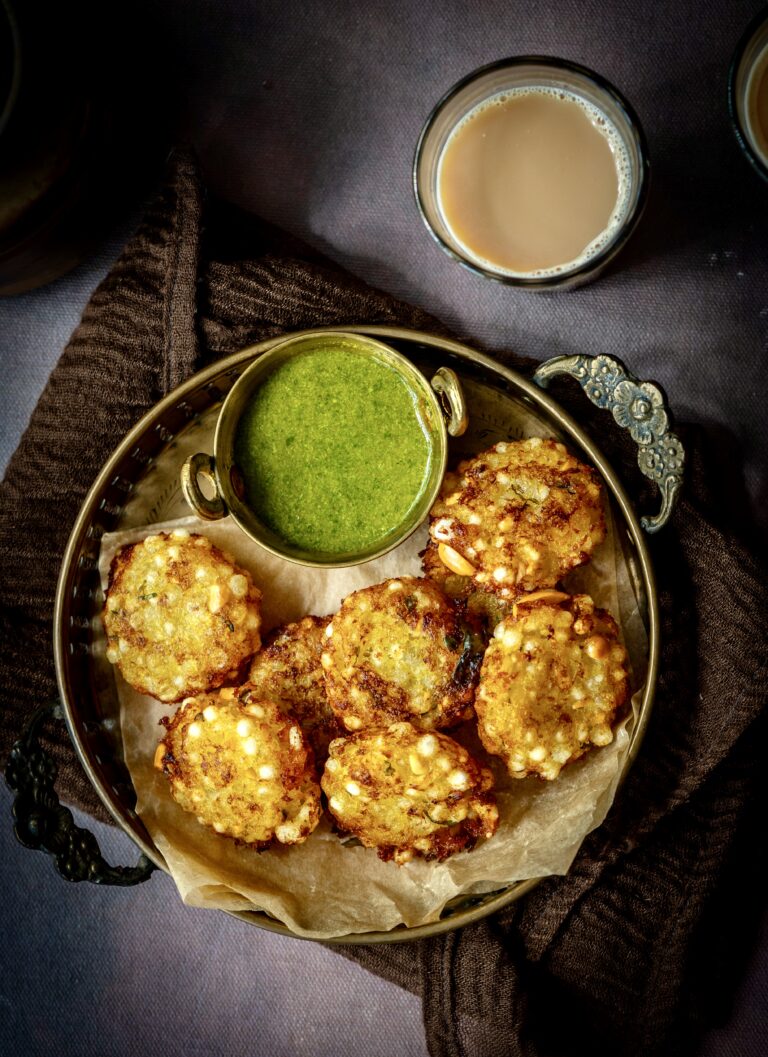
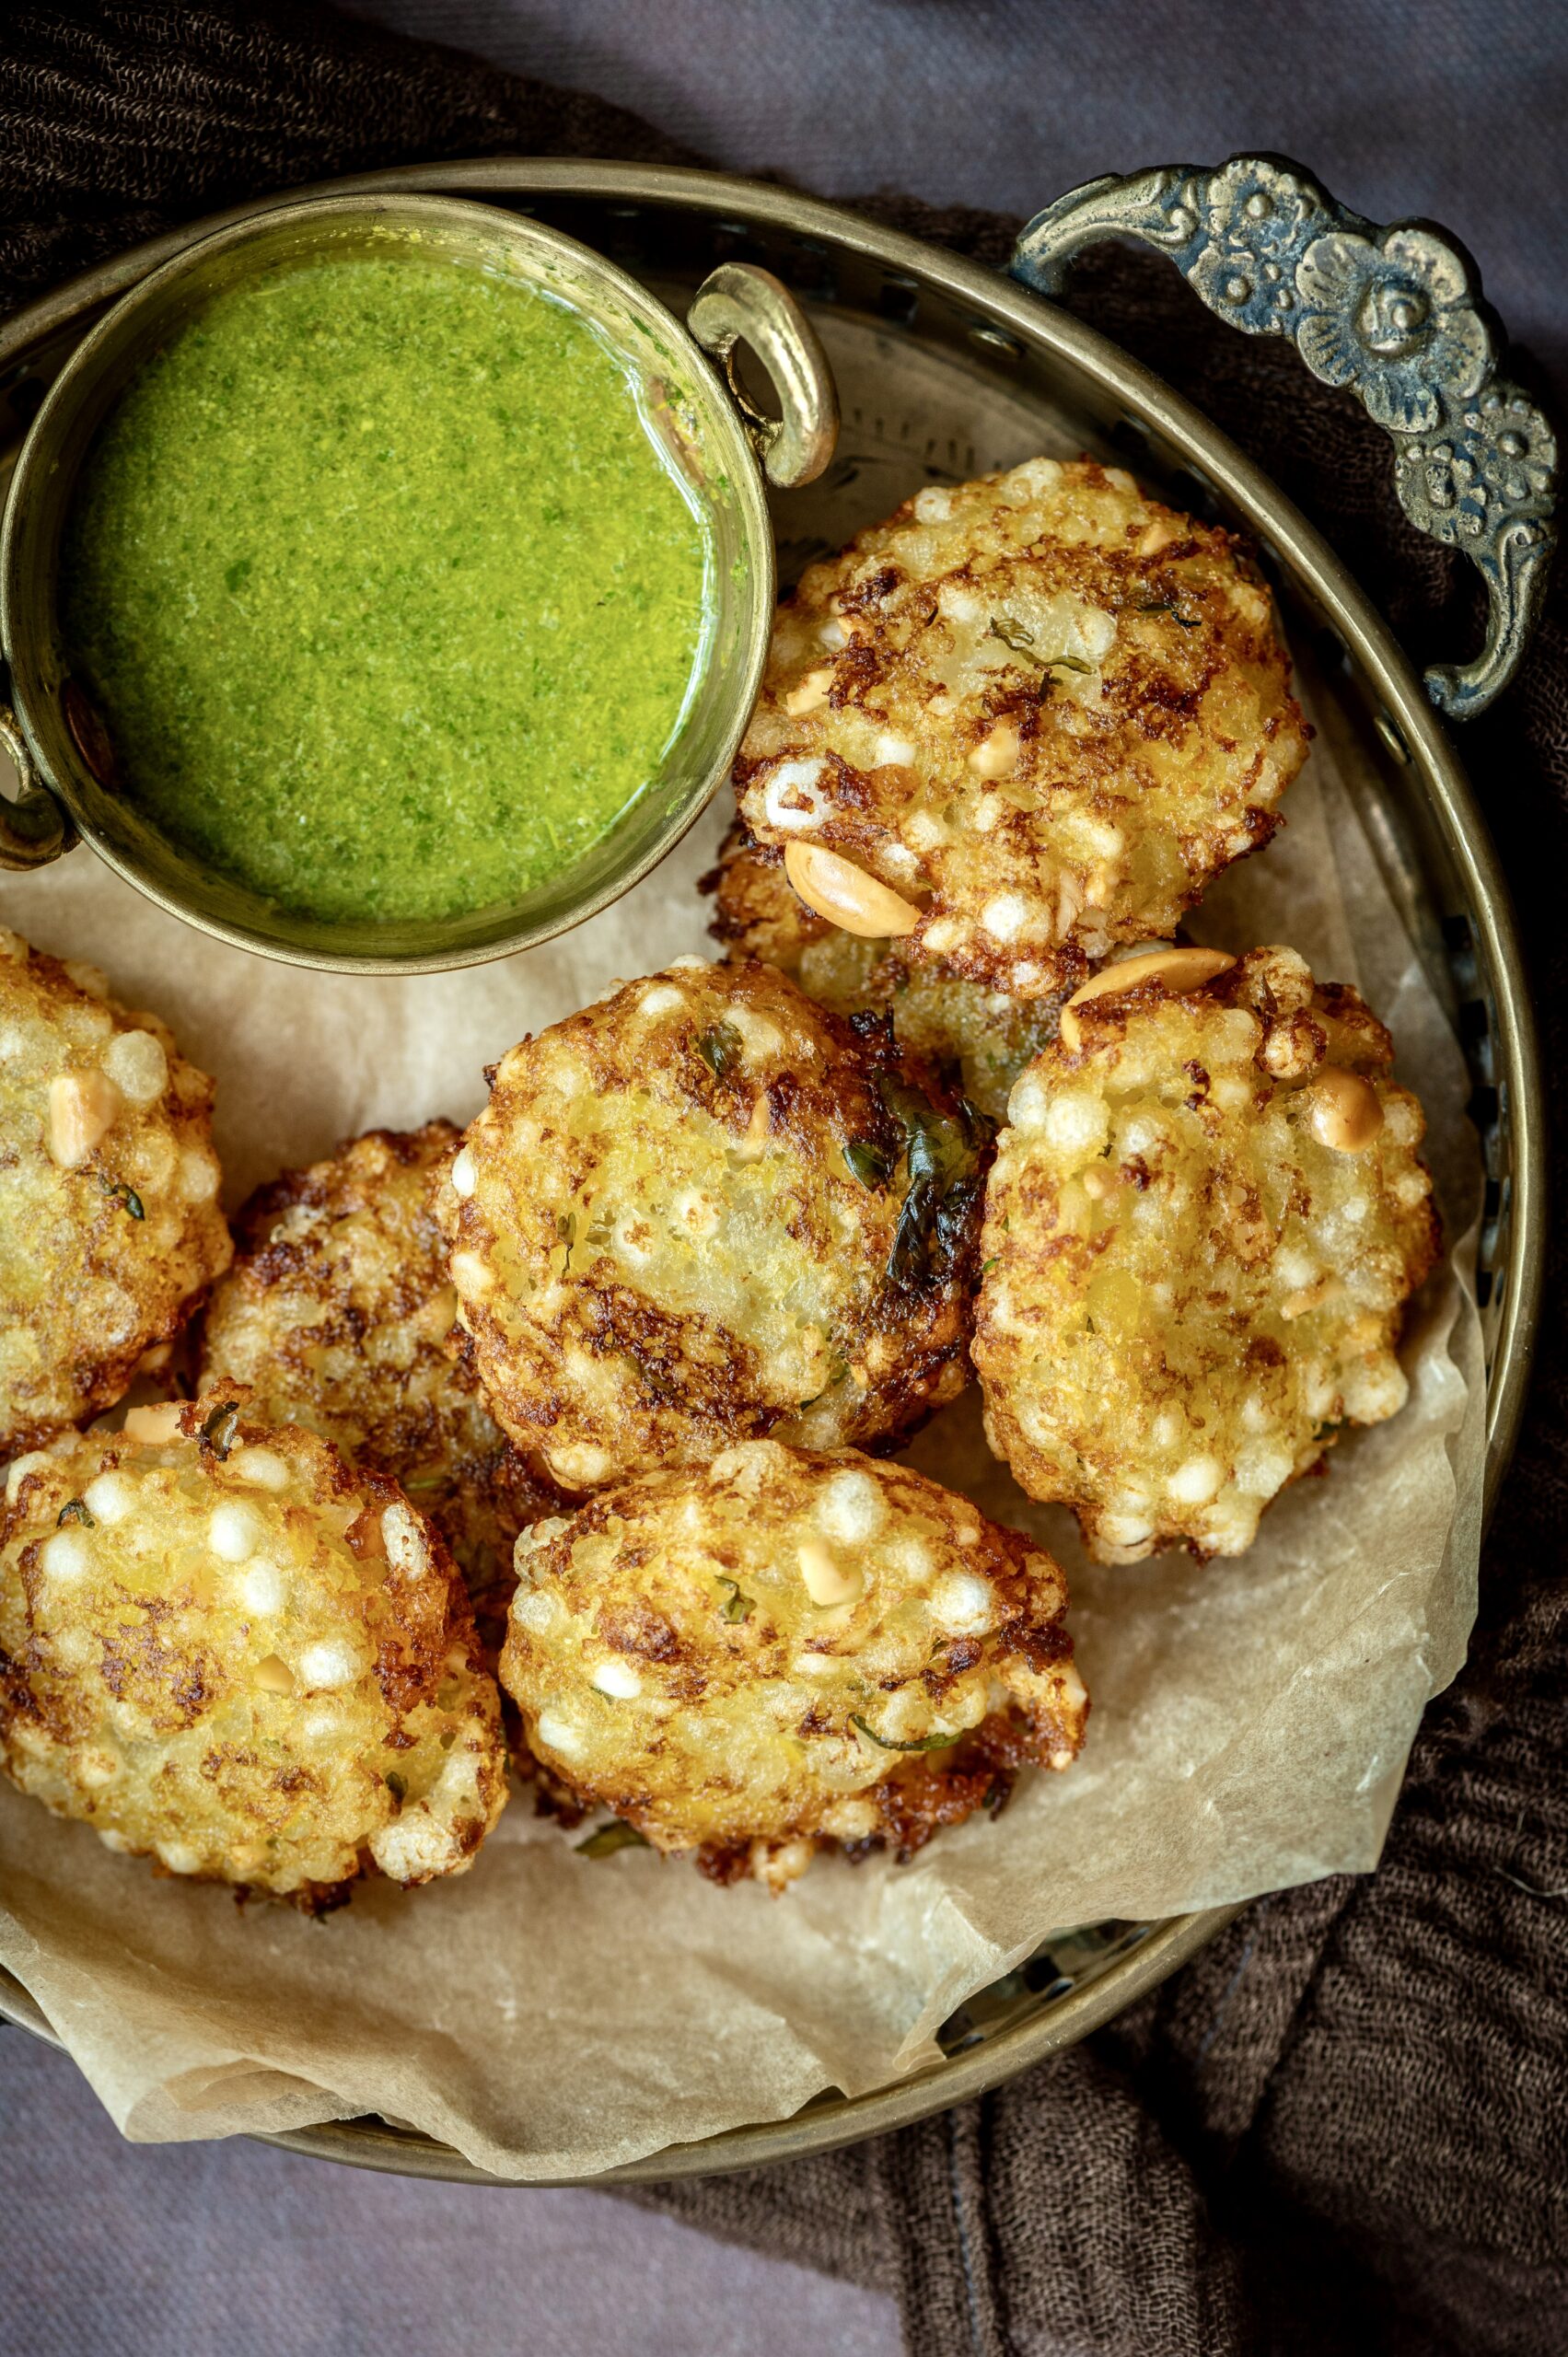
Sabudana vada is a deep-fried delight with a mashed potato base, and with sago pearls (made from taro root) added to it. Something that is unique about it is that it is a dish that is popular during certain kinds of religious fasts, but it is also so tasty that it makes its way into festive arrays as well. With Navaratri just having come to a close this year, and with Diwali not far away, it’s the perfect time to enjoy this crispy snack.

While I definitely encountered sabudana vada during childhood travels to Bombay, to me its most resonant memories from my growing years are from life at home in Chennai, where it was a dish that my mother prepared very often. Specifically, it was one of the few dishes that she consumed during her customary fast on the 11th day of each month, known as “agiyaras”. Other ritual-related specialties would include buckwheat or barnyard millet (“moraiyo”), depending on the event, the season and so on. There were also certain kinds of fasts in which grains were to be avoided, in which case the sabudana vada was perfect.

For any fast in which a single meal could be consumed during the day, such as on agiyaras, the starchiness of sabudana vada would offer energy through the day. It would be had alongside some form of dairy. I would enjoy these meals along with my mother while I was growing up, although I did not myself fast. She was also very connected to the Gujarati community in the city, and I would go with her when she went to the temple.

In this way, she inculcated certain traditions in me that I still have great admiration for. I have tried to pass them on to my children as well, even while I respect that they are free to choose the religious or spiritual paths that call to them – if they choose any at all. I have always felt that it is important for them to be aware of what is there, and what we as a family have believed in for generations. No matter what they decide on when they are older and wiser, a grounding exists that they can return to if they feel it is right for them.

This is because while I have an expansive definition of spirituality, I have found that the grounding that I had because of my own upbringing has given me a great deal. For instance, I take very seriously a ritual that I perform at home, which is the worship of Srinathji. I believe in the value system of family, which is why I accepted Him graciously into my home, and I follow closely all the practical customs. This is a part of my legacy from my parents, and I hope that it will be carried on through future generations. My children have observed these rituals of mine just as I observed my own mother’s devotion all those years ago.

I experience spirituality in other ways too, but this is the practical ritual that happens in my home daily. It is “seva”, or service, and I do it sincerely. The link between food and faith is also something that I contemplate. For instance: fasting and feasting always go hand in hand in communities around the world. There are so many beautiful customs out there in which abstinence and prayer are followed by celebrations – and all the deliciousness that come with these. All festivals have religious origins, even if they are more secular and may have other significance nowadays.

Still, whether you are fasting, feasting or simply having fun, this sabudana vada is a beautiful addition to your repertoire.

Sabudana Vada

(Yield: 15-20 pieces)

1 cup sabudana (sago pearls)
2 medium size potatoes
1 tablespoon green chili-ginger paste
Salt to taste
2 teaspoons sugar
Juice of 1 lime
3 tablespoons peanuts (coarsely ground)
1 tablespoon coriander leaves (finely chopped)
Oil for frying

Soak the sabudana for 4-5 hours. Drain for at least 1 hour. Set aside.

Boil and then mash the potatoes while they are warm. To this, add the drained sabudana.

Then, add the salt, sugar, lemon juice, green chili-ginger paste, coriander leaves and peanuts. Using your hands, blend everything until the mixture comes together.

Now, make discs from this mixture of 3-inch diameter and 1-inch thickness.

Heat the oil in a kadai and drop each vada gently into the hot oil. Allow to cook until golden and turn over. Make sure both sides are well cooked and brown. Drain on a tissue paper.

Serve with a chutney or sauce of your choice. I really wish I knew the recipes of all the incredible Maharastrian chutneys that sabudana vadas are served with in Mumbai. I would love to learn, and am excited about the trial-and-error process. If you happen to know some, drop me an email at indulgeatrestore@gmail.com or a DM on Instagram, won’t you?

Sabudana also features in a khichdi-like stir fry that is another favourite of mine. I have yet to master it in the way my mother had, but once I do, you can be sure that I will share that recipe with you too.

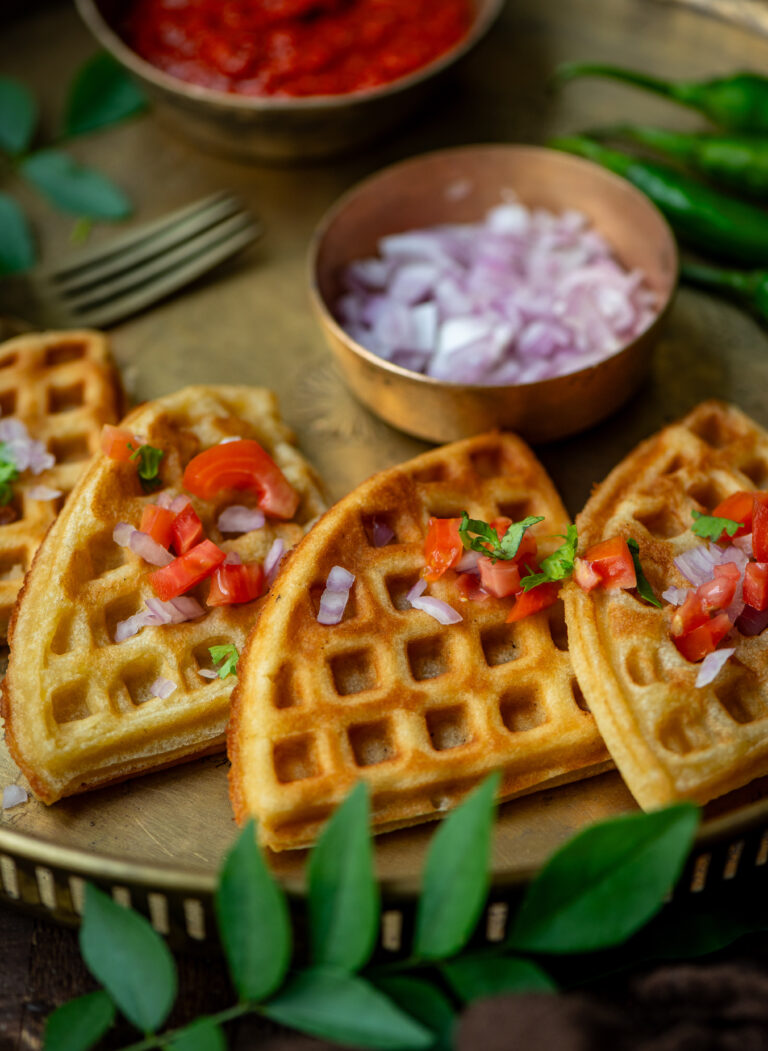
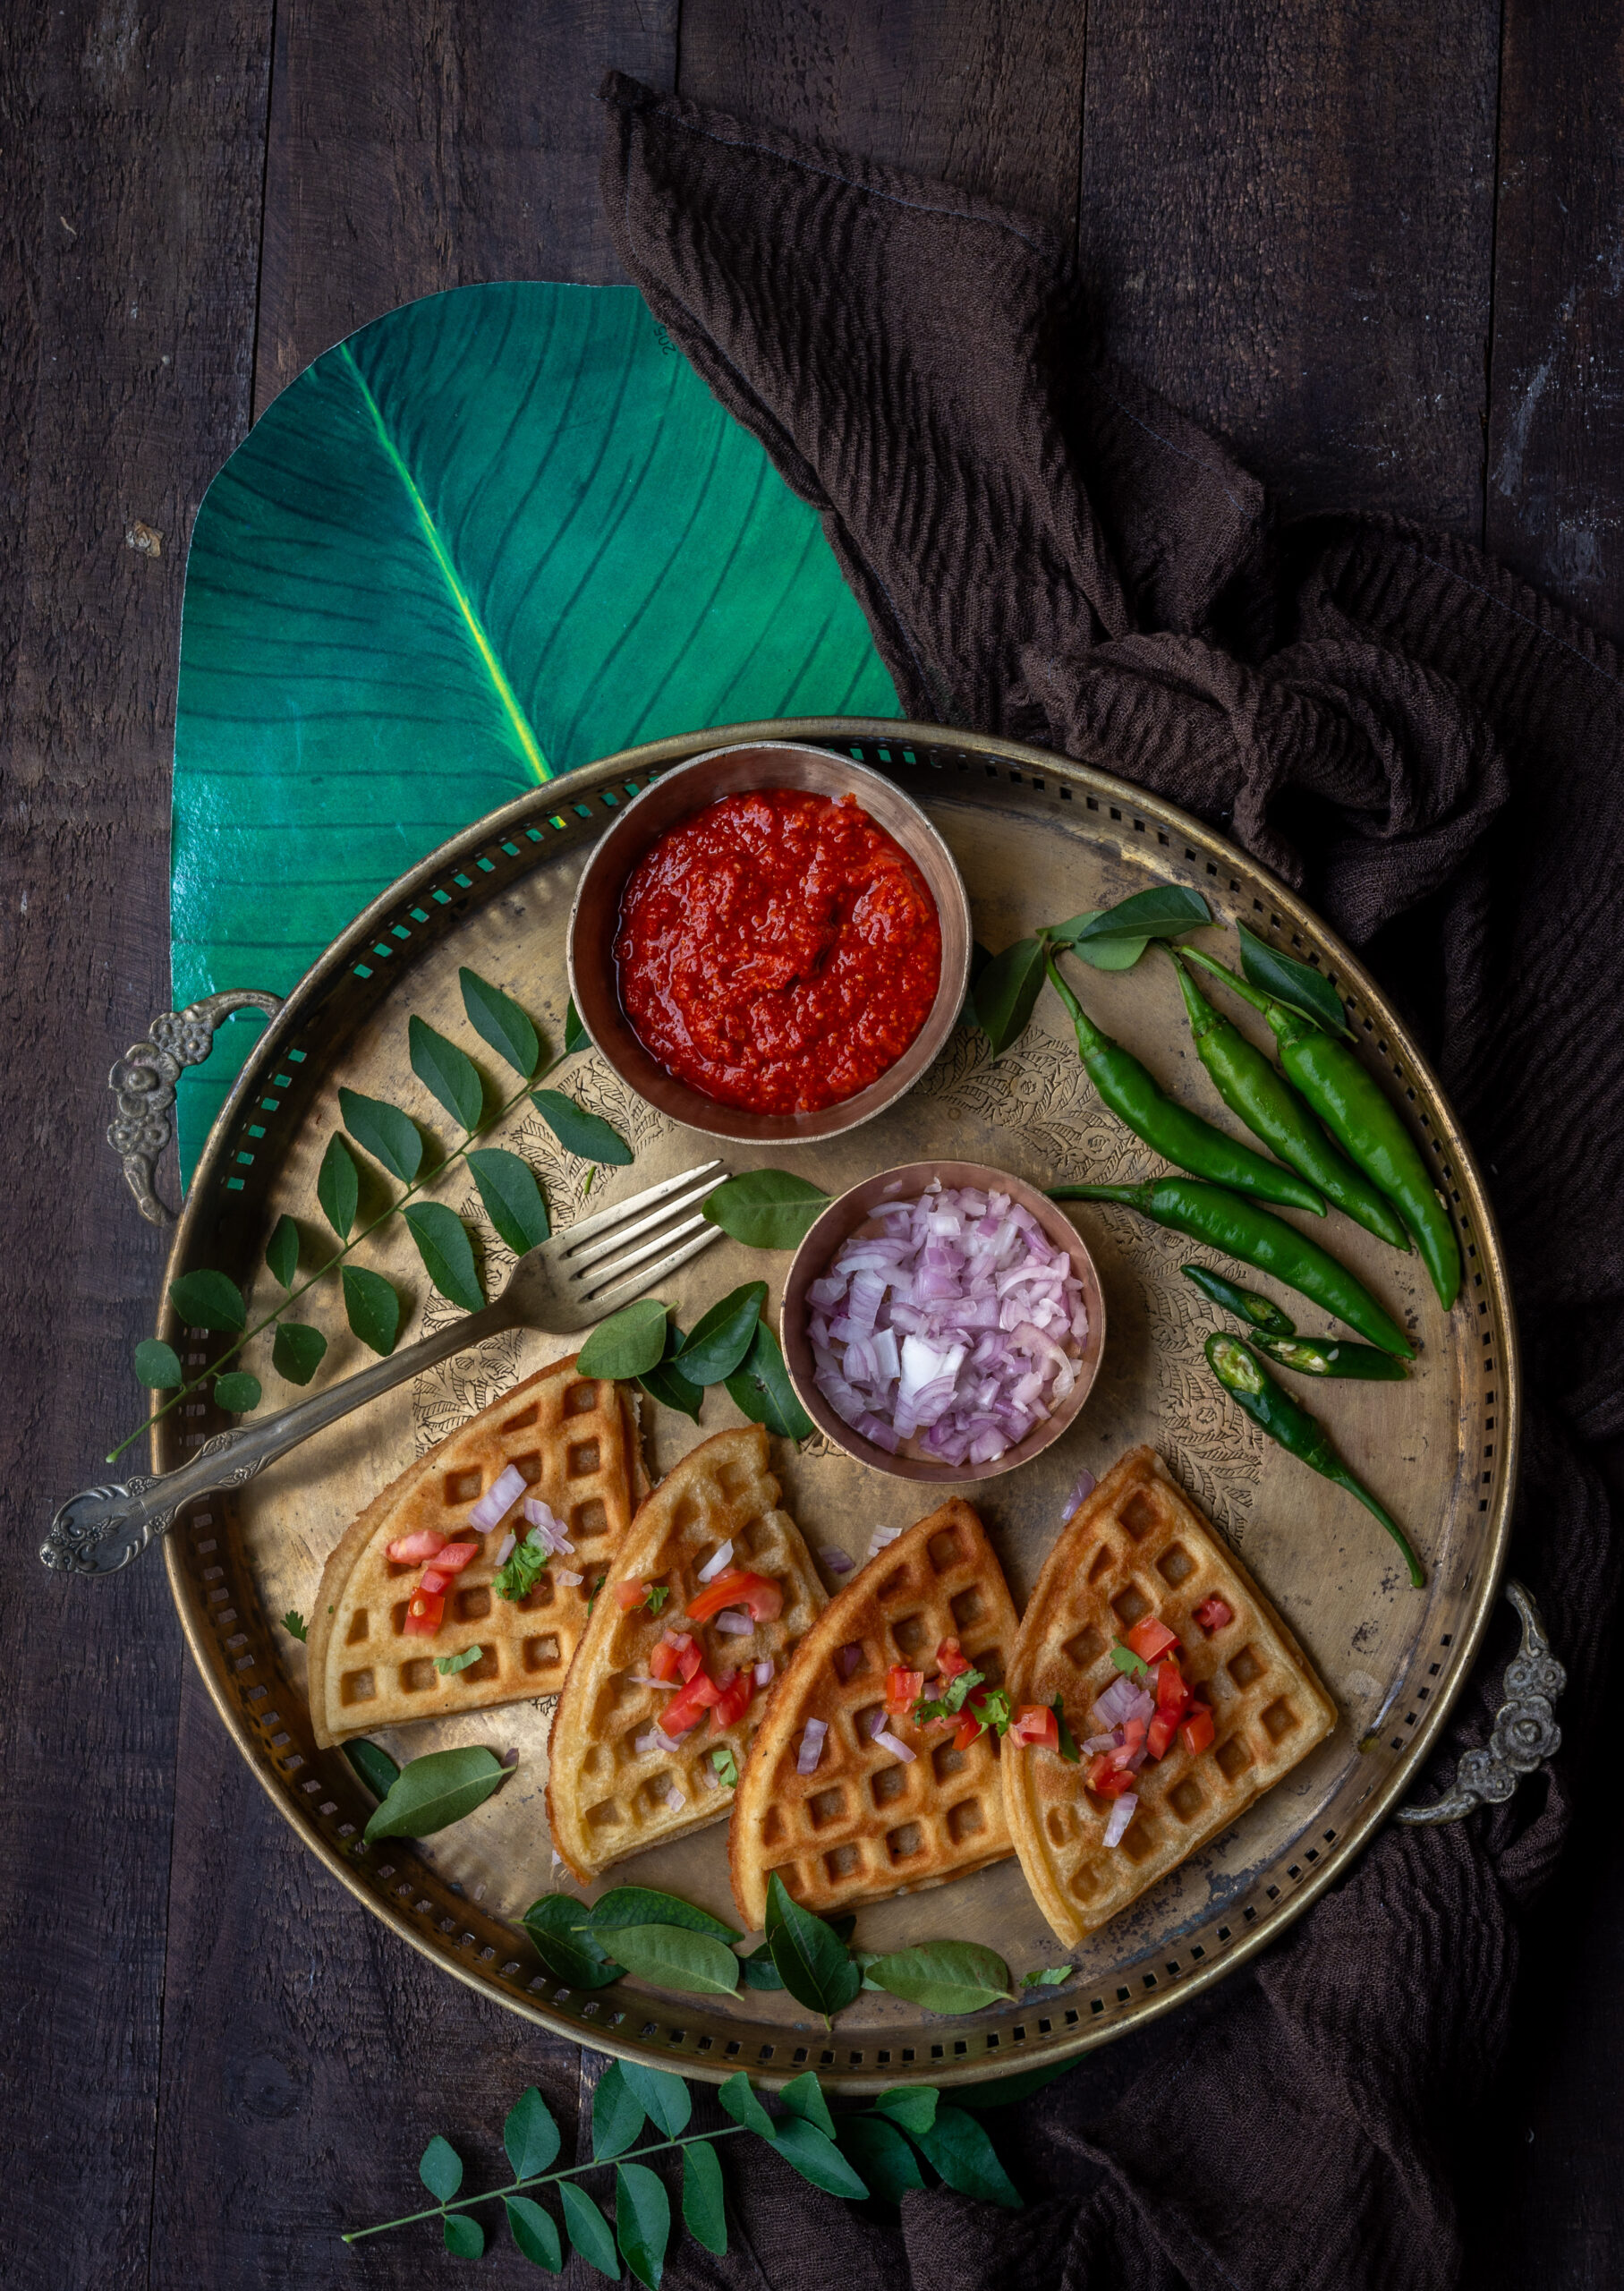
We entertain very often at home, or at least we used to – especially when our kids were growing up. With three kids, some friend or the other of theirs would invariably always be around, and I was constantly thinking of what to put on the table that would entice them all to eat well. Some idly and dosa batter, made from scratch as I shared in my previous post, would always be in the fridge, and I discovered many years ago that I could use it innovatively. Most children are attracted to waffles because of their aesthetic, and I found that presenting a dosa with veggies in this form was quite appealing to them. While it was not the sweet treat they were used to, they enjoyed the presentation itself – and dosas of course are always tasty, too.

My last batch of dosa batter, which I prepared for my photoshoot for the previous recipe, inspired me to take my waffle iron out and return to this nostalgic favourite of the family’s. I recalled having made handvo with this device in the past too. I am sure that parents all over the world have similar recipes and tricks to keep their kids intrigued by food, while also eating nutritiously. I have always loaded my dosa waffles up with carrots, coriander and bell peppers, so that there is more goodness in every bite, and still do. They pair with any type of chutney that you would usually consume a regular dosa with, and I have quite a few options among those for you to explore on this blog as well.

I too enjoy how these dosa waffles present themselves, in attractive shapes that are just as good for a bit of novelty for your guests or for yourselves as they are to serve to children. They have started to become a dinner dish for us nowadays too, just for fun.

Speaking of fun, I must confess that I have a weakness for buying gadgets for the kitchen, and often have to control myself when it comes to these appliances. My latest affection has been for a Cuisinart food processor. I may have too many such items, but occasionally one of my now grown-up children will drop by and say “Hey, cool gadget”. Then, I’m happy to give them the device and downsize, knowing that I’ll be contributing to their own kitchens and culinary memories.  I fondly recall how the time when I first acquired a waffle iron was very exciting for me, and I enjoyed how it also doubles up as a sandwich maker. Then, I learnt it can make quirky dosas too!

While I share below a simple recipe for how I make dosa waffles, remember that you can experiment with ingredients of your choice. I think that if they are spiced right, they can even replace teatime sandwiches. They’re just as good for breakfast. And of course, I know for a fact that they are perfect to put in children’s lunchboxes to send them off to school with!

Dosa Waffles

(Serves 5)

4 cups dosa batter

½ cup grated carrots

2 tablespoons coriander leaves (finely chopped)

¼ cup chopped onions

A pinch of salt

1 green chilli (finely cut)

2 tablespoons green bell peppers (finely cut)

1 tablespoon oil

In a bowl, add all the ingredients and mix well.

Heat a waffle iron and drop a ladle full of batter in each section. The batter will spread. Use the waffle iron as per manufacturer instructions. Close gently.

Cook until golden. Serve your dosa waffles hot, with a chutney of your choice.

I hope the look of the waffles brings novelty to your mealtimes and brings a dash of innovation to your daily dosas!

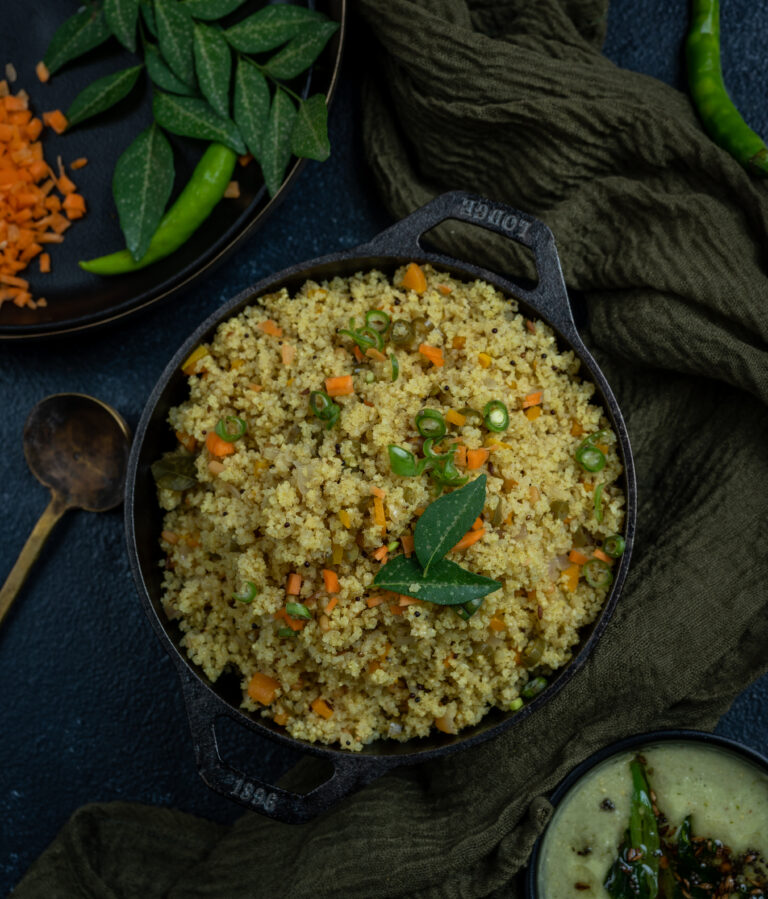
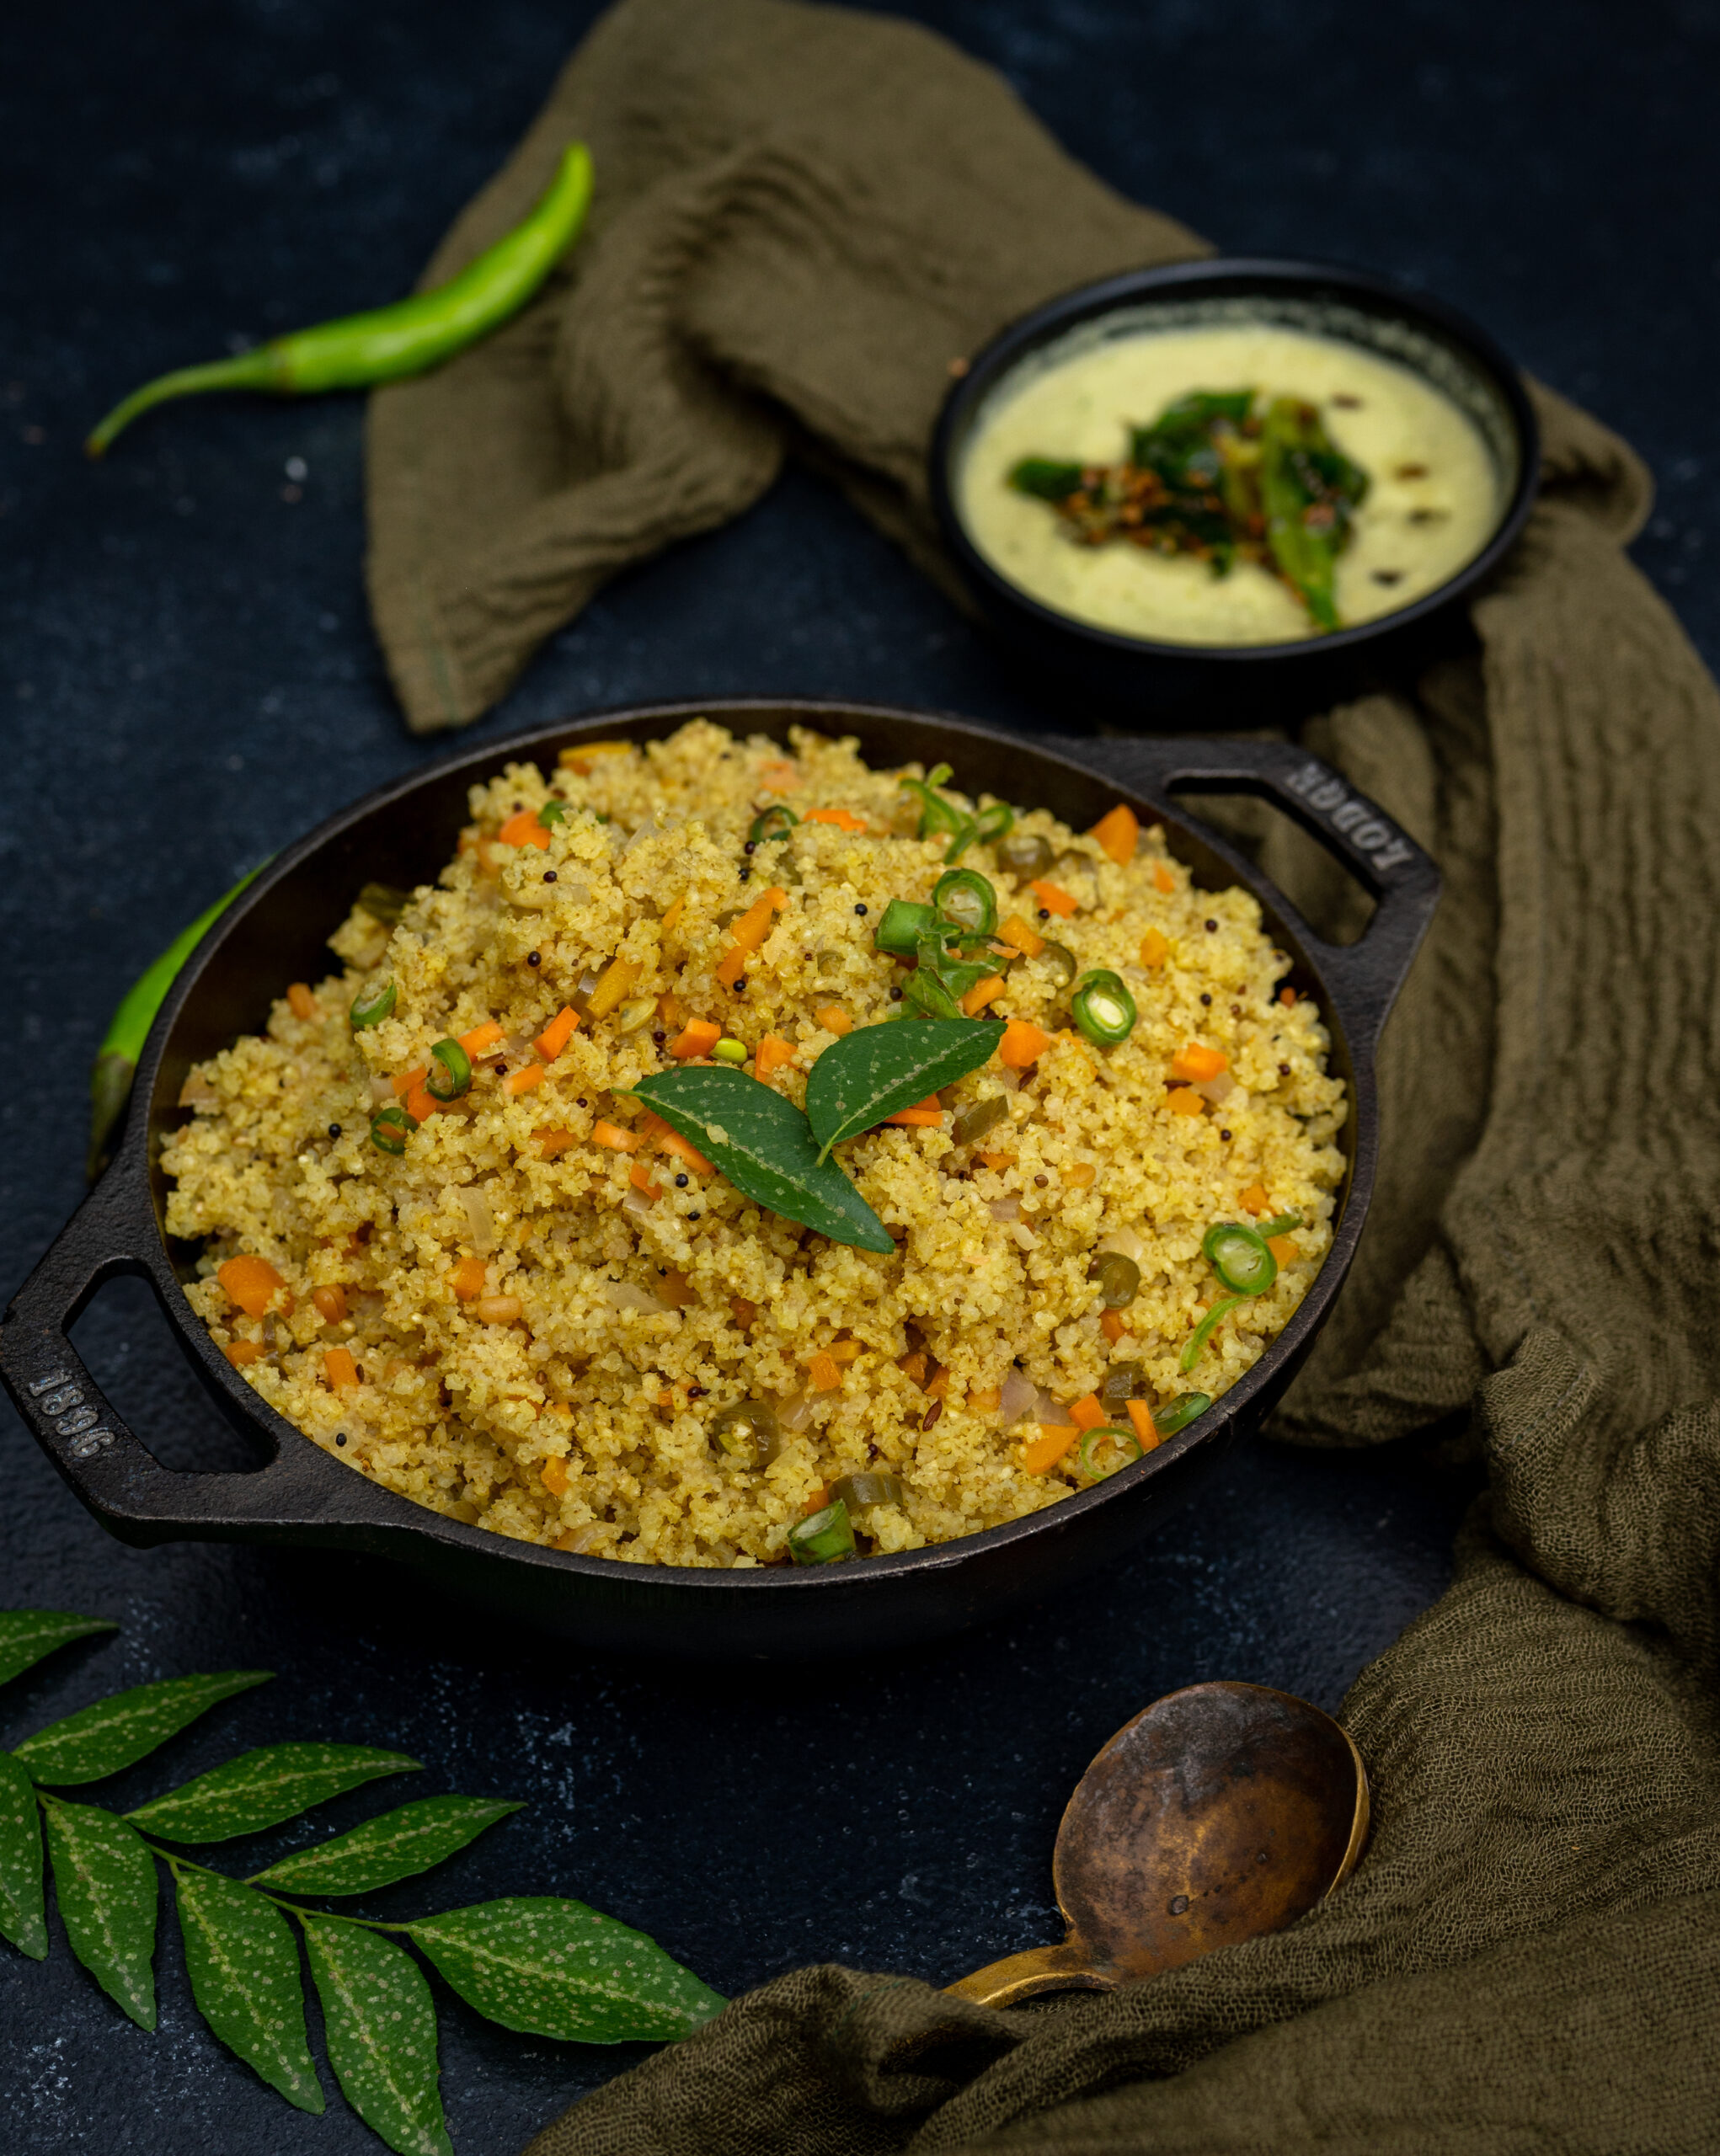
After the abundance of sweets, treats and fried foods of Diwali and Navaratri, hopefully accompanied by equally large helpings of blessings and joy, it’s back to trying to eat clean and healthy. This month is all about giving the body’s systems time to settle down before the culinary excitements of Christmas and the New Year beckon again. In this part of the world, this is also a time of rains, which call for immunity-boosting and warming foods as well. With all of this in mind, and taking a cue only from what I’ve been preparing for my family and myself, I’m delighted to share the recipe for a type of comfort food that is ideal for this time of year: millet upma.

Upma is a kind of porridge that is consumed across South India, in several variations. Its base may be semolina, vermicelli, corn, whole wheat or rice. Here, I have chosen to use a millet as the base, specifically the little millet. Millets and soups are perfect for the current weather. While soups are not really a part of the local cuisine, millets have a very long tradition of usage here. I’m quite an advocate for cutting down on white rice consumption in favour of nutritious millets, and you can explore many more millet-based recipes in my blog archives if you’re interested in doing the same.

As well as being a great place to start if you’re new to millets, this dish is also just the perfect way to start your day. Now, the truth is that millets taste healthy, which you know means that the family will fuss over it and make faces – at first. But as I’ve observed from my own grown kids, a millet upma is most welcome at breakfast after a night of partying or feasting. It’s just the kind of thing that calms body and mind, and boosts energy levels at the same time. So I choose a millet upma at the right moment during other times of the year, but it’s whipped up quite frequently in my kitchen in the post-festive period. We also have it as a light dinner, with more vegetables added to the mix. It’s especially great if you’re like me and have dinner early, as the millet gives you energy for the remaining hours of the evening, while still being easy to digest at night.

When cooking millets, the amount of water you add will depend on the size of the grain. Heavier millets – bigger in size and darker in colour – are traditionally used in monsoons and winters as they take more time to digest, hence warm the body for a longer time. However, I’ve chosen a sort of in-between. The little millet, known in Tamil as samai, is a larger grain but has a lighter colour. Use the millet of your preference, and do remember that depending on the type, you may need to pressure cook it or soak it overnight. You will also need to figure out the water level so that the result is a dish that is tender and crumbly. The consistency of the cooked millet should not be sticky.

Millet Upma

(Yield: 2-4 persons)

¾ cup little millet

¼ cup finely chopped onion

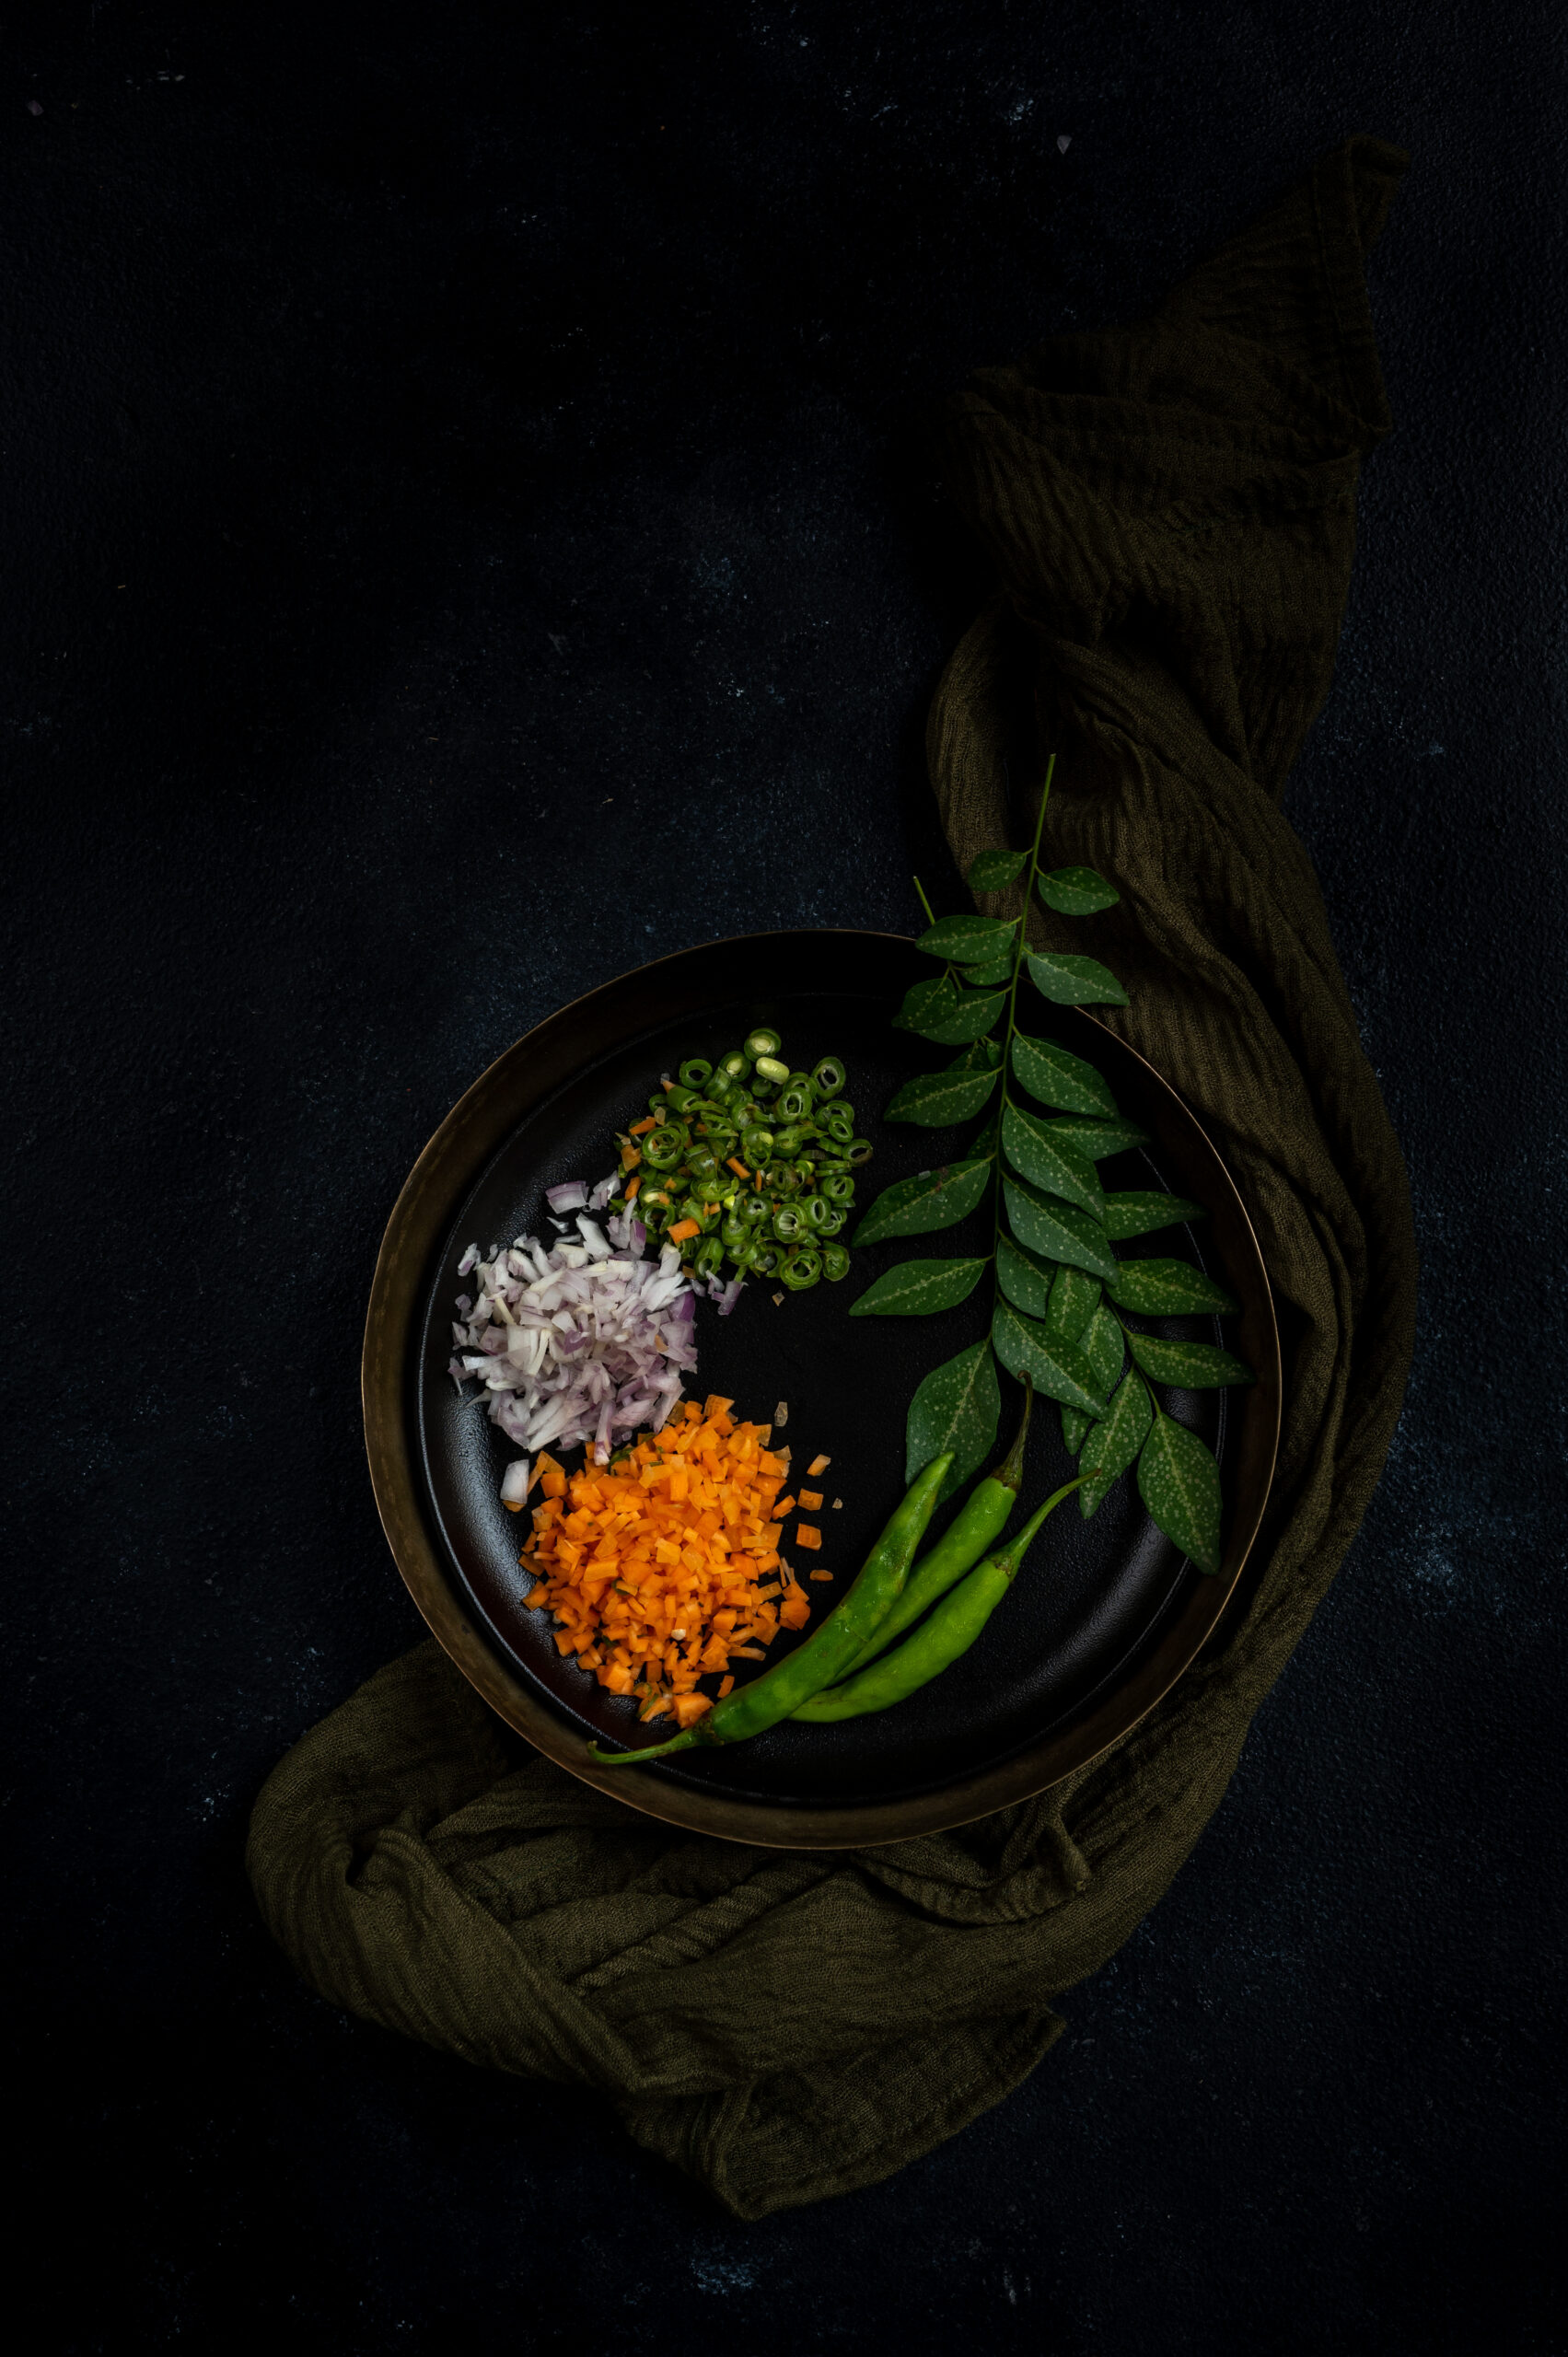
¼ cup chopped beans and carrots

2 tablespoons oil

¼ teaspoon mustard seeds

¼ teaspoon cumin seeds

A few curry leaves

1 green chilli

1¼ cups water

A squeeze of lemon juice

Salt to taste

Rinse the millet and set aside. Heat a kadai and add the oil. Once the oil heats up, add the mustard and cumin seeds. Allow them to splutter and then add the remaining vegetables, green chilli and curry leaves.

Cook until the vegetables become tender and then add the water. Once the water has boiled, add the millet. Then add the salt and stir well. Keep the flame low, cover the kadai with a lid, and allow all the water to be cooked. The millet grain should be tender and not sticky.

Add some lemon juice and stir gently. Garnish with coriander leaves and serve hot, and enjoy the taste of a healthy meal that your body will thank you for!

As I said earlier, there is a long history of millet consumption both in India as well as in my household, as shared here on my blog. I hope this millet upma recipe intrigues you into exploring this food category further. I’ve got a whole range, from the traditional – bajra ghensh, seven-grain khichdo, ragi dosa with peanut chutney, chakkara pongal, ragi kanji and little millet rice with green beans poriyal – to the innovative or internationally-inspired – vegan millet thayirsadam, vegan chili and Indian veg millet salad. I’d love to know about your own journey with millets, too!

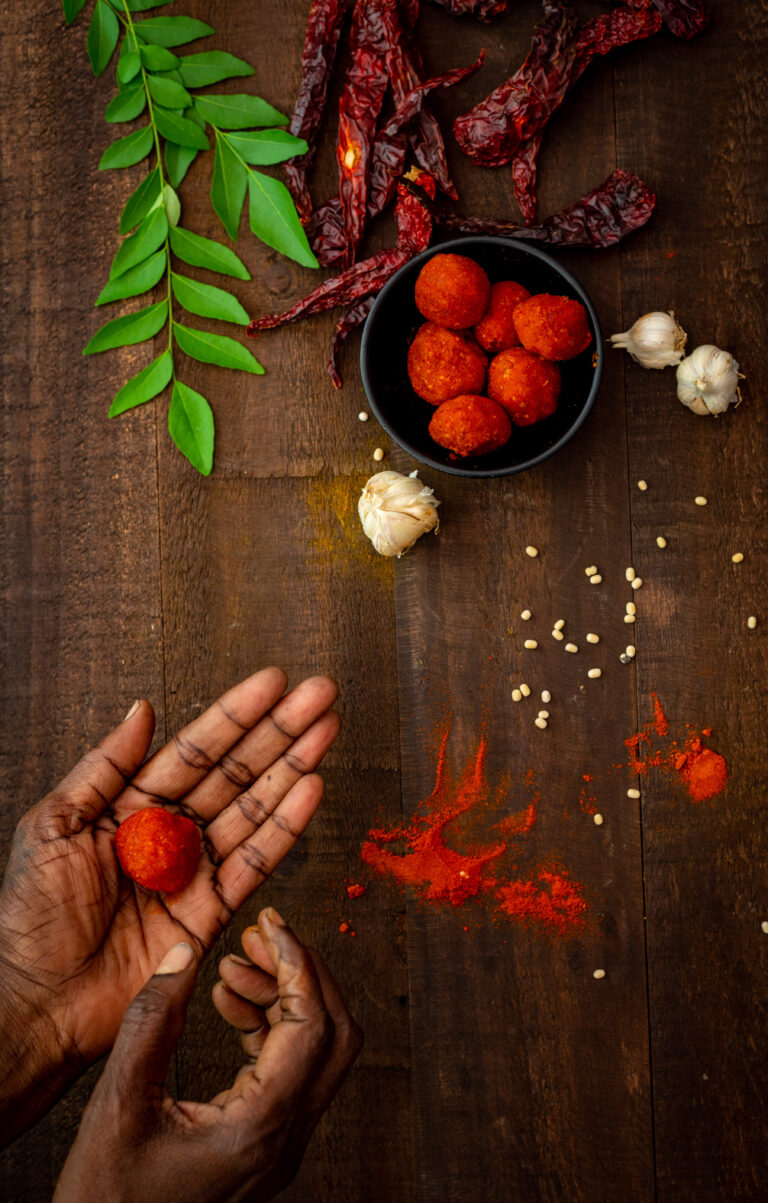
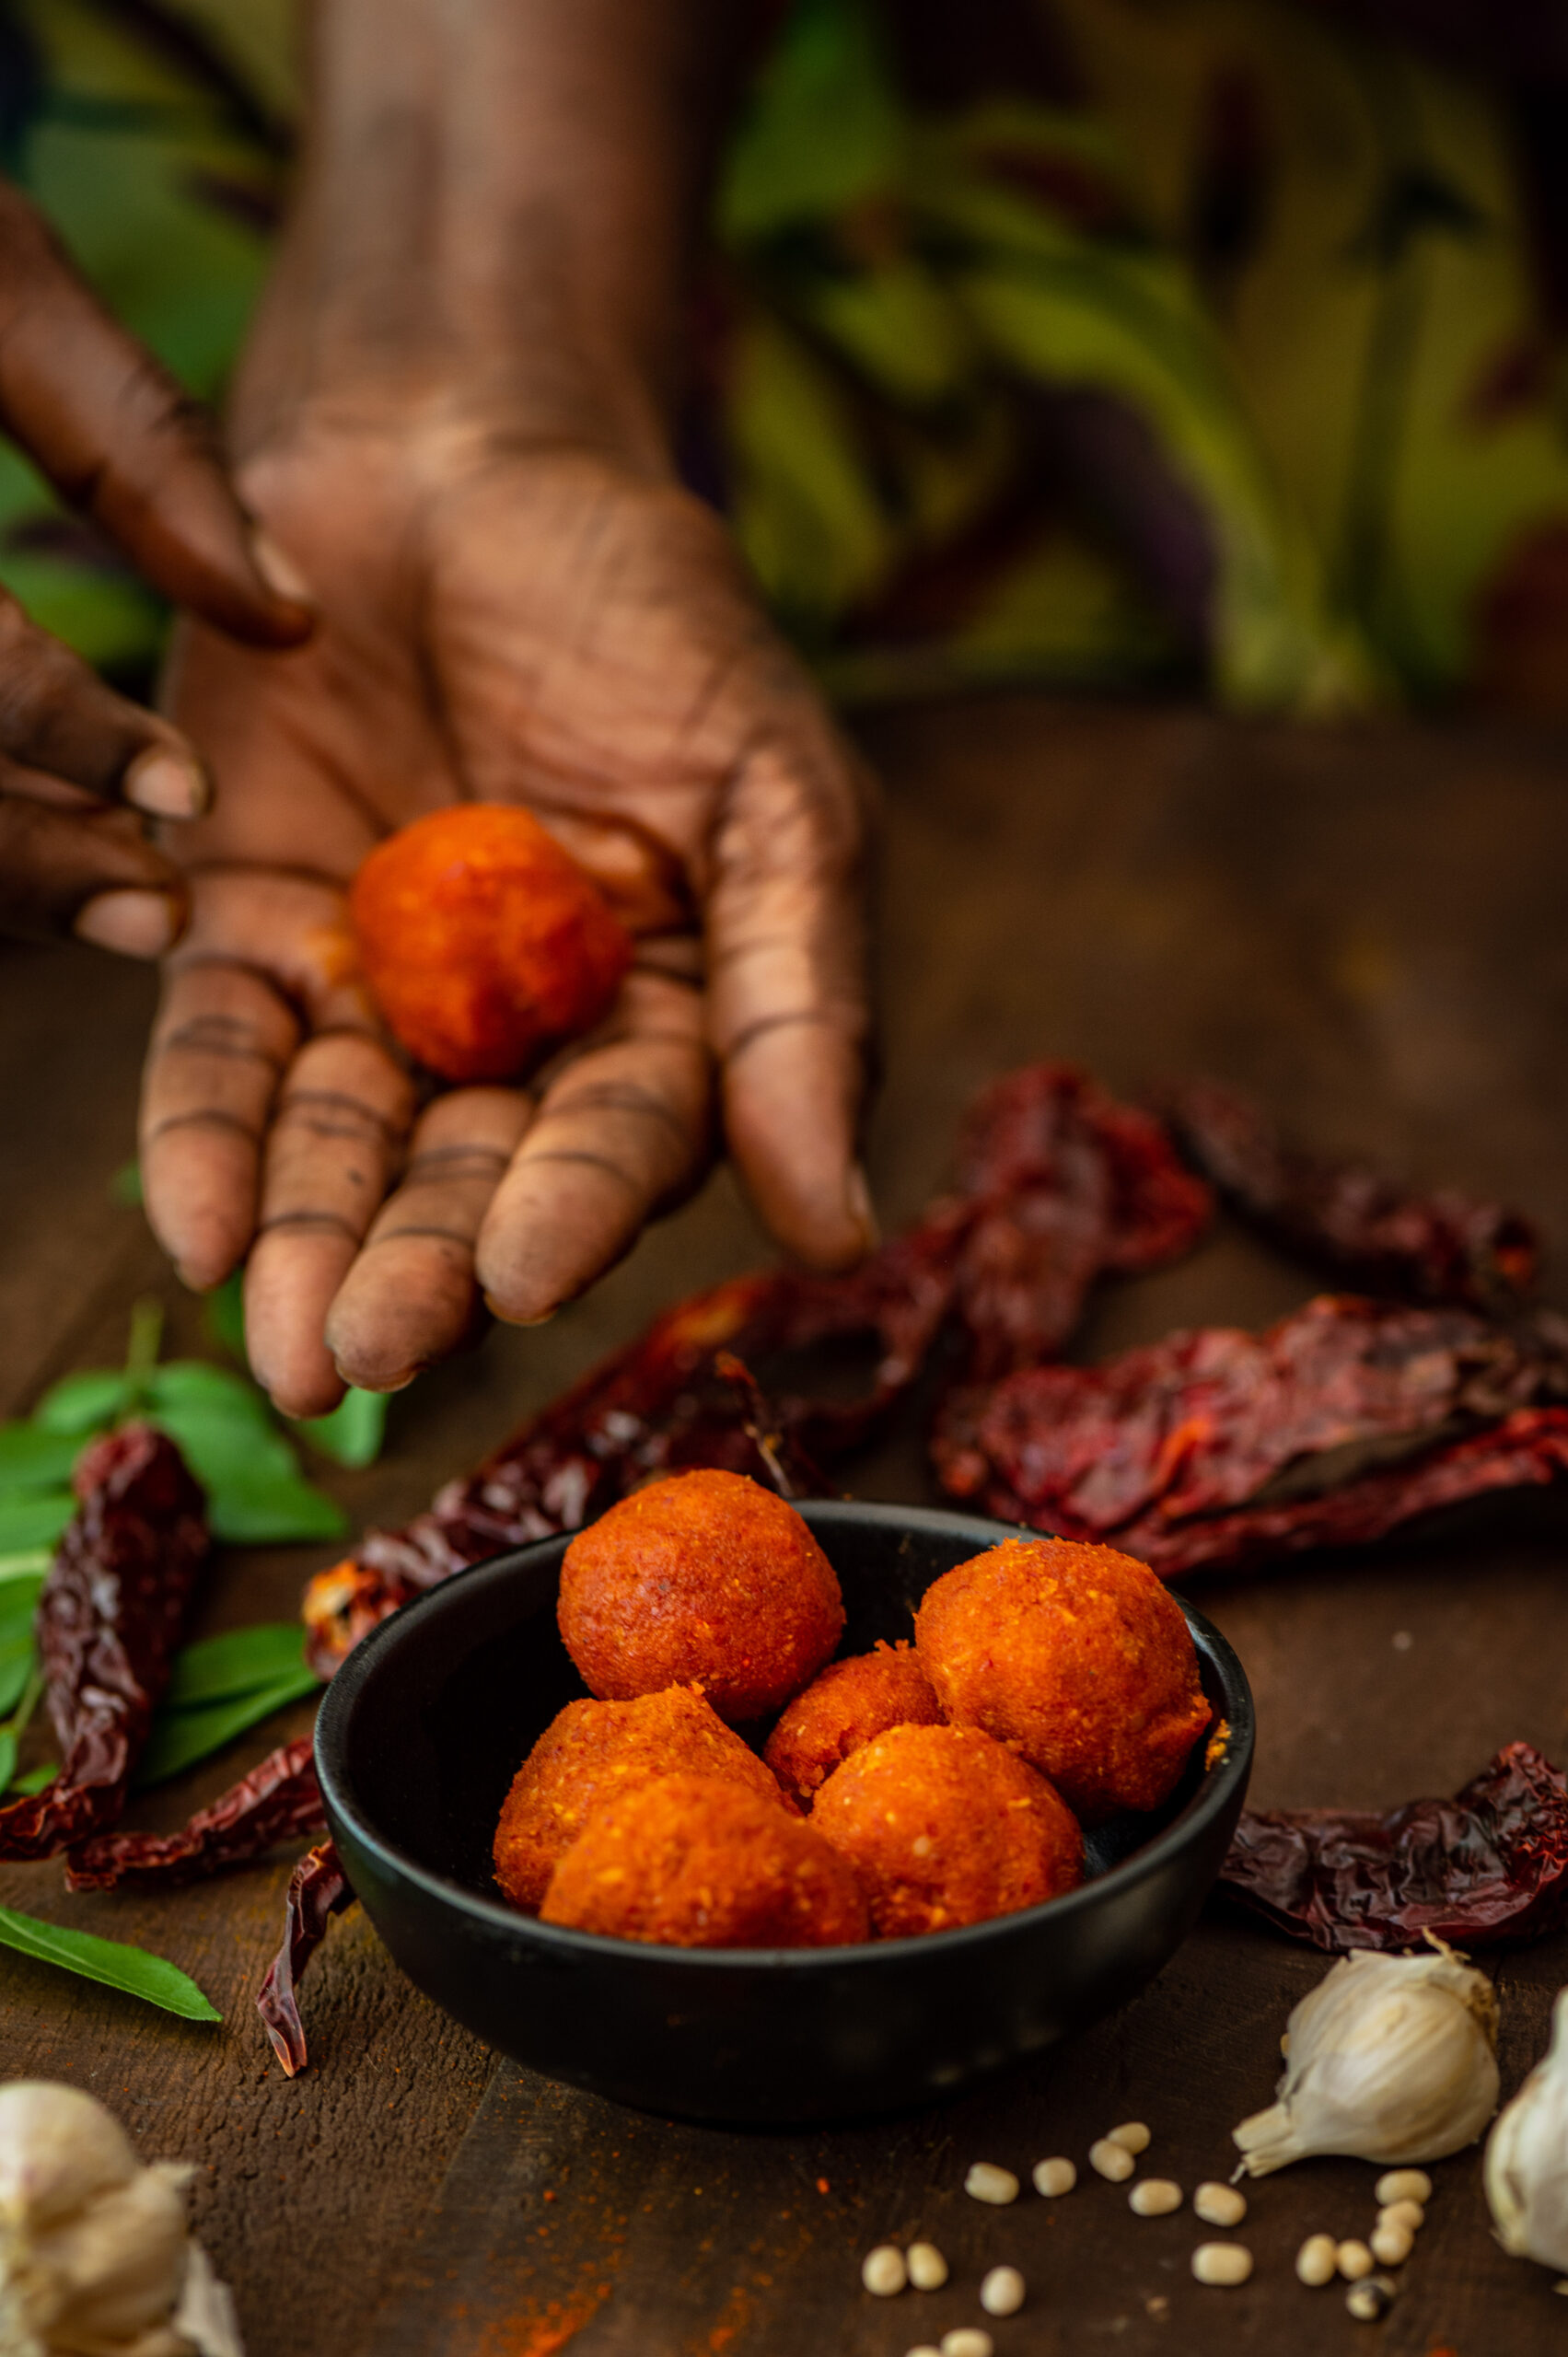
What did you think of the raw mango thovayal that I shared in my previous post? I hope it added a tangy kick to your meals, and if you used it in any offbeat ways (such as as a marinade, or in a fusion dish), I’d love to know. The next dish I’m sharing in this dip series is another recipe that could lend itself to versatile use too. It also has an interesting dry-to-wet storage solution built into its preparation, which you’ll learn about below. This lasun ki chutney (dry garlic chutney) is a Gujarati condiment, one that always existed in my childhood food experiences, and I know it is also made Maharashtra, which borders Gujarat.

It is a dry garlic chutney with a fiery colour, and is made in a ball form that is supposed to last two or three days without refrigeration. This means it travels well, so it is often paired with the equally durable thepla on train journeys and so on. While I was growing up, my mother kept her lasun ki chutney in the fridge, which extended its shelf life a little further too. The concept is like this: it’s a dry chutney, made with minimal water, that is rolled into a ball and stored. Whenever one wants to consume it, one simply pinches some off, adds warm water, makes a paste and enjoys it as an accompaniment. Once water is added, it needs to be consumed immediately.

Aside from theplas, it is typically an accompaniment for bajra ki rotla, dhokla or handvo. Although we now enjoy it year-round, in concept it is the ideal winter condiment for more frugal meals. I am told that farmers in Gujarat typically consume it with bajra ka rotla, a flatbread made with pearl millet flour, in winters. Being very flavourful, it uplifts the thepla or other main staple without the need for other side dishes, especially when the harvest is scarce.

When I first started making lasun ki chutney, I began by making the soft version directly rather than the storable dry balls. I learnt the recipe for my grandfather, who came to live with us when he was 93 and absolutely had to have some of this lovely condiment at every meal. And at every meal, without fail, he would always say, “Garlic is very good for you.” He would sit on the floor and have a full Gujarati main course served to him, and he relished dipping his chapati into a bowl of ghee and eating it with lasun ki chutney. Perhaps because he reminded us every day that this is a nutritious dish, it grew on the rest of us too, and soon we began to have a side of spicy garlic chutney with most of our meals as well.

Garlic is indeed very good for us, and is well-known as an immune system booster, and as an ingredient that keeps blood pressure and cholesterol under control. It’s rich in antioxidants, manganese and fibre, among other nutritious elements. Plus – it’s delicious. Aromatic and pungent, it’s a pleasure for the senses.

That said, I would be remiss not to mention that there are communities that avoid garlic entirely as some believe that it affects the hormones in such a way as to charge us up and make us express our anger. If you do not eat garlic for this reason or any other, I’m afraid this recipe won’t suit you – and I hope you’ll explore the archives and find another one that does.


Lasun Ki Chutney

(Yield: 1 small cup)


10-12 cloves garlic

1 tablespoon toasted sesame seeds

4 Kashmiri red chillies (fried)

½ cup shredded coconut

1 tablespoon sesame oil

Salt to taste


Set aside all the ingredients, except the oil, in a food processor. In a flat pan, add the oil and once it has heated, pour the oil into the food processor along with the other ingredients. Make sure that you grind the mixture well. Your dry, coarse garlic chutney is now ready.

Now, make small balls and store them in the refrigerator. When you’re sitting down to a meal over the next few days, pinch off as much as you need, add warm water to make a paste, and enjoy. Have it with dhoklas or theplas, or even add it to Asian stir fries to spice them up, like I do. I’d love to know how you use it!

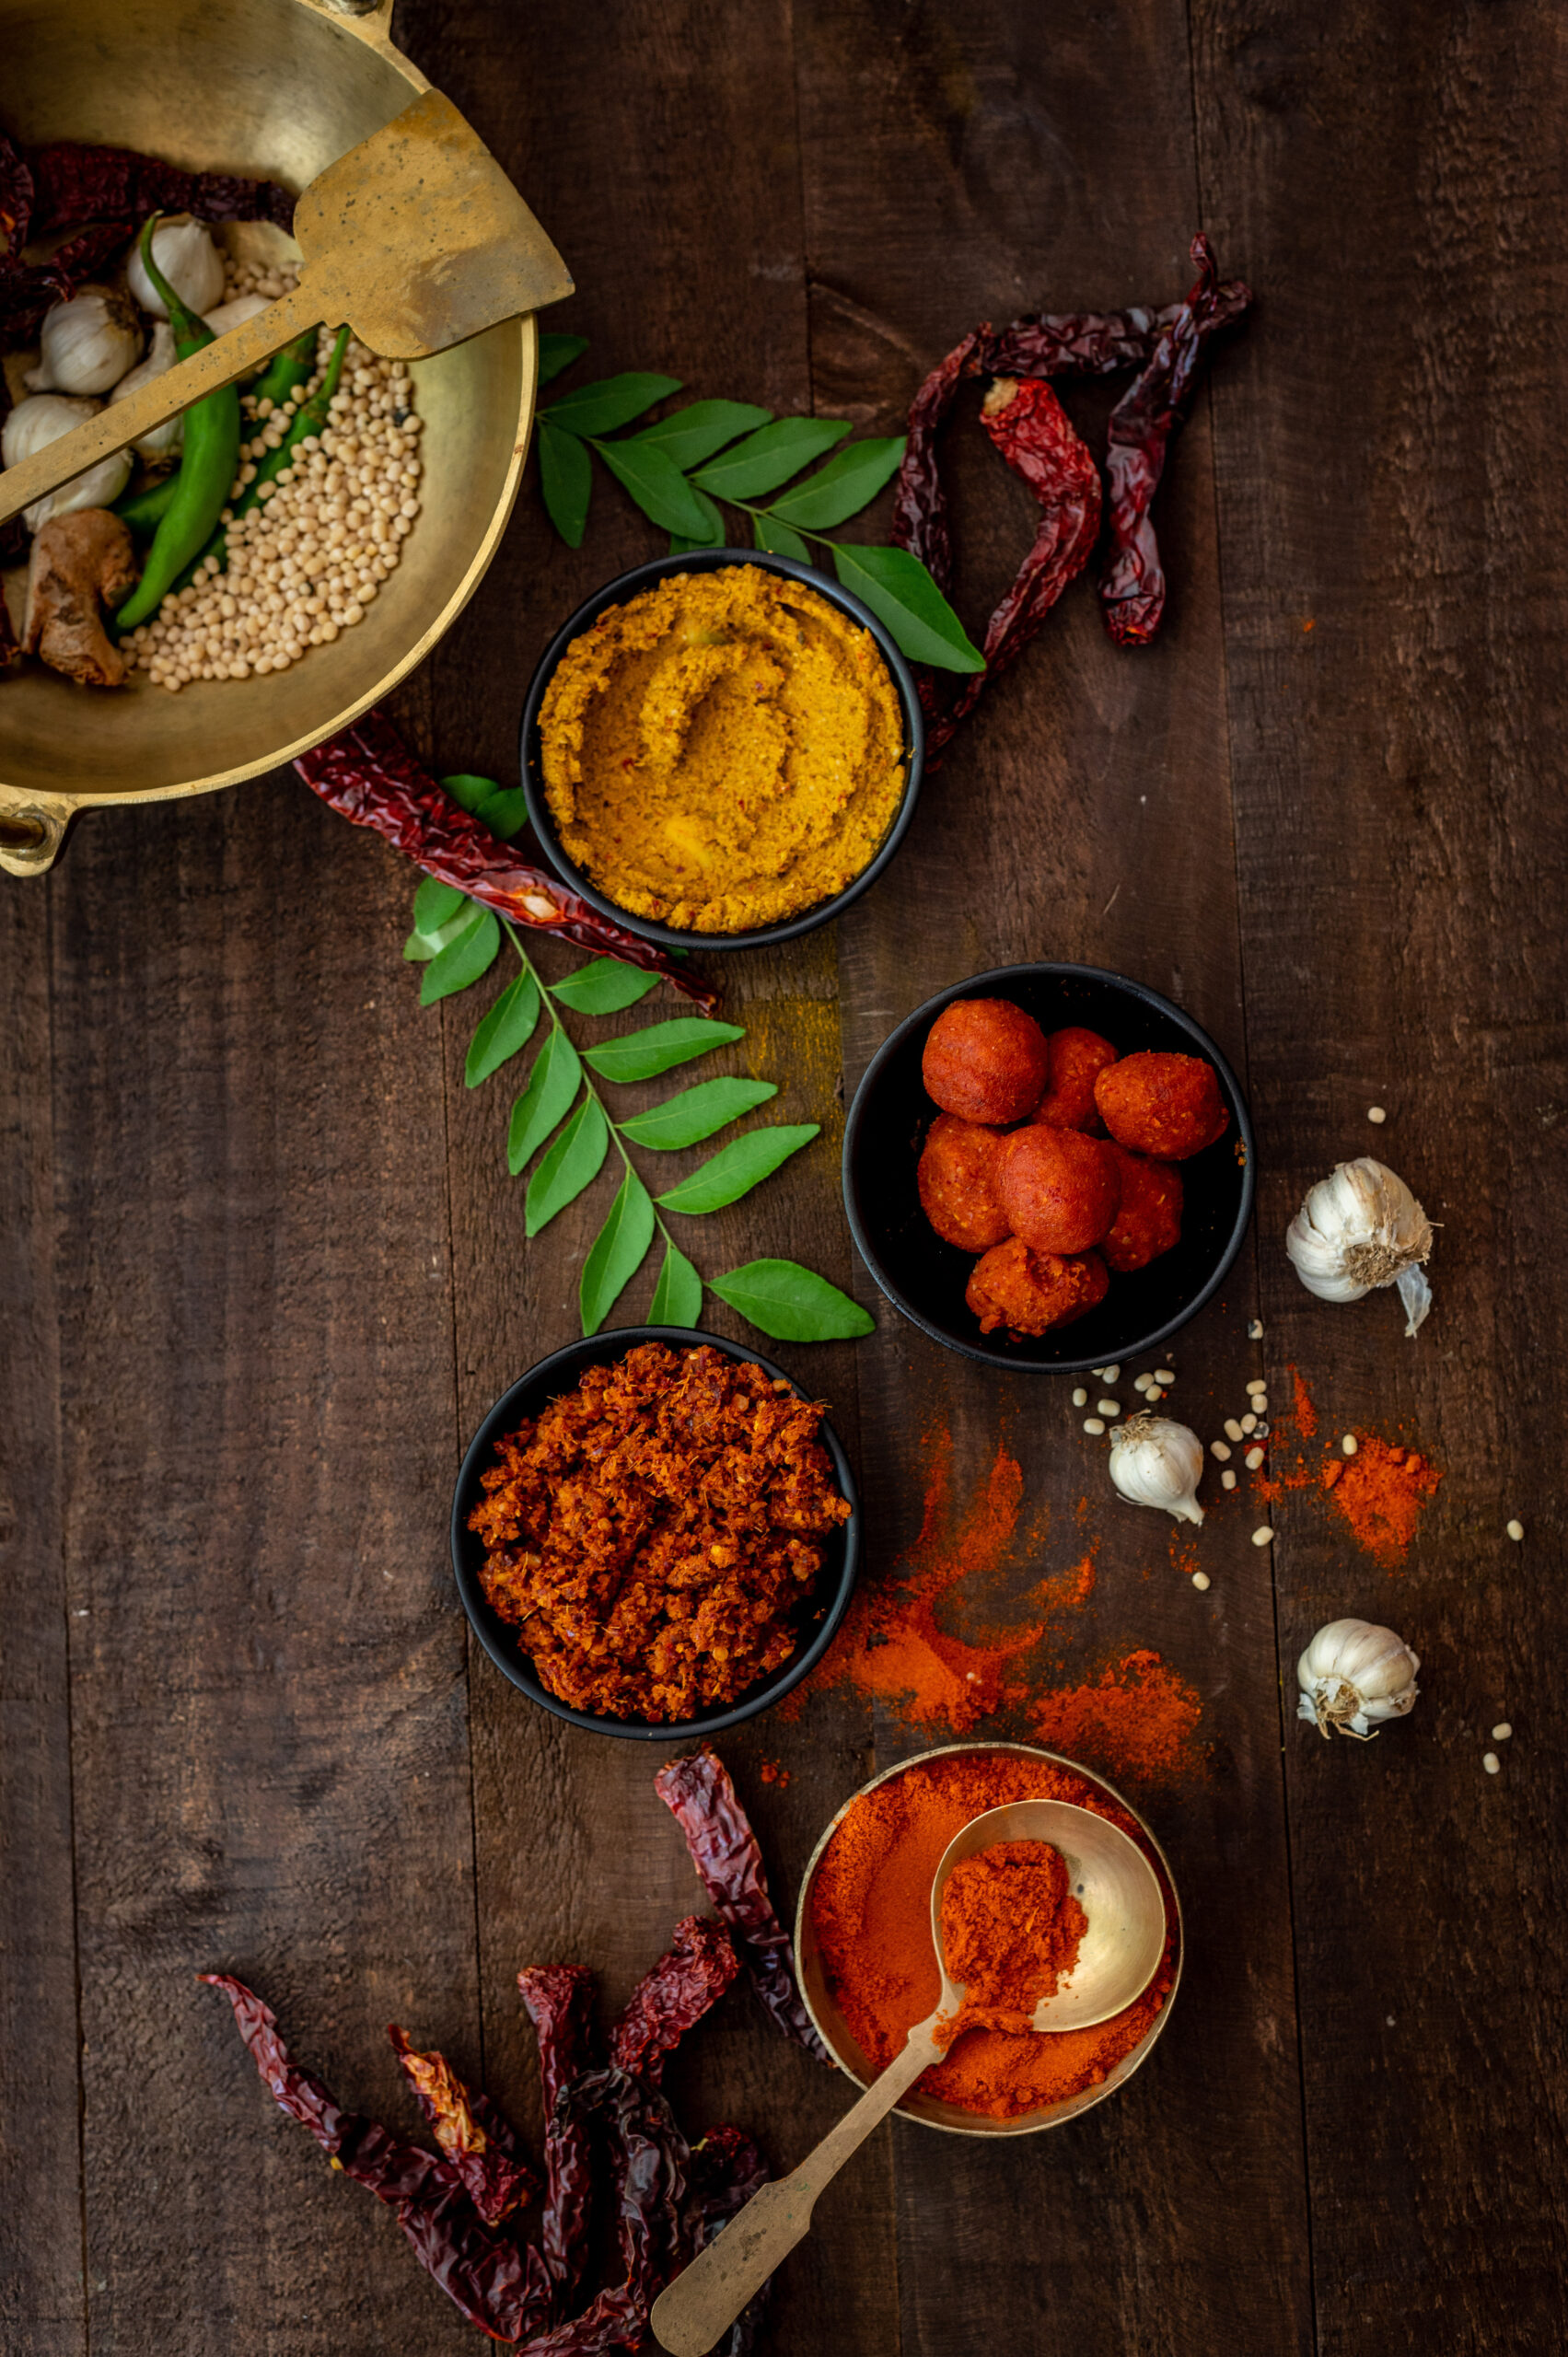
I’ll end this post by giving you a visual glimpse of the recipe that will round out this dip trilogy. In the photo below, you can see the raw mango thovayal and the lasun ki chutney – along with the forthcoming dish. Any guesses about what it is, or what its chief ingredient is?


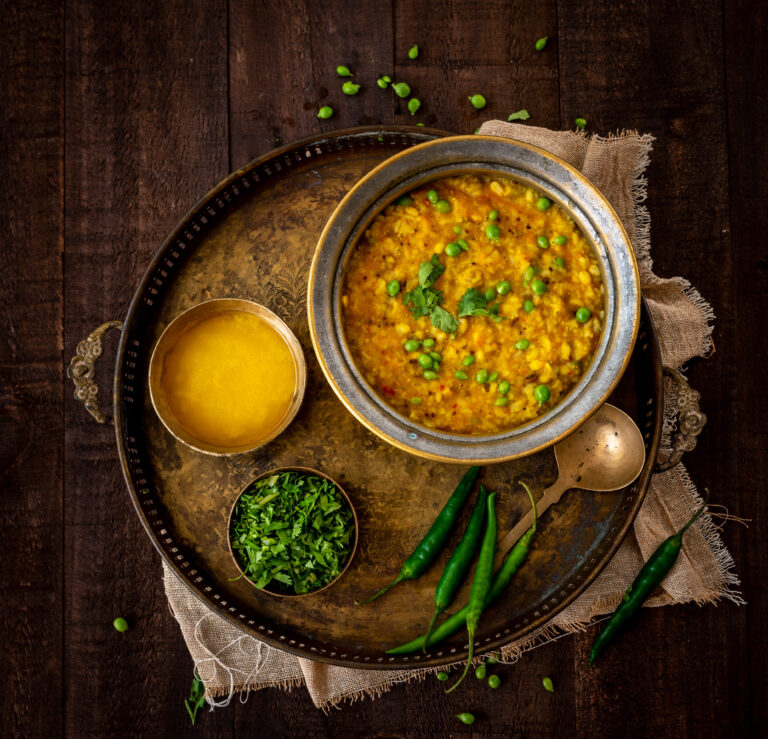
For centuries, Gujaratis observed the harvest season of Sankranti (which takes place in January) with a special dish, a seven-grain khichdo which celebrated the bounty of the earth. It was originally made with fresh, still green grains, and cooked for many hours in a large brass pot on coal. It would be prepared right before the harvest itself, when the grains would be ripe and tender. What constituted the seven key ingredients of the recipe depended on what was being grown, and some ingredients that we may think of as being legumes or lentils also qualified. It was also sometimes made with fewer. It was called “saat dhaan” – “seven grain” – when made with all the staples, and “paanch dhaan” – “five grain” – when a couple were eliminated for reasons of convenience, availability or taste. Pearl millet (bajra), wheat, rice, split pigeon peas (toor dal), sorghum (jowar) and green gram (moong dal) were among the traditional staples used. Over time, changes in agriculture and culinary life have allowed us to enjoy this wonderful dish whenever we please.

Even still, it’s a dish with a long preparation and cooking time, so I think of it as a Sunday dish – the kind that you begin working on as soon as you wake, and which is hot and ready just in time for lunch with the whole family. This was exactly how I used to see it being prepared in my sister’s home when I would visit her when she first got married. Her mother-in-law made an amazing seven-grain khichdo, and I would observe as she soaked each ingredient separately early in the morning, then as she literally pulled out the big old brass pot and coal in order to cook it in the time-honoured way. I had the good fortune of experiencing this whole process, just as I used to watch my own mother make Navaratri handvo authentically. Biting into the piping hot khichdo when she served it at lunch after having worked on it since the crack of dawn was unimaginably beautiful. My sister and I now make this khichdo in our own ways, with our modern appliances, but of course it’s her mother-in-law’s recipe that inspired us to keep this time-consuming (but so rewarding) dish in our own repertoires.

Another significant change that has come with urbanisation is that while certain ingredients began to become available year-round, access to fresh ingredients became limited. Thus, a contemporary saat dhaan khichdo will be more likely to use dried ingredients. Here, too, availability determines what you can use. For instance, in Gujarat and Maharashtra you can get readymade chaffed wheat, with the skin removed. I haven’t been able to procure the same in Chennai, so I have to pound the grain gently, to remove the outer covering.

Hand-pounding each grain individually is an important part of the process when using dried ingredients. Each one needs a different type of pressure. Bajra and jowar can be pounded very coarsely, for example, whereas wheat breaks when you do so. Of course, if you happen to have the tender green grains, there’s no pounding required.

Then there’s the individual soaking too, with each grain requiring a different duration. Wheat, bajra and jowar take the longest, whereas rice can be soaked a few hours after the overall preparation has started. As you will likely be making this khichdo with a mix of readymade, hand-pounded or fresh grains that you have available, do use your familiarity with the ingredients to determine the preparation time you need. In addition to the grains mentioned earlier, some I have used or heard of being used in this khichdo include black-eyed peas and green chickpeas too. It just comes down to availability, but the trick is to strike a balance between heavy grains and the lighter variants.

That is because this seven-grain khichdo is itself a very filling dish. While it was a part of Sankranti traditions that honoured the harvest, there is also a science as to why it was made this way. Mid-January would still be winter in Gujarat, and a heavy dish like this made of up whole grains would take a long time to digest. It would increase the metabolism and keep the body warm through the day. It is meant to be enjoyed at lunch, served hot and without need for accompaniments, except some pickled green chilli and kadhi (which is similar to more kolumbu) if you have it.

In terms of spices, the authentic version of this dish required no sautéing and very minimal spices. Everything just went into the large brass pot and cooked away for hours. The flavours of the grains would be allowed to dominate, with just a bit of ajwain (which aids digestion), and the two quintessentials of turmeric and salt being added. That and ghee – a couple of dollops of glorious ghee are an important part of this khichdo.

My sister’s mother-in-law would include a bit of dhaniya-jeera (coriander-cumin) powder, while my sister chooses to add curry leaves and garam masala. I don’t use any of these, but I do use tomato. Play around as you wish to as well, until you hit on the seasonings you most enjoy.

Seven-Grain Khichdo

(Yield: 2-3 persons)

25 grams whole wheat (chaffed)

15 grams broken bajra

50 grams rice

15 grams green whole mung

15 grams yellow split mung dal

¼ cup green peas

¼ cup fresh green pigeon peas

Water to cook

2 tablespoons ghee

½ teaspoon ajwain (carom seeds)

¼ teaspoon asafoetida

1 crushed tomato

¼ teaspoon turmeric

Salt to taste

1 – 2 cups hot water

Soak the grains individually until they are tender to touch, in water about an inch higher than the level of the grains.

When cooking, add 2½ times water to the quantity of grain.

You may pressure cook the bajra and wheat together as it takes a longer time to cook these grains. Set aside.

Next, pressure cook the rice and green whole mung and yellow split mung dal together. Set aside.

In a kadai, add ghee and once it becomes hot, add the ajwain first and then the asafoetida. Next, add the crushed tomato and then all the spices.

Now, add all the grains together to the hot, spiced ghee in the kadai. Stir on a medium to low flame.

Keep stirring. Add some hot water if required, especially if you like the khichdo to be soft as I do.

Once cooked, serve hot along with a garnish of green chili and coriander leaves.

The long preparation and cooking processes that go into a good seven-grain, or even five-grain, khichdo mean that it’s really meant to be a feast, just as it originally was during Sankranti. I recall how whenever my sister’s mother-in-law prepared it, she would distribute it to their neighbours as well. It is a meal in itself, meant to be shared, and meant to be consumed immediately after the many hours that the cook would have spent putting it together.

As with all tasty things that are best shared, I hope you’ll whip up a nice big batch the next time that you have half a day to linger over putting a meal together. Then, I hope you’ll gather your favourite people around the table, and enjoy this traditional Gujarati khichdo, with all the joy that the farmers of yore would have felt as they feasted with their loved ones right before the big harvest.

Indians don’t have soups per se in our traditional cuisines, as far as I know. Instead, we have broths such as the thin South Indian rasam and the thick, sweet Gujarati raab. The rasam subsequently became known as mulligatawny soup in the West, but here it is eaten as a side dish, not an appetizer. In fact, that reminds me of how our staple dals are repackaged abroad and even in high-end restaurants here as “lentil soup”! In India, we have no such category as “soup”, but it goes to show how it’s all a matter of perspective. The soup, by any name, is really a universal dish, made with different, seasonal ingredients in cultures around the world.

For many of my generation, we were introduced to soups at clubs and restaurants. My own first memory of any soup was not Western at all, but Chinese (or rather, Indo-Chinese). While growing up, my friends and I would head to a restaurant called Nanking whenever we had something to celebrate. All of our birthdays would find us there, straight from classes in our school uniforms and pigtails, delighted to be spending our pocket money on a shared meal. The meal would invariably begin with an order of the delicious sweet corn soup for everyone at the table

The Nanking sweet corn soup was thickened with cornflour, loaded with MSG and had no more than a couple of kernels of corn floating in the white liquid but regardless it was always a special treat. It tasted fantastic to us, and till today reminds me of some of our fondest times growing up. When I think of it, I’m reminded of how much my kids say they miss their school canteen’s food! Perhaps the meals we share with our friends as we grow up simply create such vivid impressions on us that we associate them with the dishes themselves. What I would give to go back to Nanking, which has since closed down, and enjoy those memories all over again!

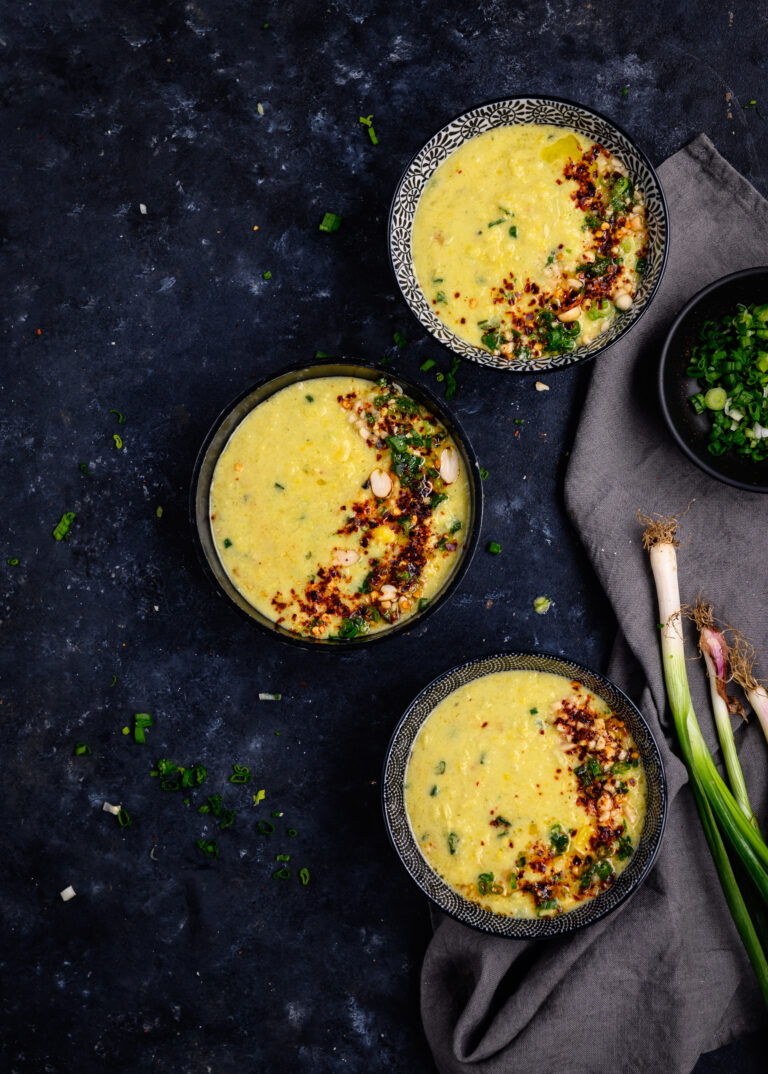
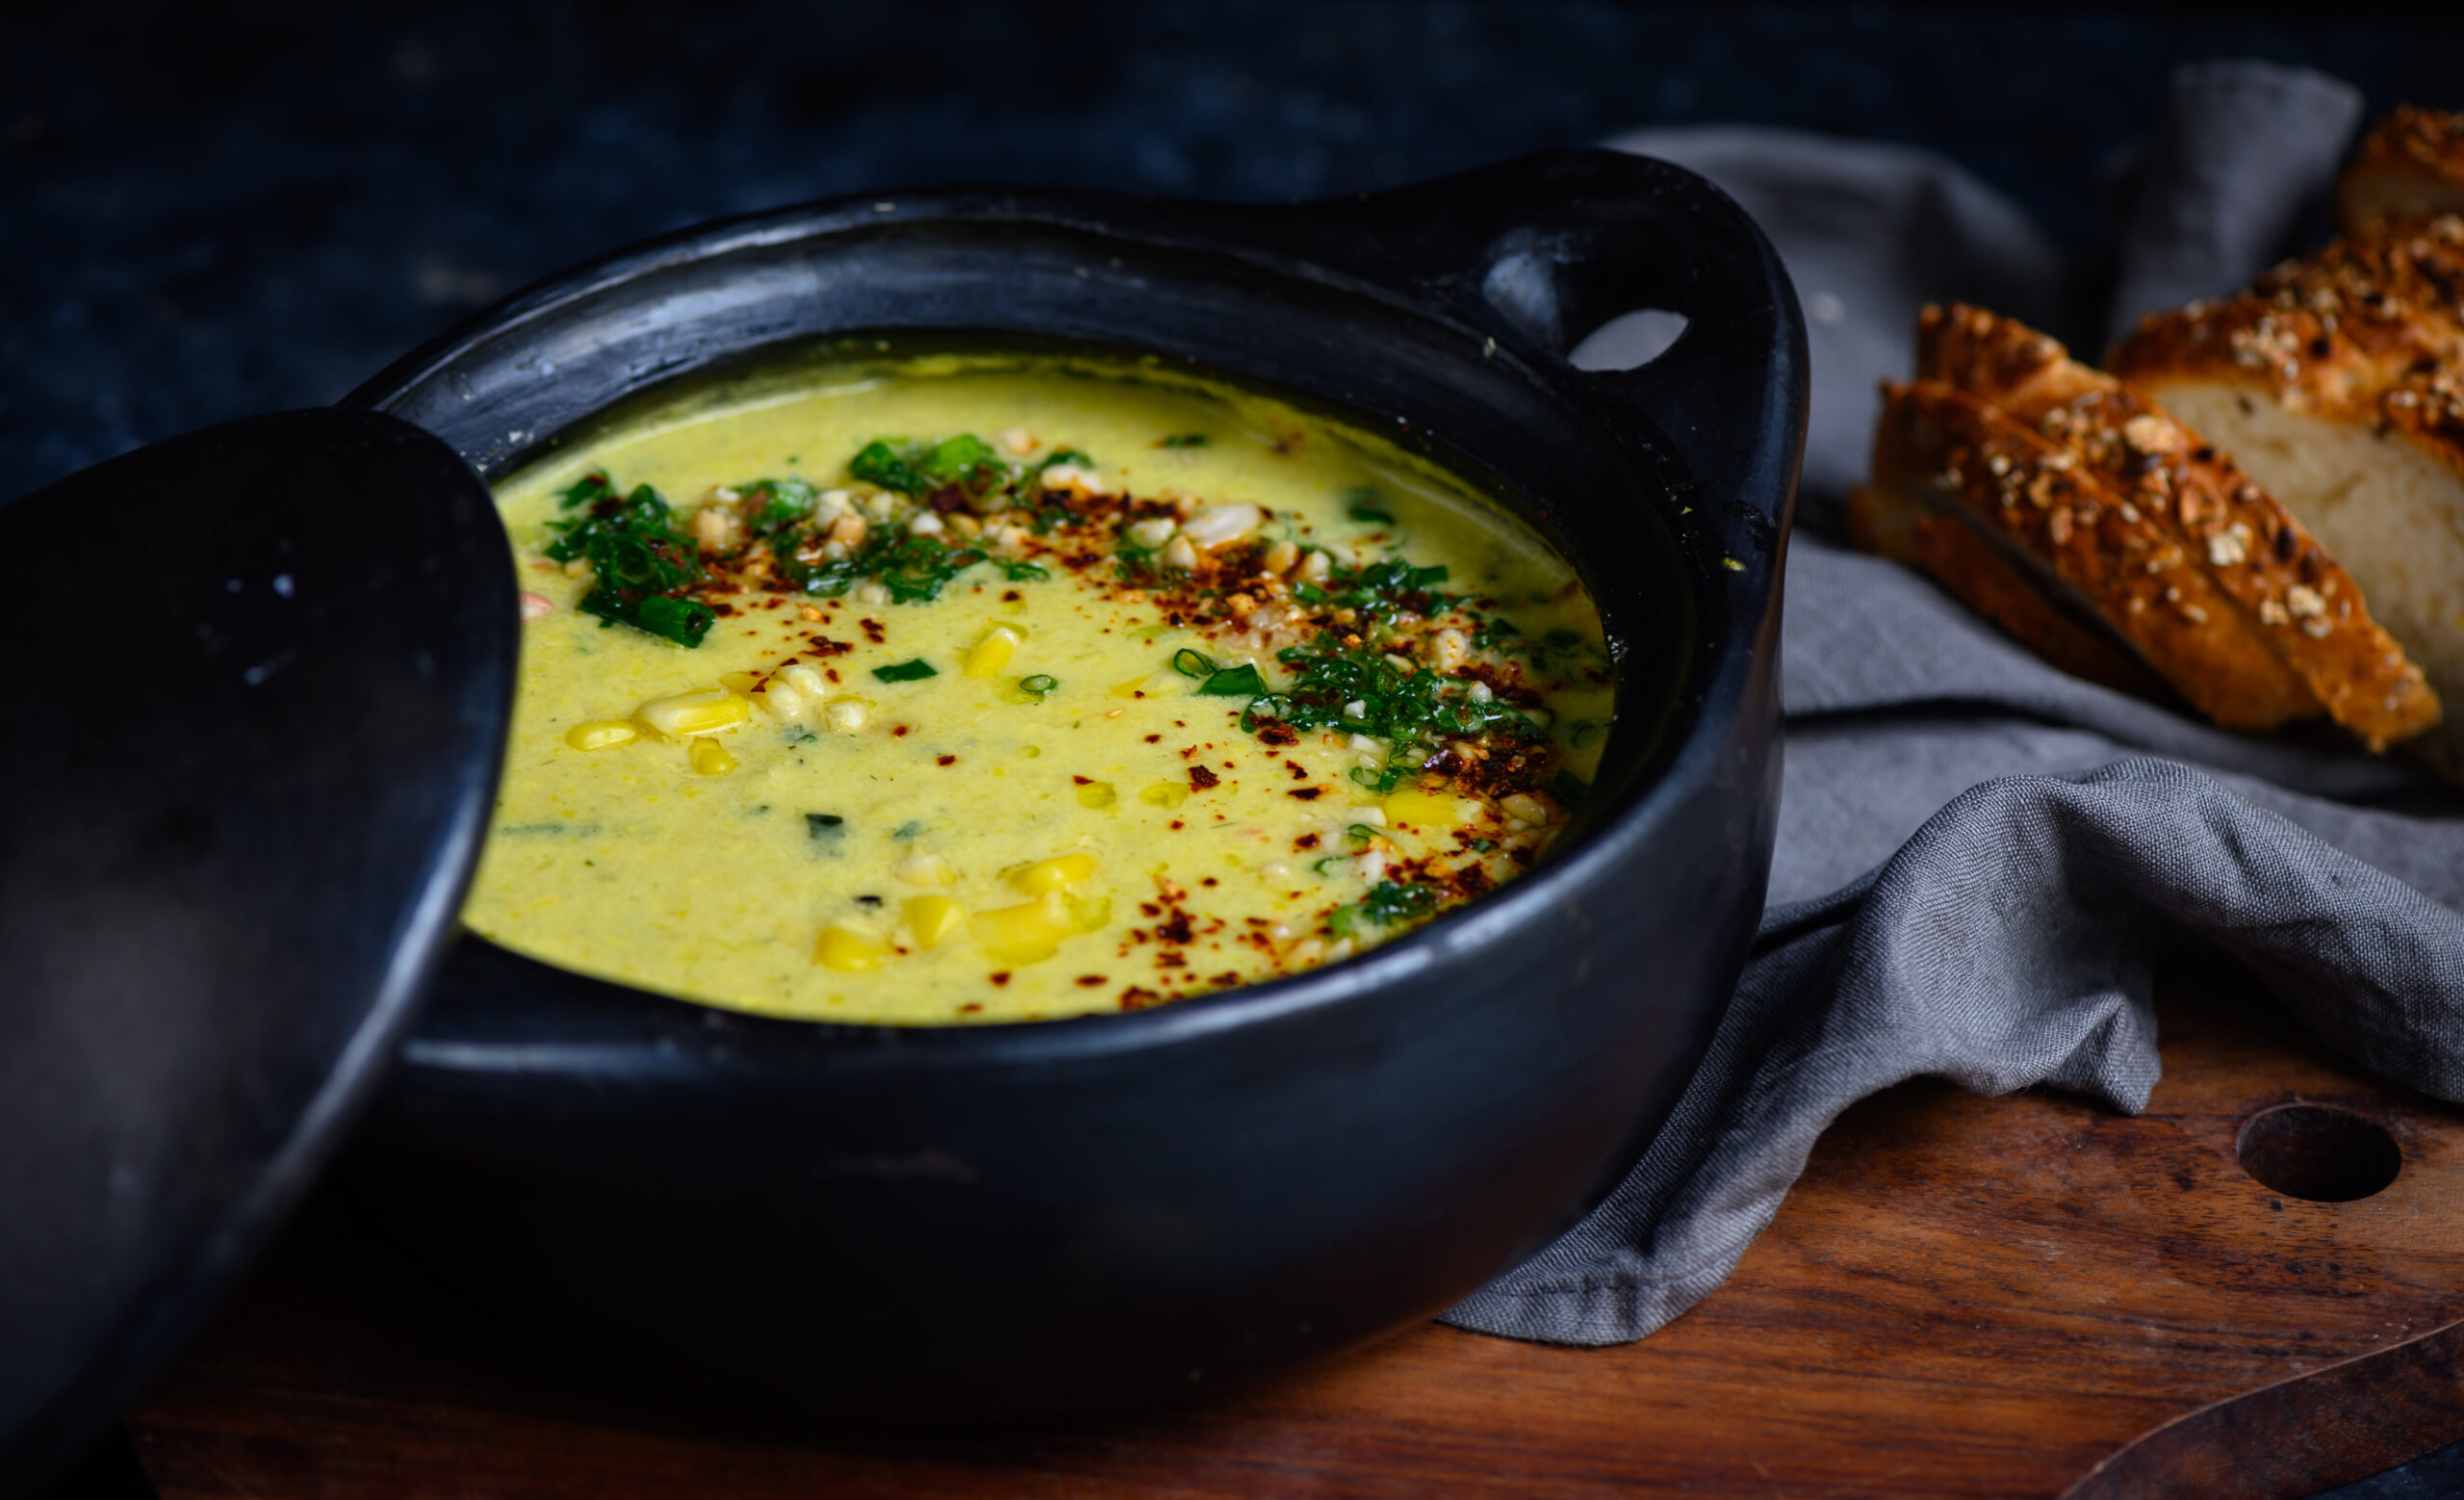
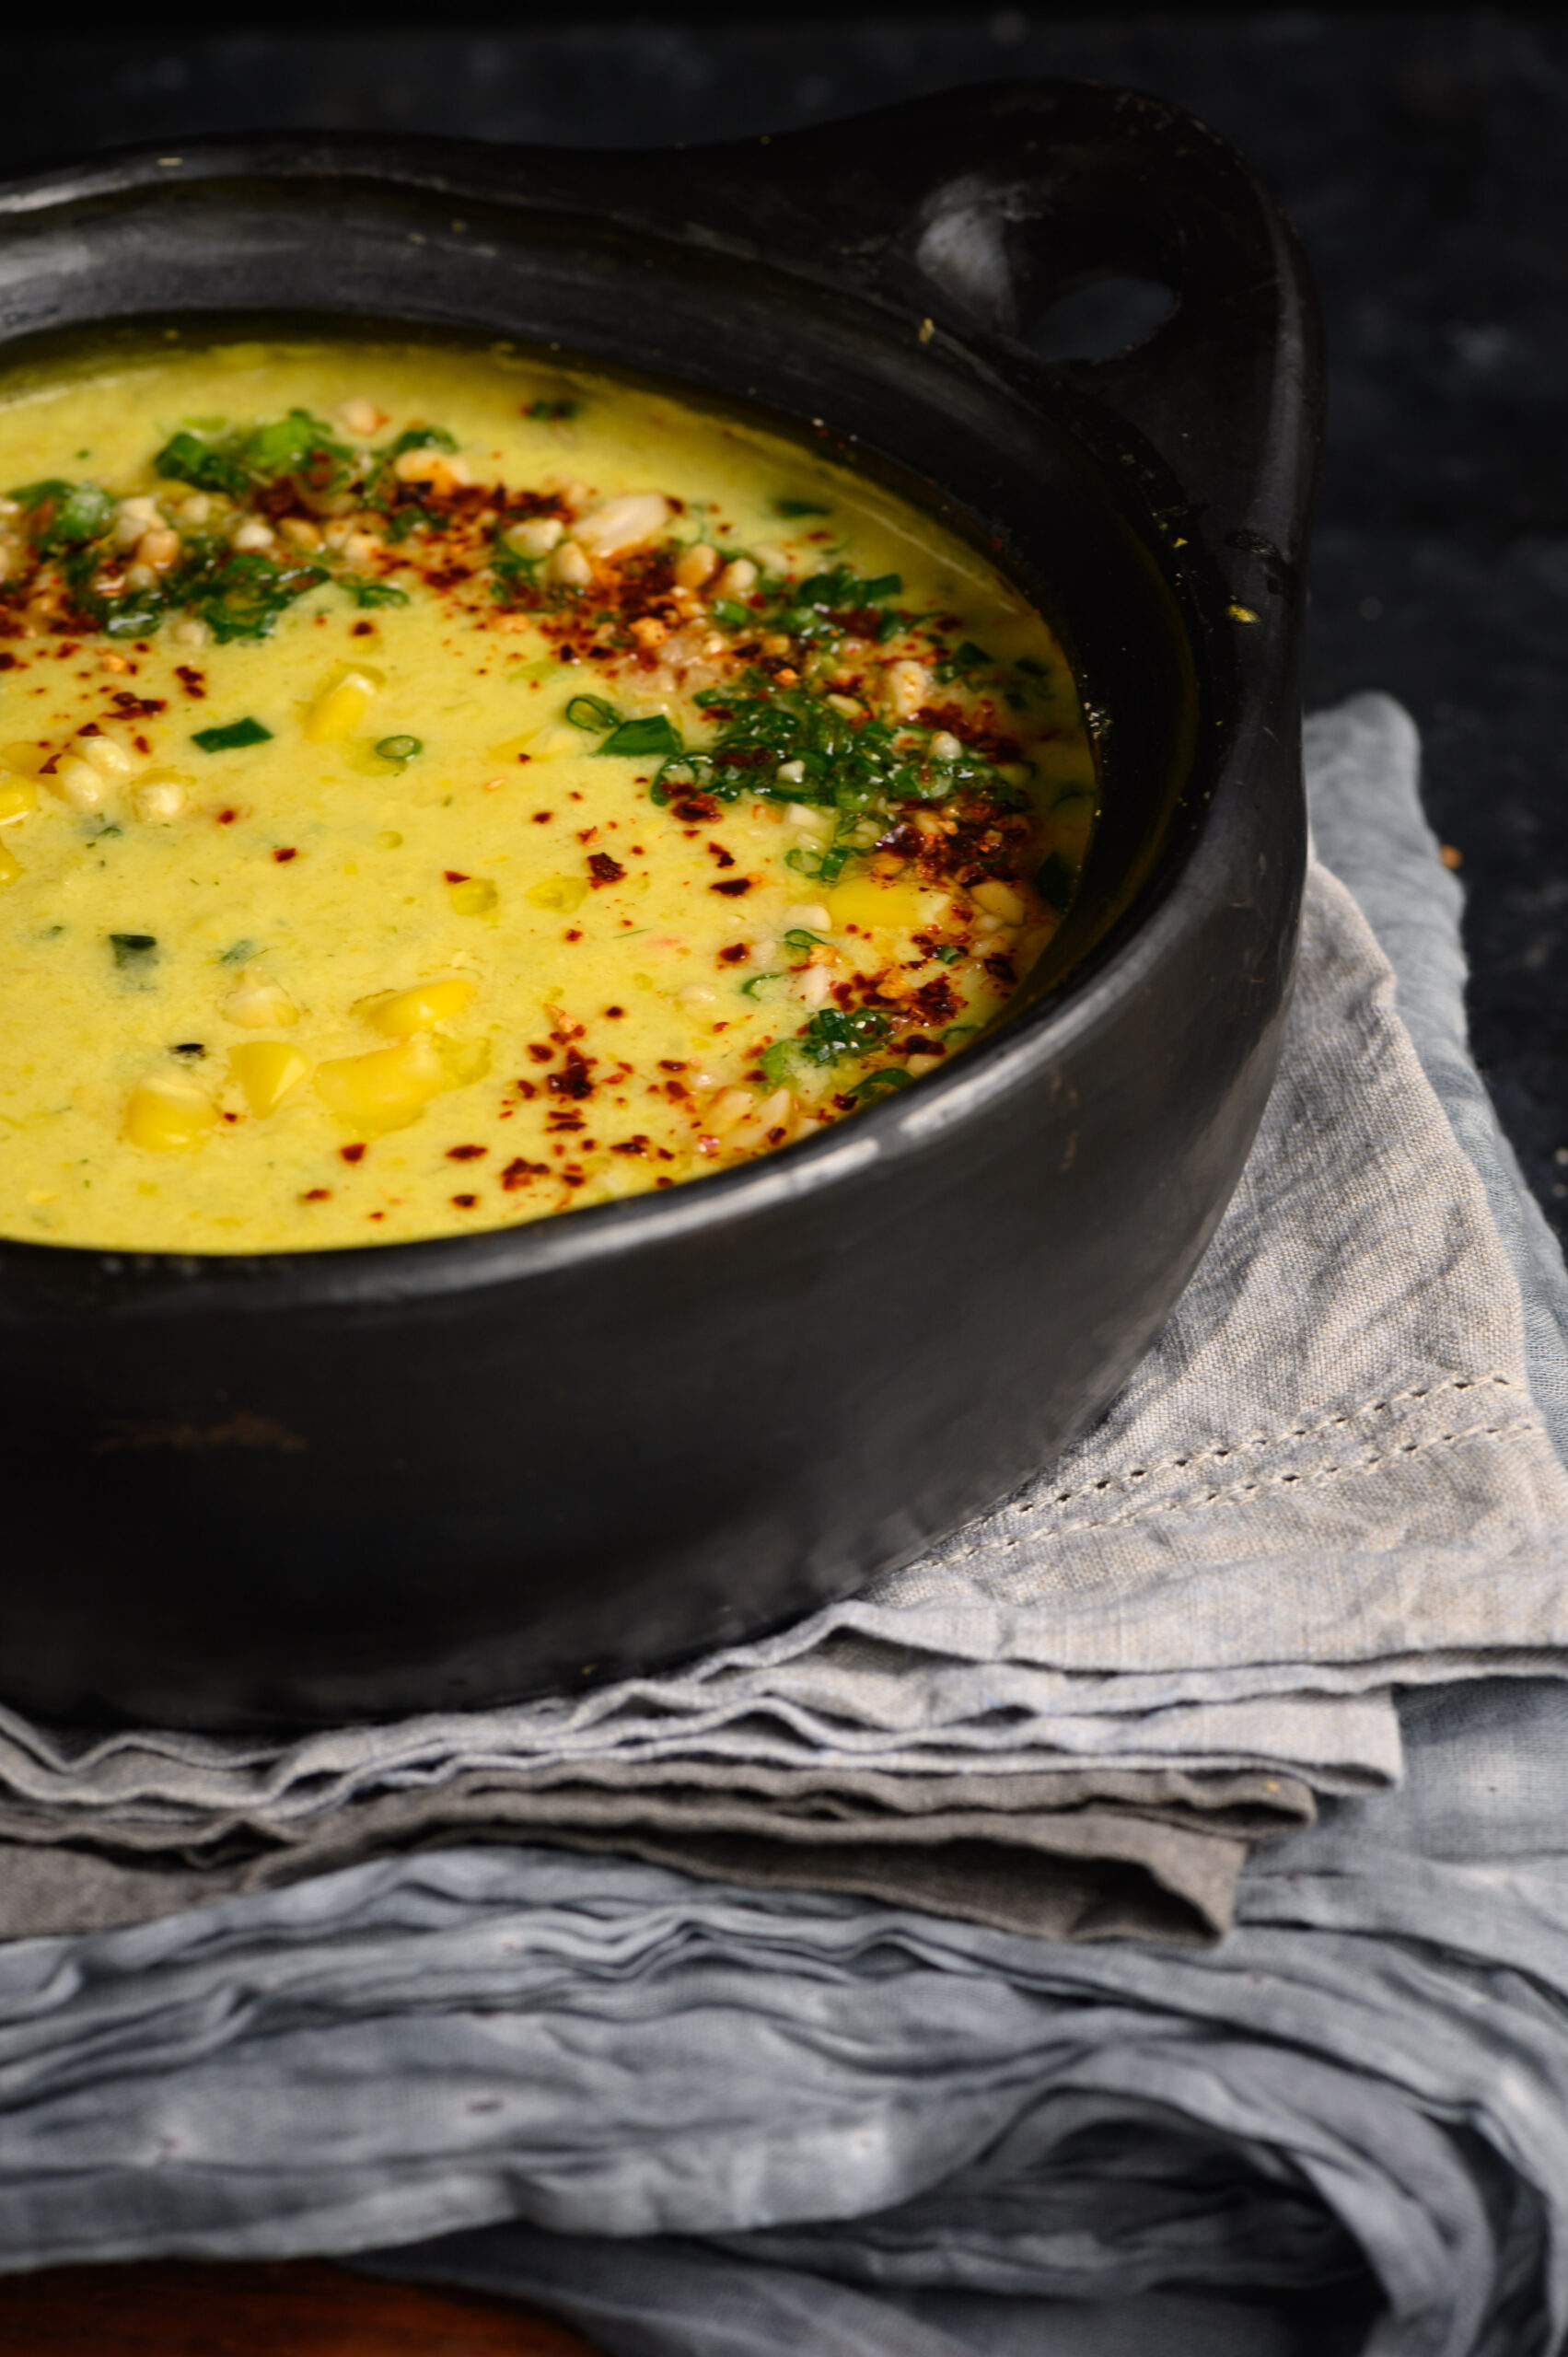
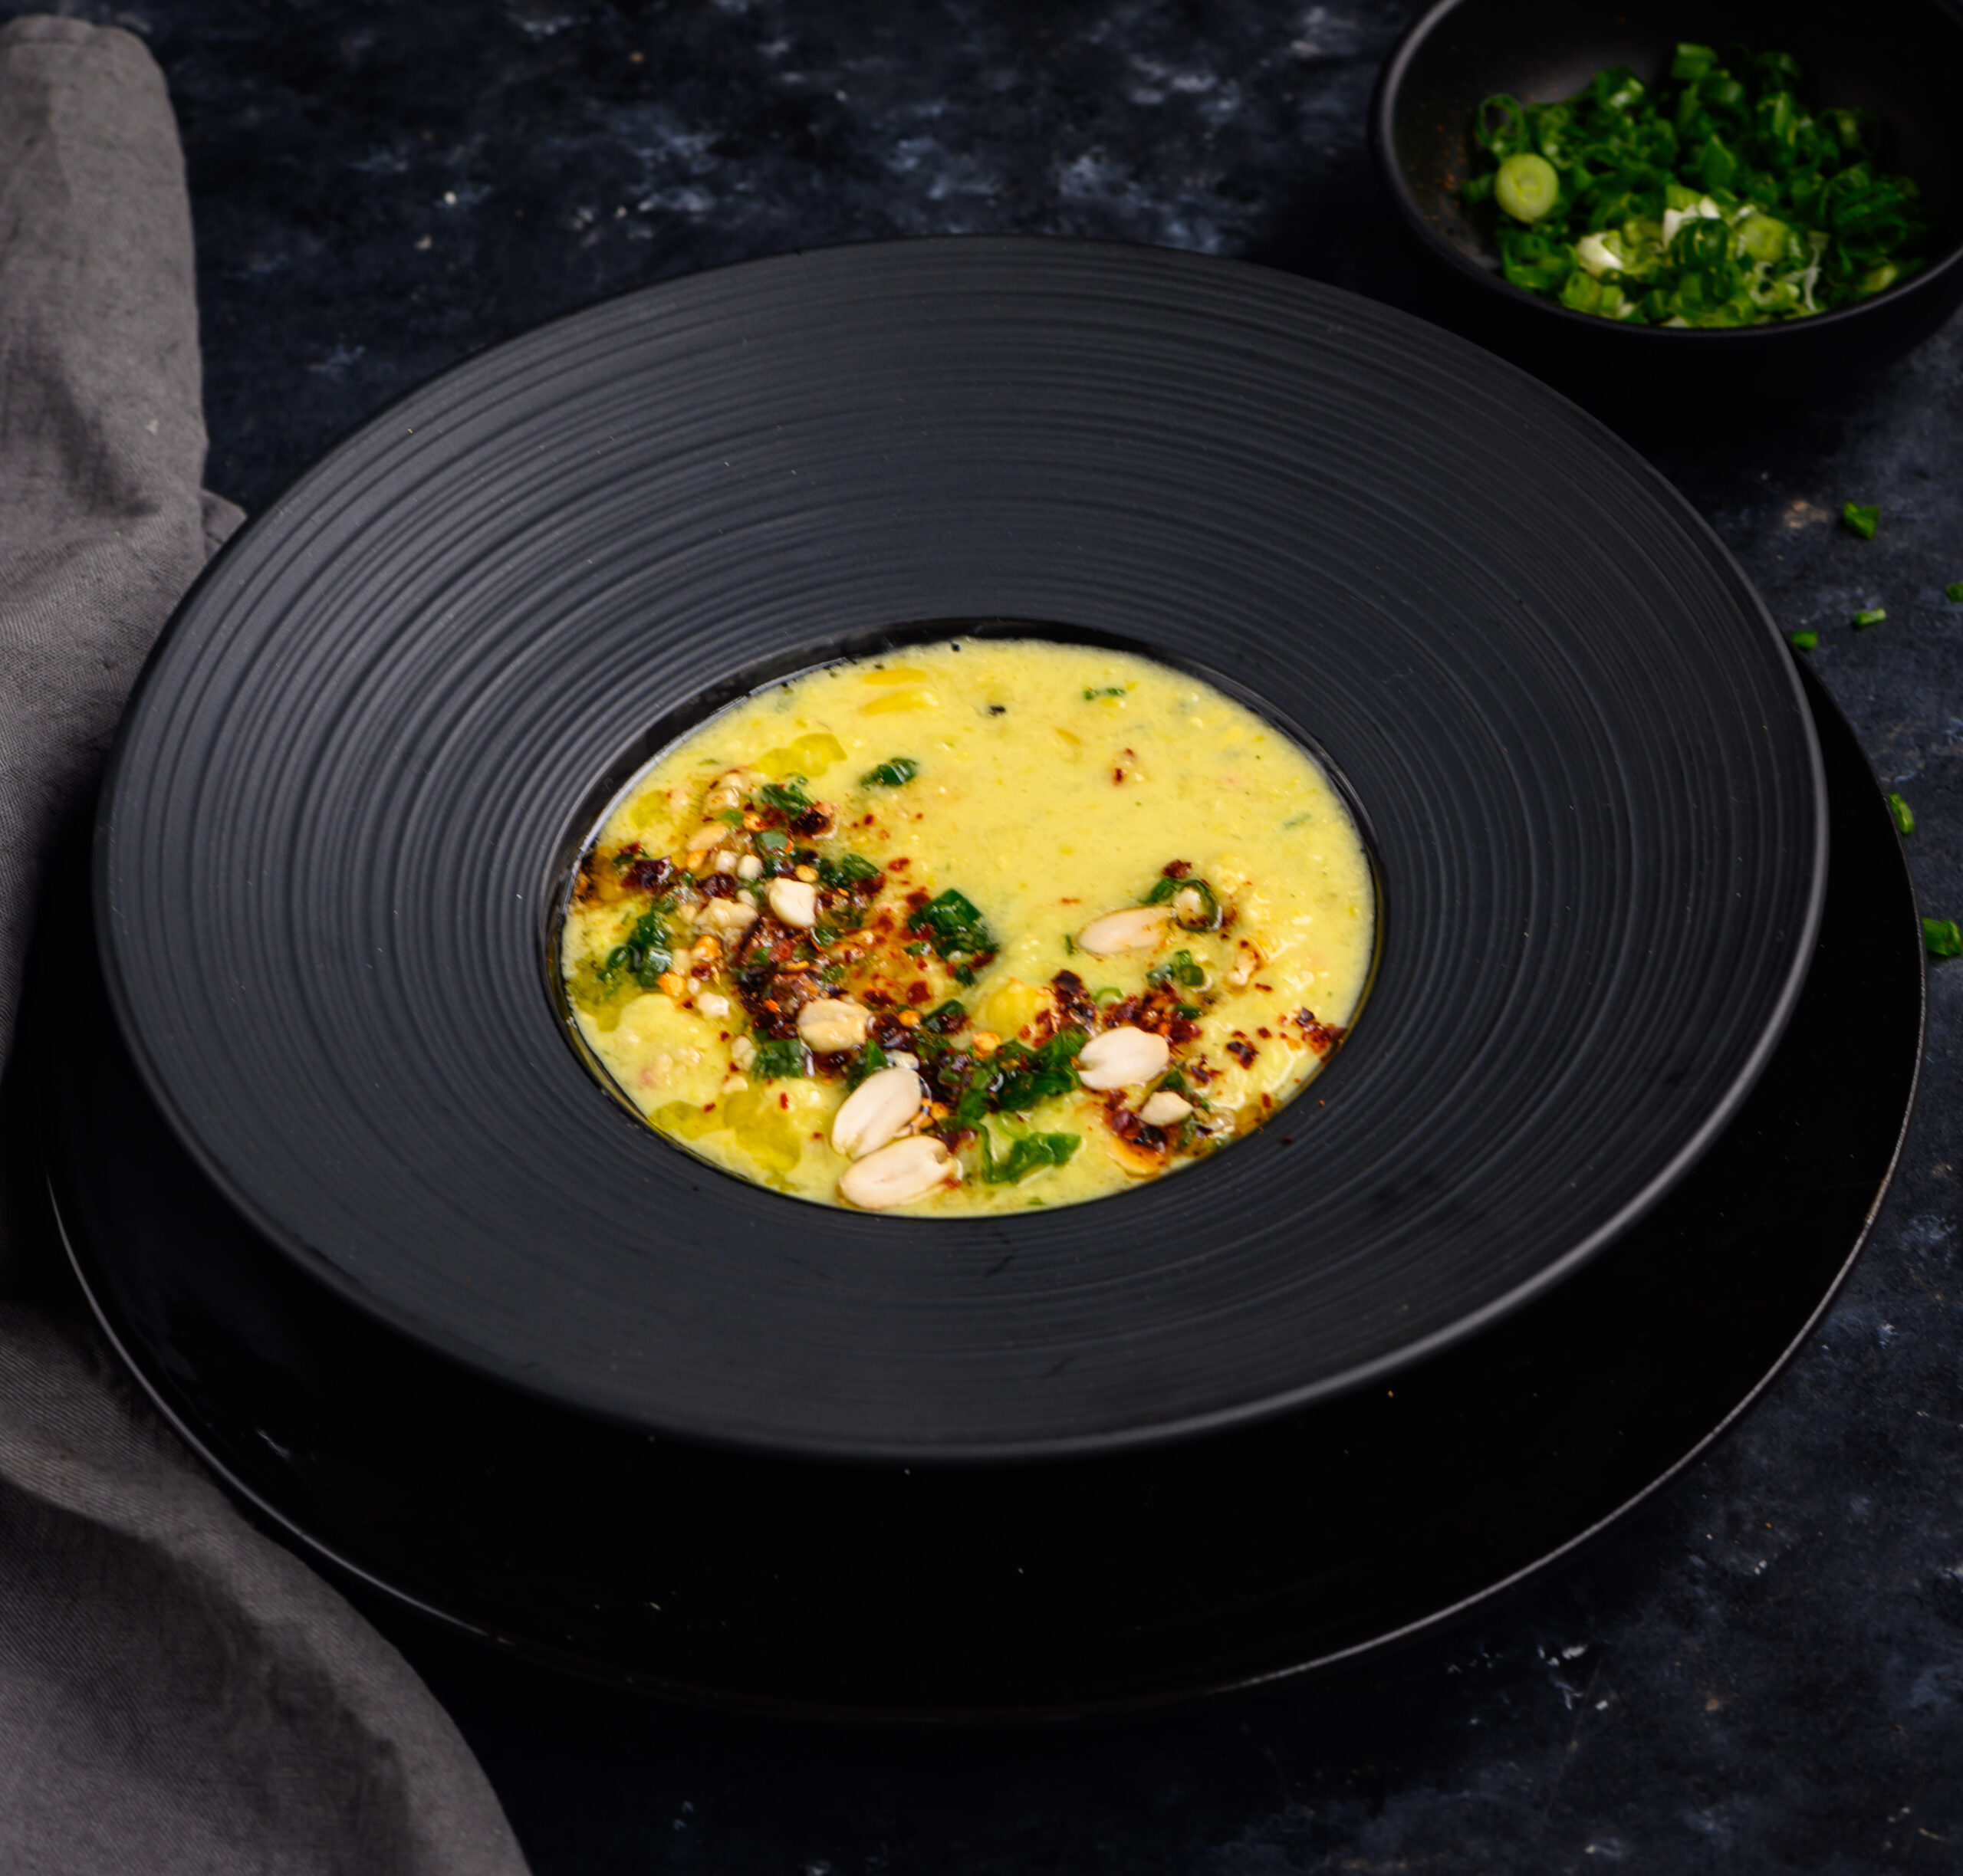
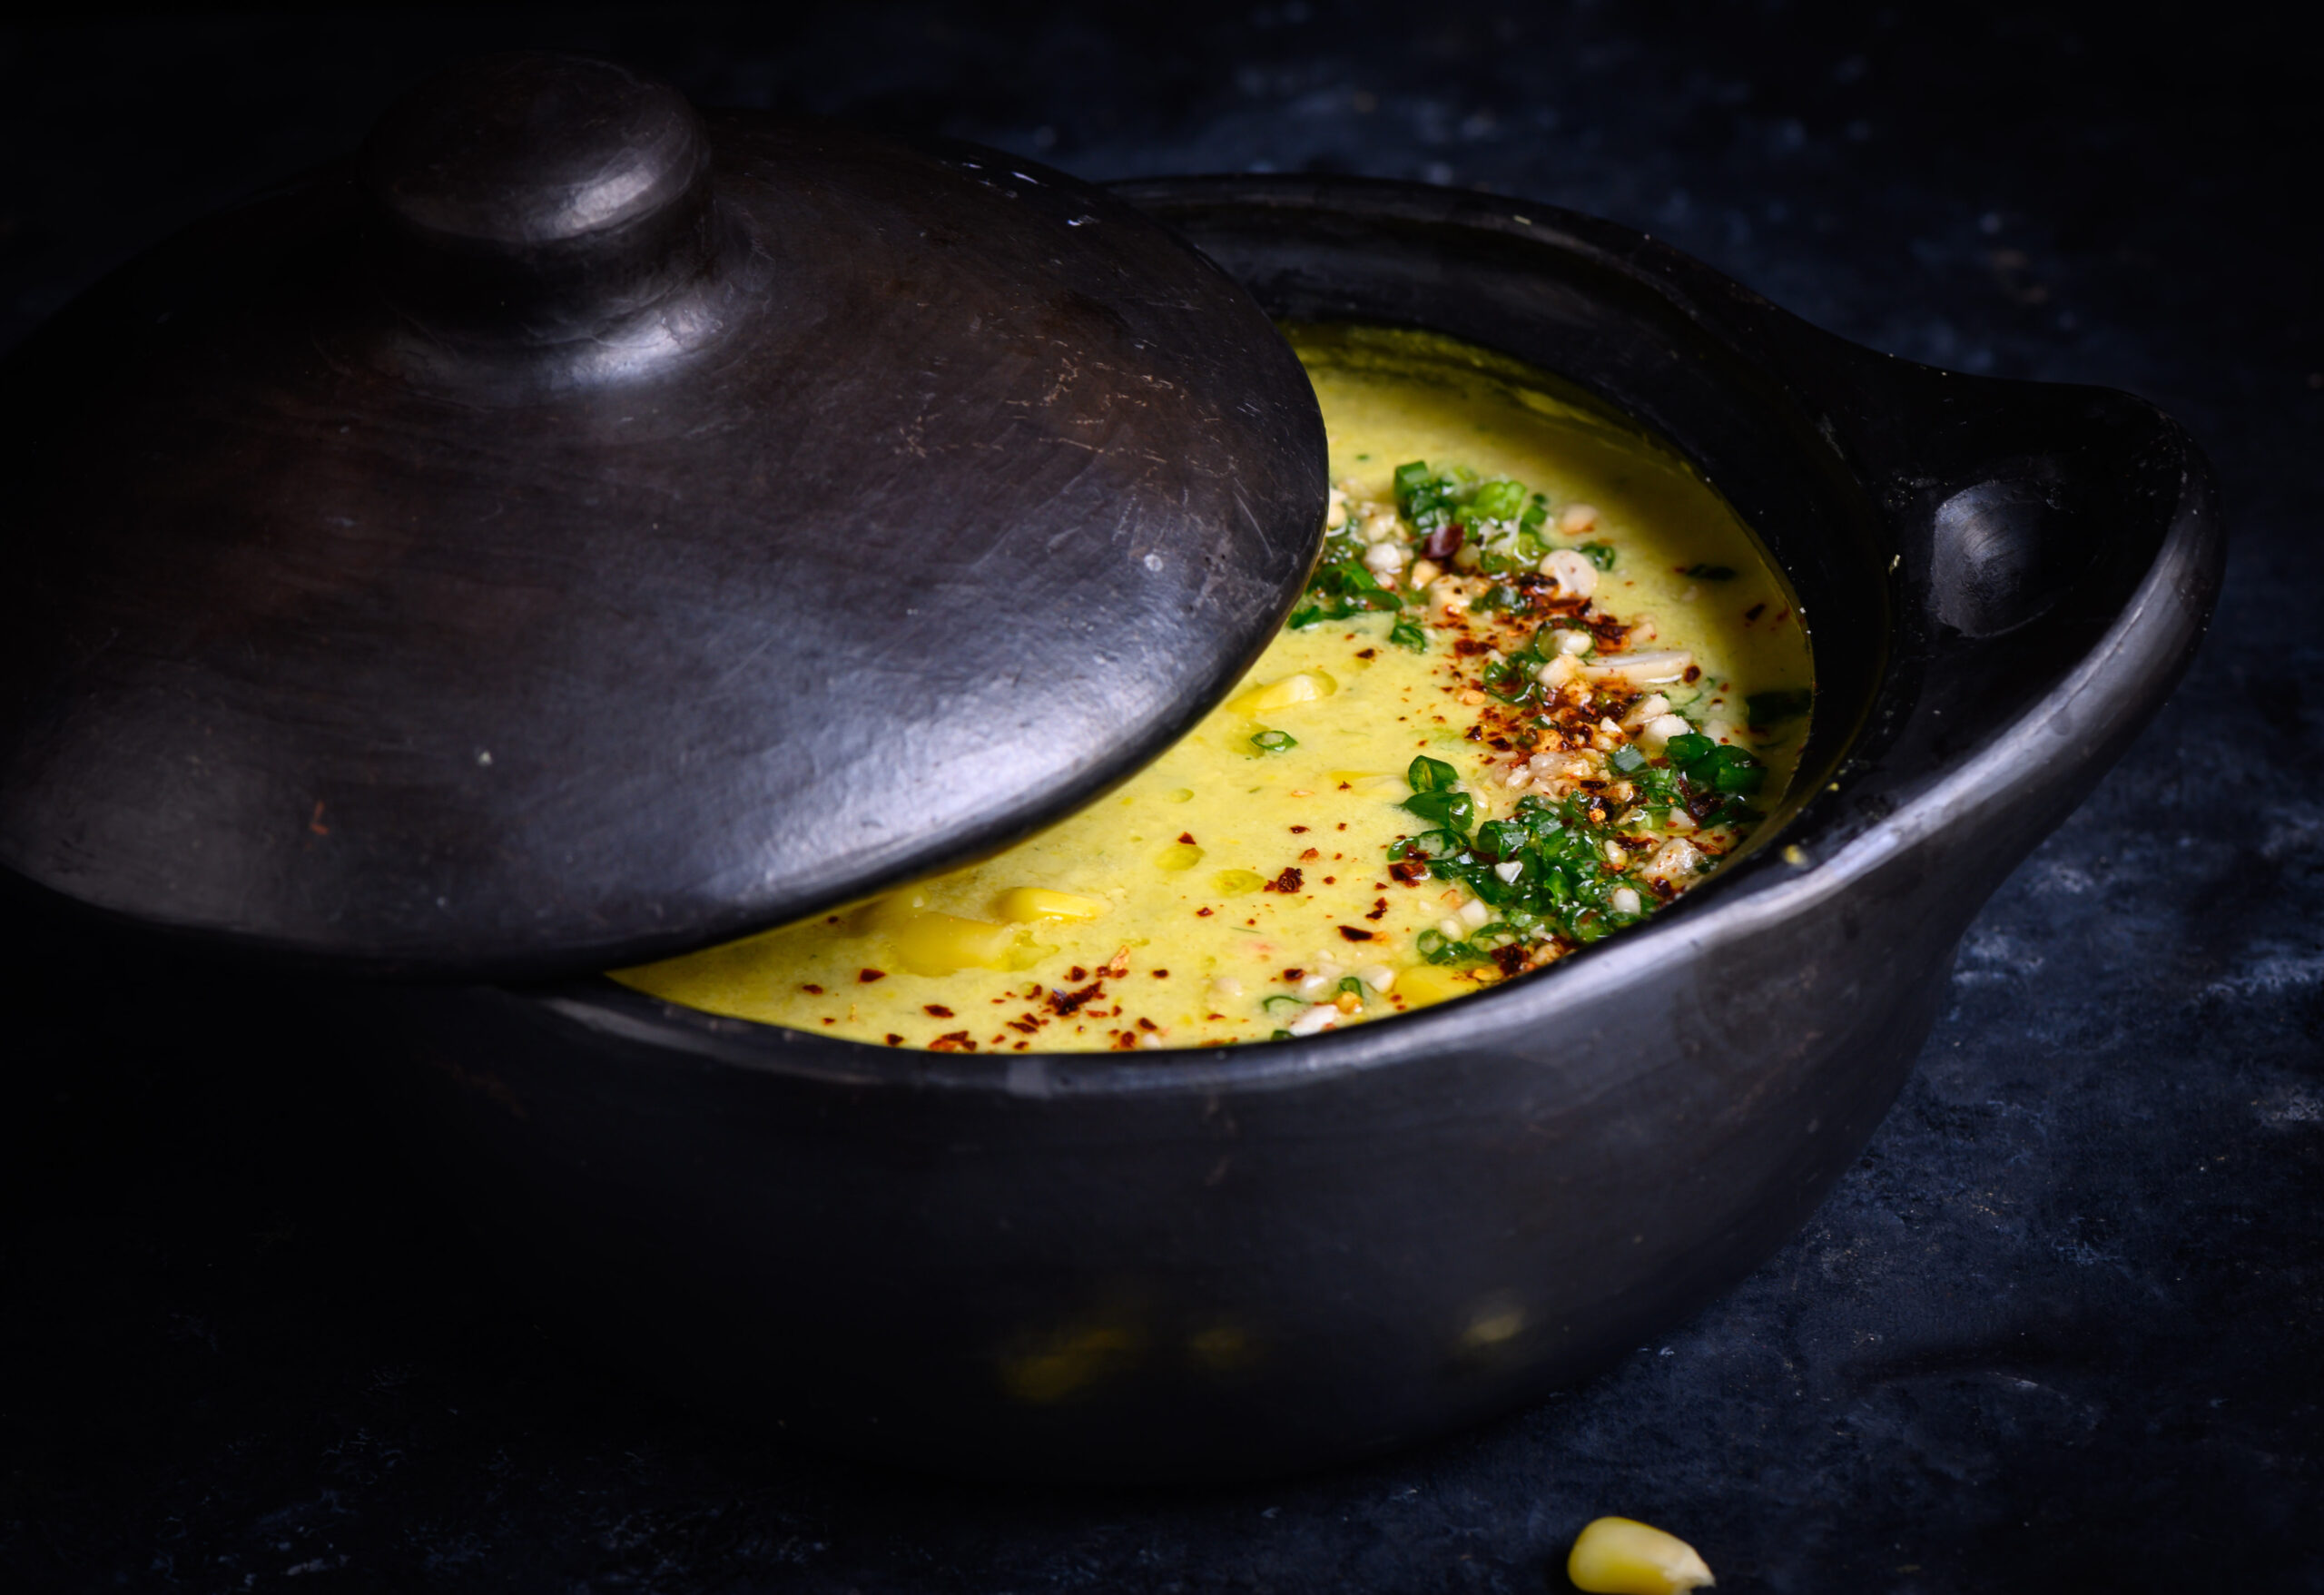
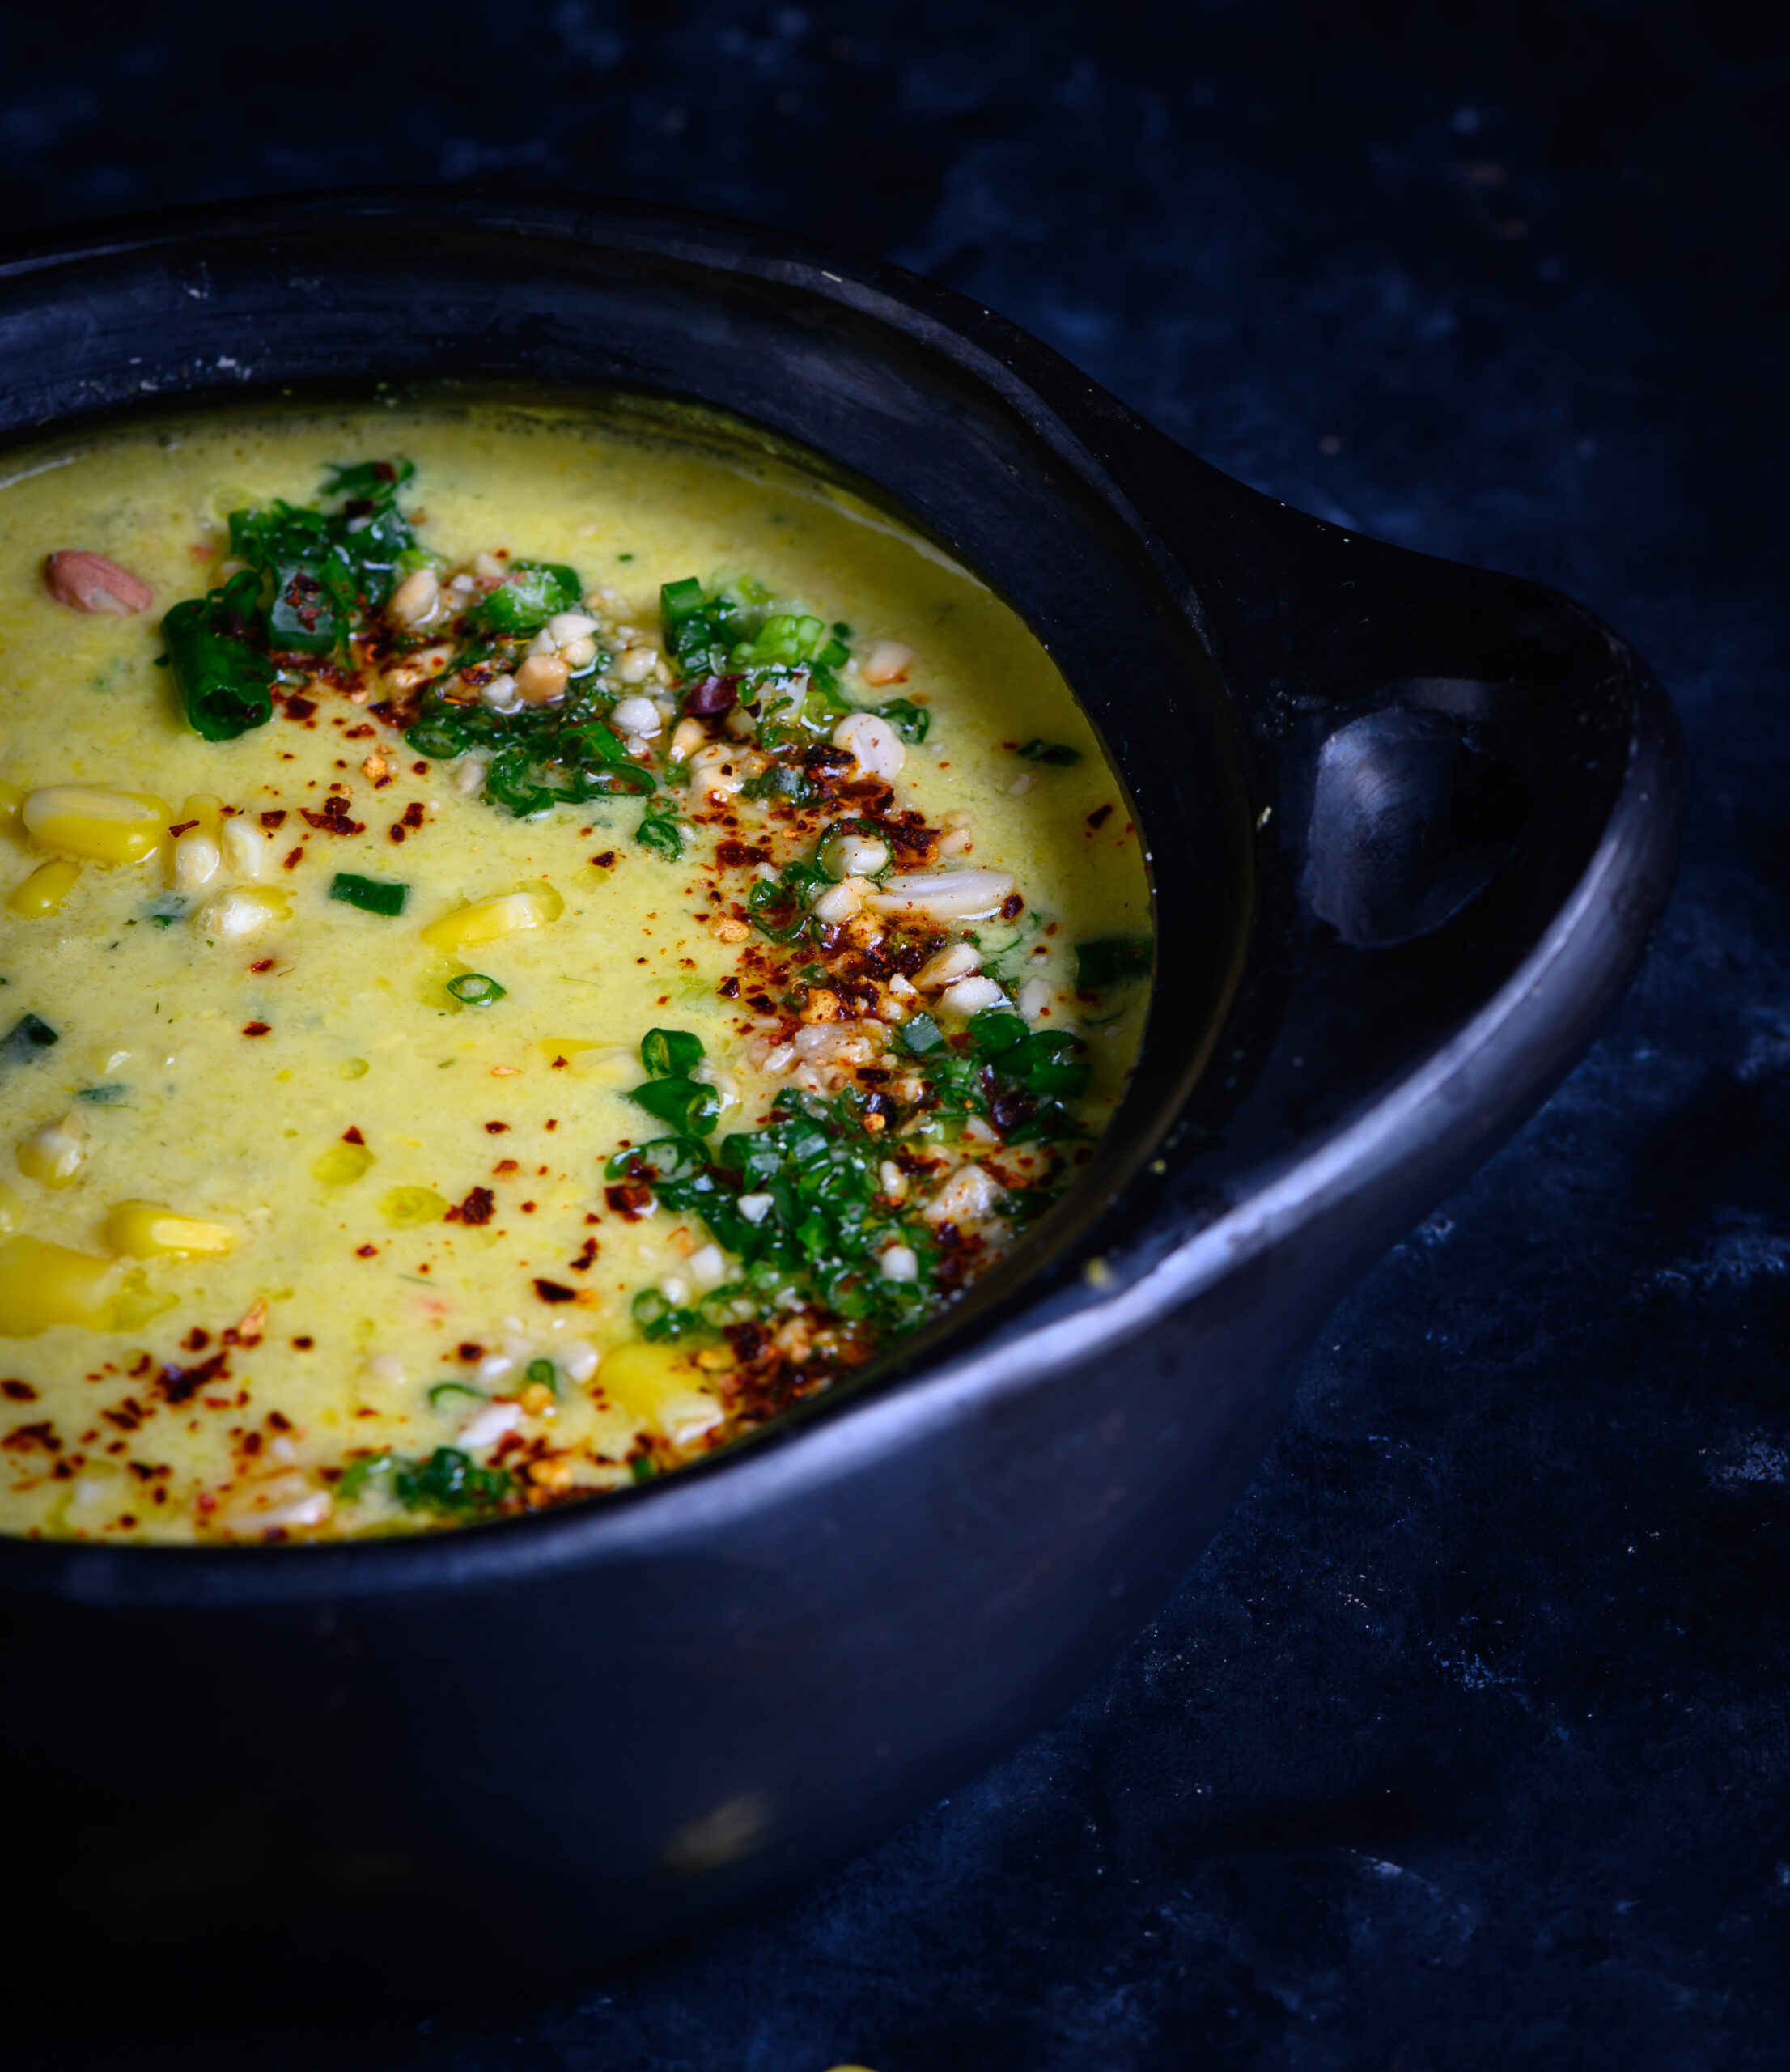
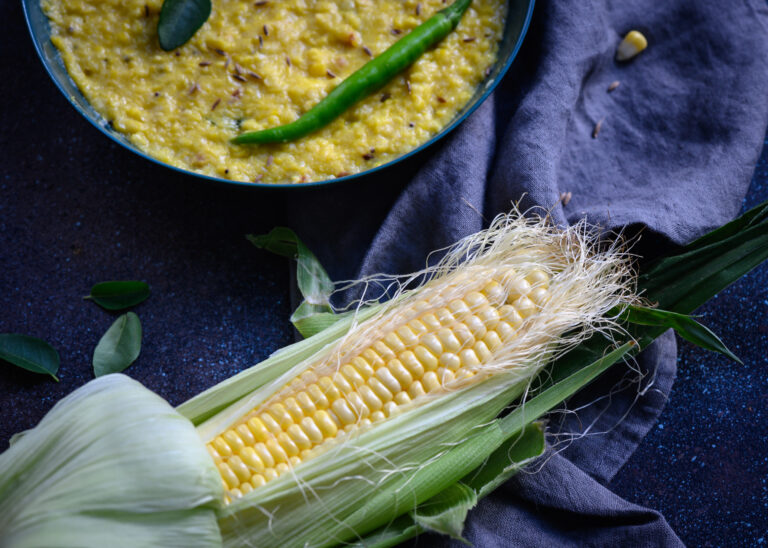
Nostalgia for Nanking drove me to the kitchen, to whip up my own version of sweet corn soup, or rather, a vegan whole corn and lemongrass soup. This recipe avoids the cornflour and the MSG and has some of those re:store twists in the form of aromatic lemongrass and spicy green chilli.

.

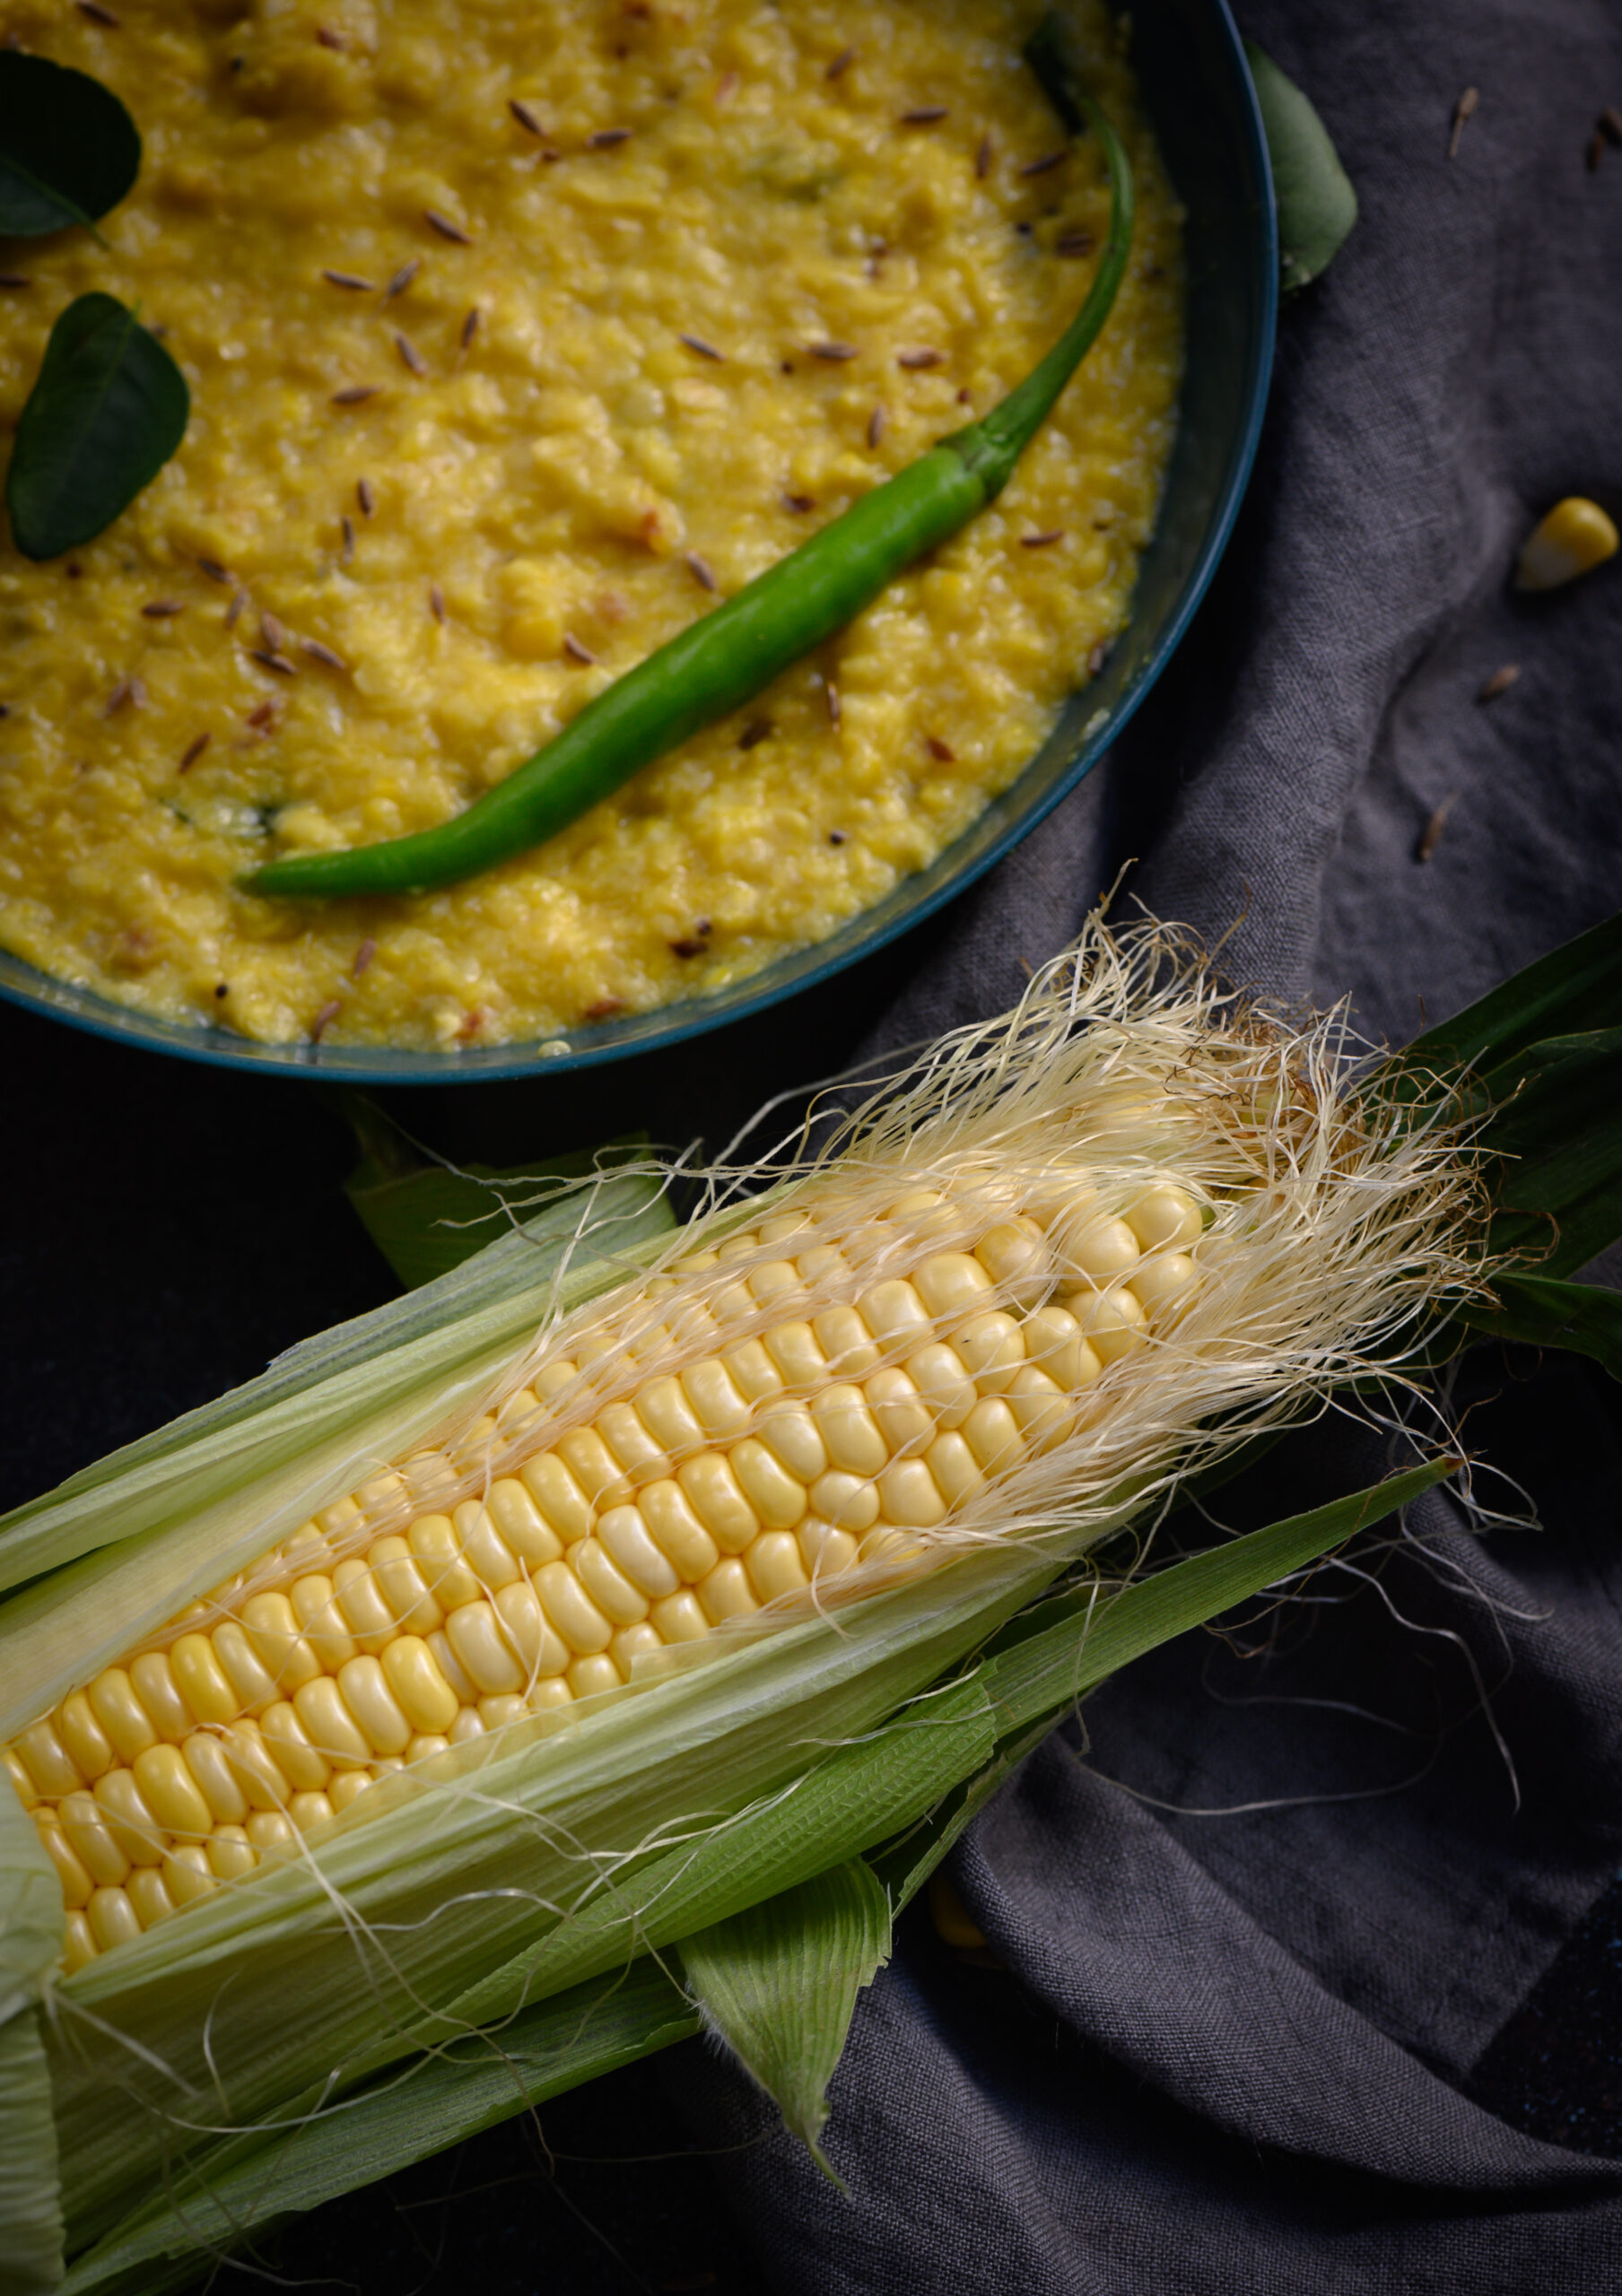
I enjoy the flavour of lemongrass and I think it livens up this soup very much. If you prefer not to use it, some good substitutes are coriander or a hint of mint. Corn has a strong flavour in itself, and my version of the soup is generous with it, so it needs to be balanced well. If you’re a fan of corn , you may also enjoy this makkai khichdi recipe that I shared recently. I use green chilli here for its spiciness, but you can try it with jalapeños too (they are also fast becoming a favourite of mine, and may find themselves in future recipes I’ll share).

Another way in which I’ve tried to recreate this nostalgic dish is with coconut milk. This not only gives it that distinctively South Indian essence, but also evokes many South East Asian delicacies. All in all, this corn and lemongrass soup is a satisfying, filling meal-in-a-bowl that reminds me of my teenage years and of some of my travels, thanks to the blend of flavours.

Speaking of traveling, I just returned from beautiful Colombia, where I heard about the 9-day fast observed by Catholics known as the ‘novena’. It reminded me so much of the 9-day Navaratri followed by Hindus and the 9-day Paryushan followed by the Jains, and got me thinking once again about how we are all so deeply connected. I wish we understood this instead of thinking along the lines of “This is mine, this is yours, my land, my country”, and other such divisions. The oneness and wholeness of humanity is a concept that cannot be lost; whether it be our festivals, our food or our sense of family, ultimately we are all the same and the more I travel, the more this concept is solidified.

Another thought that’s been on my mind a great deal is the famous Native American proverb that goes as follows: “When the last tree has been cut down, the last fish caught, the last river poisoned, only then will we realize that one cannot eat money.” It resonates so much right now. We should all be more aware of what we are doing and thinking. We should look not only at what we are creating, but also at what we are destroying in the process. These are some reflections that I’ve been having as we enter 2020. But first – how about a bowl of warm, crunchy, savoury soup?


Vegan Whole Corn & Lemongrass Soup

(Yield: 6-8 cups)

2 cobs of corn

½ teaspoon grated ginger

2-3 lemongrass stems

2 tablespoons olive oil/ butter

2 cups vegetable stock

2 tablespoons spring onion

1 green chilli/jalapeño

1 cup coconut milk

Salt to taste


Garnish:

2 tablespoons peanuts

Finely chopped spring onion

Finely chopped coriander leaves

Red chili flakes

1 teaspoon olive oil


Grate the corn from the cobs and keep aside.

In a blender, process the lemongrass, ginger and green chilli using 2 tablespoons of water, until coarse.

In a separate pan, add the olive oil and sauté the onions for a few minutes until they are tender. Now, add the grated corn along with its juices. I like to bite into pieces of corn, so in addition to the grated kernels I kept aside a ½ cup of whole kernels, which I add at this point as well. You may do so if you enjoy the texture of corn like I do. Once the mixture turns soft and tender, add the warm vegetable stock and then add the strained juices from the blender.

Gently simmer until the flavours all become one. Add salt to taste. Finally, add the coconut milk. Once heated, remove the pan from the flame.

For the garnish, warm the olive oil gently and stir the remaining ingredients in it.

Spoon the soup into bowls and add the garnish, topping with a spoonful just before serving.

What I do quite frequently nowadays is to make a large quantity of the soup during the day, and whoever wants some just warms up a portion for themselves at any time, just as I do when I find myself hungry for dinner by 6pm or 7pm. I’ve found that it keeps well for up to a couple of days.

In these photos, you may notice the beautiful bowls I’ve used to serve my soup in. I’m always looking for props for my photo and utensils for my kitchen, and when I discovered that blackened earthenware is made in Colombia, I just had to pick some up. I wish I could have carried an entire dinner set back with me from across the continents, but perhaps having to bring these treasures item by item will just mean more visits to that amazing place…

You may also be wondering whether starting the year off on a soup, when so many of us would have set health-related resolutions, was intentional. Actually, it was not. I feel we should eat mindfully all year round, and that we should see nutritious dishes as being a natural part of our diets, not an obligation. This beautiful vegan whole corn and lemongrass soup is exactly the kind of dish that fits into such a repertoire. It’s loaded with healthy ingredients, from corn to nuts and more, and tastes so very delicious. I’d love to know what you think of it if you give this recipe a try!

I was visiting my sister in Mumbai through the fasting week of Paryushan, the most important time of the Jain calendar. Over the course of 8 days, devout Jains maintain some form of abstinence, depending on their personal capacity. Most abstain from eating leafy green vegetables, as this ties in to a belief that they contain life in a way that grains and certain other ingredients do not. Causing harm to any life is forbidden according to the Jain tenets, and during this time of fasting, non-violence is taken as seriously as possible. Some eat only a single meal per day. Others embark on a very intense form of abstinence, in which they will not eat or drink anything at all for the course of the holy days. Paryushan lasts for eight days, the highlight of which is Mahavir Jayanti (celebrating the birth of Mahavir, the twenty-fourth and final spiritual teacher of the religion), which falls on the fifth day. Those who successfully complete the rigorous fasting of consuming nothing over these eight days will say that they have done atthai.

As my sister’s family is a devout one, I saw firsthand what a challenge it can be, in the kitchen, to ensure that meals fulfill the strict criteria of the various fasts being undertaken. At a time like this, there is a complete lack of focus on food as savouring or giving in to desires or temptations are to be avoided. It is the simplicity of the food cooked that is appreciated. Thanking God for the basic things that life gives us, we don’t exactly celebrate (it is not a “festival”) but rather appreciate our blessings.

Given all this, one still has to be creative as a cook. One often finds, during this period, that ingredients that are normally reached for without a thought have to be excluded. For instance, my sister made green moong dhokla but carefully avoided the coriander leaves. Idli-sambar was a popular dish, reminiscent of our Chennai roots of course, that was surprisingly easy – one just avoided the onions and garlic. The one I enjoyed most of all, however, was makkai khichdi.

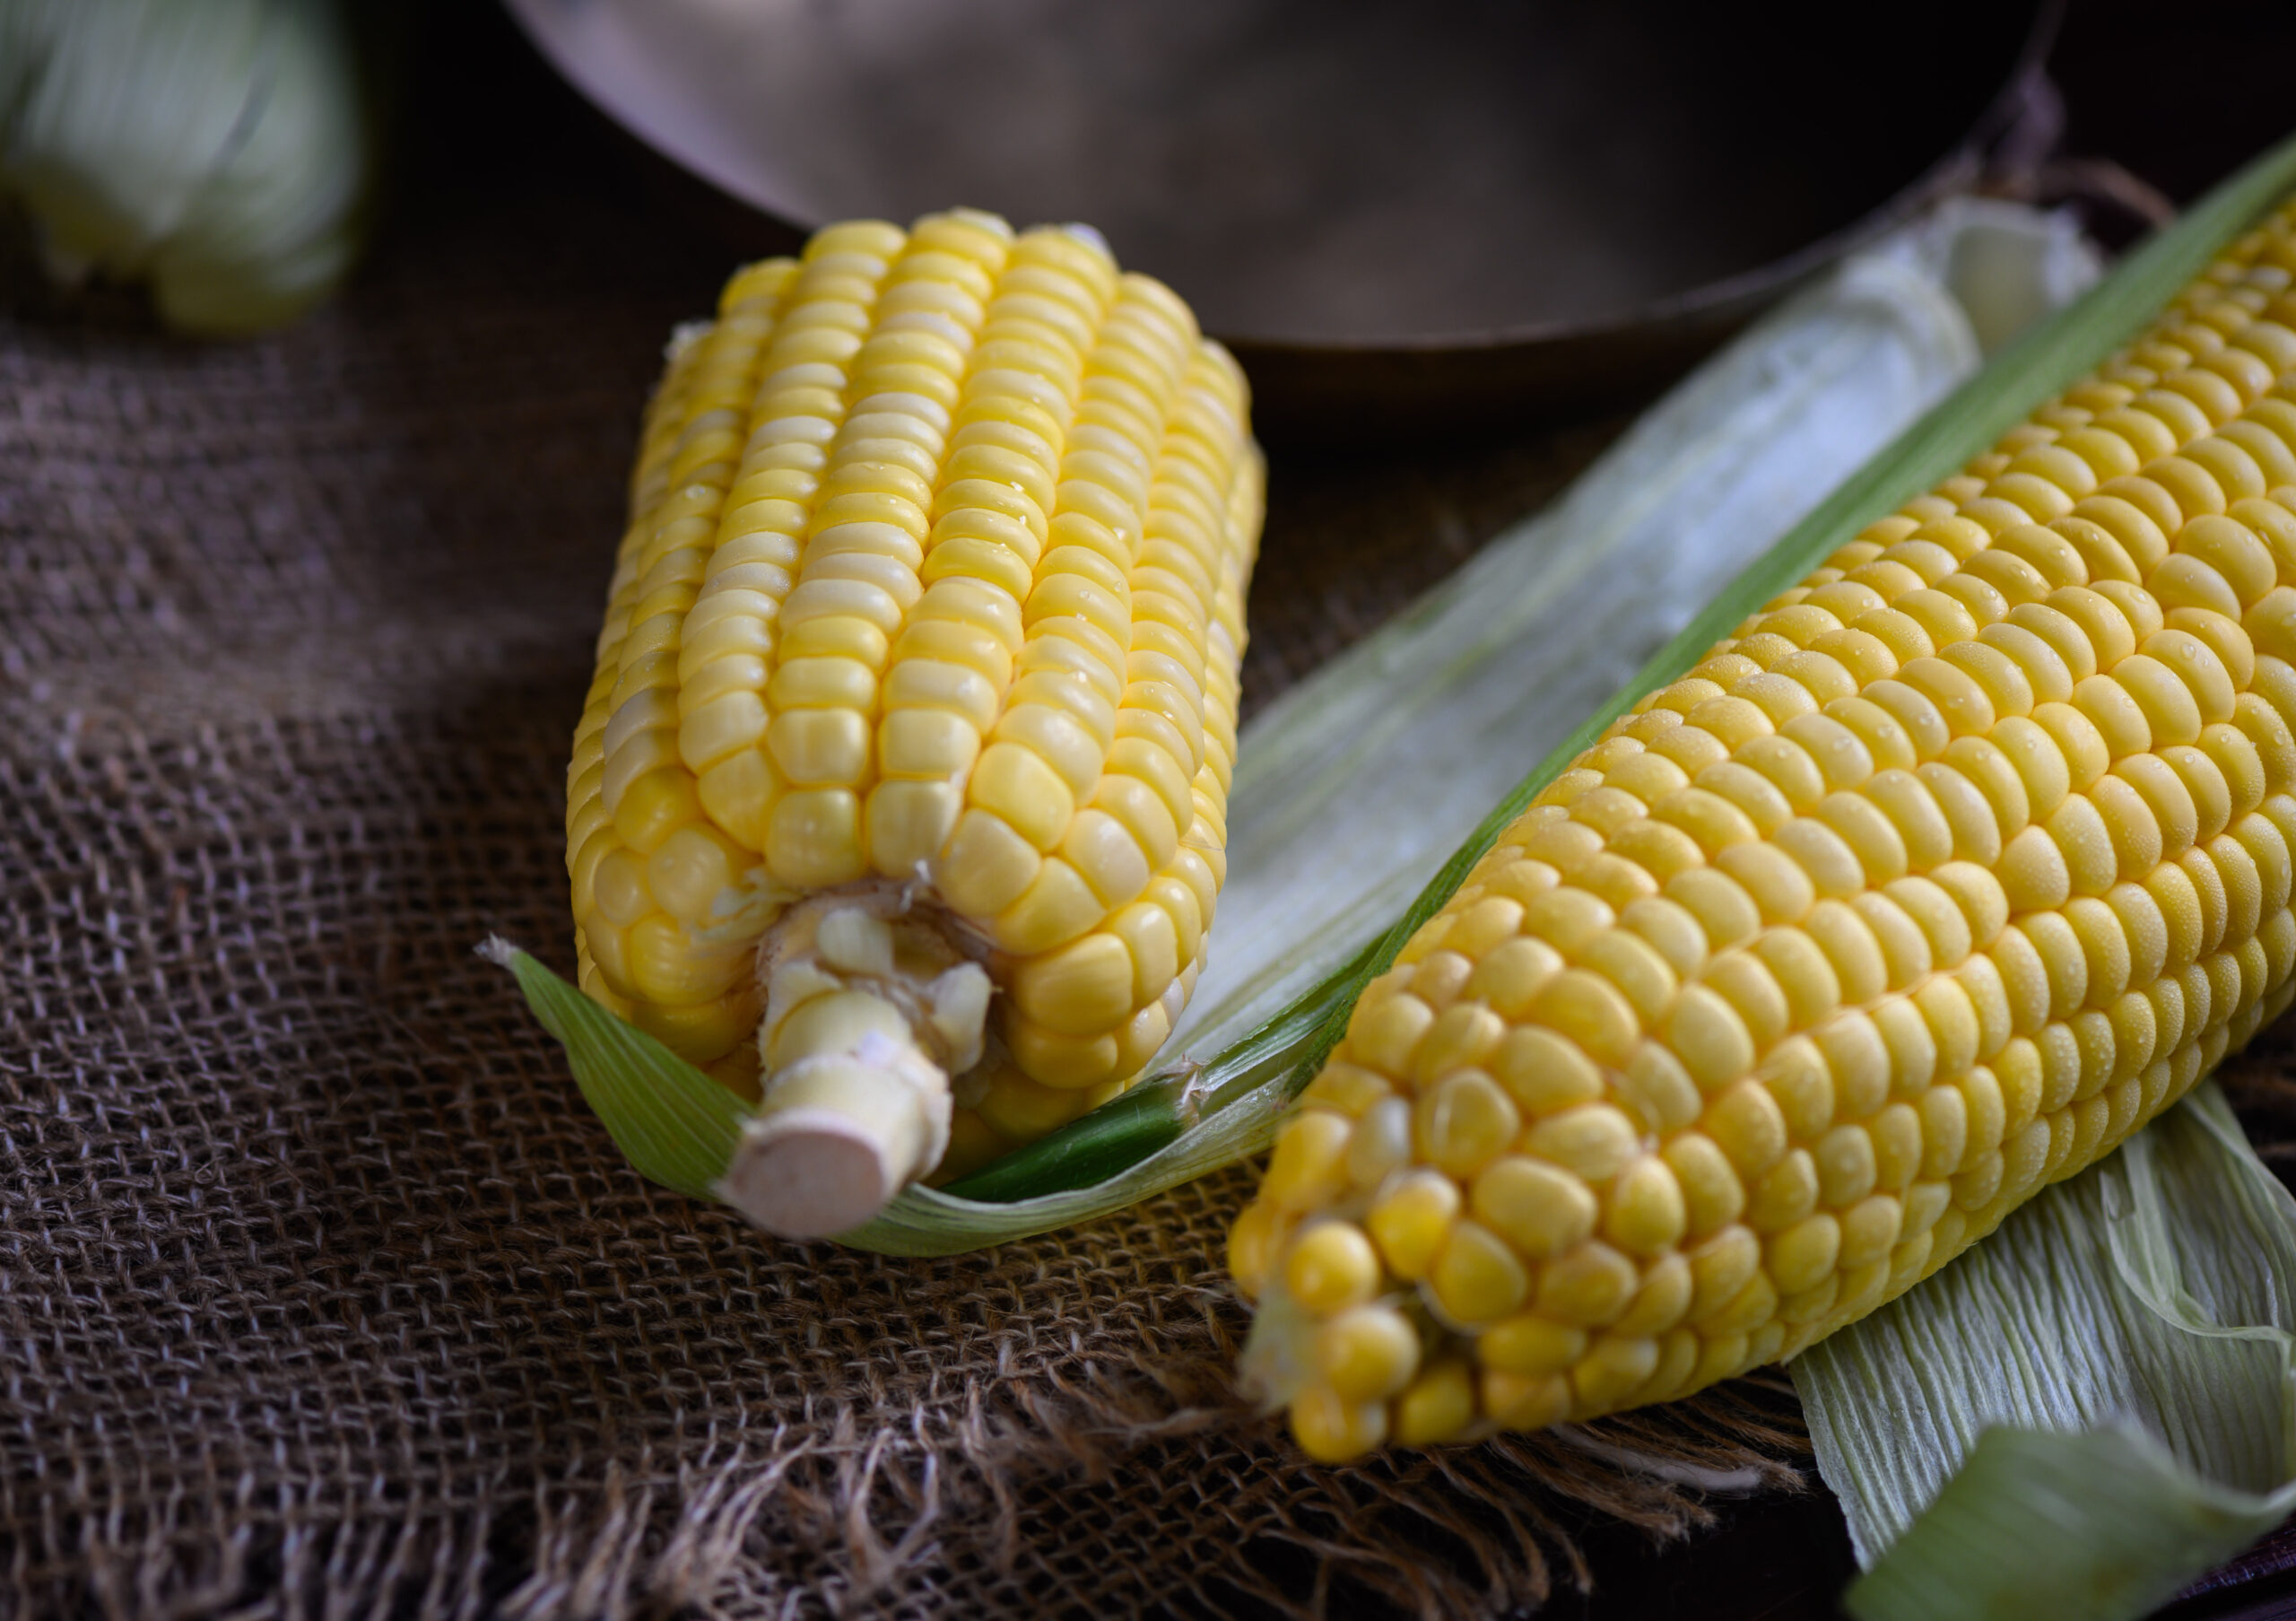
A khichdi, of which there are numerous variations, is a dish made of rice and lentils. In this version, however, the base ingredient is makkai – corn. Who doesn’t love corn? I’m a huge fan of anything to do with corn, which in addition to being delicious is also highly nutritious. It’s packed with Vitamin B, fibre, zinc, antioxidants, copper, iron and a bevy of other benefits. Corn-based dishes often lend themselves well to being either a snack or a meal, and this makkai khichdi fulfills both criteria.


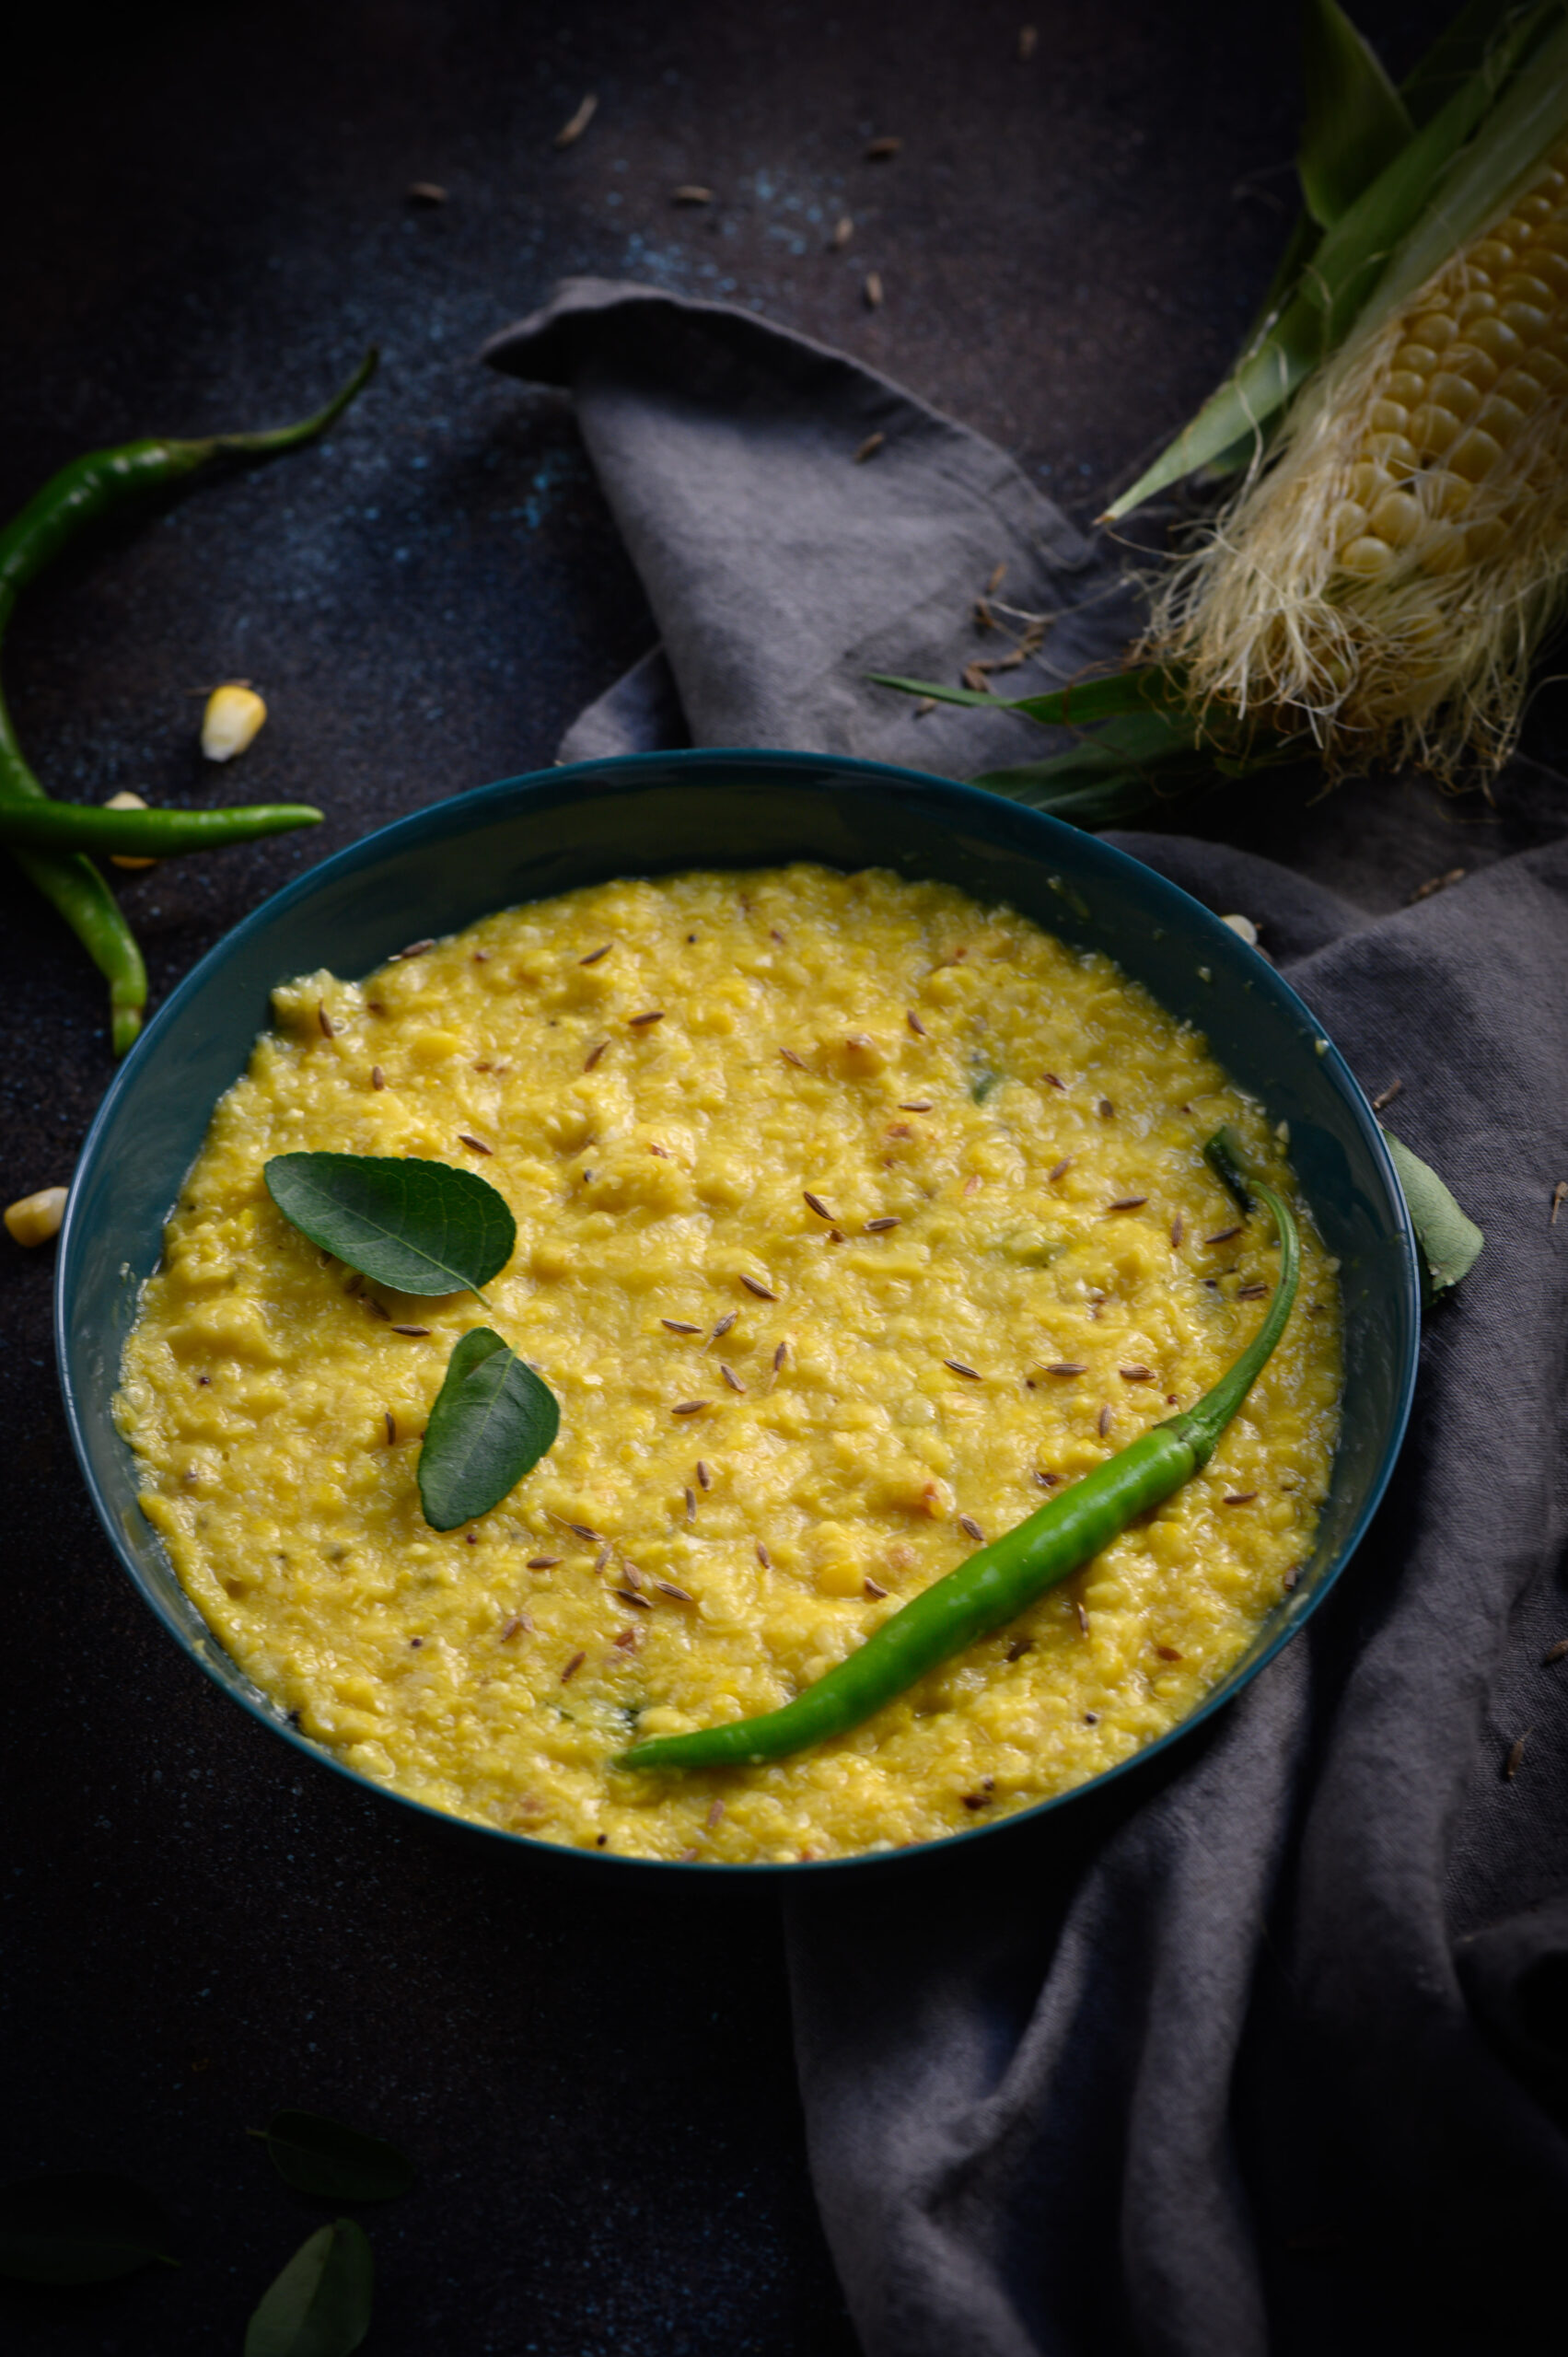
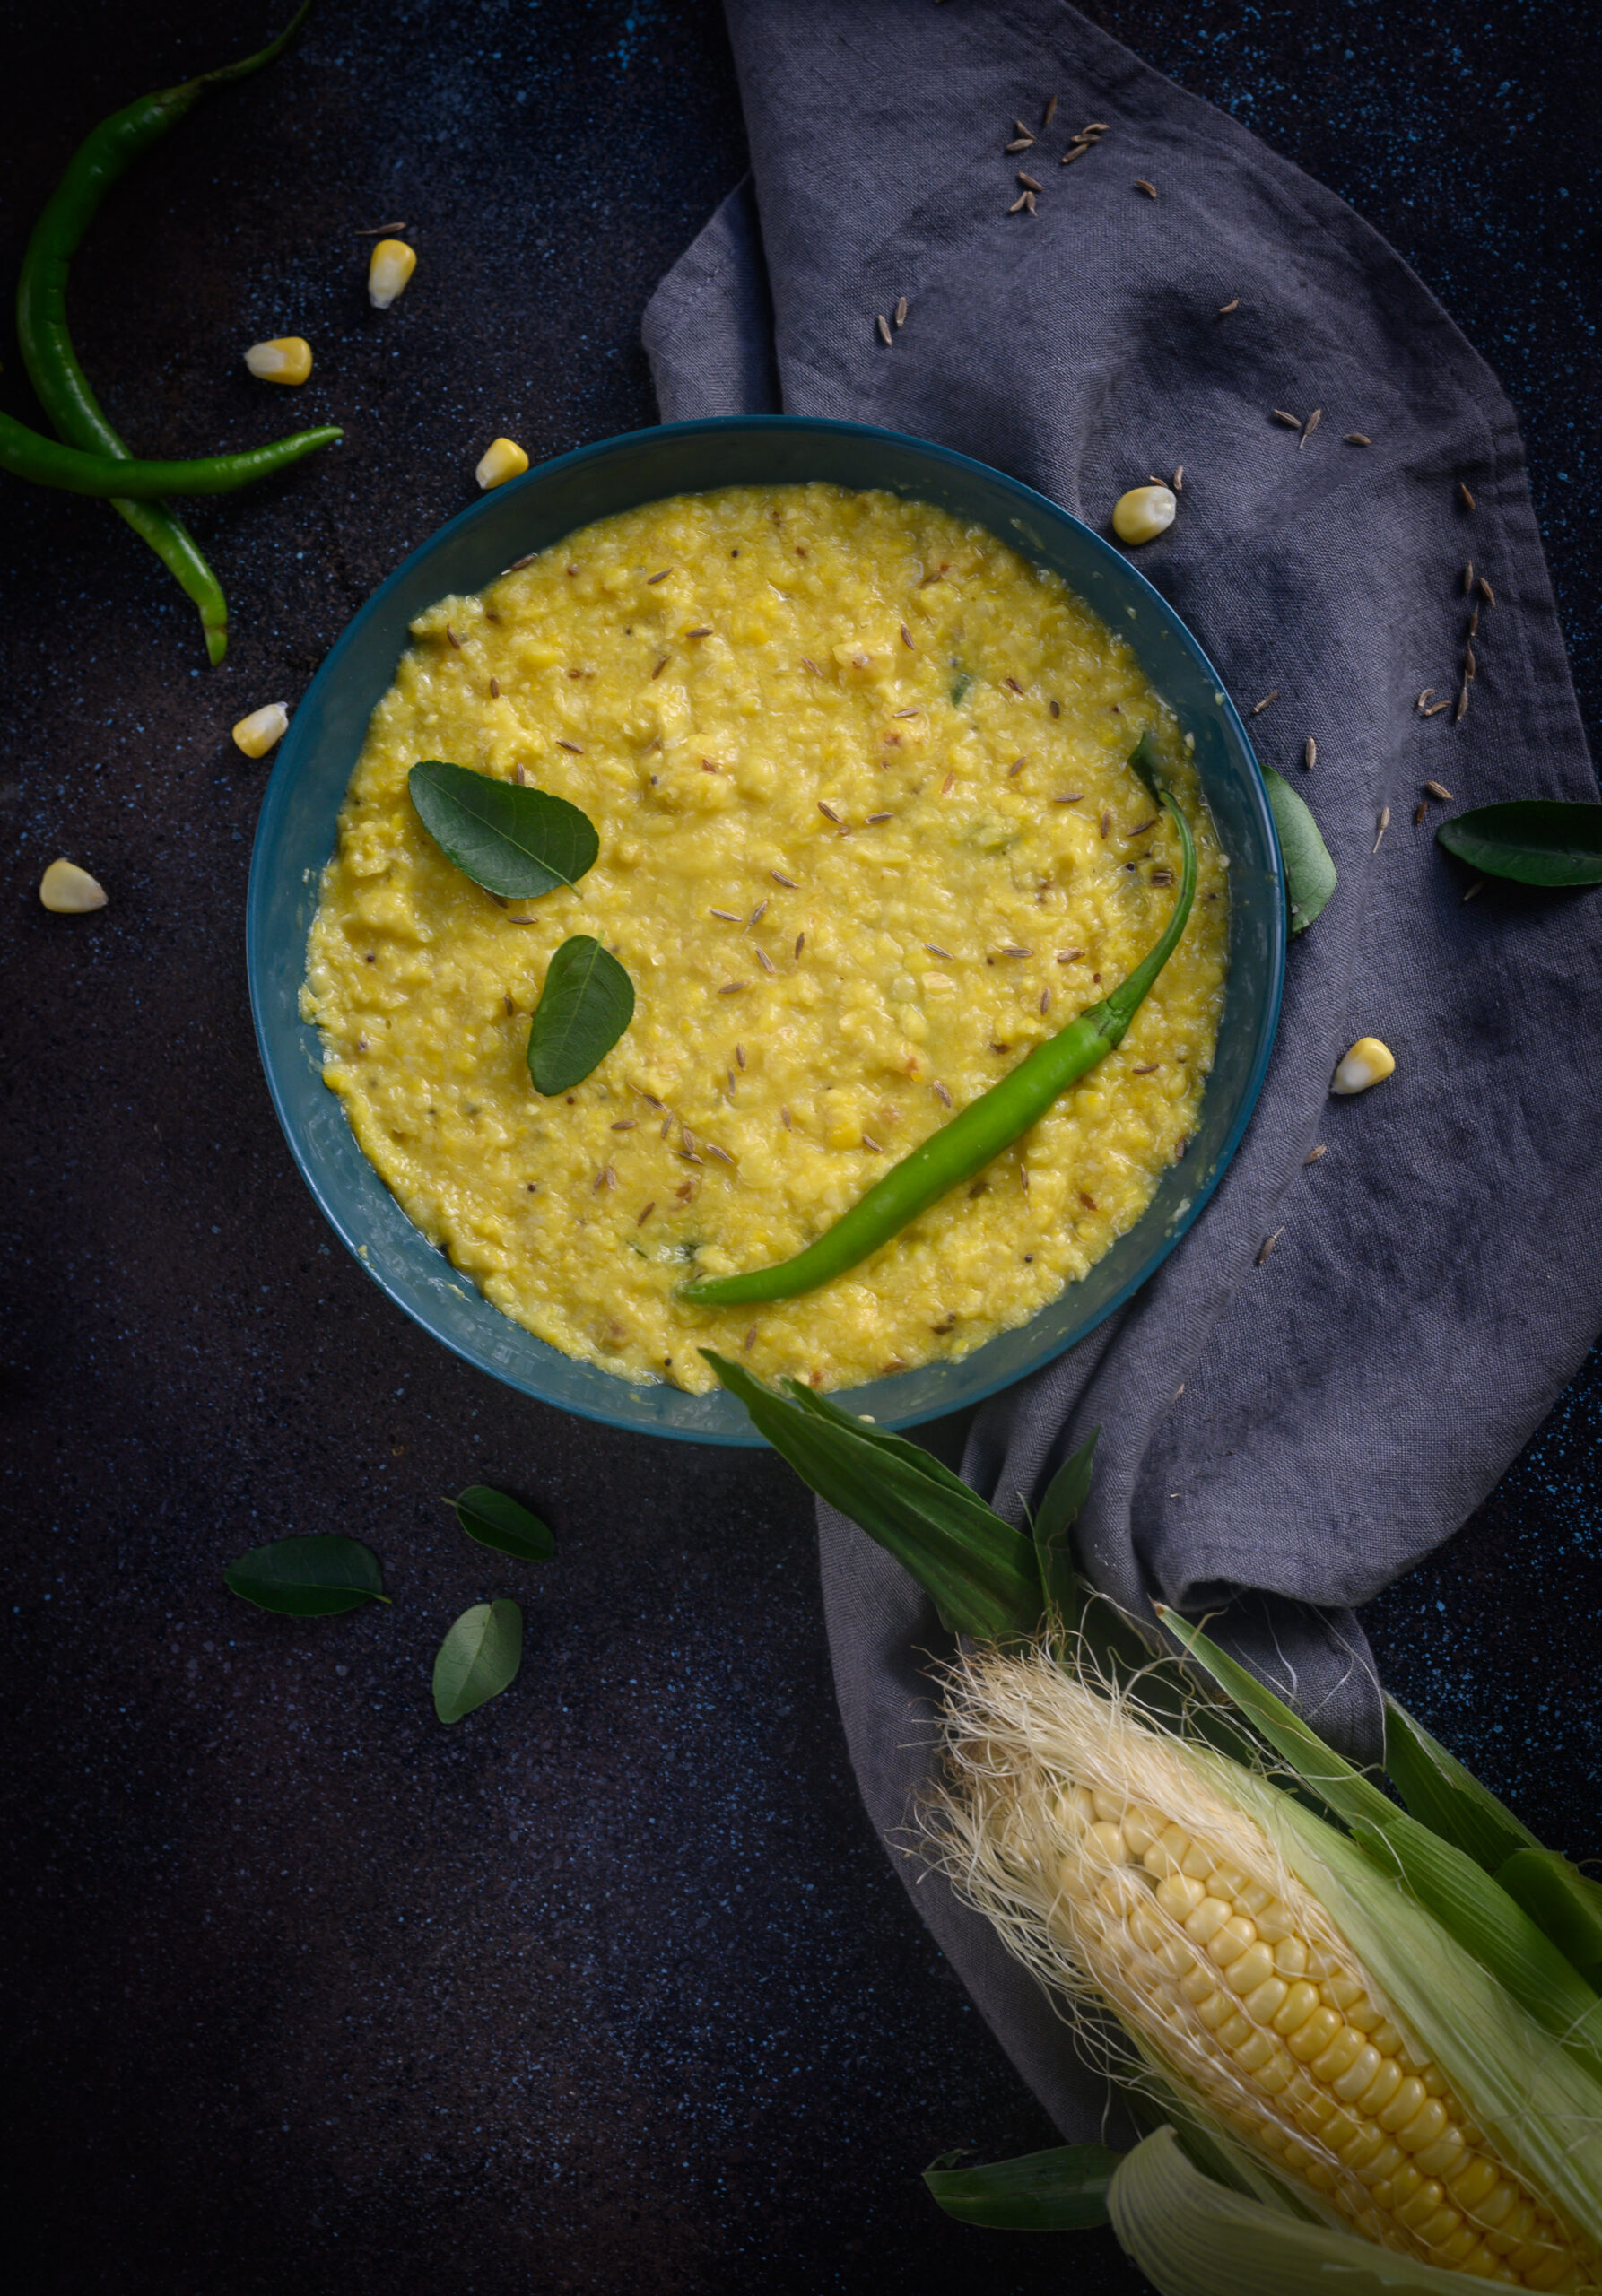
As Jains consider corn (which is technically a grain) a green vegetable, my sister prepares this khichdi using coarsely dried corn. I enjoyed the dish very much when I visited her, but was eagerly waiting to trying out the fresh variation as soon as I got home. Of course, like always, I wanted to add my own twists. In this case, the twists were lemongrass and the use of coconut milk so as to make it vegan. The flavour of corn makes a great base to other flavours, so I knew that my experimental twists would turn out well. Sure enough, they did!

Simple, light and so delicious, this makkai khichdi is one of my favourites. The best evidence that this is a perfect comfort food is that the Dark Prince’s mother used to make it for him during his exams. When you know a child loves a healthy dish, you know that everyone will.


Makkai Khichdi

(Yield: 1 bowl)

3 cups grated fresh corn

1 cup milk (coconut milk optional)

1 tablespoon oil

½ teaspoon cumin seeds

1 green chilli

A handful of curry leaves

Approximately ½ cup lemongrass or about 8 stalks (cut long)

Salt to taste


If you are starting from scratch, ensure that the corn is grated length-wise. Keep it aside.

In a kadai, add the oil. Once it has heated, add the cumin seeds, curry leaves and green chili. Wait for it to splutter and then add the grated corn. Sauté on a medium flame and then add the milk/coconut milk at room temperature. Stir and allow to bubble for approximately 5-10 minutes. Add salt and lemongrass. Stir and turn off the flame.

With time, as the khichdi cools, it will thicken.

Now, remove the lemongrass from the concoction and discard it. You will find upon taking a bite that the flavours would have seeped in beautifully. Garnish with finely chopped coriander leaves and serve.

I also use a similar technique to make a soup some times, which I find pretty filling and tasty when I am not in the mood for a full meal. Prepare the recipe in a more liquid fashion, using more water. Eliminate the tempering, and grind the green chilli, lemongrass and corn together. Add a dollop of butter and voila – you have a rich, flavourful soup.

As a cook, and especially as someone who has trained in Macrobiotics and who is interested in the relationship between science and food, I’ve thought a lot about the logic of the Paryushan fasting season. My understanding is that it is a kind of pre-festive preparation. It falls at the end of the Gujarati calendar, ahead of occasions such as Navaratri, Diwali and so on, which are full of sweets and feasting. By keeping atthai, one detoxes the body and cleanses it before the indulgences of sugar and ghee that are to come. Moreover, the practice of fasting is also a kind of emotional release, a conscious way to close the chapter of a year.

The innovative dishes made during Paryushan, which eliminate all forms of violence as far as possible, are only half of what make me so interested in this holy season. The other half is the way it ends. On the eighth day, the ritual of Micchami Dukkadam is practised. This is the day on which we greet our relatives and friends with the words “Micchami dukkadam”, a Prakrit phrase which translates to “May all the evil that has been done be fruitless.” The ritual is essentially the practice of asking for forgiveness, allowing us to start our new year on a fresh note. What a beautiful way to close the week of purification through fasting, and begin the next chapter. What are some of the rituals from your culture that let you clean the slate? Are there special dishes that are a part of these too?

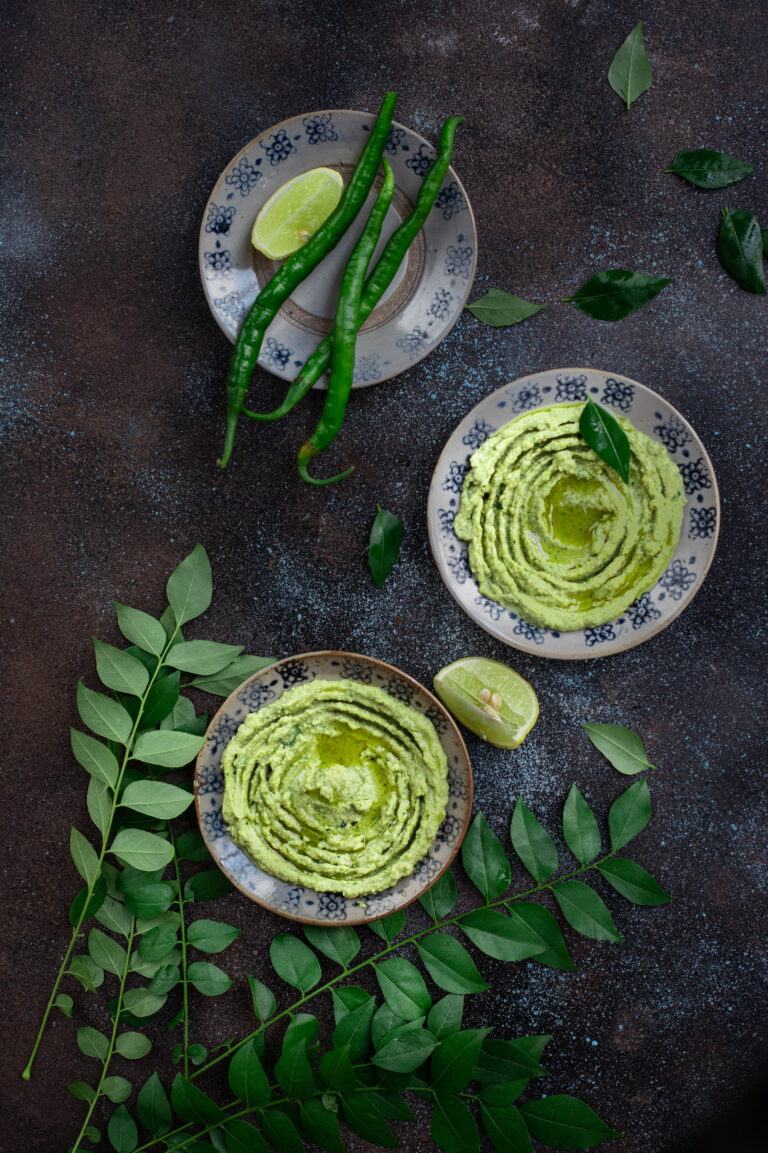
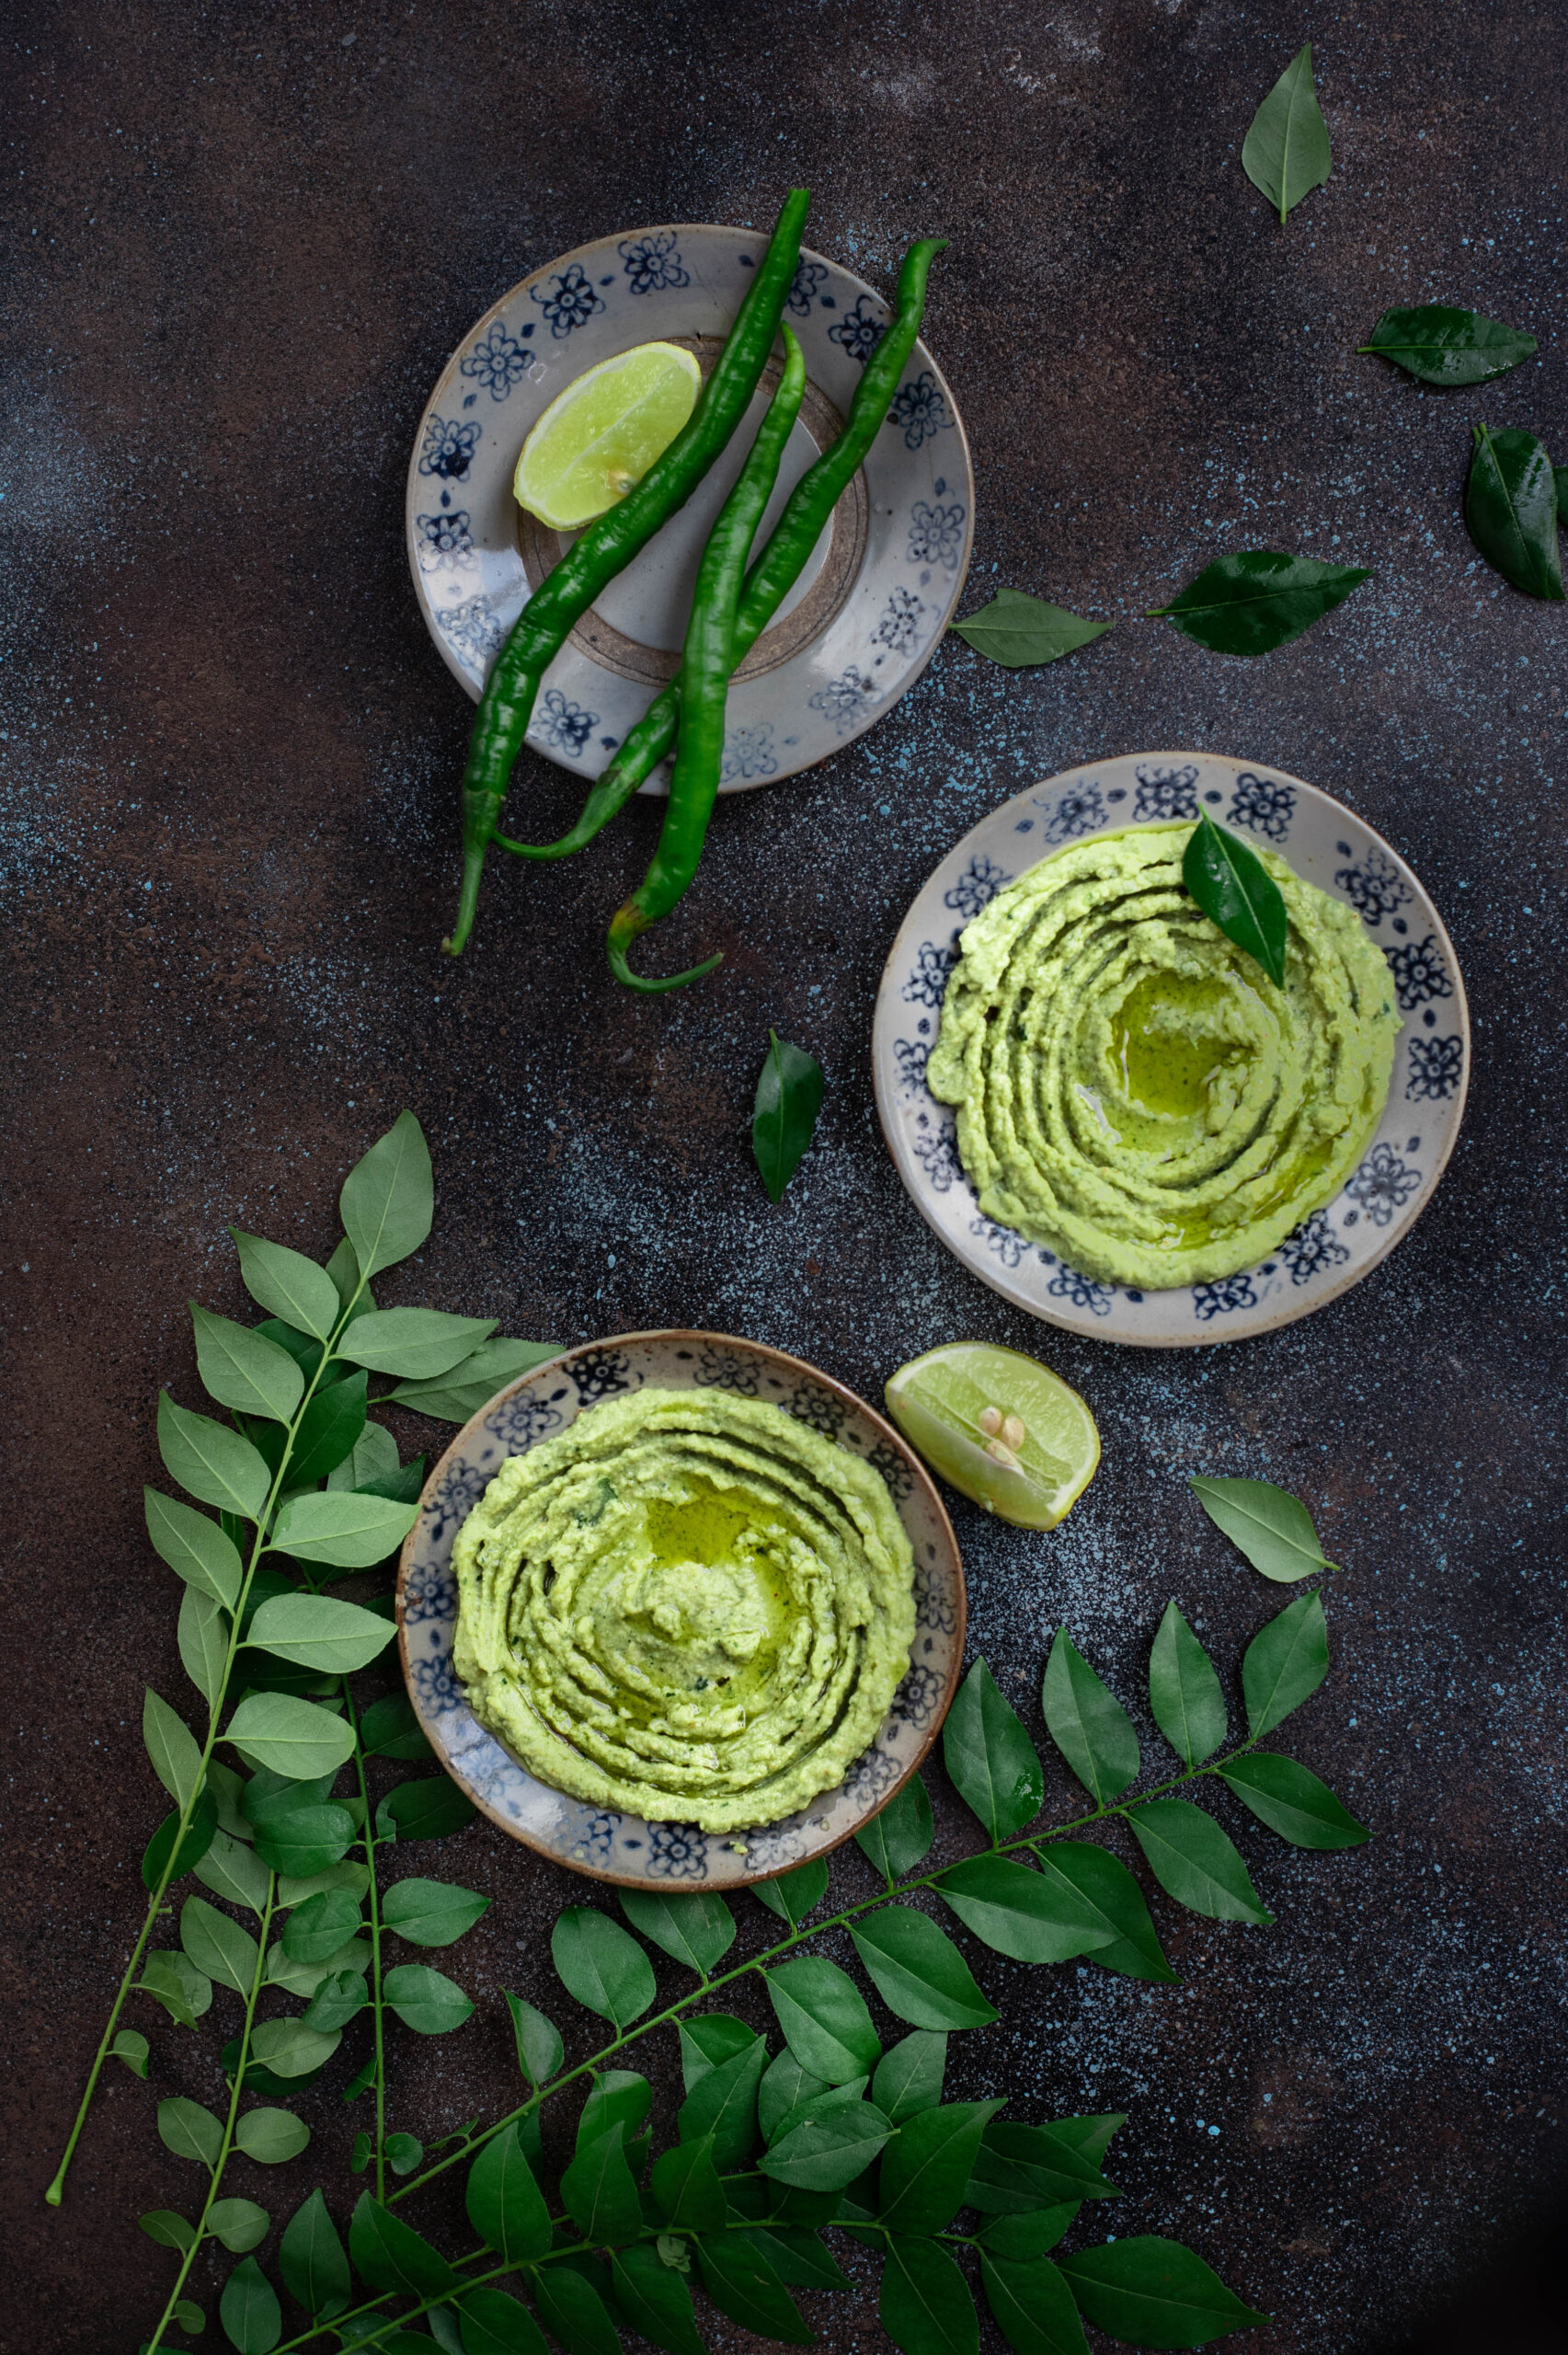
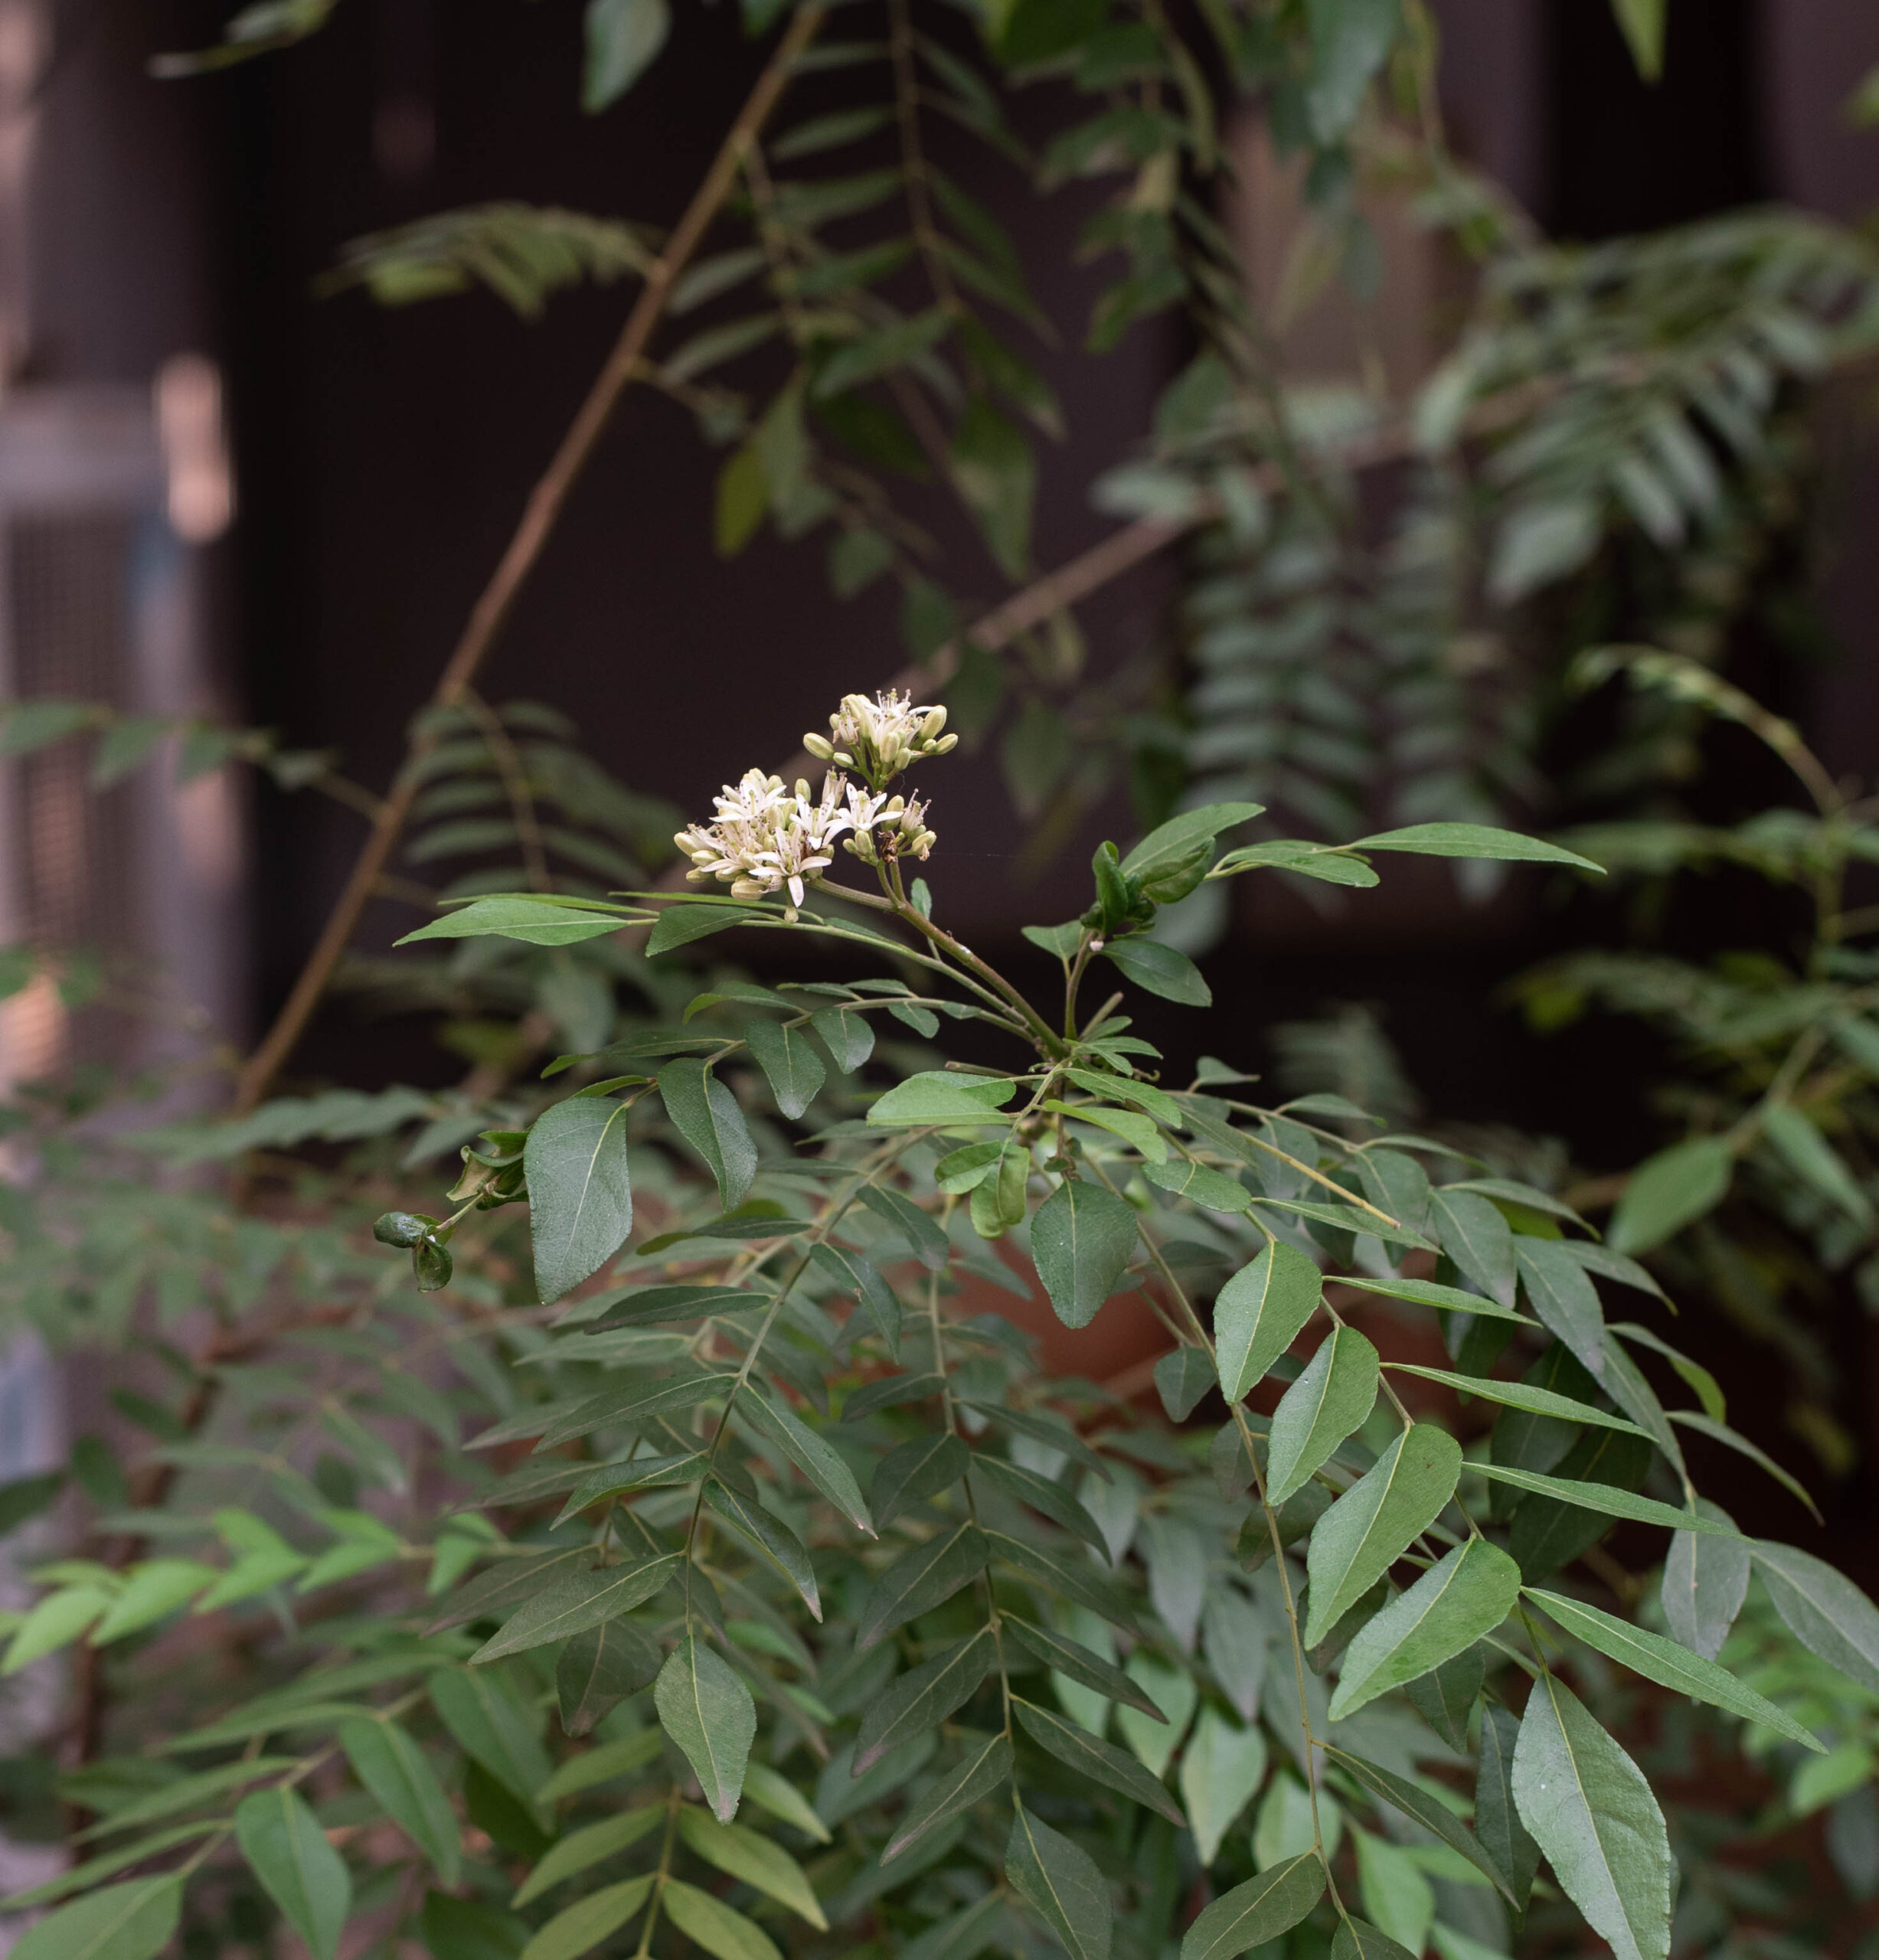
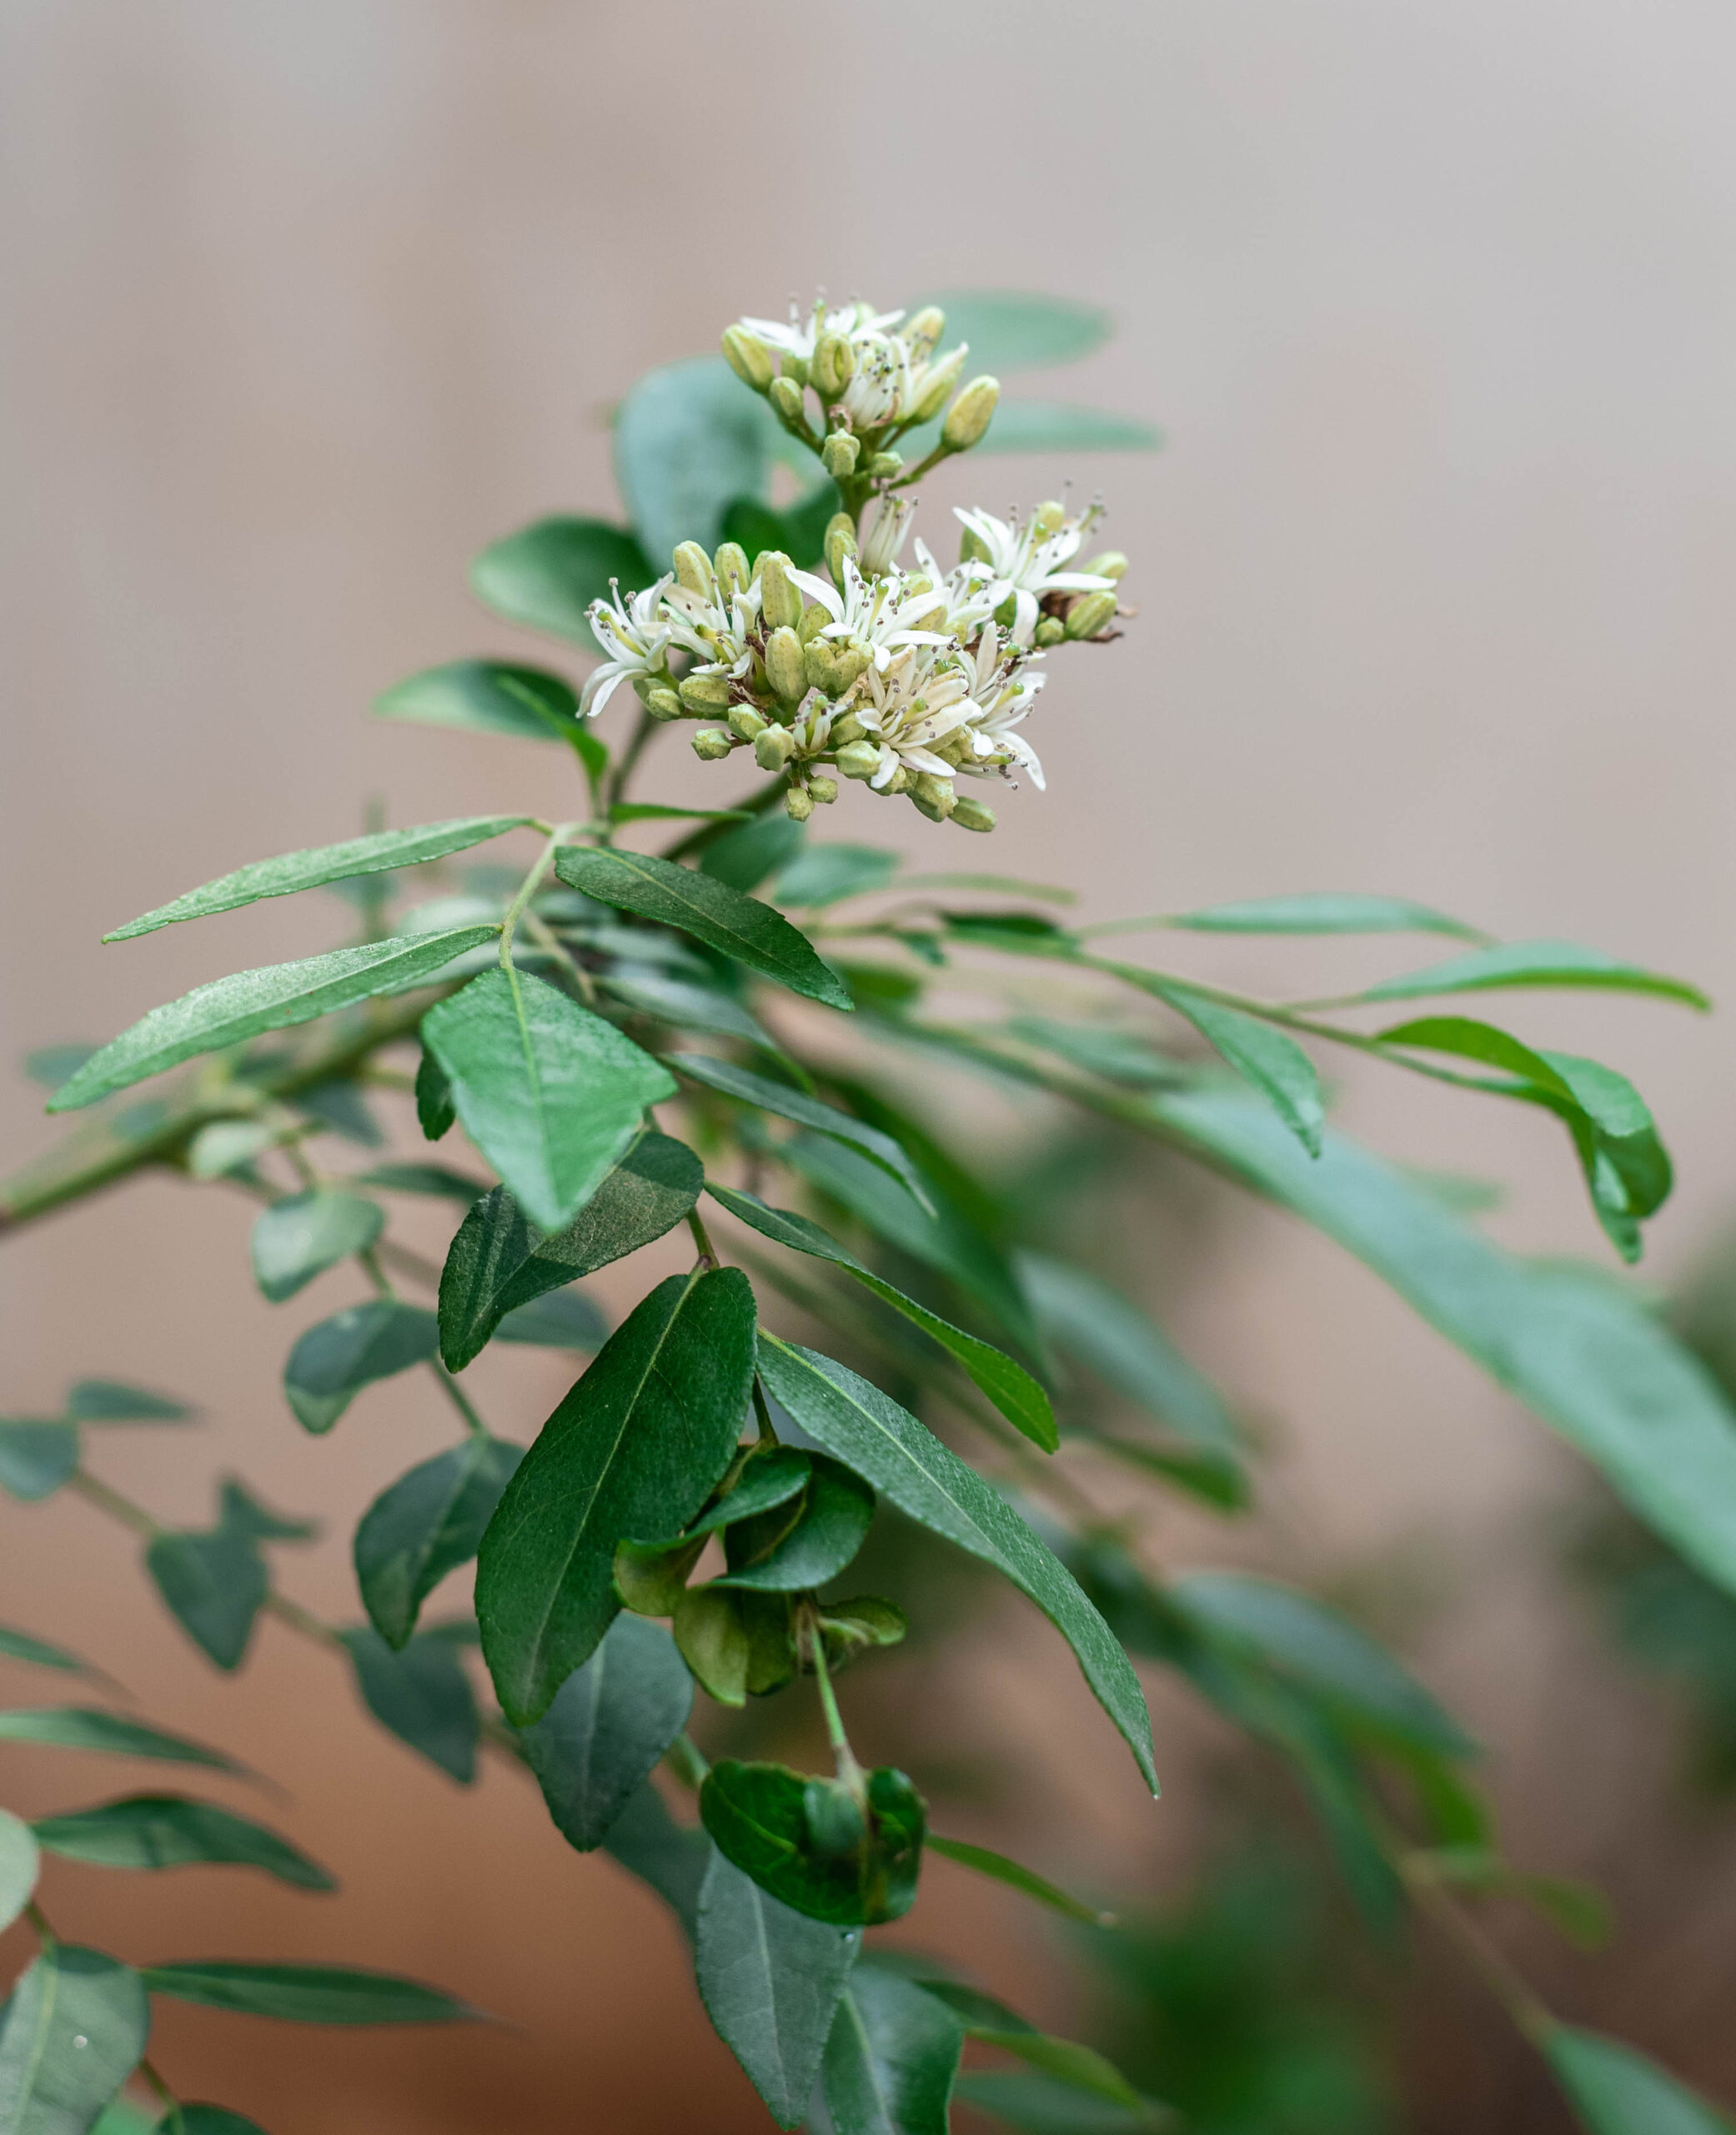
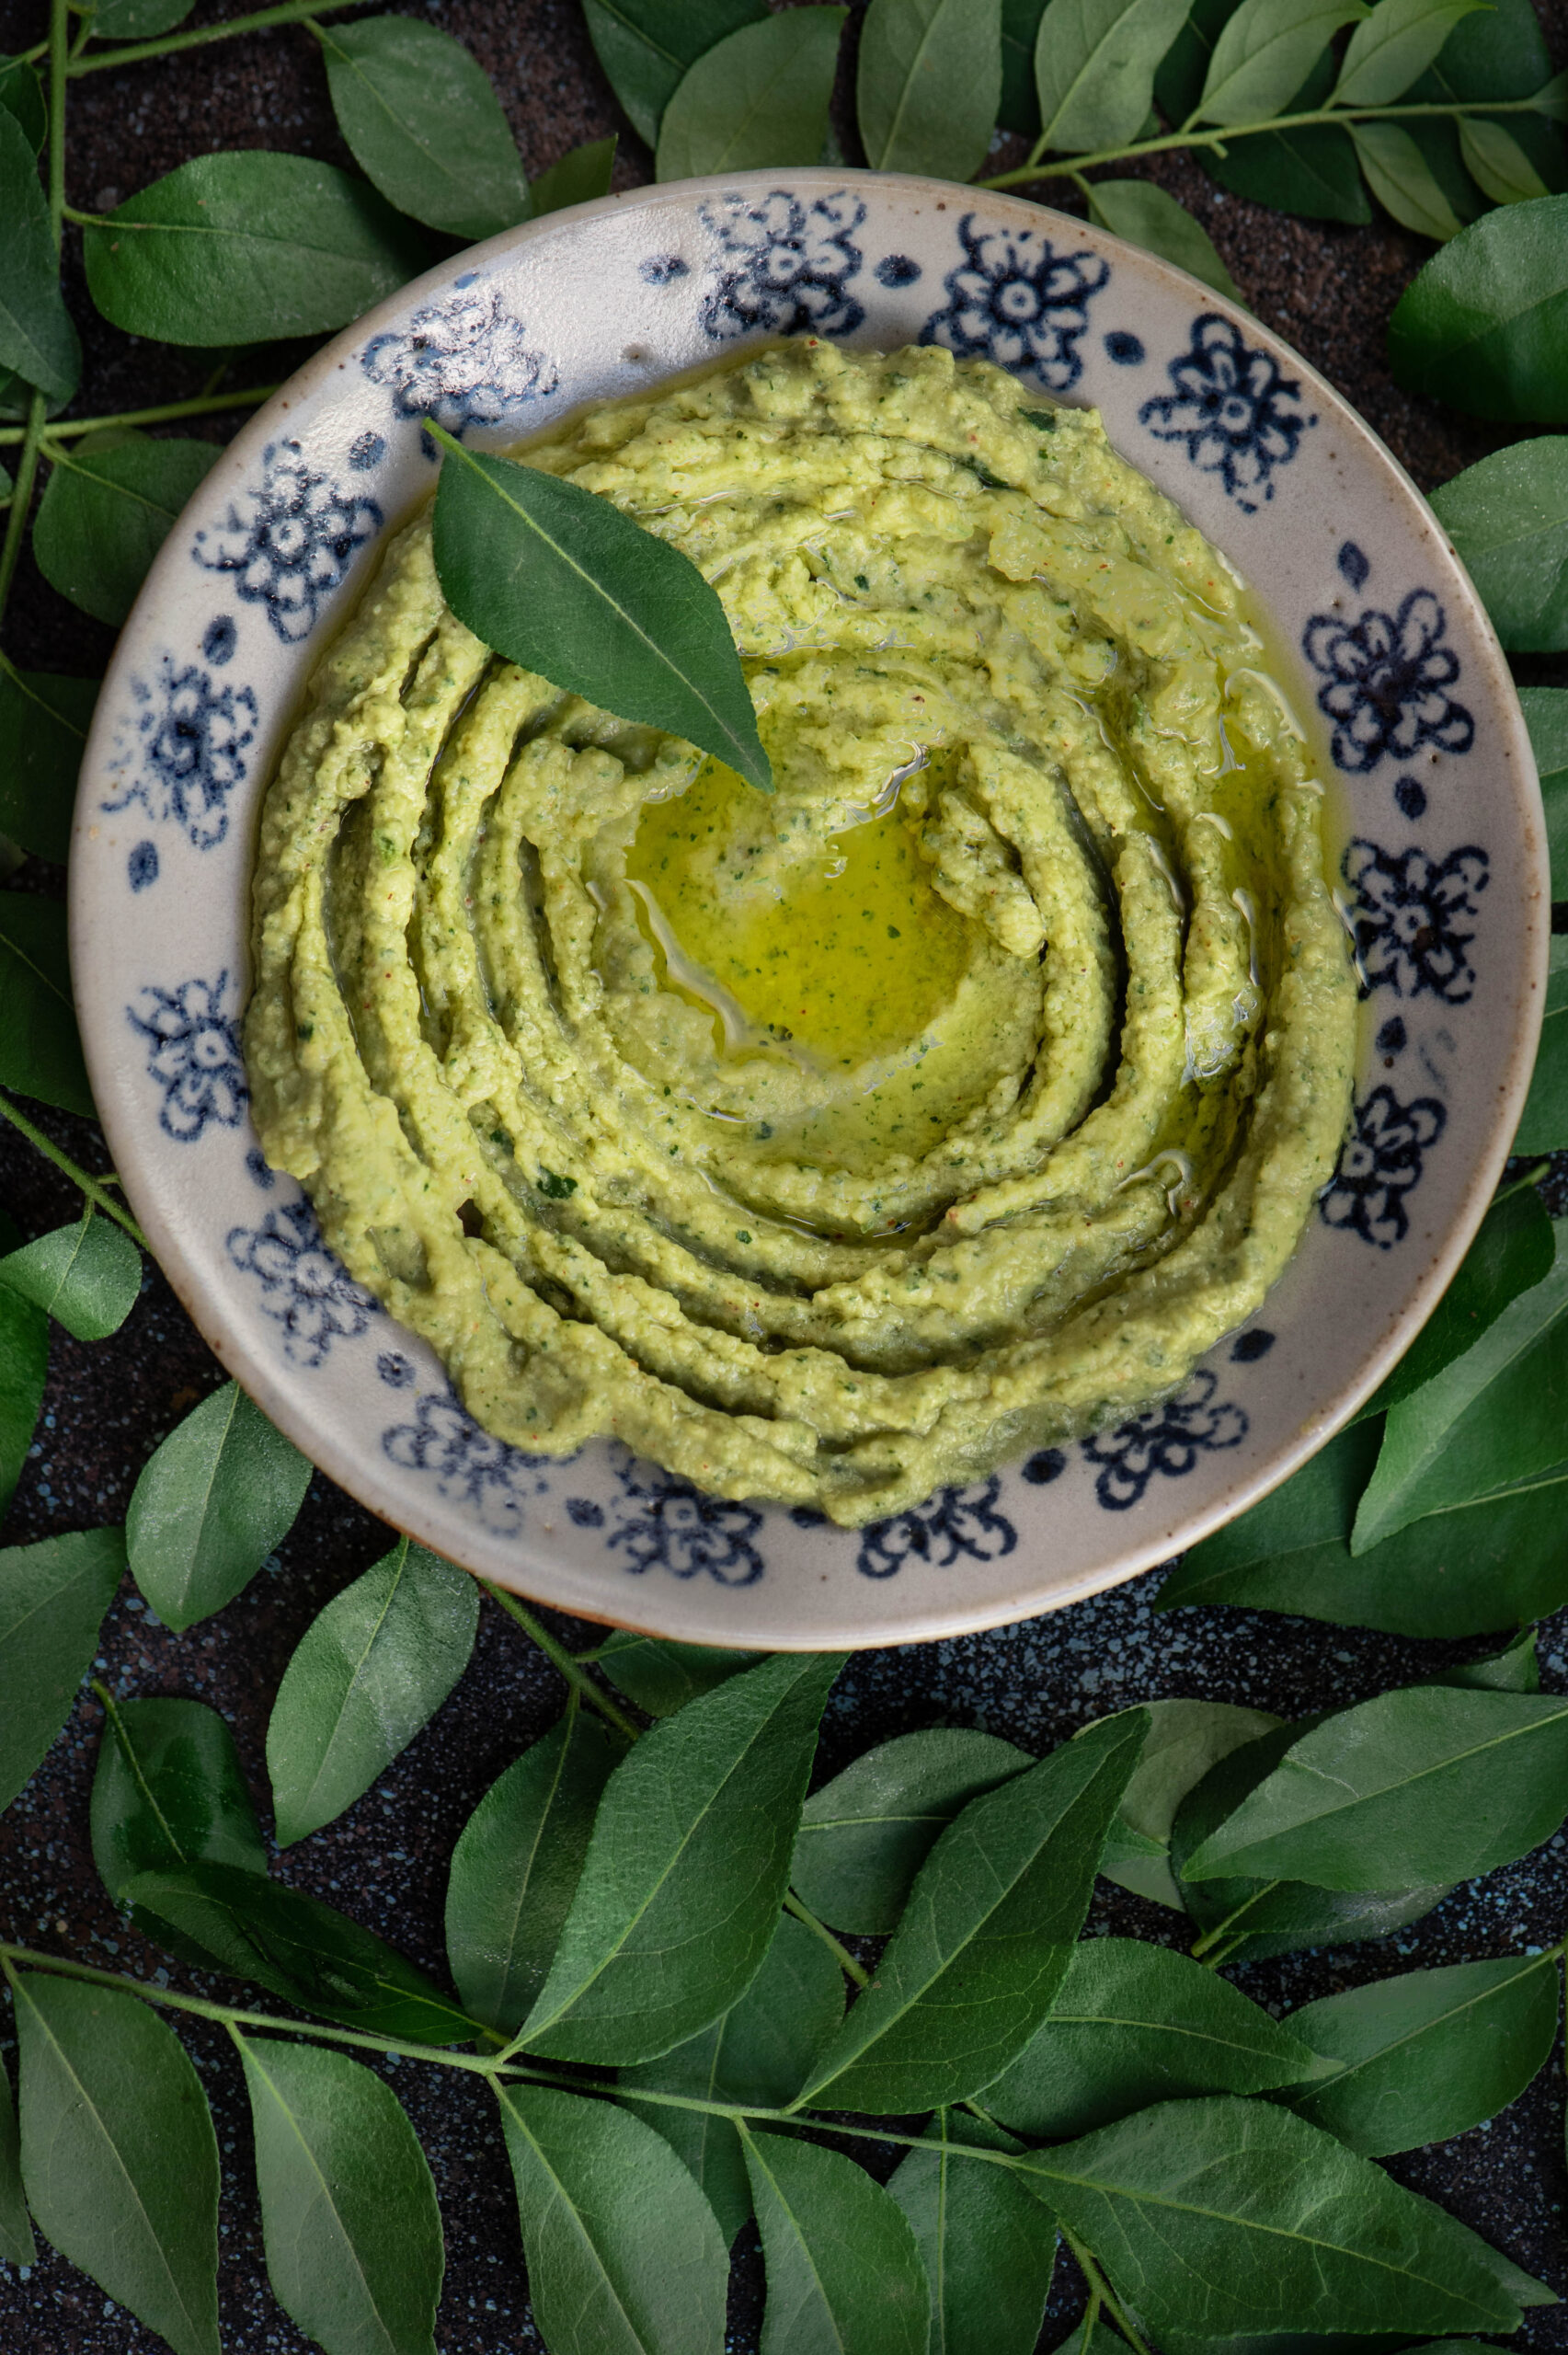
With the festival of Navaratri coming up, when chickpeas are served to guests in many homes in a simple dish called sundal, I had the humble legume on my mind once again. Only this time, I felt inspired to pair it with another ingredient that’s an essential in every South Indian home: the curry leaf. With the occasional rains we are enjoying in Chennai at the moment, my curry leaf bush has been in full bloom. And when I have so much in my garden or farm, you know that it usually tends to go straight into my kitchen. I took these two local ingredients and put them together in a fusion dish: curry leaf and green chilli hummus.

Hummus is a Middle Eastern dish that is a part of daily cuisines in that part of the world, and is usually eaten with breads. It’s also popular everywhere as a party snack, a perfect dip for everything from sliced vegetables to skewered meat. I’ve tasted a lot of beetroot hummus, so I knew that the basic puree lends itself well to flavourings. That’s when my curry leaves caught my eye.

Also known as “sweet neem”, curry leaf is an ingredient that we almost take for granted in our Indian kitchens. Tempered or fresh sprigs are thrown into curries, the powder is eaten with rice, and so on. It adds flavour to so many dishes that it’s just a ubiquitous part of our cooking. With a range of health benefits, including antioxidant and anti-diabetic properties, it’s no wonder that our ancestors incorporated it into as many meals as they could.  Now that I grow curry leaves in my own home, I have been learning a little about the plant too. Did you know that the tiny berries, which are not used in cooking, are actually high in Vitamin C – but that their seeds are poisonous?

Long ago, my hummus attempts would be so mediocre that a good friend would send me tubs as I so enjoyed the dish. Over time, I learned how to make it and stopped depending on those shipments, just as I stopped depending on store-bought cakes and even began to experiement with homegrown ingredients. Trial and error is the key to learning, and by studying different recipes and adding my own touches, I finally arrived on a version I loved.

The main ingredient in hummus is the humble chickpea, which is a staple not only in the Middle East but all over India in its many forms. It’s eaten boiled for a healthy snack, powdered and roasted and used as a binder, and known by so many names – puttukadalai, chana dal, kabuli (did this come to us by way of Kabul, I wonder?), chole and so on. Abroad, you may know this legume as garbanzo beans. The darker variants have a higher iron content, while the chana dal I use for thus hummus is rich in protein and fibre, thus filling you quickly and also aiding weight loss. It is known to lower cholesterol and diabetic risk, and also has high zinc and folate content.

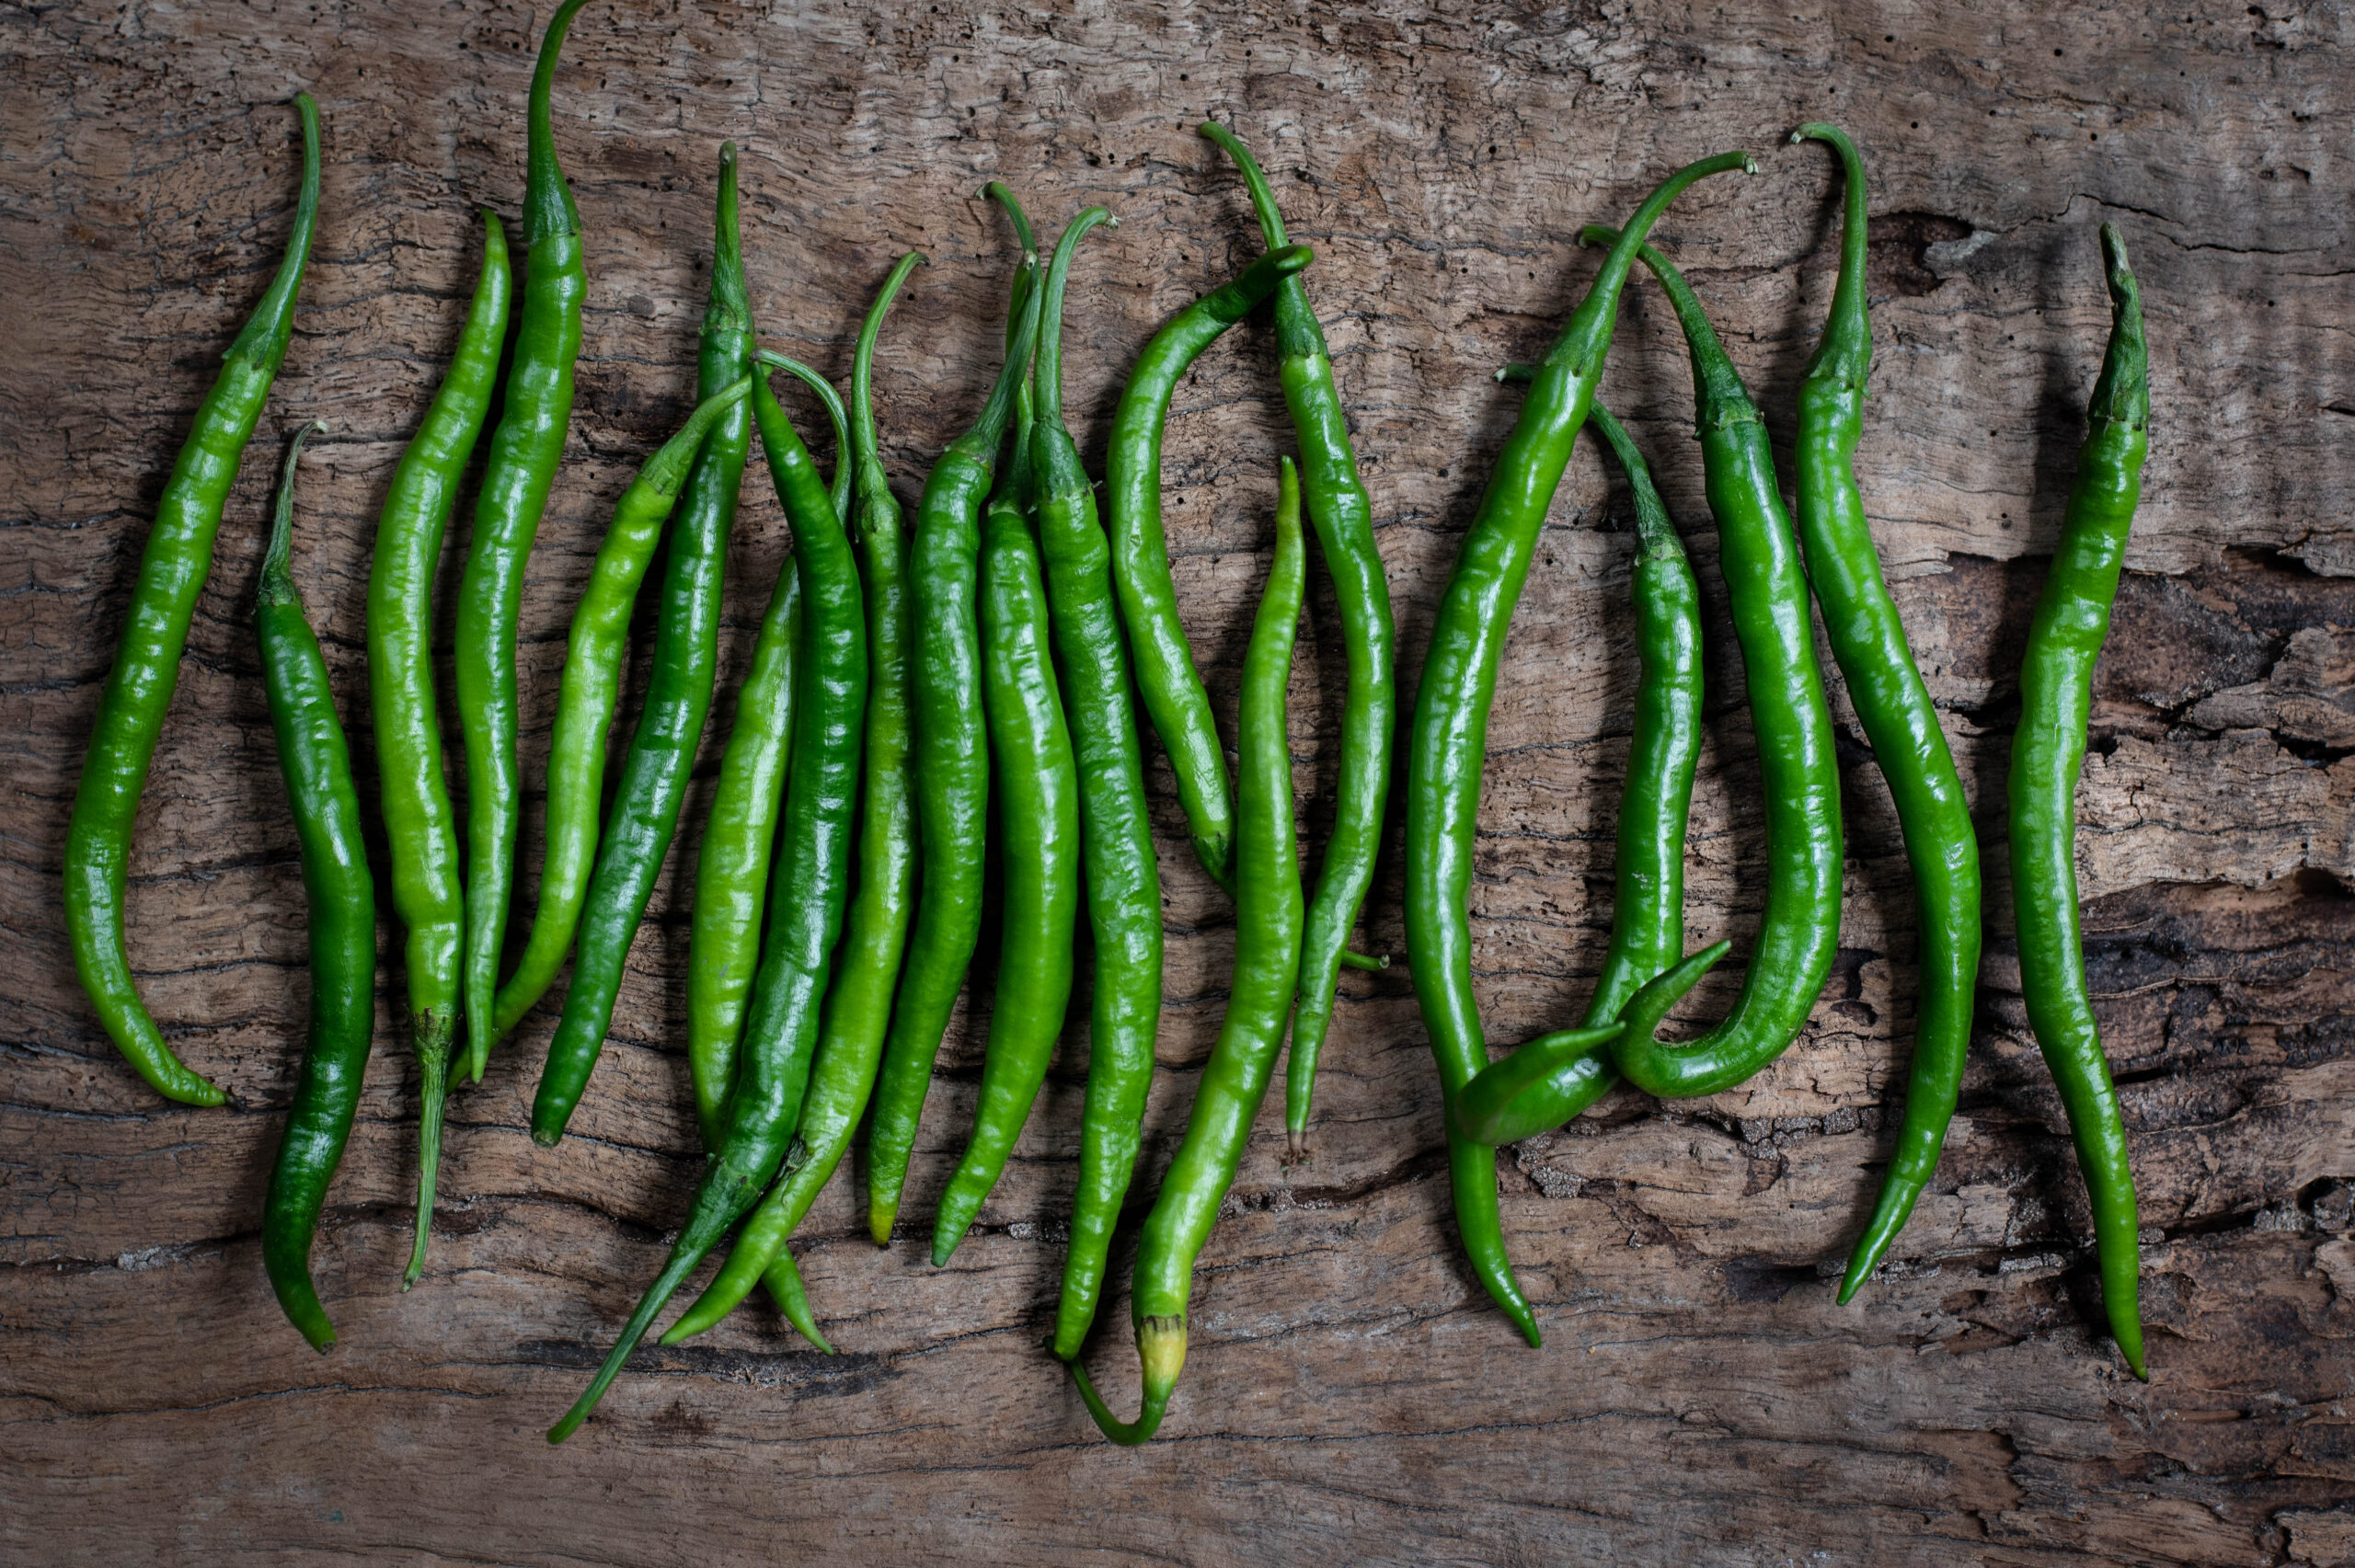
The traditional hummus has a bland, though satisfying, taste. I thought of how I could kick it up a notch. That’s when I decided to add the equally ubiquitous green chilli, which is rich in Vitamin C, great for digestion – and very piquant!

Tahini, which is made of ground white sesame, and olive oil round out the Middle Eastern flavours. Fortunately, these are widely available at good supermarkets in India and other countries. I used some wonderful olive oil I picked up in Portugal recently, which will be featuring in my blog soon.

The day after I made this curry leaf and green chilli hummus at home, I went to Goa and to my delight, my good friend the designer Wendell Rodricks served the very same dish in his home! I squealed! The coincidence was just too thrilling, and I wanted to share my recipe immediately, so you too can serve it soon.

Curry Leaf & Green Chilli Hummus

(Yield: 1 bowl)


Ingredients

1¼ cups cooked/boiled chickpeas

3-4 garlic cloves

1 tablespoon tahini

2 tablespoons lemon juice

½ teaspoon salt

¼ cup olive oil

1 cup washed curry leaves

1 green chilli

Water


In a blender, add the curry leaves and green chilli with 2 tablespoons of water. Blend until you get a smooth paste. Keep aside.

Next, blend the soft cooked chickpeas along with garlic, tahini, salt, half the olive oil and lemon juice.  Blend well until the paste is smooth and looks creamy.

Now, add the blended curry leaf paste to the creamy chickpeas and whir once again until it all mixes well. Adjust the salt and lemon quantities to suit your taste.

If you feel it needs to be creamier, add more water or olive oil to the blend, until it achieves a dip-like consistency.

The curry leaf hummus is now ready to serve. You can have it the traditional way, with flatbreads, whether that’s the Middle Eastern pita or the North Indian naan. Or some healthy quinoa chips, for a wholesome snack. Crunchy vegetables like carrot or celery sticks, toasties, or rice crisps (to keep that South Indian sensibility) are also excellent accompaniments. With a mildly yet surprisingly flavourful curry leaf hummus like this – it’s the dip that’s the main dish, not the accompaniment!

And if you just can’t get enough of that flavour, why not try my curry leaf and raw mango cooler as well?

When I was a little girl, the month of Aadi in Chennai meant music being blared from temple speakers and a general atmosphere of colour and sound on the streets. Just like with the funeral processions full of flowers and drumming, I thought all of it was pure celebration. Now, as an adult, I appreciate the nuances, but there is still something about this month that catches my eye – and more accurately, my sense of smell. For temples small and large through the city make ritual offerings to the Goddess, which are then distributed to all. The scent of freshly made koozh (pronounced koo-lu), a millet-based porridge, fills the air along with devotional songs.