20 Results

thaali

Search

The thaali as a concept is very common across Indian households. It is basically a meal with a variety of components, and the composition of each thaali varies depending on the region. It used to be a daily affair in many households, but in contemporary times more and more people have opted for lighter or more quickly prepared meals with fewer dishes involved. There is still a Gujarati thaali served in my home for lunch every day, but as my adult children set up their homes, I don’t see this happening. The thaali then becomes much more occasional and deliberate, and perhaps even festive. For that reason, I felt it would be ideal to share what goes into a Gujarati thaali with Diwali just a few days away.

A Gujarati thaali essentially contains roti, rice, a grain, a kachumber (which is a kind of salad), one or two vegetable dishes and a sweet. These are the basic elements. In my home, I do a rather non-traditional thing and eliminate the sweet dish more often than not. However, on special occasions like my mother-in-law’s birthday, a shrikhand will be included in the thaali. If I am doing trials ahead of sharing dessert recipes for this blog, those will show up there too. There’s an exception to this no-sweet tweak: when it’s mango season, aamras (sweet mango pulp), will be present on a daily basis. Of late, I am offering seva to Shrinathji at home, which means that there is prasadam once a week, and this goes into our thaalis too.

This brings in novelty now and then. The regular thaali can also be made more exciting with the addition of something like sabudana vada, paniyaram or yam chips, which can be prepared ahead of time and served again at tea-time as snacks. I tend to avoid fried goodies in my thaali, but these little things can make lunch more worth looking forward to now and then.

The regular thaali itself can be something really important. It is said that eating together itself holds families together, and I am a believer in this adage too. When it comes to something like a thaali, or any meal that is put together on a daily basis, it therefore becomes a part of the bonds that a family shares. My husband works nearby, so it is convenient for him to pop home for lunch on most days. My children are all far away, but when they come home, there is always a hot thaali available at lunch, and while they may have something else prepared if they prefer, the traditional option is always available.

I am so glad that my kids still honour a request we made when they first moved away, which is that they all return home for certain special occasions. They are made all the more special because of the effort taken. After all, that’s what family is about – taking that extra step to bond and to build love that holds for generations to come.

That brings us back to the festivities. Diwali happens to be one of those celebrations that we all gather together for, which is one of many reasons why it is one of my favourite festivals. I’m eagerly anticipating how in just a few days, over the dining table, there is going to be so much camaraderie, noise, chatter, shouting, fighting and affection – each in the right portions, exactly like a thaali should be presented too. Our Diwali lunches are one of the highlights of the year, and an elaborate thaali is always served. Having this experience, year after year, is something I wouldn’t trade for the world. This is the spread in the thaali this year: peas pulao, bottle gourd thepla, raita bhindi, mixed dal, simple salad, potato roast and of course the once-annual laapsi for dessert. I am happy to share this year’s thaali with you too. Most of these recipes have already been shared over the years, and are linked below along with two new ones for your enjoyment.

I would also like to take this auspicious moment to share something that I’ve been working on for a while. This year, this blog turned 8 years old, and it has really been a journey of growth, discovery and enjoyment. Over time, I have grown in my conviction about my own work, encouraged by well-wishers like you. I am happy to share that I will soon release a cookbook, featuring selected recipes from this blog along with an array of new ones. I want it to be a keepsake that can be passed from hand to hand and from kitchen to kitchen. First and foremost, it is so that my children will have something solid through which to reminisce about their growing years and their family, and to replicate some of their comfort foods and festive favourites. Beyond that, my book will also be for you – and for everyone who loves the experience of preparing a meal. I’ll share more about this project in the coming months. In the meanwhile, I wish you and yours a wonderful Diwali!
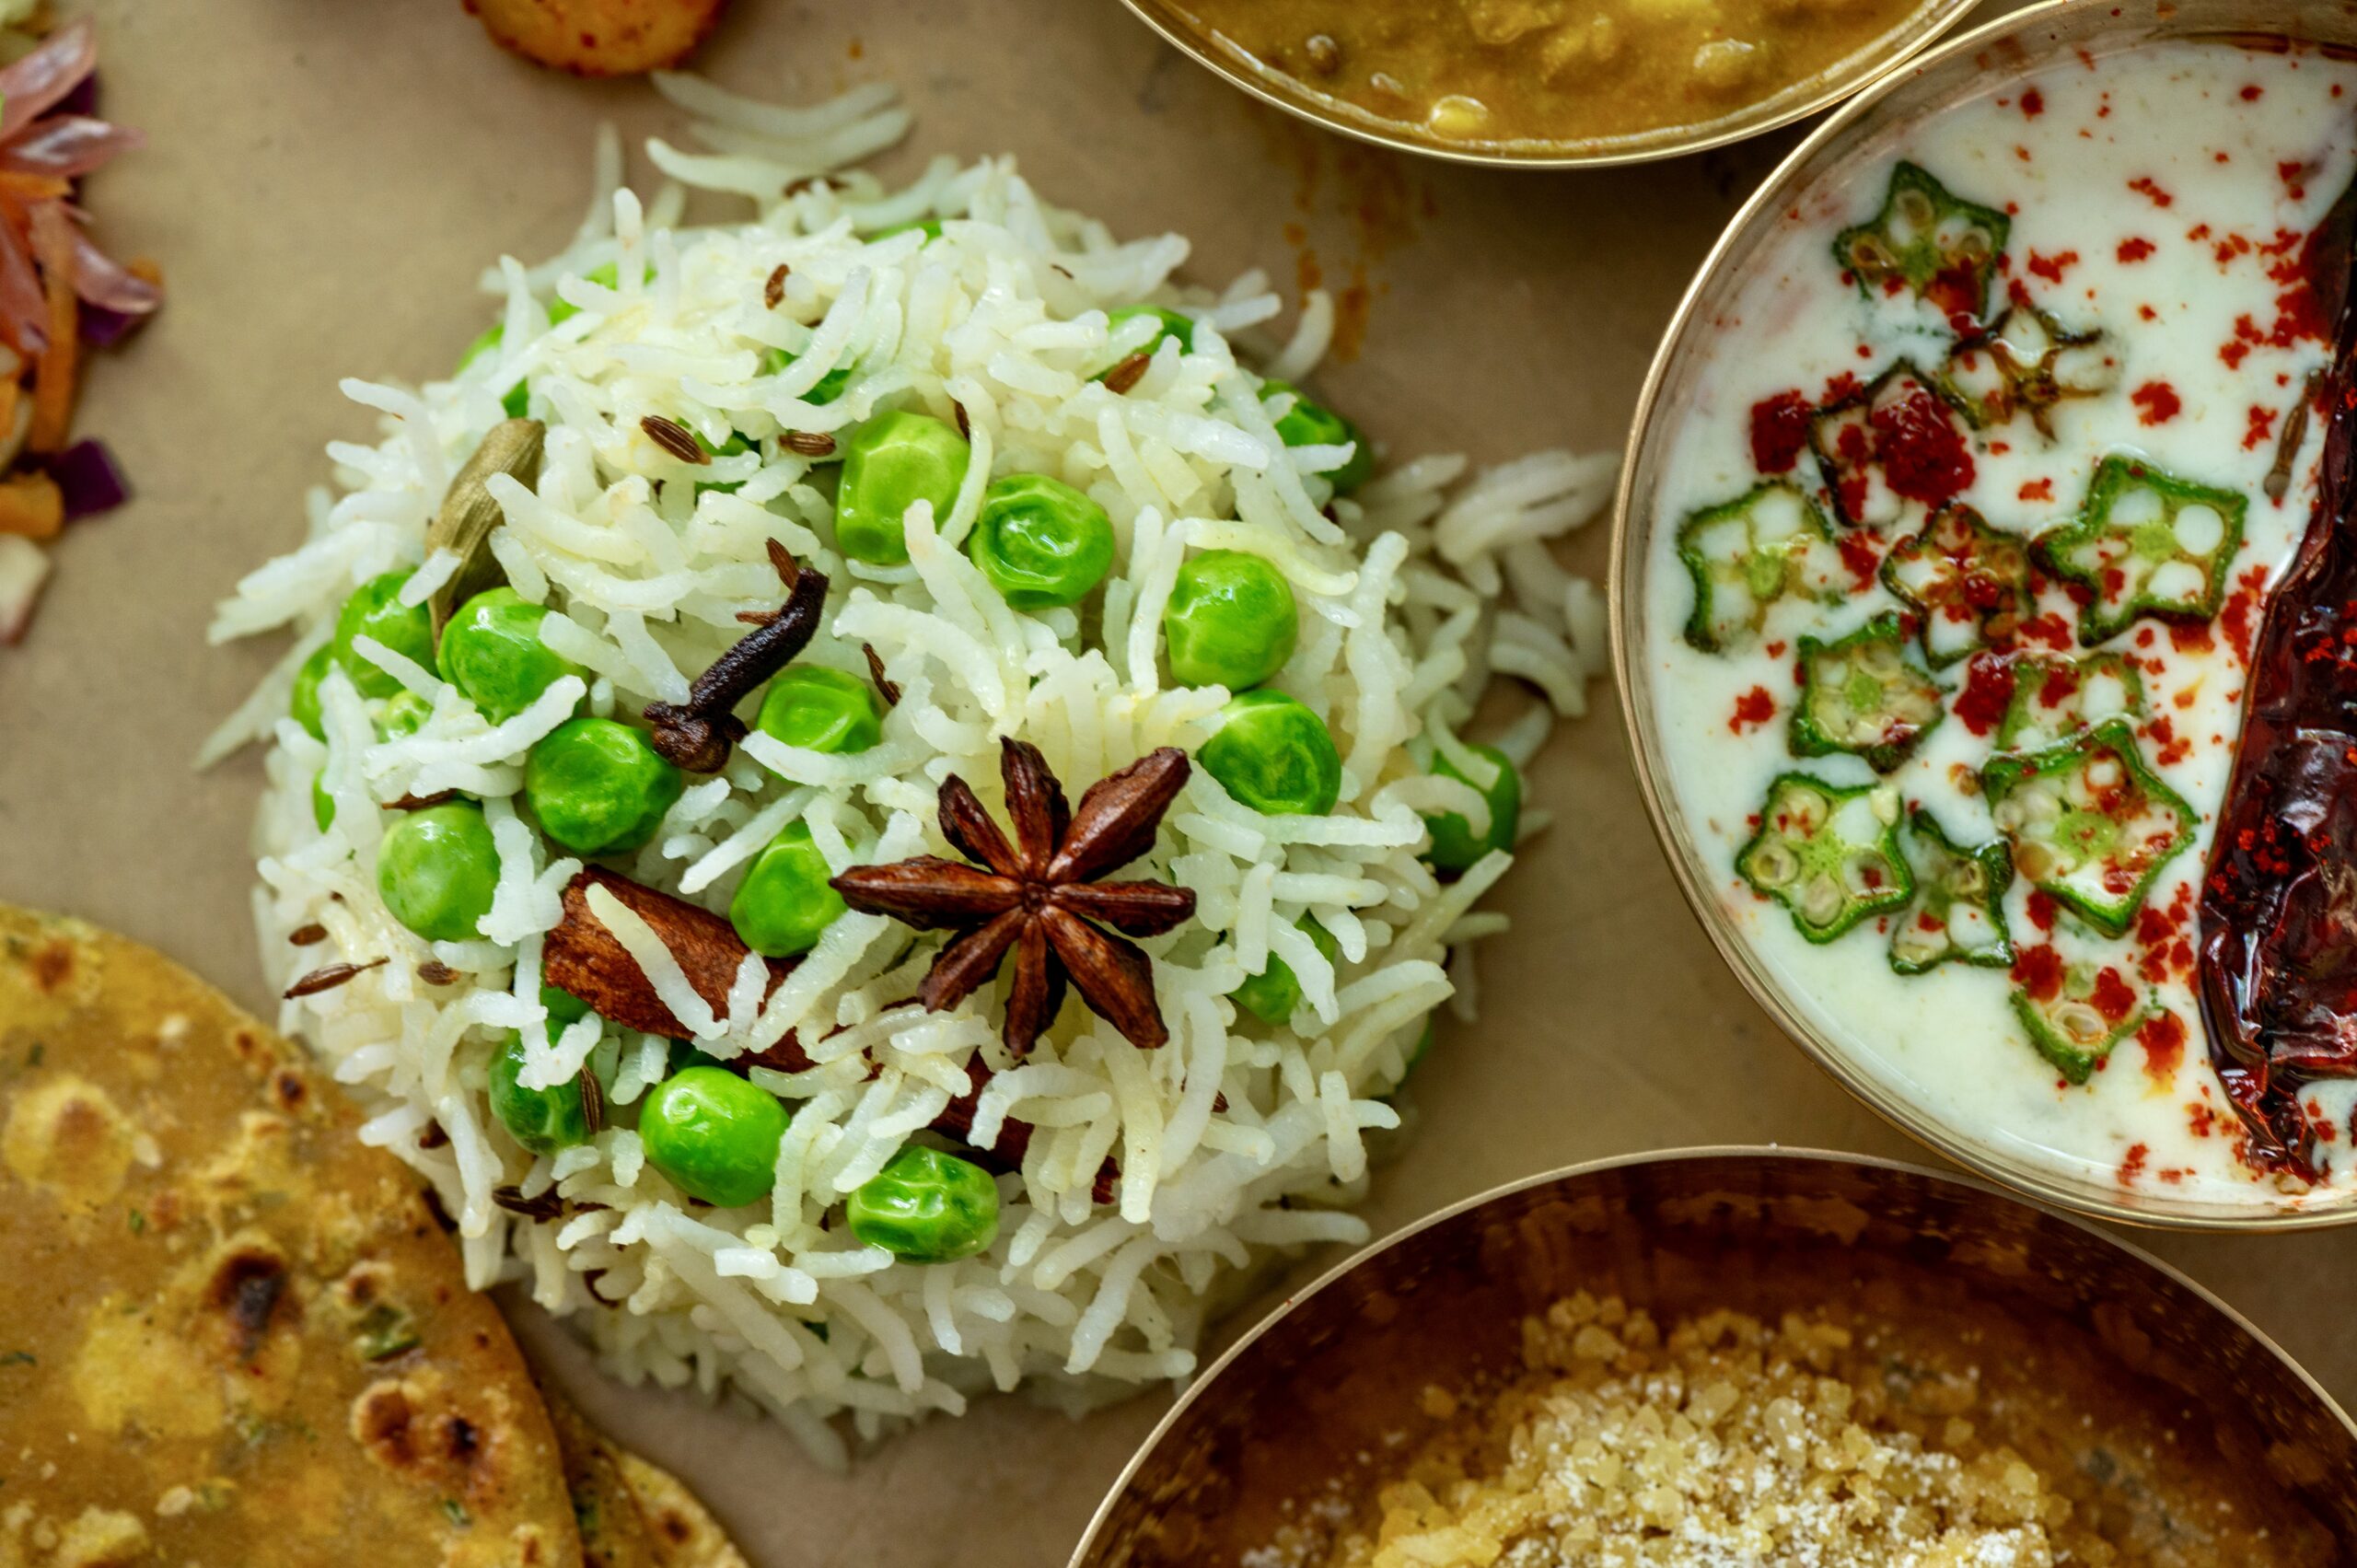
Gujarati Thaali

Bottle Gourd Thepla

Mixed Dal

Salad [make a simple one of your choice; for more elaborate ones, see the archive]

Roast Potatoes

Laapsi

Peas Pulao

1 cup cooked basmati rice
1-inch stick cinnamon
2 cloves
1 cardamom
1 star anise
Salt to taste
½ cup cooked/tender green peas
½ teaspoon cumin seeds
1 tablespoon ghee

Heat a pan. Add the ghee and once it is hot, add cumin seeds. Once they splutter, add the cinnamon, star anise, cloves and cardamom.

Sauté and then add cooked green peas, cooked basmati rice and salt. Mix well and gently until it all comes together. Your peas pulao is ready.

Bhindi Raita

1 cup curd
¼ cup finely sliced bhindi (okra/lady’s finger)
Salt to taste
2 tablespoons coconut pieces
1 green chilli
½ teaspoon cumin seeds
½ teaspoon + ¼ teaspoon oil
¼ teaspoon mustard seeds
2-3 dry red chillies

In a blender jar, grind together the coconut, green chilli and cumin seeds until coarse. Set aside.

Heat a pan and add ½ teaspoon oil. To this, add the finely sliced bhindi. Allow to cook on a low flame until the vegetable is golden and slightly tender on both sides.

In another bowl, add the curd with the ground coconut-green chilli-cumin mixture, along with salt. Mix well. Add the sautéed okra and mix gently. Refrigerate until serving.

In a heated pan, add the remaining oil, mustard seeds and red chilli. Temper and pour on top of the raita before serving.

Whether you make all the dishes at once and serve them on a thaali, or try them out one by one, I hope that you’ll find much delight in this year’s Gujarati-style Diwali thaali!

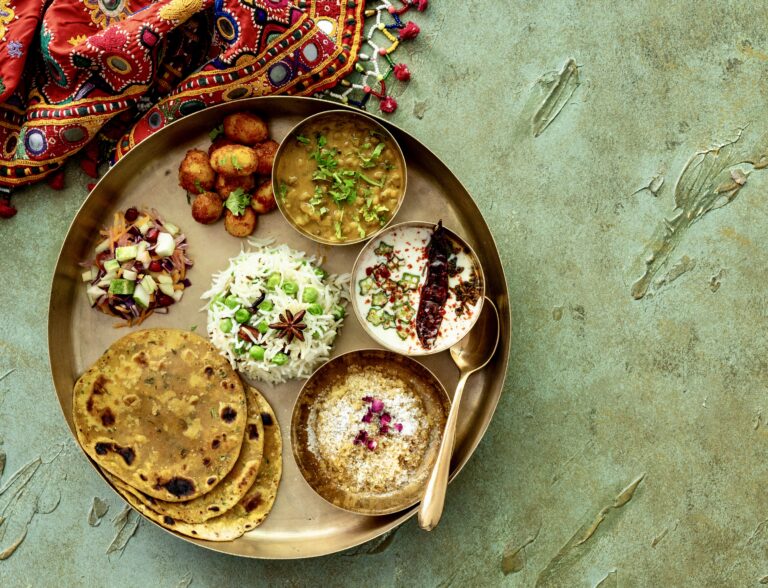
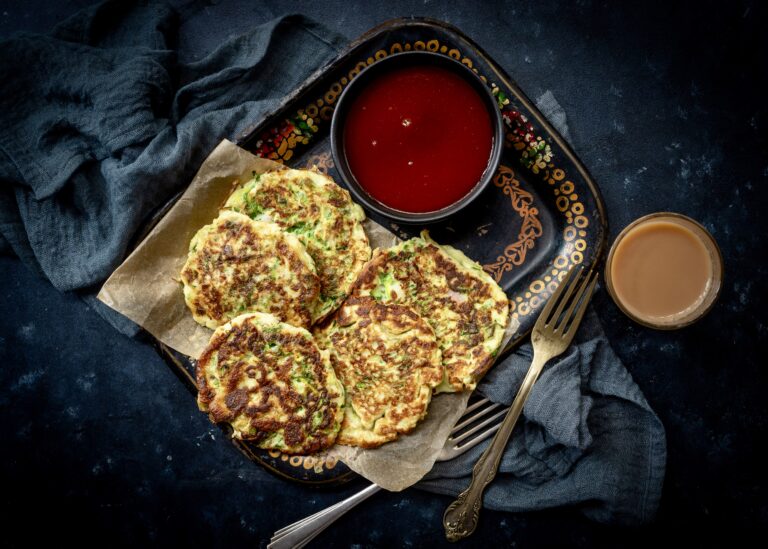
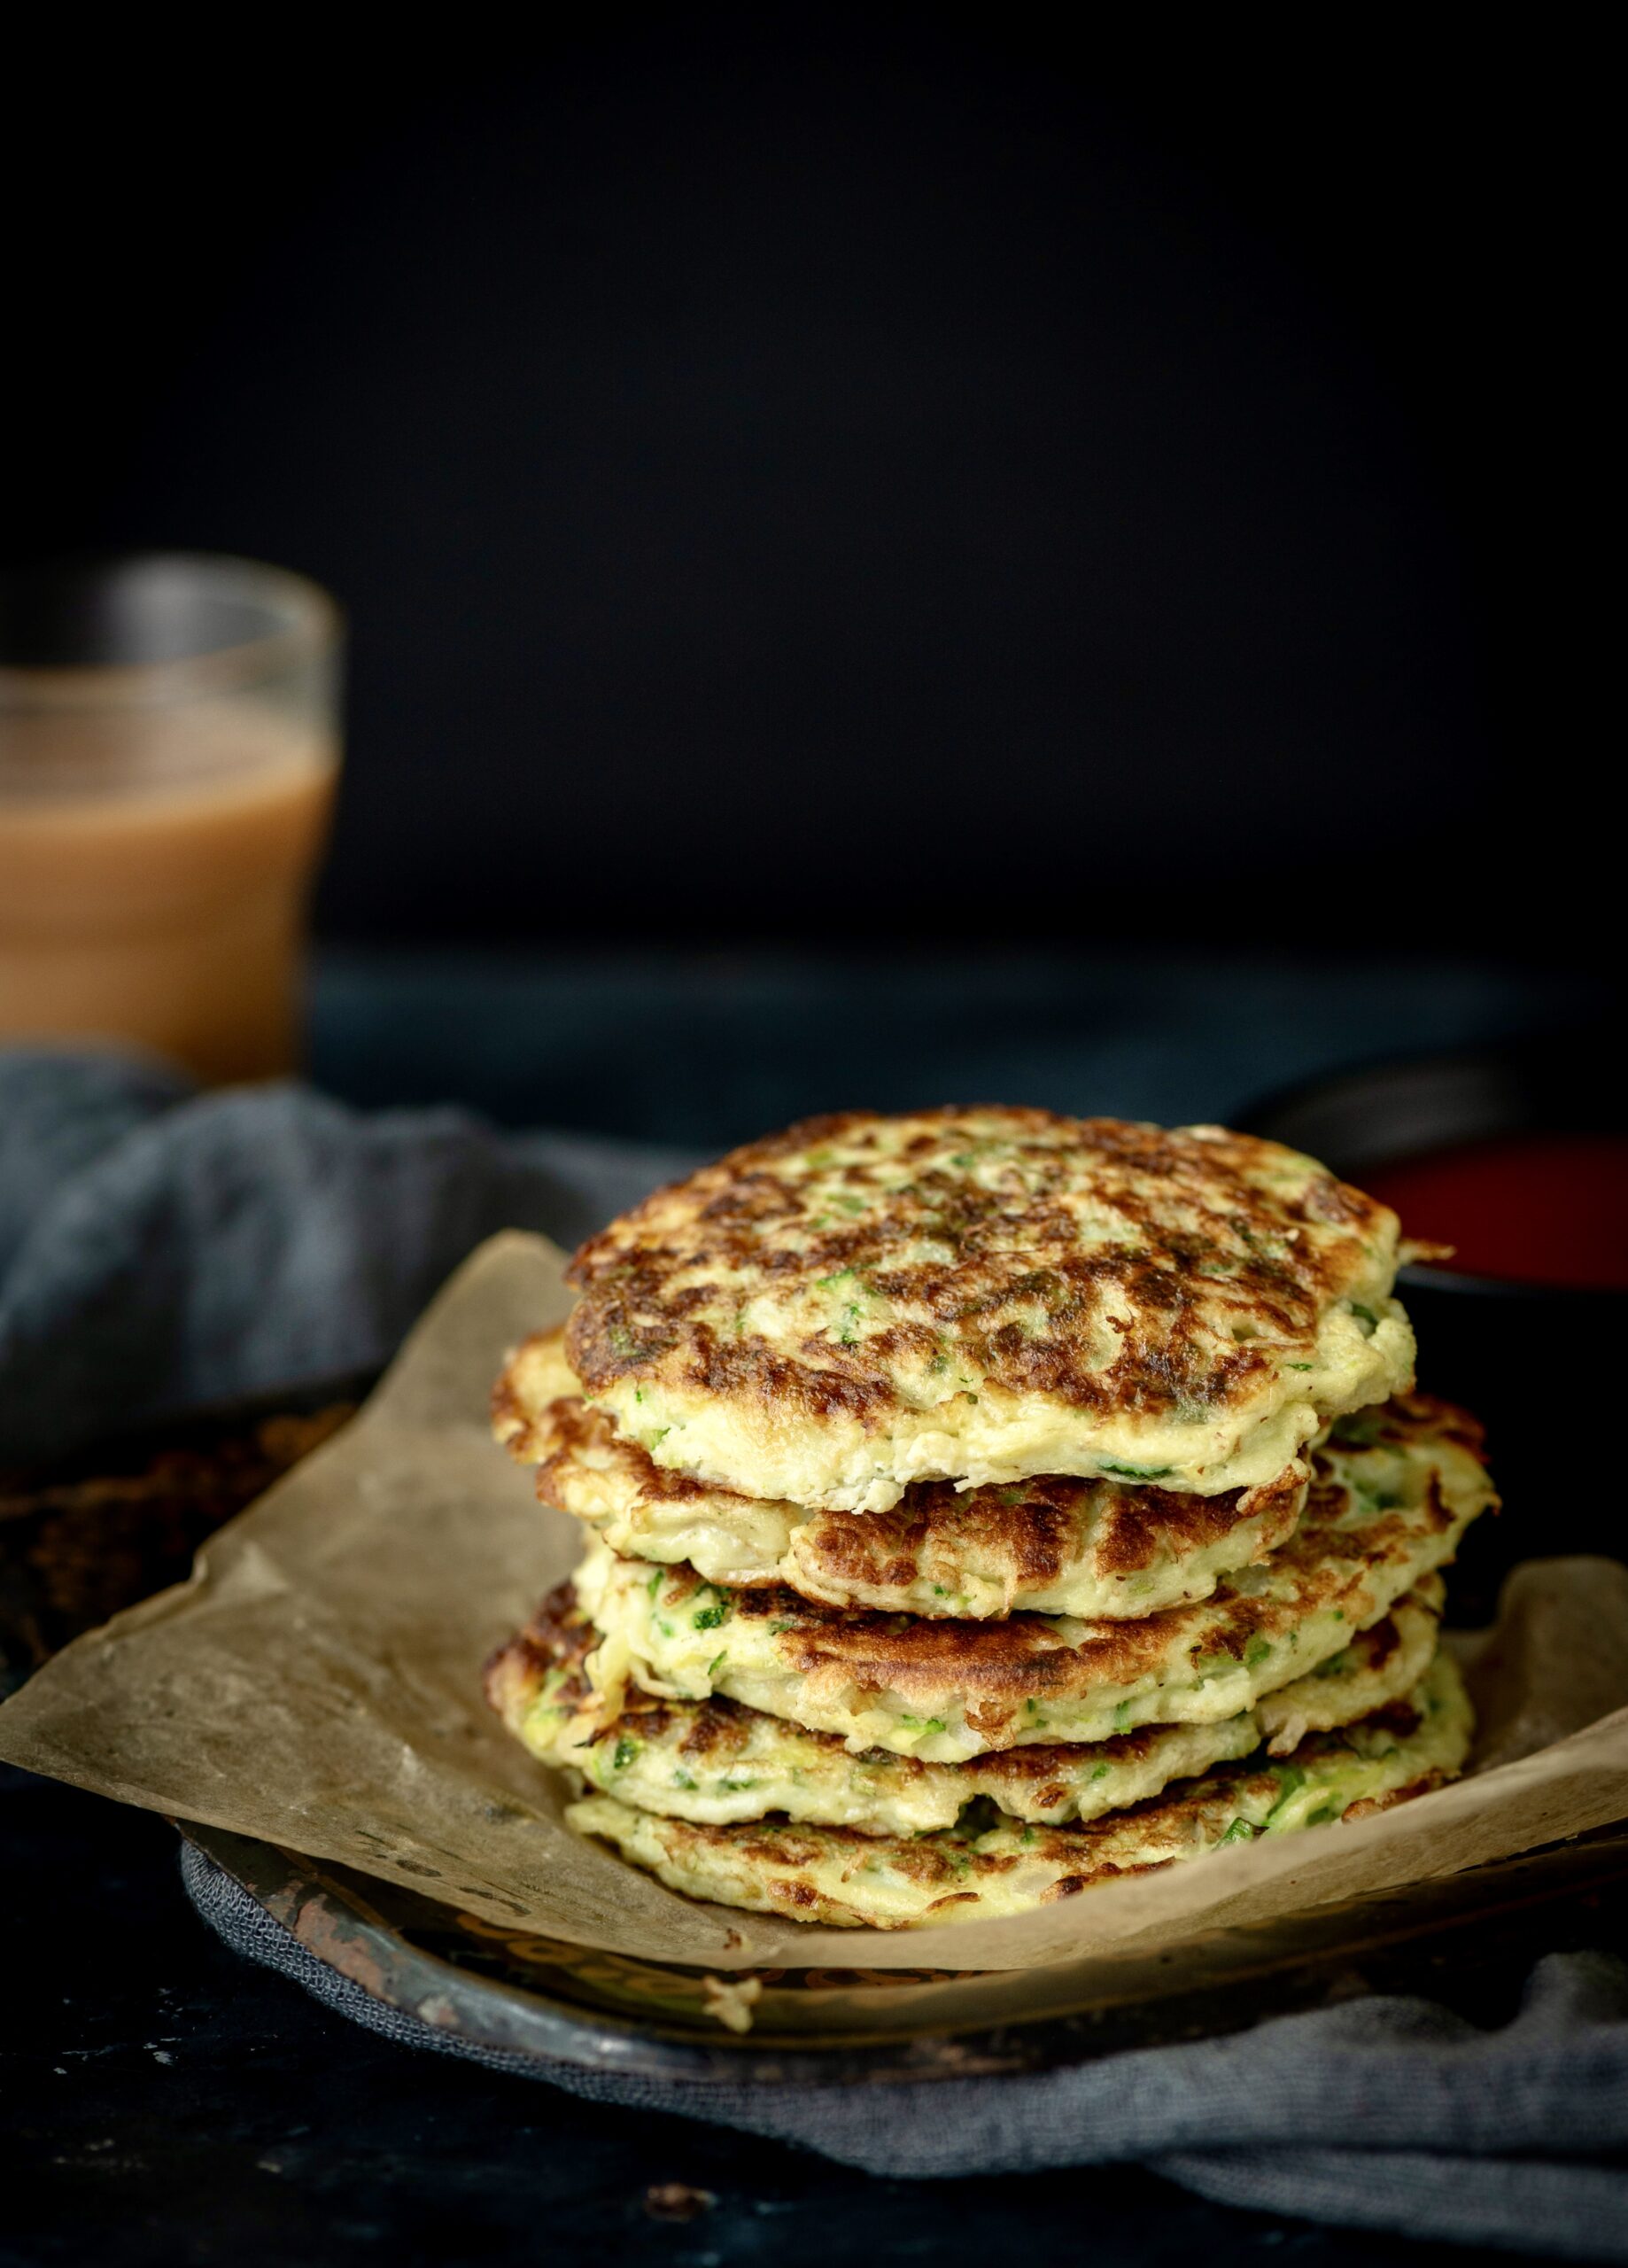
Egg fritters are a new discovery of mine. I encountered them on some travels in the last year or so and have been enjoying them ever since. In addition to enjoyment, there is the nutrition aspect too. I may sound like a stuck record when I talk about increasing protein intake, but I truly believe that it’s a necessity for most if not all of us. This is true especially if we do any form of exercise, but even otherwise. We need to rethink our thaalis and our misconception that dal fulfils our protein requirements. The entry of more egg dishes into my own diet is how I’ve been meeting these needs. These egg fritters also bring some novelty in for me, something different from the same old, same old (which can get boring). That sense of uniqueness is what makes exploring new dishes interesting.

I first tasted egg fritters in London, where I had ordered them off the menu because I was intrigued by their name. I was quite pleasantly surprised by how good they were. As I ate, I tried to deduce what had gone into the recipe. This is a habit of mine when I go out to eat and when I particularly relish a new dish or a refreshing version of a familiar one. I have a constant curiosity when it comes to anything culinary, and where it isn’t possible to ask for a recipe (as I would if I was eating in someone’s home), I usually try to figure it out myself.

I did the latter in this case, and that is how I came up with an egg fritter recipe that sated my curiosity, my cravings as well as my nutritional needs.

This is a relatively new recipe to me, so I have yet to make a lot of memories with it at home, with my friends and family. I love this rendition, but I do still order the egg fritters at the eatery in London where I first tasted them whenever I’m in the city.

In this version, I have used green vegetables because they are aesthetically attractive, as well as really good for us. You may want to substitute the vegetables I have listed for ones that you prefer. Colourful bell peppers may work nicely. Just make sure that all the veggies used are chopped well so that the fritters cook better.

These egg fritters are obviously a breakfast dish, but they’re also great in case you need to pack something quickly for a commute. I think they would also work very well in lieu of a burger patty. That’s something I’d love to try out myself. It could also be interesting to have them on an open sandwich along with toppings or dressing. Now that these egg fritters have entered my life, I’m excited about the many ways I can enjoy them!

Egg Fritters

(Yield: 6 pieces)

3 eggs
Salt to taste
1 full cup zucchini (grated)
½ cup onions (finely chopped)
2 tablespoons coriander leaves (finely chopped)
½ cup broccoli (grated)
2-3 tablespoons rice flour
2 tablespoons bell peppers (finely chopped)

In a bowl, add the eggs, grated zucchini, broccoli, coriander leaves, onions, rice flour, bell peppers and salt. Mix well.

Add some oil in a heated flat pan. Using a ladle, drop a big spoonful of the mixture onto the pan. Press with the back of the ladle to make a thick fritter. Use a cup or a ring if you can. Here is a tip: while pouring the batter on the pan, the egg may drain on the sides. Once the egg cooks a little push it back with the help of the ladle. This will help in making the fritter achieve an almost round shape.

Add as many as you can on the pan. Cover for a few minutes on a low flame and allow to cook on the inside. Remove the lid and allow to cook until golden on one side. Flip and repeat on the other side.

Enjoy these tasty egg fritters by themselves, on toast or a bun, as a side to a meal or any way you like them! You may also want to check out a few other recipes I’ve shared earlier in which eggs are a core ingredient!

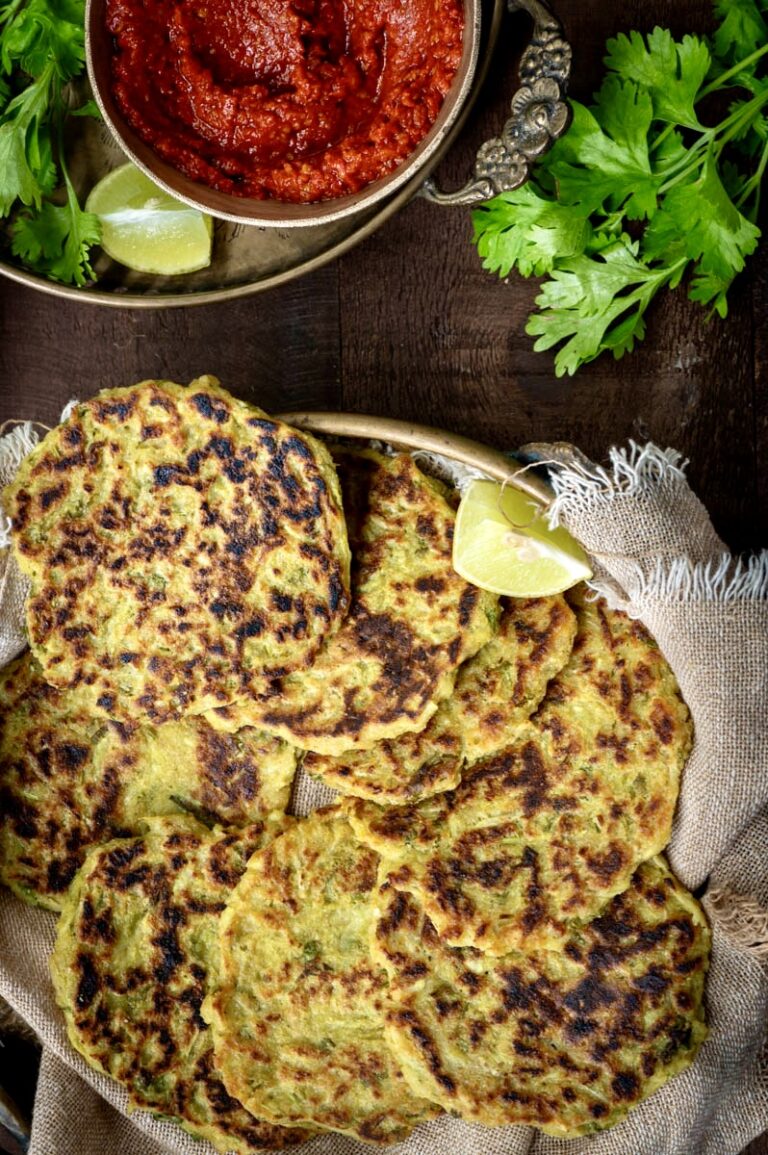
In recent years, oats – which were unheard of when I was growing up – have become quite popular in India as a breakfast dish. Due to that classic Indian innovation, oats here are therefore served enhanced with masalas, spices, tastes and flavours, making them more suited to our palates and generally more exciting. However, according to me there is a misconception that oats are exceptionally healthy. While they are rich with nutrients, they are a form of carbohydrates and contain starch. Quantity therefore matters, as does preparation. This is where the oats uthappam comes in, and I prepare it in a way that boosts its healthiness as much as possible.

It doesn’t surprise me that oats have become a favourite for many in India precisely because they contain carbs. This appeals to us because if you take a look at any Indian thaali, you’d be able to see that rice, wheat and carbohydrates are the central point. My preferred approach is to work with this knowledge, about culturally ingrained preferences, rather than against it. Don’t forget that we need complex carbs for our bodies to function well and to have energy for the active lifestyles of today. So I don’t say No, I just try to shift the focus. This can be in little ways, like the use of chia seeds in an overnight oats porridge to the vegetables I use in this uthappam.

Now, for the big reveal: it is the use of millets that make my version of oats uthappam good for us. I have used jowar or sorghum, but you can use any millet of your choice. Rice flour is what would be normally used, but if you’ve followed this blog for a few years, you may have noticed me writing about millets before. They are traditional foods in the region I live in, and everyone from the Government of Tamil Nadu to the United Nations have of late been talking about their benefits to us. If you’re interested in switching to millets in more dishes, you could explore the link shared for a range of other recipes.

Uthappams, if you aren’t familiar with them, are a thicker variant of the famous dosa. On a pan-Indian level, we are now familiar with dosa batter. When it is fresh and new, we make thin and crisp dosas. When it’s a couple of days old, it suits uthappams better. You can make the batter from scratch too, and use it for idlys as well – take a look here. Here, because of the use of jowar, the batter is made from scratch.

Coming to the oats themselves, there are a variety available on the market, from whole oats to quick and easy oats. Take your pick. Similarly for the vegetables: just use what you like to use, and what you have on hand.

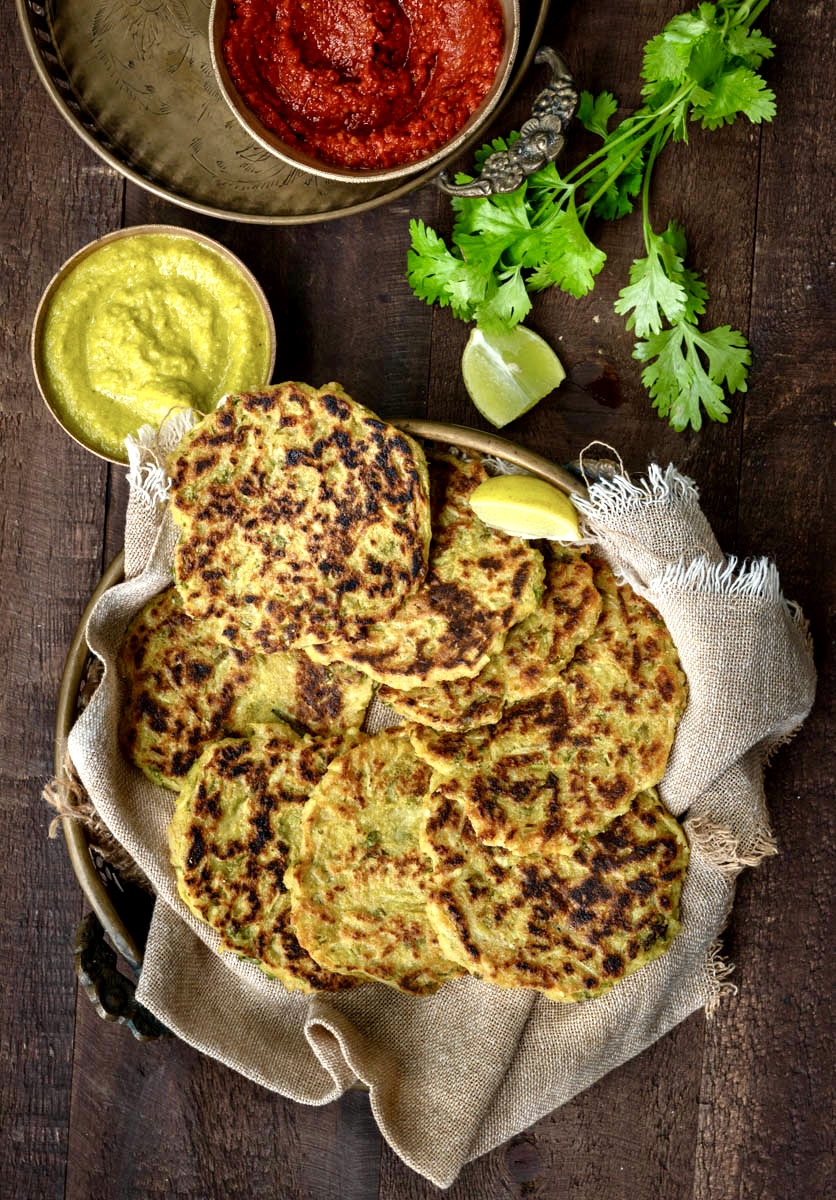
These oats uthappams – which you can call oats fritters if you like – are a great way to start the day and to avoid a sweet and sugary breakfast. As someone whose version of cereals was leftover millet rotis, and who had neither idea of nor access to oats, this dish evokes a sense of my childhood uthappams while also enticing my need to explore and innovate too.

Oats Uthappam

(Yield: 12 small pieces)

1 cup oats

½ cup flour (I have used jowar/sorghum)

1 cup grated bottle gourd (+ grated carrots, optional)

2 teaspoon ginger + green chili paste

Salt to taste

2 tablespoons curd

¼ teaspoon turmeric

¼ cup coriander leaves

½ cup water

Oil for cooking

In a bowl, add the oats, flour, grated gourd, grated carrots (if you are including them), salt, coriander leaves, curd, ginger + green chilli paste and turmeric. Mix well. Add ¼ cup water and mix. Add the remaining water as required. The batter needs to be a little thick.

Allow the well-mixed batter to sit for half an hour, so that it can sit and ferment for a bit.

Heat a griddle and add two teaspoons of oil. Add two tablespoons of the batter and press down with your fingers and make a disc shape. I like making smaller discs, but you can make them bigger and cut them into slices like a mini-pizza. Allow to cook on a medium flame. Once golden on one side, flip and let fry on the other side.

Repeat and cook as many as the griddle will allow, depending on the size.

Remove from the griddle and serve hot with chutney of your choice. Alternately, these are great to be packed into a tiffin lunchbox for the office or school too.

I hope you’ll enjoy this filling and nourishing oats uthappam and make it a part of your repertoire, just as you may have already become very familiar with the now ubiquitous oats upma!

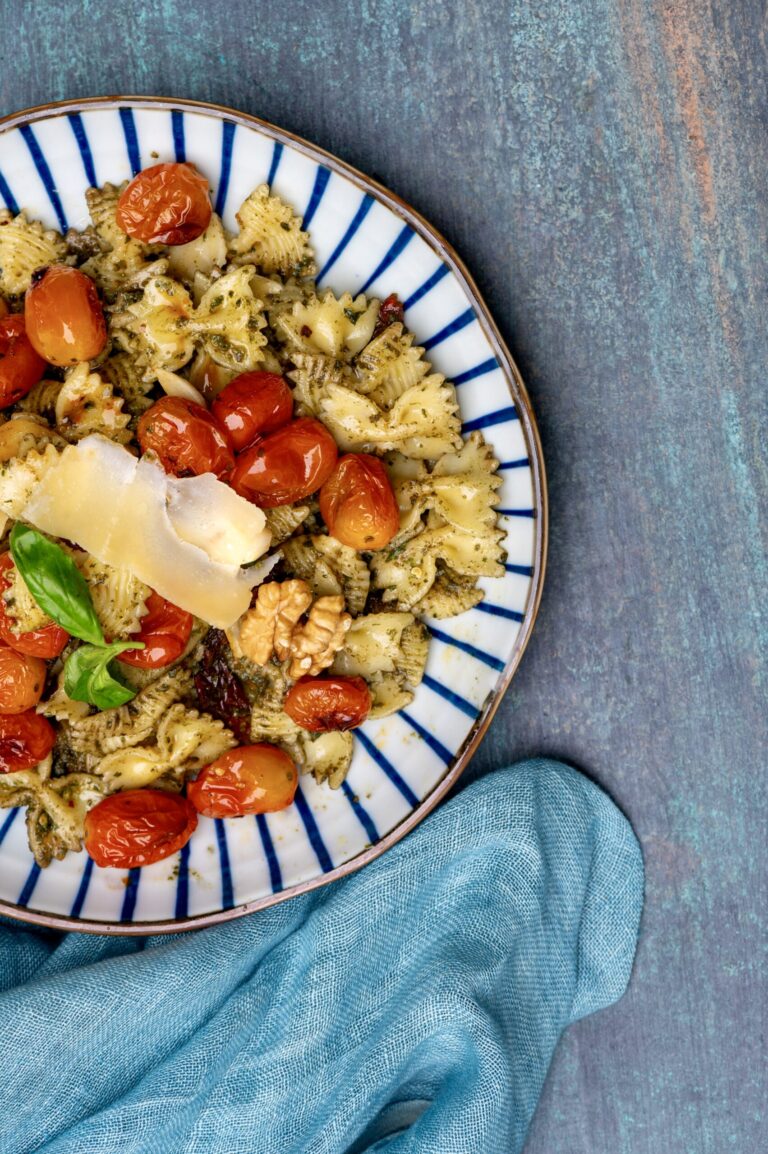
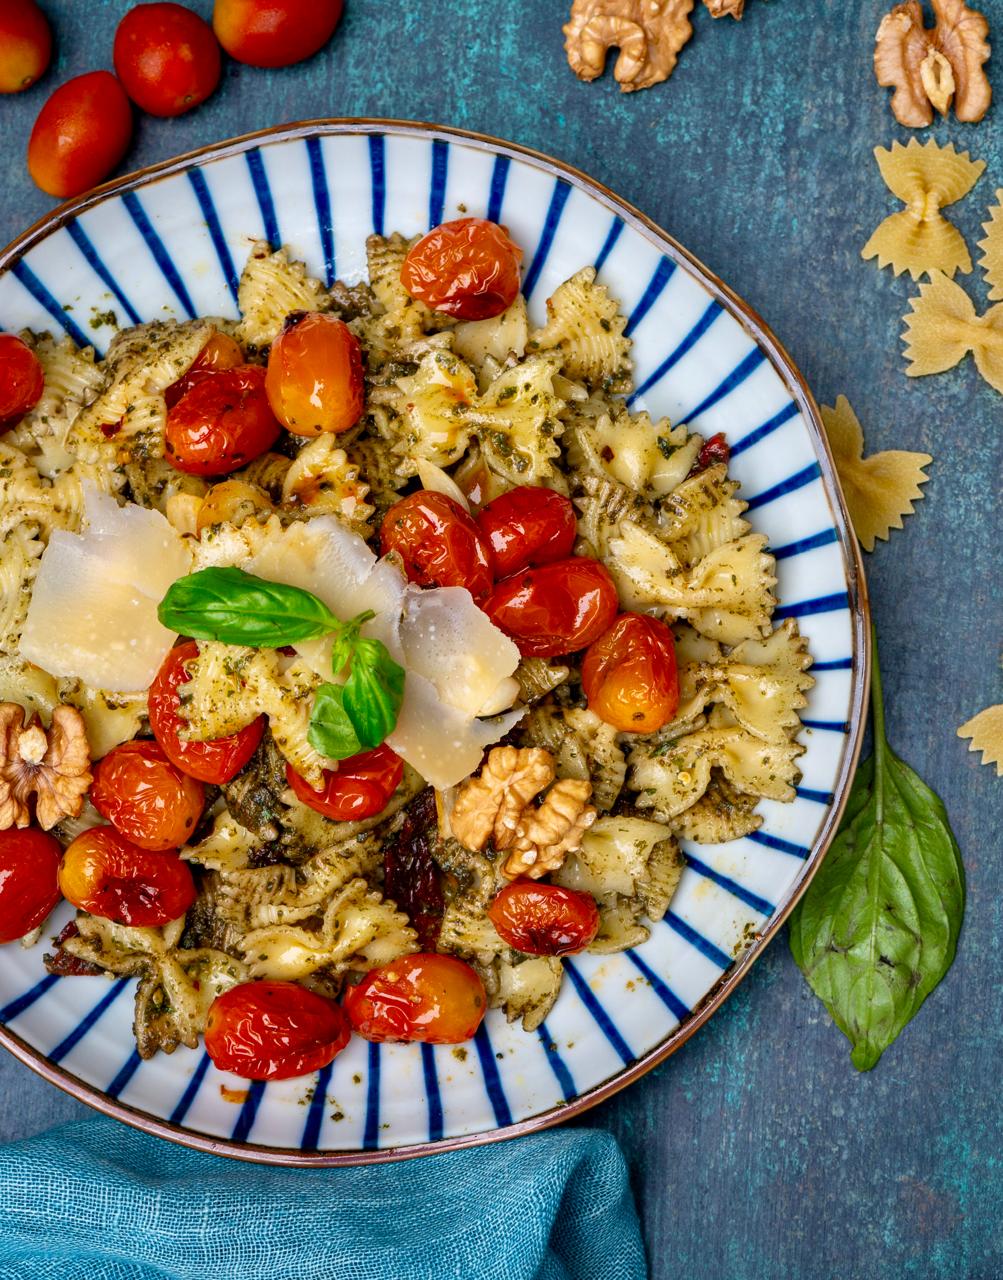
The concept of pasta salads is pretty new to me. I had not imagined them as a possibility until I came across one while randomly scrolling online one day. I was intrigued, as I am always on the lookout for healthy recipes. The minimal pasta quotient used appealed to me, as it offered a way to get a tasty carb fix without making carbs the focus of the meal. In fact, portion sizes are what differentiate a pasta salad from a pasta with sides. A pasta salad will have a larger quantity of vegetables. Also, while pastas are ideally freshly prepared and served hot, a pasta salad works well at room temperature and even after a few hours or up to a day in the fridge.

So, inspired by the pasta salad as a concept, I set about putting together my own version. This one has mostly Mediterranean flavours, and brings together a delicious and nutritious combination of vegetables, nuts and carbs. It is a meal-in-a-bowl by itself, as the pasta makes it more filling than a standard salad might.

I used vegetables that were on hand in my kitchen, and chose ones that came together well. You could say the Mediterranean theme came after the vegetable selection, not beforehand. Apply this logic when you prepare your pasta salad too. You can mix and match and play around. By the way, the actual volume of pasta should probably be less than what you see in these photographs. Let’s just say it was a shoot day treat over here!

I decided to highlight the tomatoes while putting this dish together, which is why there are two kinds used: cherry tomatoes and sun-dried ones. Cherry tomatoes have lately become more popular in my local markets, and I was surprised to see them available in colourful varieties too. I have gone with the simple red ones, which pack a punch.

To me, the difference between a plain tomato and a tasty one is in the roasting. Whether you use regular-sized ones or the cherry kind, they simply burst with flavours upon roasting. Raw tomatoes just don’t impart the same deliciousness, at least not to me. This is true for a multitude of vegetables, of course, so keep that in mind whenever preparing this type of salad. So, these cherry tomatoes have been blistered in oil so that their taste is much enhanced. Meanwhile, the sun-dried tomatoes add a certain tanginess to the overall bowl.

The basil pesto in this dish was homemade, and I have shared the recipe for this earlier so that you can use the same. It’s easy to make, and I really feel that there is a big difference versus store-bought ones in terms of taste, freshness and quality. There’s nothing like knowing exactly what you’ve put into an ingredient, a dish or a meal. This is especially true for the health-conscious and for those who want to cut down on compromises in food quality for themselves and their loved ones. If you’re not a pesto fan, you could use a different sauce that is more to your liking. Or you could even skip the pasta sauce and just go with seasoning, or take the aglio olio route.

I have used a bow-shaped pasta, which is quite pretty, but you can use almost any other kind. Spaghetti will not work in a salad, but you can take your pick otherwise. I find that a nice grating of Parmesan cheese brings it all together beautifully. I love its nutty flavour, which is quite unlike, say, cheddar. For me, it’s Parmesan or no cheese at all in a salad like this. Your preferences may differ, of course! Adapt accordingly. That’s something I say over and over when it comes to most recipes (with the exception of baking, which is more scientific).

Pasta Salad

(Serves 2)

2 cups uncooked pasta

¼ cup olive oil

Salt to taste

A pinch of pepper

8-10 walnuts

A few basil leaves

2-3 cups cherry tomatoes

2-3 cloves garlic

A handful of sundried tomatoes

1½ tablespoons pesto


In a tray, add the cherry tomatoes and garlic. Drizzle with olive oil and sprinkle salt. Bake or grill in the oven until the tomatoes blister.

Cook the pasta according to instructions. Set aside.

In a bowl, add the pasta, pesto, sundried tomatoes and walnuts. Finally, add the blistered tomatoes.

Stir gently and top with slivers of Parmesan cheese and basil leaves.

Serve at room temperature or chill in the fridge to have later. You could even make a bigger bowl of this pasta salad to eat over a couple of days. In fact, the first time I prepared it at home, it was such a hit that I was requested to repeat it the following day. That may well happen in your home, too – in which case, you could save yourself some time and just make a larger quantity!

During hot days, I sometimes find that my body needs to eat lighter. So while one meal will invariably be my traditional thaali, the other will usually be something different, like this pasta salad. It works perfectly for me, and I hope it will for you too!

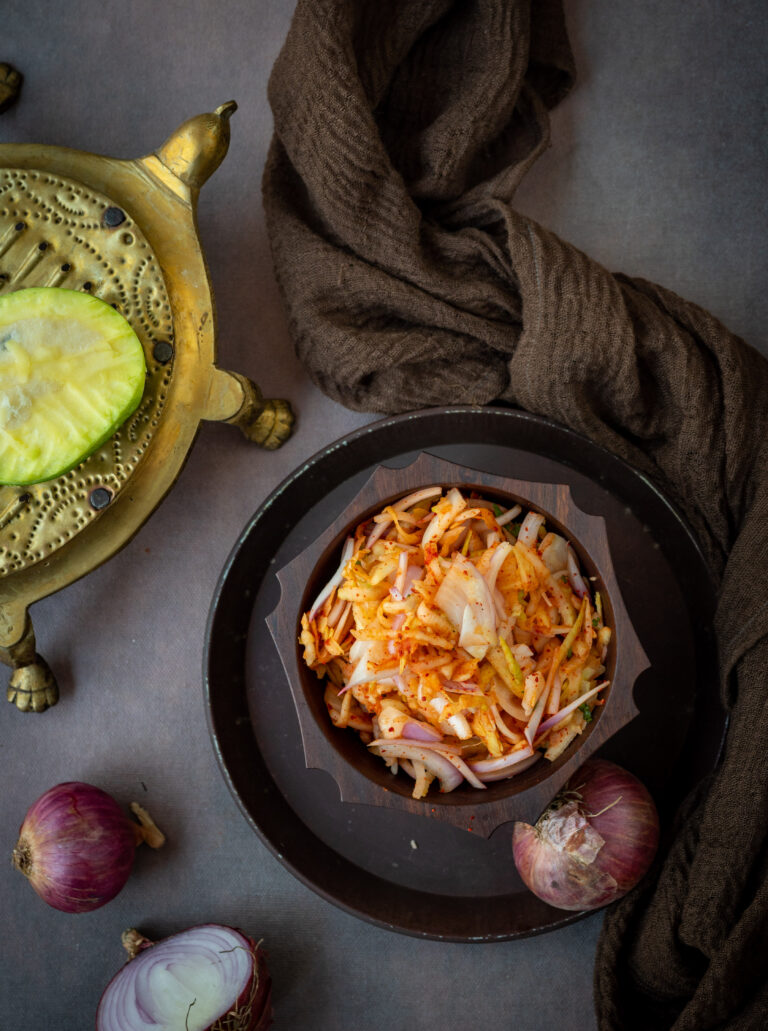
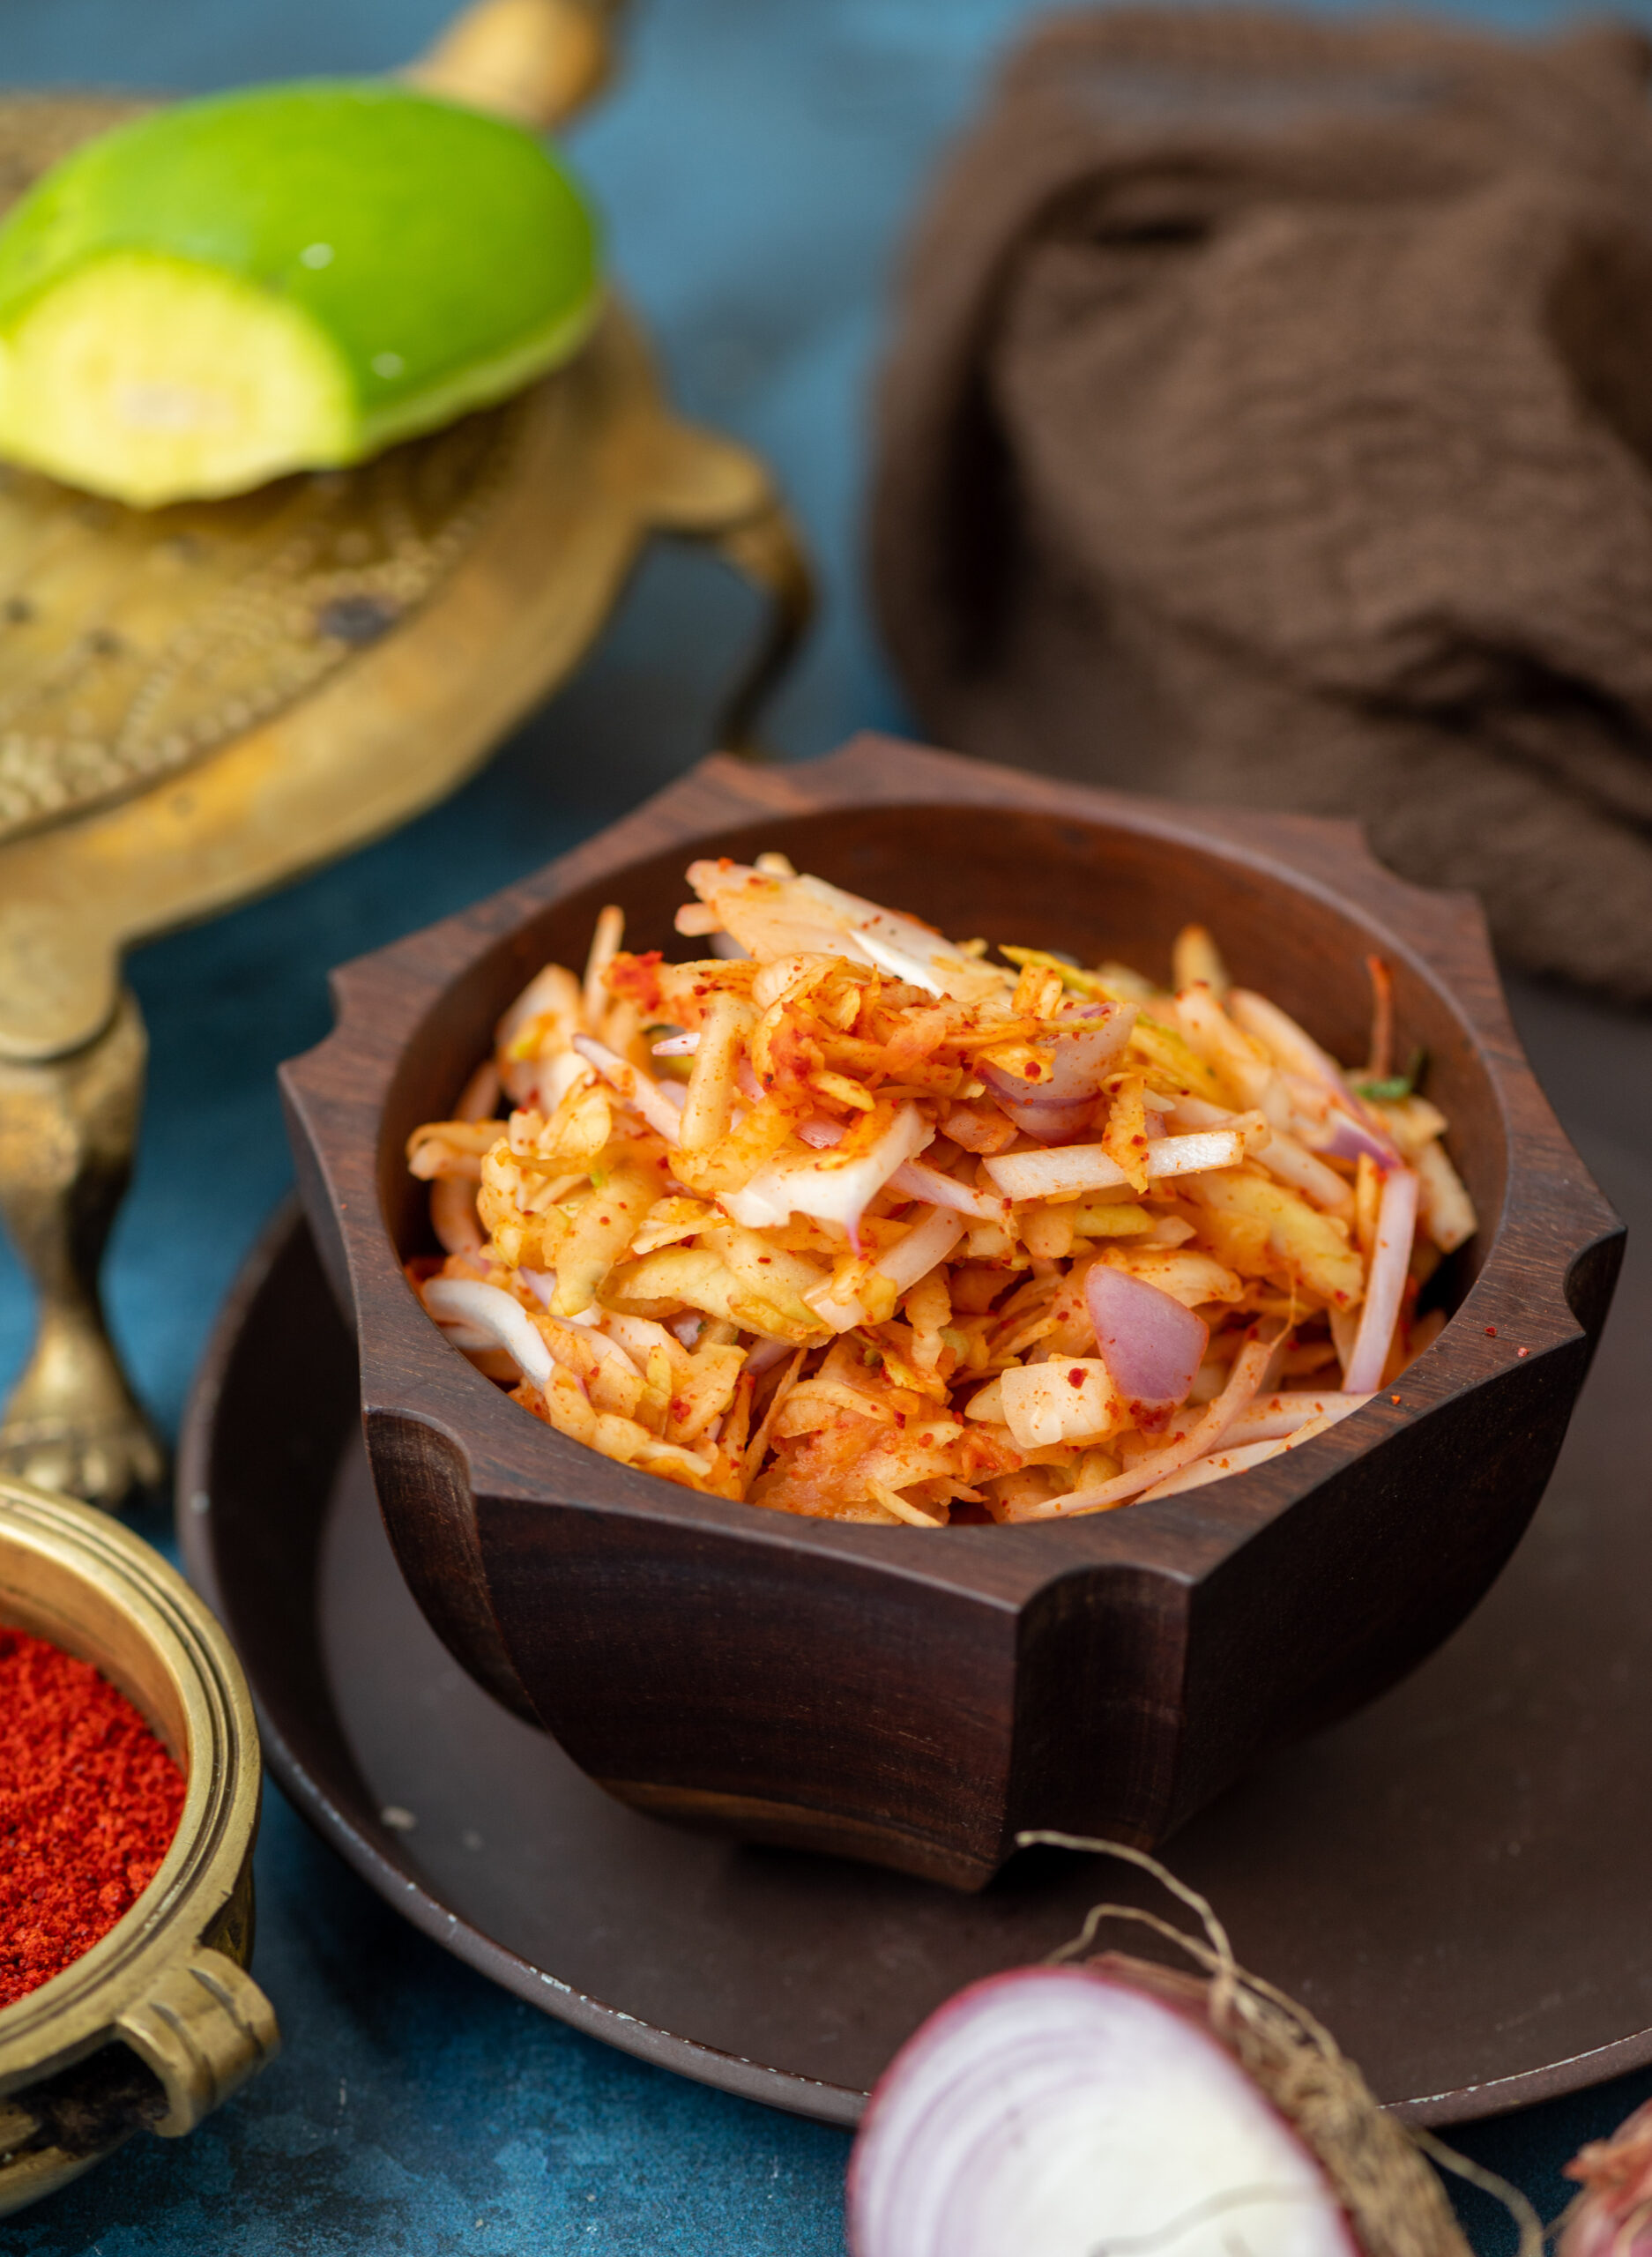
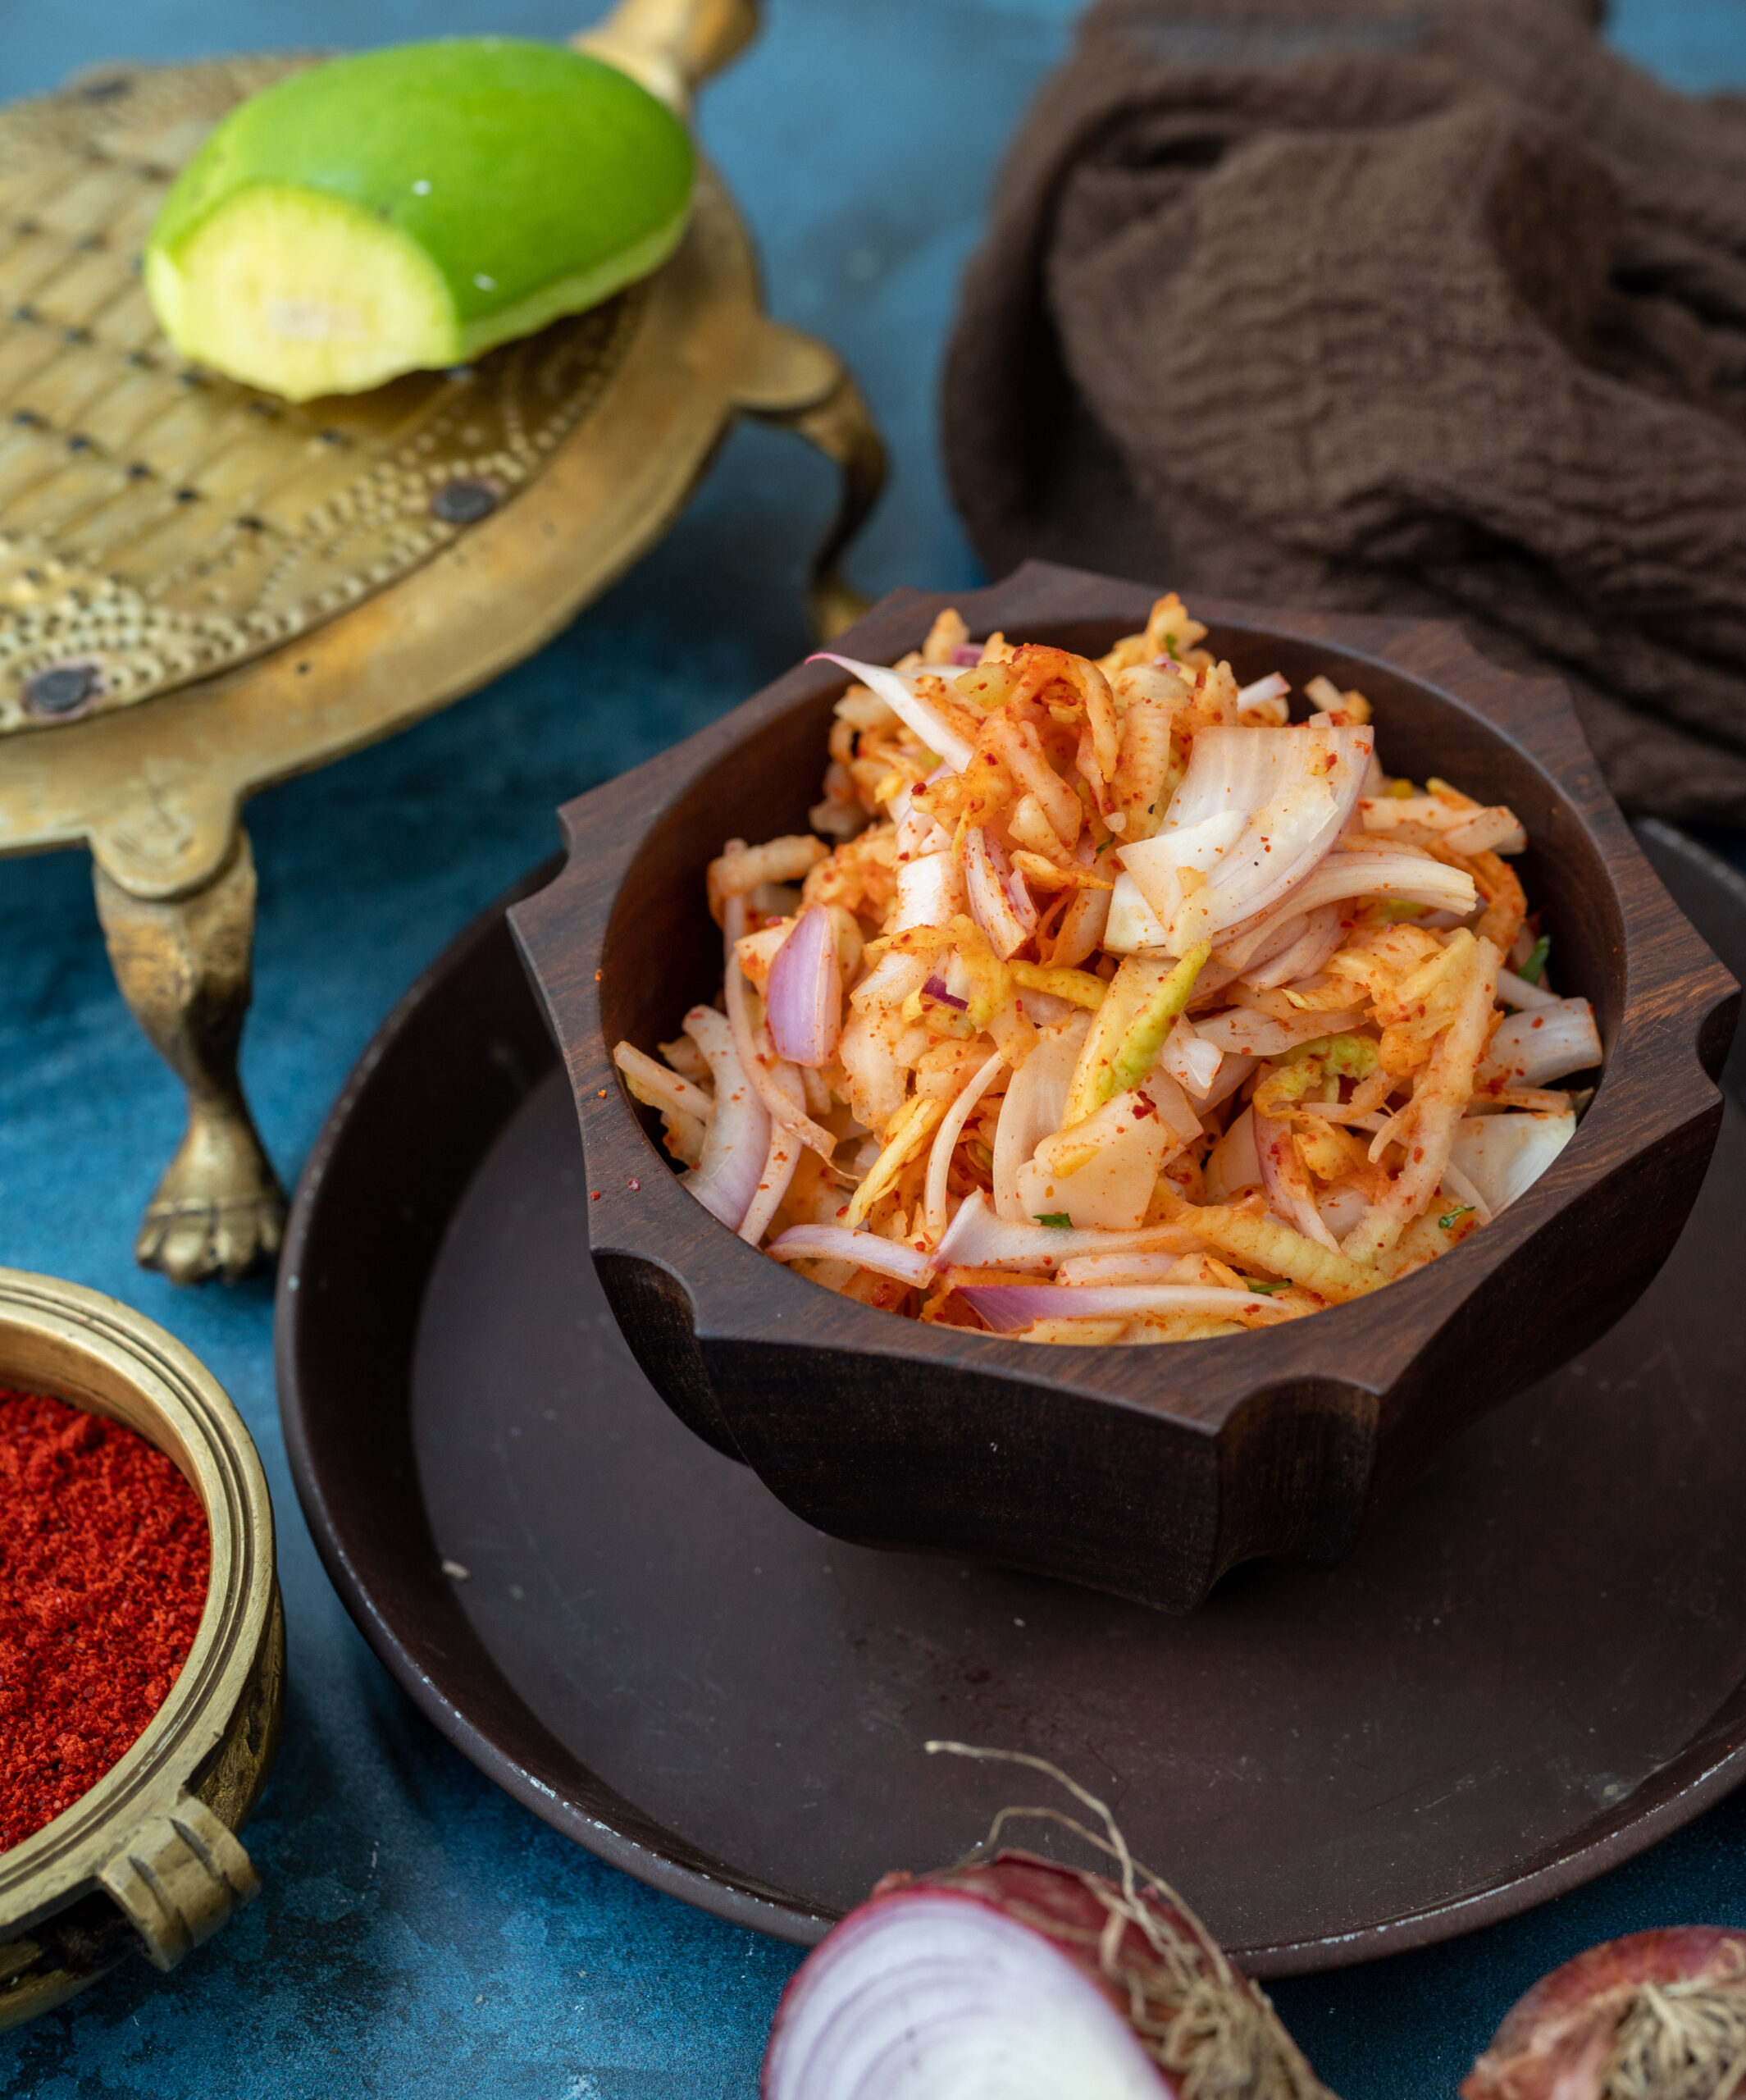
Kanda kairi is a traditional Gujarati condiment, but it is eaten in such large quantities in my home that it almost qualifies as a sort of salad. It features only two basic ingredients, as its name attests: onion (or kanda) and raw mango (or kairi). So it is remarkably simple to put together, and tastes great by itself and as an accompaniment.

Across Gujarati homes, you’ll find some kanda kairi being served on any thaali at this time of year. Similar to how buttermilk is a staple in the summer, so is this dish. It’s quite interesting how the kanda kairi has a reputation for being a cooling condiment, given the ingredients involved. Yet somehow, the combination works for this purpose. I recall how when I was growing up, my mom would insist that my siblings and I have a tablespoon of it daily during the hot months. I used to make a face every time, but now I do the same thing, and I love it.

Aside from onion and raw mango, I like to elevate the flavour with a bit of jaggery (which you don’t need if the fruit you use has a hint of sweetness), as well as some chilli powder. In India, we love to add that spice to raw mangoes as well as to guavas, as it adds a delicious edge.

Kanda Kairi

(Yield: Serves 2-4)

1 cup raw mango (grated)

½ cup onions (finely sliced lengthwise)

2 tablespoons coriander leaves (finely cut)

Salt to taste

1 teaspoon powdered jaggery

½ – 1 teaspoon red chili paste


In a bowl, add the raw mango and onions and coriander leaves. When ready to serve, add the salt, jaggery and chili paste. Mix well and gently, using your hands.

Your kanda kairi is now ready. Enjoy it as a salad or condiment. To me, it’s a bit of both – and so easy to bring together!

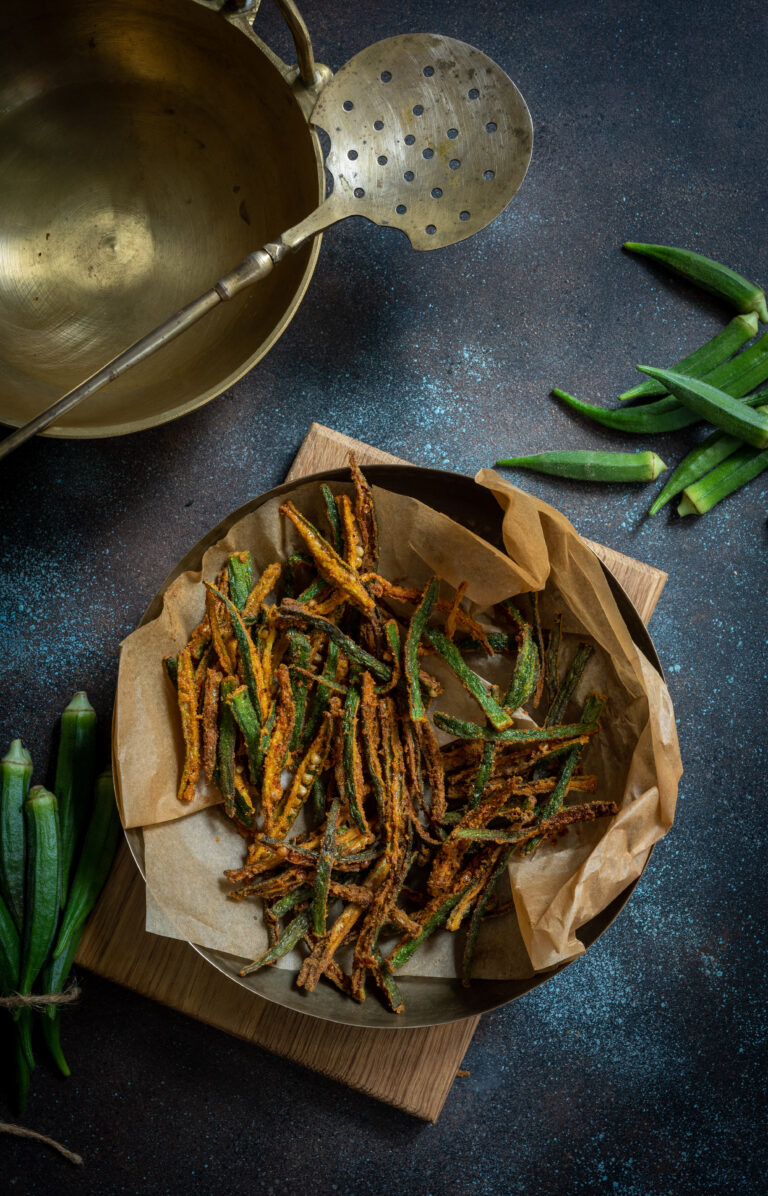
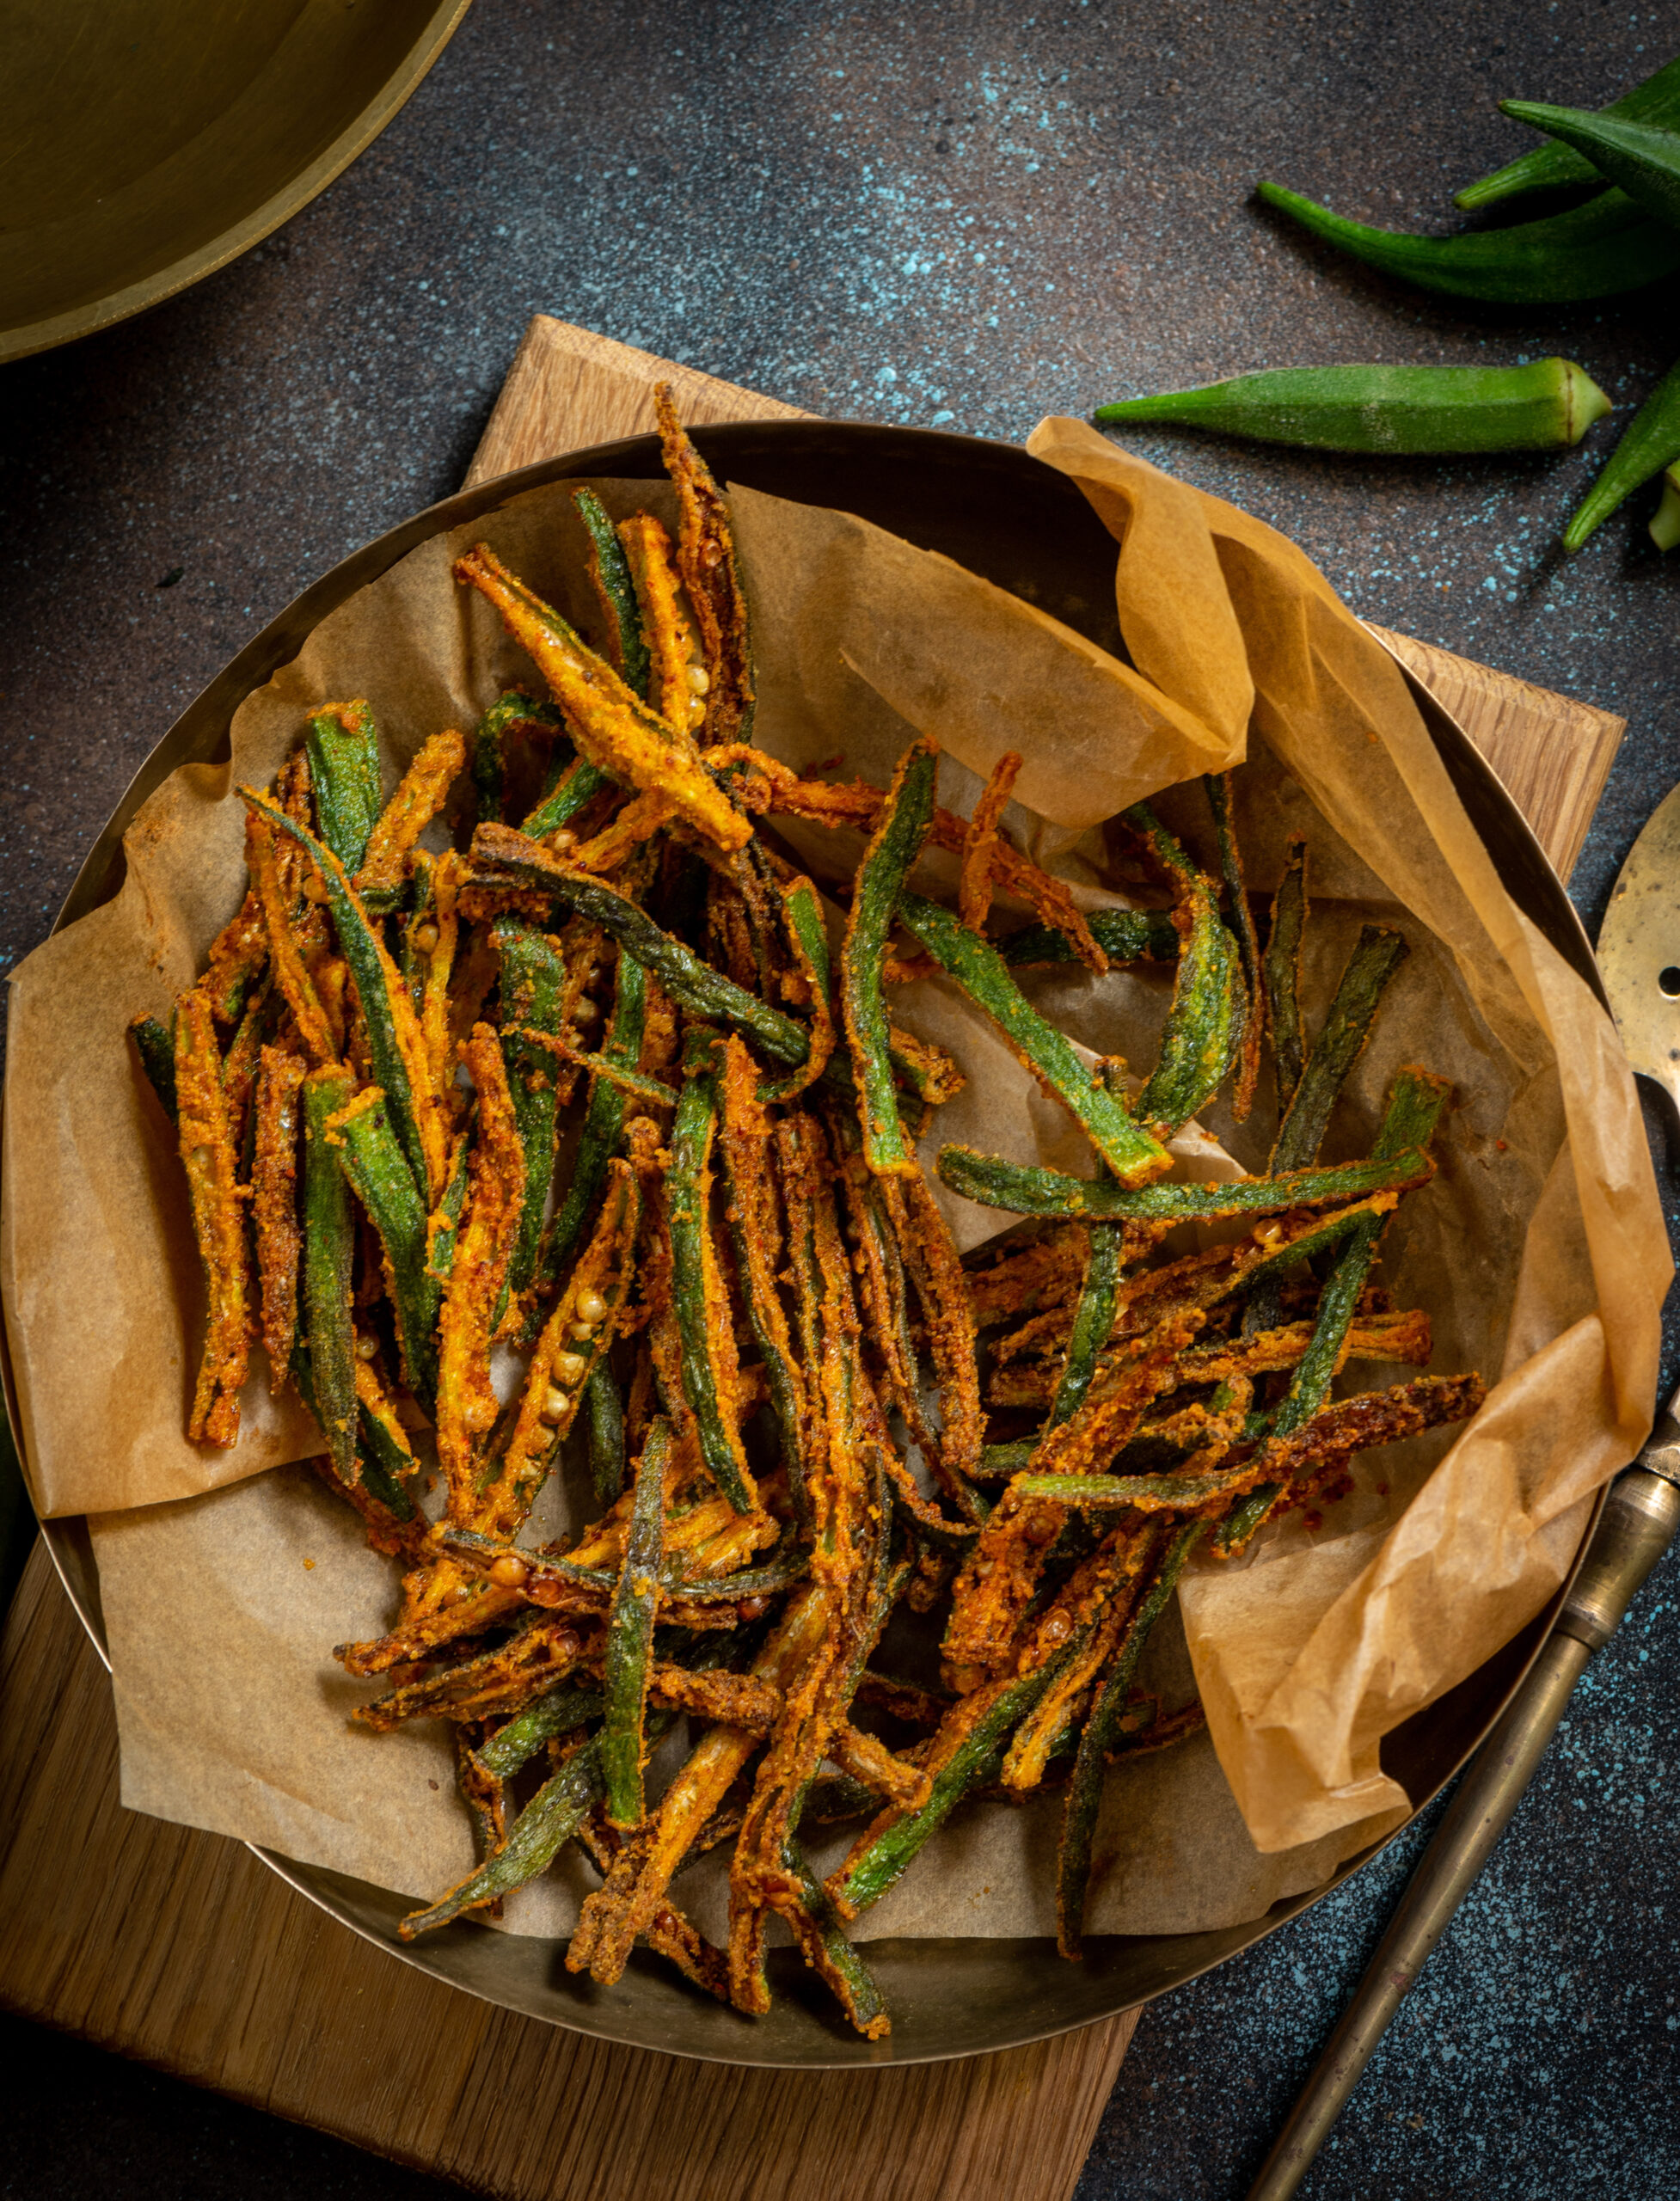
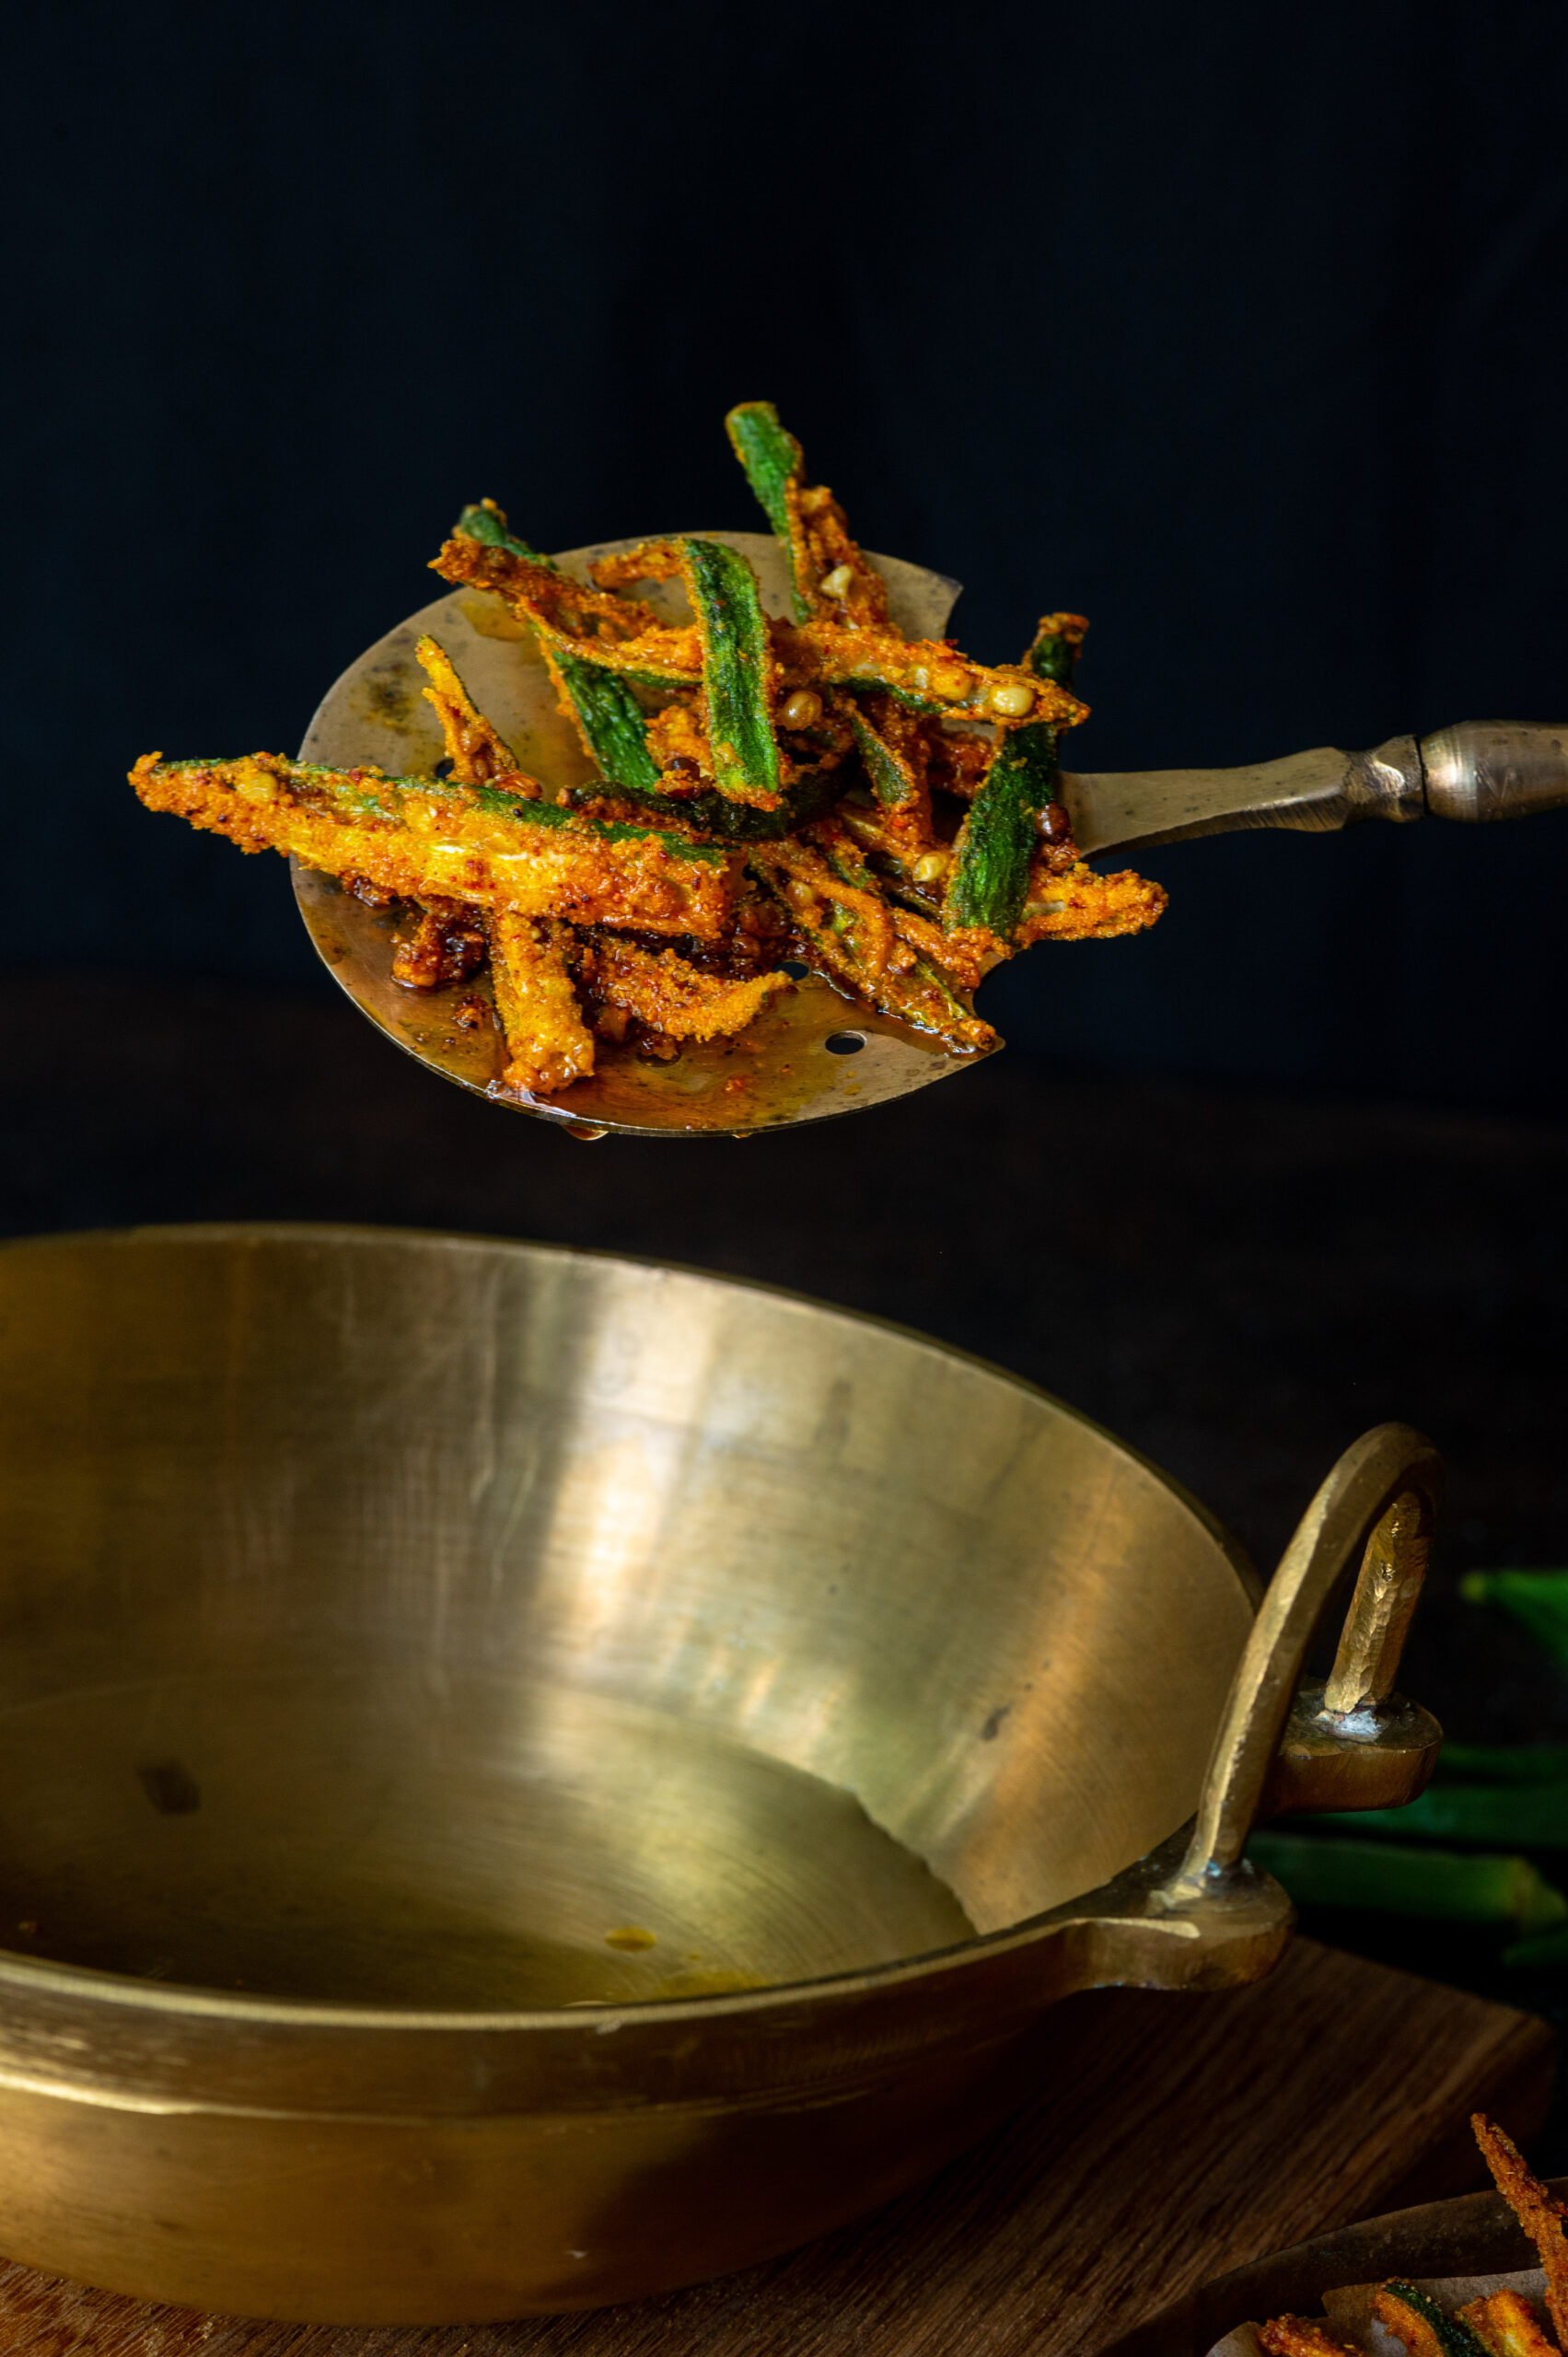
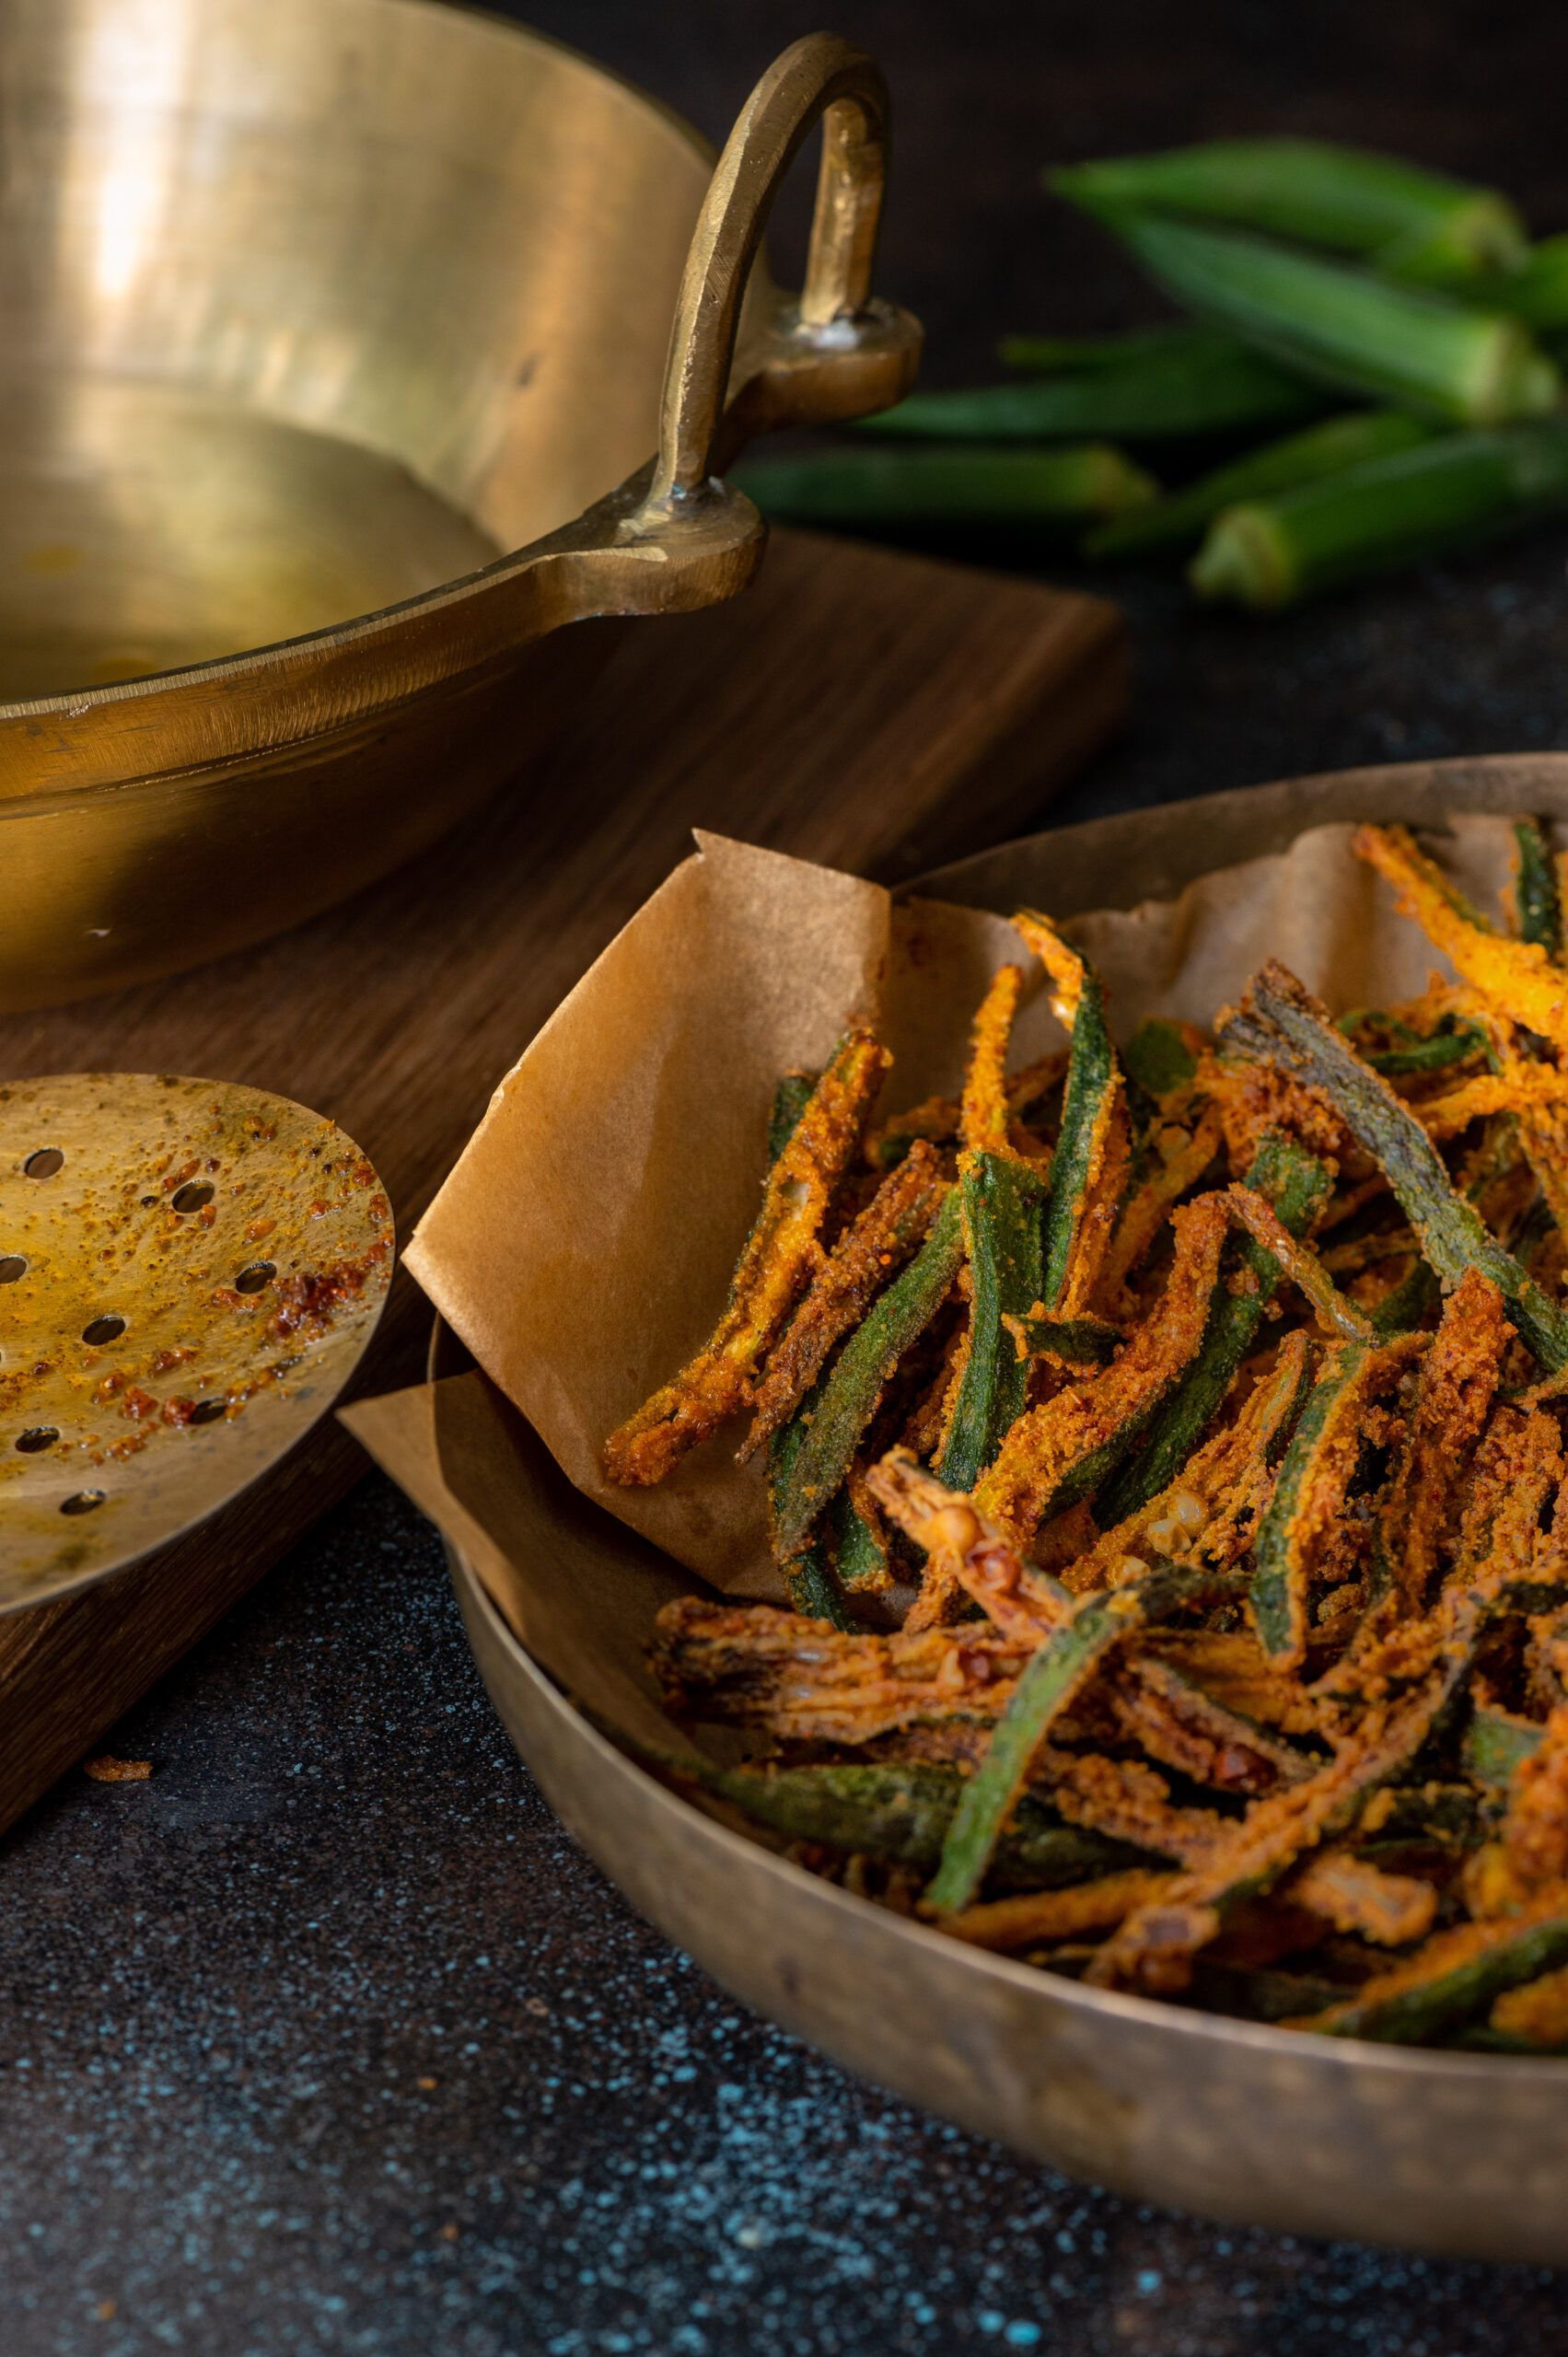
Okra, also known as lady’s finger, is a basic Indian vegetable that grows in any weather, any soil and any season. This means that it recurs as an ingredient in cuisines across the country, and there must surely be a hundred varieties or versions of cooking it. To give you some examples of its versatility: I’ve had it in a yoghurt raita and I’ve also had it in a tamarind sauce gravy, two very different concepts altogether. My most favourite way to eat okra, however, is in a dry stir fry that I make at home almost every other day as the sabzi part of our traditional Gujarati thaali. However, making a preparation attractive to the rest of my family, particularly the younger generation, has been a challenge. That was when I discovered that I could convince them to eat this vegetable by turning it into fried okra chips.

Initially, my plan was to simply introduce my kids to the wonders of a good okra dish and then have them develop enough of a liking for the vegetable that they also became interested in the regular stir-fry. I must confess this plan has backfired – we are all too addicted to this version! So it’s become more of a treat and less of a staple in my home.

Still, as I continue to find ways to increase the vegetable quotients in my kids’ diets, I’m glad to have figured out this simple yet delicious recipe. I have noticed that youngsters take some time to grow out of the feeling that brinjal or okra, vegetables that have a certain texture, are icky. Even though mine are now adults, they still have these dislikes. Preparing these vegetables they are picky about using a technique that makes the stickiness go away, such as frying, makes a difference. Do you have any such tips and tricks you’d like to share too?

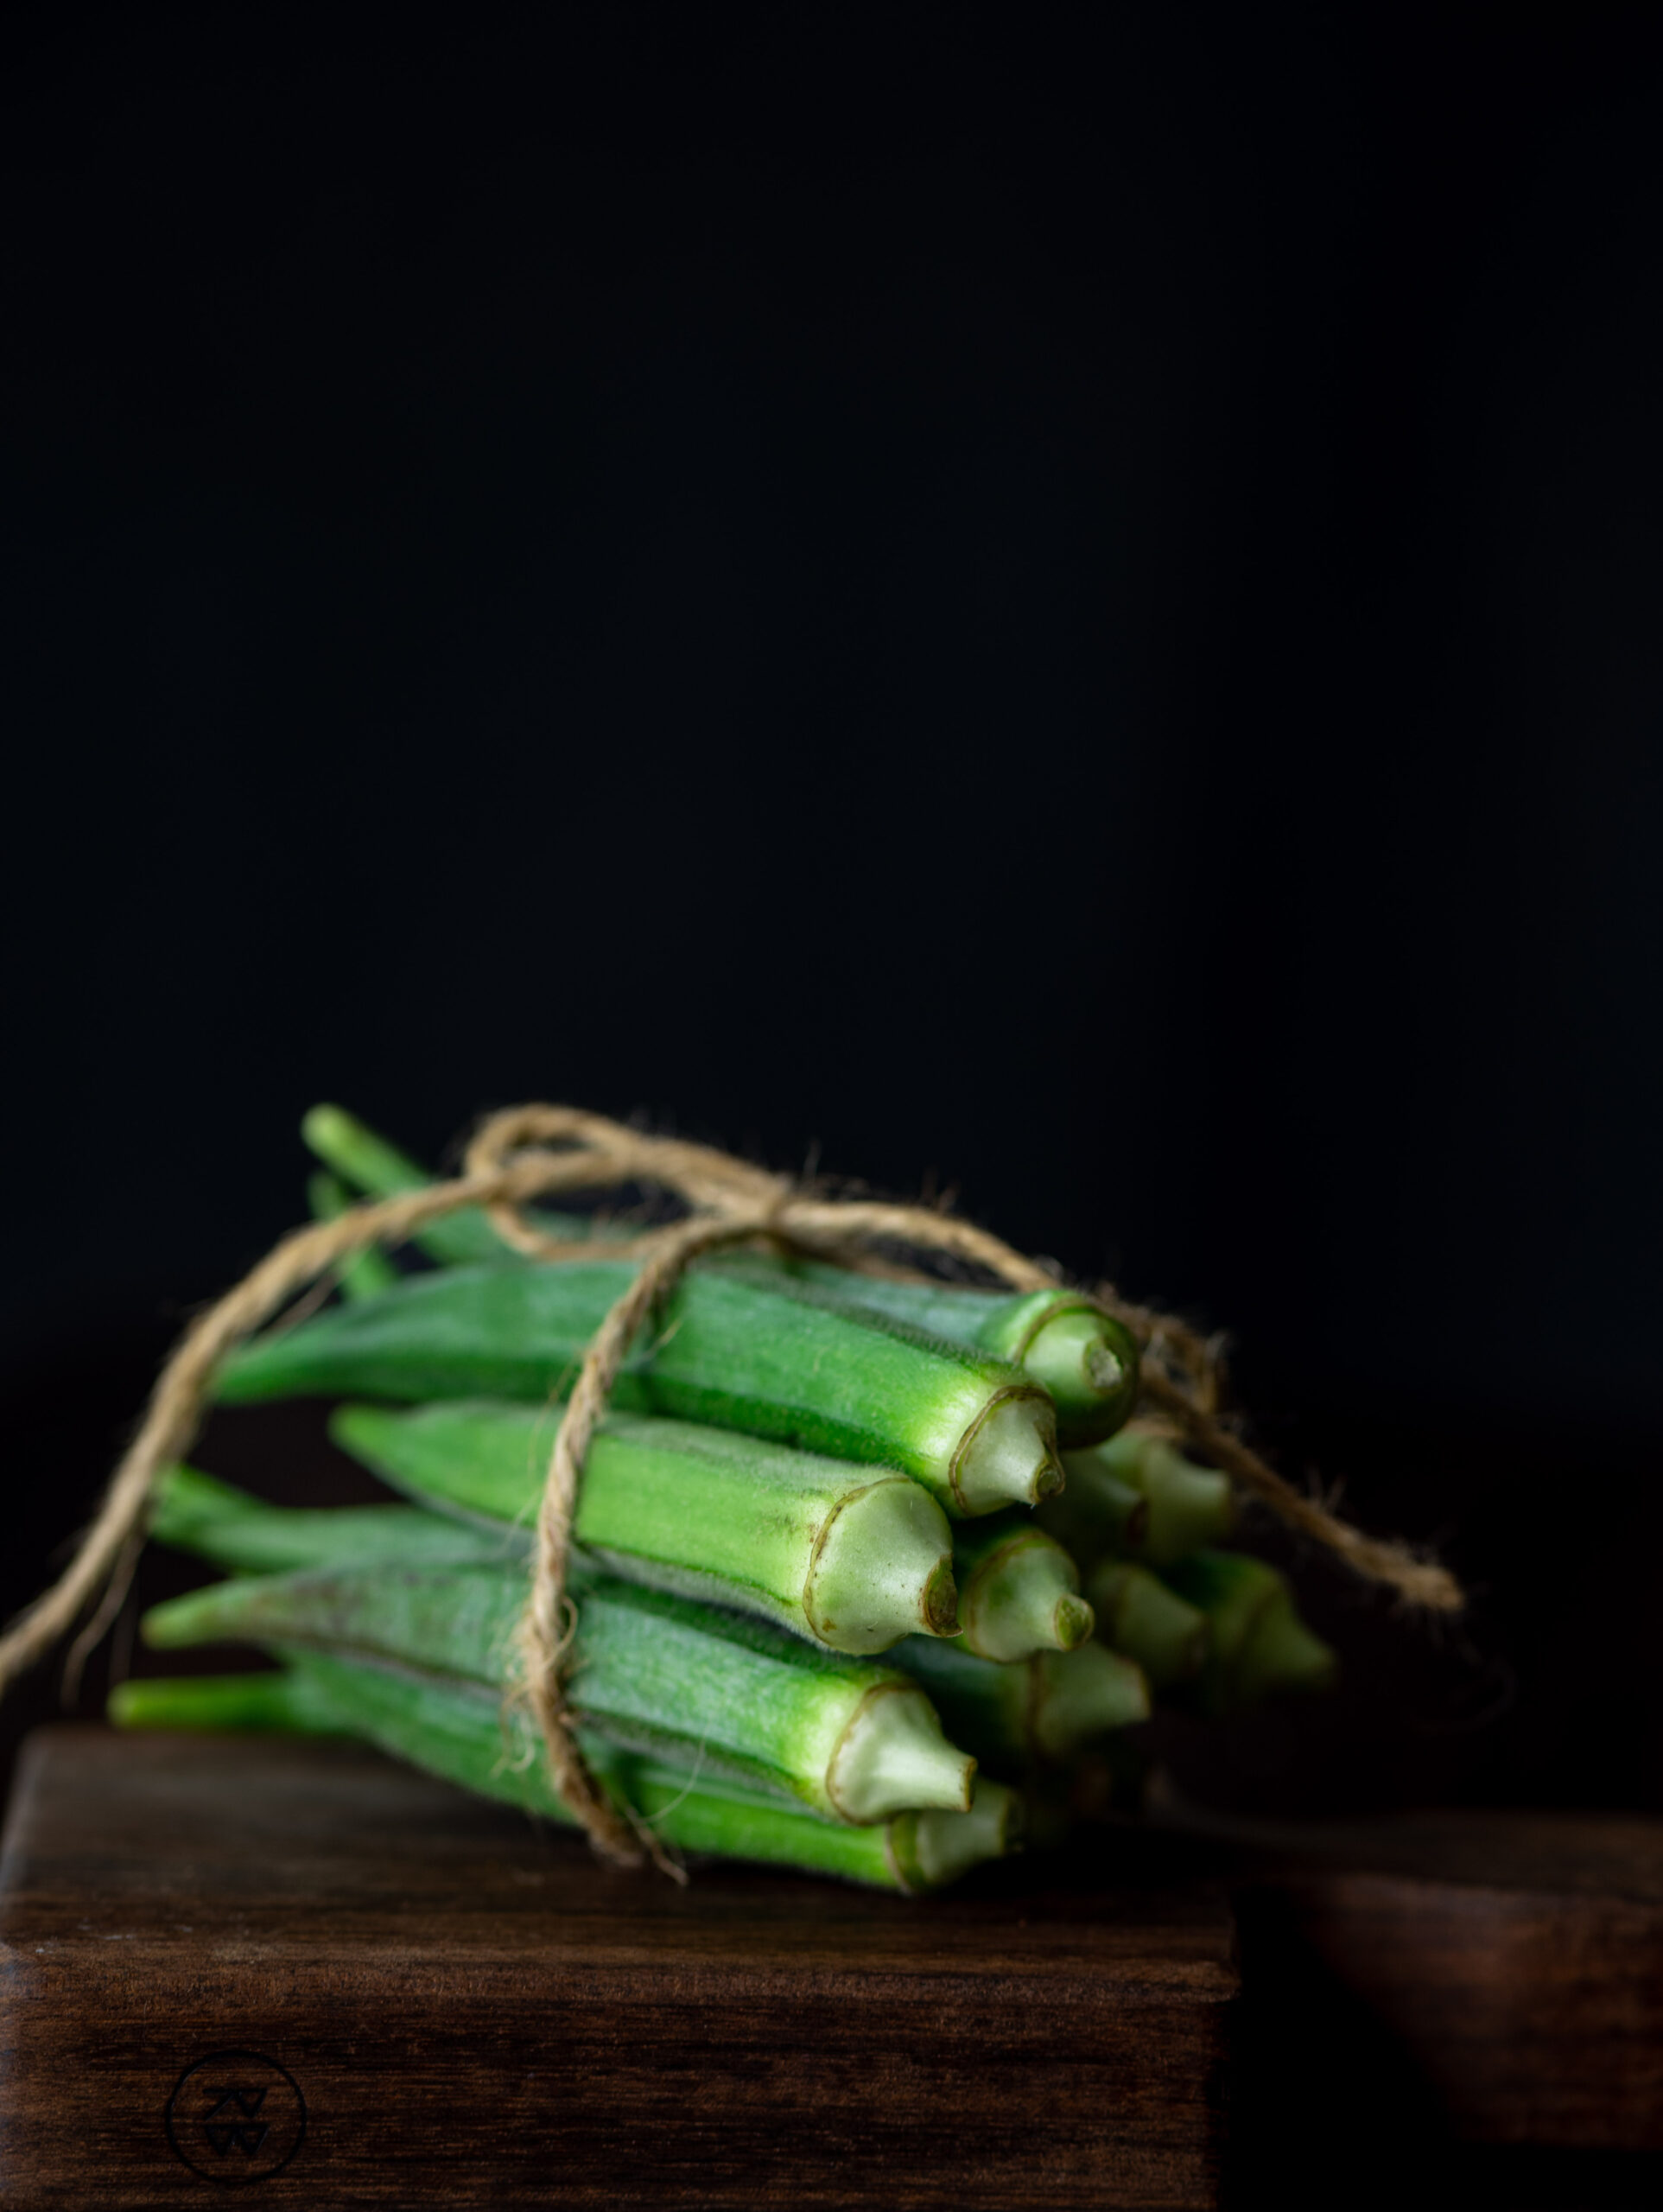
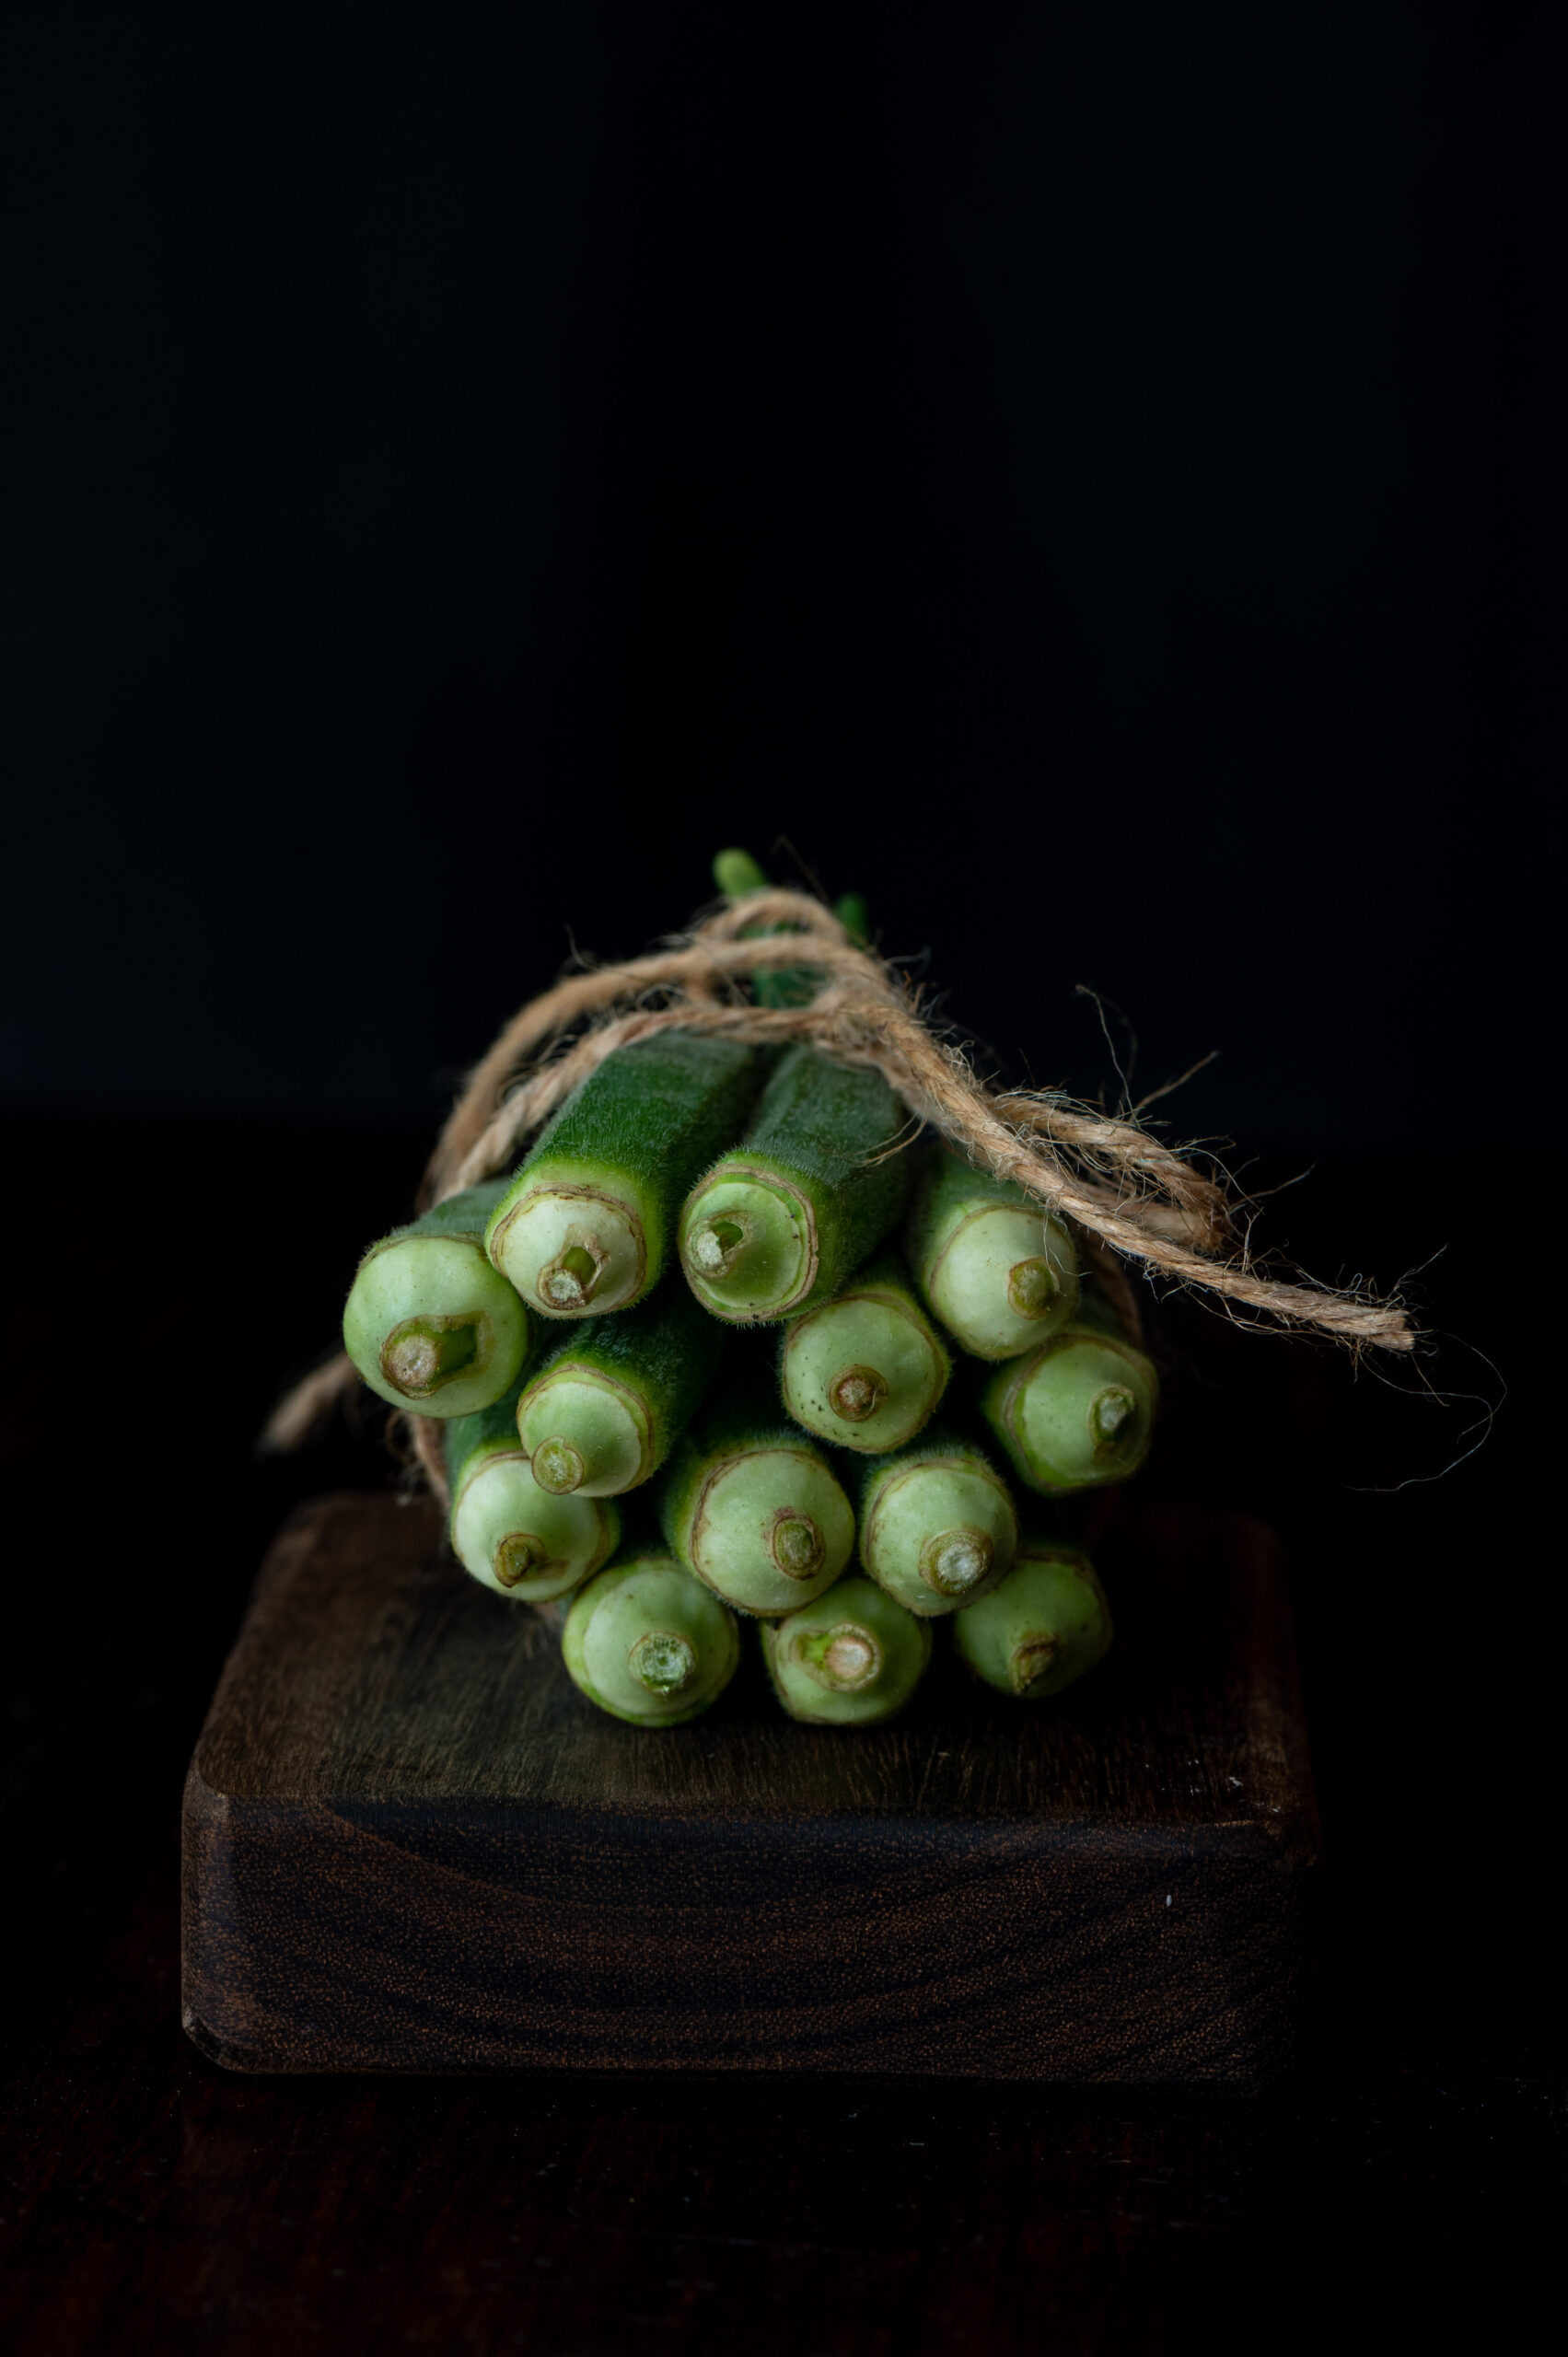
Another great thing about these fried okra chips is that they require very little prep time, and as long as you have your usual spices and some fresh okra around, you can make them quite quickly. As with most vegetables, freshness is a key element when it comes to okra. When I was growing up, my mother taught me not only how to cook but also how to pick out the best vegetables when shopping for groceries. While you may not be able to do this at the market, when you’re about to cook, the secret to knowing how good your okra is this: snap the tiny piece of the tail end off. If it snaps immediately, it’s fresh. If it is tender, it’s losing its freshness.

When this happens, depending on the dish in question and the extent of the vegetable’s over-ripeness, I either use it in another preparation or else I discard it. By discard I mean that I go and feed it to the cows in the street. Most of the older vegetables amidst my groceries or in my fridge are “discarded” this way. In a sense, they are never wasted.

Fried Okra Chips

(Yield: Serves 4)


250 grams okra (sliced lengthwise)

Salt to taste

2 teaspoon Kashmiri chili powder

½ teaspoon turmeric powder

1 teaspoon cumin powder

½ teaspoon garam masala

5 tablespoons chickpea flour

1 teaspoon chaat masala

Add all the spices and the chickpea flour to the okra slices, and massage well using your hands. Allow to sit for half an hour.

Then, heat the oil. Once the oil is heated, drop in the coated okra slices. Fry well until golden. Drain on a paper. Sprinkle with chaat masala for an additional boost of lovely flavouring. You can store the fried okra in a tin if consuming later.

These fried okra chips are a wonderful snack on their own, and also work as an accompaniment to a main course. I’d love to know what you think of them, and I’d especially love to know if you have more suggestions about how to sneak nutritious vegetables into the diets of the vegetable-averse!

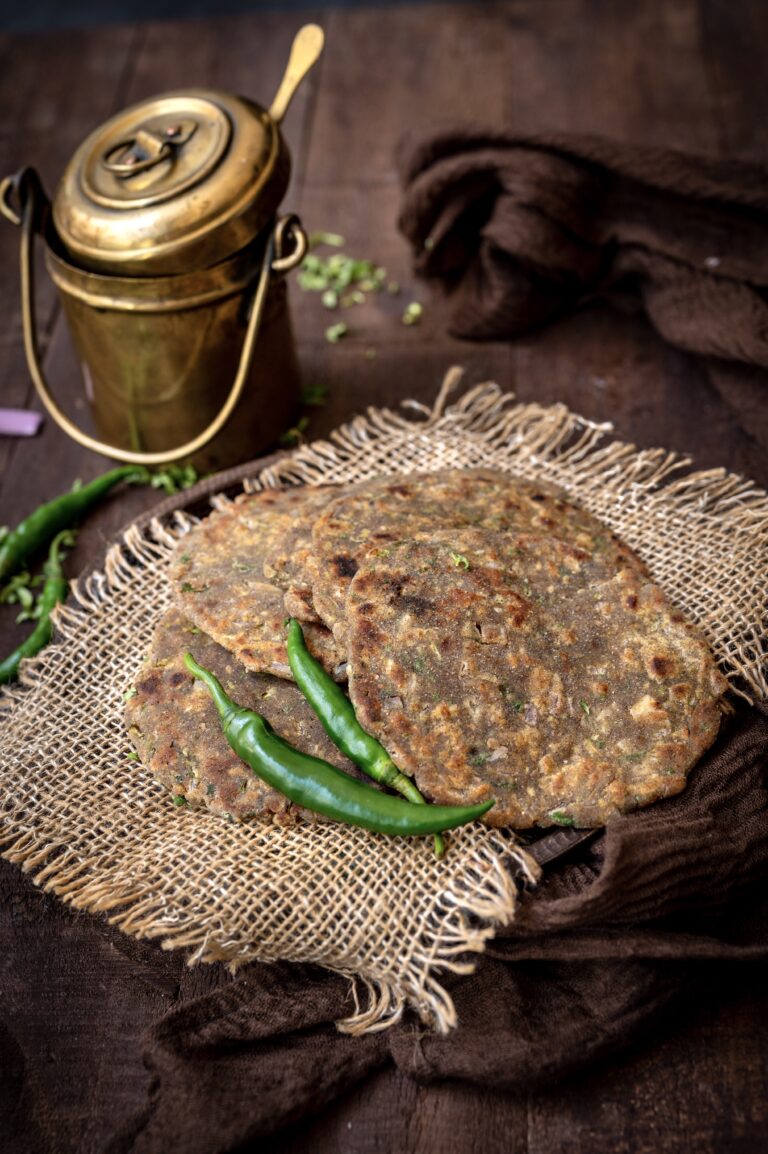
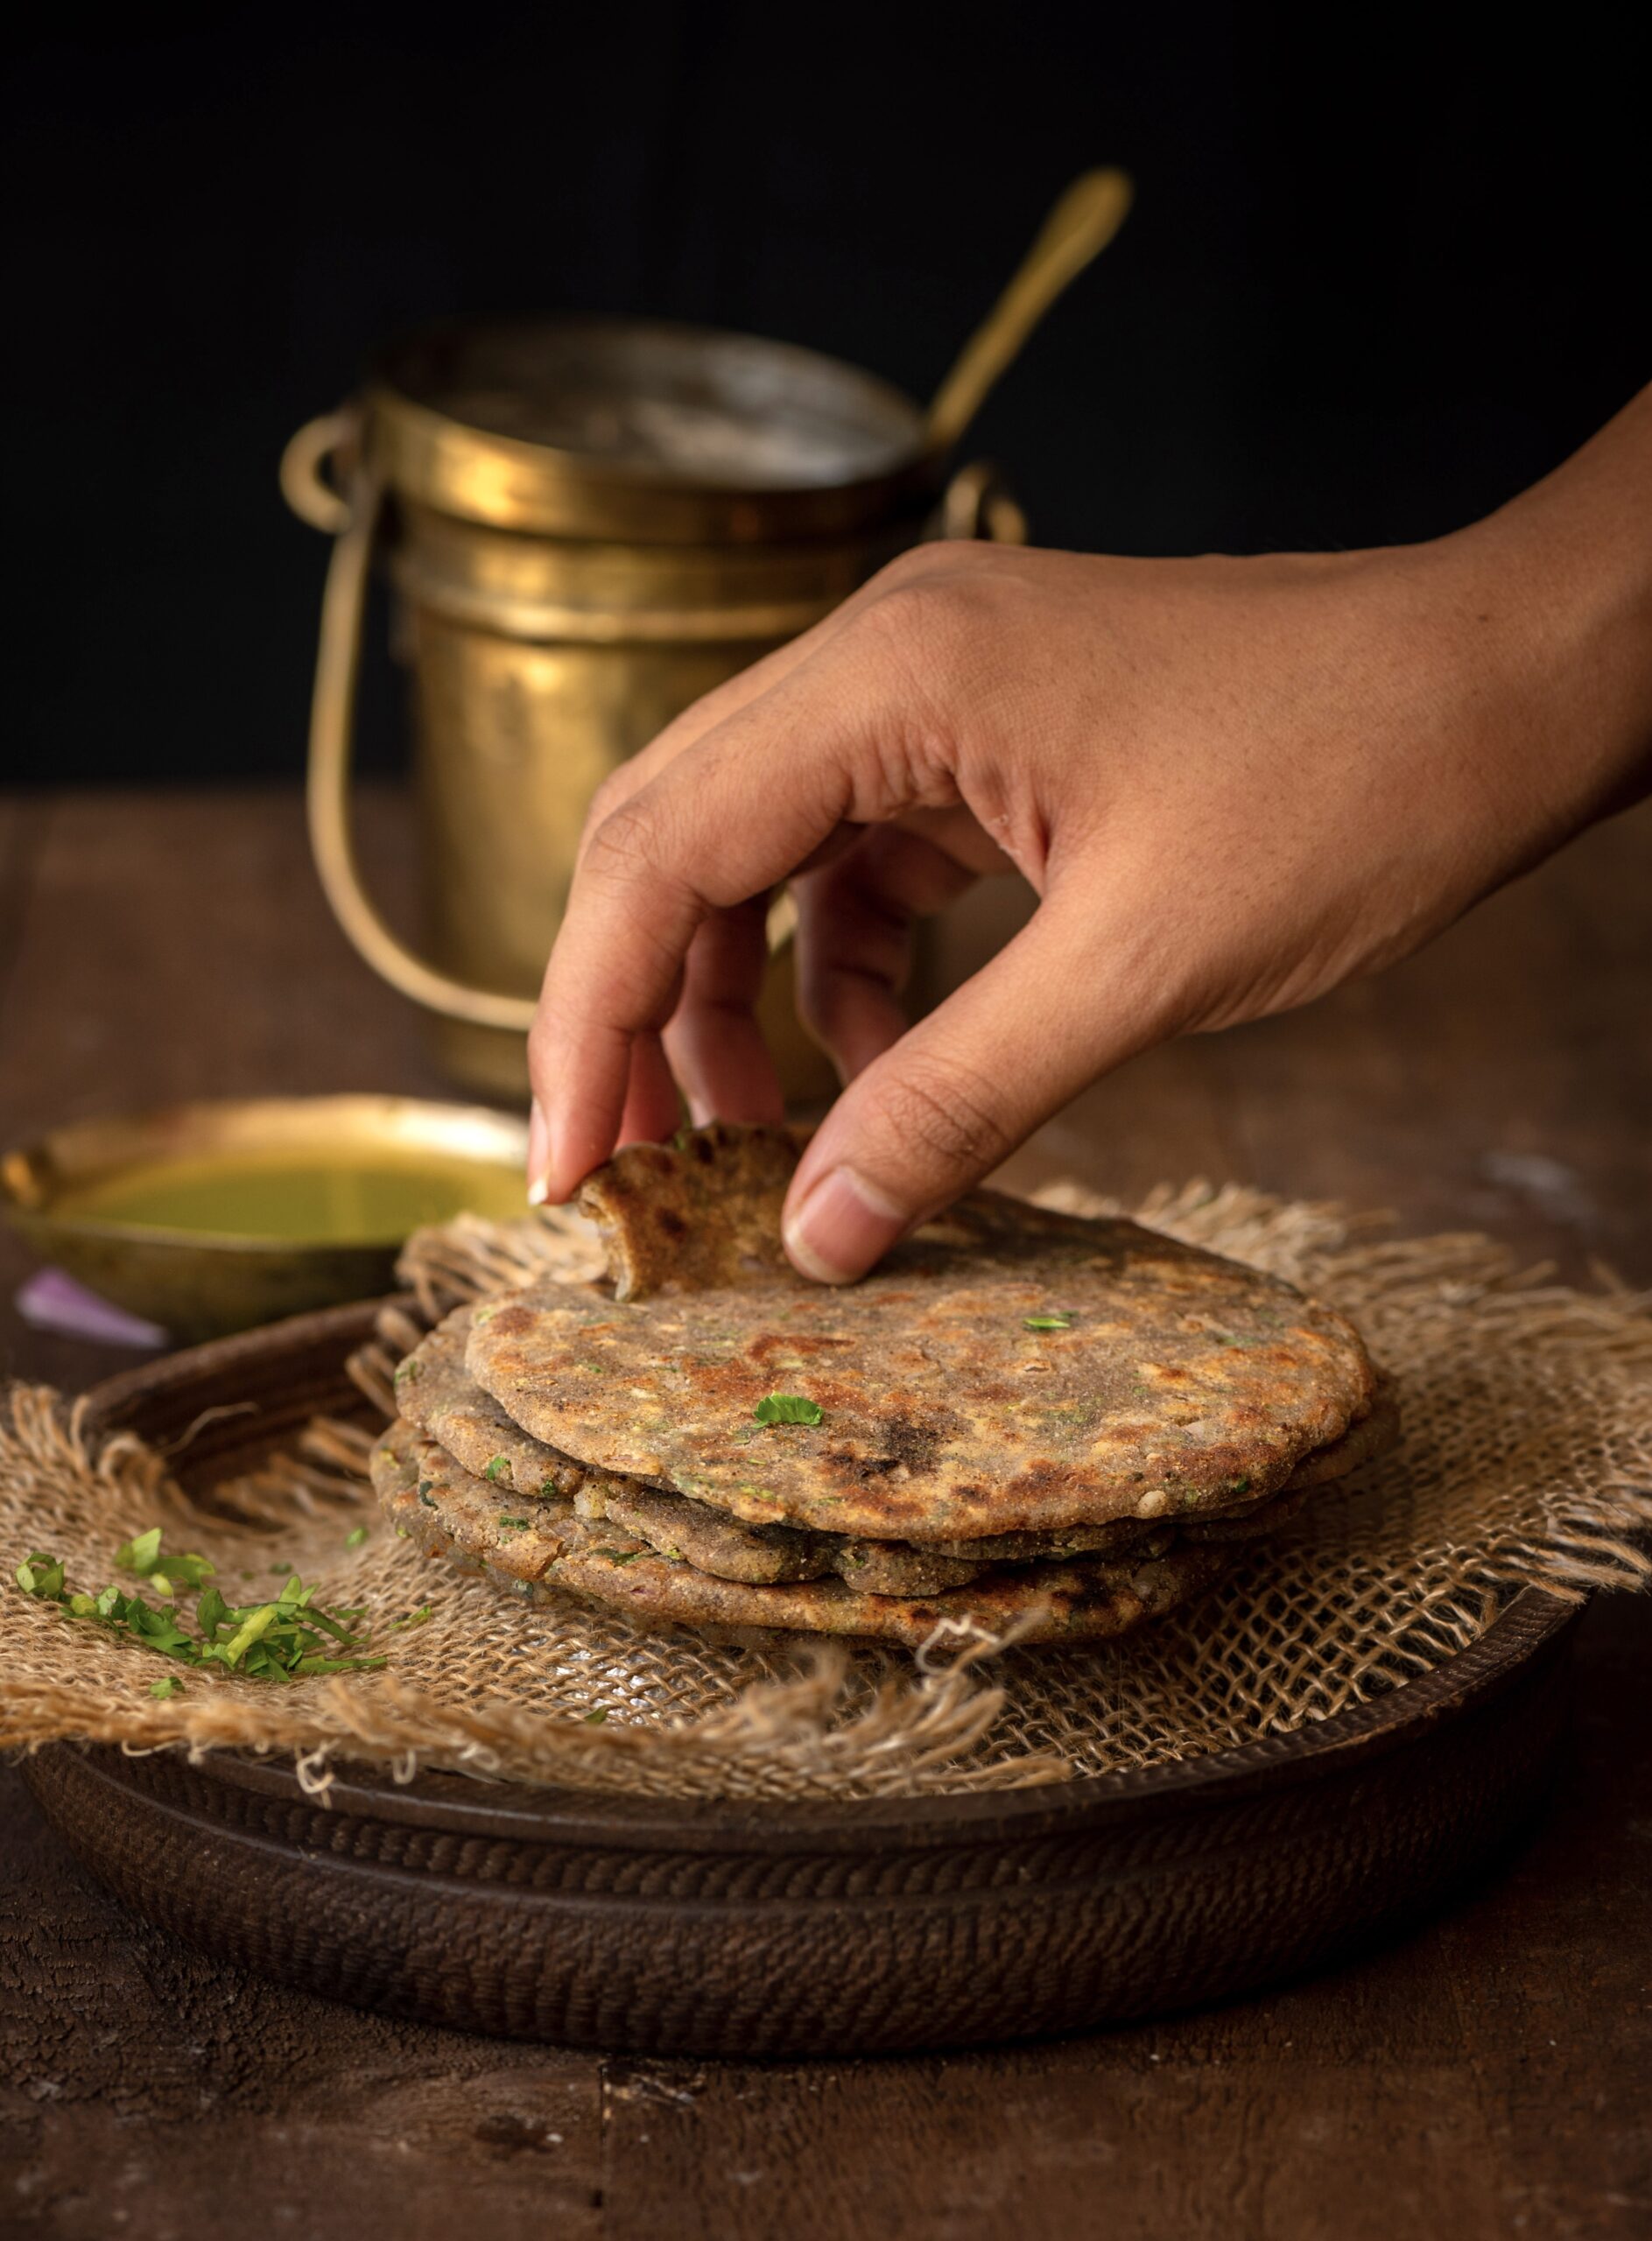
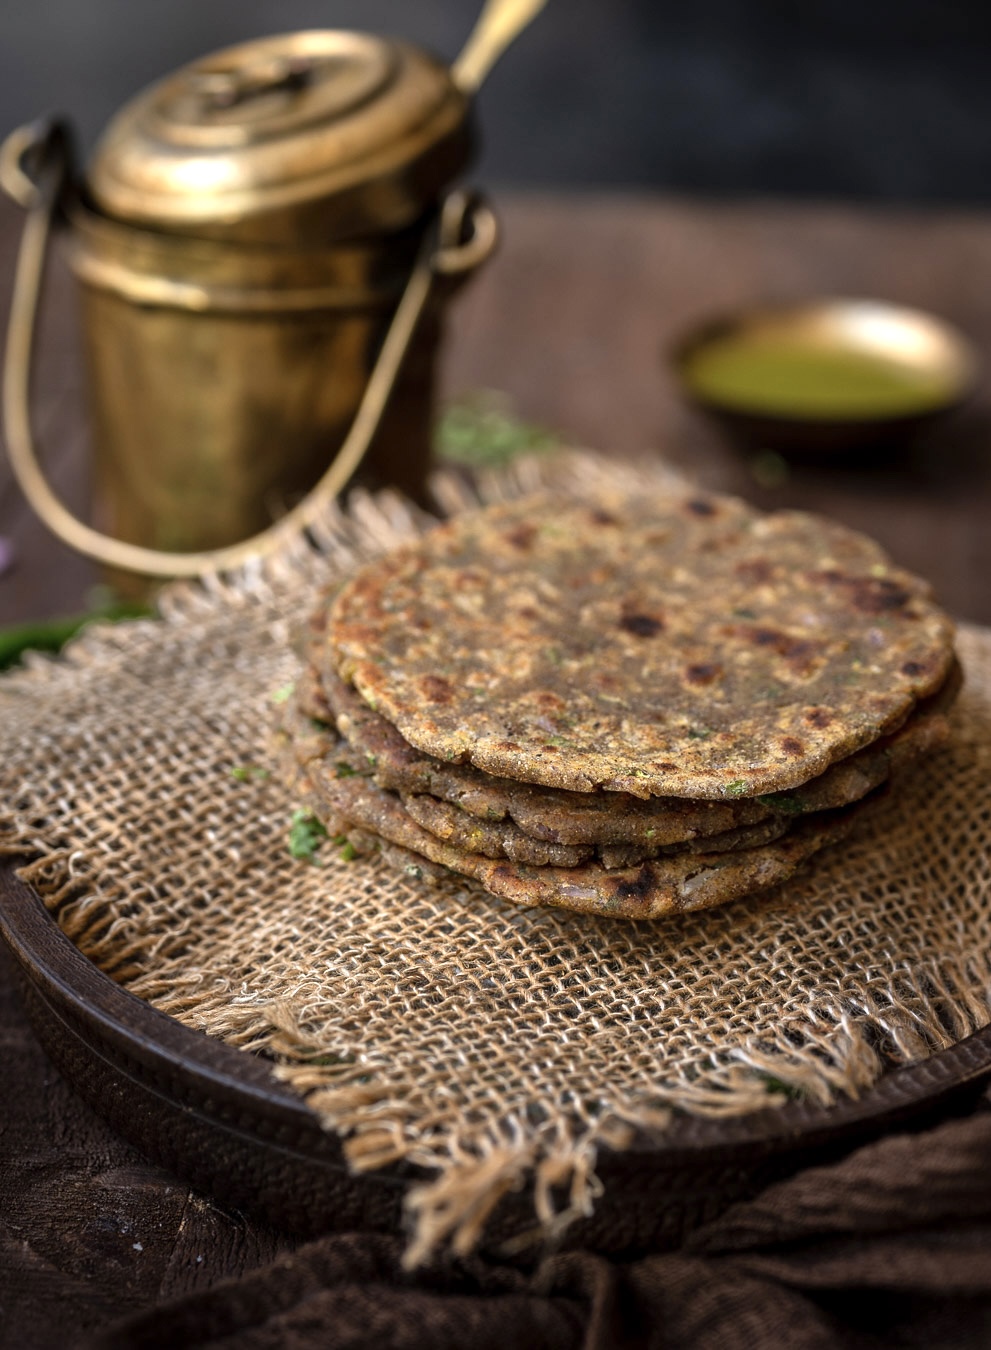
This multi-grain flatbread, also known as chilla, is a kind of crepe that has made an appearance on this blog before in a chickpea avatar. This version, which uses a selection of different flours, is very similar to the thaali peeth from Maharashtra or the sathu maavu that is popular in South India. This is a rustic flatbread that is best consumed in monsoons as it takes longer to digest and gives an energy boost, but it is also perfect for me right now as I take a break from rice and wheat. It is a great way to enjoy my dals and veggies. It does contain a very small quantity of wheat as a binding agent, but this can be eliminated if you ensure that you roll out each piece very gently and delicately.

While I am cutting down on this ingredient, I do want to say that I think it’s sad and perhaps unfair that wheat has become a culinary culprit at late. Newer health concerns like celiac disease and gluten sensitivity, which were unheard of when I was growing up, are now much more widespread. On this note, I want to add that with the health and nutritional requirements of my customers in mind, I do offer a selection of gluten-free cakes. Vegan and sugar-free cakes are also on the re:store menu. Please explore our options and see what calls to you, and give me a call. I get a lot of enquiries about cakes that use artificial sweeteners, but I am still wary of those, so I haven’t accepted such orders. I would rather use a natural sweetener in small quantities, or eliminate it altogether.

I’ve used five different flours to prepare this dish. Feel free to use whatever is available in your home. In mine, since I prepare this quite frequently, I gathered together all the grains and had them milled together. In that sense, my flour mix is a homemade one. This is more convenient than reaching out for half a dozen jars each time I want to prepare a multi-grain flatbread. You can just store one jar instead, and use it for your regular consumption. Growing up, my mother made bajra rotlo  quite a lot, but this is my own go-to. You can also prepare this in a thinner consistency, make it in an uthappam style and so on. Use the dough in your preferred way to create a flatbread.

I accompany this multi-grain flatbread with a simple vegetable sabzi or a dal, or sometimes just a pickle and some yoghurt, or even a chutney. There are multiple recipes for these accompaniments on these blog over the years, so I invite you to spend some time exploring the archives, following tags that interest you.

Multi-Grain Flatbread

(Yield: 6)

¼ cup besan flour

¼ cup rice flour

¼ cup ragi flour

¼ cup bajra flour

¼ cup wheat flour

½ teaspoon ajwain (carom seeds)

A handful of coriander leaves (finely chopped)

Salt to taste

½ teaspoon sesame seeds

A pinch of turmeric

1 tablespoon oil

2 tablespoons curd

13 cup finely chopped onions

Water as required

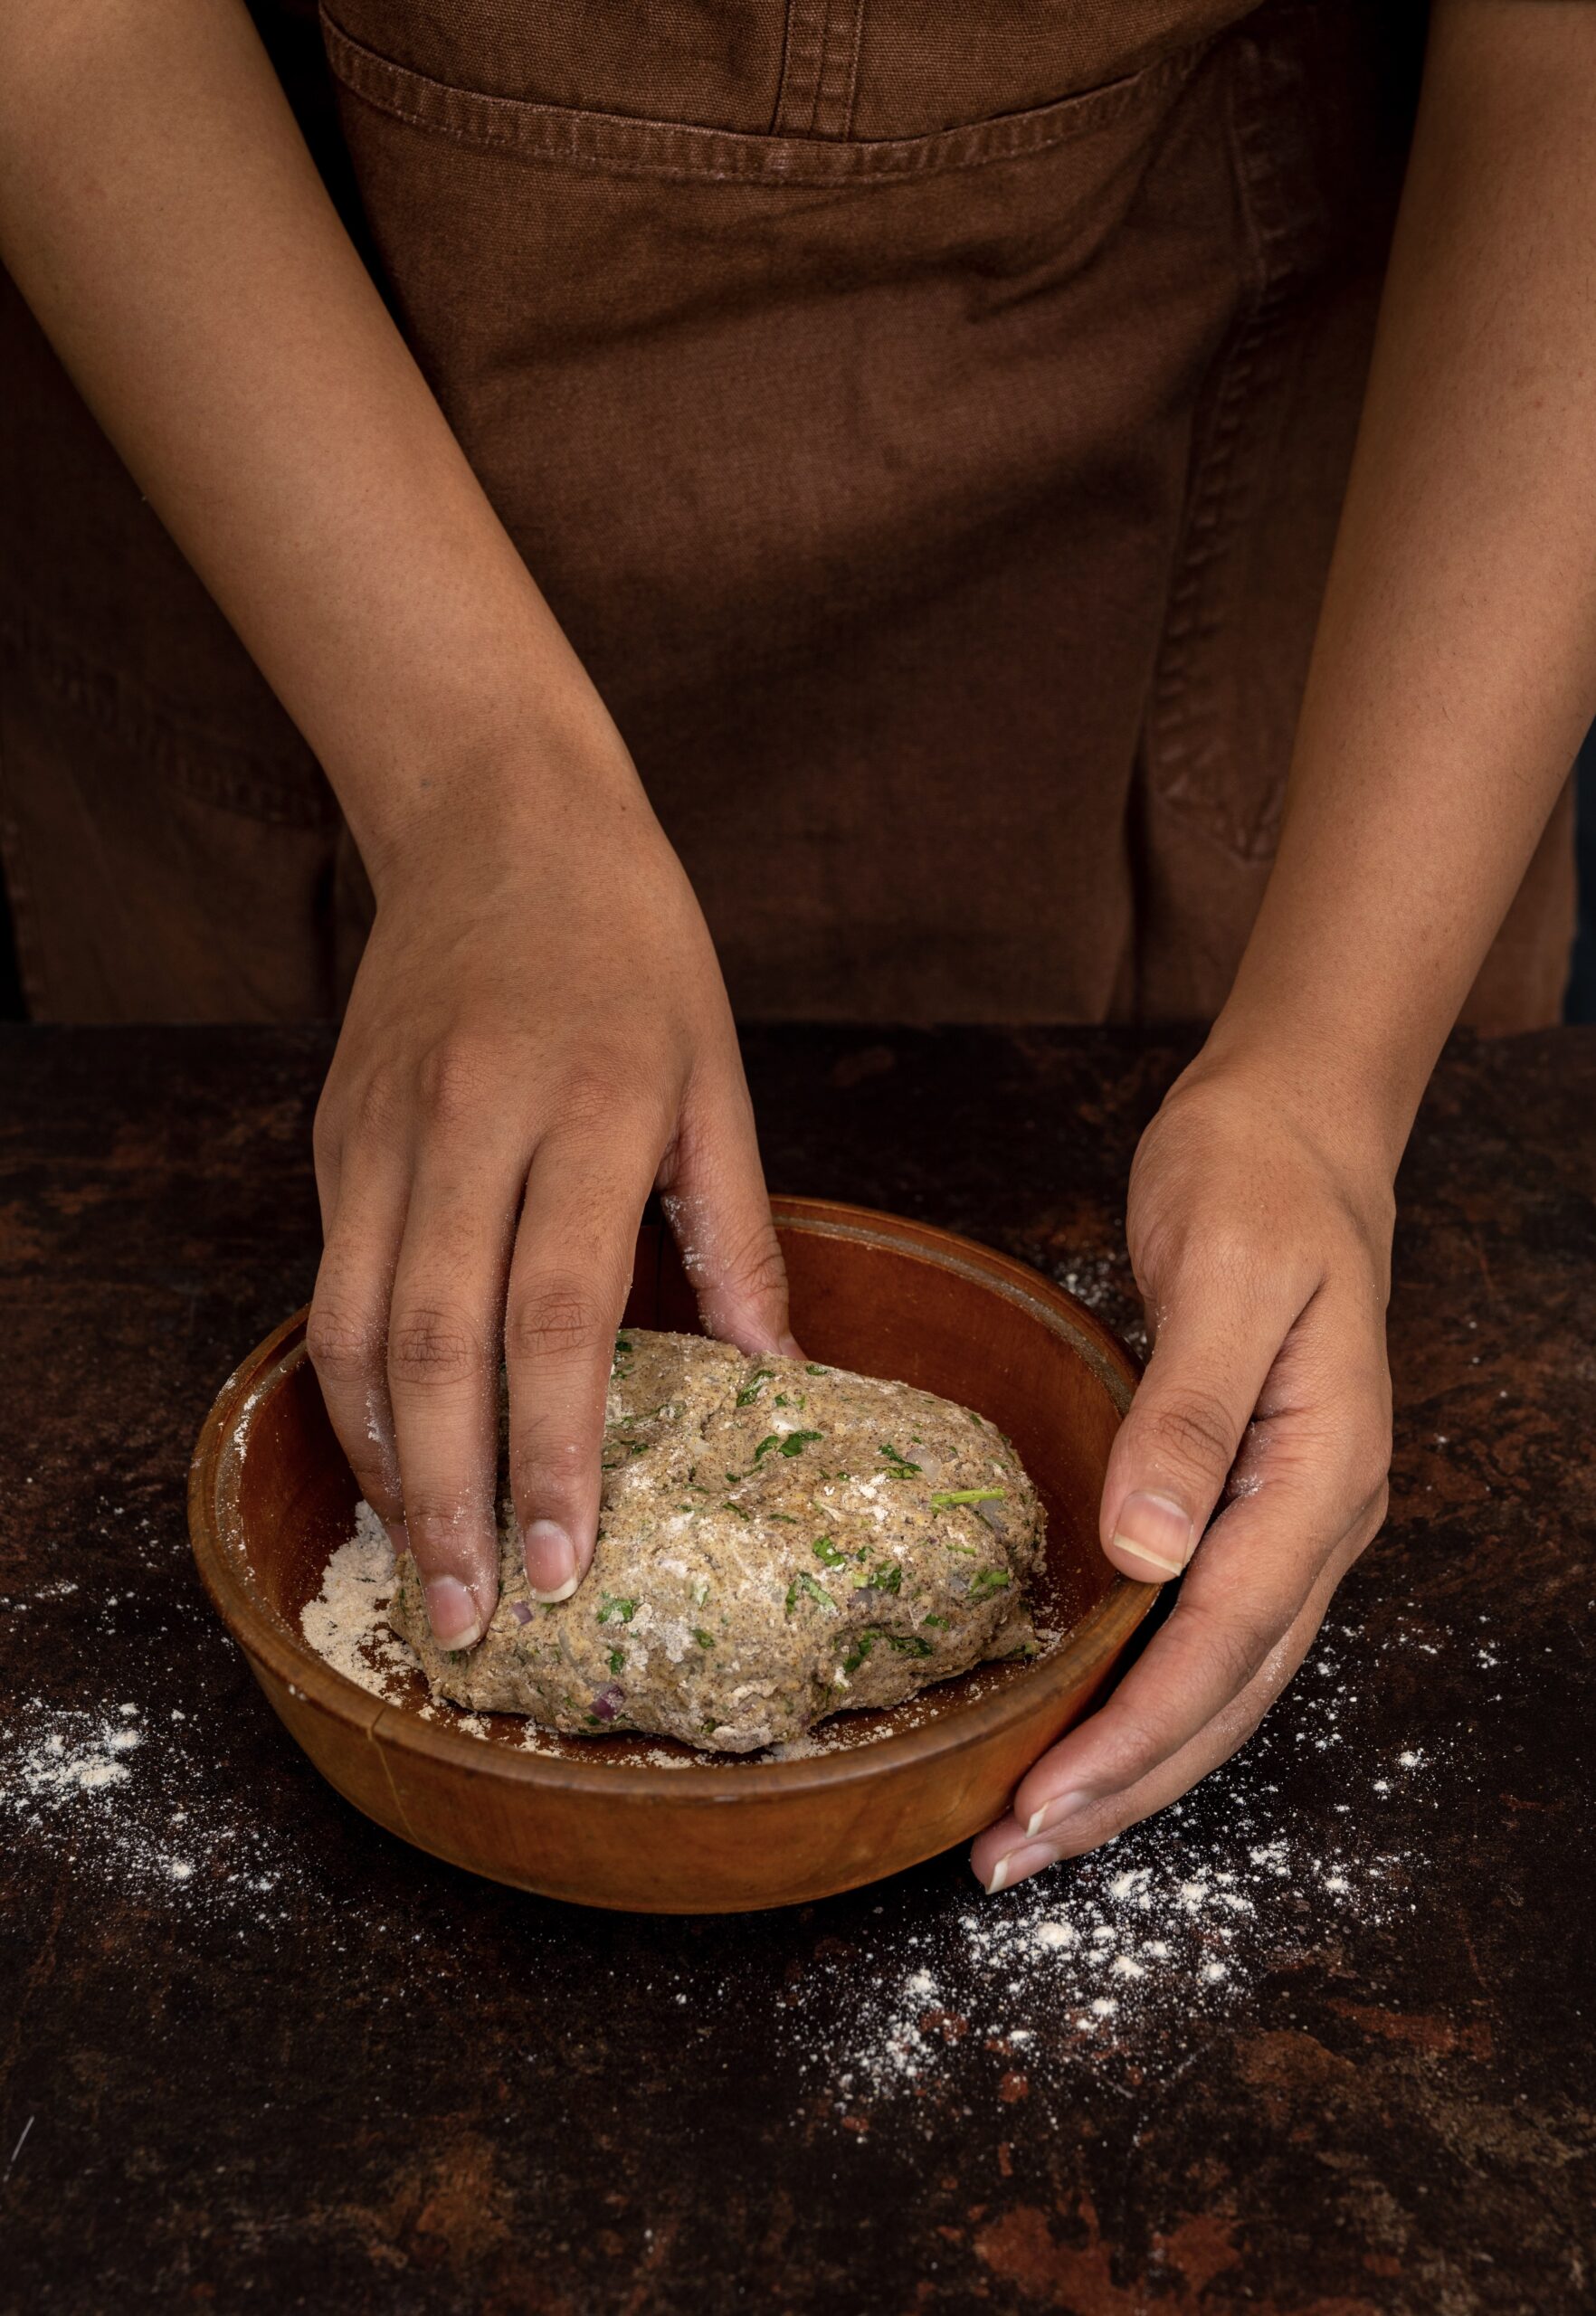
In a bowl. add all the flours, as well as salt and turmeric. Mix with your hand. Now, add the onions, coriander leaves, oil, curd, sesame seeds and ajwain. Mix lightly and add enough water to bind into a dough. You will not require more than 1 cup, and the quantity ultimately depends on the flours you use.

Once you have made a dough that doesn’t stick to your fingers easily, divide it into 6 equally-sized balls.

Using a rolling pin and stand, dip the balls into some flour again. Then, roll them out gently. Pat occasionally with your fingers. Form a circular shape.

Heat a pan and place a rolled out roti onto it. Allow to cook on one side then flip over. Once it has cooked, add a few drops of oil on both sides and flip so that it turns golden evenly. Make the rest of your multi-grain flatbread pieces this way too.

You can enjoy this the way you would any flatbread, as I said earlier. What are your preferred accompaniments? I’d love to know. If you’re a fan of Indian flatbreads in general, you may also enjoy this post of mine on a variety of Gujarati rotis.

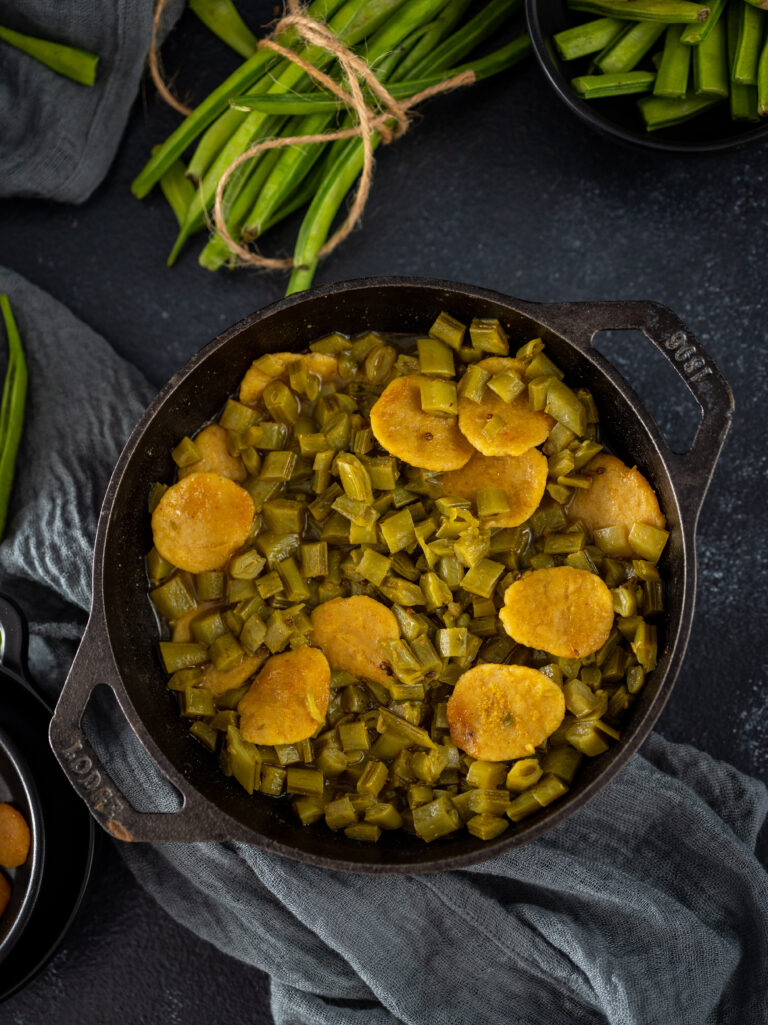
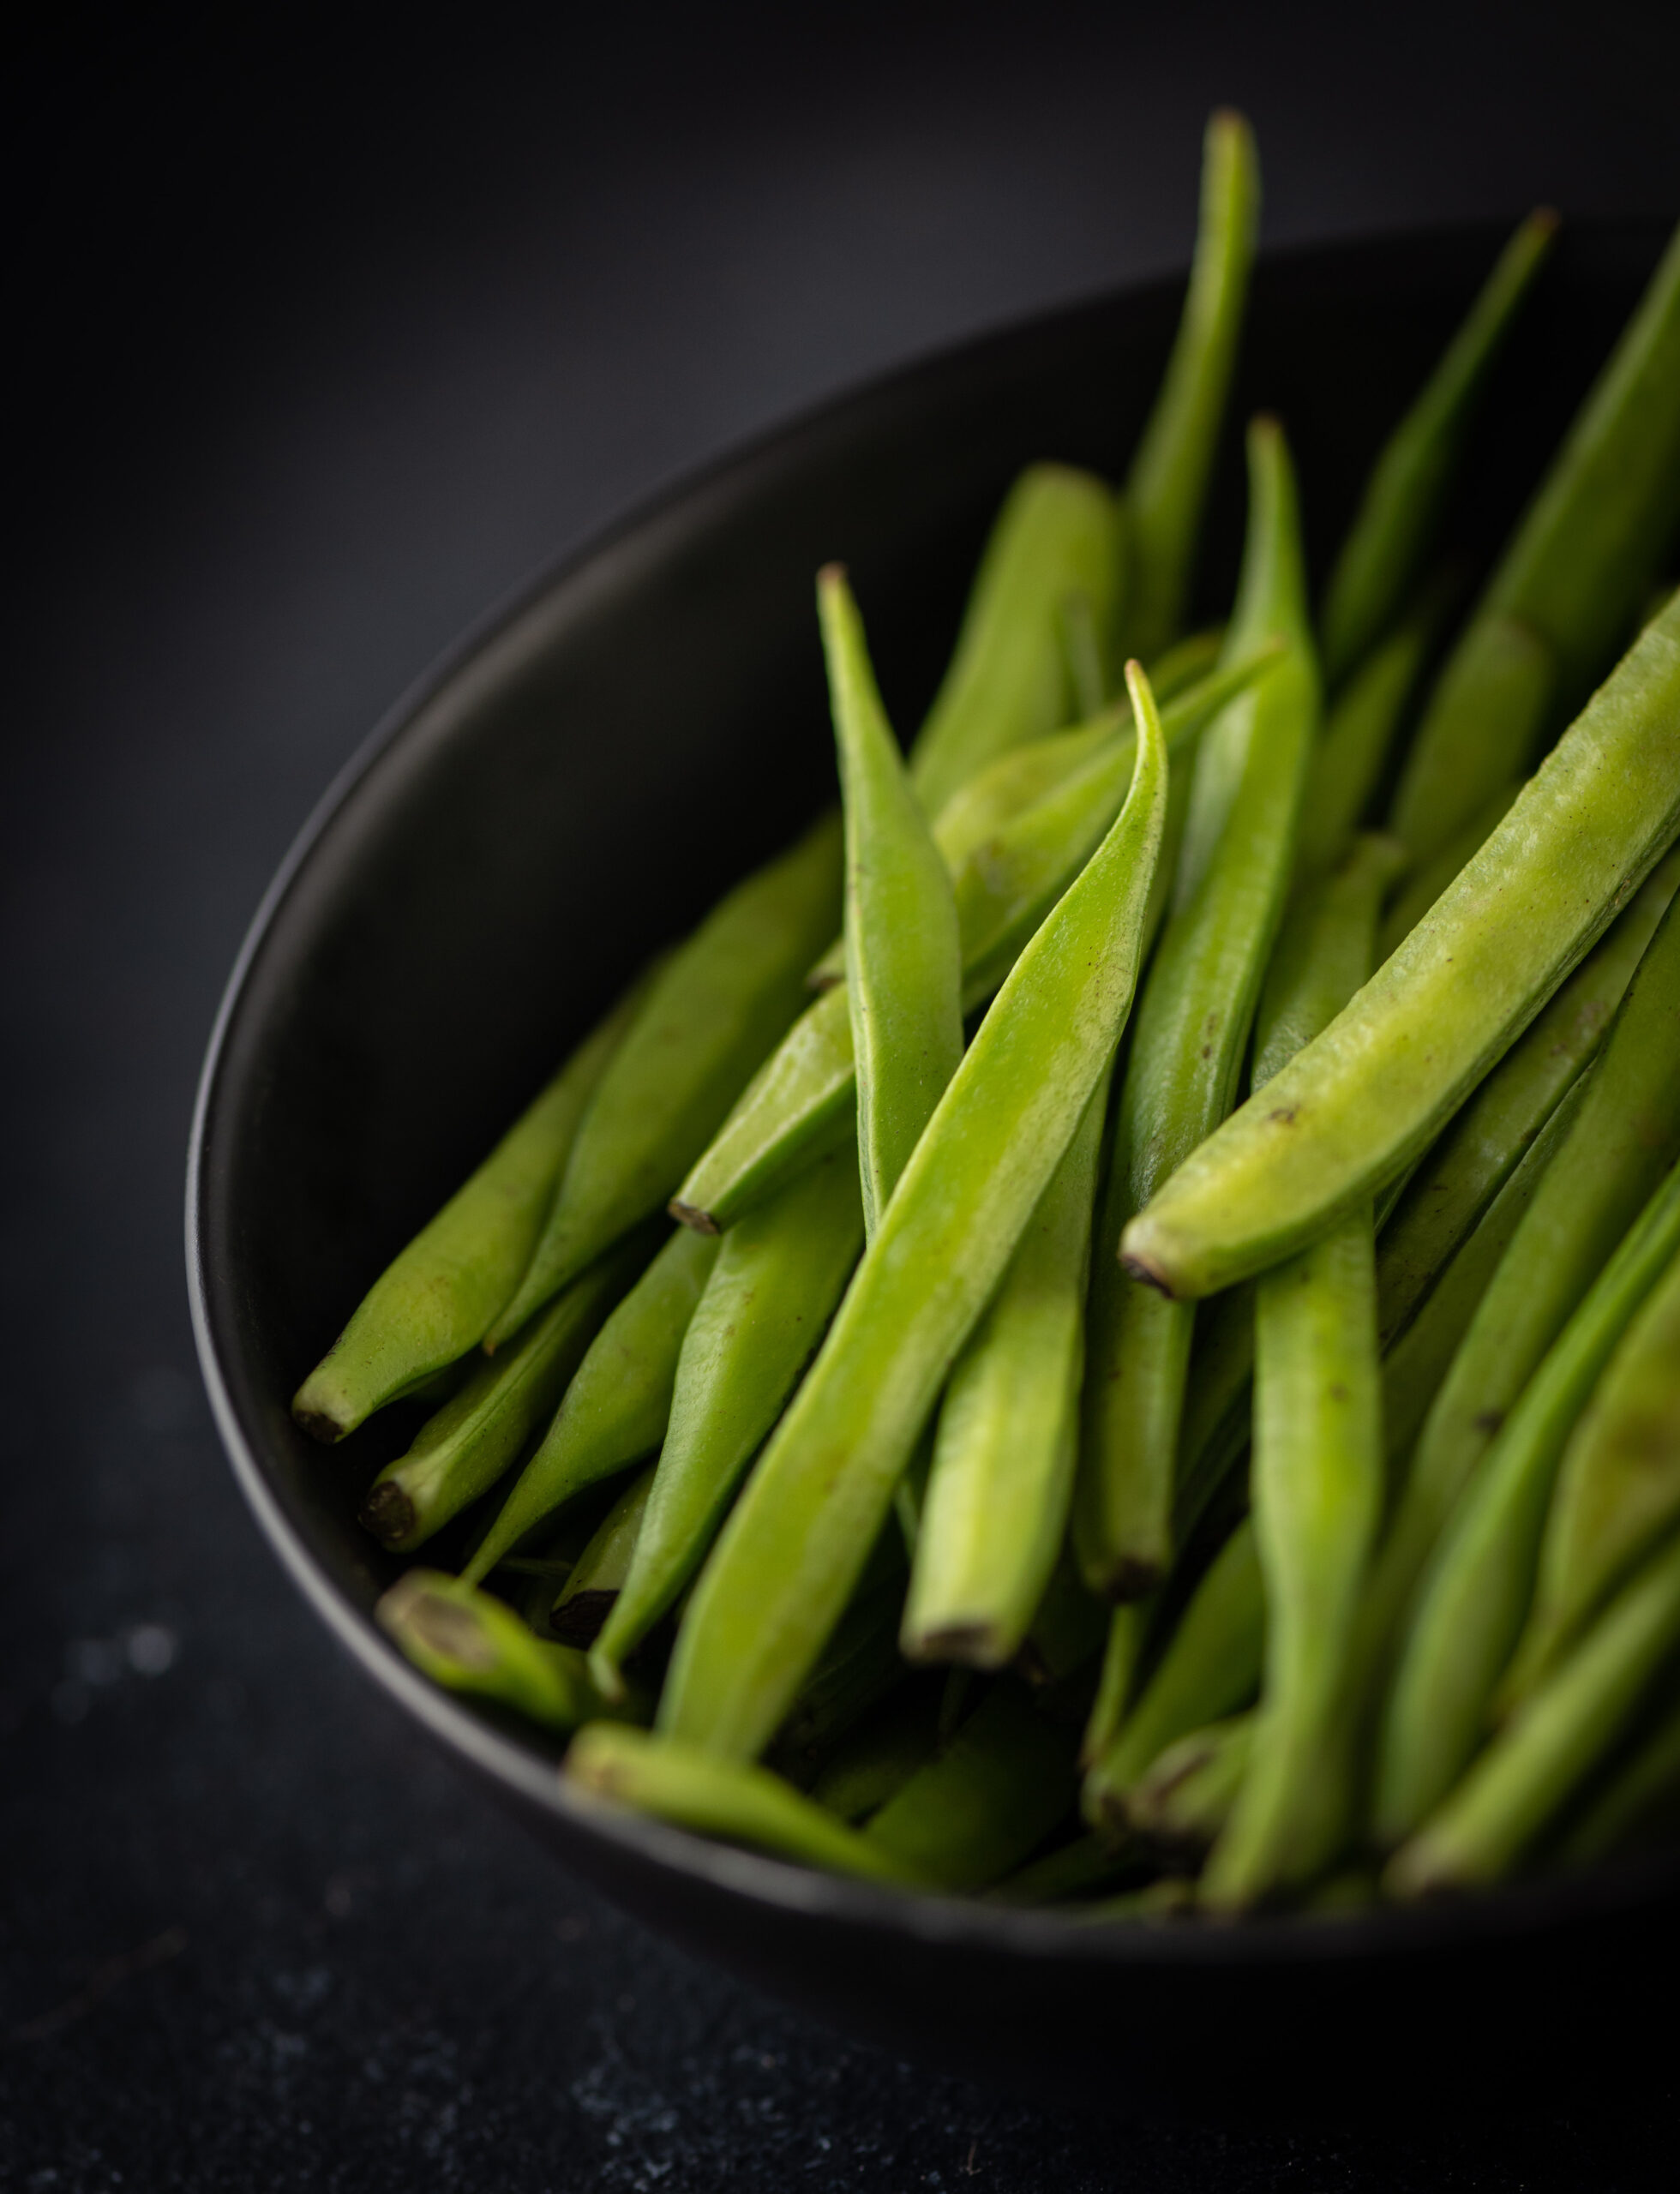
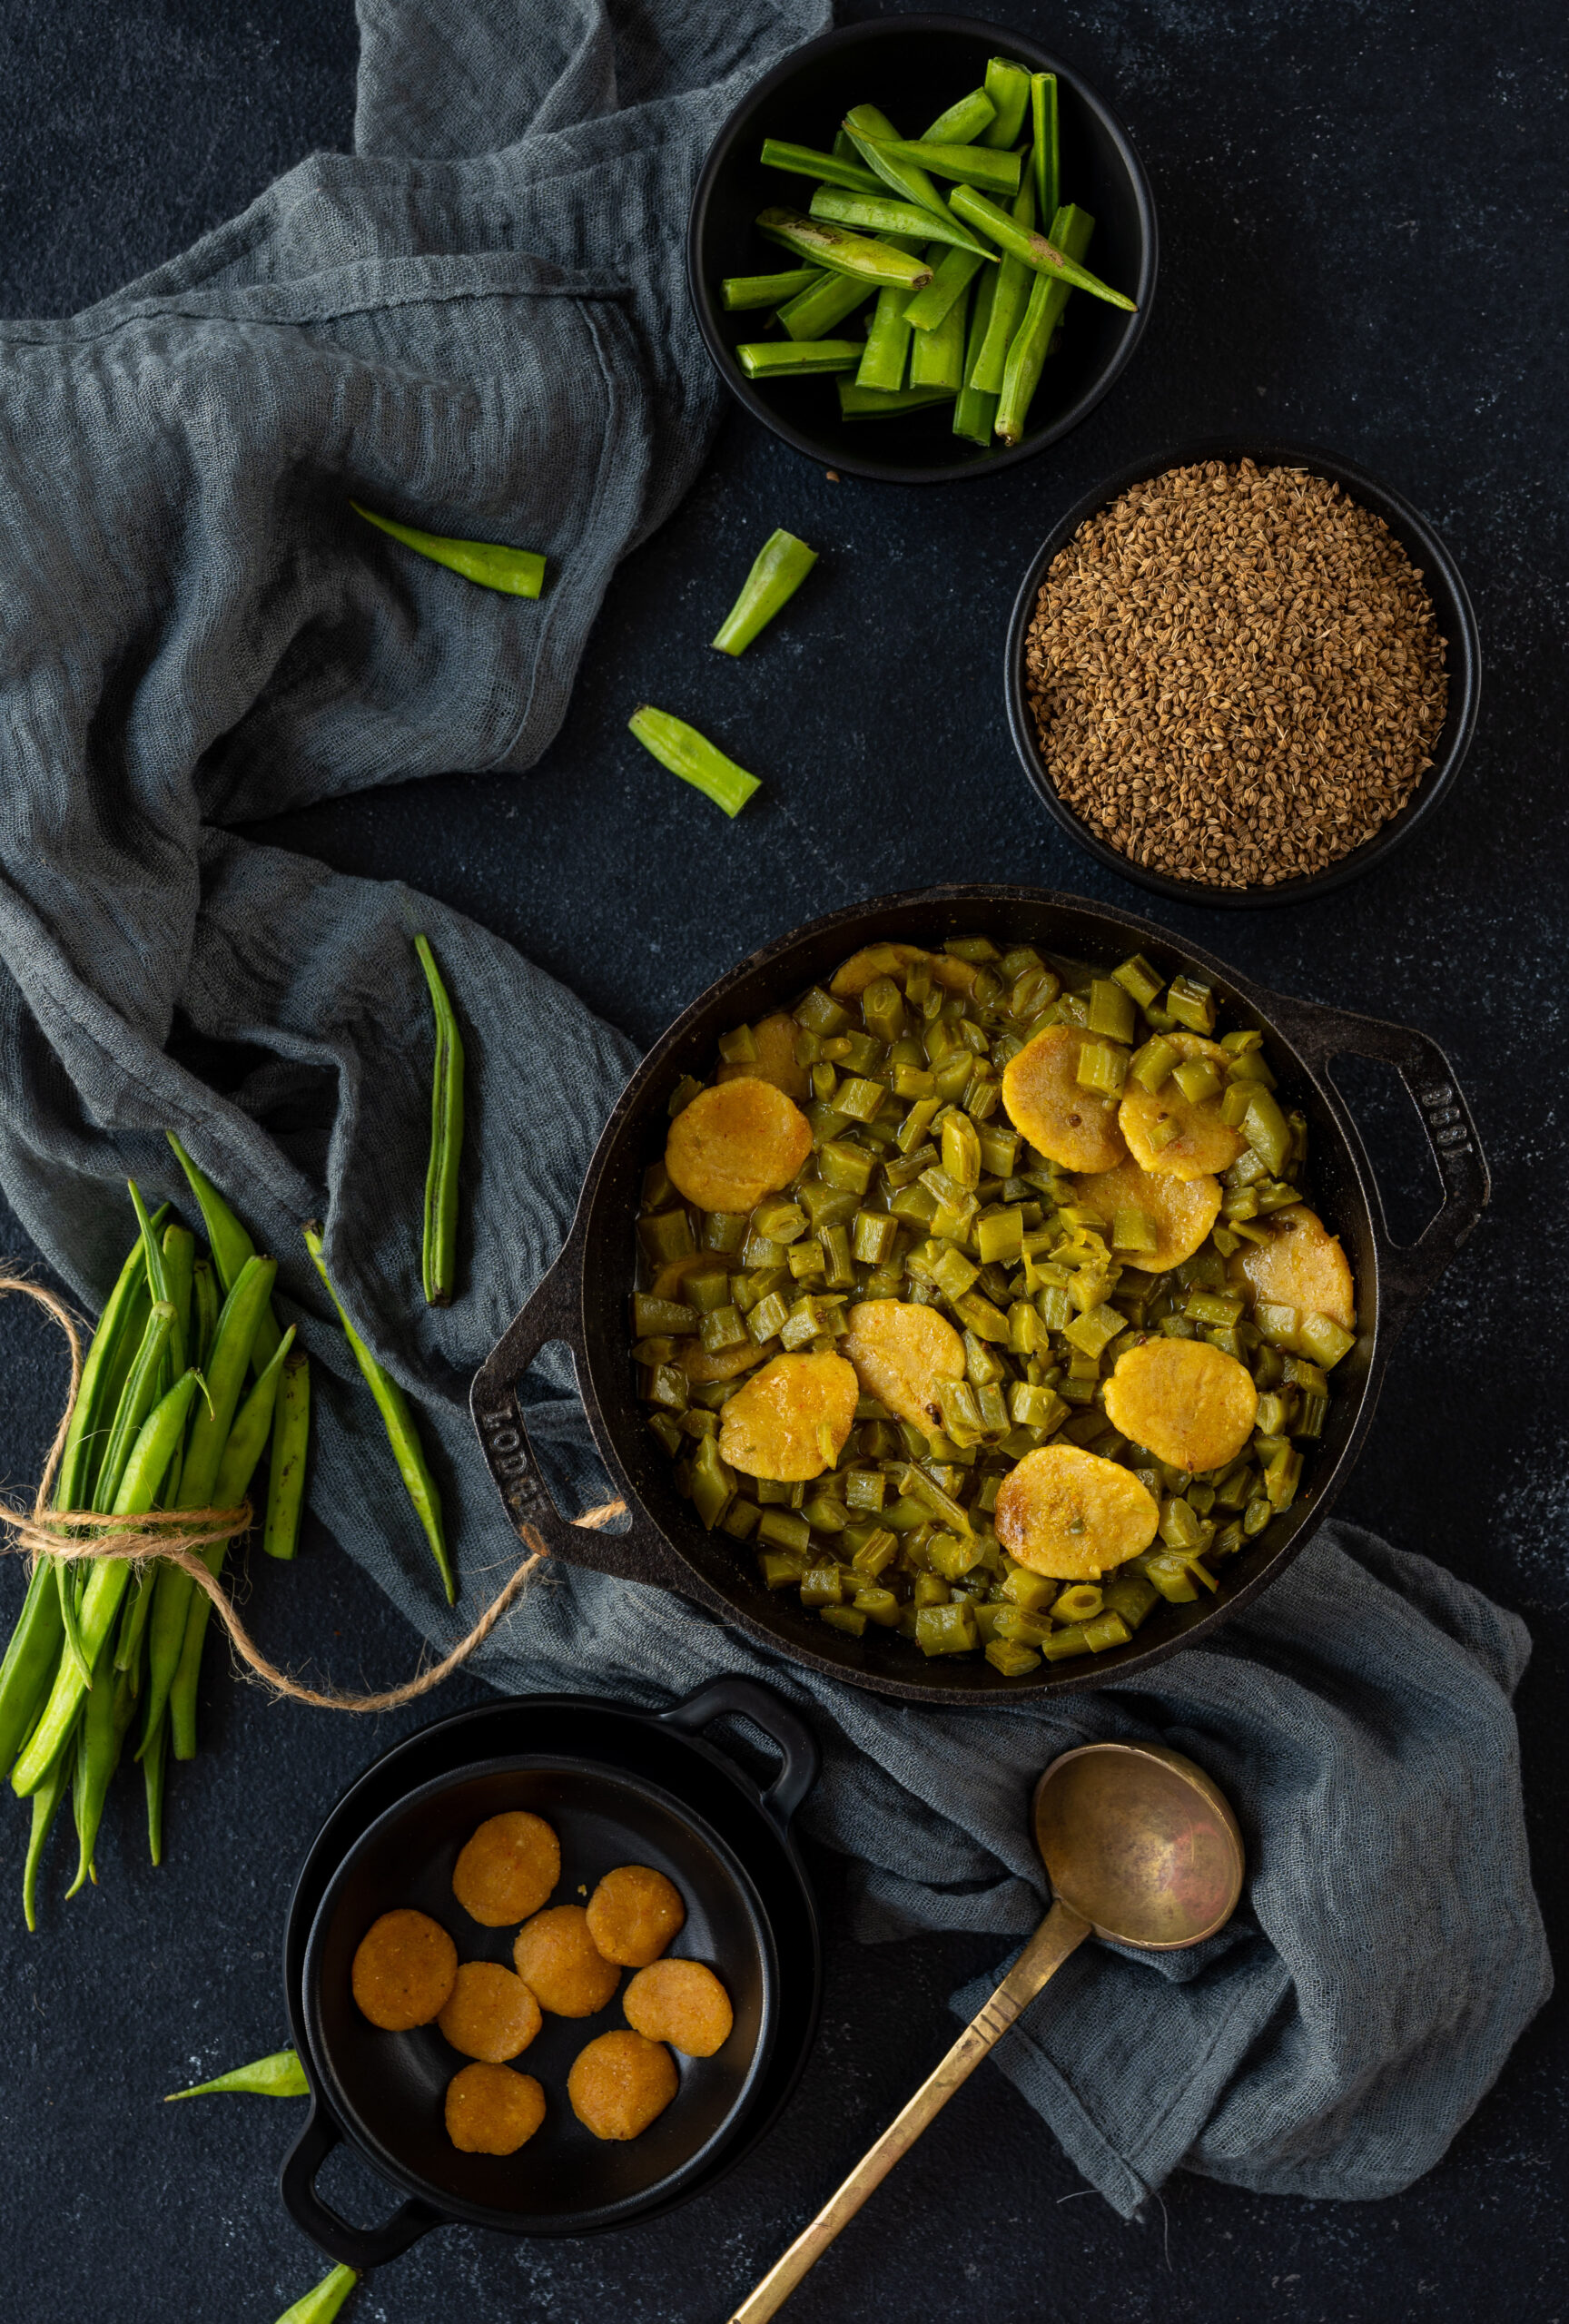
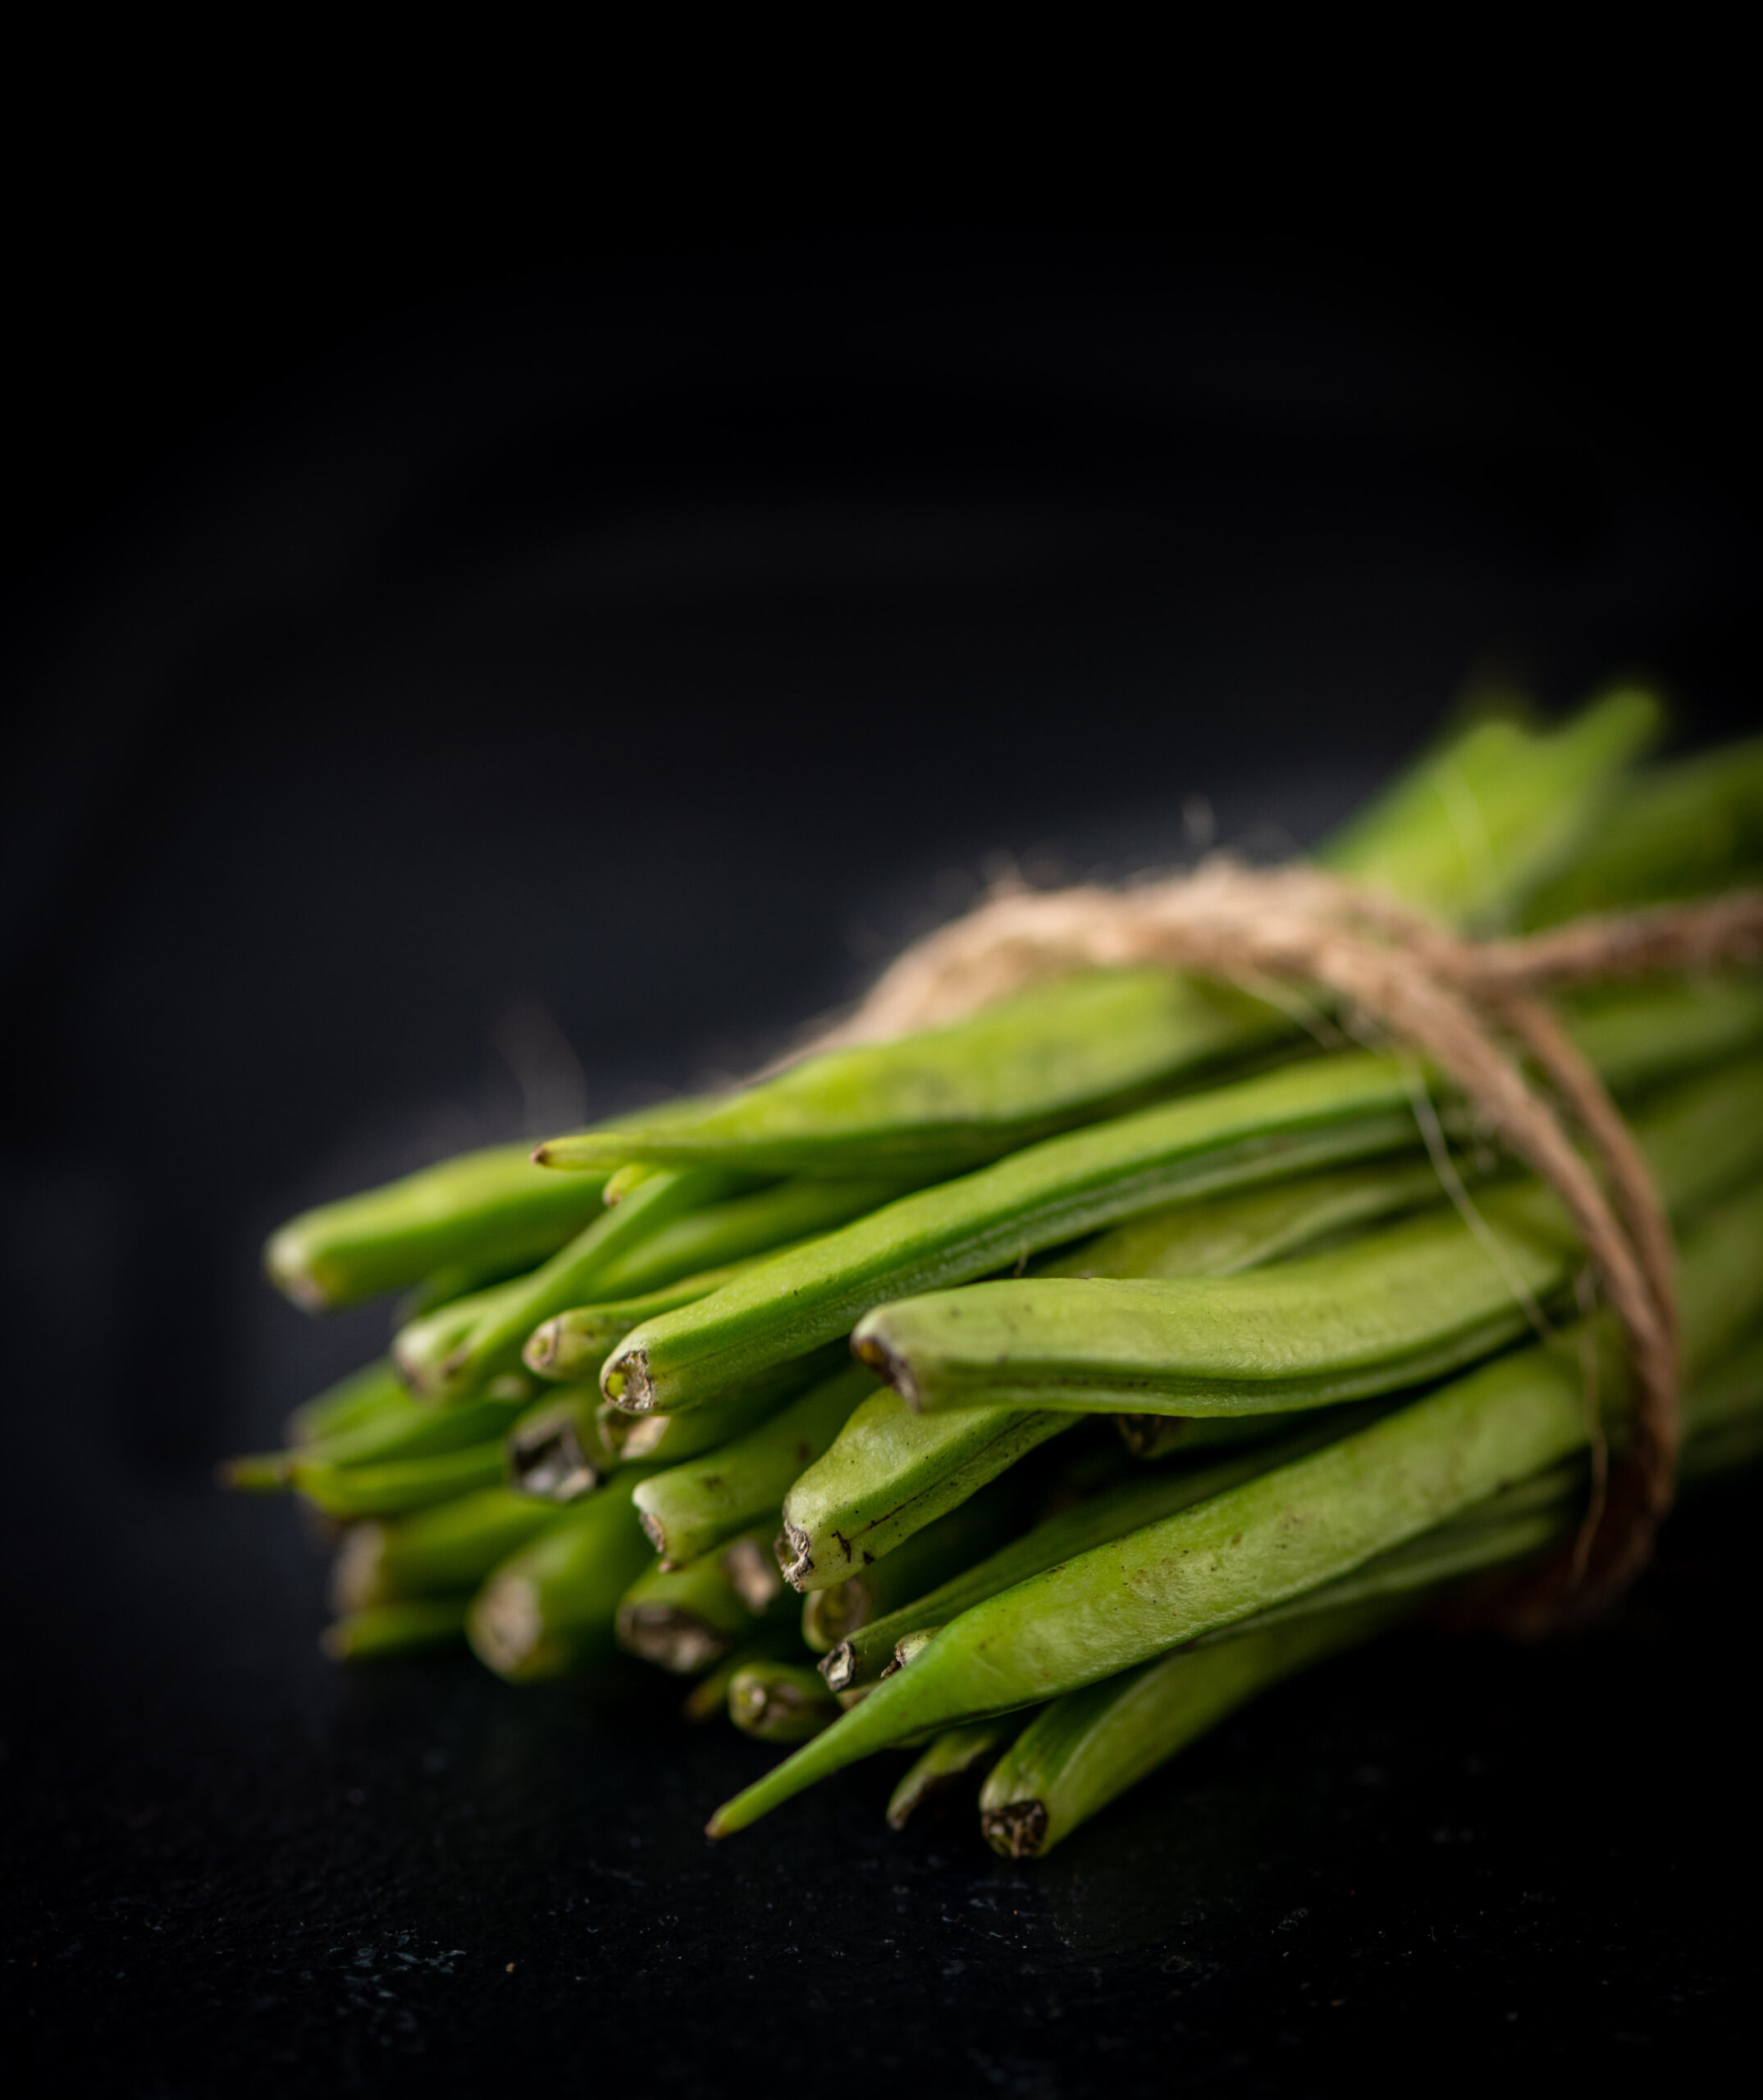
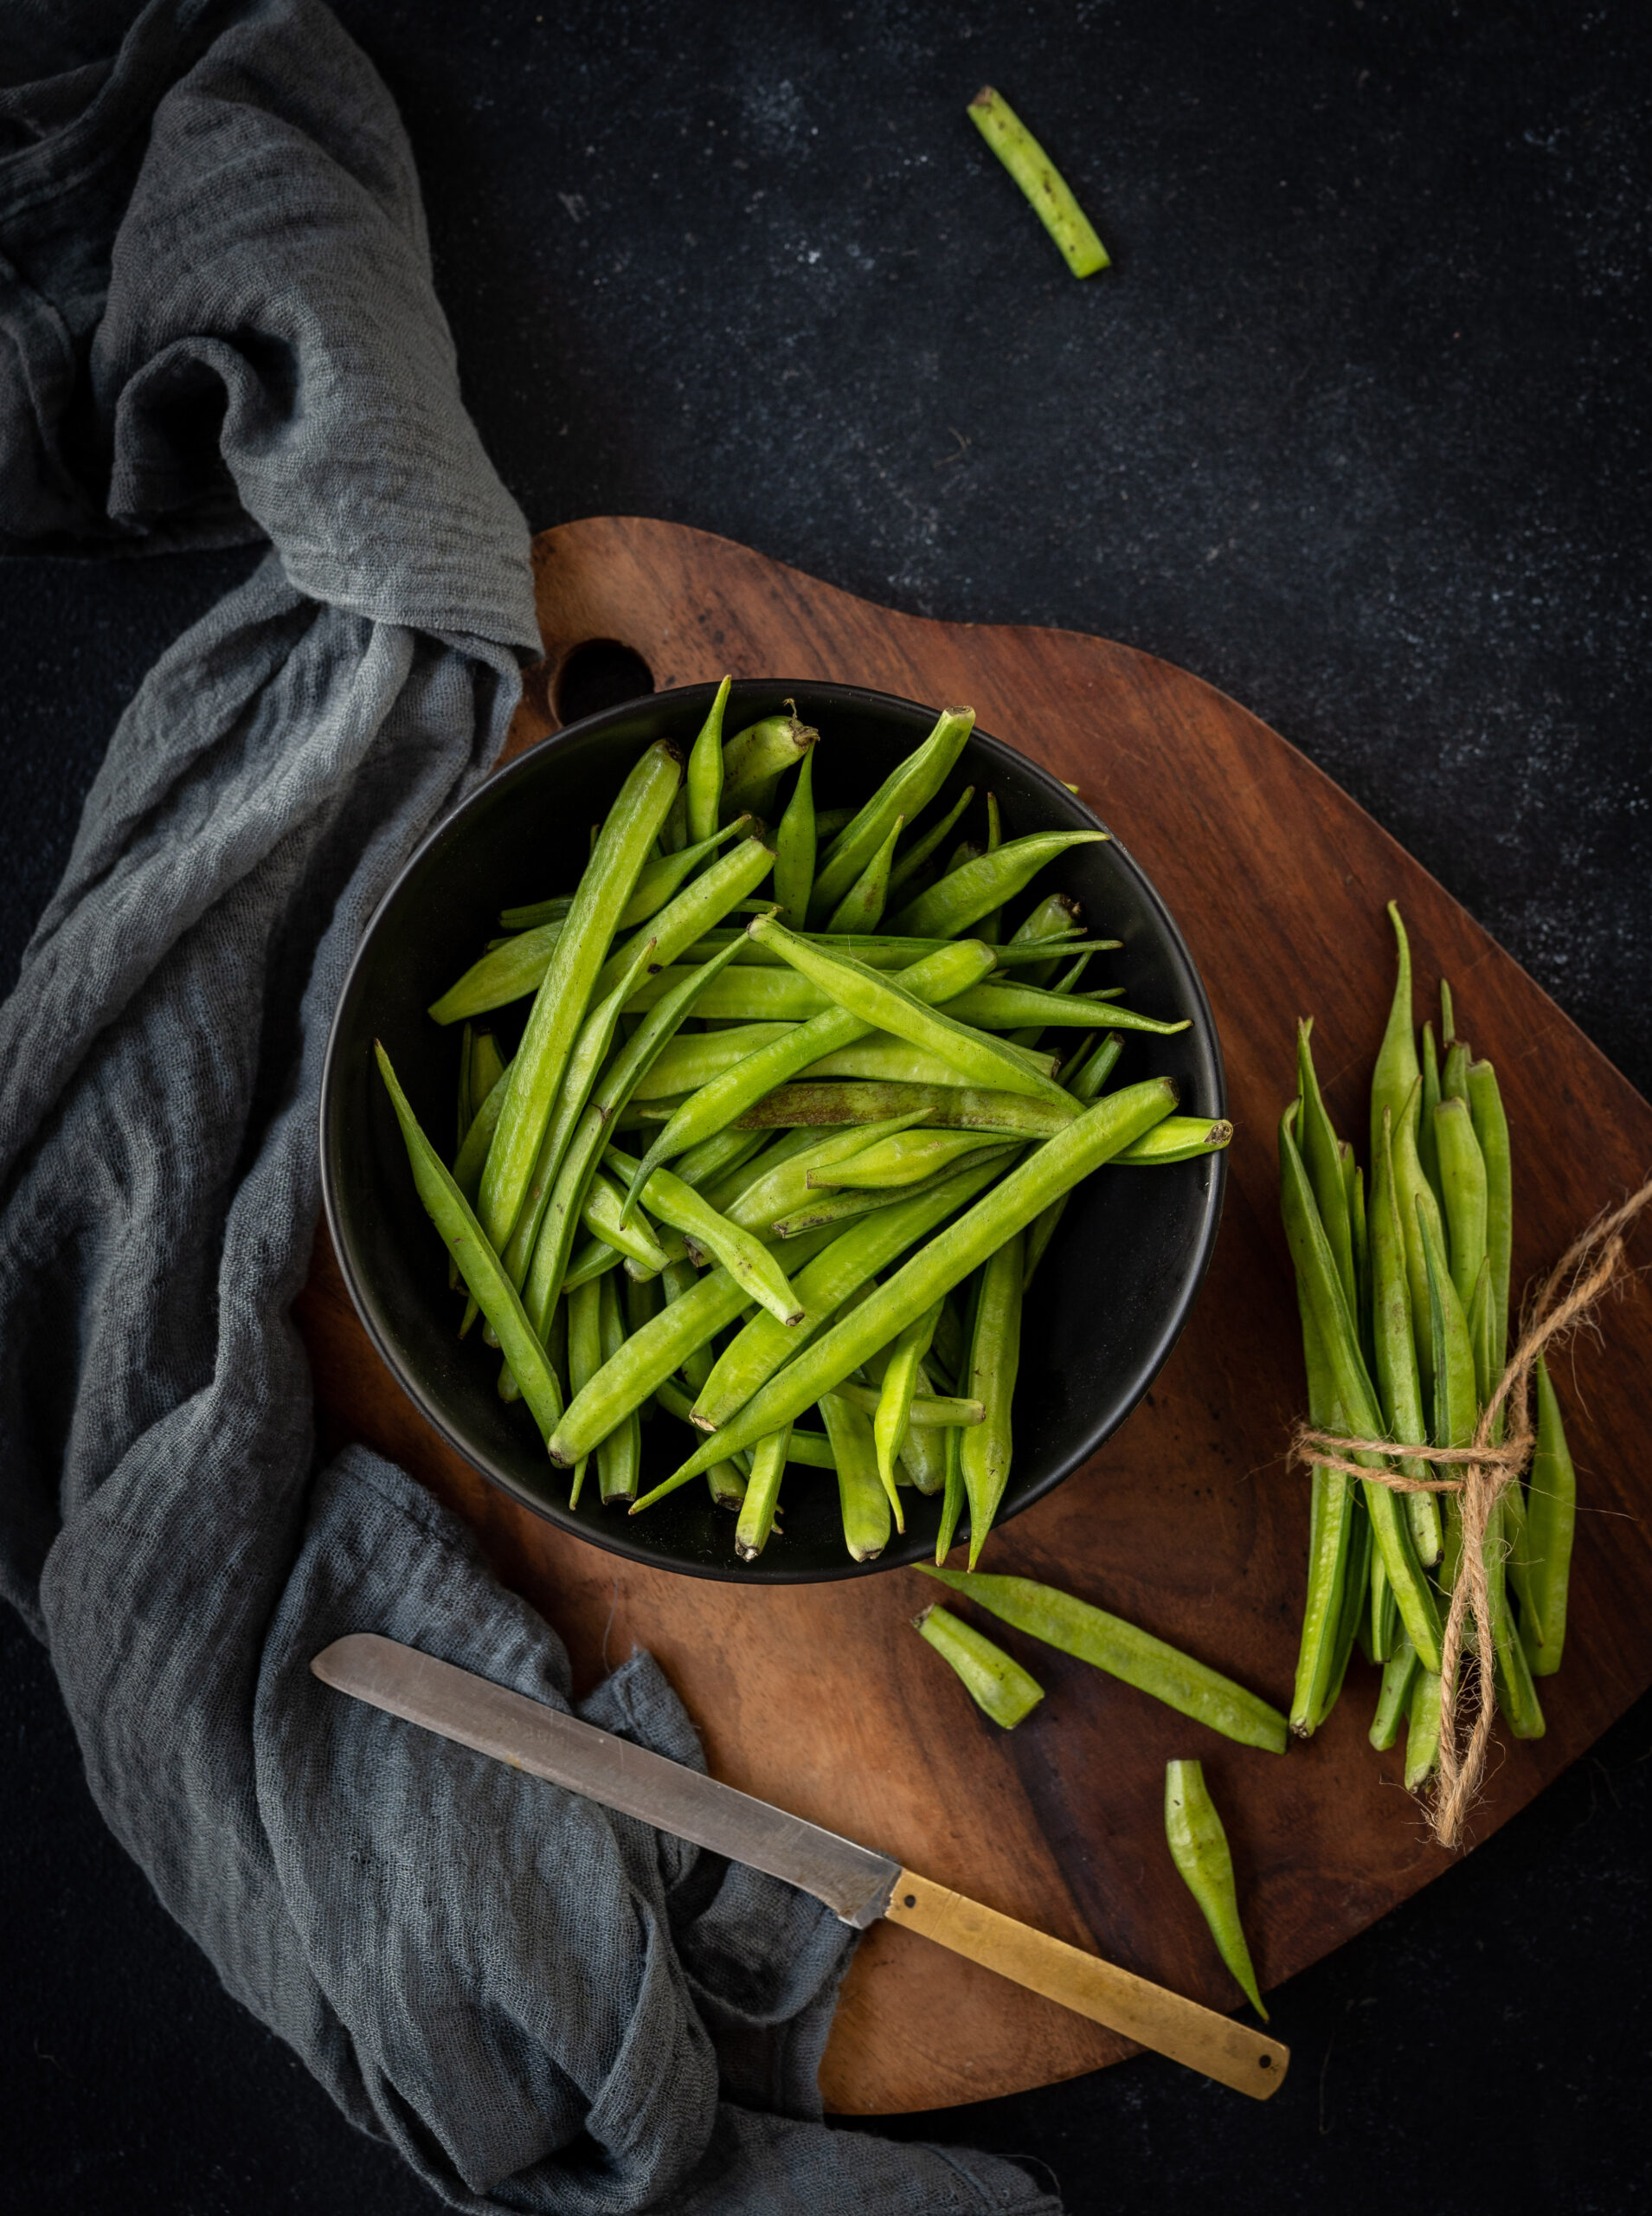
I’m the inquisitive type, and I love to know about everything that I eat. Recently, an ice cream recipe I was trying out called for guar gum, which made me wonder about its relationship to guar or cluster beans. With a little insight from Wikipedia, I learned this fun fact: guar gum, widely used internationally, comes from the guar seed and is exported from India. Guar gum is a thickening agent, and used in food industries around the world. Unfortunately, the processing the raw seed undergoes renders the final product rather unhealthy. Still, that takes away nothing from the goodness of guar itself. This wonderfully healthy vegetable hasn’t made an appearance on my blog so far, probably because it is not enjoyed by most of my family. But I know from experience that it is an acquired taste. I’ve been making it in a typical Gujarati style recently, in the form of guar dhokli. You may remember my dal dhokli recipe from years ago, and will be familiar with the stew-like concept behind it. This is similar: parcels of dough, known as dhokli, are cooked in a gravy – this one, full of nourishing guar.

Cluster beans are a bitter vegetable. The dhokli part of the dish balances this flavour out. Guar dhokli on the whole is a dish with several textures and flavours, and healthy too. As someone who enjoys a wide variety of vegetables, including unpopular ones like this one, I can safely say that a nice preparation, along with awareness of the benefits of an ingredient, can change one’s mind about it. This one contains: glyconutrients and a low glycemic index (making them good for diabetic diets) and folic acid (good for pregnancy diets). More generally, it is good for blood circulation, lowers bad cholesterol, and is rich in minerals, iron and Vitamins A, B and K.

As I mentioned, my family members aren’t fans, but I am. However, I too detested guar when I was growing up. My mother would make guar dhokli often and I would pick the guar out of the gravy and just eat the dhoklis, much to her fury! Funnily enough, once I got married and moved away, whenever I visited her I would request guar dhokli. It had a nostalgic quotient, and it truly began to grow on me. At this point, I would even go as far as to call guar one of my favourite vegetables. Some day, when my kids find themselves having a strange craving for it, they can look up this recipe. I am certain they will also have a change of palate as they get older.

The typical thaali that we eat at my house daily consists of a dal bhaat (dal and rice), rotli and a shaak, which is some kind of vegetable curry. This is the most basic Gujarati meal, and will be found at most households at lunch-time. Some may make it more elaborate by having one dry vegetable and a gravy one, or a savoury item and a sweet. But the core three elements remain. What happens in my home is that I often end up cooking some guar or some ridge gourd (which I I enjoy in a South Indian stir-fry, and have shared the recipe before) or some other vegetable that the others don’t like. So this just-for-me preparation becomes one extra dish, in addition to the core three.

When it comes to my kitchen, there are certain items that only I make. This guar dhokli happens to be one of them. Another one of my specialties is this Gujarati potato and brinjal curry. These recipes were transferred from my mother’s hands to mine, and somehow they just don’t taste the same unless I make them myself.

While preparing this guar dhokli, I pondered about how this authentic recipe has been preserved through the generations. My mother was only 19 when she moved to Chennai, and my siblings and I were born and raised here, just as my own children were. Still, we speak pure and perfect Gujarati at home, and the majority of the dishes we ate growing up were authentic ones. Even as I enjoy fusion food and amalgamating cuisines, I still find a way to maintain cultural and language traditions, even while integrating elements and influences. Food, of course, is the most beautiful way to do this – it’s amazing how we can enjoy diversity and also enjoy authenticity at the dining table.

Guar Dhokli

(Yield: 3-4)


Gravy

¼ kilogram cluster beans

2 tablespoons oil

1 teaspoon ajwain (carom seeds)

Salt to taste

A pinch of turmeric

1 tbsp dhaniya jeera powder (coriander and cumin powder)

½ teaspoon sugar

2 cups water


Dhokli

¼ cup whole wheat flour

¼ cup chickpea flour

Salt to taste

A pinch of turmeric

A pinch of chilli powder

1 teaspoon oil

¼ cup (or less) water


First, prepare the dhoklis. Make a tight dough with the above ingredients, adjusting the water accordingly. Now, make small discs with the palm of your hand. Set aside.

Then, prepare the gravy. First, wash and cut the guar into the desired size.

In a pressure cooker, add the oil. Once it has heated, add the ajwain. Next, add the chopped guar. Add 1 cup of water and allow the vegetable to cook until it is tender. This takes no more than 1 whistle.

Once cooled, open the lid and add another cup of hot water and then add the dhoklis that were set aside earlier.

Add the remaining spices and stir gently.

Once cooked, allow to cool for about 5-8 minutes. Your guar dhokli is now ready.

This dish is best served with rotis or rice, since it has a gravy component.

There you have it – guar dhokli, a dish that can turn a rather unpopular vegetable into a hit. Try it yourself and tell me what you think. I hope this recipe inspires you to bring the cluster bean into your repertoire, on repeat!

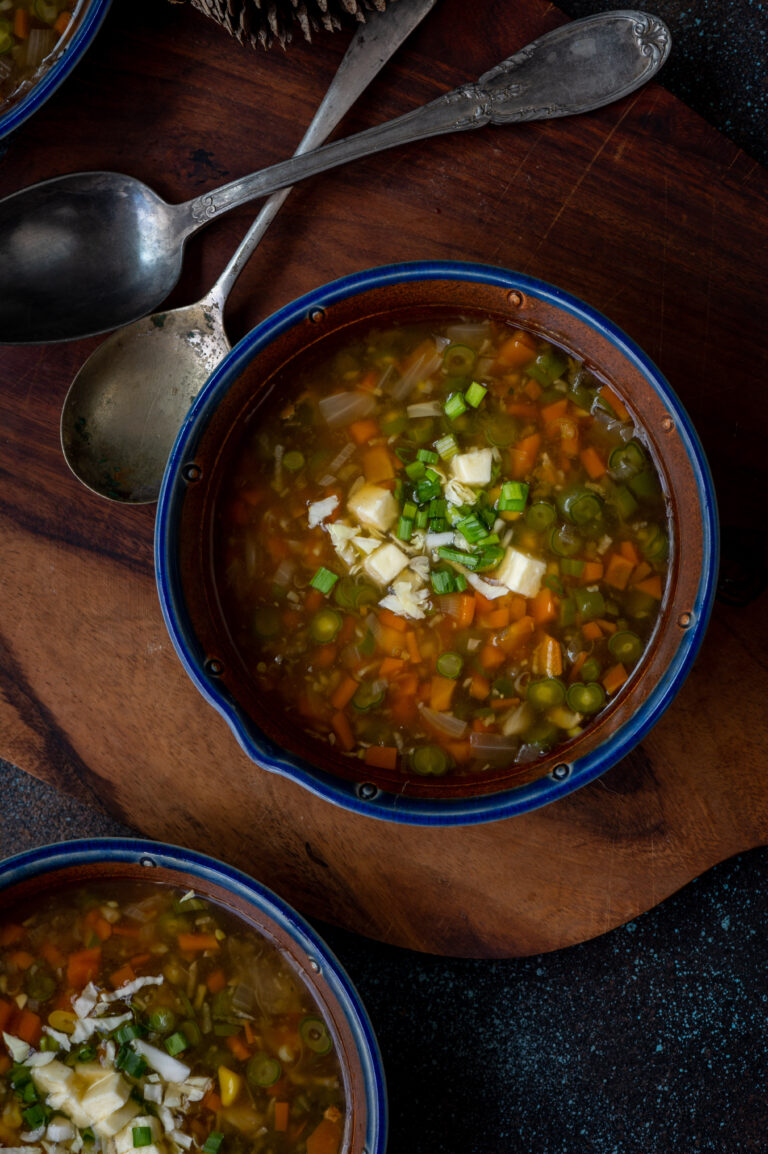
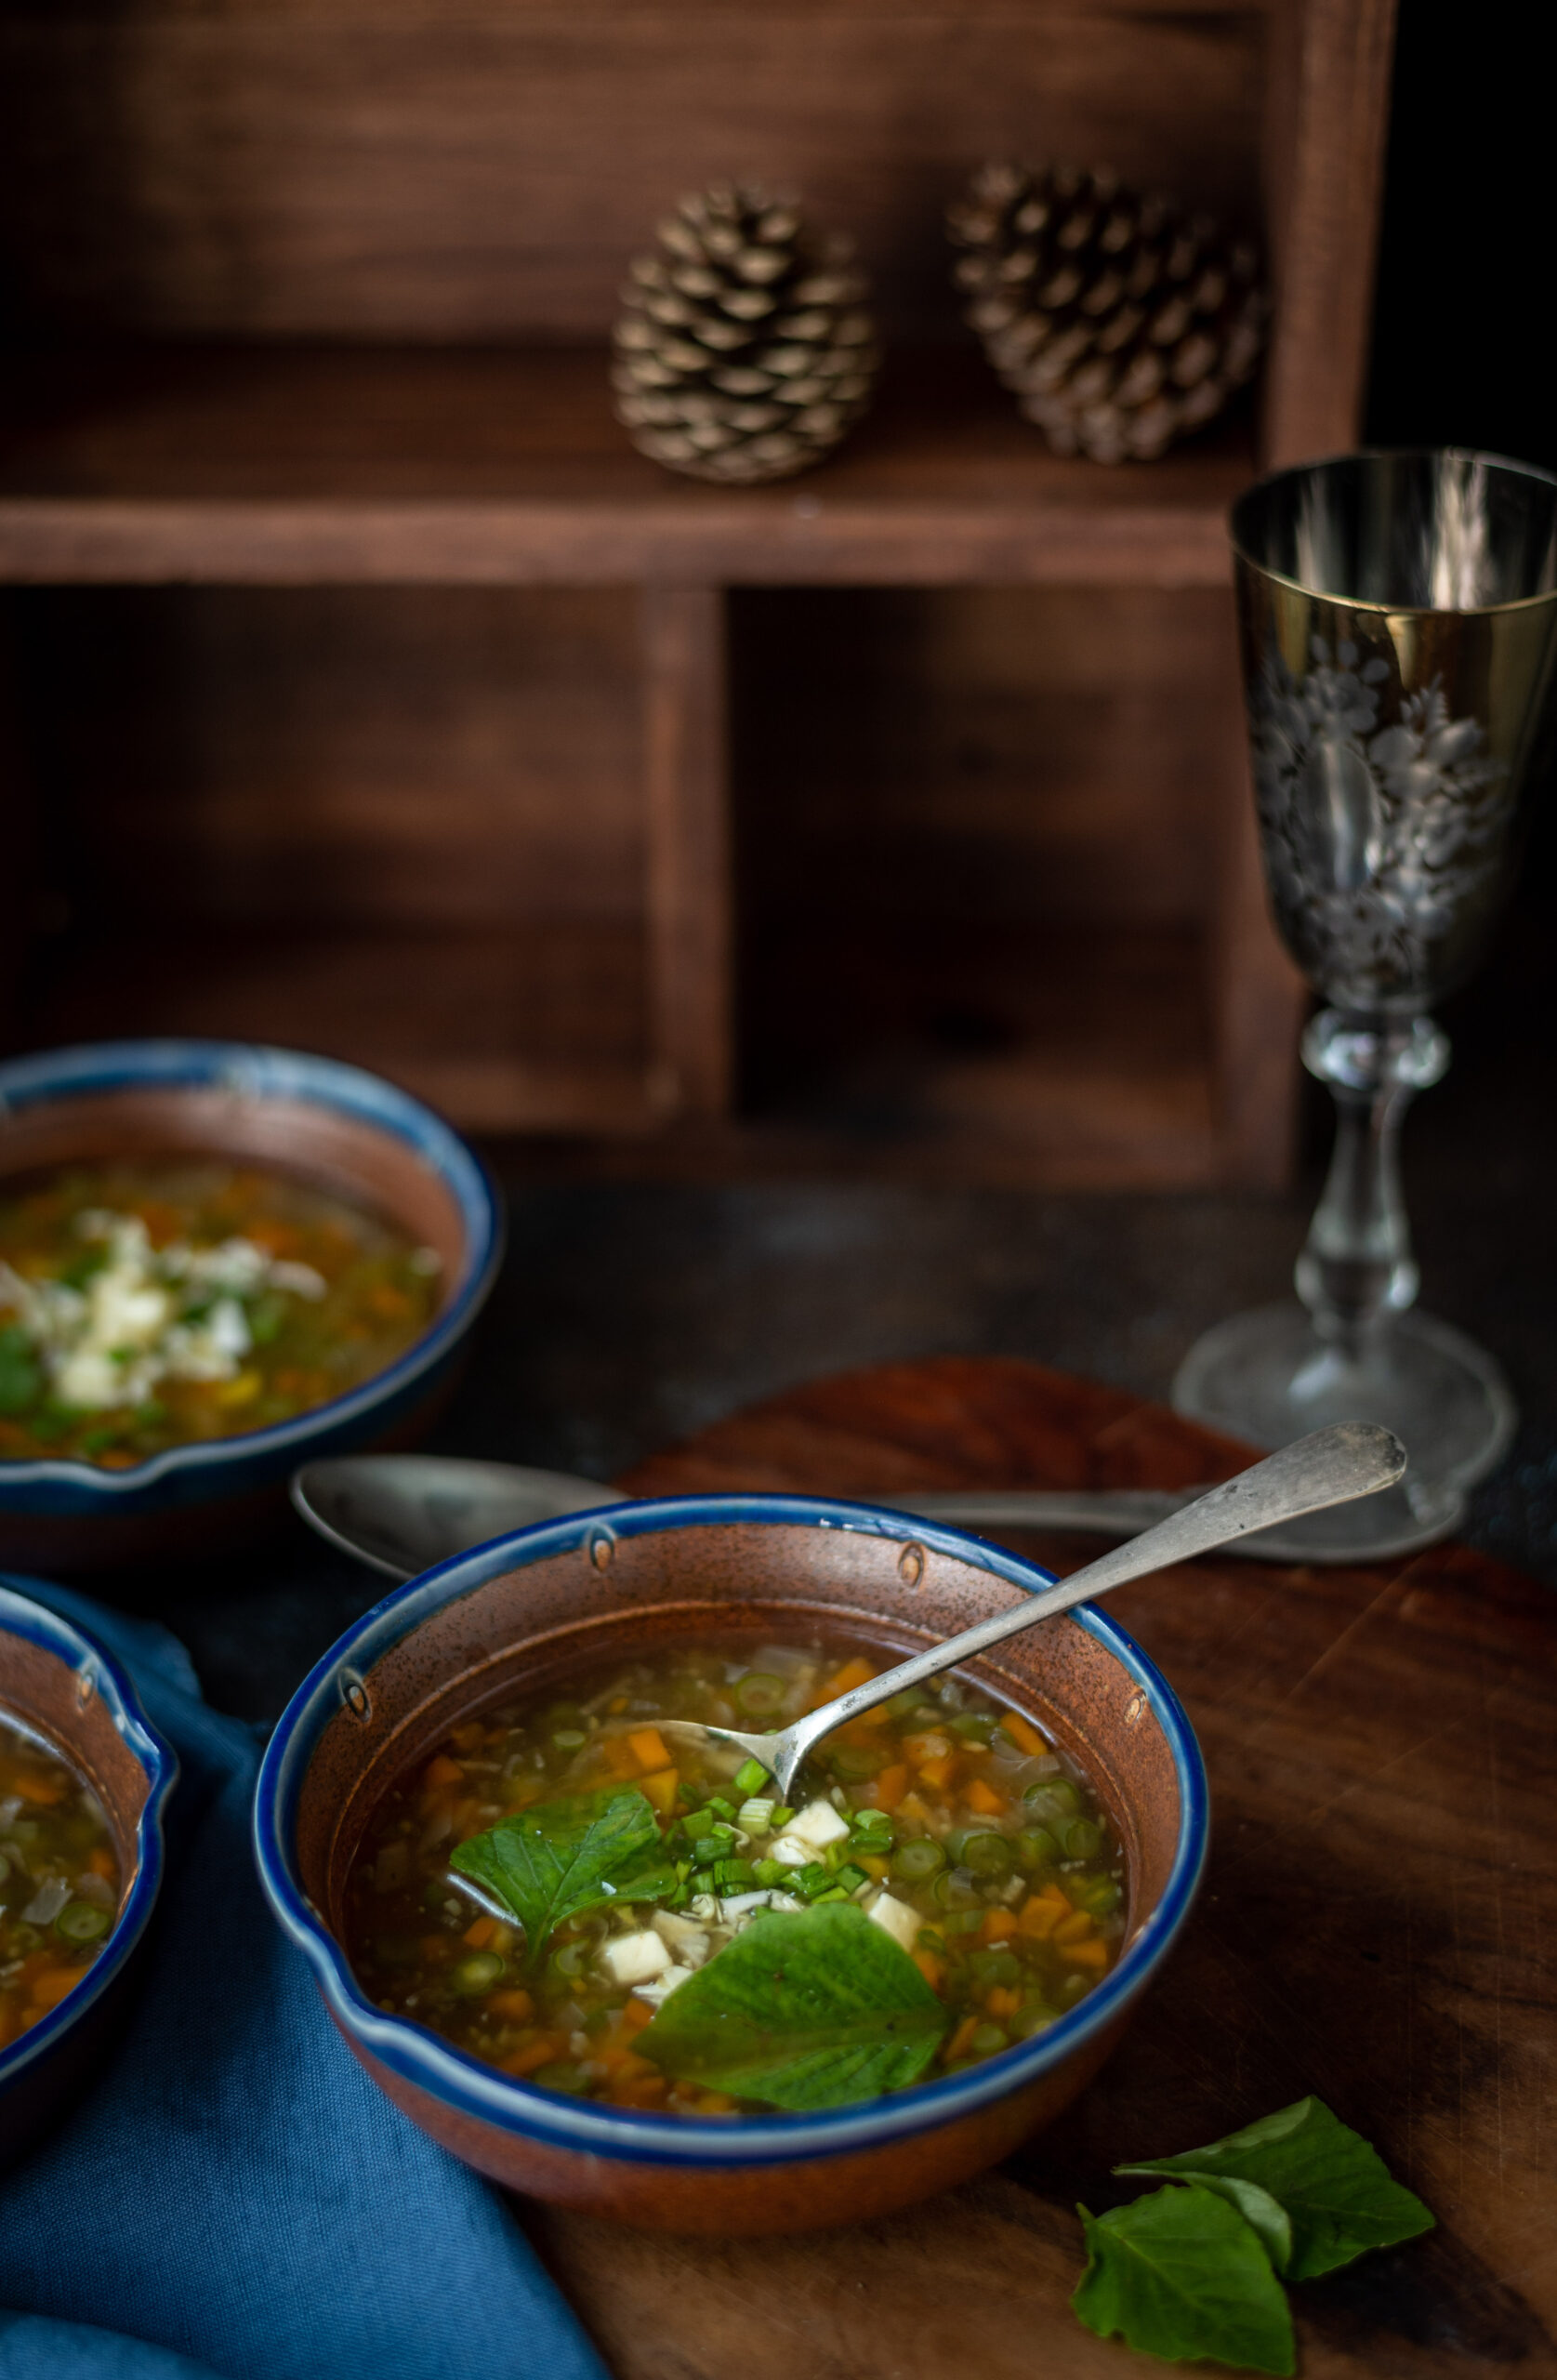
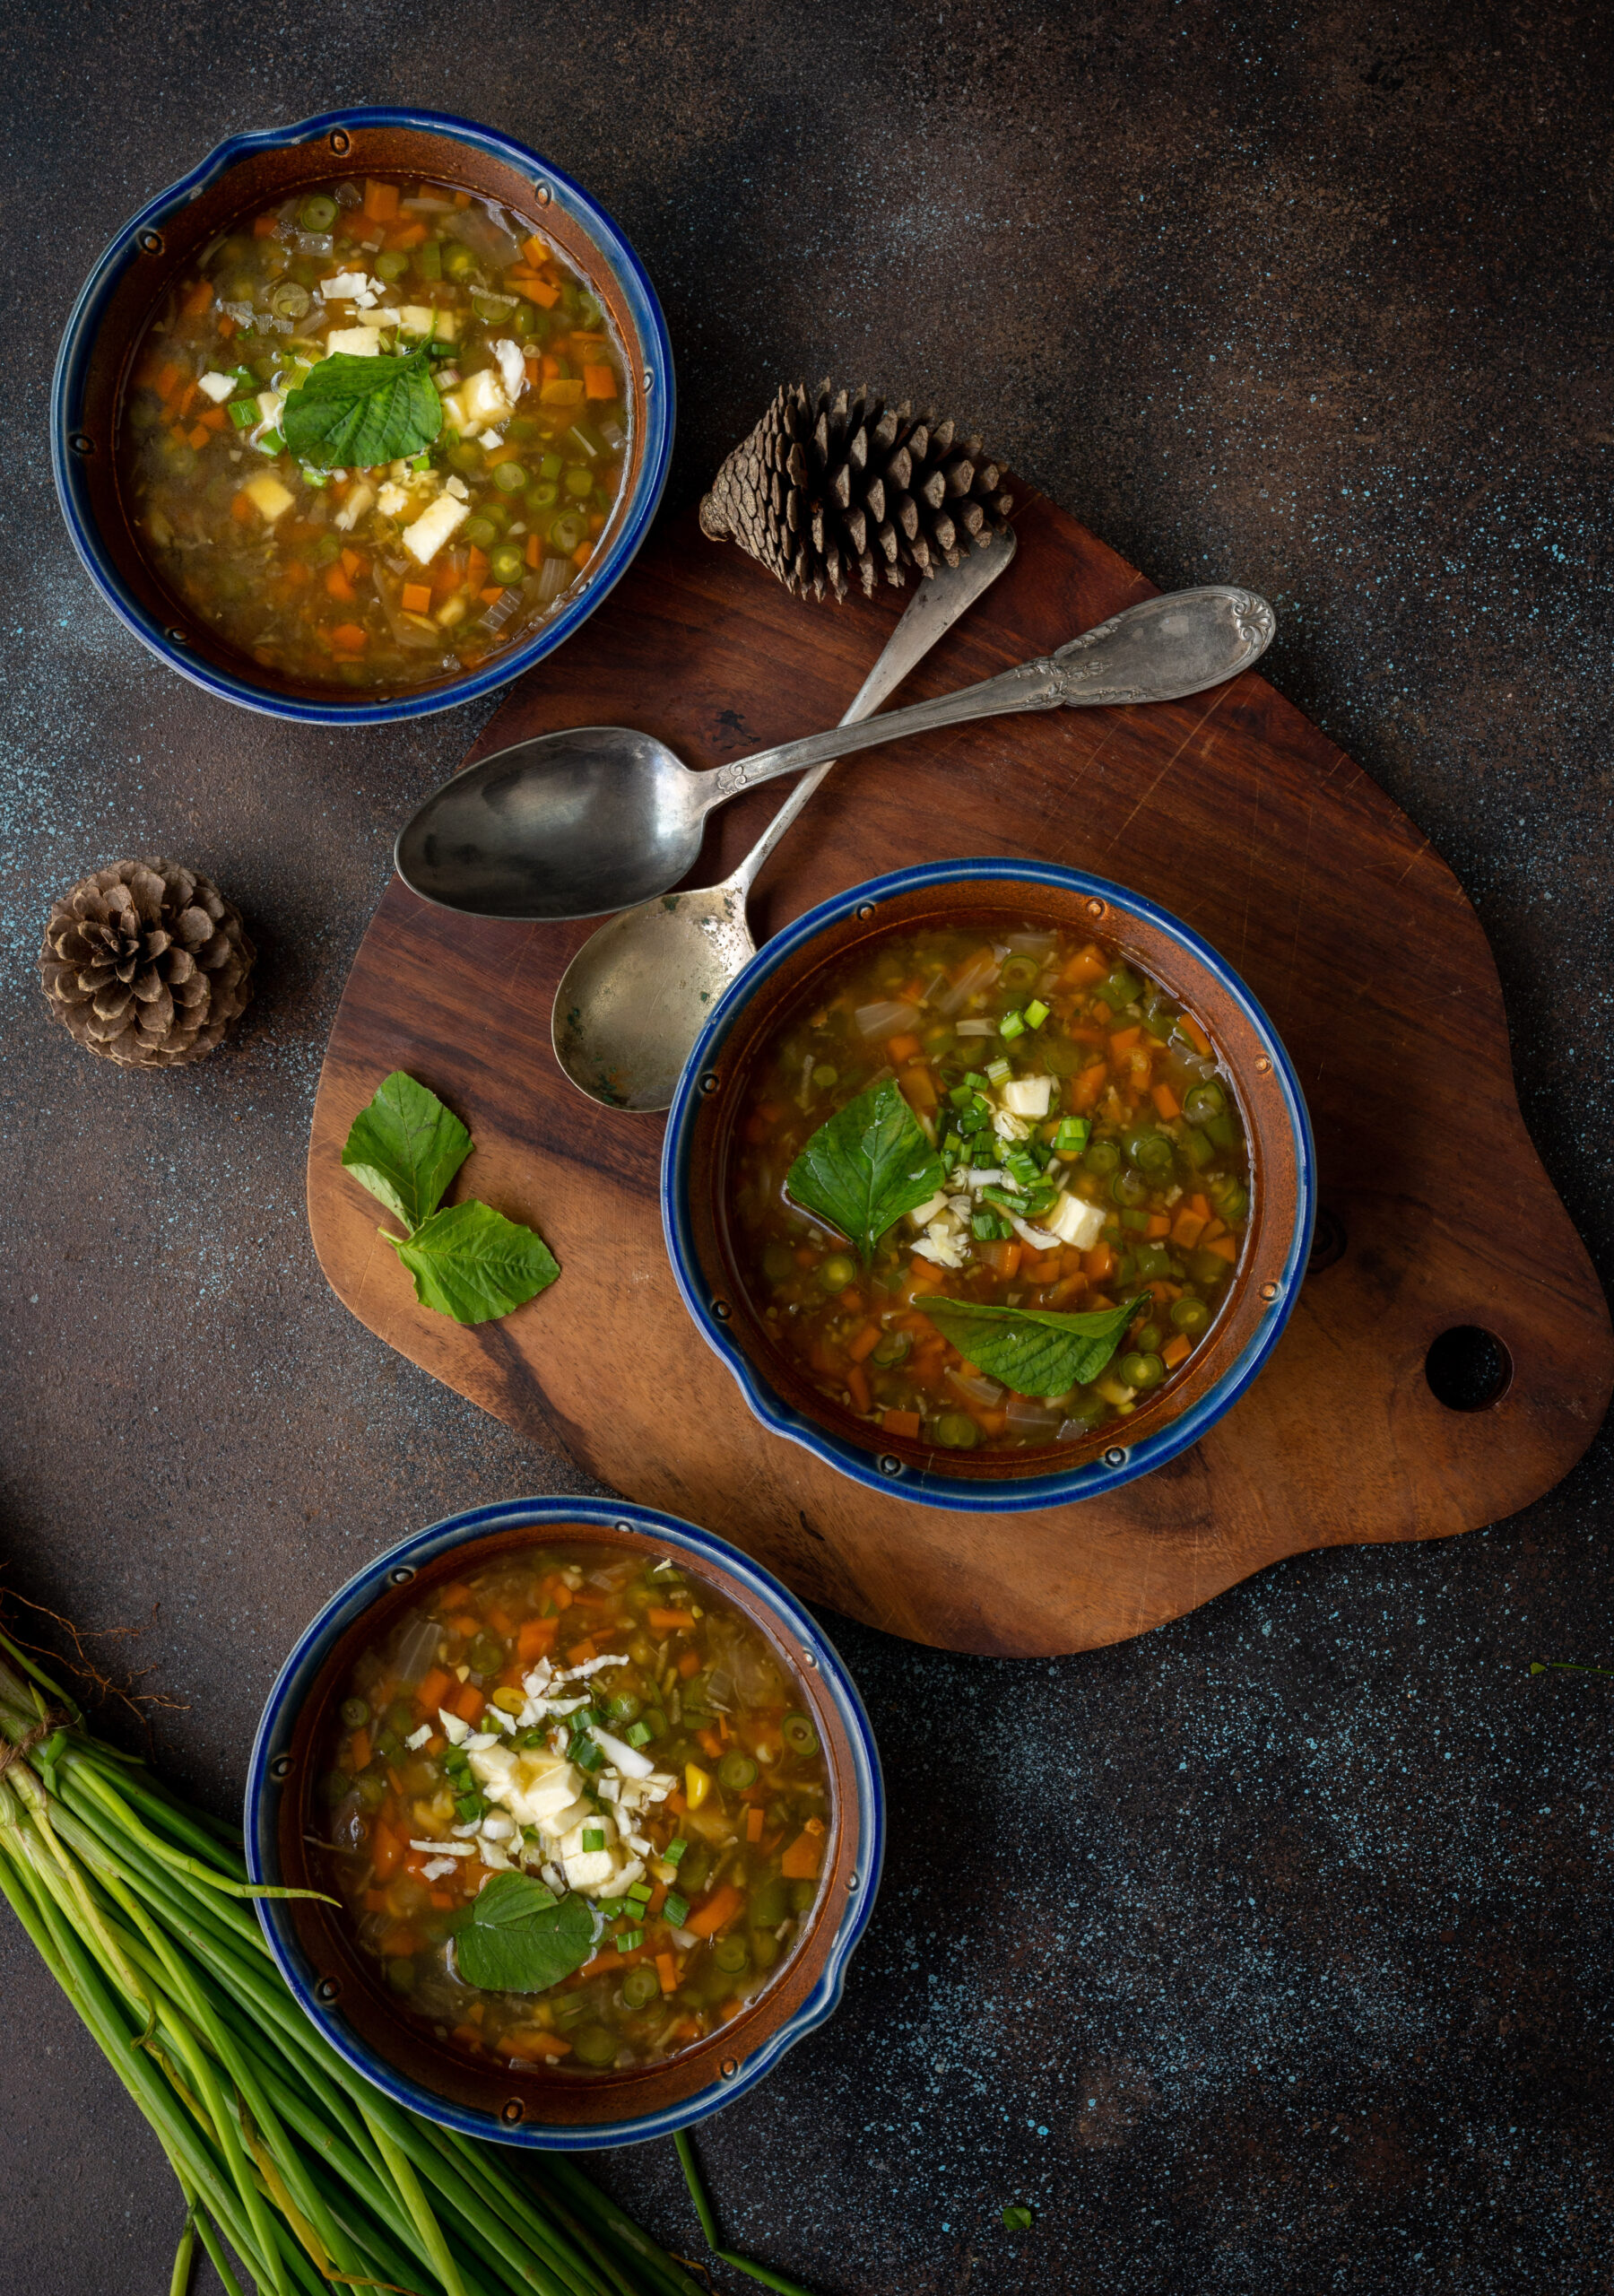
Given the heavy rain in Chennai, along with the fact that I recently recovered from a bad flu, I’ve been feeling like having more immunity-boosting foods of late. The turmeric tea that I have before bed is one among these – have you given it a try too? Another new item among my frequent meals is this simple, seasonal vegetable soup. It contains almost no processed ingredients and is a very healthy, can’t-go-wrong dish that really makes you feel well-nourished and warm.

This kind of weather also makes me feel like going into the kitchen less, so what makes this dish all the more convenient is that I can just make a large pot of it in one go, and then help myself to it whenever I feel hungry throughout the day.

The interesting part about how it’s made is that it’s really a “bits and bobs” kind of soup. You can prepare the soup stock by adding whatever you have around. For instance, I had some leftover ridge gourd, half an onion and other assorted vegetables, and all these went into it. The stock itself is a versatile item, and you can use it in dals and so on as well. As I’m a vegetarian, I’ve stuck to vegetables, but if you’re not, it’s a good idea to include some chicken while boiling the stock, and make it more protein-rich.

Making soup stock, and soup itself, with whatever is on hand came about because of necessity. All of you who are also in Chennai have faced a similar situation in recent weeks, with vegetables either unavailable or available only at skyrocketing prices. I believe that farmers have also had trouble being able to distribute the produce to the cities, in addition to flooding impacting the fields themselves. A combination of factors has led to this scarcity. The way I see it, and the way I choose to respond to it, is that it’s not so much about affordability as it is about accessibility. As a believer in Macrobiotics and someone who feels that seasonal and local ingredients are always best, I prefer to reach out for that which is most easily available at all times. That means that sturdier vegetables like potatoes, gourds, beans and carrots that still make it to our markets relatively smoothly and in good shape are what I’ve used in this dish, as well as in most of the dishes being prepared at home at the moment.

I tend to eat salads and raw vegetables at lunch, so cooked and steamed vegetables, which this soup is rich in, are my go-to for dinner. I prefer a light meal at night as it’s easier on the digestion. Also, while you’ve definitely heard quite a bit on other posts on this blog about how I’ve been cutting down on carbs, I’m in a new phase now where I let myself have some carbs at night. So sometimes I have a dosa or two, which is certainly a lighter dinner than the regular Gujarati thaali we eat at lunch. It’s all about listening to your body and adapting to the circumstances, including the weather and the vegetable supply chain!

Vegetable Soup

(Yield: Serves 3-4)

Stock

Thick peel of a potato

Cabbage leaves

Peel and parts of a ridge gourd

1 onion

Soup

1 tablespoon oil

2 cups finely cut vegetables (carrots, beans, onion, broccoli, corn)

A piece of ginger (grated)

3 cloves garlic (grated)

3-4 cups vegetable stock (above)

Salt to taste

½ cup rice starch (use corn flour if you prefer)

1 tablespoon soya sauce

1 teaspoon homemade chili sauce

A squeeze of lemon

Optional

Grated tofu

Sprouts

Leafy greens

Coriander garnishing


Prepare the stock by adding all the vegetables to about six cups of water. Allow this to boil until it reduces to ¾th the earlier quantity. Strain and cool. Set aside.

Then, begin preparing the soup.

Add the oil to a pot. Then, add the ginger and garlic and sauté for a few minutes.

Next, add all the vegetables and stir fry for a few minutes.

Then, warm and add the vegetable stock prepared earlier. Next, add the starch. Cover and allow to boil. I have opted to use rice starch from rice cooked earlier in the day, but you can use the usual corn flour, tapioca flour or any other thickening or gelling agent that you prefer.

Once it starts boiling, add the salt, soya sauce and chilli sauce. Cook for a little while and once it starts to thicken slightly, squeeze in the lemon.

The soup is ready now, but to make it go an extra mile, garnish with coriander and add some grated tofu or moong sprouts for a nice boost of protein. I added all these as well as some leafy greens I had on hand that day. Serve hot.

This vegetable soup works beautifully as a meal-in-a-bowl, or you can have it as an appetiser or complement it with a range of sides. Something like this cheesy, garlicky sourdough toast may make a lovely accompaniment. You can also check out some of the other delicious soups that I’ve shared over the years: minestrone, simple zucchini soup, broccoli and almond soup and vegan whole corn and lemongrass soup. Stay warm, and enjoy!

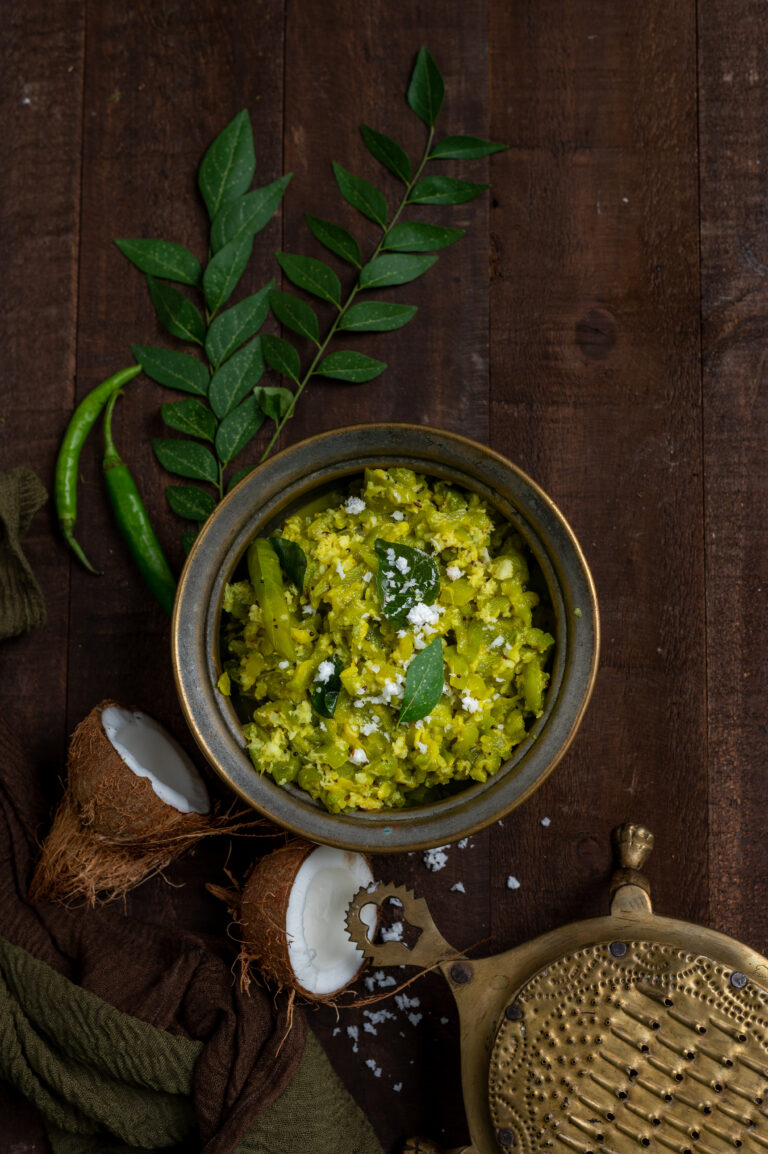
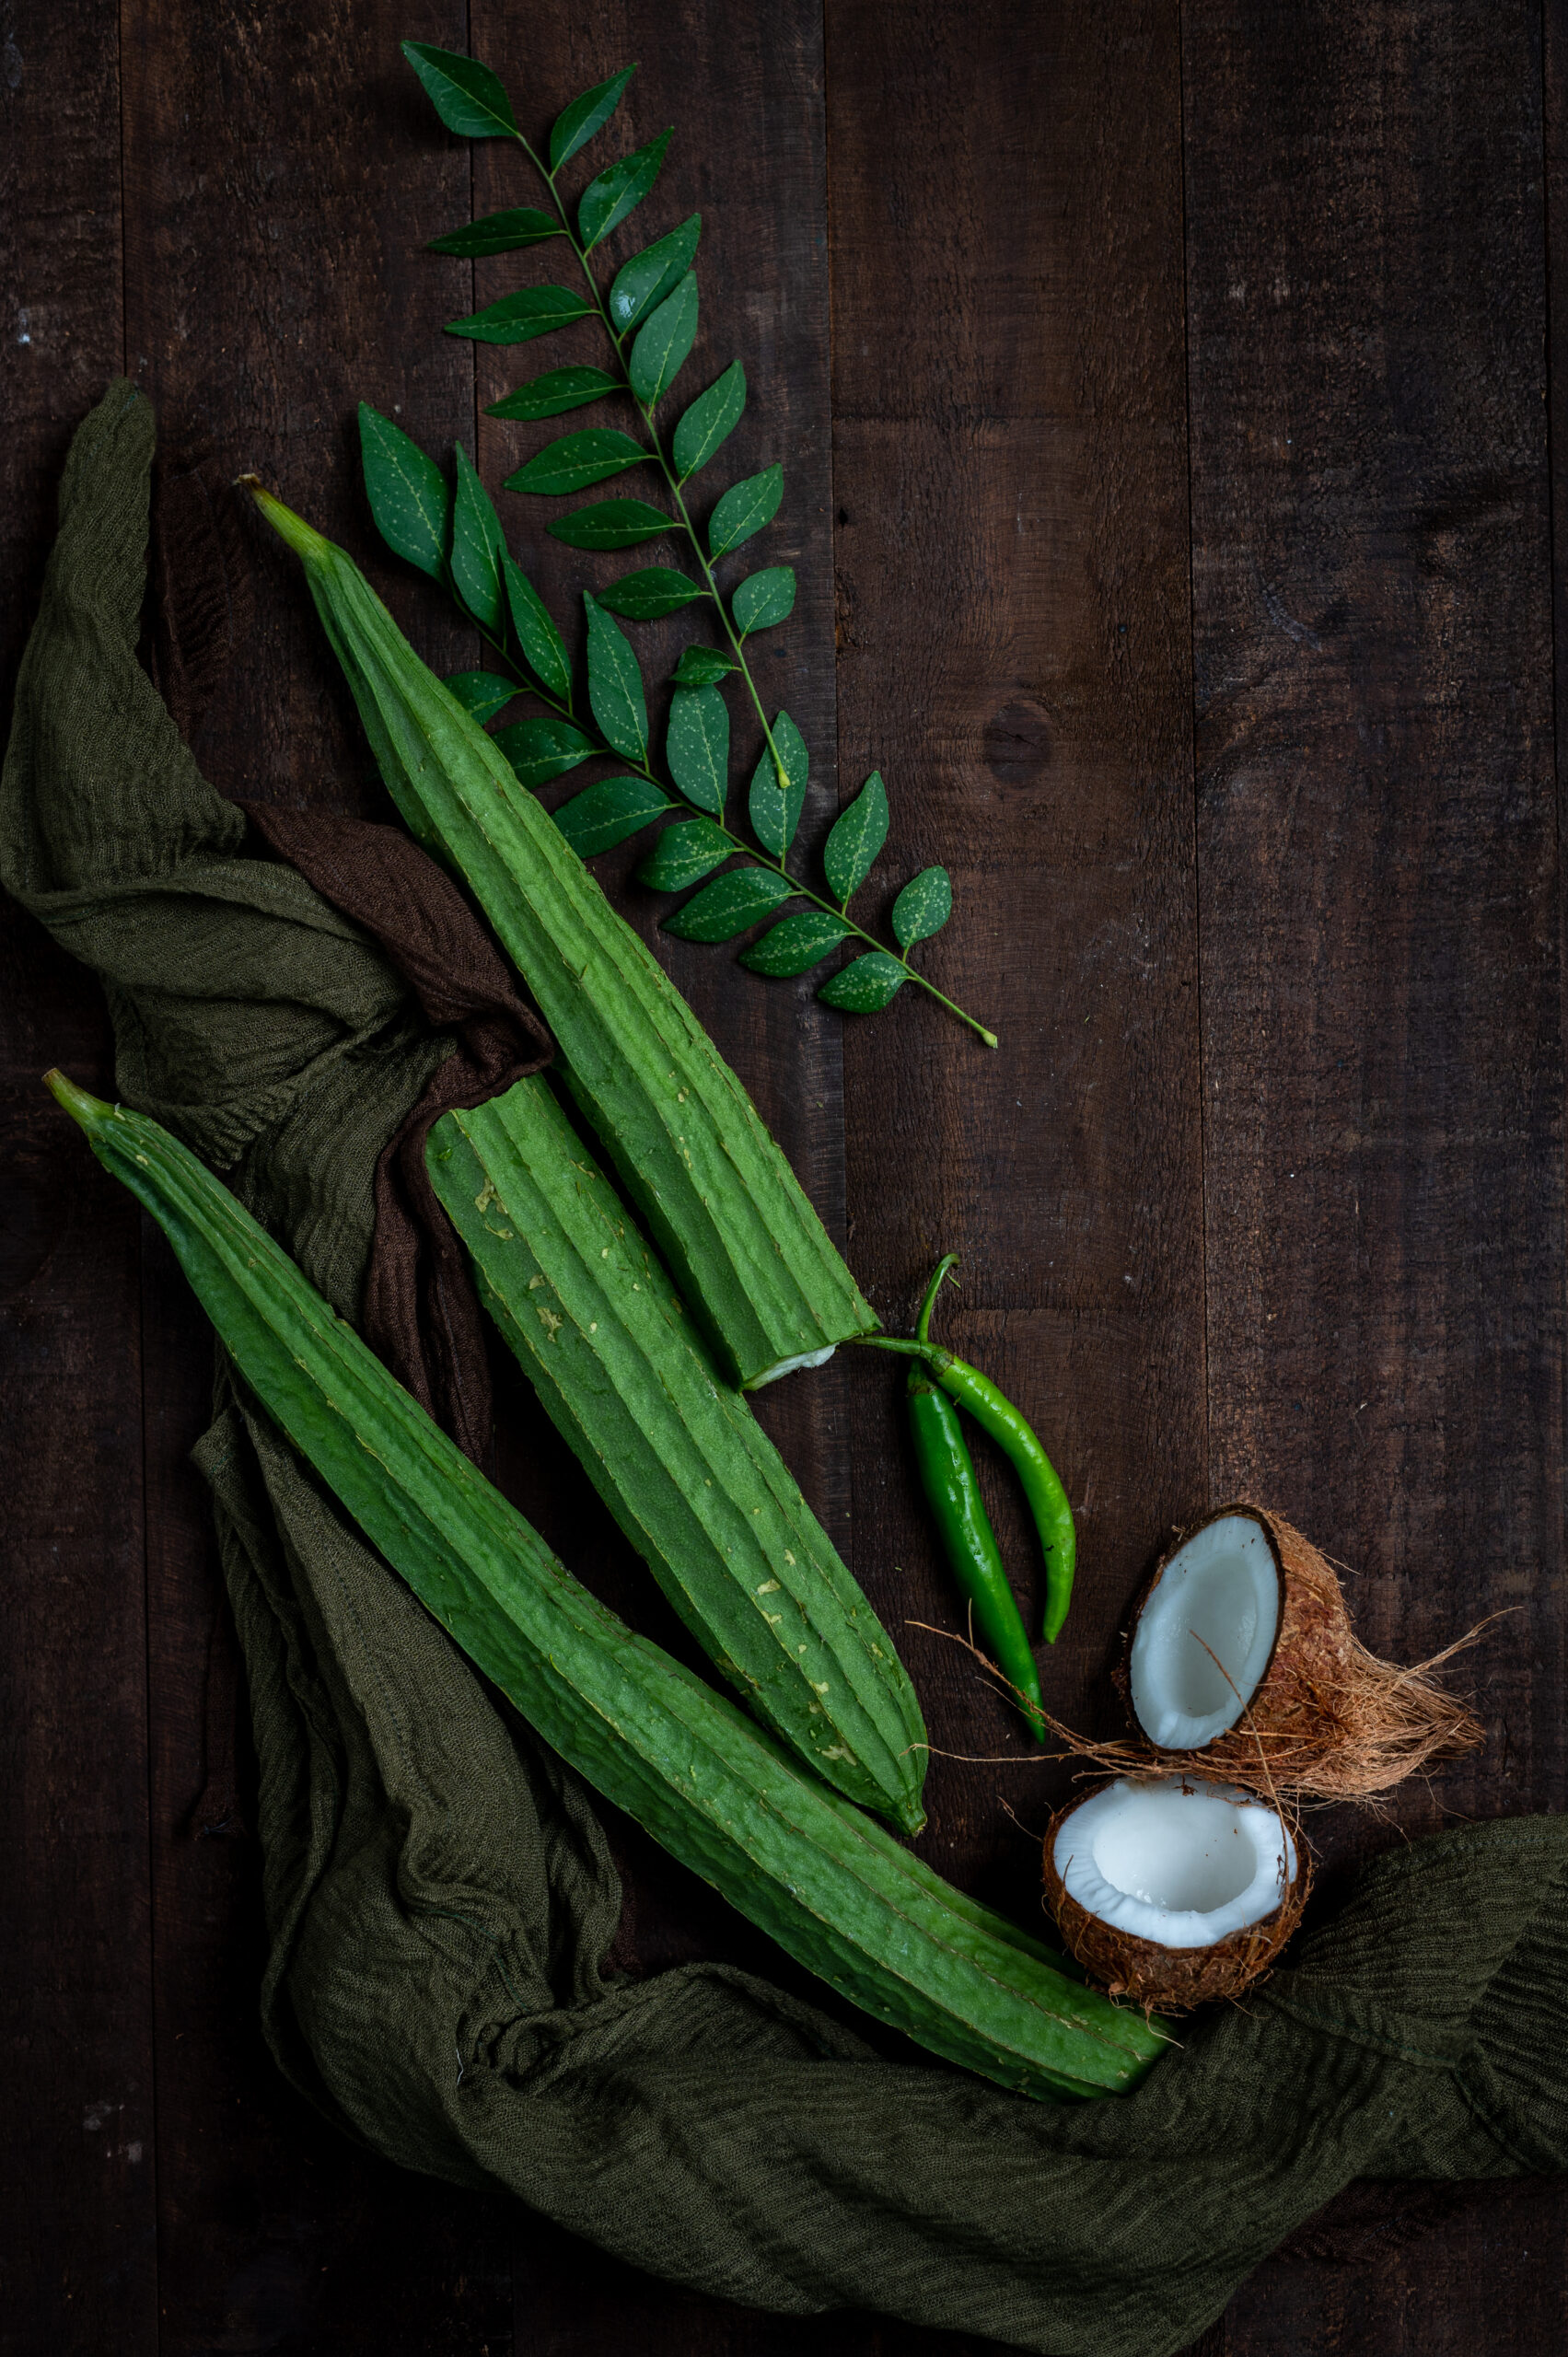
As a Gujarati who was born and brought up in Tamil Nadu, I am lucky to have the advantage of knowing and being a part of both cultures. Naturally, this extends to the cuisines as well. Although what is served for lunch nearly every day at home is a standard Gujarati thaali, which consists of rotis, a sabzi or vegetable and some dal, you can see the influence of my multicultural upbringing in the style of of some of the dishes. For instance, the sabzi of the day may be something cooked in a South Indian preparation. This ridge gourd stir-fry, or peerkanga pirratal as we know it in Tamil, is one such recipe in my eclectic repertoire.

I grow ridge gourd on my rooftop, and terrace gardening has also shown me firsthand the beautiful logic of Nature, which has designed things so that the produce that is most nourishing for those who live in the local climate is what grows best in that land too. Take the ridge gourd: high in water content, rich with fibre and minerals, and therefore just perfect for the weather of Chennai wherein our energy is easily depleted by the heat. If you live here, loading up your lunch bowl with this ingredient gives you exactly the boost you need for the rest of the day.

Of course, rounding out the standard meal would be some form of carbs, also known as the bane of my life. So here’s the trick: the Buddha bowl trompe l’oeil. Serving style and visual presentation always impact our perception of what we’re consuming. By putting just two tablespoons of white rice into a bowl and filling the rest with this ridge gourd stir-fry, I don’t have that miserable feeling of holding myself back by skimping on the main part of the meal. Instead, the vegetables themselves become the main part of the meal. This dish is very much in the category of comfort food, and I sometimes literally eat bowlfuls of it!

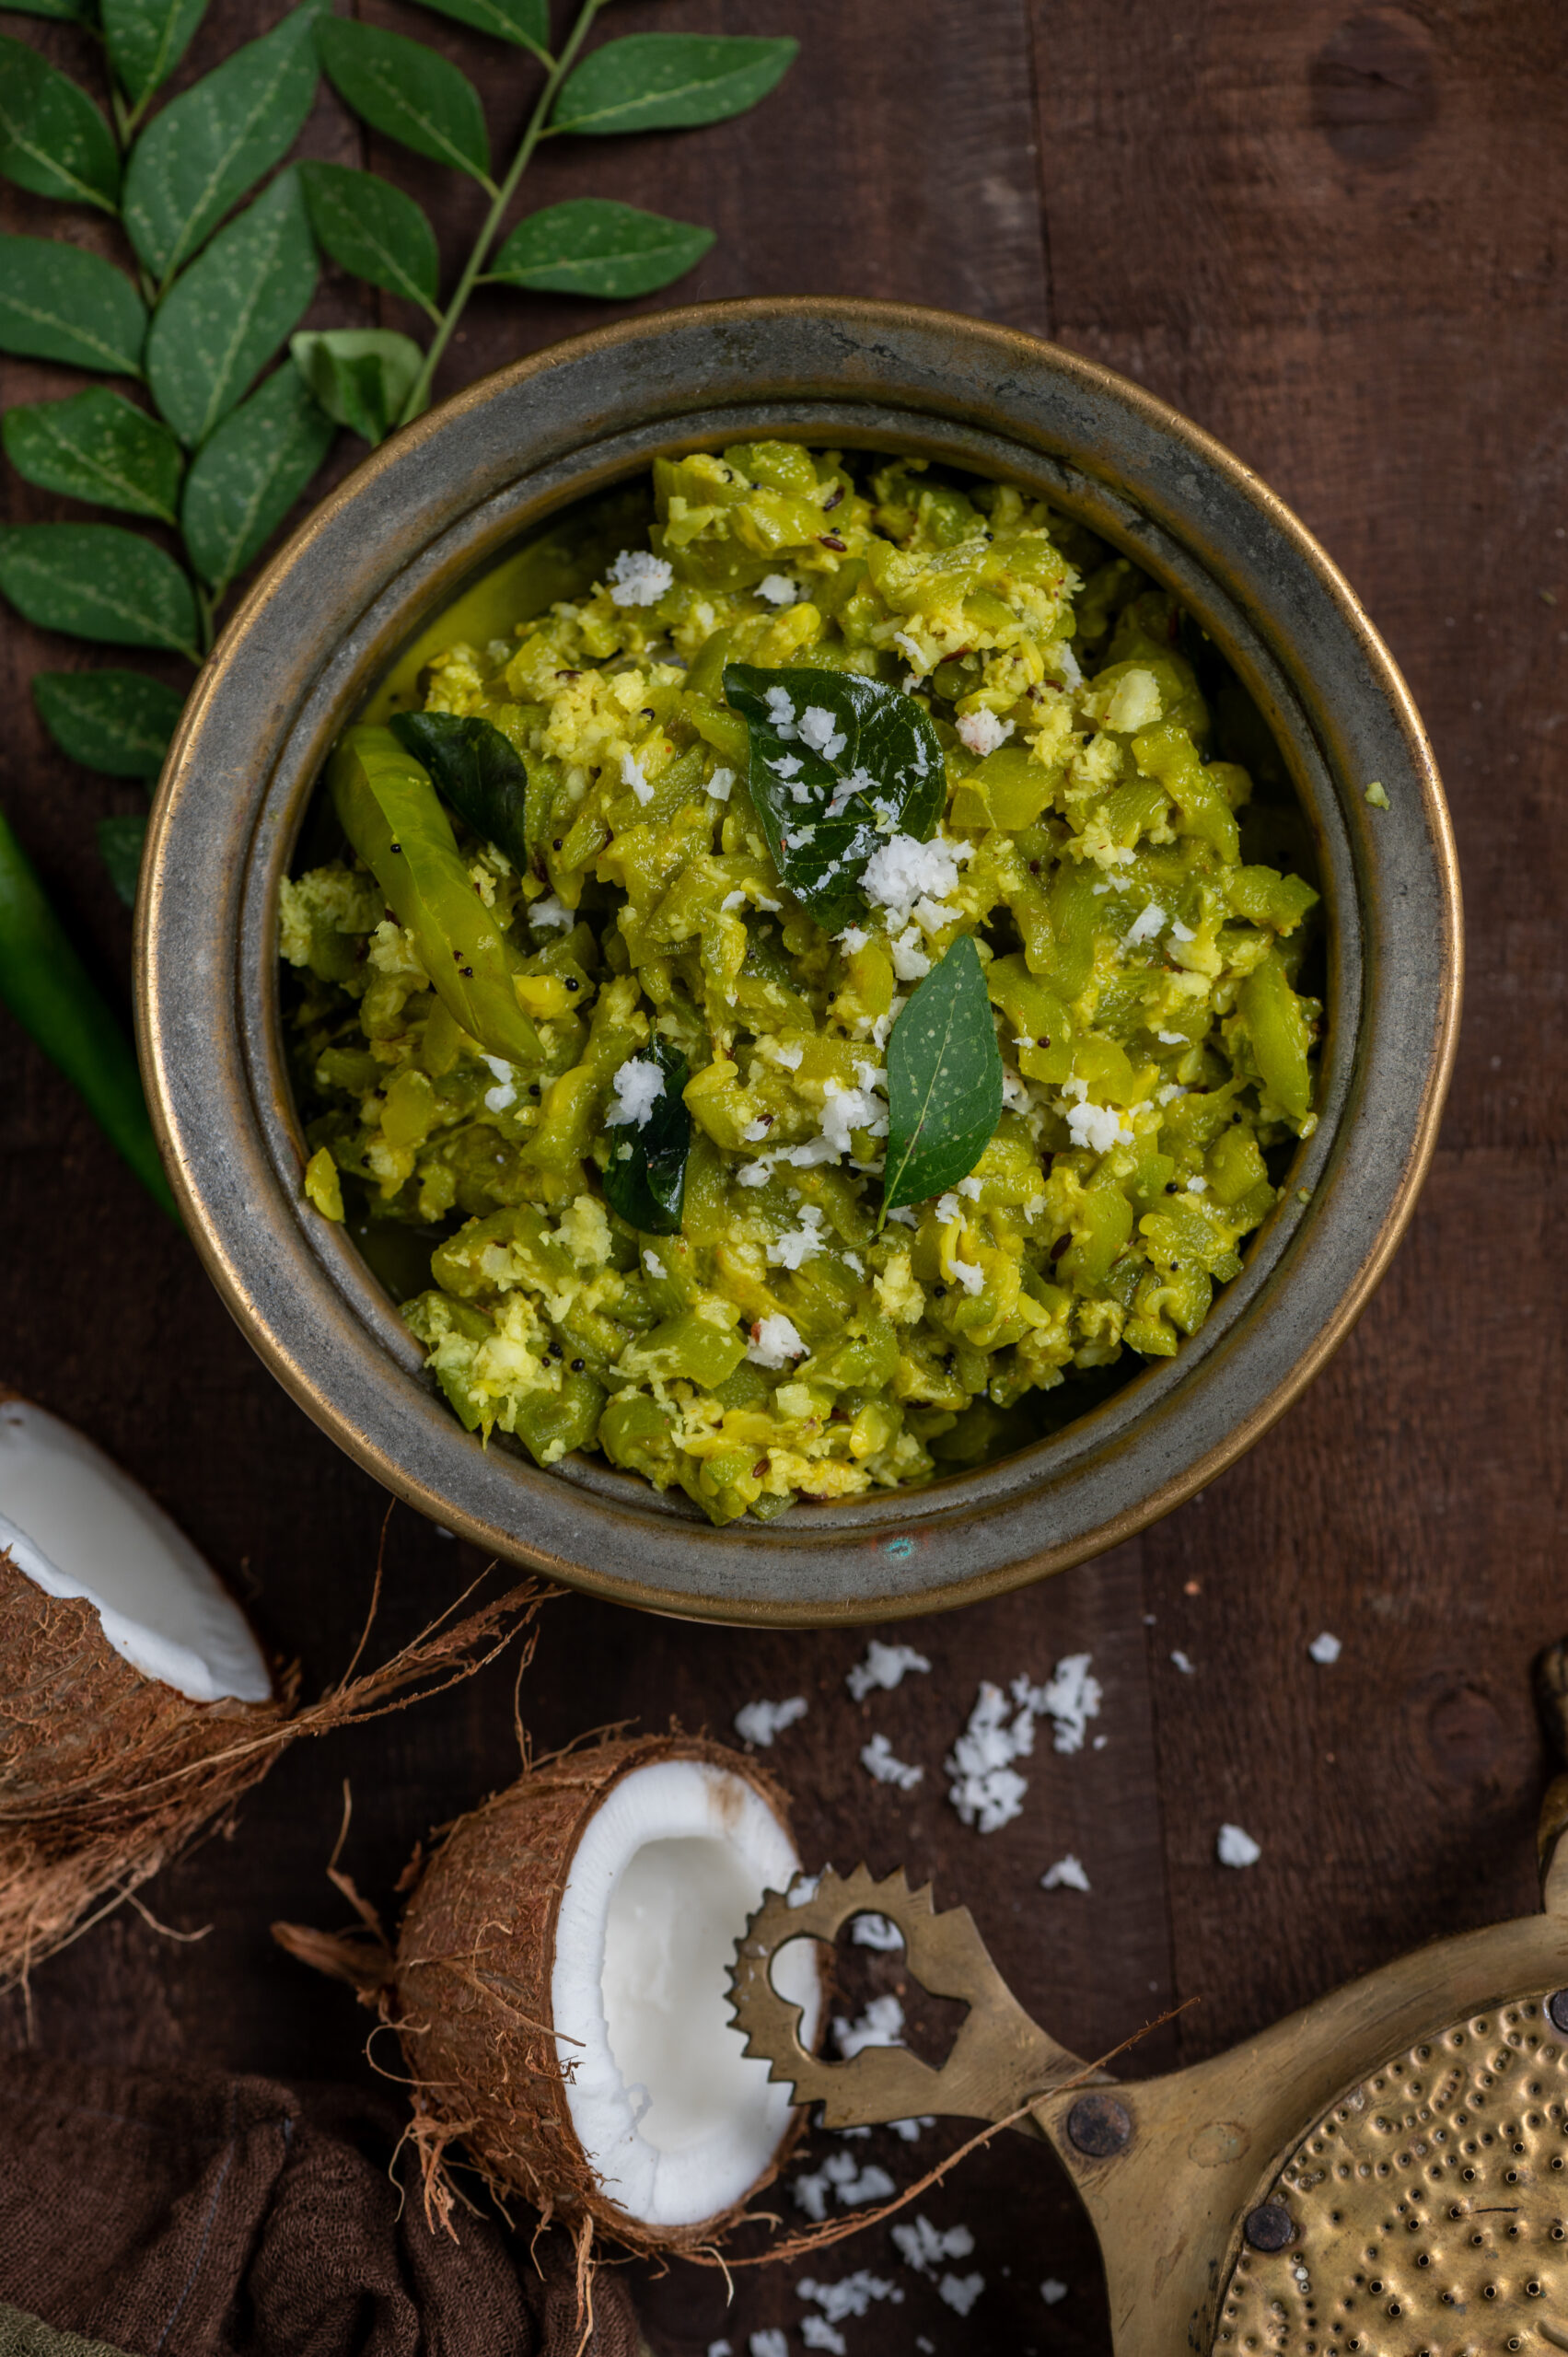
This South Indian ridge gourd stir-fry is very simple, very unassuming and very wholesome. Just salt and turmeric are quite enough to enhance the natural flavour of the chief ingredient. In addition to the ridge gourd on my rooftop, there are coconut trees in my backyard that yield fruit all year around. I use my own homemade coconut oil and add freshly grated coconut to this dish too, so almost everything in this dish is homegrown and pure. Even a little kitchen garden can make such a difference to our cooking. There really is something special about cultivating and consuming our own ingredients.

Doing so is also a link to a traditional way of living and a traditional way of eating, and these are subjects I think about a lot, given how we need both of these for the sustainability of our planet. M husband and I love time-honoured dishes, but our adult children feel they require much more novelty and diversity in their diets. Being in sync with Nature and seasonal rhythms is important for our vitality too, and I wonder if this is something one becomes more aware of as we age and our palates change. Growing bodies and younger bodies with dynamic lifestyles do need more carbs and sugars, certainly. As discussed in my previous post, it’s quite interesting how kids and senior citizens have very similar tastes. I have been listening more and more to what my body, somewhere between those two extremes of life, needs. In my case, vegetables are what it often craves. If you’re the same, you’ll find much for your repertoire in this blog’s archives. While re:store is all about baked indulgences, the recipes here are more often than not about bringing pleasure and nutrition into everyday meals.

South Indian Ridge Gourd Stir-Fry

(Yield: Serves 2-3)


4 cups peeled and chopped ridge gourd

A few curry leaves

¼ cup grated coconut (optional)

2 tablespoons coconut oil

¼ teaspoon mustard seeds

¼ teaspoon cumin seeds

¼ teaspoon urad dal

Salt to taste

¼ teaspoon turmeric

½ cup water

1-2 green chillies

3 tablespoons soaked mung/yellow dal


In a pressure cooker, add the mung dal and the cut gourd. Add salt, turmeric and ½ cup of water. Allow to cook until tender (this should be about 2 whistles).

In another kadai, add the coconut oil. Once it has heated, add the mustard seeds, cumin seeds and ural dal. When they start to splutter, add the curry leaves.

Immediately after, add the vegetables from the pressure cooker and stir well. Once the concoction starts boiling, turn off the flame and add the grated coconut. You can skip this ingredient if you aren’t a fan, or if it isn’t available. Mix well. Garnish with coriander leaves and serve hot. This is usually an accompaniment to rice or rotis.

This South Indian-style ridge gourd stir-fry is a recipe I picked up along the way, and prefer to the Gujarati version that my mother used to make, which required chili and coriander powders. That said, sometimes it feels a bit painful when I’m confronted with very deeply-rooted authentic Gujarati dishes and find myself at a loss about how to prepare them. Fortunately, my sister who has had much more exposure to that cuisine is within reach, as well as friends and fellow bloggers, and I usually find what I’m looking for and learn through trial and error.

In fact, this gives me an opportunity to ask you: is it true that ridge gourd peel can be used in a chutney? Have you prepared this, and if so, would you care to share the recipe?