20 Results

thaali

Search

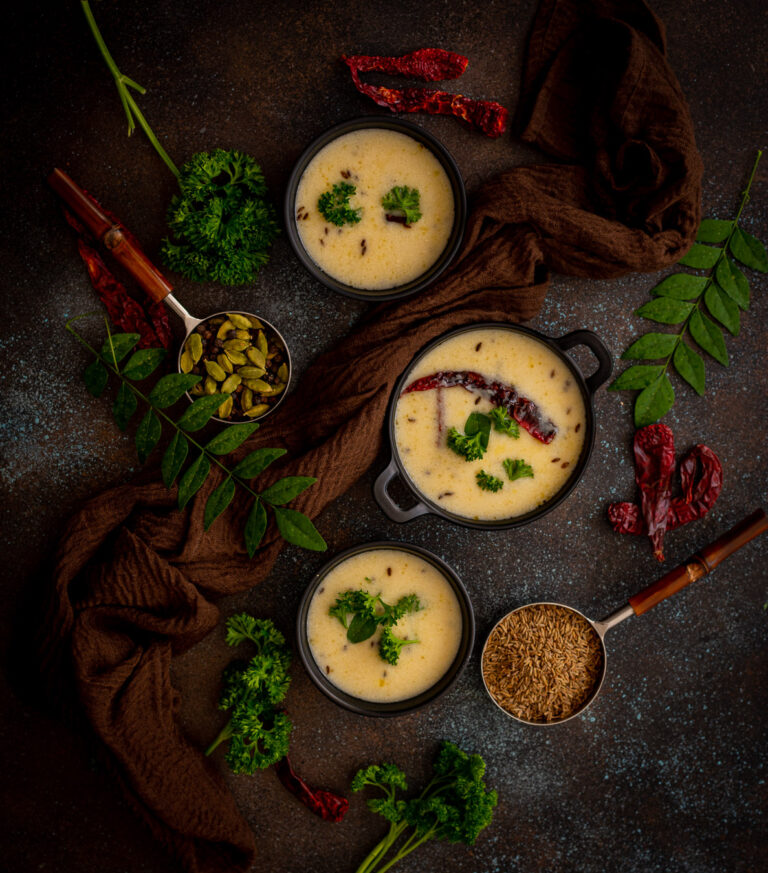
I dropped references to kadhi not once but twice on this blog recently, during the grains-based Gujarati recipe series I was sharing. I’m delighted to feature the recipe for this wonderful accompaniment today, and I hope it gives a superb flavouring to all your khichdis, khichdos and much more.

Kadhi was traditionally made from soured buttermilk. Here in South India, even today, many households make our dairy products at home. I still prepare my daily yoghurt and let it set overnight. While I was growing up, my mother and most of our neighbours also made butter, cream and ghee regularly. As long as milk and a fridge were available, these resourceful homemakers ensured that their families had a steady, homemade supply of these essential ingredients.

So my mother would often collect cream in a pot, store it in the fridge, and then make white butter from it. We absolutely loved this as kids, and ate it with everything, including rotis. There would always be quite a lot of white butter prepared, and from it she would also make ghee. The residue of that white butter would be soured buttermilk, and from this she would make kadhi. It’s truly amazing how far she could stretch a vessel of milk!

So on the days when she made butter, we would almost invariably have kadhi, because she would never let that soured buttermilk go to waste. My father loved this kadhi, and never ate that great Gujarati mainstay, dal (the rest of my family are ardent dal enthusiasts, and you can check out my recipes for horse gram dal, mixed dal and classic Gujarati dal). I prefer lentils and legumes myself, but always prepare some kadhi for my father when he visits.

As I’ve said before in the posts in the Second Helpings series, culinary innovations are truly the forte of ordinary people over so many generations, who would dream up ways and means to make every bit of food go an extra mile. I too have learned that another good way to make kadhi, rather than to prepare butter and use its residue, is with yoghurt that’s been in the fridge for a few days.

If you’ve never tried a kadhi before, I would describe it as being an equivalent to the South Indian mor-kulambu. A kadhi is thinner in consistency, but it has a similarly spicy, slightly sour flavour. There are also mango kadhis, in which chunks of the fruit are added to the mixture when they are in season. These may be similar to the Tamil manga pulissery. Dumpling kadhis are another interesting variant. The recipe I will be sharing with you today is the base on which these variations are built.

Gujarati kadhi is sweetened with sugar, as with many of our dishes. This is a culinary twist that’s a signature of the cuisine, and you may prefer to make yours without it. We also do not add turmeric, and prefer to keep the kadhi white in colour. It is always tempered with ghee and just a few spices, so that just a subtle hint of their flavours are infused.

There’s one way in which my kadhi differs from my mother’s, and that is in my addition of curry leaves, which she never used. I have a sense that curry leaves as an ingredient are a South Indian element, which is why they seem to be absent in Gujarati cuisine. I’ve never come across any dish that uses curry leaves in any form in Gujarat, whereas here in Tamil Nadu we prolifically use powders, chutneys and the fresh leaves too. I’ve noticed in my travels there, especially to agricultural areas, that curry leaf trees aren’t abundant either. But like I said, this is just a sense of things. I would absolutely love to hear any insights you may have into curry leaves and their role or lack thereof in Gujarati culture or cuisine. Please do shed some light if there’s anything you may know about this topic.

I’d love to hear those insights over a tummy-filling thaali, but in these socially-distanced times, here’s the next best thing: my recipe, and a request to share what you know in return!
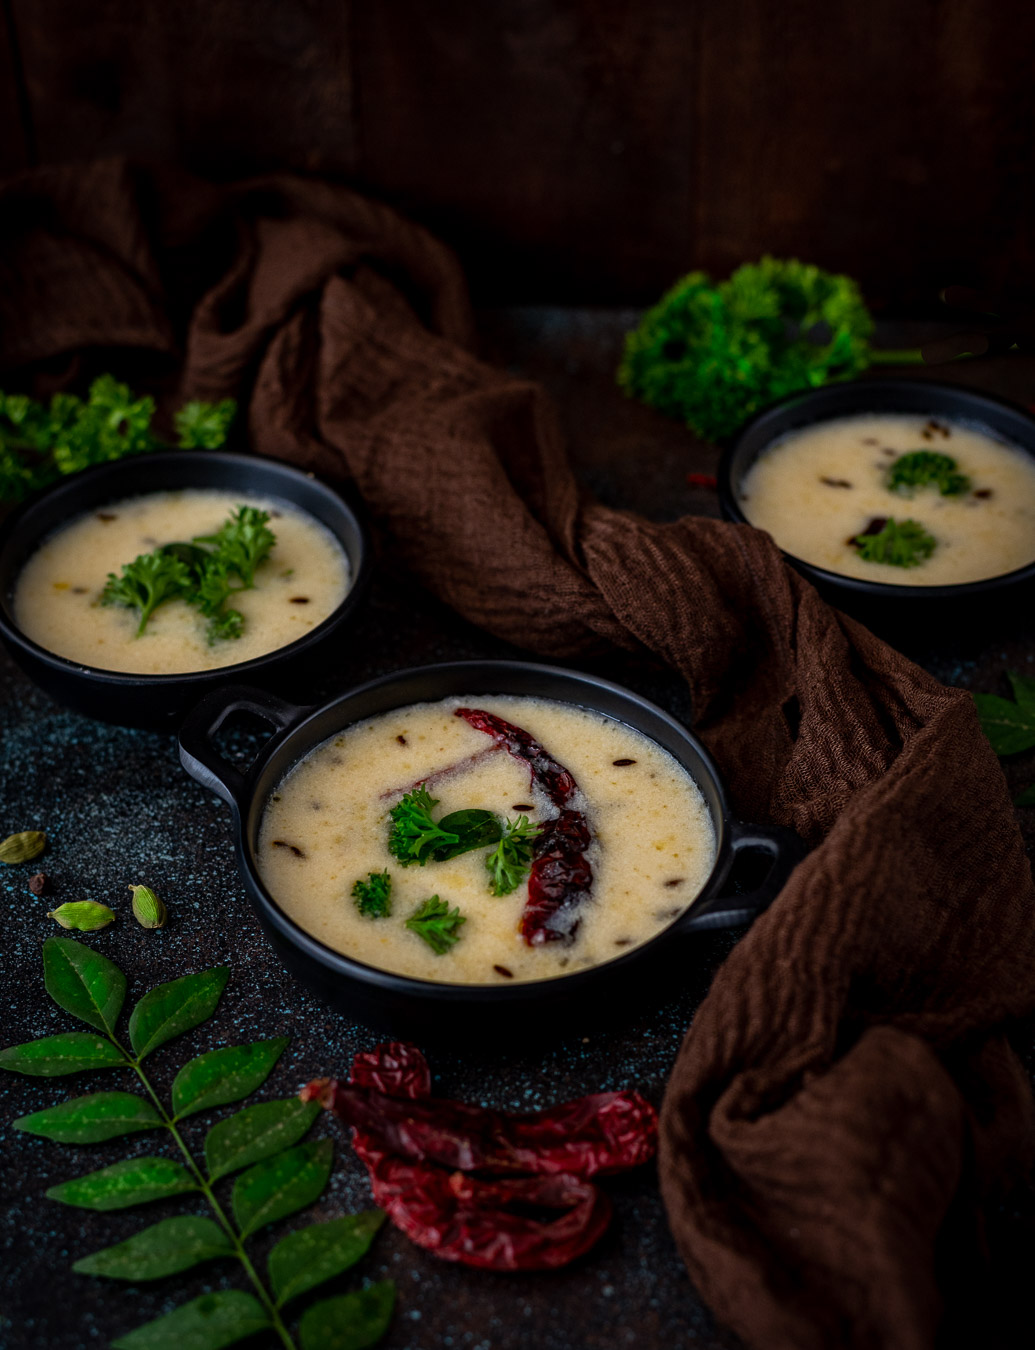
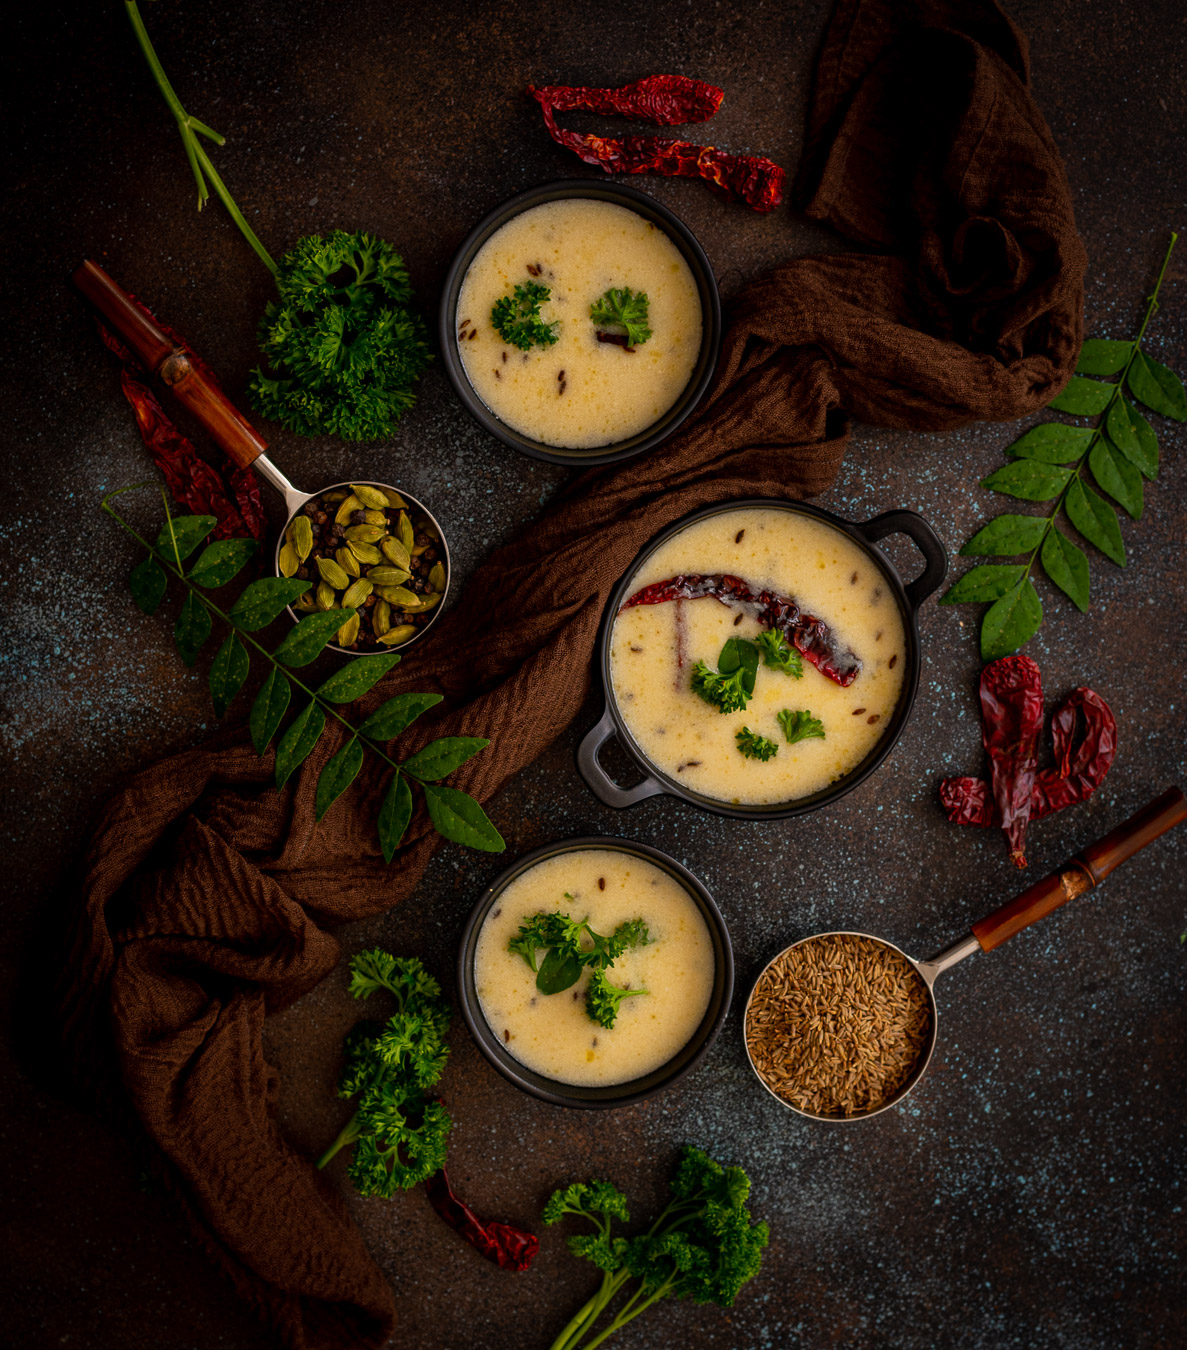
Kadhi

(Serves: 2 people)

½ cup yoghurt

1¼ cups water

1 tablespoon chickpea flour

½ teaspoon green chilli/ginger paste

Salt to taste

1 teaspoon sugar (optional)

1 tablespoon ghee

½ teaspoon cumin seeds

¼ teaspoon methi seeds (fenugreek)

A pinch of asafoetida

2 dry red chillis

2 cloves

1 stick cinnamon

1 cardamom

1 sprig curry leaves

In a pot, add the yoghurt, water, chickpea flour, ginger and chili pastes as well as the salt. Beat well until the mixture is fully incorporated.

Allow this to cook for approximately 7-8 minutes on a medium flame. Stir constantly so as to prevent the yoghurt from splitting.

Add the fenugreek seeds. Boil some more. Once this has cooked, set aside.

Prepare the tempering. For this, use a small pan. Add ghee and then add the cumin seeds, cardamom, cloves and dry red chillis. Once the cumin seeds splutter, add the curry leaves and the asafoetida, and immediately pour the tempering into the kadhi.

Garnish with coriander leaves, stir then serve hot. As mentioned earlier, kadhi goes beautifully with several kinds of khichdis (or you could have it with white rice, in which case it becomes the meal known as “kadhi-bhat”). It’s wonderful as part of a simple, traditional meal. I’d love to know what you think of it!
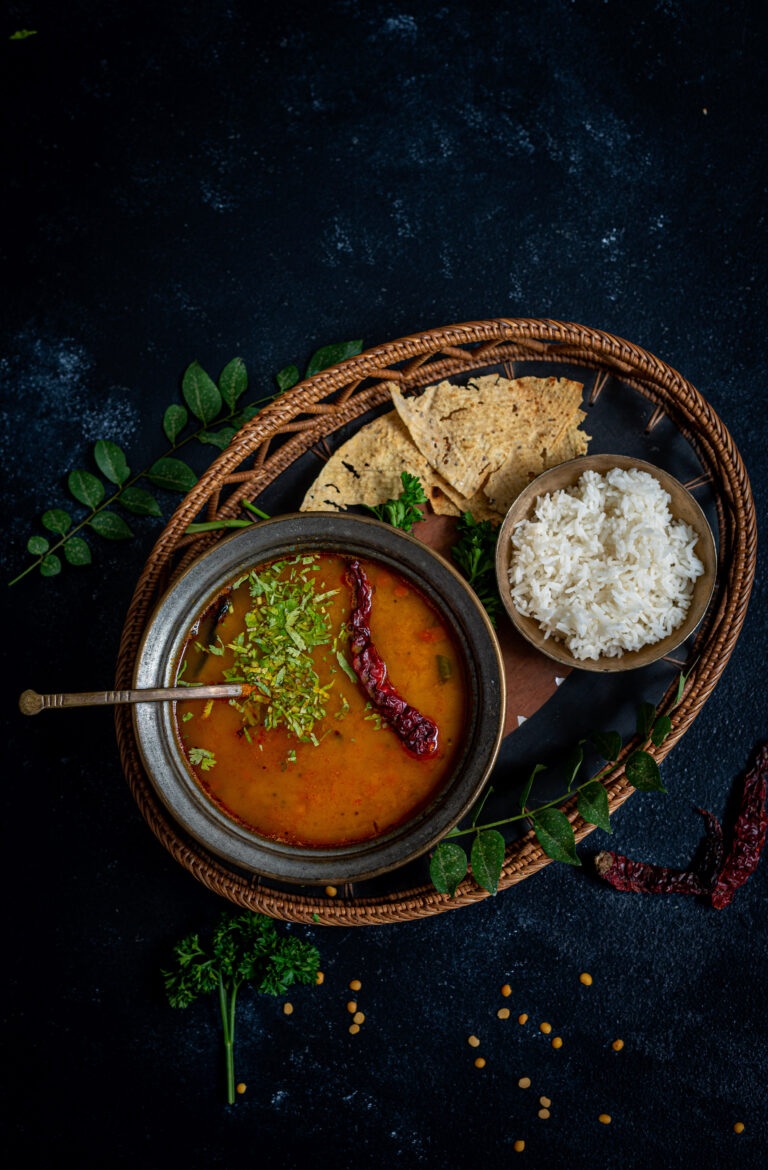
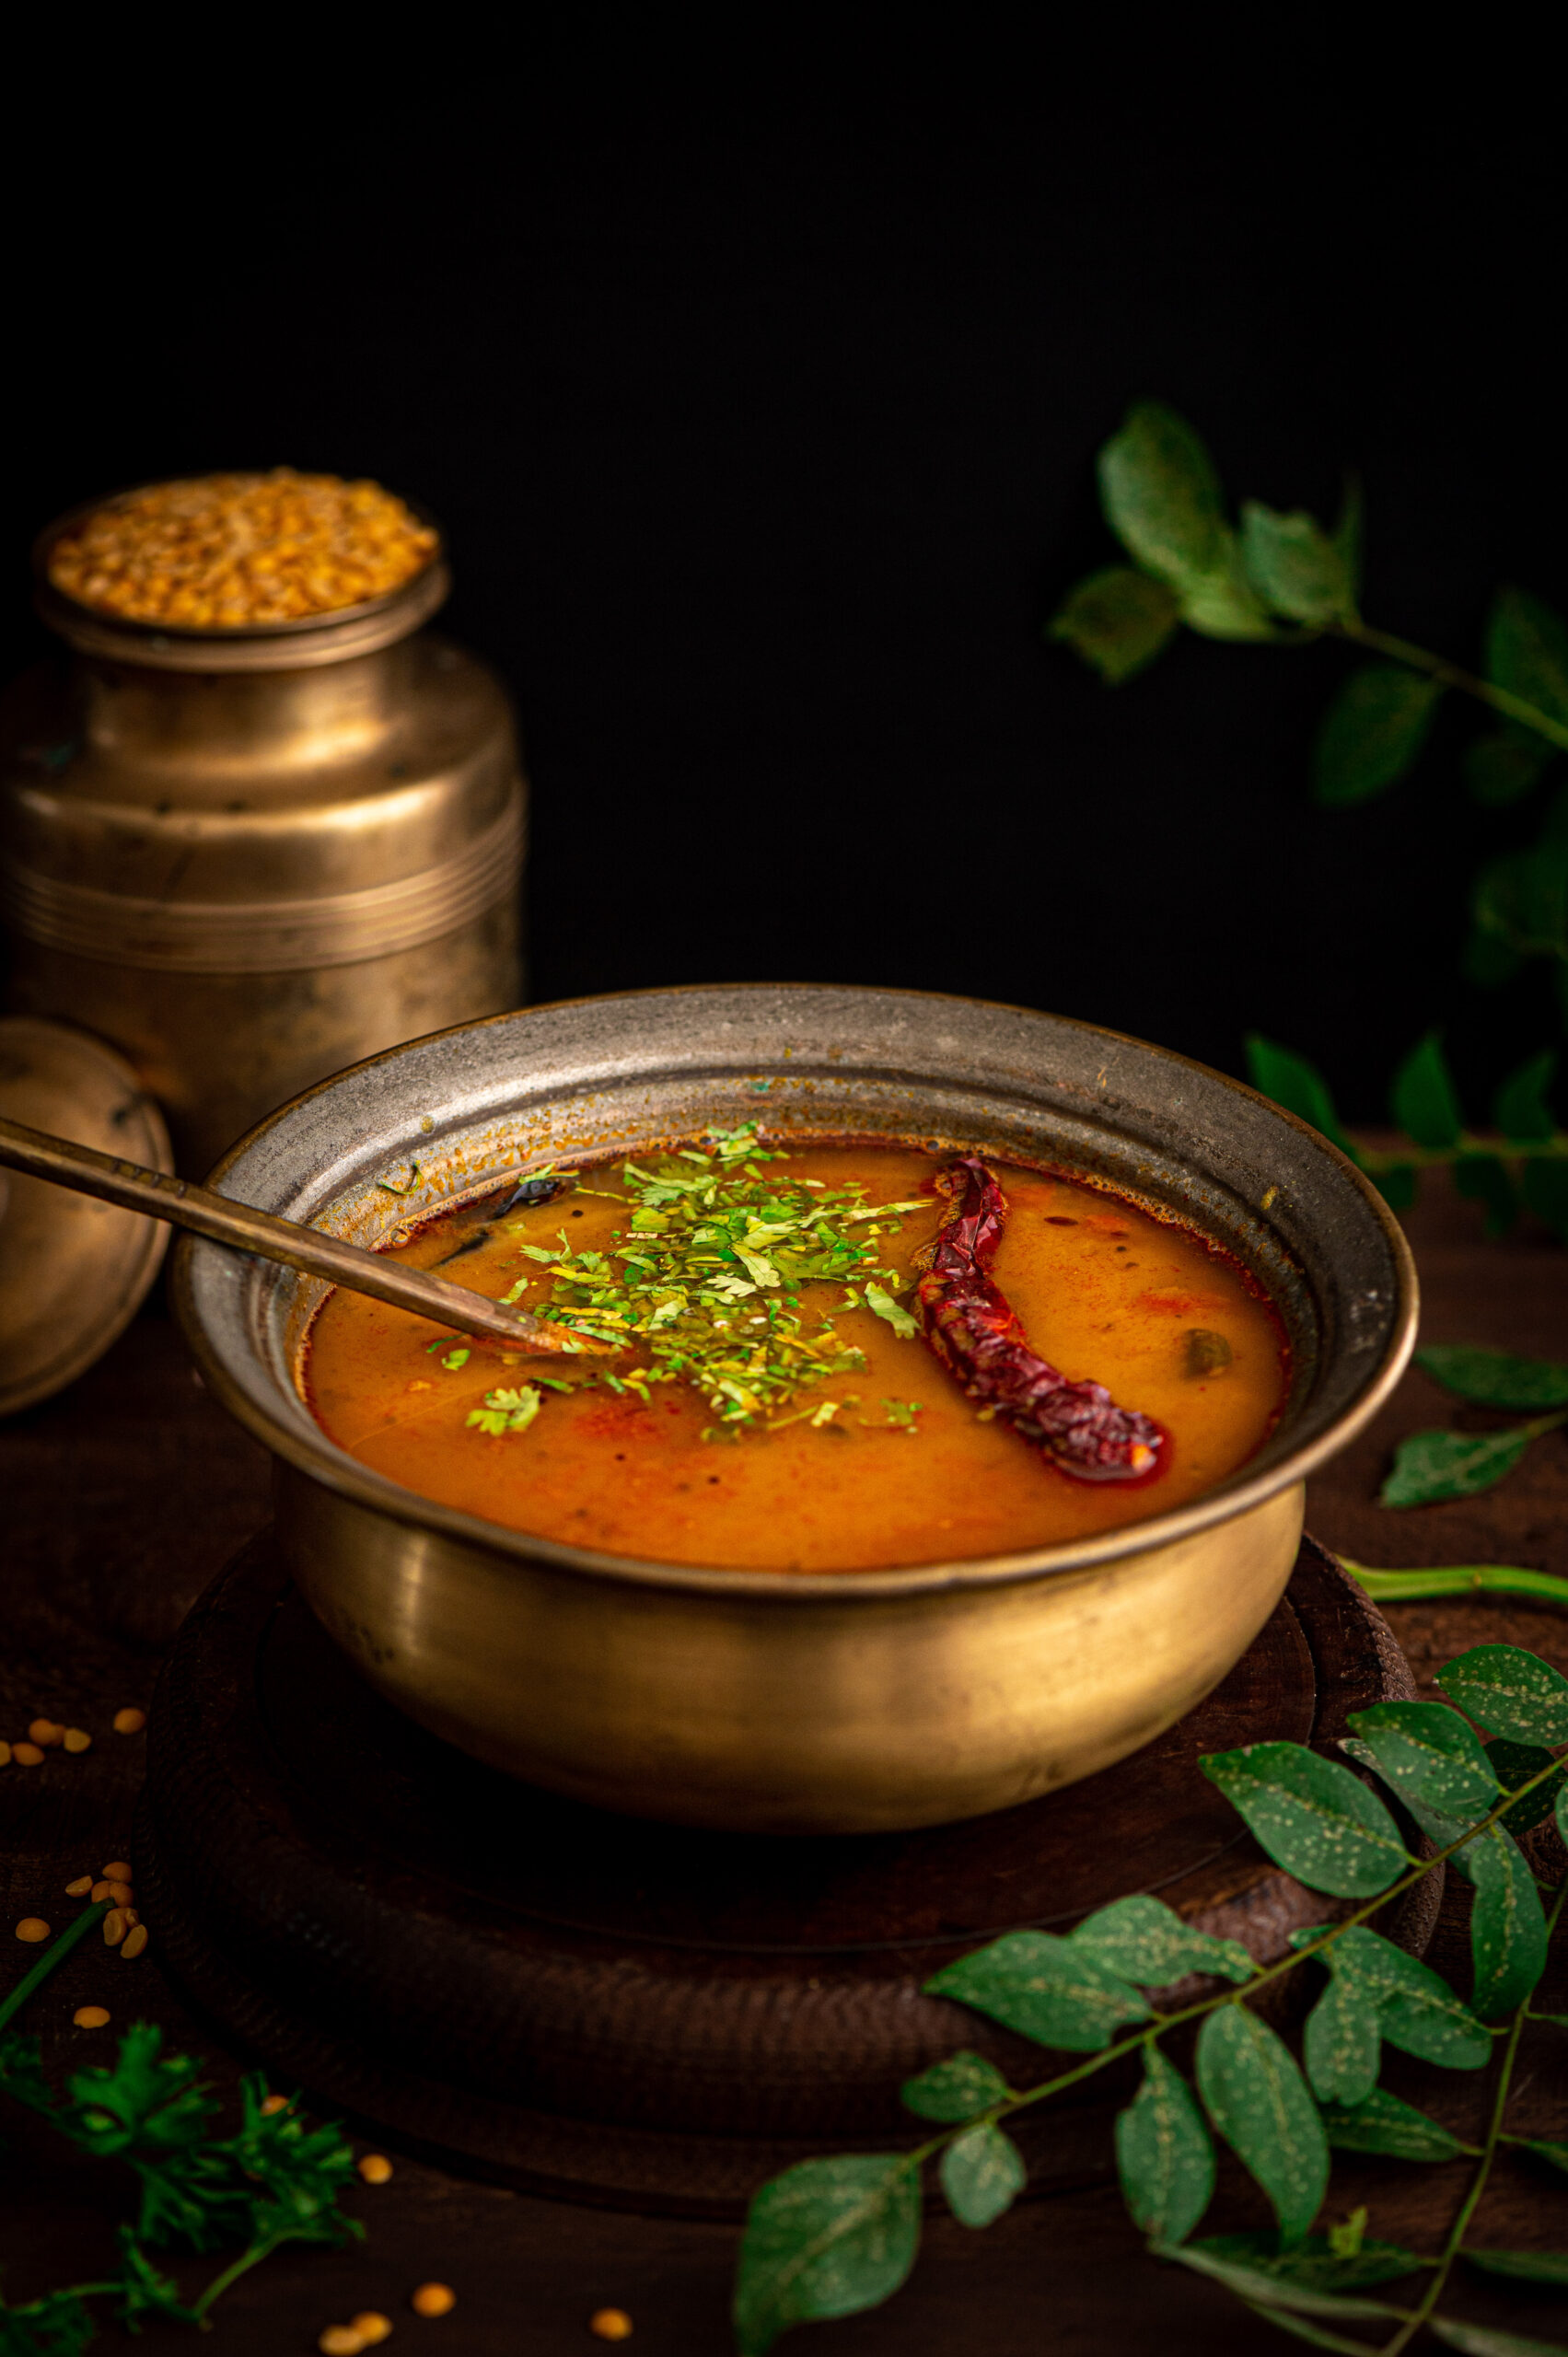
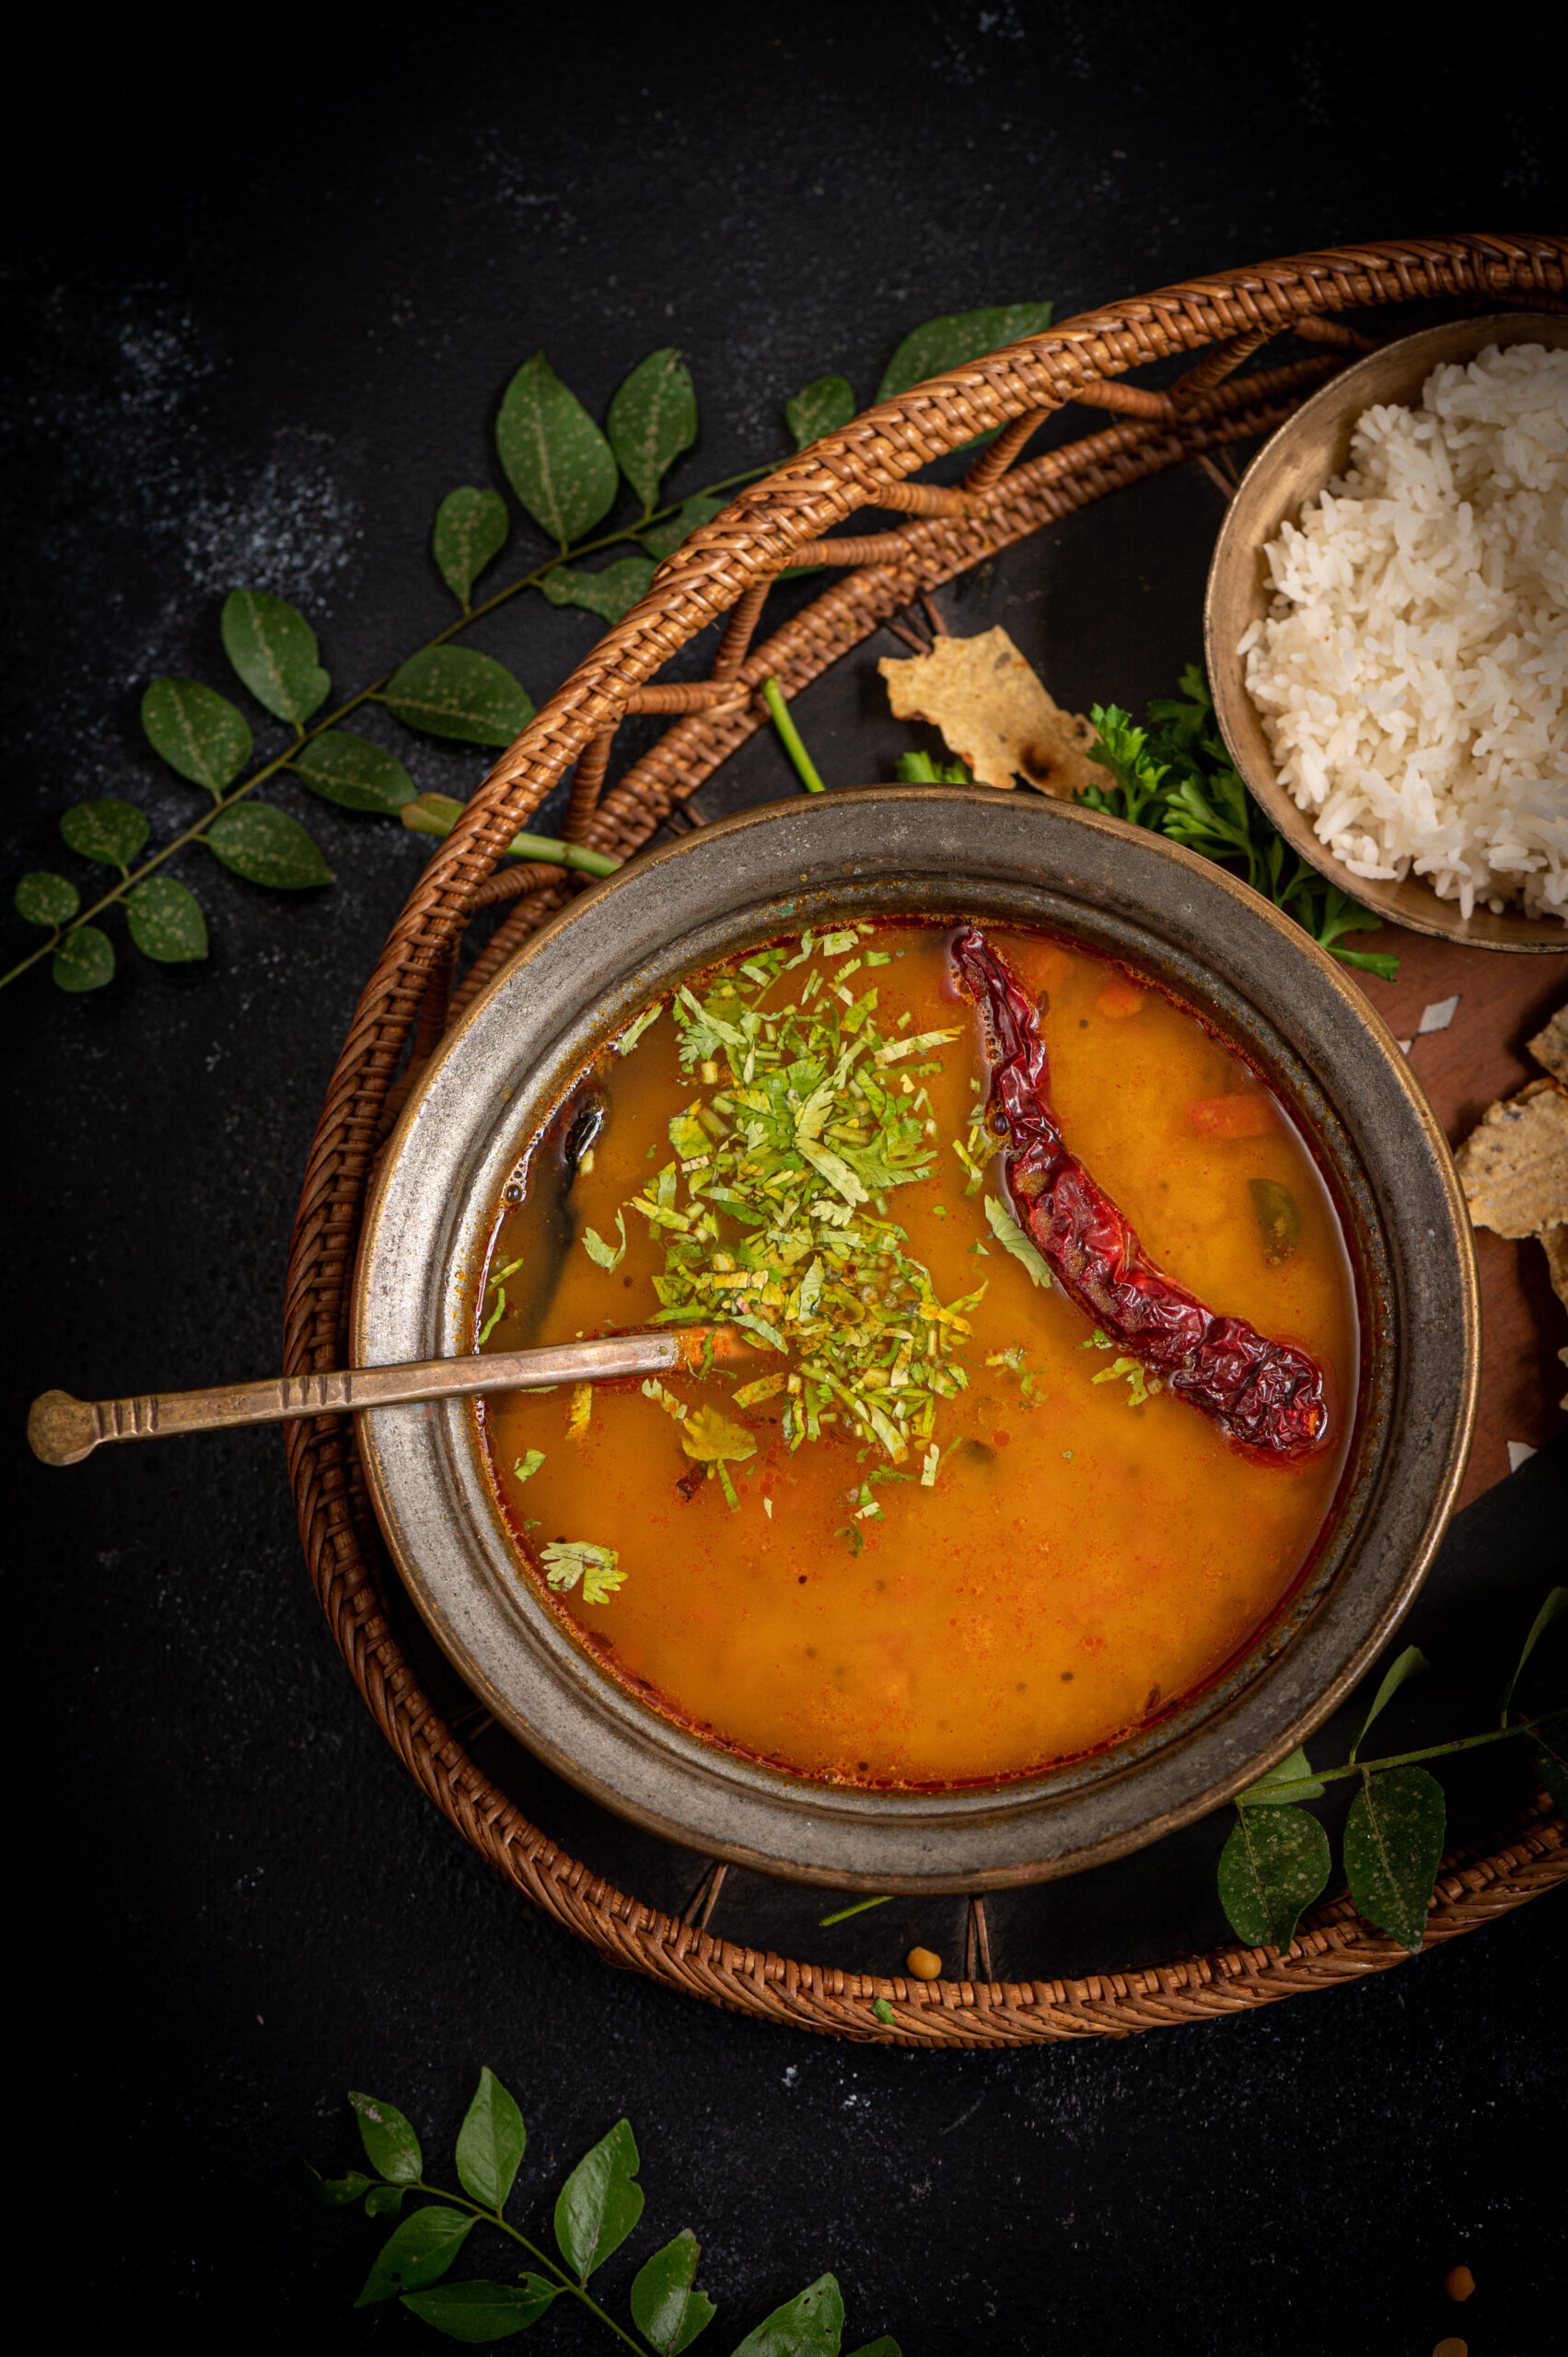
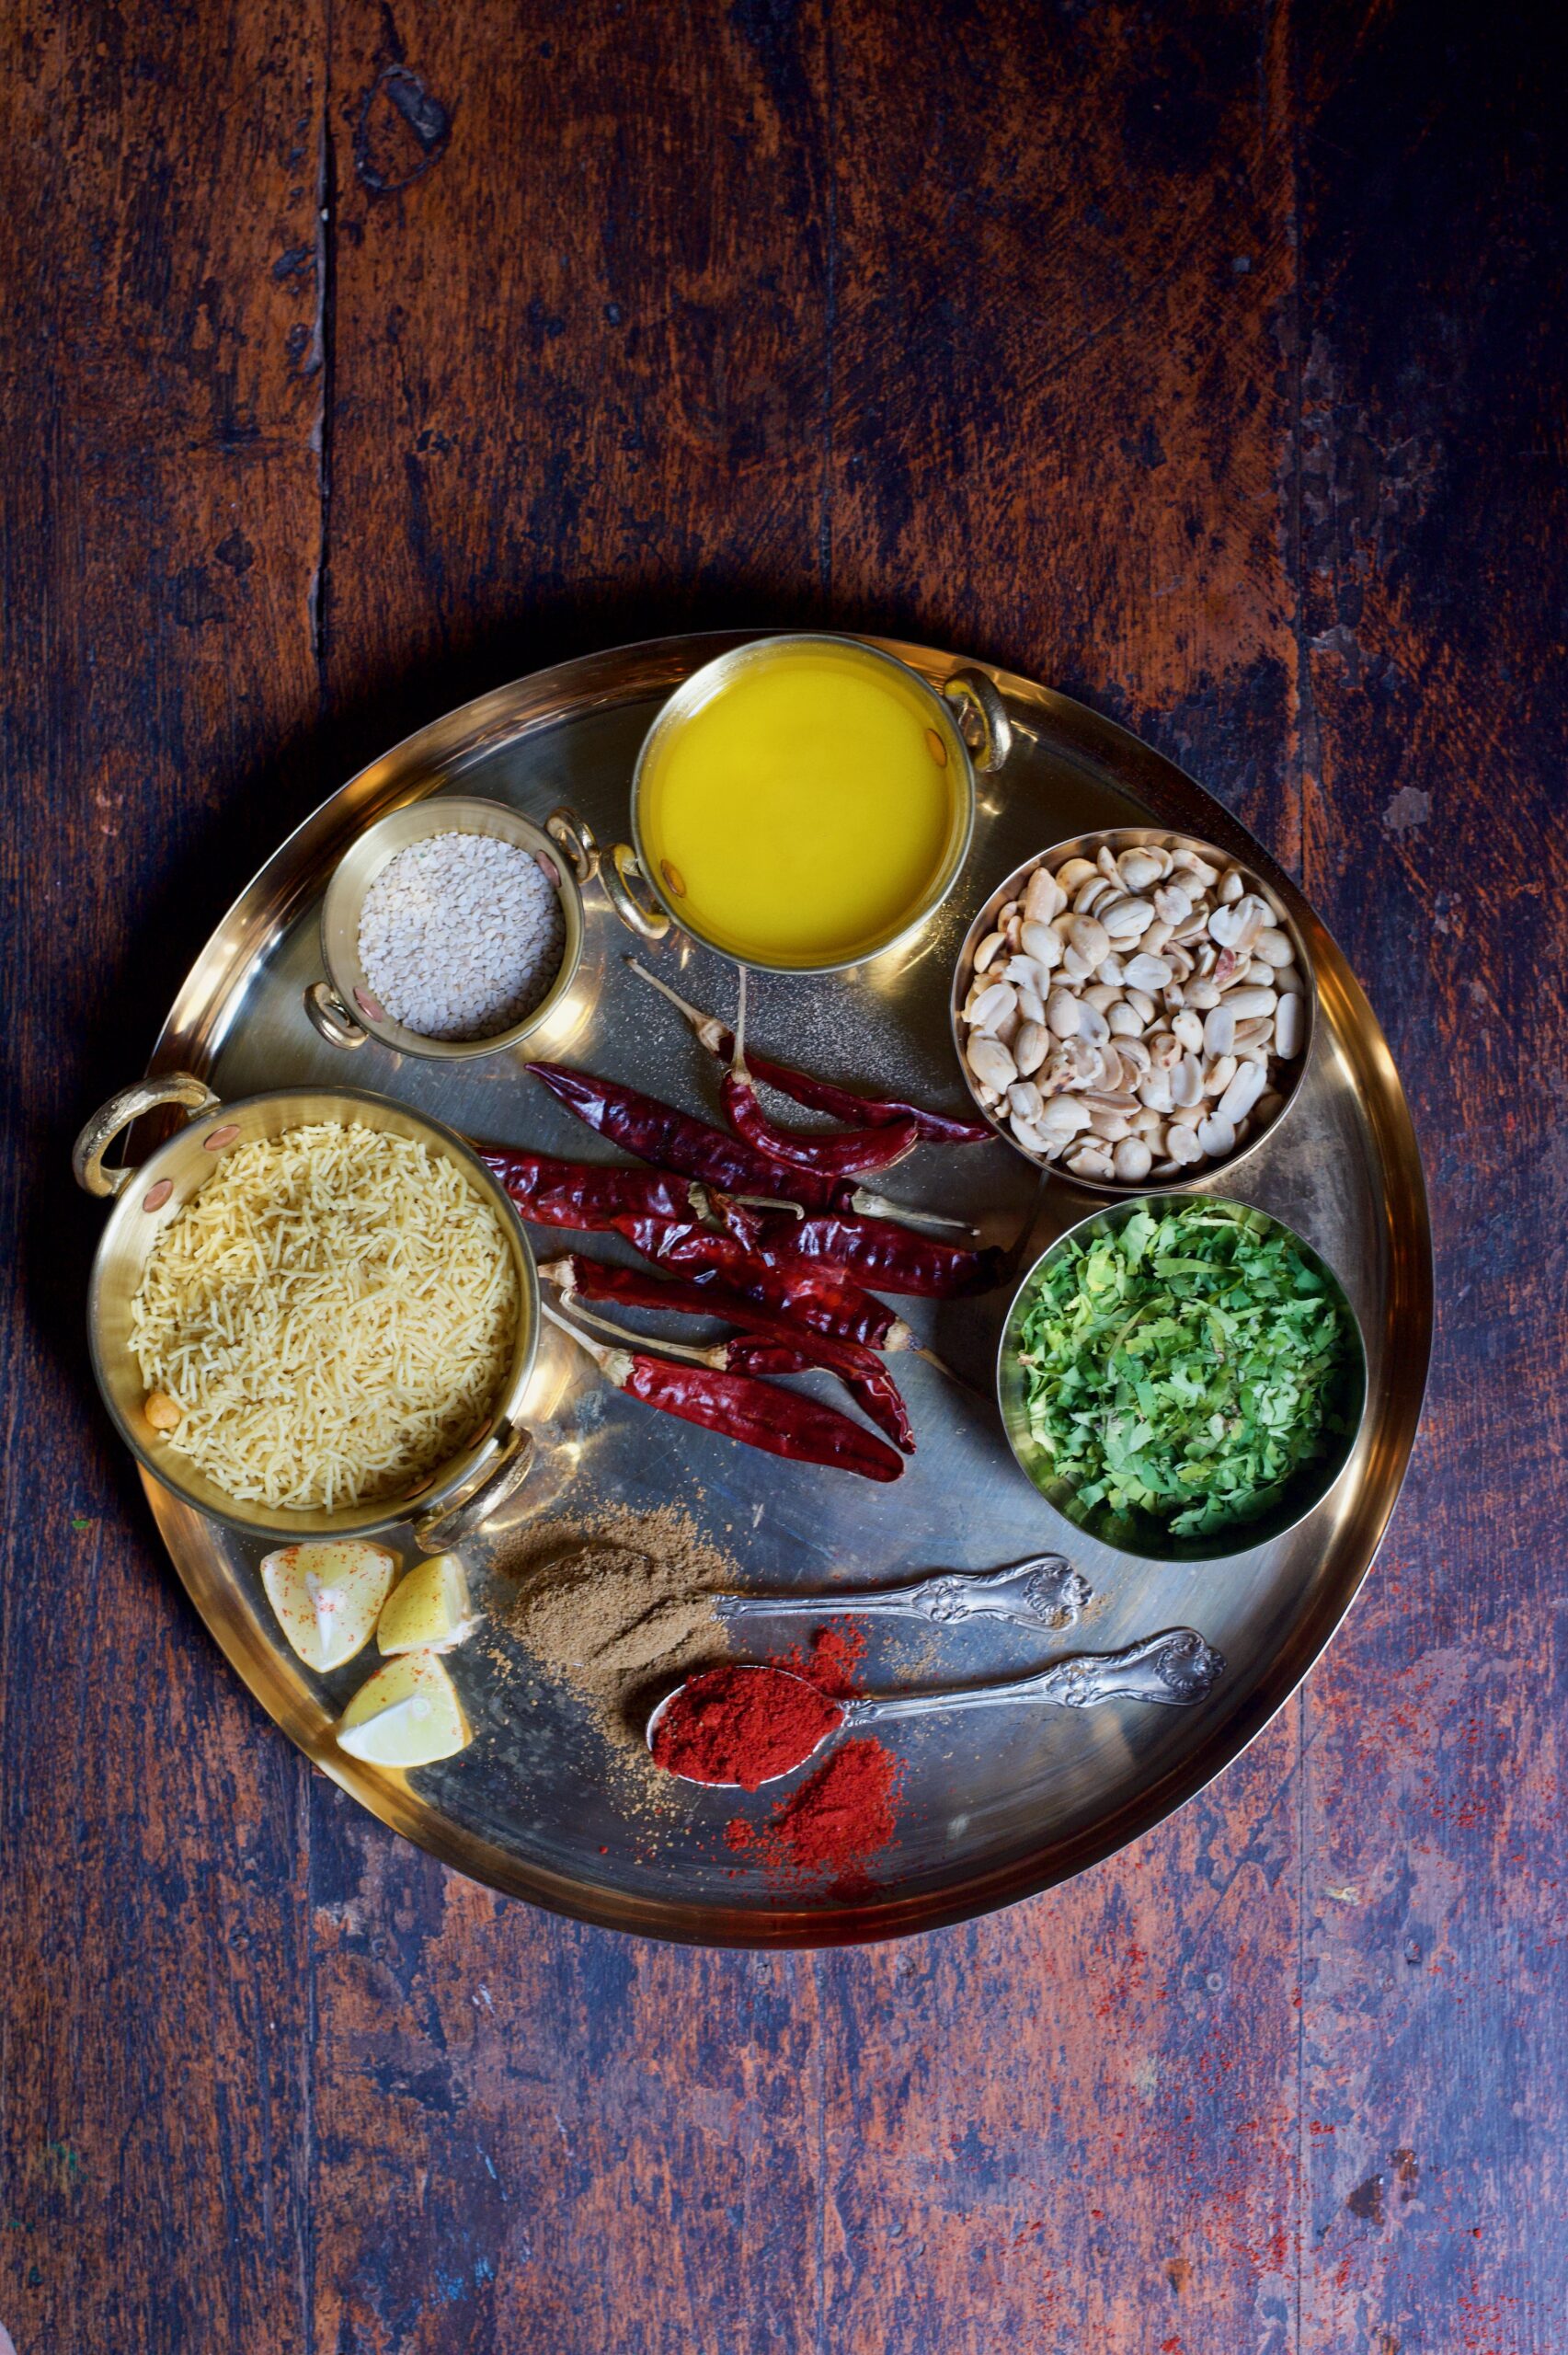
Dal is made in every single Gujarati home almost every single day. Literally. No exaggeration. Dal is the staple, the tradition, the go-to, the “I must have my daily dal”. It is made the same way every afternoon, and we never get bored of it. Come what may, there’s a bowl of dal on the table for lunch, alongside a vessel of hot rice. Given what a fundamental part of our palate it is, it’s funny that it’s taken me over four years of blogging to share the recipe, especially when so many of you have also requested it from me. But here it is, finally! I can say for certain that it’s been worth the wait.

While I’ve asserted repeatedly over so many recipes that every dish tastes different based on the cook, the kitchen and the place it’s being made in, this one somehow always tastes the same. Which is to say: it tastes perfect. It’s a mainstay, made exactly the same way no matter who is making it or where. I have enjoyed it everywhere I have tried it and have never tasted a difference. So what you are getting today is an absolutely authentic, time-honoured recipe for quintessentially Gujarati dal.

It’s funny how the stereotype as far as food is concerned goes “dhokla!”, when dhokla isn’t quite the backbone of the cuisine the way that dal-bhat (dal and rice) is. It should tell you so much about stereotypes versus the real experience because while we may not be famously associated with dal-bhat, it’s such a part of our culture that the dish even forms part of our pleasantries. When one Gujarati person meets up with another, we often say these words: “dal-bhat, rotli, shaak?” The phrase means: “dal and rice, rotli and vegetables?”. The question is a way of saying, “Have you eaten?” – a typical and pan-Indian form of polite chatter. If you notice, dal-bhat is the first term even though it is actually served later in a meal. In a traditional meal, it is rotlis that are served first, and once the rice comes out you know that there are no more rotlis left. Still, in our greetings, the importance is accorded to dal-bhat, because that’s the place it has in our hearts.

The Gujarati dal and rice combo is one that has been relished for generations in my home. When my husband was little, his grandpa nicknamed him Dal-Sukh Dal-Bhat (“sukh” means “happiness”) because it was the only dish that always satisfied him, without fail. My husband’s grandpa also lived to the ripe old age of 99, very fit and healthy on a daily diet of dal and rice – and happily watching his great-grandchildren eat this beloved dish every day too. The very first solid food that my children all ate was dal and rice, and it is still their comfort food. Just as in some South Indian homes, when kids come home after eating out somewhere, they’ll head to the kitchen and say, “Ma, do you have any thayir sadam (curd rice)?”, a bit of dal-bhat is the dish that most Gujaratis will crave in order to feel like a meal is truly complete.

Never come between a Gujarati and their dal rice. Trust me, no matter what other traditions are parted from, this one will stay true for the ages!

While dals are eaten everywhere in India, what makes this one unique to our community is that it panders to our famous sweet tooth. It contains jaggery, which sweetens it, and is also made tangy through kokum. It should only be made with toor dal (pigeon pea), and there is no substitute for this ingredient that won’t alter the entire recipe and the entire experience.

Gujarati Dal

(Yield: Serves 4-5 persons)


½ cup raw toor dal

2 cups + 2 cups water

2 tablespoons ghee

½ teaspoon mustard seeds

½ teaspoon cumin seeds

1 dry red chilli

A pinch of methi seeds

A few curry leaves

A pinch of asafoetida

½ cup finely chopped tomato

Salt to taste

¼ teaspoon turmeric powder

½ teaspoon red chili powder

2 tablespoons unsalted peanuts

3 tablespoons jaggery

4-6 stems of kokum flowers

¼ cup chopped coriander leaves


Wash and strain the dal. Pressure cook it in 2 cups of water. Then, blend the dal with a handheld blender and set it aside.

In a kadai, add ghee. Once it has heated, add the mustard seeds, cumin seeds and fenugreek seeds and allow them to splutter. Next, add the dry red chili and the salt, chili powder, turmeric and asafoetida. Finally, add the curry leaves, peanuts, chopped coriander leaves and chopped tomato. Sauté. Cover with a lid and allow this to cook on a slow flame until all the spices and the tomato come together and look mashed, as in this video below.

Now, add the jaggery. Then, add the blended dal that was set aside earlier. You will need to add more water at this stage, based on the thickness you prefer. I’ve added 2 cups. Remember that once cooled, the dal will thicken a little more.

The final touch is to add the kokum to the kadai. If you don’t have this ingredient, you can use a little lime juice as a substitute. Allow the concoction to boil for approximately 4-5 minutes.

Then, serve hot alongside rice or rotli, or both – as in a traditional Gujarati thaali.

Not only does this dish have the charm of simplicity and familiarity, it is also downright delicious. It’s truly such a pleasure to share this recipe for this deeply-loved Gujarati dal with you. I would not be surprised to hear of it being made in your own home daily from now on, just as it has been in mine since time immemorial!

There are one-pot meals and meal-in-a-bowls to be found in cuisines all over the world, even though distinguishing them as a category is a relatively new idea. They’ve gained popularity among diners everywhere thanks to the Buddha bowl trend, which are comprised of a medley of attractively arranged (and usually nutritious) food items in a single bowl. I’ve had quite a few versions of these on my travels, and they’ve always motivated me to make them a regular part of my lifestyle. Now that we’ve all been at home for months, I’ve been bringing as many of these inspirations into my day-to-day cooking as possible. The Buddha bowl is among my favourites for its aesthetic appeal, health quotient and convenience. I’ve been making variants focused on different cuisines, and will share a few of them in the coming weeks. Let’s begin today with my South Indian-style Buddha bowl.

The Buddha bowl concept itself is a great one, and is based on putting together a compact and even portable meal which packs in lots of flavours and textures. You may be wondering what makes a Buddha bowl different from the thaalis we enjoy in India, in which a wide variety of dishes are served in their own separate containers, arranged around the central eating space of the plate. The answer is in the portion sizes. With thaalis, there’s a lot more space, and you tend to fill up that space and thus consume what you’ve filled it with too. A Buddha bowl is just one vessel, usually a bowl as per the name, but a plate will do as well. Thaalis are indulgent, whereas Buddha bowls take a minimalistic approach. The latter are closely tied to fitness for this reason. These days, with the necessity of watching what I eat in a smarter way as I grow older, I reach for them very often in the interest of health. I can attest that eating a Buddha bowl keeps you light on your feet. Whenever I have one for lunch, I feel active for the rest of the day. There is a bounce in my step and I feel revitalised, and find myself doing my photoshoots with more energy.

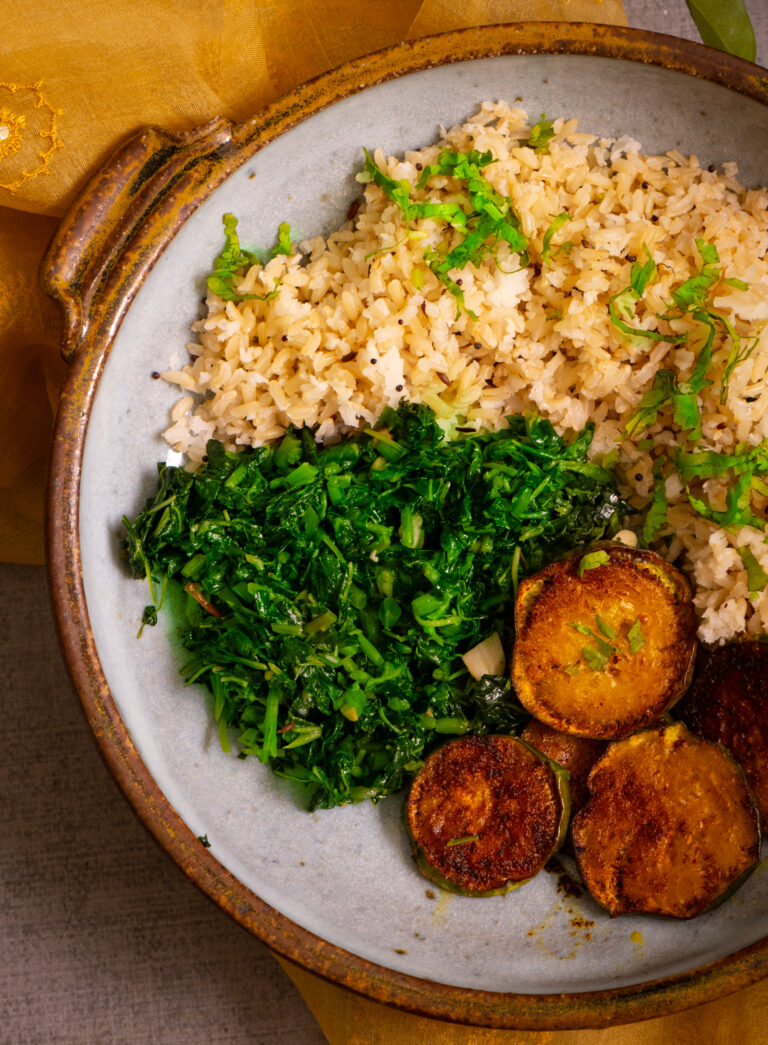
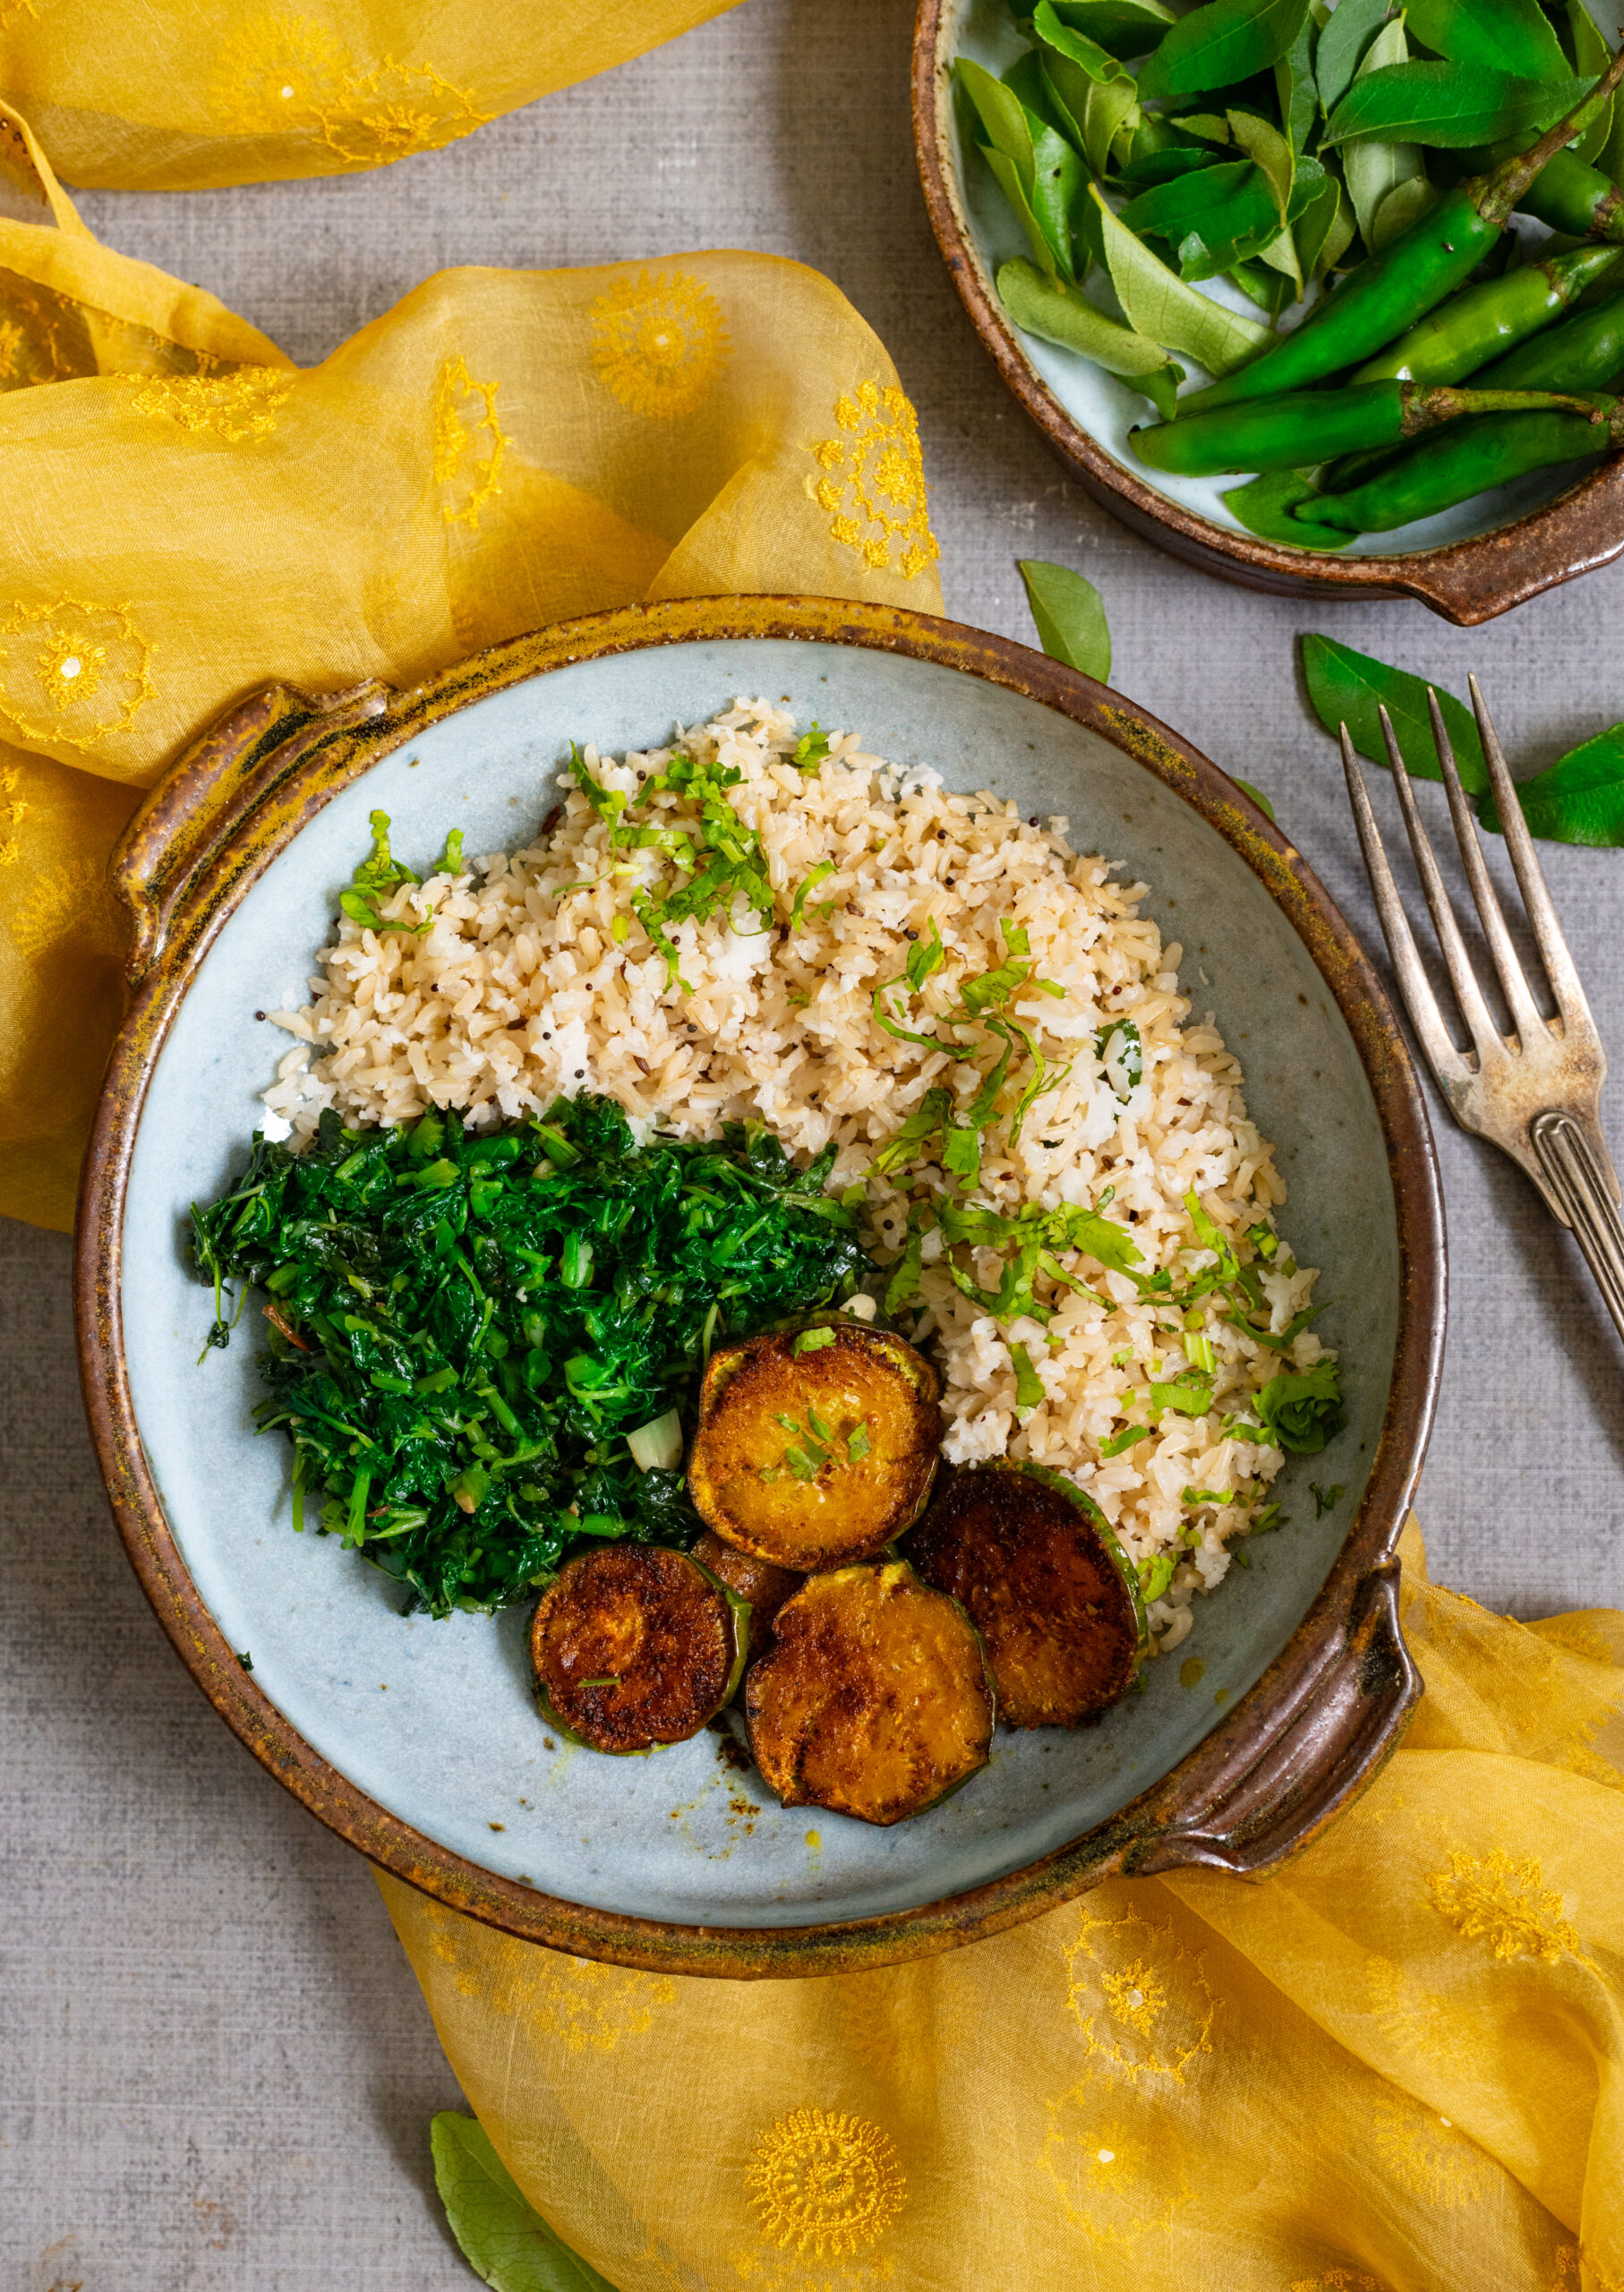
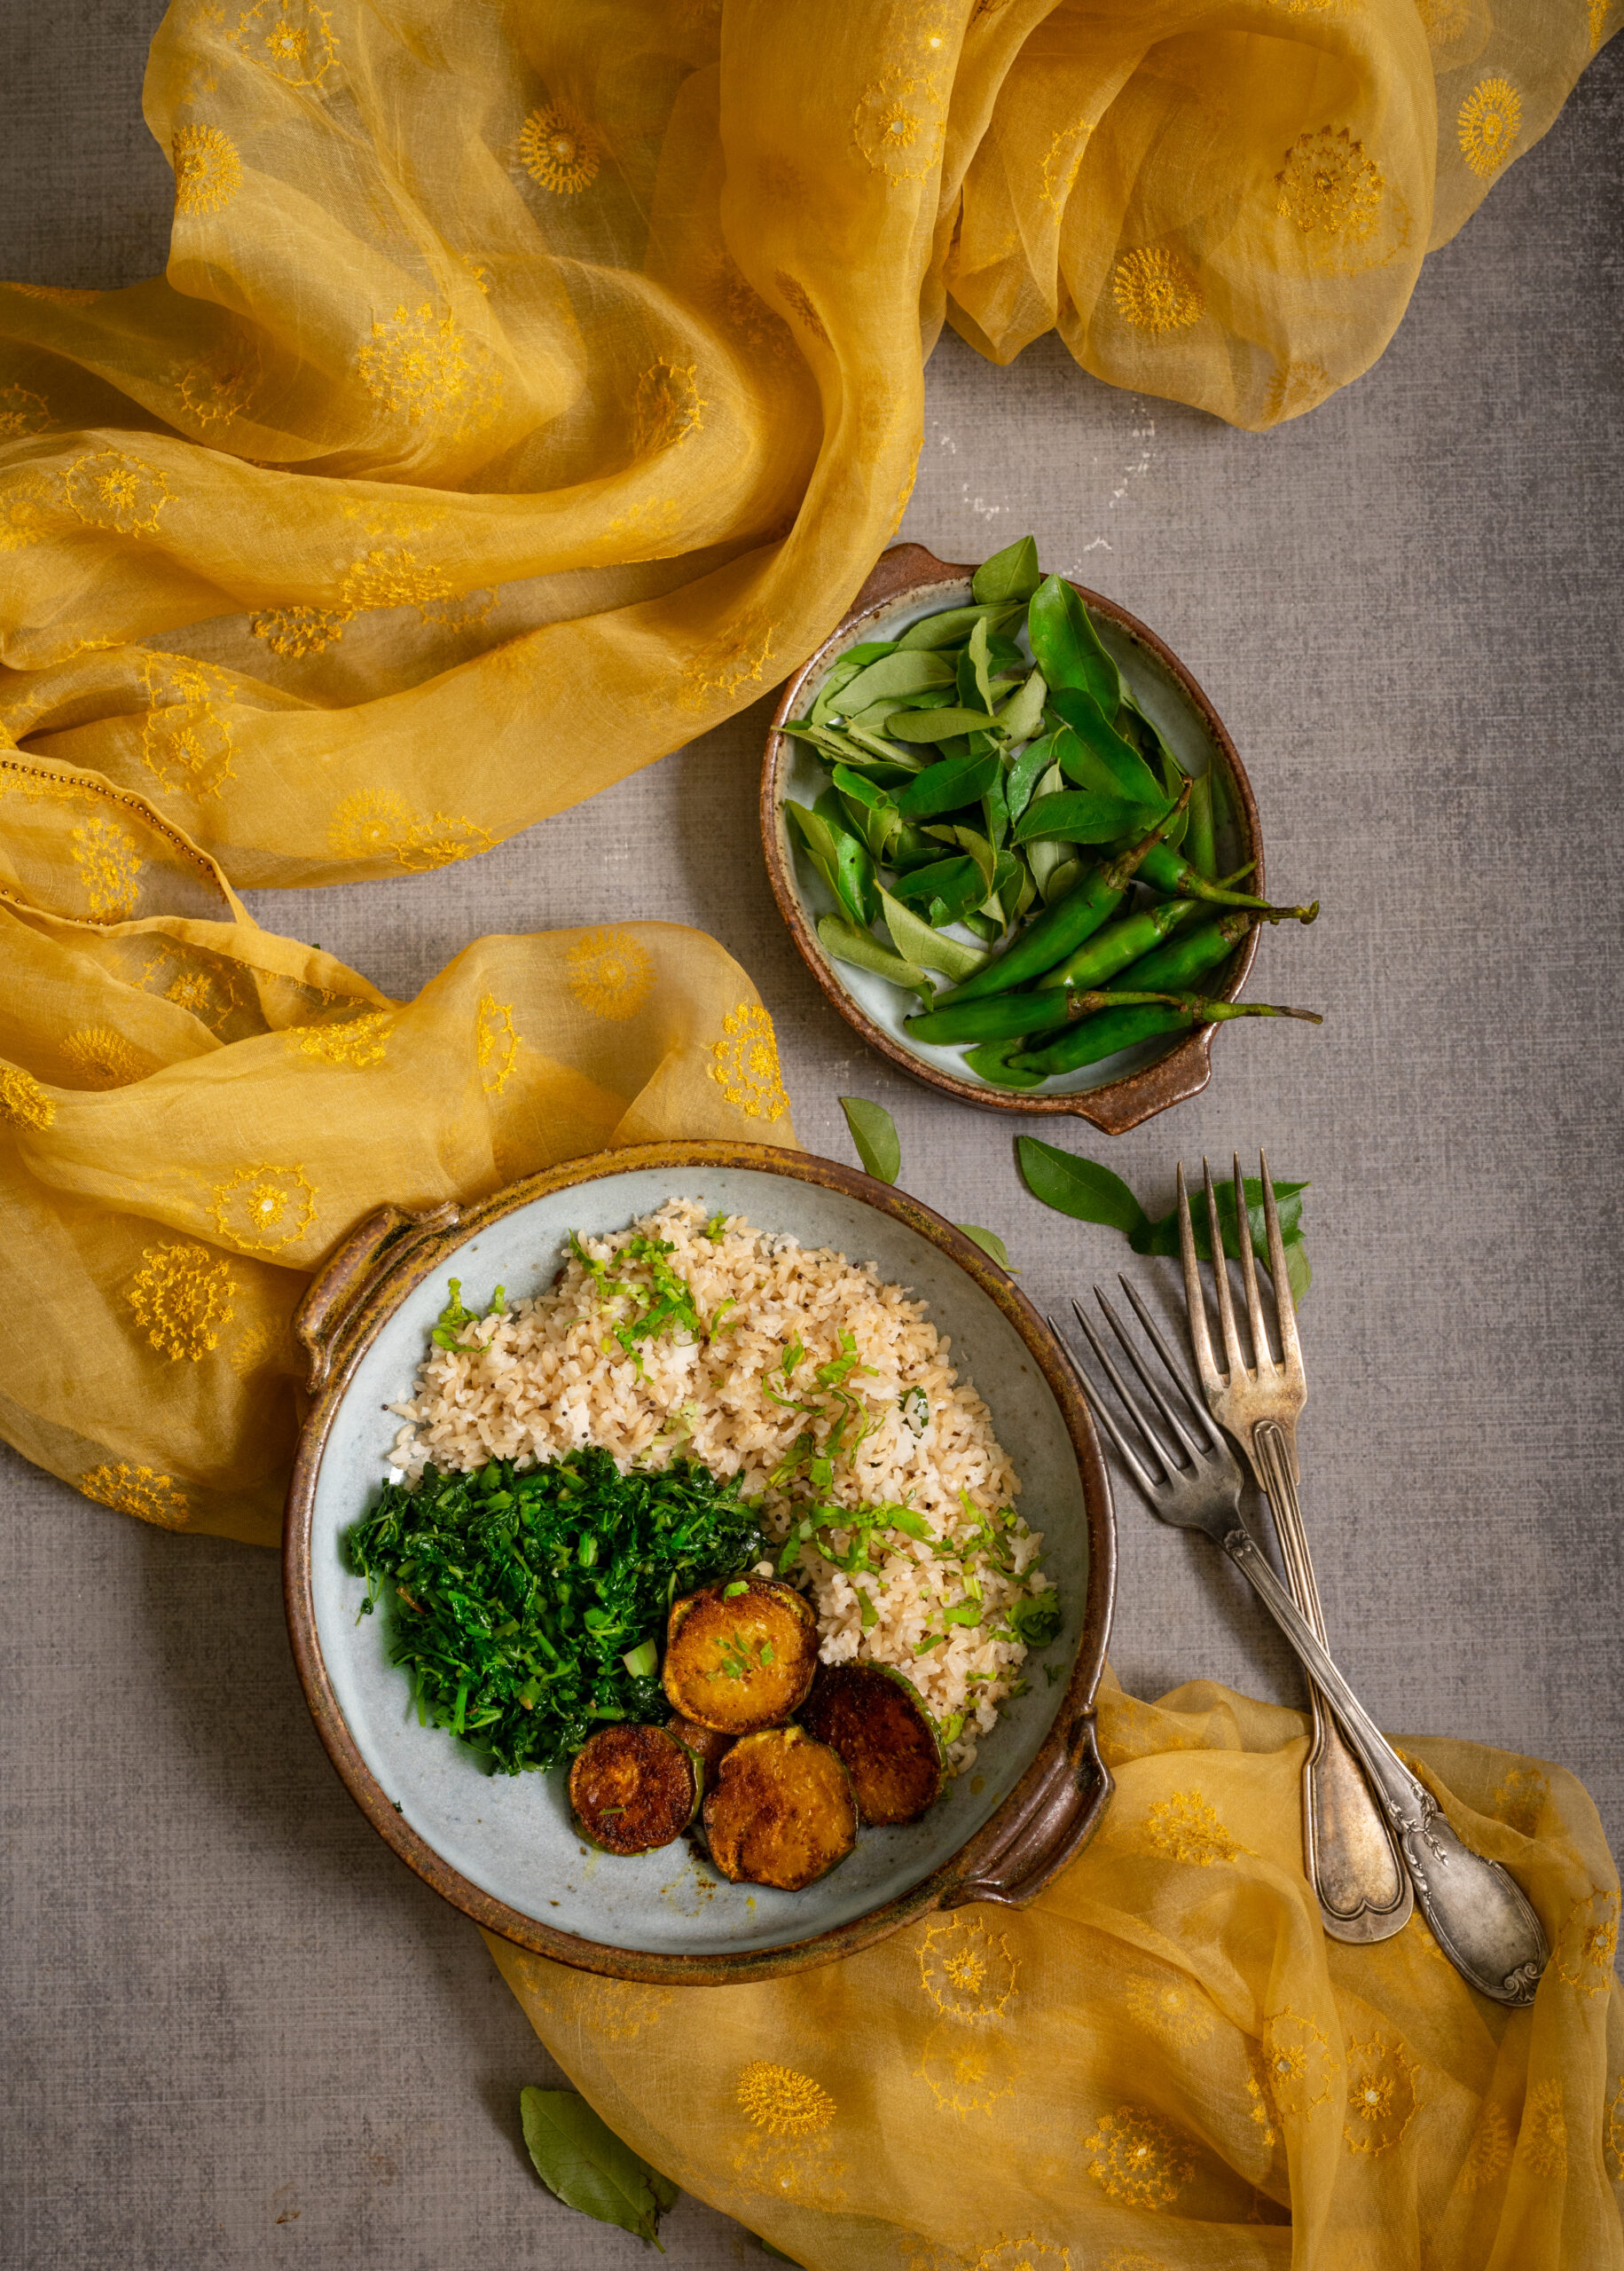
You can make carb-free variants if you like, but for me it’s simply about cutting down on the quantity of them while still getting the boost they give to my energy. Offsetting the carbs with a delicious load of greens is also key. This South Indian Buddha bowl contains the perfect combination of crispy eggplant, flavourful rice and nourishing, lightly-spiced greens. Every single dish-within-the-dish tastes wonderful, and they come together beautifully with their richness of textures and flavours.

I am a fan of healthy grains options, so I’ve used brown rice in this recipe. You can substitute this with white rice, if you prefer. As for the greens, here in South India we enjoy an incredible variety of spinach, including vendaya keerai, moringa, mollaraikeerai, sirikeerai and more. I have some kind or another every single day, and just happened to use mullakeerai in this recipe. It’s just very lightly seasoned with garlic, salt and dry red chilli and is very flavourful when eaten almost plain this way. We also get a variety of eggplants, from thin and long green ones to fat and purple ones, and while I don’t know all their names, you can use any that are available too. One of the beautiful things about this recipe is that it requires just the staples.

I always say that you eat with your eyes first, and the aesthetics of serving are very important to me not only as a photographer but equally as a culinary enthusiast. When you serve these diverse portions in a beautiful and well-proportioned bowl, the vessel looks full and the moment you see it, you get a sense of “Wow, I’m going to have a big meal.” You truly do feel satiated at the end of it, because your eyes have convinced your brain before your belly begins its work! Making a Buddha bowl as colourfully as possible also has health advantages, as you may remember from my post on eating the rainbow.

Speaking of what the eyes take in, initially, I had planned a photoshoot using South Indian brass crockery and props. I ultimately decided to go with an international look instead, to celebrate the global popularity of the Buddha bowl. As I discovered, there’s also another trick of the eye in this. You see, my daughter doesn’t always enjoy South Indian cuisine, but if I present it this way, she tucks in enthusiastically. It’s all about presentation, and how good you can make a dish look so that it will please the person who is going to eat it even before they’ve had a bite. Personally, I would also love eating this very same meal off of a banana leaf (yela saapad), as is tradition. That would change the experience of having it totally as well. But for now, I need the shot of energy that a Buddha bowl puts into my day, and I’ll carry on having it this way for a while!

South Indian Buddha Bowl

(Yield: 1 bowl)


Coconut rice

200 grams (approximately 2 cups) cooked brown or white rice

30 grams (2 tablespoons) grated coconut

4 curry leaves

1 tablespoon coconut oil

¼ teaspoon cumin seeds

¼ teaspoon mustard seeds

1 green chilli

Salt to taste


Greens

2 cups chopped and cleaned greens

1 teaspoon oil

2-3 garlic cloves

1 dry red chilli (optional, can be replaced with green chilli)

Salt to taste


Eggplant

10-12 slices of small eggplants

Salt to taste

¼ teaspoon turmeric

1 teaspoon coriander powder

¼ teaspoon cumin powder

1 tablespoon chickpea flour

2-3 tablespoons oil


Prepare each of the components separately. I’ll begin by sharing the method for the coconut rice. In a pan, add the coconut oil. Once it’s heated, add the cumin and mustard seeds. When the seeds splutter, add the curry leaves and green chilli. Next, add the freshly grated coconut. Sauté them all together for a few minutes and finally add the rice and salt. Stir until combined.

The following is the method for the pan-fried eggplant. On a plate, place the eggplant slices and sprinkle all the masala (including the chickpea flour) onto them, and gently massage them in by using your fingers. Allow the coated slices to sit for ½ an hour or more. If letting the tray sit for longer, then refrigerate it so that the eggplant doesn’t begin to give out water.

When you are ready to fry the eggplant, add the oil in a pan. Allow it to heat up, then gently place the round eggplant slices onto the hot oil. Allow them to turn golden on both sides on a medium flame, then cool.

Finally, here is the method to prepare the greens. Heat a kadai and add the oil to it. Once it’s hot, add the garlic and stir fry until the cloves change colour slightly. Now, add the chilli and then finally add the greens. Keep the flame at a medium level and sauté for a few minutes or until the greens turn a little tender. Do not overcook, as they release water and will change colour. Add the salt and stir well.

My daughter felt that this bowl was a little dry, and if you think so too, you can either add some yoghurt to it as a fourth component or make the spinach in a more gravy-like style if you prefer.

With all the components of the dish prepared, it now comes down to the assembly. Pick out a beautiful bowl and arrange the coconut rice, sautéed greens and pan-fried eggplant on it. Let your eyes feast first. Enjoy!

You may have noticed that my blog is also a kind of Buddha bowl, a mix-and-match that I put together from across categories. This is deliberate, because I want people from across age groups and from all over the world to enjoy my recipes. I always try to balance the traditional and the modern, and bring in all my varied experiences and learning – be they through travel, my training such as in Macrobiotics, my memories, or my experiments. I strive to keep up with the times, and I also strive to keep challenging myself. Thank you for coming along with me on my journey! There are a few more Buddha bowls in the next couple of stops. Any guesses where they might be inspired from?

As I may have said a few times before: I’m very, very fond of yoghurt! Ever since childhood, it’s been an absolute requirement for me that every meal must contain yoghurt in some form. As I most often consume traditional Indian (particularly my native Gujarati) cuisines, this doesn’t require me to stretch my imagination or change my palate in any way. You may also recall that my yoghurt is homemade. It is made from a small amount of curd culture saved from the previous pot-full, allowed to set overnight, and consumed delicious and fresh every day.
I find that yoghurt enhances and adds flavour, and depending on how it is made can also add textures and tastes that go beyond what you imagine curd can do. Because it is such a staple in Indian homes, you will find that there are unique systems of making it that depend entirely on the people there. Even a religious view plays a role. For example, my mom’s home is Vaishnav and my in-laws are Jain. So the latter use onions and garlic very sparingly, whereas these were not restricted while I was growing up. The recipes I learnt in both homes were different. So although yoghurt is a vital part of the diet in both my homes, this particular dish is something I learnt after getting married.

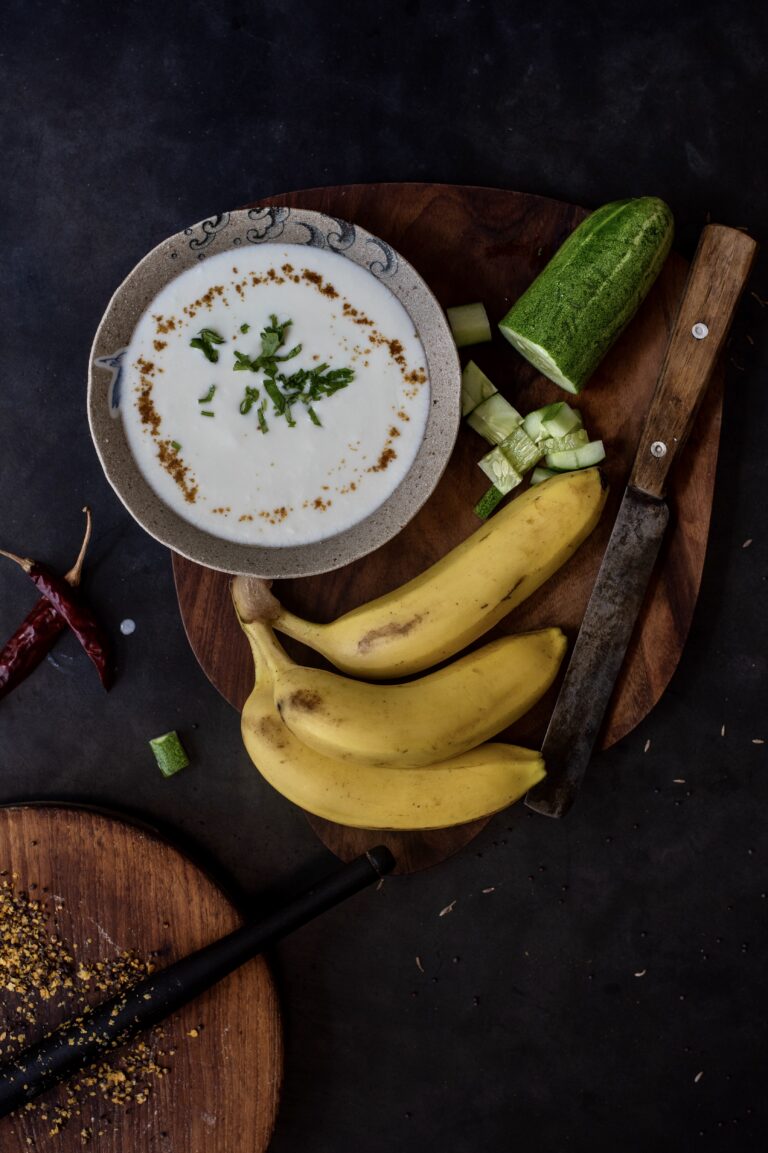
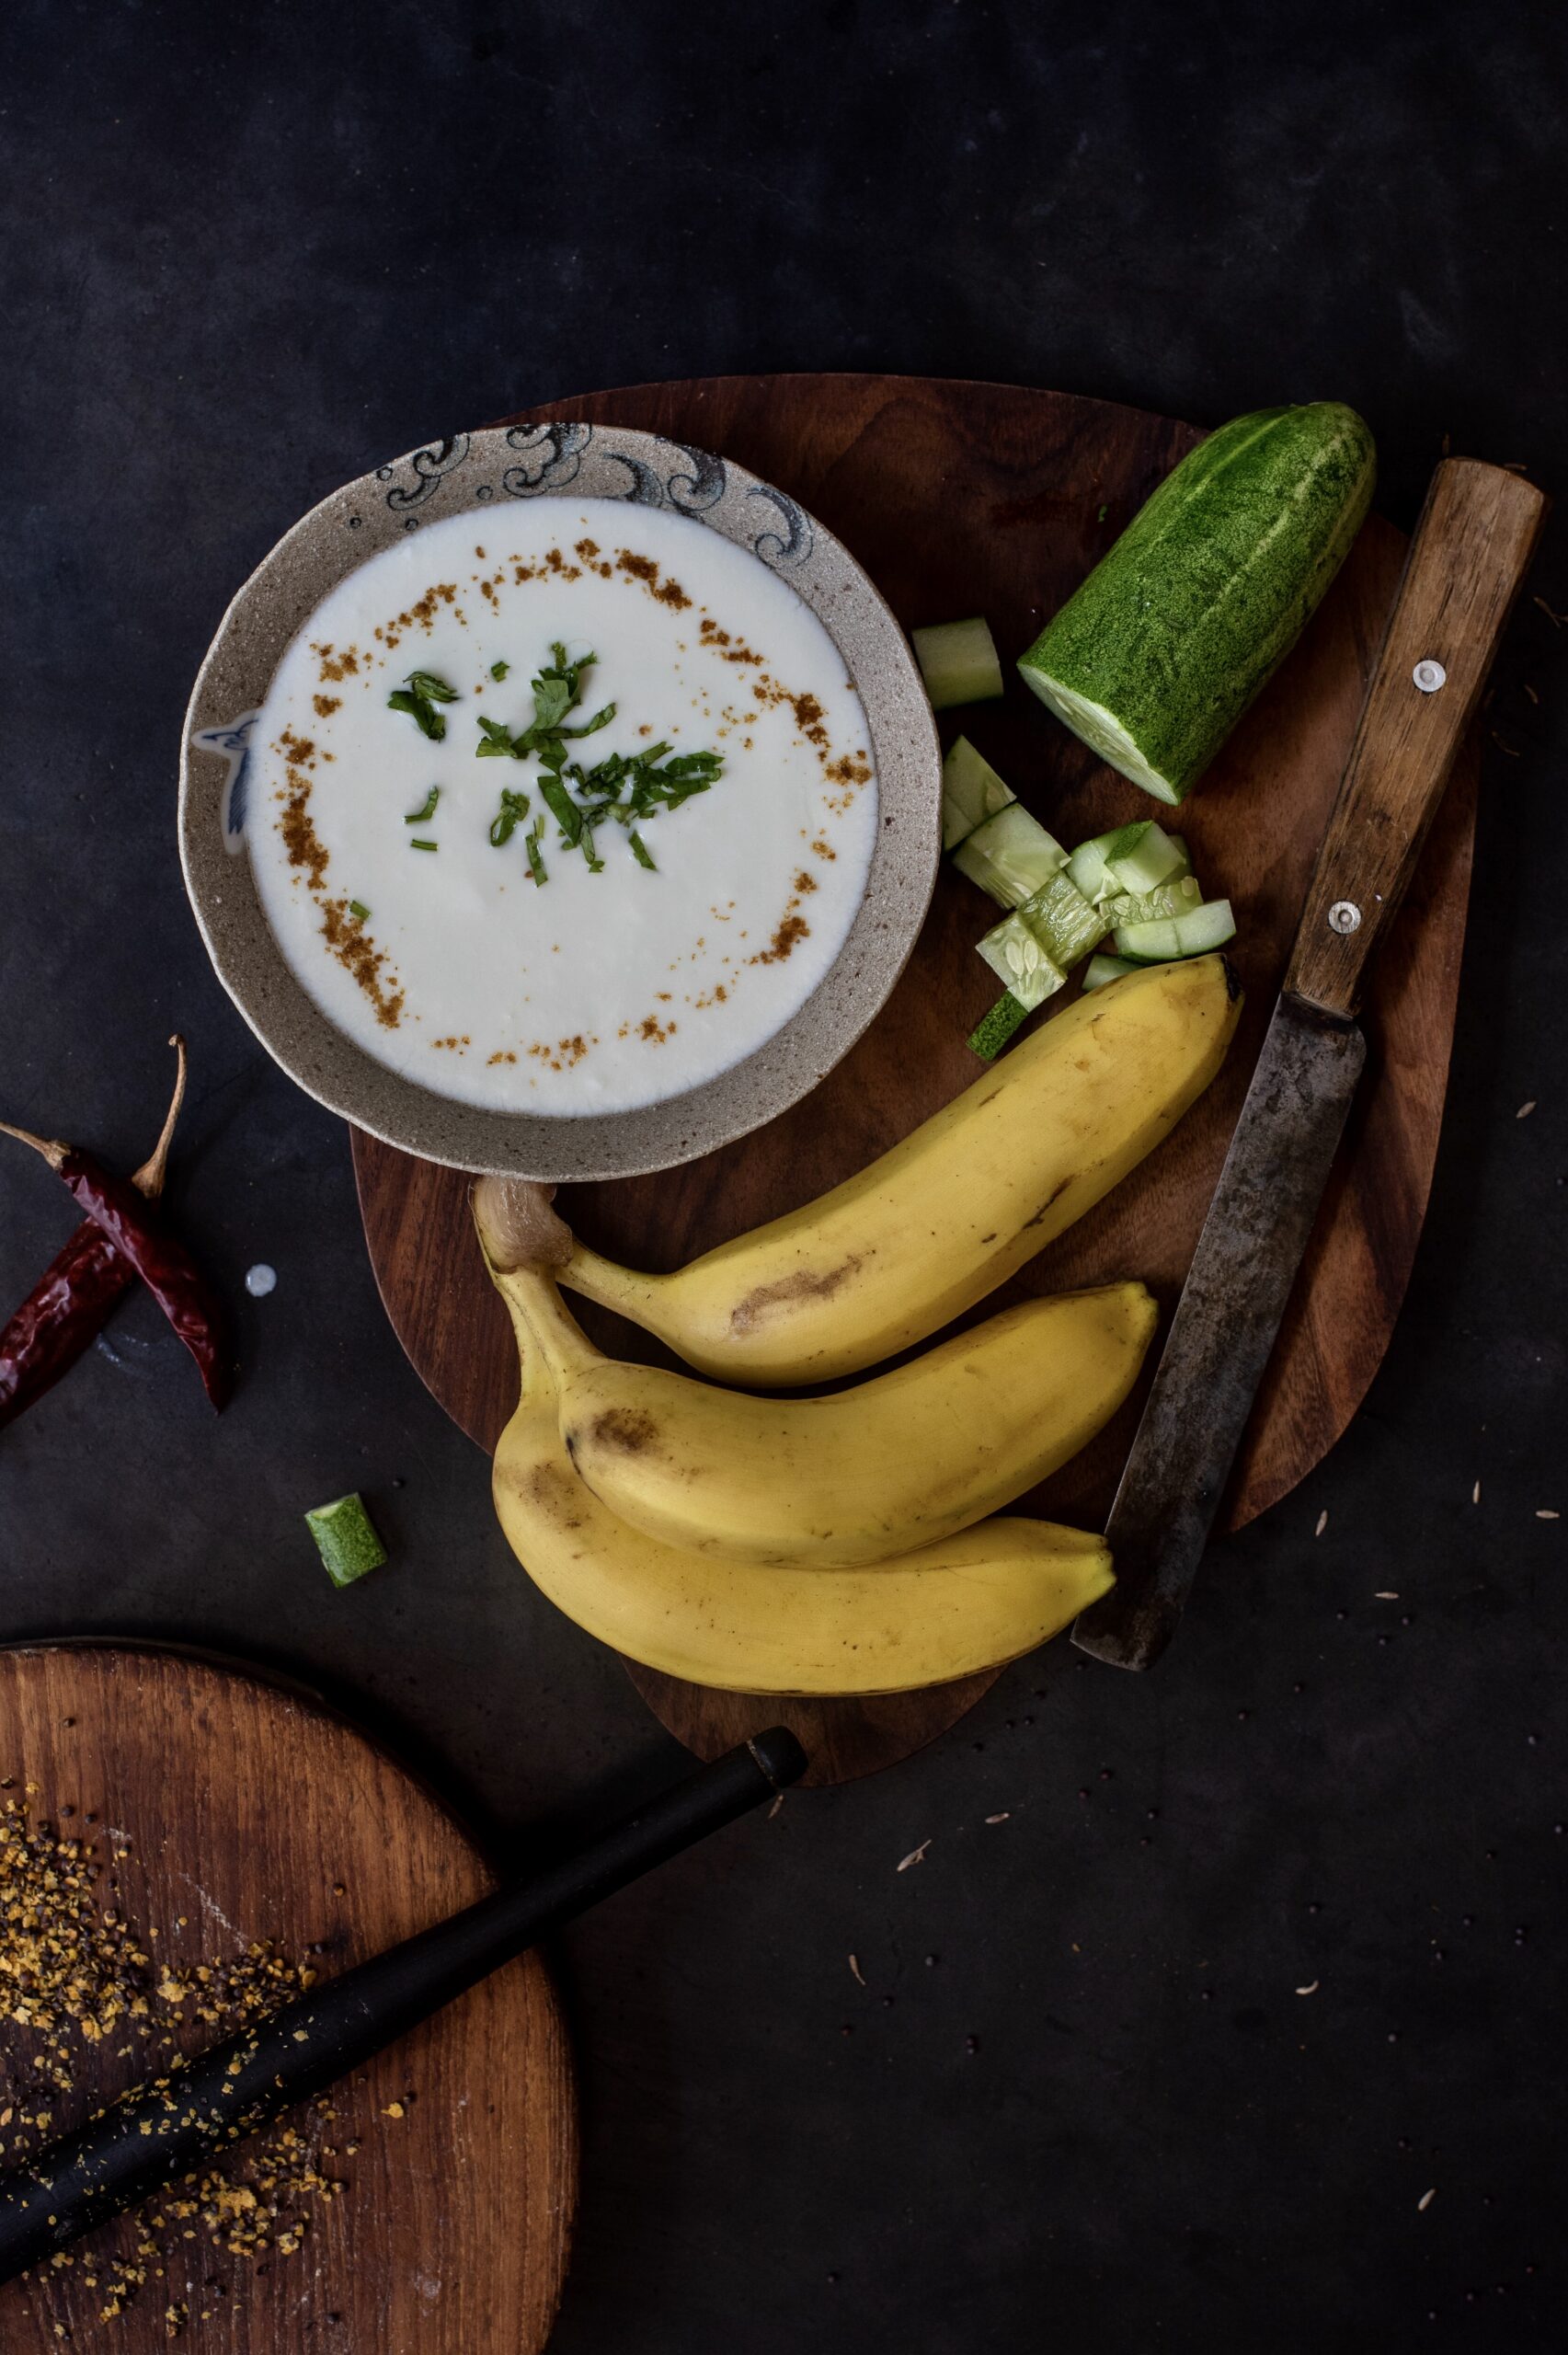
From various previous posts, you would know about the Gujarati thaali, the set meal that contains a little bit of every flavour and texture. So you’d be familiar with raita, the thin yoghurt condiment that adds a bit of coolness of the meal, and helps with digestion. Raita is eaten throughout the subcontinent, in dozens of variants. For instance, an onion or kara boondi raita goes perfectly paired with a biryani, adding crunch as well. I have fond memories of long, lazy Sunday lunches during which I’d reach for more helpings of my mother-in-law’s banana-mustard-cucumber raita. I’m delighted to share the recipe for this simple but complexly flavoured dip today.

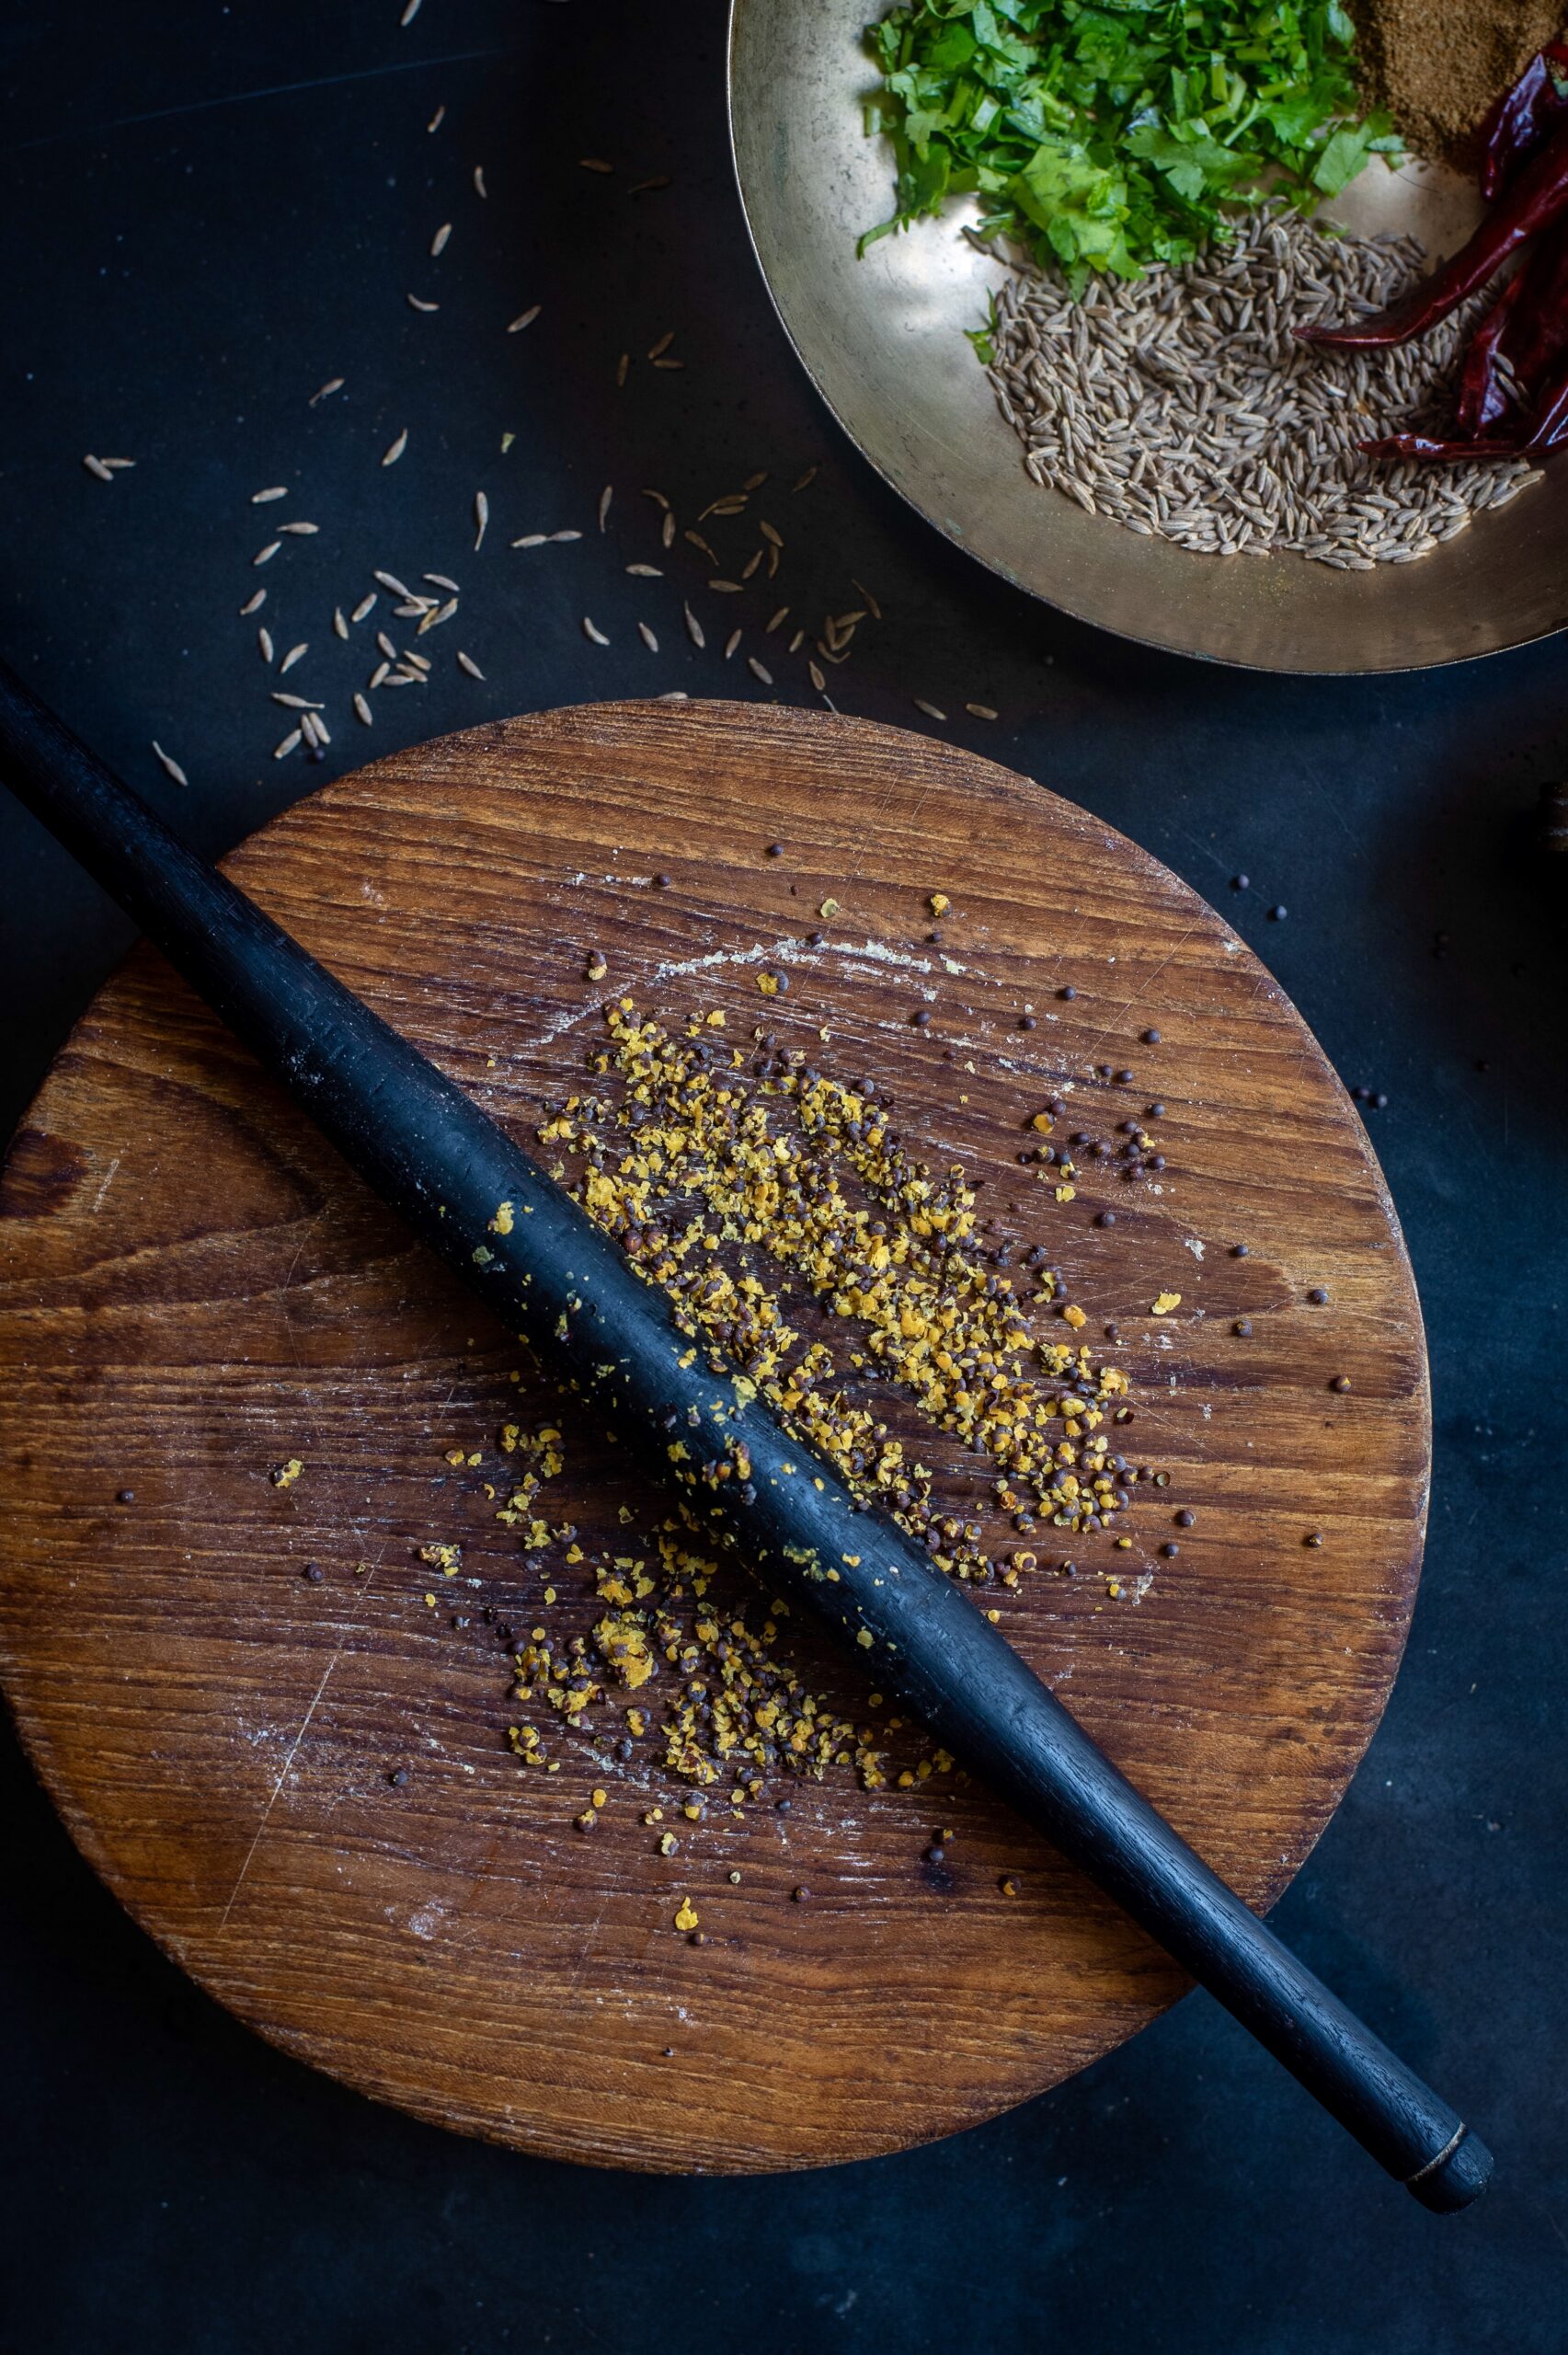
Banana, as you may remember from this banana-methi fritters recipe is a powerhouse of a fruit, packed with nutrients. It’s also a natural sweetener, and you know how Gujaratis love our sweets. In every kind of dish, you’ll find either jaggery or banana, or both! The sweetness of the banana in this raita naturally offsets the bitterness of the cucumber, which is another powerhouse. Cucumbers have a high water content, aiding rehydration, and are rich in potassium, magnesium and fibre. Adding a touch is spice is the mustard, which is a great source of selenium, zinc and calcium and known for its anti-inflammatory properties. Let me let you in on a secret – I never use the grinder to grind mustard as I don’t like the taste. Instead, I use the rolling pin that we use for rotlis. It’s lovely how such simple and clever innovations happen in the kitchen. I love picking up such techniques.
The flavours and textures of the three, as different as they are, blend very well in the yoghurt base: the banana soft and sweet, the mustard sharp, and the cucumber crunchy.


Banana-Mustard-Cucumber Raita

(Yield: 2-3 cups)


Ingredients

Raita:

2 cups plain yoghurt

1 cup finely cut banana

½ cup cut cucumber

1 tablespoon finely cut coriander leaves

1 ½ teaspoons mustard seeds

1 teaspoon roasted cumin powder

Salt to taste


Seasoning:

½ teaspoon sunflower oil

¼ teaspoon whole mustard seeds

¼ teaspoon cumin seeds


Take the mustard seeds and crush them using any simple method that you use at home. As I said above, I use a rolling pin and board, the same as I use to make rotlis. This crushes the seeds just the way I like it – not too fine, but uneven and broken. You can use the hand pounder too, if you prefer. Crush and set aside.

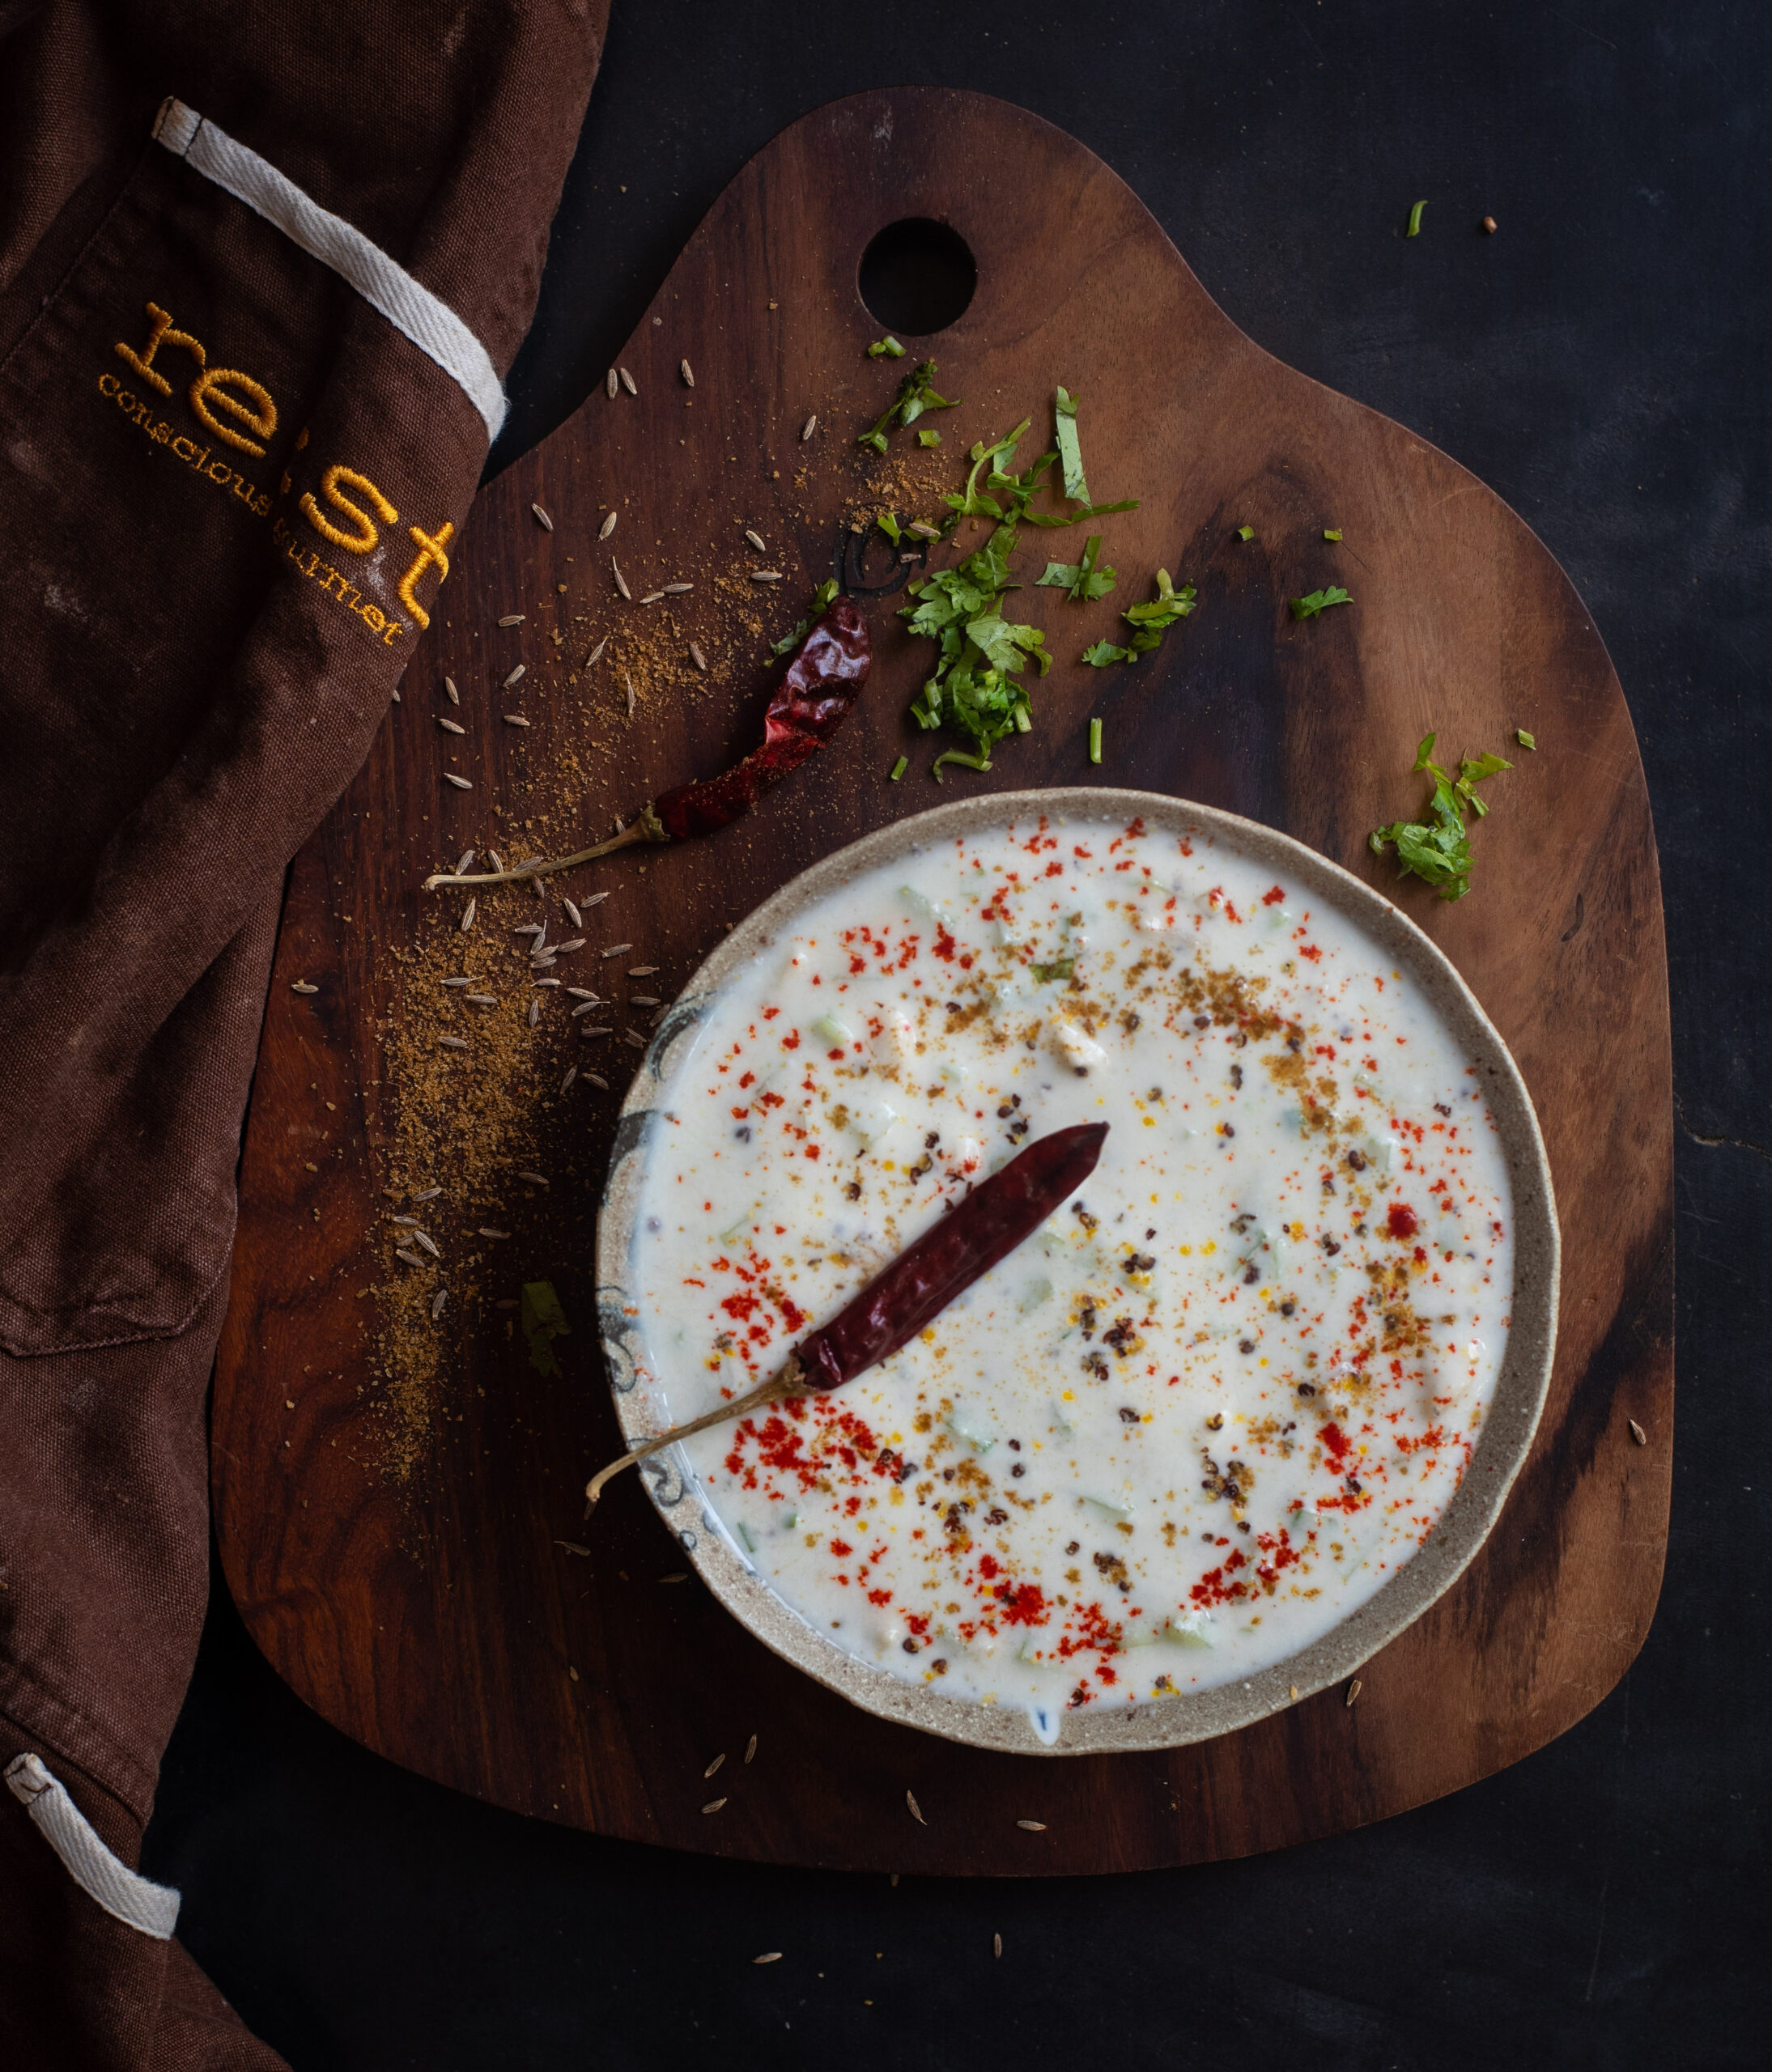
Place the yoghurt in a bowl and beat well until there are no lumps and the yoghurt is smooth. Now add the salt, cumin powder and crushed mustard powder. The fresh flavour is the key element to this raita.

Now, add the banana, cucumber and coriander leaves. Mix well.

Then, prepare the seasoning. Pour the oil into a small pan. Once hot, add the mustard seeds and cumin seeds. Wait till the seeds splutter, then pour over the raita. Decorate by sprinkling some chili powder for colour, along with some roasted cumin powder and some finely cut coriander leaves.

As I said earlier, there are numerous other kinds of raita, enjoyed all over India. And while I’m nostalgic for my mother-in-law’s Sunday lunch raita, this banana-mustard-cucumber combination I’ve shared above, the current favourite in my home is in fact the sweet and crunchy pomegranate raita. Do you have a variant that you make often? I’d love to know what you think of mine in the comments.

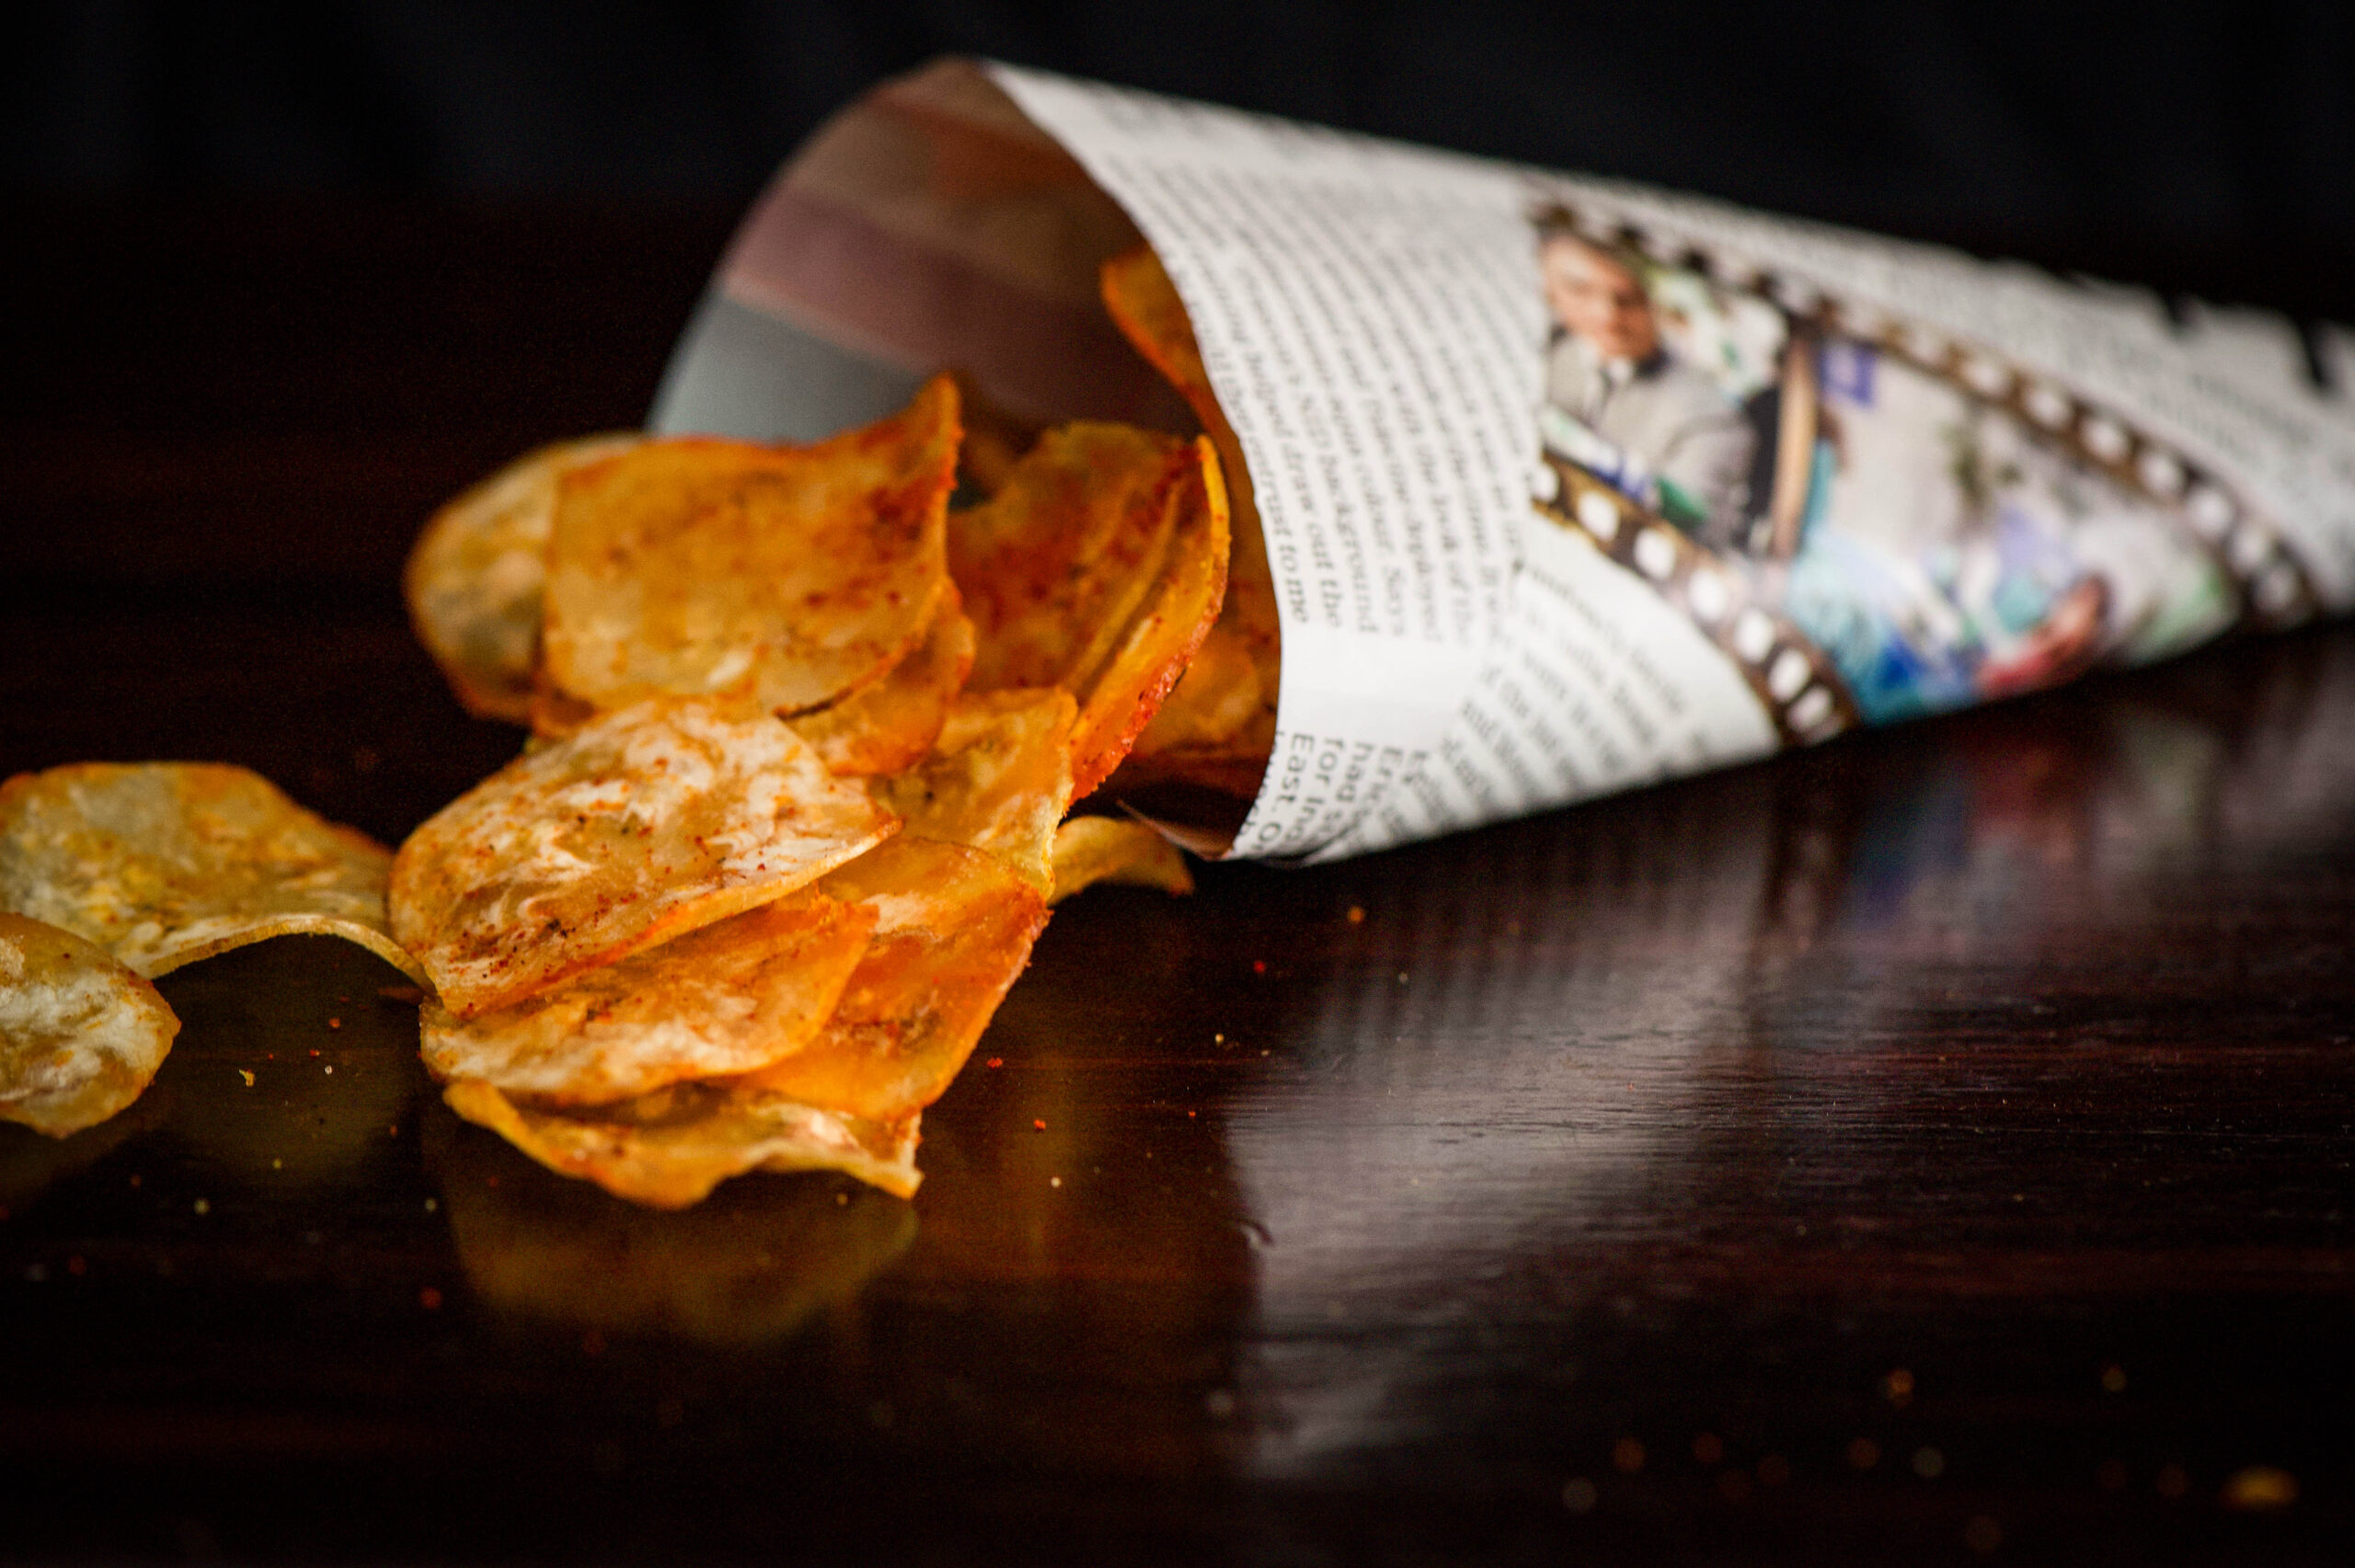
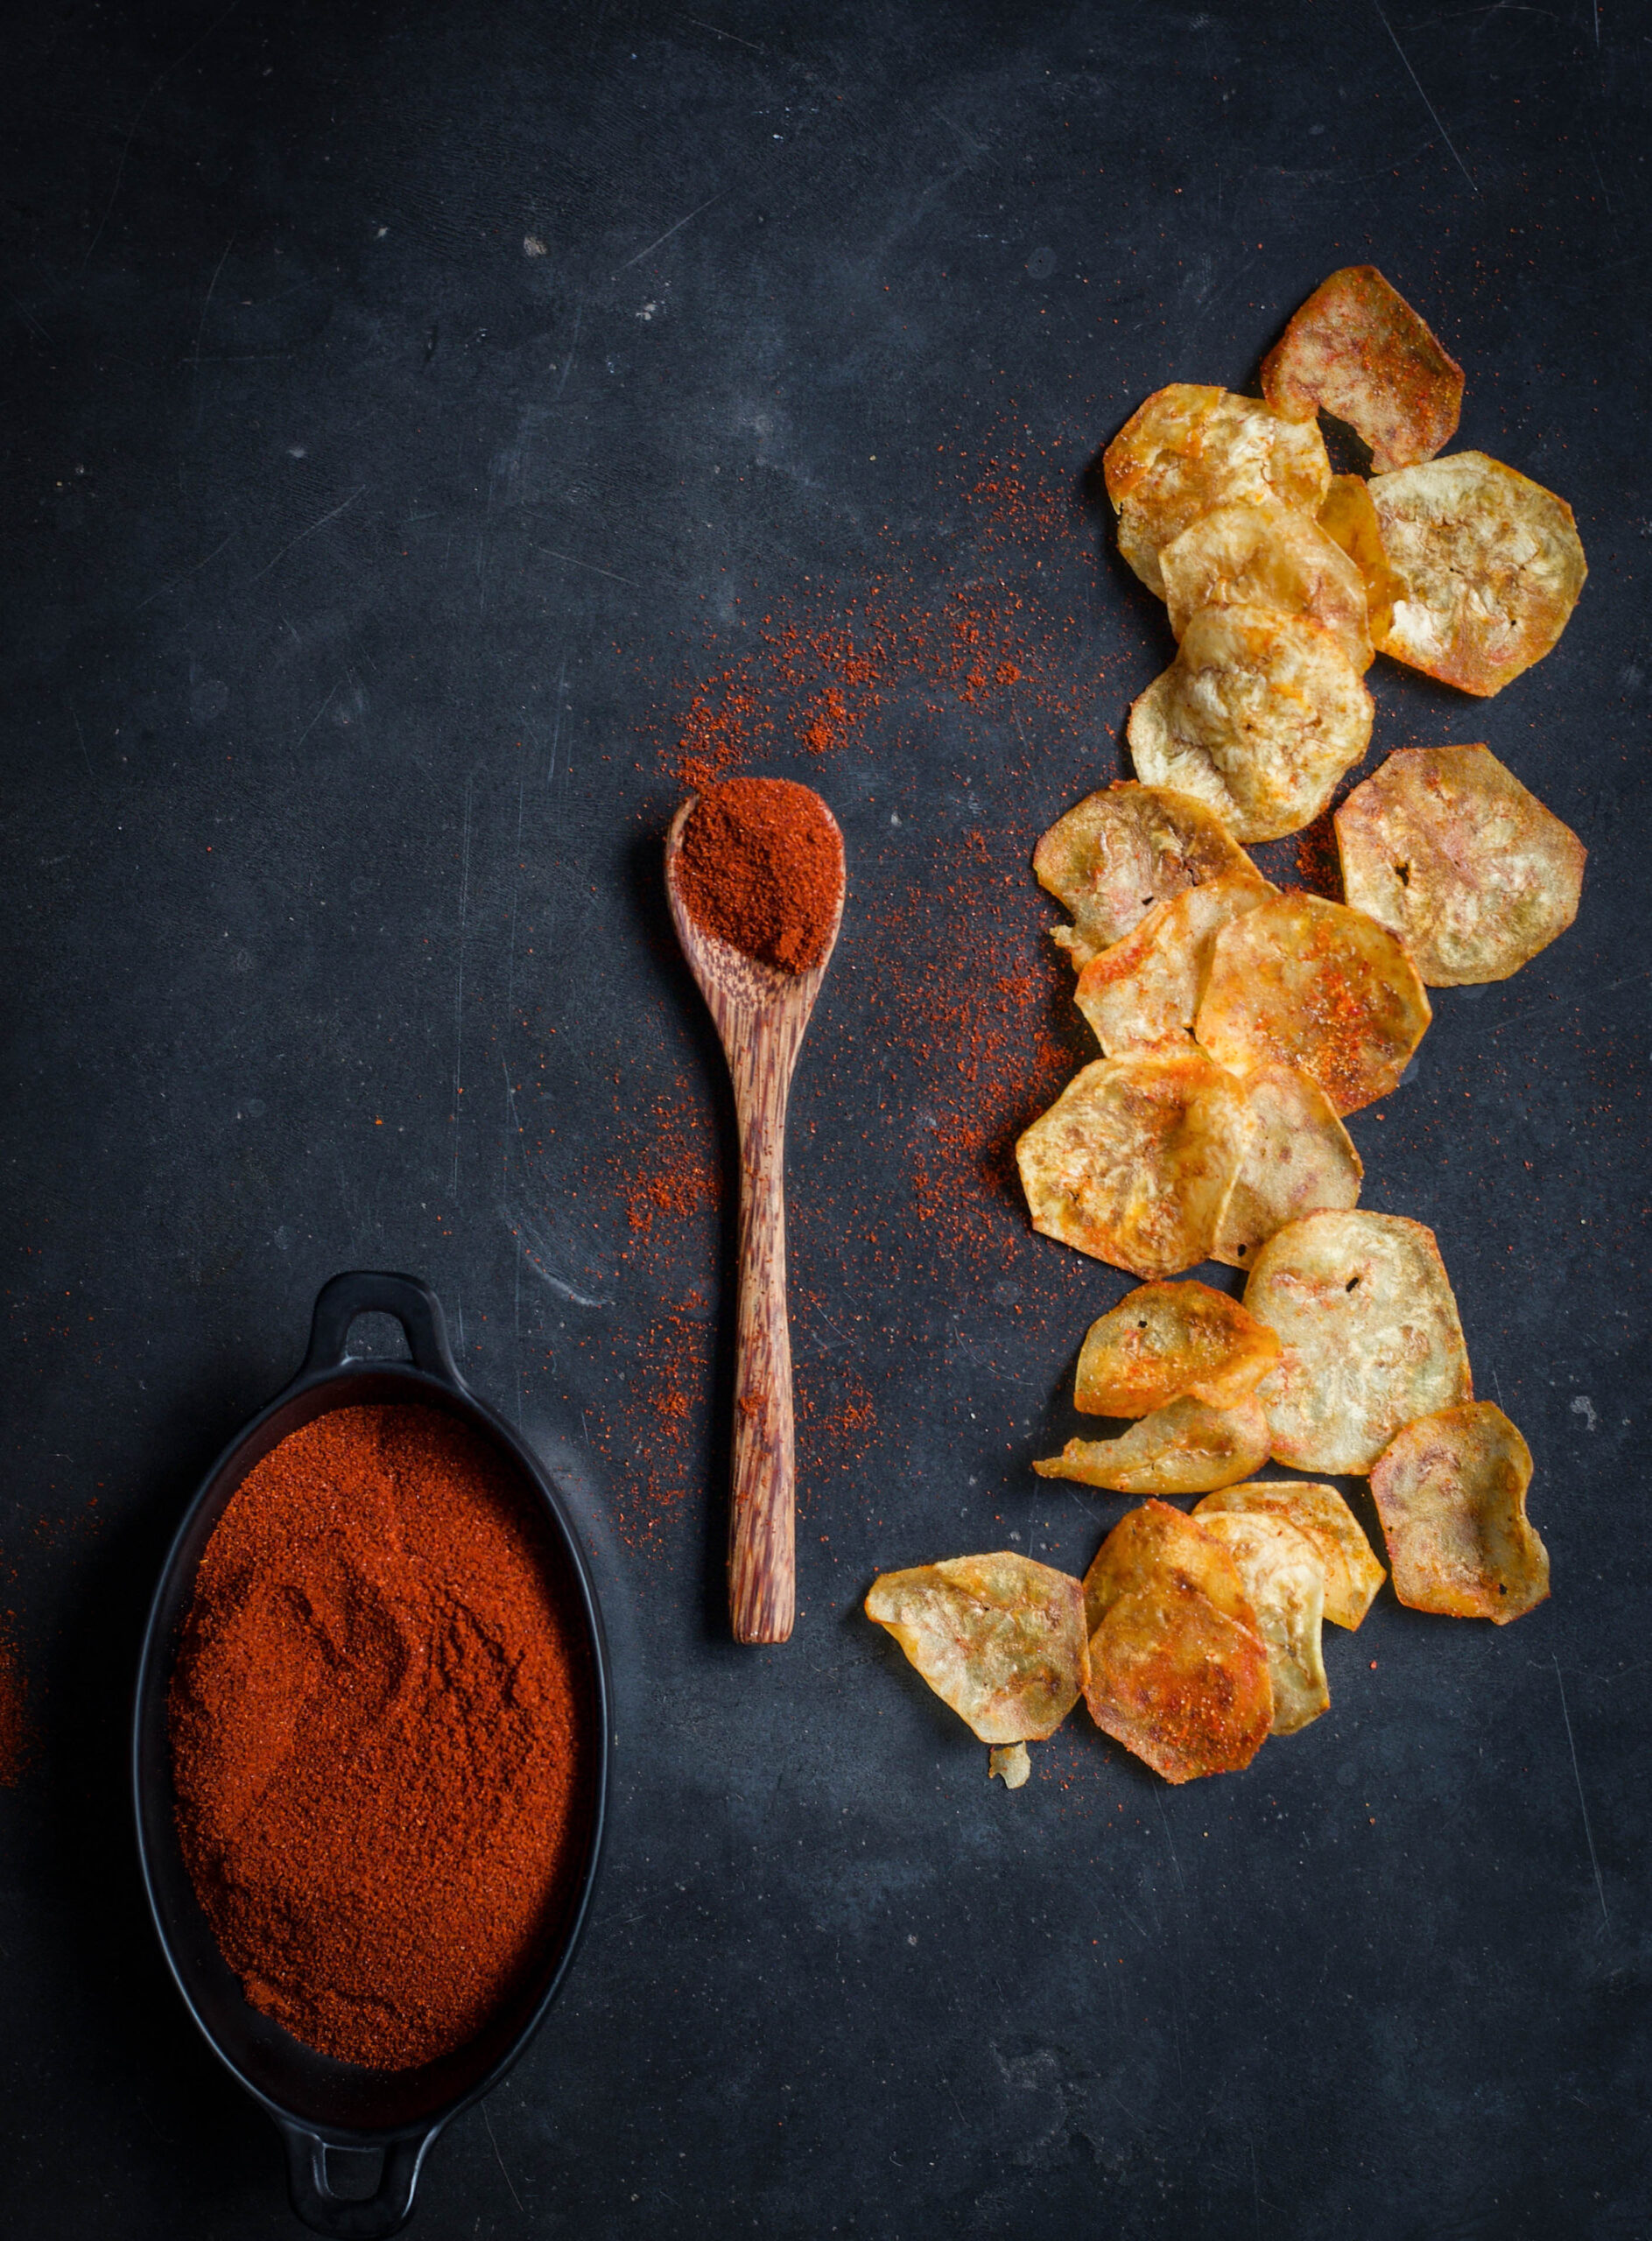
For someone who grew up disliking bananas, I’ve simply not been able to get enough of them this month! I hope you enjoyed my previous recipe for banana bread. There’s been a windfall of plantains on my farm, and so the fruit has found its way into several more dishes I’ve made lately. The recipe I’m sharing today adds a bit of crispiness to my traditional lunch thaalis. It’s so easy to make, and so difficult to resist. I really have gone bananas for these banana chips!

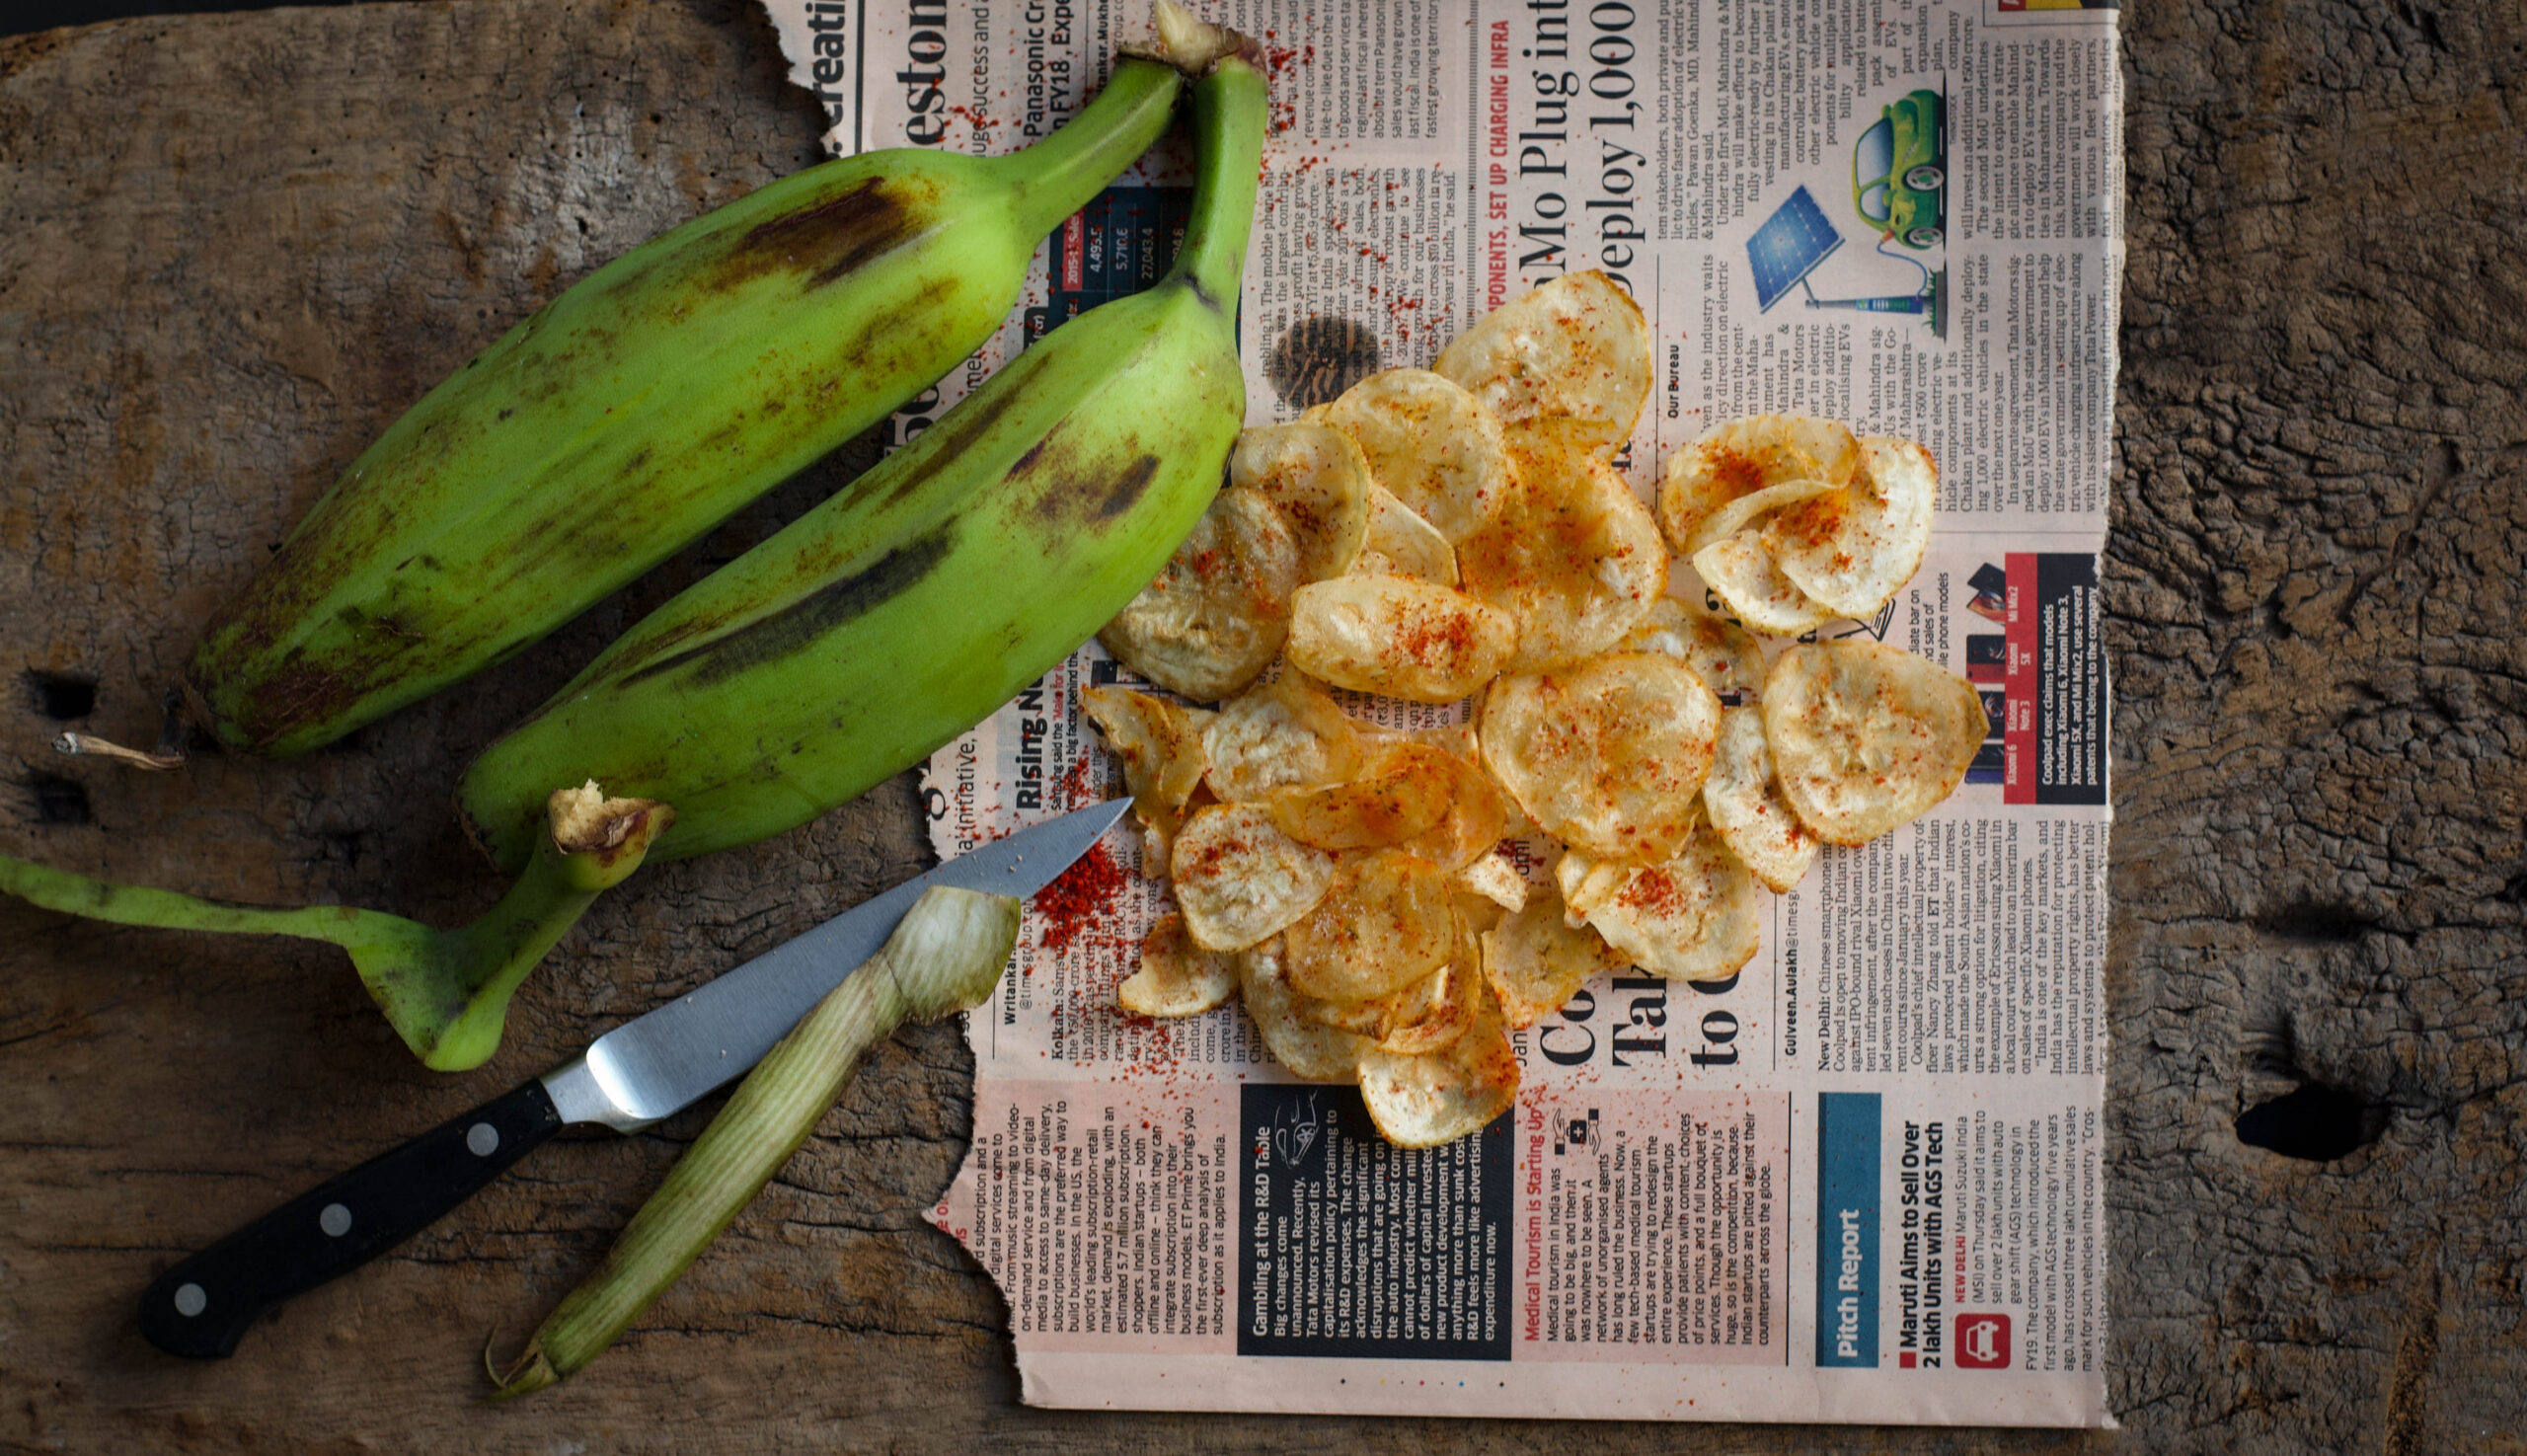
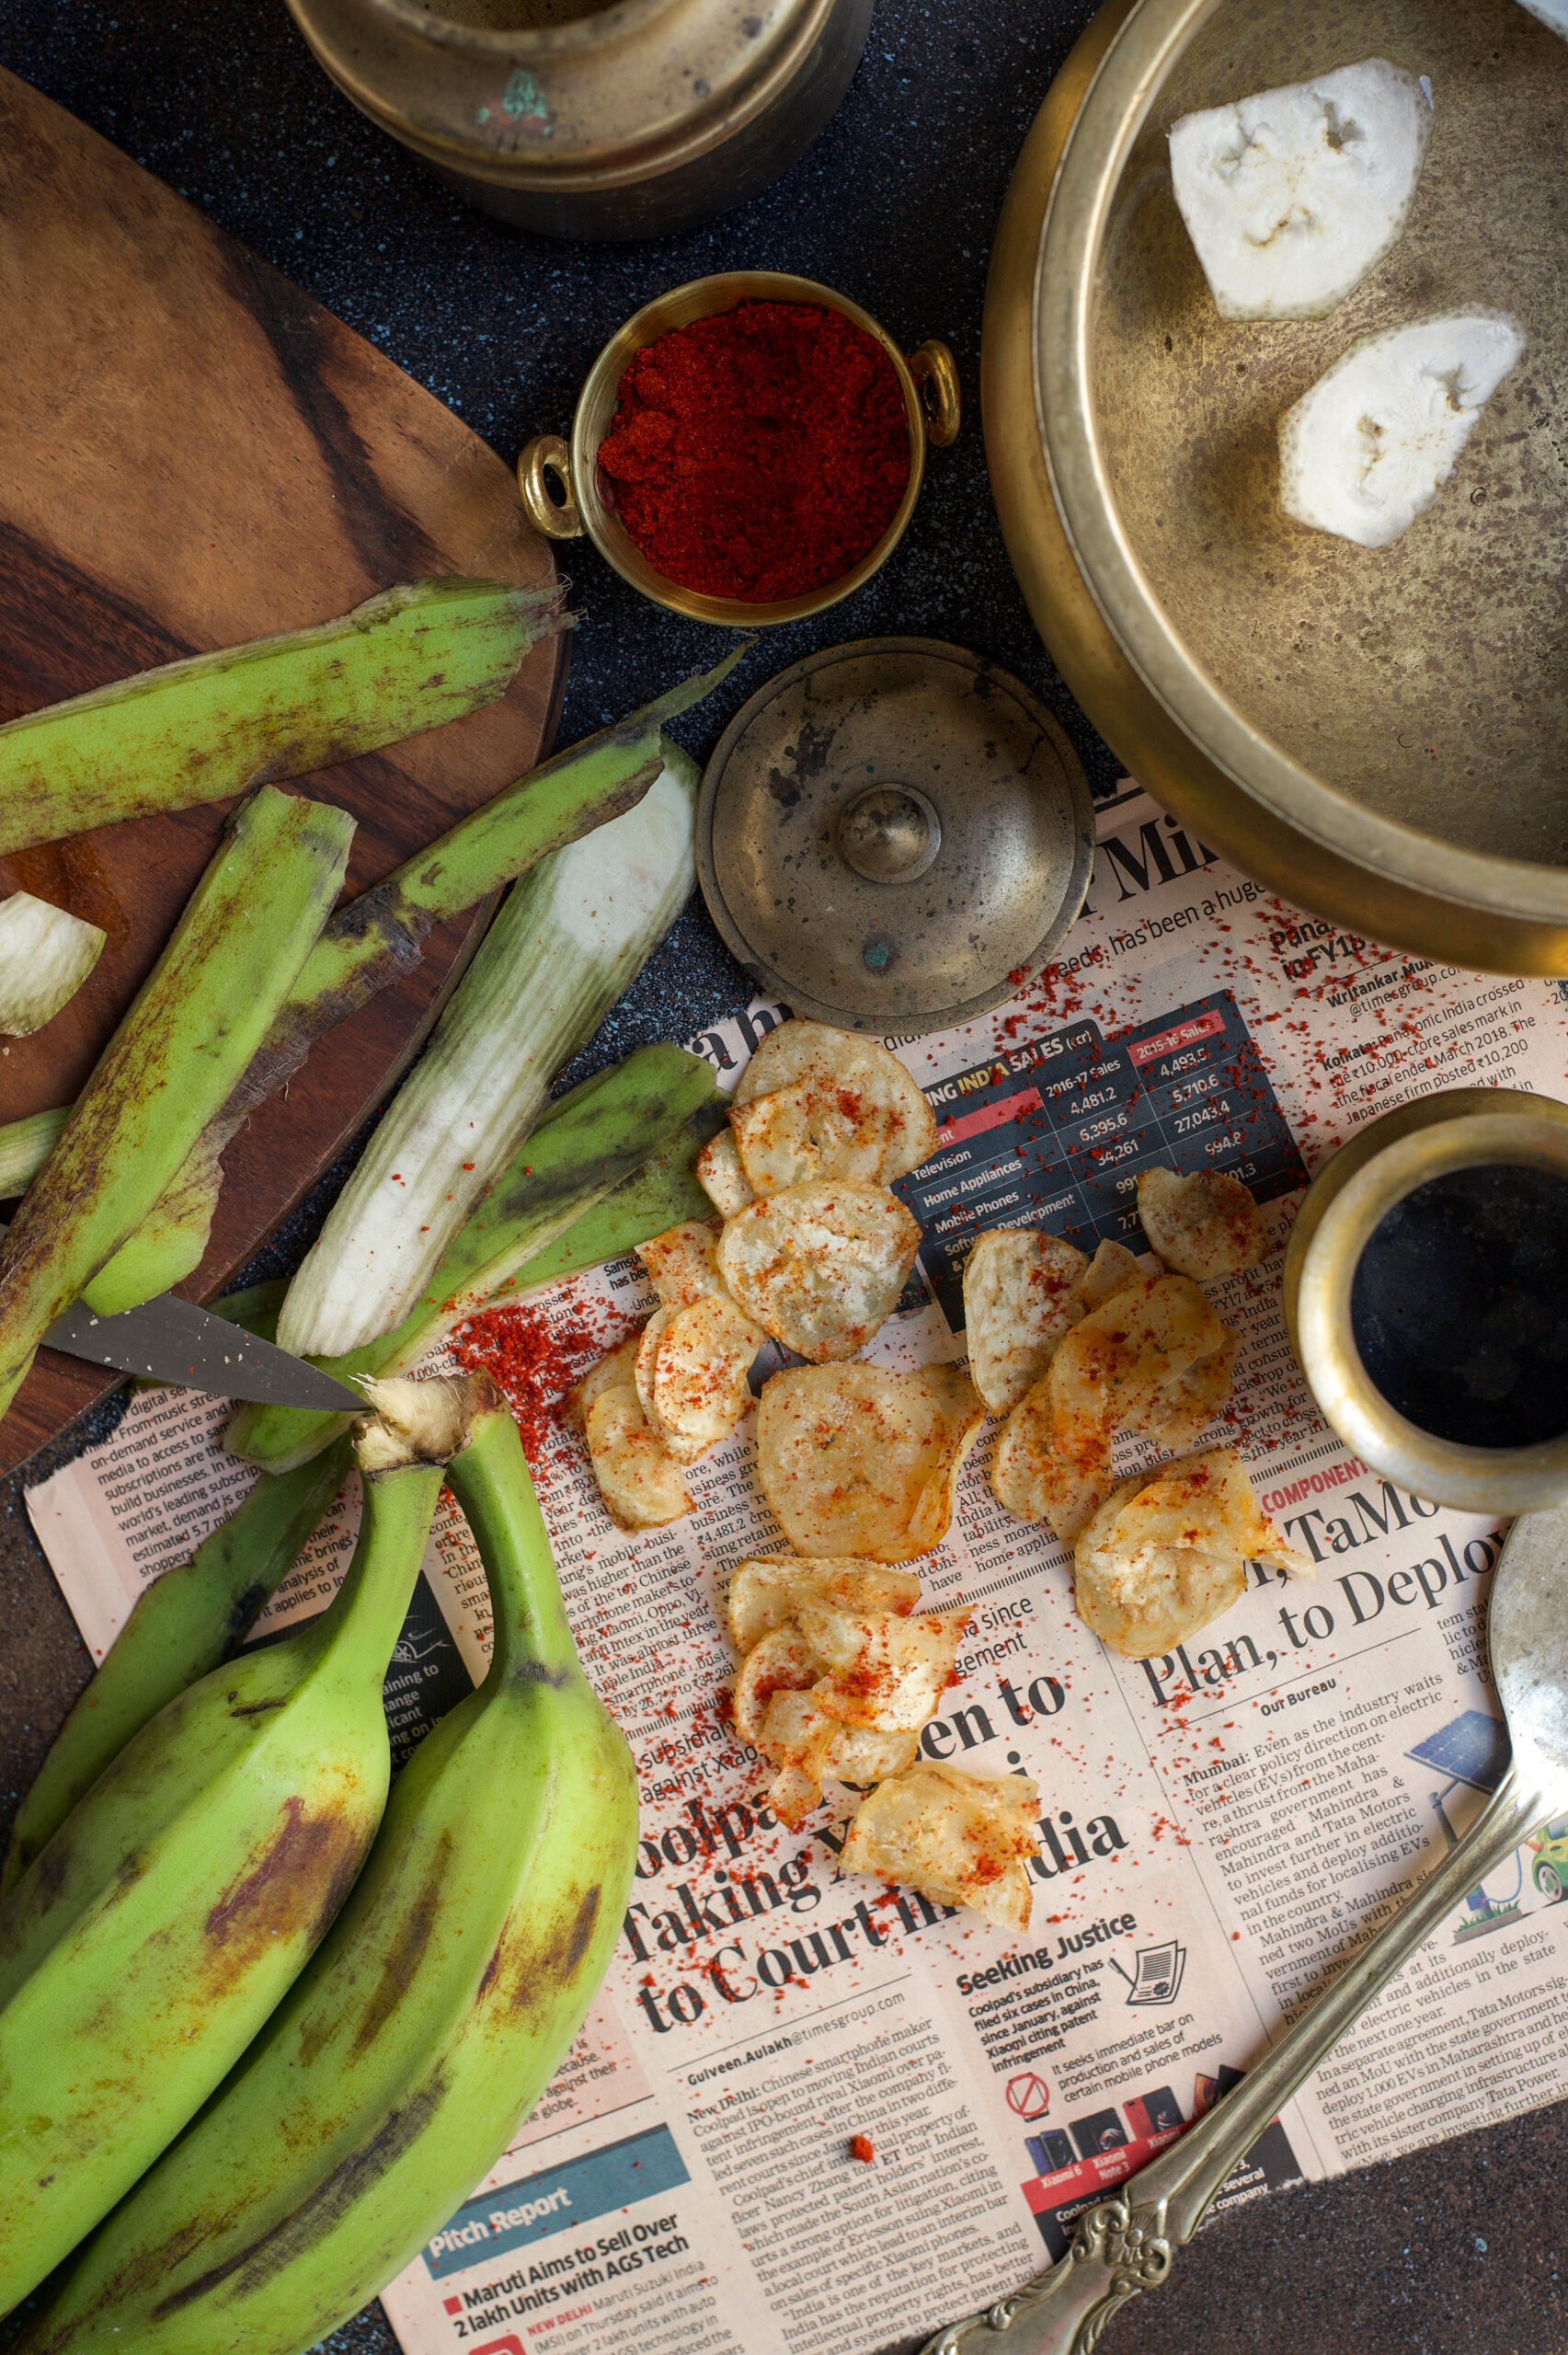
These chips don’t use the ripe bananas that we peel and eat when in need of a portable snack. Instead, they use unripe green plantains of the Monthan variety, which fruit in the 8th or 9th month after planting. They are not sweet, unlike ripe ones, but are edible both raw and cooked. Rich in potassium, iron and several vitamins, they are used in cuisines in Polynesia, Jamaica, and here in India of course. The banana tree itself is considered sacred in Hinduism, and is worshipped in some sects and used in wedding ceremonies. Not only the fruit but the flower too can be consumed, and food is traditionally eaten on a banana leaf itself.

I have a new gadget in my kitchen that I picked up on one of my travels – a nifty slicer that lets me quickly slice the banana directly over hot oil, so I was quite excited to use it when my sister taught me how easy these chips are to make.

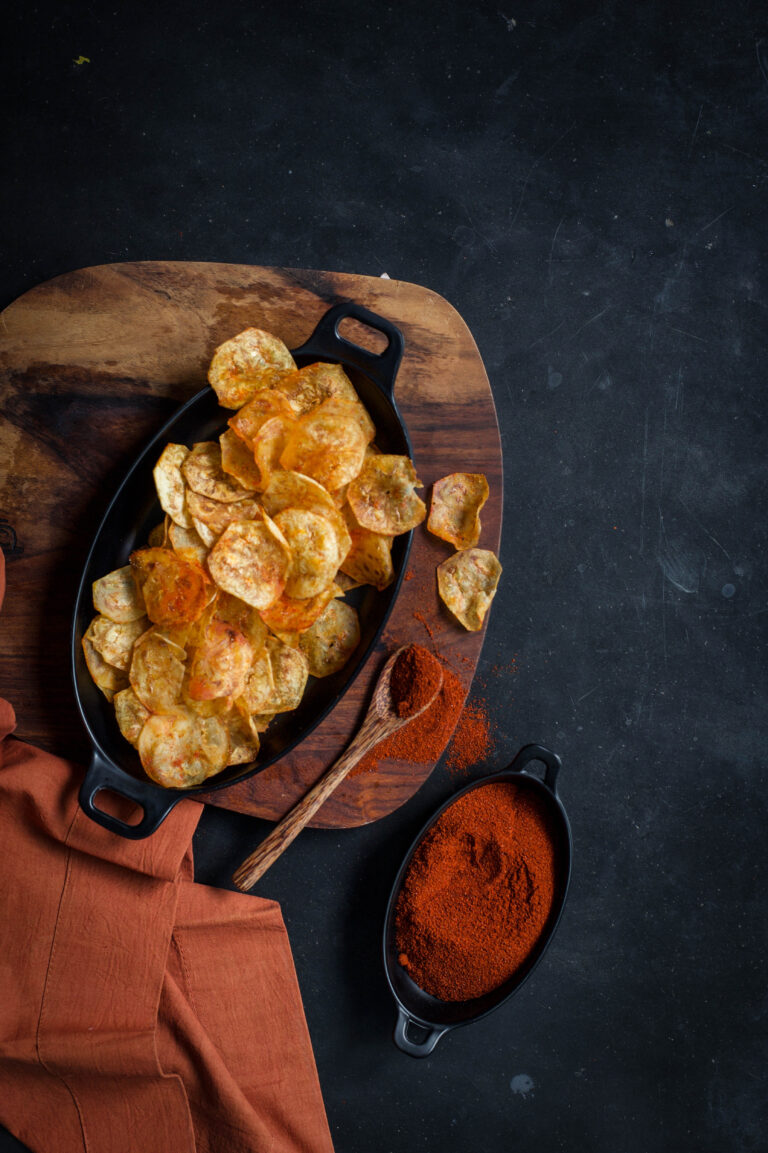
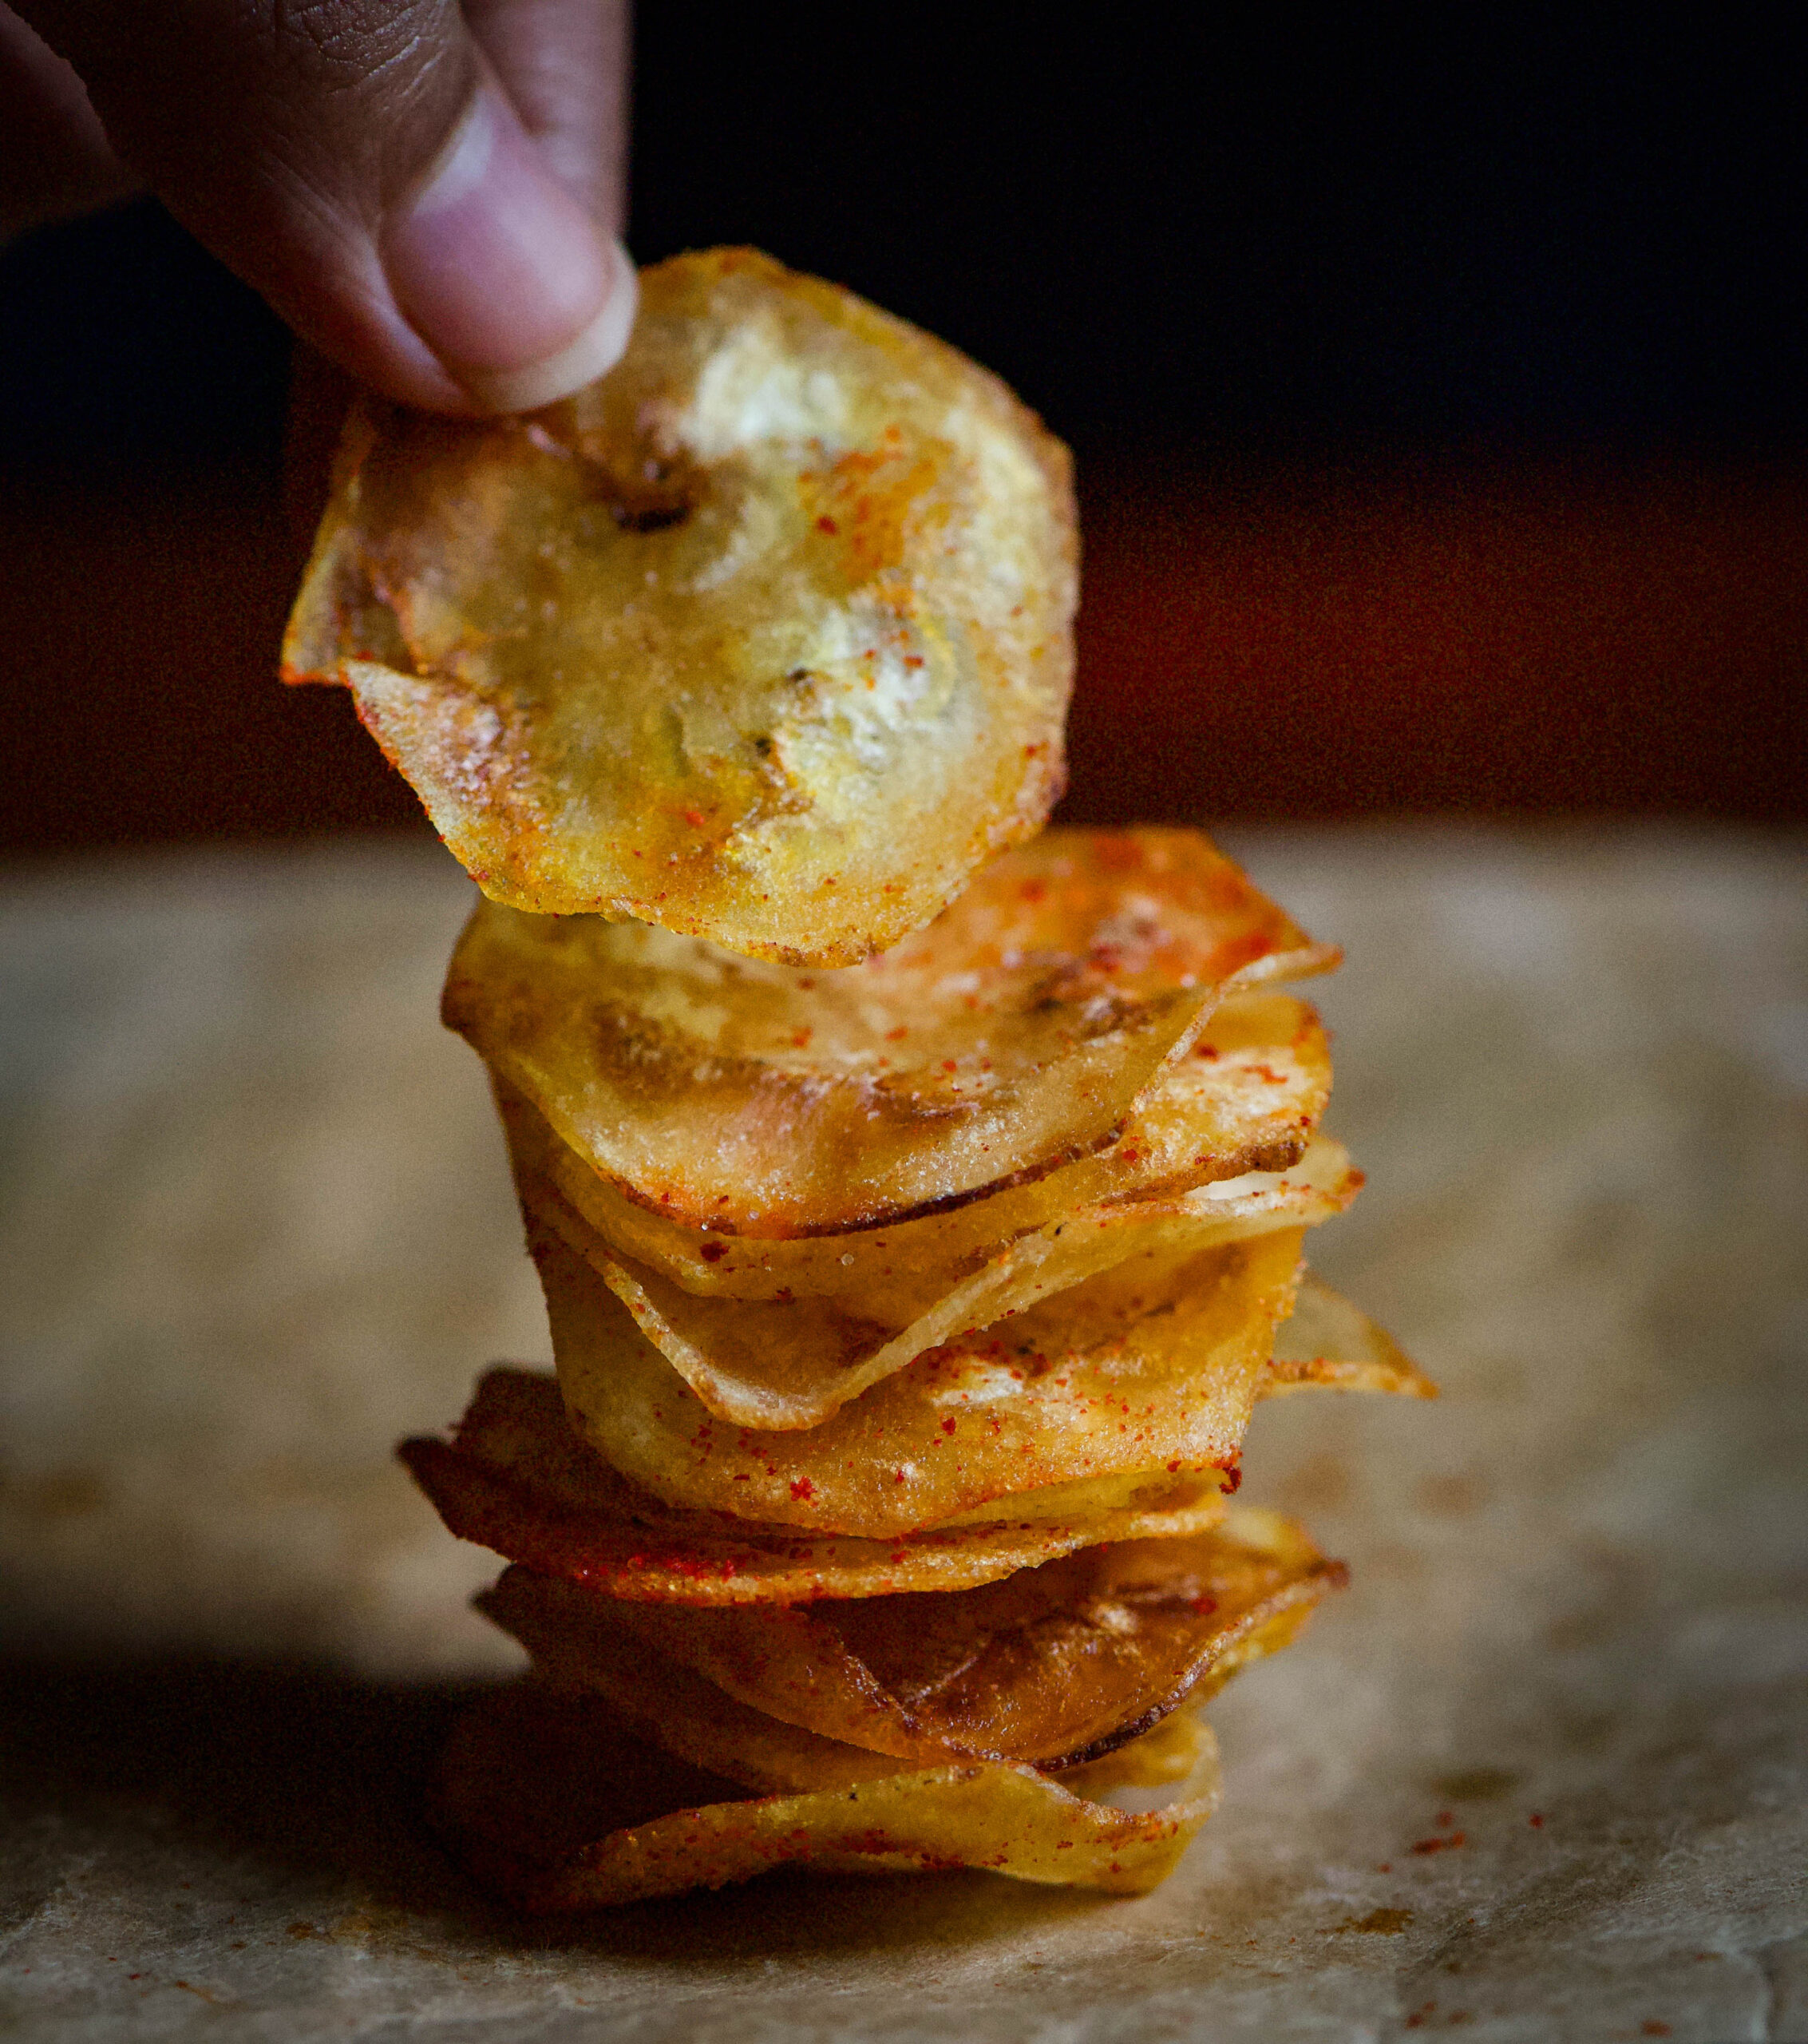
Banana chips are made all over India, but they differ from state to state. The famous Kerala ones, for instance, are cut thicker and are bright yellow. These Gujarati-style ones are thin and reddish-coloured because of the spices used. They are called “kudkudiyas” – a bit of onomatopoeia, because of the “kud kud” crunch sound. They remind me of all my visits to Ahmedabad, and in fact my husband (aka The Dark Prince!) is so partial to them that I order them for him all the way from that city. Fortunately, everyone at home loves my banana chips too, so they can now have them fresh and not imported!

Gujarati-Style Banana Chips

(Yield: Approximately 1 bowl)

Ingredients

1 large raw plantain

Salt to taste

¼ teaspoon chili powder (or to taste)

¼ teaspoon powdered sugar

2 cups oil (for deep frying)

Heat the oil in a frying pan. Peel the plantain and wash it. Be watchful as it may be a bit sticky to the touch.

Slice the plantain and immediately drop the slices into the hot oil. If you use a gadget like I do, you can slice them directly over the pan.

Now reduce the flame to medium. Turn the slices around a few times until they turn golden.

Remove them from the oil, placing them onto an absorbent paper. Immediately sprinkle the salt, chili powder and sugar. Make them your way by adding spices of your choice, such as pepper or chaat masala. The trick is to add the spices as soon as they’re off the oil because this is the only way the spices will stick to the chips. Also remember that the thinner the slice, the crispier and tastier they’ll be. Store in an air tight jar. Enjoy the crunch!


This exact same recipe can also be used for sweet potato chips, if you prefer them to green bananas or find them more readily available.

I prefer using these homemade banana chips instead of any store-bought snack to add crispiness to our lunch thaalis at home. They are cleaner and healthier, and I know exactly what’s going into our mouths, so I don’t mind that they are deep fried.

Even though these banana chips are made in a popular and easy style, you will surely agree that every dish tastes different depending on the cook. Each home and each hand has its own flavour, despite the recipe being exactly the same. Even something as simple as banana chips will have a unique taste. When you try this recipe, be sure to let me know how yours tastes!

The Indian palate loves a good pickle, and Gujarati pickles are especially famous! Made from an endless assortment of vegetables and fruits, pickles became a vital element of the Gujarati thaali probably because they can be kept for long periods without fuss. For travelling communities like Gujaratis, this would have been a reliable way to enhance the flavour of any meal, anywhere.

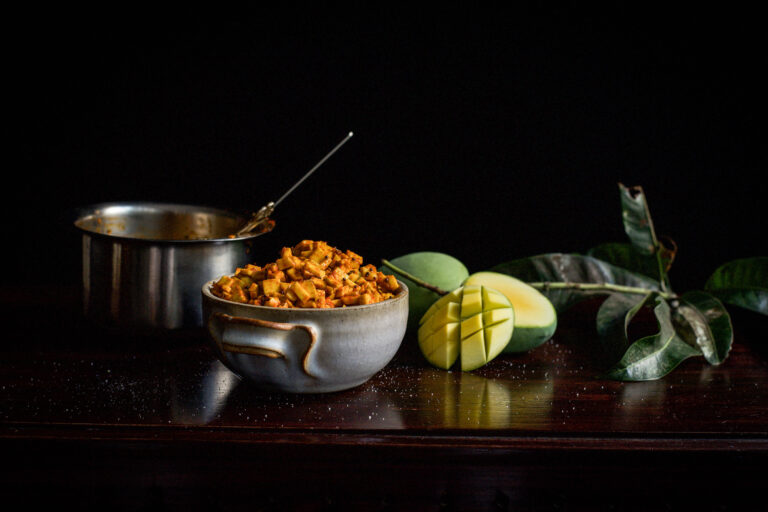
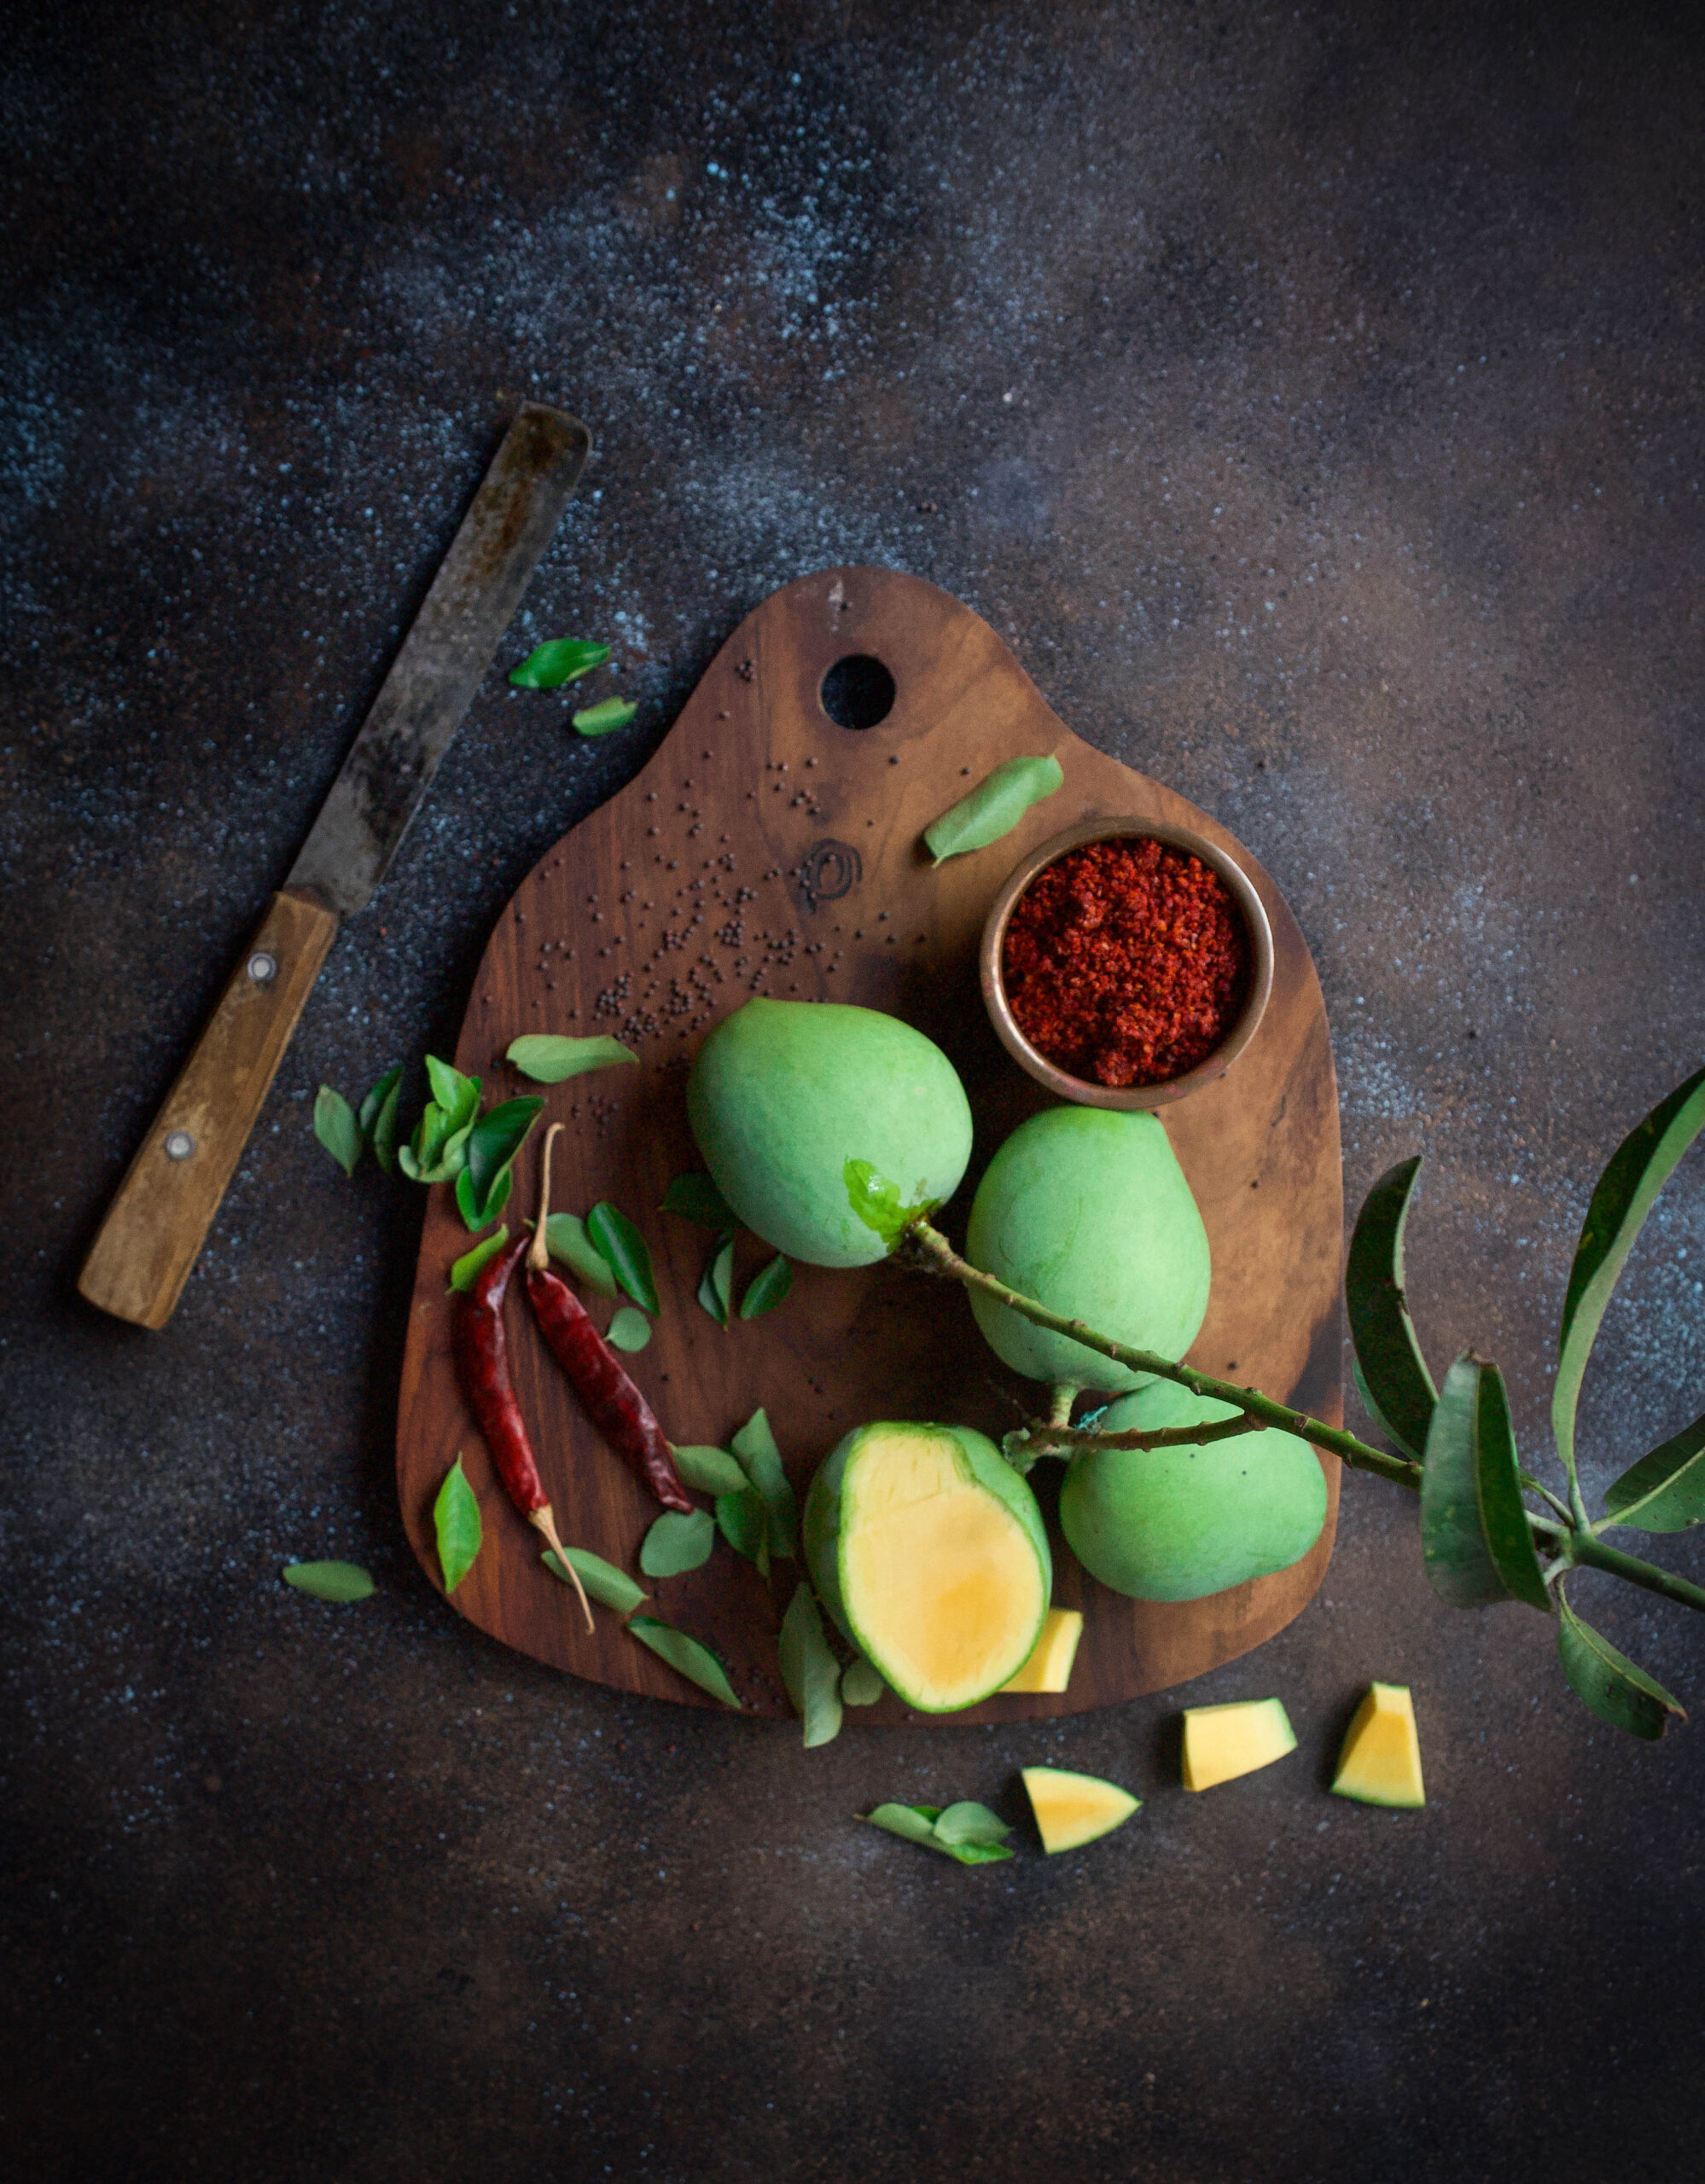
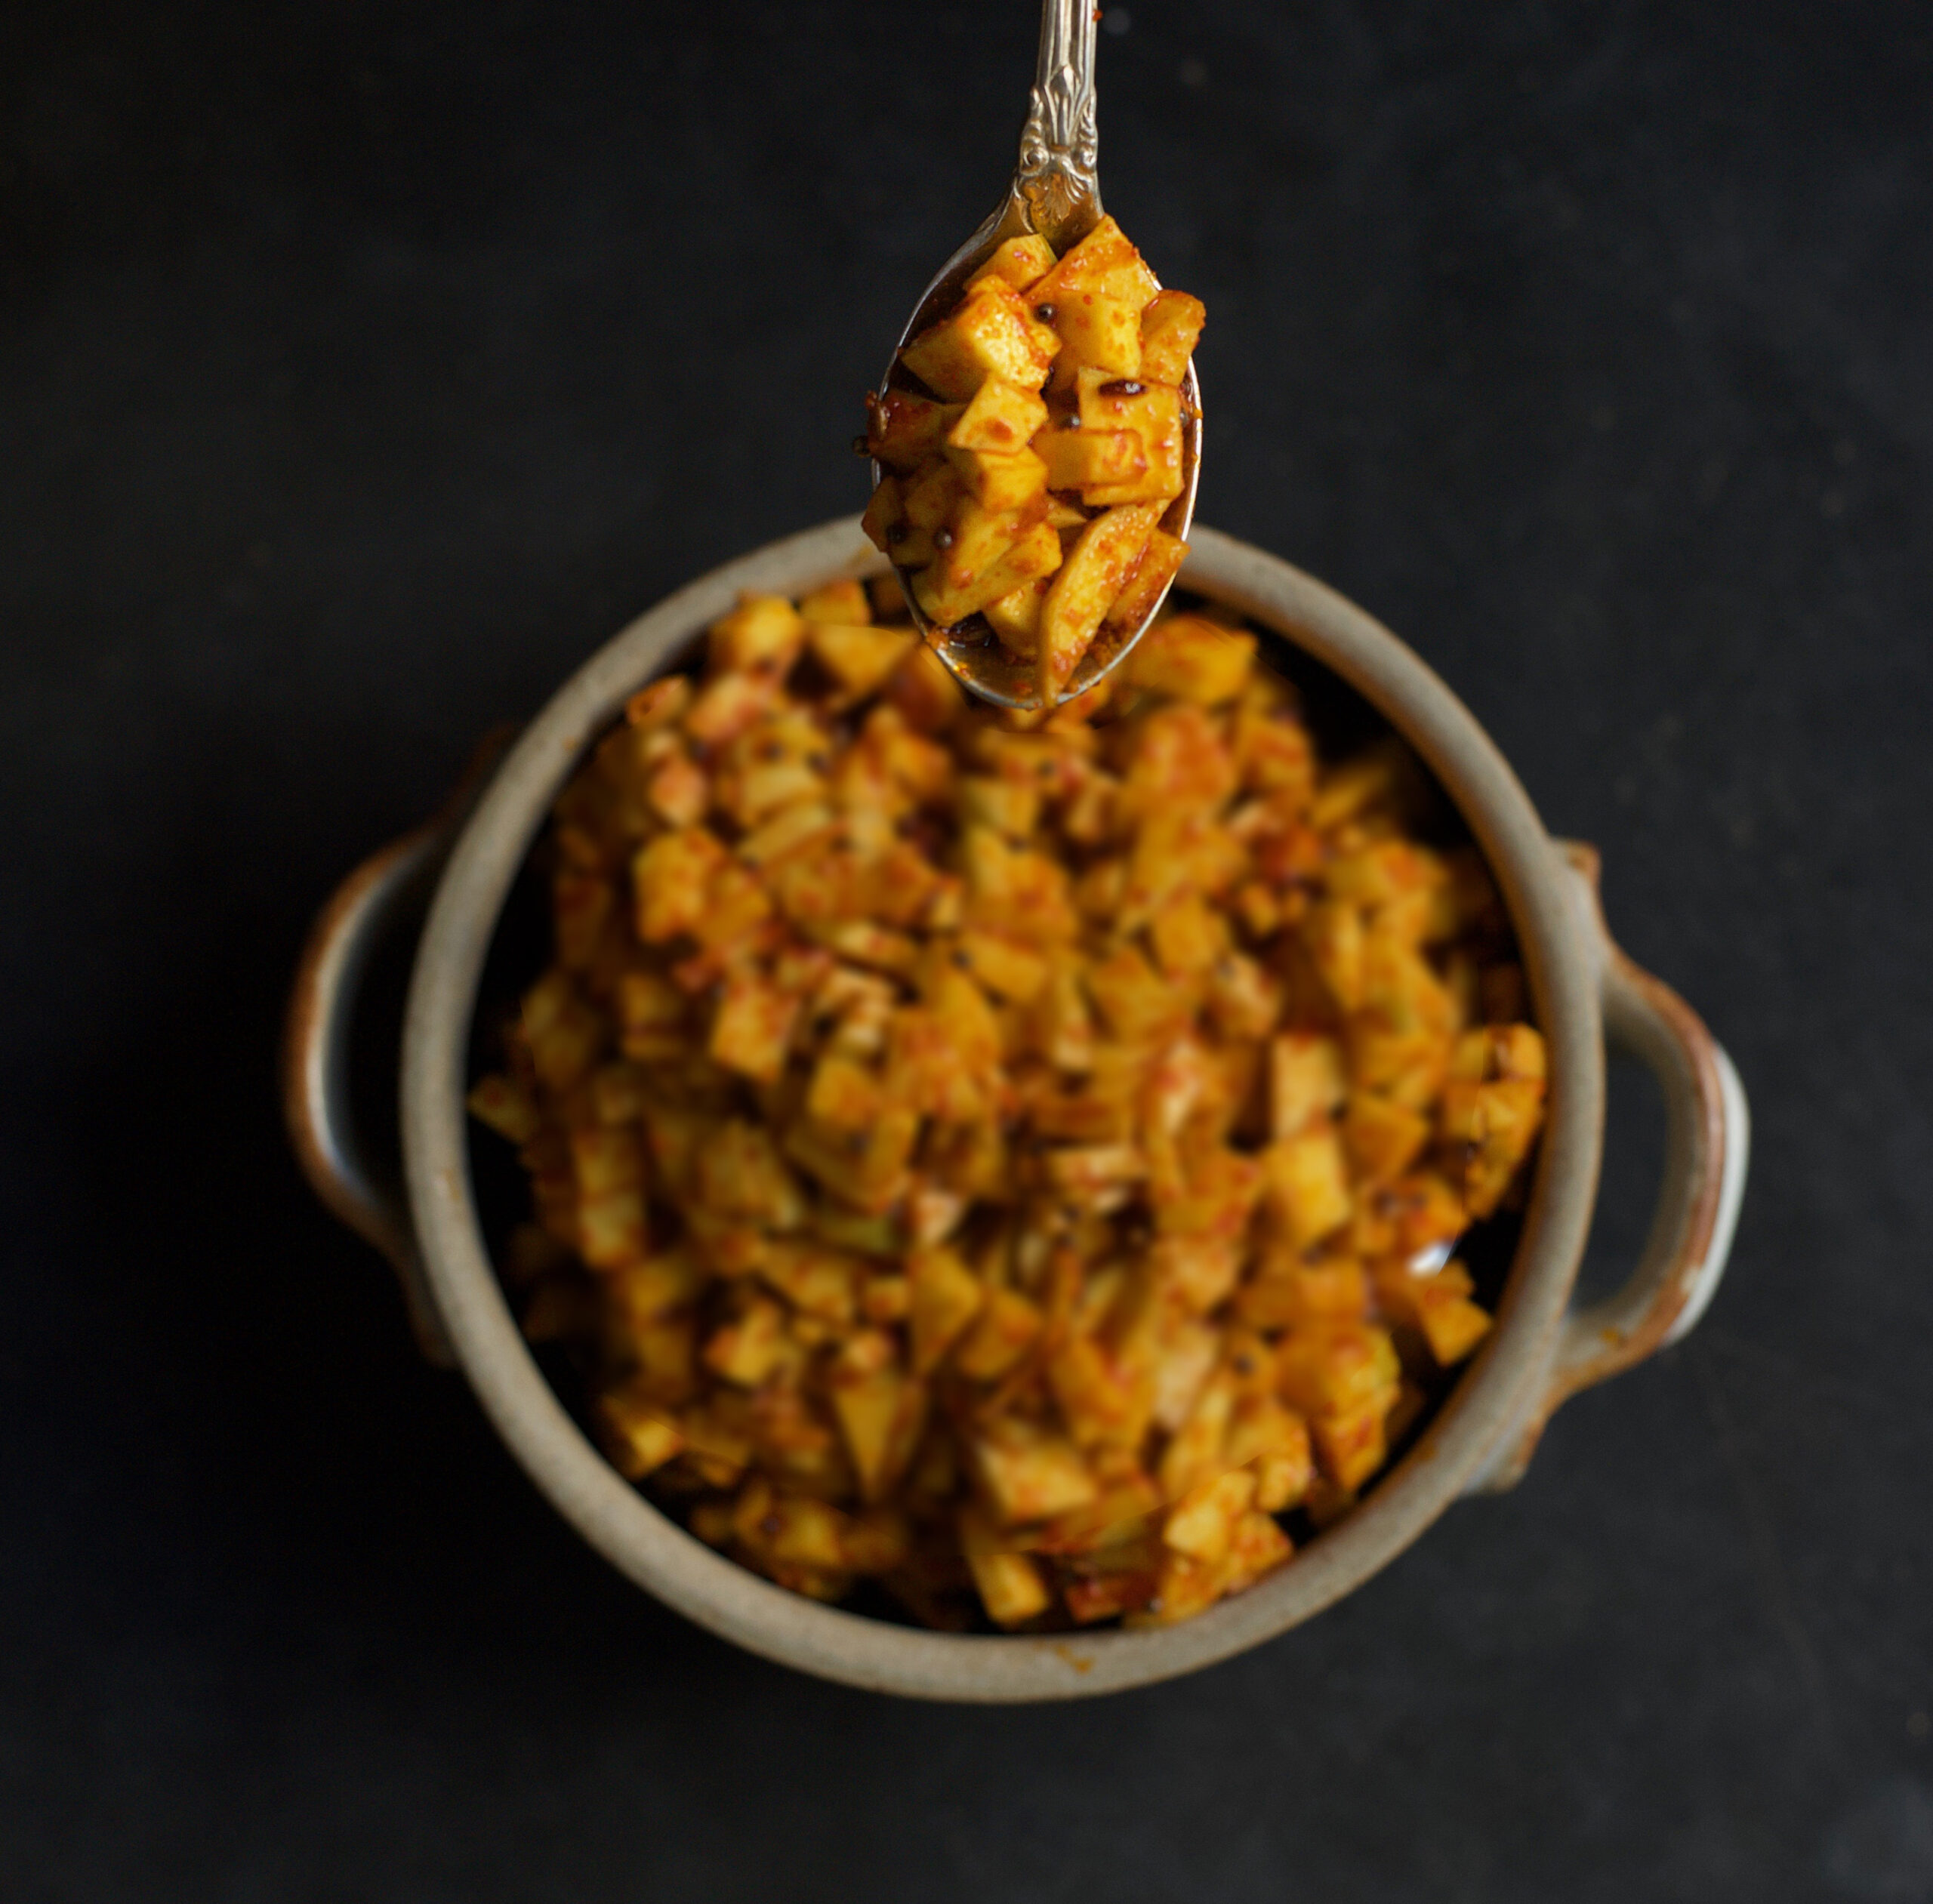
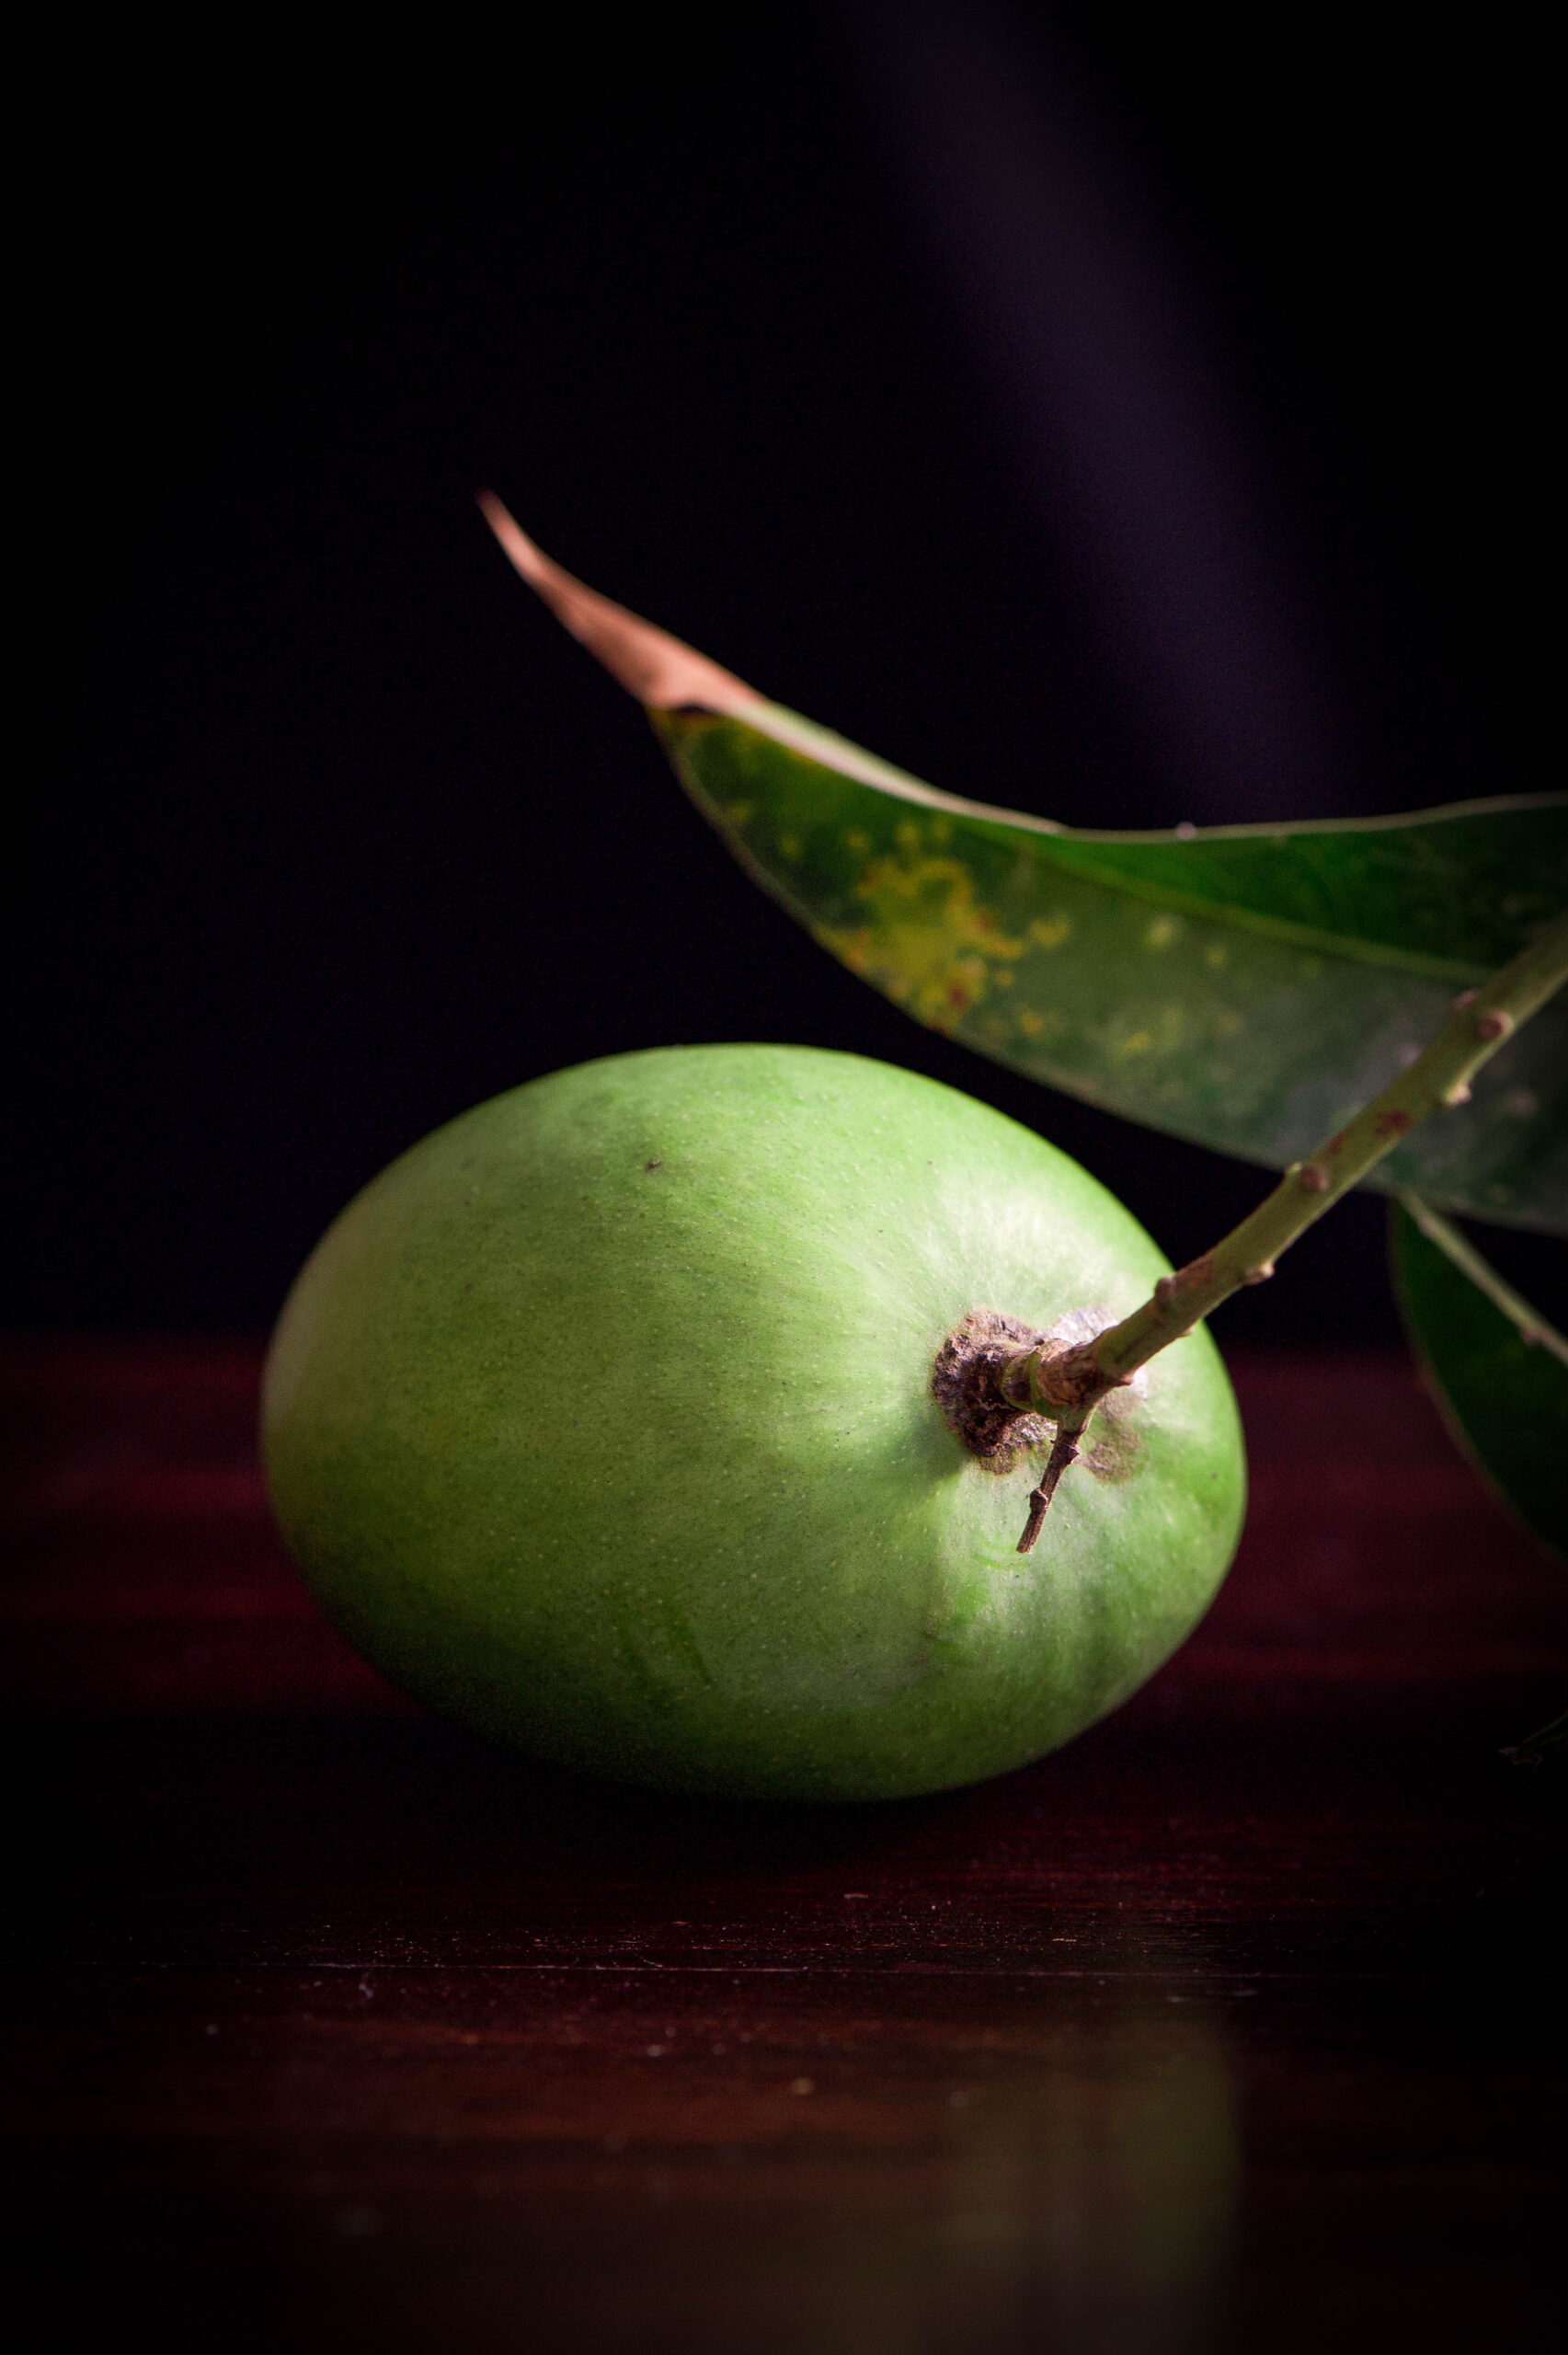
Pickles are made based on seasonal availability, so there are no prizes for guessing that once again, it is mangoes  that feature in the recipes I’m sharing today. There are many varieties of mango pickles, depending on the region – today I share my takes on a spicy one, and a sweet one named chhundo.

Indian pickling methods are different from Western pickling methods, and primarily use oil rather than vinegar. Homemade pickles rely on the peak summer heat, and this is why mango pickles are especially popular throughout the subcontinent now, as the fruit’s harvest season coincides with the ideal climatic conditions to make them. When I was little, a year’s supply of delicious mango pickles would be left to roast on our rooftop for days at a time by my mother. I would go up there and watch them cooking under the sun, covered in fine cloth, and desperately want to stick my fingers in and take some out to relish immediately. Grated mango with the sweetness of sugar and the tang of salt, warmed by sunlight – irresistible!

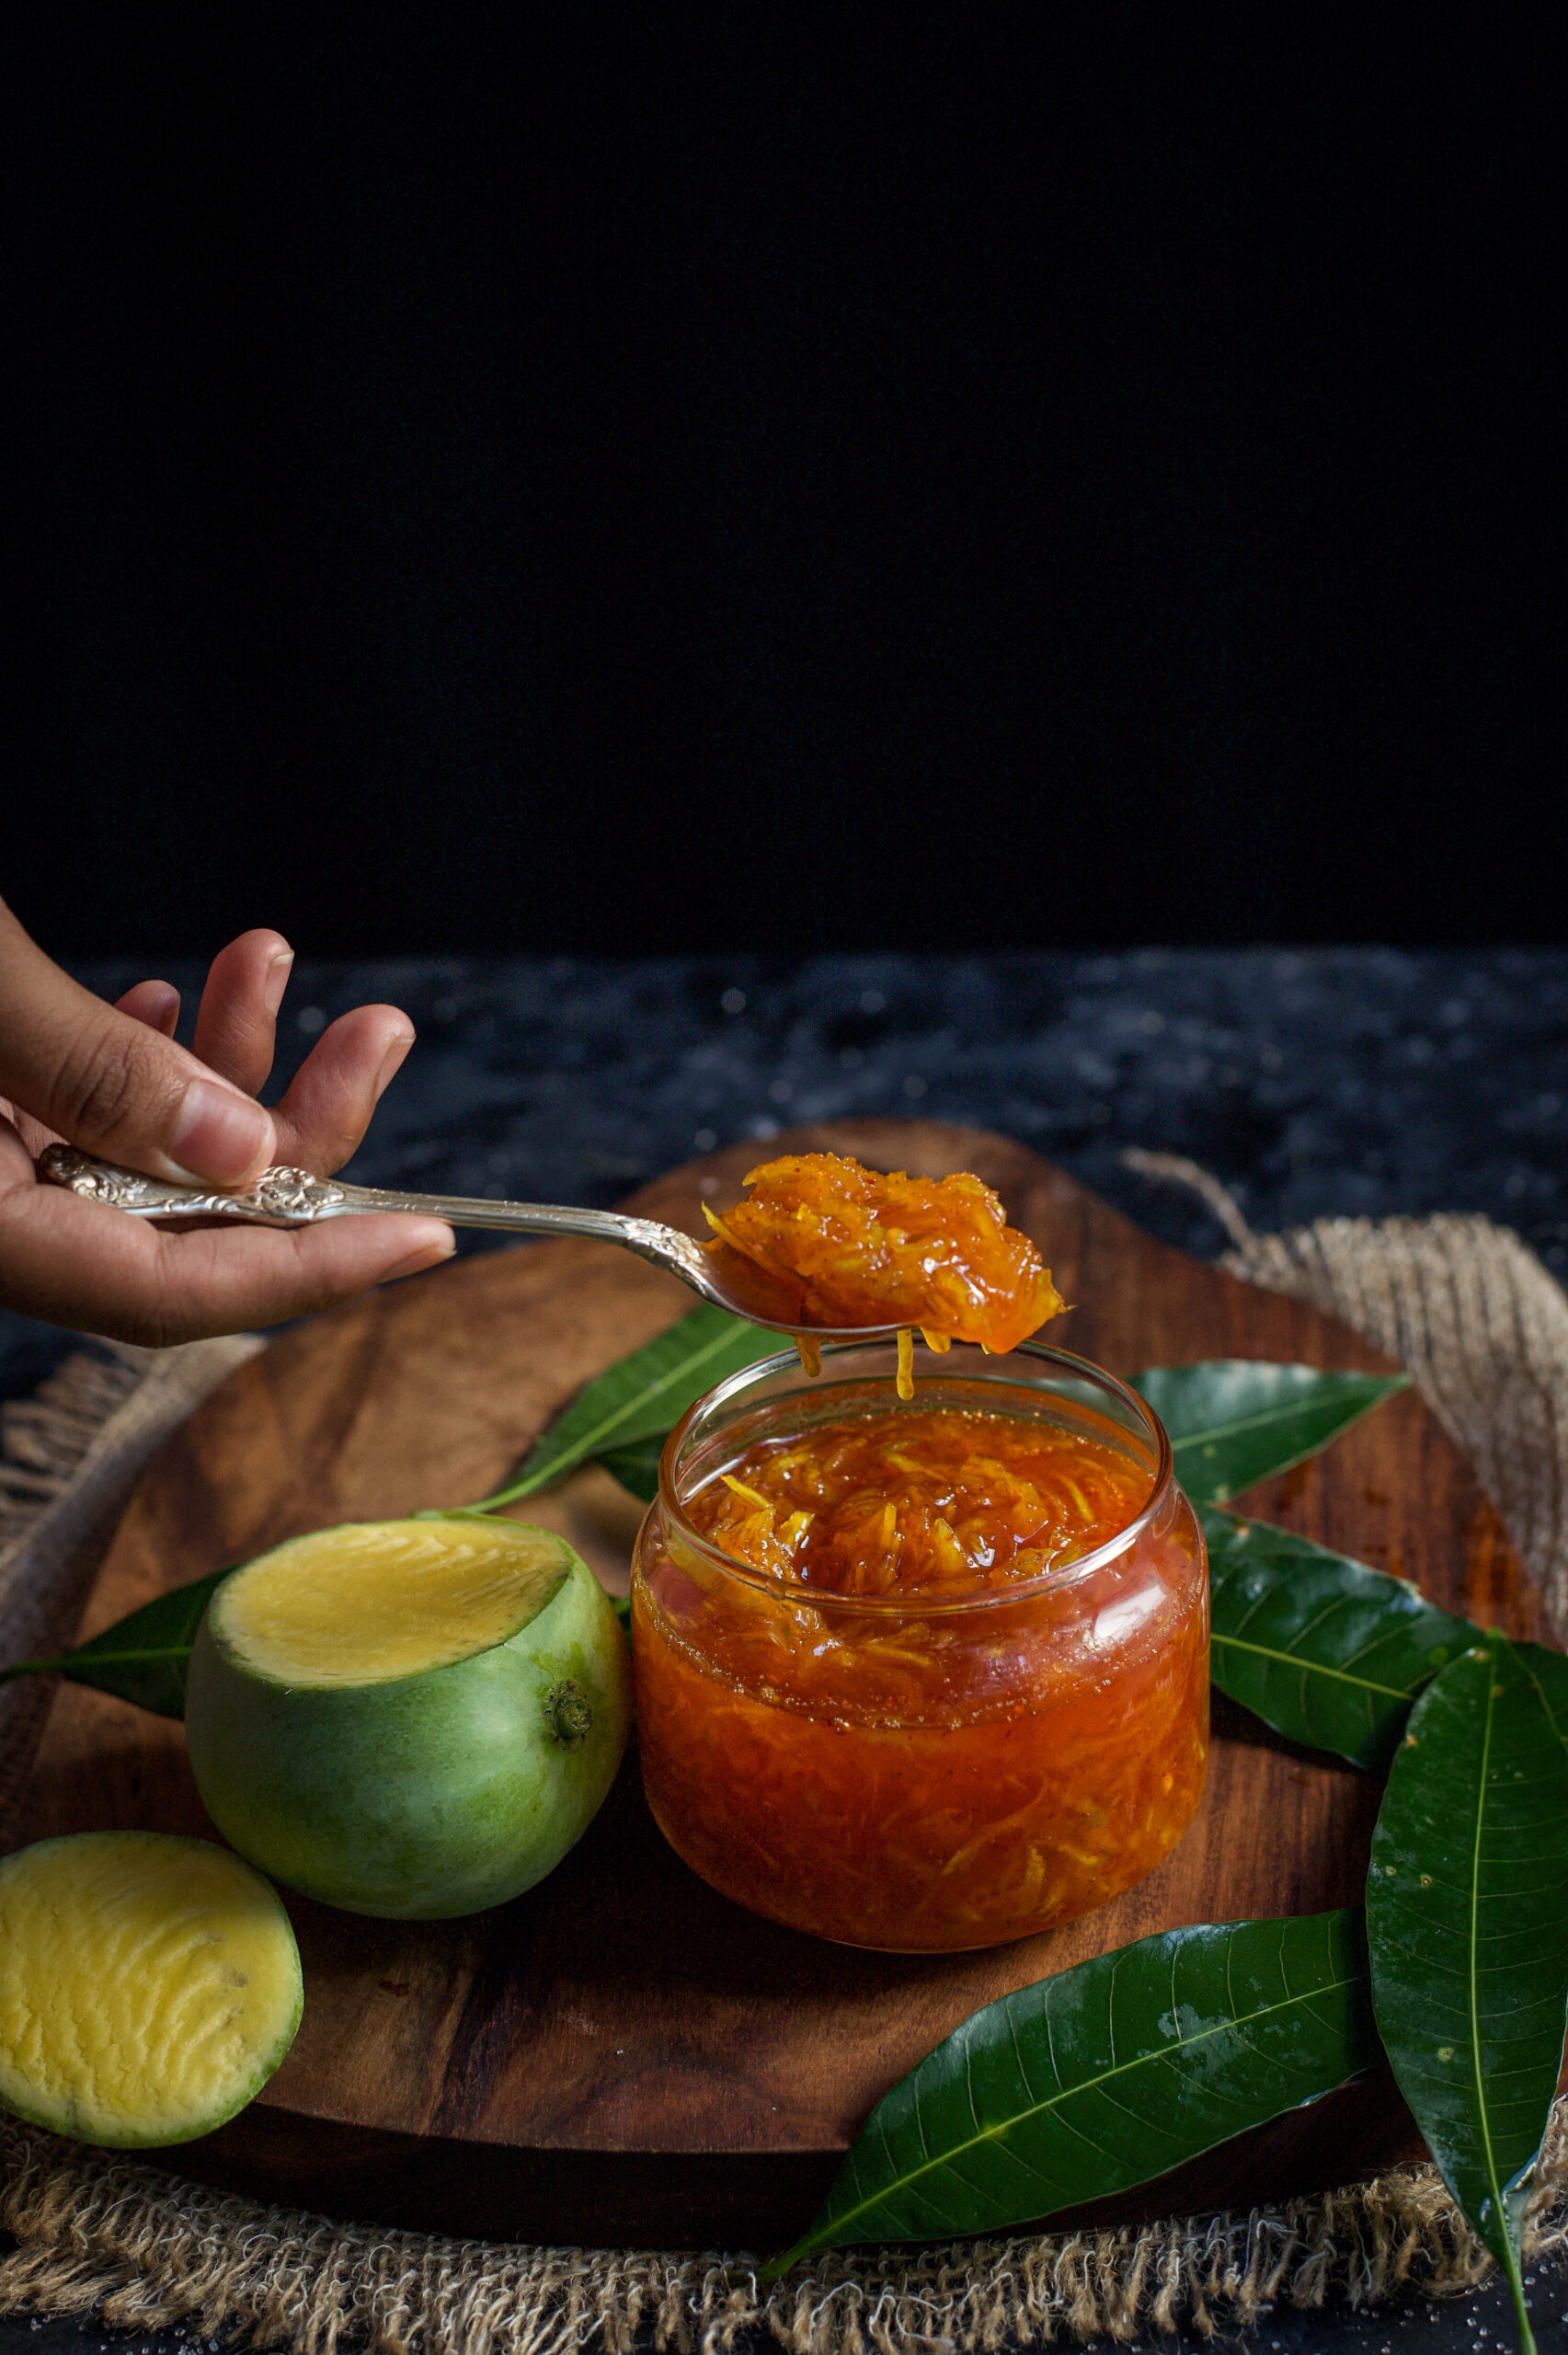
What I share today is an “instant” version of this time-tested method, meant for immediate consumption. In our fast-paced lives, we don’t always have the right circumstances or patience for the traditional methods, but we can take inspiration from them. The time has come when I now make pickles for my parents’ home, all the versions – the sweet kind as well as the spicy kind, the kind for immediate consumption as well as the kind that can be preserved for up to a year, in glass jars just like the ones that lined the kitchens of my childhood.

And now, in my own kitchen, just like the spice boxes that many keep in theirs, there is a pickle box, very much a homage to my Gujarati heritage. Every friend who comes home asks to see it. It is a point of conversation: which one has jaggery, which one is spicy, where does each recipe comes from? I keep 5 or 6 in this box at a time, and chhundo is always the star.

Nowadays, despite all the masalas and spices from across India and the ingredients from abroad that fill our kitchens, we still reach for the humble pickle. Its sharp taste is a necessary element, without which a meal is not complete. I’ve watched countless times as Indian people are made to remove their precious jars of pickles from their luggage at airport security counters all over the world! The look on their faces as they watch their lovingly bubble-wrapped bounty being chucked into the garbage says it all. No matter where we go, the pickle must never be far from us!


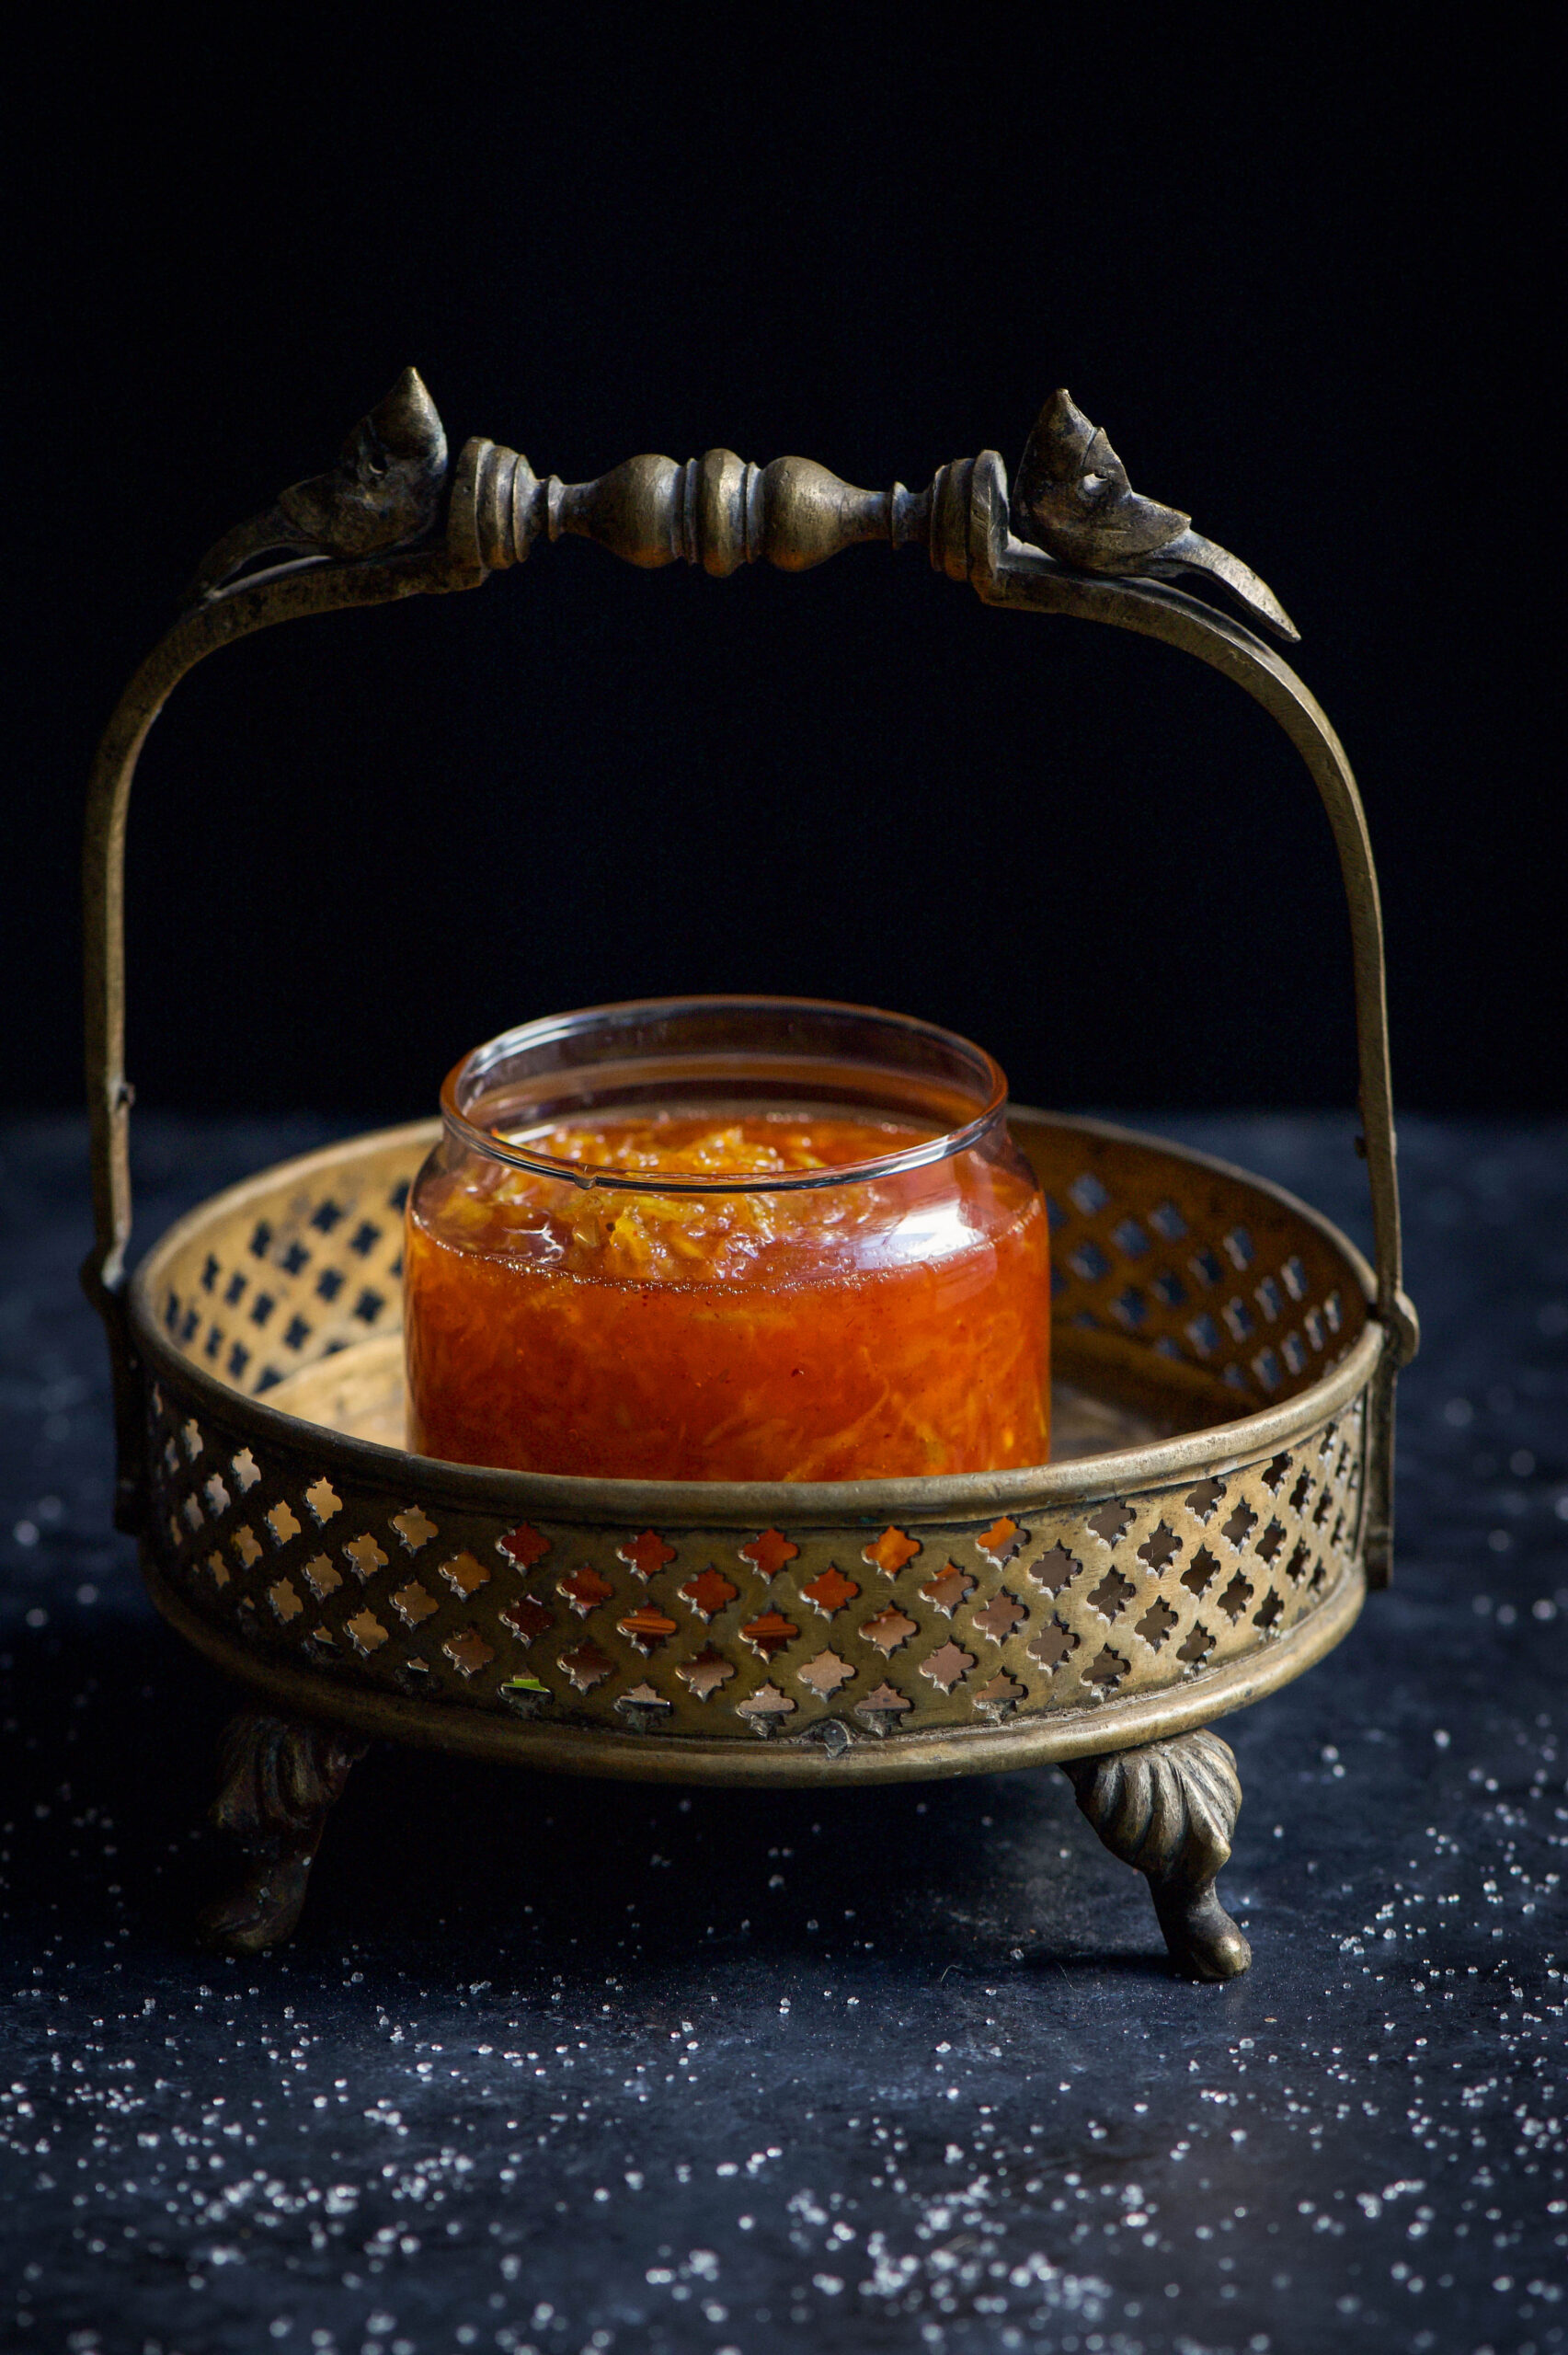
Sweet Mango Pickle (Chhundo)

(Yield: 1 cup)

Ingredients

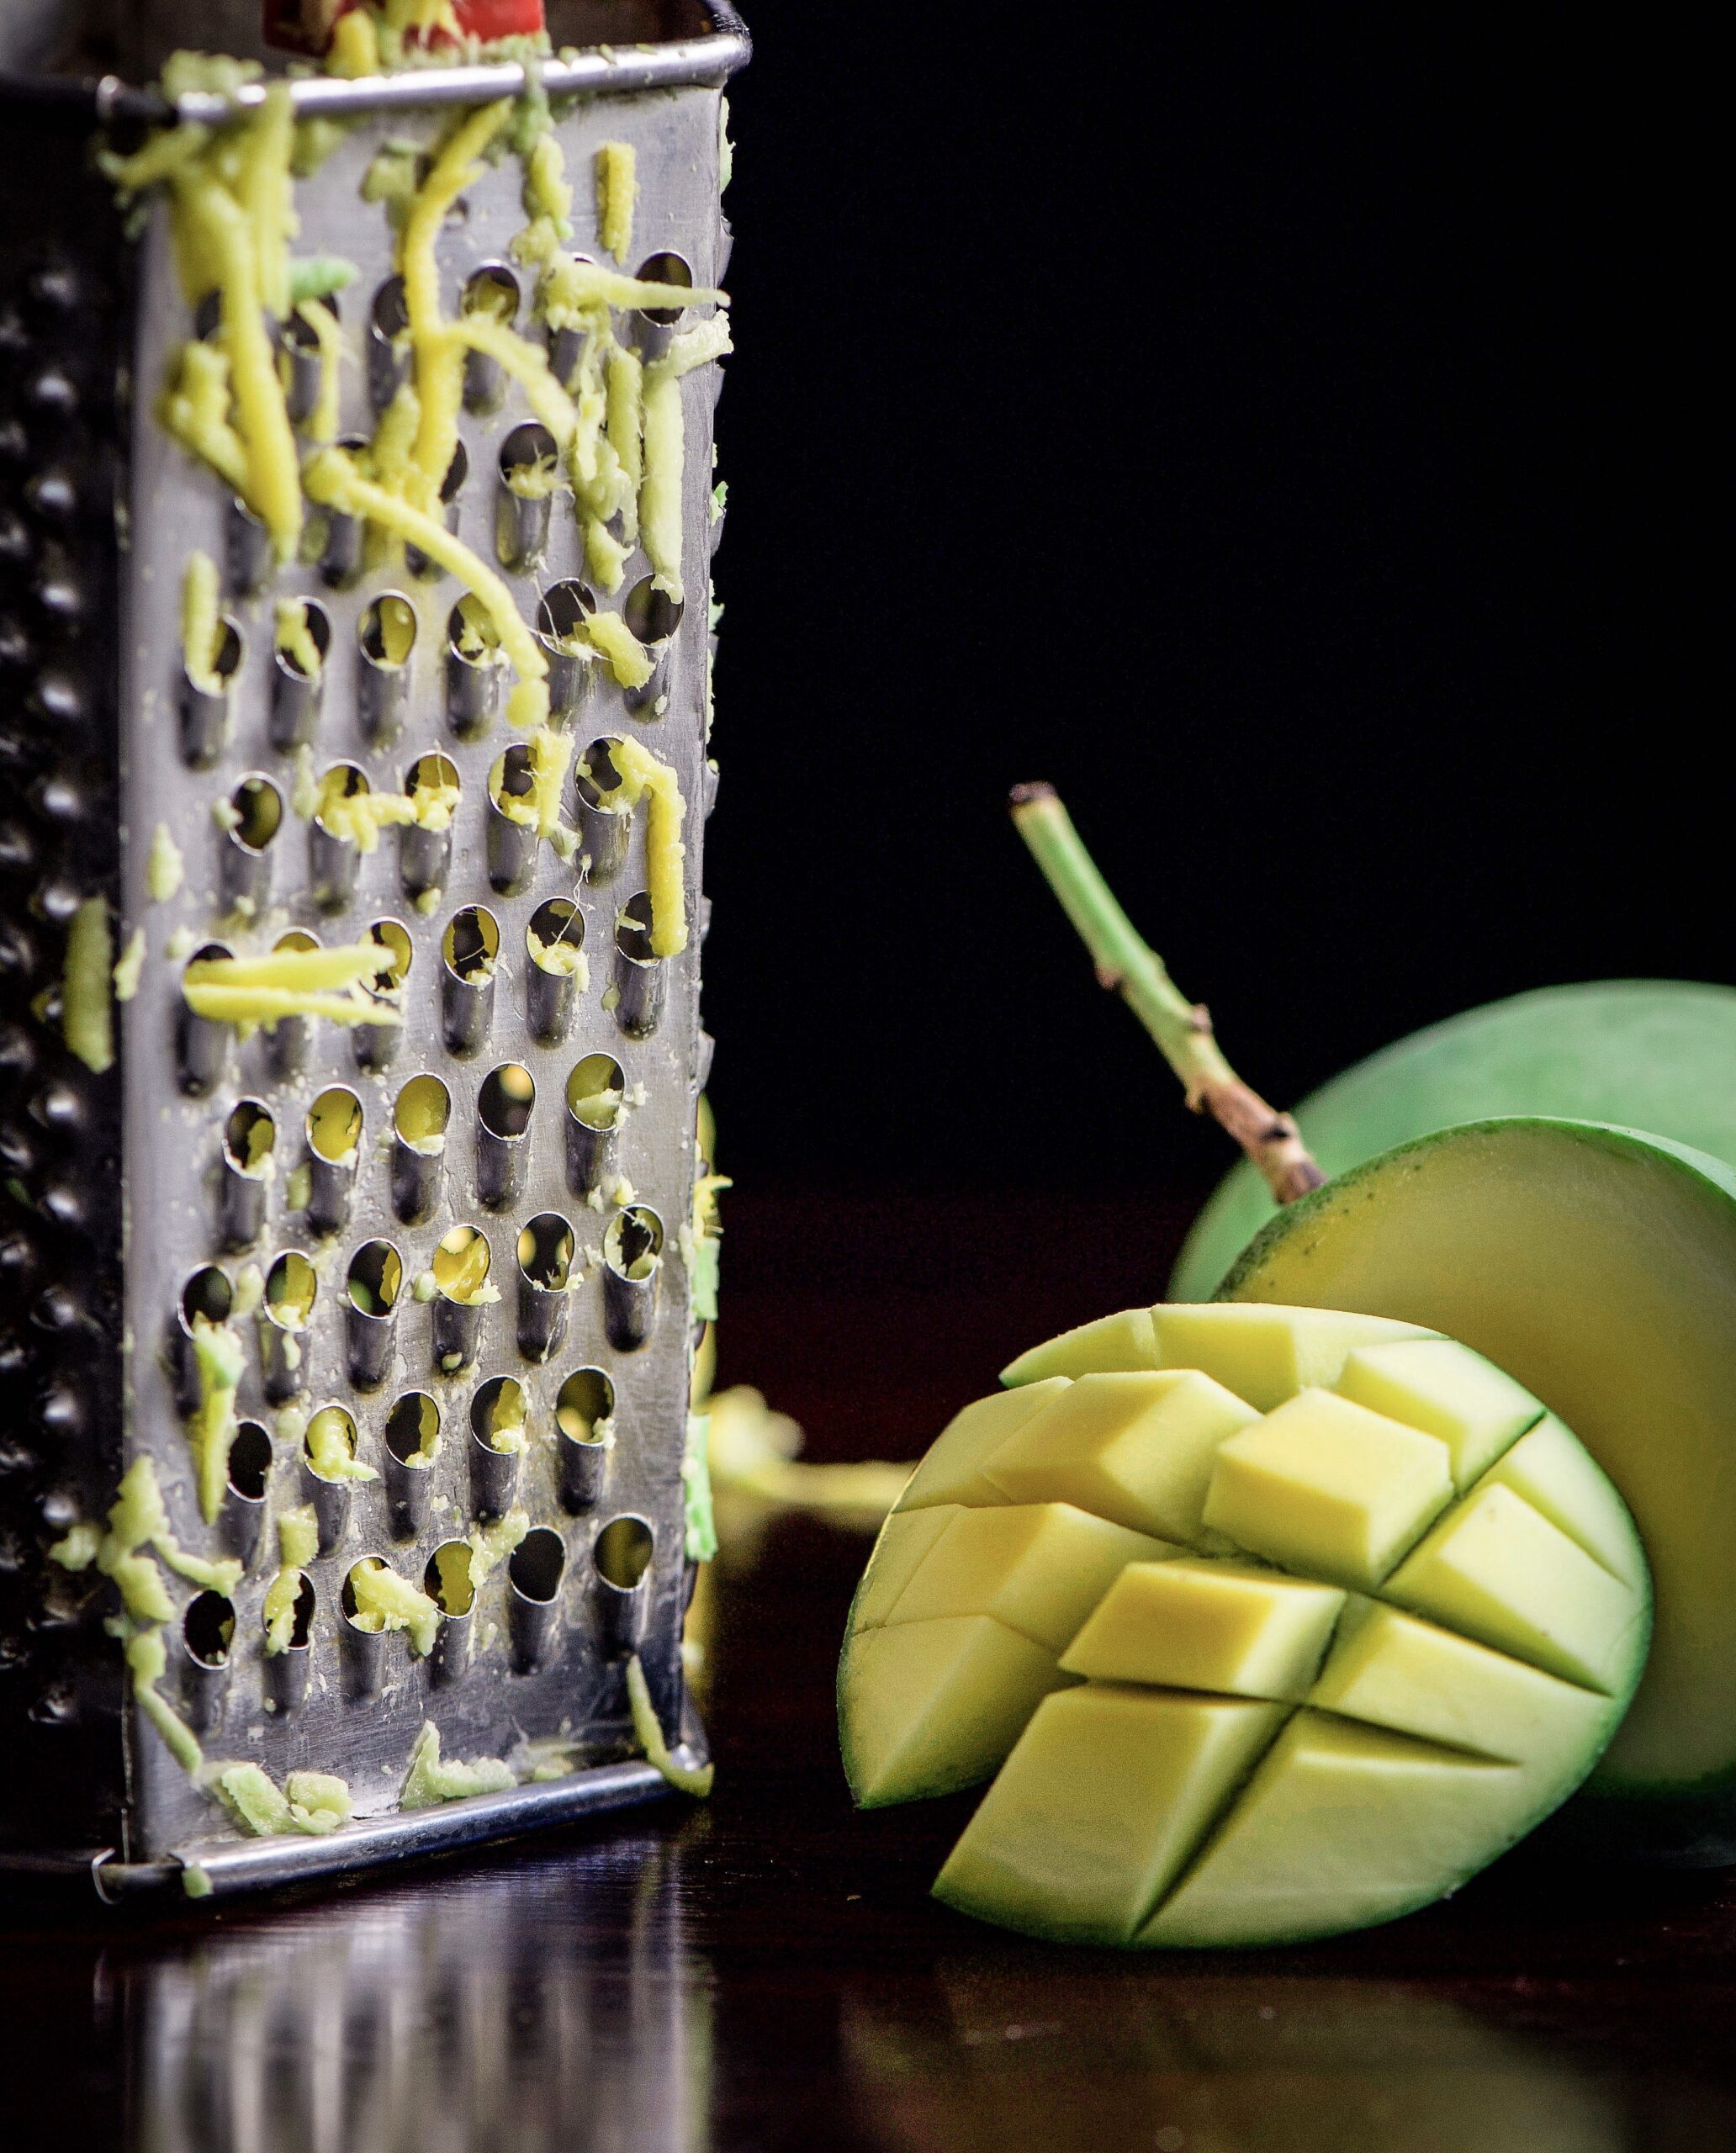
1 cup grated raw mango

1 ½ cups sugar

1 teaspoon coarsely ground cumin seeds

½ teaspoon salt

¼ teaspoon turmeric powder

1 teaspoon chilli powder


Place the grated mango in a pan. Add the salt and turmeric powder, and mix everything well using your hand, such that the juice is released from the mango.

Now add the sugar to the mango, and transfer to a pan. Place it on a medium flame. Stir gently to encourage the sugar to melt. In a few minutes, you will notice the sugar and mango bubbling away. Keep stirring until the sugar thickens slightly. When touched between your fingers it should be slightly sticky.  If you overdo this part, the sugar will crystallise, so be sure to turn off the flame before this happens.

My sweet mango pickle is usually stored for a few months, but this depends on the weather and storage conditions. I keep mine in a cool place, outside rather than in a cupboard. Always ensure that the utensils and jars you use when transferring or storing the pickle are clean and dry, otherwise it can quite quickly go bad.


Spicy Mango Pickle

(Yield: 1 cup)

Ingredients

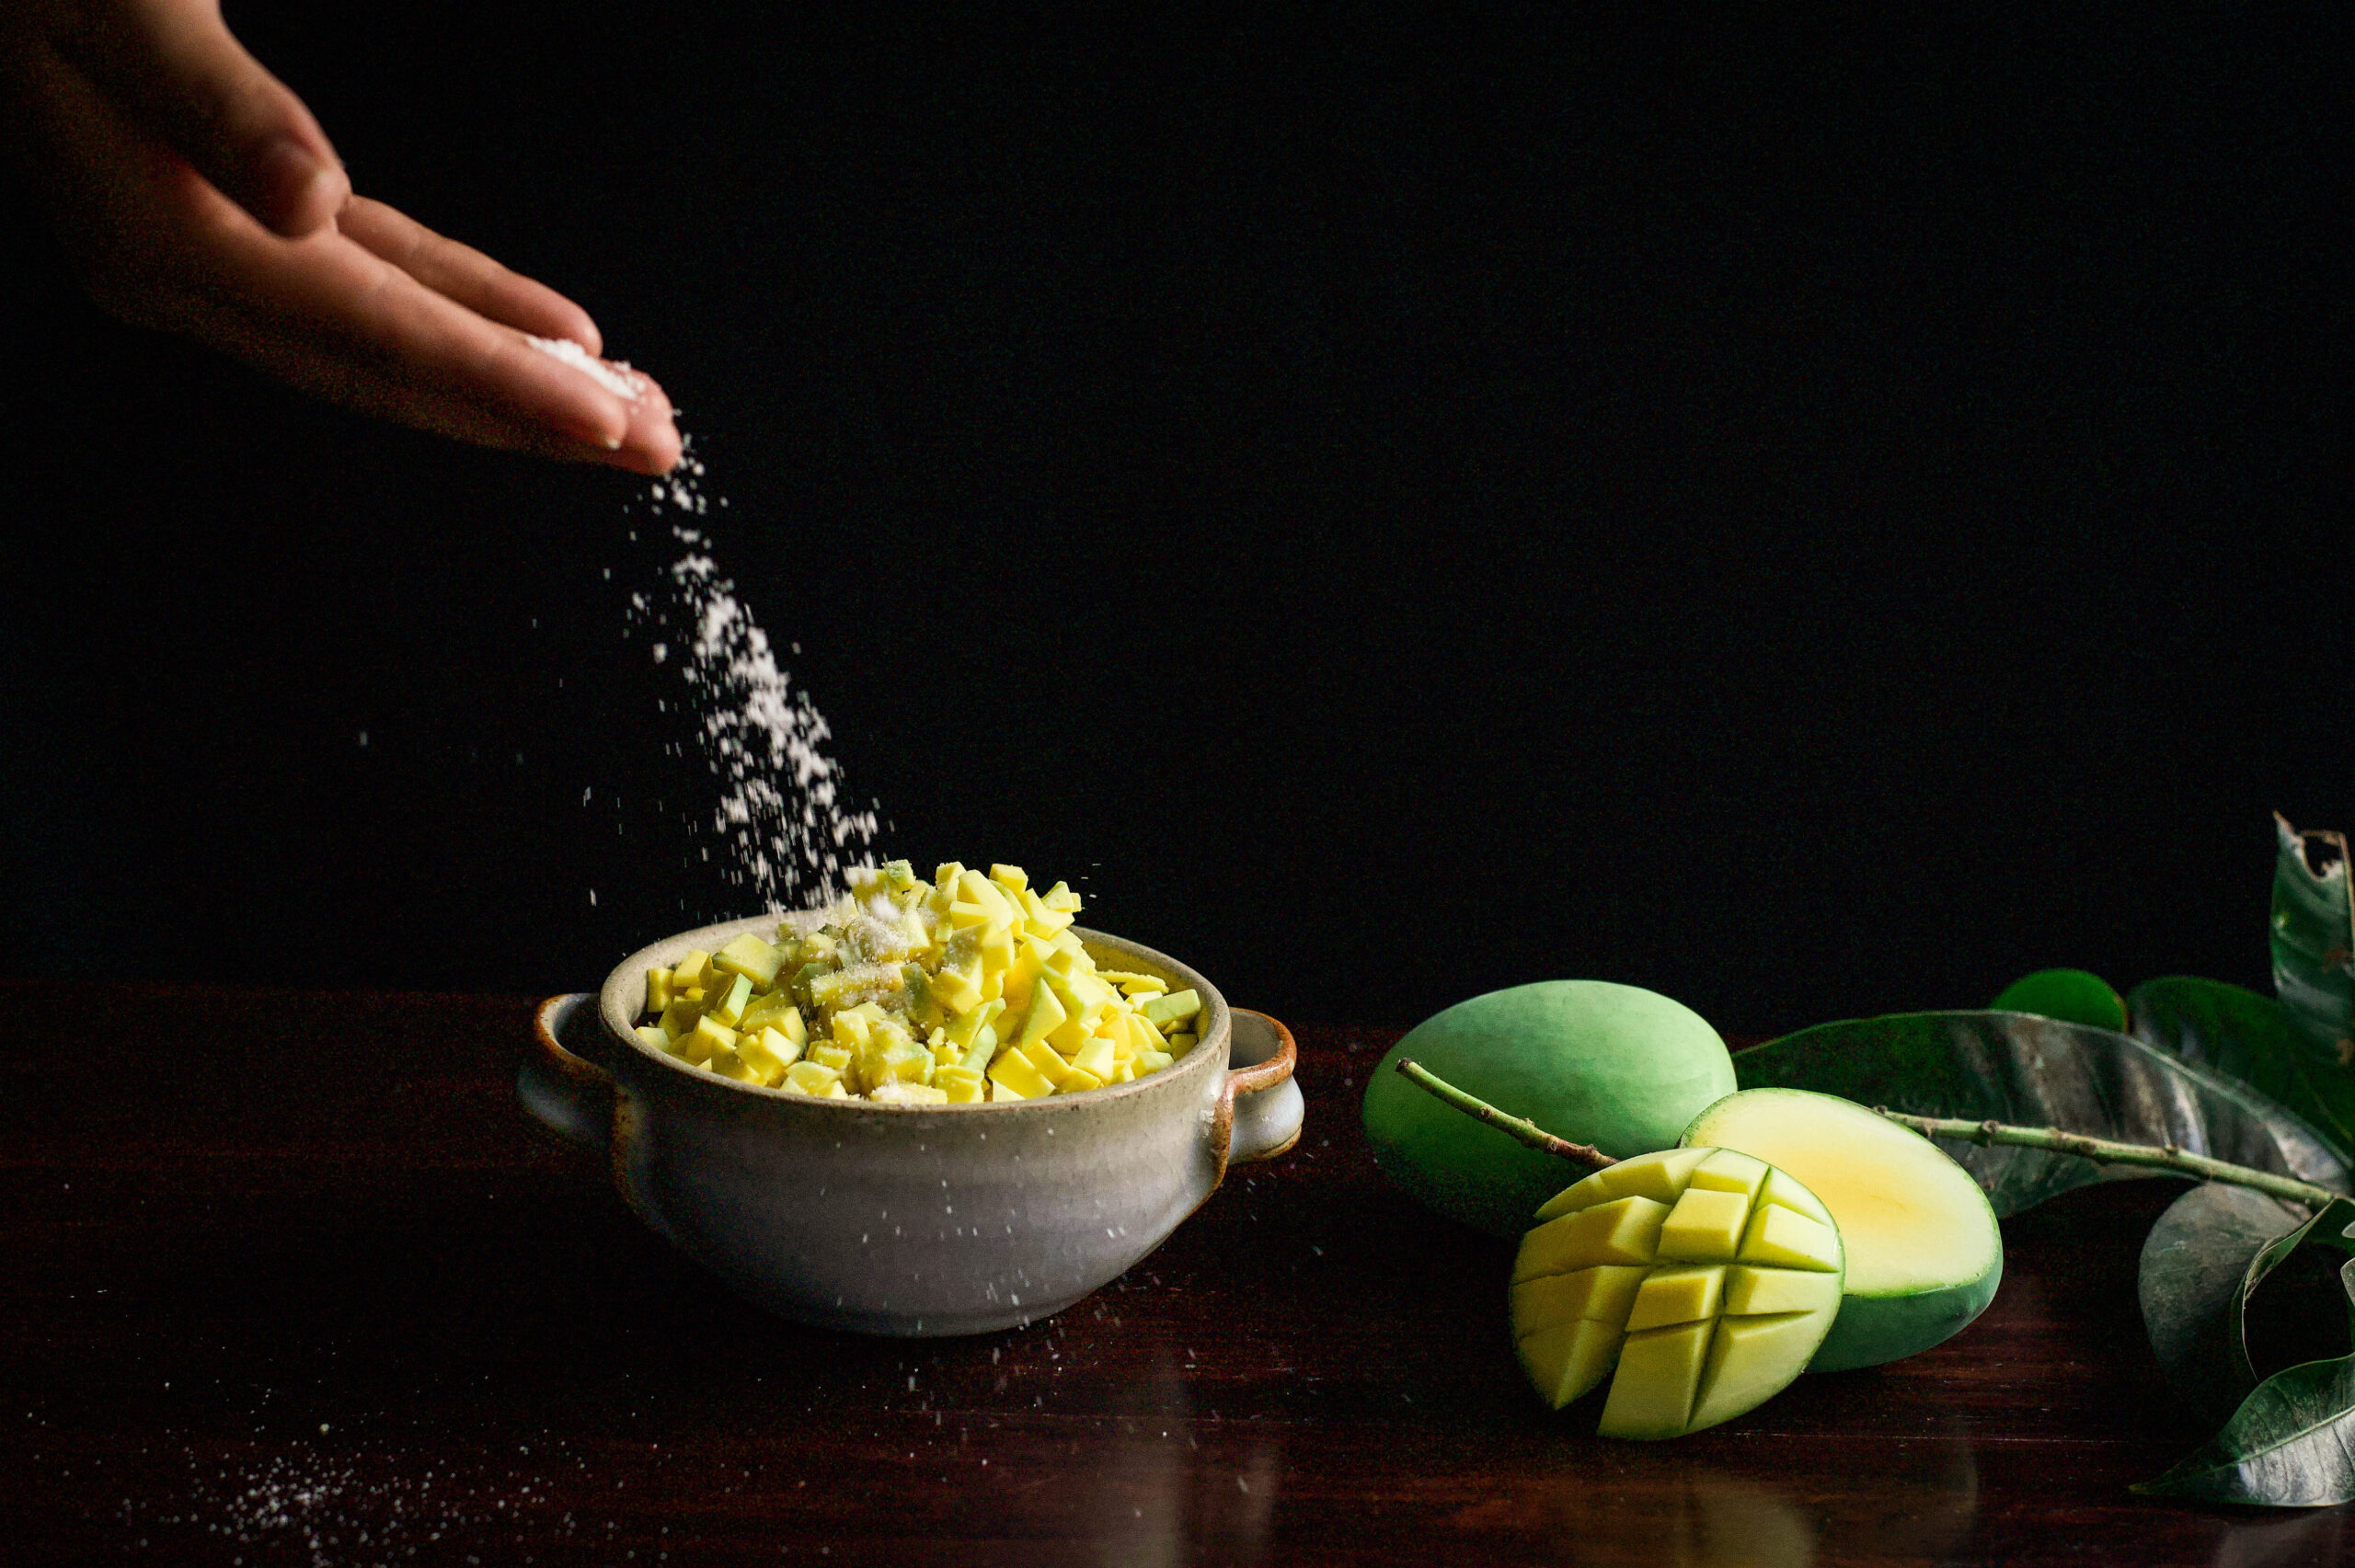
1 cup finely cut raw tangy mango pieces

½ teaspoon salt

1 pinch turmeric

¼ teaspoon ground fenugreek seeds

1 teaspoon red chilli powder

¼ teaspoon mustard seeds

1 tablespoon oil


Place the cut mango in a glass bowl. Now sprinkle all the remaining spices. Keep aside.

In a small pan, add the oil and the mustard and cumin seeds. Wait till the mustard seeds splutter, and then pour the entire sauté into the bowl of cut mango. Mix well with a spoon.

This easy, spicy mango pickle is now ready. Store it in the refrigerator and it will last for up to a week.


Ripe mango, raw mango, spiced mango, sweetened mango – the possibilities really are endless for this beautiful fruit. These pickles are a way of incorporating this fruit into your daily meals. If you prefer it to be the star of the show, try out my ripe mango rasam or my curry leaf and raw mango cooler.

These lovely pickles are not only made for the traditional thaali, but can be eaten as a condiment for a variety of snacks. I even add the spicy pickle to cheese platters as it is quite versatile, and I recall how my friend Vikram once used the chhundo as a marinate for a shrimp starter. It was simply delicious. Be innovative, and be sure to let me know how you eat these pickles!

Come summer, every family in India uses the mango in their daily cooking. It can be found in literally every dish: dals, sabzis (cooked with vegetables), pickles, curries, desserts and more. Everybody wants to get creative with the mango, and why not? With 1,500 varieties said to grow in the country, each one sweeter than the other, we are rightly proud of the fruit and look forward to the season eagerly. The different varieties have such beautiful names too: the neelam in Gujarat, the alphonso in Maharashtra and the nectar-sweet imam pasand of South India are but some. While we are unfortunate to not have the pleasure of berries here, the mango more than makes up for it.

Mangoes are popular globally, though they originated in the Indian subcontinent, and are cultivated everywhere from Andalusia to the Caribbean. They are the national fruit of three countries (India, Pakistan and the Philippines) and the national tree of Bangladesh. I have yet to meet a single person who doesn’t like mangoes!

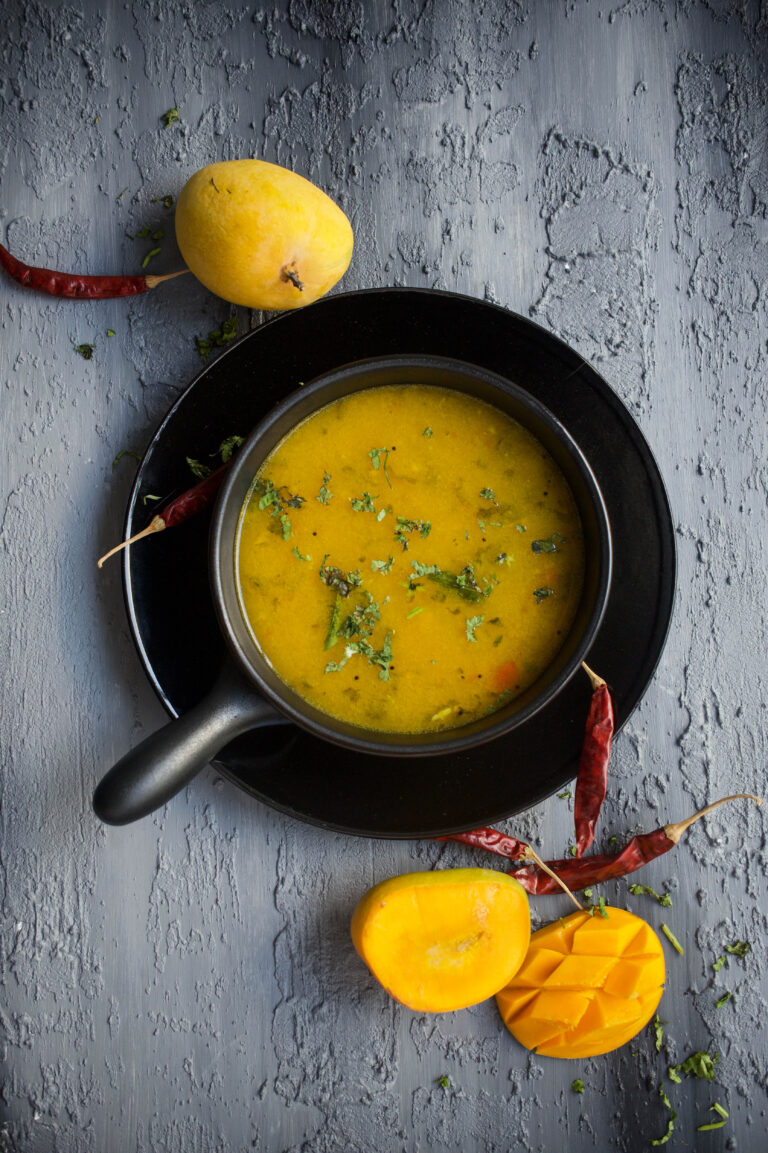
Even if it wasn’t my national fruit, I would consider it a star among fruits. And it’s the star of a recipe my family has been simply loving this summer: mango rasam. Rasam is a thin, spicy South Indian soup which is usually eaten with rice or consumed as a beverage. This mango rasam is a seasonal staple, and is similar to the fajeto, which is also a staple in the typical Gujarati thaali in summers. A summer thaali comprises of layered rotli, a vegetable, dal, buttermilk, aamras or mango pulp in a bowl, raw mango pickle and fajeto. You’ll notice that half the plate is filled with mango in some form! After such a big fat meal, a siesta is also a part of the traditional lunch!

As you may know, I am all about growing my own produce, and this season I am happy to say I’ve been plucking mangoes in my own backyard. You really have to nurture your garden with love and care, and I am a big believer in spending time there, talking to the plants. They do respond, as I have seen for myself. I have learned how to tend to two variants, the killimooku, so named because it is shaped like a parrot’s beak, and the sindura, which is so sweet it is also known as the honey mango. Looking after these trees is an ongoing process. A few months ago, I used a neem spray to prep them for the harvest season, and learned from an organic farmer how to dig a pit a few feet away from the main trunk and fill it with mulch. Dried leaves, coconut husk, a little soil and other compost ingredients decay into fertiliser, giving the tree nourishment. These methods have really worked, as the bounty of fruit from my garden have proved. I knew a couple of months ago when I saw the young, tender leaves come out that the harvest this year would be good. And so it is.

I was making aamras when the idea for mango rasam came to me. As I squeezed the mango pulp and put the seeds in water, I recalled how my mother – who taught me how to never waste food – uses this water to make fajeto. I decided to make it the South Indian way, with garlic and curry leaves. These are not used in the Gujarati version, which utilises yoghurt.


Ripe Mango Rasam

(Yield: 3-4 cups)

Ingredients
Rasam

½ cup ripe mango pulp

½ cup cooked, boiled and mashed toor dal

2 cups water

1 crushed tomato

2 teaspoons cumin seeds

1 teaspoon black pepper

2 dried red chilies

4 cloves garlic

¼ inch piece of ginger

1 tablespoon tamarind pulp

Salt to taste

Sauté
1 teaspoon oil

¼ teaspoon mustard seeds

A few curry leaves

A pinch of asafoetida


In a pot, mix and stir the mango pulp and dal. I have used the alphonso variant, but you can use any ripe mango. Add the water.  Now add the salt, turmeric, asafoetida, crushed tomato and tamarind pulp.

Crush the cumin, ginger, garlic and black pepper coarsely together. Now add this to the mango pulp mix. Place on the stove and allow to boil for approximately 10 minutes. Do not allow it to over-boil – take it off the stove a minute after it starts to bubble.

Separately, heat the oil. Once it’s hot, add the mustard seeds. When they splutter, add the curry leaves. Finally, pour this sauté into the pot of boiled rasam. Serve hot with rotlis or rice.

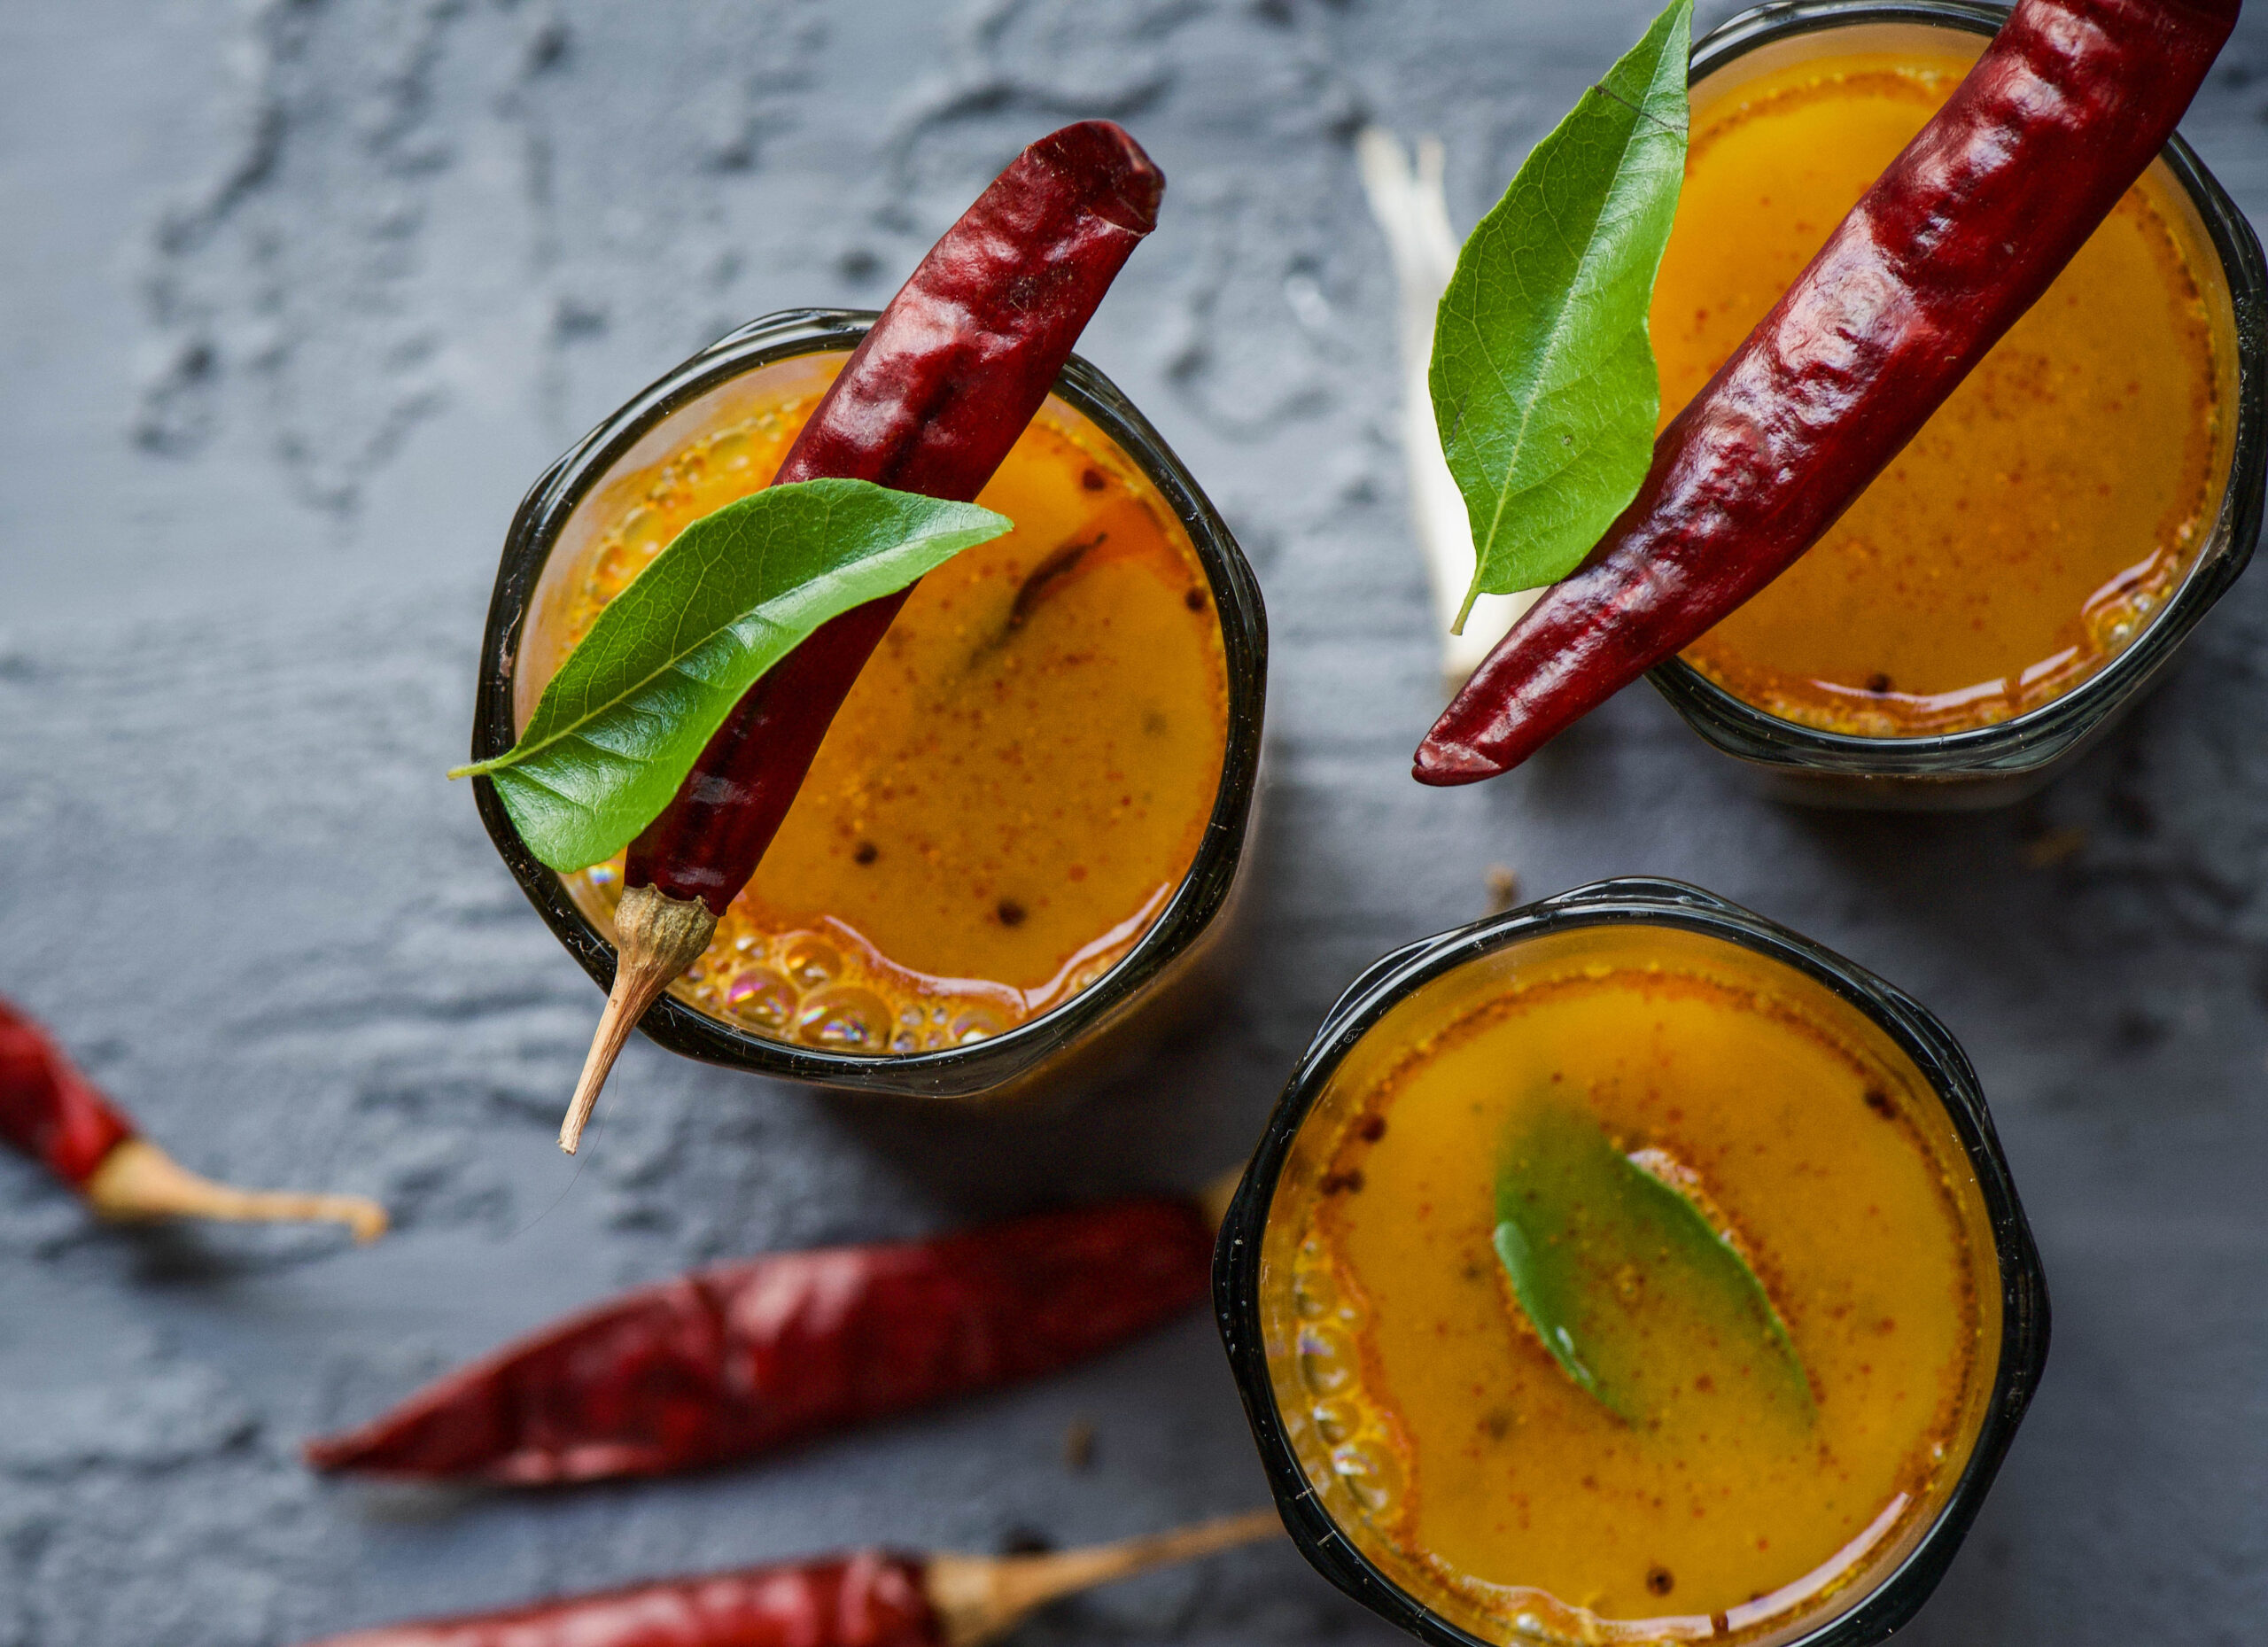
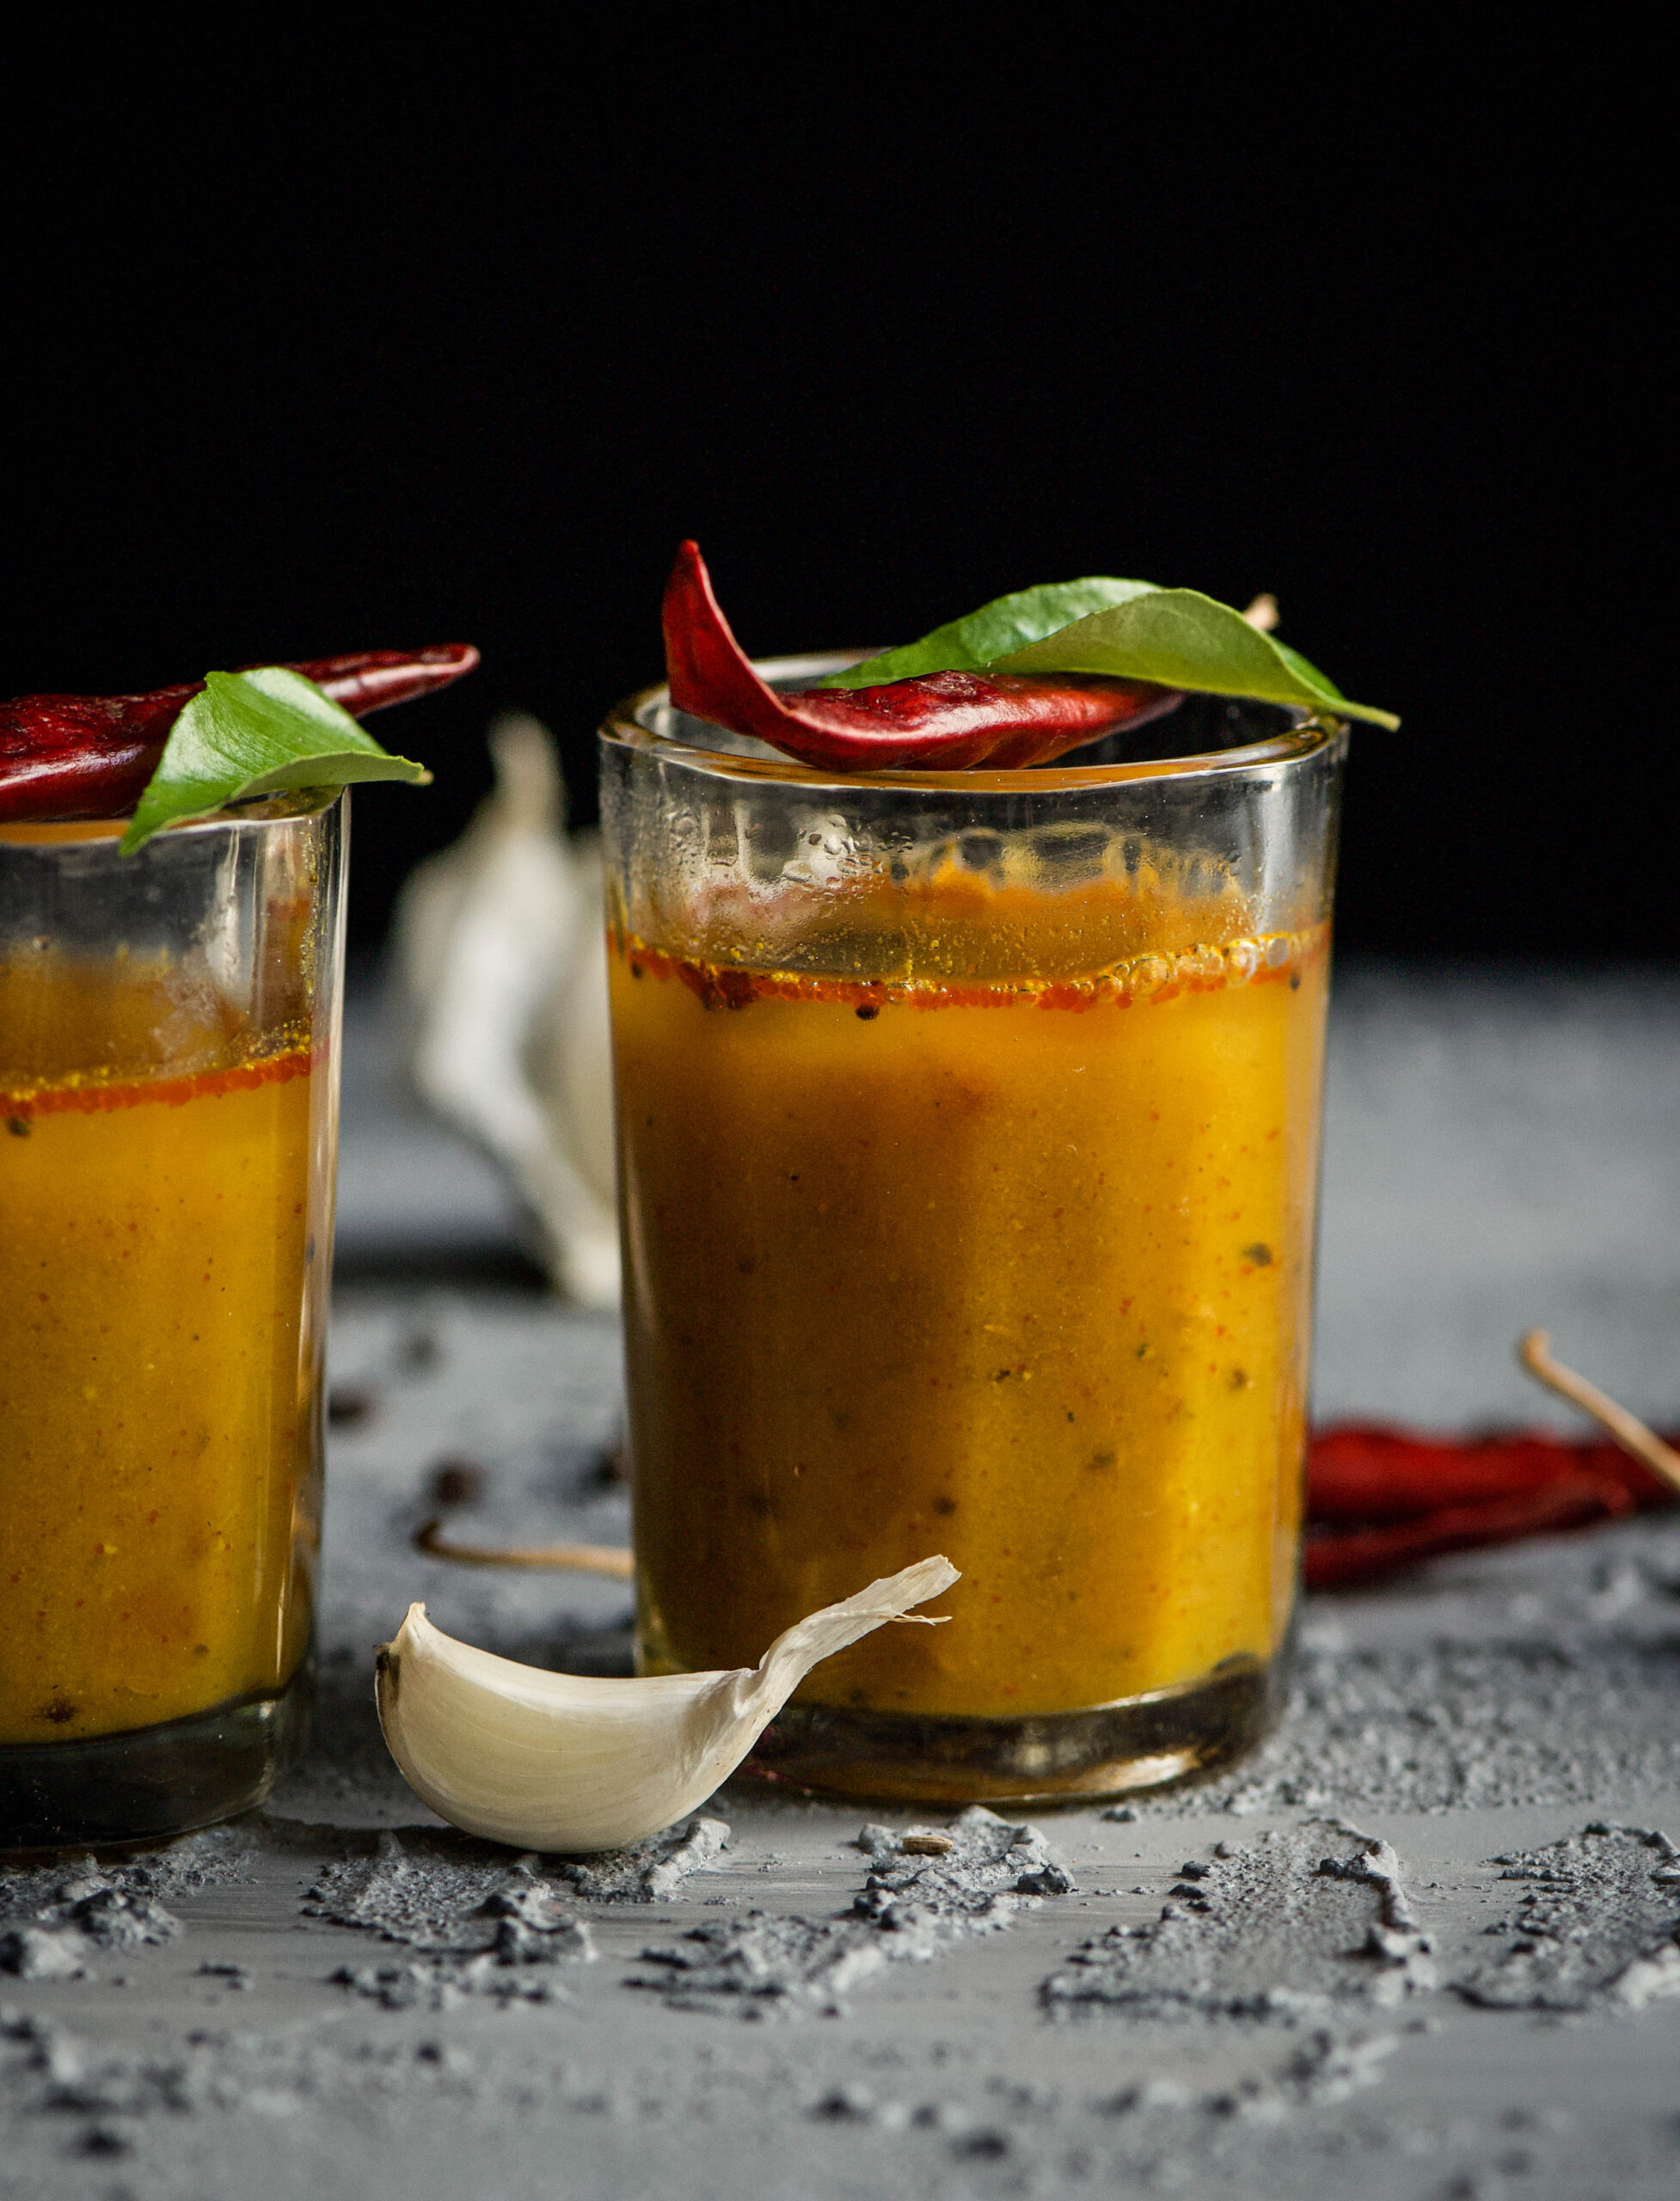
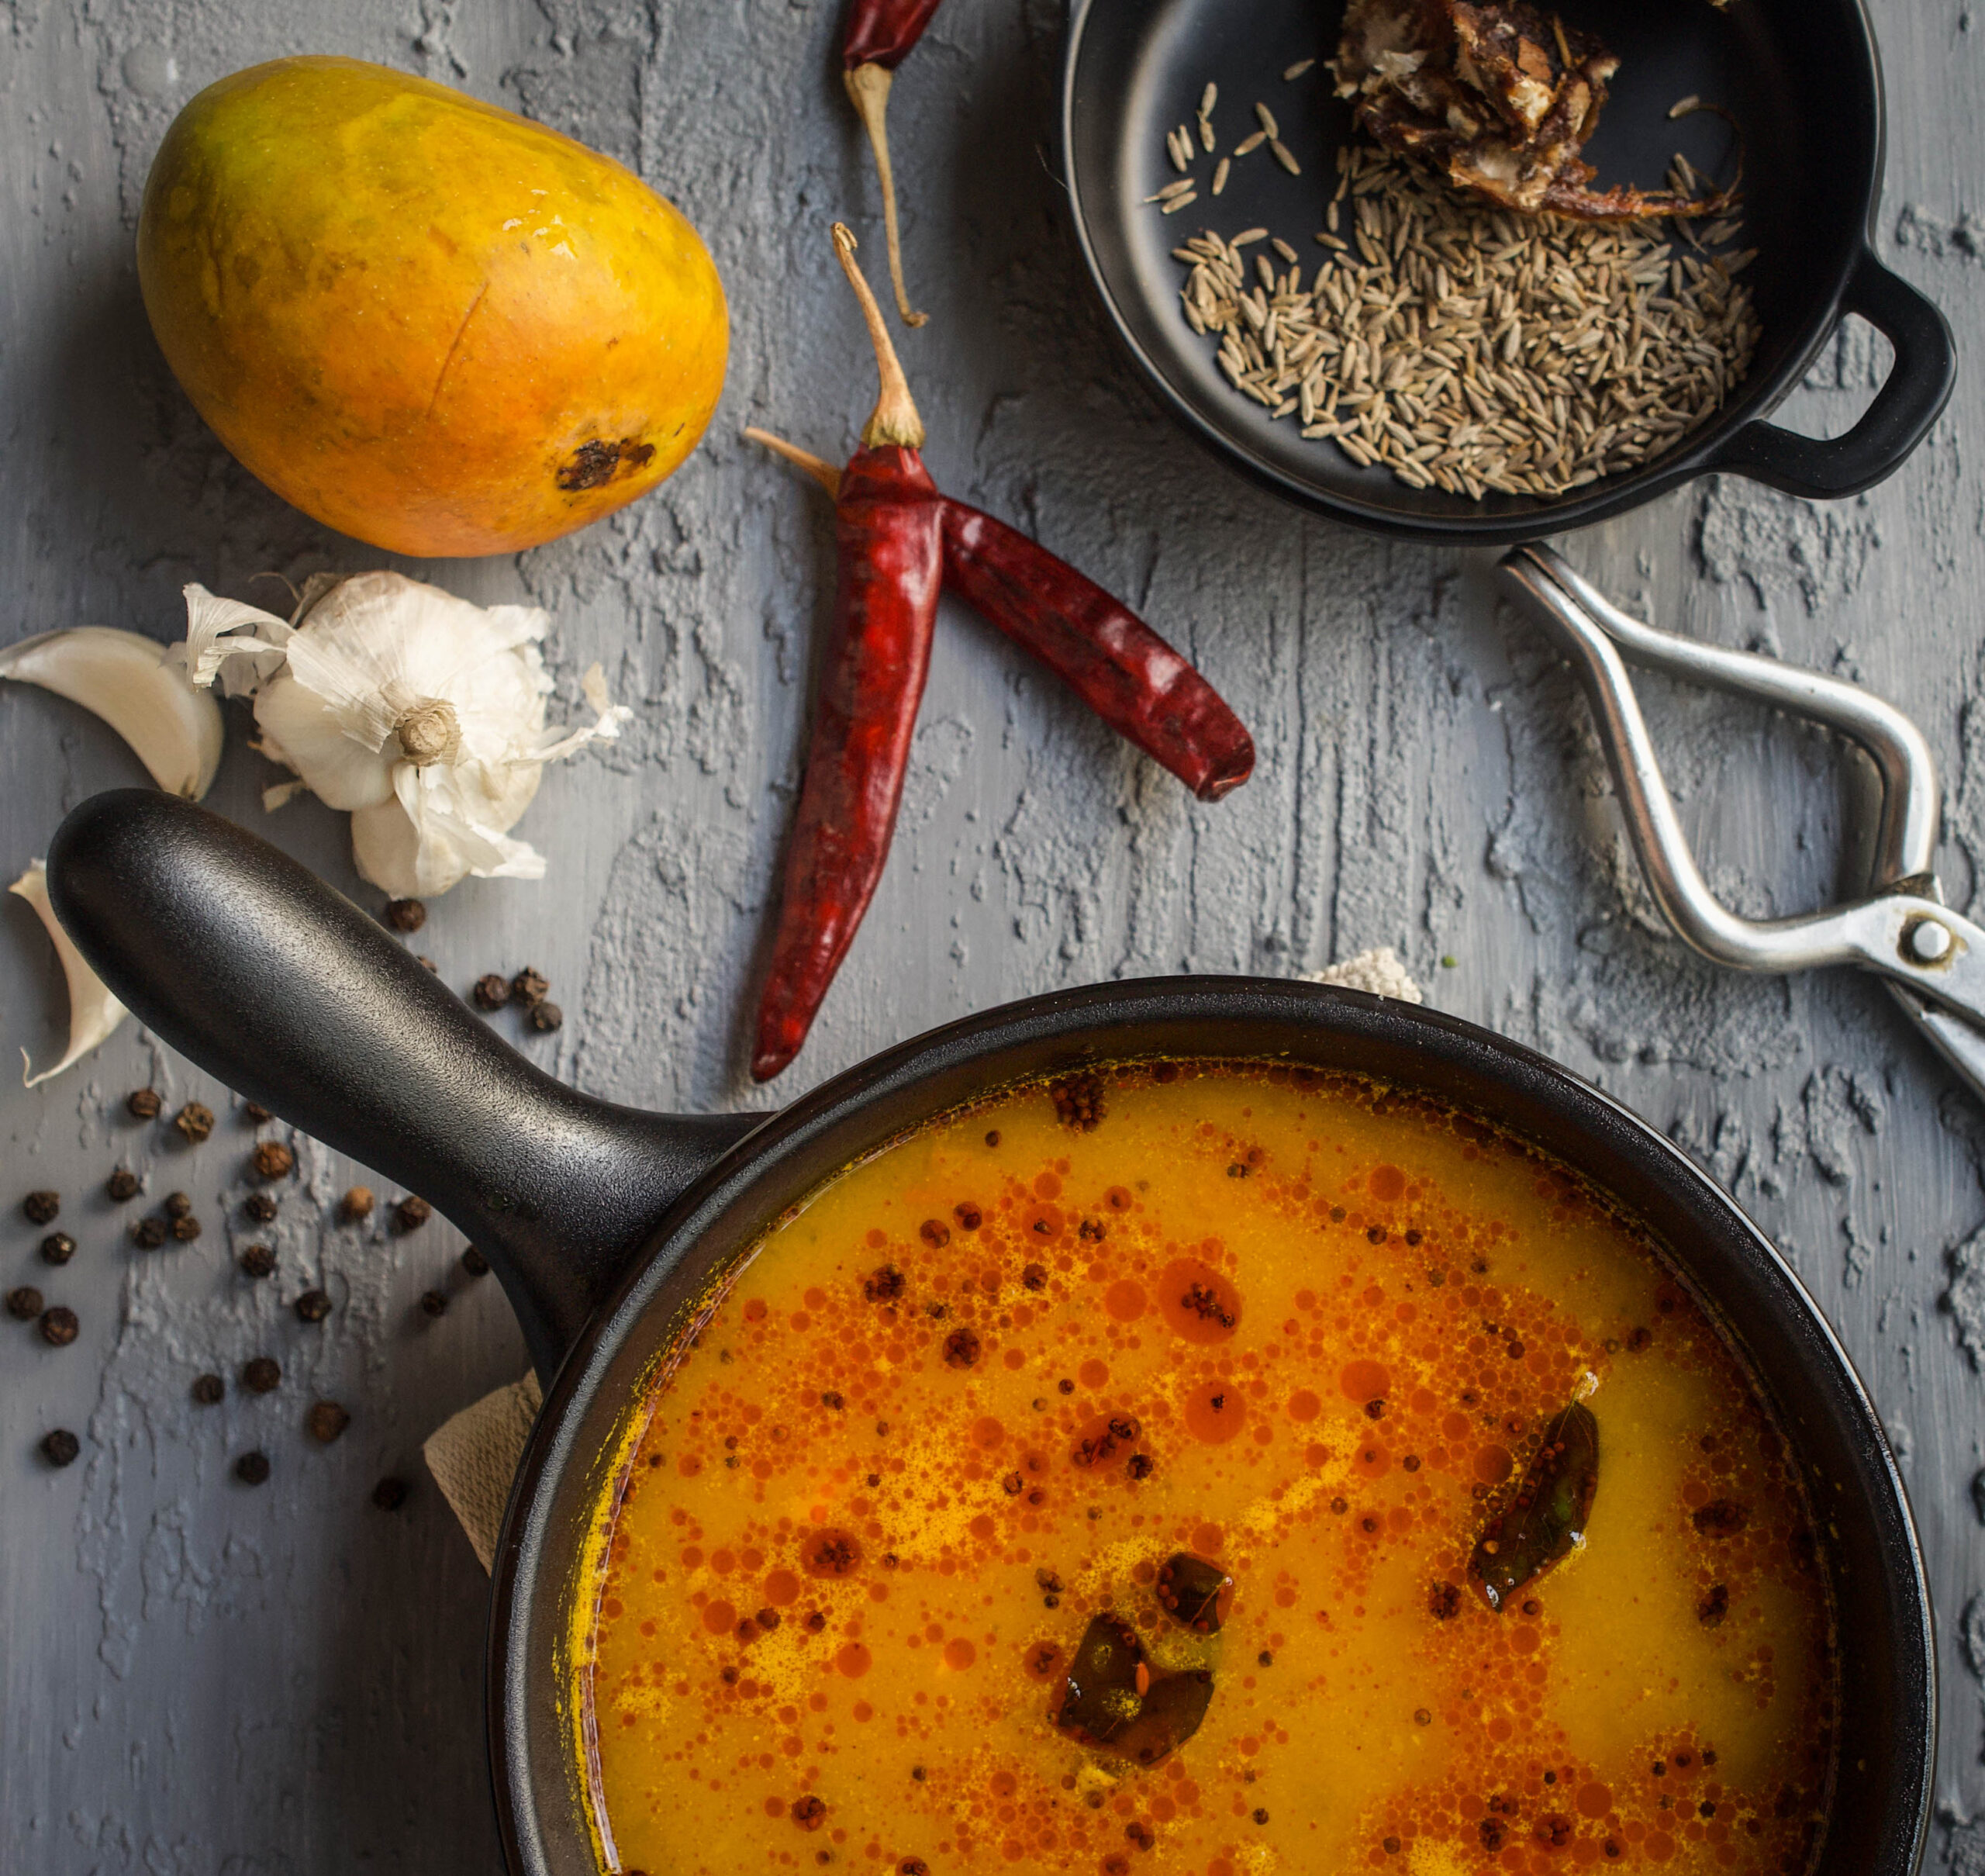
Look at that colour – simply irresistible. Every time I set up a photoshoot, I am dying to finish it so that I can eat whatever I’ve been shooting! All the more so when it’s something that should be eaten hot, like this rasam. There’s a particular joy in the question of whether to eat a little, then shoot, or shoot first and eat later. As I was pouring this vibrant, fragrant rasam into the vessel and styling it for my shoot, I decided I would wait. This time, anyway!


We don’t believe in wasting food in India. What had once been a pragmatic necessity – there could be no leftovers, because there were no fridges! – has settled into cultural practice. Respect for food is also an important part of our culture, so you’ll find that most families, regardless of economic background, will try their best to never let a meal go to waste. From practical concerns like the lack of cold storage or having to be sparing with expenses, a whole sub-genre of cuisines was developed. Dishes that exist because of other dishes – and which some say taste even better in the second round.

The traditional Gujarati lunch is known as a thaali, and comprises of rice, rotli, dal and a vegetable. This is the basic variant – to this, some may add a sweet or a second vegetable as a staple. If there was a sufficient amount of dal and rotli left over from lunch, you could be sure that dinner that evening would be dal dhokli.

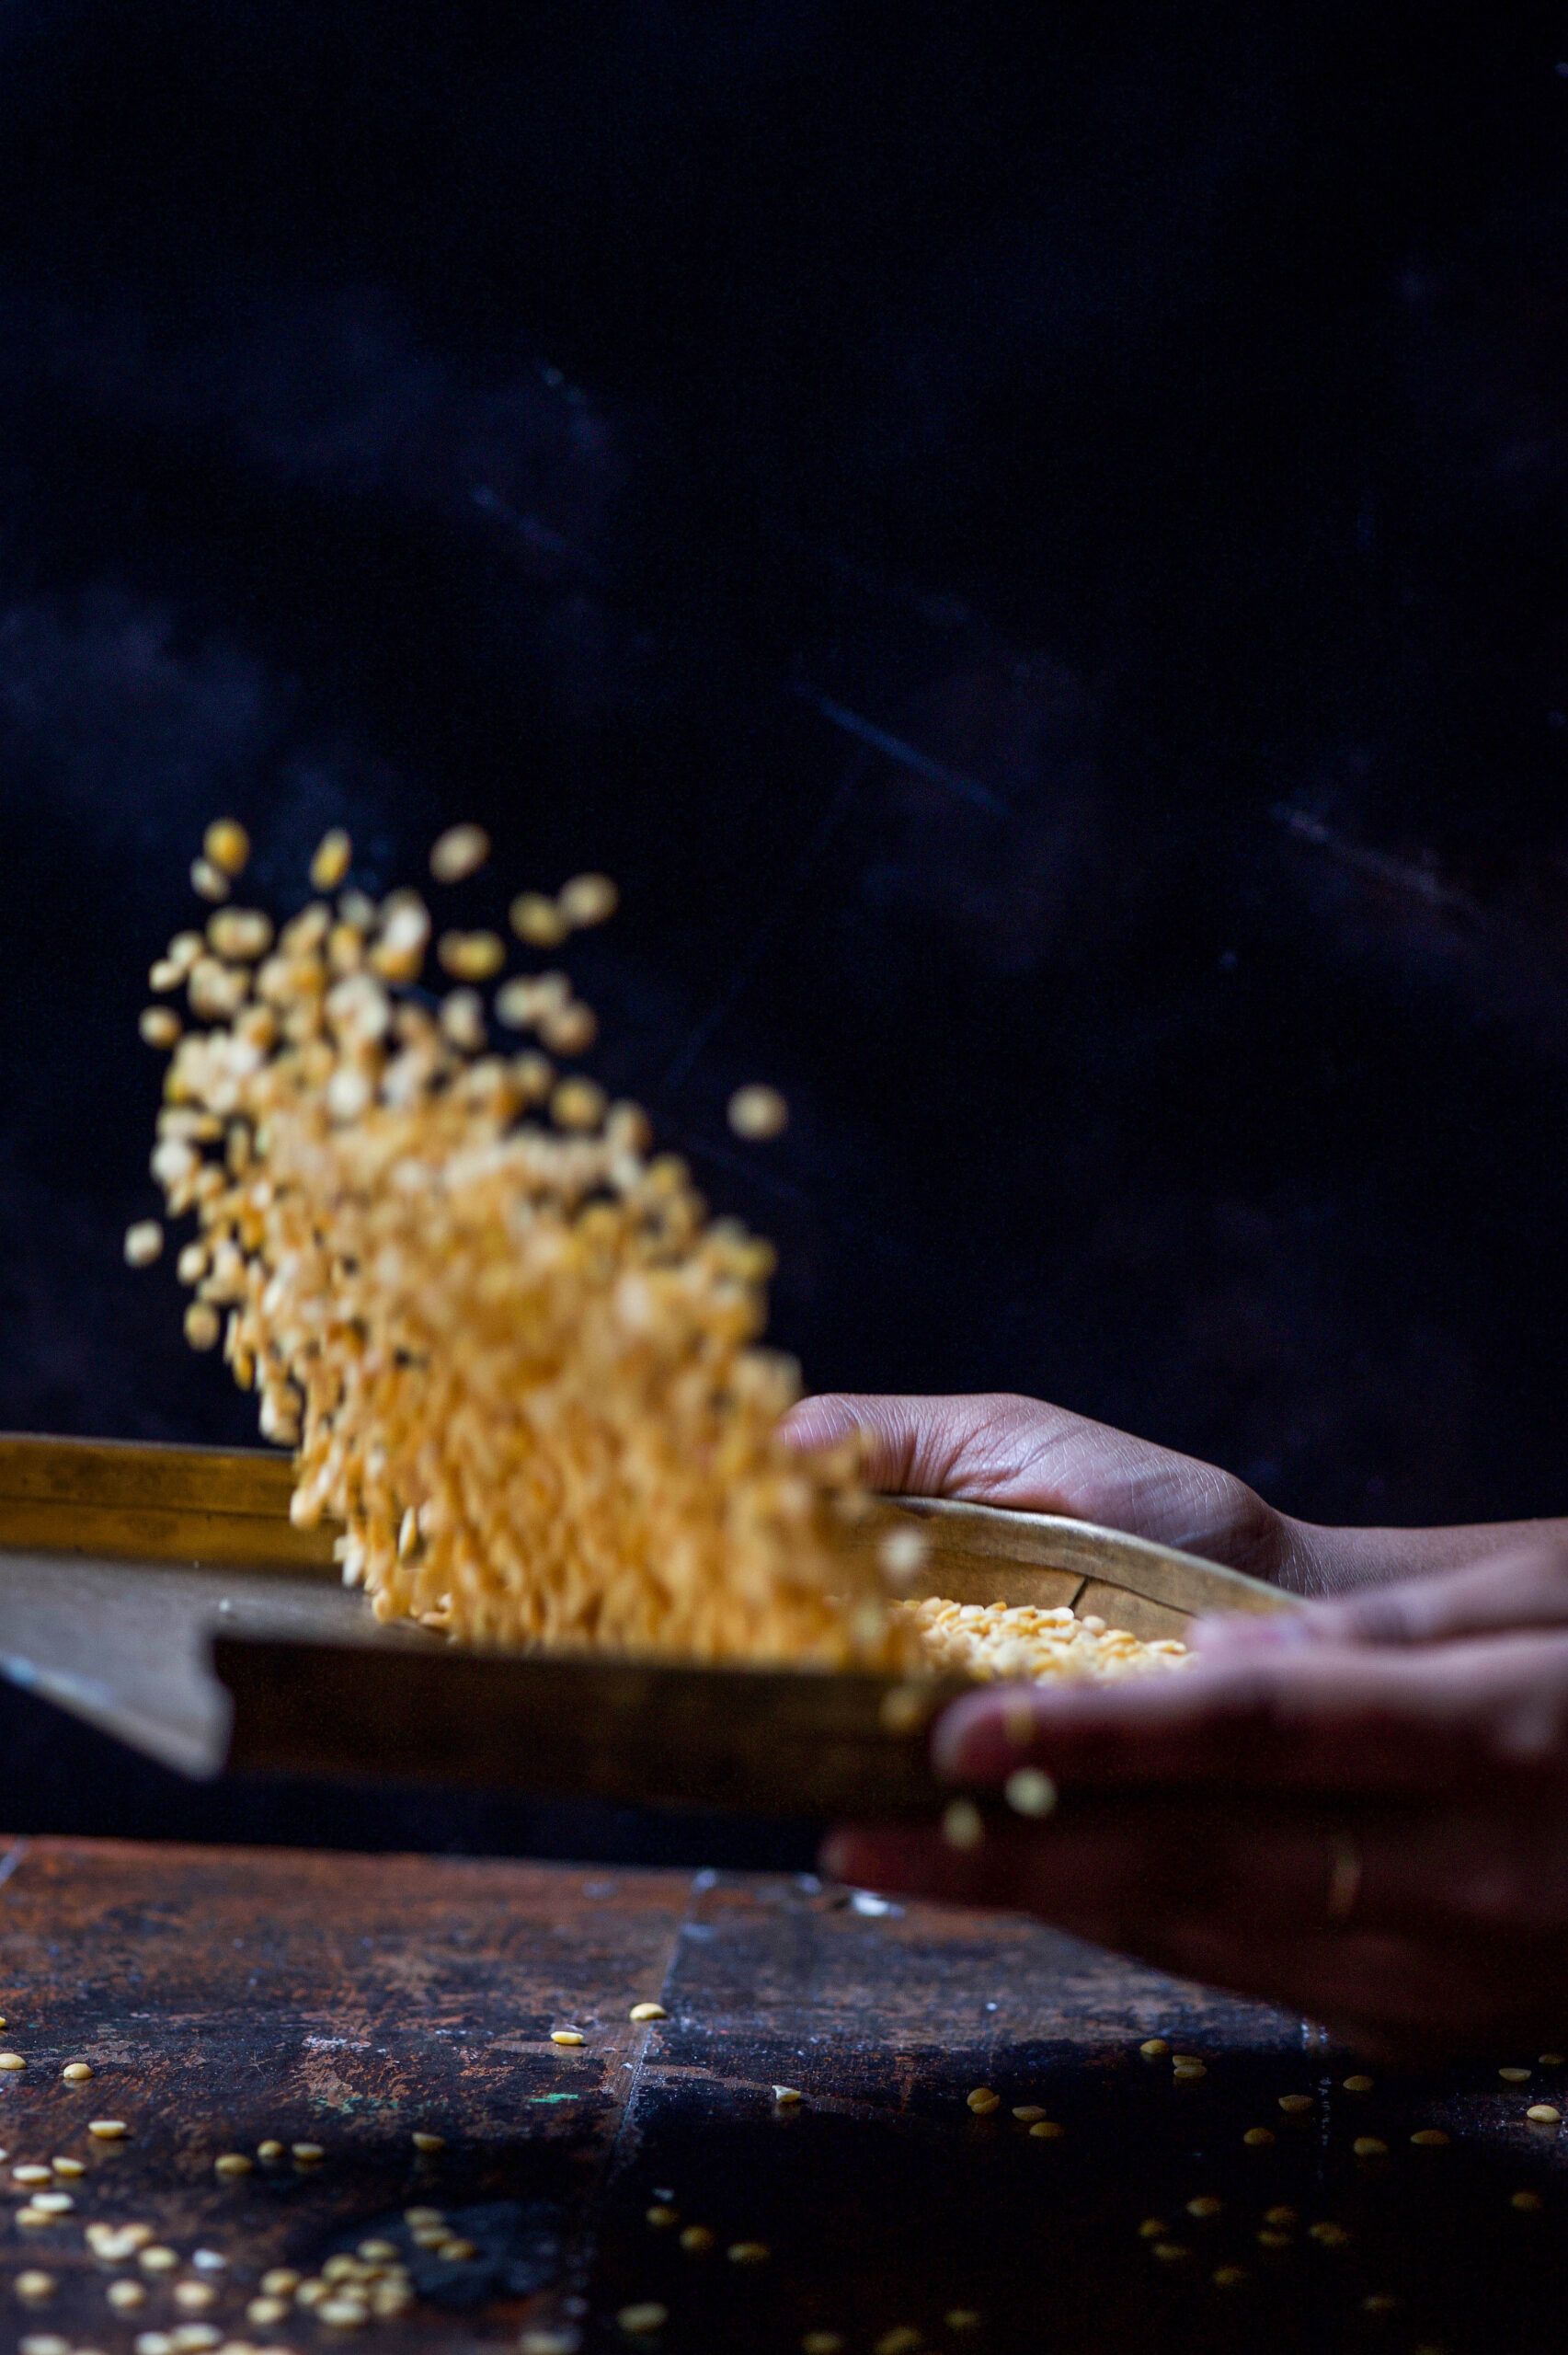
Dal dhokli is a meal in a bowl, a stew-like dish. To make it using leftovers, simply tear the rotli into pieces, add it to the daal and heat them up. What I’d like to share with you today, however, is a from-scratch variation on the classic.

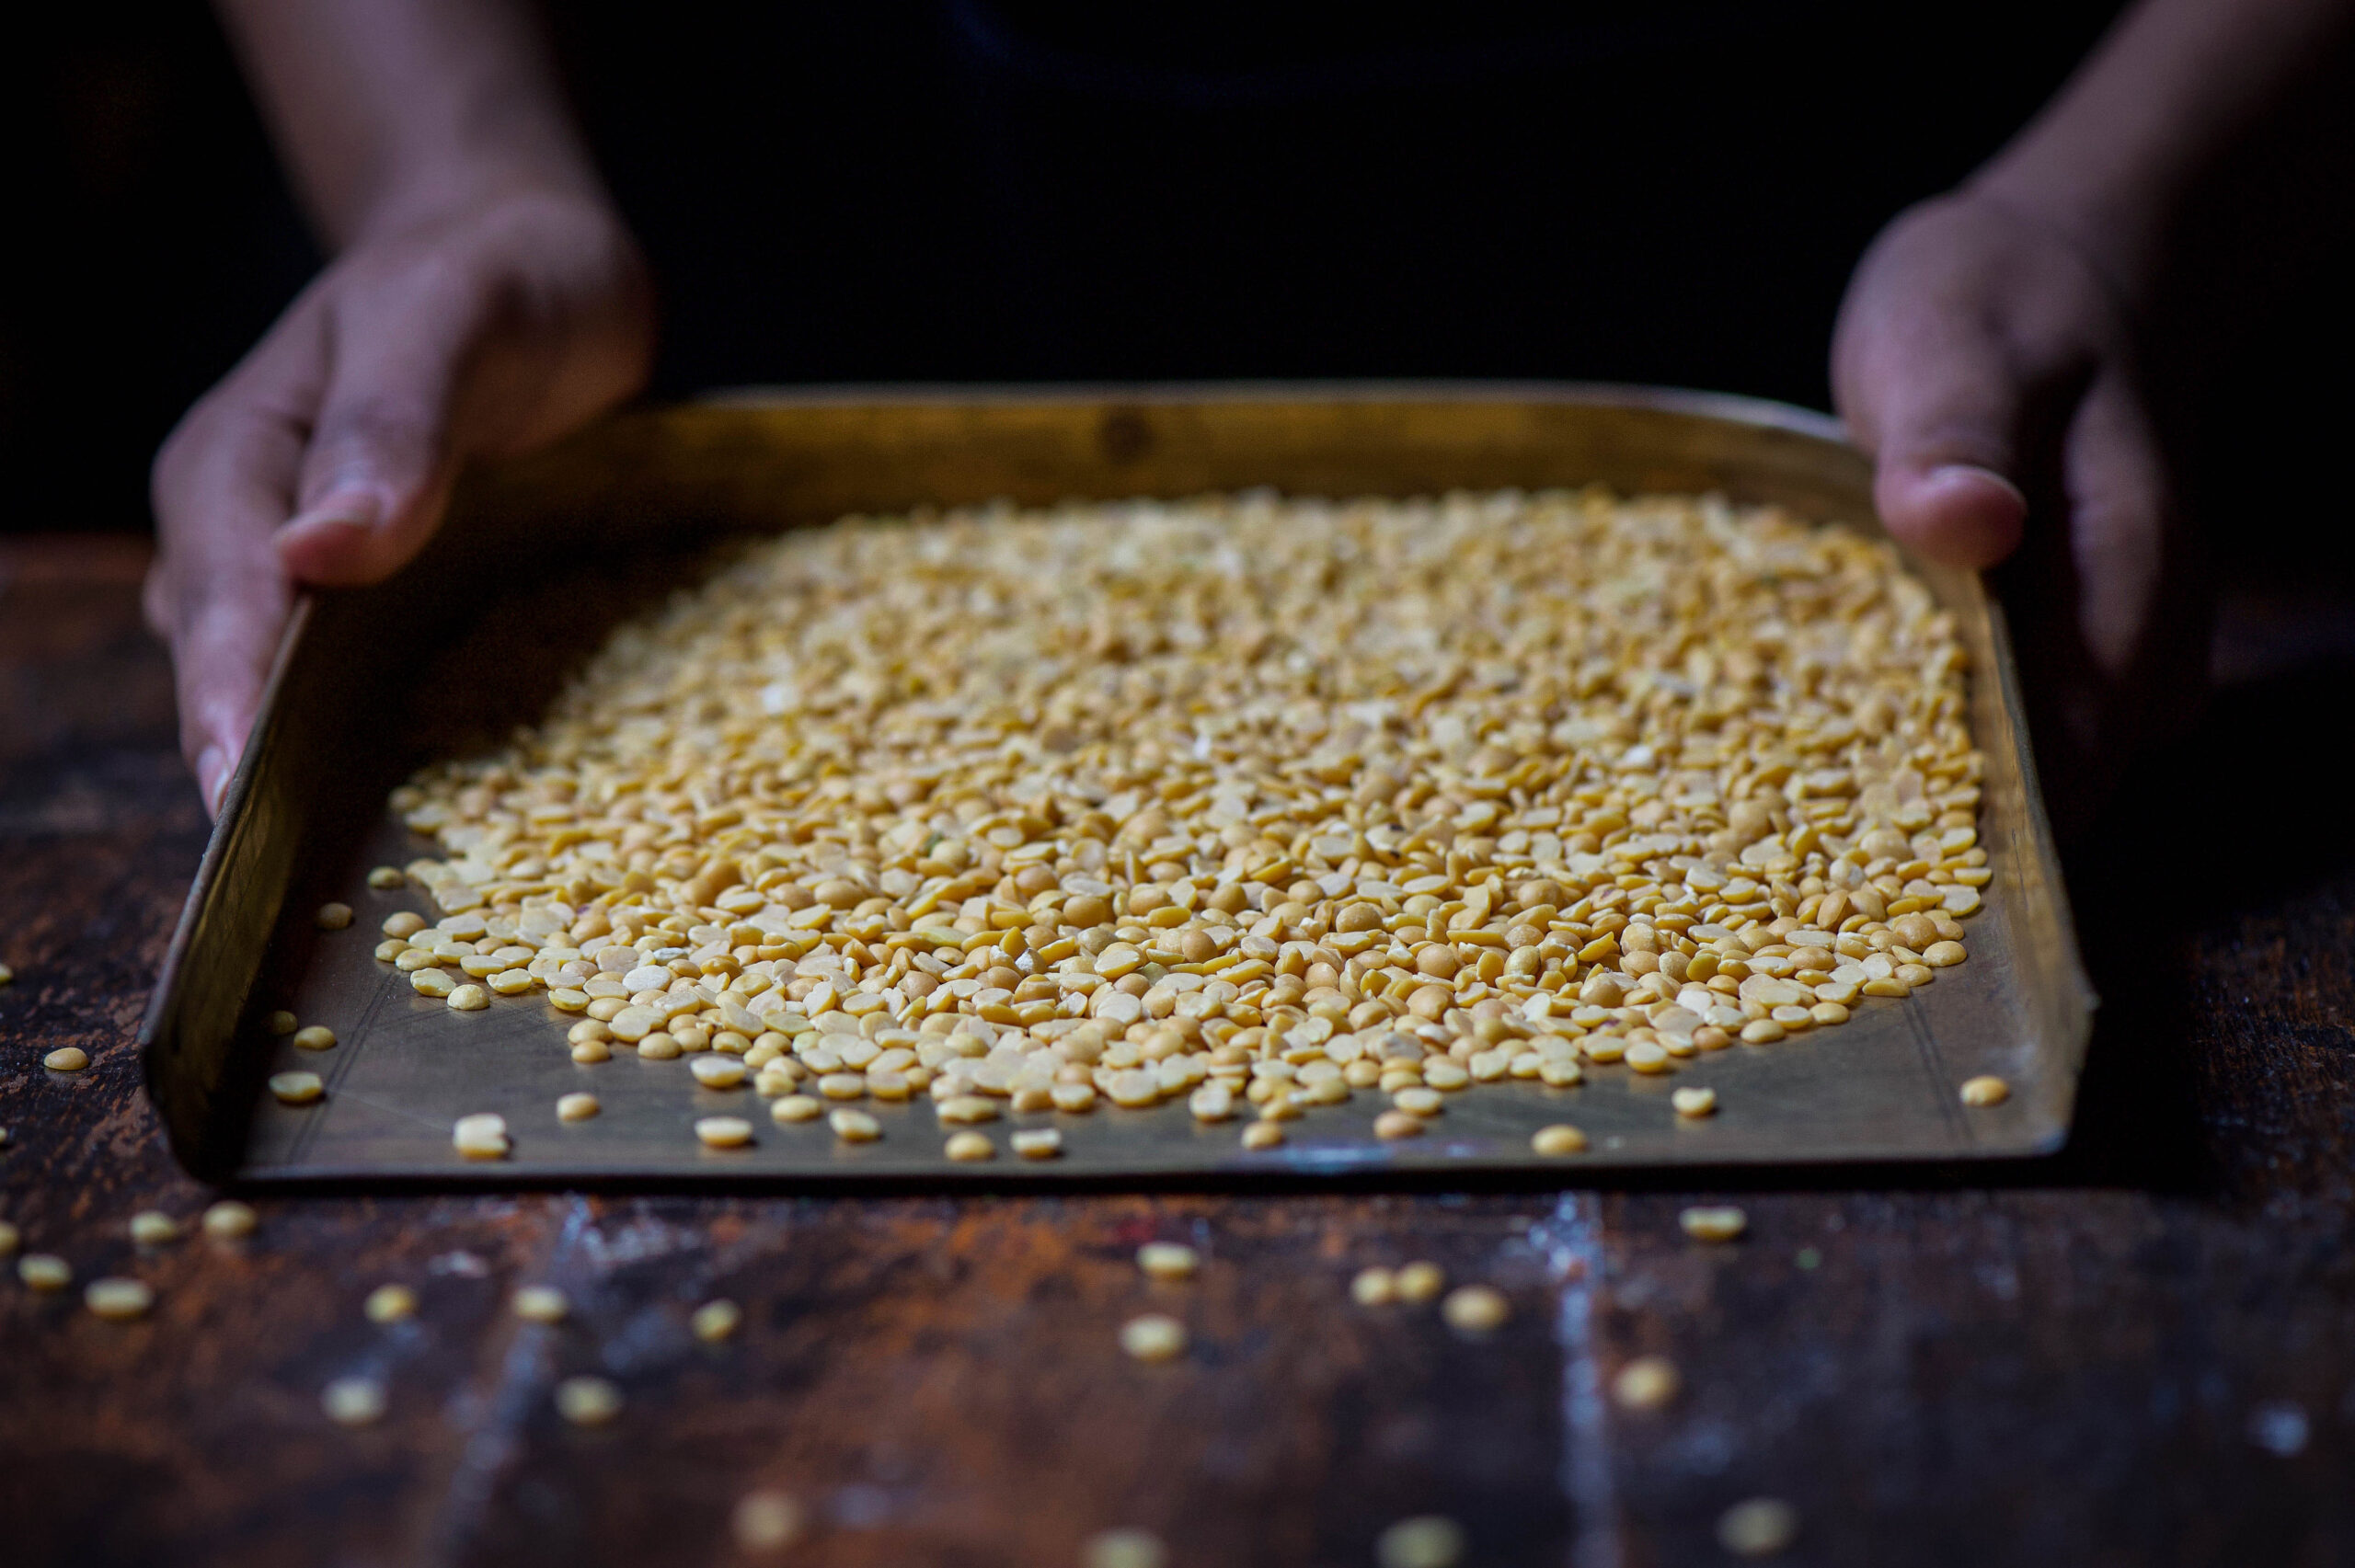
“Dal” (or “daal”/”dhal” if you prefer) is a catch-all term for split pulses, which are notably protein-rich and therefore a vital part of vegetarian diets in India. Lentils and legumes have made several appearances on this blog, such as rajma in this vegan chilli recipe and  green moong in this street food-inspired chaat recipe. For this re:store style dal dhokli recipe, the dal I’ve used is the popular toor dal, also known as pigeon pea. Toor dal is available year-round, while some other dals are eaten seasonally, such as the heavier channa and urad dals in winter. It’s the main ingredient of sambar, which makes it a staple in South Indian kitchens, and is known as thuvaram paruppu in Tamil.

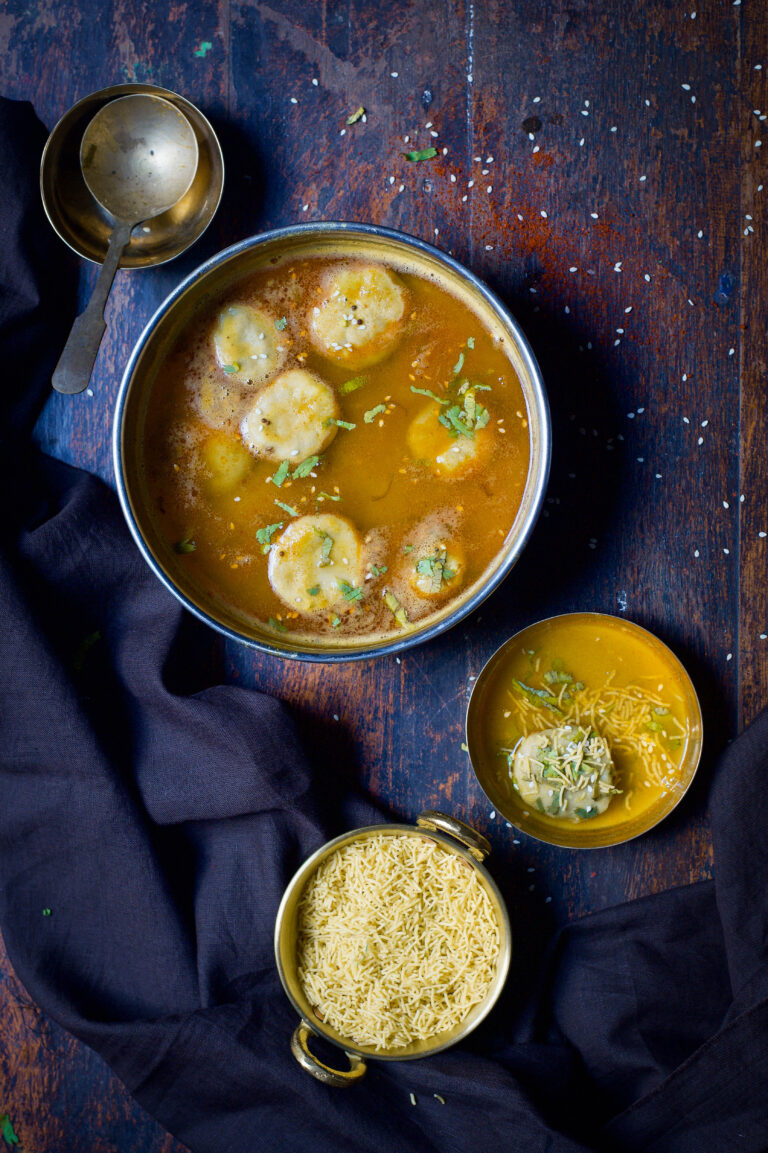
My version of dal dhokli, made fresh and with a stuffing, is what my sister calls “Indian ravioli”. Despite this chic comparison, it is made of the simplest ingredients – accessible, affordable and always familiar.


Dal Dhokli

(Yield: 3-5 servings)

Ingredients

Dal

¼  cup dal
4-5 cups water
2 teaspoon cumin powder
¼ teaspoon turmeric powder
1 teaspoon coriander powder
½ teaspoon cumin seeds
Approximately 1 tablespoon jaggery
Juice of 1 lemon
Finely chopped coriander leaves
2 tablespoons peanuts
1 tablespoon ghee
¼ teaspoon mustard seeds
A pinch of asafoetida
Salt to taste


Wheat flour dough

½ cup wheat flour
1 tablespoon oil
2-4 tablespoons water
A pinch of salt


Green peas filling

1 cup green peas
1 teaspoon oil
1 tablespoon grated coconut
¼ teaspoon garam masala
Salt to taste


Cooking my ravioli-style daal dhokli requires the preparation of three items – dal, pastry dough and pea stuffing – followed by their assembly. Please note the separate ingredients for each part, above.

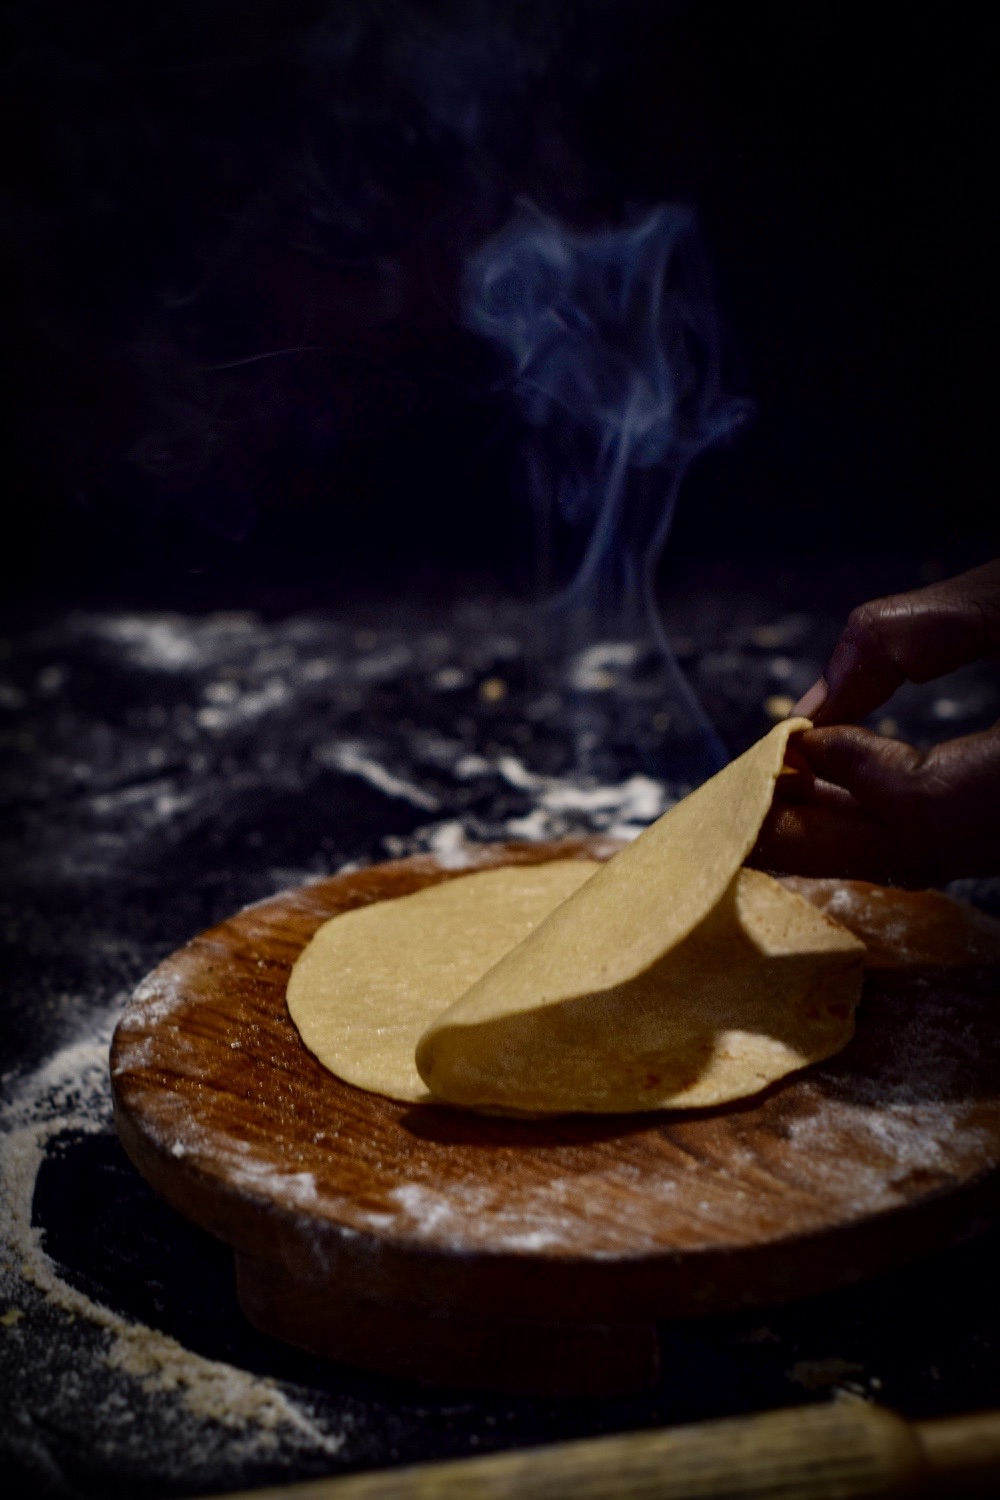
Make a dough with all ingredients listed for the same. It will be a little tight to the touch and smooth. Keep aside.

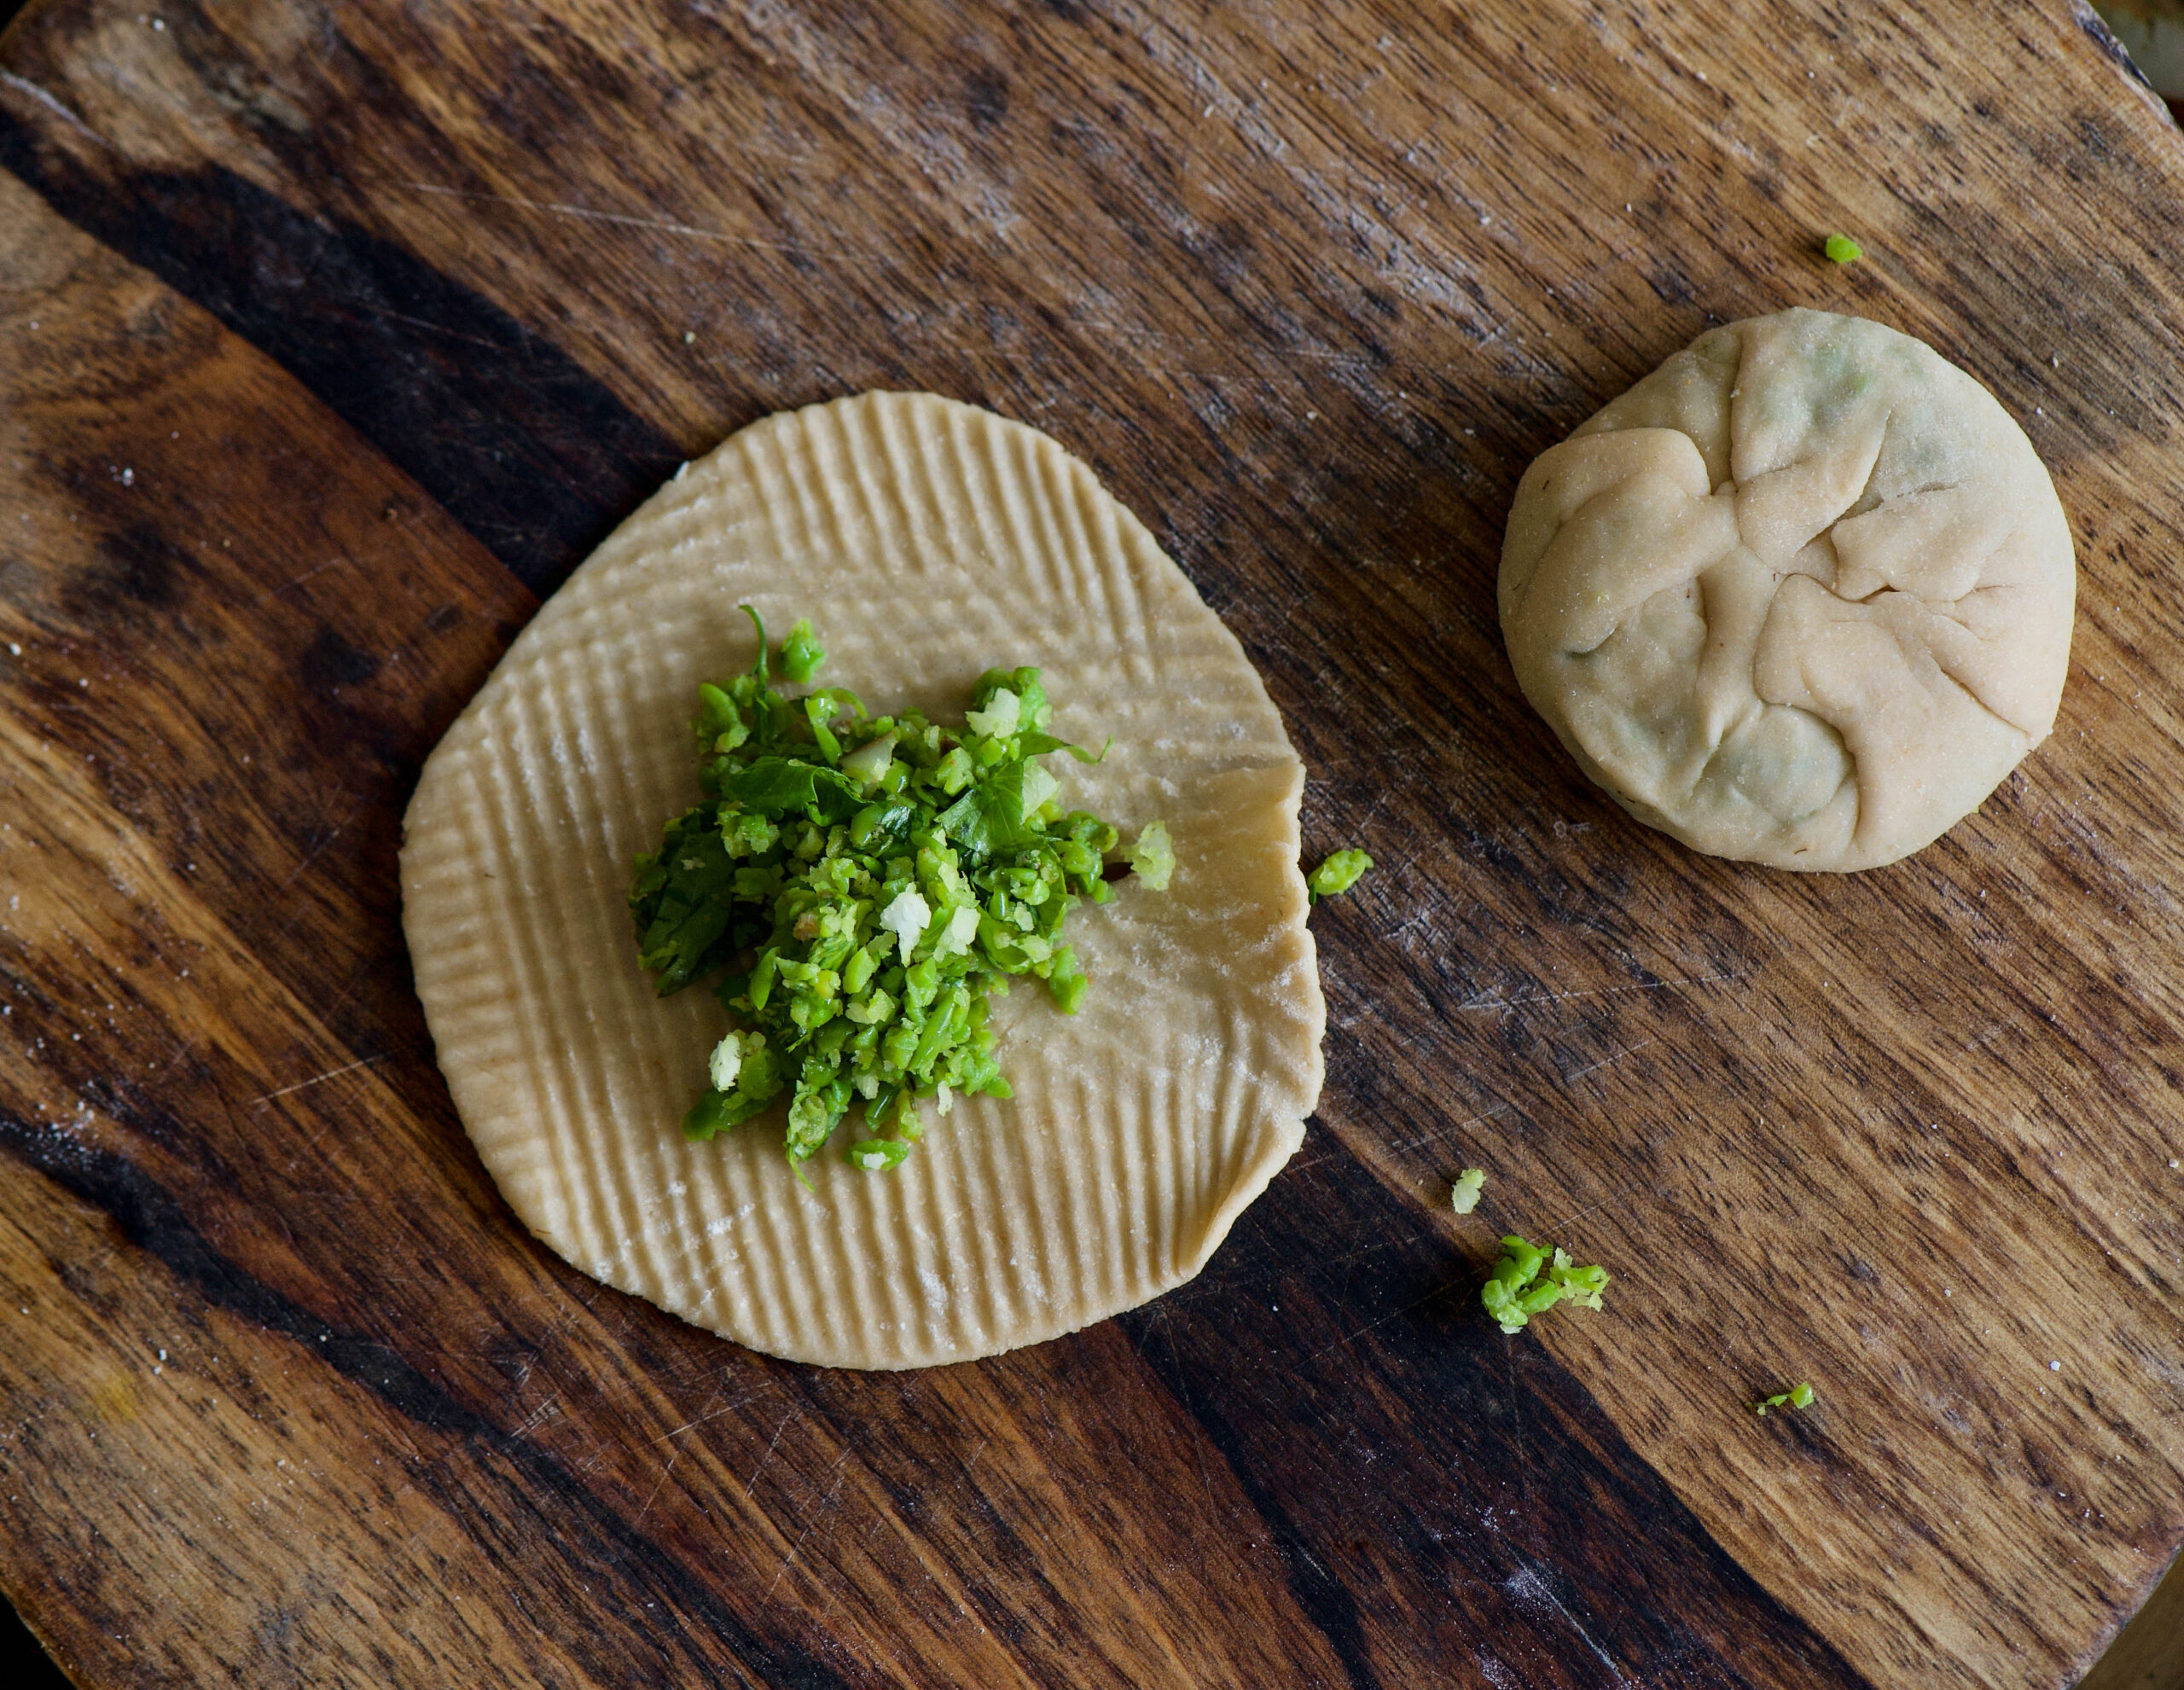
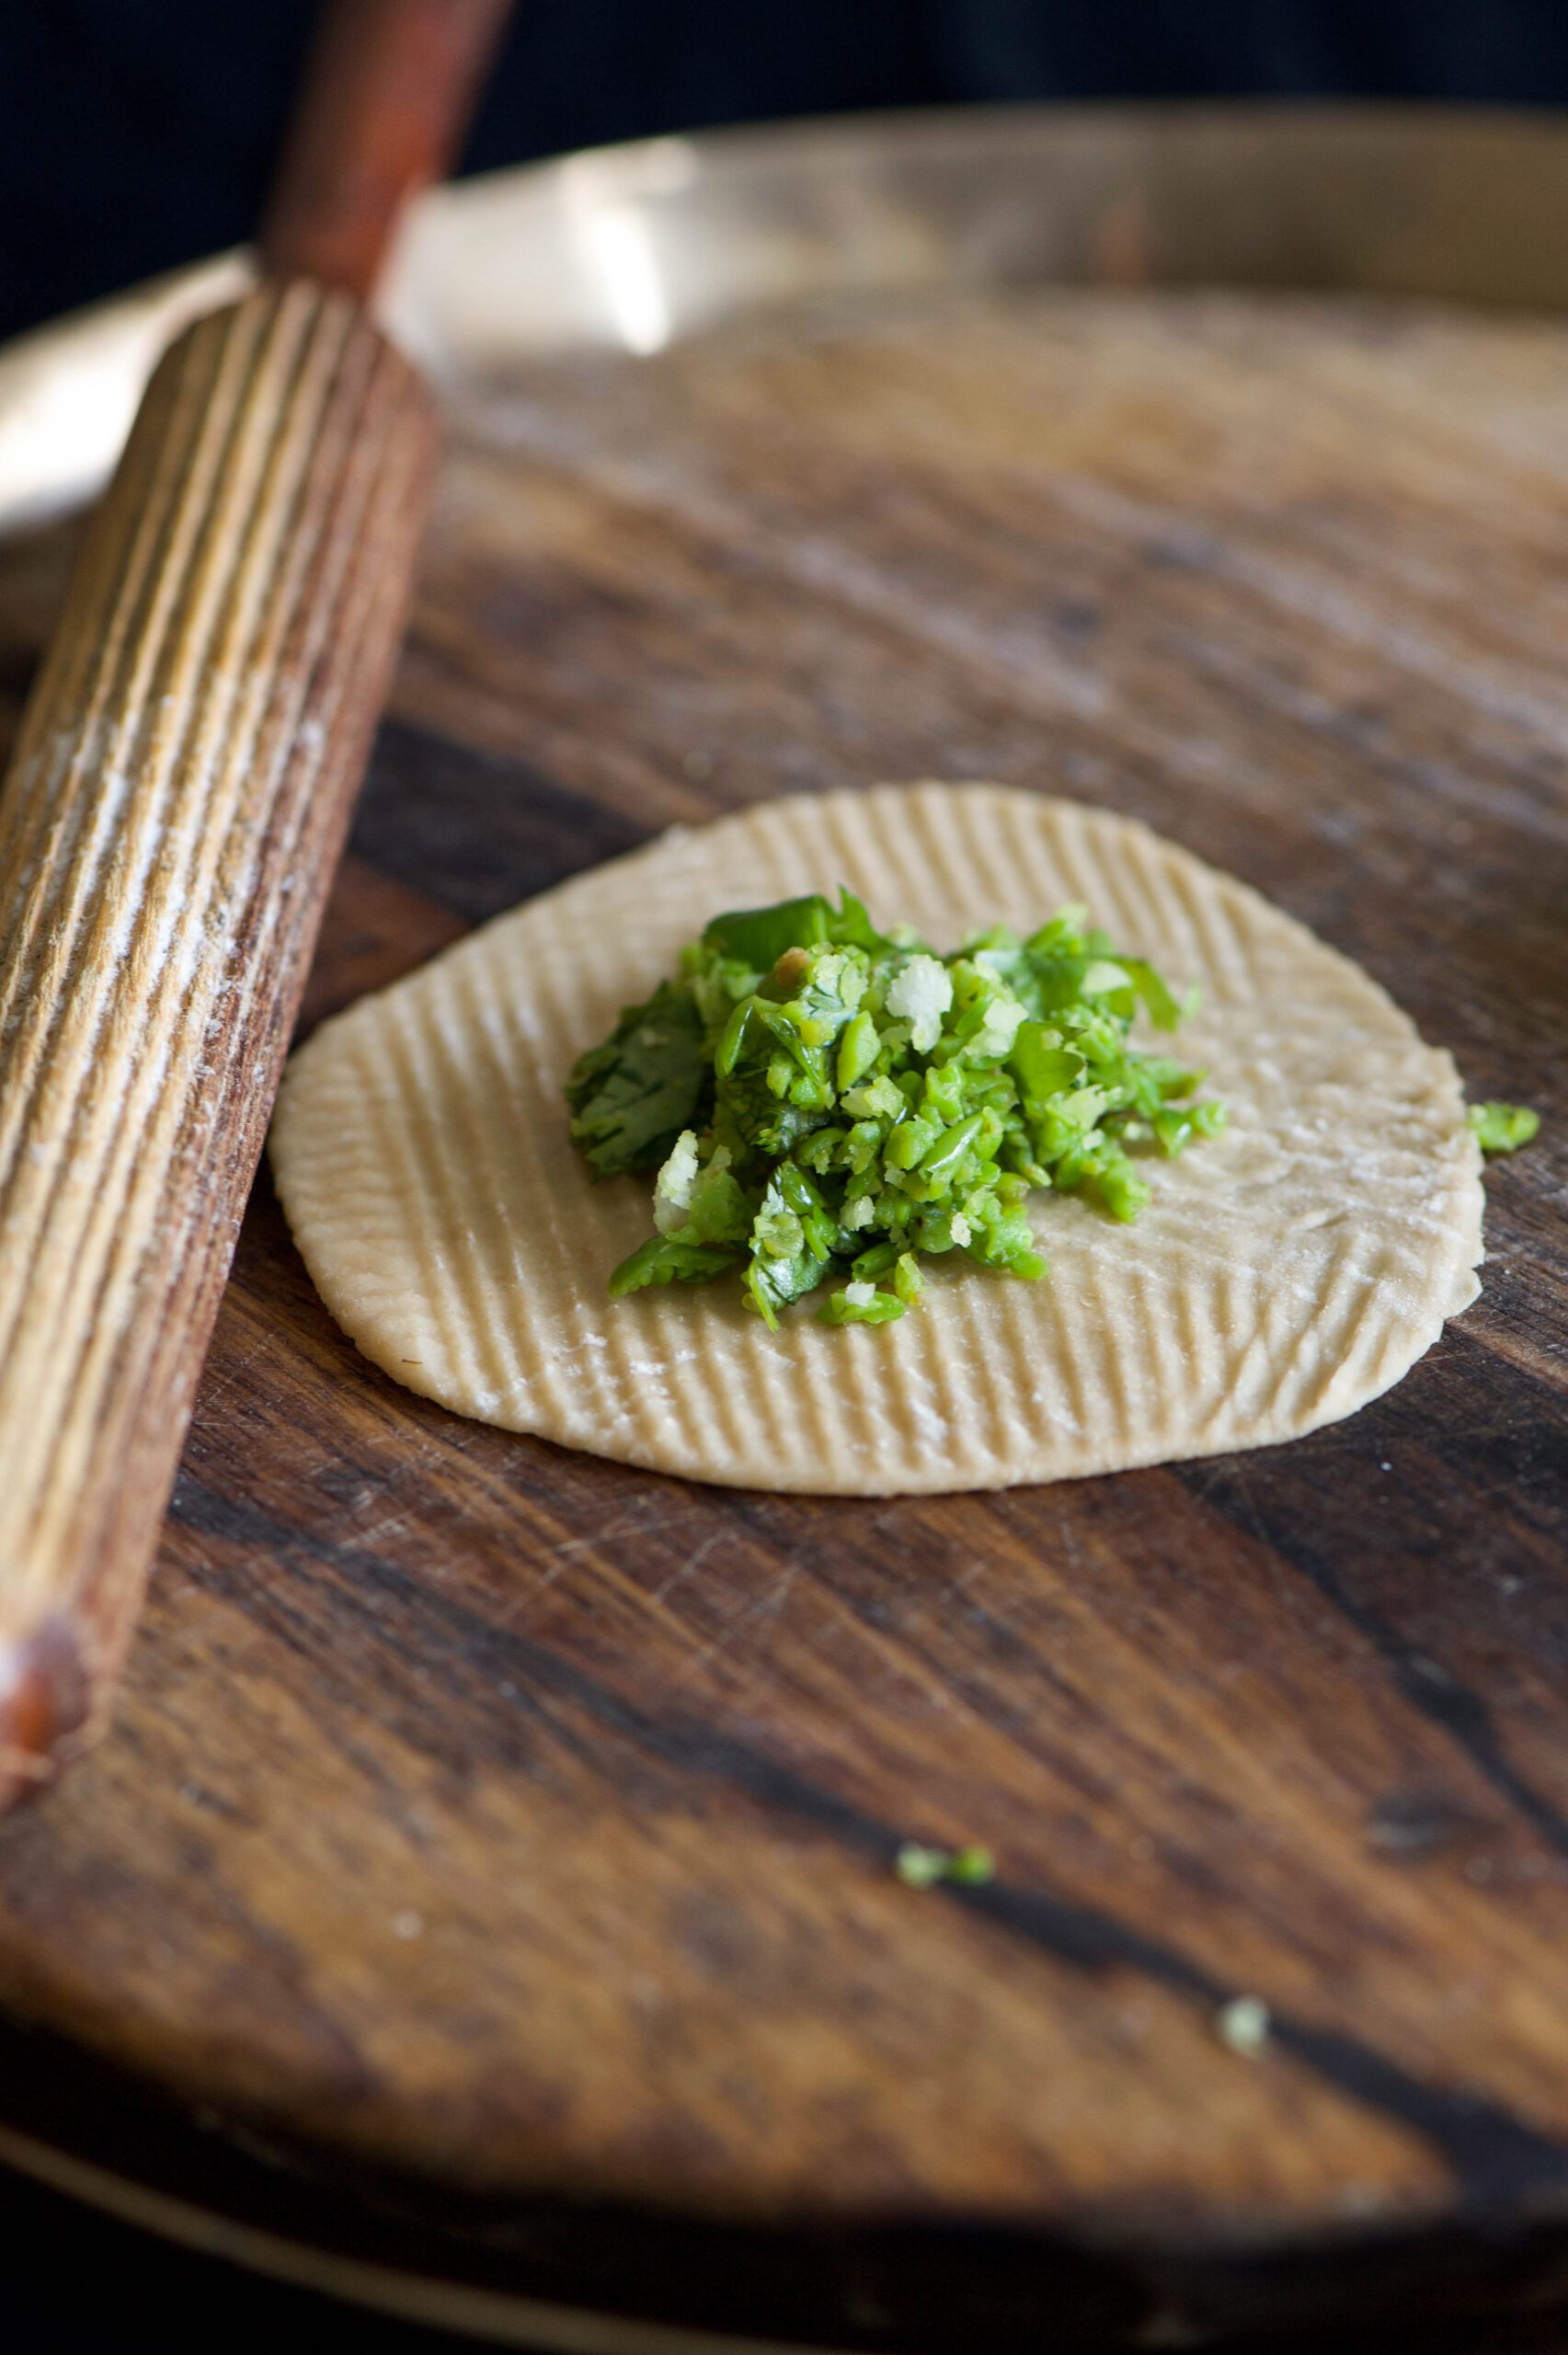
Crush the green peas partially. In a hot pan, pour the oil then add the crushed green peas. Stir the peas on a medium flame so that they do not stick to the bottom. Add the salt and masala and stir for 3-4 minutes. Now switch off the flame and finally add the coconut. Stir gently and keep aside to cool.

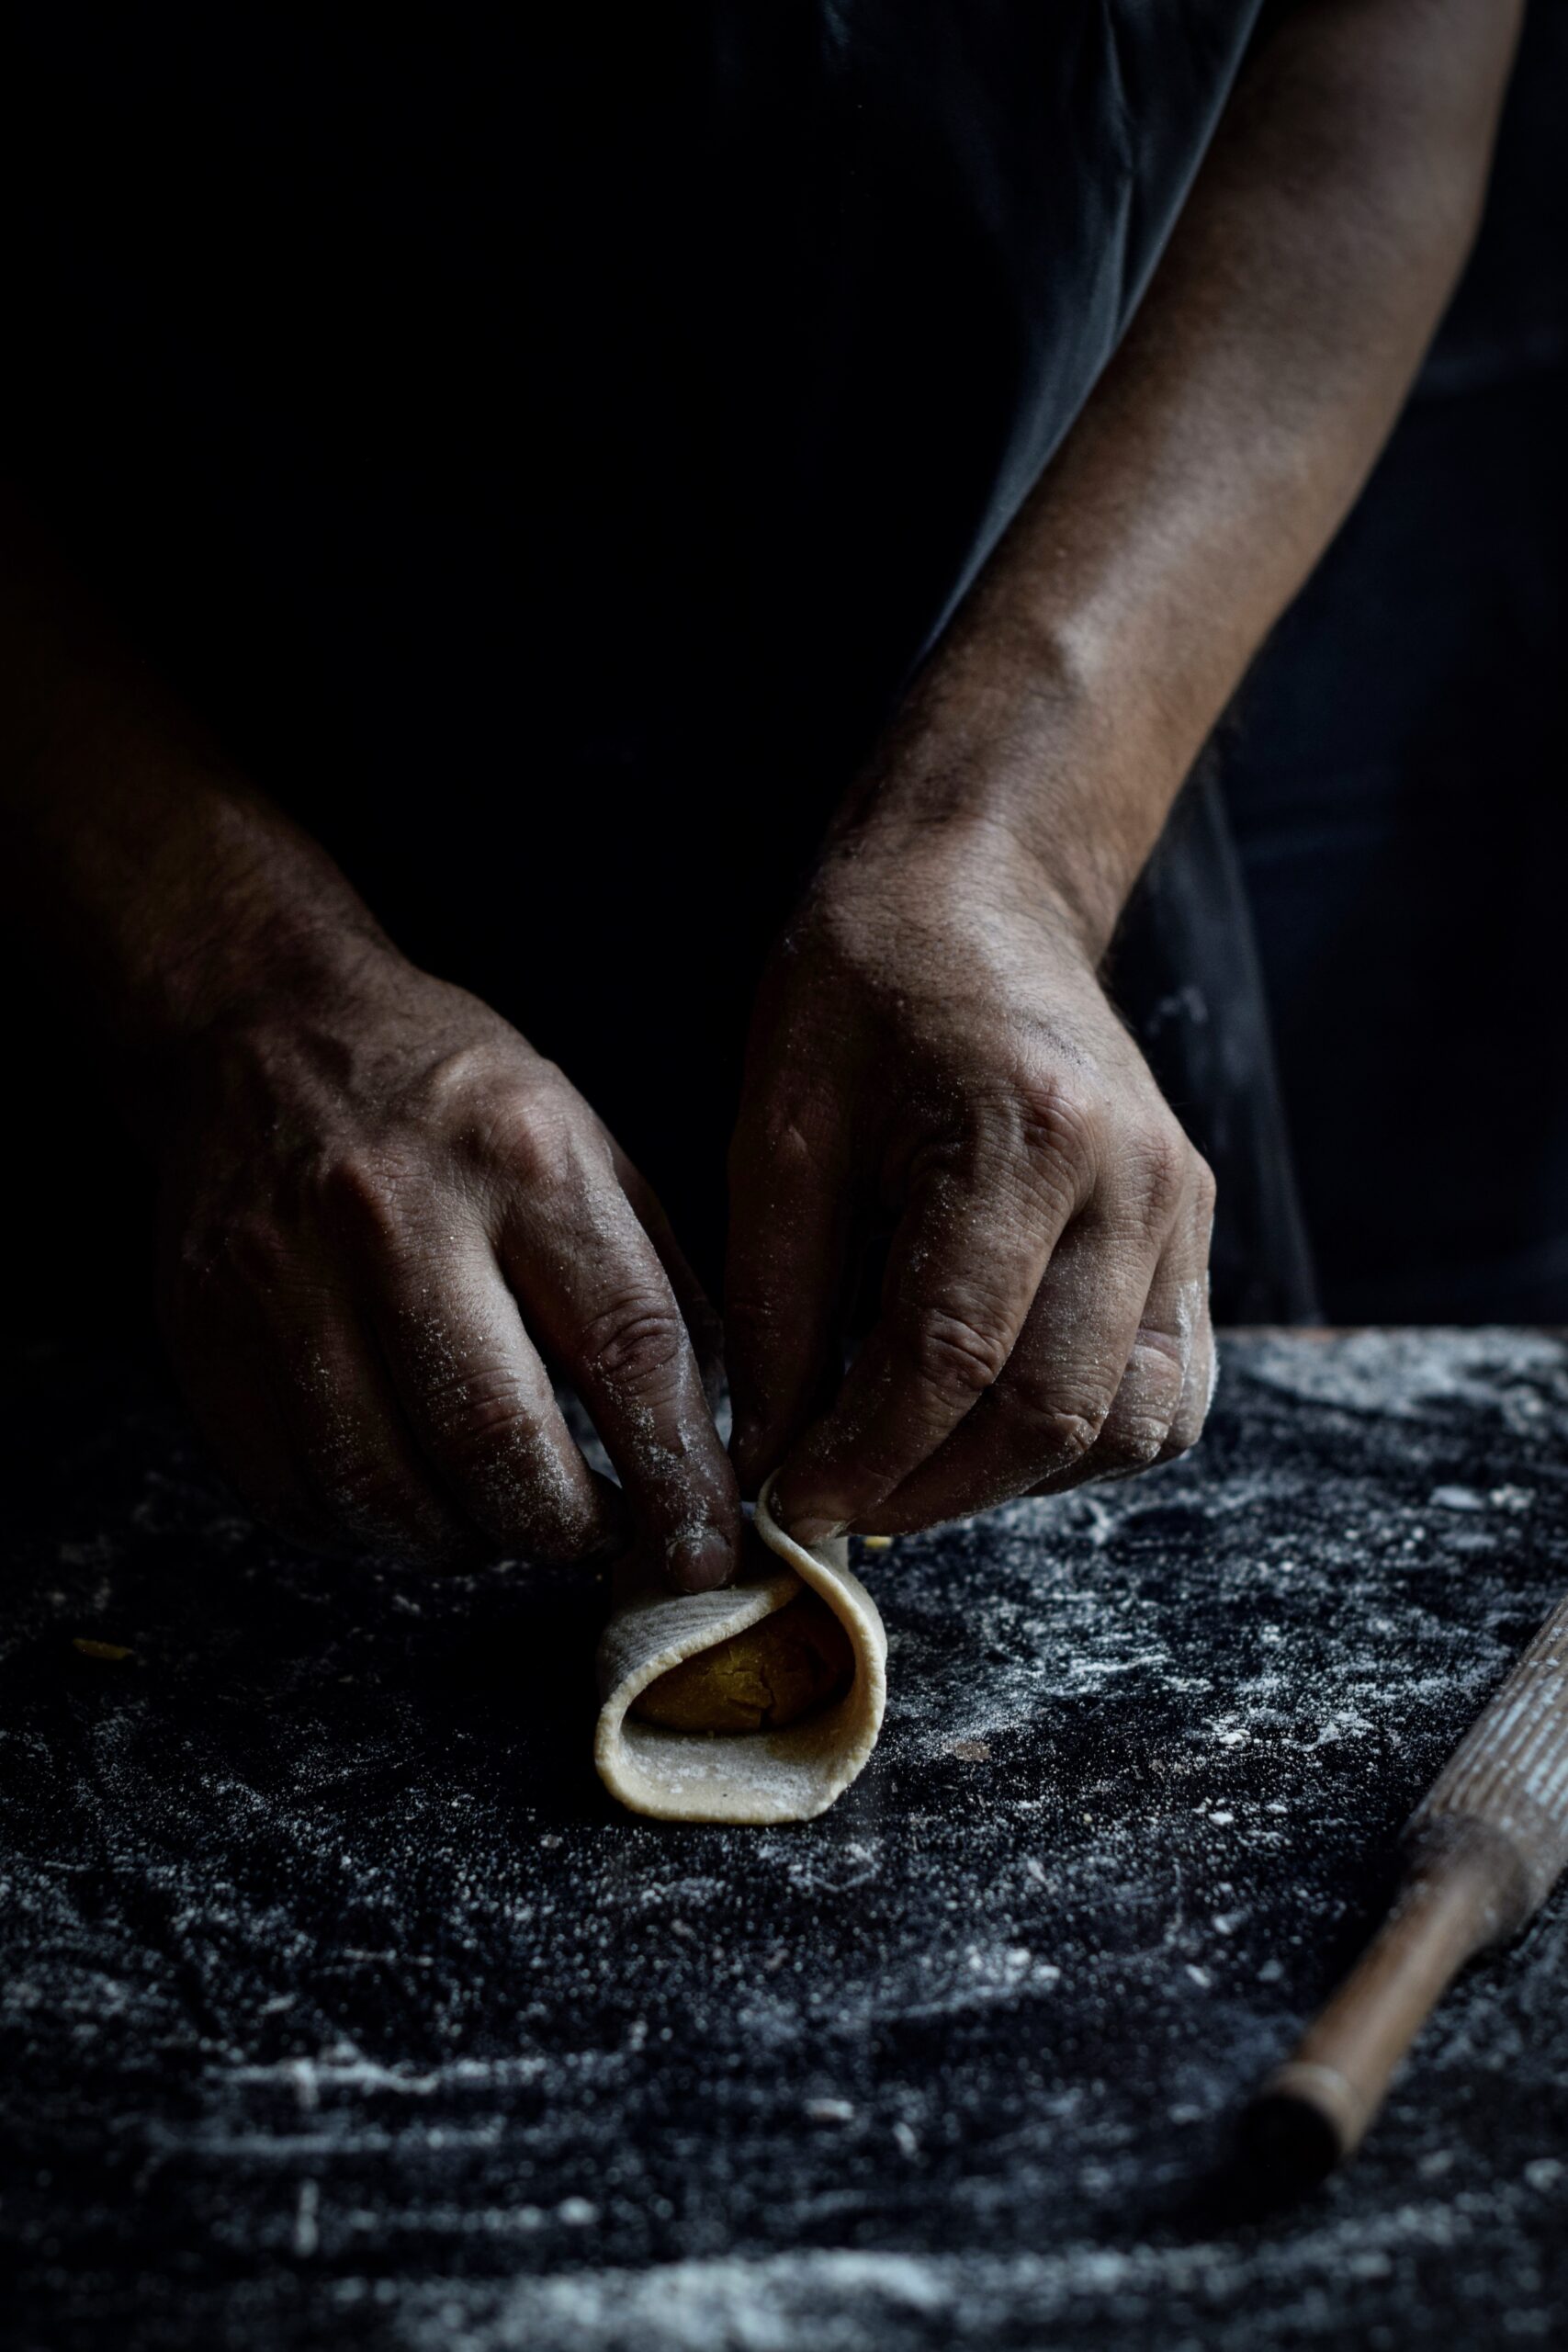
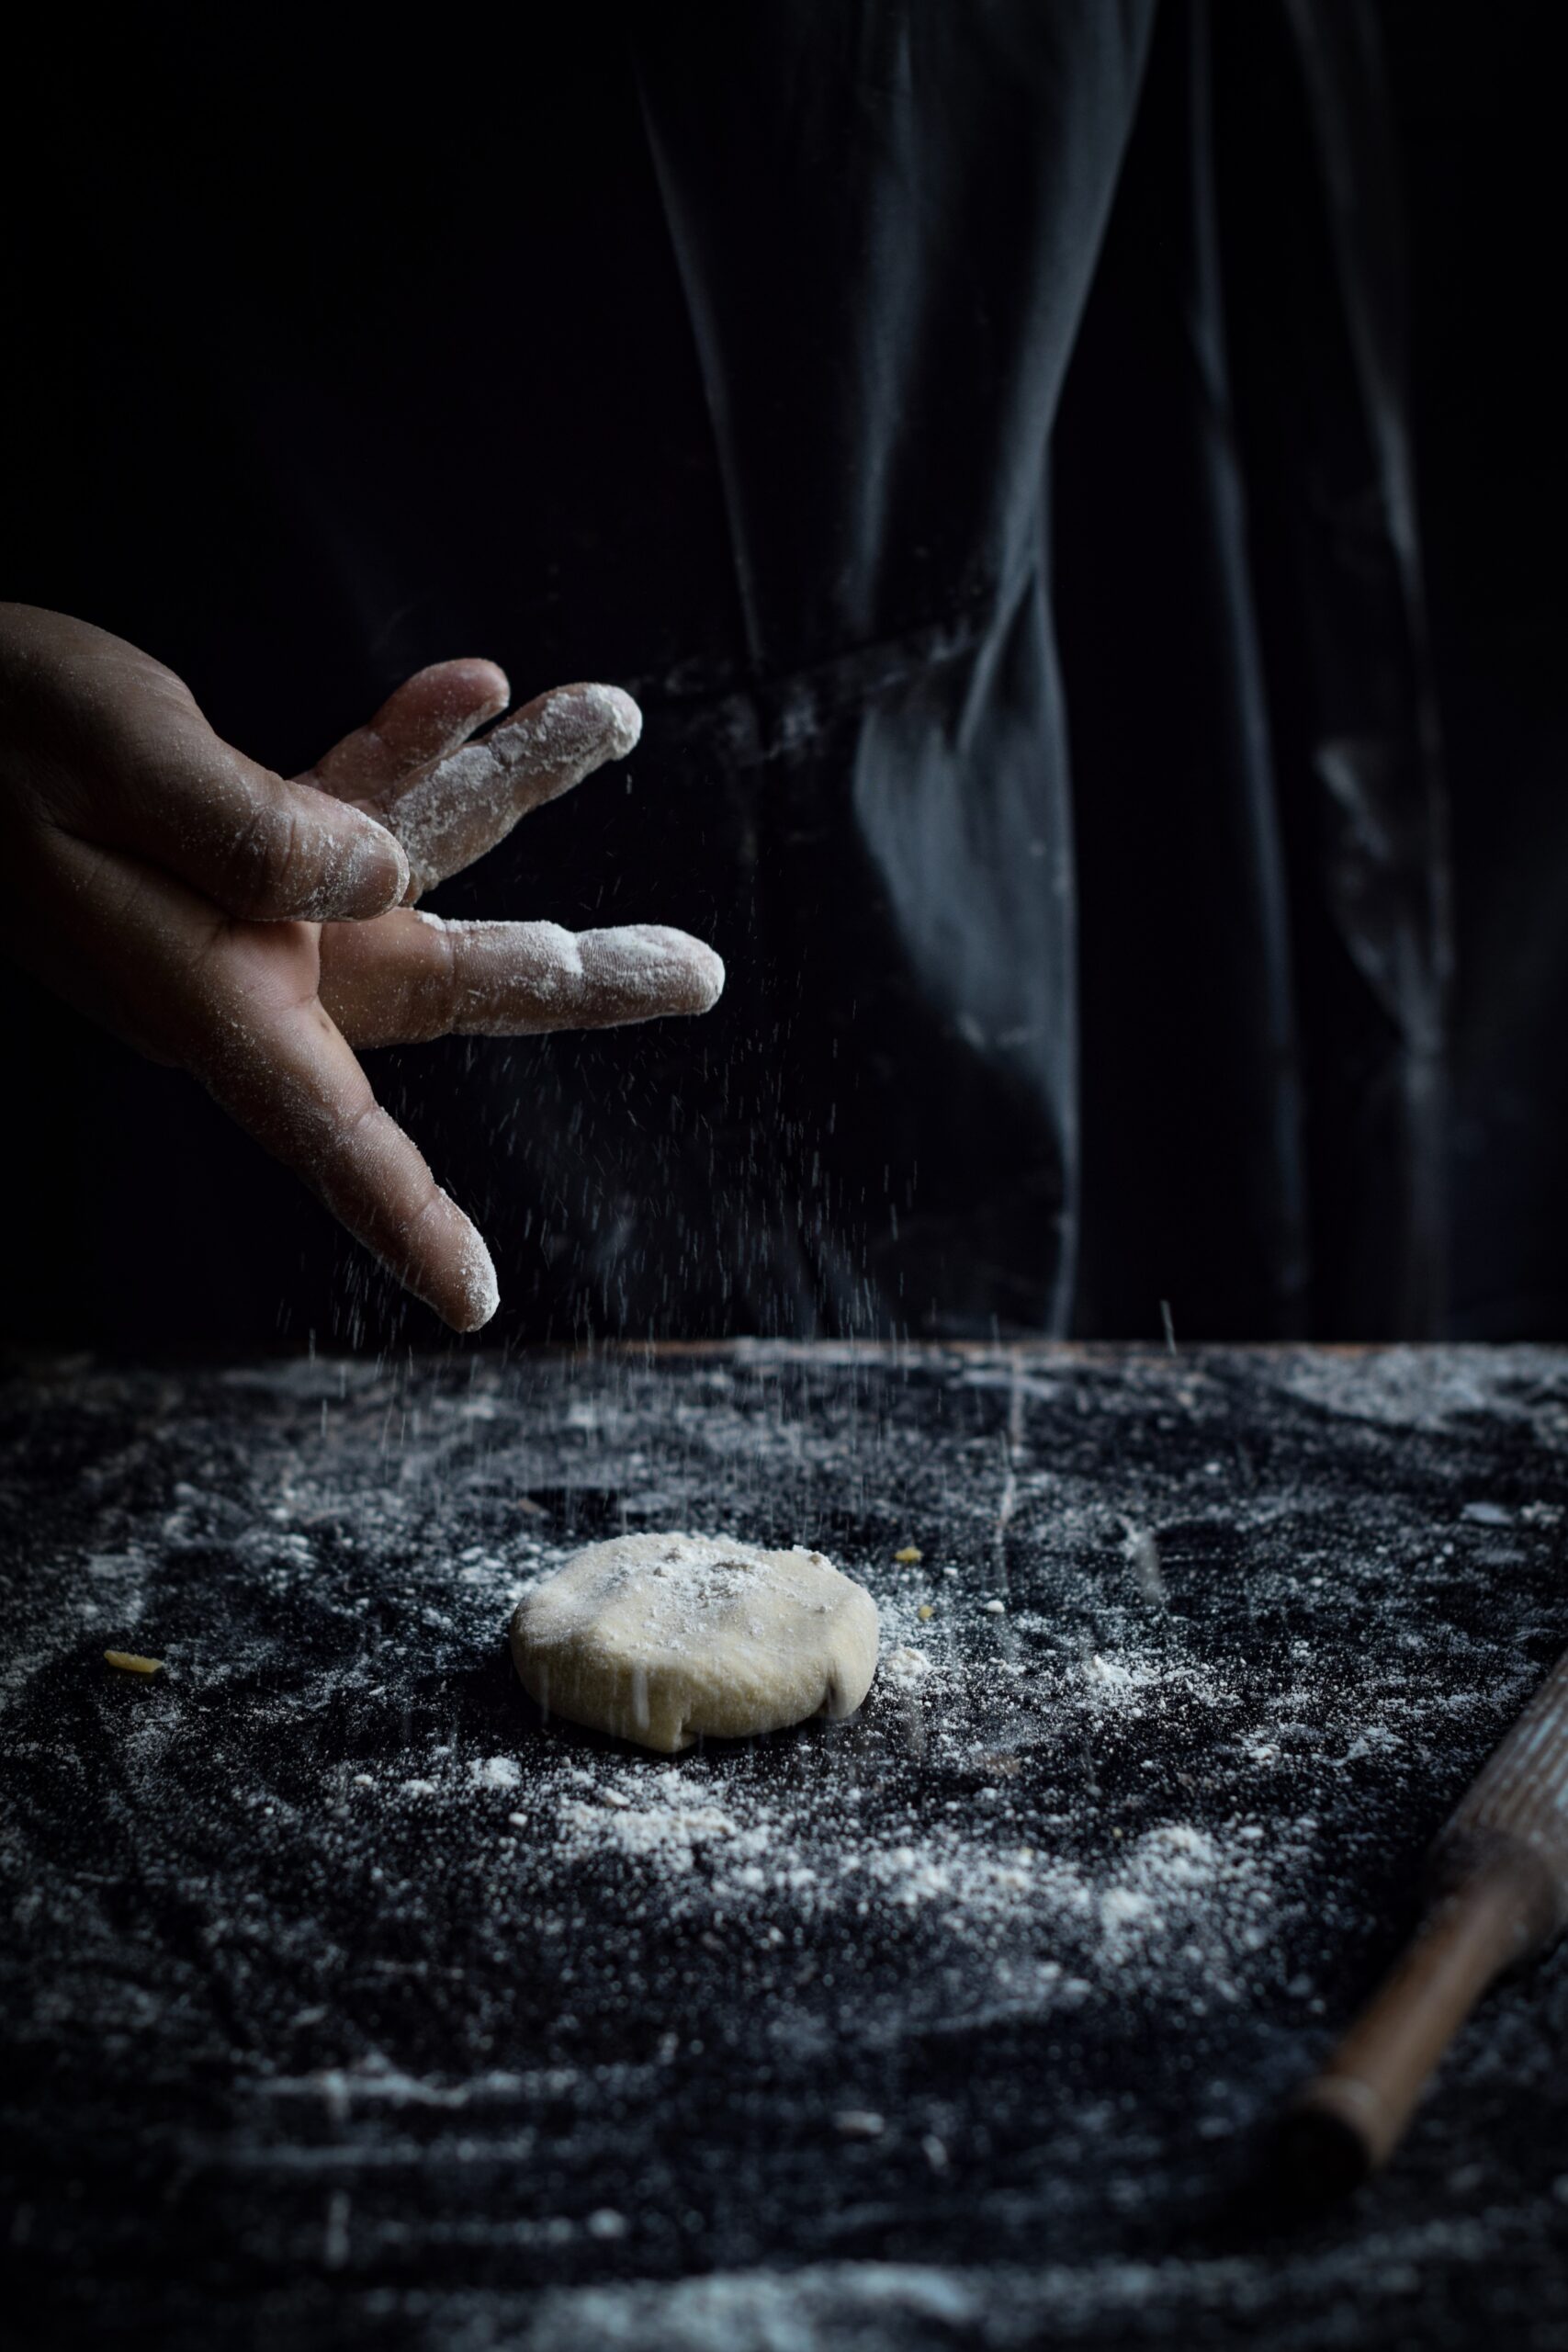
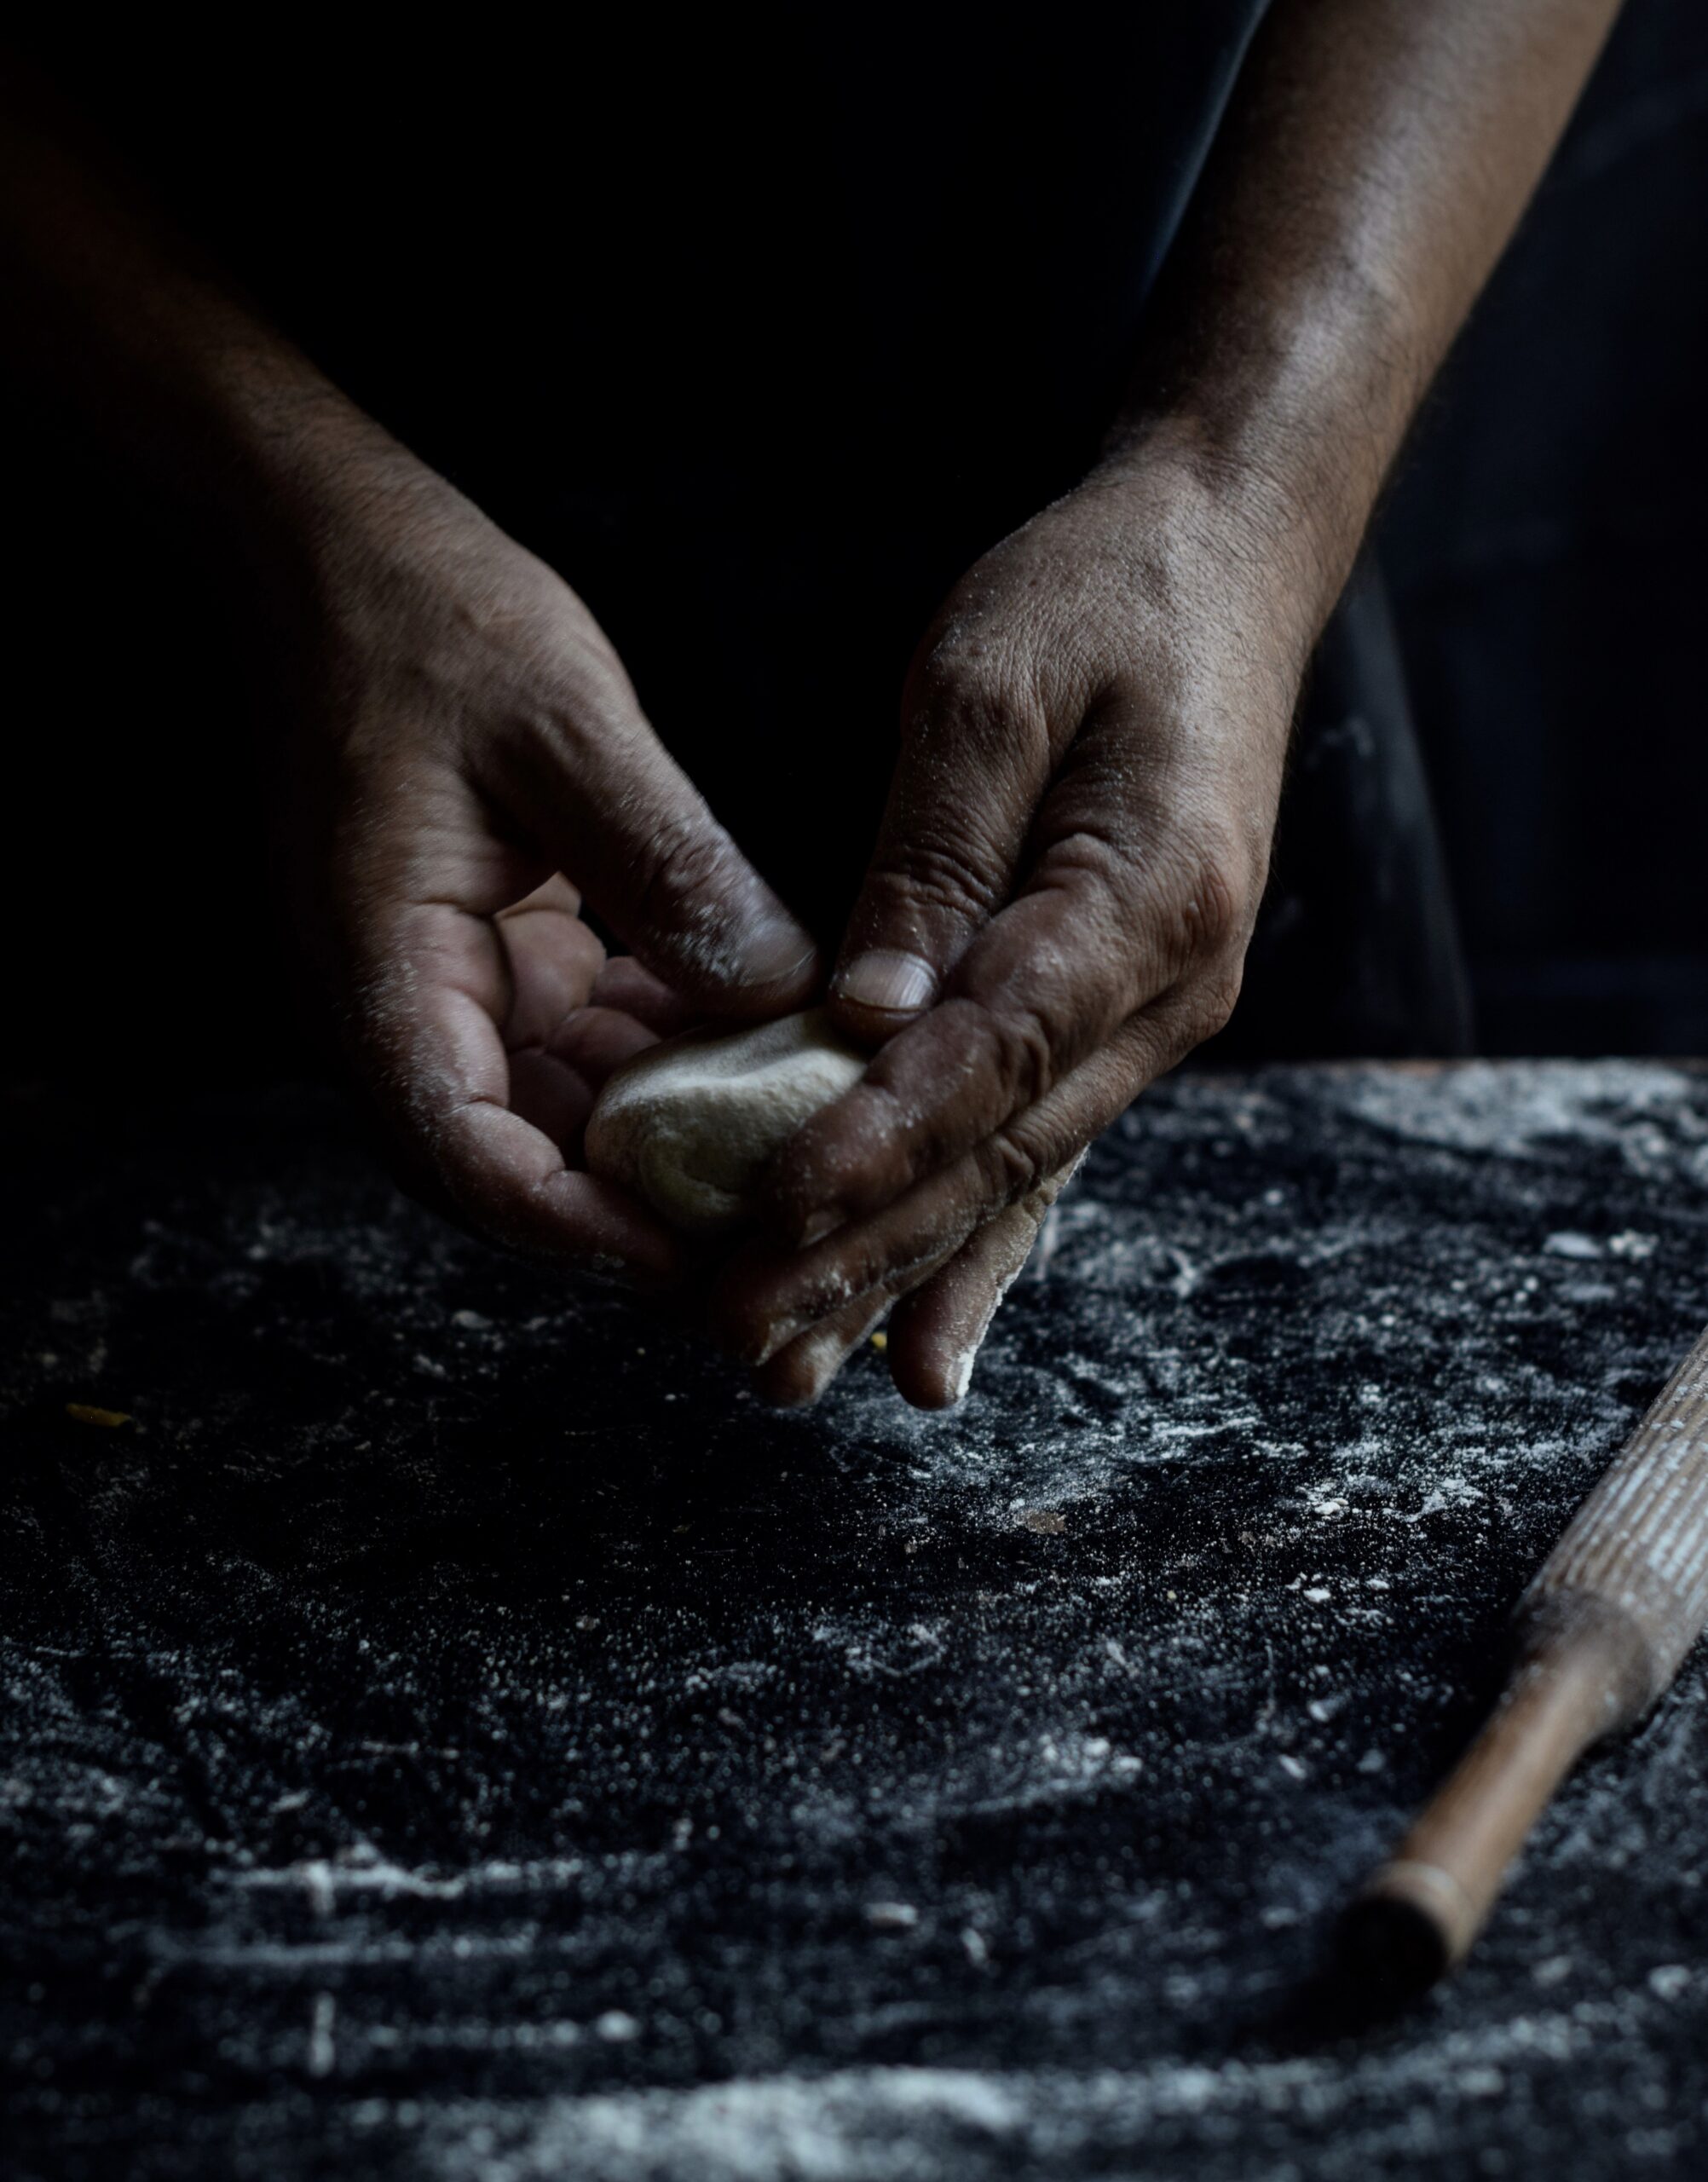
Roll out the dough into small discs. Do not make them too thin as they may tear while cooking. Take a spoonful of the green peas filling and place it at the centre of the disc. Join the edges together and once sealed, roll it gently into a flat round. Essentially, what you’re making is a kachori, a South Asian fried pastry. For a more detailed explanation about how to fold this pastry, with a video demo, see my earlier post here. Prepare all the kachoris and set them aside.

To make the dal, add the lentils and 2 cups of water in the pressure cooker and boil until soft. Allow to cool, then mash the dal. Now add 2 cups of water as well as the cumin powder, coriander powder, turmeric powder and salt to the dal. Allow to boil for approximately 5 minutes. Then add the jaggery and peanuts, letting the flavours blend, simmering on a medium flame. Stir occasionally.

As you do this, add ghee or oil to a small pan to lightly fry the mustard and cumin seeds. Once they start to splutter, add the asafoetida and immediately pour the sauté into the dal and stir.

The dal will be boiling by now. Make sure the flame remains on medium, and begin to gently introduce the kachoris into the dal. Once they are added, carefully stir. Allow to cook for 10-15 minutes.

Turn off the flame. Garnish with coriander leaves. You may also wish to add a sprinkling of something crunchy, such as finely chopped nuts. Serve while hot, as it is best enjoyed that way.

Many of you may have grown up eating dal dhokli at home, and I’d love to hear what you think of this modern twist, re:store style and ravioli inspired!

This post is the first of a three-part series on Gujarati dishes that are traditionally made from leftovers. Stay tuned for a sweet follow-up in a fortnight…

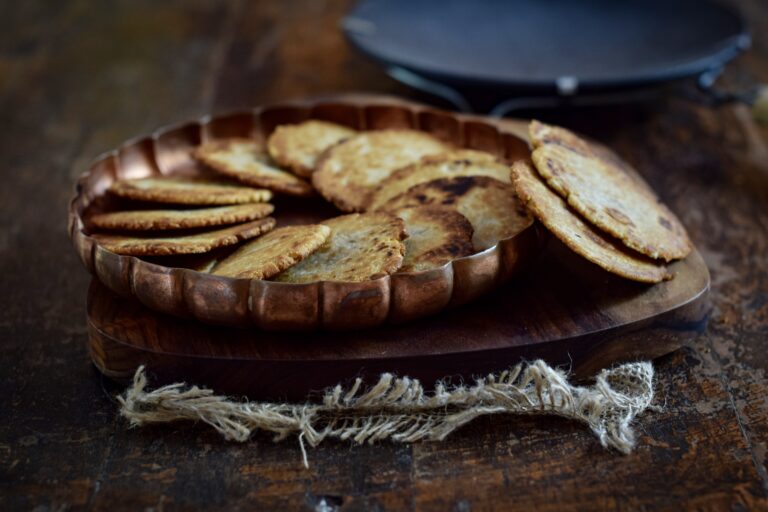
The very first recipe I learnt from my mother was the foundation of all Gujarati meals: the humble yet hard-to-perfect roti. Or as we call it, rotli. The ideal Gujarati rotli has to be as thin as muslin, and it took me years of practice to expertly knead the dough and roll it into perfect circles. My mother insisted that a good Gujarati girl’s rotis had to be dainty and delicate. My early ones often turned out like Punjabi parathas, large and thick – and by the norms of the Gujarati kitchen, totally wrong! Curious about this cultural difference, I asked a Punjabi neighbour why their standard for the perfect flatbread was so unlike ours, and she gave me a beautiful answer: the big Punjabi paratha reflects generosity, large-heartedness and the desire to share what you eat with the world!

Rotis, known by many names and variations, originated in the Indus Valley civilisation, where grain grinding is said to have been invented. Indian breads are different from other loaves in that they do not contain yeast. This soft form of unleavened bread comes in various forms, shapes, sizes and flavours typical of the region it is prepared, with flour made of millets, wheat, rice and other grains.

All over India, the basics of a good roti are flour, fat and flavour. The fat comes from oil, butter, cream or ghee. There are so many kinds of flavourings and stuffings – from green chilli paste to potato to cauliflower to the quintessentially Bengali renditions made with fish.

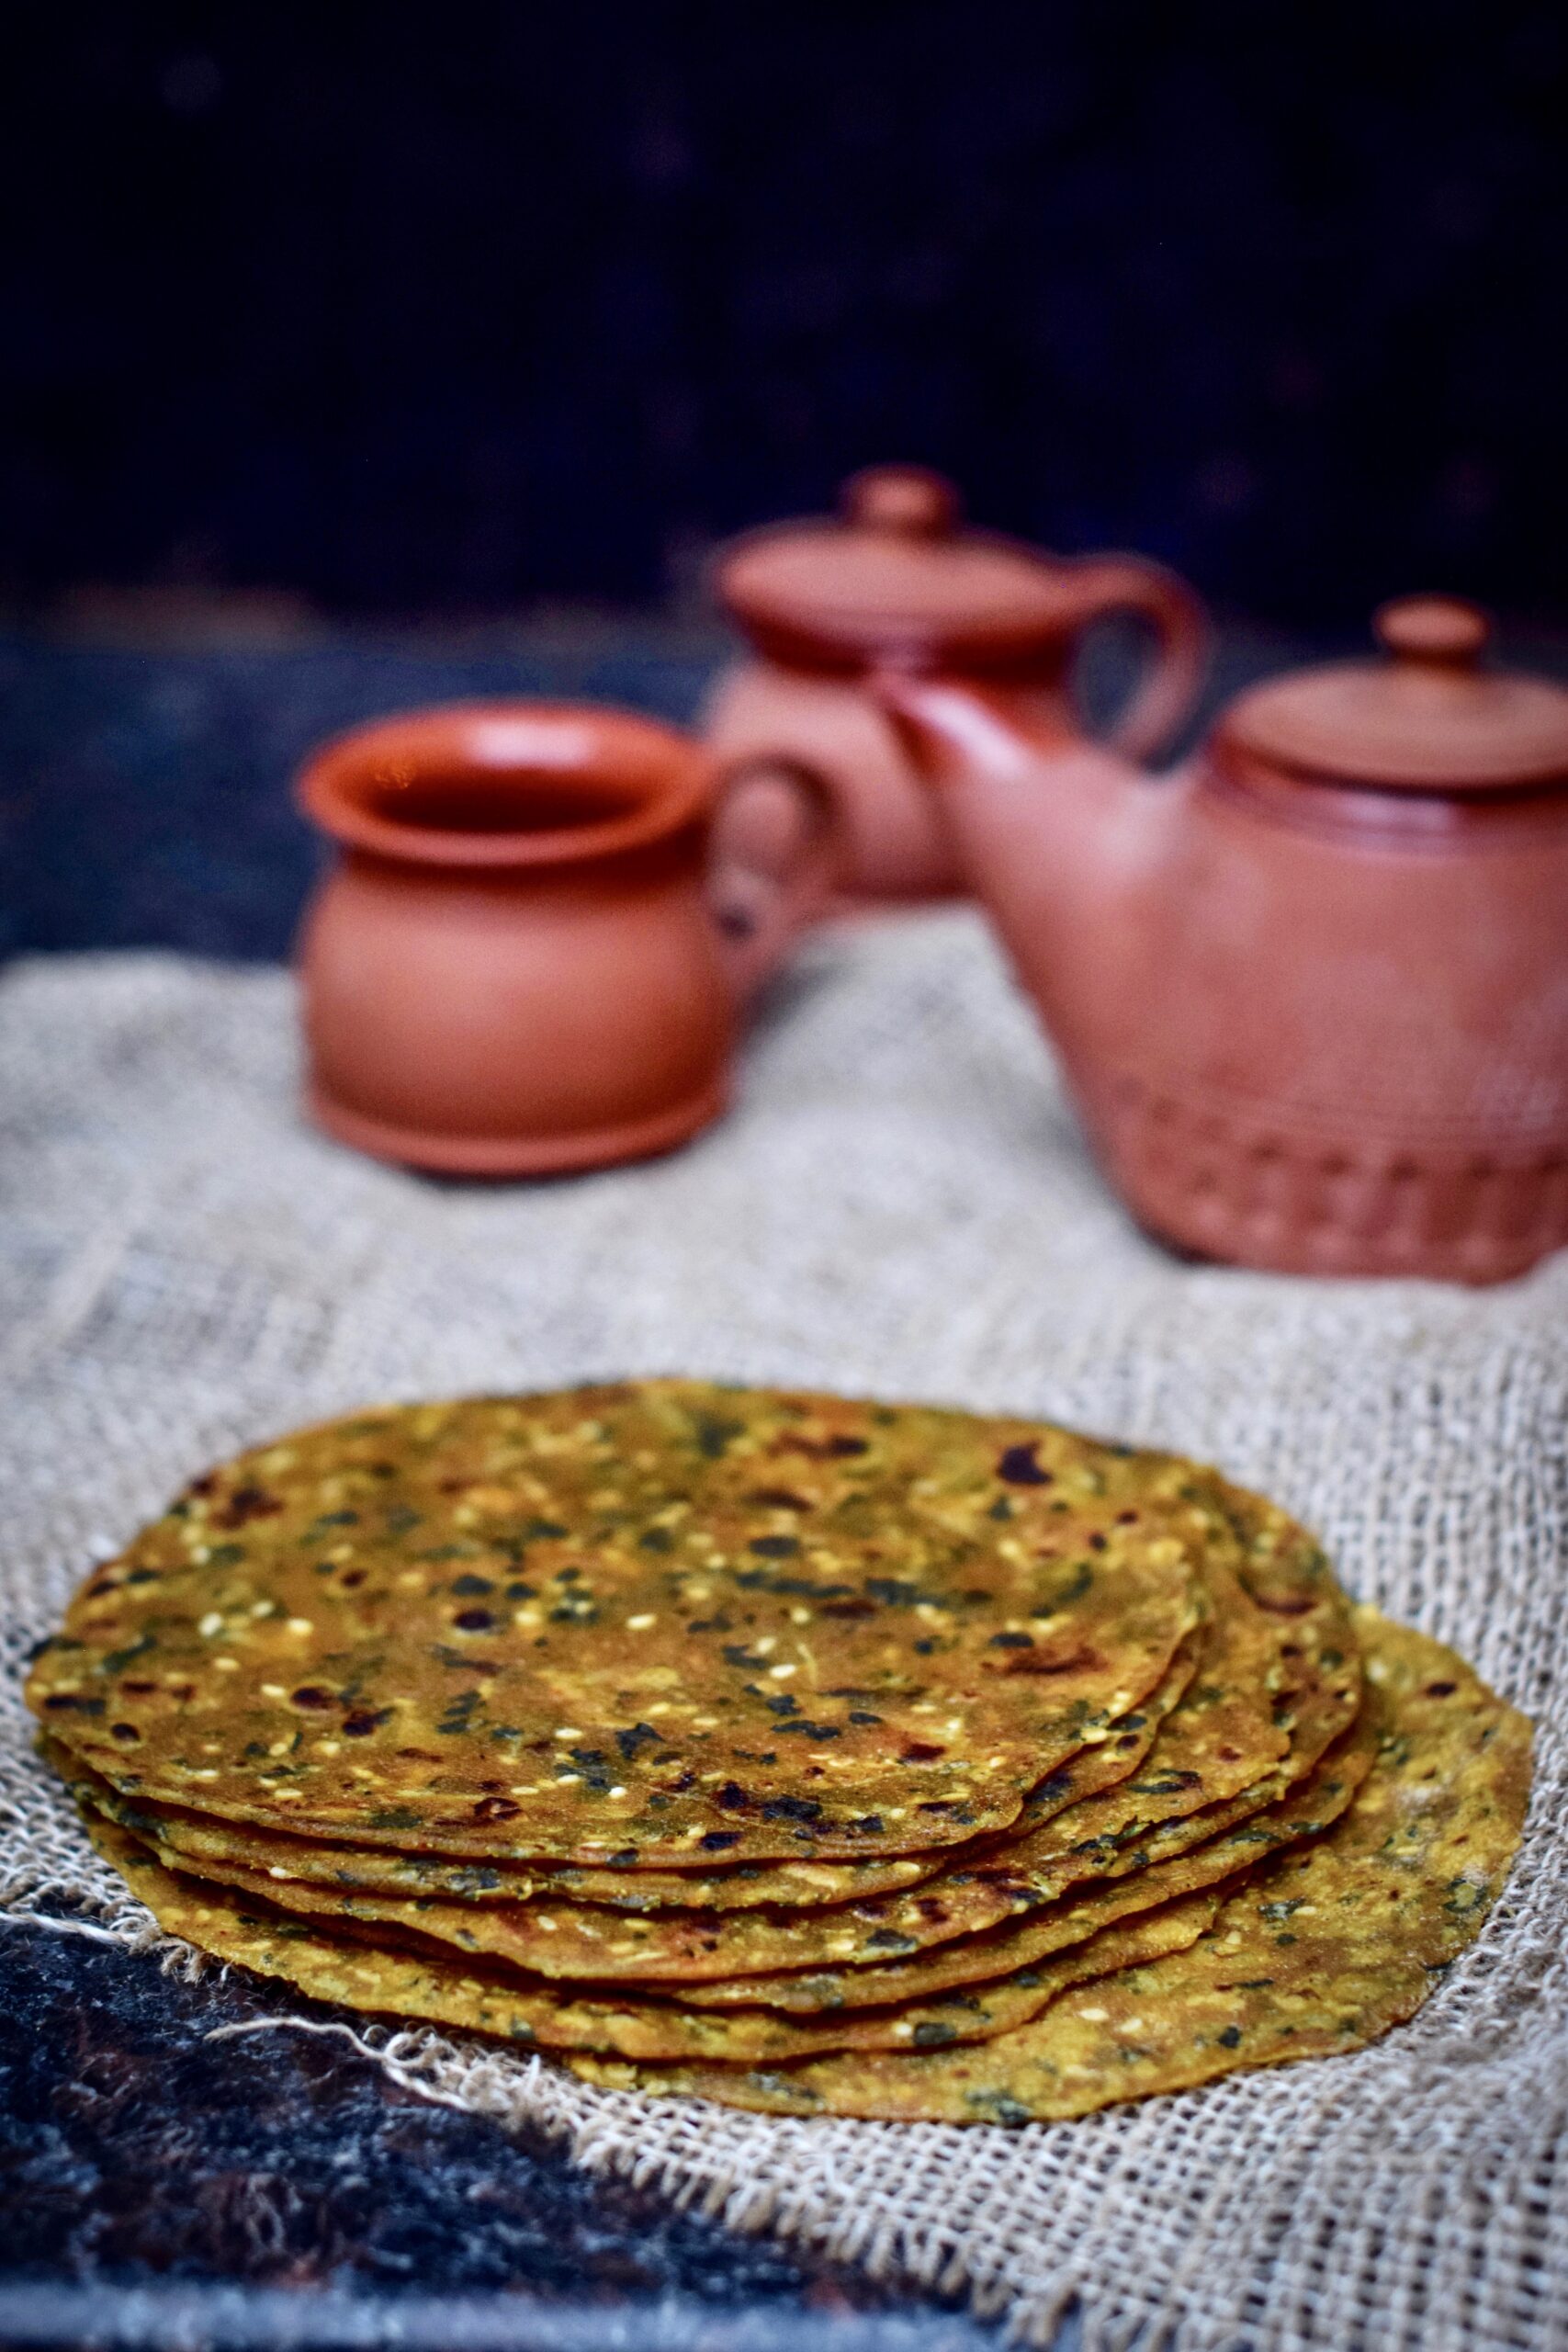
I’d like to tell you more about a few Gujarati variants: the herbed thepla, the crispy bhakri, the sweet puran poli, the seasonal juwar and bajri, and the simple rotli. Of these, I’ll share two recipes – both are meant to be eaten hot, and bear in mind that an average person can easily eat several at a time! Some notes for kitchens outside India: while binding the dough, I work with my hands. However, if you’re used to the food processor, please do utilise it. You can use a standard rolling pin.


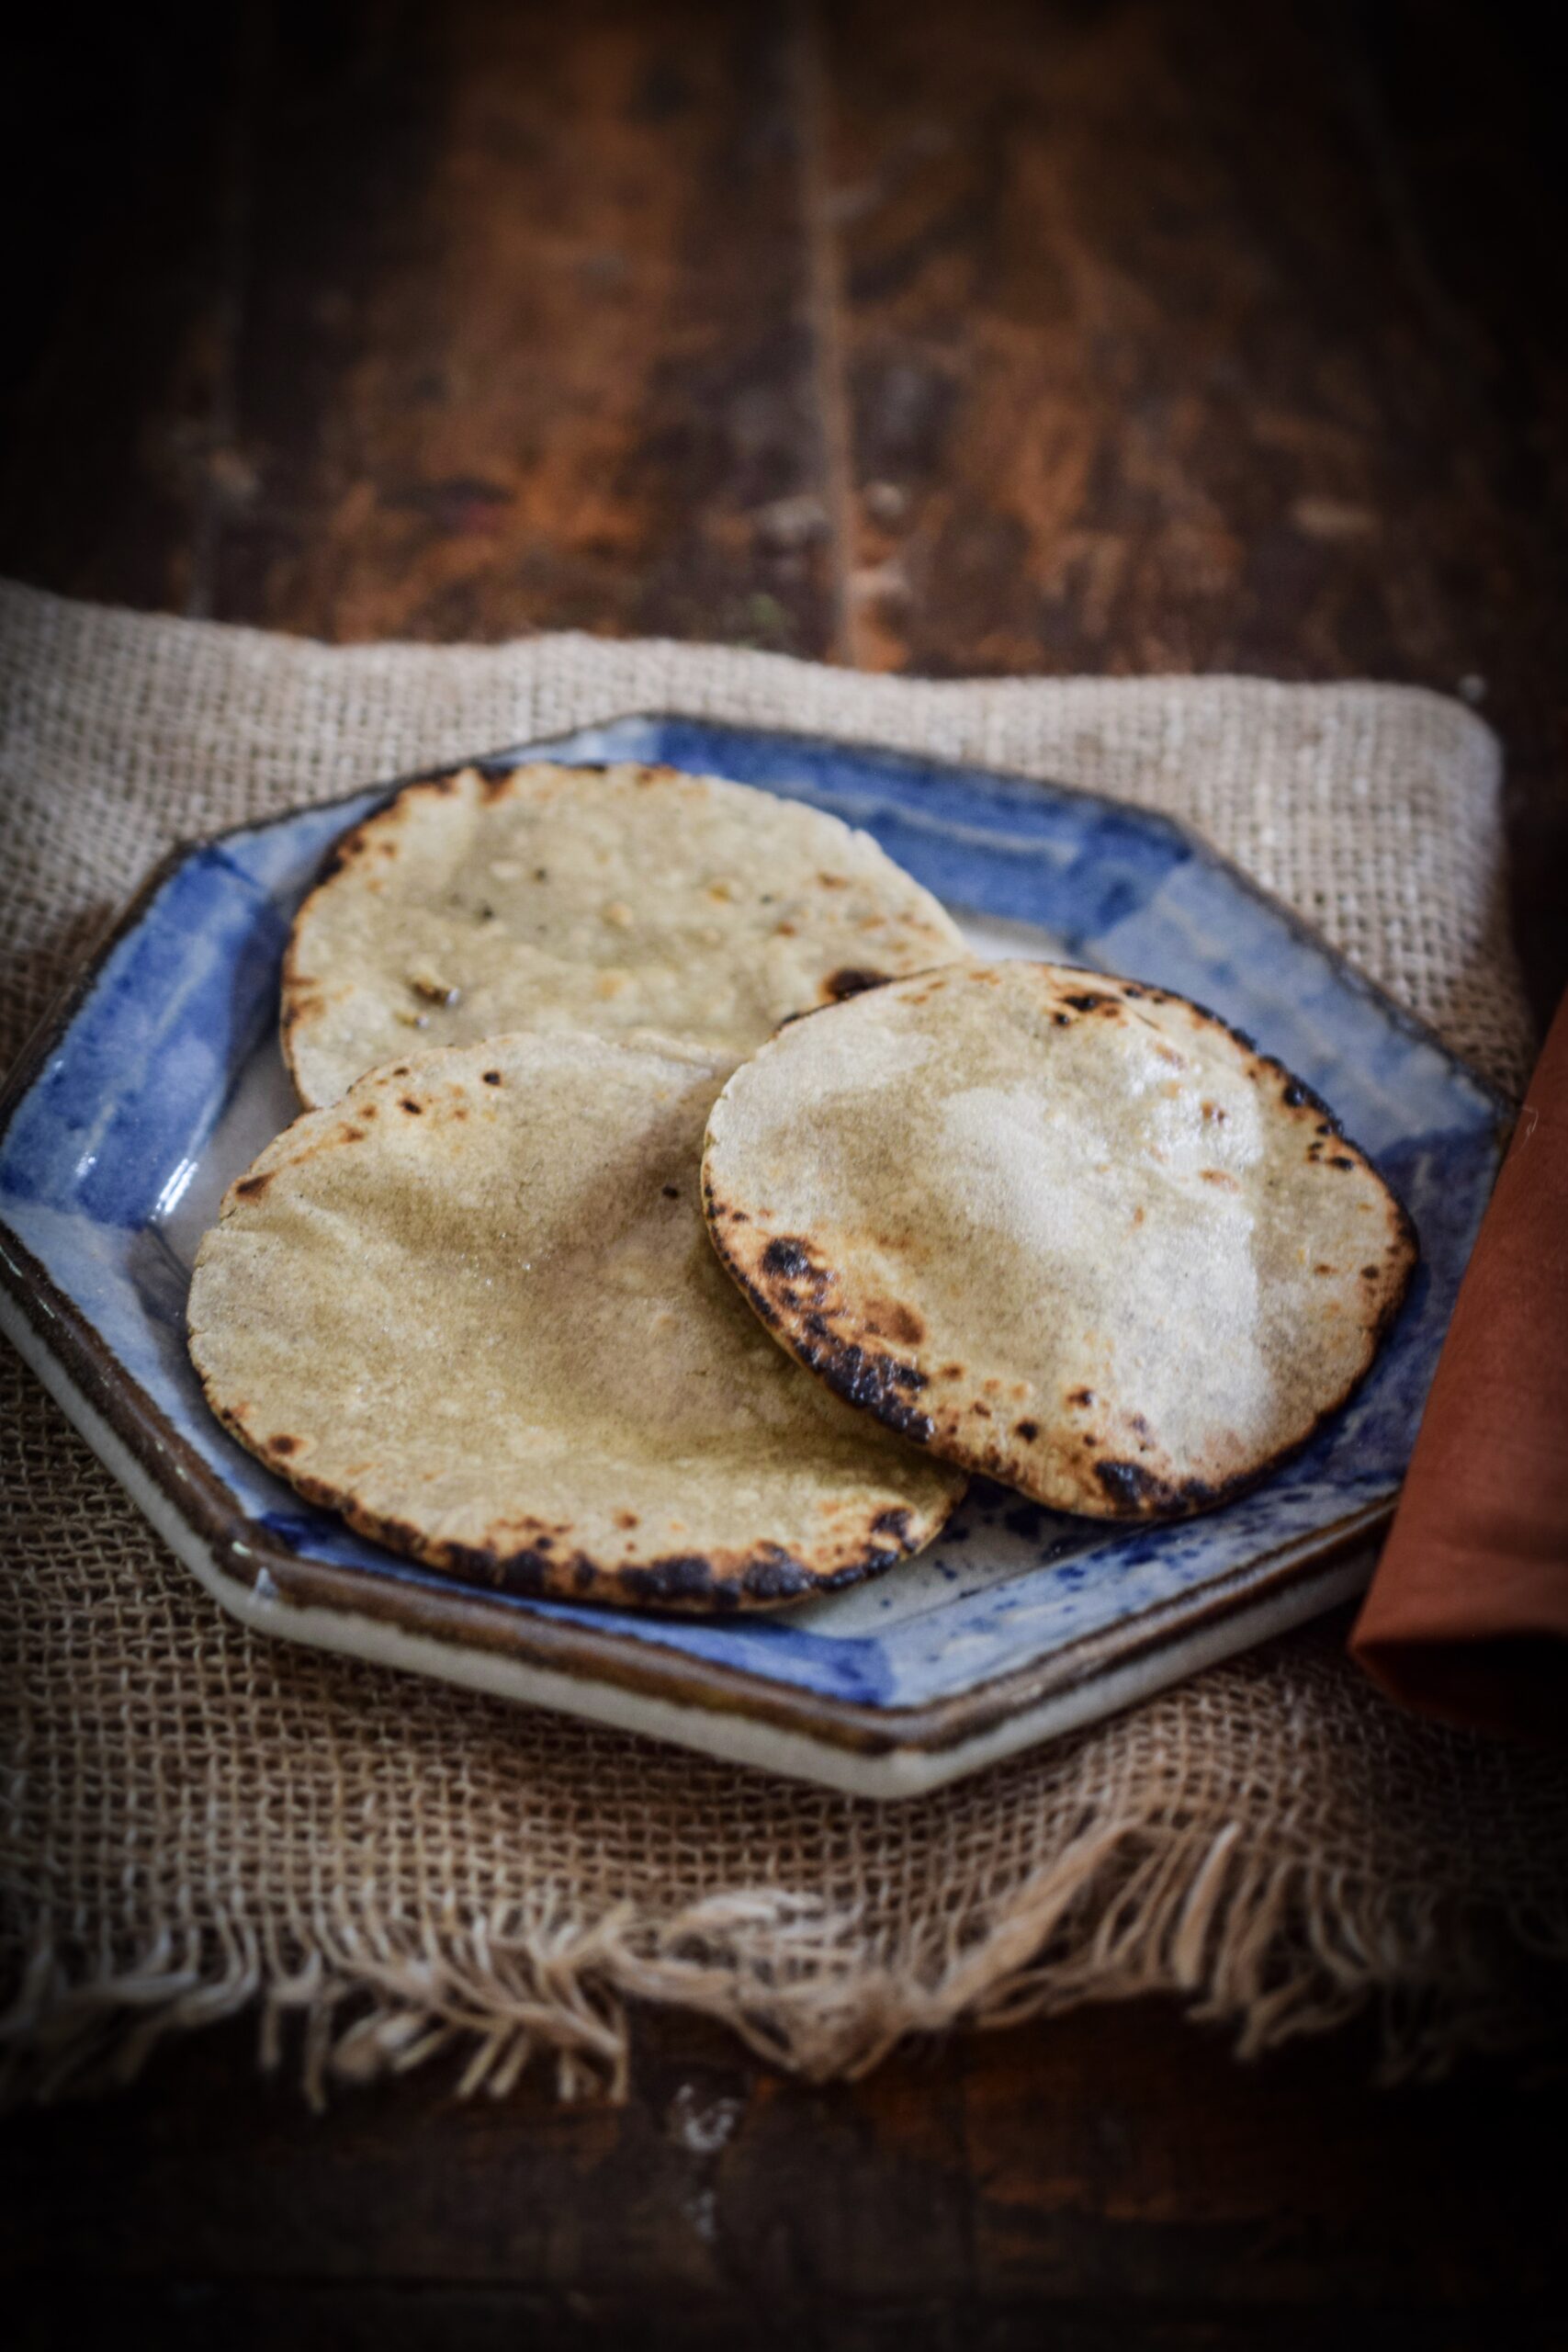
Rotli

Lunch during our summer holidays as children was a competitive affair: who could eat the most rotlis? These rotlis were the simple, everyday variety, washed down with aam raas, a seasonal mango purée. A blissful siesta would ensue, the heavy lunch and the heat lulling us to sleep to the sound of old Hindi songs on the radio…

The rotlis we had then were made from balls of dough joined together, then roasted and peeled from each other. They were as fine as skin. We also ate a sweetened “children’s” version, made with jaggery water. Another way to sweeten a rotli, if you want to, is to eat it with a strained yoghurt dessert known as shrikand. I’ll be sharing a recipe for that soon, and if you subscribe to this blog, you’ll be the first to know.


Thepla


(Yields: 12)


1 cup methi (fenugreek) leaves, picked and washed

1 cup whole wheat flour

1 teaspoon salt

¼ teaspoon turmeric powder

2 teaspoons cumin powder

1 teaspoon white sesame seeds

1 teaspoon crushed green chili (adjust to your taste)

½ teaspoon ginger paste

1 tablespoon yoghurt

1 tablespoon sunflower oil + oil for sautéing

100 ml water or less


Traditionally, theplas are often made with leftover rice or khichdi, so as not to waste food, but you can make them fresh too. In a mixing bowl, add all the dry ingredients and blend them gently. Now add the 1 tablespoon of oil and the yoghurt. Slowly add water and continue mixing, until you feel the mixture is slightly tougher to the touch than bread dough. You do not need to use the entire 100ml.

Dust both sides of the ball with flour. Make small lemon sized balls and allow them to sit for at least half hour. Now, dusting more flour as you do, roll out the dough into discs. Make them as thin as you can.

On a heated iron pan, place the thepla on a medium flame for 30-40 seconds. Then turn it to the other side. In another 30-40 seconds, add a few drops of oil. Make sure the oil is spread to the edges too, as the thepla may dry out. Press down with a spatula to help it cook. Flip the thepla a couple of times until it is golden on both sides. Remove from the pan and fry the next disc, and so on.

As you make each thepla, either store it in a hot case, so it remains soft and warm, or pile them up on a plate. Serve hot, with a curry of your choice or a sweet mango or kumquat pickle, or simply enjoy them as some Gujaratis do – with a lovely cup of chai.


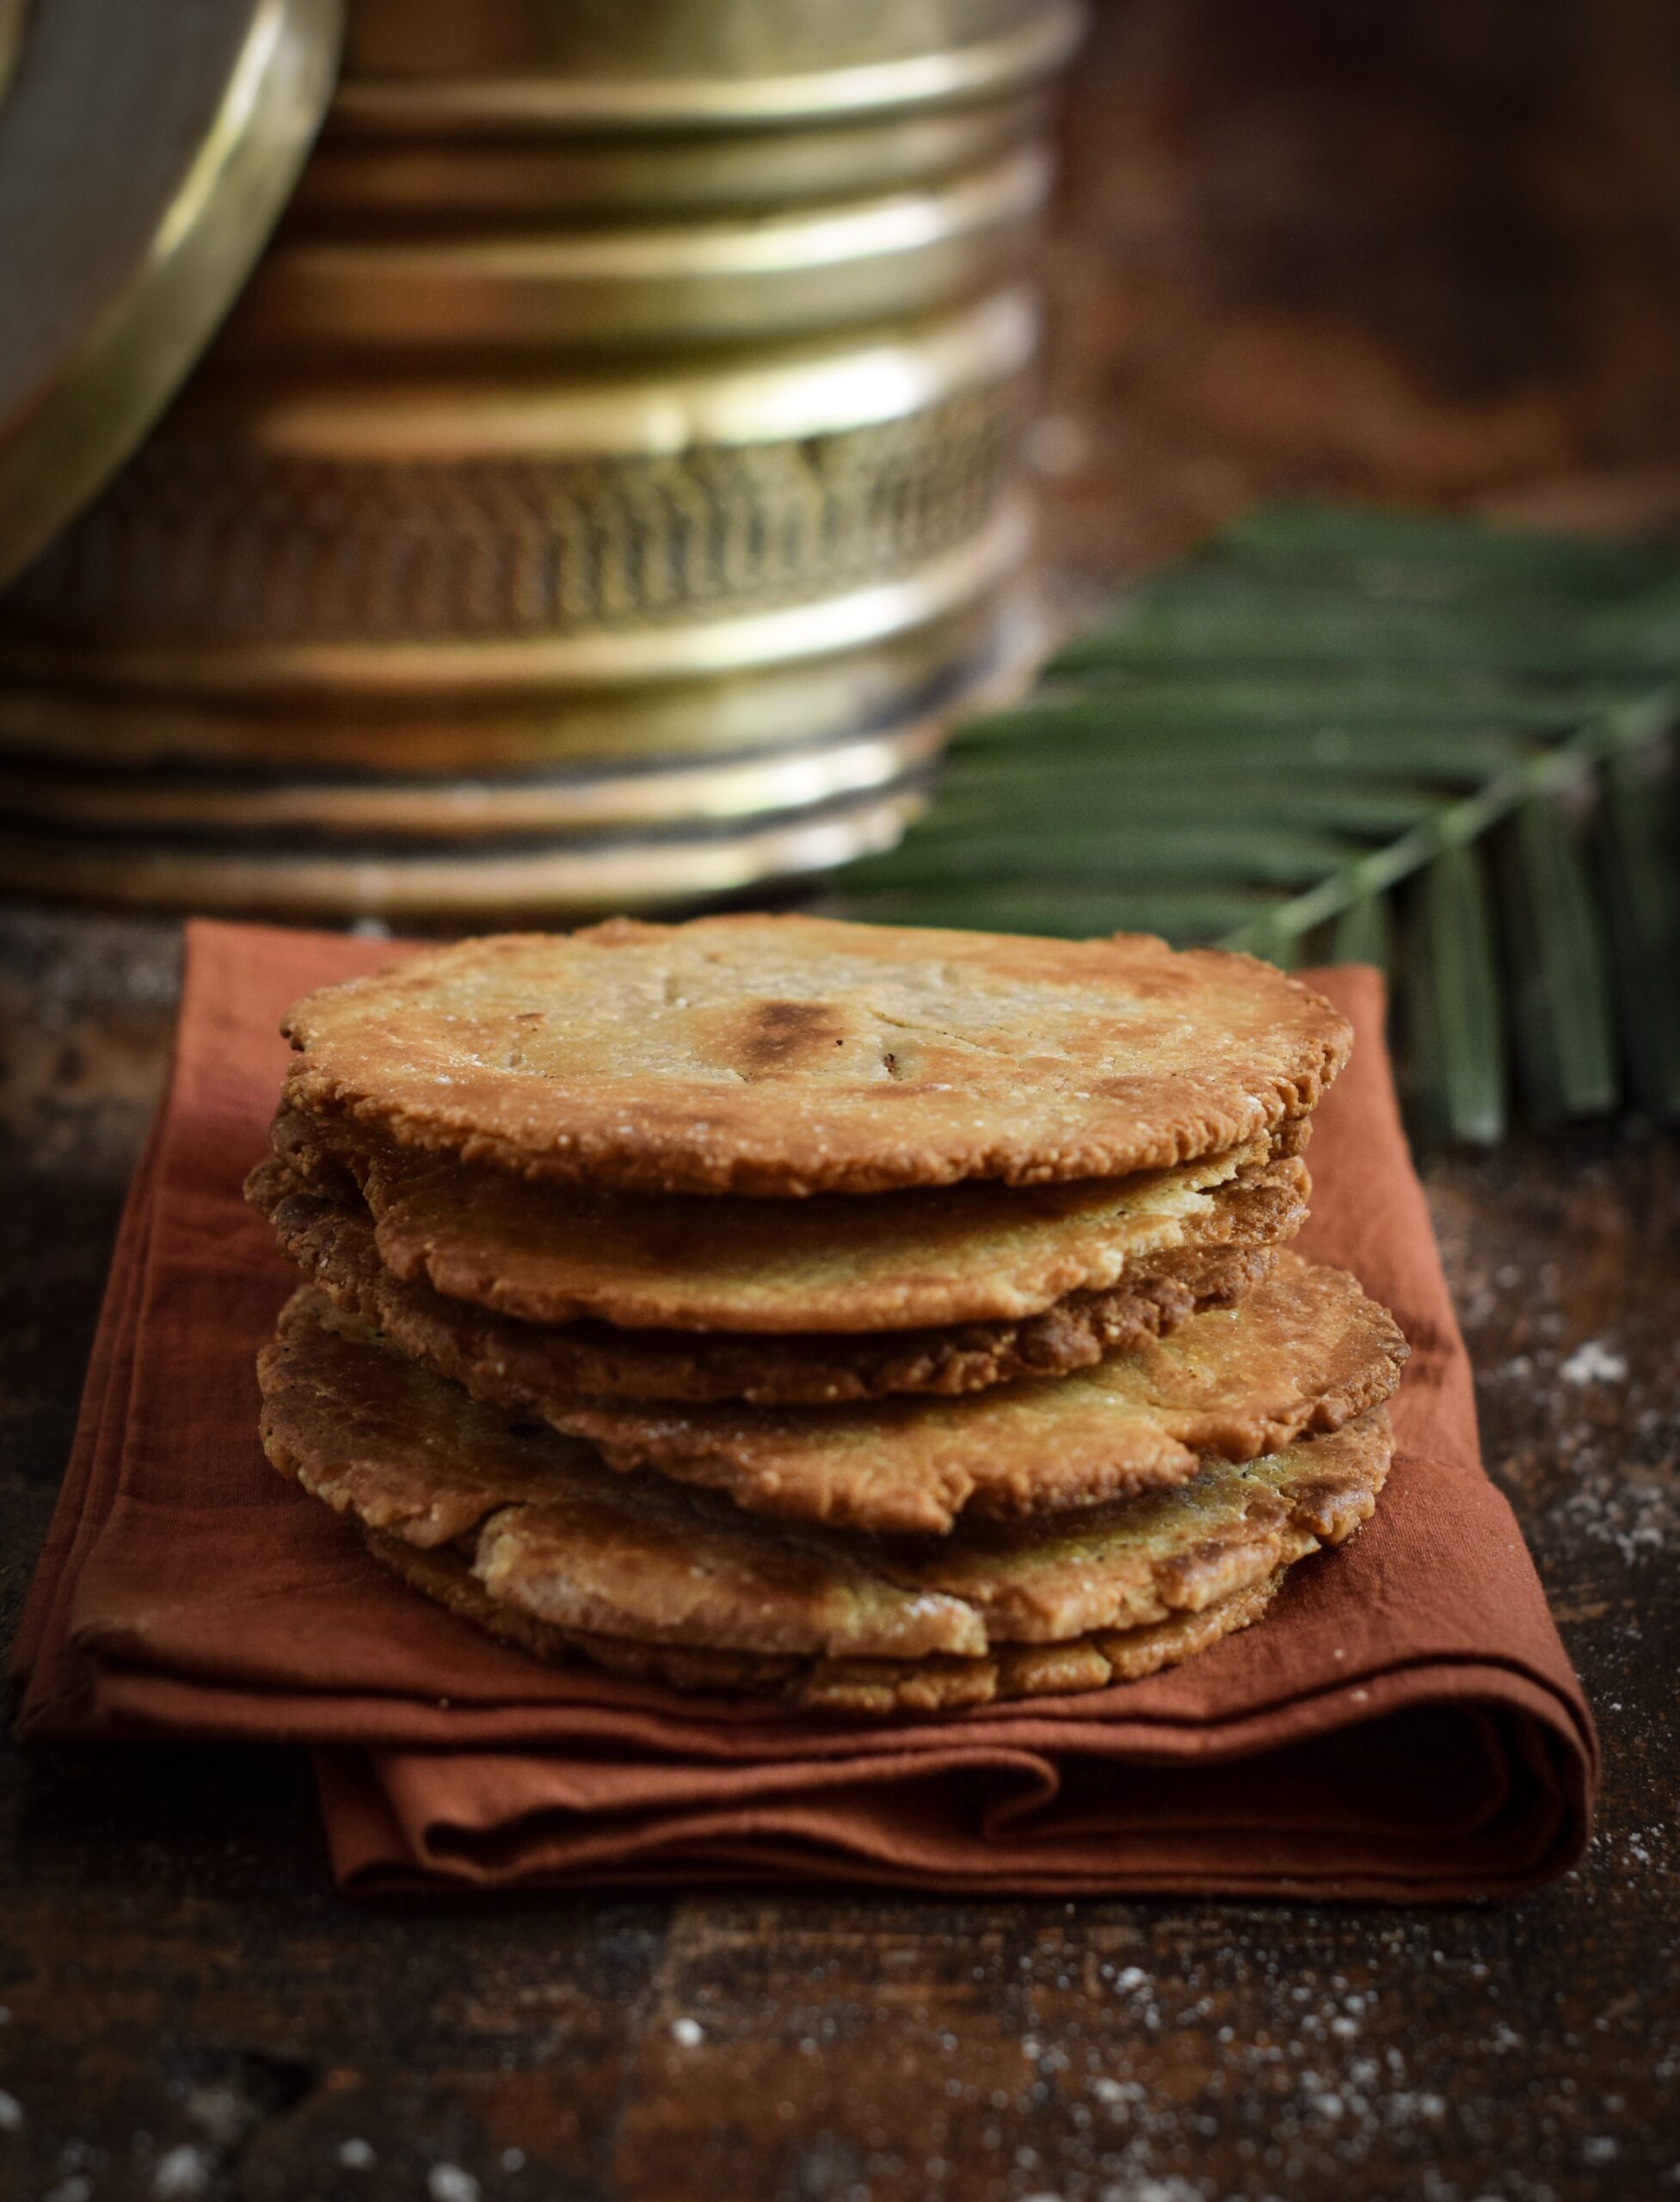
Bhakri


(Yields: 15)


2 cups whole wheat flour

¼ cup semolina

¼ cup oil

100 ml warm water

¼ teaspoon salt


A bhakri is really a type of biscuit, made with a greater quantity of oil than water. A version with jaggery water was my standard after-school snack while growing up. You can make this in the sweetened (what I call “children’s”) version too, by substituting plain water for jaggery water.

Assemble all the ingredients in a large bowl. Add water slowly as required and bind the dough together. Continue pressing firmly, until it all comes together and does not stick to the bowl or your fingers. The dough should appear as a smooth, firm ball. There’s no need to dust this ball of dough with flour, as it is quite tough and will not stick while rolling. If it does stick, you have probably added more water than required, and only in this case should you dust a little flour. Now, divide the dough into 15 smaller balls and keep aside.

Heat an iron pan. Roll out the dough into discs of about 1 cm thickness – this is where the thin-as-muslin standard doesn’t apply! Place the discs onto the hot pan and reduce the flame. Since bhakris are thicker they need to cook on the inside too, so it will take longer to cook. The flame needs to be maintained between medium and slow. Flip over each bhakri a couple of times until golden. If you’d like to, use a pair of tongs and roast the bhakri directly over the flame towards the end of its cooking time. This is the traditional way – dough to flame, directly, just like in this video!

Once they are crisp and golden, remove from the pan and let a trickle of ghee melt onto the bhakri. Serve with tea. They also travel well, so consider packing them for journeys. As my mum would say, a well-made bhakri will be like an easily chewable cookie – it can be eaten comfortably both by the elderly and by children alike.

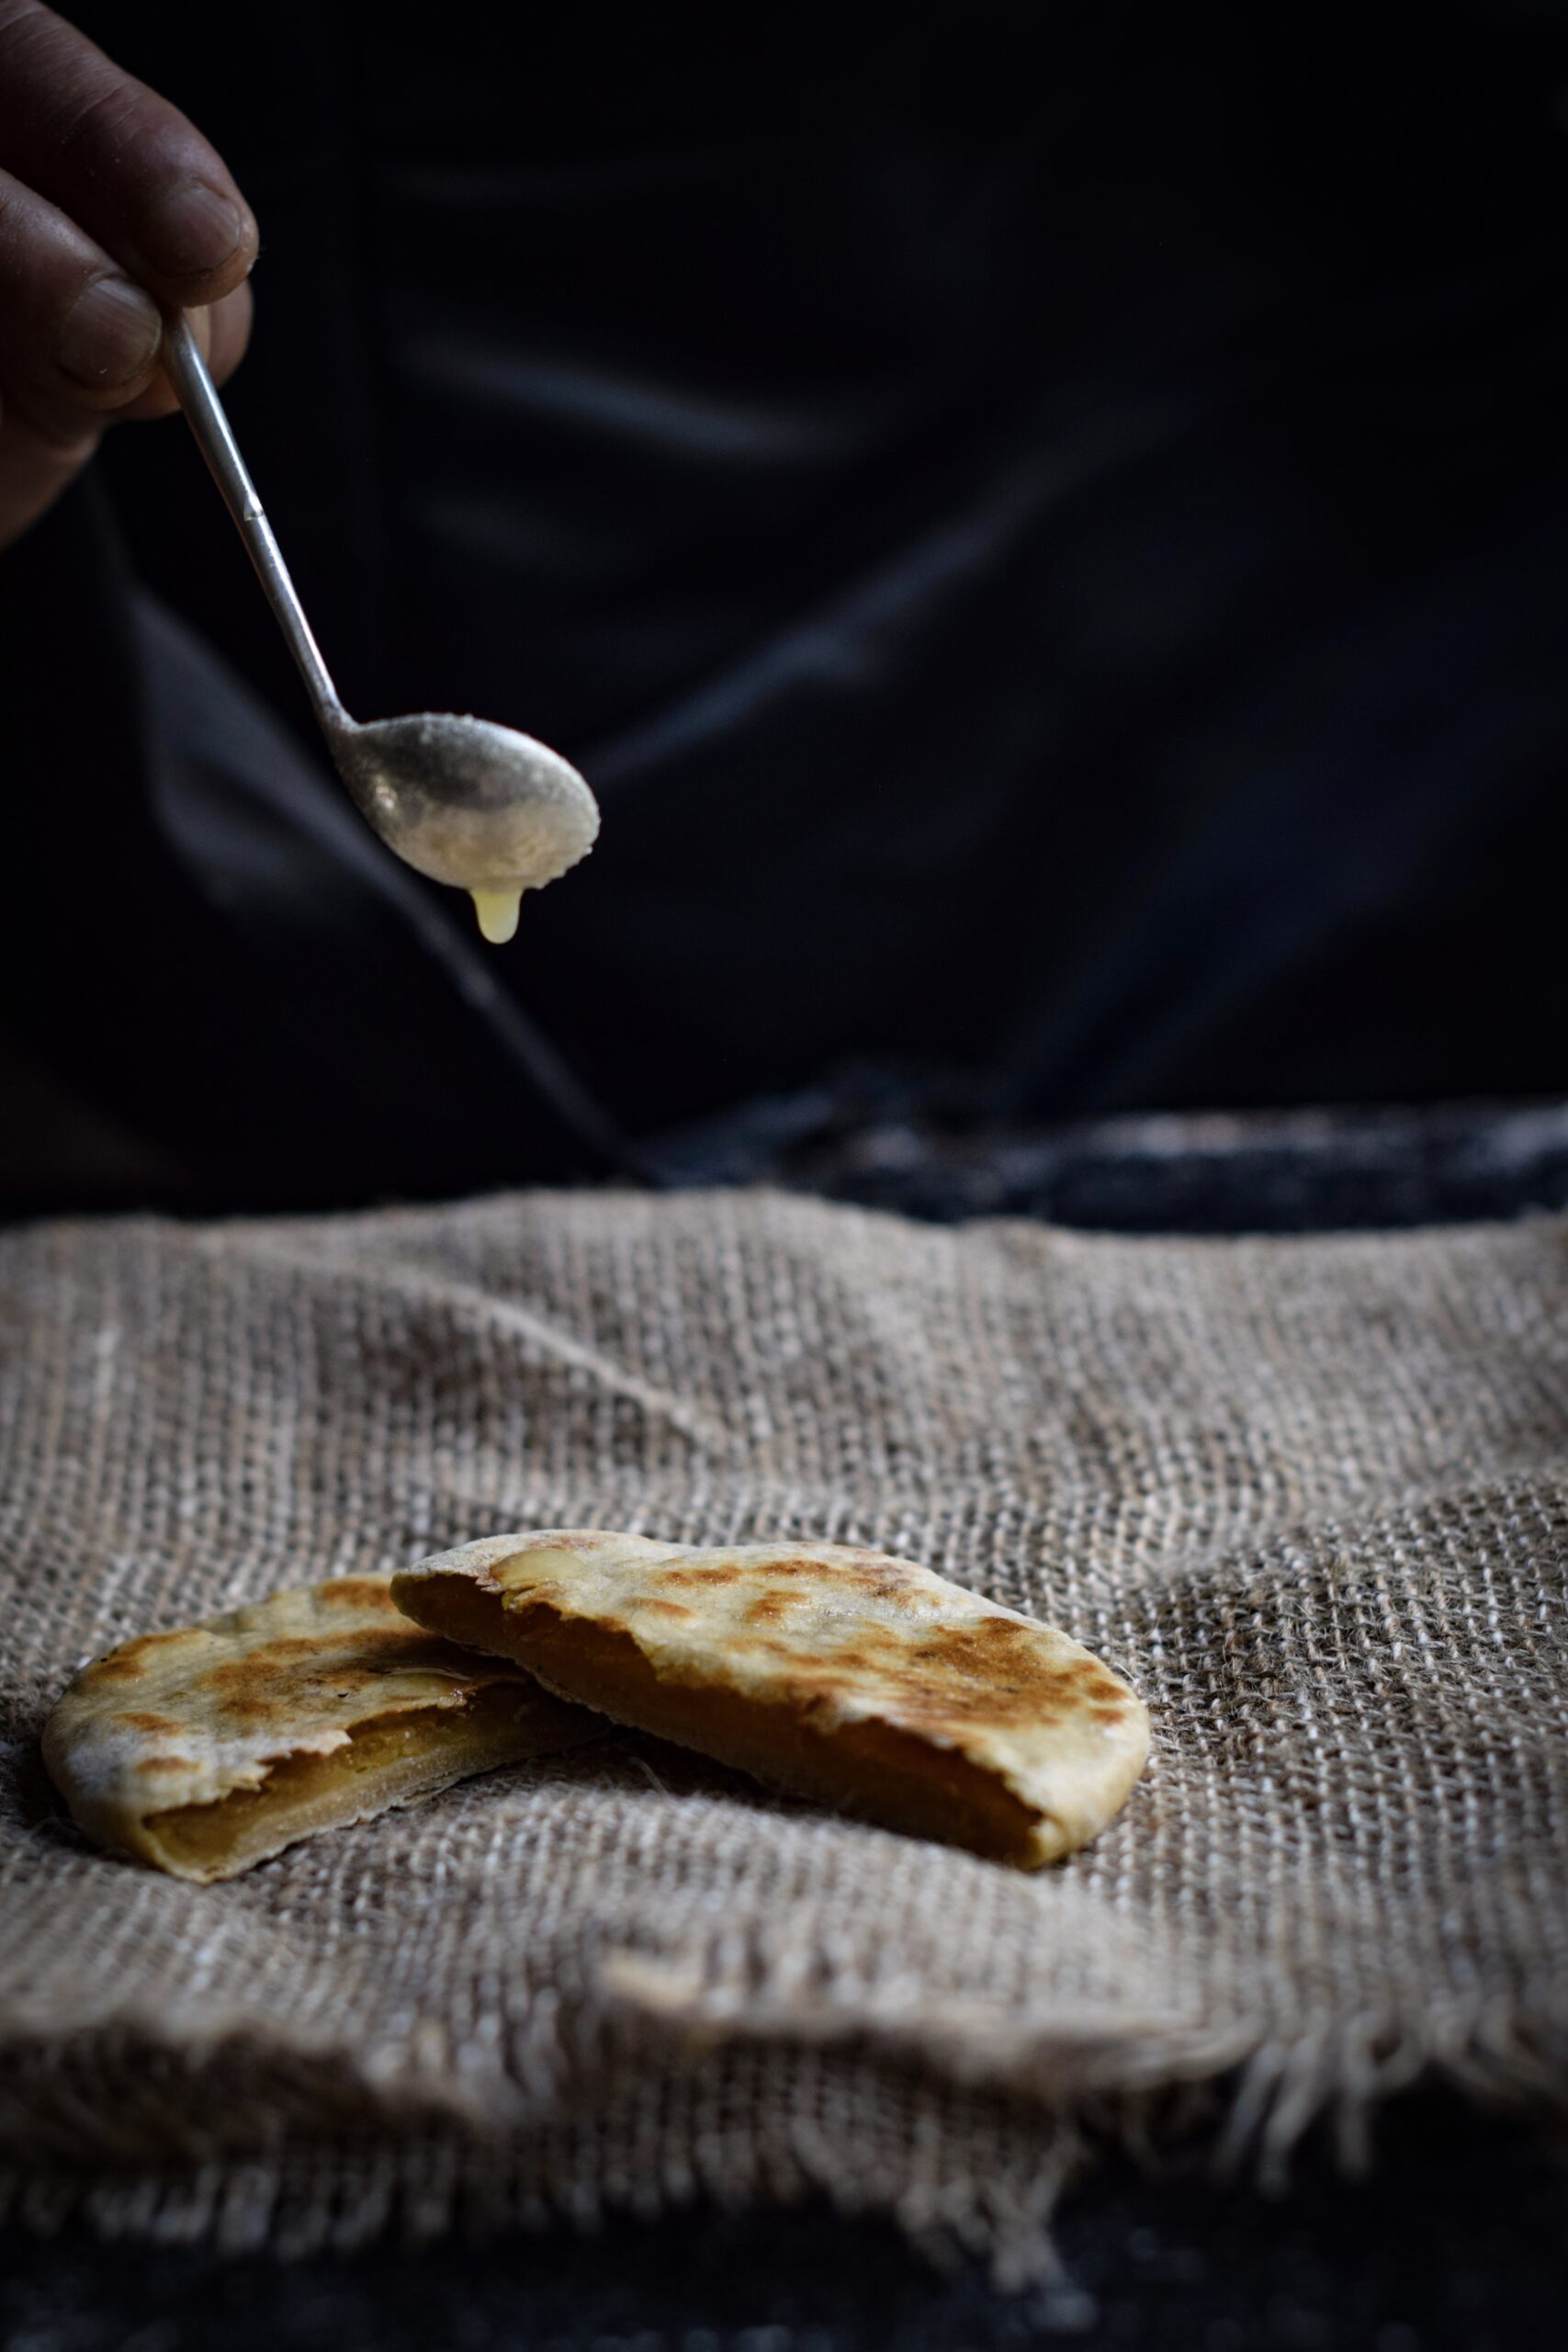
Puran Poli

Sweet, stuffed and festive, the puran poli is enjoyed not just in Gujarati cuisine but throughout India. Made of toor dal (pigeon pea) and jaggery, it is a stuffed and folded variant that is half-roti, half-dessert.

Juwar & Bajra

It’s only after years of practice with the other rotis that one comes to seasonal variants like juwar and bajra, which are even more difficult to make, let alone master. Gluten-free, the juwar roti is made of sorghum flour while the bajra roti is made of pearl millet. These thick flatbreads were traditionally eaten during winters, roasted on a charcoal flame and thus imbued with a different flavour. They were most often relished with a thick layer of white home-churned butter and sugar or jaggery. Leftover juwar and bajra make delightful, healthy cereal when crushed and eaten with milk.

*

Many Gujarati rotis were created to satisfy two specific purposes: to suit the extremely dry summers and cold winters, or to be travel-friendly, a fact proven all the way from the traders of yore to families like mine who took cross-country train rides. Whether unpacked during a picnic or a road trip, or eaten fresh and piping hot from the stove, the roti satisfies.

Throughout the subcontinent, we eat with our hands. According to Indian philosophy, the 5 senses are at our fingertips, and the act of eating activates all of them. Eating is truly a multi-sensory experience: presentation, ambience, mood and texture (even the texture of the thaali or plate – is it silver, terracotta, bell-metal or steel?), who serves us, who we eat with, the memories we recall or create through the meal – all of these matter as much as the taste itself.