Tag

chutney

Browsing

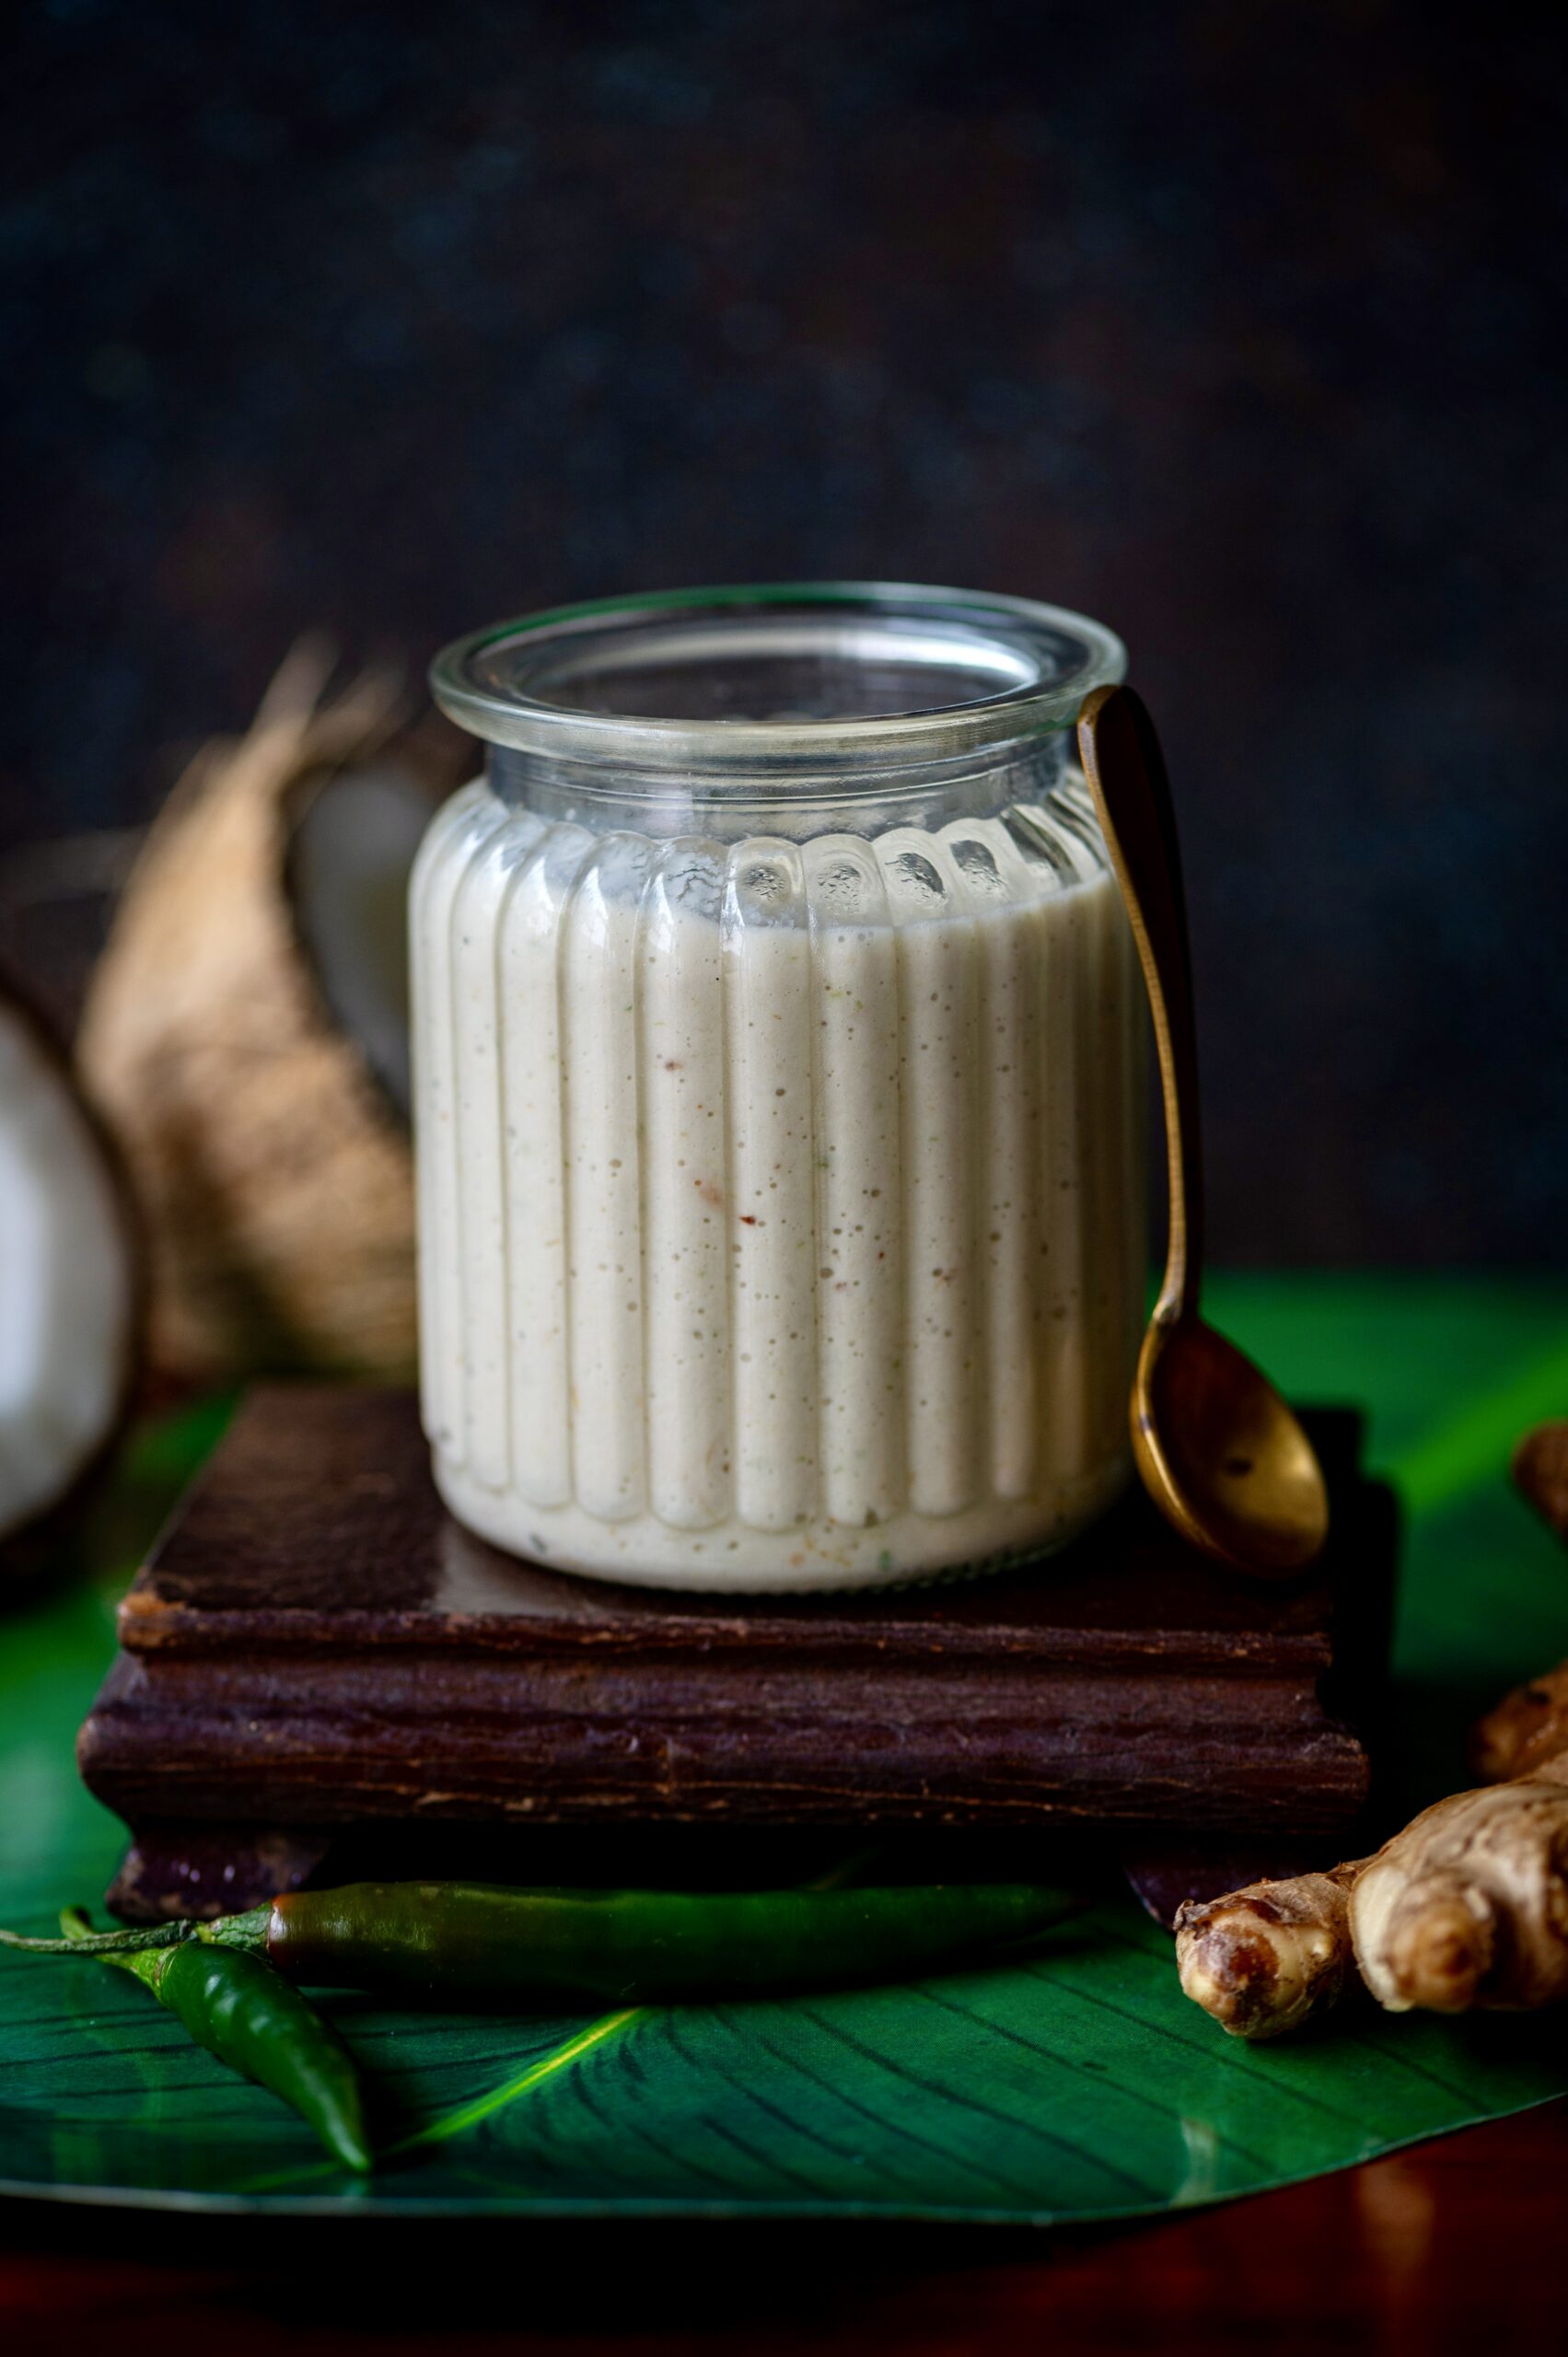
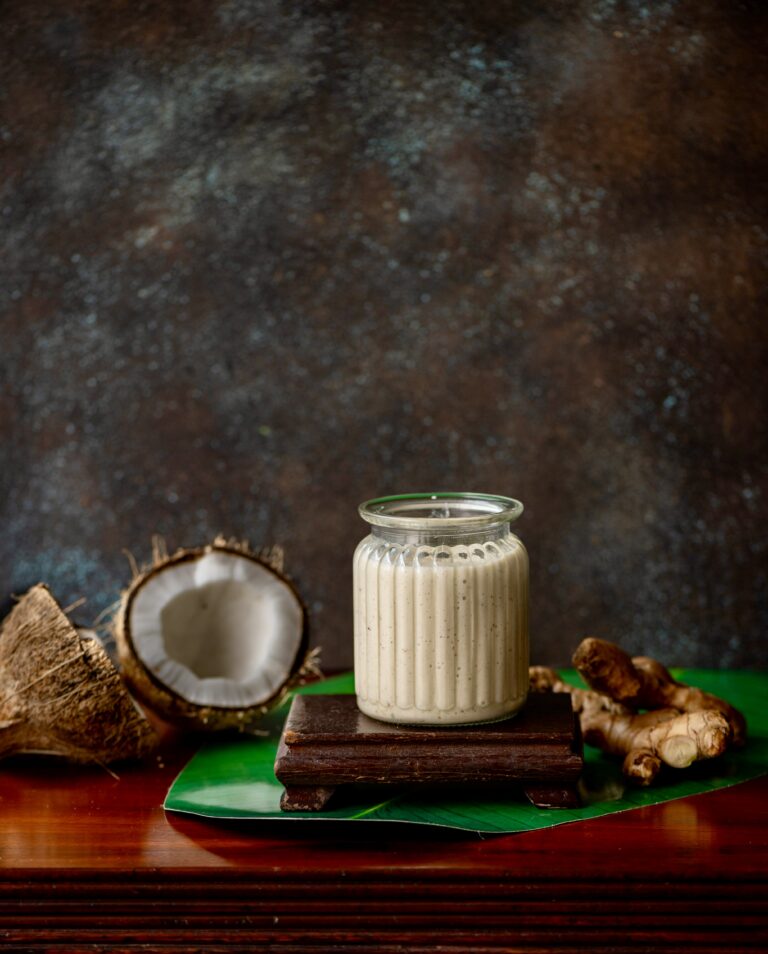
As I mentioned a few posts ago, we have a new addition to our family: a daughter-in-law, as one of my sons is getting married. There is newness all around me right now: a new year, with new changes and new surprises. There is a lot of mutual love and acceptance, but there is also a great deal of learning – both on a personal level as well as in the form of new experiences. This is true for every one of us at this time, as the family expands and we adjust to that expansion, even if joyfully. This coconut chutney, which has a twist, comes from my daughter-in-law’s culture in Coorg, South India. It is a delicious take on a classic, and we love it so much that it has now become the only kind of coconut chutney that we make at home.

I have shared a wide range of chutneys on this blog: from peanut chutney to plum chutney, and much in between. Despite also sharing a variety of coconut posts over the years, the two had not come together so far. So I’m thrilled to share this less-than-typical, and very tasty, coconut chutney. The method is exceptionally simple, and if you already have a standard coconut chutney in your own repertoire, you will find this an easy upgrade.

I would love to share more recipes from Coorg as I myself begin learning more over the coming years. I hope you’ll enjoy doing so alongside me, too.

As I said earlier, the learnings are myriad. Becoming a mother-in-law is a whole new chapter of my life. I am sure it won’t always be easy, but I look forward to a lot of togetherness. I hope to apply all the lessons I have learned over the decades about open-mindedness, warmth and sincerity. When I think of my kids and how I have accepted their loveliness and their quirks both, and how they have also been welcomed by so many, I know that we can all find it in our hearts to grow together. I wish also that we can be caring and thoughtful towards each other in the world at large, and instil harmony everywhere.

It’s about accepting differences, of course, but it’s also about celebrating them. I can think of no better way to do this than through food. So without further ado, here is a Coorg-inspired coconut chutney to usher in bright times for us all!

Coorg-Inspired Coconut Chutney

(Yield: 1 cup)

½ cup grated coconut

Marble-sized tamarind pulp (soaked)

2 green chillies

A small piece of ginger

2 tablespoons water

Sugar to taste

Salt to taste

In a blender, add all the above ingredients and blend to a smooth texture. If you require the consistency to be thinner, add more water.

That’s it. Now that your chutney is ready, serve with dosa or idly. Stay tuned for upcoming posts on preparing the batter for these, as well as a special and fun way to enhance your dosa experience!

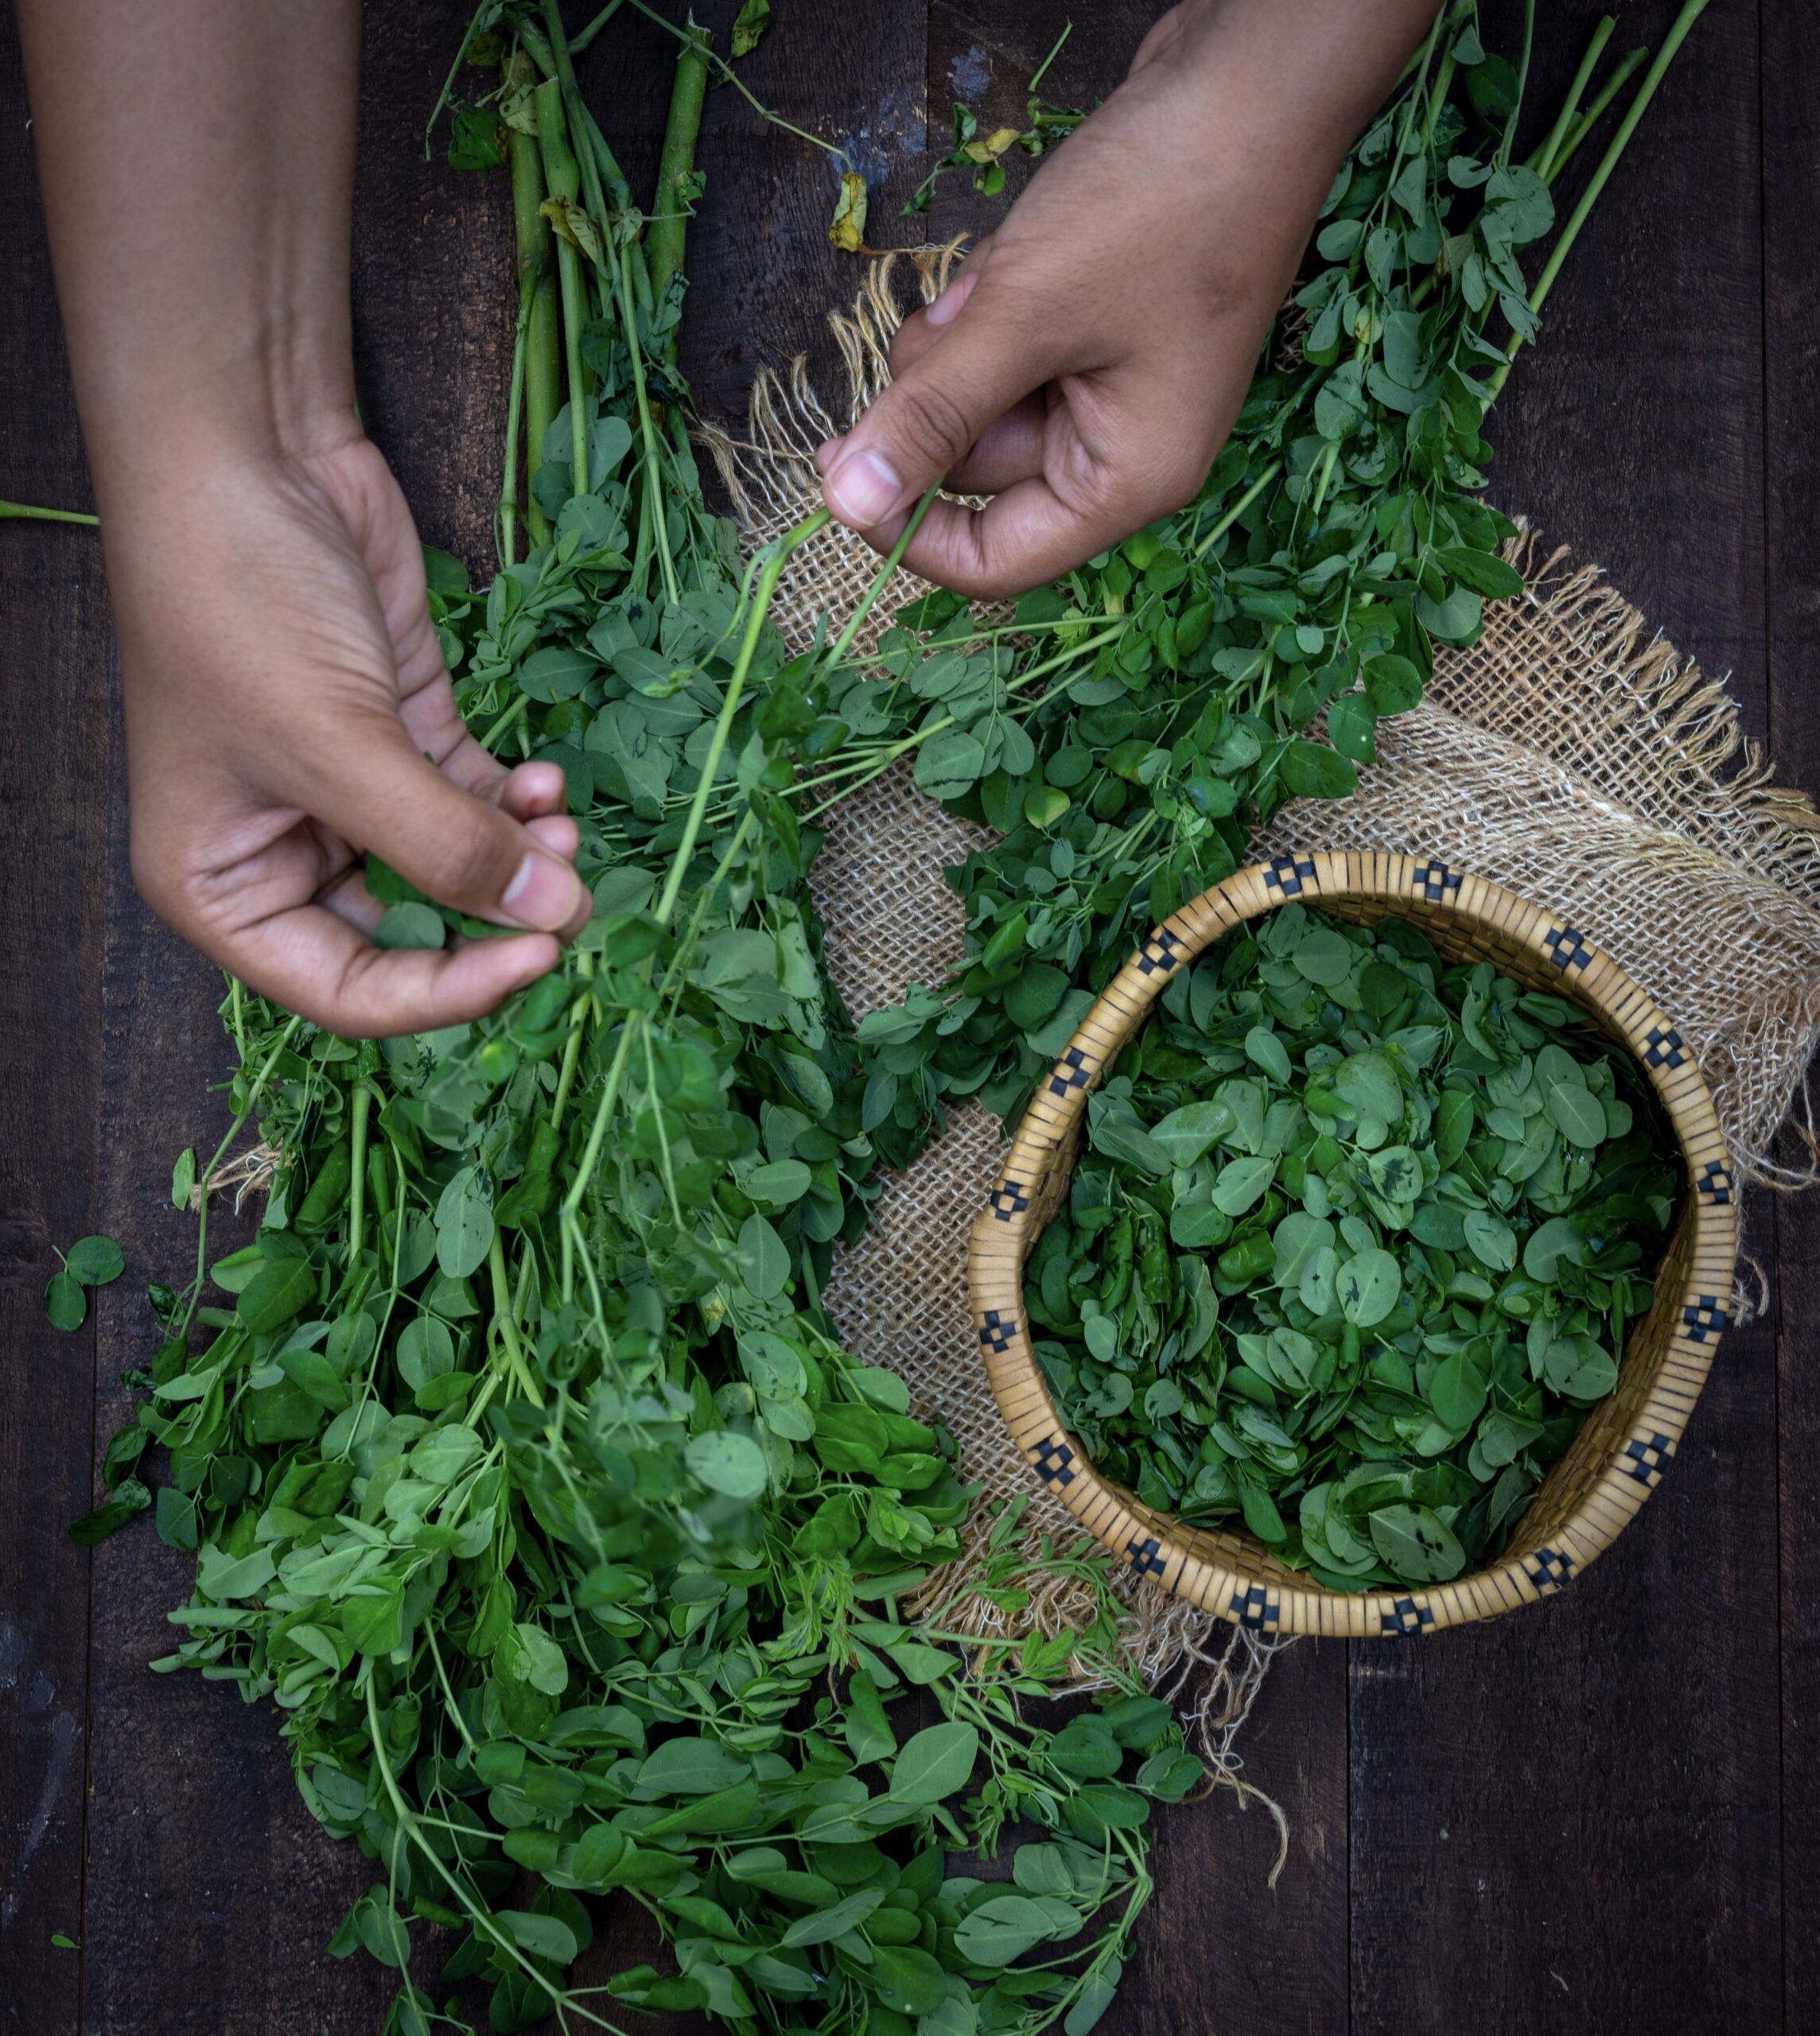
Moringa leaves have made some appearances on my blog in the past, for instance in this omelette, as well as a suggested sprinkling across numerous other dishes. Moringa leaves are a very versatile green commonly used in South Indian cuisine, which happen to be considered a superfood. You may also know them as the leaves of the drumstick tree. Today, I want to share the recipe for moringa chutney, a tasty way to make use of this highly nutritious ingredient.

Moringa powder is also easy to make at home, if you have access to the trees. Just dry the leaves in the sun for five or six hours, powder and store. Remember to only use the leaves, and discard the stem. You can use it liberally across all kinds of dishes, to boost their antioxidant, mineral, amino acid and vitamin content.

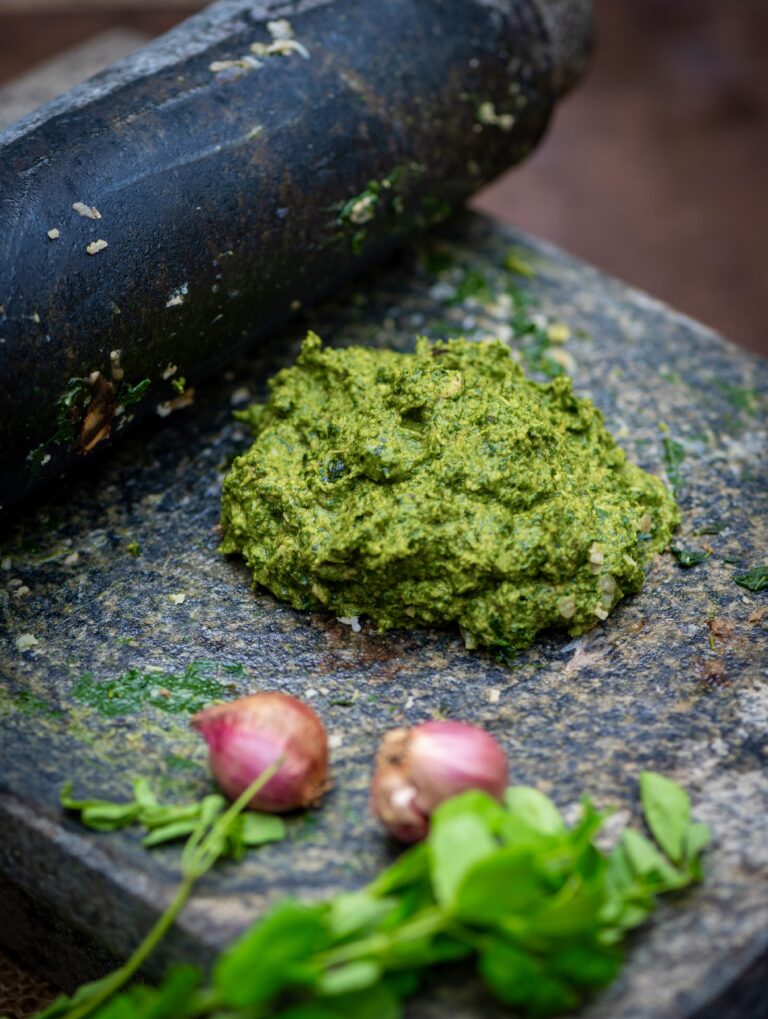
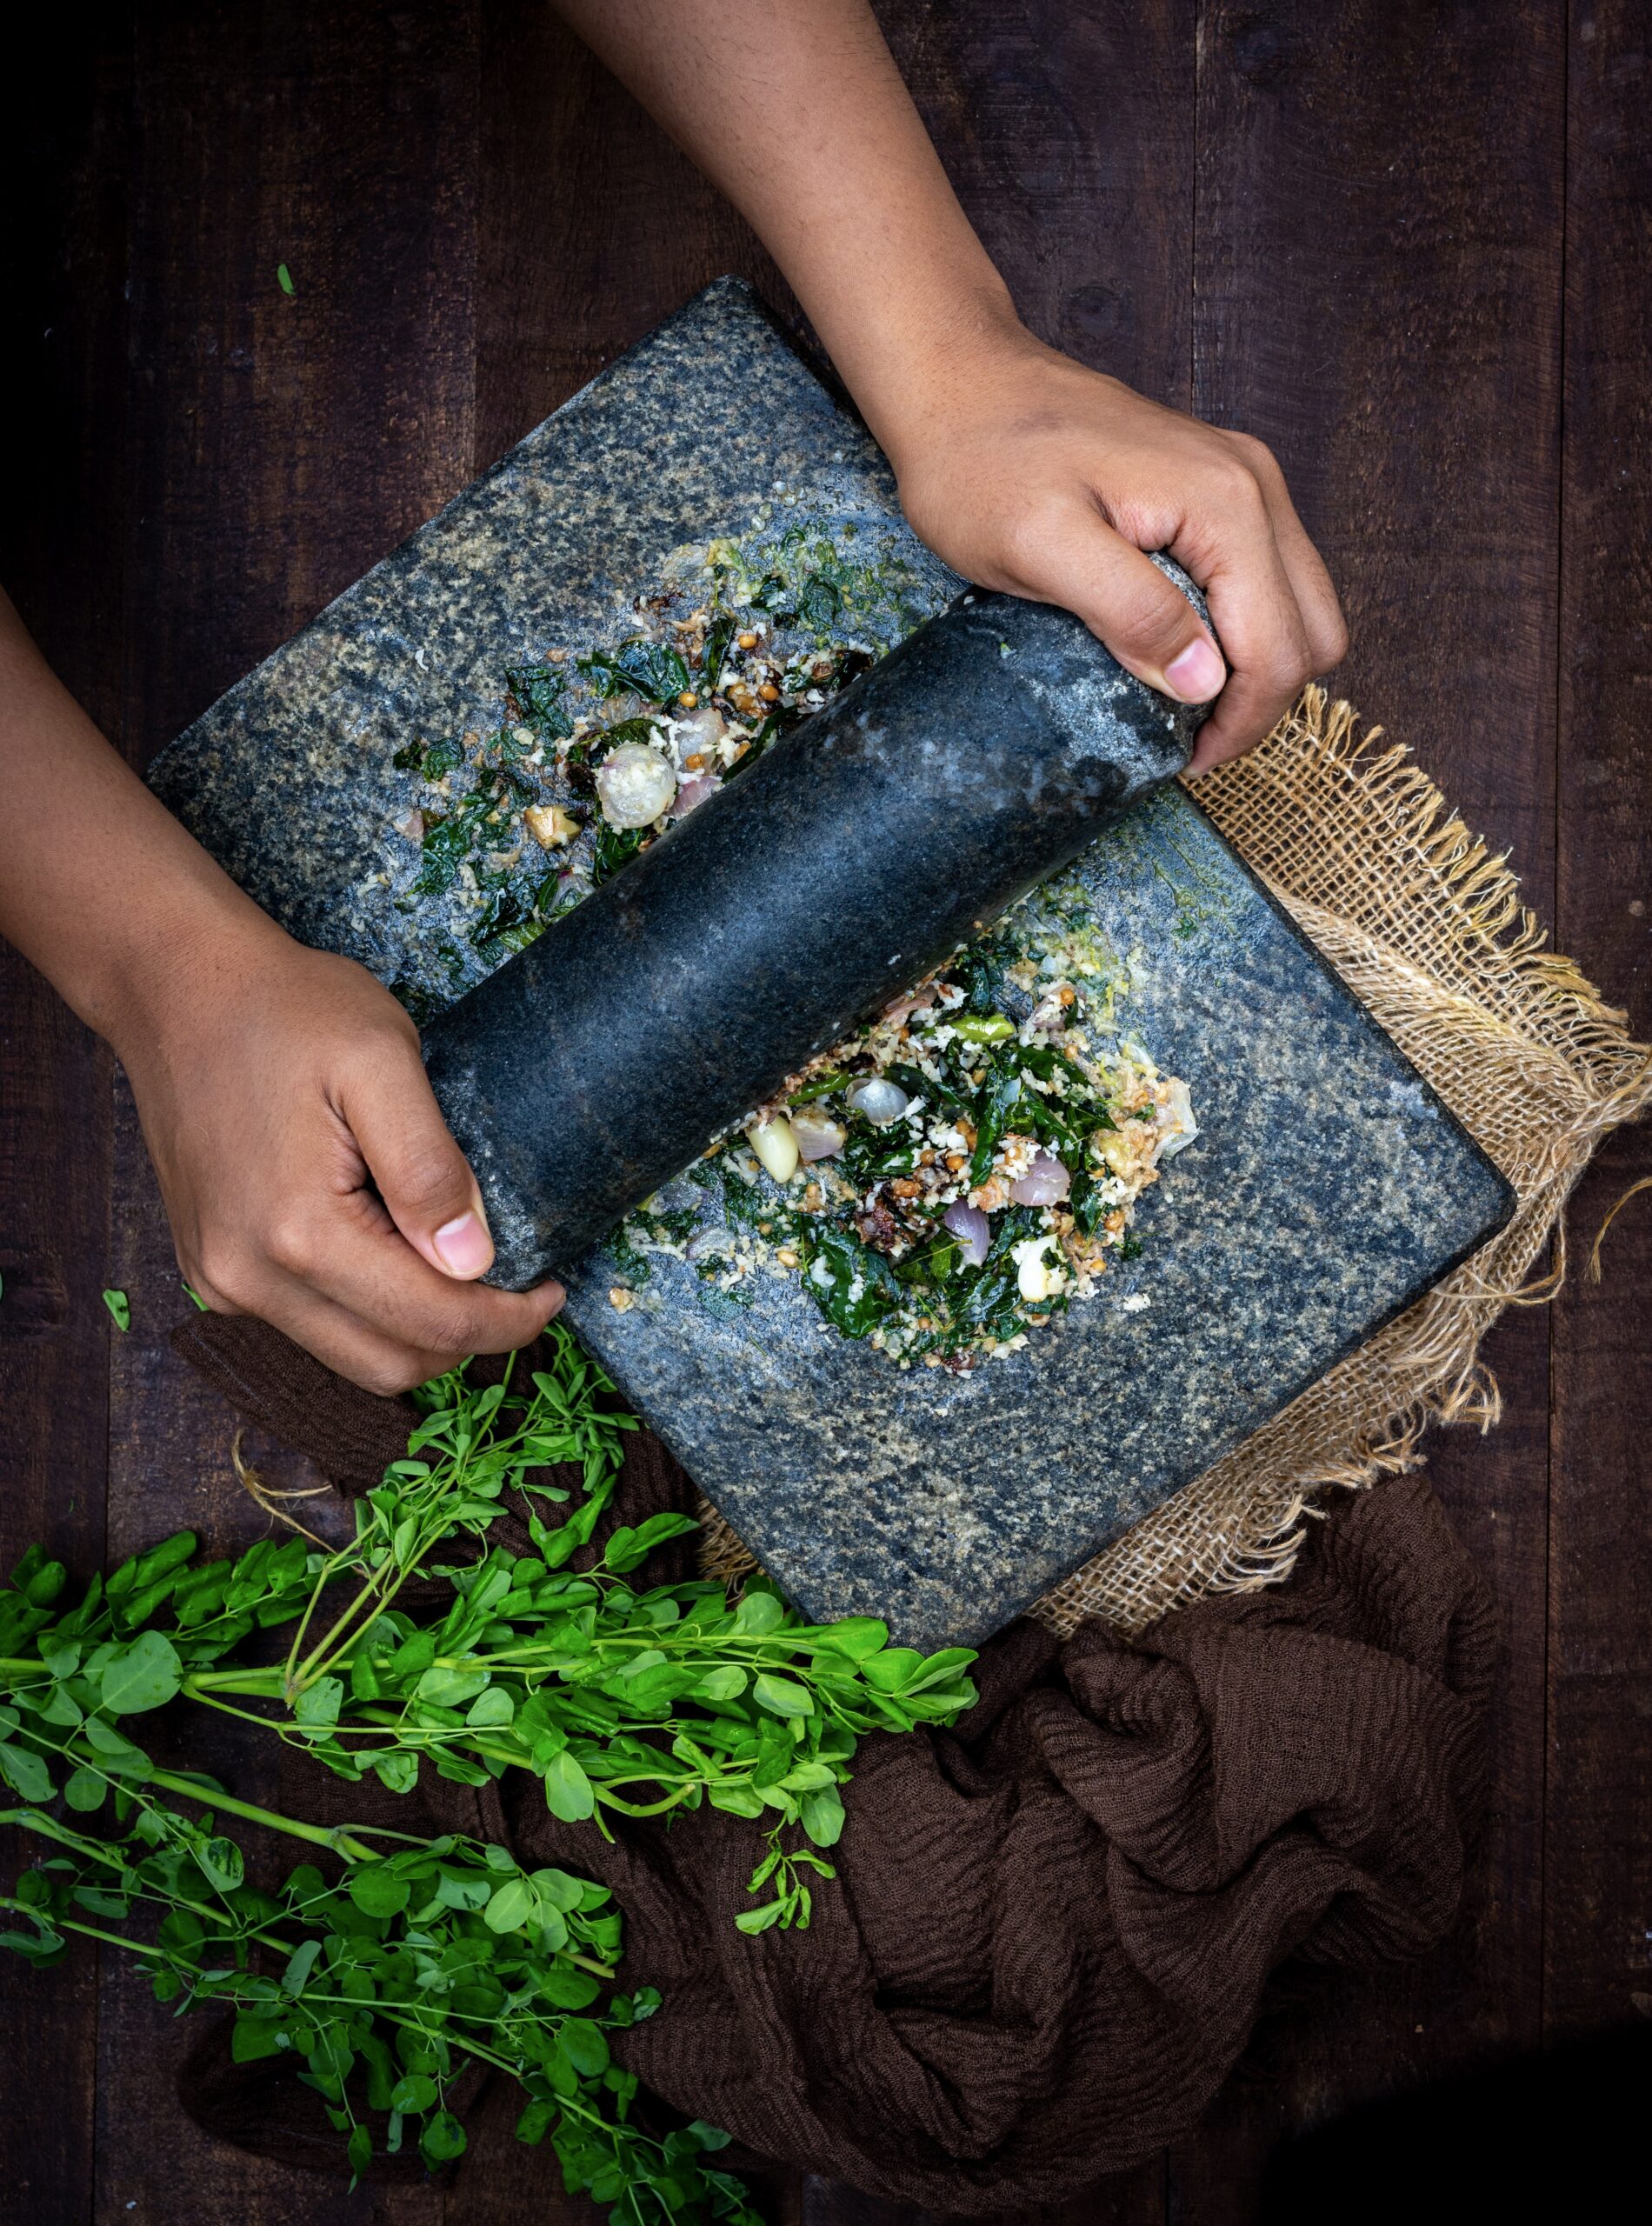
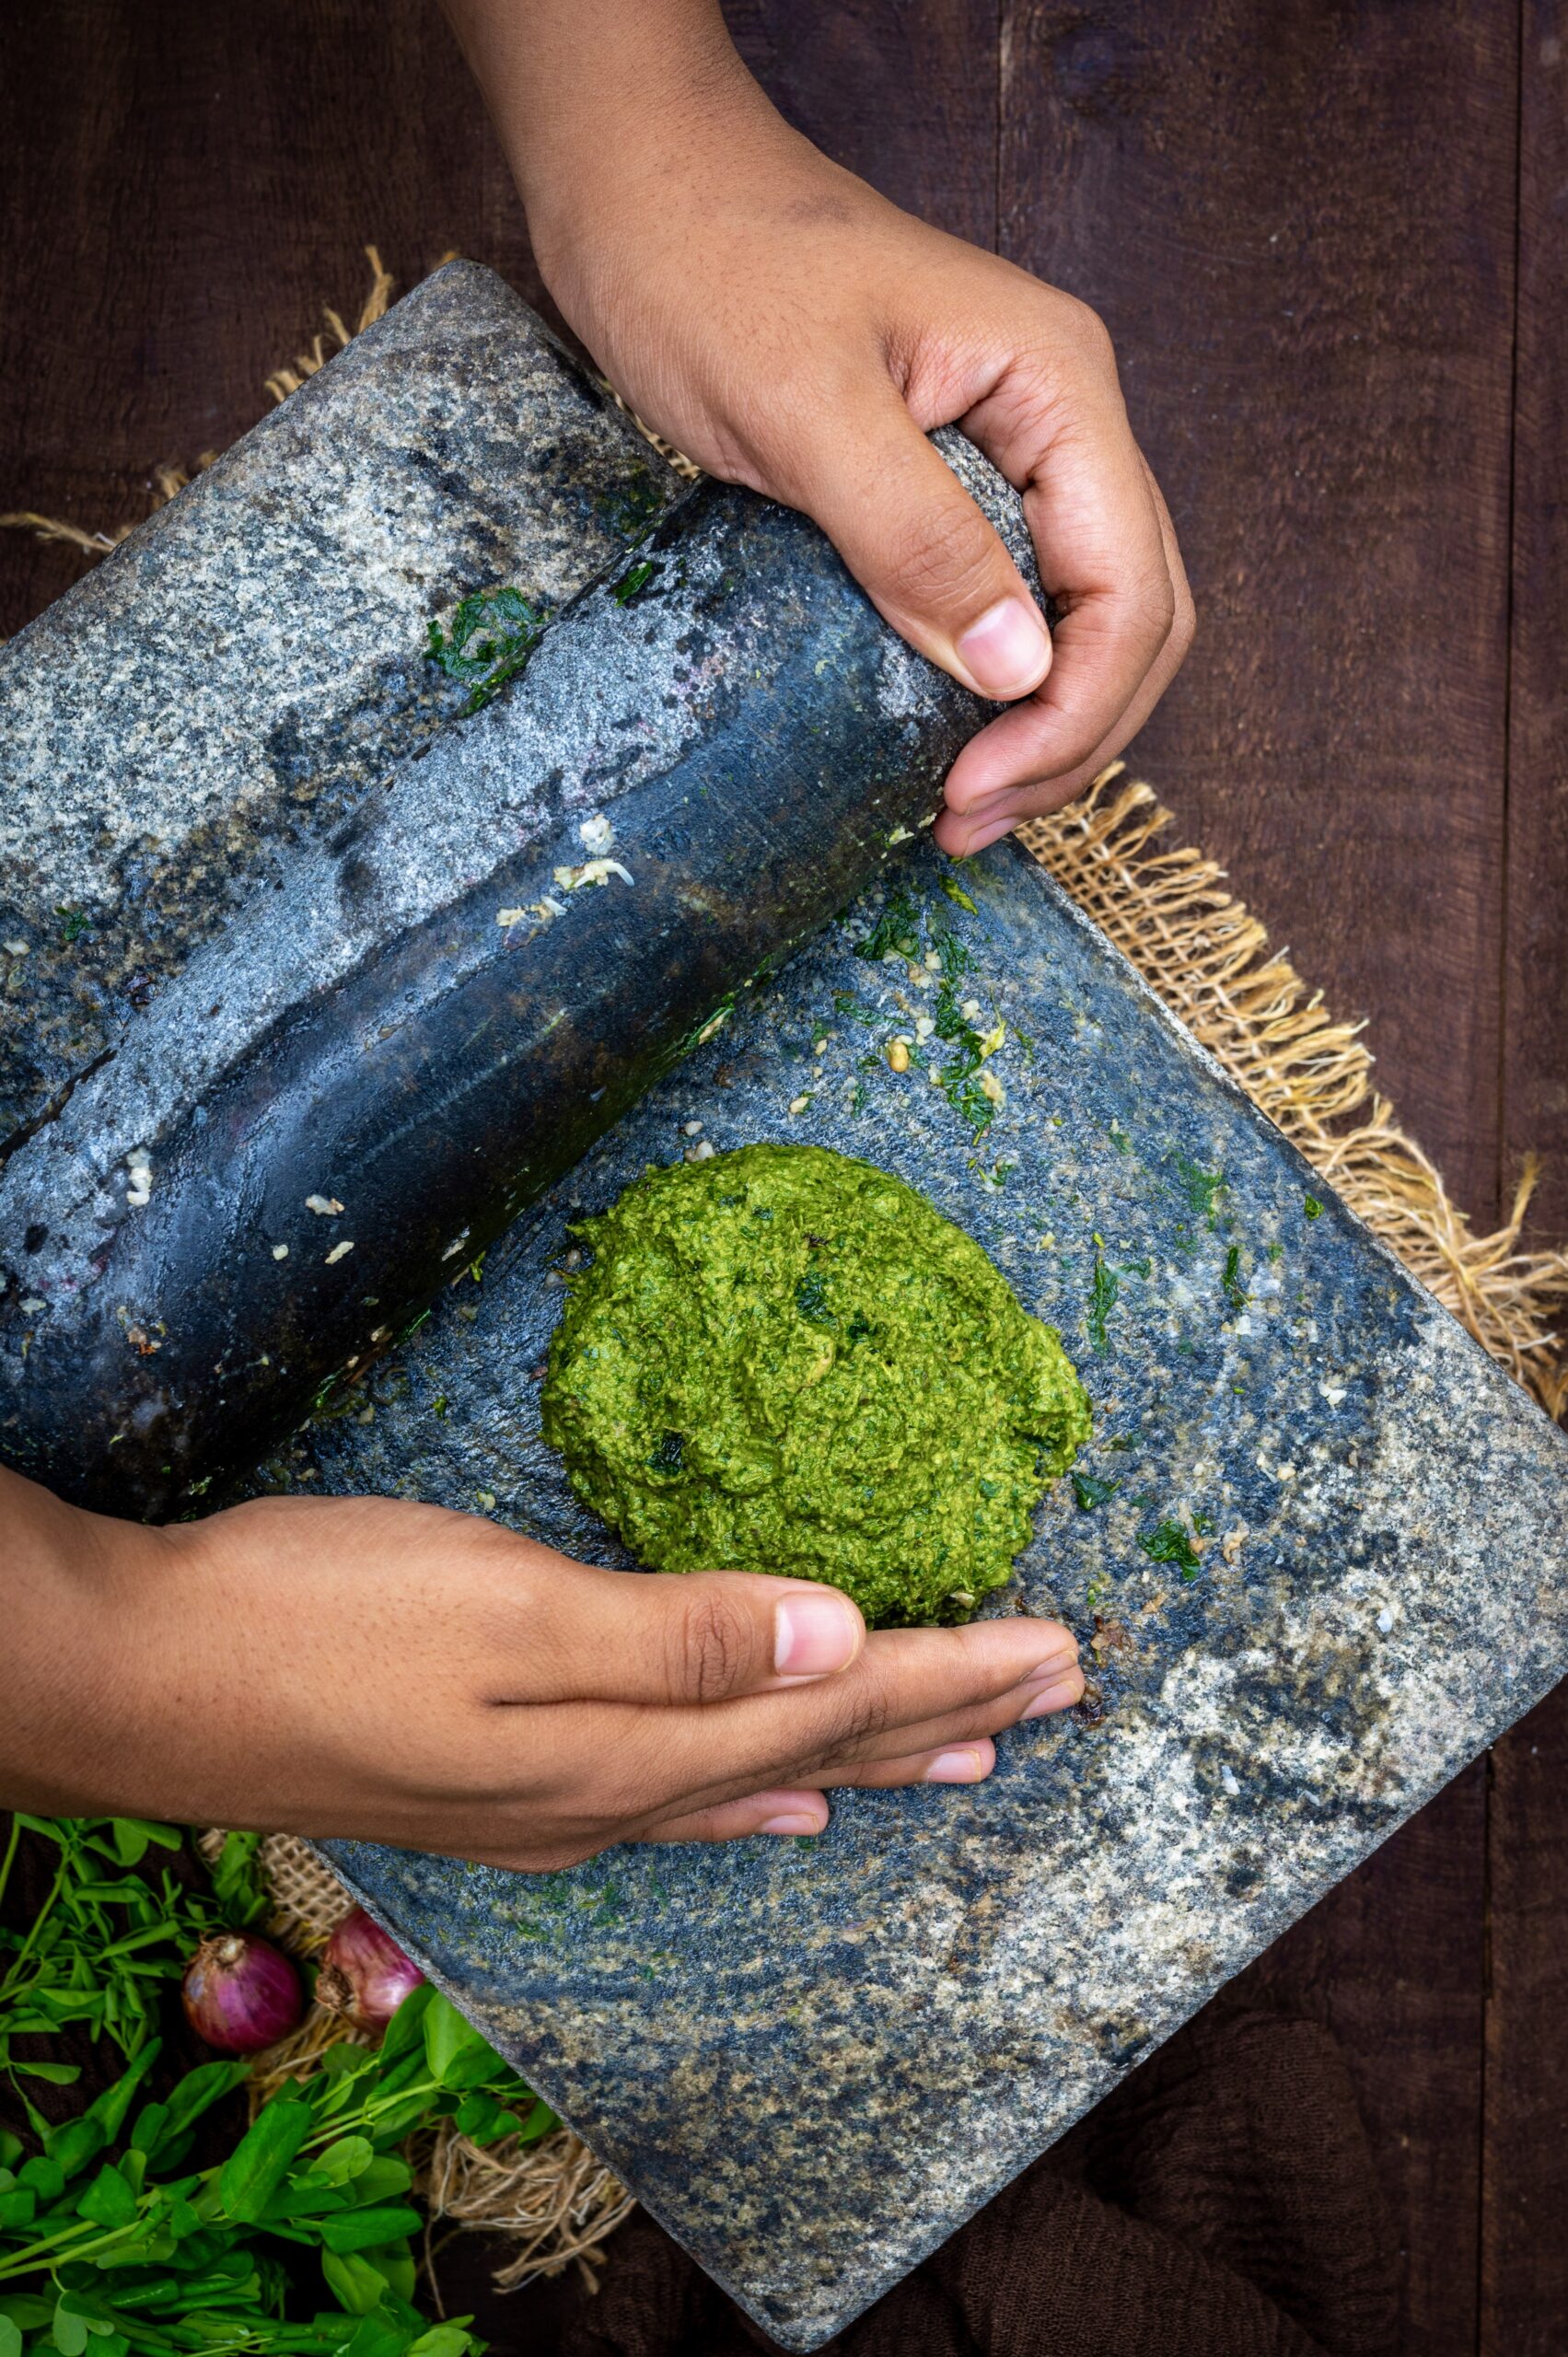
Coming back to the chutney: I wanted to make it in a more traditional way. You may recall from my previous post, on roasted tomato soup, that I was nostalgic for the food mill method my mother would use. So this time, I decided to use the ammi-kallu, or grinding stone, to prepare this chutney. I do believe that it has come out extra flavourful because of the hand-ground effect. You can of course still get a delicious chutney with a modern blender.

I know it’s unfair to compare this moringa chutney to a pesto, but that’s what comes to mind for me. Like a pesto, it can be used in lots of different ways. You can have it as a dip with idli, mix it with a dollop of ghee onto rice, or even spread it on toast. The jar I made when I did the photoshoot for this recipe was wiped clean in two days, as my family found so many uses for it. It’s not a runny kind of chutney, which lets you get creative in terms of how you can use it.

Speaking of creativity, I was even thinking of bottling some and gifting it for Diwali, as a unique and surprising alternative to the usual Indian sweets. Perhaps that’s something you may want to do too, this festive season. I hope you’ll enjoy making and sharing this lovely moringa chutney!

Moringa Chutney

(Yield: One bowl)

1 tablespoon oil

¼ teaspoon asafoetida

4-6 shallots

1 teaspoon urad dal

3 cloves garlic

1 inch piece of ginger

6-8 curry leaves

2 slit green chilies

2 marble-sized balls of tamarind

1½ cups moringa leaves

½ cup shredded coconut


Add oil to a pan. Once it has heated, add the urad dal and asafoetida. Sauté until the dal is golden and well-roasted.

Next, add the green chilli, tamarind, garlic and ginger. Sauté for a few minutes.

Next, add the curry leaves. Sauté and add then add the moringa leaves. Sauté some more. Turn off the heat and then add the shredded coconut. I find this final ingredient tames the flavour a bit, and enhances it in its own way.

Add the above to a blender and make a paste of a thick consistency. If you are using a traditional kitchen tool, do so instead. Your moringa chutney is ready, and can be enjoyed as an accompaniment in numerous ways. If you are a fan of chutneys in general, you may also want to check out a few other variations I’ve shared, including lasun ki chutney, plum chutney and raw mango chutney.

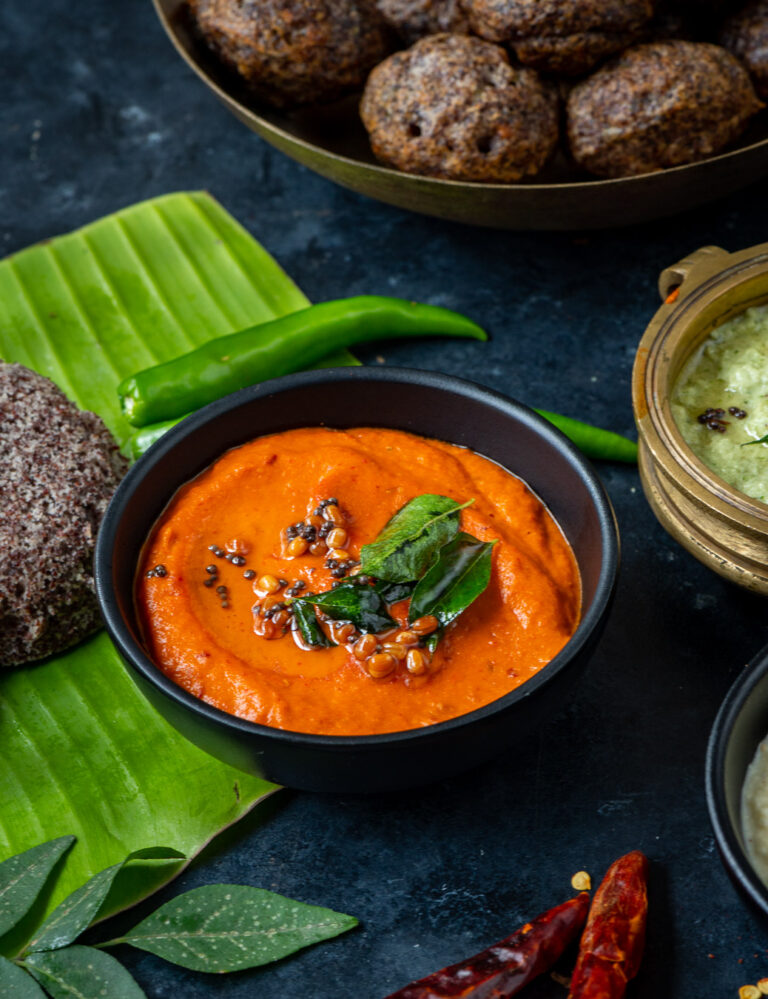
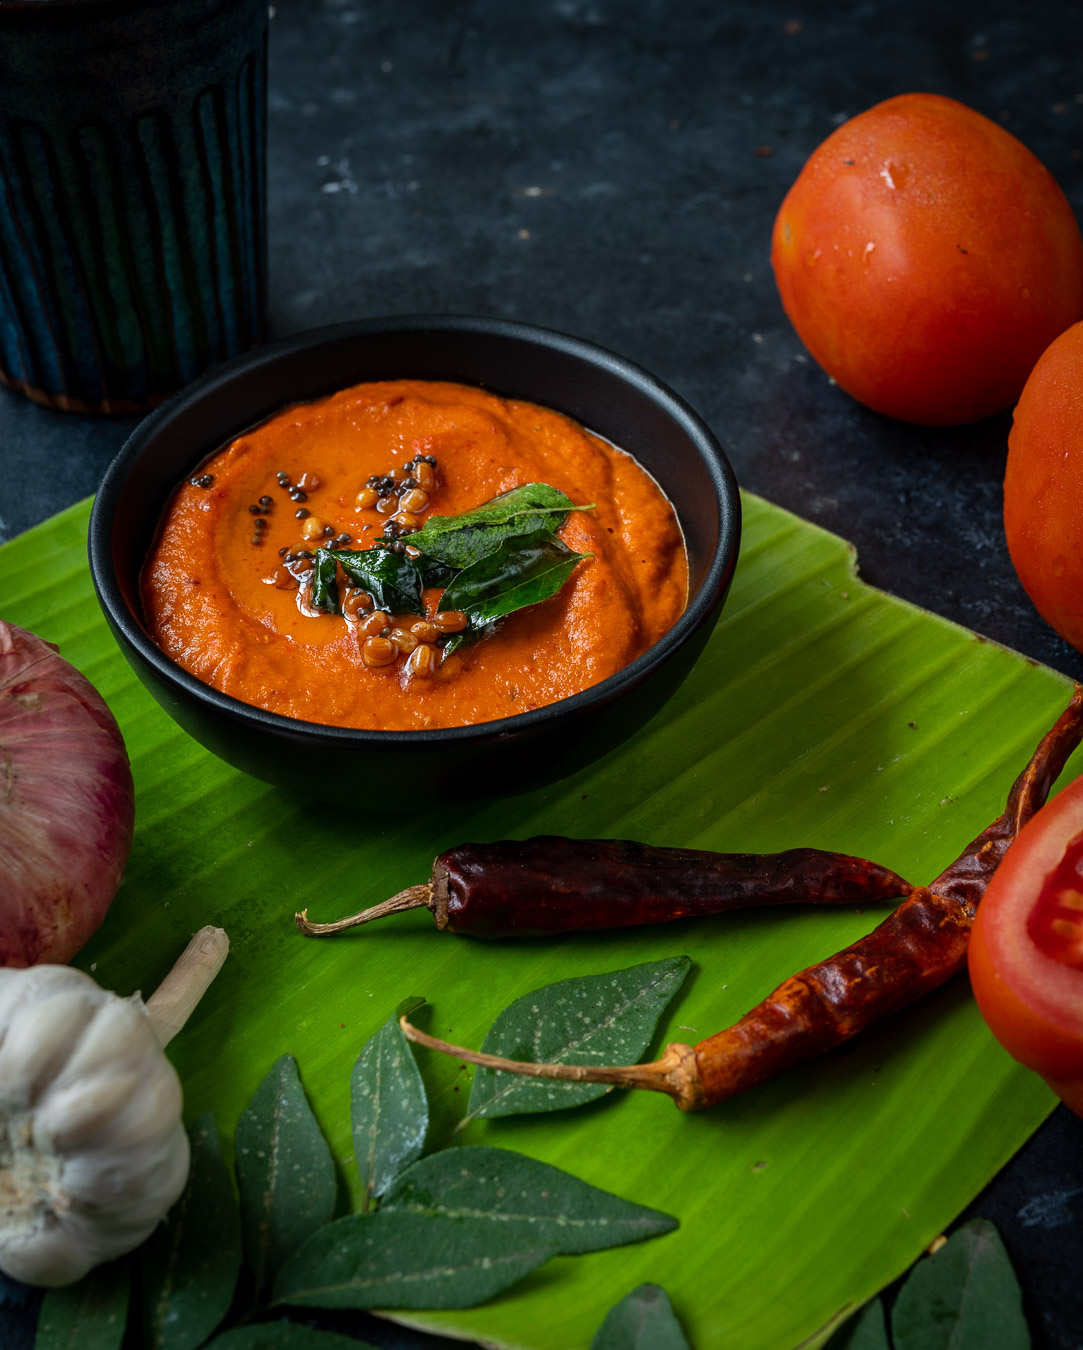
If you are ever in any South Indian restaurant, you will notice that they will offer you an abundance of chutneys. Each restaurant will be famous for its own twist on ginger, coconut, mango and so many other variations and options. Whenever such a range is available, I usually want to lick and taste them all, until I find one that I love. Then, I’ll stick with that for that particular restaurant – at least for that particular day. Across many such meals, I have discovered that my favourite at many places is tomato chutney, so of course I decided to make my own version at home too – and to share it with you.

This tomato chutney can be kept in your fridge for about a week, and it goes well with anything – from main staples like dosas and idlys to assorted savoury snacks.

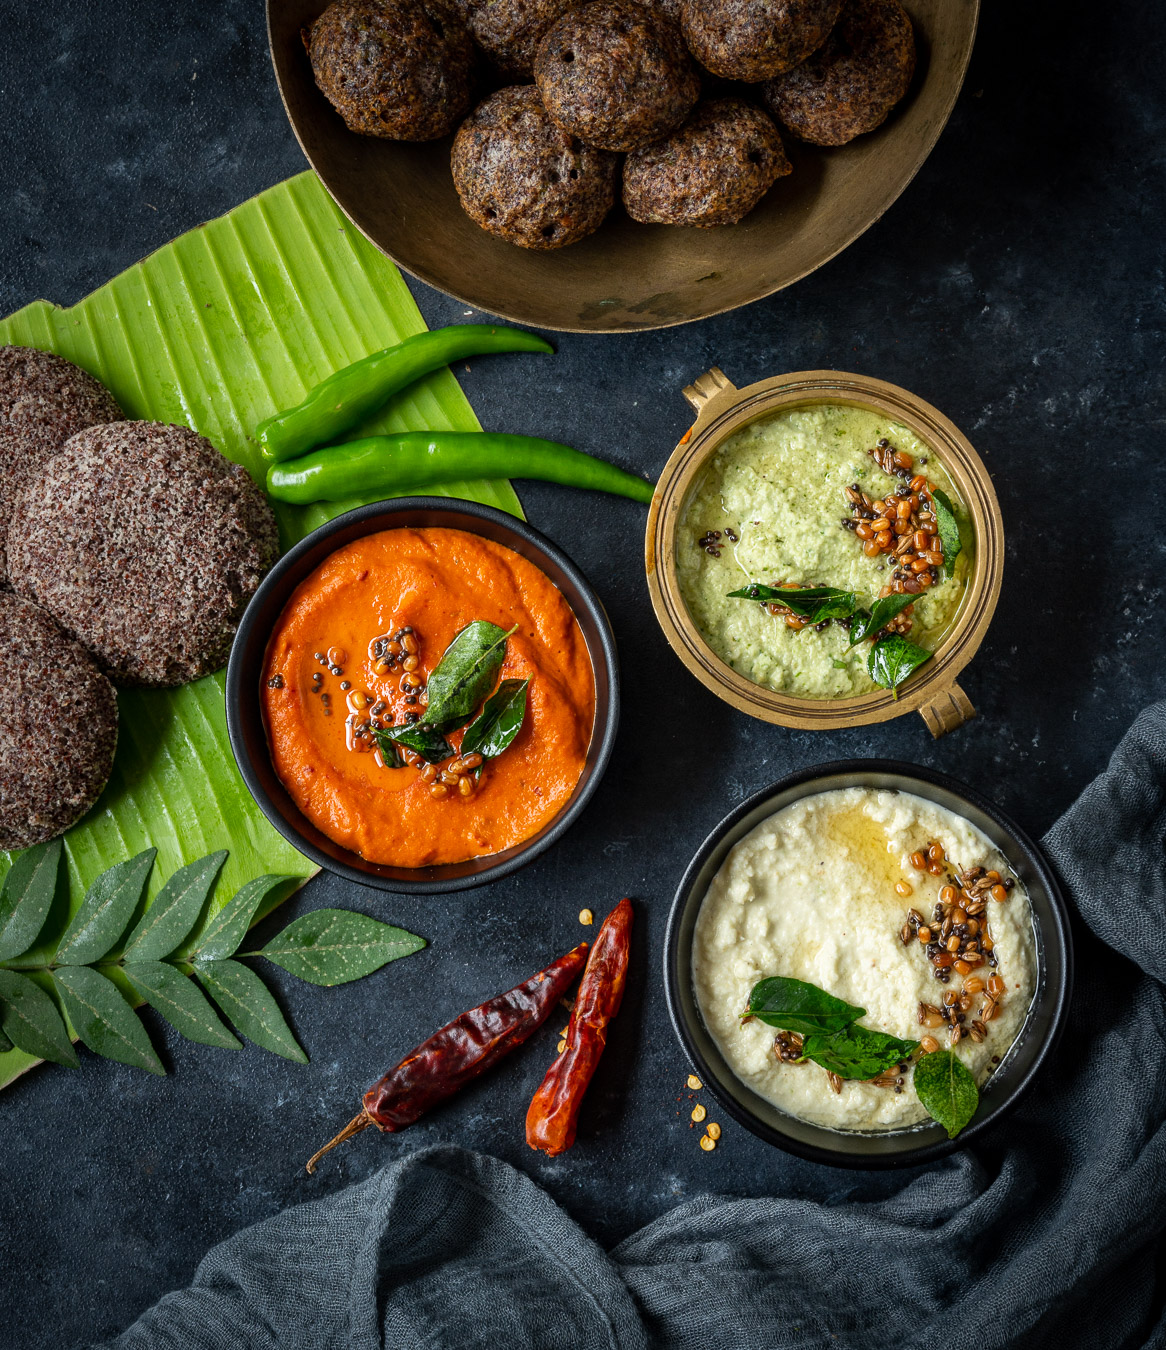
One thing I also like to do is to spread this chutney on the dosa itself, and it makes for an amazing flavour combination, along with the sesame oil used to fry the dosa and the ghee used as a topping. The dish looks so pleasing to the eye, is so appetizing, and is also healthy. Whenever I prepare a tomato chutney-laden dosa, it reminds me once again of the colourful plates at restaurants. Those red, green and white chutneys really change your perspective on just how delicious nutritious food can also look.

This in turn reminds me of a friend of mine whom I have learnt a lot from. She lives alone in a beautiful home, and at every single meal – whether or not she has visitors – she takes care to set a table properly. She places the crockery out along with crisp linen napkins and silverware. When one lives alone, one often takes things for granted. But not so with my friend, who pays attention to her meal and enjoys it the old-school way. No TV switched on, no carelessness. She cooks every single meal afresh and makes it a point to make it a pleasure.

Watching how she has chosen to live inspires me. We often rush through processes rather than pausing and being present. Yet what a difference it makes, especially as we get older, to truly enjoy and experience each moment.

Stop. Sit down. Look at the wonderful plate in front of you. See what the colours and flavours add to your life. If you plan to prepare such a plate soon, be sure to add this vibrant tomato chutney to it. I’m sure you’ll see and feel the difference it makes to the tastebuds, and to the mind.

Tomato Chutney

(Yield: 1 cup)

1 onion

2 tomatoes

3 dried red chilies

4-5 cloves garlic

2 tablespoons oil

1 piece ginger

1 teaspoon urad dal

Salt to taste

Water as required, enough to grind to a paste (I used 3-4 tablespoons)

Juice of ½ lemon


Heat a pan and add the oil. Add the garlic and urad dal and sauté.

Add the onions and dry red chilies. Sauté until the onions becomes translucent then add the tomatoes. Then, add the salt. Cook until the tomatoes are tender and their colour changes.

Now, add the water. Once the concoction cools considerably, blend with the lemon juice.

Store in a fridge for up to a week, using as an accompaniment to any dish of your choice. Enjoy!

For another tomato recipe that has multipurpose qualities, do check out my tomato purée recipe too!

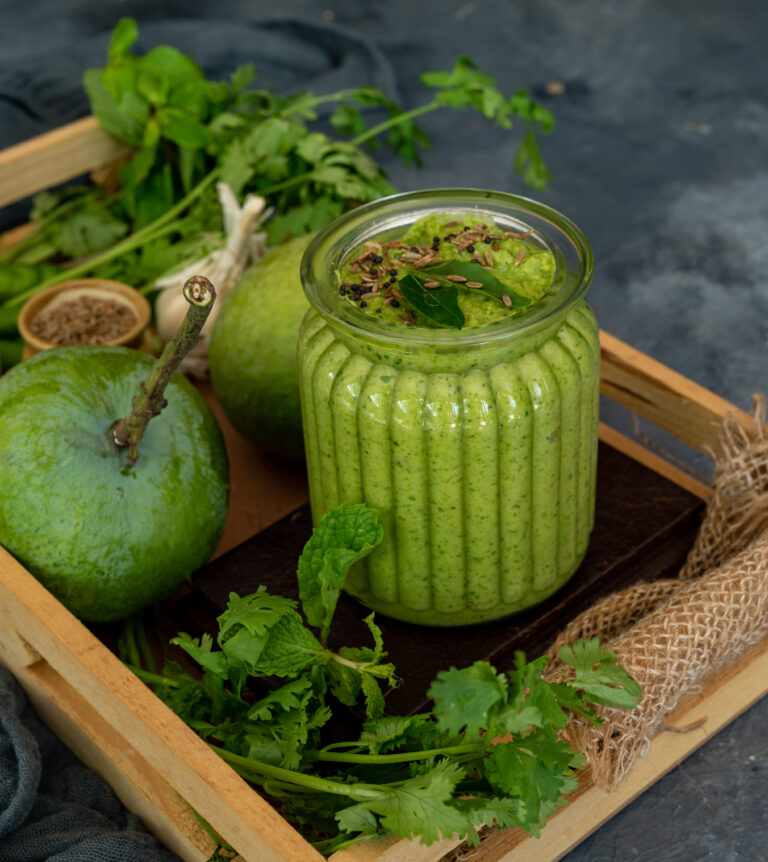
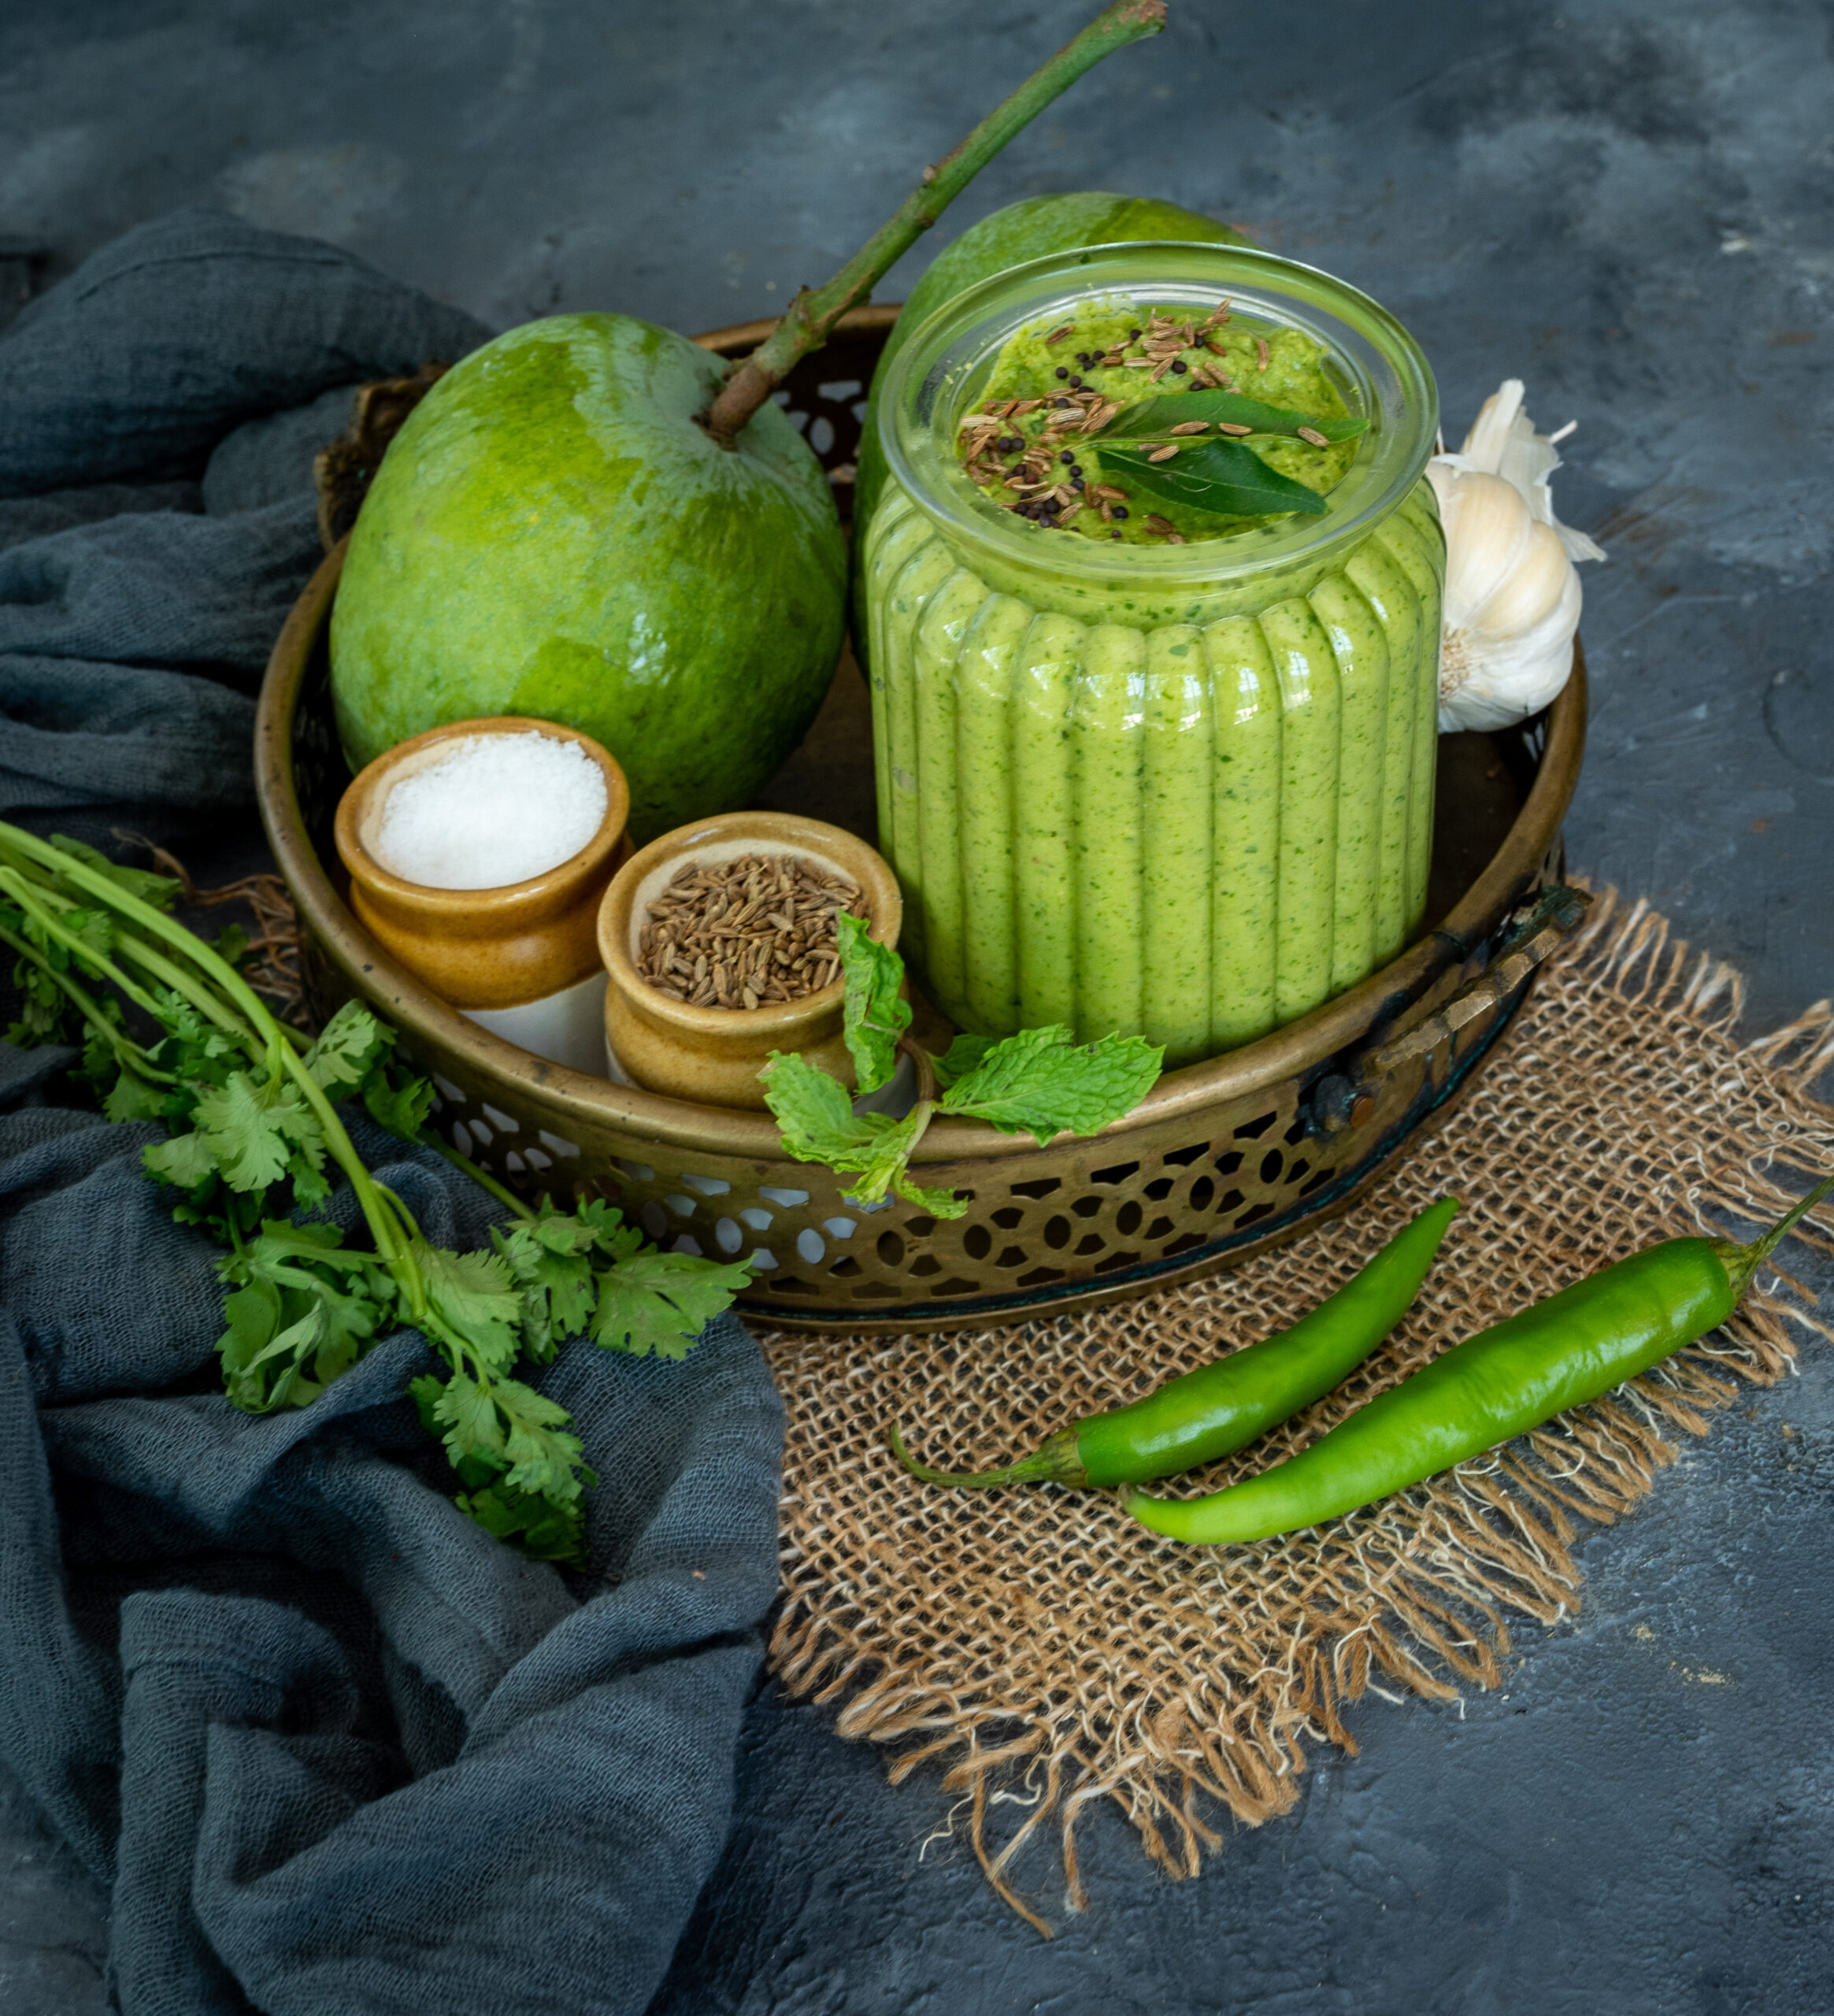
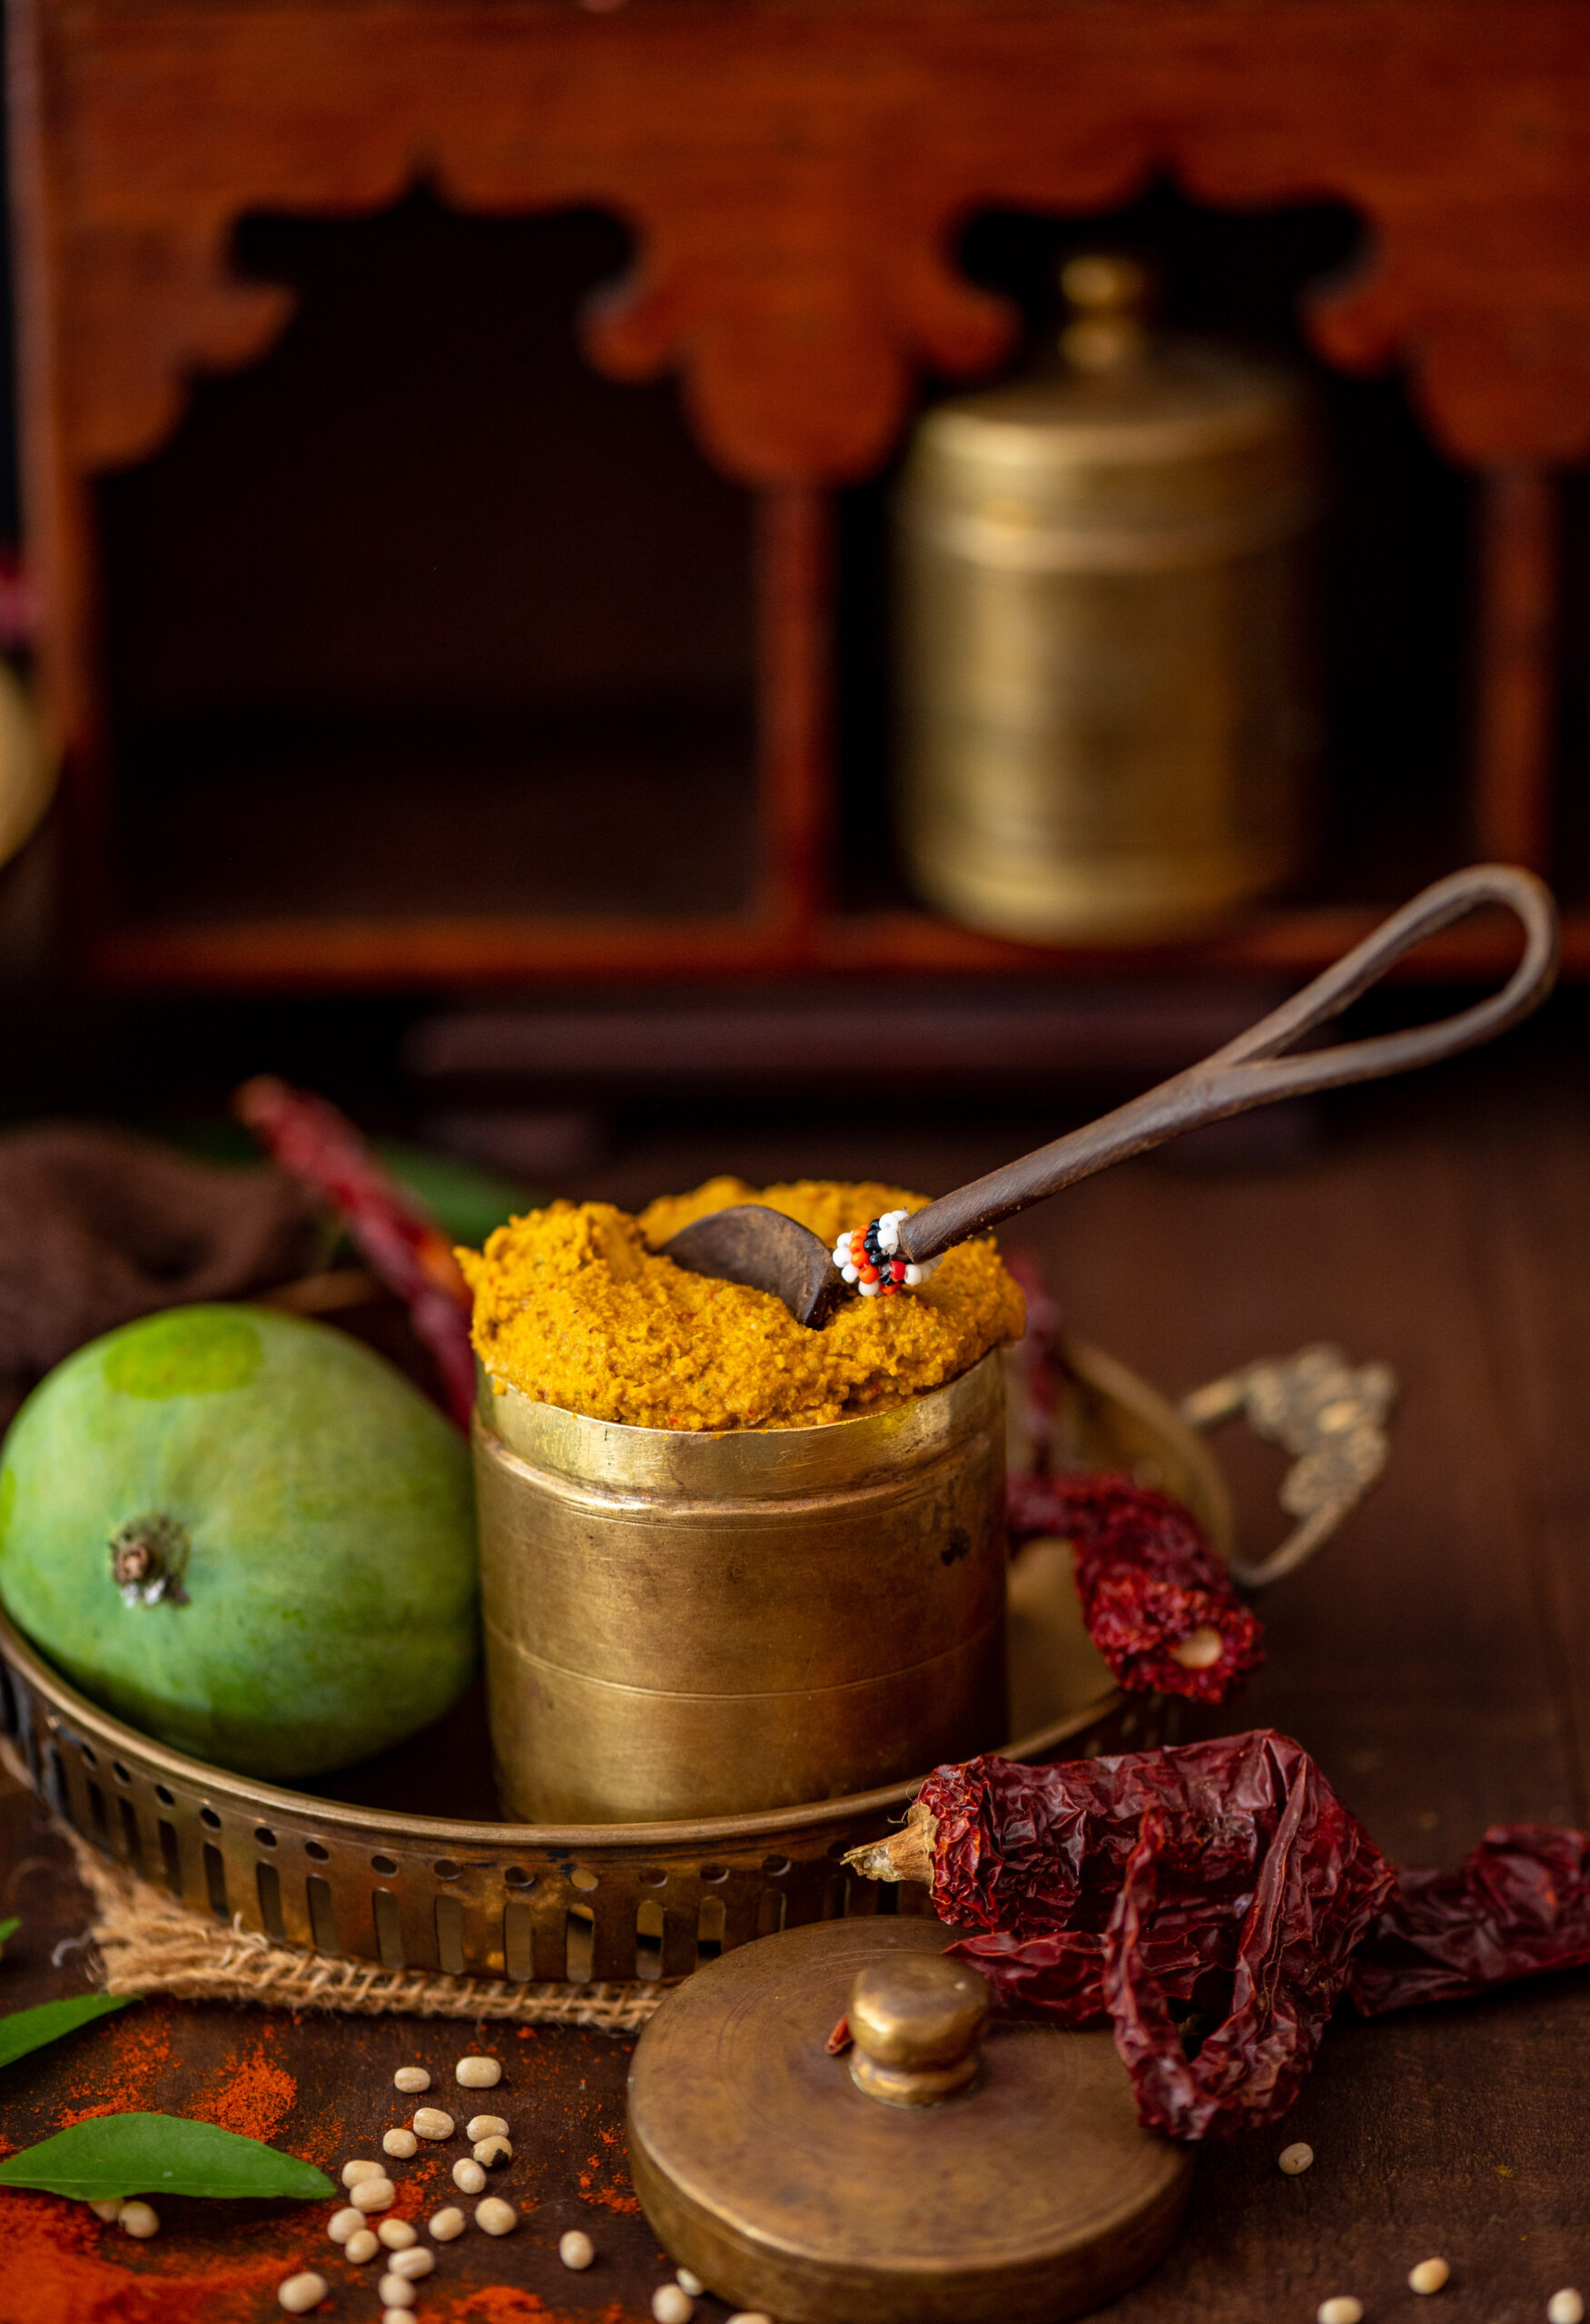
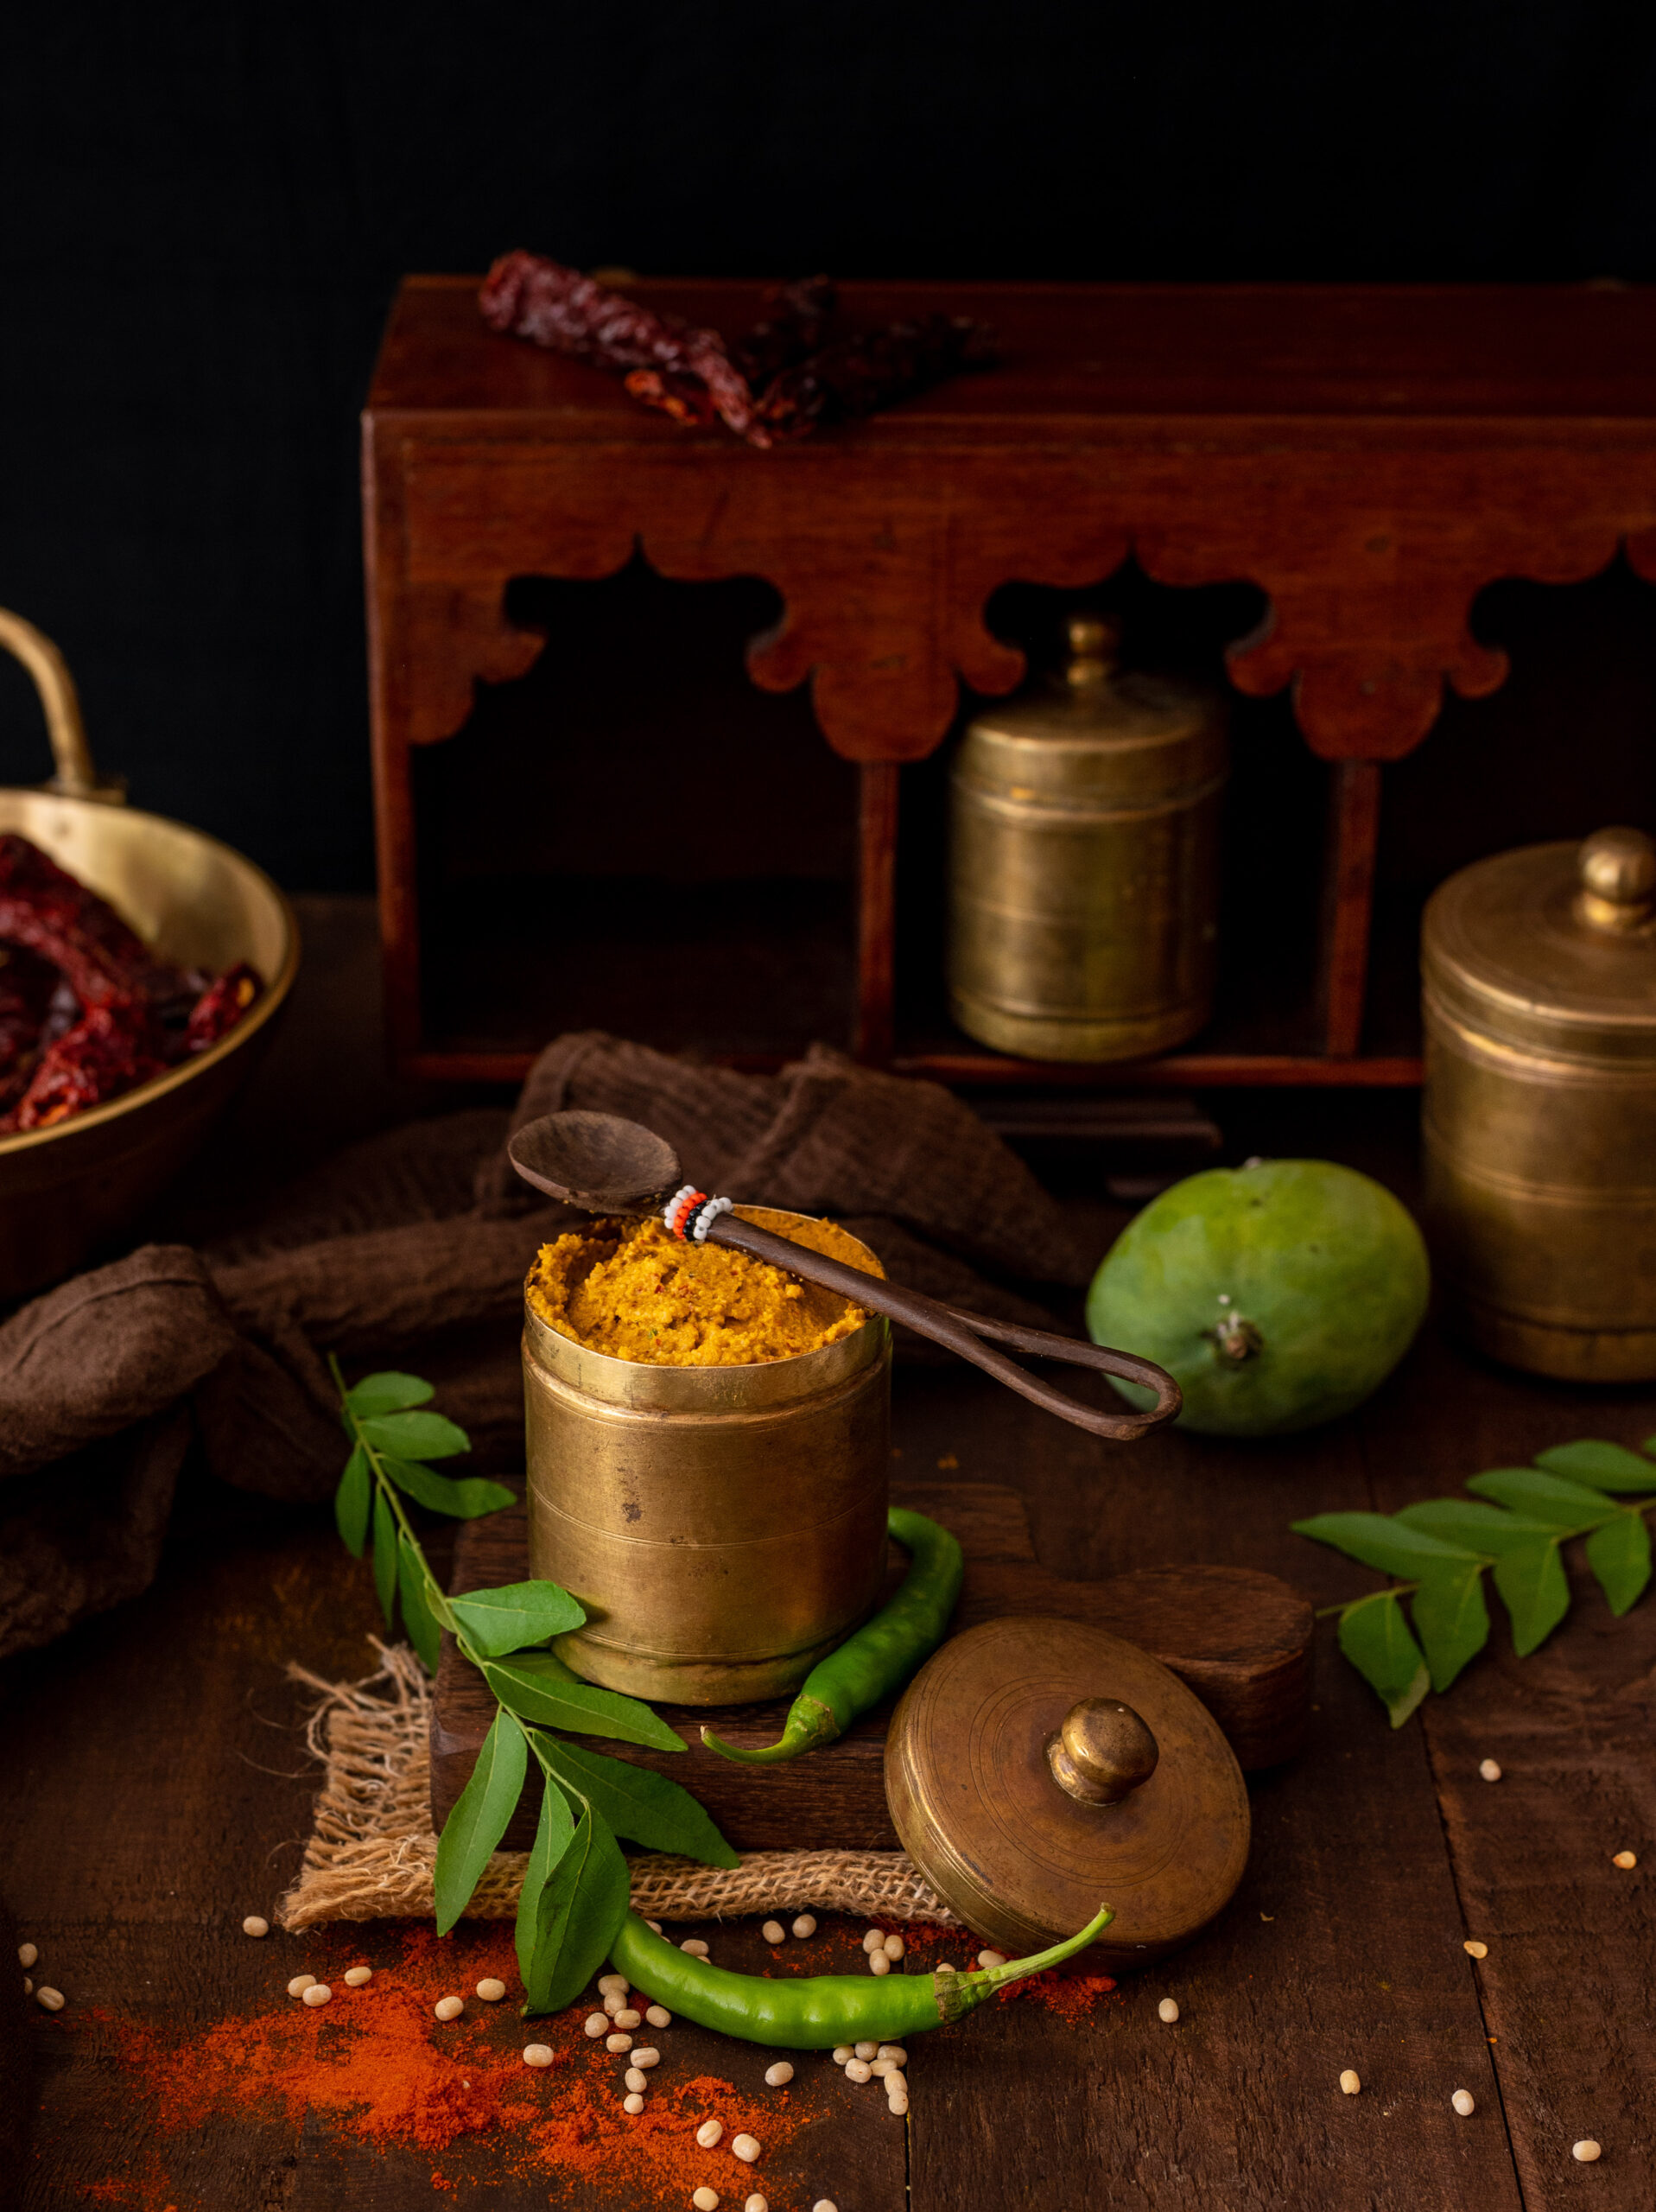
As you probably know by now, I have mango trees in my garden. At home, we really do take these for granted. Sometimes, there are so many fruits ripening out there that we don’t even try to stop the monkeys in the neighbourhood from coming to make a meal of them. One of the varieties that we grow, known as the parrot beak or killimooku, is best enjoyed when it is still raw. It is not unbearably tangy, which makes it just perfect for condiments like this raw mango chutney. You may also remember it from this vegan raw mango dal and other raw mango recipes I’ve shared before.

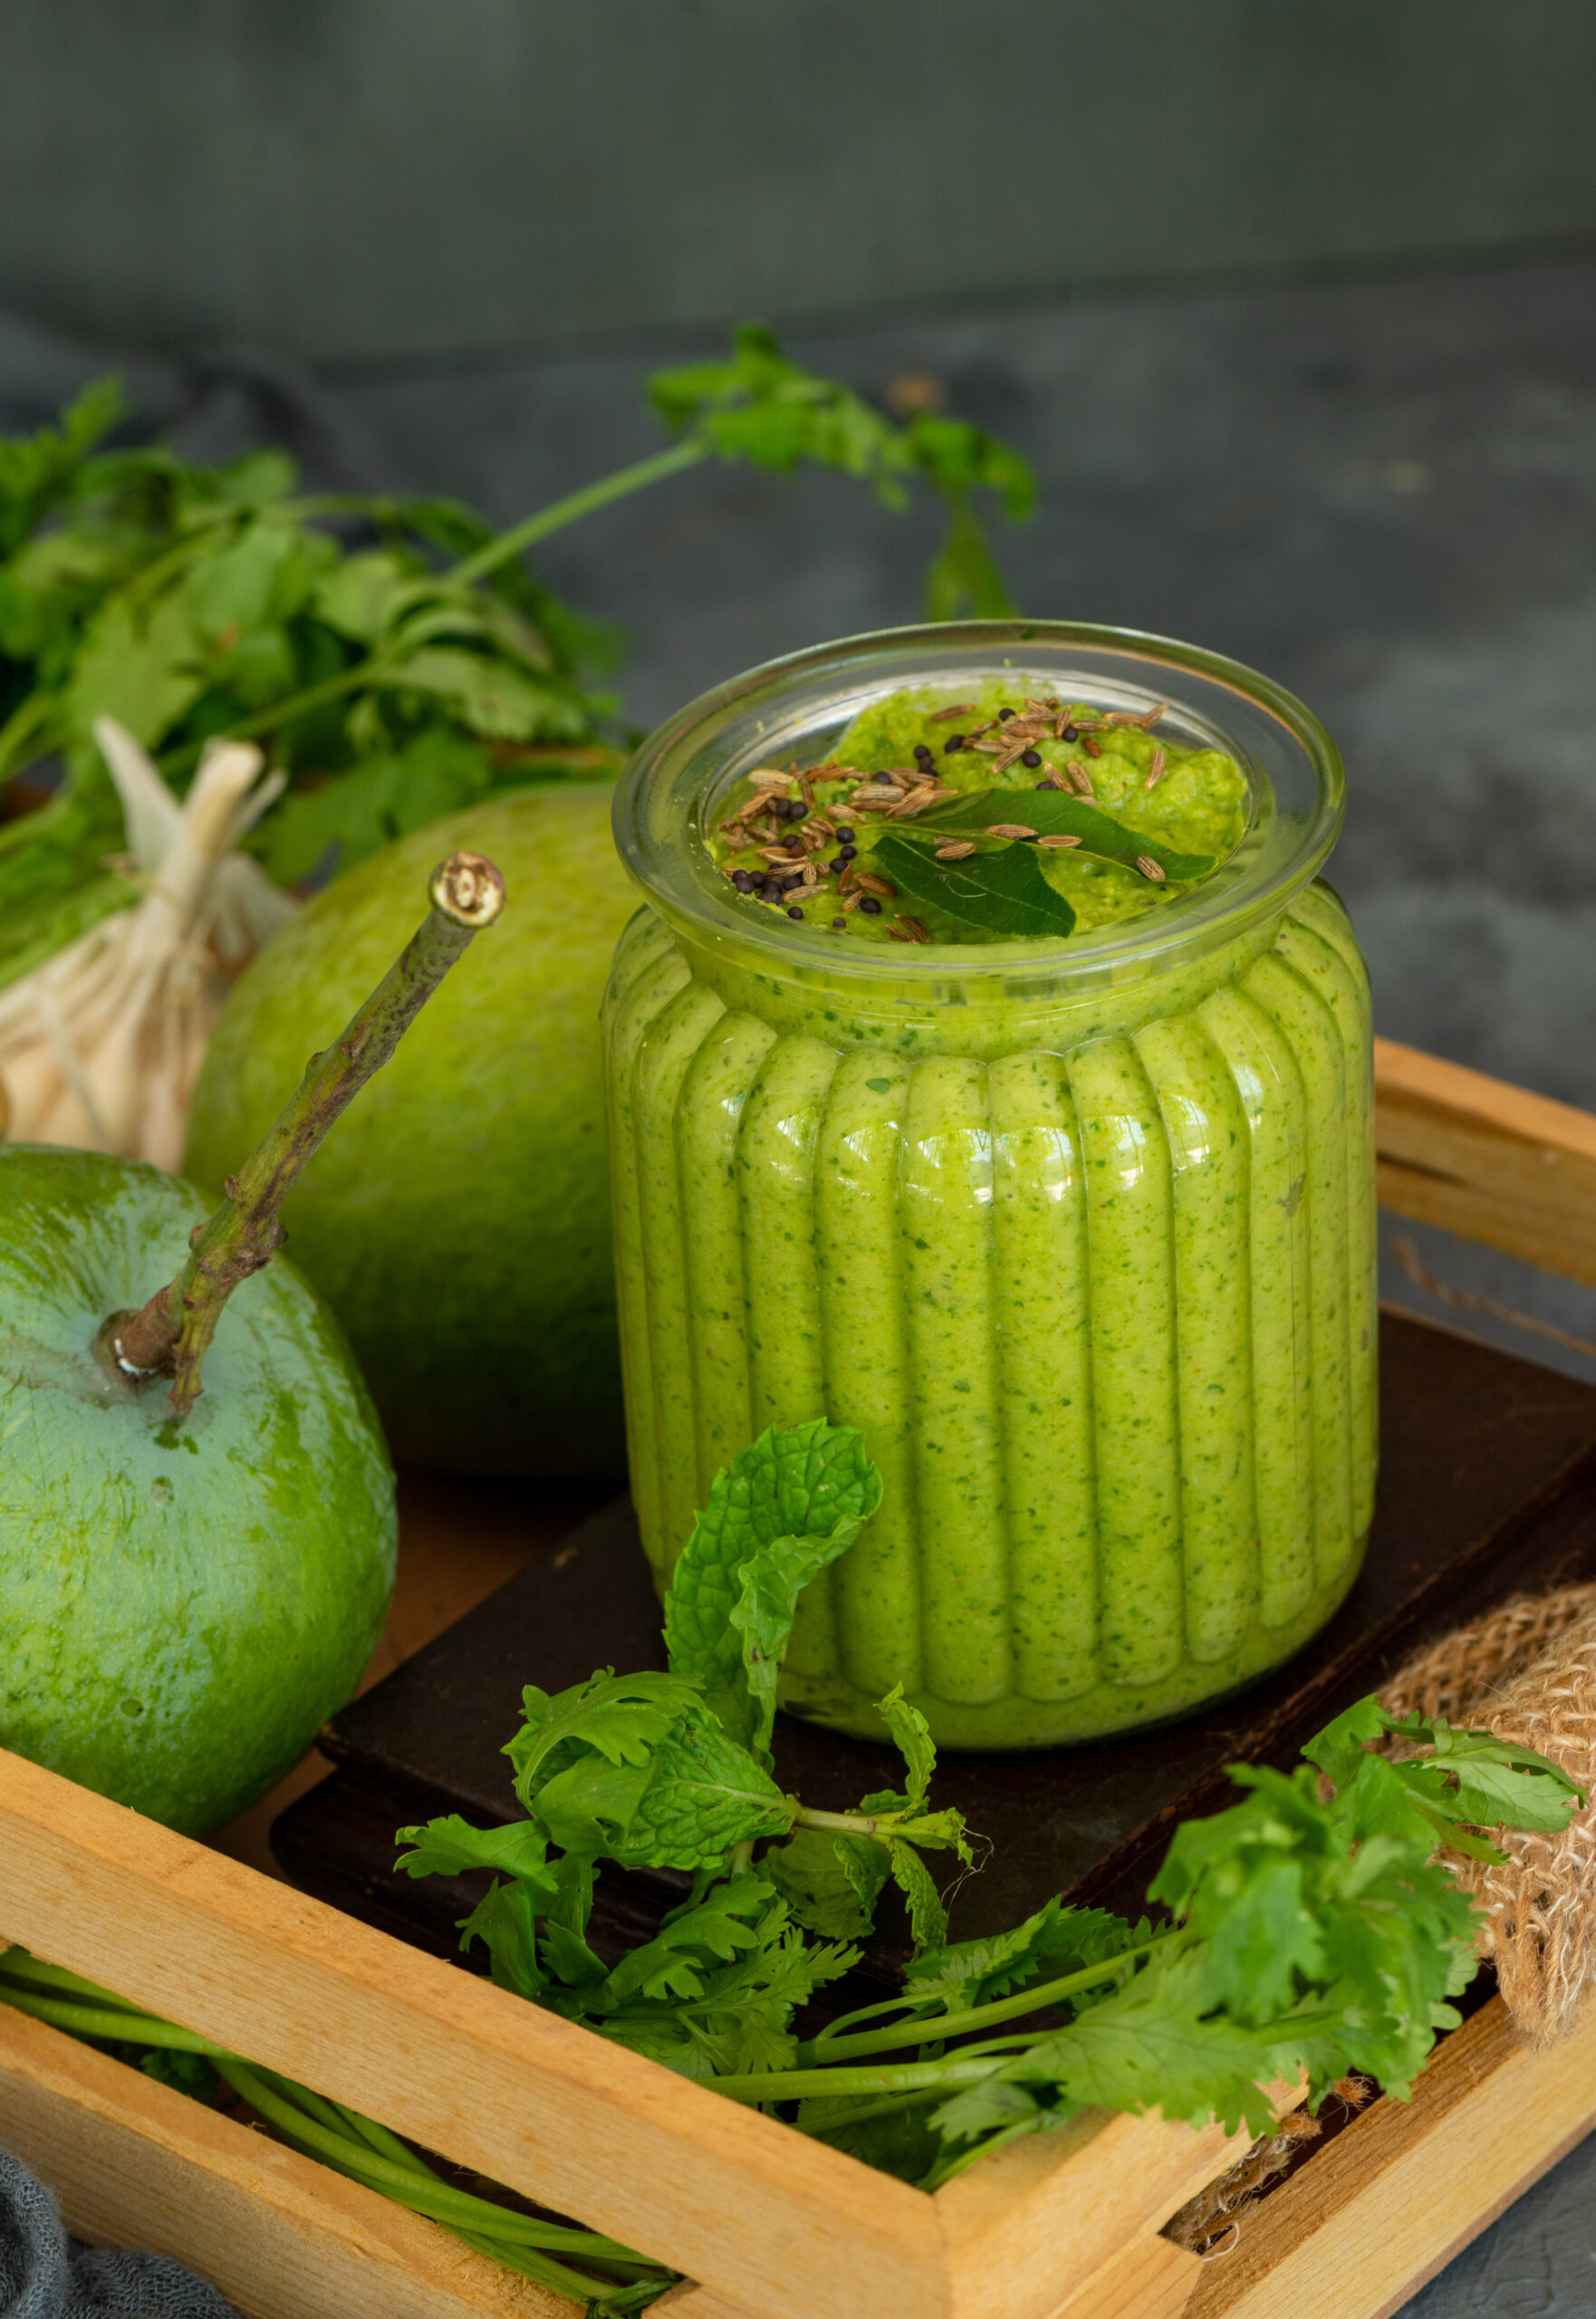
Initially, the challenge for me was always about making it a green chutney, as I like the colour. Invariably, my many trials would result in a chutney that was blackish or another shade. While the taste remains the same, the visual effect differs. Both as a photographer and as a cook, I believe the eyes eat first. I wanted that beautiful, pure green of the fruit to be captured in the dish as well. So I persevered until I hit upon the perfect method to create a green raw mango chutney.

I have made and shared another green chutney before, a coriander one. I have also made and shared a raw mango thovayal, which is a coarse chutney from Tamil cuisine. But I have never shared a raw mango chutney itself so far, and this may be because it has taken me this long to figure out how to ensure it comes out green and stays that way!

I hope this will be the case when you try it out too, as that lovely green is such a delight to look at. I am not sure what the trick is exactly – whether it is the tiny pinch of turmeric, or the ice cool water. I am sure there’s a scientific reason, something about chemistry or temperature, that I just haven’t gotten to the bottom of. I do want to assure you again that if your chutney turns out anything other than green, it should still be fine to consume!

I somehow prefer this recipe to the coriander chutney, taste-wise. I enjoy it with dhoklas and other Gujarati savouries. It is absolutely delicious as a dollop of hot rice, in lieu of a pickle, along with some ghee. I also wonder whether it would work as a pesto replacement in a toastie. Since it’s the season, I may give this experiment a shot one of these days.

My inspiration for this really comes from the region I live in and grew up in. Tamil cuisine is full of chutneys and thovayals, and I’ve not really encountered raw mango used this way in Gujarati cuisines. It is not only the flesh that is used. I have recently seen a chutney made only with the seed, from the beginning of the season when it is tender. Mango peel, as well as ridge gourd peel, are also turned into similar condiments. I may also experiment with this, perhaps by cooking the skin a bit.

Once again, despite so often taking it for granted, I am reminded of just how versatile the mango plant is. Not only are all parts of its fruit edible, but its leaves too are used in prayers, as they are considered auspicious. Those lush green trees, beautifully blossoming away in summers, bring much needed cool relief. Whatever we do, we go full circle and come back to the beauty of nature – don’t we?

Raw Mango Chutney

(Yield: 1½ cups)

2 tablespoons coconut

2 tablespoons roasted chickpeas

Salt to taste

1 cup coriander leaves (no stalks)

¼ cup mint leaves

2 pods garlic

1 cup raw mango

1 teaspoon roasted cumin powder

½ teaspoon sugar

2 green chillies

¼ cup cold water

A pinch of turmeric


Seasoning:

1 tablespoon sesame oil

¼ teaspoon mustard seeds

¼ teaspoon cumin seeds

A few curry leaves


Wash and peel the mangoes and cut them into pieces.

In a blender, add all the ingredients and blend until you have a smooth paste.

Prepare the seasoning. Heat the oil and add the mustard seeds and cumin seeds. Once the mustard seeds start to splutter, add the curry leaves. Immediately, pour the seasoning over the prepared chutney.

Your raw mango chutney is now ready to be enjoyed. If you are a fan of Indian dips like this one, I hope you’ll also explore my recipes for ginger chutney, plum chutney, wood-apple chutney and date chutney.


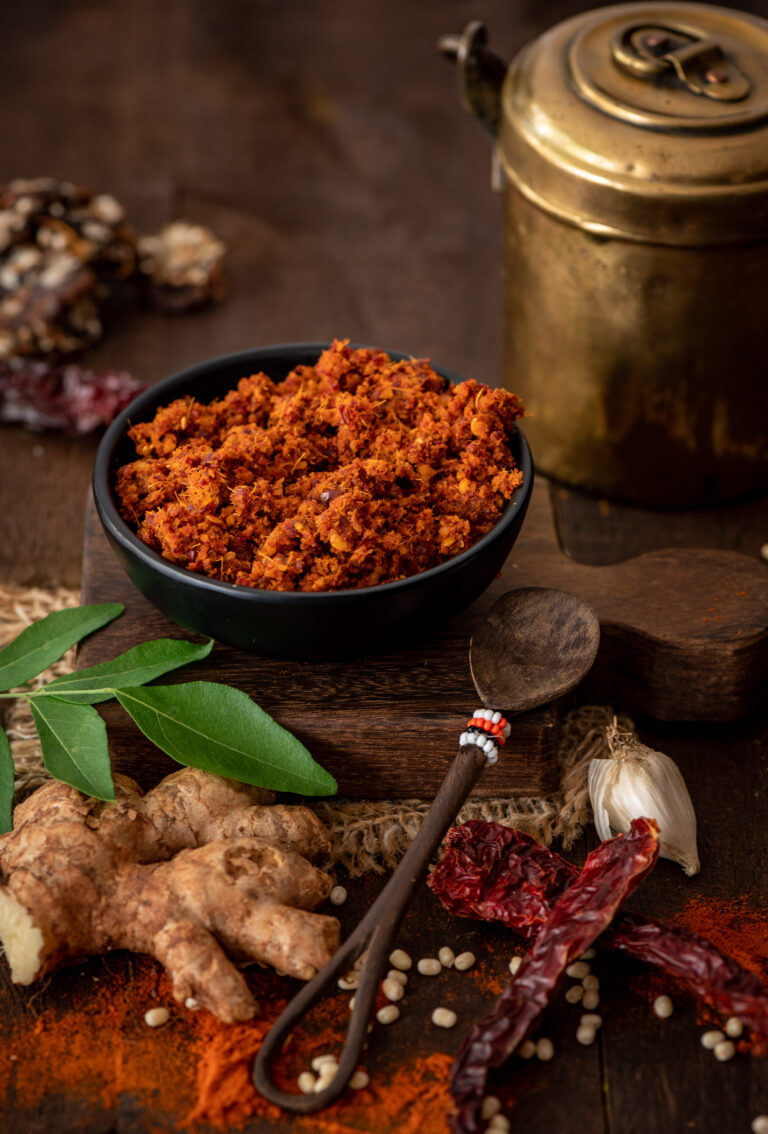
For many years, a lovely lady named Hamsa has visited a few times a week, to conduct a chanting class for me. She teaches me Sanskrit scriptures like the Vishnu Sahasranamam and the Lalitha Sahasranamam. I’ve been chanting for the last fifteen years and it’s a source of immense solace for me. Hamsa is from Andhra Pradesh, a region known for its spicy cuisine, and it so happens that one of my favourite condiments comes from there. It’s a ginger chutney sweetened with a hint of jaggery, and I’m delighted to share the recipe for it with you today.

Before the pandemic, I was a frequent customer at a wonderful South Indian restaurant where an array of chutneys would be served. No matter how diverse the spread, I would always reach instantly for the ginger chutney, so much so that I’d even ask to have any leftovers of it packed to take back home and enjoy with the next meal. One day, as we were chatting after class, I asked Hamsa if she knew how to make that fabulous dish. I was thrilled to hear her say, casually, that she made it daily! Of course, she then kindly brought me some a couple of times, after which I asked that she teach me the recipe. I’m a hands-on learner and I wanted to watch her preparing the dish. So one day when she visited, she prepared it in my kitchen as I eagerly watched the process, and I’ve been making it happily ever since.

I believe that we all experience learnings from any person. It doesn’t matter who they are, or in what form the learning comes, but it enriches us just the same. This is something that’s so crucial for us to keep in mind at this difficult time for India. If we keep our eyes and our minds open, we will perceive that all of life itself is a learning, and that we are amidst so many ongoing lessons given what is happening is the country and the world. We are learning about what works and what doesn’t, and what has to change for a better future. In our personal lives and relationships, we are learning something every day about how to get through this crisis – seeing which relationships can withstand it and how, seeing sometimes that the problem isn’t the other person but us, and so much more. These are valuable learnings that we must carry forward.

I’m grateful to have learnt this recipe from Hamsa, to add to all the knowledge she has given me over the years spiritually. She doesn’t just teach me chants, but also talks about culture and ritual, deepening my understanding of the same. When I’m feeling down, she will often suggest a mantra that I can say to strengthen myself. This is advice that has kept me in good stead through my adversities.

I’m sharing the recipe for ginger chutney with you today along with a slice of my life. After I have completed my baking, cooking and exercise schedule in the morning, I always sit down to chant. I genuinely believe in prayer, and in the power of hope. I believe that as a human race we will come out of this darkness, and when I am in prayer, my conviction in this is at its strongest.

With the current lockdown in Chennai, I now take virtual classes from Hamsa daily. I can read Sanskrit, and one of the things I appreciate about her teaching style is that she is very particular about pronunciation. This takes me back to when I was a little girl in a convent school full of wonderful Irish nuns, who insisted on precision in handwriting and enunciation. The lovely Mrs. Martanda, my English teacher, would teach us the difference between the spoken words “vow” and “wow”, for example. She used the Wren and Martin grammar book and various dictionaries as teaching tools. That I am able to recall these details decades on is a testament to the influence a good teacher can have, in any aspect of life. As I said earlier: we learn something from someone, every day. We are all students, and we are all teachers.

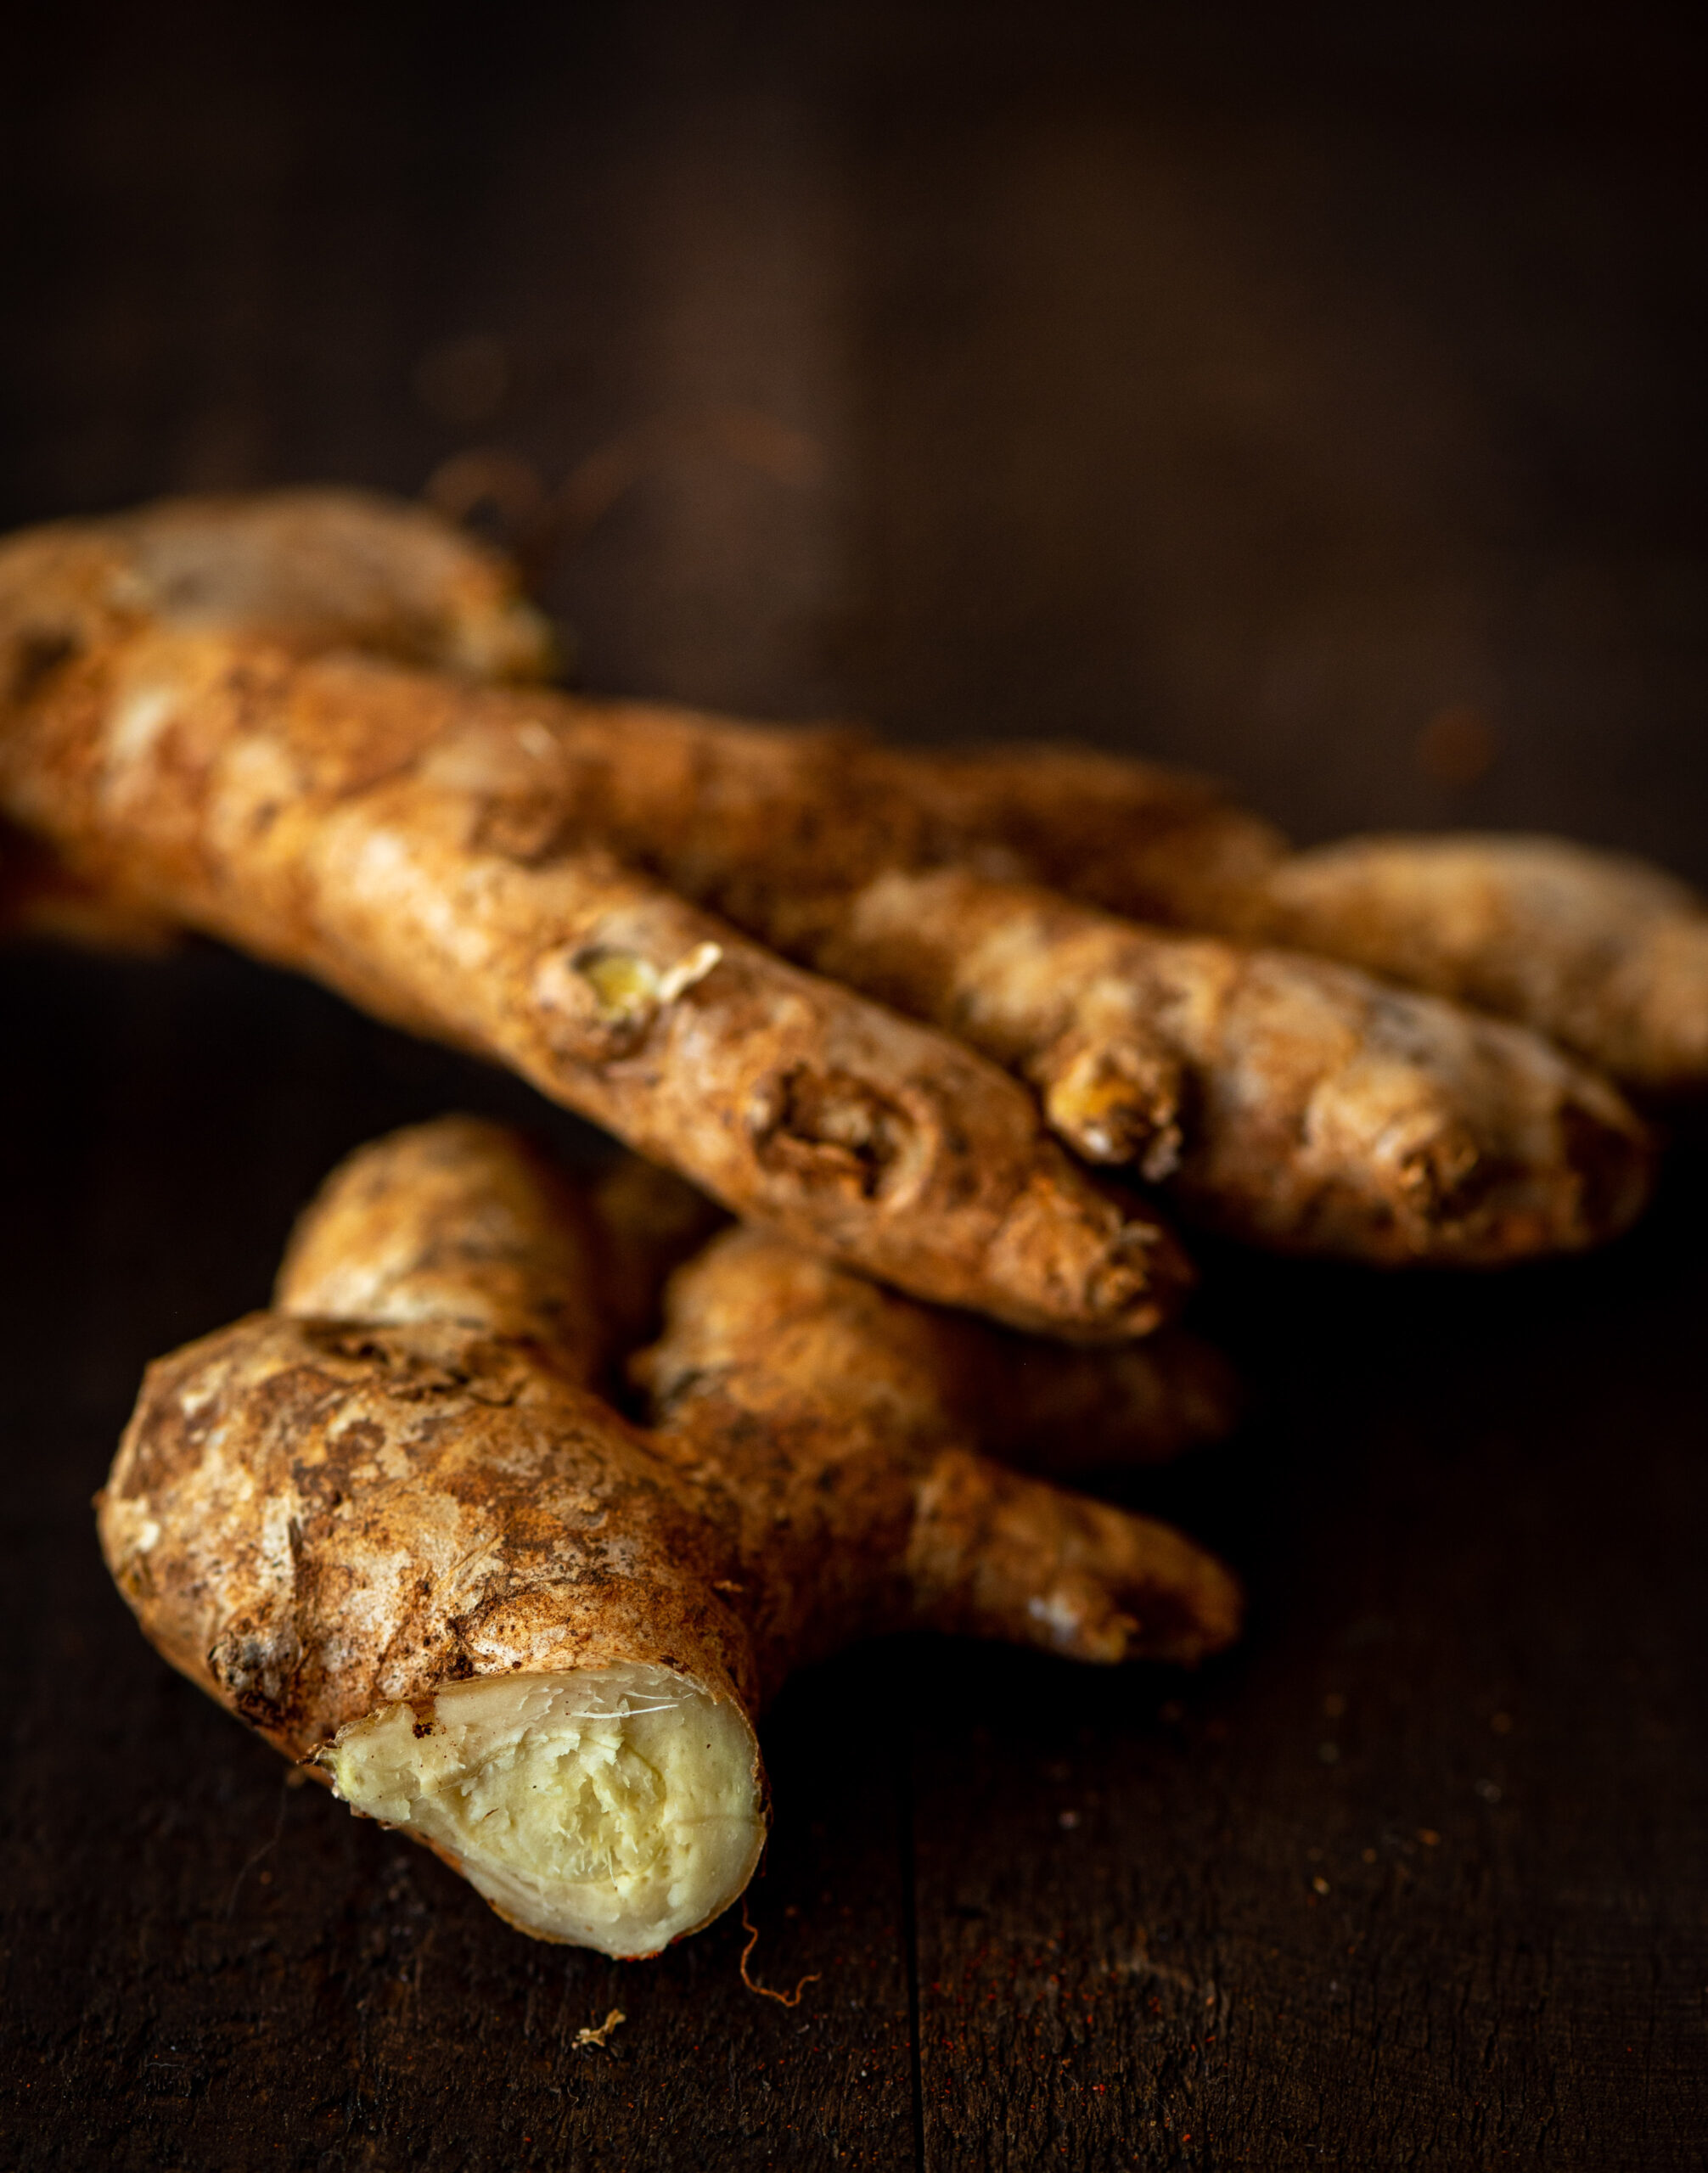
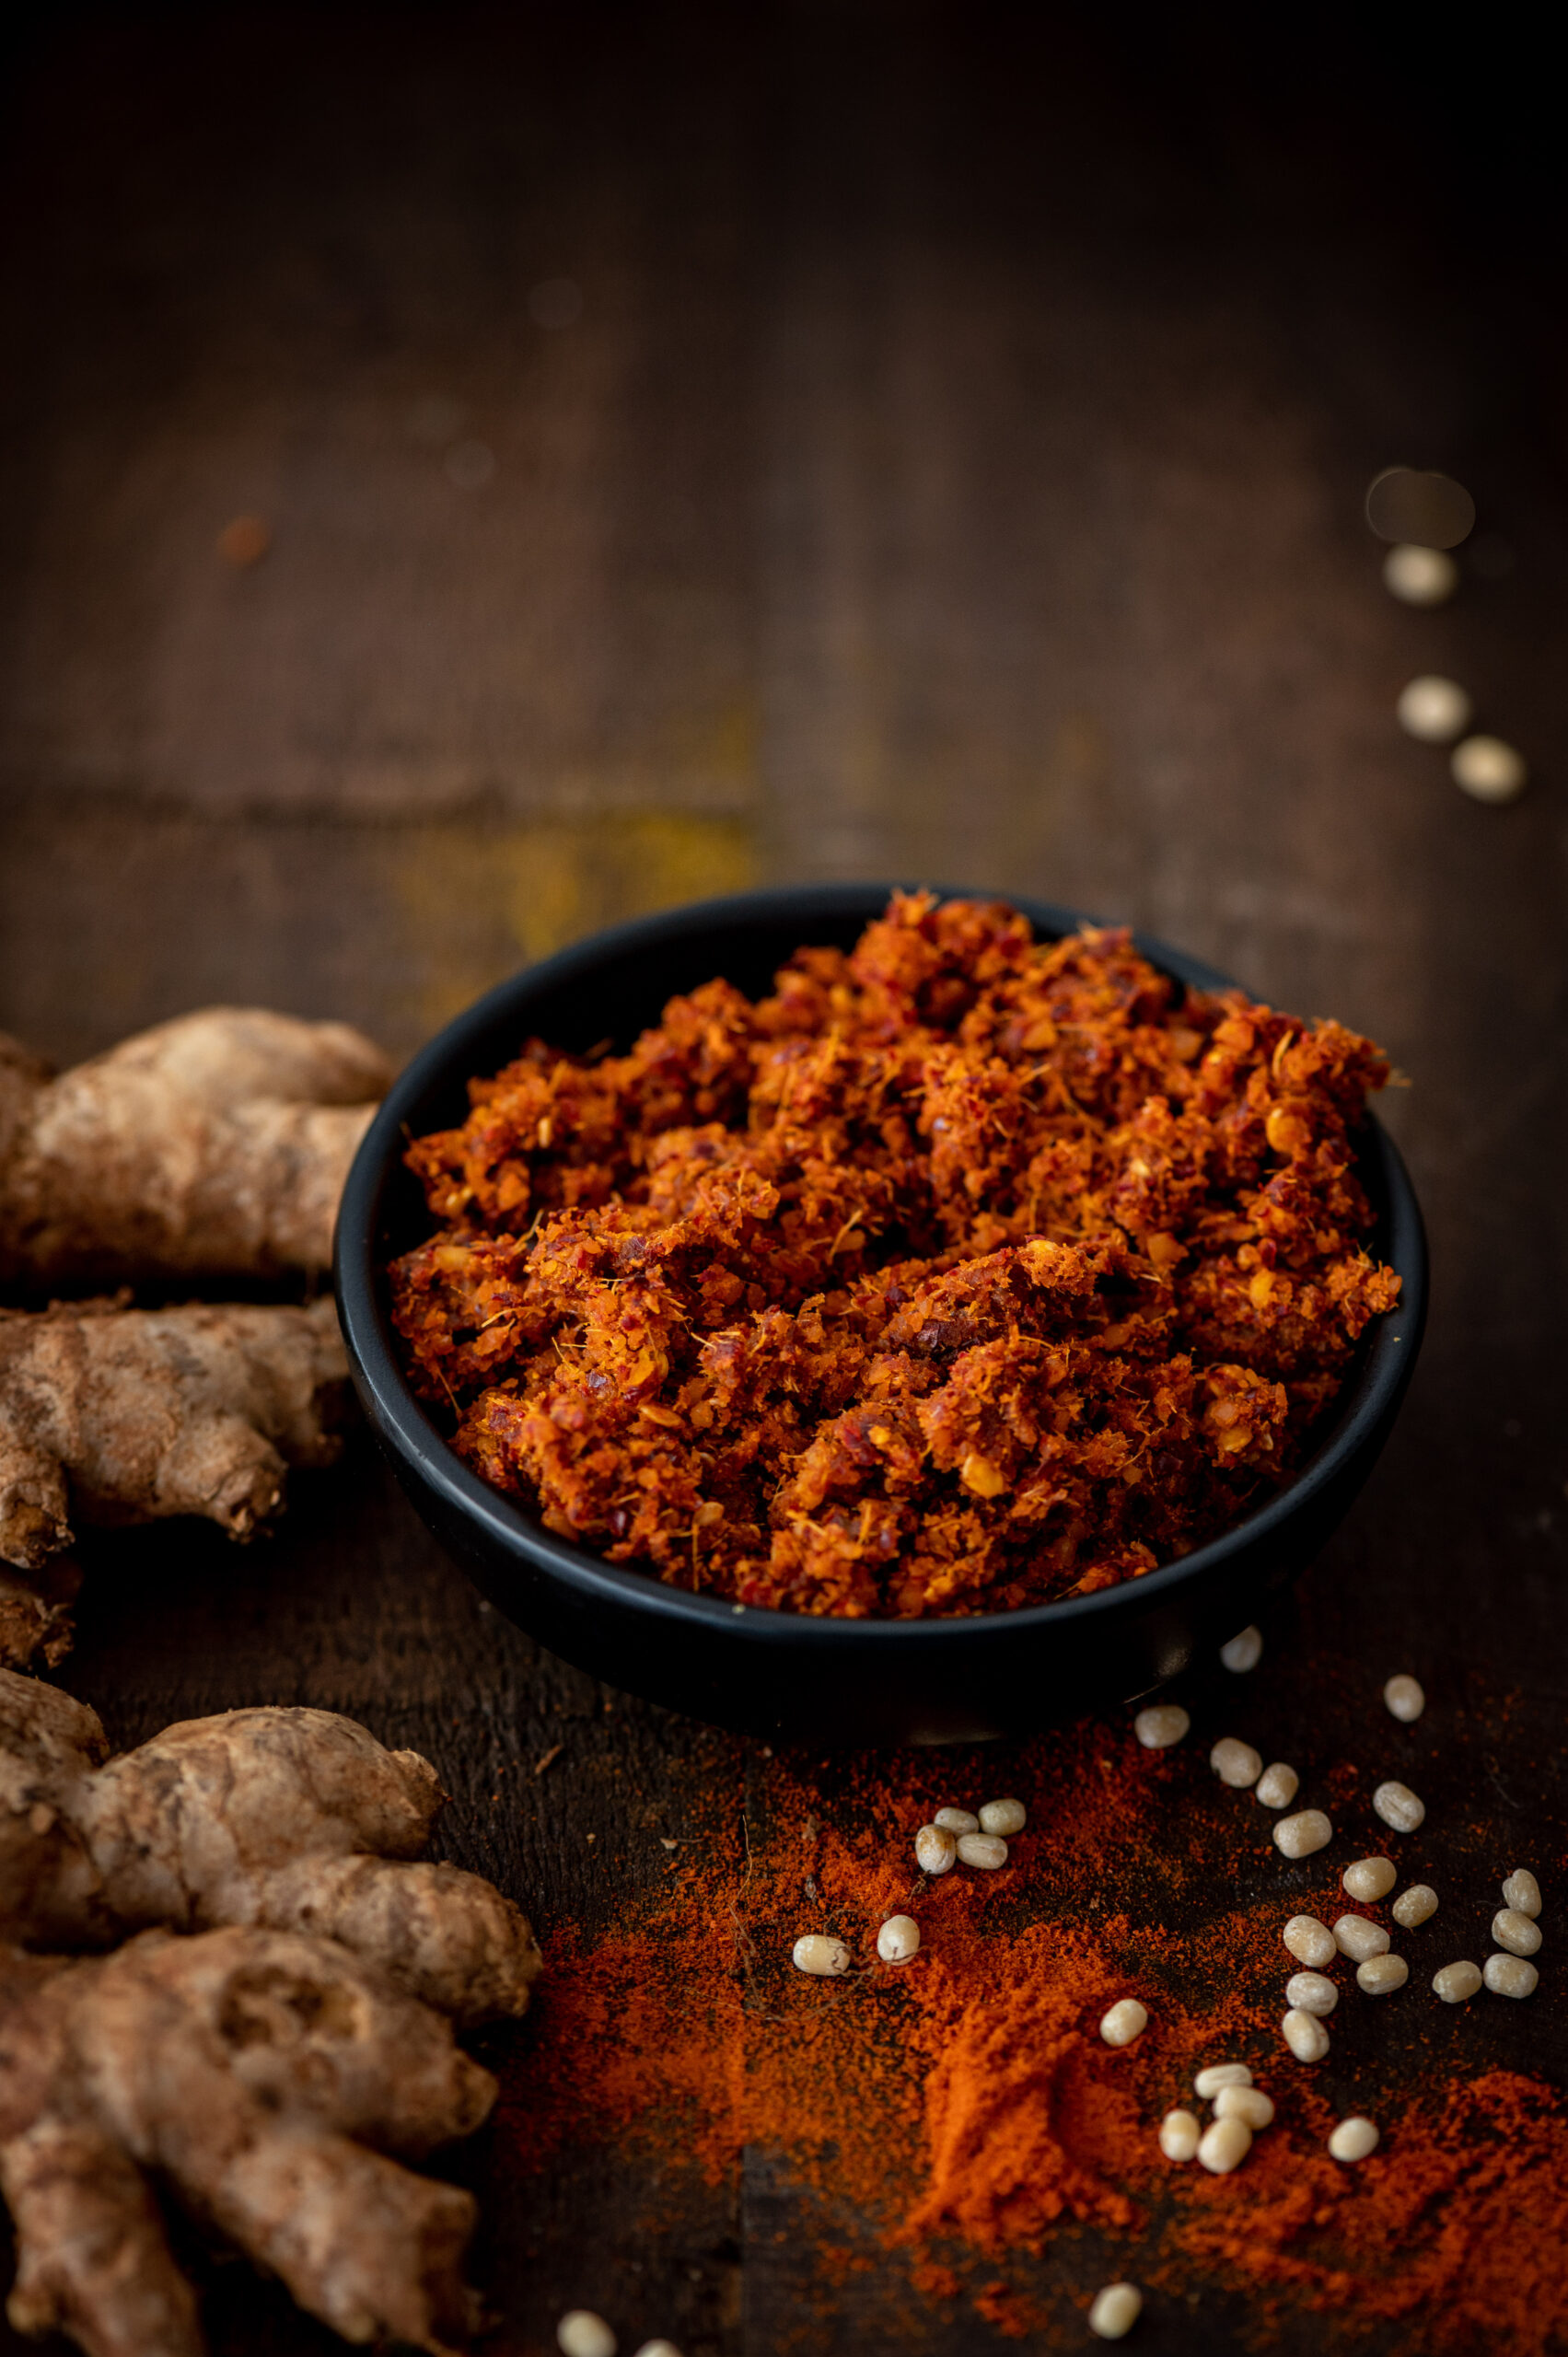
And so – I learnt this from Hamsa and I am now teaching it to you. It’s a brilliant ginger chutney made in the Andhra style. My version is drier than Hamsa’s, and I make it this way so that it lasts longer. It has a perfect combination of flavours – sweet jaggery, spicy red chilli and piquantly aromatic ginger, the last one being a particular favourite of mine. It’s so Indian, yet so doable in any part of the world, consisting of simple ingredients and a quick and easy process. In case you cannot source jaggery, try brown sugar or coconut sugar as a substitute. This ginger chutney lifts up the flavours of my Buddha bowls, my dhoklas, my dosas… it adds such a sumptuous taste to anything I pair it with.

Ginger Chutney

(Yield: 1 cup)

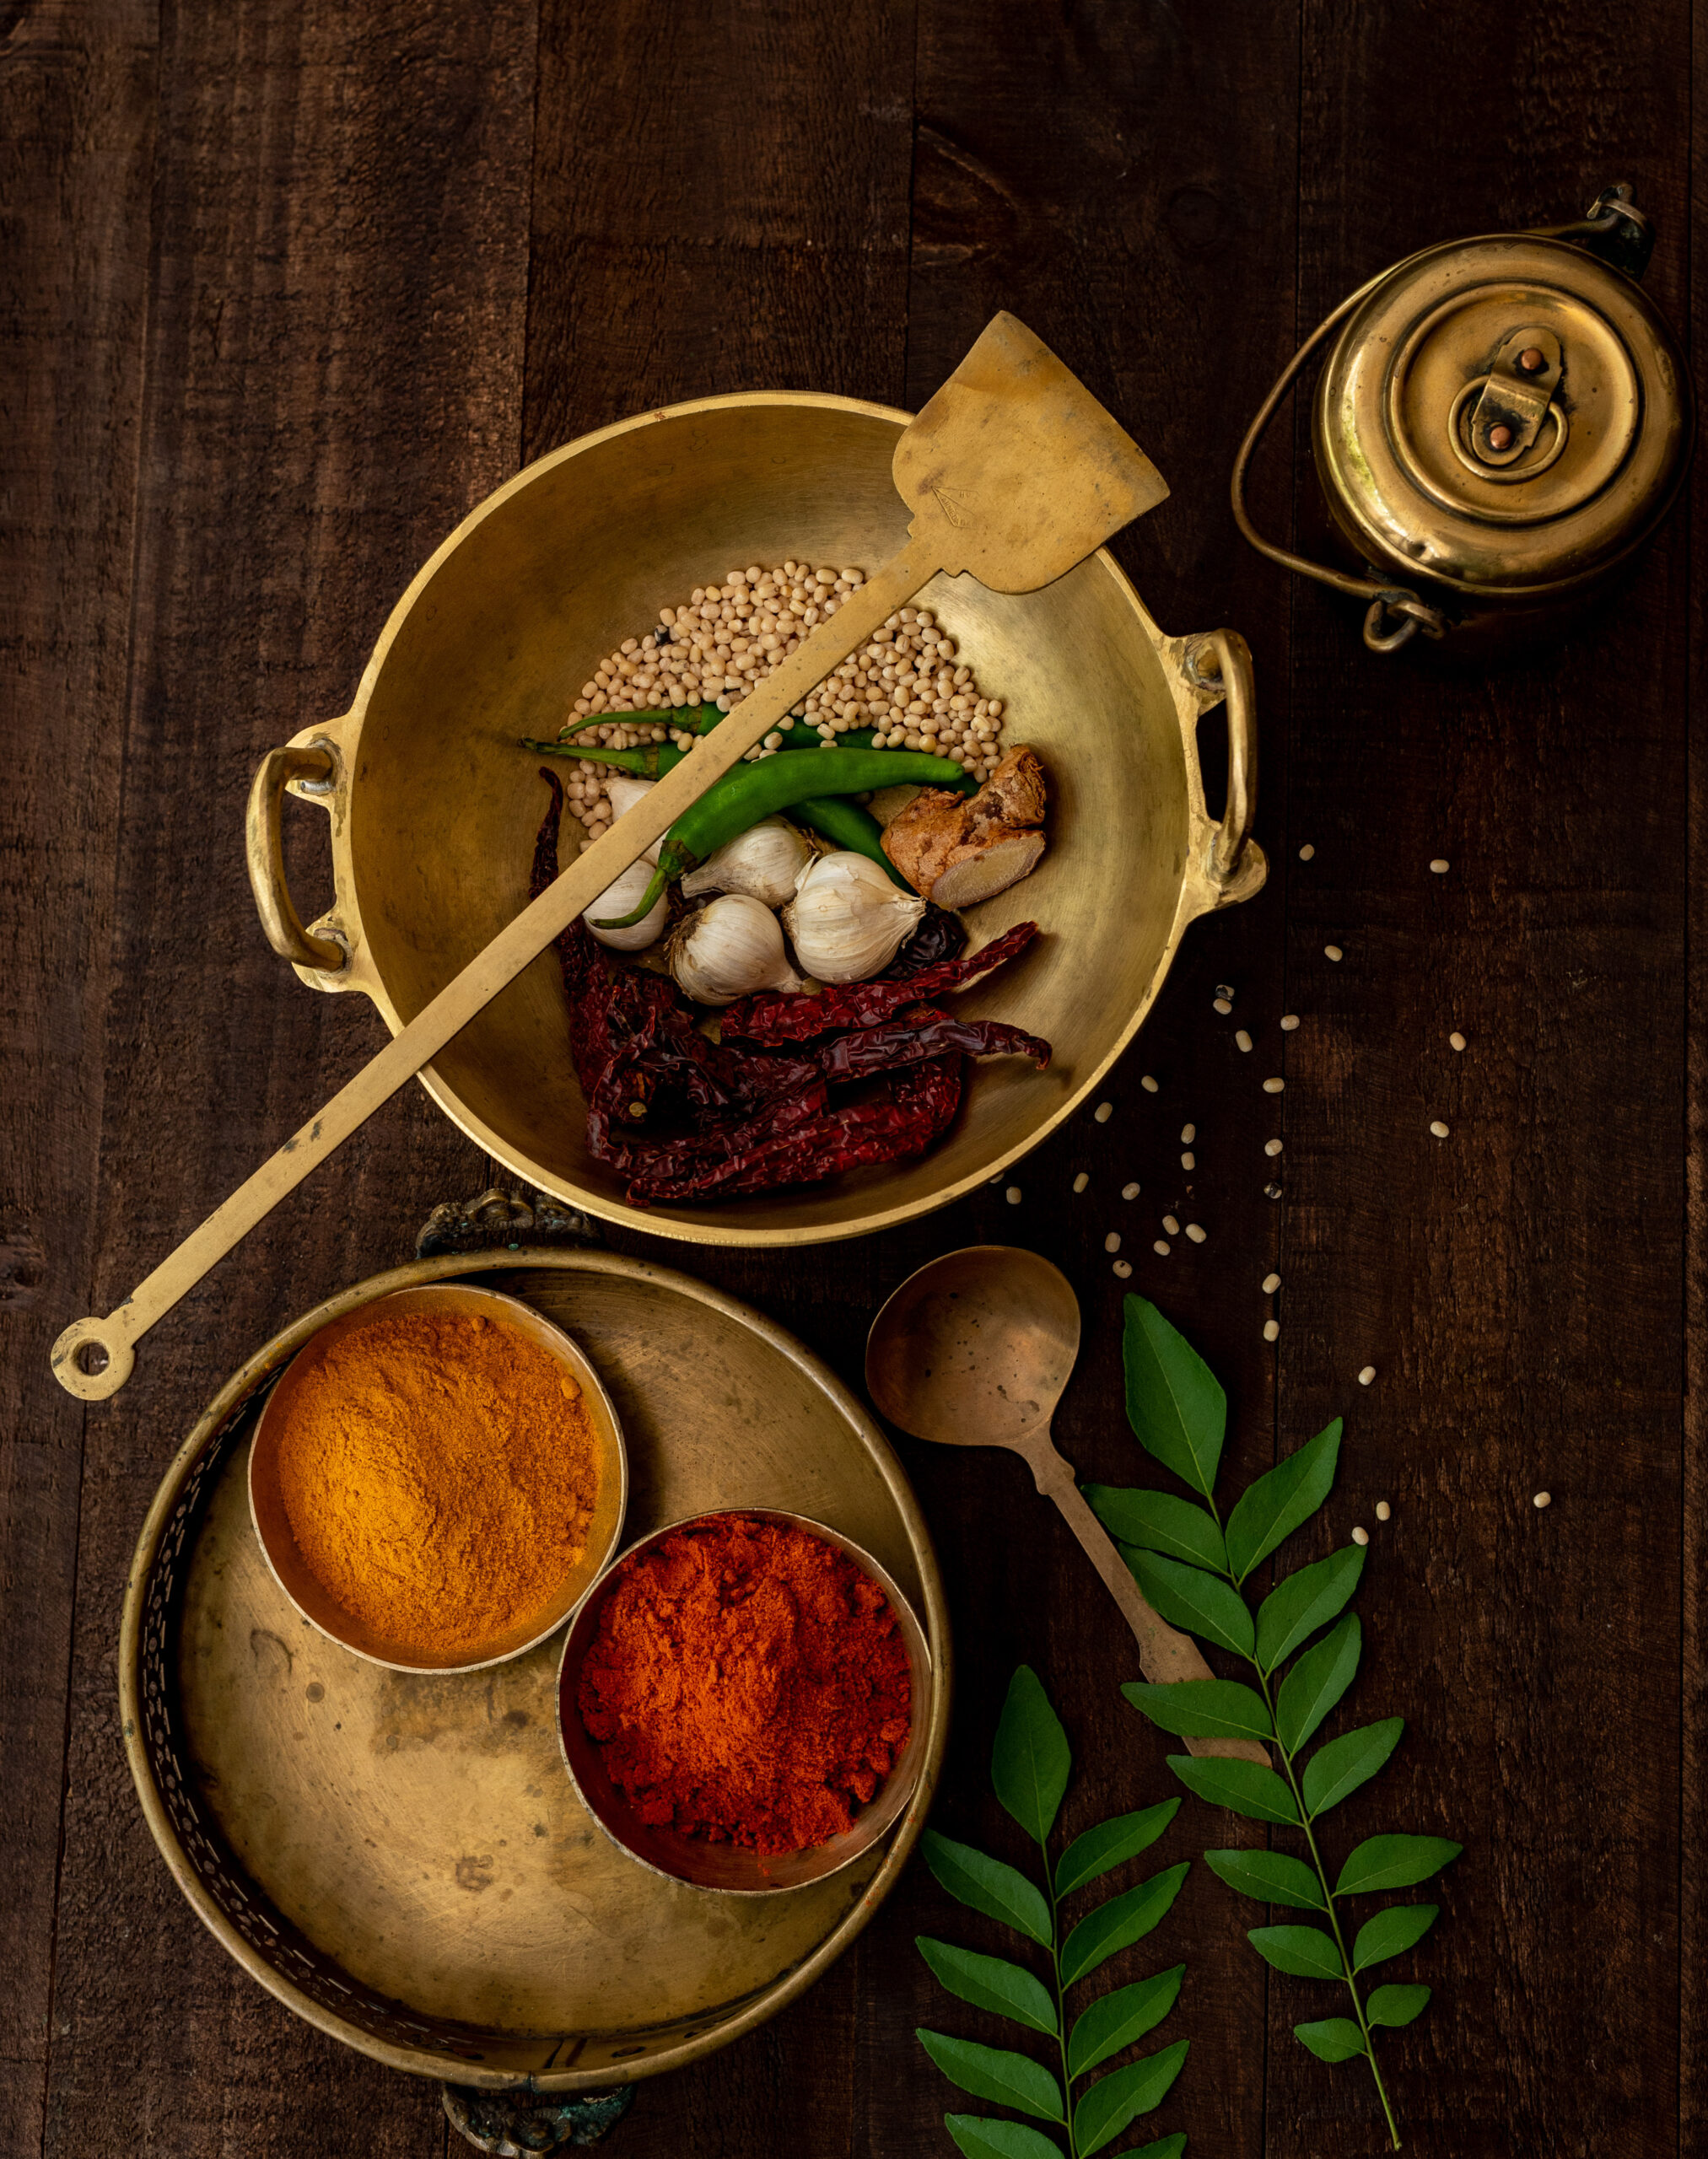
2 small cups washed, finely cut ginger

1 small (lime-sized) ball tamarind

8 dry red Kashmiri chillies

2 tablespoons urad dal

Salt to taste

2 teaspoons cumin seeds

2 tablespoons jaggery powder

2 tablespoons sesame oil


Add the oil to a pan. Dry roast all the ingredients – except the jaggery – until they all turn golden, on a medium flame. Finally, add the jaggery.

Allow to cool. Blend well together without adding any water. You can store this in the refrigerator for 10-15 days. As a dry chutney, it is inherently more long-lasting.

I’d love to know how you’ve been pairing the various dips I’ve been sharing. The previous two in this Indian condiments series were the Tamil-style raw mango thovayal and the Gujarati-style dry garlic chutney. In the past, I’ve also shared several fusion and Indian dips and condiments, all of which can be used creatively, and I hope you’ll be curious about exploring those too. Here they are: curry leaf and green chilli hummus, plum chutney, wood-apple chutney, coriander chutney and date chutney. Enjoy!

What did you think of the raw mango thovayal that I shared in my previous post? I hope it added a tangy kick to your meals, and if you used it in any offbeat ways (such as as a marinade, or in a fusion dish), I’d love to know. The next dish I’m sharing in this dip series is another recipe that could lend itself to versatile use too. It also has an interesting dry-to-wet storage solution built into its preparation, which you’ll learn about below. This lasun ki chutney (dry garlic chutney) is a Gujarati condiment, one that always existed in my childhood food experiences, and I know it is also made Maharashtra, which borders Gujarat.

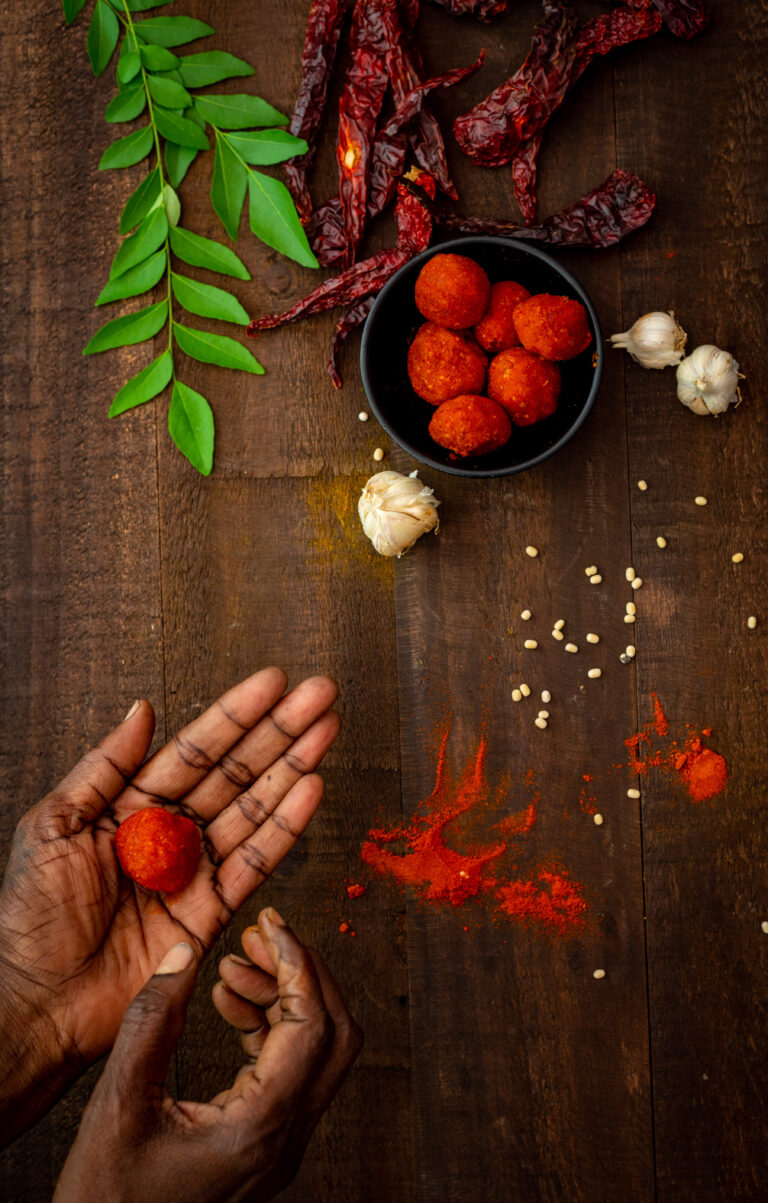
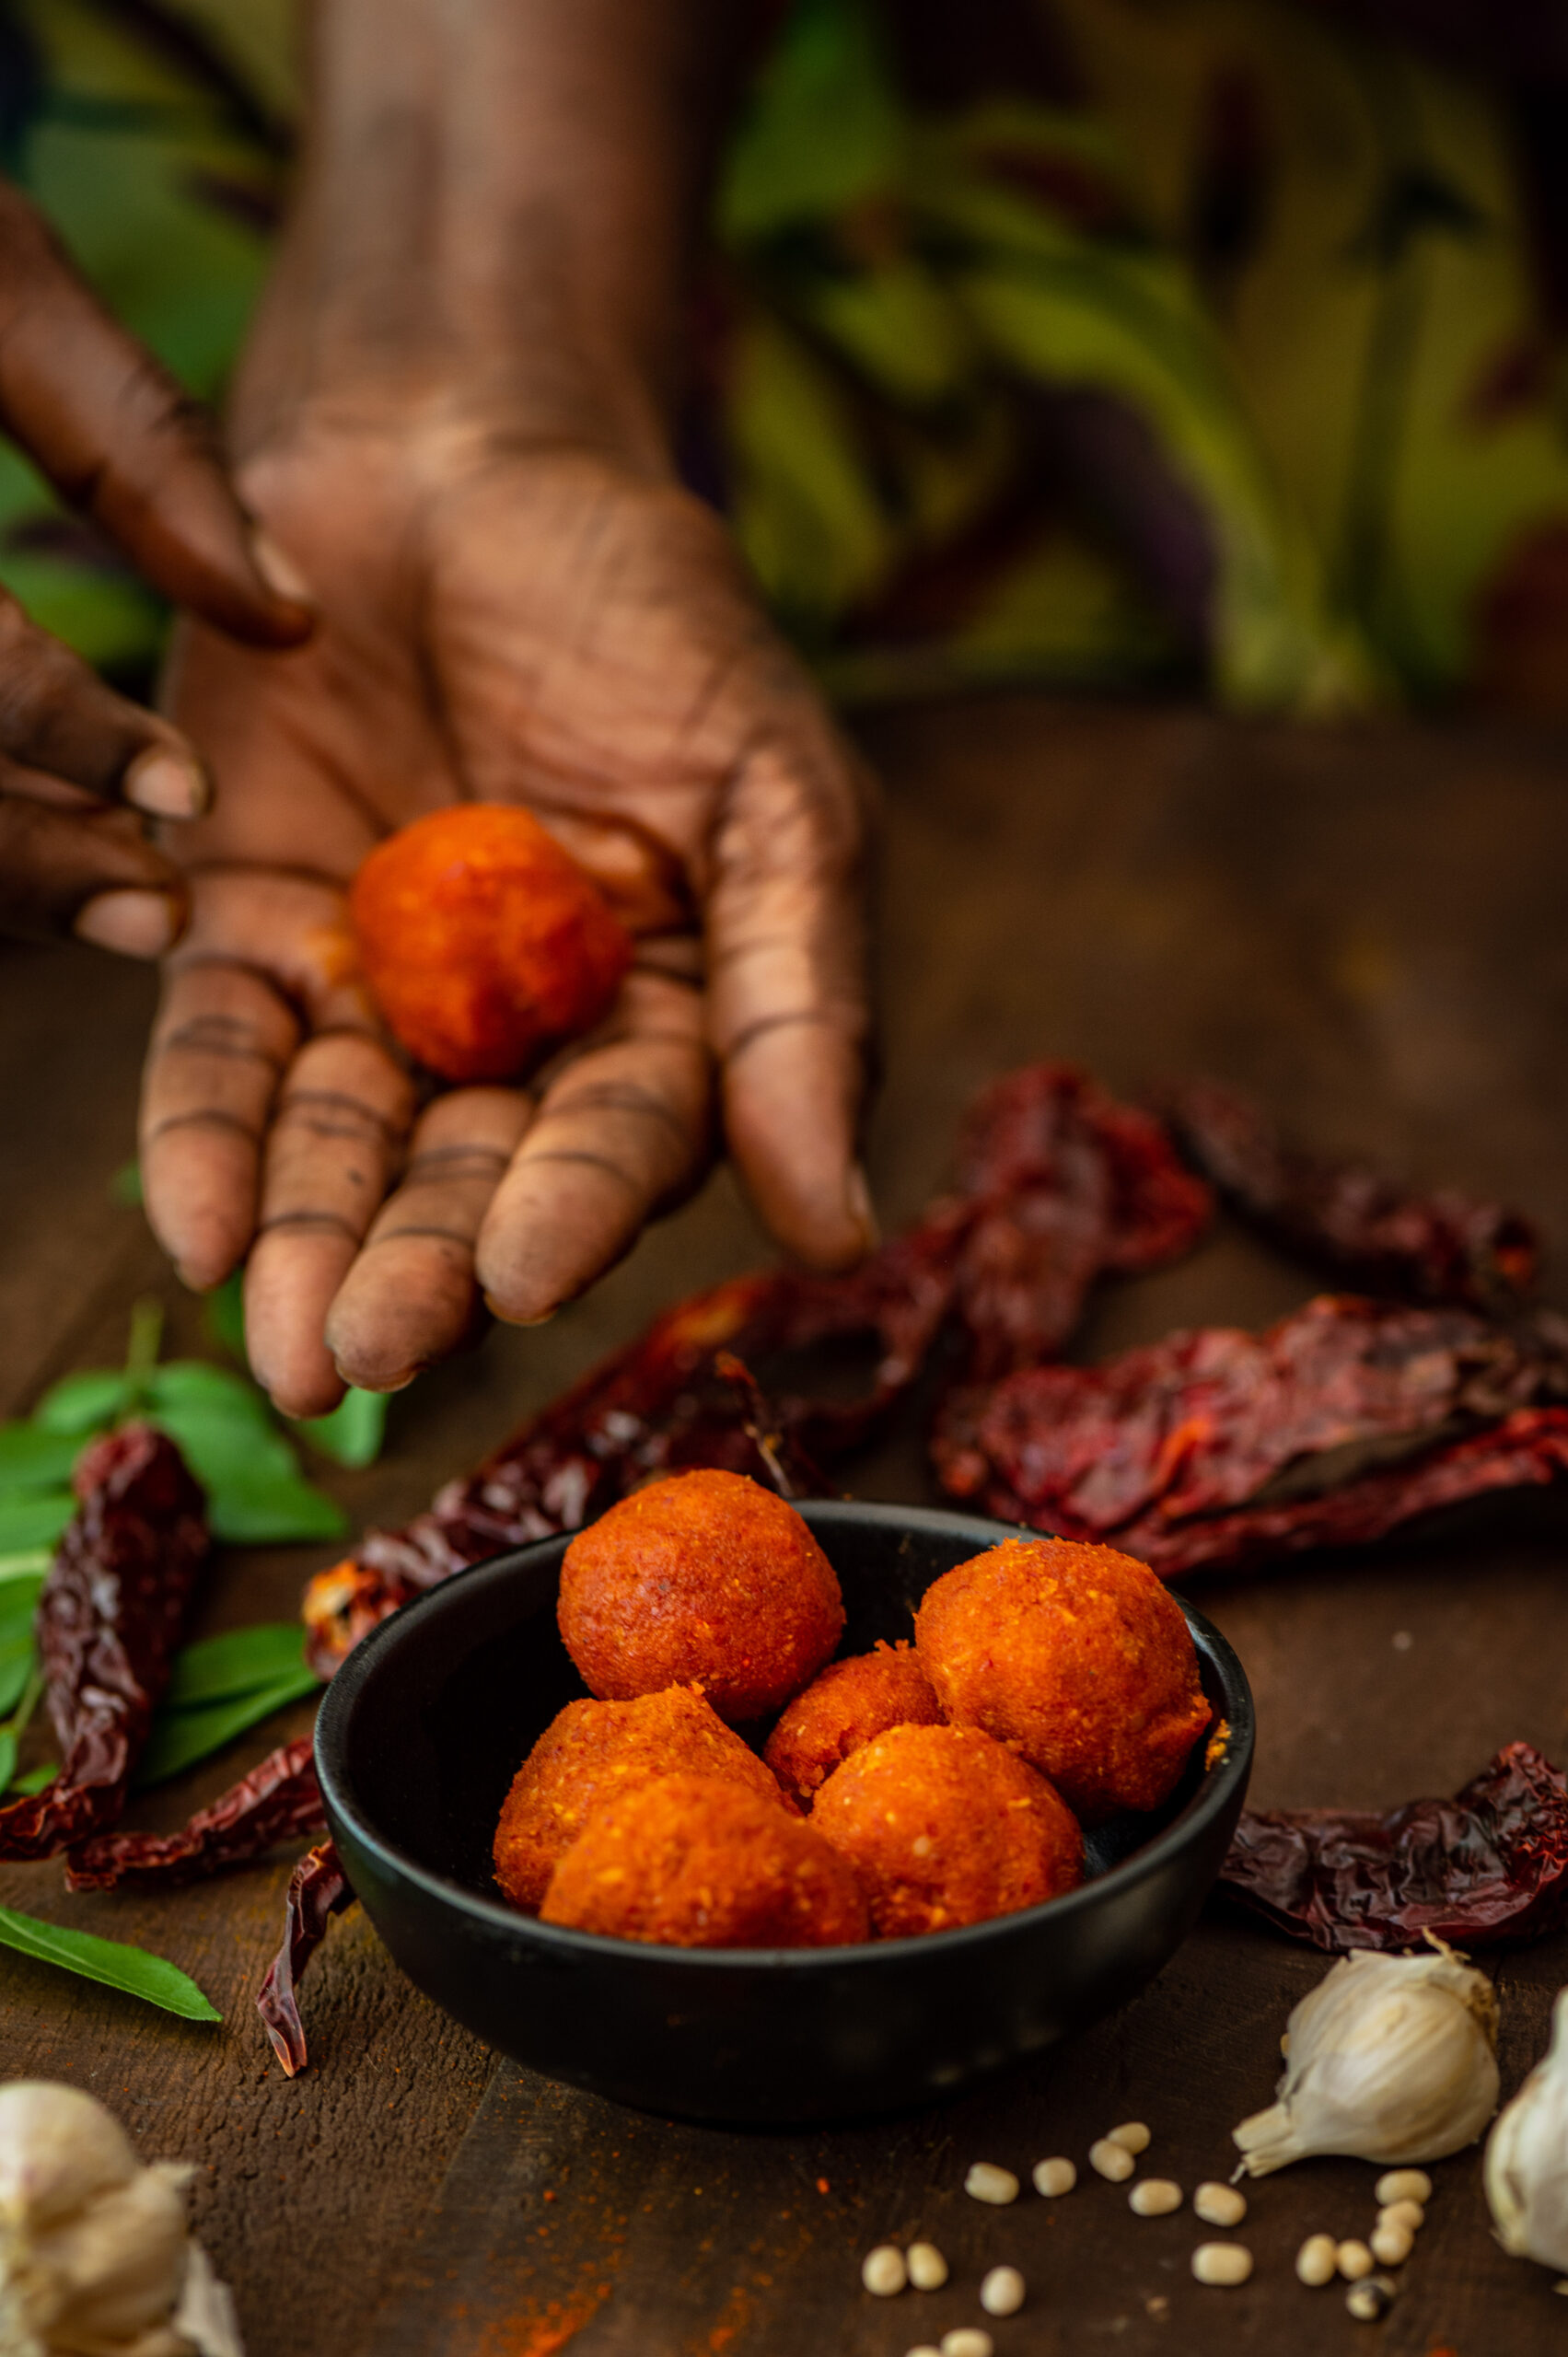
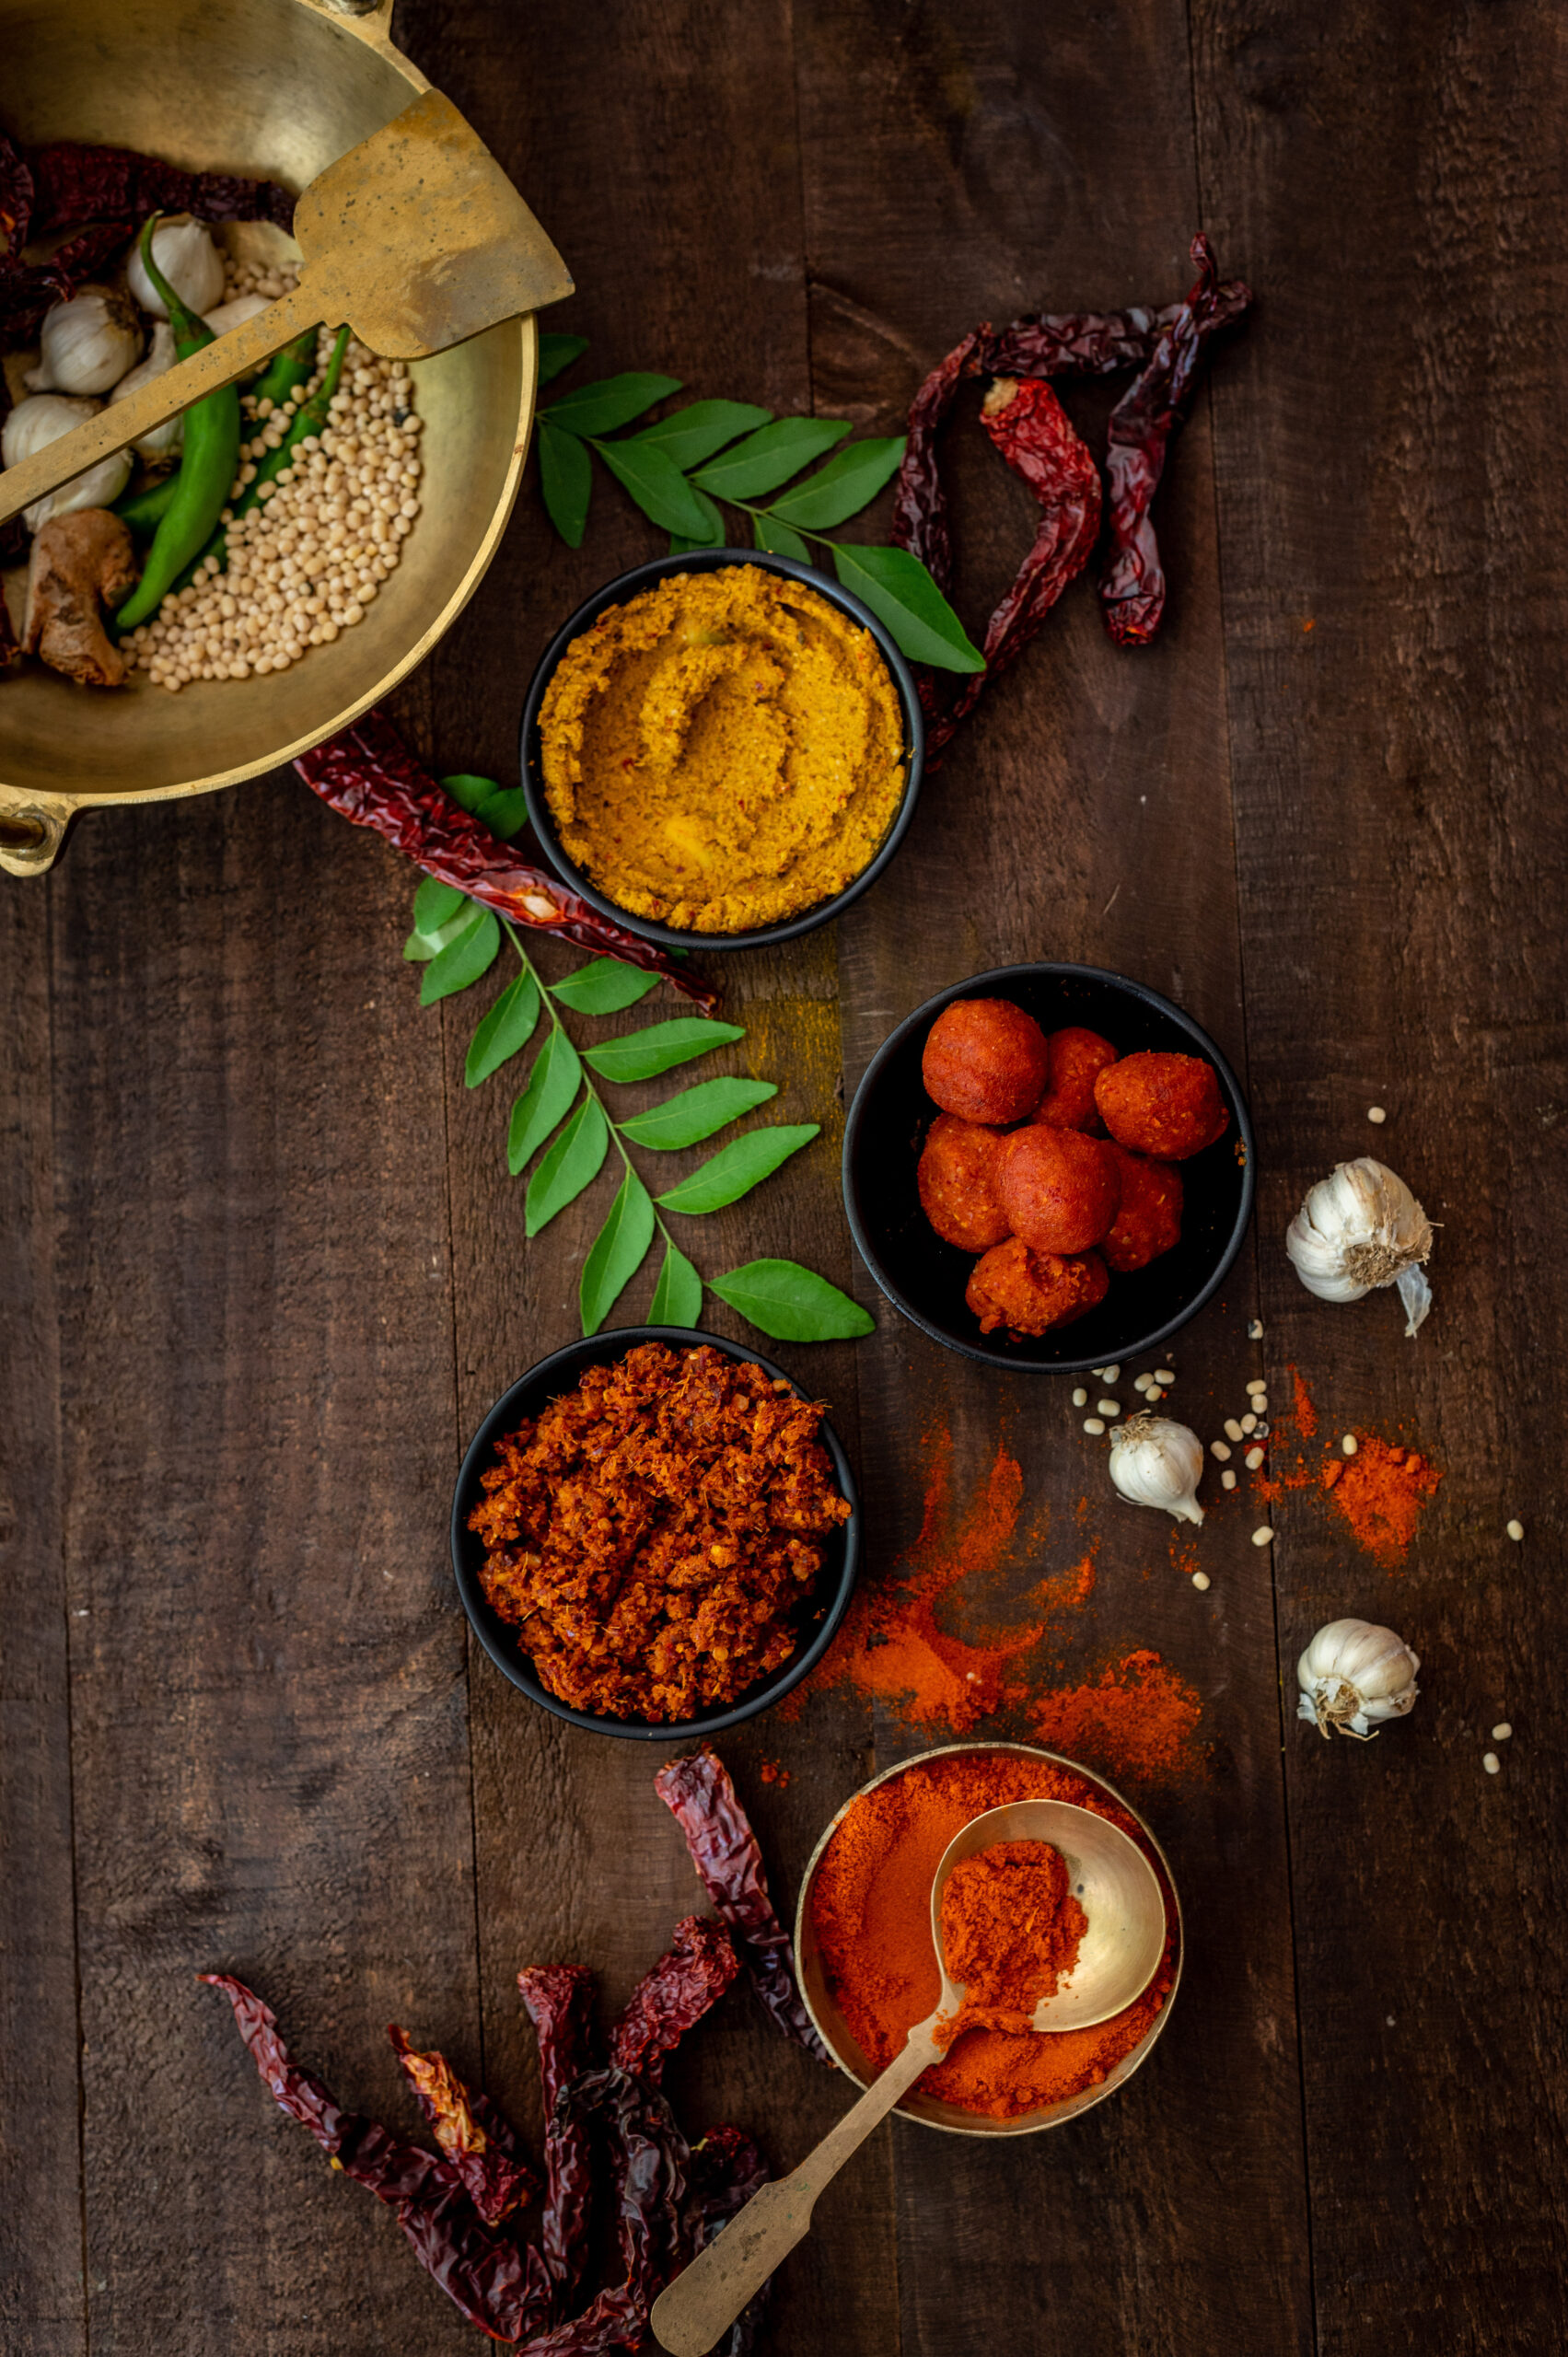
It is a dry garlic chutney with a fiery colour, and is made in a ball form that is supposed to last two or three days without refrigeration. This means it travels well, so it is often paired with the equally durable thepla on train journeys and so on. While I was growing up, my mother kept her lasun ki chutney in the fridge, which extended its shelf life a little further too. The concept is like this: it’s a dry chutney, made with minimal water, that is rolled into a ball and stored. Whenever one wants to consume it, one simply pinches some off, adds warm water, makes a paste and enjoys it as an accompaniment. Once water is added, it needs to be consumed immediately.

Aside from theplas, it is typically an accompaniment for bajra ki rotla, dhokla or handvo. Although we now enjoy it year-round, in concept it is the ideal winter condiment for more frugal meals. I am told that farmers in Gujarat typically consume it with bajra ka rotla, a flatbread made with pearl millet flour, in winters. Being very flavourful, it uplifts the thepla or other main staple without the need for other side dishes, especially when the harvest is scarce.

When I first started making lasun ki chutney, I began by making the soft version directly rather than the storable dry balls. I learnt the recipe for my grandfather, who came to live with us when he was 93 and absolutely had to have some of this lovely condiment at every meal. And at every meal, without fail, he would always say, “Garlic is very good for you.” He would sit on the floor and have a full Gujarati main course served to him, and he relished dipping his chapati into a bowl of ghee and eating it with lasun ki chutney. Perhaps because he reminded us every day that this is a nutritious dish, it grew on the rest of us too, and soon we began to have a side of spicy garlic chutney with most of our meals as well.

Garlic is indeed very good for us, and is well-known as an immune system booster, and as an ingredient that keeps blood pressure and cholesterol under control. It’s rich in antioxidants, manganese and fibre, among other nutritious elements. Plus – it’s delicious. Aromatic and pungent, it’s a pleasure for the senses.

That said, I would be remiss not to mention that there are communities that avoid garlic entirely as some believe that it affects the hormones in such a way as to charge us up and make us express our anger. If you do not eat garlic for this reason or any other, I’m afraid this recipe won’t suit you – and I hope you’ll explore the archives and find another one that does.


Lasun Ki Chutney

(Yield: 1 small cup)


10-12 cloves garlic

1 tablespoon toasted sesame seeds

4 Kashmiri red chillies (fried)

½ cup shredded coconut

1 tablespoon sesame oil

Salt to taste


Set aside all the ingredients, except the oil, in a food processor. In a flat pan, add the oil and once it has heated, pour the oil into the food processor along with the other ingredients. Make sure that you grind the mixture well. Your dry, coarse garlic chutney is now ready.

Now, make small balls and store them in the refrigerator. When you’re sitting down to a meal over the next few days, pinch off as much as you need, add warm water to make a paste, and enjoy. Have it with dhoklas or theplas, or even add it to Asian stir fries to spice them up, like I do. I’d love to know how you use it!

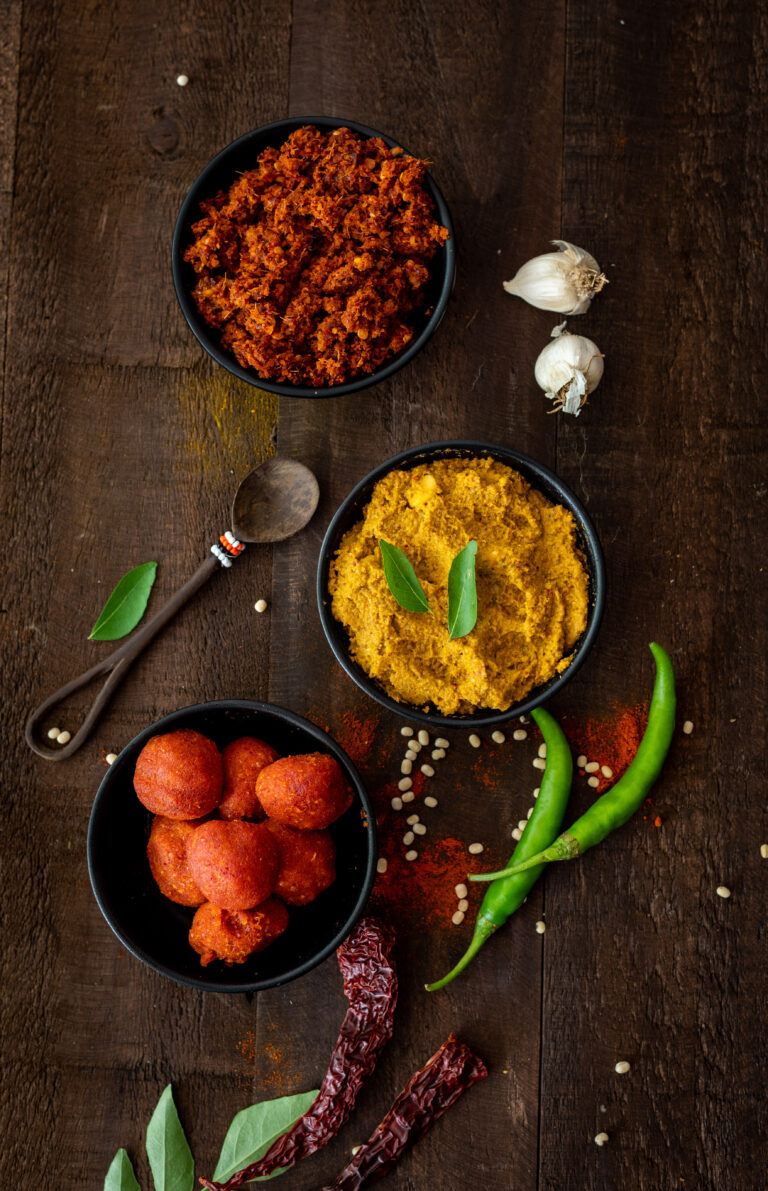
I’ll end this post by giving you a visual glimpse of the recipe that will round out this dip trilogy. In the photo below, you can see the raw mango thovayal and the lasun ki chutney – along with the forthcoming dish. Any guesses about what it is, or what its chief ingredient is?


This year’s mango series on my blog comes to a conclusion with a recipe that seamlessly leads into my next series: Indian dips and condiments. Call them chutneys, thovayals, sambals, pickles, relishes or by any name. They serve the purpose of enhancing a meal, and there are a huge range eaten across the subcontinent, often particular to certain communities. They tend to be heavy in spices and masalas so as to lend their strong flavours to otherwise mildly flavourful main dishes. It’s important to choose the right condiment, to complement rather than clash with the rest of the meal. Over the next few weeks, I’ll be sharing a selection of particularly tasty ones, which I hope you’ll enjoy pairing with mains of your choice. Today, I will be sharing the recipe for raw mango thovayal (or thogayal), a Tamil-style condiment that will elevate a variety of traditional and fusion meals.

I was born and brought up in Chennai, and I learnt Gujarati culinary traditions from my mother, who was also born and brought up in South India. She learnt her repertoire from her mother, who was raised in Gujarat but migrated, and who had replicated a menu that was as close to authentic as possible. However, it was also limited in terms of ingredient availability, as well as adapted to suit the climate here. This meant that certain winter vegetables consumed seasonally in Gujarat were not something my siblings and I, or indeed my mother and her own siblings, could have eaten growing up. There were certain recipes that I had no exposure to, and I am continuing to expand what I know about this cuisine. Many other food bloggers have provided inspiration, as has my sister, who lives in Mumbai and who learnt a multitude of dishes in the Gujarati Jain style from her mother-in-law. As you may know if you’ve been reading this blog for a while, I’ve also gained so much knowledge from my friends, who generously give their recipes not only to me, but encourage me to share them with my readers too.

Adaptability, resourcefulness and innovation are the traits of all good cooks everywhere, and a sense of culinary curiosity is what makes preparing everyday meals exciting. My own personal style is a medley of Gujarati cuisine, South Indian cuisines, Macrobiotics training, enthusiasm for veganism, travels aboard and growing up in a multi-cultural setting. As kids, while we ate Gujarati food at home, we also spent lots of time at the homes of our Tamil and Malayali neighbours (like Girija, whose mother made a brilliant ishtew) on practically a daily basis, thus enjoying a wonderful diversity of snacks and meals. My own children are now a third generation of Gujaratis who were raised in South India (I often jokingly say that their Tamil skills are better than their fluency in their mother tongue). If my own upbringing was multi-cultural, my children’s was even more so, and they have travelled and been exposed to even more of the world than I had by their age. Today’s generation and the generations to follow enjoy a blend of influences and experiences, and their food preferences reflect the same.

Coming back to thovayal, my recipe today is really a culmination rather than a combination of my own varied influences and experiences. It’s a raw mango thovayal made up of the memories of hundreds of meals at friends’ homes, prepared with simple ingredients that I happened to have in my garden and kitchen. In my home, this side dish is usually eaten with white dhokla (I’ll share a recipe for that soon). Dhokla is usually eaten with green chutney, but I prefer it with this thovayal, as the raw mango is a wonderful coolant for Chennai summers. Can you think of a more perfect example of a Gujarati-Tamil cultural melange?

Raw Mango Thovayal

(Yield: 1 cup)

1 cup cut, peeled raw mango

1 teaspoon cumin seeds

2 teaspoons urad dal

2 green chillies

2 dry red chillies

6-10 curry leaves

3 tablespoons fresh coriander leaves

½ cup coconut

2 tablespoons roasted gram (optional/alternative: peanuts)

2 teaspoons groundnut oil or sesame oil

Salt to taste


You can make thovayal with a variety of bases, simply replacing the raw mango. Coconut is popularly used as a base, for example. I use green chillies in mine so that the thovayal retains a refreshing green colour, but you could use garlic for the spice quotient instead.

To prepare this recipe, simply add all the ingredients together in a mixer jar and blend coarsely. Add no more than 3-4 tablespoons of water when you do so.

The thovayal will be of a thick consistency, comparable to a chutney. It can be stored in the refrigerator for 4-5 days.

Enjoy it as a condiment with any meal of your choice (do let me know in the comments how you pair it, please!). I think it could also work as an excellent marinade for chicken, or if added to roasted potatoes to enhance their flavour. It all comes down to your creativity.

I hope you’ve been making the most of the mango season through the wide range of recipes I’ve shared here that celebrate the fruit in both raw and ripe forms. In case you want to catch up, this is the big list of the delicious mango dishes I’ve posted over the years: vegan raw mango dal, raw mango rice, mango twist, mango osaman, mango lassi, mango salad, sweet and spicy mango pickles, ripe mango rasam and curry leaf and raw mango cooler. Here’s to many more seasons of culinary plenitude!

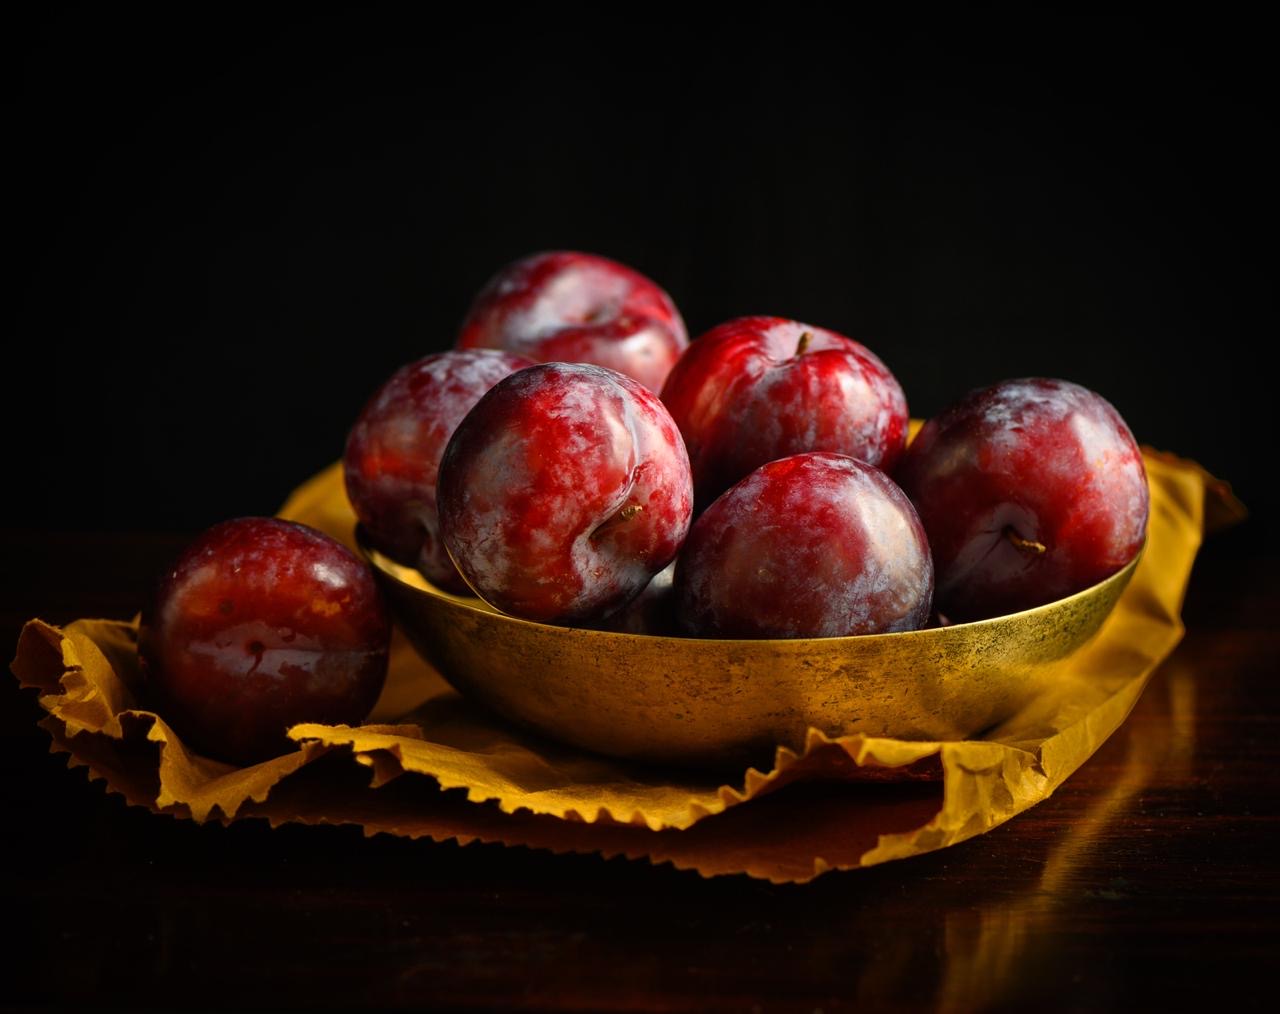
When I began to imagine this post, it was with the idea that there was not much of a memory storyline behind the recipe I am sharing today. All that had come to mind when a friend gifted me a basket of plums, and I wondered what I could make with them, was that I would pluck the tiny, country variety from trees in Ooty during our summertime holidays when I was growing up… And then, before I knew it, an abundance of recollections came flooding back – of reaching with my own hands for something to eat, raw and delicious and freshly-plucked. Before I get carried away with those reminiscences, let me just say that the recent occasion of Thanksgiving, which is important to my American friends and family, as well as the upcoming Christmas season also gave me inspiration. The plum relish that is traditionally enjoyed during those festivities has been Indianised in my home as plum chutney, and that’s the recipe that this trip down memory lane will culminate in.

The gift basket I received contained what I call “the millennial plum”, a delicious hybrid cultivar which is large and has a deep maroon colour. It usually tastes sweet. The country plums of my childhood, by contrast, were sour and tangy. They came in an orangeish shade and were relatively tiny. Still, as little children, my siblings, cousins, friends and I absolutely delighted in them. There was just a certain immense joy in picking fruits right off a branch and eating them unwashed. There was a rawness to the experience that brought us closer to Nature. Even the sourest fruit was enjoyed in this way.
Fruit-picking was always a thrilling activity for us, both with and without permission. When we had the chance to go abroad for holidays with our aunt, she would give us baskets of our own and take us to strawberry farms, where we would spend the day indulging this hobby of ours to the fullest. We would cherish and guard those baskets full of fresh, ripe fruit. Every last berry was special, plucked with our own hands, and tasted all the more delicious for this reason.

Back home, far from the hills of Tamil Nadu or the strawberry farms of Europe, we still pursued our fruit-gathering in earnest. We would run loose in our neighbourhood and steal mangoes from the trees, as I think I’ve mentioned a number of times on this blog before. It was certainly one of our favourite past-times, even if scoldings were a natural consequence!

The fruit-bearing local naatu cherry tree and the nellika or gooseberry tree were two that I grew up under, and to this day the sight of either of these can make me feel a bit emotional. The gooseberry tree in our garden was laden with kambilipoochis (hairy caterpillars), which would invariably leave a hair or two on me when I reached up to grab those fruits, and I would have to go crying to my mother to get her to remove those caterpillar hairs! Those naatu (country) cherries weren’t the beautiful, glossy-looking ones that top my cakes today, but a small, orange-coloured variety with a tiny, grain-like seed inside. There was also a black-coloured berry, sour and with a high Vitamin C content, with a name that slips my mind. These local, edible fruits were so plentiful in Chennai in those days, available to anyone who knew how to climb a tree.

I’ve spoken before of how much I long to revive different varieties of plants and flowers in our little farmland. I really believe that some of our green wealth is disappearing, and it hurts to find proof of it, as I did when I went looking for wood-apple recently. I dream of planting the trees of some of the fruits I plucked and ate in childhood. I’ve started the process by asking everyone I know for cuttings. Would you have some – of any kind of fruit, flower or plant that seems to be scarce in and around Chennai these days, but which you remember from before? I only specify Chennai because the cutting needs to be suitable to our climate.

The more time I spent reminiscing, the more I remembered: not only did we love eating freshly plucked (and sometimes stolen) fruit, but we even foraged for plants and flowers! The three leaf clover that grows like a weed was one of these. We’d just pop one into our mouths and enjoy its sour, earthy taste. There were also certain flowers, like the gorgeous orange trumpet flower, which we would suck the nectar out of after removing the stem. Did you do any of these activities growing up, when it seemed like we played in the outdoors so much more than the children of today do?

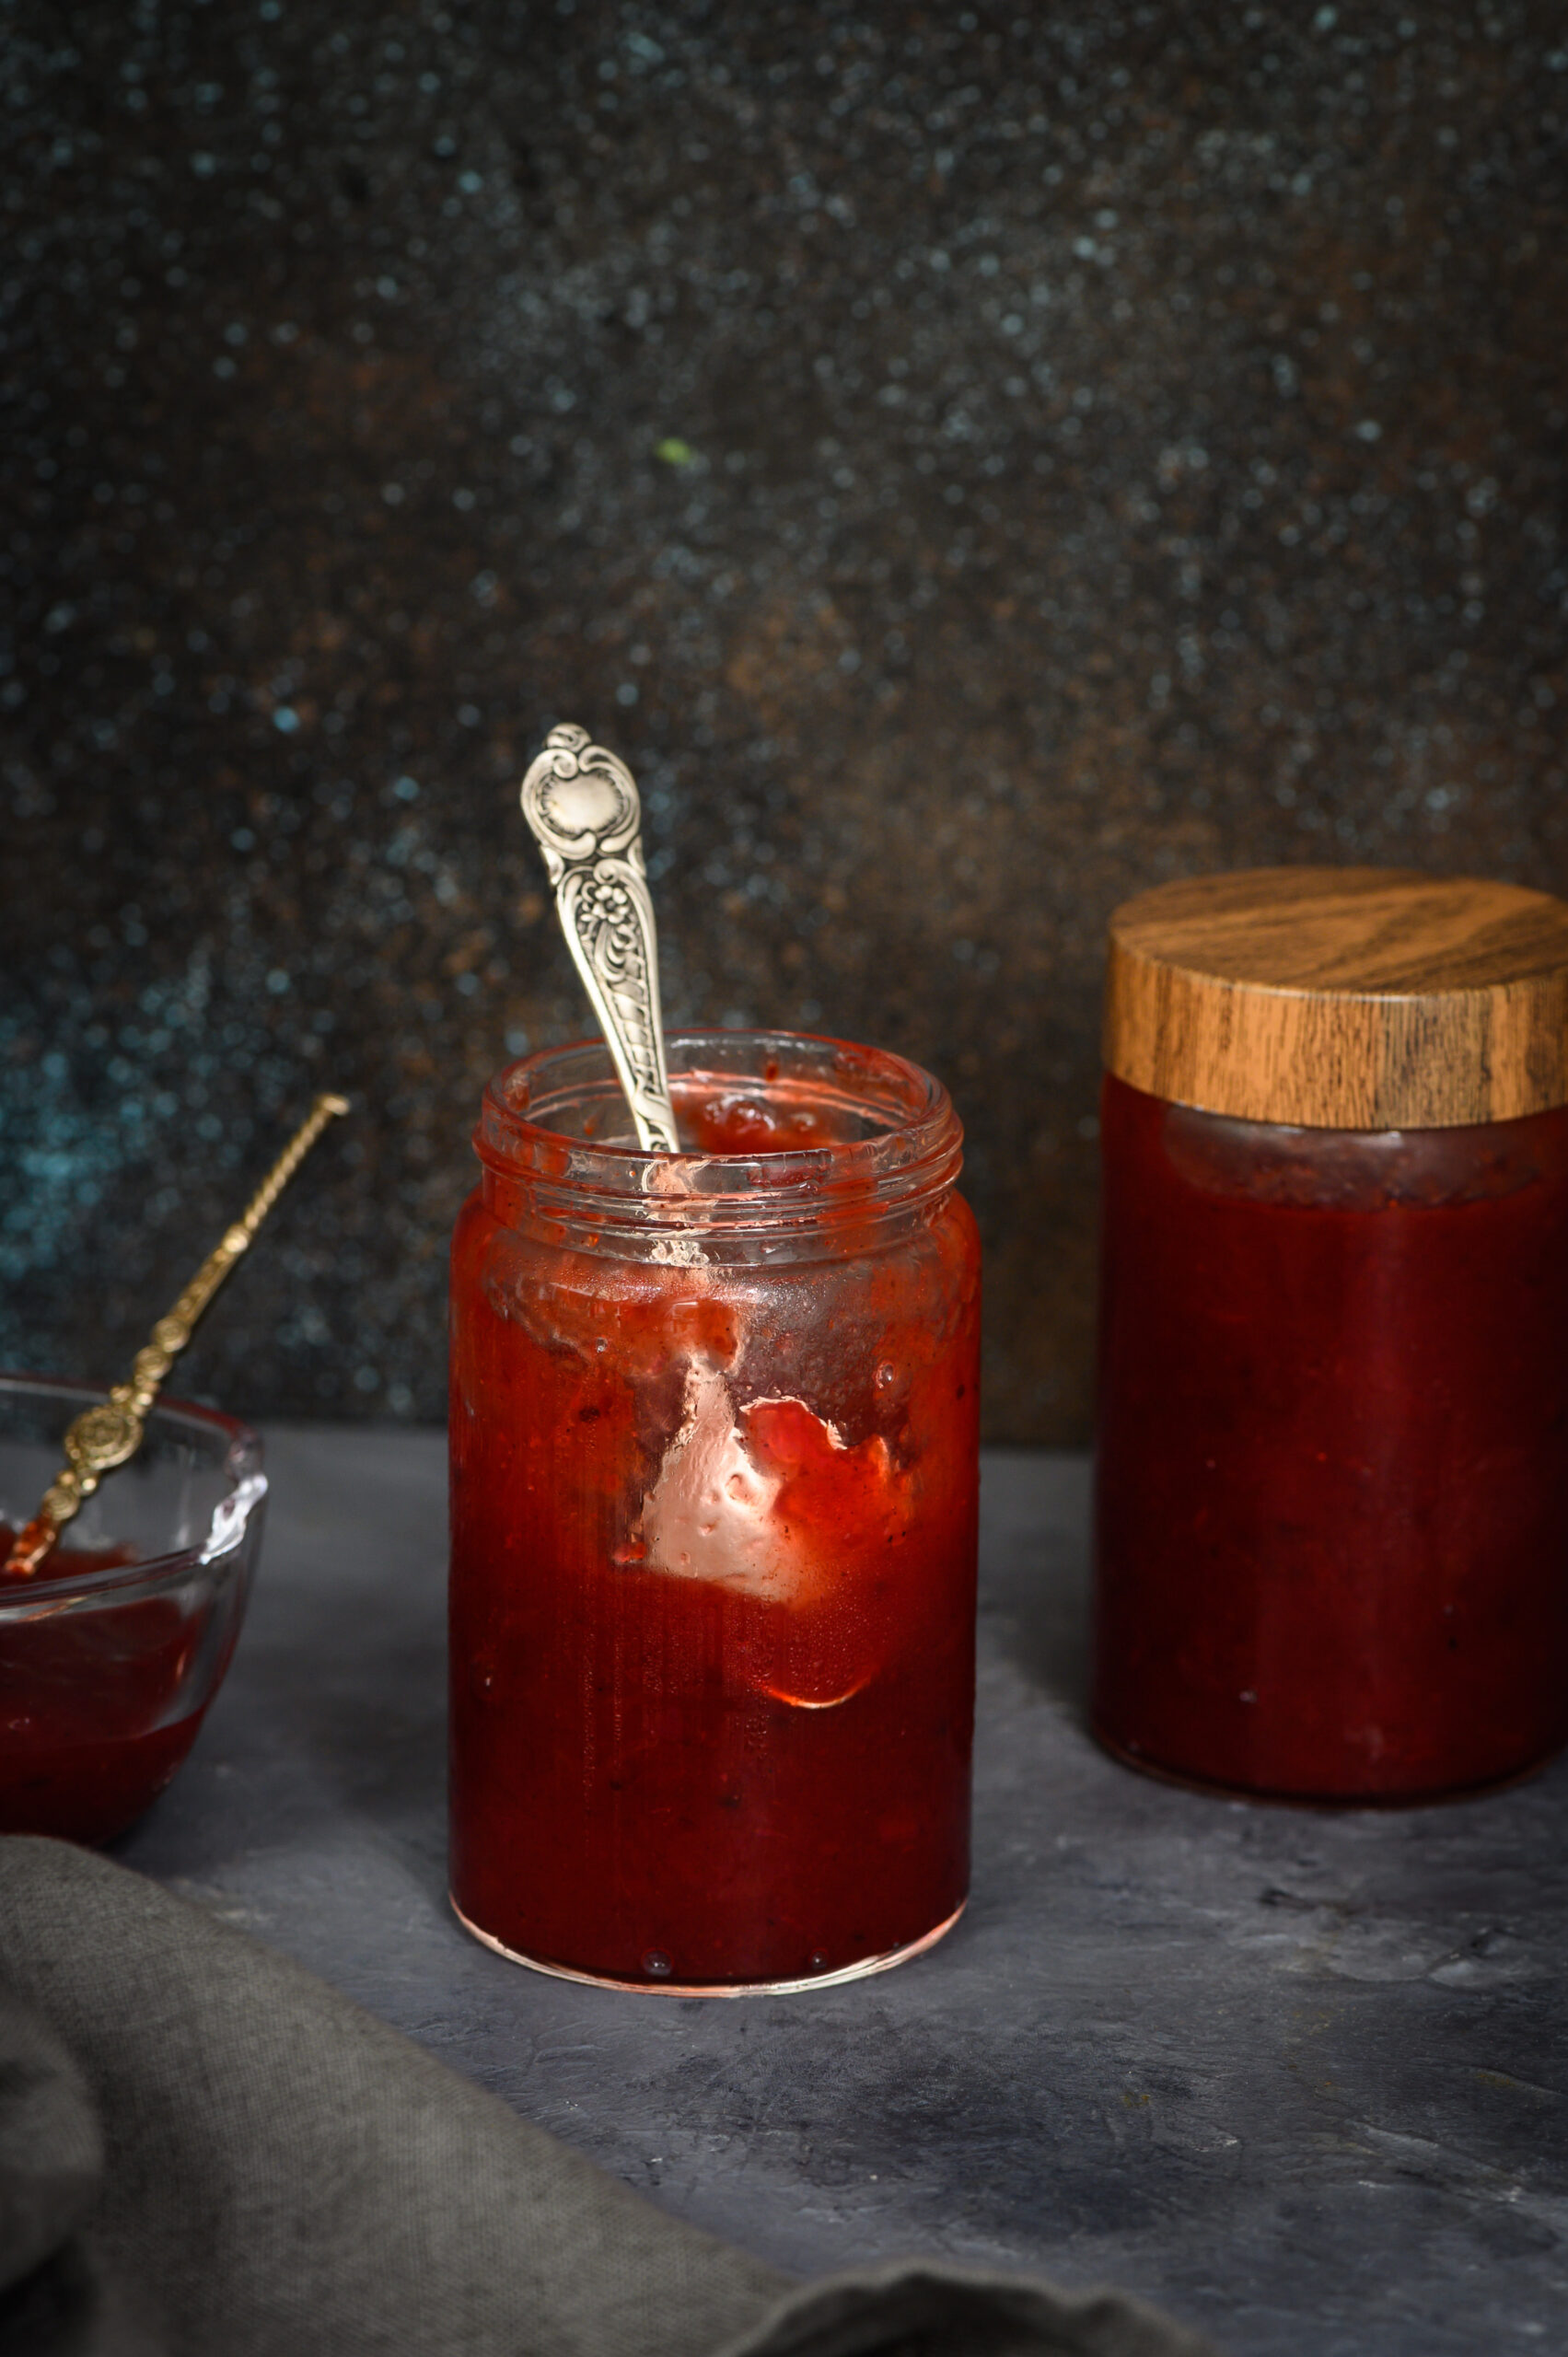
Let me bring this little trip down memory lane, lined with fruit-bearing trees, full circle by coming back to the gift of plums. In India, you can make a chutney with pretty much anything, and I was curious to try out this fruity one. My husband is a big fan of chutneys, and will even have some on the side with a pasta, so I know for a fact that this plum chutney is very versatile. You can also roll it up in a chapatti for a tiffin box, or spread it on toast. It has a sweet, spicy flavour that lends itself as an accompaniment to many dishes.
 

Plum Chutney

(Yield: 350 grams)

500 grams plums

150 grams sugar

1 small onion

⅛ teaspoon ginger powder

1 star anise

Salt to taste

2 teaspoons dry chili flakes

2 tablespoons apple cider vinegar

Lemon zest


Plums are a succulent fruit with a vast number of health benefits, from improving cardiovascular health to reducing the risk of osteoporosis to promoting skin health. They are packed with Vitamin C and Vitamin A, as well as antioxidants and minerals. They have been grown since ancient times, and the hybrid types we get today thrive in various places in India – which means we are fortunate that the market is abundantly flooded with them too.

This plum chutney is very simple to prepare, but requires one step of overnight prep. Chop the plums and discard the seeds. Add sugar to the fruit pieces, and cover with a lid. Allow to soak and refrigerate overnight, as this will reduce the cooking time.

The following day, add all the remaining ingredients to the sugar-soaked fruit. Boil on a medium flame. I lightly blended the mixture with a hand blender to break down and bring the flavours together.

Allow to simmer until the chutney thickens. Then, allow to cool.

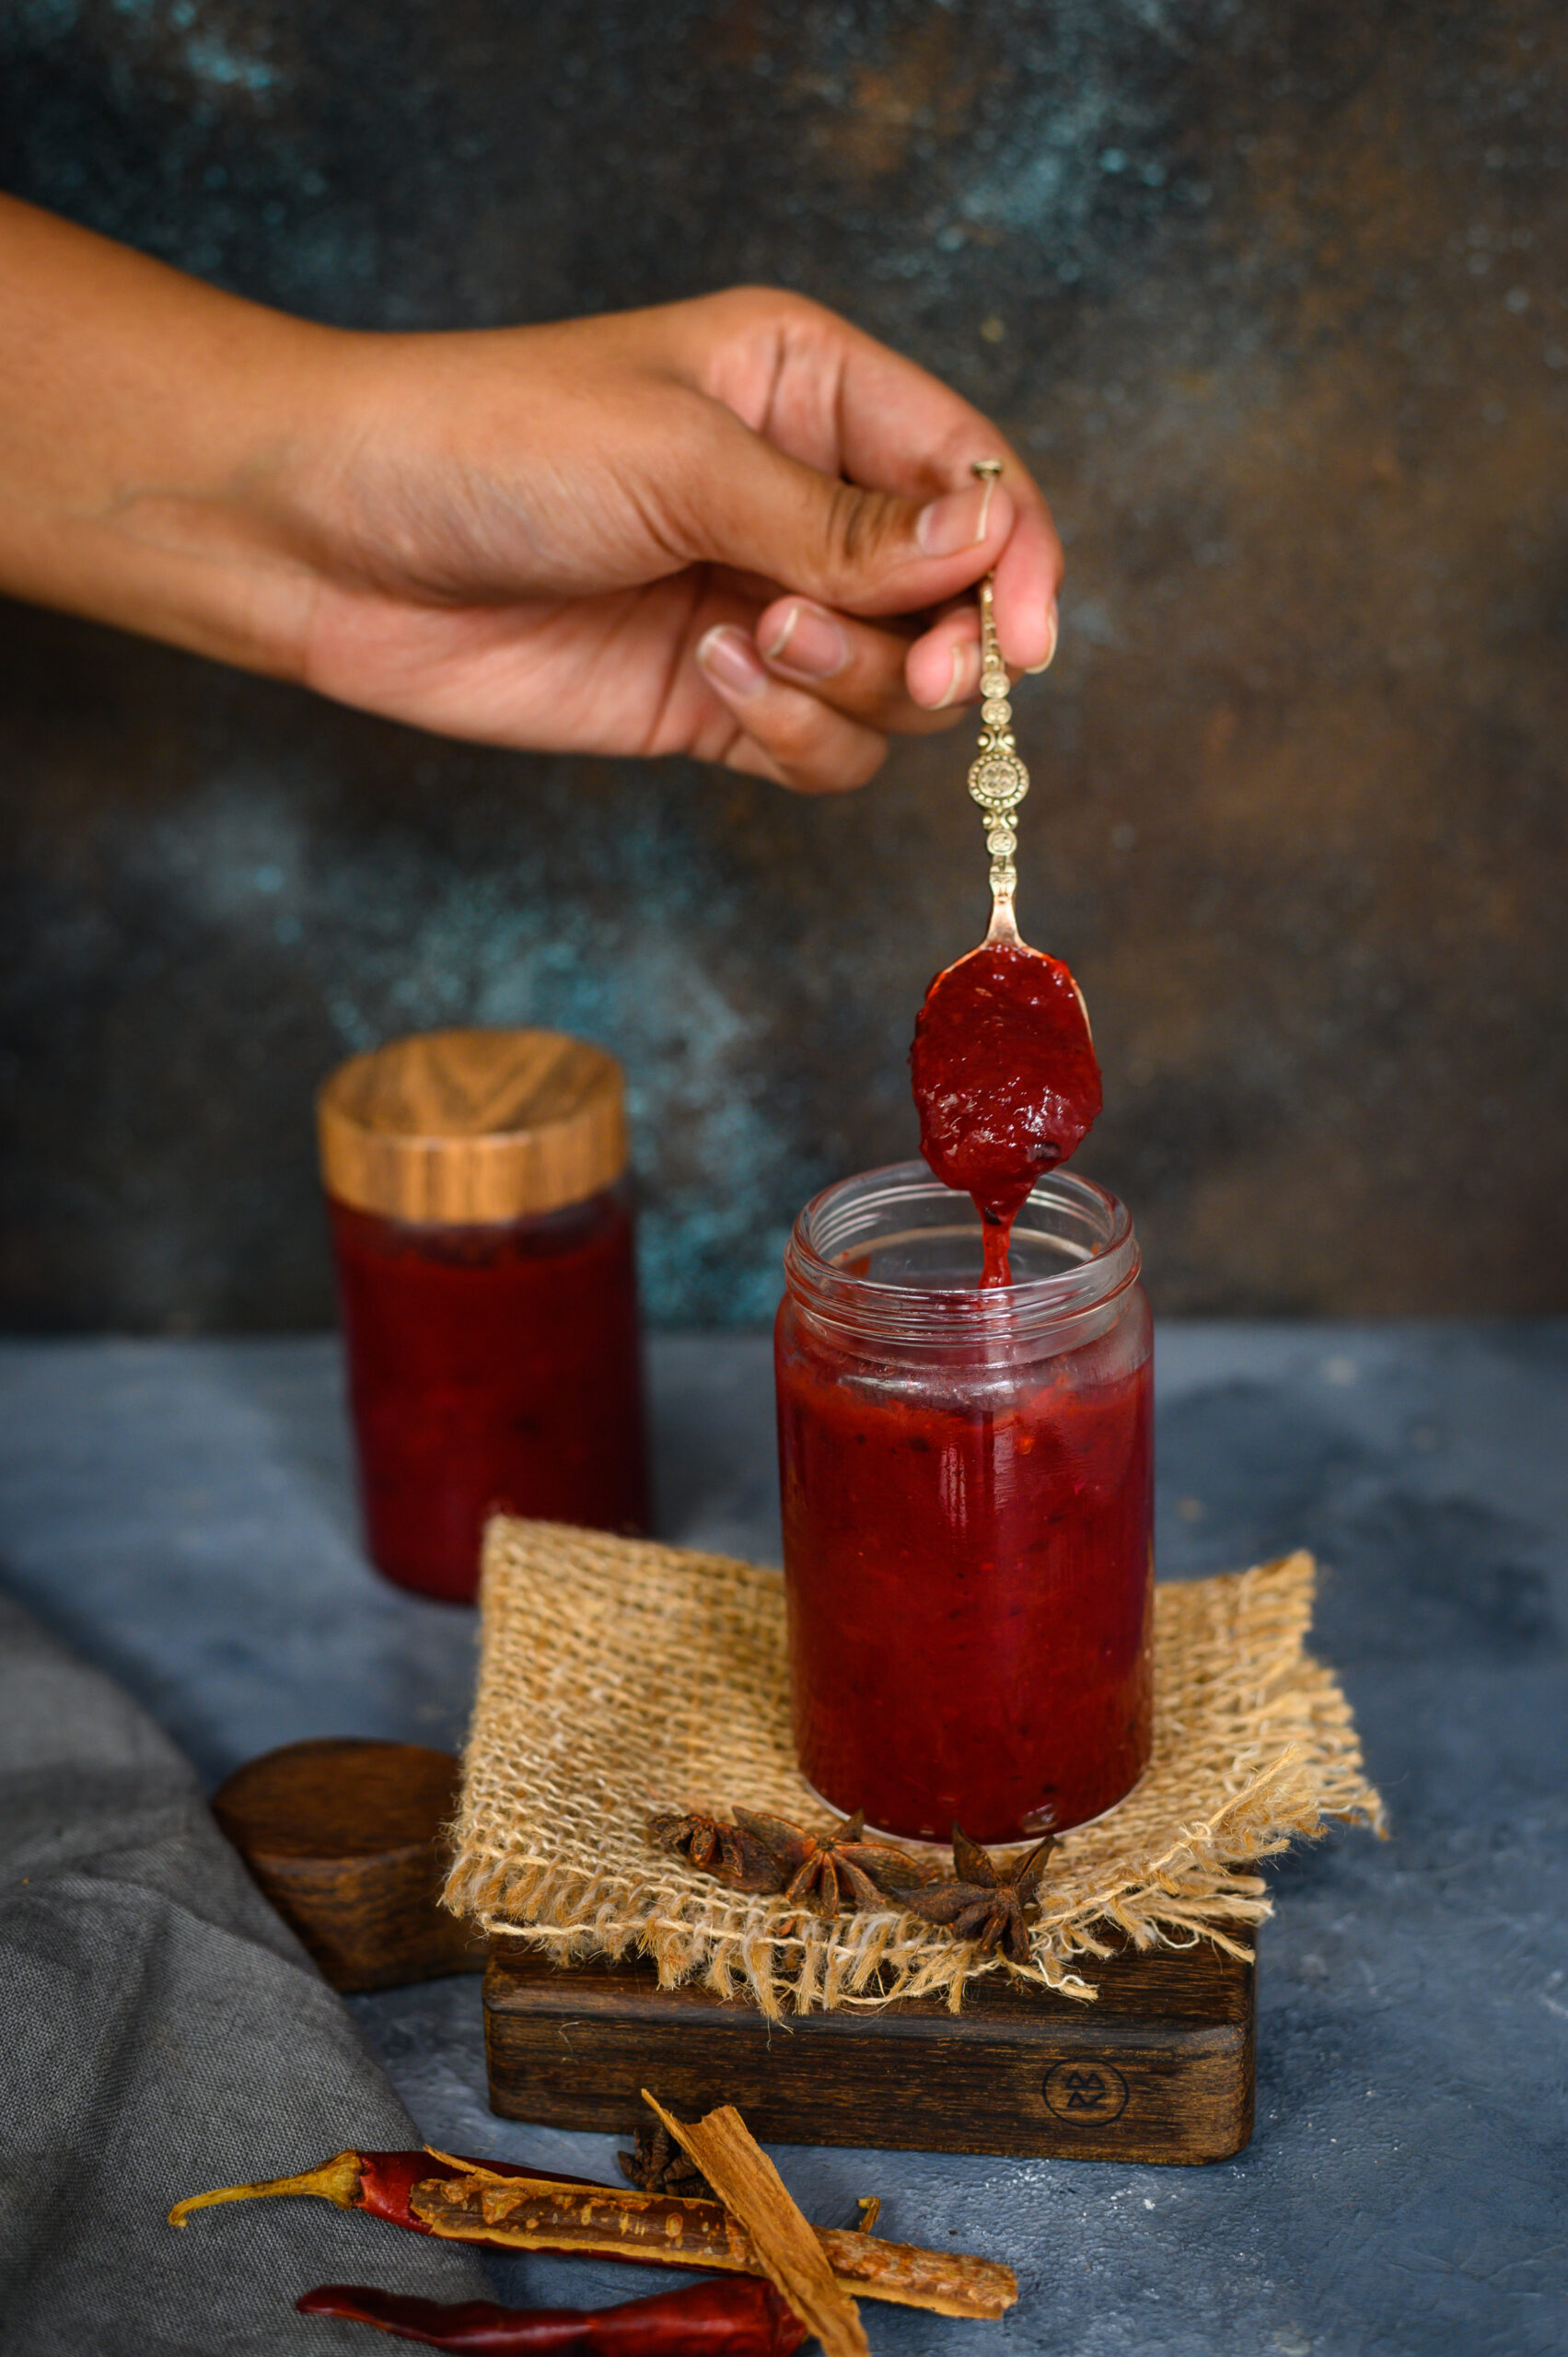
With a clean spoon, transfer the plum chutney into a clean jar and refrigerate. As long as dry spoons are used and the container is refrigerated, a batch can be kept for up to a couple of weeks.

You may serve it with cheese as they do in the West, or with chapatti as I do at home, but either way, I hope a jar of it finds a place at your table this Christmas – and I hope you’ll simply relish it!
There are two things from the past that I have recently had a hankering for: wood rose trees and wood-apple fruits. For over a year, I’ve been asking people if they know where I can find a cutting of the wood rose tree, which I remember from gazebos at a club in my childhood. I loved to break its pods open and see the black seeds. Many cannot even recall such a plant, and it is sad to know how something that had once been familiar has almost faded from public memory. The wood-apple fruit, however, is one that everyone knows. Or rather, they remember its existence. Even if they may not be able to remember when they last tasted it. This fruit has slowly been disappearing from our palates, as I realised over recent months when this craving hit me and it became almost impossible to source.

Thanks to my good fortune, I found a vendor near the Mylapore market who had some wood-apples in stock. I asked him why I hadn’t been able to find it of late, and he told me that demand for the fruit has gotten so low that farmers no longer have an incentive to grow it. It is just not financially viable for them to do so. The wood-apple season that I remembered from my childhood is right around this time, in conjunction with the festive period and the colder months, and it seems that somewhere in the state, perhaps in a scarce way, there is a small harvest after all.

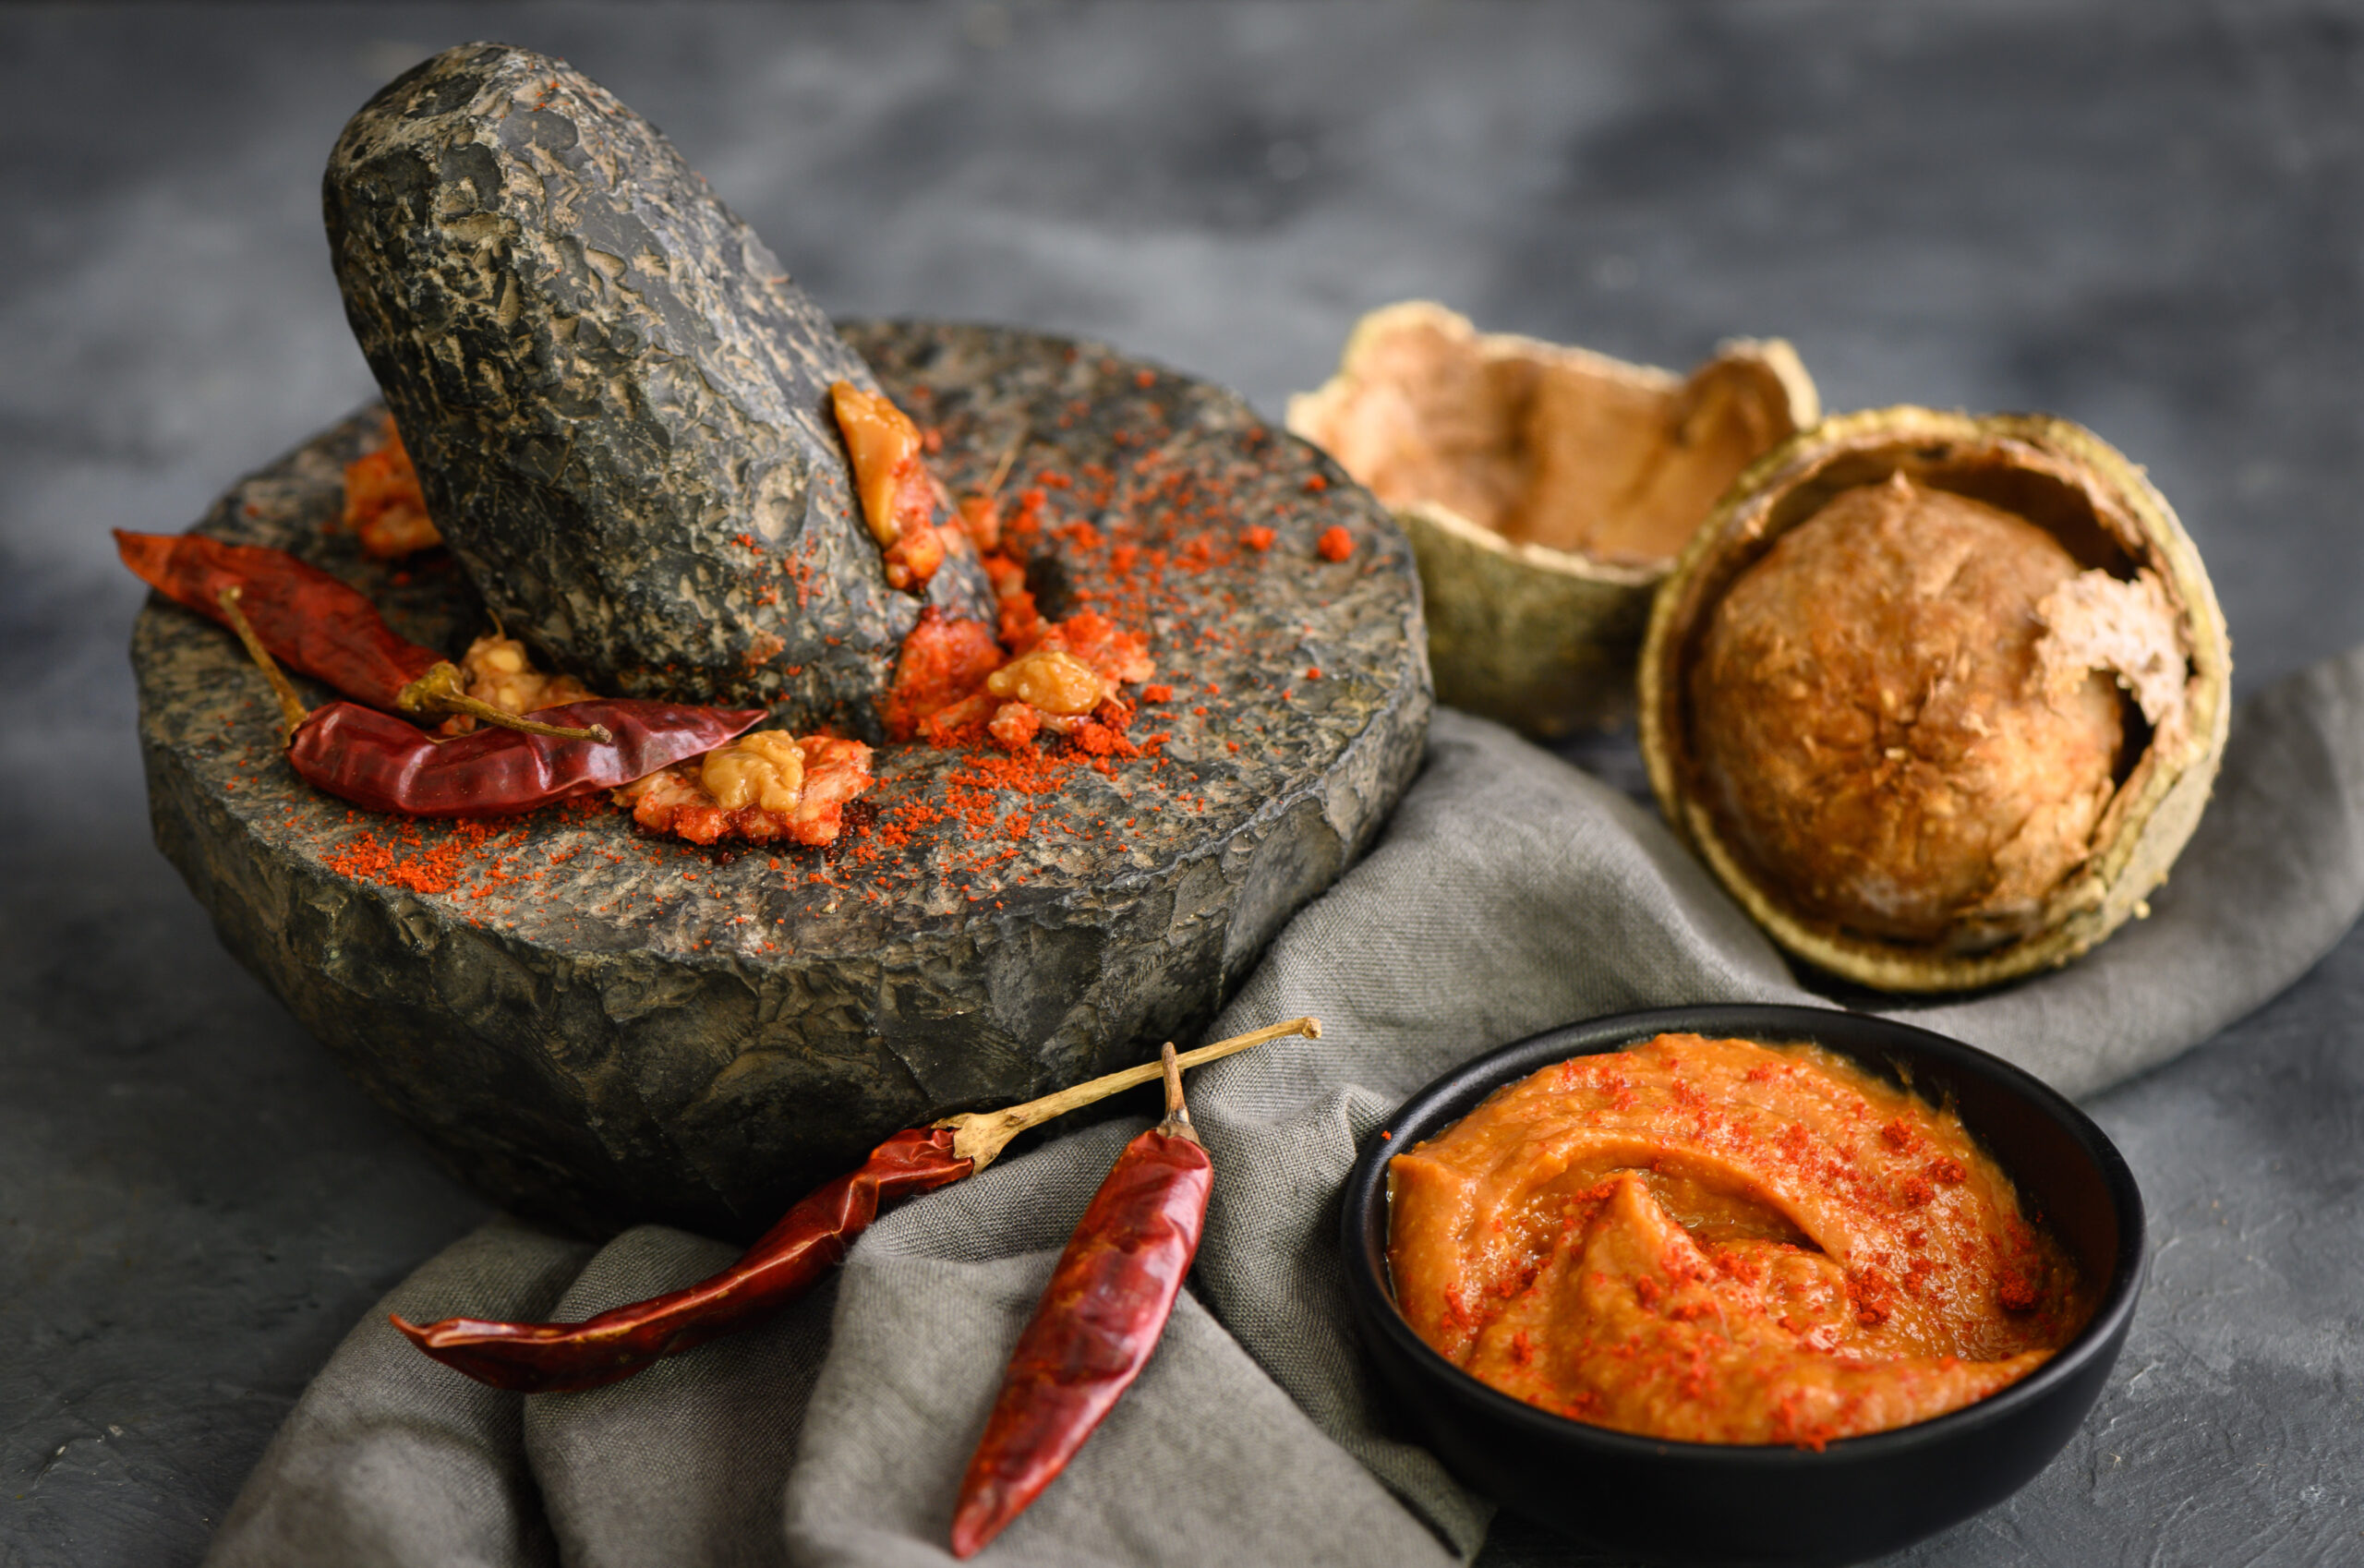
As I said, I have been craving this wood-apple chutney for months, and it means a lot for me to be able to share the recipe with you, since it took so long to source the chief ingredient! I consider this a “revival recipe”, one which I hope will inspire you to bring this fruit back into grocery shopping. This is the only thing that will allow farmers to cultivate it again as they did before.
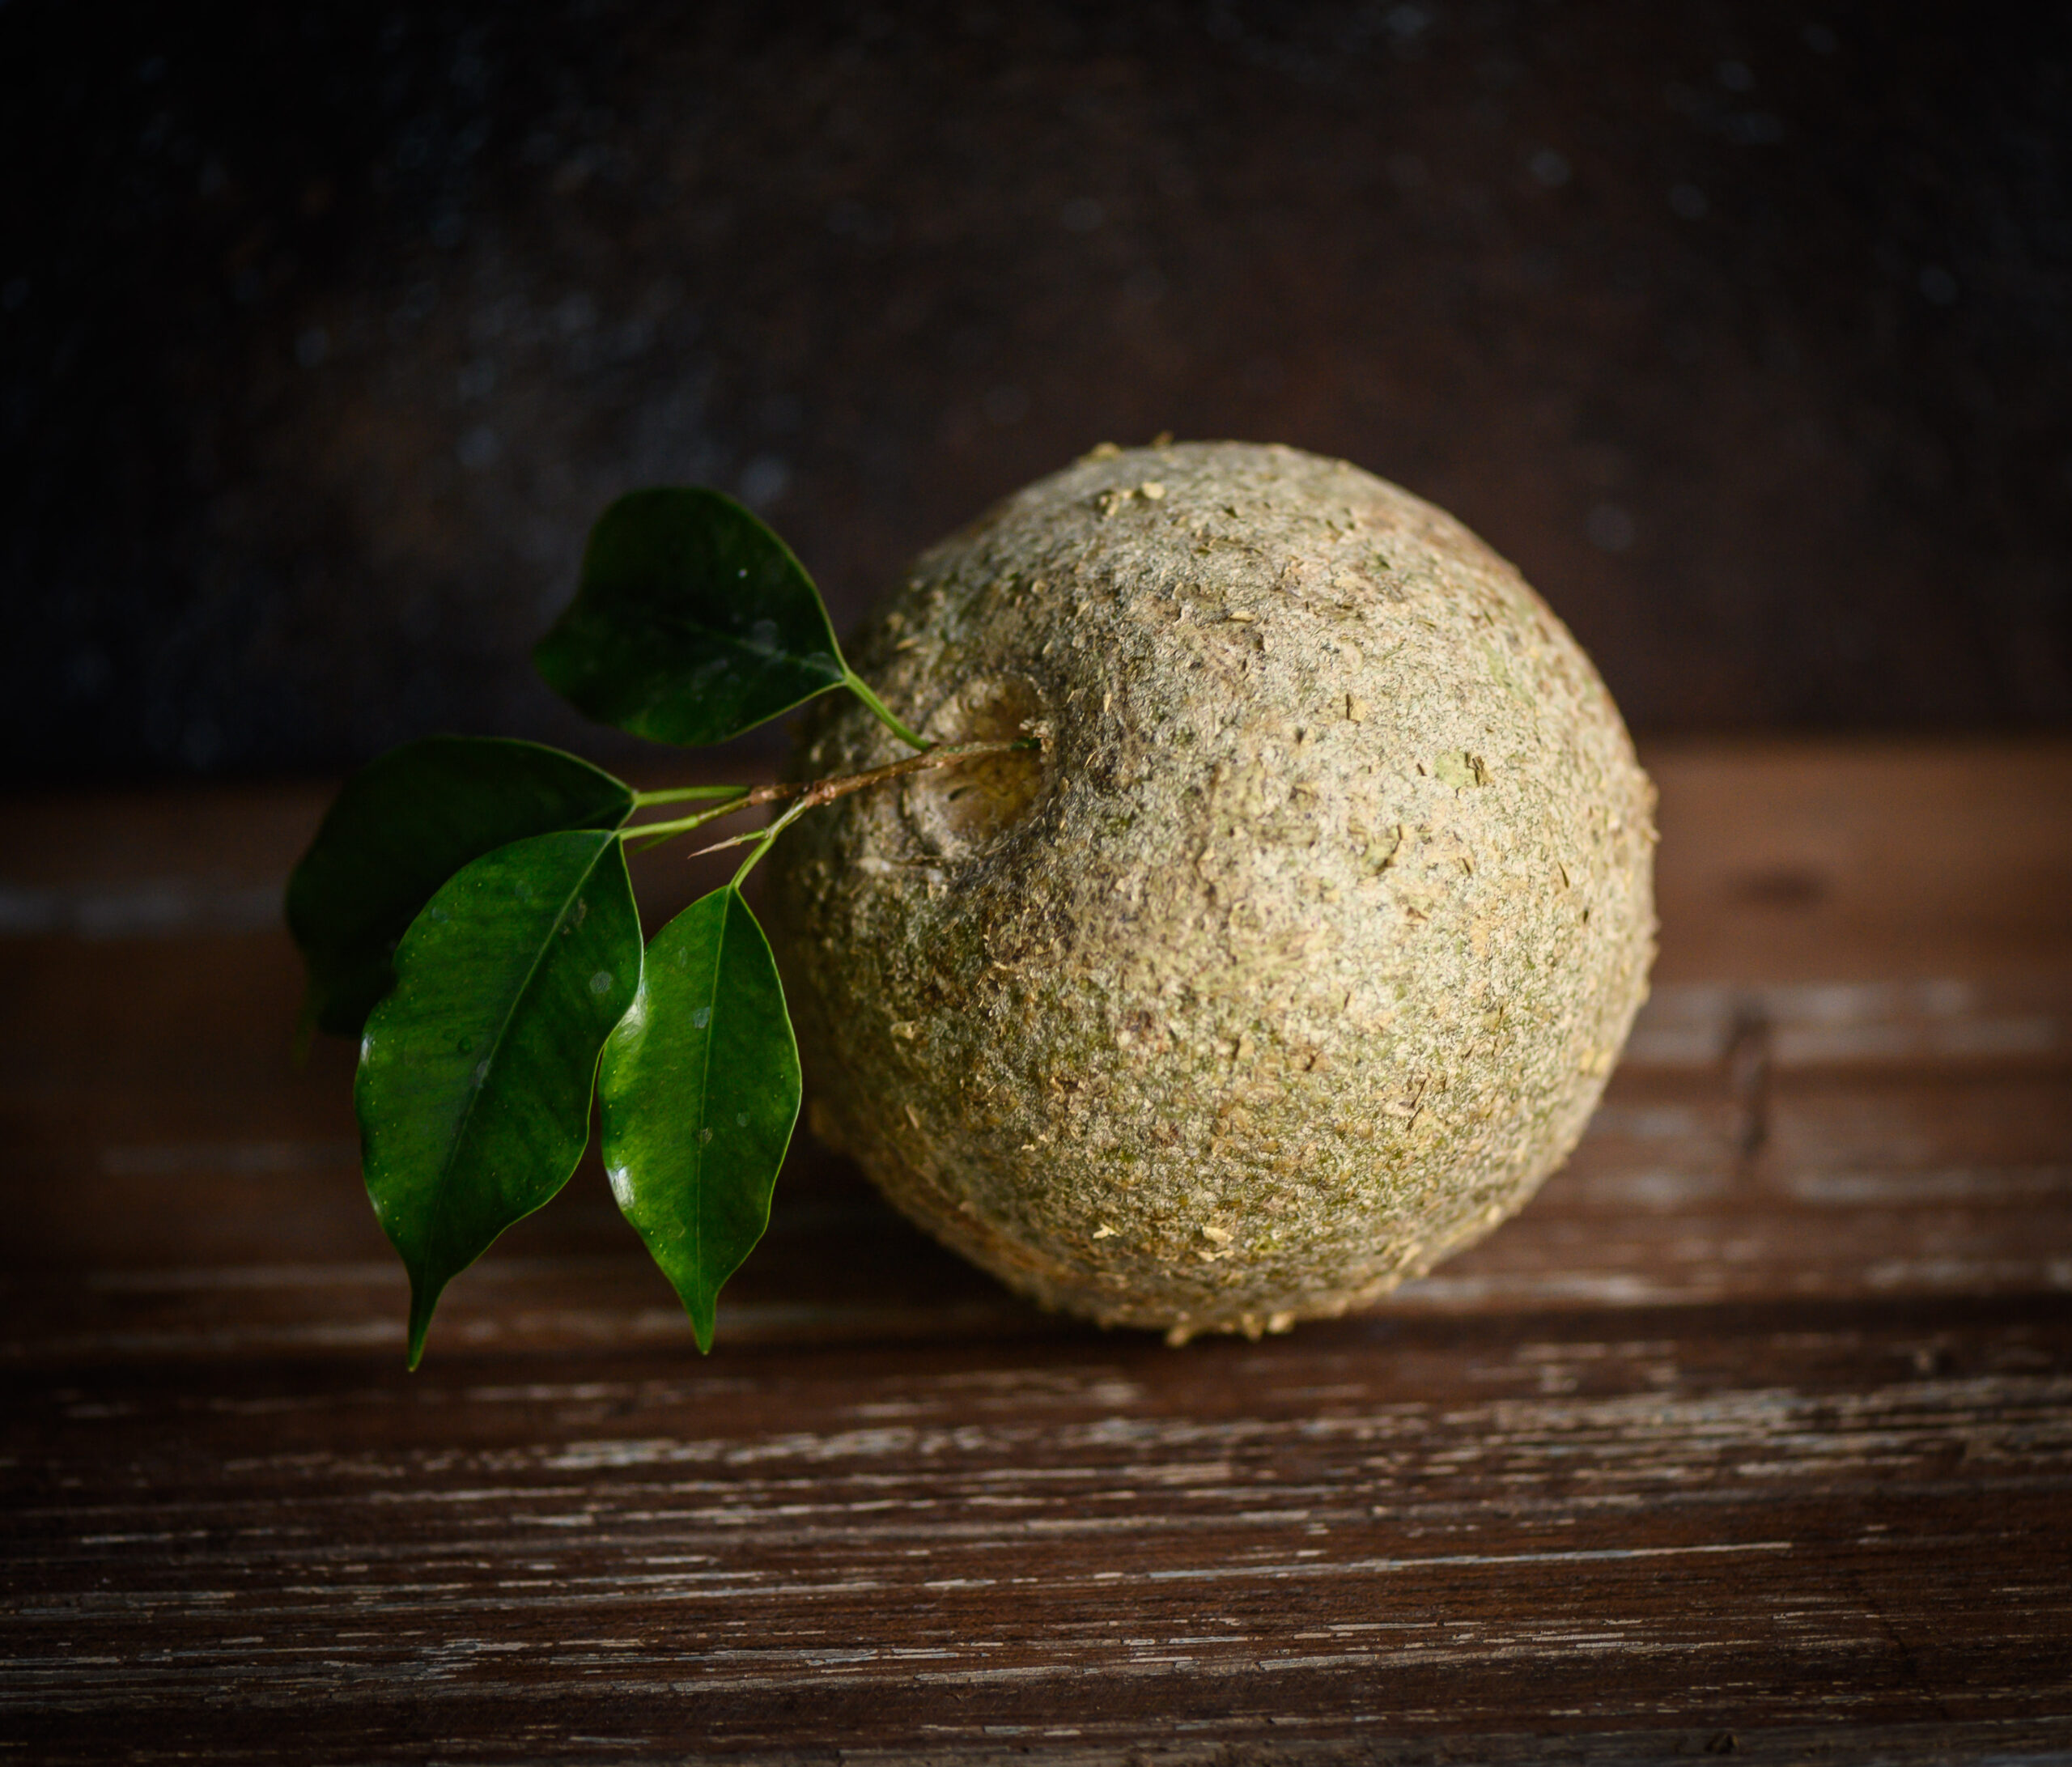
Known as “kotha” in Gujarati and “vizhampazham” in Tamil, wood-apple is known to be a tonic for the heart and the liver, and is good for treating intestinal, throat and gum ailments. Many parts of the tree, including the pulp, also have anti-venom properties. It is a pungent fruit, which like jackfruit is something people either love or hate. Needless to say, I love it. My mother often made this wood-apple chutney for us when we were growing up, when the fruit was abundantly available.

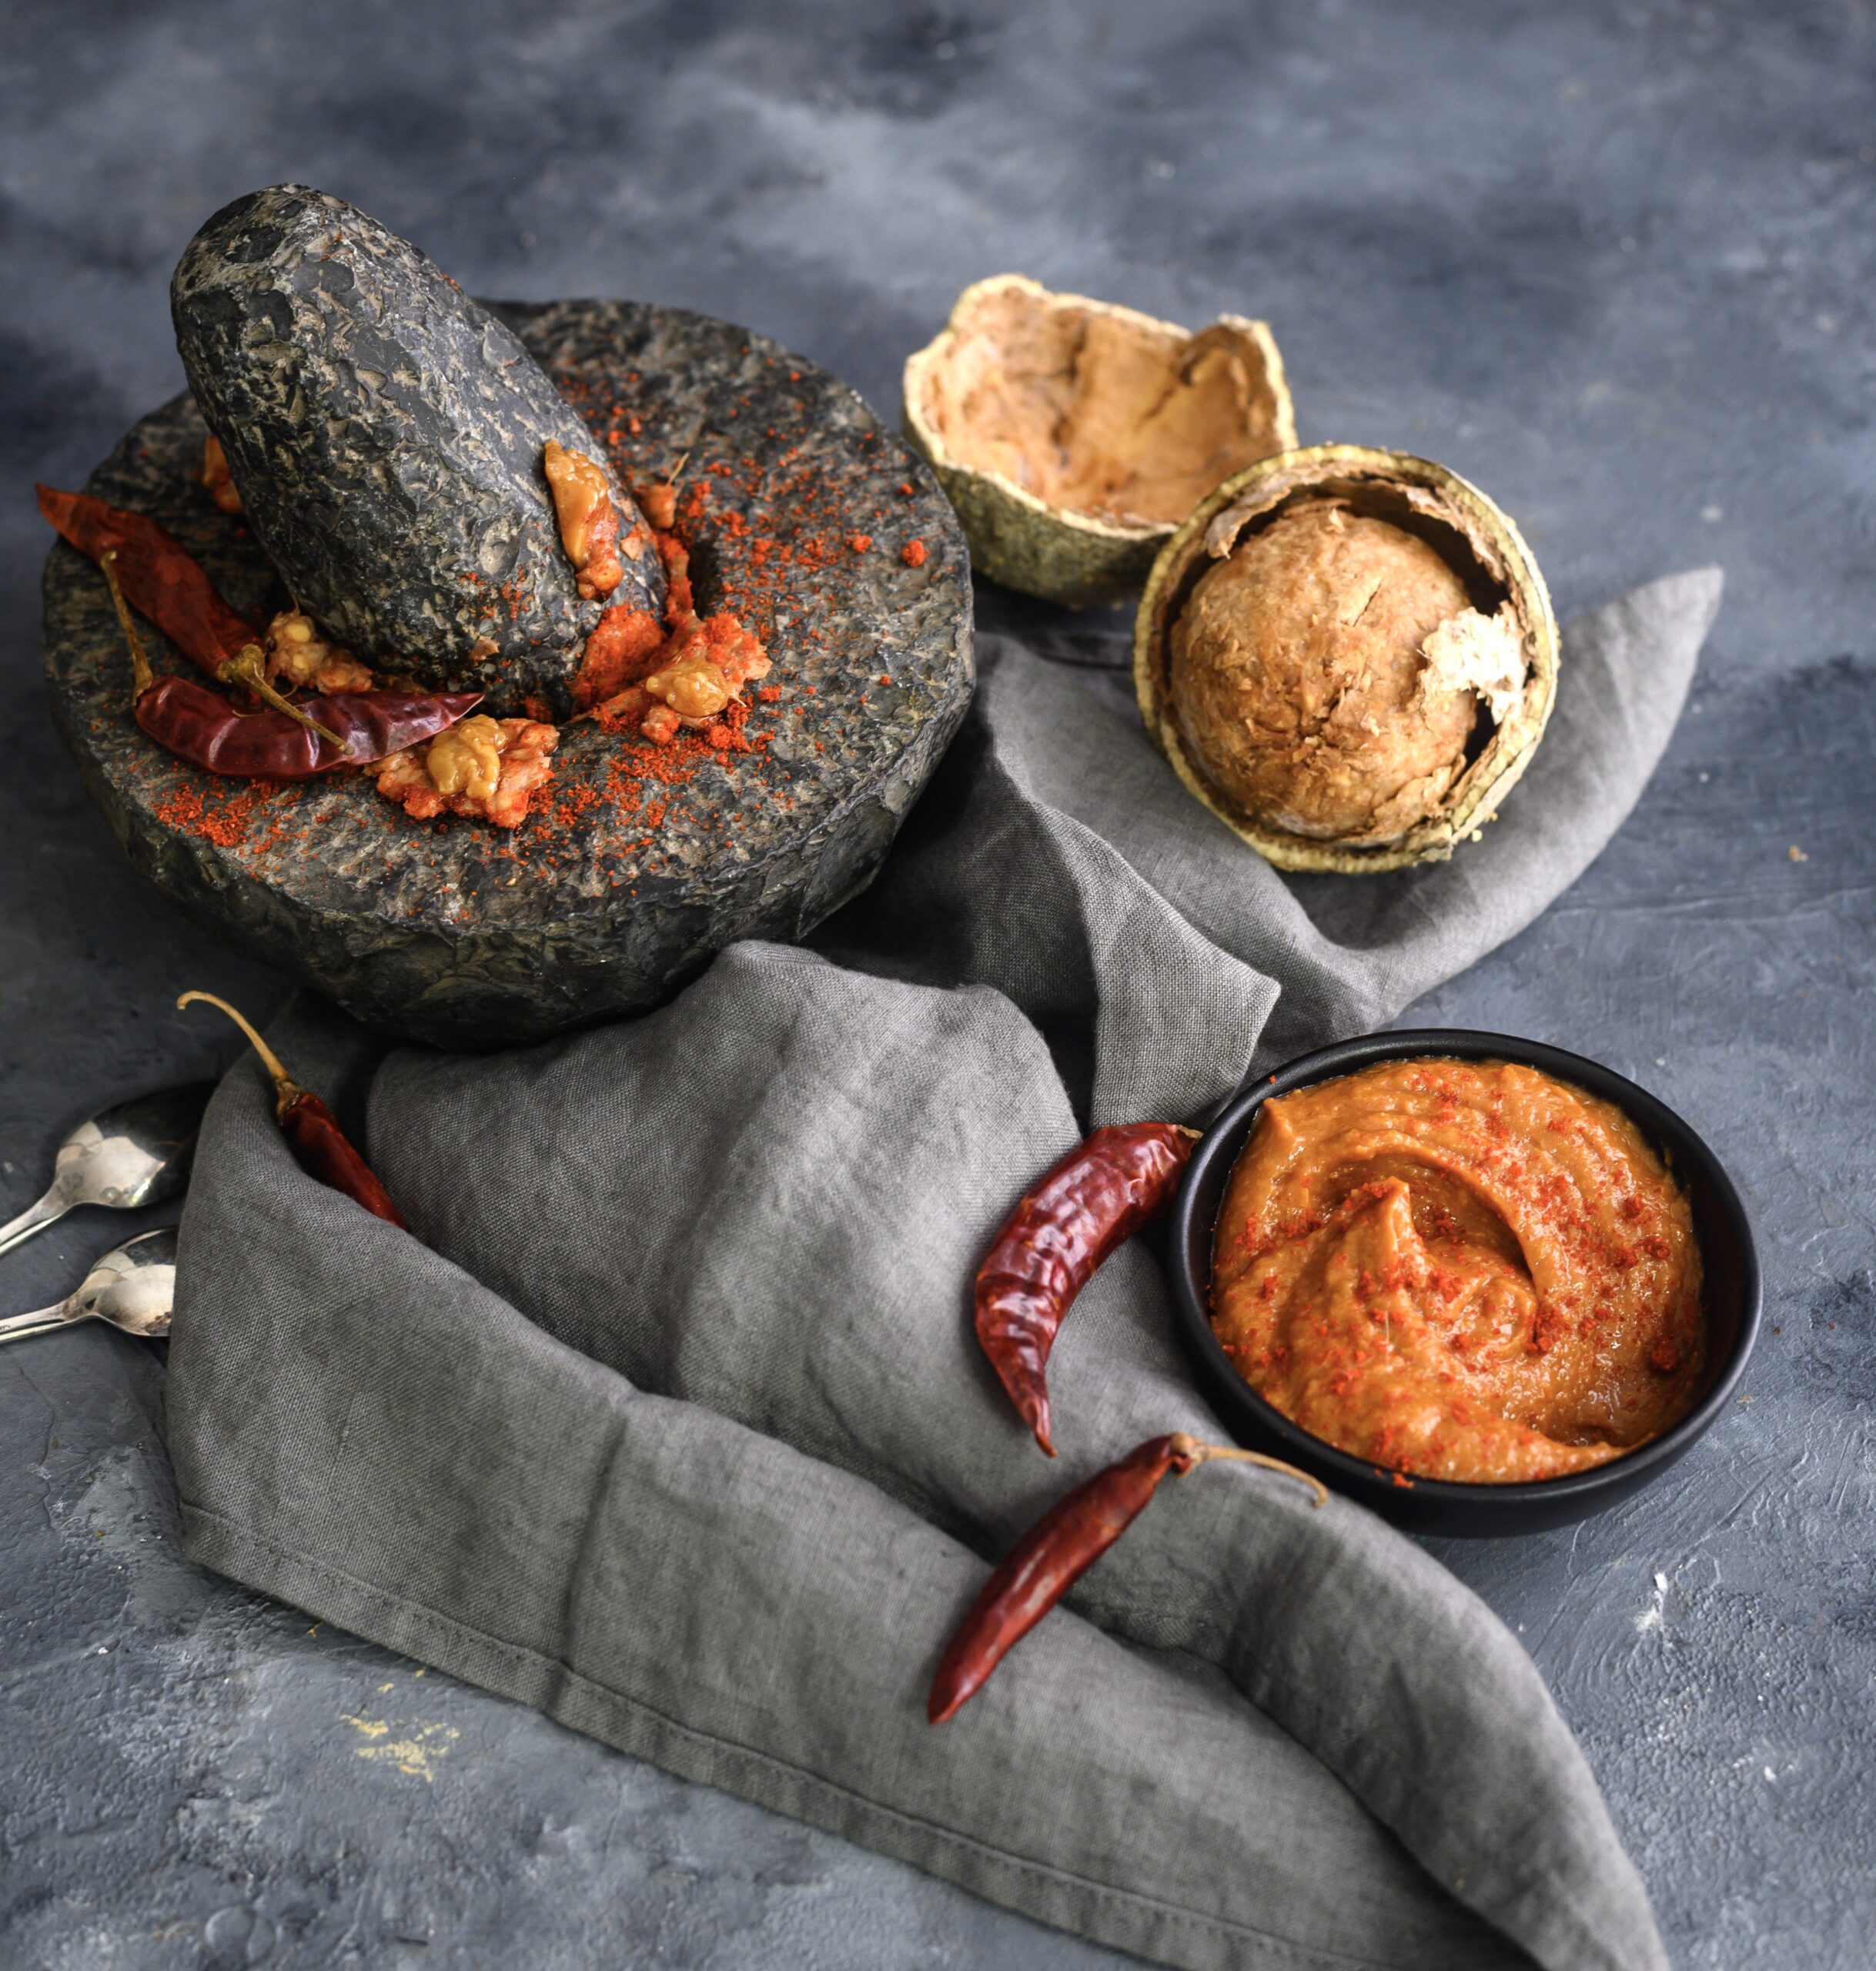
This incredibly simple vegan chutney contains just a handful of basic ingredients: wood-apple, jaggery and chilli powder. Some sweetness, some spice and the fruit pulp combined together create an addictive dip that can be eaten in many ways. I am told by a Sri Lankan friend that they often eat their version, which doesn’t contain spice, as a jam on toast. There are of course innumerable recipes in different homes, communities and regions.

What I am sharing today is my mother’s recipe for wood-apple chutney, which I recall eating along with leftover rotis as an after-school snack. I used to think of it as being a part of the larger category of homemade condiments that she would make and bottle at home. Many Indians used to do this – do you remember those pickles that would last a whole year? We would reach out for these pickles, chutneys and more whenever we were in a pinch and just needed something to eat between meals. This wood-apple chutney always satisfied the craving. It’s no wonder that “craving” is really the only way to describe how I kept searching for it for months, and how satisfied I am to have found it.


Wood-Apple Chutney

(Yield: 1 cup)

1 wood-apple

3 tablespoons jaggery

1 teaspoon chilli powder

1 teaspoon roasted cumin powder

1 teaspoon/small ball of tamarind paste

Salt to taste


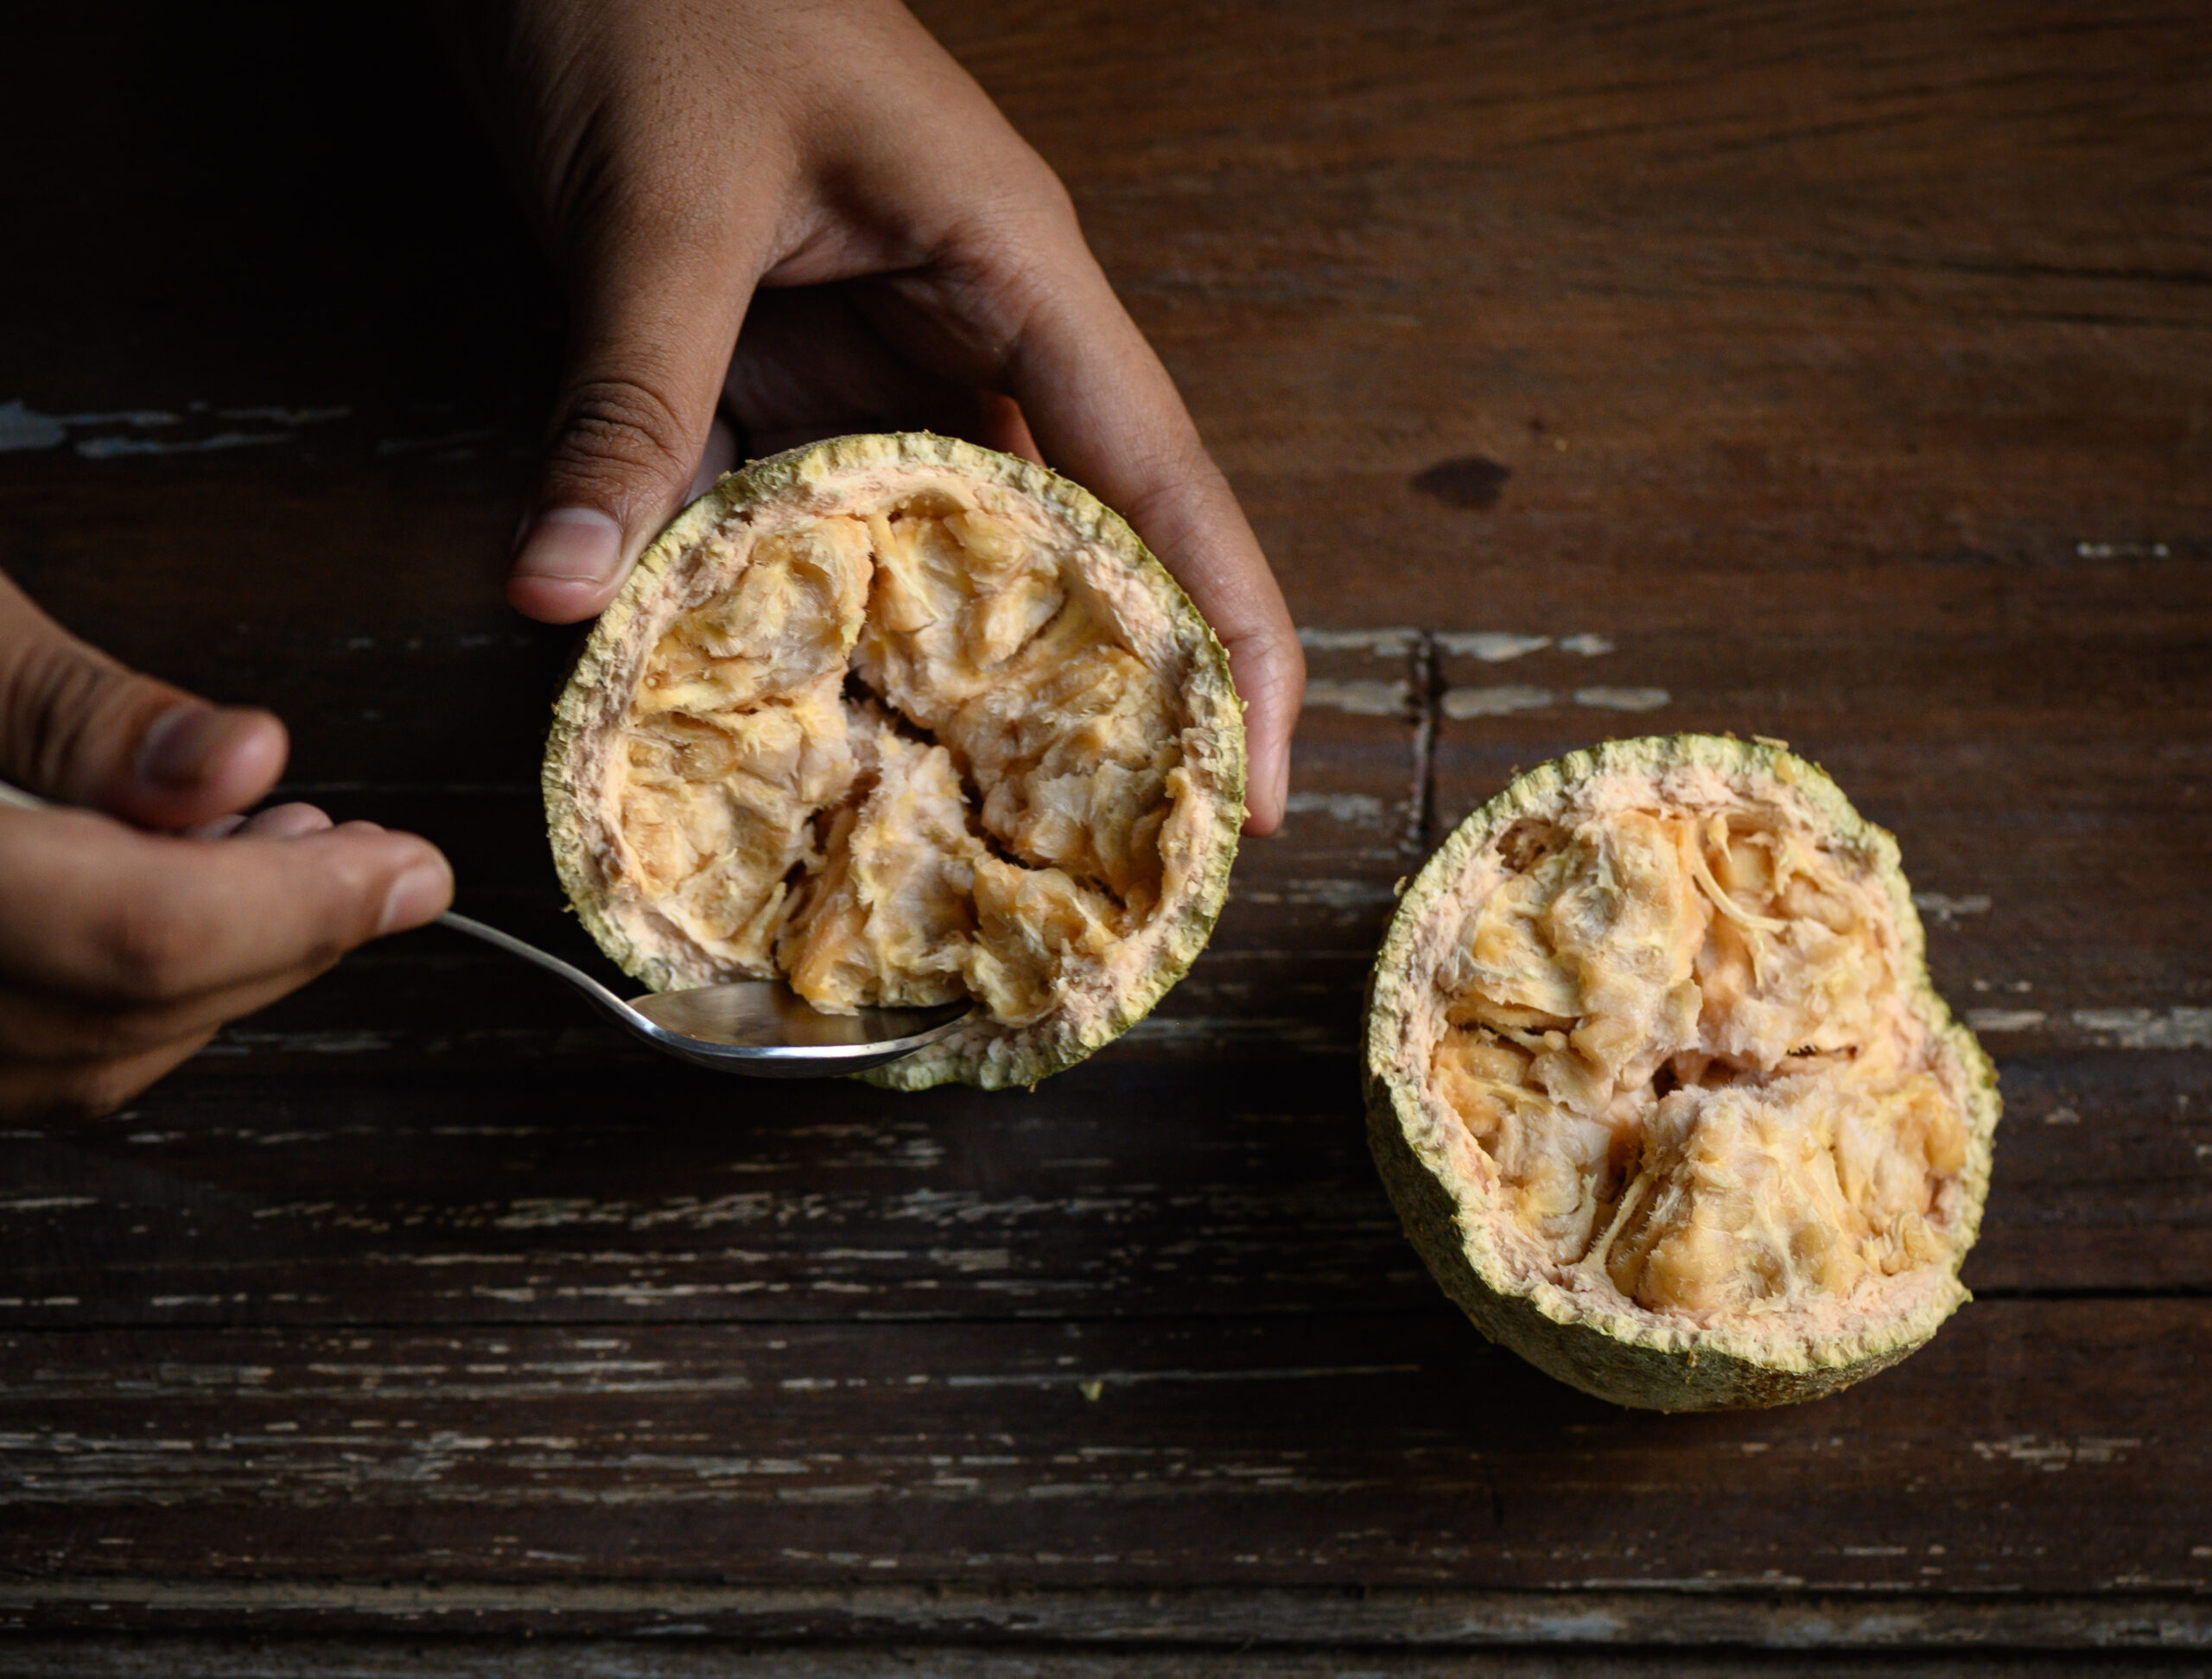
A ripe wood-apple gives out a faint fragrance and tastes a bit pungent on the tongue. It has a soft flesh of an orange-ish colour. You will know that a wood-apple is ripe when the fruit smells. Until then, there is no fragrance.

Scoop the flesh from the wood-apple and keep aside.

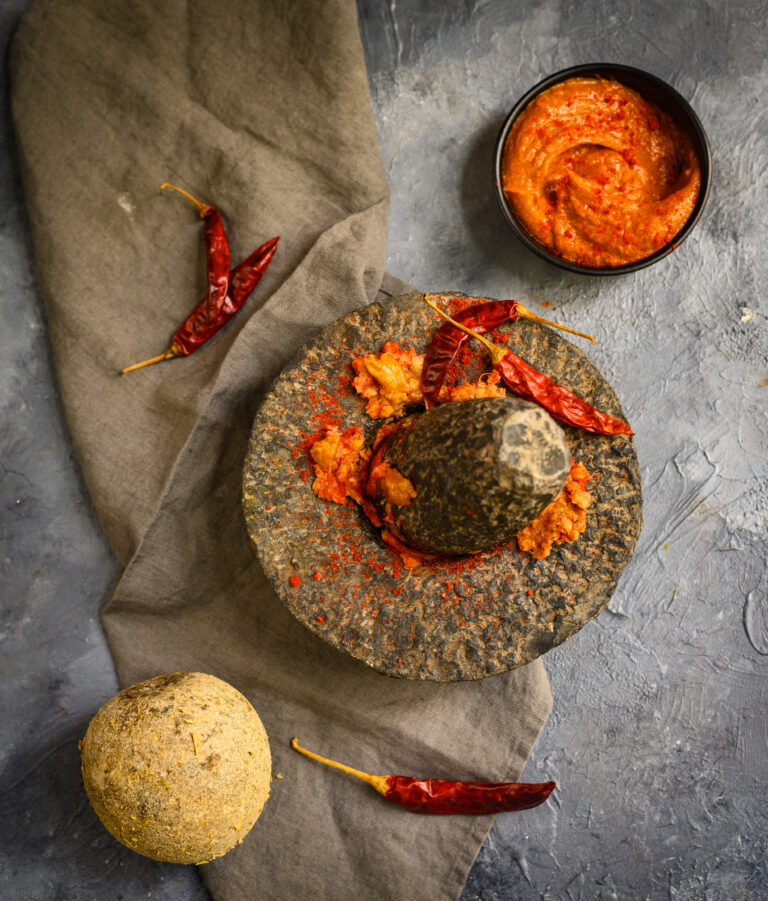
Instead of a blender, I used a mortar-and-pestle like my mum used to, which is the traditional way to grind chutneys. I reach out for it for certain recipes, even though we use the blender today for convenience’s sake. Blend the the wood-apple flesh, chilli powder, jaggery, roasted cumin powder, tamarind and salt to taste, either by hand or in a machine. Do so until it becomes of a chutney consistency.

Move to a bowl. You may enjoy it immediately, or refrigerate. It will stay good for 3-4 days, if it lasts that long. When I make bigger batches, I warm a little oil and pour it on top, so that it is preserved for longer.

This simple and tasty wood-apple chutney is a wonderful dish through which to discover (or rediscover) the fruit, which as I’ve shared earlier seems to be disappearing quickly from our markets. What are some of the fruits and vegetables that you recall from your childhoods which we rarely see anymore? Let’s figure out together how to bring them back into circulation. It’s important for us as mindful consumers to consider the origins of the produce we purchase and eat, and to be supportive of those who make it possible for us to do so. Looking forward to your ideas in the comments!
When it comes to Indian street food, the first and last word is always “chaat”. Yes, the vendors of sundal and cotton candy on my beloved Marina Beach will put up a fight, but when it comes to tastes savoured throughout India, chaat wins hands down. Chaat is a catch-all term, and extends from fried breads like pav bhajji to pastries called puris, filled with everything from potato to spiced water. Among the popular ones is bhel, also known as bhel puri.

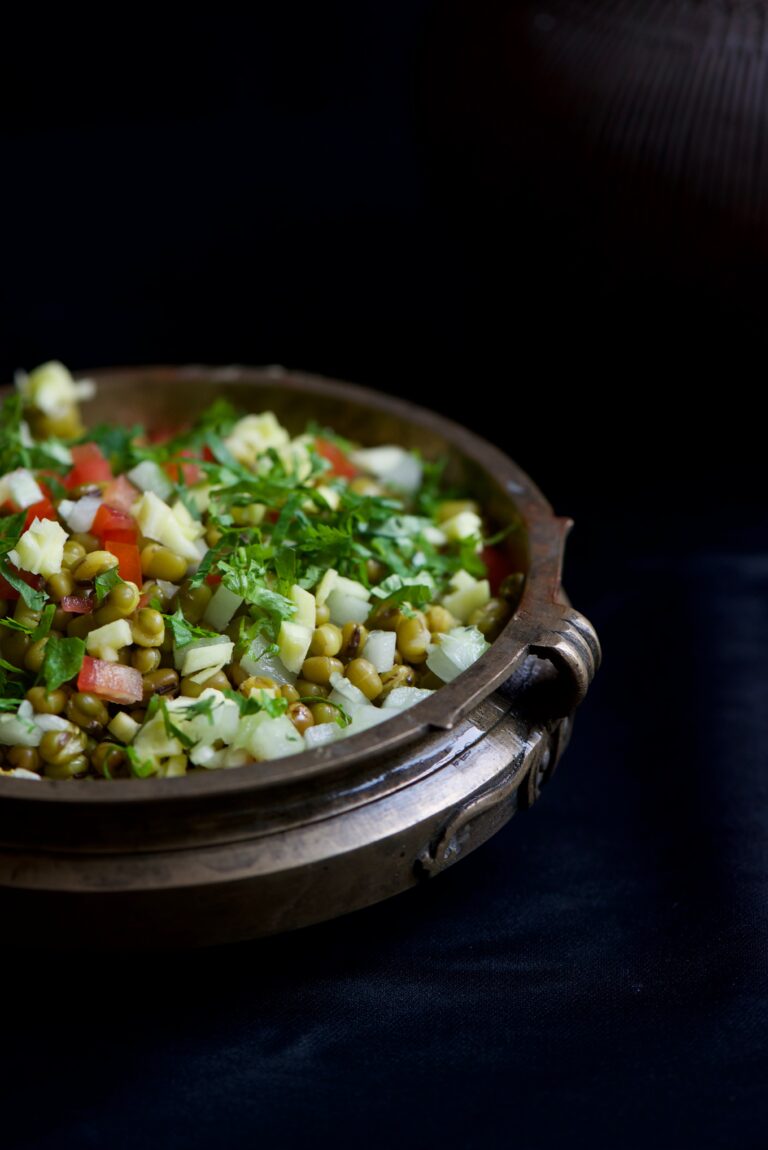
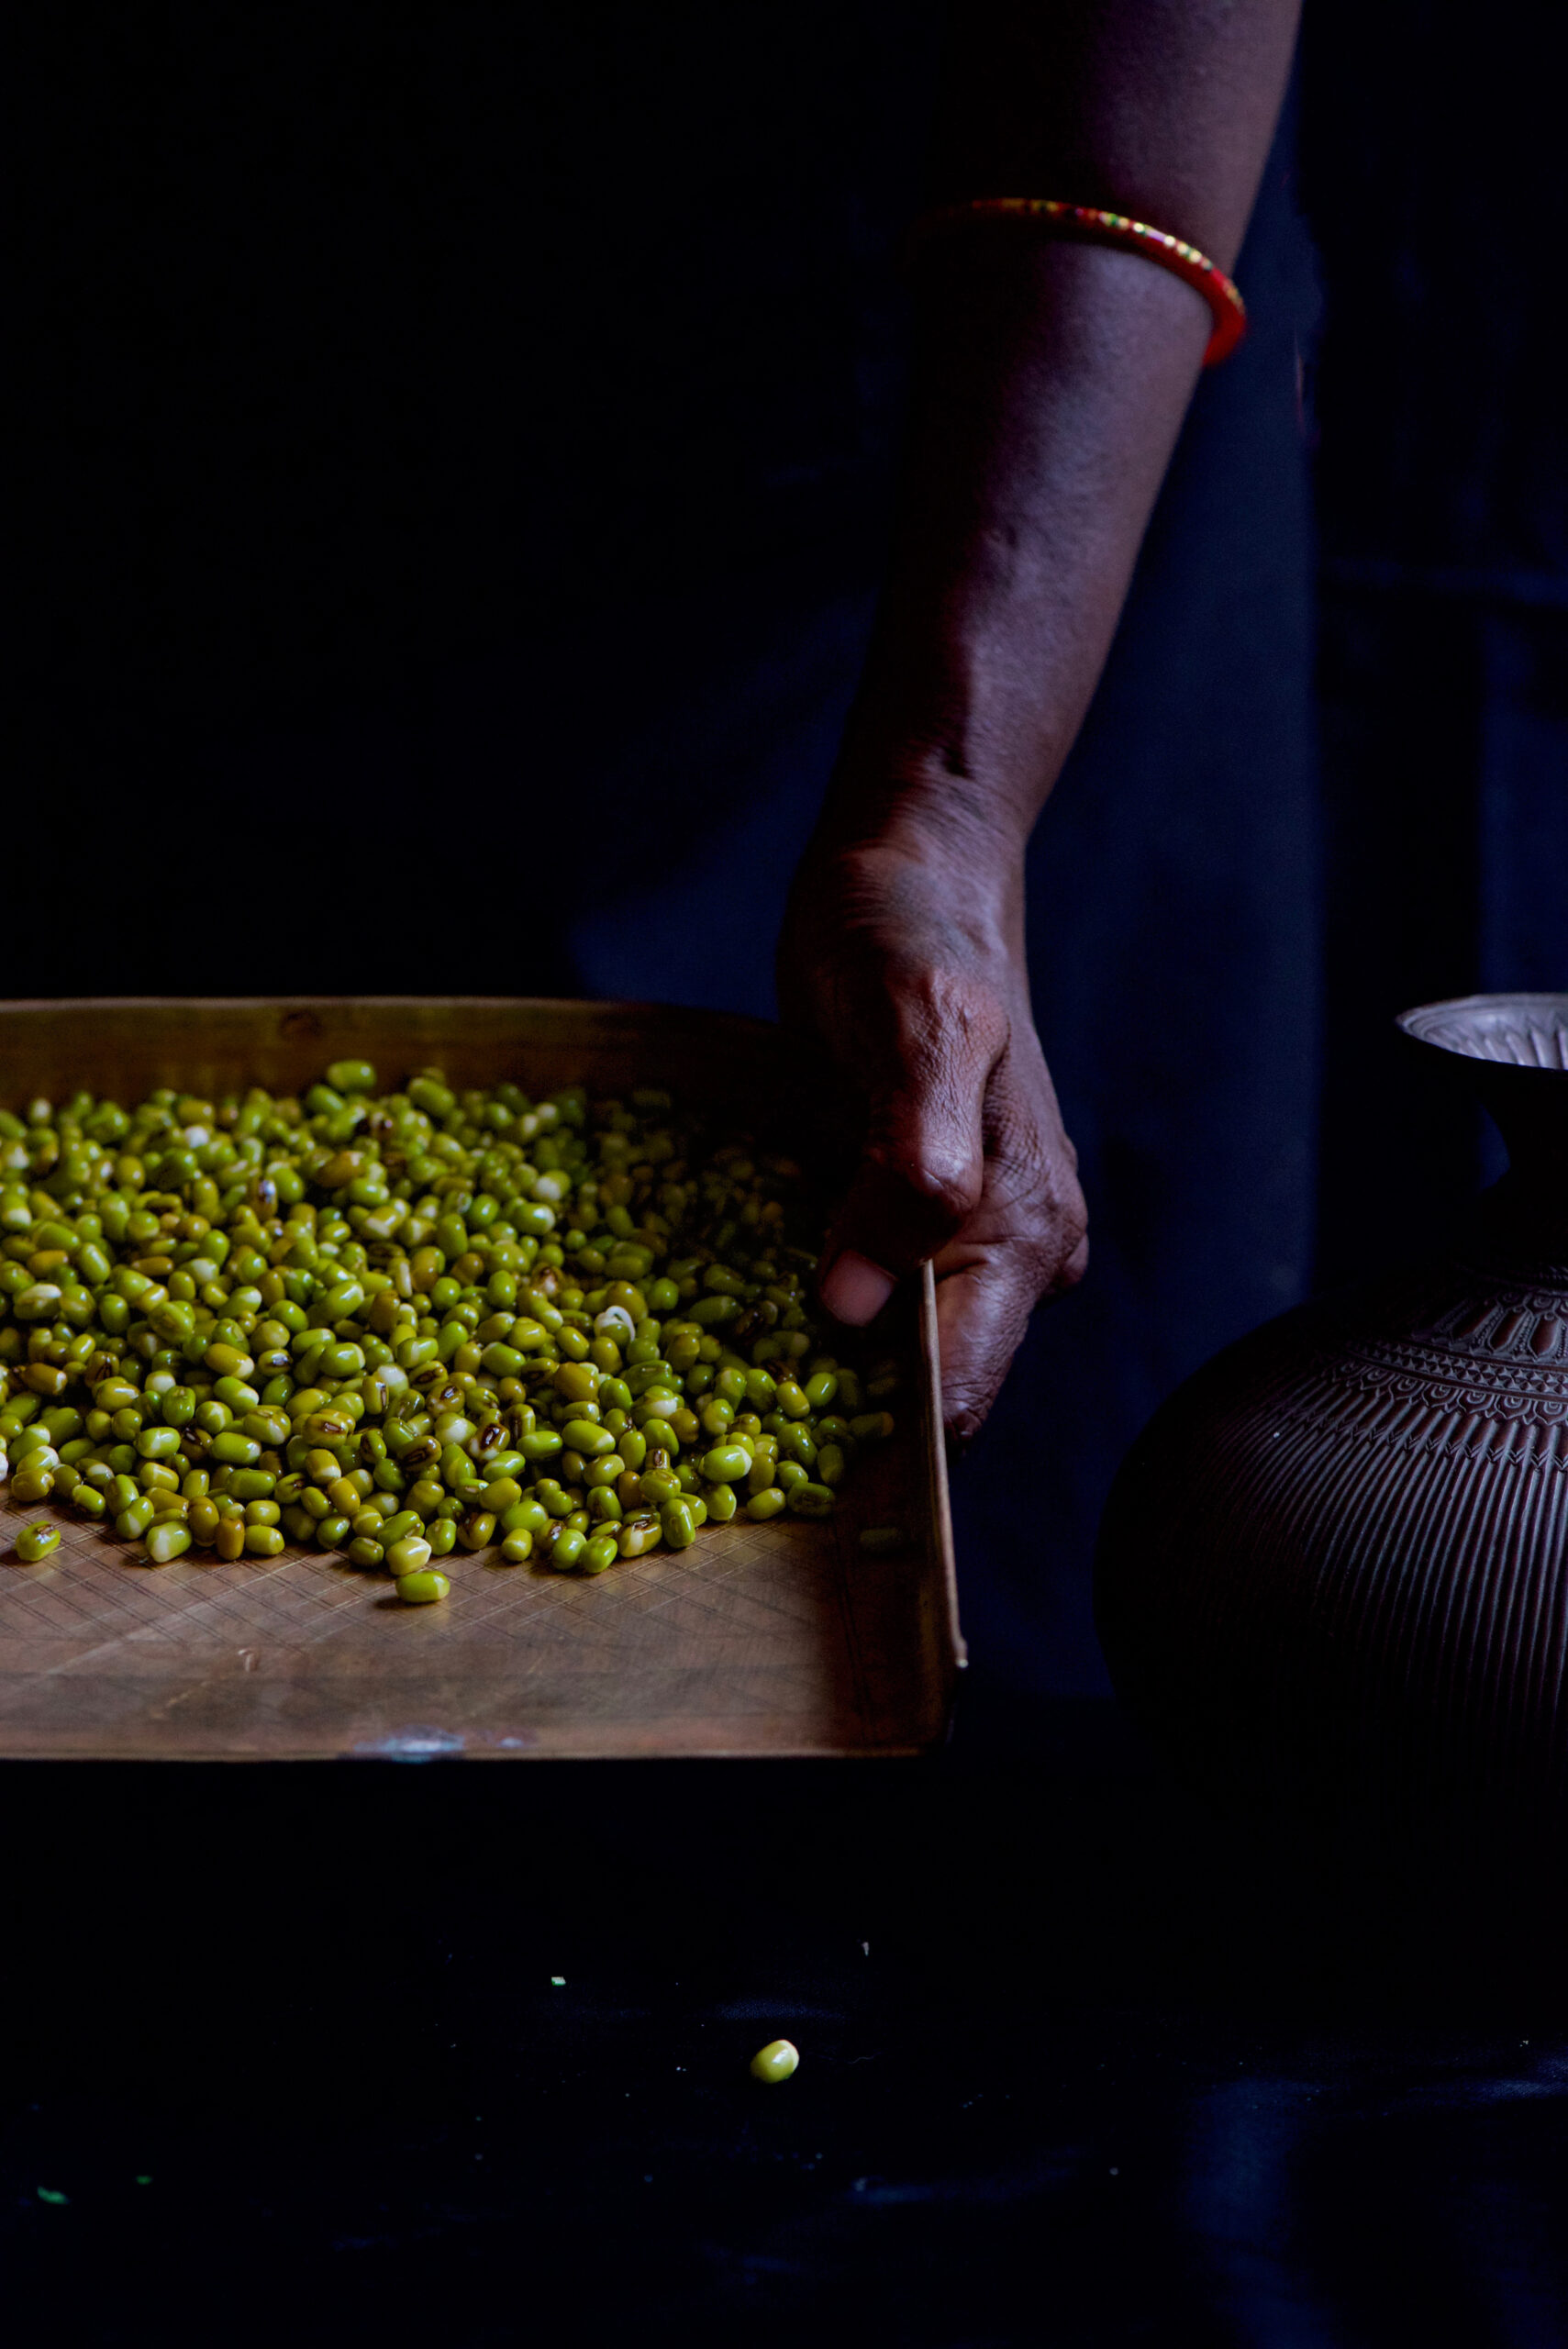
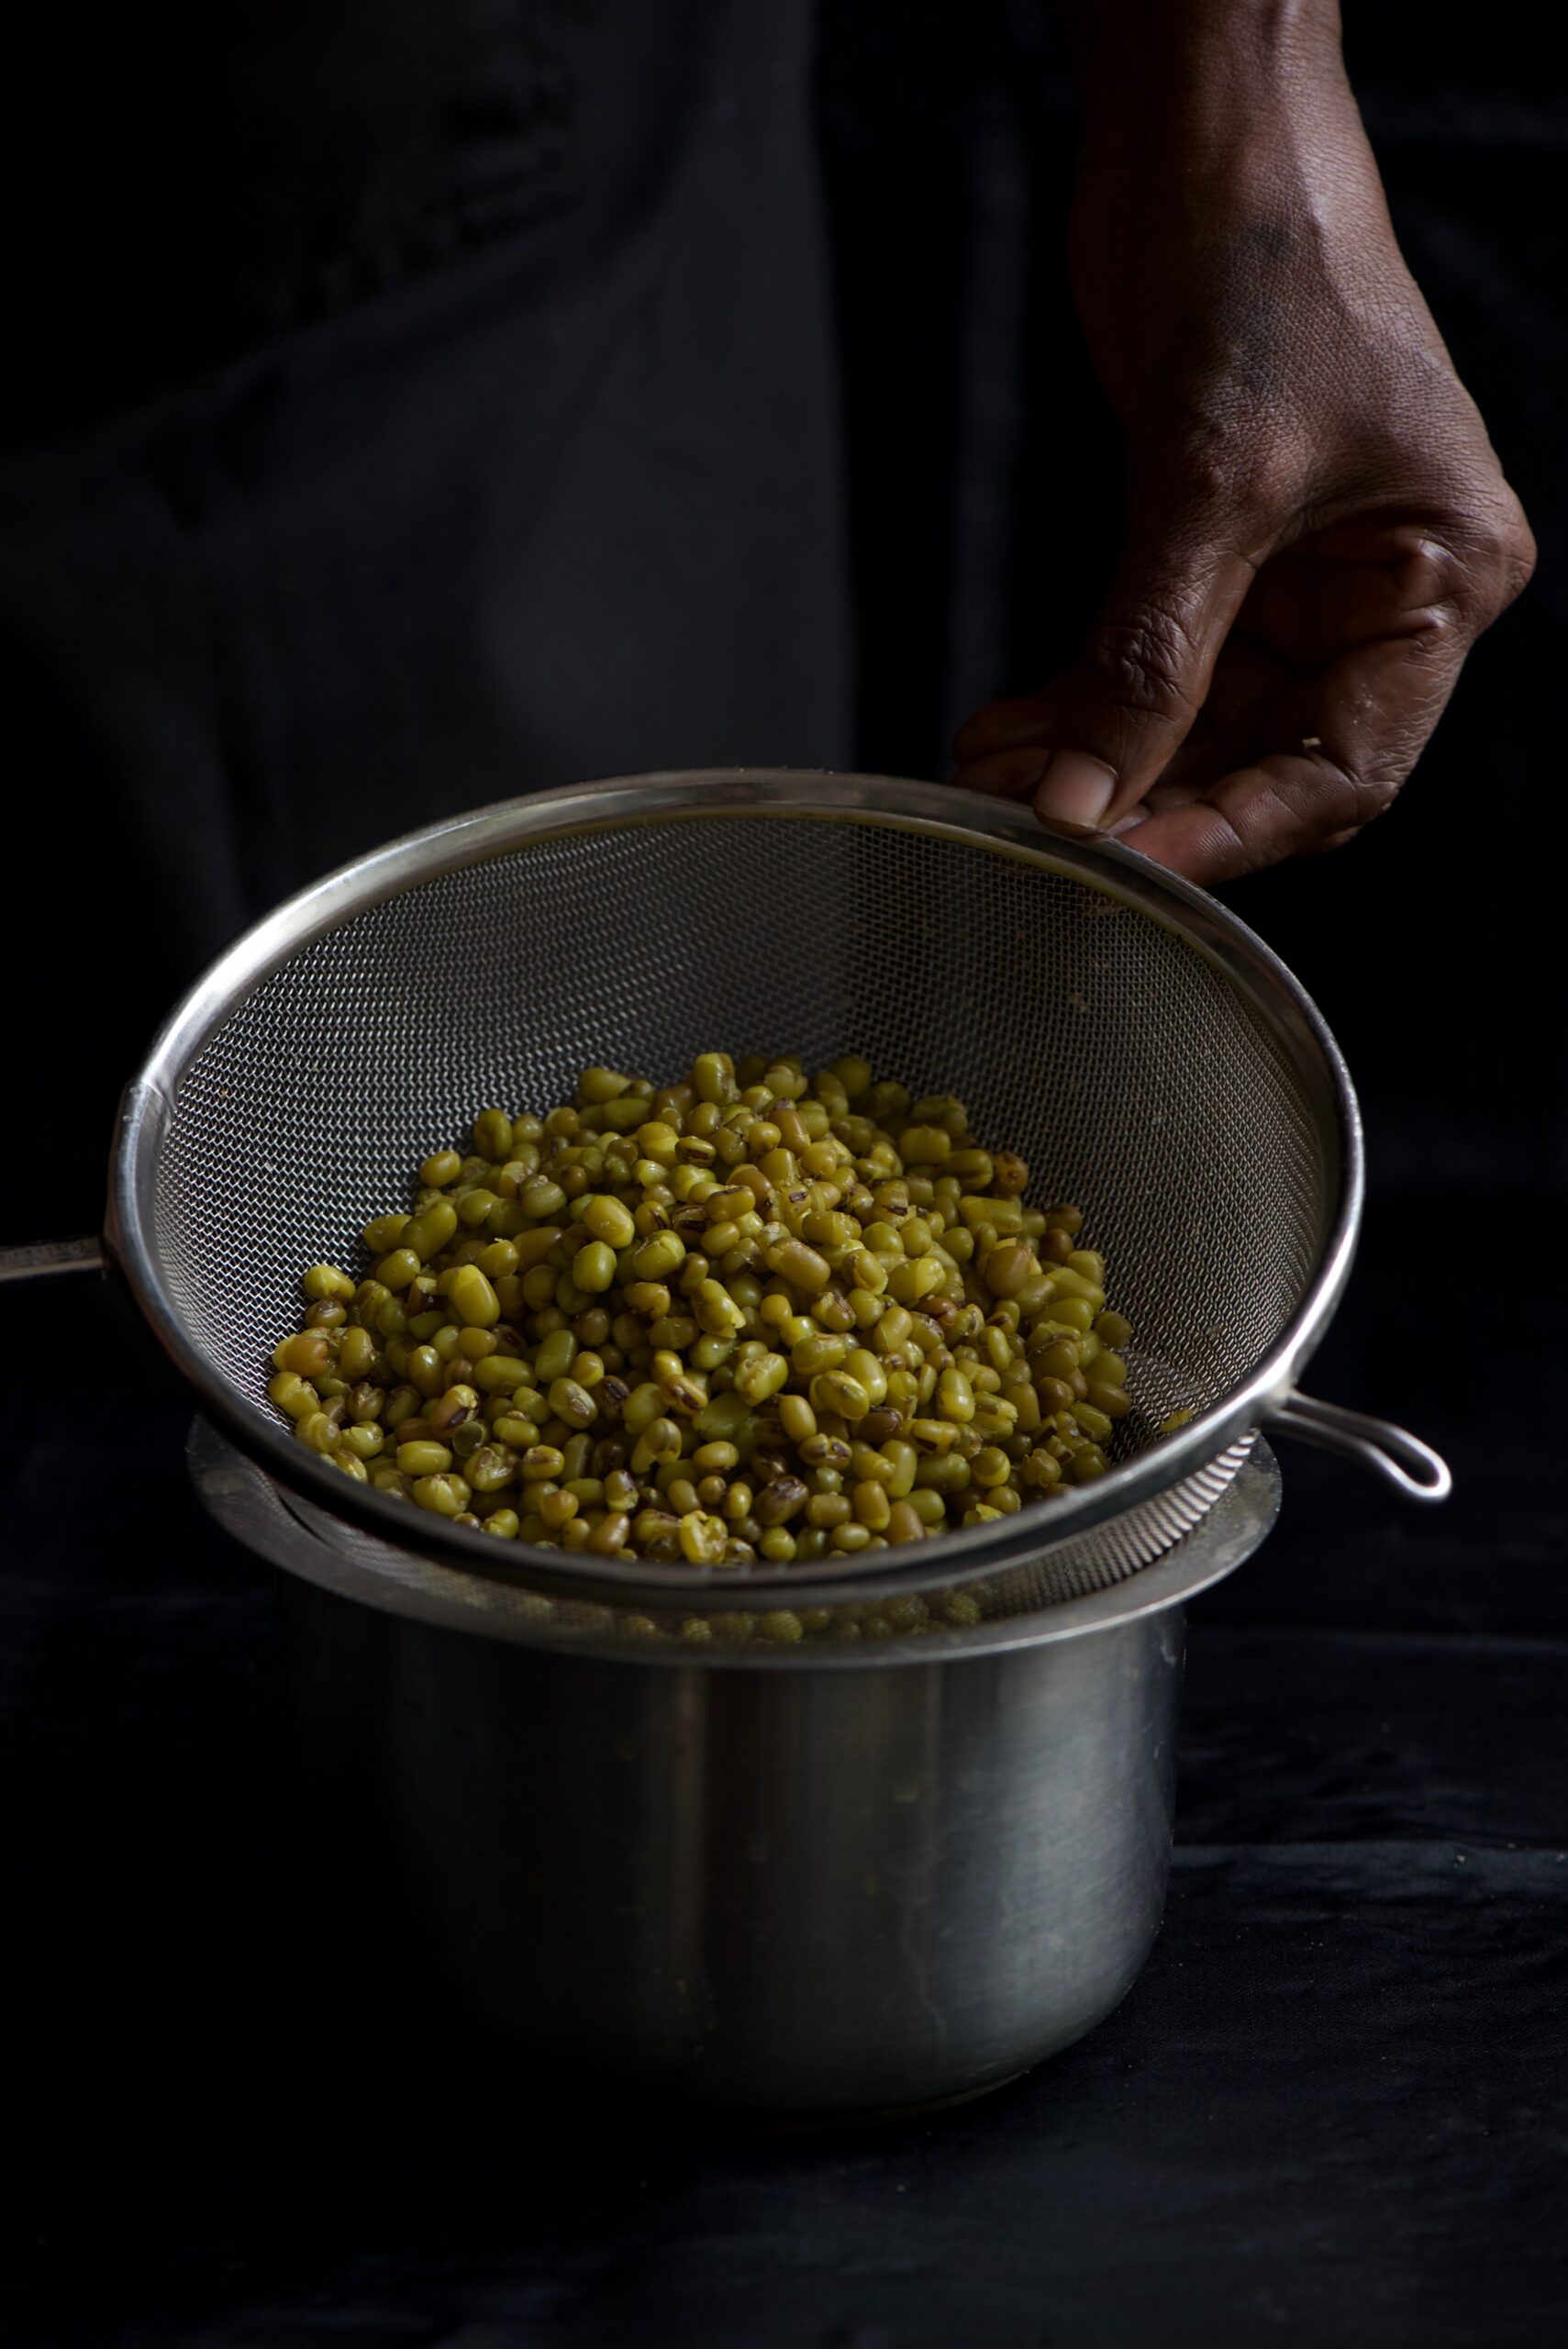
Bhel is usually made with puffed rice as the main ingredient. As I’m always trying to make all the food we enjoy healthier, without compromising on taste, I substituted the puffed rice for the humble and very nutritious mung bean, also known as green gram or moong.


Moong is a versatile legume, used extensively in Asian cuisines. It can be eaten sweetened as a filling in pastries like mooncakes, stir-fried with vegetables, soaked and softened into a dal, ground into paste for crepes like dosa, and even made into noodles once starched. Moong beans are high in protein, low in carbs as compared to other legumes and pulses, and rich in antioxidants, phytonutrients and fibre. Unlike various other kinds of beans, they are also easy to digest, meaning you won’t feel bloated after eating them.

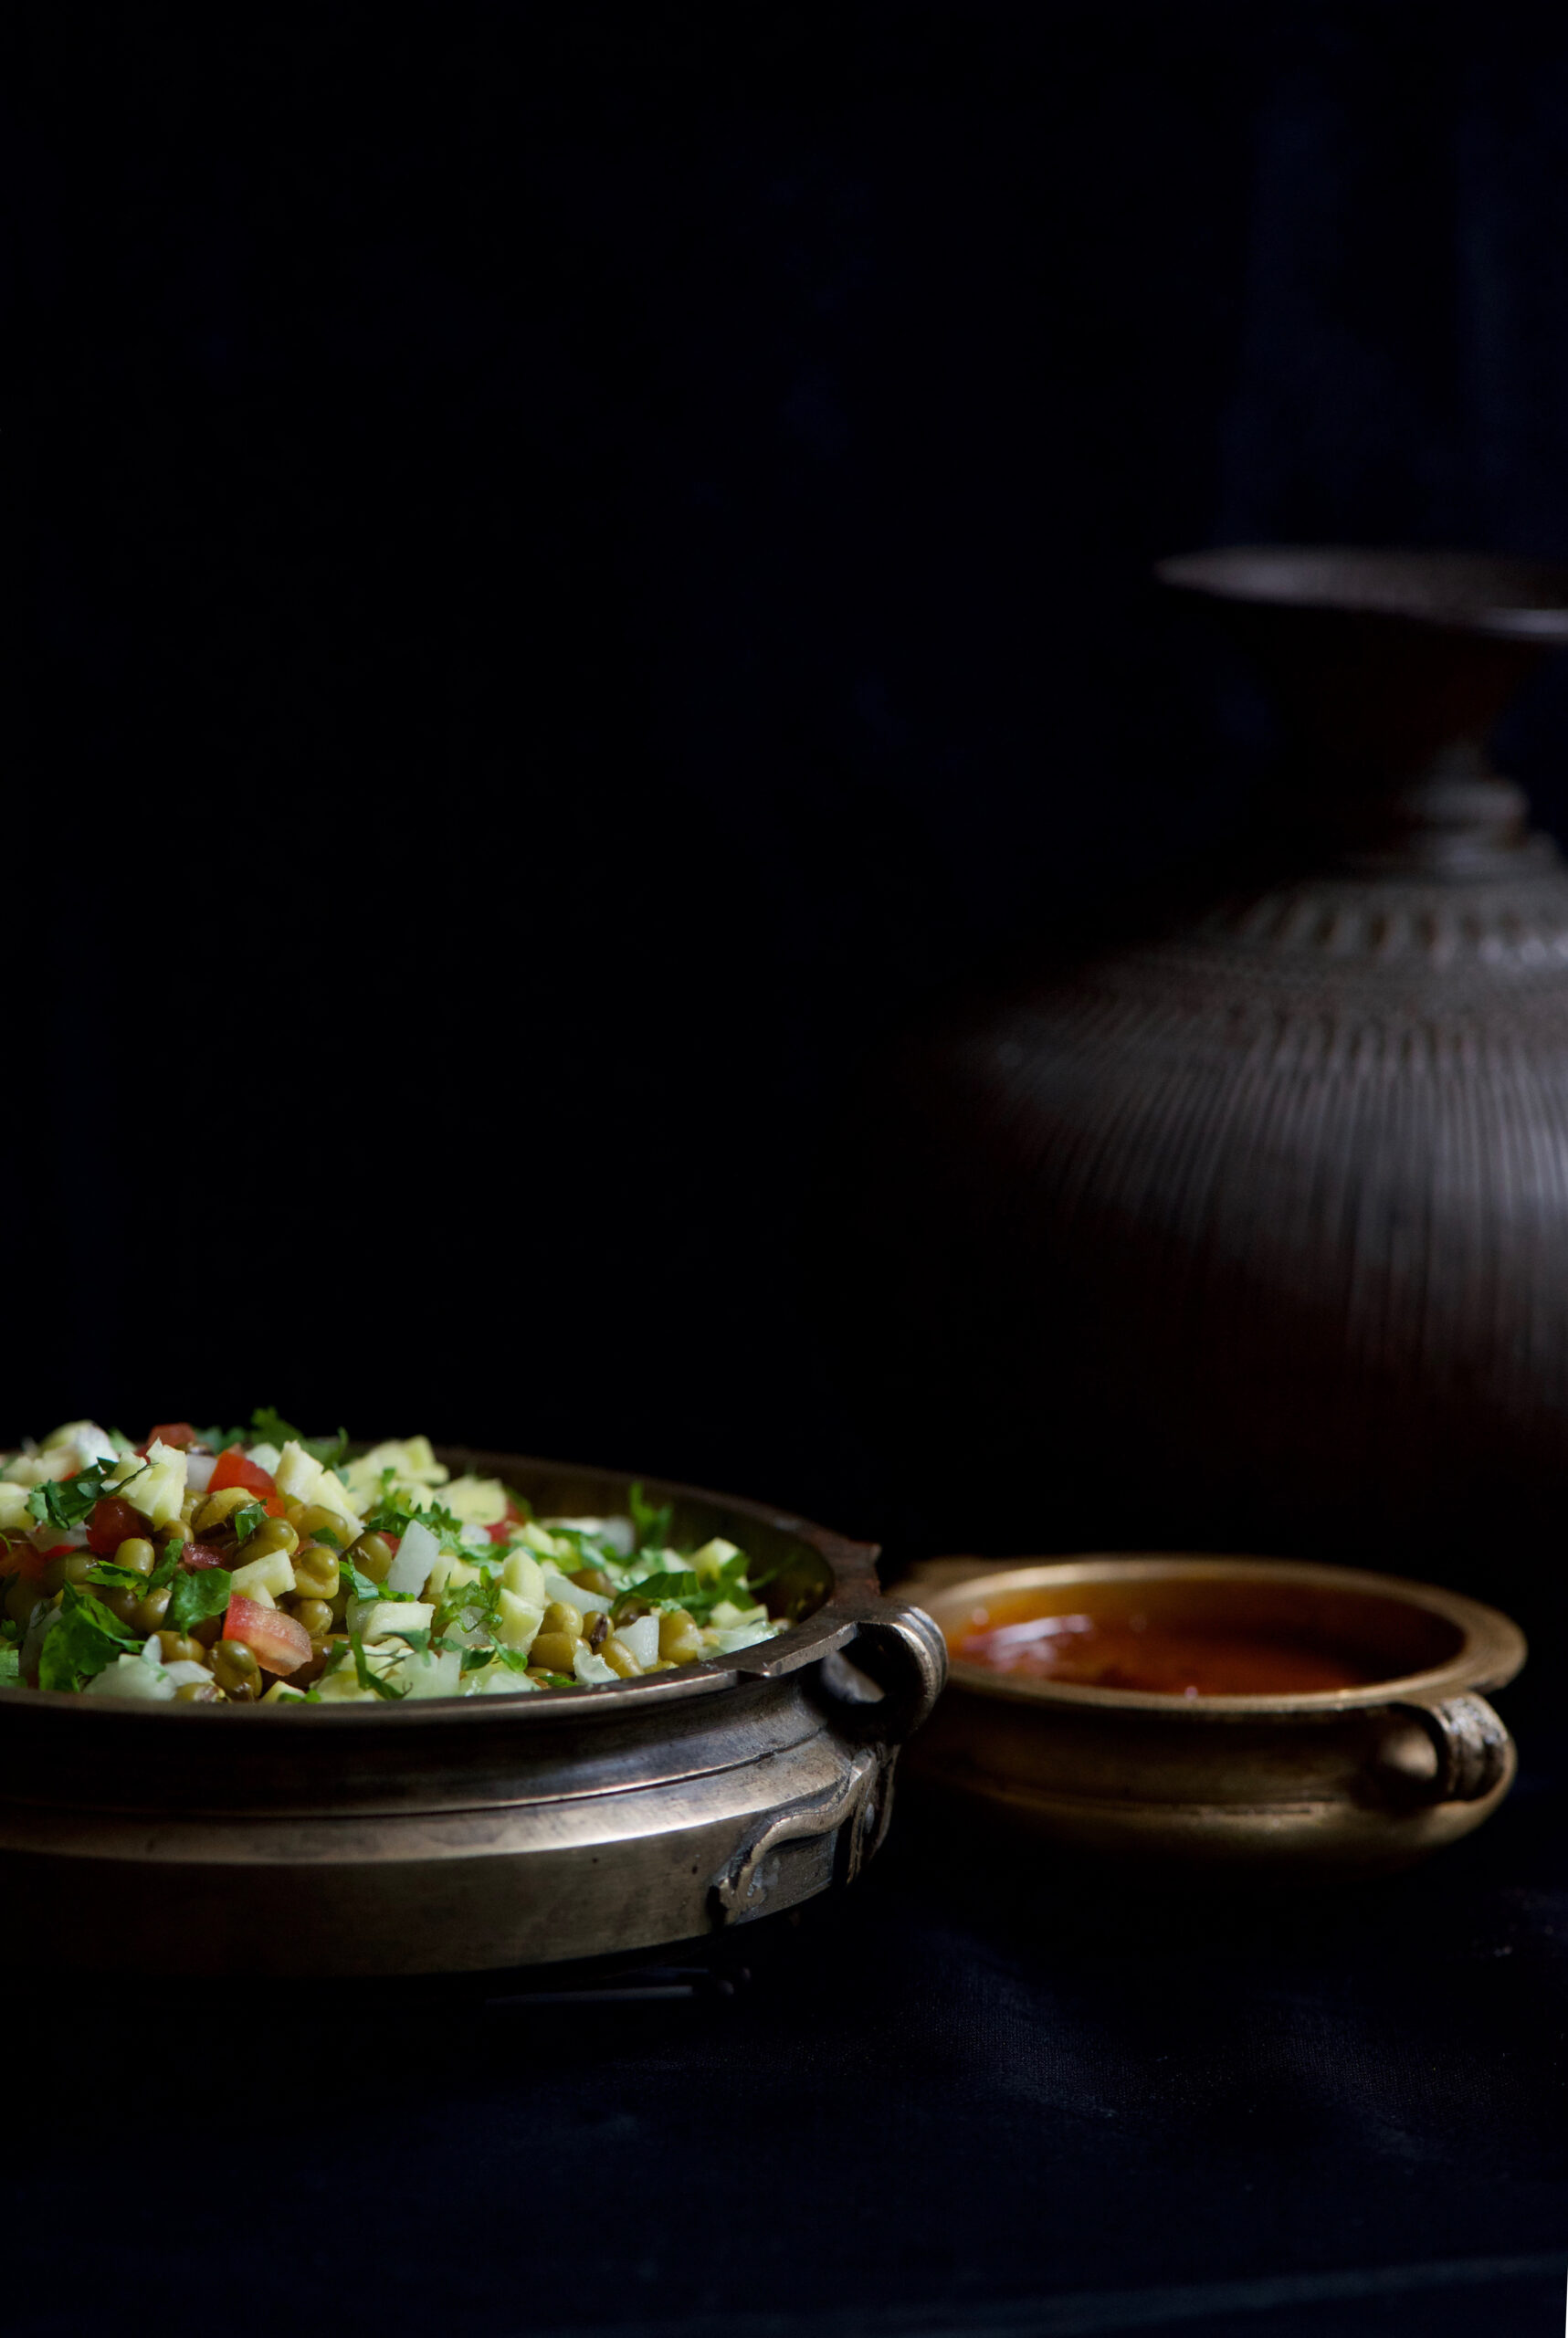
This Green Moong Bhel brings the tanginess of authentic streetside chaat, thanks to a blend of two chutneys, to the wholesomeness of mung beans. Like all chaat, it’s an anytime dish – and like all chaat, once you’ve enjoyed it, you’ll always have a craving for it.


Green Moong Bhel

Ingredients
Bhel (Yield – 4-5 small cups)

½ cup moong beans
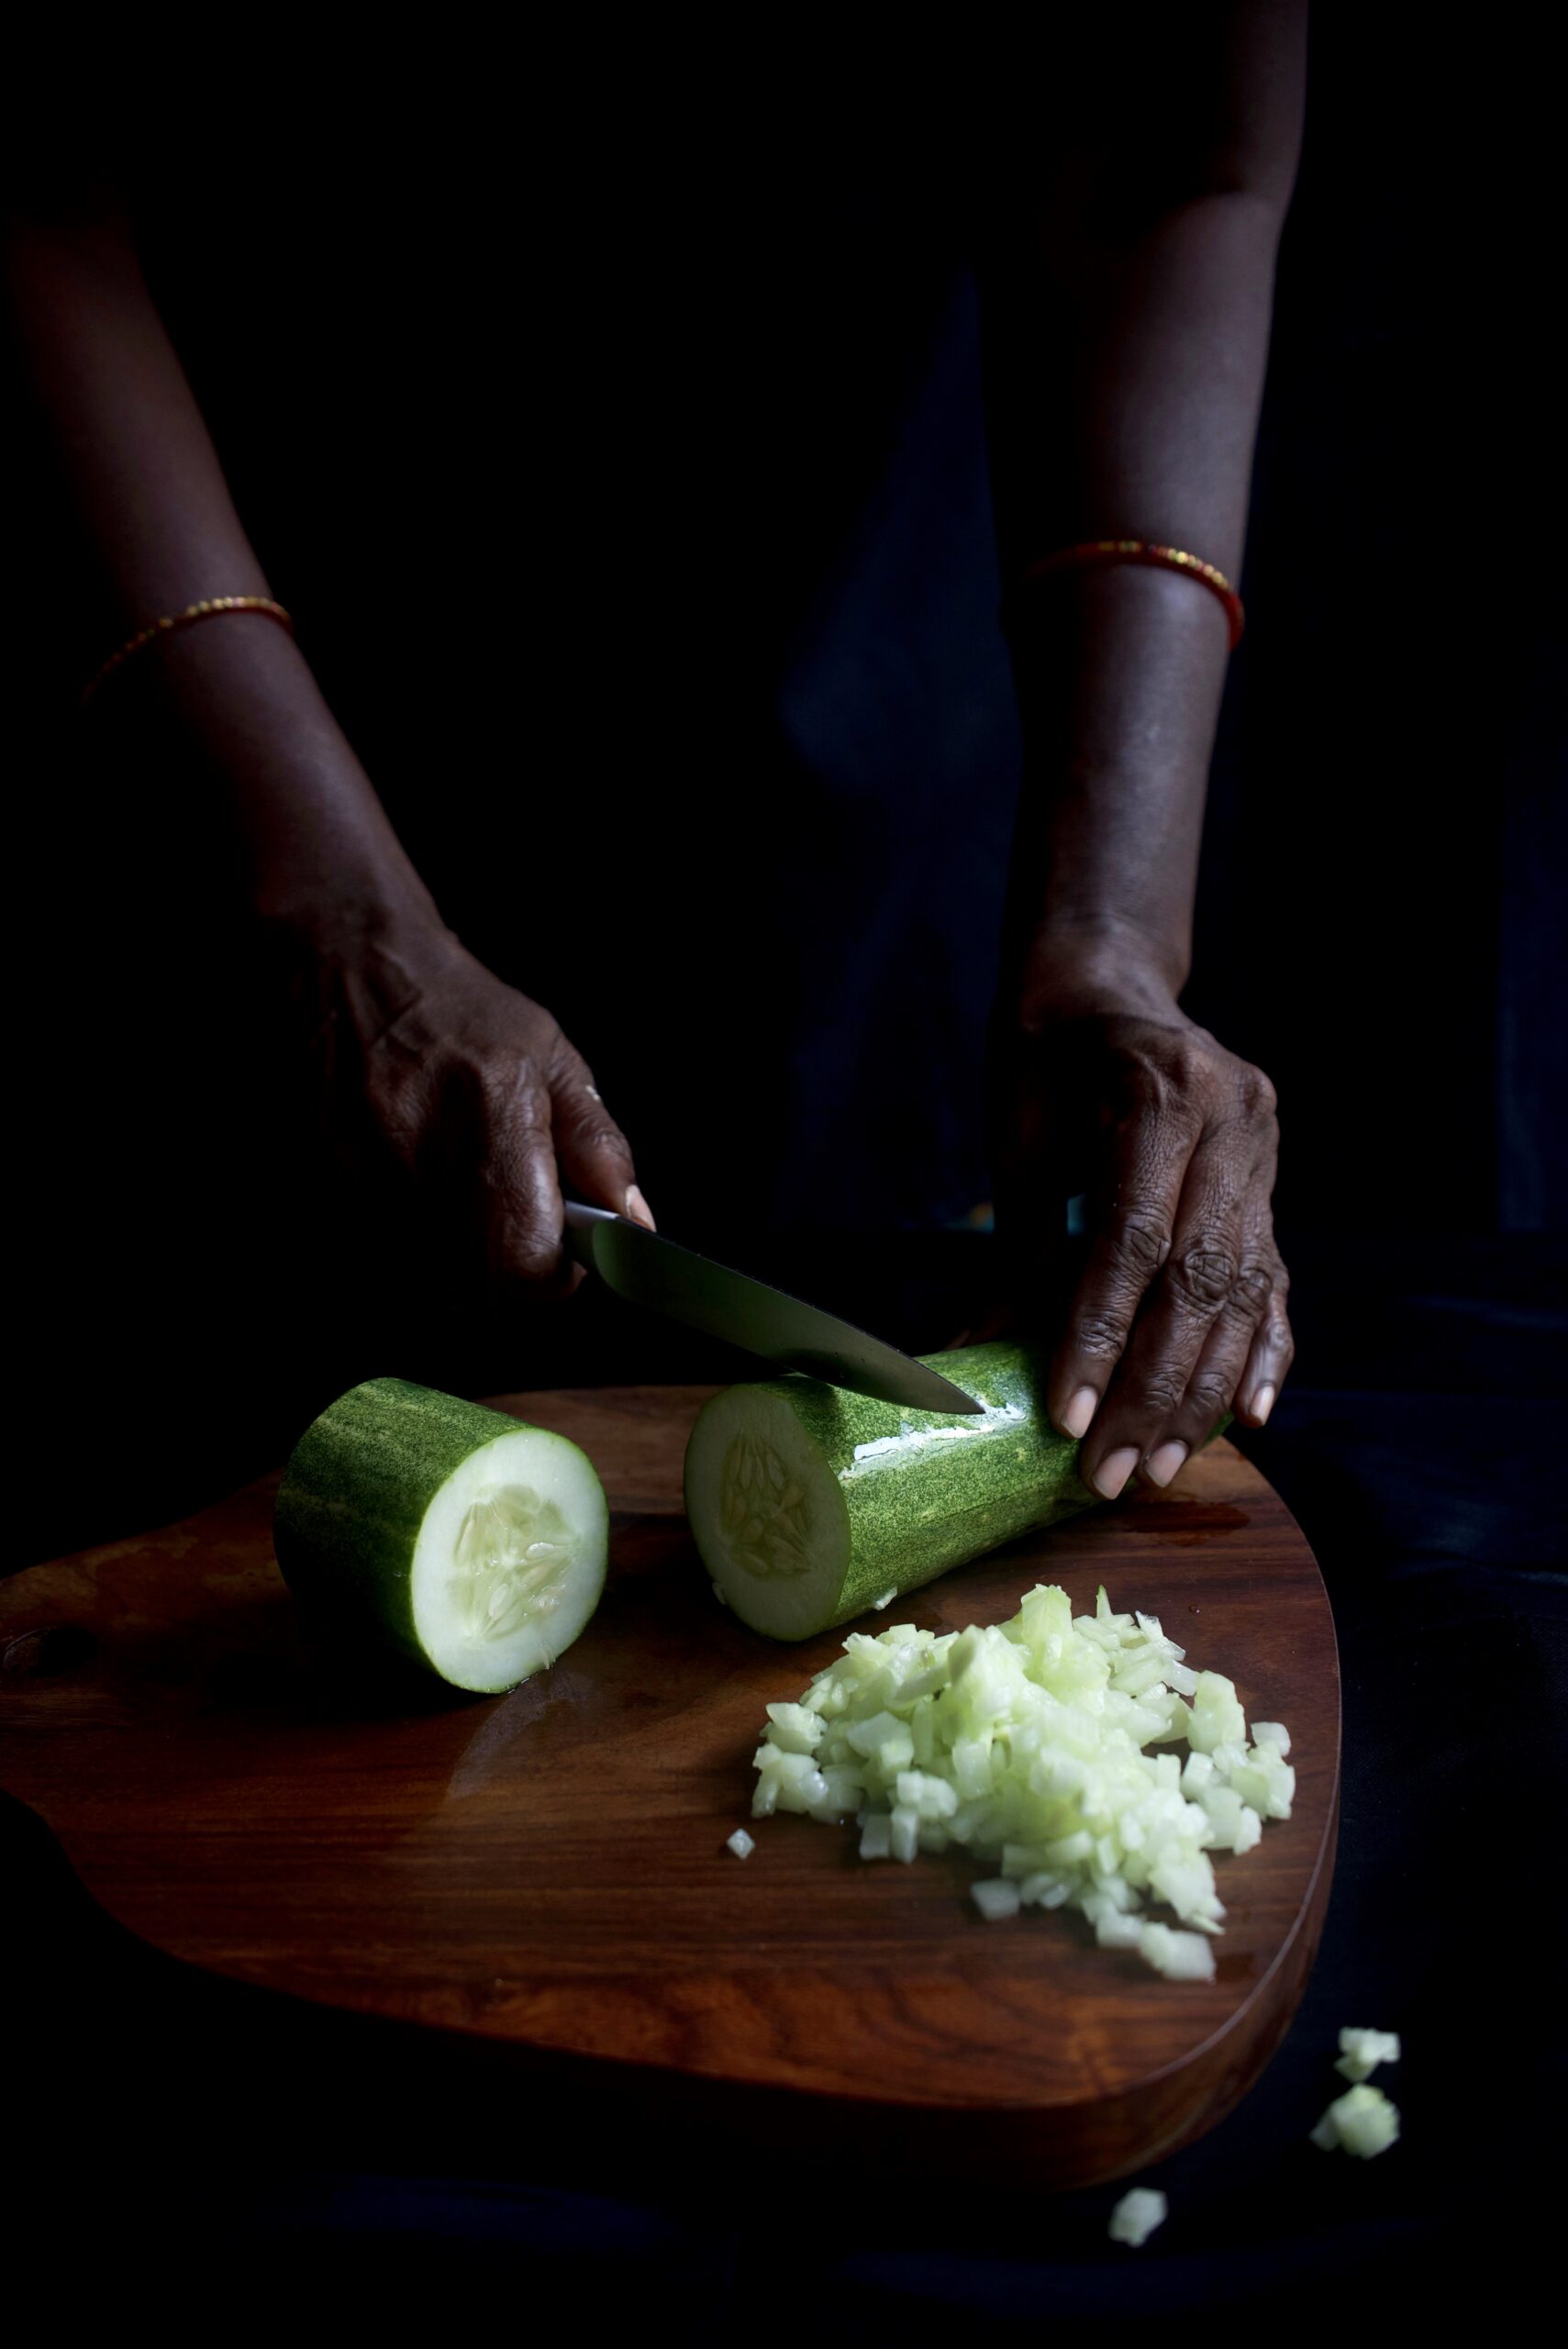
½ cup finely cut cucumber
¼ cup finely cut onions
¼ cup cut tomatoes
¼ cup cut raw mango
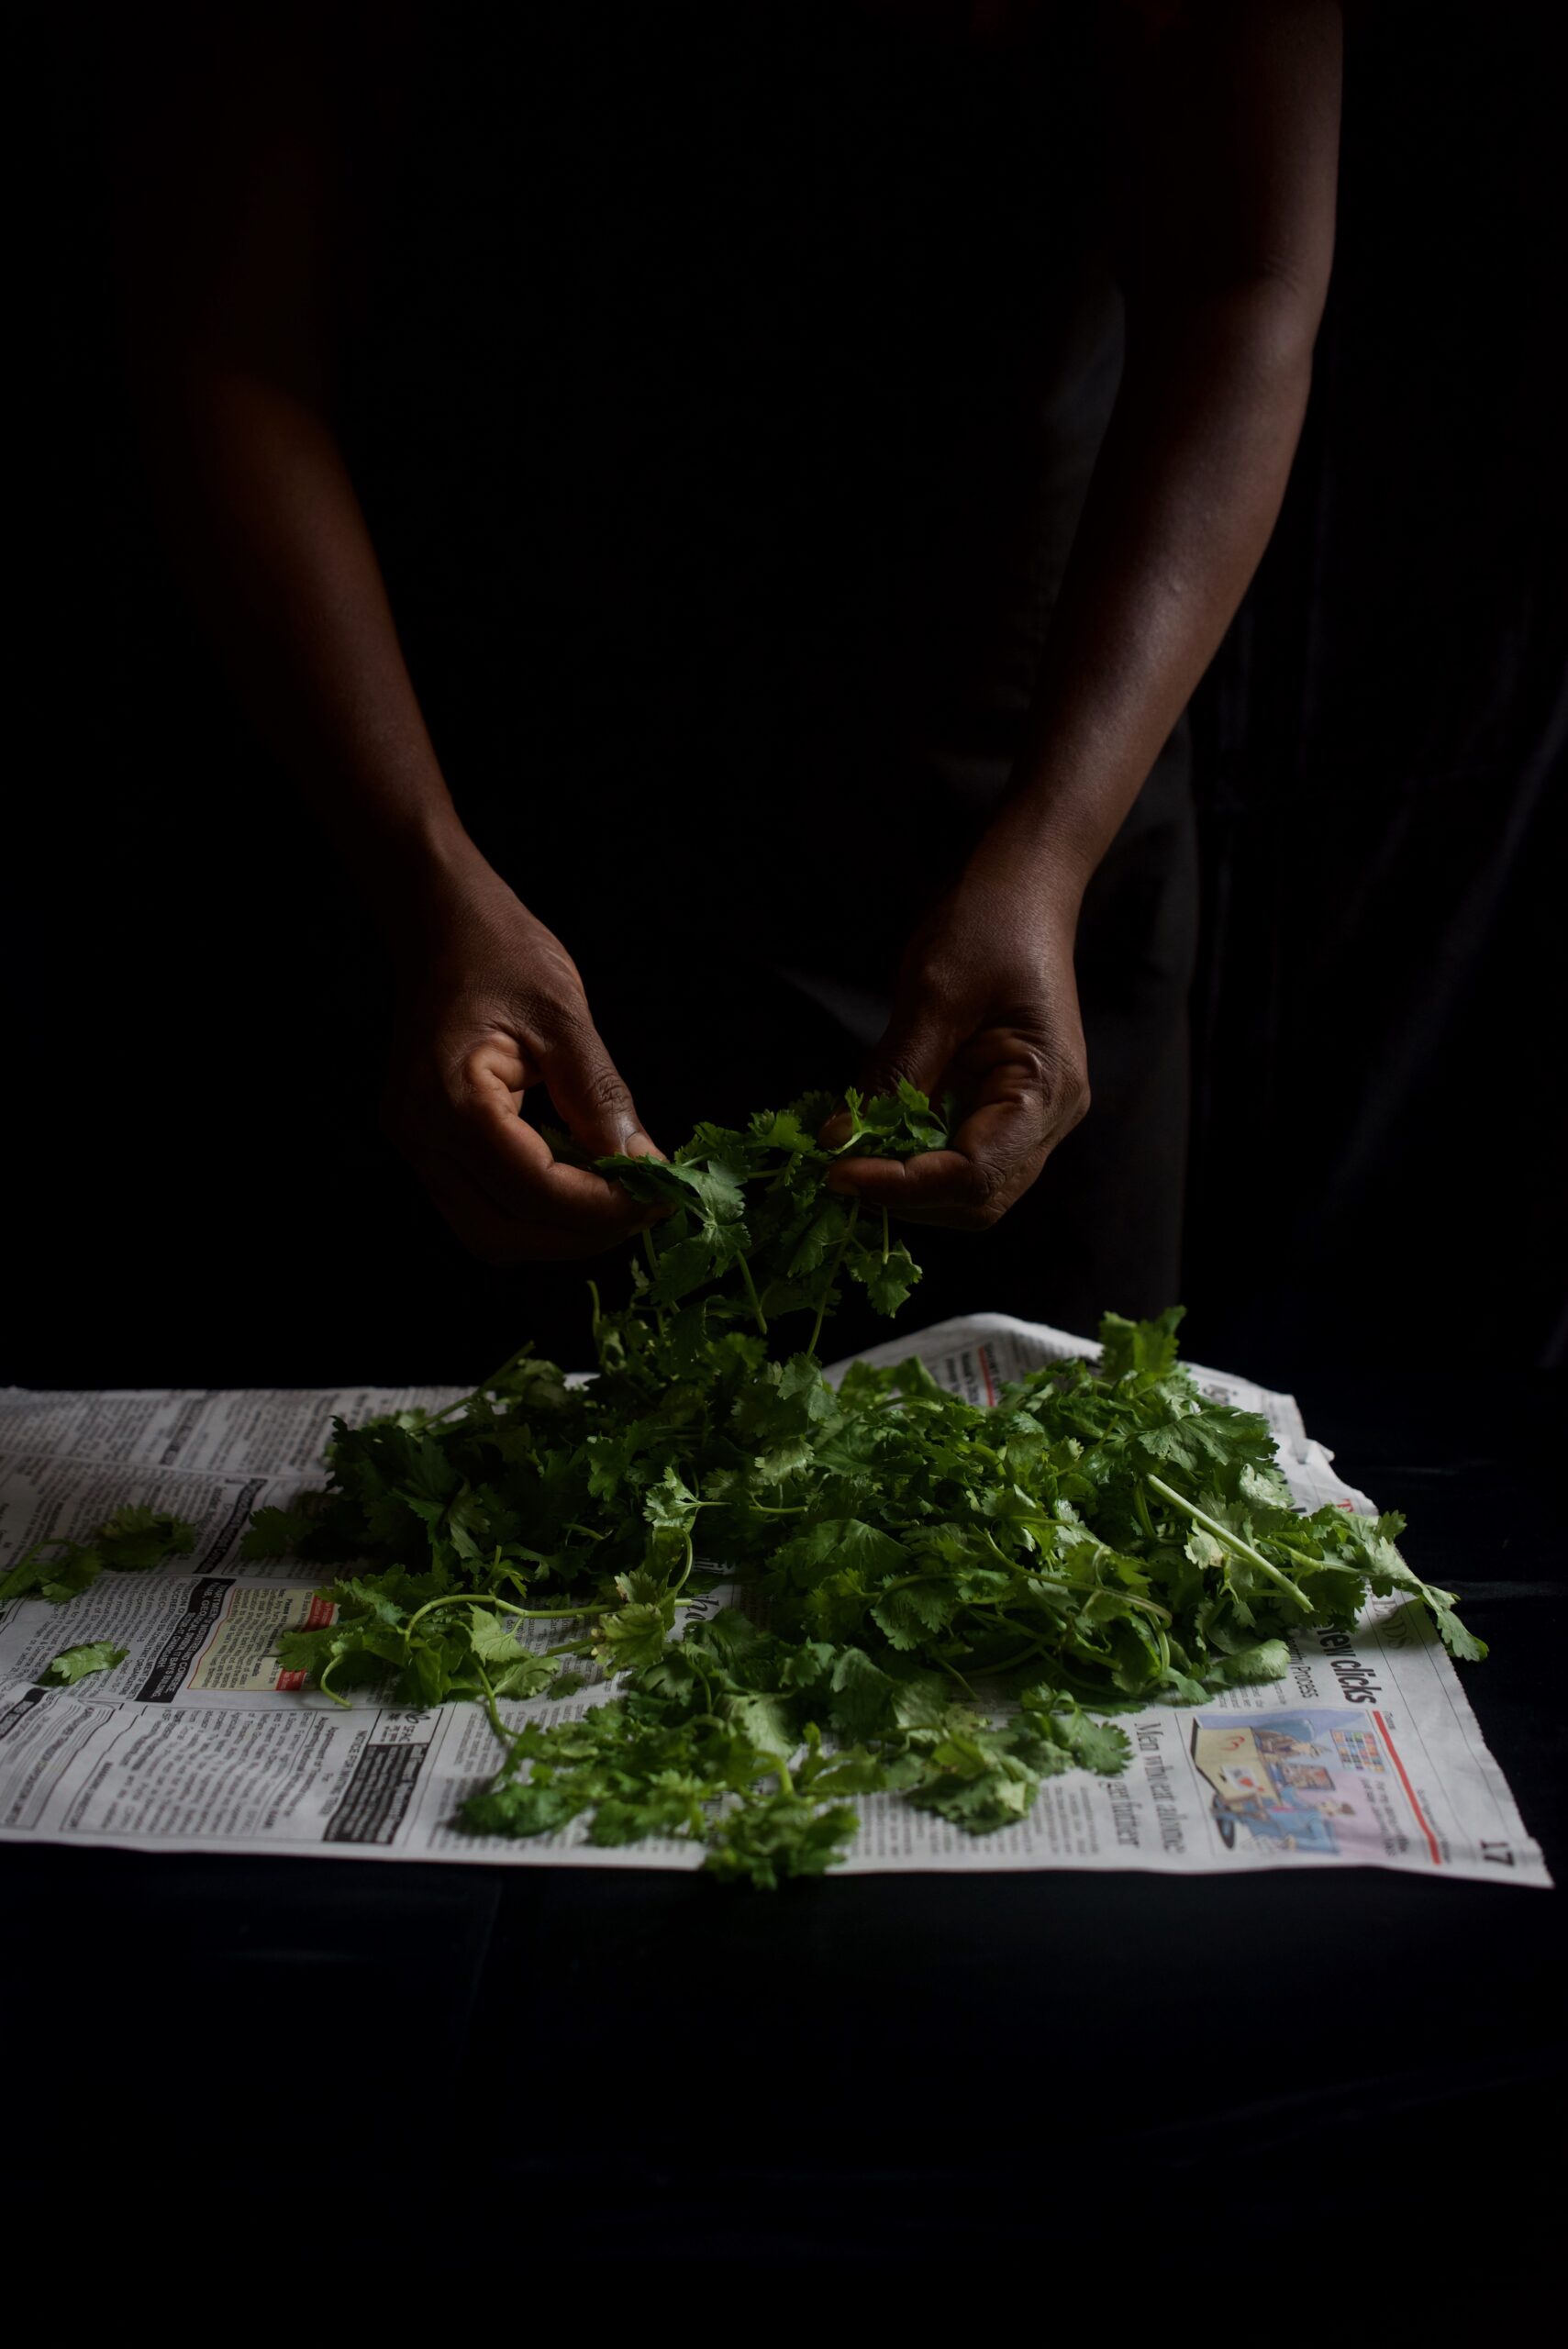
¼ cup finely chopped coriander leaves
¼ teaspoon roasted cumin powder
3 cups water
Salt to taste

Date Chutney (Yield: 3 Cups)

1 cup jaggery
1 cup chopped dates
1 cup tamarind
¼ cup sugar
1½ + 1 + 1 cups water
2 teaspoons roasted cumin powder
1 teaspoon black salt
¼ teaspoon chilli powder
Salt to taste

Soak the moong beans overnight, or for 6-8 hours. They will triple in size when they have been well-soaked.

On a medium flame, add 3 cups of water, ¼ teaspoon of salt and a pinch of turmeric to the beans and allow to cook. This will take 15-20 minutes. The beans should be soft to the bite.


Strain the beans and allow them to cool.


In the meantime, put all the cut vegetables and the raw mango into a bowl. You can add any vegetables of your choice, whatever you find handily available, and increase or decrease the quantities to your preference. My selection here is a very typically “chaat” selection of fresh, affordable local produce. Keep aside some coriander for garnishing.


To this bowl of vegetables and fruit, add two chutneys. You can find the green coriander chutney recipe here (if you’re on a health kick, try not to get distracted by the banana-methi fritters recipe!). It’s an extraordinary simple just-blend-it-chutney, and you can use it in versatile ways.

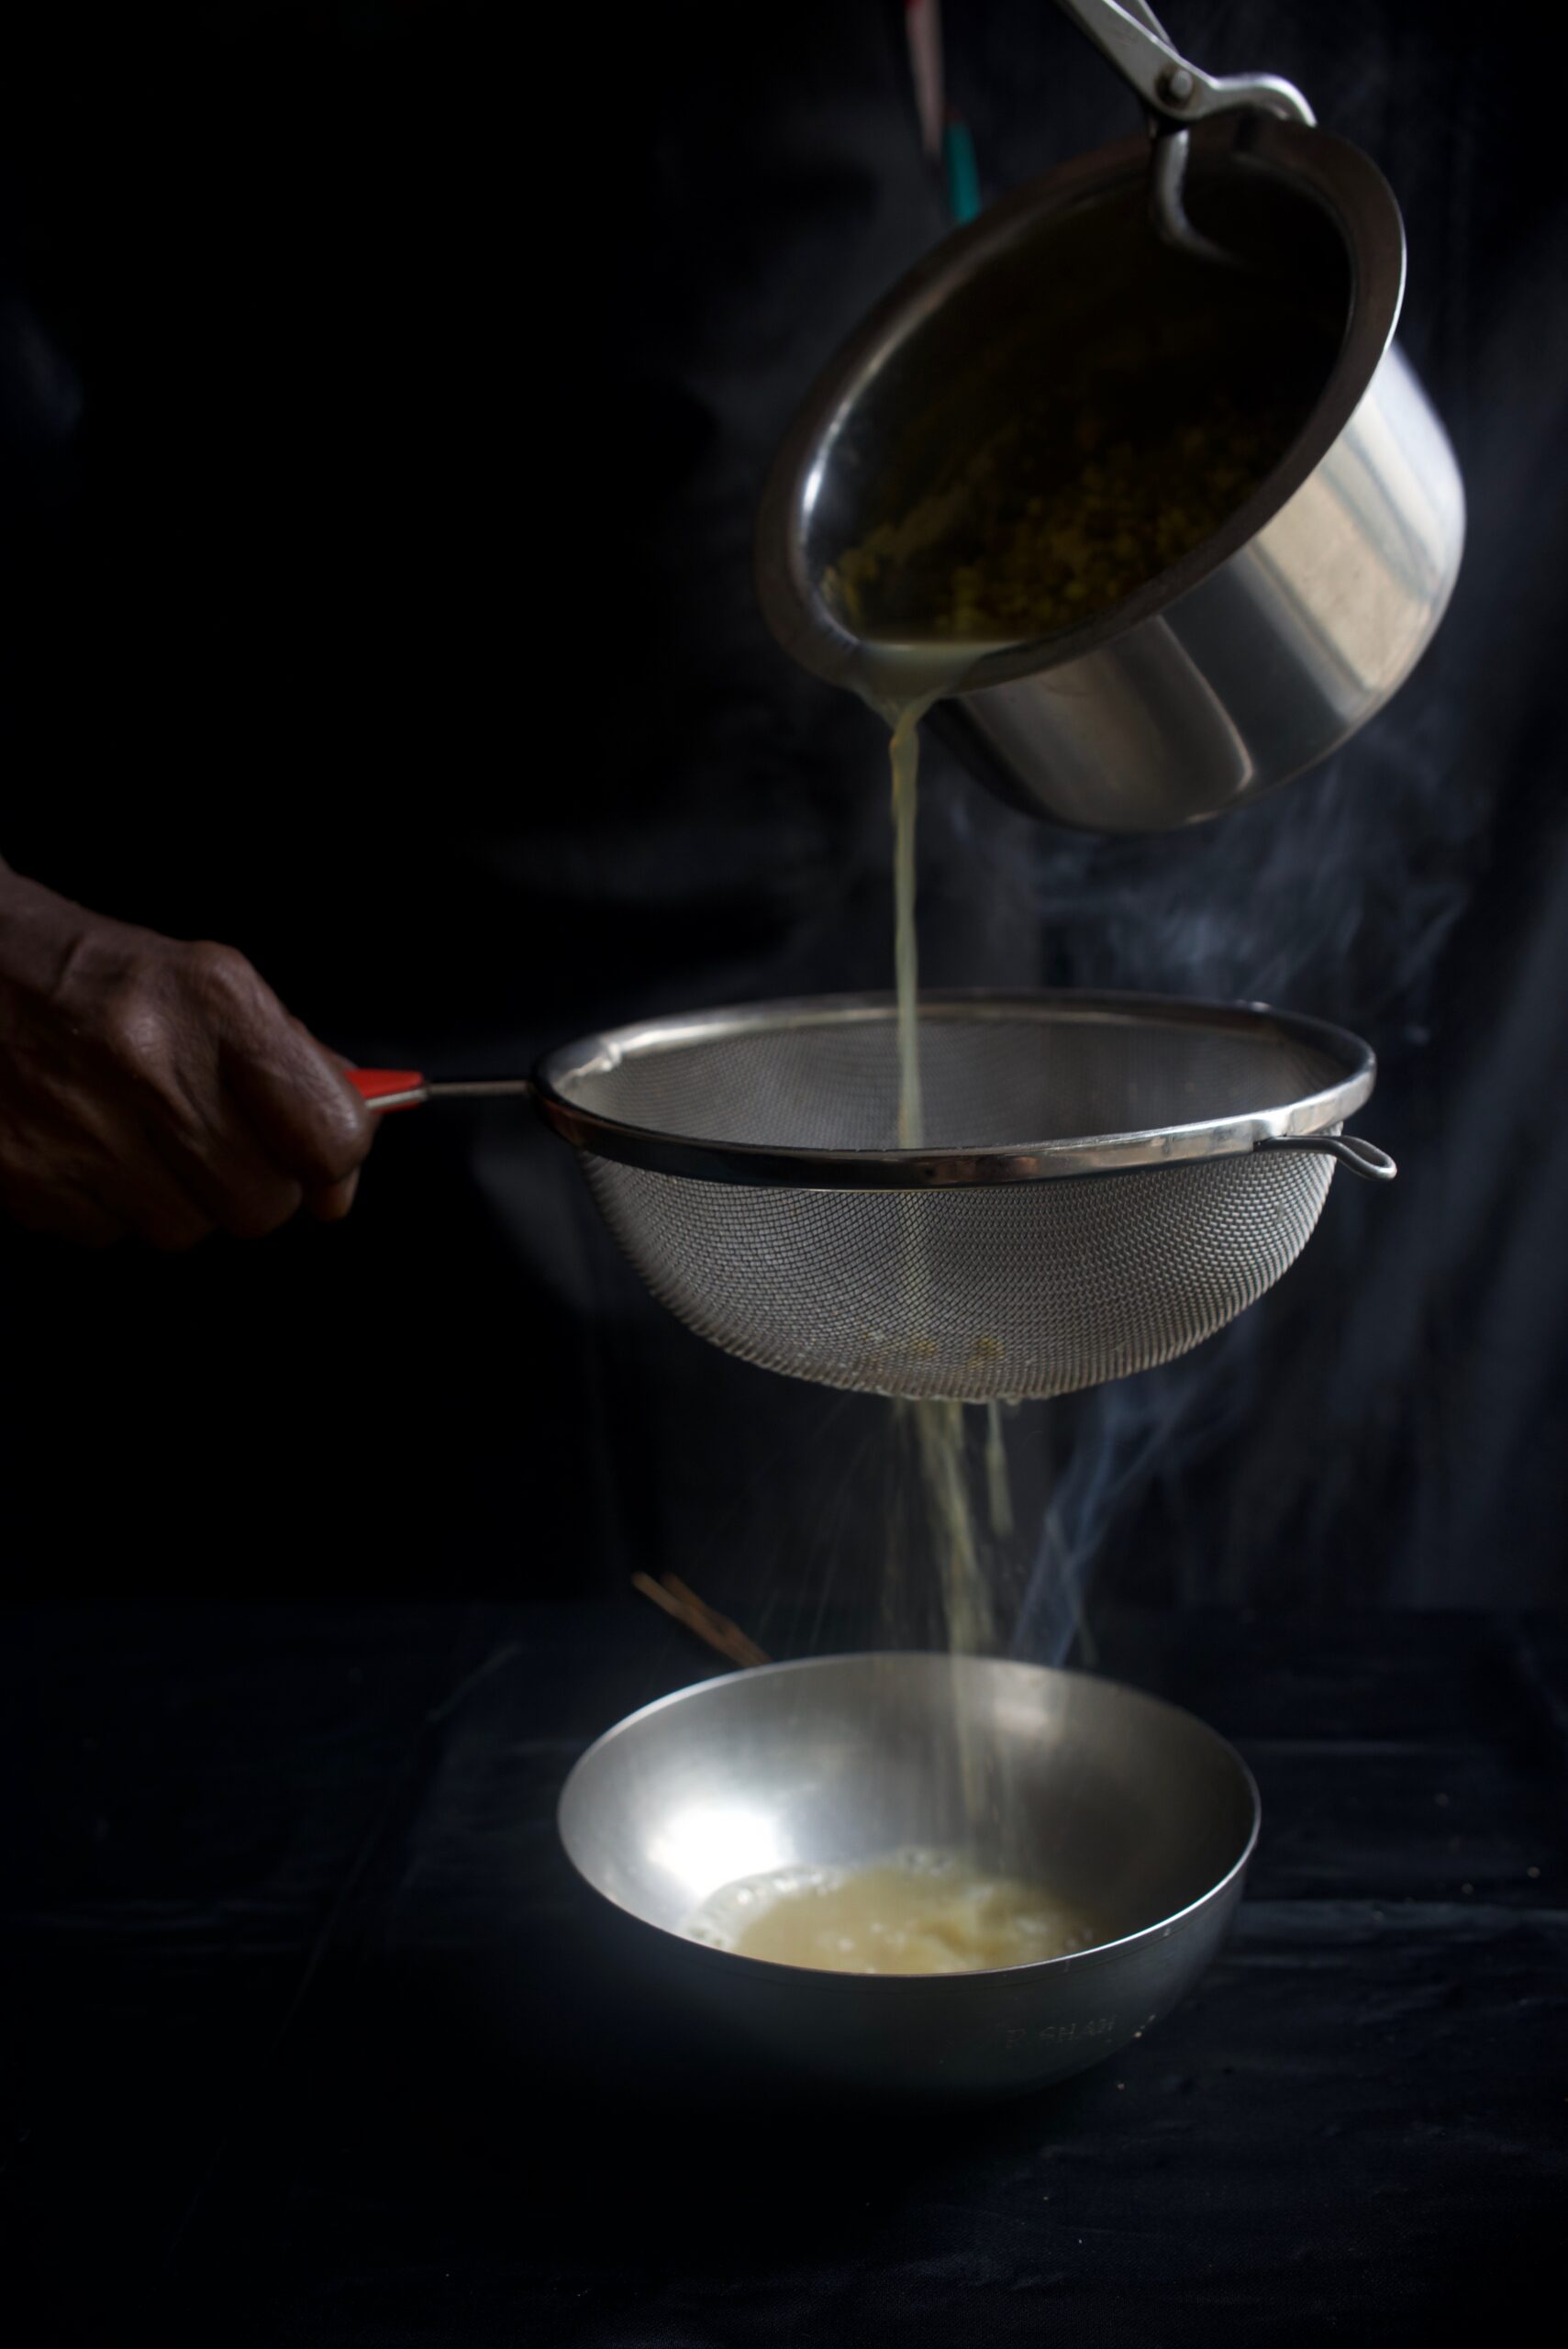
The date chutney requires just a few more steps. Soak the jaggery, chopped dates, tamarind and sugar in 1½ cups of water for at least half an hour. Then blend this very well with 1 cup of warm water. Sieve the mixture to remove any sediments. Now, add the roasted cumin powder, black salt, chili powder and salt, as well as an additional cup of water, and boil for approximately 15 minutes. You will notice the mixture thickening, and you can adjust this to the consistency you desire by adding more water. This recipe yields a generous three cups of date chutney. Use only as much as you need for the green moong bhel dish, then save the rest in the fridge.

Blend 2 teaspoons each of the two chutneys into the bowl of cut vegetables and raw mango. Then add all the spices as well as the cooled moong beans to the bowl. Mix all the ingredients together nicely, making sure the chutneys coat them well.

Now, serve the green moong bhel in smaller bowls, garnishing with the coriander leaves. I often like to add a bit of crunch on top too, such as crushed peanuts, pomegranate, fried crisps or the puffed rice that is reminiscent of traditional chaat.

You can put this healthy snack on the list along with sundal, pea-pomegranate kachoris, sweet ghugras and, of course, banana-methi fritters and enjoy it with some piping hot chai or coffee. Or have it as an alternative to salad or quinoa, and enjoy a big bowl as a full breakfast or a light lunch. As simple as the dish looks, it’s absolutely loaded with flavours. Healthy can taste so good, sometimes!