Tag

kitchen

Browsing

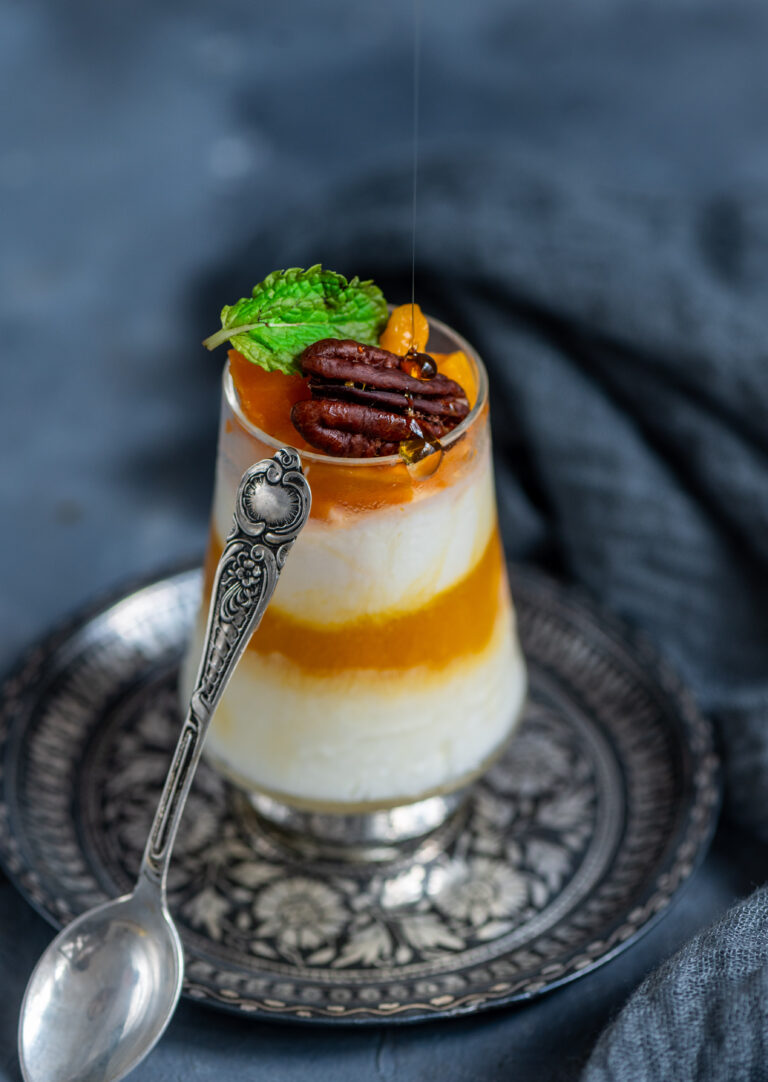
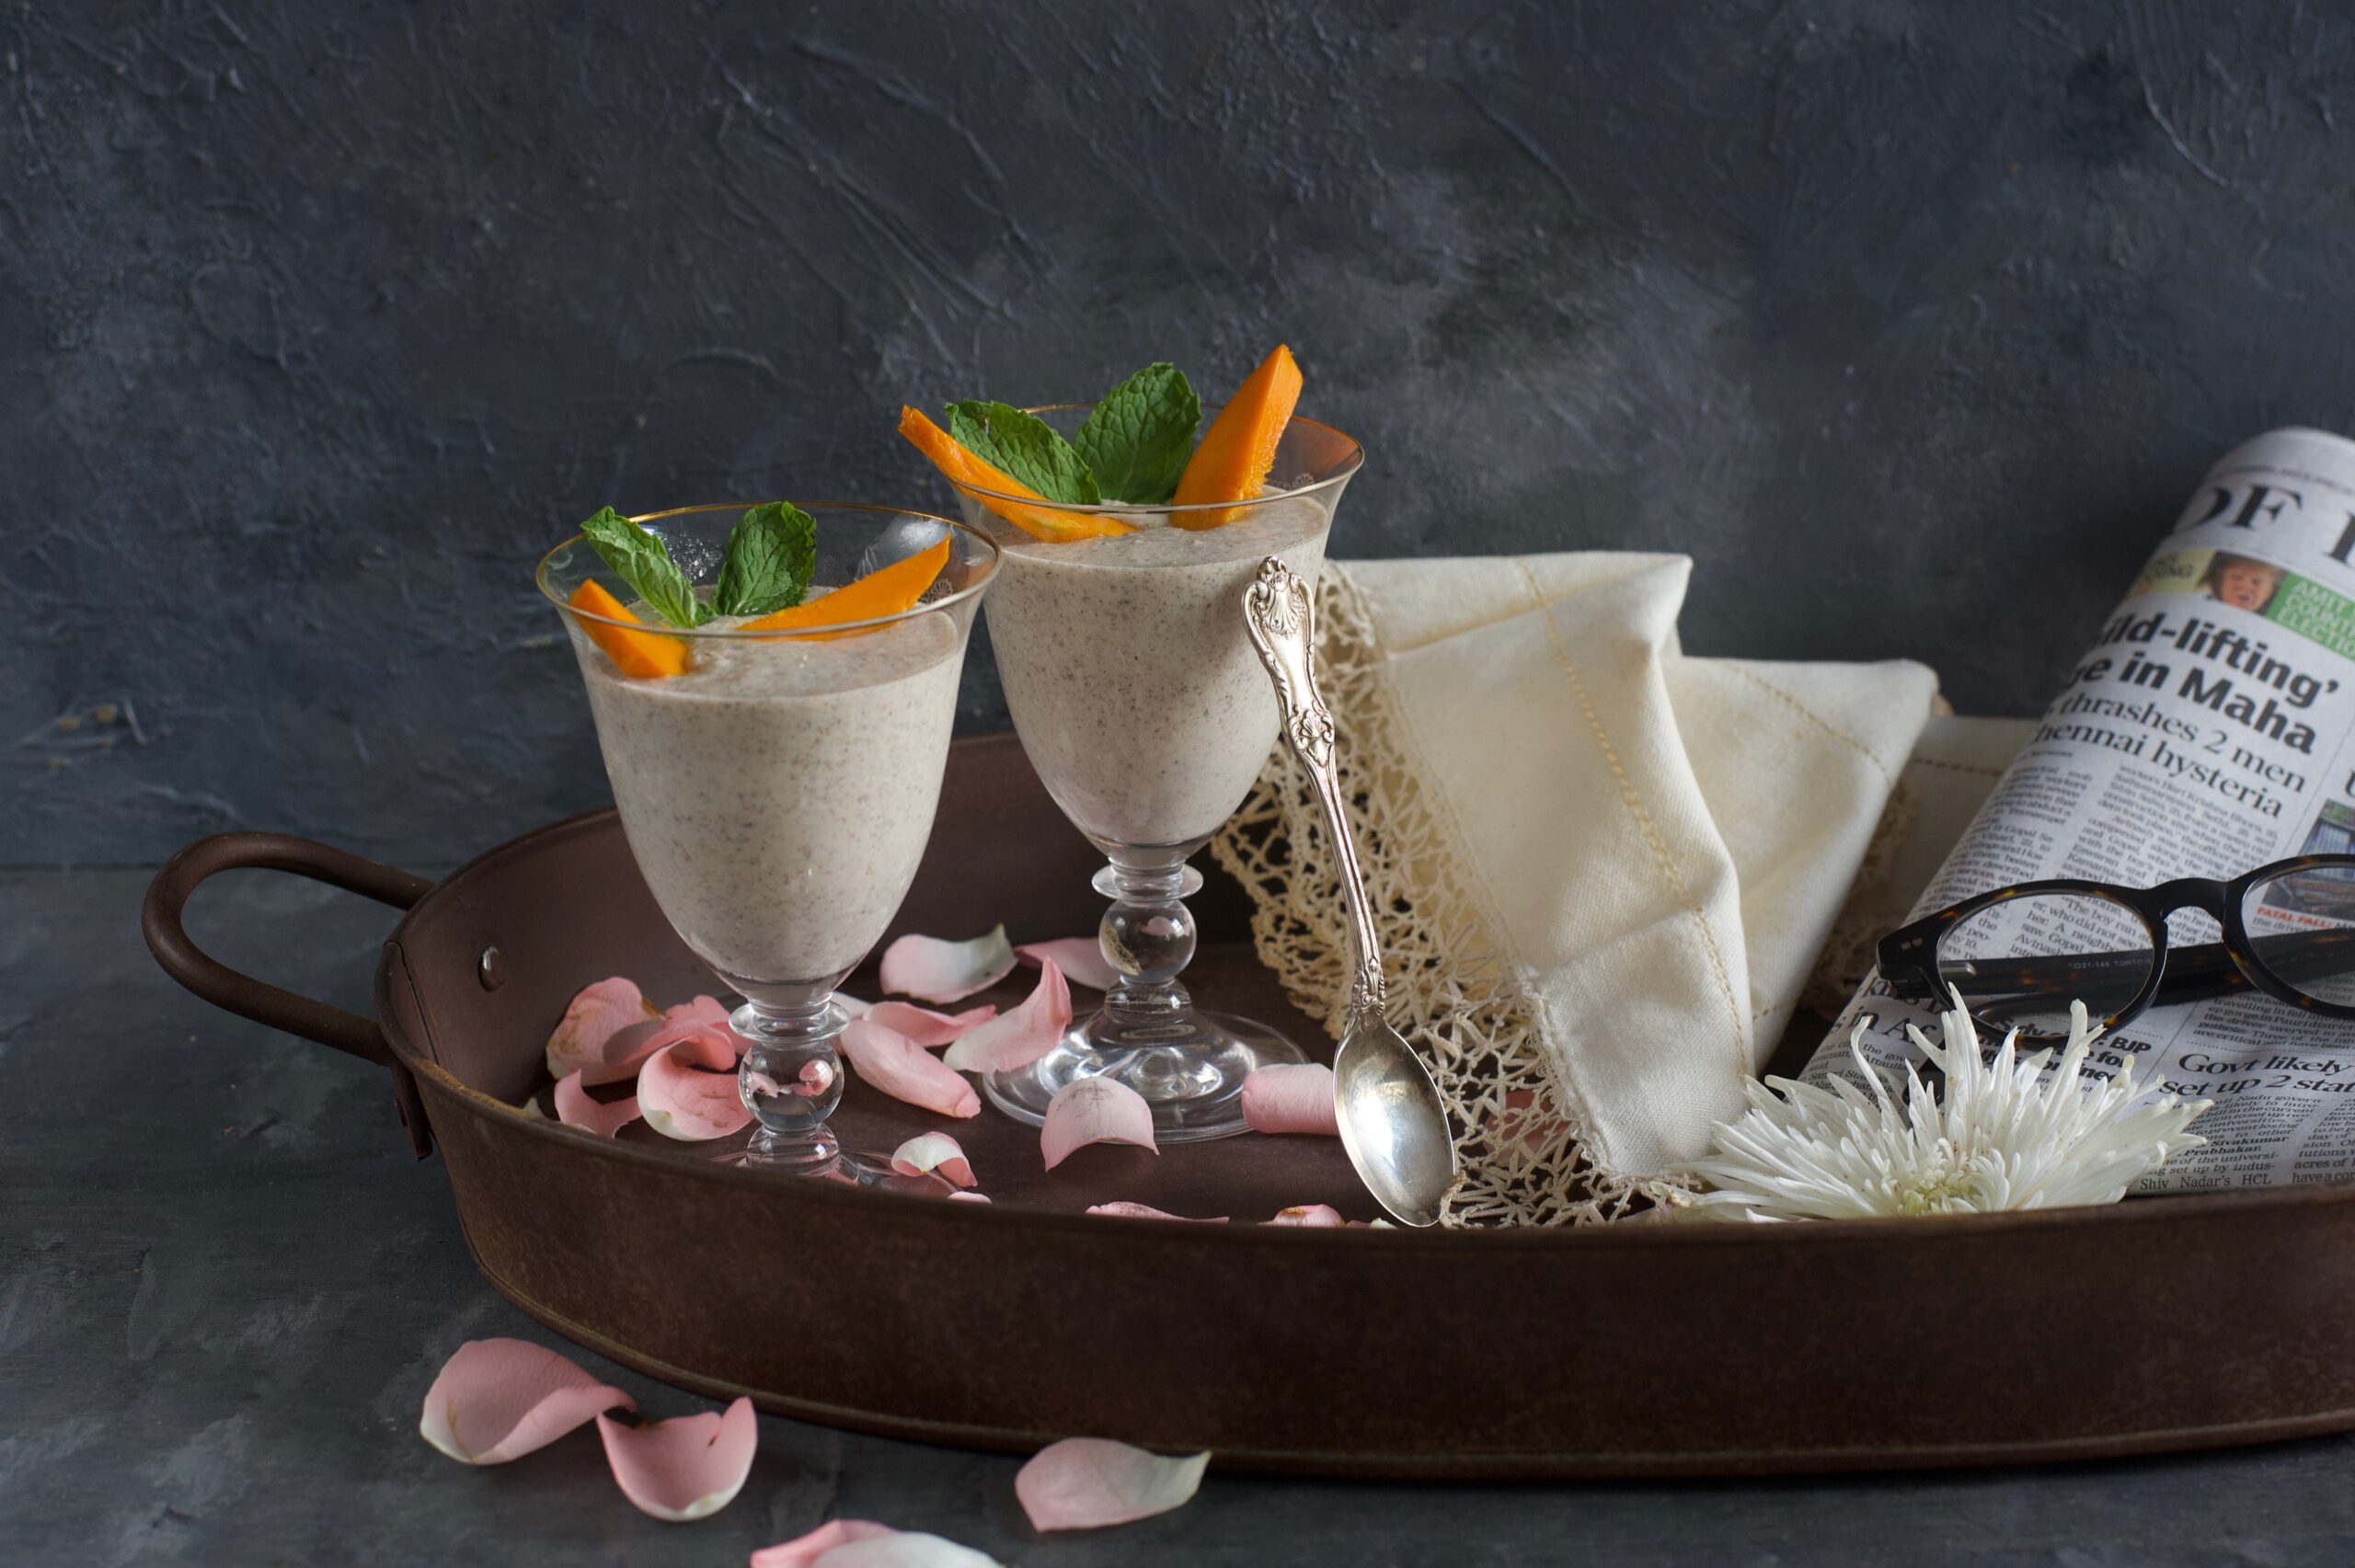
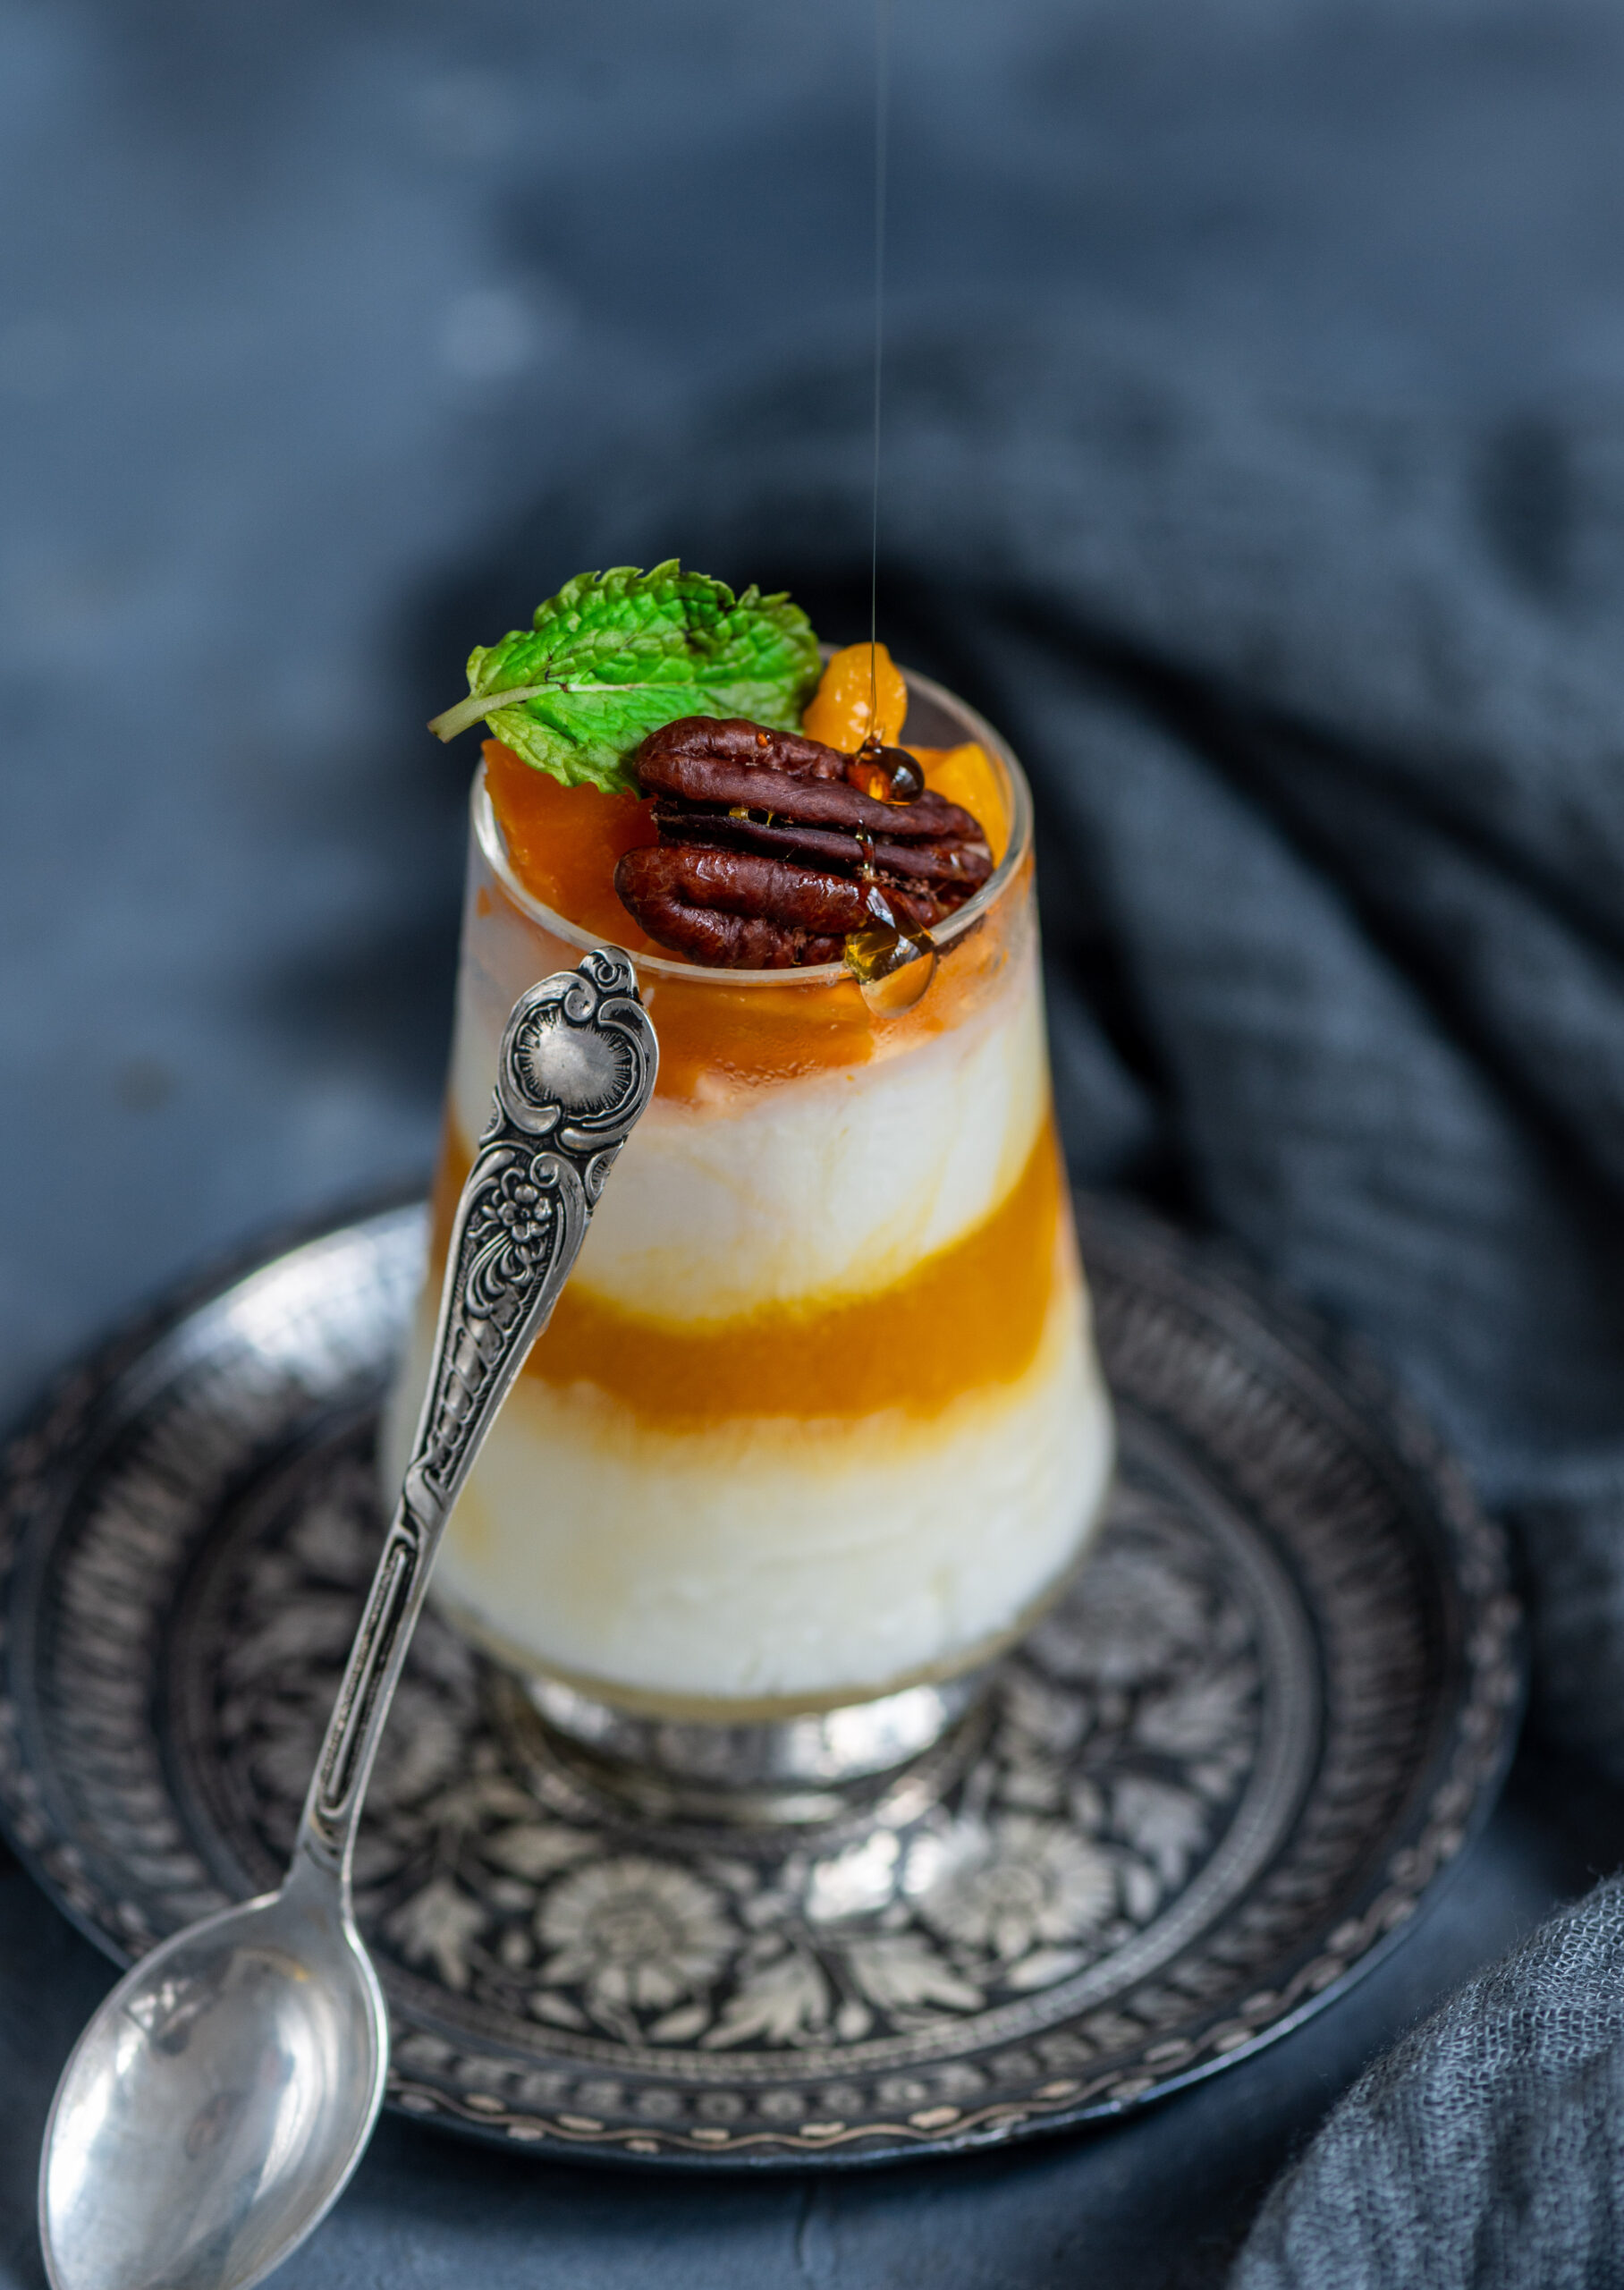
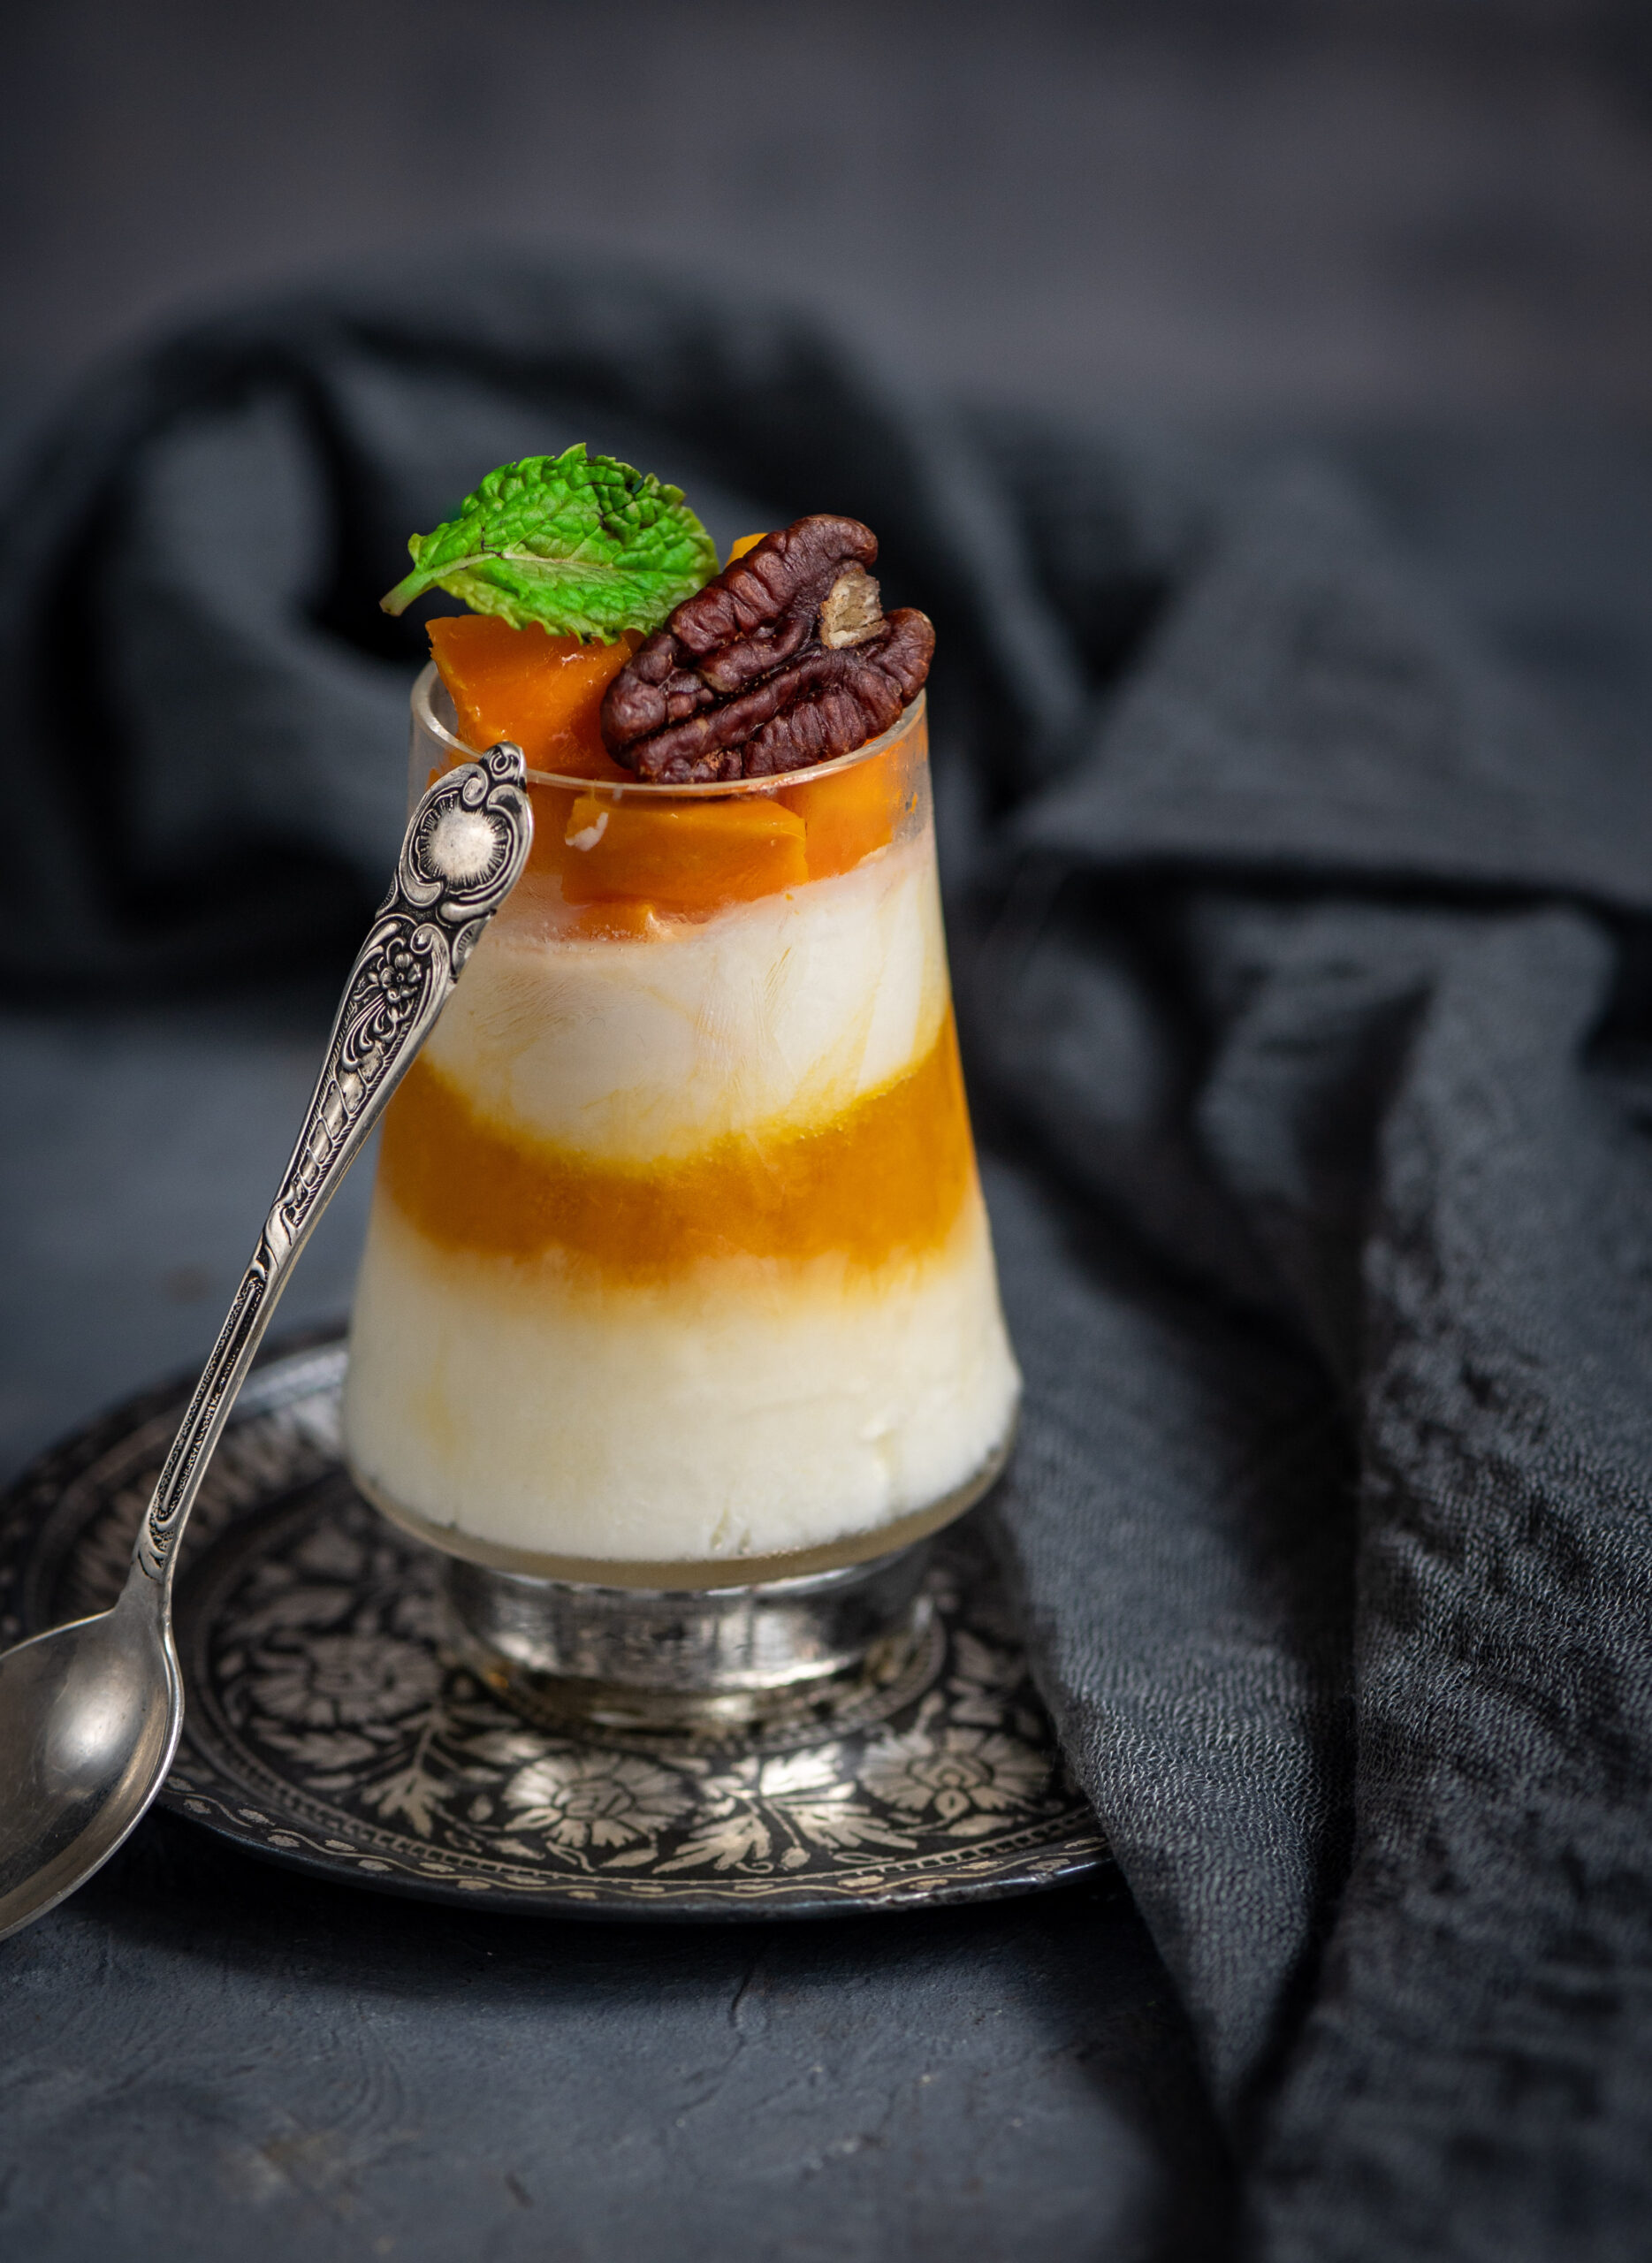
Sometimes, you just don’t have the energy to do much in the kitchen at all, but that’s no reason to skimp on having a dessert that can make you feel better. Whether the heat has enervated you, or the ongoing pandemic has dragged your cheerful spirits down, the key to preparing a pick-me-up is in one aspect only: the simplicity quotient. I’ve been making this mango twist nearly every day, and you can too.

What I love about it is that ticks all the boxes: it satisfies my sweet tooth without the use of refined sugar, allows me to have well-rounded meals while I am off carbs, makes the most of the earth’s seasonal bounty, and is practically effortless to prepare.

Really, it’s so easy that anyone can make it. Which brings me to another reason that I thought this fruity dessert would be perfect to share right now. It’s that making it is just the kind of activity to keep your younger kids happy, and that’s something I can imagine many of you doing with the little ones being at home all the time now. Putting this dessert together is a simple way to get them to explore the vast world of cooking. The sense of achievement they’ll enjoy will taste almost as good as the dish itself. This is a beautiful way impart the value of a home-made treat or meal, and it shouldn’t surprise you if they graduate to wanting to try out more culinary experiments too. As I’ve said before on this blog, I consider my recipes my heirlooms. There’s no reason to wait till they are older to share an elaborate traditional method when you can instill the love of cooking in them from a very young age through simple dishes like this one.

Here’s yet another amazing tick on that check-list: this mango twist is vegan! Of late, I have noticed that cutting down on my dairy consumption really does make me feel better overall. While I am not a hardcore vegan, as much as I would like to be, I do love the coconut milk I use in this dish and enjoy consuming it in this delicious way. You can use dairy, if that’s what you have on hand. Or you can substitute the coconut milk with almond milk, which will result in a thinner dessert that you can plump up with nutritious chia seeds.

Variety is certainly one of the elements that keeps a dish like this interesting. When mango season ends, simply use any other fruit that you have on hand.
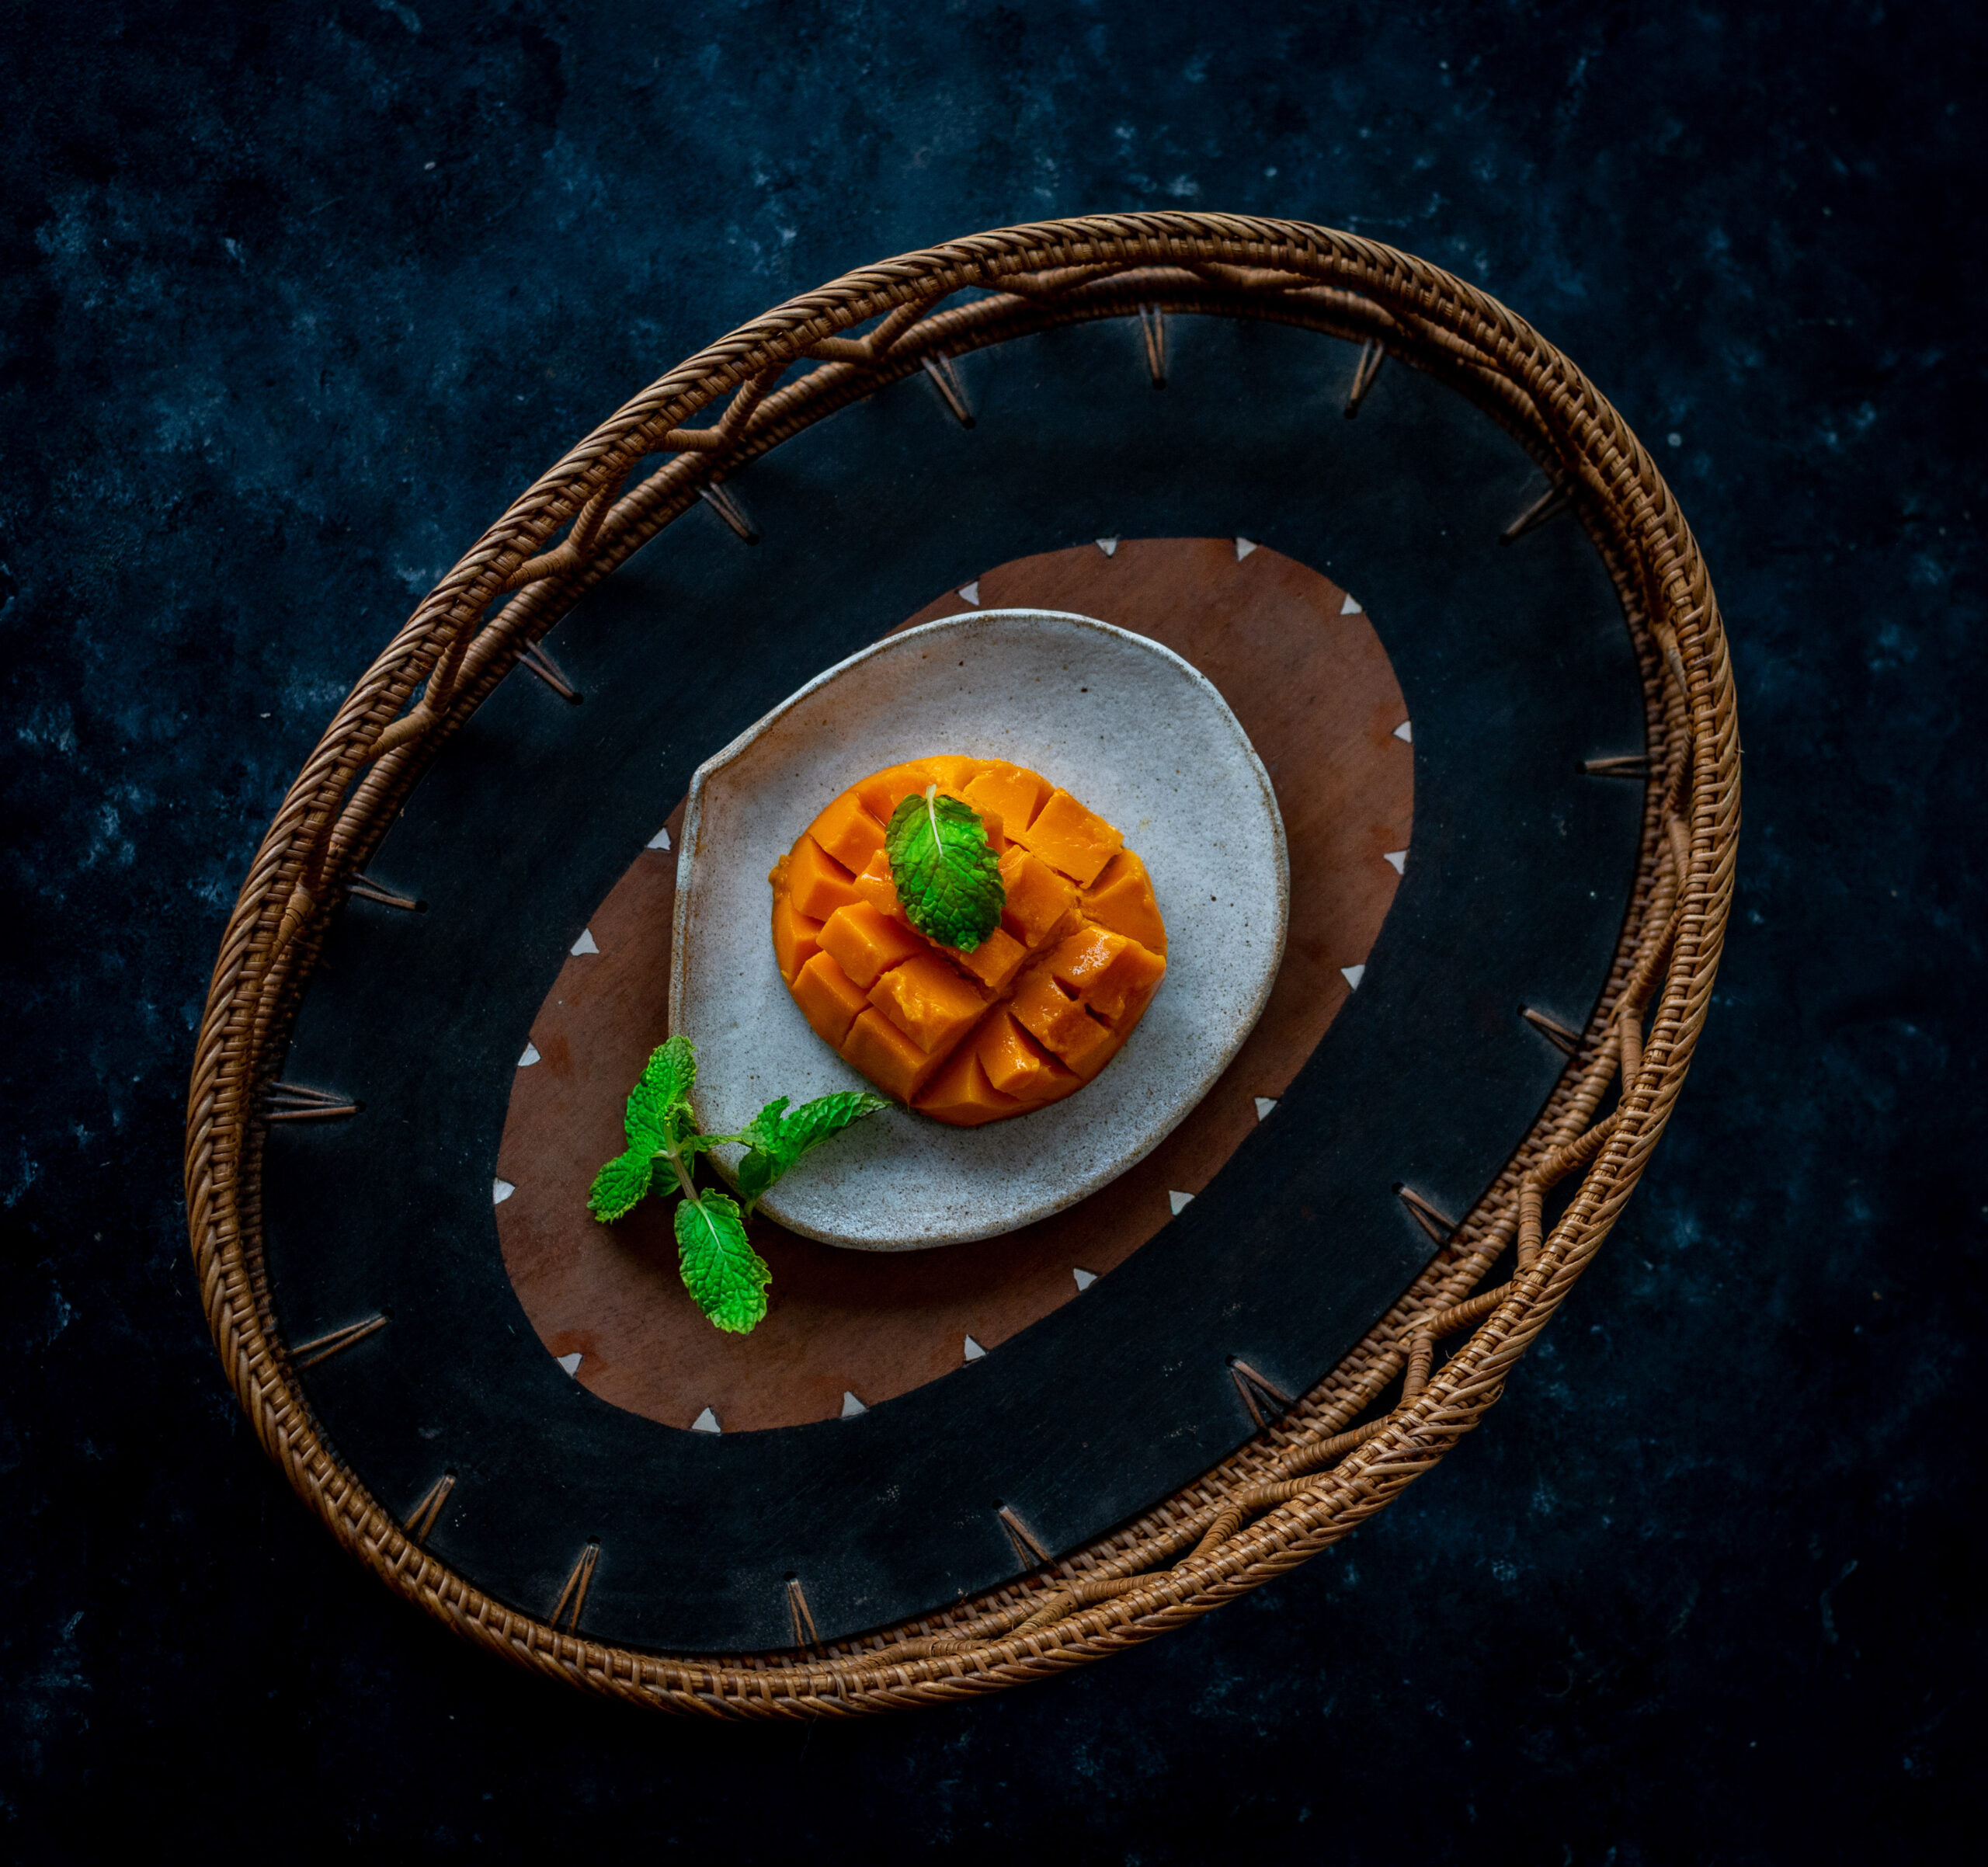
I think of this Mango Twist as one of those recipes that is so common that it hardly warrants a recipe. Surely, everyone already knows it, I pondered to myself when the idea of this post occurred to me. Then, I realised how in any hectic time, we often get so carried away that we neglect to notice what is right before our eyes. So this recipe is really more of a reminder, something that tells you to open your fridge and see for yourself – you probably already have everything you need to whip up something wonderful right away.

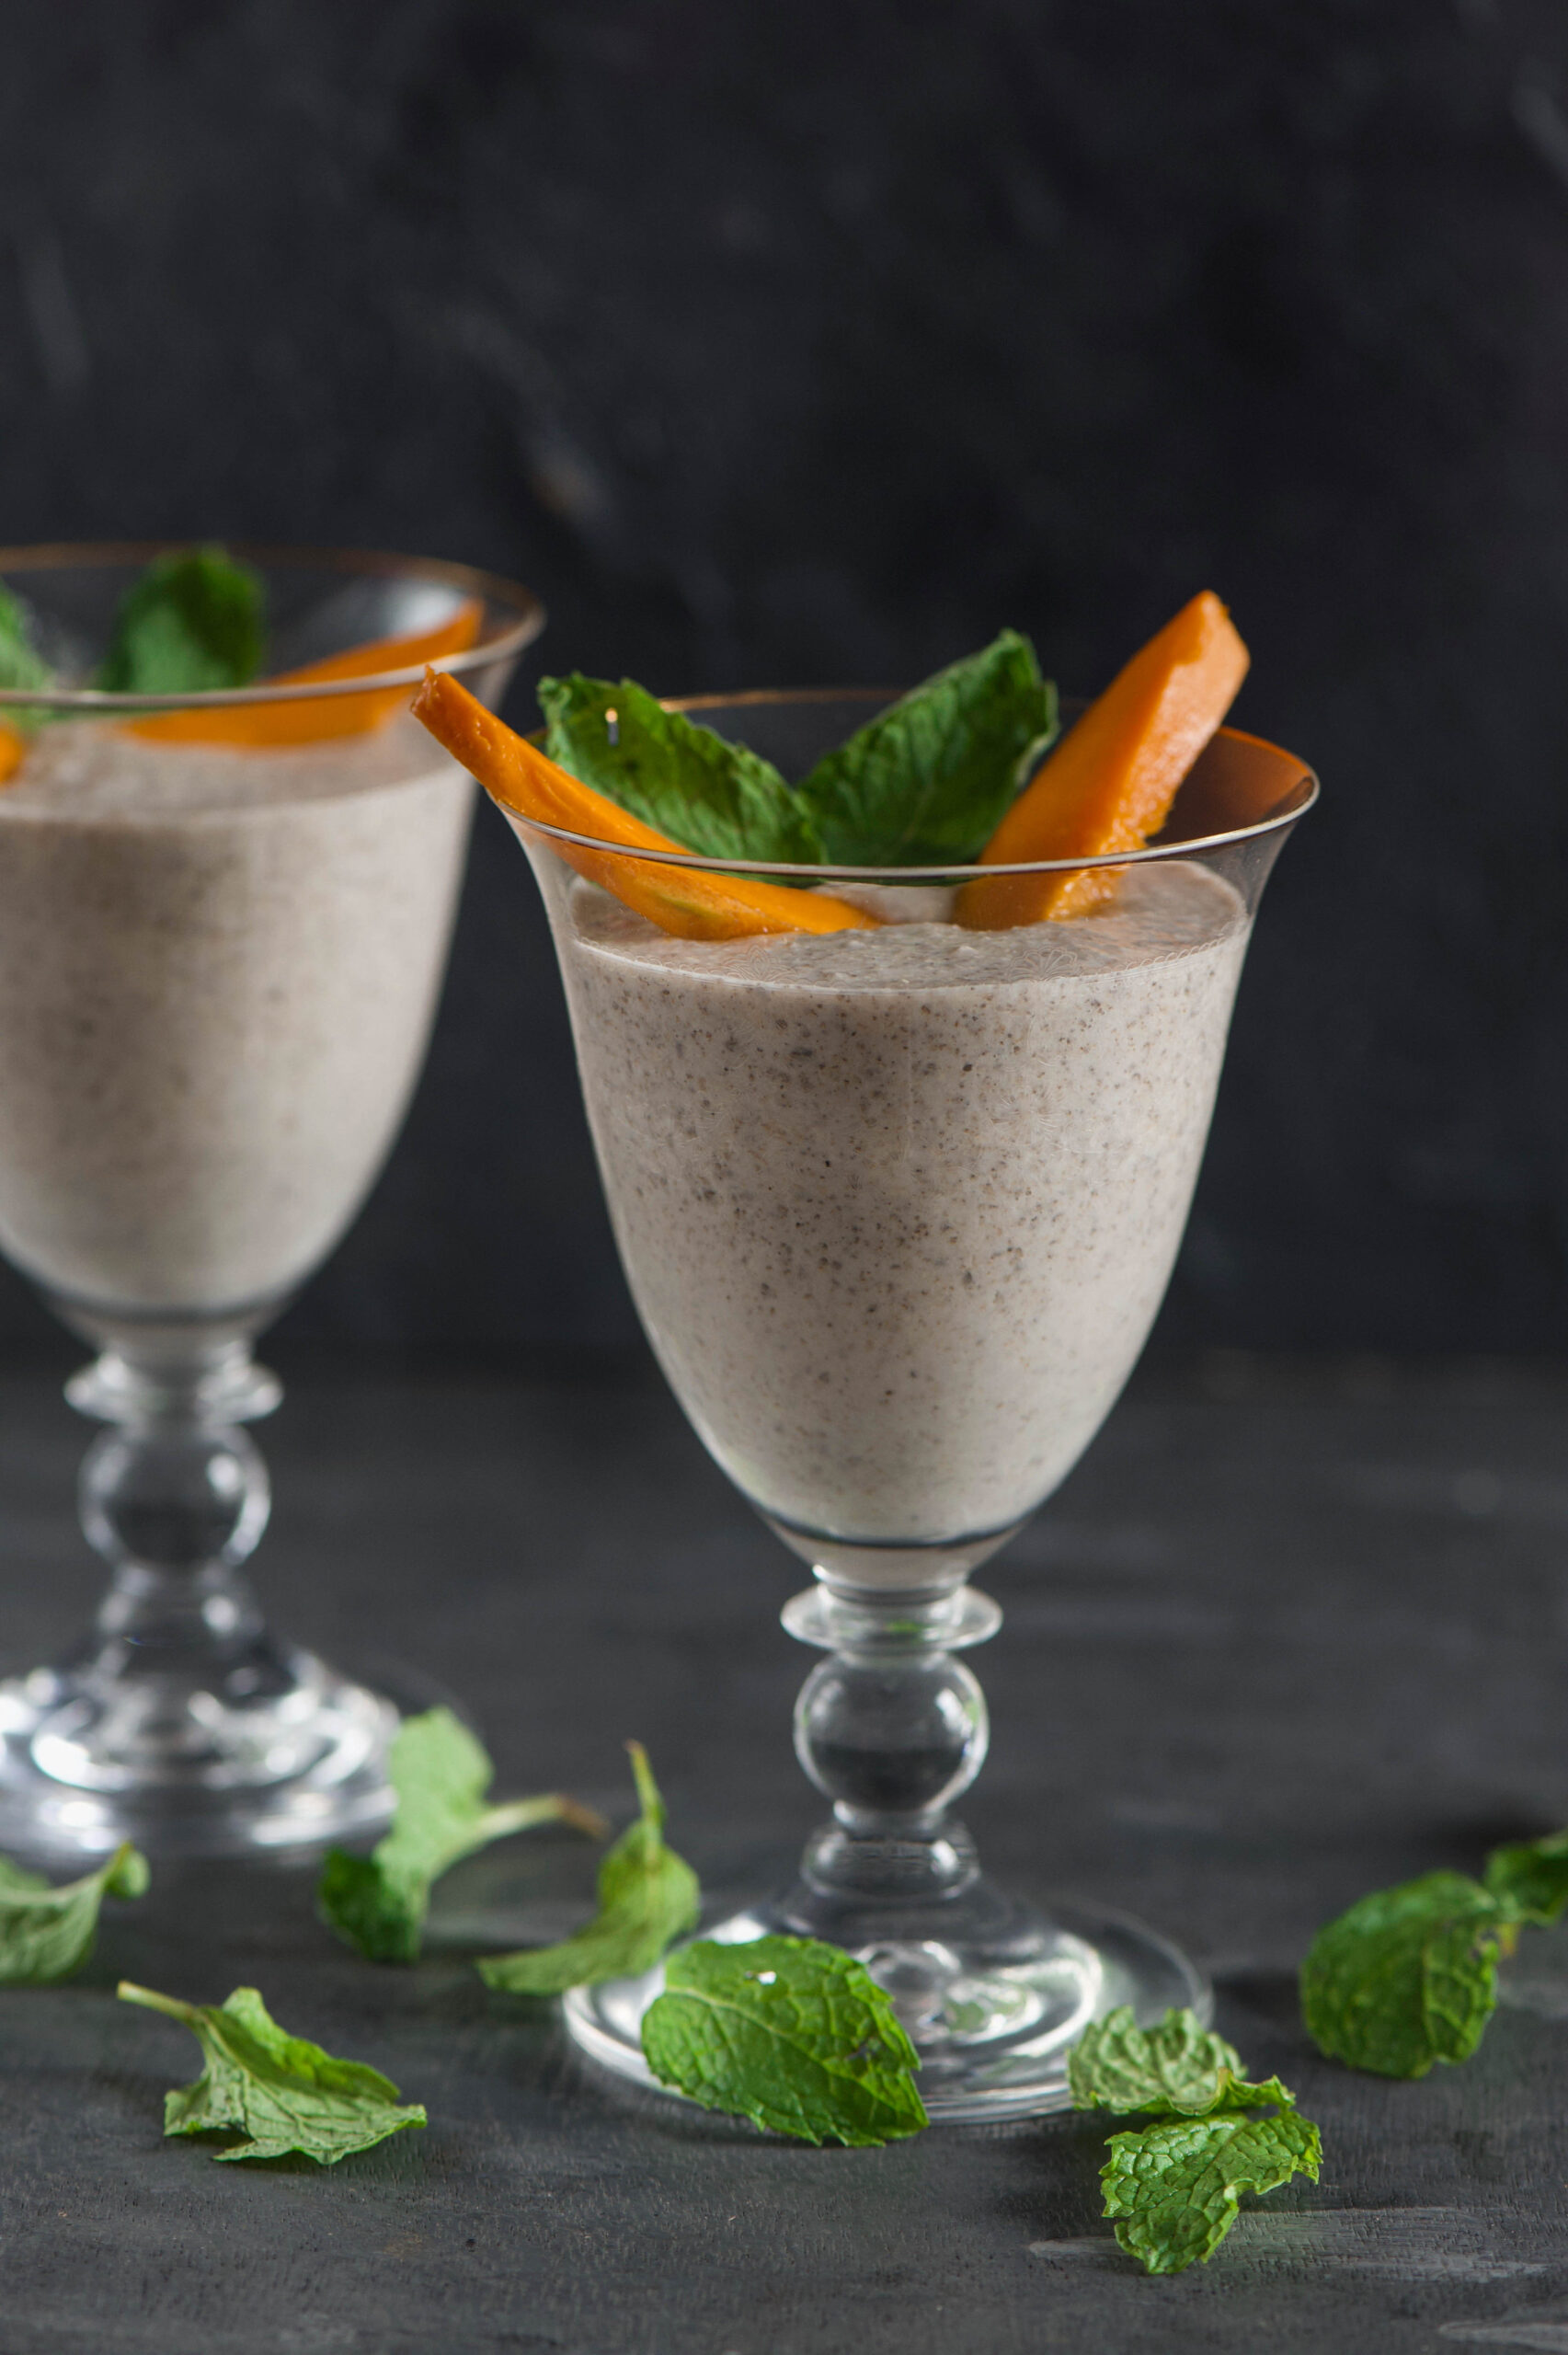
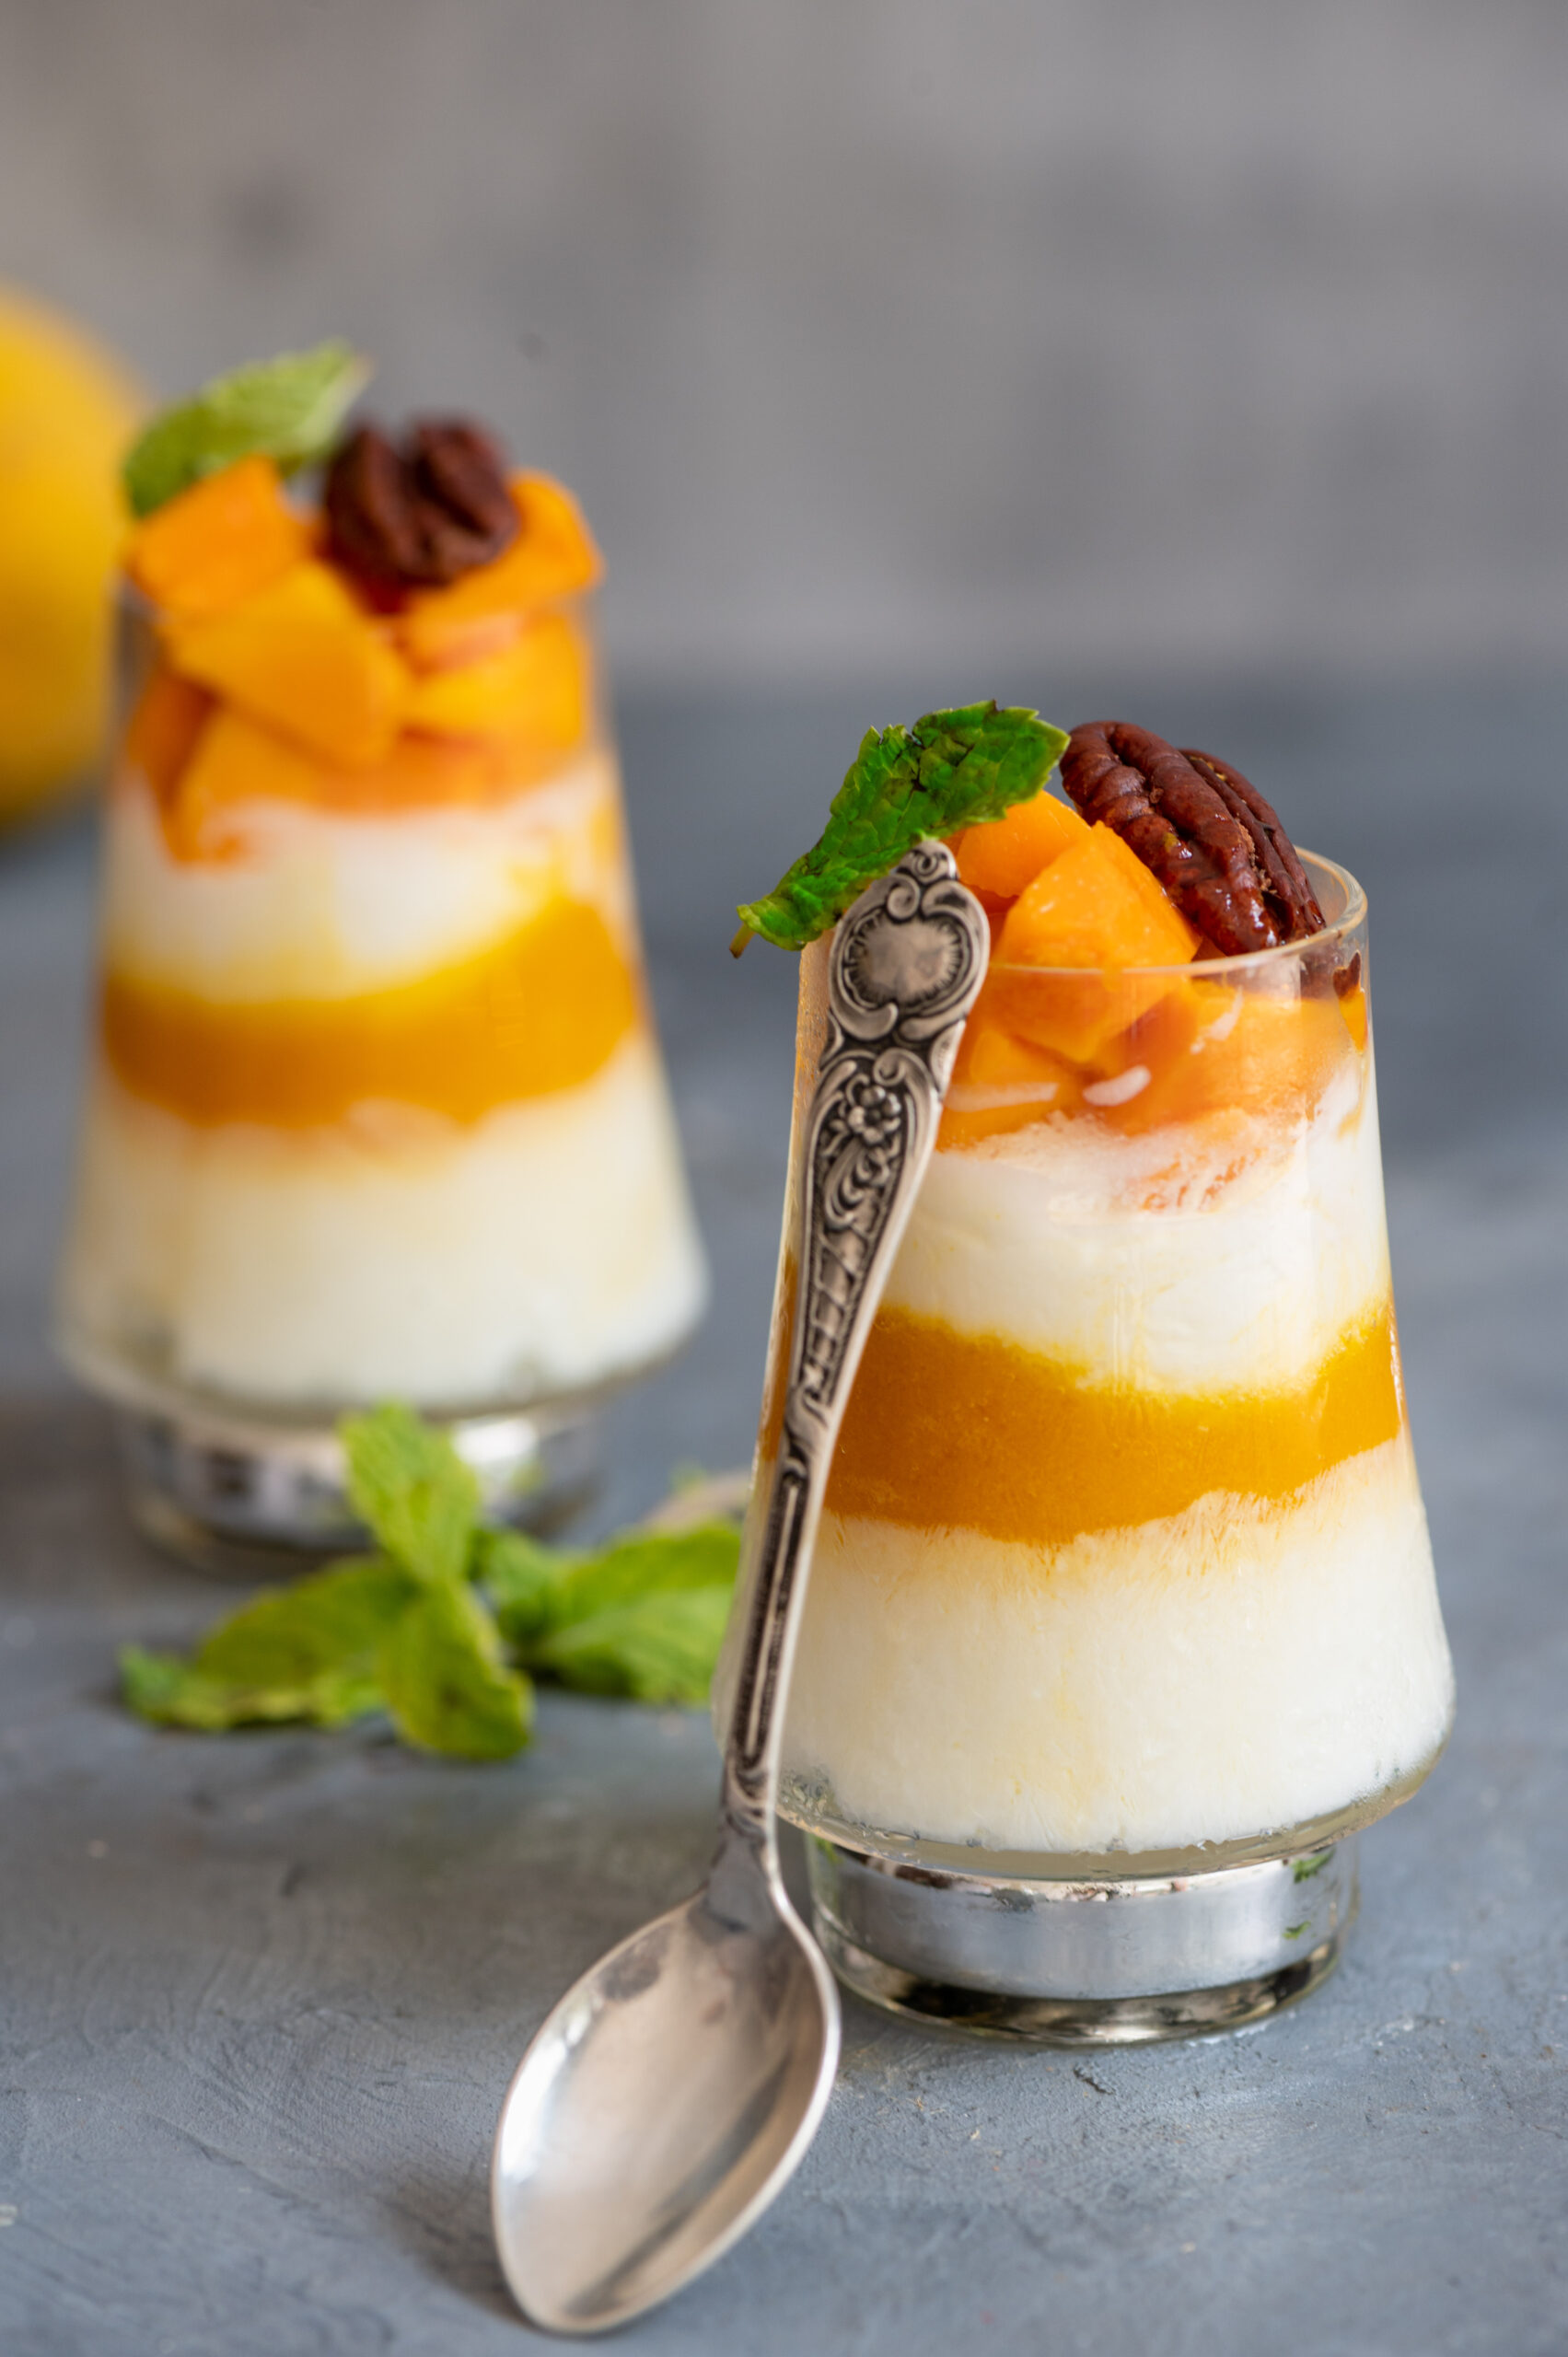
As a refrigerated dessert, you can also make it in advance so that it’s right there and ready for you when you desperately need something to cool off in this sweltering heat, or could use a pick-me-up. Some time in the hopefully not-far future, when we are back to entertaining guests as always, it’s also an ideal dessert to prepare earlier in the day so that you won’t have to take time putting a snack together after they arrive. Just take it out of the fridge and it’s ready to be served on a tray. It’s a visually attractive dessert, so presentation is key – what colours do you want to have pop inside the glass, and how will you layer the ingredients? You can go decadent, or you can keep it nutritious but still appealing by using fruits of different colours to create a tempting look.
Mango Twist

(Yield: 2 glasses)

1 cup coconut cream

½ cup mango pulp

Pecans or any topping of your choice

½ teaspoon maple syrup or honey (optional)


In each glass, add 2 teaspoons of coconut cream. I like to use small eatery glasses as they look very pretty. Layer this with the mango pulp. Freeze for sometime, then remove from the freezer. Now, top the pulp again with the coconut cream gently. Finally, add the pecans or any other toppings of your choice, and drizzle with some maple syrup or honey, as healthier sweetening substitutes. I only use these if I find the mango a little tart. Otherwise, the dessert doesn’t need it.

In lieu of coconut cream, you can also use pudding, fresh cream or other substitutes. Some other great toppings include caramelised nuts, maple syrup, honey, orange rind and seeds. Any kind of brittle, crumbled cake or re:store’s popular muesli will also add more taste and texture. Don’t forget that no matter what time of year you make this, you can use any seasonal fruit of your choice. When preparing it with your kids, indulge them with colourful jellies or cute chocolates that will make the smiles on their faces even bigger.
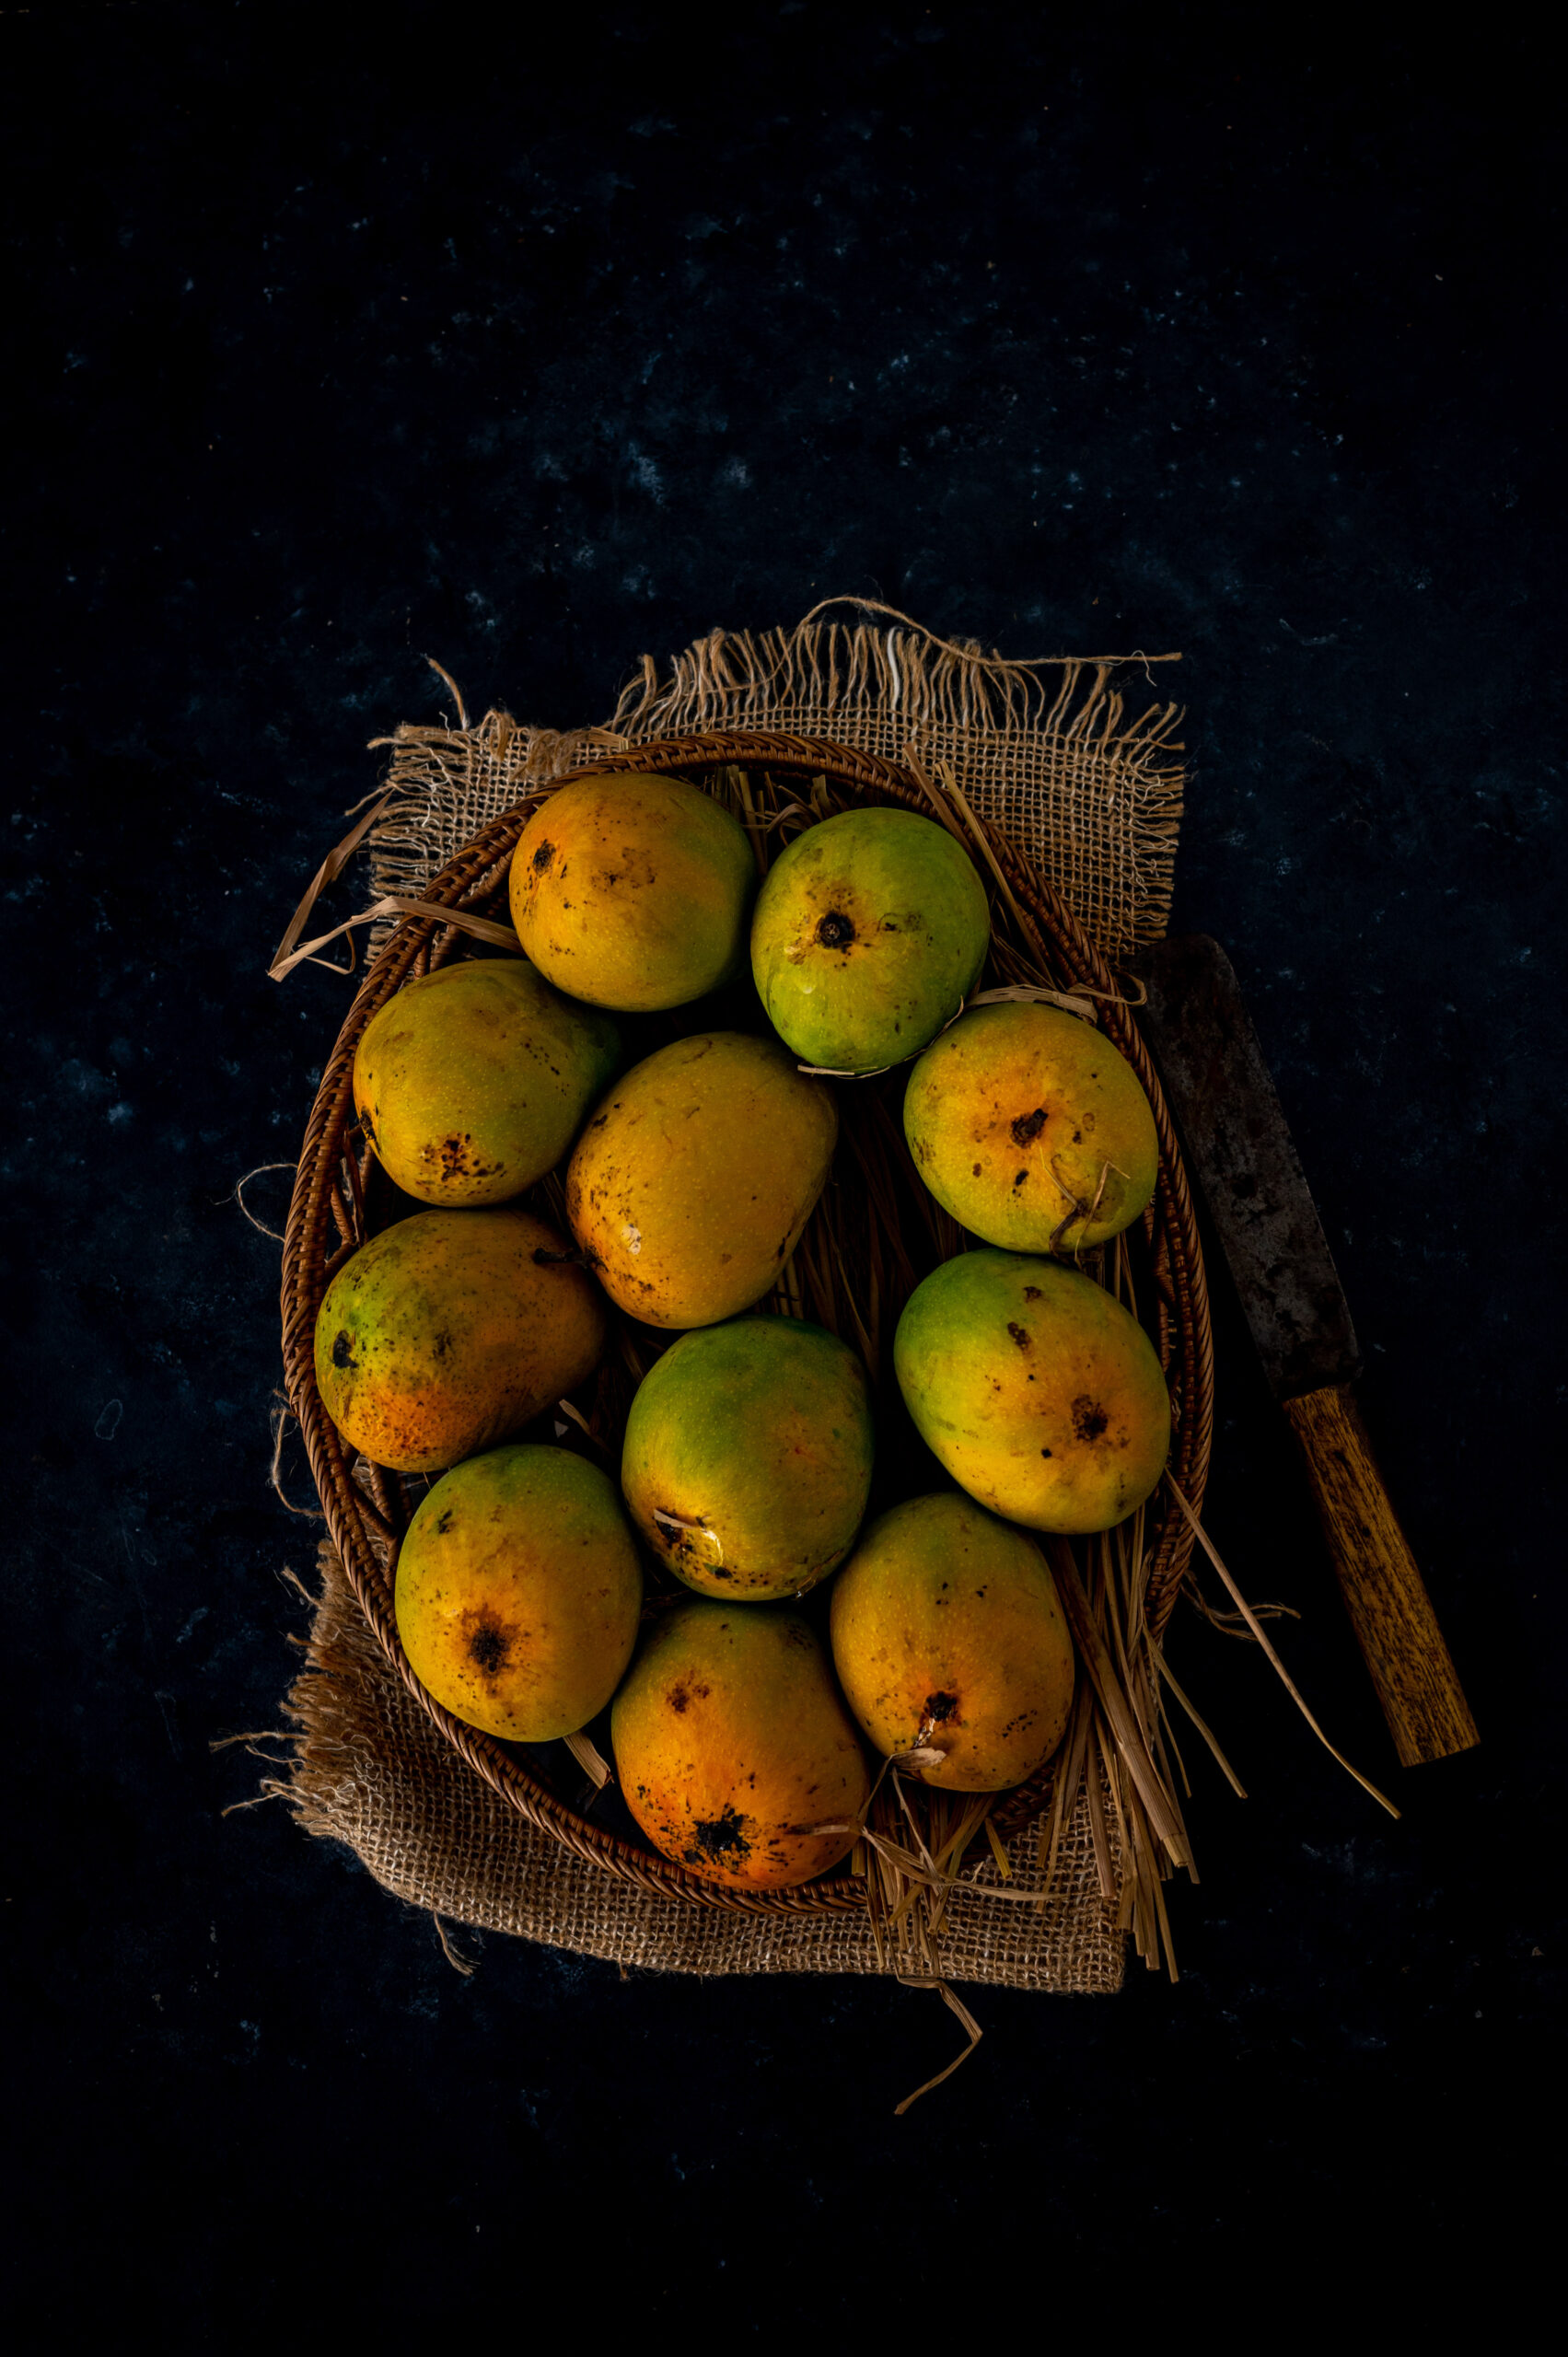
Given that this is a summer during which the simple pleasures are more important than ever, as we continue to collectively fight the pandemic, I intend to fully take all the joy I can get from the mango season. Do subscribe or connect over Instagram so that you’ll know as soon as my next few recipes go up – dishes that range from sweet to sour to savoury are coming, all thanks to this wonderful fruit!

As I said earlier, I think of this mango twist as a “reminder recipe” – is there anything similar that you’d like to share in the comments? I am sure we would all love to know more about each others’ summer go-to dishes and desserts!
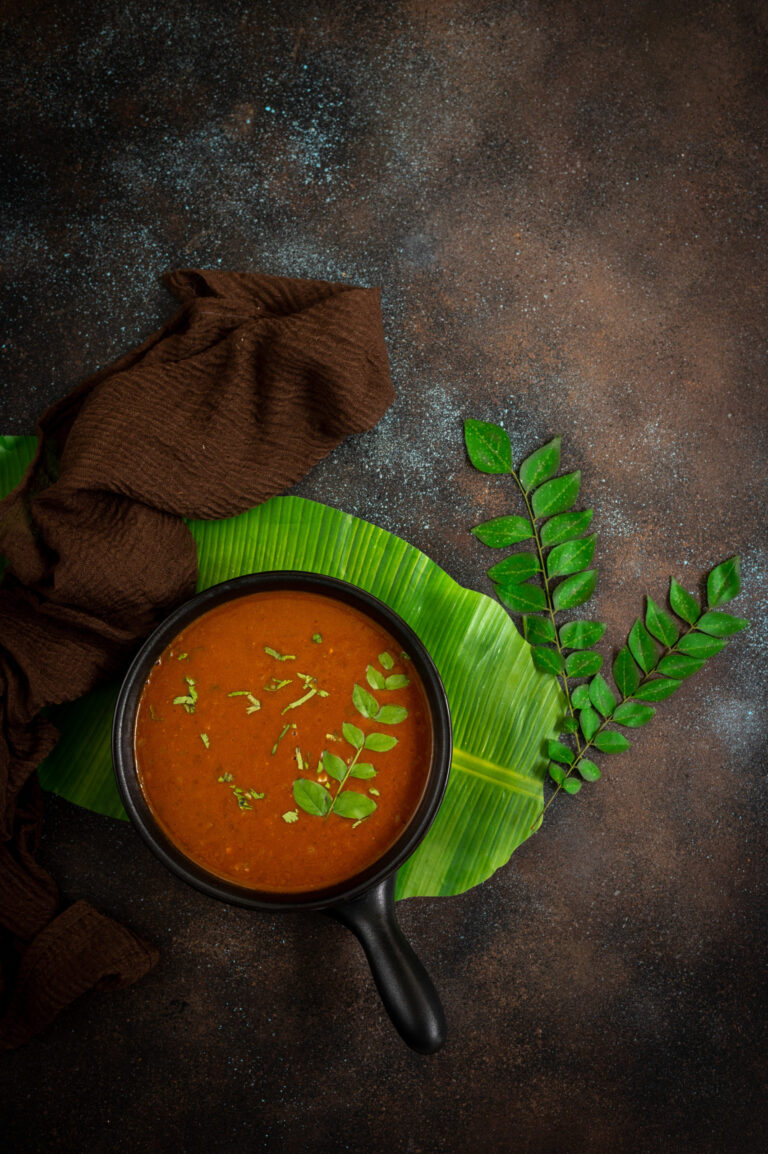
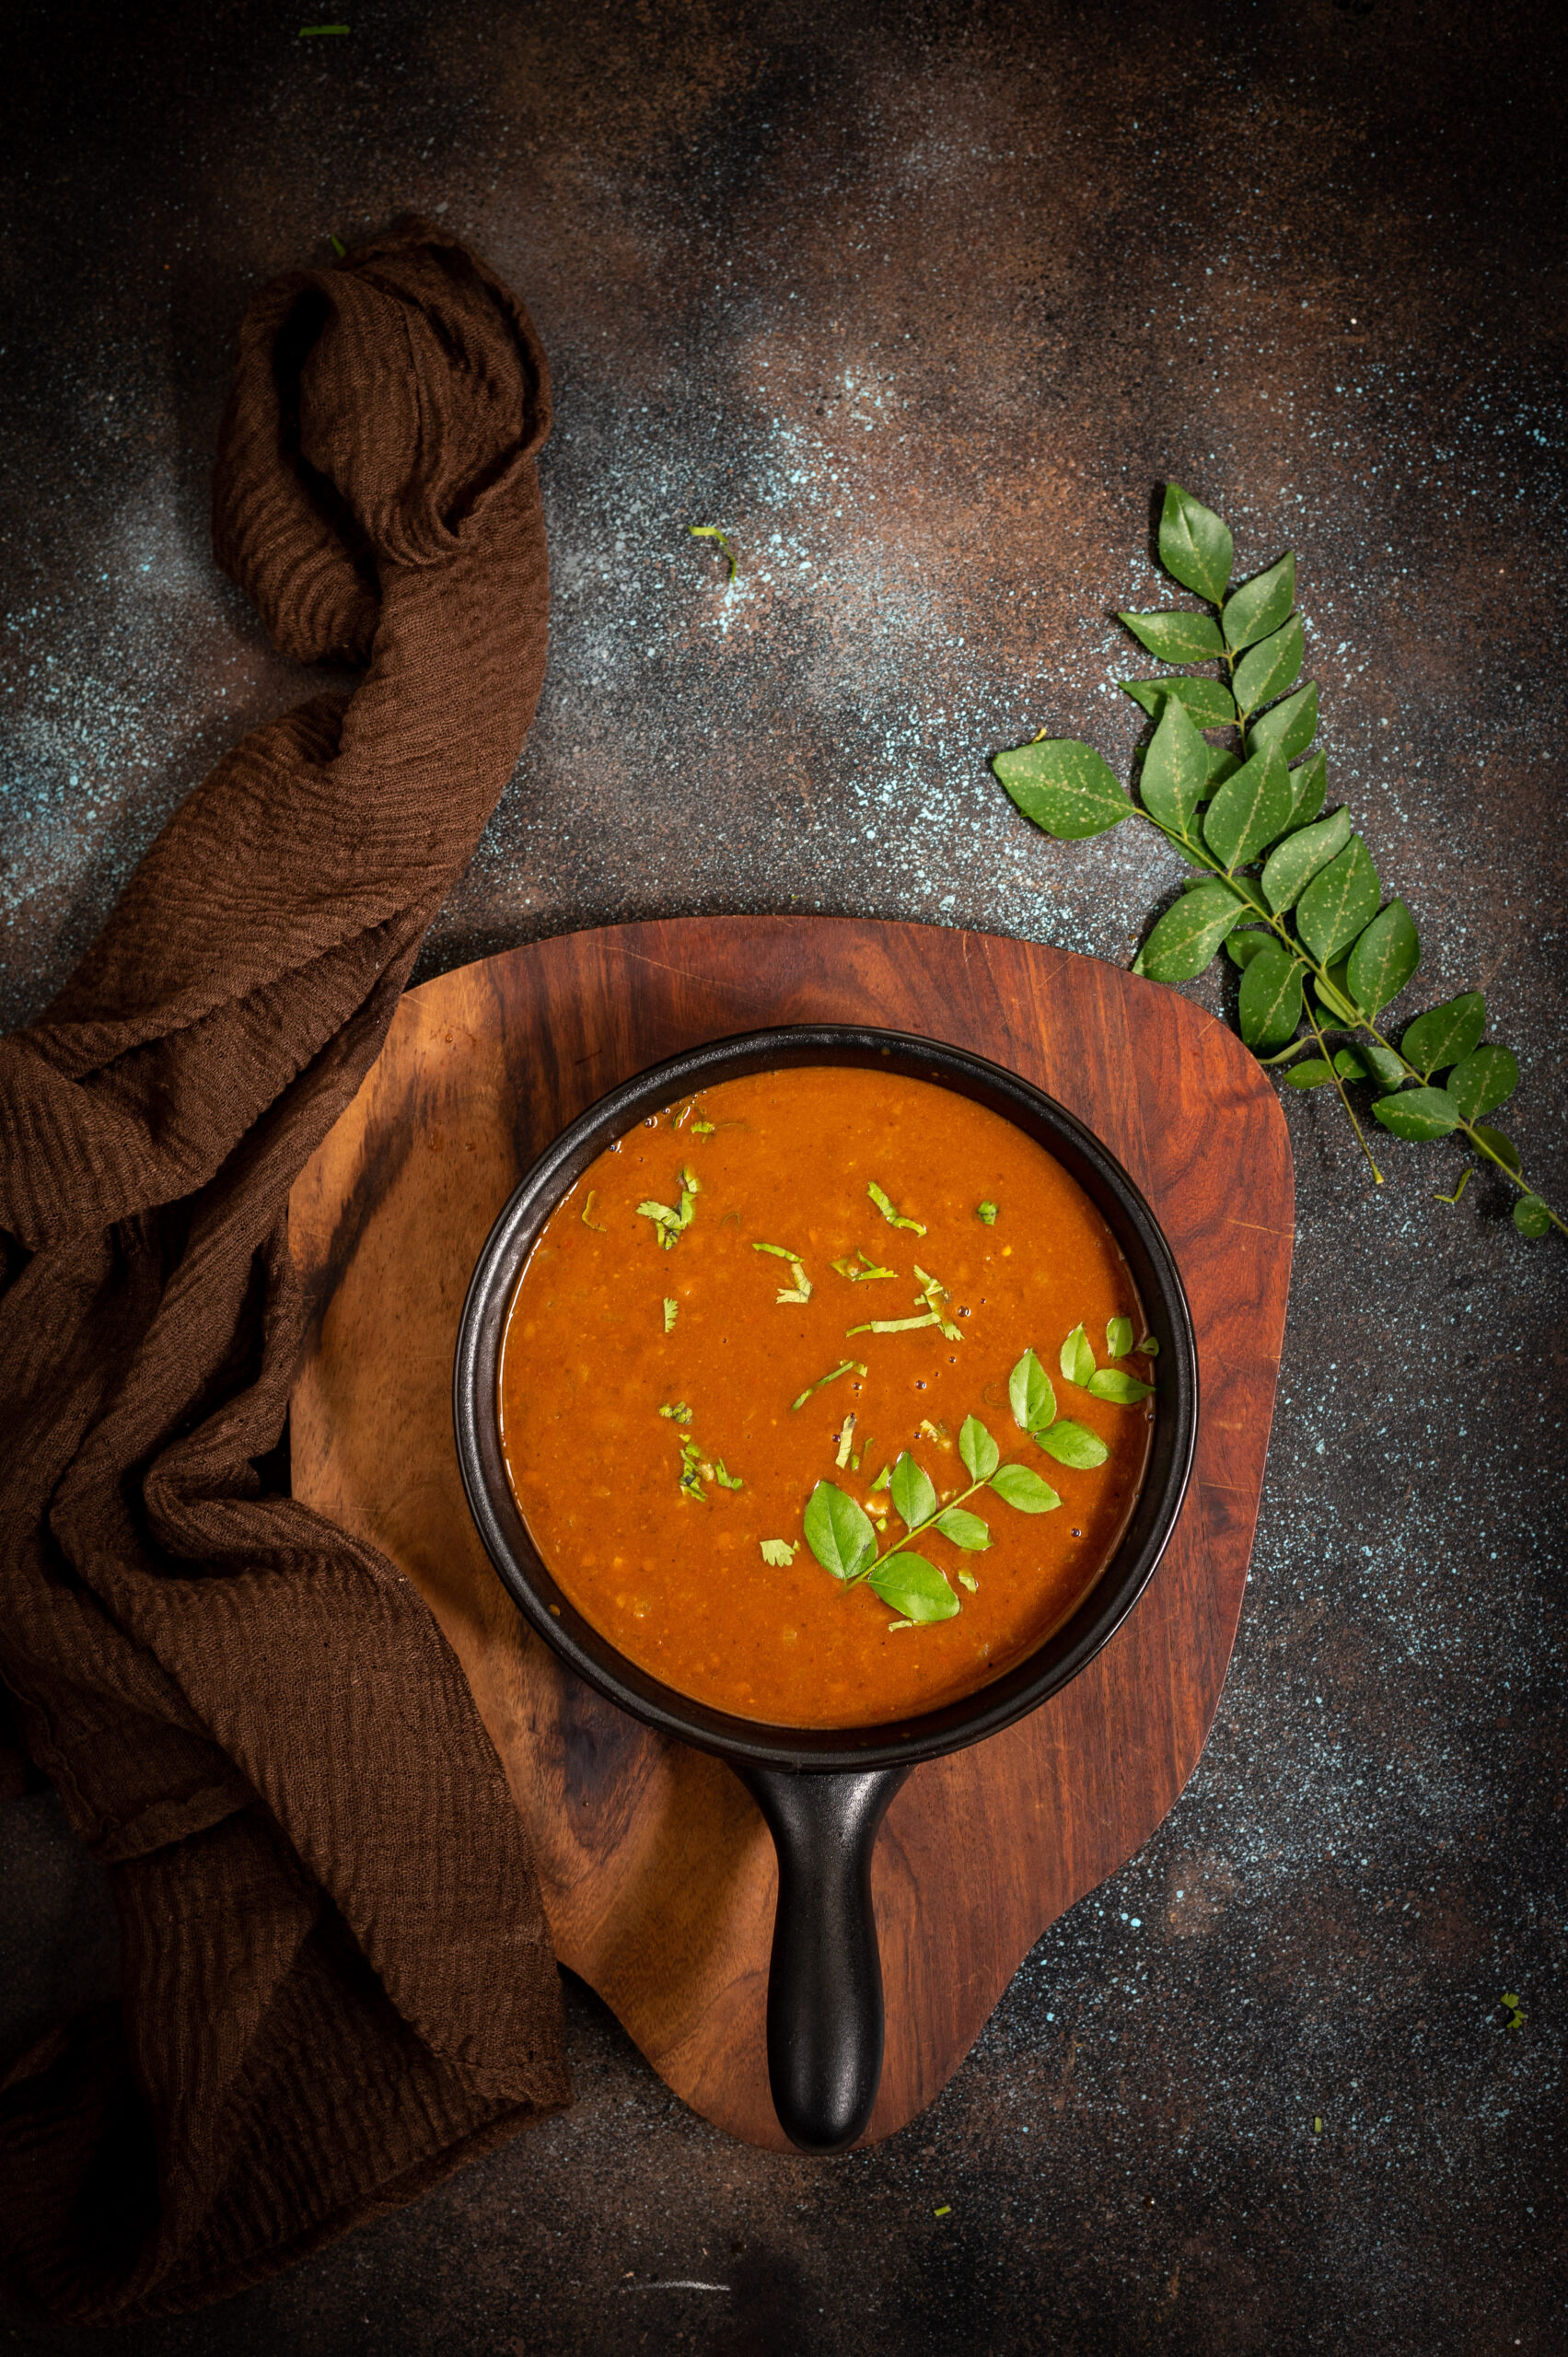
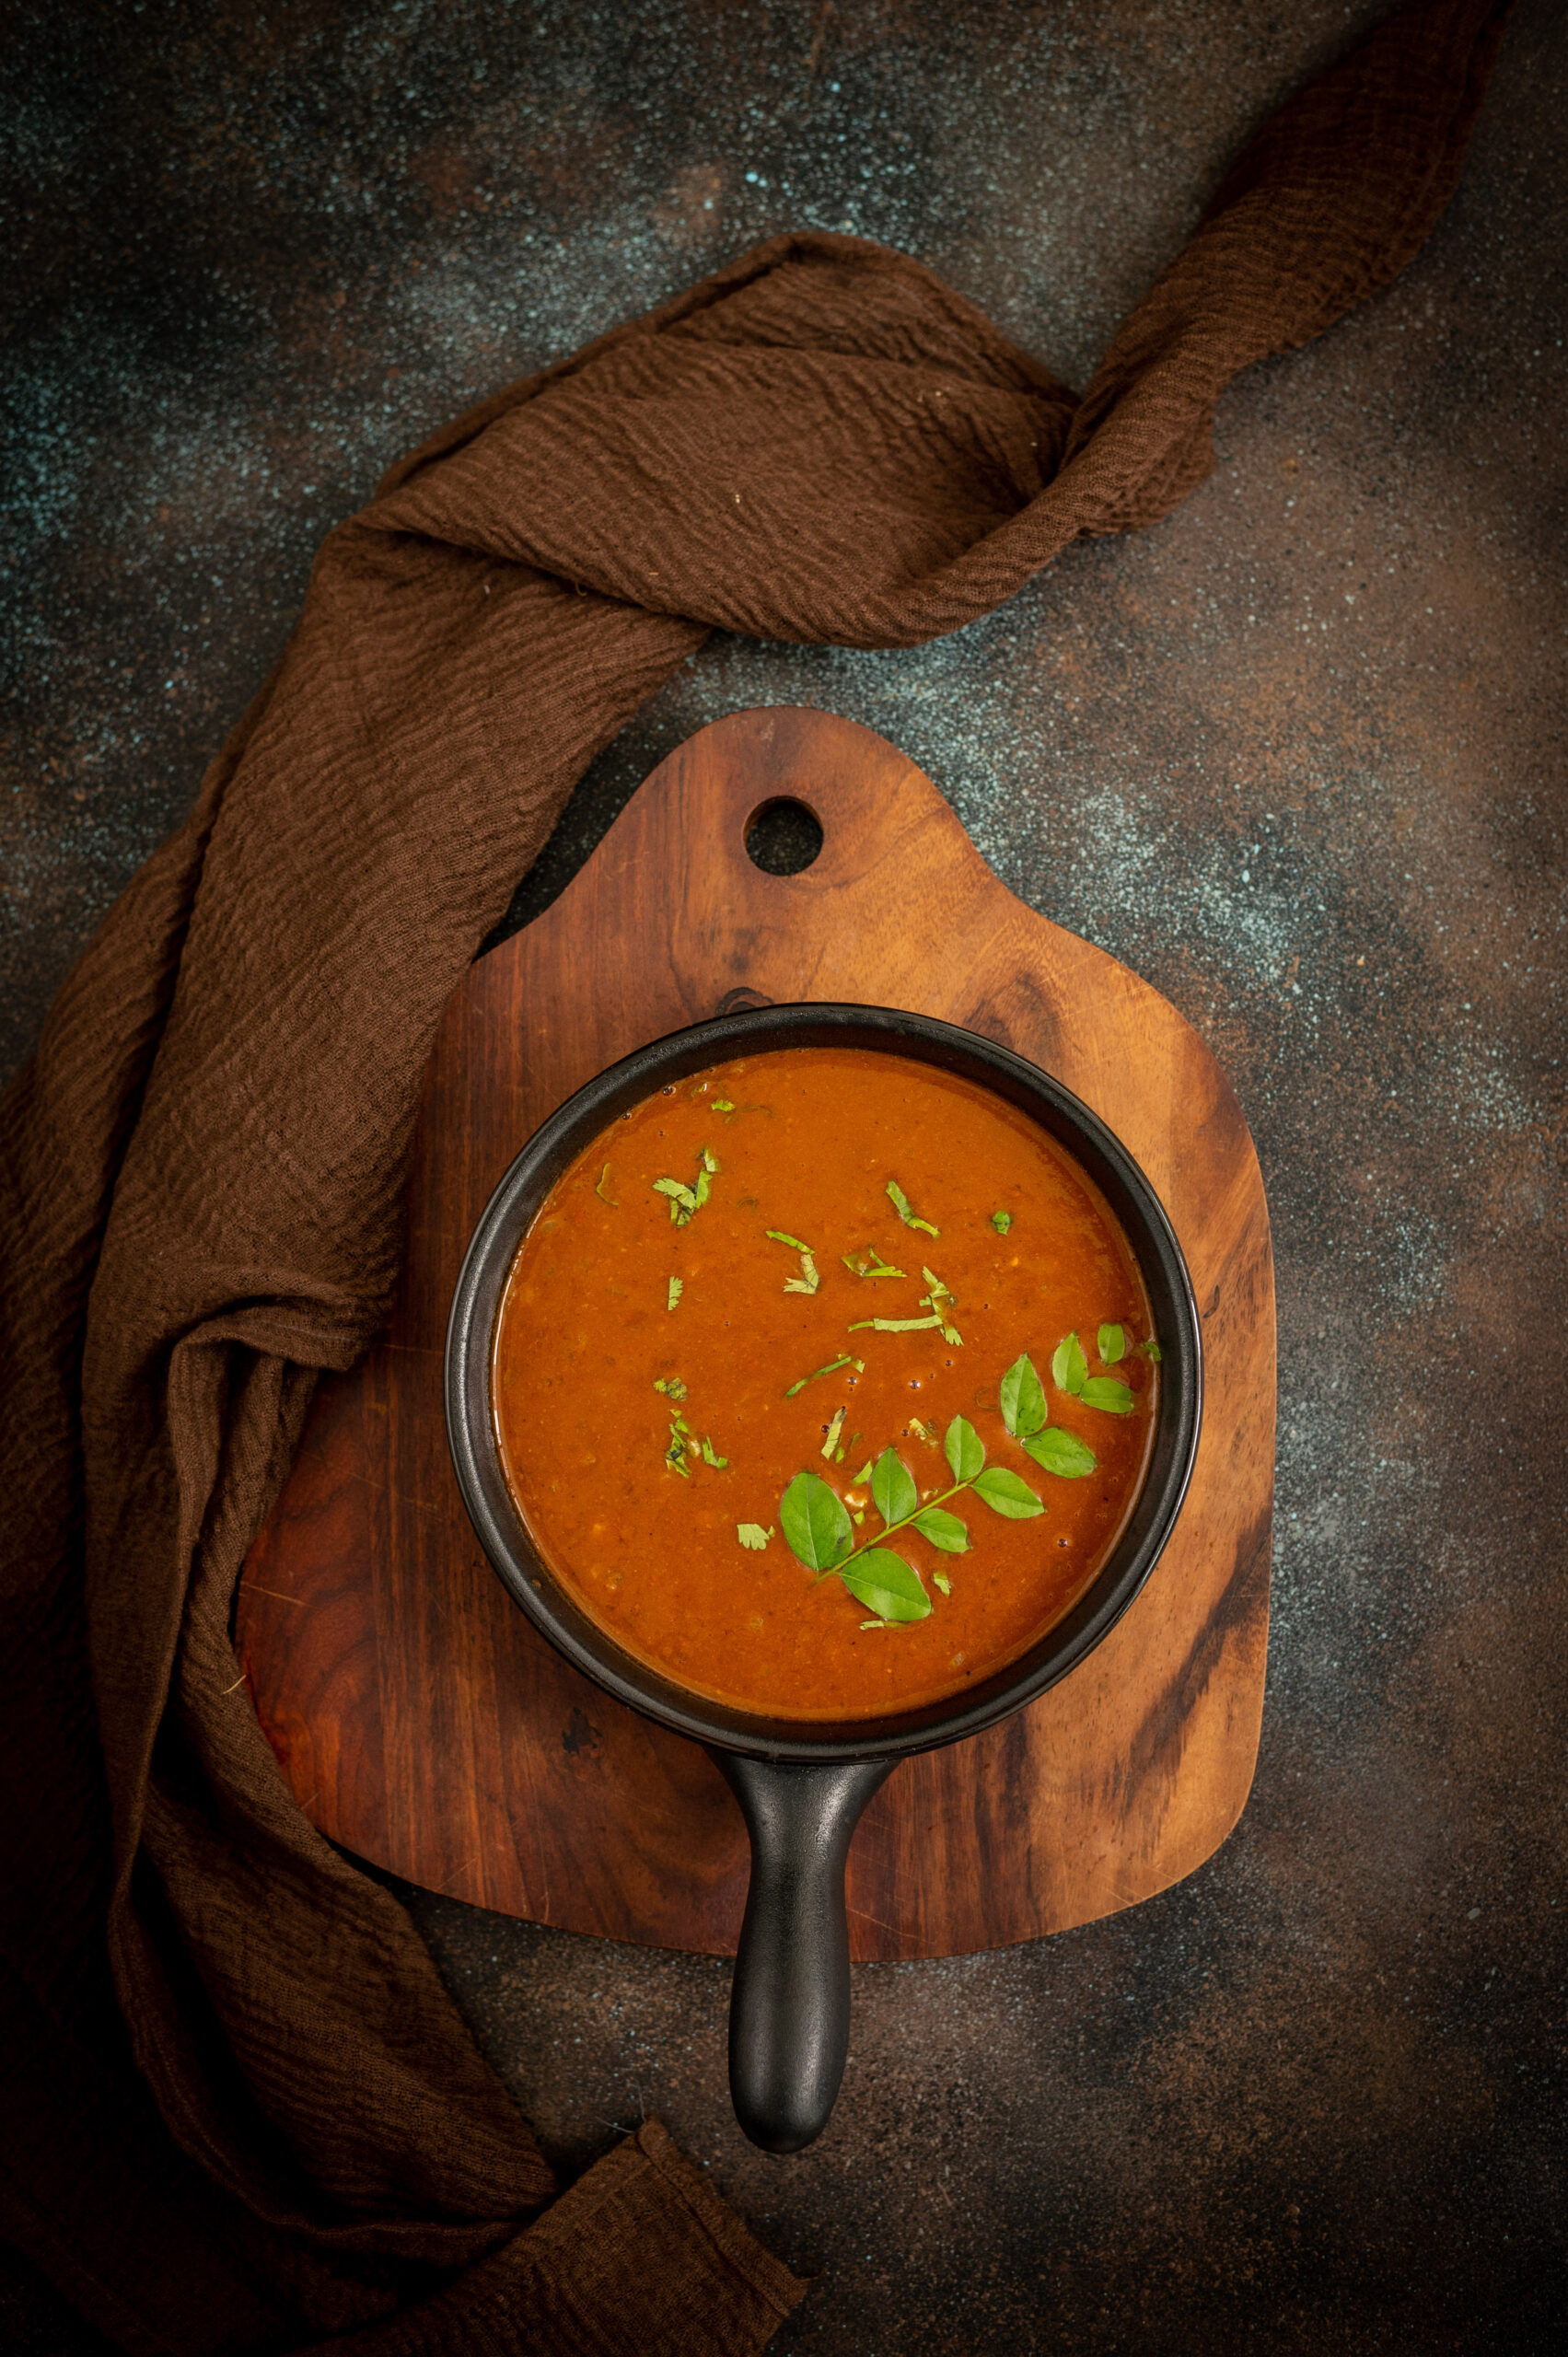
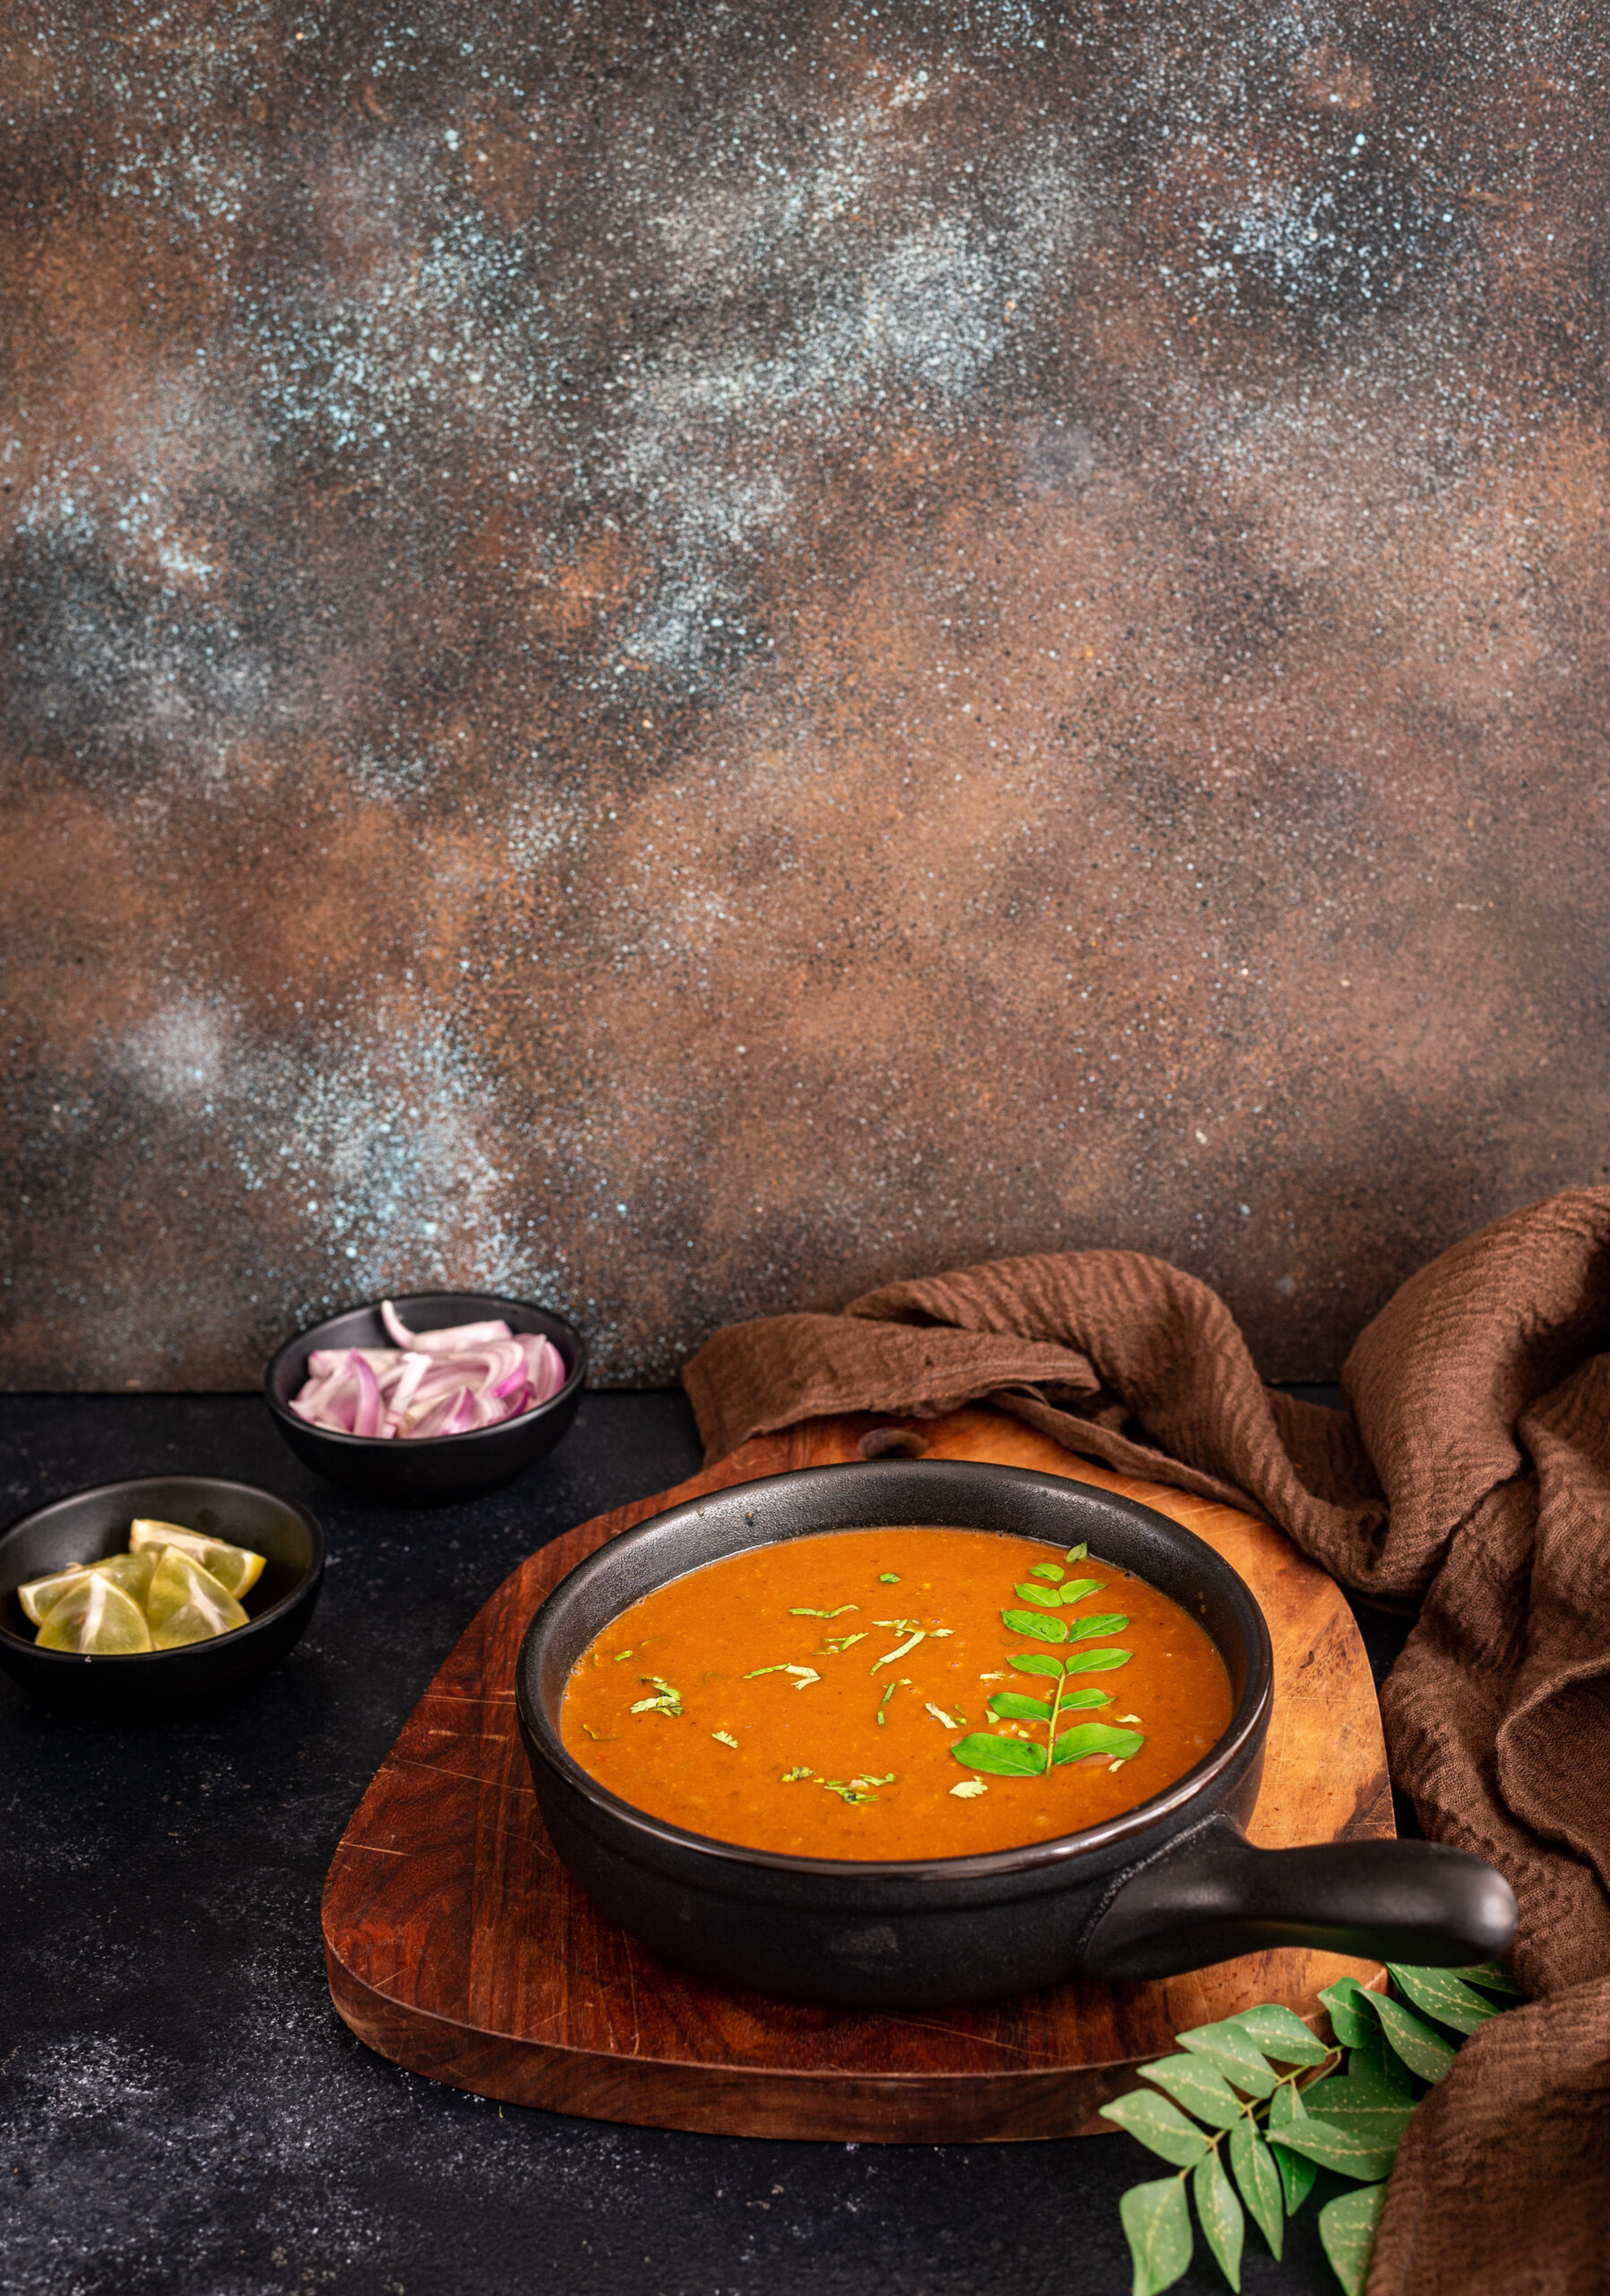
Sometimes it happens that I chance upon a wonderful dish somewhere, and as I’m never shy about asking for recipes, I decide to find out exactly how to replicate it myself. But then, the story of how that dish wound up at that table turns out to be more complicated, and I’m unable to get to the source. There was a horse gram dal that I had at a friend’s house once, but it had been made by someone else and I didn’t have access to the original recipe. I was intrigued not just by its fine taste, but also by the use of a legume that I’ve encountered relatively rarely. I haven’t been able to stop thinking about that dal since, and between my inability to obtain a recipe and my own culinary inquisitiveness, I set forth on a series of trials to create a version that I would want to serve – and to eat! – again and again.

Fortunately for me, I had an accomplice in this endeavour. We have a new cook at home, Prem, who shares the kitchen space with me. He is a wonderful chap, and we’ve been getting used to each others’ styles and quirks. I am very particular about who enters my kitchen, and the cryptic but tangible measure of “good energy” is extremely important for me. He definitely has that. The problem though? He is as meticulous as I am, maybe even more so. He talks constantly and questions everything I do, because of which I call him my second mother-in-law. He rattles off 25 questions about each thing, and nags me about certain details, with food wastage being a pet peeve of his. When I arrange something on the shelves, he’ll come in two minutes later and rearrange it to his own preference. I tease him for his pedantic nature, and he teases me back. I’m not complaining; the kitchen has not become a battleground at all, but is now a space for shared experimentation. We came up with this horse gram dal recipe together. In fact, to give credit where it’s due, it’s more his than mine.

I must add this suspicion here: I think there may be a secret ingredient that he adds to this dish once I’ve stepped out of the kitchen, but you know how determined I am when it comes to cracking a recipe! I think I’ve done it, and between him and I, we have pretty much perfected it. This wonderful dish has actually made me forget what the original horse gram dal I enjoyed at my friend’s home tasted like. Now, this is the only rendition I know, and it’s served in my home several times a week. You may recall from my recent Gujarati dal recipe that toor dal is very beloved in my home. It’s been quite exciting to introduce a new dal that actually challenges the multi-generational staple!

While doing a little research on horse gram, especially since it’s an ingredient that strangely enough isn’t a staple itself, I was tickled to find that it is also called Madras gram! In Tamil, it’s known as “kollu”, and it seems that it is native to the subcontinent and has its own names in various Indian languages (it takes its English name from its prevalence in horse feed, where it was used because it gave the animals such a boost of energy, just as it does for us). In terms of health quotient, horse gram is high in iron and protein, and is used in traditional medicine systems to help treat kidney ailments, mumps and jaundice. It’s certainly a legume that we could all be eating more of. So I would also like to use it in more dishes, and if you’re open to sharing your recipes, you know that I’m all ears!

Perhaps it is just like so many other traditional foods that have slowly been declining in common usage. As a sustainability and authentic food revival enthusiast (as I’ve discussed various times on this blog, such as in this black sticky rice pudding recipe) this has me very intrigued. Do you use horse gram in your cooking? I’d love to hear about your memories, experiences and theories about why it’s become less popular.

Horse Gram Dal

(Yield: Serves 3-4 people)

½ cup horse gram dal

3 cups water

2 tablespoons oil (+ 2 tablespoons)

¼ tsp cumin seeds

1 finely chopped onion

3 blended tomatoes

1 teaspoon garlic-ginger paste

1 teaspoon dhaniya-jeera (coriander-cumin) powder

¼ teaspoon turmeric powder

1 teaspoon rajma masala

1 teaspoon Kashmiri chili powder

1 pinch asafoetida

1½ heaped teaspoon besan (chickpea flour)

Salt to taste

Soak the legumes in water, overnight. Make sure that they are completely immersed. In the morning, the dal will double in size.

Rinse the soaked dal and put it in a pressure cooker. Add 3 cups of water and allow to cook until the legumes are soft and tender to the touch.  Allow to cool slightly.

In a kadai, add the oil and cumin seeds, and allow them to splutter. Then, add the onions. Sauté until they are brown.

Next, add the garlic-ginger paste. Sauté again and add the chickpea flour. At this point you will need to add more oil, about 2 tablespoons, until the concoction looks like it does in this video.

Next, add the chili powder, coriander-cumin powder, turmeric, salt, asafoetida and rajma masala.  Mix, and then add the blended tomatoes. Now, sauté for about 3-6 minutes or until the oil separates.  Finally, add the dal, along with the water it was cooked in, to the mixture.

Stir and allow to boil for no more than 5 minutes. Serve with roti, rice or however you usually take your dal. I can’t wait to hear what you think of it!

There are two things from the past that I have recently had a hankering for: wood rose trees and wood-apple fruits. For over a year, I’ve been asking people if they know where I can find a cutting of the wood rose tree, which I remember from gazebos at a club in my childhood. I loved to break its pods open and see the black seeds. Many cannot even recall such a plant, and it is sad to know how something that had once been familiar has almost faded from public memory. The wood-apple fruit, however, is one that everyone knows. Or rather, they remember its existence. Even if they may not be able to remember when they last tasted it. This fruit has slowly been disappearing from our palates, as I realised over recent months when this craving hit me and it became almost impossible to source.

Thanks to my good fortune, I found a vendor near the Mylapore market who had some wood-apples in stock. I asked him why I hadn’t been able to find it of late, and he told me that demand for the fruit has gotten so low that farmers no longer have an incentive to grow it. It is just not financially viable for them to do so. The wood-apple season that I remembered from my childhood is right around this time, in conjunction with the festive period and the colder months, and it seems that somewhere in the state, perhaps in a scarce way, there is a small harvest after all.

As I said, I have been craving this wood-apple chutney for months, and it means a lot for me to be able to share the recipe with you, since it took so long to source the chief ingredient! I consider this a “revival recipe”, one which I hope will inspire you to bring this fruit back into grocery shopping. This is the only thing that will allow farmers to cultivate it again as they did before.

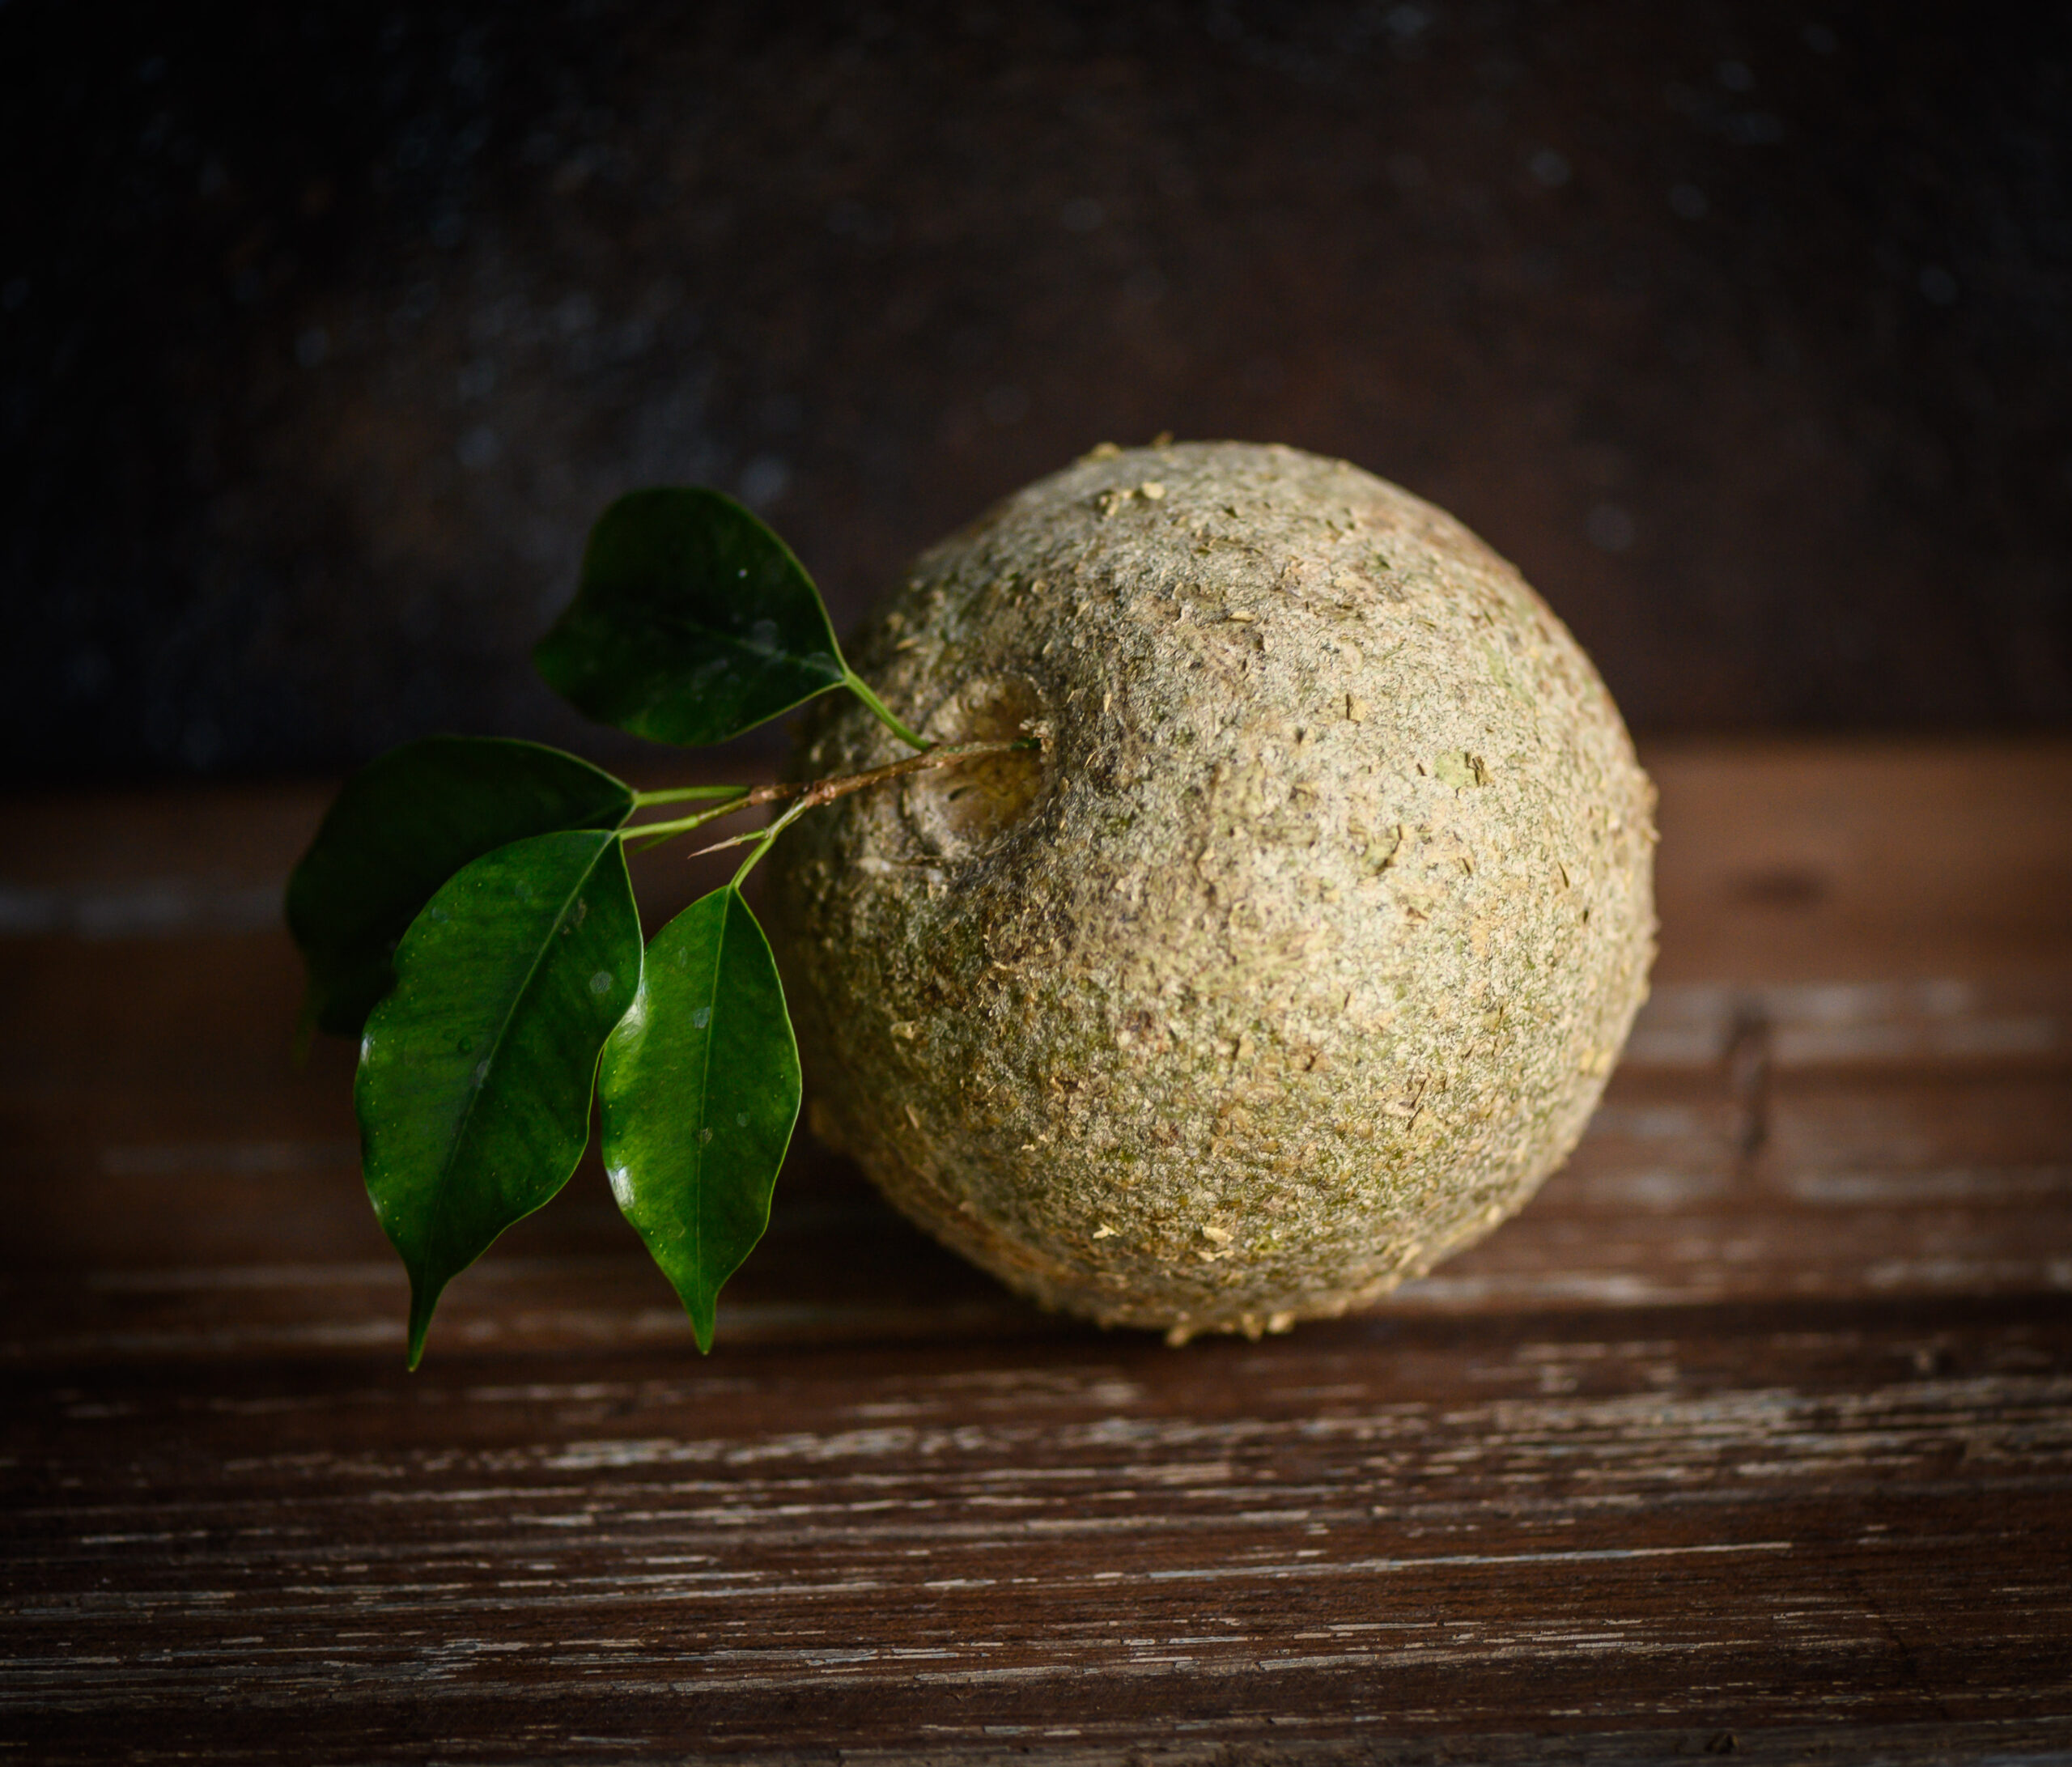
Known as “kotha” in Gujarati and “vizhampazham” in Tamil, wood-apple is known to be a tonic for the heart and the liver, and is good for treating intestinal, throat and gum ailments. Many parts of the tree, including the pulp, also have anti-venom properties. It is a pungent fruit, which like jackfruit is something people either love or hate. Needless to say, I love it. My mother often made this wood-apple chutney for us when we were growing up, when the fruit was abundantly available.

This incredibly simple vegan chutney contains just a handful of basic ingredients: wood-apple, jaggery and chilli powder. Some sweetness, some spice and the fruit pulp combined together create an addictive dip that can be eaten in many ways. I am told by a Sri Lankan friend that they often eat their version, which doesn’t contain spice, as a jam on toast. There are of course innumerable recipes in different homes, communities and regions.

What I am sharing today is my mother’s recipe for wood-apple chutney, which I recall eating along with leftover rotis as an after-school snack. I used to think of it as being a part of the larger category of homemade condiments that she would make and bottle at home. Many Indians used to do this – do you remember those pickles that would last a whole year? We would reach out for these pickles, chutneys and more whenever we were in a pinch and just needed something to eat between meals. This wood-apple chutney always satisfied the craving. It’s no wonder that “craving” is really the only way to describe how I kept searching for it for months, and how satisfied I am to have found it.


Wood-Apple Chutney

(Yield: 1 cup)

1 wood-apple

3 tablespoons jaggery

1 teaspoon chilli powder

1 teaspoon roasted cumin powder

1 teaspoon/small ball of tamarind paste

Salt to taste


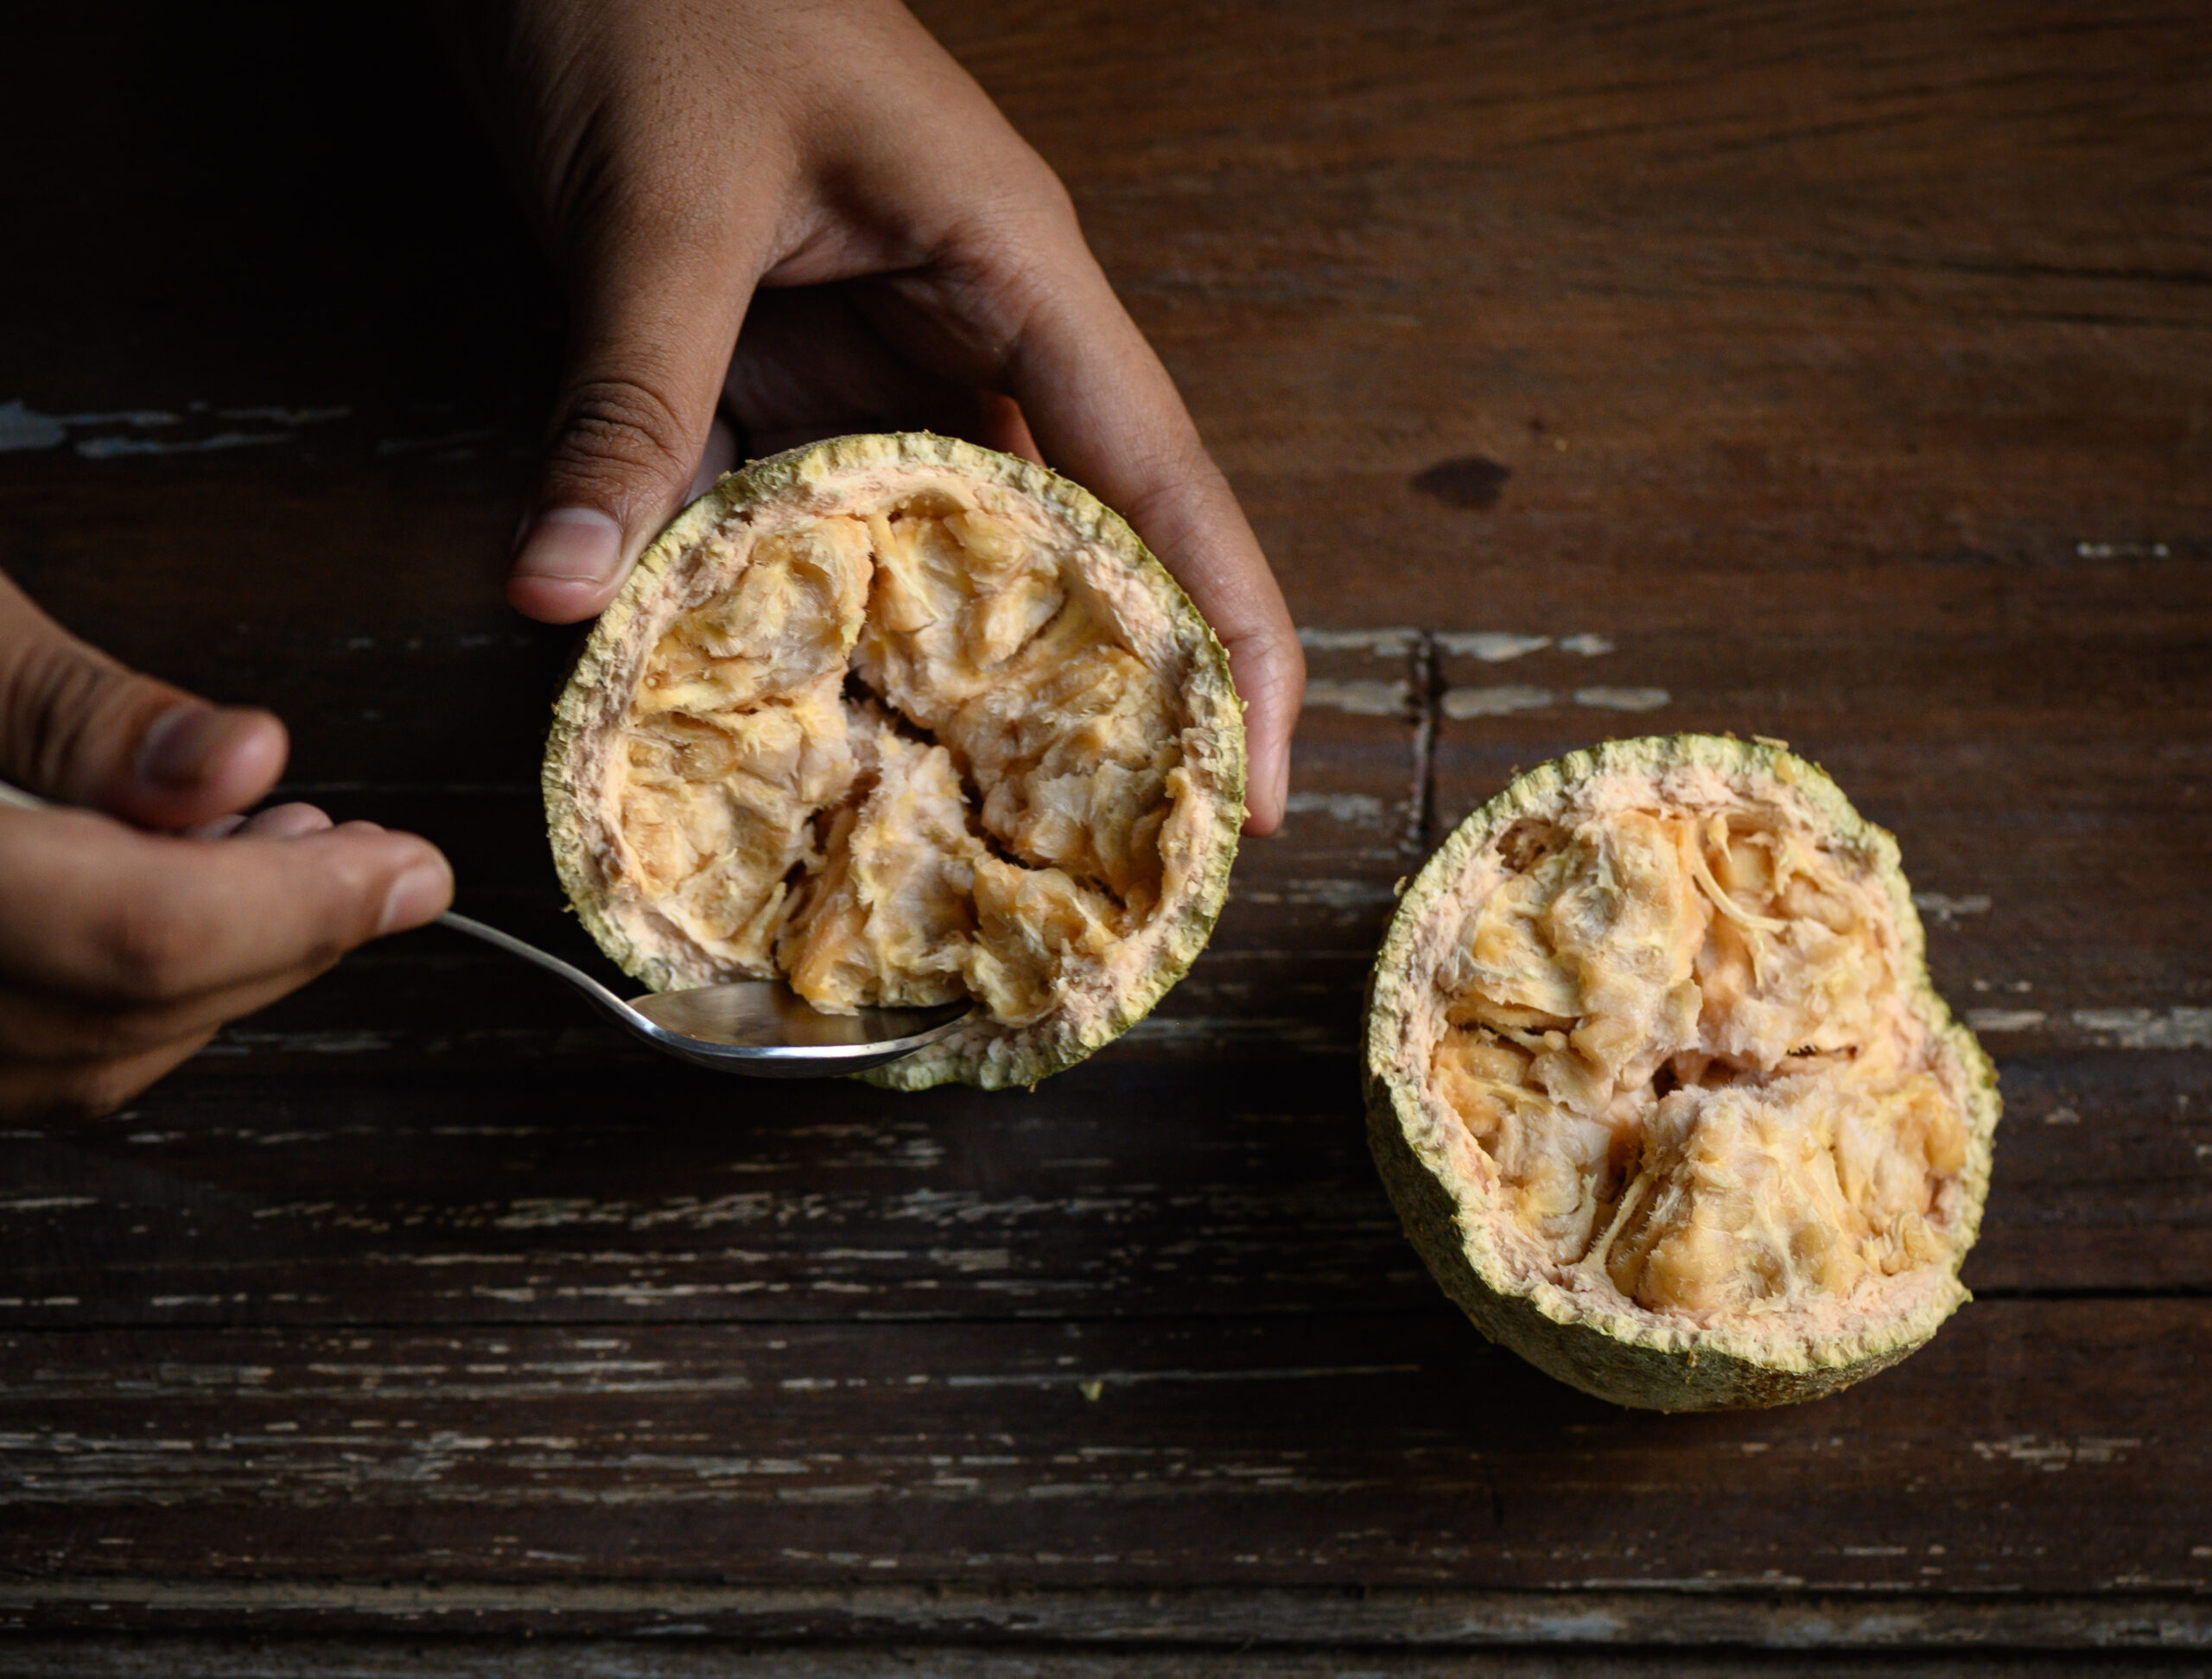
A ripe wood-apple gives out a faint fragrance and tastes a bit pungent on the tongue. It has a soft flesh of an orange-ish colour. You will know that a wood-apple is ripe when the fruit smells. Until then, there is no fragrance.

Scoop the flesh from the wood-apple and keep aside.

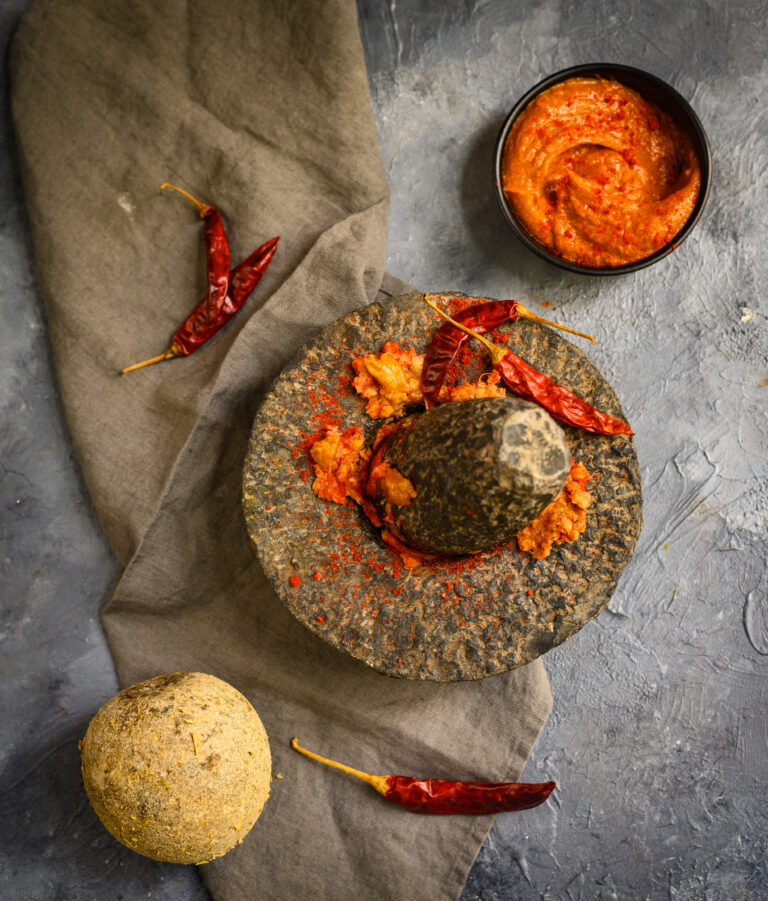
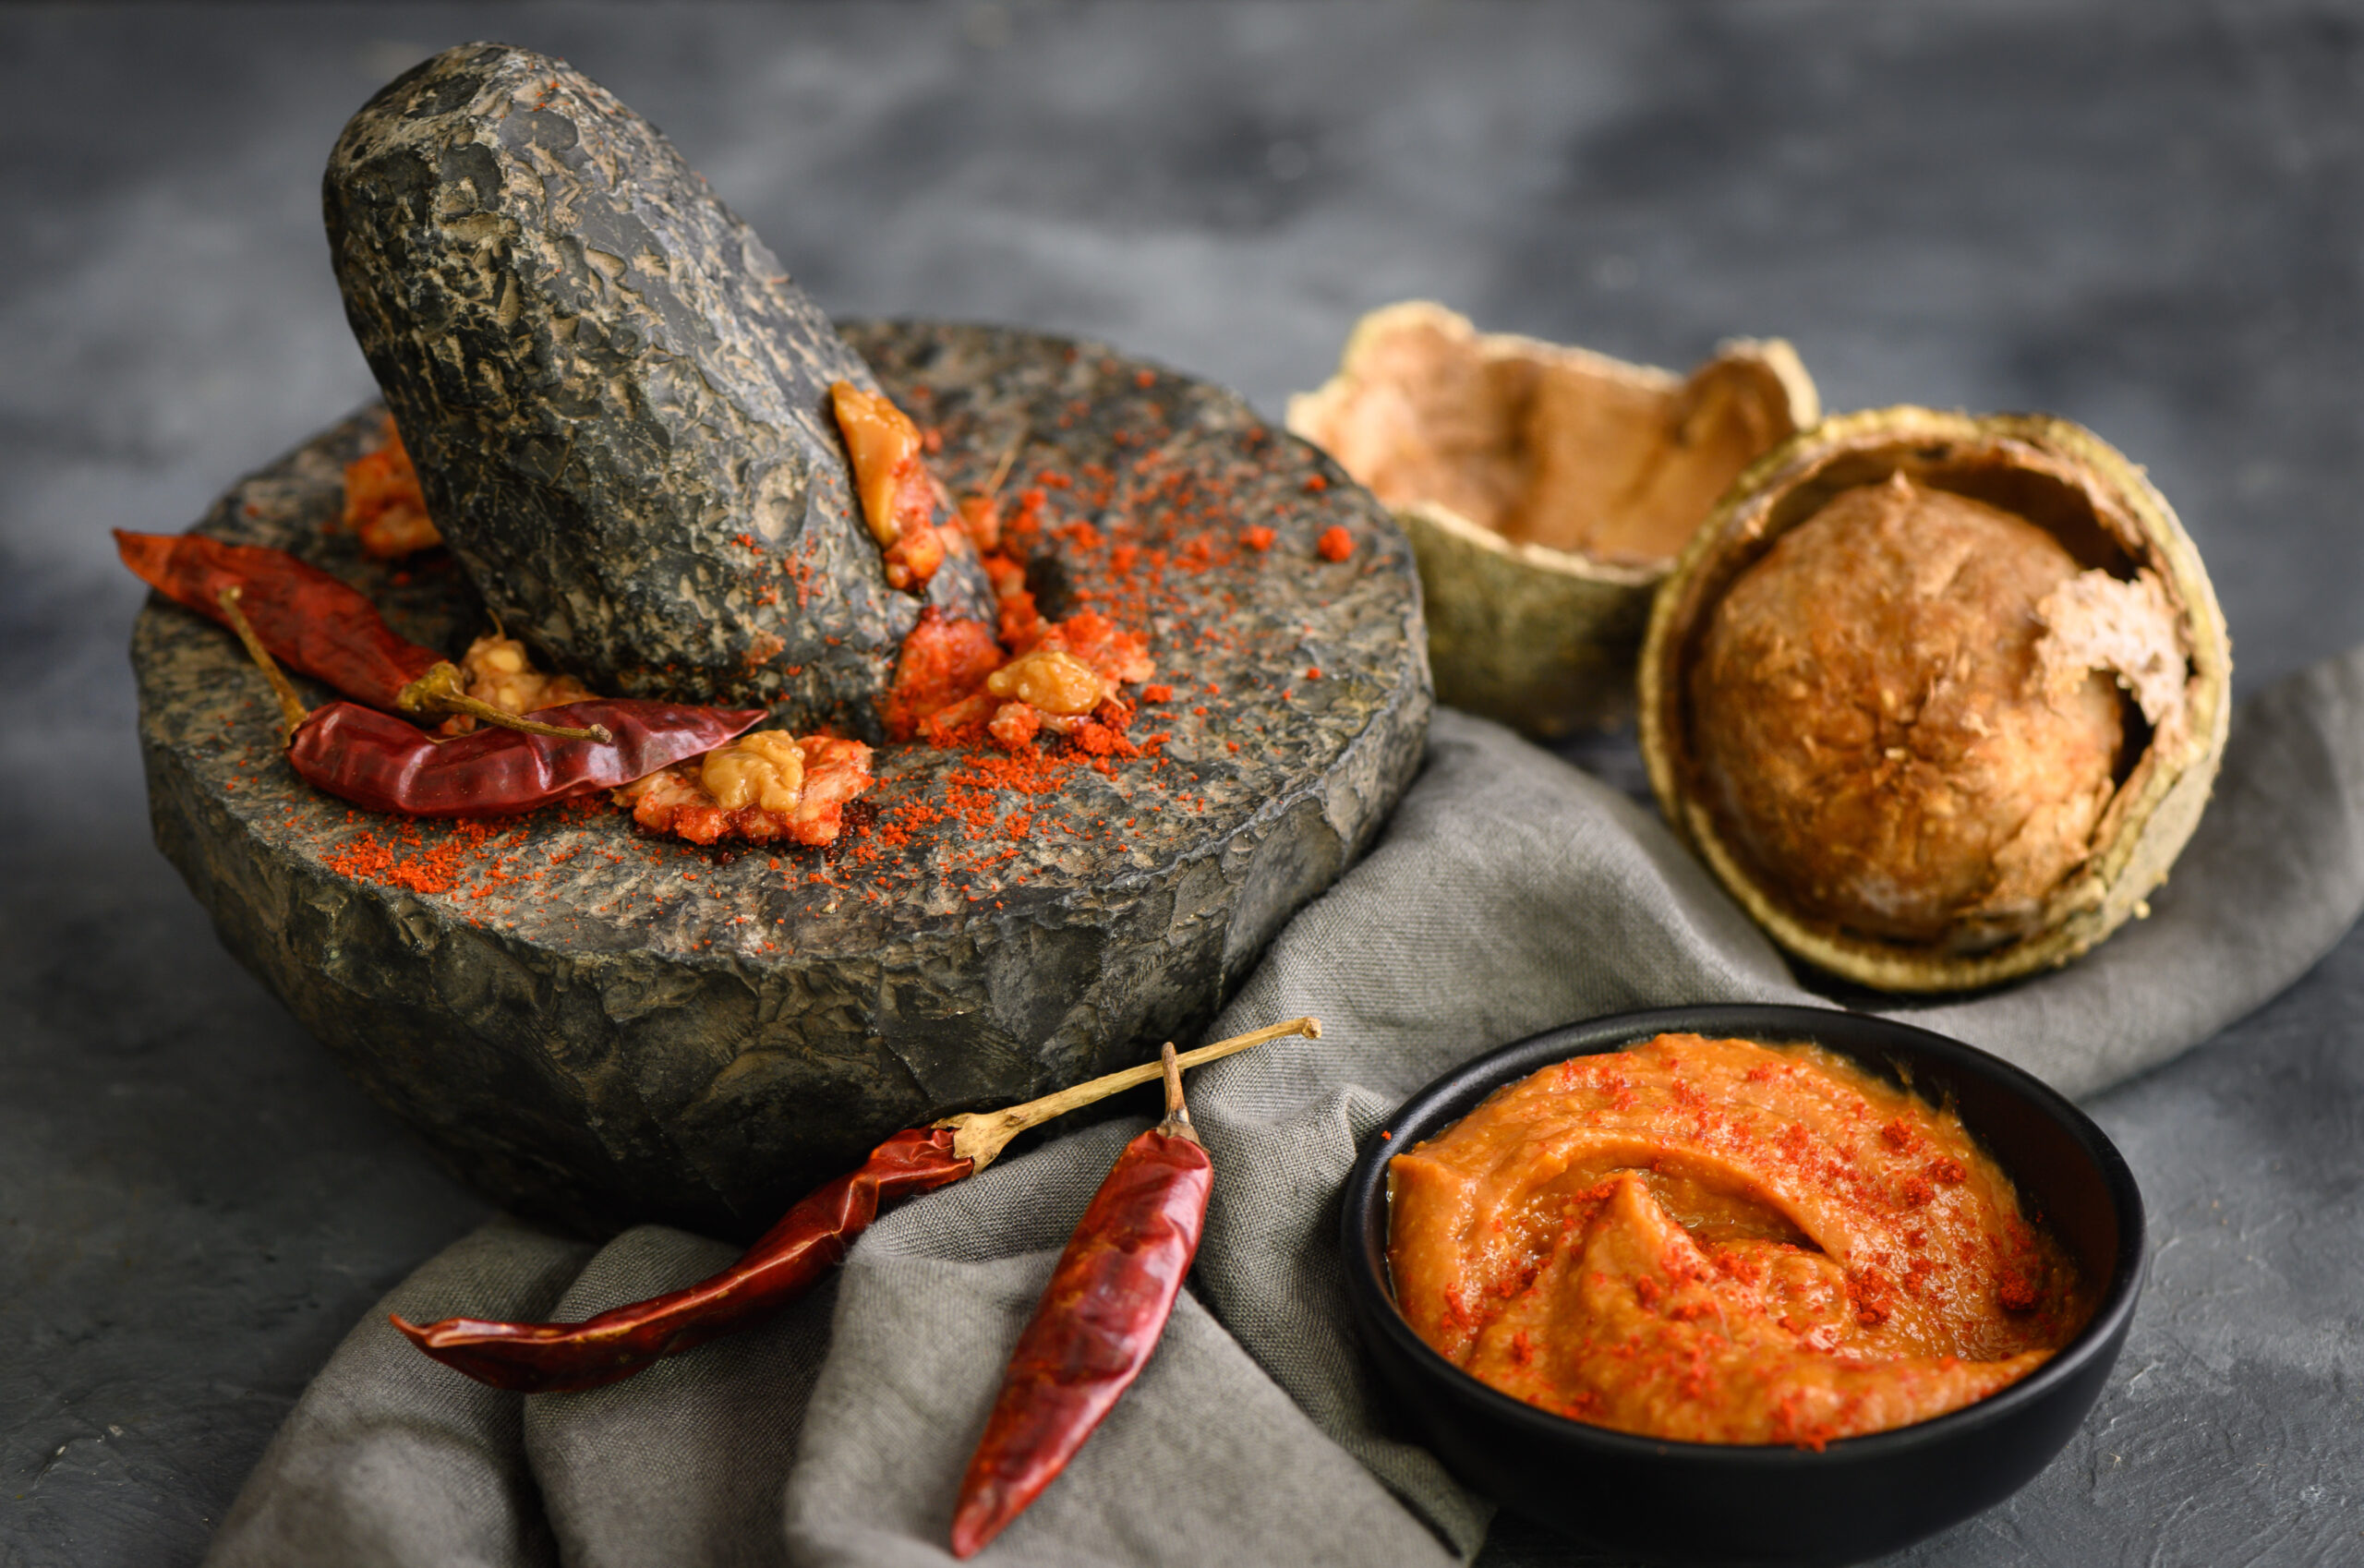
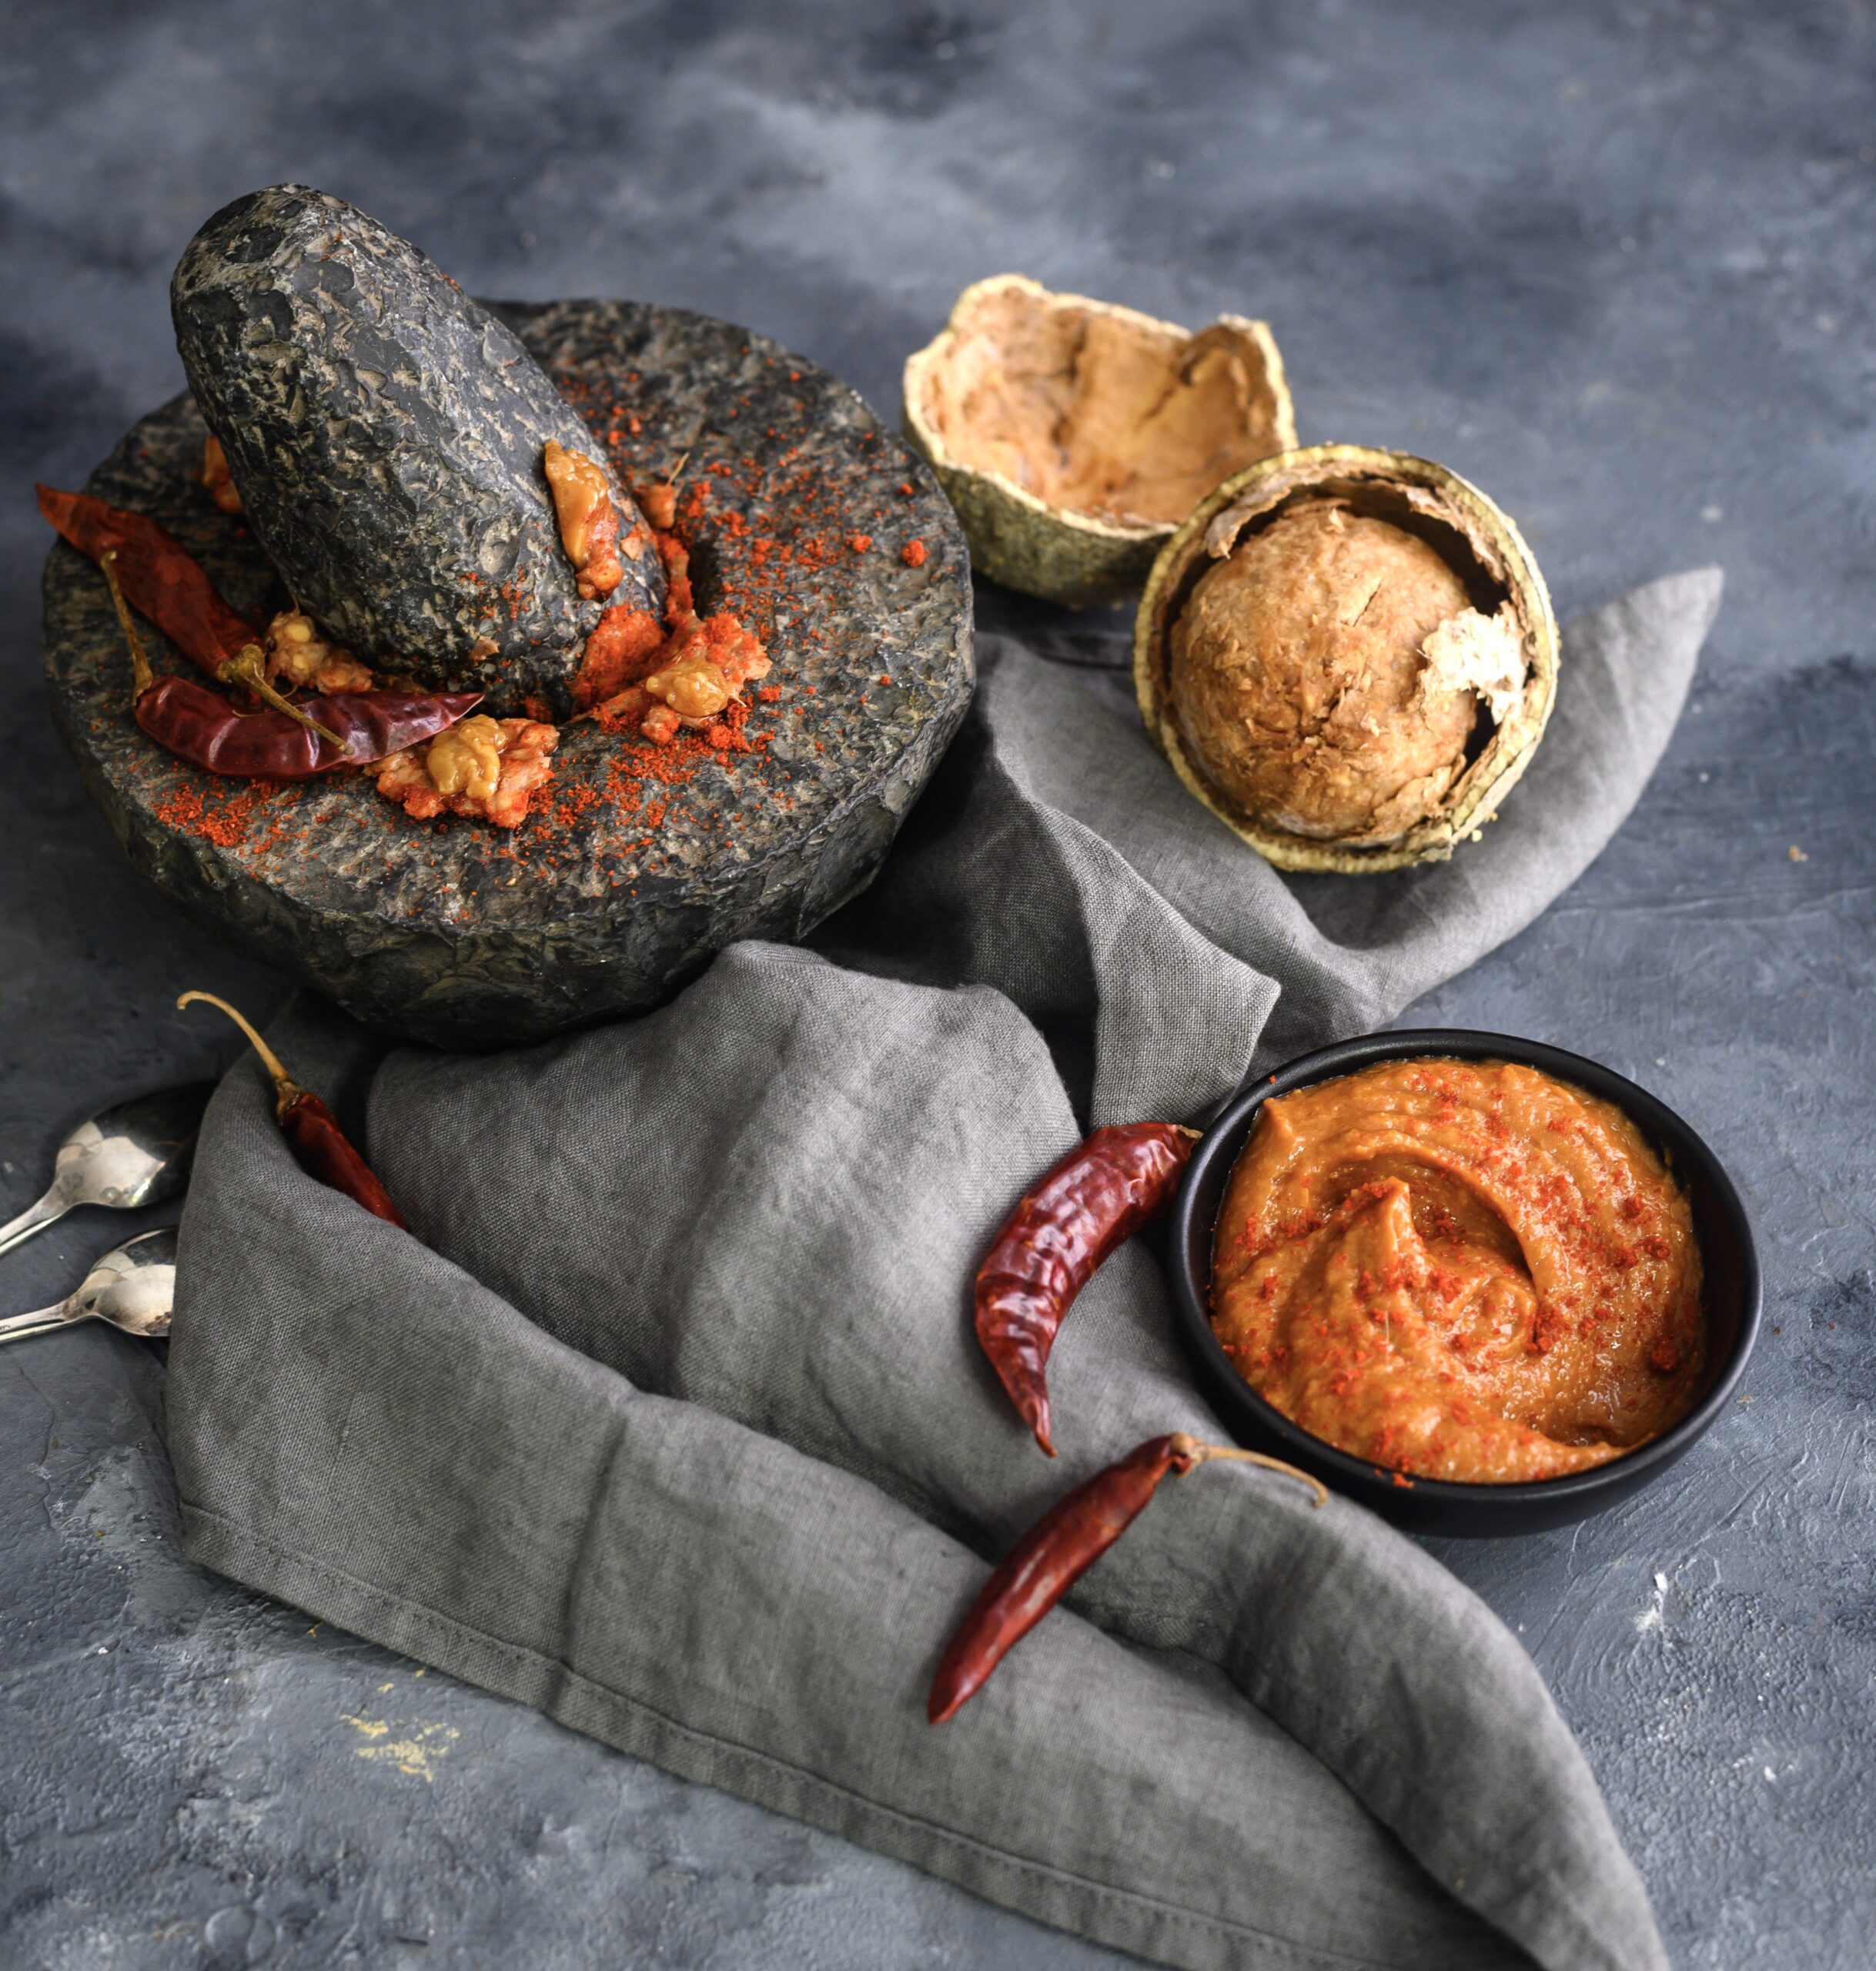
Instead of a blender, I used a mortar-and-pestle like my mum used to, which is the traditional way to grind chutneys. I reach out for it for certain recipes, even though we use the blender today for convenience’s sake. Blend the the wood-apple flesh, chilli powder, jaggery, roasted cumin powder, tamarind and salt to taste, either by hand or in a machine. Do so until it becomes of a chutney consistency.

Move to a bowl. You may enjoy it immediately, or refrigerate. It will stay good for 3-4 days, if it lasts that long. When I make bigger batches, I warm a little oil and pour it on top, so that it is preserved for longer.

This simple and tasty wood-apple chutney is a wonderful dish through which to discover (or rediscover) the fruit, which as I’ve shared earlier seems to be disappearing quickly from our markets. What are some of the fruits and vegetables that you recall from your childhoods which we rarely see anymore? Let’s figure out together how to bring them back into circulation. It’s important for us as mindful consumers to consider the origins of the produce we purchase and eat, and to be supportive of those who make it possible for us to do so. Looking forward to your ideas in the comments!

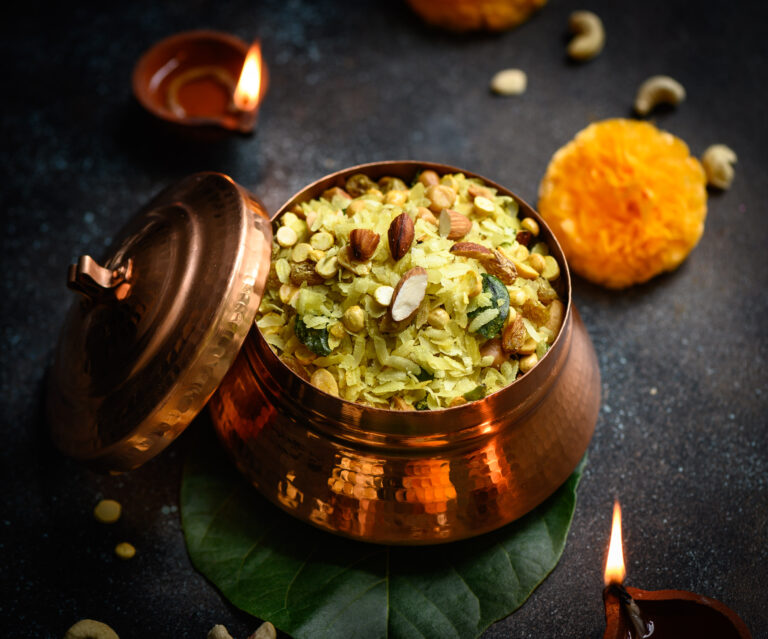
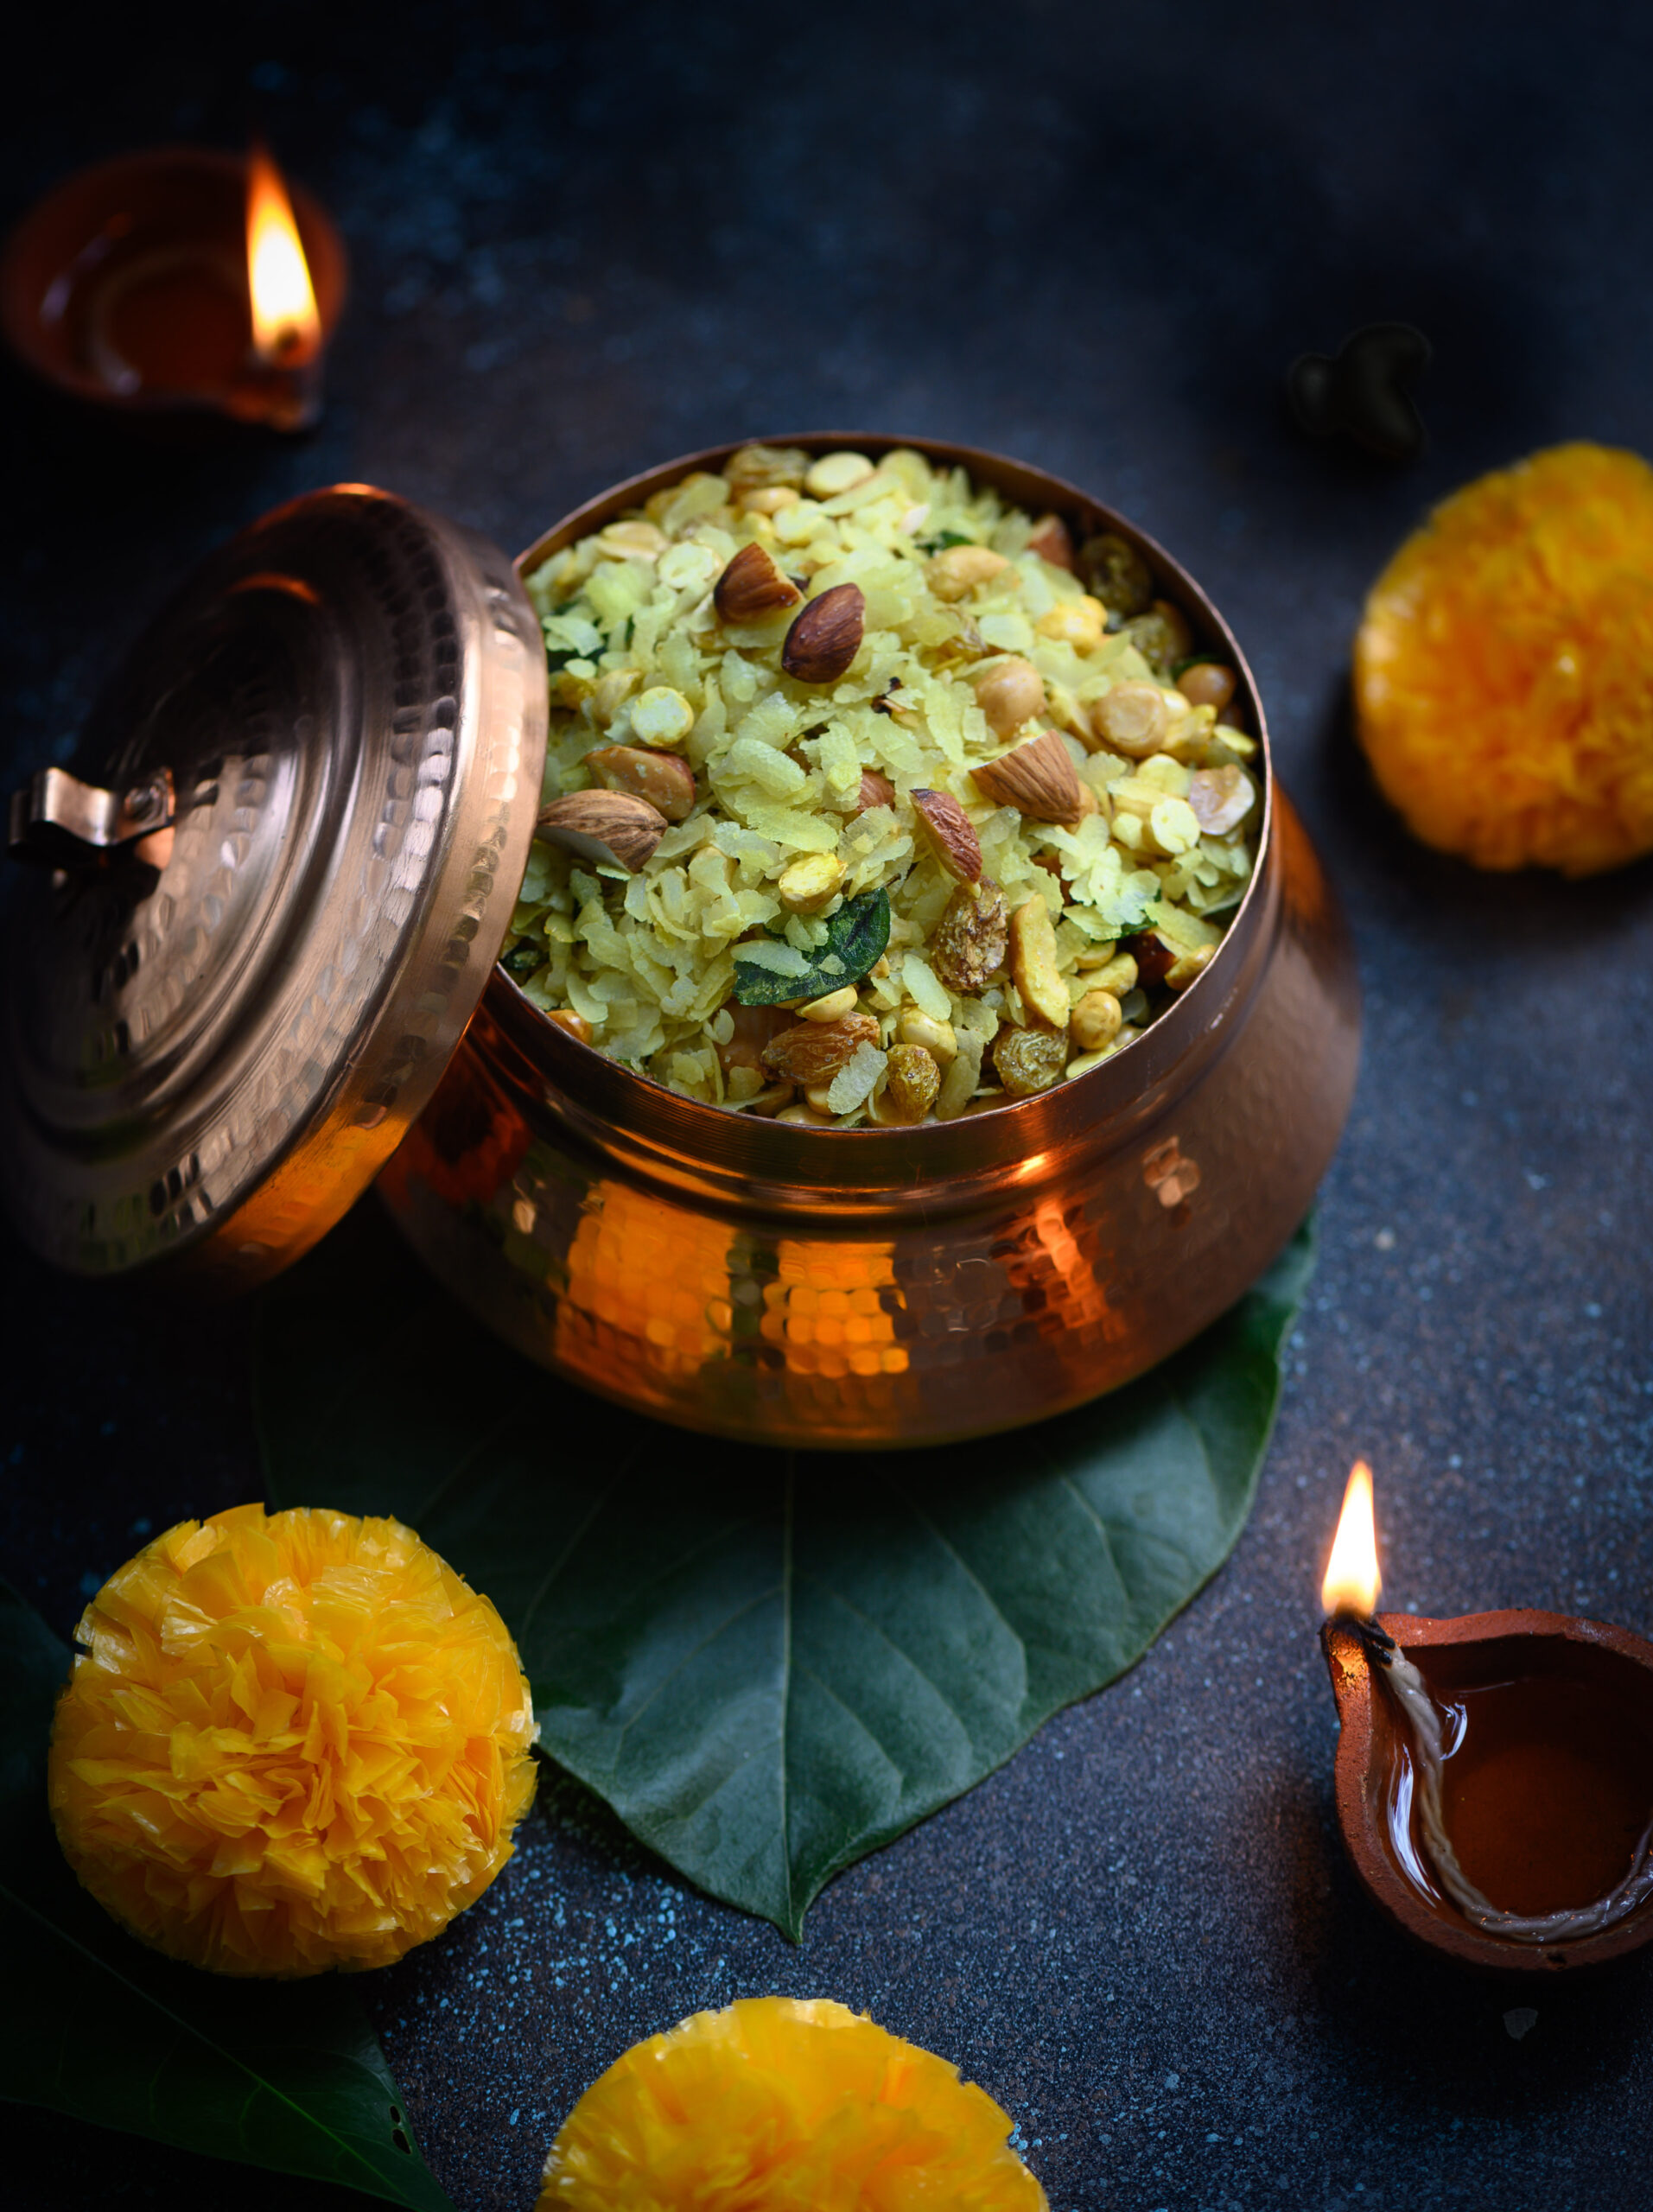
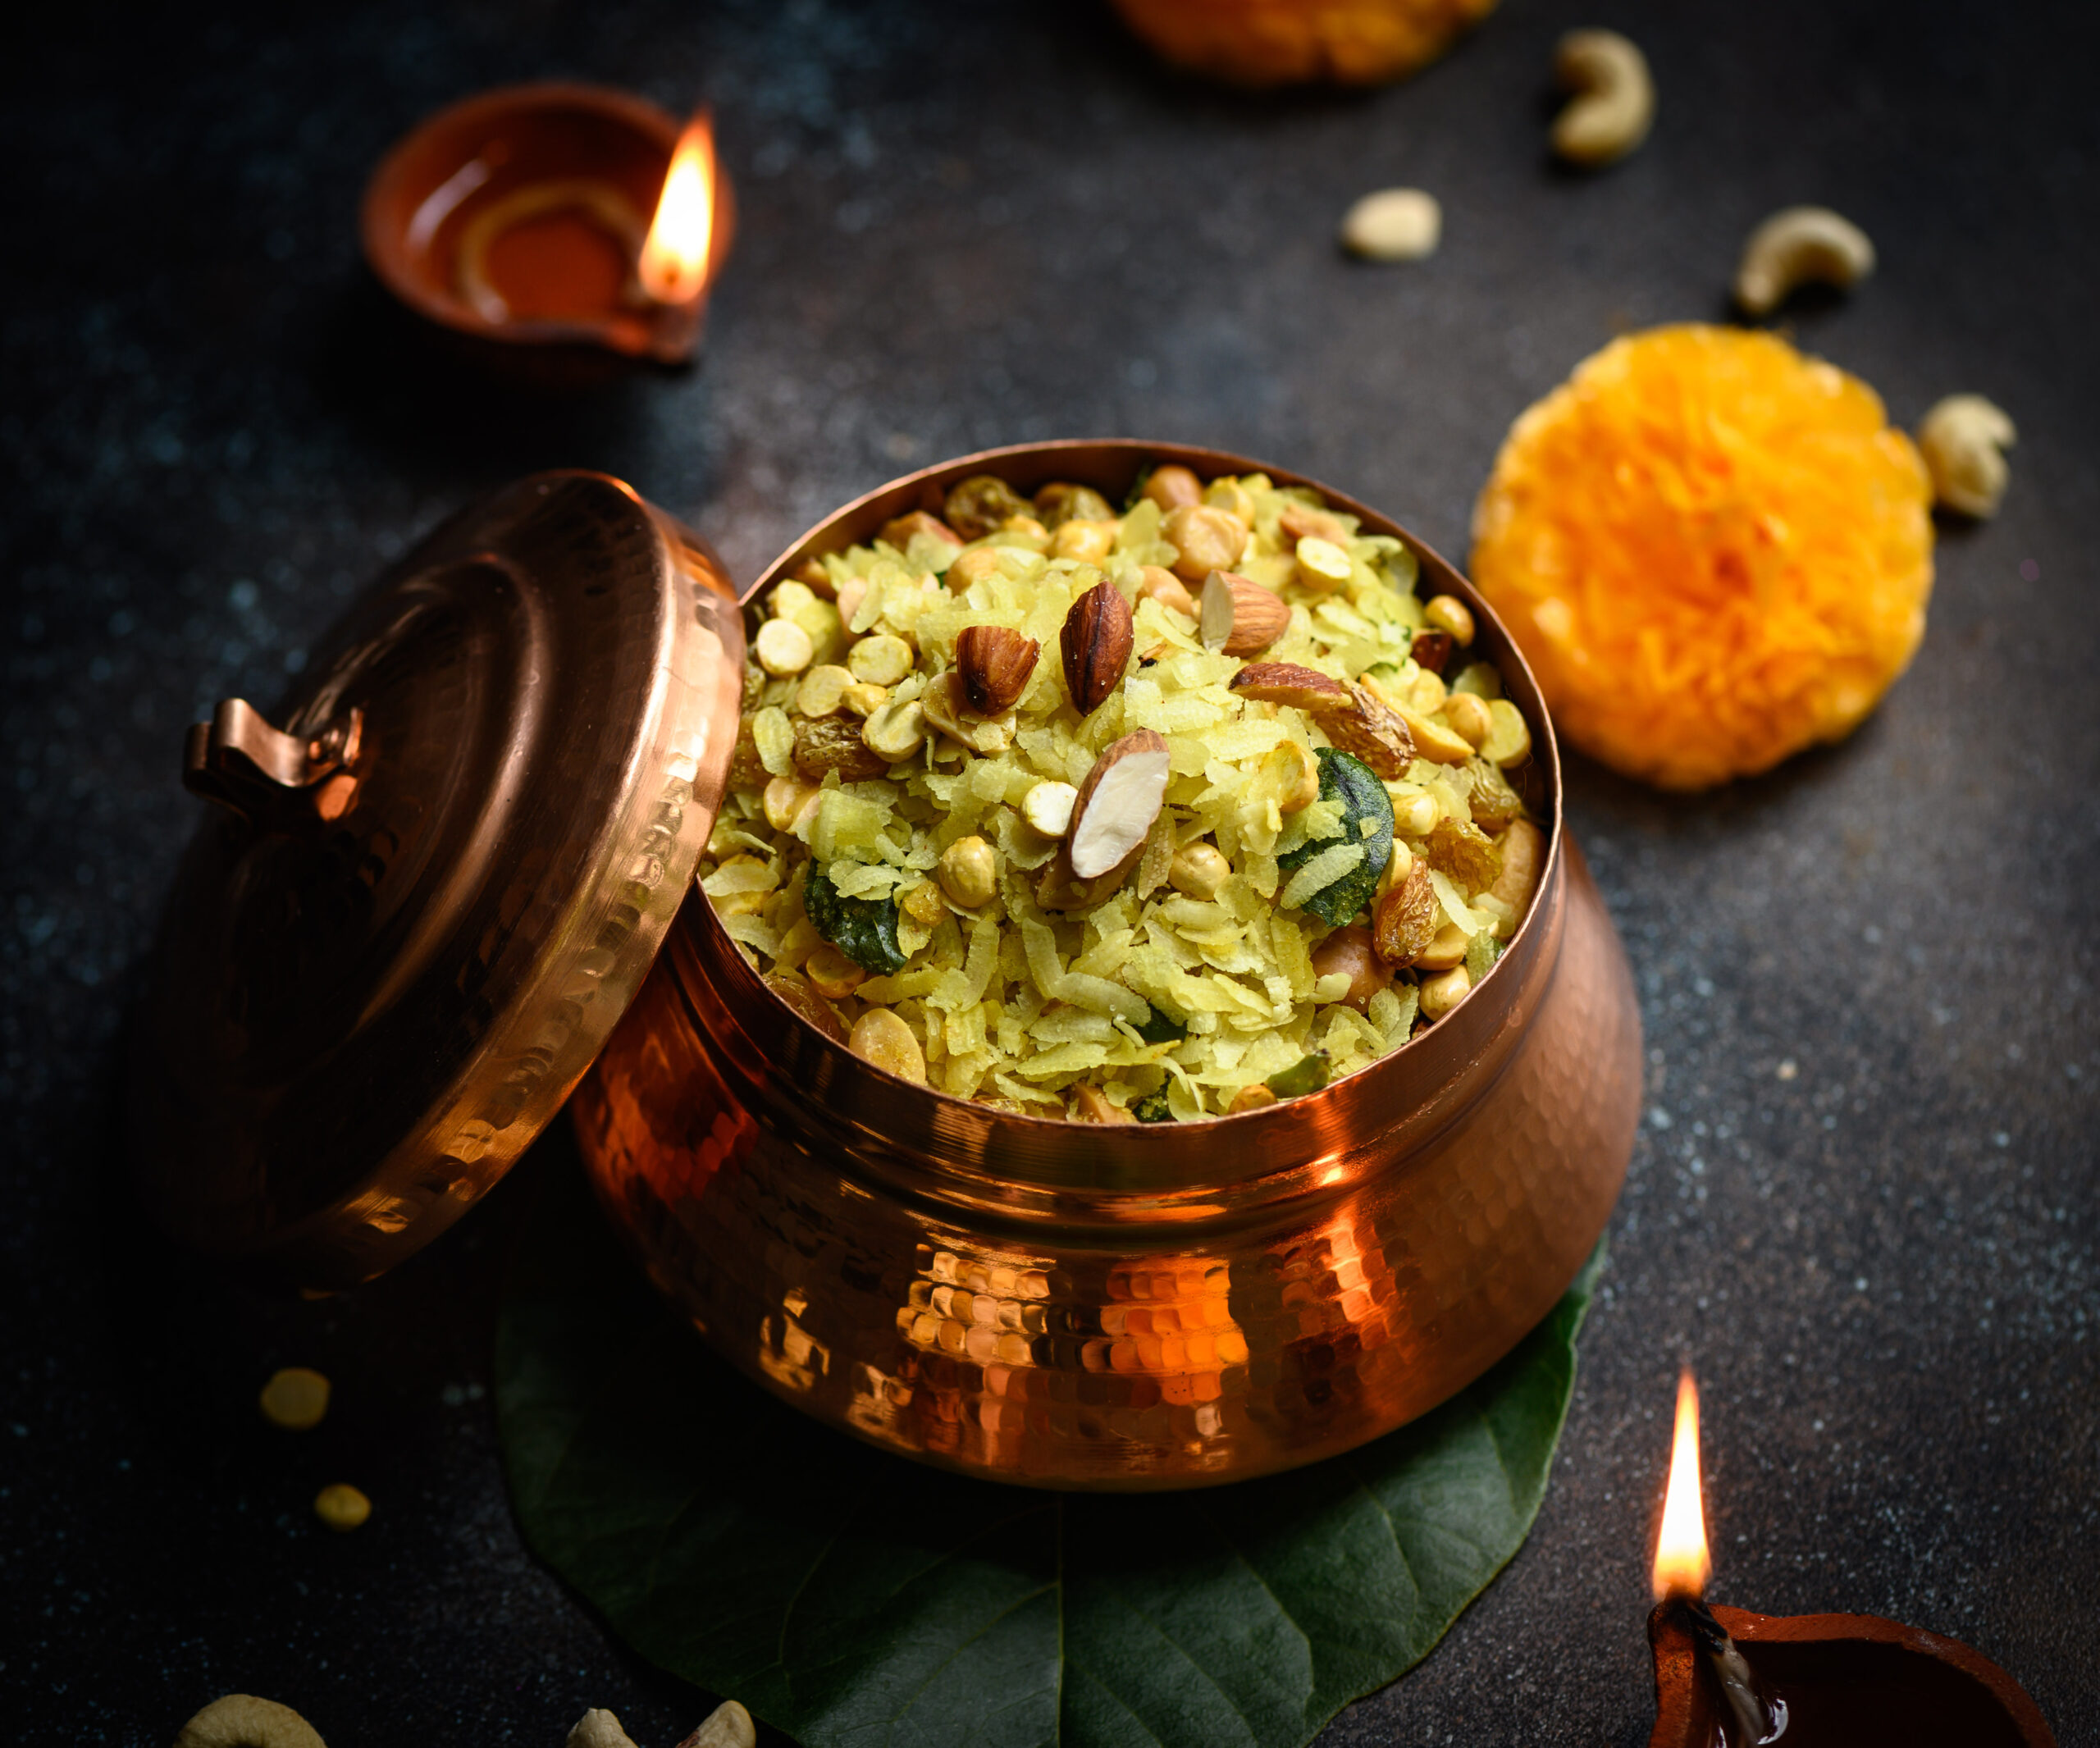
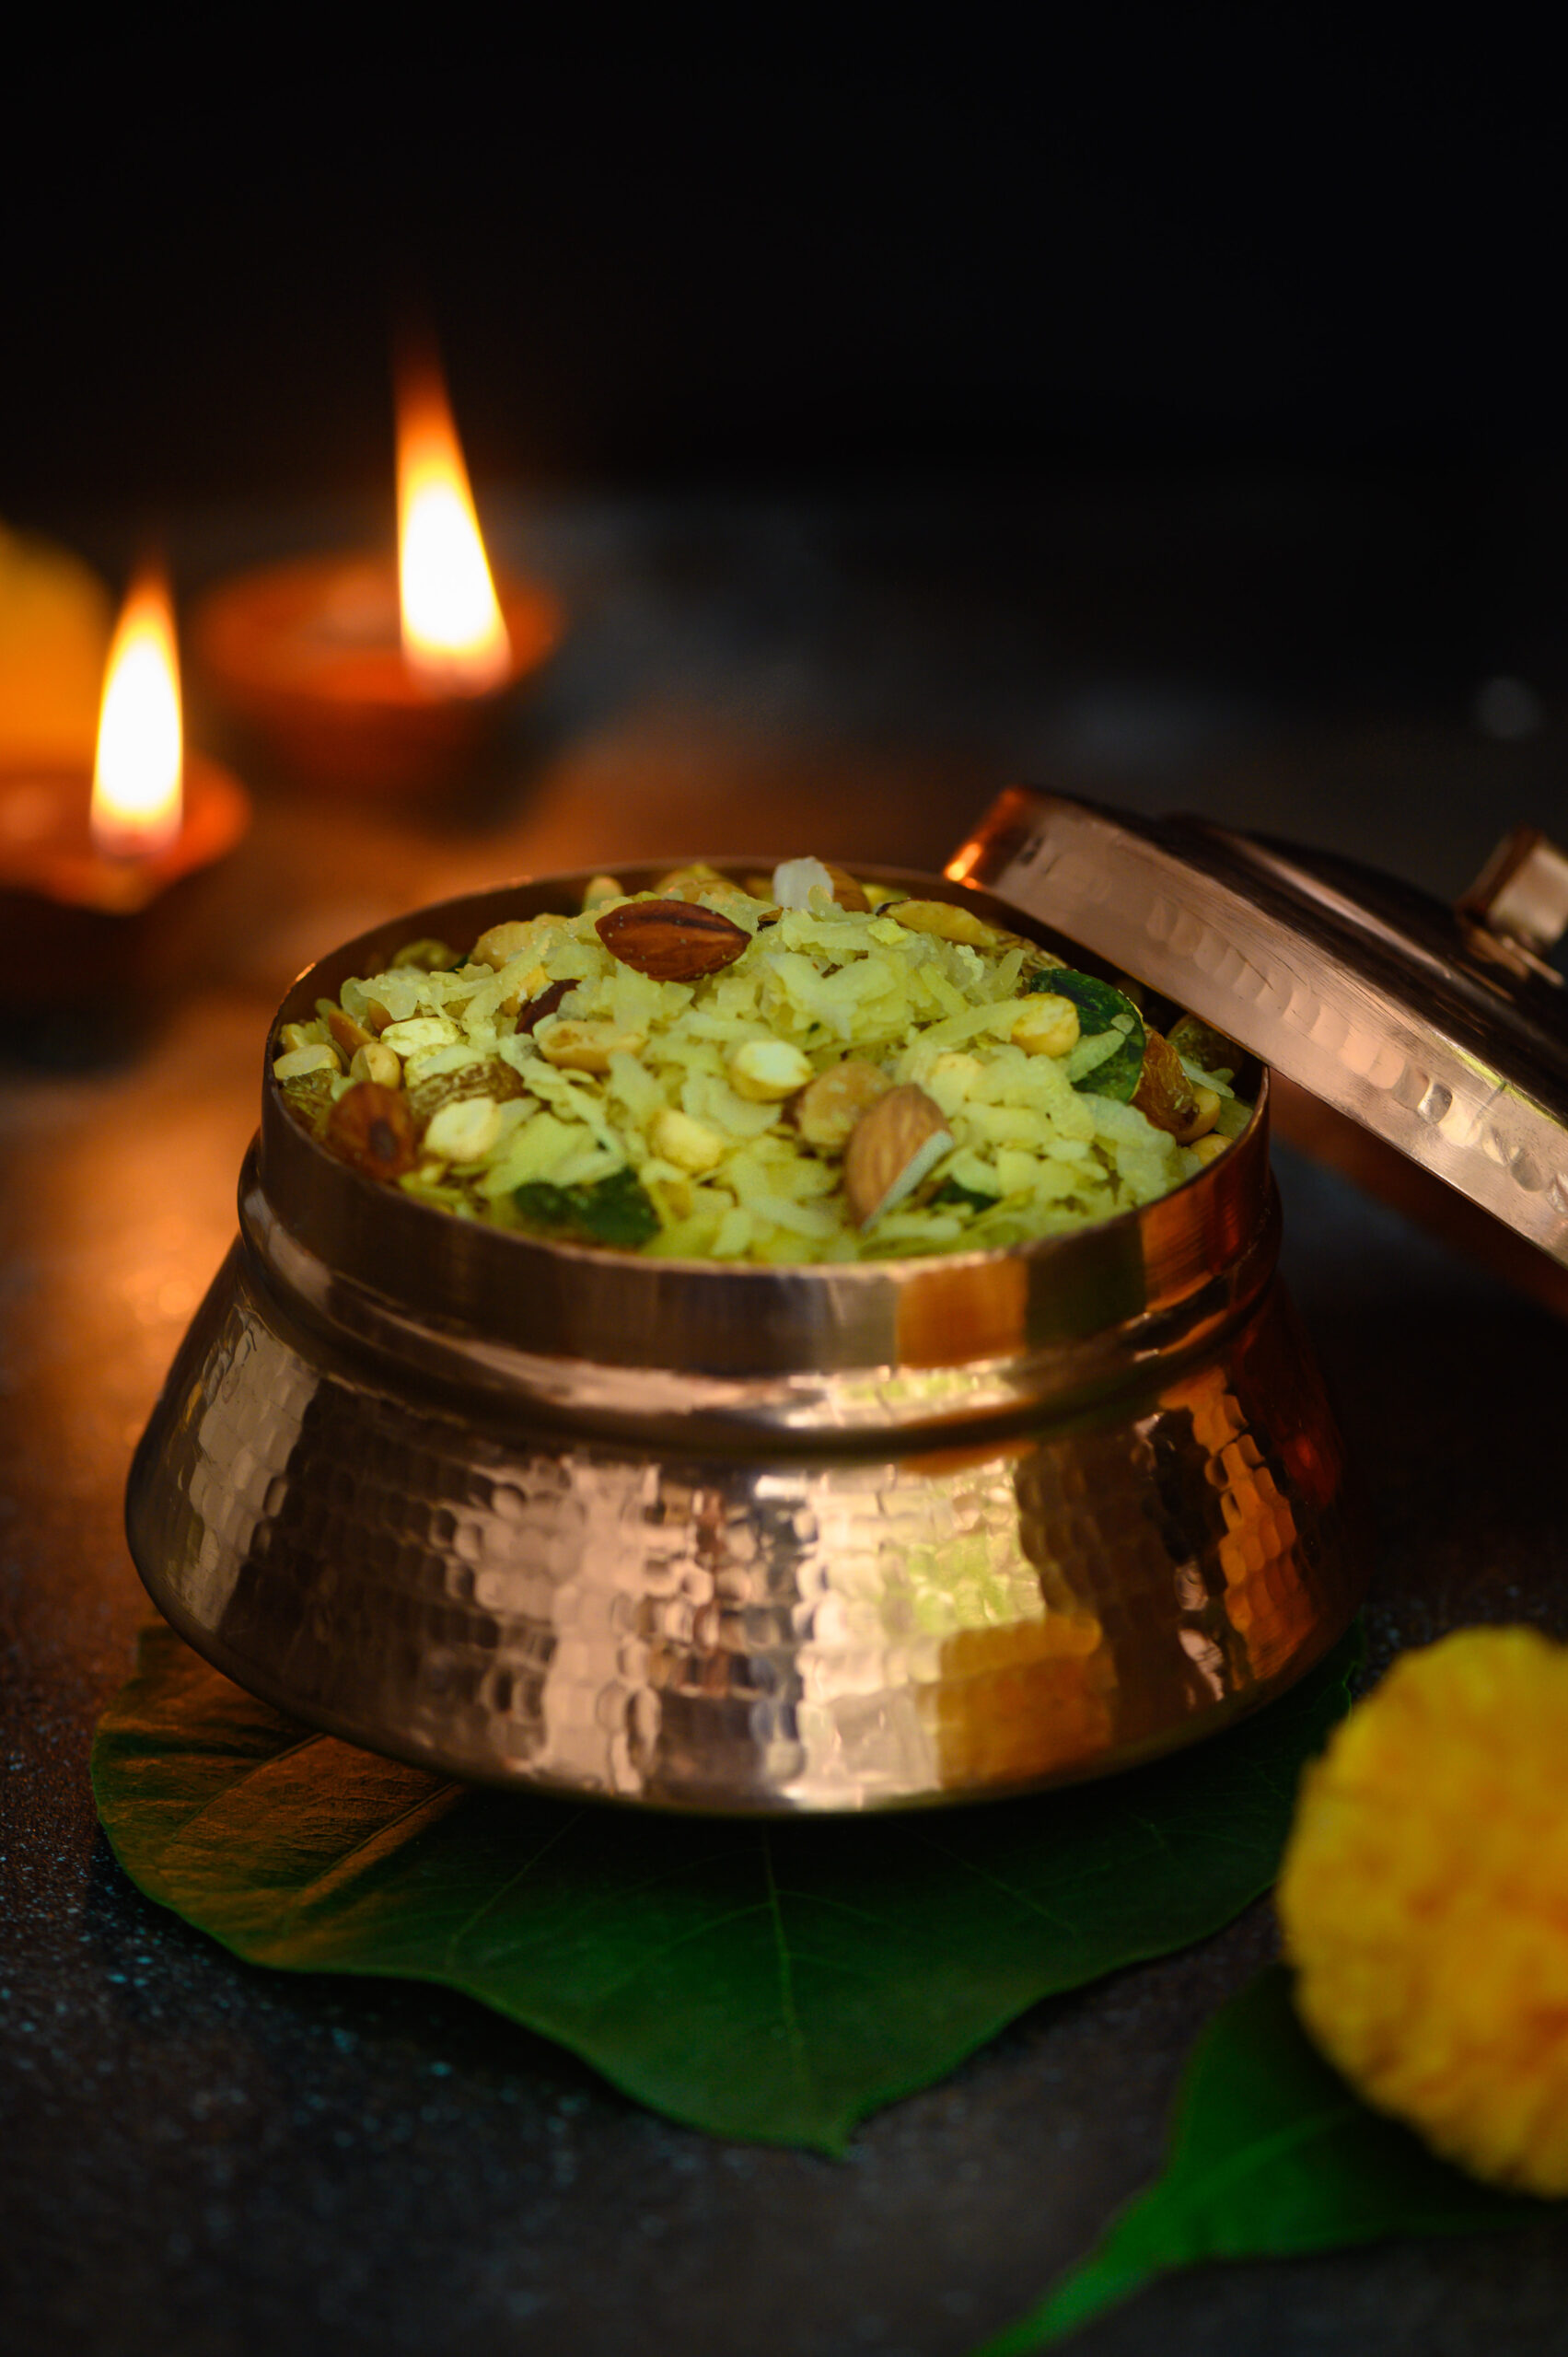
When I was growing up, middle class culture in India was all about eating what was cooked at home. Fresh food was prepared for every meal, every day. When there were leftovers, they were always put to good use. Eating out was a rare occasion, and we didn’t have the luxury of junk food. Even snacks were made at home, and this poha roast mix – what we Gujaratis call chevdo – was one of them.

This is a snack to be consumed by the handful, with a fun mix of nuts and seasoning. The basic ingredient is poha, or flattened rice, which most Indian communities use in some way or another. My own earliest memories of it are in the form of the dudh-poha which my mother would make to take with us to the beach on Sharad Purnima nights, as well as this poha roast mix – the recipe for which I am sharing today.

In those days, this simple but addictive snack was one of my mother’s Diwali staples. I remember how she would usually make it a few days before the festival, in the evenings, after all the duties with us kids were done and we had finished our homework. But sometimes, when we were at school, she would meet with her friends and they would make everyone’s festive batches together. Nowadays, this might be called a community cooking type of get-together. To the mothers of that generation, who did not have home staff, it was so much more easy and convenient to join hands and cook. It was also a way to socialize. Occasionally, if the joint cooking happened on a weekend or at a time when the kids were at home, we would also get a chance to hang out with our own friends, and this was always fun.

The mothers learned from each other in this way. They would just be a group of 3 or 4 women, but each with her own expertise. I recall how my mother would say, for example, “This aunty’s mithai turns out very well, so this year I want to make some with her.” The homes they convened in depended on practical considerations like space or utensils. Who had the big kadai? Whose house was less crowded that day? These gatherings happened mostly around festive occasions, and I think of them as an early version of our blogs today. This is one reason why I treasure my mum’s cookbook so much. It contains all these different recipes that she learned from her friends, collected over the years through interacting with each person who shared the best from her personal repertoire.

As Gujaratis in Tamil Nadu, I think they also wanted a sense of community. Although we never felt alienated by Tamils or their culture, and grew up in our Tamil neighbours’ homes too, there was something meaningful about these gatherings. Meeting a few times a year to celebrate auspicious events in our traditional ways allowed us children to connect with language, cuisine and other aspects of the culture which were reminiscent of our parents’ and grandparents’ own upbringings.

Diwali is all about exchanging sweets and savouries, and back then there were no fancy delicacies to be ordered in bulk, either. Everything was homemade and non-commercial. Everything was simple and there was a spirit of sharing – “I give you a Diwali treat in my box, and you give me a Diwali treat in your box.”. When this group of women got together and cooked, they made enough for each family to take home, as well as to give away.

Some traditions you just have to keep. Which is why, even though Gujaratis are inventive when it comes to mixtures (and you know how much I love doing something unique to any recipe I try!), this chevdo / poha roast mix is a basic, traditional recipe. The one difference is that it is roasted, not fried. You can replace some of the ingredients based on your preference, but I recommend that you leave a hint of the sweetness in as it goes well with the crunch.

Diwali Chevdo / Poha Roast Mix

(Yield: approximately 400 grams)

150 grams poha

60 grams peanuts

60 grams roasted gram

50 grams almonds

50 grams raisins

50 grams cashew

¼ teaspoon turmeric

1 tablespoon heaped powdered sugar

⅓ cup oil + ½ tablespoon oil

1 tsp salt or as per taste

2 green chillies

A handful of curry leaves


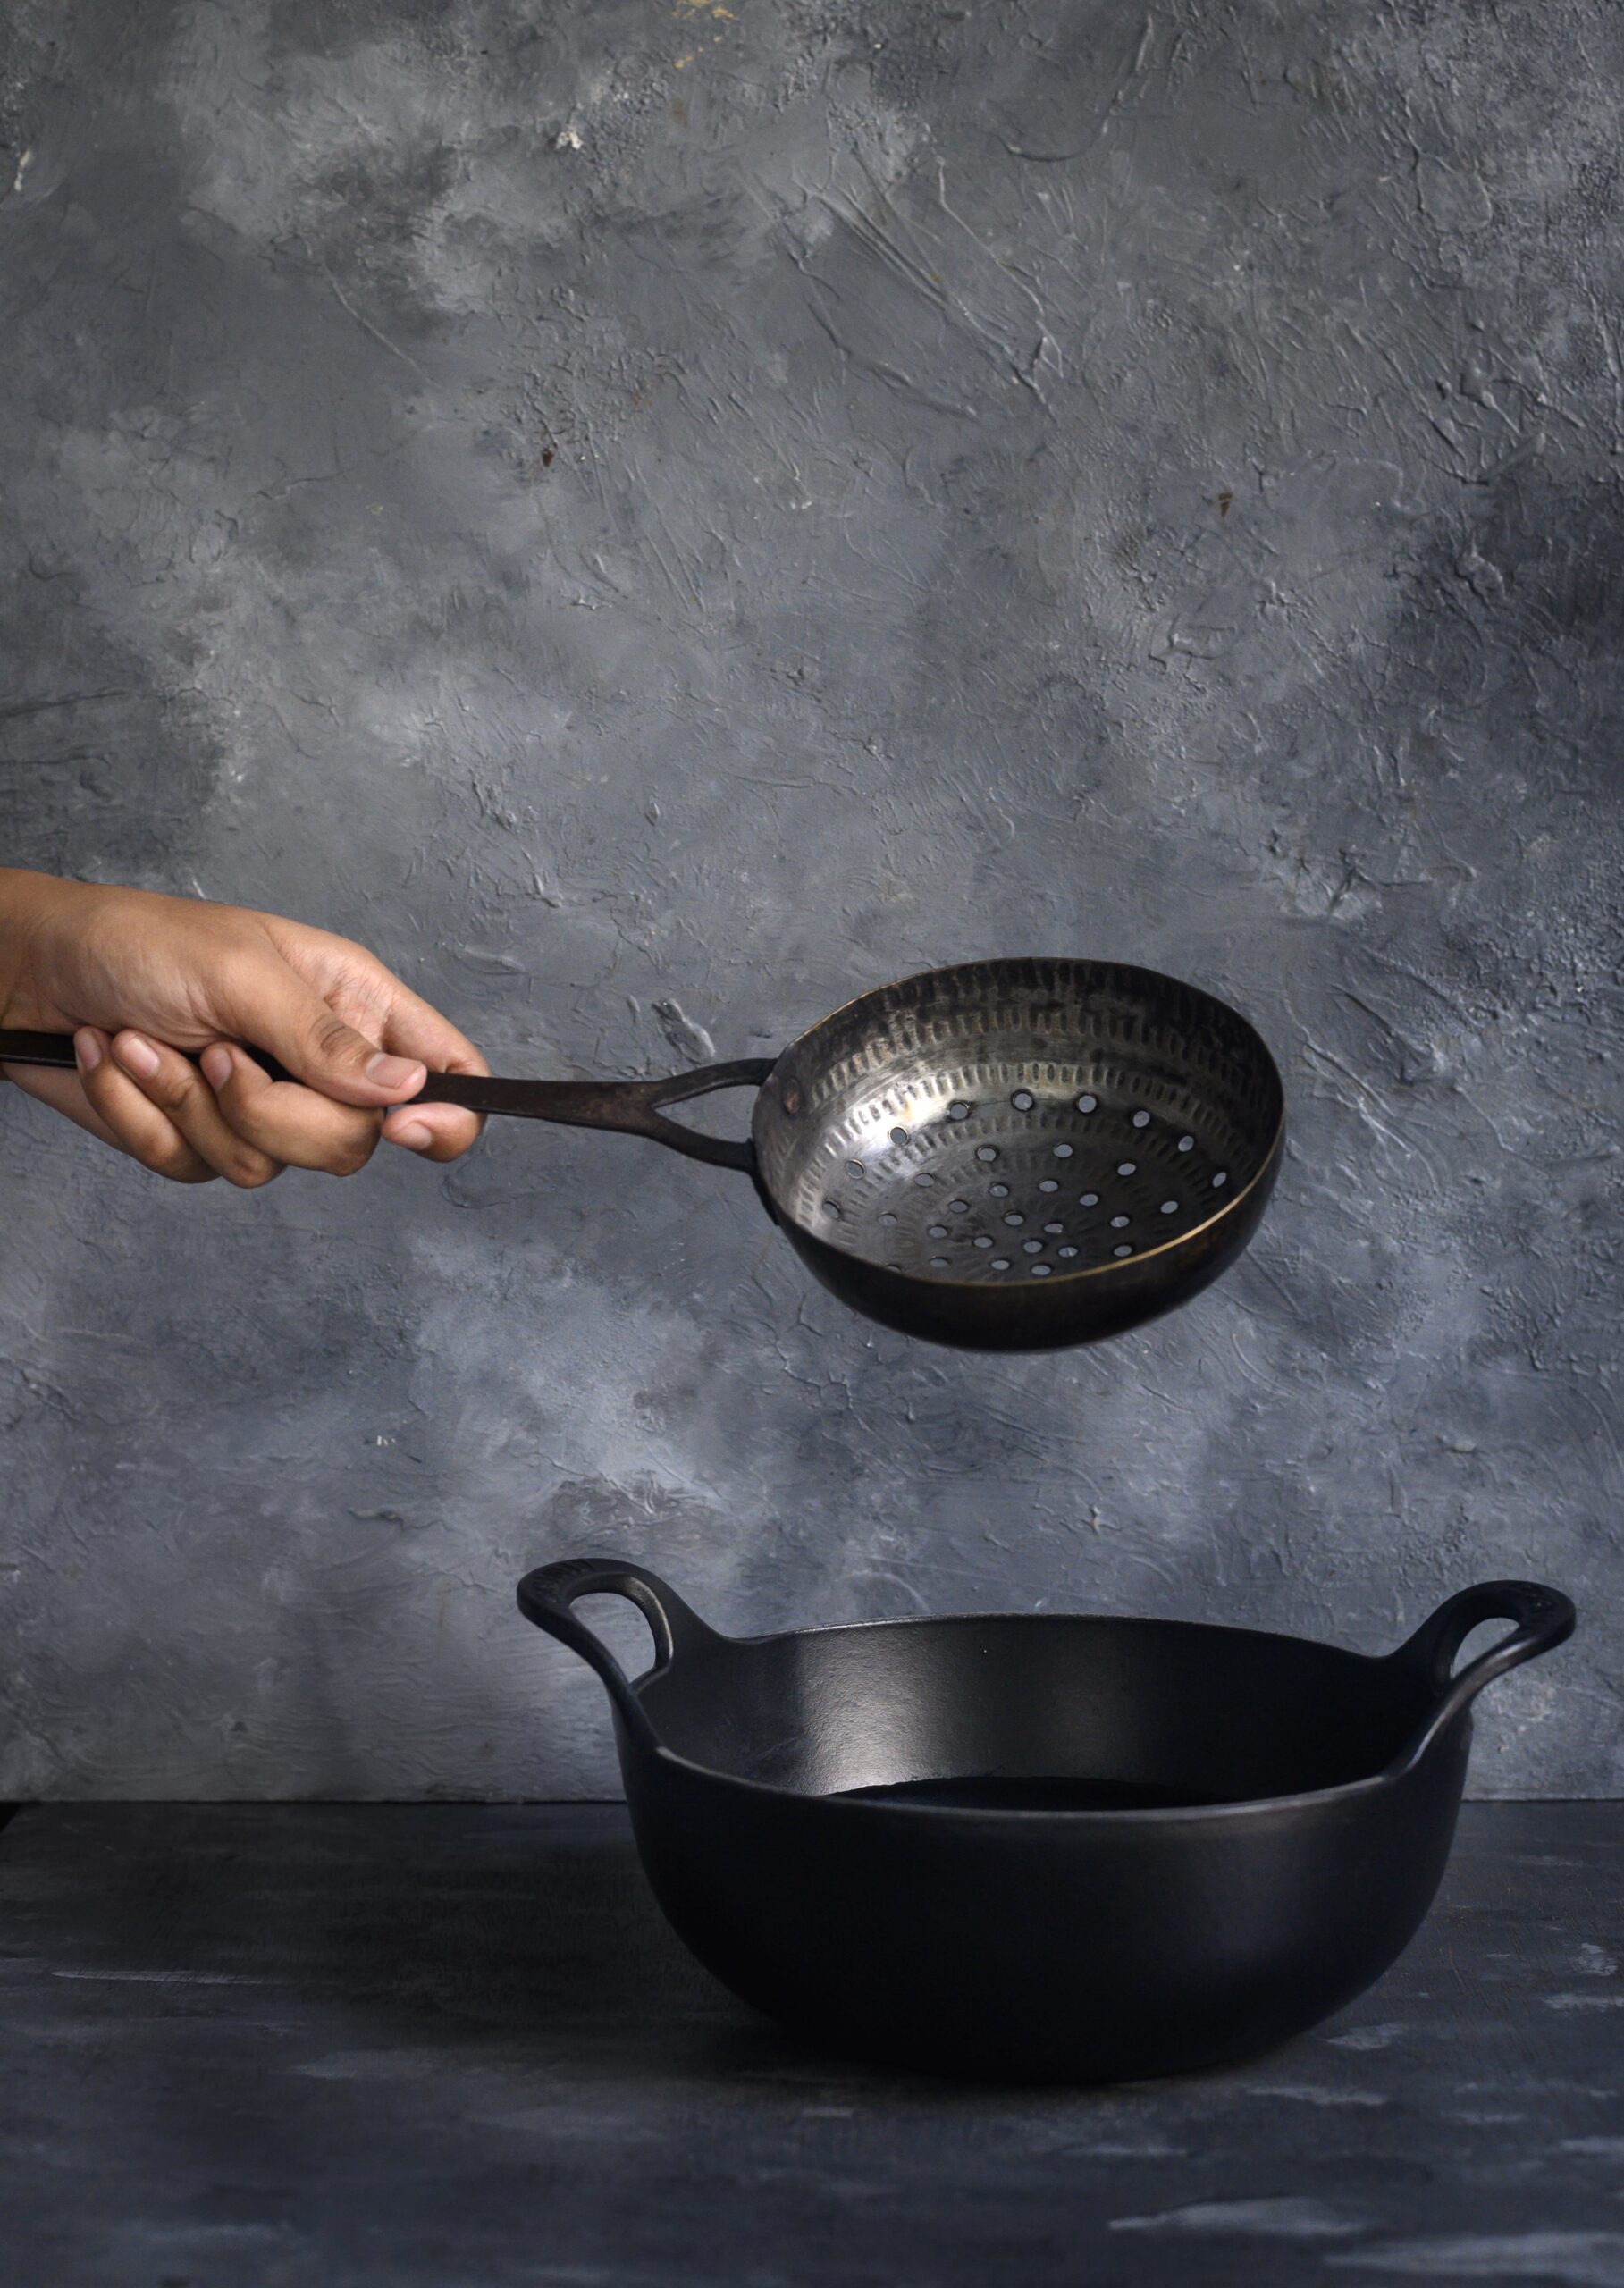
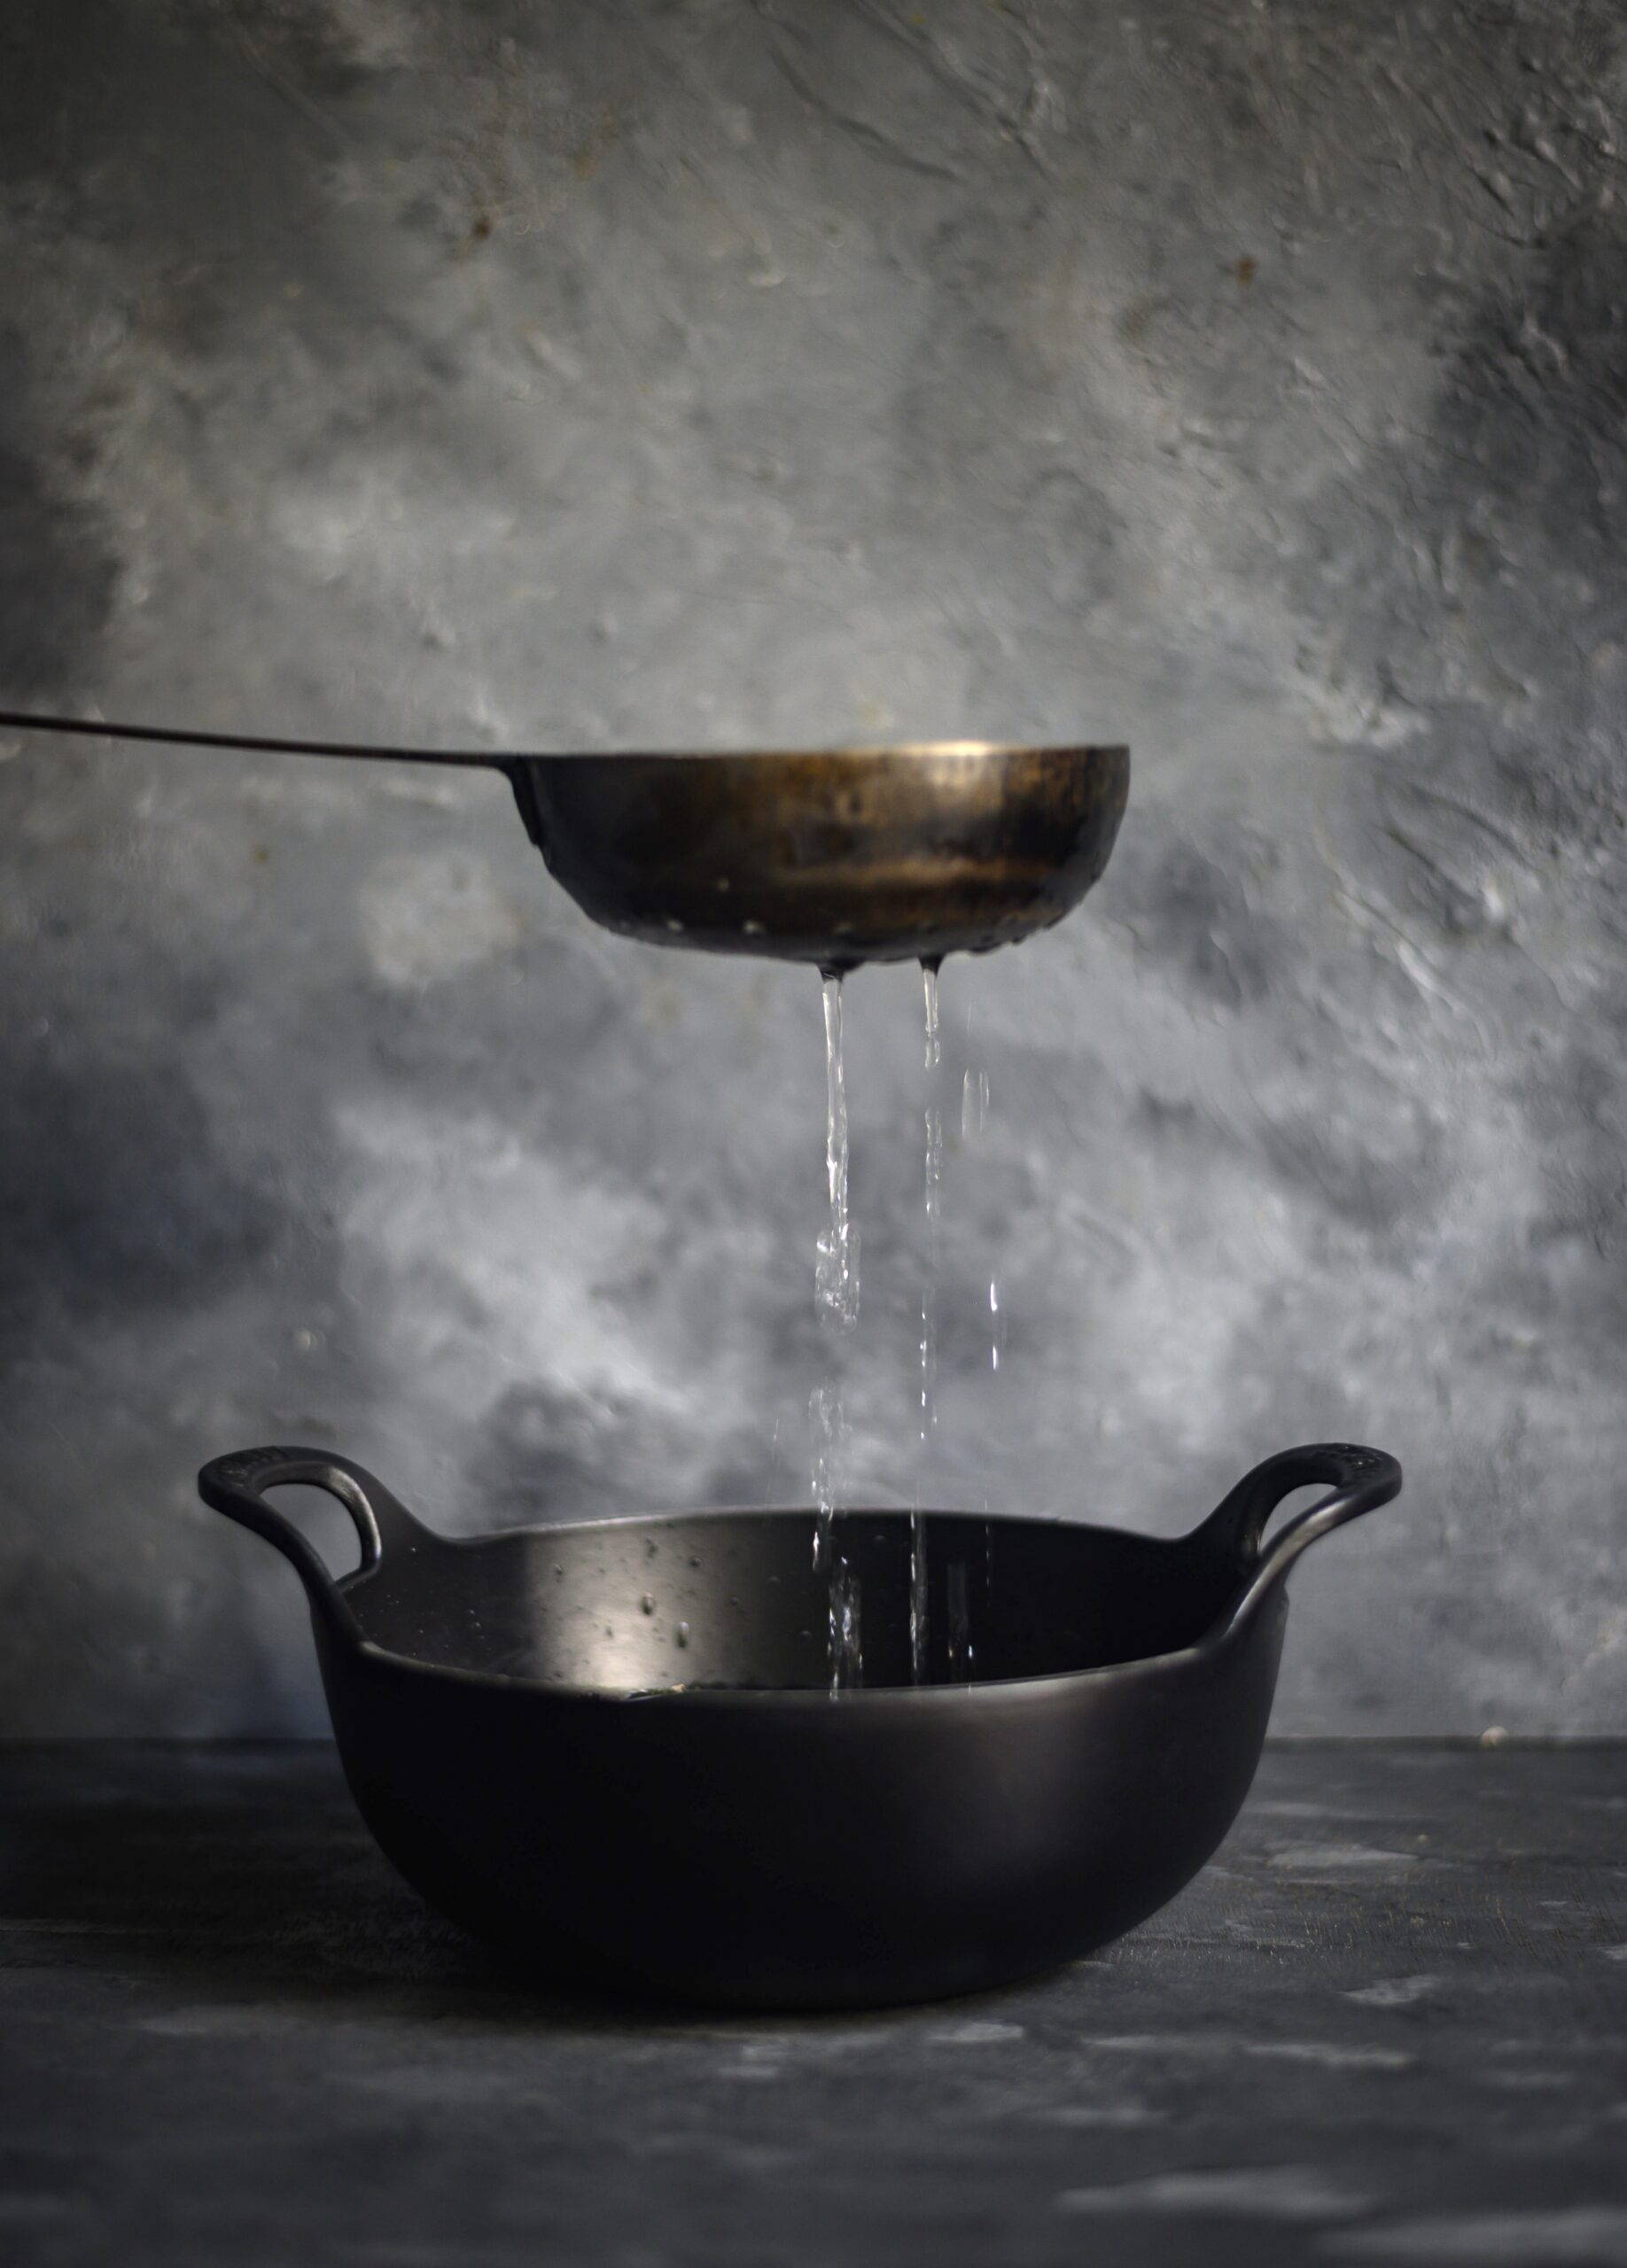
The truth is that fried poha tastes fantastic, but I am giving you a roasted poha version in order to keep up with the times. With the pollution in the environment today, we must make an effort to eat healthier. This method below is completely different from the fried kind, but if you do want to try a fried variant, do try to get your hands on a special utensil which will make the process easier and less messy – a cup-shaped ladle with draining holes, into which you put small batches of the ingredients in at a time.

In a wide bottom pan, roast the poha on a low flame, making sure it does not turn brown. Avoid using a spatula to stir as this will only cause the brittle poha to break into tiny pieces. I picked up the pan and swirled it around gently, and used my hands to turn the poha around. Keep the poha moving frequently. The roasting takes approximately 15-20 minutes. Once the poha is roasted, set it aside.

In another pan, add the ⅓ cup of oil and allow it to heat. Now, add the roasted gram. On a medium flame, stir using a ladle. Once the roasted gram is golden, drain well and place on an absorbent paper.

Next, add the peanuts and repeat the roasting. Do the same to the cashew nuts and almonds, separately, as well.

Lastly, roast the golden raisins. Be careful as they will burn easily. At this point, lower the flame and once they fluff up, drain and remove them.

Now all the ingredients are ready to be assembled. On a low flame, add the ½ tablespoon of oil to a pan. Add the green chillies and some curry leaves. Once the chillies turn colour slightly, add salt, sugar and turmeric. Immediately after, add all the roasted ingredients – poha, peanuts, cashew nuts and raisins – turn by turn and mix gently. Make sure all the spices are incorporated well and coat all the ingredients. Ensure that the spices do not get burnt. This can be done by keeping a low flame and stirring the ingredients constantly as you add them.

Allow to cool on the pan. Do not cover as this may cause moisture to fall into the crispy chevdo.

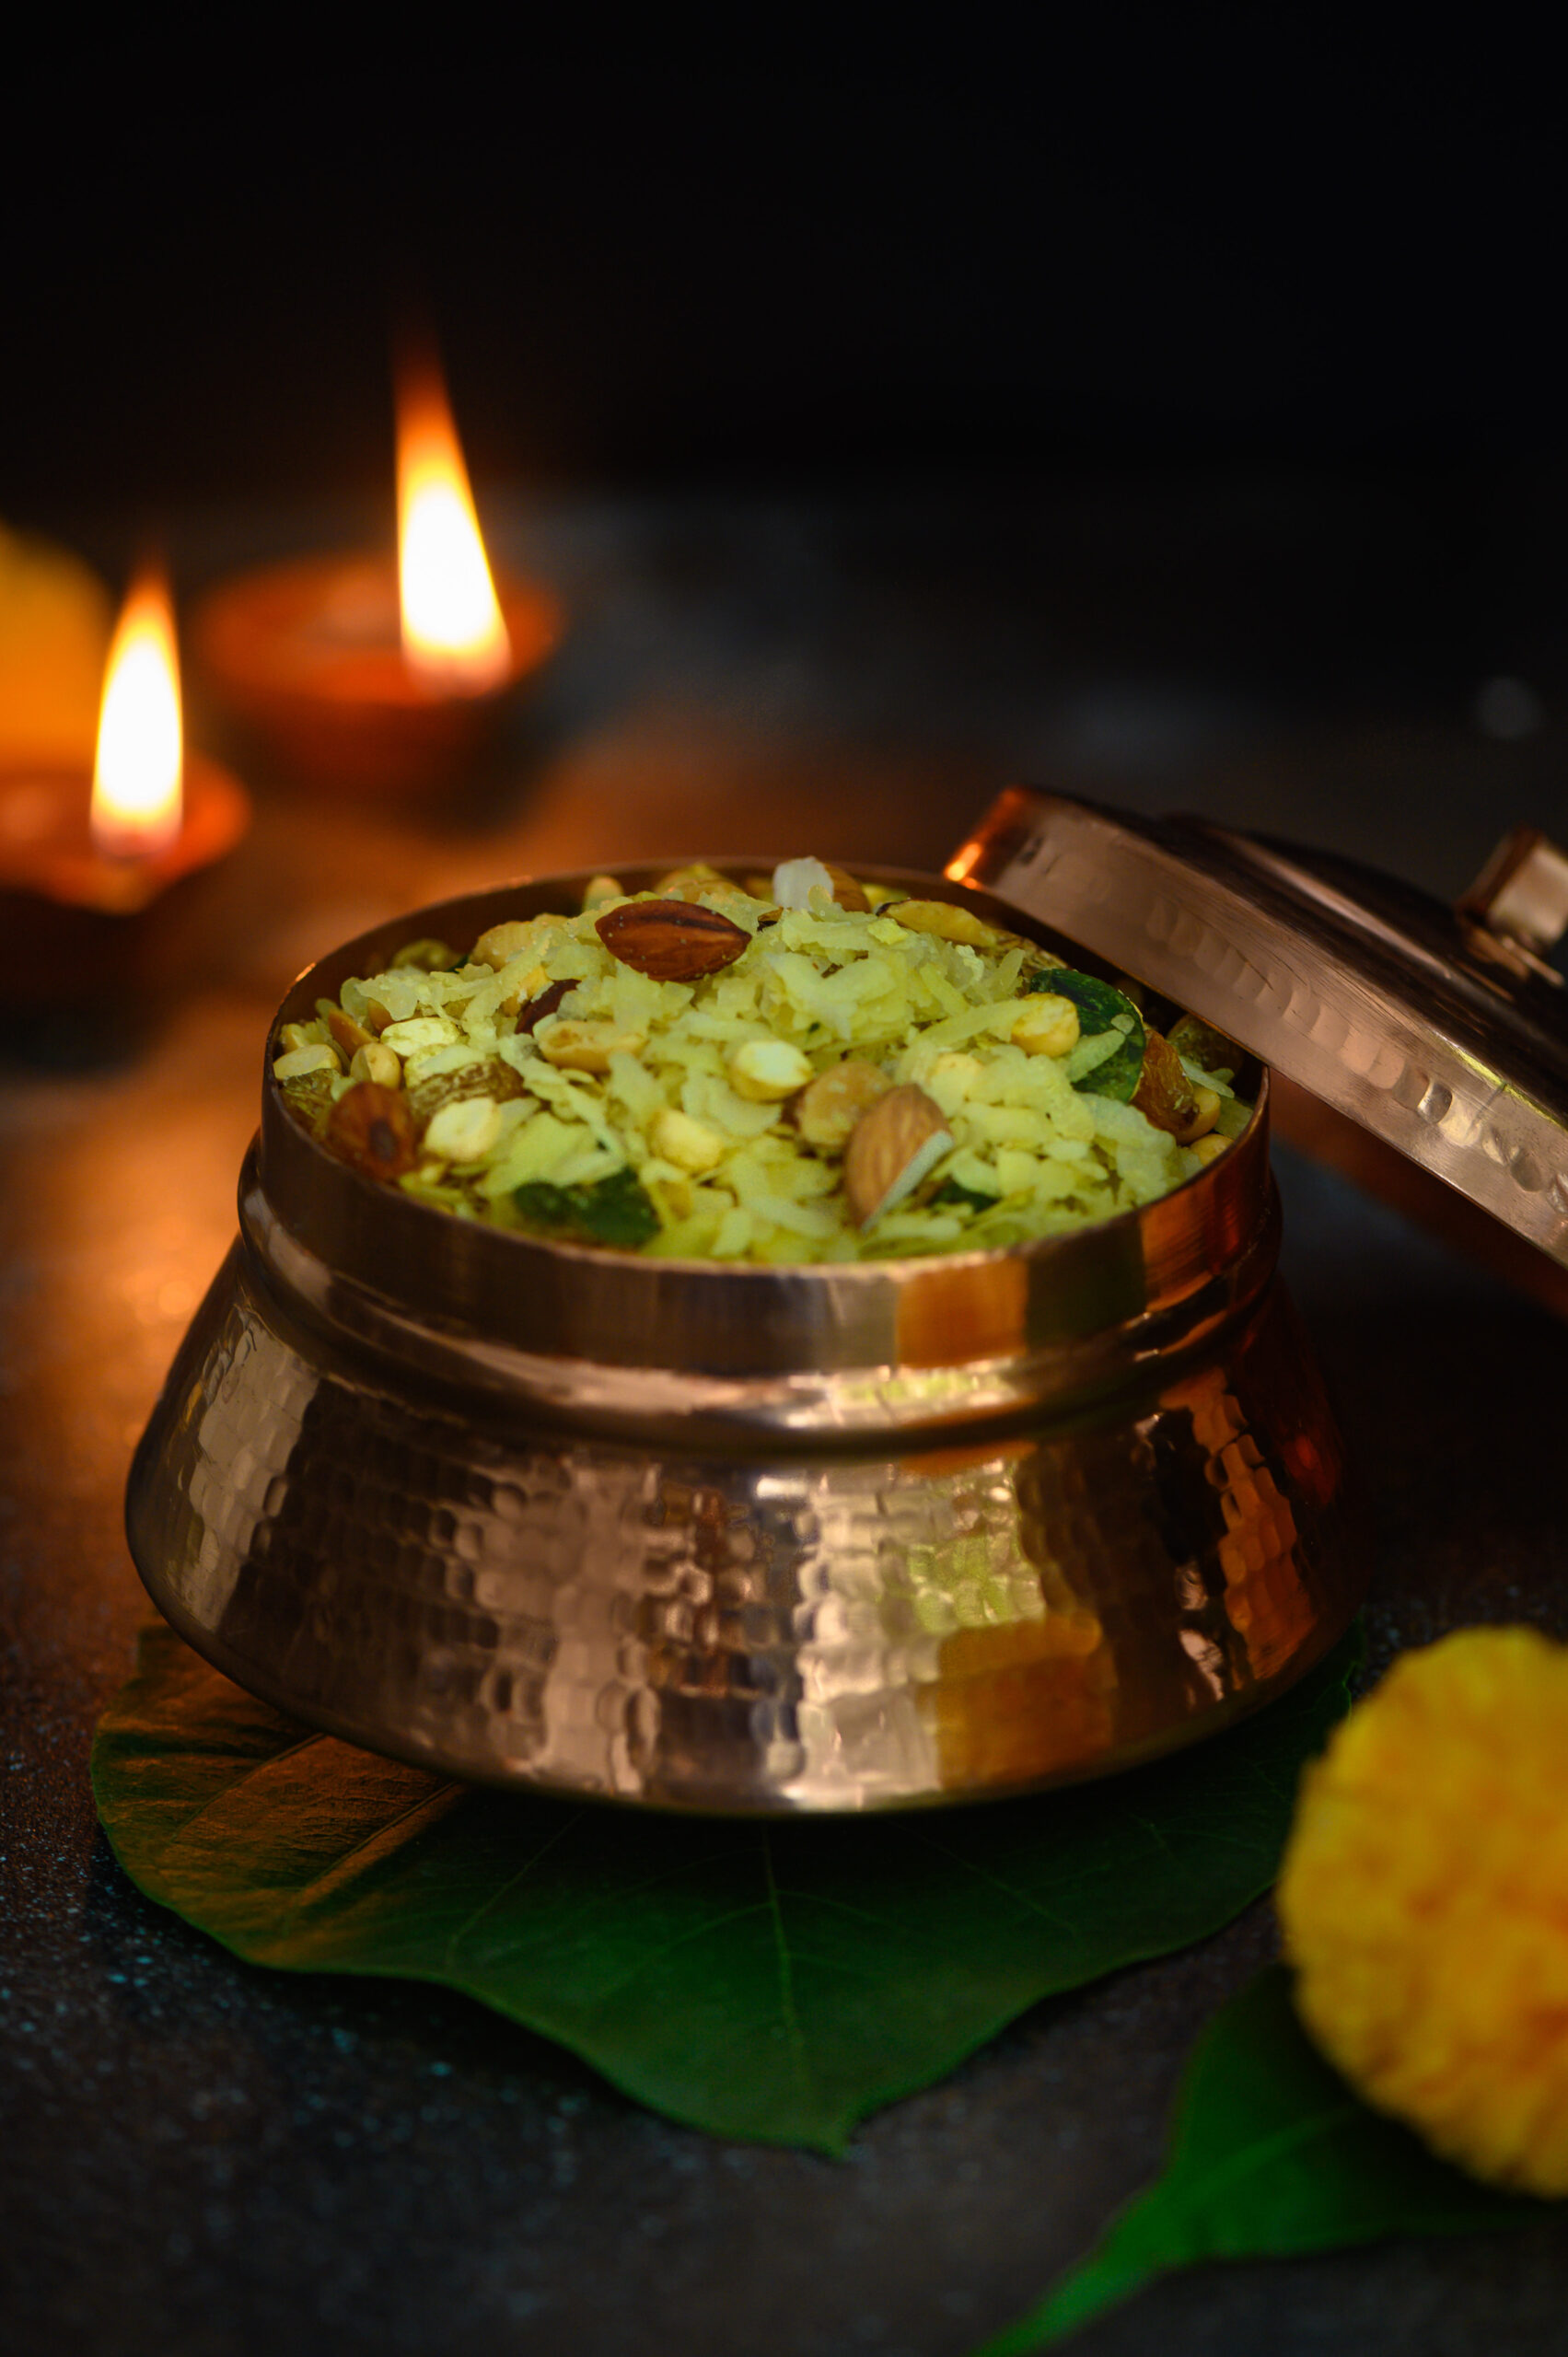
Your Gujarati Diwali chevdo / poha roast mix is now ready, and it tastes especially yummy with chai. It’s my husband’s and daughter’s most favourite snack, which is why I’ve got a headstart on making it for this Diwali. I hope you’ll enjoy it, and make it a part of your festivities too. I’d love to know what you think of this delicious mixture, the recipe for which could be as much my mother’s, or her friend’s, but is now mine and yours!
Nature knows how to keep the balance. For example, during the mango season, when we enjoy and relish the sugary sweetness of the fruit, it’s also simultaneously the season of the jamun or Java plum, which reduces sugar and is good for diabetics. Nature just has this way of finding the perfect complement. Nature often shows us how to cure and heal through following its inherent logic. Even here, there’s an interesting balance. The very same ingredient which is bitter or boring in a remedy may be the one that lights up another dish. It all comes down to the preparation. One of the ingredients which exemplifies this harmony for me is dill.

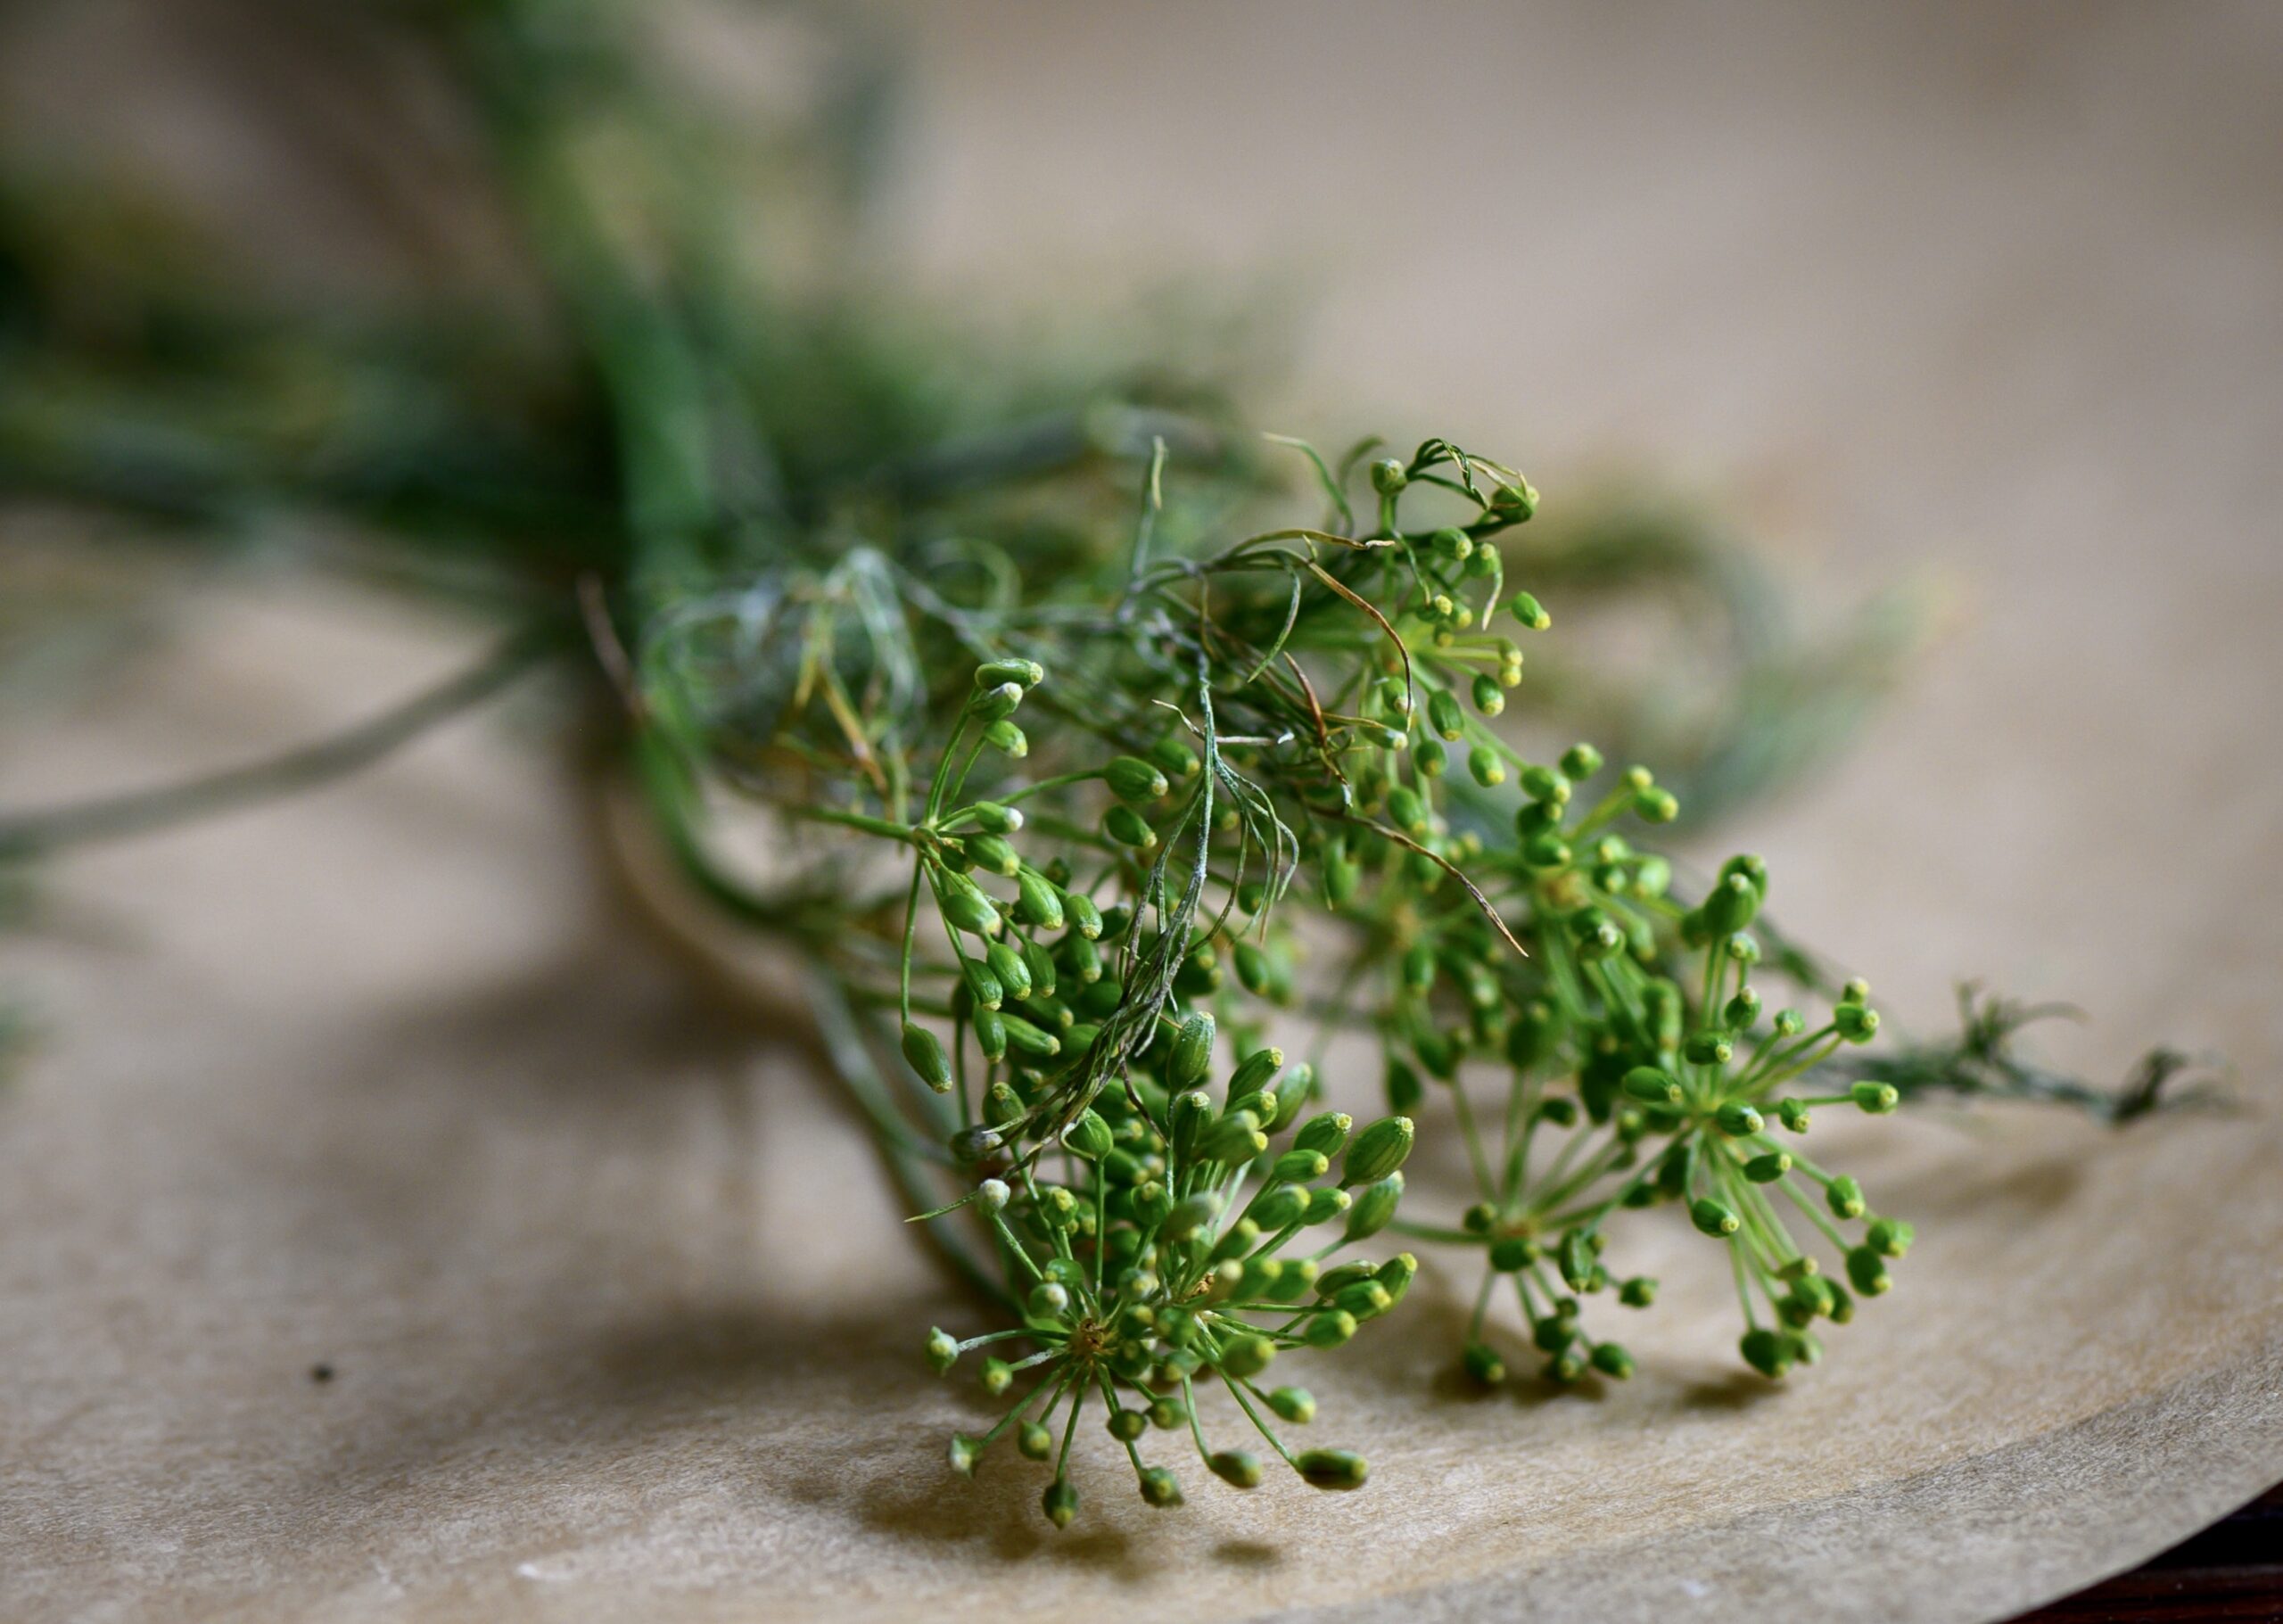
I’ll be the first to admit that I was never a fan of dill, a hardy plant which belongs to the celery family and is known as “suva” in Gujarati and “sada-kuppi” (or colloquially as “sovai keerai”) in Tamil. In India, it has a largely medicinal usage. High in folate and calcium, it helps women lactate better post-delivery and helps in rebuilding tissues. So it’s very popular in dishes served to expecting women and those who have just given birth, and it was during my own pregnancies that I encountered it myself.

In addition to being beneficial where pregnancy and post-natal care are concerned, it’s also good for digestion, is an anti-flatulent, and is rich in iron, folate, fibre and calcium. A typical and very easy preparation is to soak 1 teaspoon of dill along with 1 teaspoon of methi (or fenugreek) seeds overnight. The following morning, the water is consumed after the preparation has been cooked for some time.

Dill, the herb used here, is different from dill, the pickle. You may be familiar with the latter in the West, where it’s added to gherkins to enhance the taste and is especially popular in Russia and the USA.

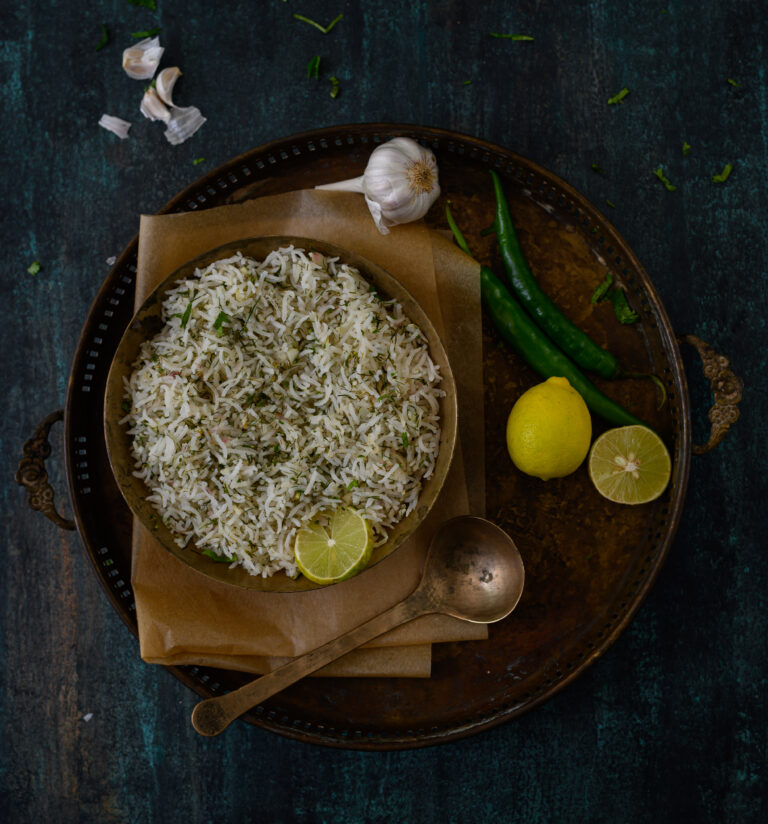
My mother found many ways to incorporate dill into my own maternity diet. You could call what she made “dill delicacies”. As I said earlier, it took me a while to acquire a taste for them. However, as a believer in old traditions and customs, I now see these dishes as coming from a place of “grandmothers’ science”, based largely on nature and seasonal availability. I would absolutely continue to pass down this wisdom, and give the next generation such dill-delicacies when they come to be expecting themselves. I am glad to say that along the way, I picked up a new dill-delicacy to add to this menu. Fortunately, it’s a very appetising one: dill rice.

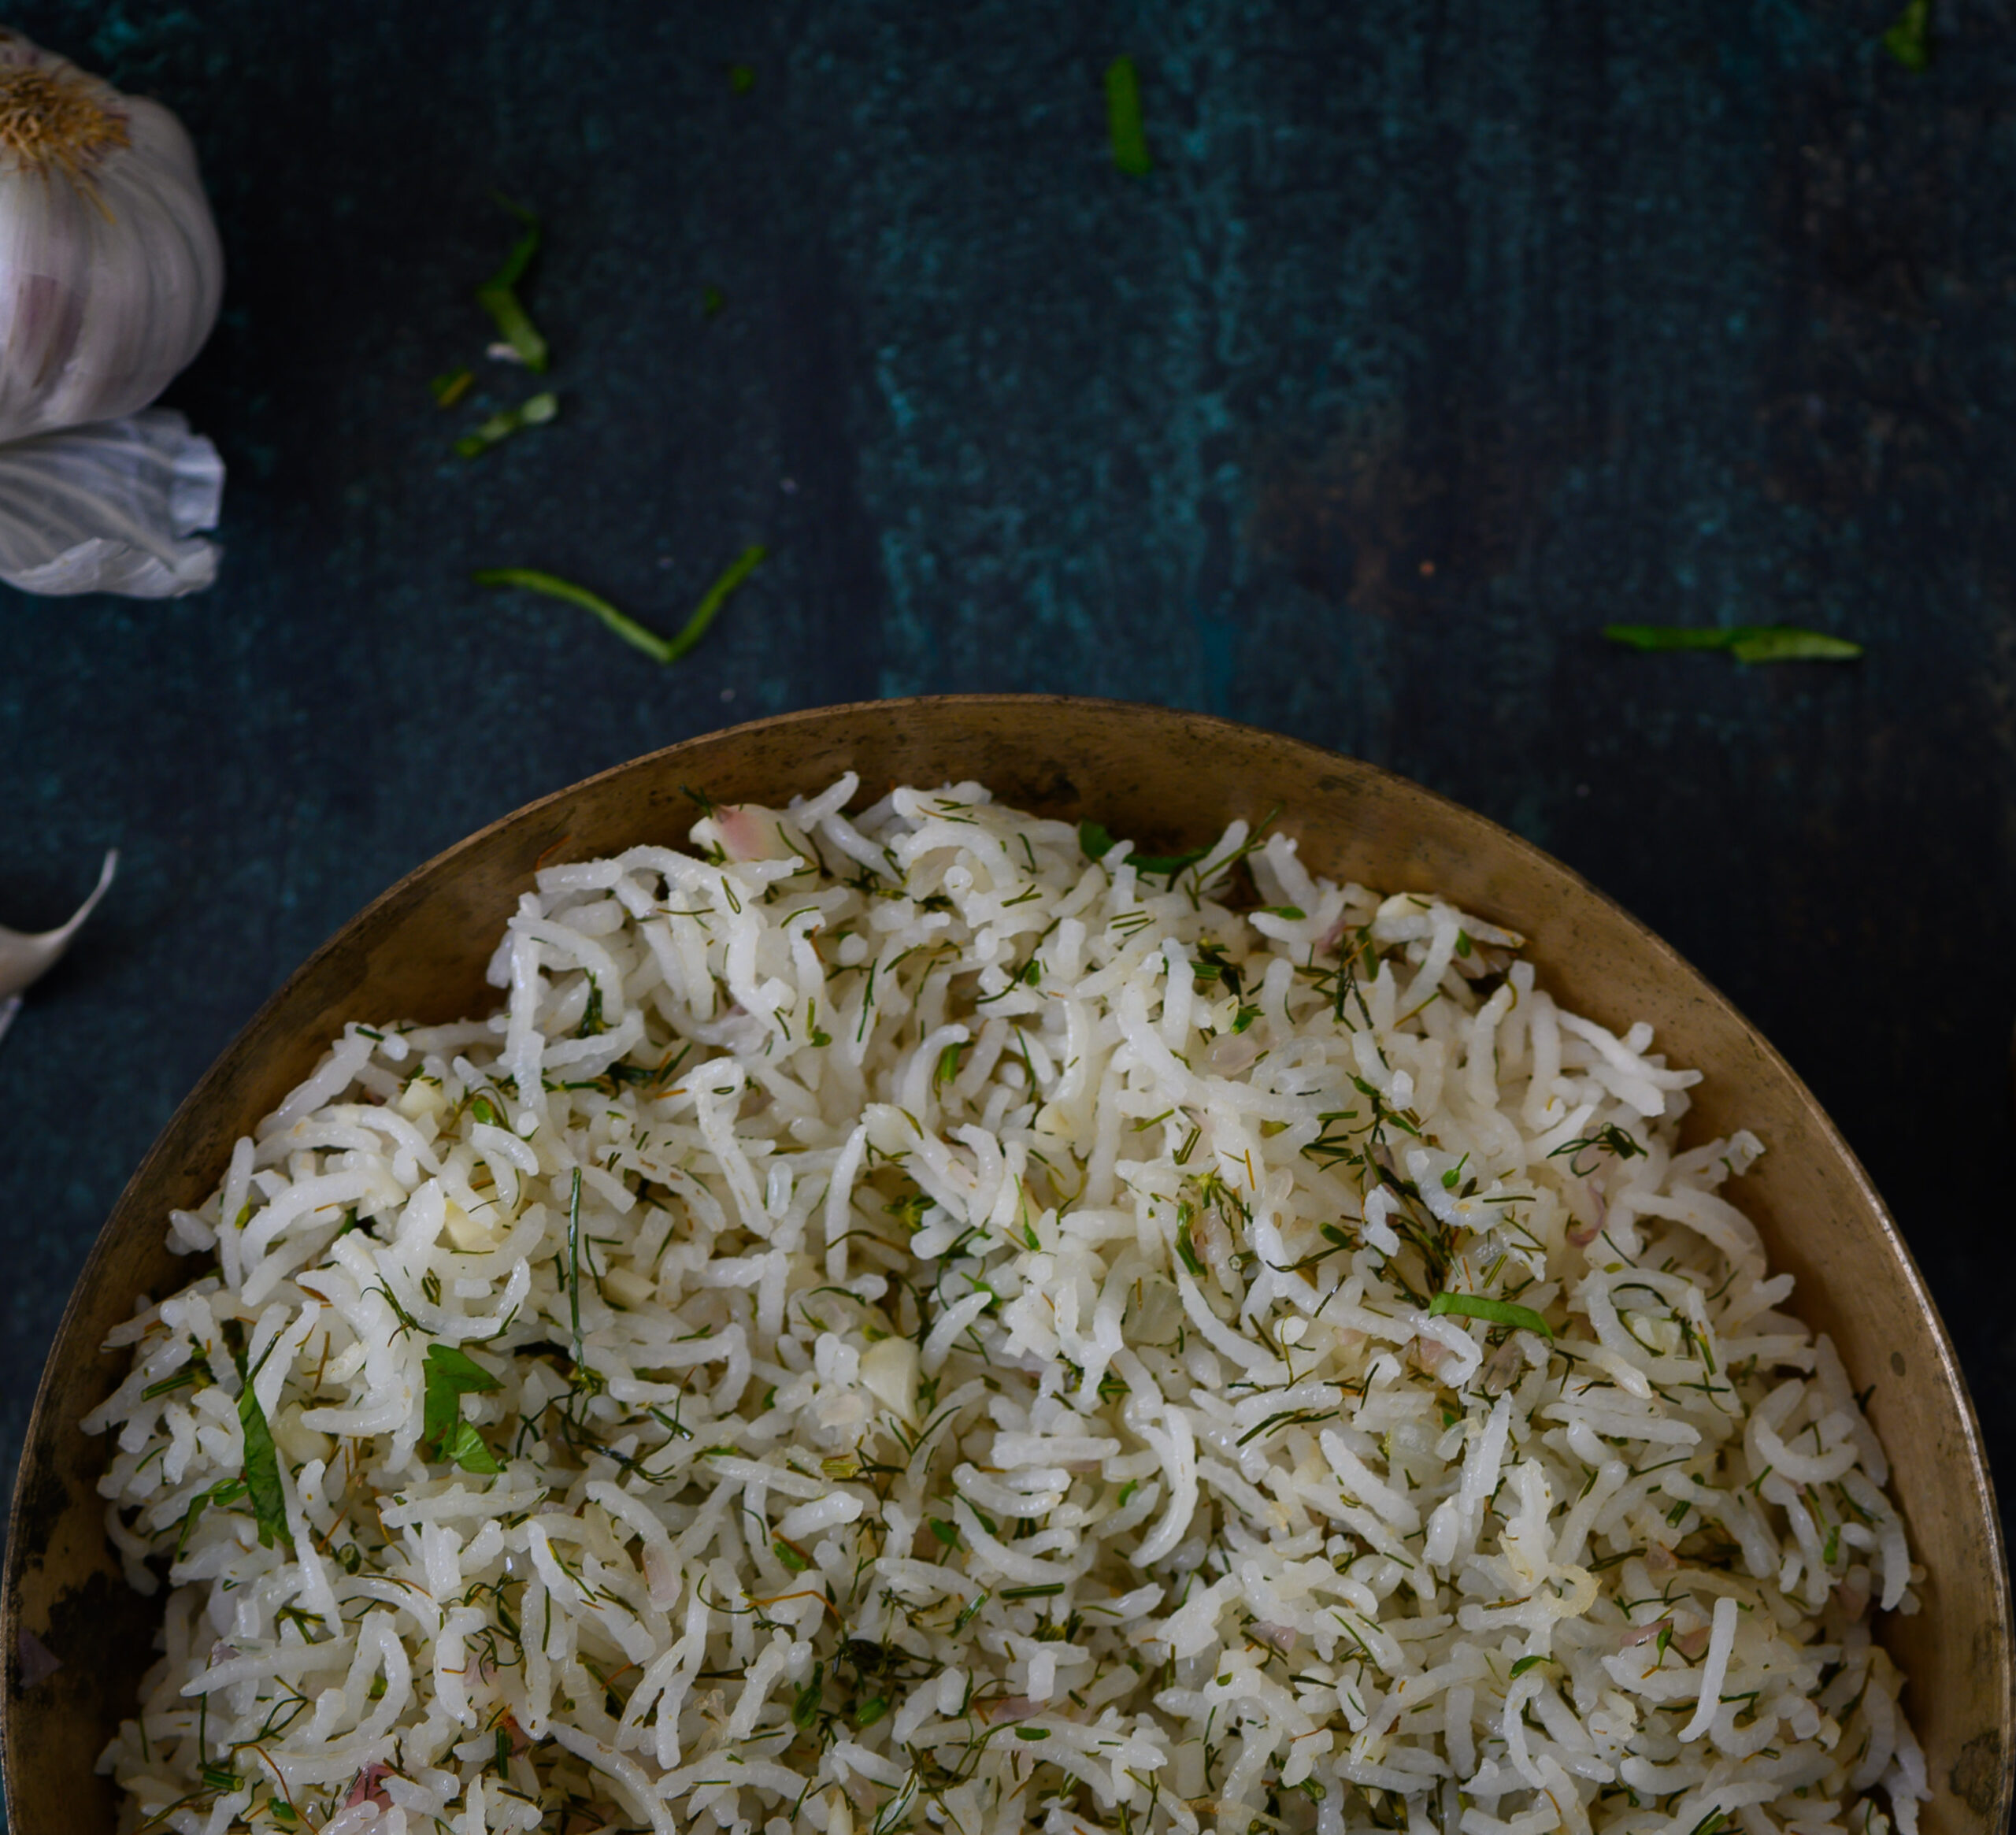
The first time that I had dill rice, it was at my dear friend Sheila Verghis’ home. We were having a pot luck, to which I remember having carried a sticky date pudding. Sitting among childhood friends, sharing our school memories, we devoured Sheila’s delicious homemade dill rice. Considering how much I had disliked all those dill-delicacies which were prepared for me during pregnancy, it was a wonderful surprise to encounter the ingredient in a way that was tasty, yet still healthy and complete with nutritional benefits. This is my own version of the very first dill-based dish I actually enjoyed. I now make it frequently at home, especially when my children are visiting. It’s one of my healthy rice specialities, alongside others like my spinach rice.

While preparing this recipe, I had an odd experience. I had always thought of dill as being easily available, and was surprised to learn that none of my usual markets or grocery stores were carrying it when I went looking. This made me realise that despite how it simply requires direct sunlight and rich soil to grow and is said to be in season all year round, the herb is more sensitive than I’d believed. Did the recent drought contribute to a reduced harvest? I often wonder where our ingredients come from and how to revive and sustain them, and my quest for dill reaffirmed the importance of these questions.

Happily, I found some fresh dill just in time to make this recipe… For someone who used to dislike it as much as I did at one point, I couldn’t have been more pleased to have it on my plate! In the form of this wonderful, fragrant rice, who could resist a second helping?
Dill Rice

(Yield: for 2 people)

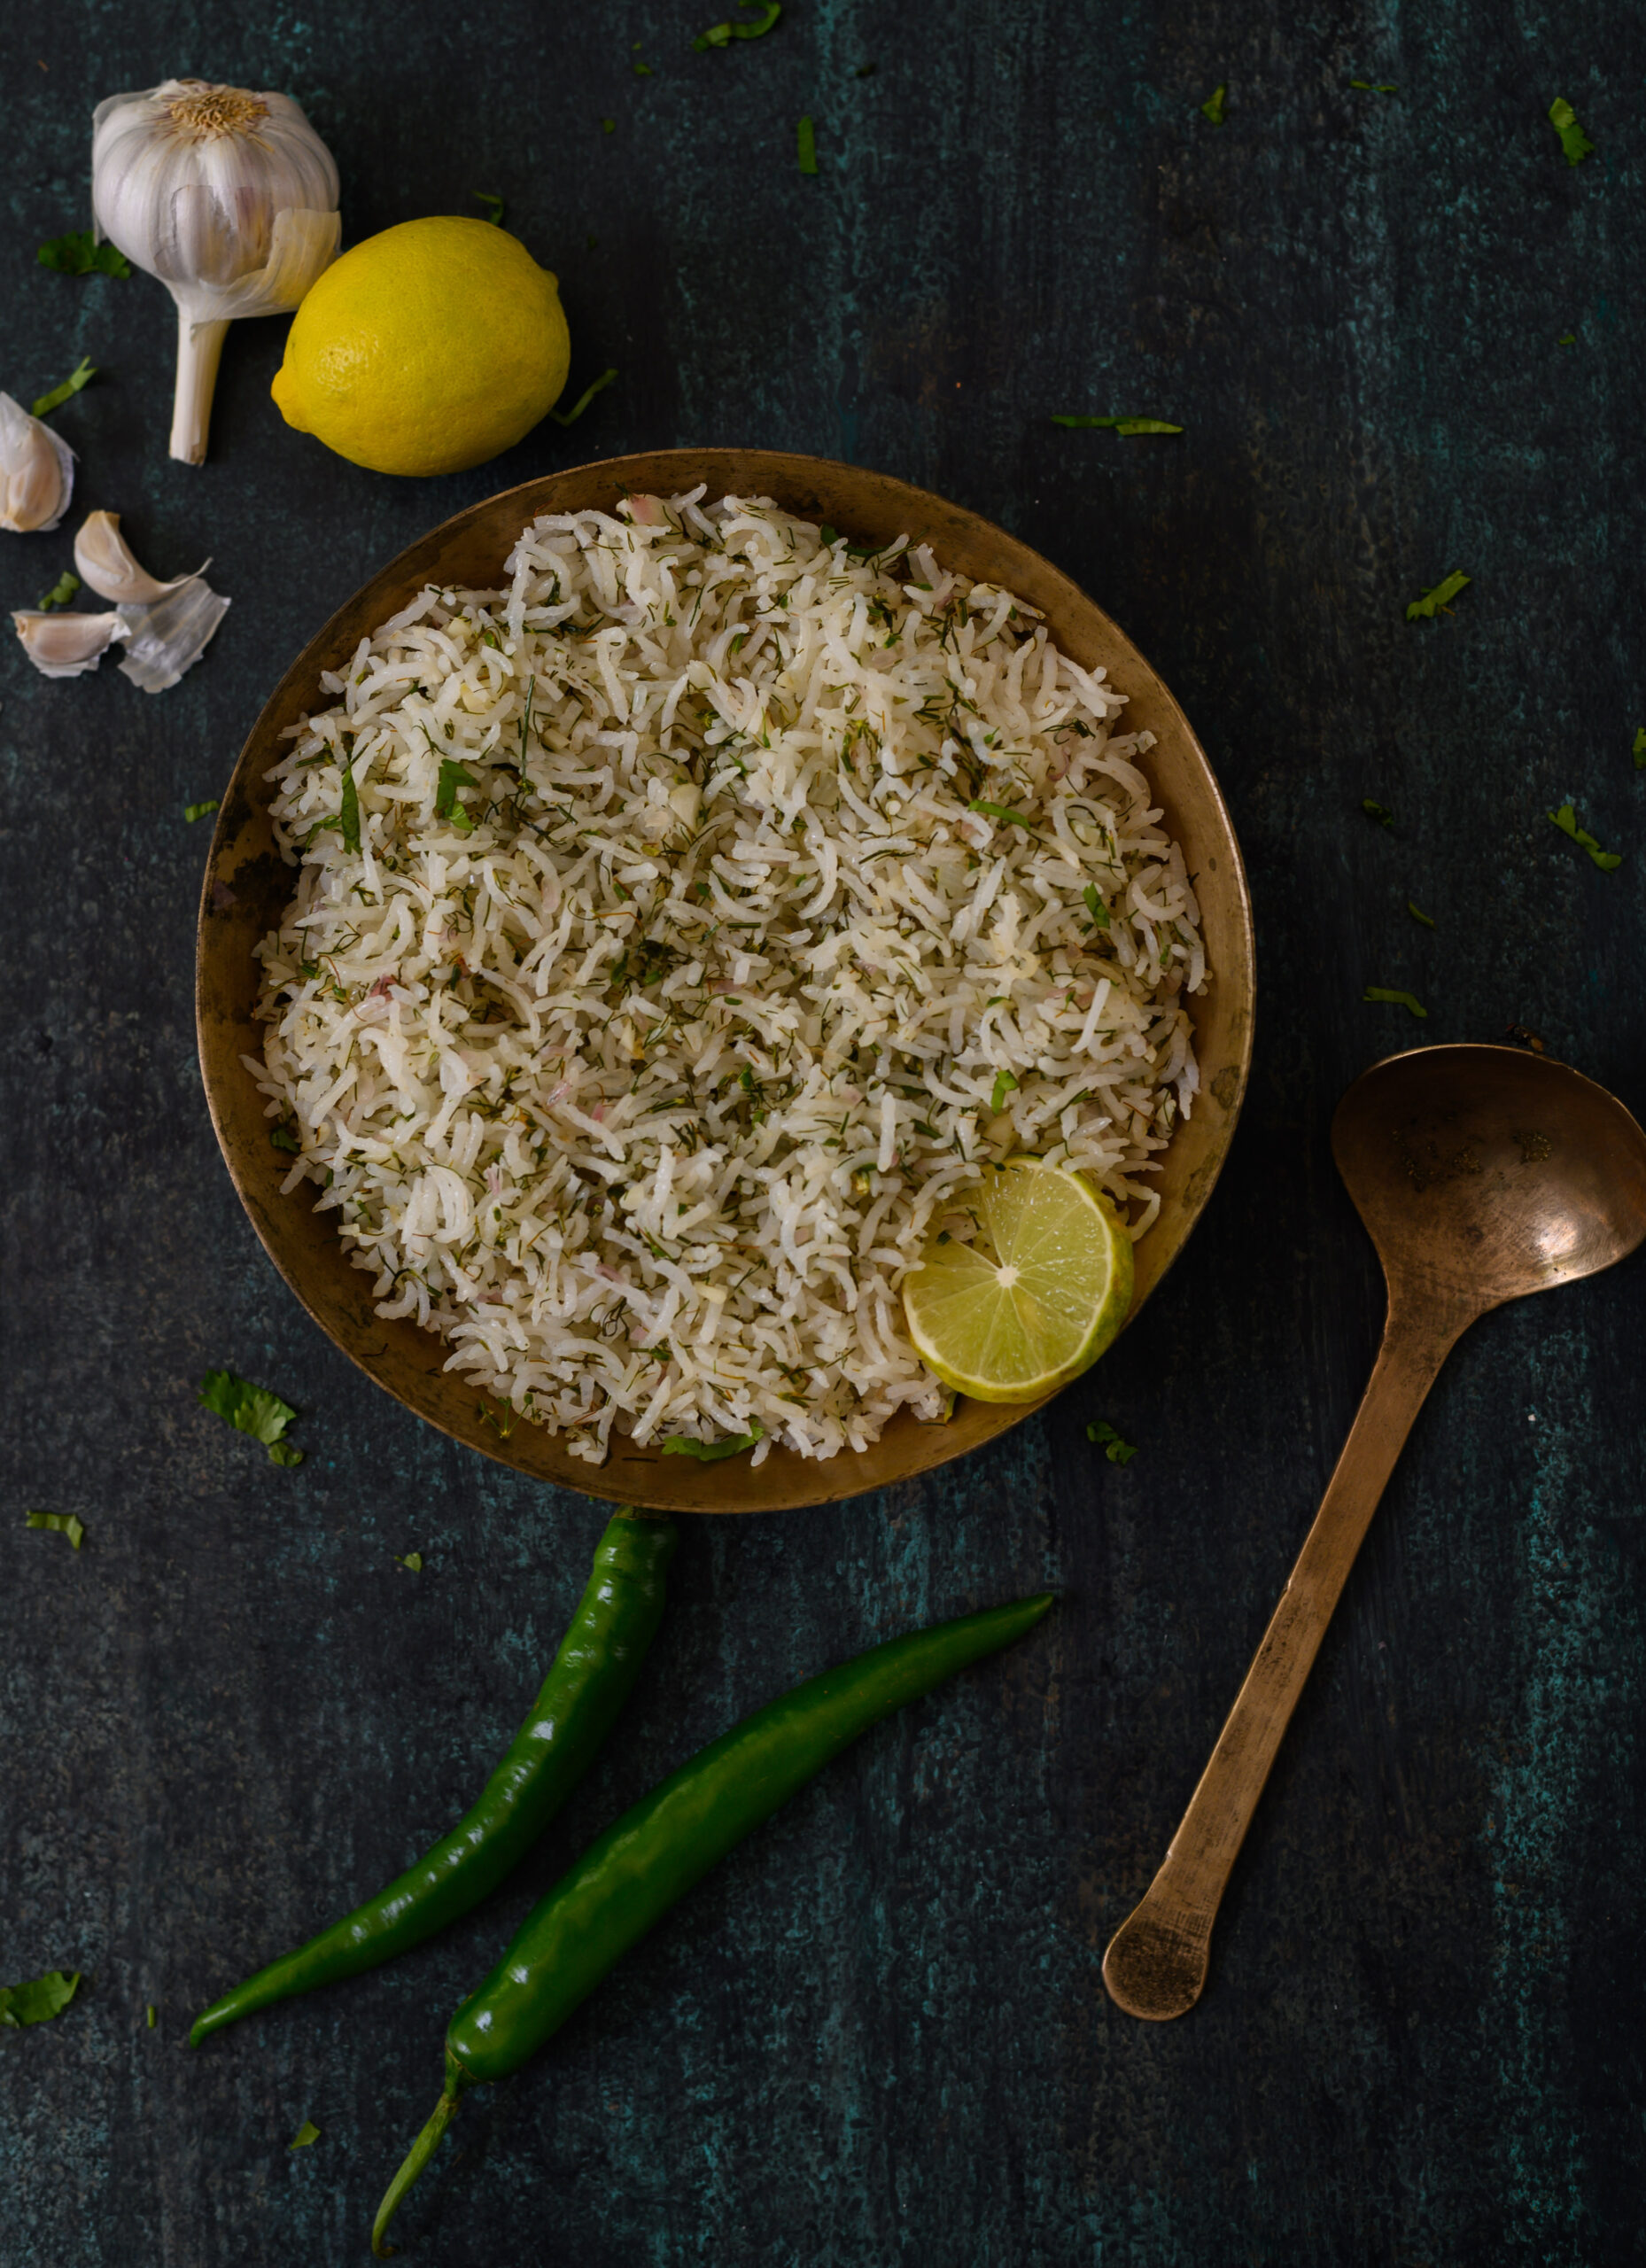
½ cup rice

1 tablespoon finely chopped onion

2 garlic pods

2 tablespoon finely chopped dill

1 tablespoon oil

Salt to taste

A squeeze of lemon

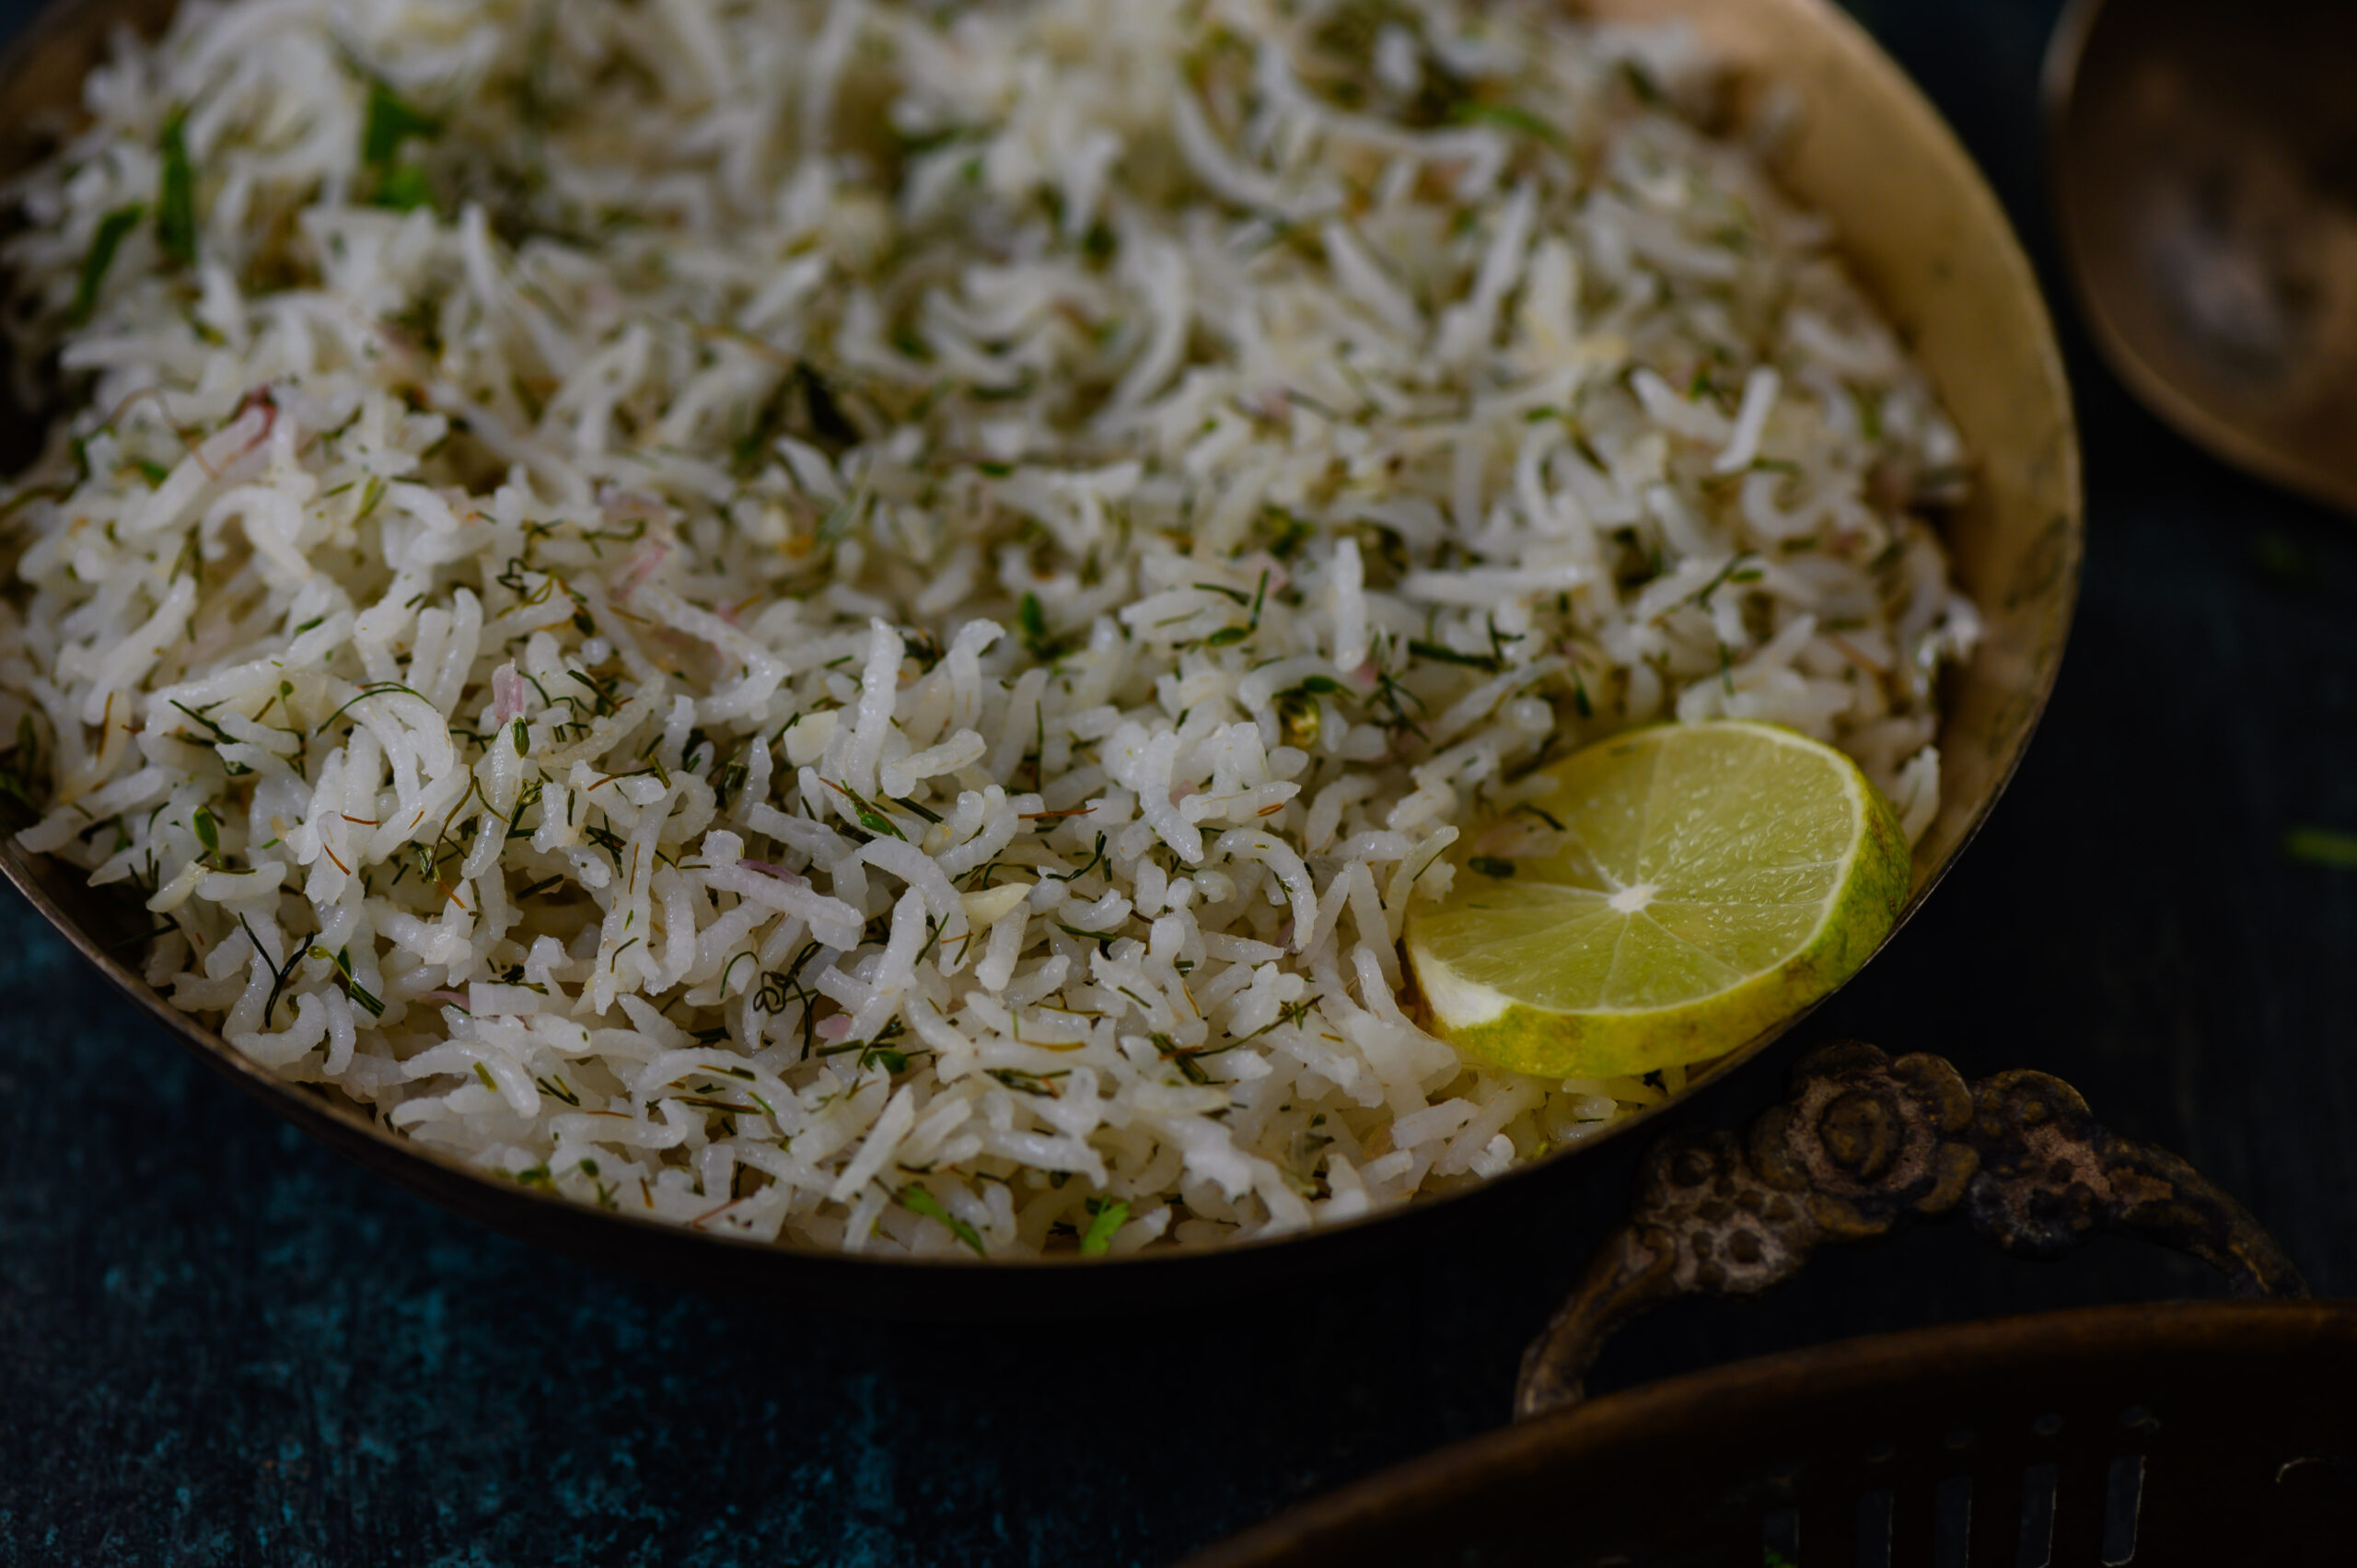
There are various ways to make dill rice, and I like this method as it’s so simple and the flavour of the herb really stands out. If you enjoy the taste of dill, you can increase the quantity used in the recipe.

Wash, pick and cook the rice till each grain is separate.

In a kadai, add the oil. Allow it to heat and then add the onions and garlic. Sauté for a few minutes.

Now add the dill, and sauté and stir for a minute. Finally, add the cooked rice together with the salt. Mix well and cover with a lid so that the dill rice retains its softness and flavours. Top it off with a good squeeze of lemon when serving.

Dill rice makes for a great travel partner as it stands on its own in terms of flavour and doesn’t need much accompaniment. What I like most is that it’s versatile, and works well with both Indian and Western menus. When serving a complete meal, it will go equally nicely with a Western-style baked casserole or an Indian-style dry potato roast.

Dill rice is a very simple preparation, and a way to effortlessly make a meal exciting when you neither want to serve plain white rice nor a rich pulao or fried rice. Something about sautéing the herb and having its distinctive flavour mix with the familiar condiments of onion and garlic just comes together in a beautiful dish. I think it’s simply dill-icious! If, like me, eating dill-based home remedies gave you an aversion to the ingredient, I hope this will be the recipe that changes your mind. I’d love to know if it does.

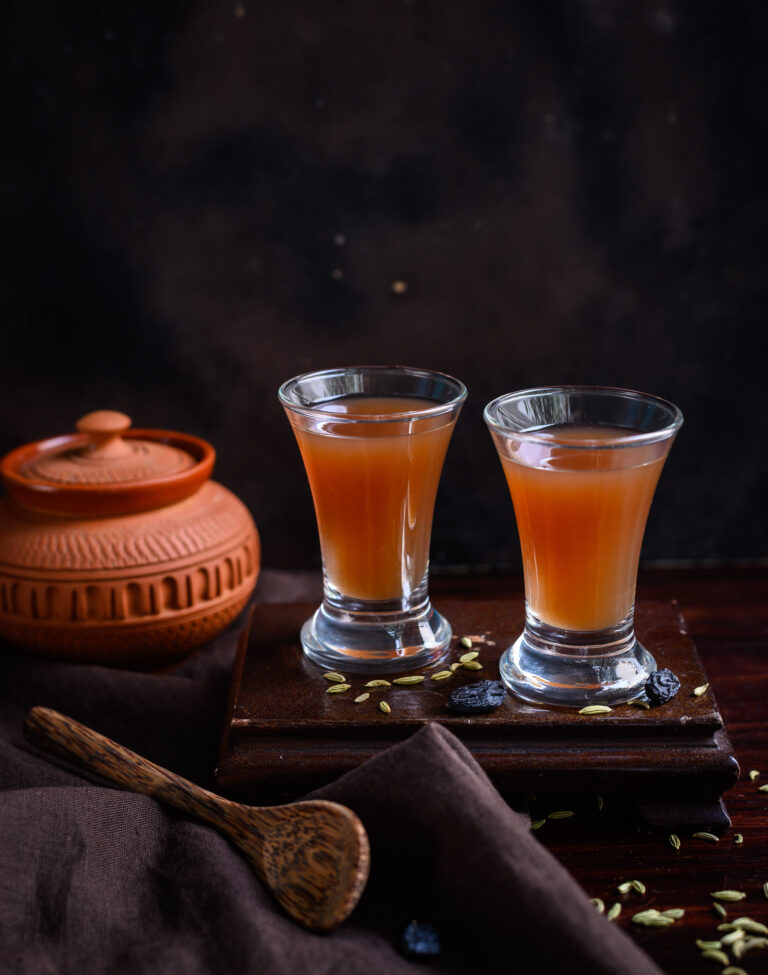
In my recent recipe for a barley lime drink, I mentioned how my sister and I were anaemic while growing up, and how we were subjected to a range of homemade remedies to improve our condition. When she and I reminisce about the good old days now, we often laugh about all those horrible tonics and preparations, and very fondly remember one we actually loved. In fact, many children would, because of its delicious sweetness. The “medicine” in question was the raisin kalkand (crystal sugar) syrup, a simple health-boosting tonic our mother often prepared for us.

We would be given this first thing in the morning during the summers because it’s a highly cooling drink, in addition to its strengthening properties. Dehydration is something we’ve all become mindful of given this heat. But it’s also important to consume foods and beverages which have a cooling effect on the body. The science of Ayurveda has helped us identify many of these. As I’ve said before, I don’t know how much of it was science and how much of it was intuition, but my mother had an amazing skill when it came to knowing the heating and cooling properties of various ingredients. So she made sure that the raisin kalkand syrup was a summertime drink for us. It’s cooling both in terms of what’s in it and how it’s made.

Life was so different back then, when we were growing up. We were all so dependent on natural remedies, avoiding pills, and were no less healthy for it. These are ways of life which are being forgotten. Do you remember growing up in that time, in which mothers and grandmothers always seemed to know what to reach for in the kitchen to not just treat but even cure all kinds of common ailments?

In retrospect, I appreciate those kinds of healing methodologies and natural sciences all the more. They followed traditional customs, had seasonal logic, and maintained health in the family and community. I have become a big believer in these remedies, and many trips down memory lane have helped me bring some of them back into my life. This health-boosting turmeric shot and this herbal tonic for sniffles are but two examples of how a handful of common ingredients can make you feel all better.

Still, I must admit that I struggle sometimes to maintain and share the old ways of healing, especially when it comes to my children and how fast-paced their lifestyles now are. But that’s partly why I feel it’s so important to revive and invest in these methods. They counter the demands of the world through their time-honoured and proven usage. They were not passed down through so many generations for nothing. For small complaints, they often work like a charm.

And as far as charms go, this raisin kalkand syrup is a particularly sweet one. Literally! You’d be hard-pressed to find a child who will reject a shot of it.

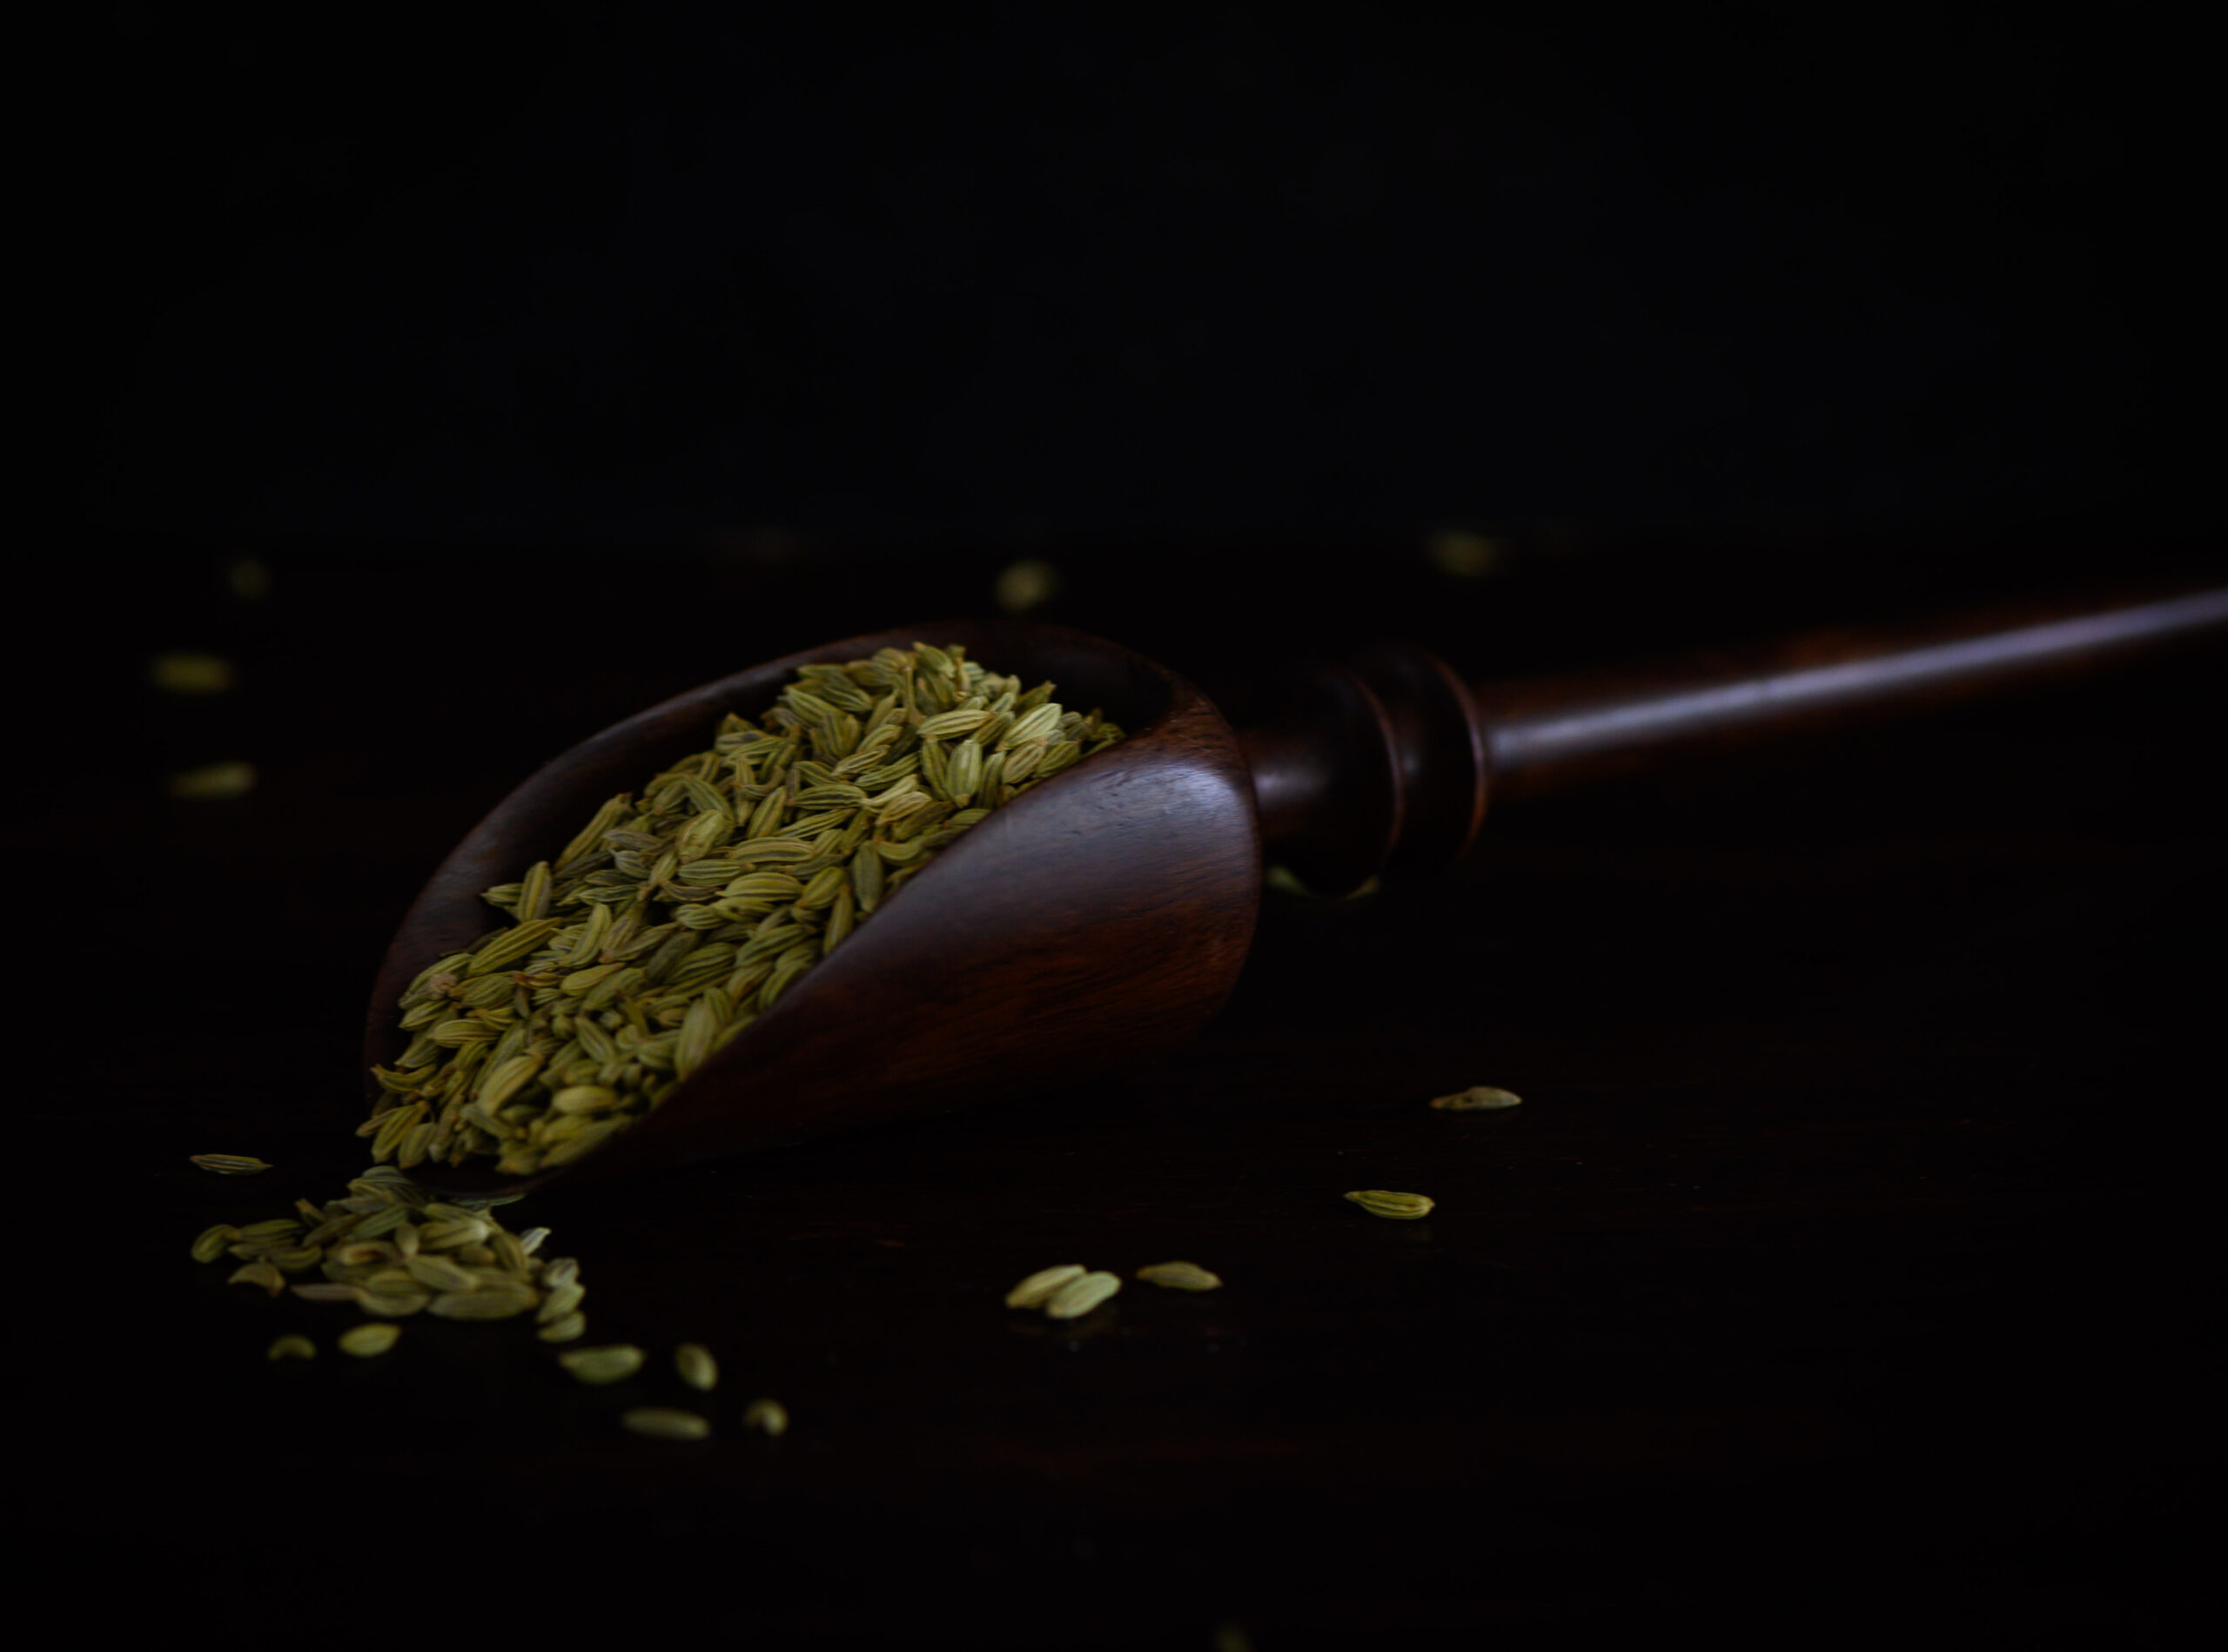
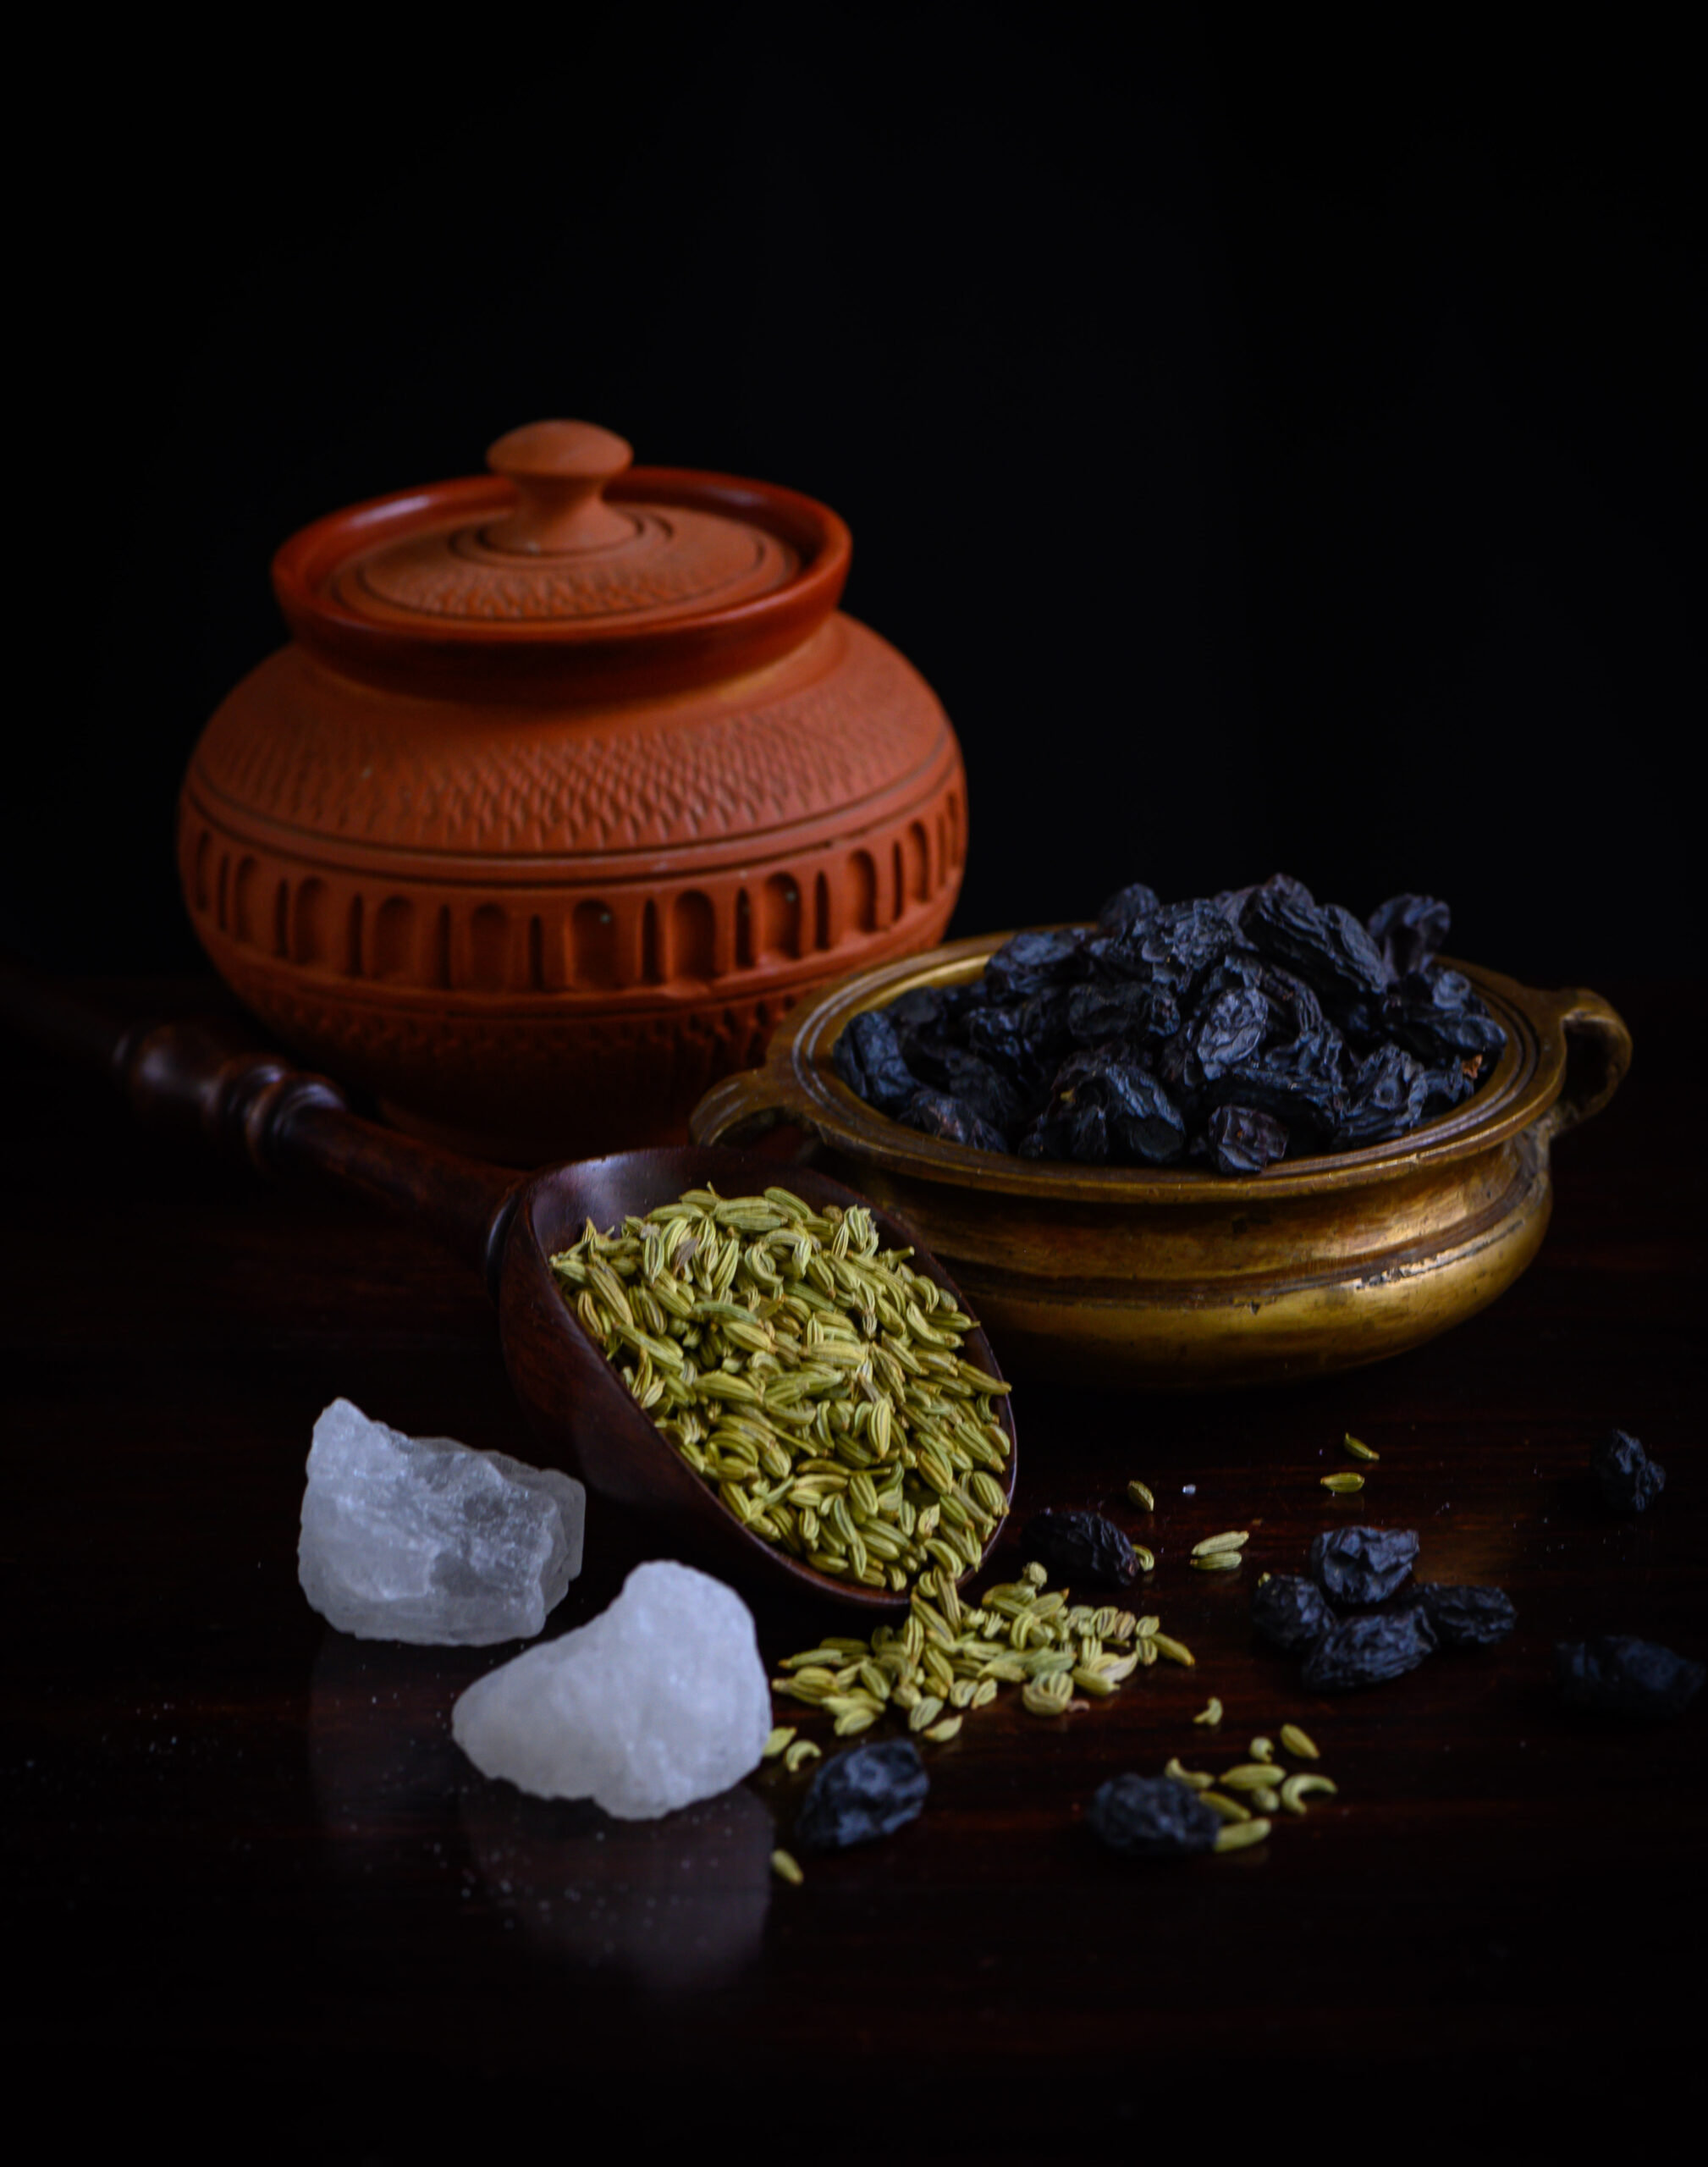
Like so many old recipes, the secret to this one lies in its simplicity. Fennel seeds are a source of iron, histidine and folic acid, zinc, magnesium, potassium, Vitamins C and K and essential minerals. Black raisins too are full of iron, thus increasing haemoglobin levels, and are also good for bone strength, immunity and a host of other needs of growing children.

Furthermore, there is a process of soaking which brings out the nutrients in the raisins and the fennel. This takes place in a terracotta pot, an ancient cooling method that continues to be a part of Indian kitchens. This amazing, energy-efficient refrigeration technique is also great for curd, water and so many items which are best served cooled in the hot summers. Adapted for both adults and children as a sort of raisin and fennel juice, this syrup that I liked to gulp in a shot from my childhood is an ideal drink to cool down in the heat.

You may be wondering how sugar, which so many nutrition-conscious people regard as a big no-no, could be such a major part of a home remedy. Its presence in this recipe is neither for reducing bitterness nor for making it more palatable for children, especially since delicious raisins don’t need to be (literally) sugar-coated like certain other nourishing ingredients. The use of kalkand here is only for a cooling effect, just like the terracotta pot. A substitute like jaggery would have a heating effect, and is better avoided.

This raisin kalkand syrup is best taken in the summer months, and joins an ever-growing list of heat-fighting drinks on this blog, including rose sherbet and spiced buttermilk.

Raisin Kalkand Syrup

(Yield: 1 cup)

¼ cup black raisins

1 lump crystal sugar (optional)

2 tablespoons fennel seeds

1 cup water


A terracotta pot was always considered a must by my mother when making this cooling syrup, so it’s still a part of my own method. Put all the ingredients in a small terracotta pot, including the water. Soak overnight or for a minimum of 6-8 hours.

Please note that the sugar quantity is really a question of personal preference. If you have been advised to cut down on it, you may use less or omit it from the recipe.

Once the soaking process is complete, blend the soaked ingredients with more water.

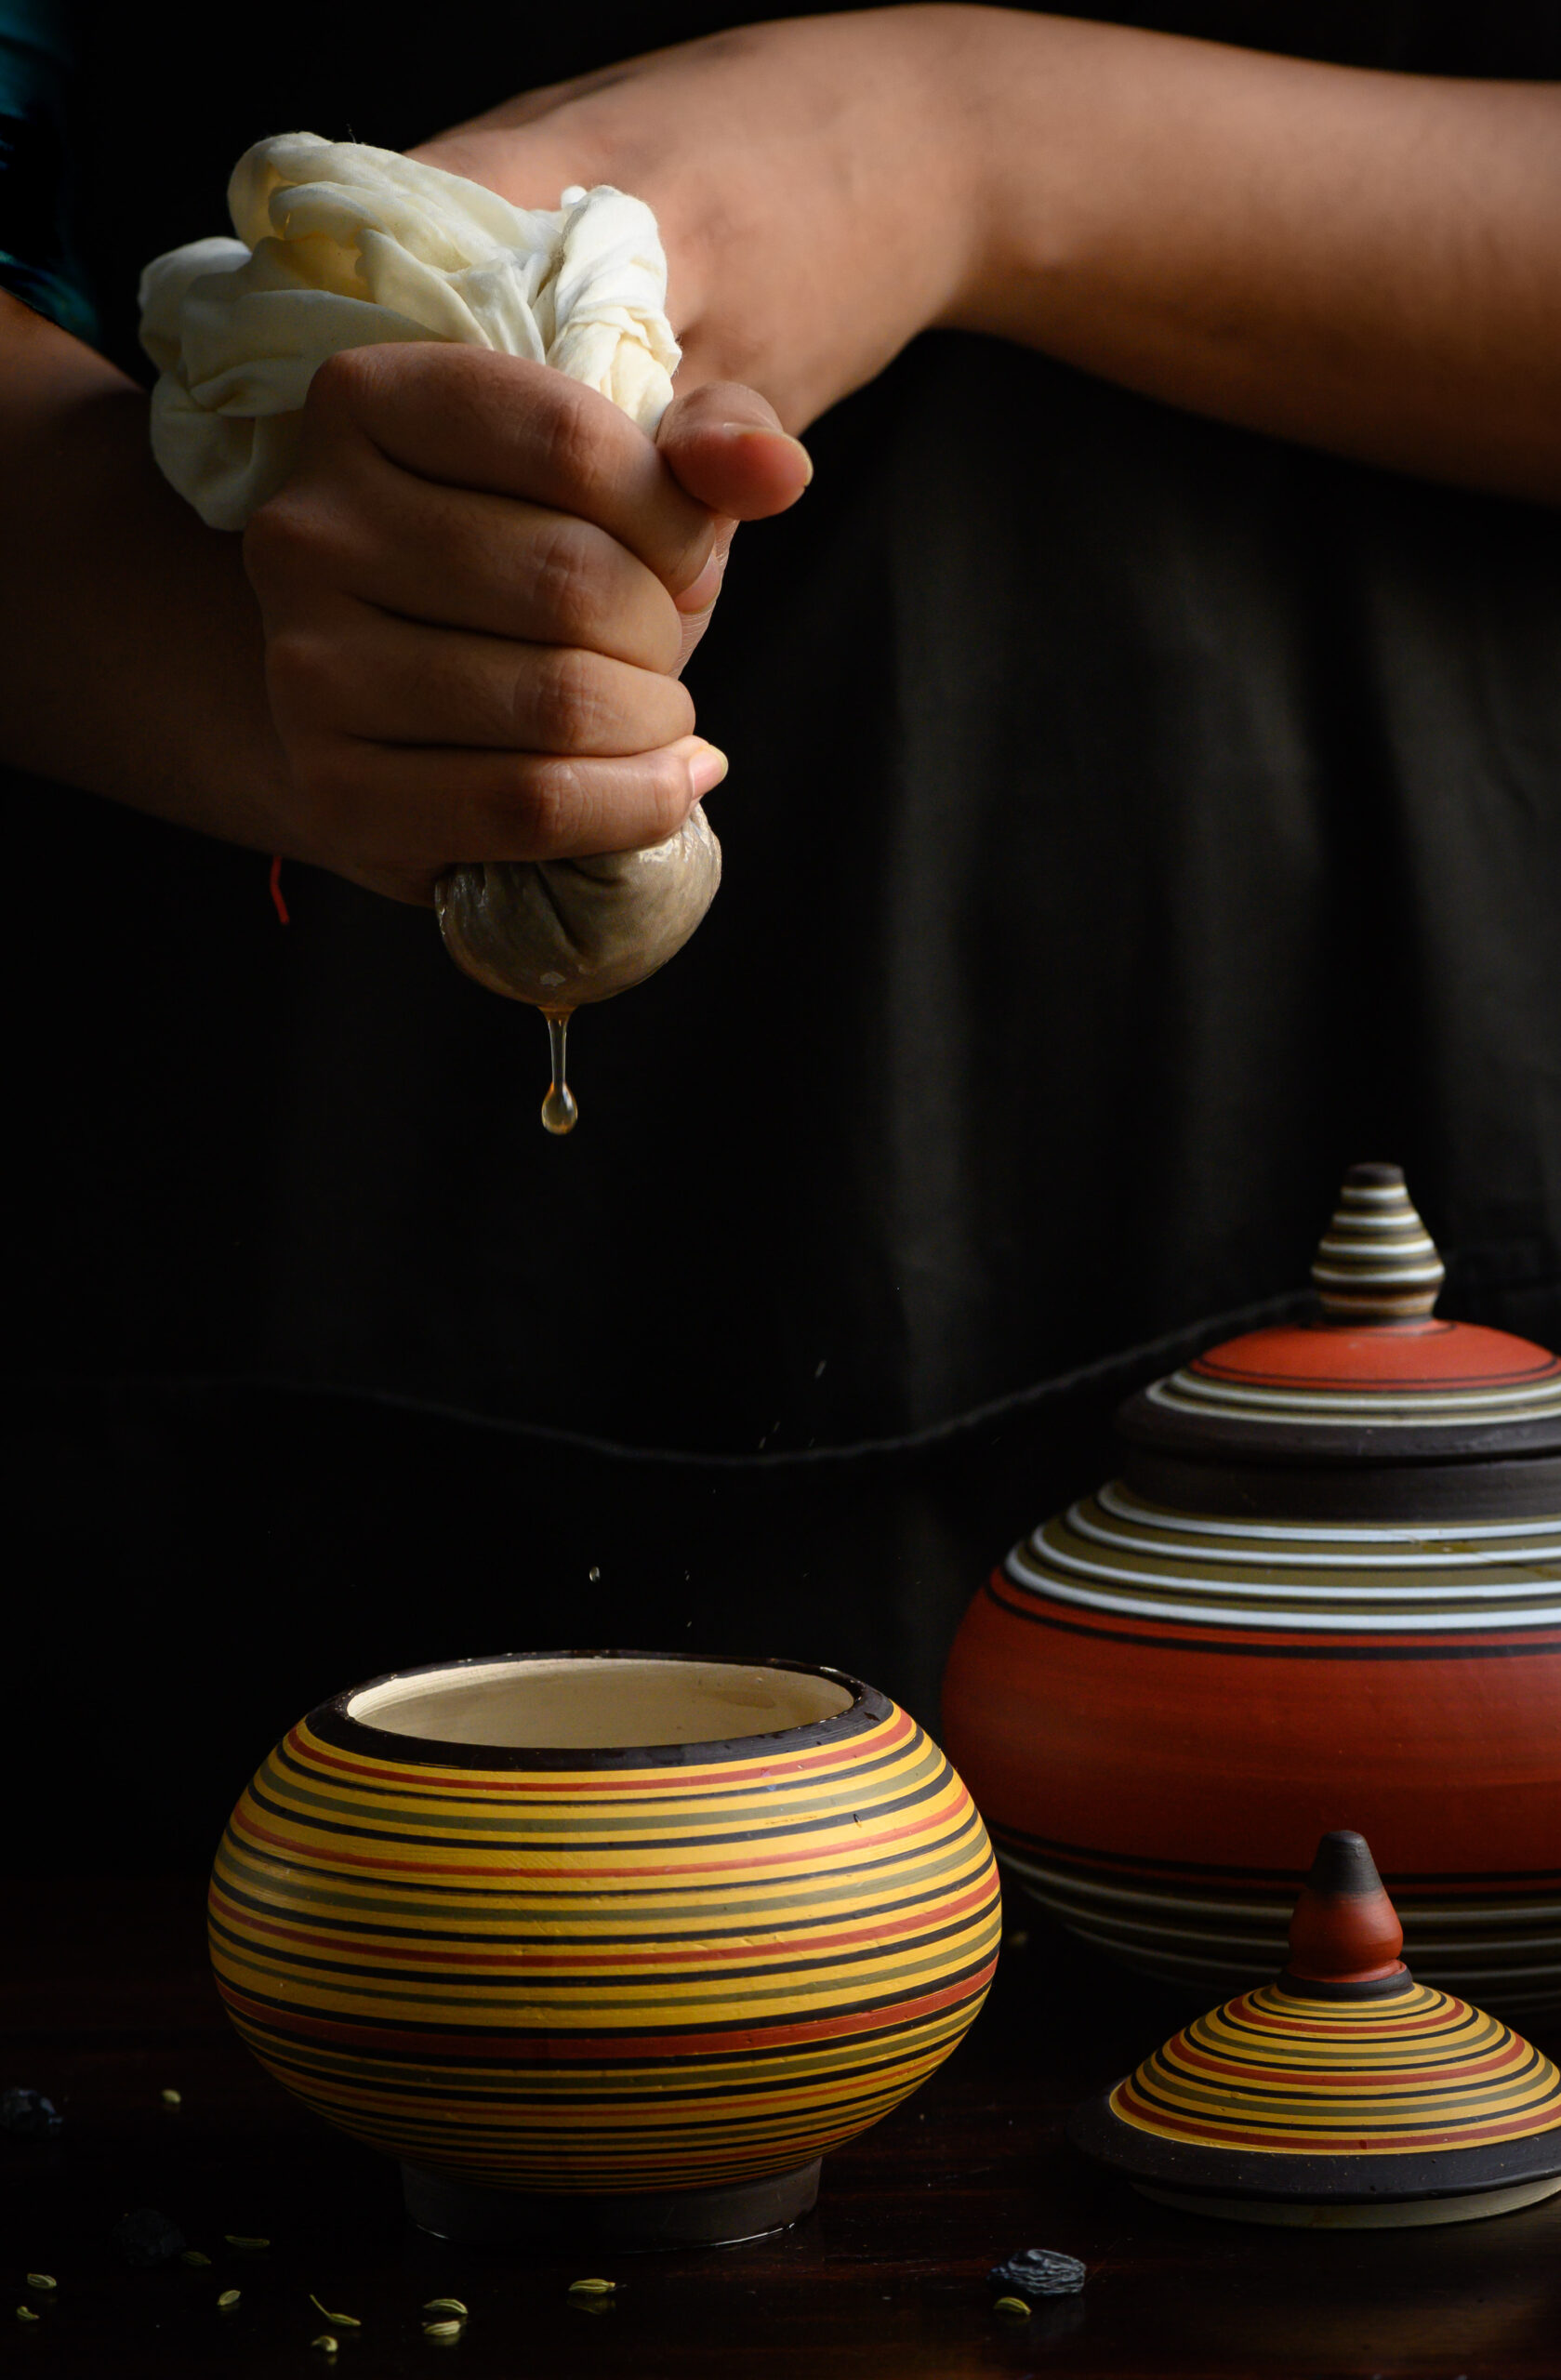
The beauty of how this drink was made was that it was lovingly crushed by our mother’s hands, because we didn’t have a blender around yet. Now of course, I blend it but then strain it with a muslin cloth just as she did. She would use an old saree of hers which had been worn to tatters. Ever resourceful, she would cut pieces from used clothing and keep it for such purposes.

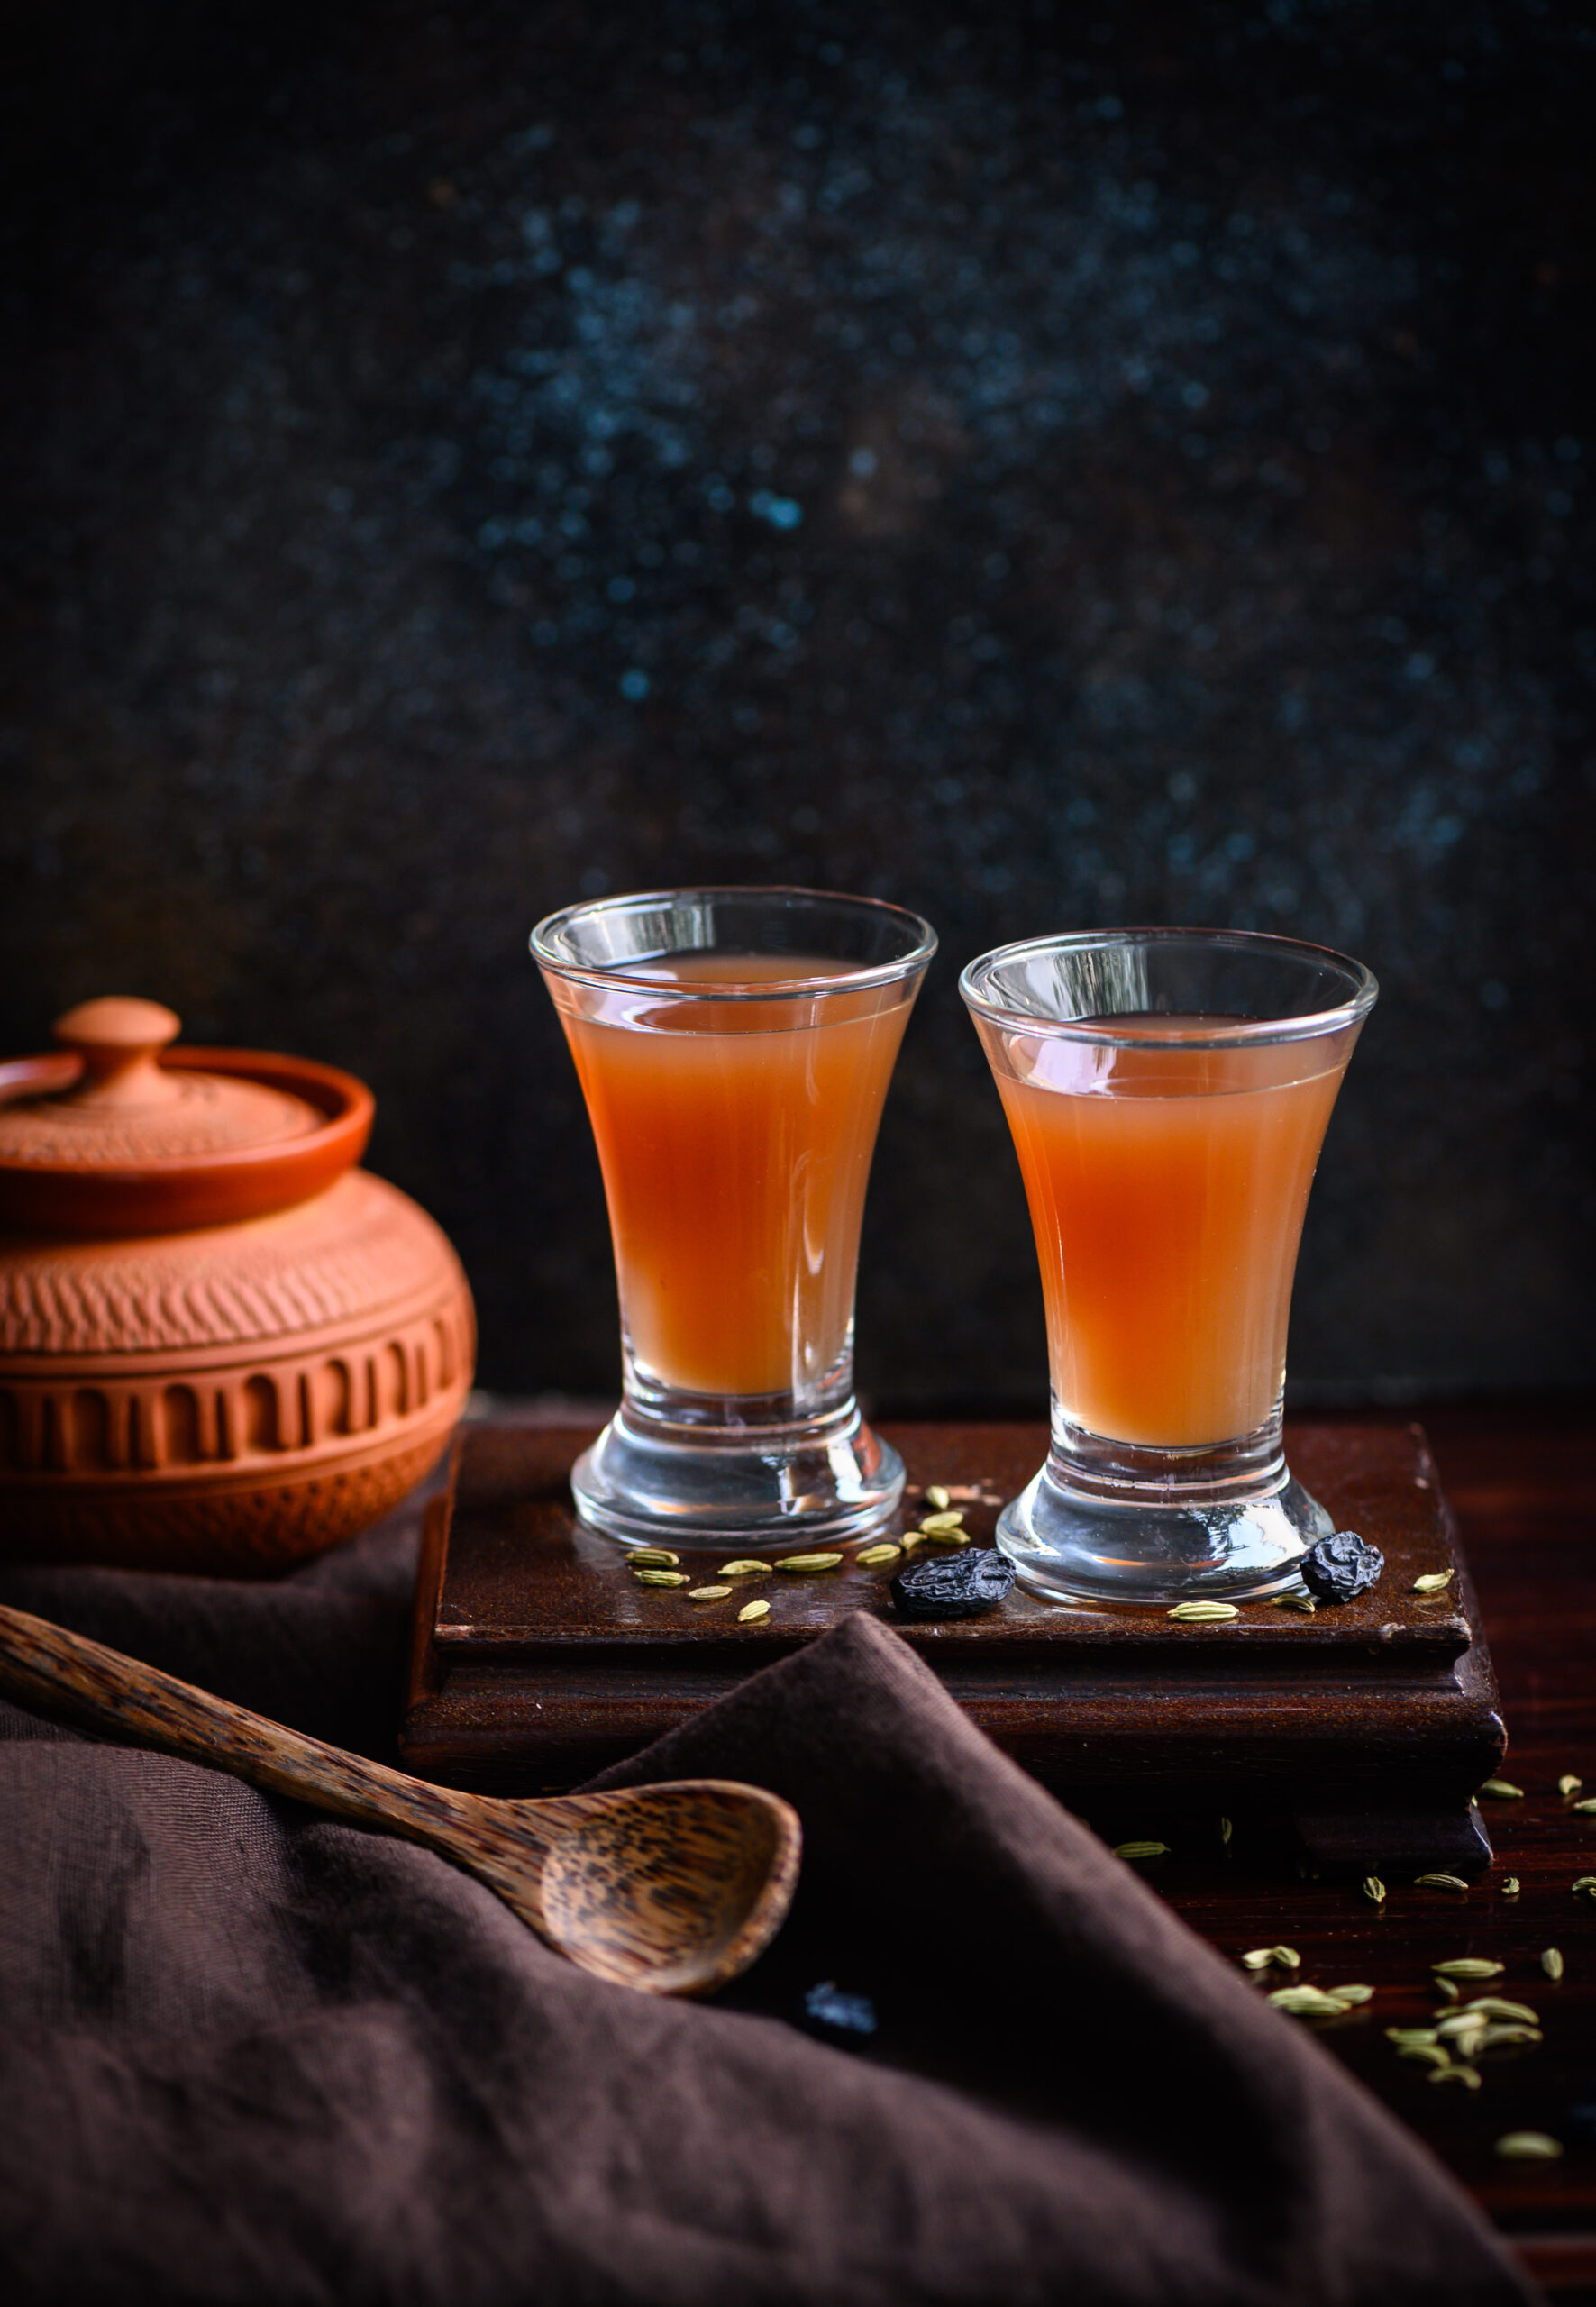
Using a fine muslin cloth, strain the blended mixture well. Squeeze the liquid into a glass. As children, we loved drinking it like a shot, although you may prefer to sip it. Enjoy at room temperature and preferably fresh. This recipe serves one. Increase quantities as desired to serve more.

With all the bitter remedies that we were forced to spoon down growing up, this raisin kalkand syrup was not only a tasty respite, but also a beautiful metaphor on balance. It served to teach us something important about life itself, and finding ways to make it sweeter. And that’s the lesson that comes to mind as I share it with you today.


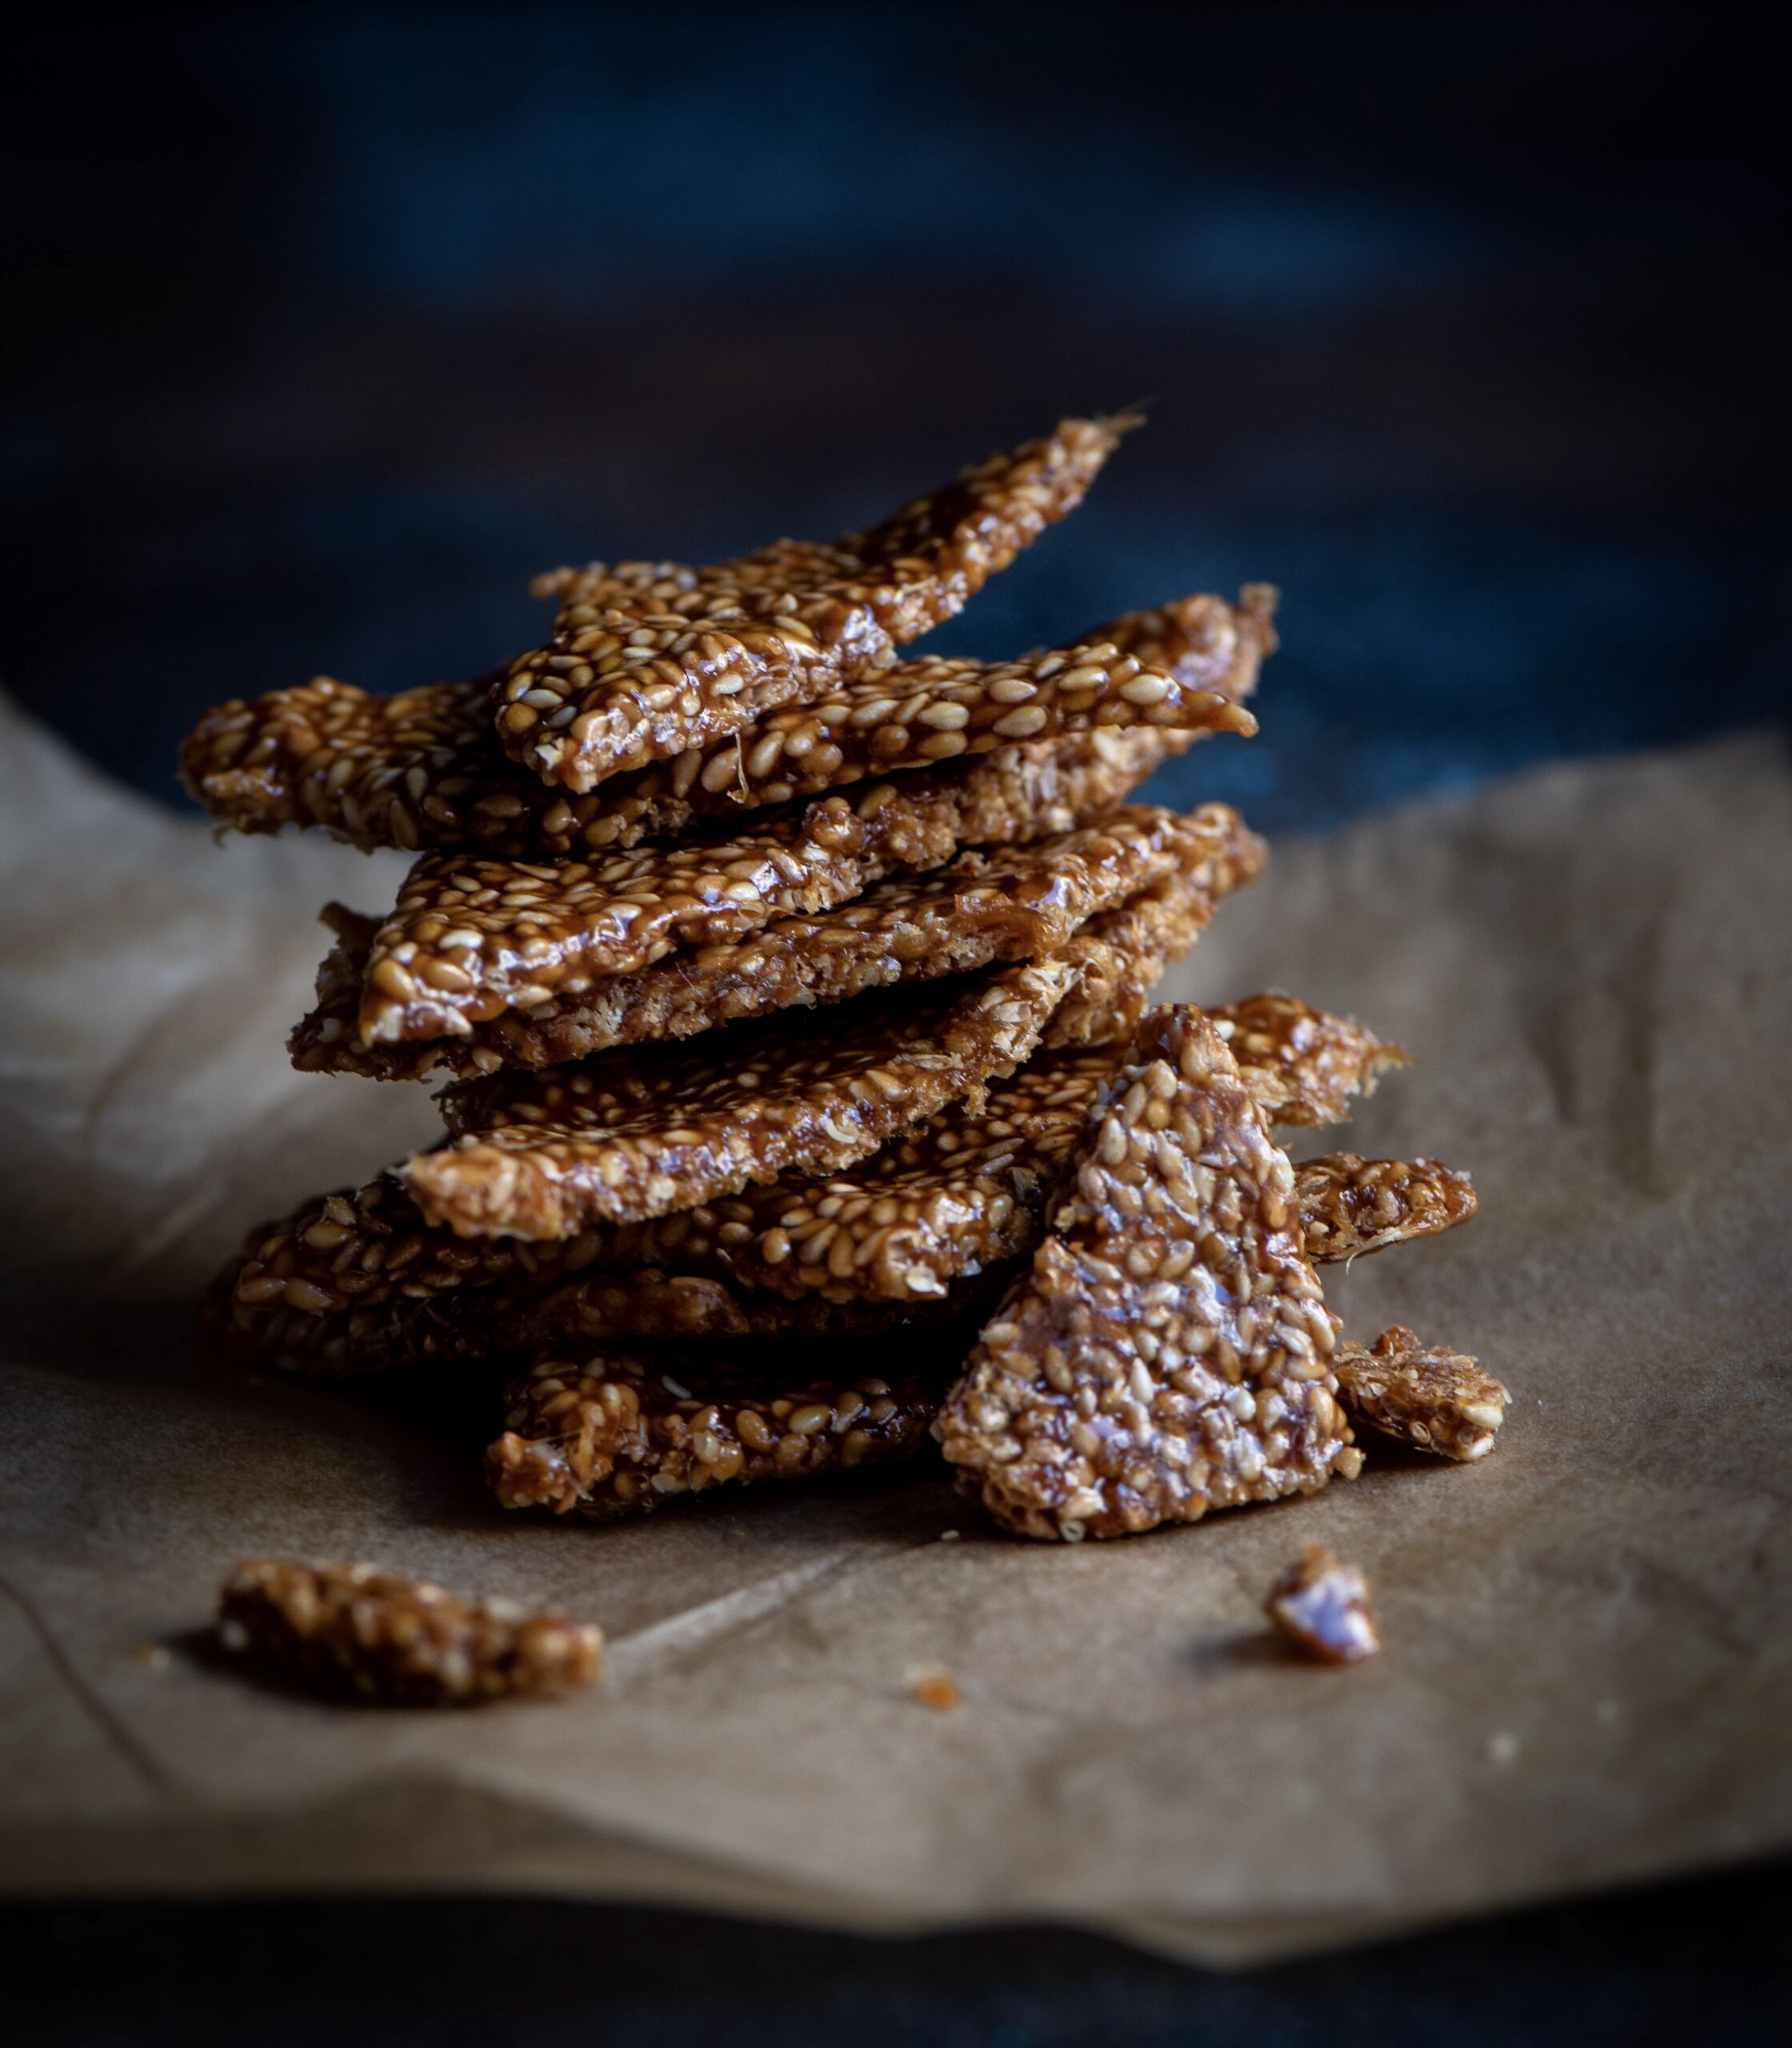
Sankranti, the harvest festival, is here and as we celebrate by giving thanks for the crops we eat daily, it’s til-ka-chikki that strikes me as a perfect dish for the occasion. The chief ingredient of this crunchy sweet is sesame, which is believed to have been cultivated in India for over 5500 years. As a form of produce that can grow with relatively little supervision, and in less than ideal conditions, there is no doubt to me that many of our ancestors would have considered it a perfect if not vital part of their Sankranti. Sankranti is known by various names throughout the country – it is also observed as Pongal, Bihu, Maghi and by other names depending on region. No matter where, it falls in mid-January and is a time when the sun is worshipped for its life-giving properties.

“Til” is the Gujarati word for sesame, as well as in other languages including Hindi and Punjabi. The English word “sesame” is from the Arabic “semsem”, indicating oil or liquid fat. This is because it is an oilseed produce. It’s an excellent digestive aid as it’s full of fiber, and also has high copper, manganese and calcium content, in addition to other vitamins and minerals.

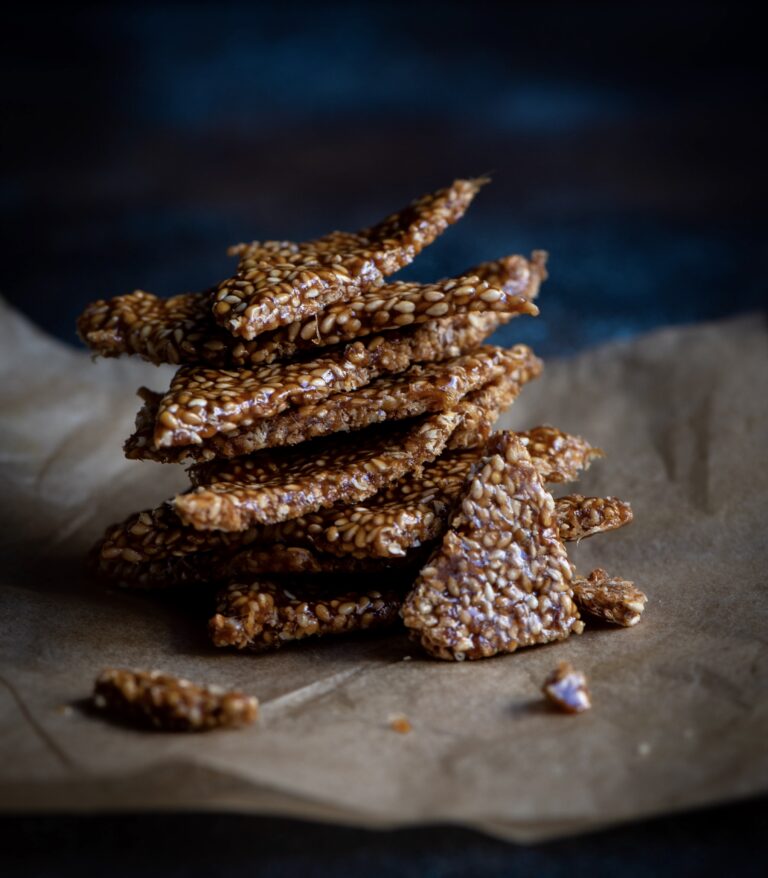
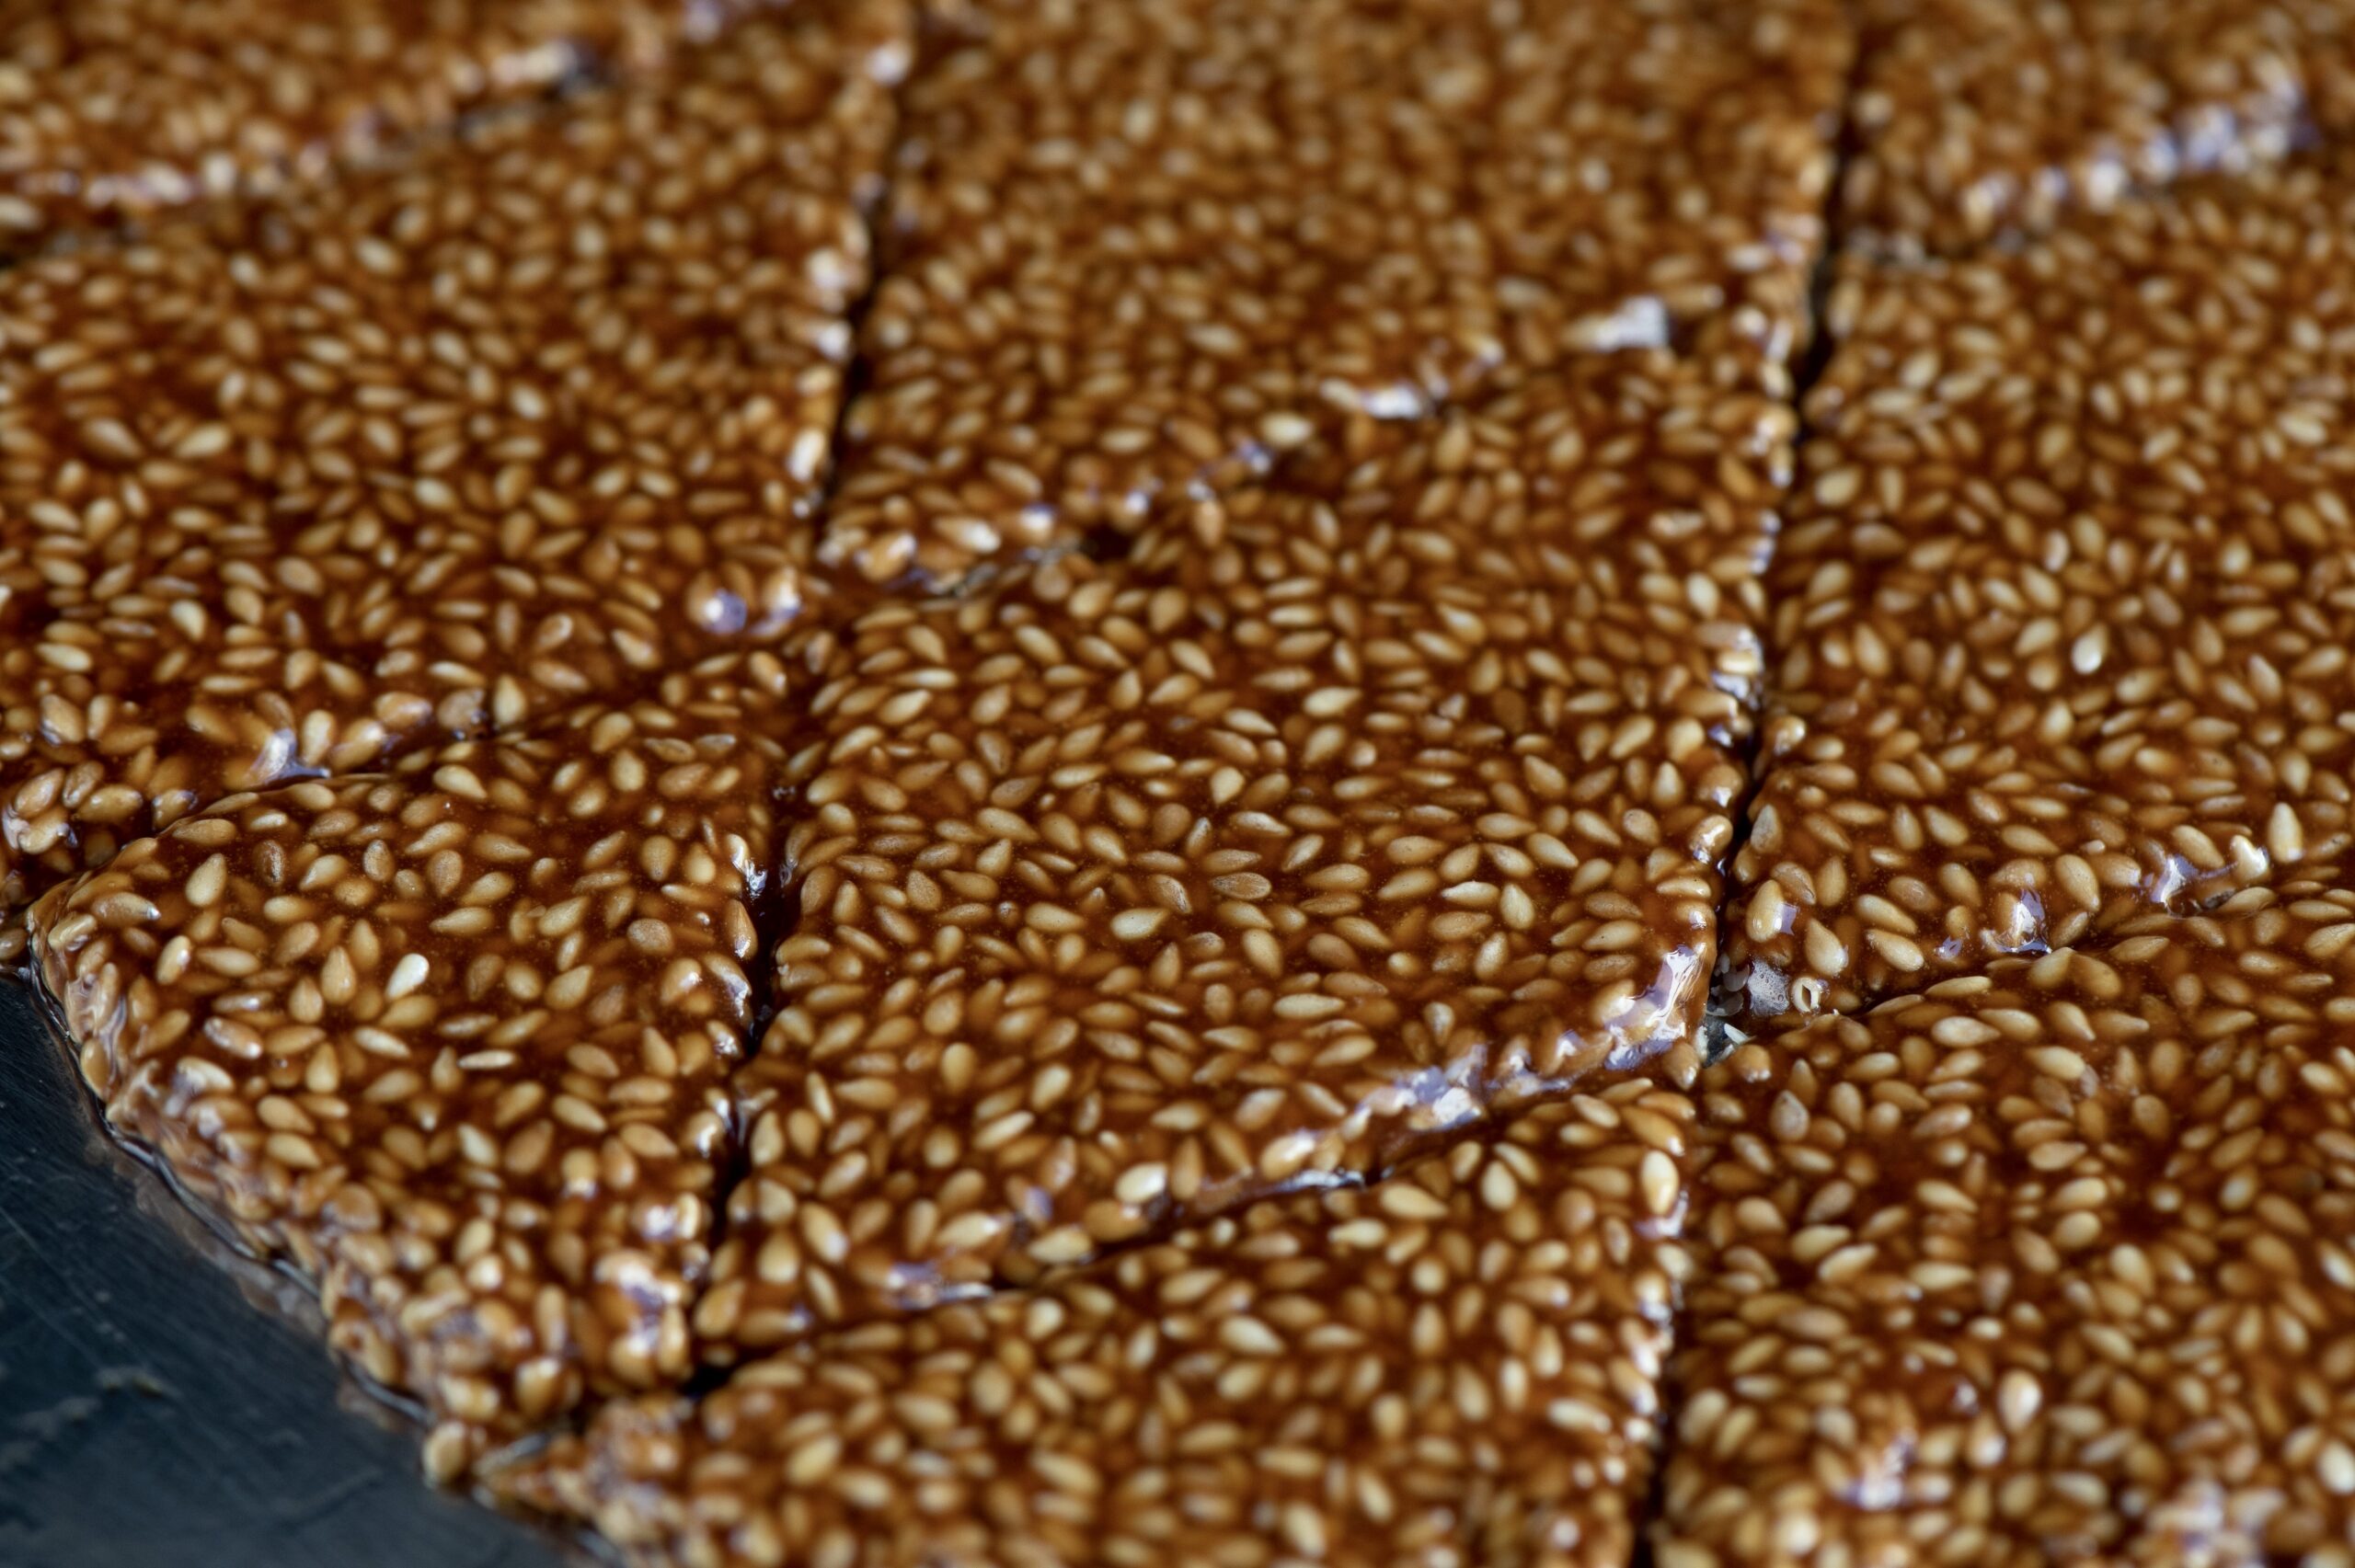
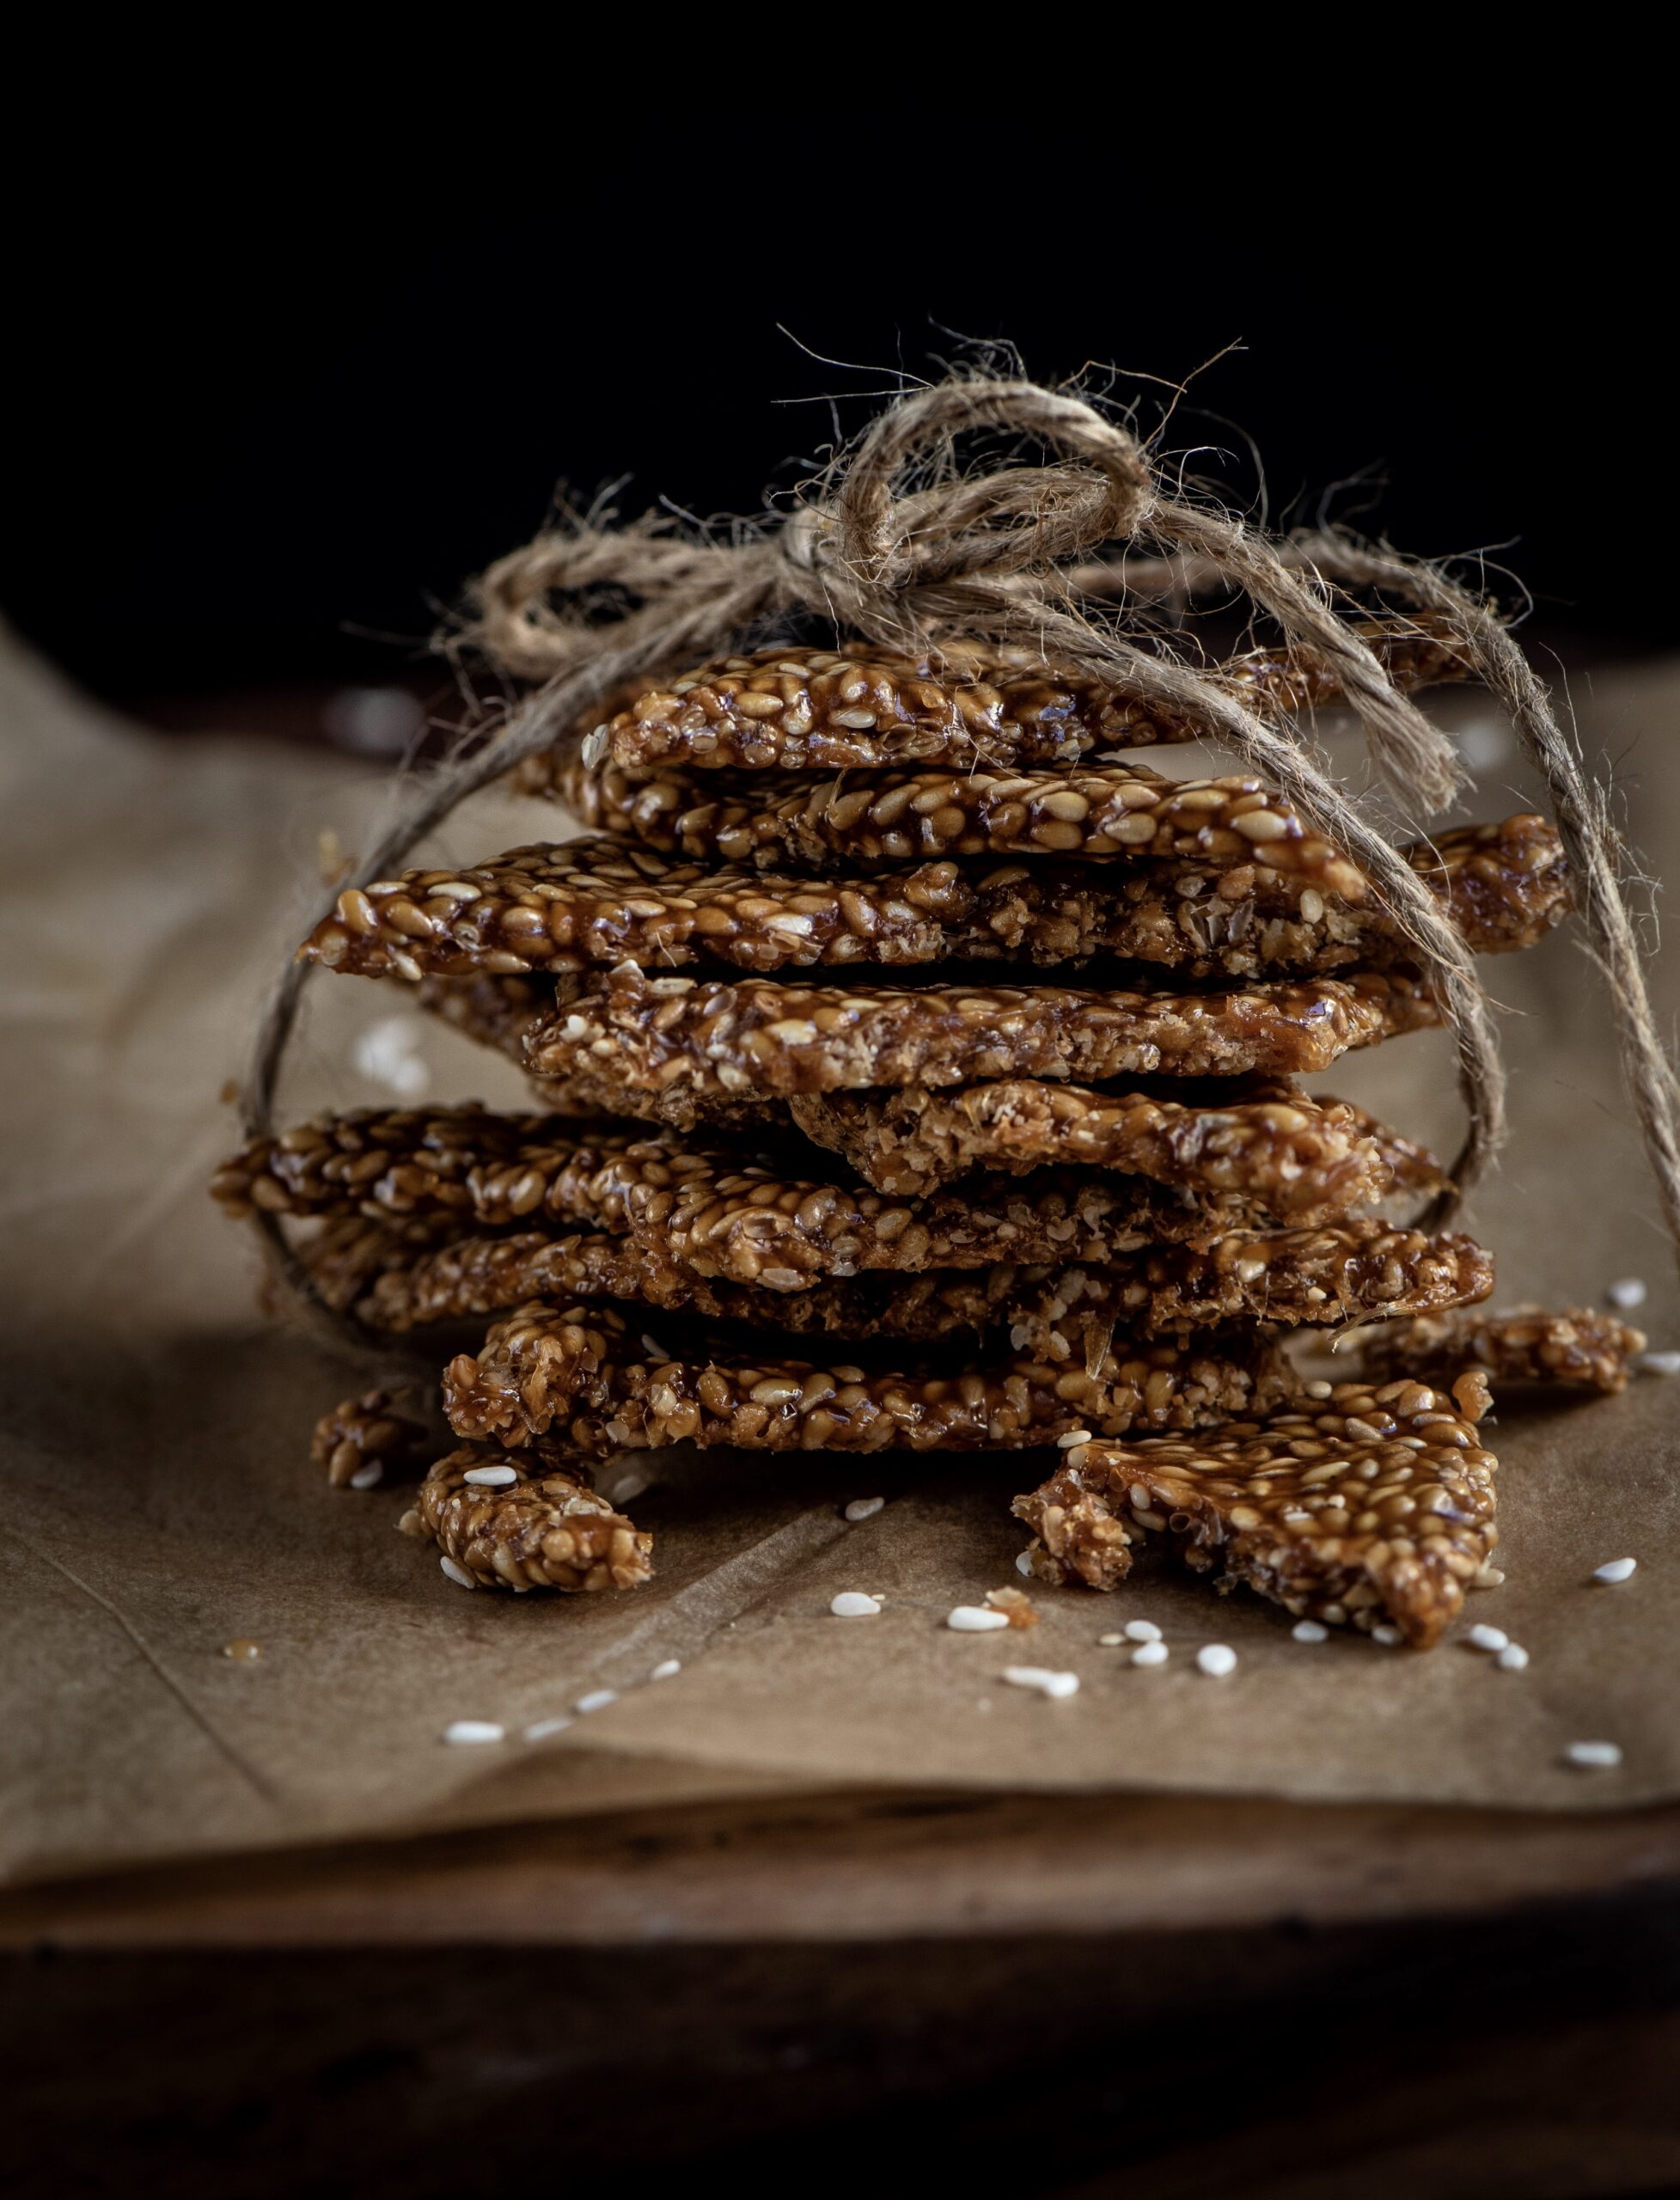
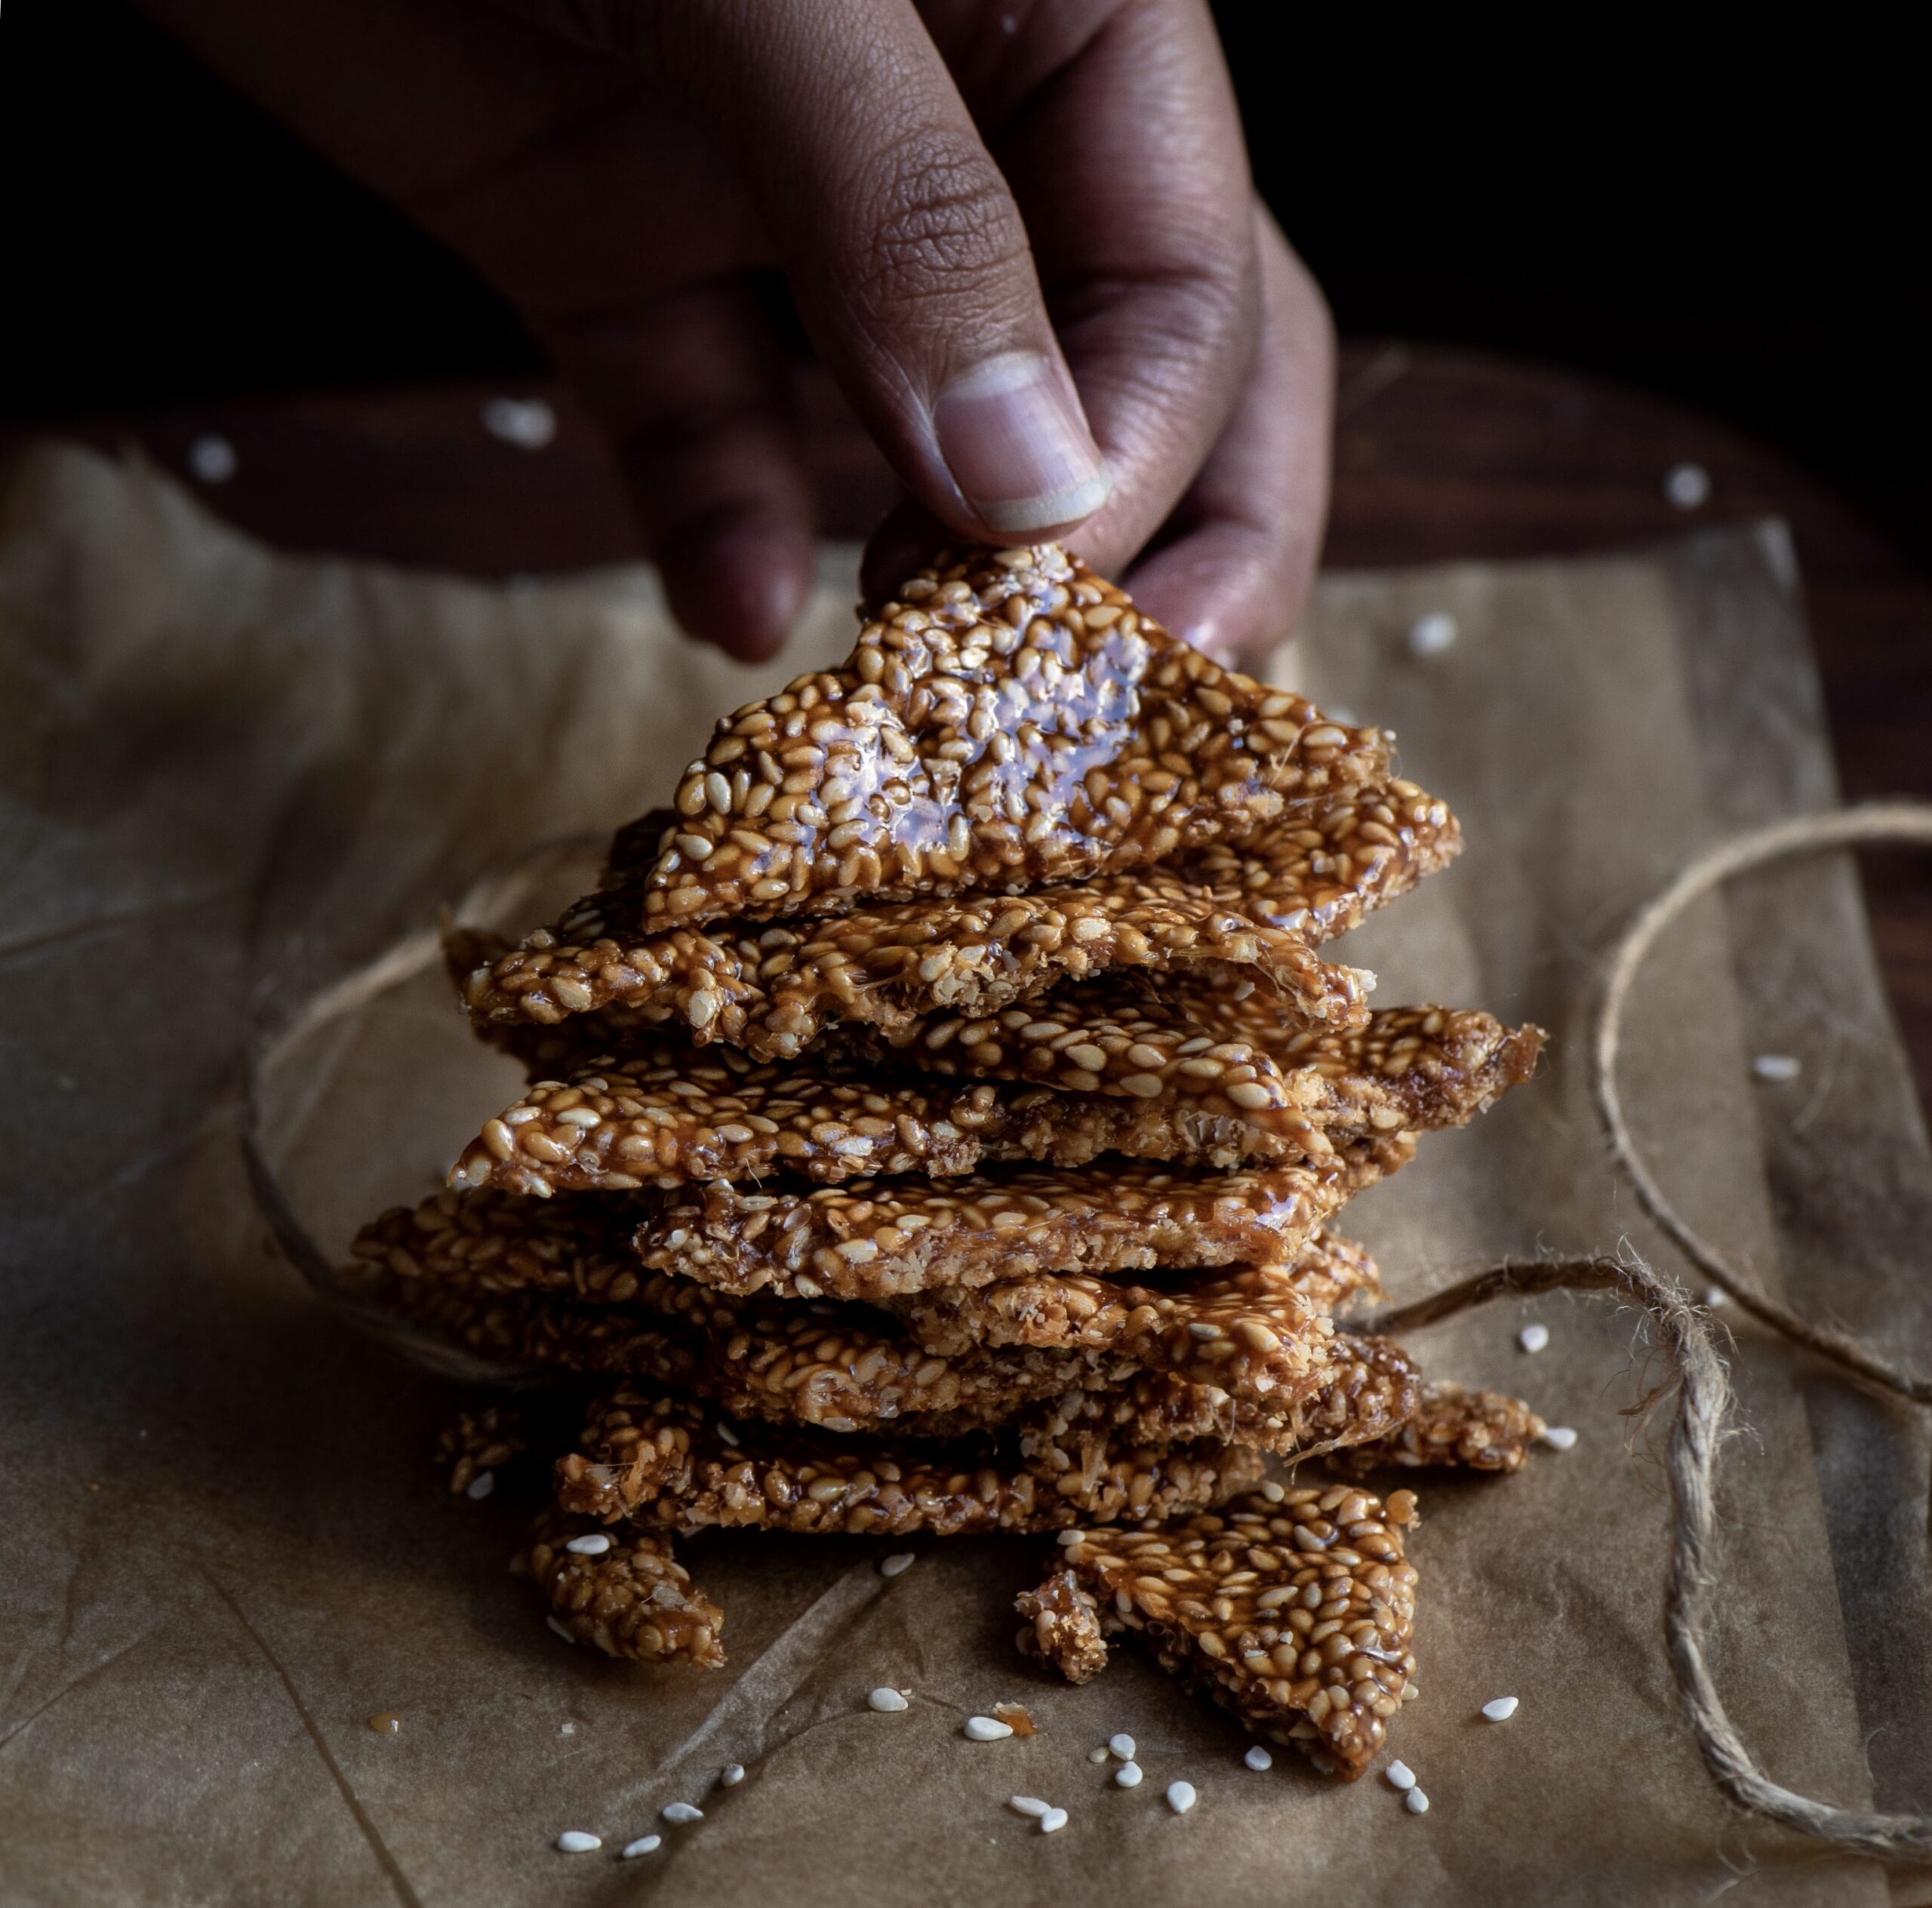
Chikkis are a whole category of snacks, usually sweet thanks to the sticky jaggery that holds them together. We also make them with groundnuts, puffed rice (mora mora) and other variations, depending on the season. You can make them either in bars or in balls, and they also make a great ice cream topping when crushed. Til-ka-chikki is basically a sesame brittle, and today I’ll share the method to make them into bars.

I used to have a huge mental block about til-ka-chikki as I simply hadn’t known how to make it. My sister got married when she was just out of college, and she hadn’t learned how to cook yet. She went to her mother-in-law’s house, where she learned how to make the most beautiful traditional Gujarati dishes. I was still in high school at the time, and am still envious to this day about the culinary skills she picked up back then. Meanwhile, in my mother’s house, I was still studying but also began to slowly pick up recipes and techniques in the kitchen. I was probably inspired by my sister’s newfound talents, and our mother started me off on the basics, like rotli. Over time, I began to regard not only my mother and my own mother-in-law as my culinary teachers, but my older sister as well. My sister’s repertoire is vast. Even to this day, each time I visit her, I insist that she teaches me an entirely new dish  every time.

I overcame my mental block when I finally learned how to make this til-ka-chikki a couple of years ago, with her guidance. And I’ll admit that I am still learning. I don’t quite have the confidence to make it on my own yet, but every experiment has ended in happy mouths and sticky fingers. It would be great if you could learn it together alongside me. We could master it together, just as my sister has.

As with most traditional Gujarati sweets and snacks, this too requires only three ingredients. In this case, they are jaggery, sesame and ghee. If you’d like a vegan version, replace the ghee with a flavourless oil of your choice. Til-ka-chikki is also offered as a prasad, so while it is a simple dish it can also be a part of prayers for festive and special occasions. For Sankranti, of course, it’s a beautiful way to honour the sun that gave us this ancient and nutritious crop.


Til-Ka-Chikki (Sesame Brittle)

(Yield: 10-15 pieces)


Ingredients

½ cup sesame seeds

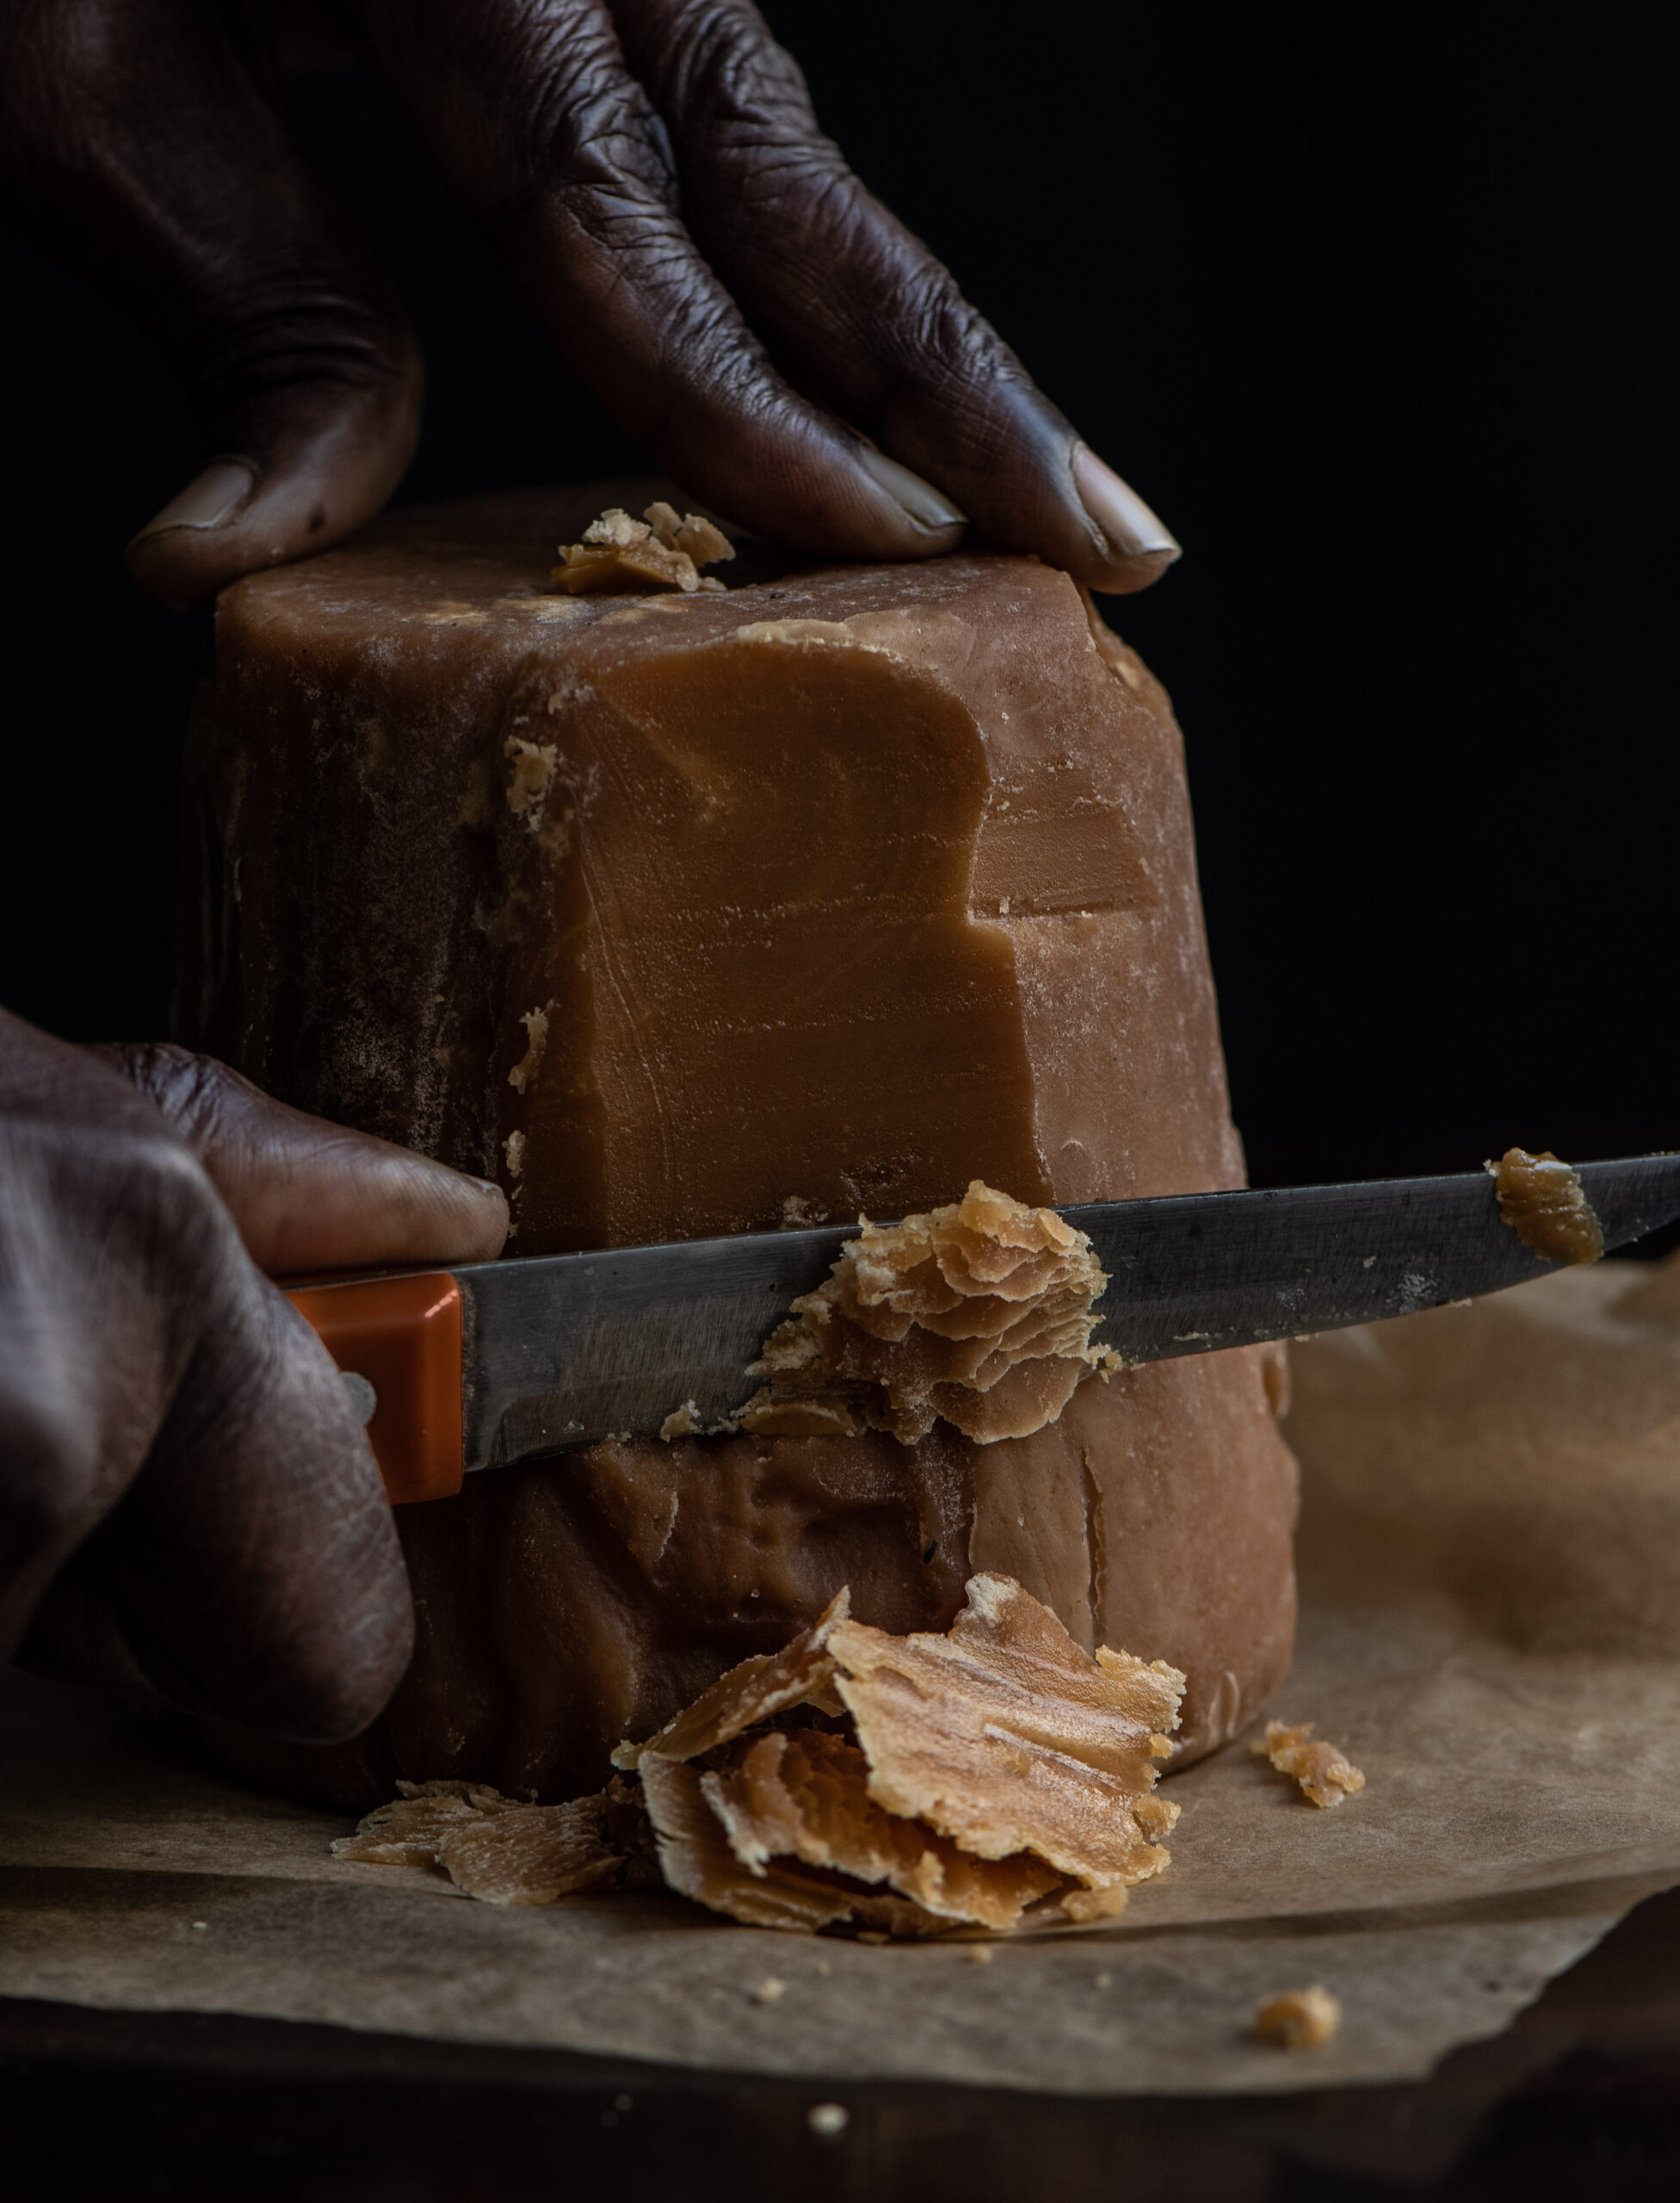
½ cup jaggery

1 tablespoon ghee

Grease an overturned steel plate and a rolling pin and keep these ready. Next, in a wok or kadai, roast the sesame seeds on a low flame. Occasionally increase to a medium flame for short spans. The sesame will take about 7 minutes to roast. Keep stirring until the colour changes.

Once roasted, transfer to a plate and allow to cool. Once cooled, taste a few seeds to check if they have a crunch to it. This means they are ready.

In the same wok or kadai, add the ghee. Then, add the jaggery and stir constantly on a low flame. As with the roasting of the sesame seeds, you may occasionally increase the flame to a medium for short spans, then immediately reduce it to a low again. Take care that the jaggery does not burn. Do see this video for reference: re:store sesame brittle video – 1

Mine took approximately 9 minutes to turn into a reddish colour. Once this happens, turn off the flame. Add the sesame seeds and stir well.

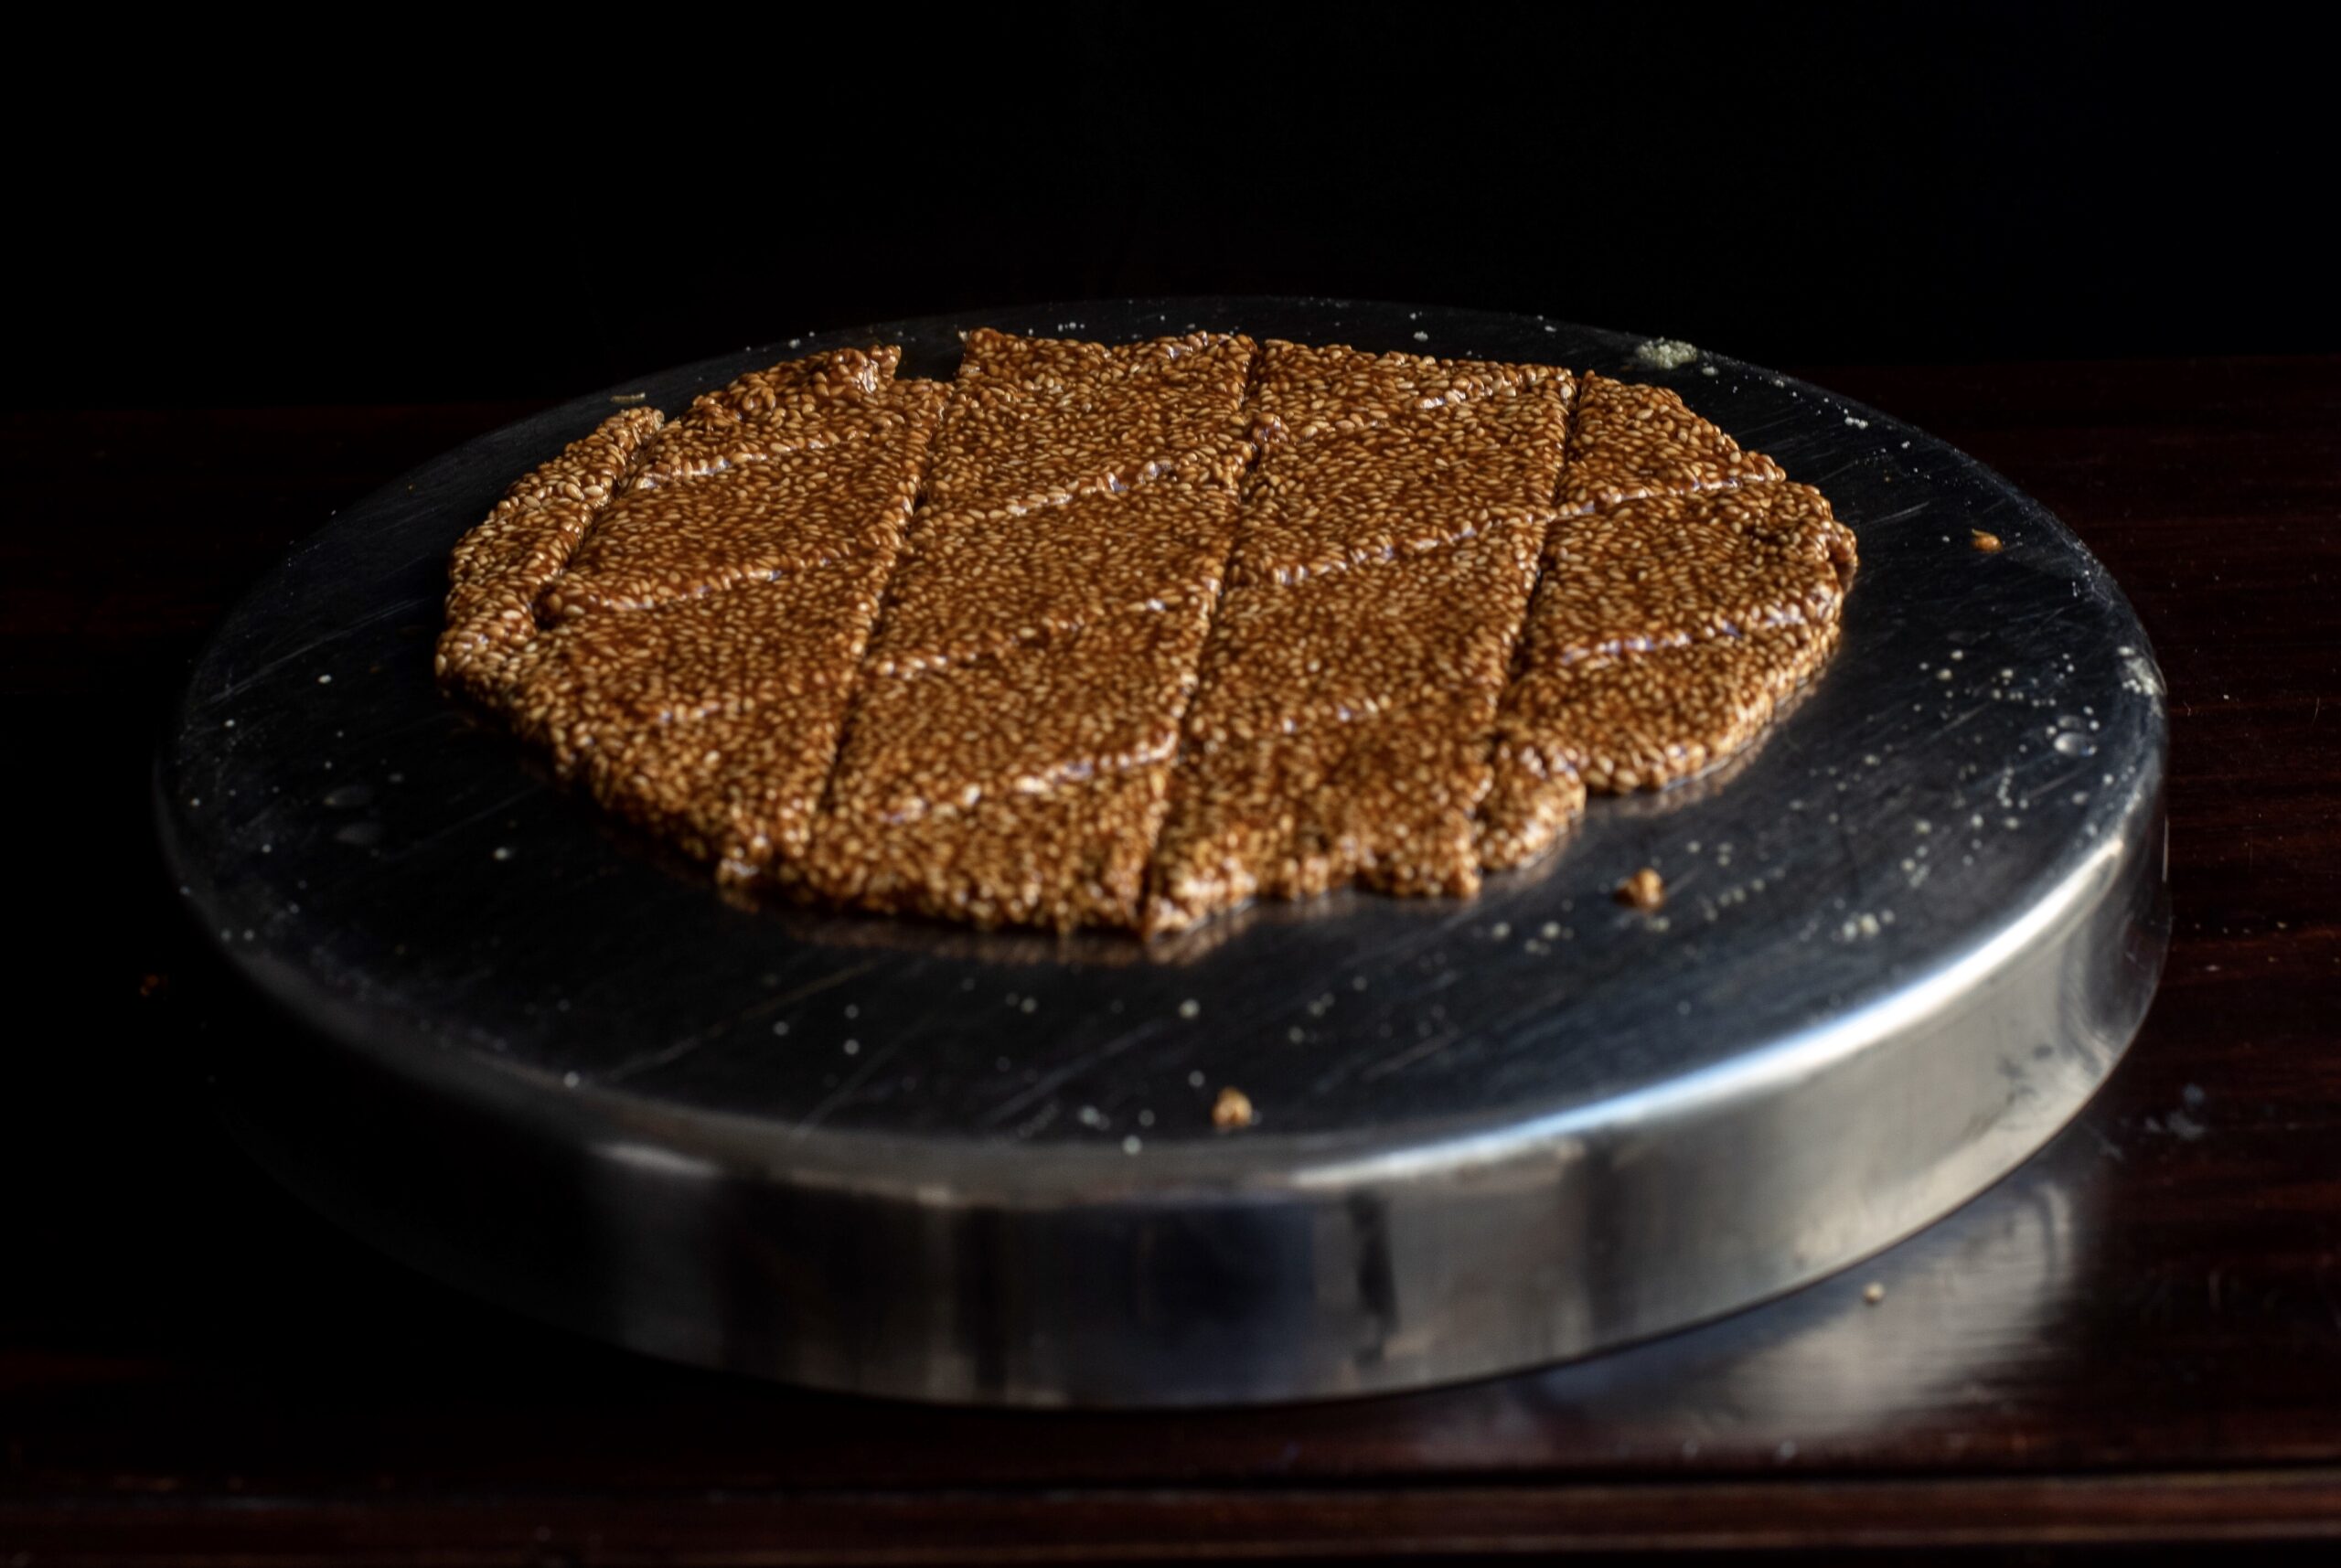
Drop the mixture onto the greased, overturned plate and immediately start to spread it out as thin as possible. You may need to use your fingers (dipped in water), while the rolling pin is coated with ghee. With this combination, try and spread it out in such a way that you mark lines for the pieces later.

Allow the spread mixture, striped with lines to form bars, to cool. Once it has completely cooled, place the plate on the stove and warm from below. The entire piece will come out as a whole. Break it along the marked lines. Store in an airtight container.


Here’s another process video: re:store sesame brittle video – 2

I want to say that this til-ka-chikki is easy to make, but I’ve already told you honestly that it’s not. But I love a challenge in the kitchen, and try again and again to better then perfect my dishes. Even with my photoshoots, it’s the same. When the end result comes out well, it’s all the more delicious when I know the effort that’s gone into it! Tell me how it goes when you try your hand at this dish. Wishing you and your loved ones a happy Sankranti!


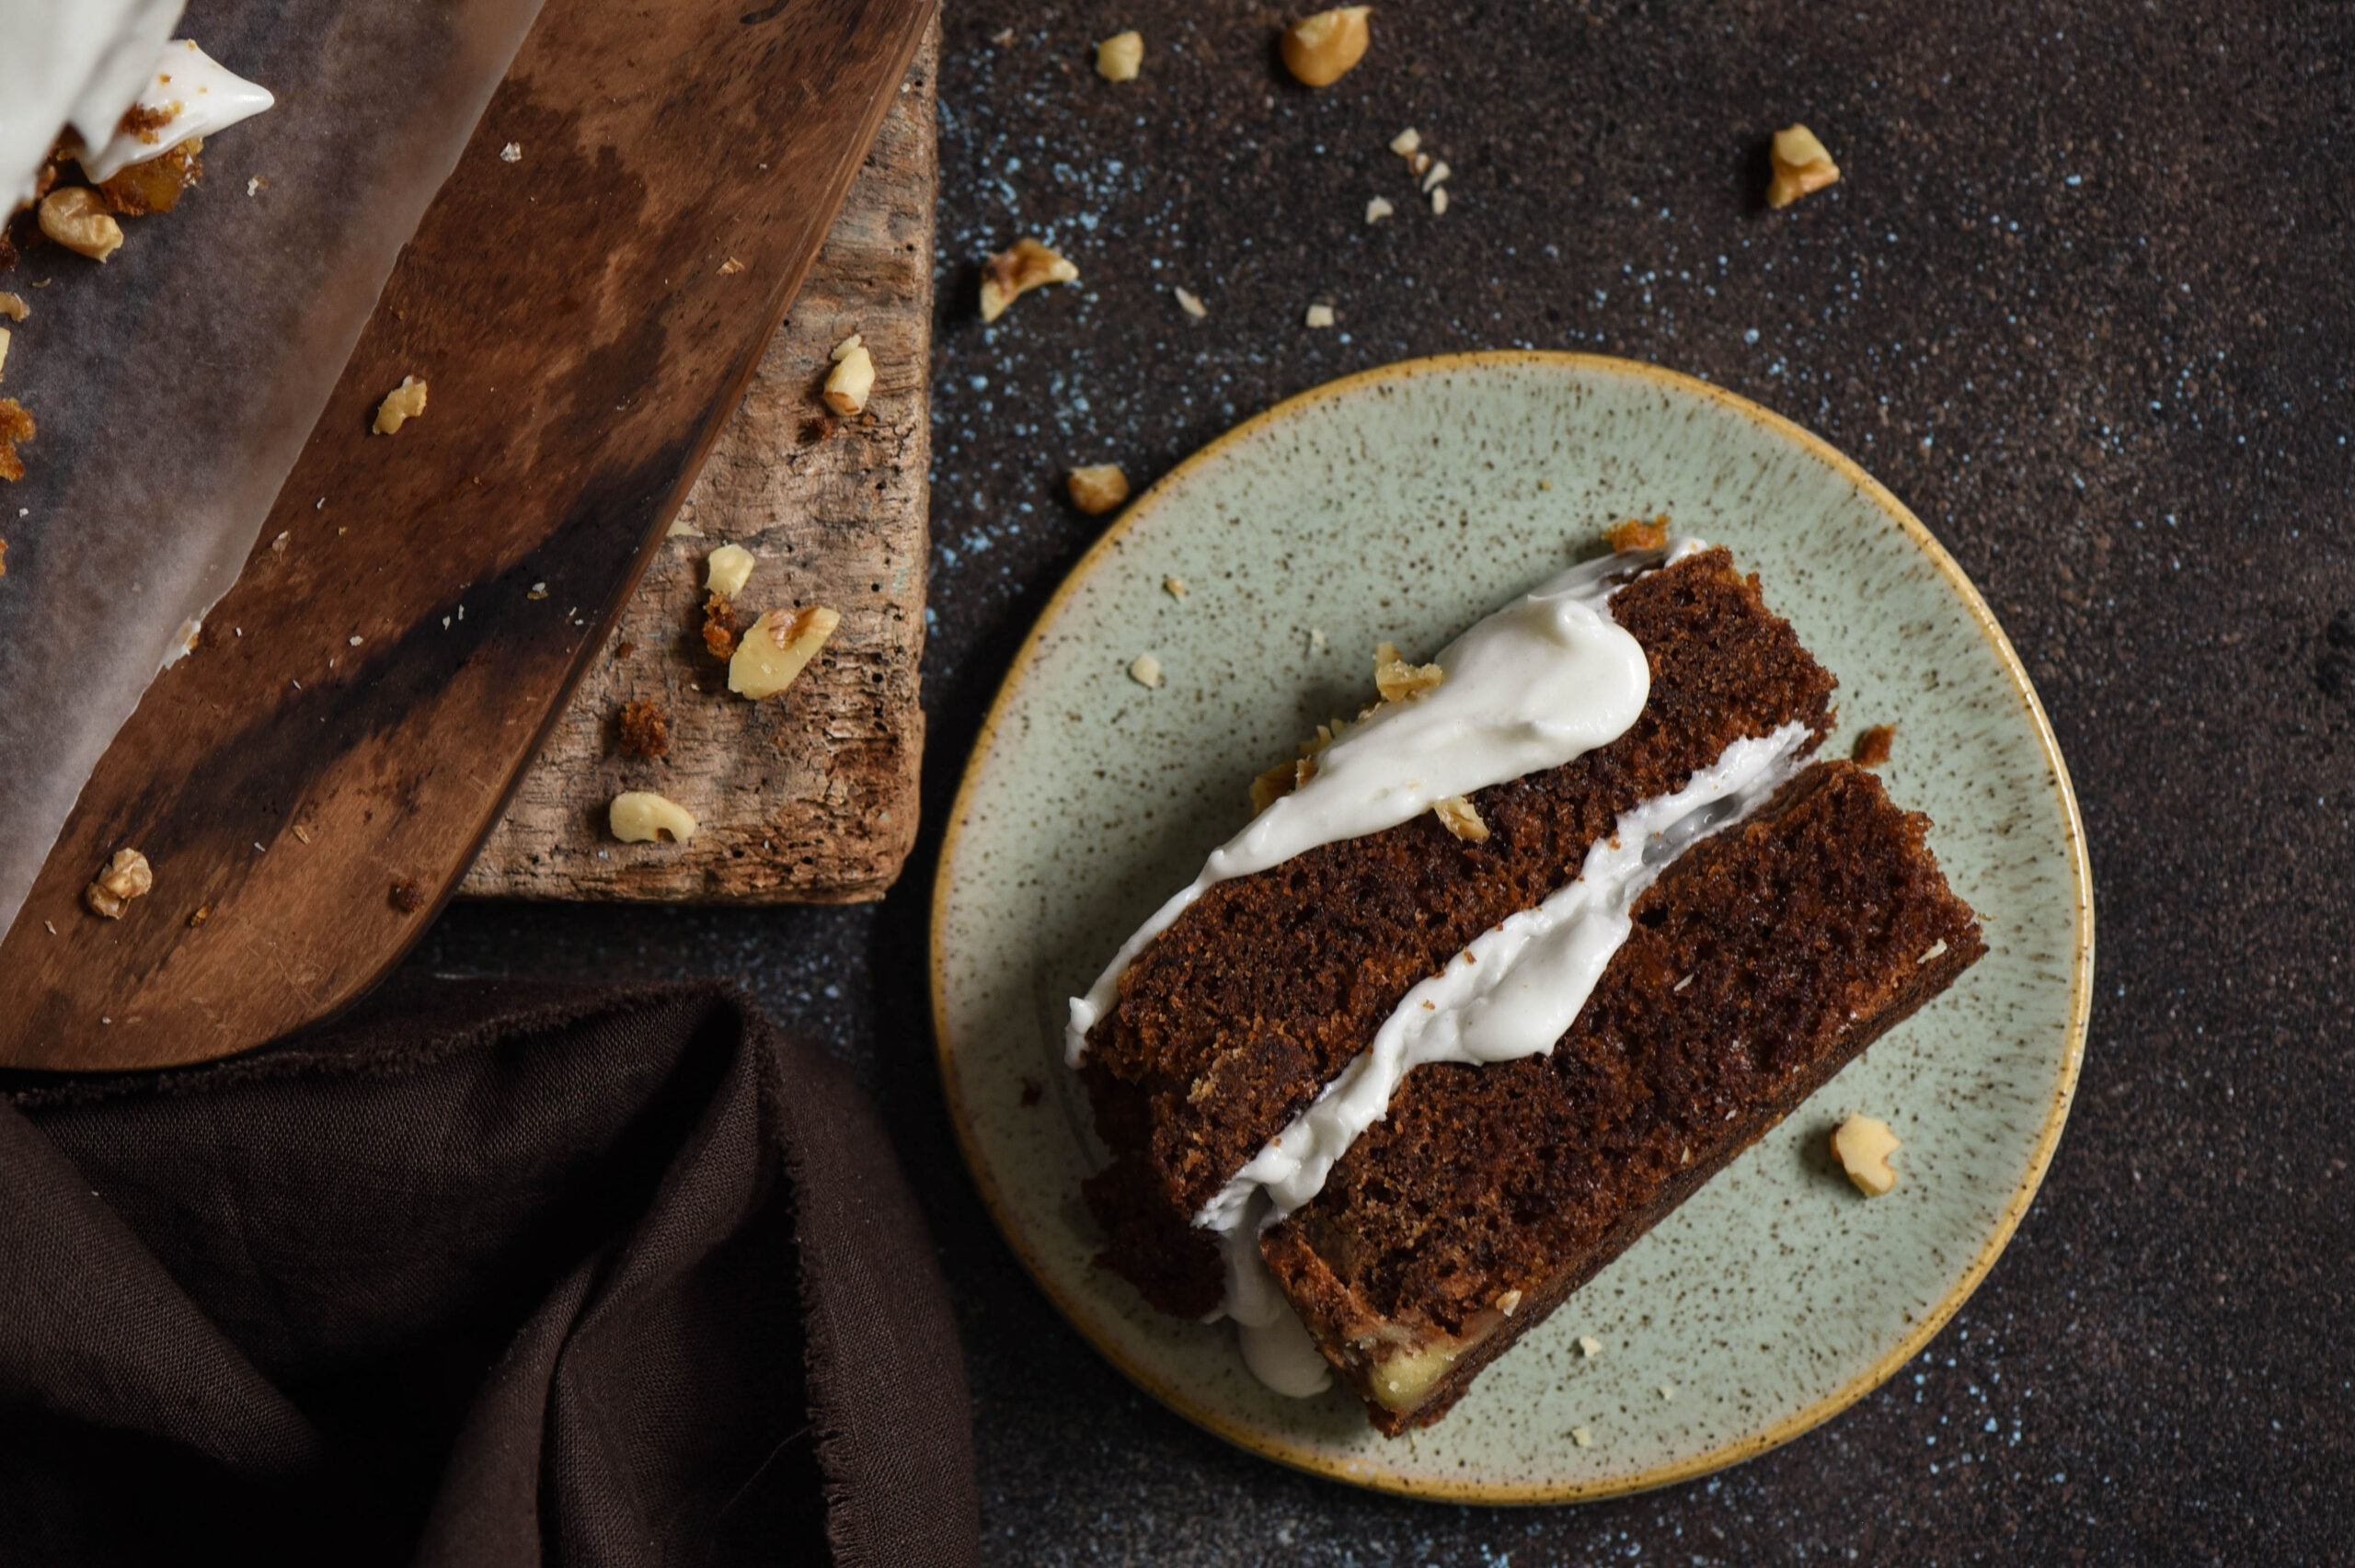
This is something I’ve never done before – sharing the recipe for a dish I’ve recently added to the re:store menu – but this cake is so divine that I can’t help but want to shout about it from the rooftops! Despite my interest in healthy eating, I’ve never really been one for vegetable-based cakes. But this carrot-ginger cake is simply outstanding. From the moment I took my first attempt out of the oven, I was stunned. And every slice since has simply vanished in a matter of hours in my home, and from the re:store kitchen. And for all the love you, my well-wishers and friends, have shown me, this recipe is just a small gesture of gratitude.

I am always on a quest for perfection, and to me there are four types of cakes that every baker should master: chocolate, vanilla, vegan and carrot. These are the basics, and over the years I have strived to do better and better with each kind. Flavour-wise, there are many ways to innovate on these basics and tweak them to suit your palate. My friends Michael and Sujata’s cook once shared a carrot cake recipe which used pineapple and coconut, for instance. That was what I used to bake until I found my own way of literally spicing it up. When I melded the zesty taste of ginger into what I’d use to think of as the somewhat boring carrot cake, I knew I had hit gold.

Ginger is the rhizome of a flowering plant by the same name, and is widely used in Indian cuisine for its fragrance, spiciness and health benefits. It was one of the first spices that Europeans imported, so world cuisines have also used it for centuries. It is great for treating nausea and appetite loss, has anti-inflammatory properties, and is believed to lower blood sugar and to help reduce the risk of heart disease.  For this cake, I used stem ginger soaked in sugar syrup as well as freshly grated ginger.

Carrot, like ginger, is also an edible root – and it is an extremely popular vegetable in Western cuisine. In India, it is added to salads, stir-fries (known as poriyal in Tamil) and even a milk dessert called gajar ki halwa. It also has a range of health benefits, including better eyesight and lowered cholesterol, and is a source of potassium, antioxidants, vitamins and fibre.

Two nourishing ingredients – and one delicious dessert. This cake is so appetizing that icing is completely optional! Also, it is lactose-free, which means that those of you with dairy allergies can indulge without stress!

Irresistible Carrot-Ginger Cake

Ingredients
1 cup brown sugar
1 cup plain flour
2 eggs
1 teaspoon baking powder
1 teaspoon baking soda
¼ teaspoon salt
⅔ cup vegetable oil
1 ½ cups grated carrots
½ cup sweet ginger in syrup (substitute: ½ teaspoon dry ginger powder)
½ cup chopped walnuts
1 teaspoon grated fresh ginger

Grease an 8’ inch square pan and line with butter paper. Dust with flour.

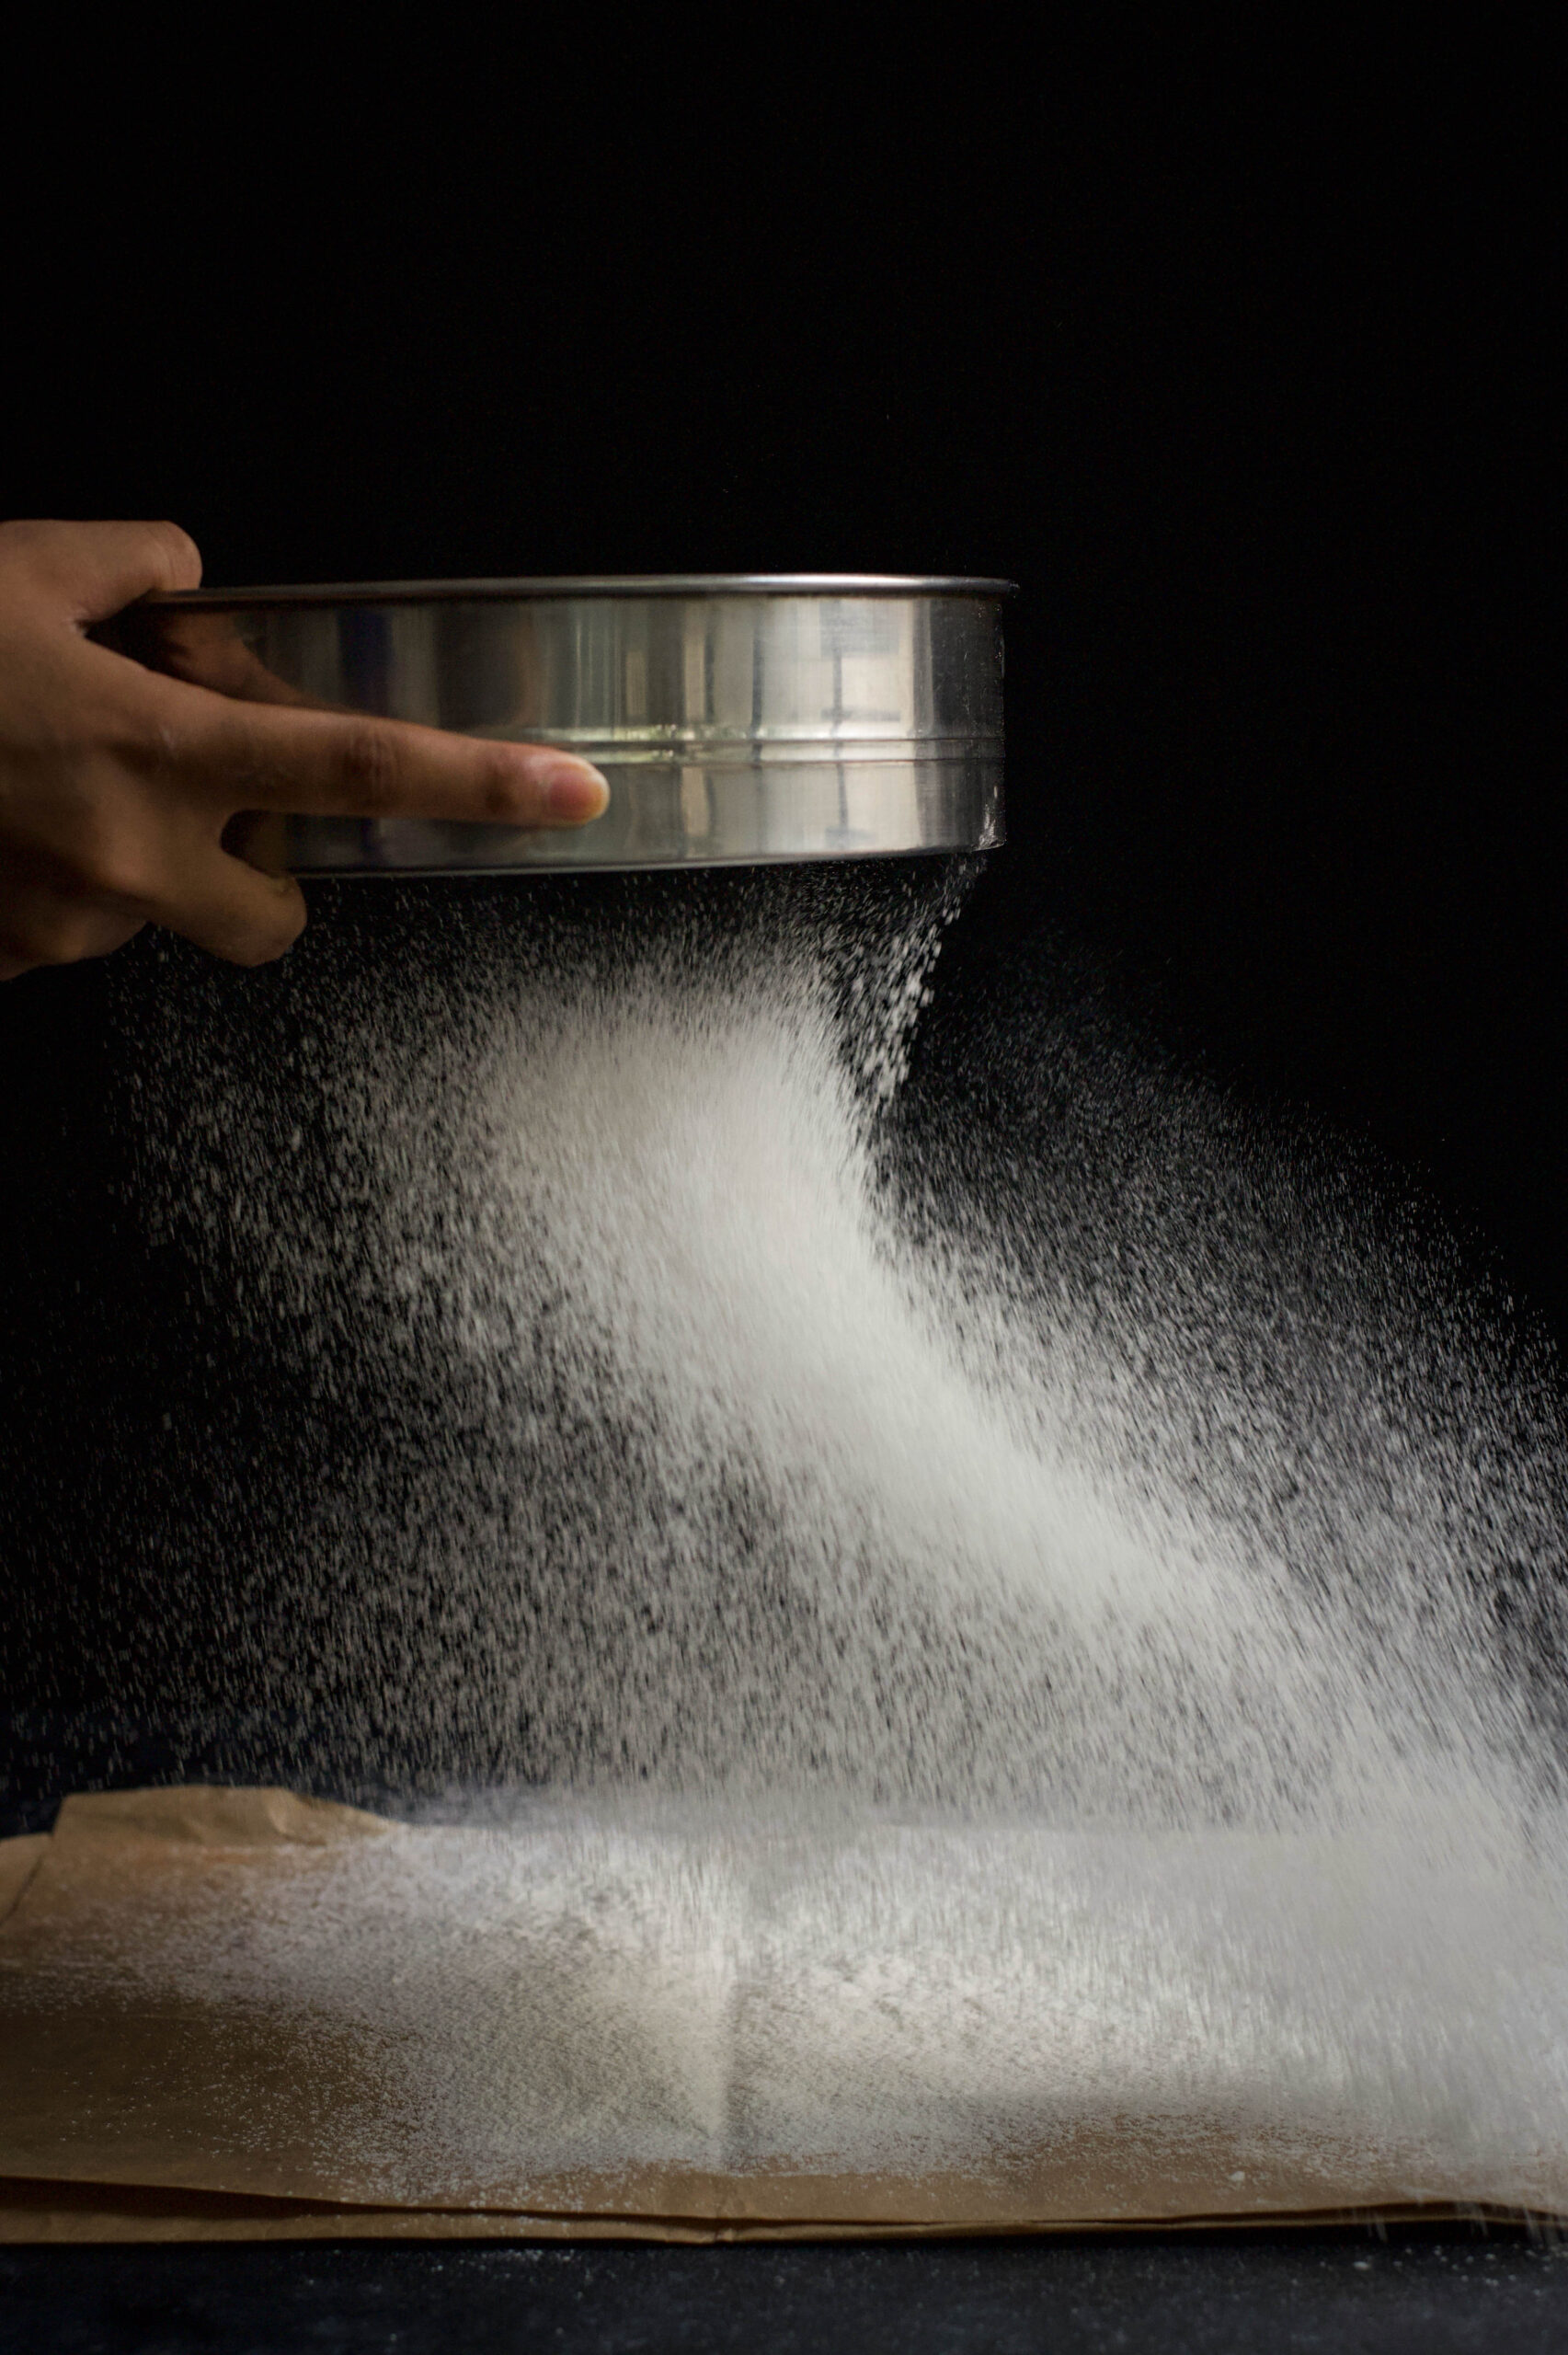
Sift the flour along with the soda, baking powder and salt – as well as the ginger powder if you’ve opted to use it. Set aside.

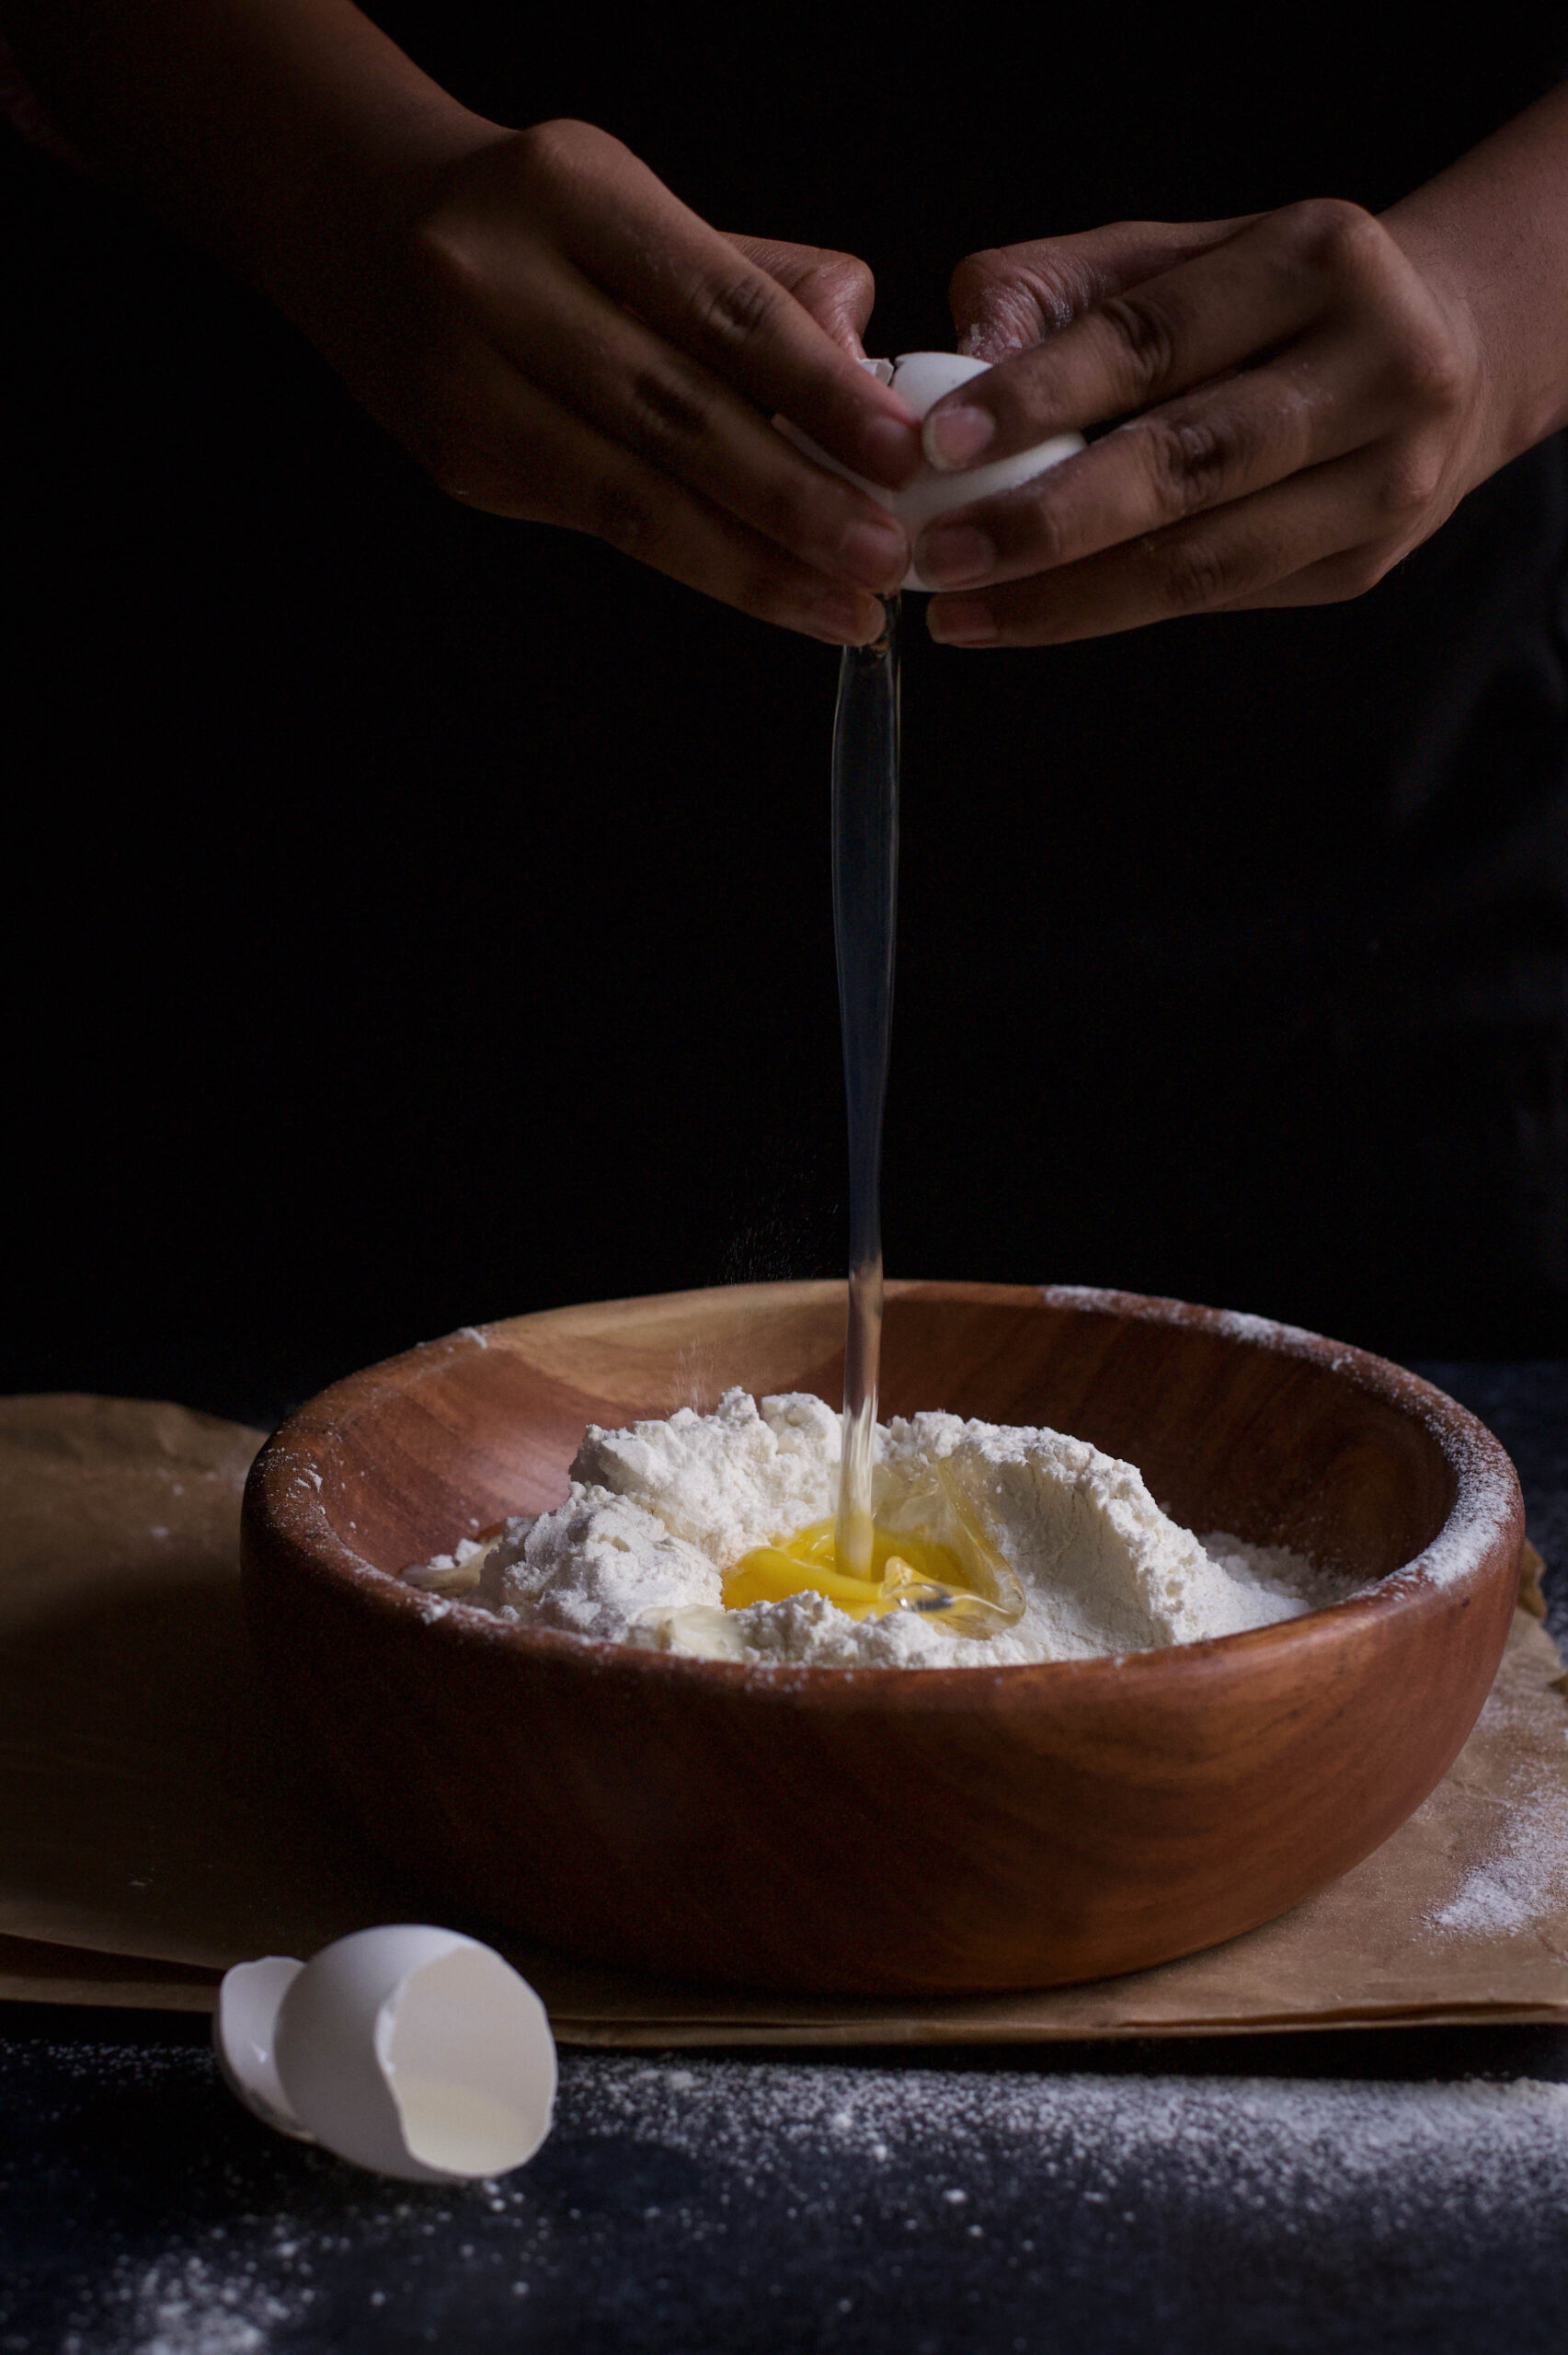
Combine the eggs, oil, sugar and flour until well-mixed. Now add the carrots, fresh ginger and walnuts to the mixture.

Pour this batter into the prepared tin. Bake for about 45 minutes to an hour, until the tooth pick comes out clean.

Once baked, allow to cool. Turn onto a wire rack.

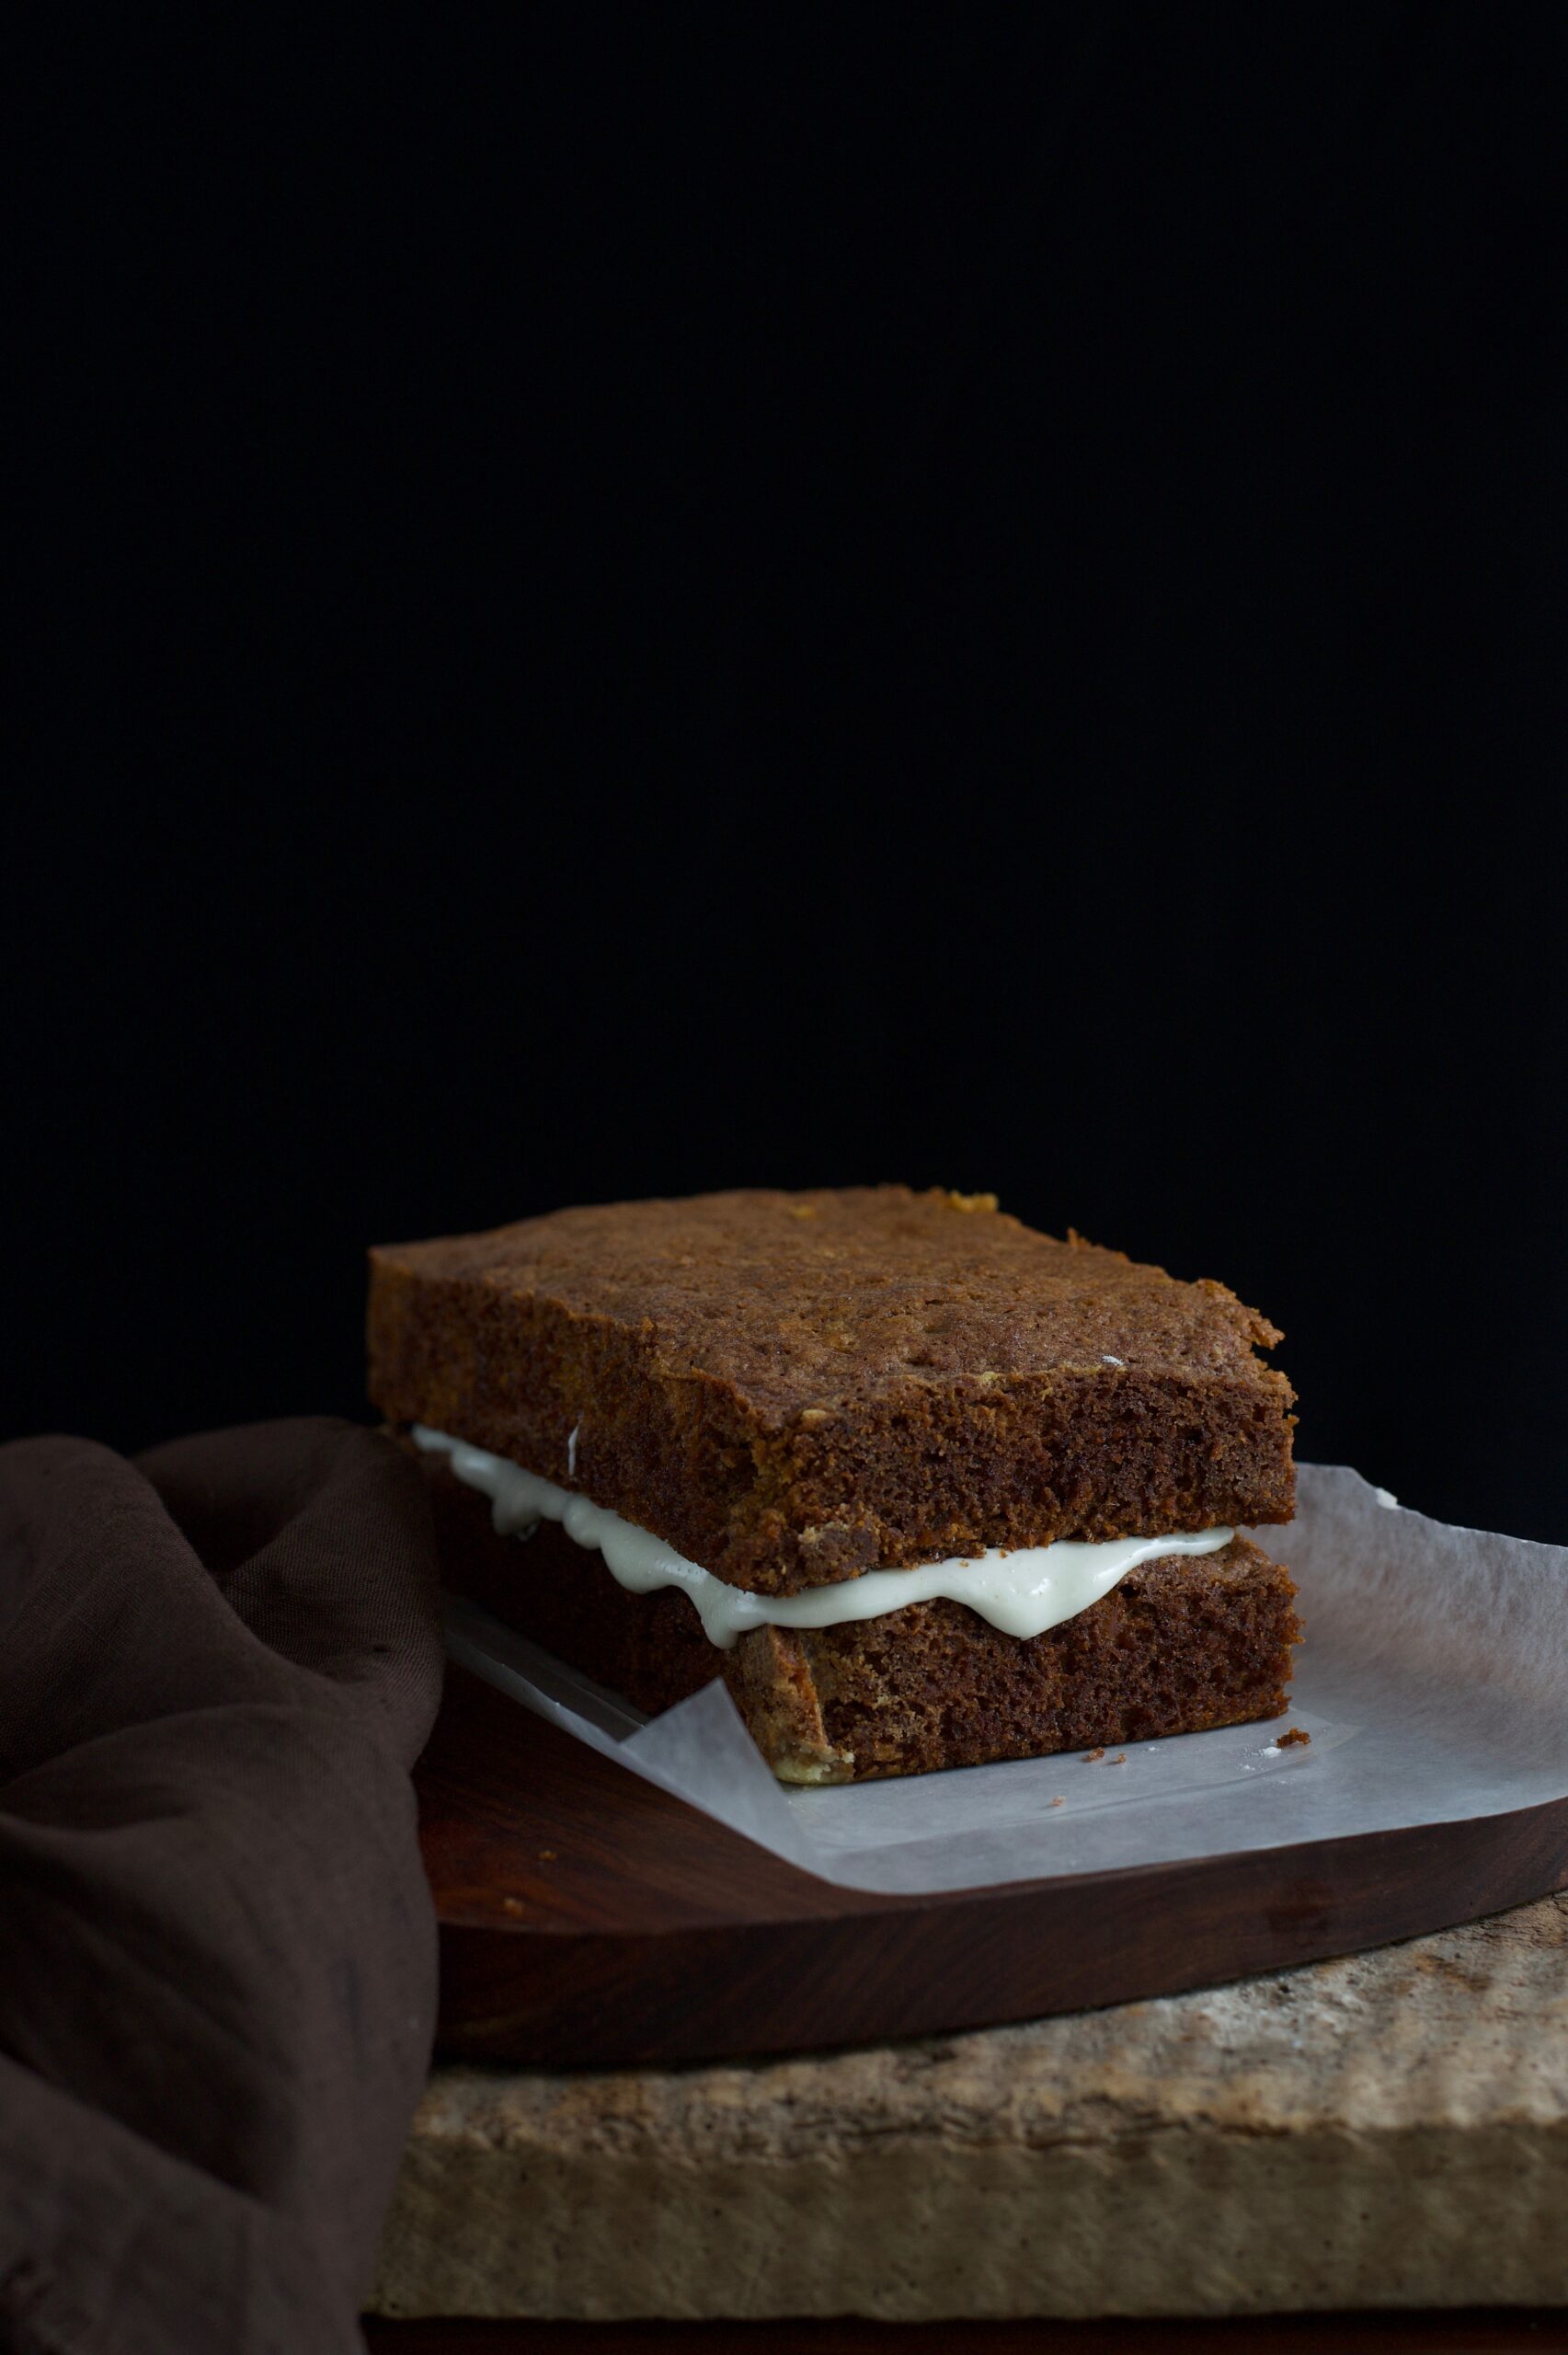
As I said earlier, icing is completely optional. But if you’d like the extra sweetness, or just the visual effect, decorate with the cream cheese frosting that is traditionally paired with carrot cakes. It has a slight tang to it, and lifts the flavours nicely.

Serve – and prepare to watch the slices simply vanish from their plates. This carrot-ginger cake is irresistible. Don’t take my word for it. Try it out yourself, or if you’re in Chennai, buzz me and put in your order!

At 8am every morning, I make a beeline from my trainer to my kitchen, open the fridge and devour a big bowl of my 3+1 overnight oats. This post-workout, protein-rich pudding replenishes my body and keeps me from taking a bite out of anything that gets in my way, including the Dark Prince’s head! Fortunately for him and for me both, this wonderful pudding is always waiting for me in the morning. Chilled, nutritious and oh so filling. My starvation ebbs away. And I am prepared for my day.

I’ve been exercising ever since my firstborn, and I am obsessed with staying fit and healthy both emotionally and physically. Over the years, I have developed a clockwork diligence with regards to my fitness regime. I supplement this by eating good, home-cooked food, as you know from this blog. I find that a strict diet is not necessary, as long as you eat fresh food, made cleanly and with nutritious ingredients.

I also listen to my body. For instance, when I feel lazy or lethargic, I know I have overeaten. All of us have this capacity. We just have to stay aware, especially as we get older, and listen to what our bodies tell us about how they feel, what they need, and how to address it. Some of this is also a part of my Macrobiotics training, and there are easy ways to incorporate some of those methods into daily life.

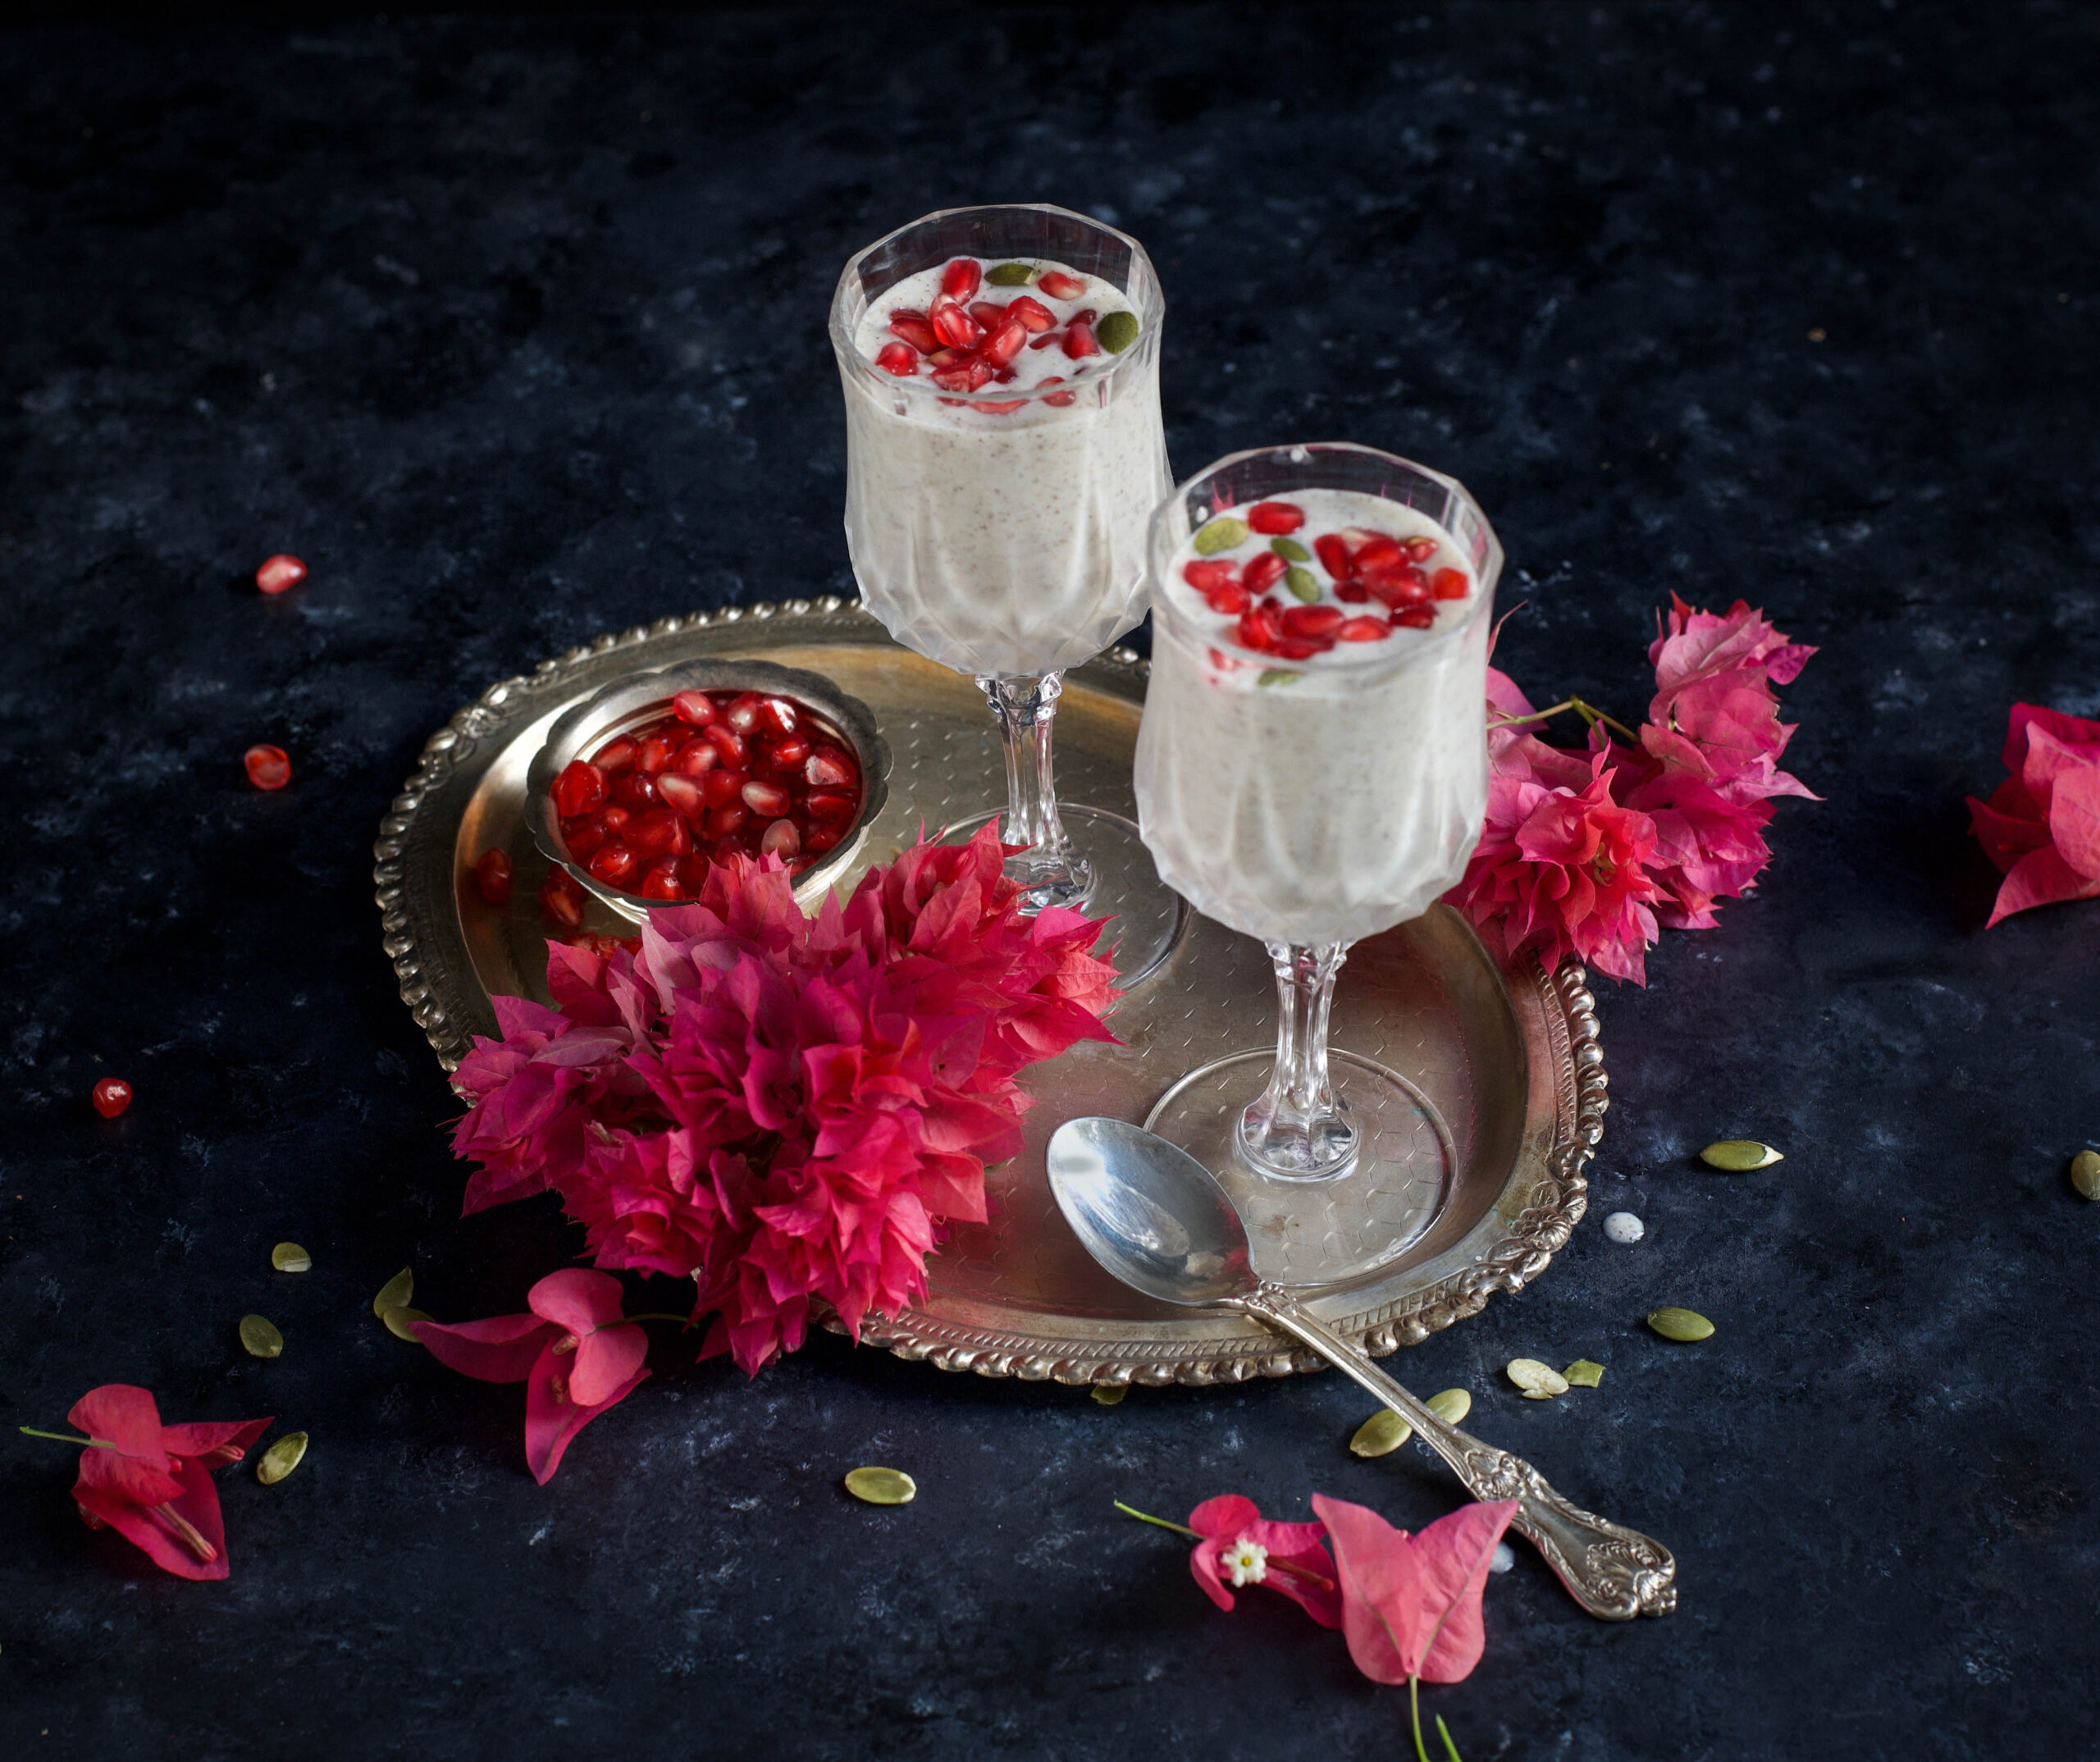
Whether you have an intense exercise regime or not, what you have for breakfast has a huge effect on your productivity for the rest of the day. This brings us back to the power pudding that I eat every day. Replenishing protein is my key need, as a gym enthusiast, and I always look for innovative and creative ways to bring more of it into my diet. I hit the jackpot with this delicious – and indeed, decadent! – 3+1 overnight oats.

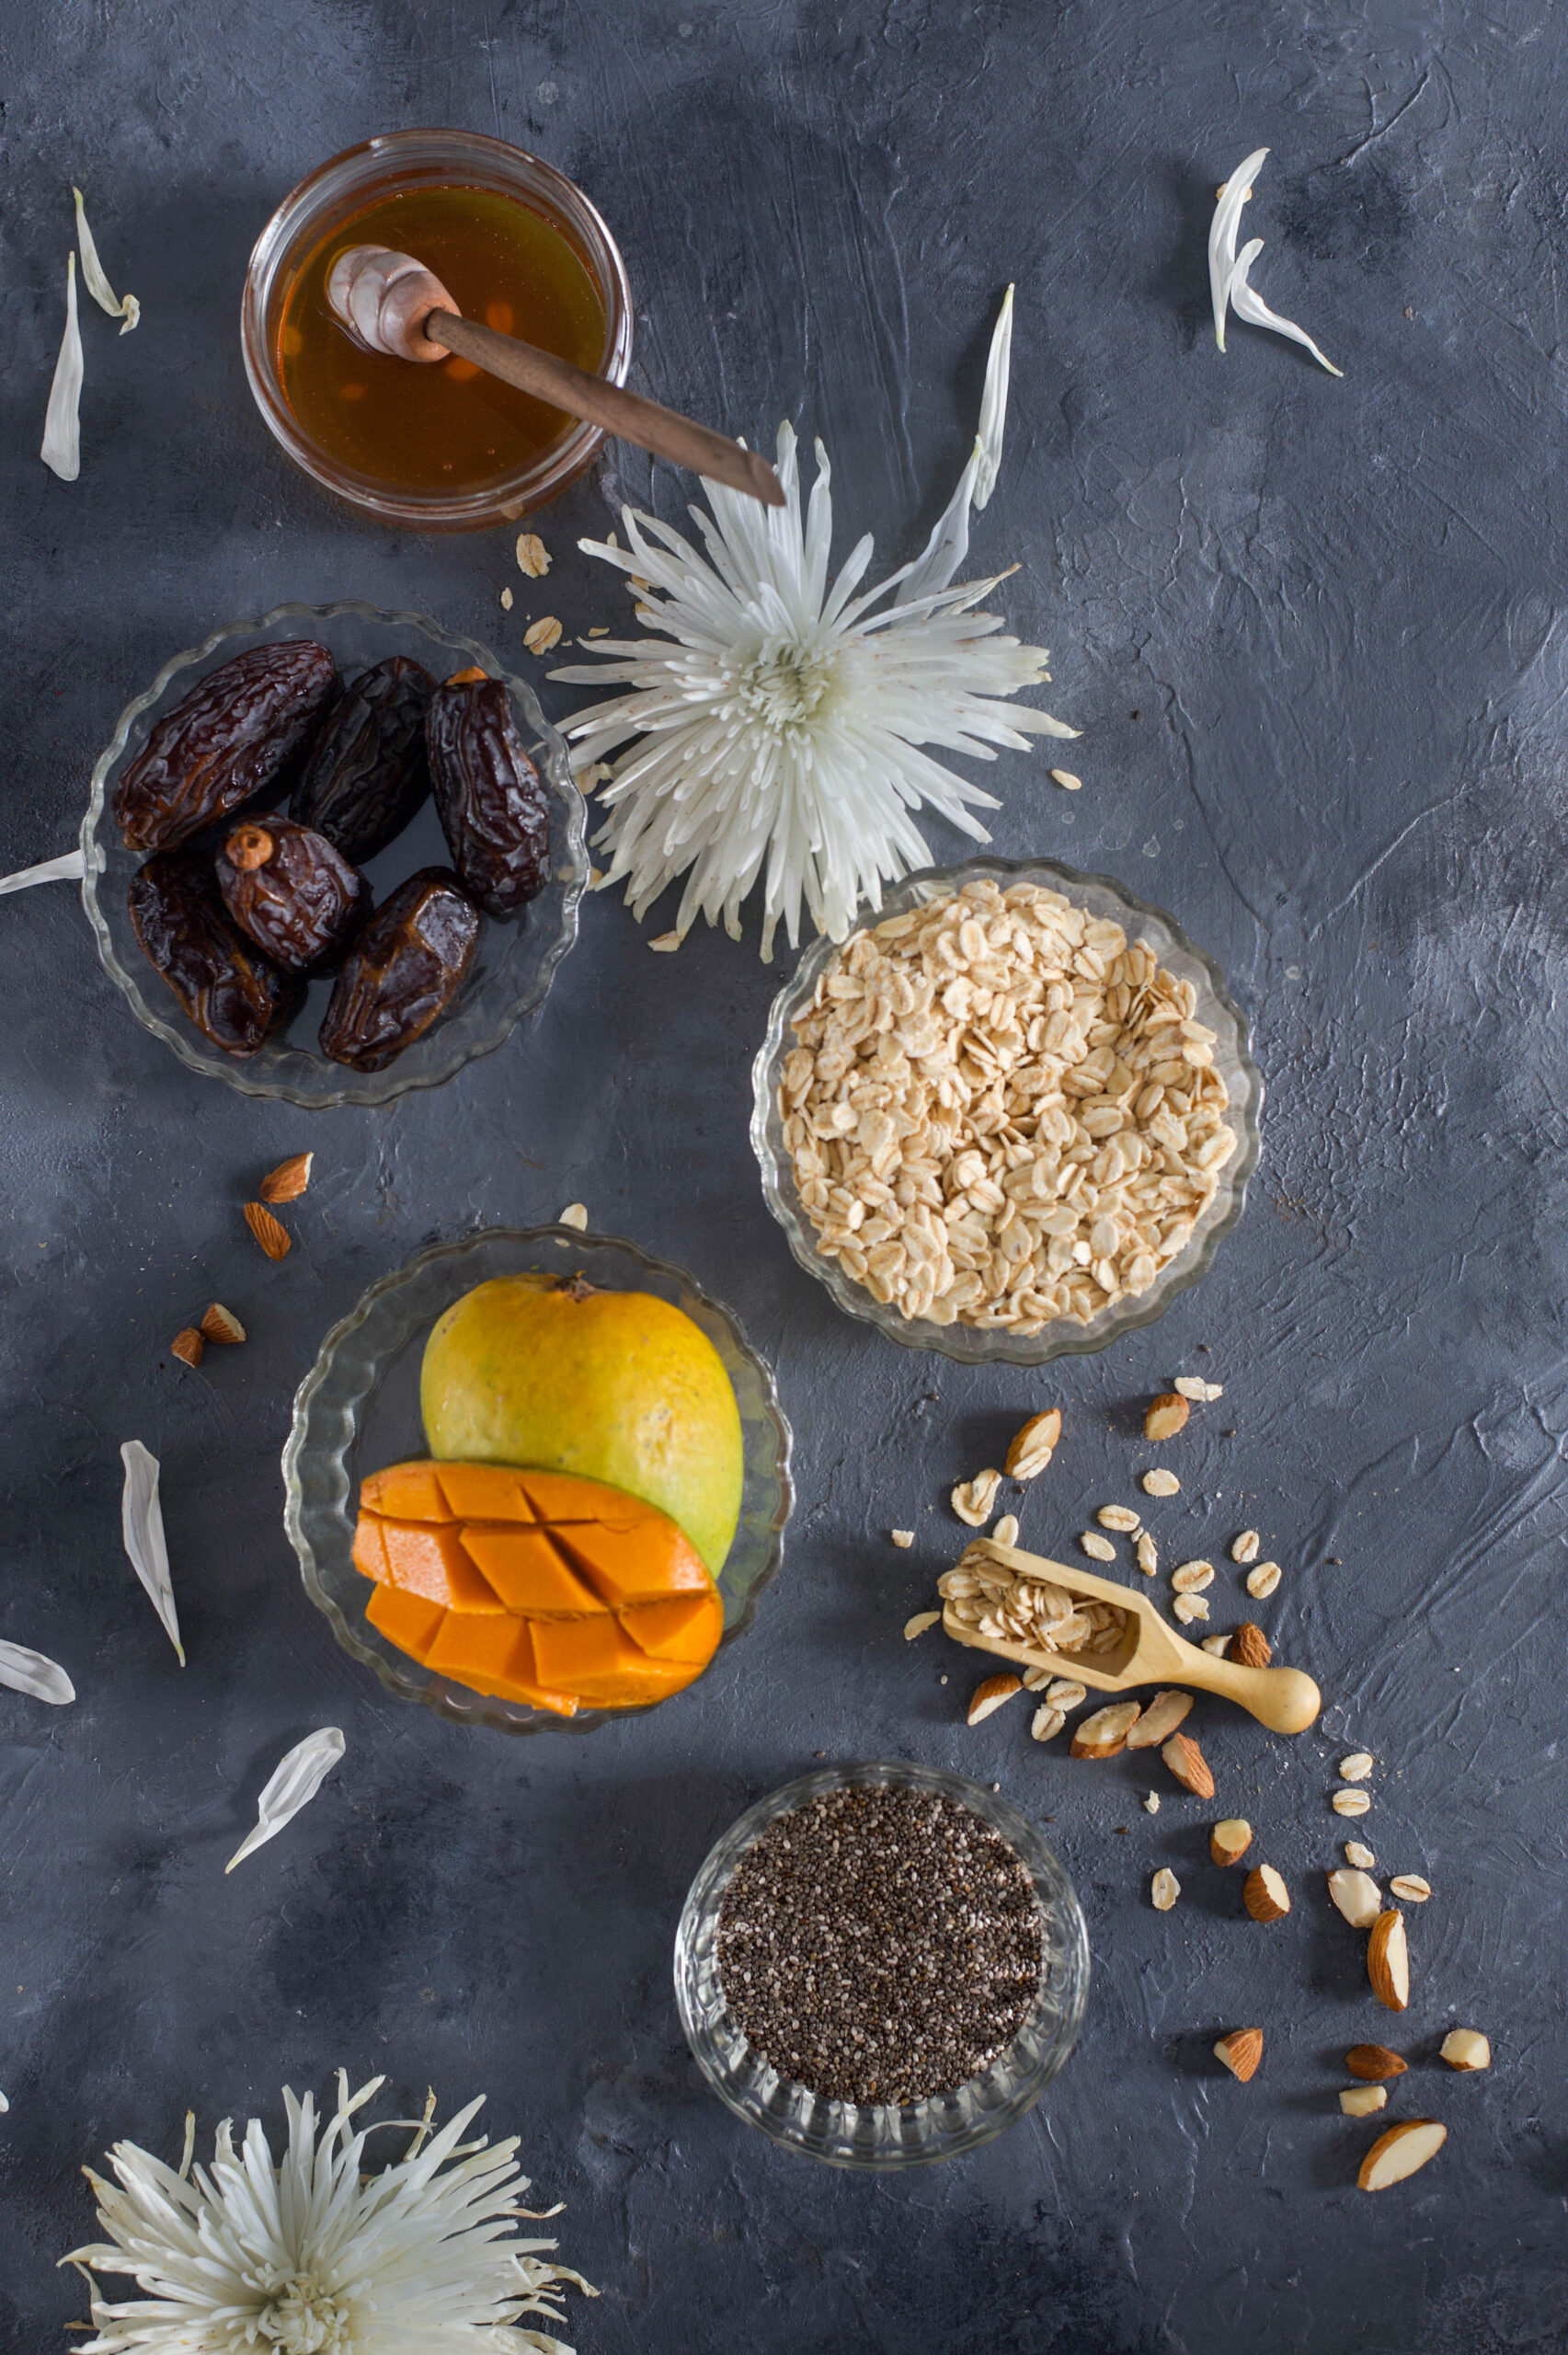
This pudding is built on just three basic ingredients, which need to be refrigerated overnight. All you need are oats, milk and chia seeds. These are the key elements. Beyond this, you tweak the recipe based on your own tastes, seasonal availability and so on. You can use any type of milk you choose, be it vegan almond or soy milk, skimmed milk, slim milk, coconut milk or good old regular milk.

The +1 for me is usually a fruit. I reach for dates, bananas and berries through the year, and when I have them on hand, any lovely summer fruit. As you can imagine, based on the proliferation of mango recipes on this blog every summer, they were a frequent recent addition to my morning pudding this year. Every fruit has its own range of benefits, as well as sweetening or adding texture to the pudding. You could also add honey or maple syrup if you want to sweeten it. And for an extra boost, mix in protein powder, spirulina powder or açaí powder.

Whatever you choose to add to the base of three ingredients, it becomes a full and wholesome breakfast. With carbs, protein, fruit sugars and the additional goodness of an extra handful of nuts or other ingredient of your preference, a serving of this pudding is perfect to get you through the entire morning. And it’s so creamy and tasty that it’s like having dessert for breakfast!

3+1 Overnight Oats

(Yield: 2 cups)

Ingredients

3 tablespoons oats

1½ teaspoons chia seeds

1 cup milk of your choice

½ cup fruit of your choice

It’s very important that you make this pudding the night before you plan to consume it, as it needs time to set. Simply blend all the ingredients and pour into 2 cups. Garnish with nuts, if desired, and refrigerate. Don’t forget to add the protein, açaí, spirulina or other healthy powder if you wish to.

Enjoy it the following morning, right after your workout or before your busy day starts. If you have a very sweet tooth, like I do, you may add 1 teaspoon of honey or maple syrup before you eat it.

This 3+1 overnight oats pudding is one of the healthiest breakfasts you can have, regardless of how demanding your schedule is. It is also, hands-down, one of the tastiest. Give it a try as a replacement for your current breakfast dish, and tell me how it works for you!

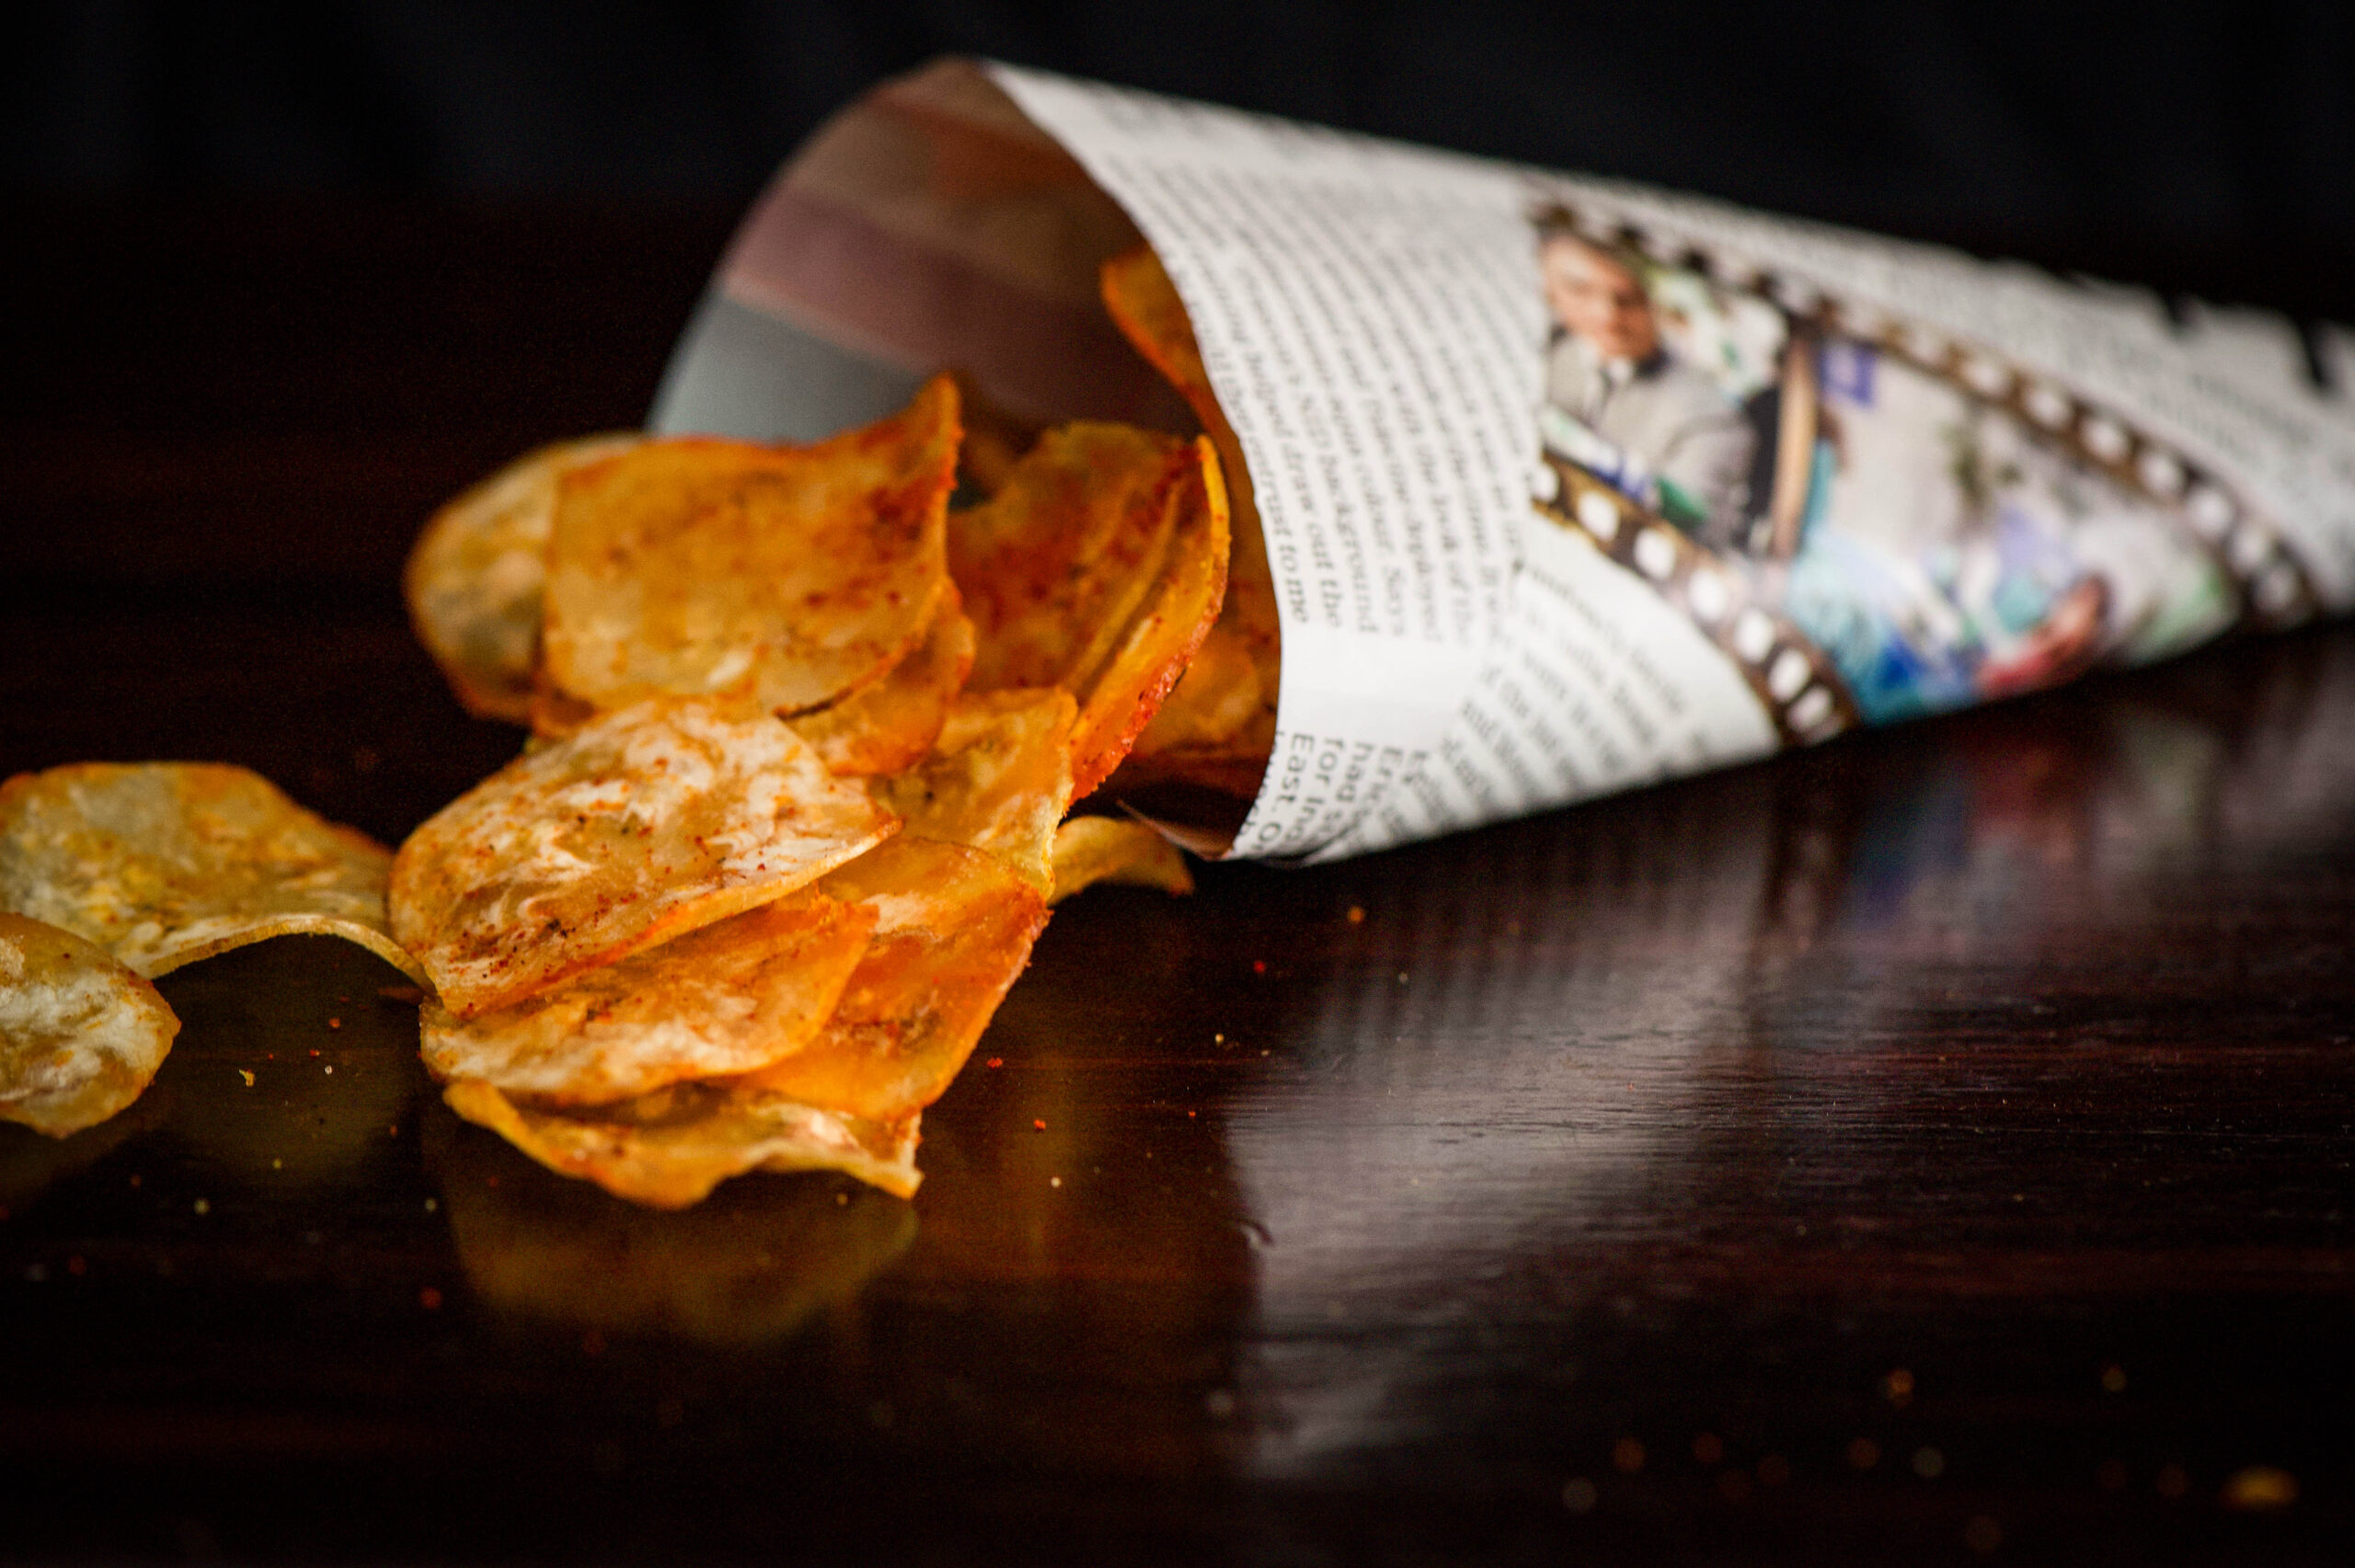
For someone who grew up disliking bananas, I’ve simply not been able to get enough of them this month! I hope you enjoyed my previous recipe for banana bread. There’s been a windfall of plantains on my farm, and so the fruit has found its way into several more dishes I’ve made lately. The recipe I’m sharing today adds a bit of crispiness to my traditional lunch thaalis. It’s so easy to make, and so difficult to resist. I really have gone bananas for these banana chips!

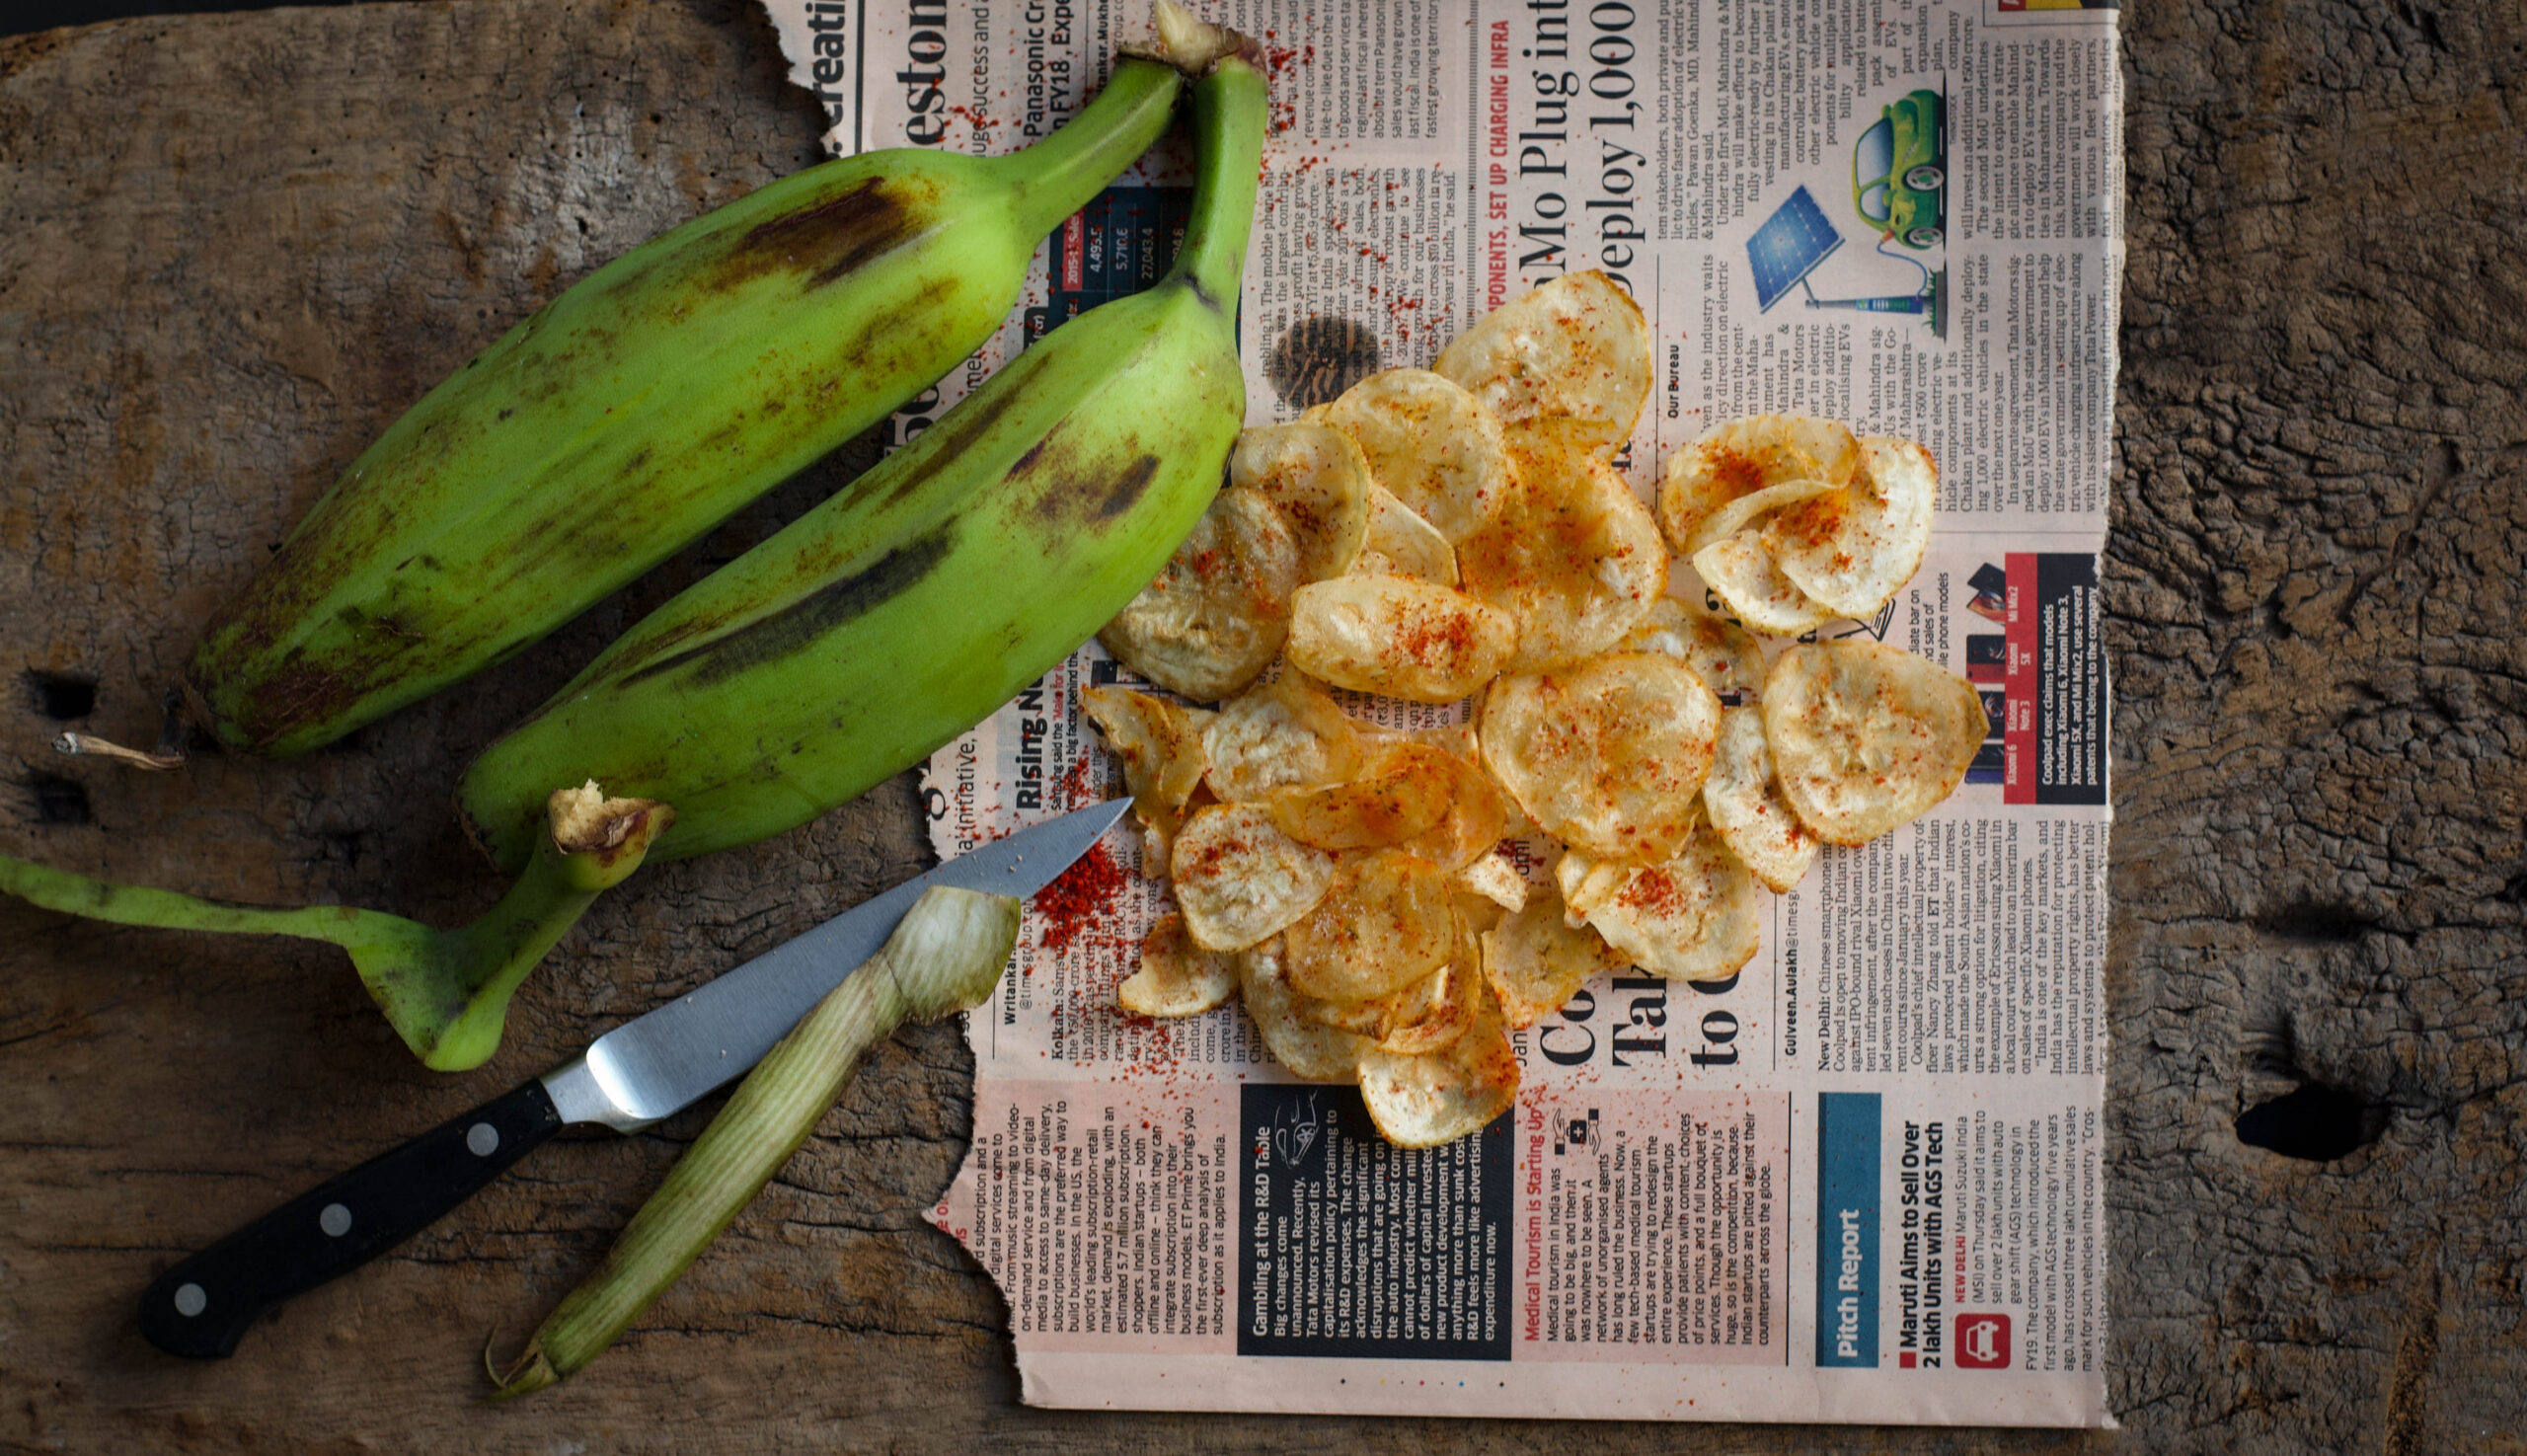
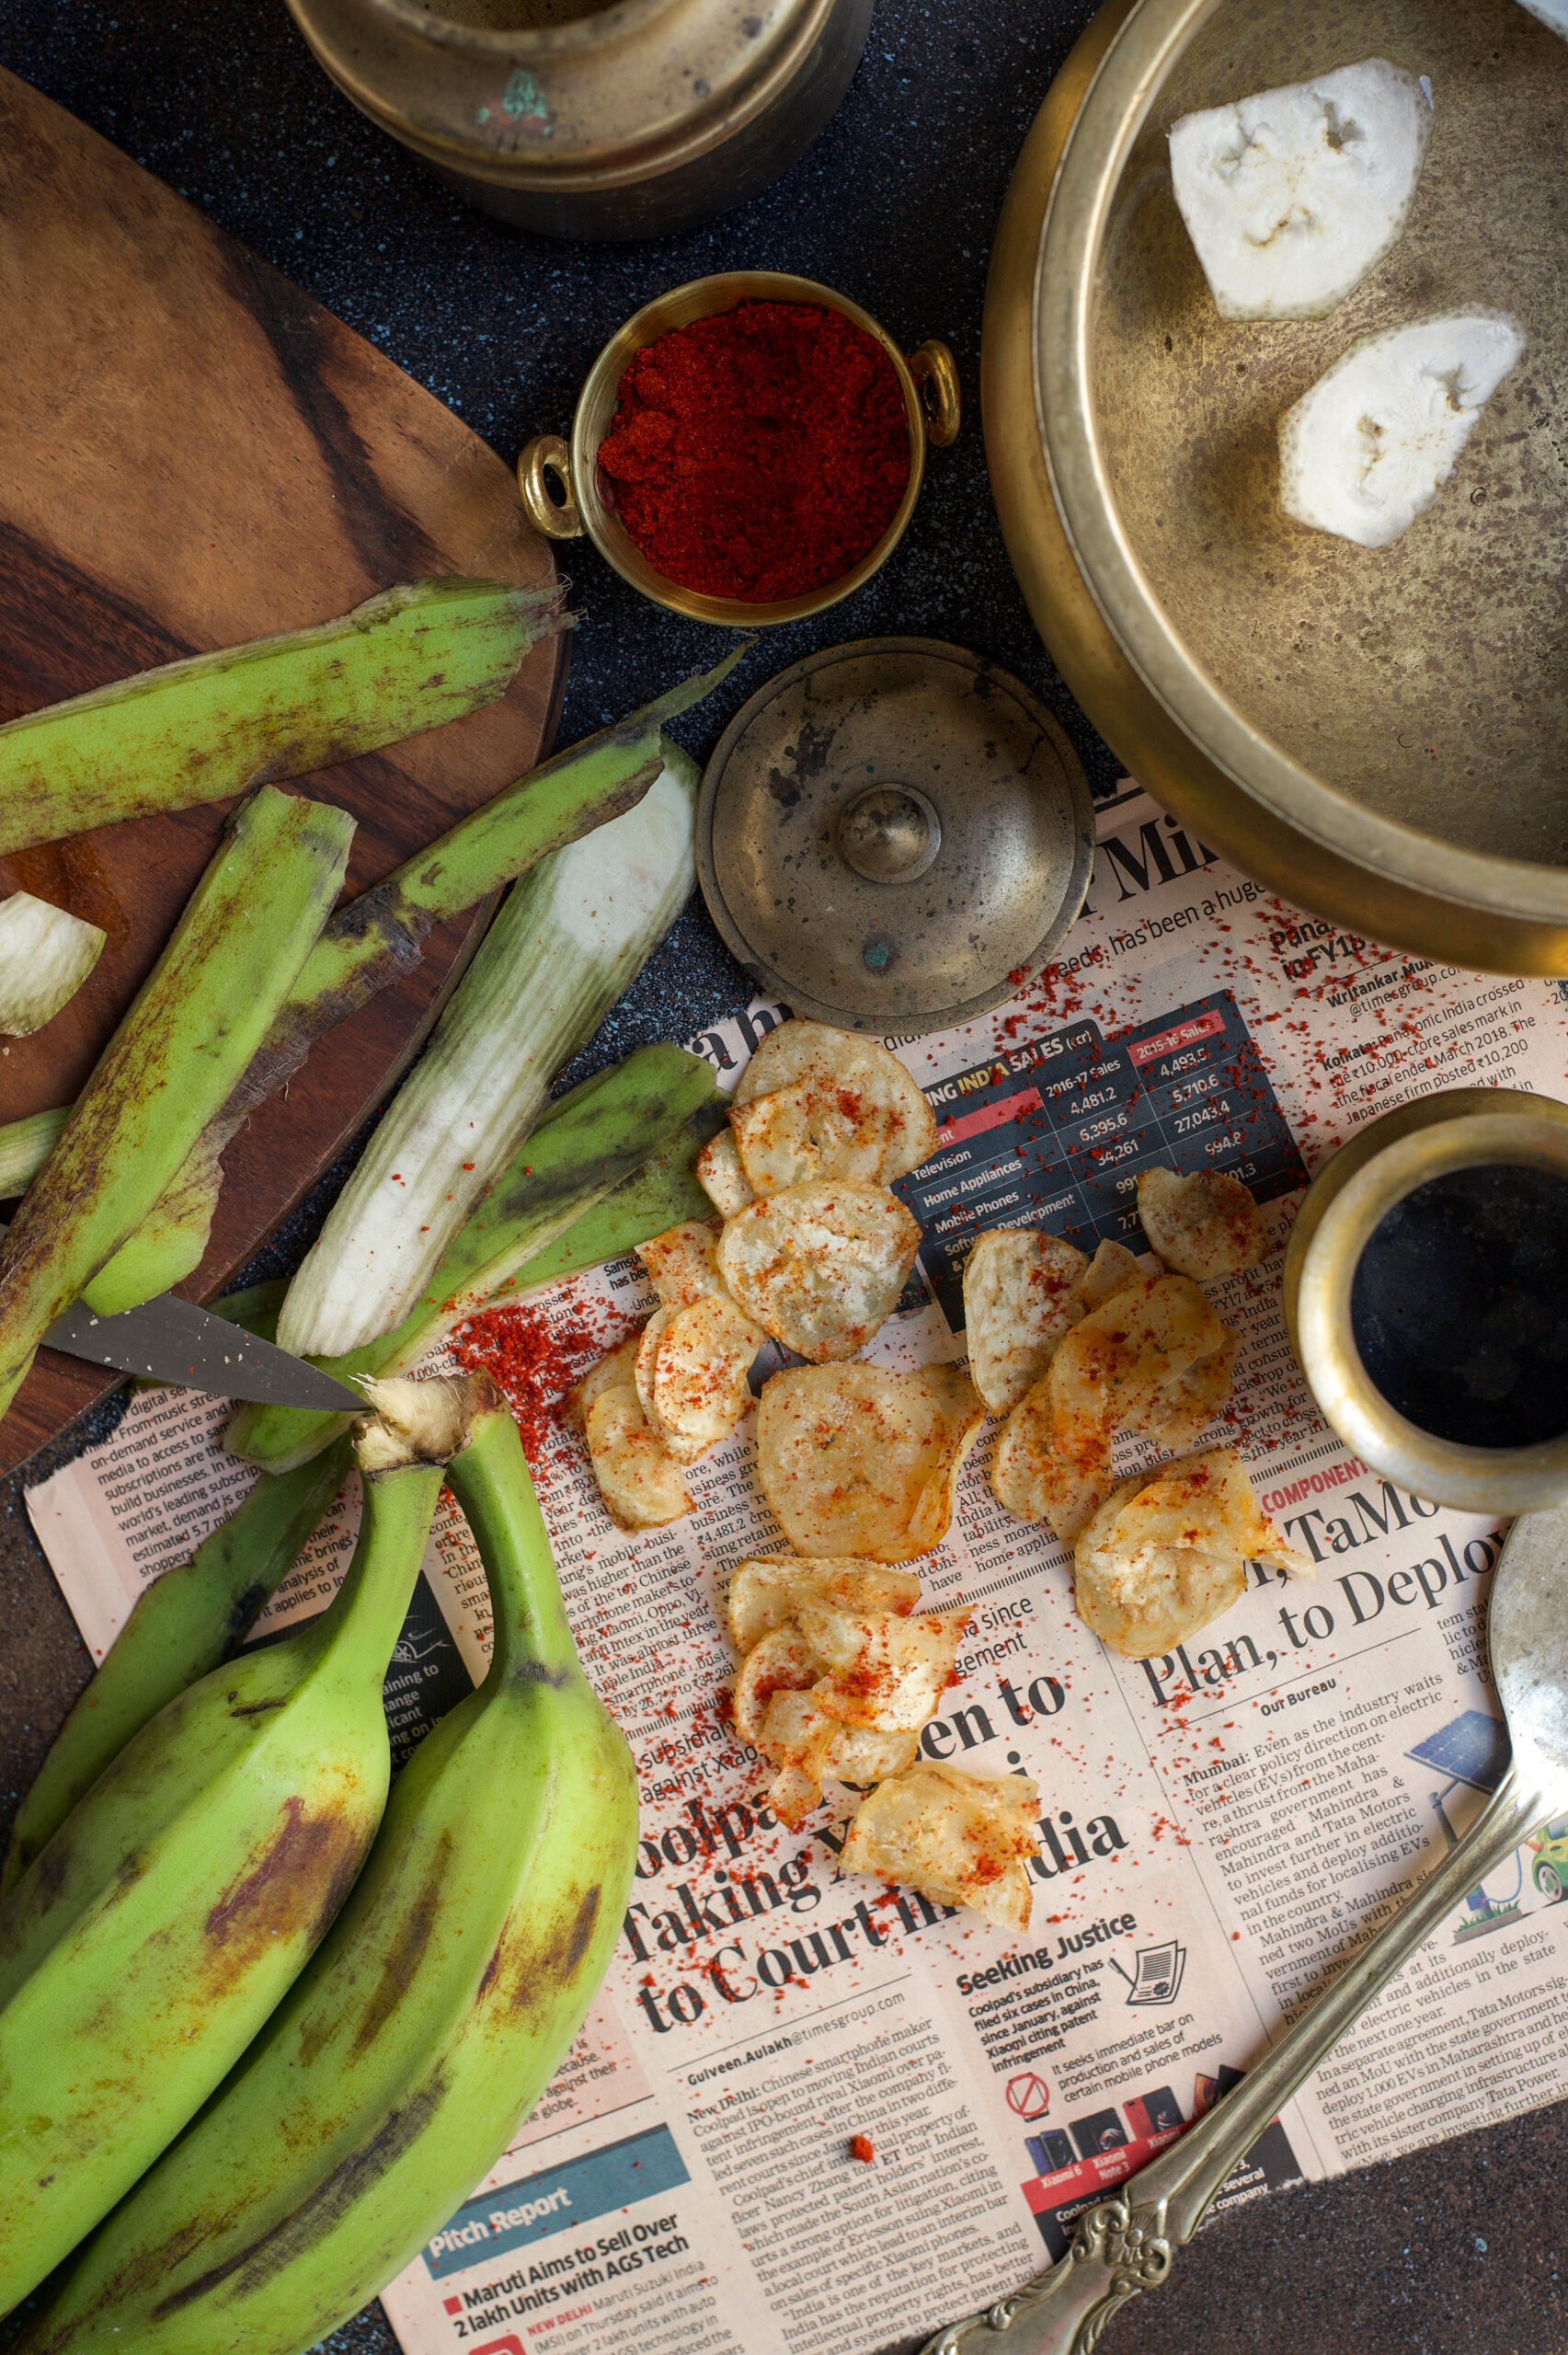
These chips don’t use the ripe bananas that we peel and eat when in need of a portable snack. Instead, they use unripe green plantains of the Monthan variety, which fruit in the 8th or 9th month after planting. They are not sweet, unlike ripe ones, but are edible both raw and cooked. Rich in potassium, iron and several vitamins, they are used in cuisines in Polynesia, Jamaica, and here in India of course. The banana tree itself is considered sacred in Hinduism, and is worshipped in some sects and used in wedding ceremonies. Not only the fruit but the flower too can be consumed, and food is traditionally eaten on a banana leaf itself.

I have a new gadget in my kitchen that I picked up on one of my travels – a nifty slicer that lets me quickly slice the banana directly over hot oil, so I was quite excited to use it when my sister taught me how easy these chips are to make.

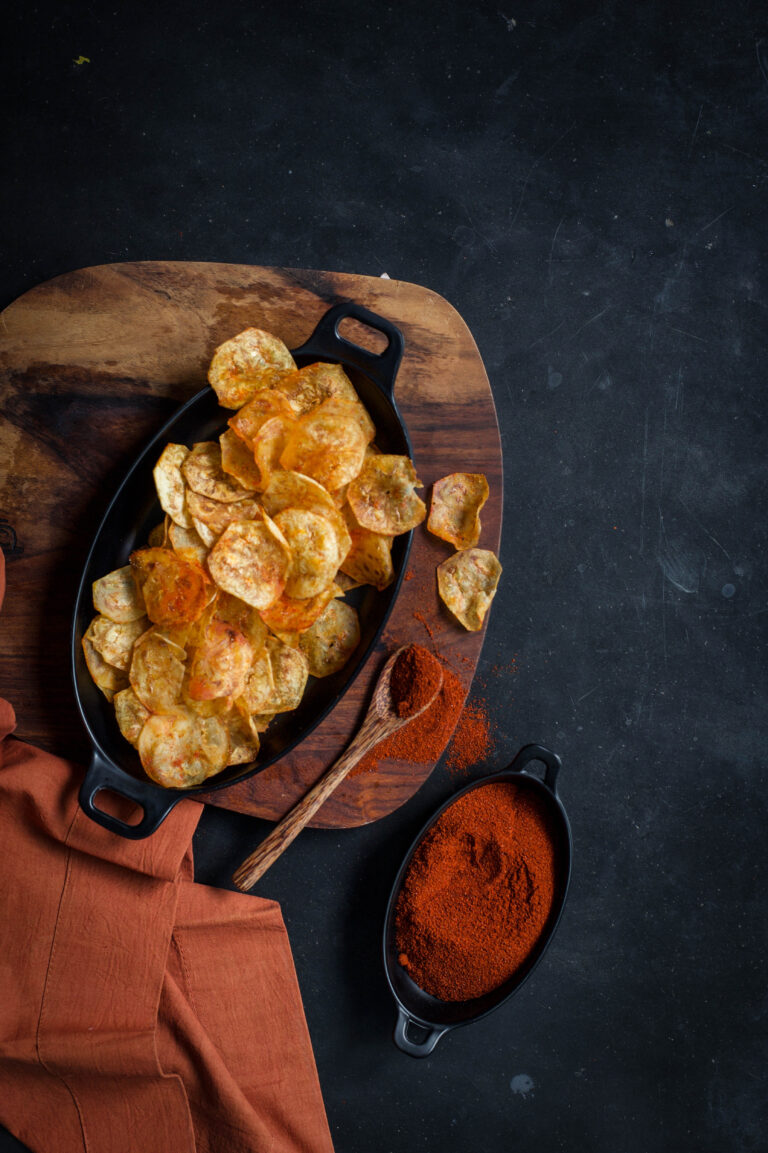
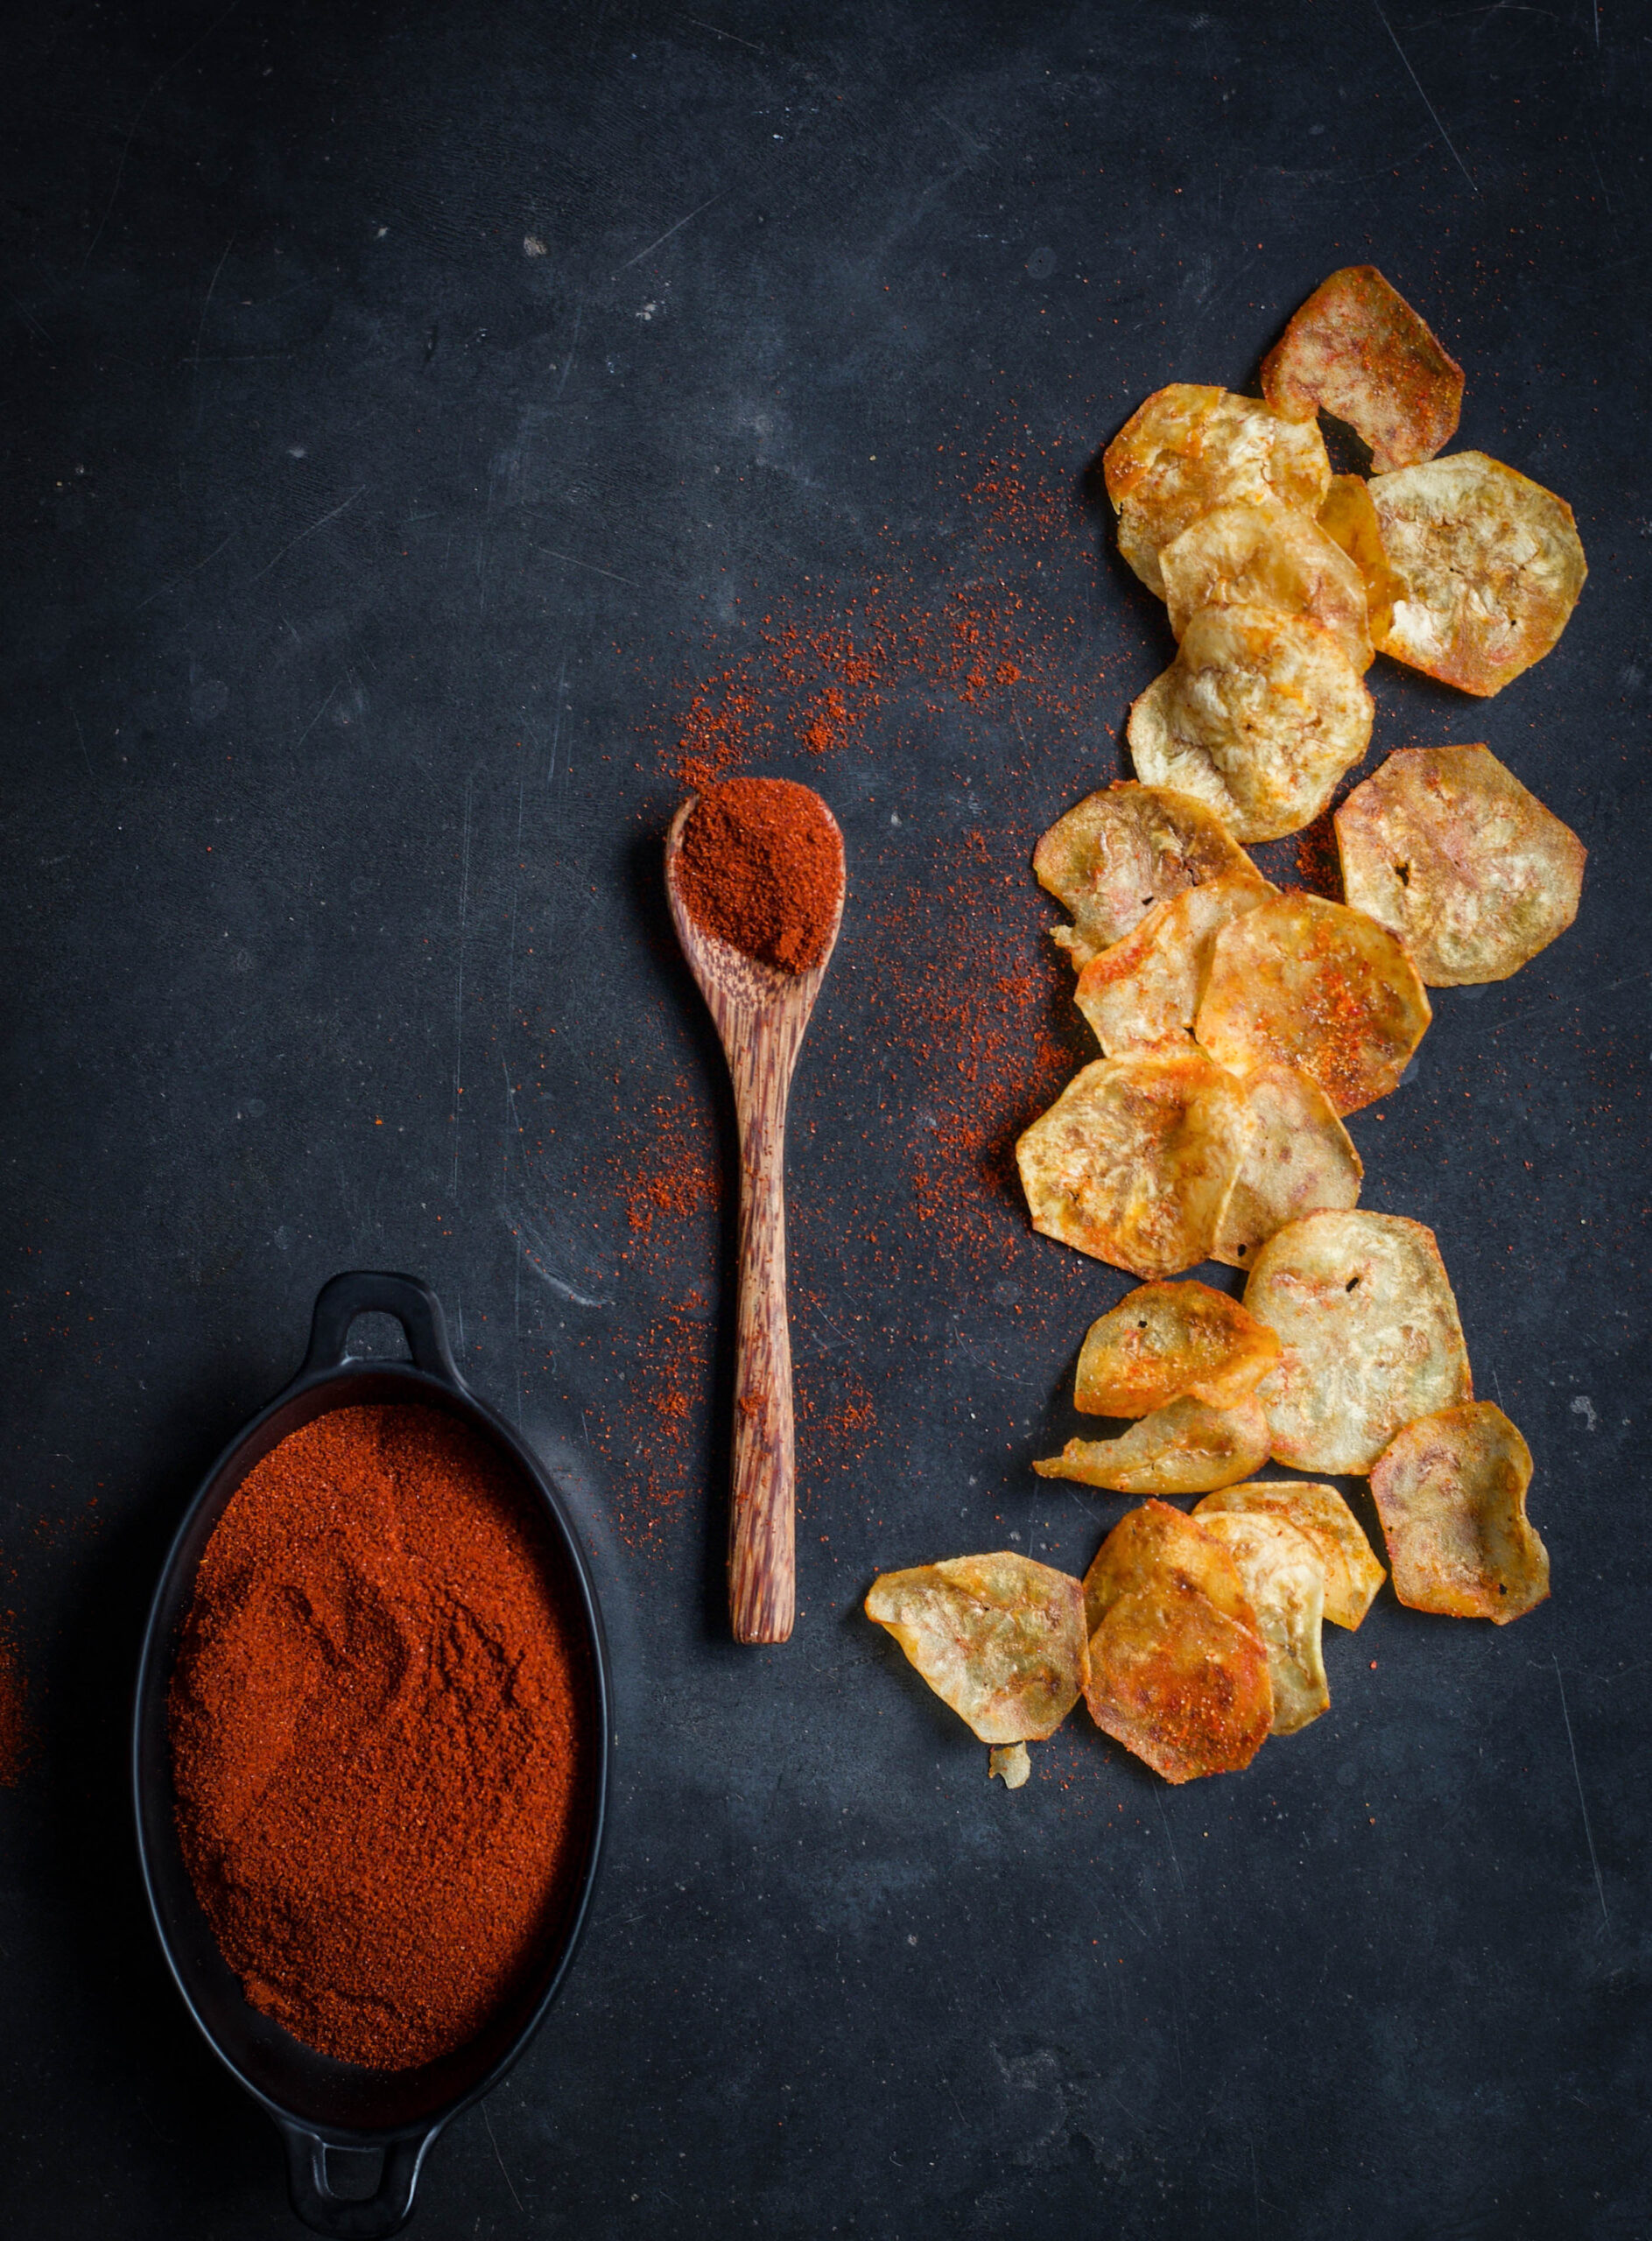
Banana chips are made all over India, but they differ from state to state. The famous Kerala ones, for instance, are cut thicker and are bright yellow. These Gujarati-style ones are thin and reddish-coloured because of the spices used. They are called “kudkudiyas” – a bit of onomatopoeia, because of the “kud kud” crunch sound. They remind me of all my visits to Ahmedabad, and in fact my husband (aka The Dark Prince!) is so partial to them that I order them for him all the way from that city. Fortunately, everyone at home loves my banana chips too, so they can now have them fresh and not imported!

Gujarati-Style Banana Chips

(Yield: Approximately 1 bowl)

Ingredients

1 large raw plantain

Salt to taste

¼ teaspoon chili powder (or to taste)

¼ teaspoon powdered sugar

2 cups oil (for deep frying)

Heat the oil in a frying pan. Peel the plantain and wash it. Be watchful as it may be a bit sticky to the touch.

Slice the plantain and immediately drop the slices into the hot oil. If you use a gadget like I do, you can slice them directly over the pan.

Now reduce the flame to medium. Turn the slices around a few times until they turn golden.

Remove them from the oil, placing them onto an absorbent paper. Immediately sprinkle the salt, chili powder and sugar. Make them your way by adding spices of your choice, such as pepper or chaat masala. The trick is to add the spices as soon as they’re off the oil because this is the only way the spices will stick to the chips. Also remember that the thinner the slice, the crispier and tastier they’ll be. Store in an air tight jar. Enjoy the crunch!


This exact same recipe can also be used for sweet potato chips, if you prefer them to green bananas or find them more readily available.

I prefer using these homemade banana chips instead of any store-bought snack to add crispiness to our lunch thaalis at home. They are cleaner and healthier, and I know exactly what’s going into our mouths, so I don’t mind that they are deep fried.

Even though these banana chips are made in a popular and easy style, you will surely agree that every dish tastes different depending on the cook. Each home and each hand has its own flavour, despite the recipe being exactly the same. Even something as simple as banana chips will have a unique taste. When you try this recipe, be sure to let me know how yours tastes!