There I was in the freezing cold of the Berkshire mountains in Massachusetts, USA, telling my friends and family back home that I was finally about to do for fun what I didn’t enjoy doing in school – study! I had given myself the gift of learning: specifically, the subject of Macrobiotics, a system of mindful cooking and eating. My classes at the Kushi Institute often took place in the snowy winters, and even from indoors the beauty of my surroundings inspired me every day. Chirping birds, beautiful trees, and a healing science drawn from the principles of Zen Buddhism… Which I brought back to my home in Chennai, with its own trees and birds and mouths to feed.
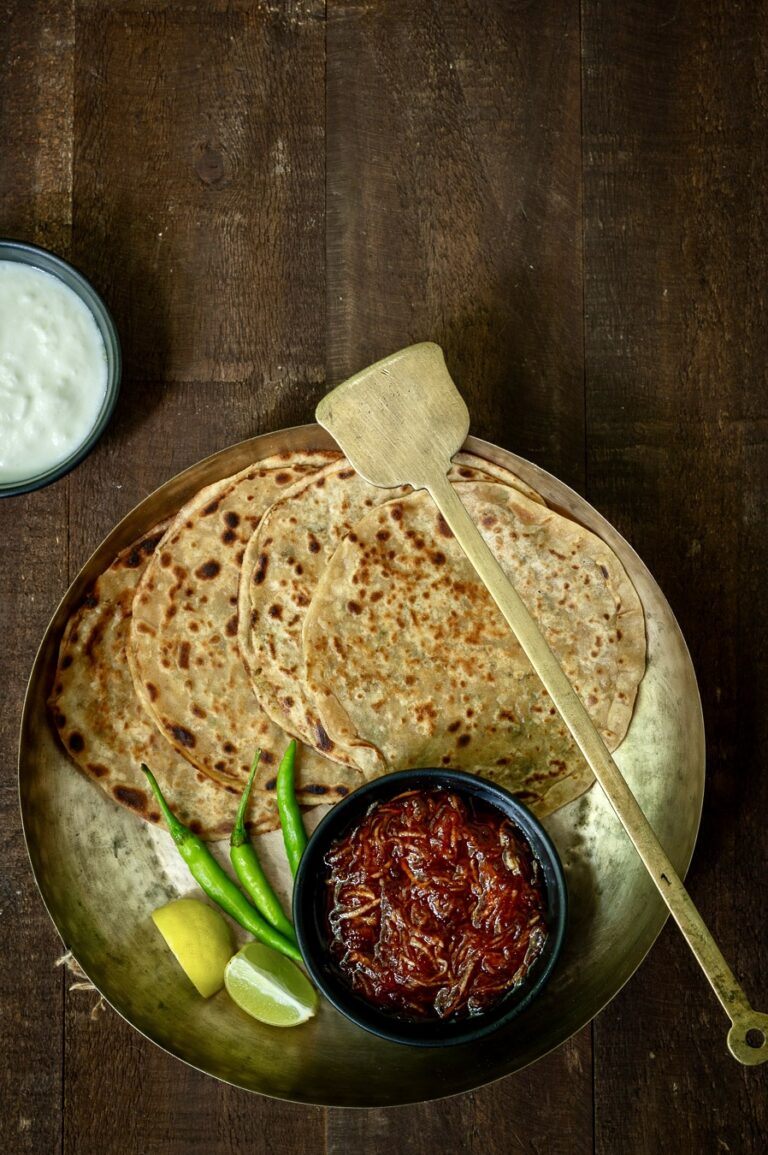
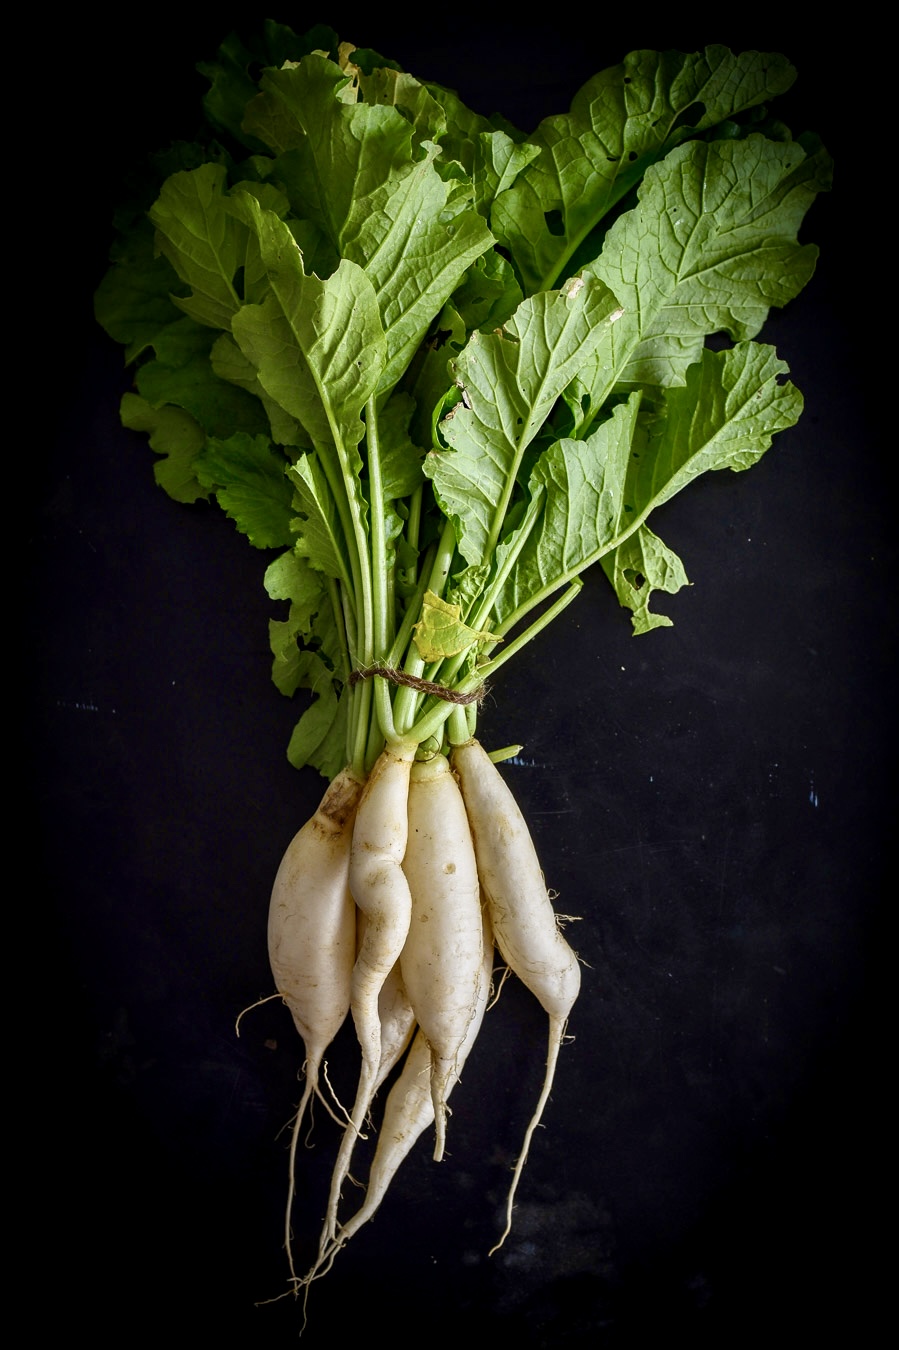
Let’s face it: most children dislike radish. I did too, and it was only when I was studying Macrobiotics about a decade ago that I really began to appreciate the vegetable that was known to those of us in the course as daikon. After that, I began to look at the humble Indian mooli – which we get here in pink and white, and which are used in salads, curries and sambars – differently. There’s one particular usage of it that is my absolute favourite, and that is the mooli paratha or radish paratha.
Parathas are an excellent way of getting kids to eat ingredients they may not be fond of, which is probably how this particular one came into being. The stuffings also vary across regions – in Bengal, for instance, I believe that fish is commonly used. I once had some that was stuffed only with fresh cream, which was fascinating to me. They can be made quite healthy, as well as flavourful. They don’t need an accompaniment, but a pickle may sometimes complement them.
Radish paratha is popular in North India as a Punjabi street food, and along with peas paratha is one of my two favourite versions of stuffed Indian flatbreads. To me, it is synonymous with some of the best food that Delhi – a city that I’m rarely in, but in which I have had many cherished moments and meals with loved ones – has to offer.
The radish paratha came into my life at a time when my dear friends Sujatha and Michael lived there. They would take me to a famous parathawalla near a railway station, a roadside vendor whose enterprise had grown quite large. There was always a crowd and a queue there. To me, it looked like there were hundreds of options on the menu. We would each order what we liked, and sit in the car and consume our stuffed parathas while they were hot. They all came with pickled onions, and were served rolled in a newspaper page with some kind of leaf inside it to mop up the oil. They were just such a joy to eat. Those experiences of sharing food and laughter in a parked vehicle became great memories, too.
I tried some different options out on occasion, but always came back to the radish paratha. It was absolutely delicious, and filling enough to count as a meal. That’s the thing about street food in India. The fancy restaurants have their charms, but there’s something about the food prepared by roadside hawkers and railway vendors that just hits the spot every time.
In the years since, I began recreating the radish paratha at home, and it has become fairly frequent at our dinner table. I have found that while radish is pungent on its own, it is also absorbent, which means that adding a good masala to it makes it very appealing. Try it out and see for yourself!
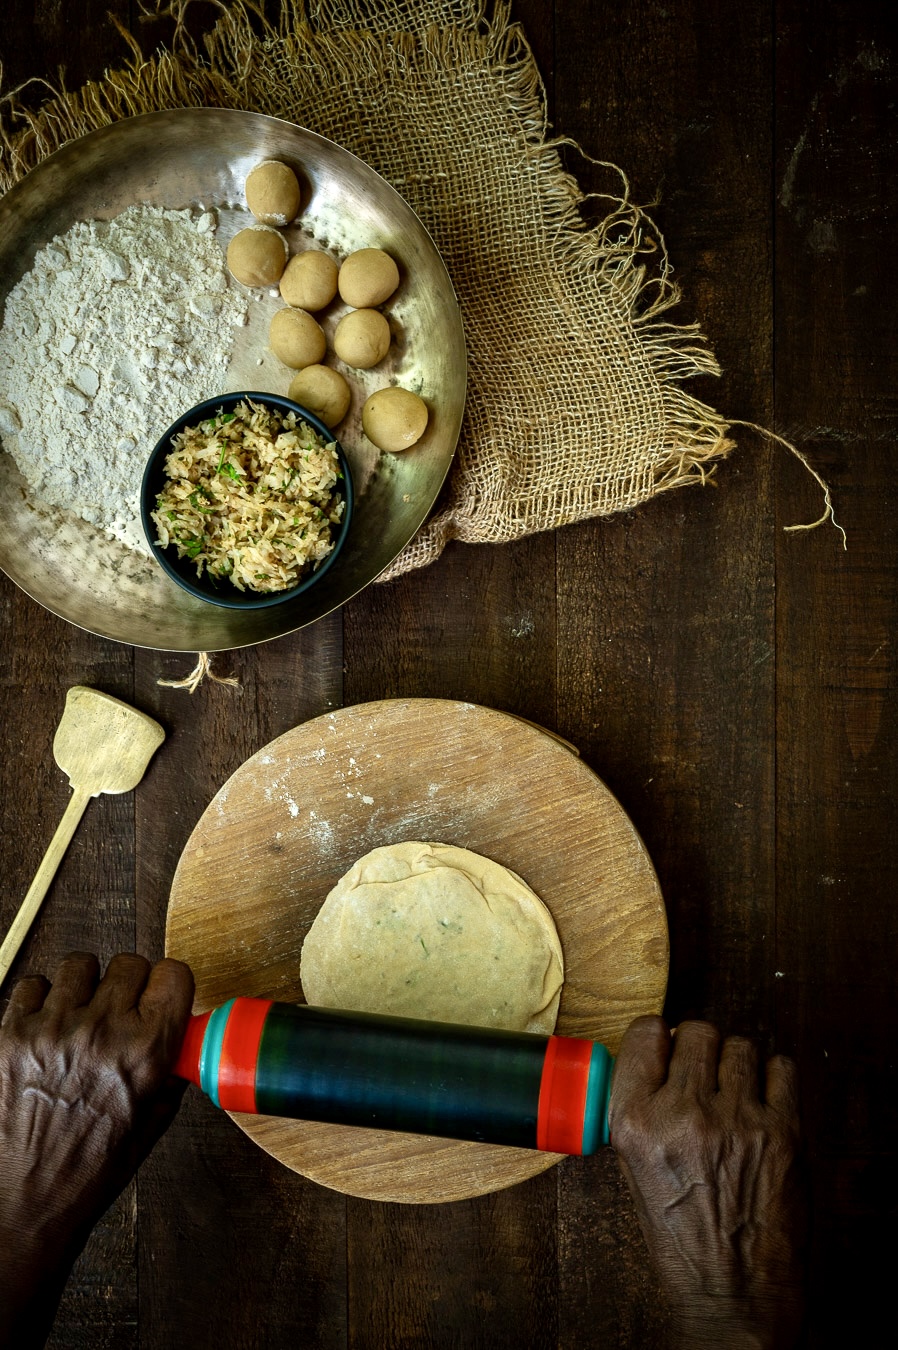
Radish Paratha
(Yield: 5 pieces)
150 grams radish (3 medium-sized)
Salt to taste
1 teaspoon green chili+ginger paste
½ teaspoon garam masala
1 teaspoon aamchur powder
1 teaspoon cumin powder
¼ teaspoon ajwain
3 tablespoons coriander leaves (finely chopped)
1½ cups whole wheat flour
1 teaspoon oil + oil for sautéing paratha
Clean and grate the radishes. Add ¼ teaspoon salt. Mix well and squeeze out the water really well. Set the radish water aside.
To the grated radish, add the cumin powder, pinch salt, coriander leaves, aamchur powder, ajwain, chili+ginger paste and garam masala. Mix with your fingertips.
In a bowl, add the flour and the squeezed-out water from the radish so there is zero waste. Make a tight and smooth dough of the flour with the help of a little oil.
Now, it is time to roll out the parathas. Divide the dough into 10 small balls and set aside. Dust and roll a ball. Set aside and roll another.
Now, fill one flattened disc with 1 tablespoon of the radish filling and cover with another rolled out disc. Make sure you pinch the edges well. Using a rolling pin, roll gently over the paratha. Roll out 5 such filled parathas.
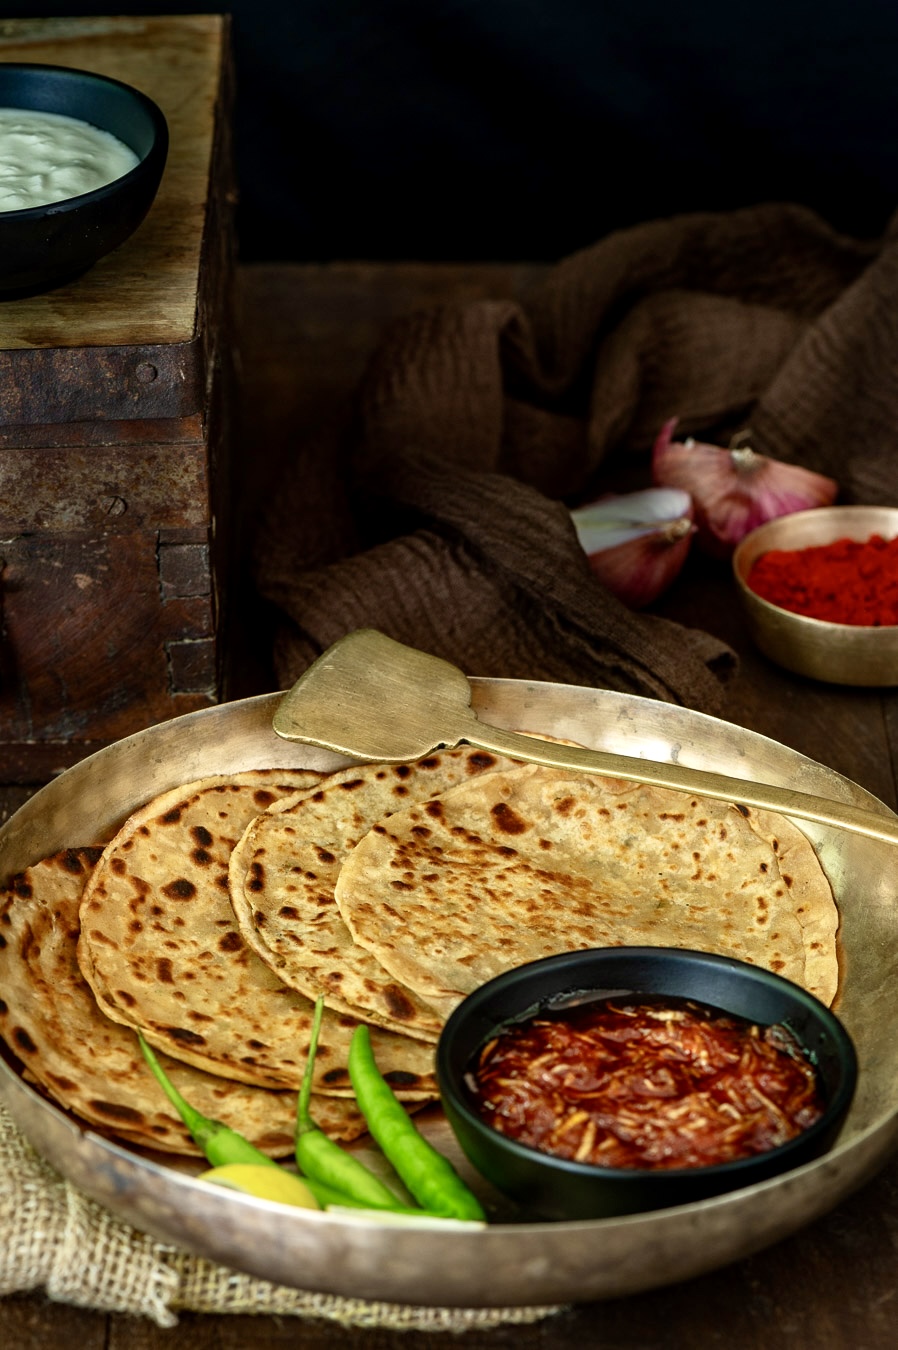
Heat a griddle and place one of the parathas on it. Allow to cook until a few spots are formed. Flip the paratha. Once it turns golden brown on both sides, apply a few drops of oil onto both sides and allow to cook until darkened. Transfer it onto a lined plate. Repeat with the remaining parathas.
Serve hot, with or without accompaniments. Yoghurt and pickle go well, but as I said the radish paratha is itself quite flavourful. It is also rather filling, so I wouldn’t be surprised if you also begin serving it for dinner, as I do.
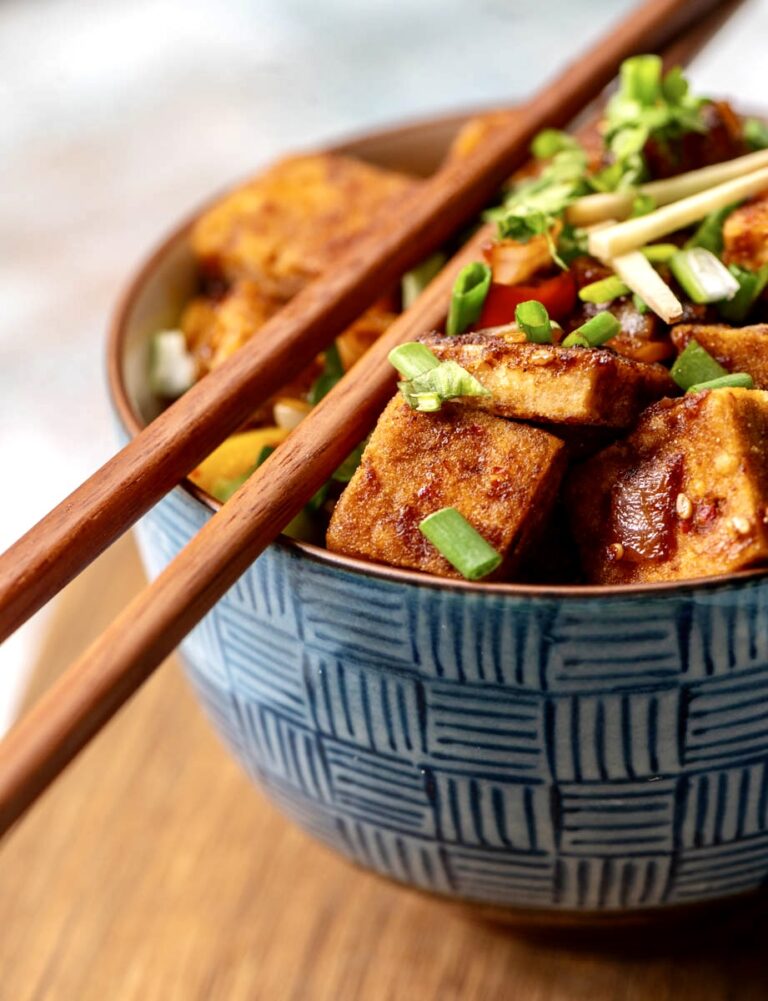
Recently, when sharing a recipe for tofu broccoli rice, I wrote about how tofu is a healthier replacement for paneer, which is an ingredient that vegetarian Indians simply adore. As mentioned there, tofu is not only higher in protein, but it is also lower in fat. Moreover, it helps those who are aiming for a vegan lifestyle or who are lactose-intolerant to avoid dairy too. Despite its reputation to the contrary, it can actually be very tasty. It all depends on the flavours you cook it with, and this chilli tofu is a perfect representation of exactly that.
You will probably be familiar with chilli paneer – a famous and ubiquitous dish on Indo-Chinese restaurant menus. This is essentially a more nutritious take on the same. I have mentioned in earlier posts that my daughter is a pro at Indo-Chinese as well as certain Asian cooking styles, and whenever she visits me, we love experimenting with these cuisines in the kitchen together. I made some trials of this one ahead of her next visit, and they came out great.
One significant difference is that I have only pan-fried the tofu rather than deep-frying it, which is what most Indian restaurants do when they do serve tofu. Lately, wherever I’m able to find it while dining outside, I have been opting for mapo tofu, in which the tofu remains soft and is marinated rather than cooked. It may be an acquired taste, but it is enjoyable. This pan-fried version meets both those methods in the middle, and results in a lovely dish.
Me being me, ever inquisitive about cooking techniques and all things food, I couldn’t resist giving making my own tofu a shot. I had tried making soya milk once before, and that didn’t work out, so I was thrilled that my tofu turned out well. I prepared it using soya beans and a coagulant called nigari. Perhaps I will share the recipe for this in future too.
Of course, readymade tofu will work just fine to prepare the recipe below. It’s just that in my case, tofu has been making an appearance on my plate more and more often, and for this reason I became intrigued about whether I could make it at home. I really love knowing exactly what goes into a dish, rather than always relying on store-bought items which may be processed in certain ways or contain unhealthy ingredients.
That said, I have noticed that the Indian market continues to expand with more options for all of us who want to increase our protein intake. For instance, there are now homegrown as well as imported brands selling tempeh here. You can cook tempeh using the method below, too.
Another ingredient that I hope to see in the shops soon is seitan, which was invented by Buddhist monks in East Asia who were on strictly vegetarian diets. While it contains gluten, seitan is also good for those who are trying to cut down on their meat consumption, as it is known to have a similar taste and texture, and is even called “wheat meat”. It is made of whole wheat flour that is stripped down, through a repetitive process, to its protein strands. I learned to make it when I was a student of Macrobiotics, but the process is rather long and the outcome is a large quantity. I’m the only one at home who wants to eat seitan, so it isn’t worth my while to make it myself.
Just like tofu has become more widely available, I am sure that tempeh and seitan – as well as other exciting options – will also become popular in time. So many of us are more health-conscious and are eager to explore new tastes. As I’ve said before, replacing our regular paneer with some lovely tofu is a great place to start. Which brings us back to today’s recipe…
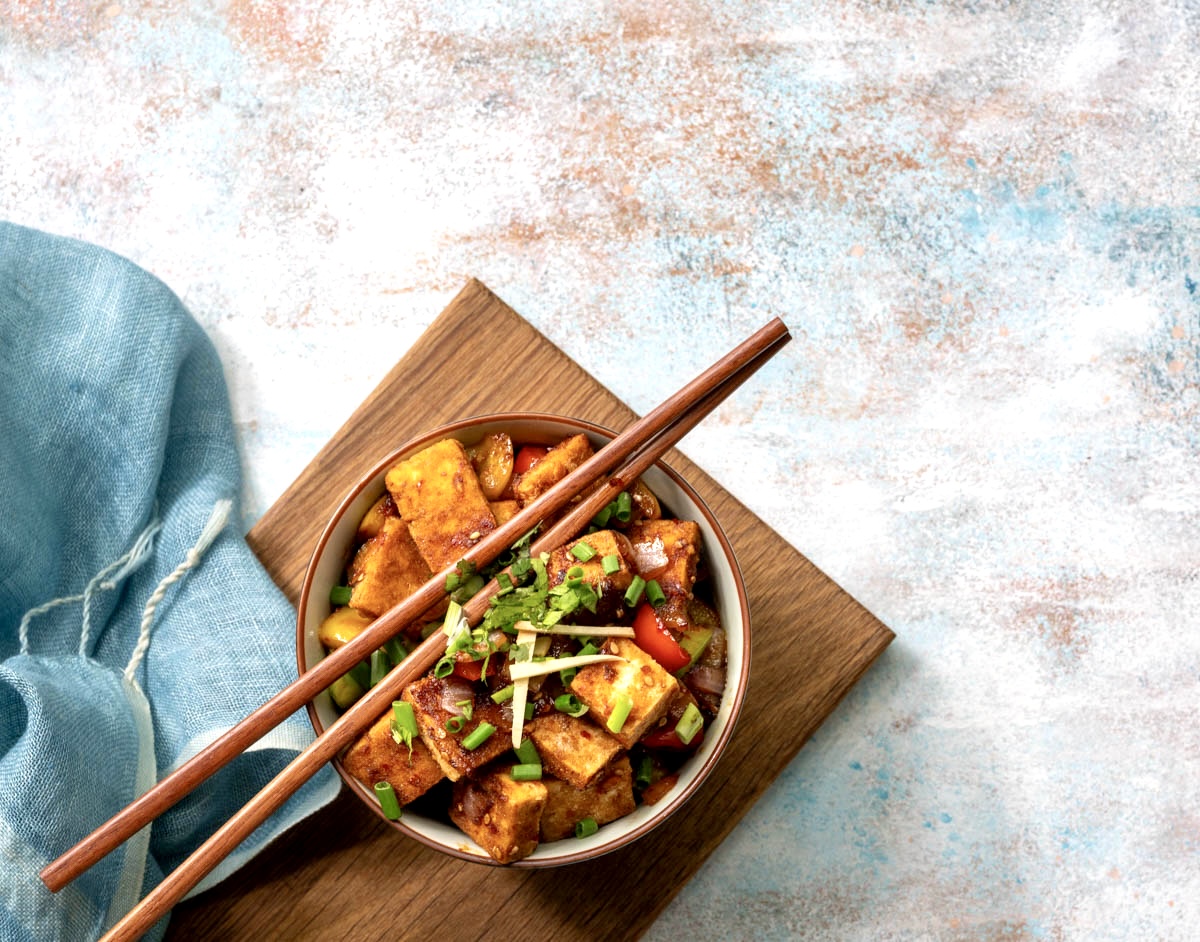
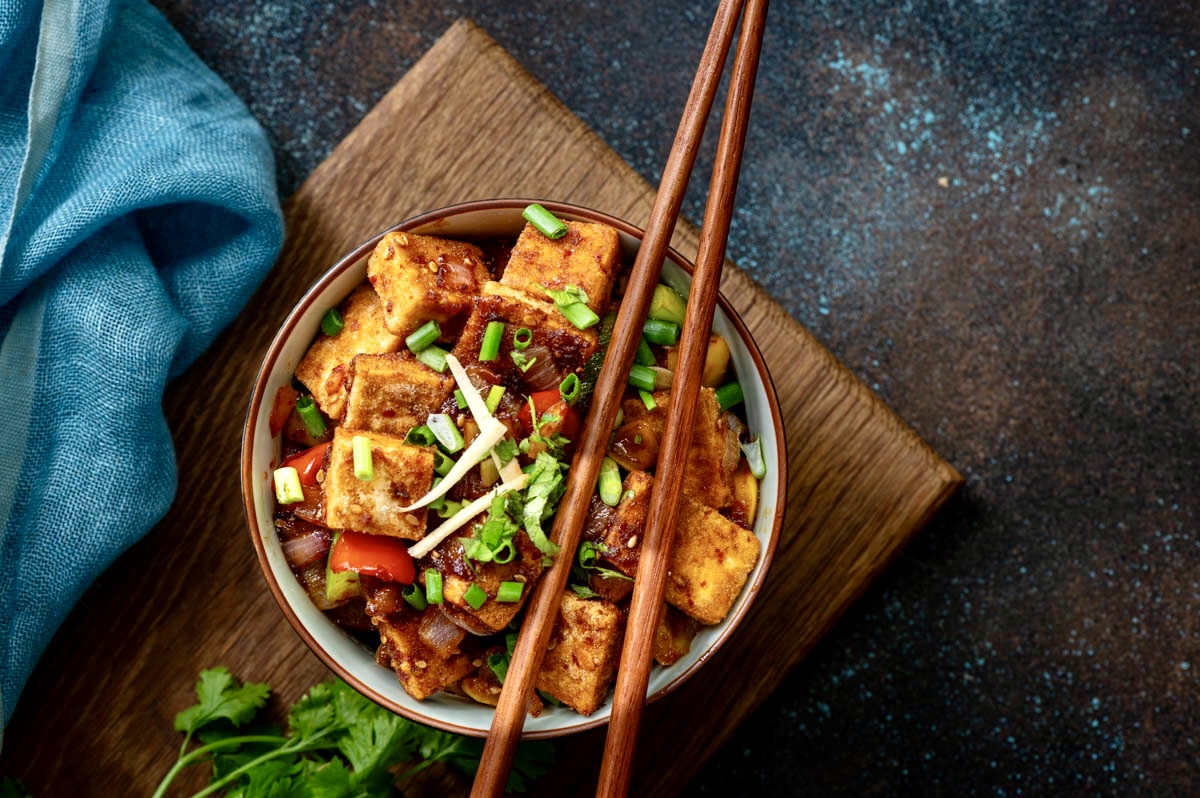
Chilli Tofu
(Serves 2)
1 tablespoon rice flour
125g of tofu
½ cup bell pepper (finely chopped)
2 tablespoons spring onion (finely chopped)
½ teaspoon red onions (finely chopped)
½ teaspoon ginger (finely grated)
4-5 cloves garlic (crushed)
1 teaspoon chilli paste
1½ tablespoons soya sauce
2 tablespoons hot water
1 teaspoon vinegar
1 teaspoon lemon juice
1 teaspoon brown sugar
Chilli flakes (to garnish)
Coriander leaves (to garnish)
½ teaspoon sesame seeds
1+1 tablespoons sesame oil
Cut the tofu into the desired size. Coat the tofu pieces with the rice flour and allow to sit for 30 minutes.
Heat a pan and add 1 tablespoon of sesame oil. Once the oil is hot, add the tofu and sauté until the pieces are golden brown on both sides. Remove from the pan and set aside.
In the same pan, add 1 tablespoon of sesame oil. Once the oil is hot, add the sesame seeds and then the ginger and garlic. Sauté until they release their flavours and then add bell peppers, spring onions and red onions. Sauté on a high flame.
Now, add the golden tofu to the sautéed vegetables. Add soya sauce, hot water, vinegar, brown sugar, chilli paste and lemon juice and stir together until all the flavours mix well. Garnish with spring onions, chili flakes and coriander leaves. Serve immediately as an accompaniment, usually to rice.
I hope you’ll enjoy this chilli tofu, which is simply bursting with flavours. It makes a beautiful addition to any high protein diet, especially for vegetarians and vegans. While most of the posts on this blog are vegetarian, if you are a vegan, you may want to explore some more recipes here.
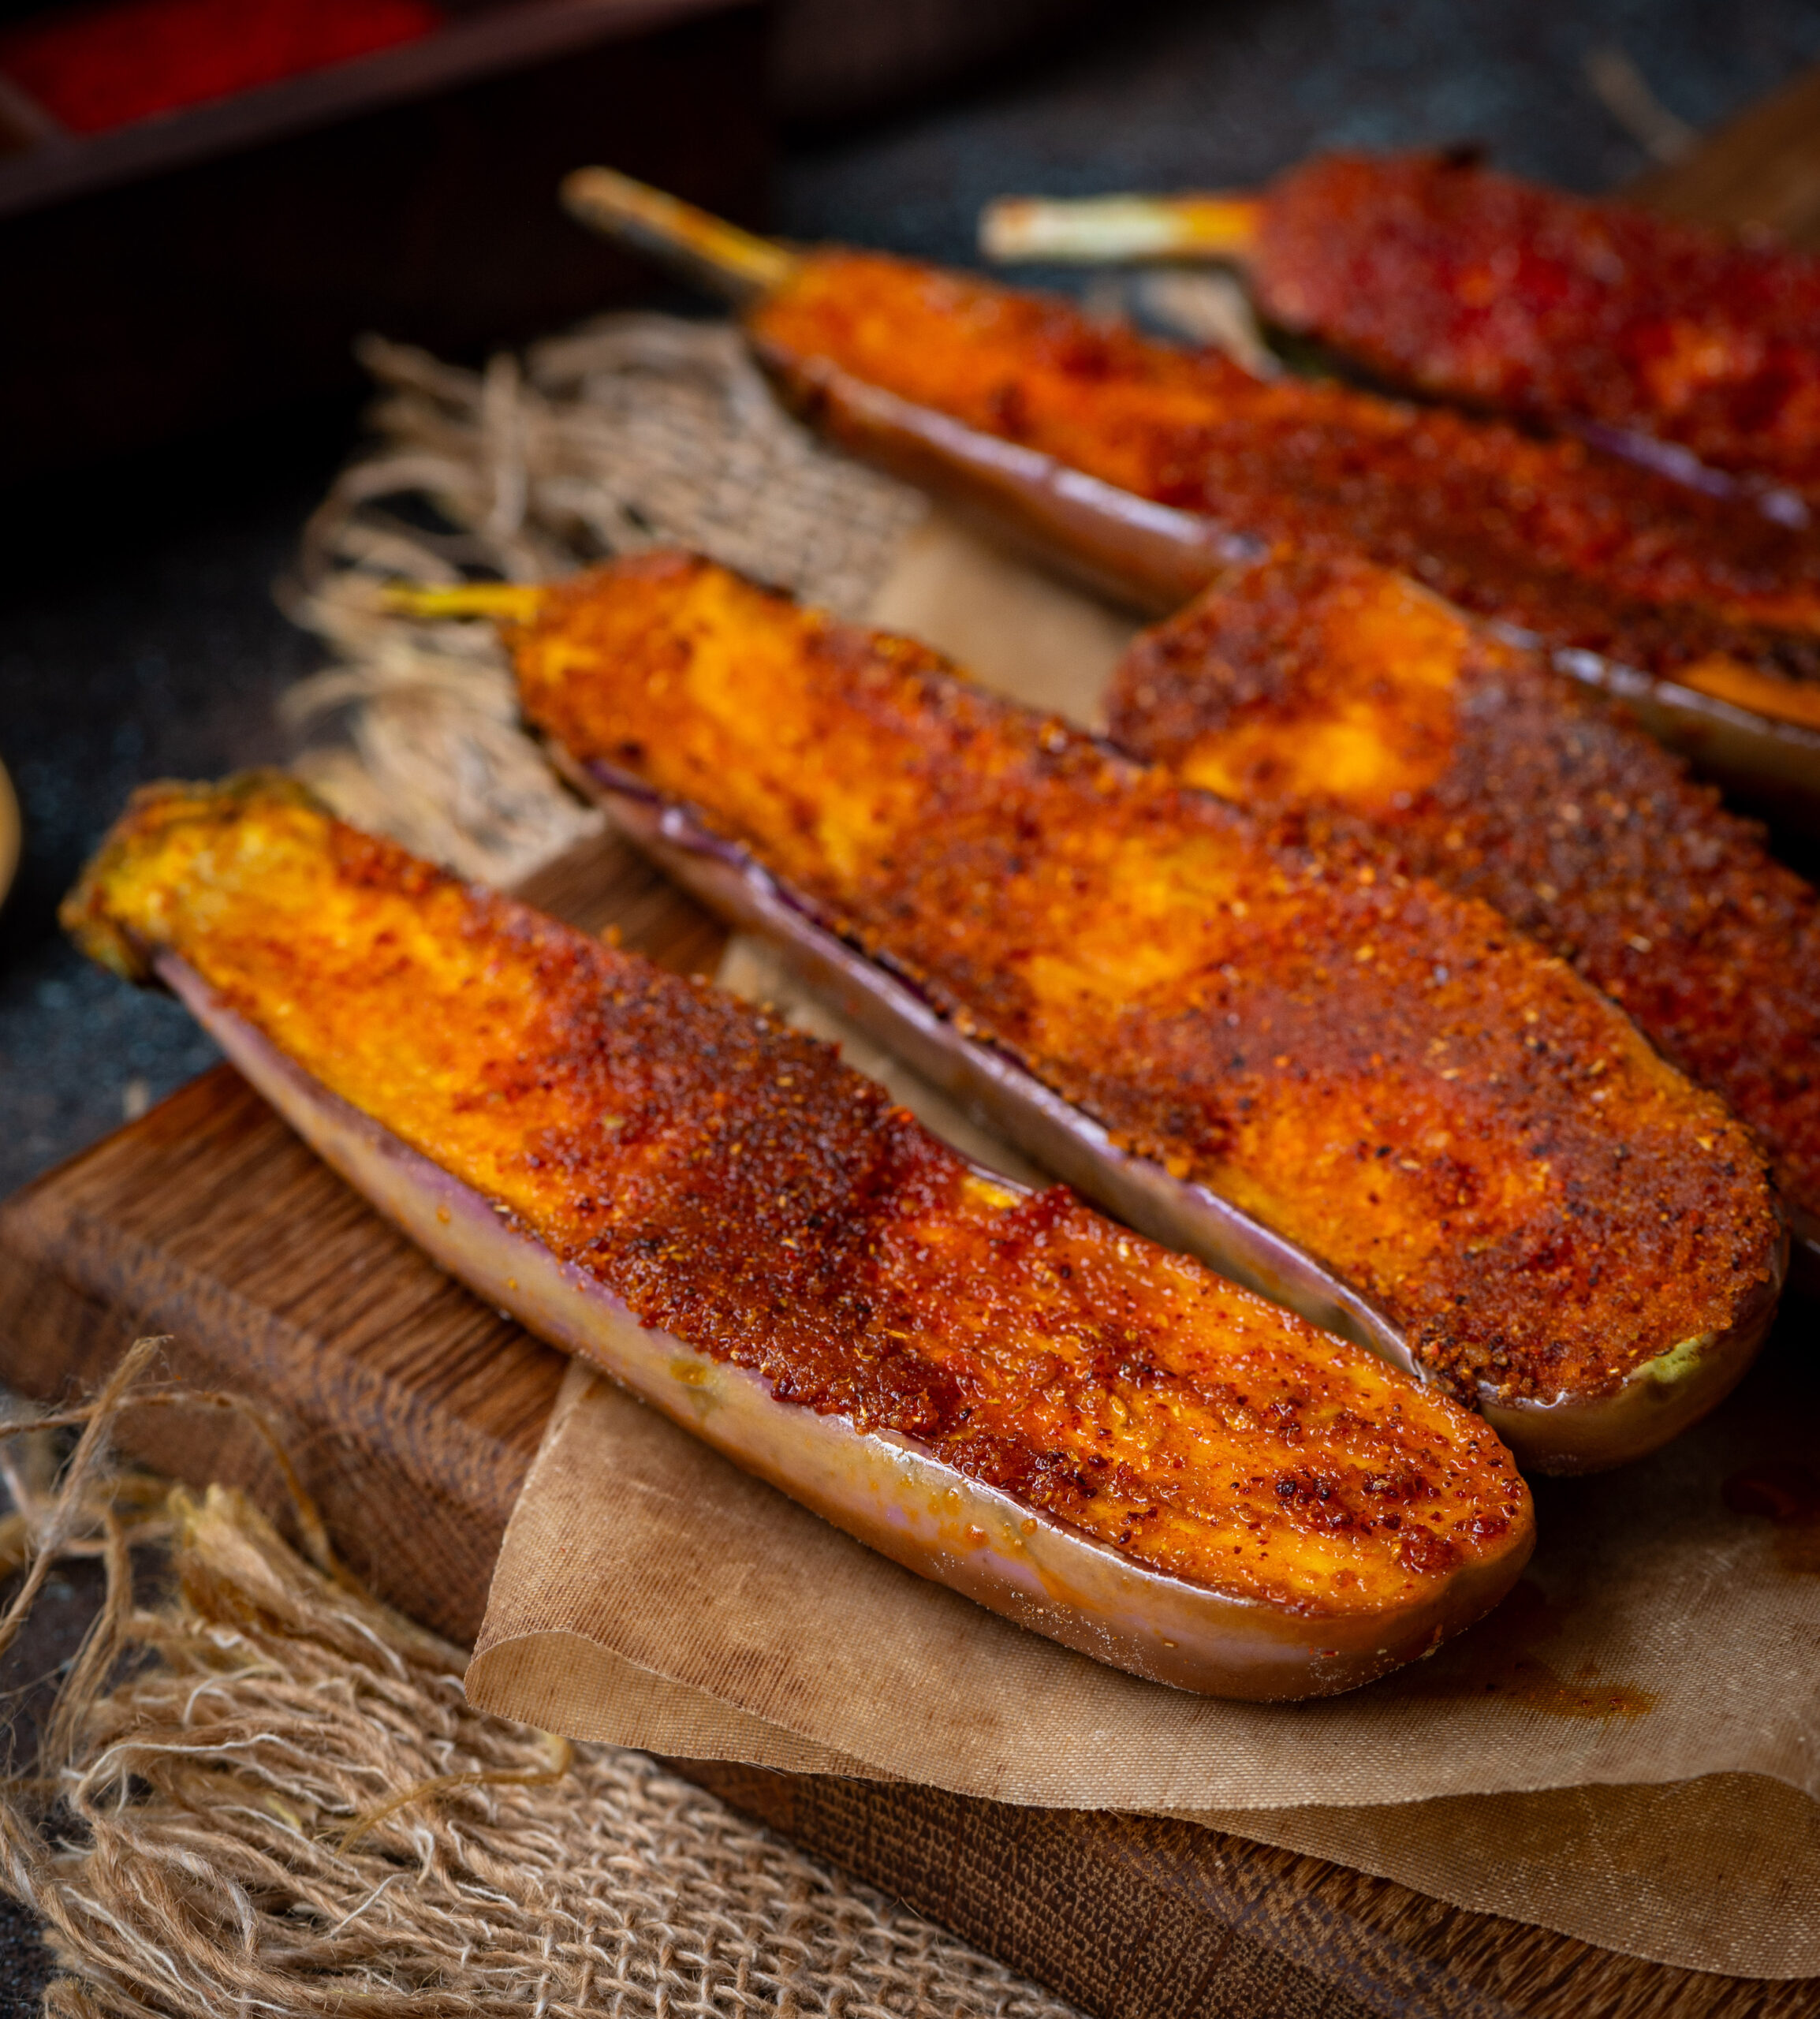
I think of begun bhajan, a crisp eggplant side dish, as being pan-Indian even though I know that it originated in Bengal. That’s because I have often encountered some version of it in South Indian meals as well. My own preparation uses long eggplants, typical of this region, rather than the big round ones that are used in authentic Bengali cooking. I love slicing and spicing the vegetable up to give a kick to a boring summer meal, when the heat makes us all feel more drained and something delicious and energising is always craved.
As a student of Macrobiotics several years ago, I learned early on that eggplant is a nightshade, and therefore only to be consumed in small quantities. The ubiquitous tomato is one too, by the way. My training remains in my mind in numerous ways, because of which I still find myself using eggplants only occasionally. Perhaps that’s why I find begun bhajan all the more exciting, since moderation is recommended. I’ve tried my hand at an eggplant parmesan before as well, and will share the recipe for that sometime too.
I also have a strong preference for consuming greens, so eggplants don’t feature that often in my market shopping anyway. That said, the vegetable is quite nutritious, as it is rich in antioxidants and low on carbohydrates.
In fact, I think that begun bhajan is a healthy alternative to dhoklas, which are commonly eaten in Gujarati households like mine as a tasty accompaniment. Of course, mangoes do the same job in this weather, but believe me when I say that begun bhajan is also a great pep-me-up. Or better yet, why believe me, when you can make some yourself?
My own journey with begun bhajan began in Kolkata, at the home of a friend who always has me over for a typically Bengali meal whenever I visit the city. After the first time I tried this dish, I began making a special request for it ahead of our meetings. She keeps saying that there is such a variety of other dishes she could prepare, but this is the one that I just keep asking for. My begun bhajan is not a patch on hers, but still I make it – more so because it always evokes memories of being with her in her lovely home, full of the art she collects, and with my friend herself always so well turned out in crisp sarees. Food is a complete experience. It’s never just what you’re eating, but also who you’re with, the space you’re in, the way it’s served. I hope this begun bhajan brings you much enjoyment too.
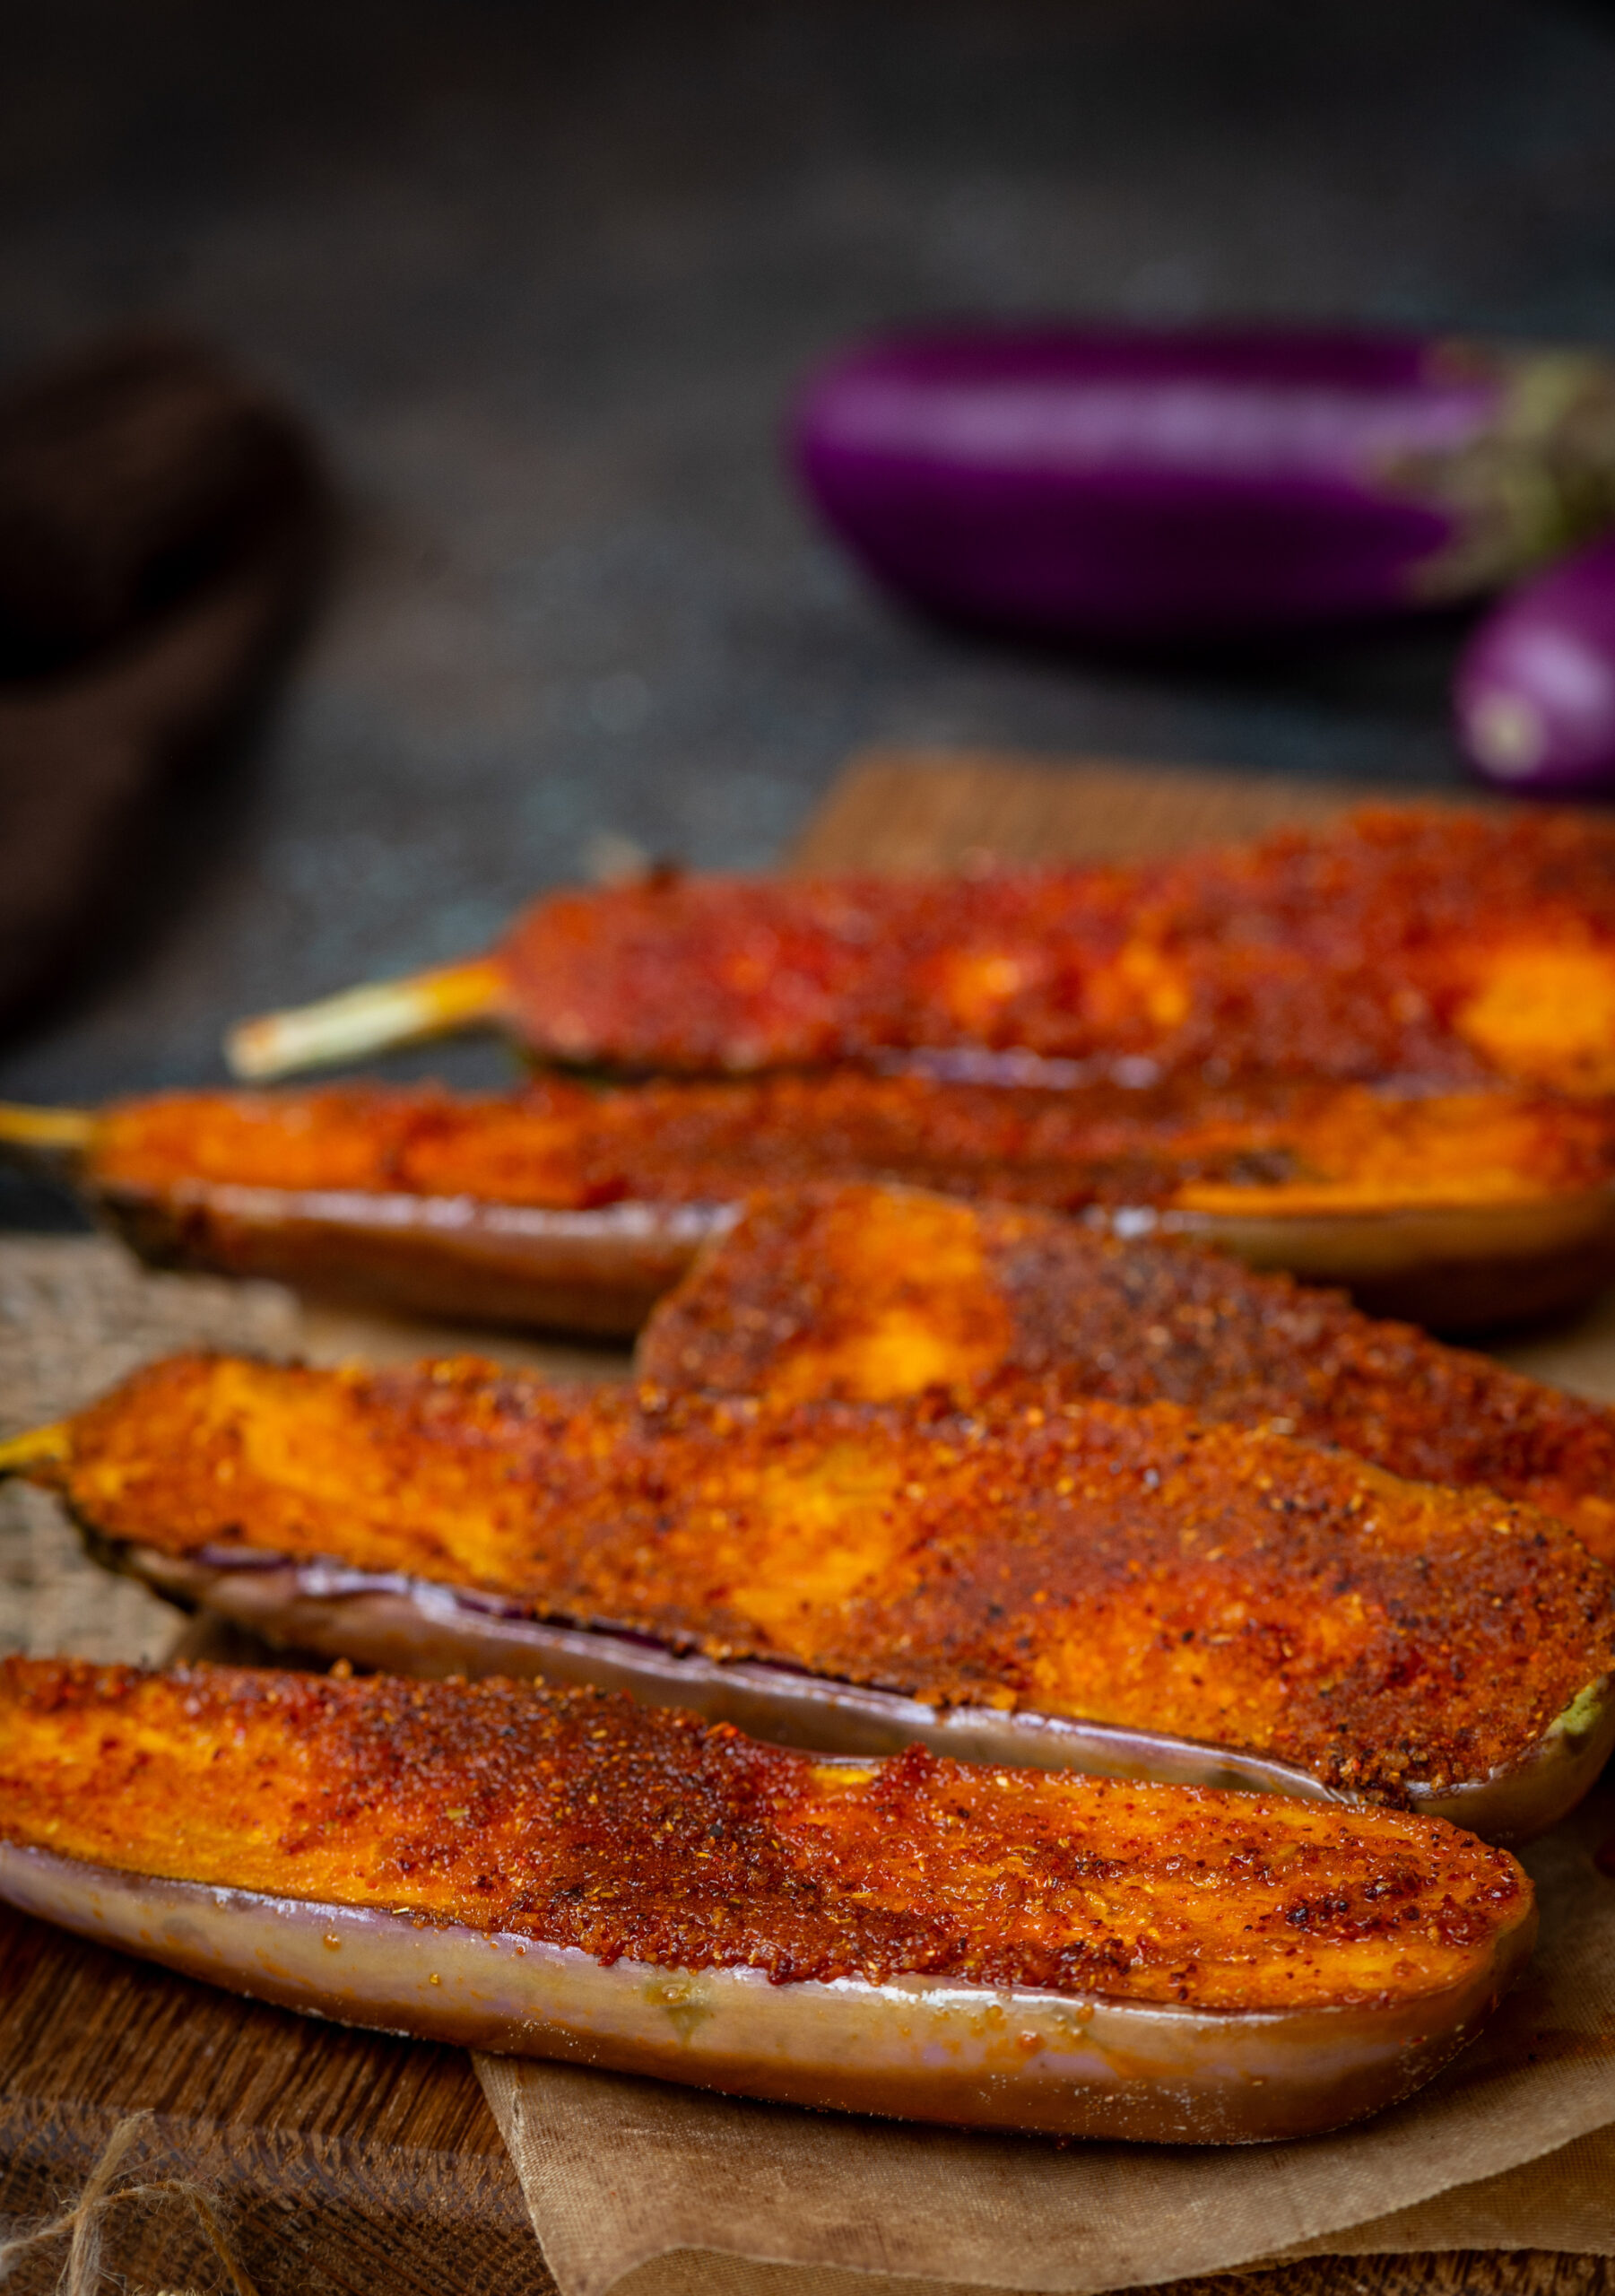
Begun Bhajan
(Serves: 4)
1 large eggplant
Salt to taste
1 teaspoon chili powder
½ teaspoon turmeric
1 teaspoon toasted cumin powder
1 tablespoon rice flour
½ teaspoon sugar
1-2 tablespoons mustard oil
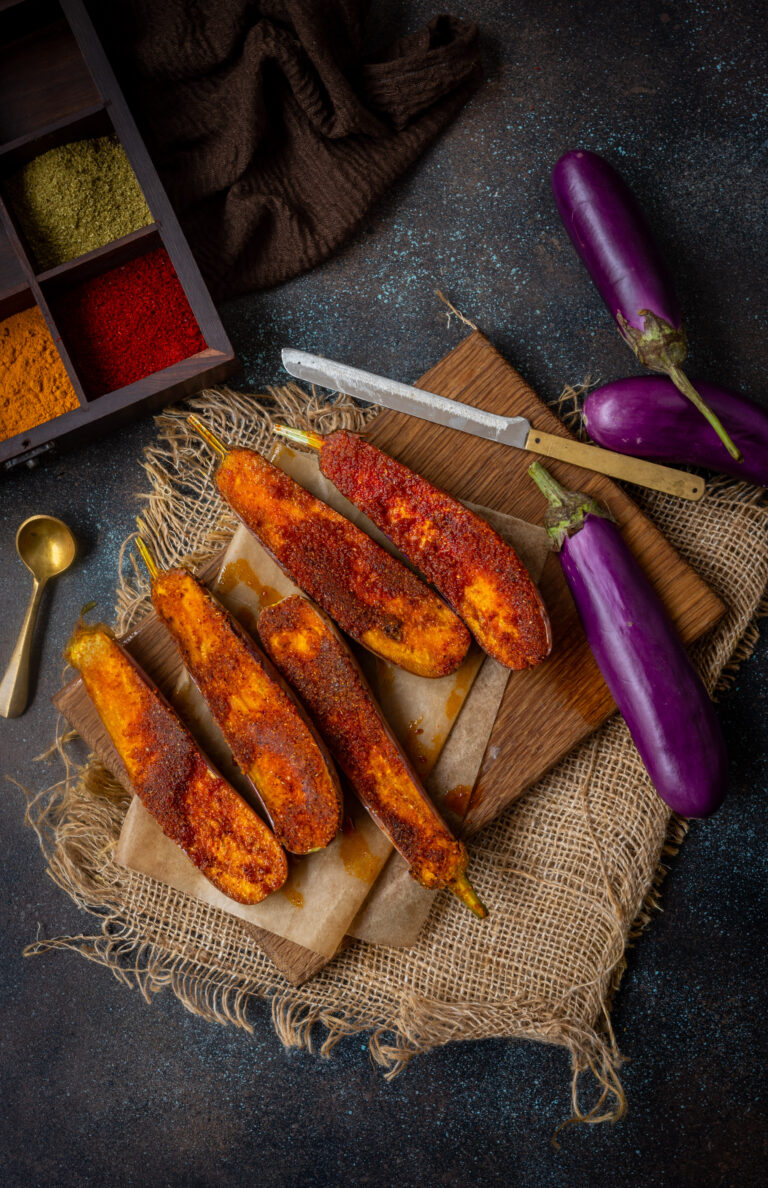
Rinse and slice the eggplant. If making circular slices, each slice should be about 1 inch thick. I have used long eggplants, so I’ve sliced them lengthwise, as you can see in the images.
Mix all the spices, along with the rice flour, sugar and sugar. Sprinkle this mixture onto a plate. Place the eggplant slices over the mixture. Rub the mixture in well on both sides of each slice, using your fingers to spread the spices evenly.
Allow the spices to marinate for at least half an hour. The reason why I have added a bit of sugar to this is because it caramelises and gives the dish a nice colour. I also feel that it prevents the eggplant from becoming soft and soggy.
Once the slices have marinated, heat the oil in a shallow pan. Place the slices such that there is enough space to flip them over.
Allow to cook until they are golden and crisp on one side. Turn them over and allow to cook again.
Once they are golden on both sides, remove onto a paper and drain any excess oil.
Serve hot as an accompaniment to your usual Indian meal. This begun bhajan goes beautifully with dal and rice. By the way, if you are a pescatarian, you can use the same preparation method above for fish. You can also try the spice marination out with a variety of vegetables, including parboiled potatoes and cauliflower.
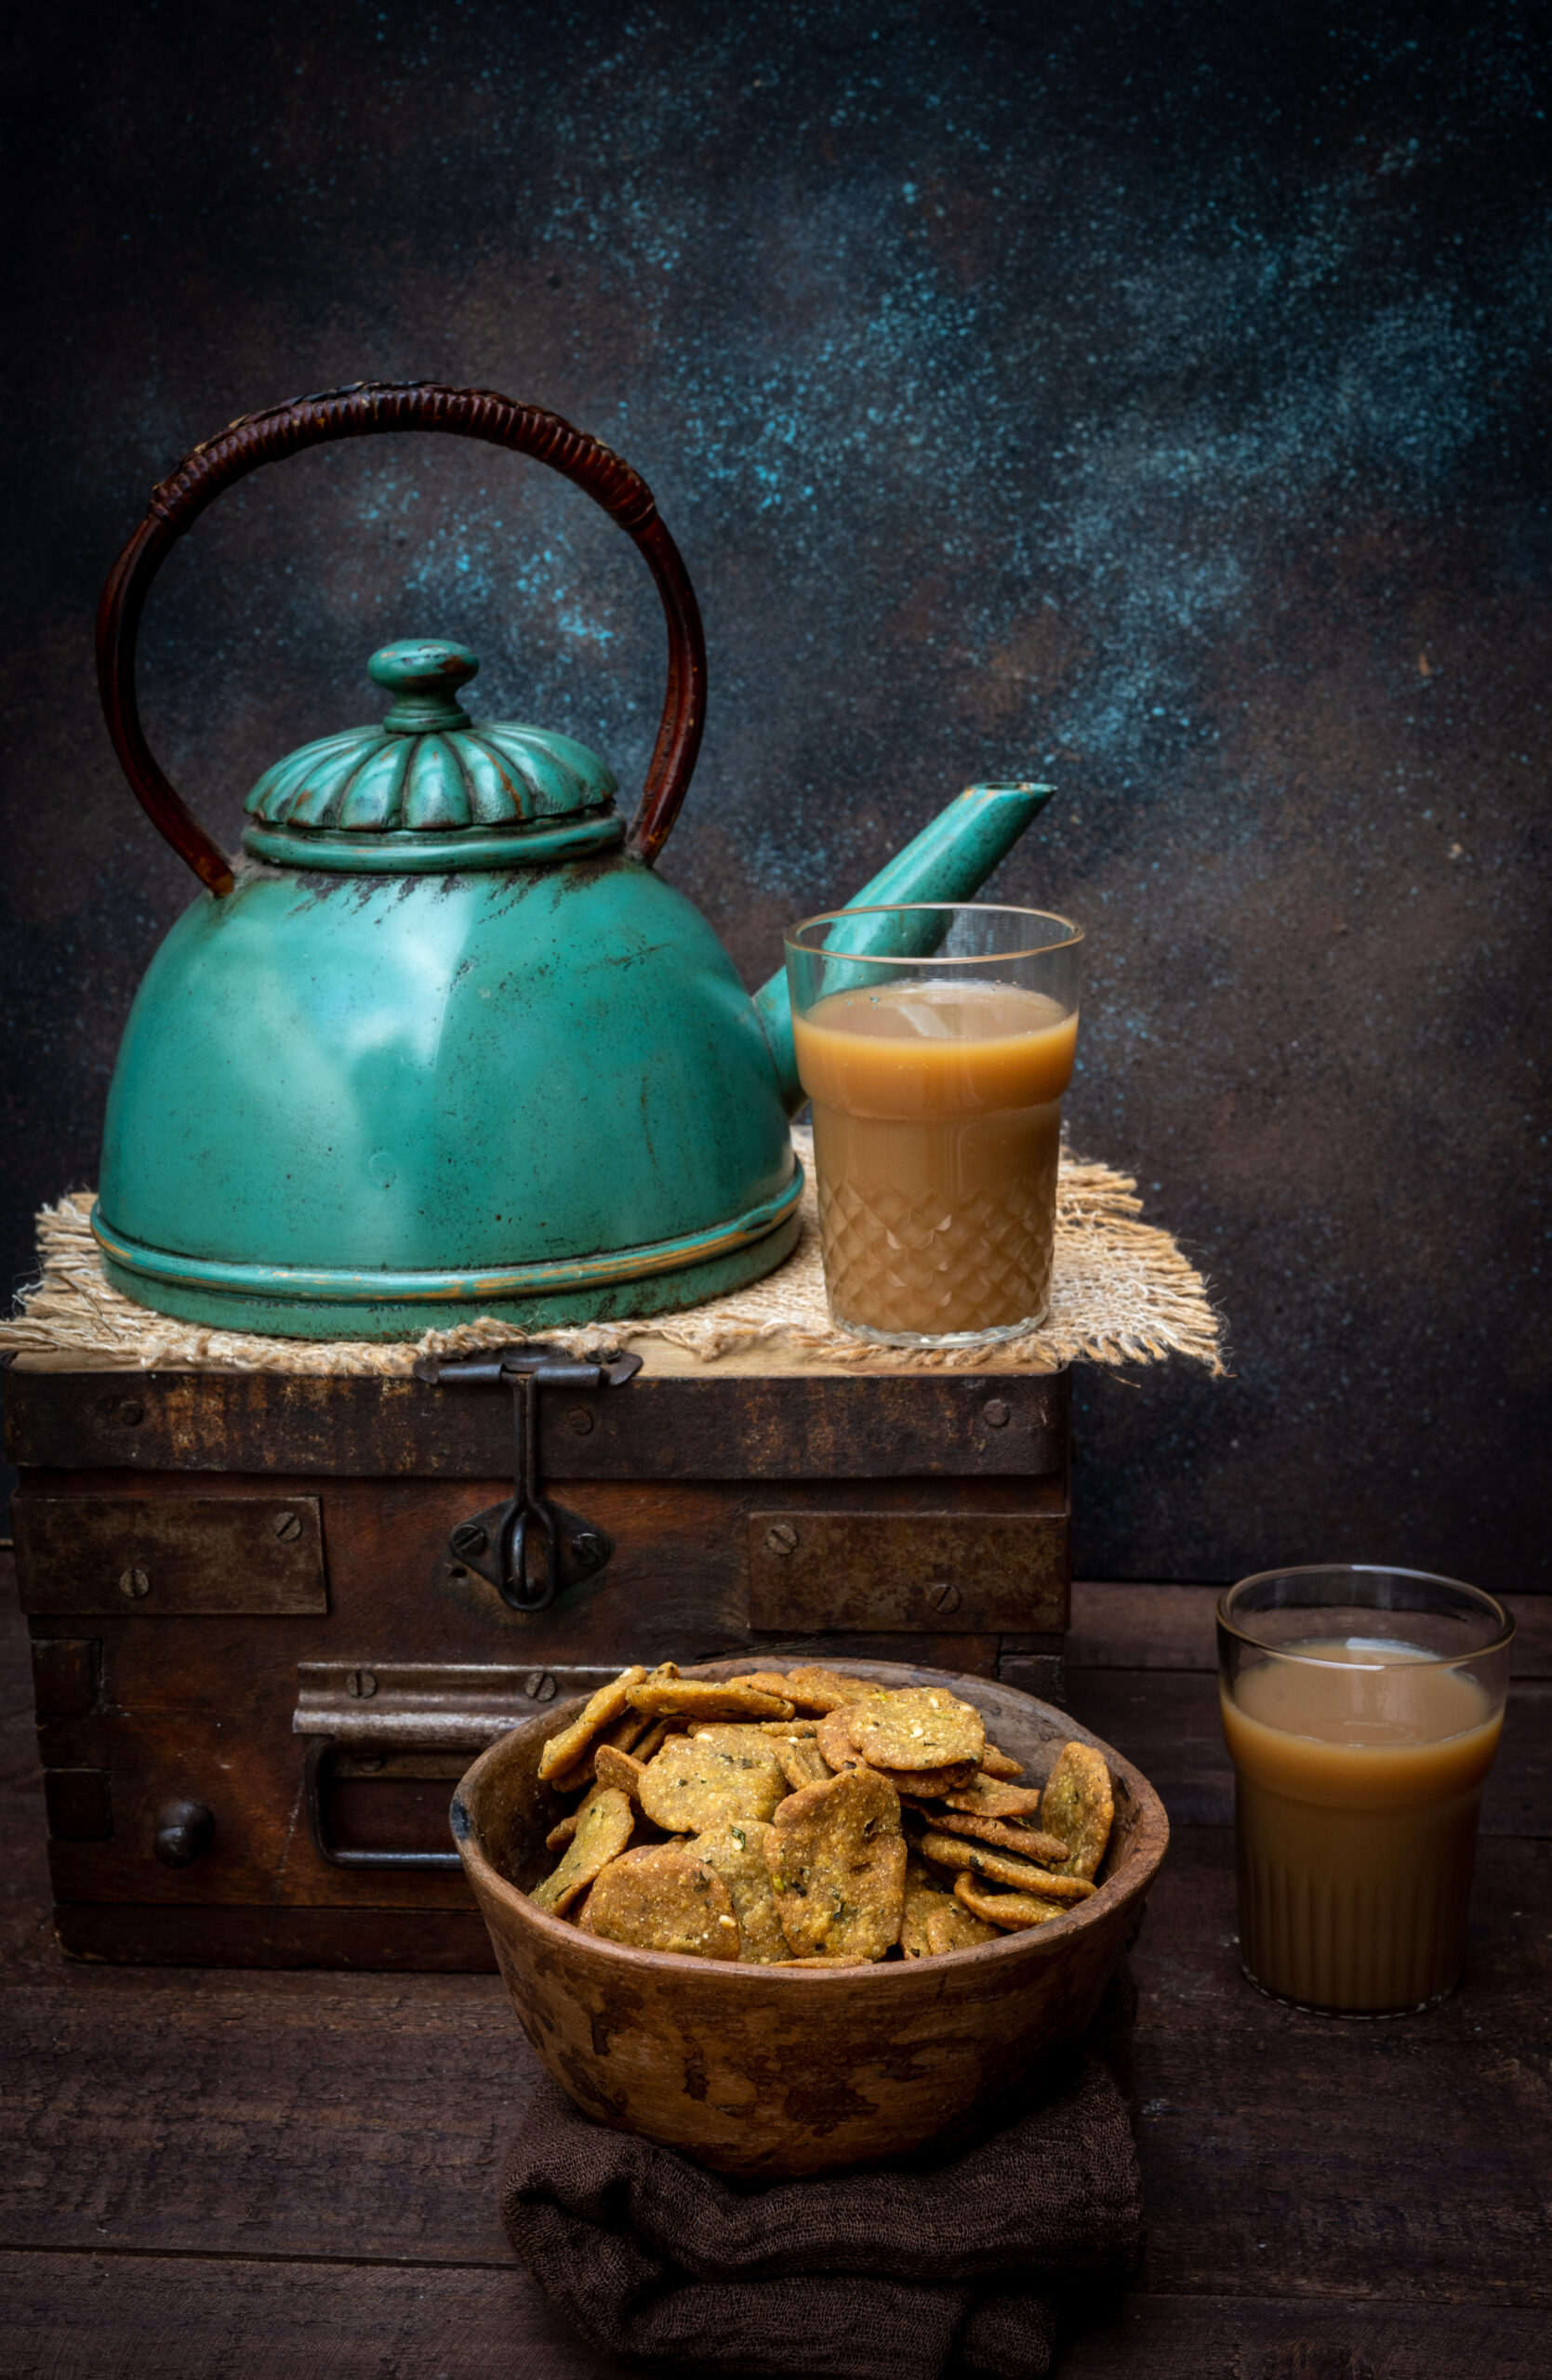
Bajra ni puri is a traditional Gujarati snack that is mostly eaten in the monsoons or when the climate is cooler. This is because bajra is heavy to digest, as I have shared in prior recipes that feature it, and also to coincide with the winter harvest of this particular millet. I often talk about how Nature tells us what we should be eating, and how and when; it was a wonderful science indeed that our ancestors followed. However, if consumed in moderation, bajra ni puri can of course be eaten year-round. Since this is the last stage before the summer heat sets in, and hence our last chance for a few months to gorge on this dish as per traditional logic, I thought it was the perfect time to share it.
Bajra, also known as pearl millet, is a millet rich in iron. You can infer this because of its darker colour, as I learned while studying Macrobiotics some years ago. Speaking of seasonal consumption, lighter grains are usually had in the summer. Funnily enough, cravings for heavy food are not often there in the hot season anyway. Our bodies naturally adapt to Nature, and we should become more conscious of these needs and put them first.
There are different methods of making bajra ni puri. I like this one as it has a bit of tanginess, created by the yoghurt that is added to it. It is also spiced up by ginger-green chilli paste.
My mother used to make the puris a bit bigger, and they would be fluffy – soft in the centre and crisp on the edges. My sister makes it this way too, and I love hers perhaps because it reminds me of our mother’s.
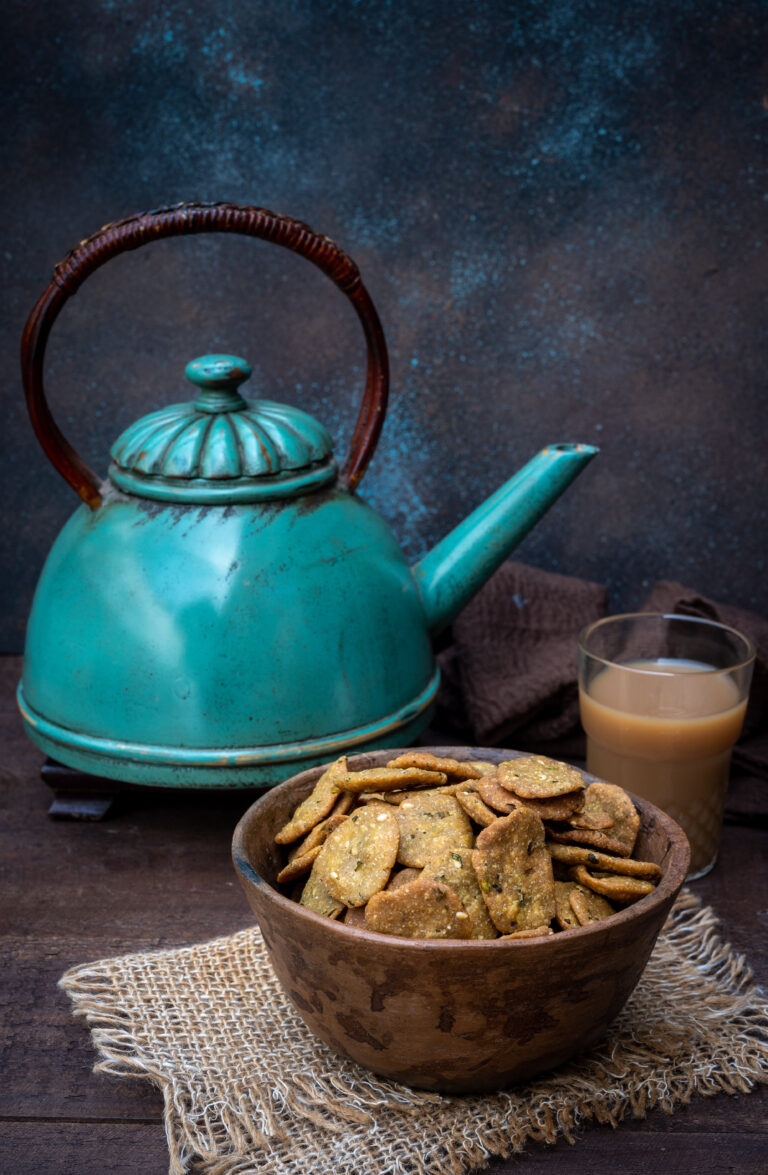
My version is a small and crispy one, which goes well with masala chai. To create this perfect pairing, you can check out my recipes both for the masala and the chai itself.
When my daughter who is away studying came home recently, she took back with her the entire batch of bajra ni puri that I had made then. She loved it that much. So even though my own favourite version is what my sister learned from my mother (which she must have learned from her own mother), my daughter’s is probably mine. I am happy to share with her not just this snack but also the traditions that come with it.
What I am reminded of in some way is of how when a Gujarati bride gets married and leaves her home, she is given a pot full of goodies to take back with her. My understanding is that she would need the sustenance as she left her village and crossed into her new one, be it by road or by train, and items that would provide energy (like millets) would be included. Today, the tradition is continued in the form of fancy silver trays laden with sweets and nuts.
My mother must have brought with her the pot that is now an heirloom of mine when she got married. It was the only thing that I asked from her before she passed on. It is a beautiful round brass pot with a small mouth and a small lid; I imagine this was to ensure that only a little air got in and the items within remained fresh. It adorns my kitchen, and maybe I’ll share a photo of it in future.

Bajra Ni Puri
(Yield: 40 tiny pieces)
¾ cup bajra flour
¼ cup wholewheat flour
2½ tablespoons curd (use lime juice – optional)
2 tablespoons oil
Salt to taste
1 teaspoon sesame seeds
¼ teaspoon asafoetida
½ teaspoon turmeric
2 teaspoons green chilli+ginger paste
½ cup finely chopped fresh methi leaves (optional)
2 tablespoons water (optional)
In a bowl, add the flours, salt, turmeric, asafoetida, curd, oil, sesame and green chili-ginger paste. Mix, then add the methi (fenugreek) leaves if you wish to. Now, gauging the quantity of water required, add it slowly – 1 tablespoon at a time – making sure the dough is thick.
In the mean time, heat the oil for deep frying. Once it has heated, gently add a few puris at a time and lower the flame. Turn them over frequently so that both sides cook well and become a golden colour. Fry on a low to medium flame.
Remove and drain on a paper. Once cooled, store in an airtight container. Enjoy with your chai. You’ll find it tangy, spicy and yummy.
I love how this bajra ni puri contains the significance of my mother’s wedding pot, and also the simplicity of an afternoon snack.
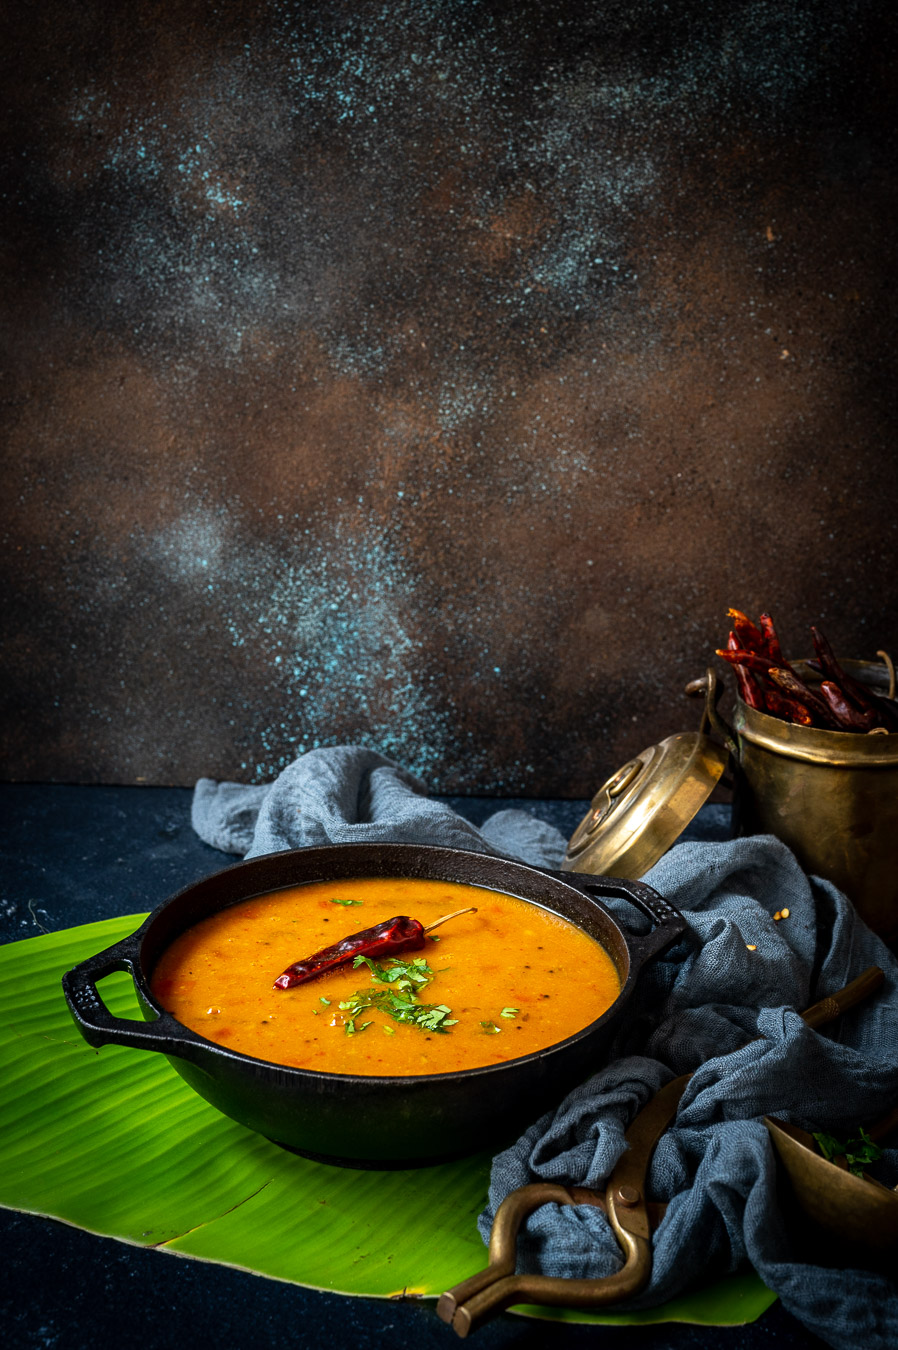
You may have heard the stories that idly came from Indonesia, and that sambar came from Maharashtra. Today, both of these are accepted as quintessentially South India food. When it comes to food, where much is often not recorded, it is very difficult to pinpoint where a dish came from. The way I see it: at the end of the day, it’s down to your creativity, your imagination, the ingredients that are available while you’re cooking, the ingredients that grow during that season and in that area – there are many variables. Similarly for this sambar, which may have originated anywhere but tastes good everywhere.
My version of sambar is influenced by the communities I grew up in. I know I must sound like a stuck record since I say this about so many dishes, but various communities do prepare it in their own ways. This is true for every kind of food, and there are variations between cooks as well. This is the sambar that my family likes and have grown accustomed to. My mother’s preparation was different, and my daughter will probably cook it differently as well.
Food is like Chinese whispers: by the time it trickles down to us, it may be a far cry from what the inventor of the dish made. Everything we know about authentic, traditional food is by word of mouth and trial and error. I doubt that much was ever written down, except perhaps recipes for temple offerings and so on. Additionally, traditional food was always defined by location – i.e. seasons and available produce, as mentioned earlier. Some of us do still try to follow this natural logic, such as through Macrobiotics. But overall, we have come a long way since then. Today, avocados, blueberries and strawberries grow in India. While they may not go into our sambars, they do go into our diets pretty regularly.
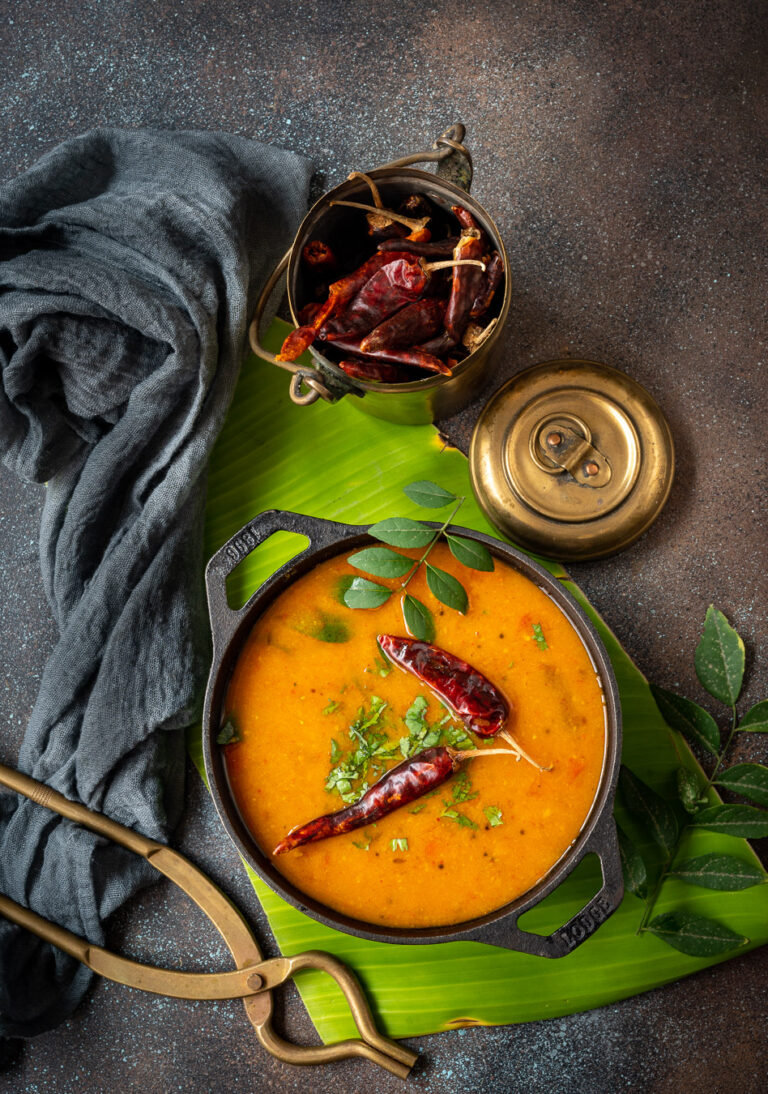
Coming back to sambar: it is a lentil-based dish that is enjoyed with dosas, idlys or rice. It is rich in protein, and is quite healthy for you. For the recipe below, I have used a readymade sambar masala, but I also have a homemade sambar powder recipe that I will share with you soon.
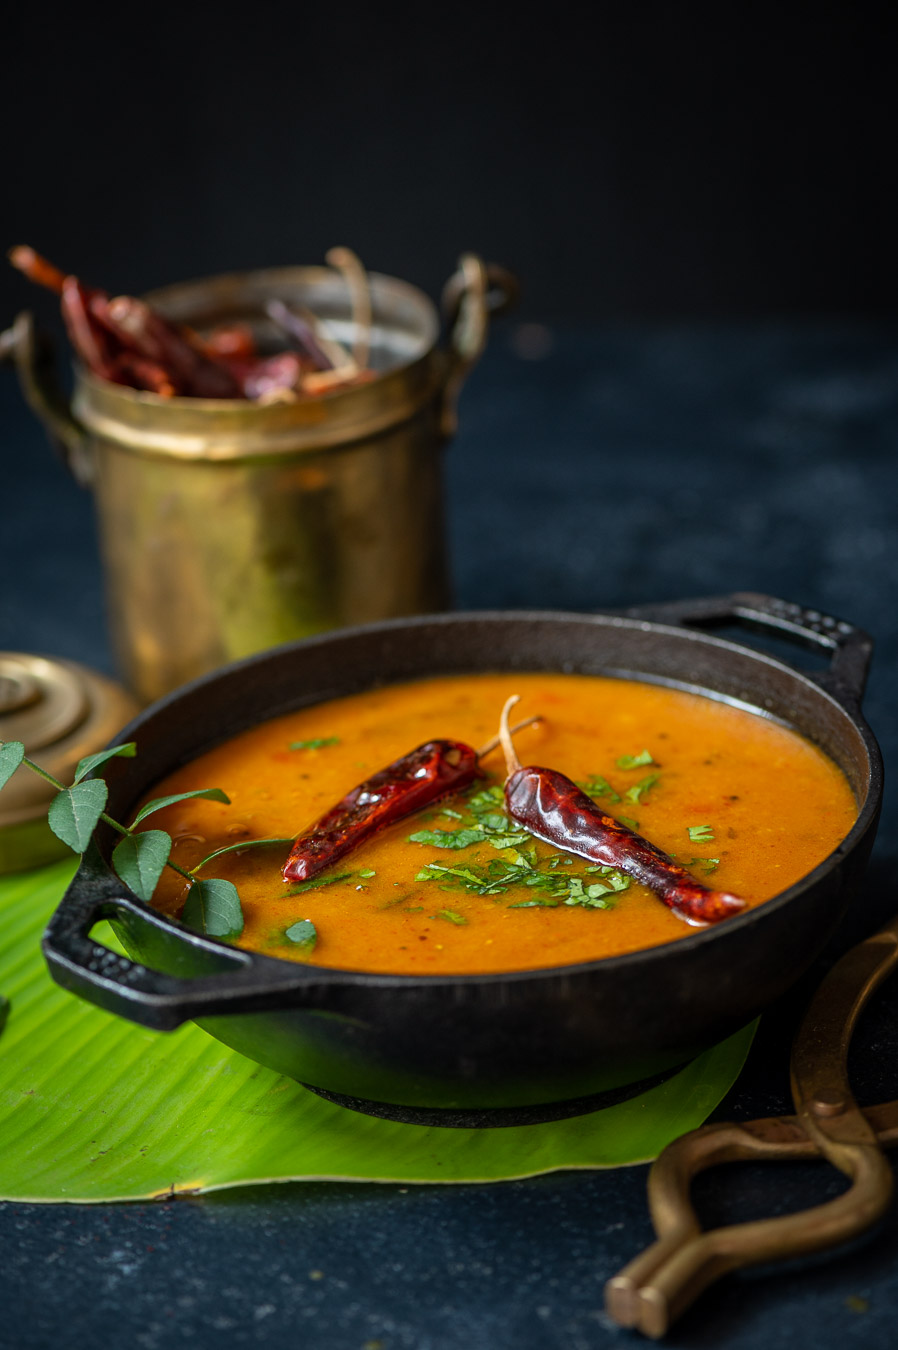
Sambar
(Yield: Serves 4)
1 cup toor dal (pigeon pea)
2 cups water (to cook the dal)
2 tablespoons sesame oil
Salt to taste
¼ teaspoon turmeric
½ teaspoon Kashmiri red chilli powder (adds colour)
1 heaped spoon sambar masala
½ teaspoon mustard seeds
½ teaspoon cumin seeds
¼ teaspoon asafoetida
5-8 curry leaves
1 dry red chilli
1 cup shallots
1 tomato – finely chopped
Juice of 1 lime-sized ball of tamarind
3 cups water
Cook the toor dal along with the water in a pressure cooker until tender. Set aside.
Heat a kadai and add the oil. Once the oil is heated, add mustard seeds, cumin seeds, curry leaves, asafoetida, dry red chilli, and finally, the shallots. Sauté until the shallots are tender.
Now, add the tomatoes.
Next, add the salt, turmeric, chilli powder and the sambar masala. Sauté and add the tamarind juice.
Cover with a lid and allow to cook on a low flame, until the raw smell of tamarind dissipates. This will take approximately 10-12 minutes. Blend the dal and add it to the kadai. Make the sambar to the consistency you prefer.
Allow to boil for a bit, then serve hot, garnished with fresh coriander leaves.
This sambar pairs perfectly with the ragi idly I shared last week. Why not try both out together and let me know what you think?
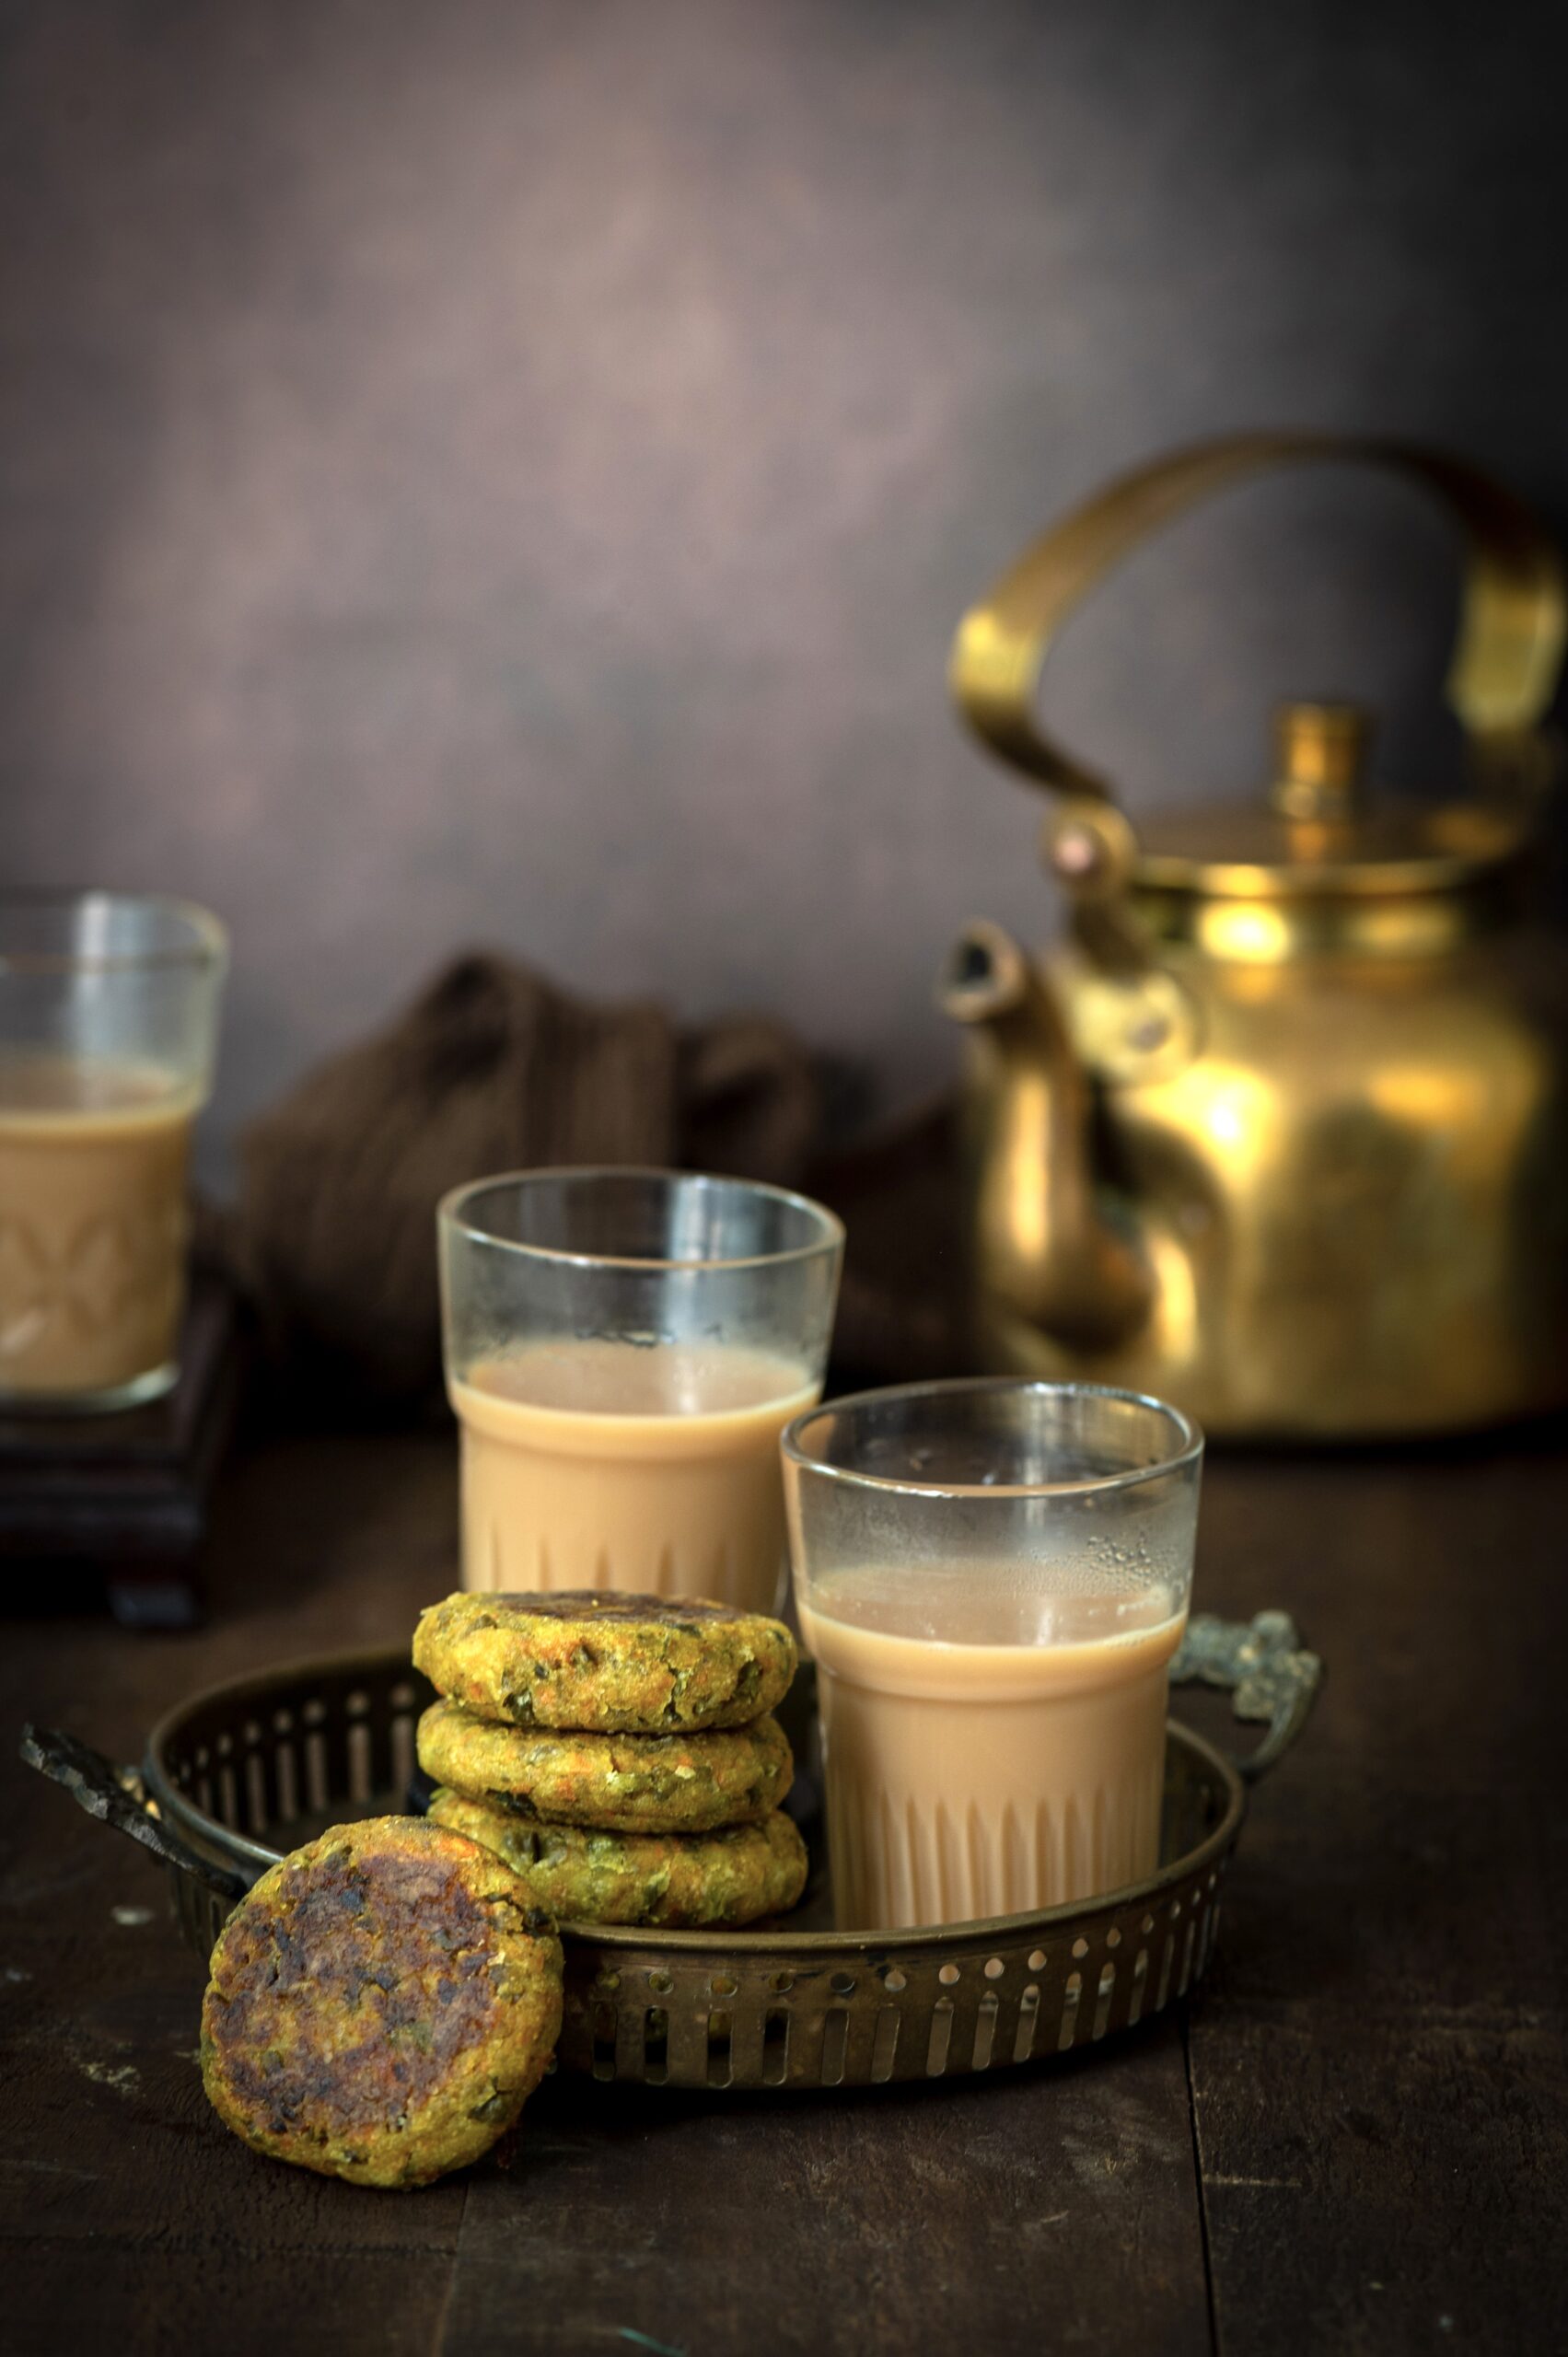
I recently visited my very dear friend Girija, whom I’ve talked about before. Her stew is famous. I hope you’ve experienced why; I shared the recipe a while ago so that its delightfulness could spread even further. Whenever I visit her, it feels like I’m going home. She spoils me, looks after me, cooks everything that I like to eat, and I have to admit that she is a way better cook than I ever can be.
In my previous recipe, for beetroot cutlets, I mentioned that the dish had been popping up in various conversations around the same time. Girija was one of the people I discussed the dish with, and I recall telling her that what I usually make is a mixed vegetable cutlet. I enjoy talking to Girija about culinary innovations because there is a lot I learn from her. Through her, I know about cooking meat dishes that I wouldn’t otherwise have a familiarity with, along with details like spice usages and the reasons behind them. I often say that my mother was my first teacher in the kitchen, and that subsequently studying Macrobiotics at the Kushi Institute enhanced my outlook and the way I see and treat food. I feel Girija is among these teachers of mine too.
I share all this with gratitude, which is connected of course to the Indian belief that food must be treated with respect and should never be wasted, and to the practice of saying grace before meals in some cultures. As I share my mixed vegetable cutlet today, during this festive month and incidentally the month in which this blog of mine turns six years old, I want to say that am so happy to have such lovely people in my life. Between you and me, I am even grateful to have the not so lovely ones as well, for they teach us too. Life is all about learning and growing. Over the last few years, I’ve learned and grown so much in the culinary field and beyond. It all begins with the food we cook, the food we eat, and the food we learn to cook – together.

Mixed Veg Cutlet
(Yield: 6 pieces)
2 cups finely chopped vegetables (beans, carrots, peas)
1 boiled potato
1 slice of bread made into bread crumbs
1 teaspoon oil + oil for shallow frying
Salt to taste
1 teaspoon aamchur (raw mango powder)
1 teaspoon garam masala
In a kadai, add the 1 teaspoon of oil. Once it has heated, add the vegetables. Stir and allow to cook until tender.
Transfer the vegetables onto a shallow dish and add the potato, bread crumbs, salt, aamchur and garam masala. Mash all the ingredients together well until combined. Add the coriander leaves.
Make the mixture into palm sized discs. Set aside.
In a flat pan, add some oil. Once it has heated, gently place the cutlets onto the hot oil. Lower the flame to low-medium. Allow the cutlets to turn golden and then flip. Allow to cook on both sides.
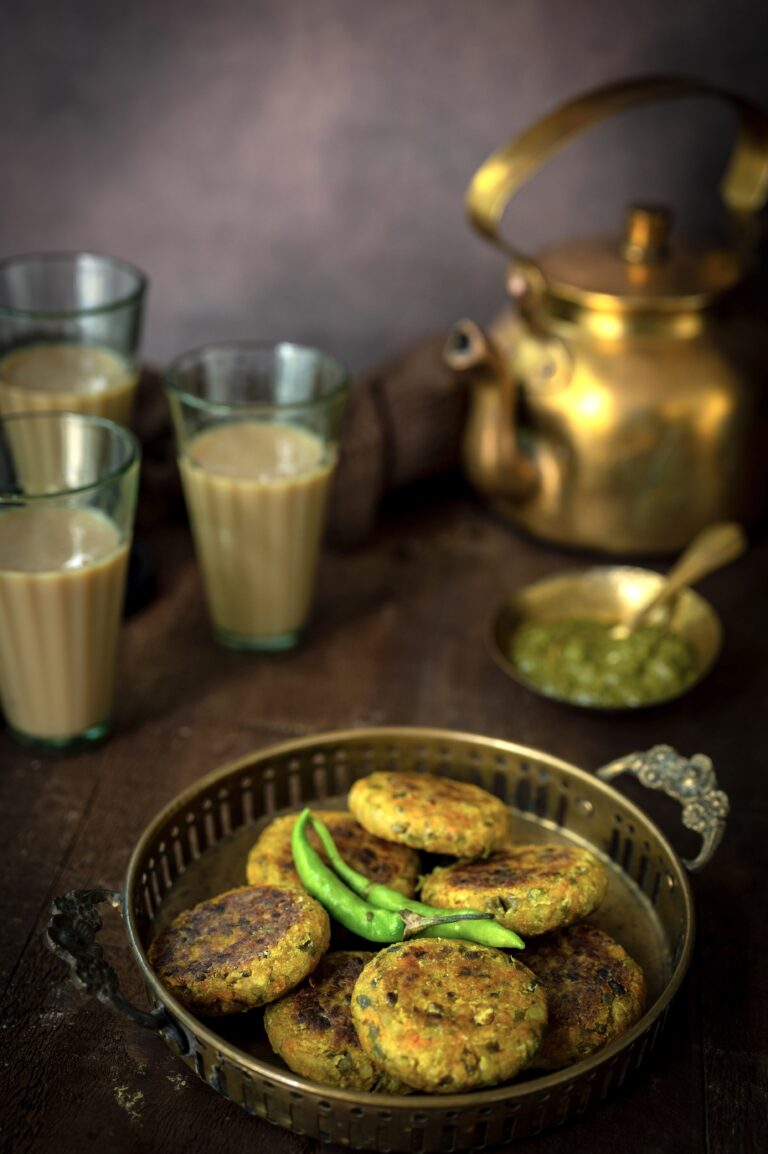
Your mixed veg cutlets are now ready to serve. I hope you’ll try them out, and that you’ll also explore my beetroot cutlet, sweet potato tikki and harra bhara kebab recipes, which are in a similar vein. All go well with an assortment of dips, chutneys and sauces. Let me know what you think, and if there are any other cutlet recipes you’d like me to try out and share with you in future. As I said earlier – we just keep learning, and for me I find that sharing is a way of learning too.
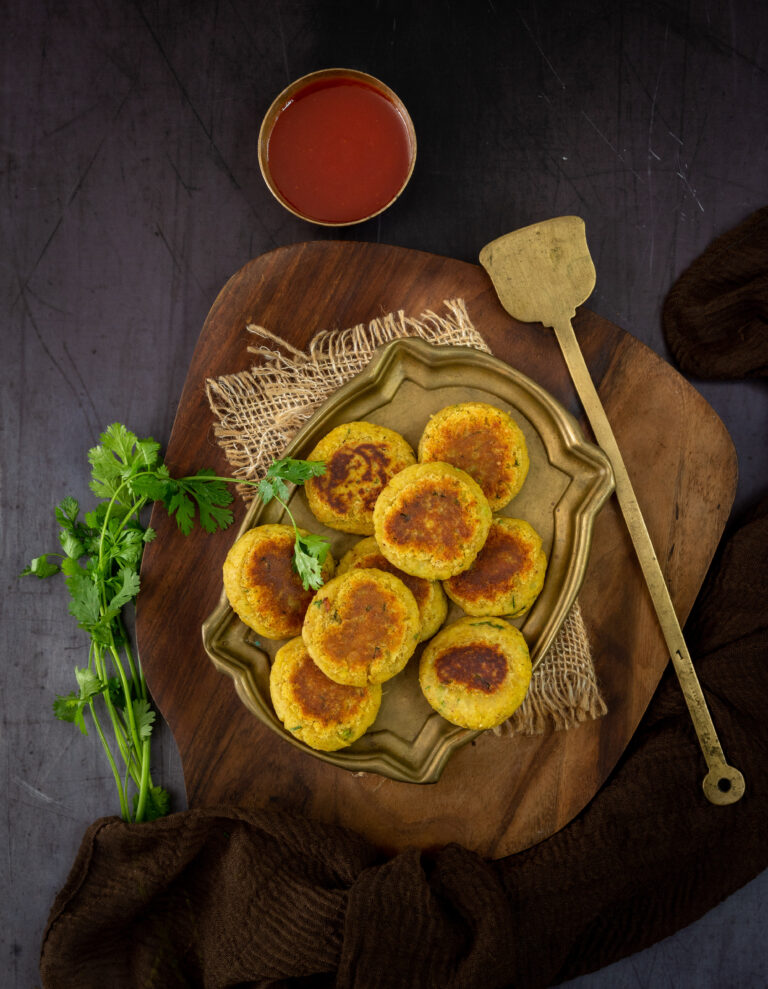
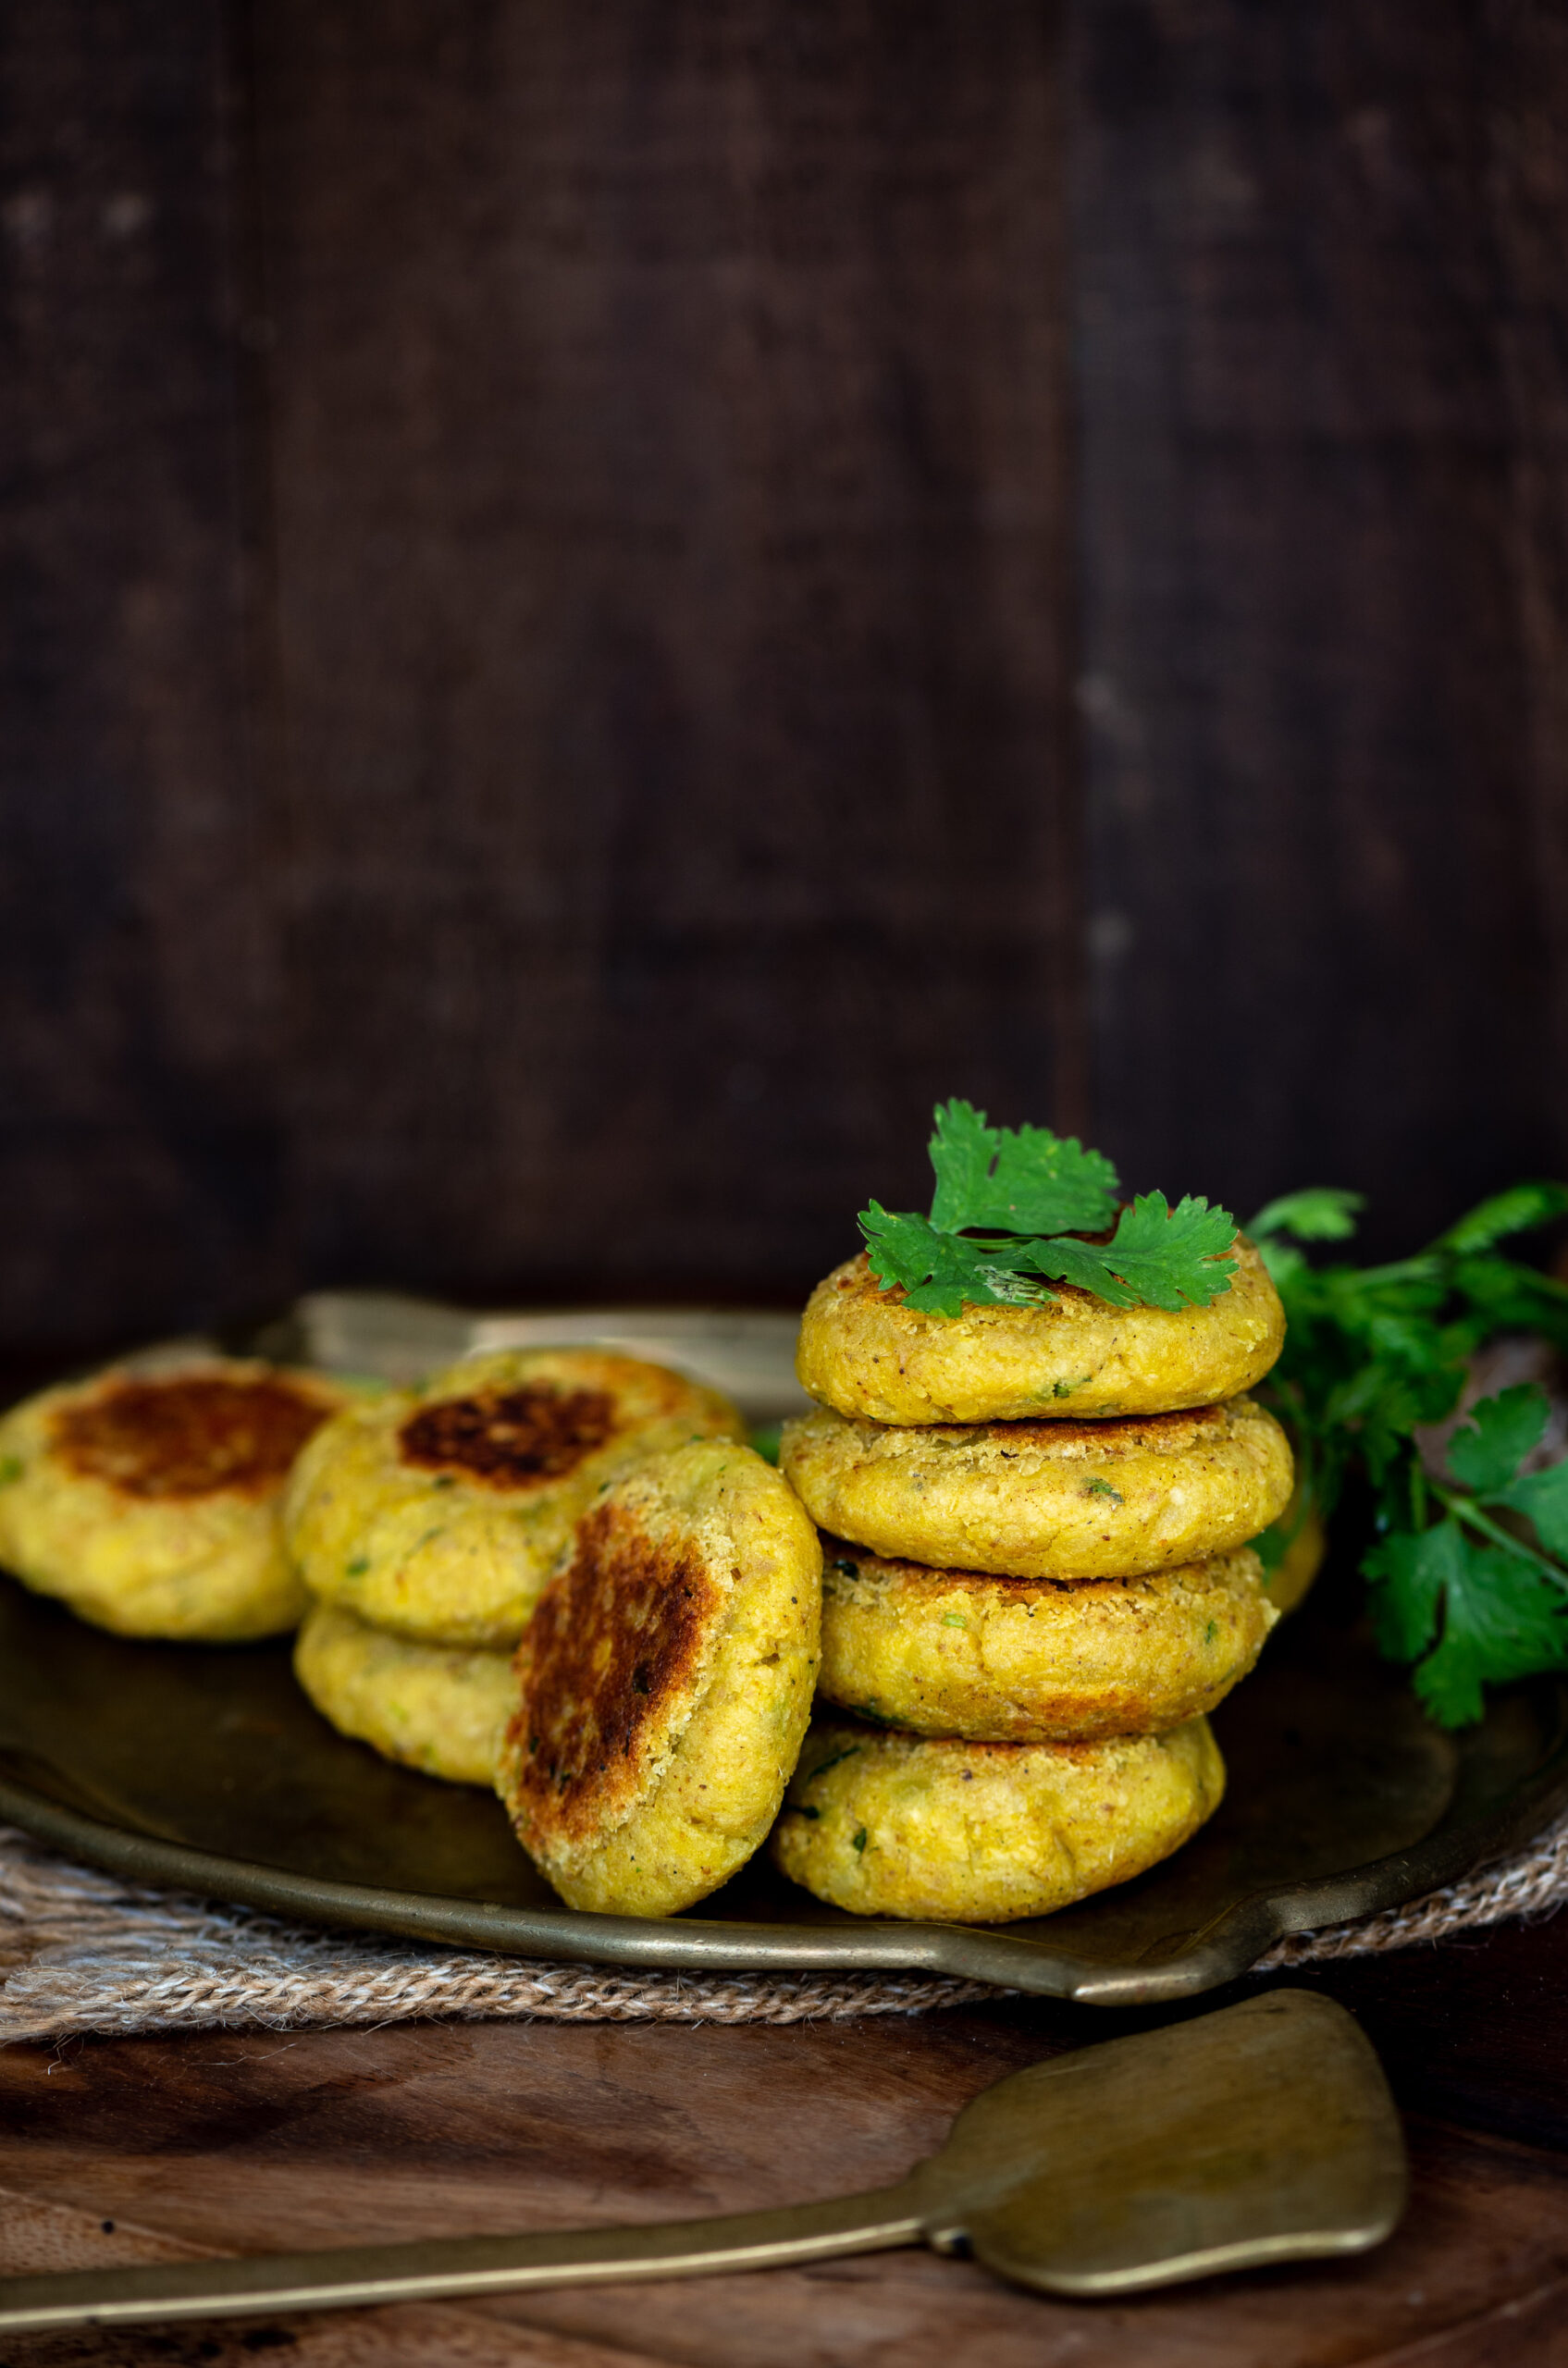
India has a wide variety of snacks that you could call tikkis, kebabs, tikkas and by other names. They are made with different key ingredients, and may be fried, grilled, skewered or served intact. All kinds are delicious, and usually quite filling too. I enjoy a range of vegetable-based tikkis and make them with sweet potatoes, regular potatoes, paneer, kidney beans, green peas and so on. The spices as well as the binding agent remain consistent, while the core vegetable can change. I also occasionally use a mix of vegetables. Among these many options, sweet potato tikkis have been a favourite at snack time in my house of late, so I thought that I’d share the recipe with you.
Do remember that you can use this recipe as a base, as mentioned, for other tikkis as well. While breadcrumbs work well, I have personally gone for either tapioca flour or oat flour as a binding agent when I make these. They are healthier options and taste very good too.
Sweet potato itself is of course the healthier version of the regular potato, though arguably just as delicious. Sweet potato is extremely nutritious, and is rich in antioxidants, beta-carotenes, fibre and vitamins. Did you know that just one sweet potato can boost your system with between 400% and 800% of your recommended daily intake of Vitamin A? True to its name, this is also a delicious vegetable with a hint of sweetness, and one that works in versatile ways. Just talking about it jogs my inspiration, and I think I’ll be using it as the star of some recipes I’ll share in the near future too.
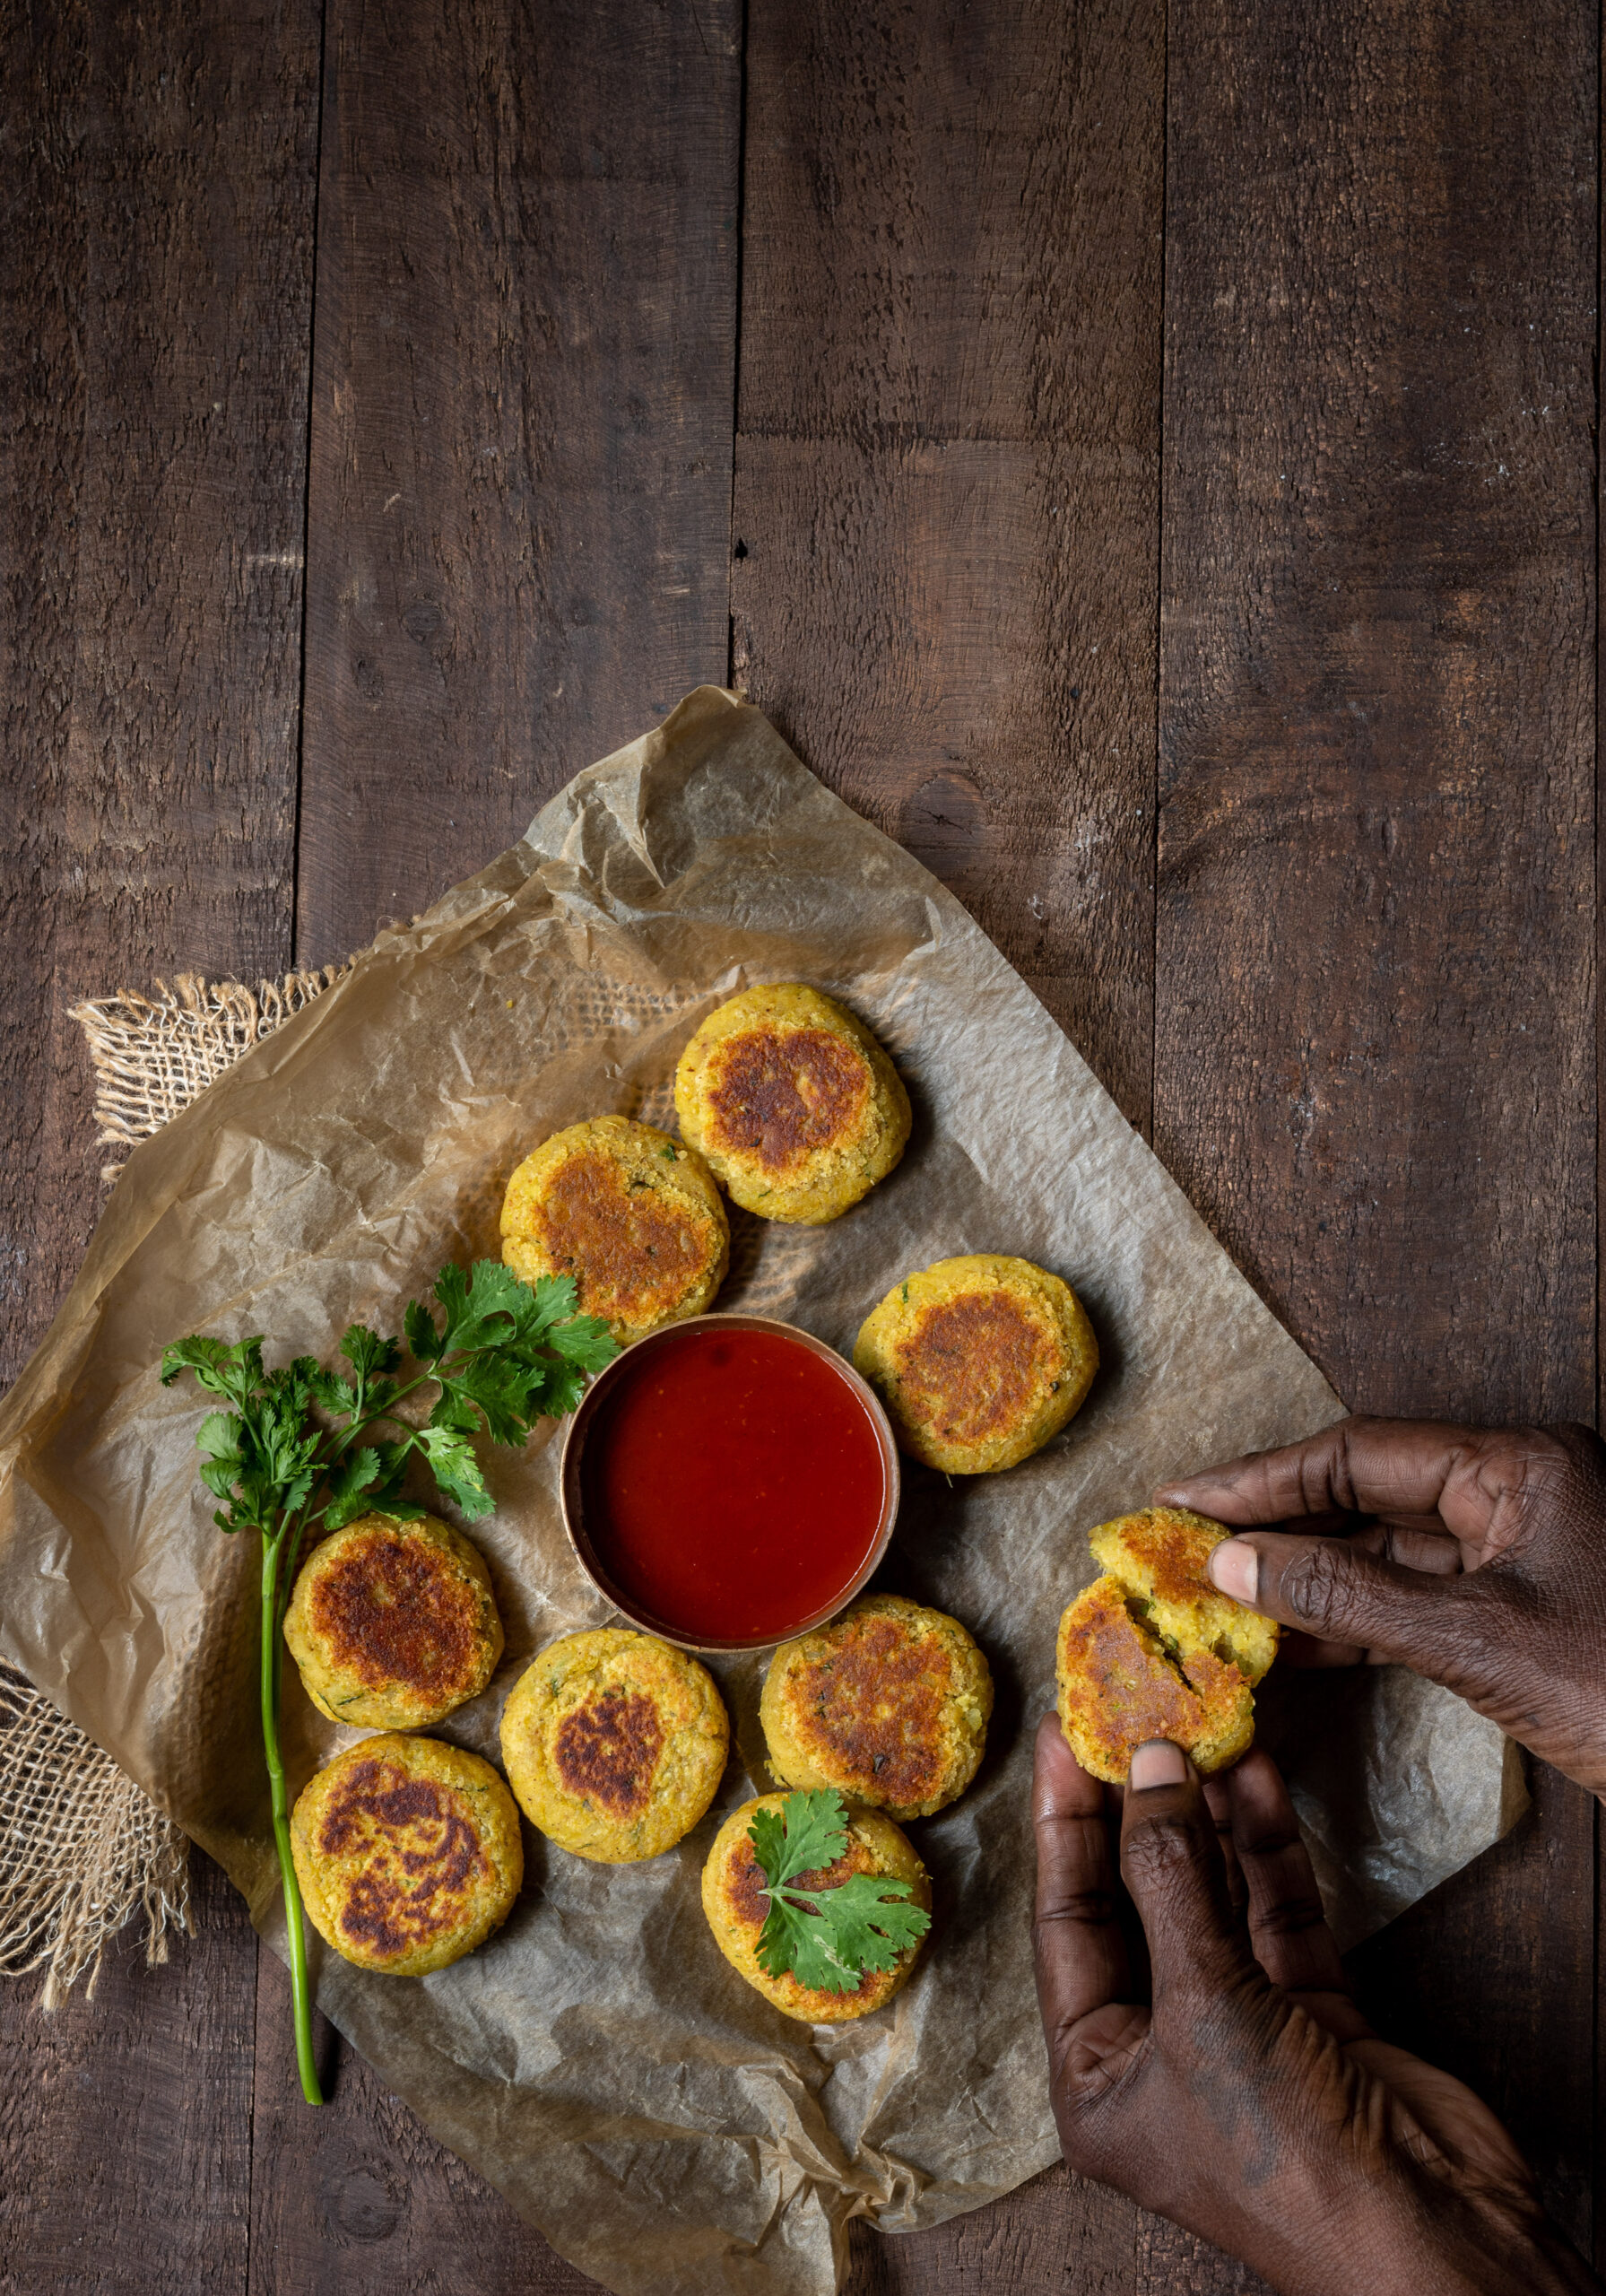
Coming back to today’s recipe, the sweet potato tikki, I would like to add here that the dish itself is quite versatile. It is a healthy choice when you need a fast but satisfying snack, and is great as finger food to serve to guests. How you serve it can also be in a number of ways. You can make it in a chaat or street food-style, serving it plain with a nice dip or sauce. You can make it as part of a meal, accompanied by a salad. You can make it in a longish roll shape, which you then roll within a chapati or roti and tuck away in your tiffin box for a spill-free lunch at the office. One of my favourite methods is to make it as a patty, thus letting you turn a tikki into a vegetable burger. I learned this method while studying Macrobiotics, when a kidney bean patty that I found very similar to our Indian tikkis and kebabs was often used in burgers. In terms of the actual preparation itself, you may choose to deep fry the tikki. I have pan-fried it, to keep it healthier. I have not yet experimented with air-frying, but perhaps you could try that and let me know?
Sweet Potato Tikki
(Yield: Approximately 8 pieces)
2 cups sweet potato (mashed)
2 tablespoons finely chopped coriander leaves
1 heaped teaspoon garam masala
1 heaped teaspoon aamchur powder (or: a dash of lemon juice)
Salt to taste
¼ teaspoon black salt
2 tablespoons finely chopped onion
1 teaspoon ginger/green chili paste
3 tablespoons oats flour (or: tapioca flour)
¼ cup oil
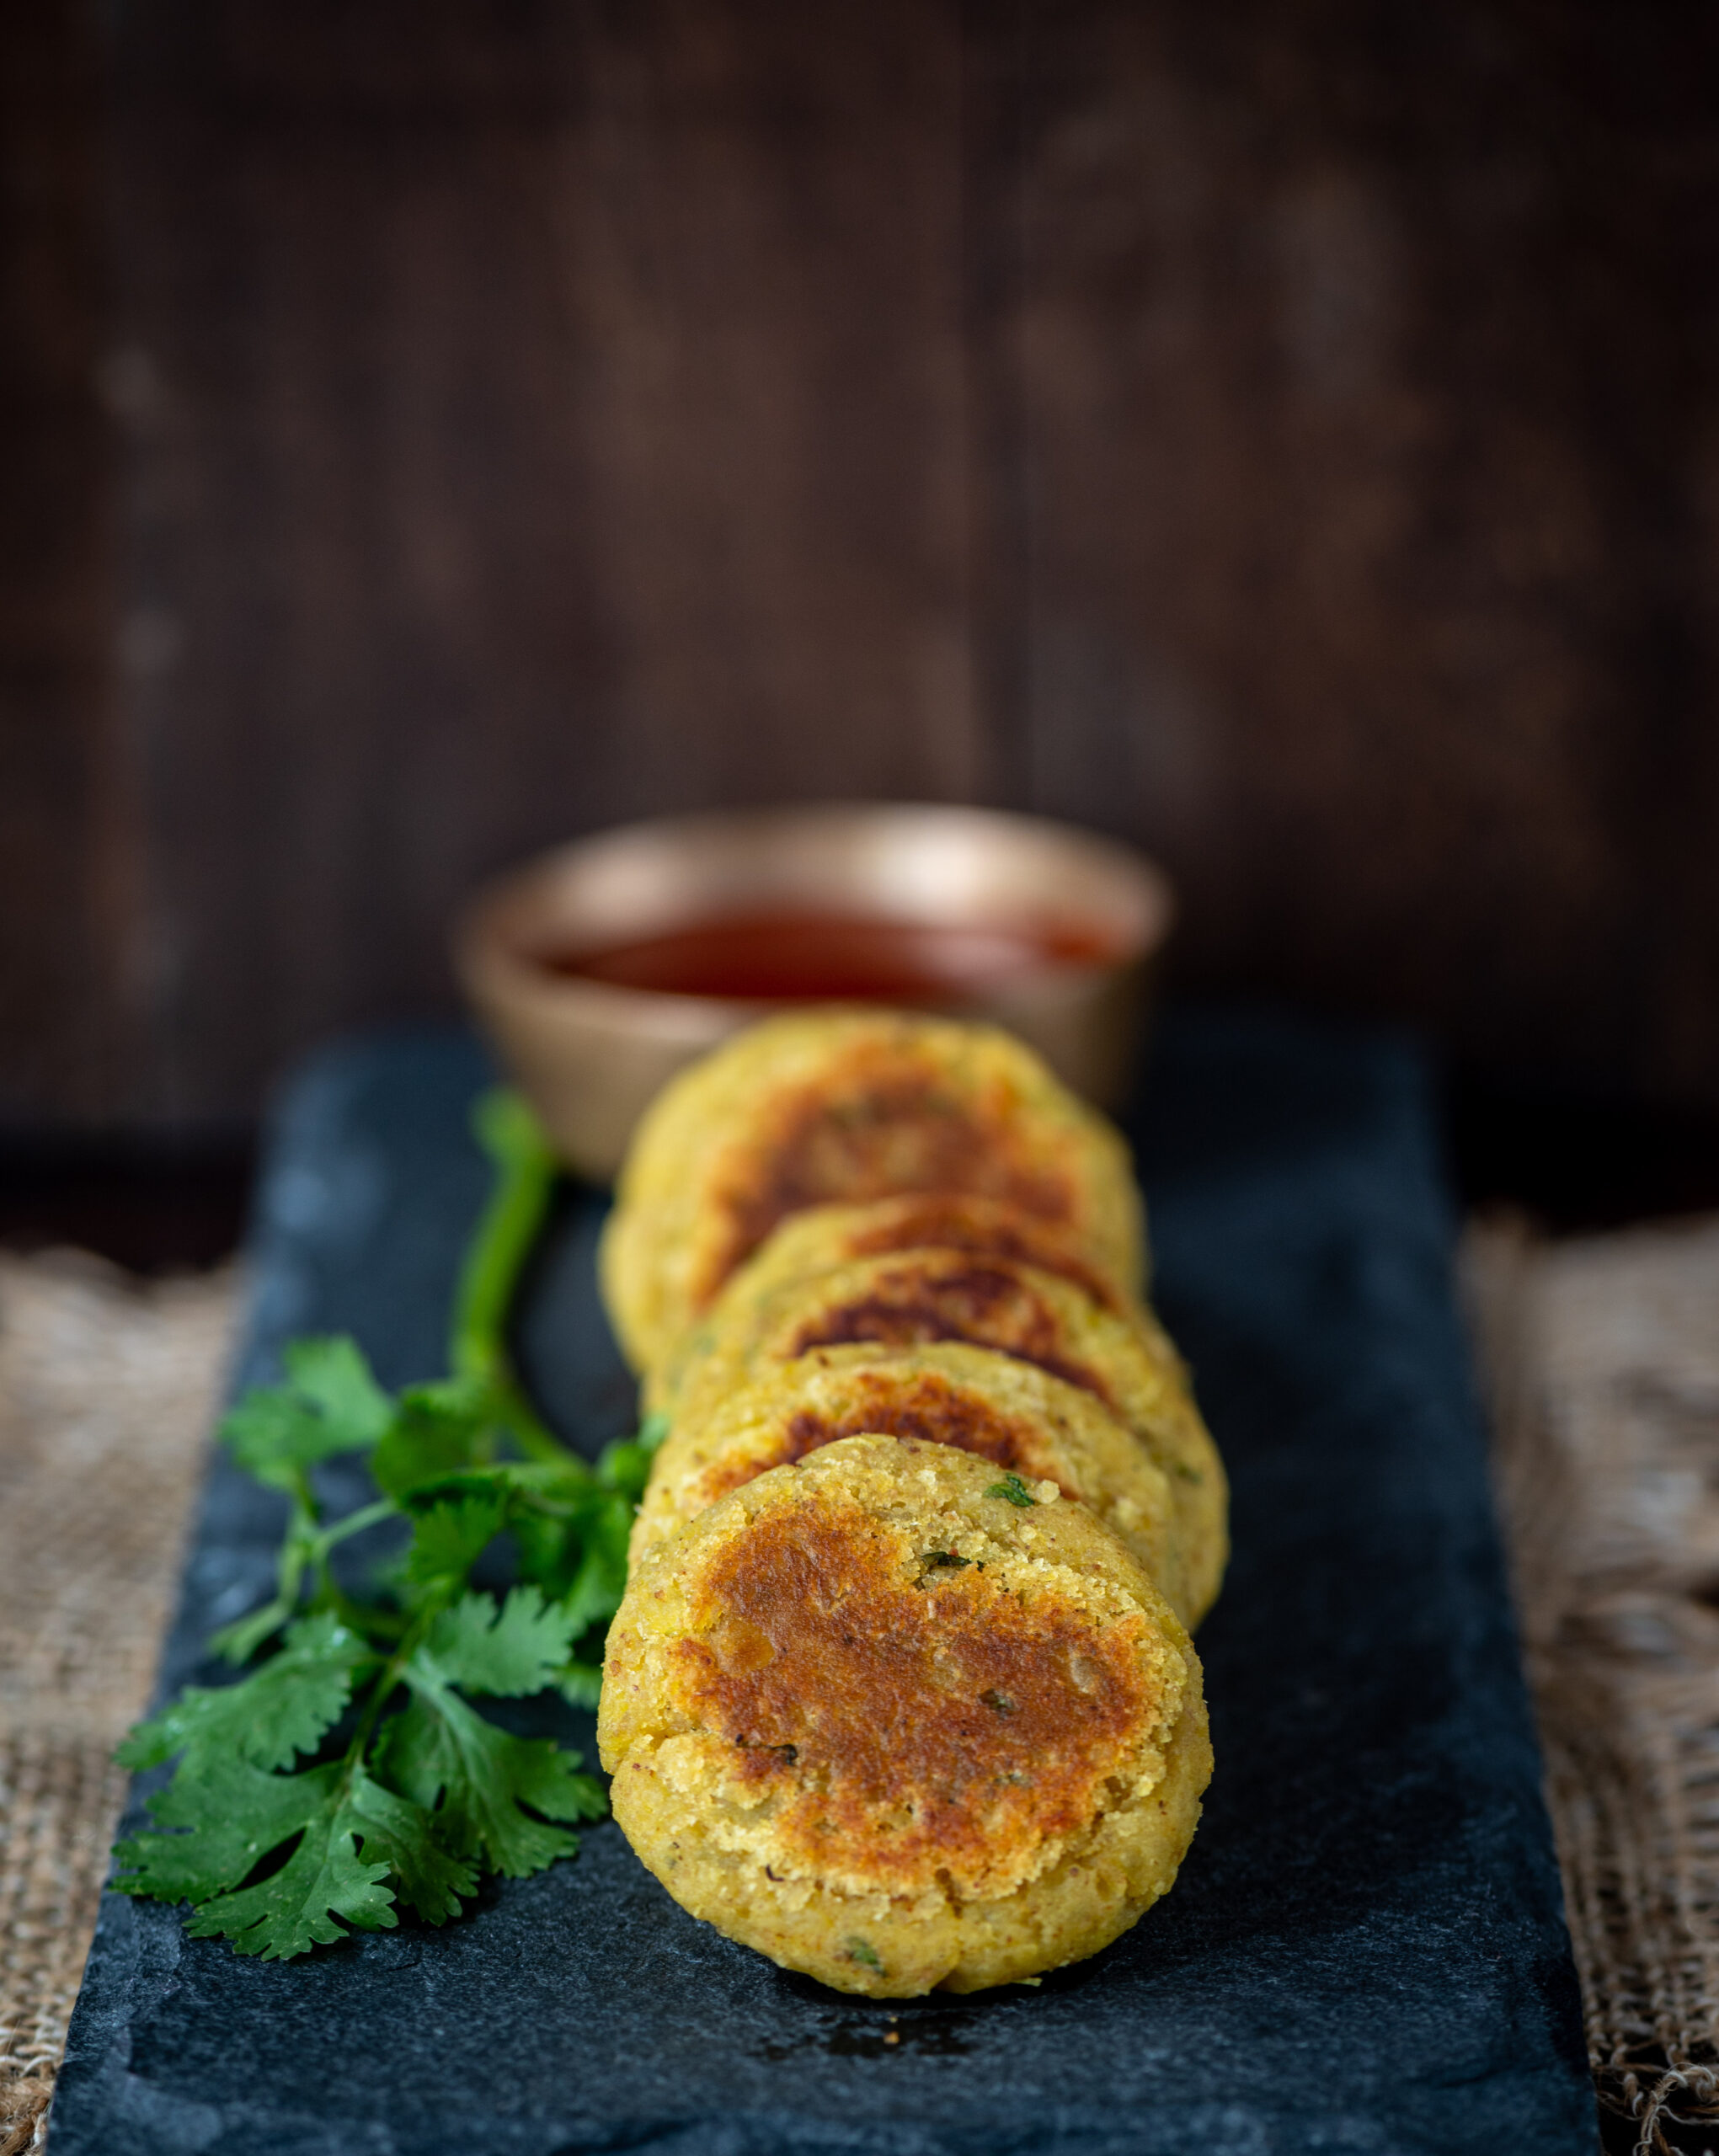
Mash the sweet potato well. Add the coriander leaves and onion. Next, add all the spices and mix well with your fingers until they all come together.
Make small discs with the palm of your hand. Keep the tikkis in the fridge for at least half an hour.
Once they have cooled, heat a pan. Add oil, then place the tikkis on a medium flame. Watch that they don’t singe at the bottom. Lower the flame if necessary. Flip the tikkis gently and allow them to turn golden on both sides.
Your tikkis are now ready. Serve with green chutney or ketchup if they’re going to be a snack, or with a salad for a hearty meal. In fact, that reminds me of another way to kick up the sweet potato quotient in your diet, with this sweet potato and mango salad, especially with the fruit soon to be in season!
If you enjoy this recipe, you may also be a fan of the harra barra kebab, which uses green peas. That one lends itself especially well to being used as a burger patty. As always, I’d love to know what you think after you try these recipes out. Do leave a comment and let me know!
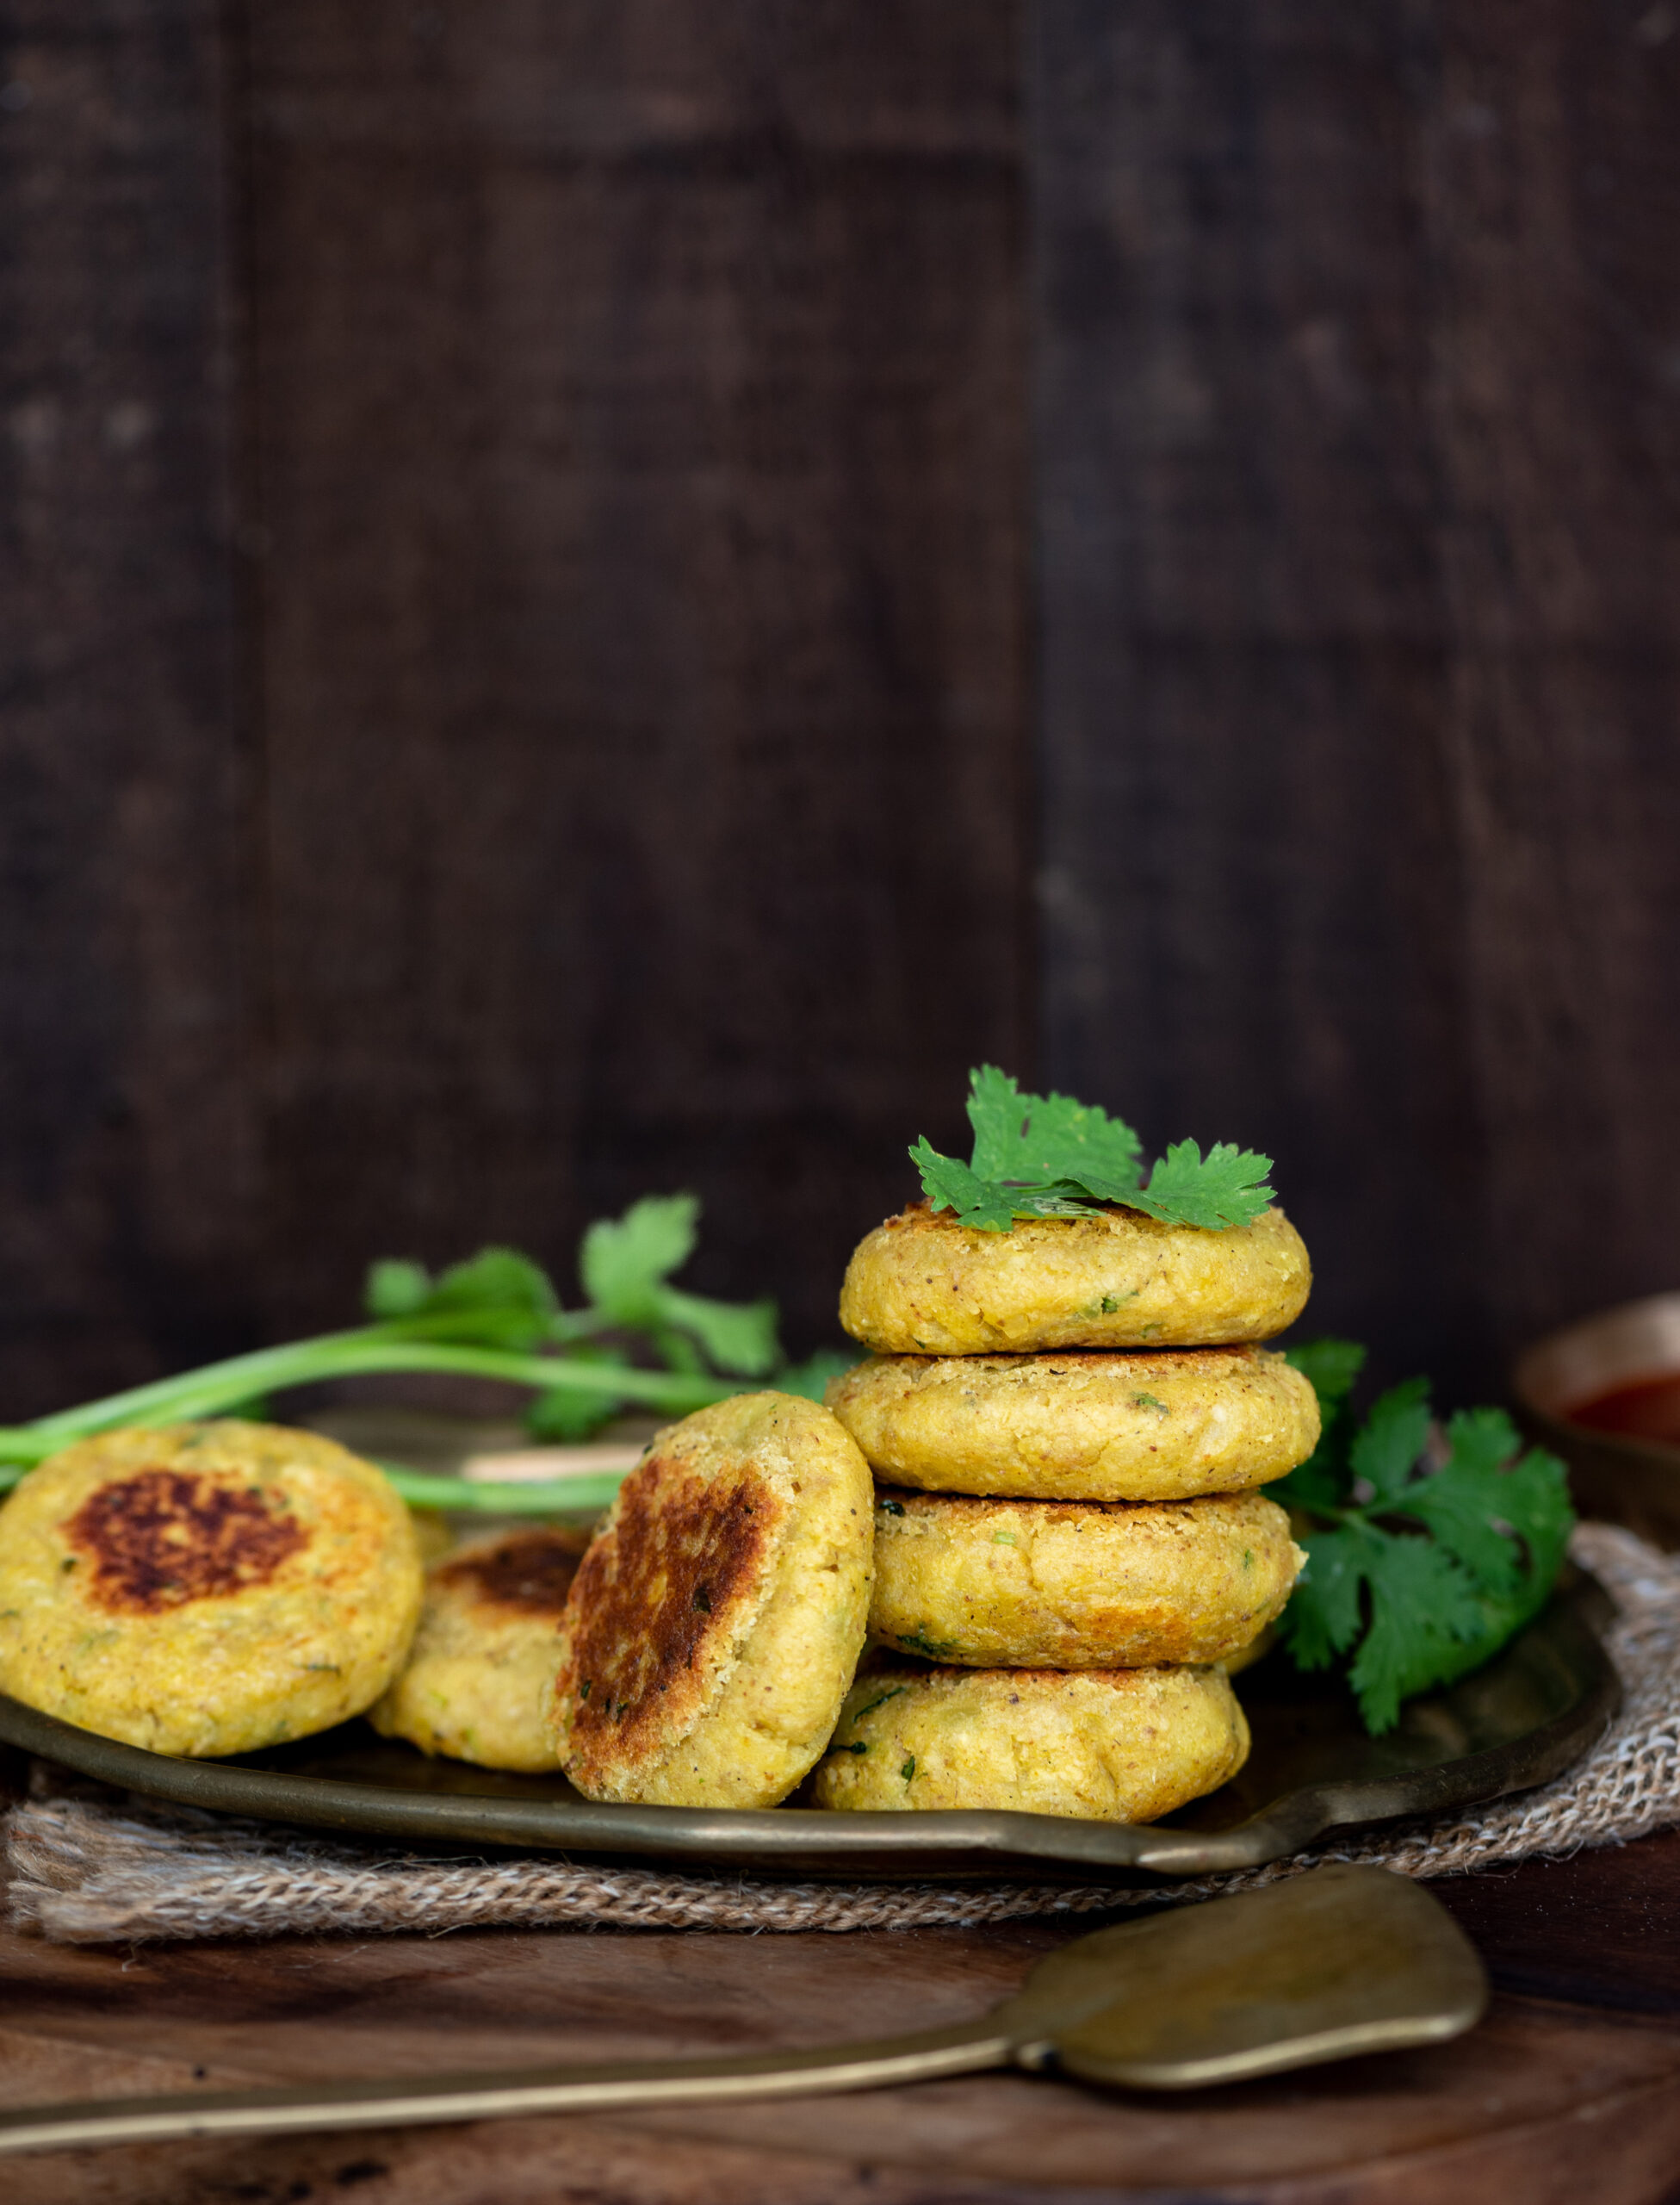
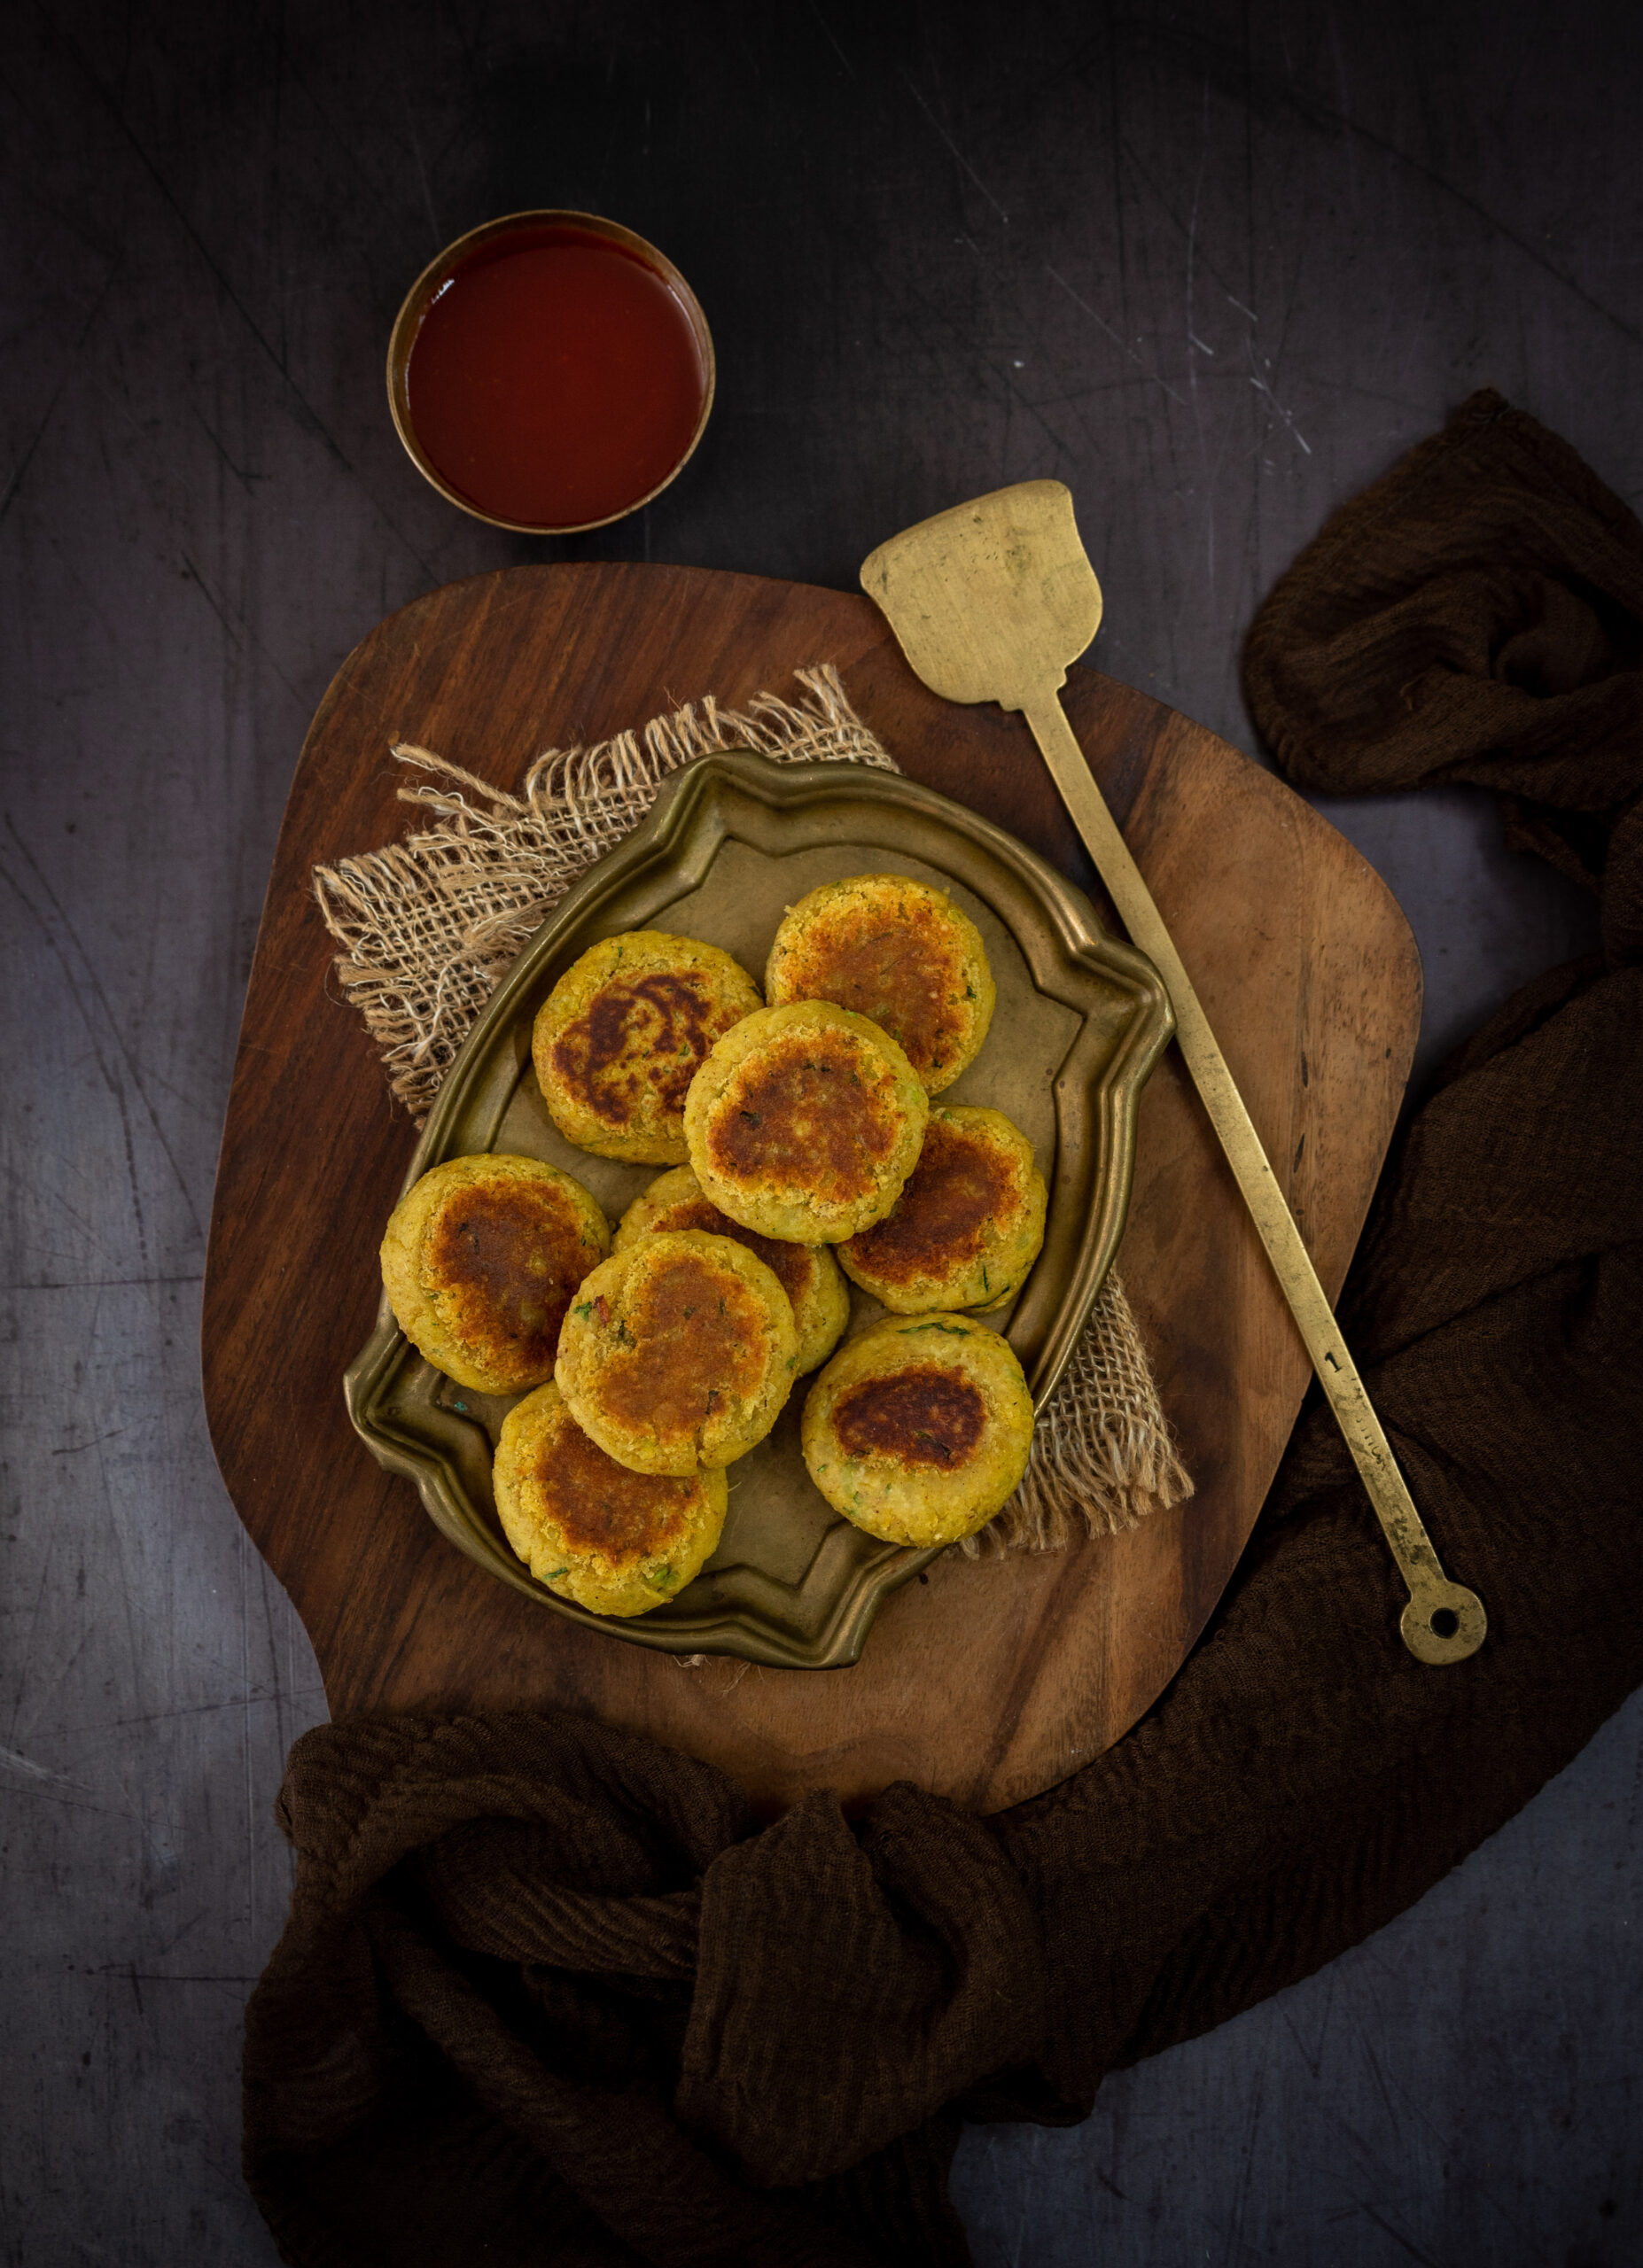
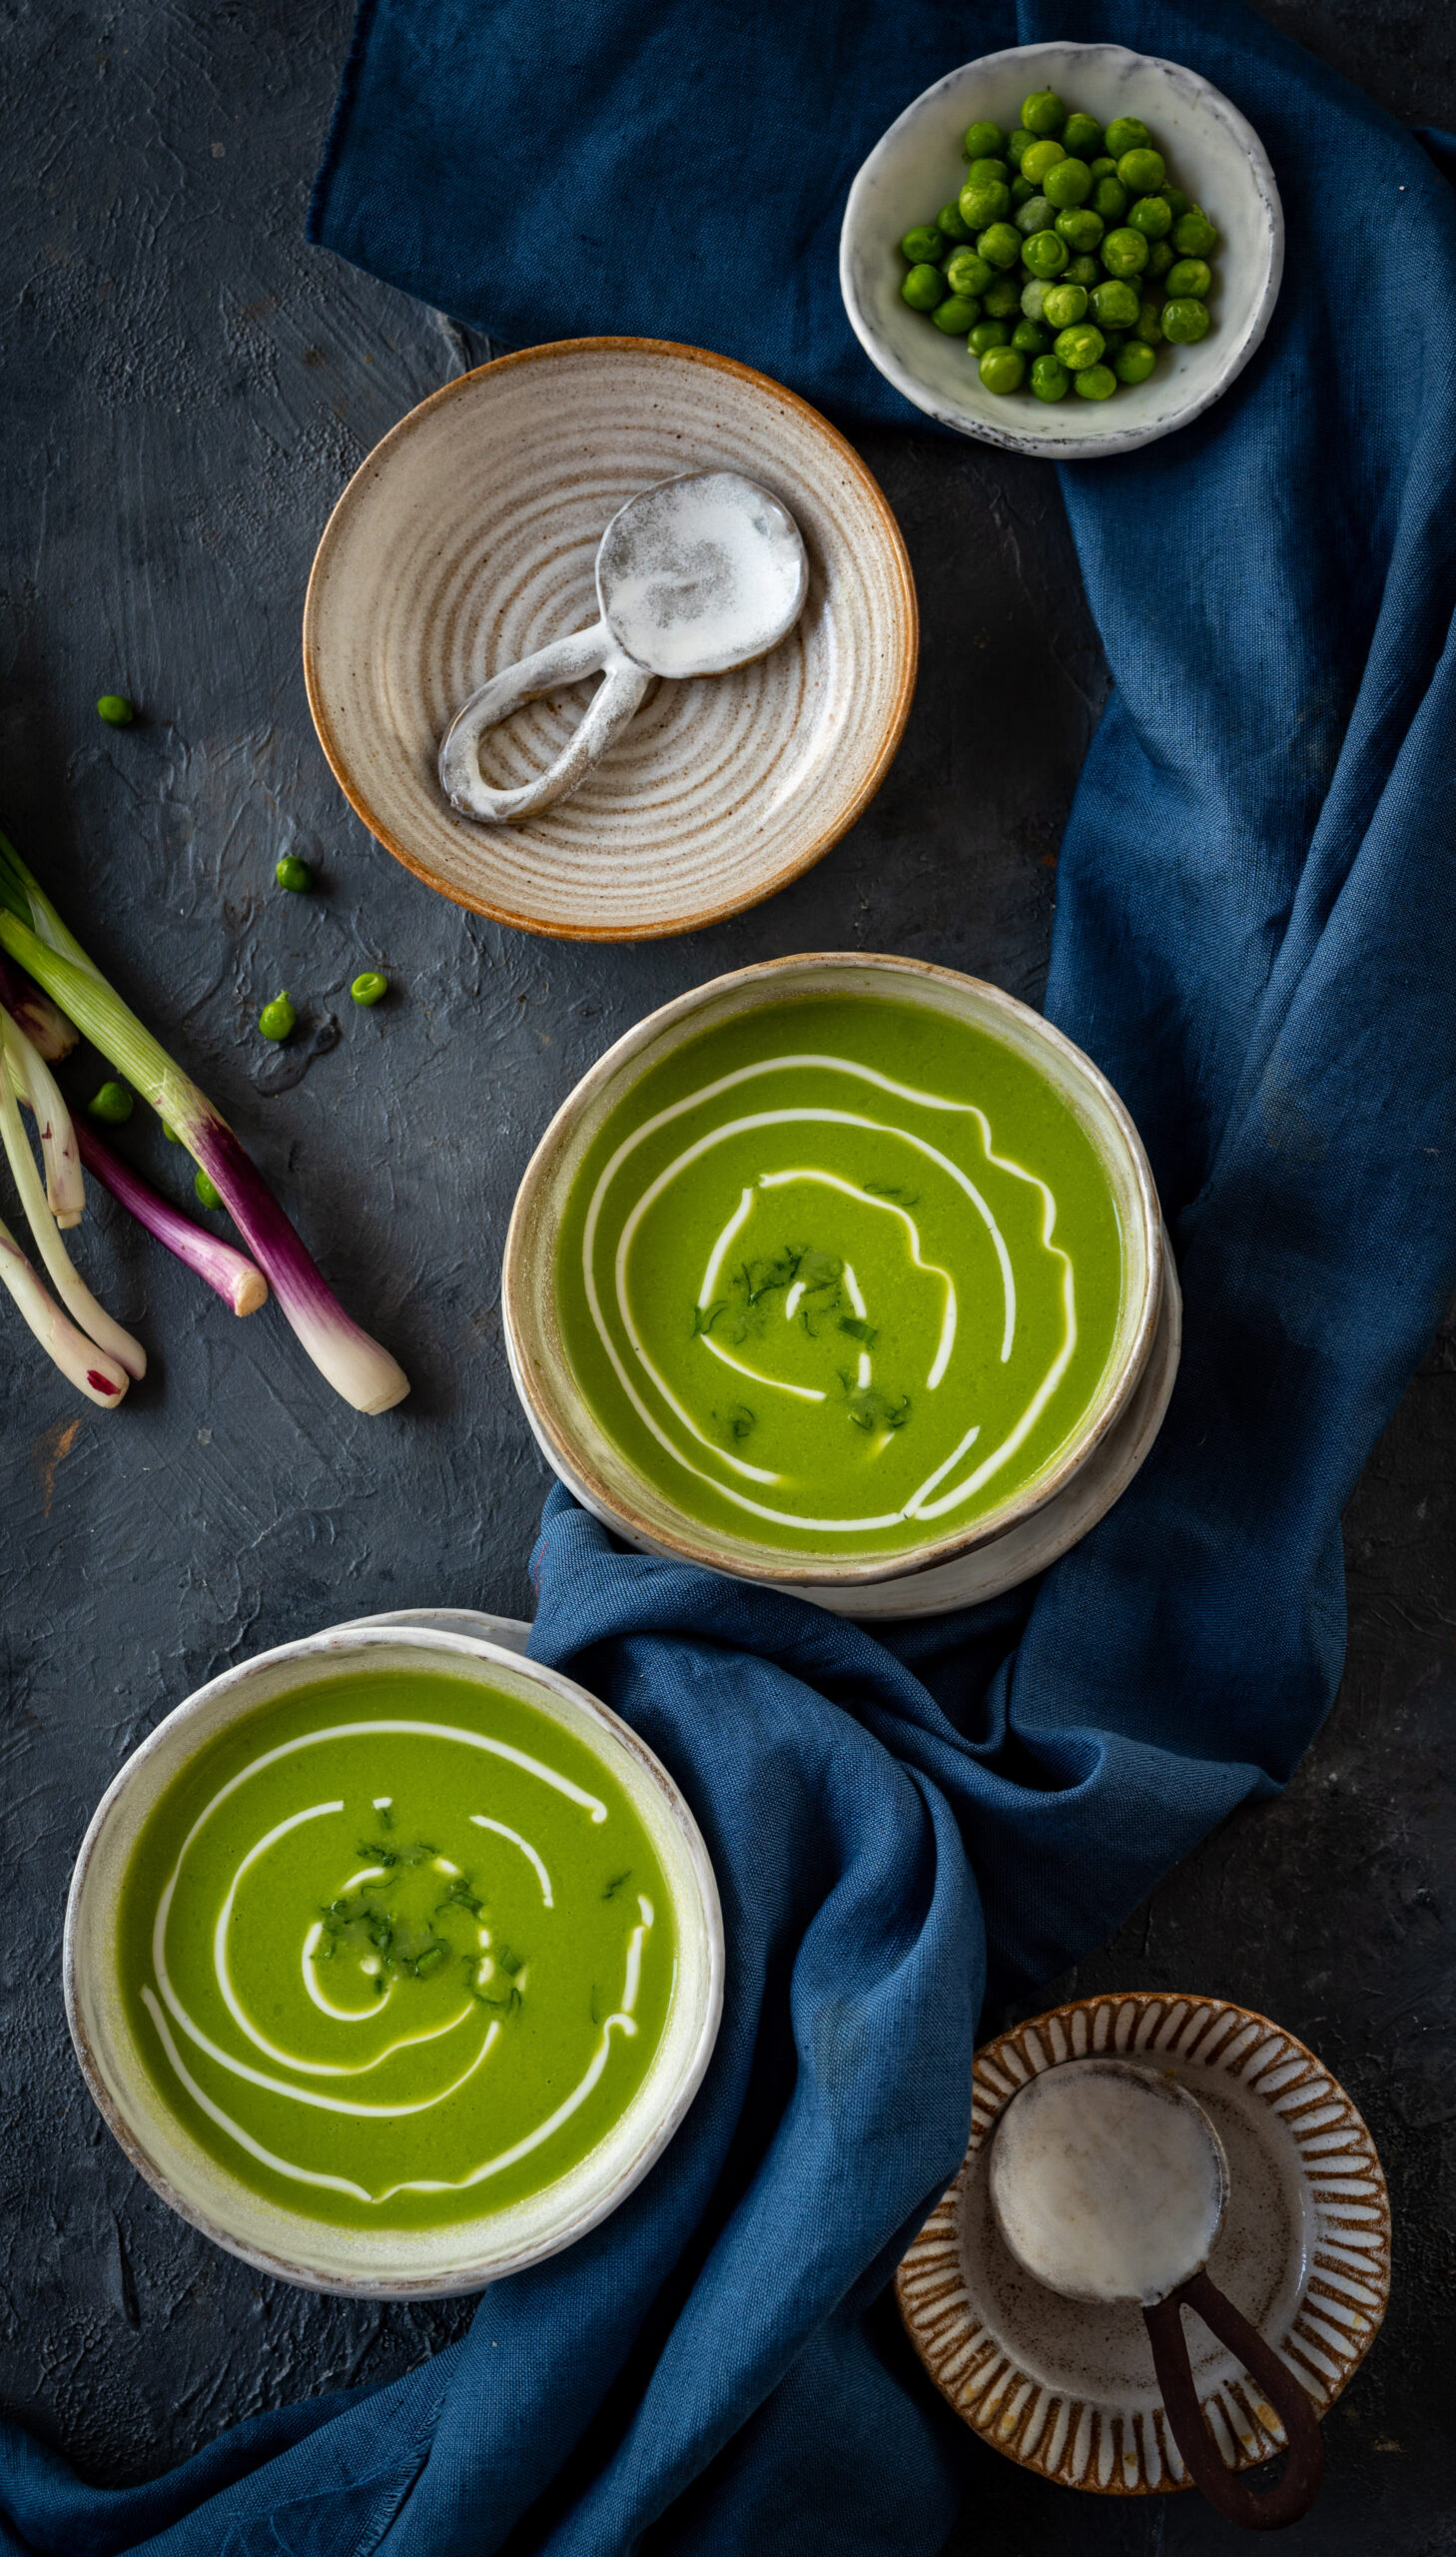
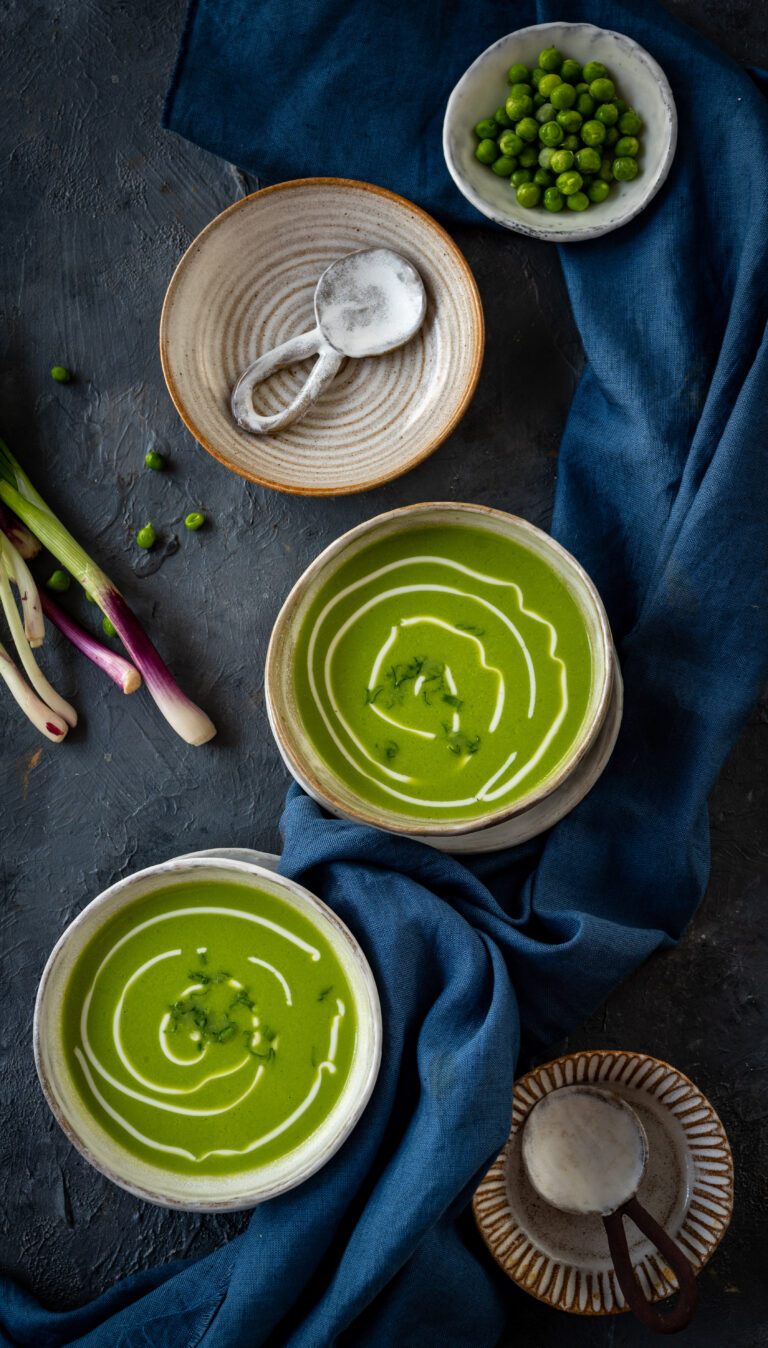
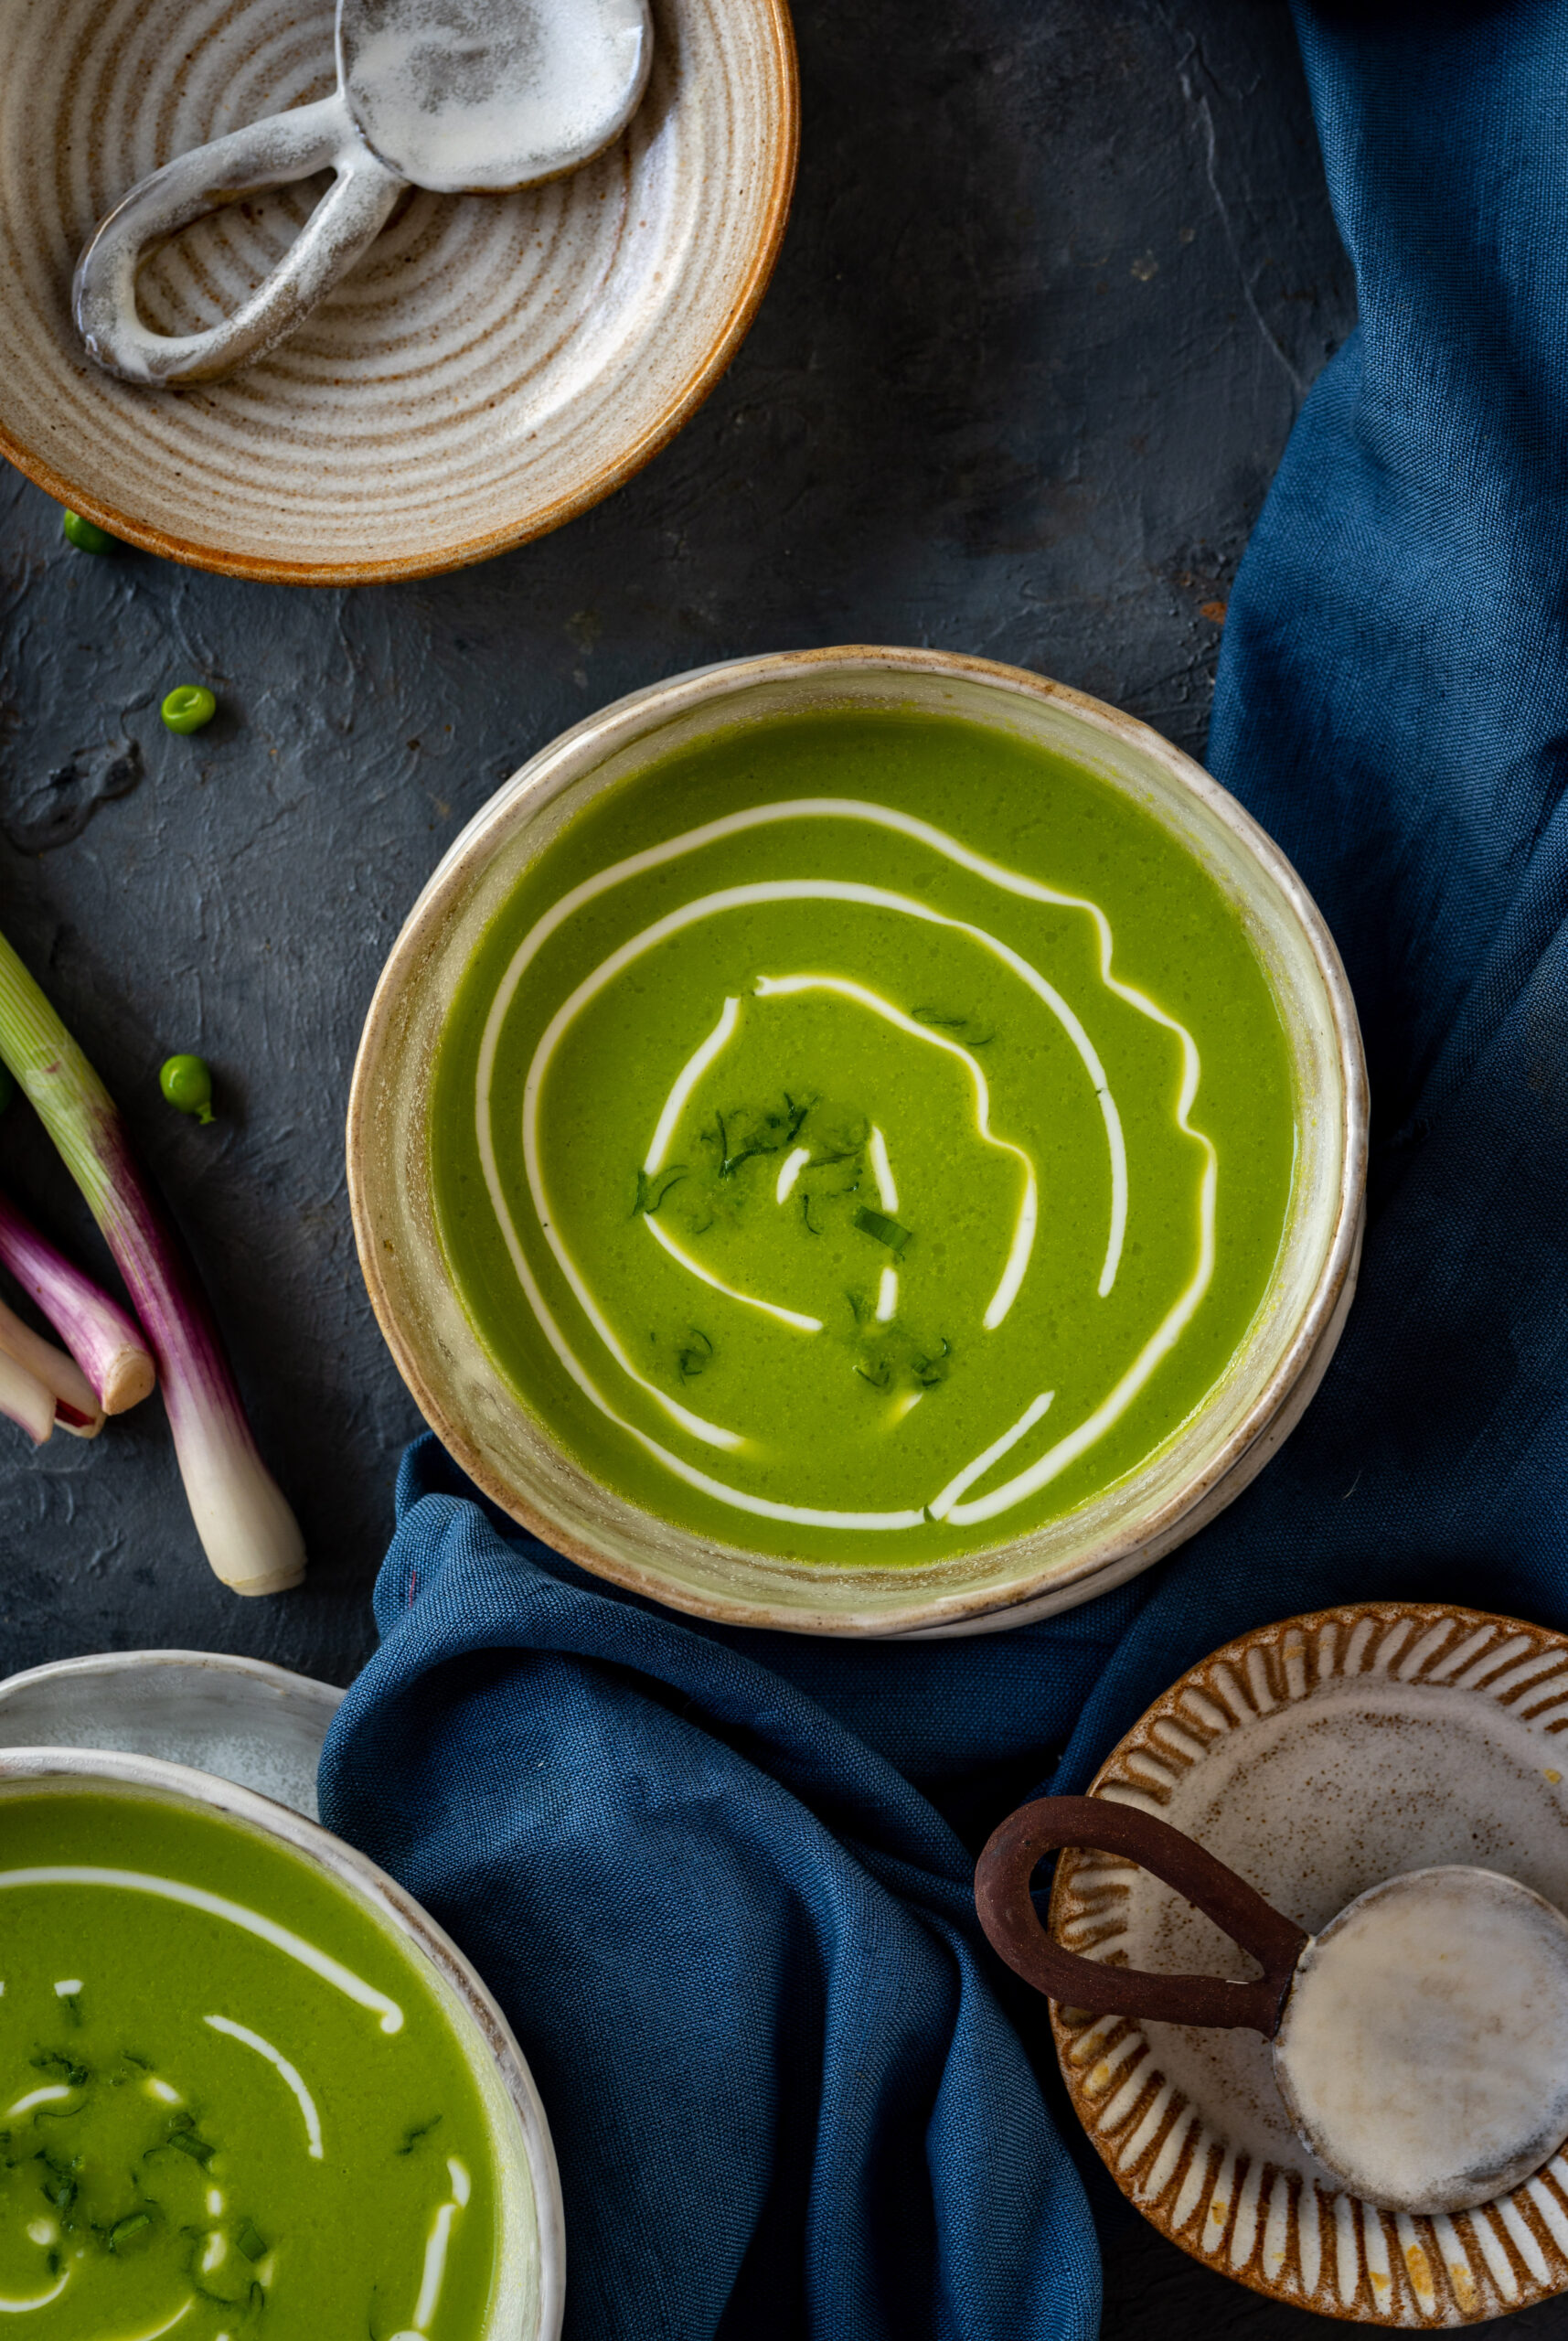
I have been very inspired to make some pea soup thanks to seeing it on the Instagram feeds of many people whom I’ve been following keenly lately. I find the bright green hue of pea soup very, very attractive. We feast with the eyes first, as I say often. The colour green itself denotes good health, promotes a sense of calmness, and has associations with healing. Peas are still in abundance on the market right now, as I mentioned in my previous post on peas paratha (I hope you enjoyed that one; always happy to hear from you!). So my inspiration, which became both my photographic and culinary craving, was fulfilled. So, of course, was my appetite.
The technique that I find works best while making soup is to ensure that the flavour of the vegetable used is not drowned through the addition of too many spices. What I also enjoy deeply is tasting the flavour of the vegetable itself. You may have noticed this about my zucchini soup recipe too, which kept things minimal so as to elevate the key element. Personally, I also prefer my food in general to not be intensely spicy. This is rather un-Indian of me, but I do love to savour every ingredient. To me, when you cook and eat mindfully, you can taste the season of the harvest, the sunshine and natural elements that raised the crop, the work of those who brought it to us, and of course the love within the preparation itself. There is something about such an experience that contributes to well-being, just as much as power-packed ingredients ensure that our health and immunity stay strong.
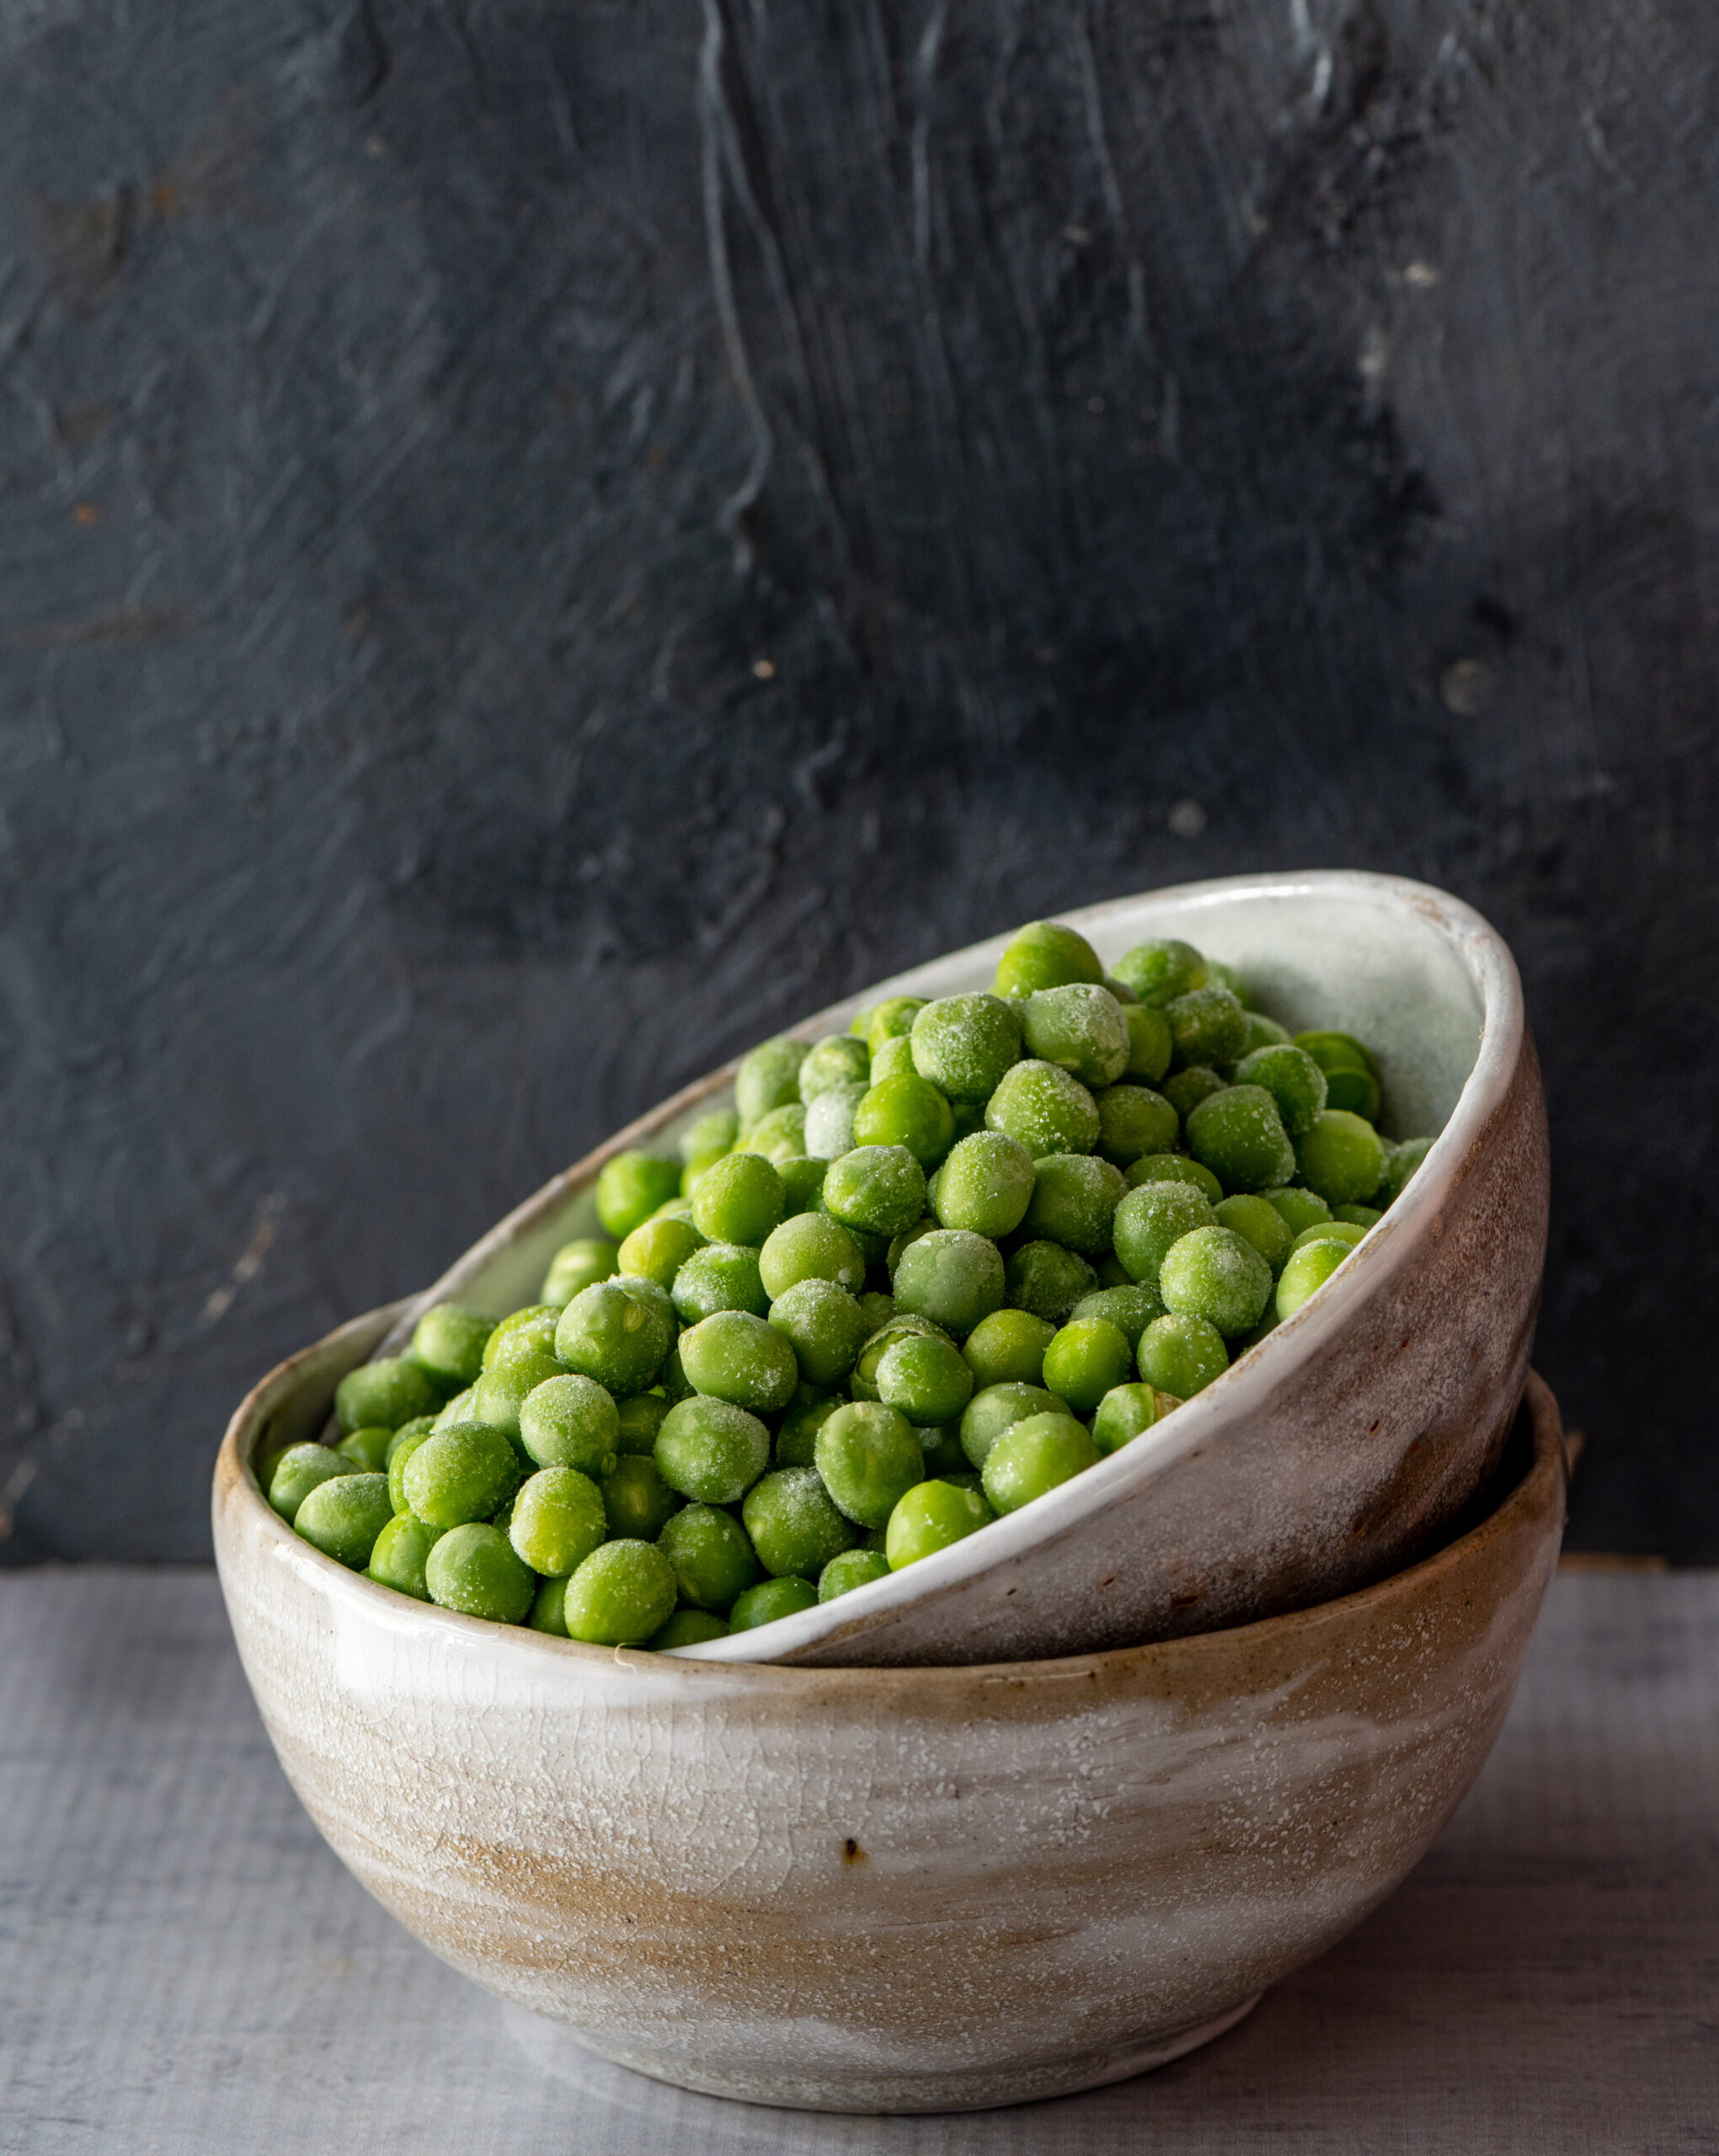
In fact, when I was studying Macrobiotics, we were taught to hand-crush rather than use a blender. So the ingredients would be coarsely ground. In a soup, we have not just the liquid, but could also chew on the small pieces. This was where I learned the unique pleasure of slowly tasting the vegetable properly. Coming from a traditional Indian household, I hadn’t really grown up with soups, even though my mother was very inquisitive about culinary methods and was among the first in our community to take baking and foreign cooking classes. So I did not get into them until much later, and my fondness for them is associated with that time in my life where I learned all about the Macrobiotics ethos and began to observe the difference it made to my life. In fact, have a slight preference for soups over salads (although I do love both, as you know), and that is probably for this reason.
A mindful and mildly-seasoned method of preparing soup helps you distinguish between the different kinds, the different vegetables used. In the case of this recipe, if you have access to homegrown or organic peas, you will especially notice the distinct flavour. Those can be particularly sweet and fresh. They also cook faster. Soups are easier to consume as well, and are both filling and light at the same time. I hope you’ll explore my other recipes in this category if you are a fan of them too.
Pea Soup
(Yield: 2 servings)
1 cup shelled peas
¼ cup spring onions
2 teaspoons olive oil/butter
Salt to taste
A pinch of pepper
2 cups hot water
1 tablespoon fresh cream (for garnish)
Add the olive oil in a pan. Once it has heated, add the spring onions. Sauté for a few minutes, until tender.
Then, add the peas. Stir, lower the flame and cover with a lid. Allow the peas to cook until they are tender to the touch.
Add the hot water and then add salt and pepper, to your preferred degree of seasoning.
Stir, then remove from the flame. Allow to cool. Then, blend this peas mixture into a thick, coarse purée. You may use your blender for convenience, or you may experiment with the Macrobiotics way described earlier.
Return the blended mixture, now a proper soup, to the pot. Allow to cook, stirring occasionally. You may adjust the water quantity to your preference.
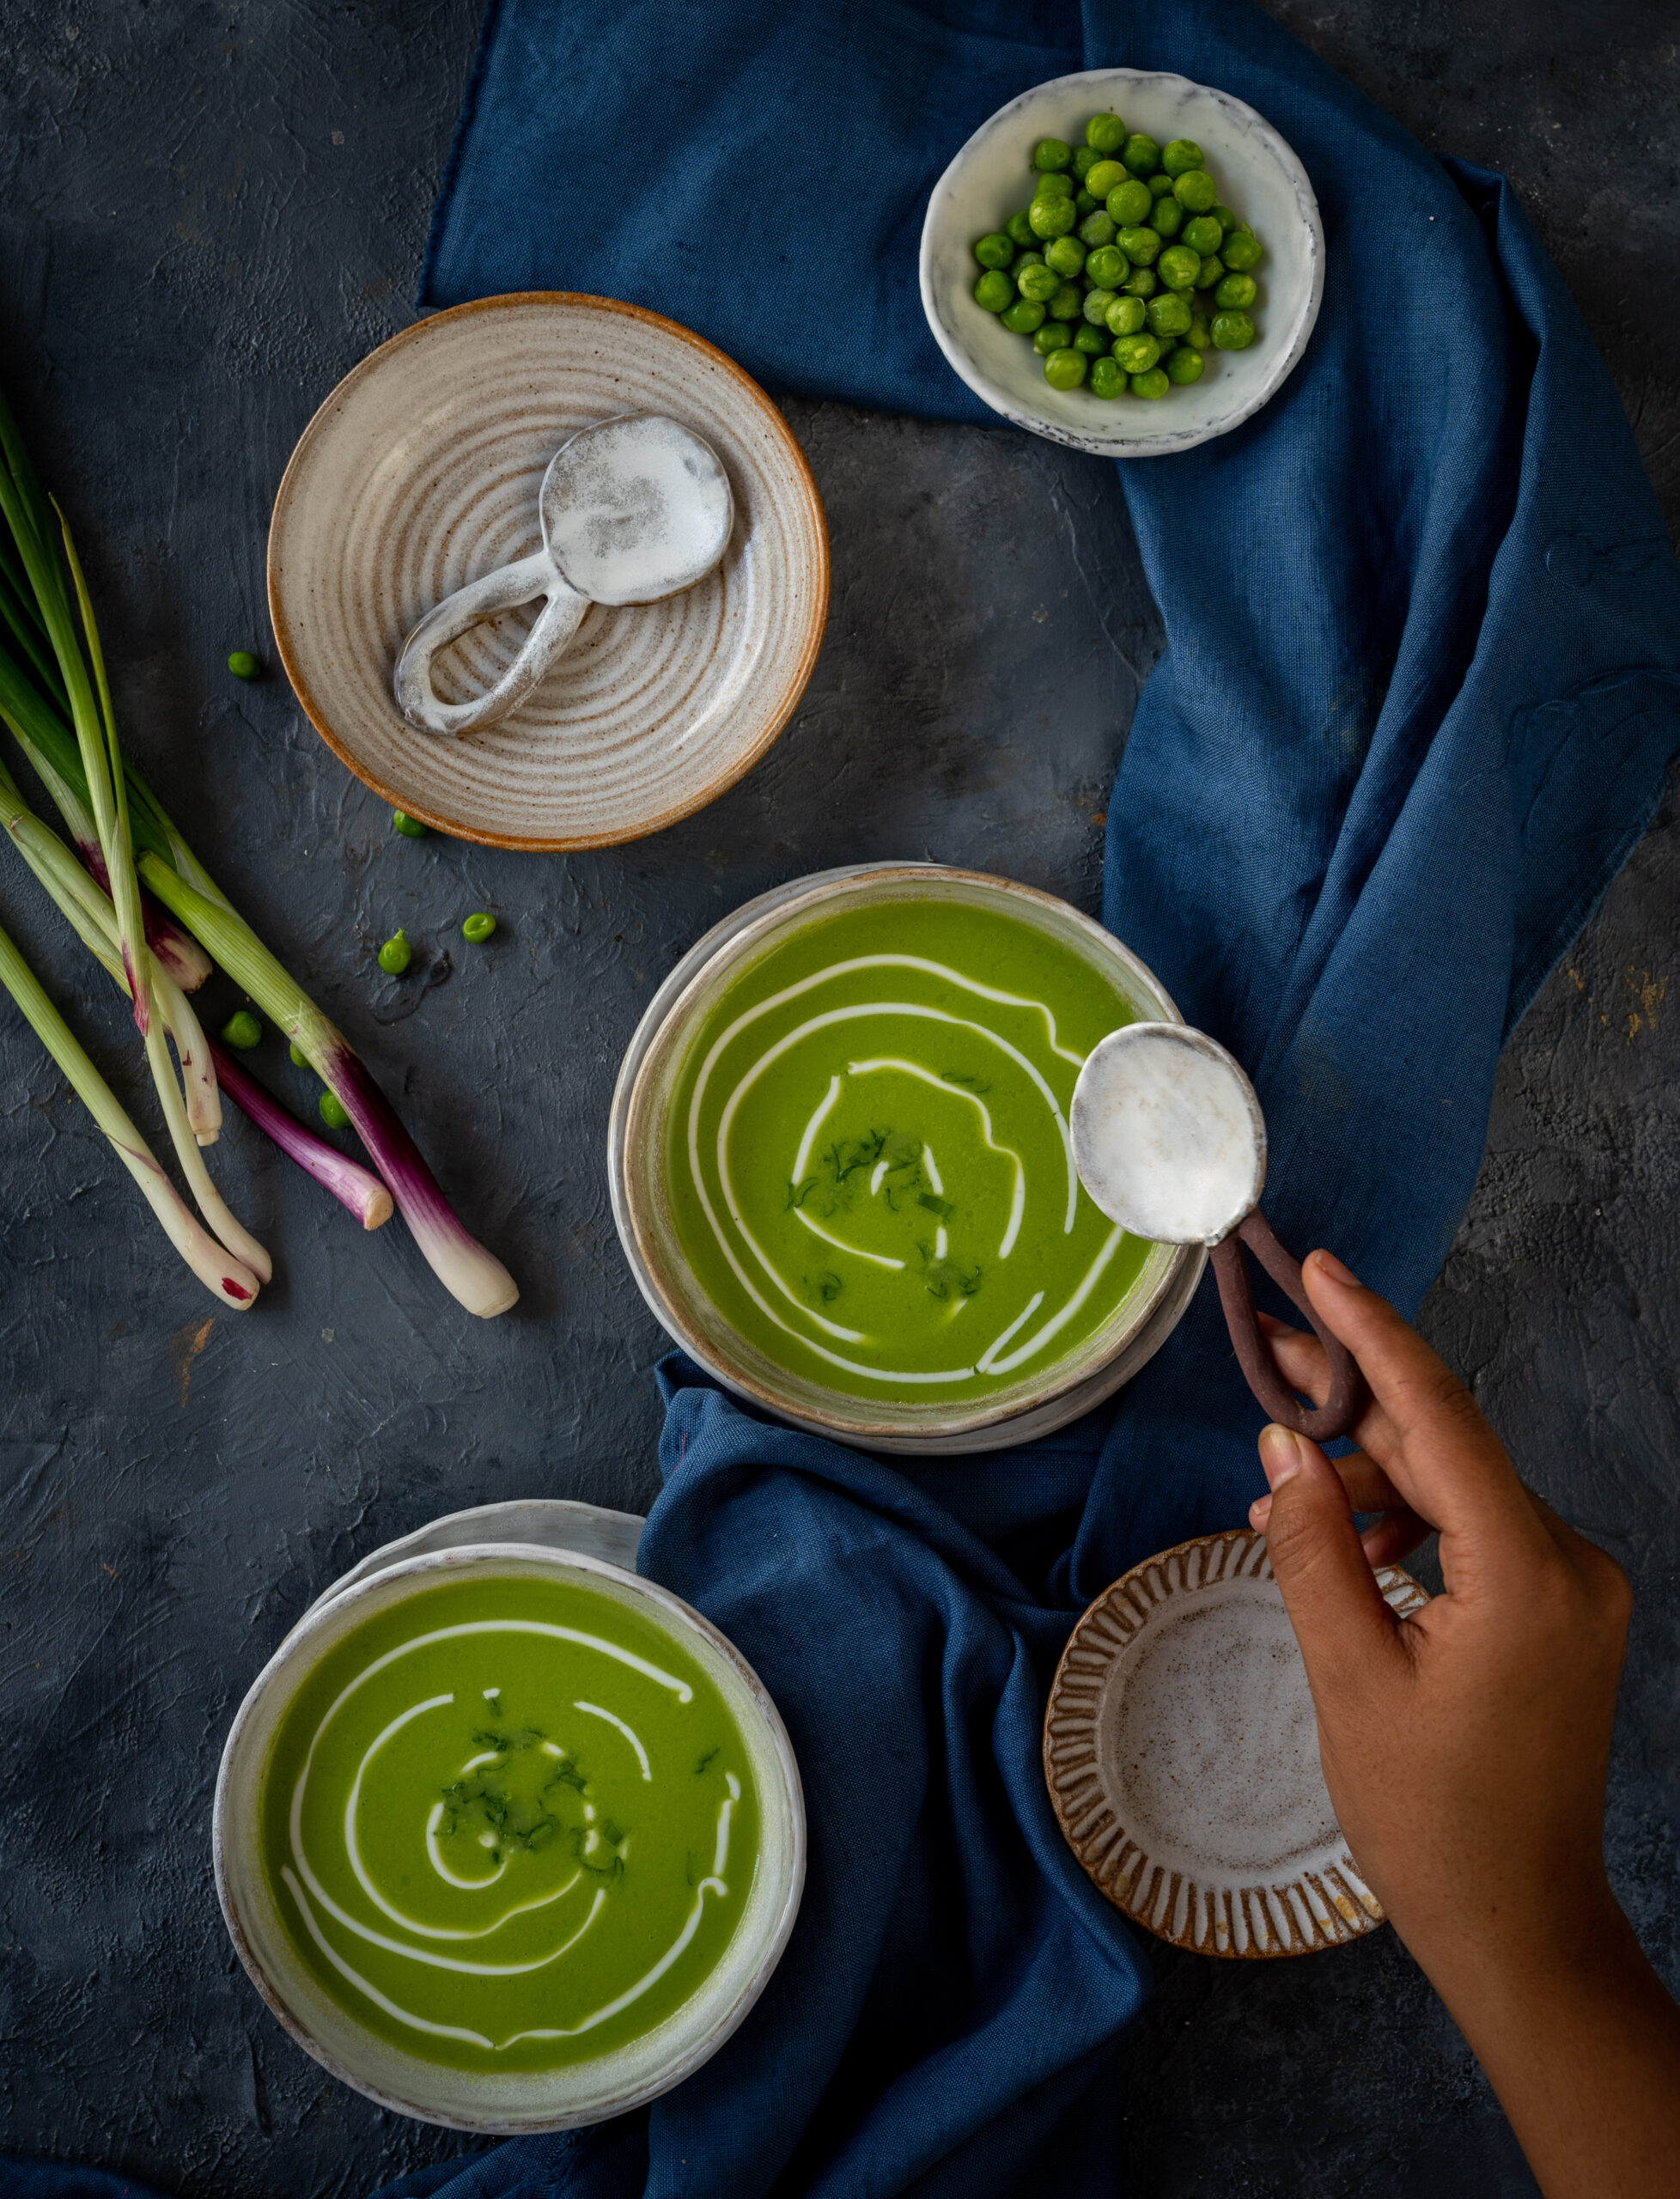
One it has cooked, scoop out the soup into bowls and serve garnished with fresh cream. You could also sprinkle some more spring onions, fresh and finely chopped.
As I said earlier, the secret to this one is really in keeping the spices as minimal as possible. I believe that salt, pepper and a hint of lime (if you like tanginess) are more than enough to add flavour to a good soup, and everything or anything else is an additional twist.
Soups are always soothing to consume. They really are a comfort food. I hope you’ll enjoy this one as much as I do, and that you have the kind of experience that I do when I have it – savouring the taste of the peas slowly and enjoying the warmth of the soup.
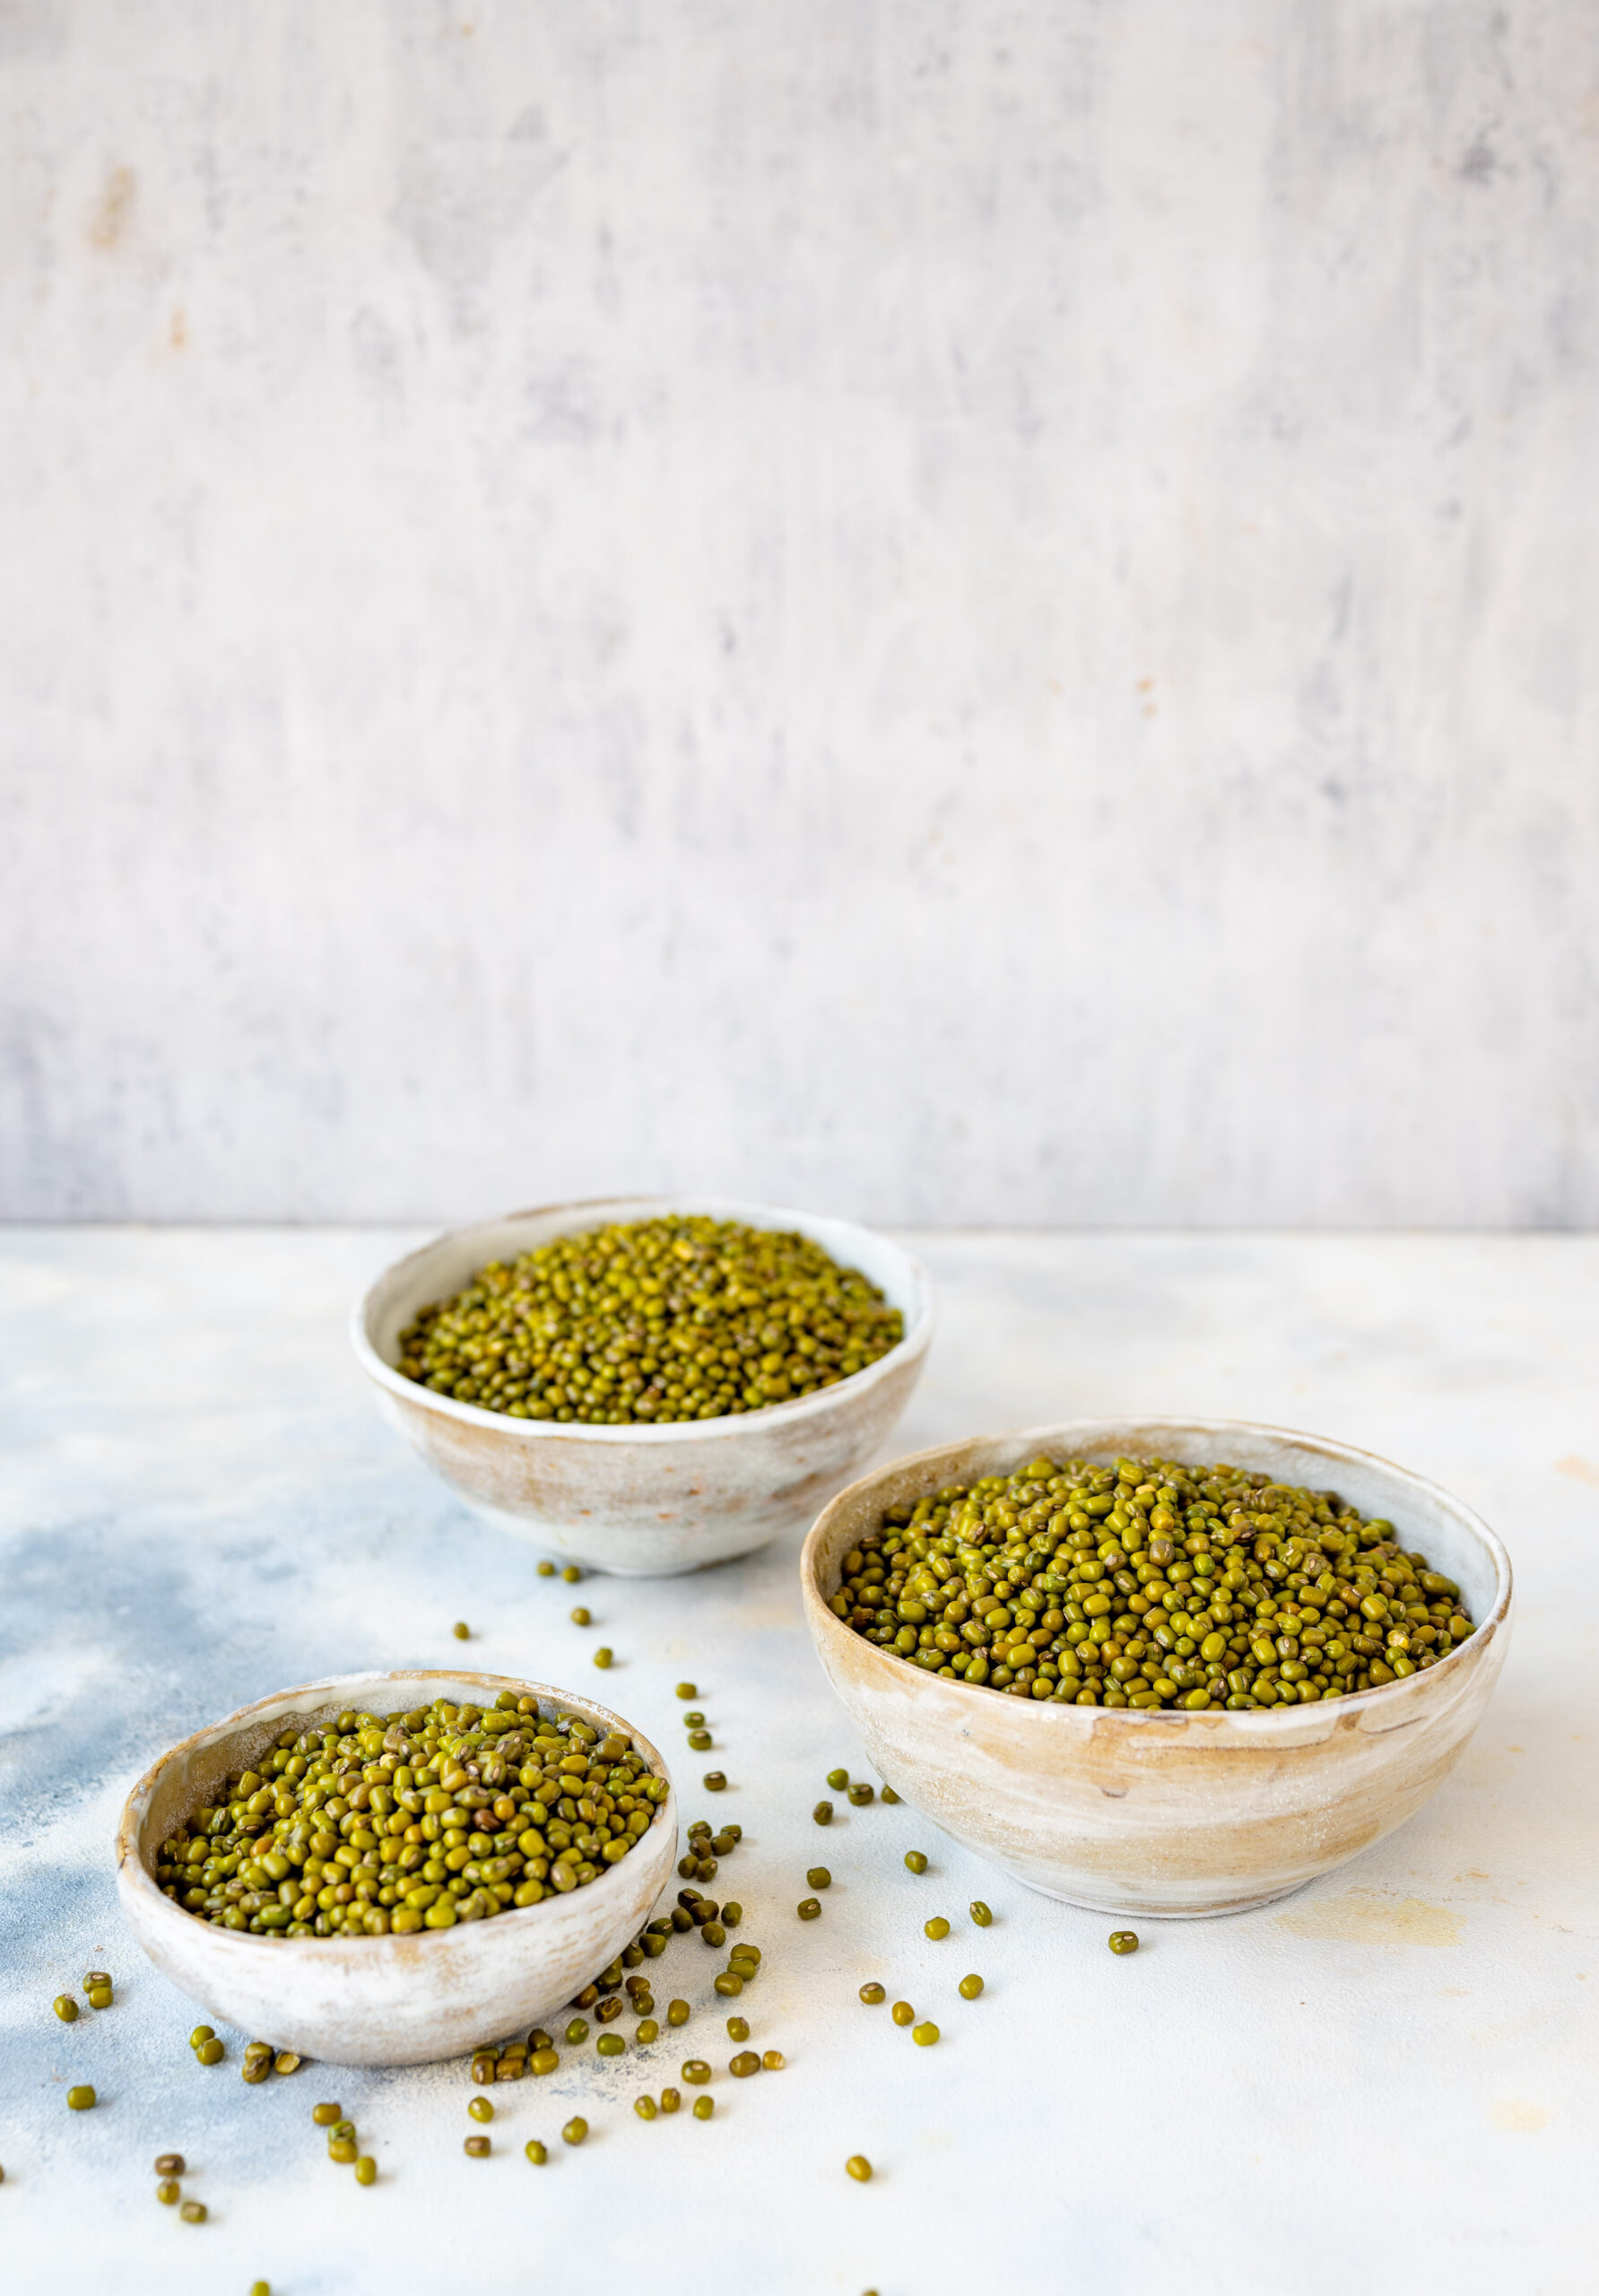
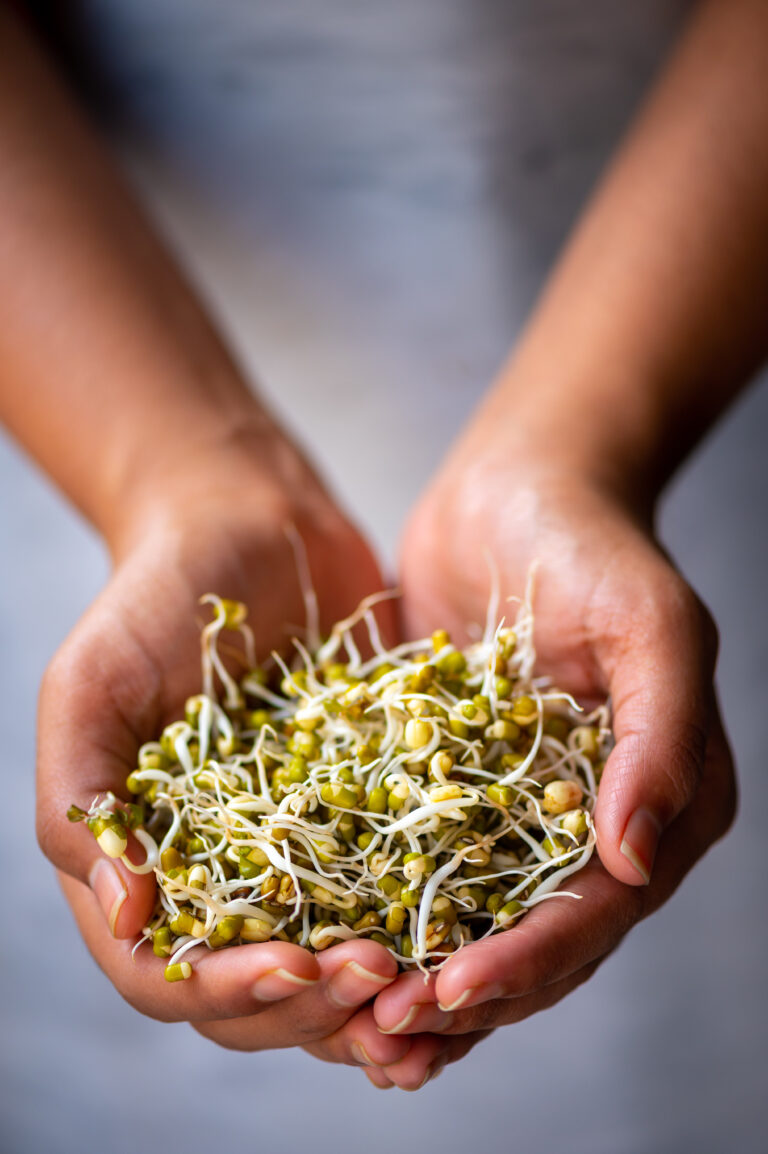
Green mung – also known as green gram, green moong and mung beans – is considered to be “shukaan” in Gujarati culture, meaning that it symbolises good luck and all things auspicious. When we hold a housewarming ceremony, the first thing we do is make a Hindu svastika on the floor using the legume. Similarly, when Jains break a significant fast, such as a 9-day fast, the first item consumed is water in which green mung had been boiled. This infused water is easy on the digestion, and helps the system adjust to whole food again after the abstinence. The combination of faith in the luck factor and the fact that it is very healthy mean that the ingredient is used across Gujarati cuisine in a wide variety of ways. You may have noticed its recurrence on this blog too: green moong dhokla, green moong bhel and green mung khatta are among the recipes I’ve shared. This time, I wanted to start the new year off on a promising note by sharing the method for getting green mung to sprout.
There is a special shelf in my fridge that always holds my tomato purée, a selection of chutneys and sprouted green mung. This should tell you a lot about the versatility of the last item, since it has pride of place on that always-reached-out-for list. I steam the sprouted green mung and add it to salads, sauté it and have it with roti or dosa or rice, put it in my stir-fries… You can see why I always like to have it on hand.
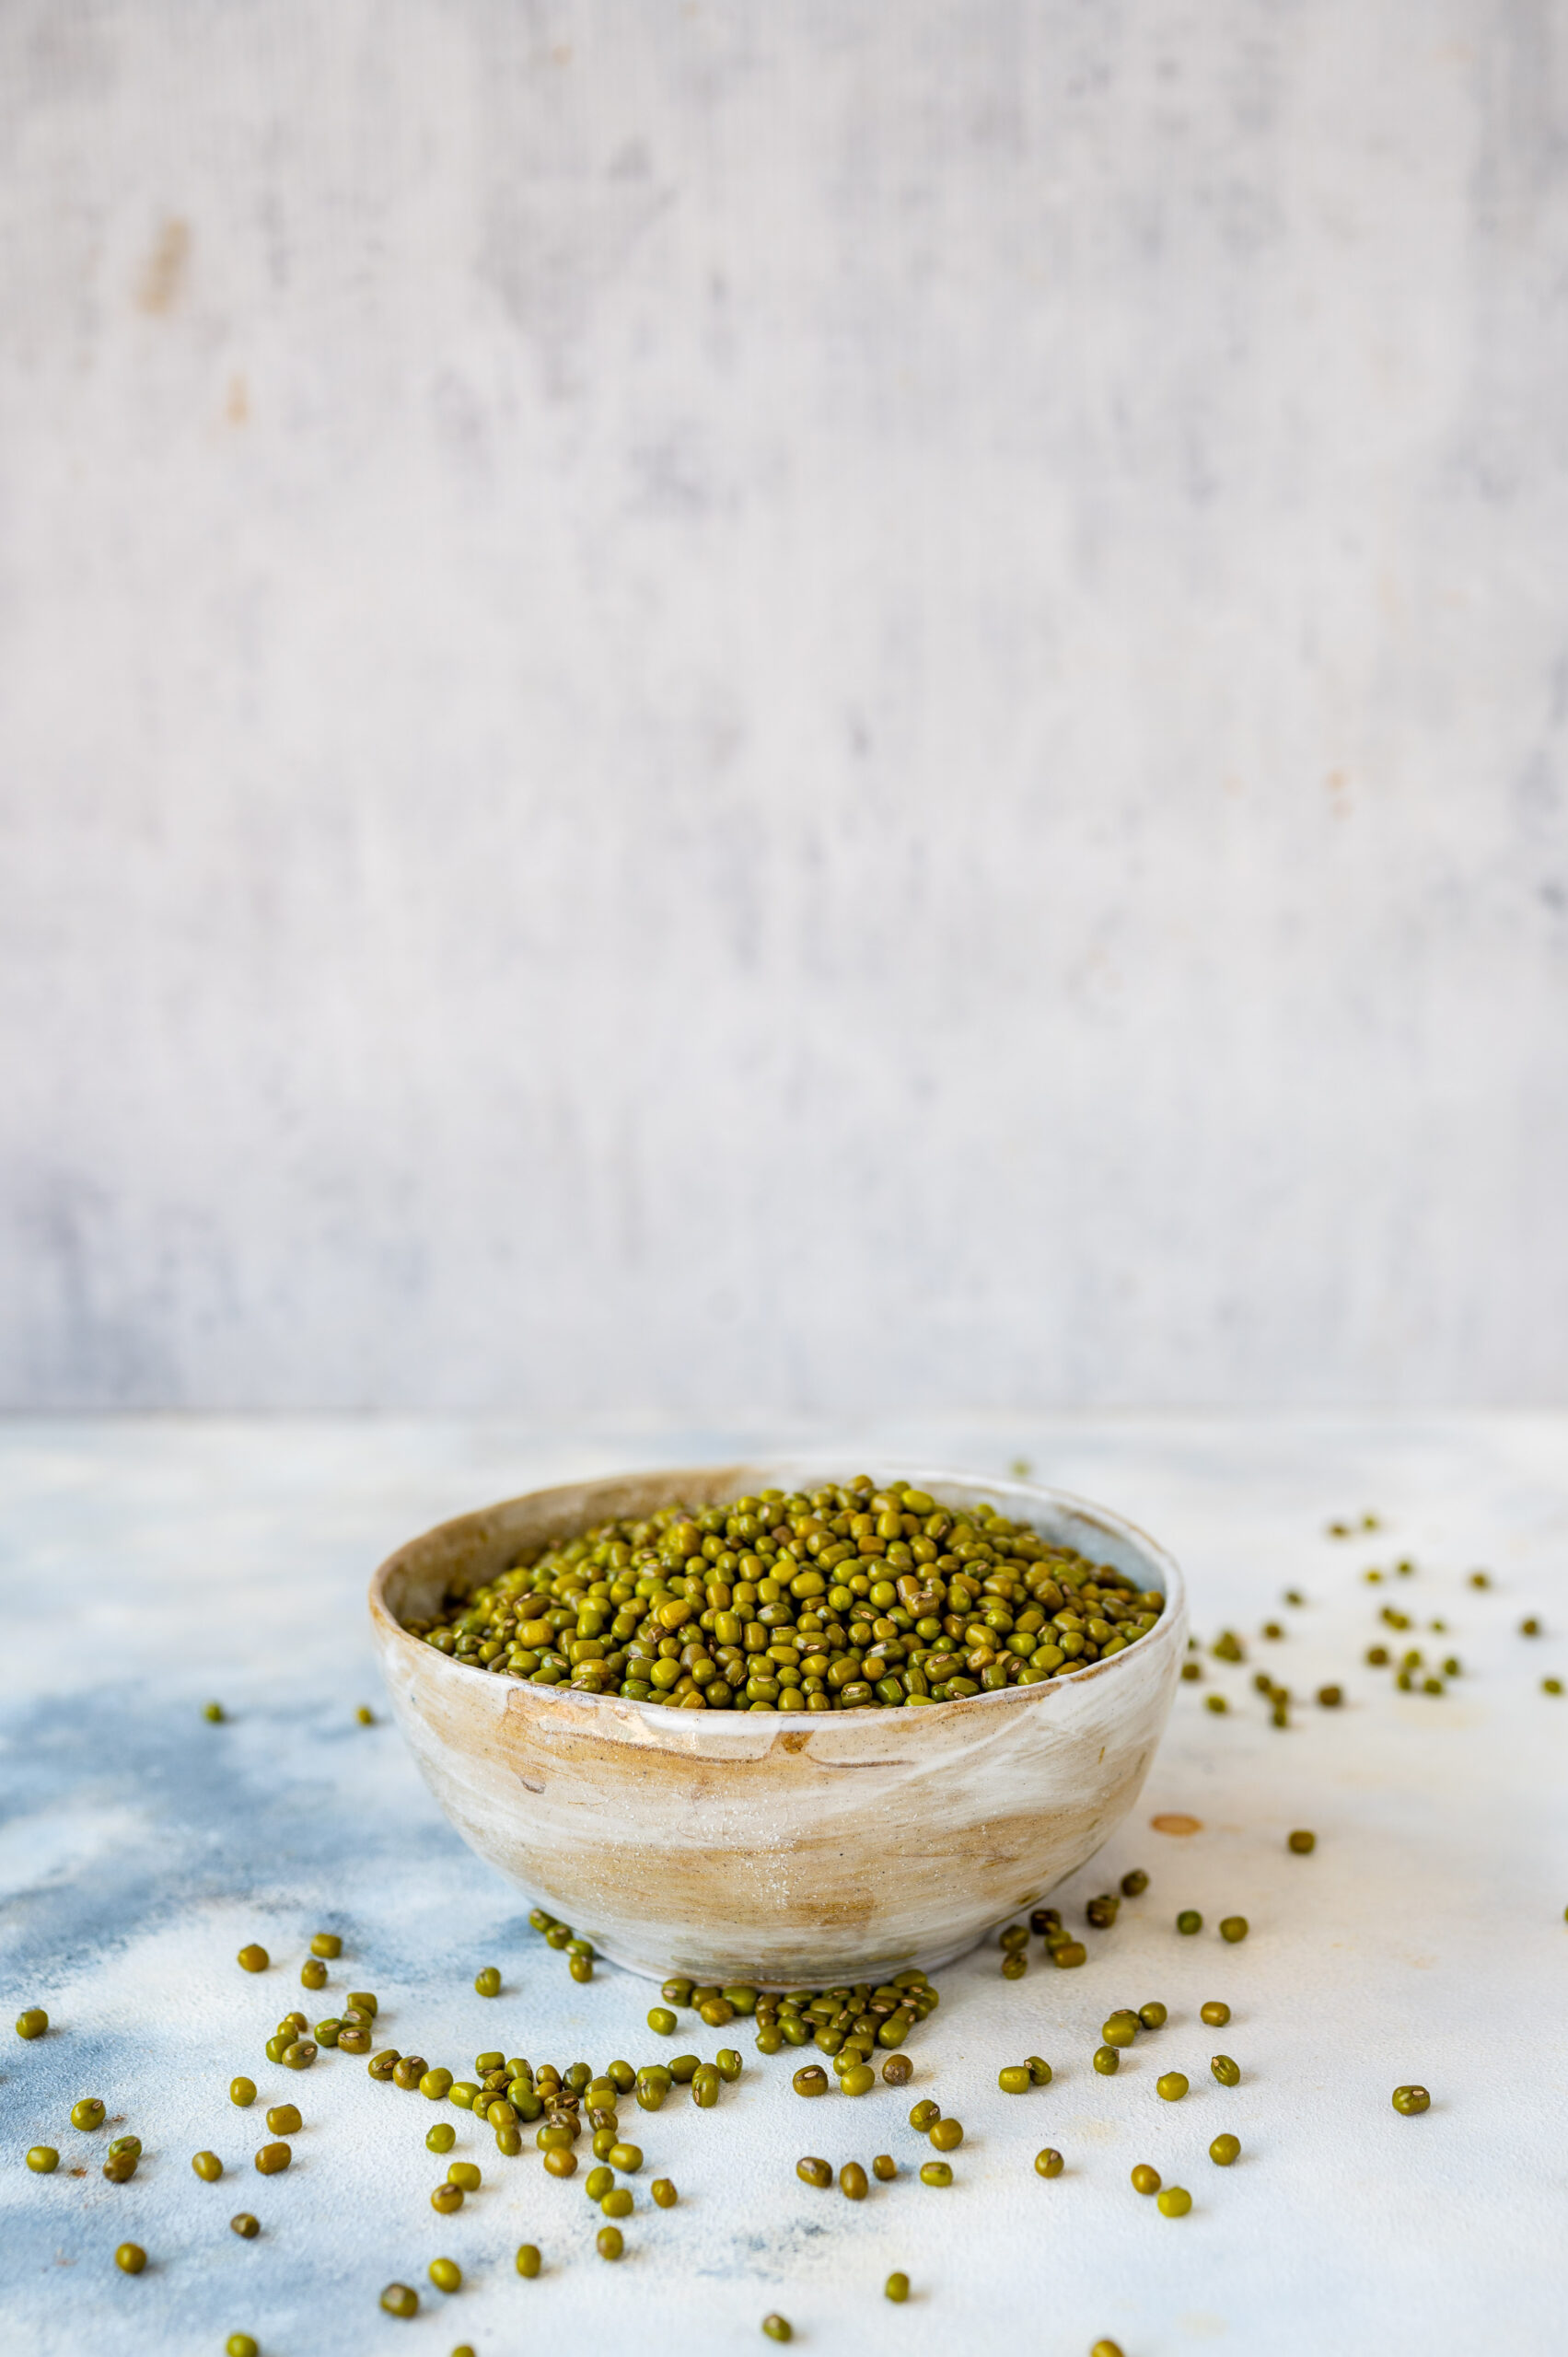
You may remember growing sprouts from your school days, as I do. We would have projects in Science class during which we would keep mustard seeds on a cotton ball and sprinkle water on them, then watch what happened over the next few days. The process was so fascinating back then, and when I pause and contemplate it, it still is. When I was training in Macrobiotics a few years ago, we learned that all seeds and legumes are sacred, as they contain life within them intrinsically. They may hold this potential for thousands of years before a few drops of water awaken it. This is the mystical part of nature, expressed in the way the green mung holds life within it no matter what. We are so fortunate to have these sprouting wonders: for the nourishment they provide, as well as the inspiration.
This is why the method for growing green mung sprouts occurred to me as being the perfect post to start this year with. May hope and renewal fill your heart as you conduct this experiment. Here is to all your new beginnings, to good health and to all the positive intentions you put out to the universe beautifully coming back to you. May all our goodwill come back to each of us manifold.
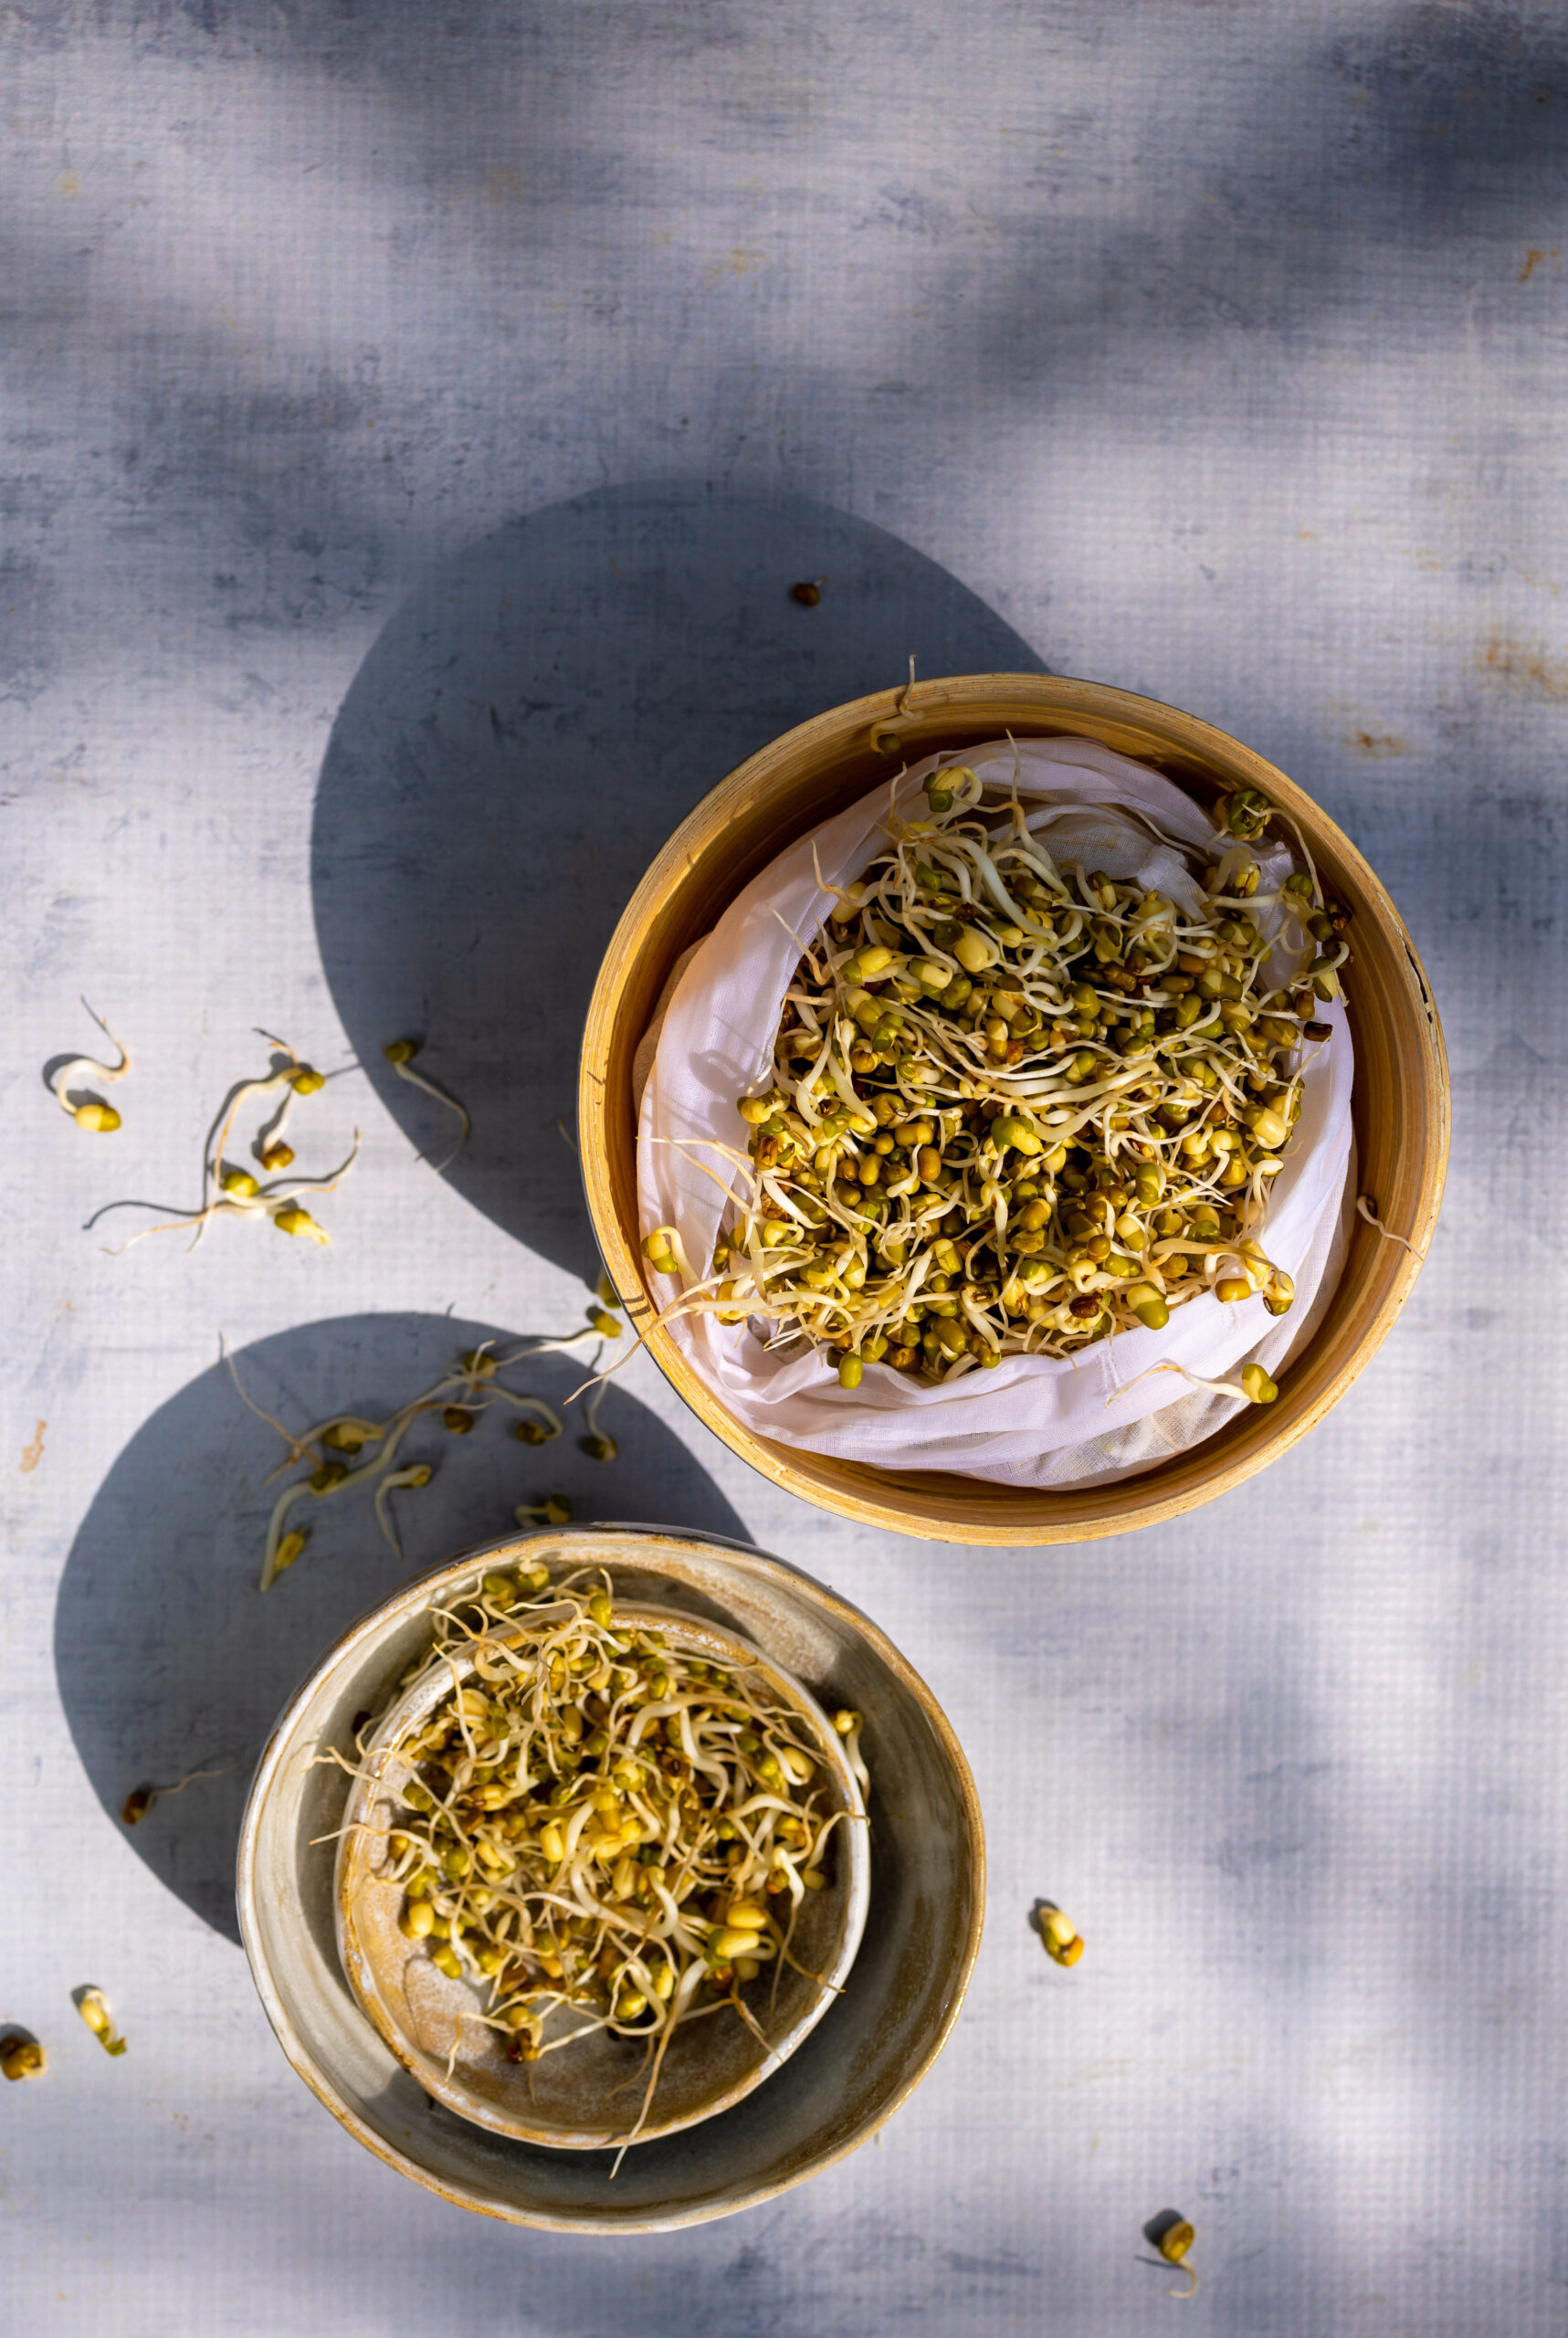
Method: Green Mung Sprouts
1 cup green mung
2 cups clean water
Rinse and soak the green mung in clean water overnight or for at least 8 hours.
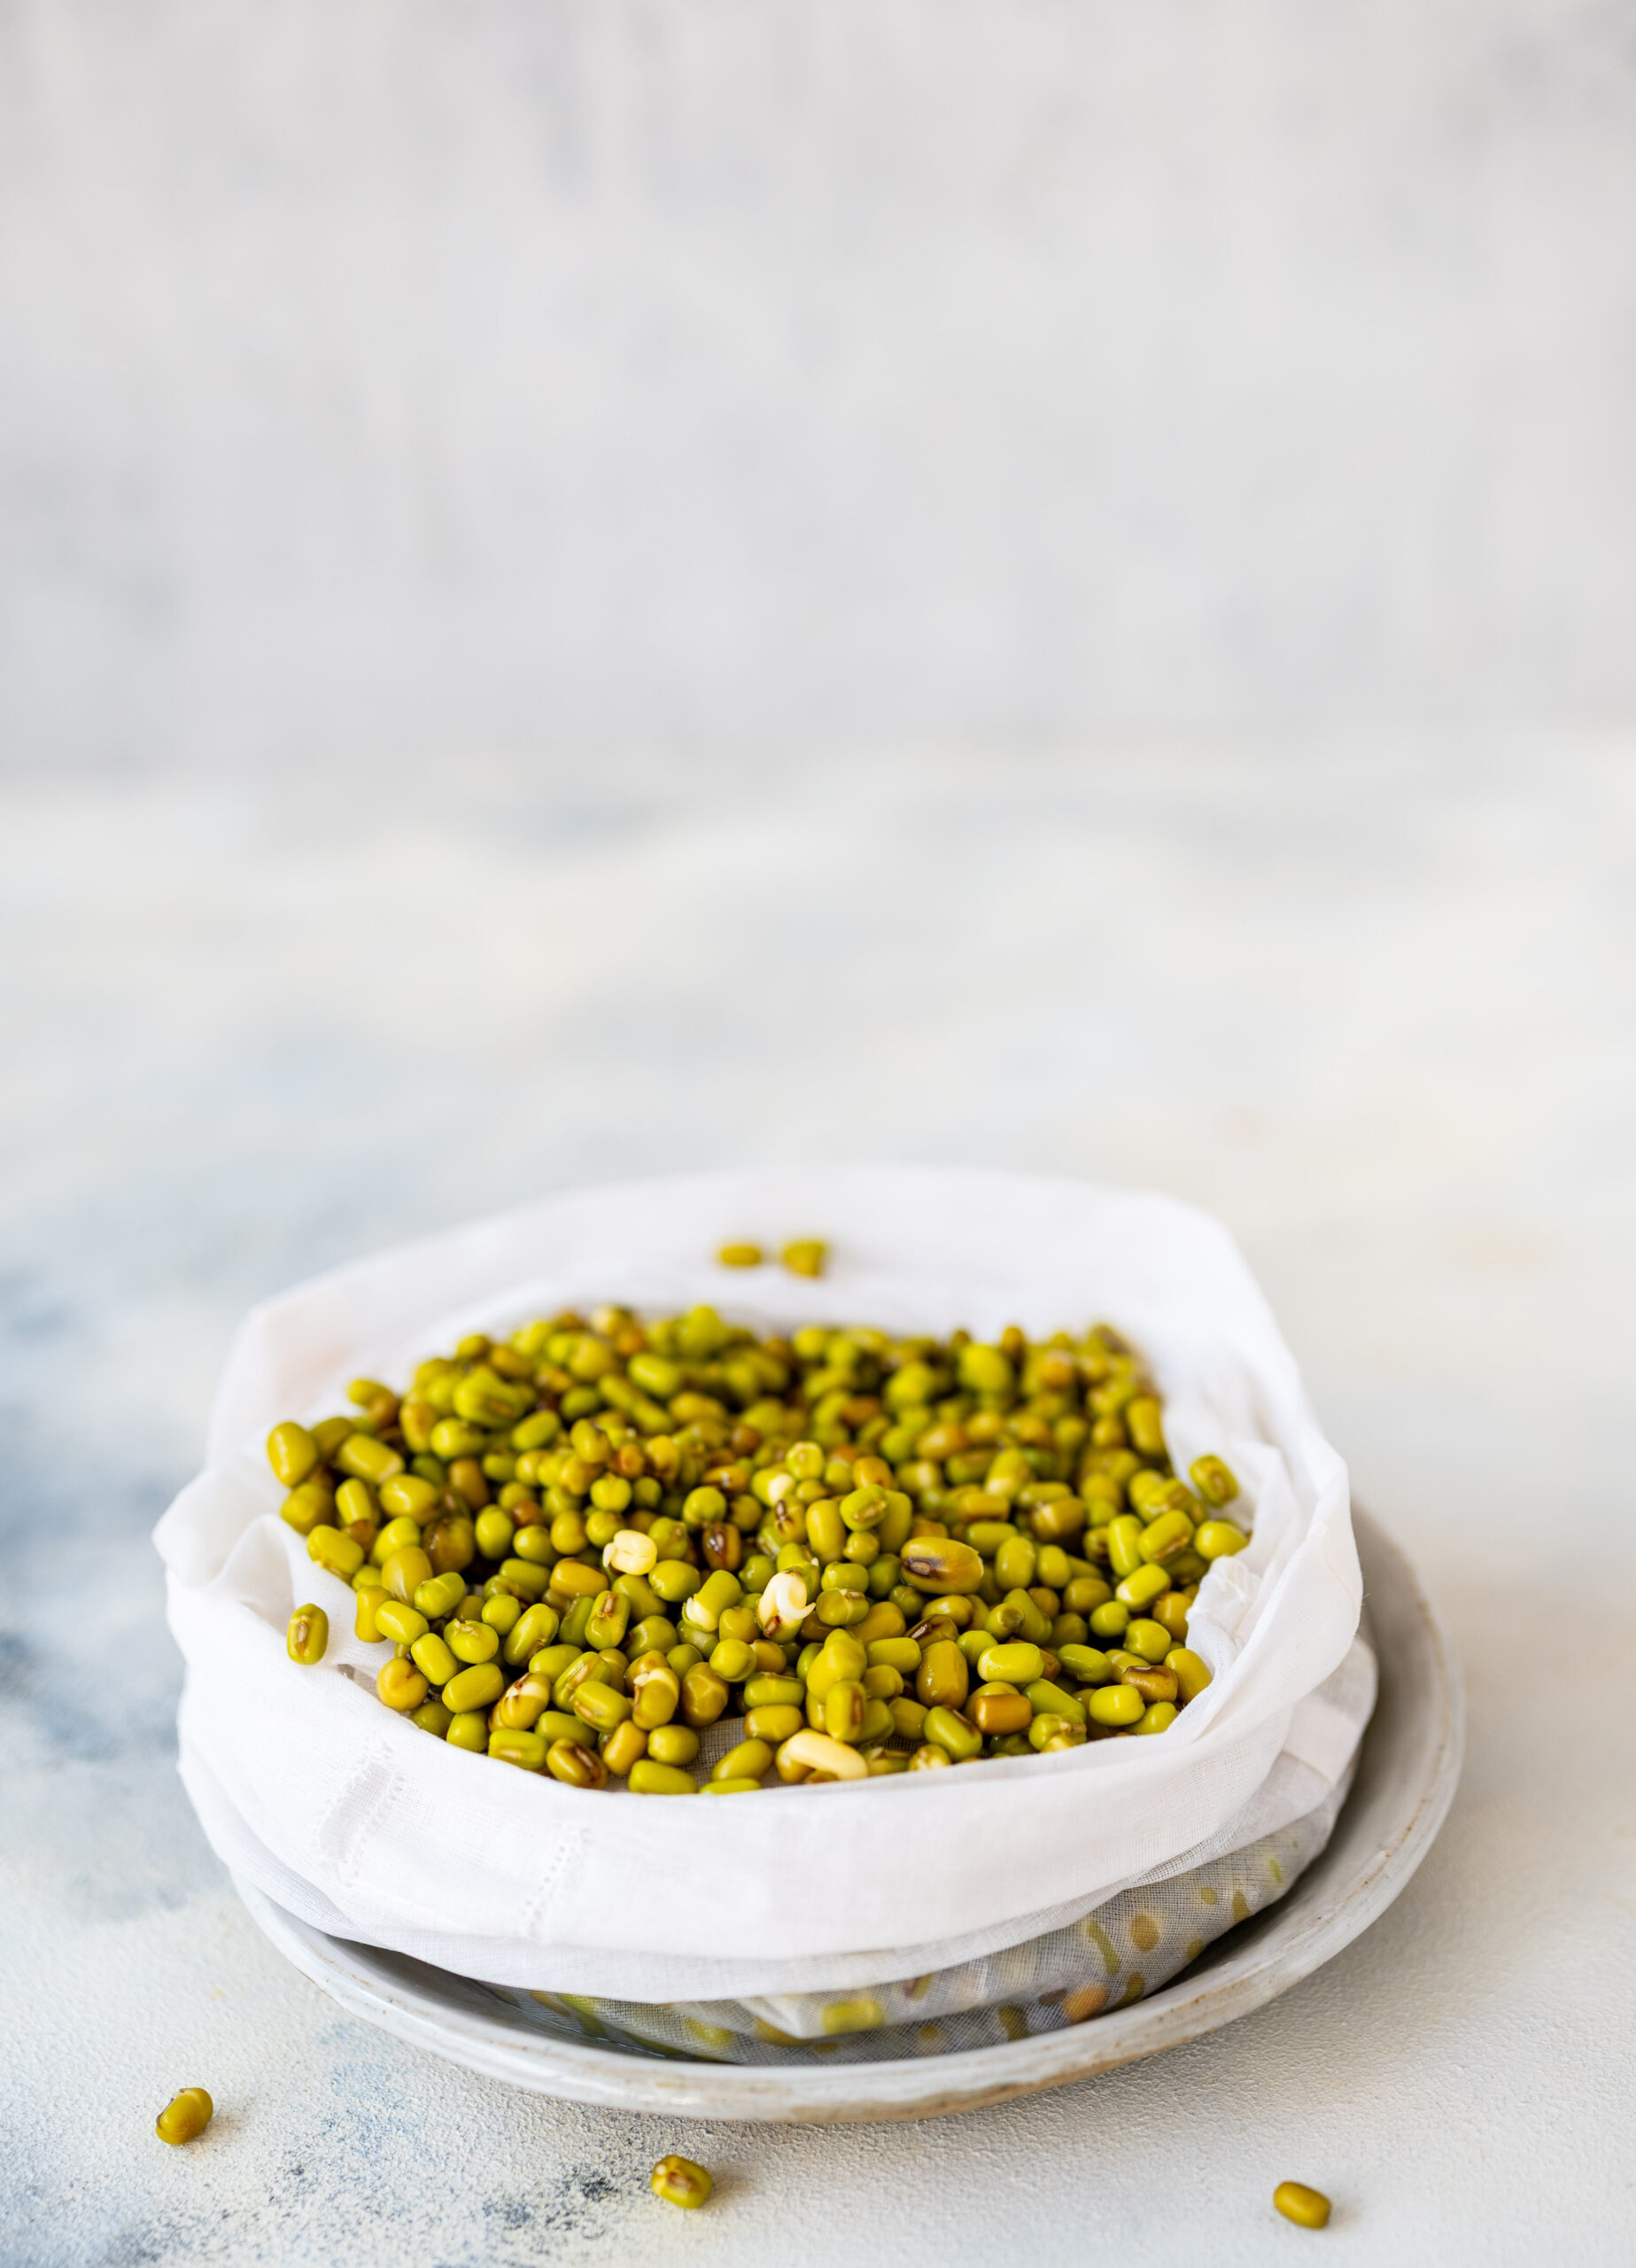
In the morning, the beans will have increased in size and part of the skin would have opened up.
Rinse the beans once again and place them in a muslin cloth. Tie the cloth gently. It’s okay if the cloth feels damp.
Place the cloth containing the beans in a deep pot and cover this with a lid. Store at room temperature in a dark place.
Take a look the following day and you’ll notice that the beans are sprouting slightly. Cover again and leave be.
Check again on Day 2, and you will see that healthy, sprightly mung beans have sprouted – grown and ready for use.
It really is so simple to grow these sprouts yourself, and to use them as much as you want to in a wide variety of meals. I mostly sprout green mung, but also use black channa (which takes longer), and as mentioned earlier from my school memories, quite few kinds of seeds and lentils can be utilised for this purpose too. Here in Chennai, it’s really very easy to grow sprouts, as the weather is very conducive for this, versus a colder climate. Do keep that in mind – the process may take a little longer for you, depending on where you are.
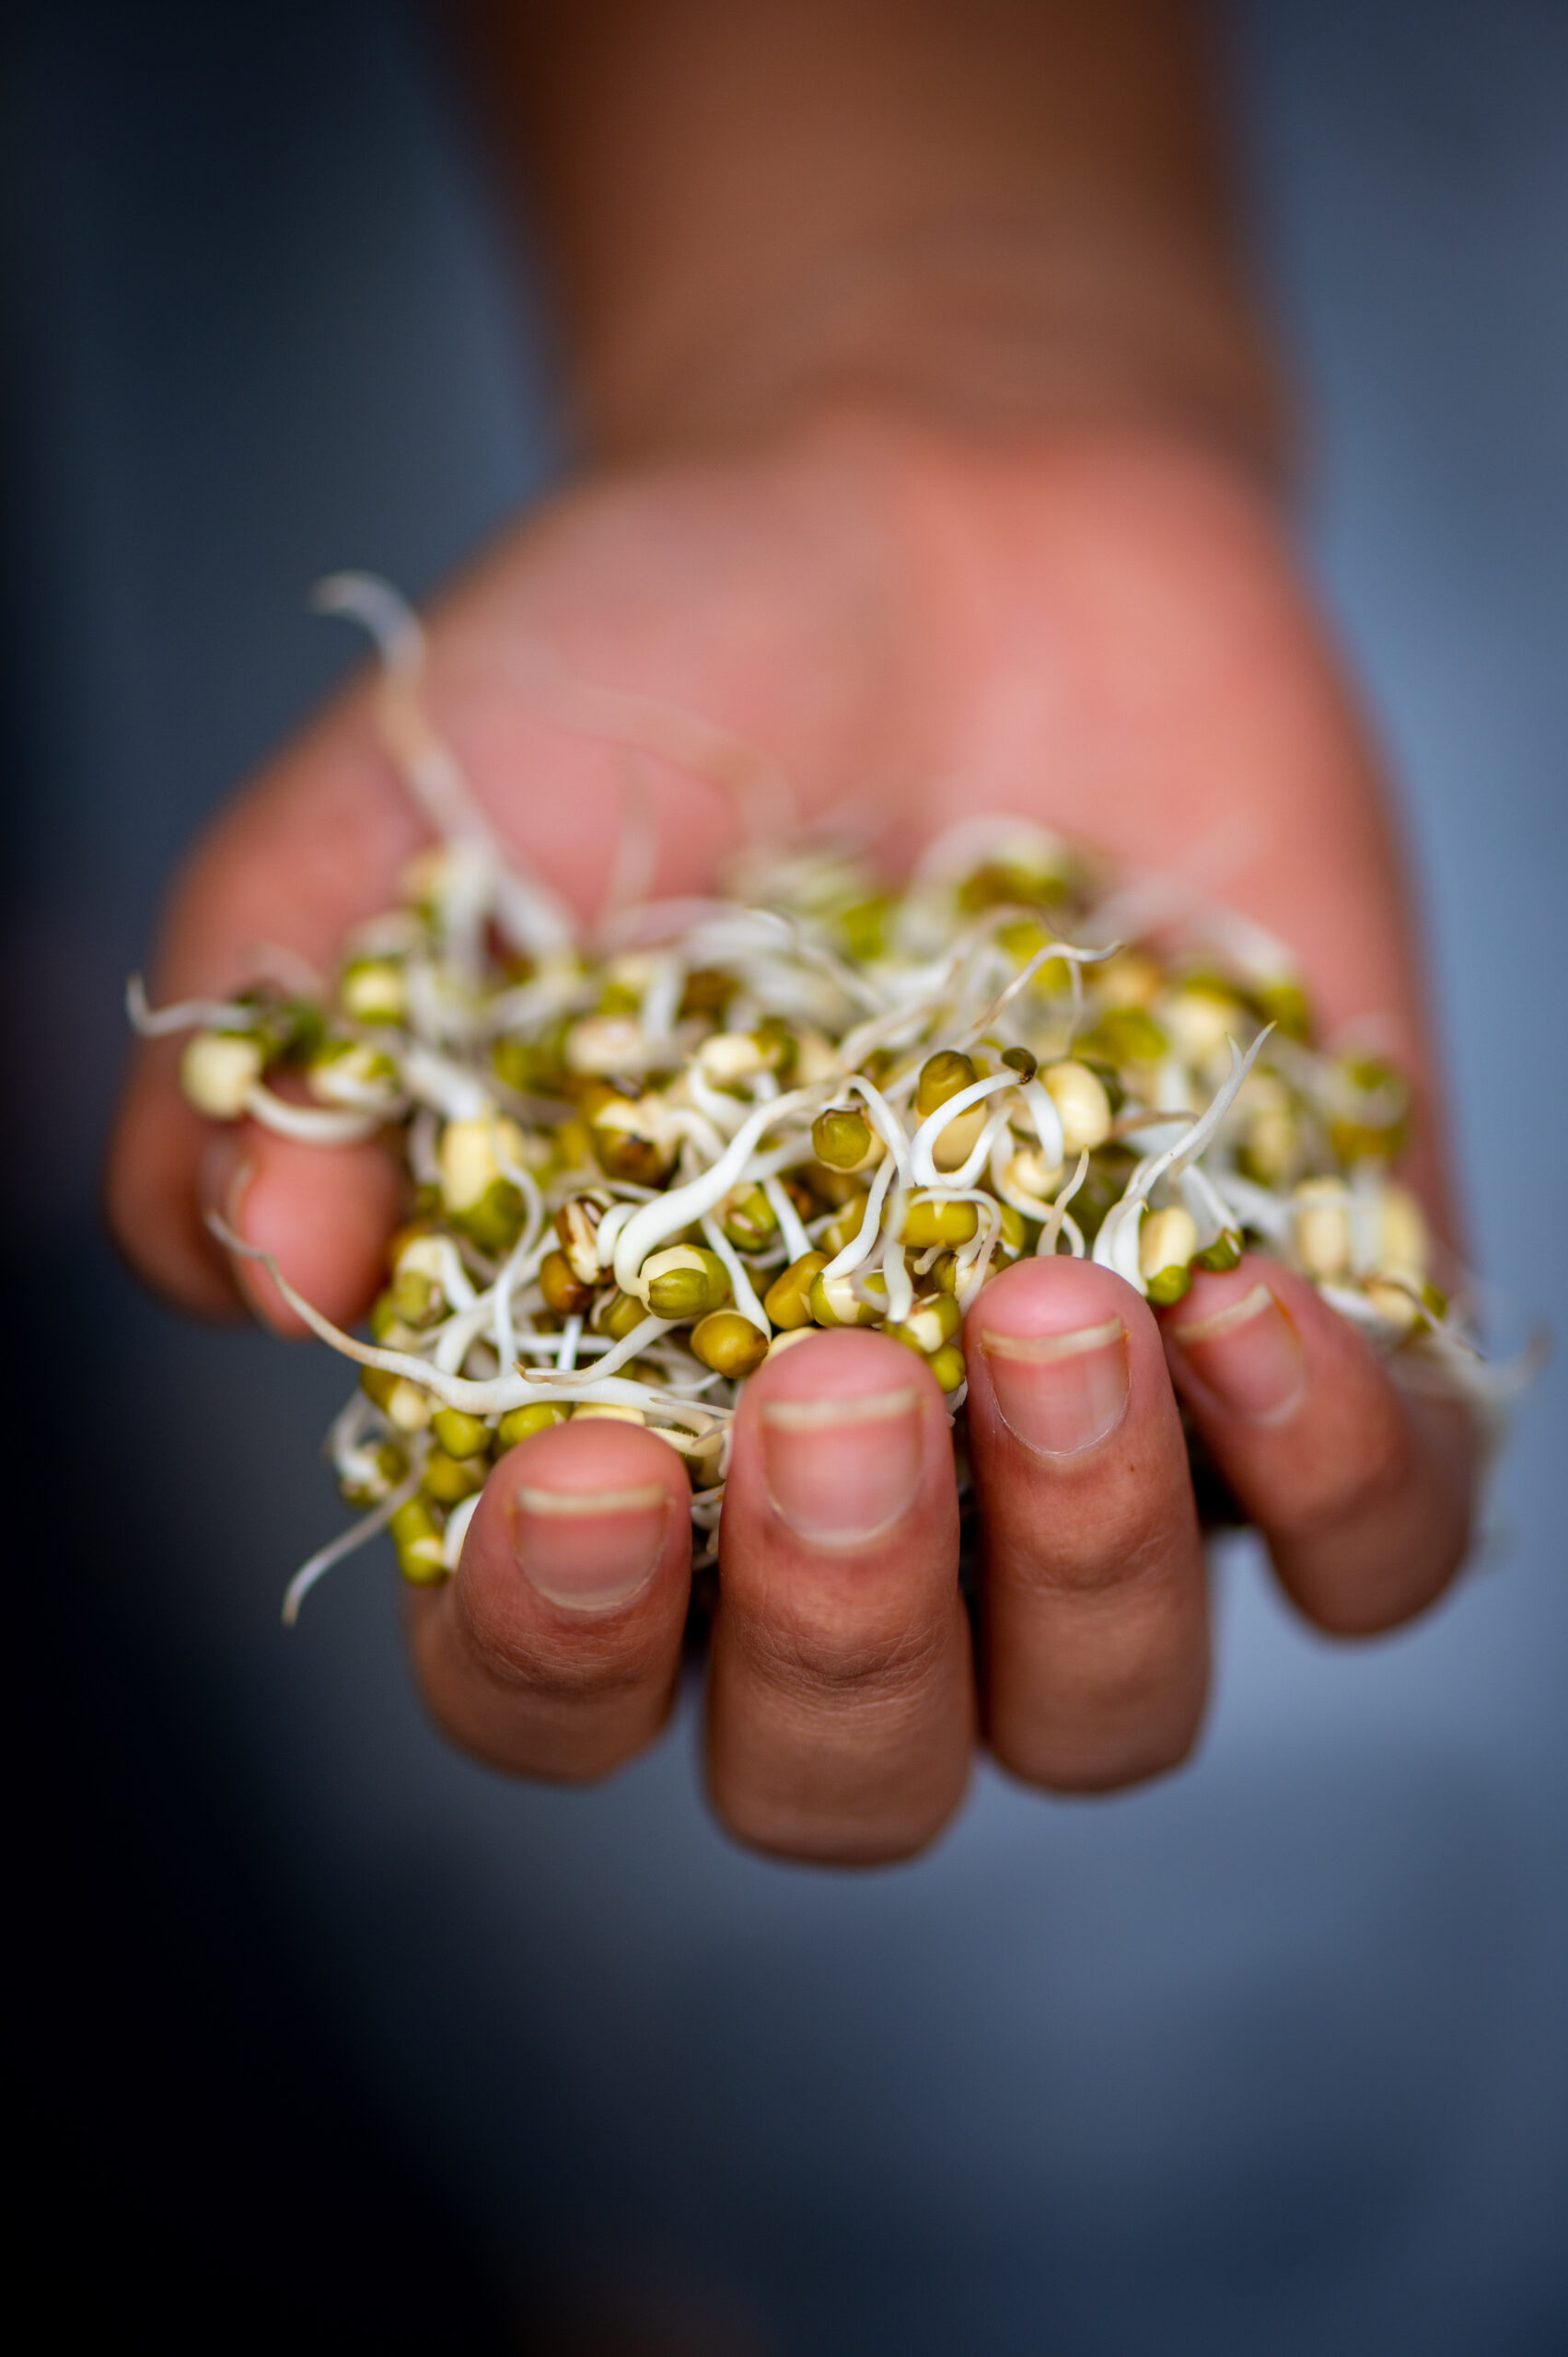
These sprouts are to me small manifestations of nature’s glory, which we also experience in the form of trees. Too often, we take them for granted. Down the road from my home, a beautiful old tree was recently chopped down as part of some construction work. Seeing this was heartrending. If we cannot revere them as they deserve to be revered, the least we can do is to preserve them. A marvelous book, Peter Wohlleben’s The Hidden Life of Trees, teaches us that they communicate amongst themselves, in everything from the way their roots touch one another’s and the way they sway. There is so much we have not appreciated, respected or learnt fully about. We need to be more aware of the life-giving essence of nature.
In that spirit, I would like to share with you my New Year’s intention. We have a little farm that I’ve spoken about from time to time on this blog, and along with various crops, I’ve also slowly been growing flowers there. Local varieties, especially ones which are quickly being forgotten, are what I most want to have flourish there. I am hoping that this is the year that I really begin to design it and cultivate it, in a meaningful and long-lasting way so that the next few generations can enjoy my garden and carry forward my love of local blossoms.
What is your intention, and how do you plan to bring it to life? What is sprouting in your dreams right now? As always, I would love to hear from you.
 ‘
‘