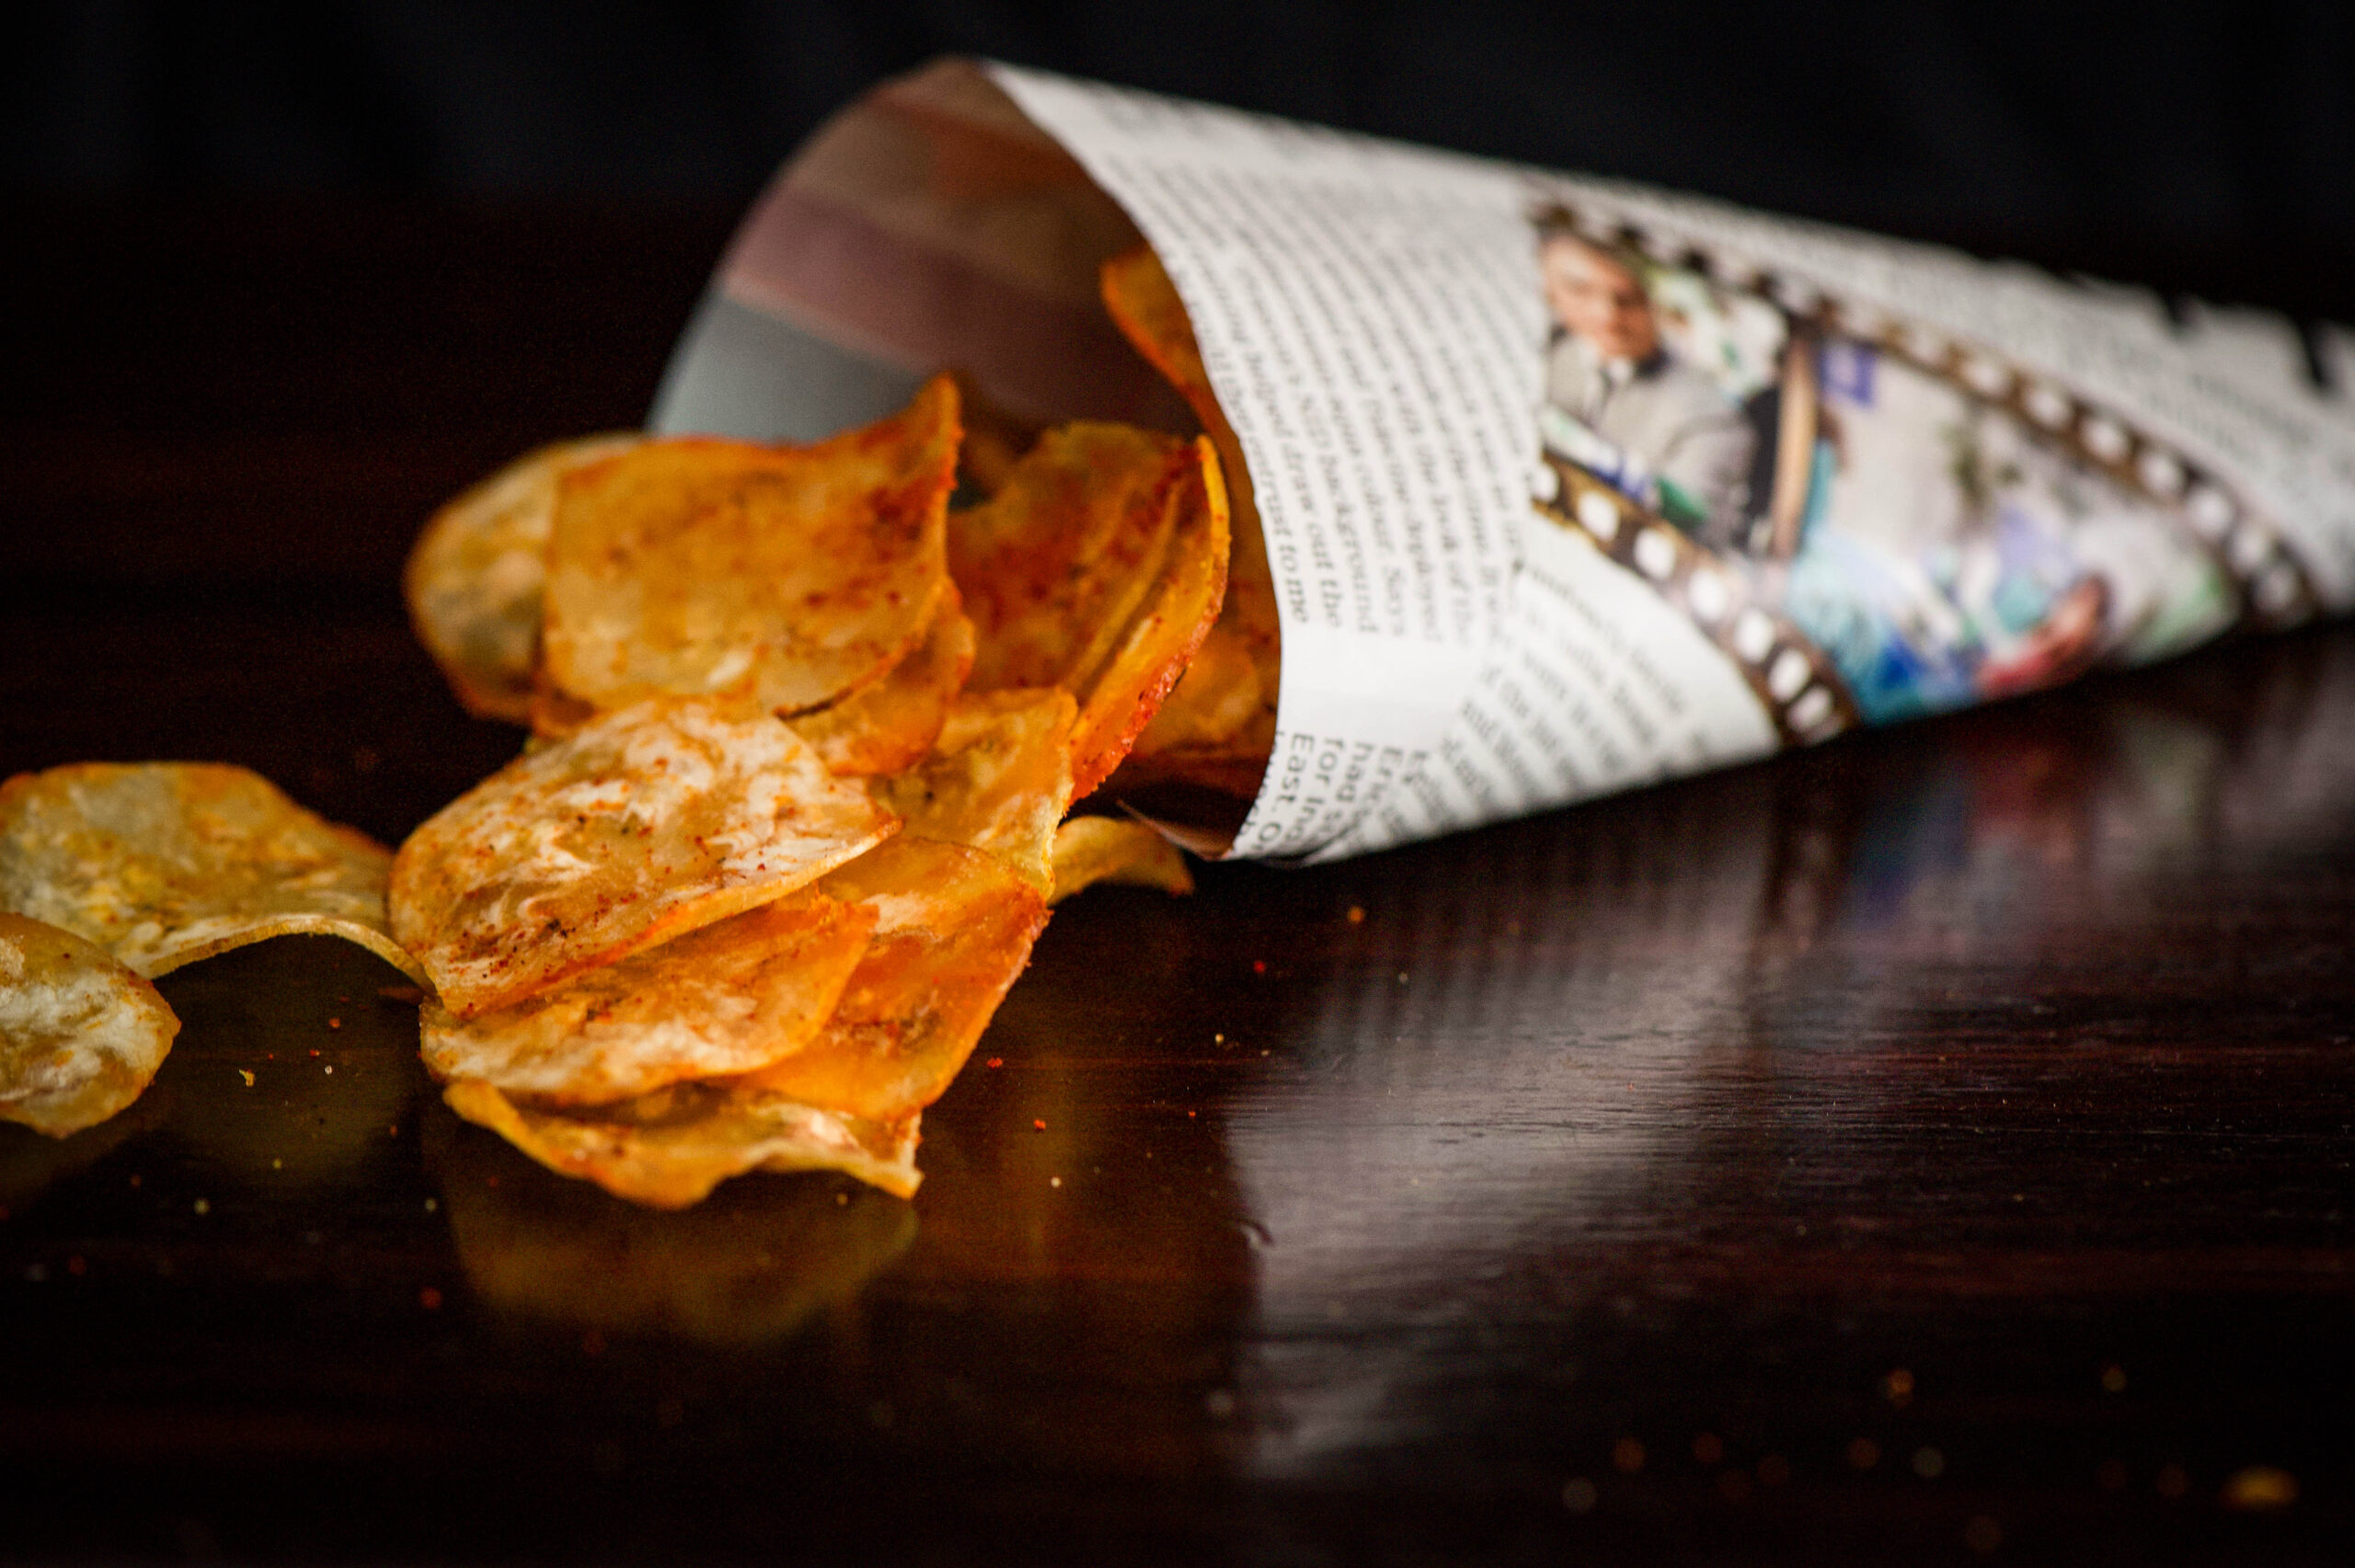
Gujaratis love fried things. Full stop! We love them so much that we even start the day with them. Specifically, with pooris, which are our traditional breakfasts. We never feel guilty or bad about reaching out for our fried snacks either, which includes ganthia (fried mini pappad) and a variety of mixtures (popularly known as chevdo, which vary from region to region and can be sweet, tangy, or spicy). Ganthia and jalebi, a deep-fried sweet, are also popular as breakfast. It will come as no surprise that pooris – discs of dough which fluff up in hot oil – are another such staple. They also come in several variations. Crunchy, crispy-salty (to be had with tea), and soft. Today, I’ll be sharing how to make the soft version… with another typically Gujju twist.
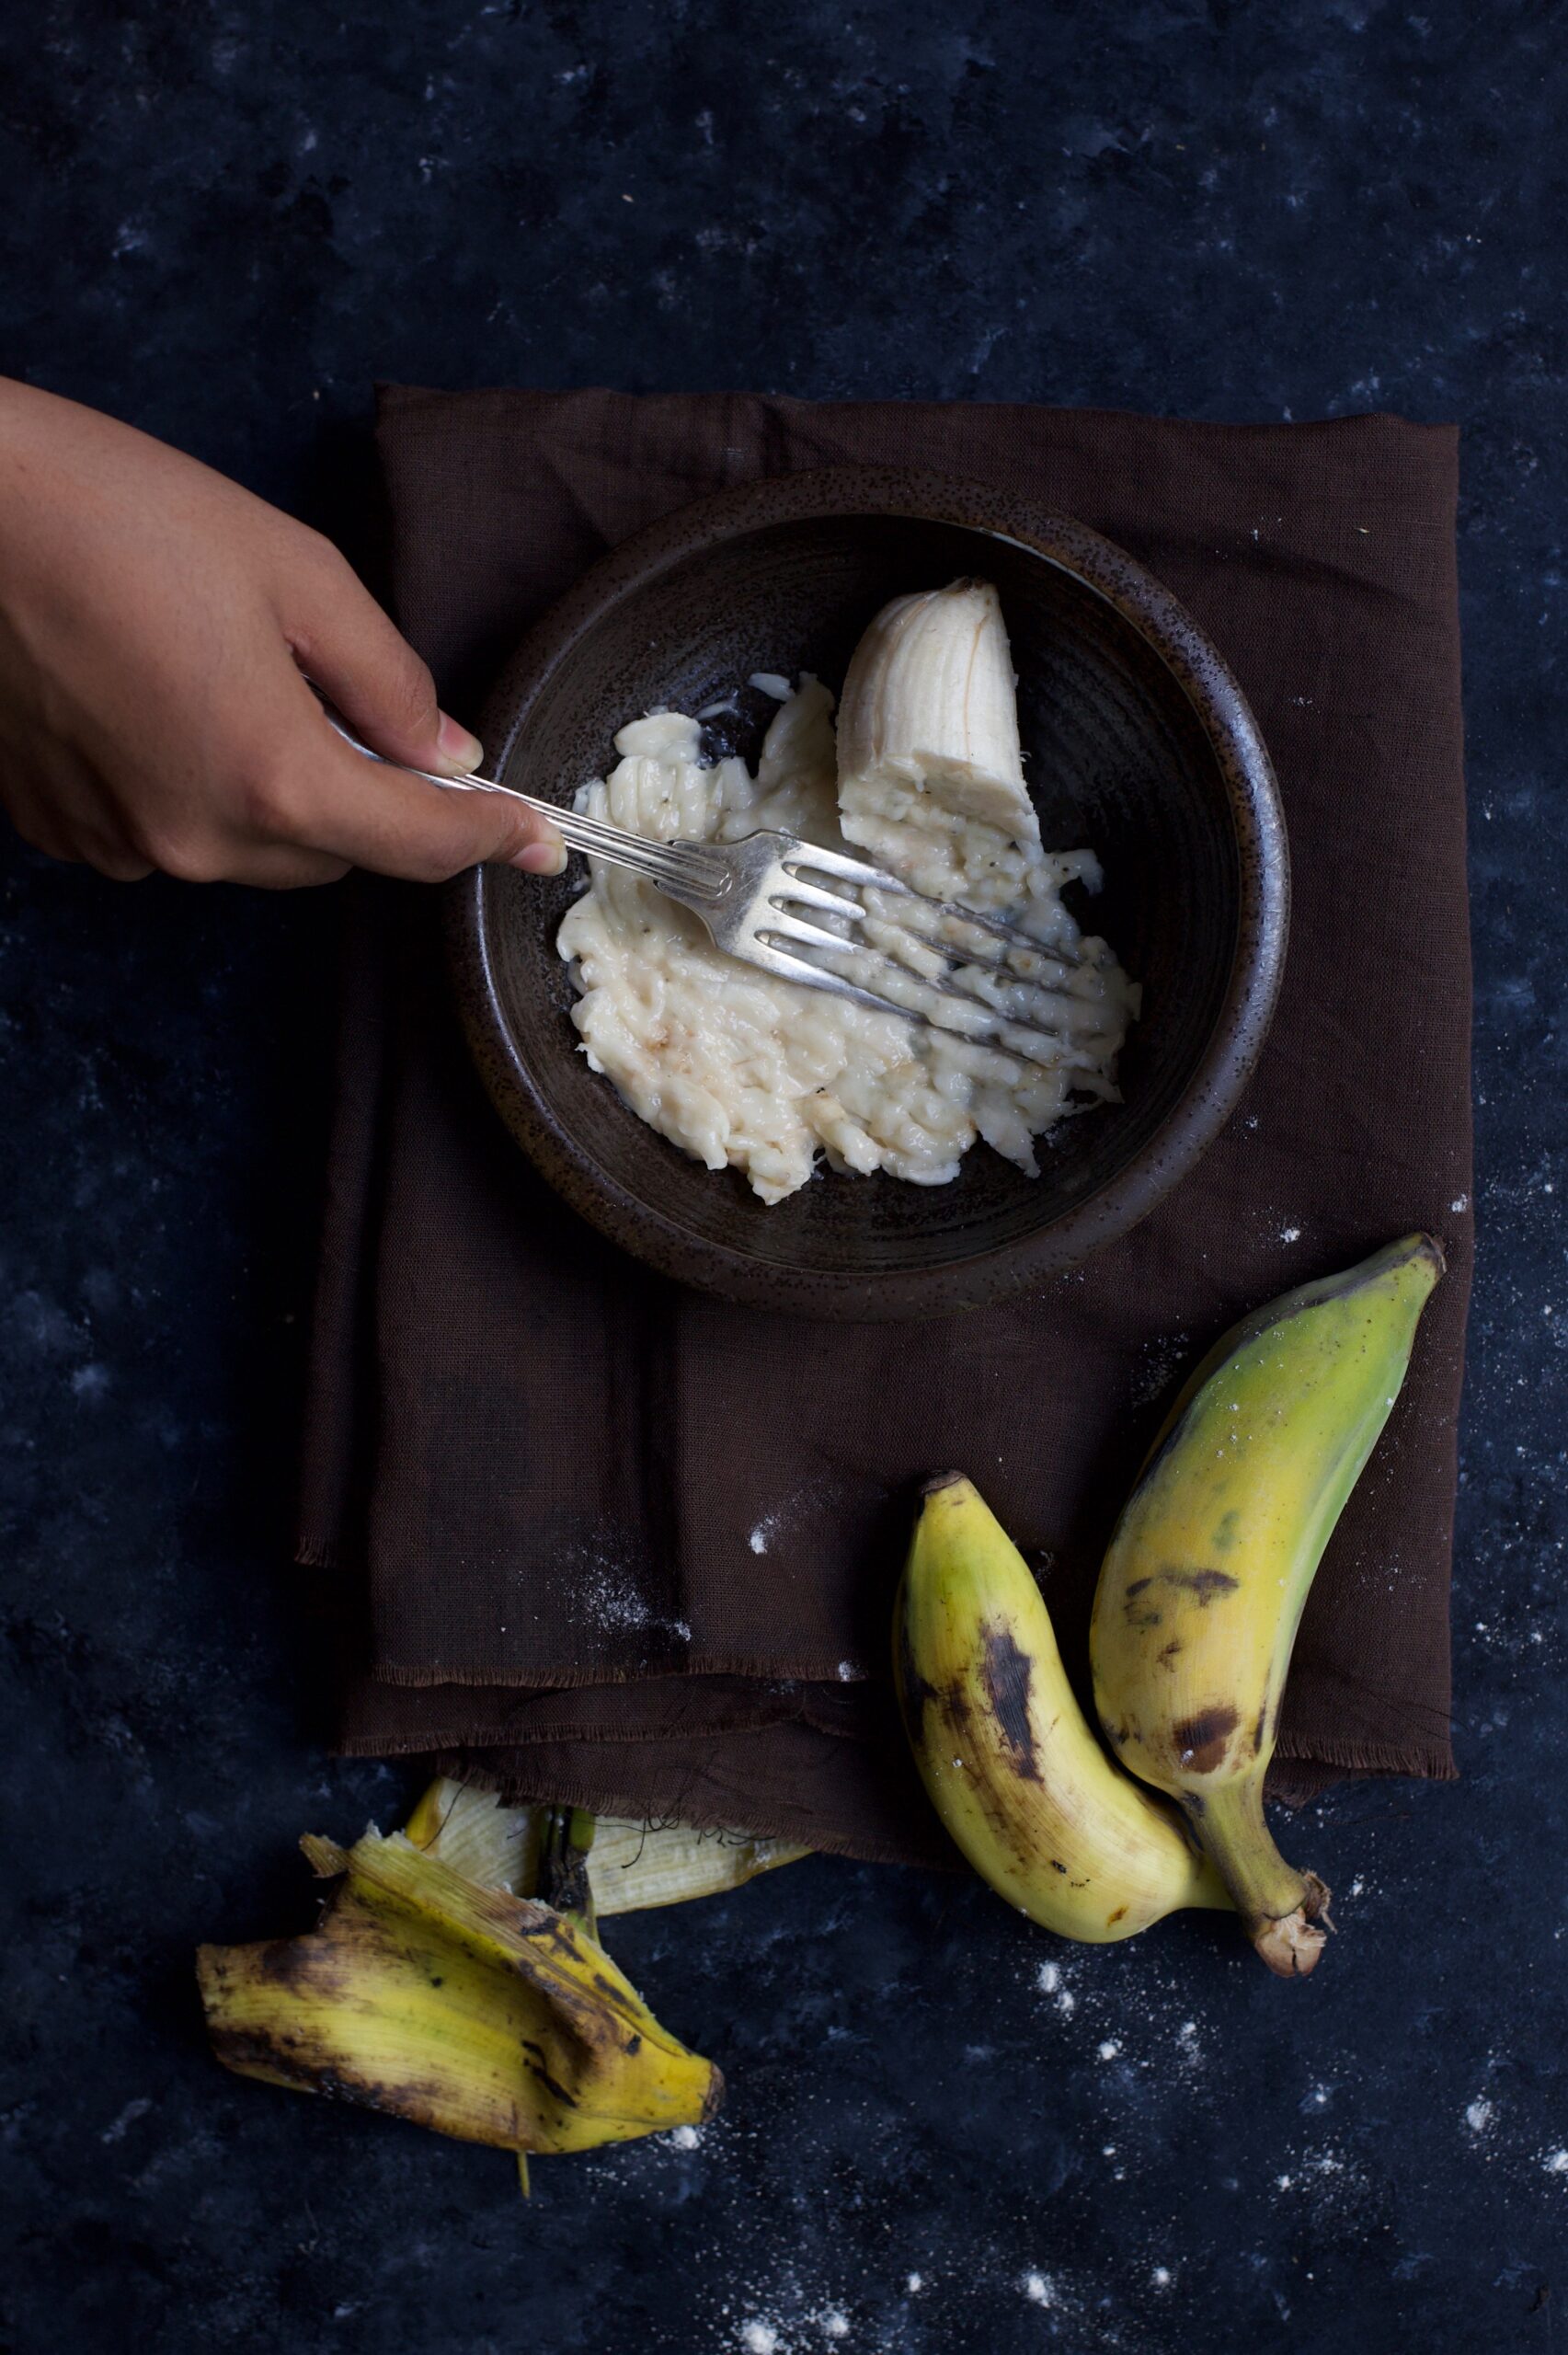
That twist, of course, is sweetness. As you’d already have known from the long list of traditional desserts on this blog, Gujaratis love sweetness just as much or even more than we love fried things. The perfect combination of these two cravings is the kheer poori, which in simplest terms is a poori eaten with kheer, a milk-based sweet.
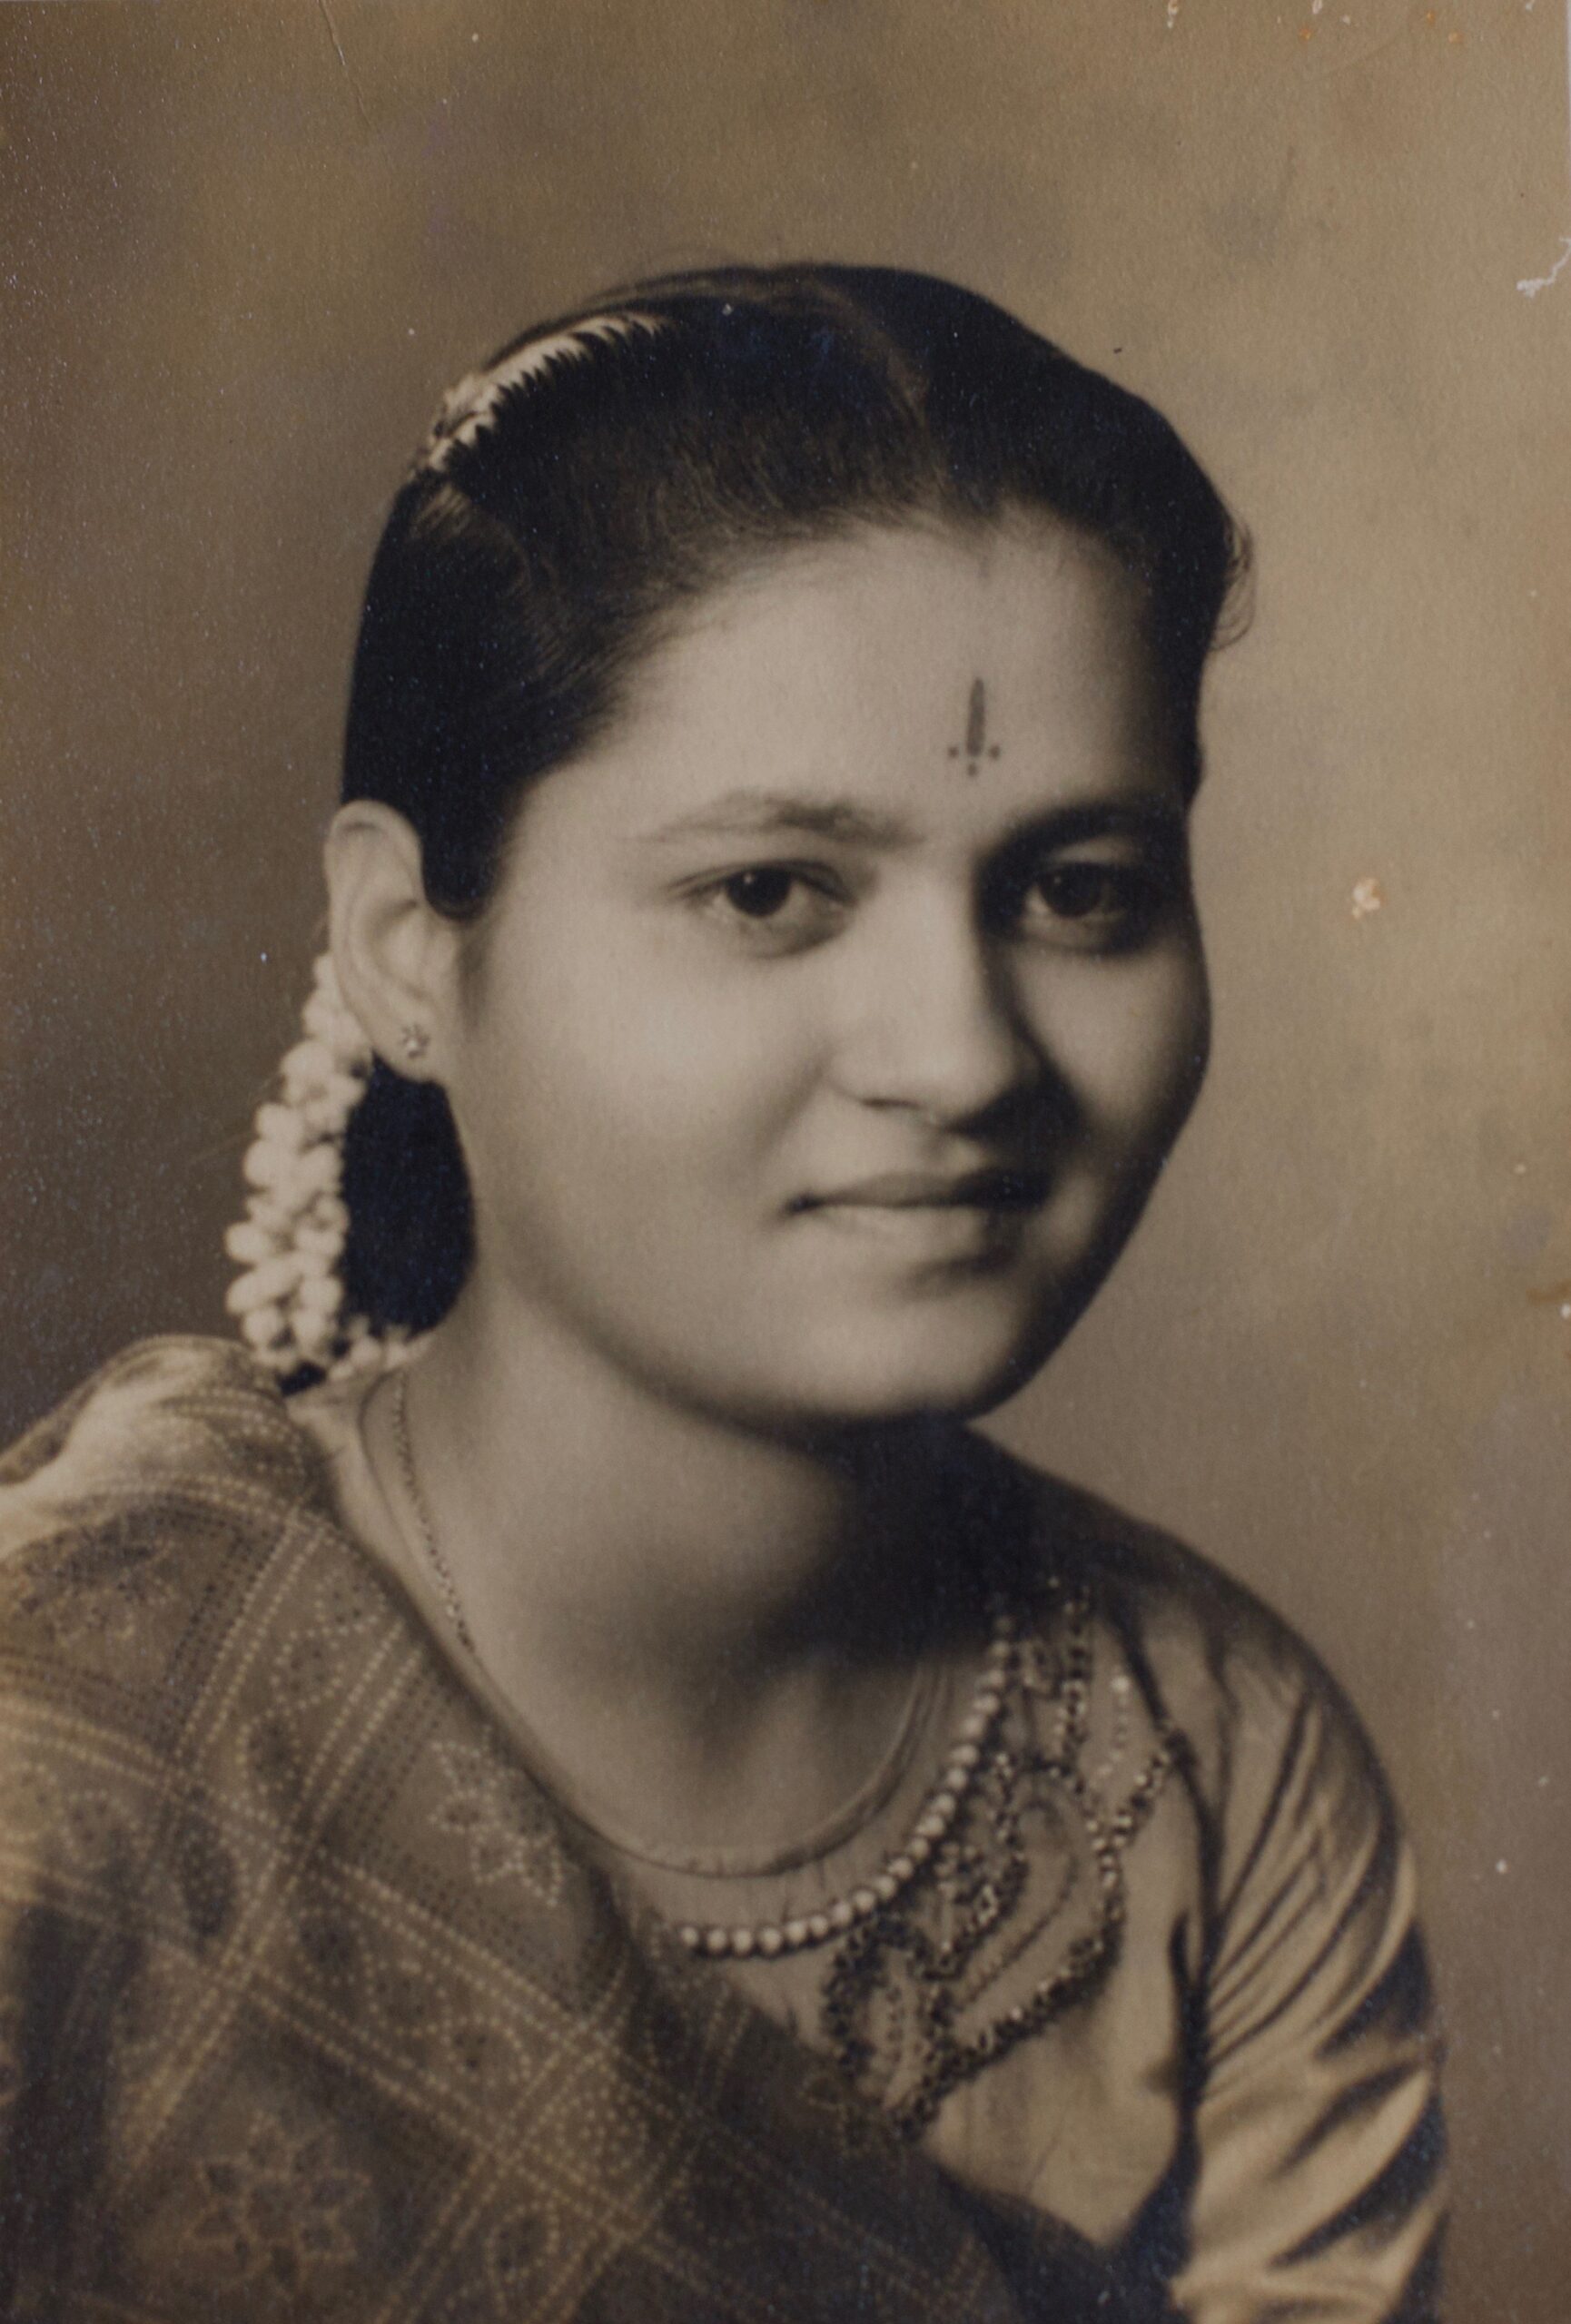
When I was growing up, cakes were not yet popular in Chennai, and this kheer poori was often a birthday treat that my mother made for us. Especially for me, because I just loved that combination of tastes and temperature: the saltiness and heat of the poori, the sweetness and coolness of the kheer. It was also something made for special occasions, which as you know are usually observed with an offering of sweets to the divine, as well as for weddings and other celebrations.
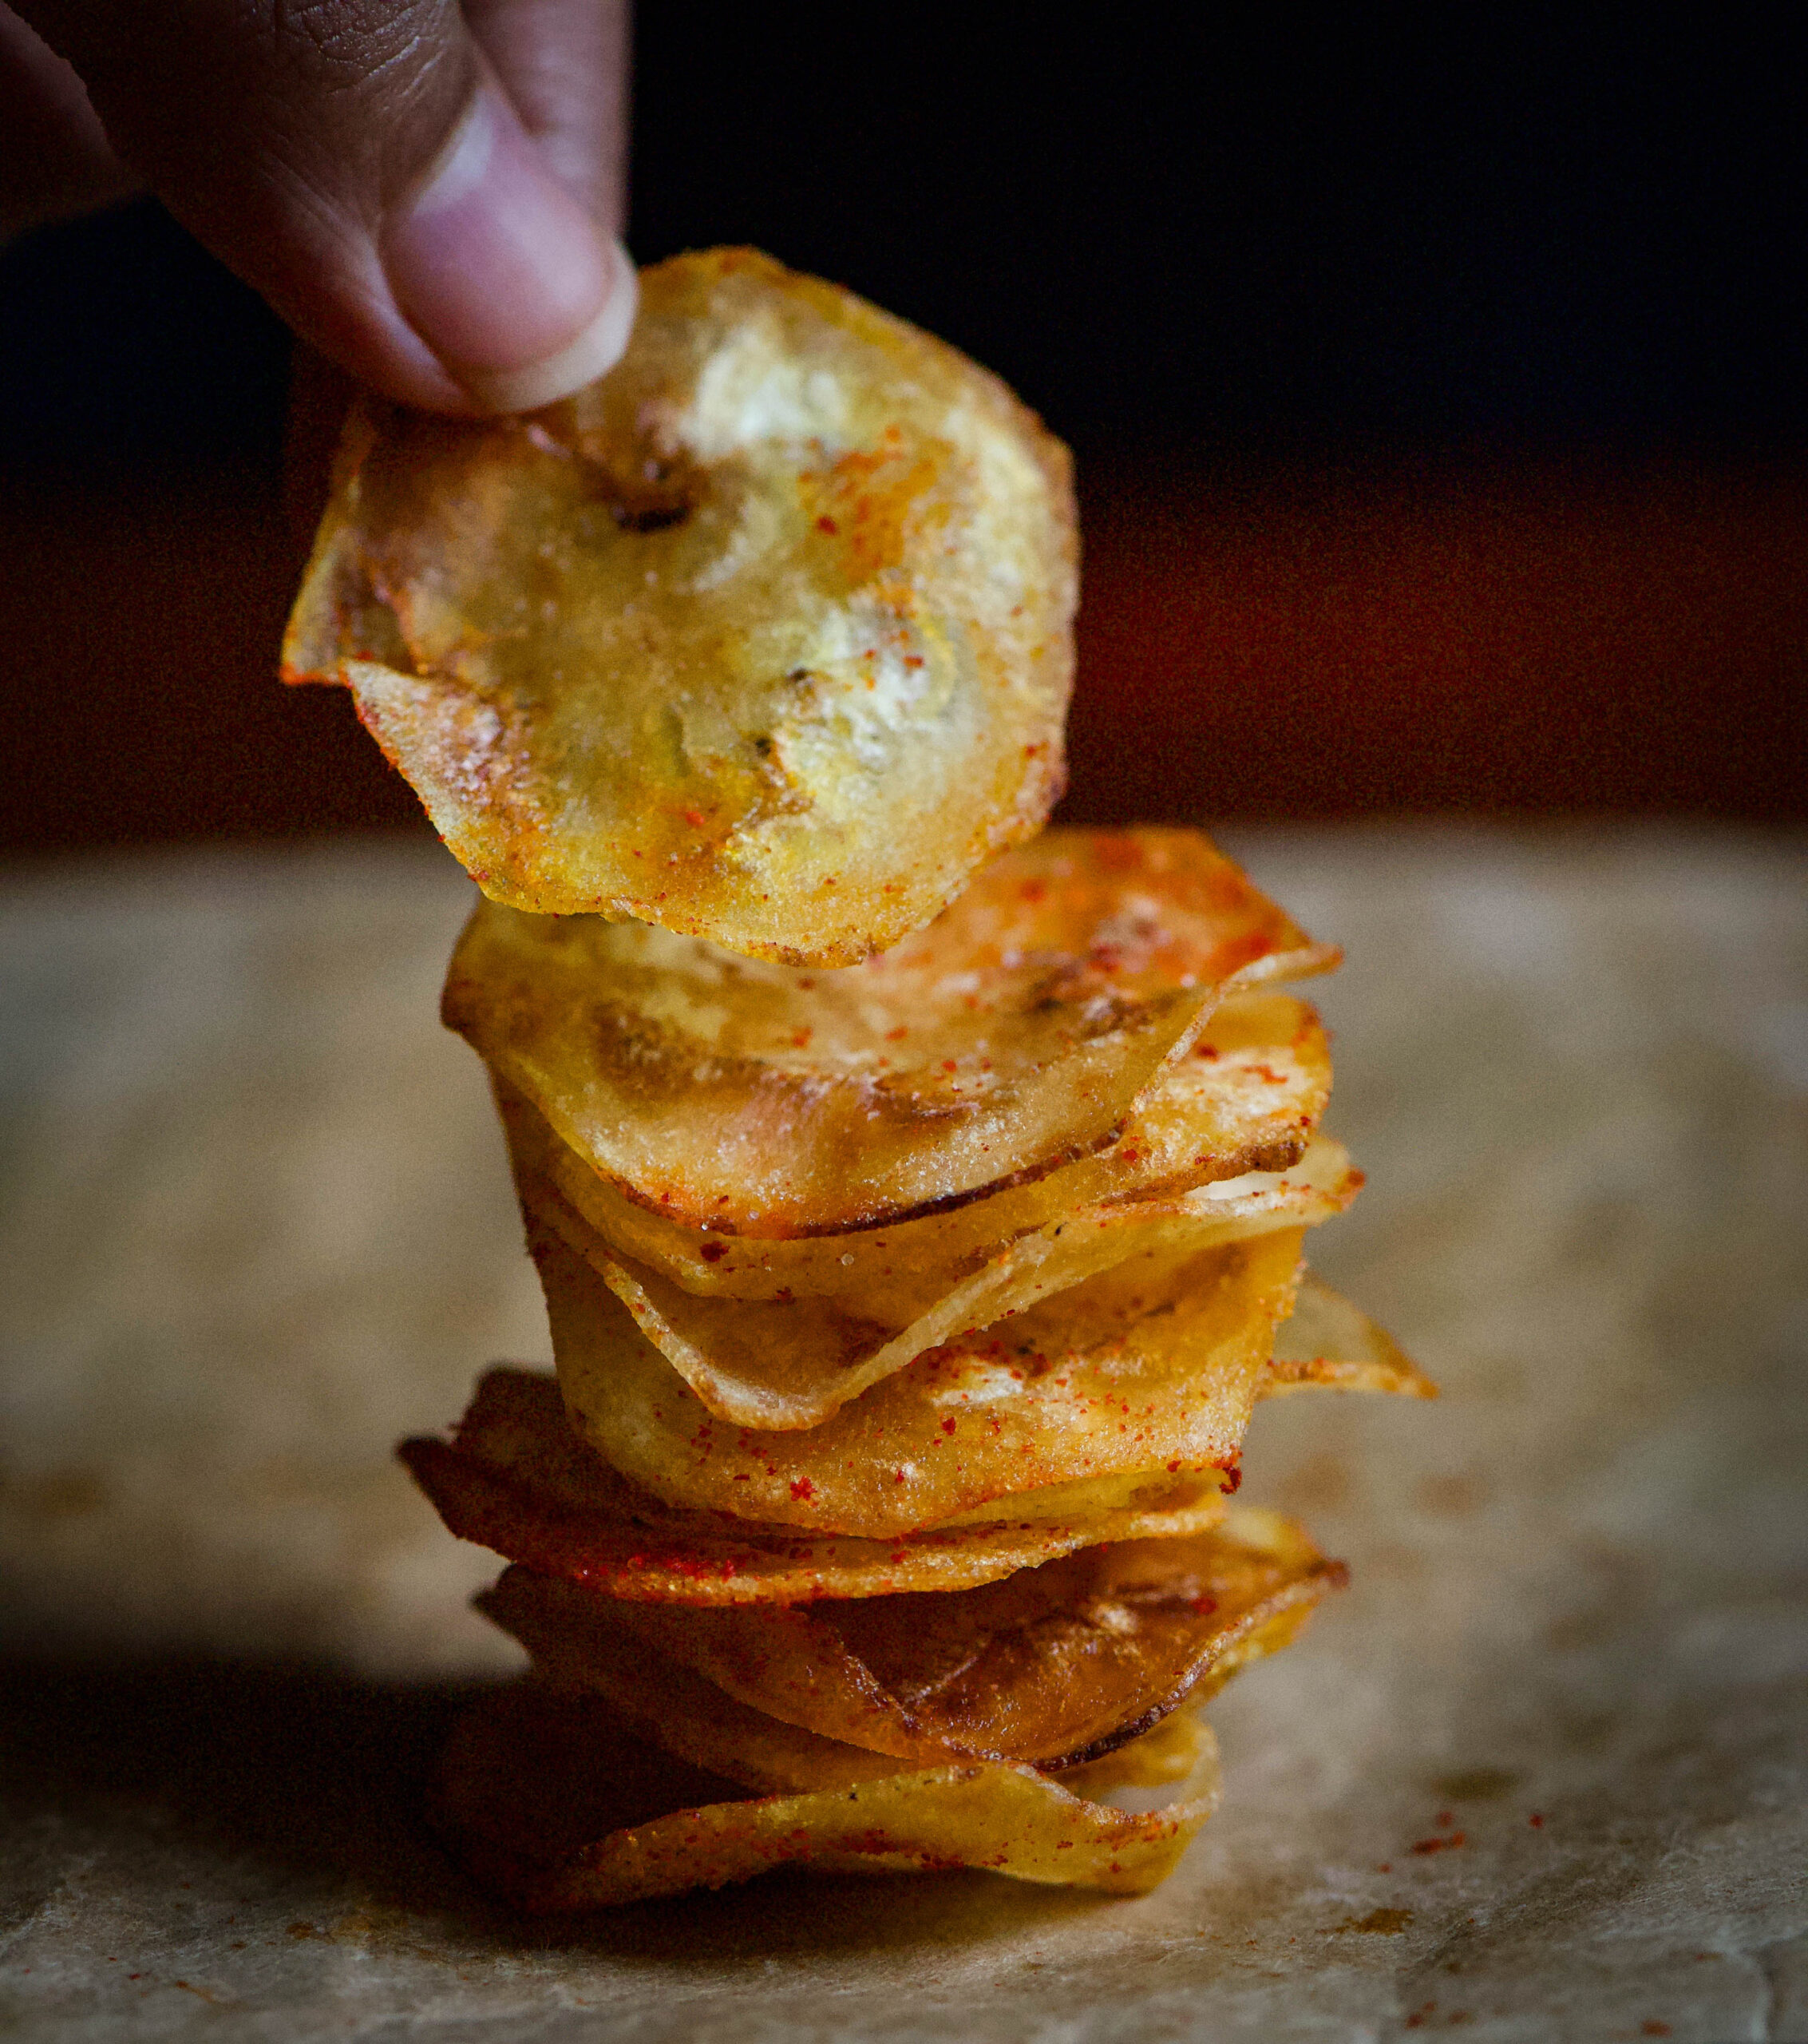
The frying of pooris is an art, and being a Gujarati, size does matter – in this case, the smaller, the more delicate and dainty, the better. My mother was strict about this. She always said that if a poori did not puff, if it did not bloom in the oil, then the person frying it just did not know how to make a good poori! Pooris are generally eaten hot and fresh. Not only did my mother tend not to serve unpuffed pooris at the table, but if a poori became flattened by the time it reached my plate, I would absolutely refuse to eat it as a child! Perhaps that’s why I became so keen on, and so good at, frying perfectly puffed ones later.
I’ve shared two kheer recipes earlier, and have linked to them below. So this recipe teaches you only how to make pooris – a standard in almost any Indian kitchen, but hard to perfect, as many will tell you! Alternately, you can eat your pooris with any accompaniment of your choice. Once you have the basics in place, it’s fun to experiment. If you don’t have a sweet tooth, you can always have pooris with a potato curry (like the Gujarati bataka-nu-shaak) or another accompaniment, like a pickle. Perhaps because it is so simple, a poori is also an incredibly versatile dish. And yes, you WILL need (and want) more than one, for sure!
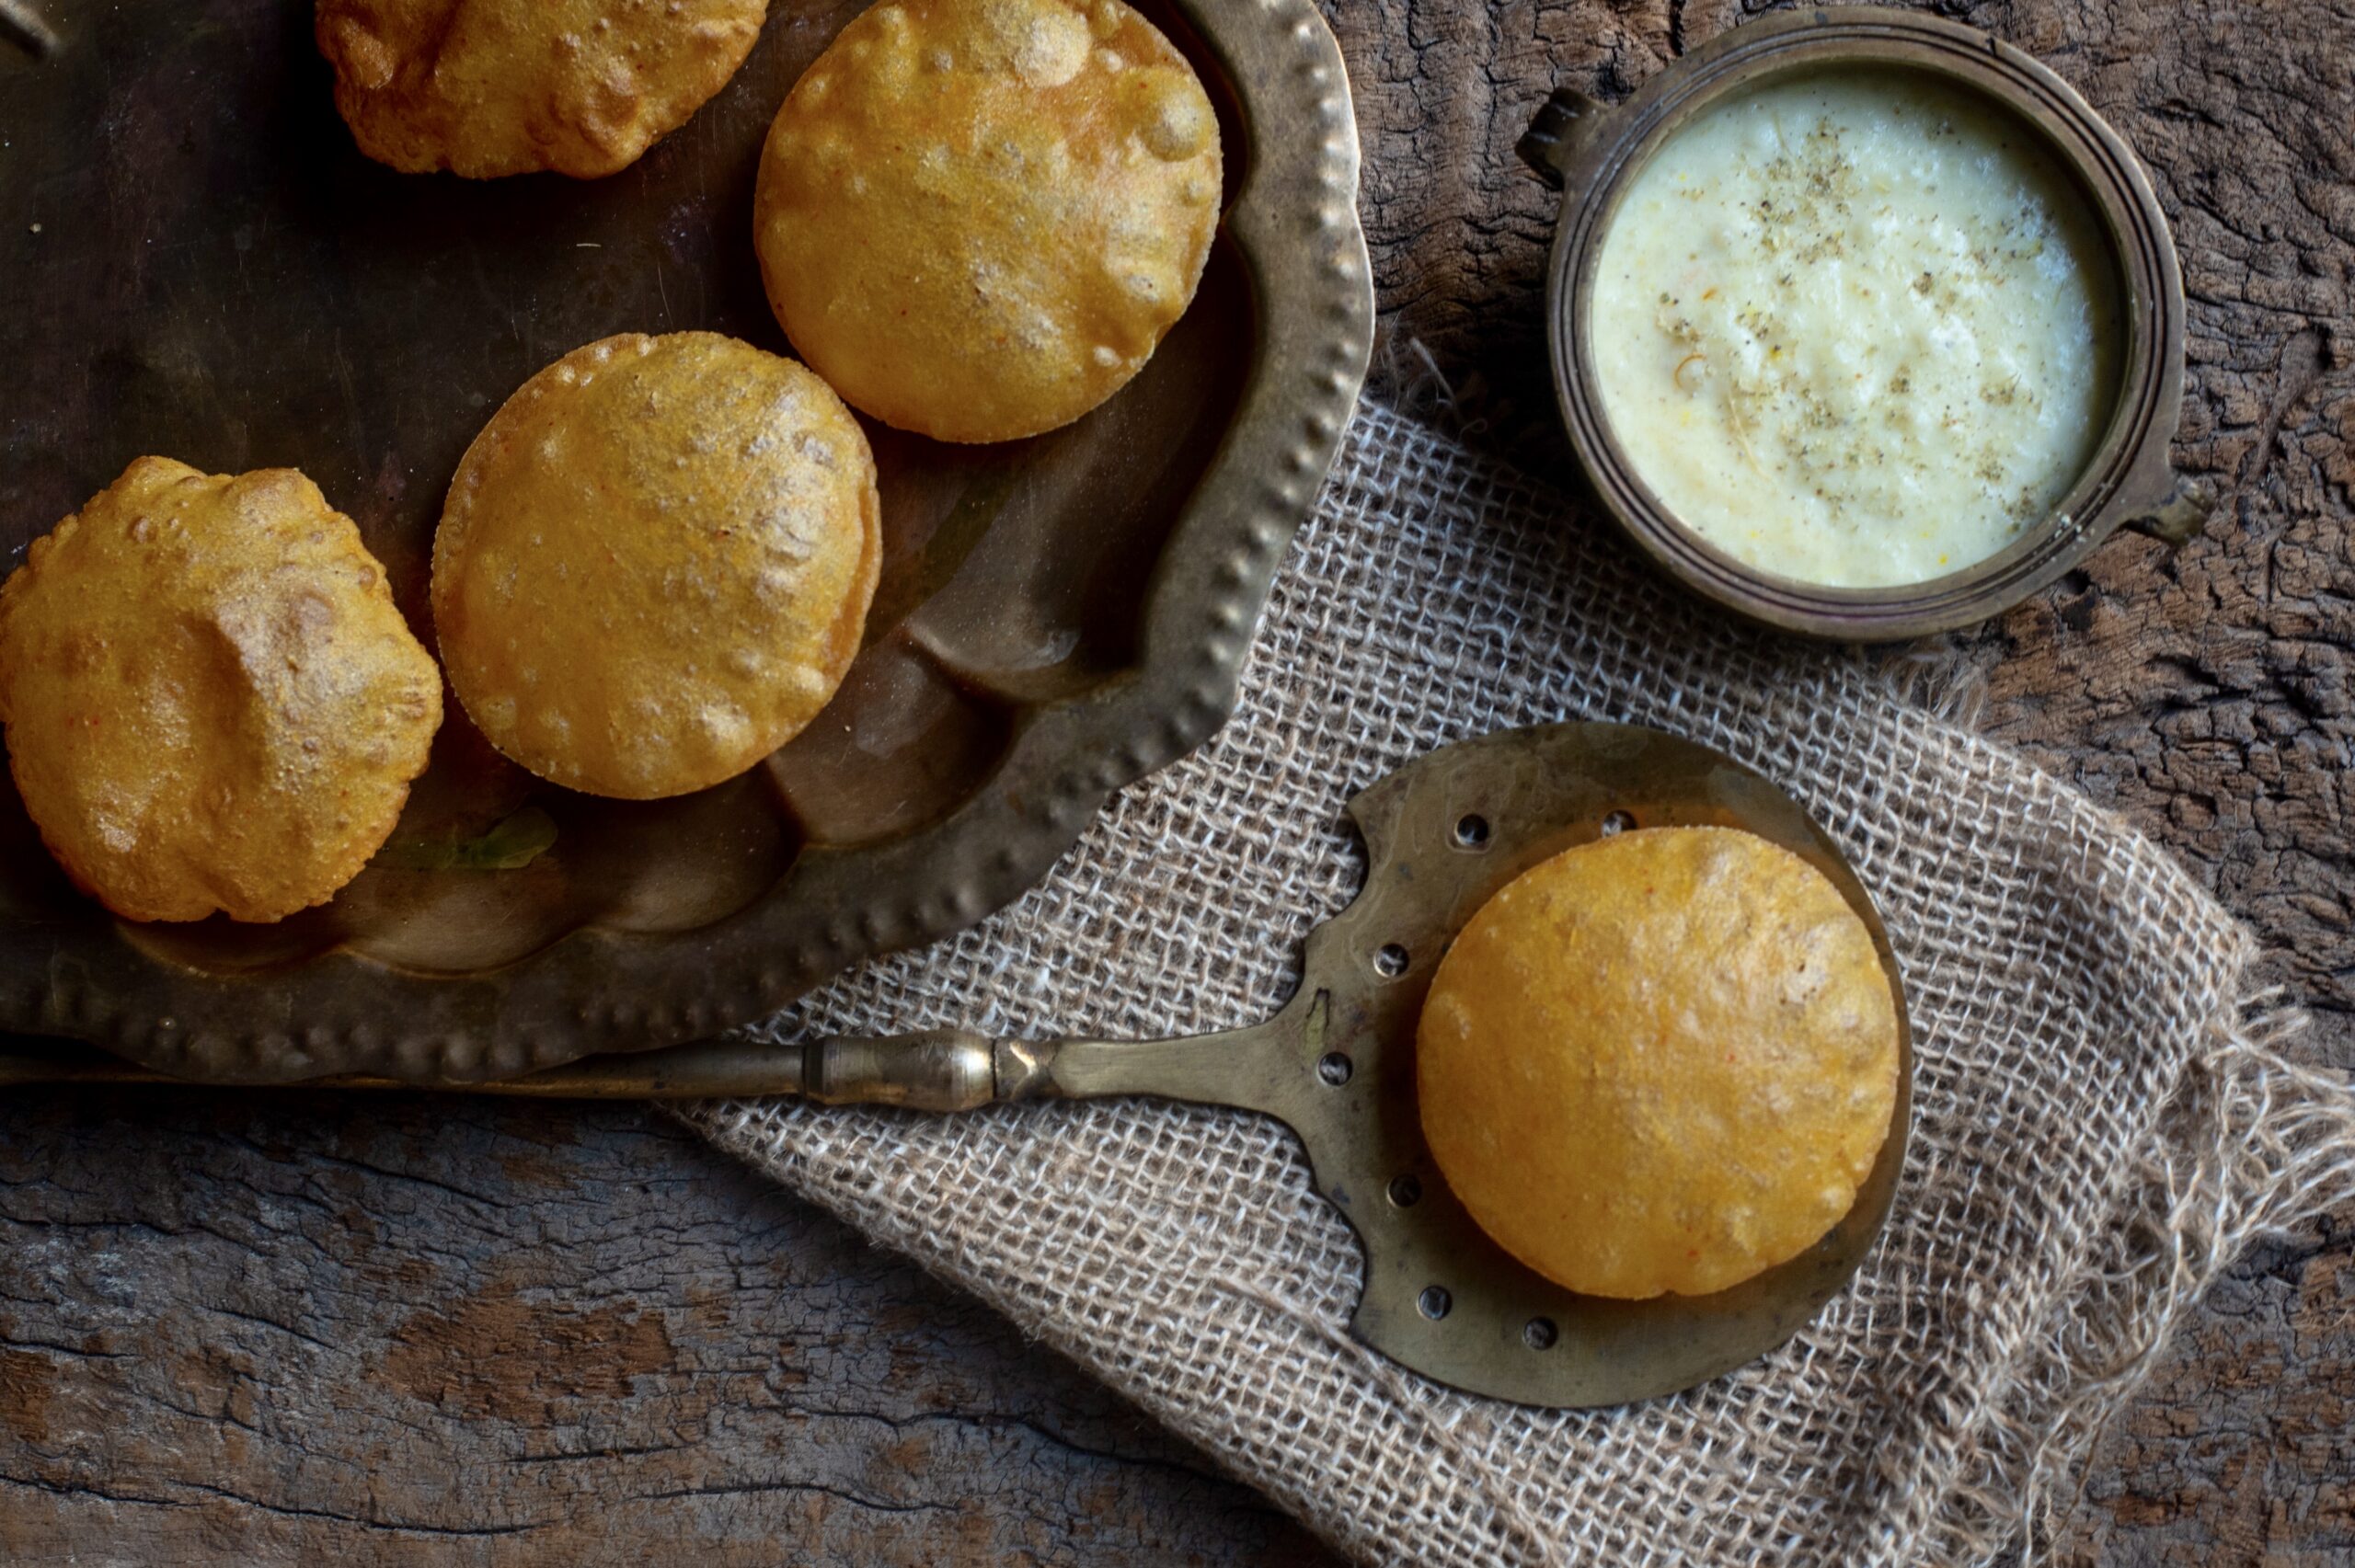
Poori (With Kheer)
(Yield: 15-20 small pooris)
Ingredients
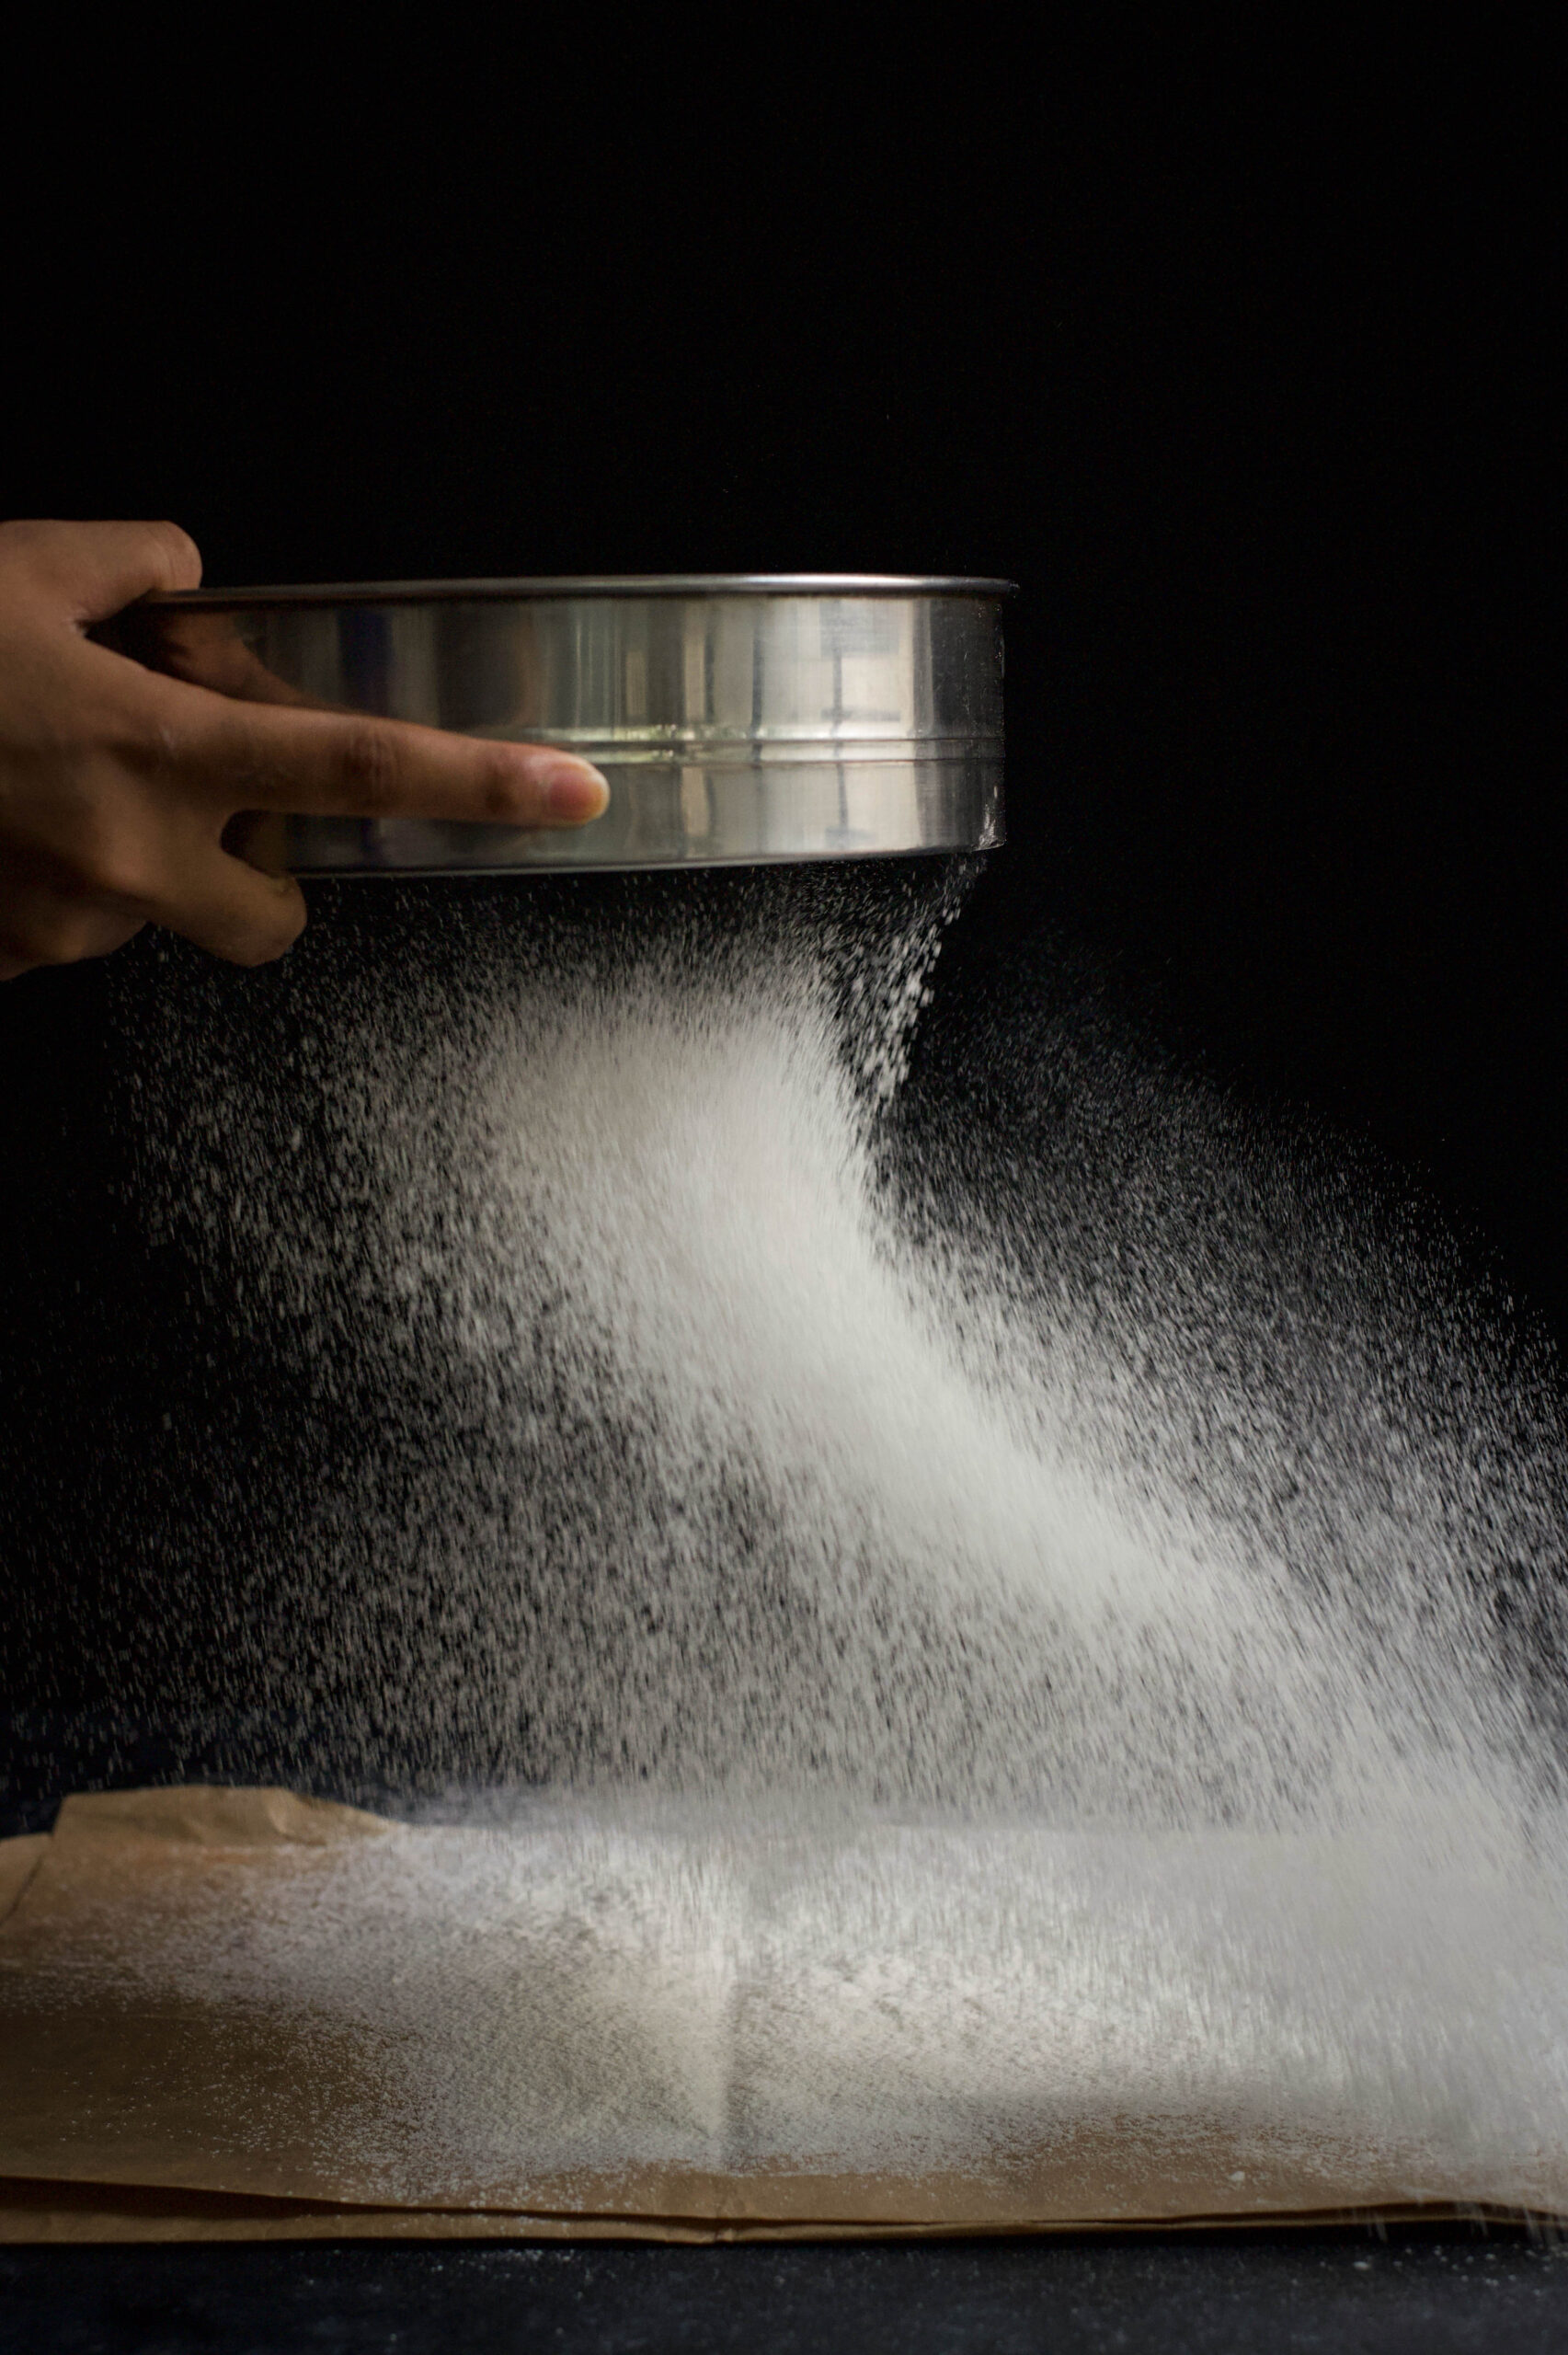
1 cup whole wheat flour
¼ teaspoon turmeric powder
½ teaspoon cumin powder
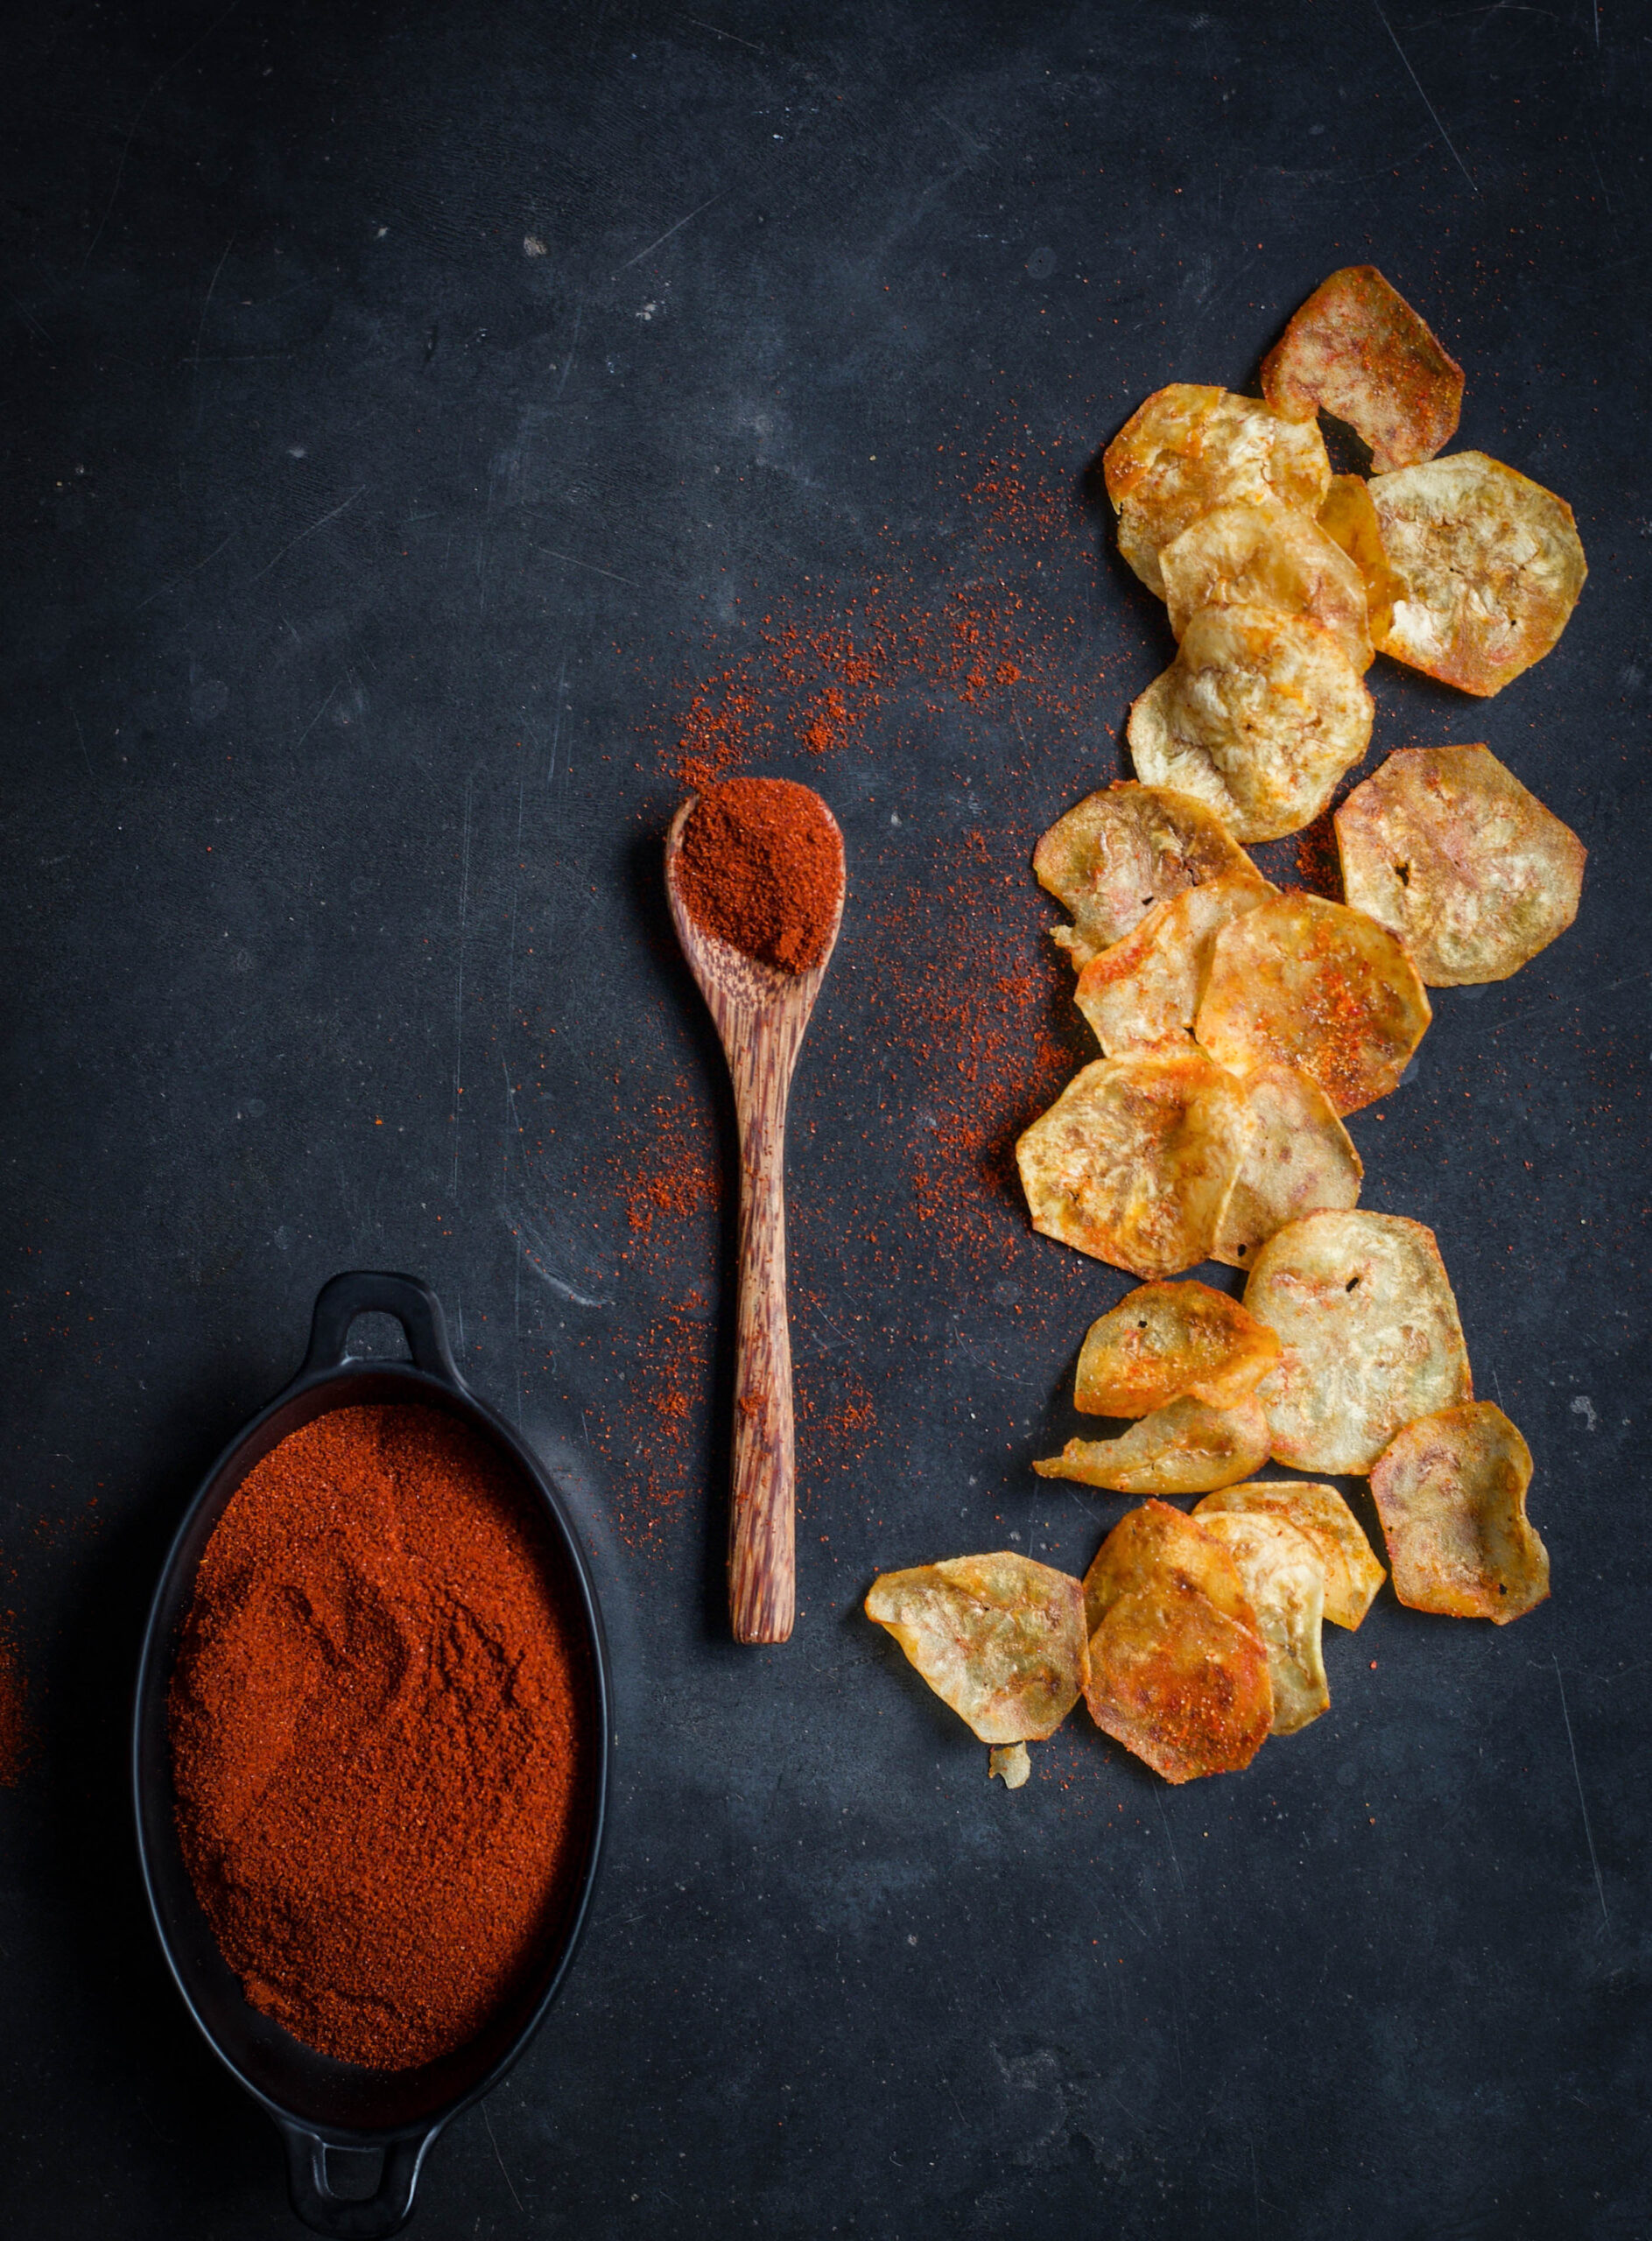
½ teaspoon chilli powder
½ teaspoon salt
1 tablespoon oil
¼ cup water
2 cups oil for deep frying
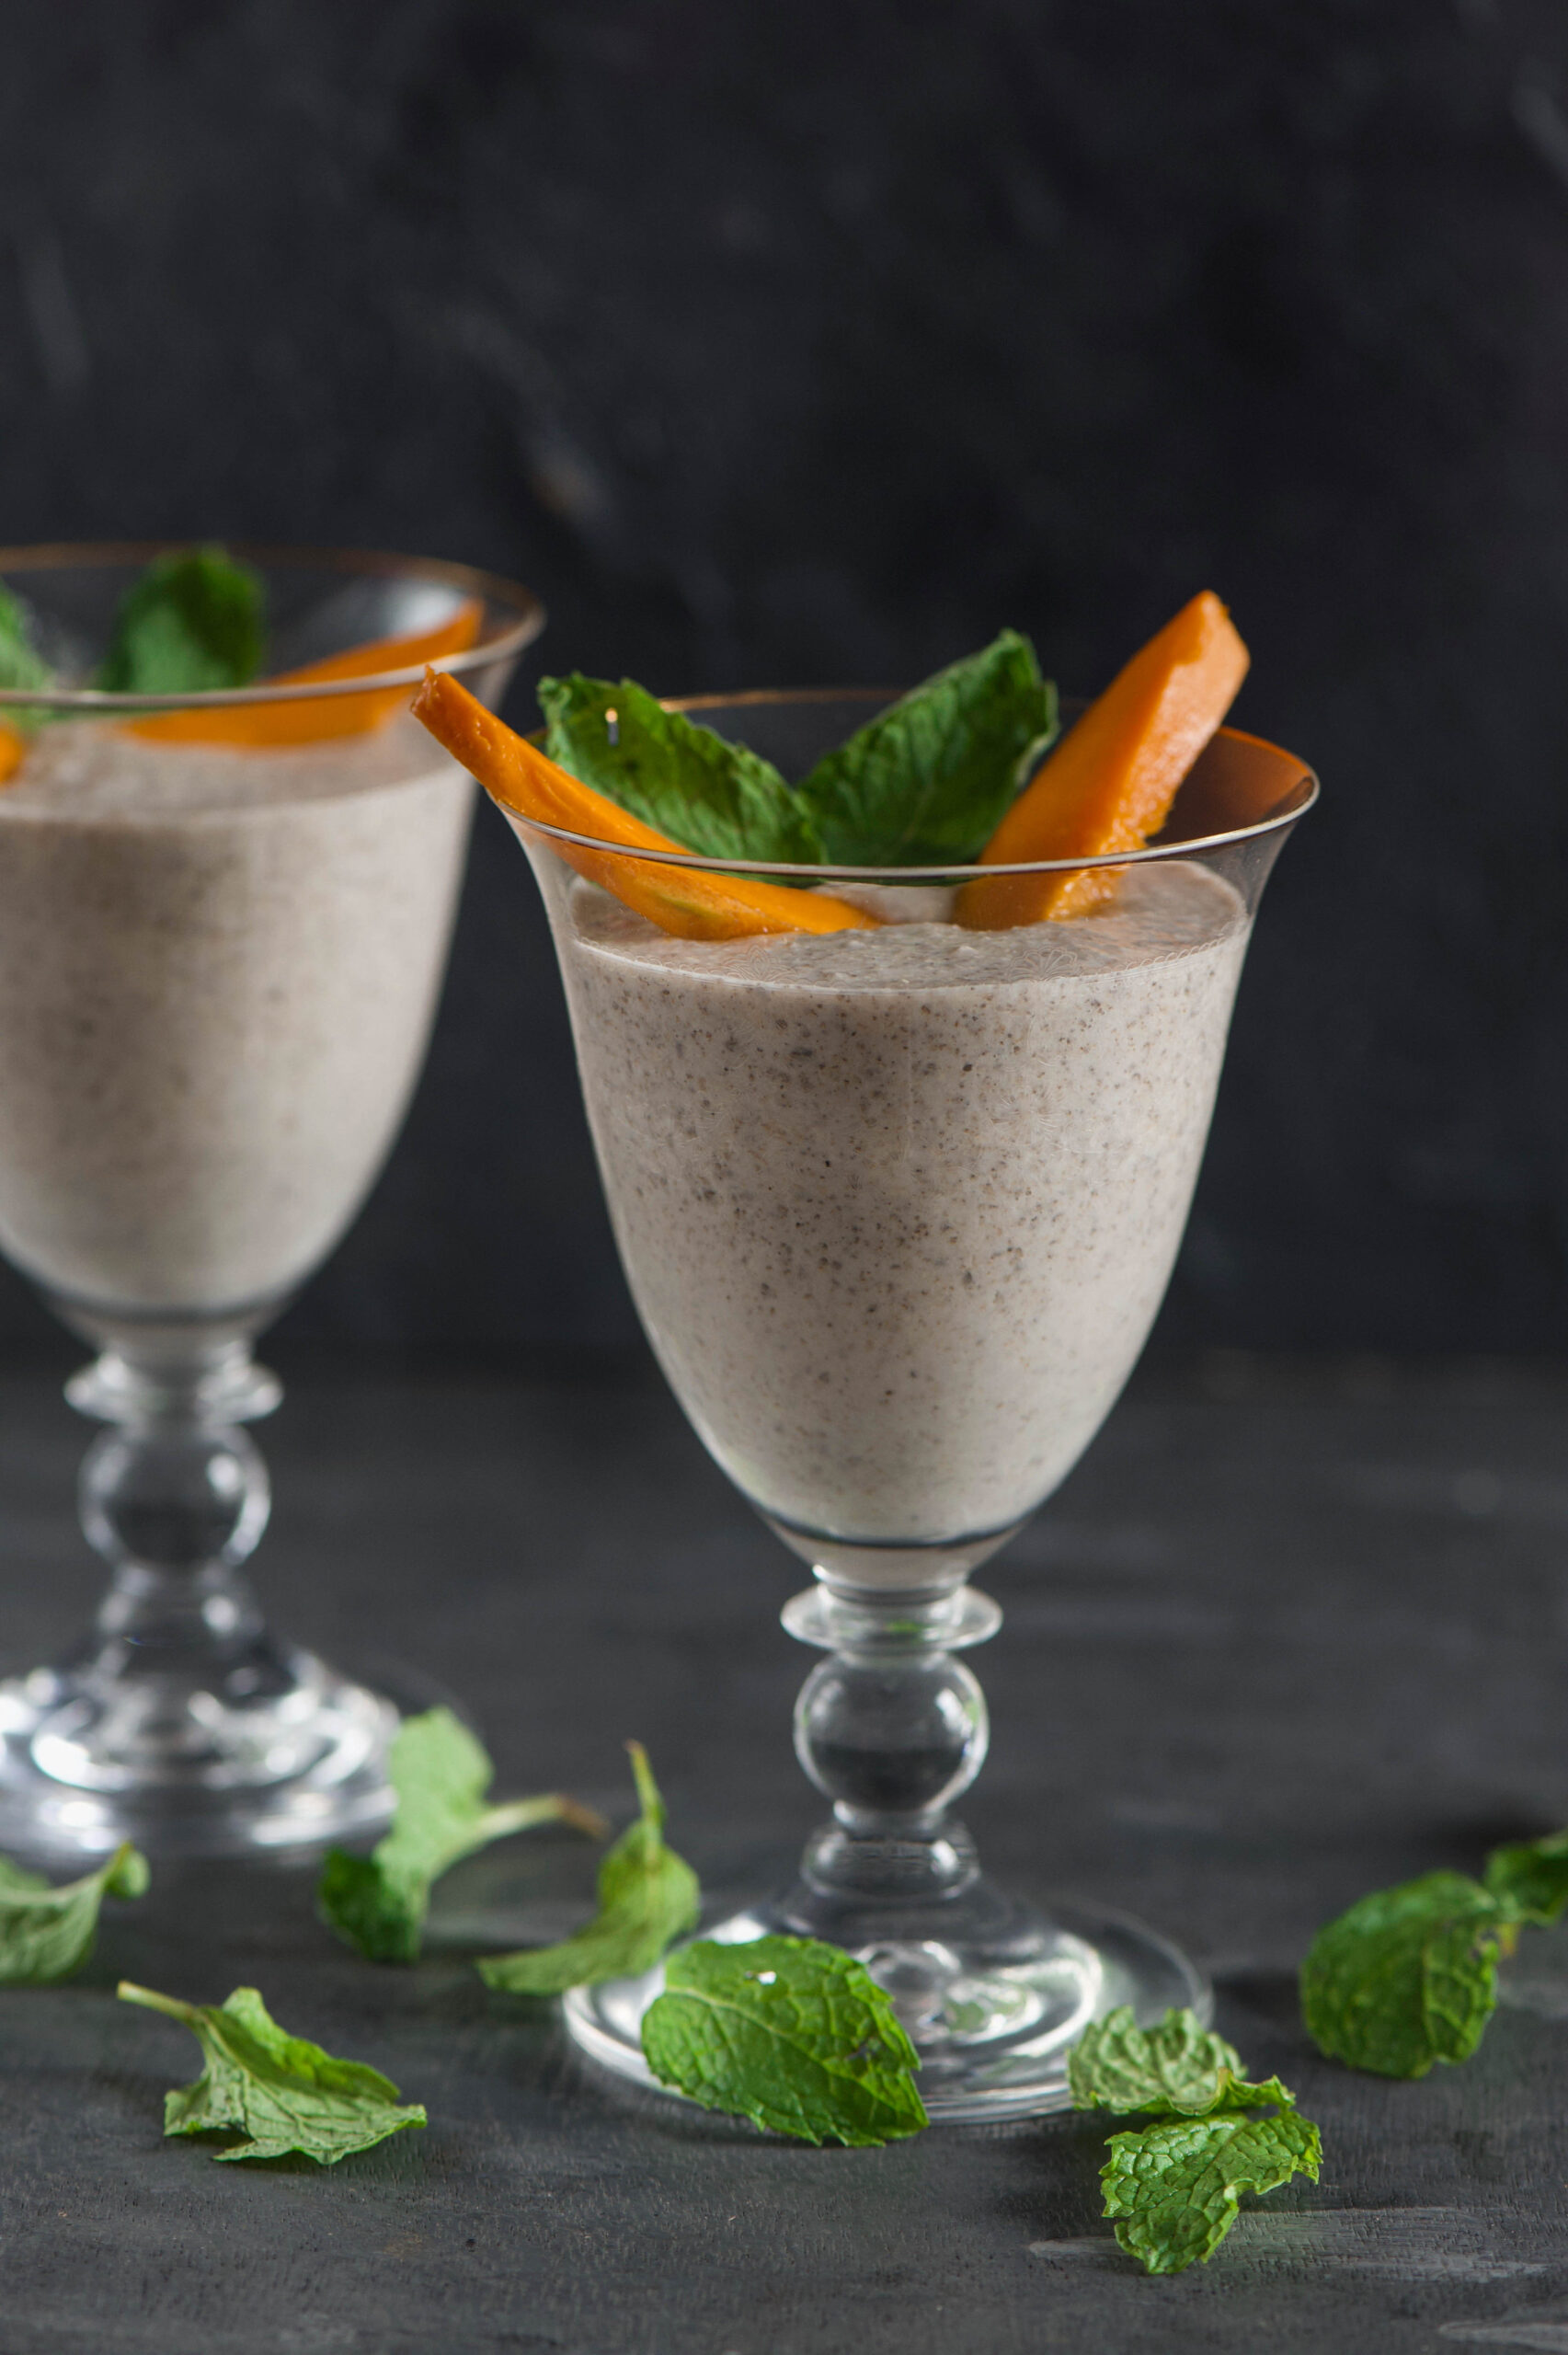
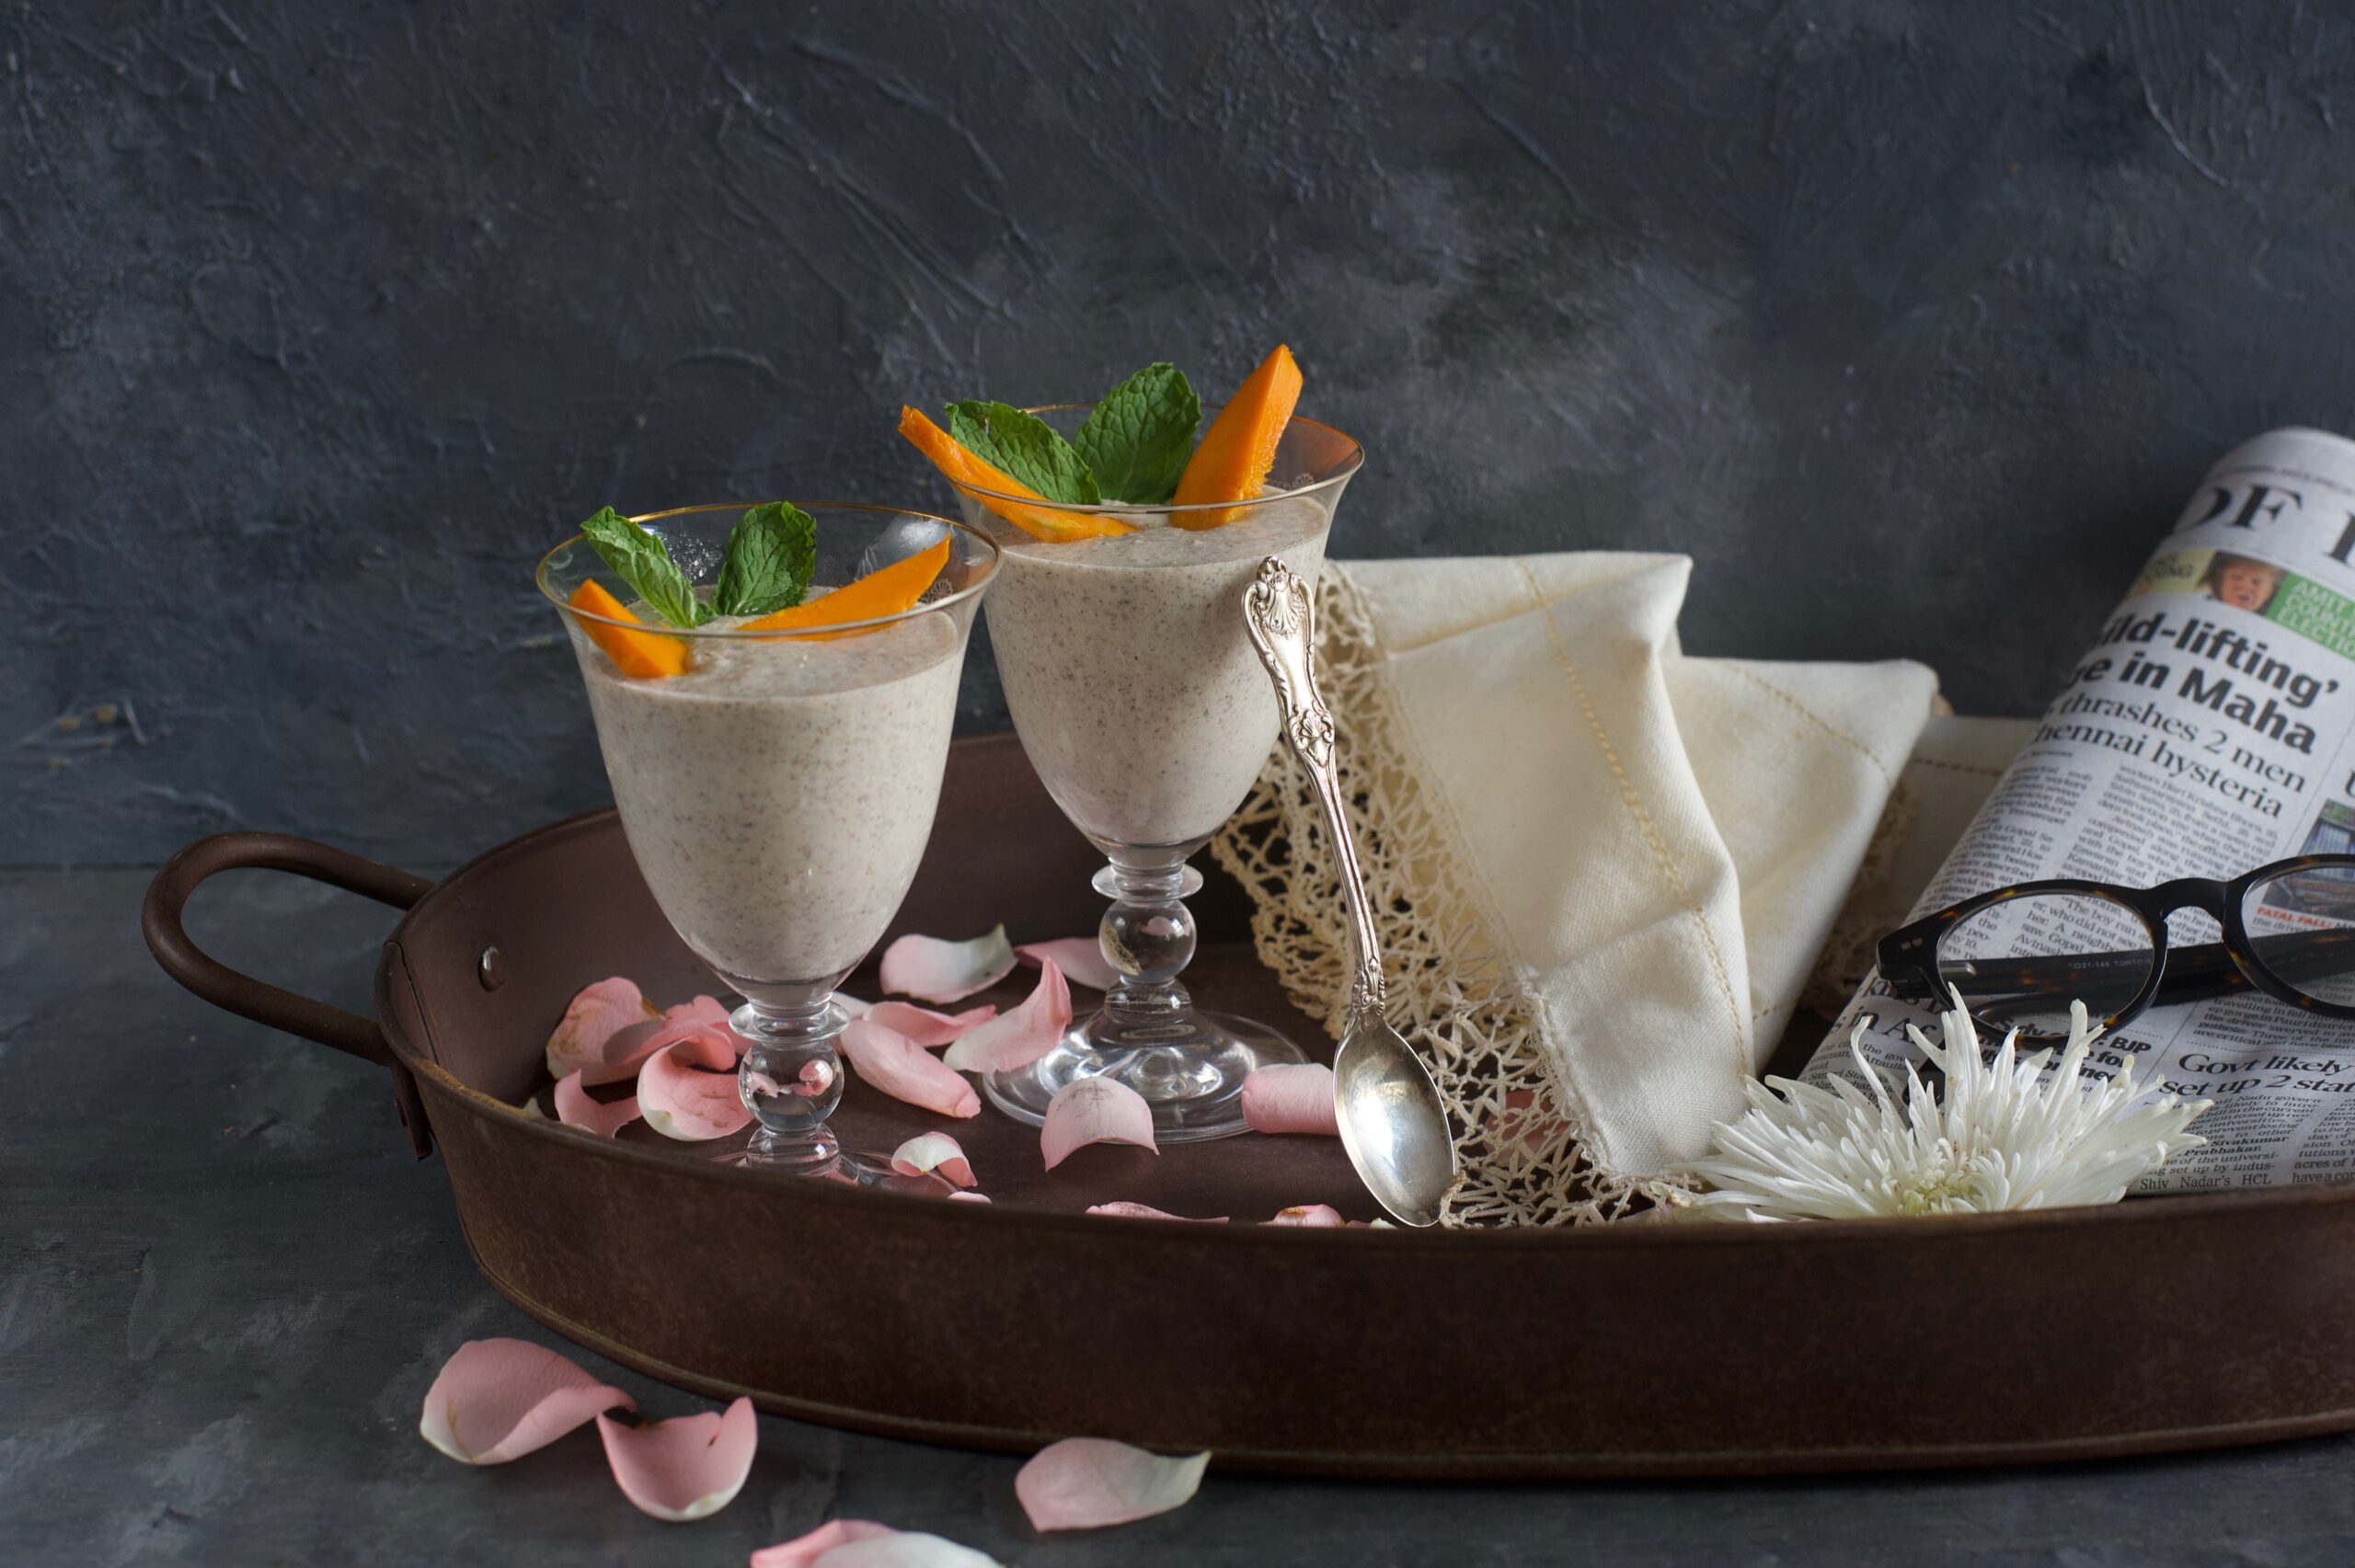
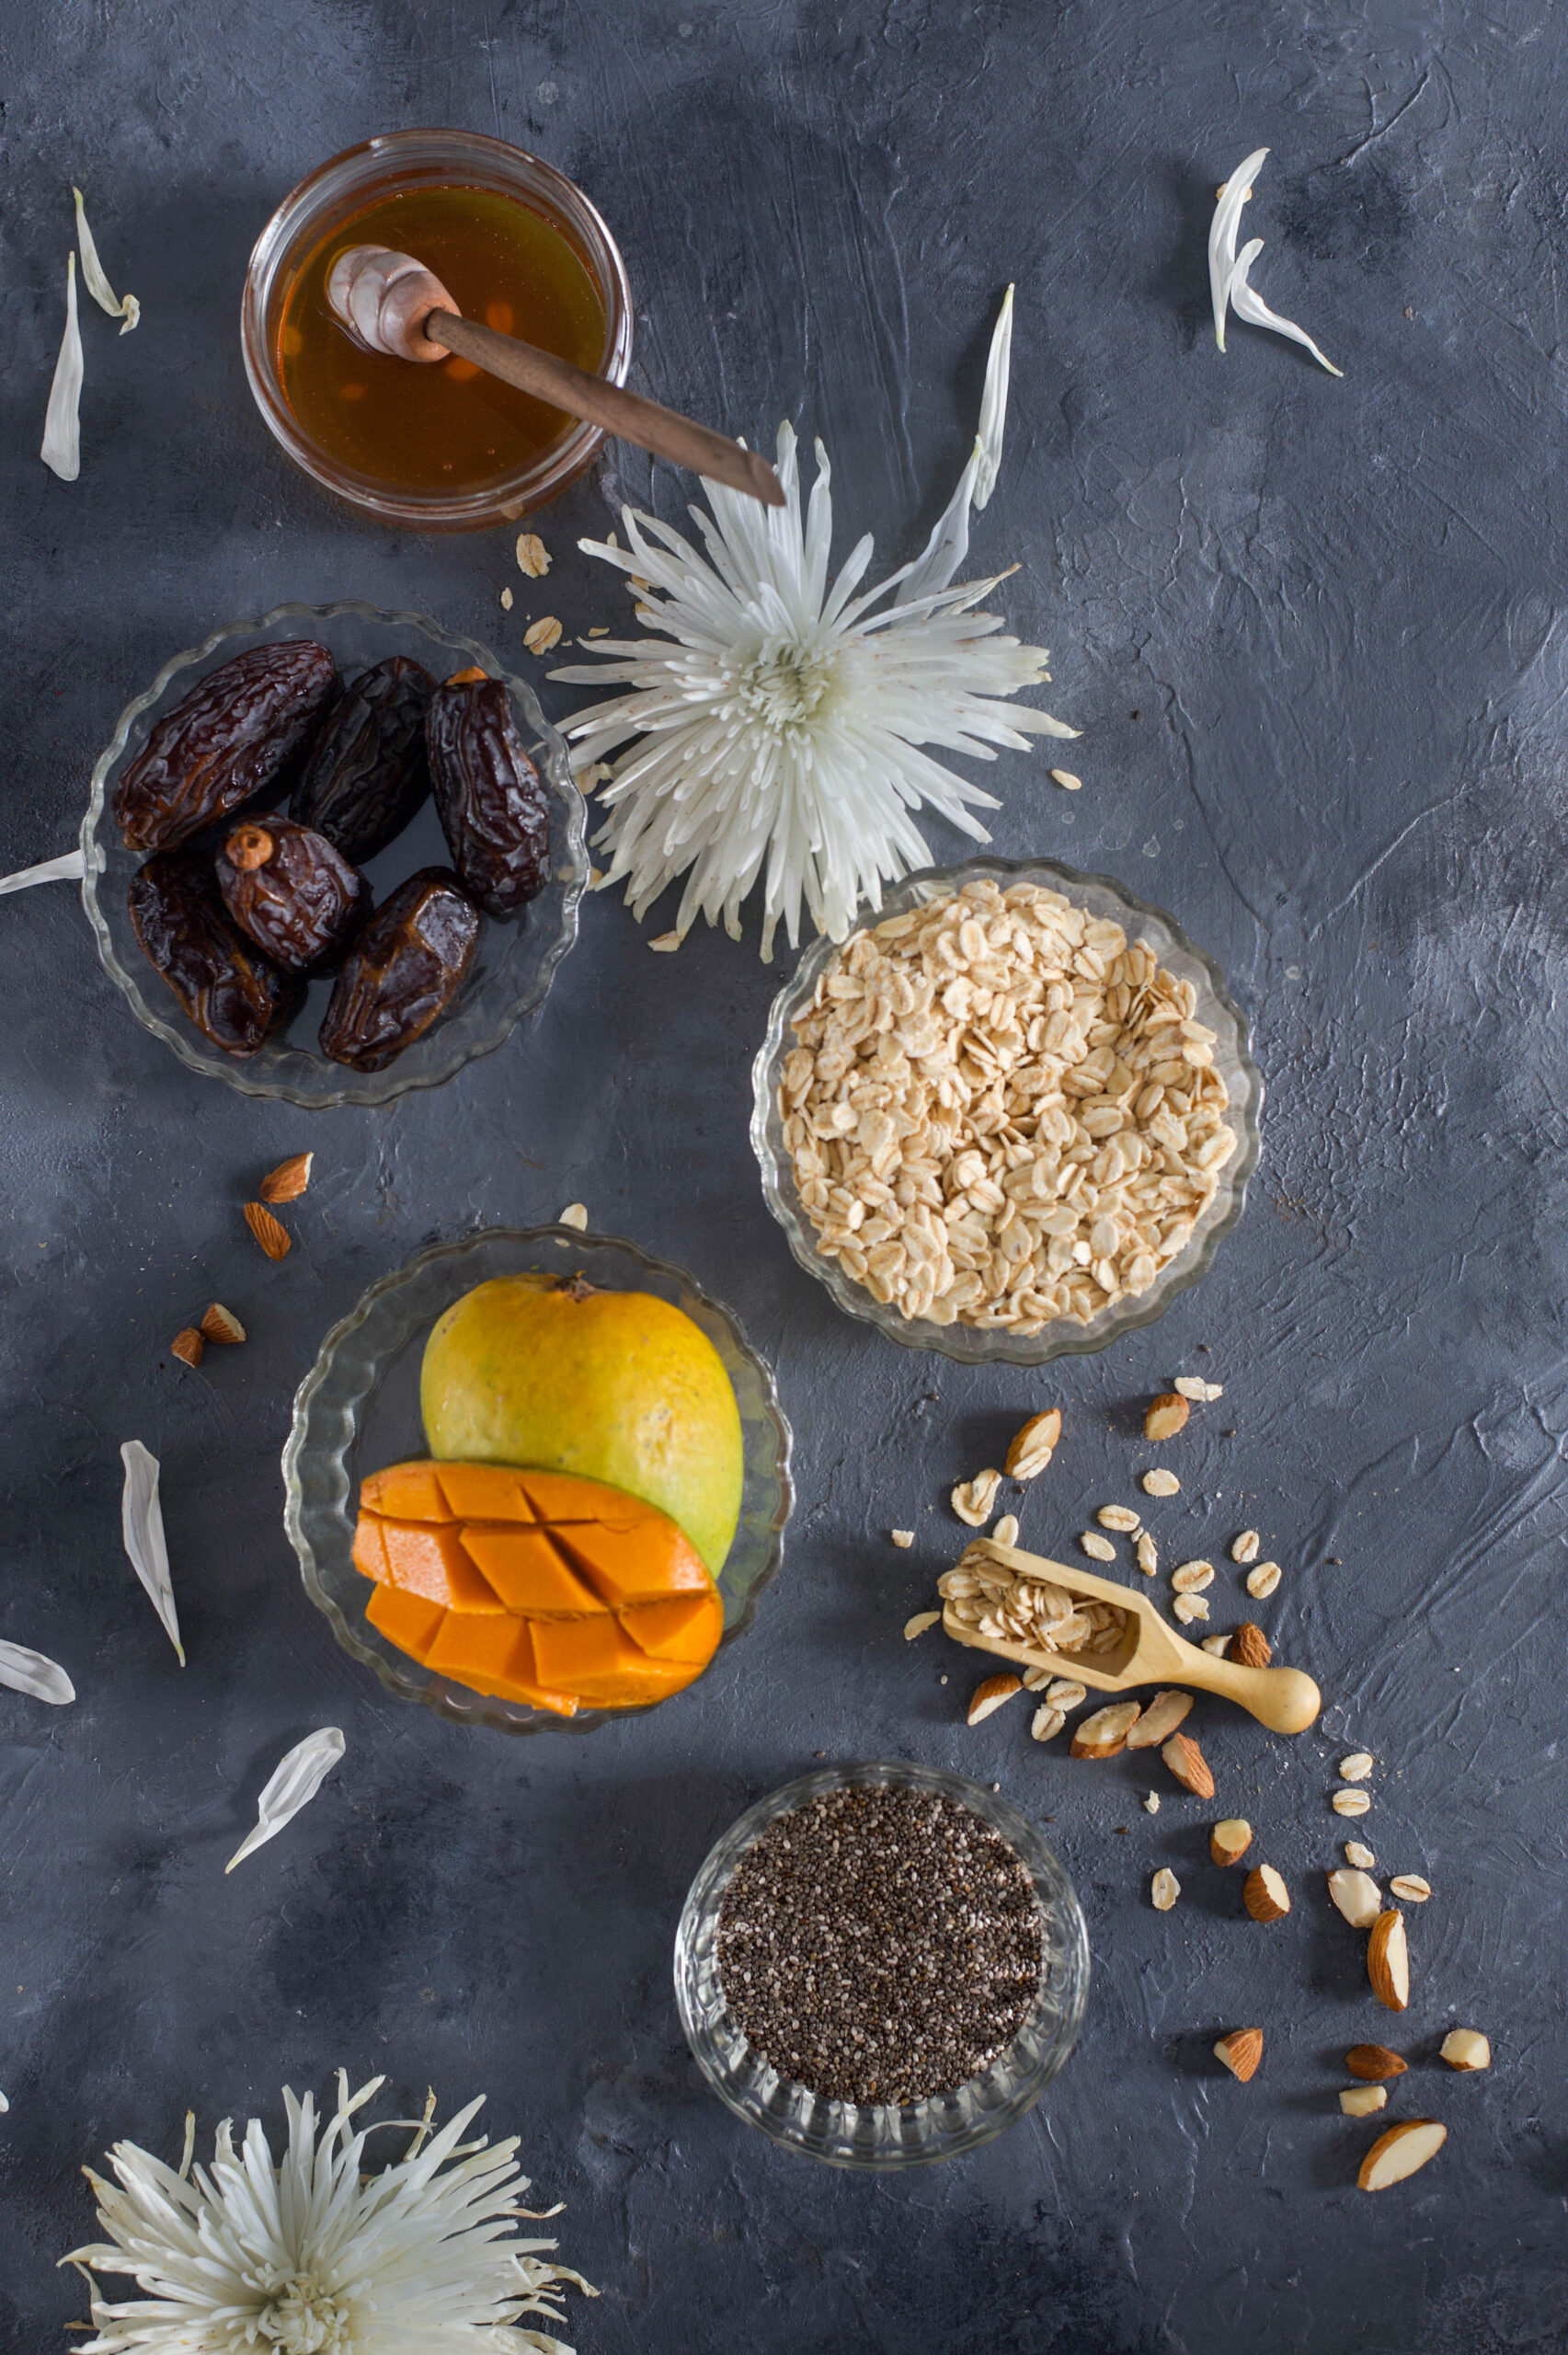
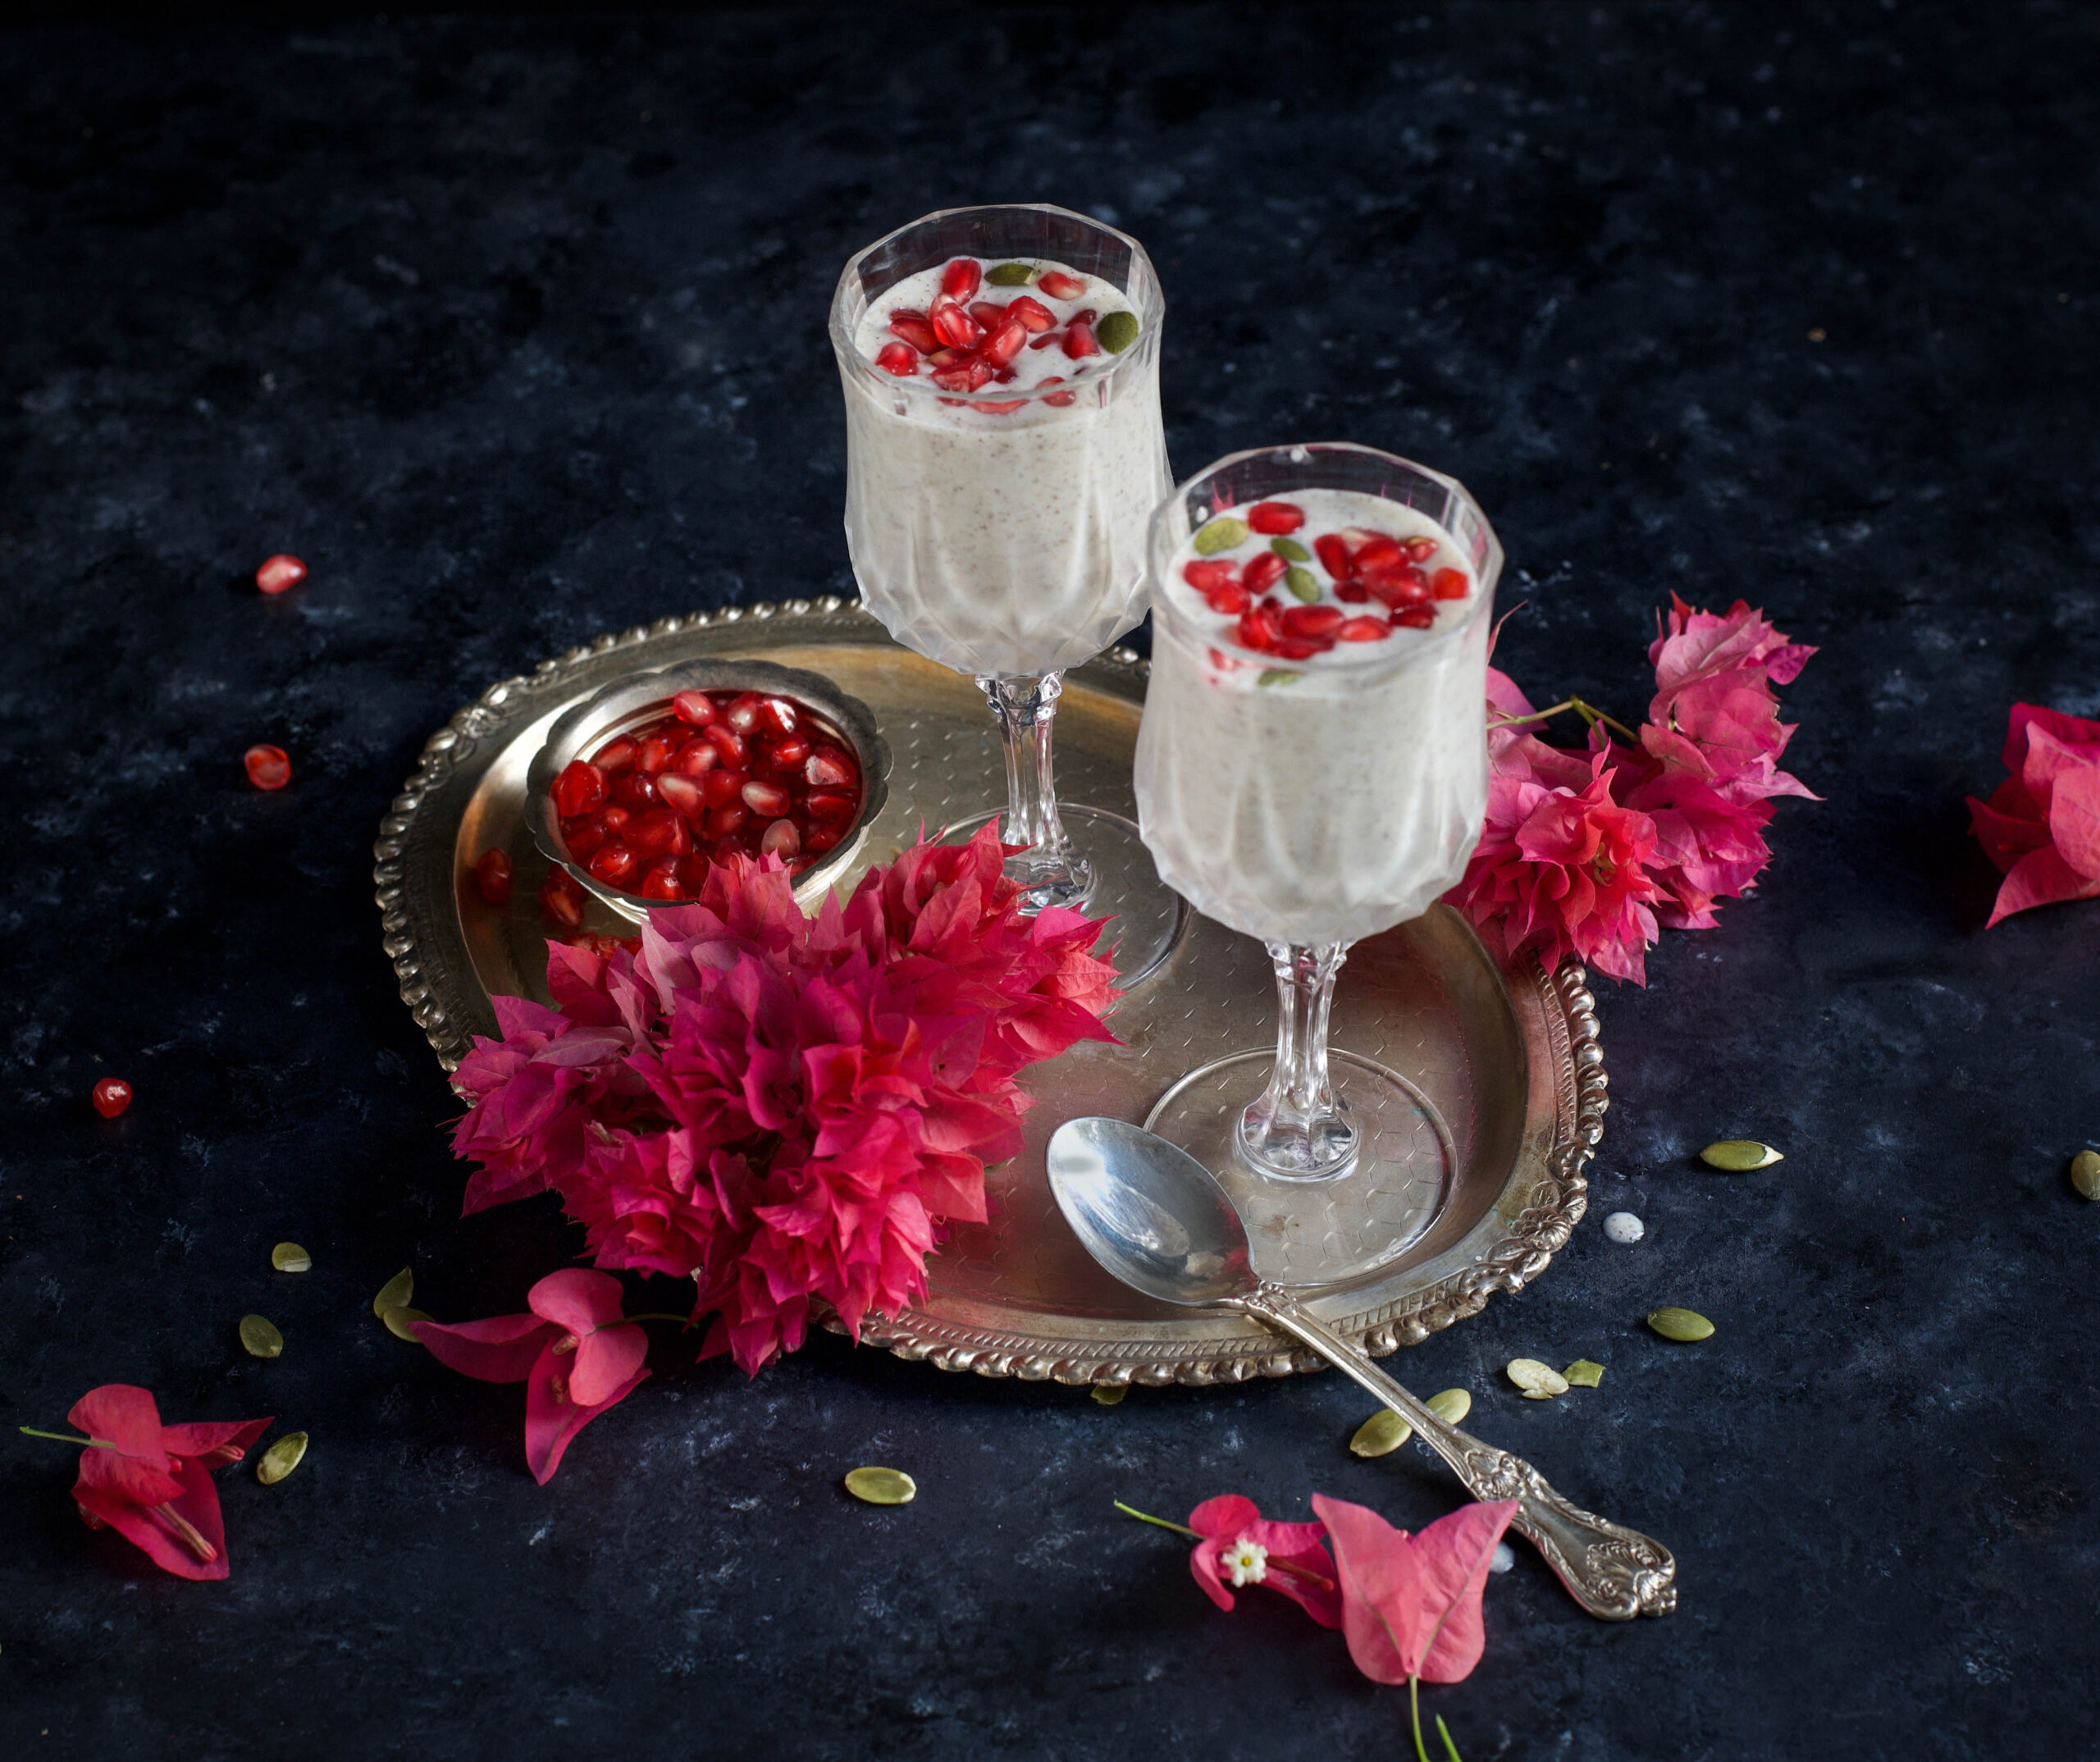
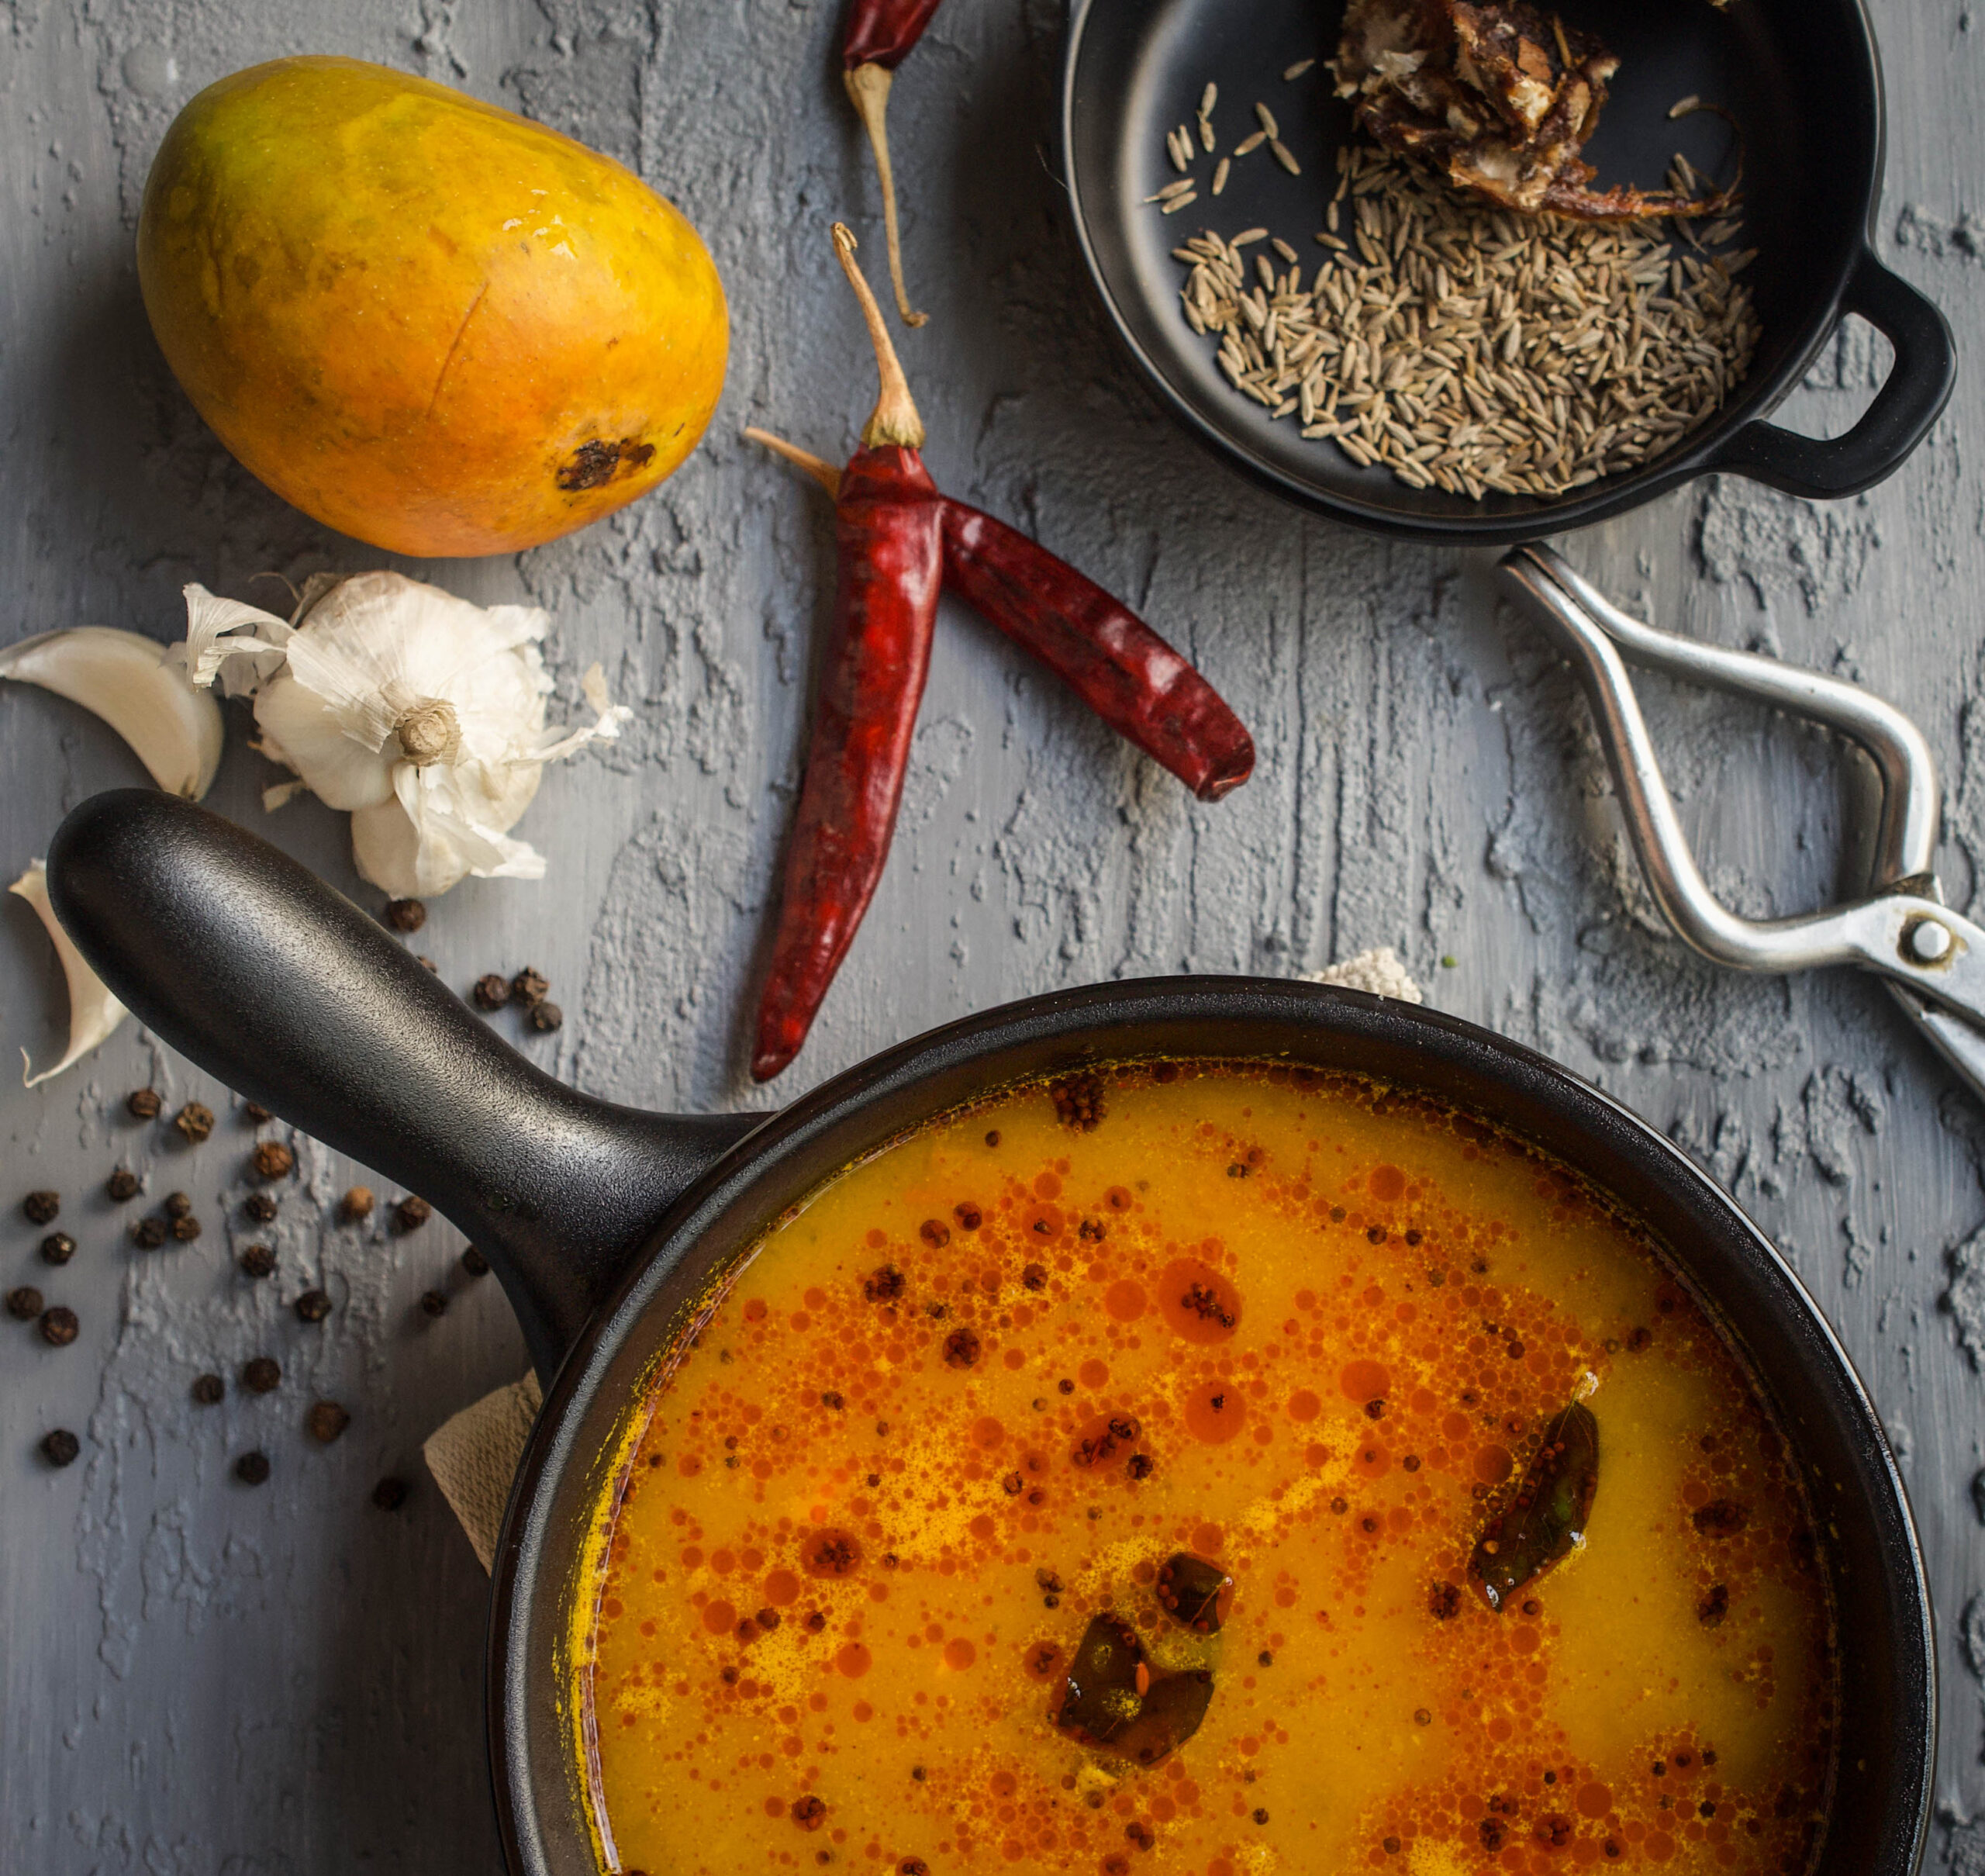
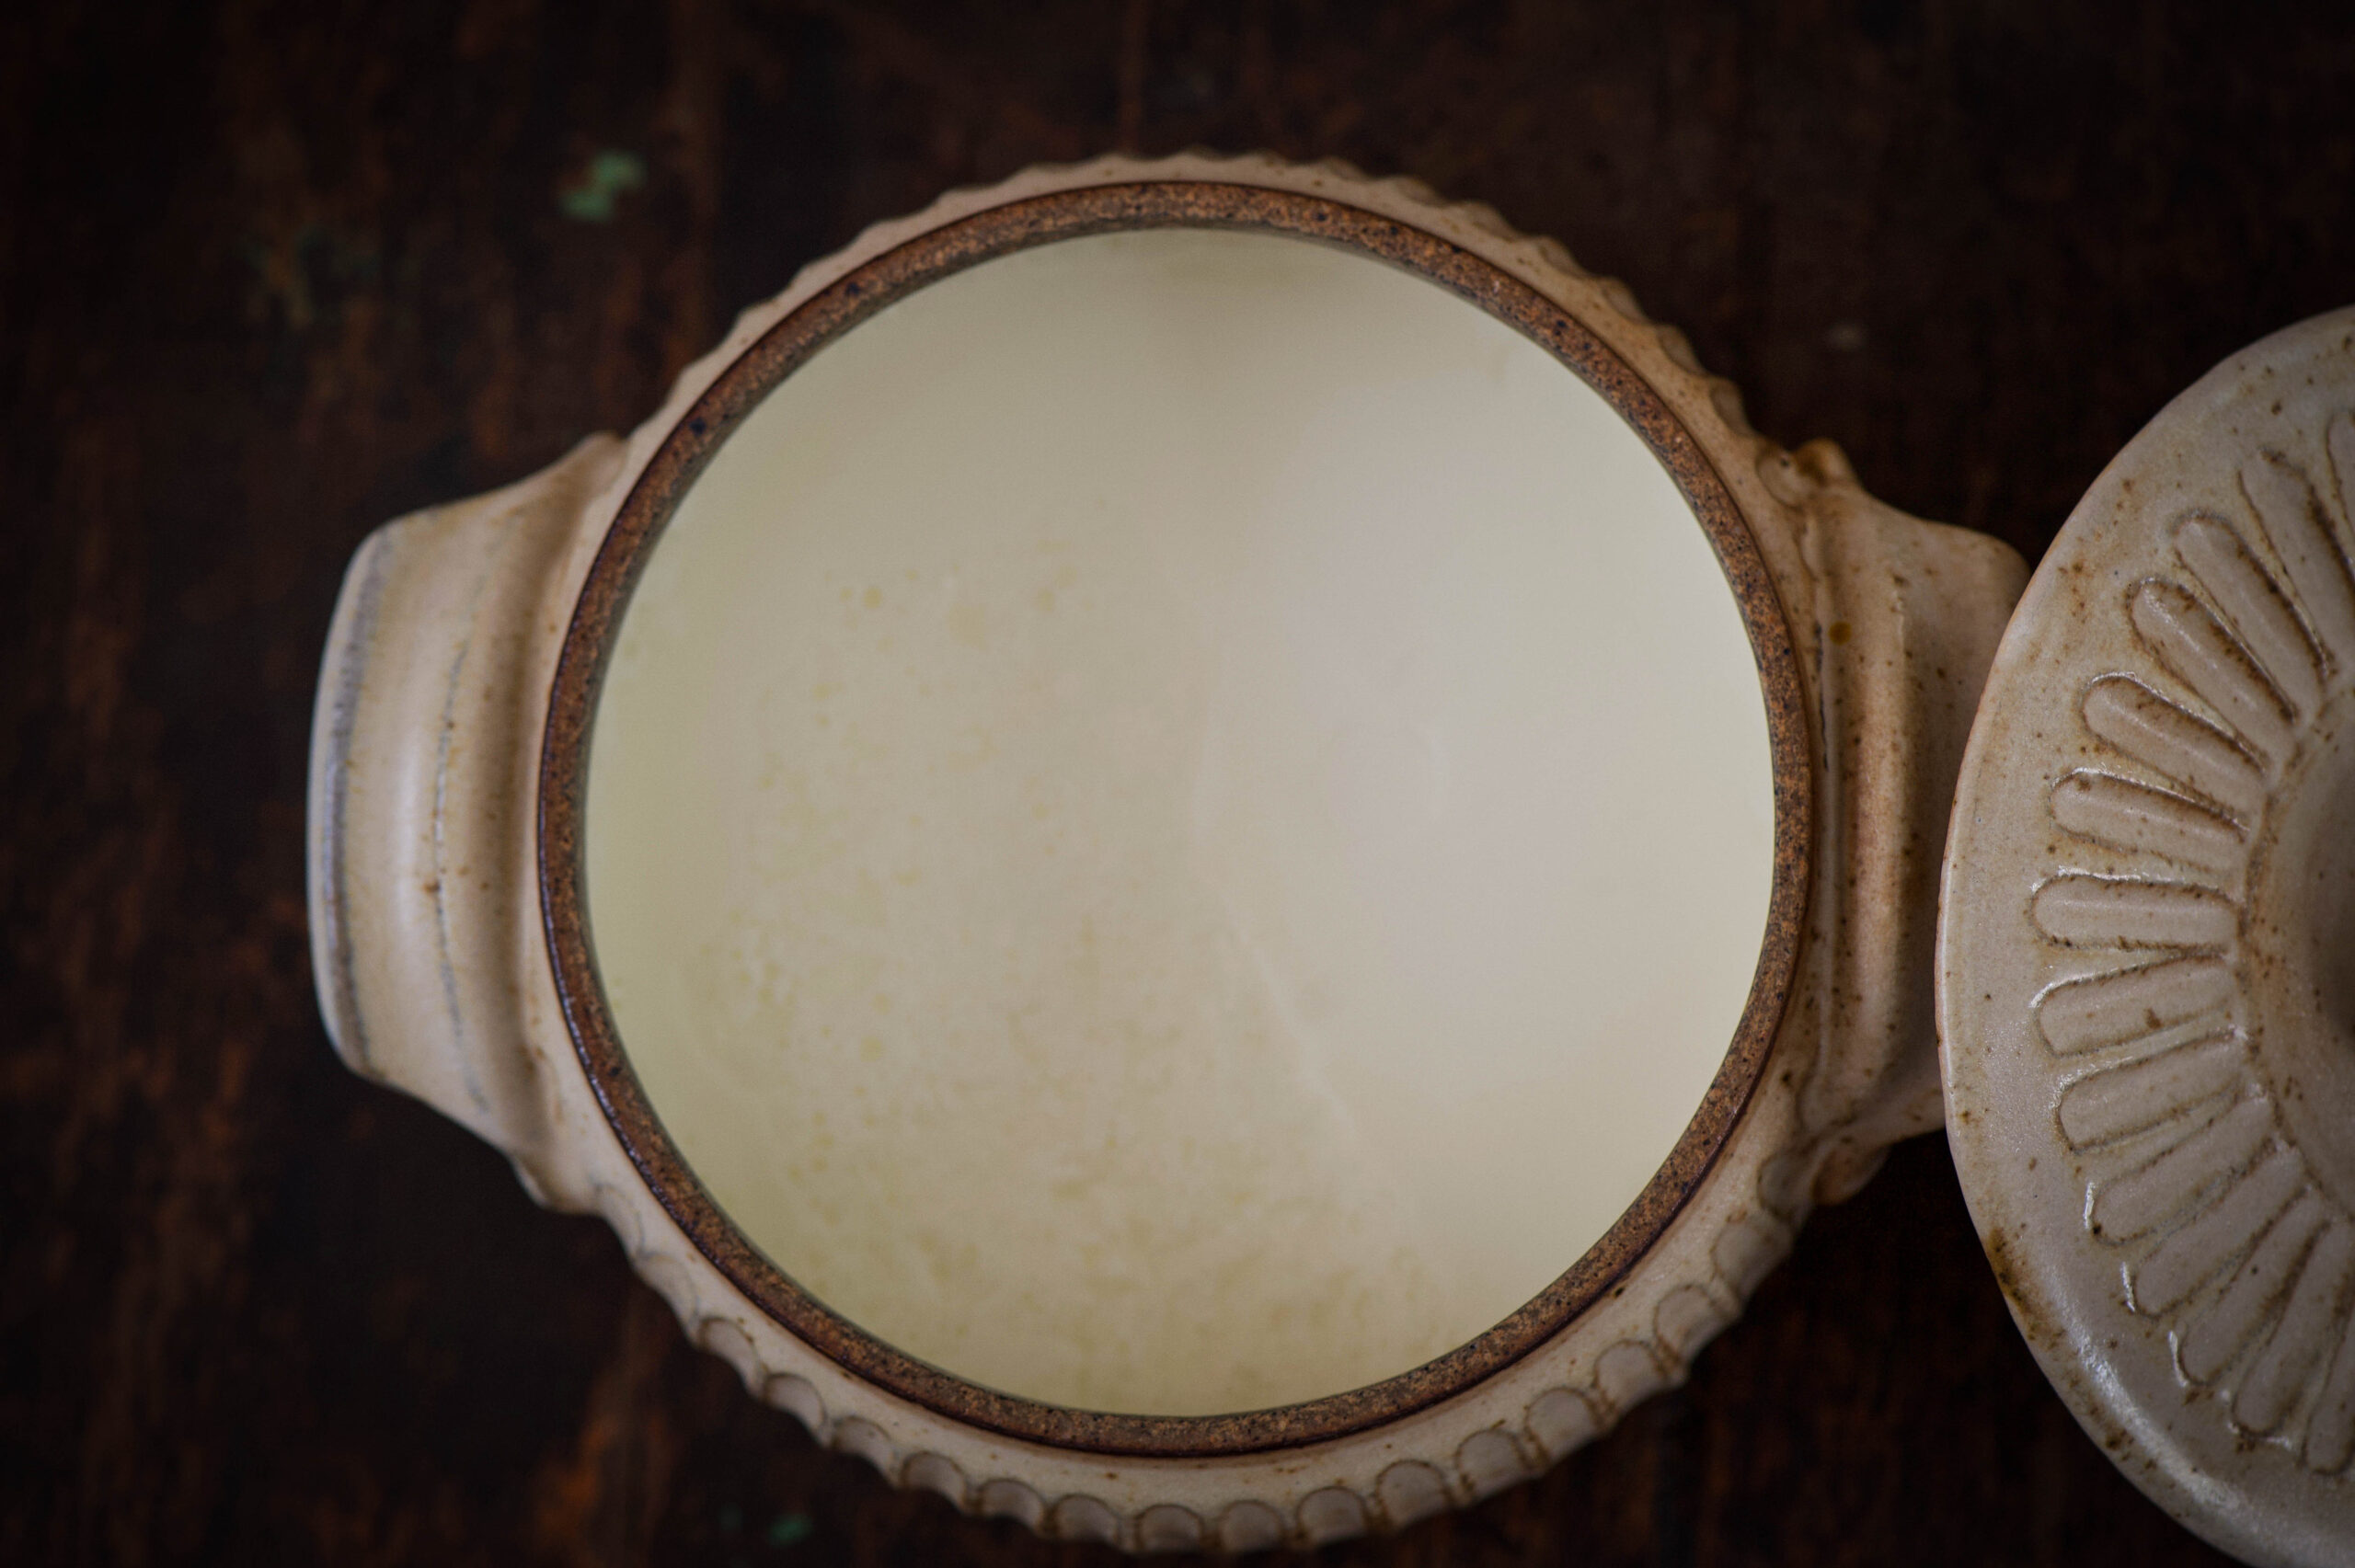
As I said above, I’ve provided two kheer recipes earlier, and you can pick which one to make based on seasonal availability and individual taste. Whether you go with the sitaphal kheer, the rose-coconut kheer, or your own variation, you should have this prepared and refrigerated first.
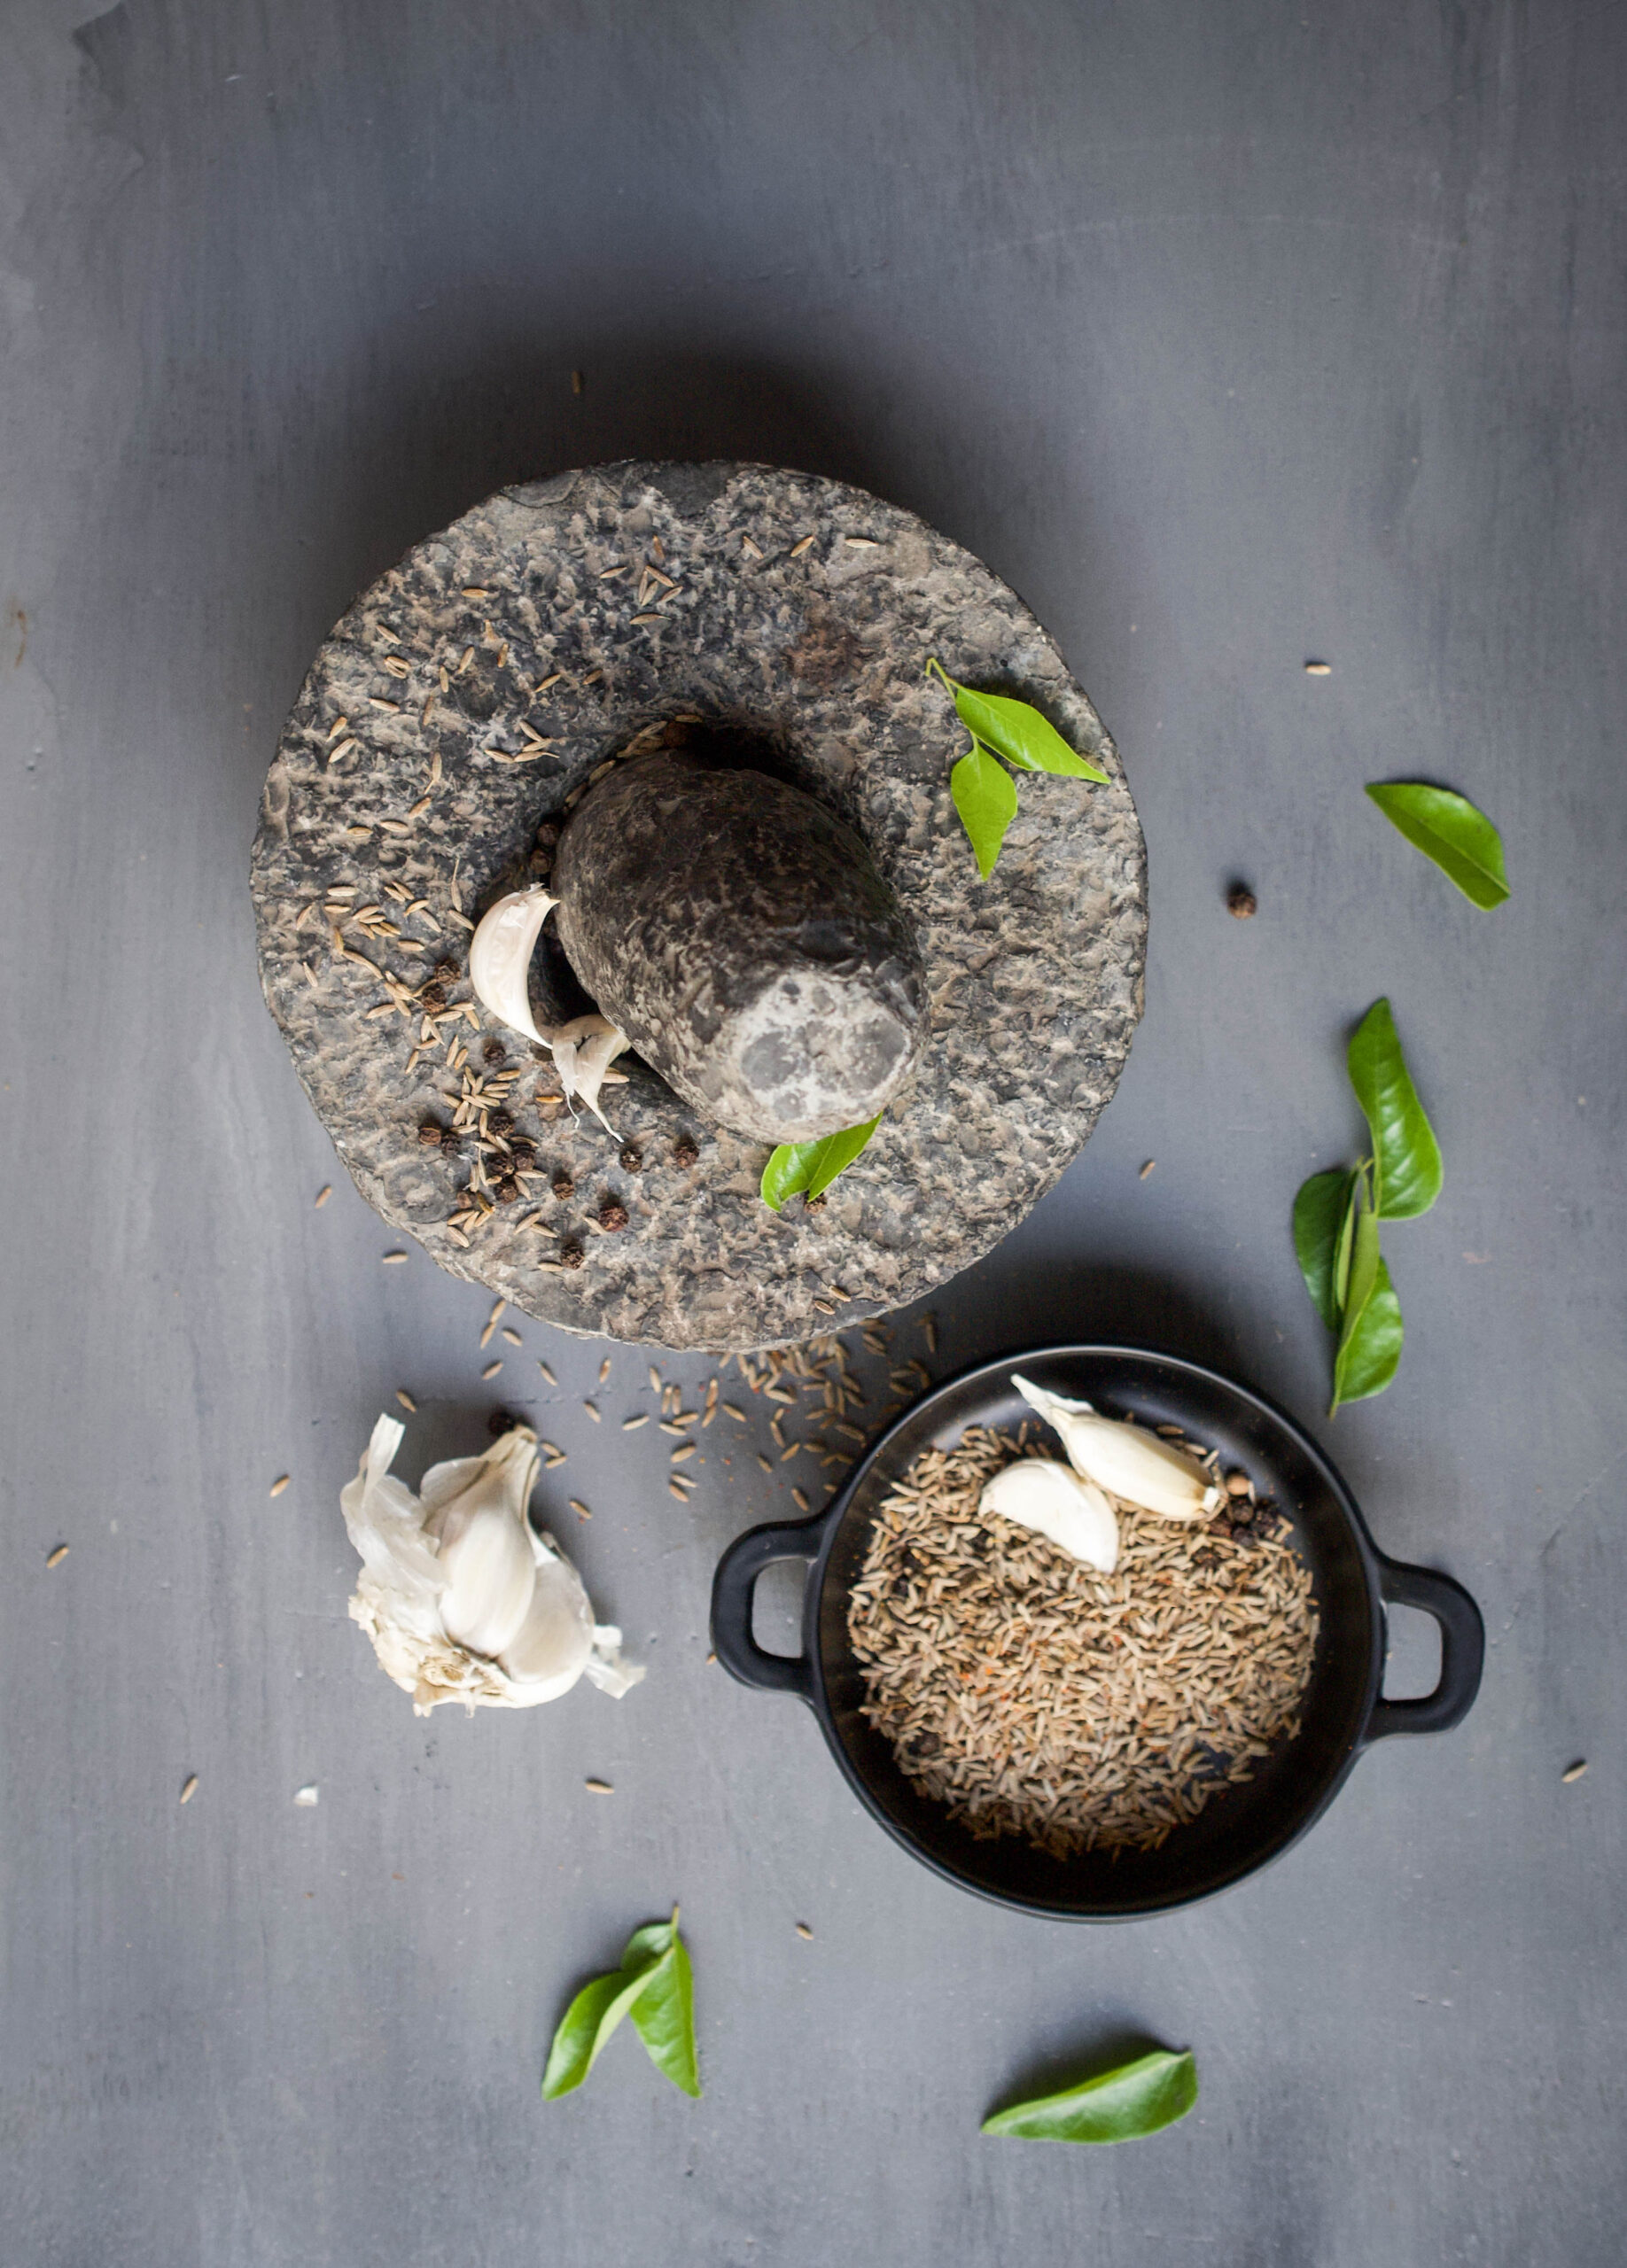
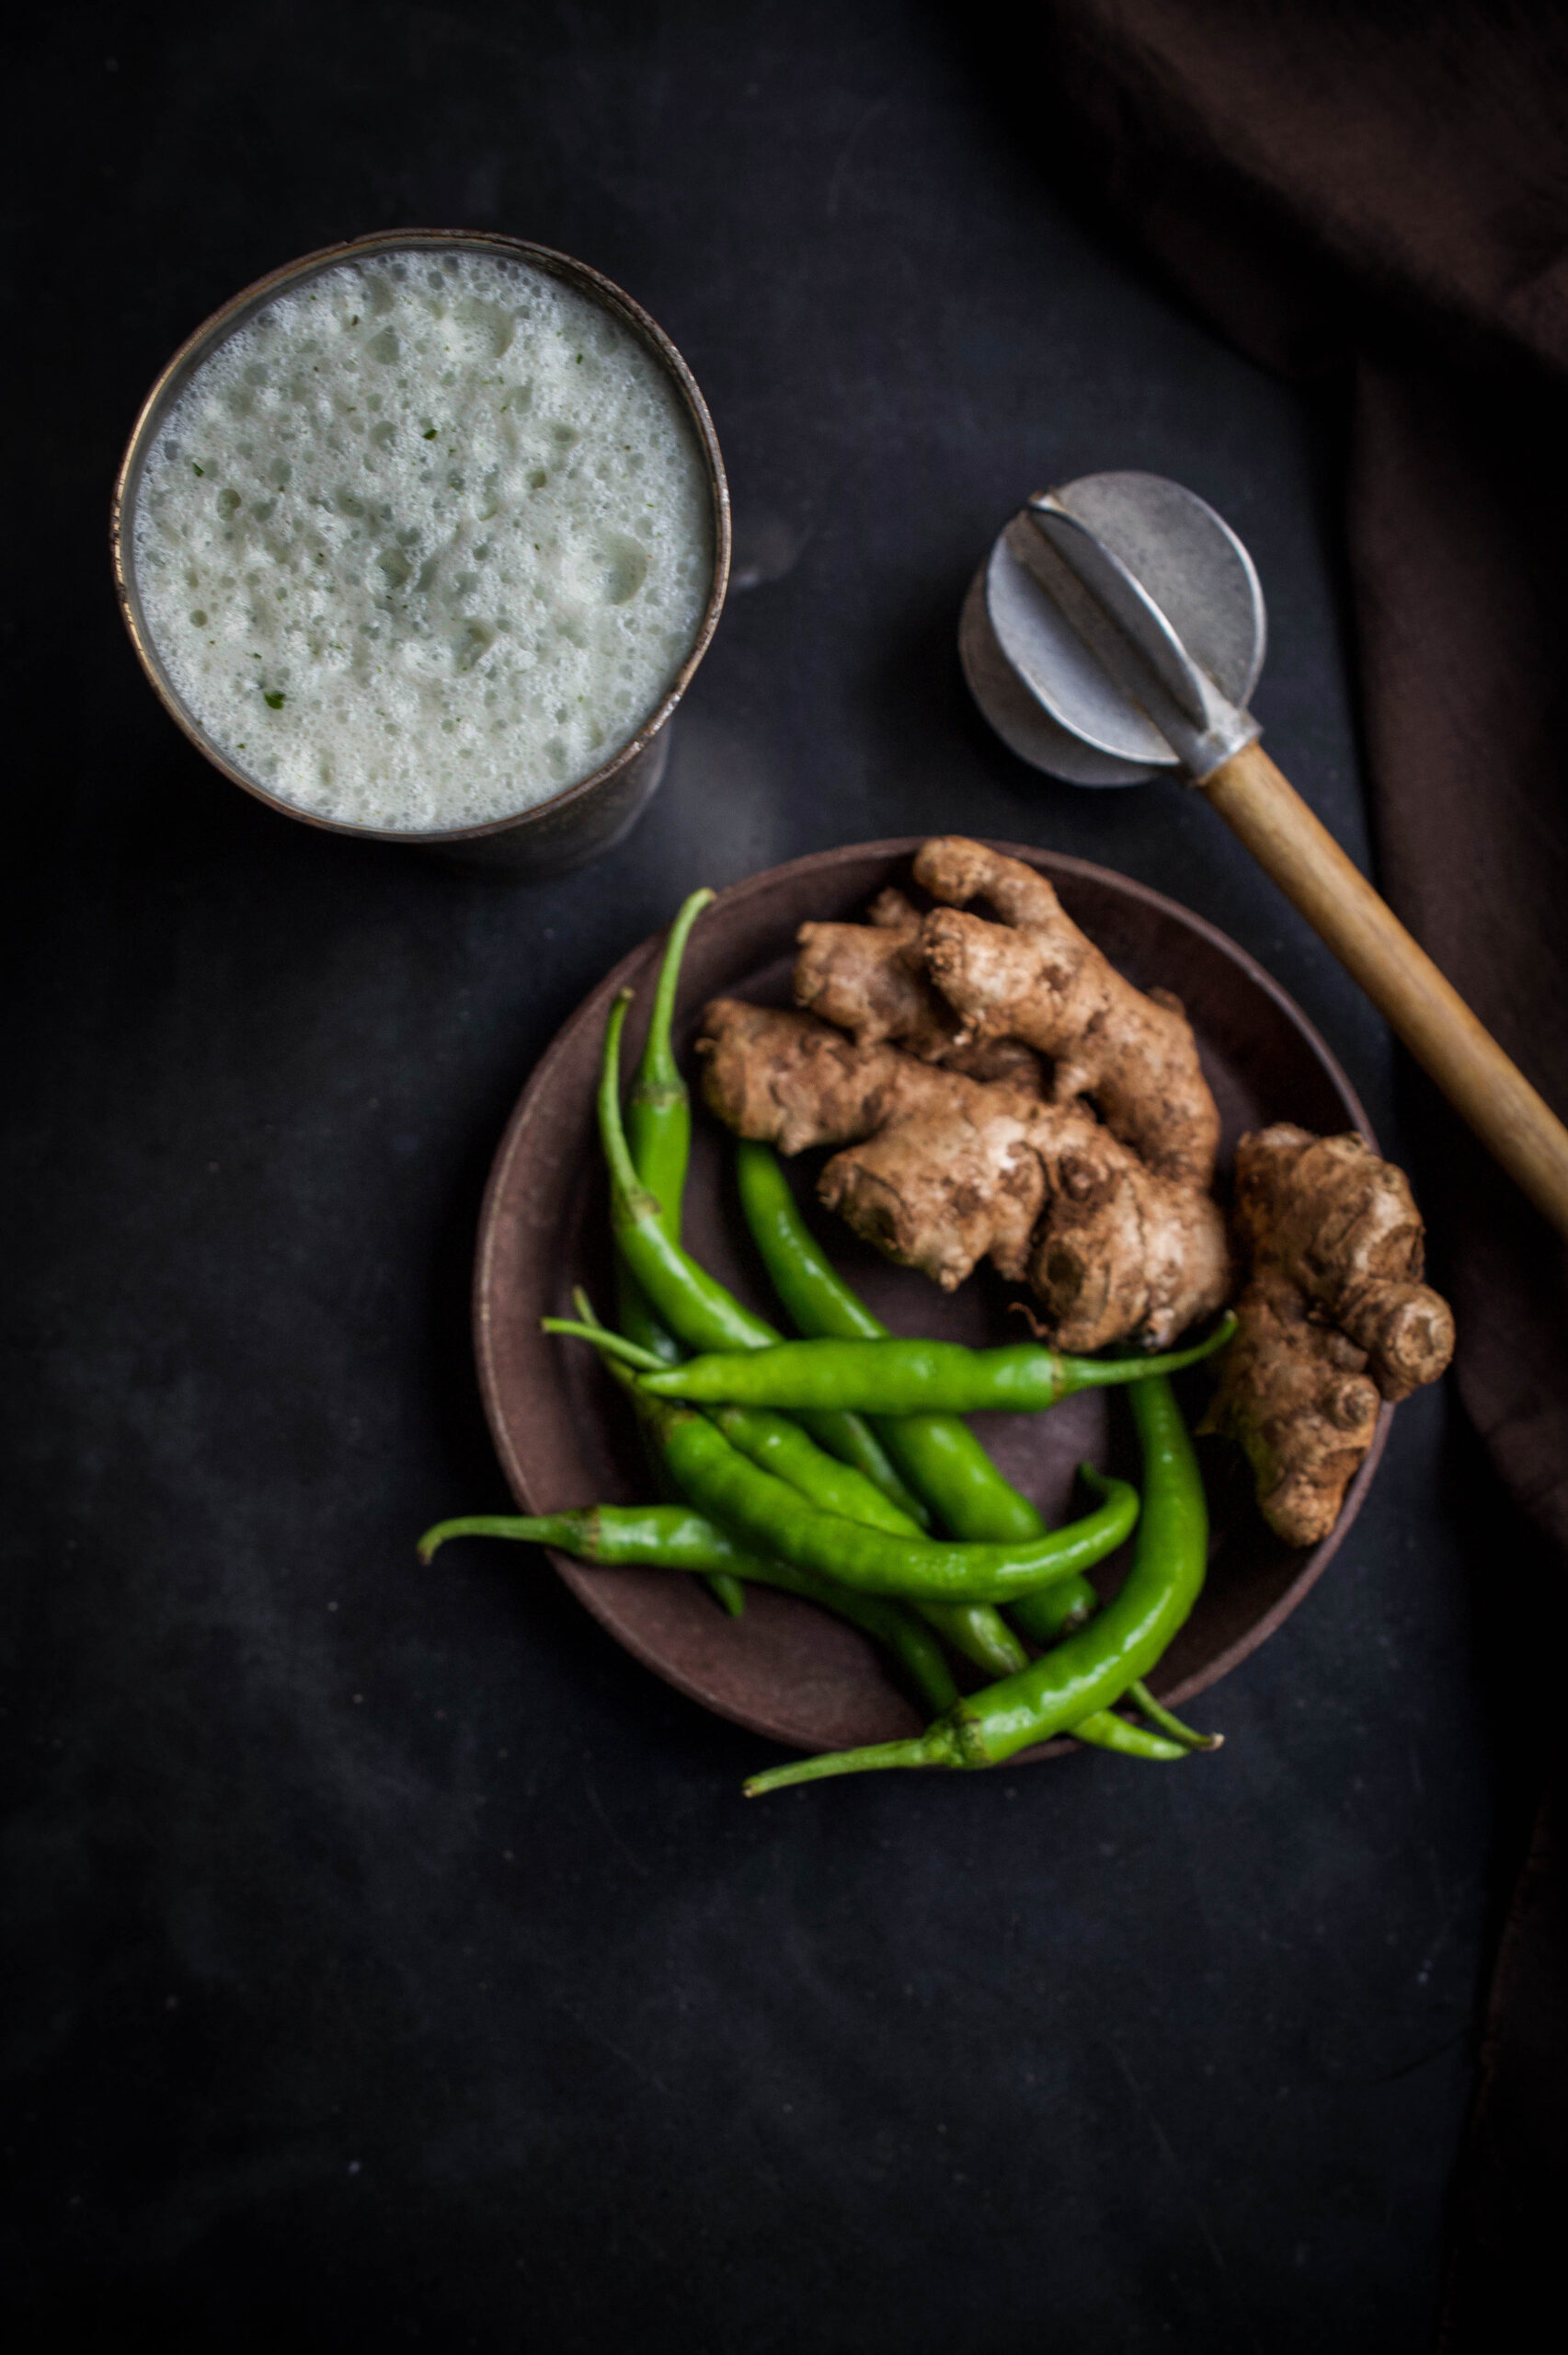
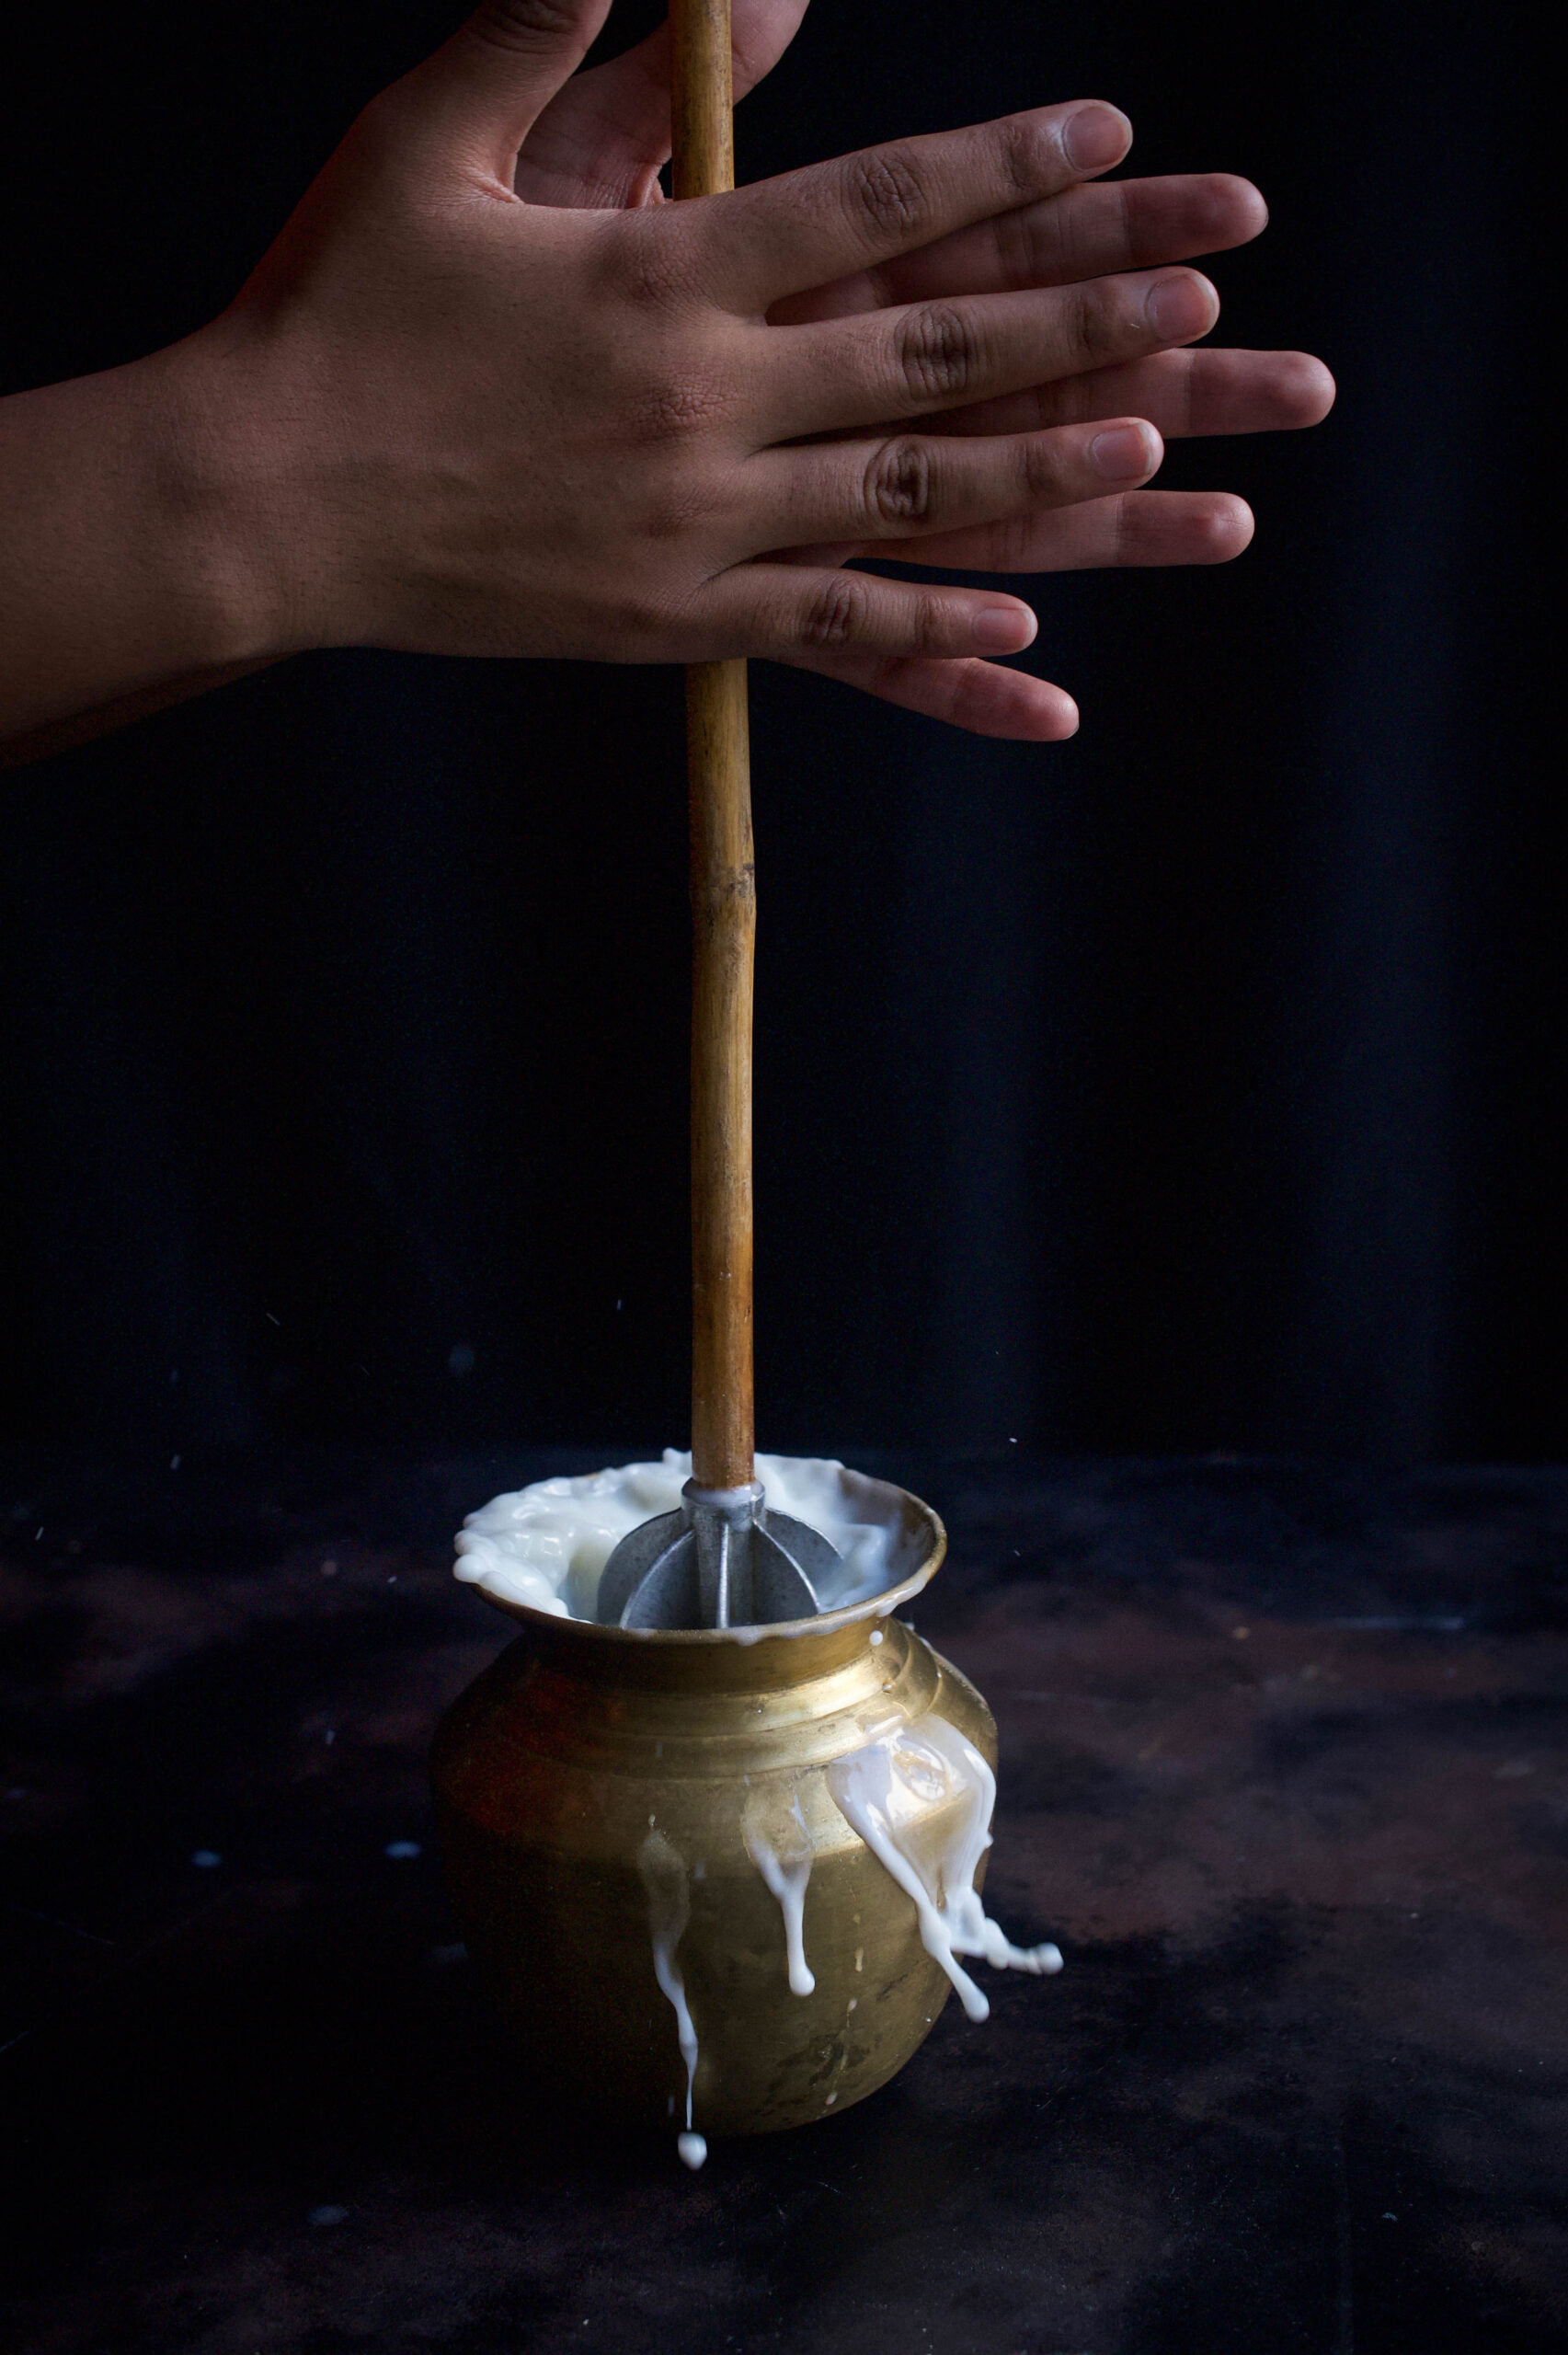
I don’t know if I’ve ever shared this with you before, but in most Gujarati homes, we regularly make fresh batches of green chilli and ginger paste. This keeps for two or three days, and we use a dollop of it in lieu of red chilli powder. If you prefer this taste, and have it on hand, you can substitute the red chilli powder in the ingredients for the same. I have fond memories of our helper when I was growing up using the stone rubi-kallu to make the paste. We rarely used the blender, and I can’t even remember if we had one at the time. Now, it’s such a necessity.
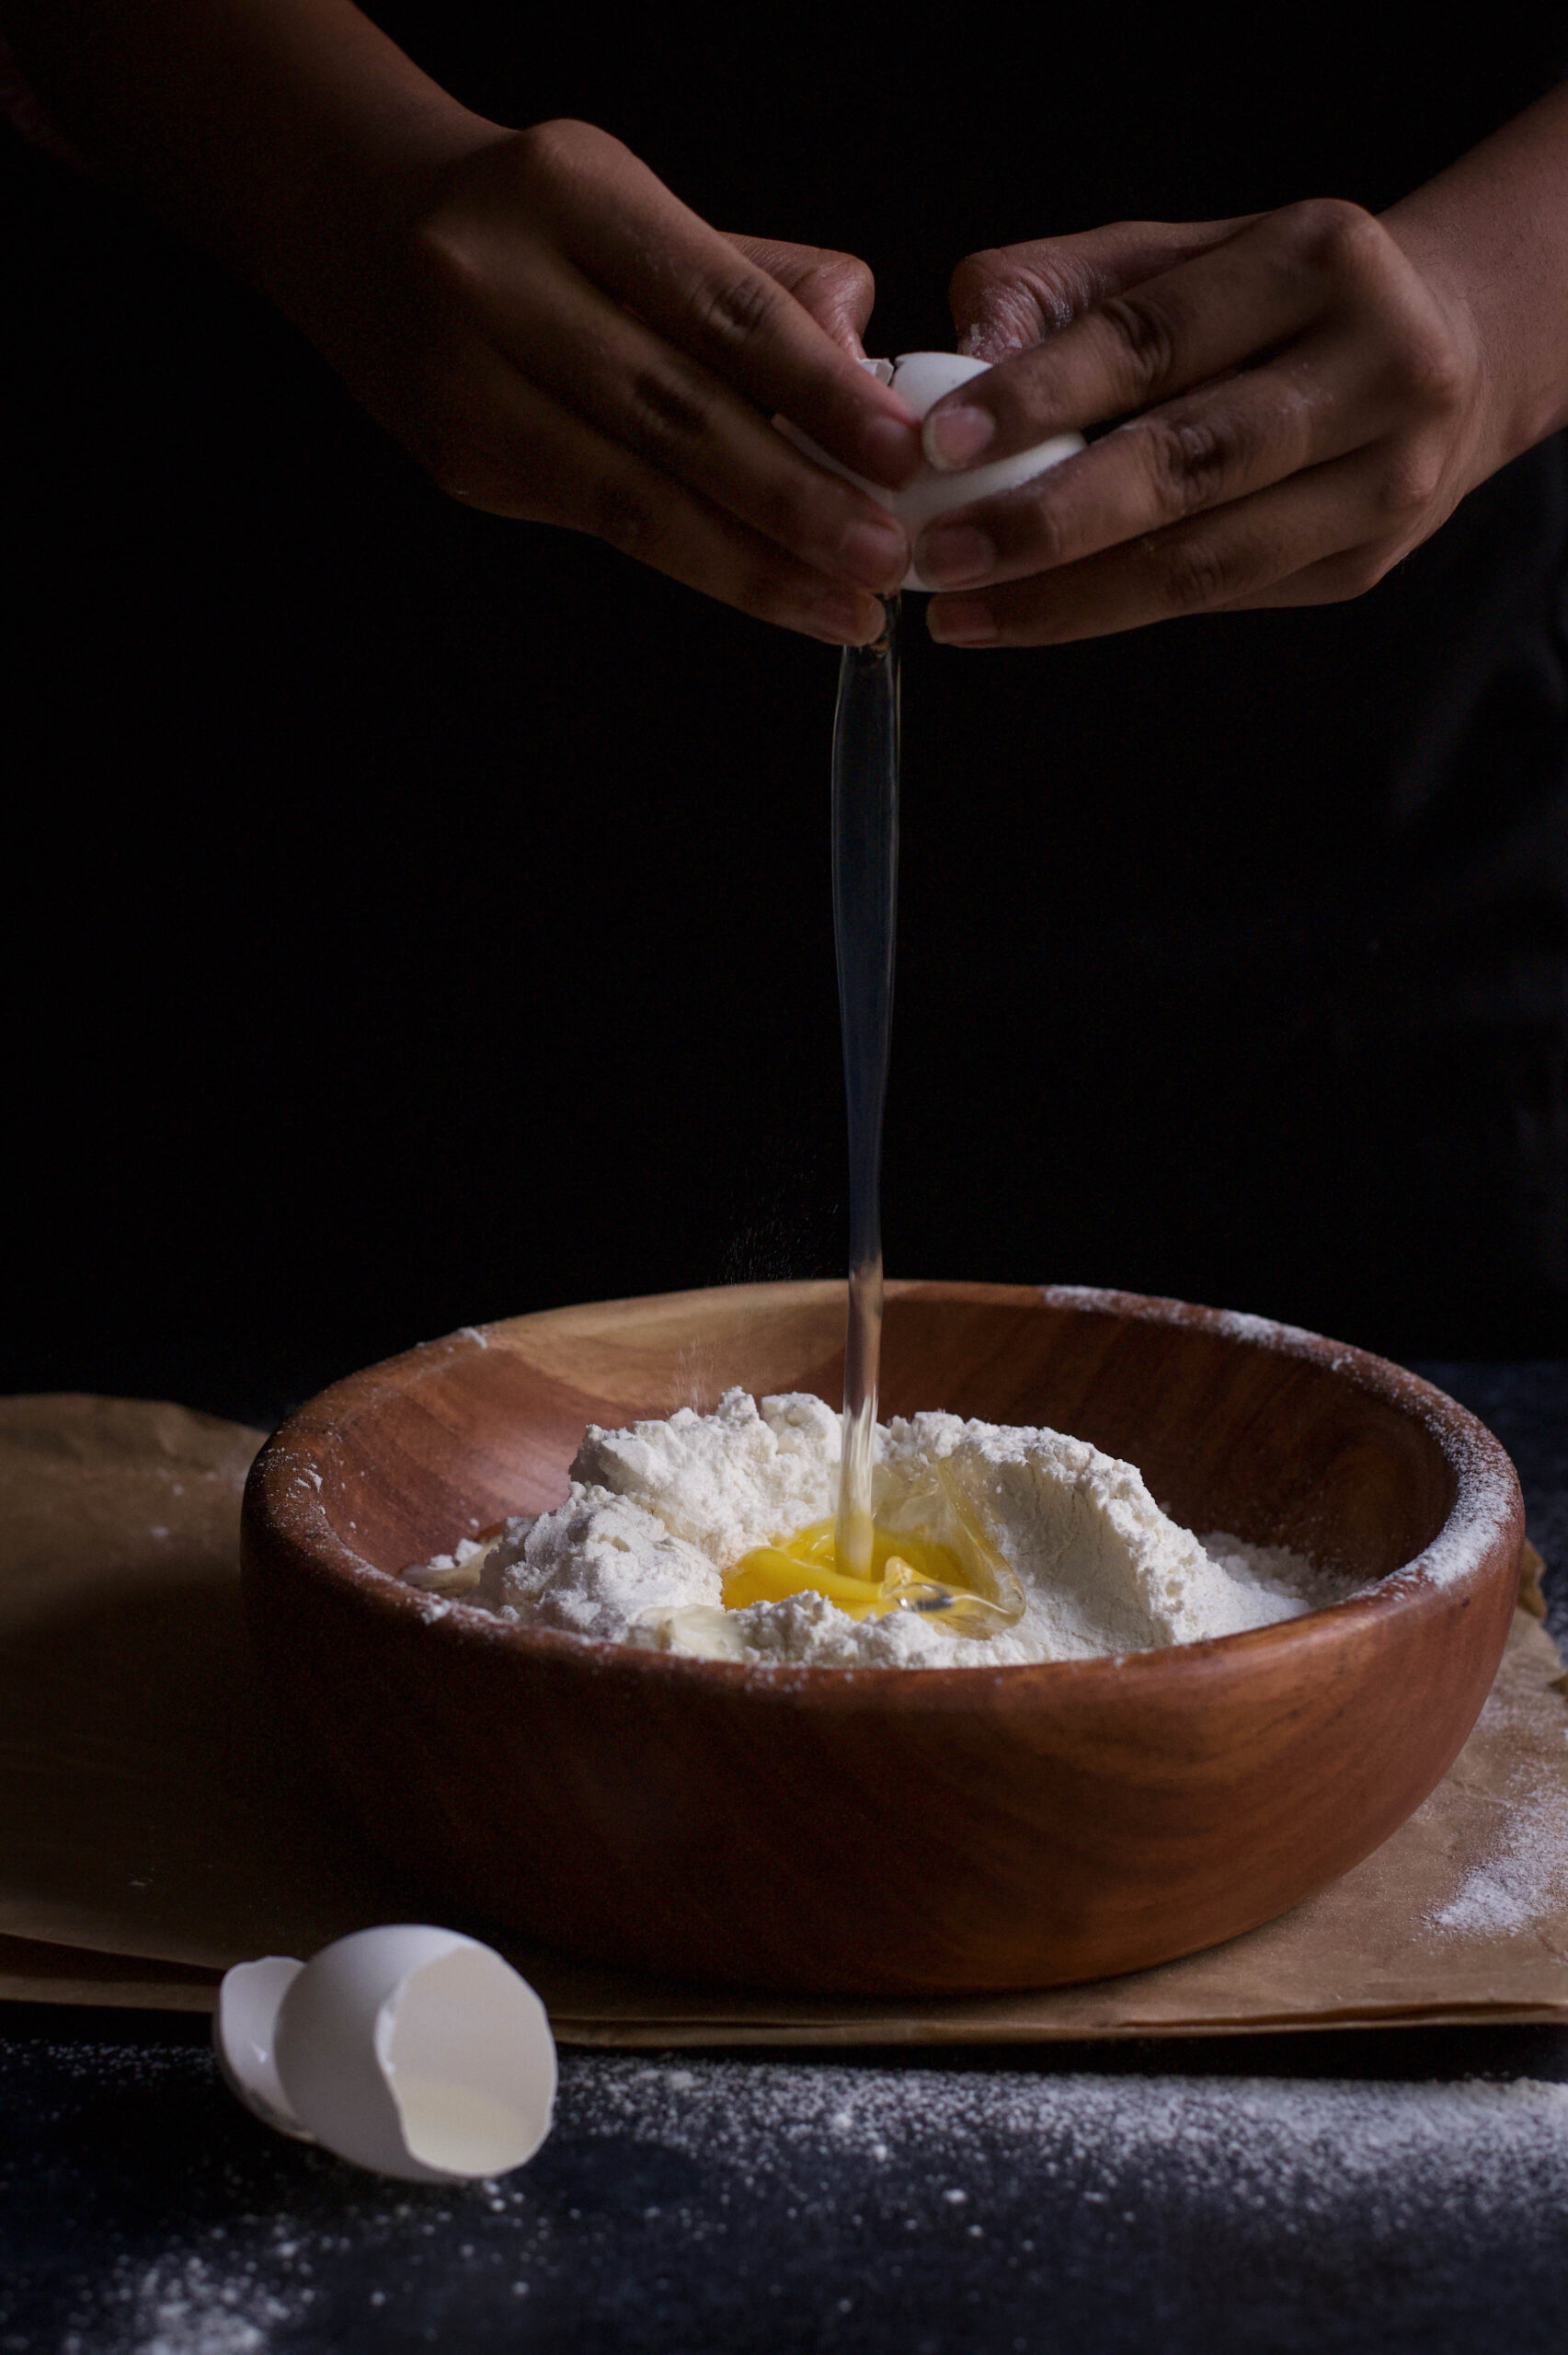
In a bowl, add all the ingredients (except the oil for deep frying) and make a dough. The dough should be equivalent to a tight smooth ball.
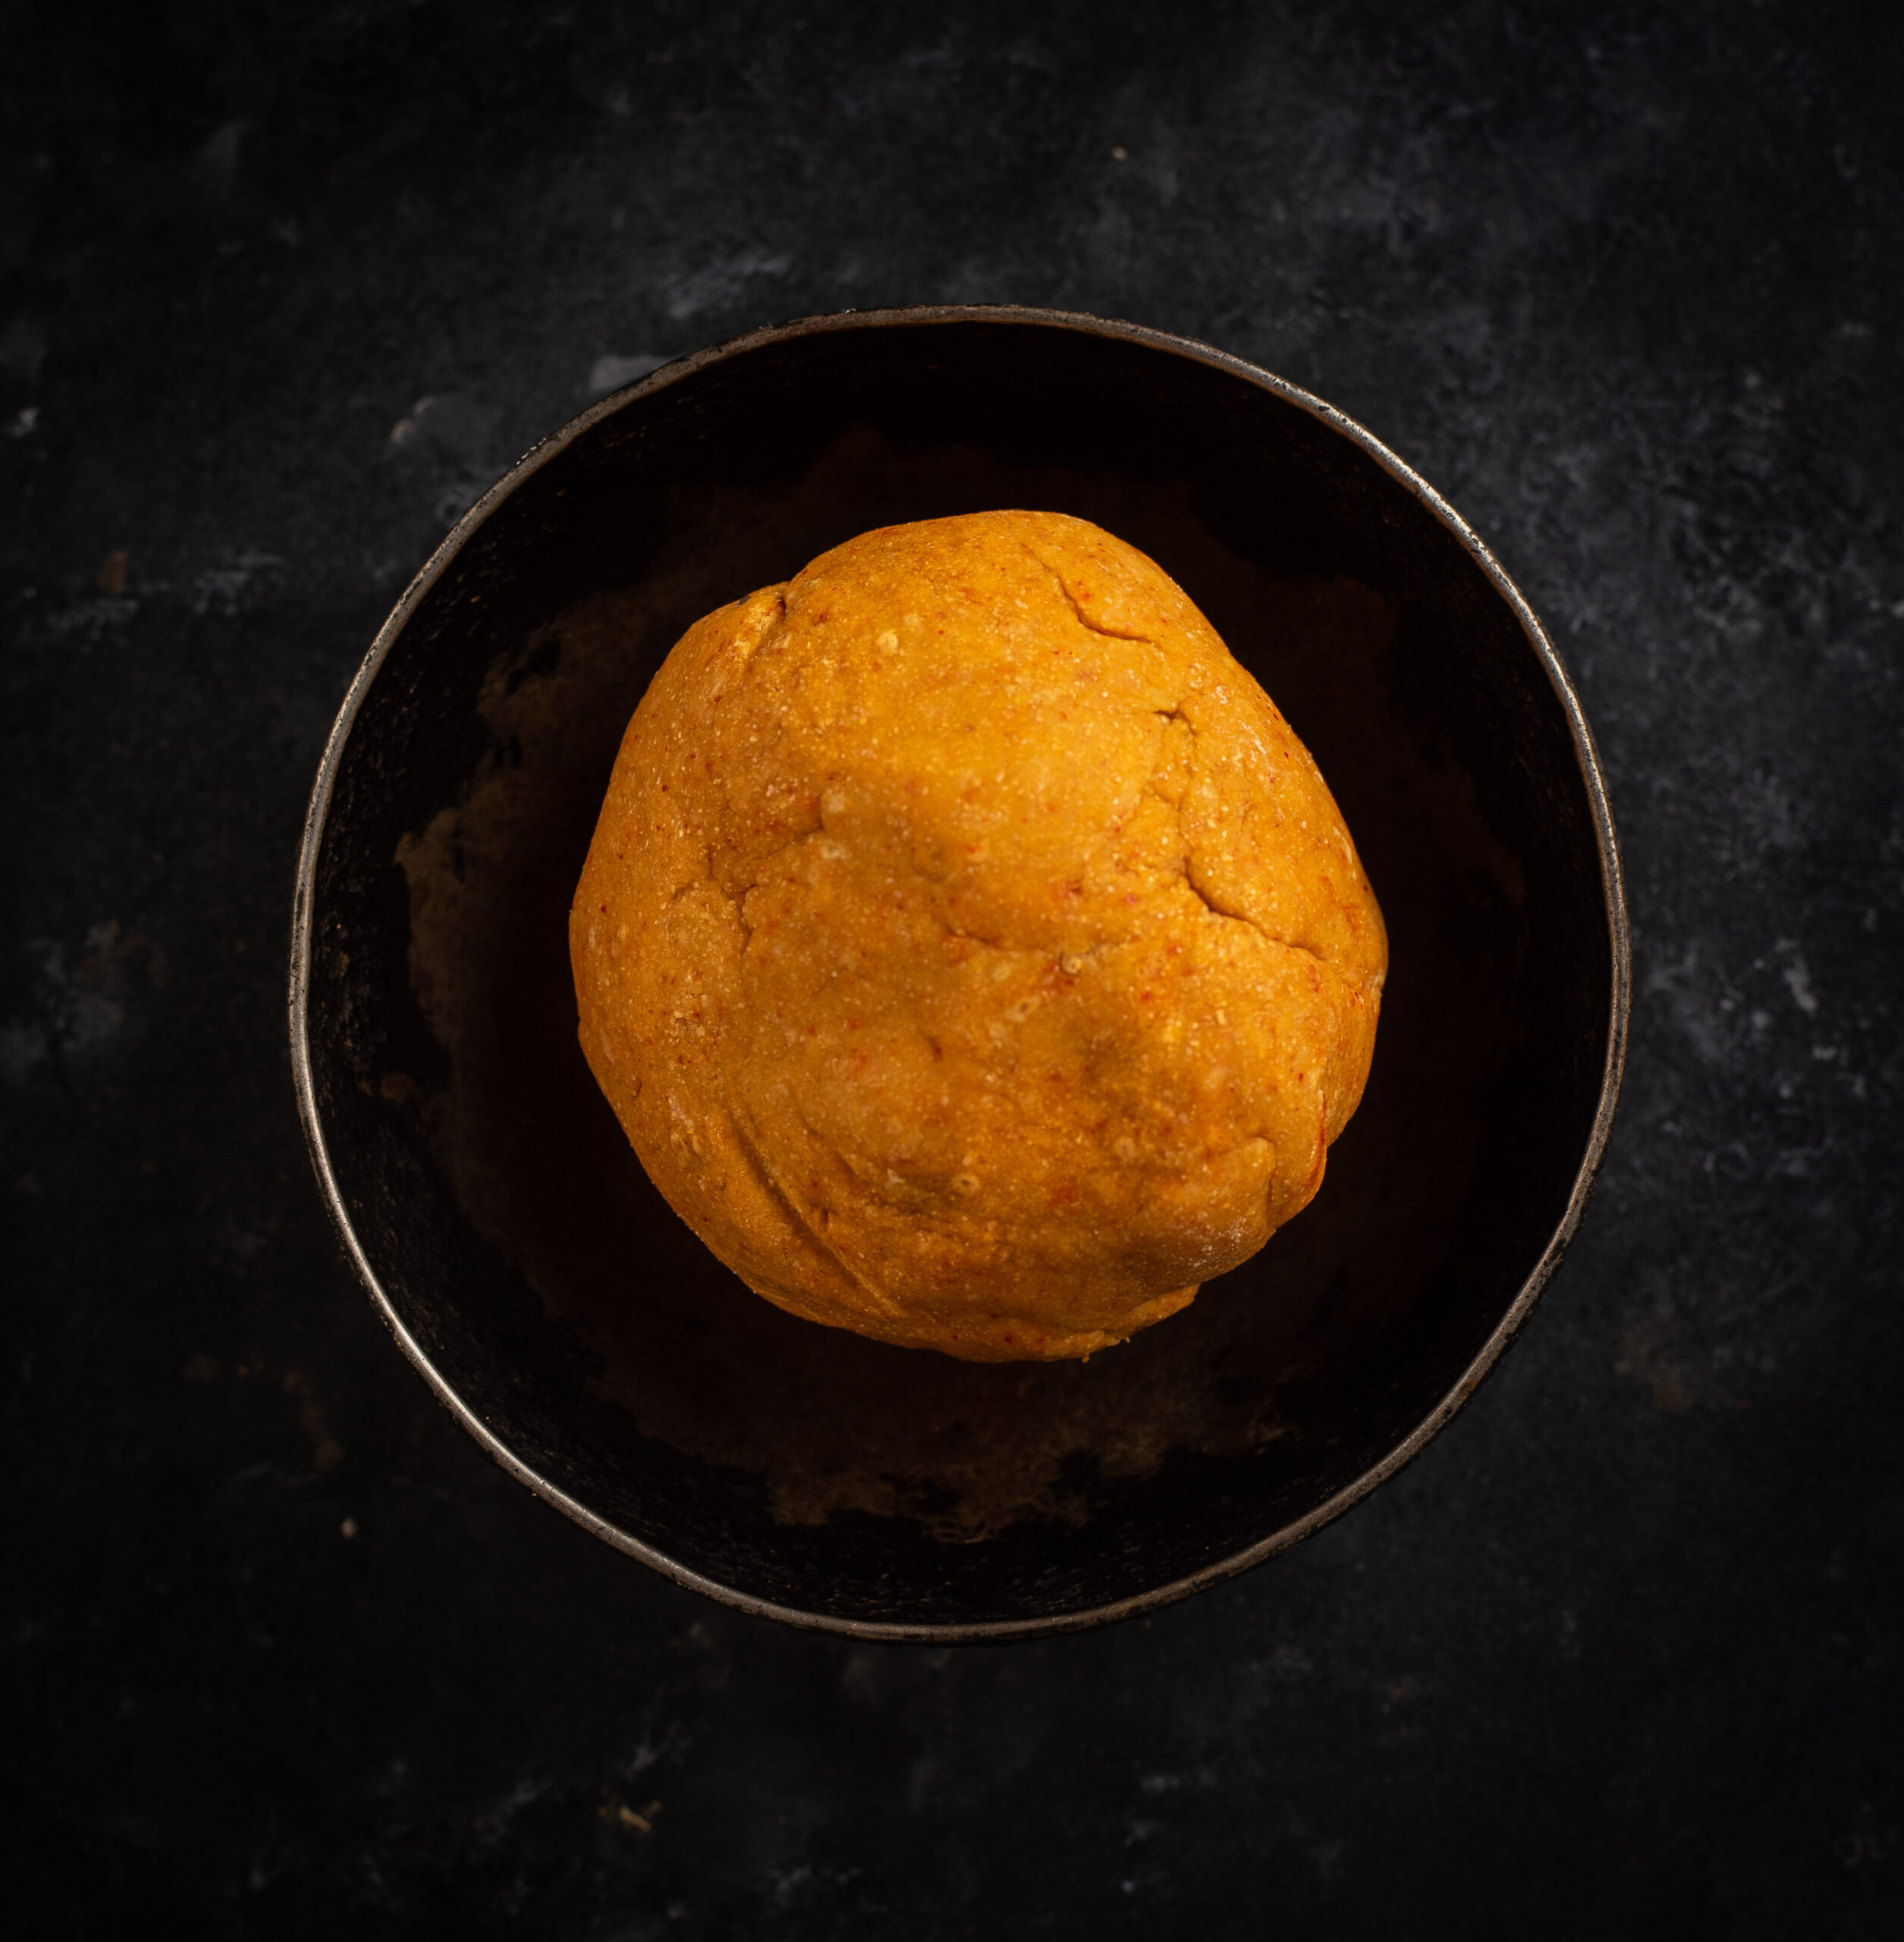
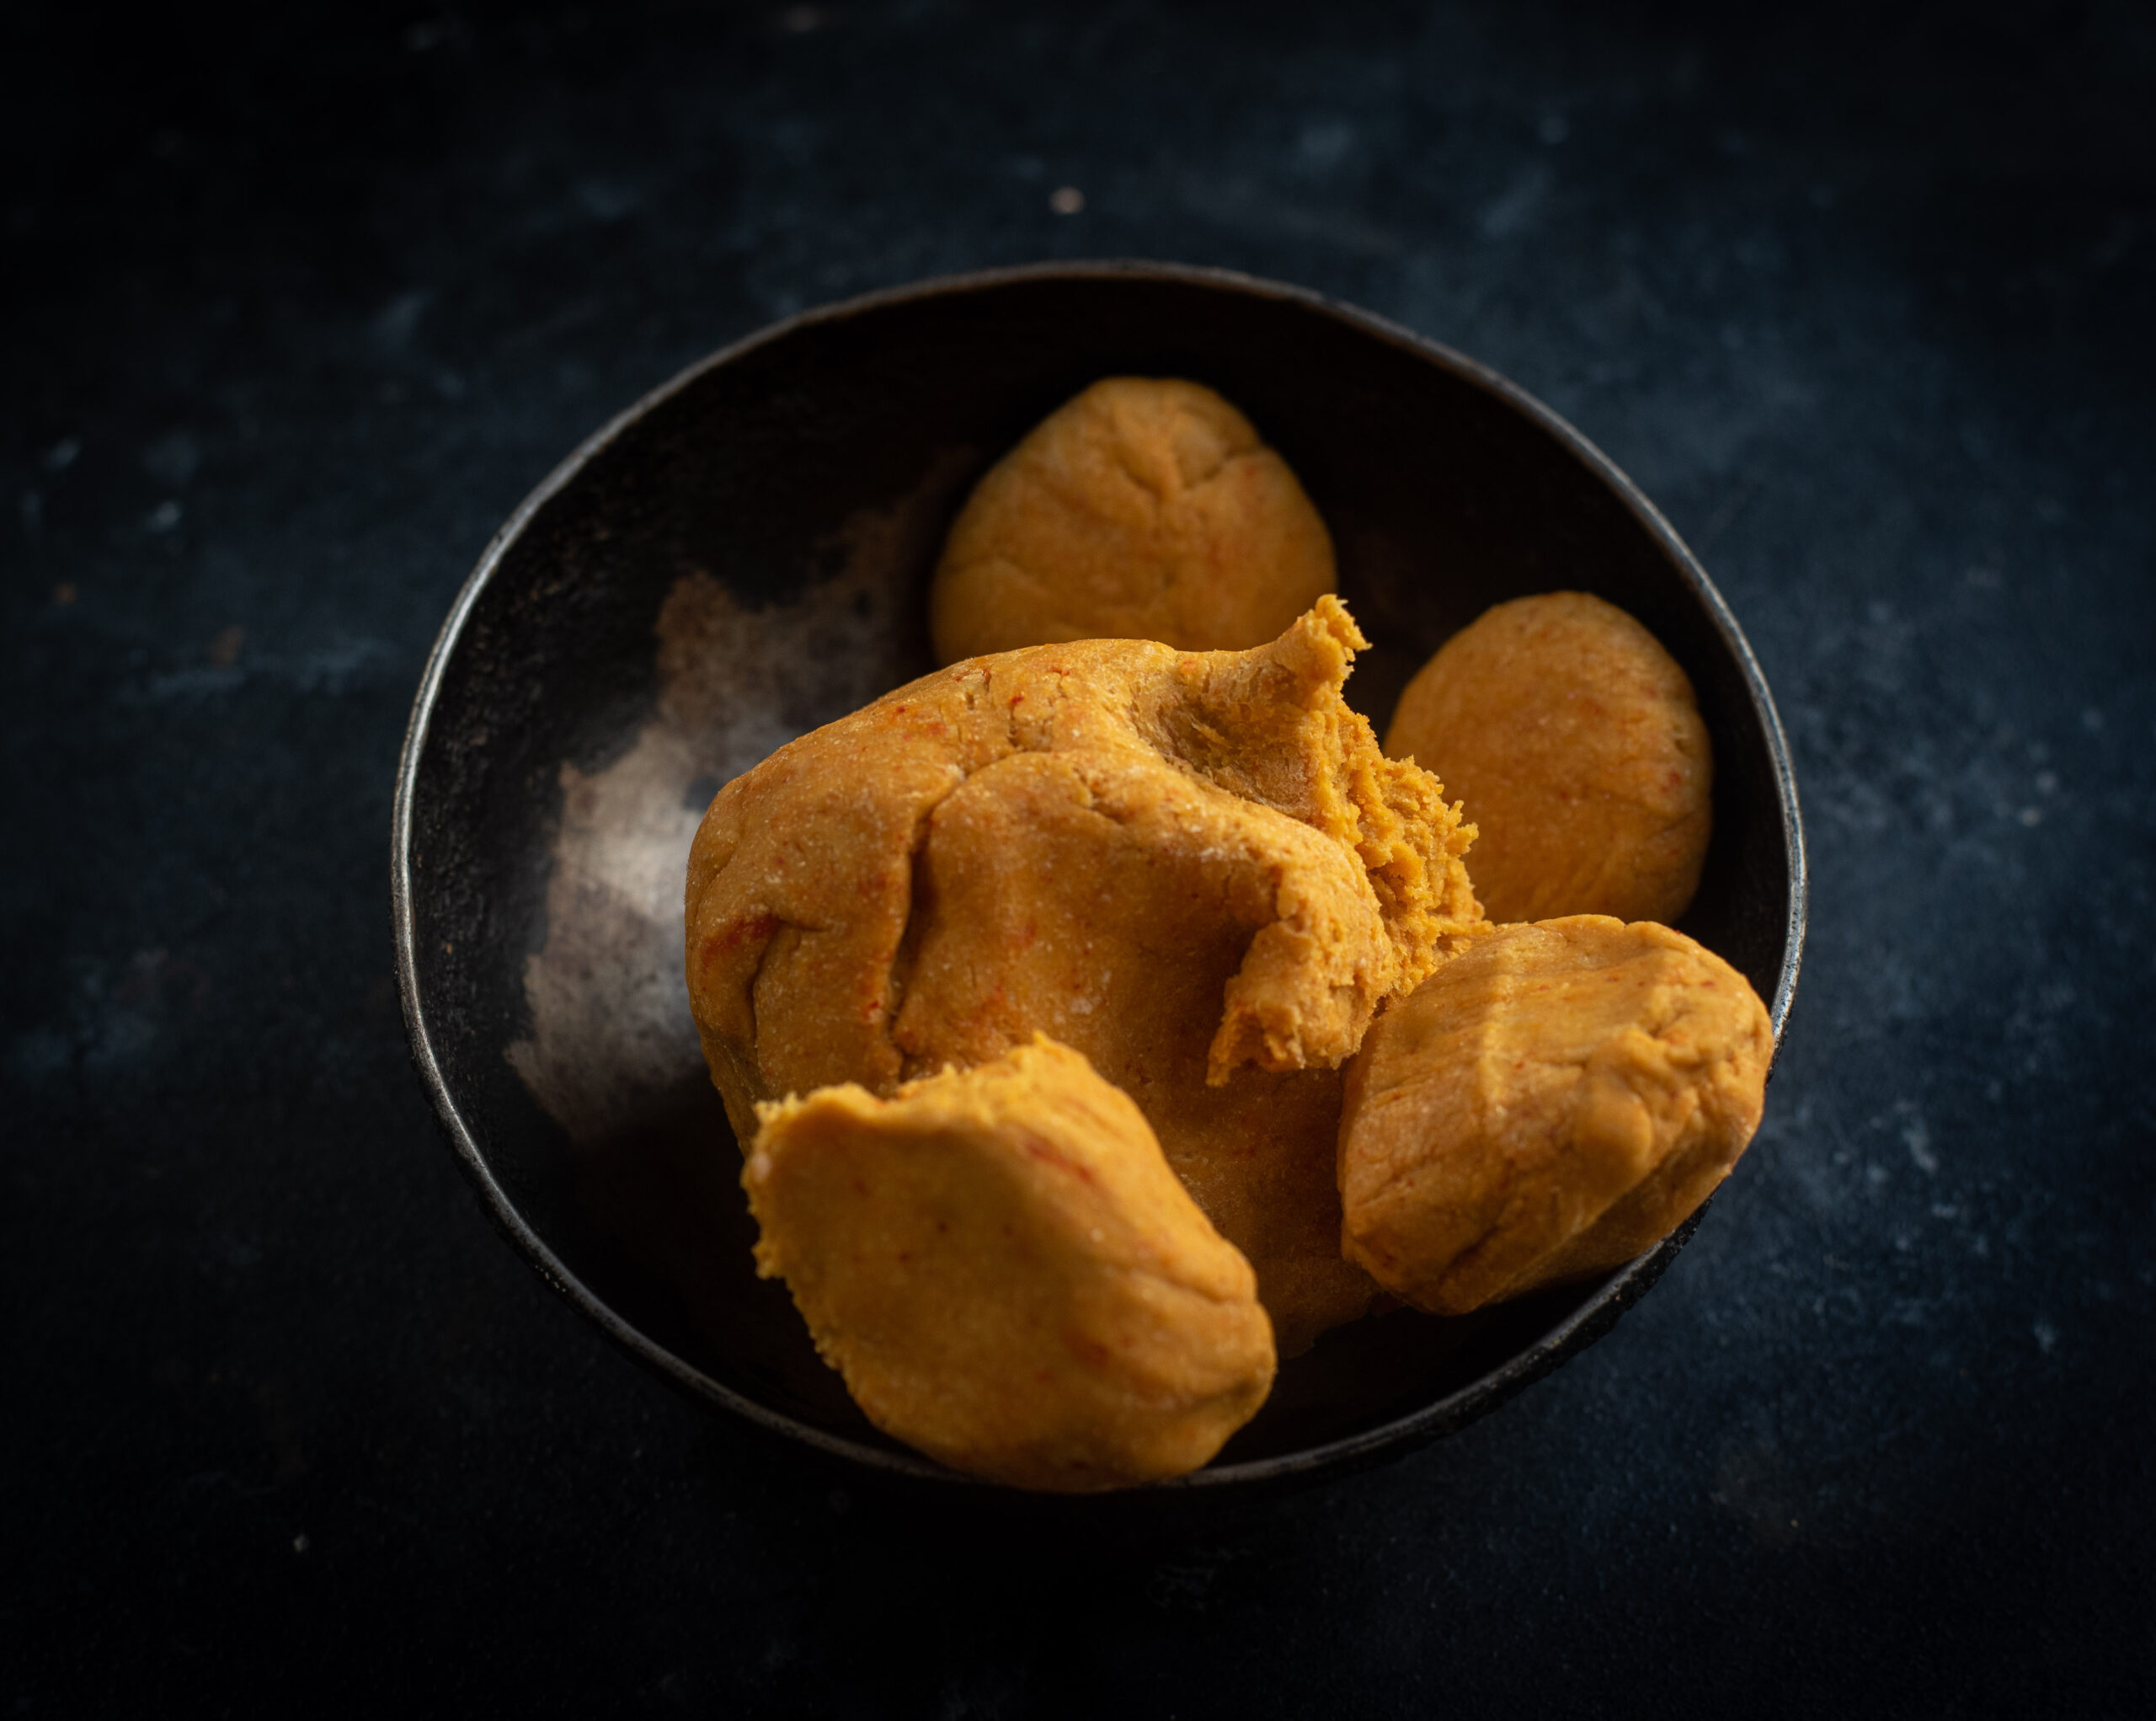
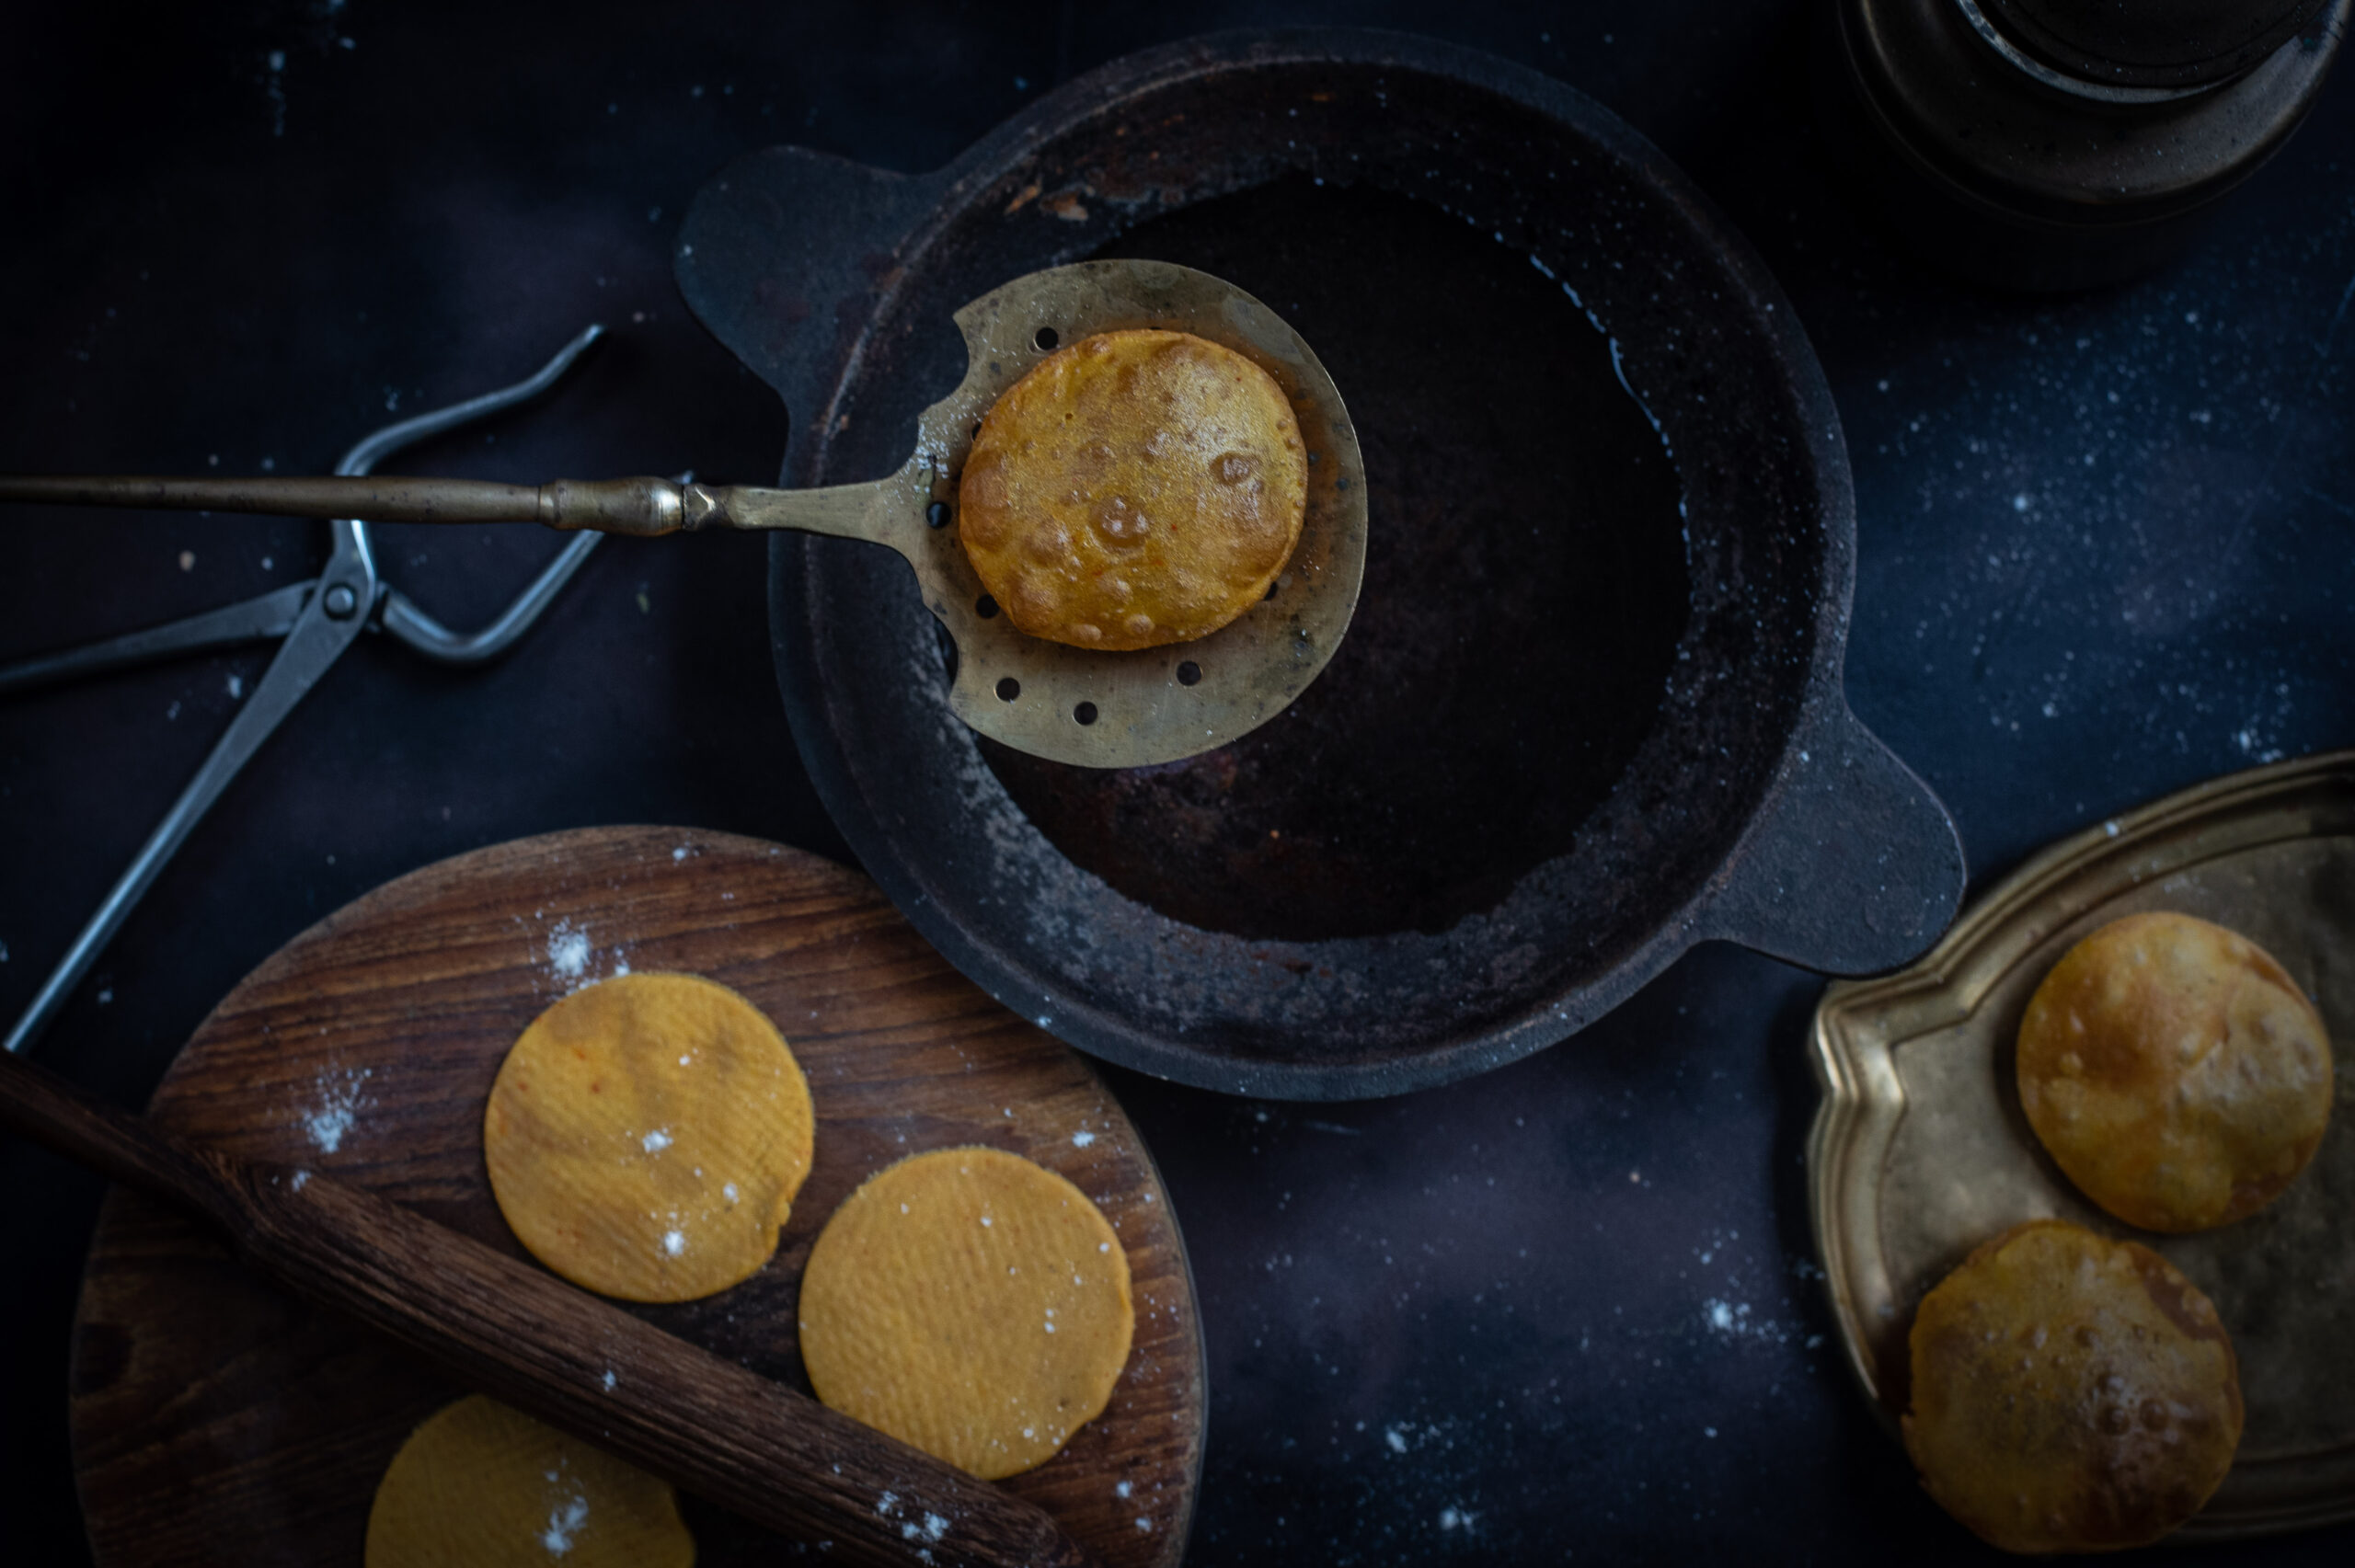
Now, divide the dough into round small balls ready for rolling out. Roll them out evenly shaped as far as possible. They should also have the same, even thickness. Take care that they are not too thin, as they will be unable to puff up if so. Did you get rolling practice when you made these rotis? If you did, it may be worth noting that this dough is similar to thepla dough, except we don’t add yoghurt.
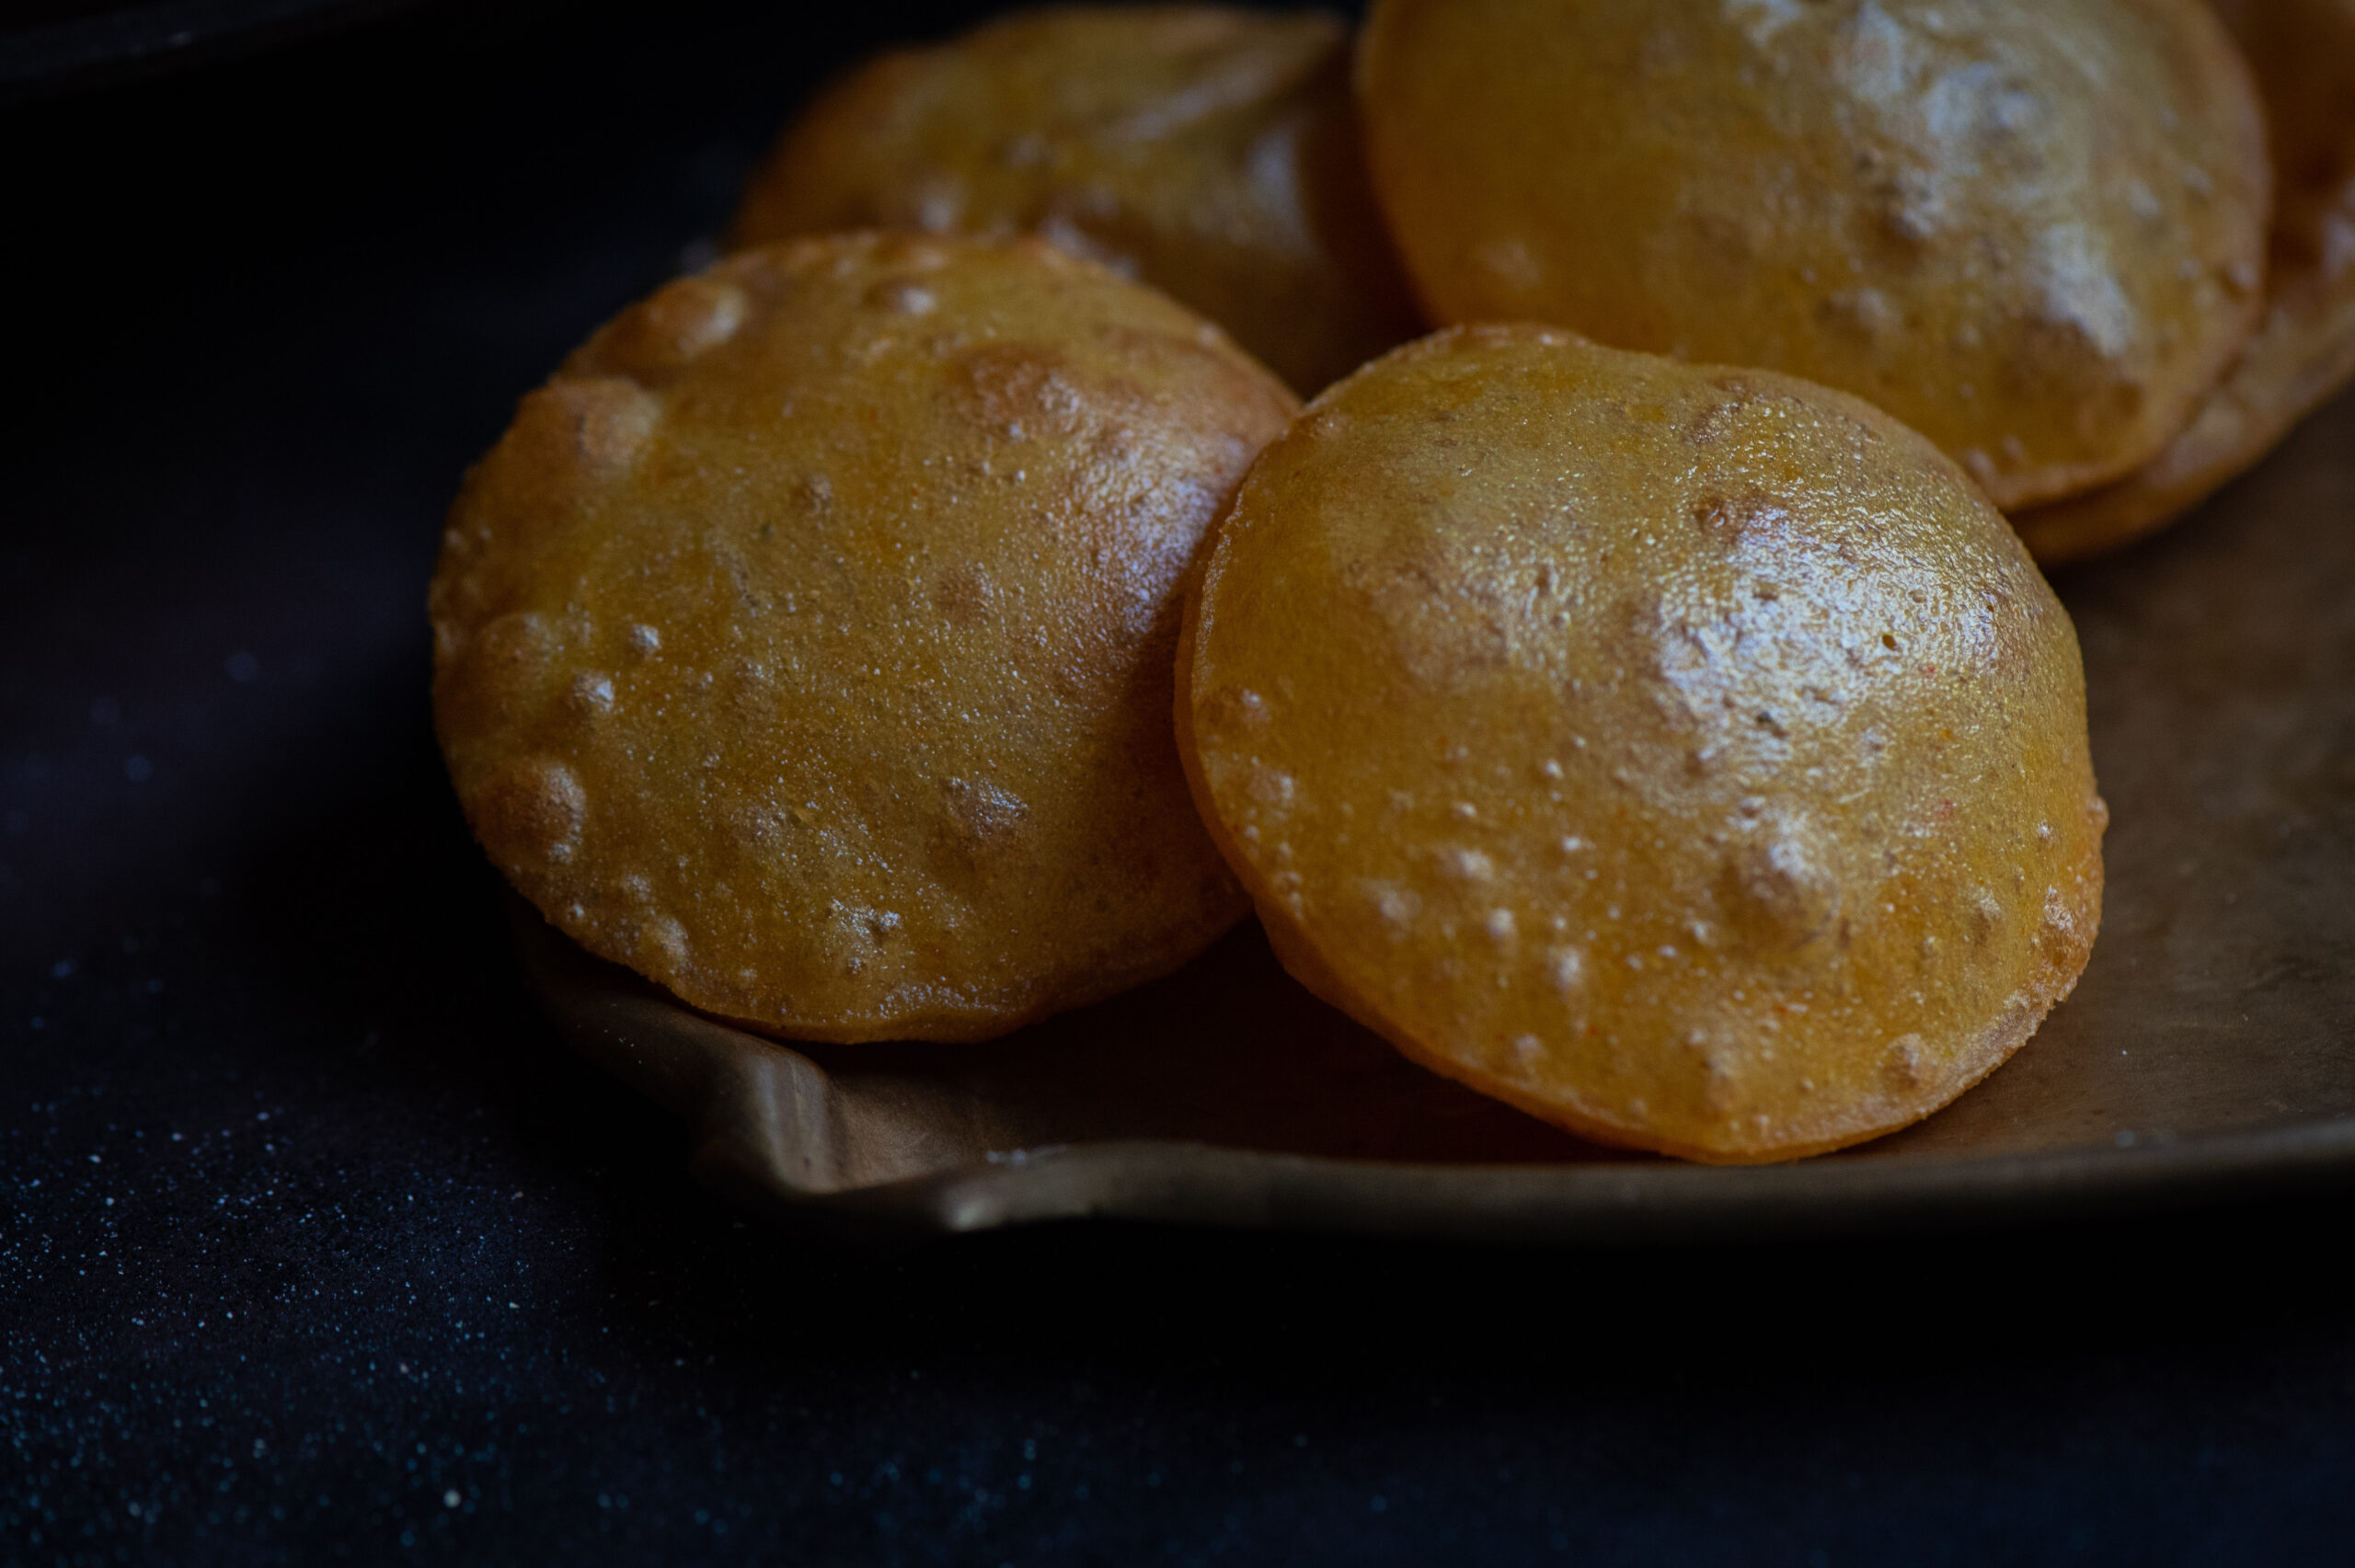
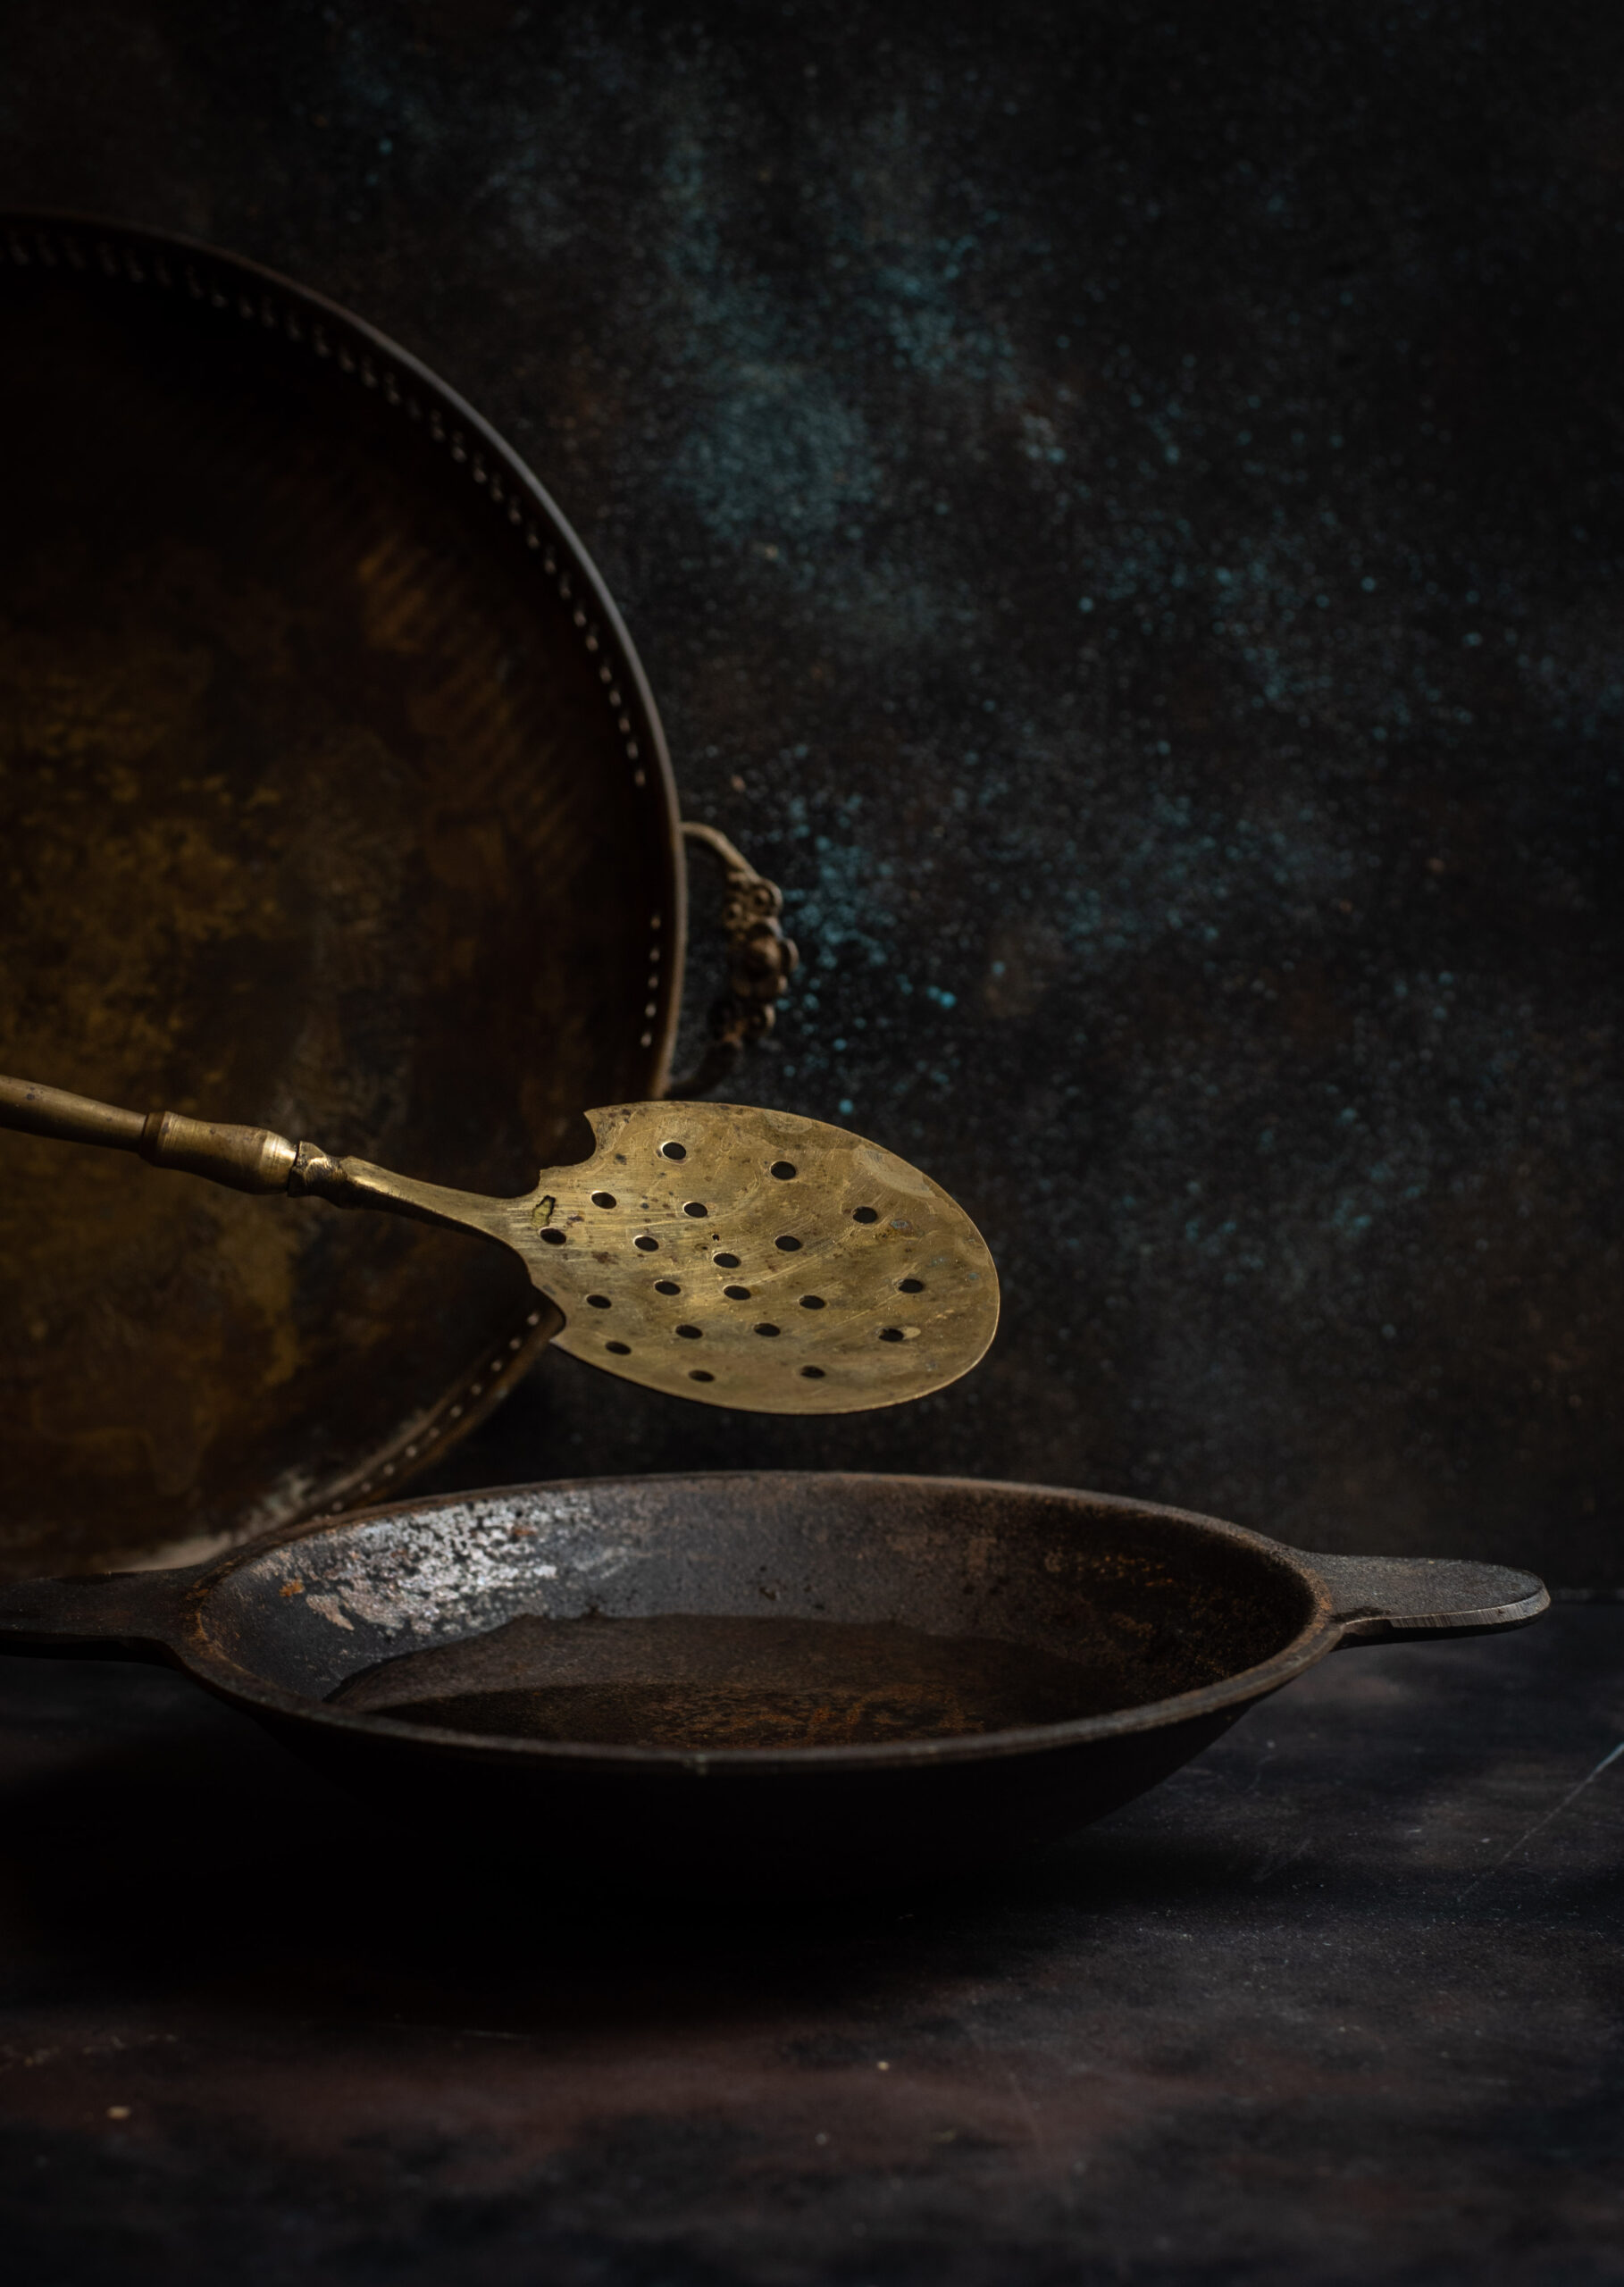
Prepare the oil by heating it. You can check the heat by dropping a pin size drop of dough. If it gathers bubbles, then it means the oil is ready. On a high flame, drop the pooris in one at a time. Wait for each one to rise up, and then flip it over. You need to flip it over just once. The secret to the puffiness lies in a mixture of of the correct level of thickness, the heat of the oil, and timing. It takes practice, and despite my childhood aversion, deflated pooris are perfectly edible too.
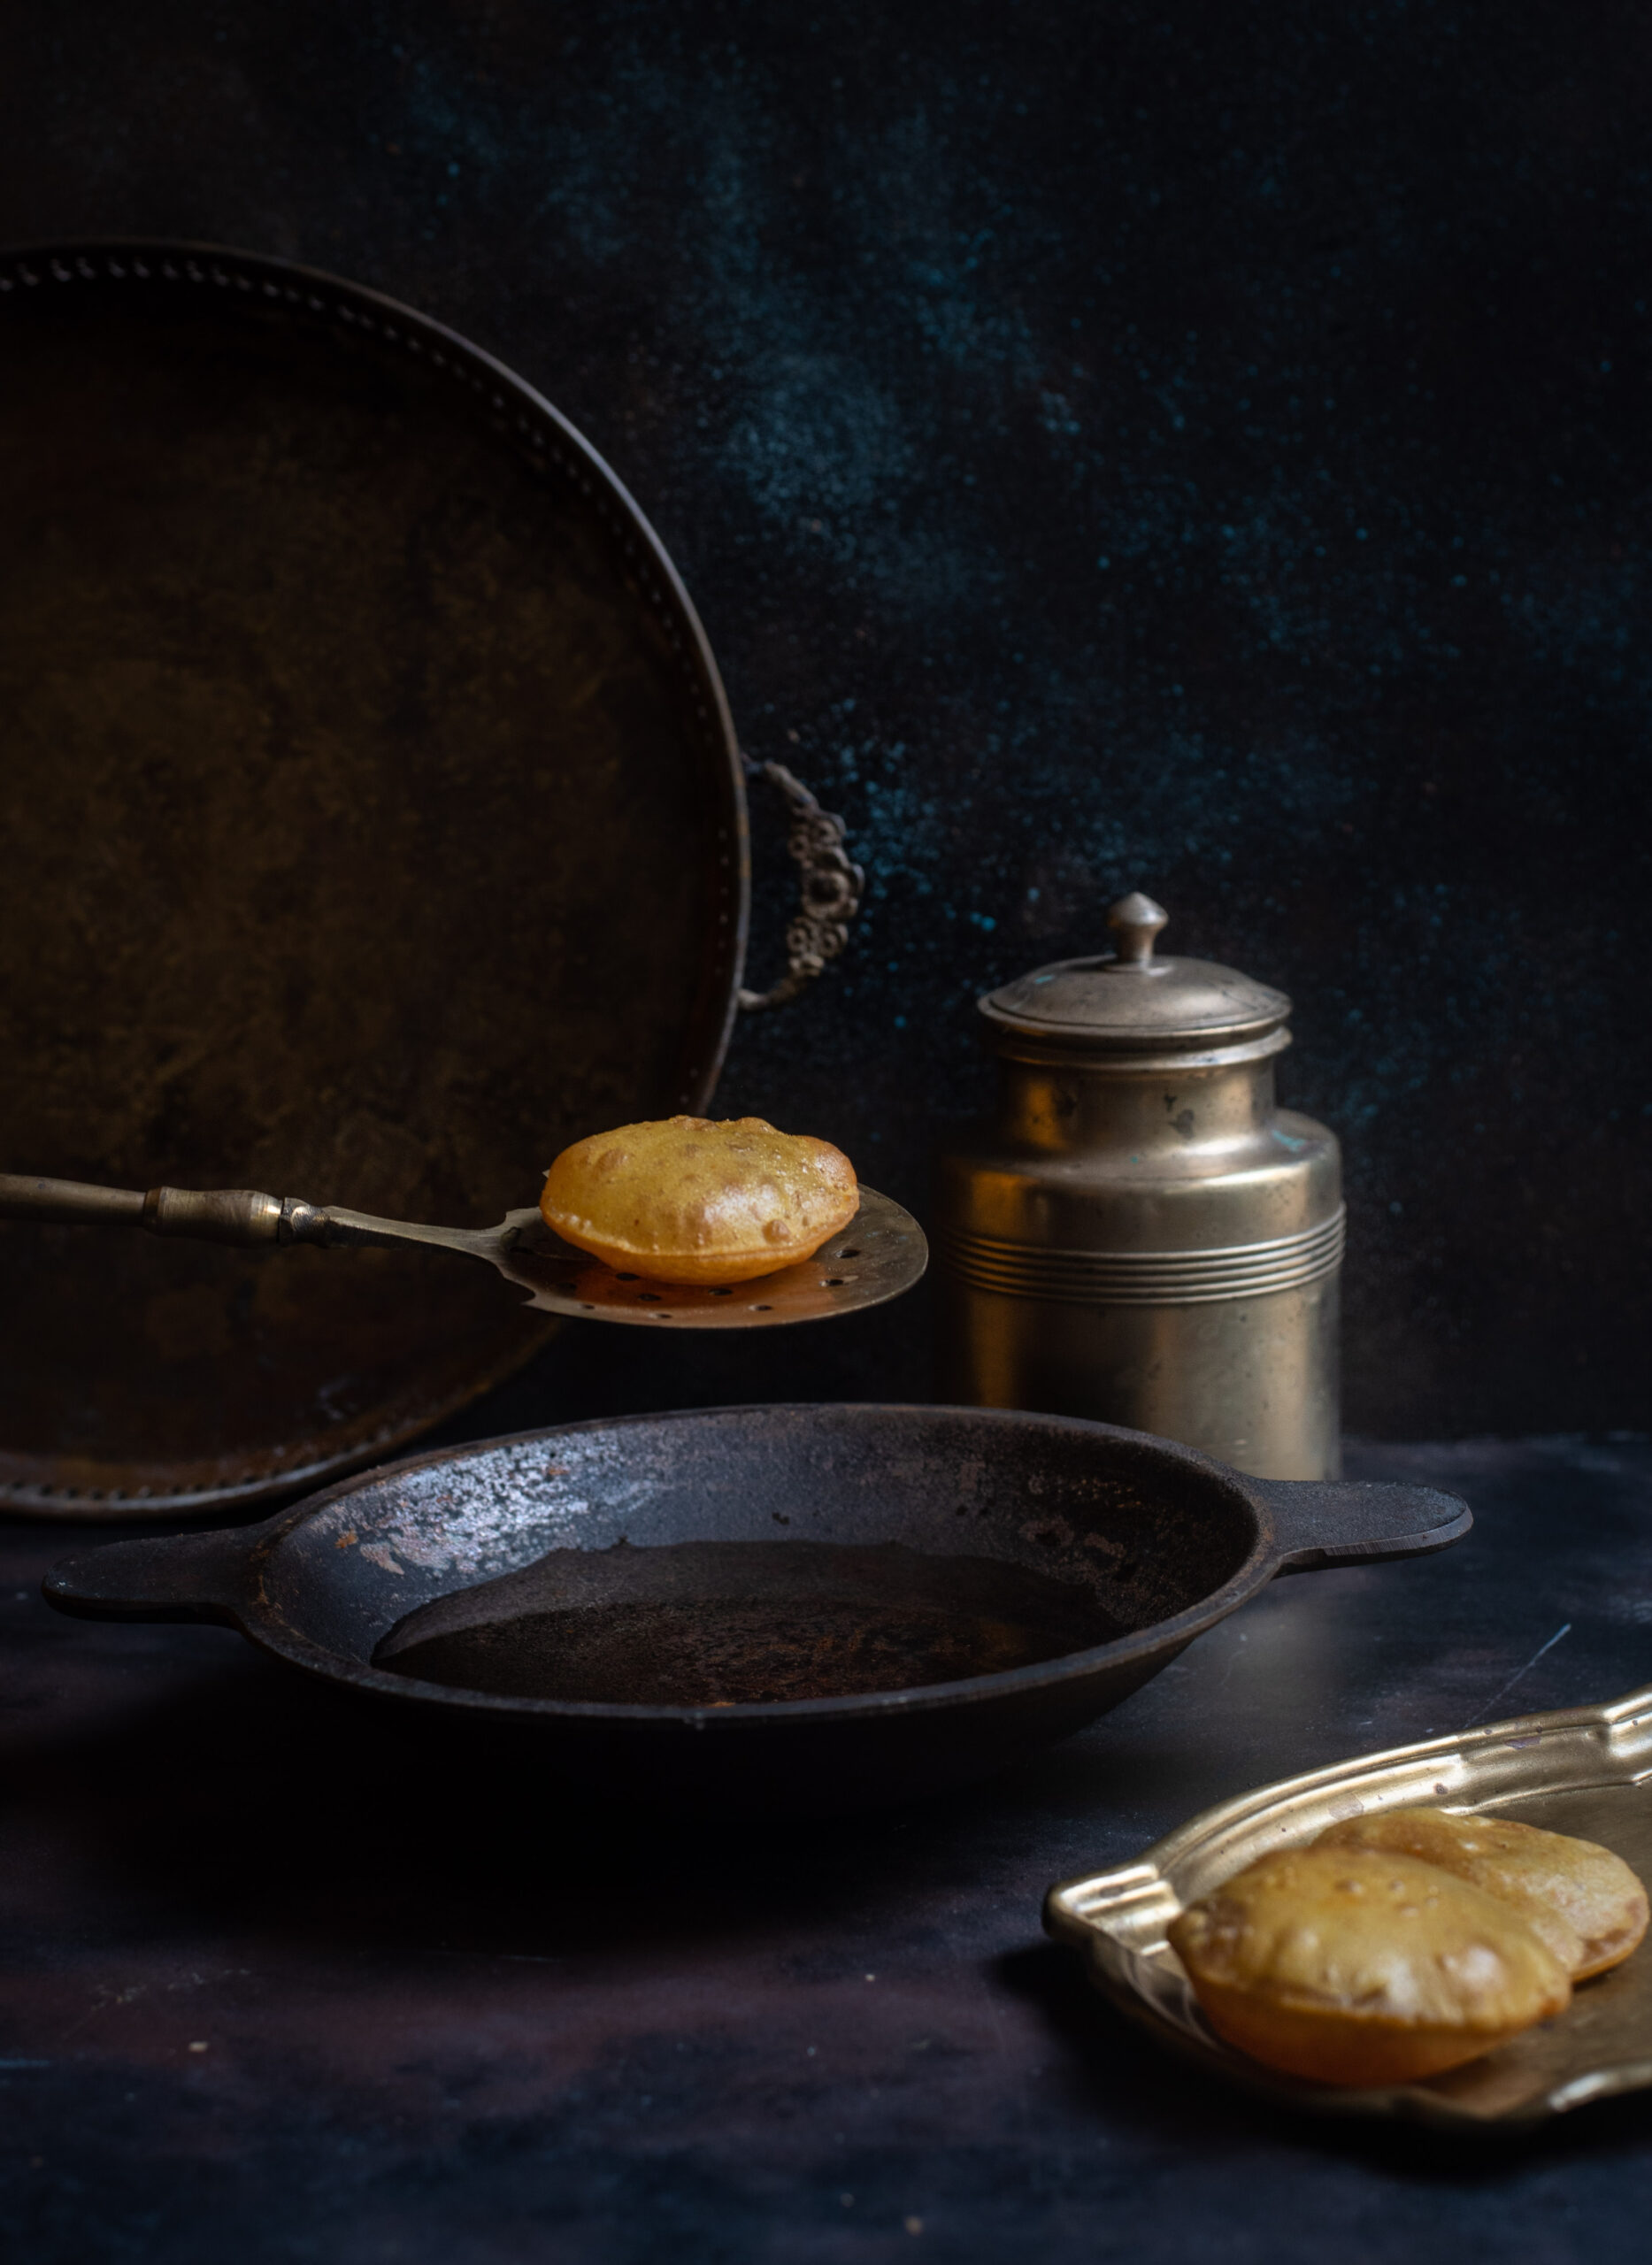
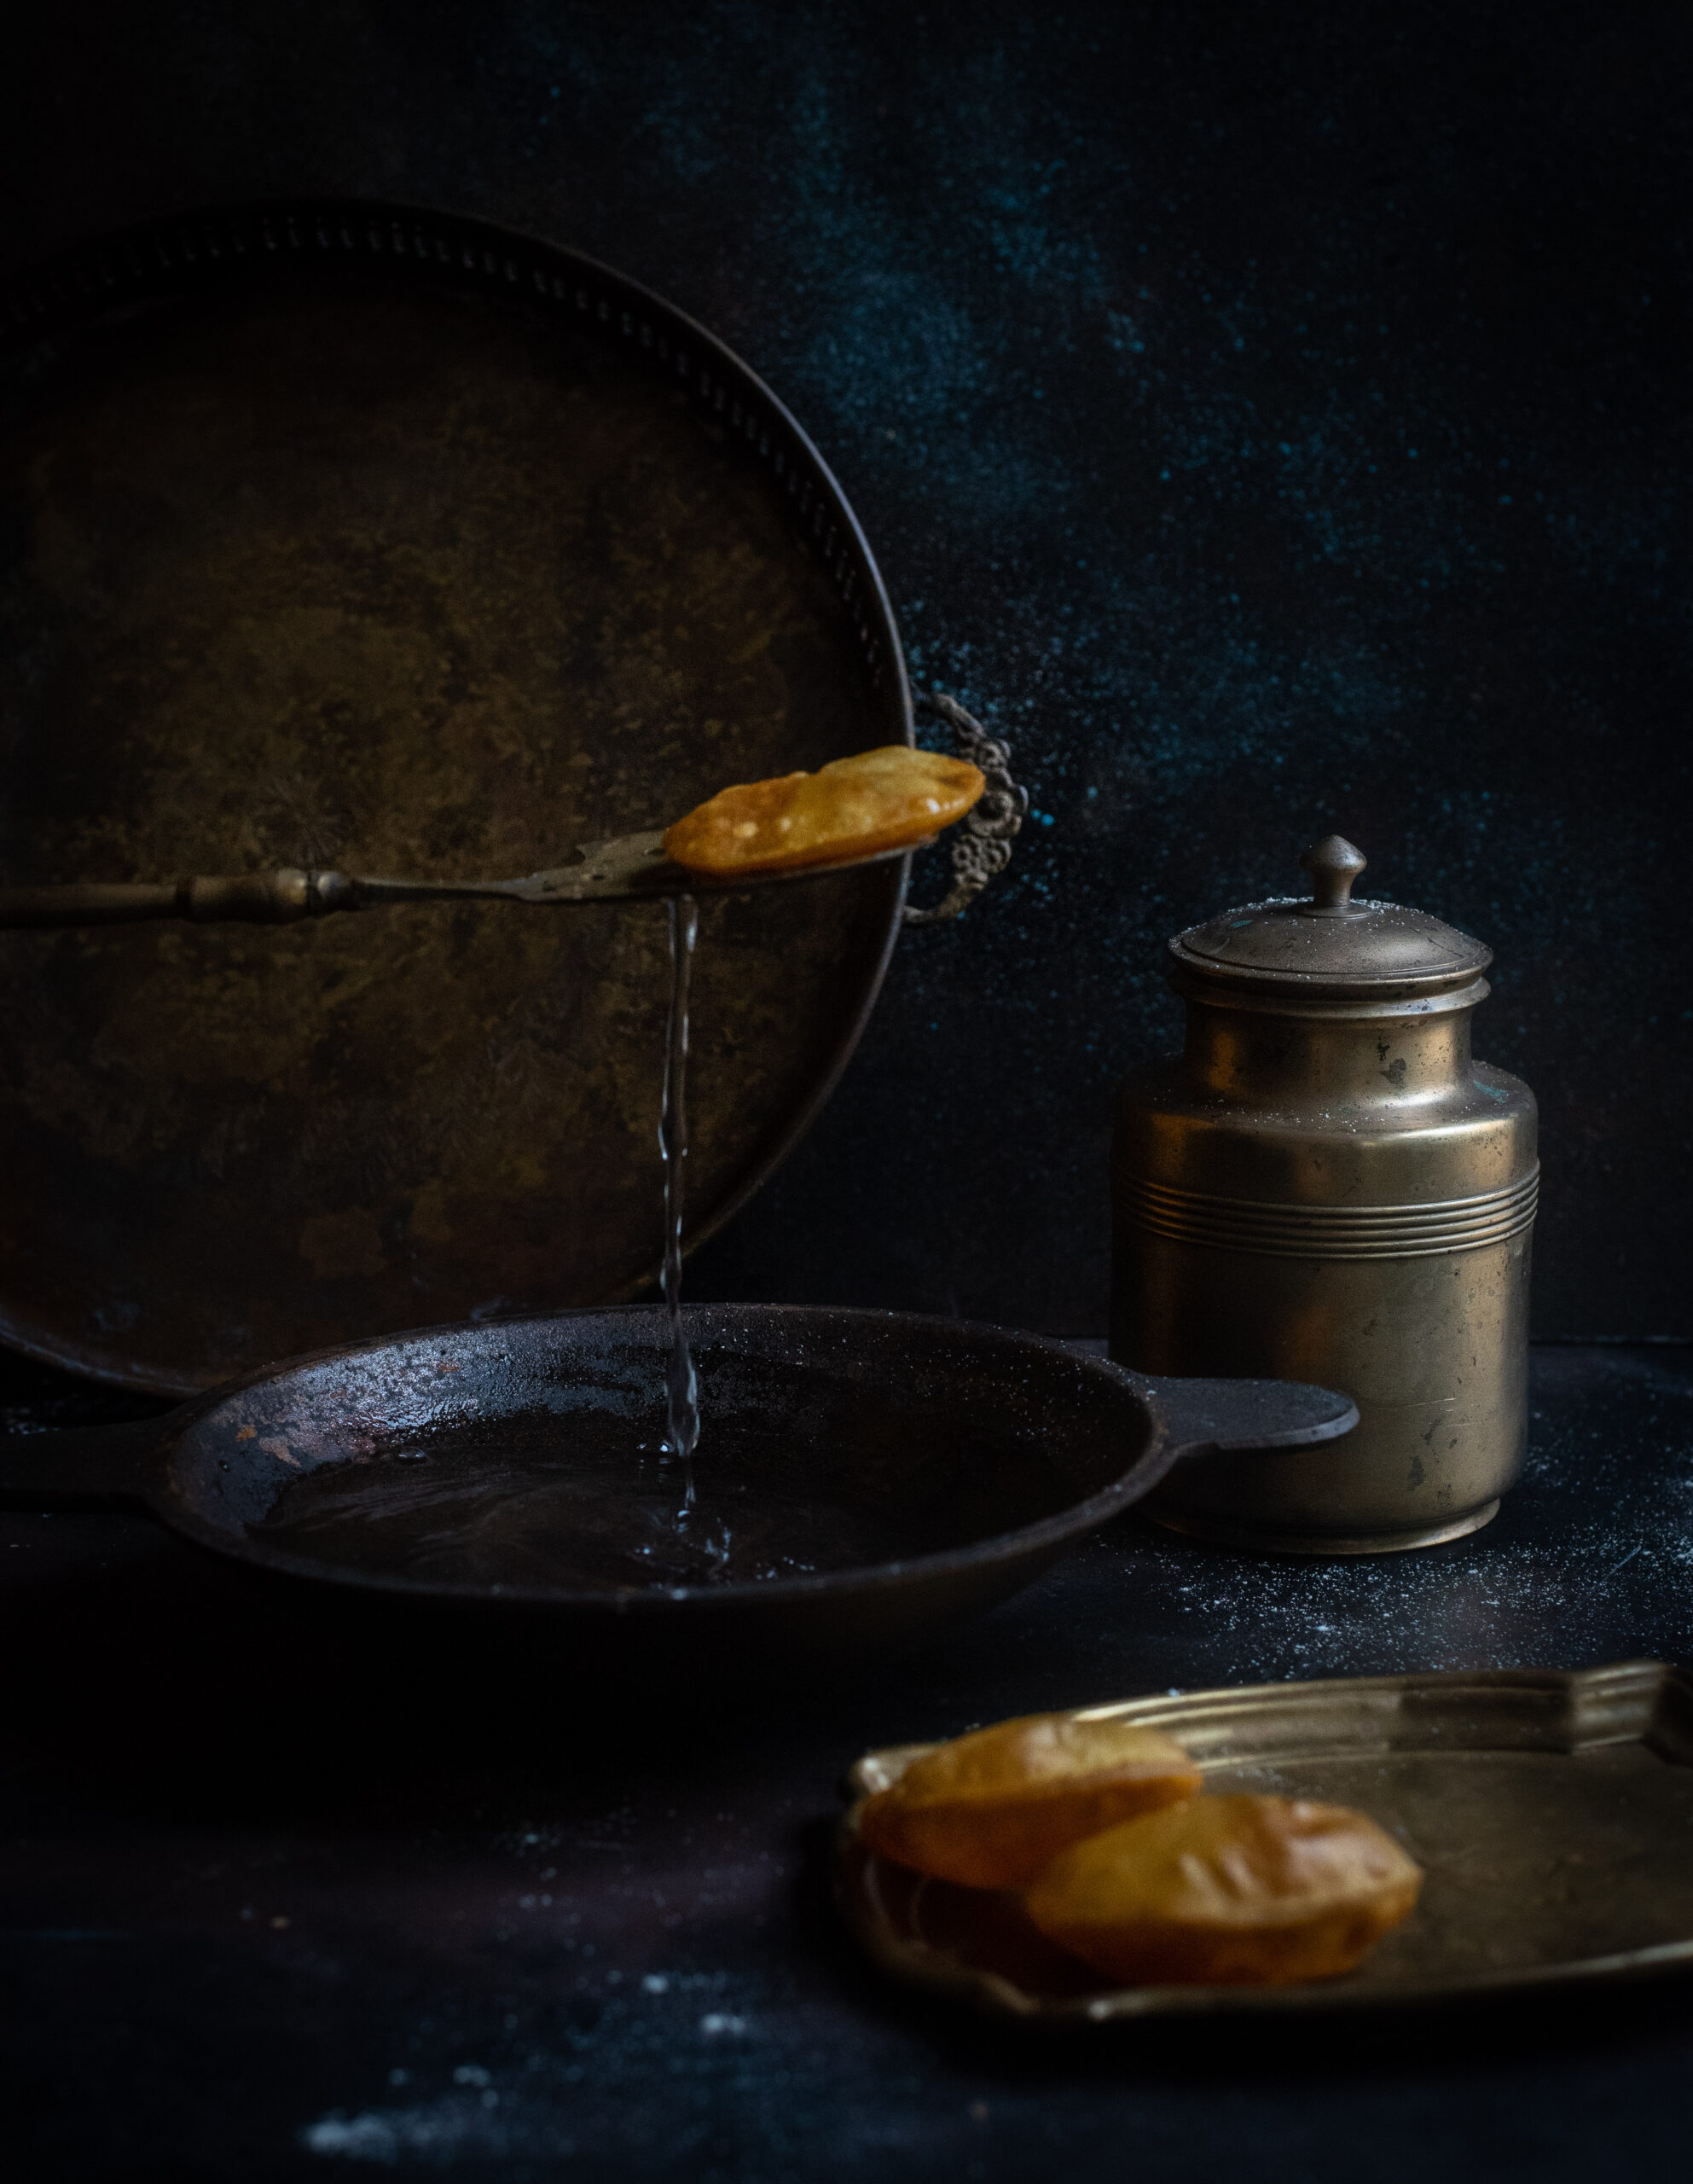
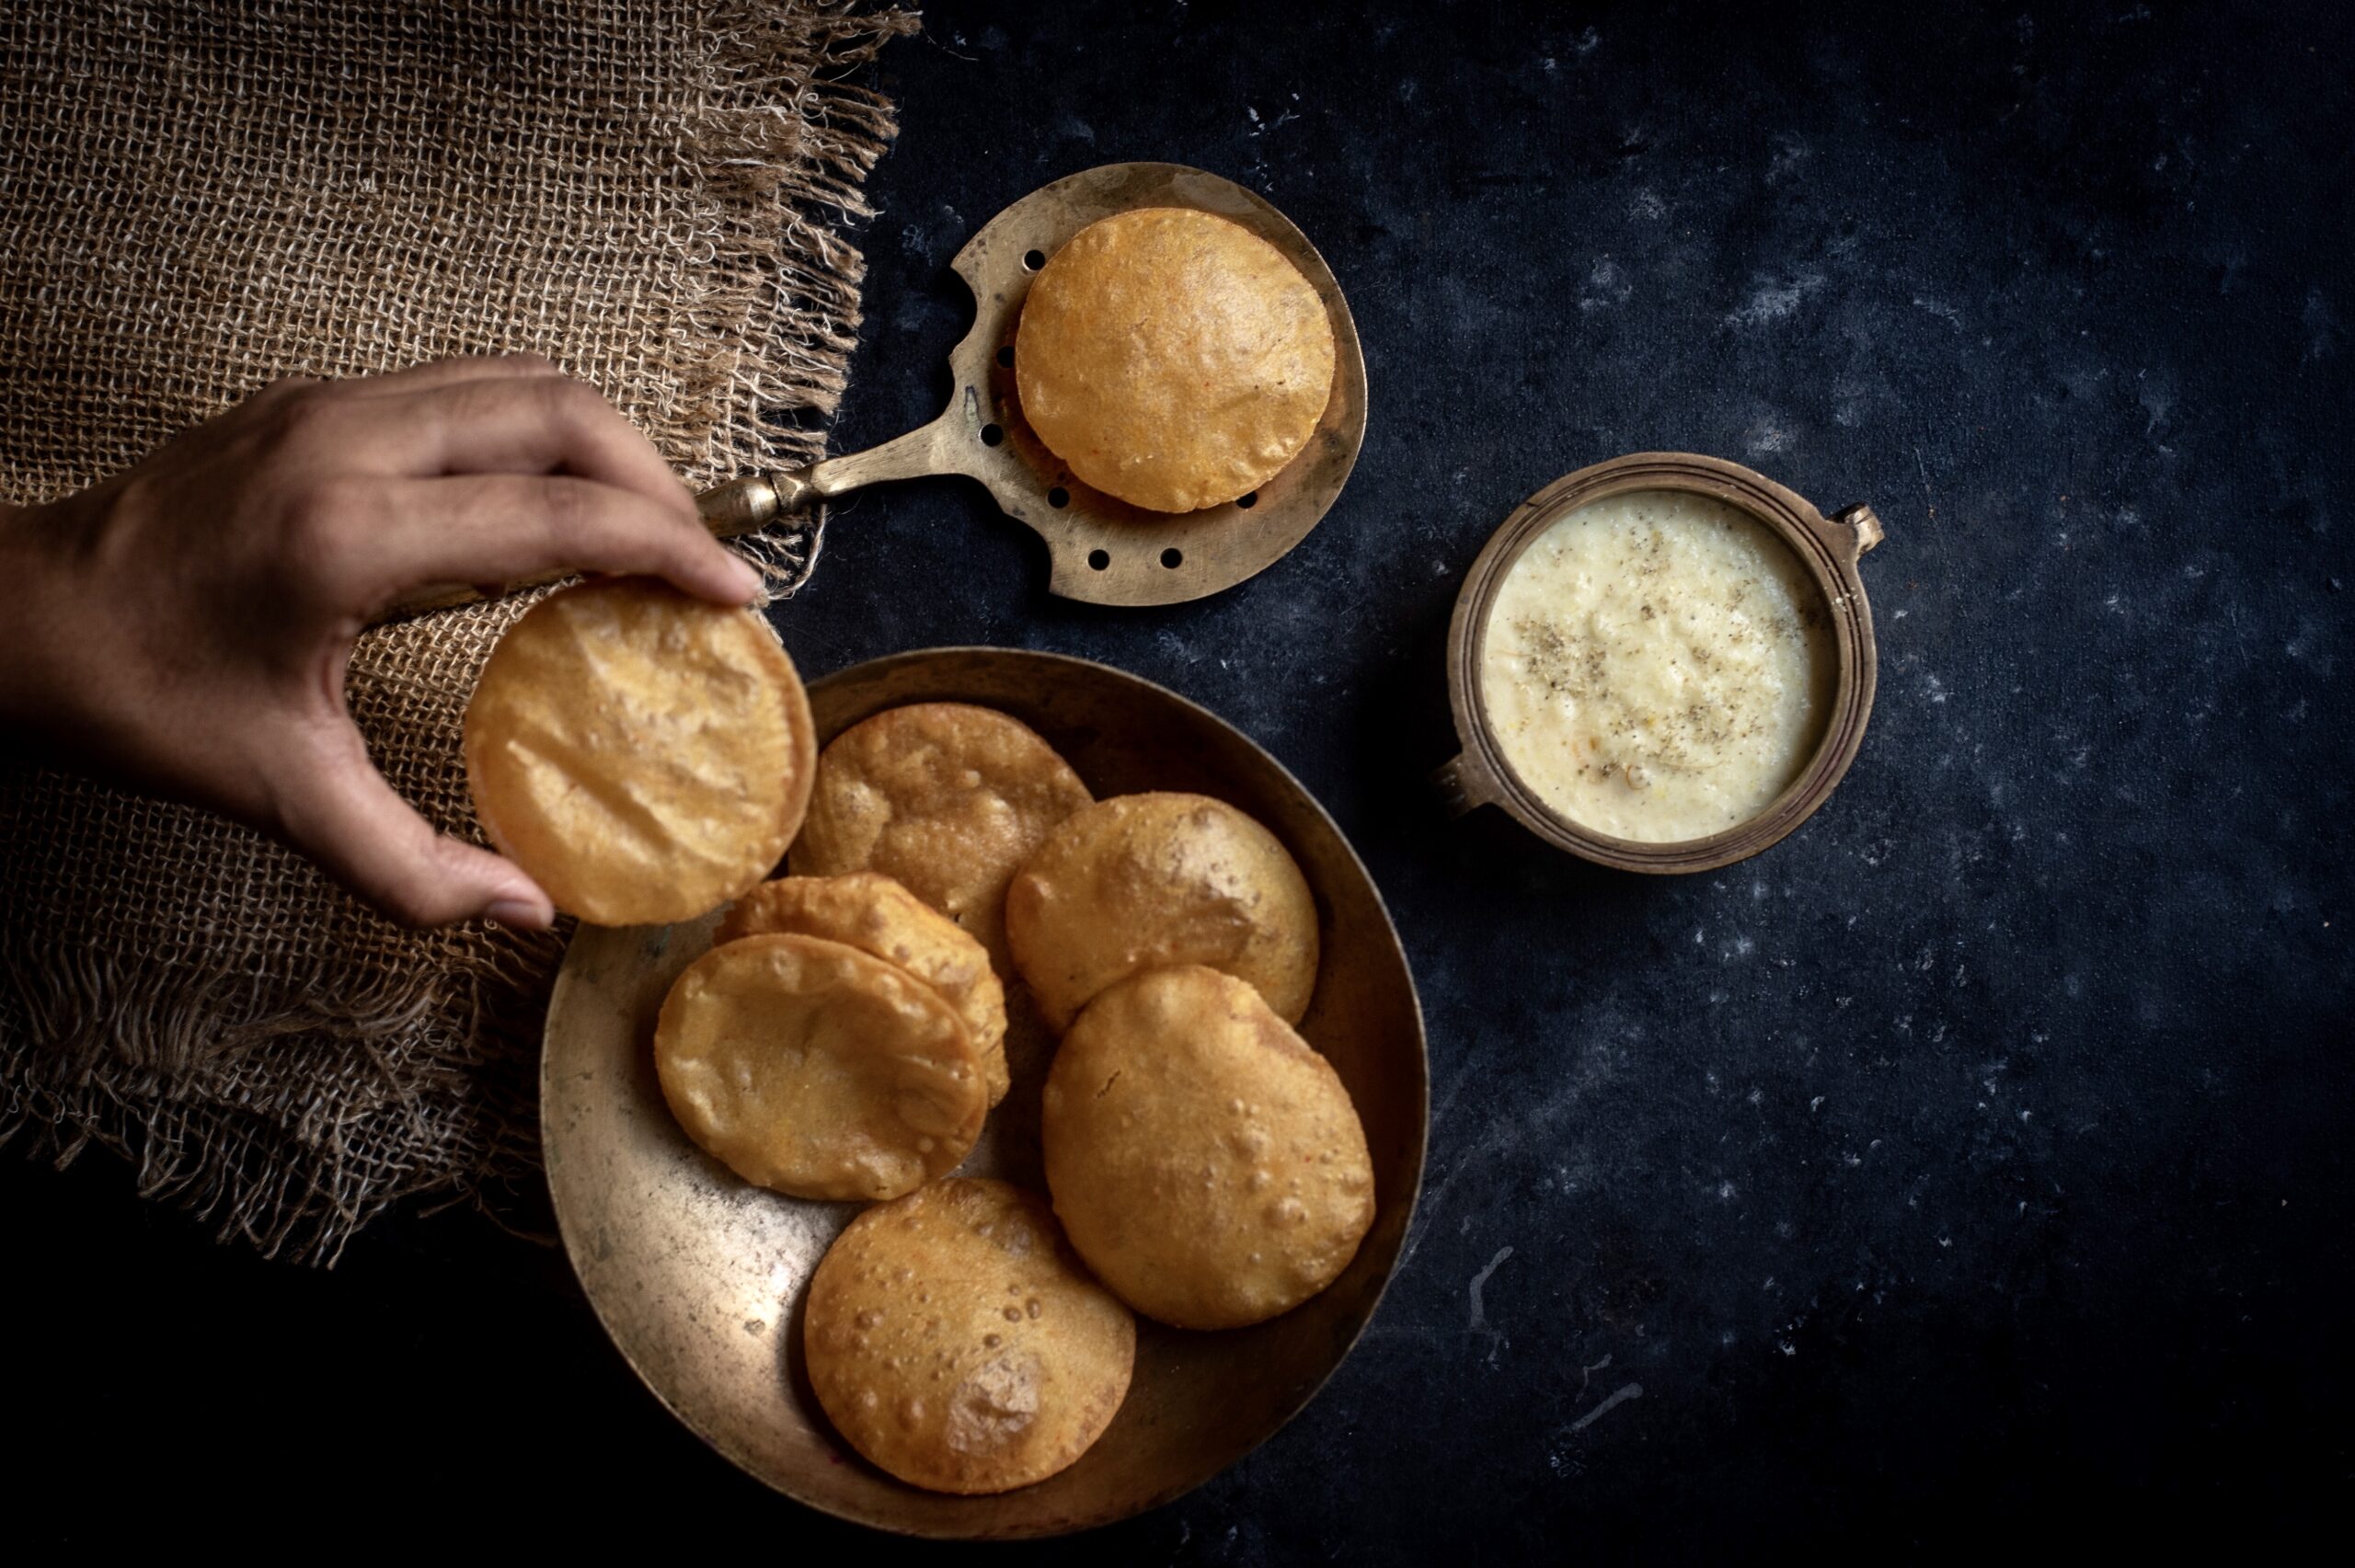
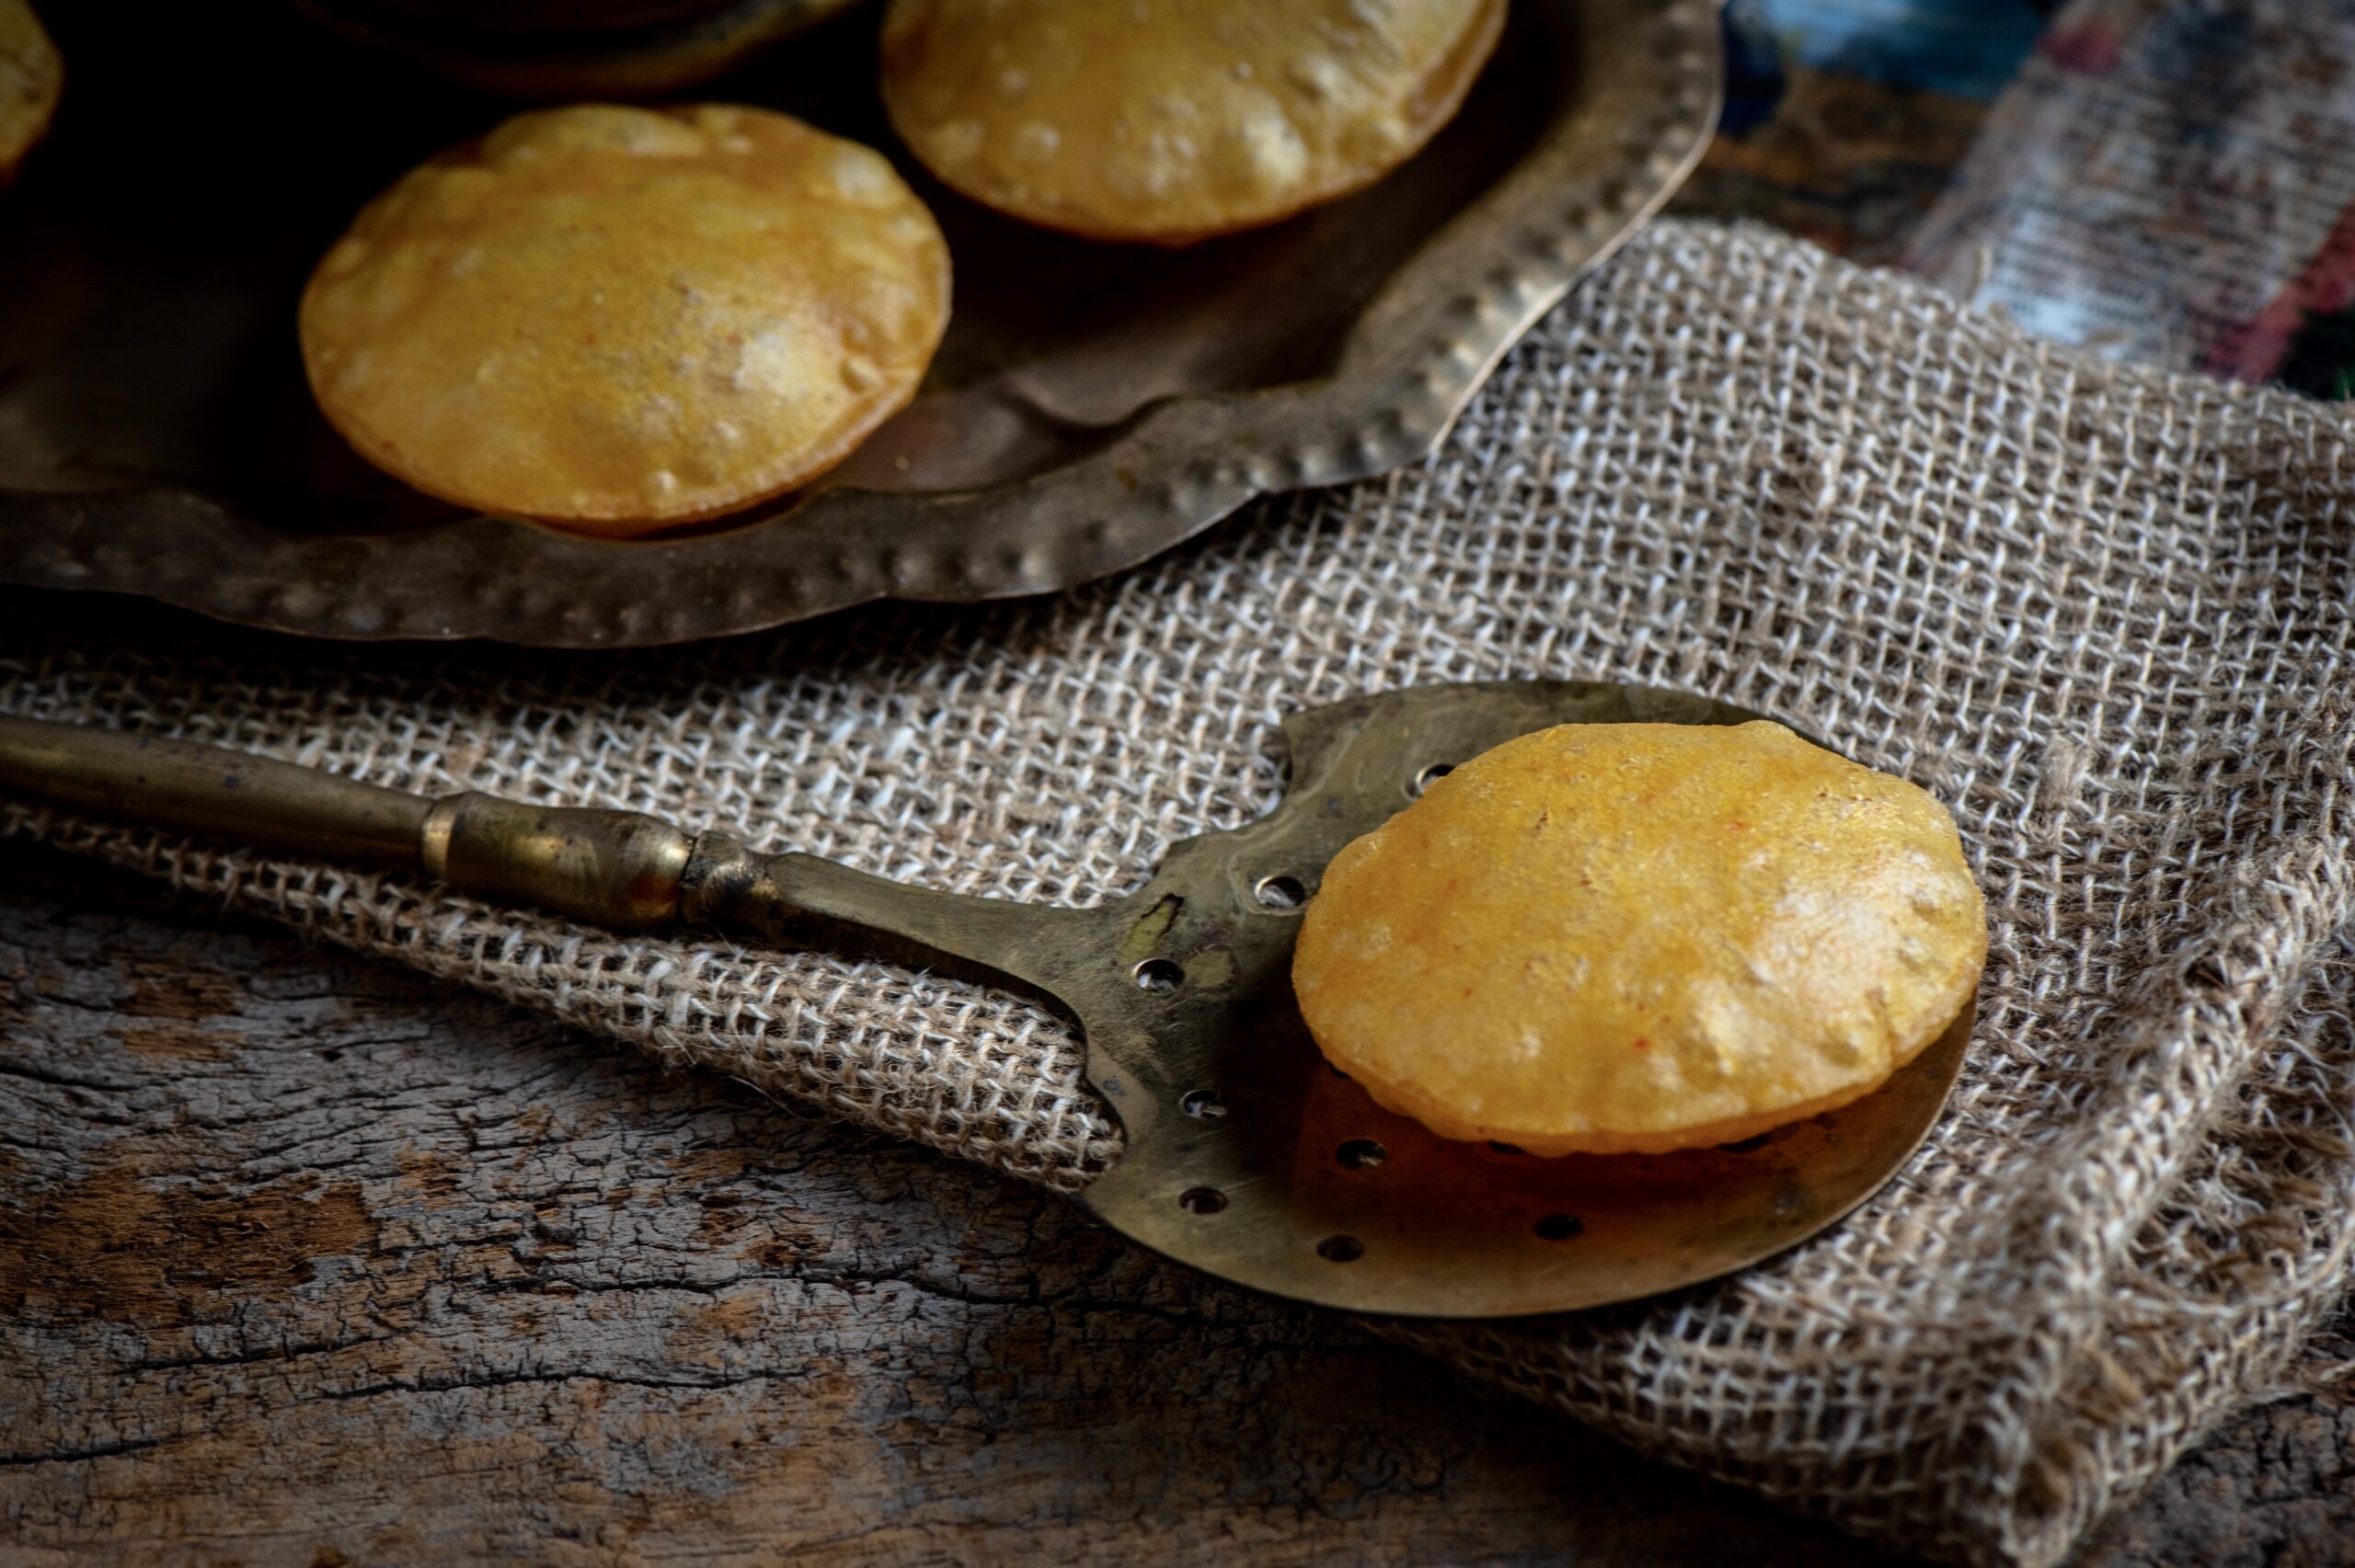
The poori needs to fry for just 8-10 seconds after being flipped. When you remove them from the pan, you will notice that they will be darker on the bottom side, and this is normal. Place on a sheet to drain excess oil. Serve immediately with a generous helping of kheer, fresh from the fridge.
Hot, fluffy pooris are such wonderful comfort food. And when their heat melds with the chilled kheer, the combination is simply divine. The craving-busting deliciousness of fried dough and the sweetness of a Gujarati dessert – no wonder these were birthday treats when I was growing up! I hope you’ll enjoy this simple yet sinfully indulgent recipe. As always, I’d love to hear from you in the comments.
")