Tag

food photography

Browsing

In my previous post, I gave you a fresh spin on the classic dal dhokli, a dinner staple made with leftovers from lunch. In fact, the use of leftovers was so well-designed in traditional cuisines that afternoon snacks would be planned in the morning, and dinnertime planned even while making lunch – and each would be built on the other. In India, no meal is complete without a sweet, and resourceful cooks through the generations also found ways to make sweet snacks using the remnants of a previous meal. Which brings me to the second dish of the promised trio in this series.

While I was growing up, my mother would often cook a little extra dal and rotli in the morning. Some of it would go into the lunch thali, and some of that would go into the evening’s dal dhokli. And she often found a way to make sure that there was just a little extra rotli to be turned into a wonderful after-school treat: rotli na ladoo.

Just as leftover-based dishes developed to fulfil practical needs like conserving supplies, snacks were often made at home because inexpensive candies and savouries were not freely available like they are now. The Chennai of my childhood wasn’t as developed as it is now, and we didn’t have the chips and junk food that the kids of today enjoy. But I consider myself all the more fortunate for it. From an early age, I was exposed to a culinary ethic that has kept me in good stead. Some of its features include: never wasting food as it is precious, using healthy and nourishing ingredients, and not tasting food while it is being cooked as it is first an offering to god (this trained me to be able to read a dish using sight and smell).

Today, my mother has difficulties with her eyesight but still cooks for herself and her family, using her hands and trusting the fragrances. There is so much wisdom in her kitchen, and when I visit her I still learn new things – and moreover, there are certain dishes, like her sabudana khichdi, that never taste quite the same to me when anyone else makes it. My daughter today makes those same demands of me, for things that taste of my heart and my love.

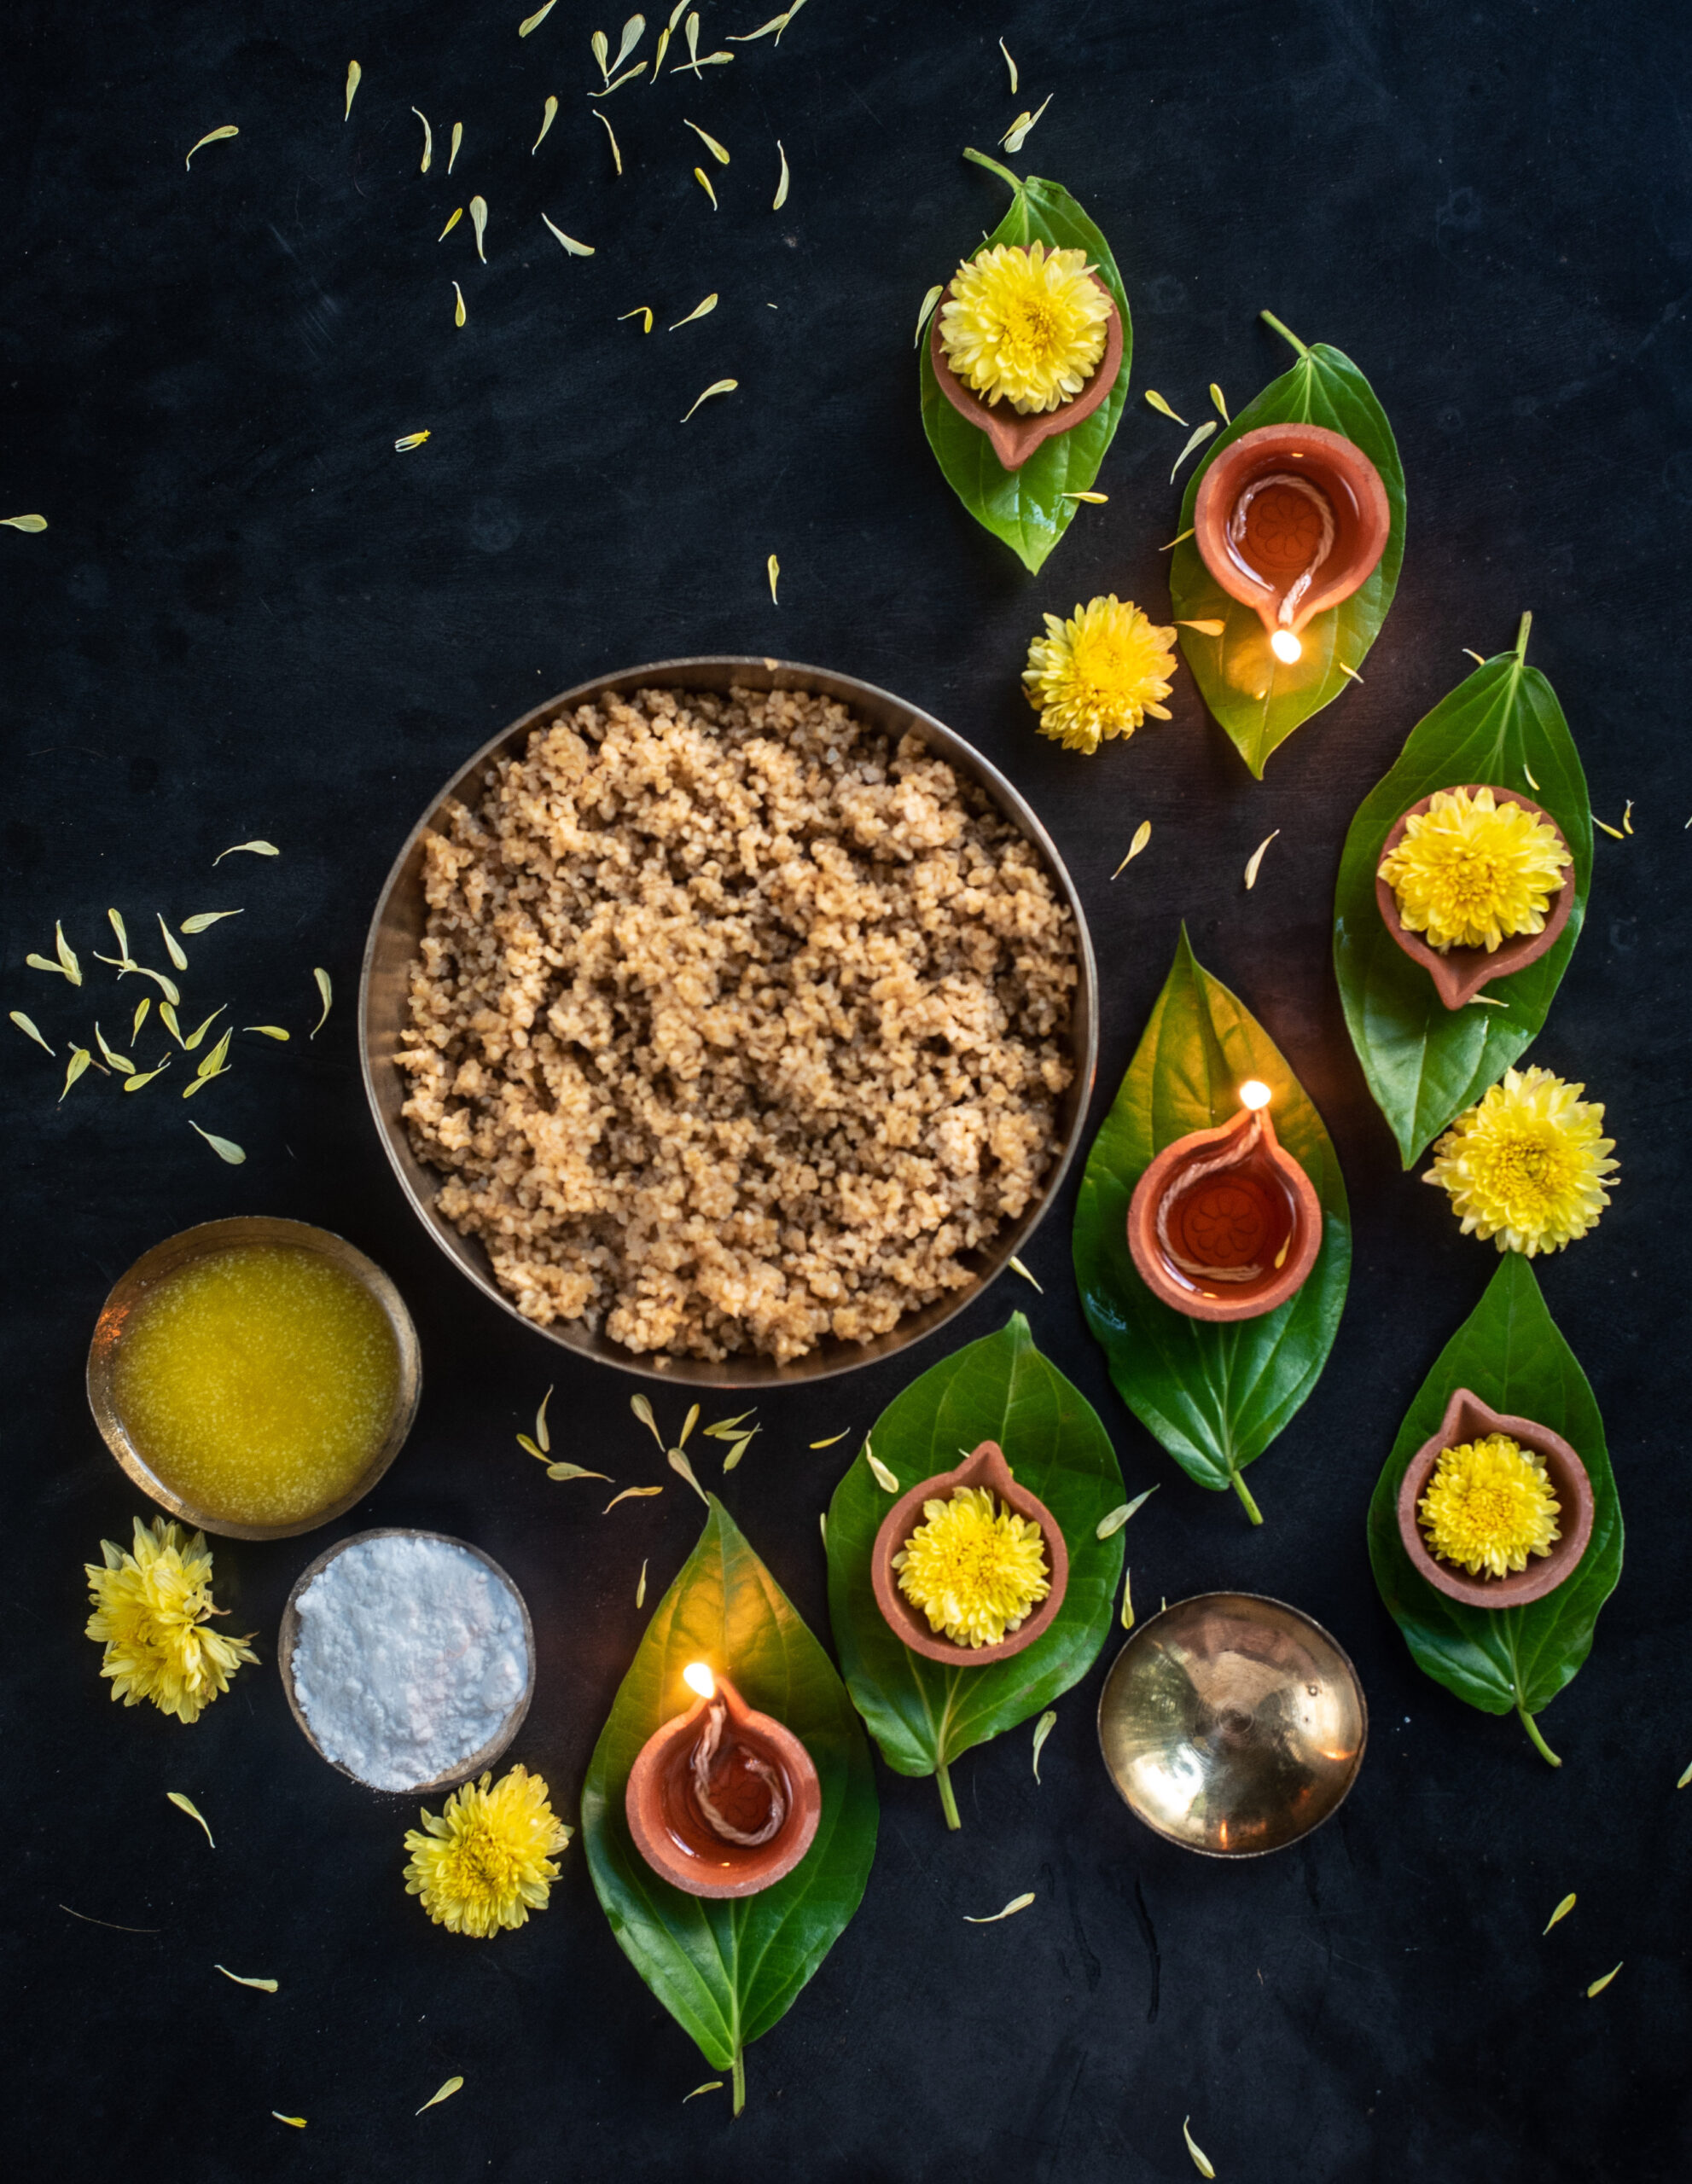
My very resourceful mother even attended a baking class when I was kid, a rarity in Chennai at the time. So our homemade snacks and sweets included some rather exotic treats occasionally, but the rotli na ladoo holds a place in my heart like no other. There are only three ingredients, and it takes all of three minutes to make it. Well, there is a fourth, secret ingredient. And you can guess what that is.


Rotli Na Ladoo

(Yield: approximately 10 pieces)

Ingredients

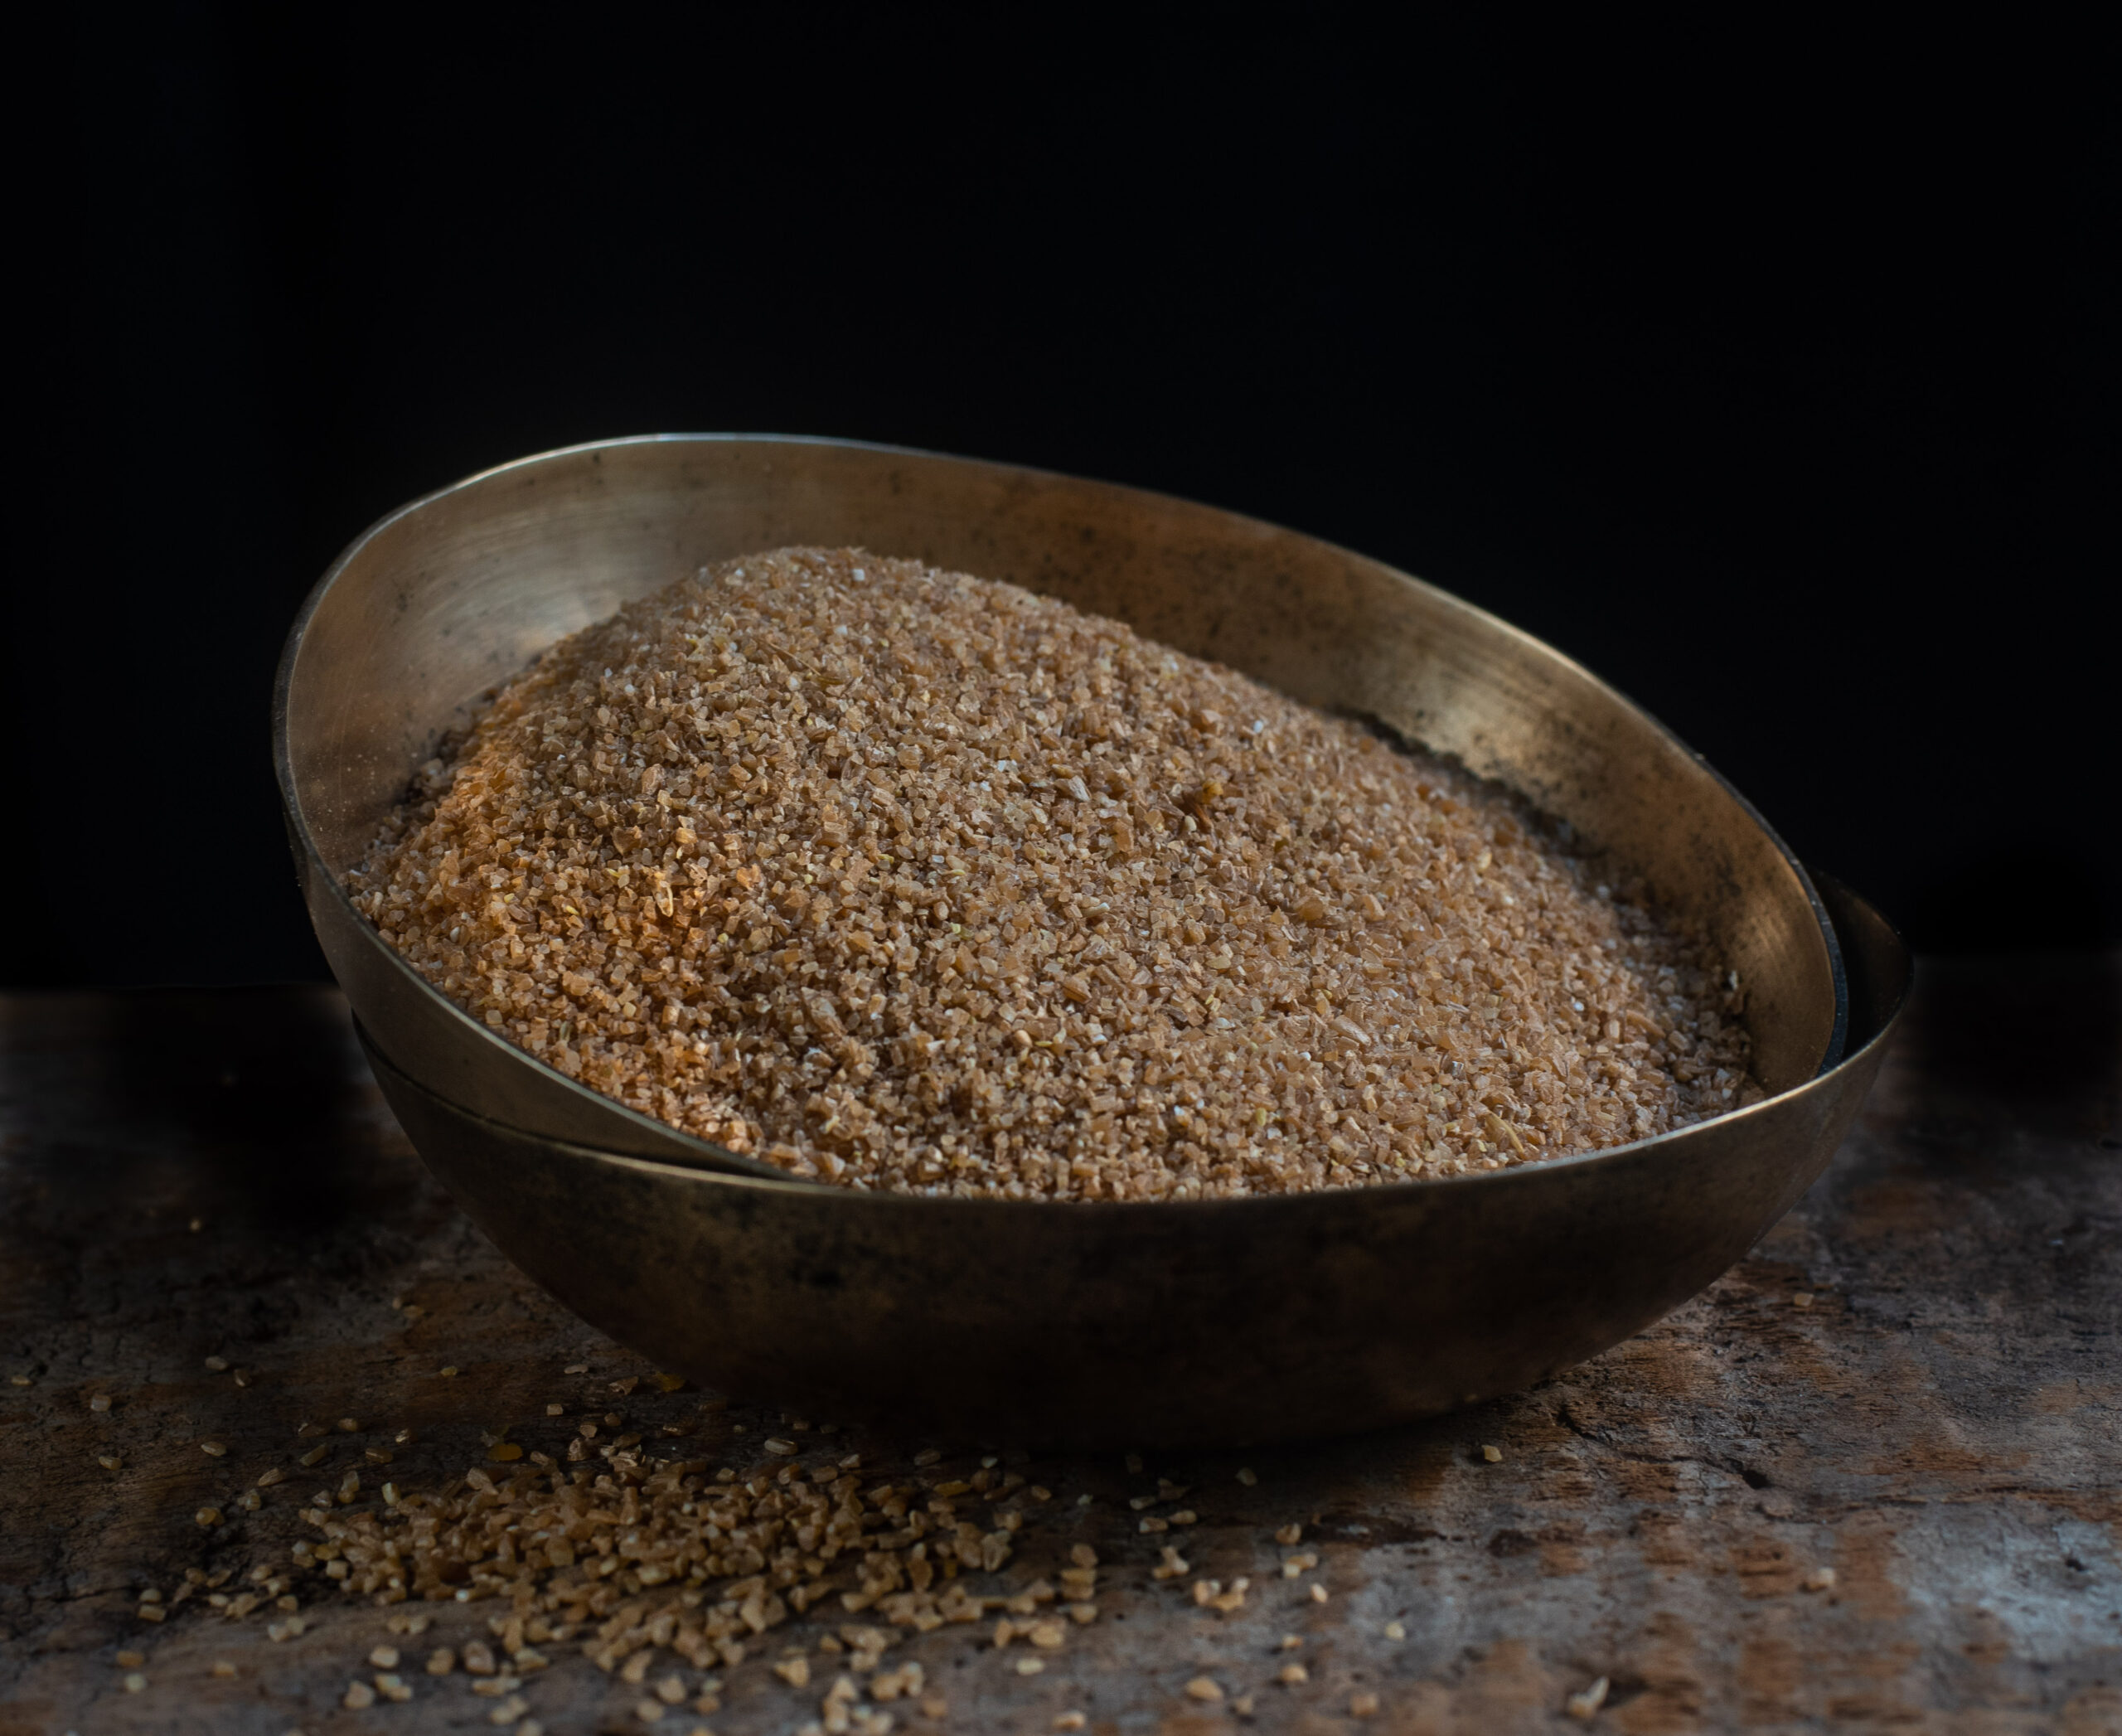
2 cups rotli (torn into tiny pieces or coarsely blended)

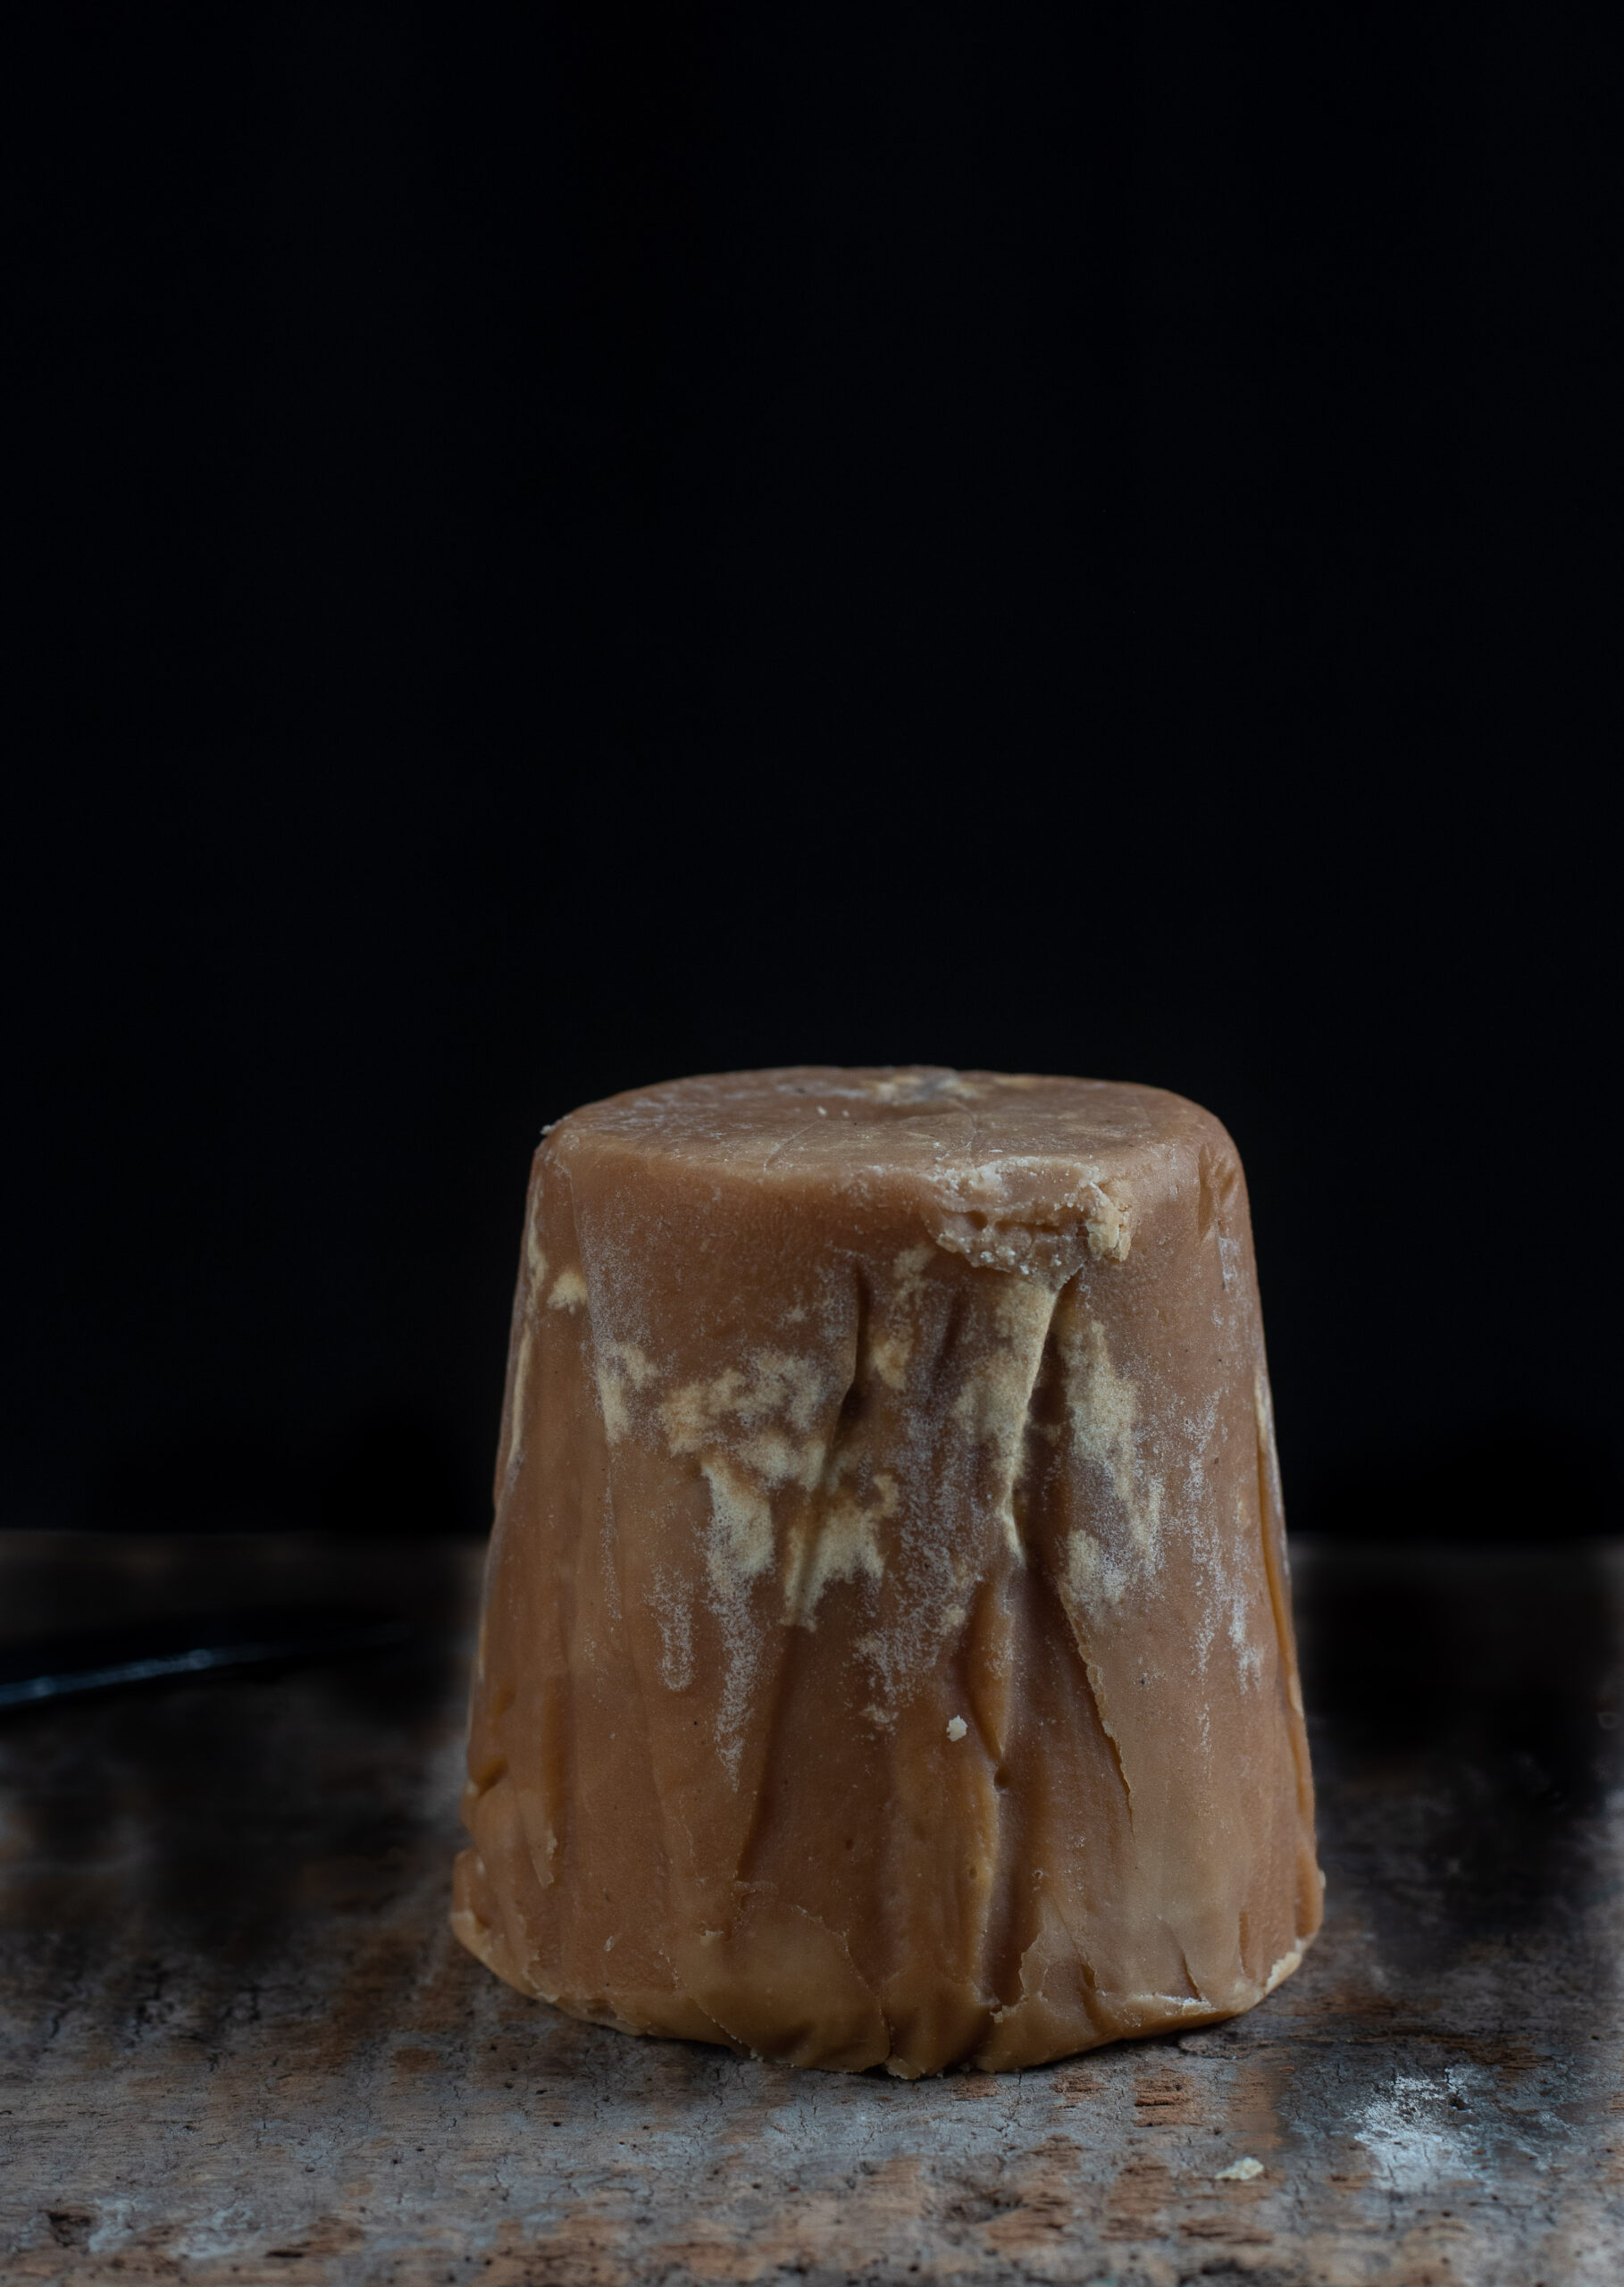
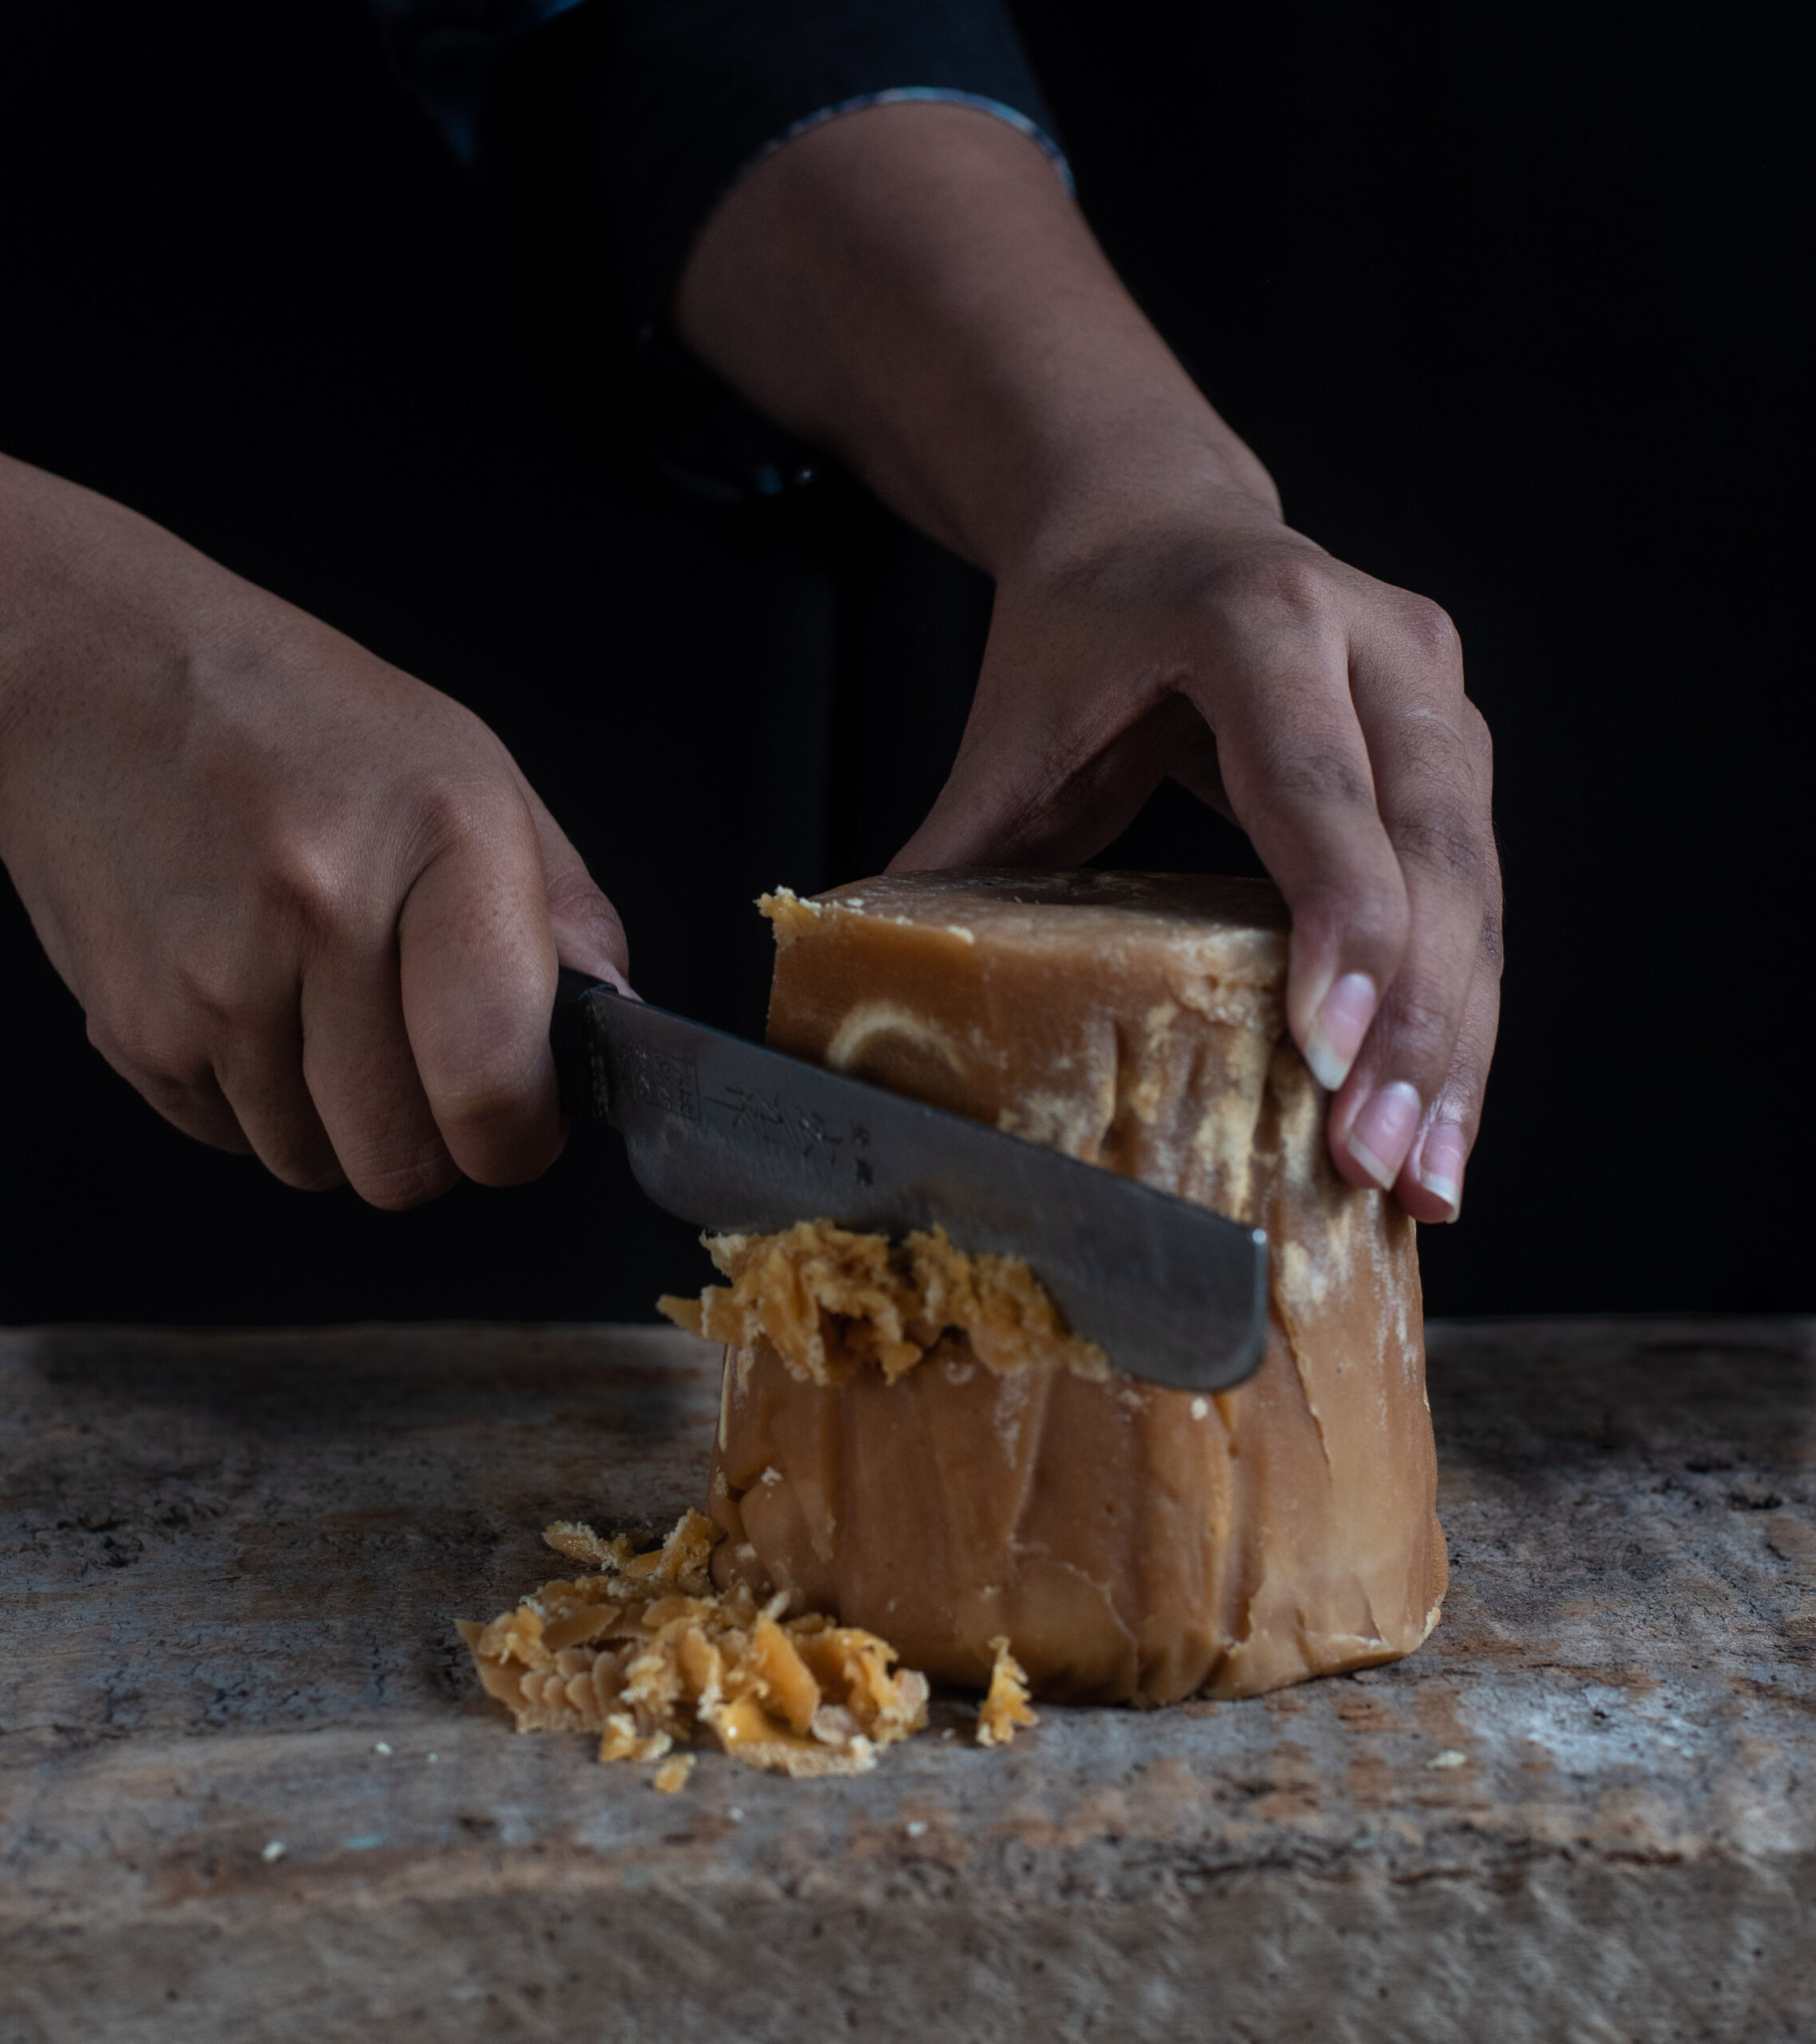
1/3 cup jaggery

1 tablespoon ghee

In a pan, add the ghee. Once it has warmed, add the jaggery. Allow it to melt, stirring continuously on a medium-low flame, making sure it doesn’t get burnt. When it starts to bubble after a few minutes, add the rotli bits and turn off the flame.

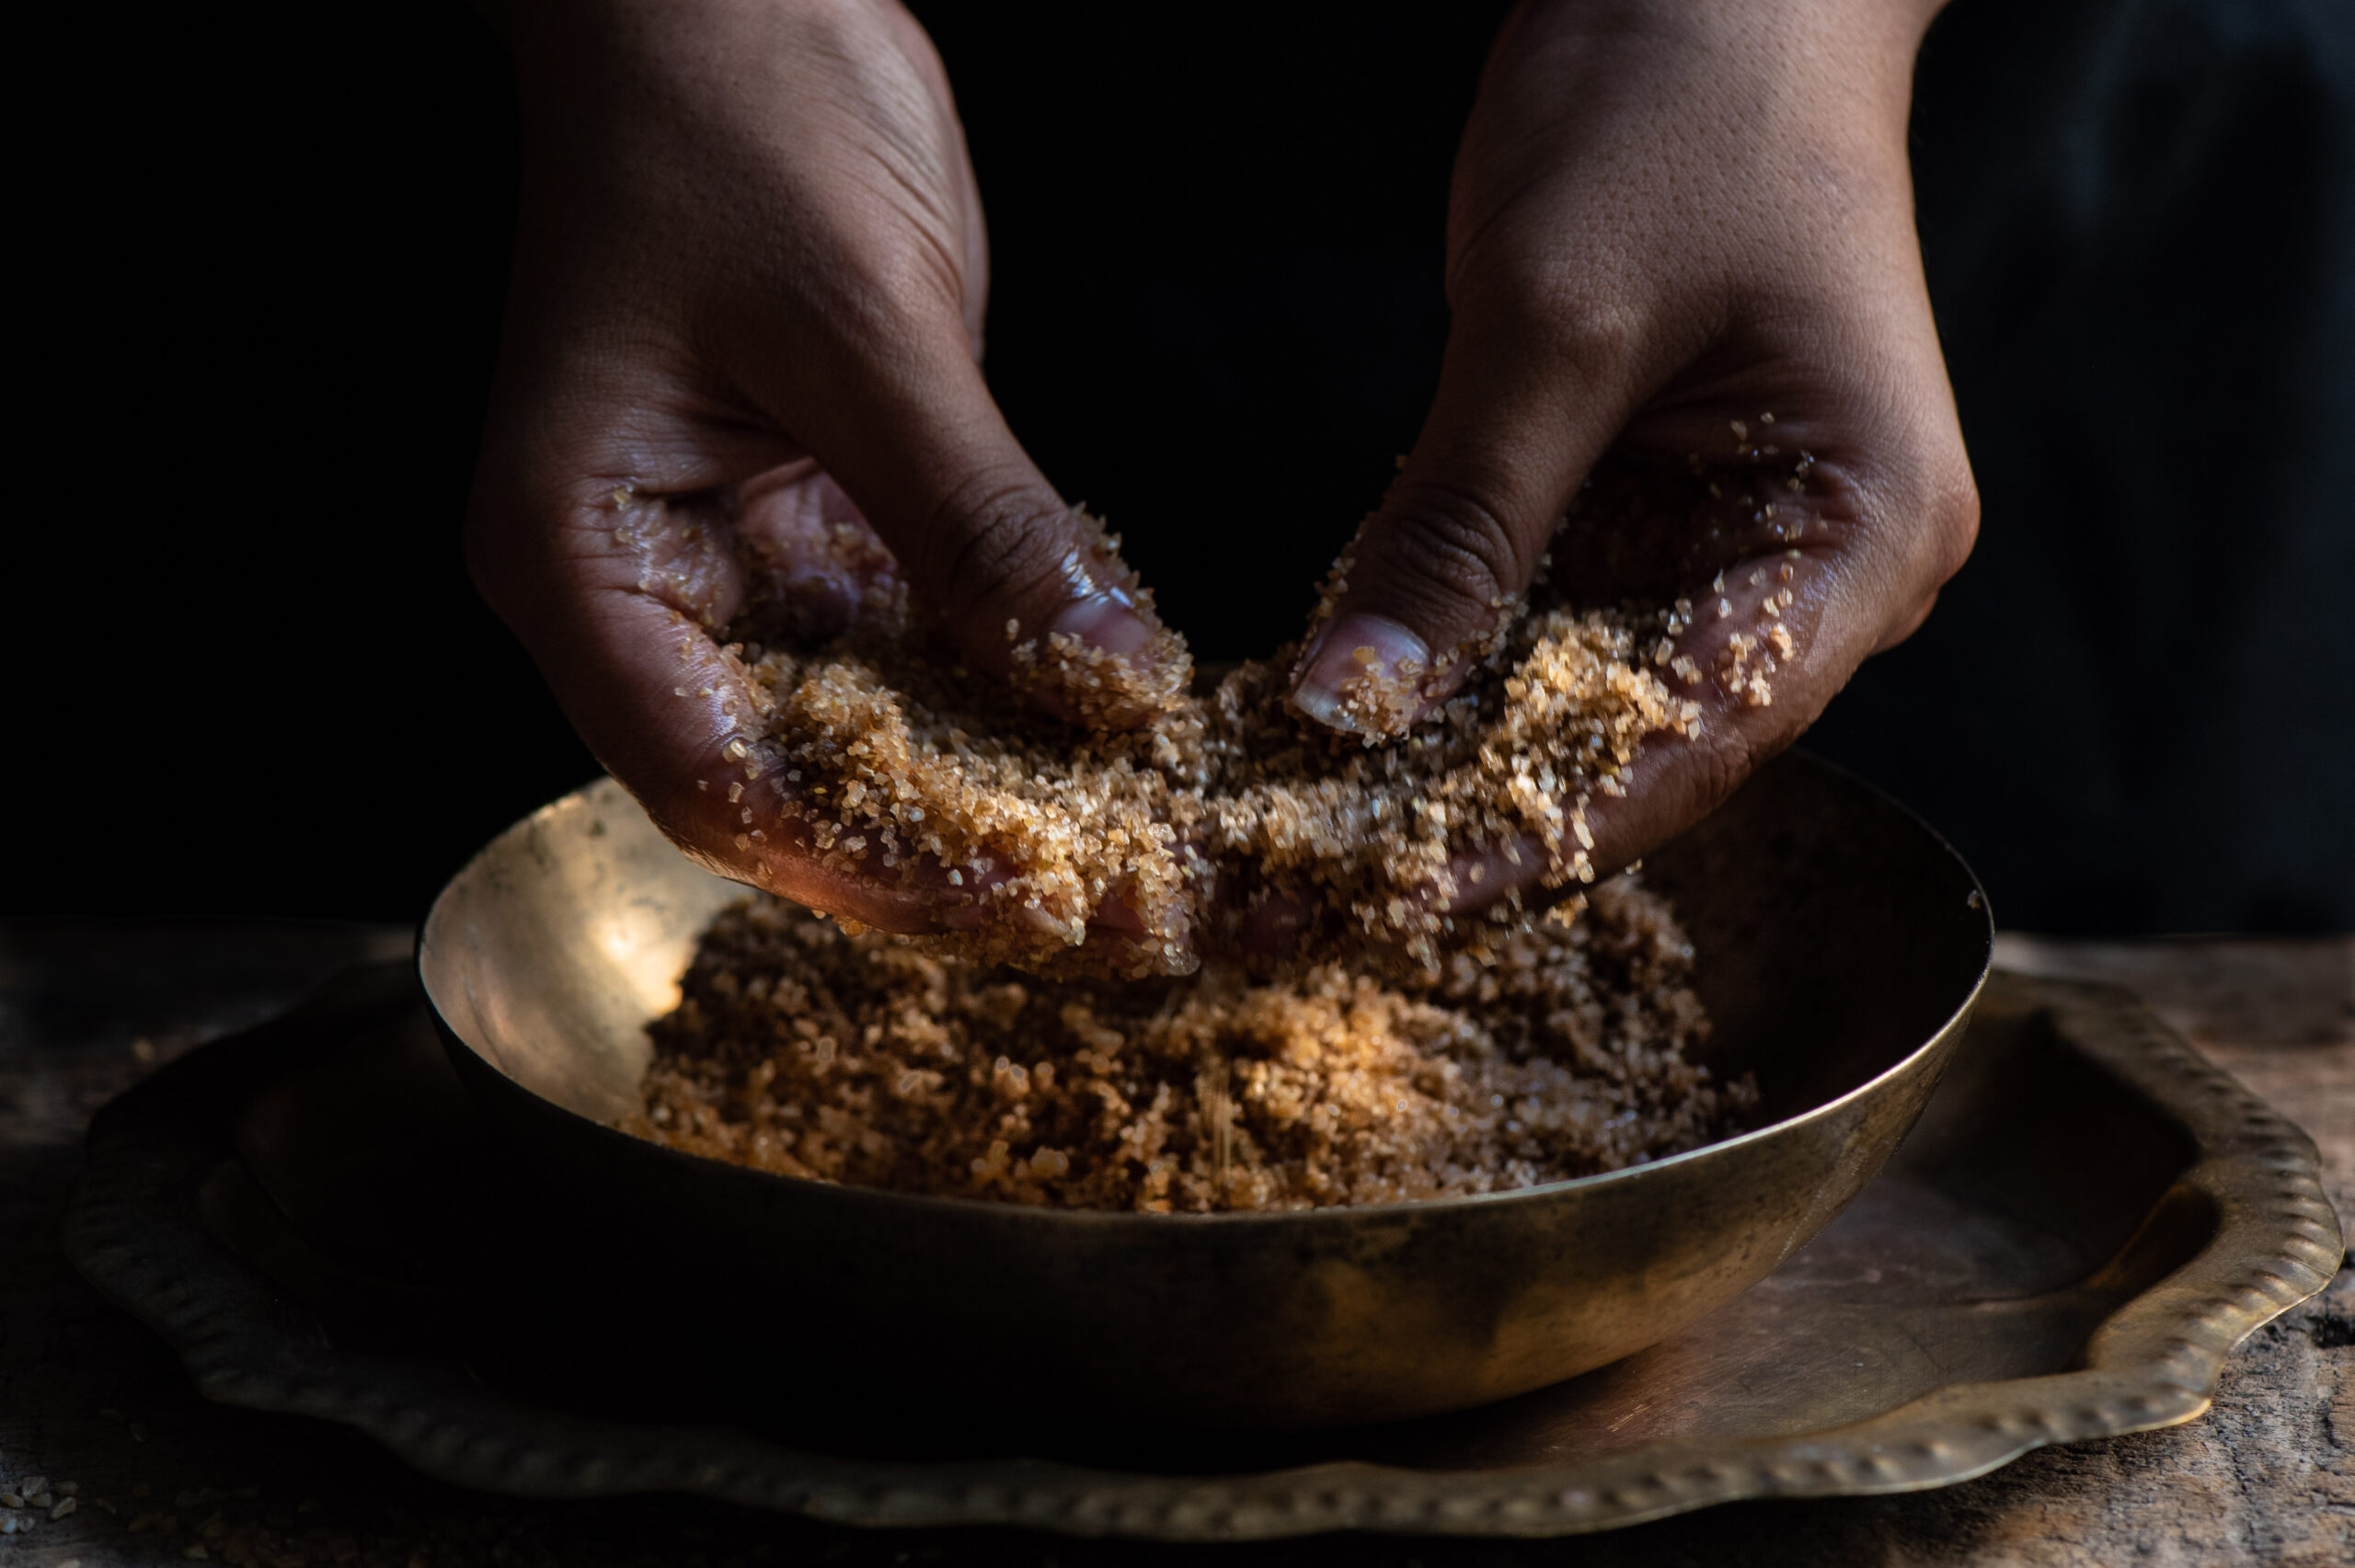
Once you’ve added the rotli pieces, mix everything properly. Now, it’s time to use your hands. Grease your palms and bind a handful of the hot rotli mixture together. Gently press between your palms to shape into a somewhat rounded shape, then very gently roll it. Be careful, as it may crumble. It’s as simple as that, but if you’re having trouble shaping the balls, you can eat the well-blended mixture in a bowl. It will taste the same, but will require utensils! Allow to cool, and enjoy.

The above three-ingredient method is assuming that you already have rotlis prepared. If you don’t, and are making them from scratch, the ingredients and method are below. Rotlis are essentially theplas without the masala and yoghurt, so if you’ve tried your hand at the recipes in this post on Gujarati breads, you should find this easy.

Don’t forget that if you have lots of leftovers from the method below, you can always make yourself some delicious traditional dal dhokli, or eat it with lavender shrikhand. The possibilities for breads are endless!


Rotli

Ingredients

(Yields: 12)

1 cup whole wheat flour

A pinch of salt

1 tablespoon sunflower oil

100 ml water or less

In a mixing bowl, blend the flour and salt. Now add the 1 tablespoon of oil. Slowly add water and continue mixing, until you feel the mixture is slightly tougher to the touch than bread dough. You do not need to use the entire 100ml. Allow to sit for half an hour.

Make small lemon-sized balls. Dust both sides of the ball with flour. Now, dusting more flour as you do, roll out the dough into discs. Make them as thin as you can.

On a heated iron pan, place the rotli on a medium flame for 30-40 seconds. Then turn it to the other side. Now increase the flame, lift the pan, remove the rotli using tongs and place it directly on the flame. Allow it to fluff or rise. Flip over so it cooks on both sides. Set aside and spread ghee over it. Repeat until all the rotlis are made.

I like storing these ladoos in a “rotli no dabbo”, a traditional box used for breads. It looks beautiful, but also serves a practical purpose. Notice the intricate “jali” work that rings the box. This is a form of ventilation that cools the rotli and removes moisture.


I have fond memories of eating rotli na ladoos in the afternoons, after returning home from school. They are so perfect with a glass of milk or a cup of tea after an exhausting day! It’s funny how torn pieces of bread can be turned into a delicious snack with a little jaggery, a little heat – and a pair of hands that make everything with love.

Do stay tuned for the third and final part of this Second Helpings series. Any guesses on what it might be?
 

We don’t believe in wasting food in India. What had once been a pragmatic necessity – there could be no leftovers, because there were no fridges! – has settled into cultural practice. Respect for food is also an important part of our culture, so you’ll find that most families, regardless of economic background, will try their best to never let a meal go to waste. From practical concerns like the lack of cold storage or having to be sparing with expenses, a whole sub-genre of cuisines was developed. Dishes that exist because of other dishes – and which some say taste even better in the second round.

The traditional Gujarati lunch is known as a thaali, and comprises of rice, rotli, dal and a vegetable. This is the basic variant – to this, some may add a sweet or a second vegetable as a staple. If there was a sufficient amount of dal and rotli left over from lunch, you could be sure that dinner that evening would be dal dhokli.

Dal dhokli is a meal in a bowl, a stew-like dish. To make it using leftovers, simply tear the rotli into pieces, add it to the daal and heat them up. What I’d like to share with you today, however, is a from-scratch variation on the classic.

“Dal” (or “daal”/”dhal” if you prefer) is a catch-all term for split pulses, which are notably protein-rich and therefore a vital part of vegetarian diets in India. Lentils and legumes have made several appearances on this blog, such as rajma in this vegan chilli recipe and  green moong in this street food-inspired chaat recipe. For this re:store style dal dhokli recipe, the dal I’ve used is the popular toor dal, also known as pigeon pea. Toor dal is available year-round, while some other dals are eaten seasonally, such as the heavier channa and urad dals in winter. It’s the main ingredient of sambar, which makes it a staple in South Indian kitchens, and is known as thuvaram paruppu in Tamil.

My version of dal dhokli, made fresh and with a stuffing, is what my sister calls “Indian ravioli”. Despite this chic comparison, it is made of the simplest ingredients – accessible, affordable and always familiar.


Dal Dhokli

(Yield: 3-5 servings)

Ingredients

Dal

¼  cup dal
4-5 cups water
2 teaspoon cumin powder
¼ teaspoon turmeric powder
1 teaspoon coriander powder
½ teaspoon cumin seeds
Approximately 1 tablespoon jaggery
Juice of 1 lemon
Finely chopped coriander leaves
2 tablespoons peanuts
1 tablespoon ghee
¼ teaspoon mustard seeds
A pinch of asafoetida
Salt to taste


Wheat flour dough

½ cup wheat flour
1 tablespoon oil
2-4 tablespoons water
A pinch of salt


Green peas filling

1 cup green peas
1 teaspoon oil
1 tablespoon grated coconut
¼ teaspoon garam masala
Salt to taste


Cooking my ravioli-style daal dhokli requires the preparation of three items – dal, pastry dough and pea stuffing – followed by their assembly. Please note the separate ingredients for each part, above.

Make a dough with all ingredients listed for the same. It will be a little tight to the touch and smooth. Keep aside.

Crush the green peas partially. In a hot pan, pour the oil then add the crushed green peas. Stir the peas on a medium flame so that they do not stick to the bottom. Add the salt and masala and stir for 3-4 minutes. Now switch off the flame and finally add the coconut. Stir gently and keep aside to cool.

Roll out the dough into small discs. Do not make them too thin as they may tear while cooking. Take a spoonful of the green peas filling and place it at the centre of the disc. Join the edges together and once sealed, roll it gently into a flat round. Essentially, what you’re making is a kachori, a South Asian fried pastry. For a more detailed explanation about how to fold this pastry, with a video demo, see my earlier post here. Prepare all the kachoris and set them aside.

To make the dal, add the lentils and 2 cups of water in the pressure cooker and boil until soft. Allow to cool, then mash the dal. Now add 2 cups of water as well as the cumin powder, coriander powder, turmeric powder and salt to the dal. Allow to boil for approximately 5 minutes. Then add the jaggery and peanuts, letting the flavours blend, simmering on a medium flame. Stir occasionally.

As you do this, add ghee or oil to a small pan to lightly fry the mustard and cumin seeds. Once they start to splutter, add the asafoetida and immediately pour the sauté into the dal and stir.

The dal will be boiling by now. Make sure the flame remains on medium, and begin to gently introduce the kachoris into the dal. Once they are added, carefully stir. Allow to cook for 10-15 minutes.

Turn off the flame. Garnish with coriander leaves. You may also wish to add a sprinkling of something crunchy, such as finely chopped nuts. Serve while hot, as it is best enjoyed that way.

Many of you may have grown up eating dal dhokli at home, and I’d love to hear what you think of this modern twist, re:store style and ravioli inspired!

This post is the first of a three-part series on Gujarati dishes that are traditionally made from leftovers. Stay tuned for a sweet follow-up in a fortnight…

What’s the go-to dish in your home when you don’t want to think about what to make? For me it is the chilla, and it was also my mother’s staple dish. Once I began to cook, I saw that it was not a lack of inspiration but ease that makes certain dishes a part of cooking-on-default mode. Whether the dish in question is idli, upma, macaroni – or in my case, chilla – it’s something you’re so good at that you don’t even have to spend a moment mulling it.

Chilla was what we had for dinner whenever my mother was busy or tired, or if we were in a post-festive feasting slump. Chilla is a kind of crepe, made with powdered pulses and flavoured with vegetables and spices. Like all staples, each cook will have her own variations – and her family will definitely grow up on the same. My mother made two: a moong dal chilla and a sweetened variant. The deal was that only if I ate the savoury one would I be given the sweet one – which itself was quite healthy, considering it was made of jaggery and whole wheat.

Instead of moong dal, which is most often used, I prefer to make savoury chillas using chickpea flour, also known as besan. I love chickpeas because they are so versatile and so easily accessible – they’re found everywhere from Mexico to Lebanon (hummus!) to right here in India, and have been cultivated by humans for at least 7,500 years. The many names this humble and popular legume has attests to this fact: Bengal gram, garbanzo bean, channa and Egyptian pea are but some. Did you know that in the 1700s, a German writer brewed them to drink instead of coffee, and Germany cultivated them for the same purpose during World War 1?

Chickpeas are widely loved as a healthy ingredient, for they are rich in protein, which is one reason why they are so popular with vegans.

In Indian cuisine, chickpeas are eaten whole in dishes such as sundal, a fun salad that is popular on Chennai’s beaches, and in dough form to make the pastry for fried goodies like fritters, among other variations. The ingredient works perfectly in both sweet and savoury items, and is also a thickening agent like cornflour or agar-agar.

I now have great respect for the humble chickpea, but it must be said: growing up, I’d argue with my mother about having to eat it. My reasoning was that: since I used powdered chickpea to wash my face (it exfoliates the skin gently and is an ancient beauty treatment), I should not also have to consume it!

Of course, I love to have my ingredients be made or processed at home as much as possible, and by “home” in this case I mean Arumugam Chettiar’s quaint flour mill. Established in 1939, the mill uses a 10hp machine, with two grinding plates, that was imported from England by his grandfather. These machines are no longer available, and what you get now are pulverisers. But there’s nothing like old-fashioned, time-honoured methods when it comes to food. Along with chilli, ginger and other dry powders, I buy channa dal and have it ground to make chickpea powder.


I’m going to share both the recipes for savoury and sweet chilla with you, so that you can strike a version of my deal with my mother – whether that’s with your own kids, or just your diet plan!


Chilla – Savoury

(Yield – 4-5 crepes)

Ingredients
1 cup chickpea flour

2 cups water

½ teaspoon cumin powder

½ teaspoon grated ginger and garlic paste

½ cup finely chopped fenugreek (methi) leaves

½ teaspoon salt

Blend the water with the chickpea flour until there are no lumps. Add the salt, turmeric, cumin powder, grated ginger and garlic paste and fenugreek leaves, and mix the batter well. The consistency should be a little thicker than crepe batter.

Fenugreek in batter may remind you of theplas, one of the many types of Indian breads. A note about the ingredient: most people soak fenugreek leaves in water with salt, to remove the bitterness. This is something I don’t like to do because I don’t see why the flavour should be removed. With regards to these chillas especially, the taste of the savoury one is offset by the sweet one beautifully.

You may replace the fenugreek with another spinach available to you, or even with finely chopped vegetables like onions, grated carrots, bell peppers or coriander leaves.

Heat an iron griddle or a non-stick skillet and pour a few drops of oil on it. I make both my savoury and sweet chillas on an iron pan. Mine is a seasoned one, hence it does not stick. But if you do not have one, use a non-stick vessel.

Wait till the skillet is hot, then turn the flame down. This is a delicate moment, because if the batter falls on a too-hot pan, it will spread unevenly. My trick for this is that when the skillet is very heated, I sprinkle a little water on it and allow it to sizzle. This cools it down just enough so that I can pour the batter.

Spoon the batter onto the skillet. Spread it in a circular motion, much like you would a regular crepe. The video below gives you a look at the technique, if you’re unfamiliar with it. For those who make dosas, you will already be experts at this.

As the chilla fries, drizzle a few drops of oil around (not on) it, so that it can be removed easily. Increase the flame. You will know when it’s ready to be flipped when the edges begin to rise and turn golden. Do not attempt to flip the chilla earlier, as it will tear.

Using a spatula, flip the chilla and allow its other side to cook as well. Both sides should be a lovely golden colour before you take it off the skillet.

Then make the next one, and so on, until you have enough. Fold each chilla in half and serve with green chutney or date chutney, both of which I’ve shared recipes for earlier on this blog. I also top these savoury chillas with finely chopped vegetables, with gives the health factor an extra boost, and makes them even more filling. Just a couple will give you a light but complete meal – provided you’re able to stop eating them, that is!


Chilla – Sweet

(Yield – 5 small crepes)

Ingredients
1 cup whole wheat flour
½ cup jaggery
1 ½ cup water
1 teaspoon ghee per crepe (oil for a vegan option)

Warm the water a little and allow the jaggery to melt into it. Stir well until all the lumps are removed.

Wait till the jaggery-infused water has cooled, then strain it so the sediments are removed.

To this, add the whole wheat flour and blend it so it’s a little thicker than regular crepe batter. You may have to adjust the quantity of water added to make it just the right consistency.

Now, pour a drop of ghee or oil on a non-stick skillet. When it is hot, lower the flame. Start spooning out about half the batter onto the skillet, in small and well-spaced quantities. These sweet chillas are ideally dessert, so they are smaller than the savoury chillas.

Using a circular motion with the spoon, make small crepes on the skillet (as shown in the video above). Keep the flame on medium, so as to ensure that the chillas don’t burn. When one side has begun to turn golden, flip it over. Both sides will be thoroughly cooked in about 2-3 minutes.

The process of frying the sweet chilla is almost identical to making the savoury one, so do refer to the above recipe for more extensive notes and tips. They do not need to be served with an accompaniment.

These delicious chillas are very much comfort food to me, and I hope they find the same place in your cooking repertoire. The sweet ones are especially popular with kids, and as I said earlier – if they crave it, offer it to them as a reward for eating the savoury one!

I’ve come to understand that most Indian palates require something sweet and something savoury in order to feel satisfied. Life is all about both the sweet and the savoury isn’t it? And sometimes, like in the fenugreek-flavoured chilla, a hint of the bitter too. But that’s why the order of eating makes such sense: after everything else, one is always assured of sweetness.

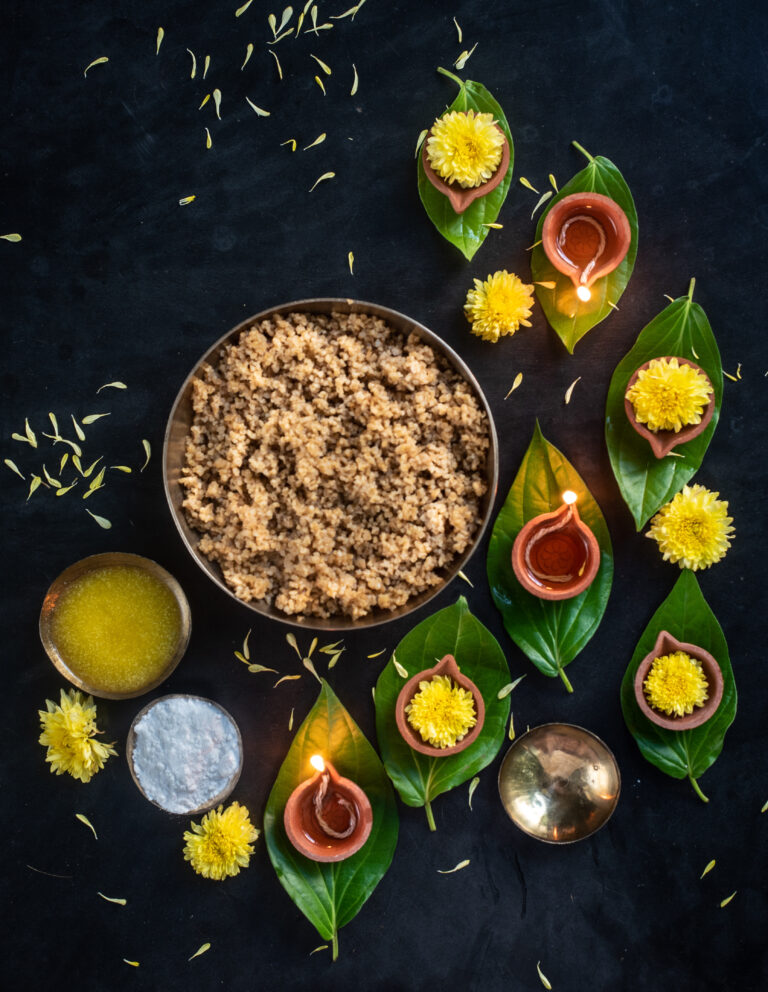
Here in Tamil Nadu, while the Tamil New Year is still months away in April, we celebrate a festival full of joy, renewal and fresh possibilities – just like how the turning of the new calendar year feels. Two weeks into every calendar year, beginning on January 14, Tamil households everywhere observe a series of rituals. Like any Indian special occasion, food and bonding play a huge part of this festival.

Pongal is spread over four days, which when we were growing up meant… school holidays! Despite being a Gujarati family, our neighbours and friends would observe the festival with delight, which meant we too participated. For me, Pongal always brings to mind sugarcane. As a harvest festival, sugarcane is an important part of the décor at this time – but it is also exactly the kind of thing a child loves to eat! My mother encouraged this, as she said that eating sugarcane made the teeth stronger. Those of you who remember those simpler times will know just what I mean. There’s a technique to it. You peel the cane sideways with your teeth, then scrape the sweet juice from it. I loved the fleshier parts between the joints of the cane.

As this is the season to give thanks for the harvest all over India, similar festivals include Lohri and Sankranti. If we happened to visit Ahmedabad at this time of year, the lasting image I have of the celebrations is of seeing the skies fill with kites on the occasion of Uttaran, as people on terrace rooftops would battle to bring the others’ down, in order to be the owner of the sole reigning kite of Gujarat.

“Pongal” literally means “the boiling over”, and the festival is all about the spirit of abundance. The pivotal moment of the day is when a pot of milk, into which every family member puts three handfuls of rice, boils over. The milk spilling over the brim of the vessel is taken as a sign of auspiciousness. As this happens, the family shouts, “Pongal-o-Pongal”!

During Pongal, a dish bearing its name is also eaten. Chakkara pongal literally means “sugar pongal”, but it is jaggery that is used – and which gives the dish its rich colour. Chakkara pongal is also popular year-round as a prasadam  in temples, which is offered to the gods and then eaten by devotees. And the sweetest, tastiest chakkara pongal I’ve ever eaten has always been served on a banana leaf at a temple.

Chakkara pongal will taste different at each temple, and each home, that you eat it in. Like all traditional staples, it will contain the memories and idiosyncrasies of the hands that made it. How is tradition formed? One ancestor would have done something a particular way, and generations to follow then say, “Our family does this”. Whenever I cook something that carries cultural attachments, I wonder: if I don’t do it, will my kids?

As you may know from following this blog, millets and not rice are the original (and Macrobiotic) staples of this region. This is why a millet known as varugu, which you may know as kodo, is the main ingredient in my variation of chakkara pongal. Varugu is rich in protein and polyphenol antioxidants, and is a better source of fibre than both rice and wheat. It is also gluten-free, which makes it suitable for those with dietary sensitivities. Like all millets, its list of health benefits is long. But make no mistake, as wholesome as its ingredients are, this chakkara pongal is a sweet and sublime dessert.


Chakkara Pongal

(Yield – 5-6 servings)

Ingredients
3-4 tablespoons moong dal
½ cup varugu (kodo millet)
3-4 cups water
½ cup jaggery
1 tablespoon ghee
1 tablespoon cashew nuts
1 tablespoon raisins

The secret to chakkara pongal is simply allowing it to cook properly, with the occasional stir. It is a boiled dessert that is so easy to make that you’ll be preparing it from memory in no time!

Soak the moong dal for about half an hour. Meanwhile, wash the millets well and keep aside,

Add 2 cups of water to the dal and cook until par boiled. Now, add the millets and allow both to cook completely. This will take approximately 15-20 minutes. The boiled dal and millets will become and remain soft.

In a pan, roast the cashew nuts and raisins in ghee. For a vegan variant, substitute ghee with oil. Once roasted, add the jaggery, along with a ¼ cup of water. This will help the jaggery melt, releasing its flavours quickly into the pan.

Once the jaggery has melted into the concoction, add the soft mixture of millets and dal and stir well. Add some more water to loosen the consistency as you prefer. Pongal generally is not meant to be in too liquid a state. What you’re aiming for is a congealed texture. Serve hot as soon as it’s ready.

Glistening with ghee, sprinkled with cashews, glittering with raisins, and with a rich dark colour full of the goodness of jaggery… So simple to make, so good to eat. I hope you’ll enjoy a small bowl or two of re:store style, millet-based chakkara pongal with your family this weekend. As you do, just imagine us here in Tamil Nadu, doing exactly the same. Pongal-o-Pongal!

Another year turns, and once again I am filled with nostalgia about the passing of time. All the things that I believe will make the world better are things that we’ve let go of. Like teaching kids to climb trees. Reading poetry. Opening books instead of using Google immediately. Reducing cellphone usage. Going back to the basics, in short. To the small things, to the beauty of simplicity, and a certain kind of elegance that will never change.

So instead of resolutions, I made a list of unforgettable memories I will bring into this new year to remind me how life should be. Maybe you’ll taste these sweet reminiscences in the recipes to come…

Here they are, in no particular order: 25 paisa McRennett buns. Bata sandals. The radio. Parle-G biscuits. The amazement of hearing that people were taking plane journeys. Movies at Sapphire Theatre. Binaca toothpaste. Riding the bus and collecting the tickets. Climbing mango trees. Plucking the neighbour’s jasmines. Such small things. Such special feelings.

Was your childhood like this too? As we enter this new year, I want to ask you: what are you nostalgic for?

Happy new year, my friends – and here’s to making more memories! I wish you all a peaceful, safe and healthy year to come.


As a child, I was fascinated by the gingerbread man. Who was this entity that was half-story and half-food? Christmas in Chennai was not like Christmas in the West while I was growing up, and so there weren’t too many of these “traditional” motifs around me. Instead, the rituals of friends, neighbours and the convent school I attended are what are most memorable to me. Still, when I enjoyed a perfect Christmas visit with my friends Sujatha and Michael in Delhi two years ago, something tickled the memory of that fascination with the gingerbread man.  Sitting out on the lawns of their beautiful house, enjoying the crisp winter weather, we shared a plate of homemade ginger snaps. A festive classic, made to perfection. This year, thanks to a bounty of presents with just the right ingredients, I’m celebrating the season with these ginger and jaggery cookies.

This recipe contains gifts from many friends. The method of course, belongs to Sujatha and Michael. The cloves are from Asha, the Sri Lankan ginger and sugar syrup that also partly inspired this recipe is from Anna (this had been introduced to me by Ramani), and the cinnamon (also from the island) from Sharanya. So in many ways, this recipe fits the Christmas spirit of giving and camaraderie perfectly. And of course: the love, inspiration and encouragement from friends, family and fellow bloggers are what make me want to share it!

I love to make blends and powders at home, as you may have noticed from earlier posts. They give my baked goods a fresh, authentic flavour. So I ground the cloves and cinnamon especially for this batch of cookies, and used the ginger powder I had prepared in the summer, as I do every year. Ginger powder is used often, and in versatile ways, in my kitchen – you’ll find it in everything from a flu remedy to a sacred dessert.

I always like to bring familiar ingredients even into fusion or foreign dishes, which is why the jaggery and the ginger feature so prominently in this recipe. Both are intrinsic parts of local Tamil cuisine, and not only taste delicious but are quite good for you too. Aged jaggery, like wine, is said to be the best. It is rich in iron and other minerals, and is a healthy sweetener. Ginger is great for digestion (always a good thing during a holiday feast!), clears congestion and has such a divine aroma!

You’ll find these ginger-jaggery cookies have a chewy centre, and the jaggery gives them an unusual flavour, just like how the sweetness of honey differs from that of sugar. While the taste will certainly differ, if you’re unable to find good jaggery to make these cookies, you can substitute it with brown sugar.


Ginger & Jaggery Christmas Cookies

(Yield – 12-15 cookies)

Ingredients
325 grams maida
2 teaspoons baking soda
1 teaspoon ground ginger
115 grams powdered jaggery
¼ teaspoon salt
1 teaspoon cinnamon
1 teaspoon clove powder
200 grams butter
50 ml molasses
½ teaspoon vanilla essence
1 egg

Pre-heat the oven to 160°C/320°F. Line an oven tray with foil and keep aside.

Mix all the dry ingredients, except the jaggery, in a bowl and set aside.

Now, beat the butter and the jaggery together until the mixture turns creamy, then add the egg. Beat some more. Add the molasses and vanilla essence and blend well.

Fold all the dry ingredients into the mixture and knead, using your hands. The dough will feel sticky at this point. Once all the ingredients have been incorporated and blended well, refrigerate the dough for an hour.

After it has chilled, remove the dough from the fridge and make balls, gently using your hands again. Place them on the lined tray, ensuring they’re arranged well apart so that they don’t overlap while baking. Sprinkle with some sugar crystals.

Bake for about 12-15 minutes or until golden on the sides and bottom.

When the cookies have baked, decorate as you desire. As you can see in the photos above and below, I decided to draw delicate designs using white icing – a homage to my culture. In many places in India, intricate rice diagrams are drawn by hand on the front porch in the mornings and before special occasions. They are known as ‘rangoli’ in North India and ‘kolam’ in Tamil Nadu.

Some say a kolam is a prayer in the form of a painting, inviting the goddess and her auspiciousness into the home. Others say it is a practical thing: keeping insects away by feeding them outside the door itself. Either way, without doubt, it is a beautiful thing. I hope you’ll enjoy these photos of chewy, spicy, sweet homemade Christmas cookies – with a quintessentially South Indian sentiment. And I hope the scent of ginger fills your own kitchen soon, and that your life remains as sweet as jaggery – through the festive season and well beyond.

We would clamber up the sitaphal tree, pluck one right off the branches, and in our greedy delight not even check whether the fruit was ripe enough to eat before we tore it open with our hands and devoured the sweet white pulp. Then, we would spit out the shiny black seeds and collect them, for they were perfect for playing pallanguzhi, a traditional Tamil mancala game! Whenever I think of sitaphal, I think of these moments from my childhood. They were filled with joy, and I taste it again each time I taste the fruit.


Recently, I visited our organic farm a few hours’ drive from Chennai – and the sight of the abundant green harvest of the sitaphal trees brought back those childhood memories.

I will tell you more about our organic farm soon, where we grow paddy, varieties of gourd, numerous other vegetables, fruits – and a thoughtful selection of gorgeous native flowers that are fading from public memory. Hardly anyone wears or sells them anymore, but I take heart from the fact that there is one lady who sits by the Kapaleeshwarar Temple in Mylapore, with a colourful array of blossoms for purchase. Among them are the shenbagha and the manoranjitha. When I was a little girl, the teachers would wear beautiful manoranjitha flowers in their hair, and the classroom would be filled with their fragrance. And I would often think to myself: one day, when I am grown, I will have a house of my own with a tree that bears those flowers.

With the sweetness of all these memories in mind, and with the fruit in season in the serene landscape I dreamed of as a child, I remembered and craved a recipe that I had introduced into our family repertoire. When I got married and moved into my new home, I had enjoyed learning certain dishes from my mother-in-law that I found unusual. Among these was a fresh orange kheer. If you remember from this rose-coconut recipe, kheer is a kind of Indian pudding, with milk as the primary ingredient.

My mother-in-law’s citrusy dessert inspired my own variation. Perhaps I had wanted to bring the sitaphal I had plucked and gorged on in my childhood into my matrimonial home. And that’s how this sitaphal kheer was created. Even decades on, it remains a favourite of mine.

Sitaphal (Custard Apple) Kheer

(Yield – 8-10 cups)

Ingredients
1 ½ litres whole milk
2 large custard apples
1 ½ tablespoons corn flour or custard powder
½ cup sugar

You may know the sitaphal as the custard apple. I cannot recall seeing sitaphal sold abroad, which made me think it must be an indigenous Indian fruit, but it seems it’s actually native to the West Indies and Central America. Nonetheless, it thrives on our farm, and is popular throughout India. I wonder why it is not as well-known elsewhere as the mango. If you ask me, sitaphal is under-rated, and deserves renown.

One of the English names of sitaphal is sugar apple, attesting to its sweetness. Another is sweetsop. That tells you a lot about the taste of this fruit, if you haven’t had it. While it is not at all cloying, and in fact is quite subtle given its names, it is slightly higher in calories than other fruits too. Which means that I won’t sugar-coat it (pun intended): this recipe is a treat, and a bit of an indulgence! Still, sitaphal is also rich in potassium and magnesium, which protect the heart from disease, and Vitamin A and C. Fruit of any kind can never be truly bad for us, and sitaphal is no different.

Open up the soft, patterned green skin of this beautiful fruit, and begin to remove the seeds patiently using a spoon and clean hands. Keep the pulp in the refrigerator, covered.

In the meantime, boil the milk until it reduces partially. Vegans, you may want to try either coconut or almond milk. Keep stirring it on a low flame, making certain it doesn’t stick to the bottom of the pot.

Put the corn flour or custard powder into a small cup, and add 2-3 tablespoons of milk at room temperature. Stir this mixture well, until it is smooth. Now, gently add this mixture to the milk in the pot. You have to be careful now to stir continuously, so that it doesn’t stick to the bottom, which it is very likely to.

I like my kheer not too thick, but you may like yours thicker. In which case, simply add an additional 1 teaspoon of the corn flour or custard powder. Or reduce the quantity, to thin it further. Adjust according to the consistency of your preference.

Add the sugar. The taste of the sitaphal is so gentle and distinctive that I find the addition of cardamom, nuts or saffron – classic elements of most kheer recipes – takes away from this flavour. But you can always add these if you wish.

Once the milk thickens to the consistency you prefer (this will take approximately 15-20 minutes), turn off the flame and cover the pot with a lid. Allow this to cool, then refrigerate for a few hours.

Add the seeded sitaphal pulp into the refrigerated mixture and blend well. Serve this chilled dessert in small bowls.

Just as I substituted my mother-in-law’s fresh oranges for sitaphal, the lovely thing about this recipe is that you can use any fruit of your choice, based on your own tastes and seasonal availability. It is a luscious dessert, and it’s equally perfect for summers (when it has a cooling effect) and for the year-end festivities (when it’s also in season). I’d love to know what you think of it – and what variations you’ll spin up in your kitchen.


When it comes to Indian street food, the first and last word is always “chaat”. Yes, the vendors of sundal and cotton candy on my beloved Marina Beach will put up a fight, but when it comes to tastes savoured throughout India, chaat wins hands down. Chaat is a catch-all term, and extends from fried breads like pav bhajji to pastries called puris, filled with everything from potato to spiced water. Among the popular ones is bhel, also known as bhel puri.

Bhel is usually made with puffed rice as the main ingredient. As I’m always trying to make all the food we enjoy healthier, without compromising on taste, I substituted the puffed rice for the humble and very nutritious mung bean, also known as green gram or moong.


Moong is a versatile legume, used extensively in Asian cuisines. It can be eaten sweetened as a filling in pastries like mooncakes, stir-fried with vegetables, soaked and softened into a dal, ground into paste for crepes like dosa, and even made into noodles once starched. Moong beans are high in protein, low in carbs as compared to other legumes and pulses, and rich in antioxidants, phytonutrients and fibre. Unlike various other kinds of beans, they are also easy to digest, meaning you won’t feel bloated after eating them.

This Green Moong Bhel brings the tanginess of authentic streetside chaat, thanks to a blend of two chutneys, to the wholesomeness of mung beans. Like all chaat, it’s an anytime dish – and like all chaat, once you’ve enjoyed it, you’ll always have a craving for it.


Green Moong Bhel

Ingredients
Bhel (Yield – 4-5 small cups)

½ cup moong beans
½ cup finely cut cucumber
¼ cup finely cut onions
¼ cup cut tomatoes
¼ cup cut raw mango
¼ cup finely chopped coriander leaves
¼ teaspoon roasted cumin powder
3 cups water
Salt to taste

Date Chutney (Yield: 3 Cups)

1 cup jaggery
1 cup chopped dates
1 cup tamarind
¼ cup sugar
1½ + 1 + 1 cups water
2 teaspoons roasted cumin powder
1 teaspoon black salt
¼ teaspoon chilli powder
Salt to taste

Soak the moong beans overnight, or for 6-8 hours. They will triple in size when they have been well-soaked.

On a medium flame, add 3 cups of water, ¼ teaspoon of salt and a pinch of turmeric to the beans and allow to cook. This will take 15-20 minutes. The beans should be soft to the bite.


Strain the beans and allow them to cool.


In the meantime, put all the cut vegetables and the raw mango into a bowl. You can add any vegetables of your choice, whatever you find handily available, and increase or decrease the quantities to your preference. My selection here is a very typically “chaat” selection of fresh, affordable local produce. Keep aside some coriander for garnishing.


To this bowl of vegetables and fruit, add two chutneys. You can find the green coriander chutney recipe here (if you’re on a health kick, try not to get distracted by the banana-methi fritters recipe!). It’s an extraordinary simple just-blend-it-chutney, and you can use it in versatile ways.

The date chutney requires just a few more steps. Soak the jaggery, chopped dates, tamarind and sugar in 1½ cups of water for at least half an hour. Then blend this very well with 1 cup of warm water. Sieve the mixture to remove any sediments. Now, add the roasted cumin powder, black salt, chili powder and salt, as well as an additional cup of water, and boil for approximately 15 minutes. You will notice the mixture thickening, and you can adjust this to the consistency you desire by adding more water. This recipe yields a generous three cups of date chutney. Use only as much as you need for the green moong bhel dish, then save the rest in the fridge.

Blend 2 teaspoons each of the two chutneys into the bowl of cut vegetables and raw mango. Then add all the spices as well as the cooled moong beans to the bowl. Mix all the ingredients together nicely, making sure the chutneys coat them well.

Now, serve the green moong bhel in smaller bowls, garnishing with the coriander leaves. I often like to add a bit of crunch on top too, such as crushed peanuts, pomegranate, fried crisps or the puffed rice that is reminiscent of traditional chaat.

You can put this healthy snack on the list along with sundal, pea-pomegranate kachoris, sweet ghugras and, of course, banana-methi fritters and enjoy it with some piping hot chai or coffee. Or have it as an alternative to salad or quinoa, and enjoy a big bowl as a full breakfast or a light lunch. As simple as the dish looks, it’s absolutely loaded with flavours. Healthy can taste so good, sometimes!


Standing at that quaint tea shop in Kolkata that early November morning, I realised that the city had been awake for hours. We were on a guided tour, and as we found ourselves there for our first cup of the day, I noticed how around us were people who had taken a pause during their work. All of us – locals and tourists, at leisure or on the job – were treating ourselves to a small terracotta or glass cup of warm chai. In just five minutes, I saw not only a classic street-style chai-making procedure, but faces from everywhere – each of them enjoying a rejuvenating sip of this quintessential beverage.

I couldn’t resist picking up my camera. I was so pleased that these men, for whom this particular stall is a routine, were happy not just to be photographed but also to chat! They say a cup of tea brings people together – and for a few minutes on a morning in Kolkata, that’s exactly what happened.


It was this man’s mashk – a goat-skin bag – that caught my eye. He sells water from it, at ₹10 a serving. He proudly told us that the neighbourhood we were in is colloquially known as Bheeshti Para, an homage to the traditional occupation of the water-carrier (known as “bheeshti”). He also shared that the etymology of “bheeshti” comes from the Persian word “bihisht”, which means “paradise”). How poetic – the water-bearer from paradise, bringing succour to the thirsty.


We also met this money-lender whose family is from Afghanistan – one of the many communities who settled in Kolkata, who have carried the trade on for generations. In fact, Afghani money-lenders were popularised in Rabindranath Tagore’s short story “Kabuliwala” (literally, “the man from Kabul”), which was also made into a number of films.

Kolkata is home to many such communities of foreign origin, who have enriched it. For instance, it is the only South Asian city with a Chinatown, thanks to several generations of people originally from China who have made it their home. There are also Anglo-Indians, Parsis and numerous other uniquely Indian cultures. And there I was, a Tamil Nadu-raised Gujarati, sipping from my terracotta cup too.


It’s always a pleasure for me to watch another culinary expert at work. Look at the precision of this chai-maker’s tea-pouring technique!


The street was abuzz with life that morning, as the fogginess gave way to bright sunlight. A recycling truck was passing by. Right next door to the tea stall was a food stall selling breakfast: pooris, pickles and savouries. Somewhere nearby, I am sure that the famed Bengali milk sweets were being made and sold too.

And how amazing is it that one morning I was drinking Bengali tea at a street-side stall in Kolkata, and the next morning I was back here in Coffeeland aka Chennai, a land famous for its filter coffee? I love my coffee anywhere in the world, but the moody monsoonal rain and my recent trip inspired me to recreate that hot, spiced tea here at home.


Masala Chai Powder

(Yield – approximately 100 grams)

Ingredients
¾ cup black pepper

½ cup cloves

3 tablespoons peeled cardamom

½ cup cinnamon sticks

1 tablespoon ginger powder

1 tablespoon pipramul powder


Tea is so quintessentially Indian that it’s easy to forget that it was actually introduced to India by the British. Originally from China, the tea shrub was found to grow well in hilly regions like Darjeeling and Assam, and closer to my home, in the Nilgiris. In fact, the word “chai” is from the Mandarin word “cha”.

I grew up watching masala chai powder batches being made for a year at a time during the hot summers.  This is what is now known as a Macrobiotic approach, making use of the logic of the seasons, in this case the heat. I have found that sun-drying makes the flavours bloom. But masala chai was originally had in the winters, as the herbs and spices had a warming effect – even roasting in the winter sun was sufficient, provided there was no rain.

If you’re trying this method on a warm day, roast all the ingredients except the ginger and pipramul powders in the sun. If you’re in a rainy or wintry season like I am right now, simply roast the ingredients (except the ginger and pipramul powders) on an iron pan for less than five minutes.

If you’re a fan of spices, the other ingredients will all be familiar to you, but if you’re wondering, pipramul is also known as Indian long pepper or ganthoda, and is a rhizoid similar to ginger. It aids digestion and helps with any kind of gastric trouble.

Once the ingredients have cooled, blend them into a powder. Add the ginger and pipramul powders and mix thoroughly. Store in an air-tight container.

If kept dry, you can use this powder for months at a time. It’s used only for chai and added into the boiling process of tea making, as is the Indian way.

My few minutes at that chai stall in Kolkata that morning made me ponder what a privilege it is to have tea at home, and not on the go while on the job. Tea is said to be a contemplative beverage, and is such a wonderful companion to both conversations with others and moments of musing alone. I’m contemplating the people I met that morning as I savour this cuppa. What’s on your mind today?

As I write this in the days after Diwali, the home and the kitchen table are empty. For a few days, the house was abuzz with visiting friends – all we did was eat, compare notes on each other’s specialties, learn, devour and enjoy our time together. Now, even the family have all gone back to their respective workplaces – and it’s me time. How do you re-enter the kitchen after the busiest time of year has quietened down? I cleaned up the home, missing everyone deeply, while contemplating food, love and life. And then I decided to follow the order of the typical restaurant menu, and start with a soup.

A soup is the perfect post-festive dish both as a detox for the infinite quantities of sweets consumed, and as comfort food that beats the empty-nest blues. As the monsoon continues, I’ve made three things a part of my regular intake: lots of water, this remedy for the sniffle season, and this delicate yet flavourful broccoli and almond soup.

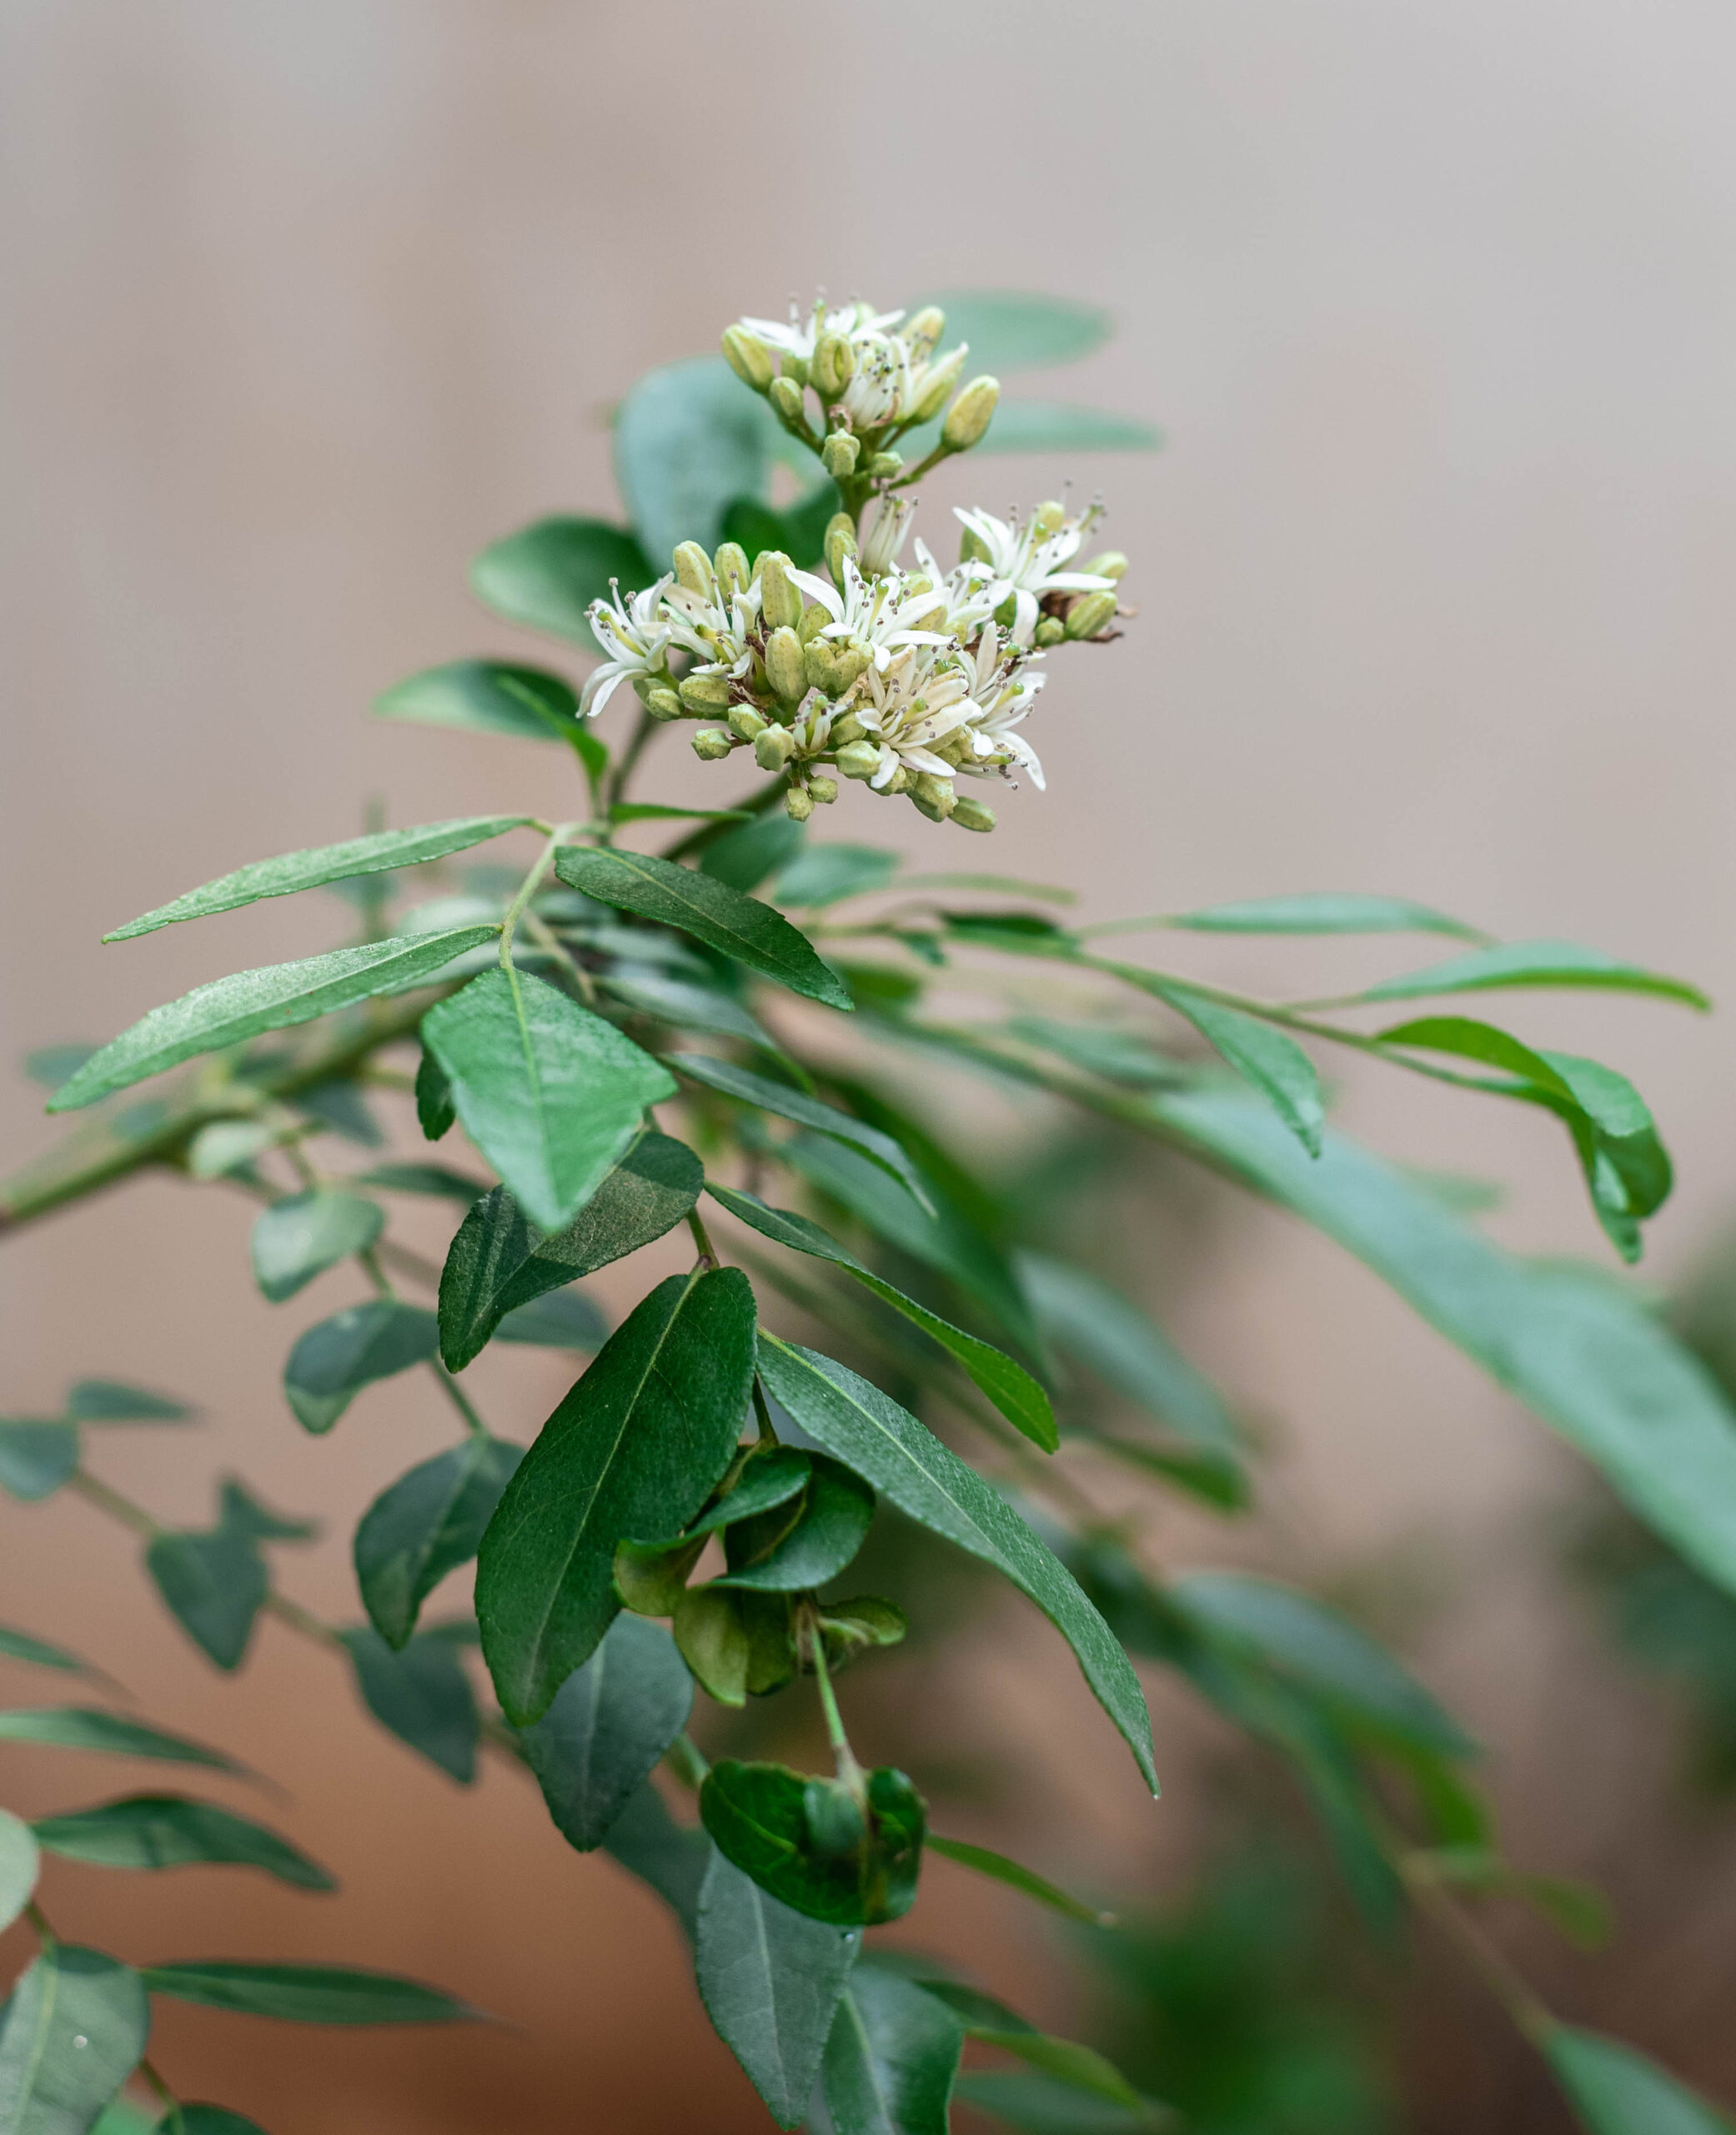
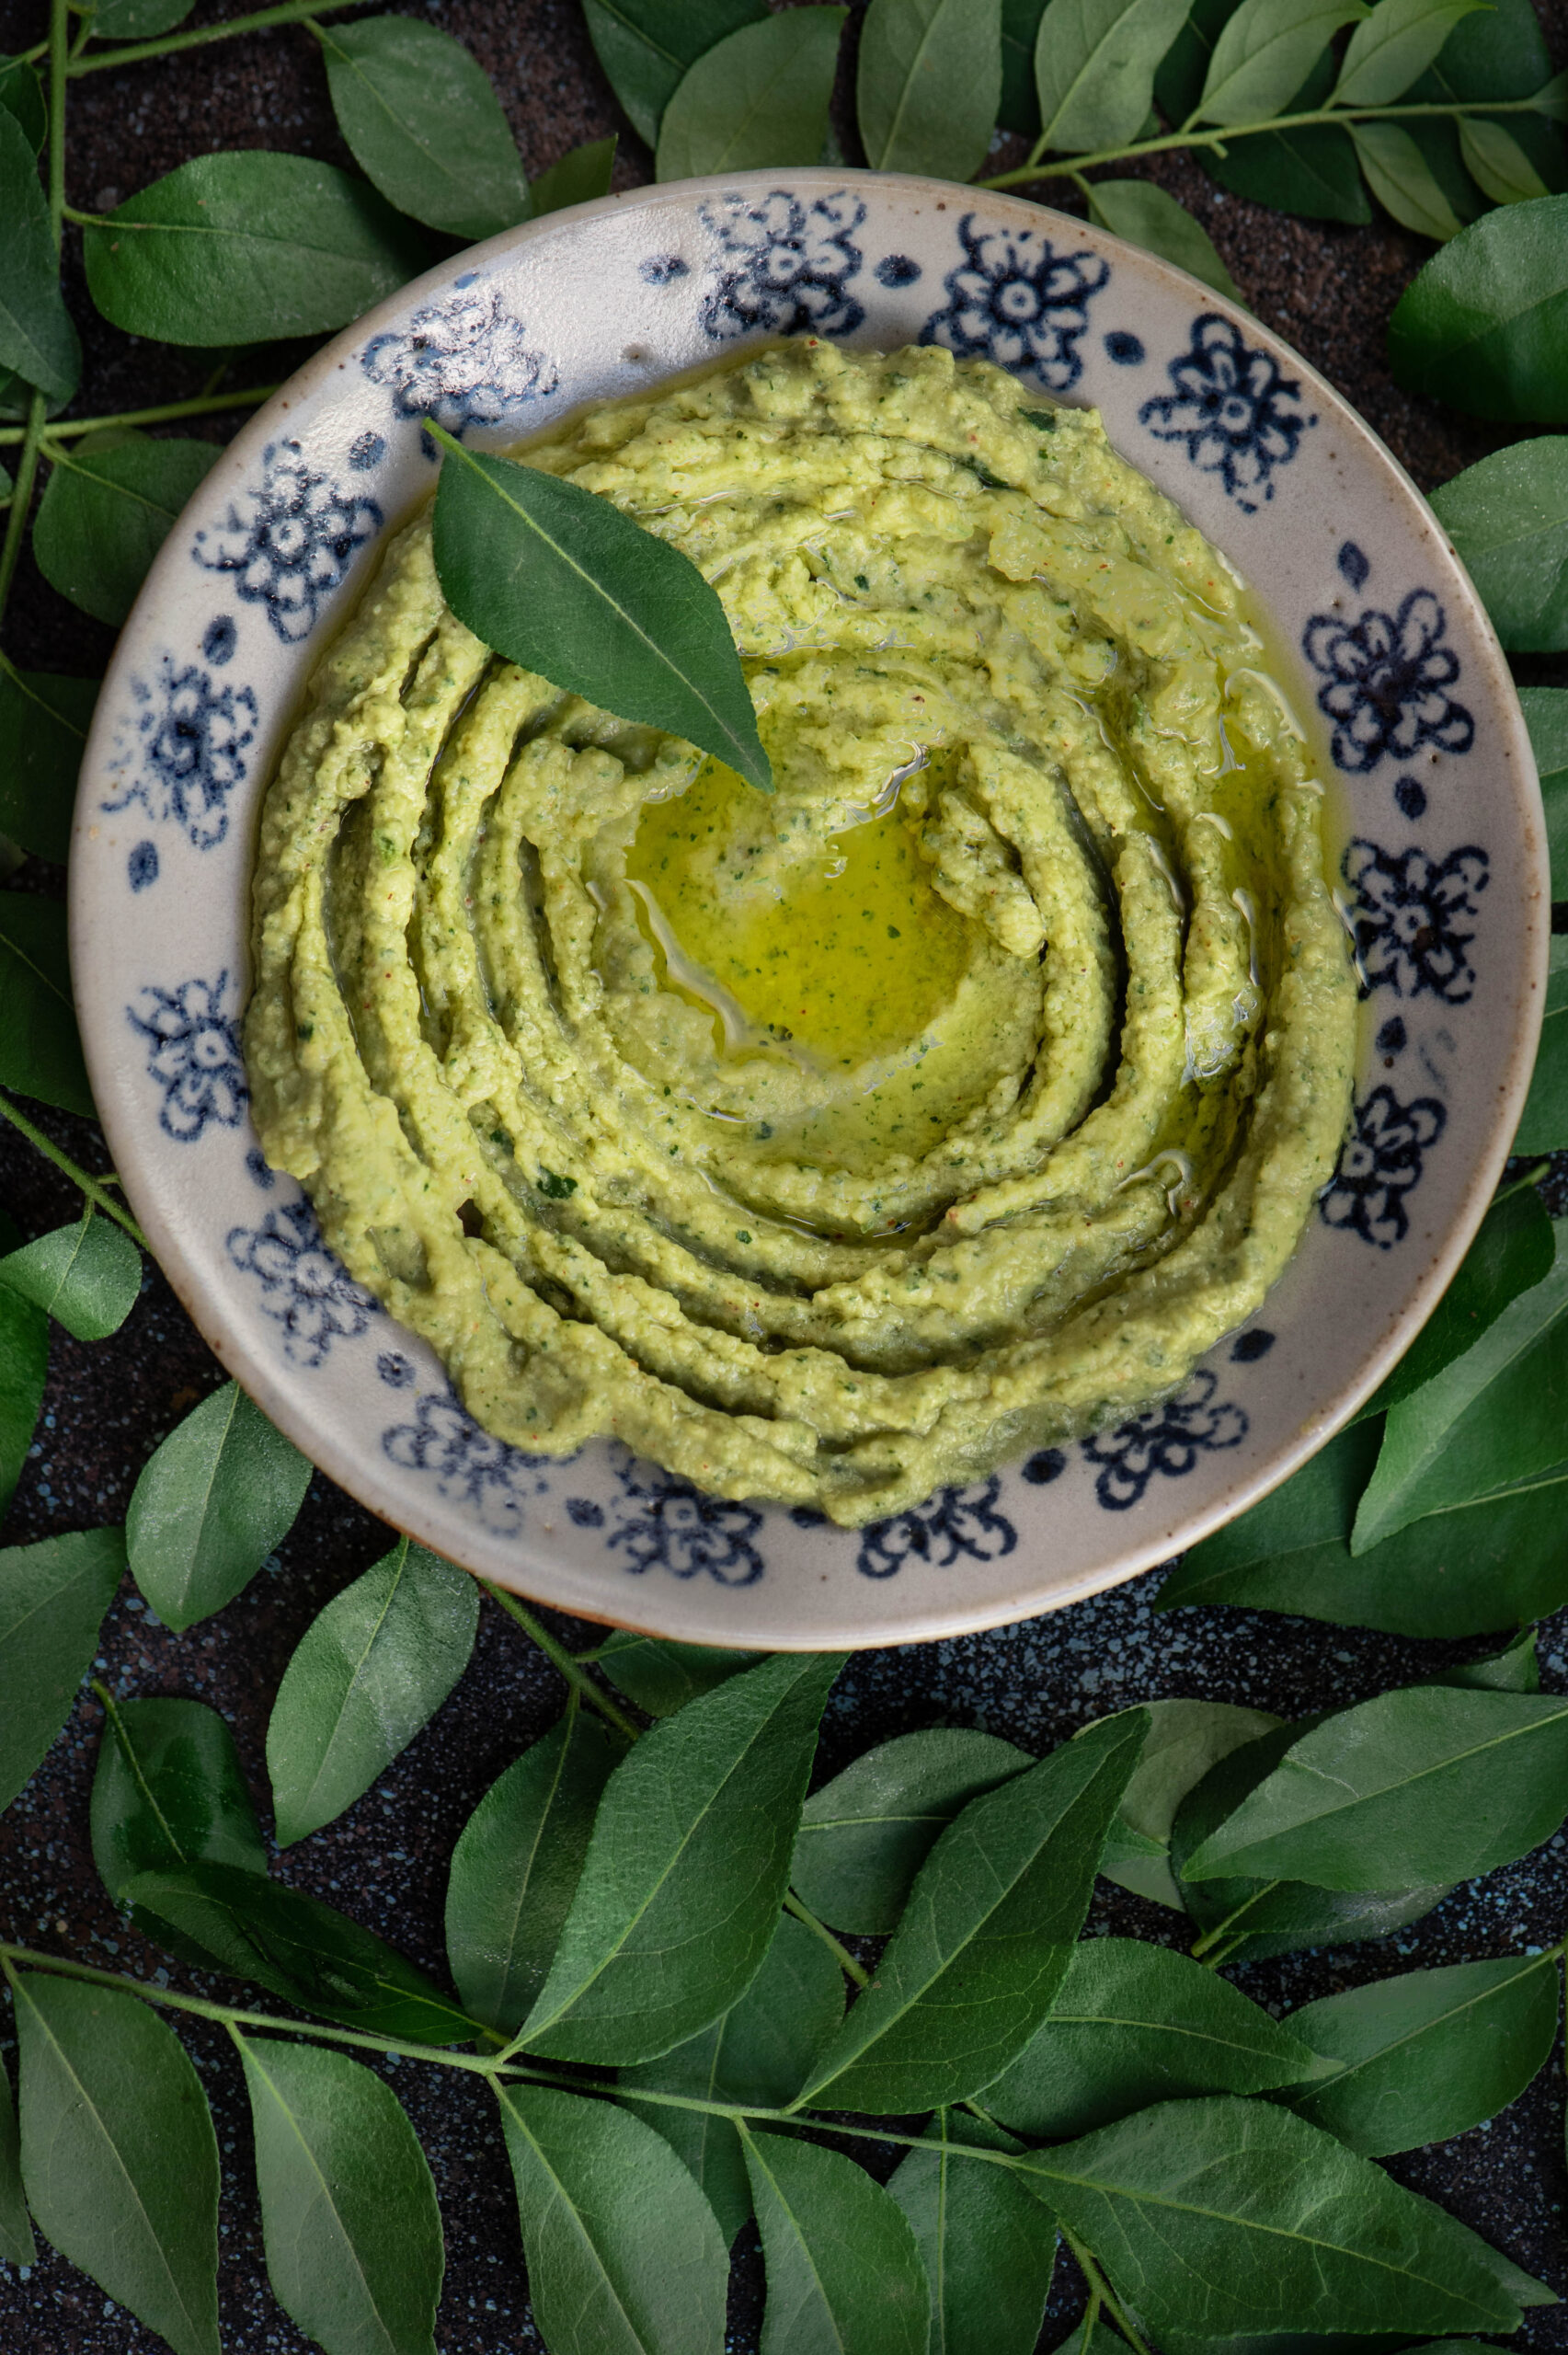
Occasionally, I like to shift from my mainstay local, seasonal vegetables and bring a little bit of the exotic into my kitchen. In Chennai, it is quite rare to find organic “English” vegetables, as we call them here, so when I came across some organic broccoli at my grocer’s, I picked up a few fresh bunches. To these, I added another ingredient from afar: organic almonds from Kashmir. If you’ve been following this blog, you’ll know that even when I go adventuring in my culinary repertoire, I like to add a homegrown twist to anything foreign. And this is where my trusted curry leaves, packed with nutrients and not just a spicy flavour, come in.

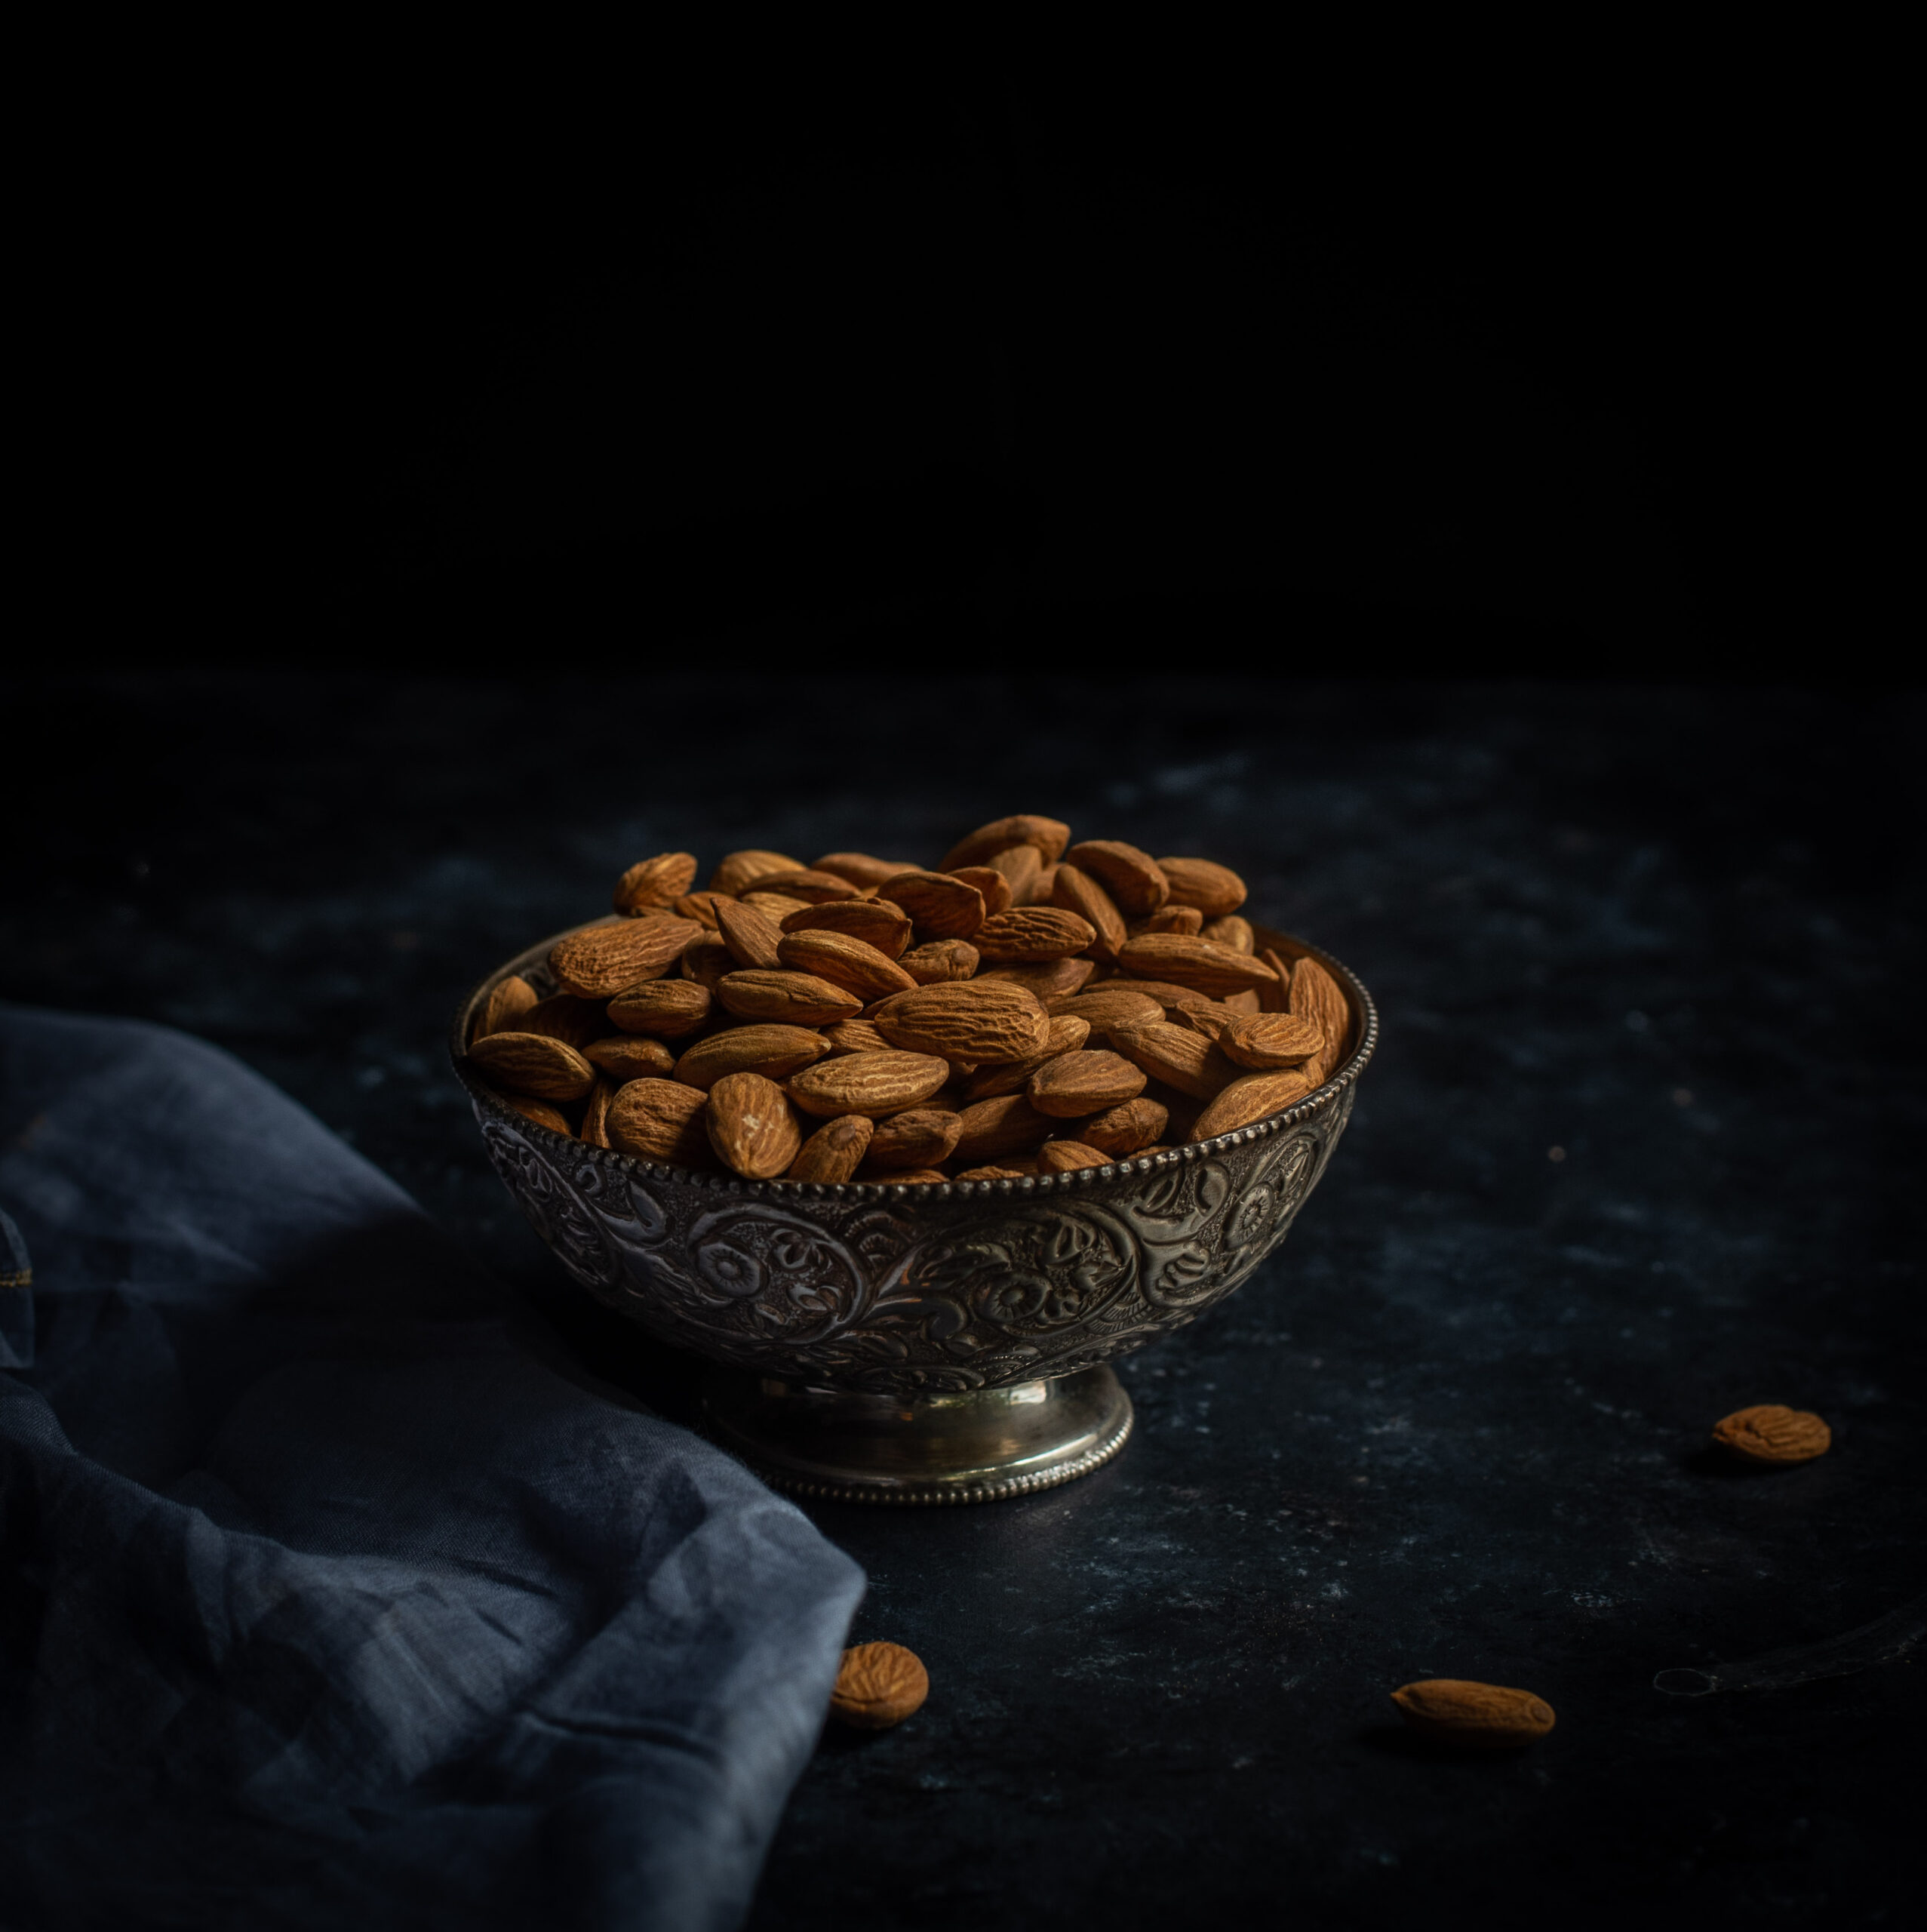
Almonds are well-known for their benefits, and are one of the first types of nuts that are recommended as substitutes for unwholesome snacks. Rich in healthy fats, vitamin E, magnesium, antioxidants and other nutritious elements, they reduce blood sugar, blood pressure and cholesterol levels. They happen to be a favourite in the cakes that are baked in the re:store kitchen, so there are always some on hand – whether to pop into my mouth on the go or to toast and drizzle over a blues-busting soup like this one.

Broccoli is so healthy a vegetable that you may have noticed that it’s almost a synonym for so-good-it-has-to-taste-bad for children’s characters in films and books! This is of course simply untrue, for it’s a tasty ingredient that can be used in versatile ways. From vitamin C to anti-inflammatory Omega 3 fatty acids to antioxidants and studies that support its consumption as being preventative of cancer and heart disease, a bunch of broccoli really is a bouquet of benefits. And as it is rich in fibre, it promotes detoxification – which is what makes it ideal for a post-festive diet.


Broccoli-Almond Soup

(Yield – 4-5 cups)

Ingredients

2 tablespoons + 1 tablespoon virgin olive oil

150 grams diced broccoli florets

3 tablespoons chopped onions

1 small cup washed, finely chopped coriander leaves

3 garlic cloves (smashed) + 3-5 garlic cloves (sliced)

2 cups vegetable broth

2 cups water

½ tablespoon ground black pepper

Salt to taste

2 sprigs curry leaves

3 tablespoons + 1 tablespoon slivered, toasted almonds

1 teaspoon lemon juice


Heat the oil in a medium-sized saucepan. To this, add onions and garlic. Allow them to sauté till golden, before adding the broccoli. Continue sautéing for a few minutes.

Next, add the vegetable broth, cover the pan with a lid and leave to cook for 10 minutes. Then remove the lid and let the dish cool a little. Blend in the coriander leaves with the rest, and add more water to adjust the consistency of the soup to your preference. Finally, add salt and pepper as well as the slivered, toasted almonds.

In a separate pan, heat 1 tablespoon of oil and fry the sliced garlic cloves. As they turn golden, add the curry leaves and turn off the flame. Just the rich, warm aroma of this garnishing as it is being prepared will lift your mood!

Just before serving the soup, pour the cloves and curry leaf garnishing on top. I added a dash of lemon too. Sprinkle the last of the slivered, toasted almonds as the final touch.

I love my soups with a bit of crunch, and the broccoli and especially the almonds bring texture to this simple dish. Perfect for when you aren’t up to making full meals, when you’re feeling under the weather, or when you just need to cut back on the sugar and carbs, this lovely one-pot meal is light and healthy yet so filling. A cup or two of this broccoli-almond soup with just the sound of afternoon rain for company is so satiating. Please try it. I’d love to know what you think in the comments.