Tag

vegetarian

Browsing

When the grain-based series concluded last weekend (you can catch up here, here and here, I promised a recipe that would make use of leftover khichdi in a unique way that transforms it into an entirely new dish. Years ago, I had mentioned in this post on rotis that khichdi is sometimes used to make theplas. That’s exactly what we’re going to do today.

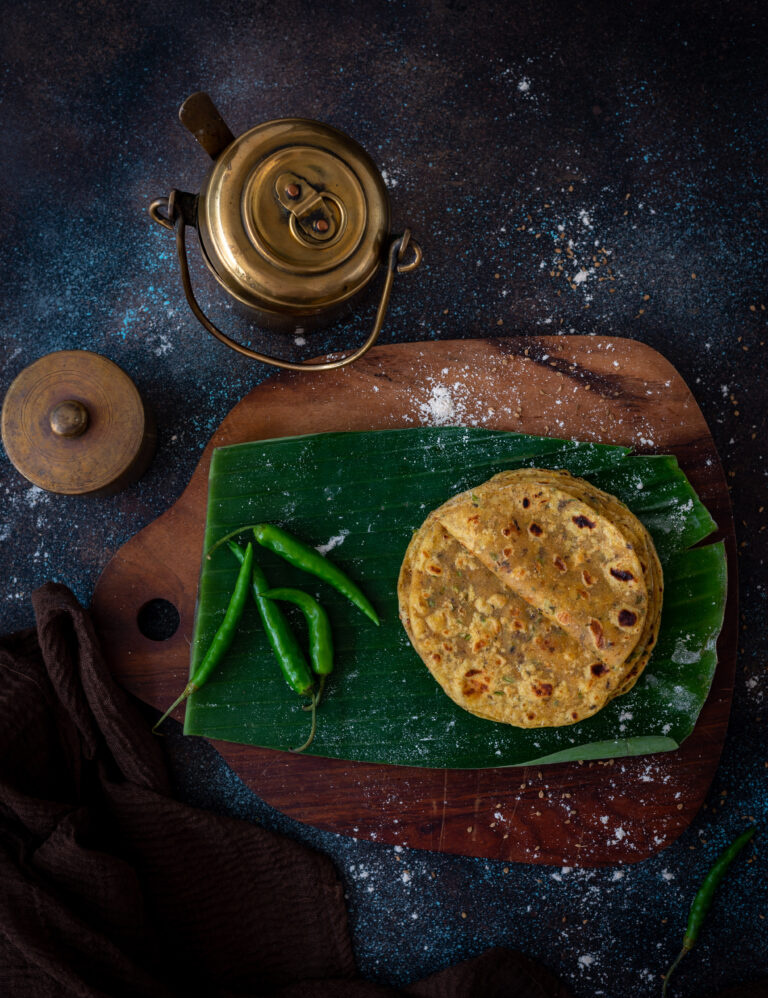
Theplas are really a category, not a dish. They are a flatbread staple in Gujarati cuisine, and the diverse range includes methi thepla (made with fenugreek leaves), dudhi thepla (made with bottlegourd), bajra ke thepla (made with pearl millet) and more. The main ingredients change, but the seasonings and masalas tend to remain the same. The simplest form of theplas are the plain ones, made without any vegetables or other ingredients that spoil quickly. They are often made especially for travel, as they store well. I believe I’ve mentioned in previous posts how theplas were a part of all our train journeys, to Bombay and to other places. As kids, we ate every two hours, and so our mother would pack a large quantity of plain theplas, which would keep us well-fed for the two or three days that it took us to arrive at our destination. They were healthy, clean and home-made, and we would enjoy them with mango pickles as our train criss-crossed the country.
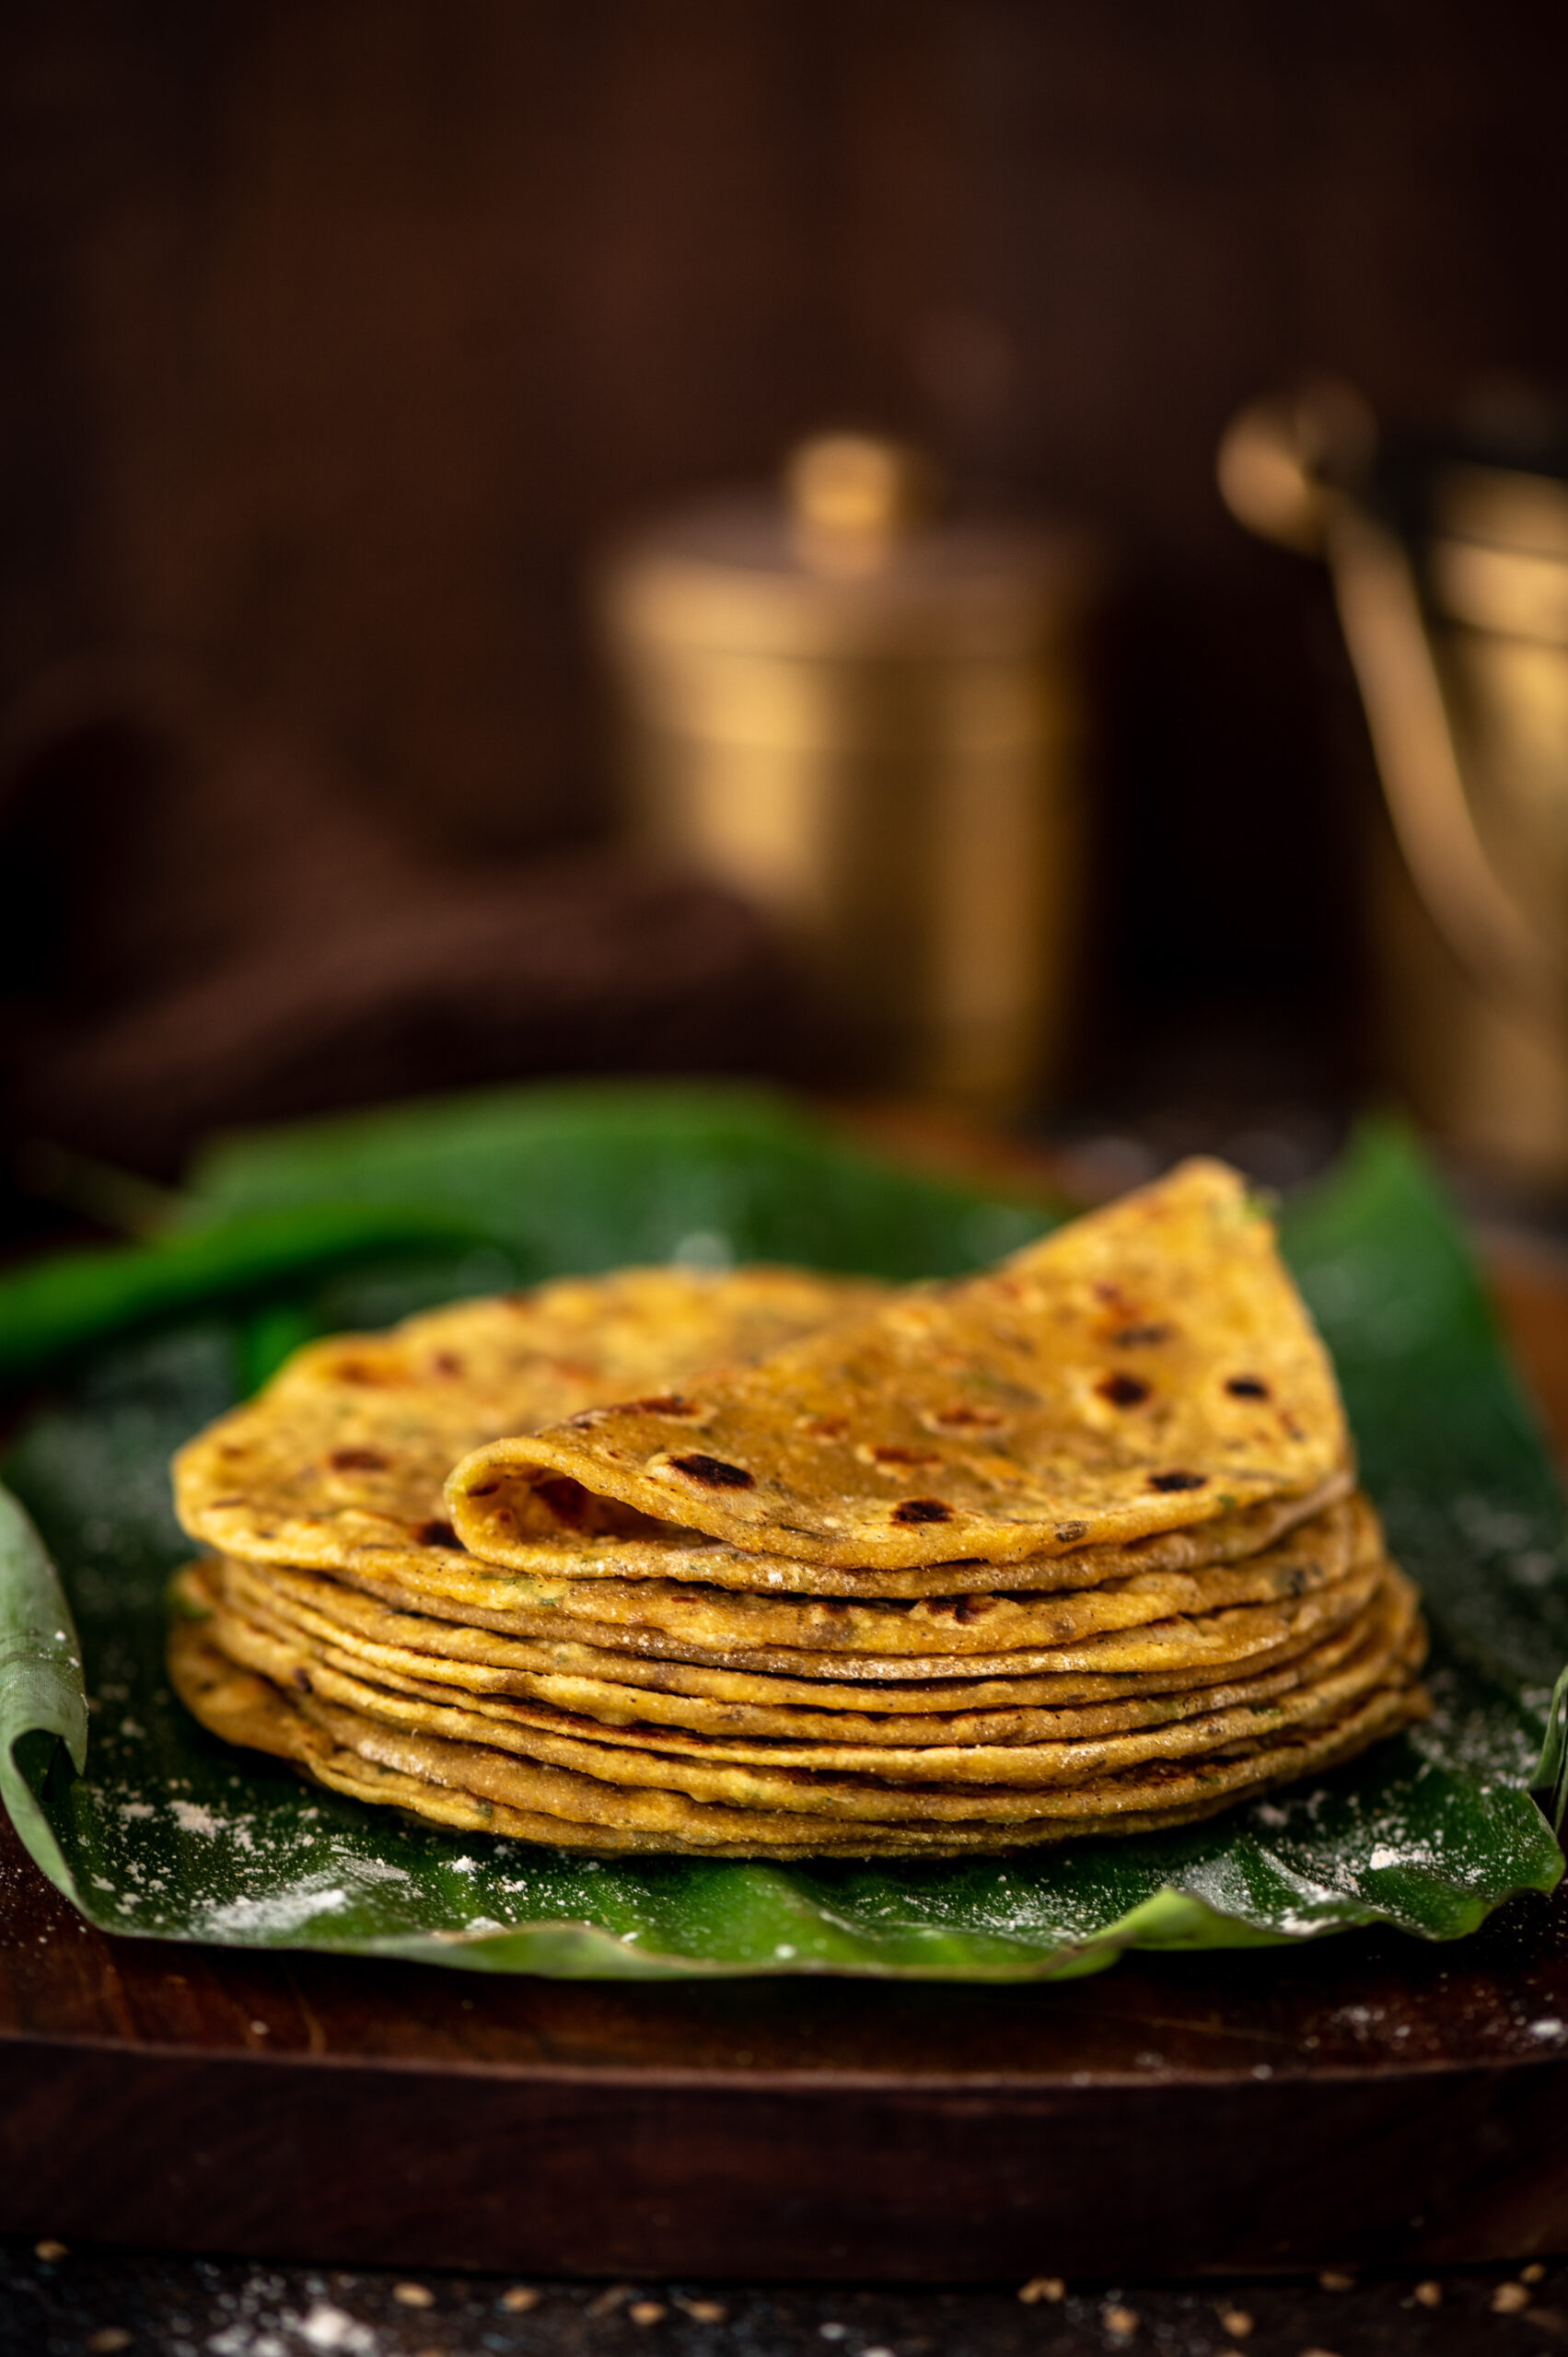
Mango pickles, specifically chhundo, which I’ve shared the recipe for before, are the chief accompaniment to most theplas. A dollop of yoghurt is also enjoyed alongside, and a dry vegetable like roasted potatoes can round out the meal. Theplas can be a light meal of just the flatbread and a pinch of pickle, or a full meal with the works. They are often a taken-for-granted dish too – “chalo (‘come/okay’), let’s have thepla” is a standard refrain when planning dinner in many a Gujarati household.

This style of thepla, which incorporates leftover khichdi into the dough and which is deliciously flavoured with ginger and green chilli (you may add garlic too, if you wish), is a perfect dinner dish to prepare with the unused portion of a simple khichdi made for lunch. Every family that uses this resourceful technique will have their version of what goes into the recipe.

Growing up, I was always impressed by the way my mother had a knack for turning over leftovers. It is a skill I’ve observed time and again in so many intelligent homemakers, who innovate ways to make a large meal go further, while appeasing picky children who demand fresh and interesting food. So this is especially for those of you who have fussy mouths to feed. Unless they are right there in the kitchen with you as you transform old khichdi into new theplas, they’ll never guess your little magic trick!
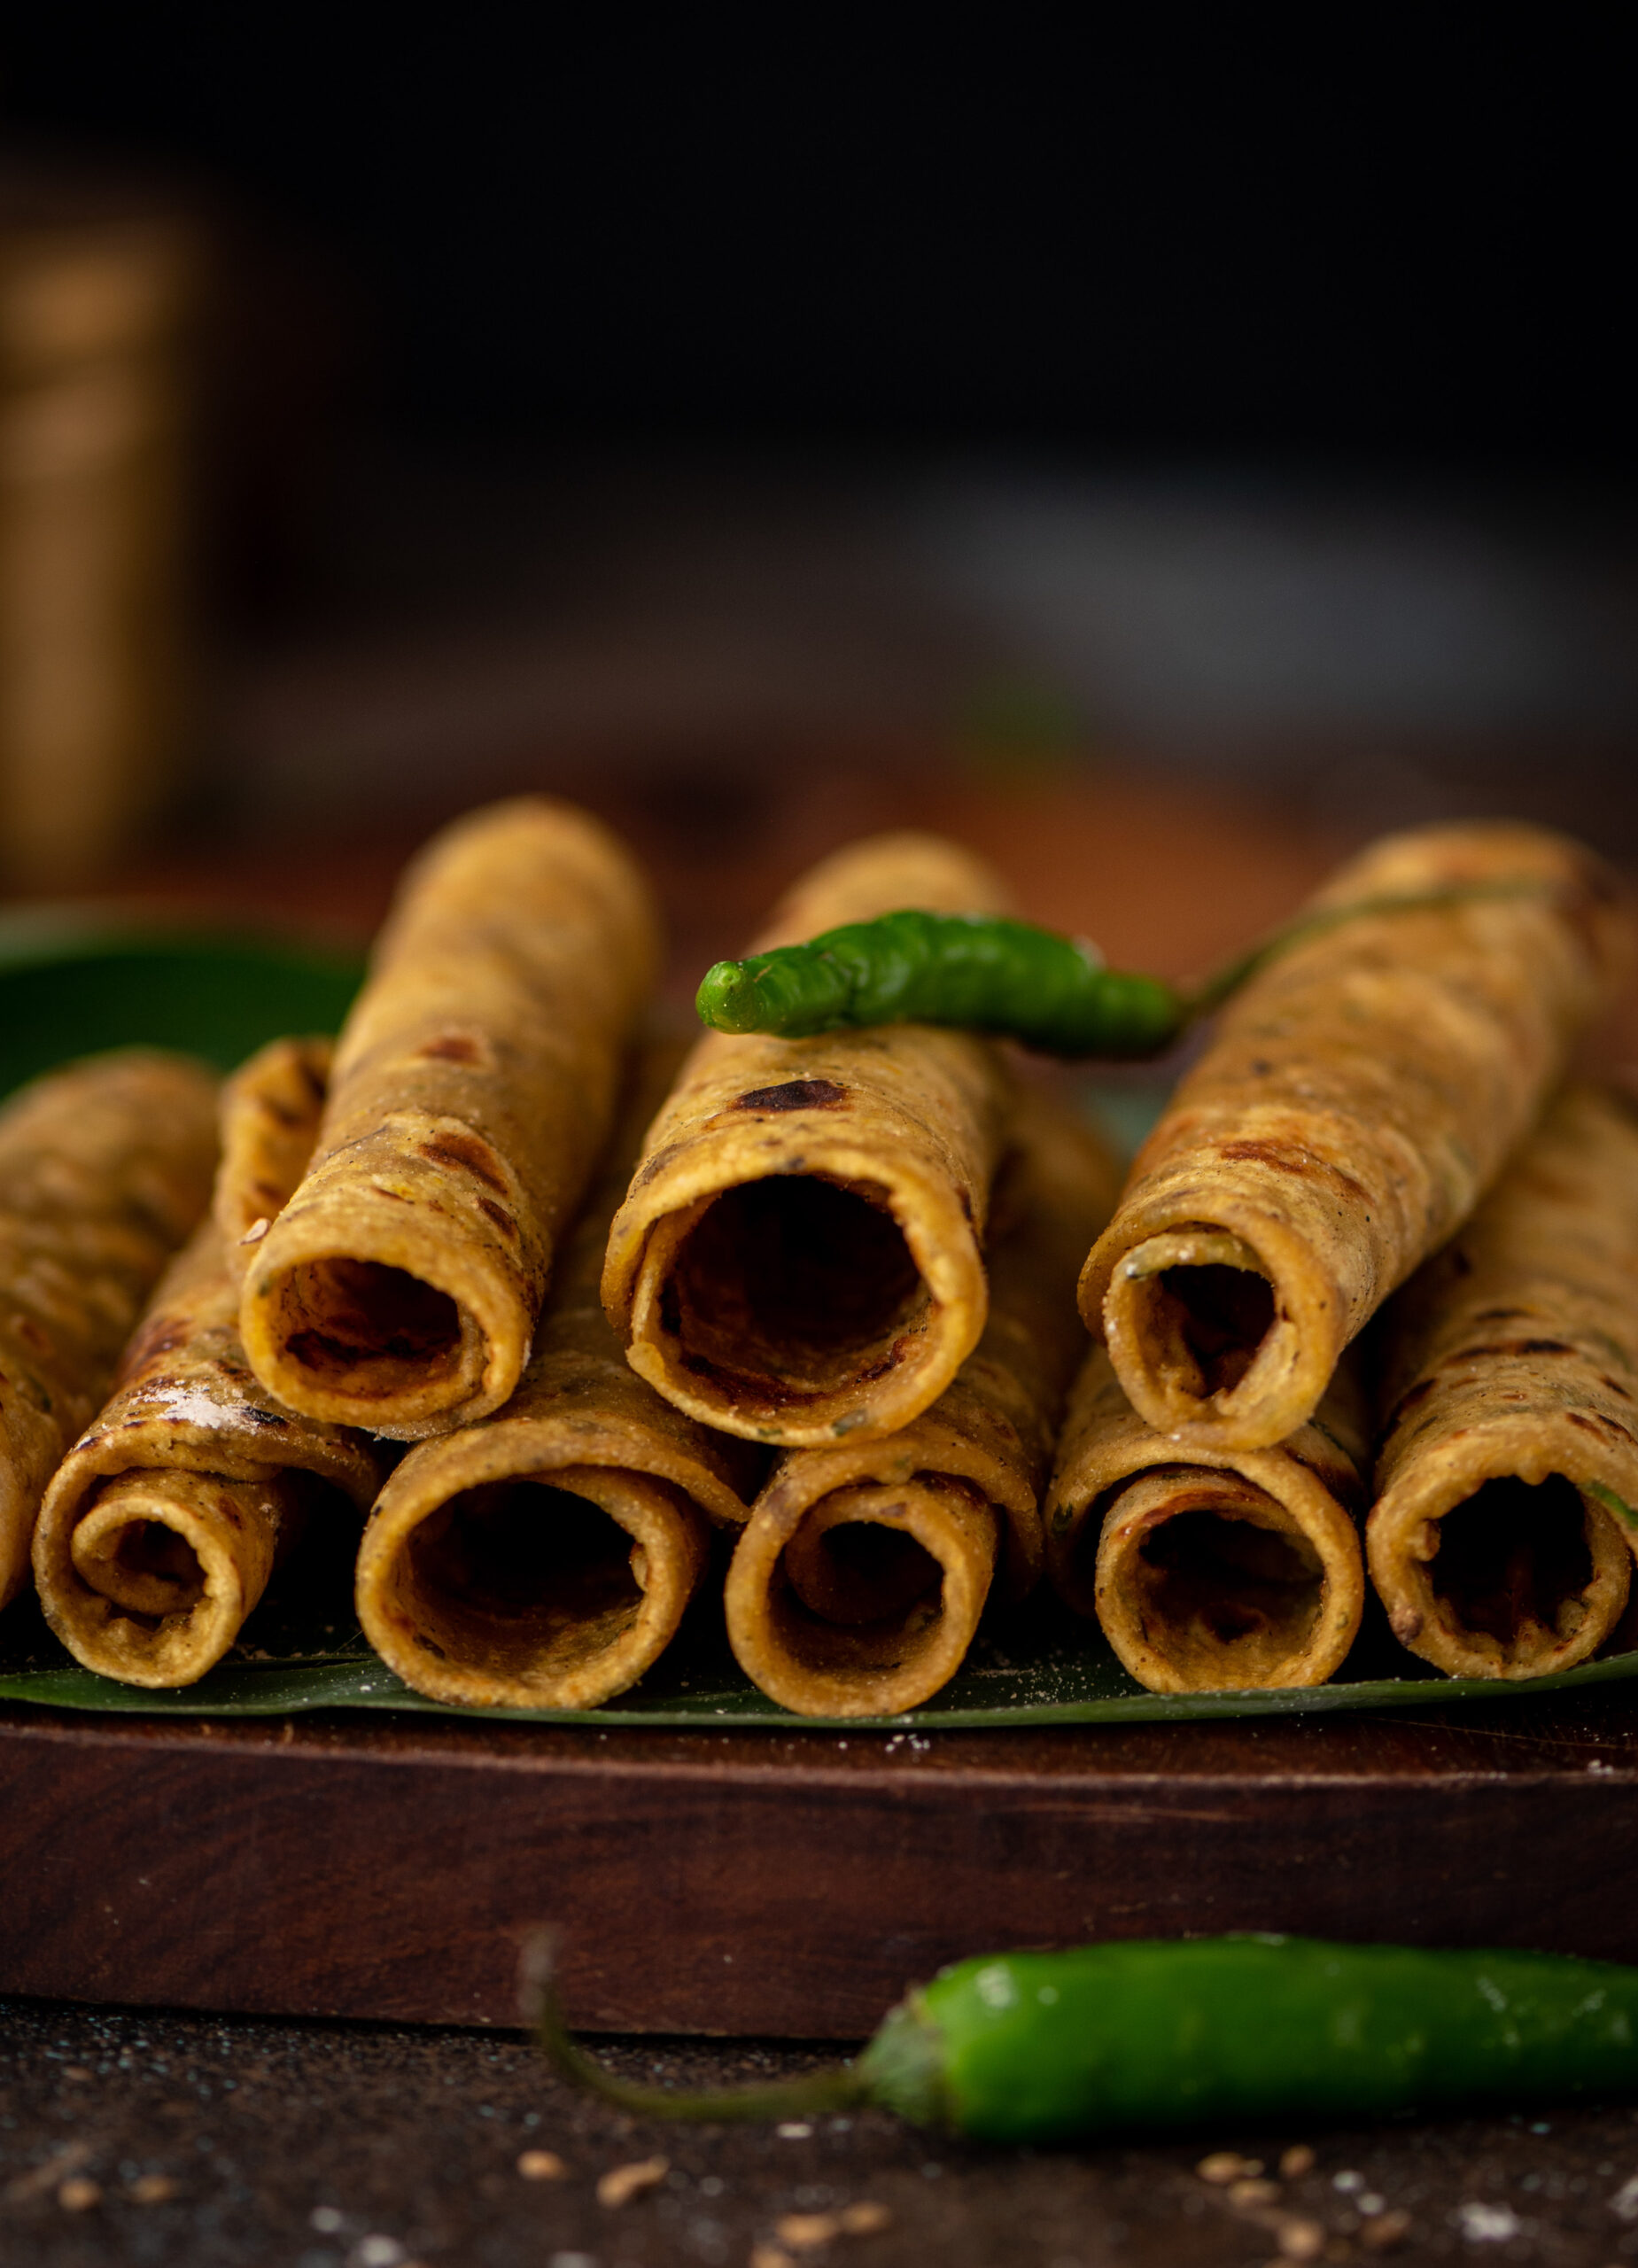
Khichdi Thepla

(Yield: 10 theplas)

½ cup khichdi

¾ cup + 2 tablespoons wheat flour

½ cup wheat flour (for rolling the theplas)

Salt to taste

¼ teaspoon turmeric

½ teaspoon dhania-jeera (coriander-cumin) powder

1 tablespoon + 1 teaspoon oil

¼ teaspoon ajwain (carom seeds)

1 teaspoon green chilli and ginger paste

1 teaspoon oil + 3 tablespoons to cook


Keep aside the oil.

Assemble all the remaining ingredients in a wide bowl. Make a dough by mixing them together with your hands, until the mixture is smooth. Towards the end, once it begins to turn sticky, add 1 teaspoon of oil and spread it around the bowl. Knead the dough completely.

I have used a soft and wet khichdi, and thus did not need to add any water. If your khichdi is dry, then you may need to add water too.

Once the dough is prepared, either make the theplas right away or refrigerate the dough as it will release water and turn soft again. Remember that as you are already working with leftover khichdi, it is best to make and consume these theplas on the same day. If you’ve kept the dough in the fridge for a while, do not wait for it to thaw. You can roll out your theplas right away.
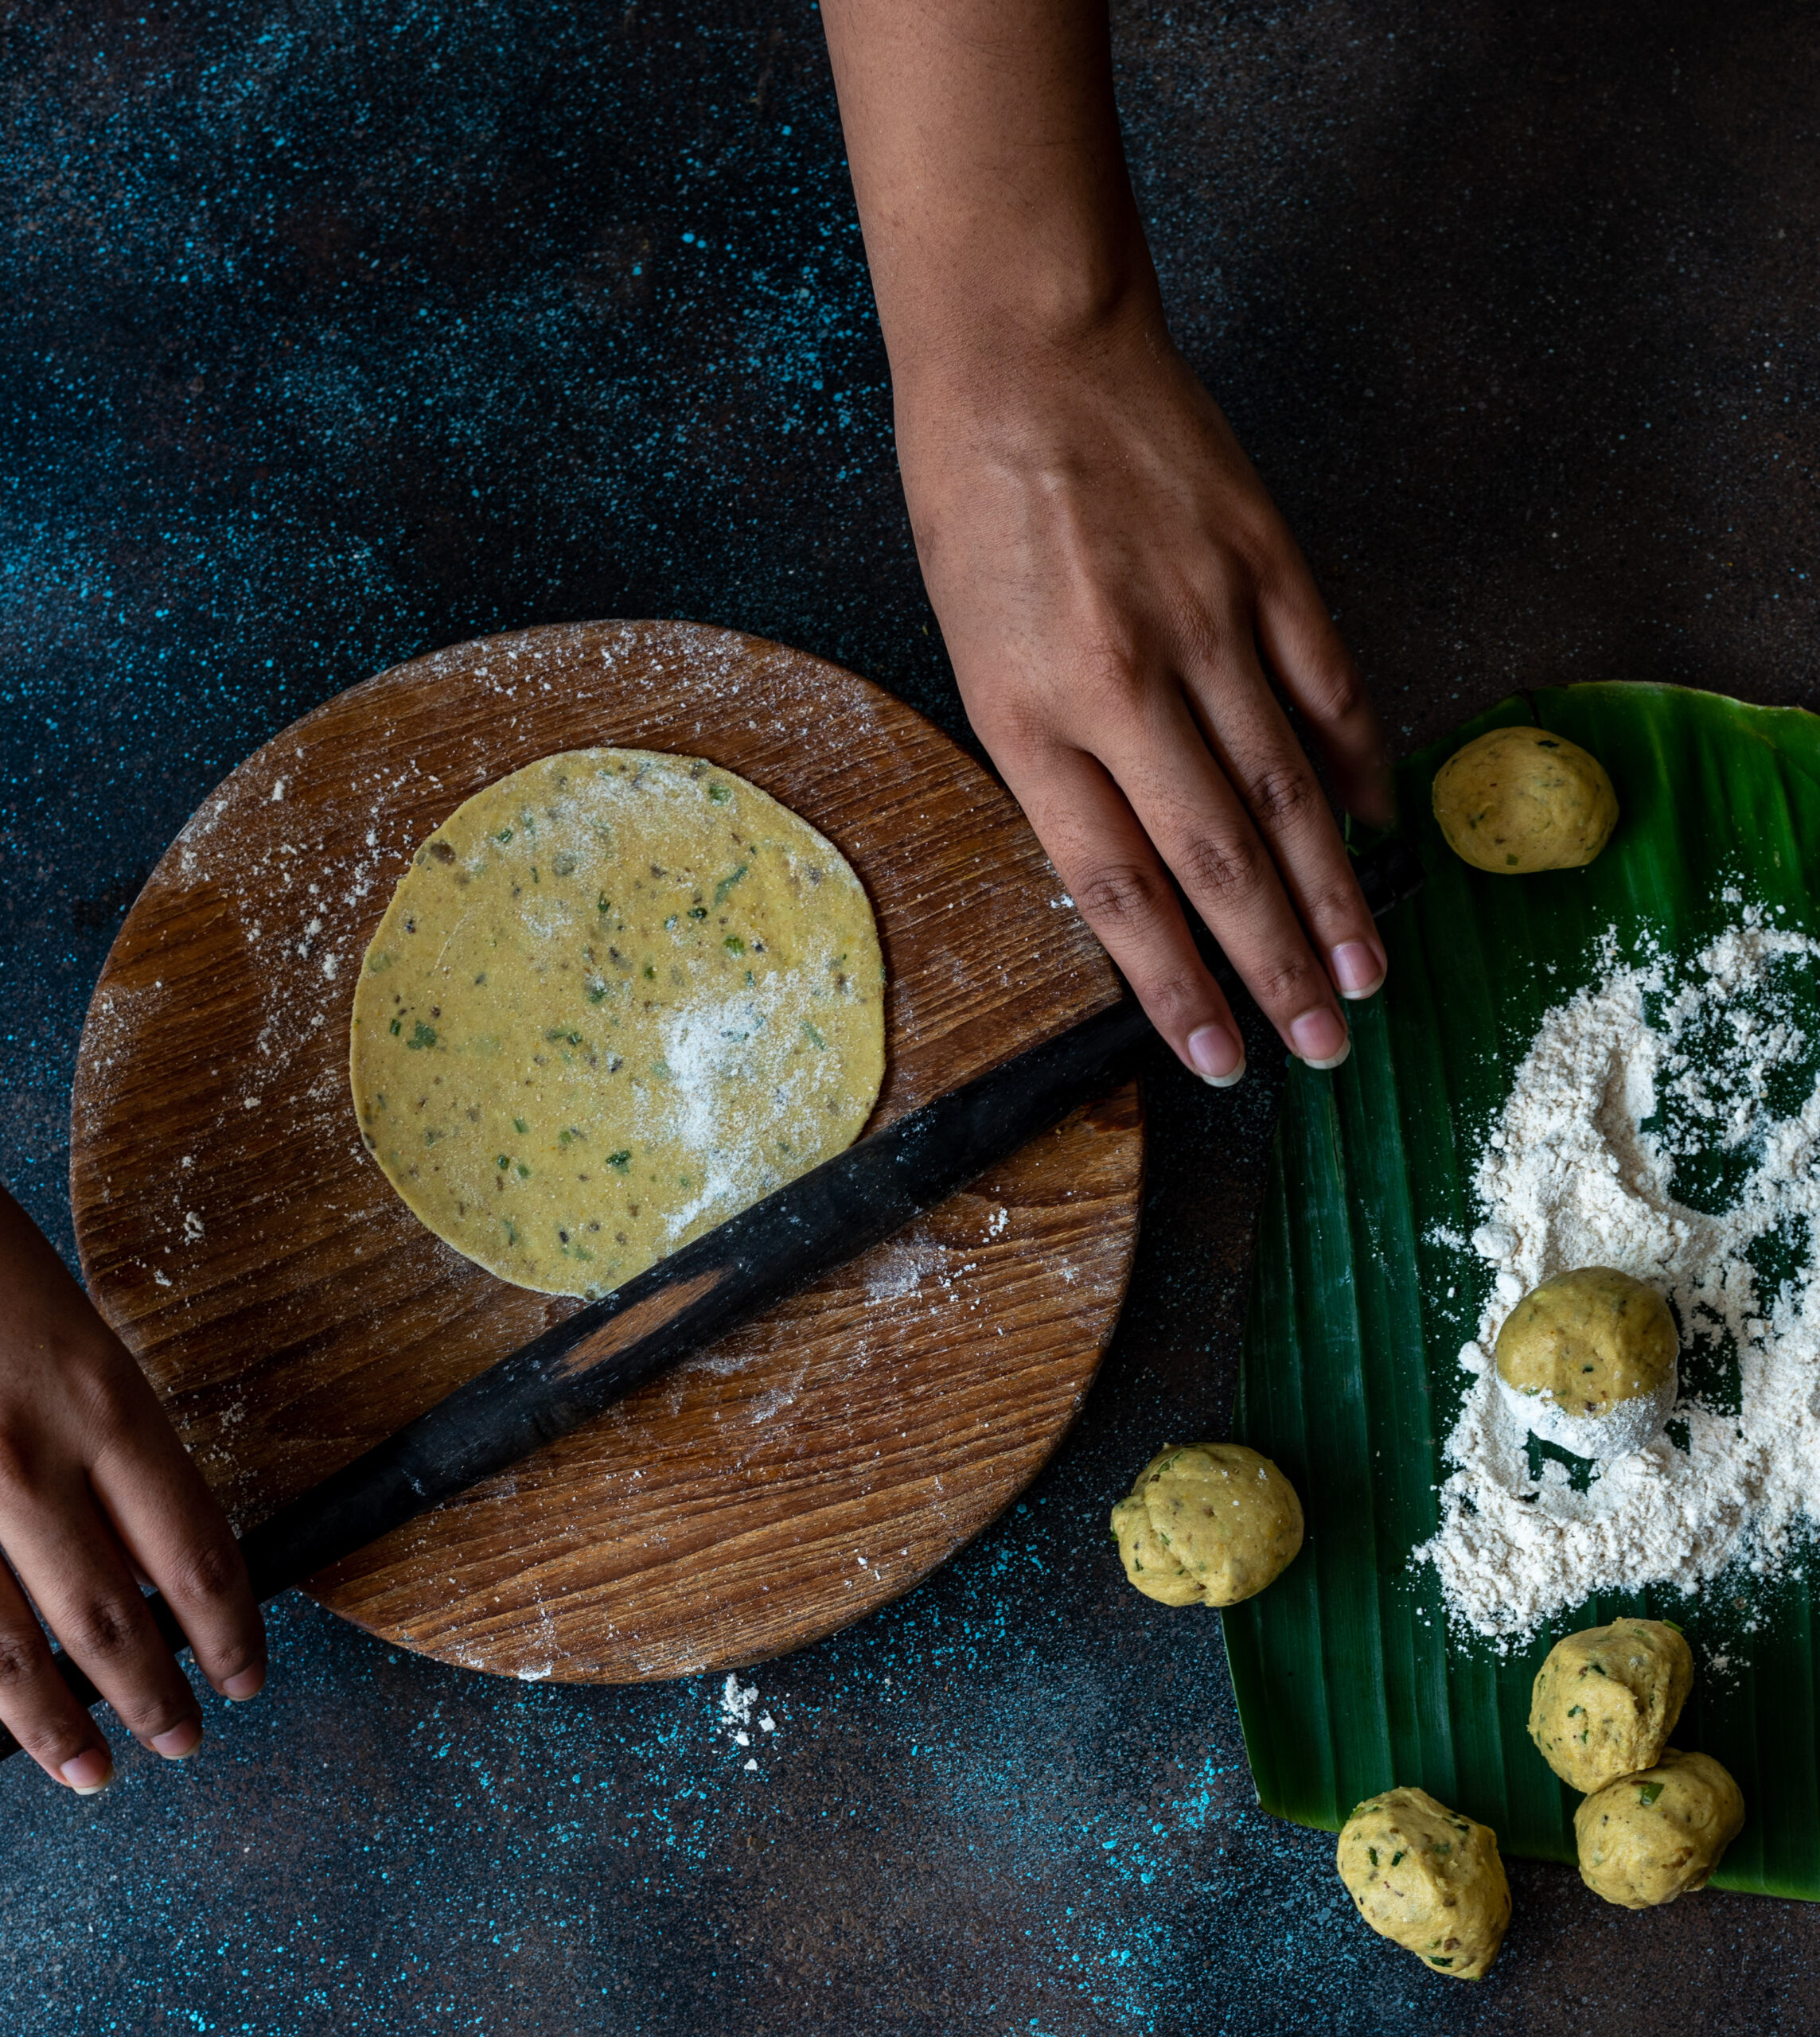
Heat a roti pan. Make small discs of the dough, and dip them in the wheat flour. Roll out each thepla into a thin disc.

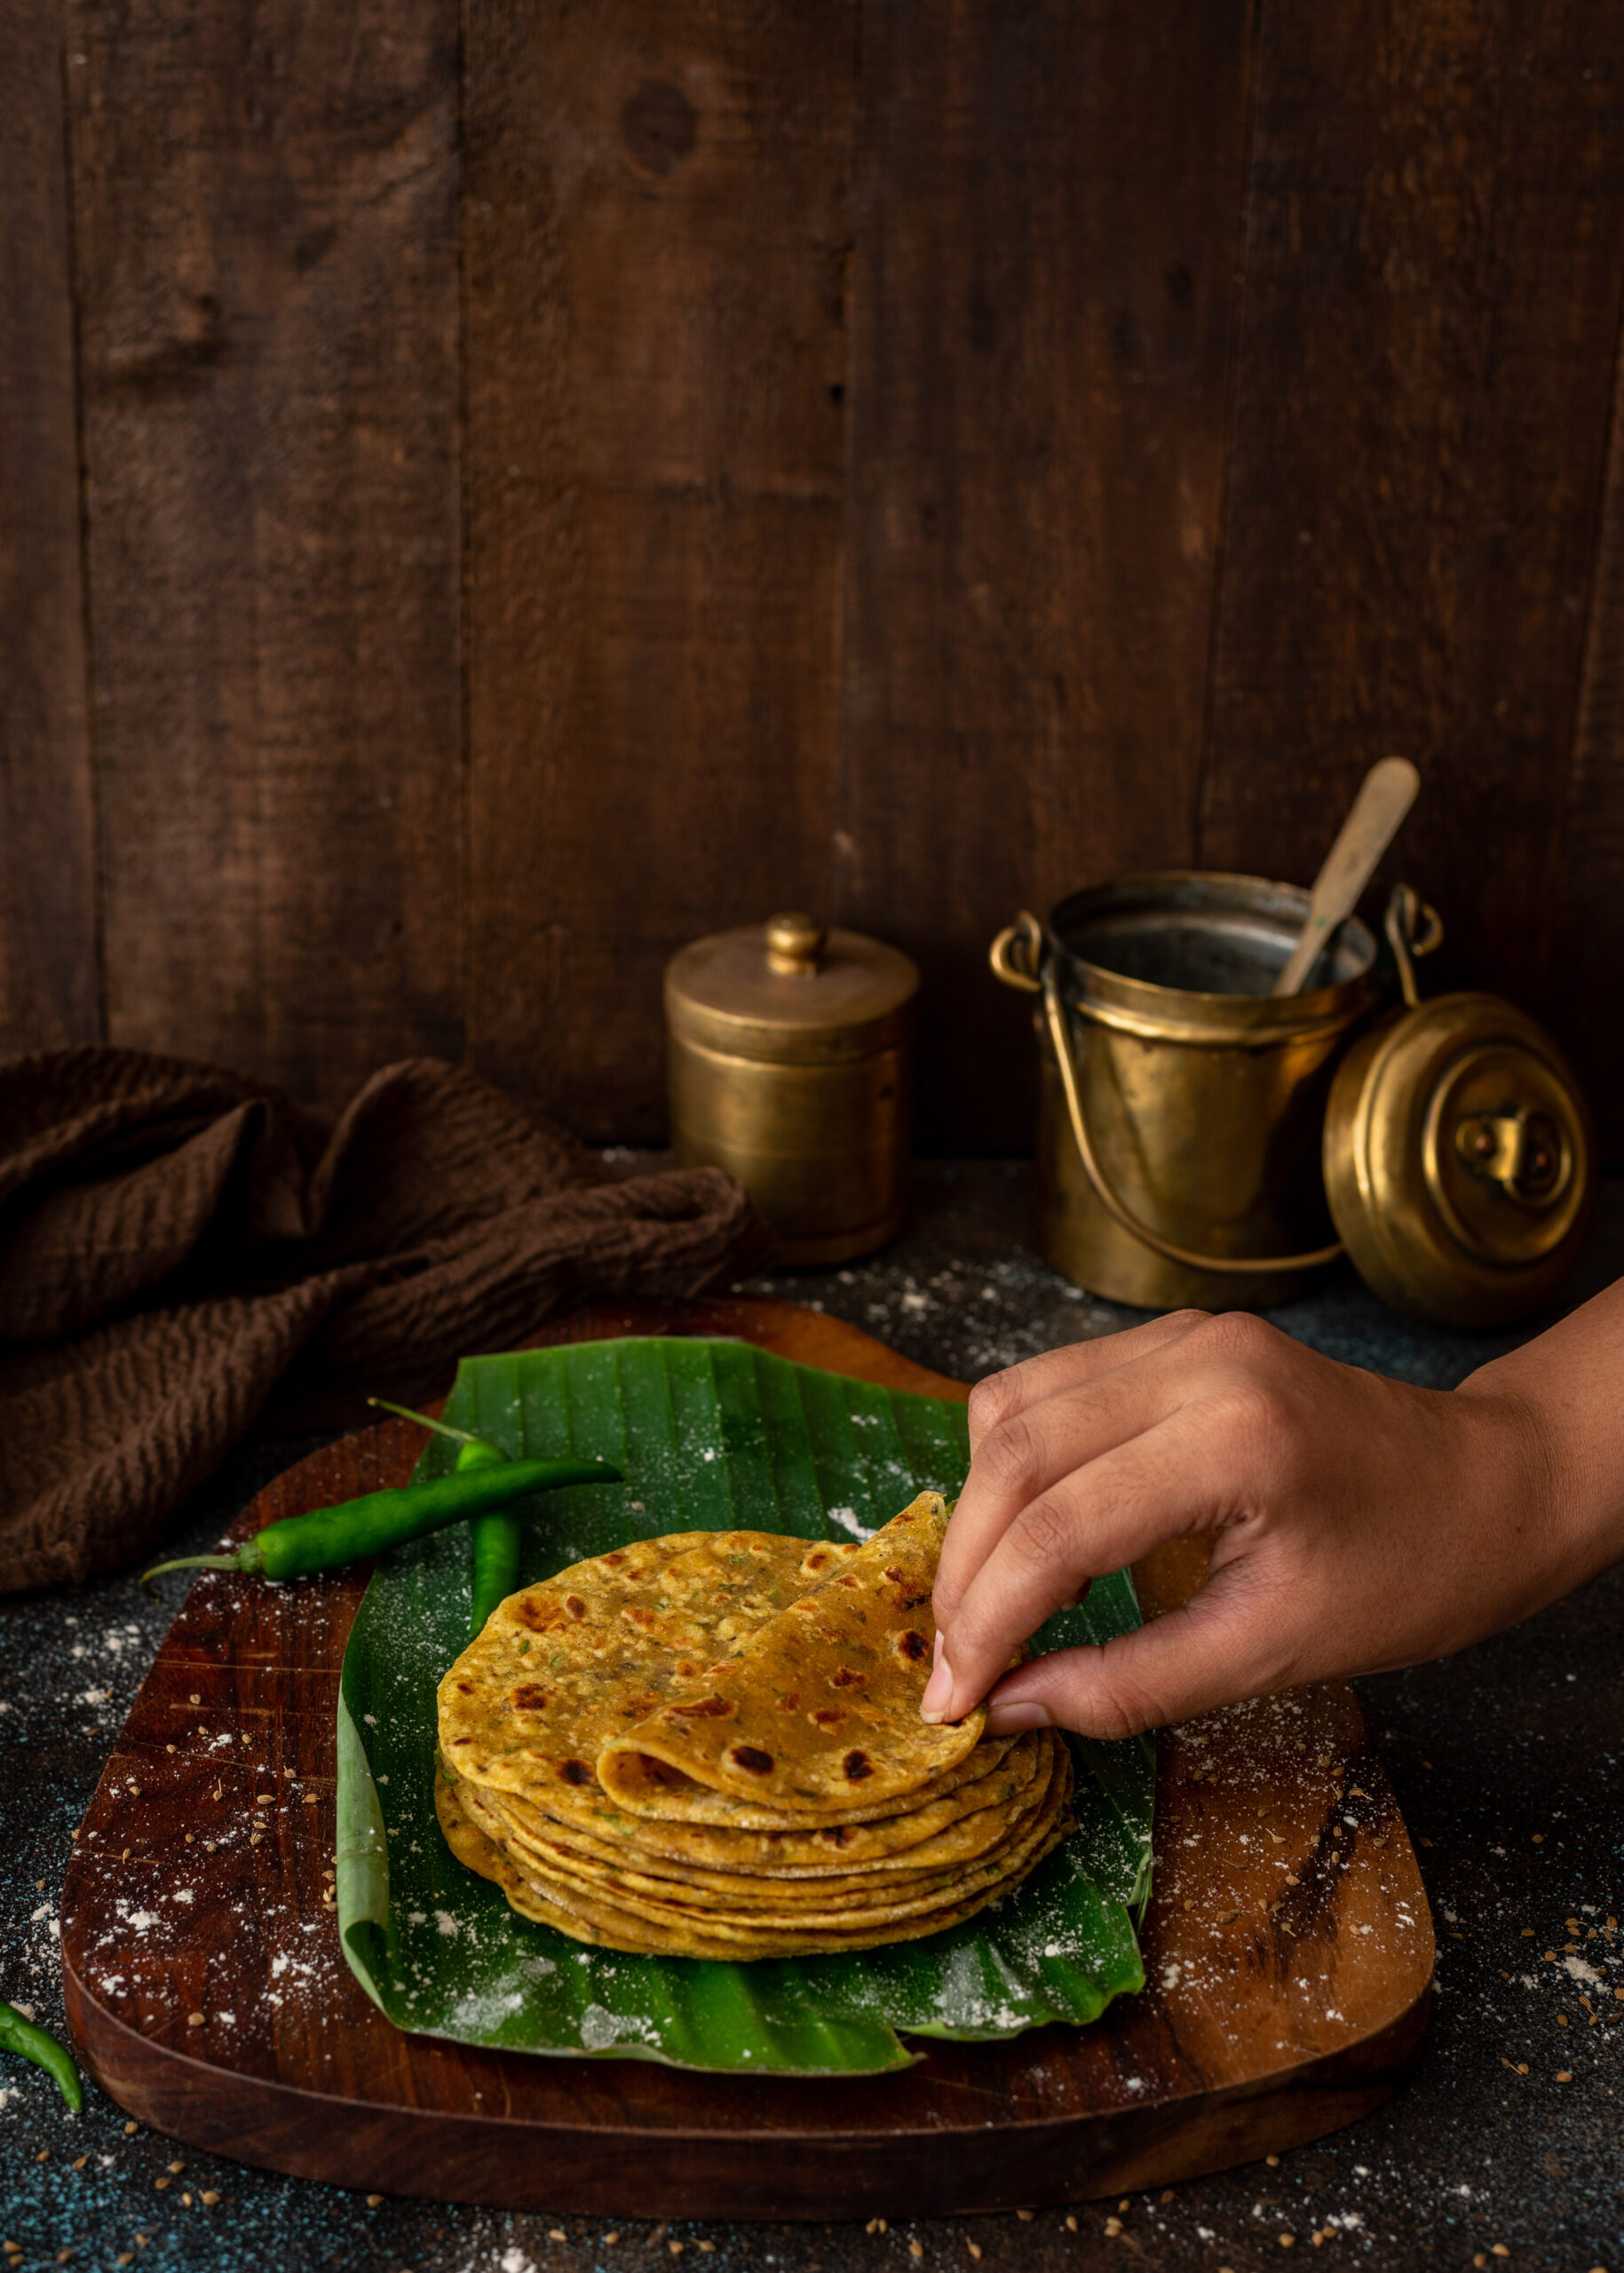
Place each thepla on the pan. Allow it to cook on one side, then flip over after 5 seconds. Once it has slightly cooked on the second side, add a few drops of oil and spread them. Flip the thepla and repeat until large dark spots appear on both sides. This indicates that it has been cooked well.

Set aside. Fry all the discs the same way. I usually intermittently lower the flame so that they are cooked evenly, but also do not end up dry and crisp.

Here are a few more tips that will help ensure that your theplas are soft, which is their ideal texture:

  • The dough needs to be pliable and smooth.
  • When adding the oil as you cook each thepla, make sure that the edges are oiled. They tend to dry up otherwise.
  • Once done, take each thepla off the pan immediately and pile it on top of the other ones. Somehow, this results in them all staying soft without becoming moist.

If you’ve enjoyed this, I hope you’ll take a look back at my original Second Helpings series, which featured Gujarati masala curd rice, dal dhokli and rotli na ladoo for a sweet finish. Do let me know in the comments about how you innovate new dishes using your leftovers too! As always, I love to learn more about recipes and the stories behind them.
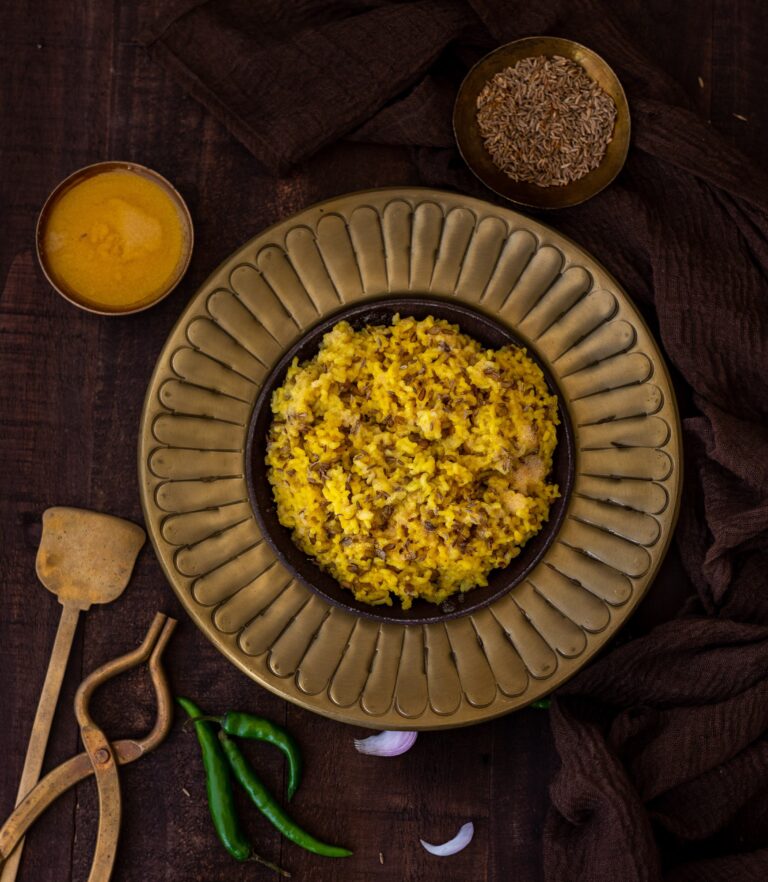
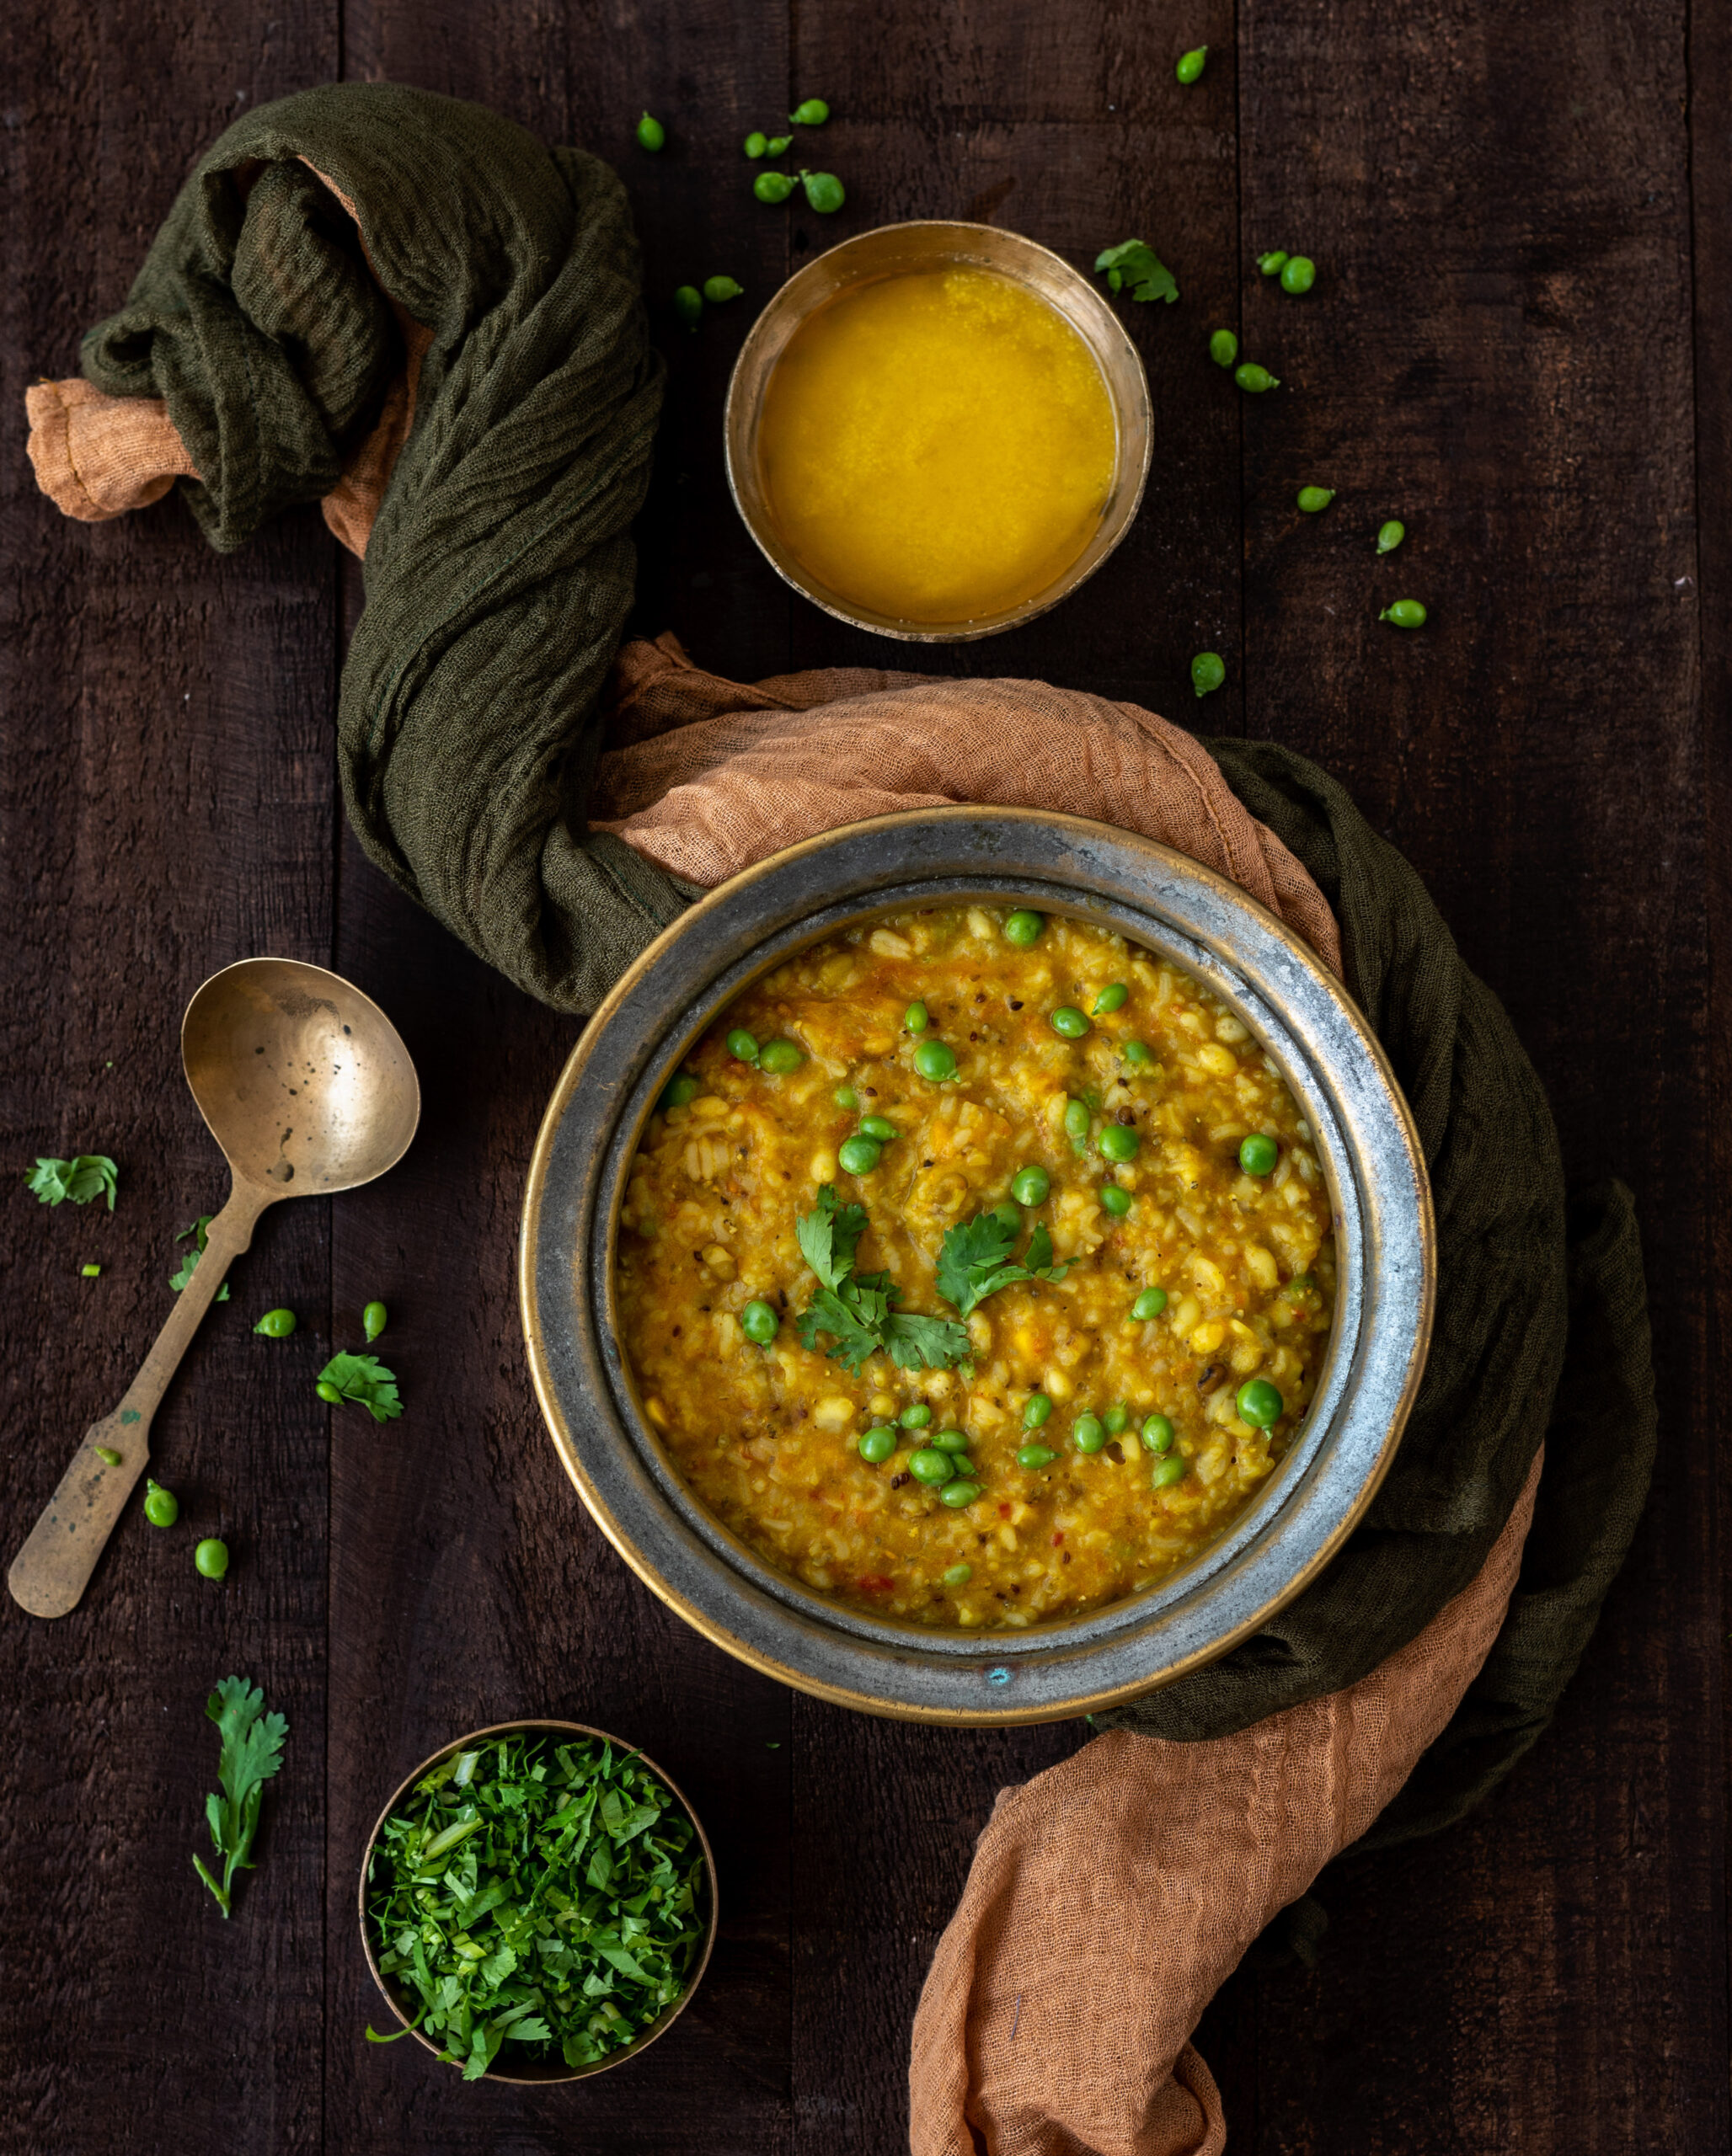
Rounding off this series of grain-based, khichdi-like dishes is the simplest, most quotidian version of all: a frequent-use Gujarati-style khichdi. If you’d like to catch up first, we began the series with the work-intensive and tummy-filling seven-grain khichdo and then went on to the versatile breakfast/dinner meal of bajra ghensh). Today, we come to an extremely basic dish, one that is sheer comfort food. What I’ve come to see over the years is that meals that one takes for granted in one’s own home are sometimes novelties in another’s. This is why I often share unassumingly familiar recipes alongside original and unusual ones. This classic khichdi is one among the former category.

Like many staples that are good for our health, khichdi is the kind of dish that kids turn their noses up at. At least, my siblings and I just hated it were growing up. So our mother would negotiate a lot of deals to work around our aversion. In those days, all our food was homemade, so this would take some extra effort on her part. If there was going to be khichdi for dinner, she’d serve something exotic that she learnt at her Continental cuisine or baking classes for lunch. We also cottoned on to the strategy: if there was a special snack in the evening without it being an occasion or a holiday, we knew she was going to put a bowl of khichdi on the table for dinner!

As adults though, it’s a different story. Our palates change and we begin to enjoy food that is good for us, feeling the difference in our bodies when we consume it. In fact, this subcontinental staple (which is eaten in similar forms like pongal in South India) is so relished that it even caught the fancy of the British during the colonial era. They enjoyed a version with fish, a dish they called “kedgeree”, and popularised it in England for a time. It was an import similar to mulligatawny soup, which came from the Tamil dish called molaga-thanni. Some form of khichdi is believed to have been eaten in this part of the world since ancient times, but the recipe reached its pinnacle in the kitchens of the Mughal empire, where its richly spiced and garnished versions are recorded as having been among the favourites dishes of various rulers.

For us at home though, khichdi is neither fancy nor fishy. Every single Gujarati household consumes this khichdi as a comfort food, as well as a frequent meal. During festive seasons or after important occasions like weddings, when the feasting is in full flow, someone or the other will finally say, “Bas (‘enough’), make khichdi today.” That is shorthand for being done with heavy meals, and wanting something that will make the gut smile.

In fact, when I say it is comfort food, I mean that quite literally. It’s the dish that is most commonly made in a home that has just undergone a bereavement, when the family just needs something basic to meet their nutritional needs as they tend to the necessary rituals. Most likely because of its association with grieving, khichdi is never served during celebrations. After them, certainly, as I mentioned above. But never as part of a special event. Neither is it served while entertaining guests. It is very much something that is all about family and simplicity. As we rarely get to encounter another family’s khichdi, I can only guess that the variations between recipes must be innumerable.

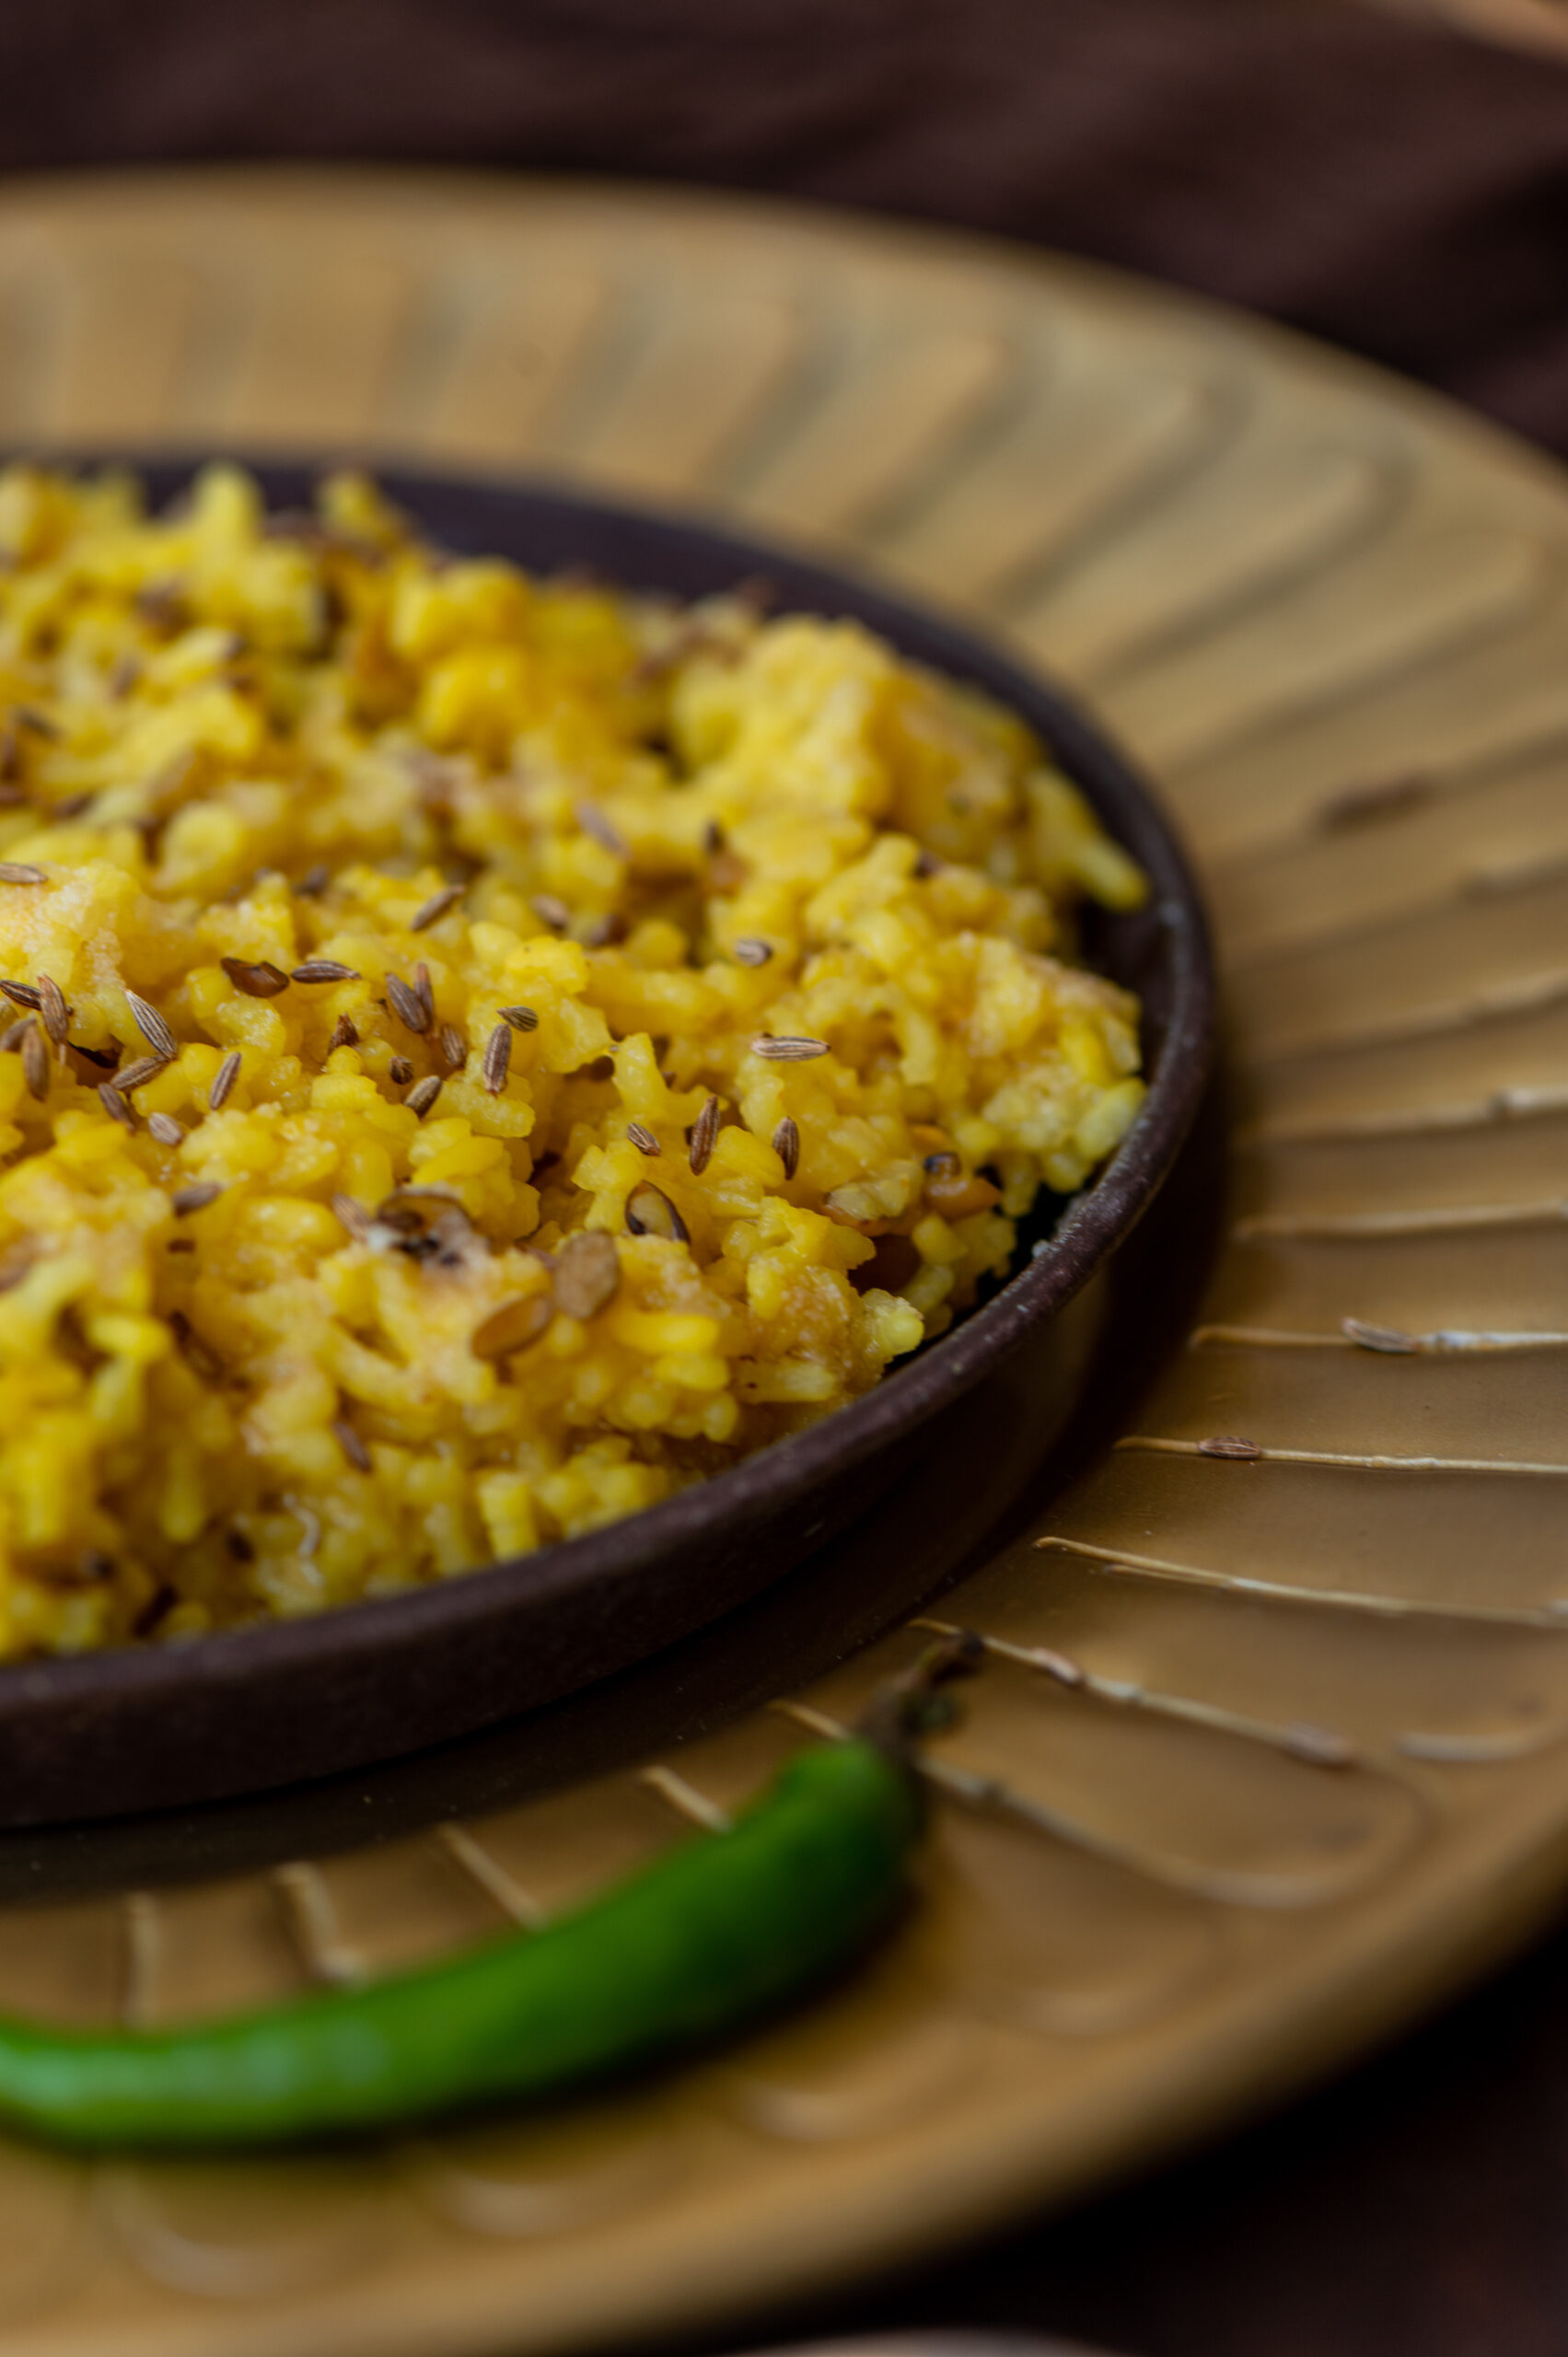
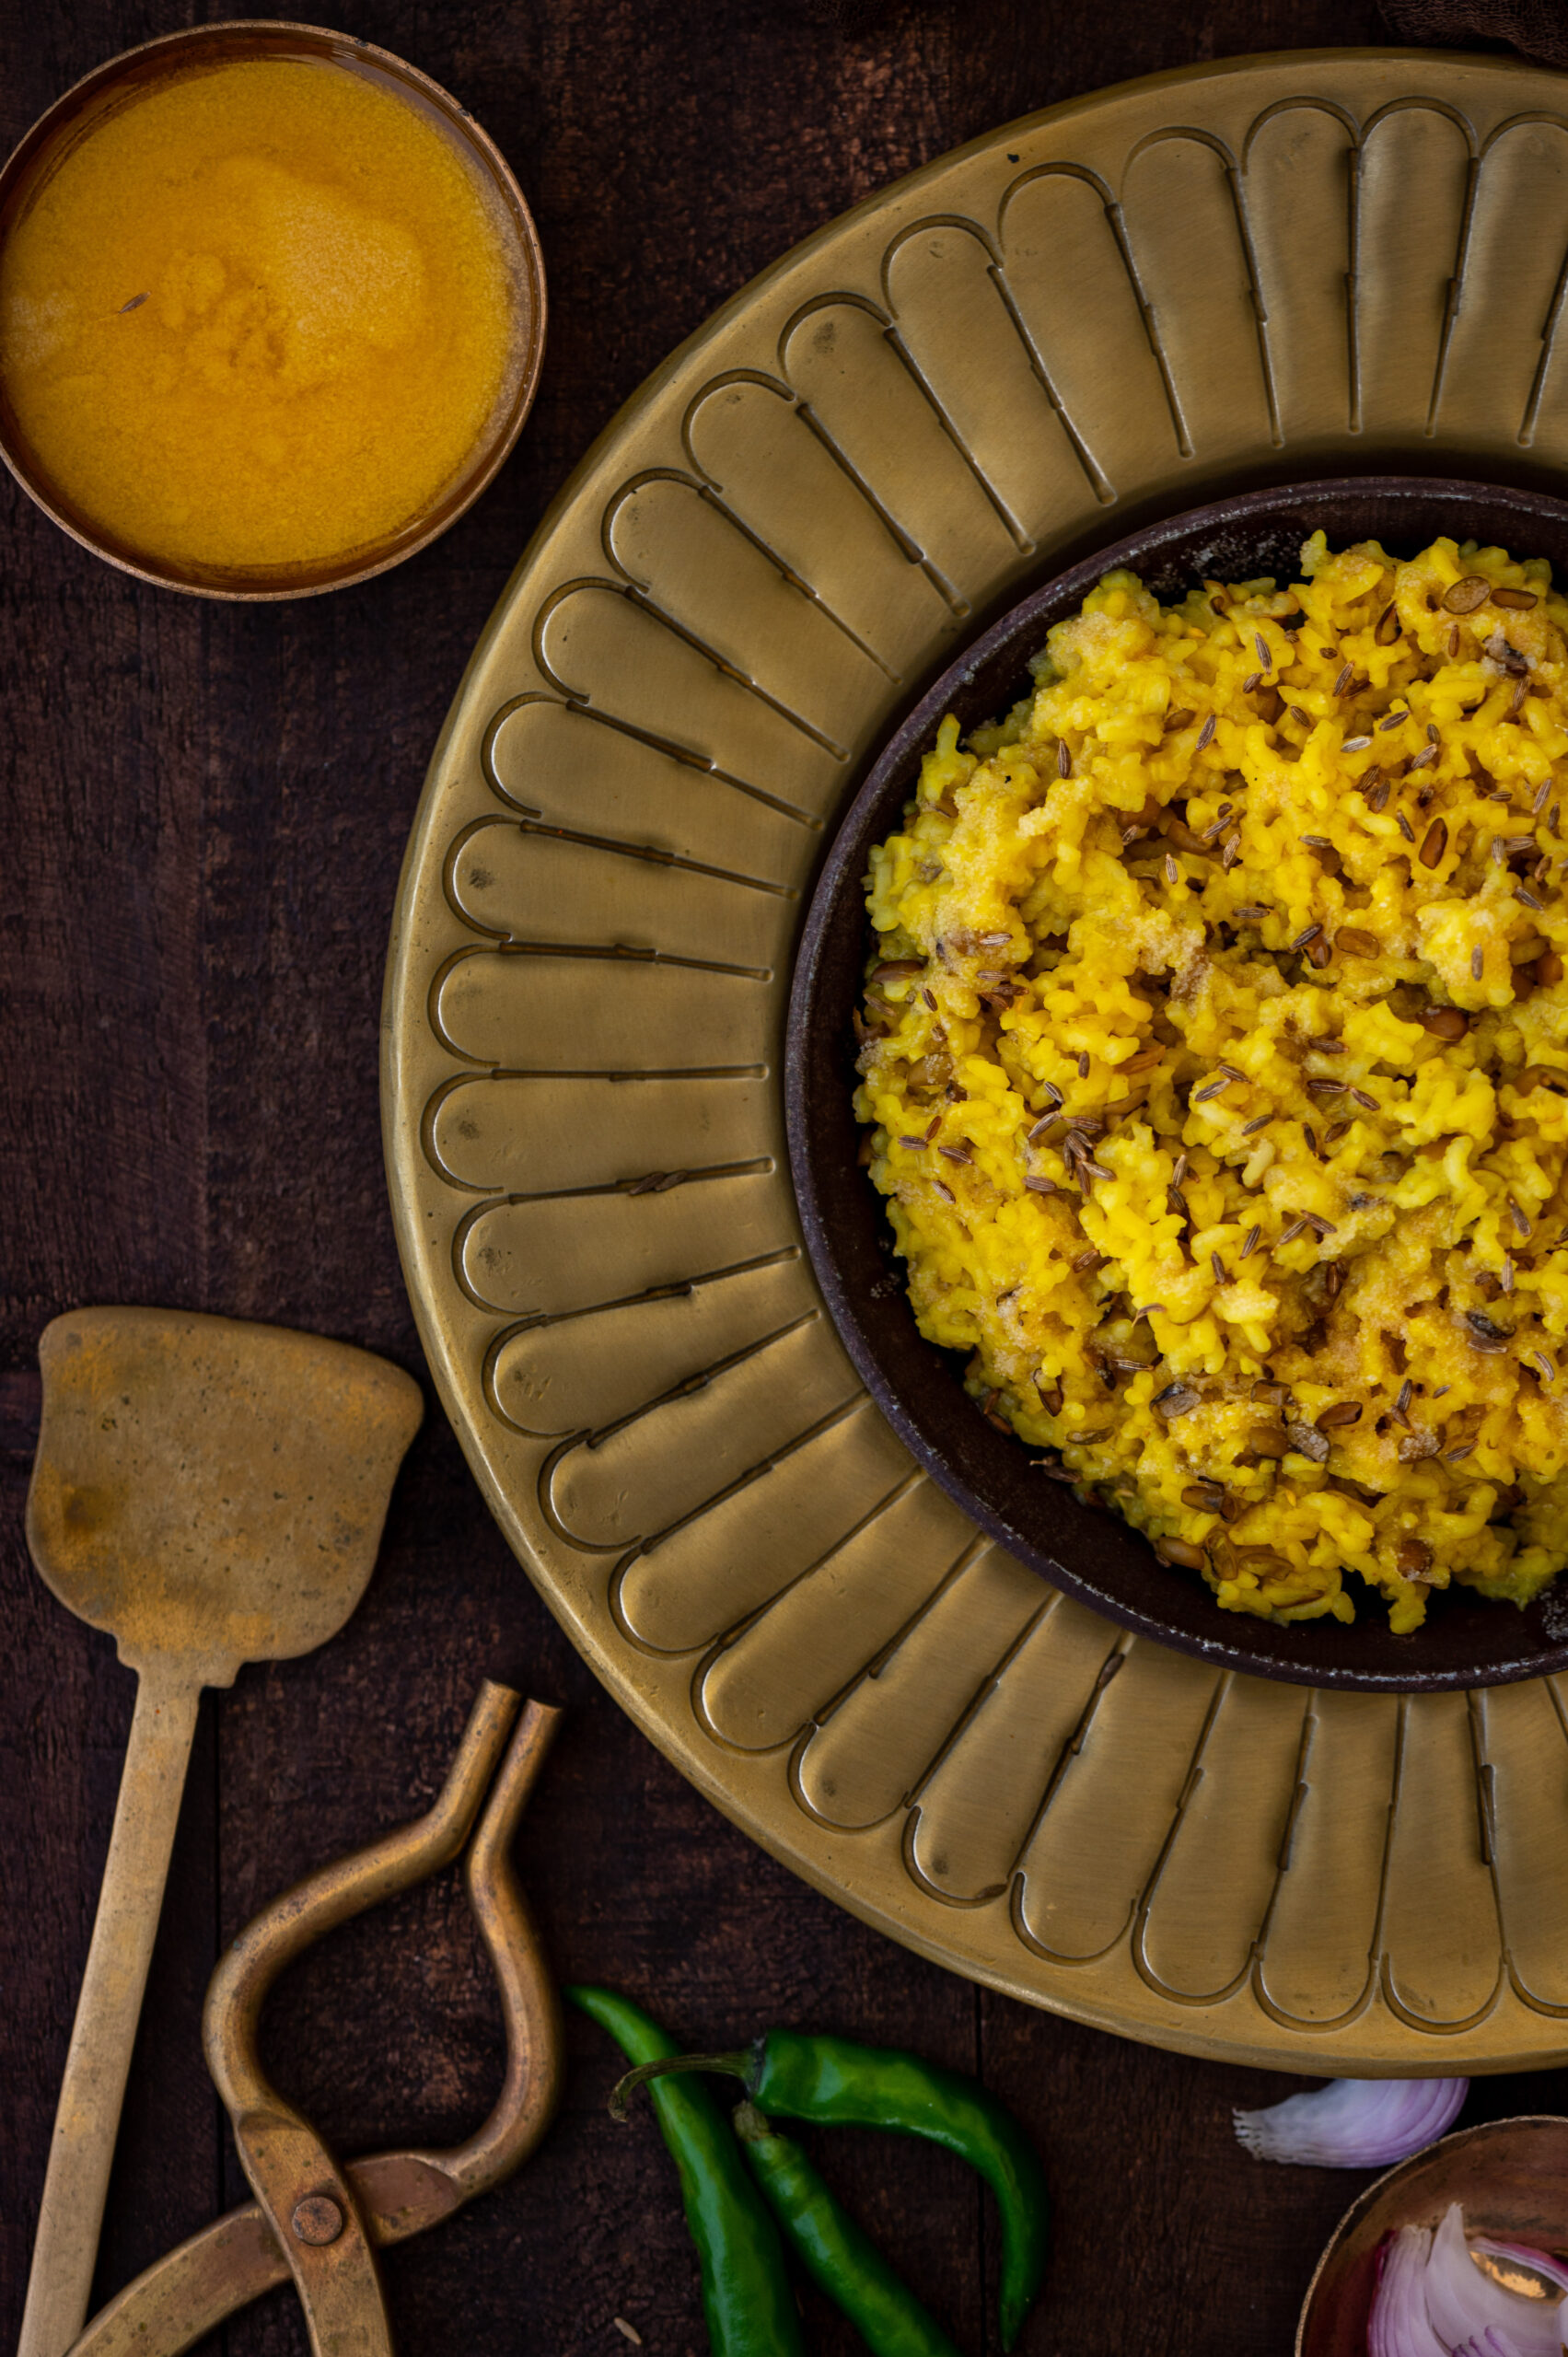
So no, khichdi is not special. That’s the best thing about it. It’s a brass tacks dish that gives the body the basics, and uses ingredients that are likely to be in the kitchen at all times. It is comprised mostly of moong dal and rice, with a bit of salt, turmeric and ghee. If it is served with accompaniments, crispy pappads and a bit of kadhi are usually enough. Some potato curry or other vegetable may round out the meal more, if desired. I’ve mentioned kadhi, a type of gravy, a couple of times recently. I’ll be sure to share the recipe for that soon.

Another recipe I will share soon will be for theplas that use leftover khichdi. As I’ve said before: cuisines across all communities in India are innovative when it comes to leftovers. We see poverty everywhere in our country and respect food, acknowledging it as a blessing from God. This in turn becomes a part of our religions too, which discourage food wastage.

Simple Khichdi

(Yield: 2 persons)


75 grams rice

25 grams split mung beans

3 cups water to soak

2 cups water to cook

Salt to taste

¼ teaspoon turmeric

½ teaspoon cumin seeds

2 tablespoons ghee


Wash and soak the rice and dal together for approximately ½ an hour to an hour. I have used split mung beans, but you can try this with other variants including pigeon pea/toor dal. Doing so will change the khichdi somewhat. Toor dal grains will separate like rice does, whereas split mung beans will create a thicker concoction.

Once soaked, discard the soaking water. Place the rice and dal in a pressure cooker along with the cooking water. Use a medium flame. Allow to cook for approximately 20 minutes or 3 whistles, or until the grains are tender and soft to touch.

Allow the pressure to decrease, then open the cooker.

In a small pan, add ghee. Once it is hot, add the cumin seeds. Let them fry until they change colour. Add this cumin-filled ghee to the khichdi. Stir gently and serve hot.

This grain series concludes with this simple and flavoursome recipe. I hope you’ve enjoyed trying out the gamut, from the work-intensive, “holiday special” seven-grain khichdo to the nourishing breakfast that is bajra ghensh, to this basic khichdi that is the ultimate go-to dish. Traditional Gujarati cuisine is something I’ve delved into many times on this blog, and I hope you’ll have a delicious time exploring a wide range of meals, snacks and desserts that I’ve shared here over the years.

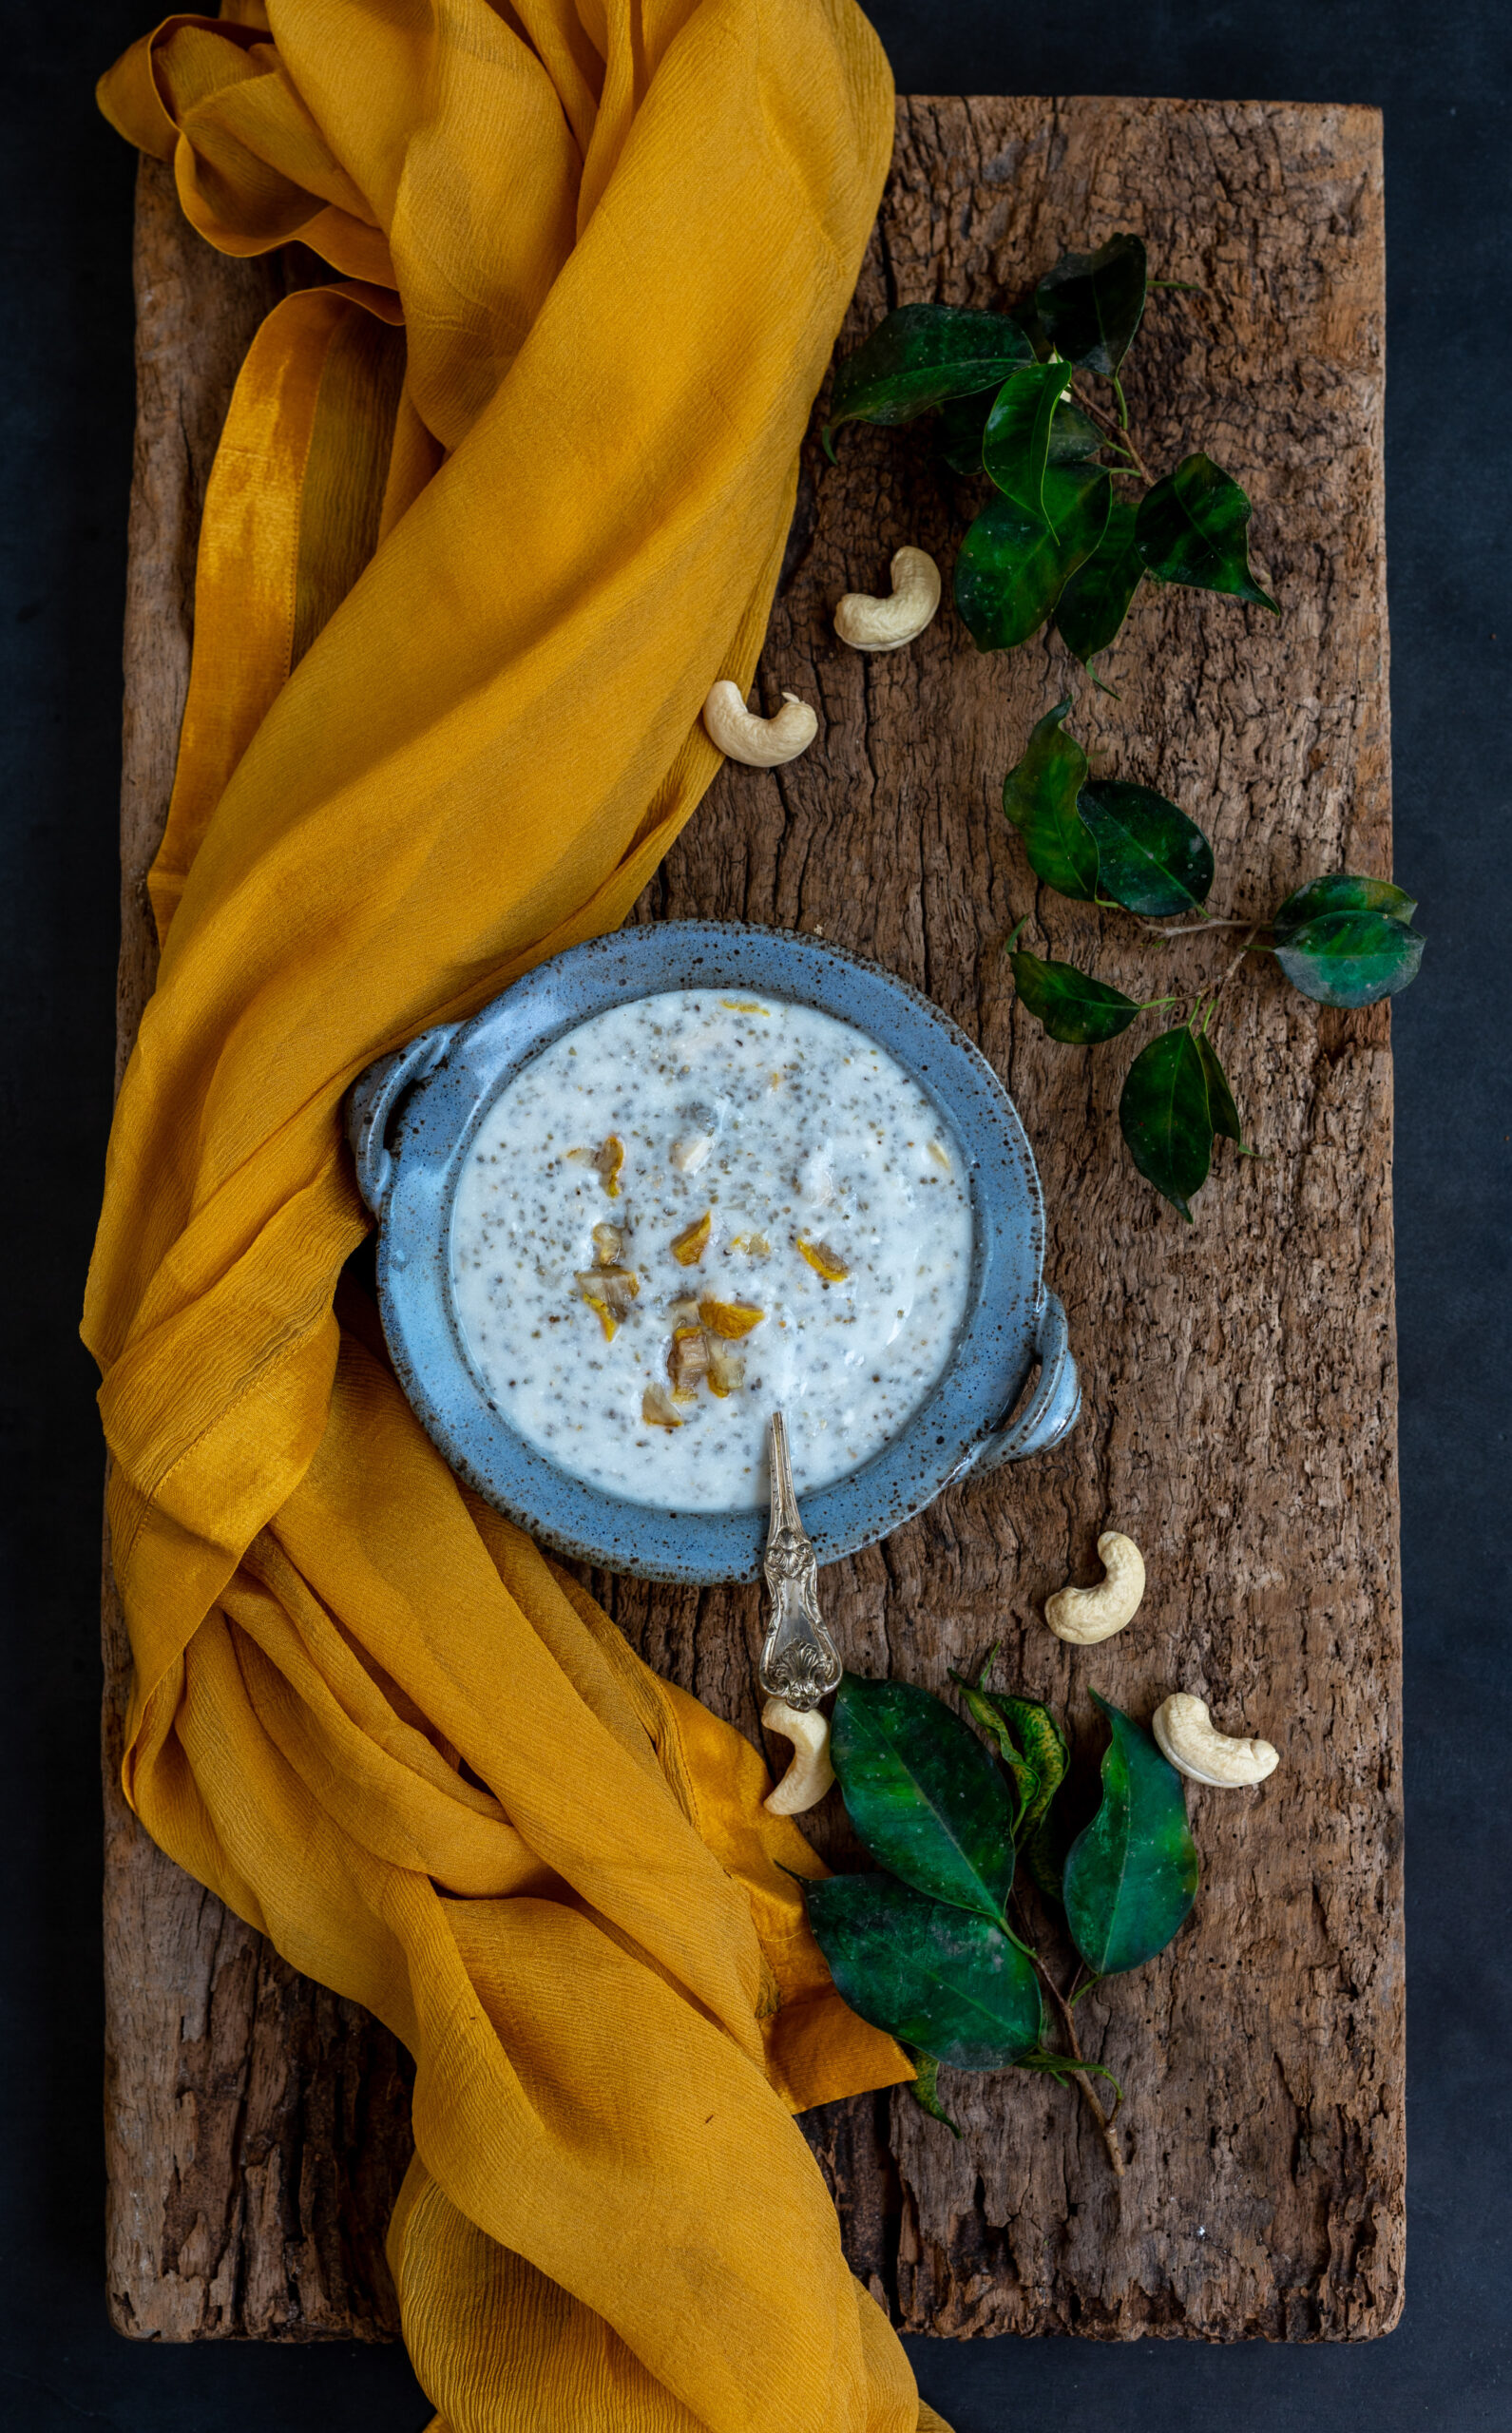
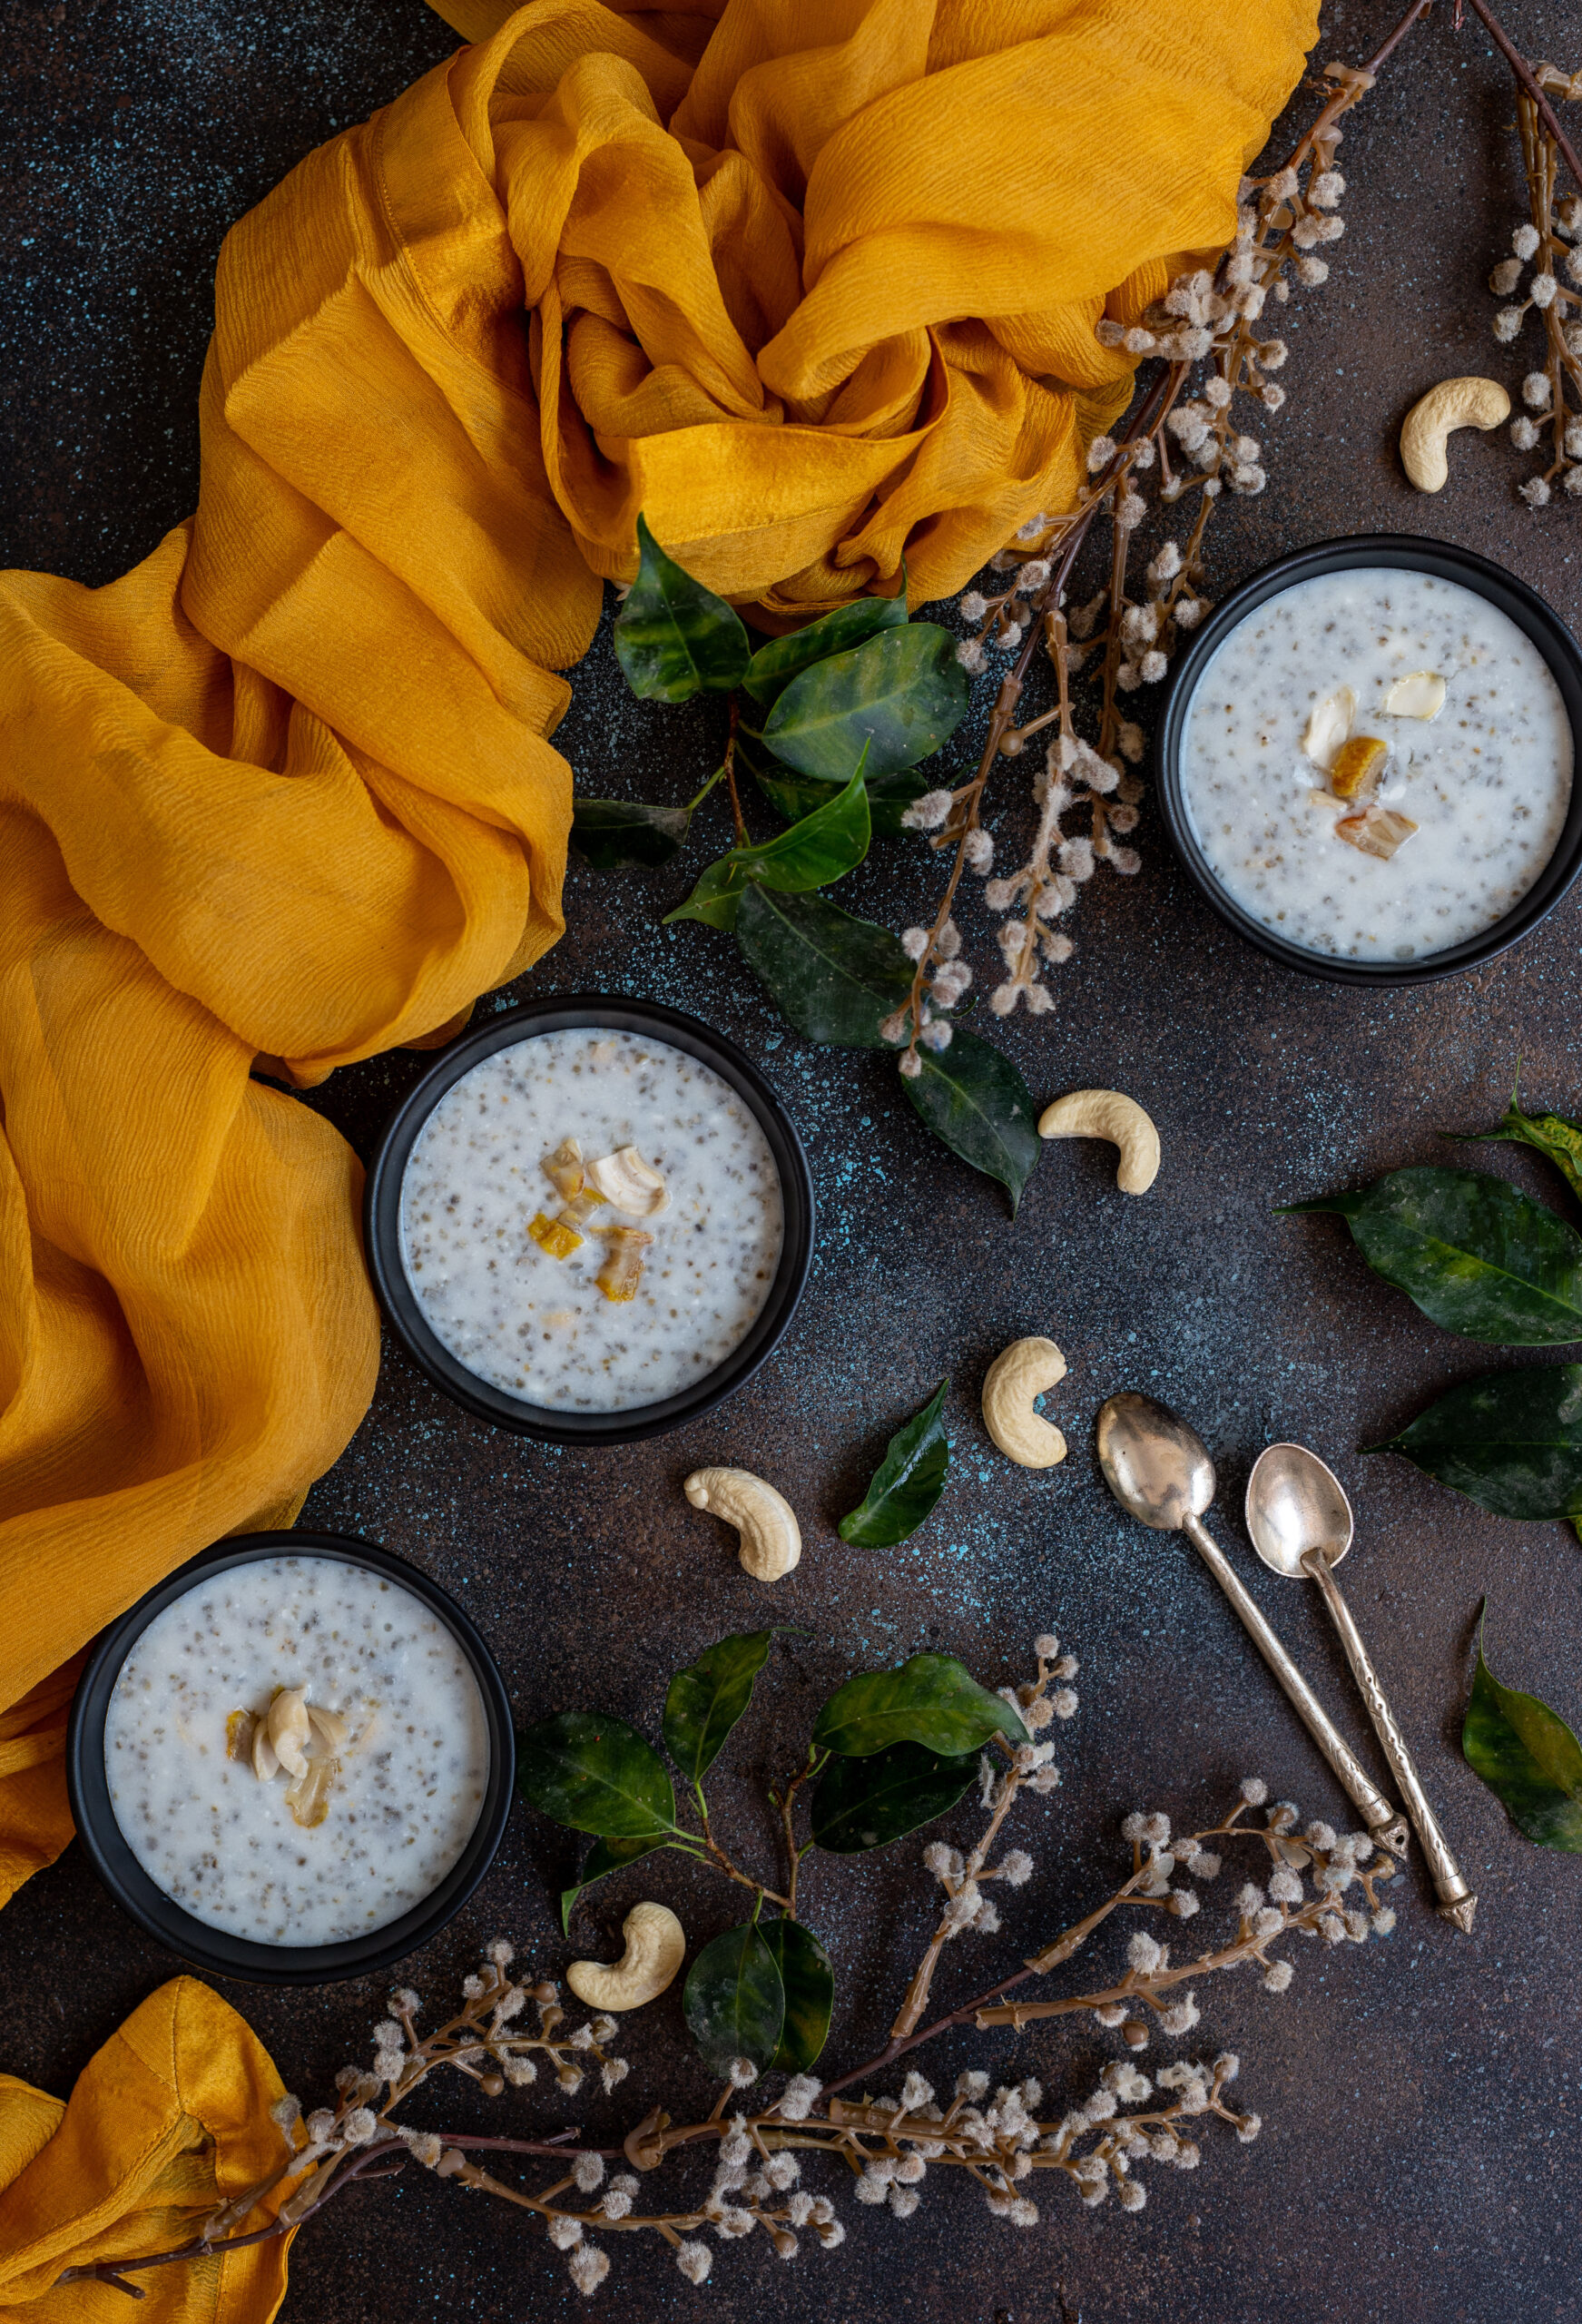
After making the nutritious (and labourious) seven-grain khichdo to share with you last week, I felt inspired to do a short series of similar dishes. This series will showcase the versatility of the staple grains we consume, and the many ways they help make up the traditional Gujarati menu. So here is part two of this series: bajra ghensh, which uses the goodness of broken pearl millet. Pearl millet has been cultivated in India for thousands of years, and is a vital part of both the authentic Gujarati and authentic Tamil cuisines that I grew up surrounded by. As you may know, I truly believe in the revival of higher quantities of millet usage in our diets, especially as a preferred alternative to white rice, and have written many times about their value to us.

I’ve been spending more time with my sister recently, and as always this means exploring her cooking style and picking up new techniques to include in my own. As she sometimes does, she said to me the other day, “Come, I’ll teach you a new recipe.” Working alongside her in her kitchen, I was very surprised to discover that it wasn’t a new recipe to me at all, but only a different interpretation of one I knew well, and made for a different meal of the day. My sister prepares bajra ghensh as dinner, whereas for over three decades my mother-in-law and I have been eating it for breakfast.

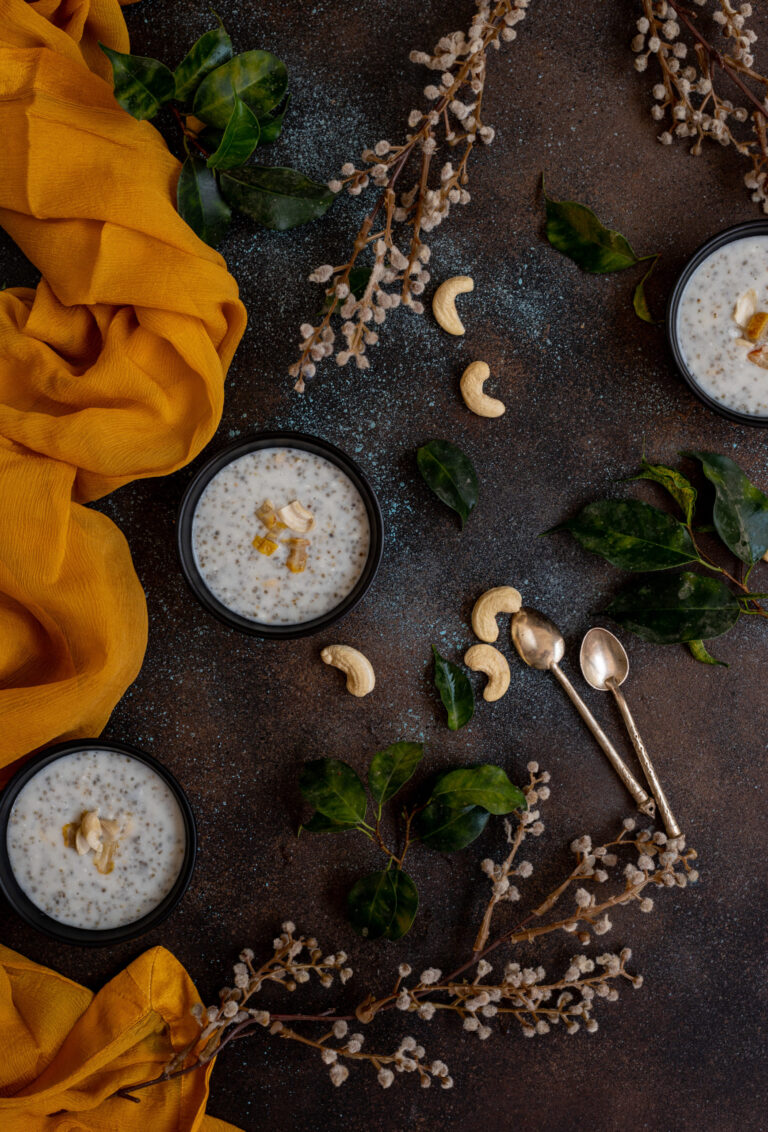
What did I tell you about the versatility of millets? In this highly adaptable bajra ghensh, we see an example of how dishes themselves become versatile too depending on the choices of the cook and the habits of the one consuming the same. The method of preparing it, as either breakfast or dinner, is still less the same, but storage and serving determine the type of meal it becomes. It’s a very simple dish with three base ingredients and a generous helping of dry fruits and nuts.

Bajra ghensh wasn’t something we ate while we were growing up, and just as my sister was introduced to it after getting married, I too first encountered it thanks to my mother-in-law. I remember how when I first moved in, my mother-in-law would make it as a porridge or cereal to be had in the mornings, and I loved it from the start. Soon, I was frequently whipping up a big pot of it for both her and I and we would share it for breakfast. We both enjoyed it so much that we would have the same dish for two or three mornings in a row, without needing variety. This was the only way I’d ever eaten it, until my sister served it for dinner the other day.

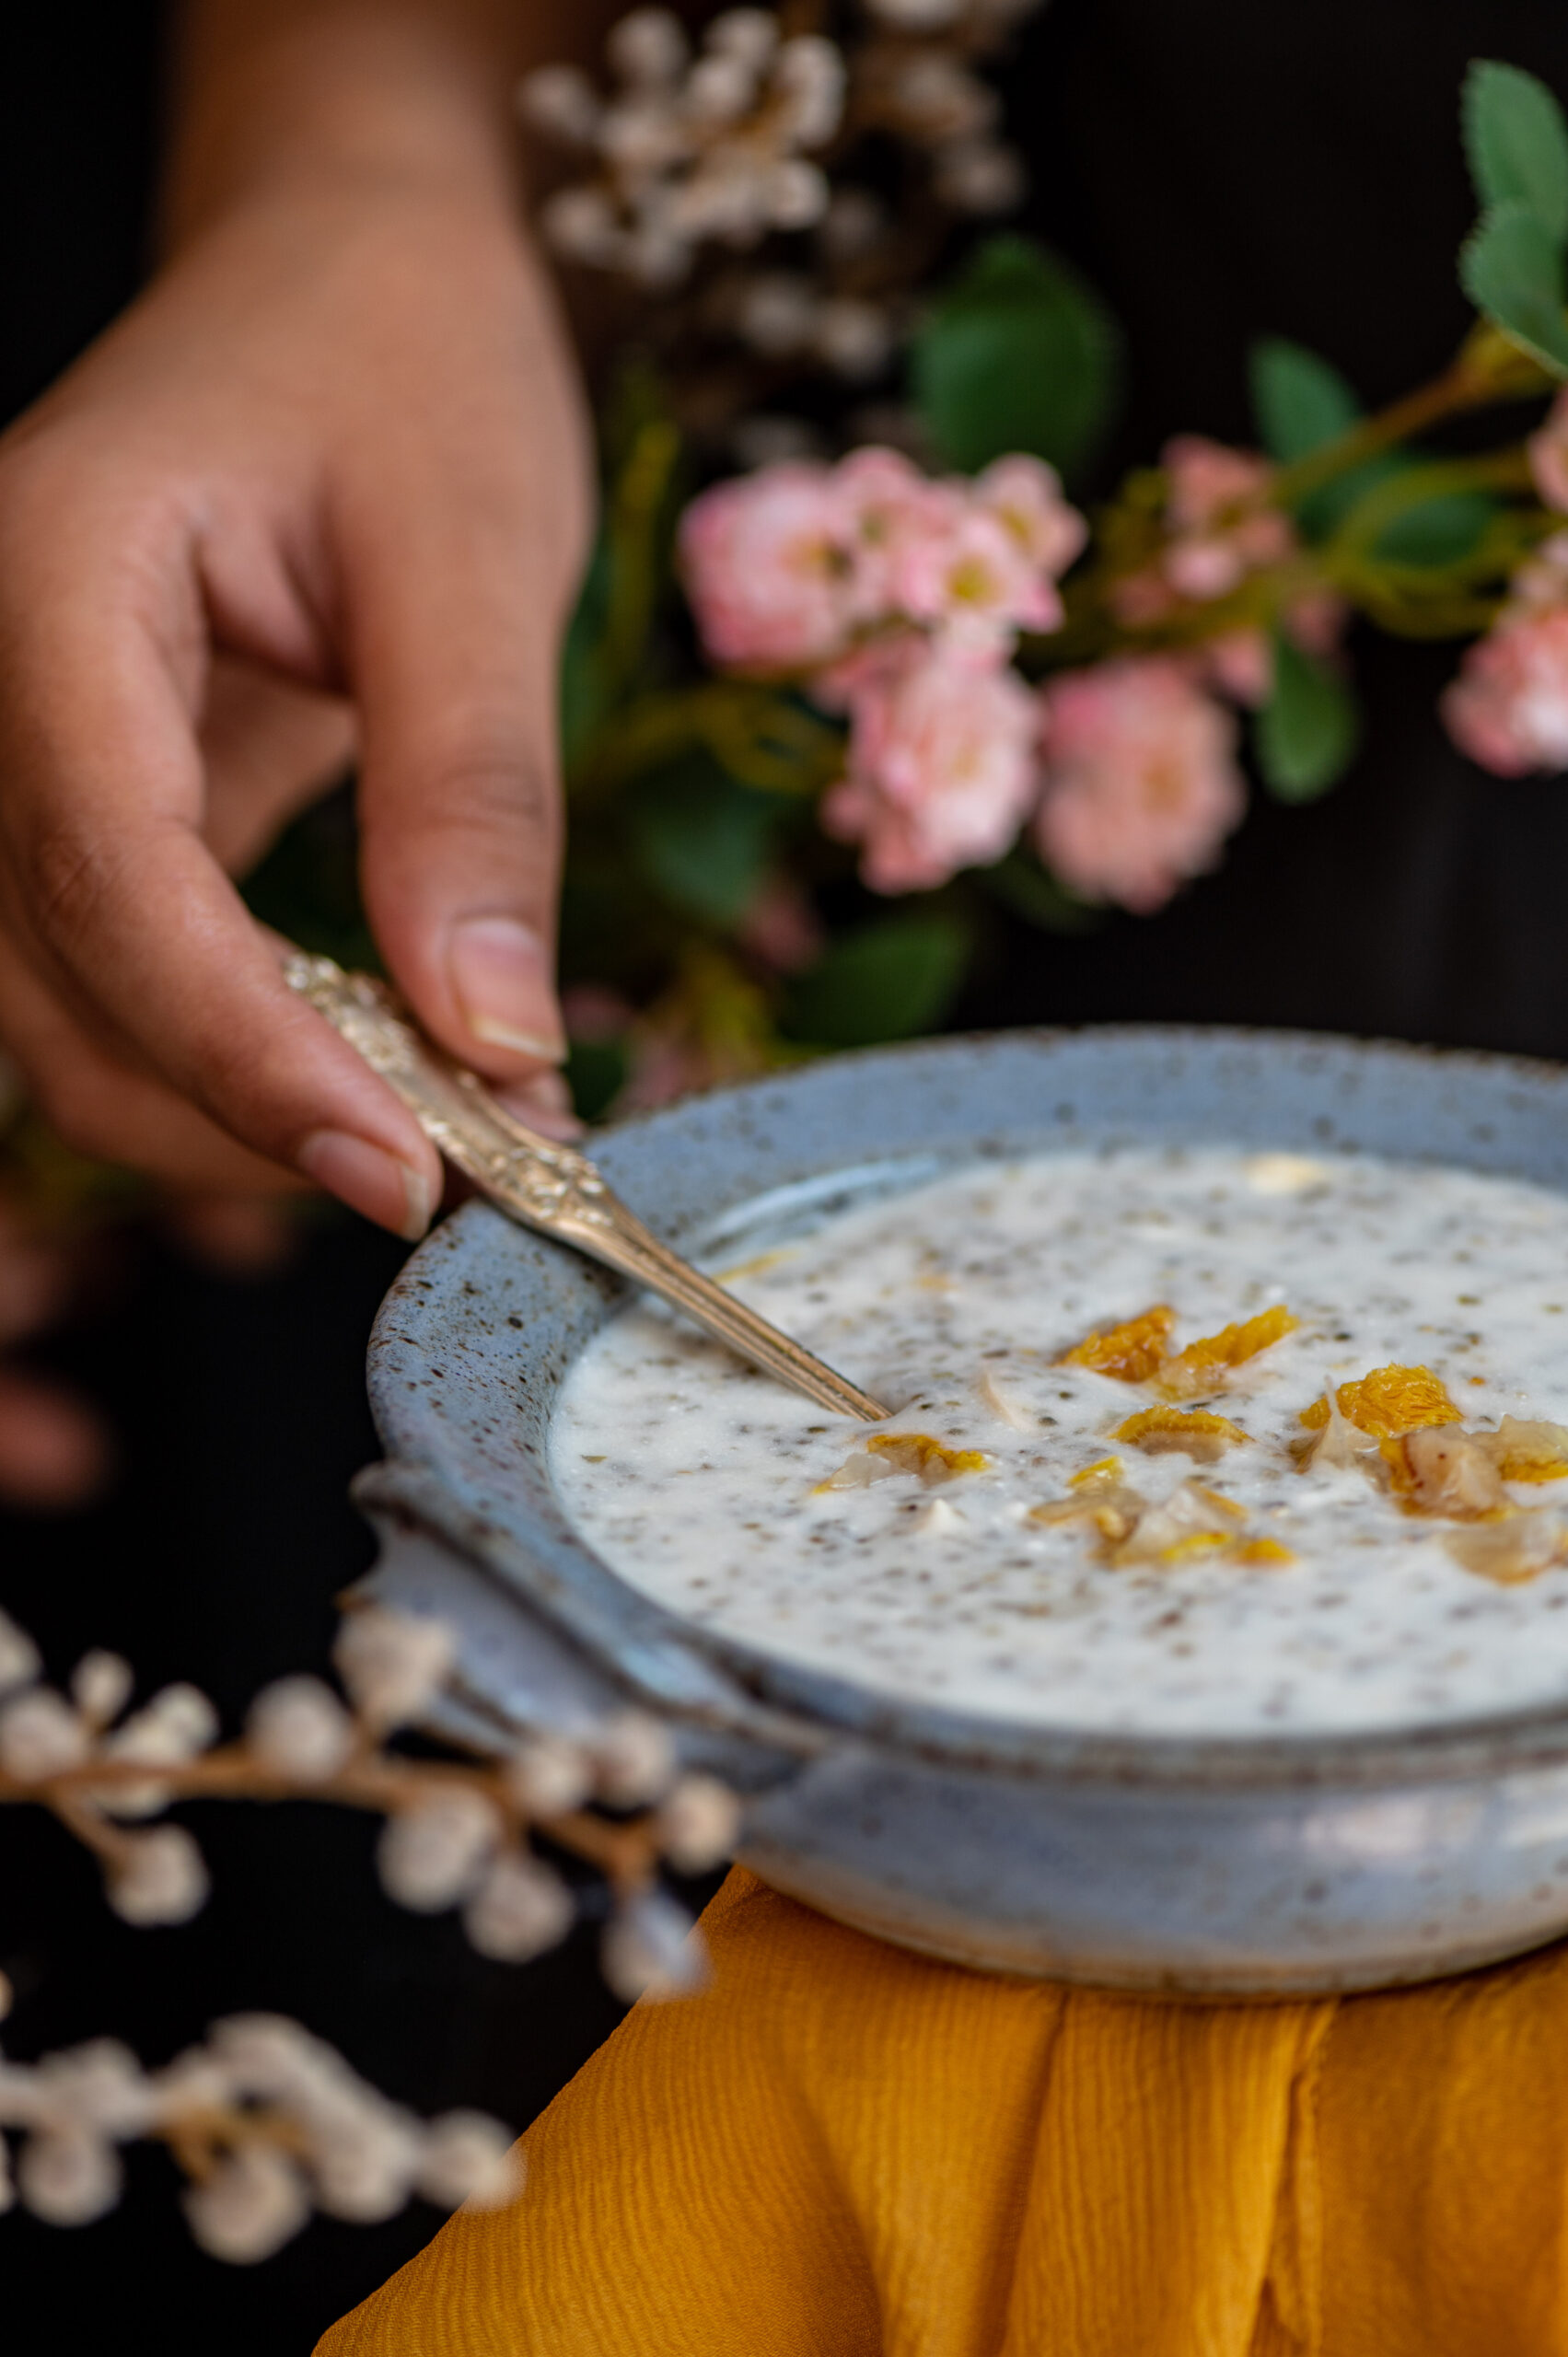
As delicious as that was, to my mind this is still a breakfast dish, and so my recipe and my photographs here reflect this perspective. It’s a very healthy post-workout meal, and it’s an ideal replacement for supermarket cereals, which make tall claims about nutrition values but are usually full of processed ingredients and sugar. On the other hand, this is comparable only to the simplicity and goodness of whole oats. It is also gluten-free, for those who are making a dietary switch, but it is not dairy-free.

Traditionally, just like the seven-grain khichdo, bajra ghensh was also a winter dish. Pearl millet is warming and high in iron, and the Macrobiotic principle of darker grains being considered winter-friendly applies here. They are harder to digest, whereas in summer lighter grains like jowar and amaranth that are light on the stomach and easiest to digest are better, as per the time-honoured logic of seasonal culinary usages. As I said earlier, since I usually have bajra ghensh in the mornings, I’ve noticed that on days when I have done so, I tend to not become hungry again till at least lunch time or even later. A dish like this cancels out your snack cravings, which automatically increases its already high healthiness quotient.

Finding out that this works well both as a filling breakfast and as a heavy dinner, as well as making the connections with Indian seasonal logic and Macrobiotics, also made me ponder how my mother-in-law and I prepare this at night and store it in the fridge. Since this is a traditional recipe, this meant that in earlier times it could only have been made in winters, when the climate as well as the type of vessels used would allow it to be stored overnight. Only certain probiotic foods would be kept to be on eaten the following day (including homemade yoghurt). There could be no such thing as leftovers, and if there were there were resourceful ways to ensure that these were consumed quickly too. Particularly for Jains, wastage goes against religious philosophy and practice, so quantities are an important part of cooking methods. In the absence of refrigeration, and often with access issues or resource concerns to consider as well, creating perfect portions that satisfy the entire family without any excess is a special skill, and one that cooks across the centuries had to cultivate. It is only in our modern age that we can rely on certain conveniences.

So what happens is this: because of its thick consistency, this bajra ghensh sets when you keep it in the fridge. In the morning, take a chunk, add a bit of milk and have it as a cereal. Or else, prepare it in the evening and eat it hot, right off the stove and with no milk added for breakfast, just like a khichdo.

Bajra Ghensh

(Yield: 2 persons)


½ cup broken bajra (pearl millet)

1½ – 2 cups water

½ cup thick yoghurt

Salt to taste

20 grams kharek (dried dates)

10 grams dried coconut slices

10 grams cashew nuts


Clean, rinse and soak the broken bajra for 2-3 hours.

Once soaked, cook the bajra along with the 1½ cups of water in a pressure cooker until the grain is soft and tender. Open the pressure cooker lid when ready.

Place a kadai on a medium flame and pour the bajra into it. Now, add the yoghurt and stir continuously. Next, add the salt. Finally, add the dried nuts, dates and coconut and mix well.

This is the point at which you have a choice: today’s main meal, or tomorrow’s breakfast?

Let’s say you decide to have it for breakfast. Just pour the concoction into a container and set it aside for some time. As the bajra ghensh cools, it will solidify. Once it is at room temperature, refrigerate.

You don’t have to do anything the next morning but scoop out a portion into a bowl, add a little milk or buttermilk (which I prefer for the tang) and enjoy!

Do you have a recipe in your own repertoire that you’ve been making and having a certain way for ages, which you later found in an alternate rendition somewhere else? It’s always fascinating to me how the very same dish is prepared or consumed in different ways, depending not even on the community but just on the family or the person who does the cooking. I hope you’ll enjoy this bajra ghensh, and be sure to let me know which meal you had it for!

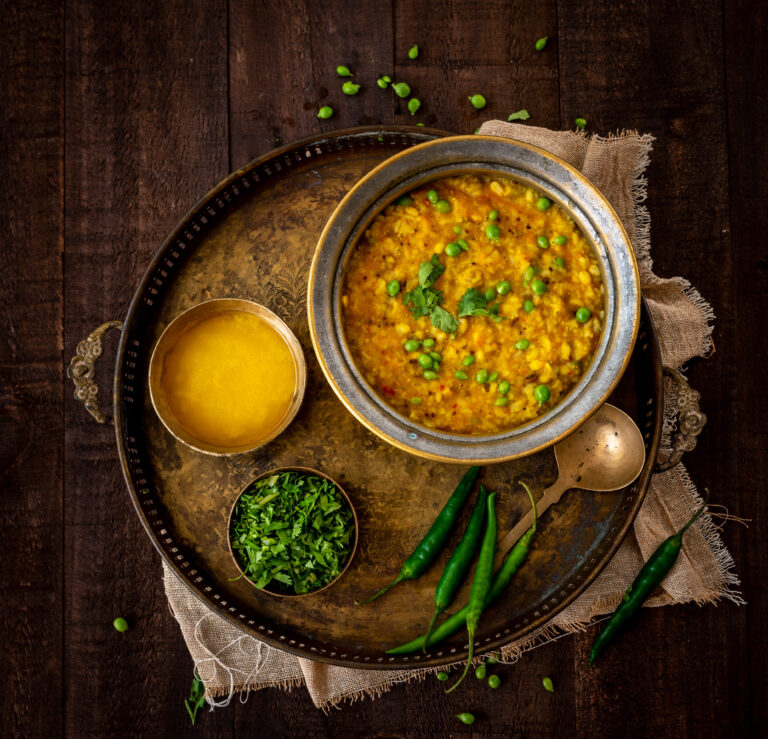
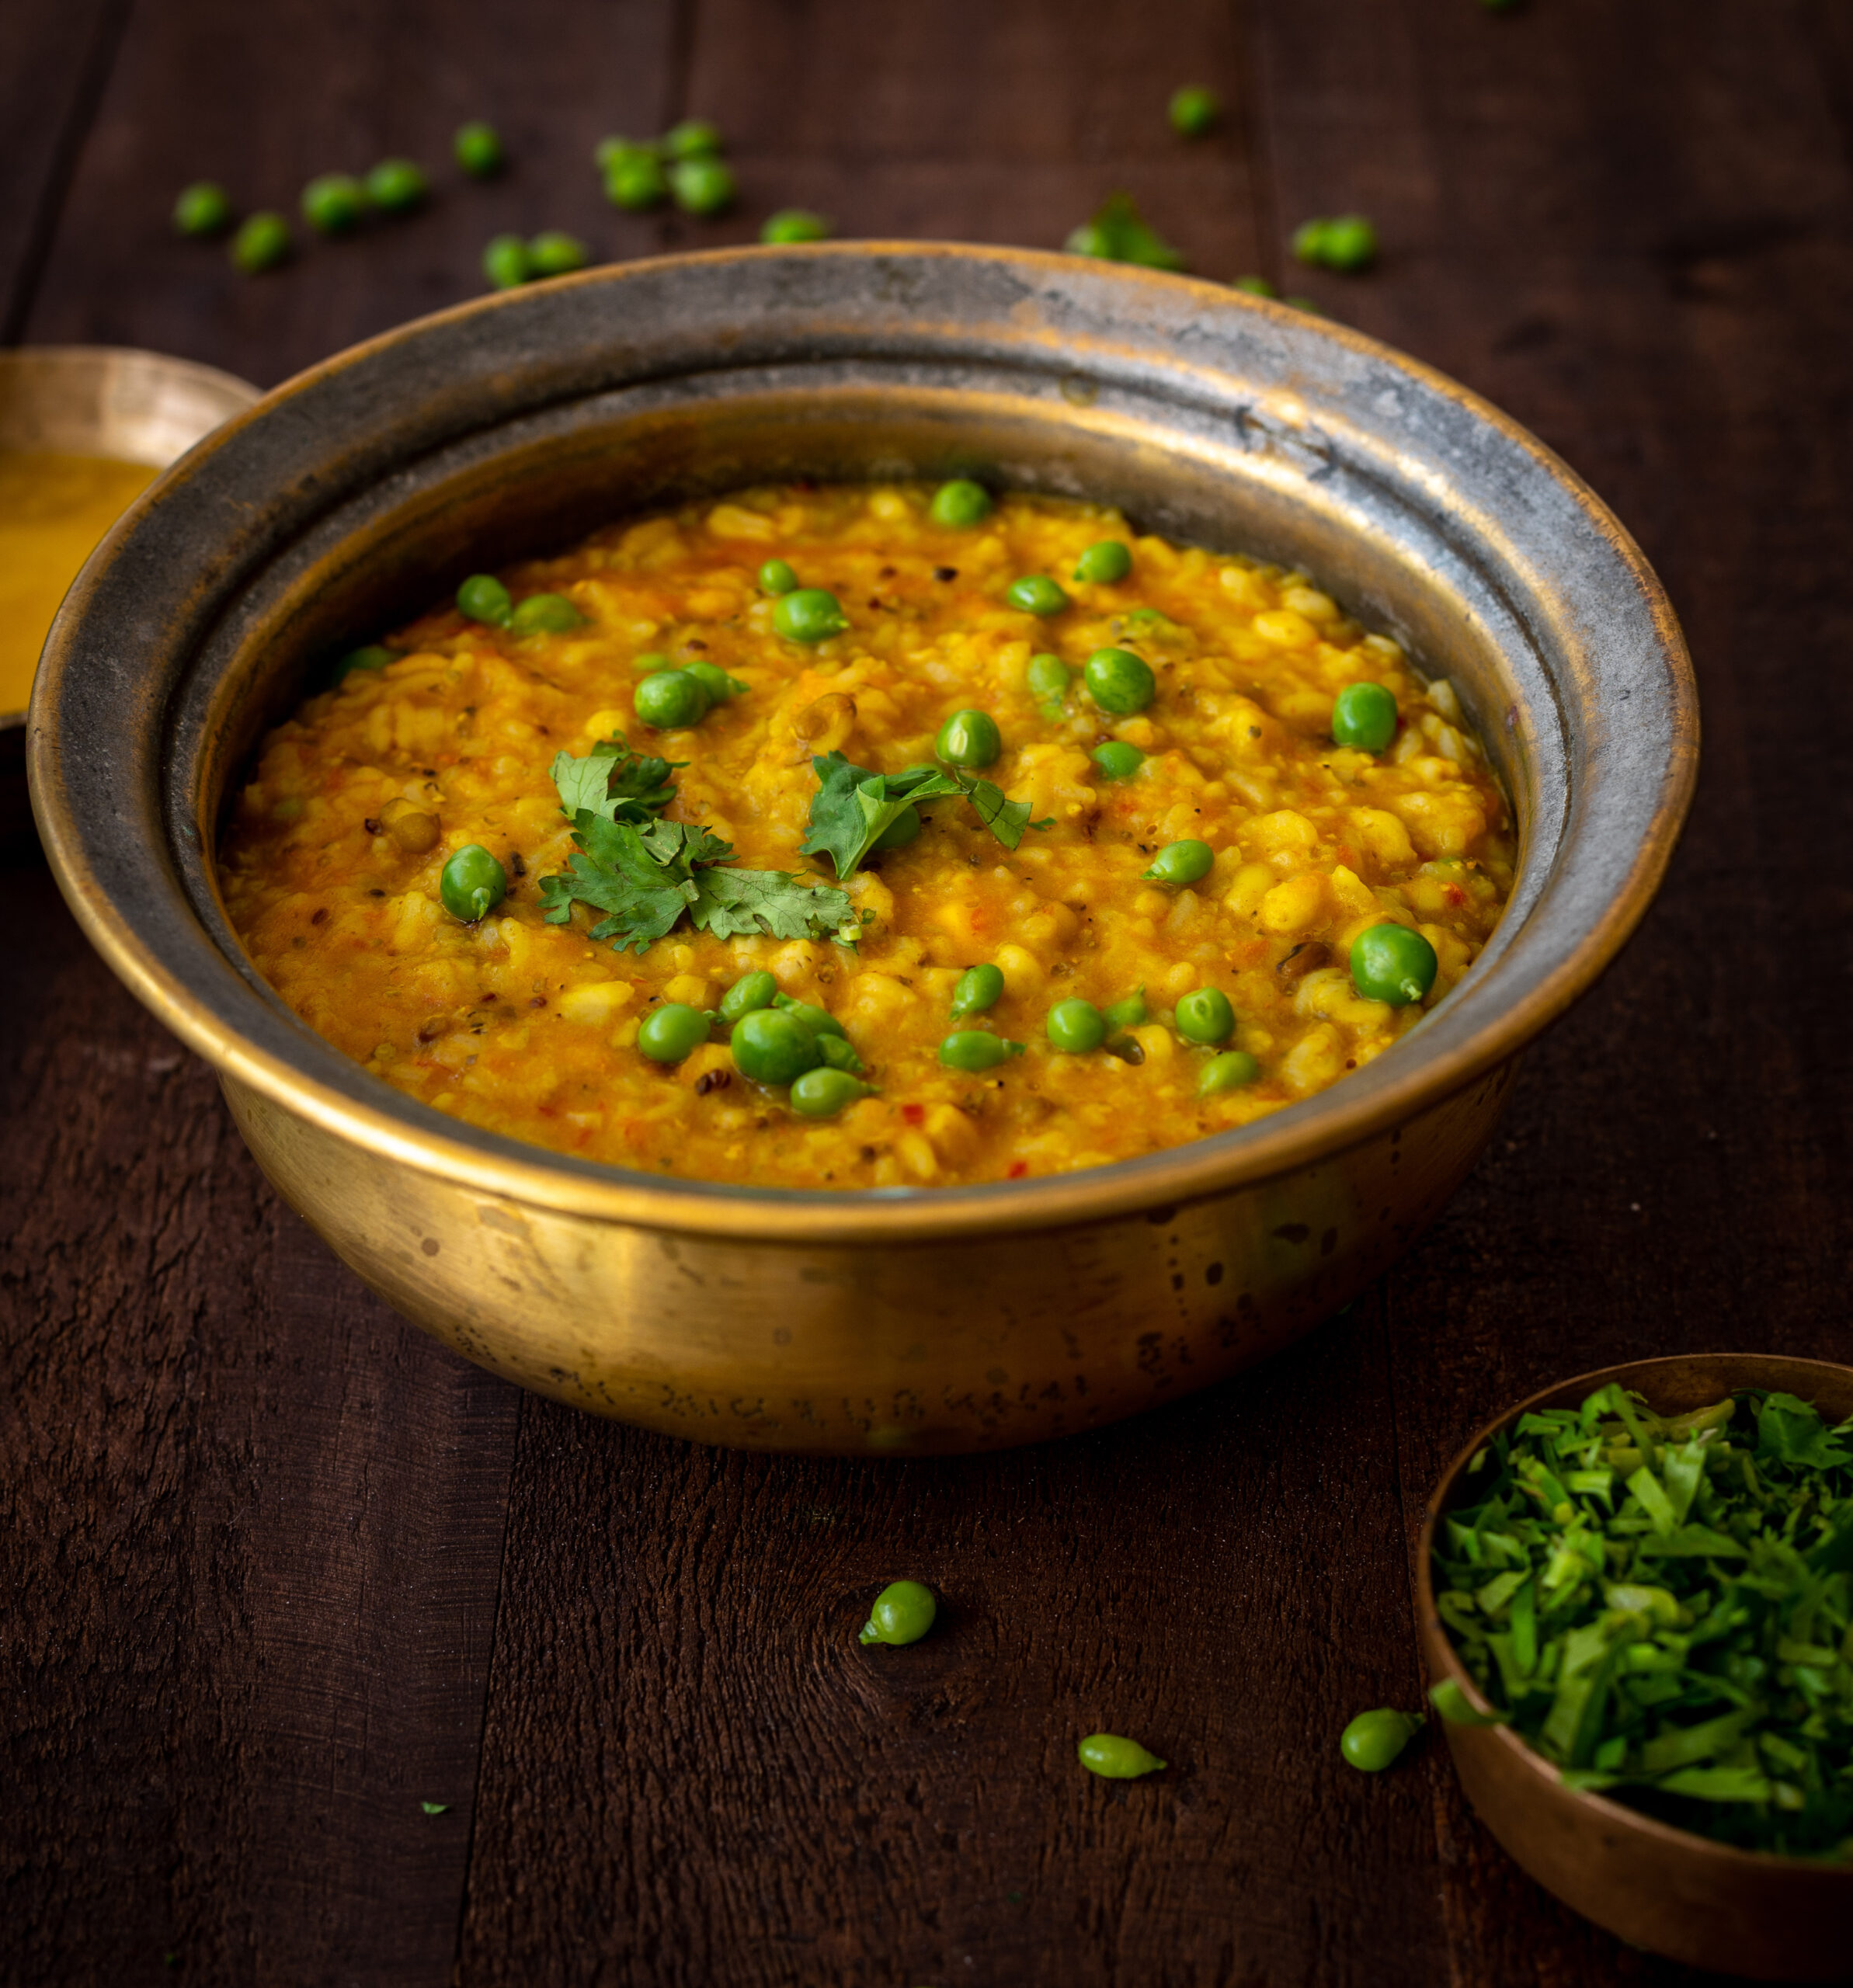
For centuries, Gujaratis observed the harvest season of Sankranti (which takes place in January) with a special dish, a seven-grain khichdo which celebrated the bounty of the earth. It was originally made with fresh, still green grains, and cooked for many hours in a large brass pot on coal. It would be prepared right before the harvest itself, when the grains would be ripe and tender. What constituted the seven key ingredients of the recipe depended on what was being grown, and some ingredients that we may think of as being legumes or lentils also qualified. It was also sometimes made with fewer. It was called “saat dhaan” – “seven grain” – when made with all the staples, and “paanch dhaan” – “five grain” – when a couple were eliminated for reasons of convenience, availability or taste. Pearl millet (bajra), wheat, rice, split pigeon peas (toor dal), sorghum (jowar) and green gram (moong dal) were among the traditional staples used. Over time, changes in agriculture and culinary life have allowed us to enjoy this wonderful dish whenever we please.

Even still, it’s a dish with a long preparation and cooking time, so I think of it as a Sunday dish – the kind that you begin working on as soon as you wake, and which is hot and ready just in time for lunch with the whole family. This was exactly how I used to see it being prepared in my sister’s home when I would visit her when she first got married. Her mother-in-law made an amazing seven-grain khichdo, and I would observe as she soaked each ingredient separately early in the morning, then as she literally pulled out the big old brass pot and coal in order to cook it in the time-honoured way. I had the good fortune of experiencing this whole process, just as I used to watch my own mother make Navaratri handvo authentically. Biting into the piping hot khichdo when she served it at lunch after having worked on it since the crack of dawn was unimaginably beautiful. My sister and I now make this khichdo in our own ways, with our modern appliances, but of course it’s her mother-in-law’s recipe that inspired us to keep this time-consuming (but so rewarding) dish in our own repertoires.

Another significant change that has come with urbanisation is that while certain ingredients began to become available year-round, access to fresh ingredients became limited. Thus, a contemporary saat dhaan khichdo will be more likely to use dried ingredients. Here, too, availability determines what you can use. For instance, in Gujarat and Maharashtra you can get readymade chaffed wheat, with the skin removed. I haven’t been able to procure the same in Chennai, so I have to pound the grain gently, to remove the outer covering.

Hand-pounding each grain individually is an important part of the process when using dried ingredients. Each one needs a different type of pressure. Bajra and jowar can be pounded very coarsely, for example, whereas wheat breaks when you do so. Of course, if you happen to have the tender green grains, there’s no pounding required.

Then there’s the individual soaking too, with each grain requiring a different duration. Wheat, bajra and jowar take the longest, whereas rice can be soaked a few hours after the overall preparation has started. As you will likely be making this khichdo with a mix of readymade, hand-pounded or fresh grains that you have available, do use your familiarity with the ingredients to determine the preparation time you need. In addition to the grains mentioned earlier, some I have used or heard of being used in this khichdo include black-eyed peas and green chickpeas too. It just comes down to availability, but the trick is to strike a balance between heavy grains and the lighter variants.

That is because this seven-grain khichdo is itself a very filling dish. While it was a part of Sankranti traditions that honoured the harvest, there is also a science as to why it was made this way. Mid-January would still be winter in Gujarat, and a heavy dish like this made of up whole grains would take a long time to digest. It would increase the metabolism and keep the body warm through the day. It is meant to be enjoyed at lunch, served hot and without need for accompaniments, except some pickled green chilli and kadhi (which is similar to more kolumbu) if you have it.

In terms of spices, the authentic version of this dish required no sautéing and very minimal spices. Everything just went into the large brass pot and cooked away for hours. The flavours of the grains would be allowed to dominate, with just a bit of ajwain (which aids digestion), and the two quintessentials of turmeric and salt being added. That and ghee – a couple of dollops of glorious ghee are an important part of this khichdo.

My sister’s mother-in-law would include a bit of dhaniya-jeera (coriander-cumin) powder, while my sister chooses to add curry leaves and garam masala. I don’t use any of these, but I do use tomato. Play around as you wish to as well, until you hit on the seasonings you most enjoy.

Seven-Grain Khichdo

(Yield: 2-3 persons)

25 grams whole wheat (chaffed)

15 grams broken bajra

50 grams rice

15 grams green whole mung

15 grams yellow split mung dal

¼ cup green peas

¼ cup fresh green pigeon peas

Water to cook

2 tablespoons ghee

½ teaspoon ajwain (carom seeds)

¼ teaspoon asafoetida

1 crushed tomato

¼ teaspoon turmeric

Salt to taste

1 – 2 cups hot water

Soak the grains individually until they are tender to touch, in water about an inch higher than the level of the grains.

When cooking, add 2½ times water to the quantity of grain.

You may pressure cook the bajra and wheat together as it takes a longer time to cook these grains. Set aside.

Next, pressure cook the rice and green whole mung and yellow split mung dal together. Set aside.

In a kadai, add ghee and once it becomes hot, add the ajwain first and then the asafoetida. Next, add the crushed tomato and then all the spices.

Now, add all the grains together to the hot, spiced ghee in the kadai. Stir on a medium to low flame.

Keep stirring. Add some hot water if required, especially if you like the khichdo to be soft as I do.

Once cooked, serve hot along with a garnish of green chili and coriander leaves.

The long preparation and cooking processes that go into a good seven-grain, or even five-grain, khichdo mean that it’s really meant to be a feast, just as it originally was during Sankranti. I recall how whenever my sister’s mother-in-law prepared it, she would distribute it to their neighbours as well. It is a meal in itself, meant to be shared, and meant to be consumed immediately after the many hours that the cook would have spent putting it together.

As with all tasty things that are best shared, I hope you’ll whip up a nice big batch the next time that you have half a day to linger over putting a meal together. Then, I hope you’ll gather your favourite people around the table, and enjoy this traditional Gujarati khichdo, with all the joy that the farmers of yore would have felt as they feasted with their loved ones right before the big harvest.

Sometimes it happens that I chance upon a wonderful dish somewhere, and as I’m never shy about asking for recipes, I decide to find out exactly how to replicate it myself. But then, the story of how that dish wound up at that table turns out to be more complicated, and I’m unable to get to the source. There was a horse gram dal that I had at a friend’s house once, but it had been made by someone else and I didn’t have access to the original recipe. I was intrigued not just by its fine taste, but also by the use of a legume that I’ve encountered relatively rarely. I haven’t been able to stop thinking about that dal since, and between my inability to obtain a recipe and my own culinary inquisitiveness, I set forth on a series of trials to create a version that I would want to serve – and to eat! – again and again.

Fortunately for me, I had an accomplice in this endeavour. We have a new cook at home, Prem, who shares the kitchen space with me. He is a wonderful chap, and we’ve been getting used to each others’ styles and quirks. I am very particular about who enters my kitchen, and the cryptic but tangible measure of “good energy” is extremely important for me. He definitely has that. The problem though? He is as meticulous as I am, maybe even more so. He talks constantly and questions everything I do, because of which I call him my second mother-in-law. He rattles off 25 questions about each thing, and nags me about certain details, with food wastage being a pet peeve of his. When I arrange something on the shelves, he’ll come in two minutes later and rearrange it to his own preference. I tease him for his pedantic nature, and he teases me back. I’m not complaining; the kitchen has not become a battleground at all, but is now a space for shared experimentation. We came up with this horse gram dal recipe together. In fact, to give credit where it’s due, it’s more his than mine.

I must add this suspicion here: I think there may be a secret ingredient that he adds to this dish once I’ve stepped out of the kitchen, but you know how determined I am when it comes to cracking a recipe! I think I’ve done it, and between him and I, we have pretty much perfected it. This wonderful dish has actually made me forget what the original horse gram dal I enjoyed at my friend’s home tasted like. Now, this is the only rendition I know, and it’s served in my home several times a week. You may recall from my recent Gujarati dal recipe that toor dal is very beloved in my home. It’s been quite exciting to introduce a new dal that actually challenges the multi-generational staple!

While doing a little research on horse gram, especially since it’s an ingredient that strangely enough isn’t a staple itself, I was tickled to find that it is also called Madras gram! In Tamil, it’s known as “kollu”, and it seems that it is native to the subcontinent and has its own names in various Indian languages (it takes its English name from its prevalence in horse feed, where it was used because it gave the animals such a boost of energy, just as it does for us). In terms of health quotient, horse gram is high in iron and protein, and is used in traditional medicine systems to help treat kidney ailments, mumps and jaundice. It’s certainly a legume that we could all be eating more of. So I would also like to use it in more dishes, and if you’re open to sharing your recipes, you know that I’m all ears!

Perhaps it is just like so many other traditional foods that have slowly been declining in common usage. As a sustainability and authentic food revival enthusiast (as I’ve discussed various times on this blog, such as in this black sticky rice pudding recipe) this has me very intrigued. Do you use horse gram in your cooking? I’d love to hear about your memories, experiences and theories about why it’s become less popular.

Horse Gram Dal

(Yield: Serves 3-4 people)

½ cup horse gram dal

3 cups water

2 tablespoons oil (+ 2 tablespoons)

¼ tsp cumin seeds

1 finely chopped onion

3 blended tomatoes

1 teaspoon garlic-ginger paste

1 teaspoon dhaniya-jeera (coriander-cumin) powder

¼ teaspoon turmeric powder

1 teaspoon rajma masala

1 teaspoon Kashmiri chili powder

1 pinch asafoetida

1½ heaped teaspoon besan (chickpea flour)

Salt to taste

Soak the legumes in water, overnight. Make sure that they are completely immersed. In the morning, the dal will double in size.

Rinse the soaked dal and put it in a pressure cooker. Add 3 cups of water and allow to cook until the legumes are soft and tender to the touch.  Allow to cool slightly.

In a kadai, add the oil and cumin seeds, and allow them to splutter. Then, add the onions. Sauté until they are brown.

Next, add the garlic-ginger paste. Sauté again and add the chickpea flour. At this point you will need to add more oil, about 2 tablespoons, until the concoction looks like it does in this video.

Next, add the chili powder, coriander-cumin powder, turmeric, salt, asafoetida and rajma masala.  Mix, and then add the blended tomatoes. Now, sauté for about 3-6 minutes or until the oil separates.  Finally, add the dal, along with the water it was cooked in, to the mixture.

Stir and allow to boil for no more than 5 minutes. Serve with roti, rice or however you usually take your dal. I can’t wait to hear what you think of it!

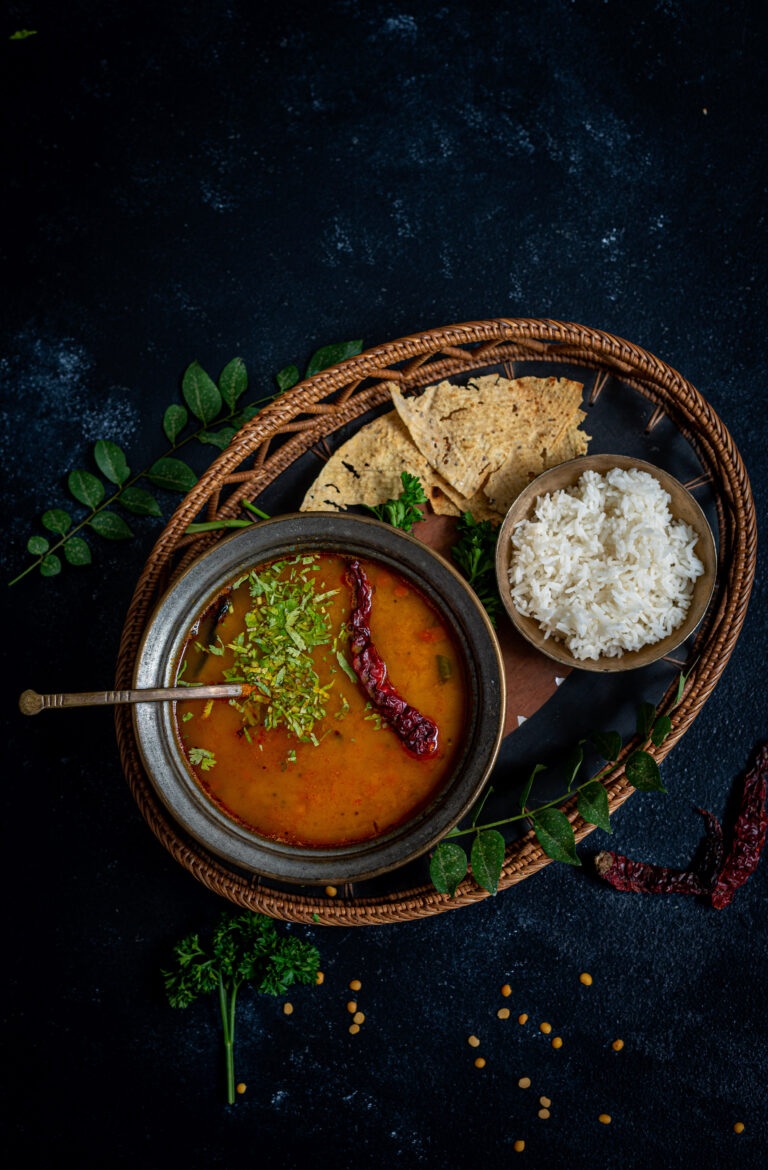
Dal is made in every single Gujarati home almost every single day. Literally. No exaggeration. Dal is the staple, the tradition, the go-to, the “I must have my daily dal”. It is made the same way every afternoon, and we never get bored of it. Come what may, there’s a bowl of dal on the table for lunch, alongside a vessel of hot rice. Given what a fundamental part of our palate it is, it’s funny that it’s taken me over four years of blogging to share the recipe, especially when so many of you have also requested it from me. But here it is, finally! I can say for certain that it’s been worth the wait.

While I’ve asserted repeatedly over so many recipes that every dish tastes different based on the cook, the kitchen and the place it’s being made in, this one somehow always tastes the same. Which is to say: it tastes perfect. It’s a mainstay, made exactly the same way no matter who is making it or where. I have enjoyed it everywhere I have tried it and have never tasted a difference. So what you are getting today is an absolutely authentic, time-honoured recipe for quintessentially Gujarati dal.

It’s funny how the stereotype as far as food is concerned goes “dhokla!”, when dhokla isn’t quite the backbone of the cuisine the way that dal-bhat (dal and rice) is. It should tell you so much about stereotypes versus the real experience because while we may not be famously associated with dal-bhat, it’s such a part of our culture that the dish even forms part of our pleasantries. When one Gujarati person meets up with another, we often say these words: “dal-bhat, rotli, shaak?” The phrase means: “dal and rice, rotli and vegetables?”. The question is a way of saying, “Have you eaten?” – a typical and pan-Indian form of polite chatter. If you notice, dal-bhat is the first term even though it is actually served later in a meal. In a traditional meal, it is rotlis that are served first, and once the rice comes out you know that there are no more rotlis left. Still, in our greetings, the importance is accorded to dal-bhat, because that’s the place it has in our hearts.

The Gujarati dal and rice combo is one that has been relished for generations in my home. When my husband was little, his grandpa nicknamed him Dal-Sukh Dal-Bhat (“sukh” means “happiness”) because it was the only dish that always satisfied him, without fail. My husband’s grandpa also lived to the ripe old age of 99, very fit and healthy on a daily diet of dal and rice – and happily watching his great-grandchildren eat this beloved dish every day too. The very first solid food that my children all ate was dal and rice, and it is still their comfort food. Just as in some South Indian homes, when kids come home after eating out somewhere, they’ll head to the kitchen and say, “Ma, do you have any thayir sadam (curd rice)?”, a bit of dal-bhat is the dish that most Gujaratis will crave in order to feel like a meal is truly complete.

Never come between a Gujarati and their dal rice. Trust me, no matter what other traditions are parted from, this one will stay true for the ages!

While dals are eaten everywhere in India, what makes this one unique to our community is that it panders to our famous sweet tooth. It contains jaggery, which sweetens it, and is also made tangy through kokum. It should only be made with toor dal (pigeon pea), and there is no substitute for this ingredient that won’t alter the entire recipe and the entire experience.

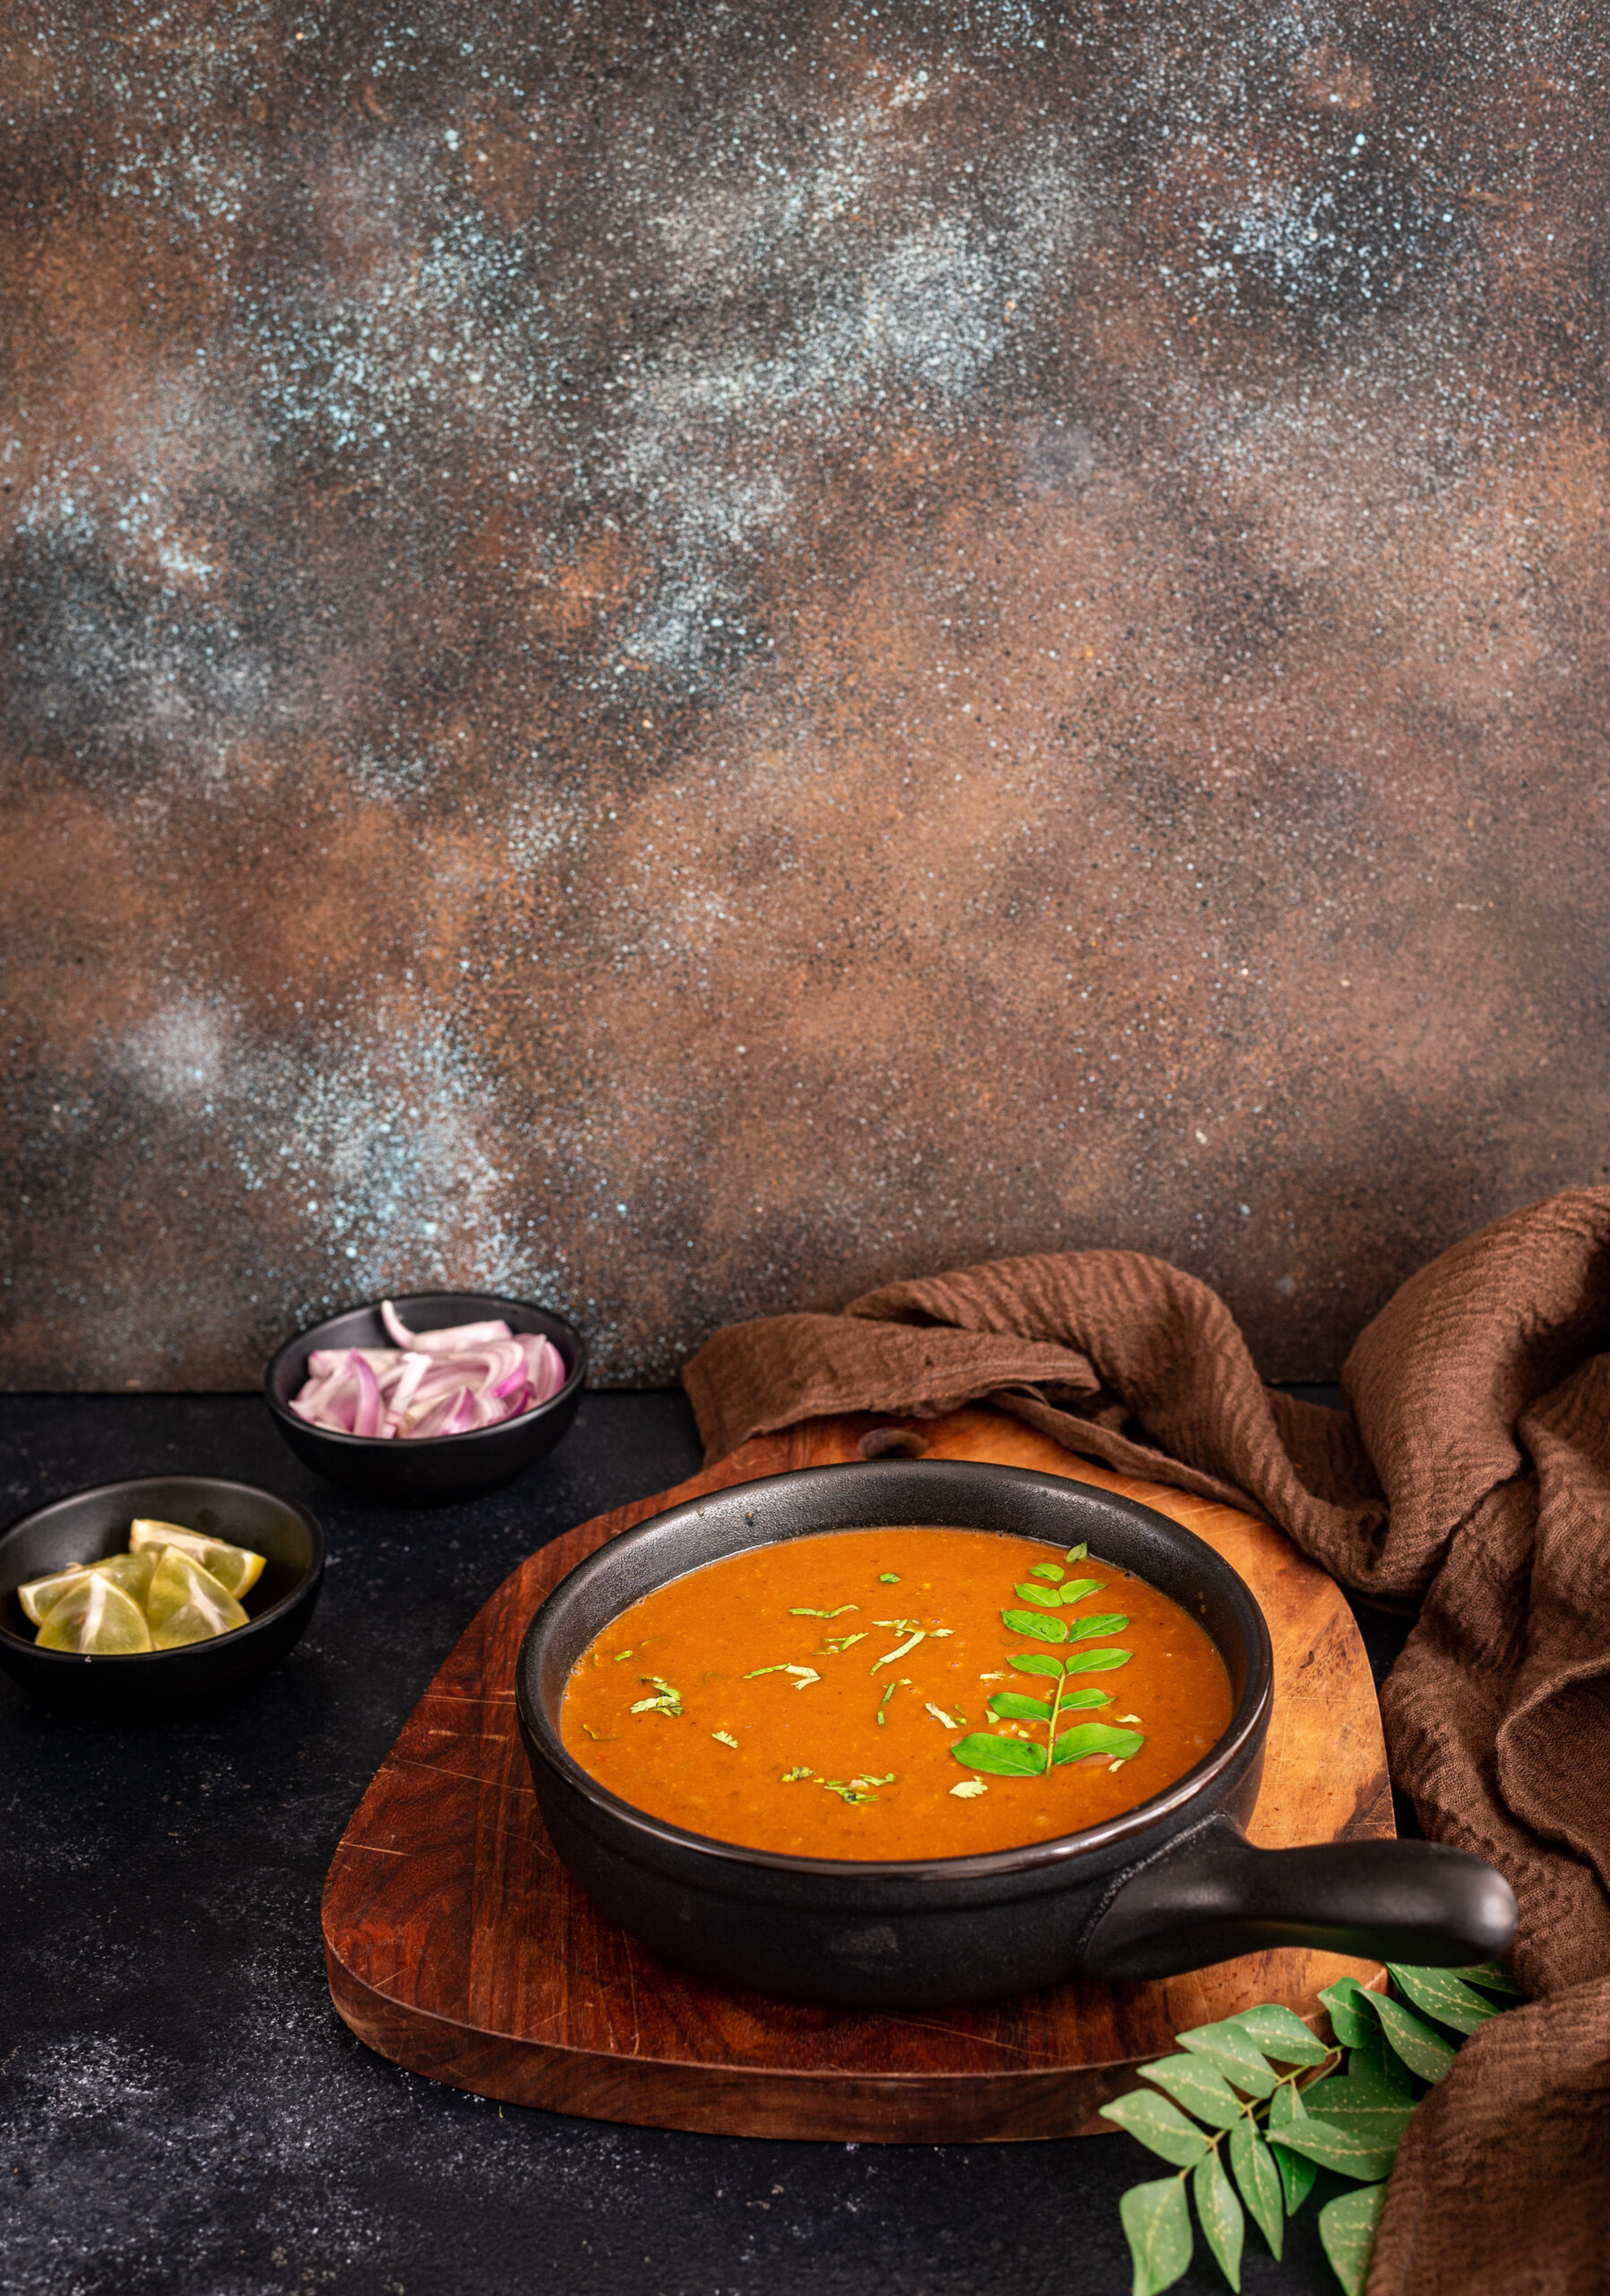
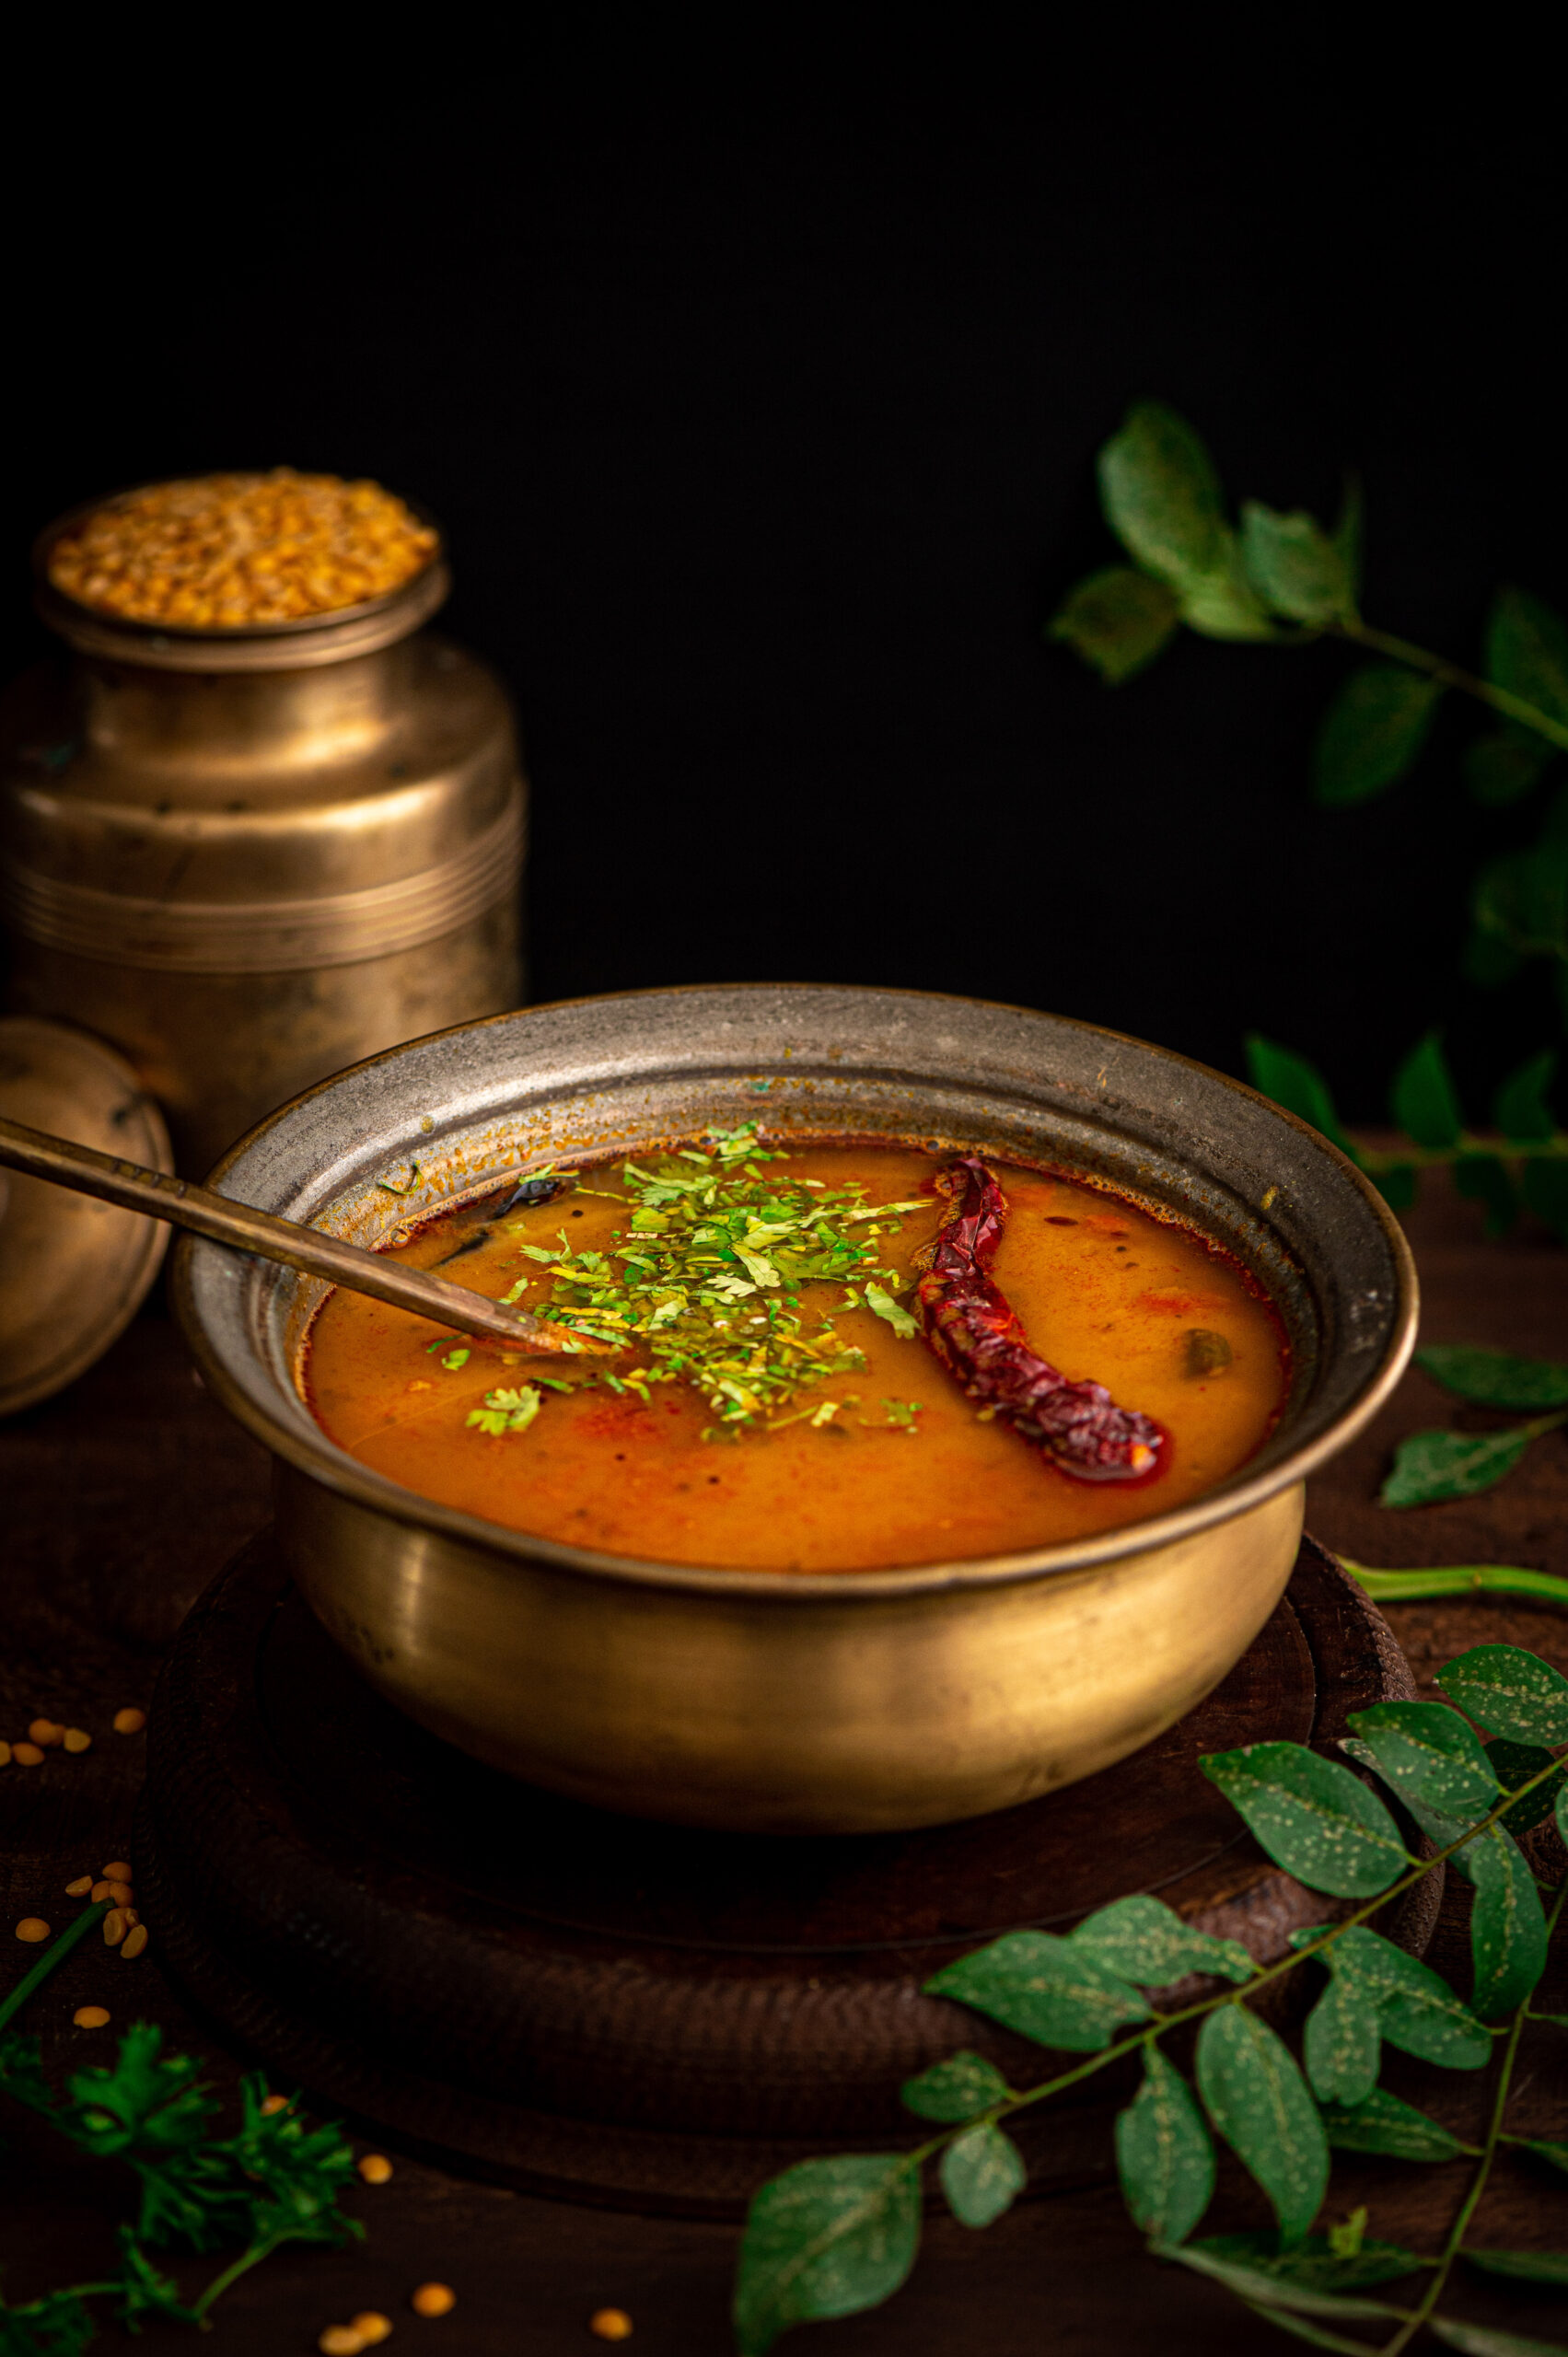
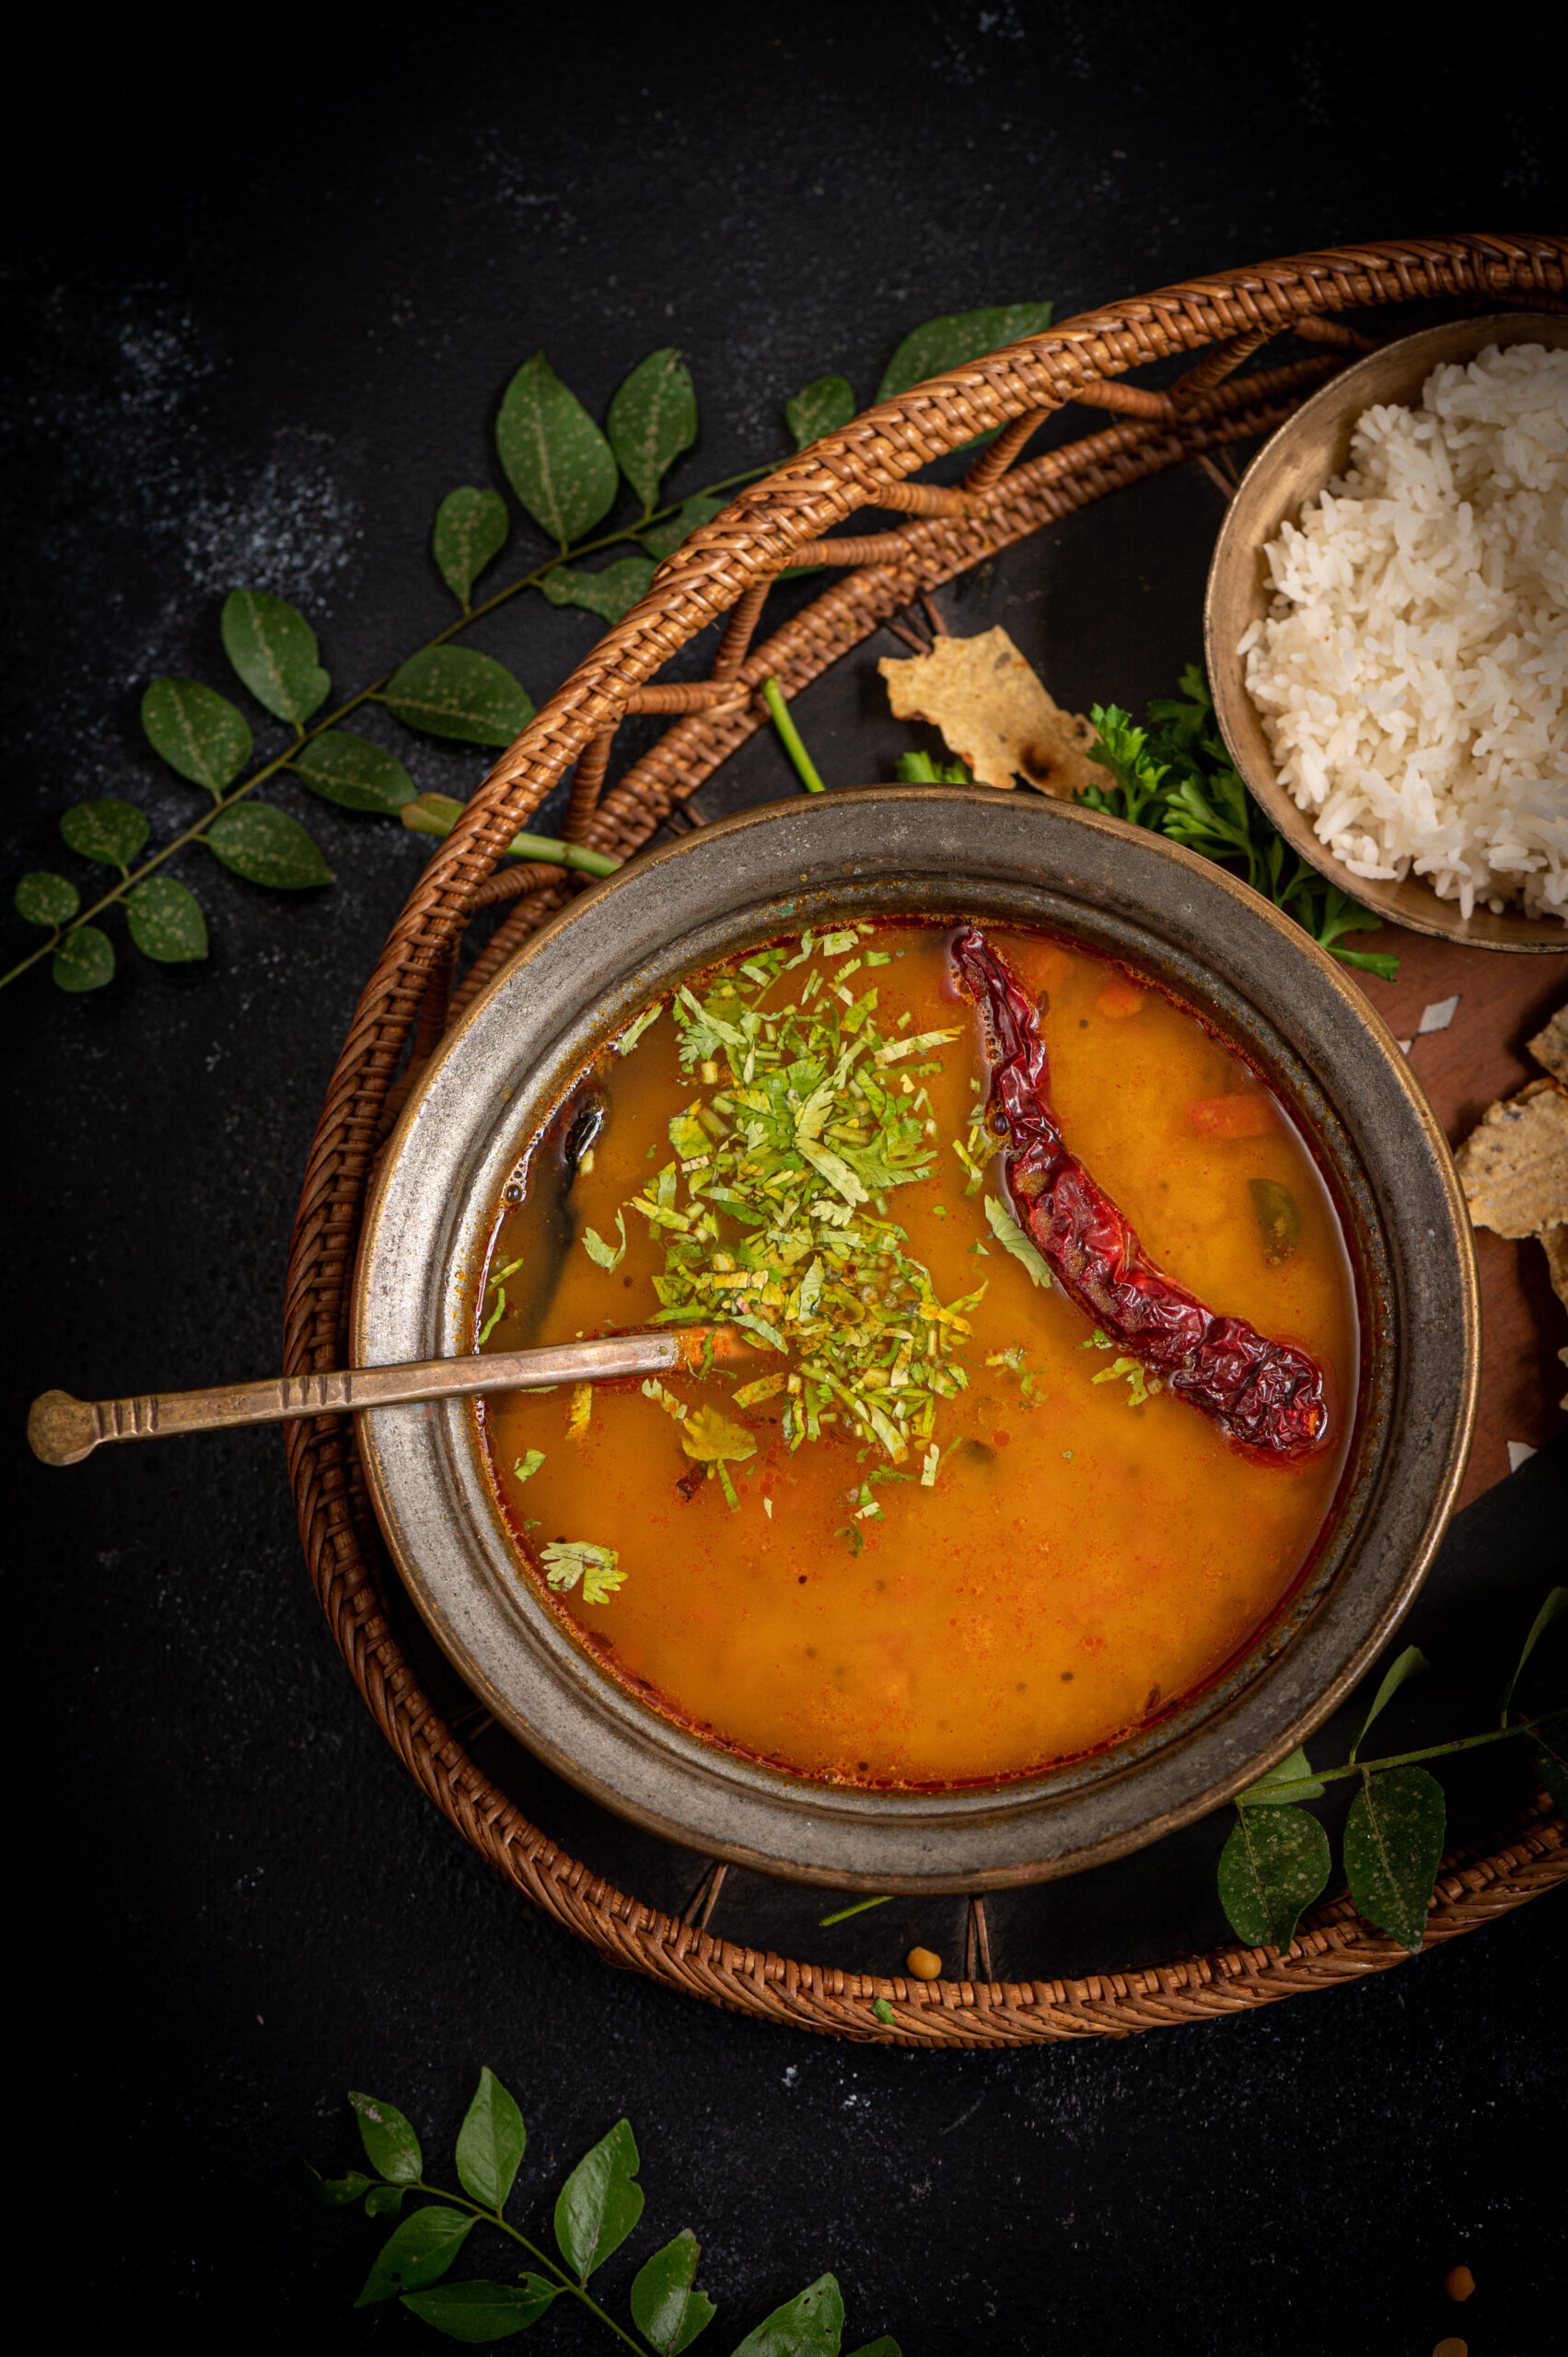
Gujarati Dal

(Yield: Serves 4-5 persons)


½ cup raw toor dal

2 cups + 2 cups water

2 tablespoons ghee

½ teaspoon mustard seeds

½ teaspoon cumin seeds

1 dry red chilli

A pinch of methi seeds

A few curry leaves

A pinch of asafoetida

½ cup finely chopped tomato

Salt to taste

¼ teaspoon turmeric powder

½ teaspoon red chili powder

2 tablespoons unsalted peanuts

3 tablespoons jaggery

4-6 stems of kokum flowers

¼ cup chopped coriander leaves


Wash and strain the dal. Pressure cook it in 2 cups of water. Then, blend the dal with a handheld blender and set it aside.

In a kadai, add ghee. Once it has heated, add the mustard seeds, cumin seeds and fenugreek seeds and allow them to splutter. Next, add the dry red chili and the salt, chili powder, turmeric and asafoetida. Finally, add the curry leaves, peanuts, chopped coriander leaves and chopped tomato. Sauté. Cover with a lid and allow this to cook on a slow flame until all the spices and the tomato come together and look mashed, as in this video below.

Now, add the jaggery. Then, add the blended dal that was set aside earlier. You will need to add more water at this stage, based on the thickness you prefer. I’ve added 2 cups. Remember that once cooled, the dal will thicken a little more.

The final touch is to add the kokum to the kadai. If you don’t have this ingredient, you can use a little lime juice as a substitute. Allow the concoction to boil for approximately 4-5 minutes.

Then, serve hot alongside rice or rotli, or both – as in a traditional Gujarati thaali.

Not only does this dish have the charm of simplicity and familiarity, it is also downright delicious. It’s truly such a pleasure to share this recipe for this deeply-loved Gujarati dal with you. I would not be surprised to hear of it being made in your own home daily from now on, just as it has been in mine since time immemorial!

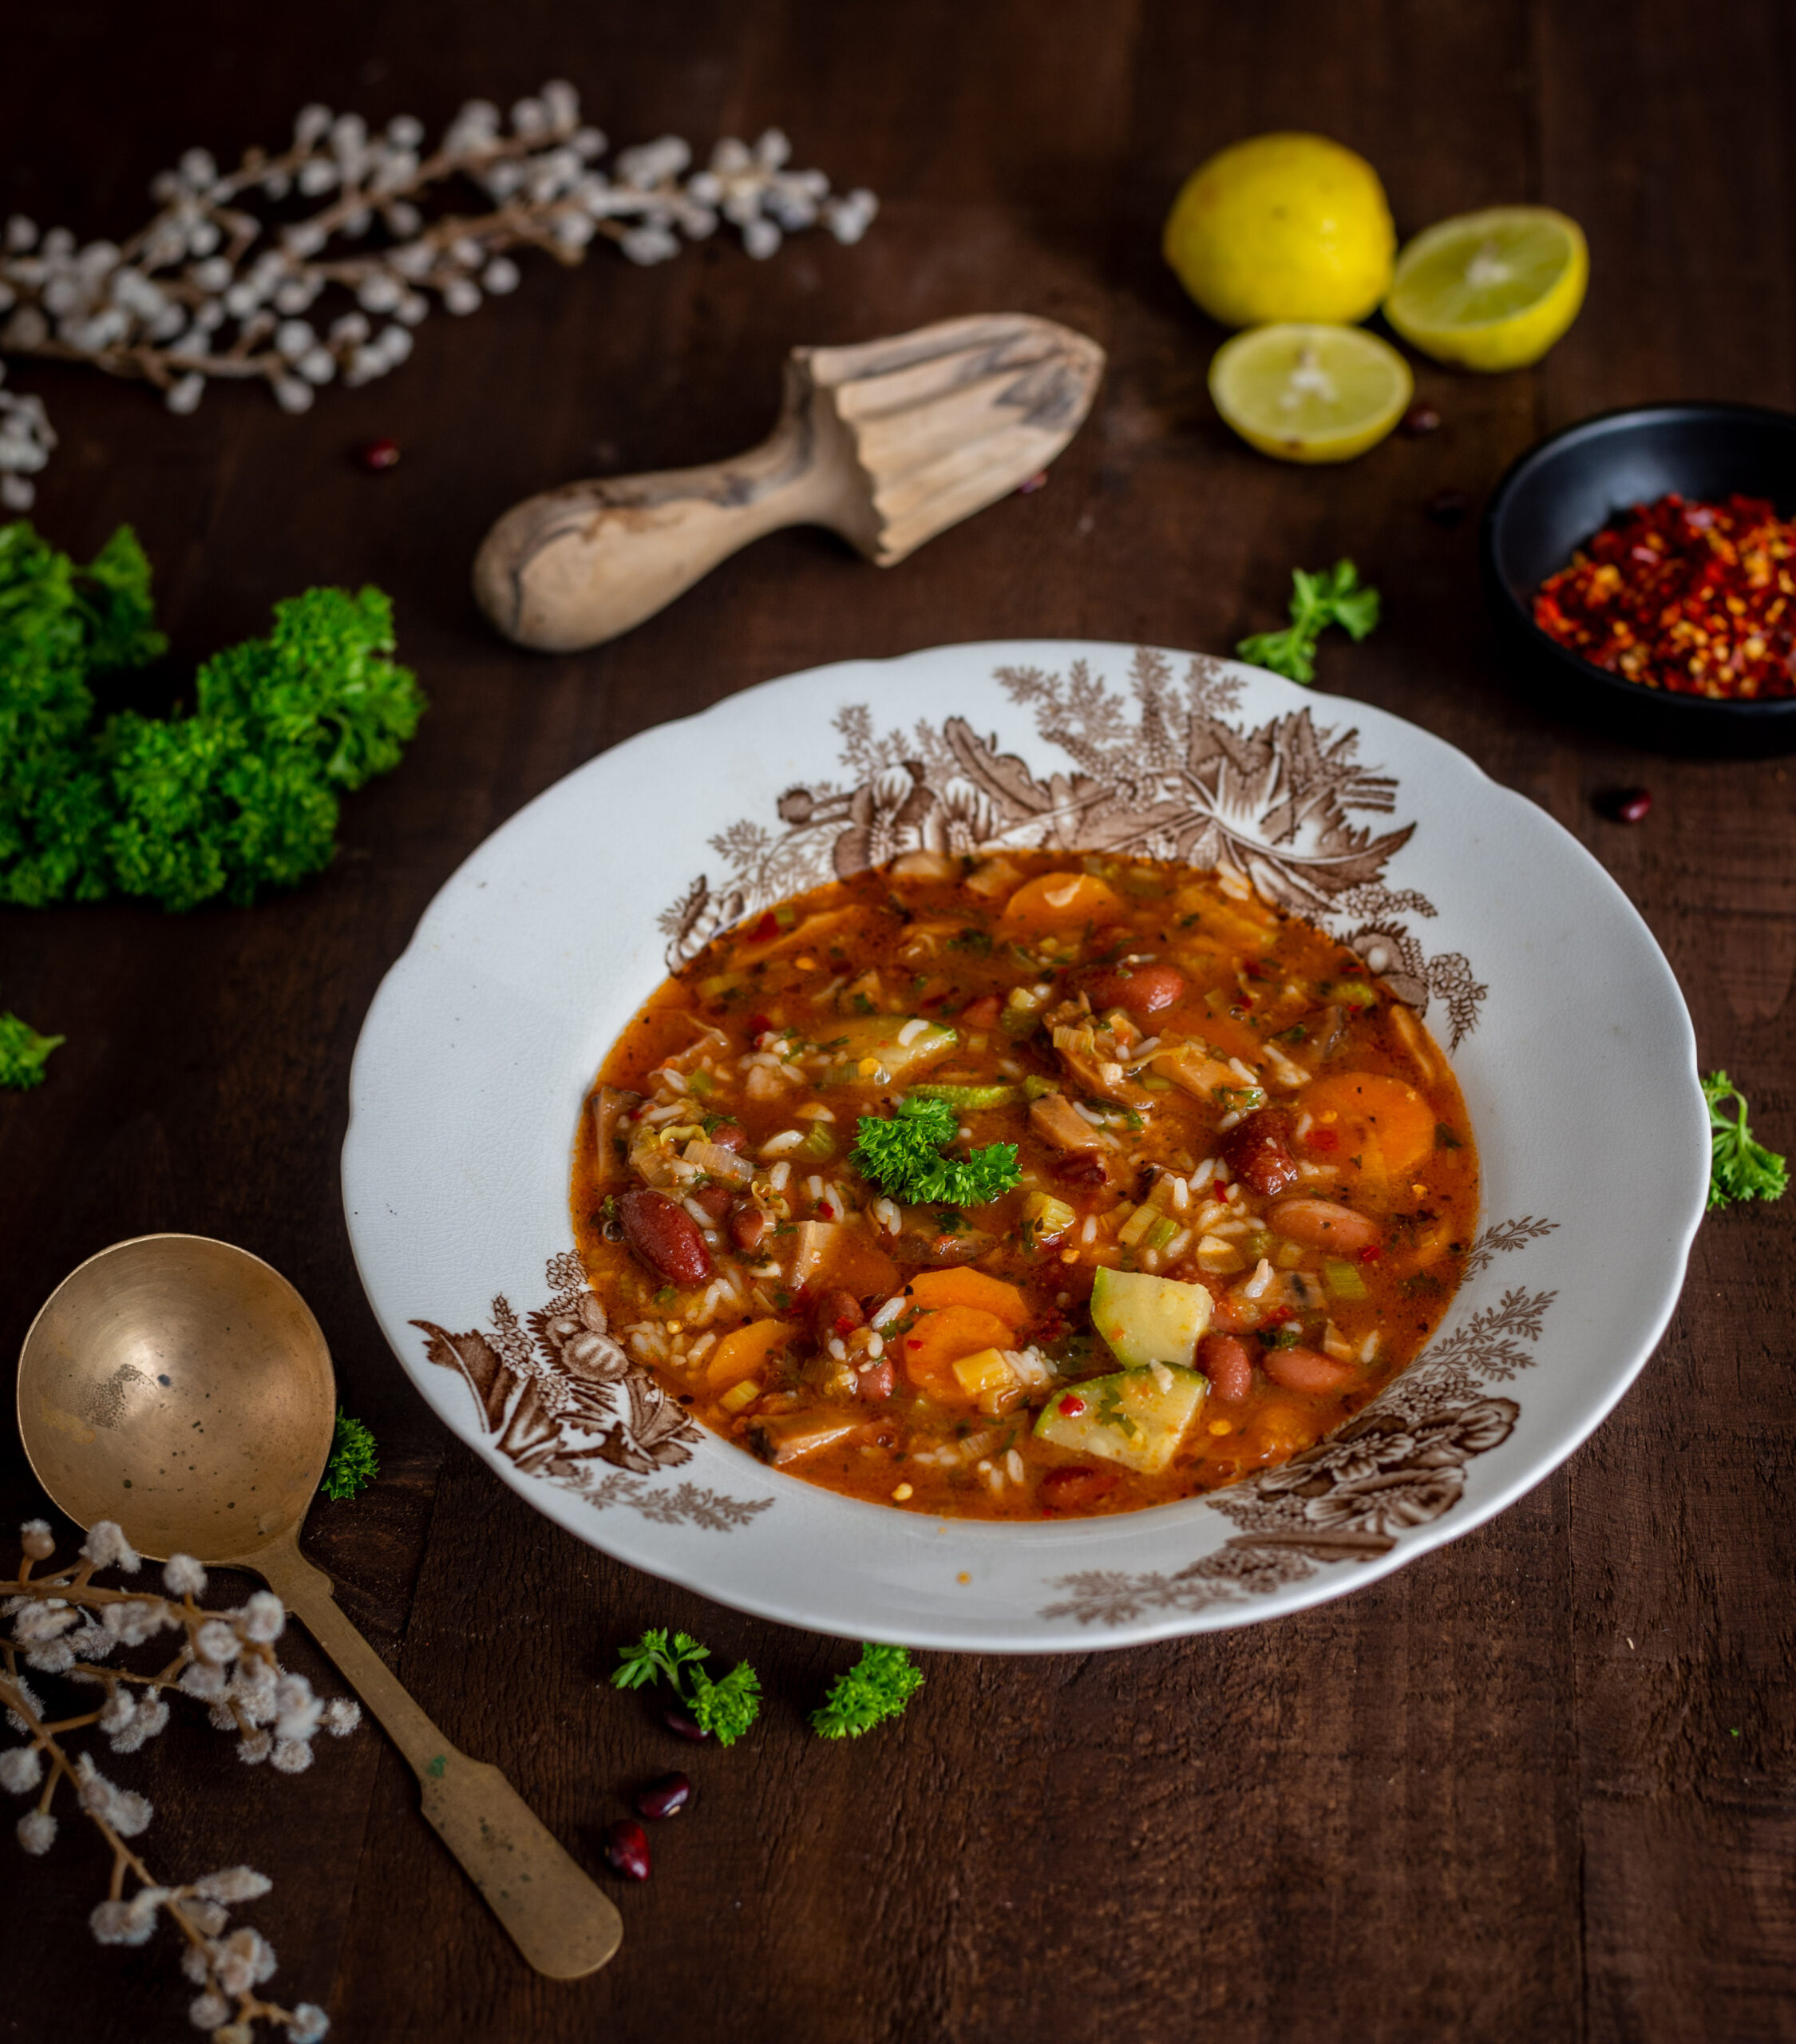
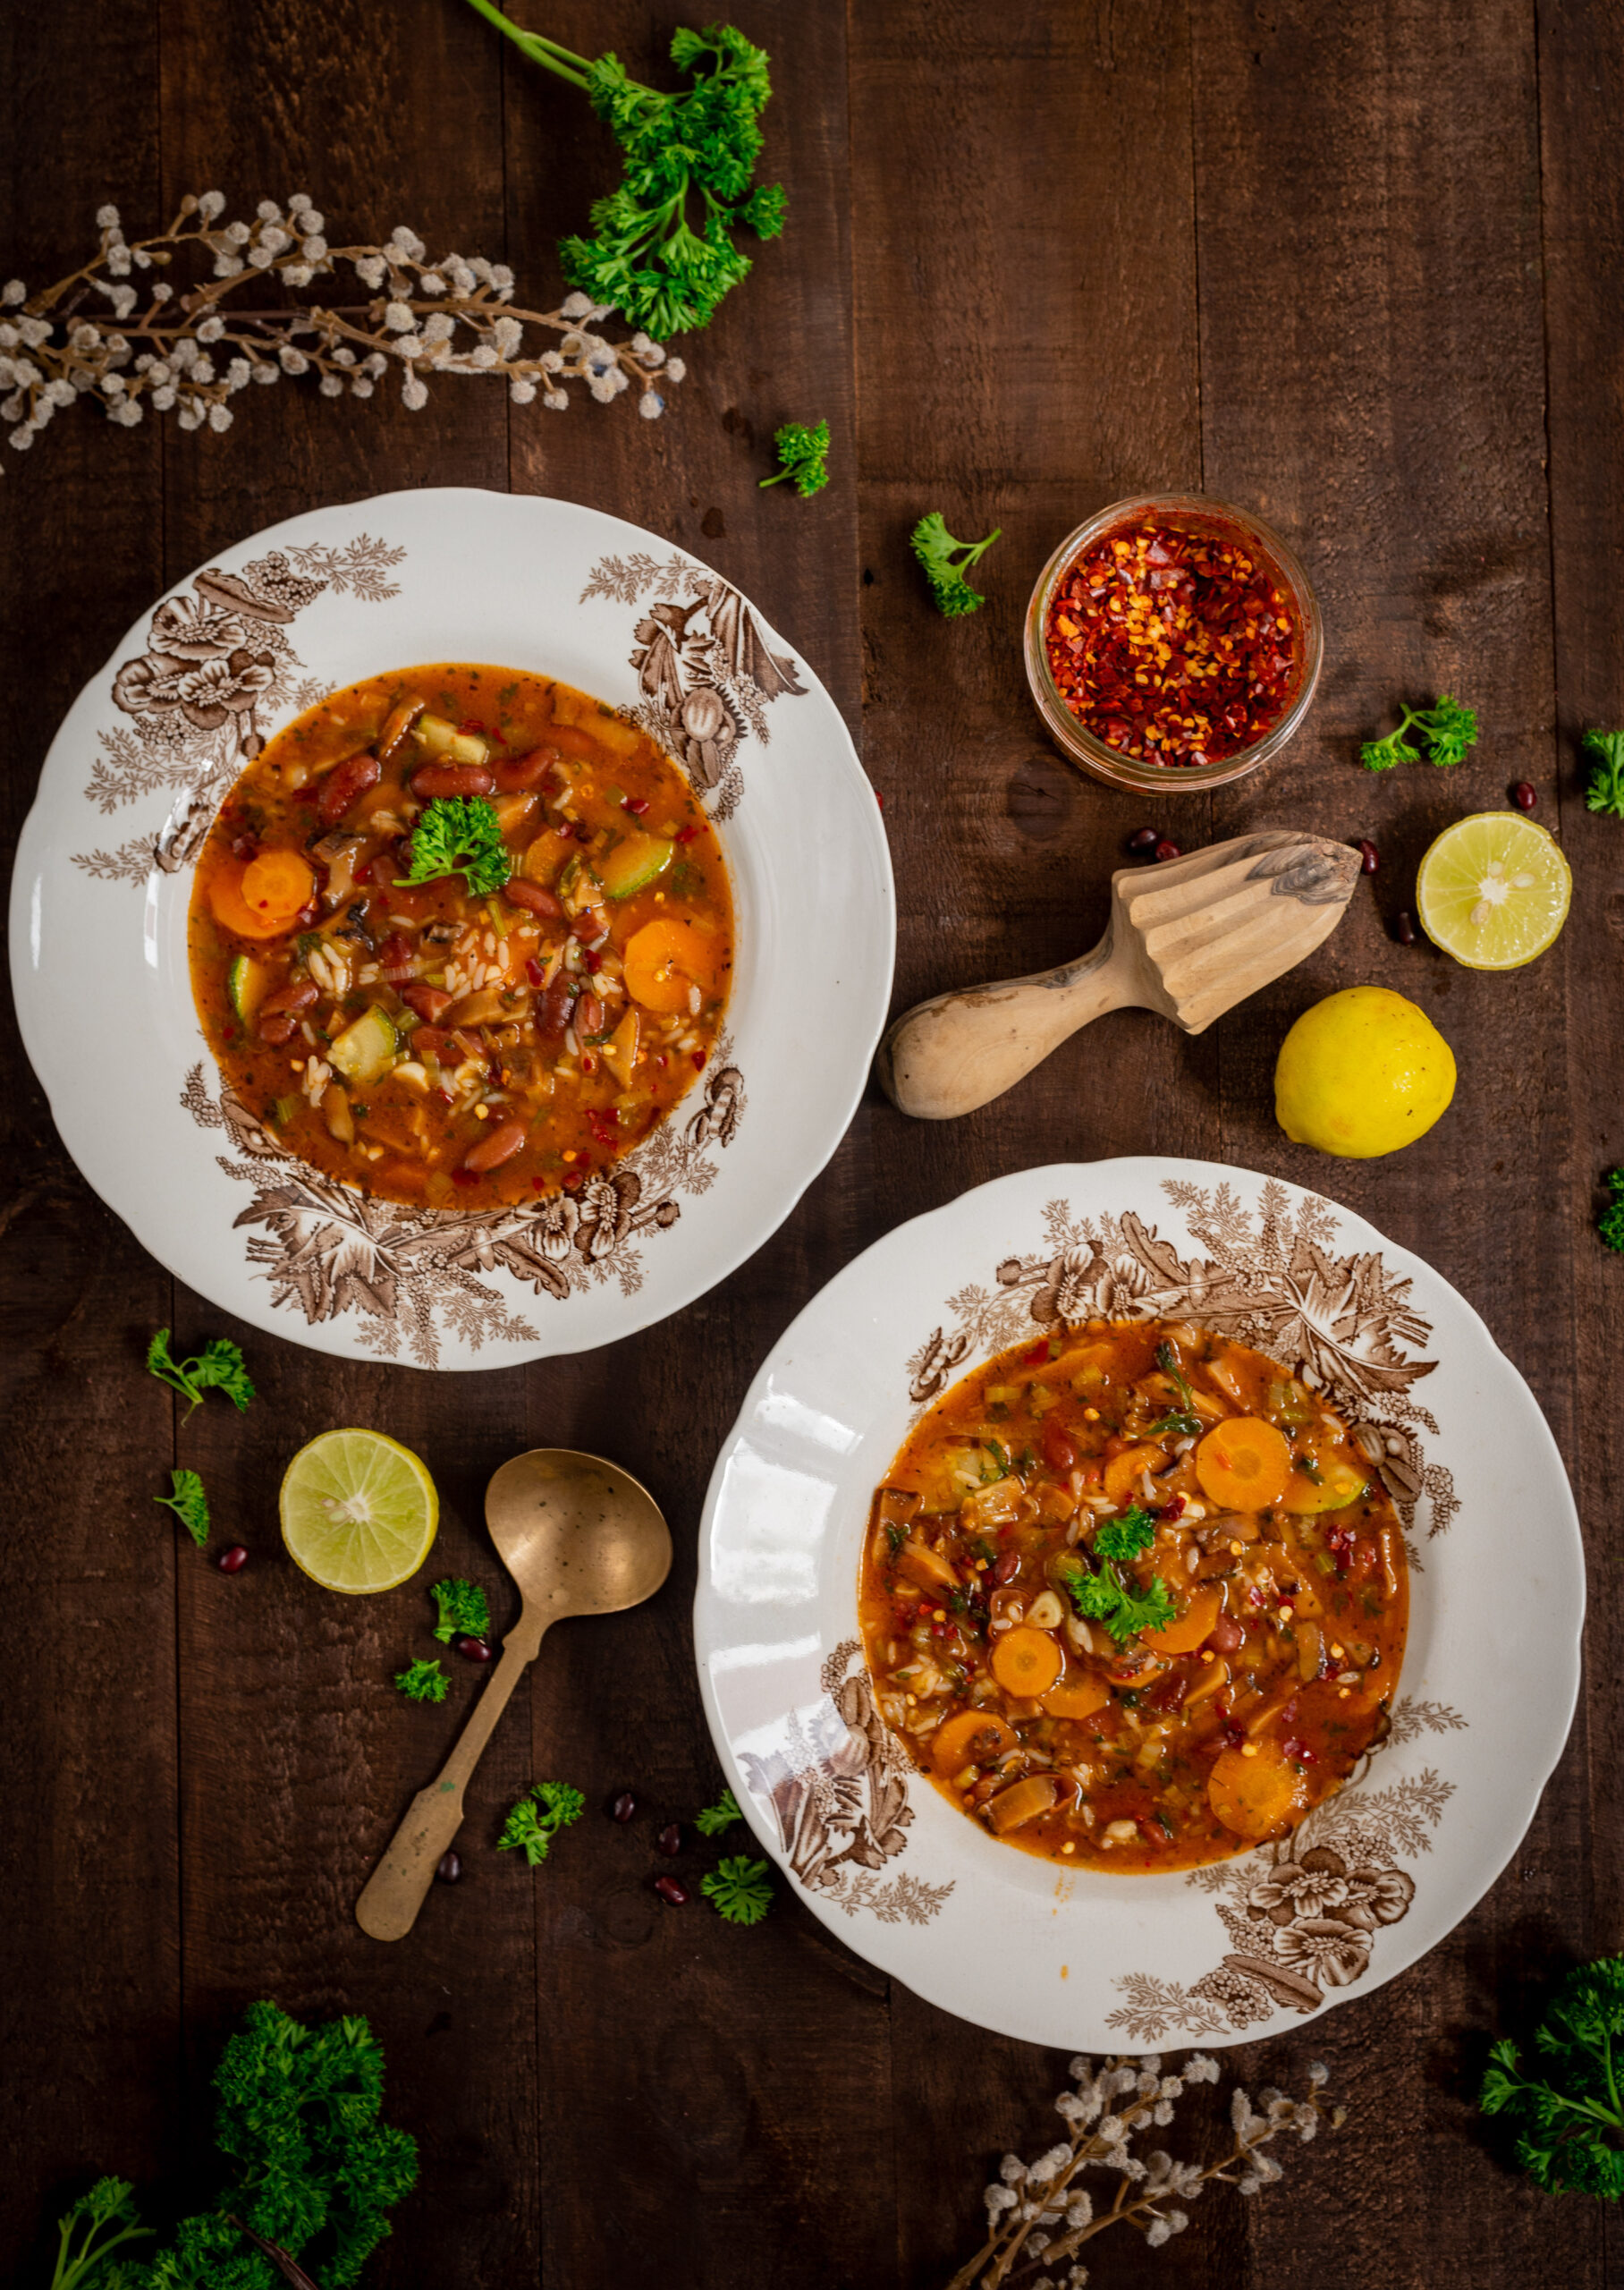
Minestrone is one of my favourite soups of all time, and the recipe was promised to you not once but twice, when I shared this sourdough toast post and this all-purpose tomato purée post some months ago. I think this is the perfect time to give you this one too, as the weather has turned cold even here in Chennai and we could all use a little more warmth.

This simple and nourishing soup is an Italian dish, but one which has changed through the centuries. It is believed that it has ancient origins, from before the Roman empire came into being, and that various trade influences led to more ingredients being incorporated to the base. Knowing that there is no one version of a strictly traditional minestrone makes me confident about sharing my version. It was a dish that I used to enjoy when I travelled abroad, but later started making at home too – a combination of wanting to be more self-sufficient, missing my travel experiences during lockdown, and a little bit of culinary FOMO. I now make it once or twice a week at home. Not only is it a very healthy dish, but it also helps to clear out excess vegetables in the fridge. This means it’s a great way to get the family to eat better. A big bowl of veggie-rich minestrone with some freshly-baked bread is a complete meal in itself. You can make it even more filling by adding quinoa, brown rice or pasta too.

Most minestrones that you may eat in Europe will contain borlotti beans (also known as cranberry beans) as their base, but these were in fact first cultivated in South America. This tells you that they must have been a later addition to the popular recipe, brought in during colonial times. This being the case, I am personally very happy to use any bean I have on hand. Here in India, we have a great variety. At home, we eat a different kind of bean daily – moong, channa and so on – as it suits our mostly vegetarian diets. For this recipe, I’ve chosen to use kidney beans as they are widely available everywhere. You can substitute them for your preferred local bean.

The secret to a great minestrone is in allowing a bit of the rind from Parmesan cheese to simmer in the soup as it cooks, which gives it a nice, nutty flavour. This plus the measured use of white wine retain the European-ness of the dish. Another ingredient that elevates it for me is my homemade tomato purée. A dollop of it makes a huge difference.

I’ve shared this recipe with various friends before, all of whom seem to love it just as much as we do at home. I hope that you will too. It’s very healthy, very tasty, and while it’s no ordinary vegetable soup, it’s just as easy to make.

Minestrone

(Yield: 2 large bowls/2 persons)


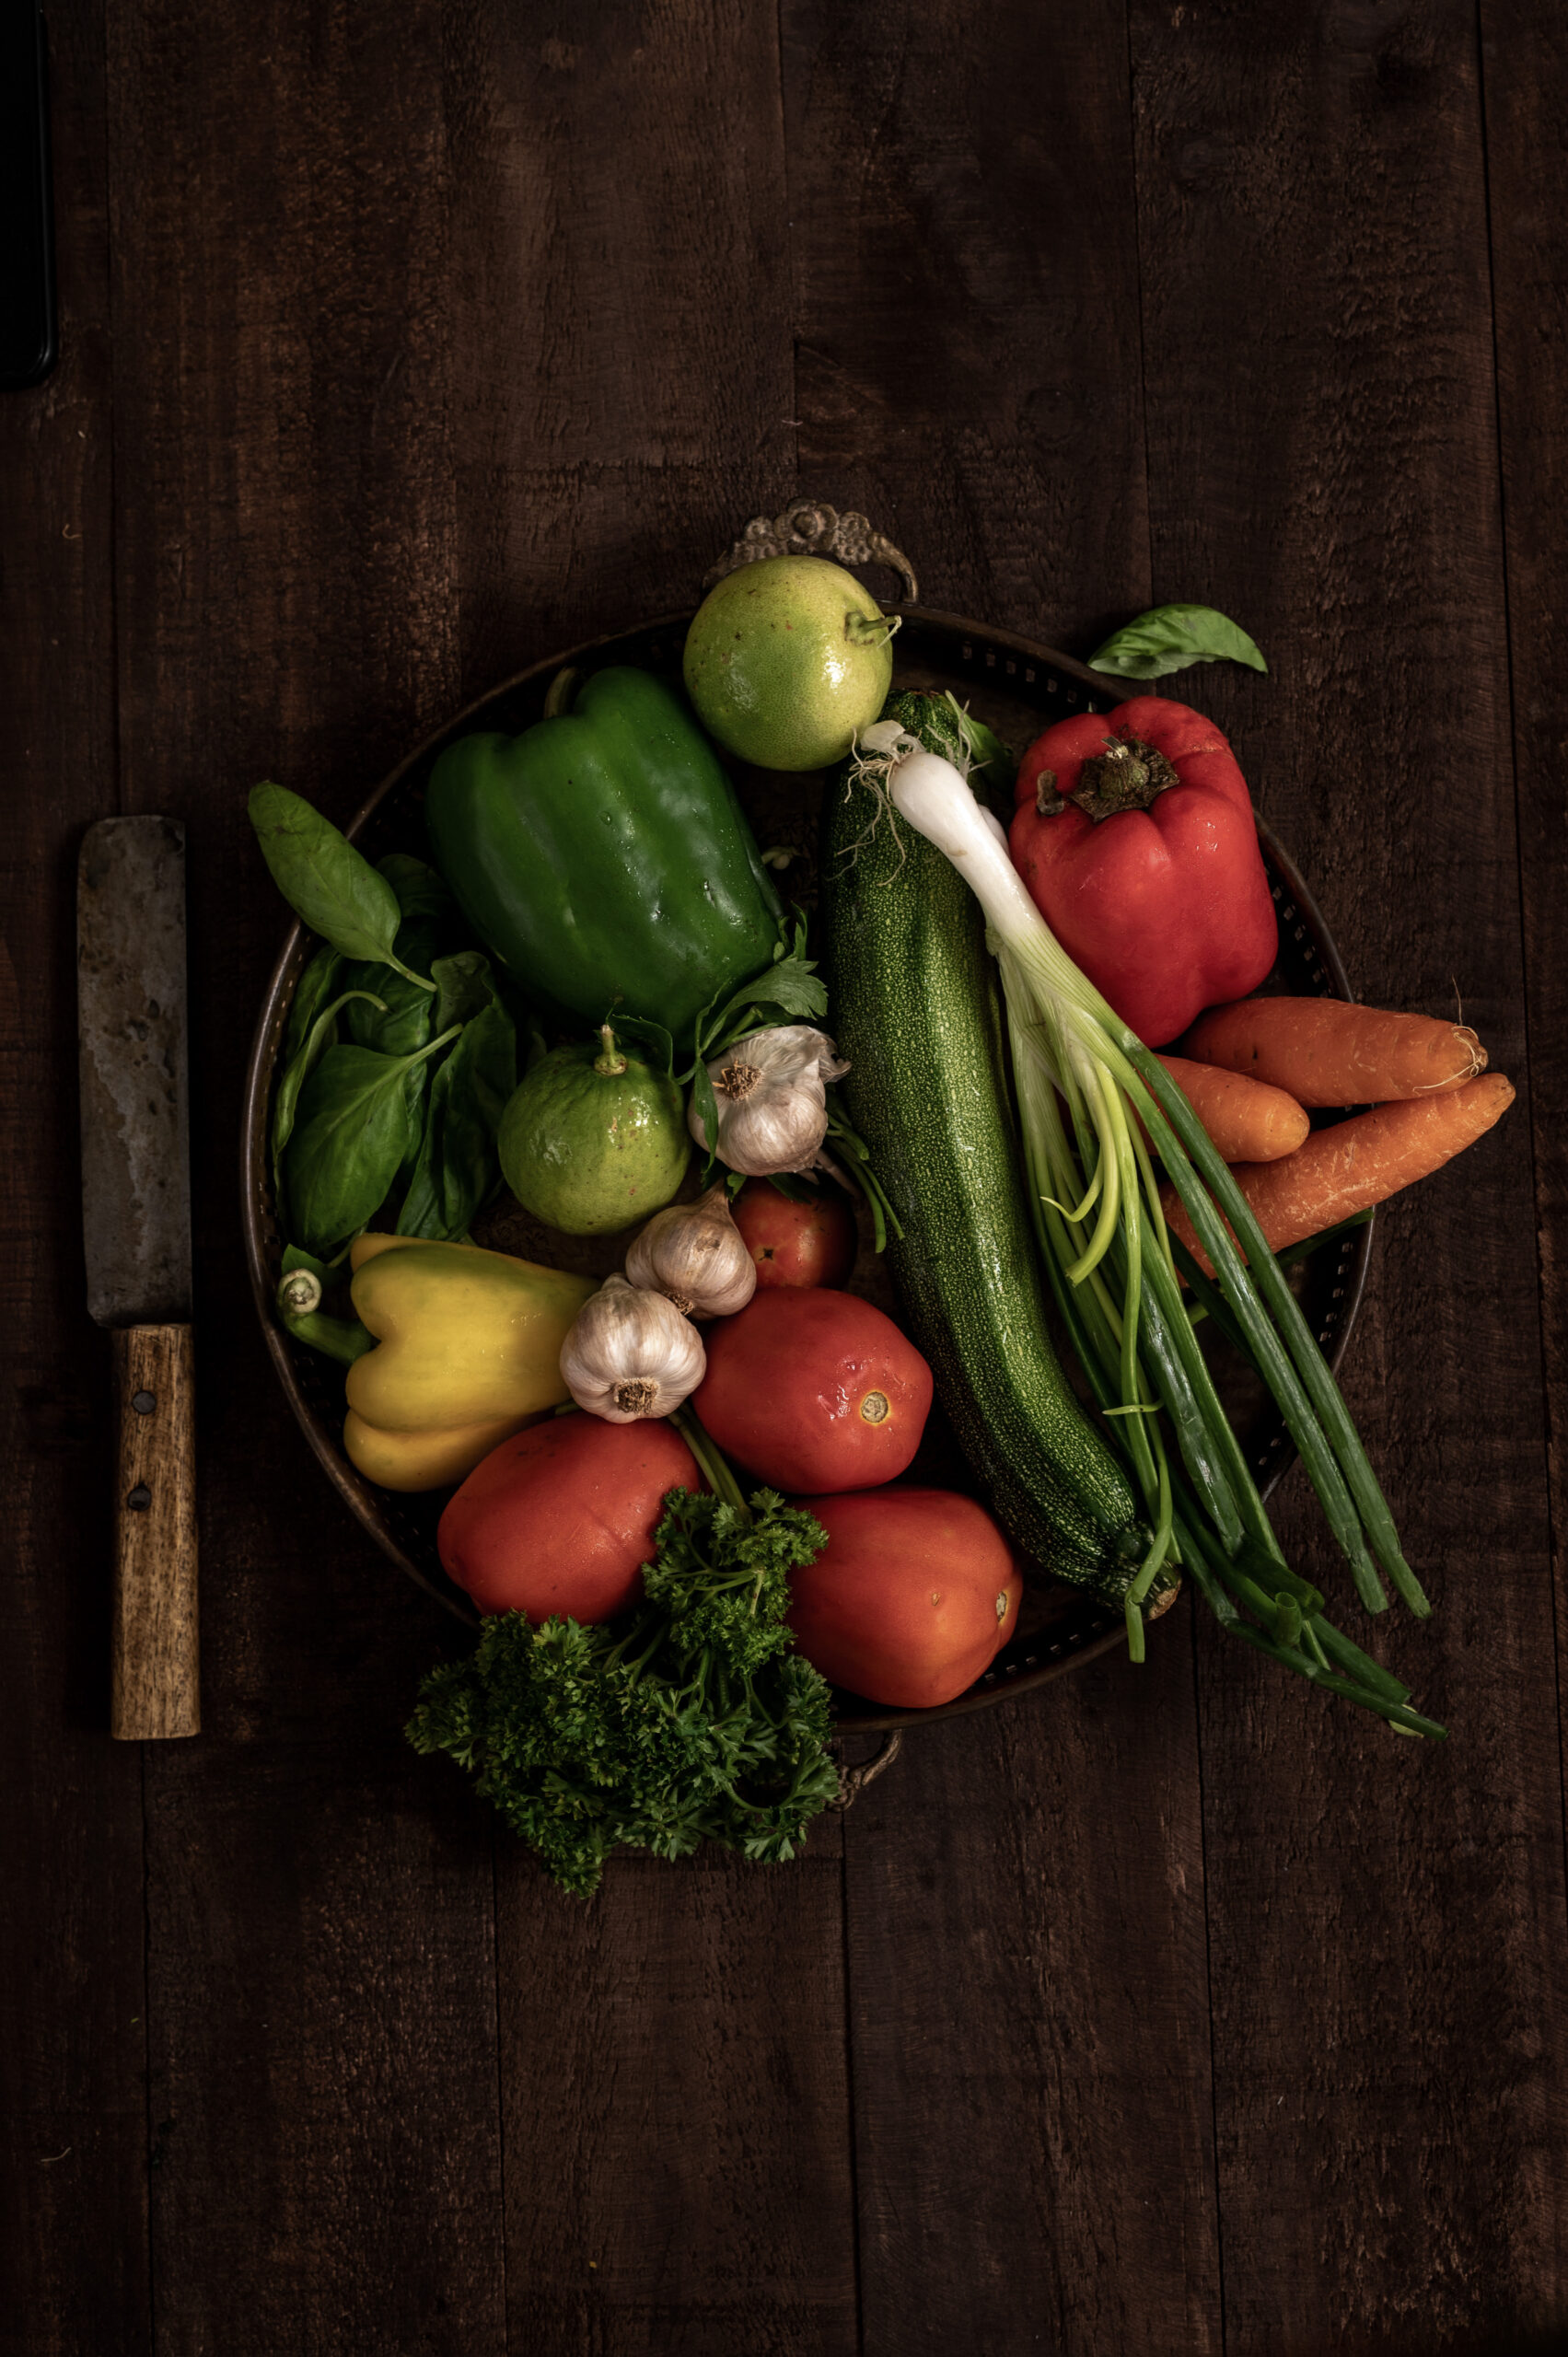
20 grams leek

25 grams celery

25 grams spring onions

100 grams zucchini, carrot, mushroom

4 cloves garlic

2 tablespoons olive oil

3 tablespoons fresh chopped parsley

2 tablespoons fresh chopped basil

2 tablespoons tomato purée

75 grams boiled kidney beans

1 cube/2 cups vegetable stock (i.e. 2 cups of boiling hot water added to one organic cube)

2-3 tablespoons white wine

1 or 2-inch Parmesan rind

Pasta/brown rice/quinoa (optional)


Sauté the garlic cloves, leek, celery, spring onions, zucchini, carrot and mushroom for a few minutes.

Add the tomato purée to this and stir well.

Next, if you are using pasta or brown rice in this soup, add that as well.

Add the kidney beans and the freshly chopped herbs. Then, pour in the vegetable stock. Freshly-made stock is always best, but cubes will work well too. After this, add the Parmesan rind to the pot and let it impart its flavour to the soup.

Add the white wine and salt to taste. Be careful with the quantities of both. Just a little more wine than you need, and the whole soup is spoiled. The tomato purée already contains salt so you will need less of it than you think.

Finally, add some chilli flakes, and garnish with chopped parsley and spring onions, and a squeeze of lemon. Remove the Parmesan rind before serving.

Serve warm. This soup works beautifully as a side, and if you have added brown rice or pasta, it can become its own meal-in-a-bowl too. I often bake a garlic pull-apart roll to go with this. My kids are tempted as soon as they see that soft, fluffy pastry, straight from the oven and tantalizing them on the table, and it draws them to sit down with a freshly-made bowl of soup too.

I hope this lovely minestrone brings you much deliciousness this December, as this year winds down and we take stock (no pun intended) of all it has contained. I wouldn’t be surprised if it becomes prepared as often in your home as it is in mine. Try it, and tell me if that’s the case! As always, I love hearing from you.

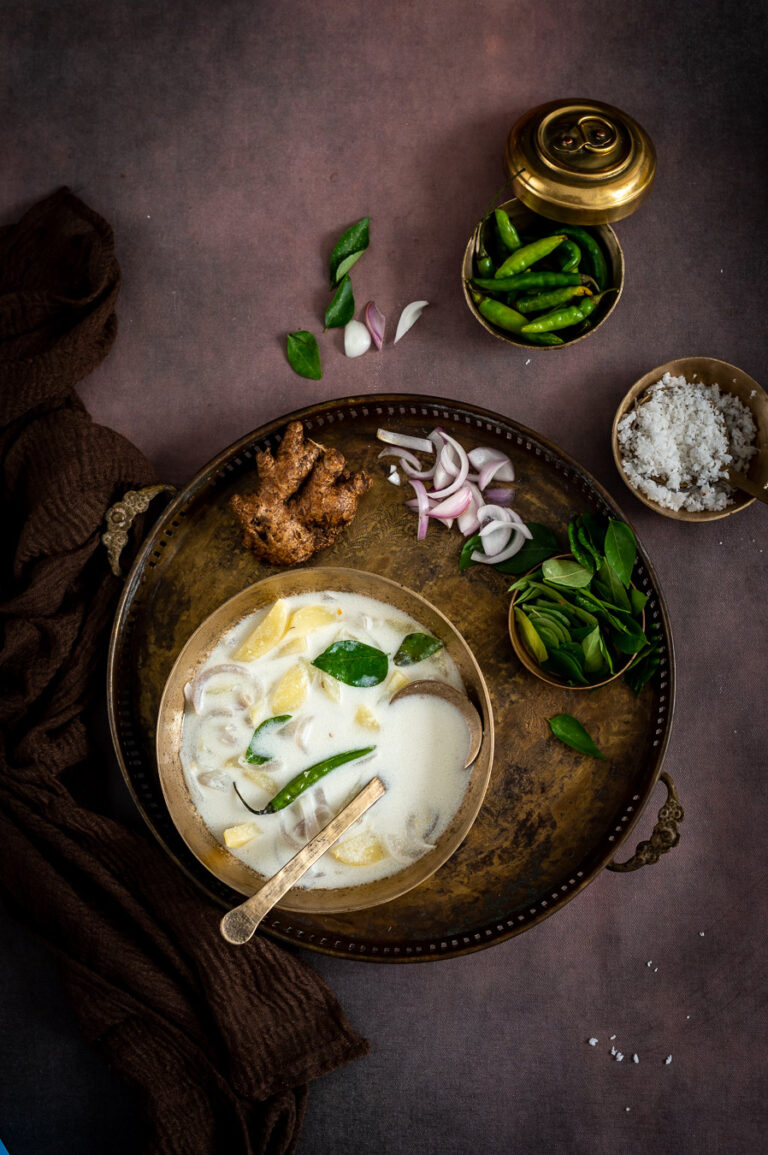
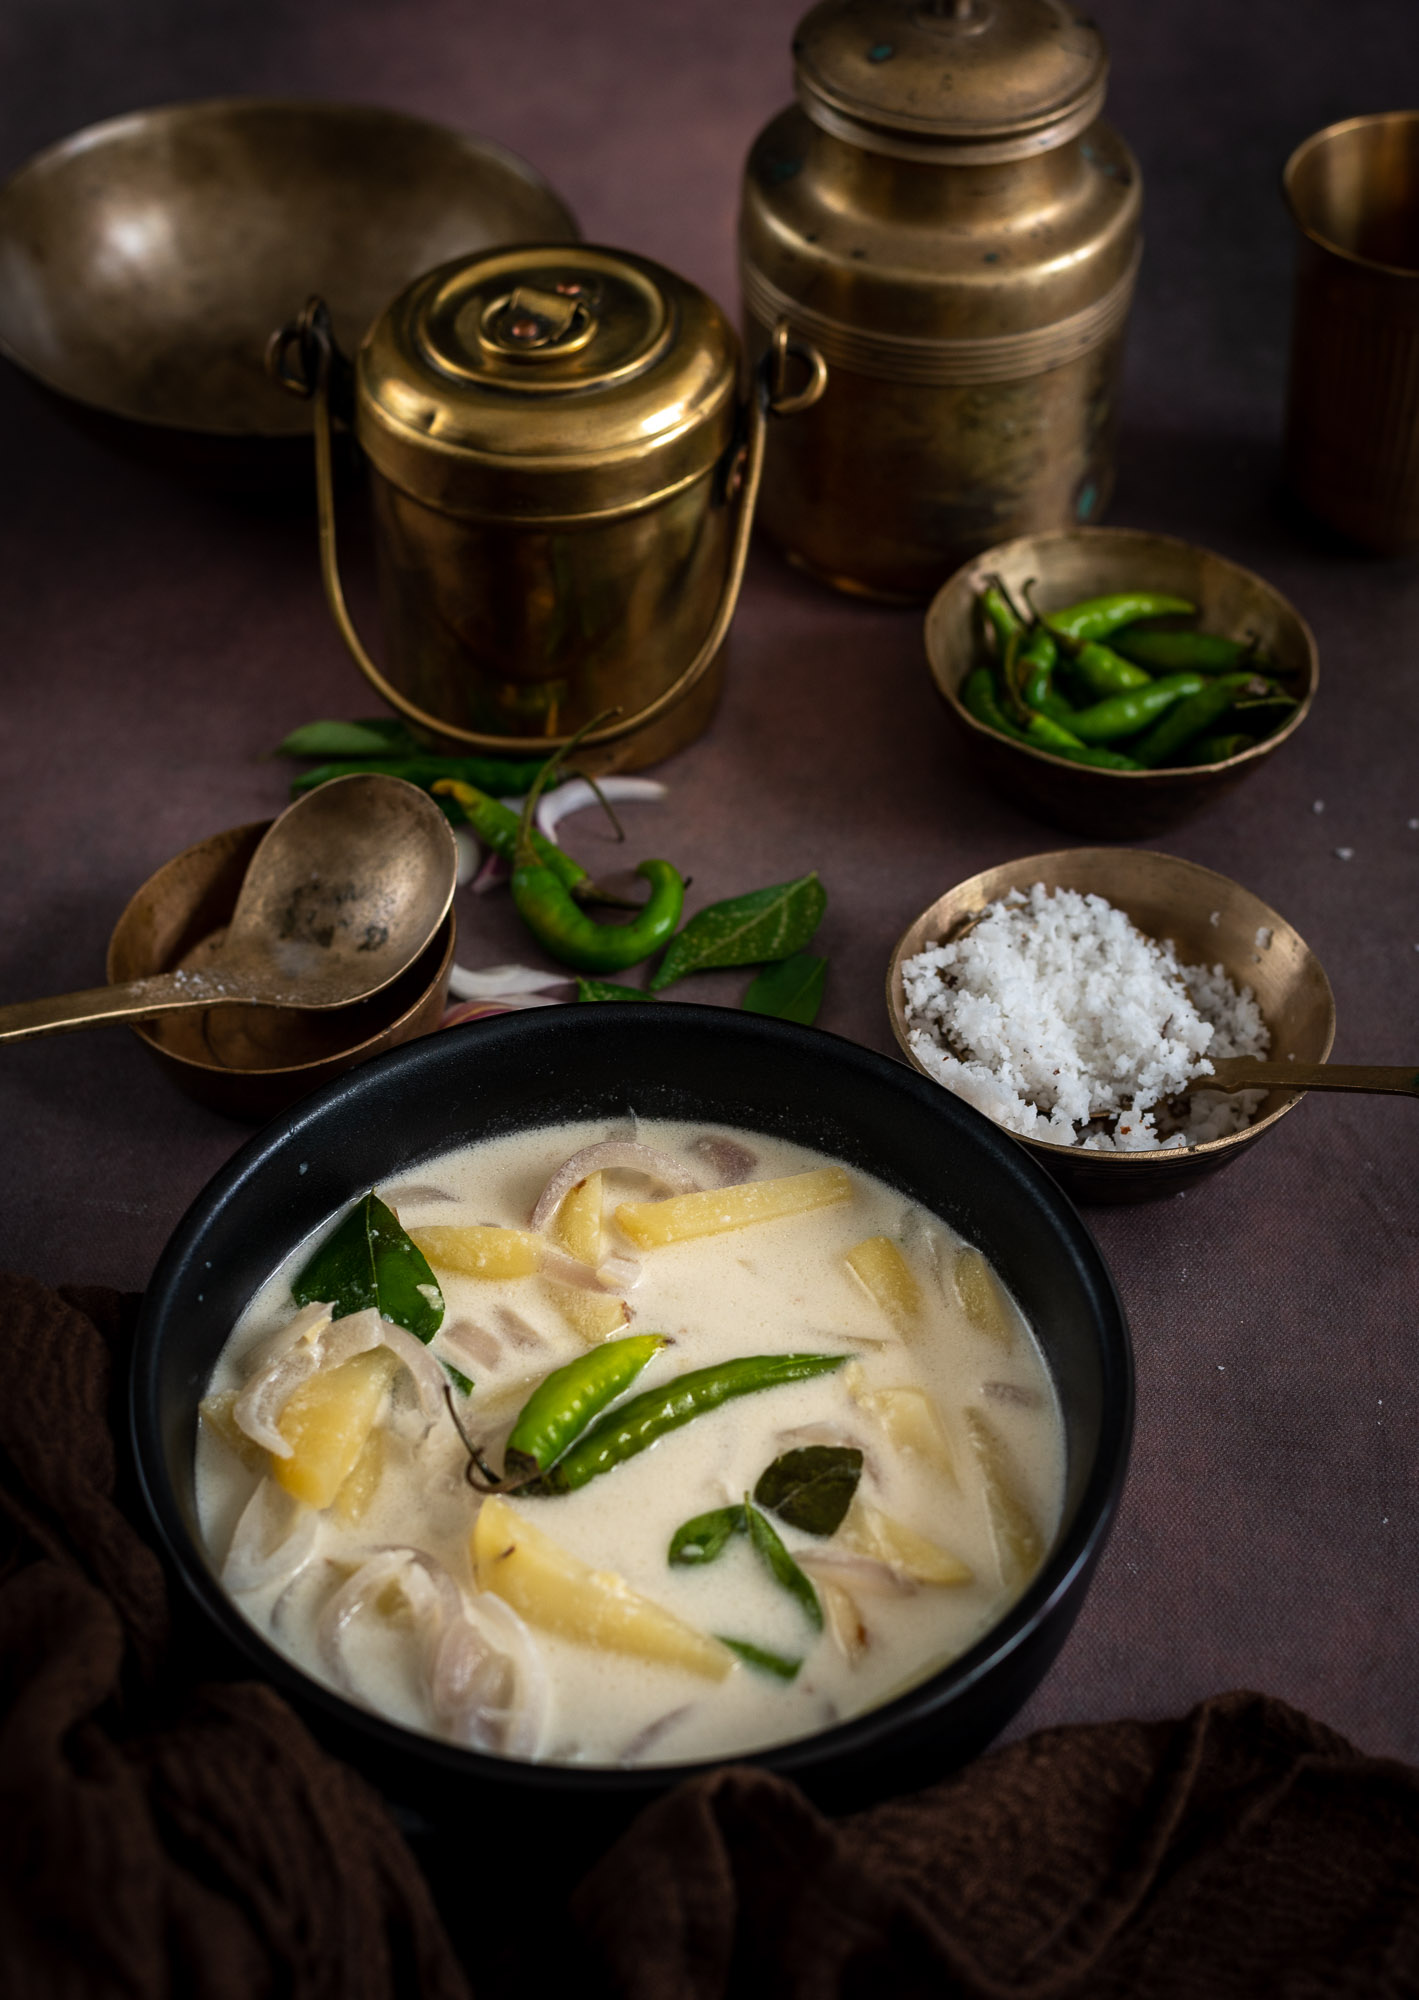
What is it about the food we taste while we are growing up that somehow, no matter how far we go, becomes the basis of our most important culinary memories? So it is for me and a very special coconut stew (or to be authentic, “ishtew”), which would be served at my friend Girija’s house. We met in the 8th grade and were neighbours, and her mother prepared wonderful Keralan fare. Her ishtew was the first I’d ever had, and fortunately for me, Girija learnt how to prepare it exactly the same way. I’m so delighted to share this love-filled, coconut milk-based deliciousness with you today, as part of the ongoing coconut series.

“Ishtew” is possibly the Malayalam-ised word for “stew”, which I suppose is what the British must have called this dish when they first encountered it. Or perhaps it’s the other way around, and it’s the English word that is derived from the Indian one? Made with vegetables or meat and warmly spiced, it is usually served alongside aapam, a kind of rice-and-coconut-milk pancake that is also known as hoppers. You can also have this coconut stew with rice, idly or dosa.

The only recipe I have for this dish is the one that Girija shared with me, and to me it’s absolutely the best one. As with any food item, there will be variations from kitchen to kitchen and community to community, and I know of many who prepare it in different ways. The core of this dish, as with most very popular and commonly consumed traditional ones, is that it is quite simple to prepare and uses ingredients that are easily available. Coconut, of course, is the star.

Girija and I were such tight friends as teenagers that it was a given that if I was not at my home, I could be found in hers, and vice versa. Decades later, we remain close, and now, whenever I visit her in Singapore, there is always a large bowl of coconut stew being prepared for me. The photo below is from a few years ago, from one of the times when she prepared it for me and I happened to have my camera on hand. Somehow, over the decades, it’s her stew – not even her mum’s – that is most vivid in my mind. We create new memories and reminisce about old ones whenever we enjoy a meal together, and I hope that this dish becomes a part of yours too.


Coconut Stew

(Serves 2-4 people)

50 grams onion

125 grams potato

20 grams ginger

A few curry leaves

2 teaspoons coconut oil

½ cup water

Salt to taste

One coconut


Cut the onion and potato into thick juliennes. Set aside.

This recipe requires two cups of fresh coconut milk – a first press cup, and a second press cup. Prepare the first press by grating the coconut flesh and grinding it in a blender with a ¼ cup of water. Strain this and set aside. The first press milk will be thick.

Now, repeat the process using the same grated coconut flesh – this will be the second press milk, and it will be thinner in comparison to the first press. Set aside.

Take the second press milk and boil the julienned potato and onion in it until they are soft. Ensure that you add the onions after the potatoes, as they cook faster. Add the ginger too. You can press down on the potatoes a little using a masher.

Once this is done, add the thick first press coconut milk to the pan. Add the curry leaves and coconut oil as well. Stir well. Your coconut stew is now ready to serve, and a plate of aapams, idlies or dosas will go perfectly with it.

This stew evokes for me one of my most cherished friendships, and so many childhood memories. Although Girija and I are in different countries at present, perhaps one of the many reasons she and her stew have been on my mind is because the lockdown this year has meant that meeting at home has become how most of us socialise now. Here in Chennai, my friends and I often discussed wanting to meet but felt it wasn’t safe to go out to restaurants like we had in the past. Instead, what we now do is something that we had quite rarely done in the past: meeting in each others’ homes over home-cooked meals. It’s so nice to get together this way, knowing that everyone is comfortable and care has been taken.

The lovely thing about old friendships is that even if we don’t see each other often, the bond is absolute. I truly feel relaxed and comfortable when I am with dear friends like Girija. It’s easy to put my feet up with her, and that is the kind of ease that can only come with knowing how much love is given and shared between oneself and another. That love speaks in the food that she cooks for me. We have an understanding that she cooks for me, and I cook for her. The “trade” for this Malayali coconut stew is always a Gujarati dal. Perhaps I will share that recipe some day soon too…

In the meanwhile, don’t forget to check out the previous posts in this coconut series: coconut podi and coconut oil. Stay tuned for a lovely Diwali dessert next weekend, to round the series off!

I’ve spoken often about how I love growing many of my own ingredients, whether at home or on our farm. I’m excited about sharing this new series about one that is a staple in so many dishes here, and which I’m fortunate to have a lovely homegrown supply of. That hero ingredient is the coconut, and over the next few weeks I’ll be sharing several recipes that star it. We have our own coconut trees in the backyard, and I am always looking for ways to put the yield to use. The coconut climber came by recently, to harvest the trees, and from this abundance of crop I’m making as many things as I can. For any recipe at all that calls for coconut, I use a fresh one. Even coconut milk is squeezed at home.

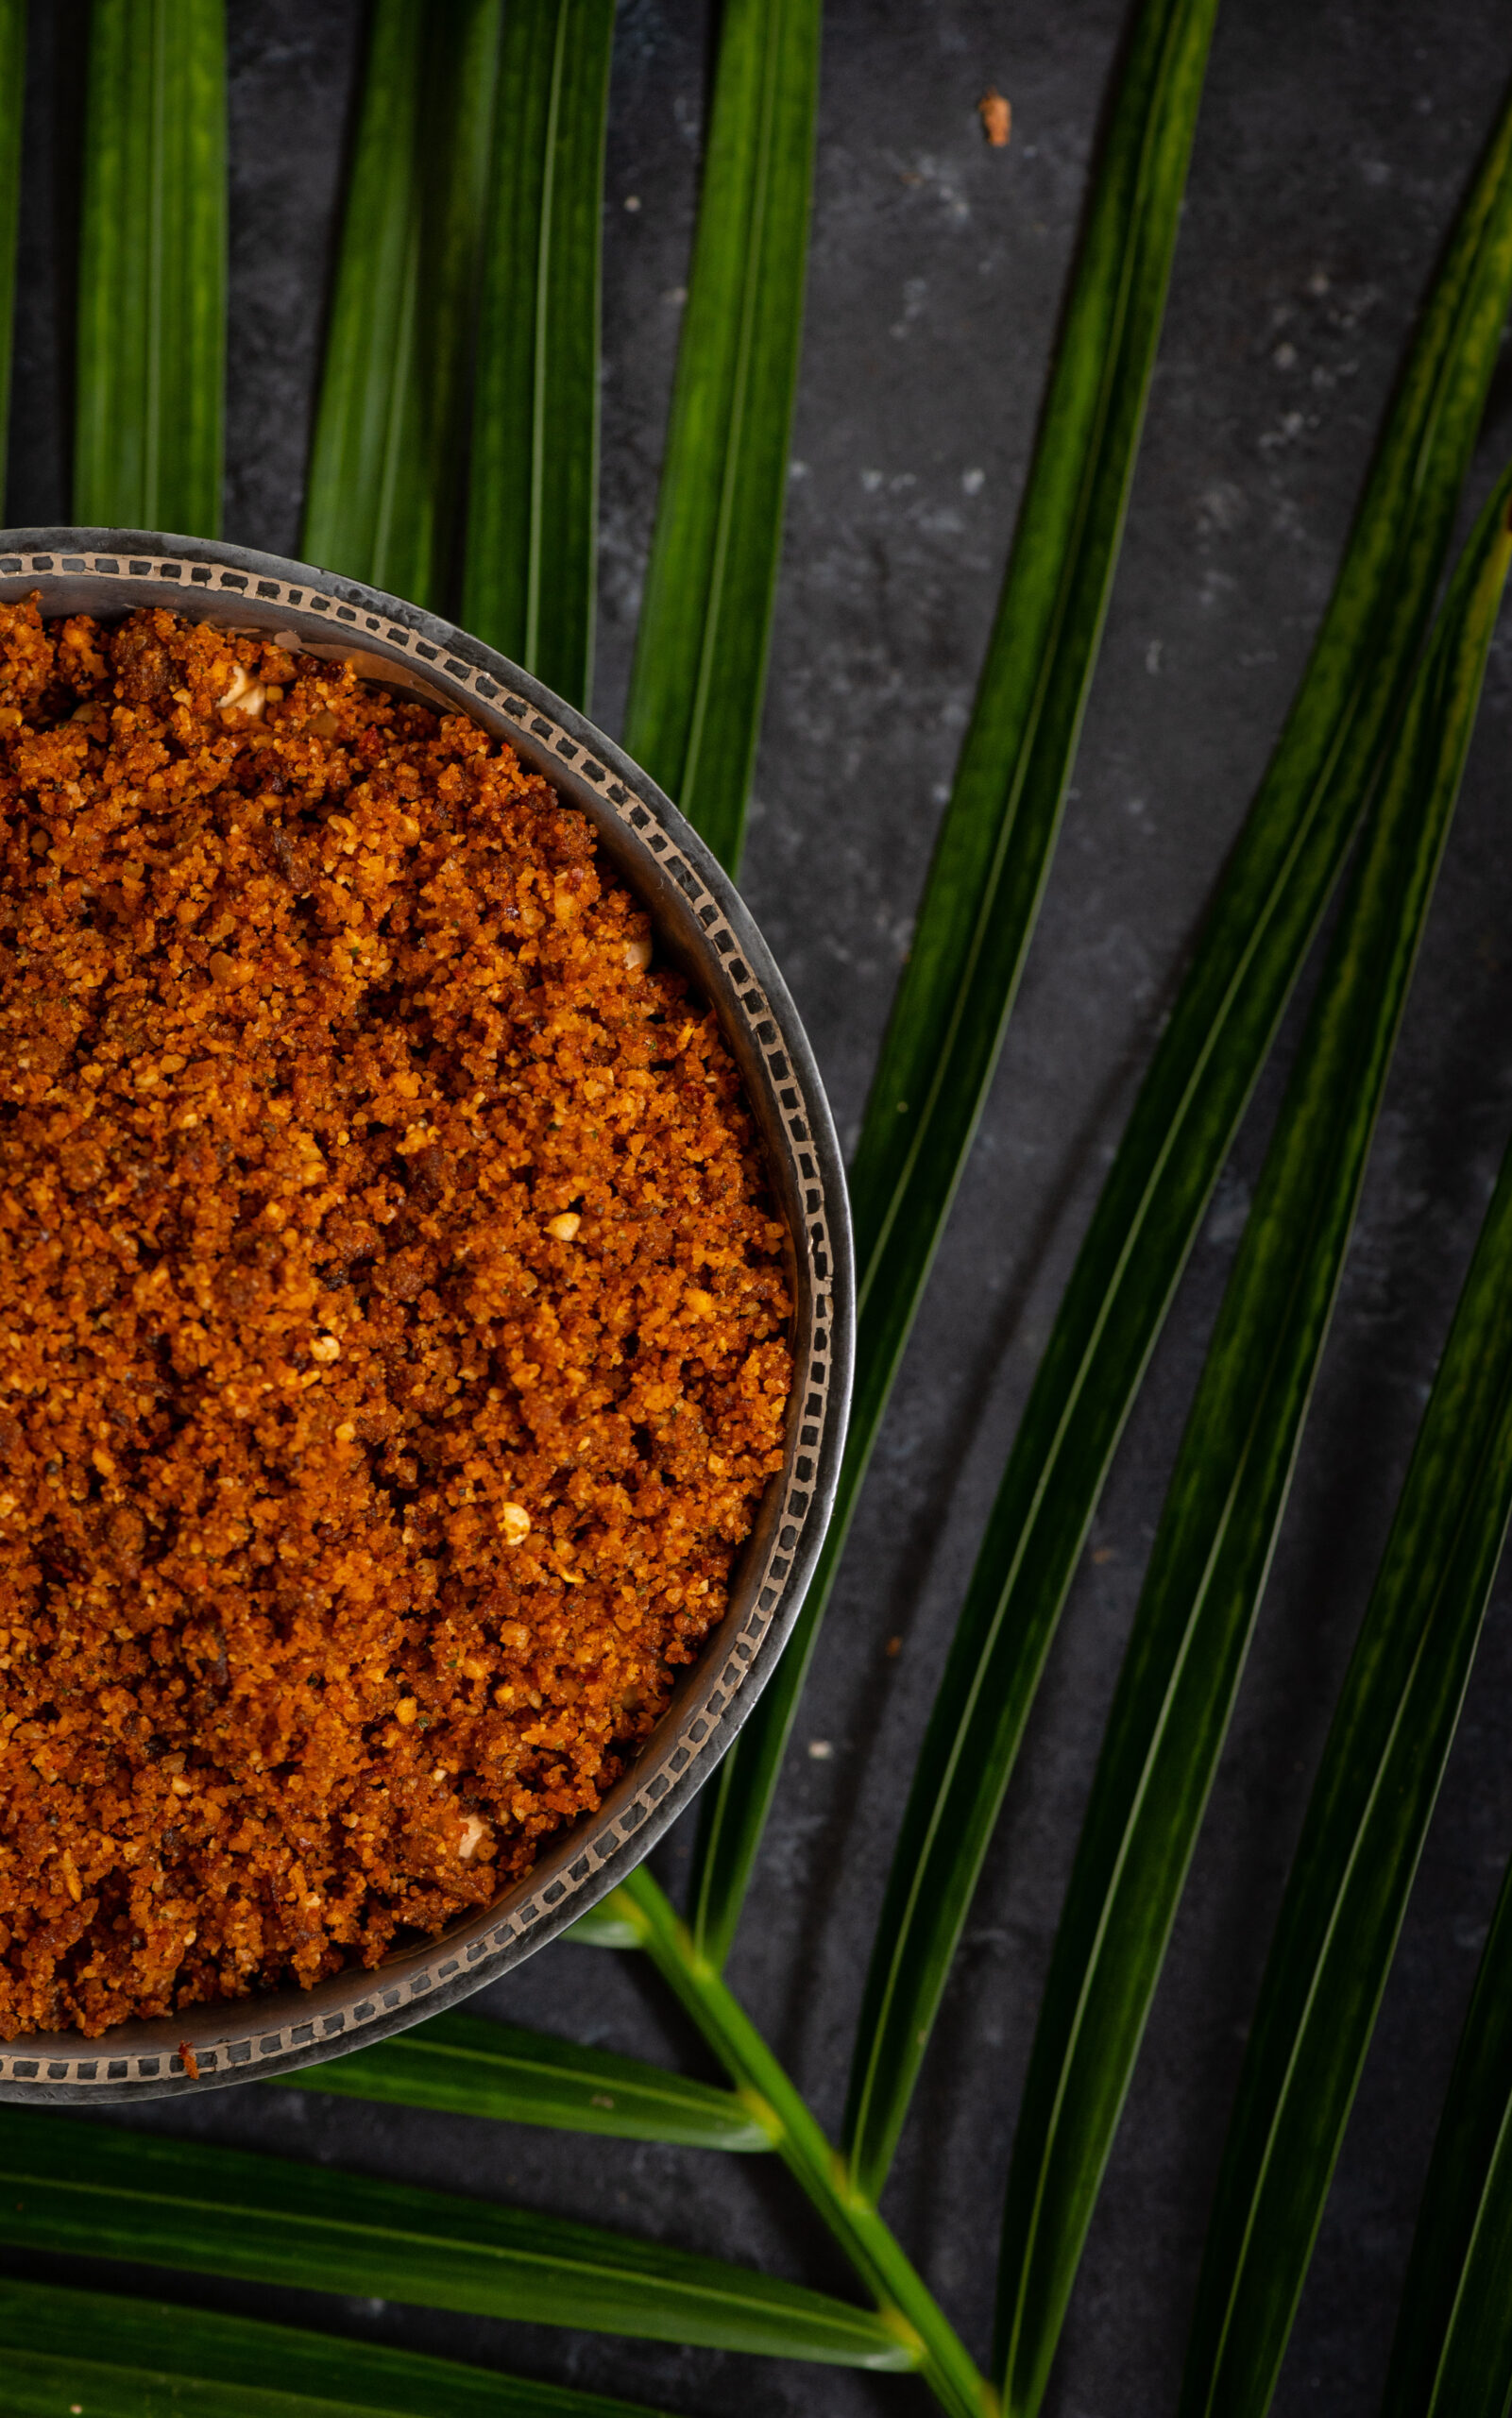
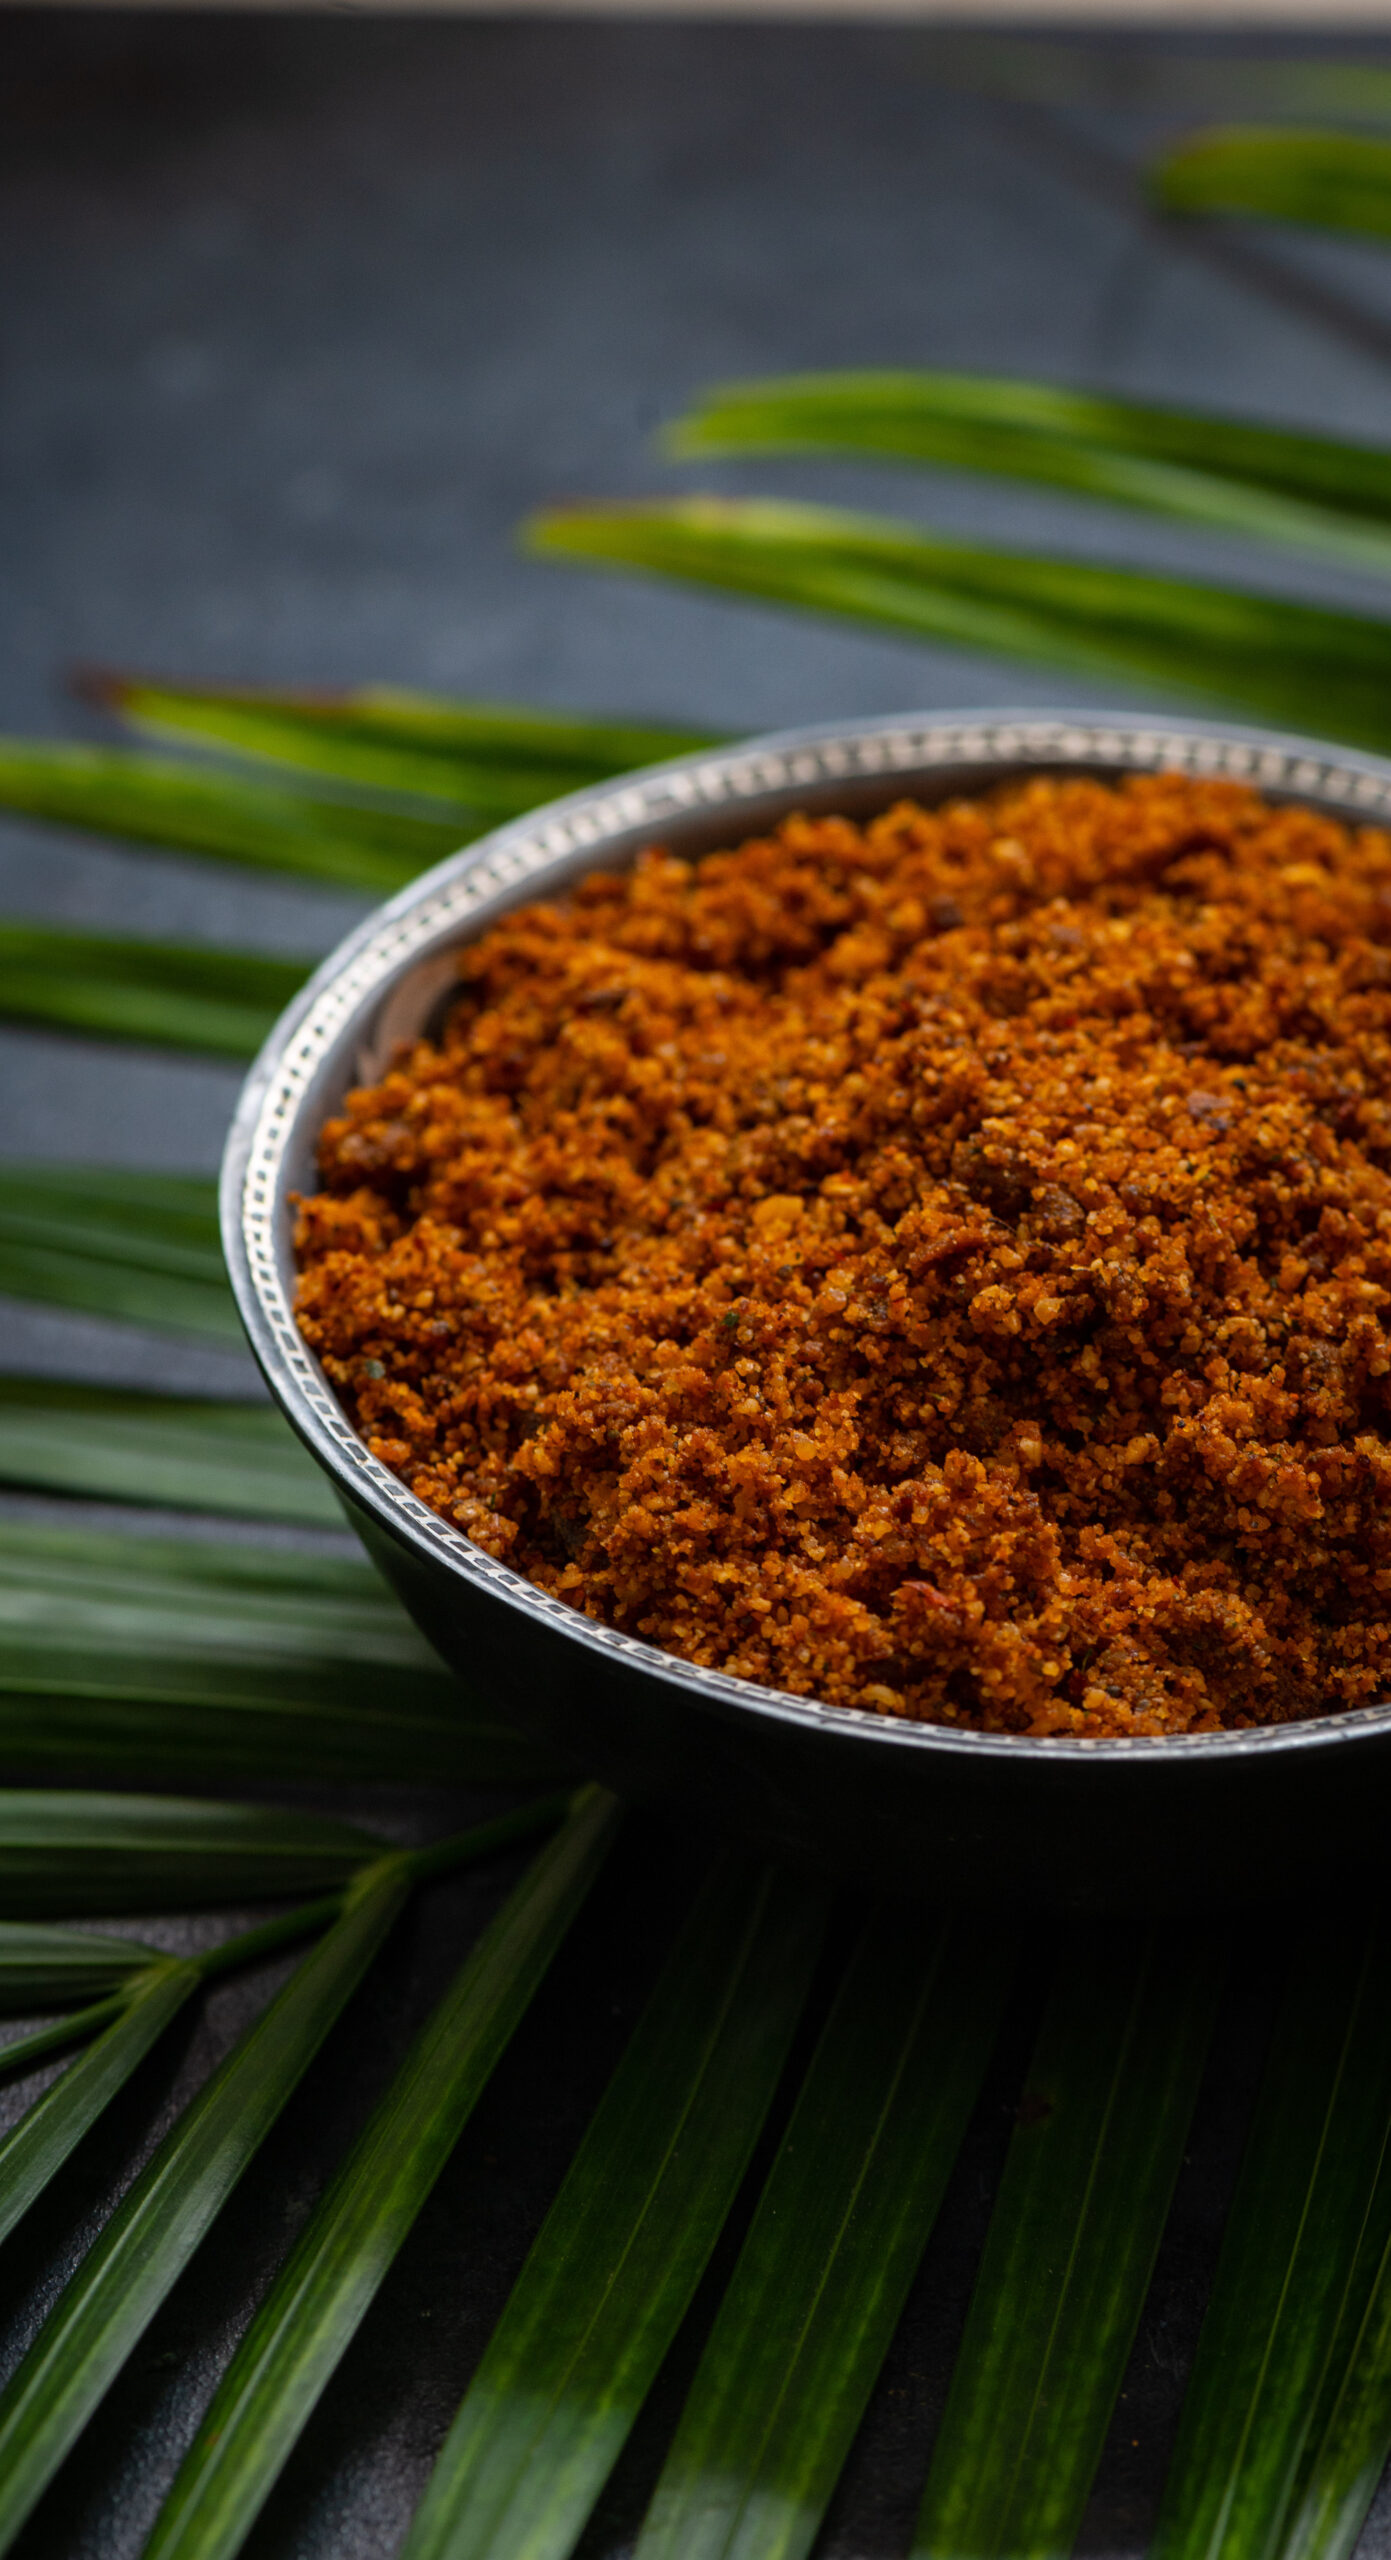
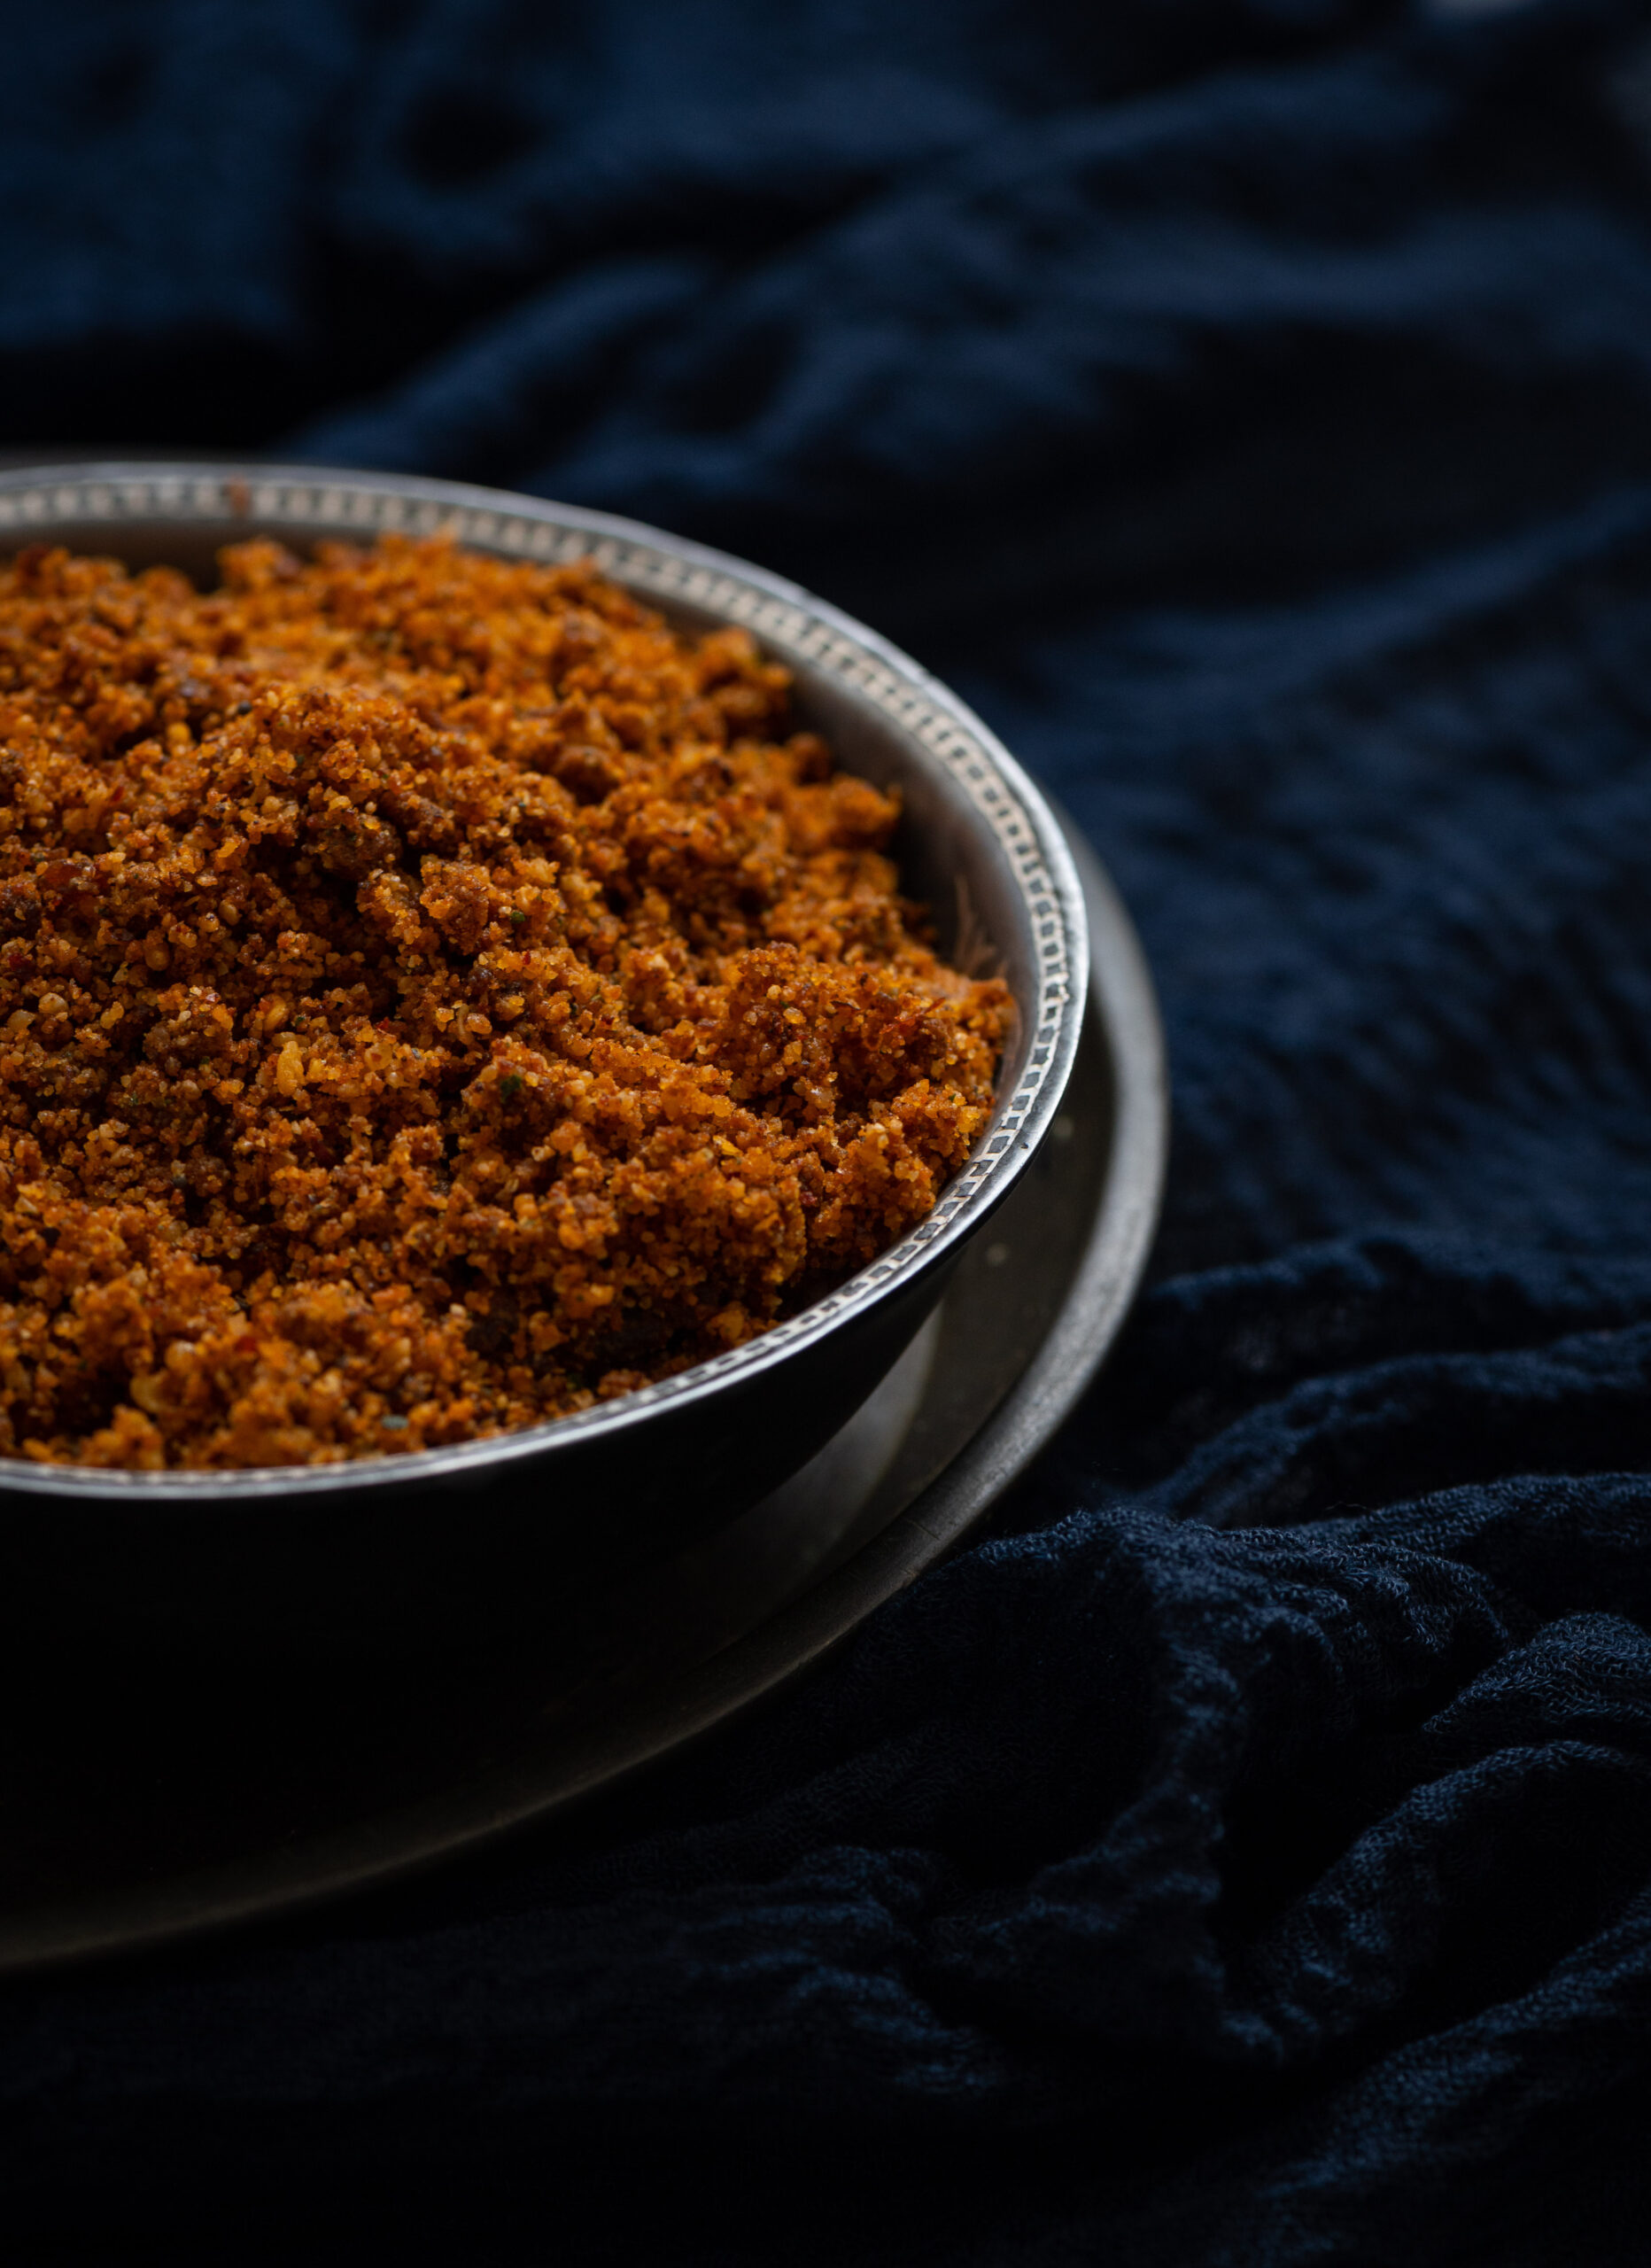
Kicking off this series is a condiment, coconut podi. Condiments are popular across Indian cuisines, and South India has a fair share. Dry podis (“podi” means “powder” in Tamil) and wet chutneys, as well as semi-wet, semi-dry variations are made using a variety of spices, dals and ingredients like curry leaves, raw mangoes and more. The idli podi, for instance, is made to last long. Coconut is not an ingredient that can be be kept for that long, so this one has a shorter shelf life. But I can almost guarantee that you’ll reach out so often for it that your stock won’t expire. If made correctly, this coconut podi remains fresh for around 3-4 weeks, stored at room temperature.

One of the reasons why I was especially keen to make a coconut condiment is that I personally love the Sri Lankan sambol, and wanted to see if I could make a vegetarian version of sorts. While sambol uses seafood, I feel this recipe is similar. Like sambol, this podi is not a finely-ground one, and has many tiny coconut pieces. My friend Akila also encouraged me to try this experiment out, and she was happy to share her own basic coconut podi recipe. I’m always aware that different communities and families have their own ways of making the same recipe.

With Akila’s recipe as a base, layered with things I learnt from other recipes I’ve tastes over the years, and finally through speaking with various families to retain some kind of local authenticity, I added my own touches: tamarind and curry leaves.

While I was growing up, we often ate some kind of podi mixed with ghee and rice. It was the perfect impromptu go-to in case the day was too busy to prepare a curry or a dal, and I still reach out for this for the same reason. This podi is also delicious with a bit of ghee and a dosa, or to add flavour to yoghurt. One of the great things about any podi is that it tends to be easy to carry to work, since it won’t cause a mess or have a strong smell in one’s lunch carrier, whereas a curry might.

It smells divine as it roasts, however. The morning that I made this coconut podi, using those freshly-harvested coconuts, my whole home was filled with the most beautiful aroma as it was being prepared. Everyone wanted to have it for breakfast, immediately, lured by that fragrance. I wonder if the same thing will happen in your home!

Coconut Podi

(Yield: 2 cups)

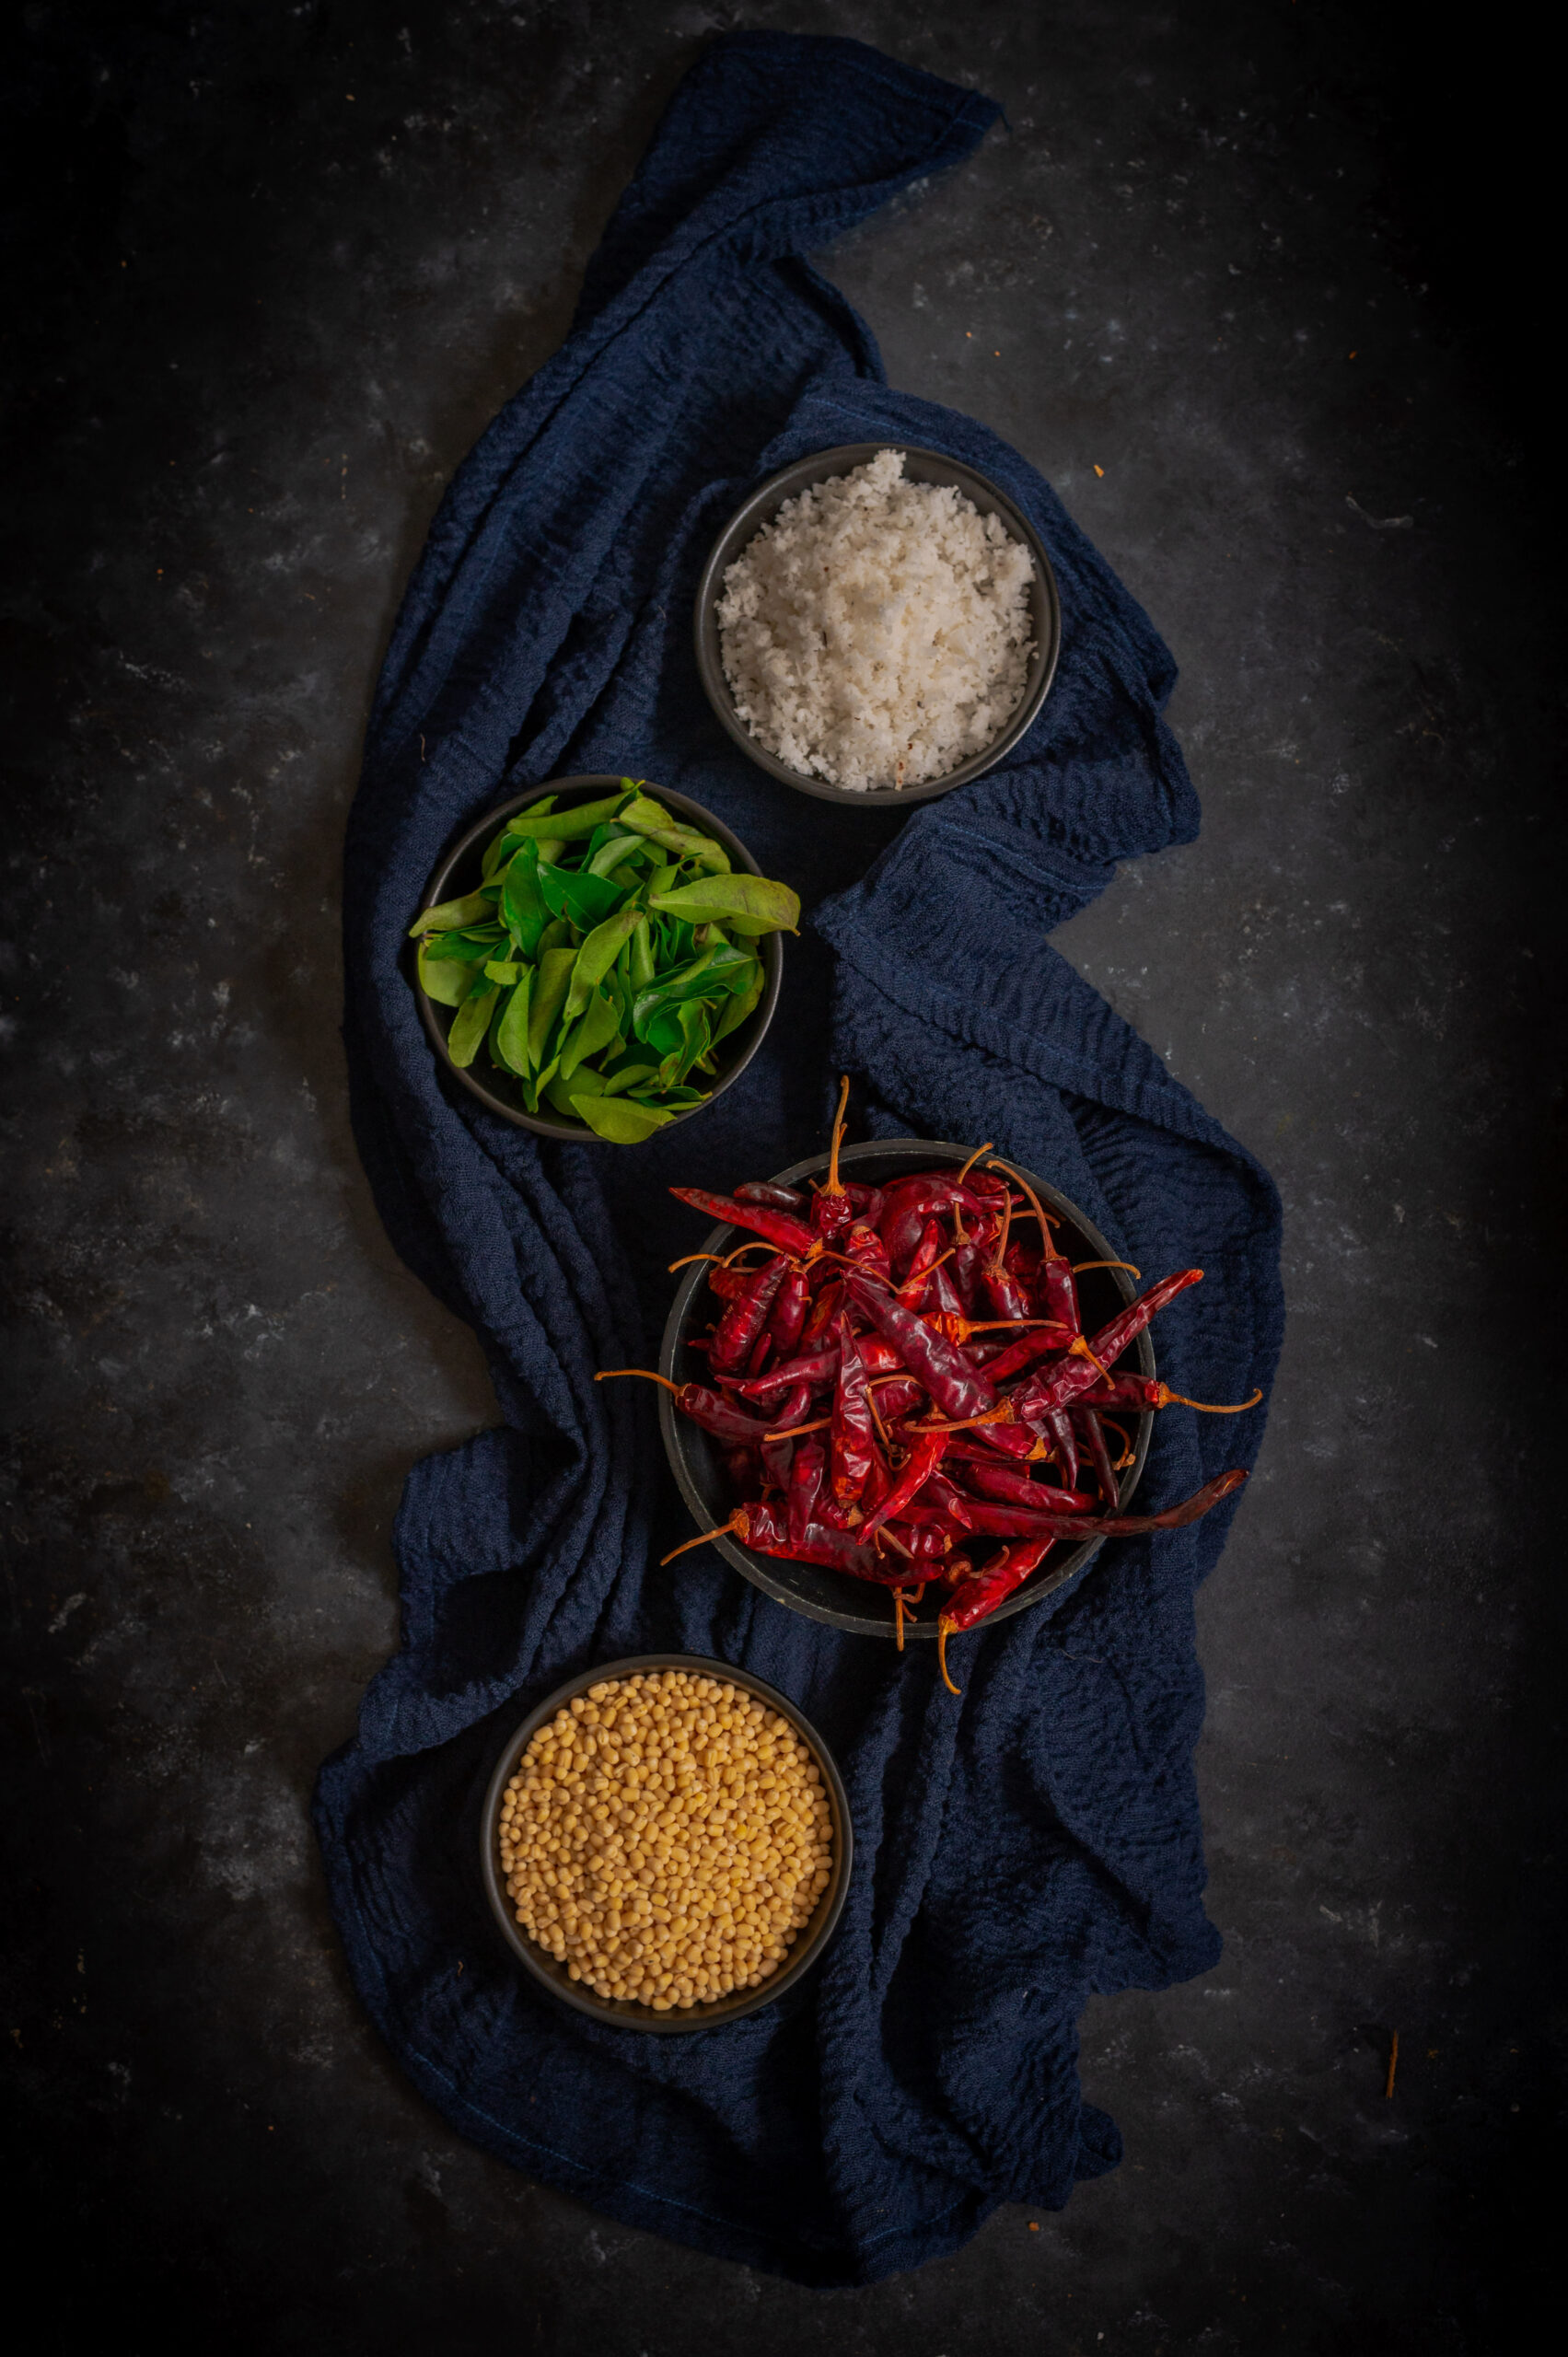
1 cup fresh coconut (shredded)

2 tablespoons urad dal

2 teaspoons sesame oil

¼ teaspoon asafoetida

2 -3 dry red chillies

¼ teaspoon mustard seeds

Salt to taste

6-8 curry leaves

1 marble-sized ball of tamarind


Add oil to a pan. Once it has heated, add the asafoetida, urad dal, mustard seeds, tamarind, red chillies and curry leaves.  Roast until the urad dal turns golden. Set aside.

In the same pan, dry-roast the coconut on a low flame, using just a few drops of oil, until it turns reddish in colour. Set aside.

Use a spoon to remove only the urad dal from the earlier mixture. Coarsely blend the remaining ingredients together, adding salt. Use a blender, and keep it at room temperature. Once a coarse blend is achieved, add the urad dal and blend everything again. The reason for adding the dal only at the end is so that there is a bit of crunch in the podi. You’ll see what I mean when you taste it!

You may also want to add just a pinch of jaggery to this recipe, if you’d like to enhance the flavour with some sweetness. That was an element I used in some trials of mine, and ultimately eliminated from my final version. If you’d like to, you can eliminate the curry leaves too. It all depends on what combination of spice, sweetness and tang (which comes in this case from tamarind) you most enjoy.

Store at room temperature, and enjoy with dosa, idly, rice, roti or any combination you prefer.

Over the next few weeks, I’ll be sharing more coconut-ty goodies, from anytime staples to festive specials. Please do subscribe to this blog, so that you’ll know as soon as a new post goes up! Don’t forget to let me know in the comments what you think of the recipes, too. As always, I love hearing from you about how you’ve translated my recipes to suit your own tastes!


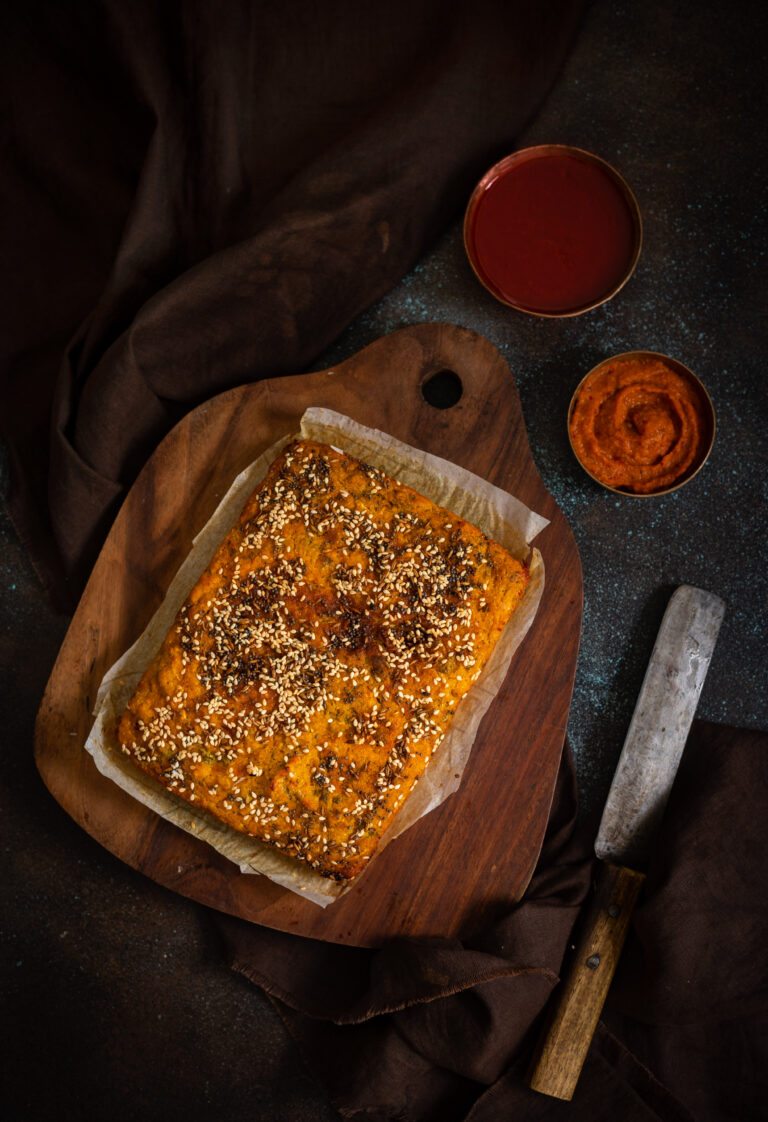
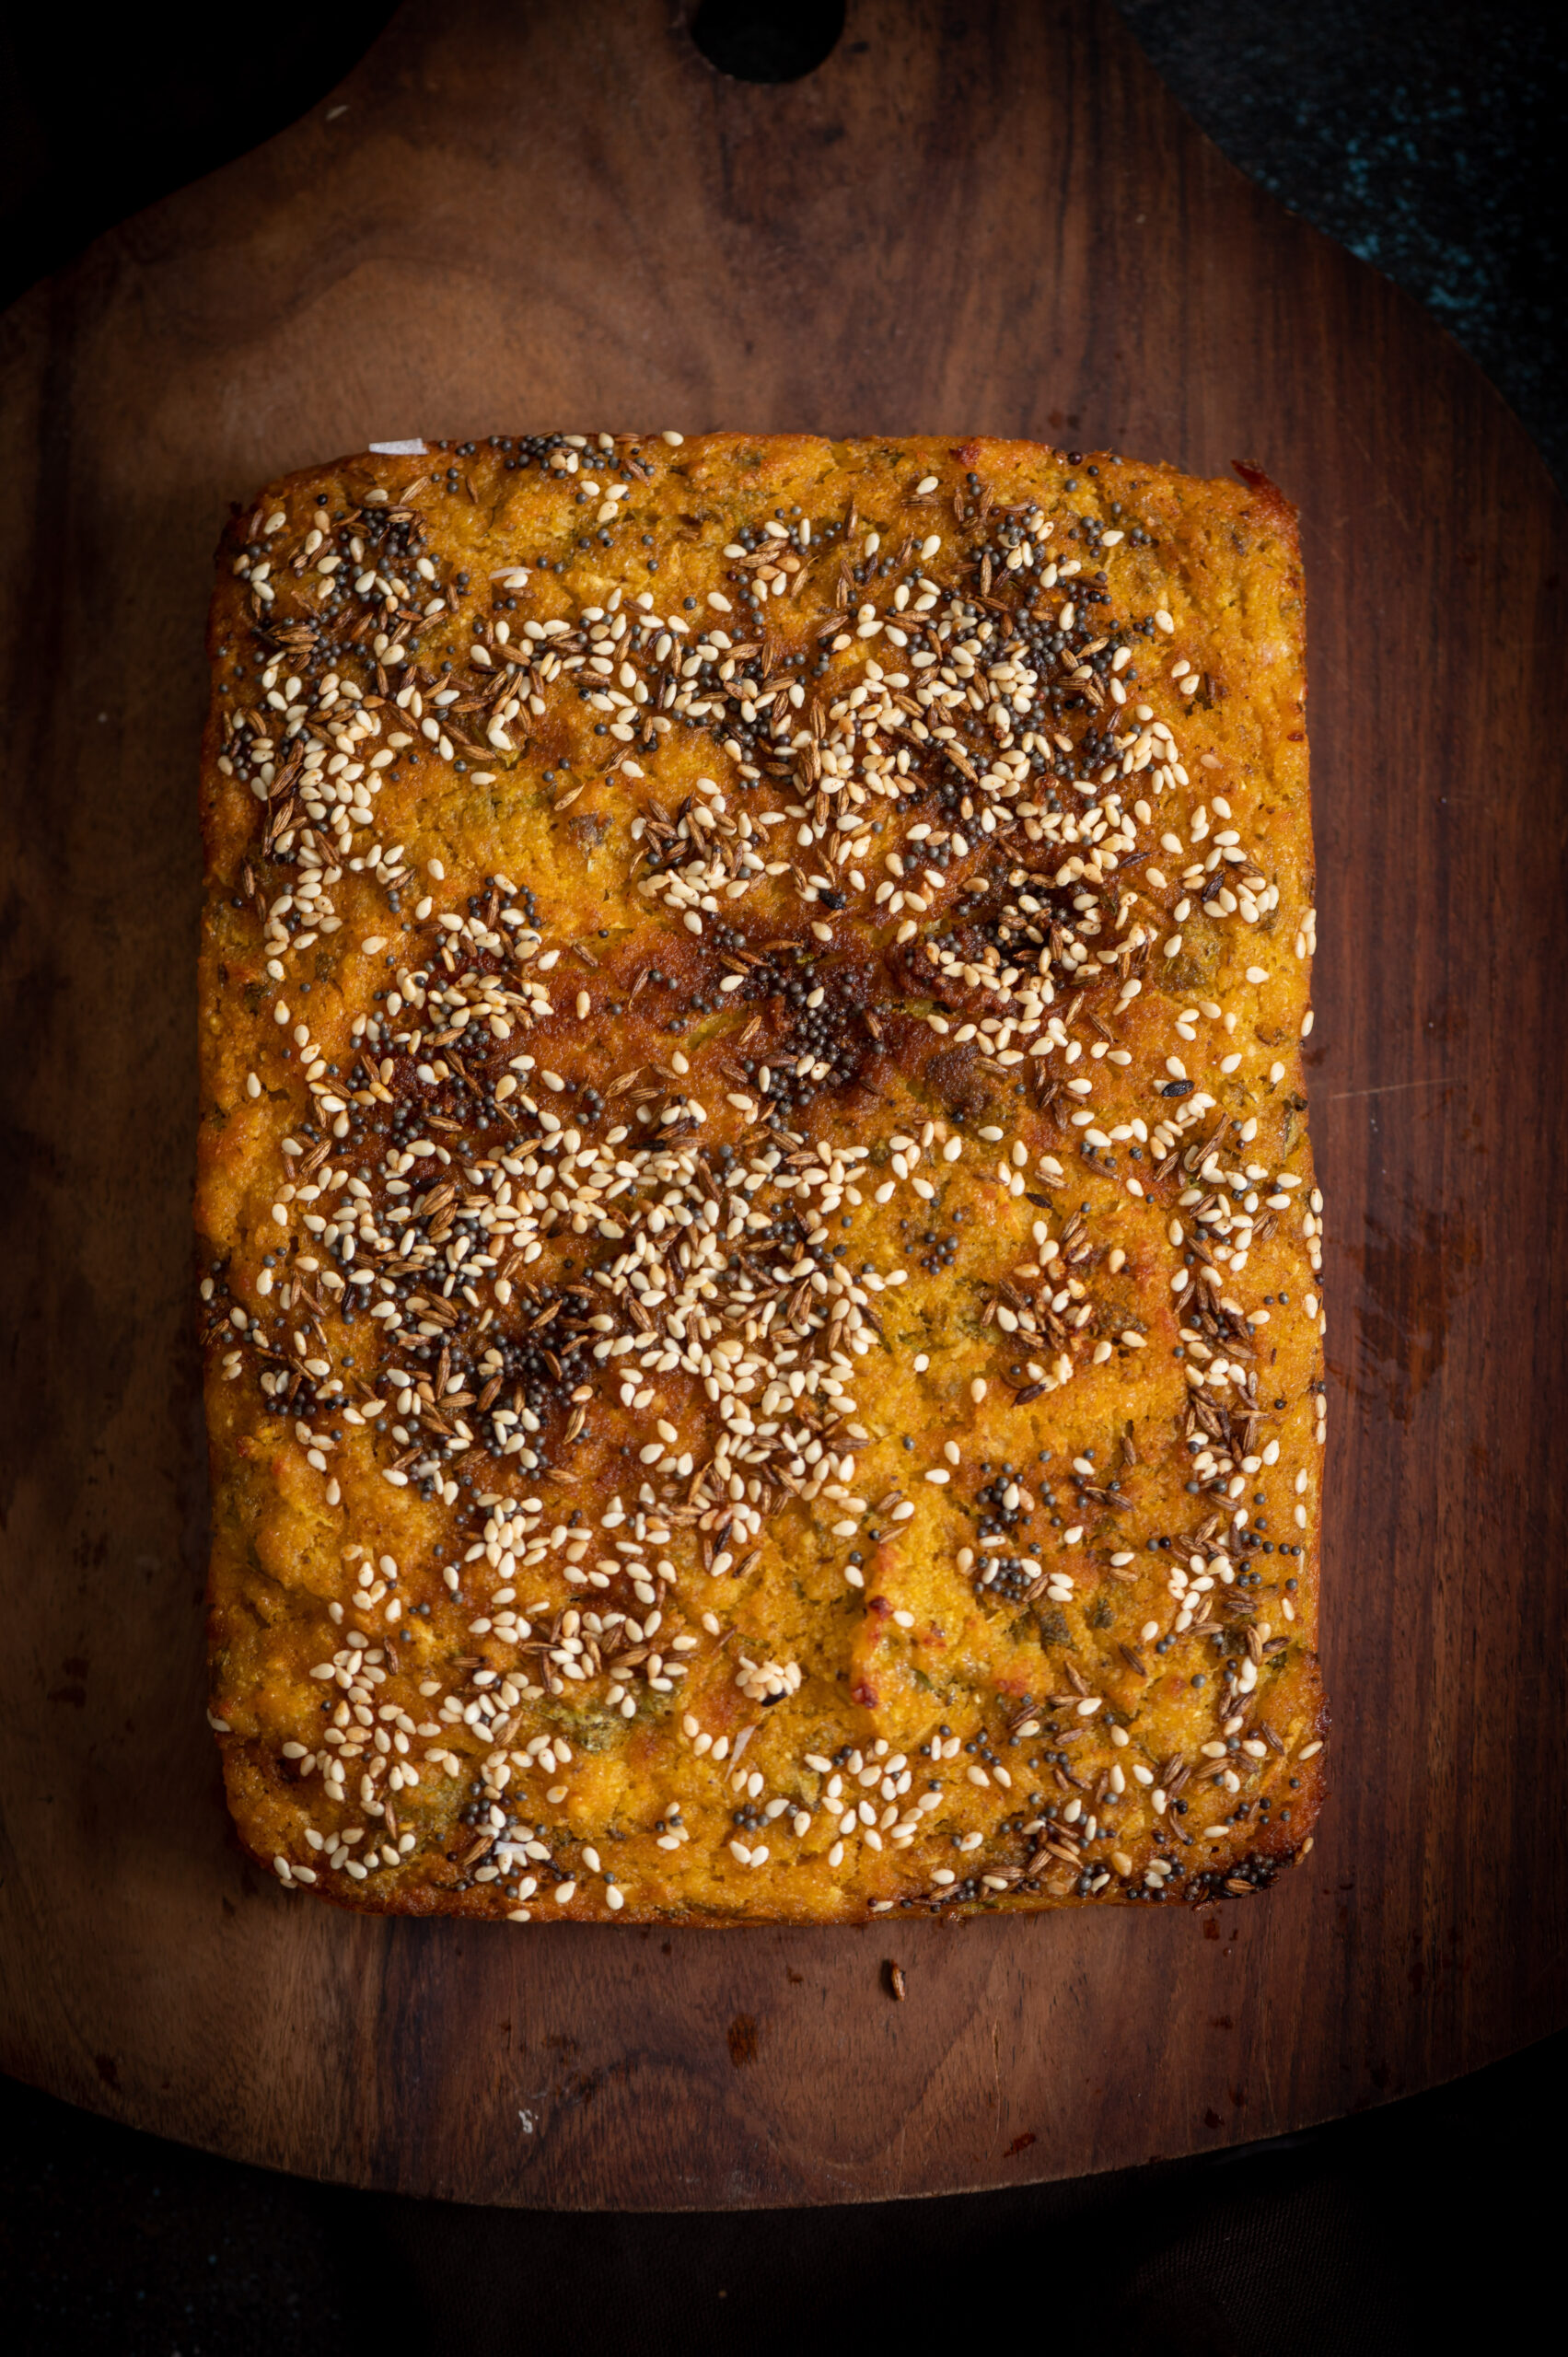
Handvo is a savoury cake made with lentils, from the Gujarati repertoire. Growing up, I would see it being made by my mother in the traditional way: in the backyard, she would prepare it in a heavy-bottomed brass pot placed on charcoal. She would pour the batter – containing lentils, rice and vegetables – into the vessel, then cover it with a heavy iron lid and let it cook. This was how it was made in most Gujarati homes back then. The funny thing is that although I enjoyed watching the elaborate process outside the kitchen, I found the dish itself quite boring. My mother had given herself a culinary education, learning baking and international cooking styles at a time when such classes were considered unusual, and as a child, I much preferred the foreign dishes she was learning to whip up. Over time, my appreciation for traditional cuisine blossomed, and this is why I am sharing the recipe for this handvo today, during the auspicious period of Navaratri.

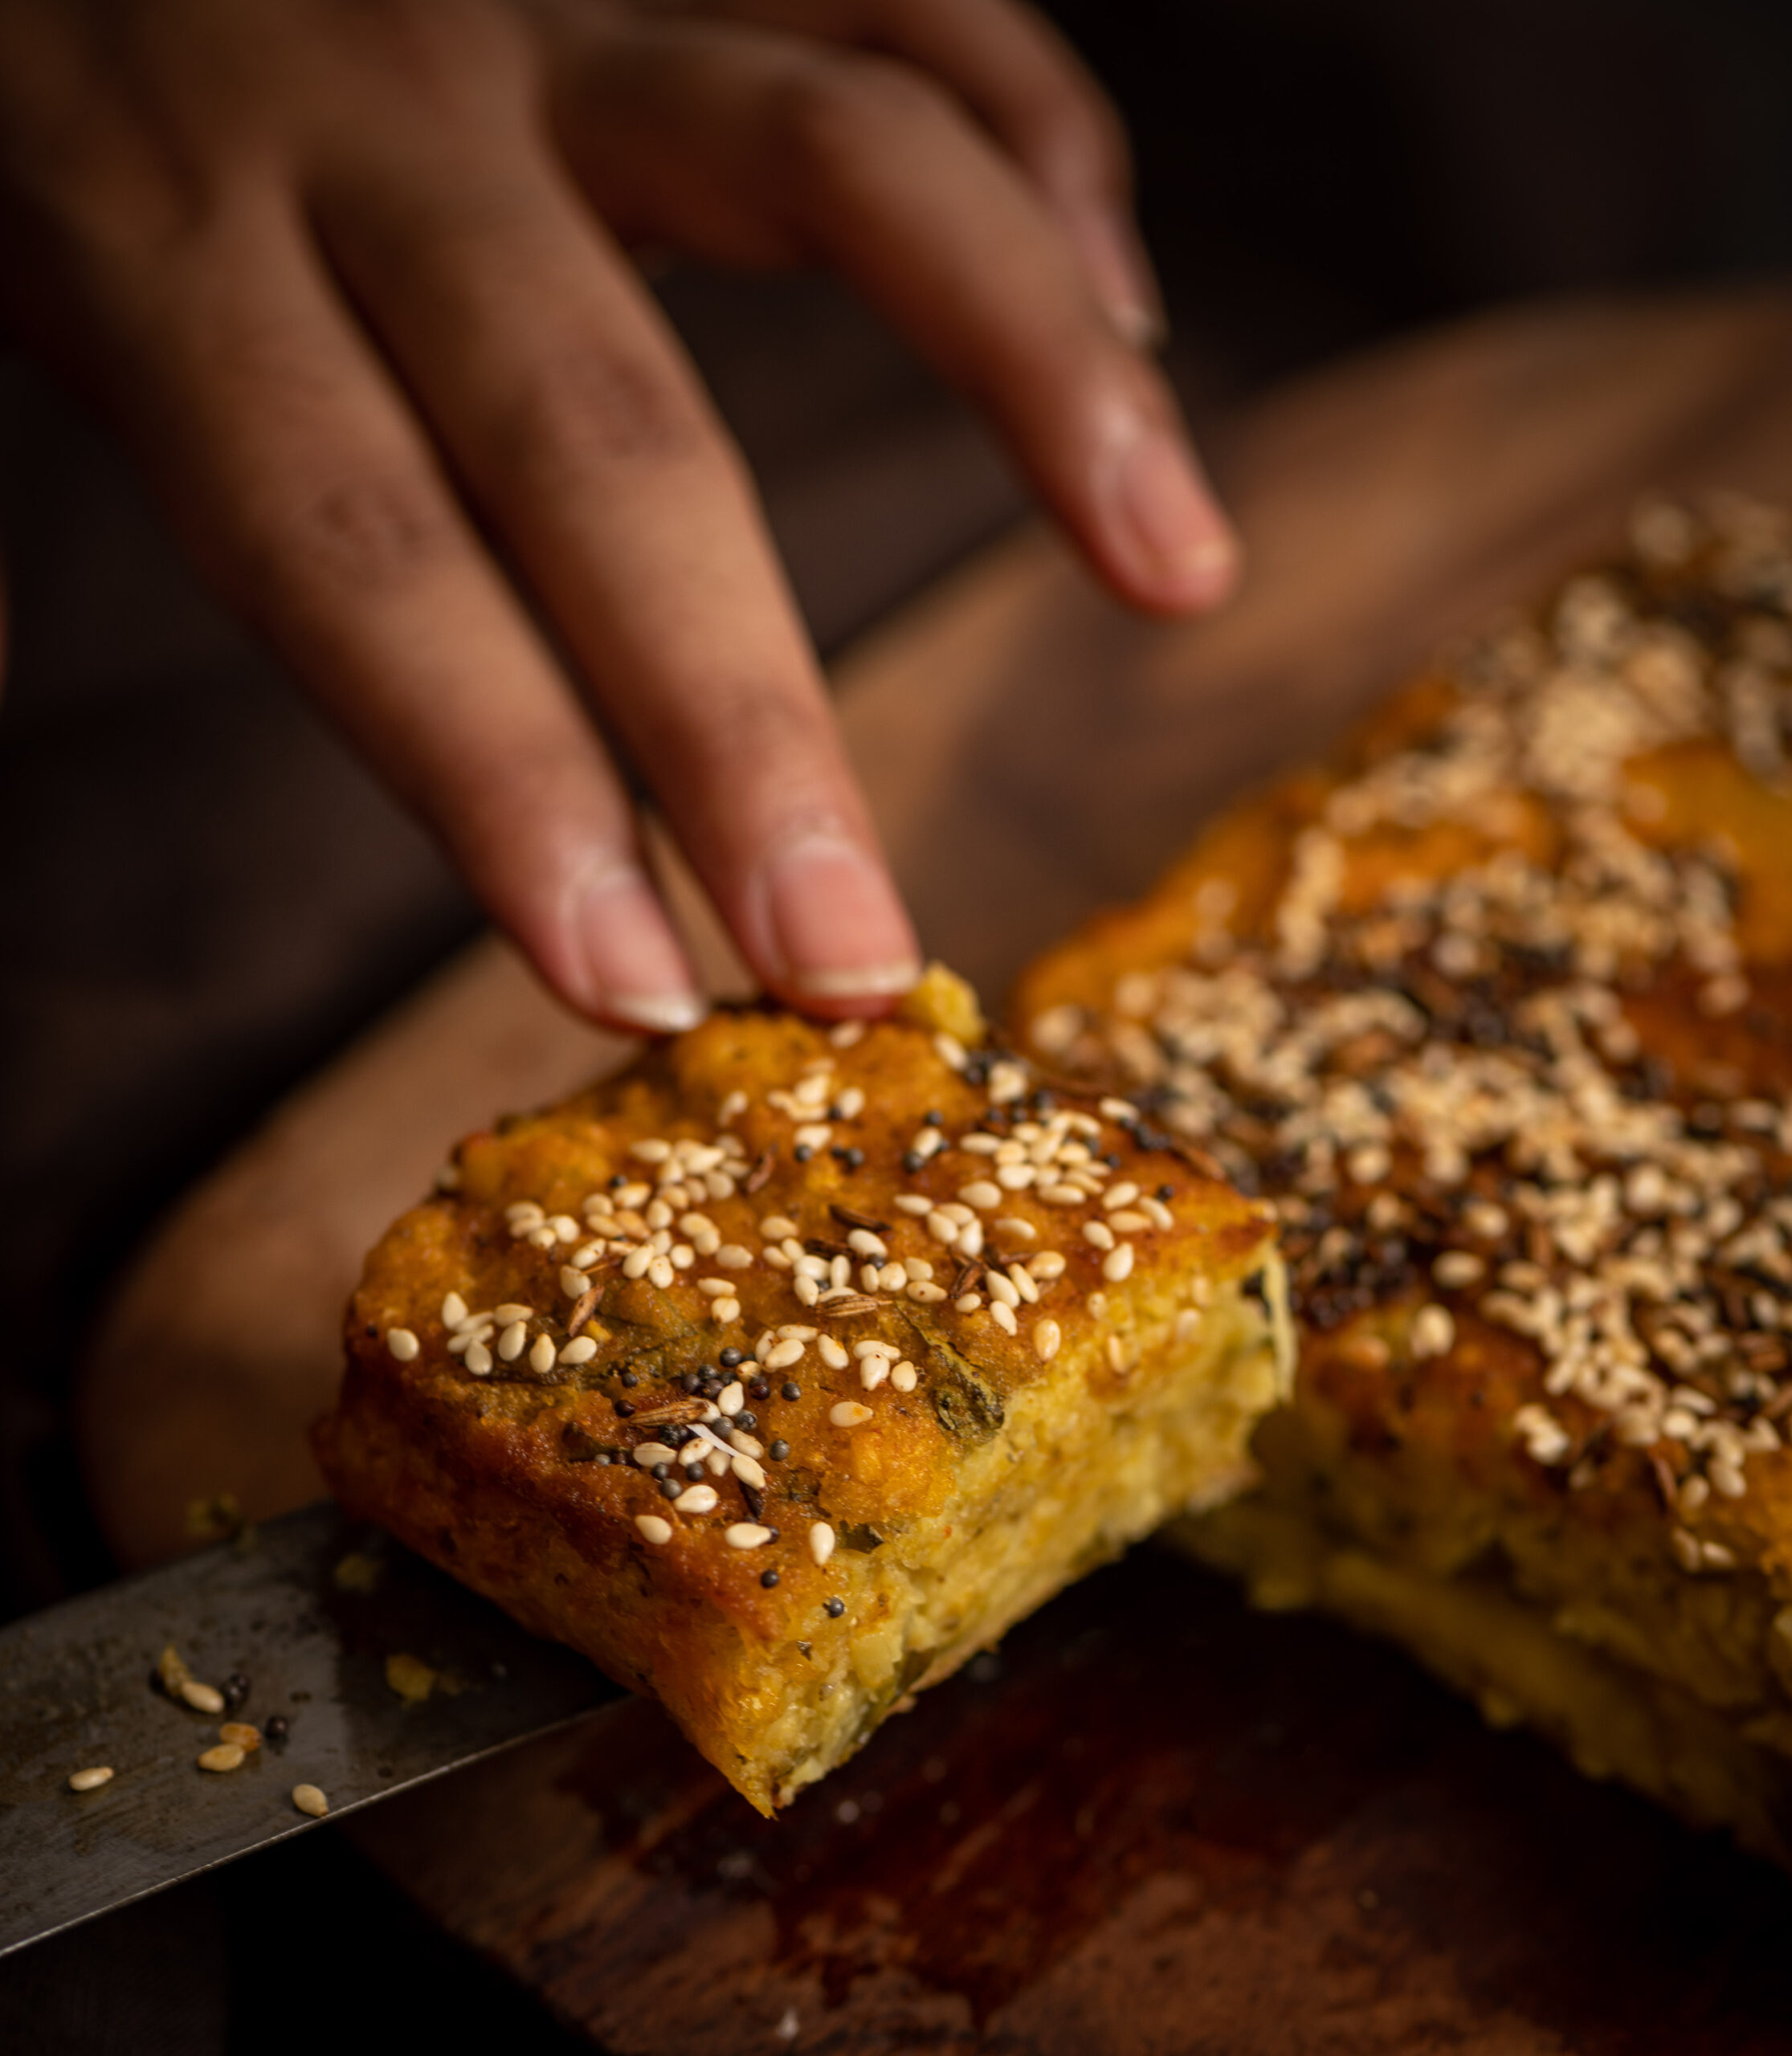
I recall that my mother would make a large pot of handvo only about once a month or so. She would bake it in the evening and we would have it fresh for dinner, with the leftovers becoming our breakfast. The baked handvo comes out looking like a cake in height and shape, with a beautiful crust on top, which as kids we prized and fought over (for a dish I had thought dull, that was my favourite part!). So our mother had to divide it equally amongst us all. During Navaratri, however, handvo became our nightly staple. There’s no real link to the festival itself, except that this was my mother’s go-to during that very busy time of year. Even though the process seemed complicated to a watching child, it is actually a simple one-pot meal. It’s also lovely to have during the monsoon season, which usually coincides with the festival.

For us, Navaratri meant having a quick dinner and then heading out for the garba, a wonderful celebration that my siblings and I looked forward to with great anticipation. In those days, those nine nights of dancing, feasting and prayer were one of the major highlights of the calendar for us Gujaratis in Chennai. No more than 50 to 70 families would get together over the nine nights, and some of these families we’d only get to meet annually, so it was a very special occasion for the whole community. I remember how the fathers would be responsible for blocking the hall and all the event logistics, while the mothers would make the prasad  for the Goddess. Each evening would begin with a prayer, followed by the distribution of prasad, and then… the moment most of us would be waiting for: the dancing would begin. First, the women would begin dancing in a circle. Then, the children would come in, and finally everyone else would join. There would be competitions too, and I would always win a prize.

Garbas and dandiya these days don’t bear much resemblance to how they used to be while I was growing up. Now, they are just another party. The ones in my memory were very graceful and traditional, with a sense of propriety. The whole family used to be involved in those days, and the occasion was about keeping our culture alive. Even the little love affairs and marriages that used to come out of these events all happened under the watch of the parents, and with their blessings. Everything was about a sense of family and community back then, and I cherish those memories. Something about the handvo, which always preceded those evenings of fun, invokes them for me.

There are many varieties of handvo, which use different kinds of grains and dals based on what is in season; warmer grains like bajra are used in winters, while lighter rice and millets are used in summers. Rice leftover from lunch is also used, as are seasonal vegetables, the most common of which is the bottle gourd.

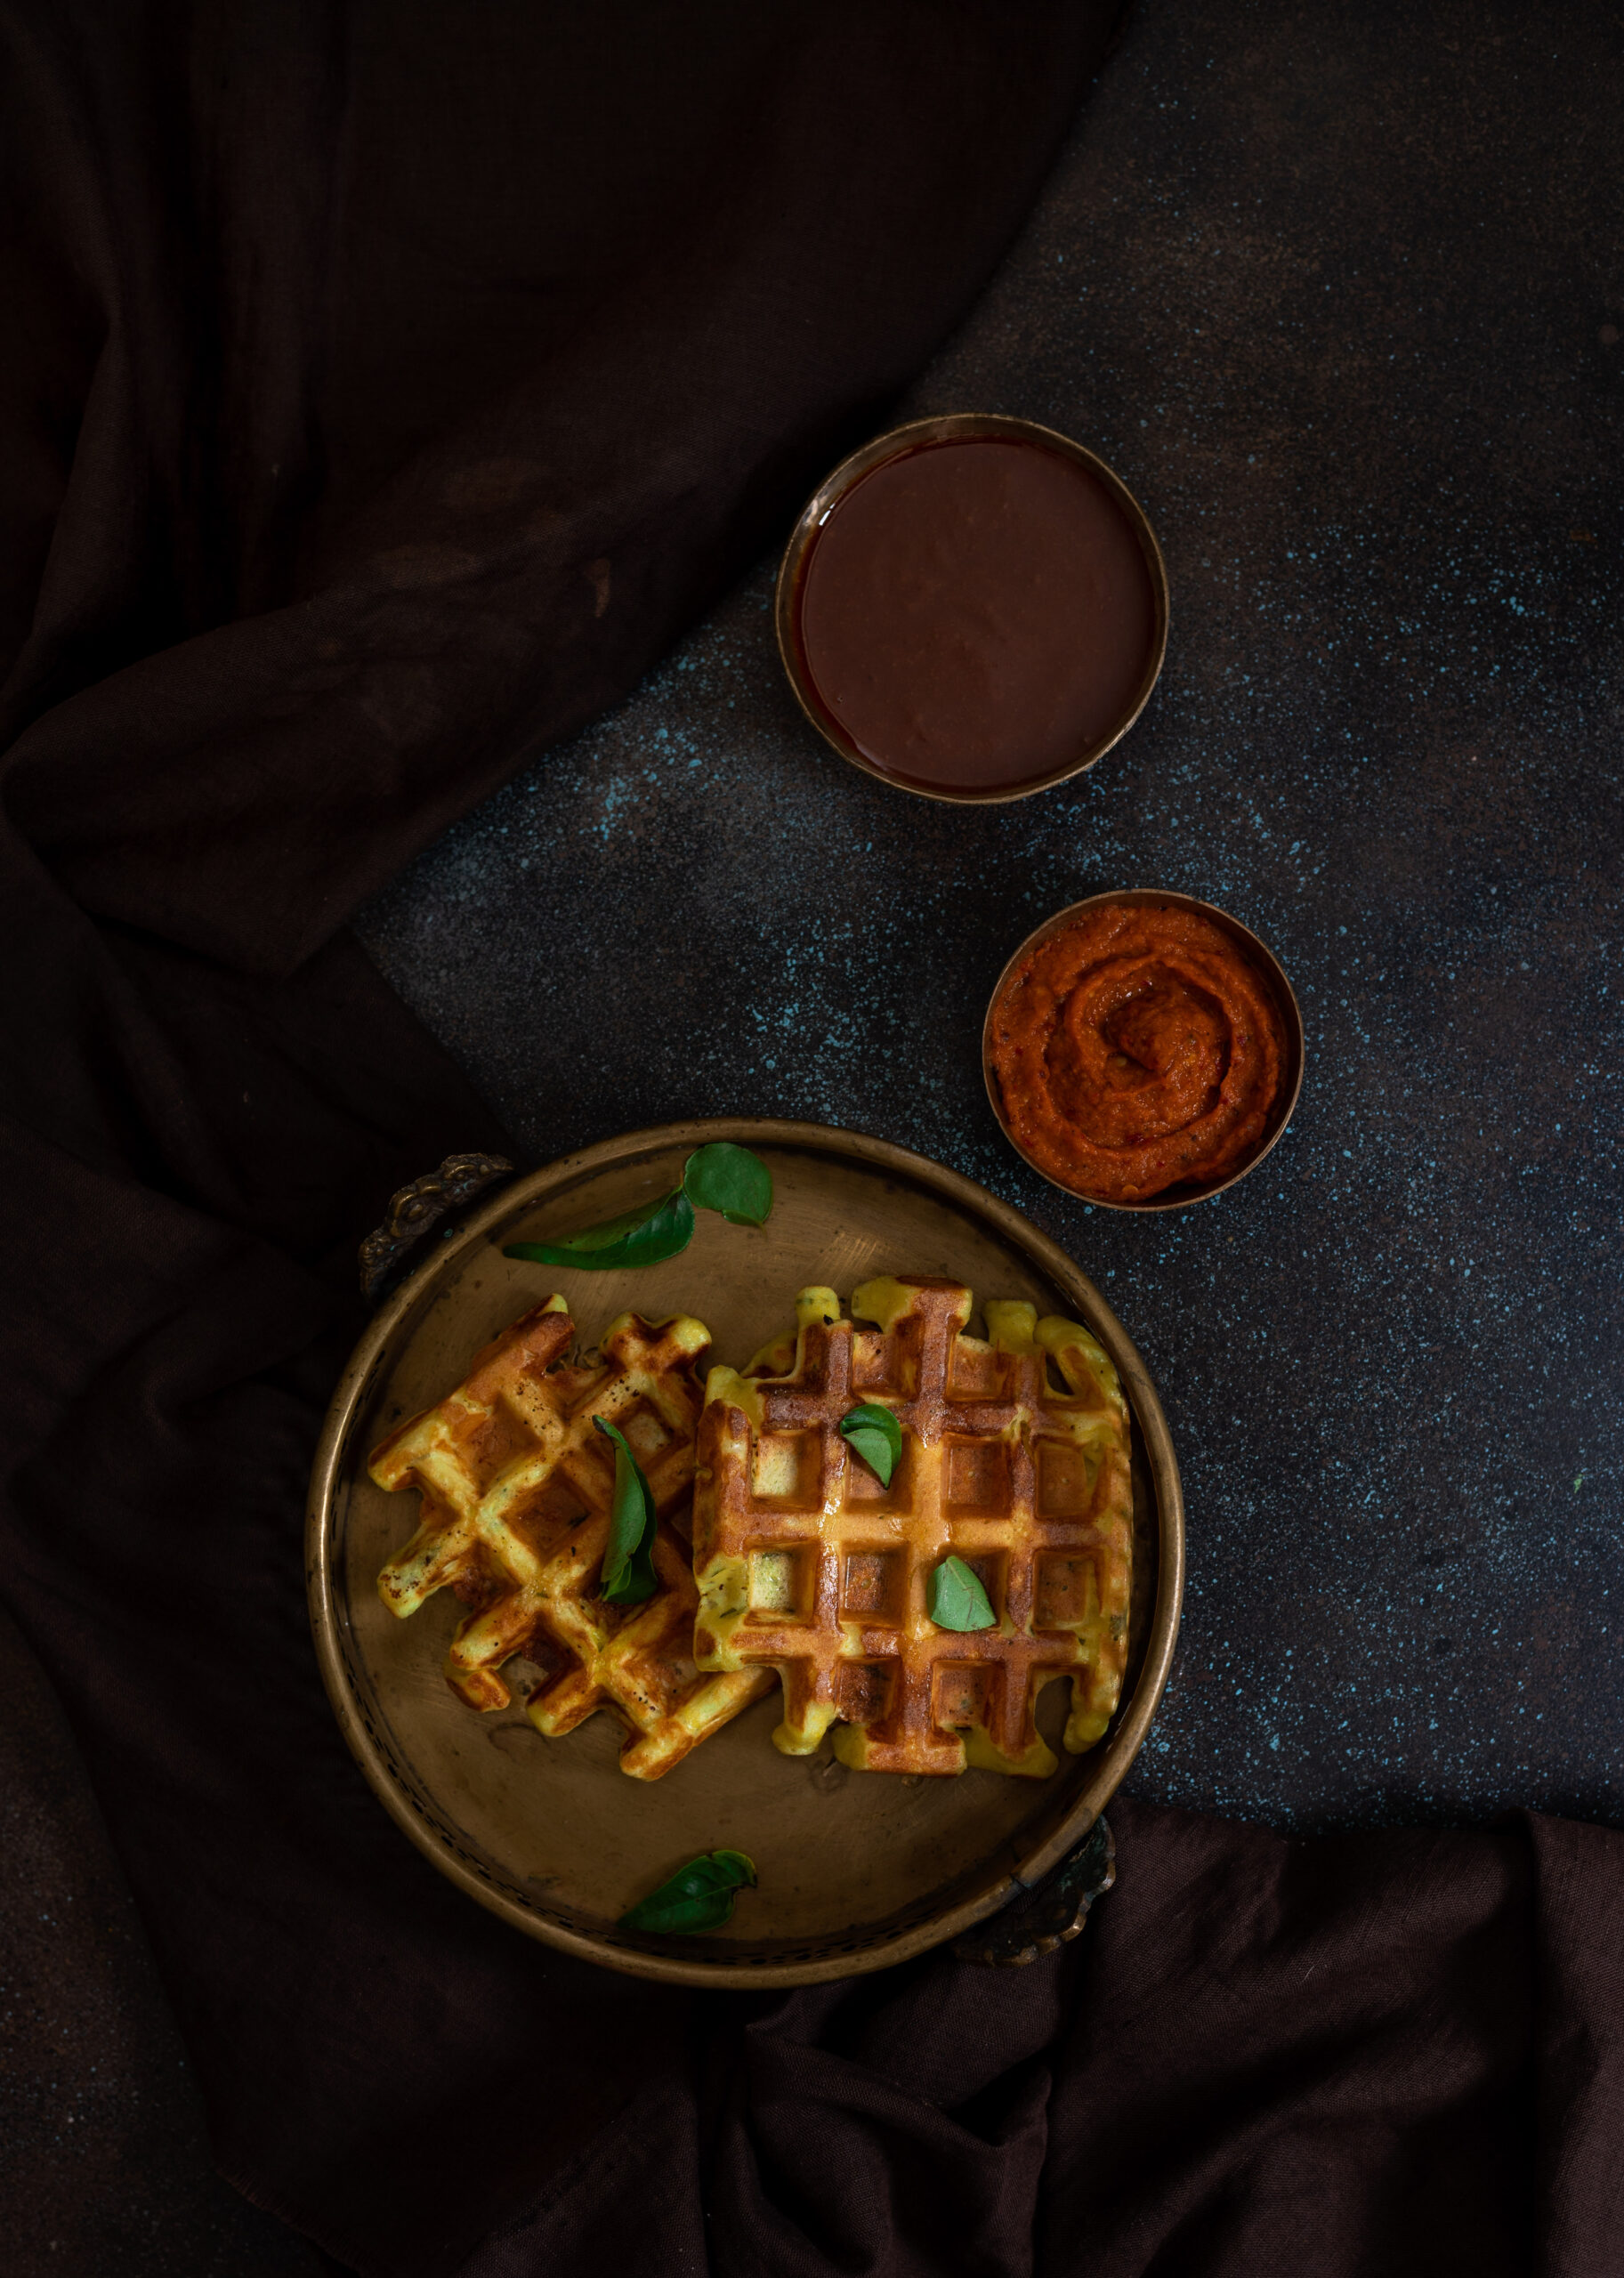
Over the years, the brass pot in the backyard kind of disappeared, and nowadays we see handvos being made in casseroles and glass containers that can be stuck in the oven. This year, I’m making my handvo the same way too, especially as I know that this is how most of you will try out this recipe. In fact, I felt tempted to modernise the method a step further and try out a batch in my waffle pan, as well! (If you’re one of those cooks who uses such tricks-of-the-eye to convince your fussy eaters at home to eat simply and well, this may be something to try out too!)

There are a few other keynotes that make my re:store style handvo distinct from the traditional kind. Firstly, I’ve eliminated the usage of rice, so as to ensure that the dish is carb-free. Most importantly, rather than bake a single large cake-like handvo and cut it into pieces, I’ve experimented with preparing individual portions, similar to dosas or crepes. I find that making the handvo in this method makes the cooking process easier and faster. The fermenting and soaking still require a day’s advance planning (unless you use readymade dal powders), but the actually frying up happens much faster than baking.

Handvo

(Yield: For 3-4 people)

1 cup toor dal

¼ cup urad dal

¼ cup moong dal

½ cup channa dal

¼ cup dahi + 2 teaspoons lemon juice

¾ cup grated bottle gourd (+ optional methi leaves)

¼ cup coriander leaves

2 teaspoons oil

¼ teaspoon turmeric

½ teaspoon green chili paste

½ teaspoon ginger paste

1 teaspoon sugar

Salt to taste


Tempering:

2 teaspoons oil

½ teaspoon mustard seeds

½ teaspoon sesame seeds

¼ teaspoon cumin seeds

½ teaspoon carom seeds

A few curry leaves


Clean the dals and soak them in sufficient water for 5-6 hours.

After this, remove the water and blend the dals coarsely. Add the dahi and lemon juice. Allow to rest for 3-5 hours.

Once the soaking and fermentation processes are completed, add the vegetable of your choice and the remaining spices to the batter. While I’ve made the batter from scratch, you may wish to use readymade dal powders instead.

Heat the oil in a flat pan. Add all the different seeds. Wait till they splutter and then add some curry leaves. Immediately, add 2 cups of the batter. Spread it a little, as you would a thick dosa or uthappam, then lower the flame. Cover the pan with a lid. Allow to cook for about 5-7 minutes. Now open the lid, and be careful as it would have trapped a lot of steam. Flip the handvo. Repeat the same process on this side.

After the handvo cooks and turns golden on both sides, remove it from the pan and make the next one. Cut into pieces and serve with green chutney or sweet mango pickle.

Over a few trials, this was the easiest method of preparing handvo that I discovered. You may of course choose to bake it instead. In that case, put all the batter in a bake-proof bowl. In a small pan, sauté the oil and seeds. Once they splutter, use a spoon to gently drizzle the tempering evenly on top of the batter. Bake at 160°C for half an hour, then slice and serve with the condiments.

The days of brass pots in the backyard and wholesome garba gatherings may have gone by, but the great thing about food is that it lets you keep making new memories. I wish you and your loved ones an auspicious Navaratri. I’d love to know if my easy, uthappam-inspired handvo finds a place in your festivities!