There are one-pot meals and meal-in-a-bowls to be found in cuisines all over the world, even though distinguishing them as a category is a relatively new idea. They’ve gained popularity among diners everywhere thanks to the Buddha bowl trend, which are comprised of a medley of attractively arranged (and usually nutritious) food items in a single bowl. I’ve had quite a few versions of these on my travels, and they’ve always motivated me to make them a regular part of my lifestyle. Now that we’ve all been at home for months, I’ve been bringing as many of these inspirations into my day-to-day cooking as possible. The Buddha bowl is among my favourites for its aesthetic appeal, health quotient and convenience. I’ve been making variants focused on different cuisines, and will share a few of them in the coming weeks. Let’s begin today with my South Indian-style Buddha bowl.
The Buddha bowl concept itself is a great one, and is based on putting together a compact and even portable meal which packs in lots of flavours and textures. You may be wondering what makes a Buddha bowl different from the thaalis we enjoy in India, in which a wide variety of dishes are served in their own separate containers, arranged around the central eating space of the plate. The answer is in the portion sizes. With thaalis, there’s a lot more space, and you tend to fill up that space and thus consume what you’ve filled it with too. A Buddha bowl is just one vessel, usually a bowl as per the name, but a plate will do as well. Thaalis are indulgent, whereas Buddha bowls take a minimalistic approach. The latter are closely tied to fitness for this reason. These days, with the necessity of watching what I eat in a smarter way as I grow older, I reach for them very often in the interest of health. I can attest that eating a Buddha bowl keeps you light on your feet. Whenever I have one for lunch, I feel active for the rest of the day. There is a bounce in my step and I feel revitalised, and find myself doing my photoshoots with more energy.
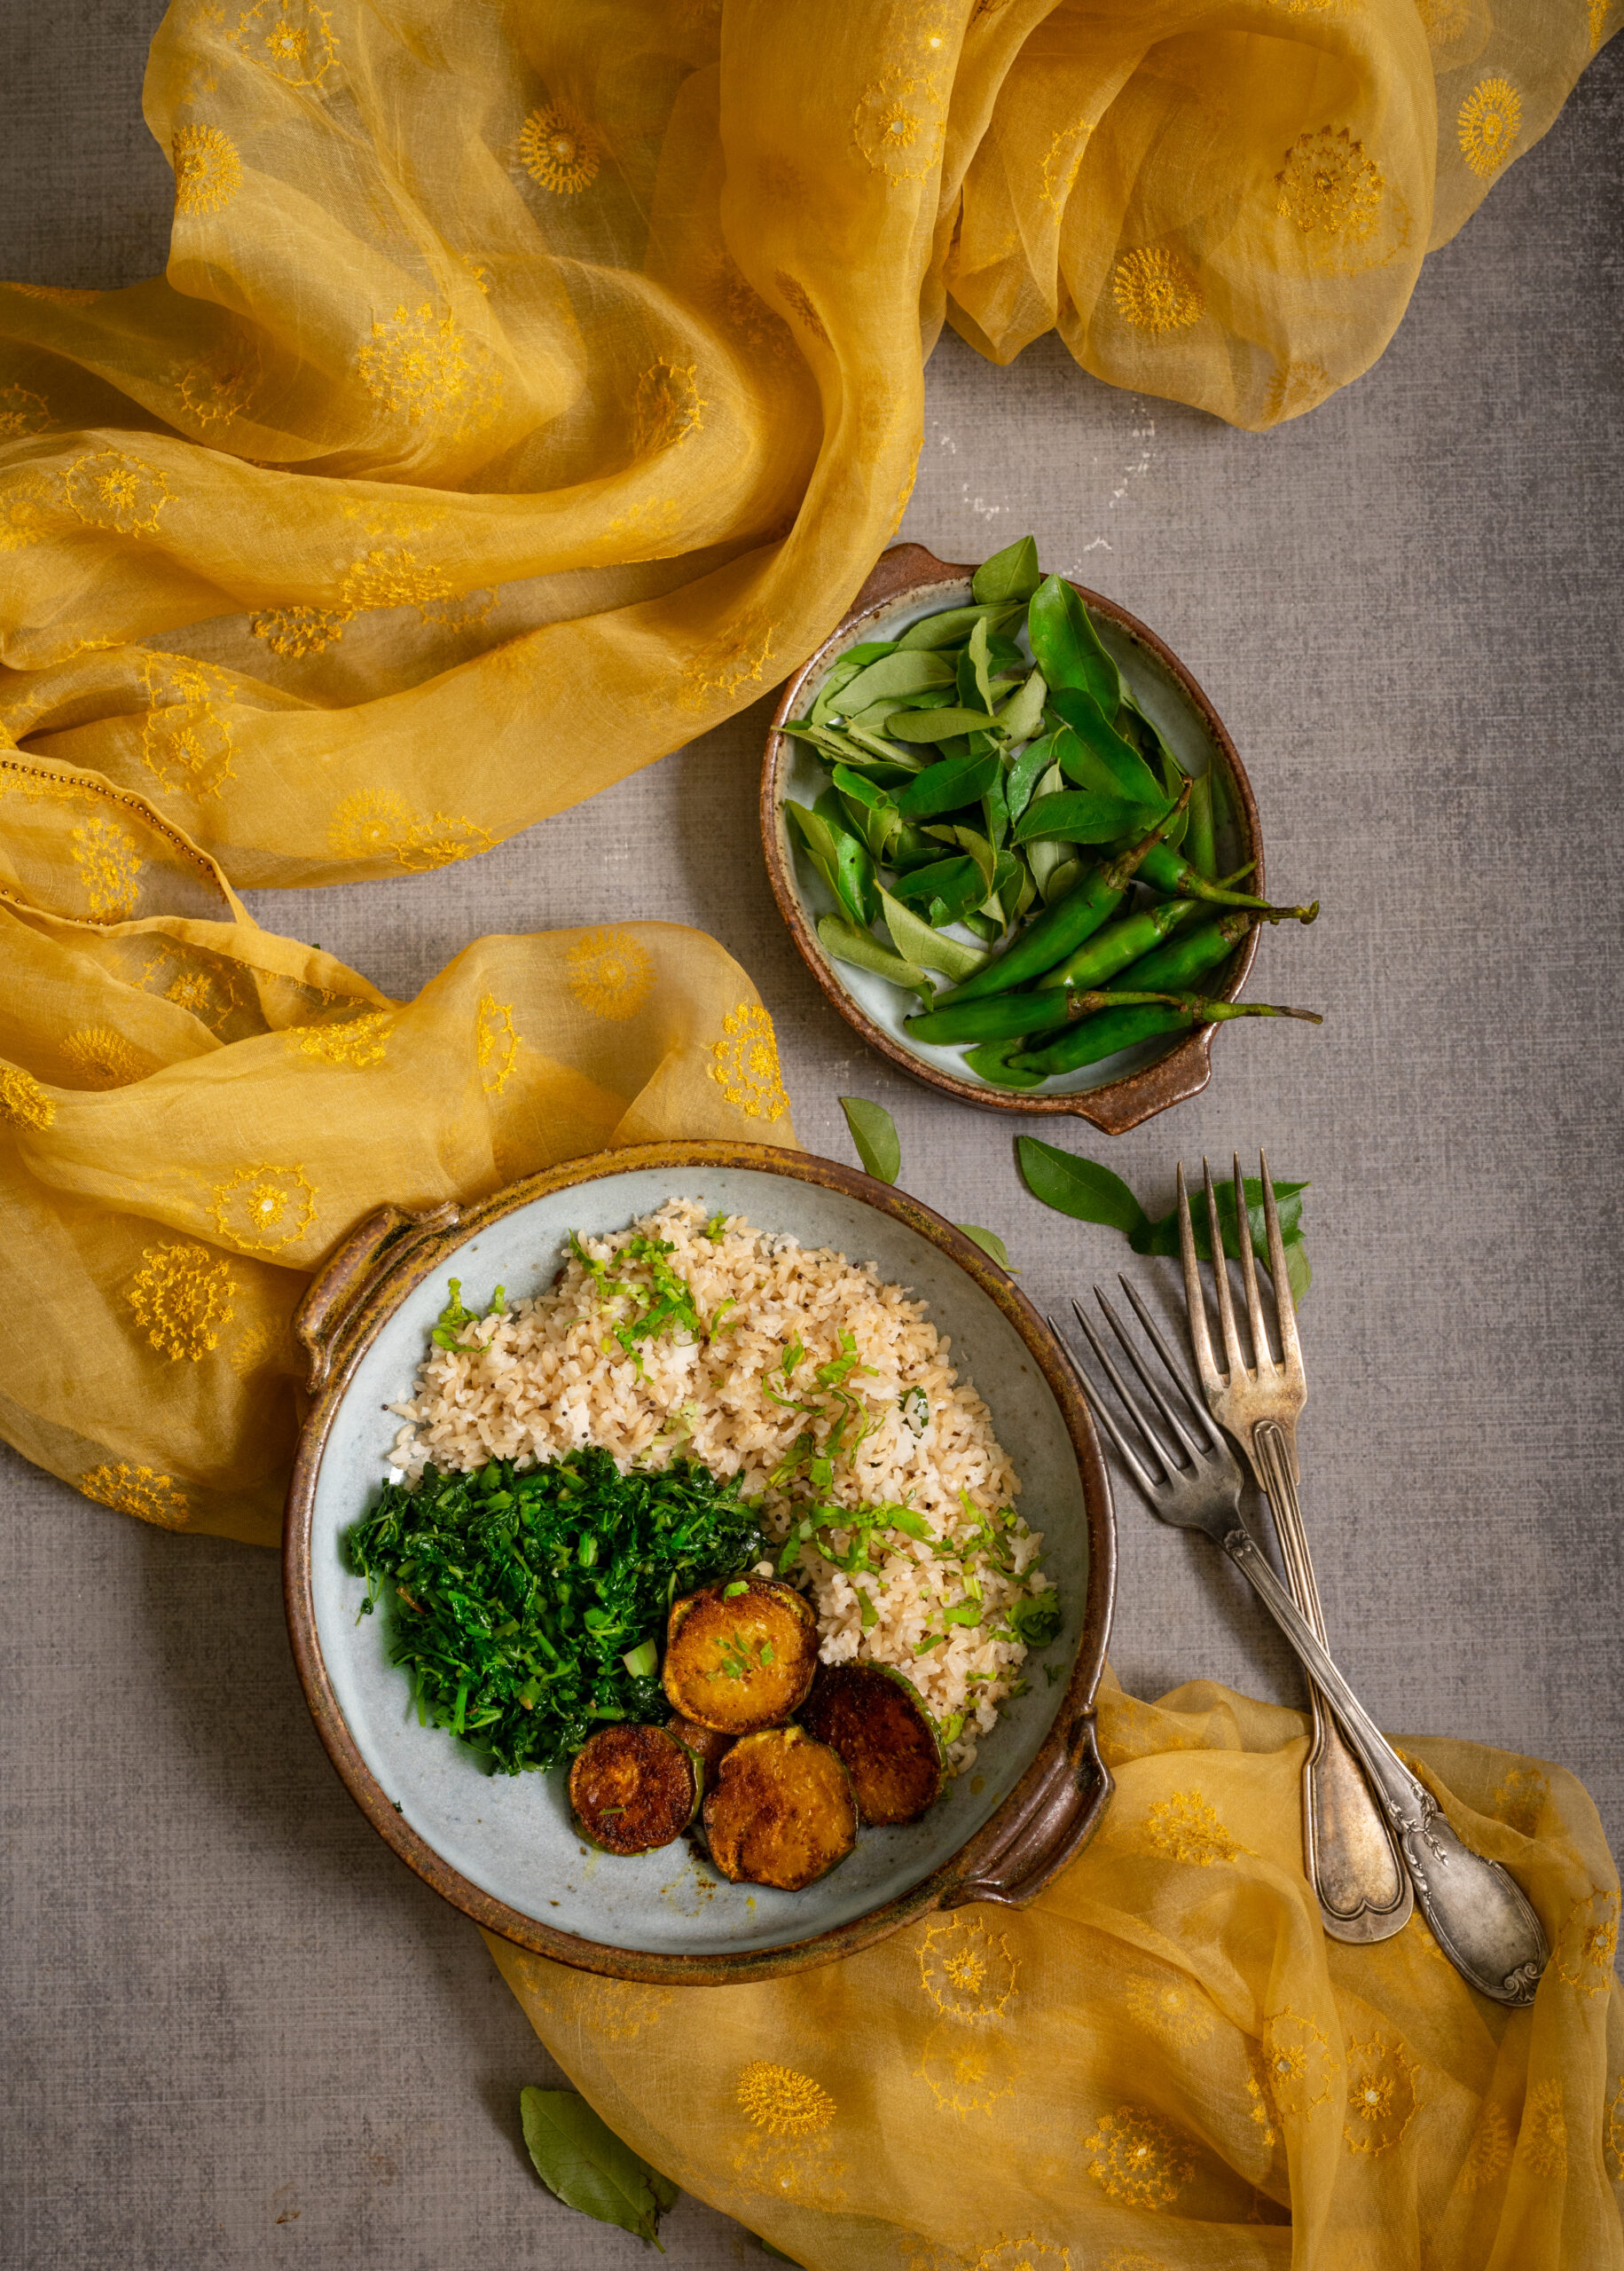
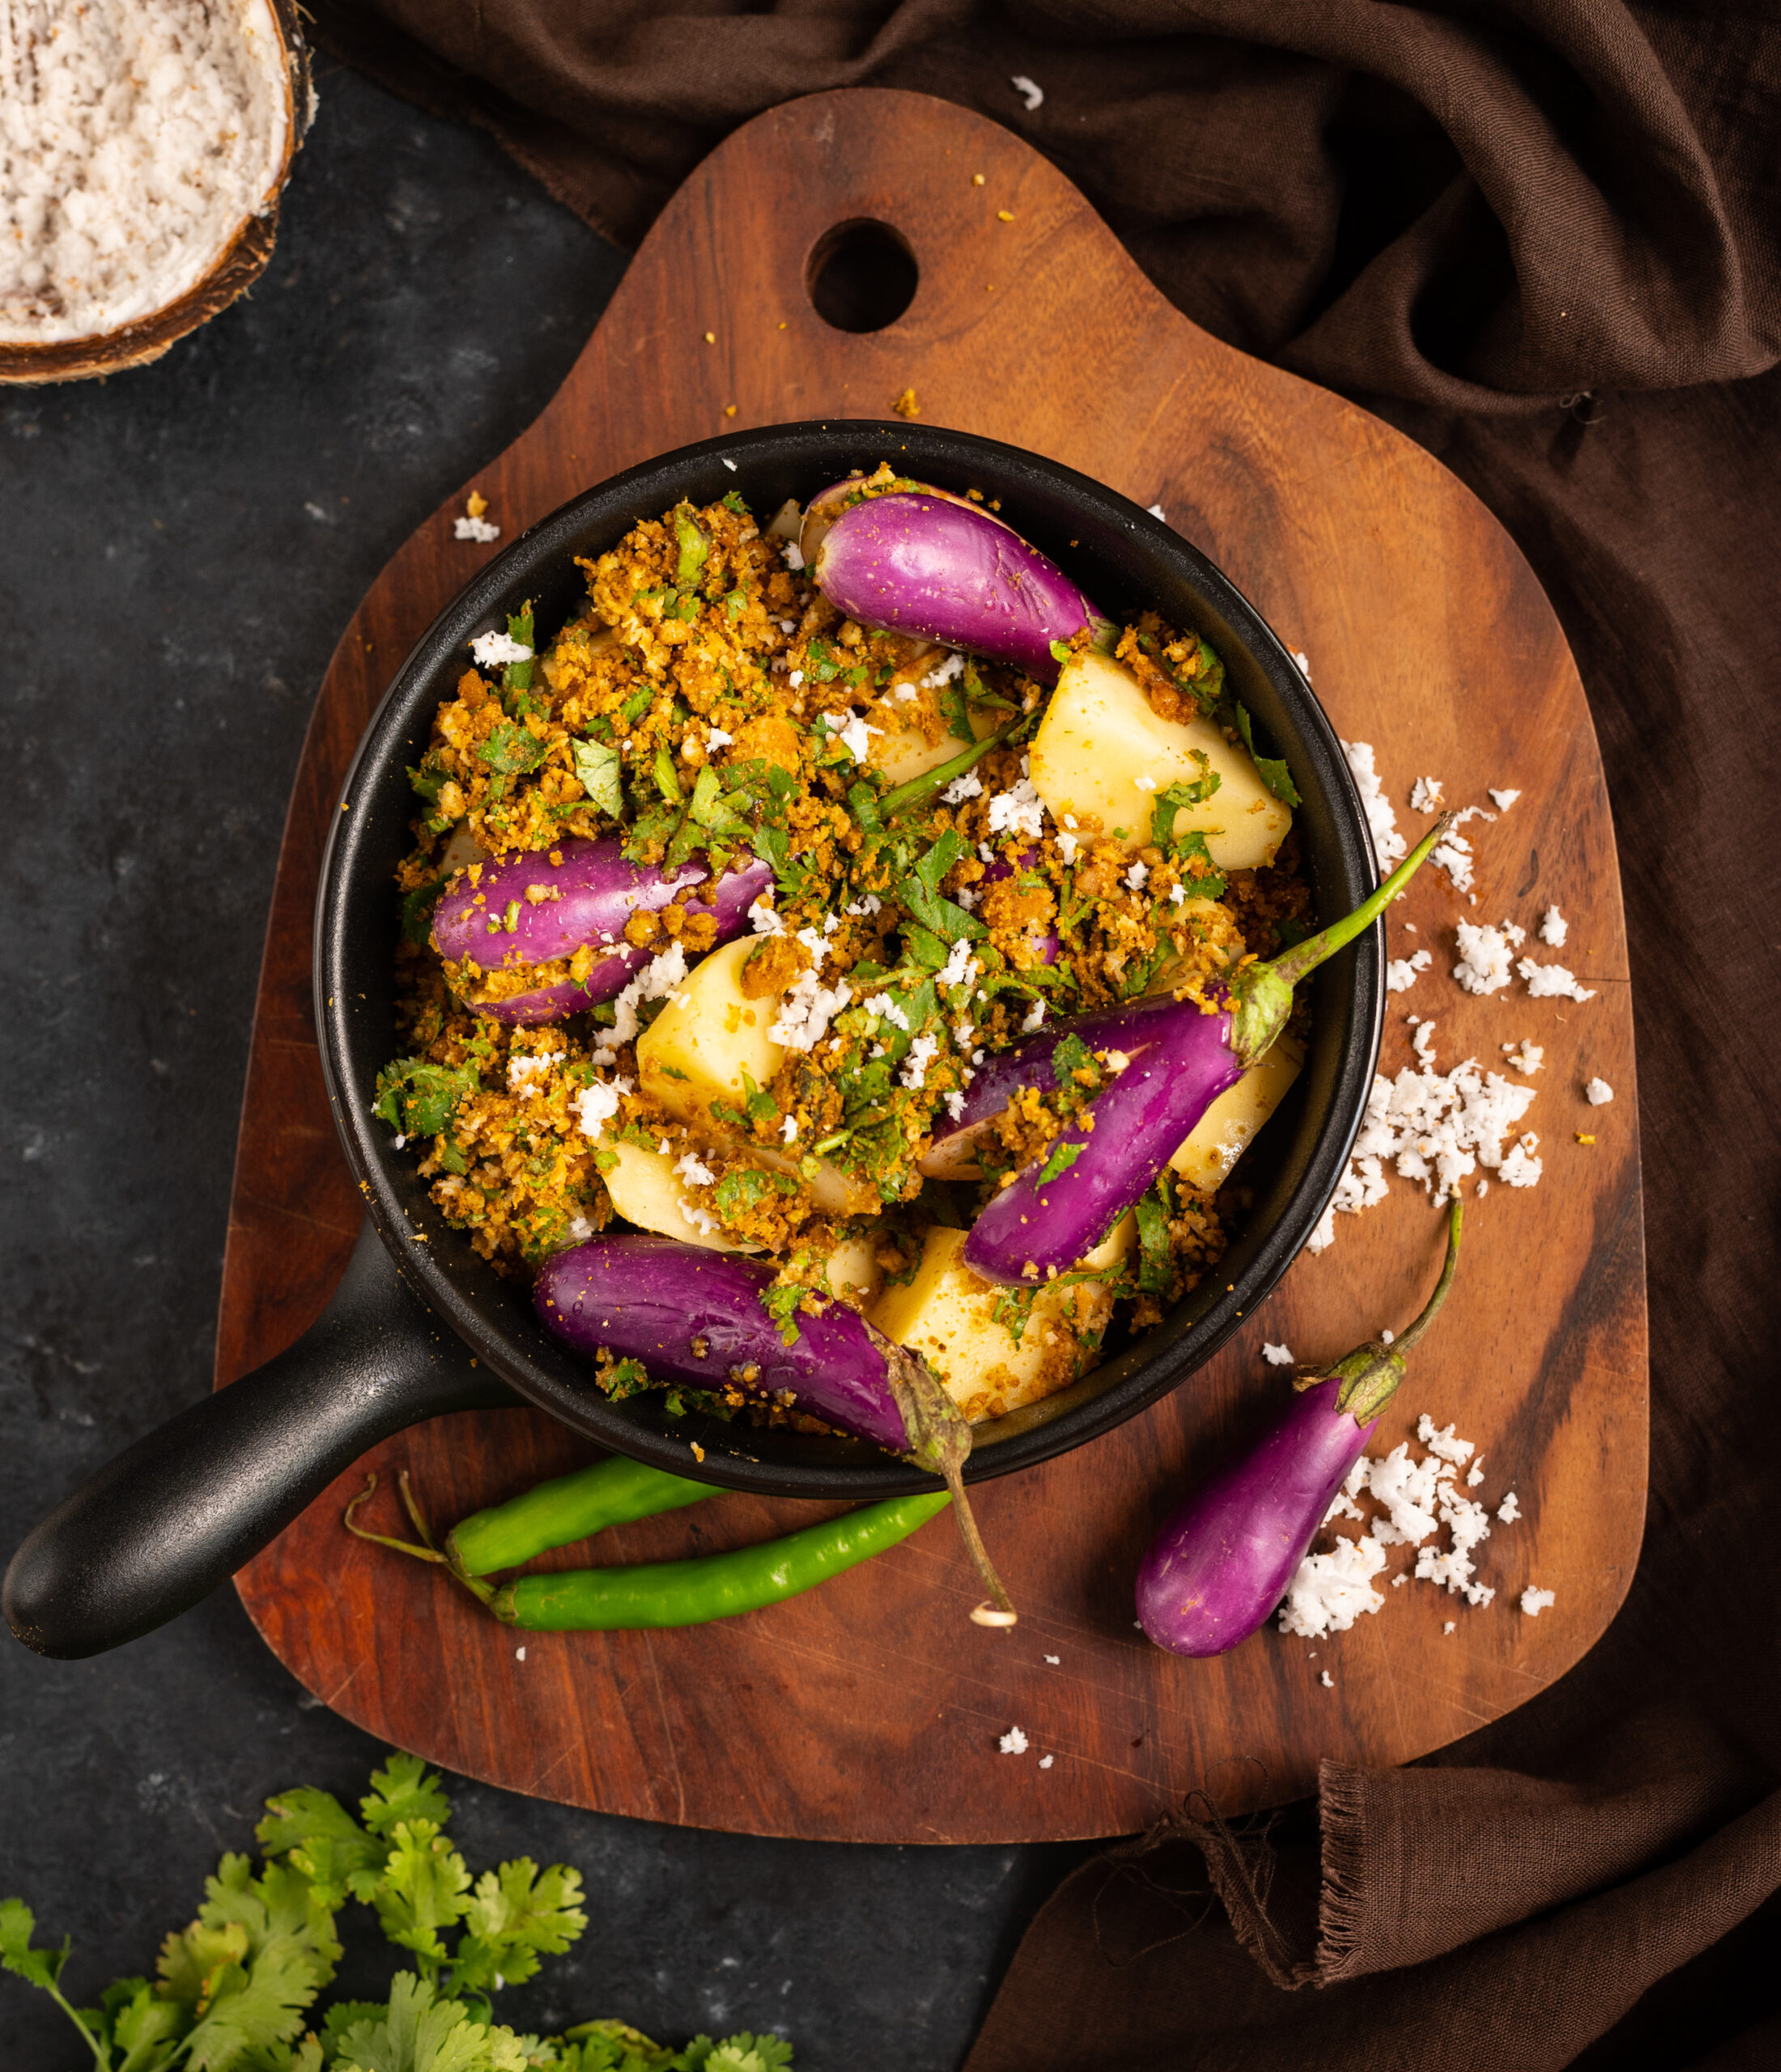
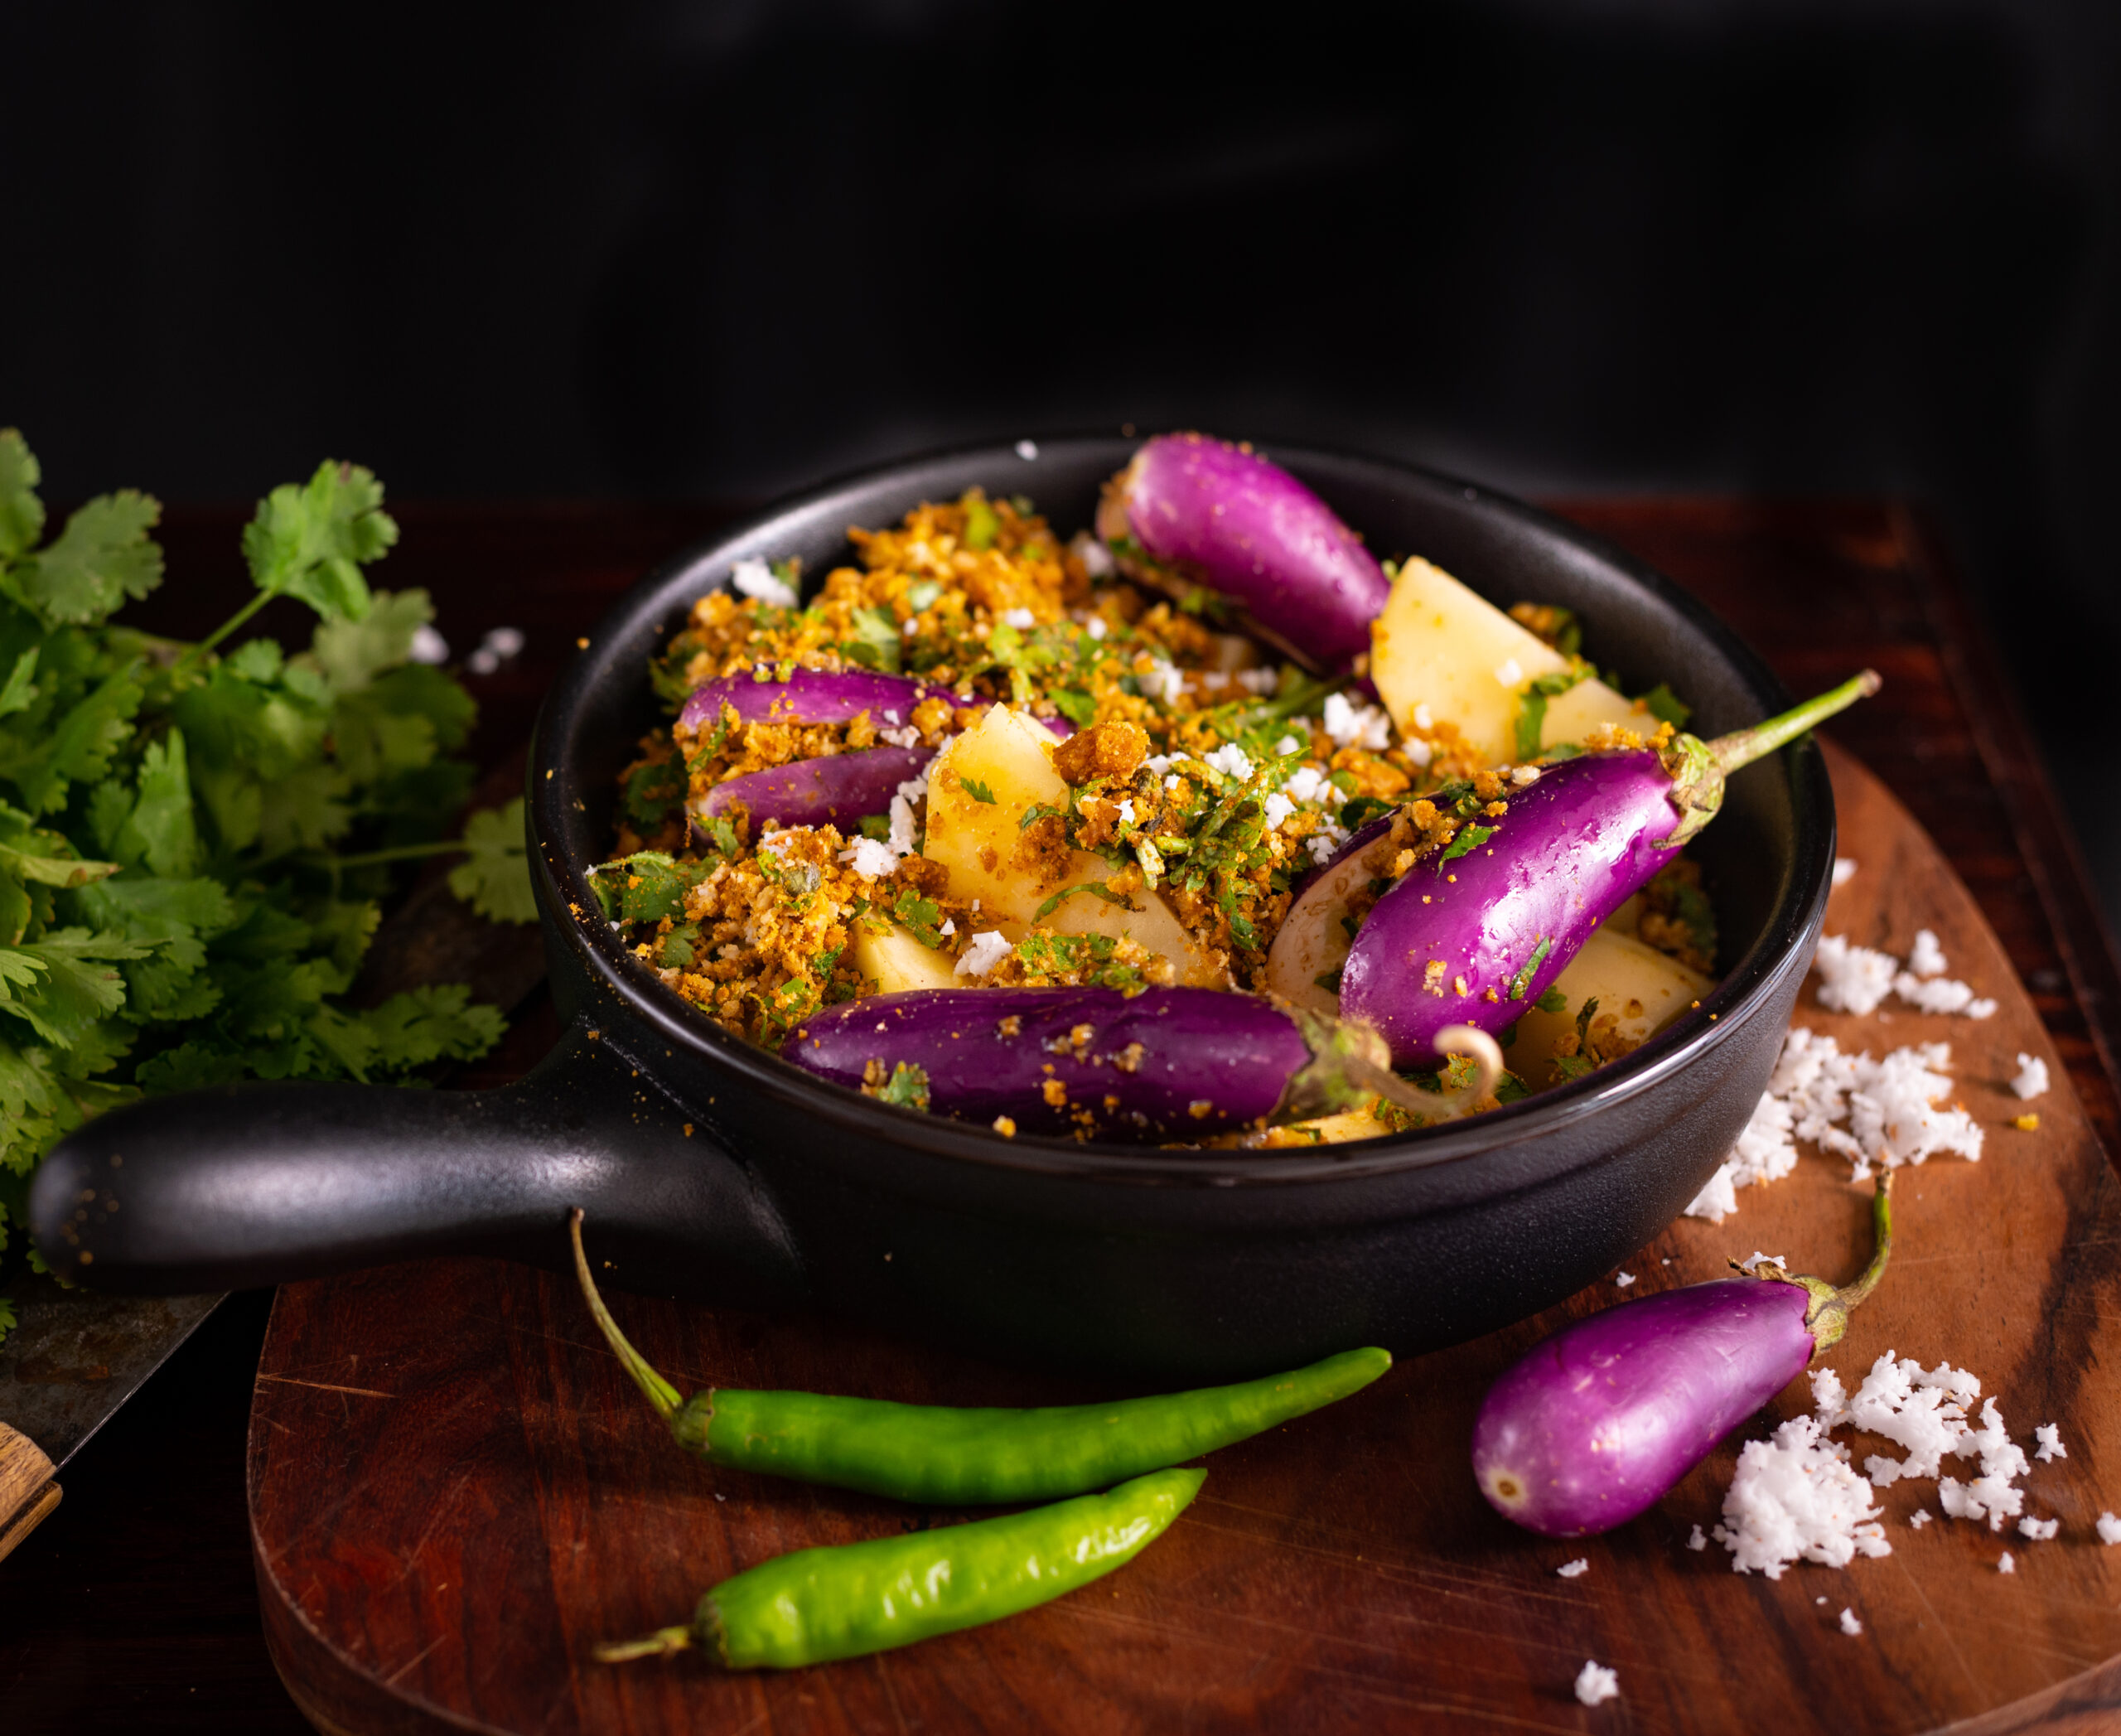
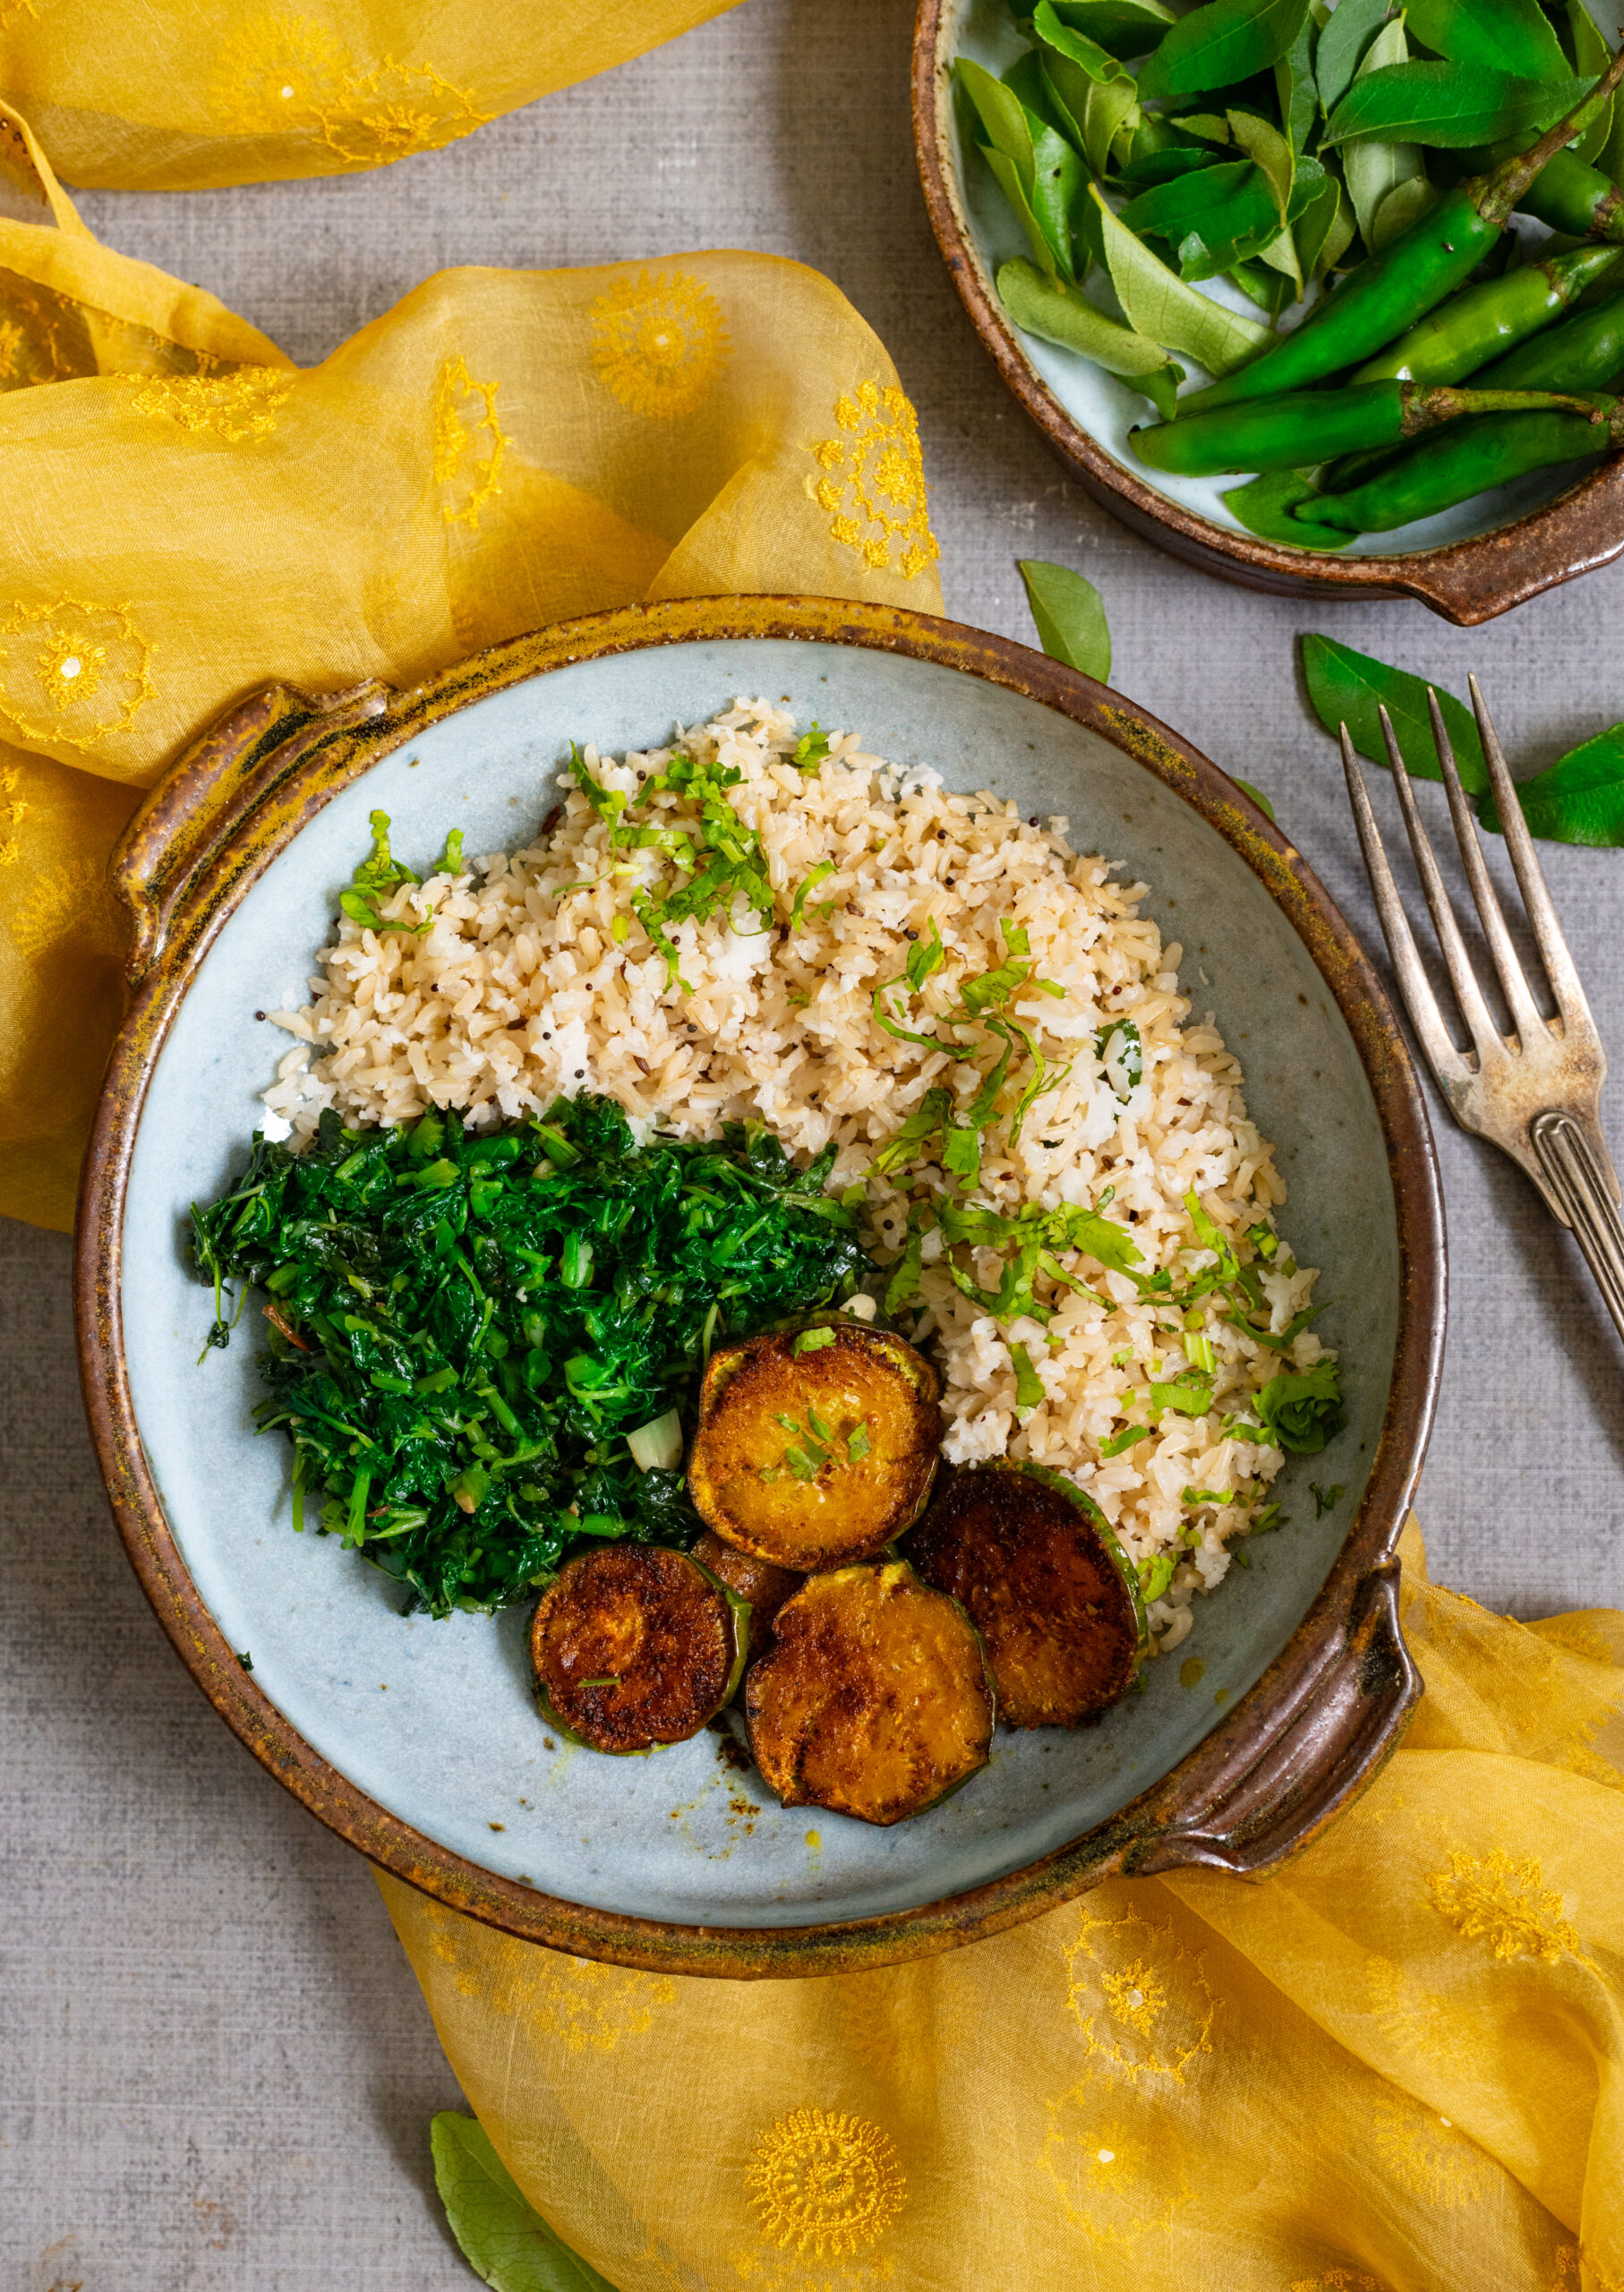
You can make carb-free variants if you like, but for me it’s simply about cutting down on the quantity of them while still getting the boost they give to my energy. Offsetting the carbs with a delicious load of greens is also key. This South Indian Buddha bowl contains the perfect combination of crispy eggplant, flavourful rice and nourishing, lightly-spiced greens. Every single dish-within-the-dish tastes wonderful, and they come together beautifully with their richness of textures and flavours.
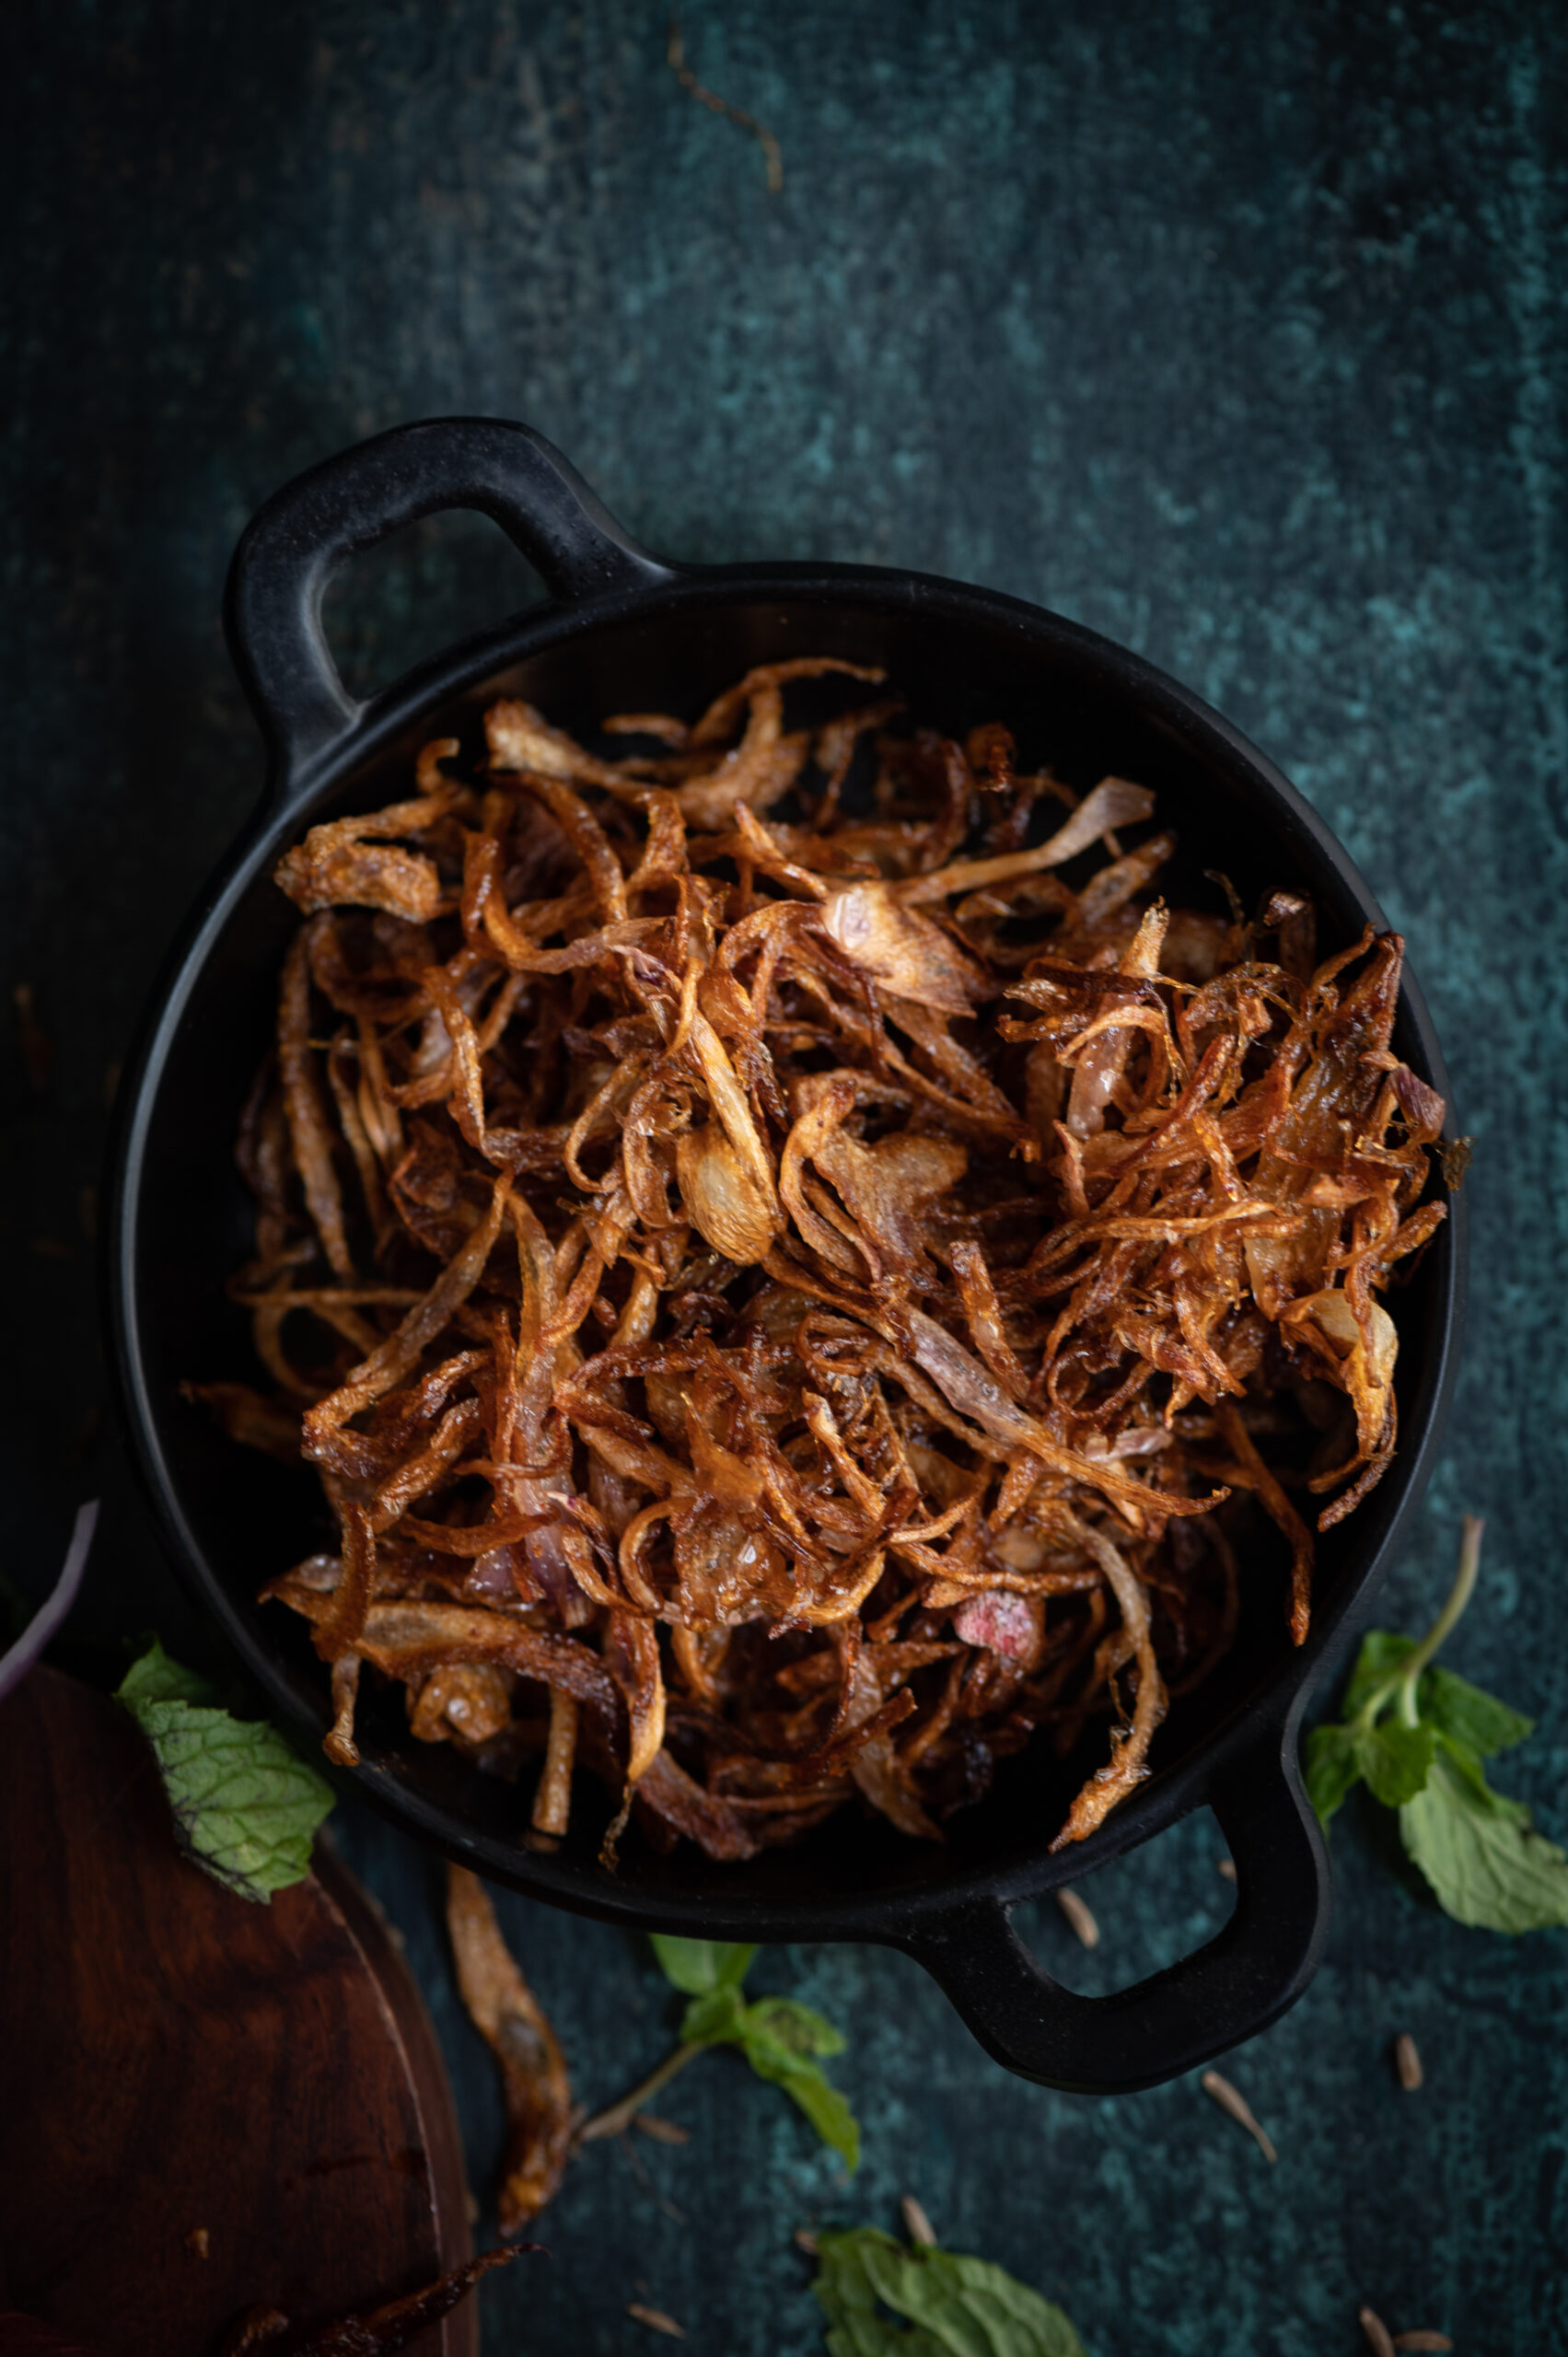
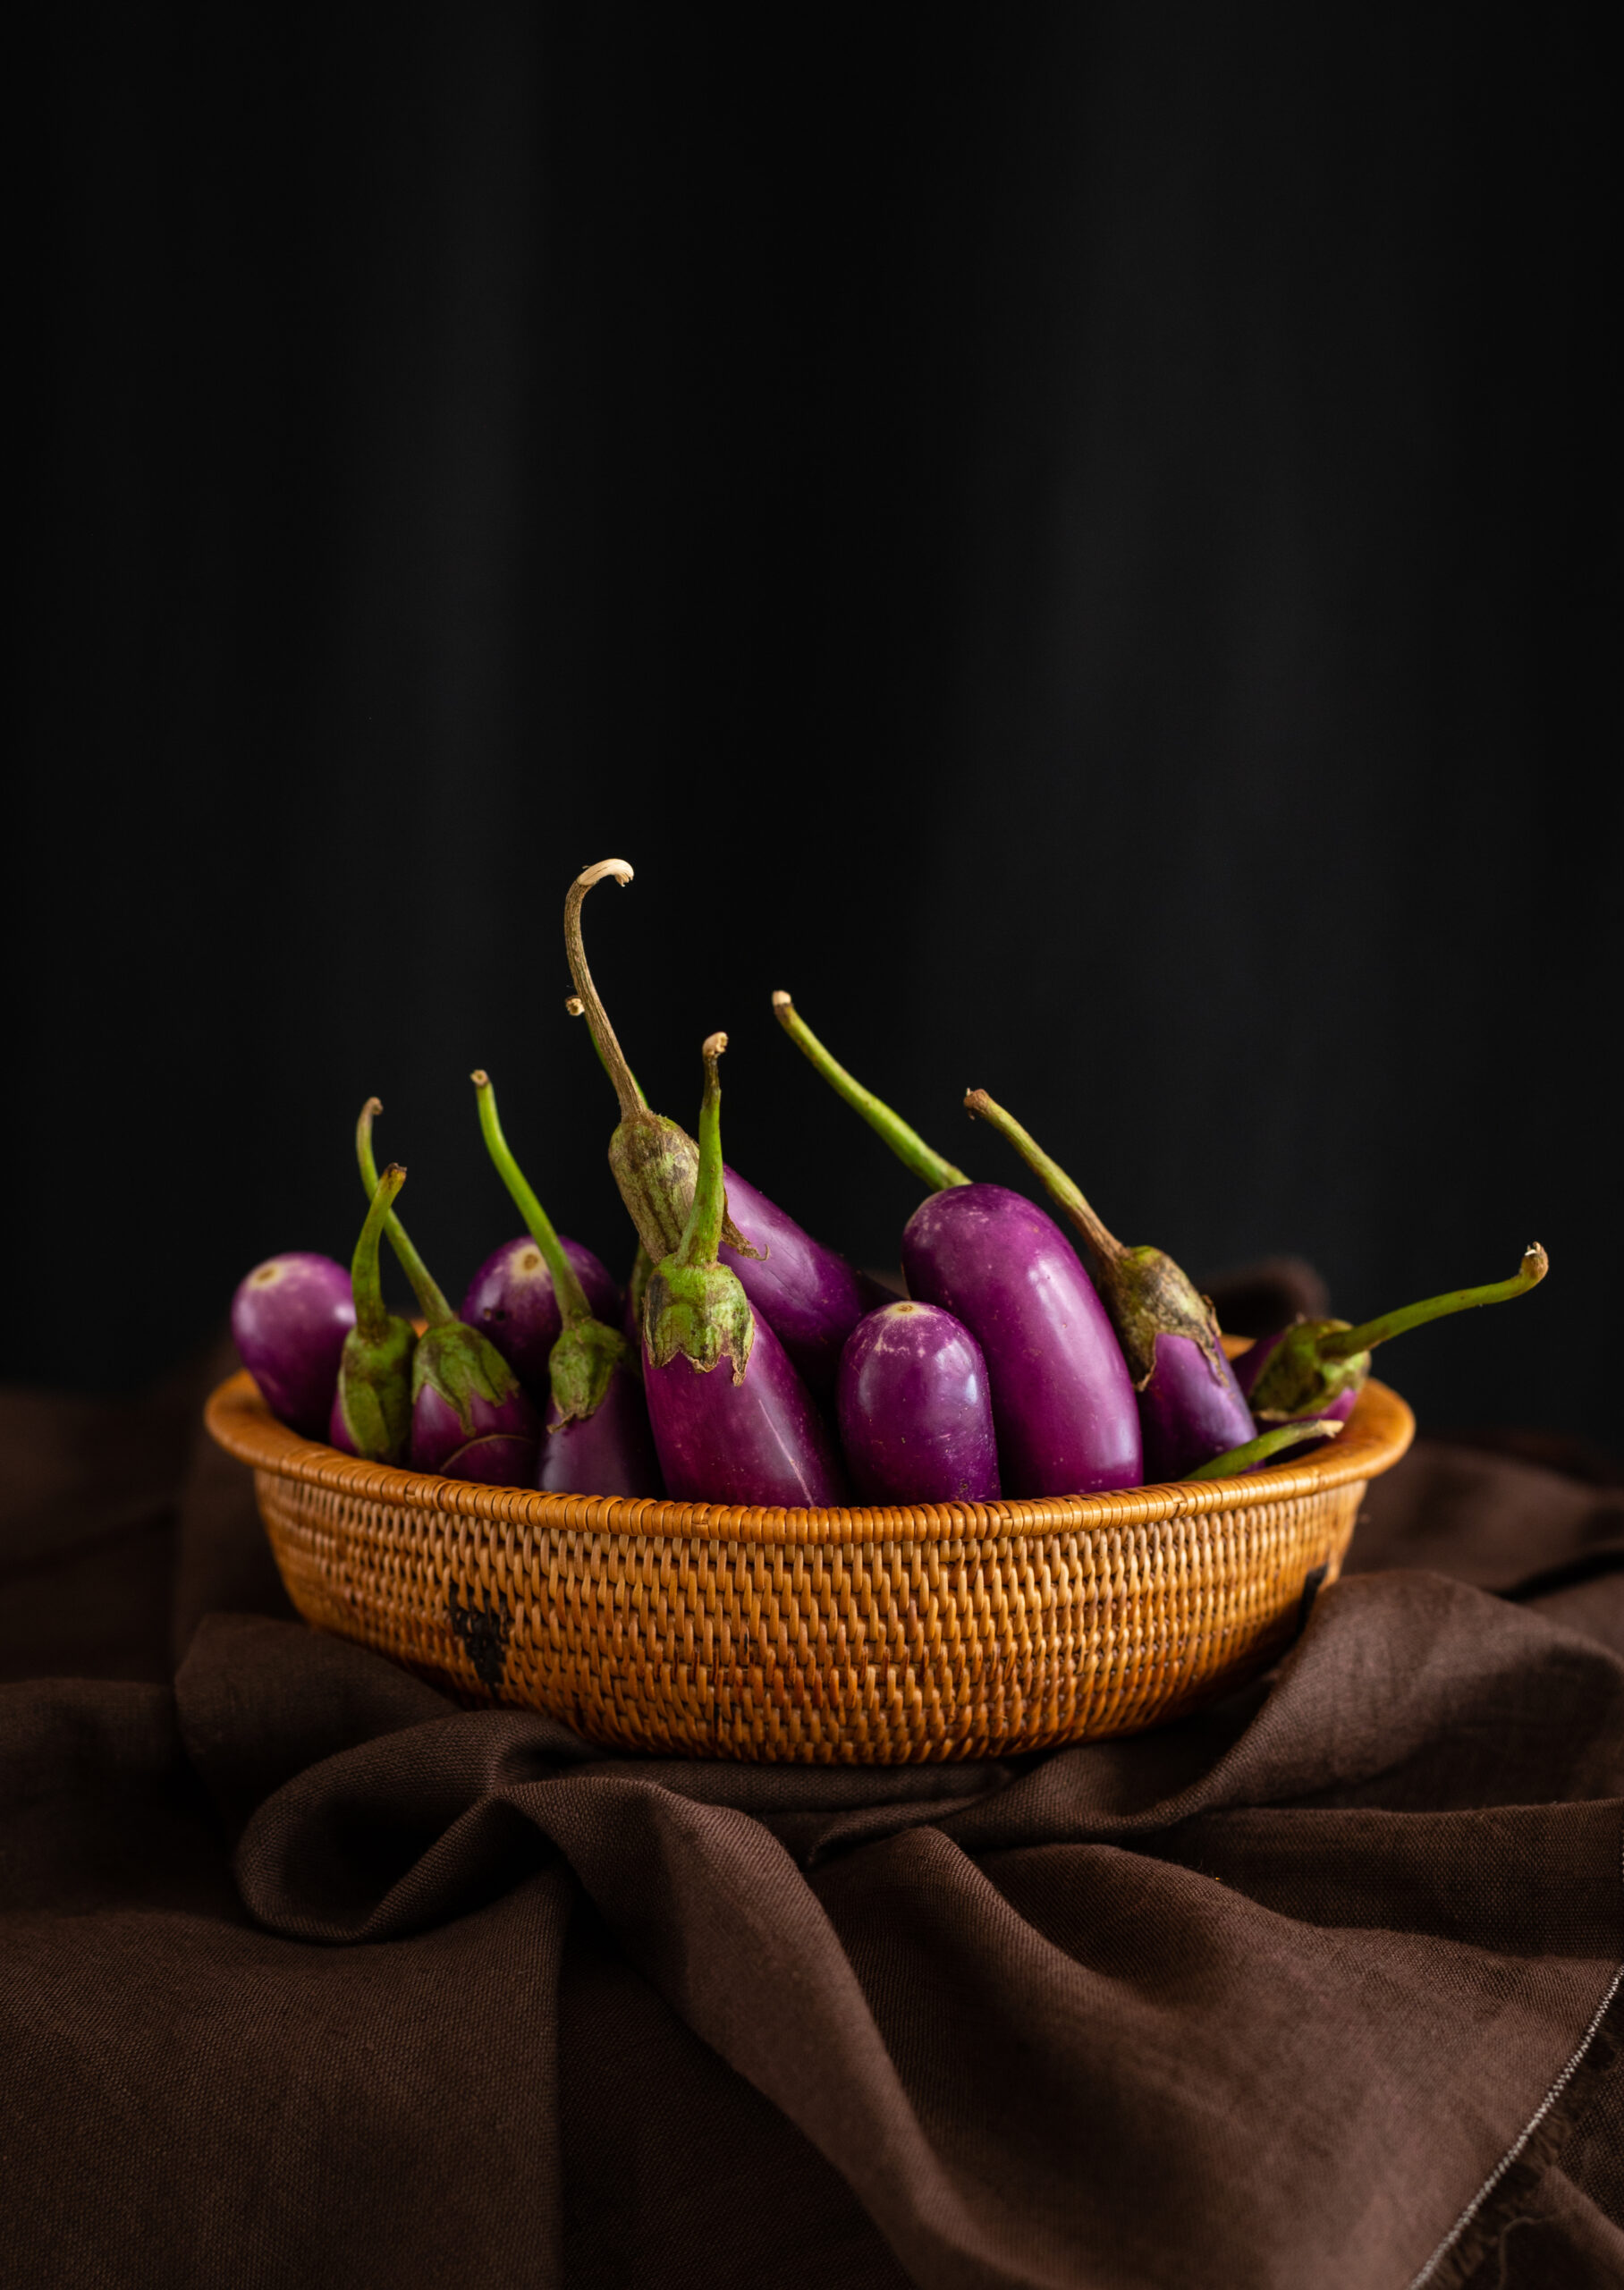
I am a fan of healthy grains options, so I’ve used brown rice in this recipe. You can substitute this with white rice, if you prefer. As for the greens, here in South India we enjoy an incredible variety of spinach, including vendaya keerai, moringa, mollaraikeerai, sirikeerai and more. I have some kind or another every single day, and just happened to use mullakeerai in this recipe. It’s just very lightly seasoned with garlic, salt and dry red chilli and is very flavourful when eaten almost plain this way. We also get a variety of eggplants, from thin and long green ones to fat and purple ones, and while I don’t know all their names, you can use any that are available too. One of the beautiful things about this recipe is that it requires just the staples.
I always say that you eat with your eyes first, and the aesthetics of serving are very important to me not only as a photographer but equally as a culinary enthusiast. When you serve these diverse portions in a beautiful and well-proportioned bowl, the vessel looks full and the moment you see it, you get a sense of “Wow, I’m going to have a big meal.” You truly do feel satiated at the end of it, because your eyes have convinced your brain before your belly begins its work! Making a Buddha bowl as colourfully as possible also has health advantages, as you may remember from my post on eating the rainbow.
Speaking of what the eyes take in, initially, I had planned a photoshoot using South Indian brass crockery and props. I ultimately decided to go with an international look instead, to celebrate the global popularity of the Buddha bowl. As I discovered, there’s also another trick of the eye in this. You see, my daughter doesn’t always enjoy South Indian cuisine, but if I present it this way, she tucks in enthusiastically. It’s all about presentation, and how good you can make a dish look so that it will please the person who is going to eat it even before they’ve had a bite. Personally, I would also love eating this very same meal off of a banana leaf (yela saapad), as is tradition. That would change the experience of having it totally as well. But for now, I need the shot of energy that a Buddha bowl puts into my day, and I’ll carry on having it this way for a while!
South Indian Buddha Bowl
(Yield: 1 bowl)
Coconut rice
200 grams (approximately 2 cups) cooked brown or white rice
30 grams (2 tablespoons) grated coconut
4 curry leaves
1 tablespoon coconut oil
¼ teaspoon cumin seeds
¼ teaspoon mustard seeds
1 green chilli
Salt to taste
Greens
2 cups chopped and cleaned greens
1 teaspoon oil
2-3 garlic cloves
1 dry red chilli (optional, can be replaced with green chilli)
Salt to taste
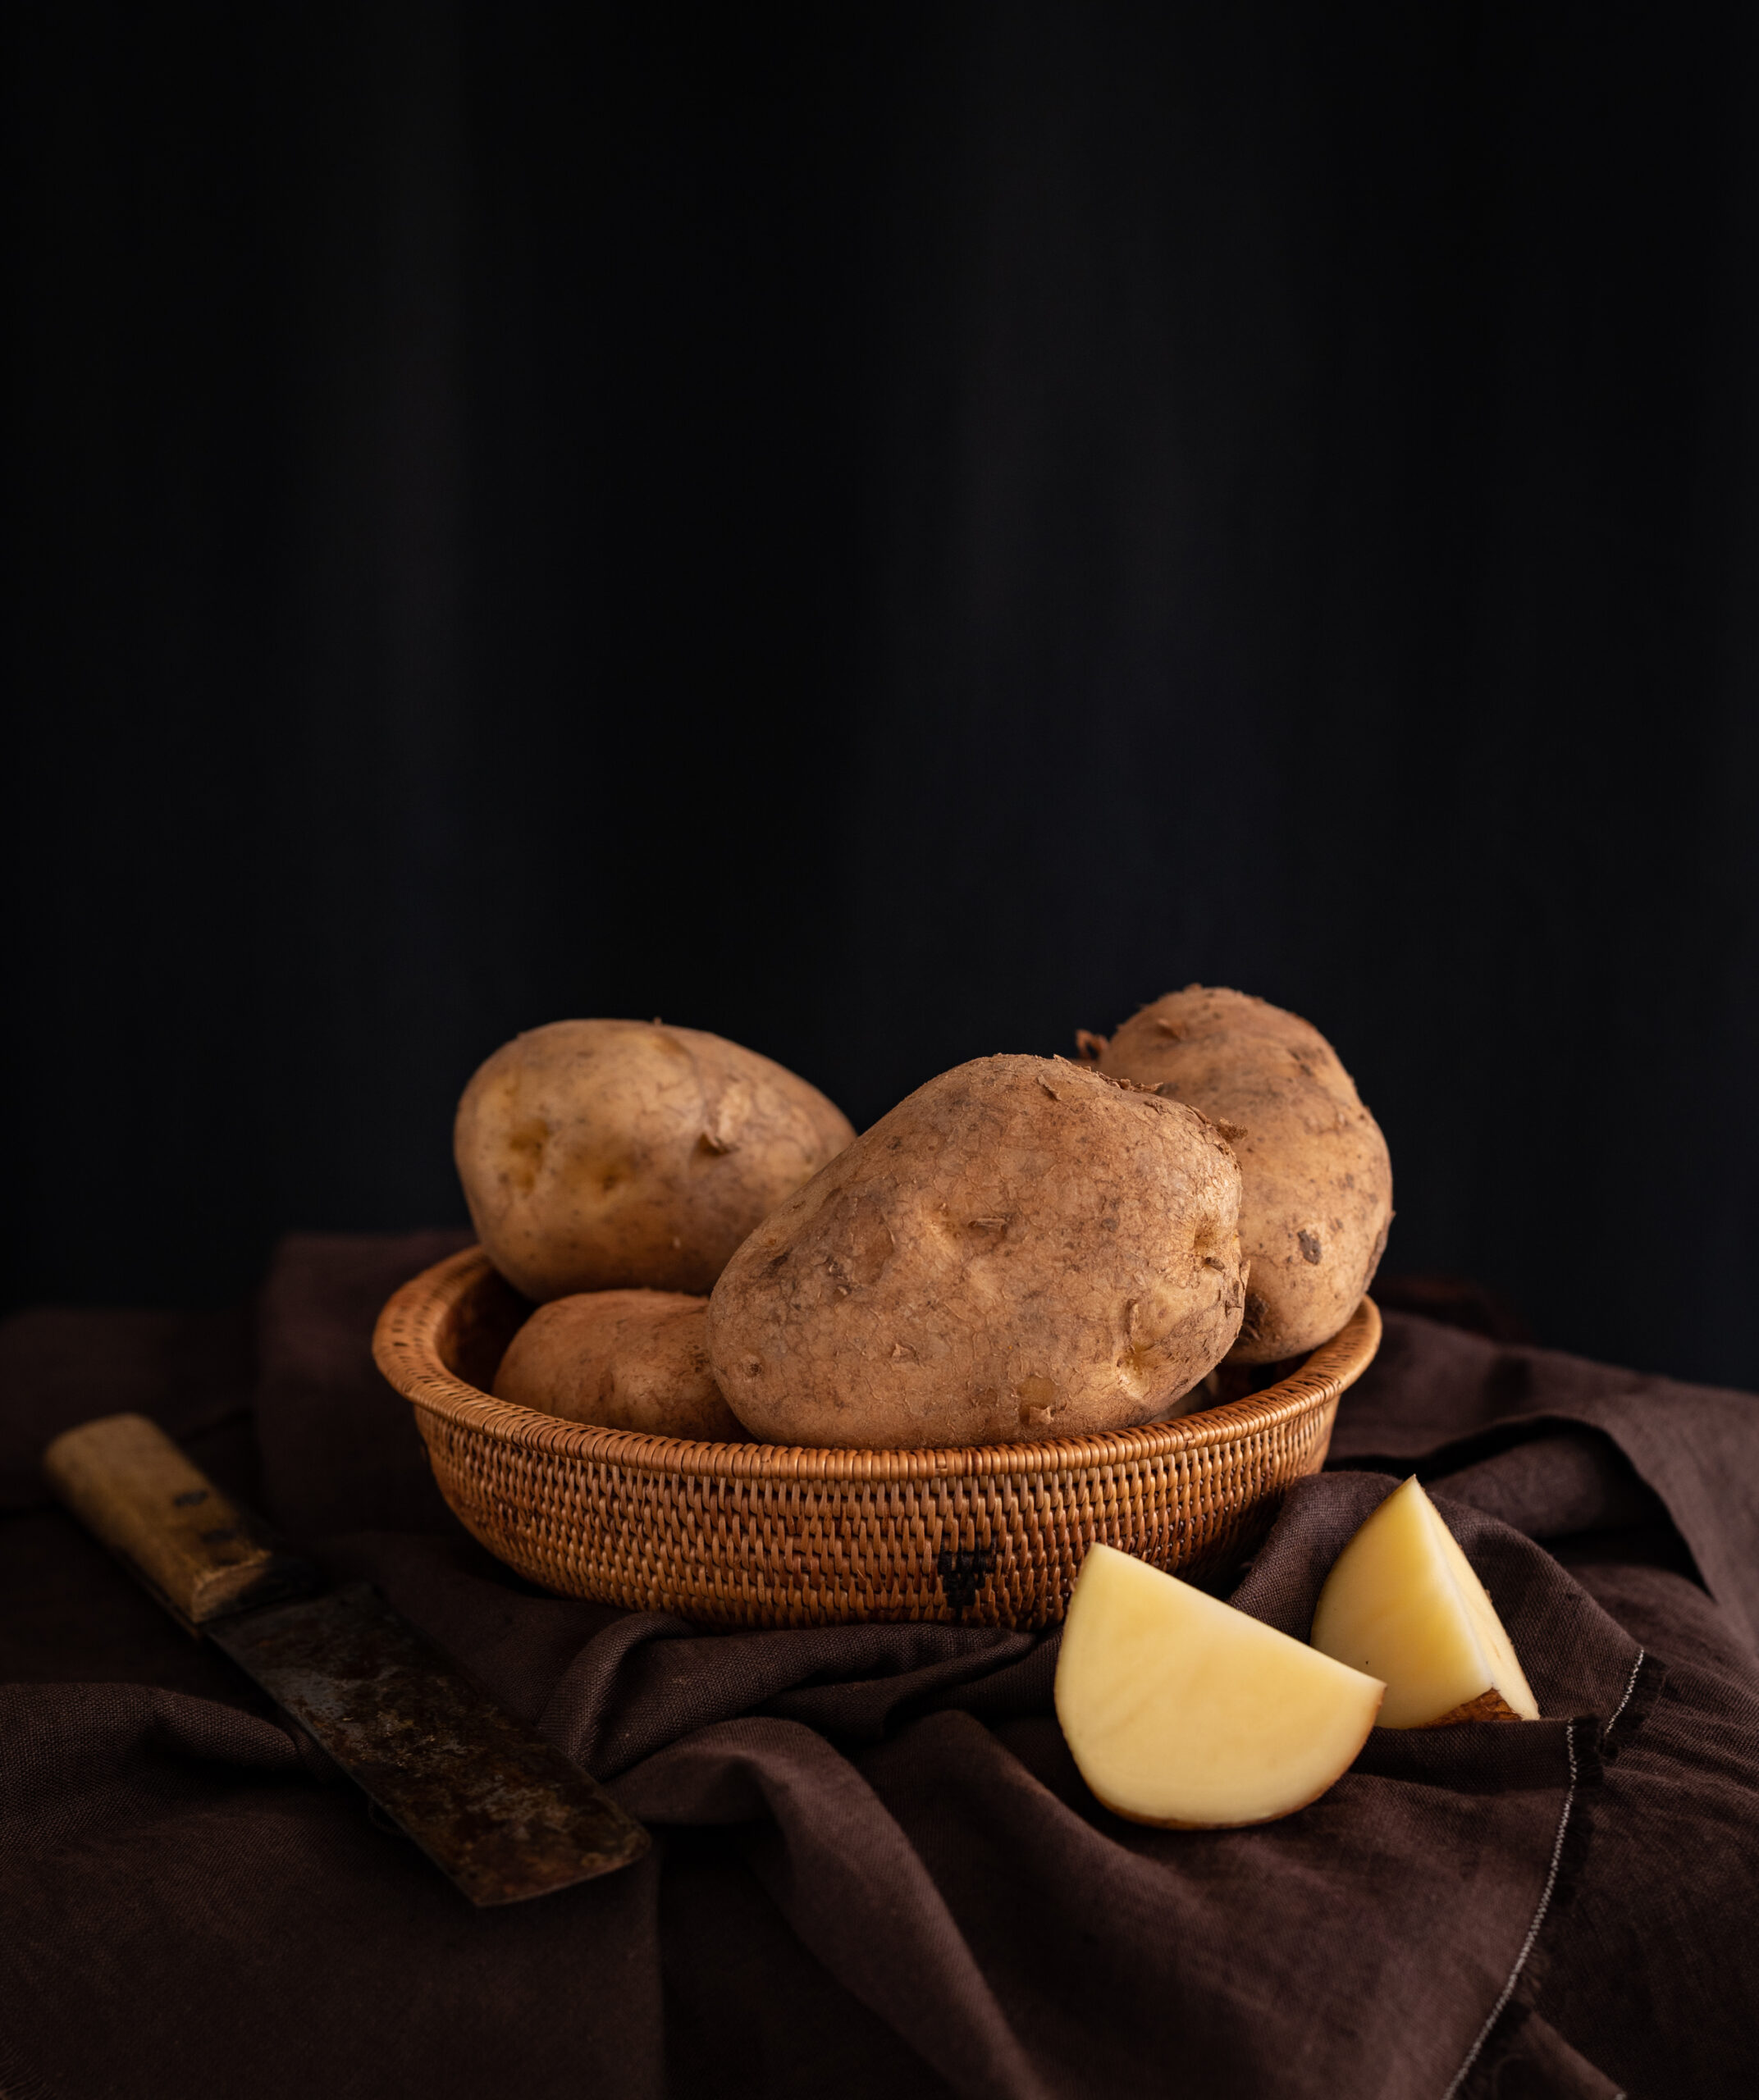
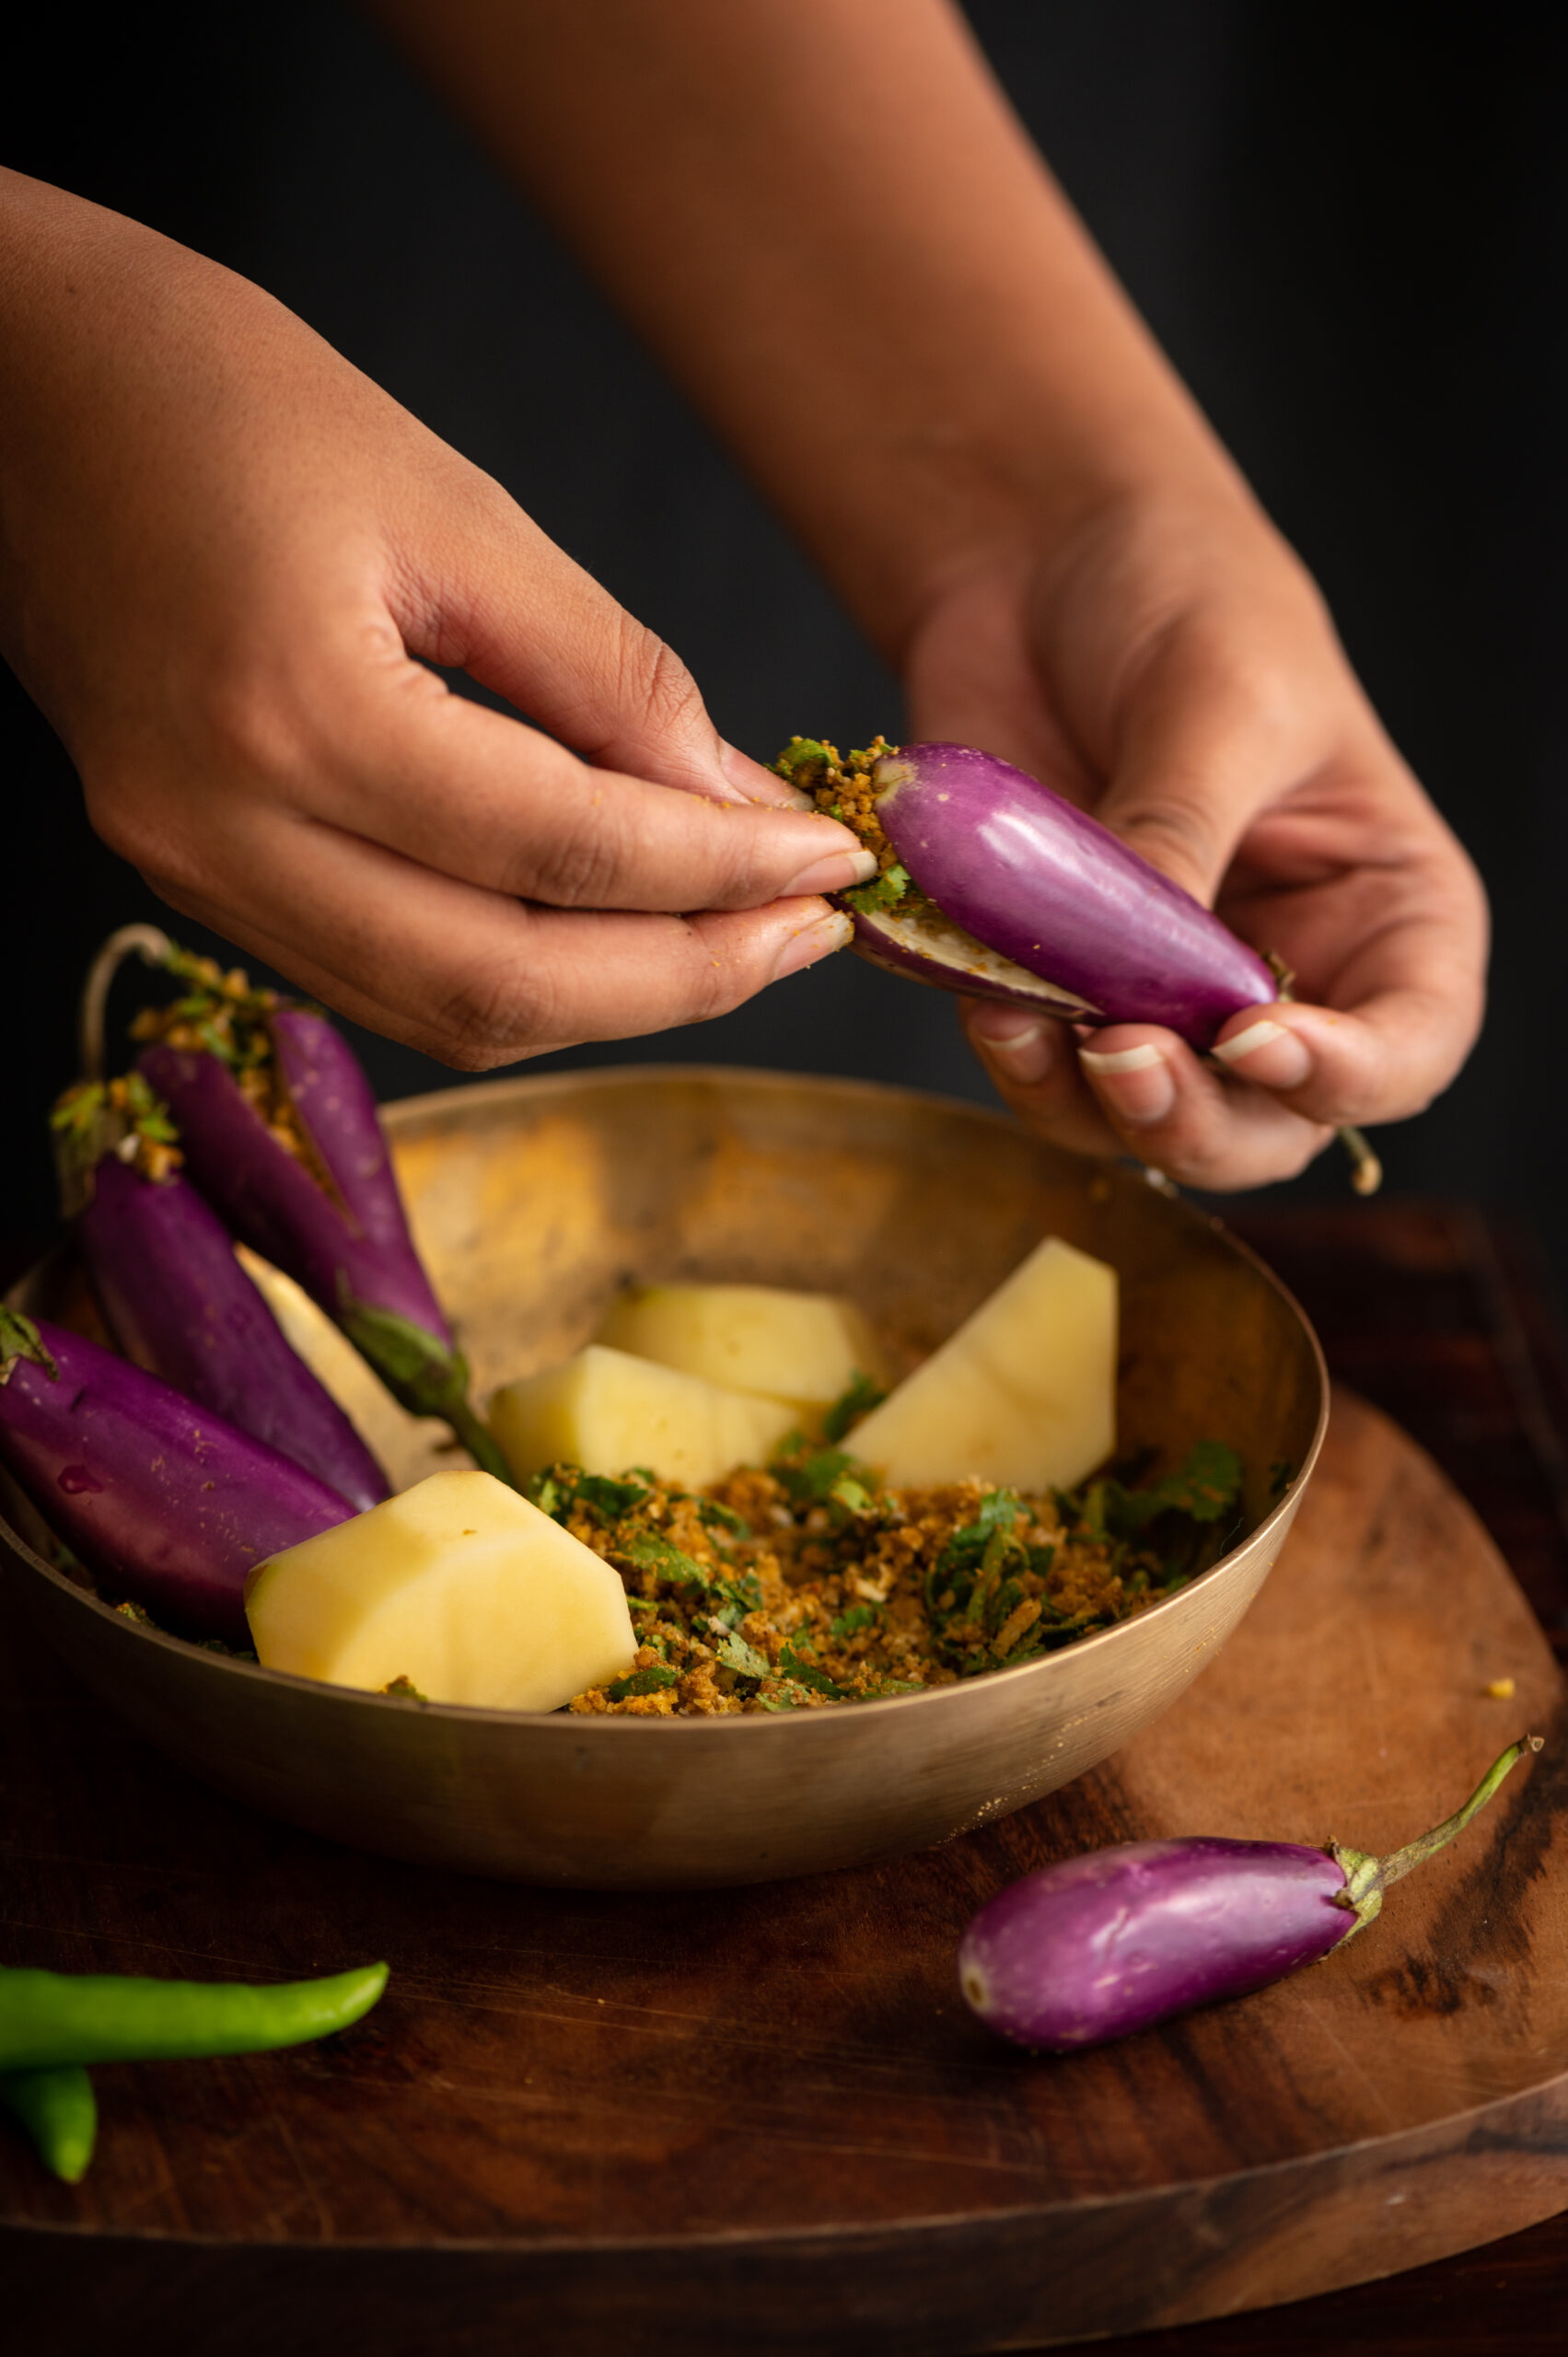
Eggplant
10-12 slices of small eggplants
Salt to taste
¼ teaspoon turmeric
1 teaspoon coriander powder
¼ teaspoon cumin powder
1 tablespoon chickpea flour
2-3 tablespoons oil
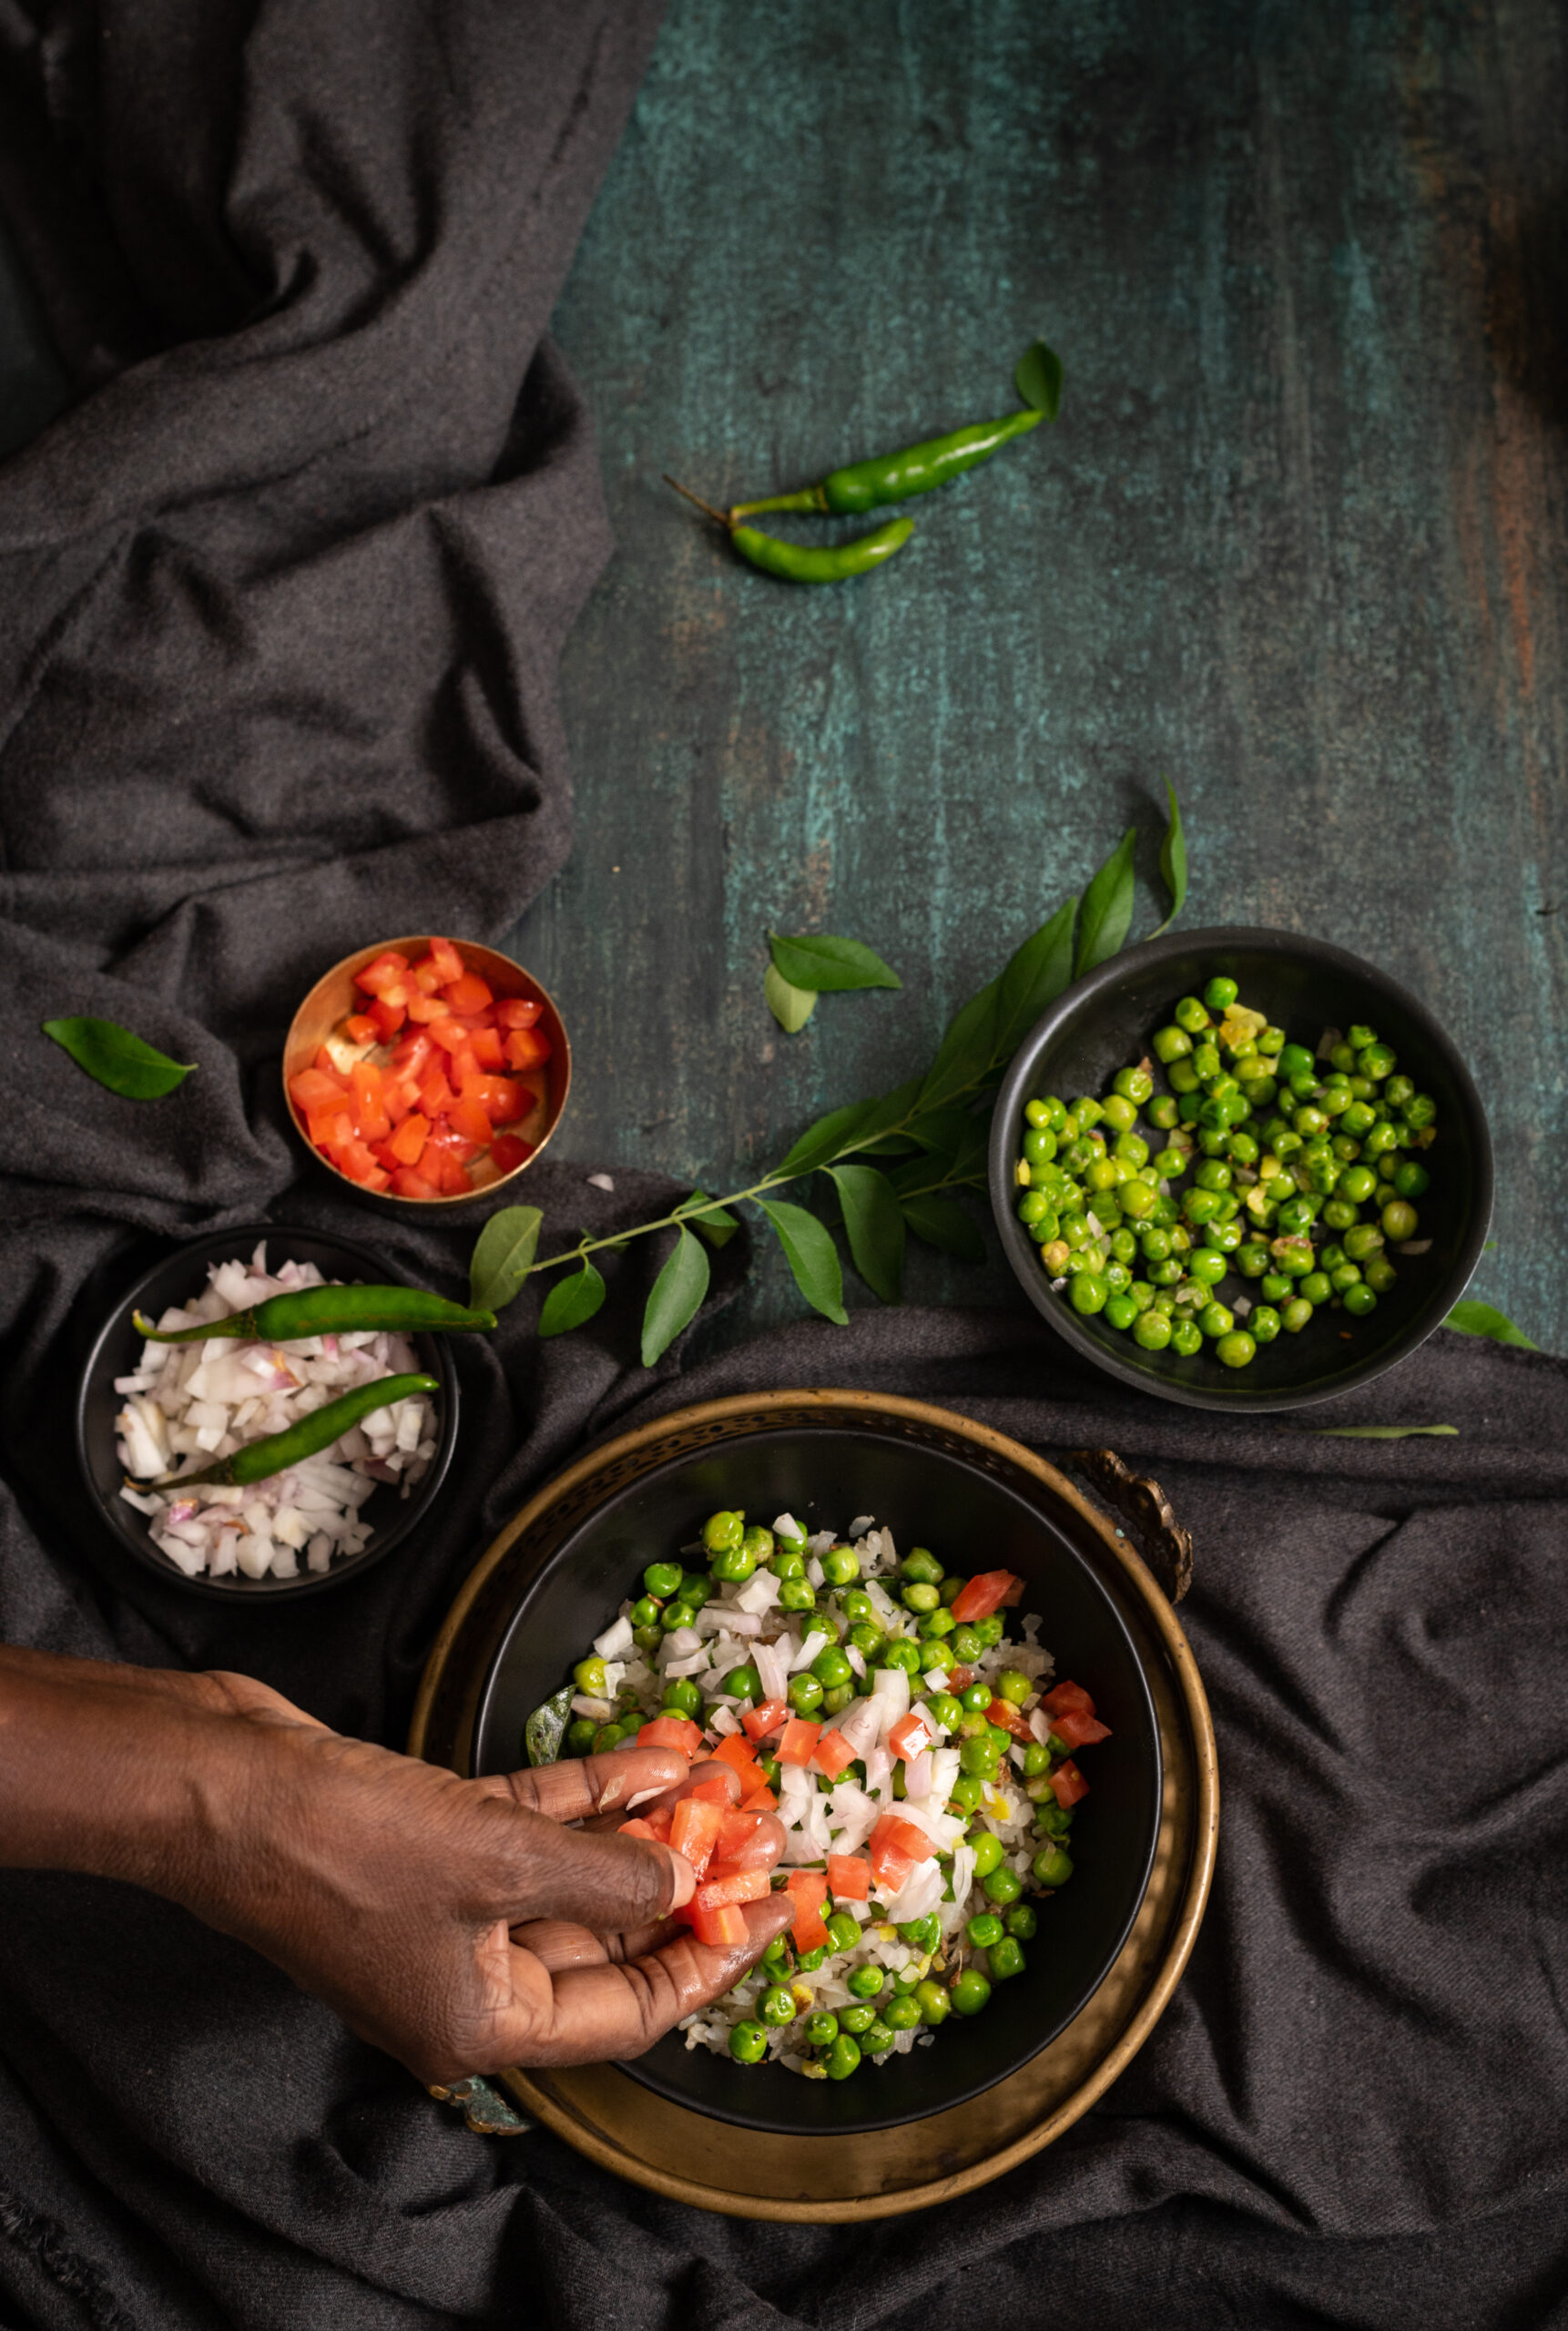
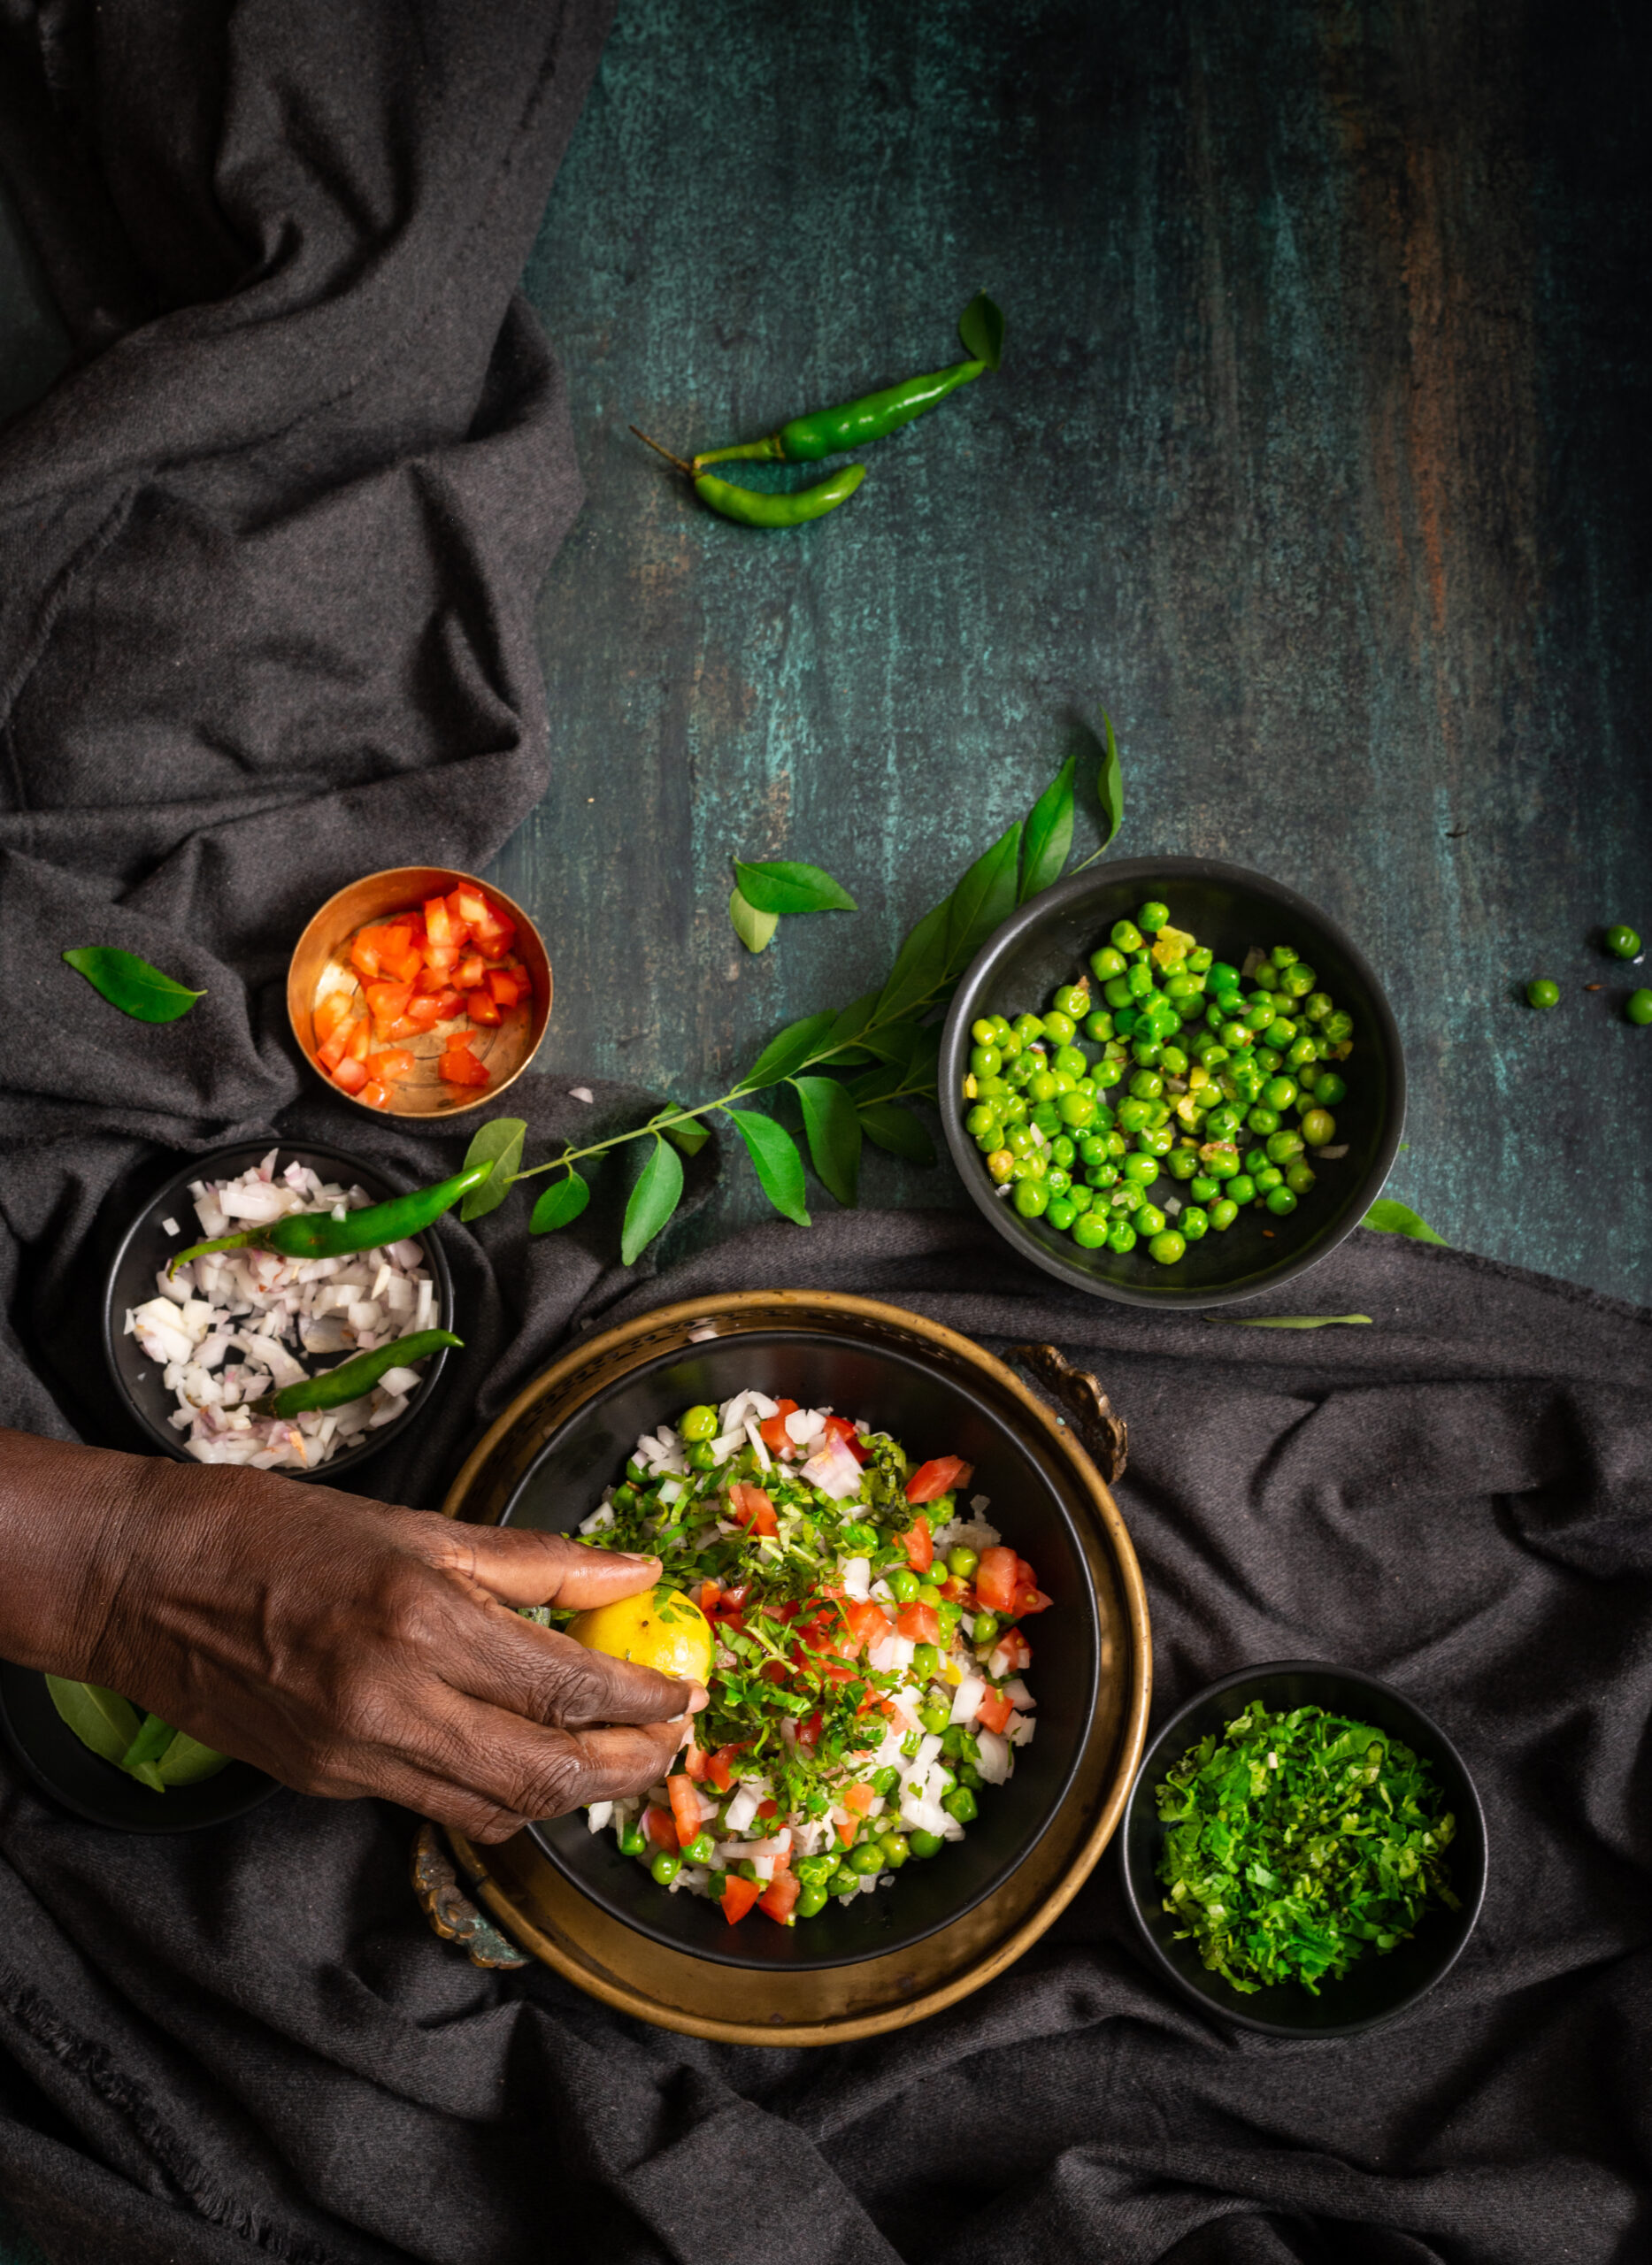
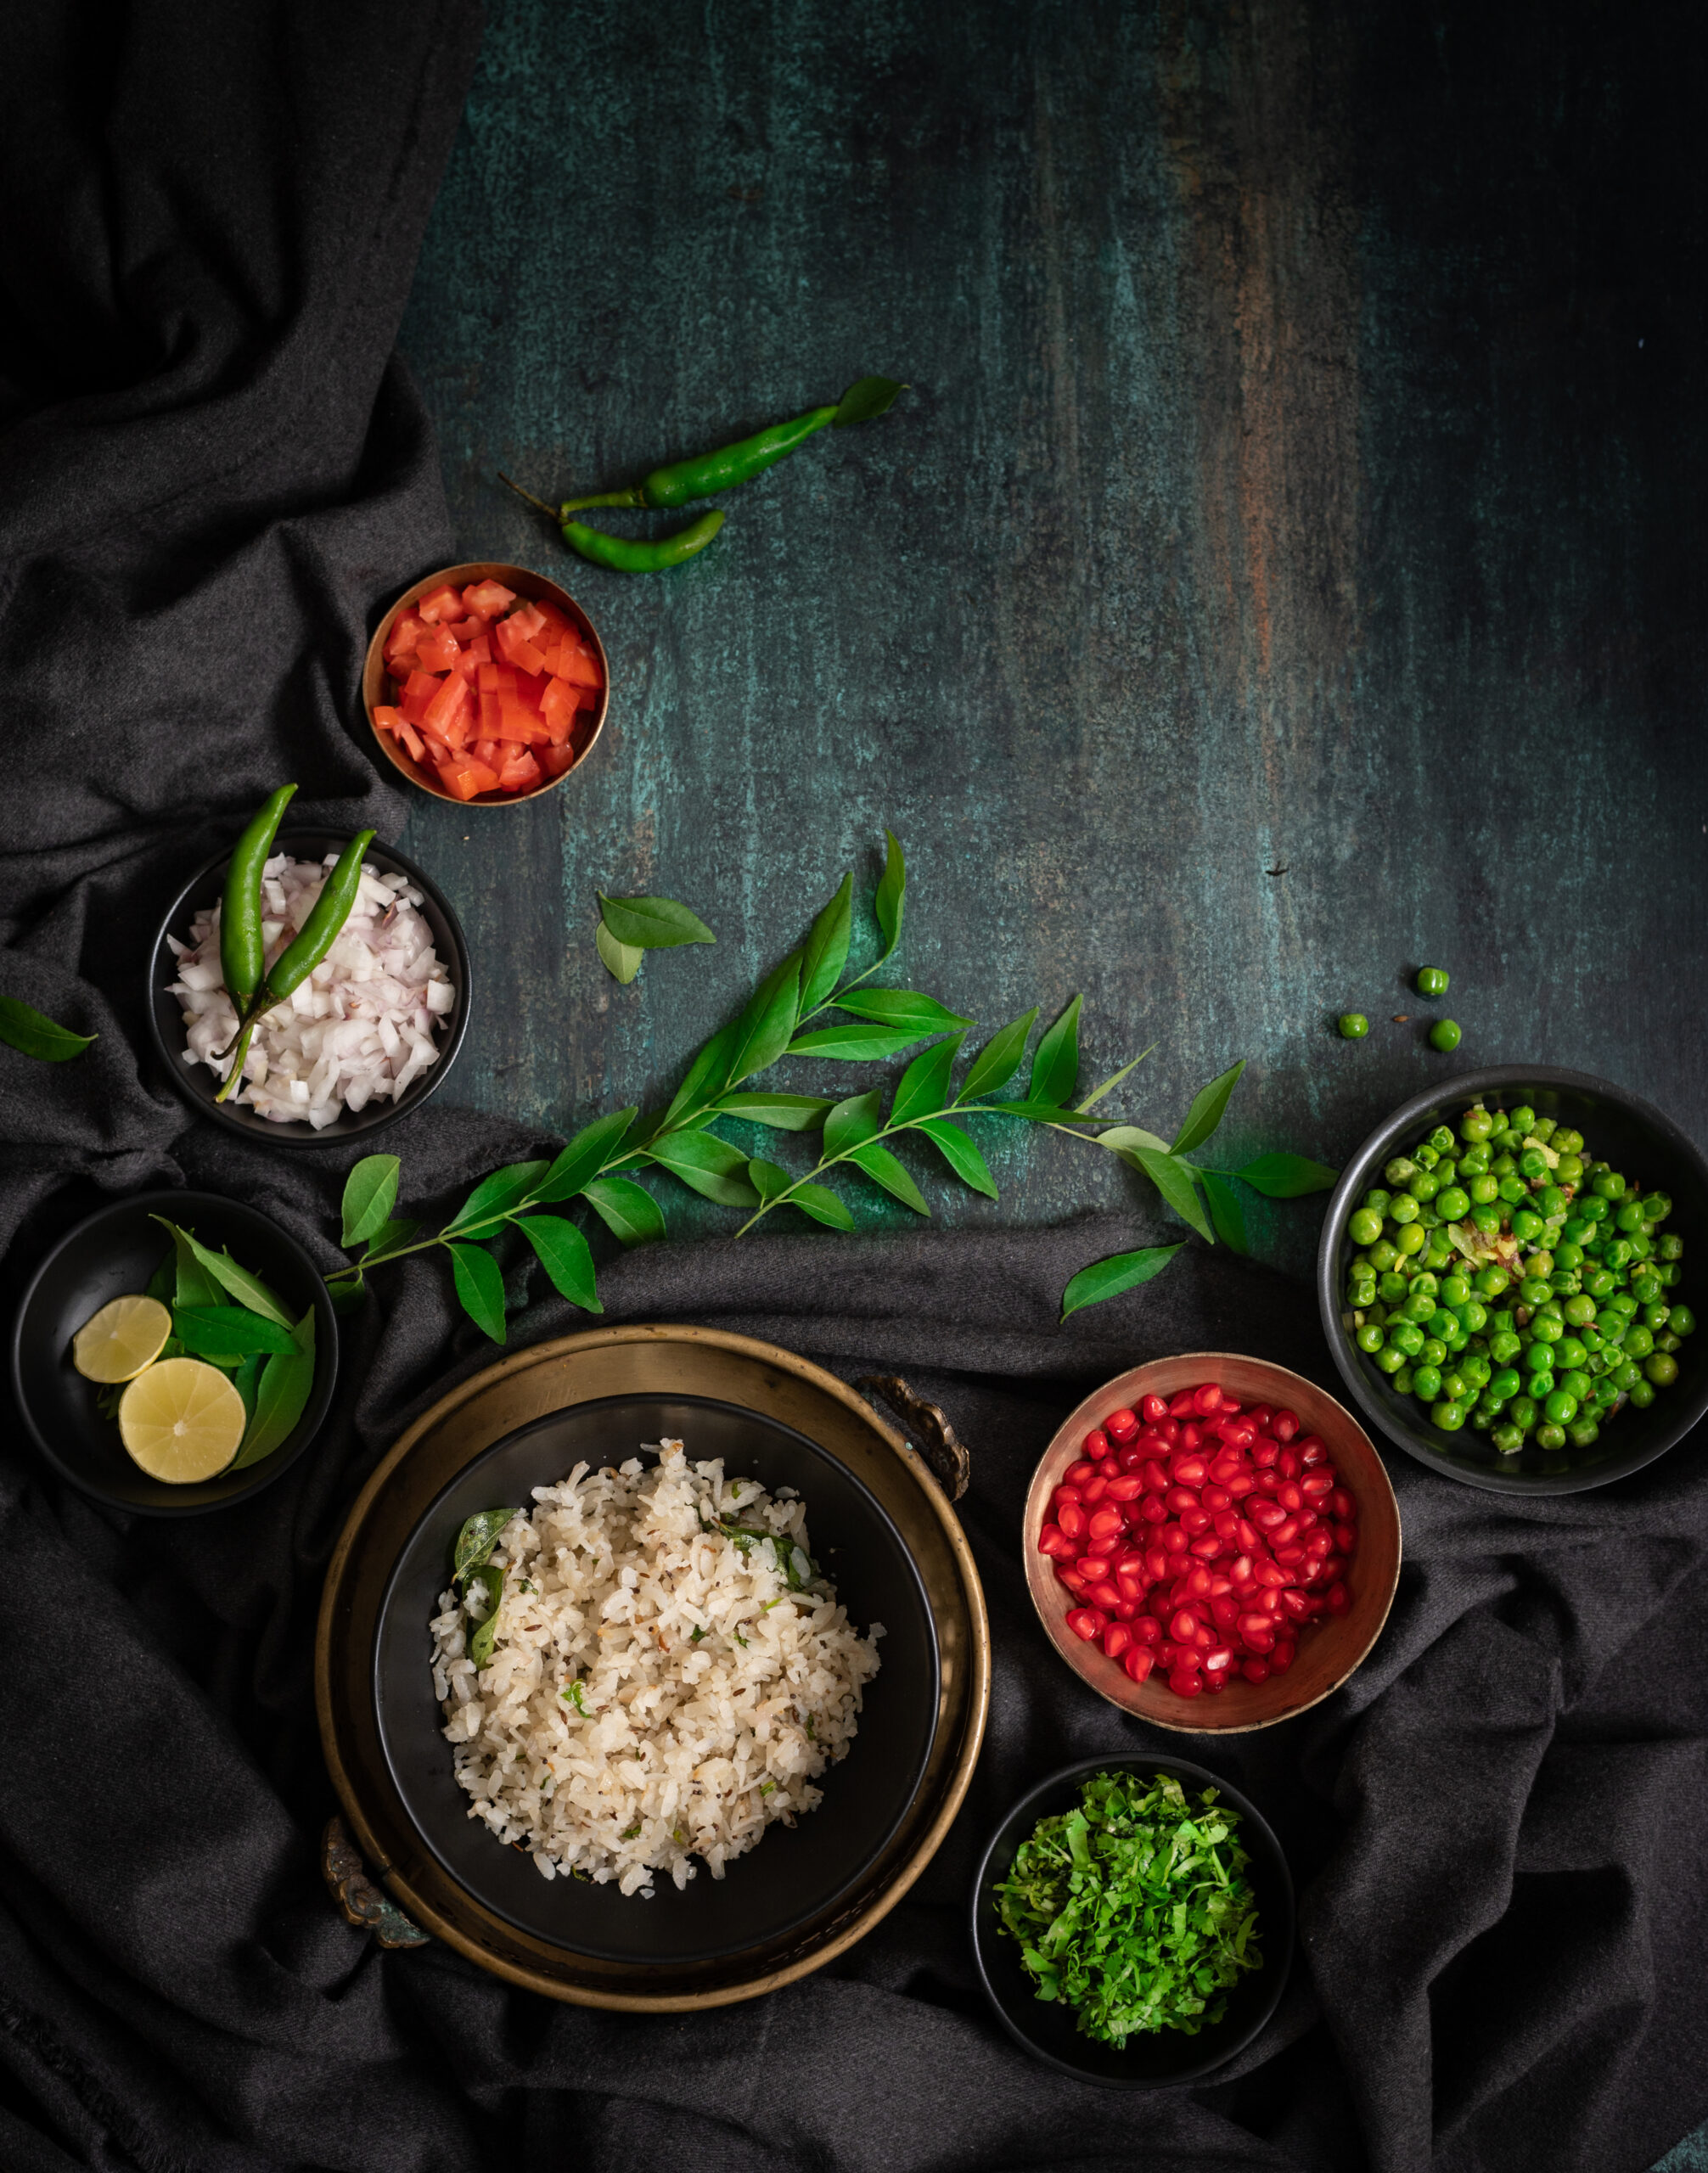
Prepare each of the components separately. I’ll begin by sharing the method for the coconut rice. In a pan, add the coconut oil. Once it’s heated, add the cumin and mustard seeds. When the seeds splutter, add the curry leaves and green chilli. Next, add the freshly grated coconut. Sauté them all together for a few minutes and finally add the rice and salt. Stir until combined.
The following is the method for the pan-fried eggplant. On a plate, place the eggplant slices and sprinkle all the masala (including the chickpea flour) onto them, and gently massage them in by using your fingers. Allow the coated slices to sit for ½ an hour or more. If letting the tray sit for longer, then refrigerate it so that the eggplant doesn’t begin to give out water.
When you are ready to fry the eggplant, add the oil in a pan. Allow it to heat up, then gently place the round eggplant slices onto the hot oil. Allow them to turn golden on both sides on a medium flame, then cool.
Finally, here is the method to prepare the greens. Heat a kadai and add the oil to it. Once it’s hot, add the garlic and stir fry until the cloves change colour slightly. Now, add the chilli and then finally add the greens. Keep the flame at a medium level and sauté for a few minutes or until the greens turn a little tender. Do not overcook, as they release water and will change colour. Add the salt and stir well.
My daughter felt that this bowl was a little dry, and if you think so too, you can either add some yoghurt to it as a fourth component or make the spinach in a more gravy-like style if you prefer.
With all the components of the dish prepared, it now comes down to the assembly. Pick out a beautiful bowl and arrange the coconut rice, sautéed greens and pan-fried eggplant on it. Let your eyes feast first. Enjoy!
You may have noticed that my blog is also a kind of Buddha bowl, a mix-and-match that I put together from across categories. This is deliberate, because I want people from across age groups and from all over the world to enjoy my recipes. I always try to balance the traditional and the modern, and bring in all my varied experiences and learning – be they through travel, my training such as in Macrobiotics, my memories, or my experiments. I strive to keep up with the times, and I also strive to keep challenging myself. Thank you for coming along with me on my journey! There are a few more Buddha bowls in the next couple of stops. Any guesses where they might be inspired from?