32 Results

farm

Search

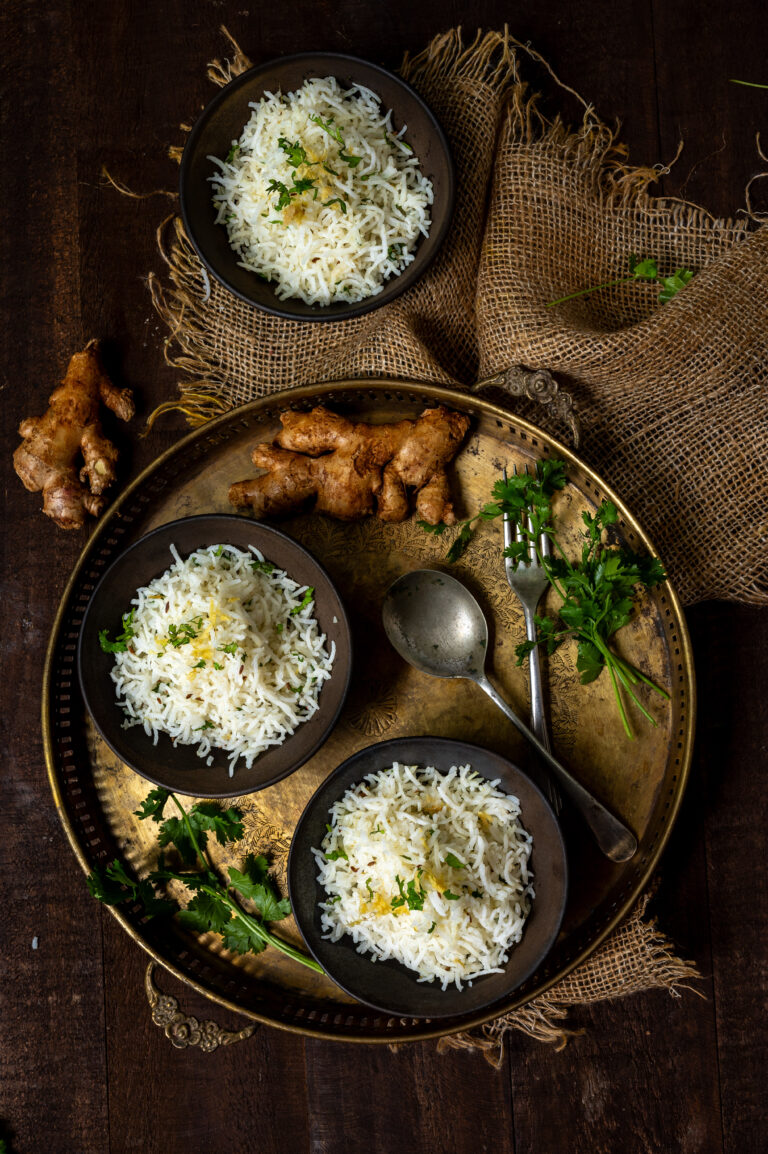
I love the flavour of lemongrass. I find it very versatile: it shines in dishes like this vegan whole corn and lemongrass soup, in my early morning tea and even as a semi-decorative element in kachoris. This ginger lemongrass rice is just one of many ways that this wonderfully aromatic herb is used in my home.

Indeed, not only is it used in my home but it is also grown in my home, which means that I have access to fresh green lemongrass leaves whenever I desire them. I currently have this plant on my terrace so that it gets direct sunlight. It sits alongside my jasmines, which I am very proud of. Not only is the visual of them growing together very pleasing, but the natural fragrances that waft there in summer – with the flowers in full bloom giving off a heady scent, alongside the lemongrass – are really so beautiful.

Despite being a long-term fan of lemongrass, this ginger lemongrass rice is a new addition to my repertoire. My daughter is visiting and she loves to cook Thai food, which is what inspired me to bring the ingredient into a lightly stir-fried rice. The method for doing so is a little different, and you can see how to prepare it in the recipe below.

This rice is meant to be accompanied by a side dish, and you can experiment with a variety of cuisines. If I am serving this alongside an Indian dish, fresh coriander or a bit of cumin in the preparation will bring out complementary flavours. If I am pairing it with a Continental dish like a baked spinach (by the way, I will share the recipe for this soon), I may add mint instead. The lemongrass and the ginger remain constants. However you choose to accompany it, the rice itself will be quite flavourful, as well as fragrant.

I have shared quite a few rice recipes here over the years, from biryani to porridge to dessert. In South India, rice grows abundantly, and I’ve also discussed before how the regeneration of native varieties is important. I recently heard the environmental scholar Vandana Shiva speak in Chennai, and I feel moved to share her message. She spoke about how India must maintain our rich agricultural heritage, that farmers should have their own seeds and distribution network and not allow big companies to patent them (this is quite controversial – Monsanto currently has a monopoly on the world’s seeds). She also encouraged farmers to go pesticide-free and focus on seasonal produce, and said that organic food will become more affordable as more farmers choose these methods. It was a very enlightening talk, and these thoughts were on my mind as I prepared this dish. I hope that you too will explore more about these subjects. After all, they relate to our everyday lives and choices.

All said and done, rice is a staple in India, and while it contains sugars and starch, in the right quantities it does more good than harm. I hope we can all come together to be more mindful about our consumption. We can do good, too – even as we indulge.
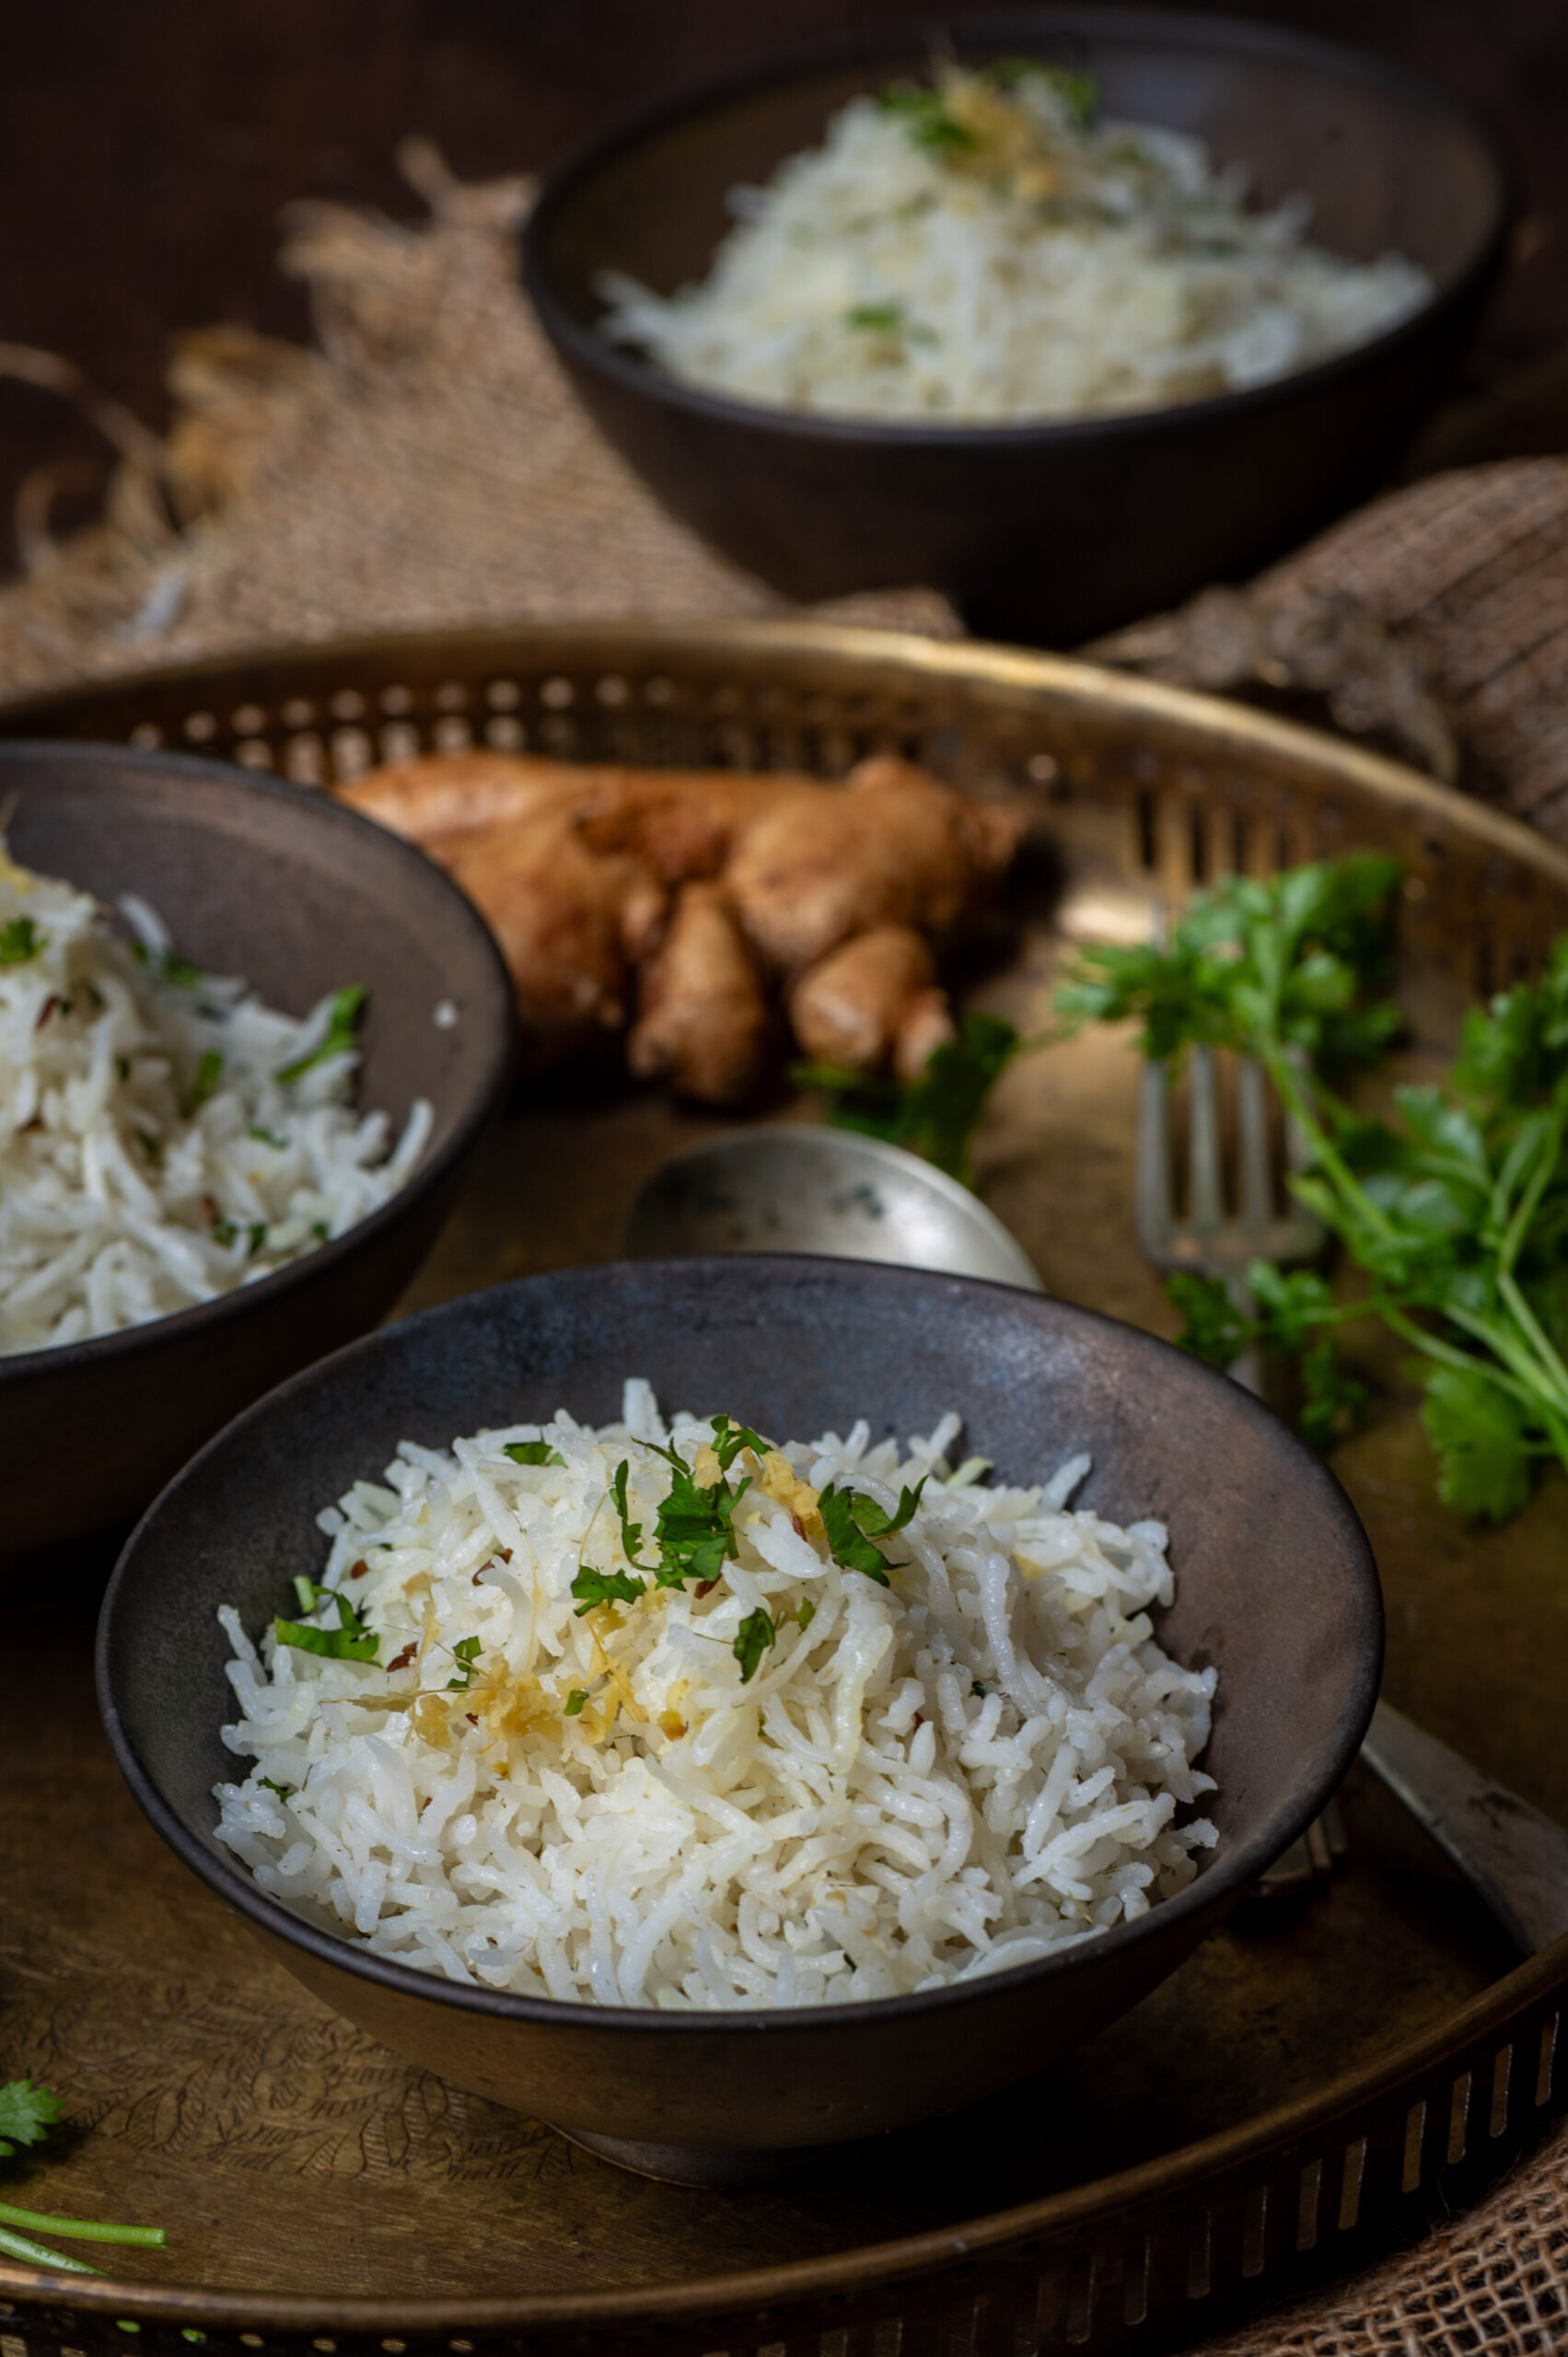
 

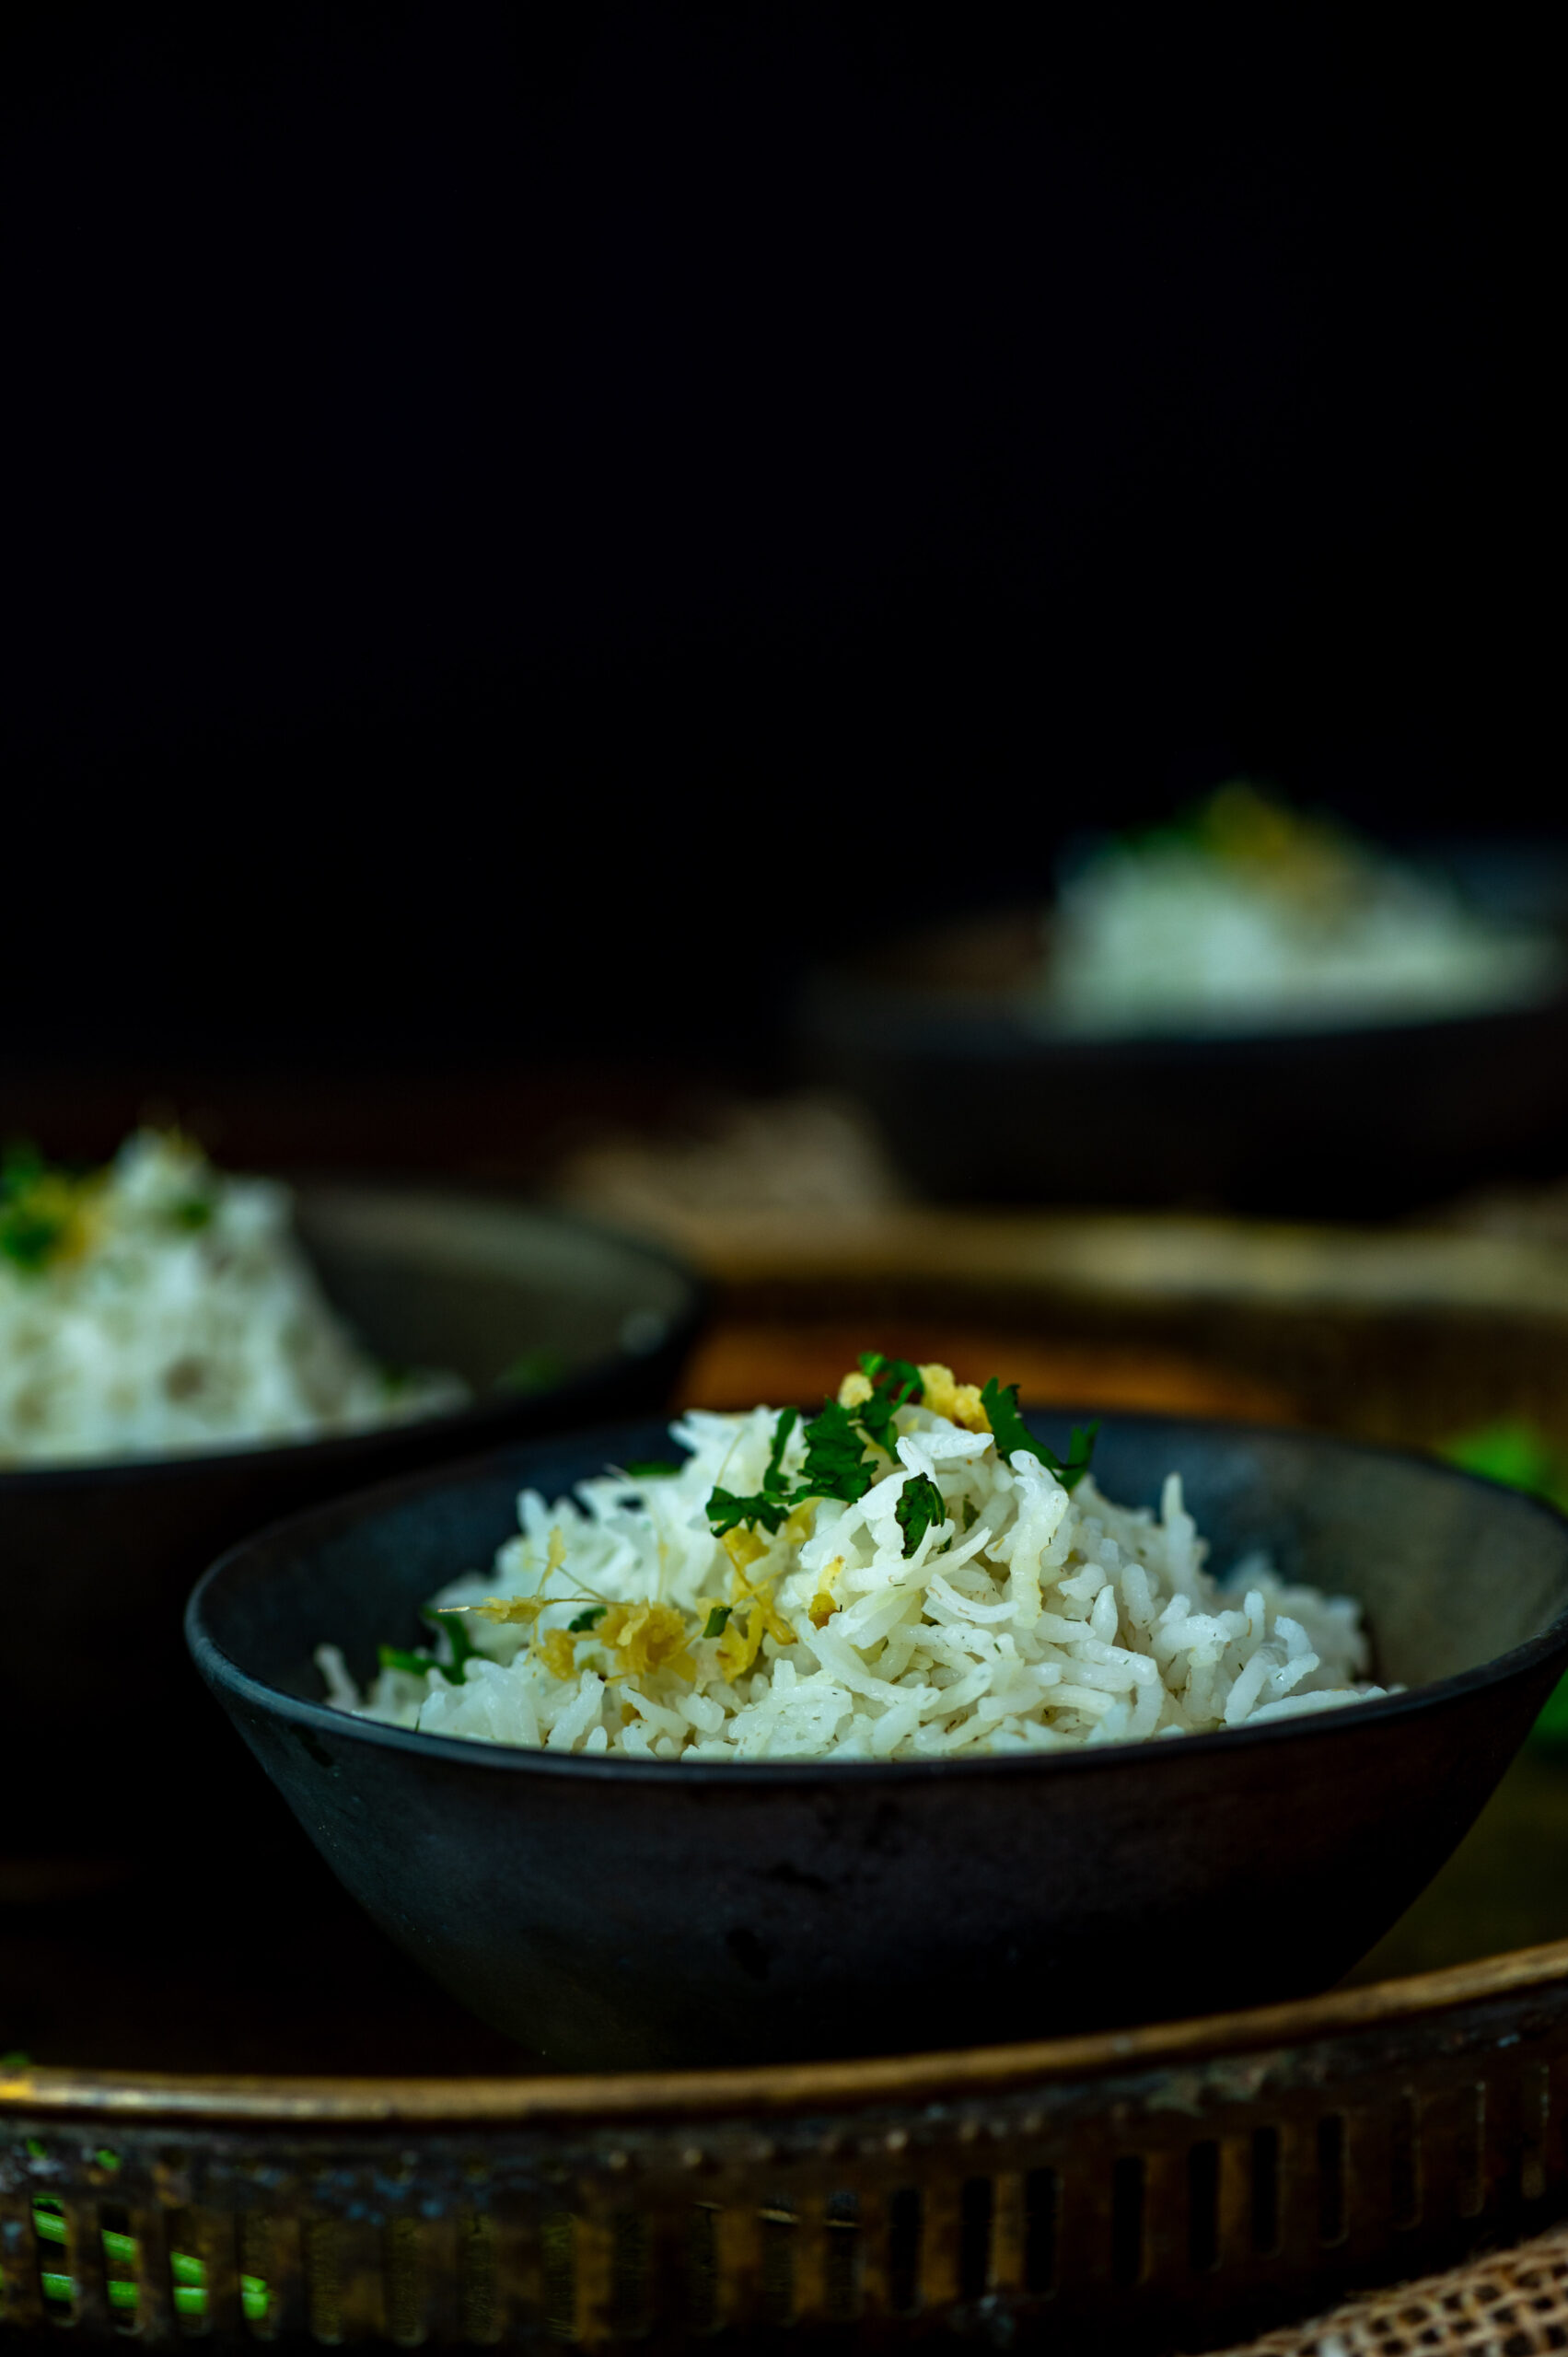
Ginger Lemongrass Rice

(Serves 2)

1 cup rice

5 cups water

2 tablespoons grated ginger

A bunch of fresh lemongrass leaves

Salt to taste

1 tablespoon sesame oil

Finely chopped coriander leaves (for garnishing)

I have used basmati for this dish, but I would recommend using any good South Indian or Asian rice variety. Do keep in mind my prior suggestions for additional ingredients depending on the side dishes you prepare to serve this with.

Rinse and soak the rice in a pot. Add the five cups of water. Add the lemongrass leaves and cook until the rice is tender. Strain and set aside. Remove the lemongrass leaves and discard them.

In a heated pan, add the oil. Now, add the ginger and sauté for a few minutes. Add the cooked, fragrant lemongrass rice along with the salt. Mix gently, allowing the flavours to spread into the rice.

Garnish and serve, along with any other dish. This ginger lemongrass rice will certainly elevate the flavours of its accompaniment, and vice versa. Enjoy!
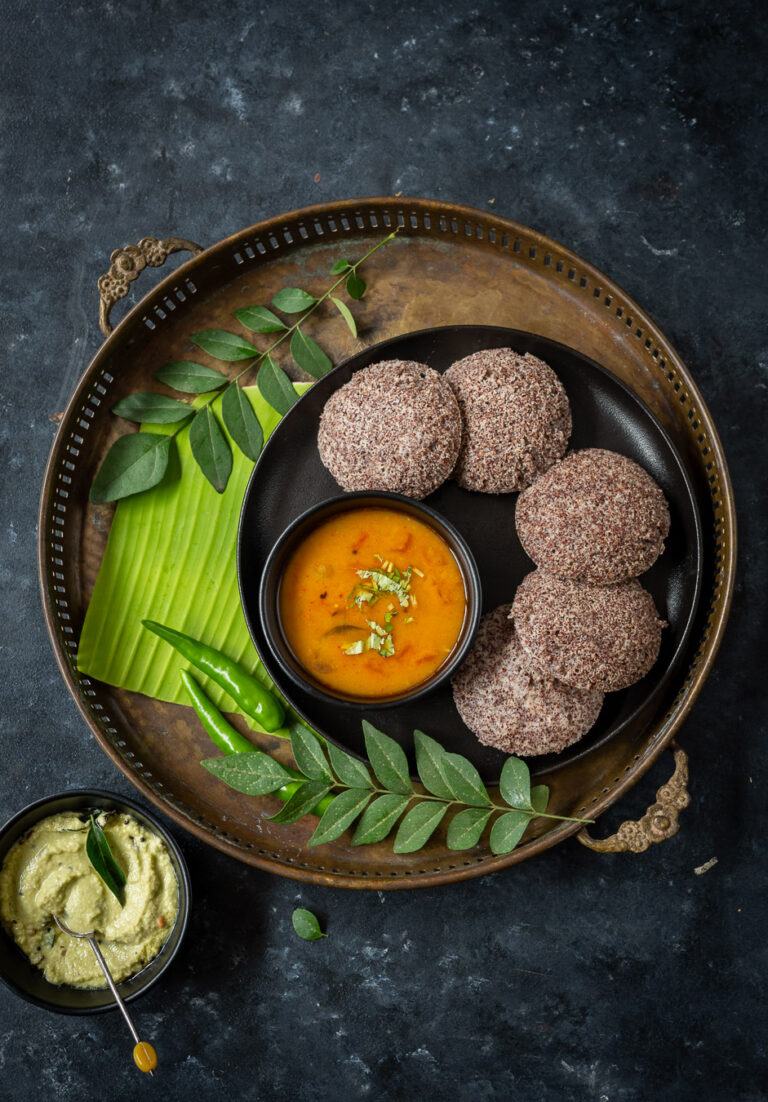
I believe that South Indian breakfasts are probably the healthiest ones prepared pan-India. I may be biased, of course, as I live here. But my belief comes from how they tend to contain some amount of protein and probiotics, and are centred on something as basic and easily digestible as rice. Rice is used in the batter for idlys and dosais, which are breakfast staples. If you travel across Tamil Nadu, especially by road, you’ll see just how prevalent these items are across all communities and economic backgrounds. Naturally, I grew up eating them too. Nowadays, I like to boost the protein quotient, as I get very hungry immediately after my morning workout and crave more of it. This is why I decided to substitute rice with ragi – finger millet – in my idlys. They are high in both protein and iron, and provide an even more nutritious start to the day.

We grow ragi on our farm, and making these idlys is a great way to put it to use. During harvests, I have quite an abundance of ragi in my kitchen, and versatile ways to consume it were introduced to me by my household staff, Vijaya. I was fortunate that she came into my family when my daughter was only a few months old. Now, my daughter is an adult, and whenever she visits, Vijaya is always so happy to see how she’s grown and how she looks after herself. It’s a joy to share these moments, as we raised her together. Over the years, we have also exchanged many recipes. Among them is this ragi idly.

I’m currently hooked to this dish, and have it at least twice a week. I alternate it with other protein-rich breakfasts such as overnight oats, quinoa porridge, moringa leaves omelette and so on. As far as eating preferences go, I tend to have a “flavour of the season”, and just as I was hooked for each of the prior recipes for a spell, the ragi idly is my current favourite breakfast. It is satisfying, filling and ticks all the boxes for a post-workout meal in a healthy and traditional way.

It’s also on-trend, as the United Nations has declared 2023 to be the International Year of Millets. I’ve been enthusiastic about millet usage for years, and have shared numerous recipes that are based on a variety of them before. I’ll be sure to share more in this category over this coming year. Please let me know if there are any millets or millet-based dishes you are curious about.

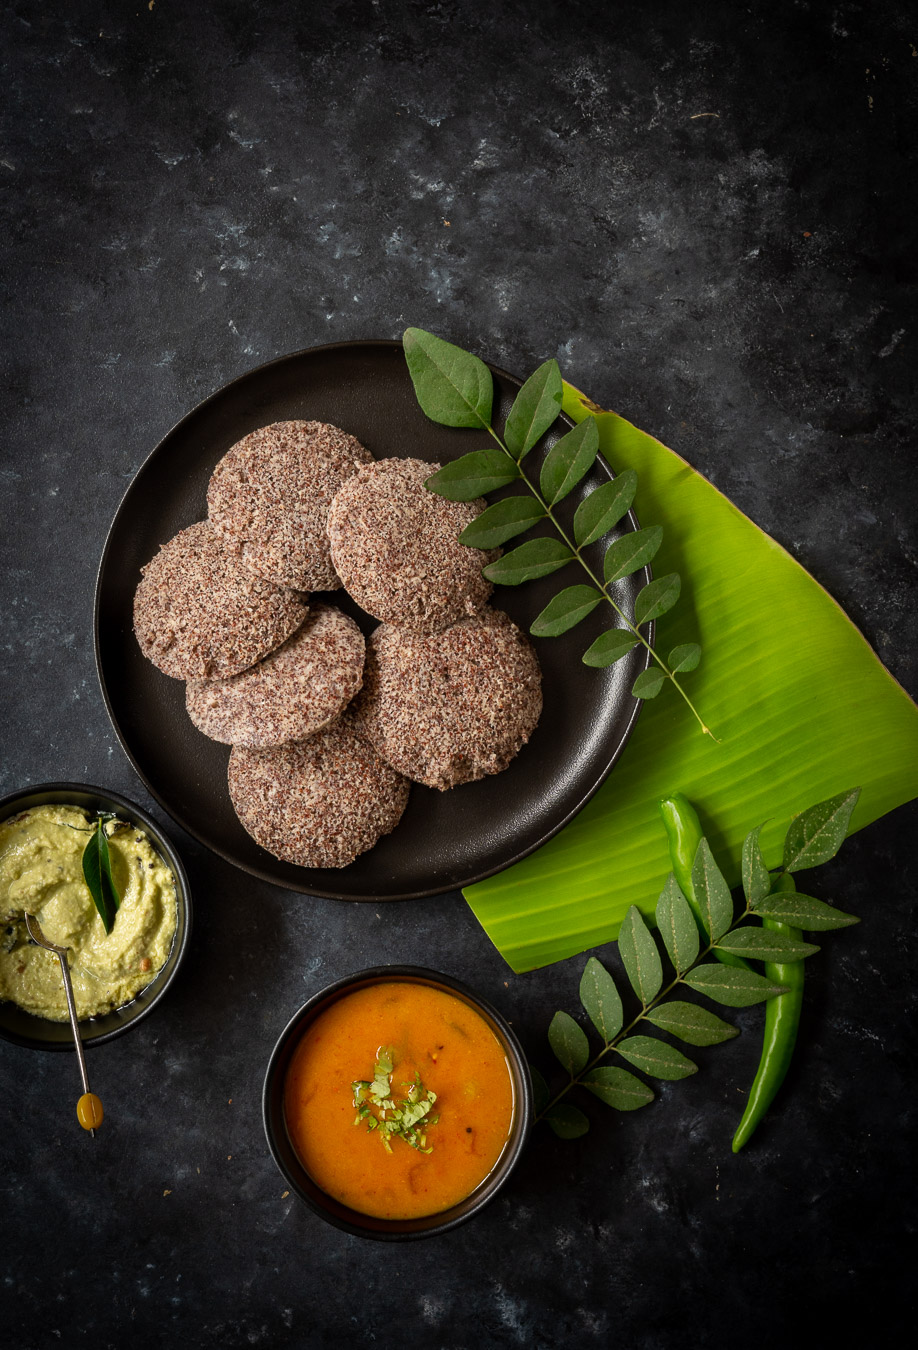
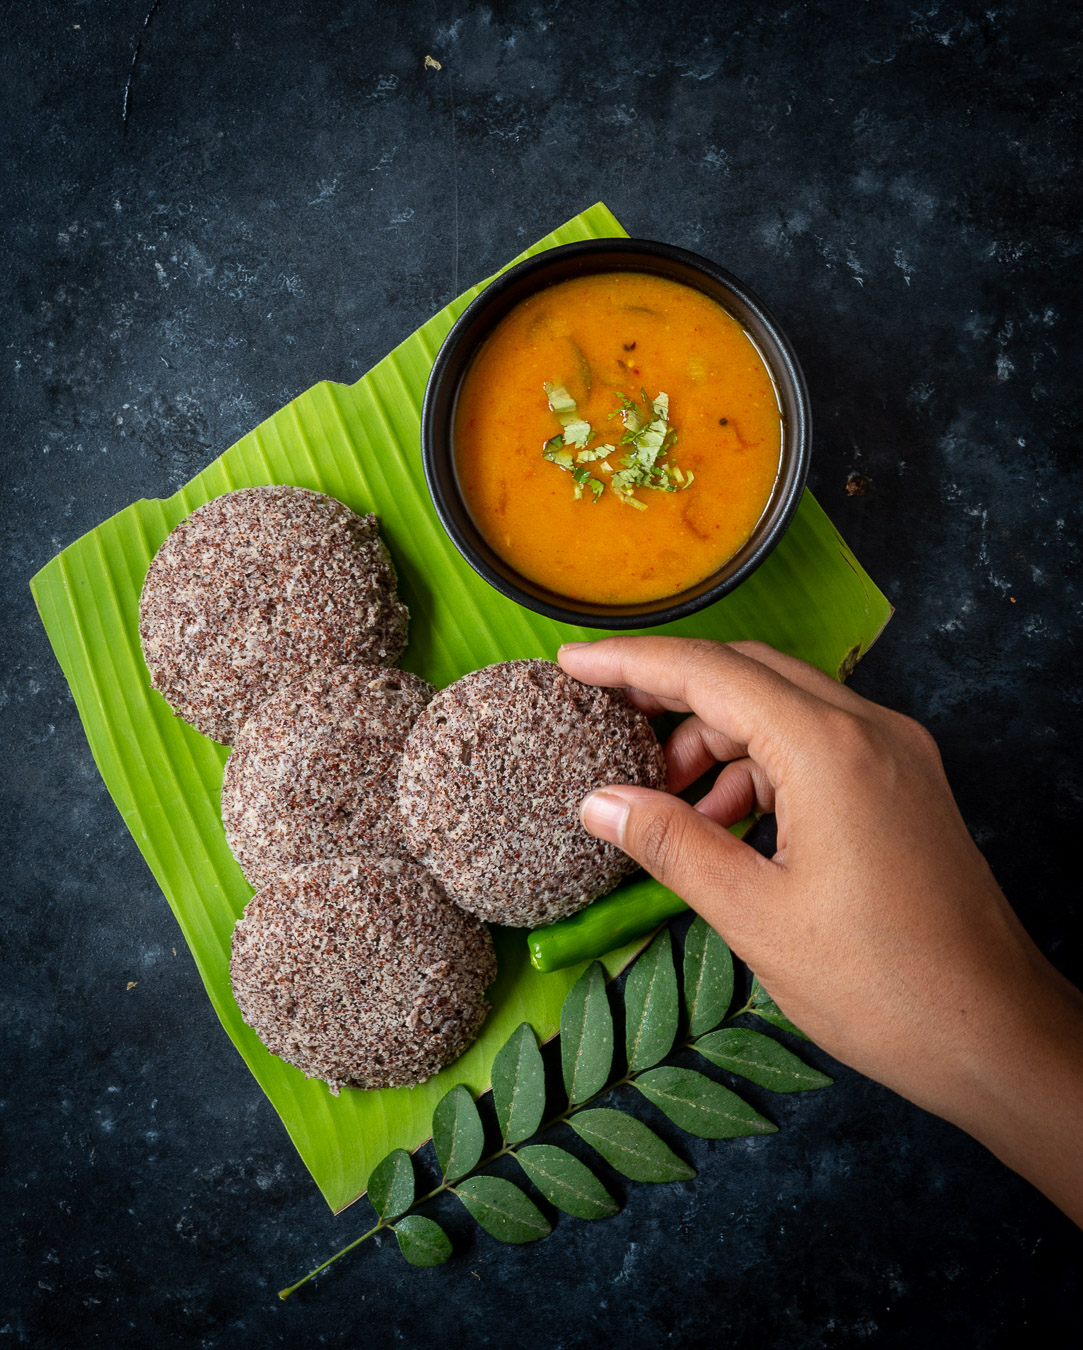
Coming back to this dish: all kinds of idlys are usually served either with a chutney, or a sambar. I will share the recipe for sambar, as well as for homemade sambar powder, in upcoming posts – so do stay tuned. The recipe below includes the traditional process of preparing and fermenting the batter.

As I said earlier, idlys are available anywhere in Tamil Nadu, but the difference when they are homemade is that they somehow feel lighter on the stomach. You can eat many idlys and not feel too full, yet you’ll have plenty of energy all the way into the afternoon. This is all the more true when it’s a millet idly, like this one.

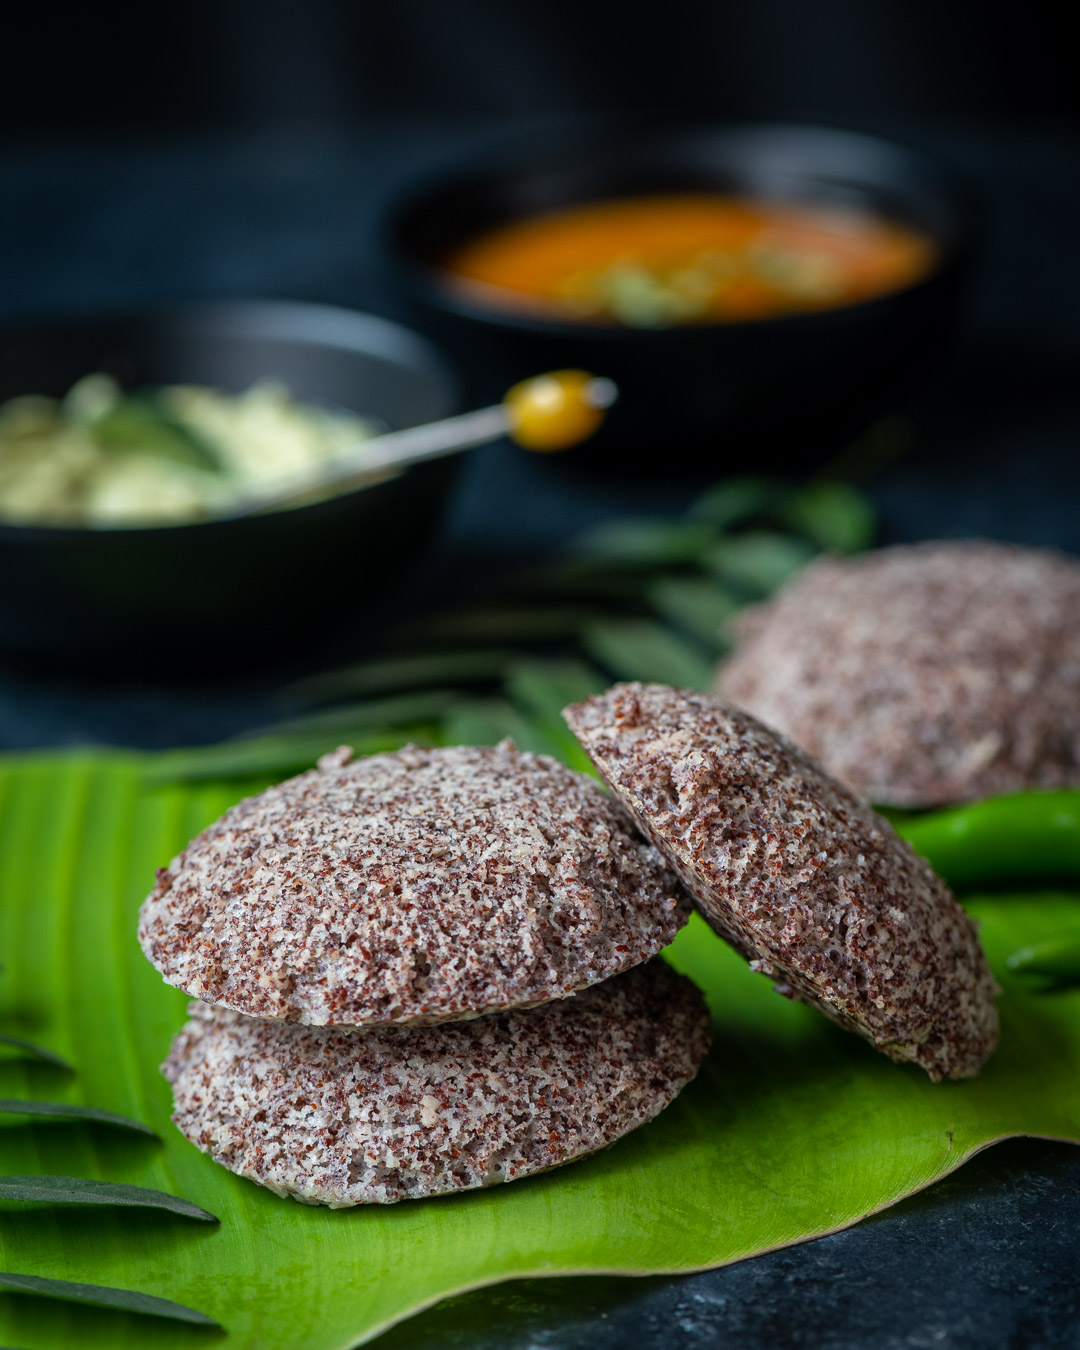
Ragi Idly

(Yield: 20 pieces)

2 cups ragi (finger millet)

½ cup urad dal (split black gram)

¼ tsp methi (fenugreek)

½ cup water to grind dal

½ cup water to grind ragi


Soak the urad dal and the methi together. In a separate bowl, soak the ragi. Allow the grains to soak for between 4-10 hours, as required.

Then, grind the urad dal, adding the water only as needed, at approximately a ¼ cup at a time. Grind until it’s smooth between fingers. Set aside in a bowl.

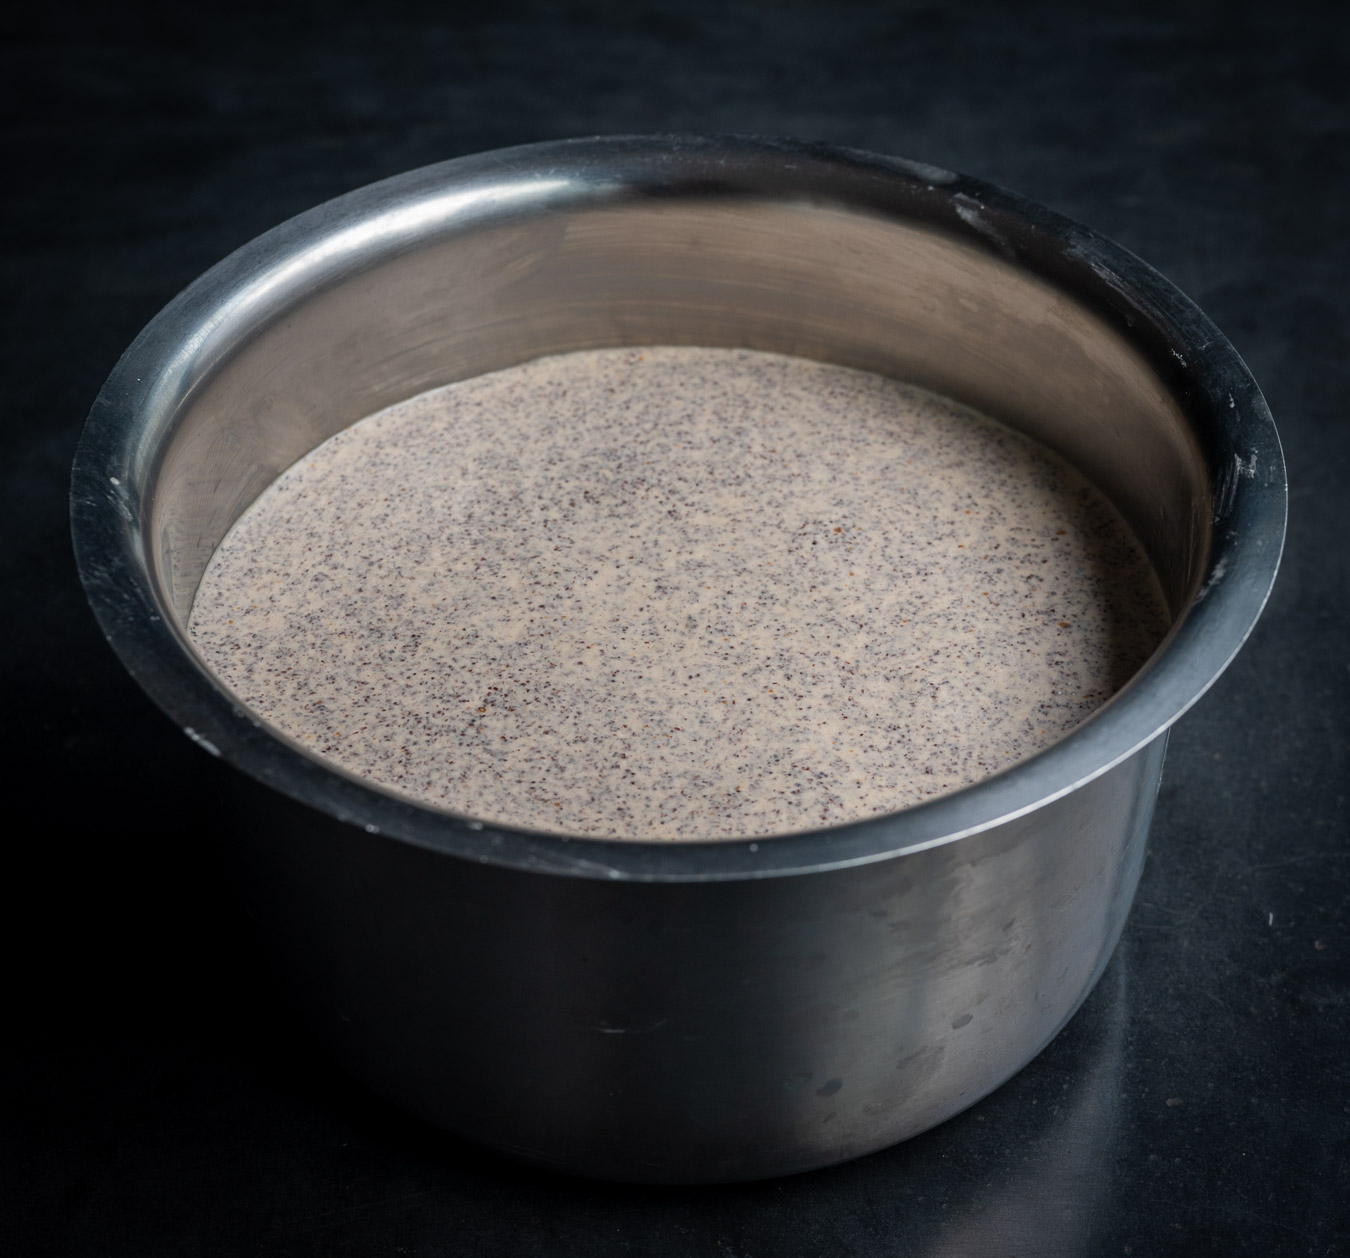
Grind the ragi, along with water as required, until coarse. Add the ground ragi to the urad dal. Add salt to taste and mix with your hand. Set aside overnight and allow to ferment.

The following morning, the ragi batter would have risen for fermentation.

Prepare the idly mould by spreading a drop of ghee into each mould. This will help you remove the steamed idly with ease later. Set aside.

With a ladle, stir the batter gently and pour it into the prepared idly trays. Steam for 10-15 minutes. Remove from the cooker and allow to cool a little. Gently remove the idlys individually from the mould.

Serve topped with ghee, along with chutney and sambar, or both. There you have it: a traditional staple, superpowered by ragi!

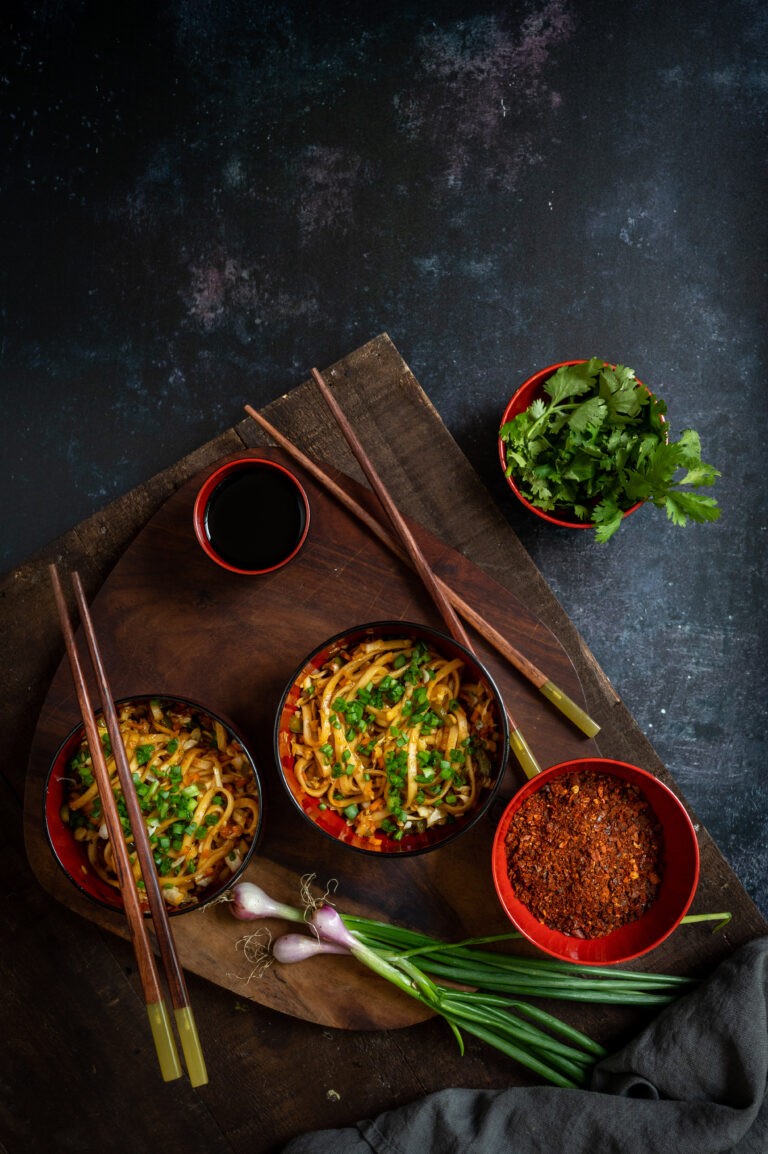
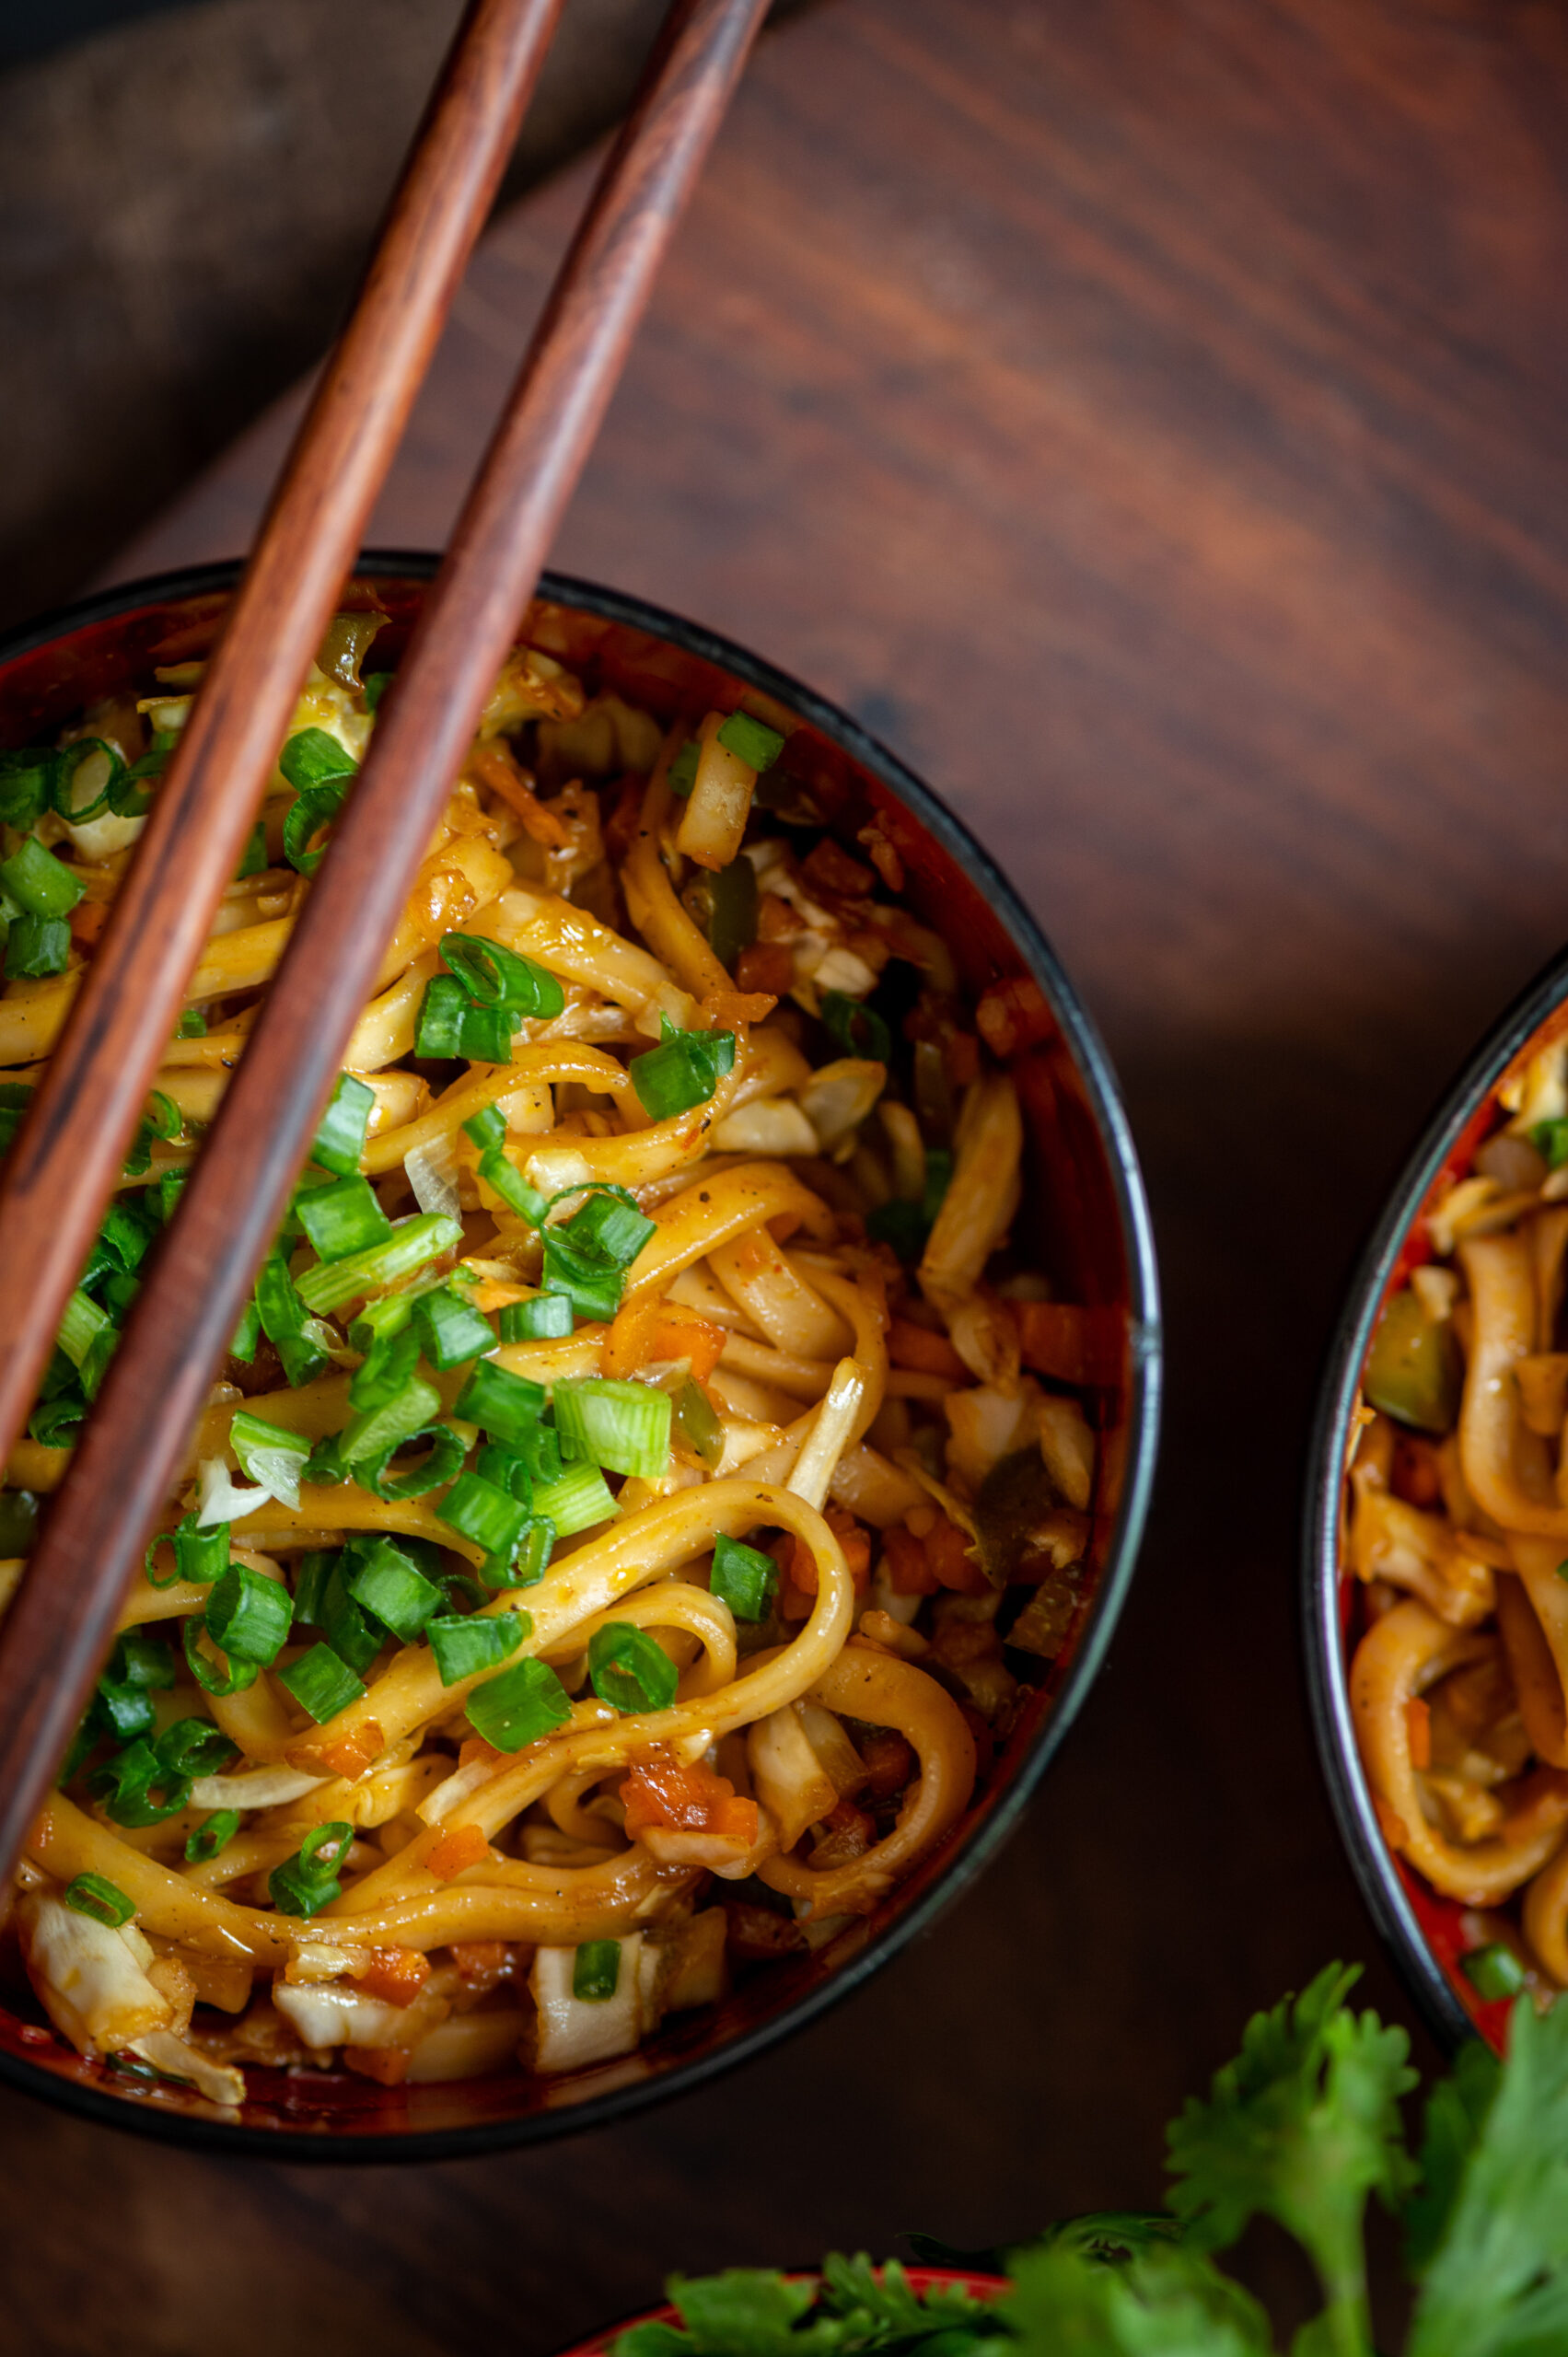
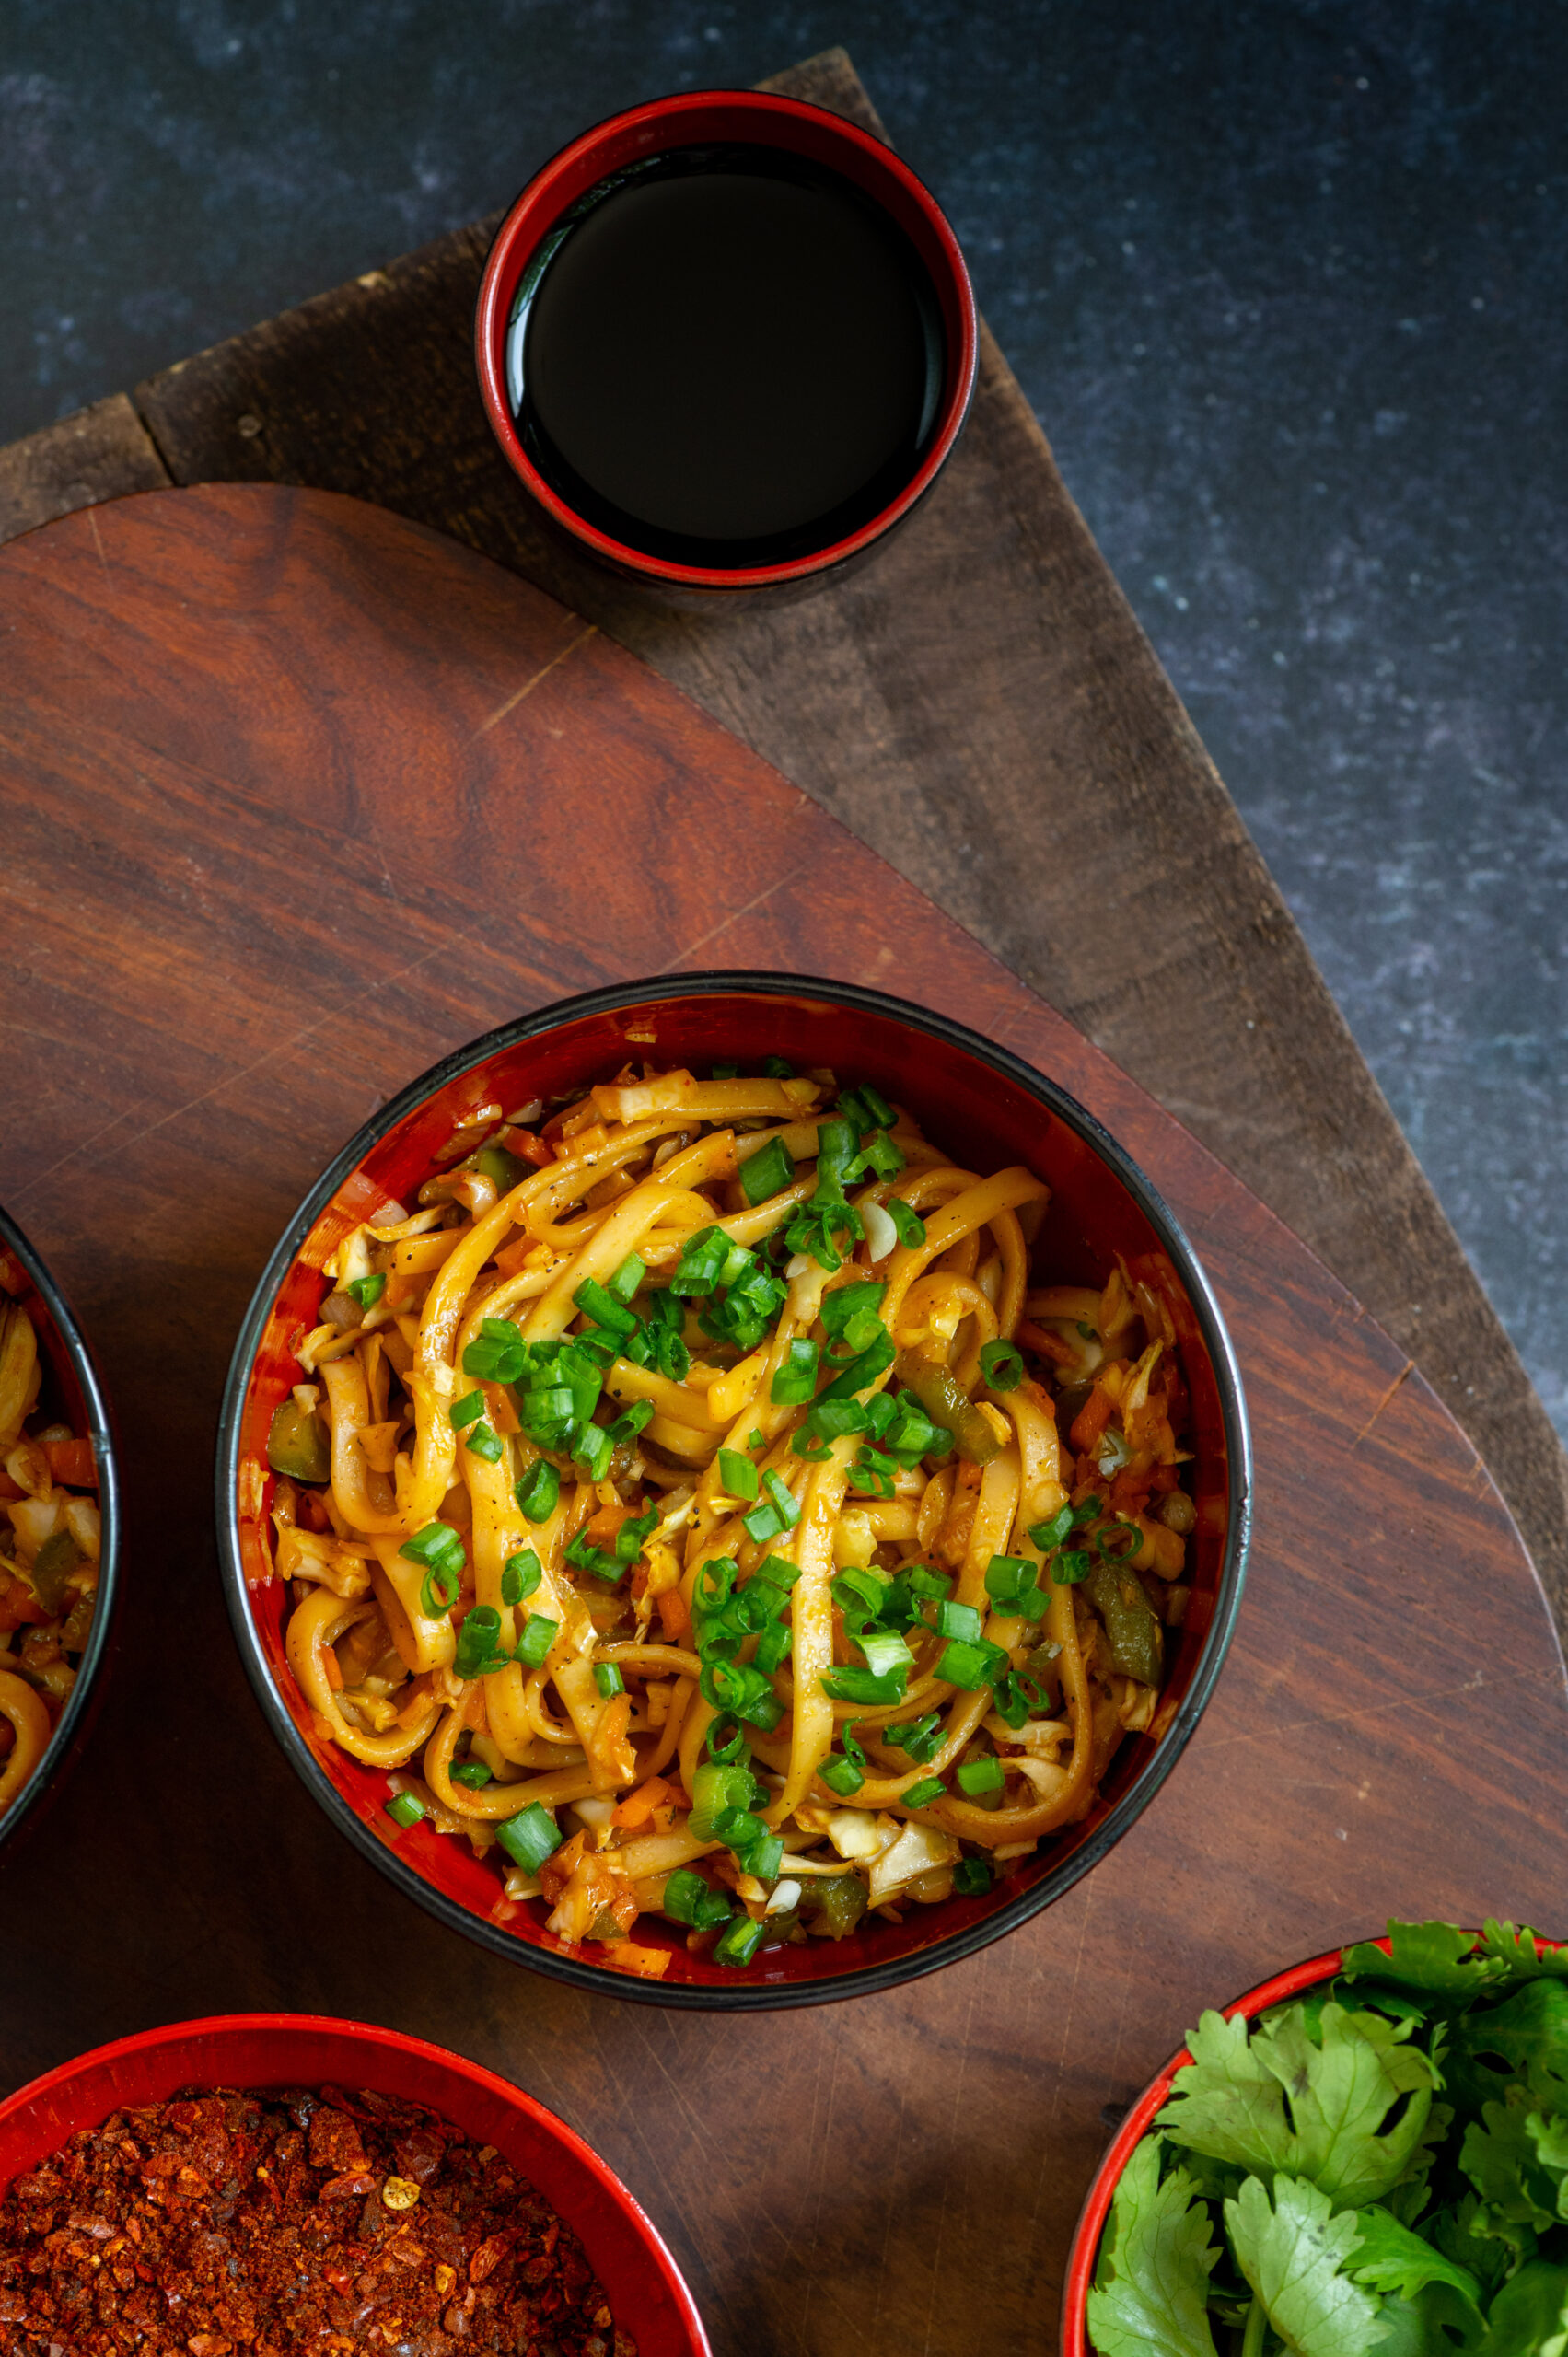
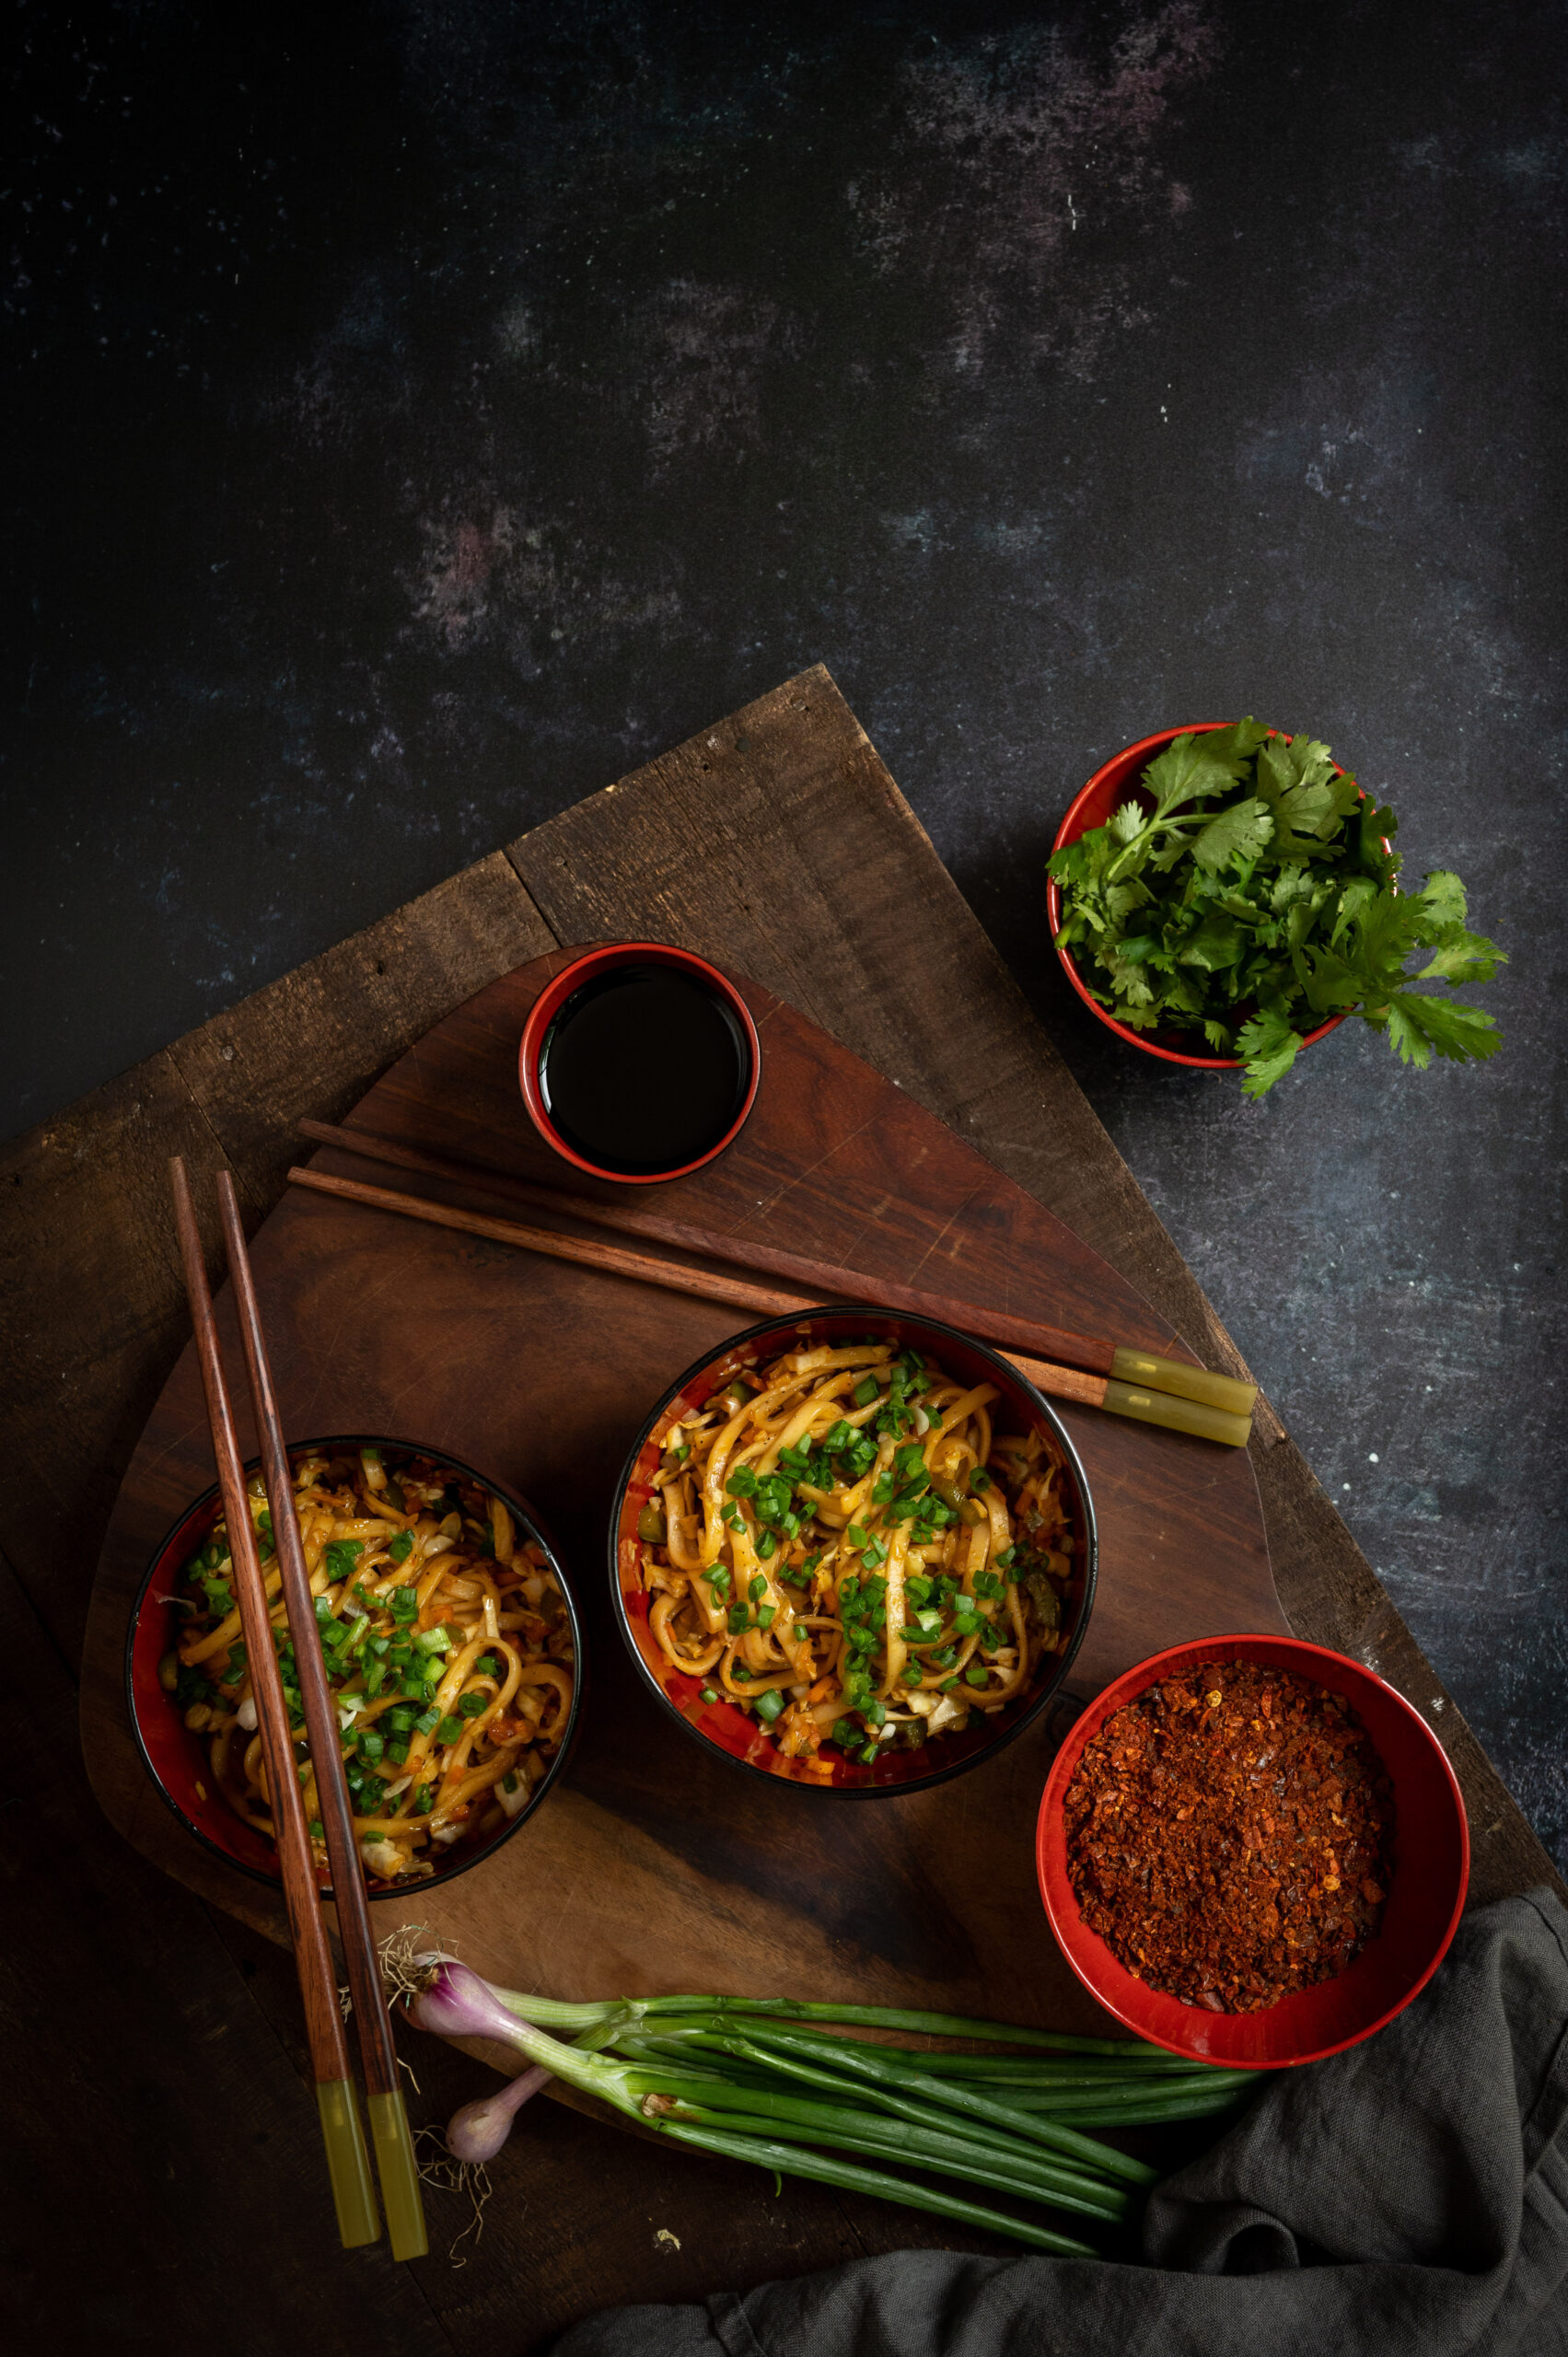
I hope you aren’t bored of hearing about how I’ve been increasing my intake of vegetables and proteins, but I know that many people are doing the same and would appreciate more recipes. This vegetable udon noodles preparation, which I sometimes add eggs to (especially for boosting that protein quotient), fulfills this need – and fulfills my cravings too. It is an Asian-inspired dish, and a meal in a bowl by itself.

This dish is a great way to consume vegetables that are in the fridge that you may not use up otherwise. It is a highly adaptable dish in so many ways. For instance, while I have used the traditional soy sauce, you may wish to swap it out for Indian masalas and spices that suit your palate.

I prefer to have early dinners, and am done with my meals by 7pm. This is so that there is sufficient time to digest before bed, as recommended by health experts, which means that I can have carbs in the evening with less guilt. This delicious dish, absolutely bursting with flavours and equally nutritious, is something I love to eat for dinner.

Certain things are non-negotiable for me when it comes to food. The quality of the oil I use is one thing. Another important choice is that I get my vegetables from good, clean sources, and buy organic as much as possible. When I go on drives outside the city, I always enjoy the lush beauty of the farms and gardens – so green, so gorgeous, so perfect. Yet, I have seen them being sprayed by chemicals too. Education about toxicity is so important for us all, whether as consumers or as farmers.

I am also conscious of consumption, and try to make use of everything that is in my kitchen. I see this is not just a cost-smart practical habit, but a mindful one. Food is so easily hit by any external factor. Whether that is war, climate change or excessive or minimal rains in a particular season, what we eat is affected first.

All this said, it is true that organic ingredients don’t come cheap, but I believe we must make good choices within what we can afford. We can also cultivate some ingredients ourselves. Whether we have ample backyards or terraces or compact kitchen gardens, we can all grow a little bit of what goes into our pots and pans. Staples like coriander and green chillies are ideal. You can also grow herbs and condiments, like lemongrass. This is something I do at home, and want to learn to do more of. That’s the thing about living mindfully and caring about sustainability – it’s not like you finish a degree and you know everything about the subject, you constantly have to adapt to changes in the world. Personally, I love to learn and to keep growing – including literally growing my own food where possible!

Udon Noodles

(Yield: Serves 2)


1½ to 2 cups chopped vegetables (capsicum, carrots, beans, spring onions, cabbage)

1 cup cooked udon noodles

1 tablespoon garlic (finely chopped or grated)

1 teaspoon ginger-garlic paste

1 pinch black pepper

Salt to taste

2 tablespoons soy sauce

1 teaspoon chilli oil

1 teaspoon chilli flakes

1 teaspoon rice vinegar

1 teaspoon mirin


In a non-stick pan, heat 1 ½ tablespoon sesame oil. Add ginger-garlic paste and sauté till it is fragrant. Add the vegetables, sauté and cook. Cover with a lid till it’s al dente.

Add the cooked noodles into the stir fried vegetables. Add pepper, salt, soy sauce, chilli oil, rice vinegar, mirin and chilli flakes. Stir until all the spices and ingredients come together.

Serve hot, and take in all the delicious flavours. If you enjoyed this dish, you may also enjoy this Asian stir fry. Do give both a try and let me know what you think!

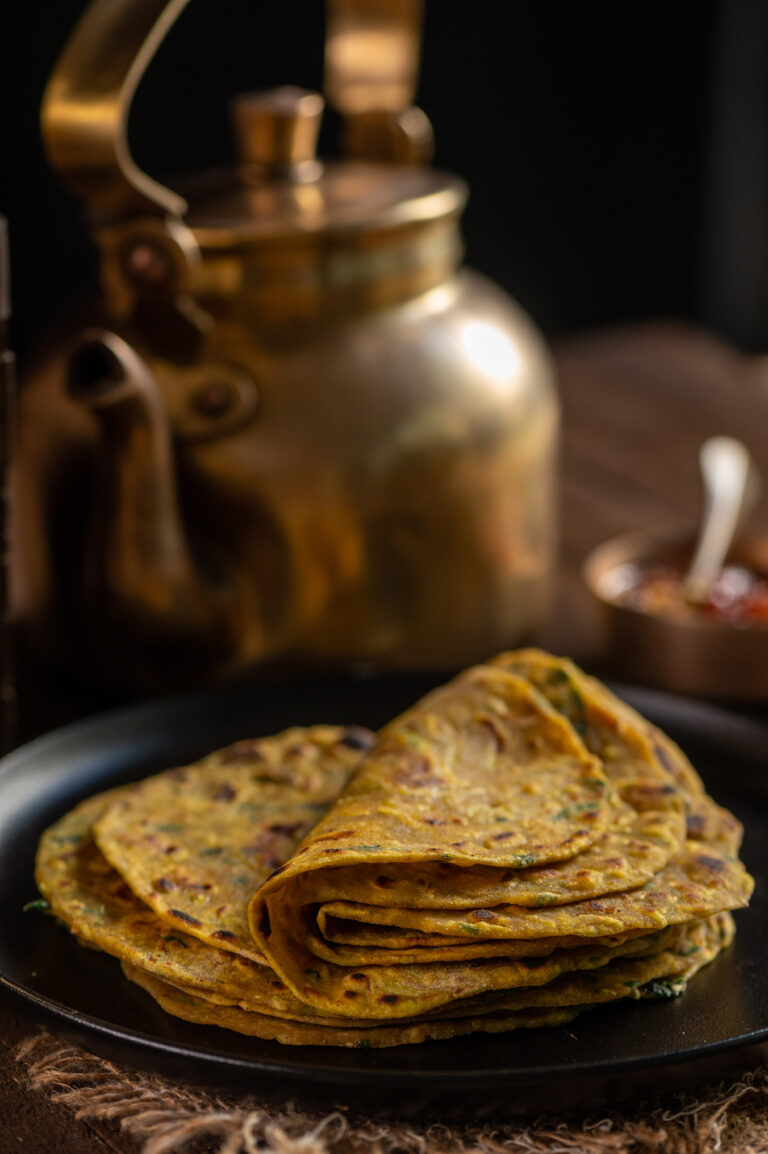
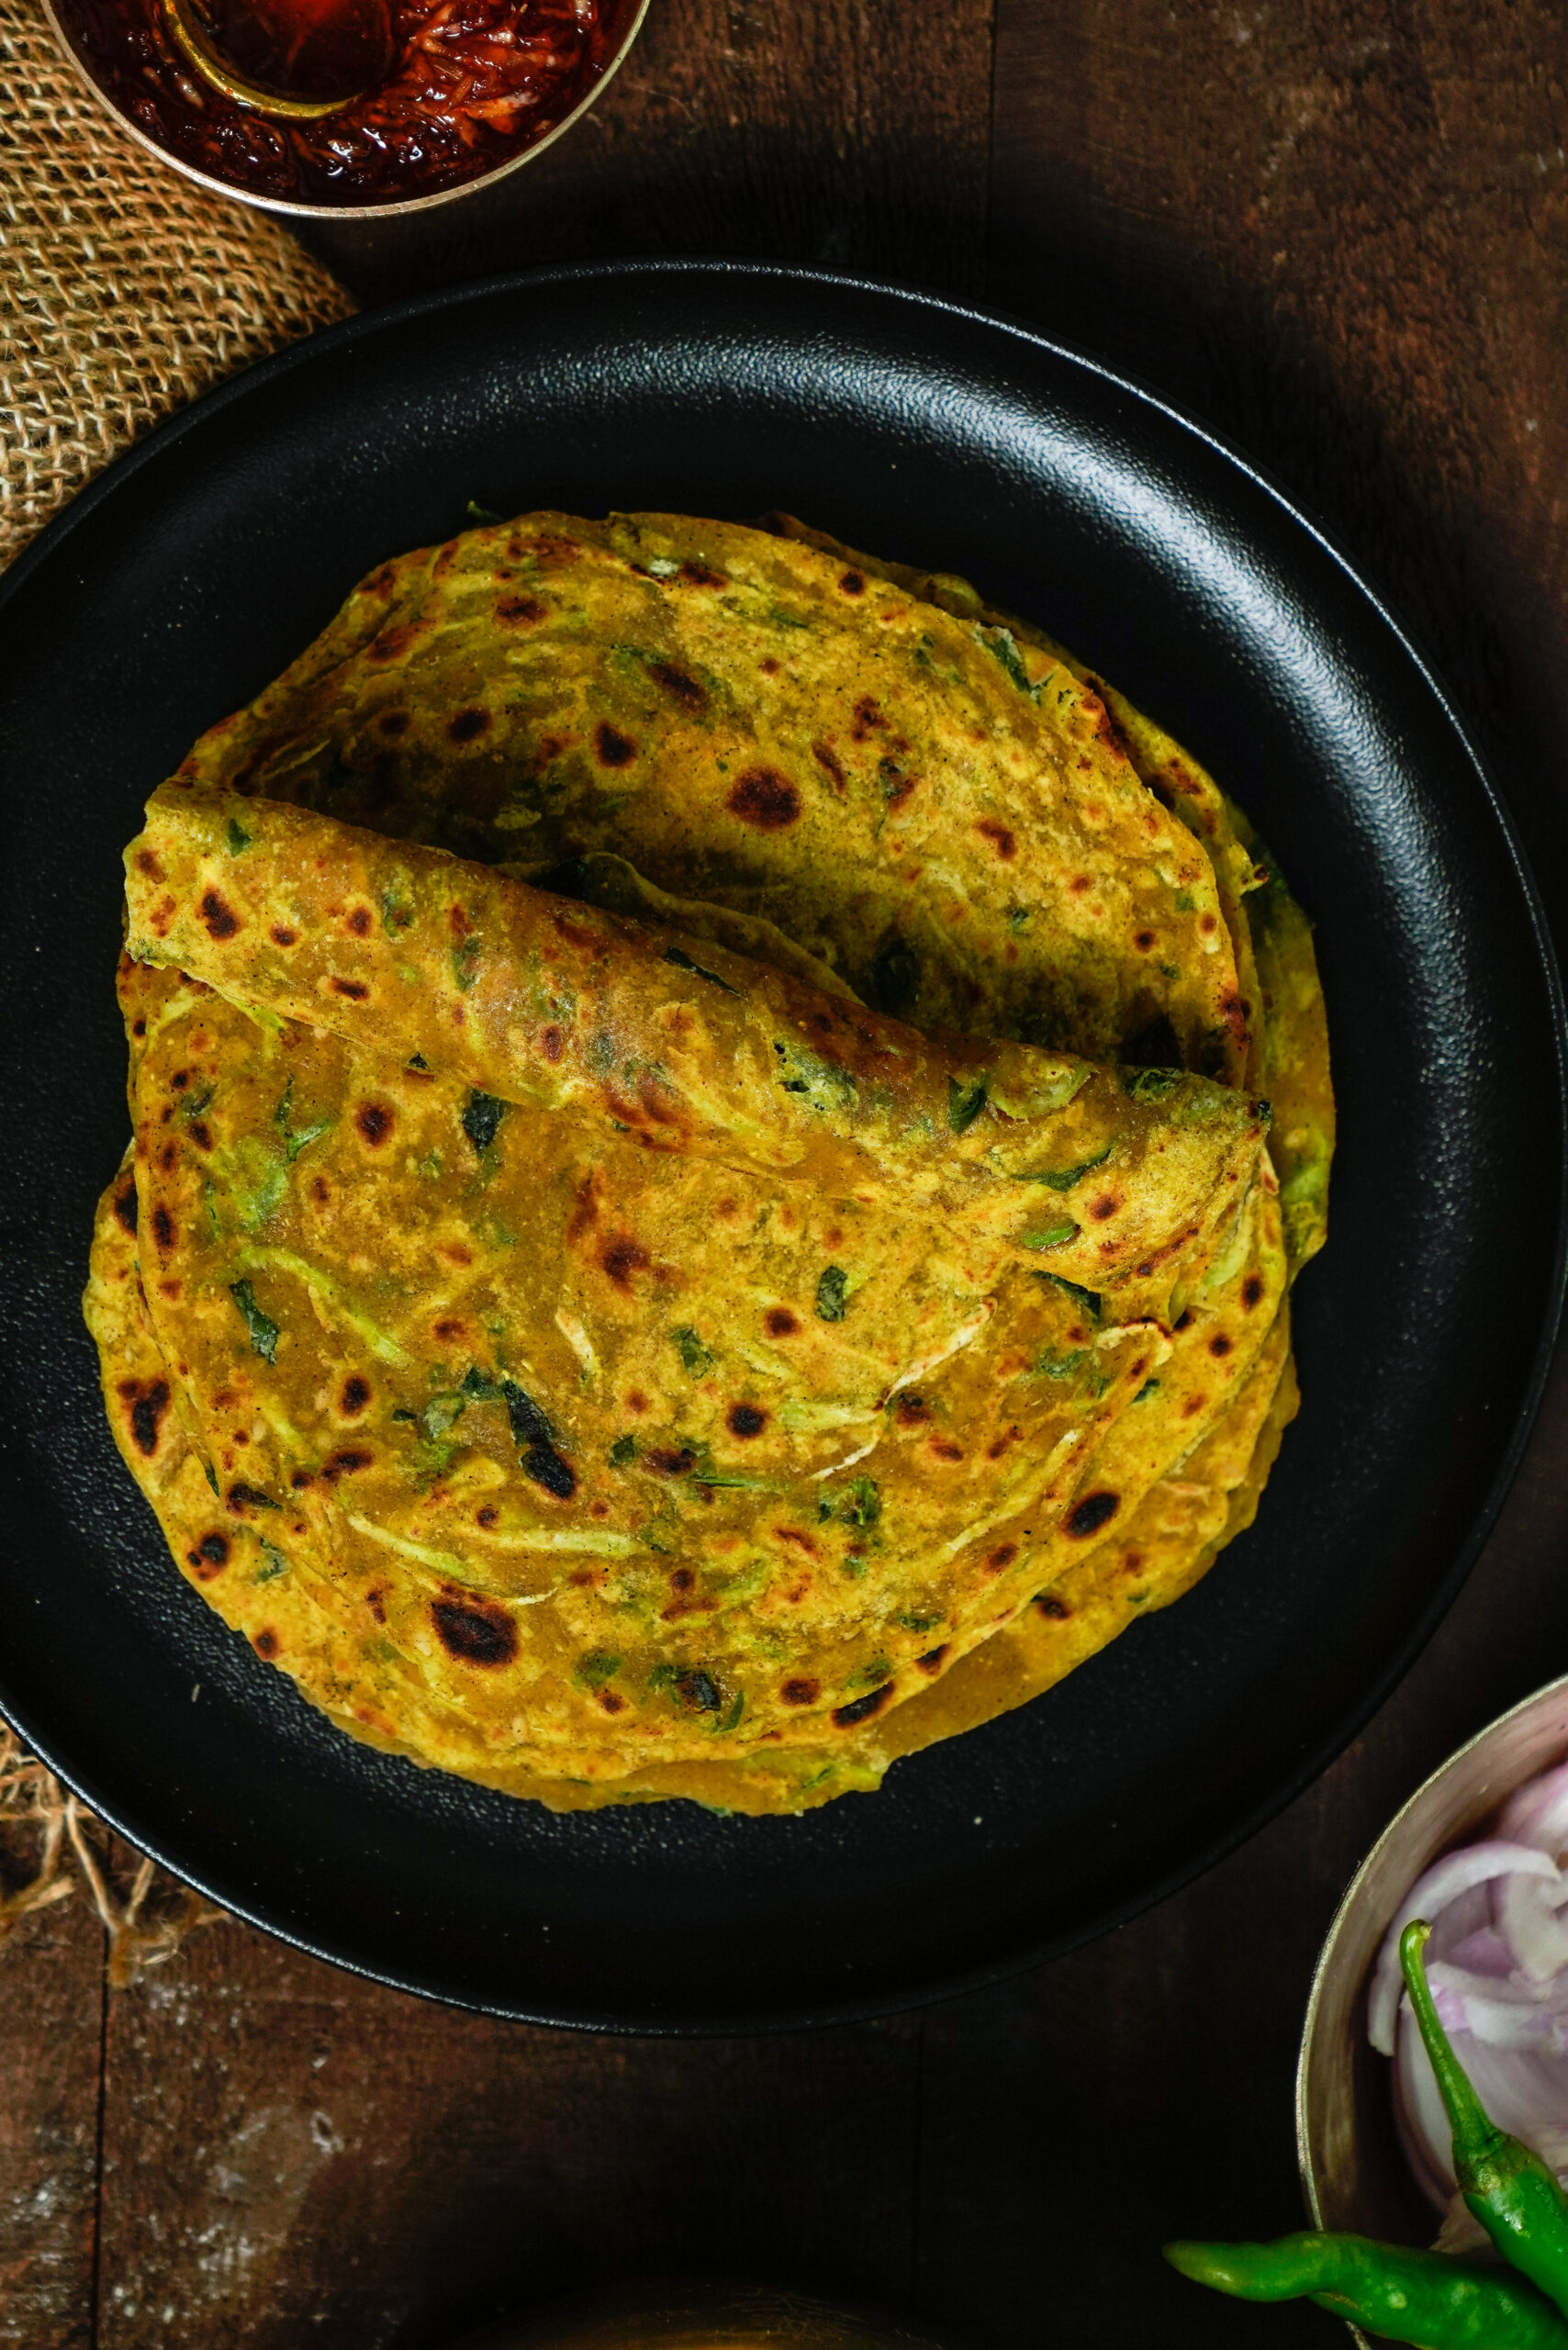
Being Gujarati, I think it’s only fair that I give you another detailed description of and a special blog post for theplas, even though the standard recipe for them has already made an appearance in my comprehensive post on rotis of many kinds. After all, Gujaratiness goes hand-in-hand with theplas and dhoklas, as stereotypical jokes go – in which there is a kernel of truth, for these really are essential parts of our cuisine. The thepla is particular, in fact. You may also recall a khichdi thepla shared earlier, which is a nifty way to turn what’s left of lunch into dinner. This time, I’m sharing with you a particular recipe that I happened to mentioned in that post – dudhi thepla, which adds the goodness of bottle gourd to the basic bread.

We make all kinds of flatbreads and rotis in India. Each state and each community will have distinct versions. For instance, farmers and people who labour outdoors will tend towards breads that use bajra or pearl millets, or other kinds of seasonal millets. As millets are slower to digest than wheat, this ensures that the body has energy for longer. The roti itself will usually be thicker, larger and drier. A garlic chutney is often the preferred condiment for this dish.

Within the thepla category itself there is great variation. In terms of adding vegetables and herbs, methi or fenugreek leaves are commonly used, and spinach may also be used. Those are among my favourites too, and I’ve put some methi into this recipe as well. If you thought the khichdi thepla was innovative, how about a thepla taco? It’s a fun way to dress up a staple and make it even more appealing to a variety of palates.

My children, despite their greater exposure to other cuisines, still consider as a cherished comfort food a roti or a thepla made at home. It’s the same for my husband. Whenever any of them return for a visit or after a long journey, some delicious theplas are always waiting for them, and I’ve watched time and again as their exhaustion becomes happiness quickly as they tuck in to the meal.

As I have mentioned before, the plain theplas travel very well and last long. They are a very popular work and school lunchbox item, as you may have seen if you’ve had Gujarati colleagues or classmates. My mother would carry them whenever we took trips, and many years later, I do this myself too. Do note that the bottle gourd thepla does not keep for as long as the plain ones, because of the vegetable used. However, it is much softer, and this is once again attributed to the vegetable. Bottle gourd has a very high water content, so much so that I do not add water at all when making the dough. When you are preparing it, if you feel that you’ve added a bit more flour, a few sprinklings of water will help. Otherwise, with practice, the flour, spices and grated bottle gourd will come together easily in a dough.

Whenever I entertain at home, if I’m planning an Indian menu, you can be assured that thepla is the chosen bread. It’s comforting, delicious, versatile and funnily enough, both light and filling. I’ve noticed this: when you’re eating theplas, you feel kind of full, but you seldom feel bloated or heavy afterwards. Have you observed the same too?

Bottle Gourd Thepla

(Yield: 9-10 theplas)


2 cups flour

2 teaspoons yoghurt

A handful of methi (fenugreek) leaves

Salt to taste

1 cup bottle gourd (to grate)

½ teaspoon turmeric

1 teaspoon cumin powder

1 teaspoon coriander powder

1 tablespoon ginger green chilli paste

1 tablespoon oil

2-3 tablespoons water (if required)

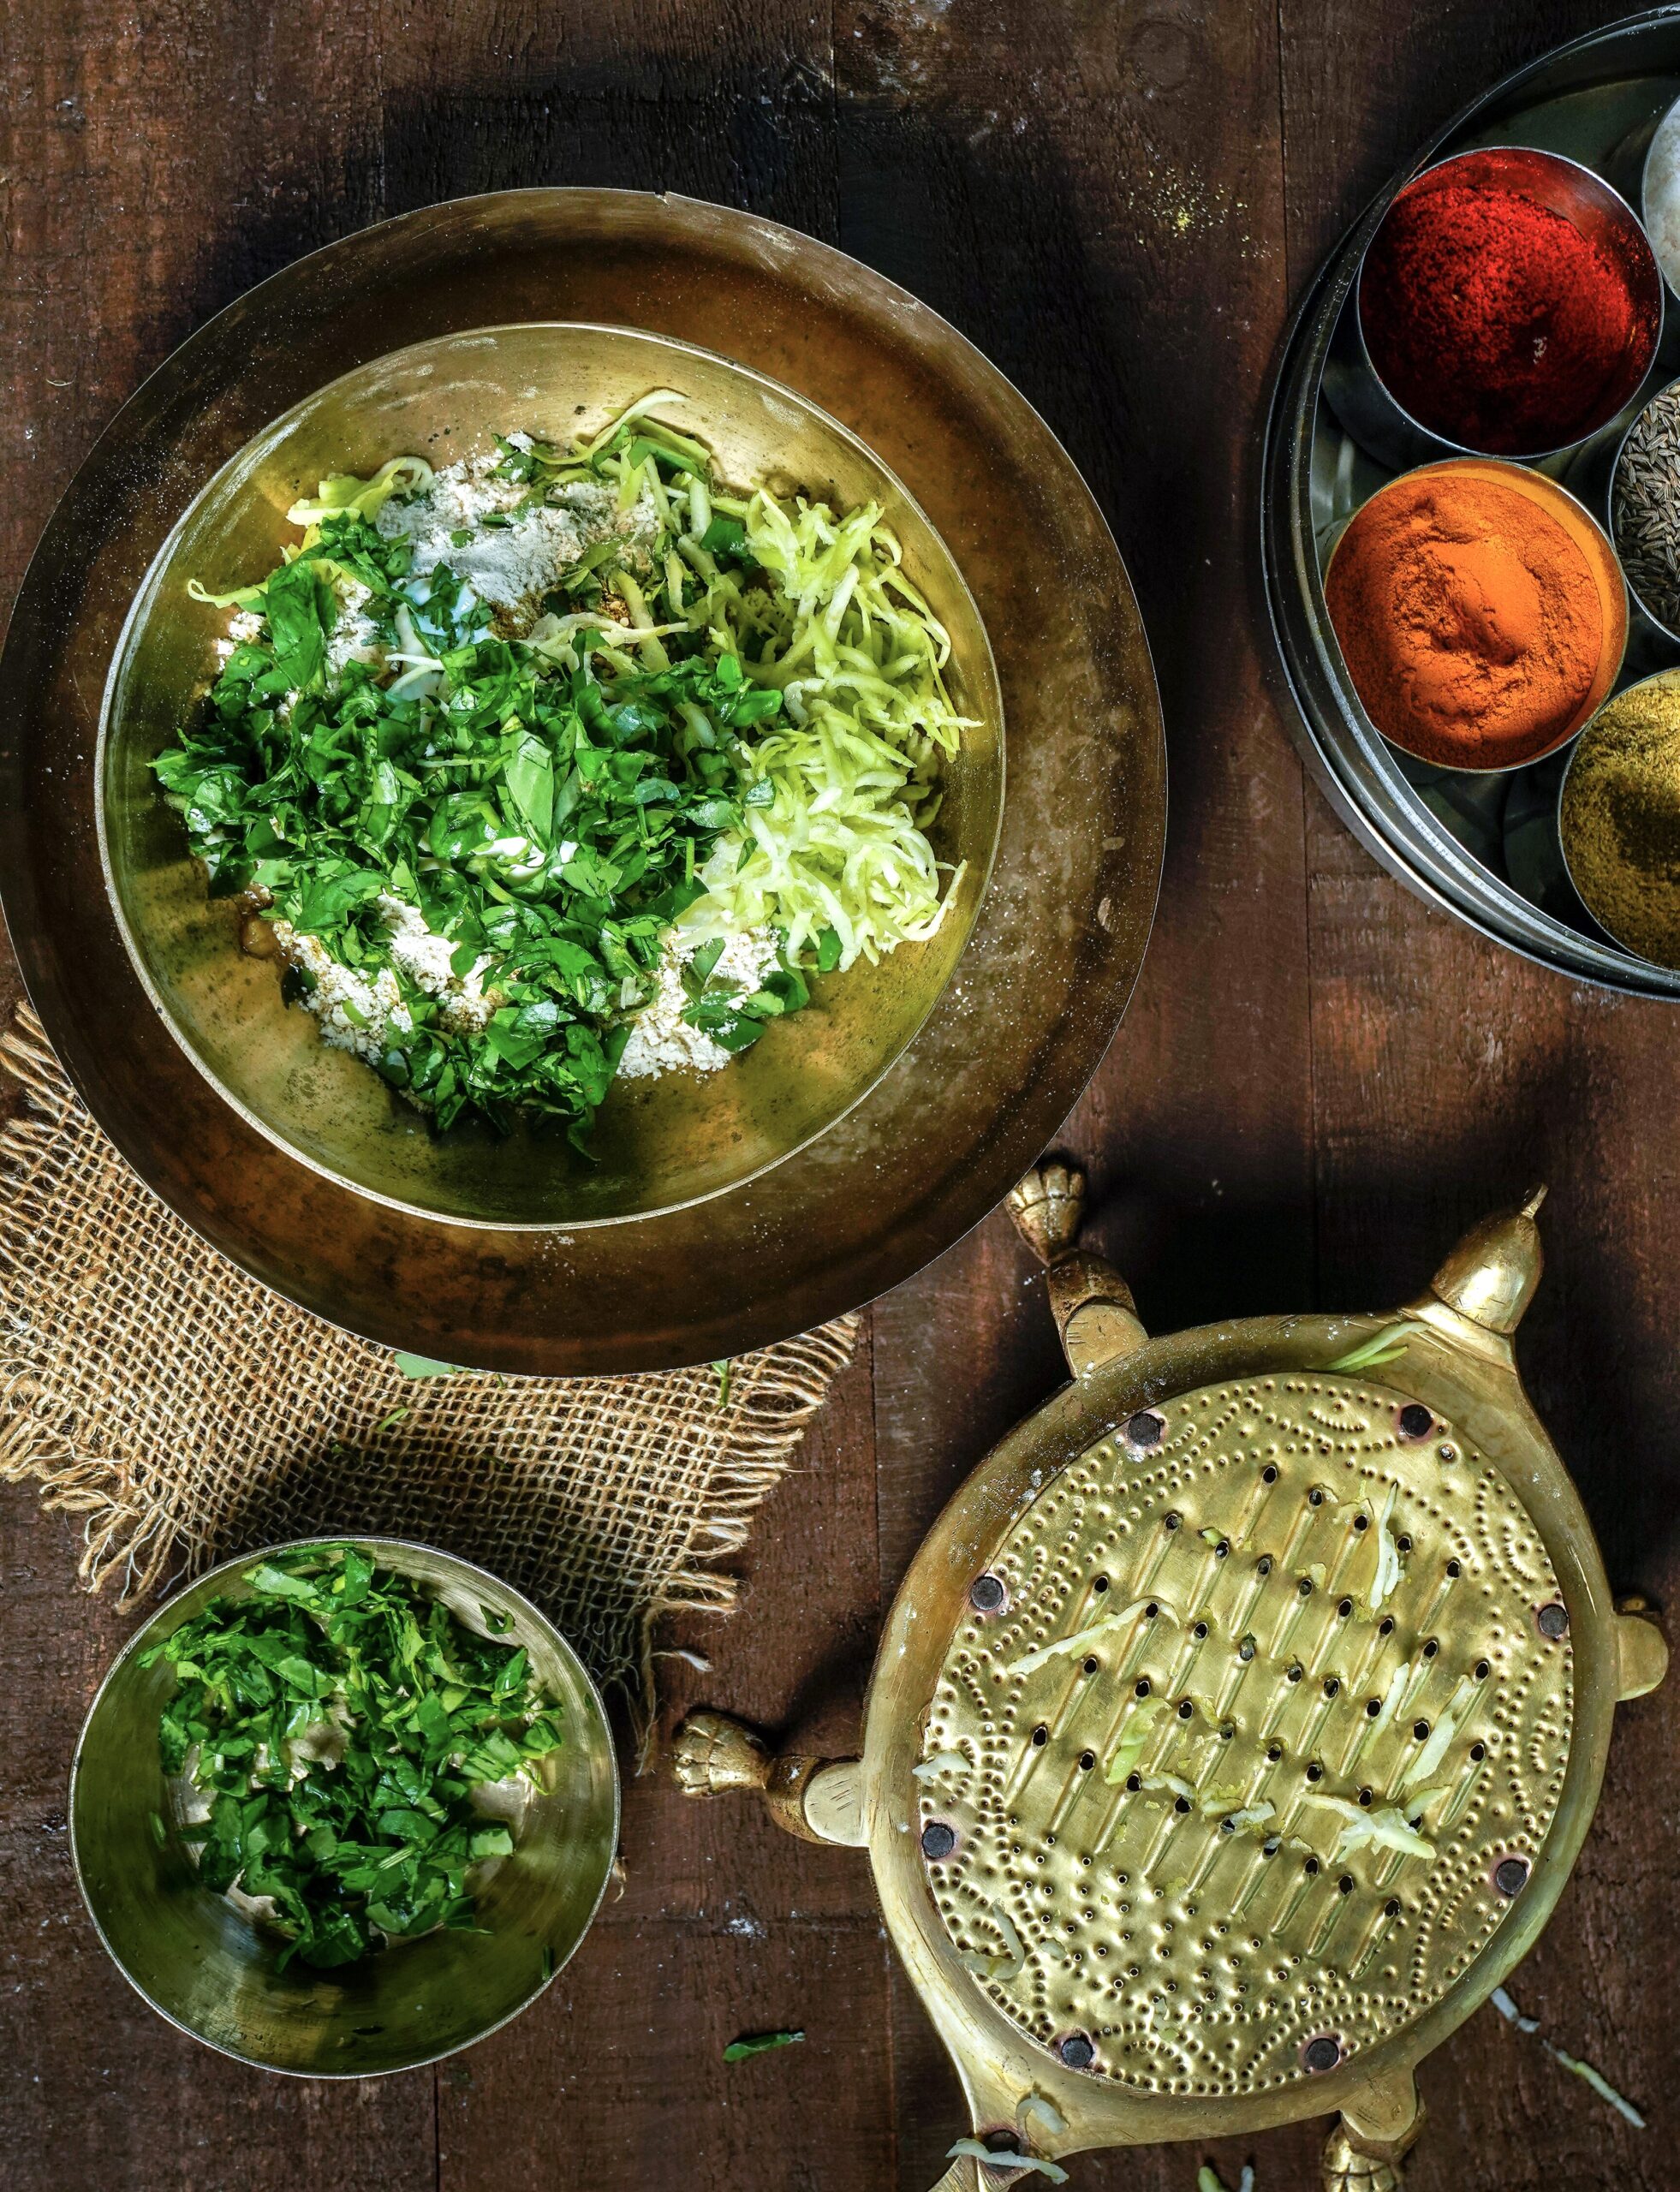
Clean and chop the methi leaves. Wash and set aside. Peel the bottle gourd and grate the flesh. Keep aside, but not for too long.

In a bowl, add the flour and then add all ingredients, except water. The grated bottle gourd releases water, as explained earlier. Hence, add water at the end, and only if required. Knead well and make a stiff yet smooth dough.

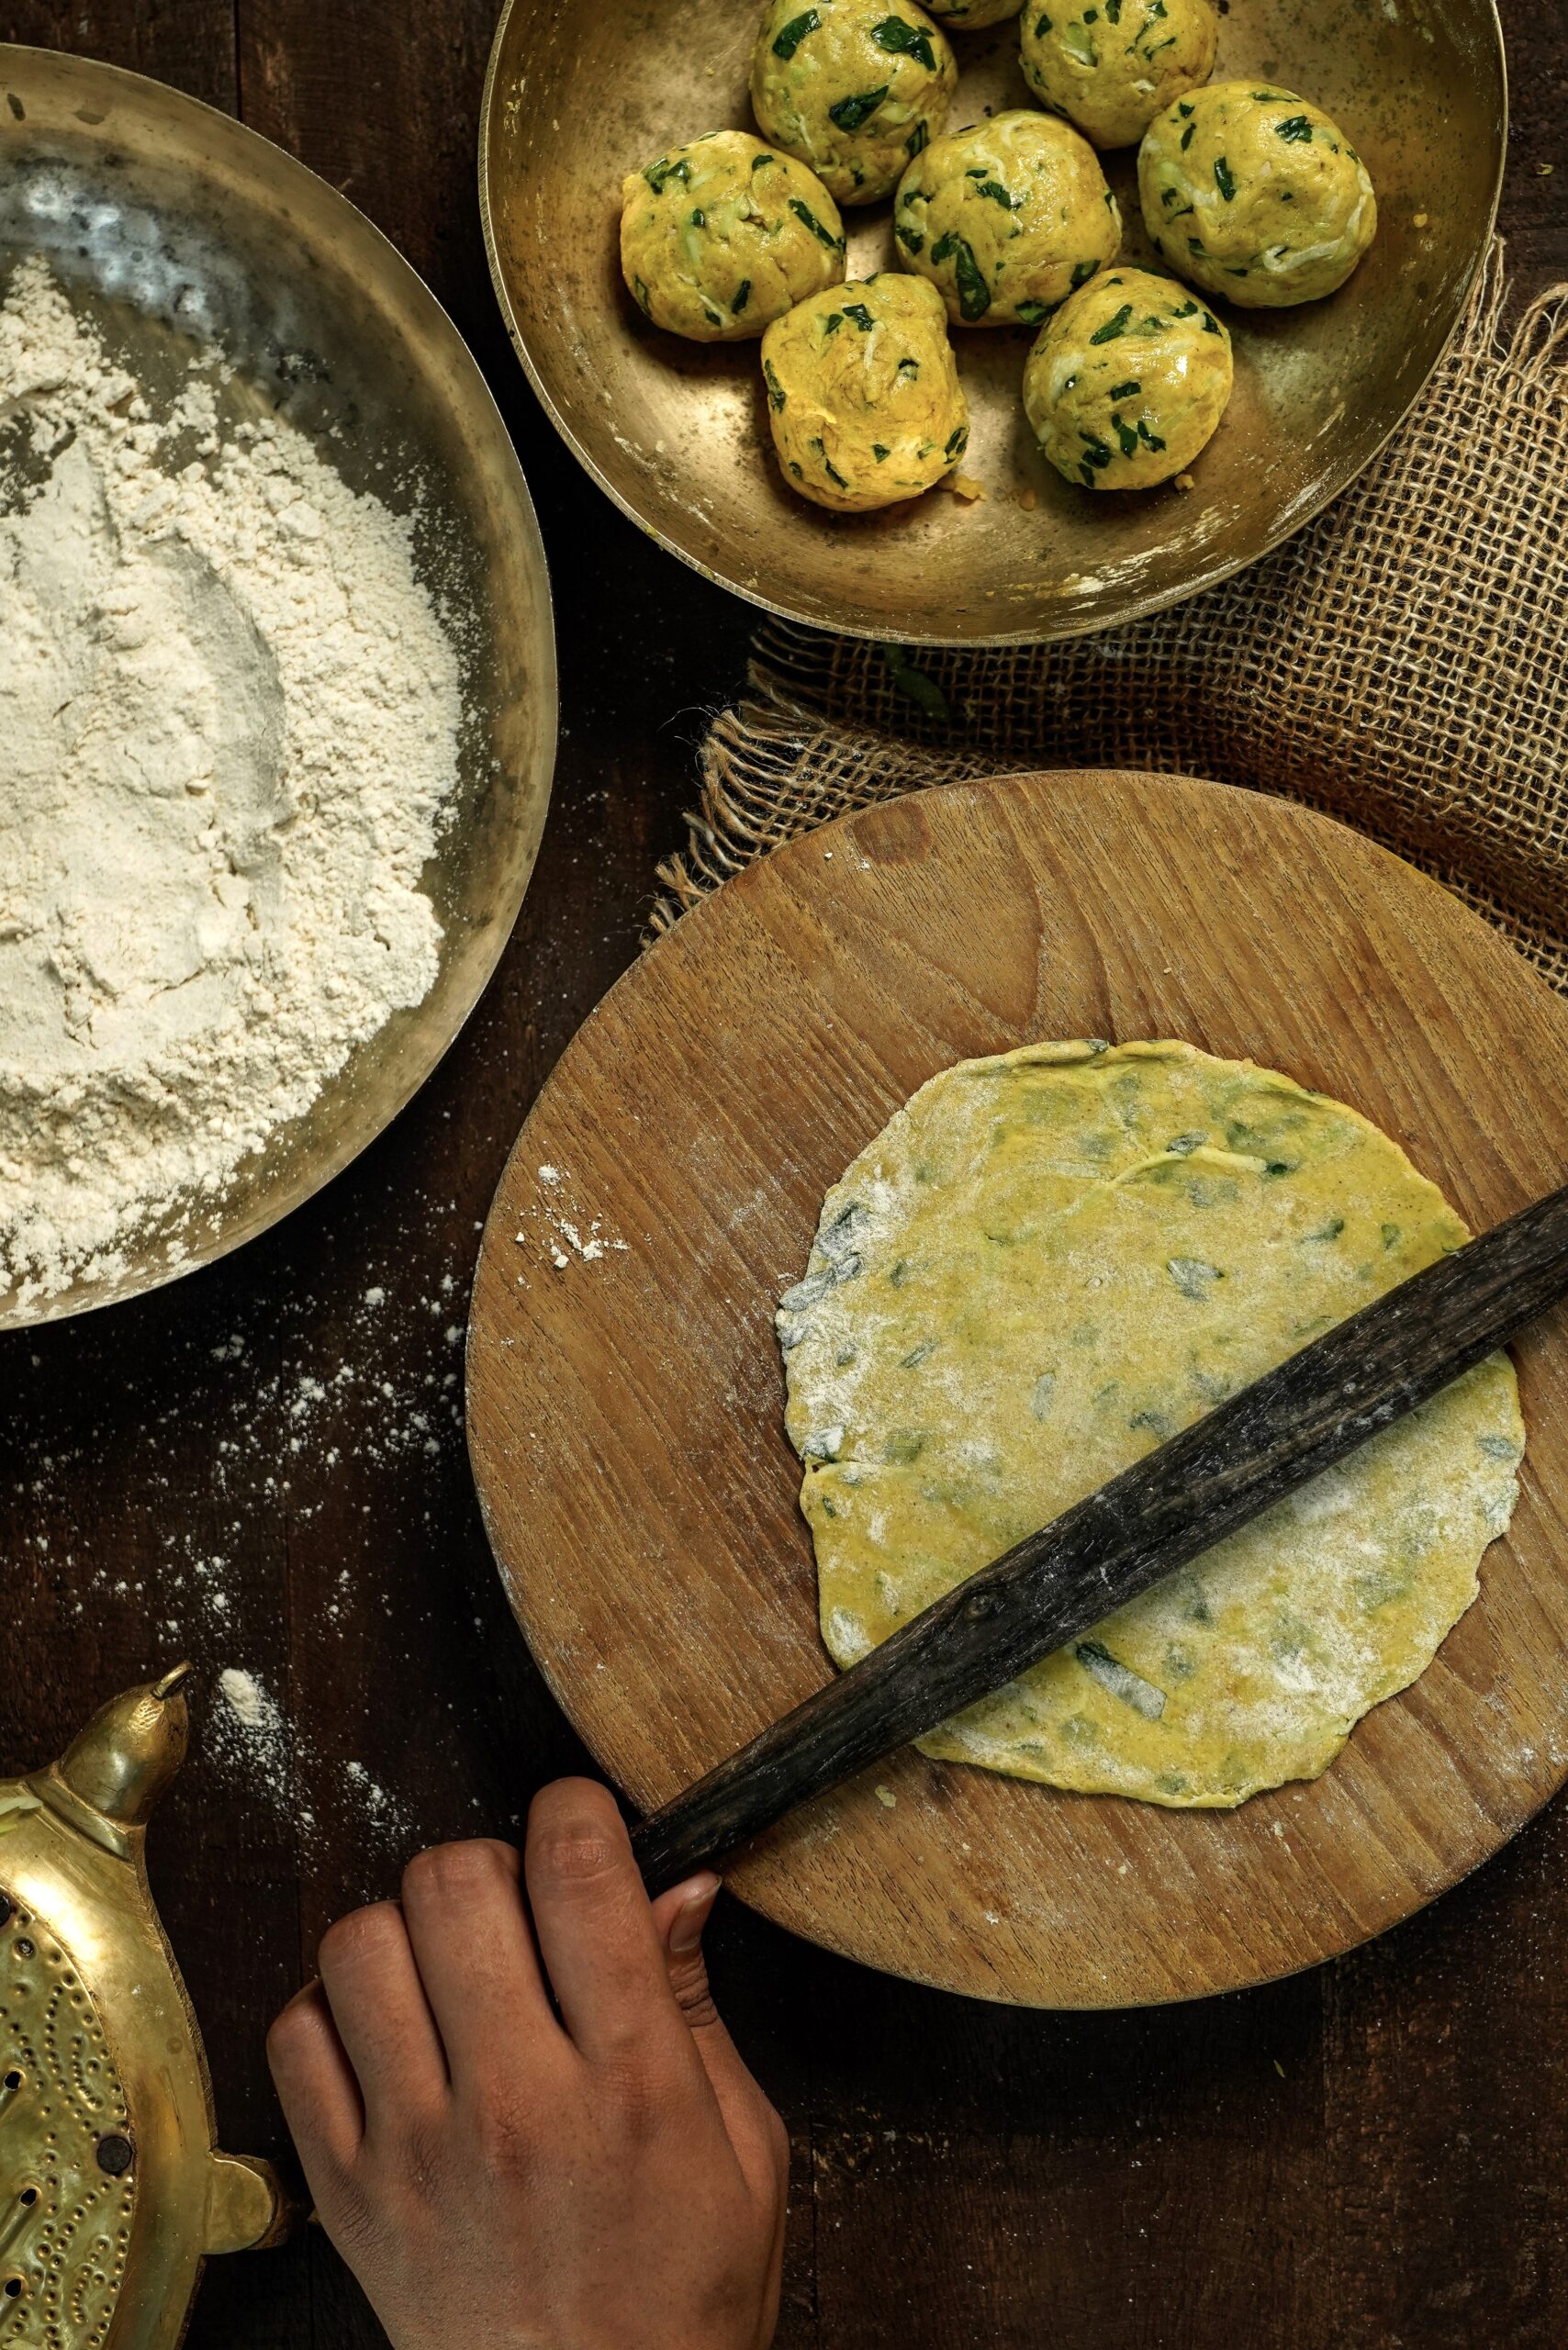
Now, make small balls with the dough. Dust a ball with flour. Using a rolling pin, roll it out into a circular shape.

Heat a pan, and place the rolled disc onto it. Allow to roast on one side and then flip the thepla. Allow a few seconds to roast again and then add a few drops of oil onto both sides. Allow to cook until golden.

Repeat the process for all the rolled dough balls. Collect each as it’s done in a box so that they remain soft.

Theplas go well with pickles or potato roast (i.e. aloo sabzi). I’ll be sharing the recipe for the latter in my next post, so do stay tuned!

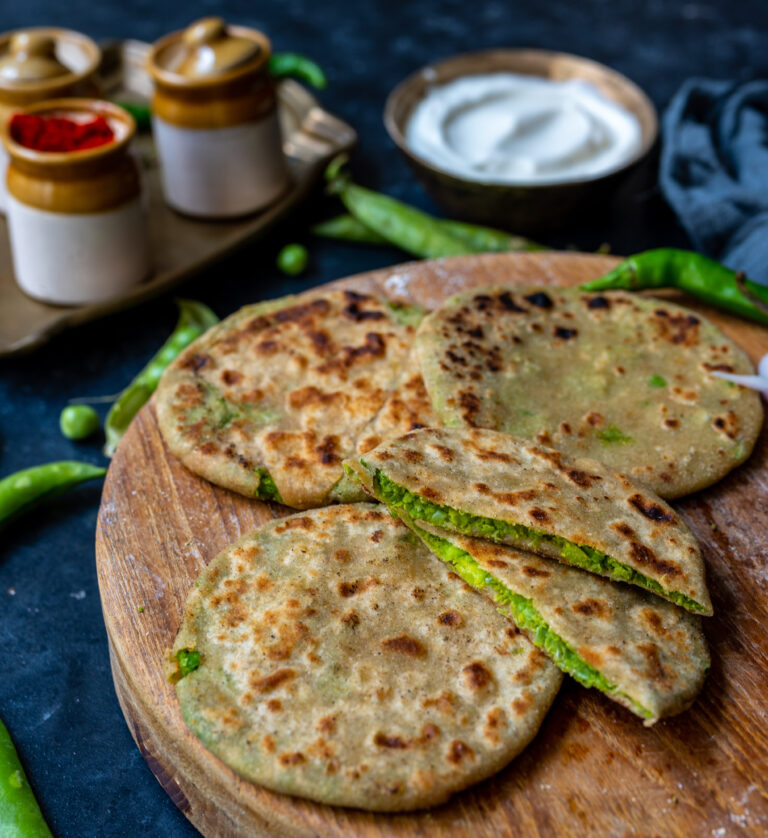
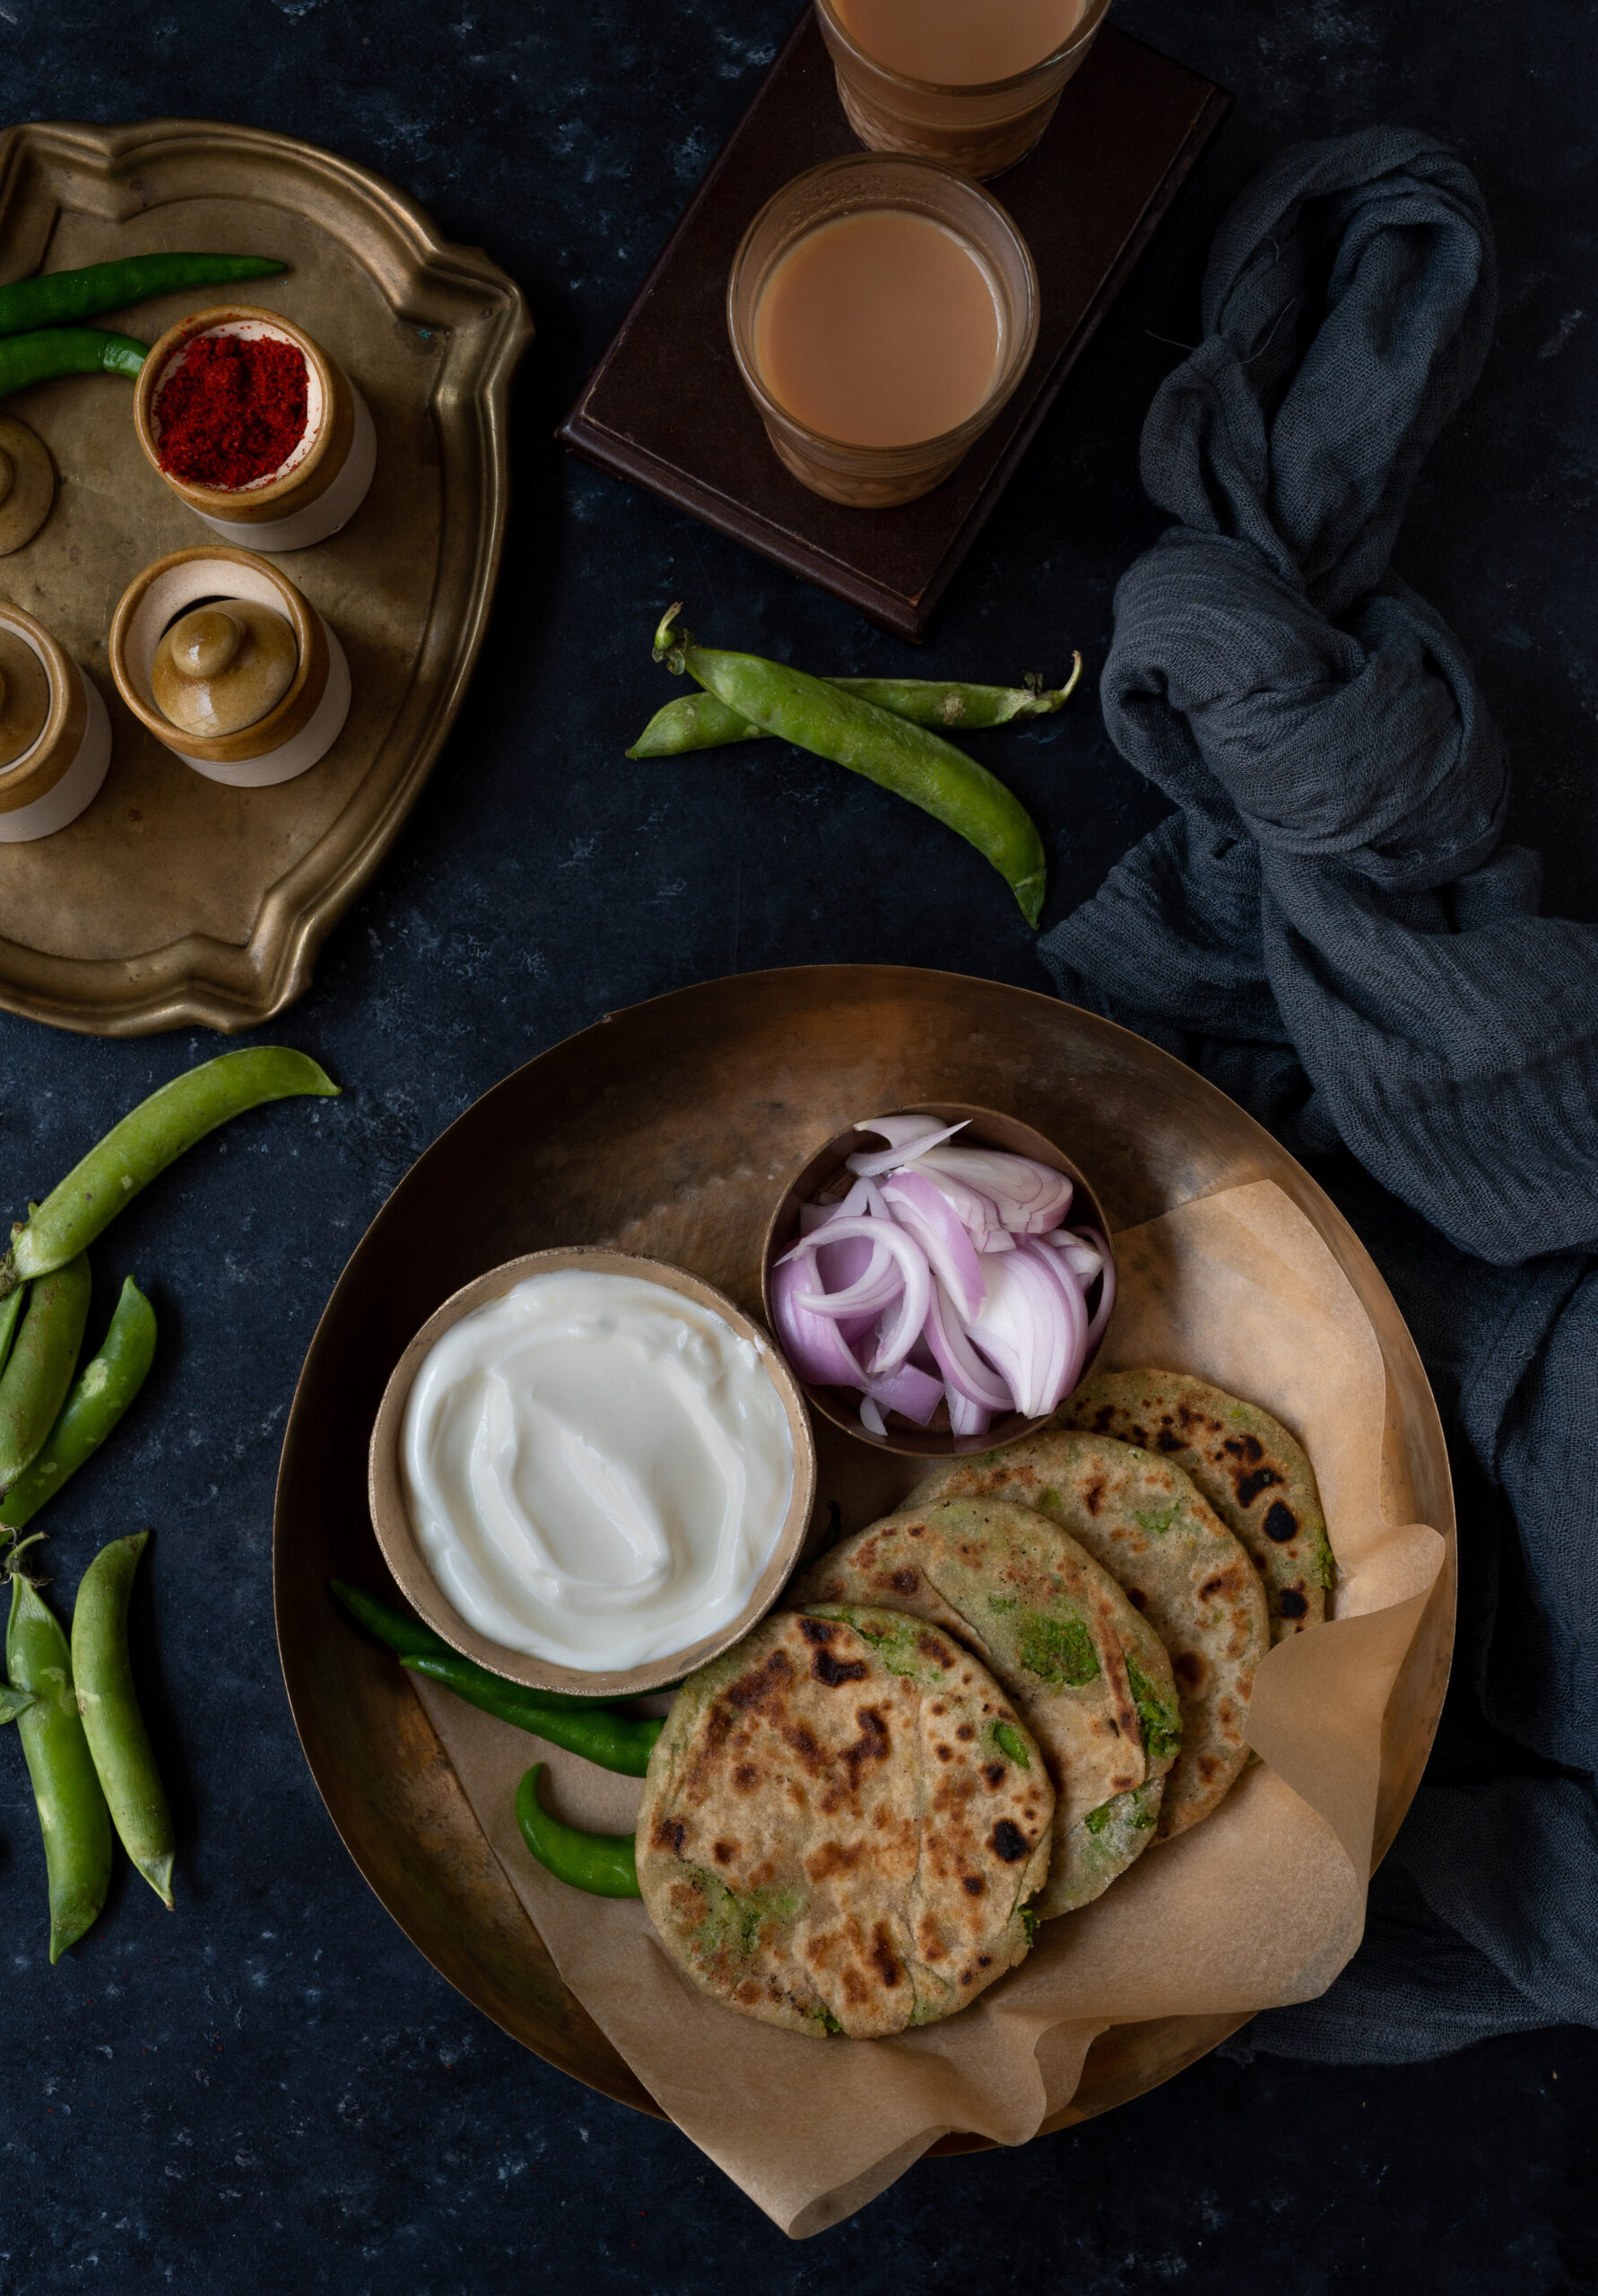
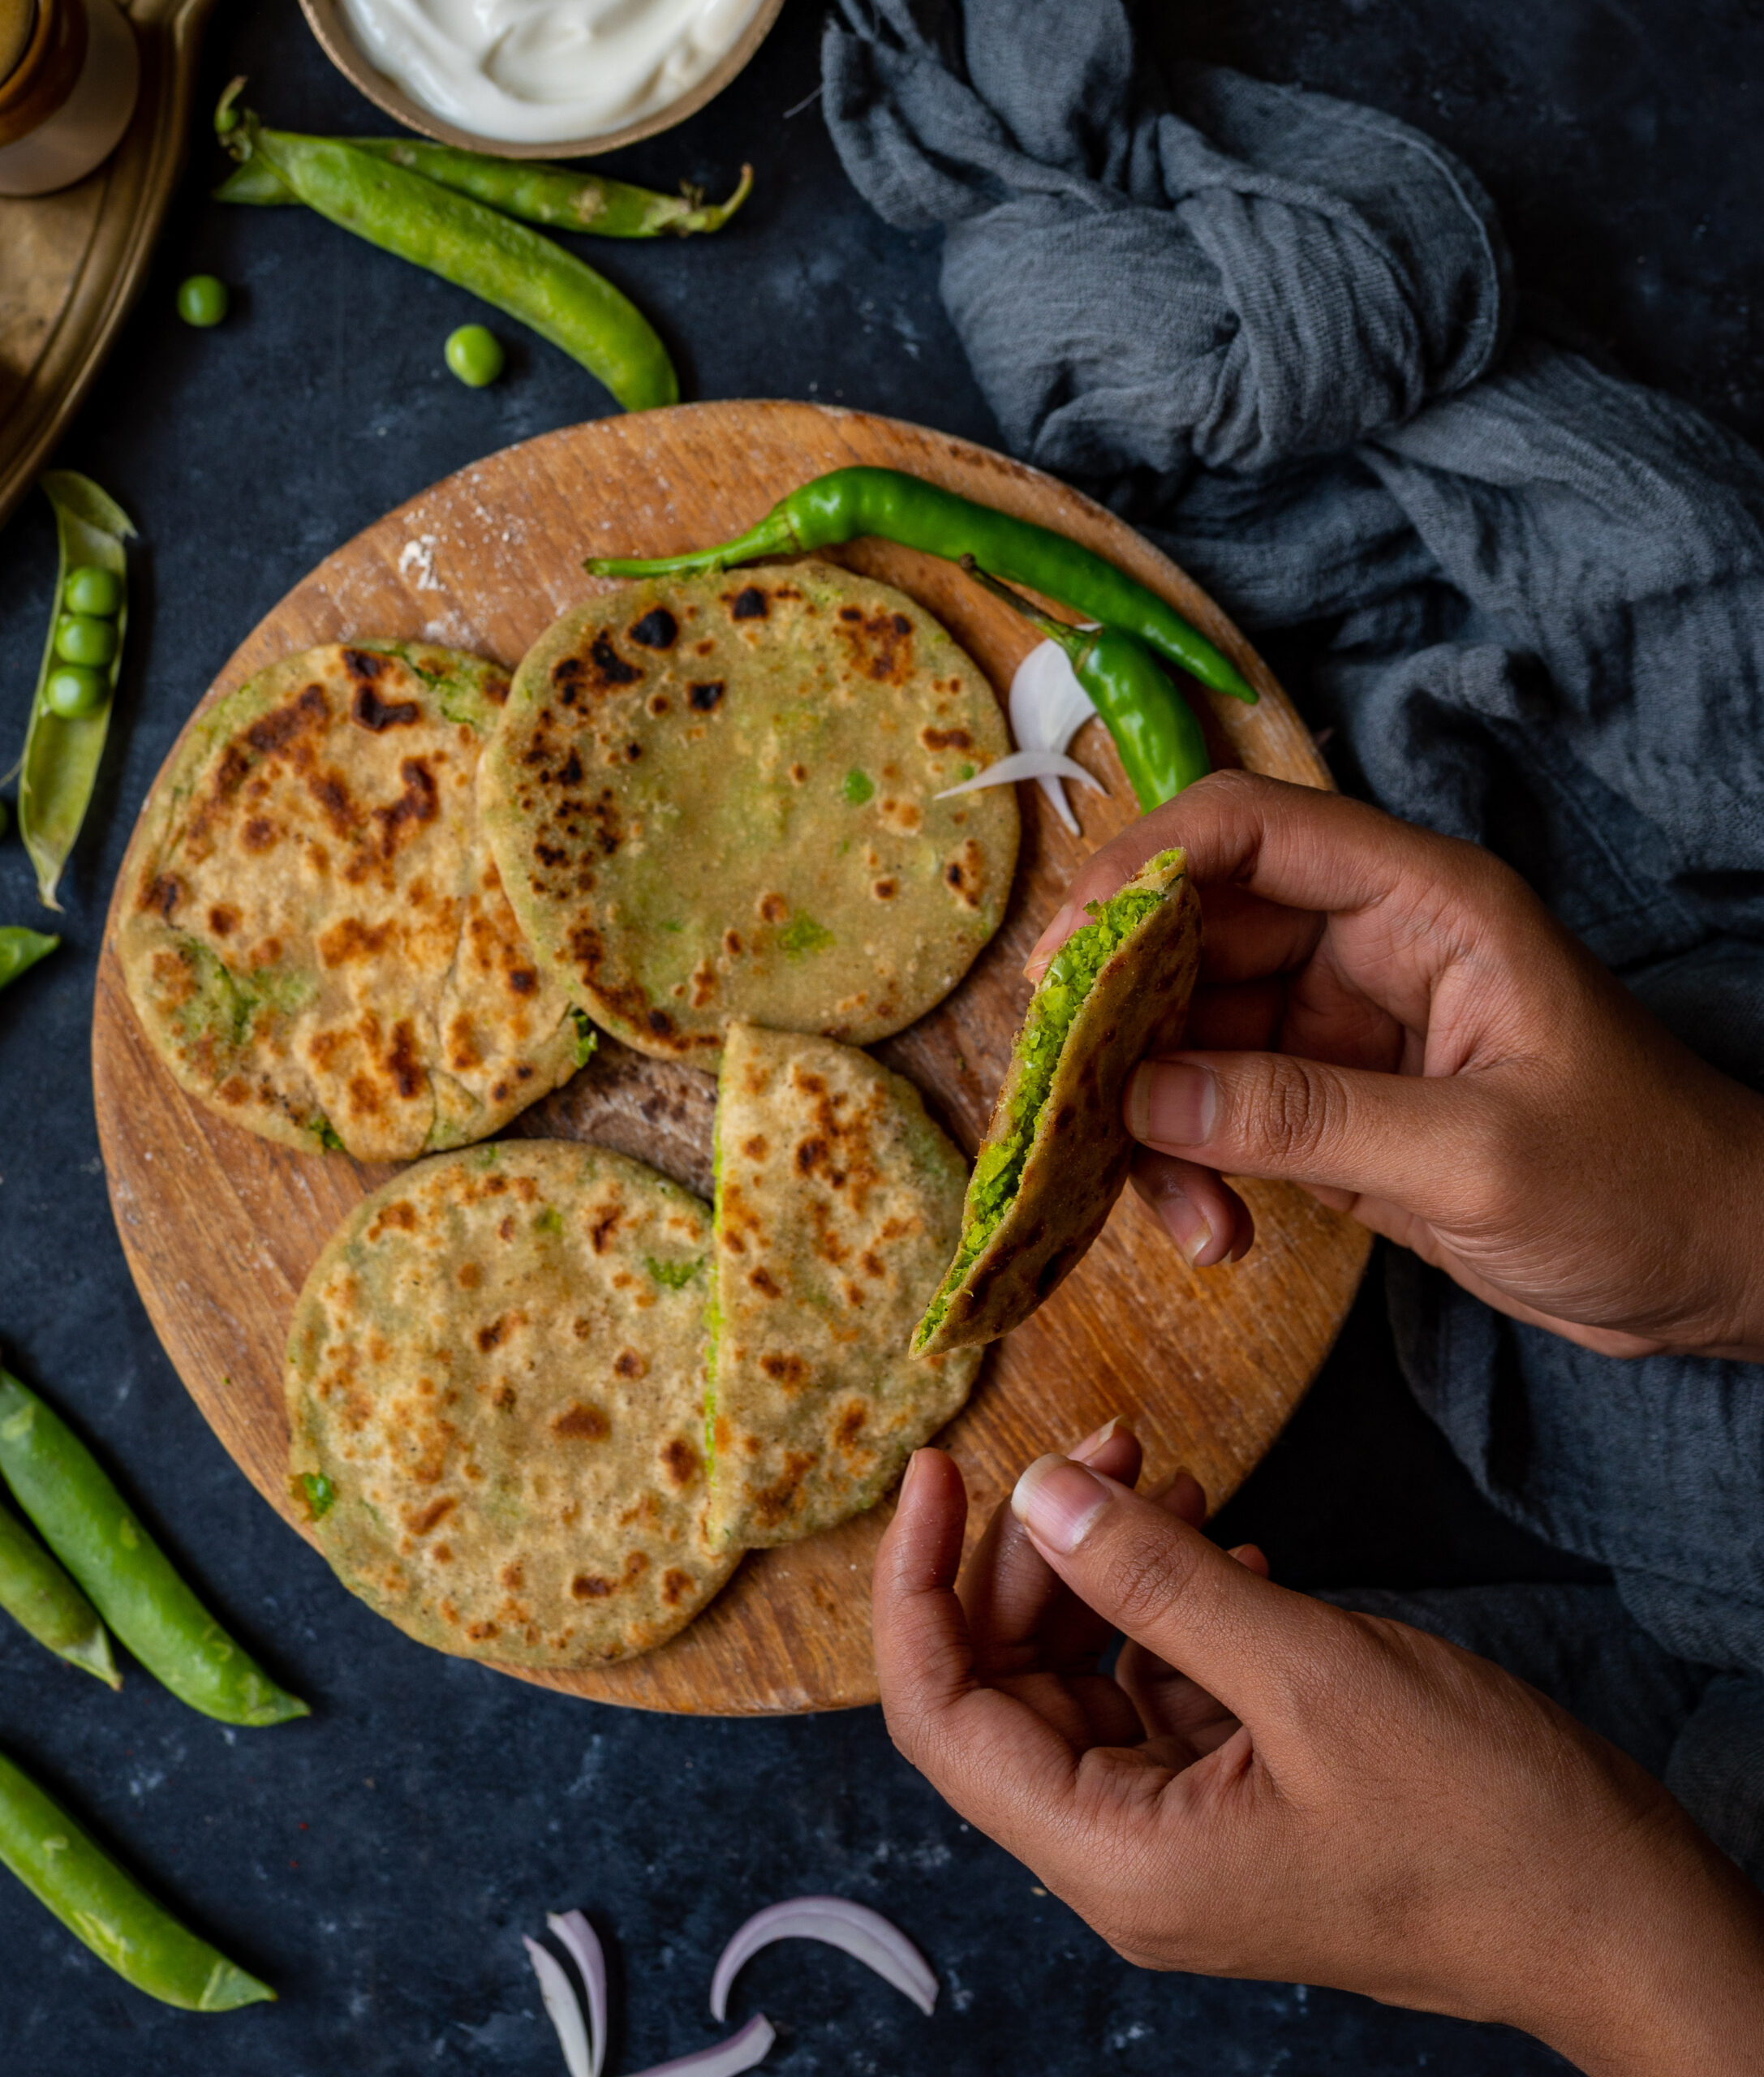
Peas are in abundance right now – they are in season, cheap to purchase, good for health, and I for one am glad they are flooding the local market. It feels like I am making something with them every day. Recipes I’ve shared with you in the past, like this harra bhara kebab, pea-pomegranate festive kachori and chura matar are being relished at my dining table. I’ve even begun using peas as substitutes for staples. For instance, I usually send my family members off to their offices with some aloo paratha in their tiffin carriers, but the potatoes have been swapped out for – you guessed it – peas. I would like for you to experience the lovely pea-stuffed parathas that they are enjoying at the moment too, so that’s exactly the recipe that I’ve decided to share this week.

Since I am now preparing as well as eating these pea parathas daily, I’ve observed that they are healthier and lighter than aloo parathas, which makes them more suitable for the mid-day meal when one’s work has to be resumed after. The best accompaniment for them is yoghurt and a cup of simple salad – add these two elements and you’re all set with a nice lunch. Traditionally, parathas are meant to be generous in size, but I prefer to make them small. They look pretty and dainty, fit more easily into your Tupperware or tiffin carrier, and the overall presentation just looks and feels nicer. That’s quite important for any meal, not just a special one. When a loved one opens their lunchbox at the office, the dishes within would have been prepared hours earlier and may no longer be warm or as fresh, so making them look attractive makes a difference.

I’ve been using peas grown in my region, but I must admit a preference for those harvested in Jaipur or Delhi at this time of year. The weather there is more conducive to this vegetable, and the yield is smaller in size and so sweet that it can be eaten raw (and even used in desserts, like in peas halwa). I have friends who grow peas on farms there, and visits from or to them during this season would always include some fresh produce. Sadly, no one is able to travel much at the moment, but the local variants are still much enjoyed in my home.

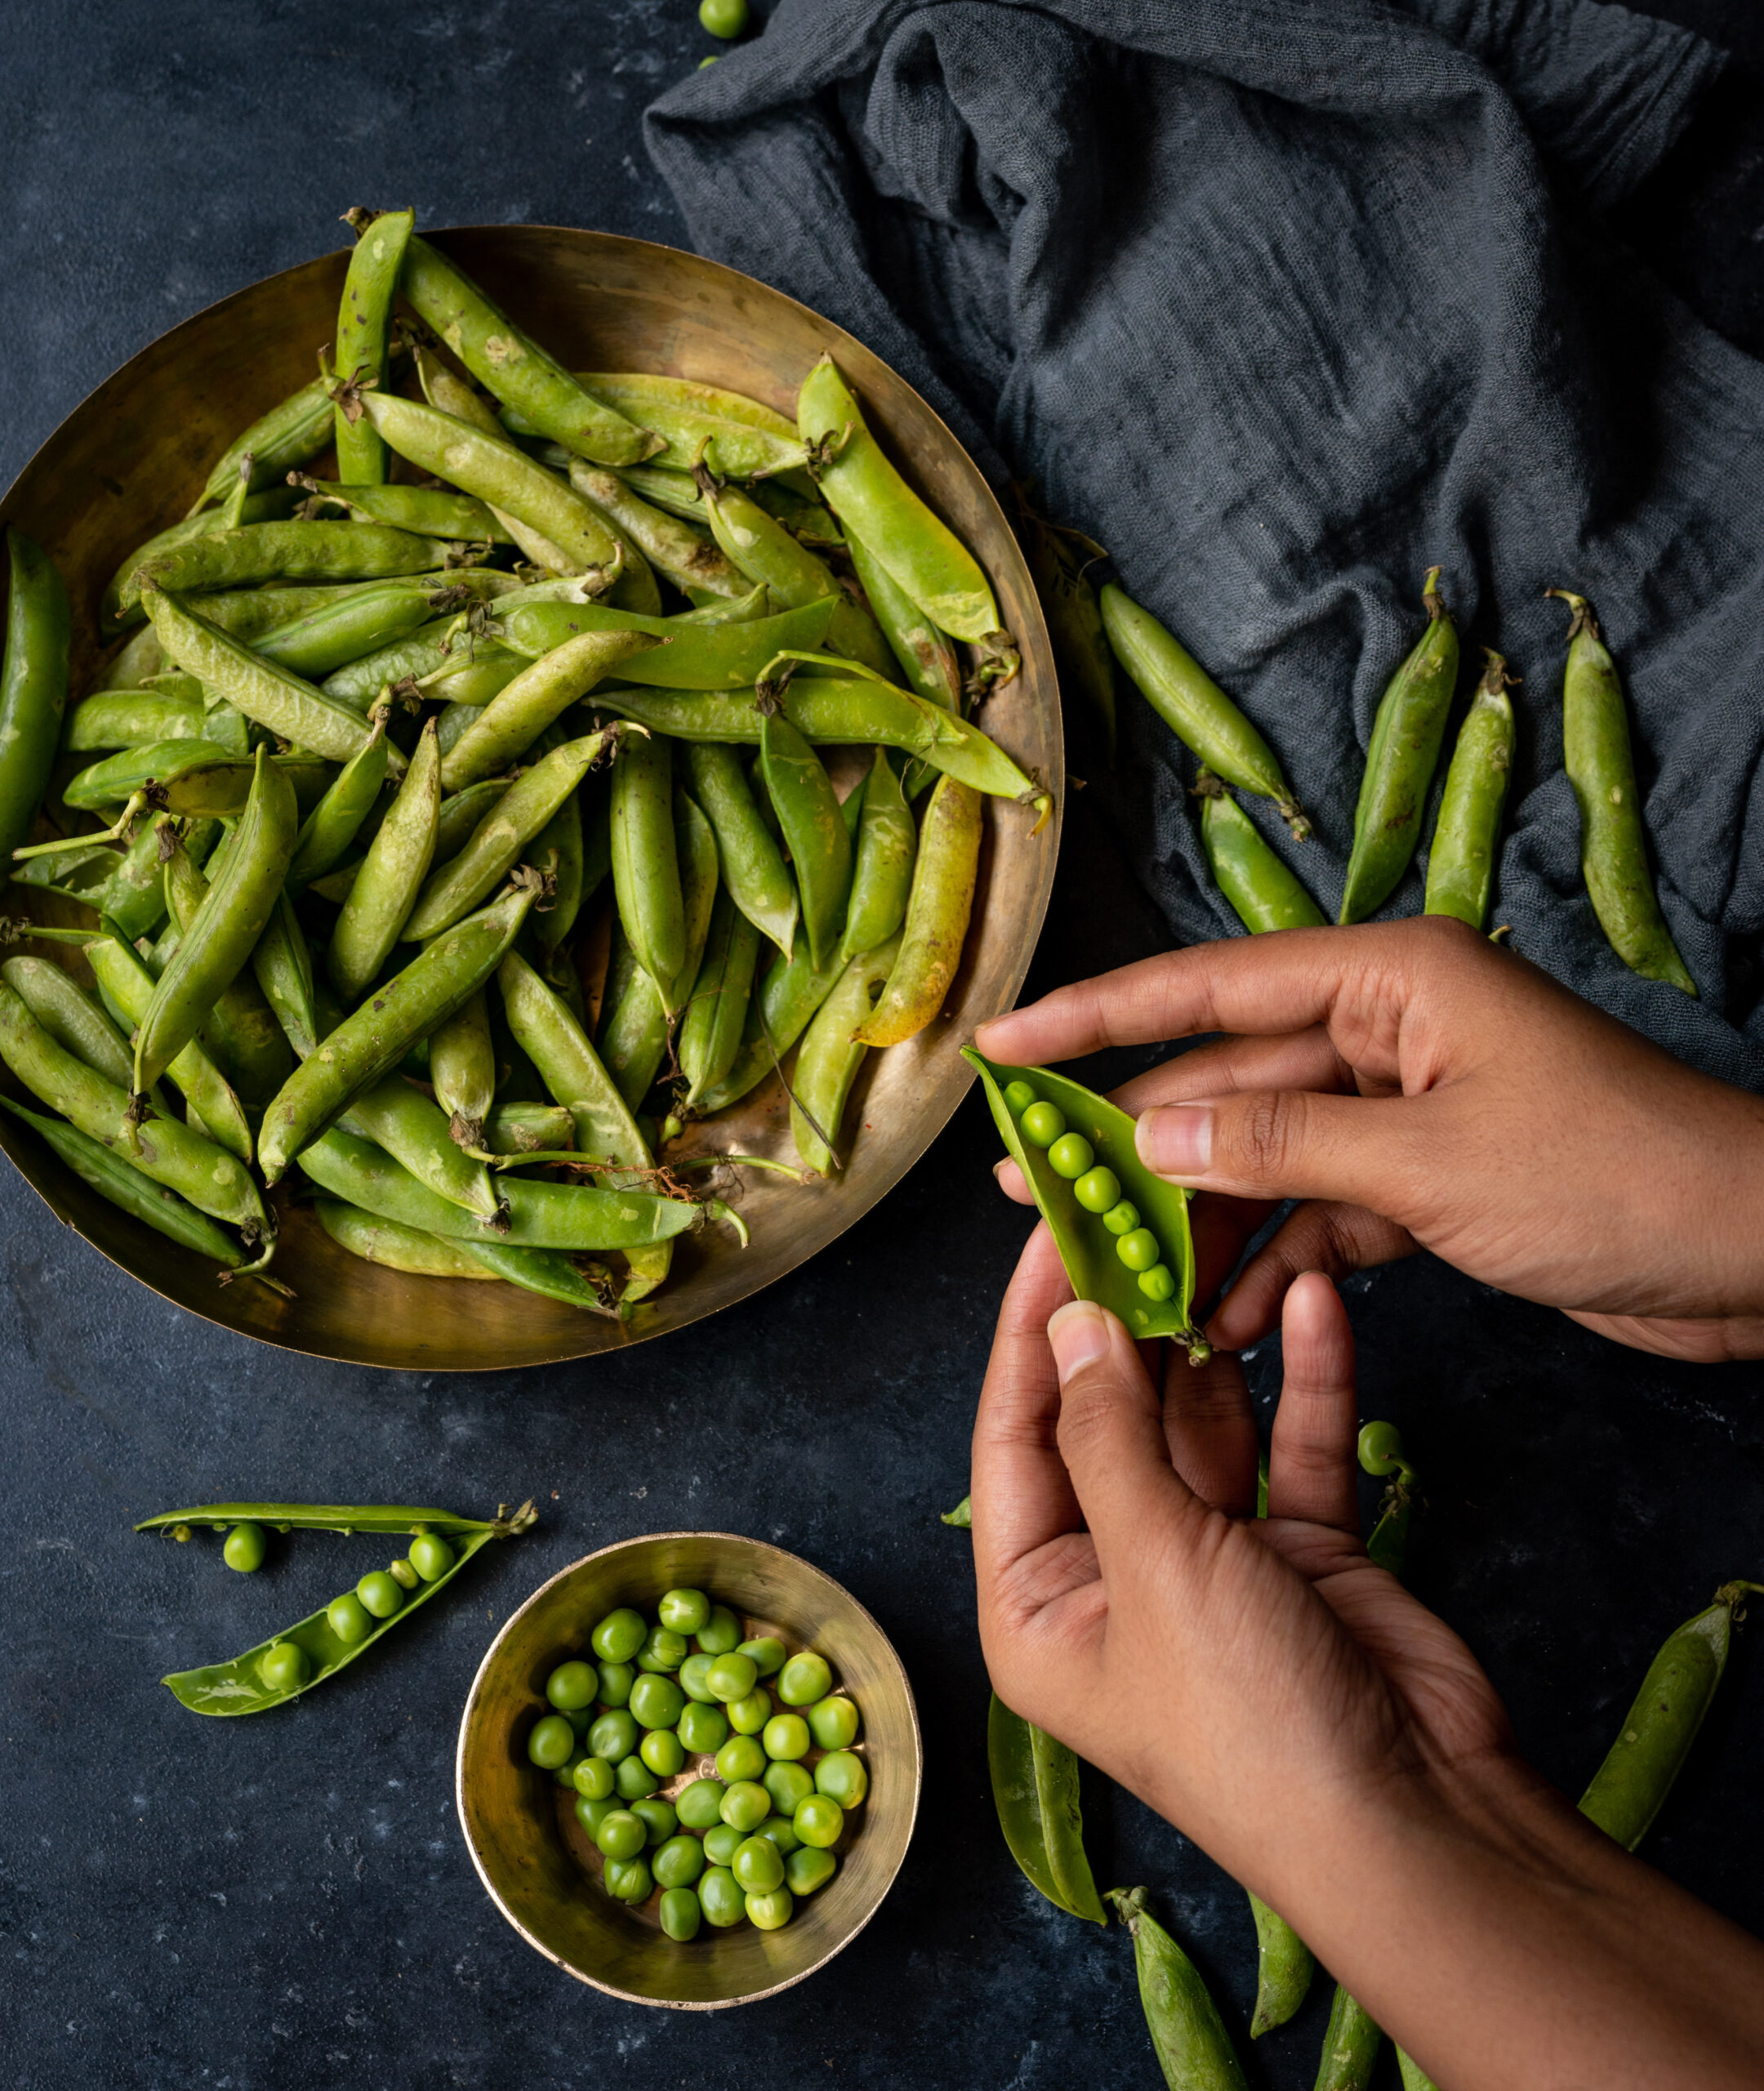
As I was preparing the peas for my photo shoot, I smiled as I recalled helping out in the kitchen when I was growing up. When we were kids, my siblings and I would have a competition about who would peel and shell the most peas. These were a chore that our mother often assigned to us, and this is how we would make it more interesting. The winner had no reward and the loser had no punishment, but this game was just a way for us to pep up a boring activity. Once again, as I did while sharing the previous recipe, I reminisce about how kids of my generation always found ways to keep ourselves entertained. We were innovative and creative in the absence of technology. What sorts of games did you play to make chores go by faster?

Peas Paratha

(Yield: 4-6)


Peas stuffing

1 full cup crushed green peas

1 teaspoon aamchur powder

1 teaspoon roasted cumin powder

1 teaspoon ginger/green chilli paste

Salt to taste

1 teaspoon oil (to roast the peas)


Paratha dough

1½ cups whole-wheat flour

Salt to taste

1 teaspoon oil

+ Oil for shallow frying


Divide the dough and the stuffing separately into equally-sized small balls (lime/lemon-sized).

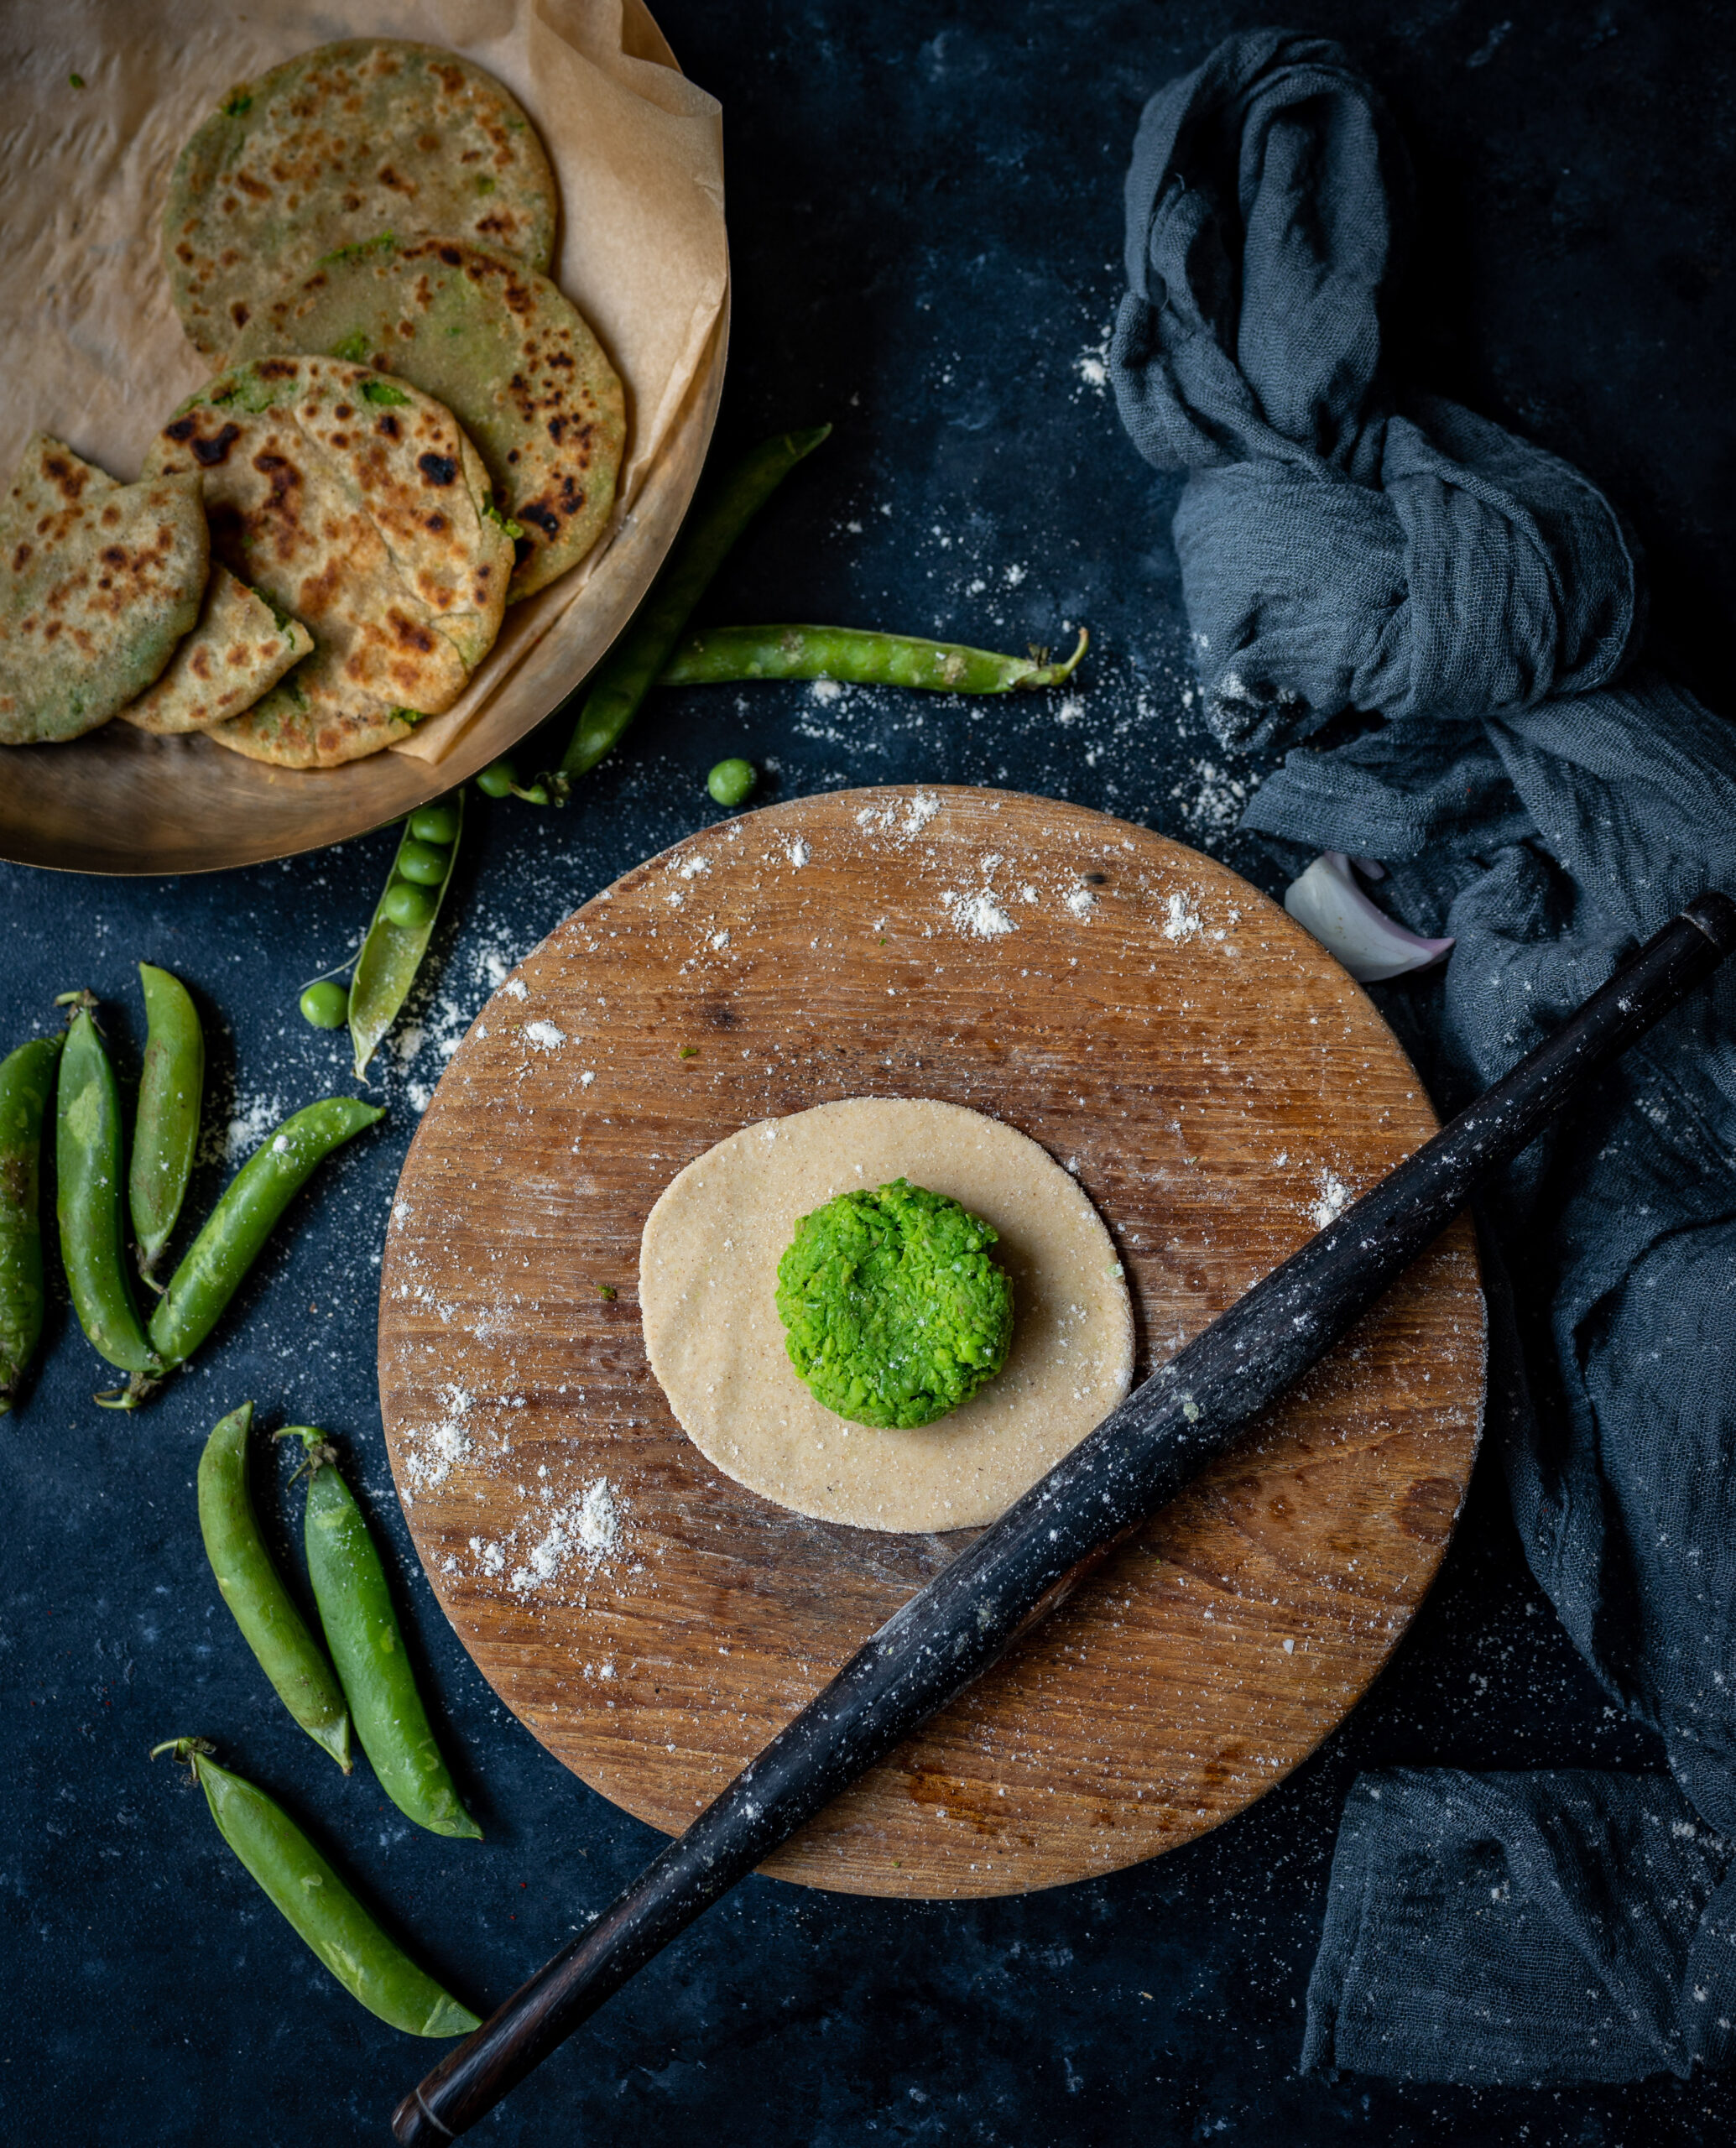
Roll one dough ball out, and place a spoonful of the peas stuffing in the centre. Gather the dough around the peas and make a smooth round ball, using gentle pressure.

Dust some flour onto the ball and roll out again delicately, making sure the peas do not come out of the dough.

The method of stuffing the paratha with peas is similar to the method for making puran poli, which you can refer to in this post here.

Heat the tava over a medium flame. Once it is hot, place the rolled paratha on it and cook. Flip and spread a ½ teaspoon of oil evenly around the edges and shallow fry both sides until light golden brown spots appear. Repeat with the remaining parathas. Serve.

As I said earlier, some yoghurt and a bit of salad are great accompaniments, but even eaten on its own this peas paratha is flavourful. It is a perfect light meal, and it is lunchbox-friendly, cost-friendly and health-friendly too!


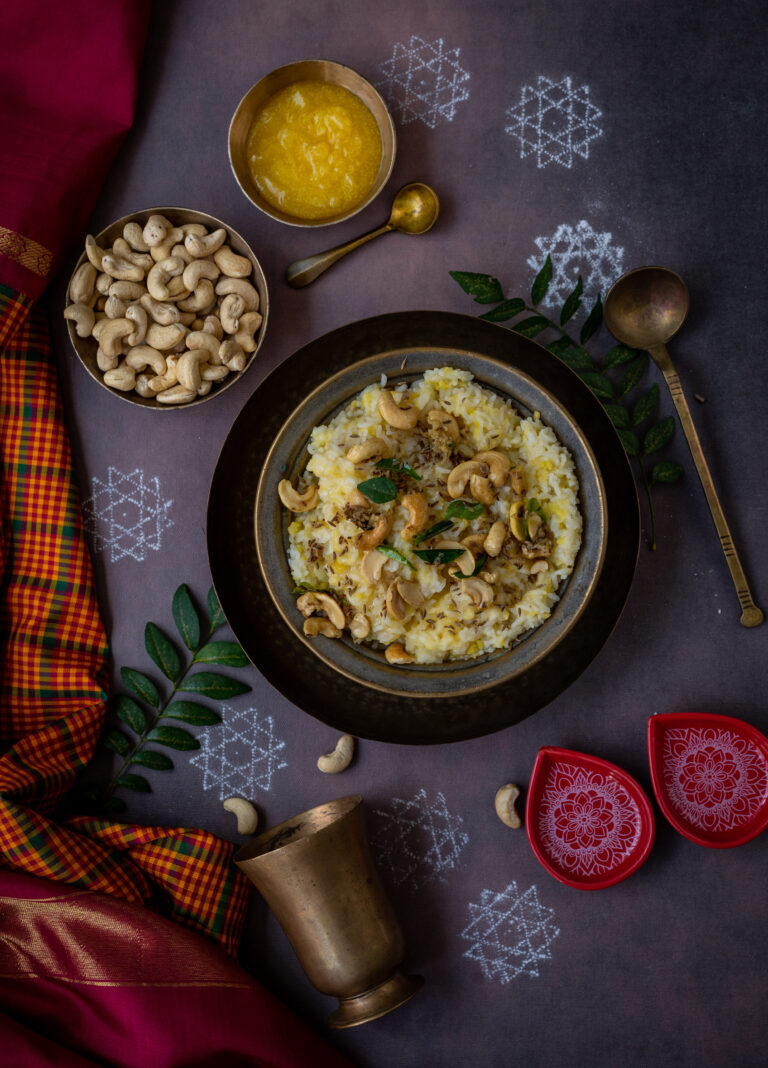
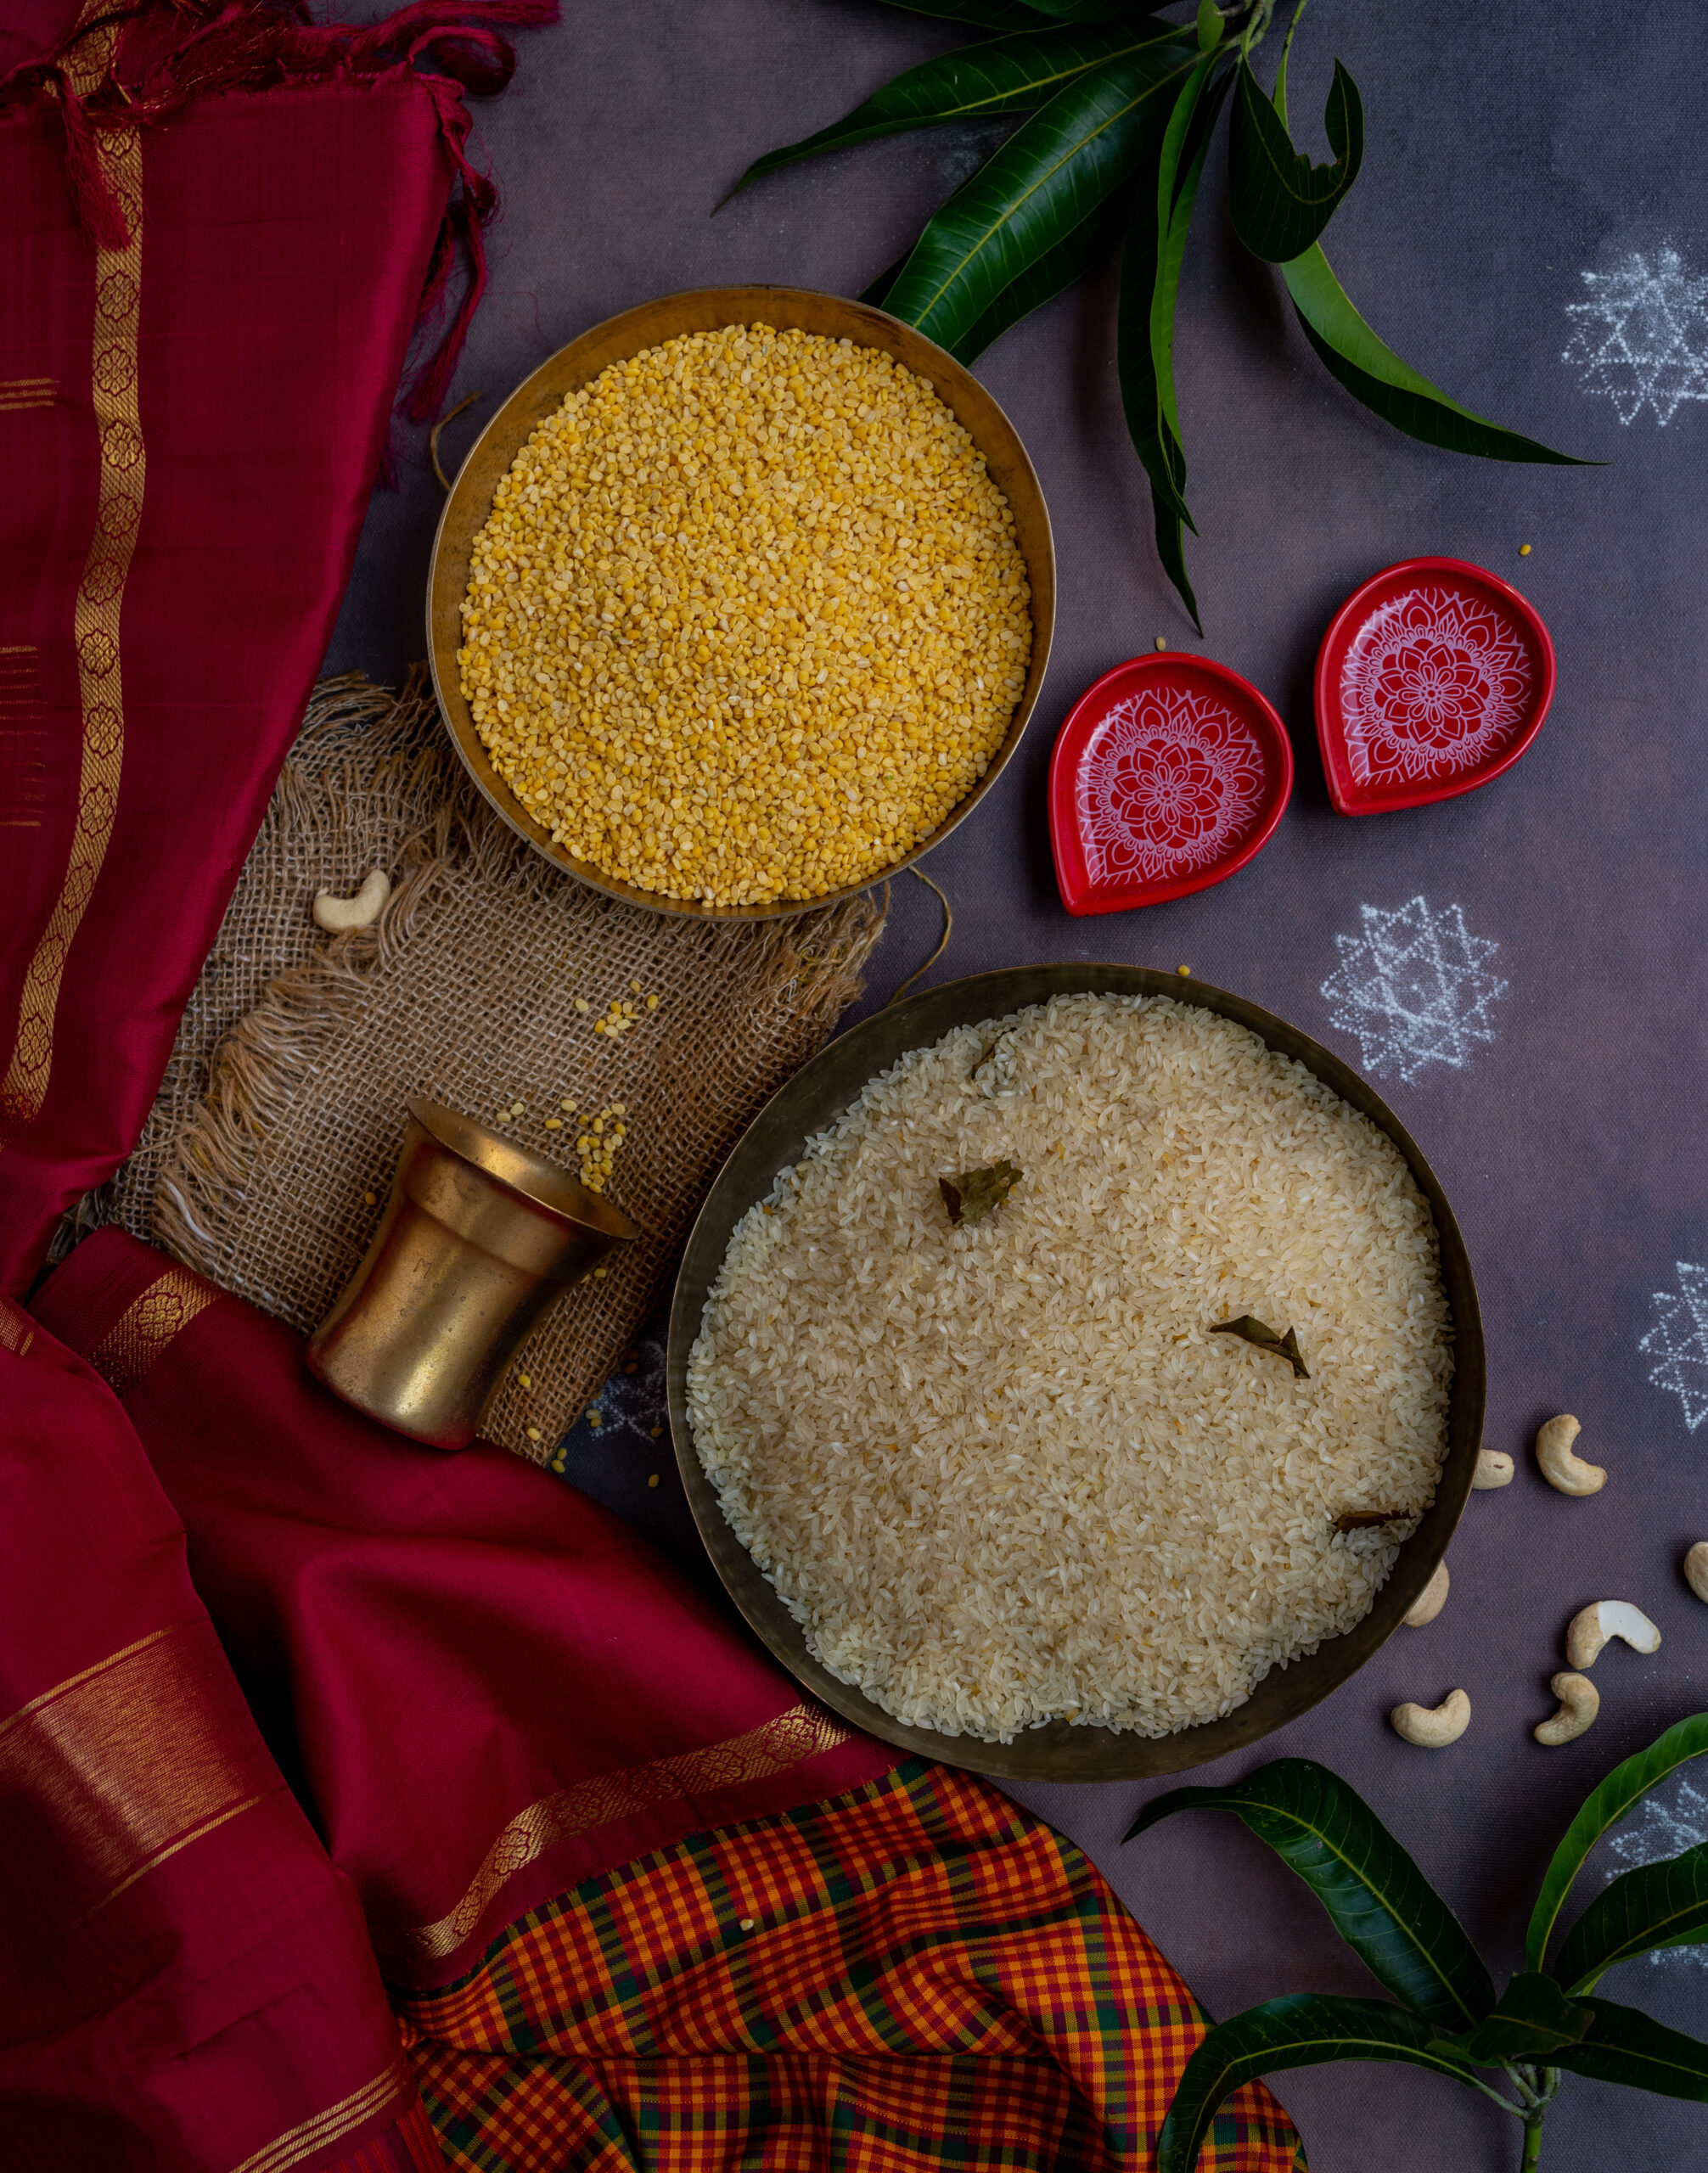
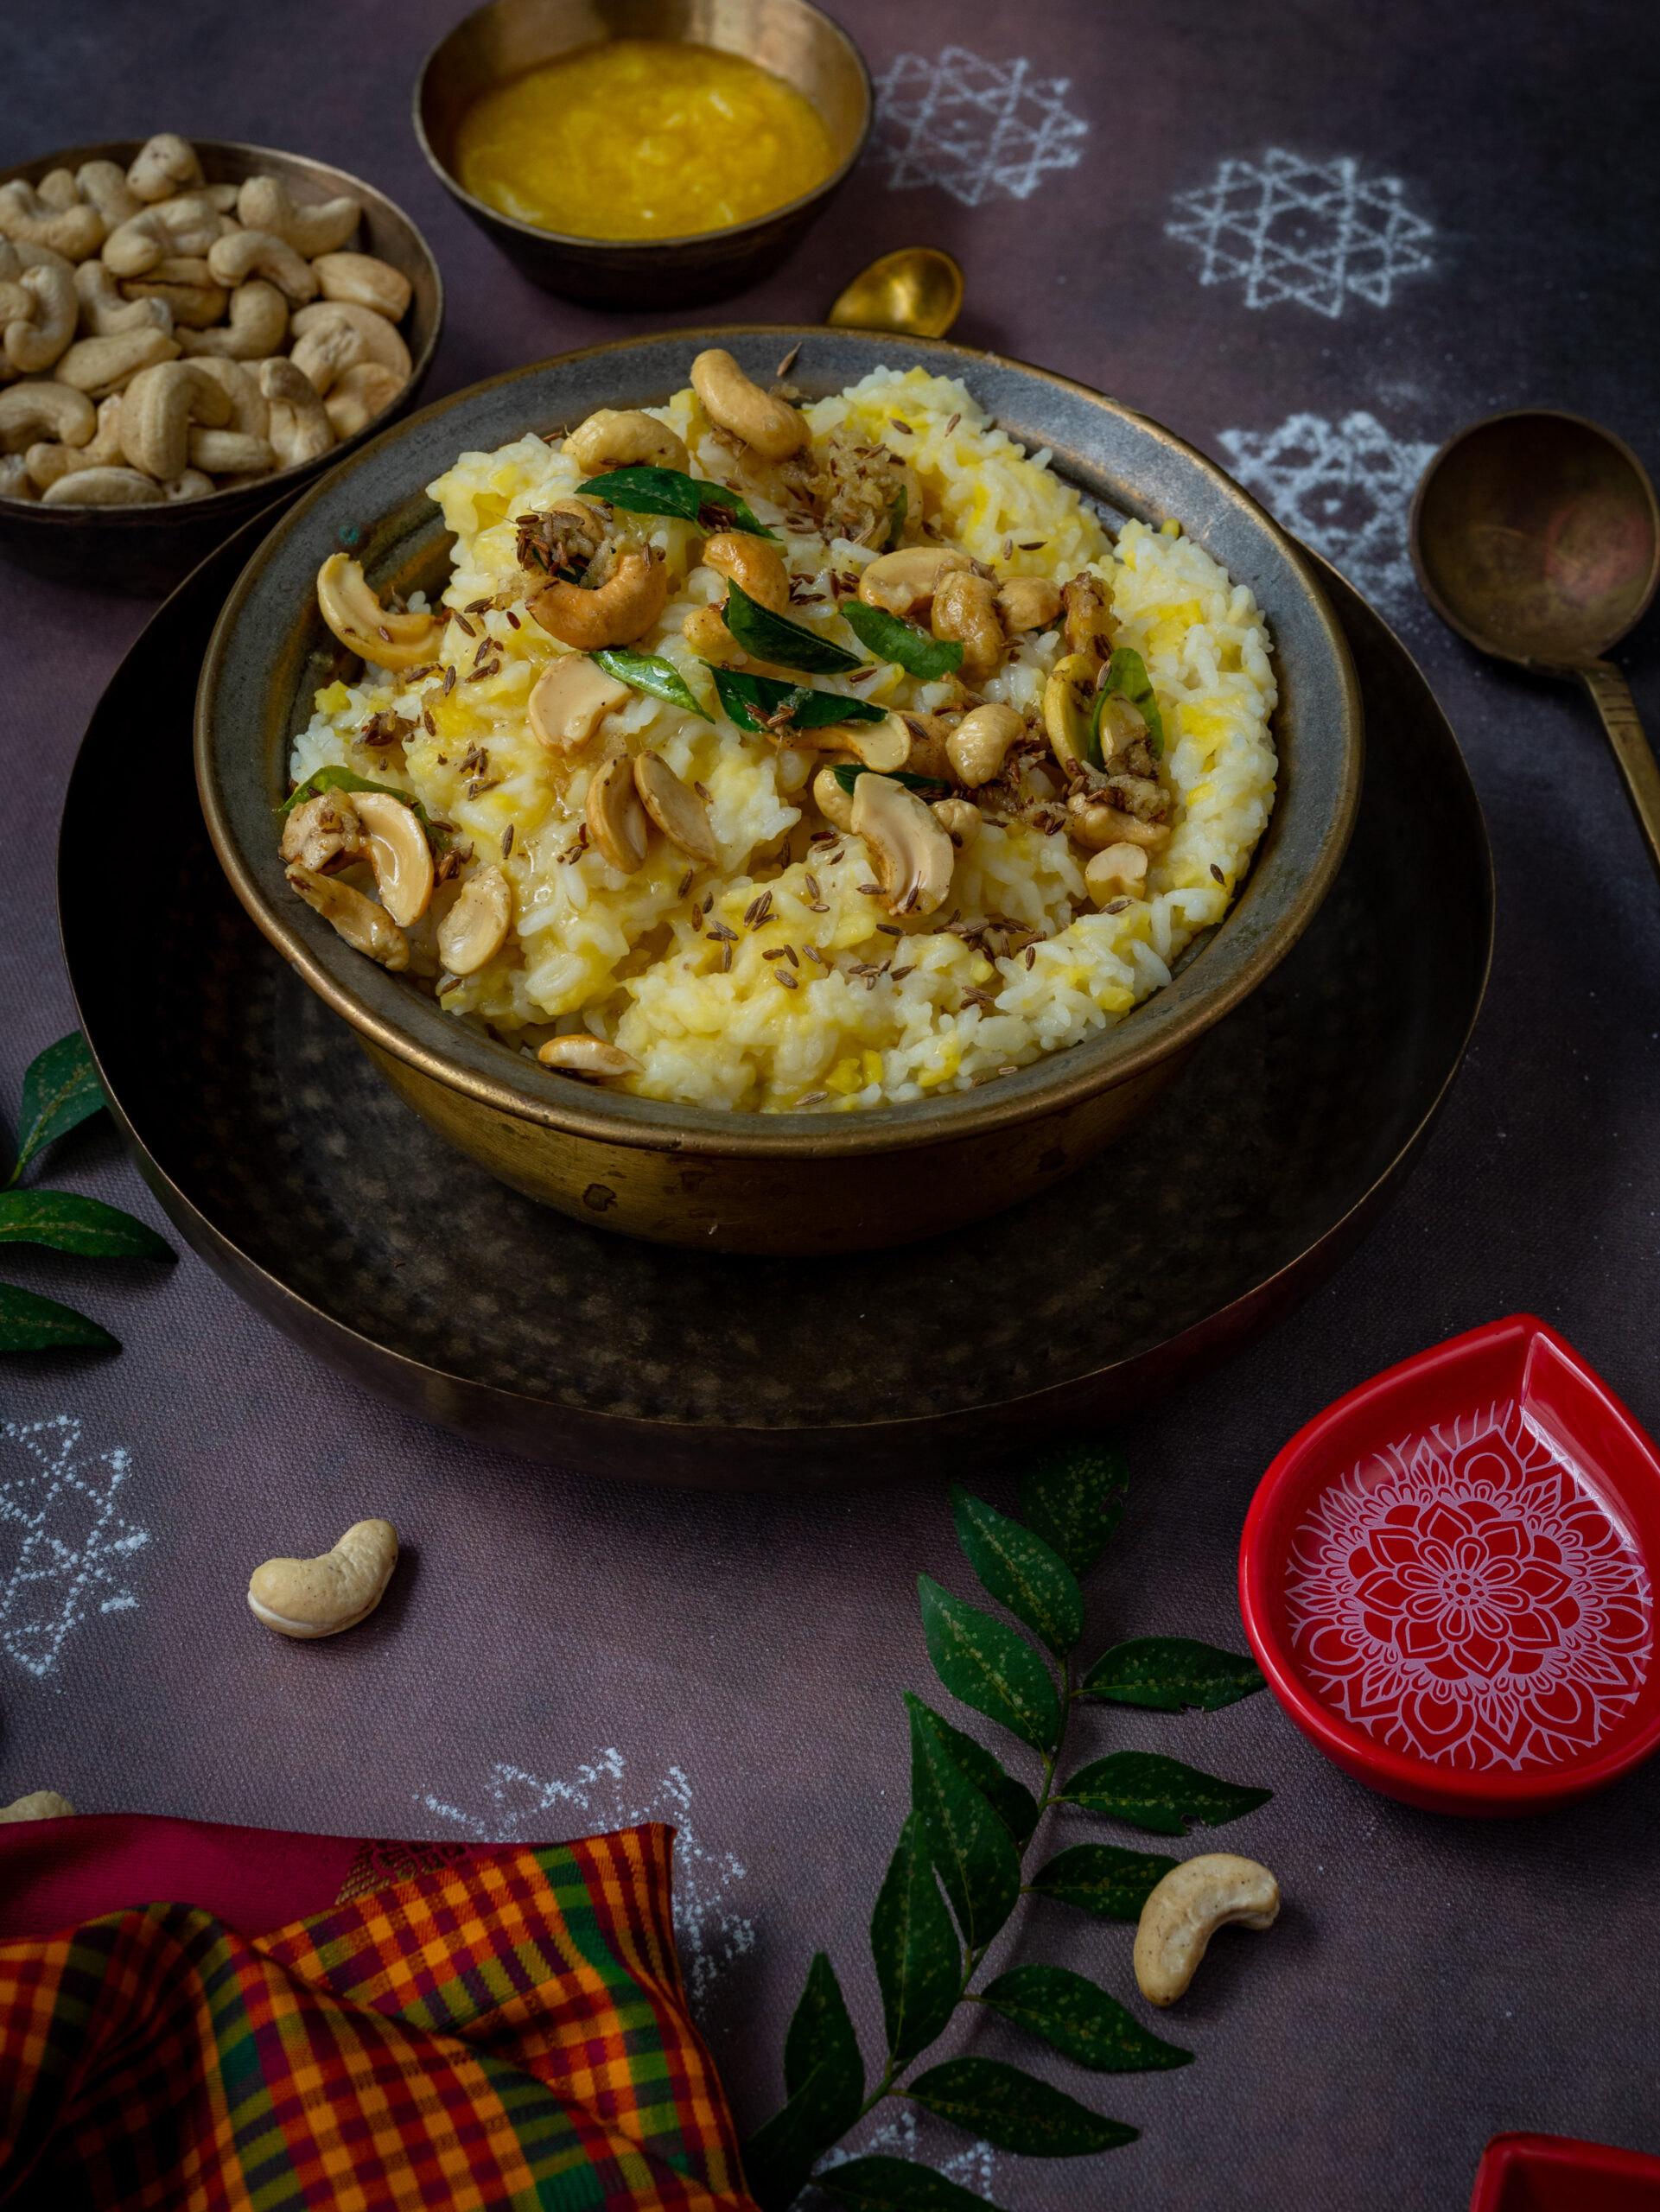
Here in Tamil Nadu, the harvest festival of Pongal has begun, and all over the state families are celebrating the occasion. Delicious, piping hot chakkara pongal is customarily consumed, but alongside it ven pongal (white pongal, made with freshly harvested rice) is also made. Oh, and let’s not forget certain creative yet authentic pongal renditions that are out there, such as this red rice and jaggery pongal. As you can see, there are many kinds of pongal, and this year, I thought I’d share with you a lovely savoury one.

Ven pongal is a traditional breakfast, one of my own favourites. It is a part of regular temple offerings too. This ven pongal is similar to a khichdi, which is a basic mixture of dal and rice. Unlike khichdi, it’s to be eaten with chutney or sambar. While khichdi is normally eaten for lunch or dinner but seldom for breakfast, with pongal it’s the reverse. As I mentioned, it’s a breakfast dish, and is rarely seen at other times of the day or night – except when it’s eaten for tiffin, which is what we call a late afternoon meal in this region.

Whenever I have breakfast while out and about in Chennai or elsewhere in Tamil Nadu, I always reach for the ven pongal. To me, it takes pride of place on the restaurant menu alongside its more famous counterparts, idli and dosa. The latter two are the “safe choices” that most people usually stick to, but I love ven pongal for breakfast and find it just as reliably made across the state. It’s very refreshing, filling, satisfying and healthy – and sees me through the day up until a hearty lunch.

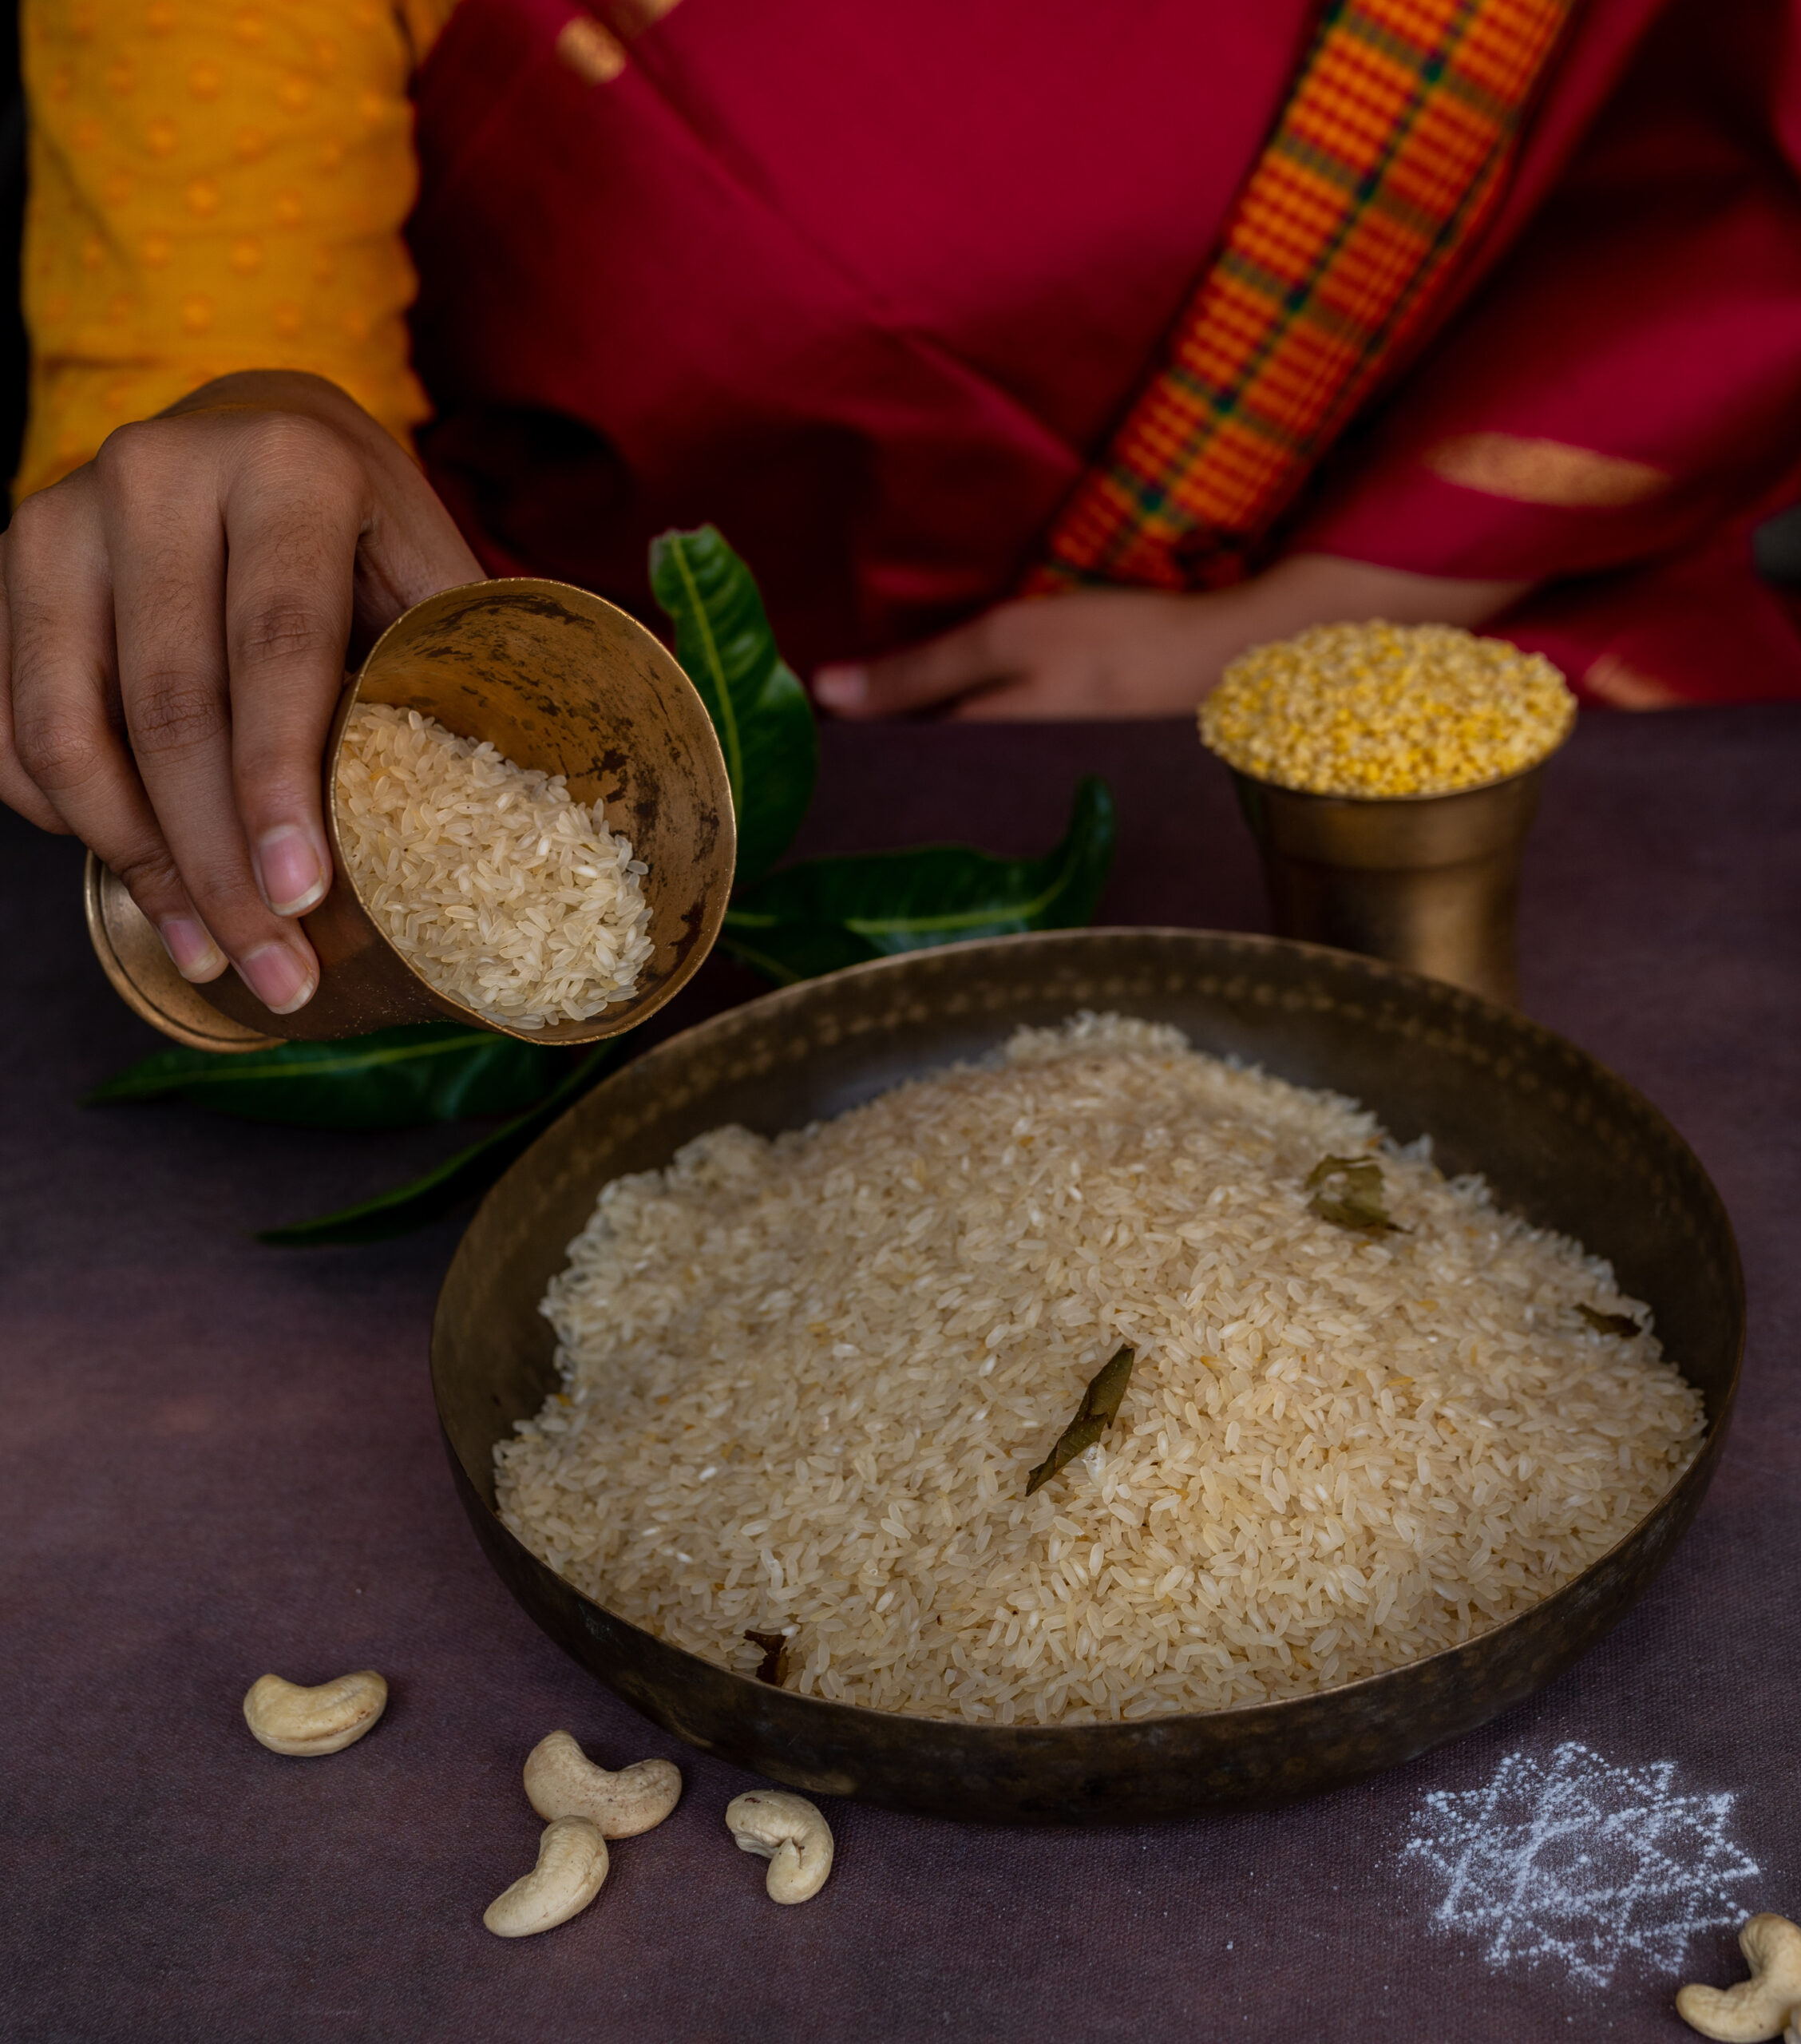
The rice that I use in the pongal made on Pongal comes from our farm, and I observe a local tradition on this day. As is custom, this is when I store rice for the household for the whole year. The older it gets, the better it tastes. It is preserved well through a natural method: the raw rice is dampened with castor oil, and neem leaves are layered on it as I fill the storage barrels. This ensures that bugs stay away, given the humidity and the climate of this region. This raw rice is eaten throughout the year. When it is rinsed before use, the castor oil goes way, and any residue left is healthy for the body in any case. You can see a part of the process in the photograph below.

My love for this dish started in childhood. We had many Tamilian friends in our neighbourhood, so my familiarity with South Indian flavours and cooking began early. The house beside ours had girls of my age, and so we used to hang out together all the time. In those days, there were no TVs, computers or other electronic devices to keep us distracted indoors, so our hobbies were to run around, climb trees (eating fruits from them and being bitten by hairy caterpillars, as I’ve recounted on this blog before), play fun games that kids no longer seem to do and generally make a racket.

With these particular neighbours, we often spent the late afternoon together. I would go to their house at around 3.30pm, right in time for tiffin. We would sit on their front porch, enjoying leisure time together. My friends’ grandmother would oil, comb and braid their long hair and decorate it with jasmine. As she did, she would tell stories. I would watch their grooming ritual, listen to their Paati’s tales and enjoy the snack of the day. Very often, it was vada (savoury fried dough) or ven pongal, like the recipe I’m sharing with you today.

While I was growing up, my mother would sometimes make this too. This was because I would bring recipes back and forth between the different homes in our neighbourhood. Pre-blog and even pre-Internet, I already loved the exchange of kitchen techniques and secrets! South Indian families we grew up with also ate quite a bit of Gujarati food as a result. Of course, festivals meant gathering together and sharing meals too. It’s funny how connected we all were in that time before cellphones. I had such a lovely, inter-cultural upbringing – it contained food, heritage, granny tales and so much more from my family and well beyond. I feel like my children missed out on those simpler times, since technology began to dominate when they were little. I wonder how the generation of today fares, with even more at their disposal, and perhaps with even more disconnection in the world. What are your thoughts on all this?

Ven Pongal

(Yield: serves 3-4)


½ cup split mung dal

½ cup raw rice

3½ cups water to cook

2 tablespoons ghee

1 tablespoon cumin seeds

1 teaspoon whole black pepper

3 tablespoon split cashews

2 teaspoons finely minced ginger

Salt to taste

A handful of curry leaves


Mix the dal and rice together and rinse well. Heat a pan and add the mixed rice and dal to it. Sauté until they release an aroma. Do not allow the grains to turn colour.

Now, add the water, salt and 1 tablespoon of ghee. Pressure cook until tender. This will take approximately 20-25 minutes.

In another pan, add the remaining ghee. Once it has heated, add the cumin seeds and pepper. Next, add the curry leaves and ginger. Finally, add the cashews. Once this tempering has turned golden, add it to the steaming hot rice mixture.

Mix well and serve warm. It can be eaten on its own, or with sambar or chutney.

Whether you’re having this as a festive dish, or just snacking on it at tiffin or breakfast, I hope that you find it as delicious as I do. If you happen to enjoy it while sitting on your porch or balcony with dear friends, as I used to as a child, I’d especially love it if you could paint me a picture of those special moments in the comments! Food is such an intrinsic part of bonding, is it not?

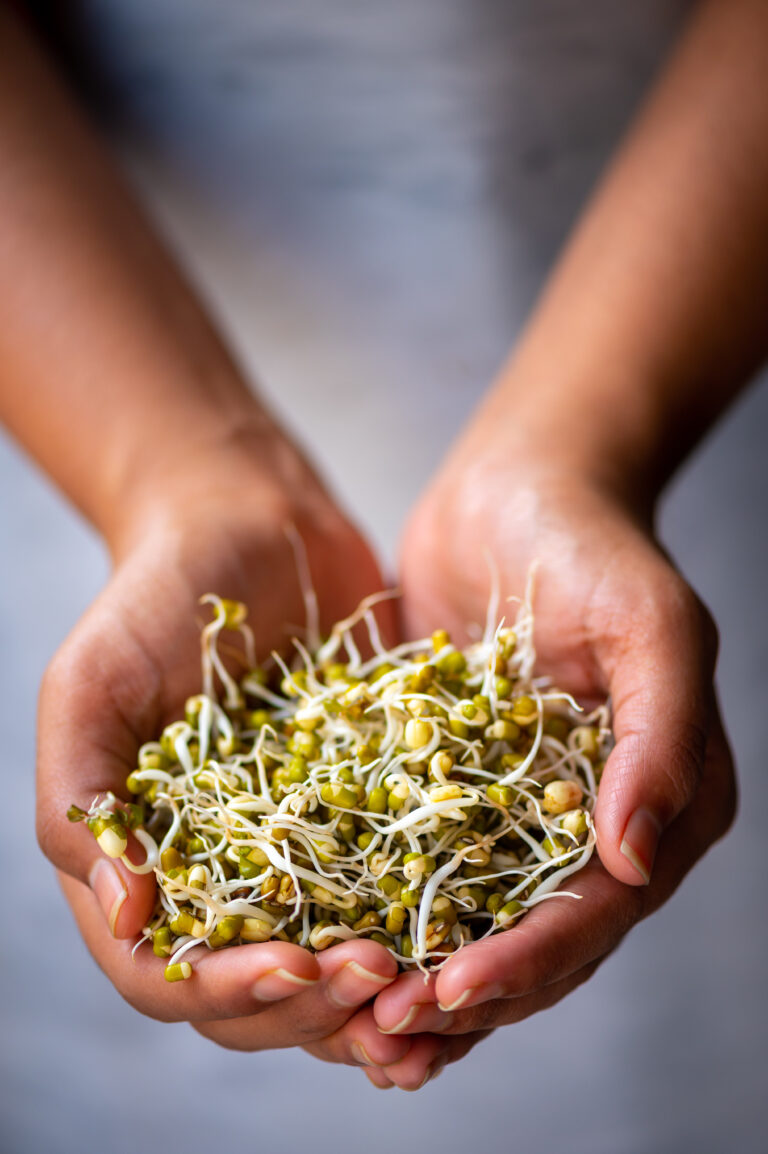
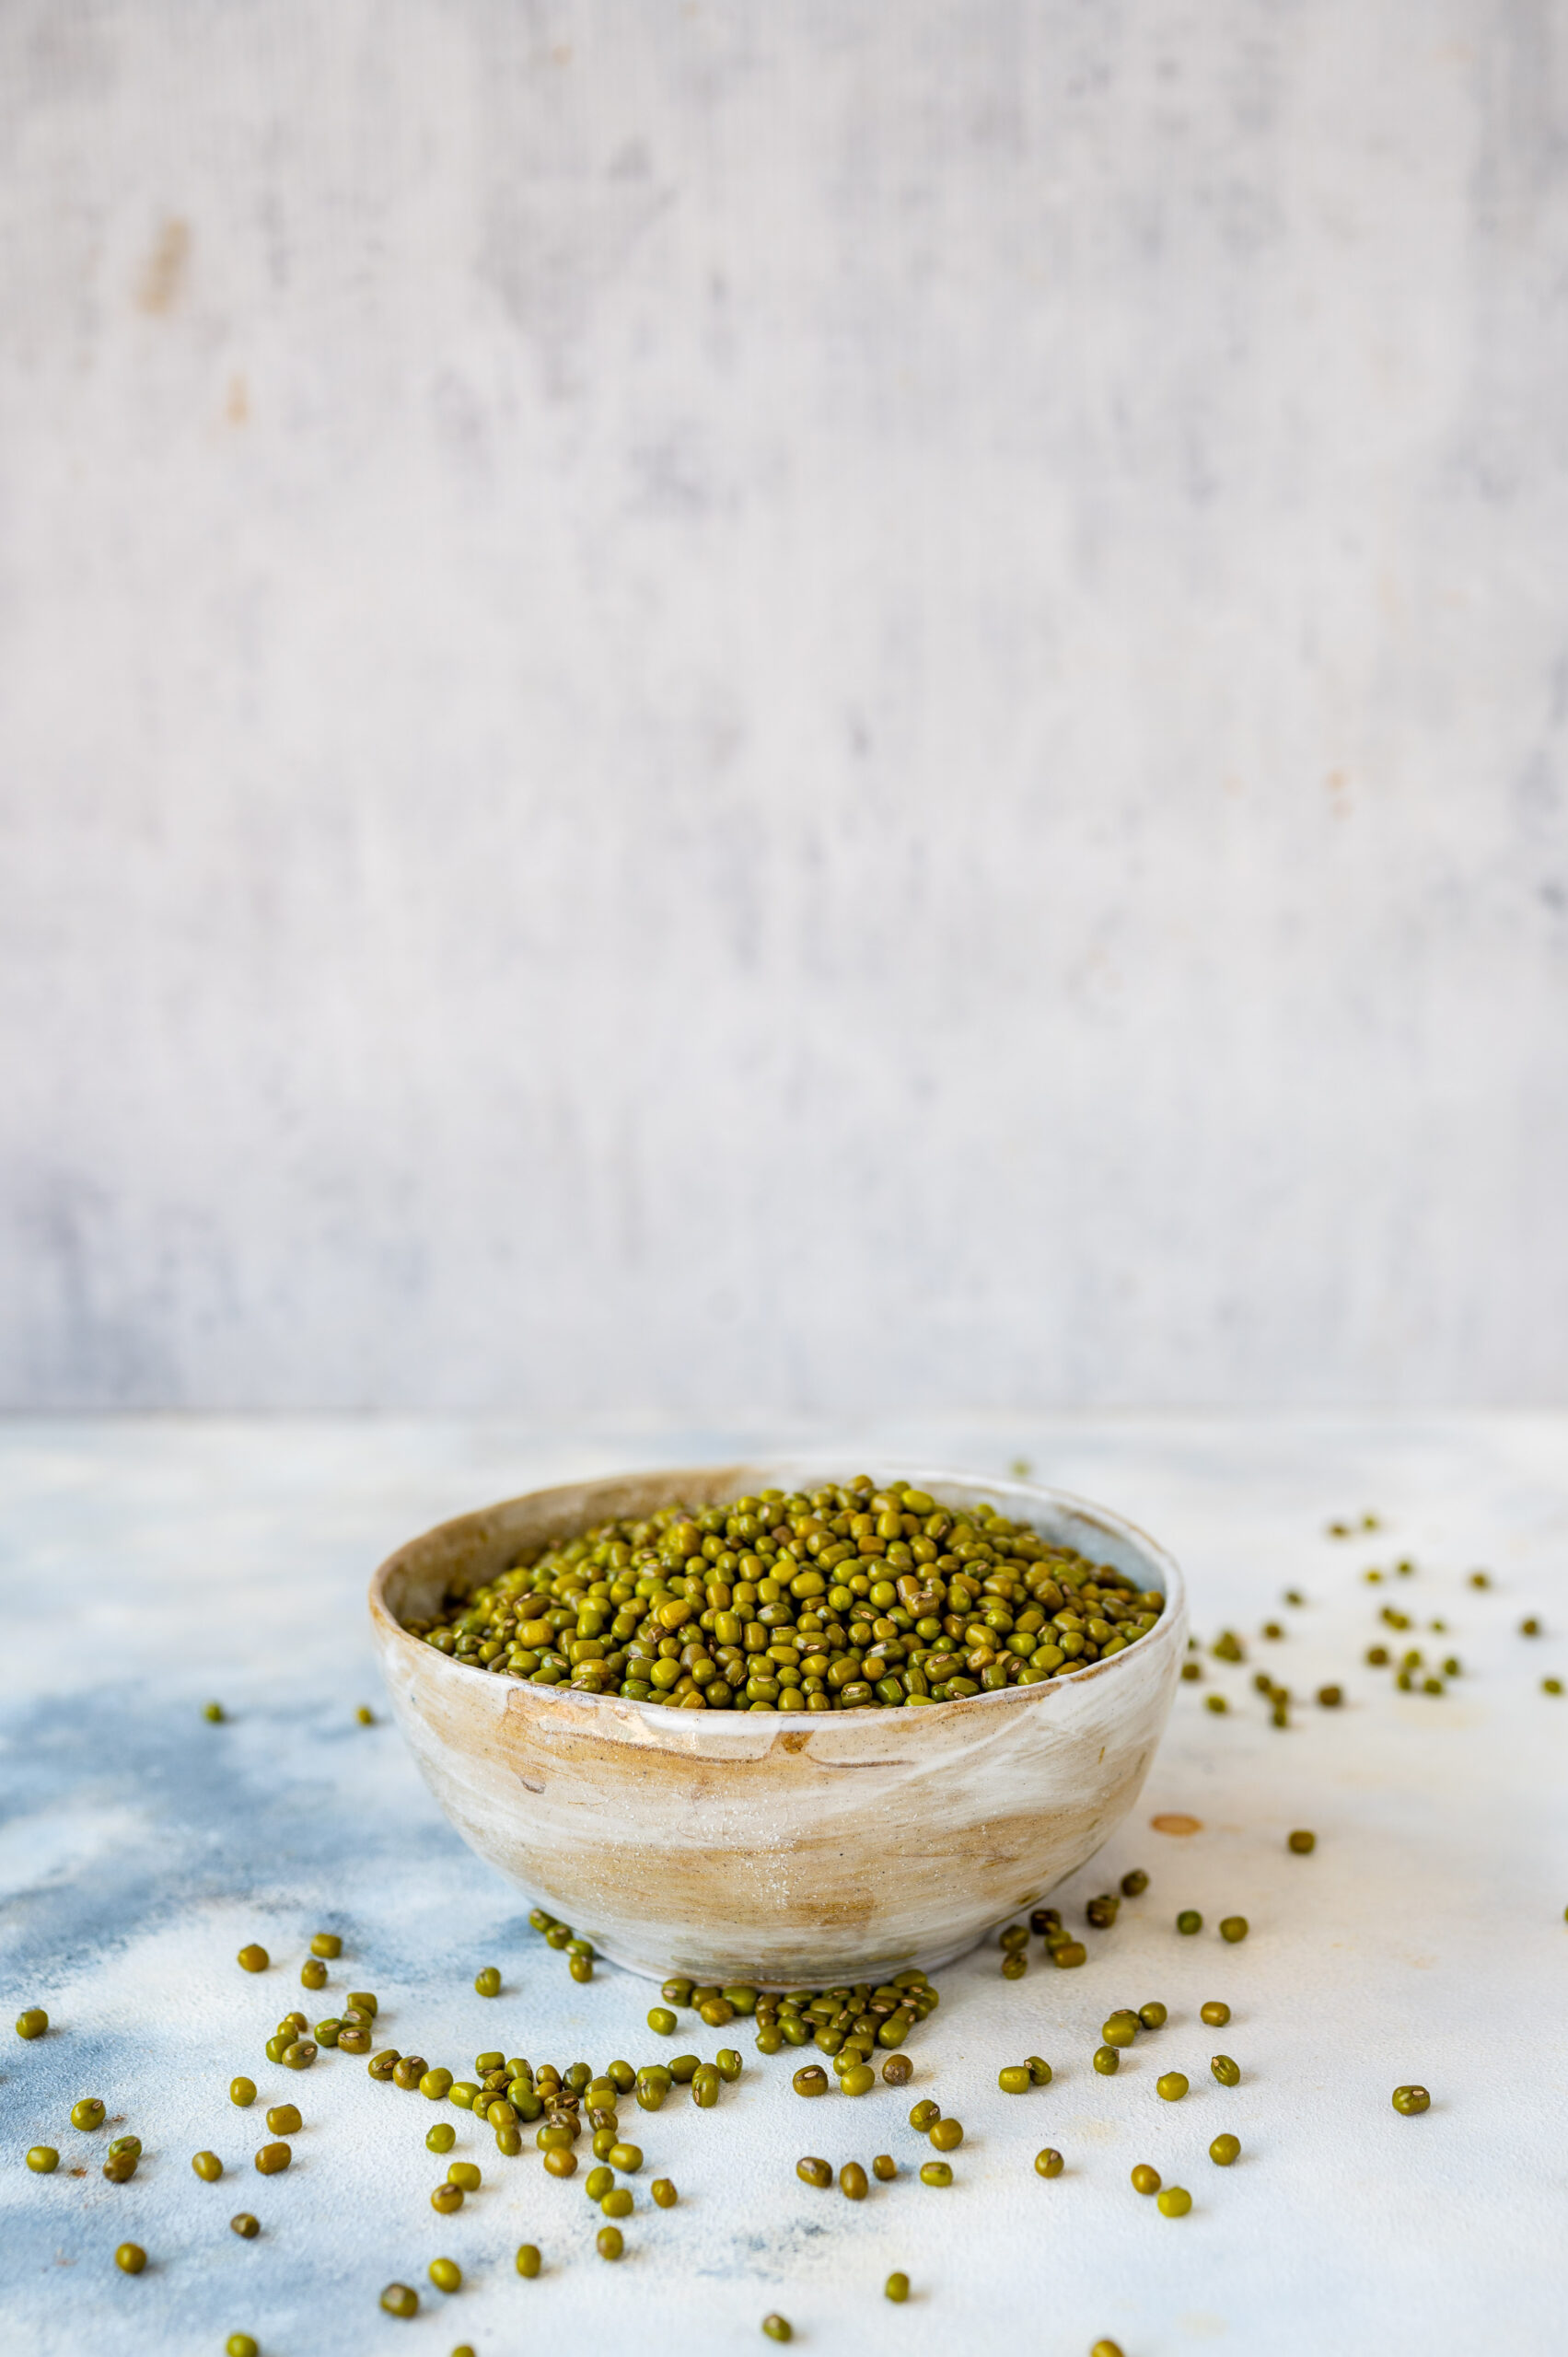
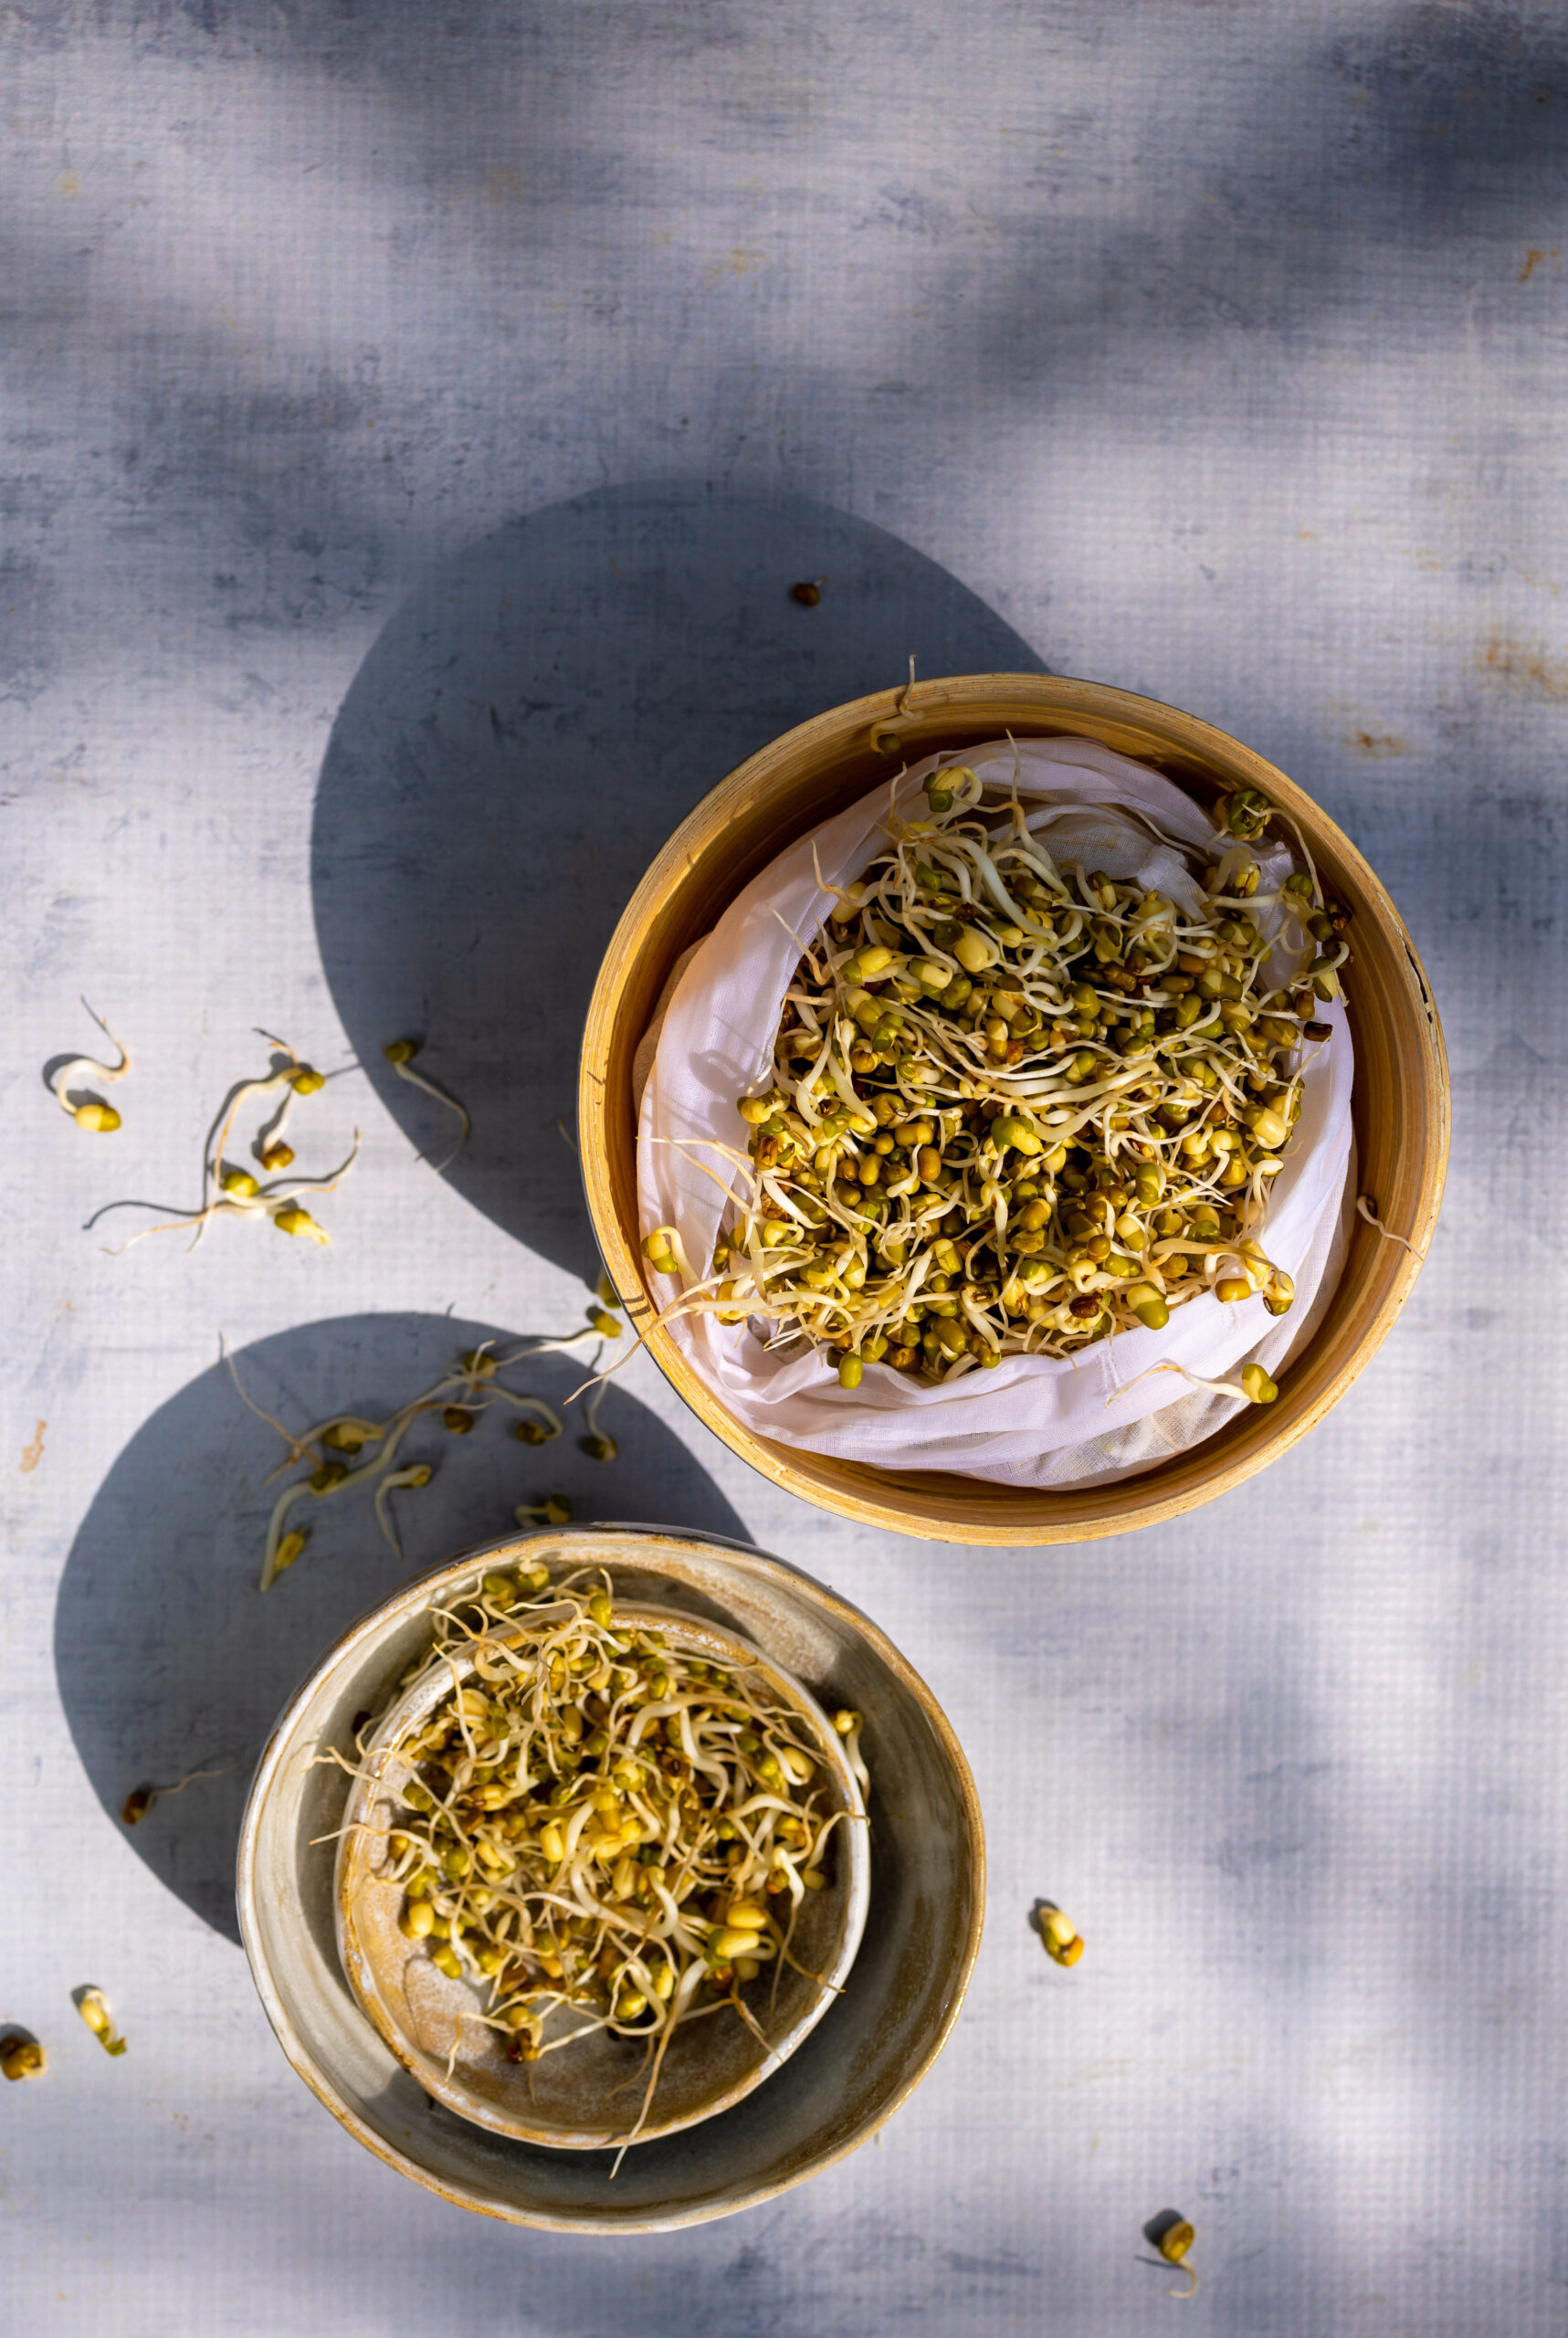
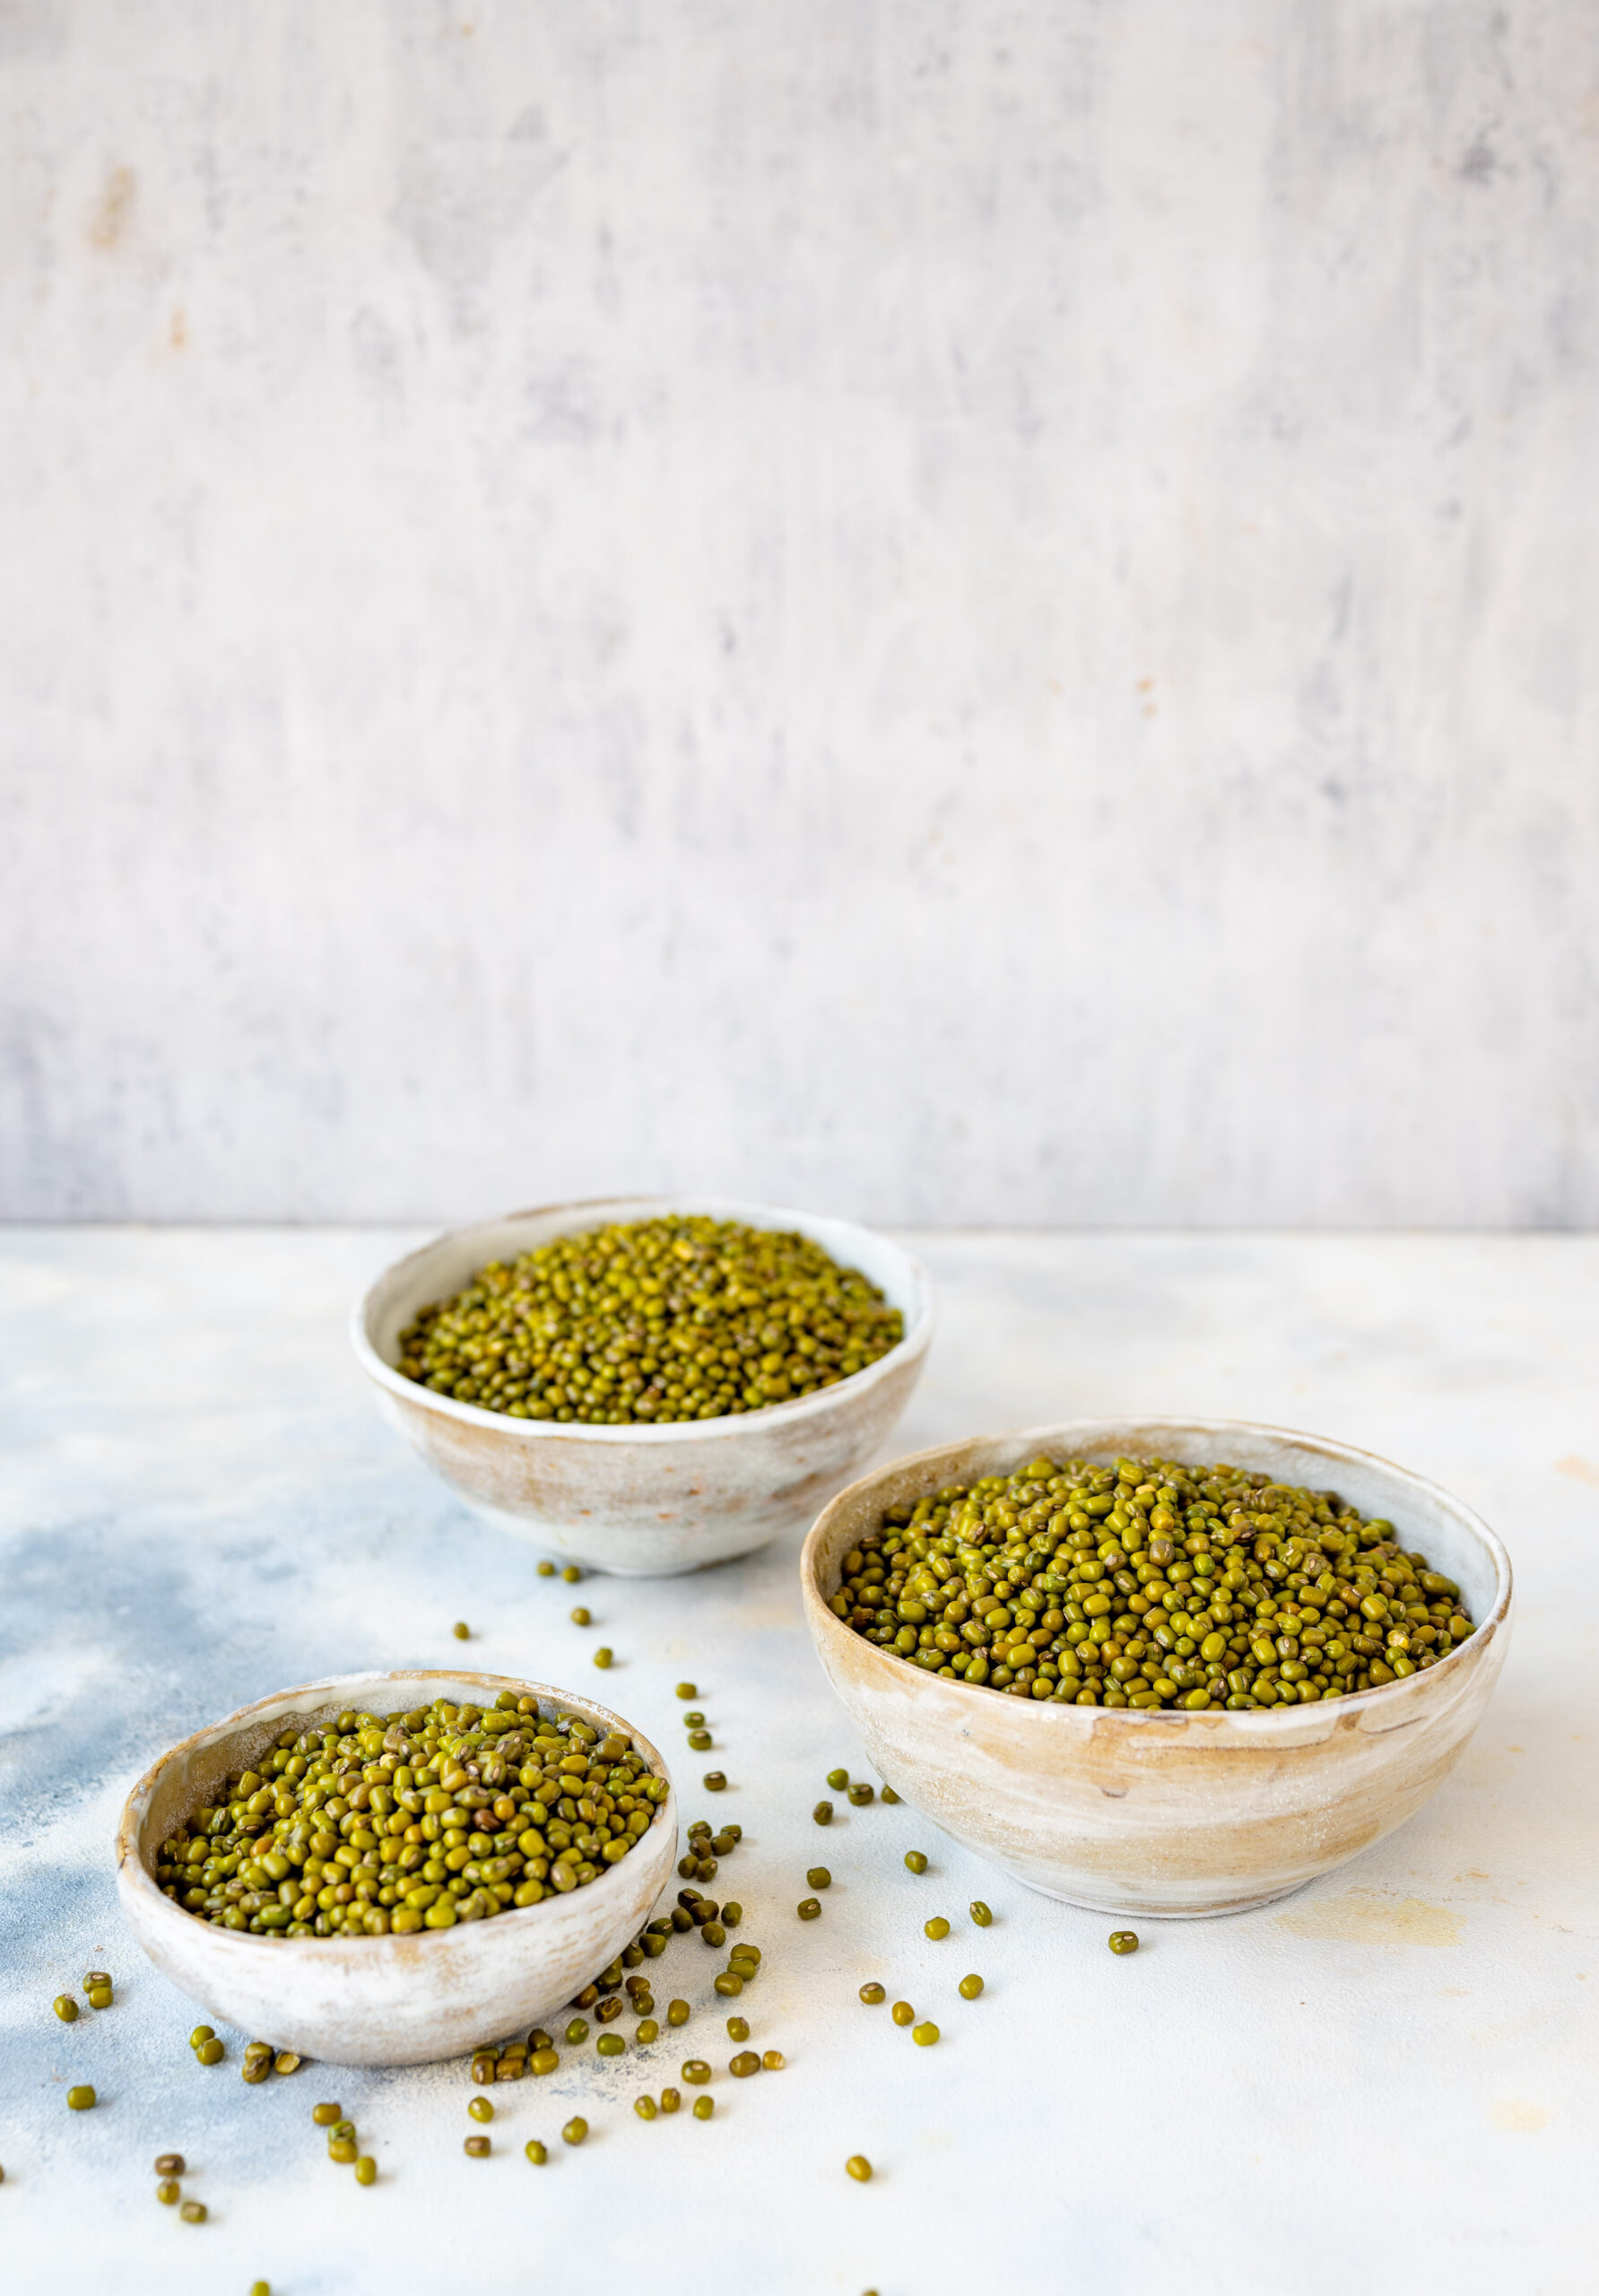
Green mung – also known as green gram, green moong and mung beans – is considered to be “shukaan” in Gujarati culture, meaning that it symbolises good luck and all things auspicious. When we hold a housewarming ceremony, the first thing we do is make a Hindu svastika on the floor using the legume. Similarly, when Jains break a significant fast, such as a 9-day fast, the first item consumed is water in which green mung had been boiled. This infused water is easy on the digestion, and helps the system adjust to whole food again after the abstinence. The combination of faith in the luck factor and the fact that it is very healthy mean that the ingredient is used across Gujarati cuisine in a wide variety of ways. You may have noticed its recurrence on this blog too: green moong dhokla, green moong bhel and green mung khatta are among the recipes I’ve shared. This time, I wanted to start the new year off on a promising note by sharing the method for getting green mung to sprout.

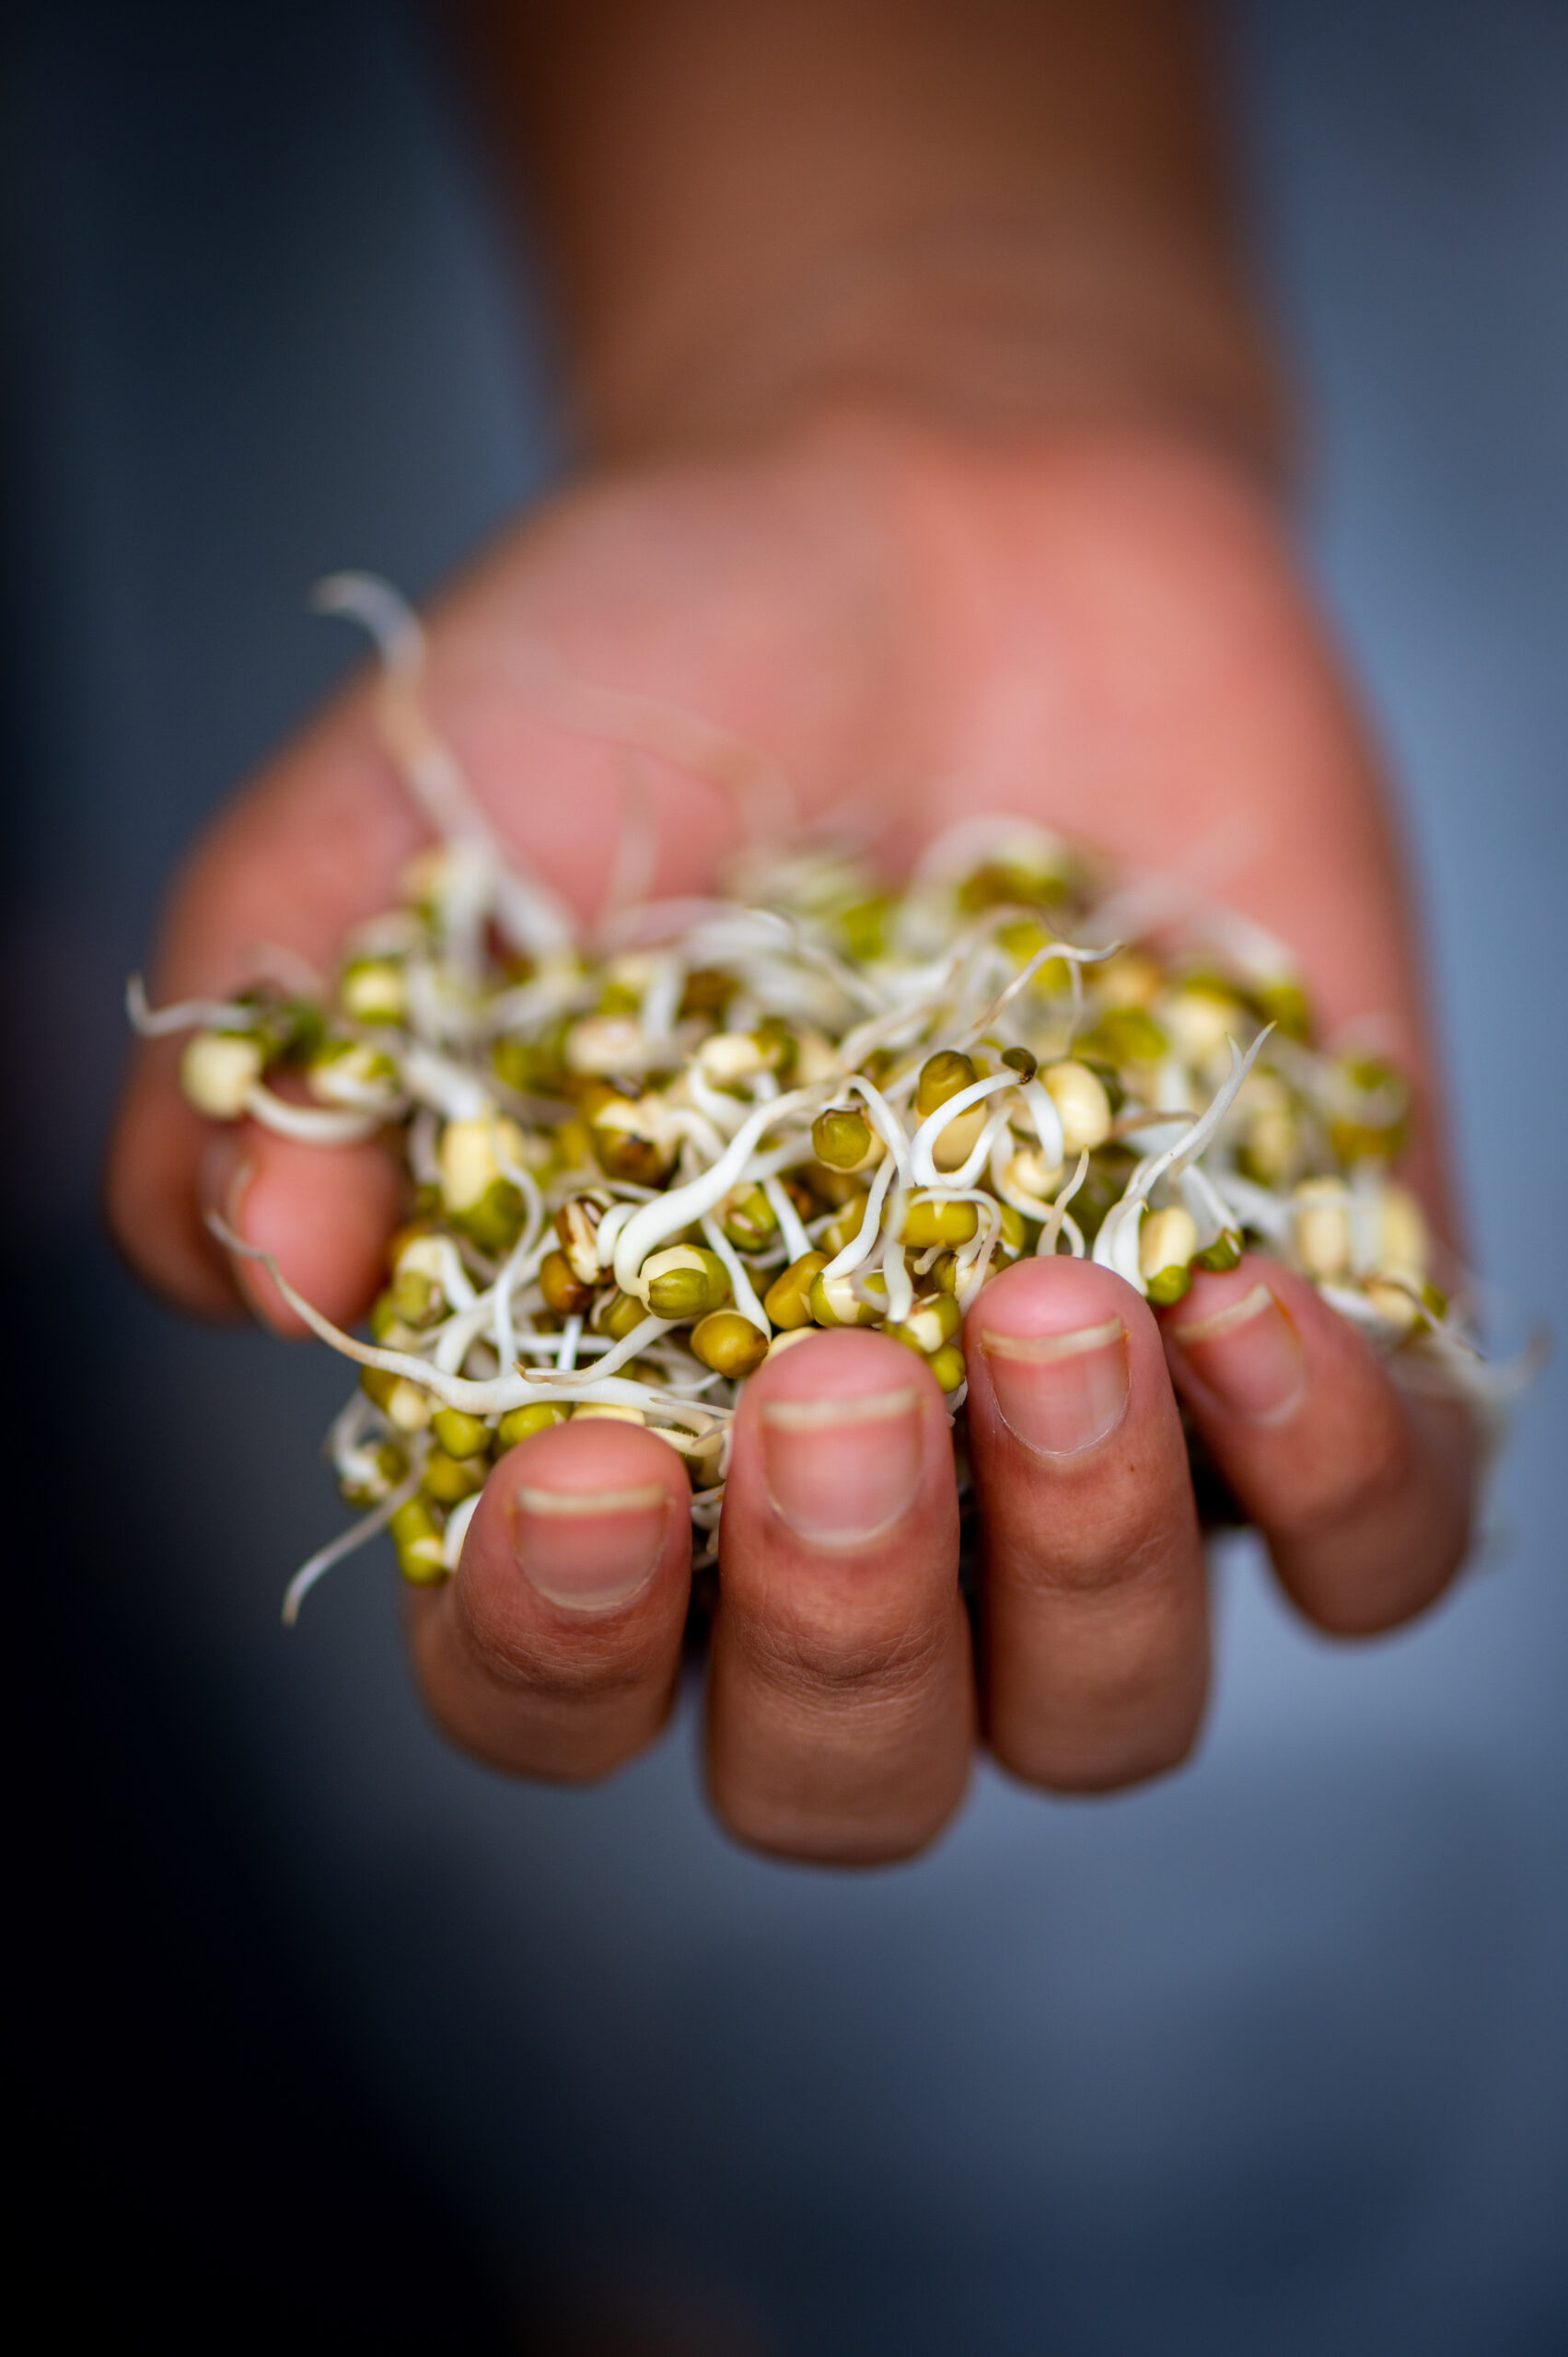
There is a special shelf in my fridge that always holds my tomato purée, a selection of chutneys and sprouted green mung. This should tell you a lot about the versatility of the last item, since it has pride of place on that always-reached-out-for list. I steam the sprouted green mung and add it to salads, sauté it and have it with roti or dosa or rice, put it in my stir-fries… You can see why I always like to have it on hand.

You may remember growing sprouts from your school days, as I do. We would have projects in Science class during which we would keep mustard seeds on a cotton ball and sprinkle water on them, then watch what happened over the next few days. The process was so fascinating back then, and when I pause and contemplate it, it still is. When I was training in Macrobiotics a few years ago, we learned that all seeds and legumes are sacred, as they contain life within them intrinsically. They may hold this potential for thousands of years before a few drops of water awaken it. This is the mystical part of nature, expressed in the way the green mung holds life within it no matter what. We are so fortunate to have these sprouting wonders: for the nourishment they provide, as well as the inspiration.

This is why the method for growing green mung sprouts occurred to me as being the perfect post to start this year with. May hope and renewal fill your heart as you conduct this experiment. Here is to all your new beginnings, to good health and to all the positive intentions you put out to the universe beautifully coming back to you. May all our goodwill come back to each of us manifold.

Method: Green Mung Sprouts

1 cup green mung

2 cups clean water


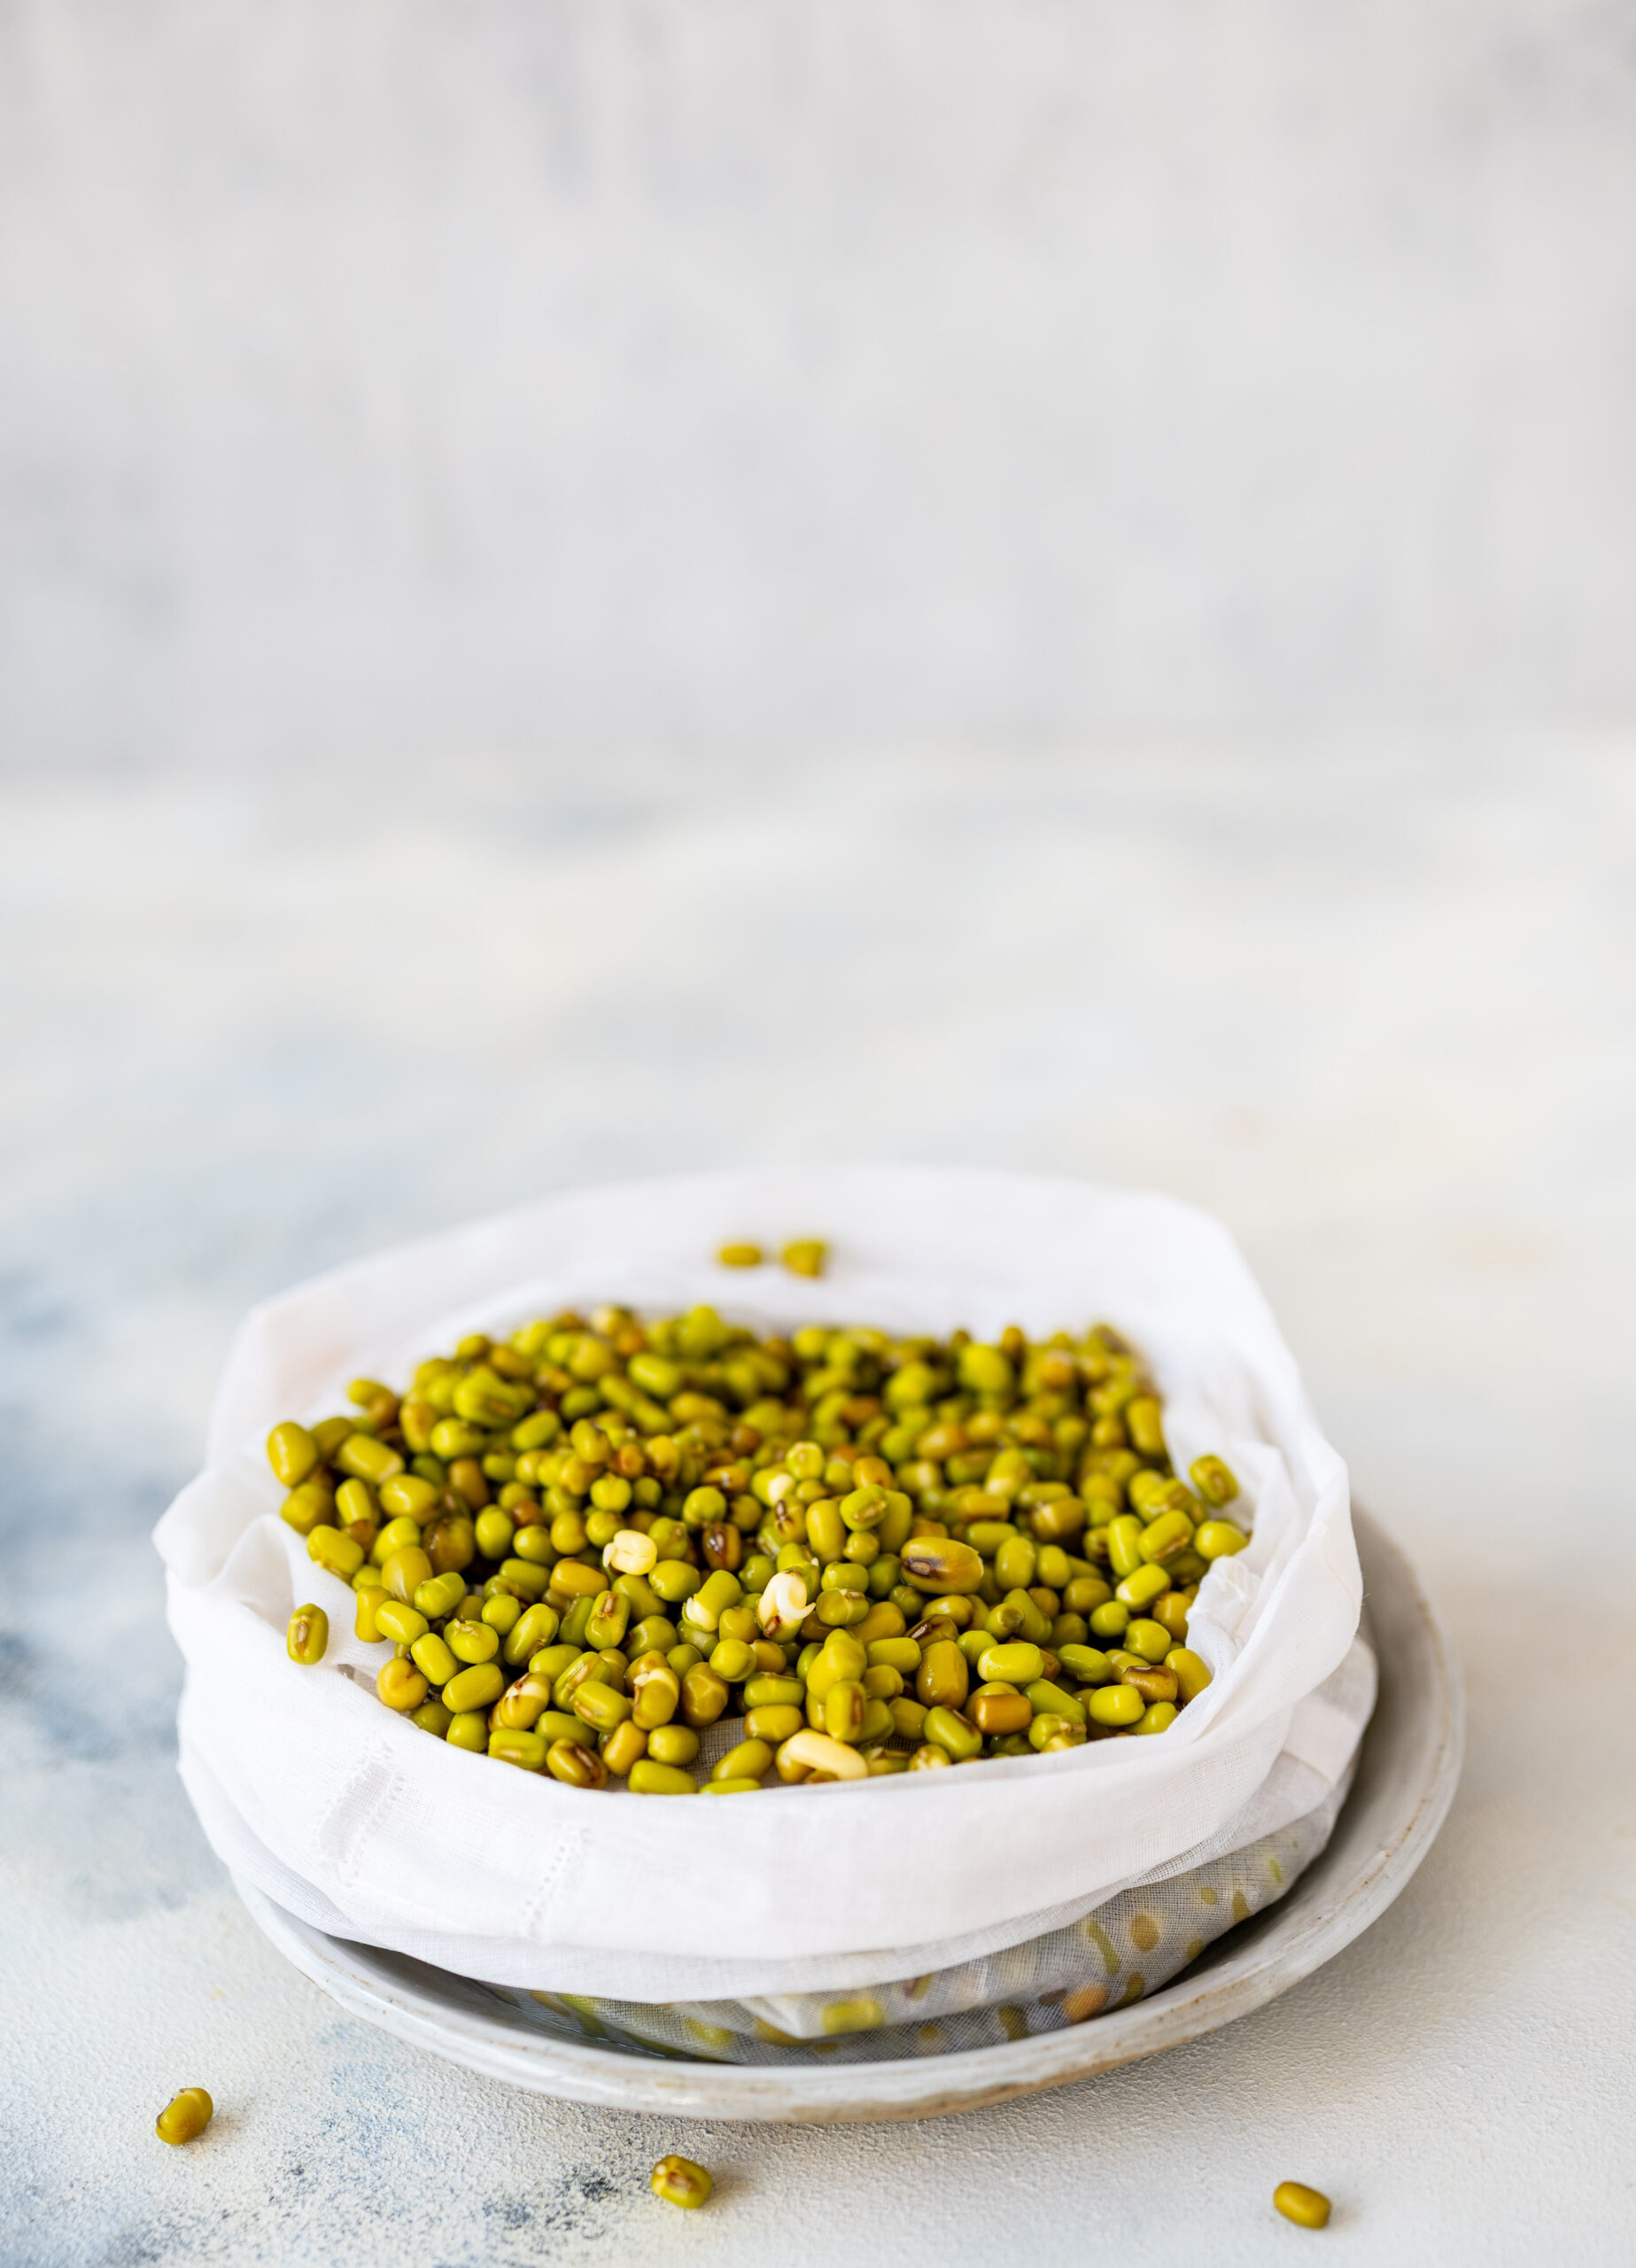
Rinse and soak the green mung in clean water overnight or for at least 8 hours.

In the morning, the beans will have increased in size and part of the skin would have opened up.

Rinse the beans once again and place them in a muslin cloth. Tie the cloth gently. It’s okay if the cloth feels damp.

Place the cloth containing the beans in a deep pot and cover this with a lid. Store at room temperature in a dark place.

Take a look the following day and you’ll notice that the beans are sprouting slightly. Cover again and leave be.

Check again on Day 2, and you will see that healthy, sprightly mung beans have sprouted – grown and ready for use.

It really is so simple to grow these sprouts yourself, and to use them as much as you want to in a wide variety of meals. I mostly sprout green mung, but also use black channa (which takes longer), and as mentioned earlier from my school memories, quite few kinds of seeds and lentils can be utilised for this purpose too. Here in Chennai, it’s really very easy to grow sprouts, as the weather is very conducive for this, versus a colder climate. Do keep that in mind – the process may take a little longer for you, depending on where you are.

These sprouts are to me small manifestations of nature’s glory, which we also experience in the form of trees. Too often, we take them for granted. Down the road from my home, a beautiful old tree was recently chopped down as part of some construction work. Seeing this was heartrending. If we cannot revere them as they deserve to be revered, the least we can do is to preserve them. A marvelous book, Peter Wohlleben’s The Hidden Life of Trees, teaches us that they communicate amongst themselves, in everything from the way their roots touch one another’s and the way they sway. There is so much we have not appreciated, respected or learnt fully about. We need to be more aware of the life-giving essence of nature.

In that spirit, I would like to share with you my New Year’s intention. We have a little farm that I’ve spoken about from time to time on this blog, and along with various crops, I’ve also slowly been growing flowers there. Local varieties, especially ones which are quickly being forgotten, are what I most want to have flourish there. I am hoping that this is the year that I really begin to design it and cultivate it, in a meaningful and long-lasting way so that the next few generations can enjoy my garden and carry forward my love of local blossoms.

What is your intention, and how do you plan to bring it to life? What is sprouting in your dreams right now? As always, I would love to hear from you.


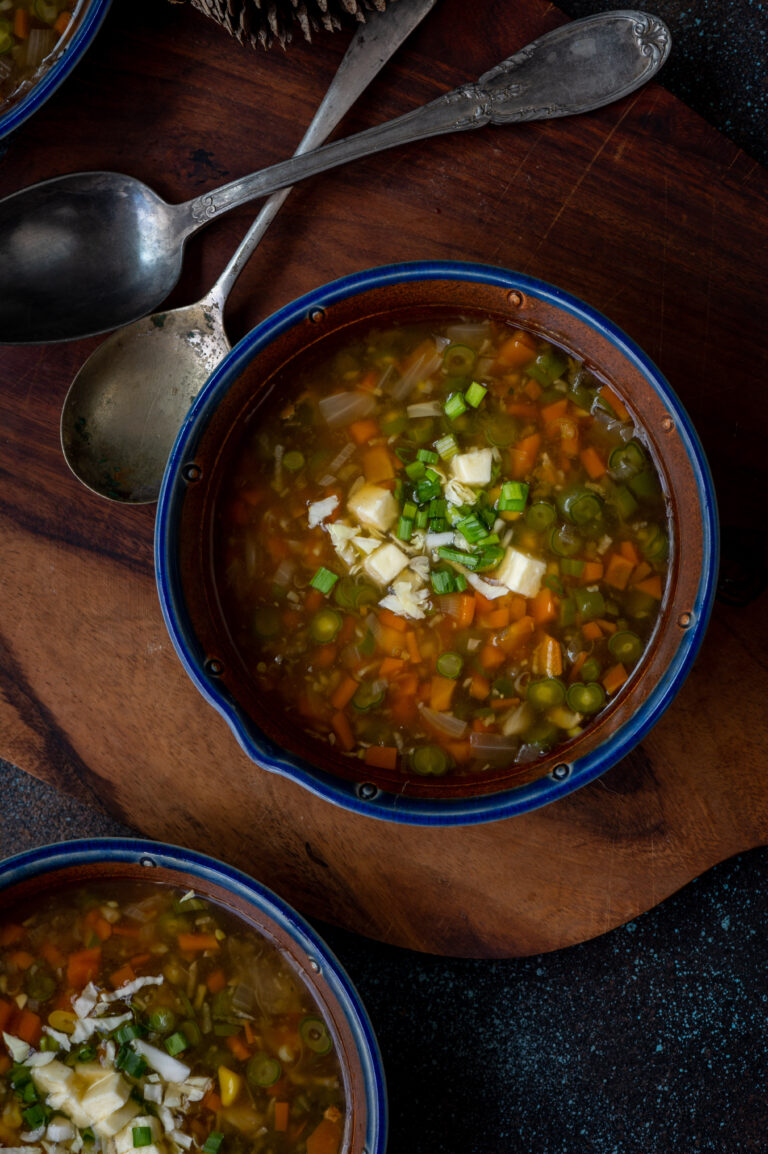
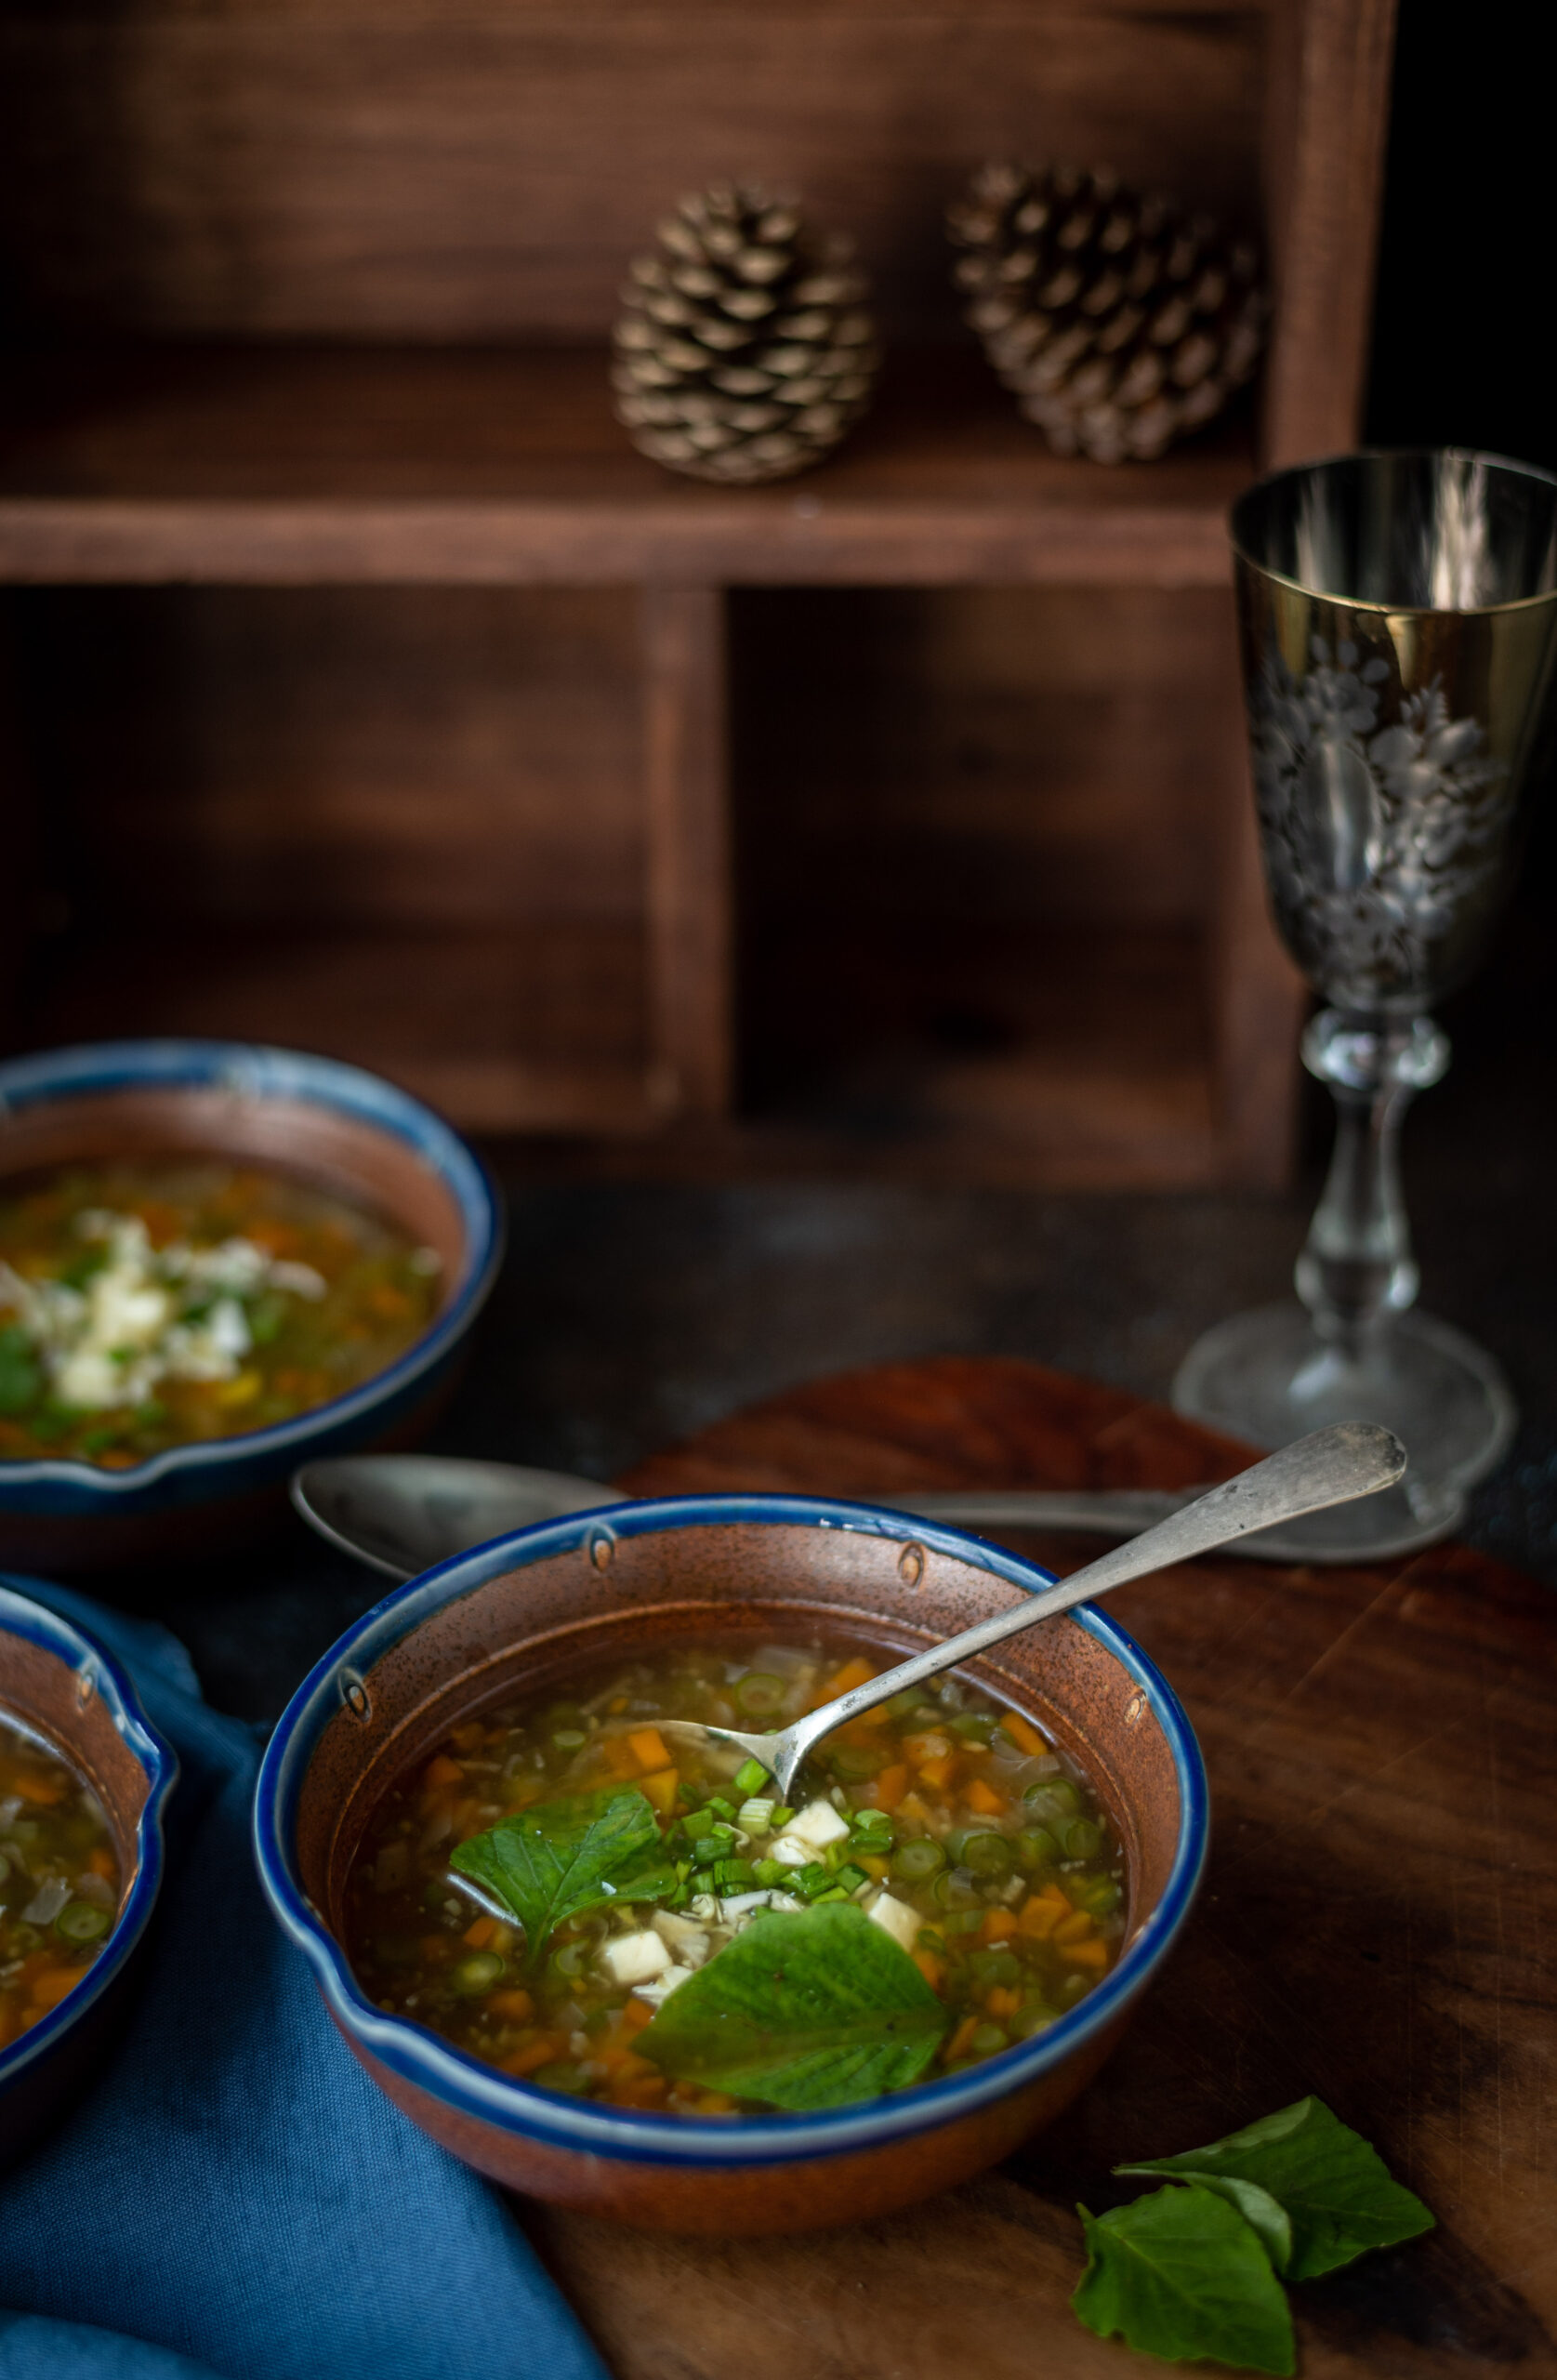
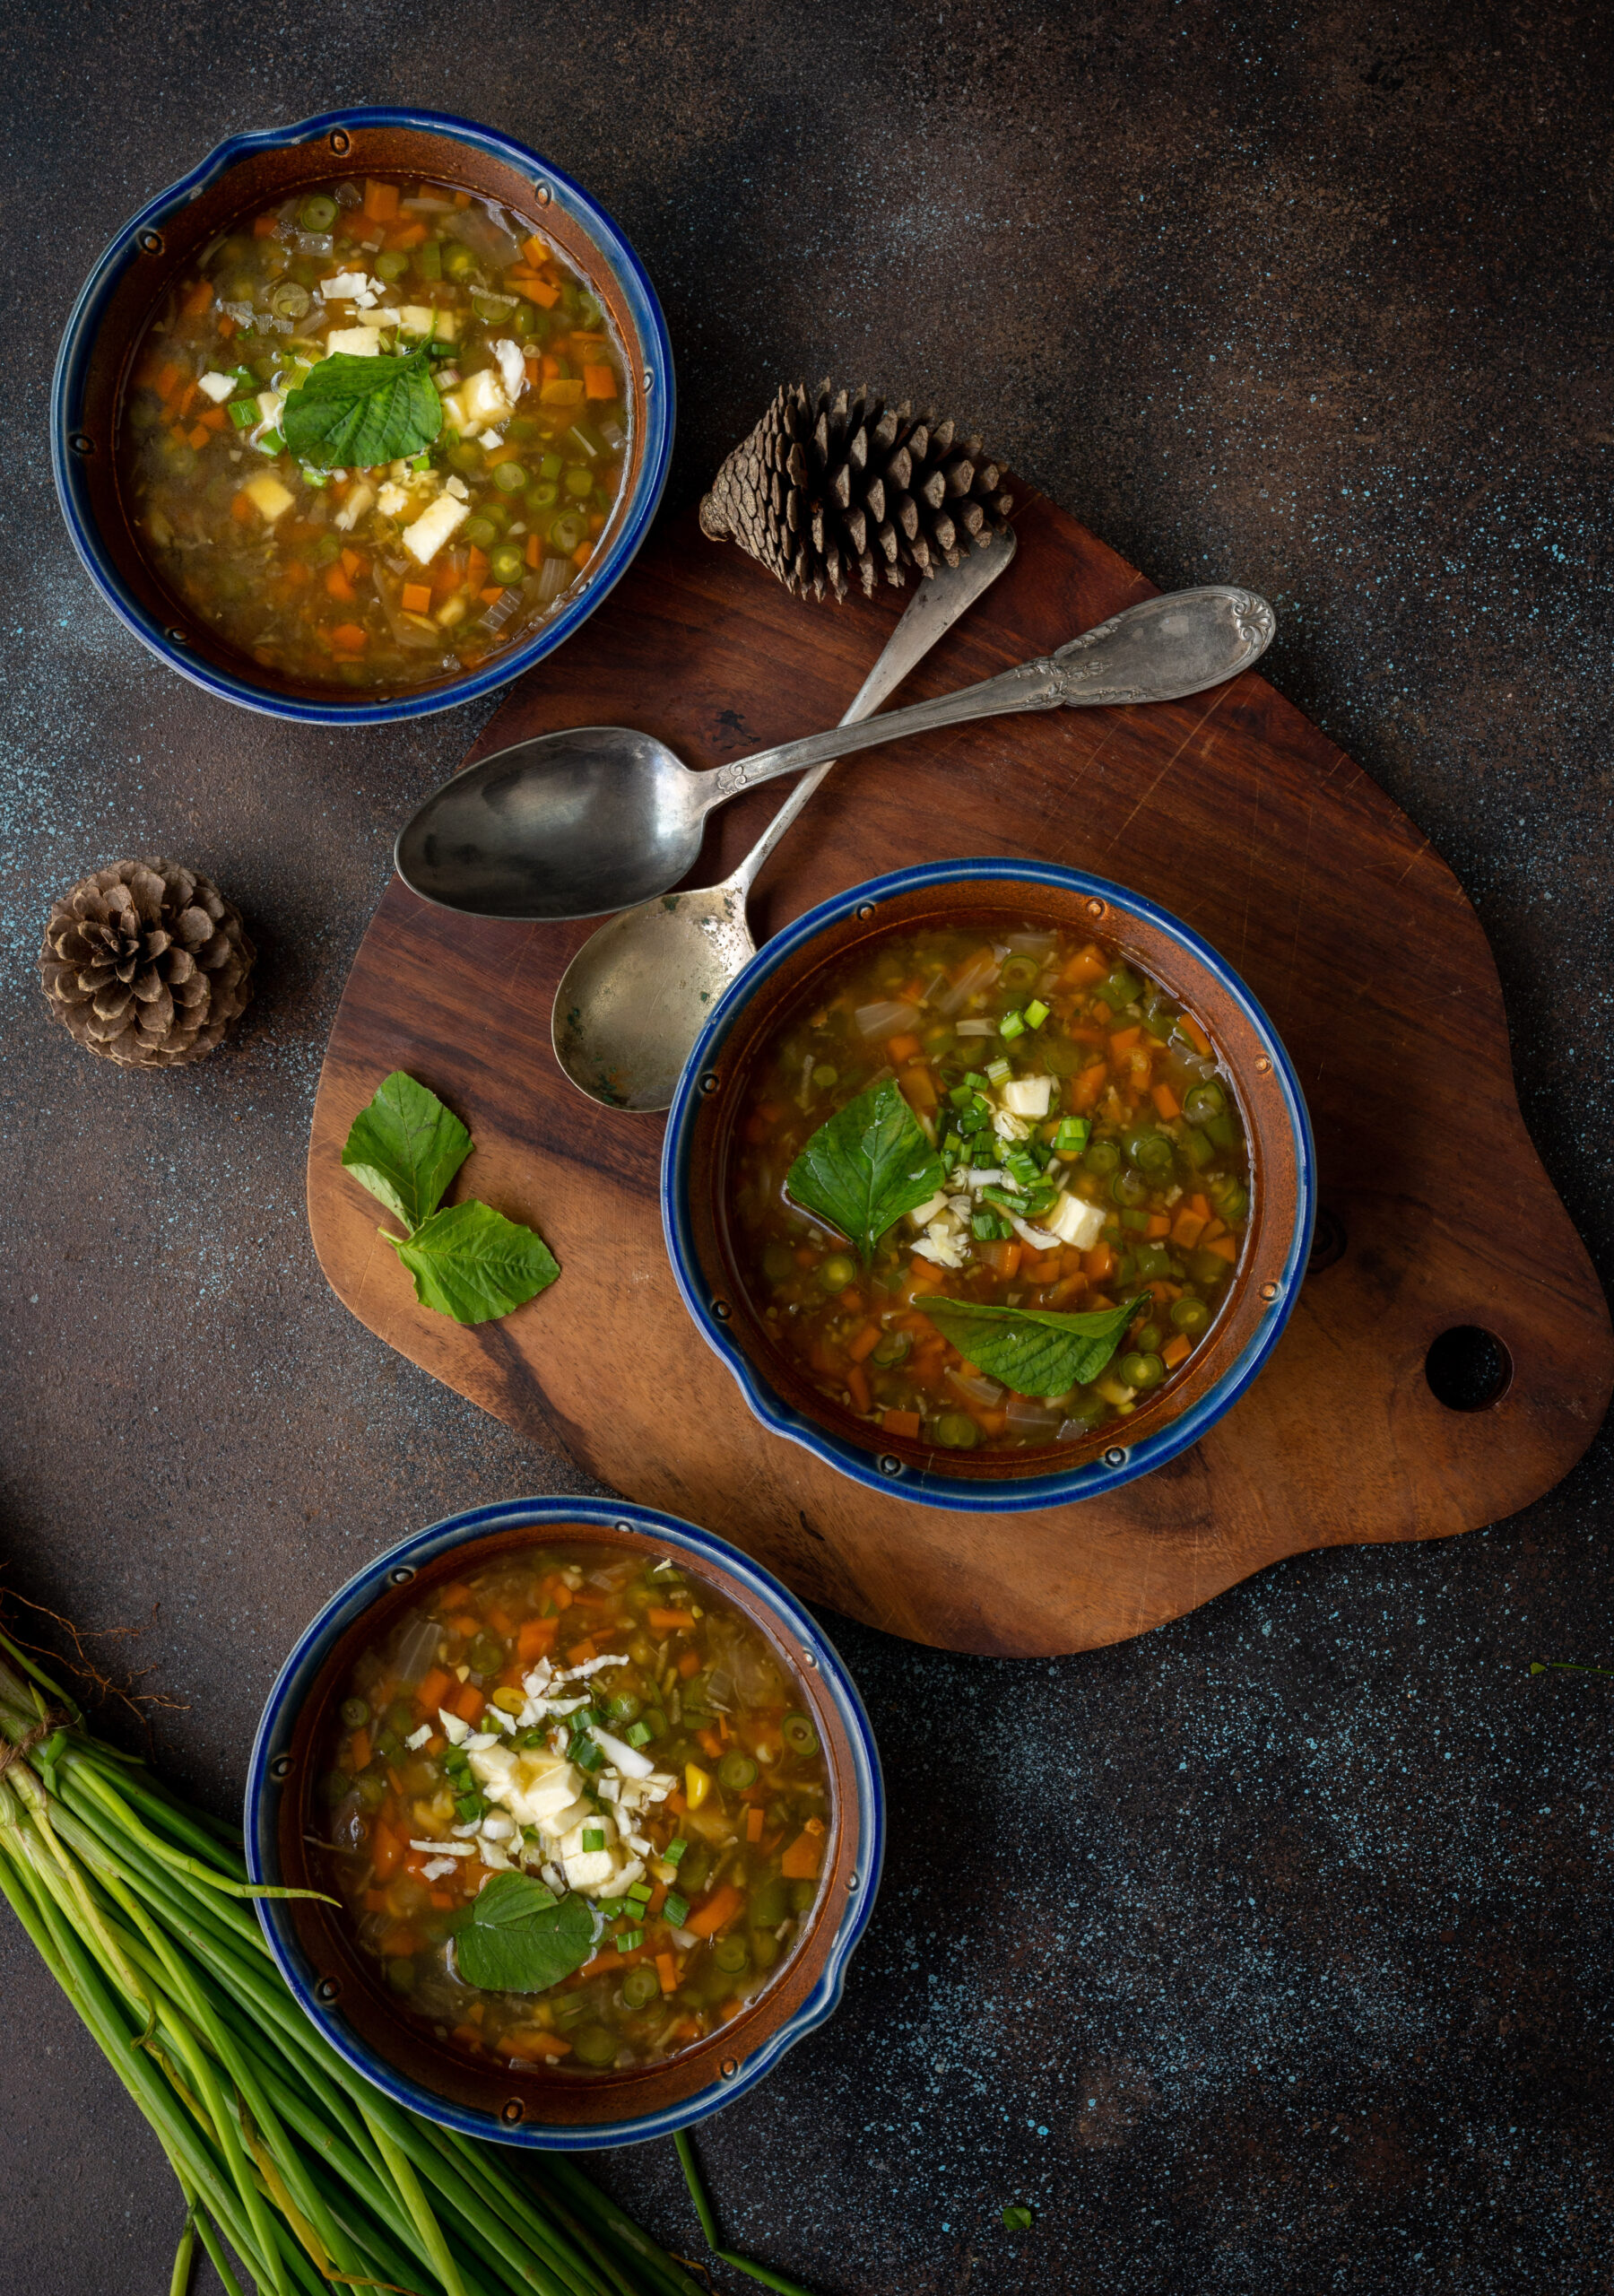
Given the heavy rain in Chennai, along with the fact that I recently recovered from a bad flu, I’ve been feeling like having more immunity-boosting foods of late. The turmeric tea that I have before bed is one among these – have you given it a try too? Another new item among my frequent meals is this simple, seasonal vegetable soup. It contains almost no processed ingredients and is a very healthy, can’t-go-wrong dish that really makes you feel well-nourished and warm.

This kind of weather also makes me feel like going into the kitchen less, so what makes this dish all the more convenient is that I can just make a large pot of it in one go, and then help myself to it whenever I feel hungry throughout the day.

The interesting part about how it’s made is that it’s really a “bits and bobs” kind of soup. You can prepare the soup stock by adding whatever you have around. For instance, I had some leftover ridge gourd, half an onion and other assorted vegetables, and all these went into it. The stock itself is a versatile item, and you can use it in dals and so on as well. As I’m a vegetarian, I’ve stuck to vegetables, but if you’re not, it’s a good idea to include some chicken while boiling the stock, and make it more protein-rich.

Making soup stock, and soup itself, with whatever is on hand came about because of necessity. All of you who are also in Chennai have faced a similar situation in recent weeks, with vegetables either unavailable or available only at skyrocketing prices. I believe that farmers have also had trouble being able to distribute the produce to the cities, in addition to flooding impacting the fields themselves. A combination of factors has led to this scarcity. The way I see it, and the way I choose to respond to it, is that it’s not so much about affordability as it is about accessibility. As a believer in Macrobiotics and someone who feels that seasonal and local ingredients are always best, I prefer to reach out for that which is most easily available at all times. That means that sturdier vegetables like potatoes, gourds, beans and carrots that still make it to our markets relatively smoothly and in good shape are what I’ve used in this dish, as well as in most of the dishes being prepared at home at the moment.

I tend to eat salads and raw vegetables at lunch, so cooked and steamed vegetables, which this soup is rich in, are my go-to for dinner. I prefer a light meal at night as it’s easier on the digestion. Also, while you’ve definitely heard quite a bit on other posts on this blog about how I’ve been cutting down on carbs, I’m in a new phase now where I let myself have some carbs at night. So sometimes I have a dosa or two, which is certainly a lighter dinner than the regular Gujarati thaali we eat at lunch. It’s all about listening to your body and adapting to the circumstances, including the weather and the vegetable supply chain!

Vegetable Soup

(Yield: Serves 3-4)

Stock

Thick peel of a potato

Cabbage leaves

Peel and parts of a ridge gourd

1 onion

Soup

1 tablespoon oil

2 cups finely cut vegetables (carrots, beans, onion, broccoli, corn)

A piece of ginger (grated)

3 cloves garlic (grated)

3-4 cups vegetable stock (above)

Salt to taste

½ cup rice starch (use corn flour if you prefer)

1 tablespoon soya sauce

1 teaspoon homemade chili sauce

A squeeze of lemon

Optional

Grated tofu

Sprouts

Leafy greens

Coriander garnishing


Prepare the stock by adding all the vegetables to about six cups of water. Allow this to boil until it reduces to ¾th the earlier quantity. Strain and cool. Set aside.

Then, begin preparing the soup.

Add the oil to a pot. Then, add the ginger and garlic and sauté for a few minutes.

Next, add all the vegetables and stir fry for a few minutes.

Then, warm and add the vegetable stock prepared earlier. Next, add the starch. Cover and allow to boil. I have opted to use rice starch from rice cooked earlier in the day, but you can use the usual corn flour, tapioca flour or any other thickening or gelling agent that you prefer.

Once it starts boiling, add the salt, soya sauce and chilli sauce. Cook for a little while and once it starts to thicken slightly, squeeze in the lemon.

The soup is ready now, but to make it go an extra mile, garnish with coriander and add some grated tofu or moong sprouts for a nice boost of protein. I added all these as well as some leafy greens I had on hand that day. Serve hot.

This vegetable soup works beautifully as a meal-in-a-bowl, or you can have it as an appetiser or complement it with a range of sides. Something like this cheesy, garlicky sourdough toast may make a lovely accompaniment. You can also check out some of the other delicious soups that I’ve shared over the years: minestrone, simple zucchini soup, broccoli and almond soup and vegan whole corn and lemongrass soup. Stay warm, and enjoy!

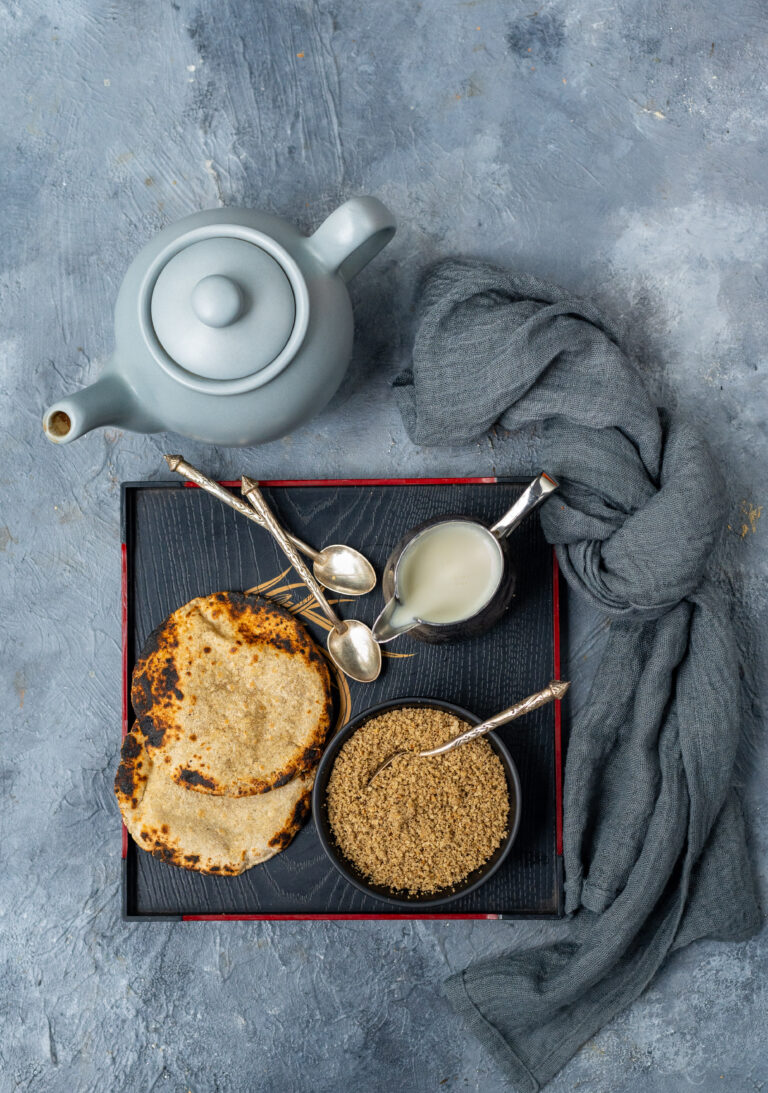
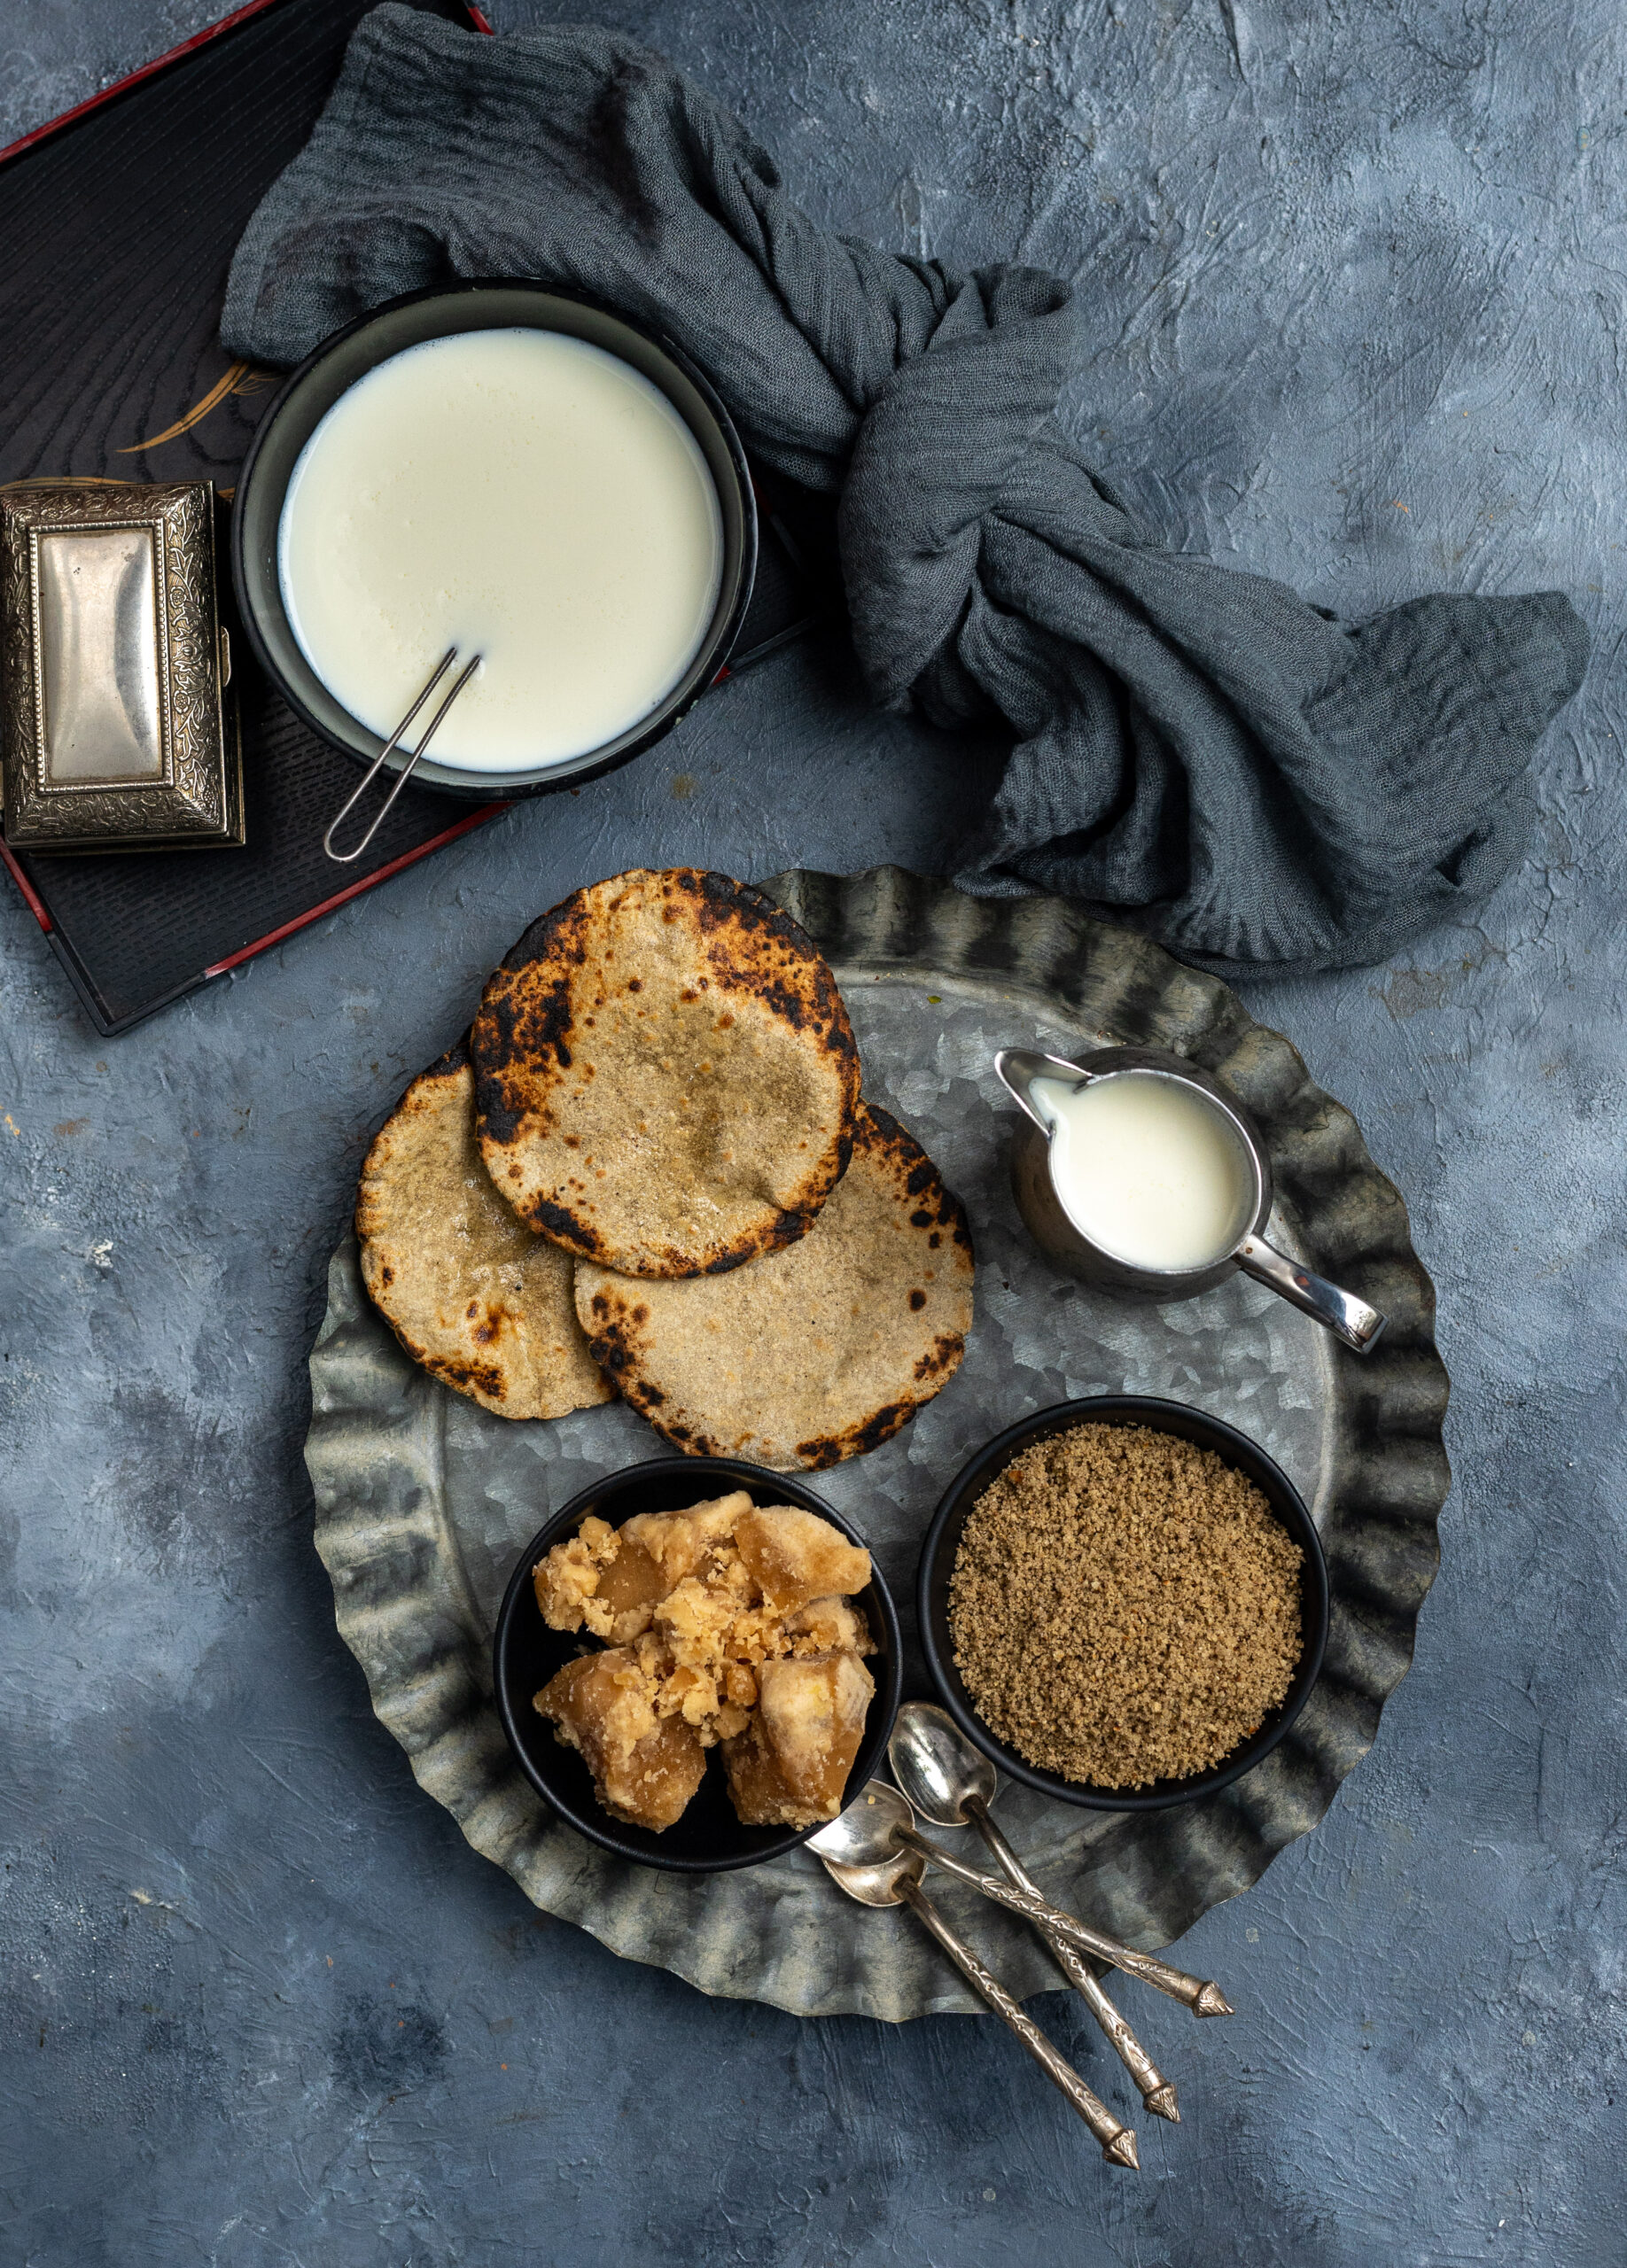
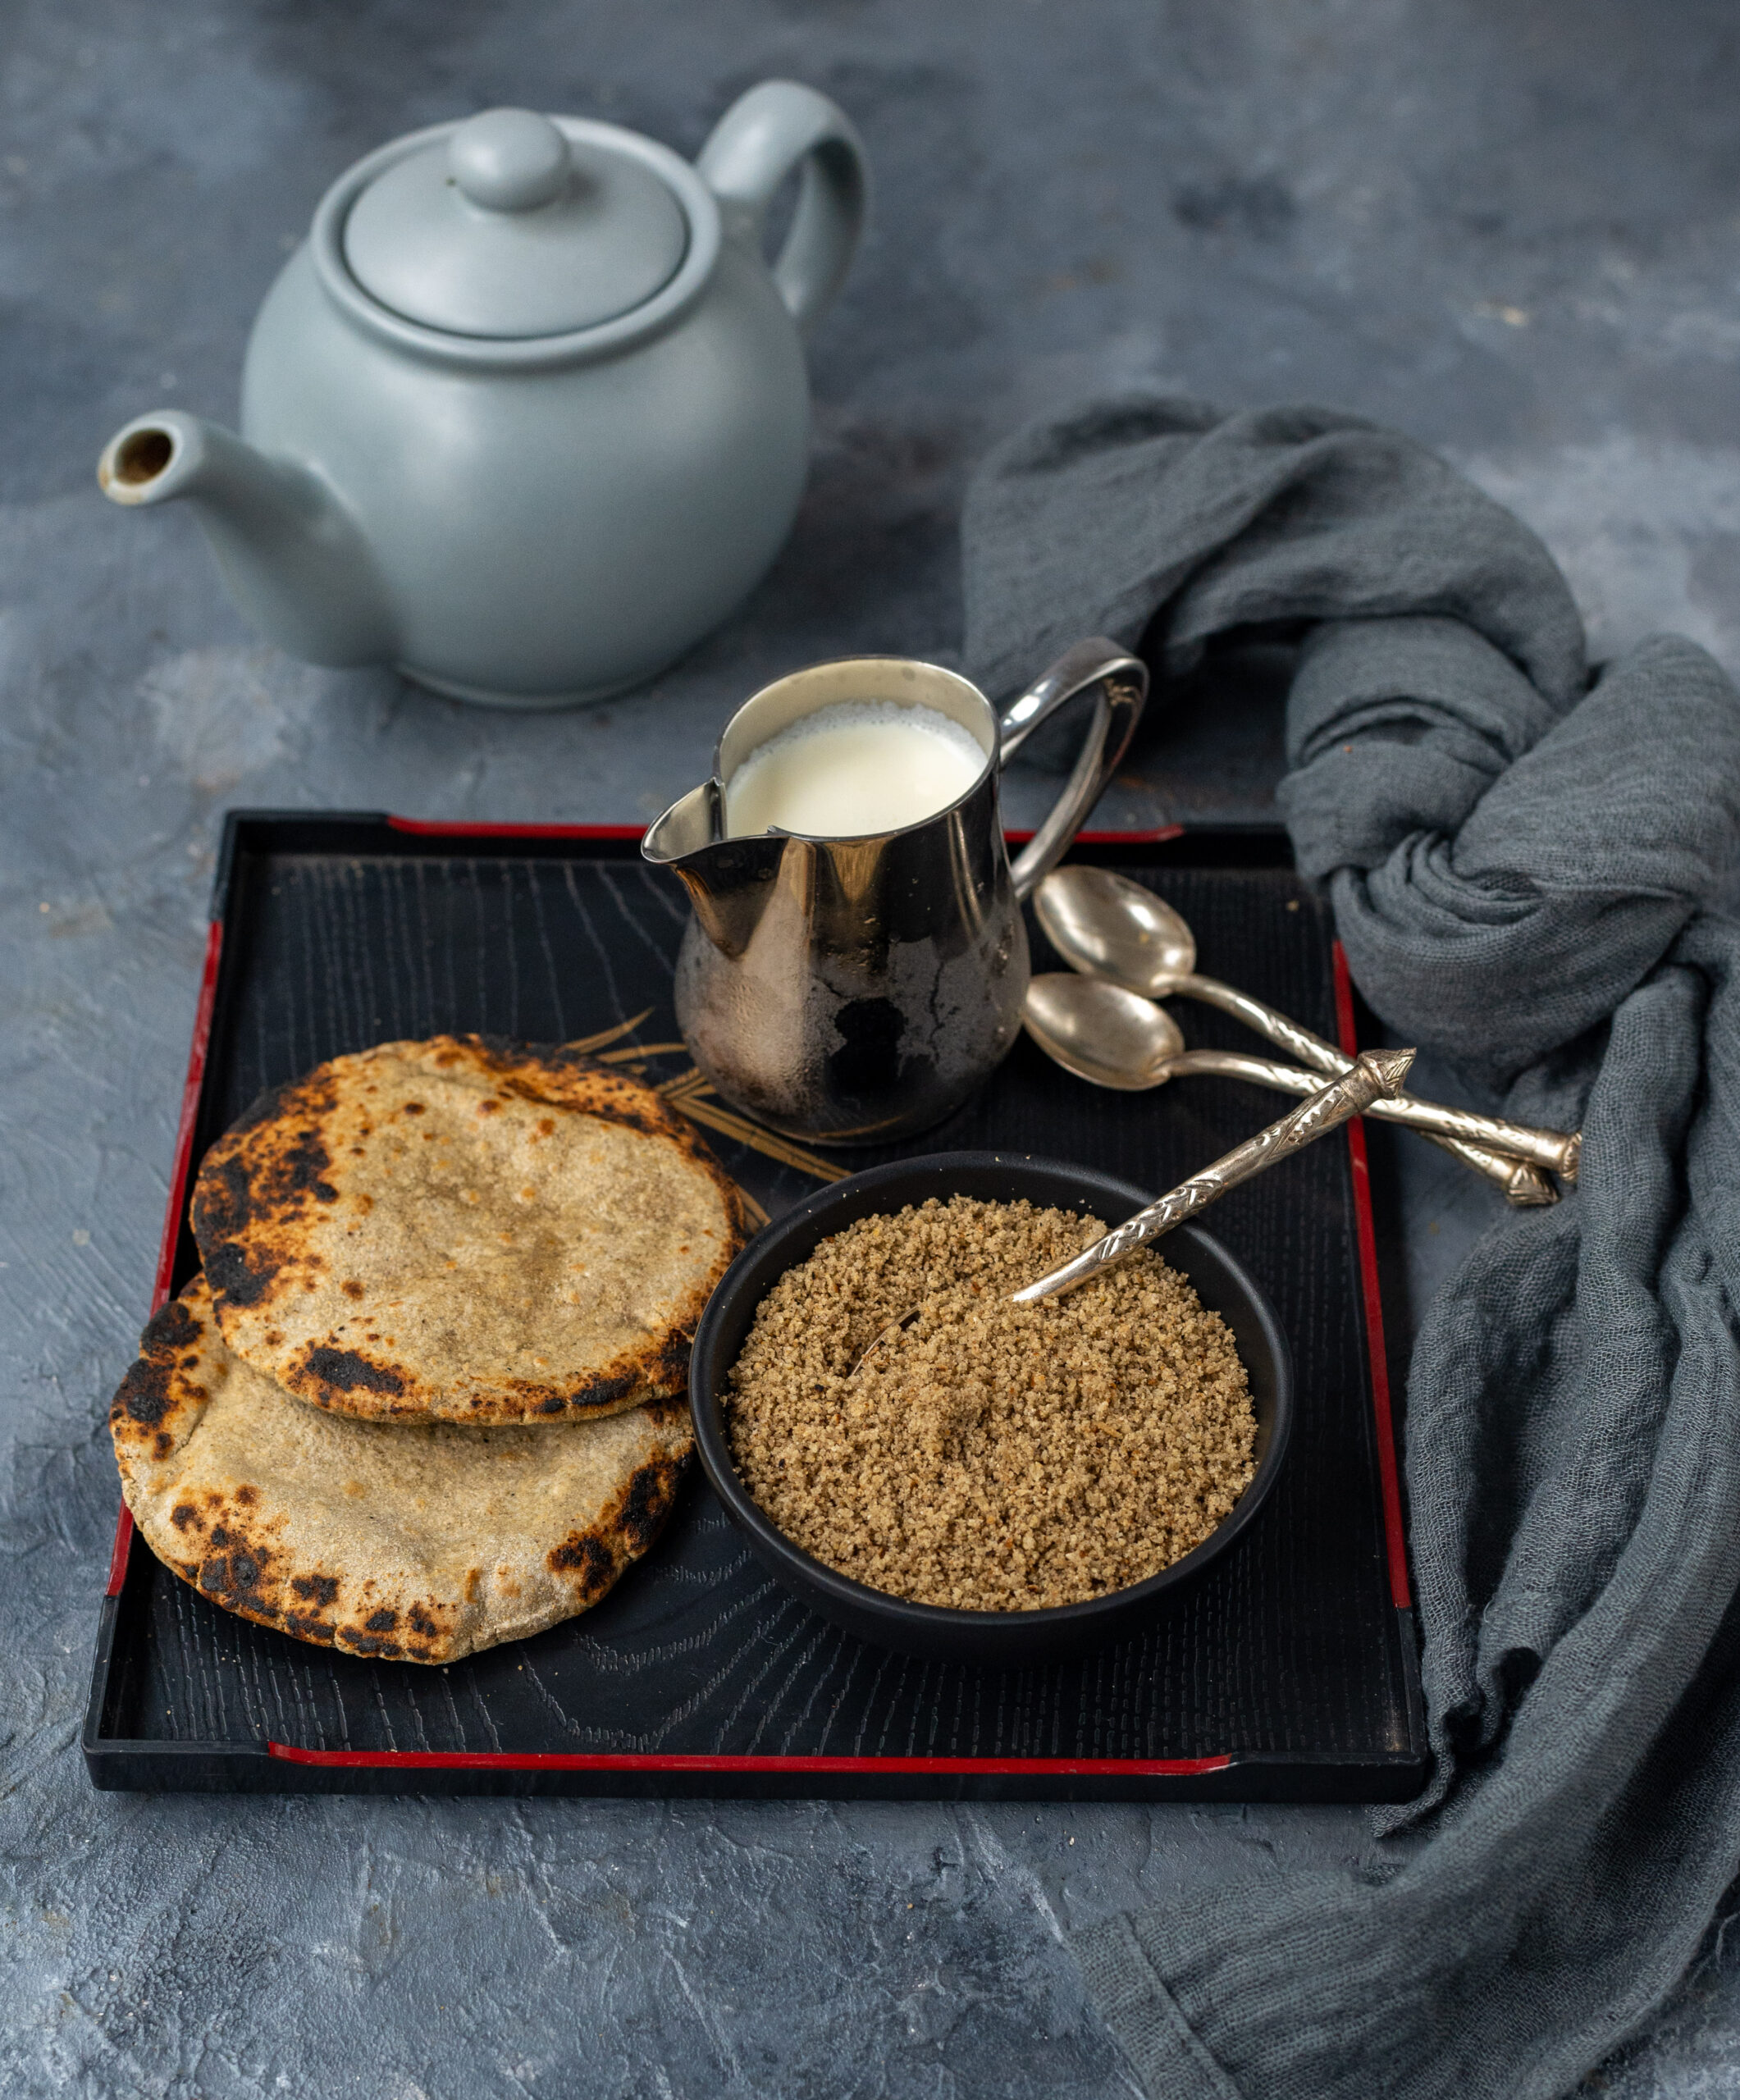
Still on the theme of post-festive millet-based goodness, after the previous post’s millet upma, I’m glad to share another recipe that I’ve been turning to frequently. This is another breakfast dish, and what’s even better is that it makes use of the previous day’s leftovers, maximizing resources and minimizing time. There’s a long tradition of innovative dishes that do this, as we’ve seen in my second helpings series from a few years back, and this bajra rotlo cereal fits beautifully into that category too.

Bajra, or pearl millet, is a long-fingered crop with hundreds of grains on the cob. It has been cultivated on the Indian subcontinent for thousands of years, and is a staple across different cuisines in this region. As a darker coloured millet, which indicates that it is heavier on the digestive system, it is perfect for monsoons and Indian winters. It keeps the body warm, since the digestive system is active for longer, working on those slow-release carbs, and thus reduces hunger between meal-times. I have noticed that it is one of the key ingredients consumed by farmers, such as the people I’ve met on my travels to the Rann of Kutch, where the salt-harvesting community eats bajra with chutney daily.  It has a high iron quotient, is gluten-free and is rich in amino acids, fibre and antioxidants.

Bajra rotlo is a flatbread, one of many varieties enjoyed by the Gujarati community. It is most often accompanied by a garlic chutney, but while I was growing up my mother would usually serve it to us with jaggery and ghee or else with homemade white butter. In those days, the milk quality of brands that are still around today was pure and excellent, which meant we could extract our own buttermilk from the curd, and from this the butter. I remember watching my mother churning the buttermilk, which would make the butter float on top. She would often ask me for my help. We would collect the white butter and set it aside. Having it with some bajra rotlo over dinner was one of my favourite meals.

Of course, the homemade butter no longer exists and the store-bought ones just don’t compare when it comes to this purpose. Which brings me to my second-favourite way of eating bajra rotlo: as cereal.

It’s funny how things come full circle. As a child, this was a dish that I scorned at the breakfast table. My mother would always prepare a few extra bajra rotlos, to be kept overnight for my father and her to have in the morning. She would crumble these with her hands, turning them into a cereal consistency, and my parents would eat this cereal with milk. It looked like cornflakes to us kids, which was interesting in theory, but we did not like the taste back then. I grew to love it, however. In fact, I now enjoy this deconstructed version more than I enjoy the previous night’s freshly-made, unbroken bajra rotlos themselves!

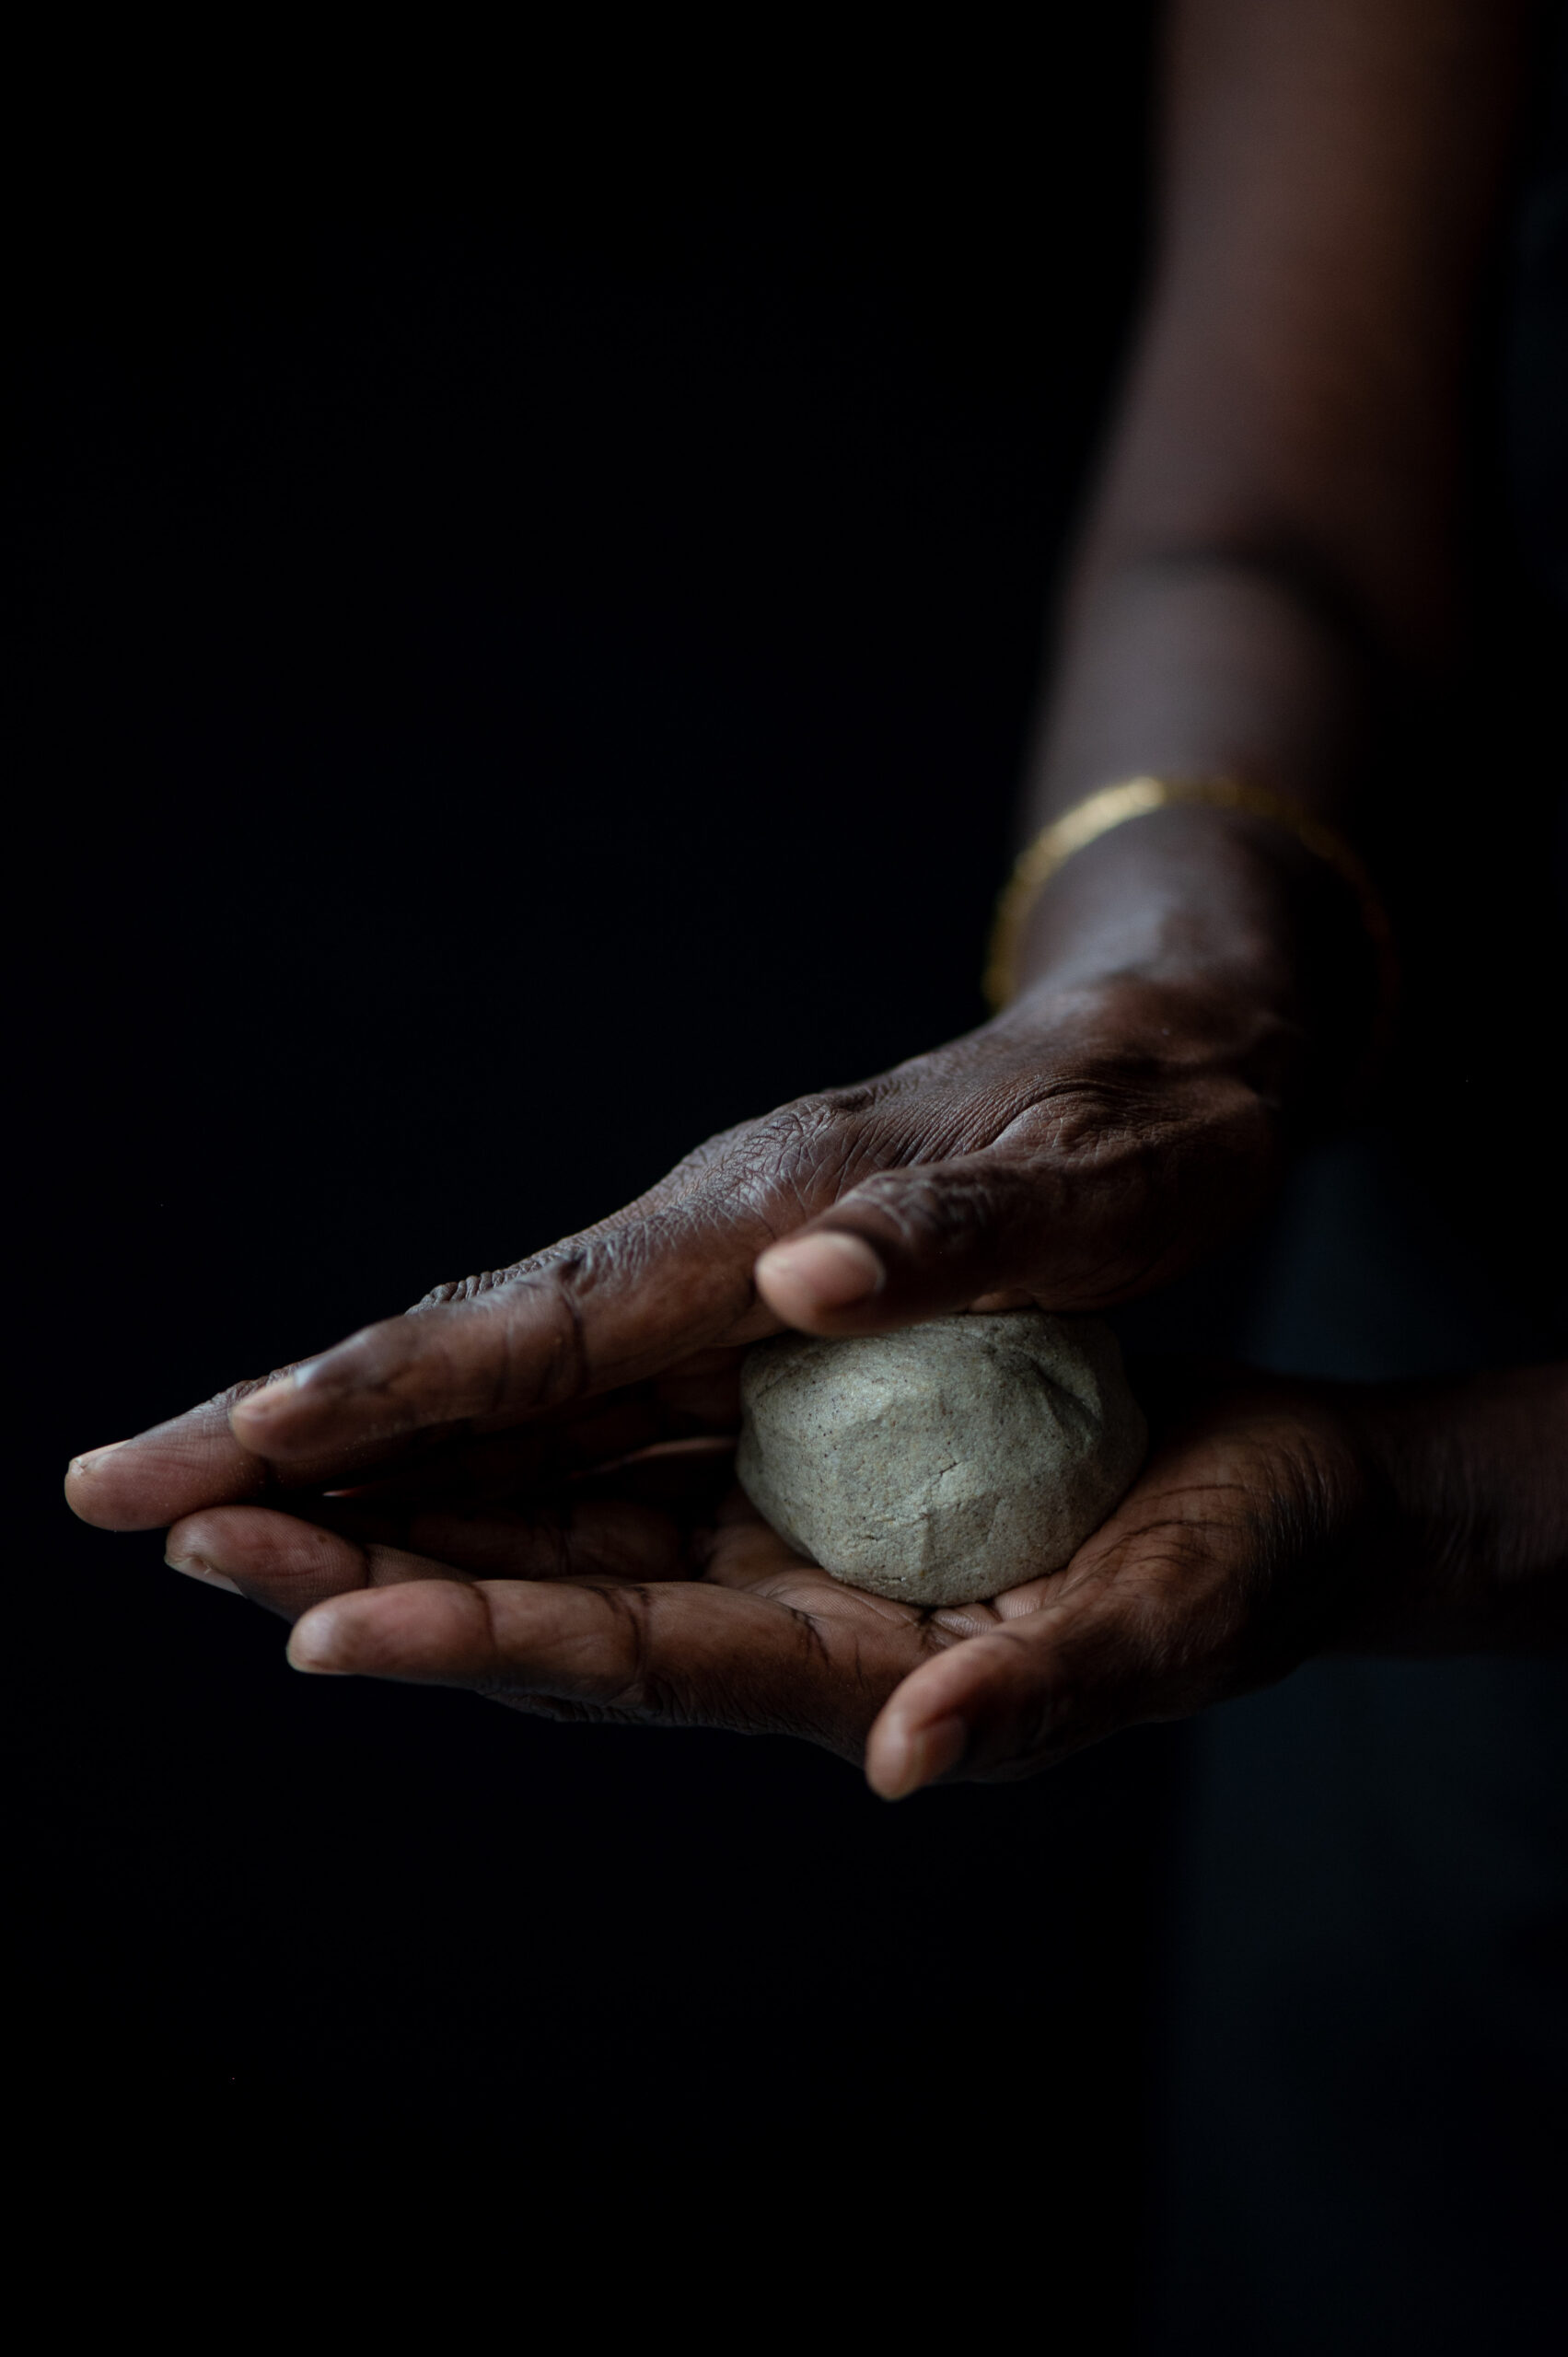
Now, when I prepare bajra rotlo cereal, the memory of my mother’s hands and the way she would crumble the rotlos always comes to me. The dish is all the more special because of this.

For the time being, no one else in my family likes bajra rotlo cereal. But they watch me eat it, just as I once watched my parents eat it. I’ve never forced it on my kids, but maybe somewhere later down the line, they’ll reach out for this comfort food on some mornings too. Fond memories really are what make food palatable, above all else. Besides, as parents we always set an example. The next generation, be they little or a little older, will make similar choices to ours. So the more healthily we eat, the better a model we set for them.

Bajra Rotlo Cereal

(Yield: 4 servings)

1 cup bajra flour

½ cup water

A pinch of salt

½ cup flour for rolling


Optional (non-cereal version)

1 tablespoon finely chopped onion

1 tablespoon finely coriander leaves


Put the flour in a bowl, add the pinch of salt and stir. If you plan on having the bajra rotlo as a bread, not a cereal, then make the savoury version and add the onion and coriander now. Skip these optional ingredients if you plan on having the cereal version.

Add the water. Leave a little bit behind in the cup – use just enough to make a malleable dough.

Once the dough is made you, don’t let it sit. You will have to roast the rotlo immediately.

Make four smooth balls with the dough. On a rolling board, sprinkle more flour. Place a ball of dough on it and use your palms to gently pat it out. Use your fingers to press down the edges of the rotlo. If you need the help of the rolling pin, you may use it, but very lightly and gently. Since there is no gluten, the dough will be soft and needs to be handled with care. Add more flour if necessary. Each rotlo needs to be ¼ inch in thickness. Keep dusting with flour at the bottom too. Make all four pieces.

On a hot griddle, place each rotlo individually. Use your fingers to wet the top of the rotlo with water.

Roast on one side and flip over. Cool on a medium flame. As it’s thick, it needs to cook well on the inside. Once it has spots on both sides, place the rotlo directly on the flame to cook further.

Remove from the stove and top with ghee. Allow to cool. You can now serve this bajra rotlo with chutney or dal, if you like.

To make a cereal, once it has cooled, either the same day or the next morning, simply crush or crumble the rotlo with your hands.

You can have this with cold milk, if you prefer that. I usually have mine with warm milk. Specifically, I enjoy it with almond milk, which I’ve been reaching for more and more in my quest to make my diet more vegan. You can also add some sugar, if you wish to sweeten the cereal. All in all, it makes for a complete and healthy breakfast.

The festive season also coincides with the wedding season, which means that there is a general period of celebration until February or so in most Indian communities, peppered with religious occasions as well as personal gatherings. Foods like this dish, which nourish the body and let it recover from the heavy, fried, sugary, buttery, ghee-rich foods that are eaten at special events, are welcome and appreciated after and between feasts. This isn’t to knock indulgent foods at all – in fact, I have noticed how traditional ingredients like gond or gum resin, which are used in laddoos, are a warming agent and boost immunity. There’s a culinary and seasonal logic to indulgence too. But the body really does feel better when some millets are in the mix, balancing out the treats.

I’ve got quite a repertoire of millet-based dishes in my recipe archive, if you are keen to bring this nutritious category into your kitchen more often. Having tried this bajra rotlo cereal, if you find that you’re a fan of pearl millet at breakfast, the traditional Gujarati bajra ghensh is also a fantastic option. Here’s to happy, healthy mornings!

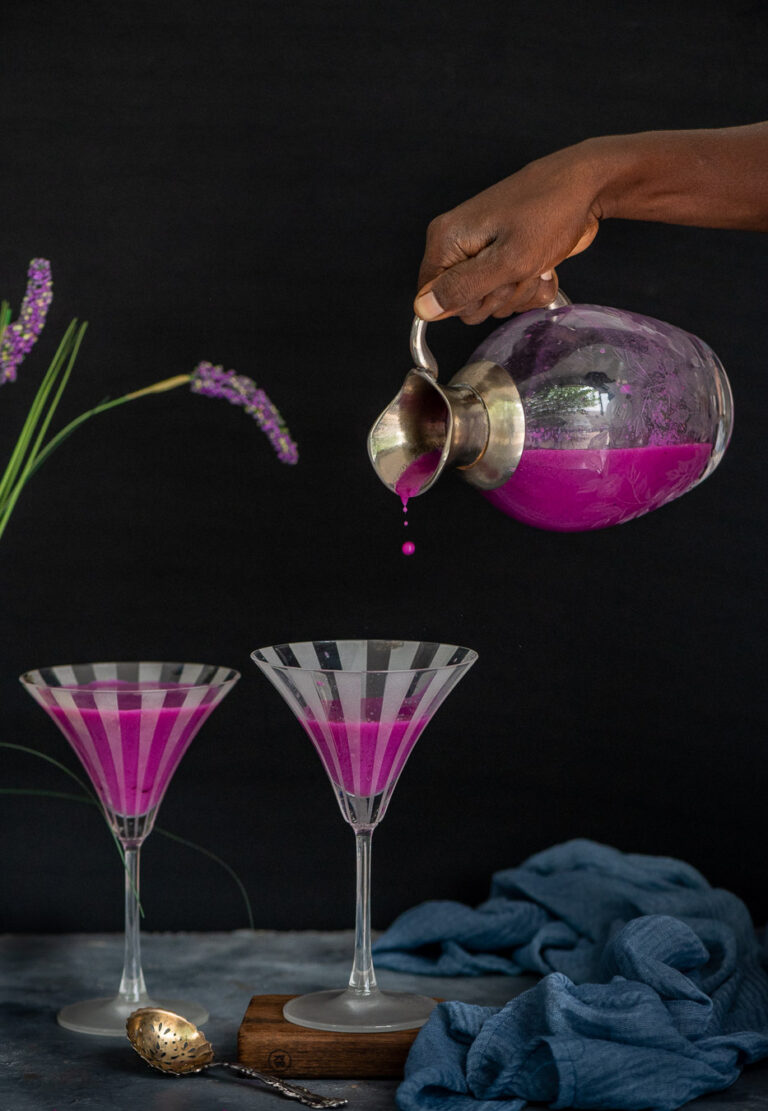
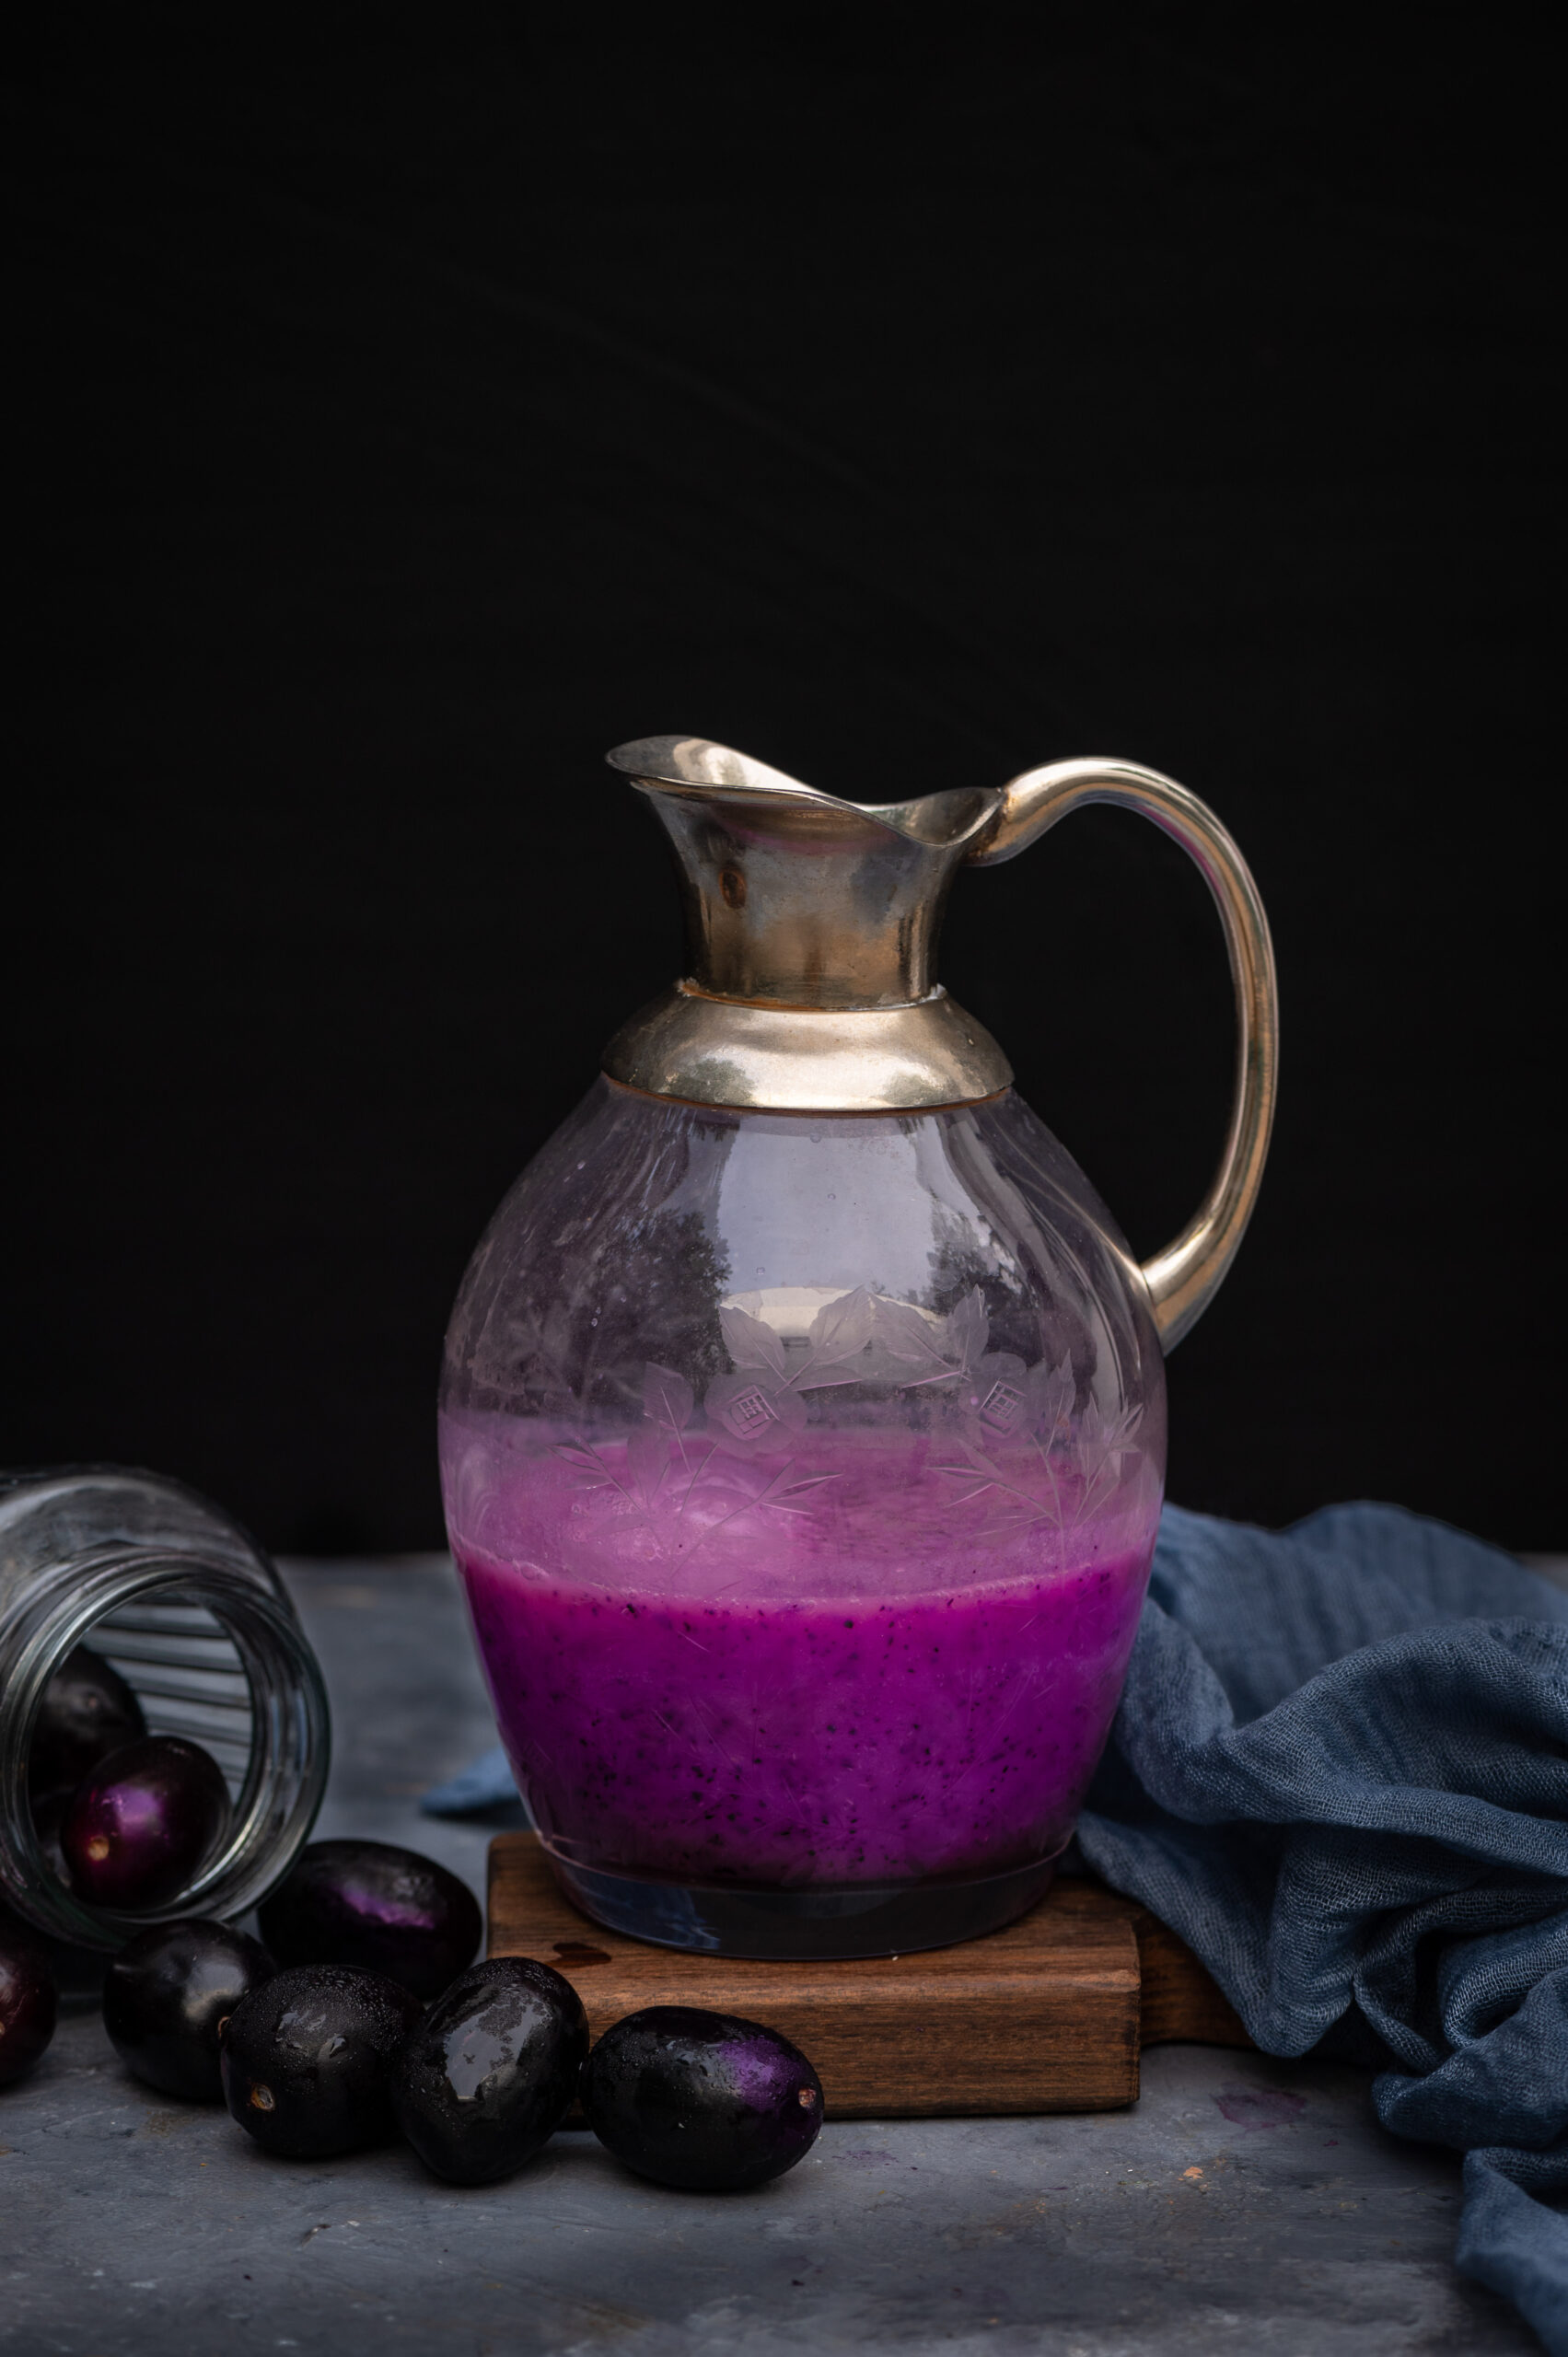
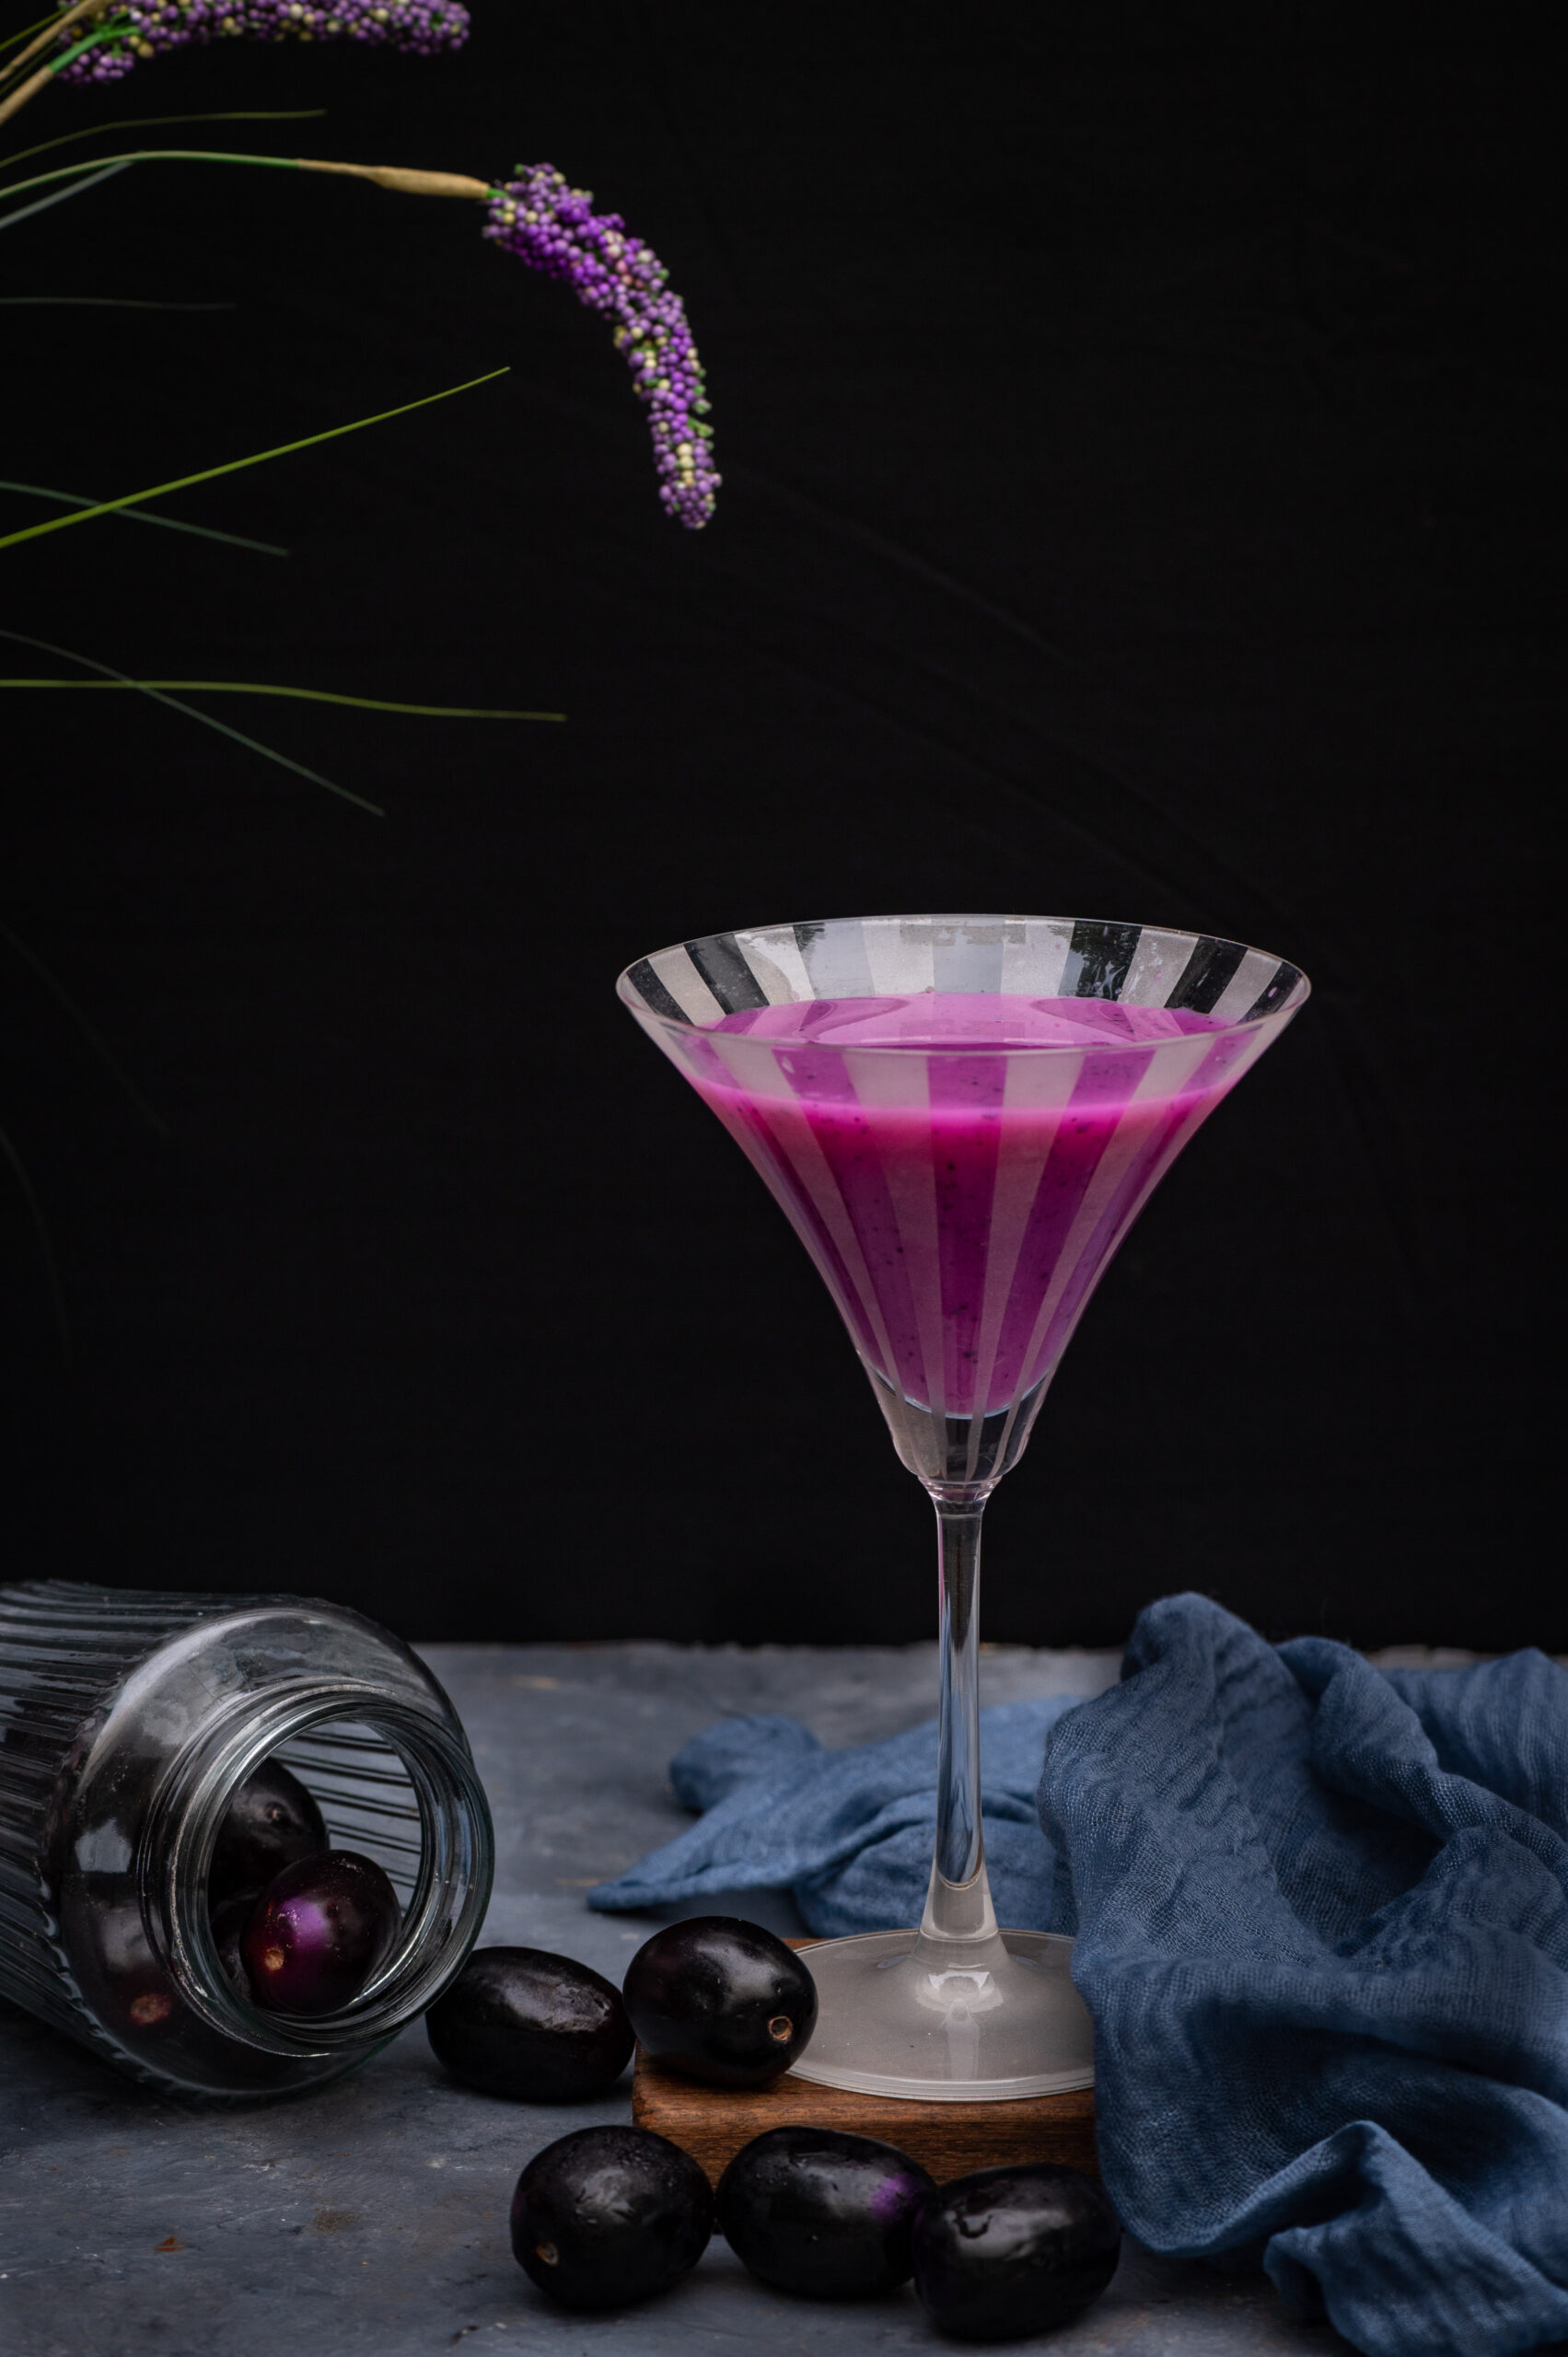
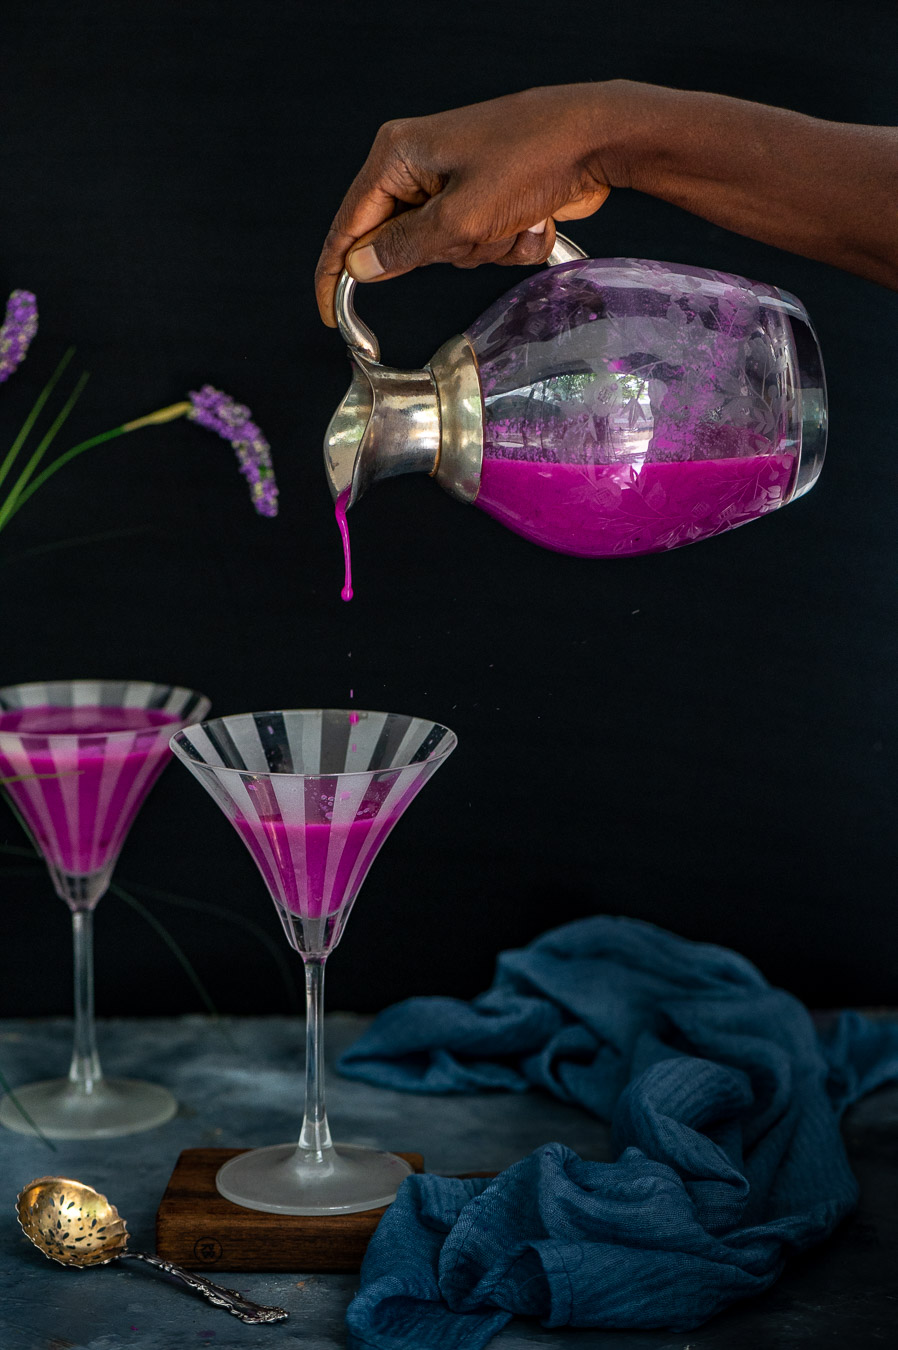
I have been seeing these gorgeous lilac drinks being made and beautifully captured by food bloggers abroad this summer, and have been so enamoured by their vivid colour and the extremely pretty flowers. I admired them, a little wistful that lilacs do not grow here, only to quickly realise that we too have a glorious abundance of plants and blooms. In the tropics, and especially here in India, we have just as much colour, flavour, texture and taste – if not more? – to captivate our senses. I have written in the past about my love for manoranjitha, oosi malli, shenbagha and other native flowers, some of which have faded from memory and many of which I’ve been trying to grow both on our farm and at home. These musings led me to remember the perfect local equivalent to lilacs, the plant (and specifically, the fruit rather than the flower) that could let me create an eye-catchingly vibrant beverage as well: jamun.

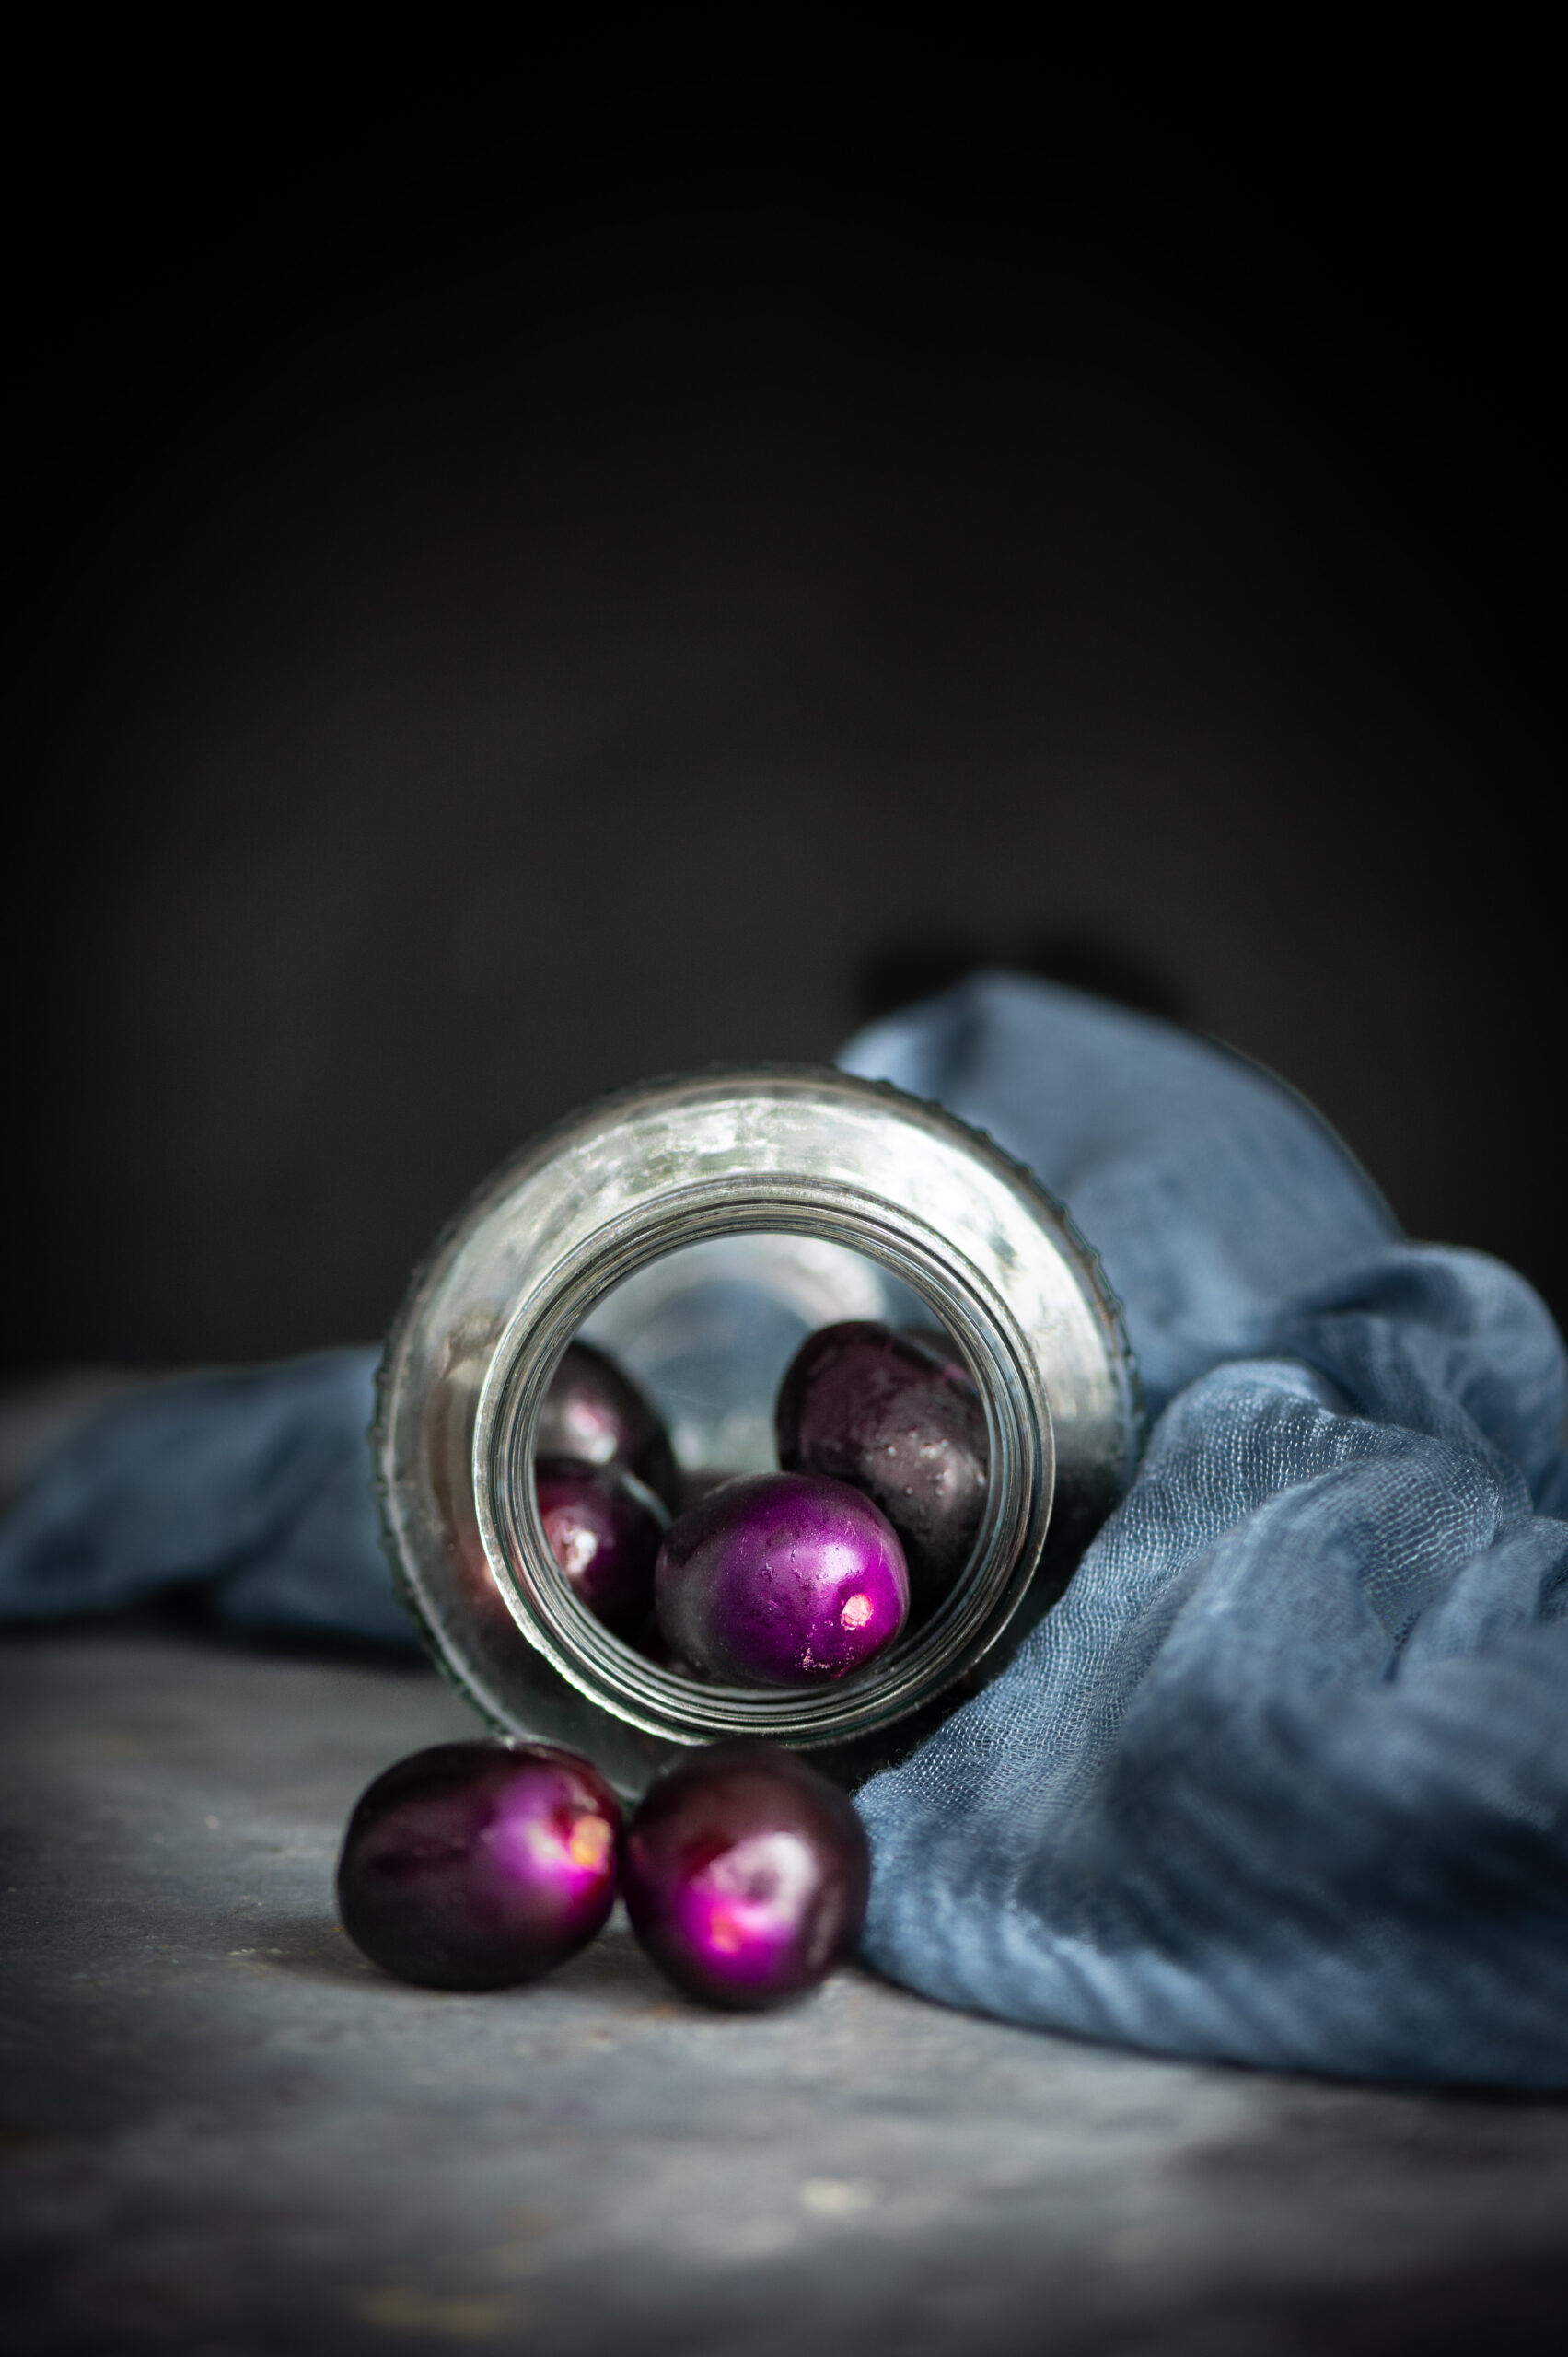
Also known as Java plum and Indian blackberry, jamun is indigenous to this region. The fruit is prized for a range of health benefits. These include: reducing blood sugar levels, improving cardiac health and haemoglobin production, assisting the digestive and immune systems and regulating blood pressure. It has a cooling effect, and it’s wonderful that its season is at the cusp between the summer and the monsoon, when it can simultaneously beat the heat while building immunity for the upcoming rains. It has a unique umami-like taste, which people either like or don’t (similar to the love-it-or-loathe-it jackfruit, which also happens to be in season now).

Here in Chennai, we all grew up with jamun trees around us, that we ate from directly. They were literally in our own backyards and in the neighbourhood. We consumed only local fruits in those years – bananas, mangoes, jamun, jackfruit (and of course, if we were lucky to get away to the hills, the summer bounty of fruits and vegetables there, which I’ve talked about here). Even fruits like litchees that grew in North India didn’t make their way to our markets, and some of the produce that has since been cultivated in the hills (like strawberries) had not yet been introduced. Now, of course, the market is full of exotic imports. But when I see the exorbitant prices on a pack of foreign raspberries, for instance, I sometimes wonder why I’d reach out for it when the Indian blackberry and other local fruits are right here – accessible, nourishing and delicious?

On the subject of local plants, I’ve just redone my little garden and it has truly become a place of joy and solace for me. Full of lushness and greenery, it has a pleasant clime despite the heat. I love hanging out there, either by myself or with my family. We have had some beautiful, quiet dinners there, in that intimate and special space. At other times, I sit by myself and read a book as I sip on a nice beverage. If someone hollers for me and I’m nowhere to be found in my house, I am definitely in this sanctuary of mine. It was my birthday a few days ago, and it was where I was able to have both moments of contemplation as well as moments of celebration. With a glass of this fabulous jamun drink by my side, of course.

Jamun (Indian Blackberry) Drink

(Yield: approximately 4 glasses)


300 grams jamun

2-3 cups cold water

Black salt to taste

Sugar or jaggery (optional)

¼ teaspoon roasted cumin powder


De-seed the berries and put them in a blender along with the salt, cold water and cumin powder. The amount of water you use depends on the consistency you prefer. Use a sweetener if you’d like to. Blend well.

Strain into the glasses, add an optional topping of mint leaves – and then go to the sweet, safe spot in your home that’s your “happy place” and relax! Let’s raise a toast to good things ahead for us, which we all so richly deserve.

This jamun drink can be very filling, so portion sizes are important. You can thin it with more water, or else have a smaller glass of thick juice. With jamun, as with many other highly flavourful items, there can be such a thing as too much of a good thing. In my case, when I enjoy something, I can sometimes eat such a lot of it or have it so often that I feel sick of it after a point. So as wonderful and stunningly attractive as this drink is, I do take care to have a just-right portion.

There you have it, a lovely seasonal drink, just perfect to enjoy as the summer begins to turn to the monsoon. If you’re someone who enjoys discovering new thirst-quenchers, I hope you’ll explore the various beverages I’ve shared on this blog over the years.

As I said, for me, making this jamun drink all began with that enchanting colour – about which these photographs really say it all. But thinking about it a little more, I wondered if there are other ways I can bring this fruit into my meals? Do you have any jamun recipes you can share with me?