55 Results

jaggery

Search

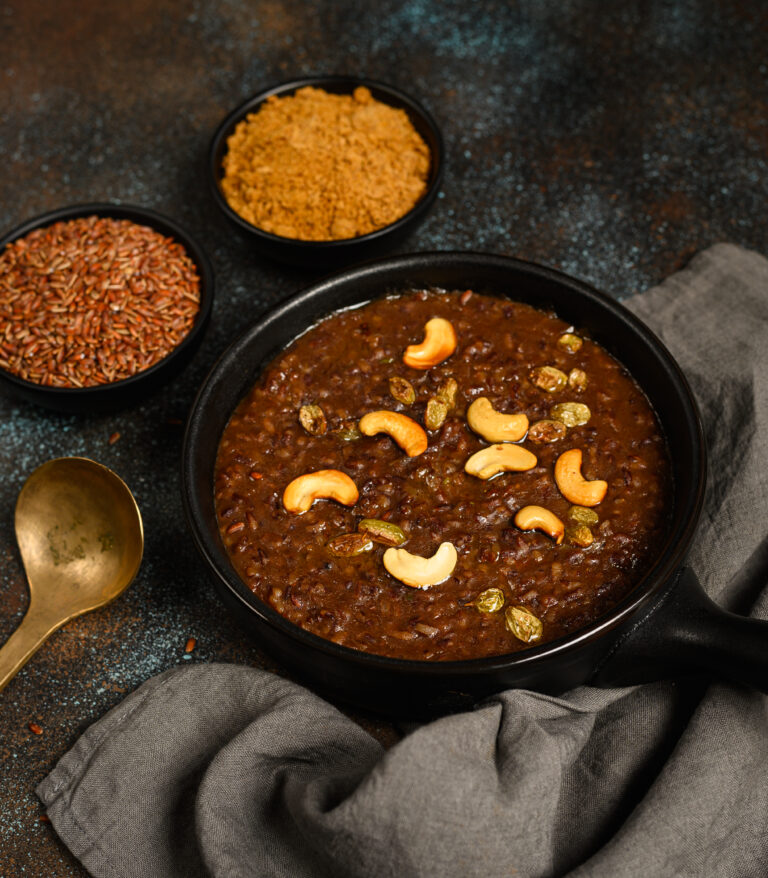
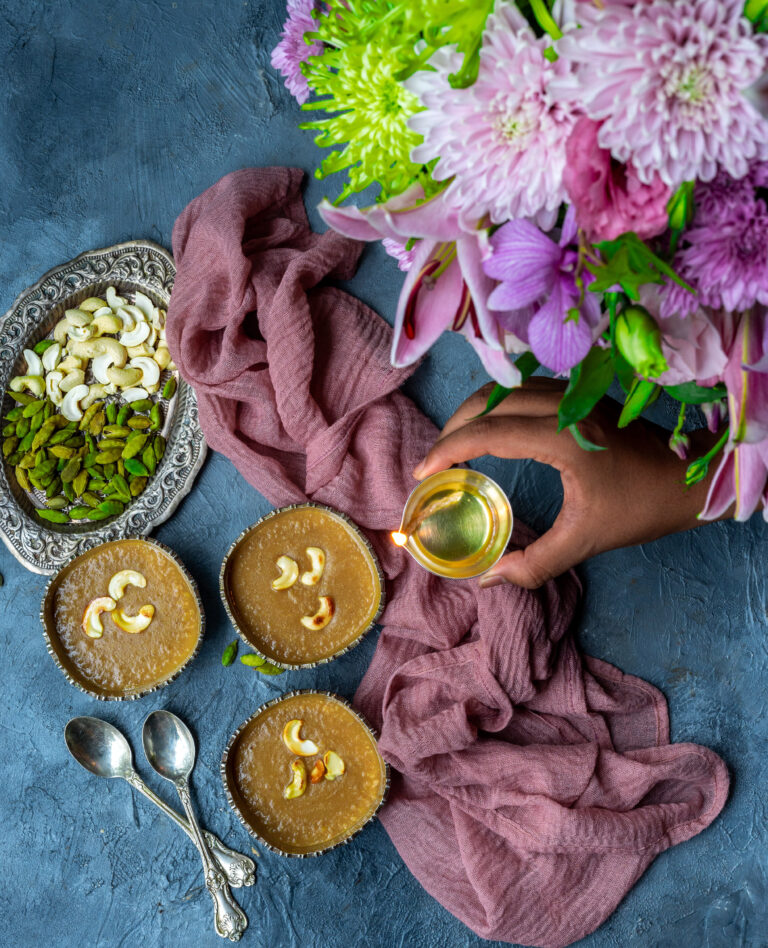
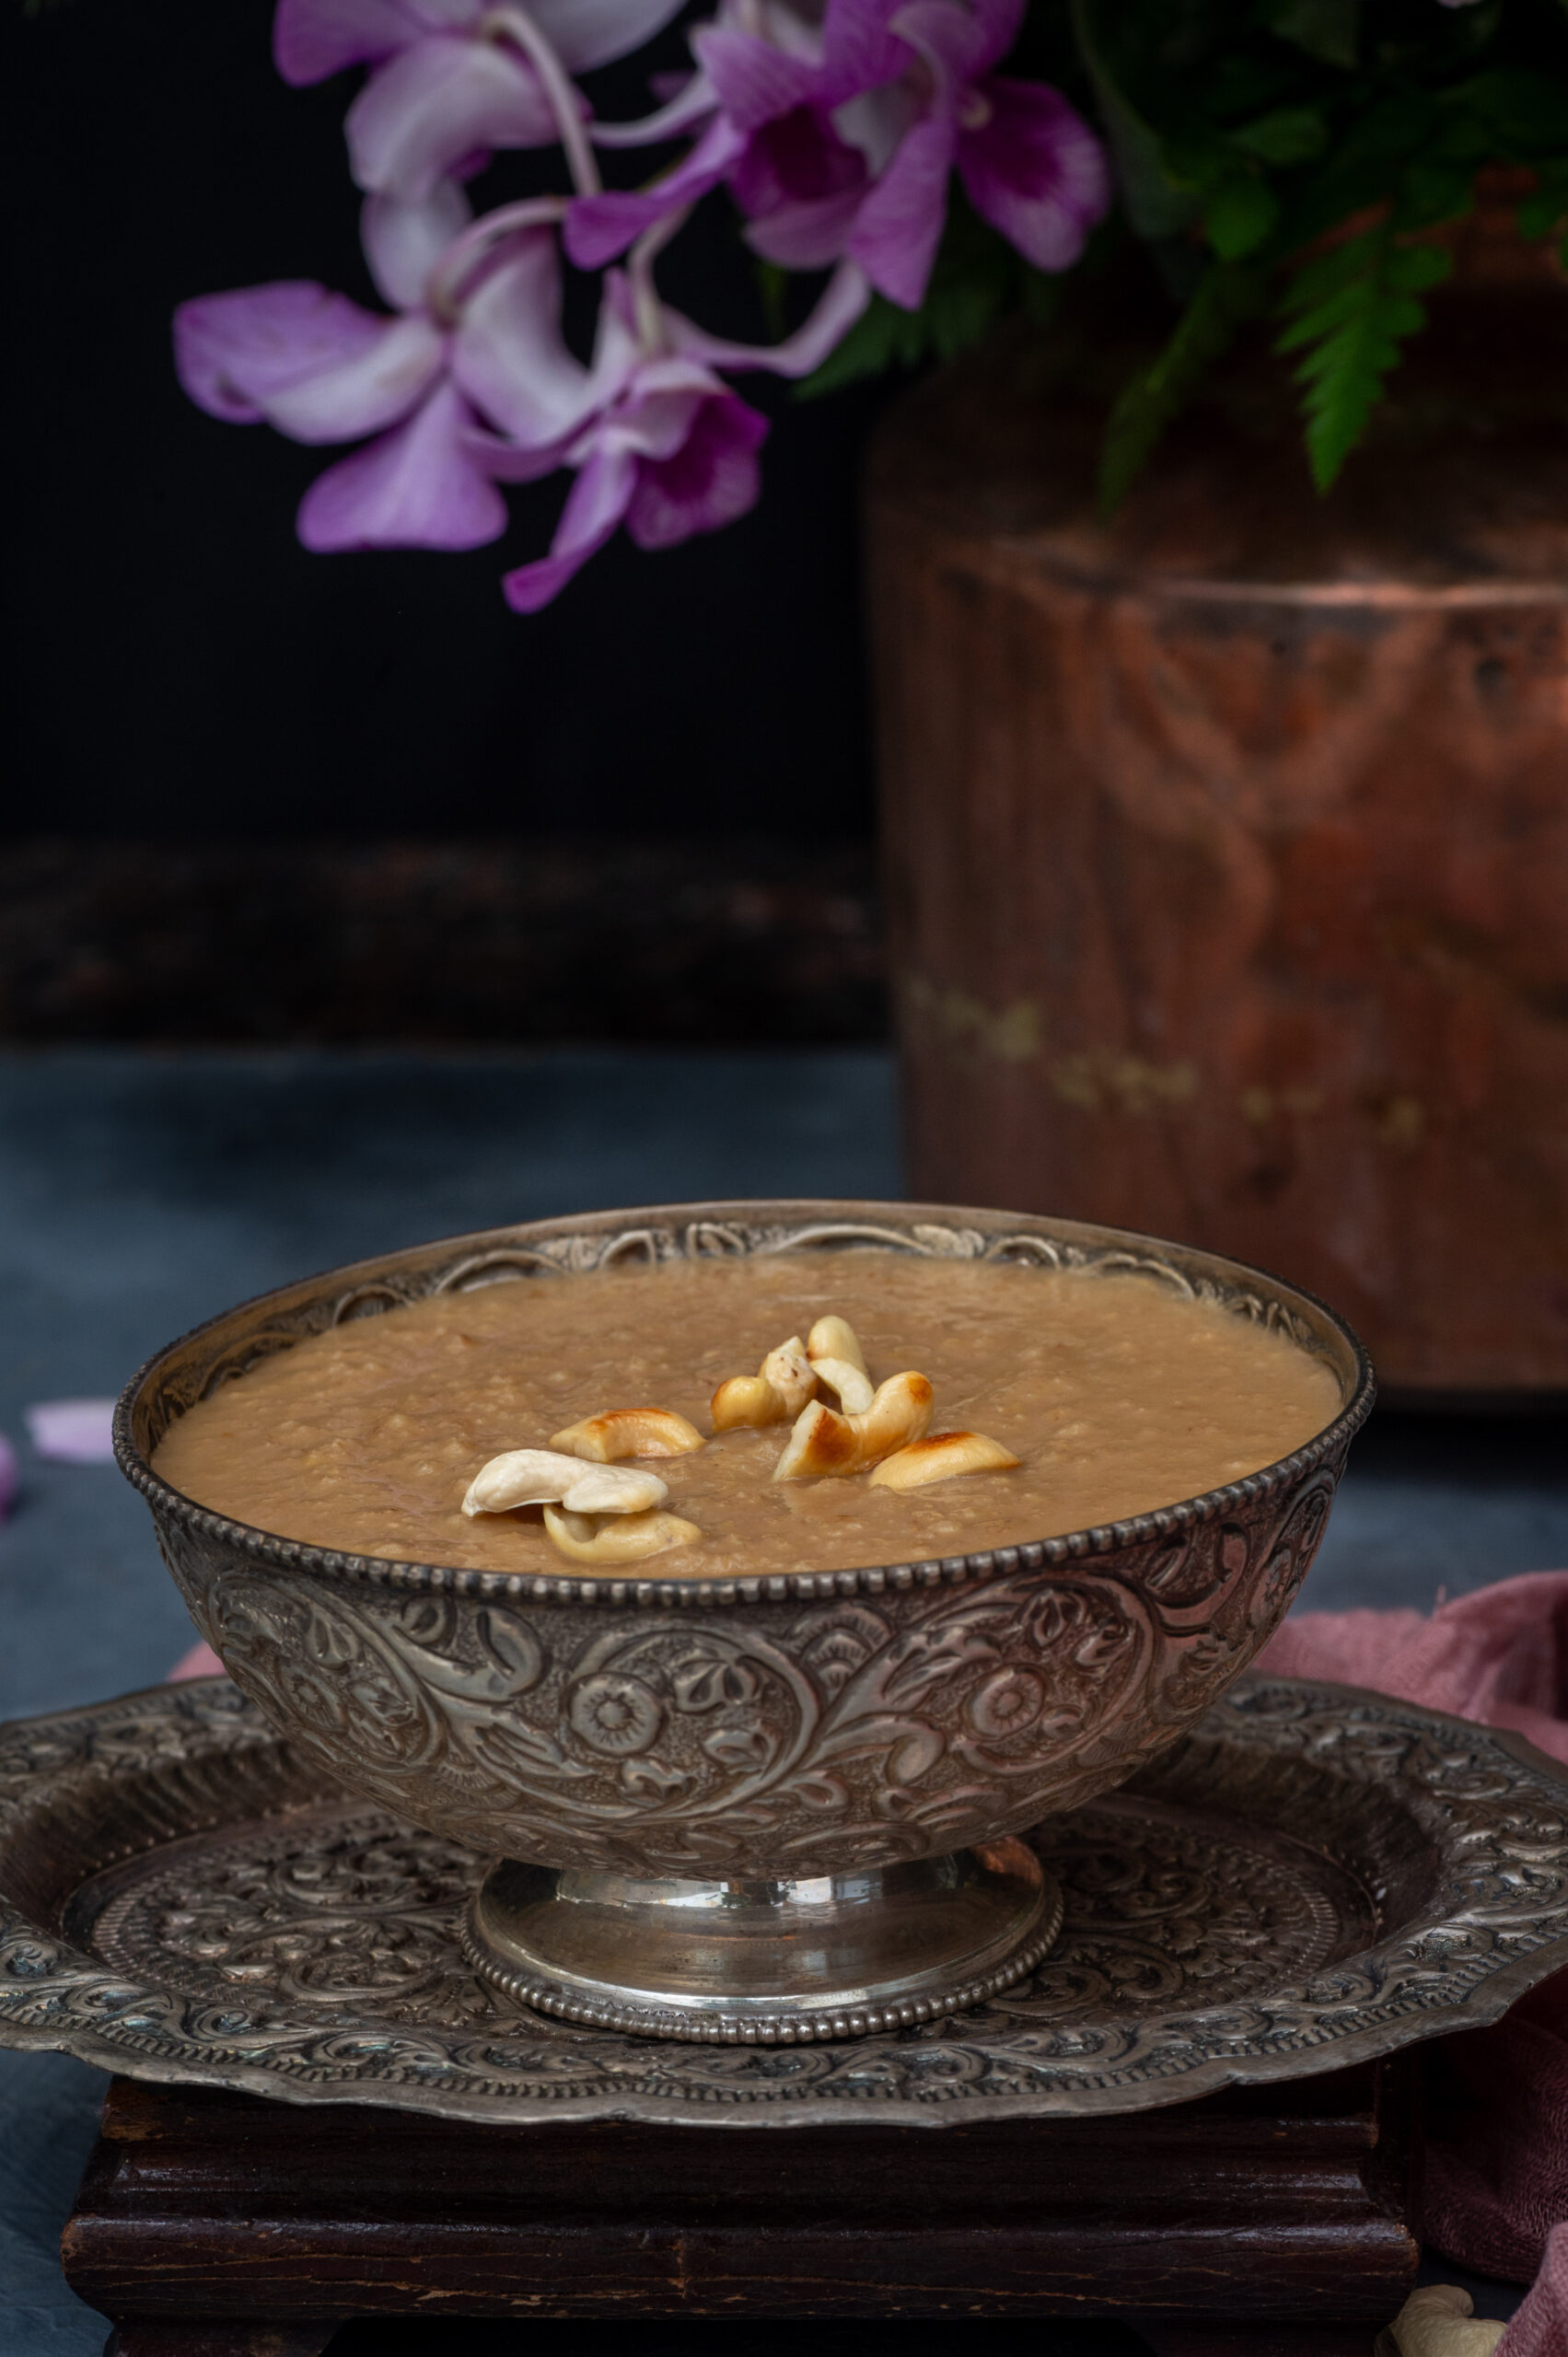
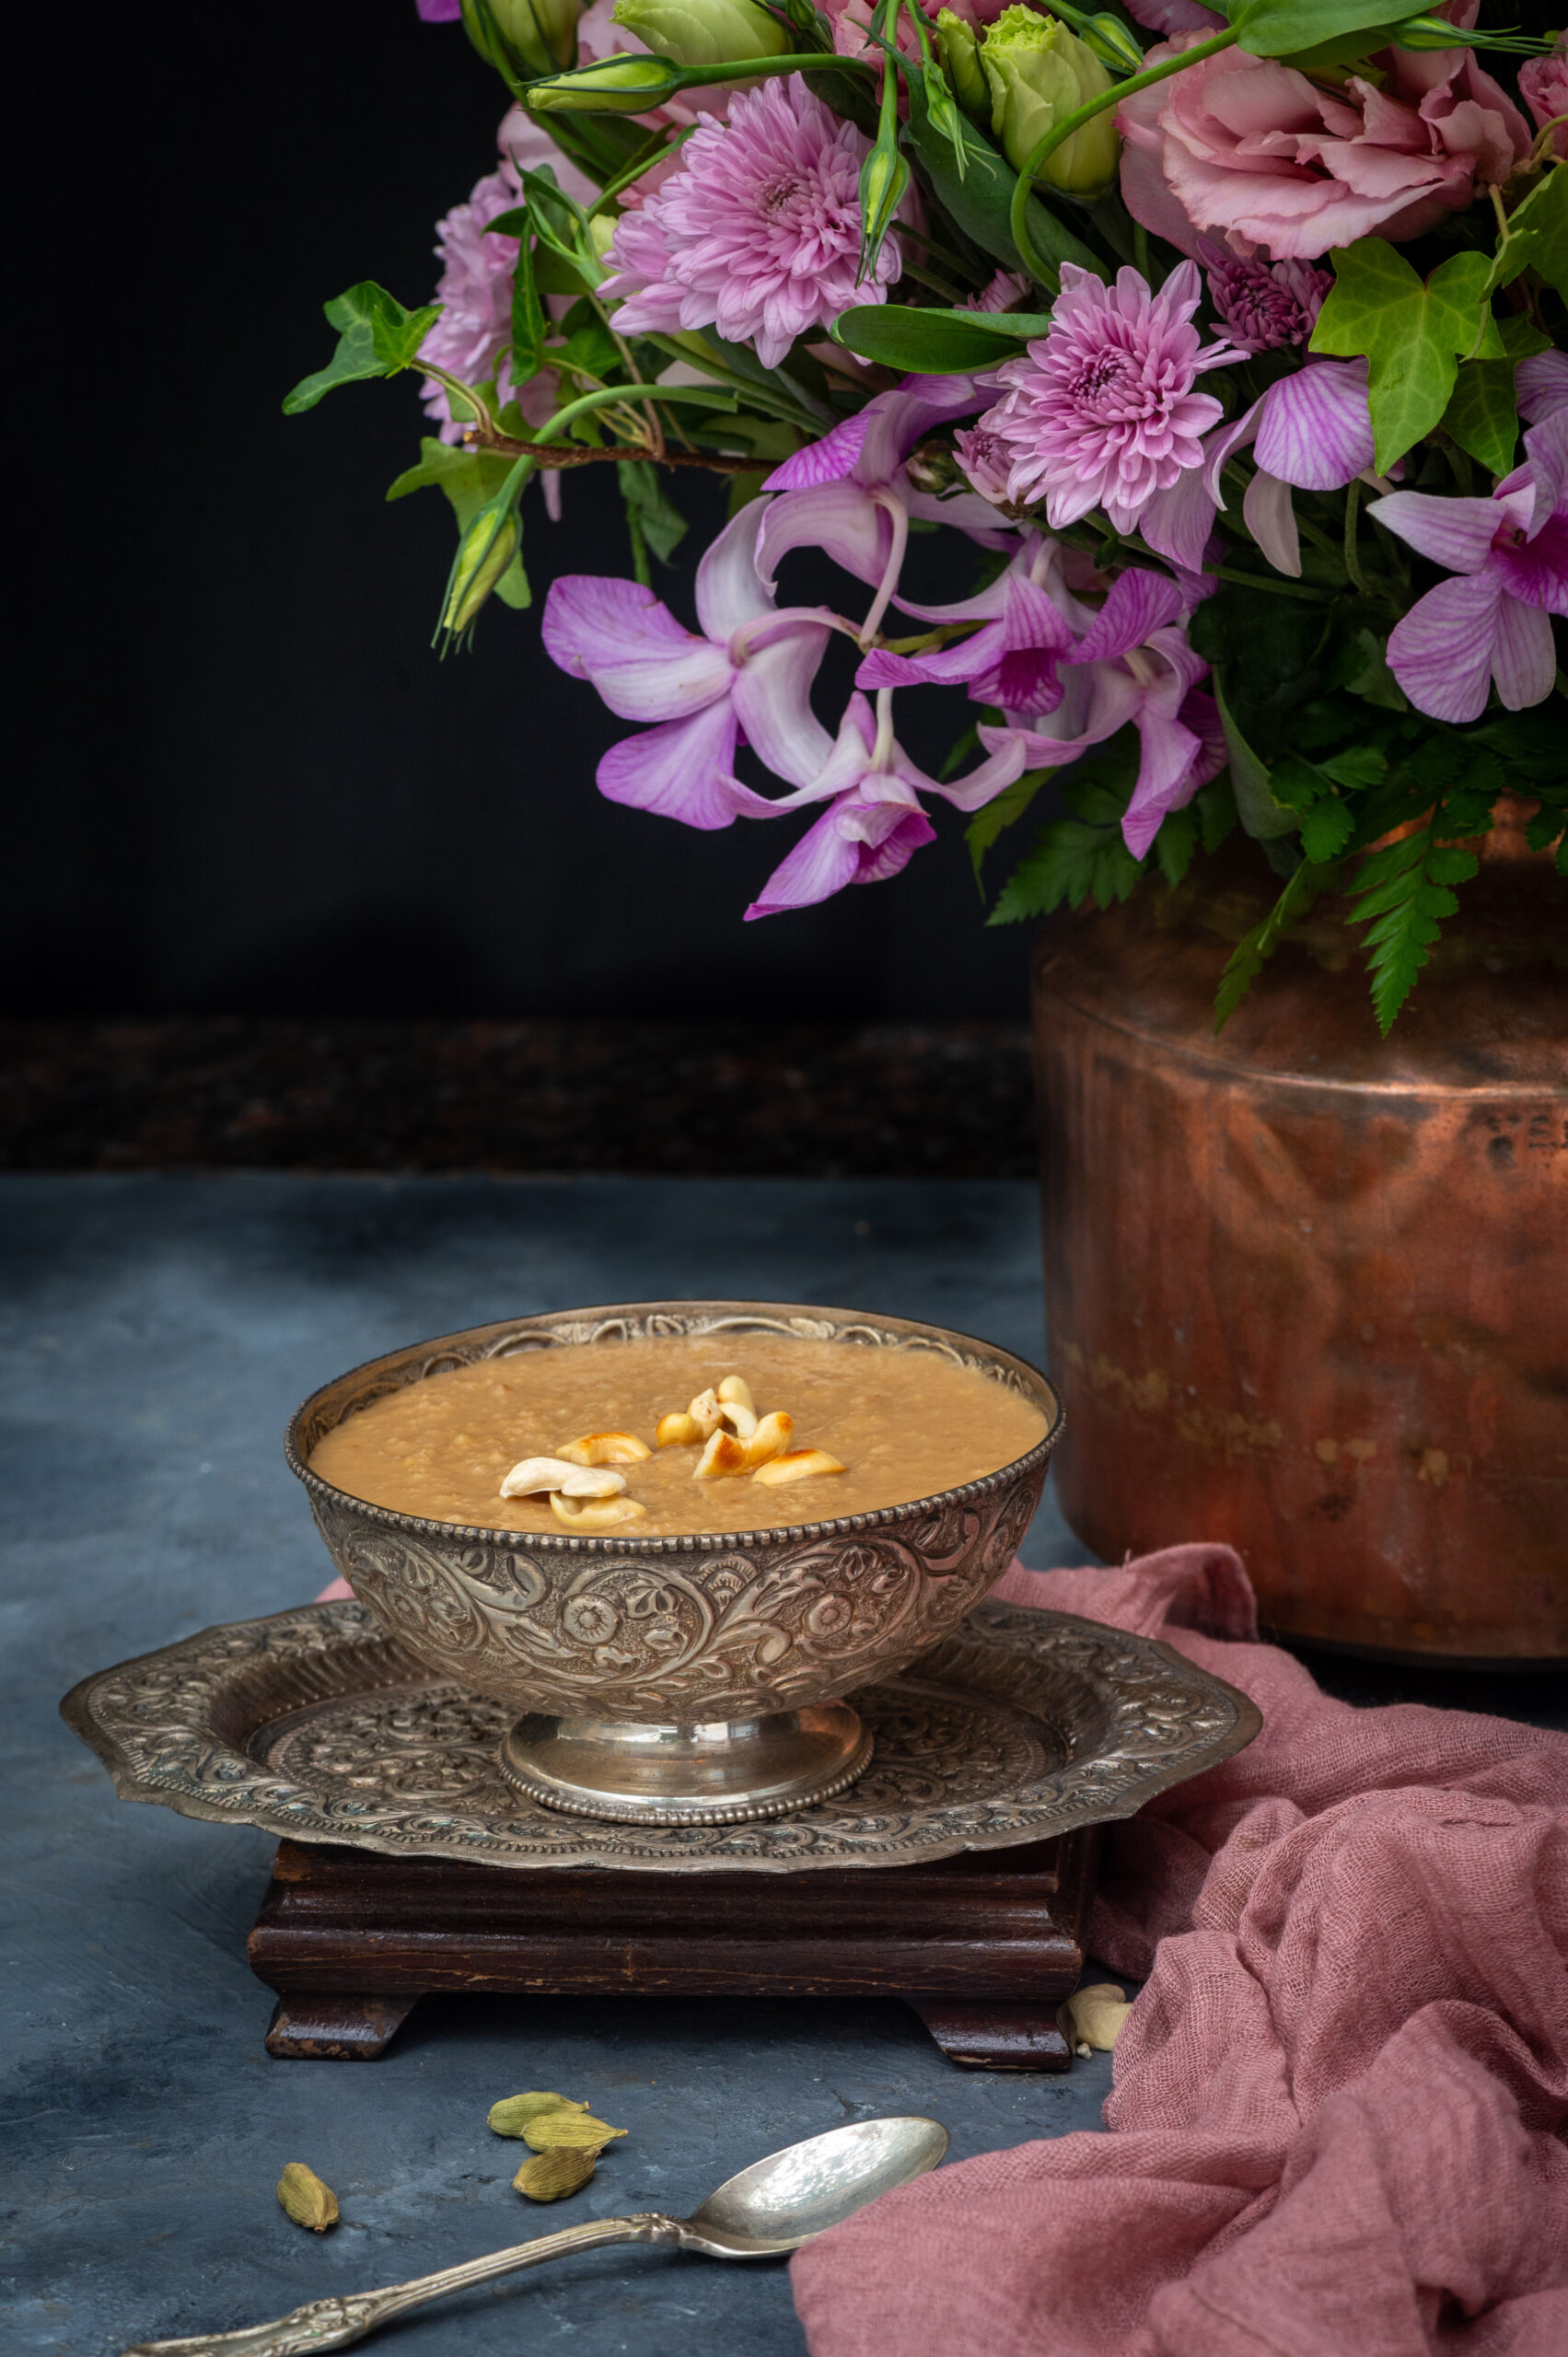
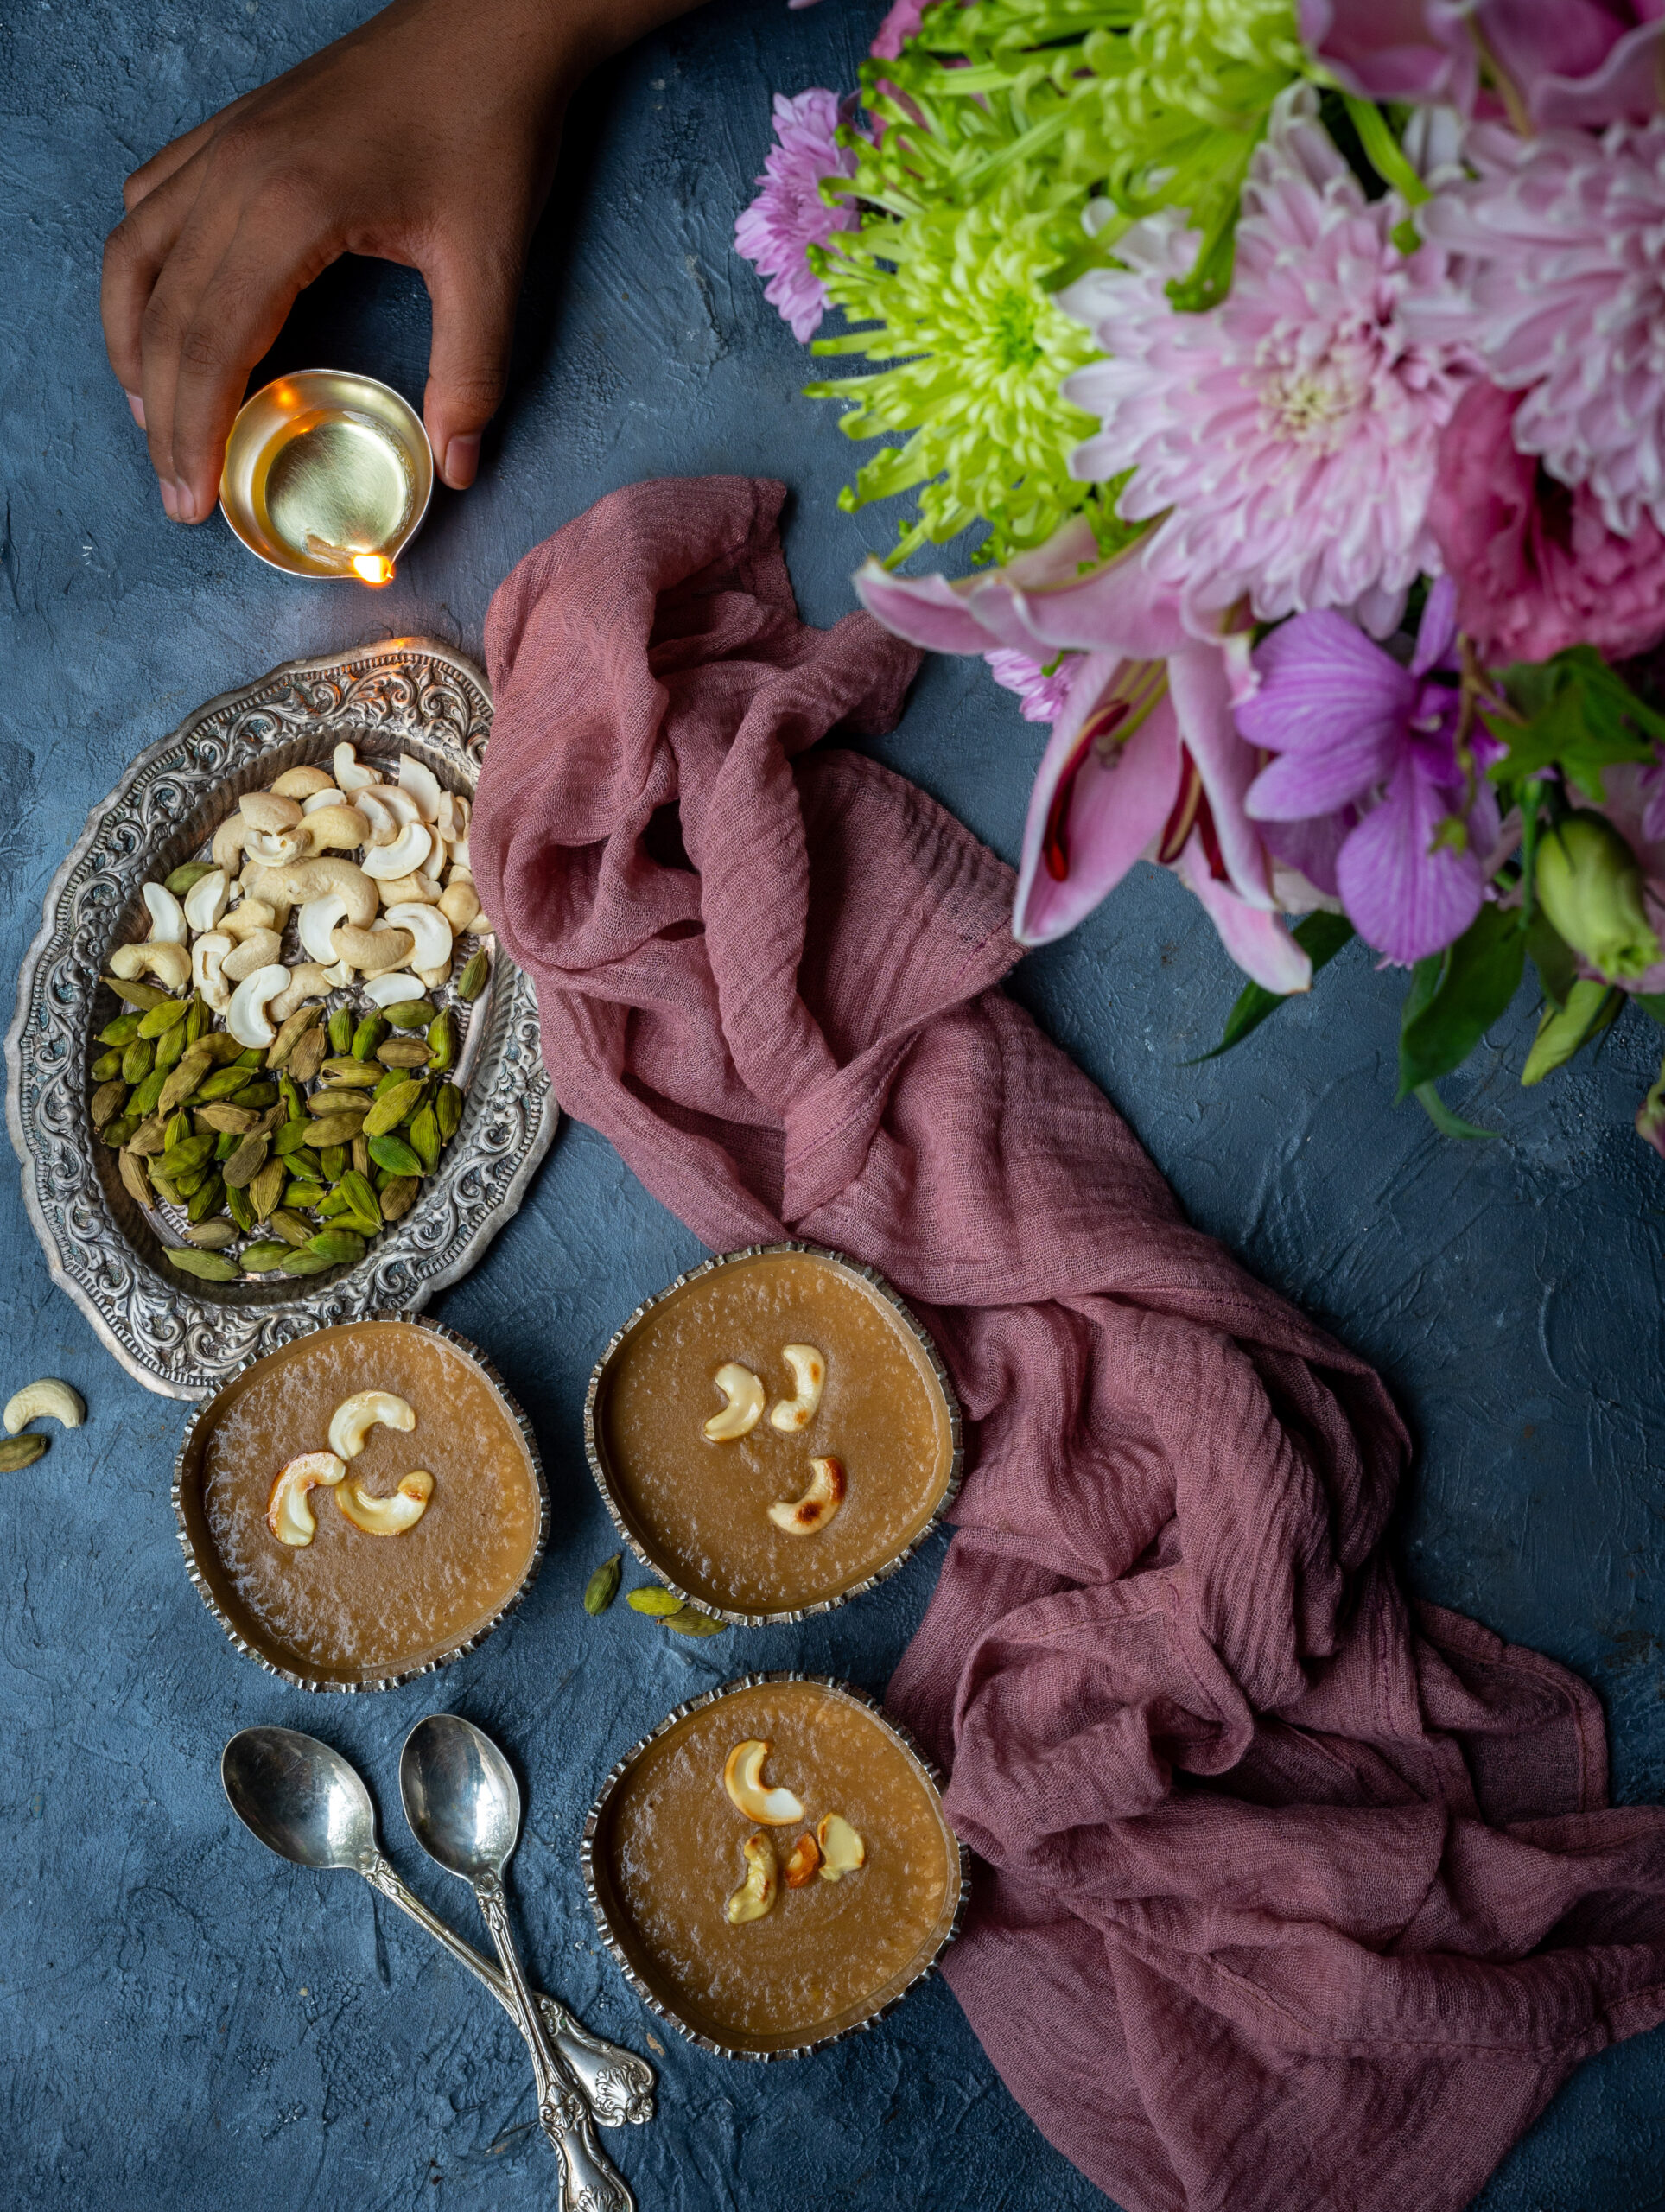
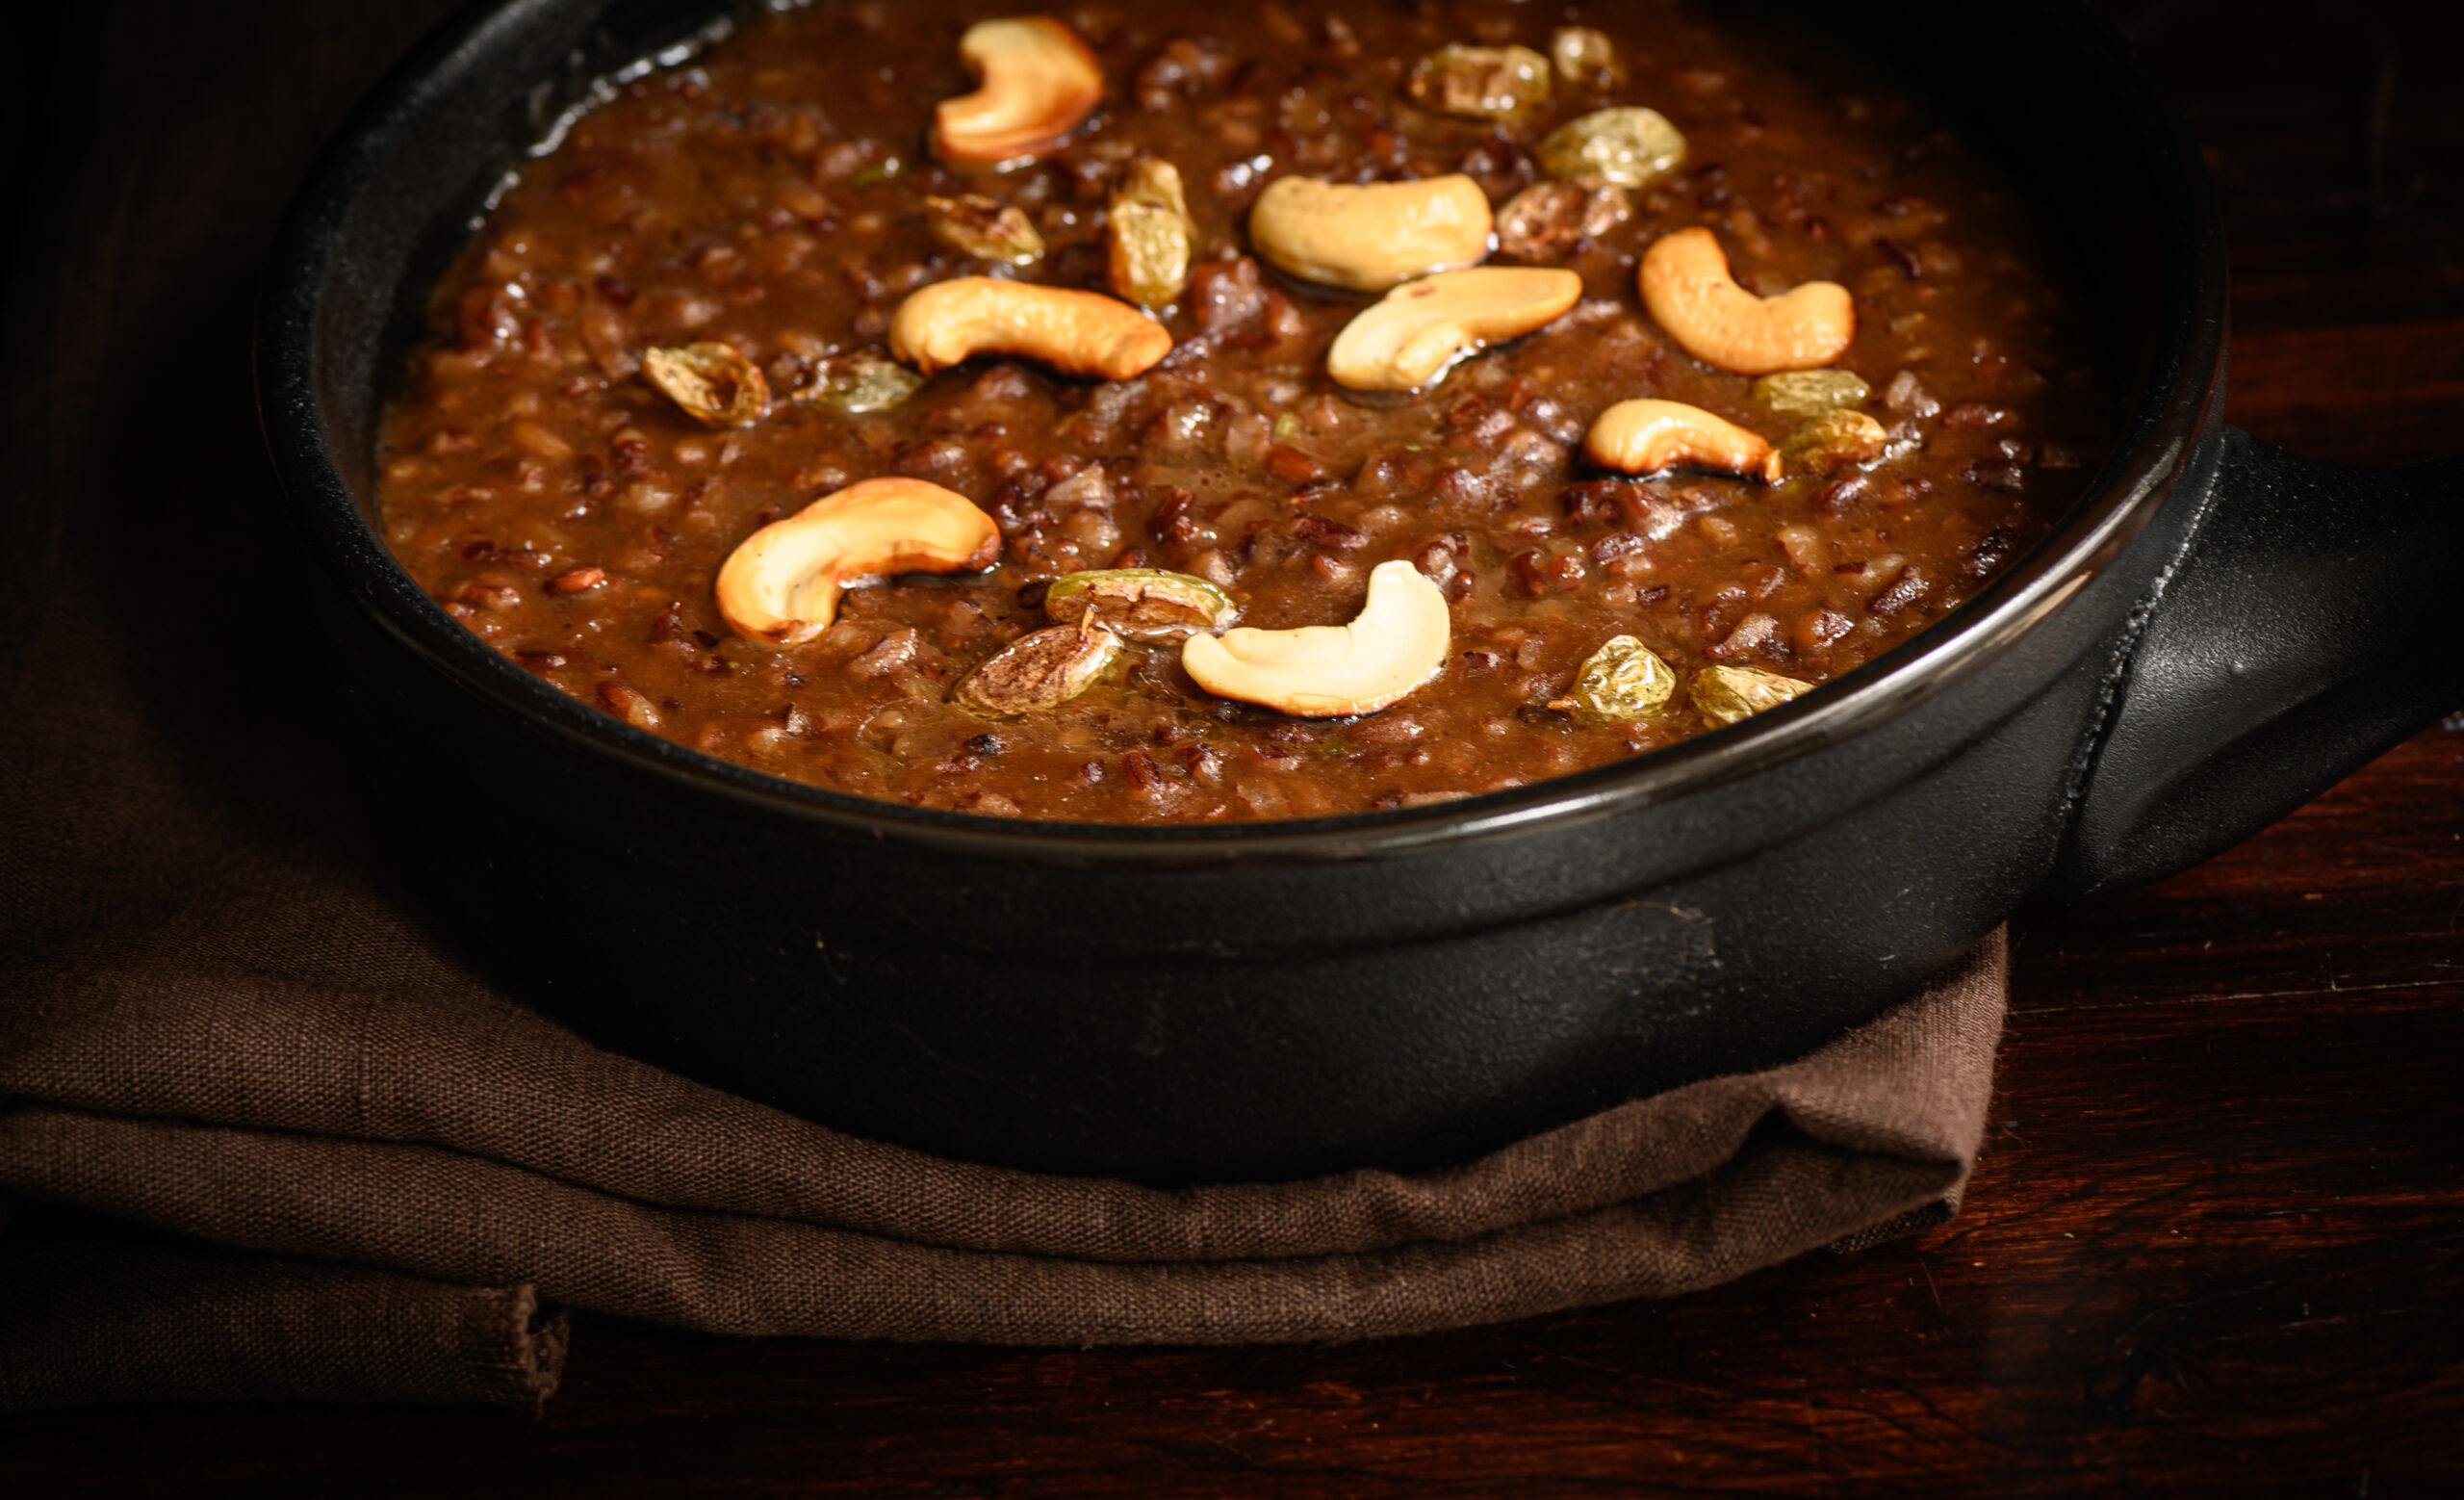
The revival of traditional ingredients and culinary methods is something very close to my heart, and you may have noticed this passion in everything from the cookware you see in my photographs to the recipes I’ve shared on this blog over the years. This is also the reason why I celebrate so many festive occasions, and believe in passing on traditions to my children, be they cultural (such as certain Diwali or raksha bandhan rituals) or sentimental (such as heirloom recipes). This return to a time-honoured way of life is very valuable to us. It was in this spirit that I accepted the opportunity to create a recipe over the Pongal festival for a special feature in The Hindu. Although Pongal has now passed, any time is a good time to try something delicious, and I hope you’ll like this recipe for traditional South Indian red rice and jaggery pongal.

When I discovered an organic store in Chennai, Spirit of the Earth, I really enjoyed looking at the hundreds of varieties of locally produced rice from around India. I especially love black rice, which has a nutty flavour and appealing colour as well as being nutrient-rich. As someone with Vitamin B12 deficiency, it provides a source of iron that I’m glad to incorporate into my diet frequently. It’s also a very versatile grain, and I enjoy using it in dessert, specifically in Thai-inspired sticky rice with mango pudding. The red rice varieties were also very intriguing to me, and one of them is the key ingredient of this recipe.

Having experimented with growing organic produce on our farm over several seasons now, I now truly understand why turning away from chemical-heavy and industrialised agriculture is good for us. What we do is on a small scale, and mostly for our own sustenance, although we do sell to selected organic stores as well. We cultivate traditional varieties of fruit, flower and produce, and the only kinds of rice and millets we usually eat at home are from our own fields. Among the produce we grow are: ragi, green moong, black rice, barnyard millet, samai and thinnai. Even taste-wise, I find that hybrid varieties of fruit simply don’t taste as sweet. The sight of blossoms like the manoranjitha, which I grew up with but hardly find in Chennai anymore, warms the heart.

It is deeply meaningful to me to be able to provide all these forms of a sense of belonging to my children, who are grown up and live in different parts of the world. They know that they have a home to return to, which will be filled with love and tradition, where meals will be served with ingredients we have carefully cultivated ourselves. When they are not here, they have the recipes on this blog, which will teach them (no matter what time zone they’re in!) how to whip up their favourite comfort foods for themselves. This was one of my core reasons for beginning this blog. While it may look like a motley collection of recipes, that is only because I want it to speak to many generations and tastes, and span influences that reflect all our travels and dreams. We are all multi-taskers with many interests, which is why I keep things varied.

Beginning with my love of cooking for others, I then also started taking photographs. After early trials and errors, I attended workshops to hone my skills, and practiced hard. I think the results of these efforts will be clear even if you look back at old posts. I am proud to have come a long way since then, and especially that I took the step to establish Nandi Shah Photography in 2019. I think it’s still early enough in the year to share again this calendar, which showcases the combination of two of my great loves: baking and photography.

Another very important component of this blog is the health aspect, and whether it’s vegan, Macrobiotic or simply a smarter ingredient substitute, I am always on the look-out for how to create the most nutritious recipes. This red rice and jaggery pongal checks all the boxes here.

Pongal is a traditional South Indian rice porridge, and red rice is a perfect substitute for white rice. I like using Onamatta rice in this recipe as it has a beautiful fragrance. It also tends to cook faster and is a soft rice variety. Originating in Kerala, it is also known as Rosematta rice. A highly nutritious and filling grain, it keeps you full for a long time, making it an ideal appetite-curbing dish during dieting or fasting. I find that red rice also has a way of uplifting the flavours of local vegetables and dhal. It tastes delicious with palm jaggery, which is great sweetener. I’ve had the opportunity to see it being made as well, and I highly encourage it as a sugar substitute. Jaggery has long been the traditional sweetener in Tamil Nadu cooking, and I believe that ancient pongal varieties would have also been made with millets and older grains.

What I am sharing today is a traditional recipe, relished for centuries. You’ll see why when you taste it.


Red Rice & Jaggery Pongal

(Yield:  3-4 cups)

½ cup red rice

½ cup jaggery

6-8 cashews

2 tablespoons mung dal

2 ½ cups water

3 + 1 tablespoons ghee

1 pinch of cardamom powder

1 handful of raisins


Roast the cashews in a ½ teaspoon of ghee. Add the raisins and roast until they bubble up. Set aside.

Roast the mung dal in a ½ teaspoon of ghee until it releases an aroma. Now, add the cleaned and washed Onamatta rice to it. Add water and allow the rice and dal to cook until tender in a pressure cooker on a medium flame.

In a pan, add ghee. Now, add the palm jaggery. It will begin to melt in a few minutes. Then, add the rice mixture and blend well.

Add the cardamom powder, raisins and cashews, mix well and top it off with a drizzle of ghee before serving.

Preparing a traditional dish like this, no matter when, always has a comforting feeling to it. I truly believe in the adage “We are what we eat.” Food has a unique way of expressing this. Four generations of my family have lived in South India now, and it’s a part of who we are. This red rice and jaggery pongal is a beautiful way for me to honour that connection, as well as my personal appreciation for all things organic. I’d love to know what you think when you try it out!
 

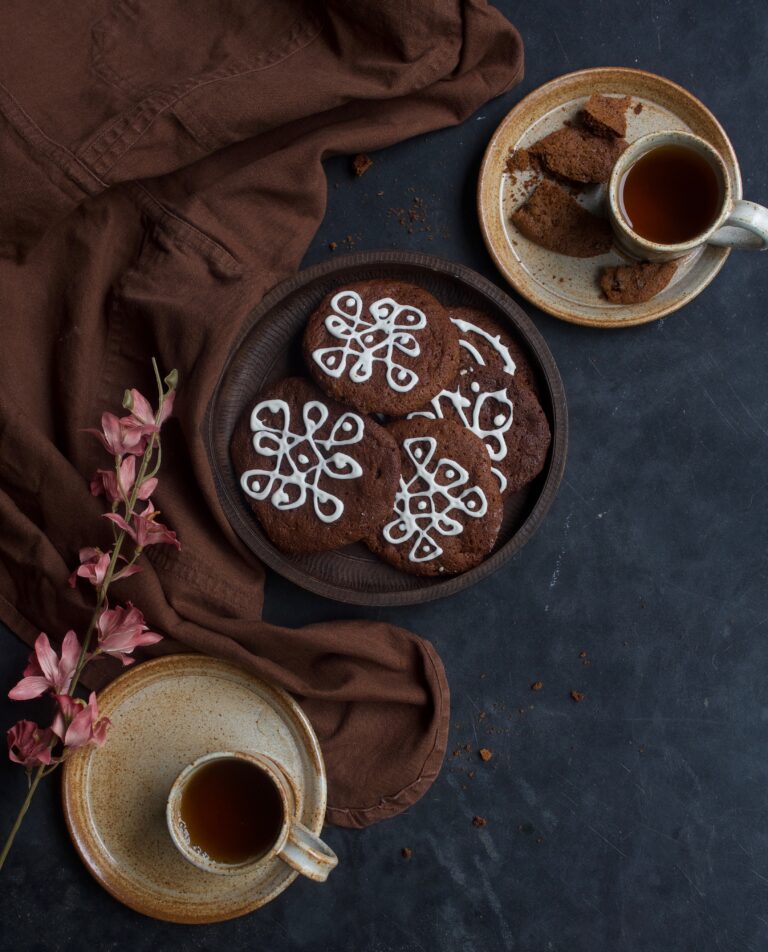
As a child, I was fascinated by the gingerbread man. Who was this entity that was half-story and half-food? Christmas in Chennai was not like Christmas in the West while I was growing up, and so there weren’t too many of these “traditional” motifs around me. Instead, the rituals of friends, neighbours and the convent school I attended are what are most memorable to me. Still, when I enjoyed a perfect Christmas visit with my friends Sujatha and Michael in Delhi two years ago, something tickled the memory of that fascination with the gingerbread man.  Sitting out on the lawns of their beautiful house, enjoying the crisp winter weather, we shared a plate of homemade ginger snaps. A festive classic, made to perfection. This year, thanks to a bounty of presents with just the right ingredients, I’m celebrating the season with these ginger and jaggery cookies.

This recipe contains gifts from many friends. The method of course, belongs to Sujatha and Michael. The cloves are from Asha, the Sri Lankan ginger and sugar syrup that also partly inspired this recipe is from Anna (this had been introduced to me by Ramani), and the cinnamon (also from the island) from Sharanya. So in many ways, this recipe fits the Christmas spirit of giving and camaraderie perfectly. And of course: the love, inspiration and encouragement from friends, family and fellow bloggers are what make me want to share it!
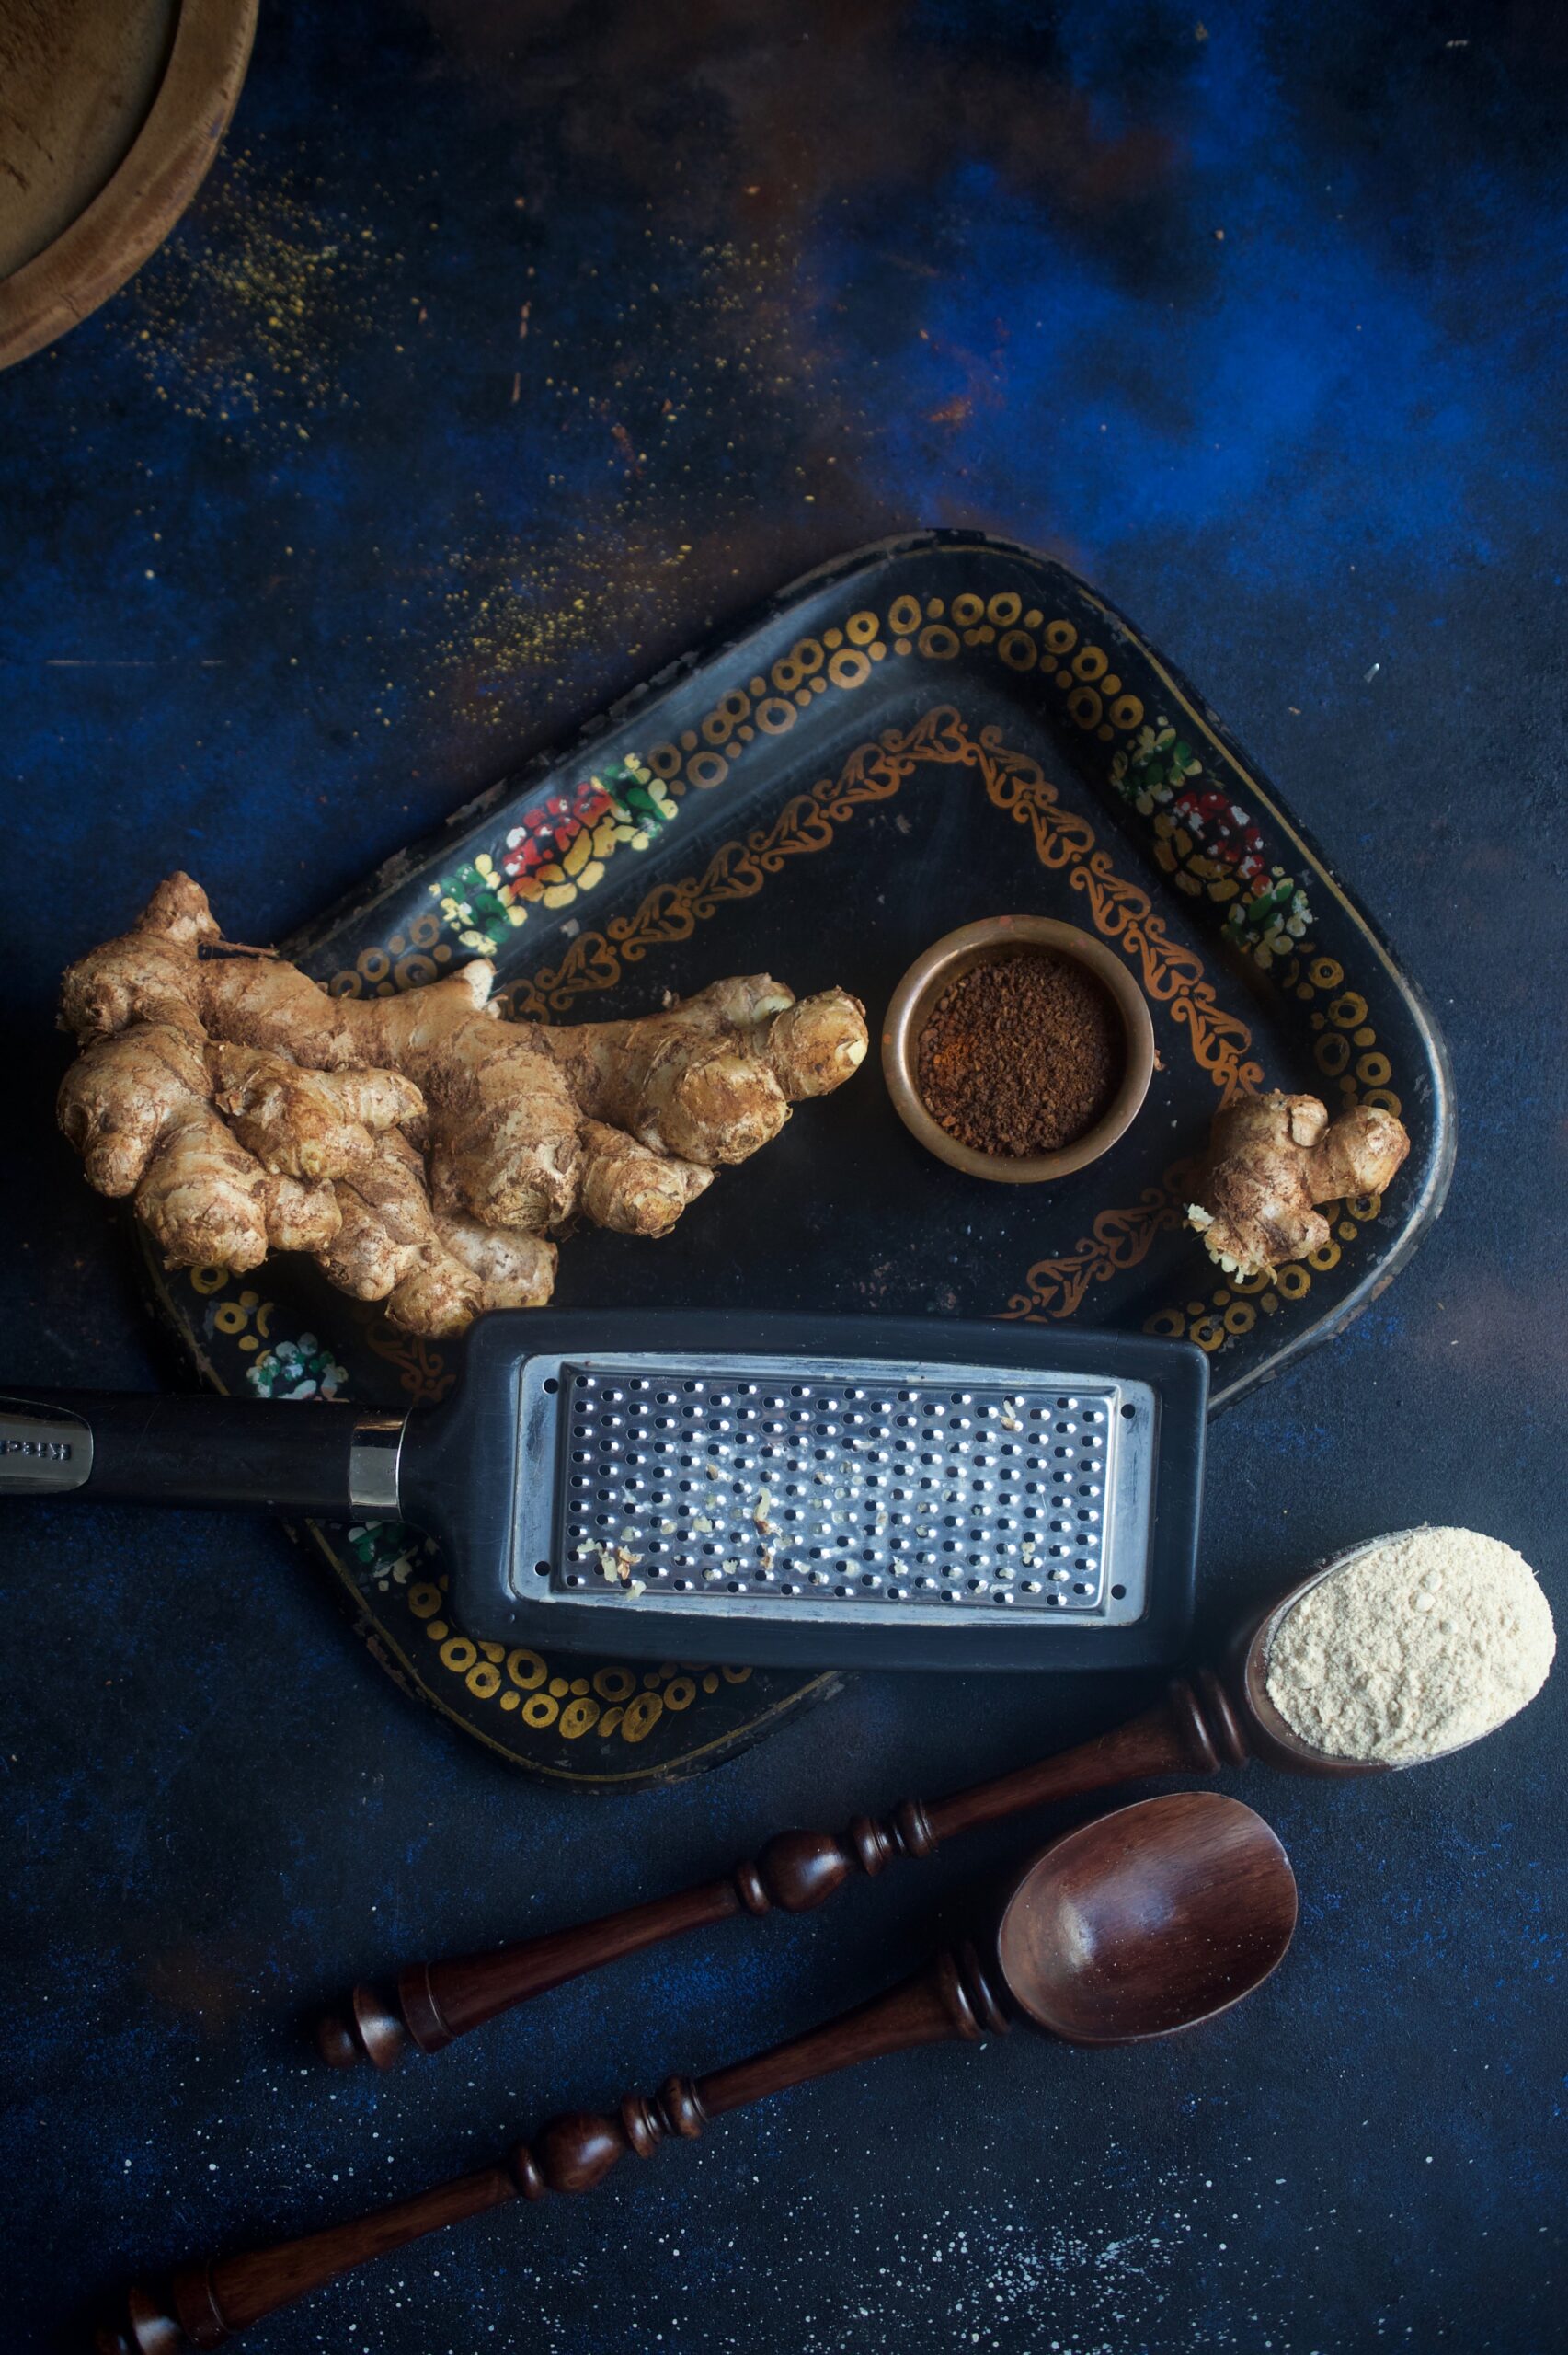
I love to make blends and powders at home, as you may have noticed from earlier posts. They give my baked goods a fresh, authentic flavour. So I ground the cloves and cinnamon especially for this batch of cookies, and used the ginger powder I had prepared in the summer, as I do every year. Ginger powder is used often, and in versatile ways, in my kitchen – you’ll find it in everything from a flu remedy to a sacred dessert.

I always like to bring familiar ingredients even into fusion or foreign dishes, which is why the jaggery and the ginger feature so prominently in this recipe. Both are intrinsic parts of local Tamil cuisine, and not only taste delicious but are quite good for you too. Aged jaggery, like wine, is said to be the best. It is rich in iron and other minerals, and is a healthy sweetener. Ginger is great for digestion (always a good thing during a holiday feast!), clears congestion and has such a divine aroma!
You’ll find these ginger-jaggery cookies have a chewy centre, and the jaggery gives them an unusual flavour, just like how the sweetness of honey differs from that of sugar. While the taste will certainly differ, if you’re unable to find good jaggery to make these cookies, you can substitute it with brown sugar.


Ginger & Jaggery Christmas Cookies

(Yield – 12-15 cookies)

Ingredients
325 grams maida
2 teaspoons baking soda
1 teaspoon ground ginger
115 grams powdered jaggery
¼ teaspoon salt
1 teaspoon cinnamon
1 teaspoon clove powder
200 grams butter
50 ml molasses
½ teaspoon vanilla essence
1 egg

Pre-heat the oven to 160°C/320°F. Line an oven tray with foil and keep aside.

Mix all the dry ingredients, except the jaggery, in a bowl and set aside.

Now, beat the butter and the jaggery together until the mixture turns creamy, then add the egg. Beat some more. Add the molasses and vanilla essence and blend well.

Fold all the dry ingredients into the mixture and knead, using your hands. The dough will feel sticky at this point. Once all the ingredients have been incorporated and blended well, refrigerate the dough for an hour.

After it has chilled, remove the dough from the fridge and make balls, gently using your hands again. Place them on the lined tray, ensuring they’re arranged well apart so that they don’t overlap while baking. Sprinkle with some sugar crystals.

Bake for about 12-15 minutes or until golden on the sides and bottom.

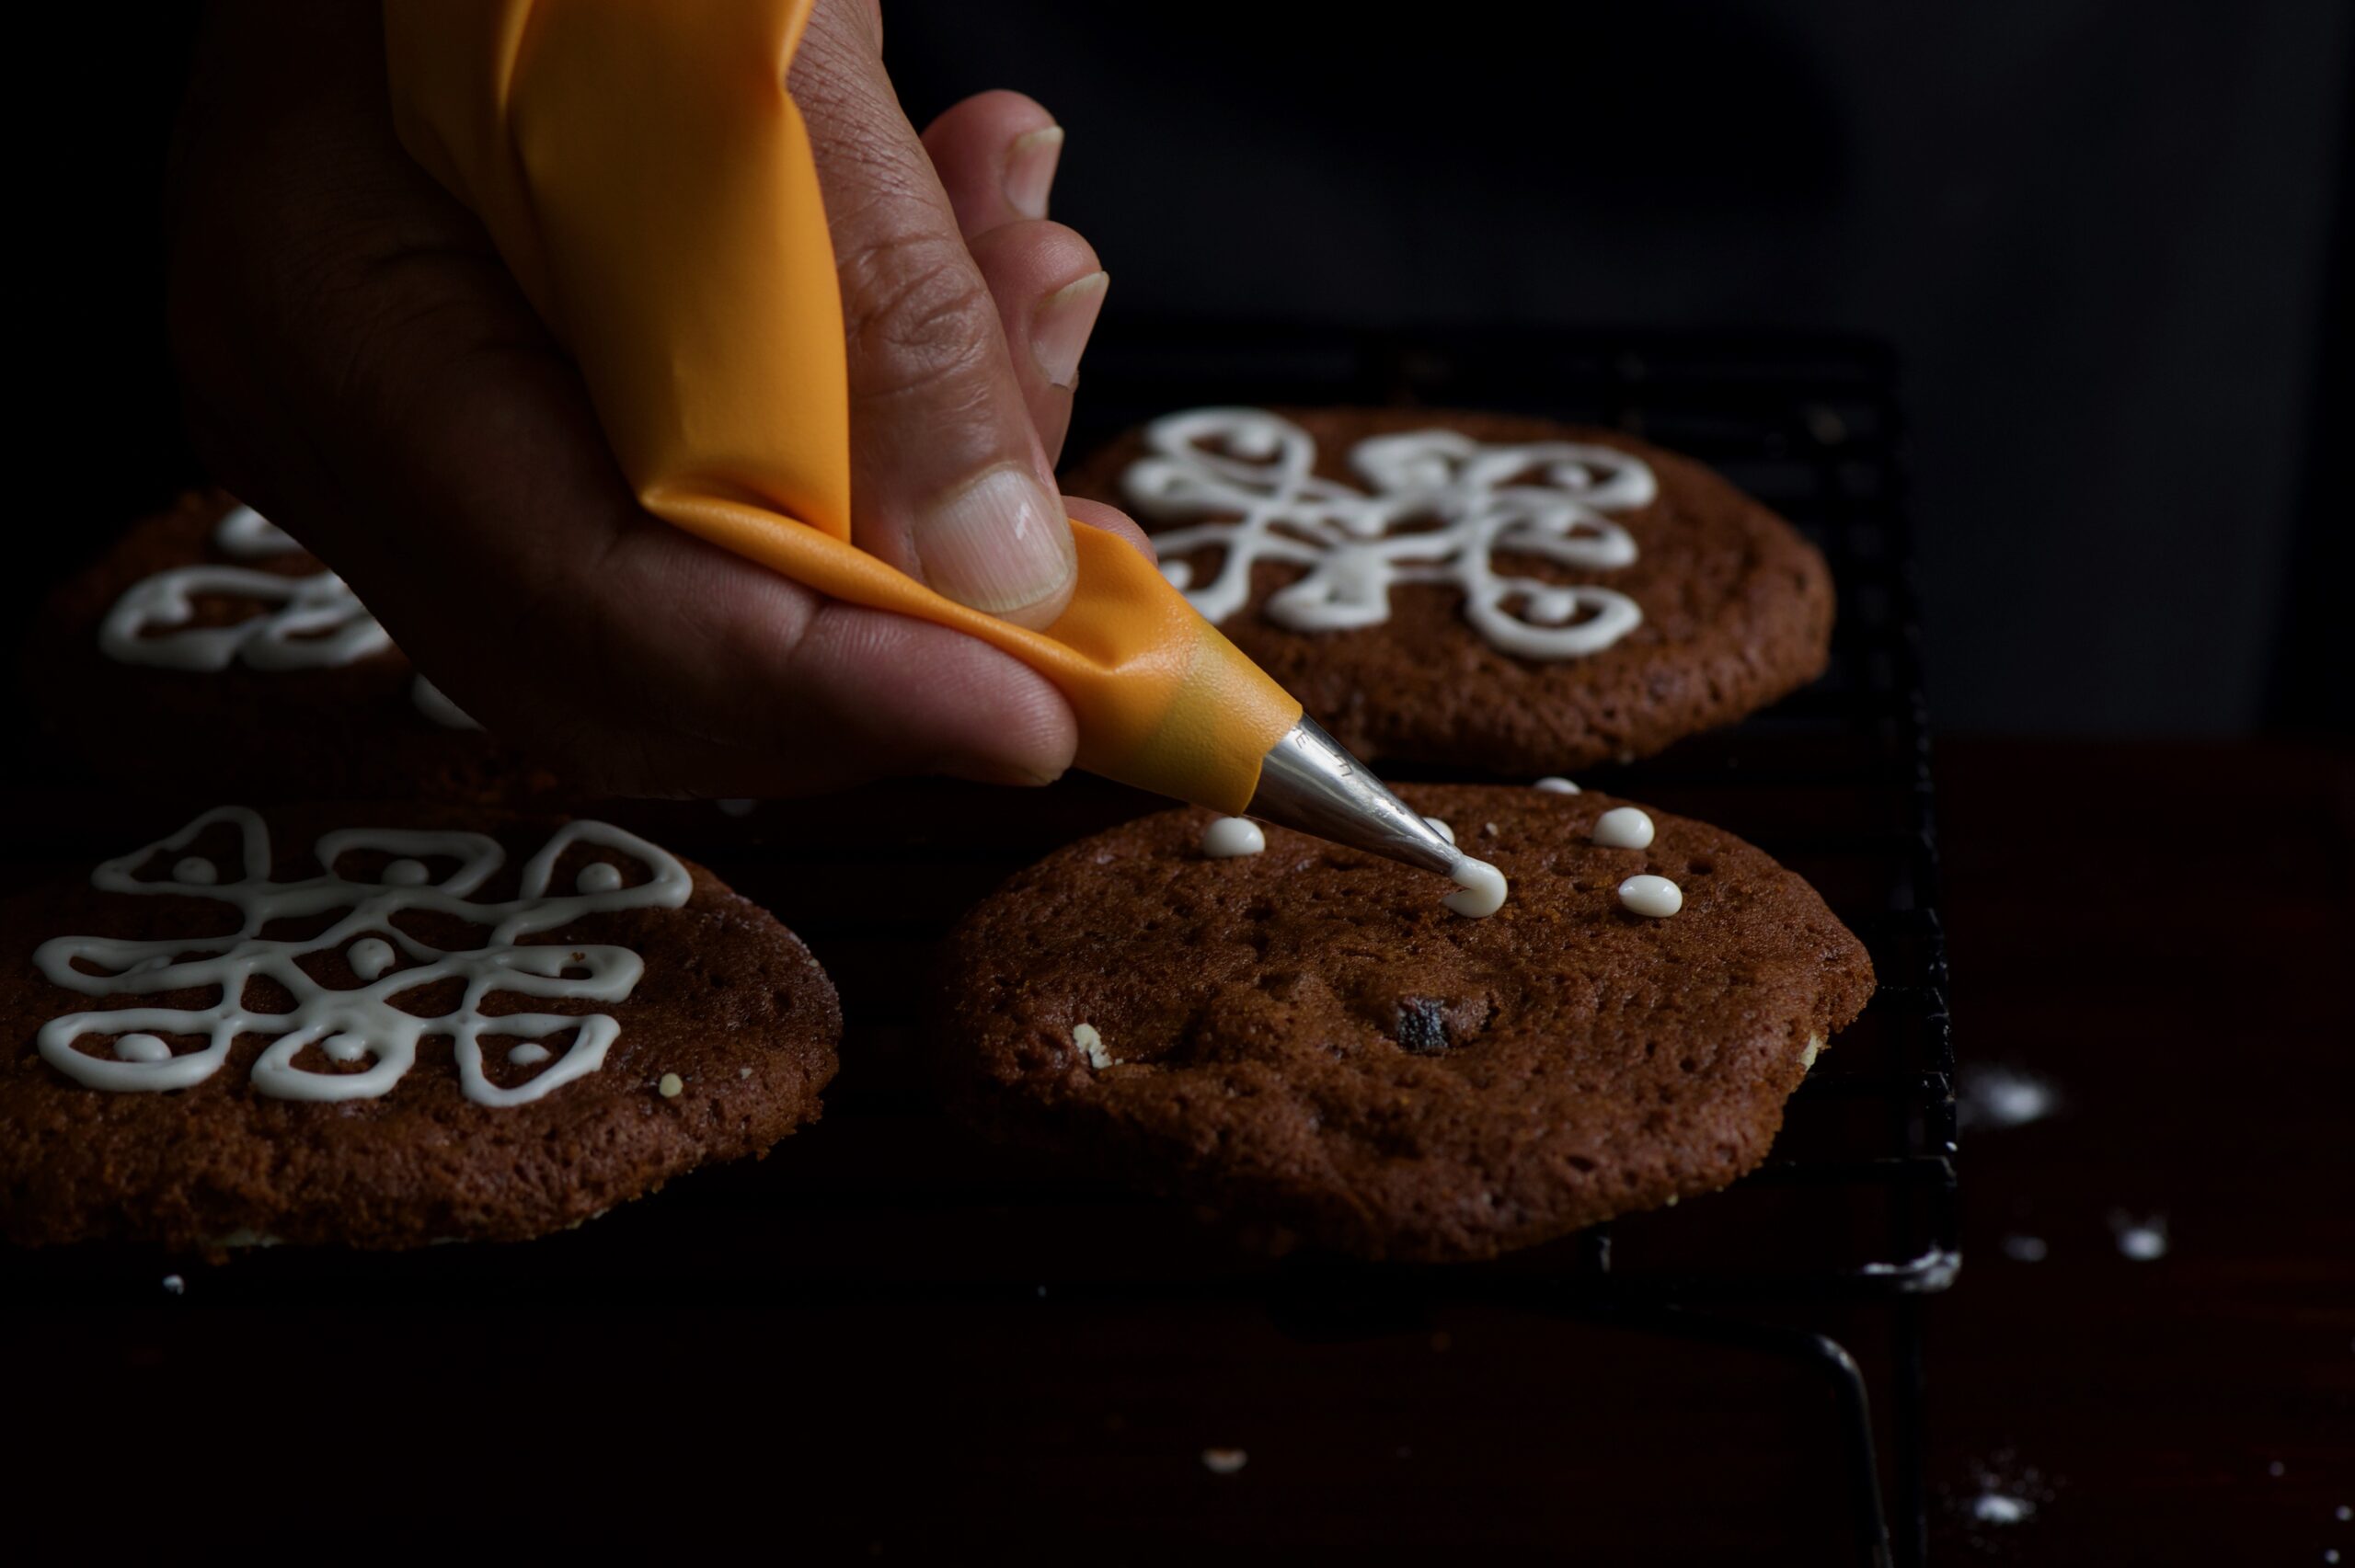
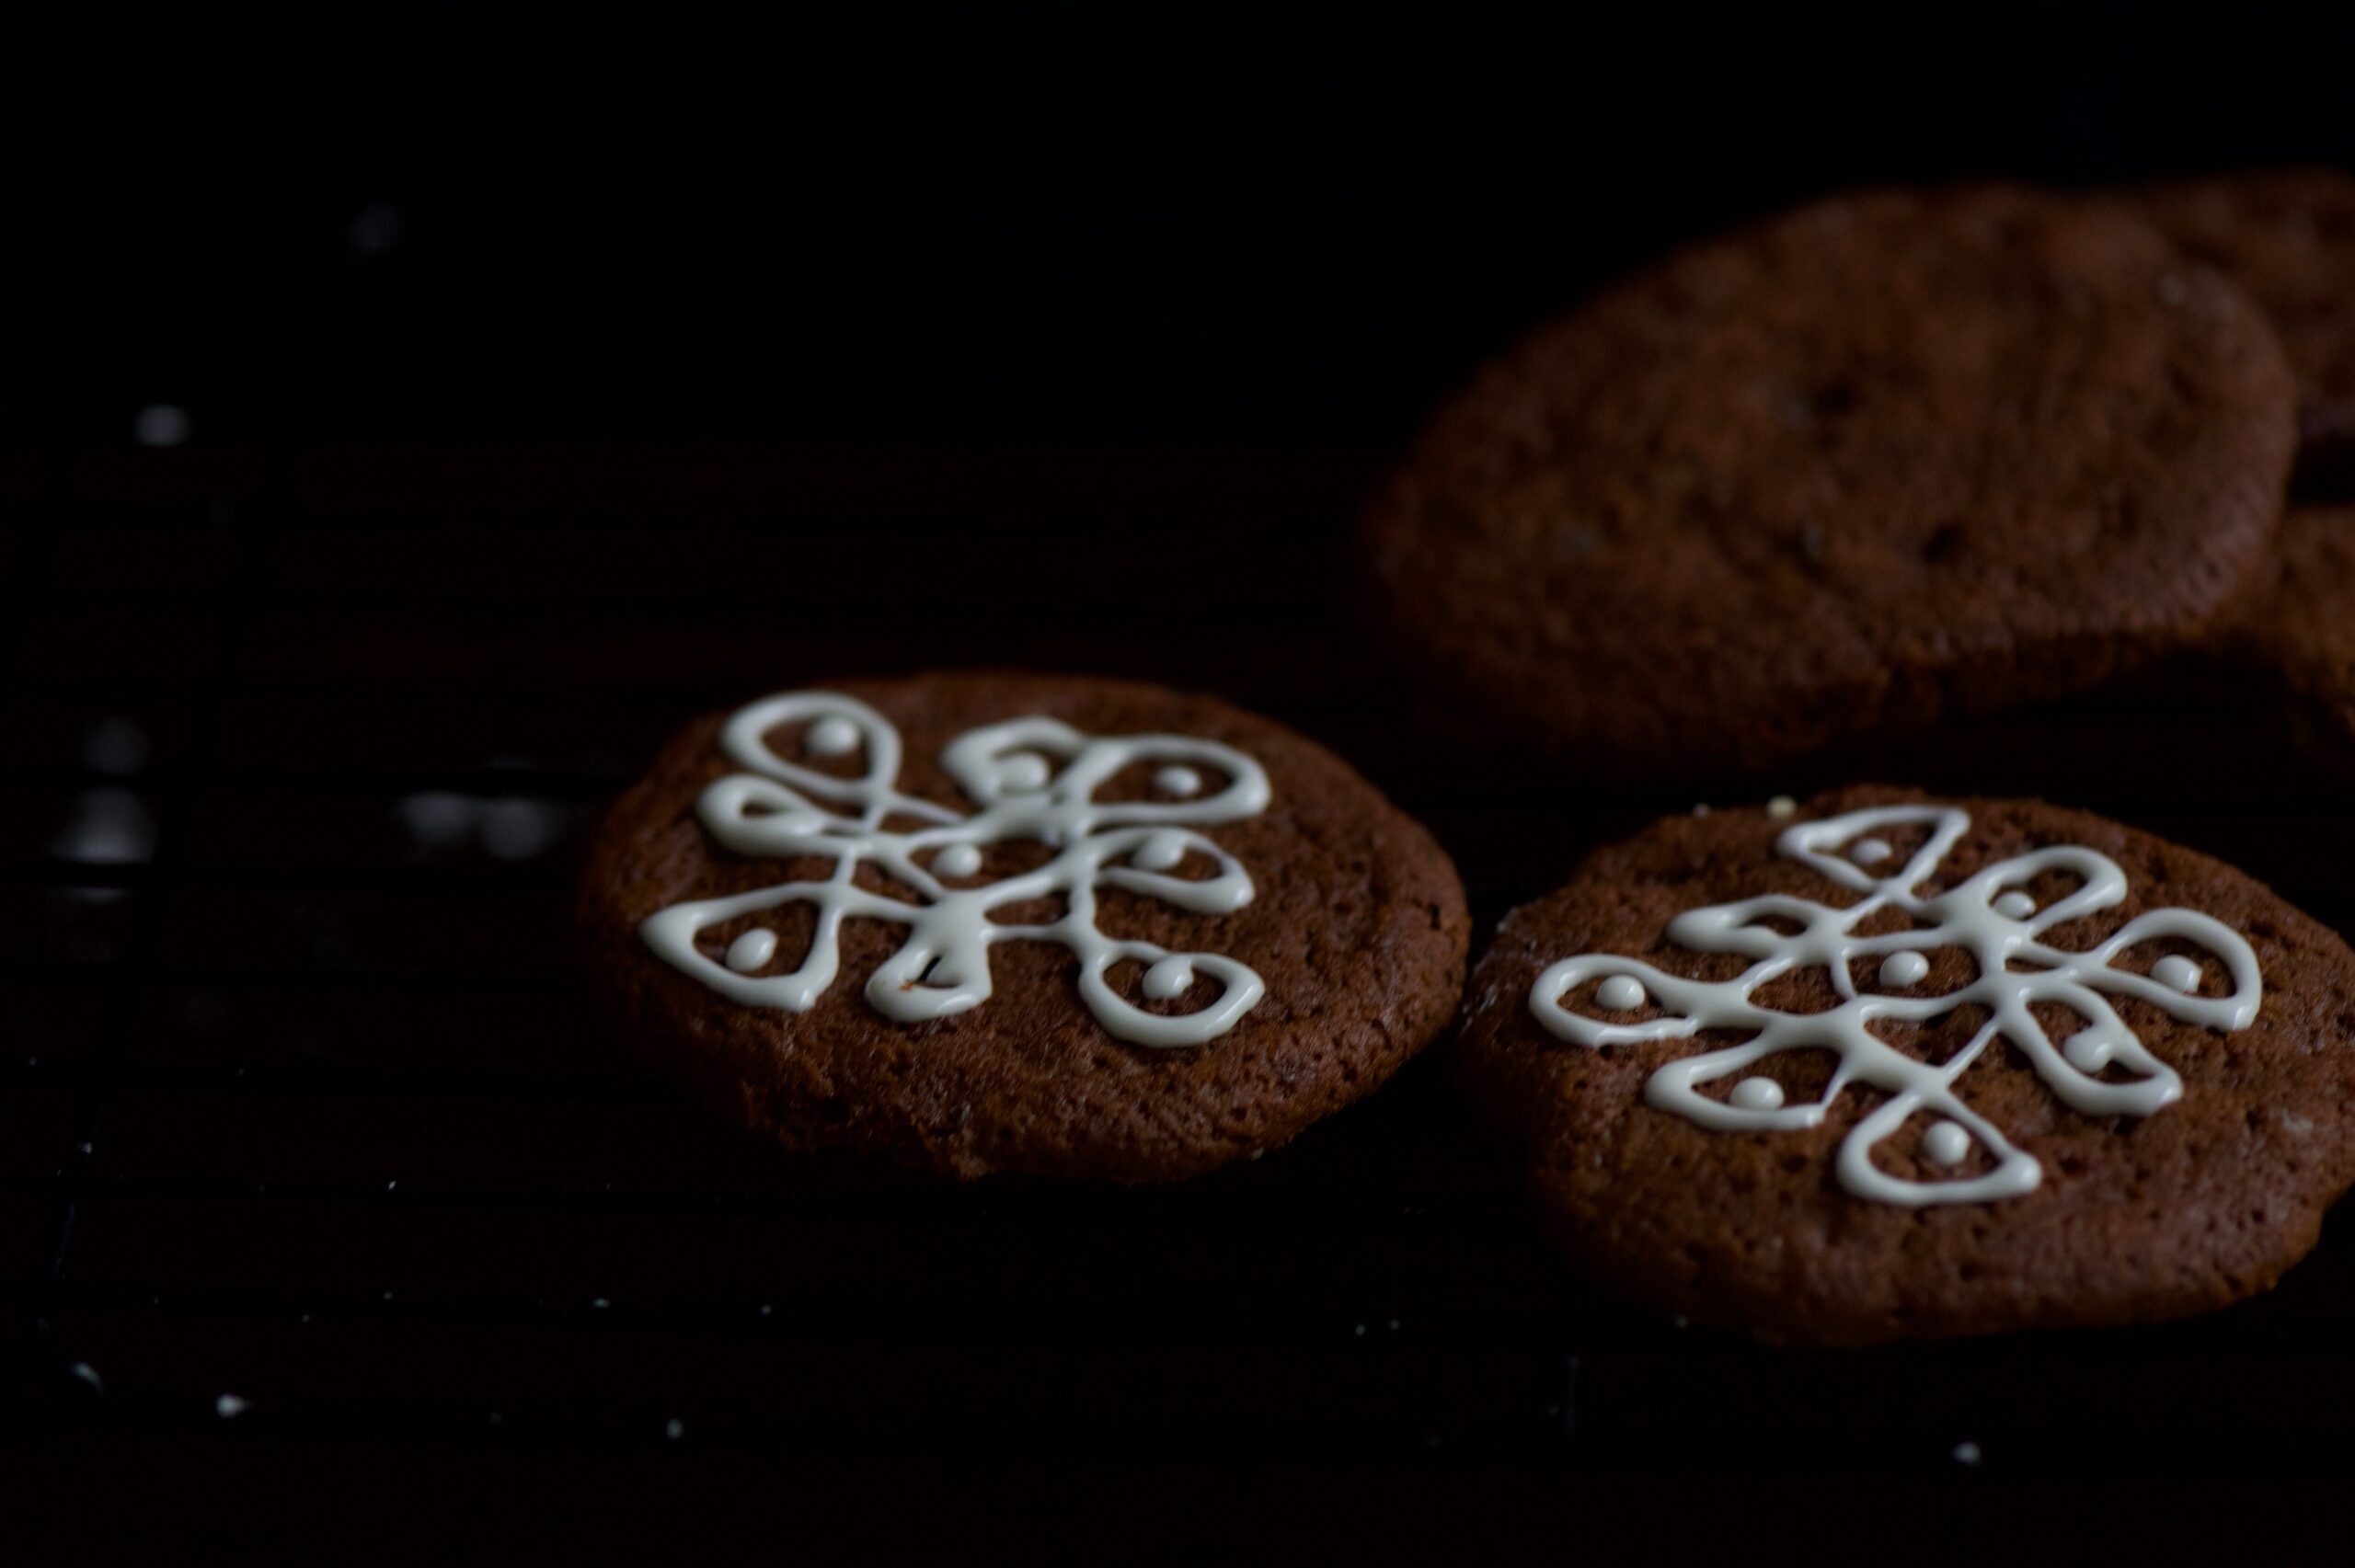
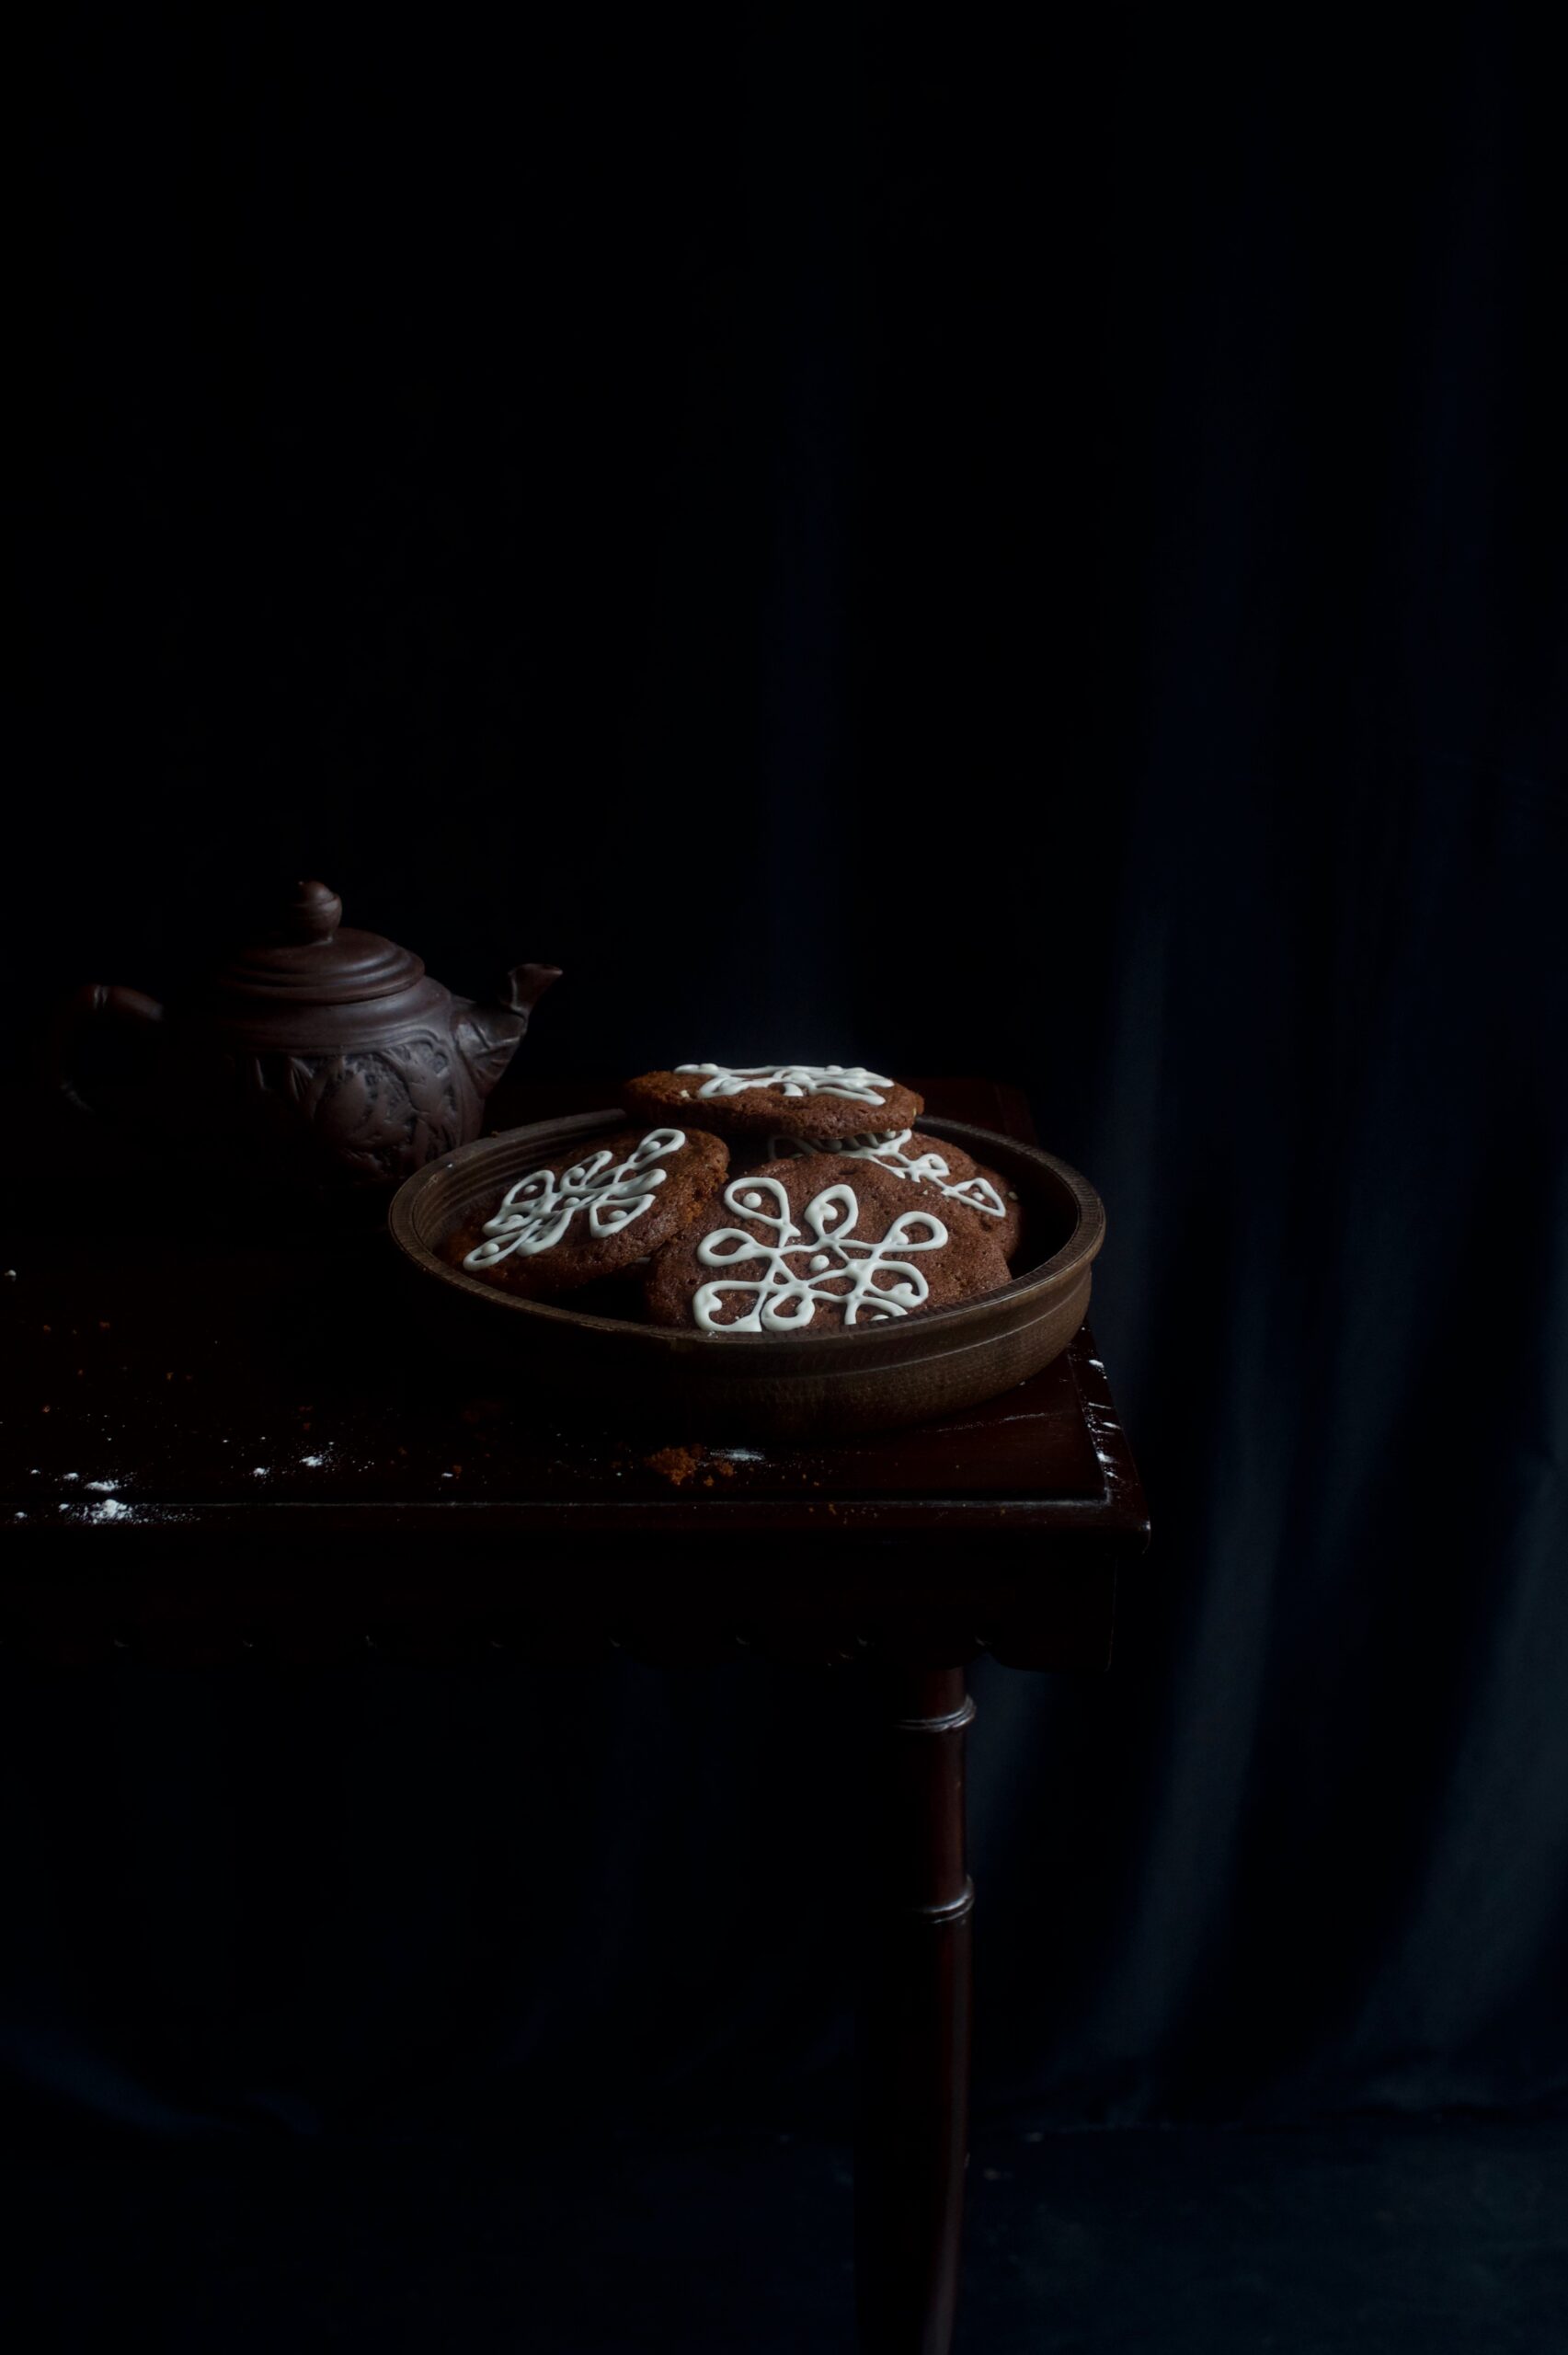
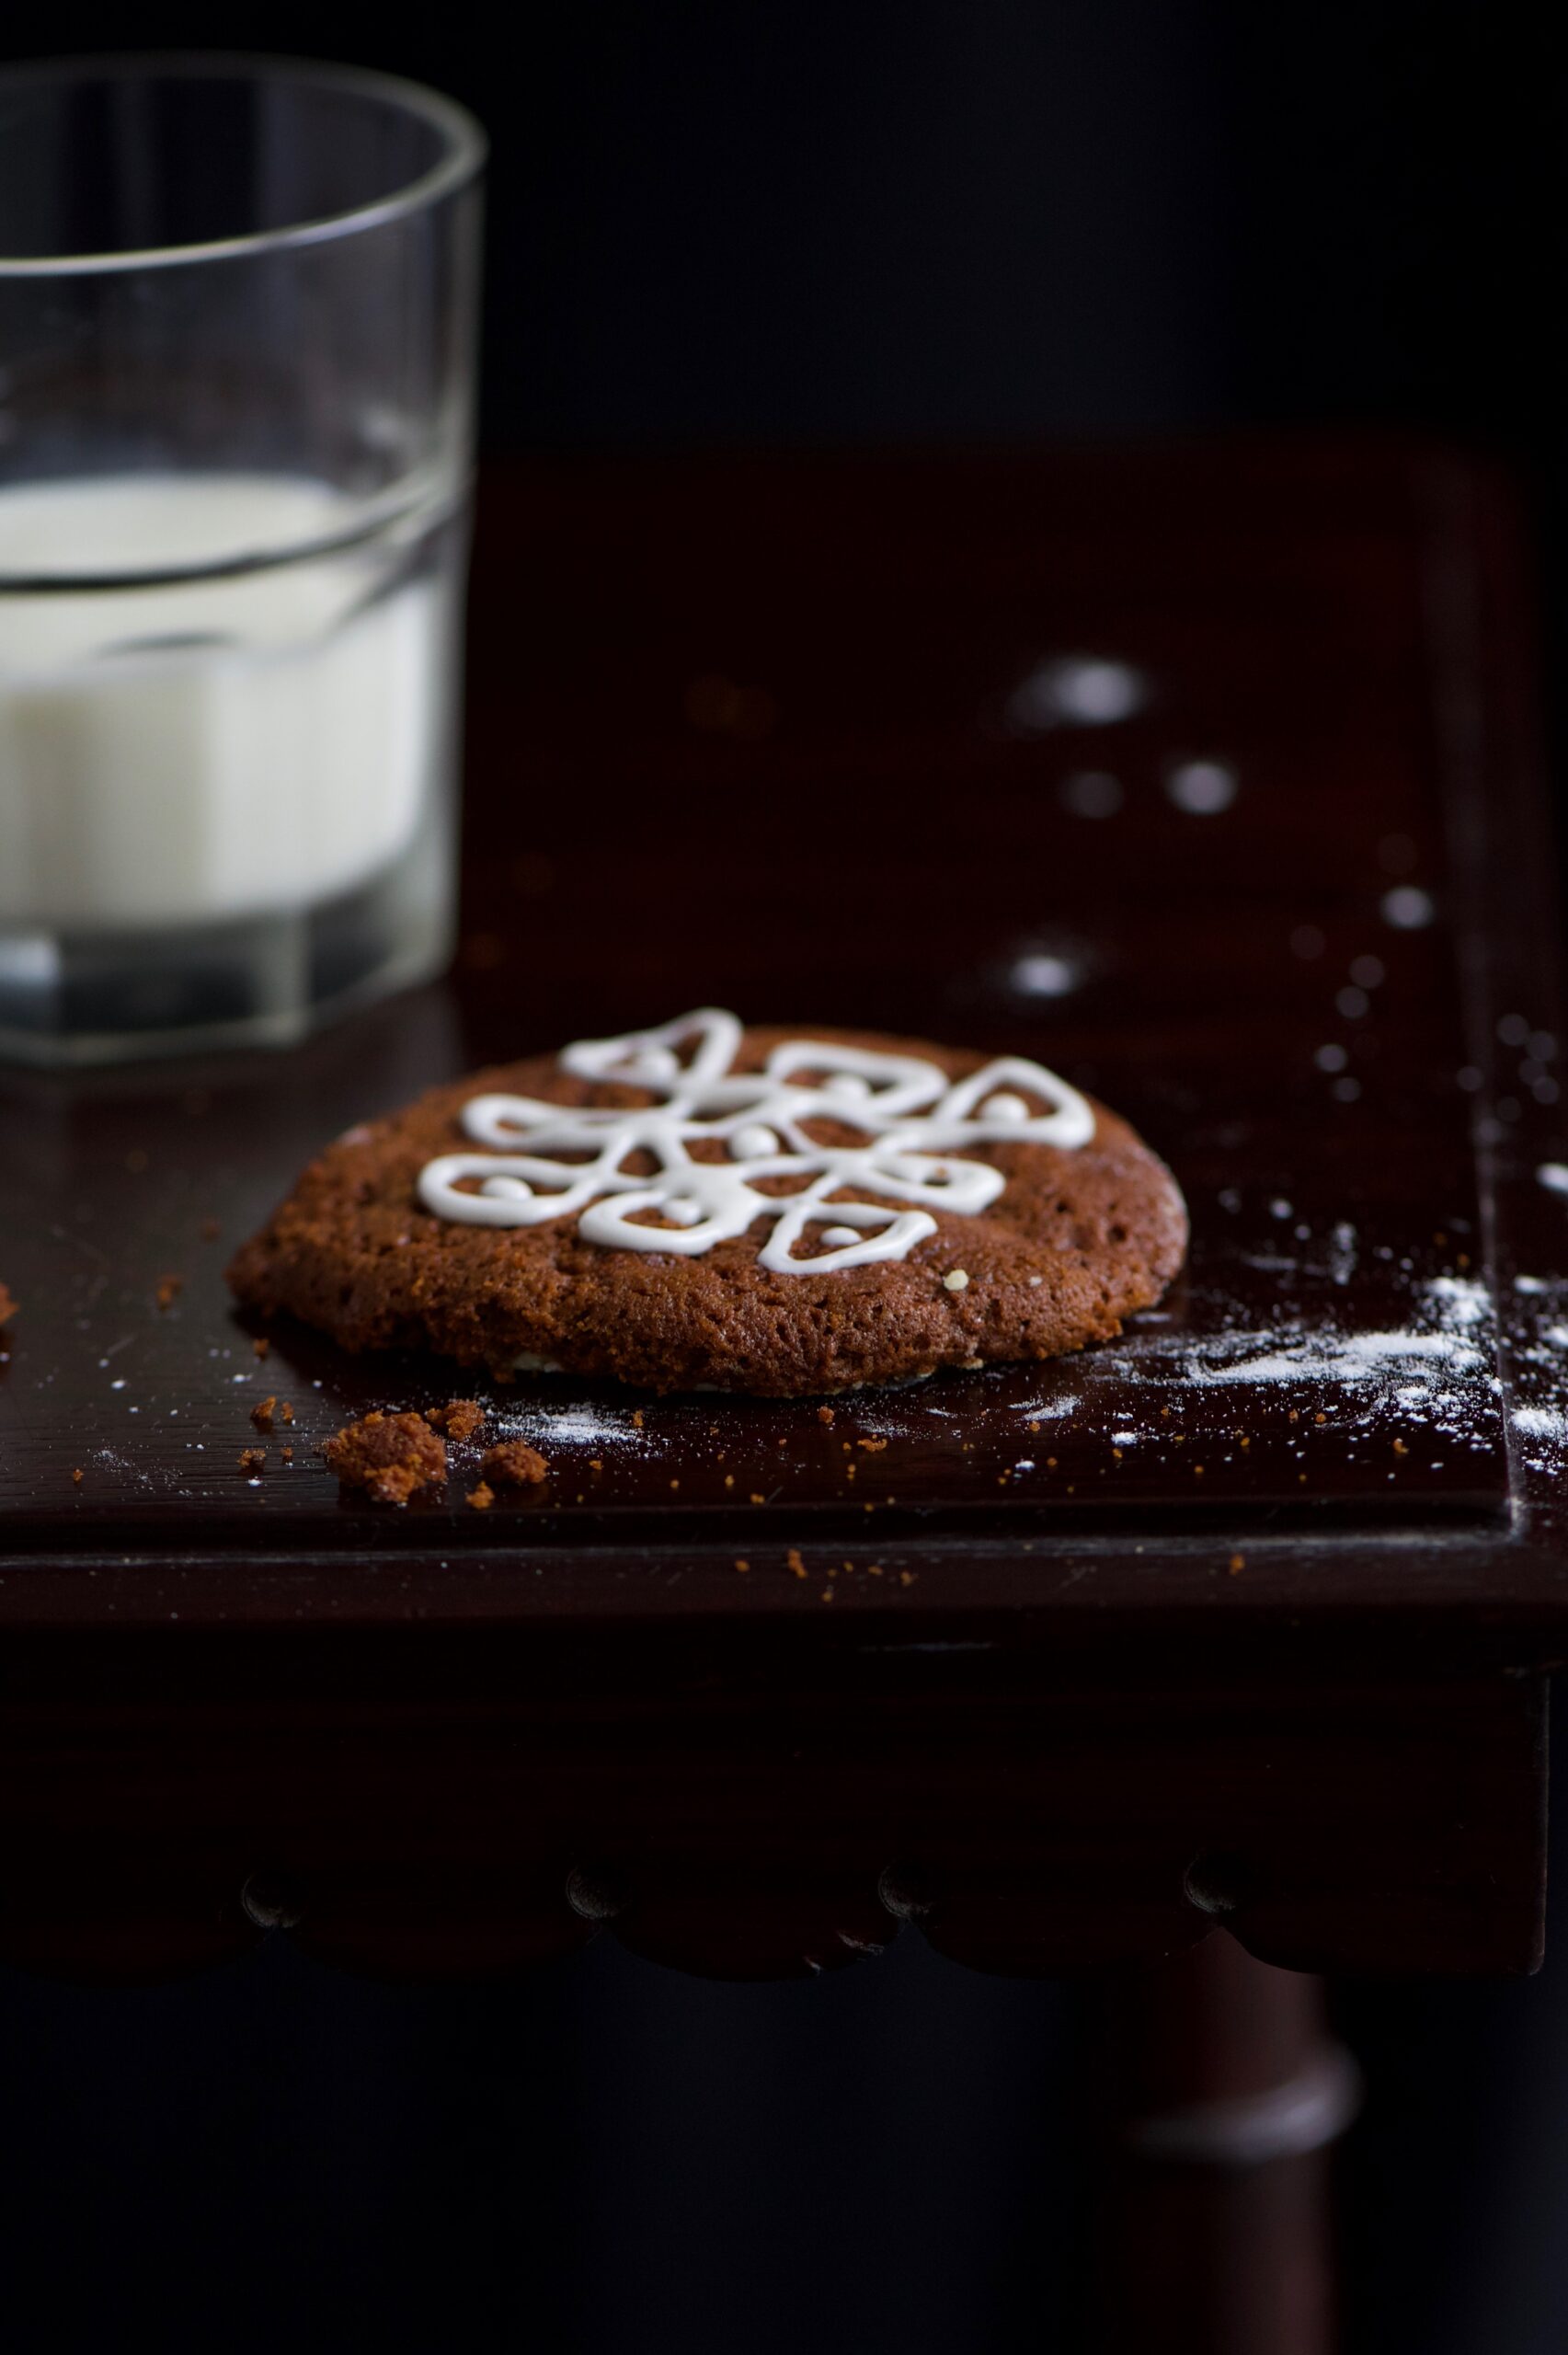
When the cookies have baked, decorate as you desire. As you can see in the photos above and below, I decided to draw delicate designs using white icing – a homage to my culture. In many places in India, intricate rice diagrams are drawn by hand on the front porch in the mornings and before special occasions. They are known as ‘rangoli’ in North India and ‘kolam’ in Tamil Nadu.

Some say a kolam is a prayer in the form of a painting, inviting the goddess and her auspiciousness into the home. Others say it is a practical thing: keeping insects away by feeding them outside the door itself. Either way, without doubt, it is a beautiful thing. I hope you’ll enjoy these photos of chewy, spicy, sweet homemade Christmas cookies – with a quintessentially South Indian sentiment. And I hope the scent of ginger fills your own kitchen soon, and that your life remains as sweet as jaggery – through the festive season and well beyond.

India contains a diverse mix of religions, both brought from abroad and homegrown. Among the latter category is Jainism, which has been practised for thousands of years. Some of my family members belong to this religion, and as the most sacred Jain festival, a time of fasting known as Paryushana, fell this year between August 19 and August 26, I was reminded of a particular temple we used to visit when we were kids… and a specific delicacy that was served there.

As I mentioned in my previous blog post, food is ritually offered to gods in many Eastern religions. At the Mahudi or Madhupuri temple just outside Ahmedabad, the deity Ghantakarna Mahavir Dev loves a ghee-rich dessert known to Gujarati Jains as sukhudi. Gujarati Vaishnavites like myself know it as gol papdi, and offer it to the baby Lord Krishna. By whichever name you call it, it’s a very simple dish both in its preparation and in the ingredients used. It could have become a staple as a religious offering because of both reasons: any family would have been able to afford to make and serve it to God.

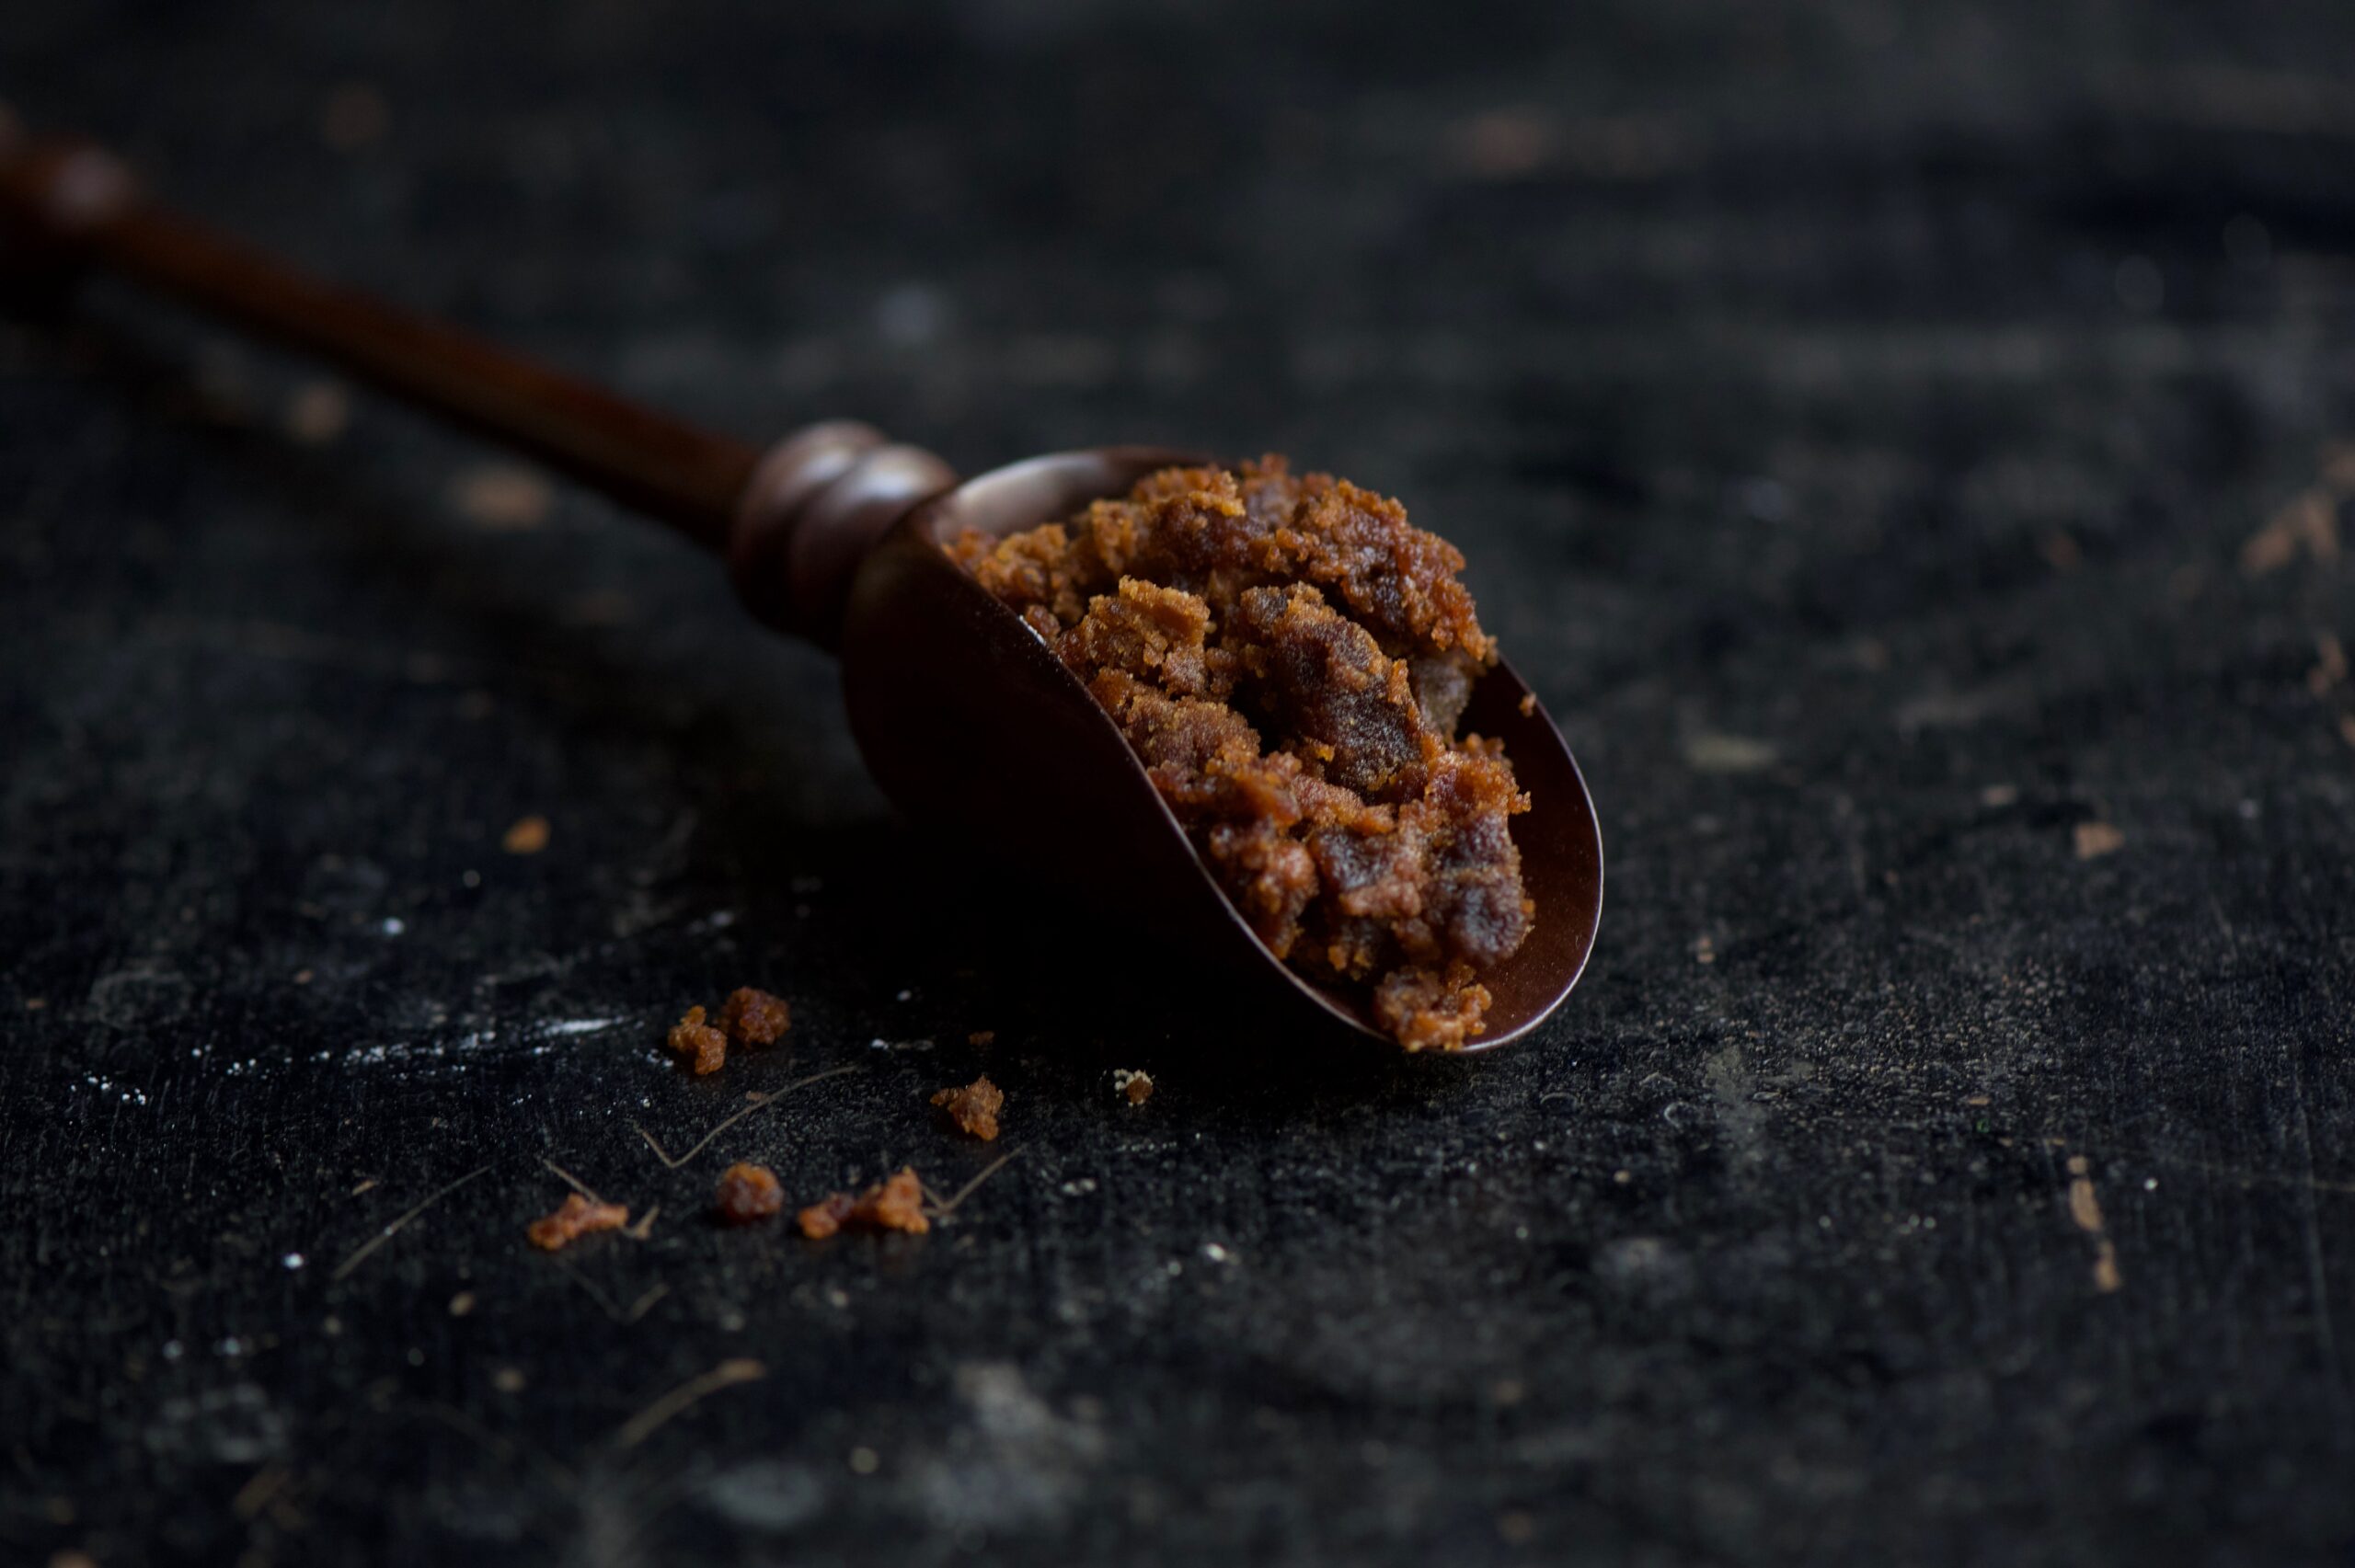
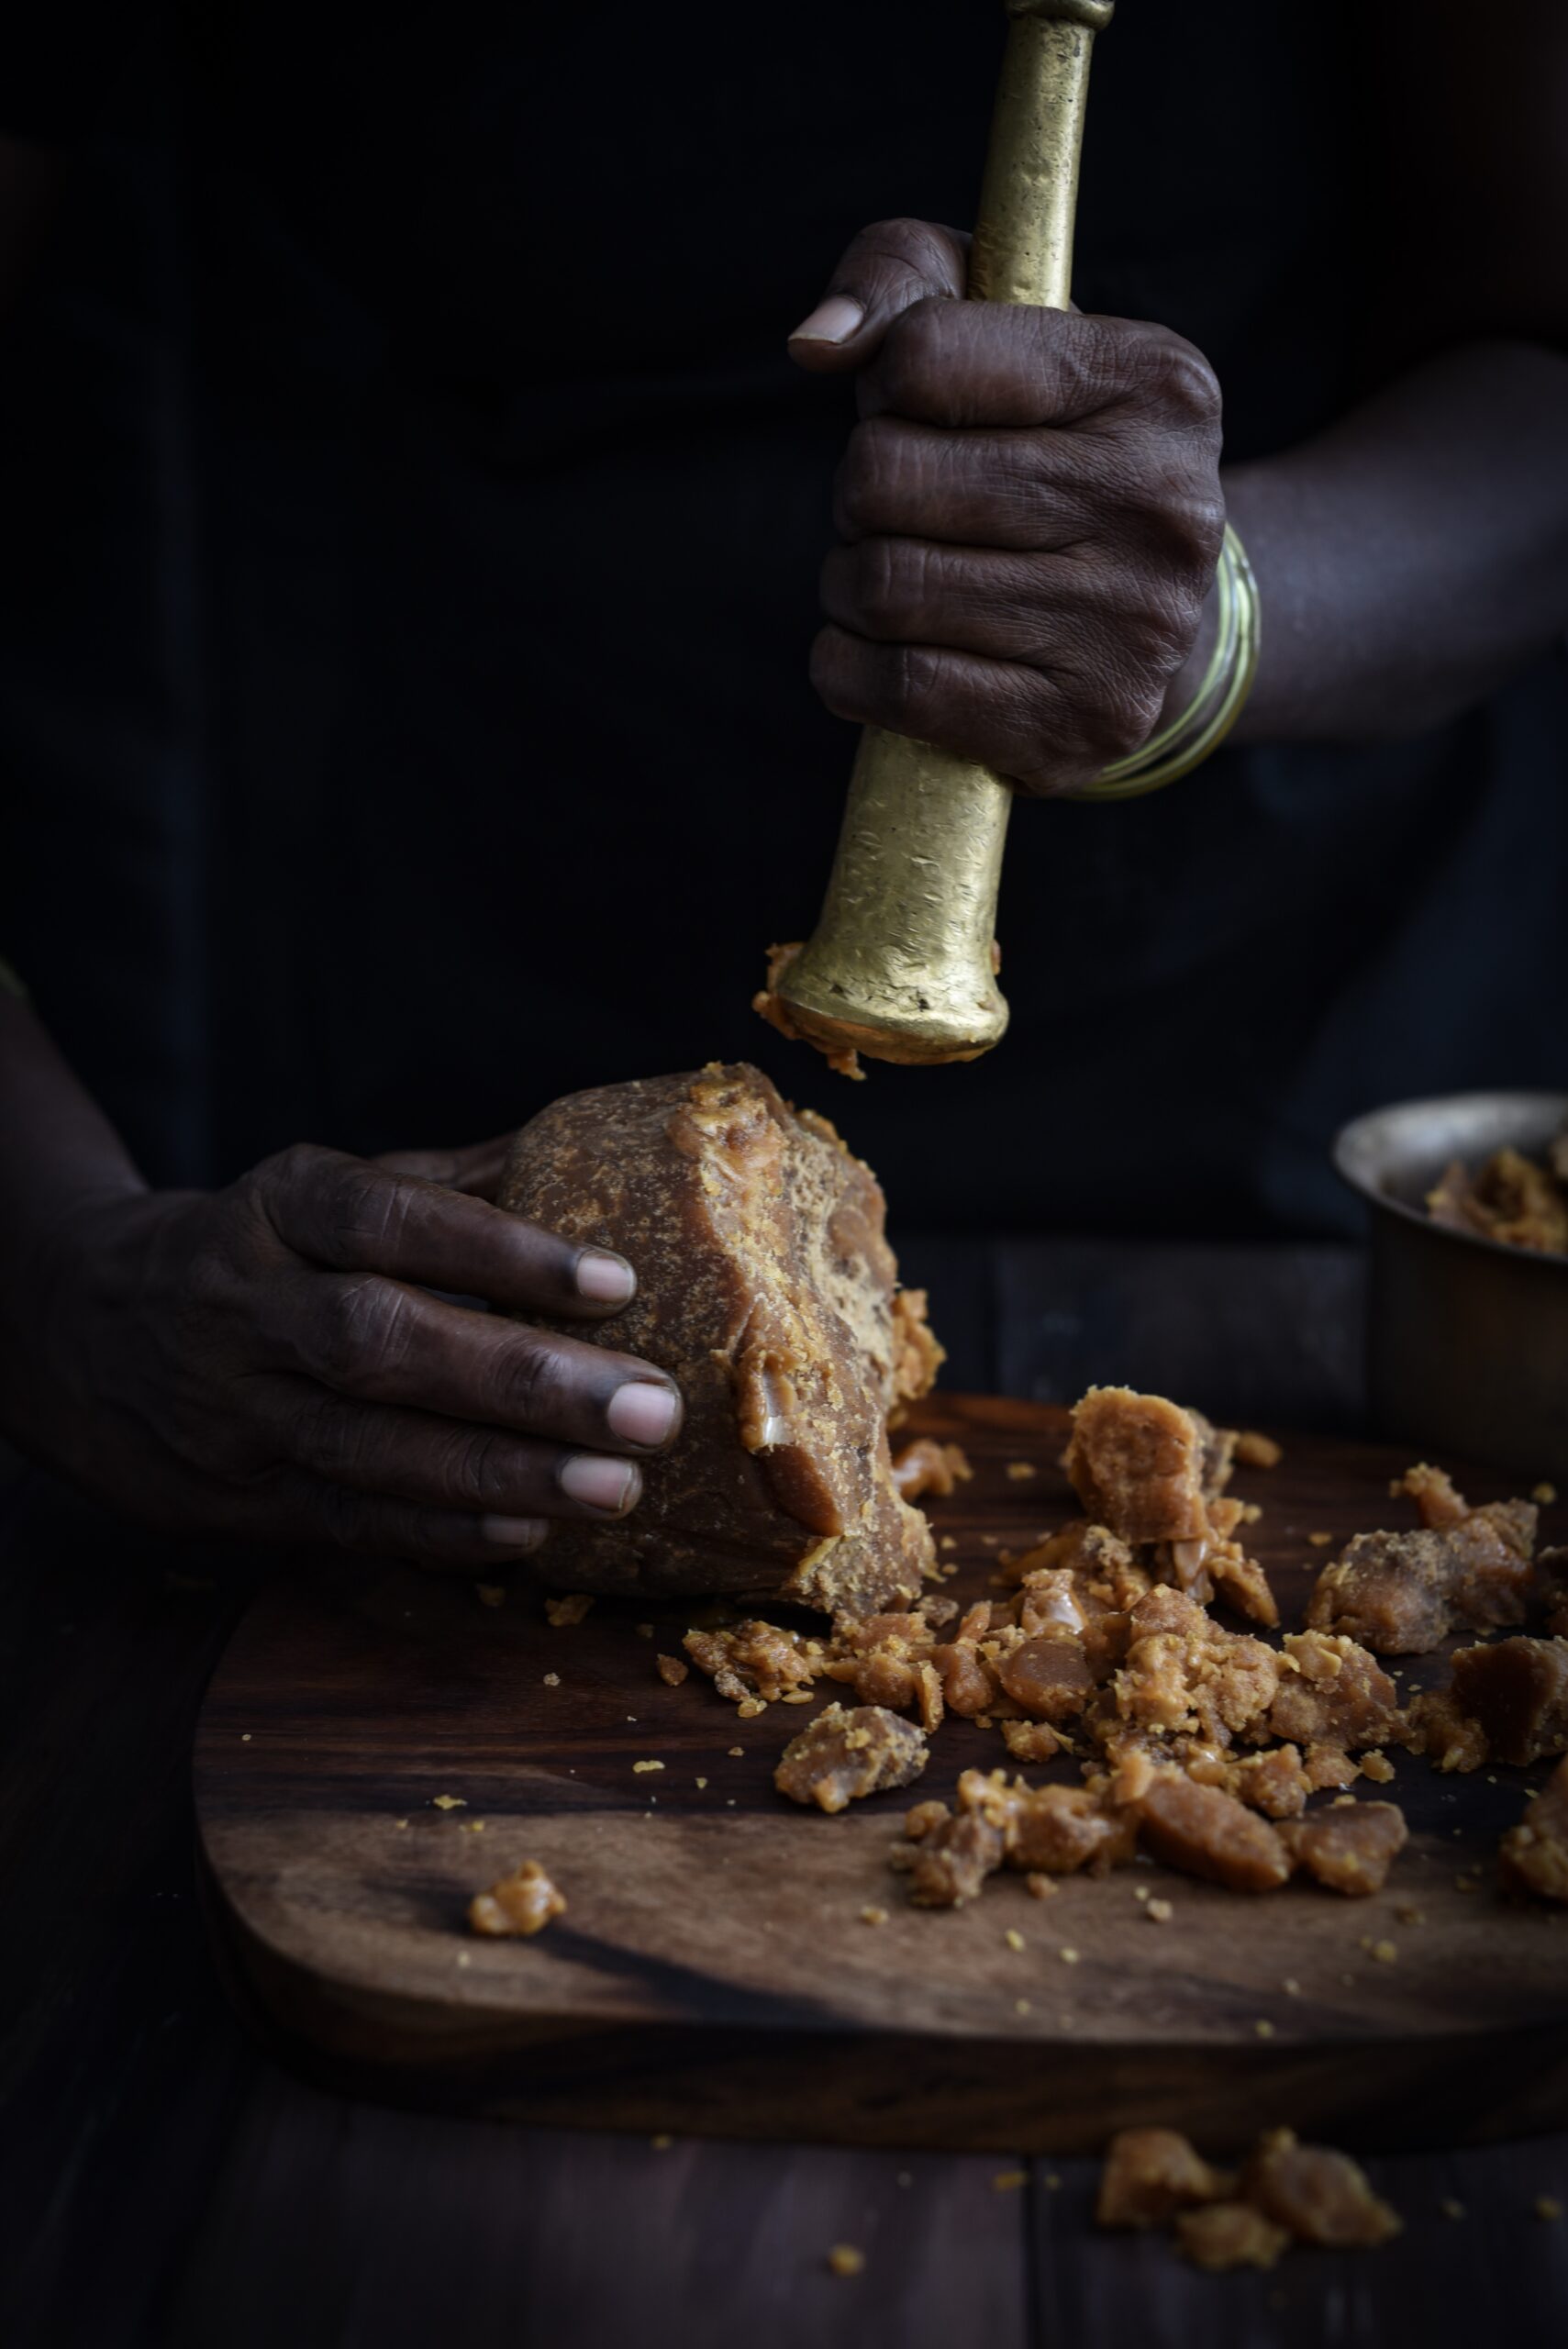
Jaggery is made of cane sugar or date palm. A sweetener that is believed to aid digestion, it is generally a healthier alternative to refined sugar. It has a cooling effect in the summer, and a warming effect in the winter. It’s a vital ingredient in Gujarati cuisine, and a pinch is used in so many dishes (even those which you wouldn’t classify as sweet) to add to the flavour. And it’s a sacred ingredient, of course – the gods certainly seem to enjoy it!

At this temple, this whole wheat and jaggery sweet is made in individual earthenware vessels. After it is offered to the deity, it is served piping hot to those who come to the temple. It is absolutely forbidden to either waste even a little or to take it outside of the temple compound. If you know you’ll be unable to finish your portion, you must give it to pilgrims rather than throw it away. And it is considered extremely bad luck to take sukhudi out of the temple – a theory which my grandmother once tested to her great surprise!

The story was recounted to me by my aunt Sam, whom I visited a couple of weeks ago. Many years ago, when Sam was still a teenager, some of the family had gone to Mahudi. When they returned, the parents and elders were chatting downstairs, while the kids played on the third floor. Sam had been sitting atop of a pile of mattresses that had been set by a window. Down below, her mother (my grandmother) was telling the others that she didn’t believe in the superstition about taking sukhudi out of the temple. Just as she firmly insisted, “Sam just brought some back for me, and nothing happened – I do not believe in such tales!” – a loud thud was heard.

Sam had fallen out of the window! Miraculously, for a fall from the third floor, she was absolutely unscathed. Her mother winced and bit back her words, and made a promise to offer sukhudi at the Mahudi temple as an appeasement. The incident ended any further attempt in my family to take sukhudi out of the Mahudi temple. Perhaps it was a coincidence, and perhaps all our beliefs are created with our own minds (I am reading Yuval Noah Harari’s amazing Sapiens: A Brief History of Humankind and it’s making me ponder such ideas deeply). Still, none of us has tempted fate since.

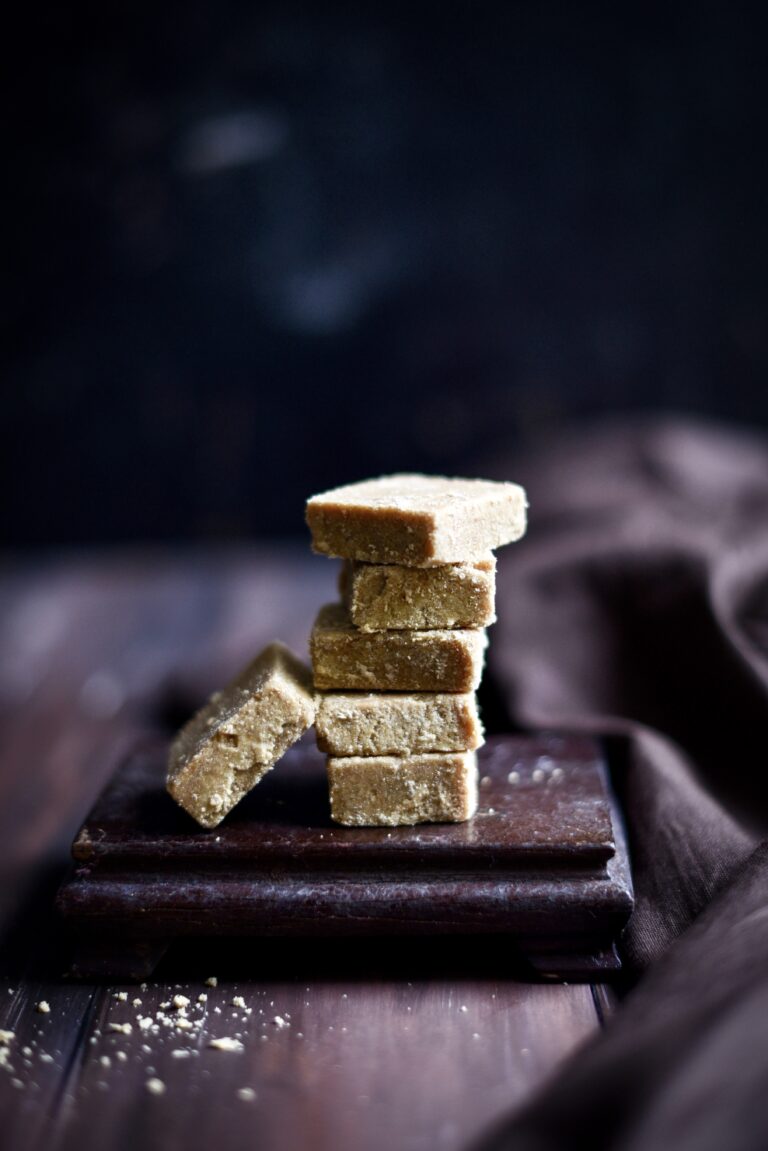
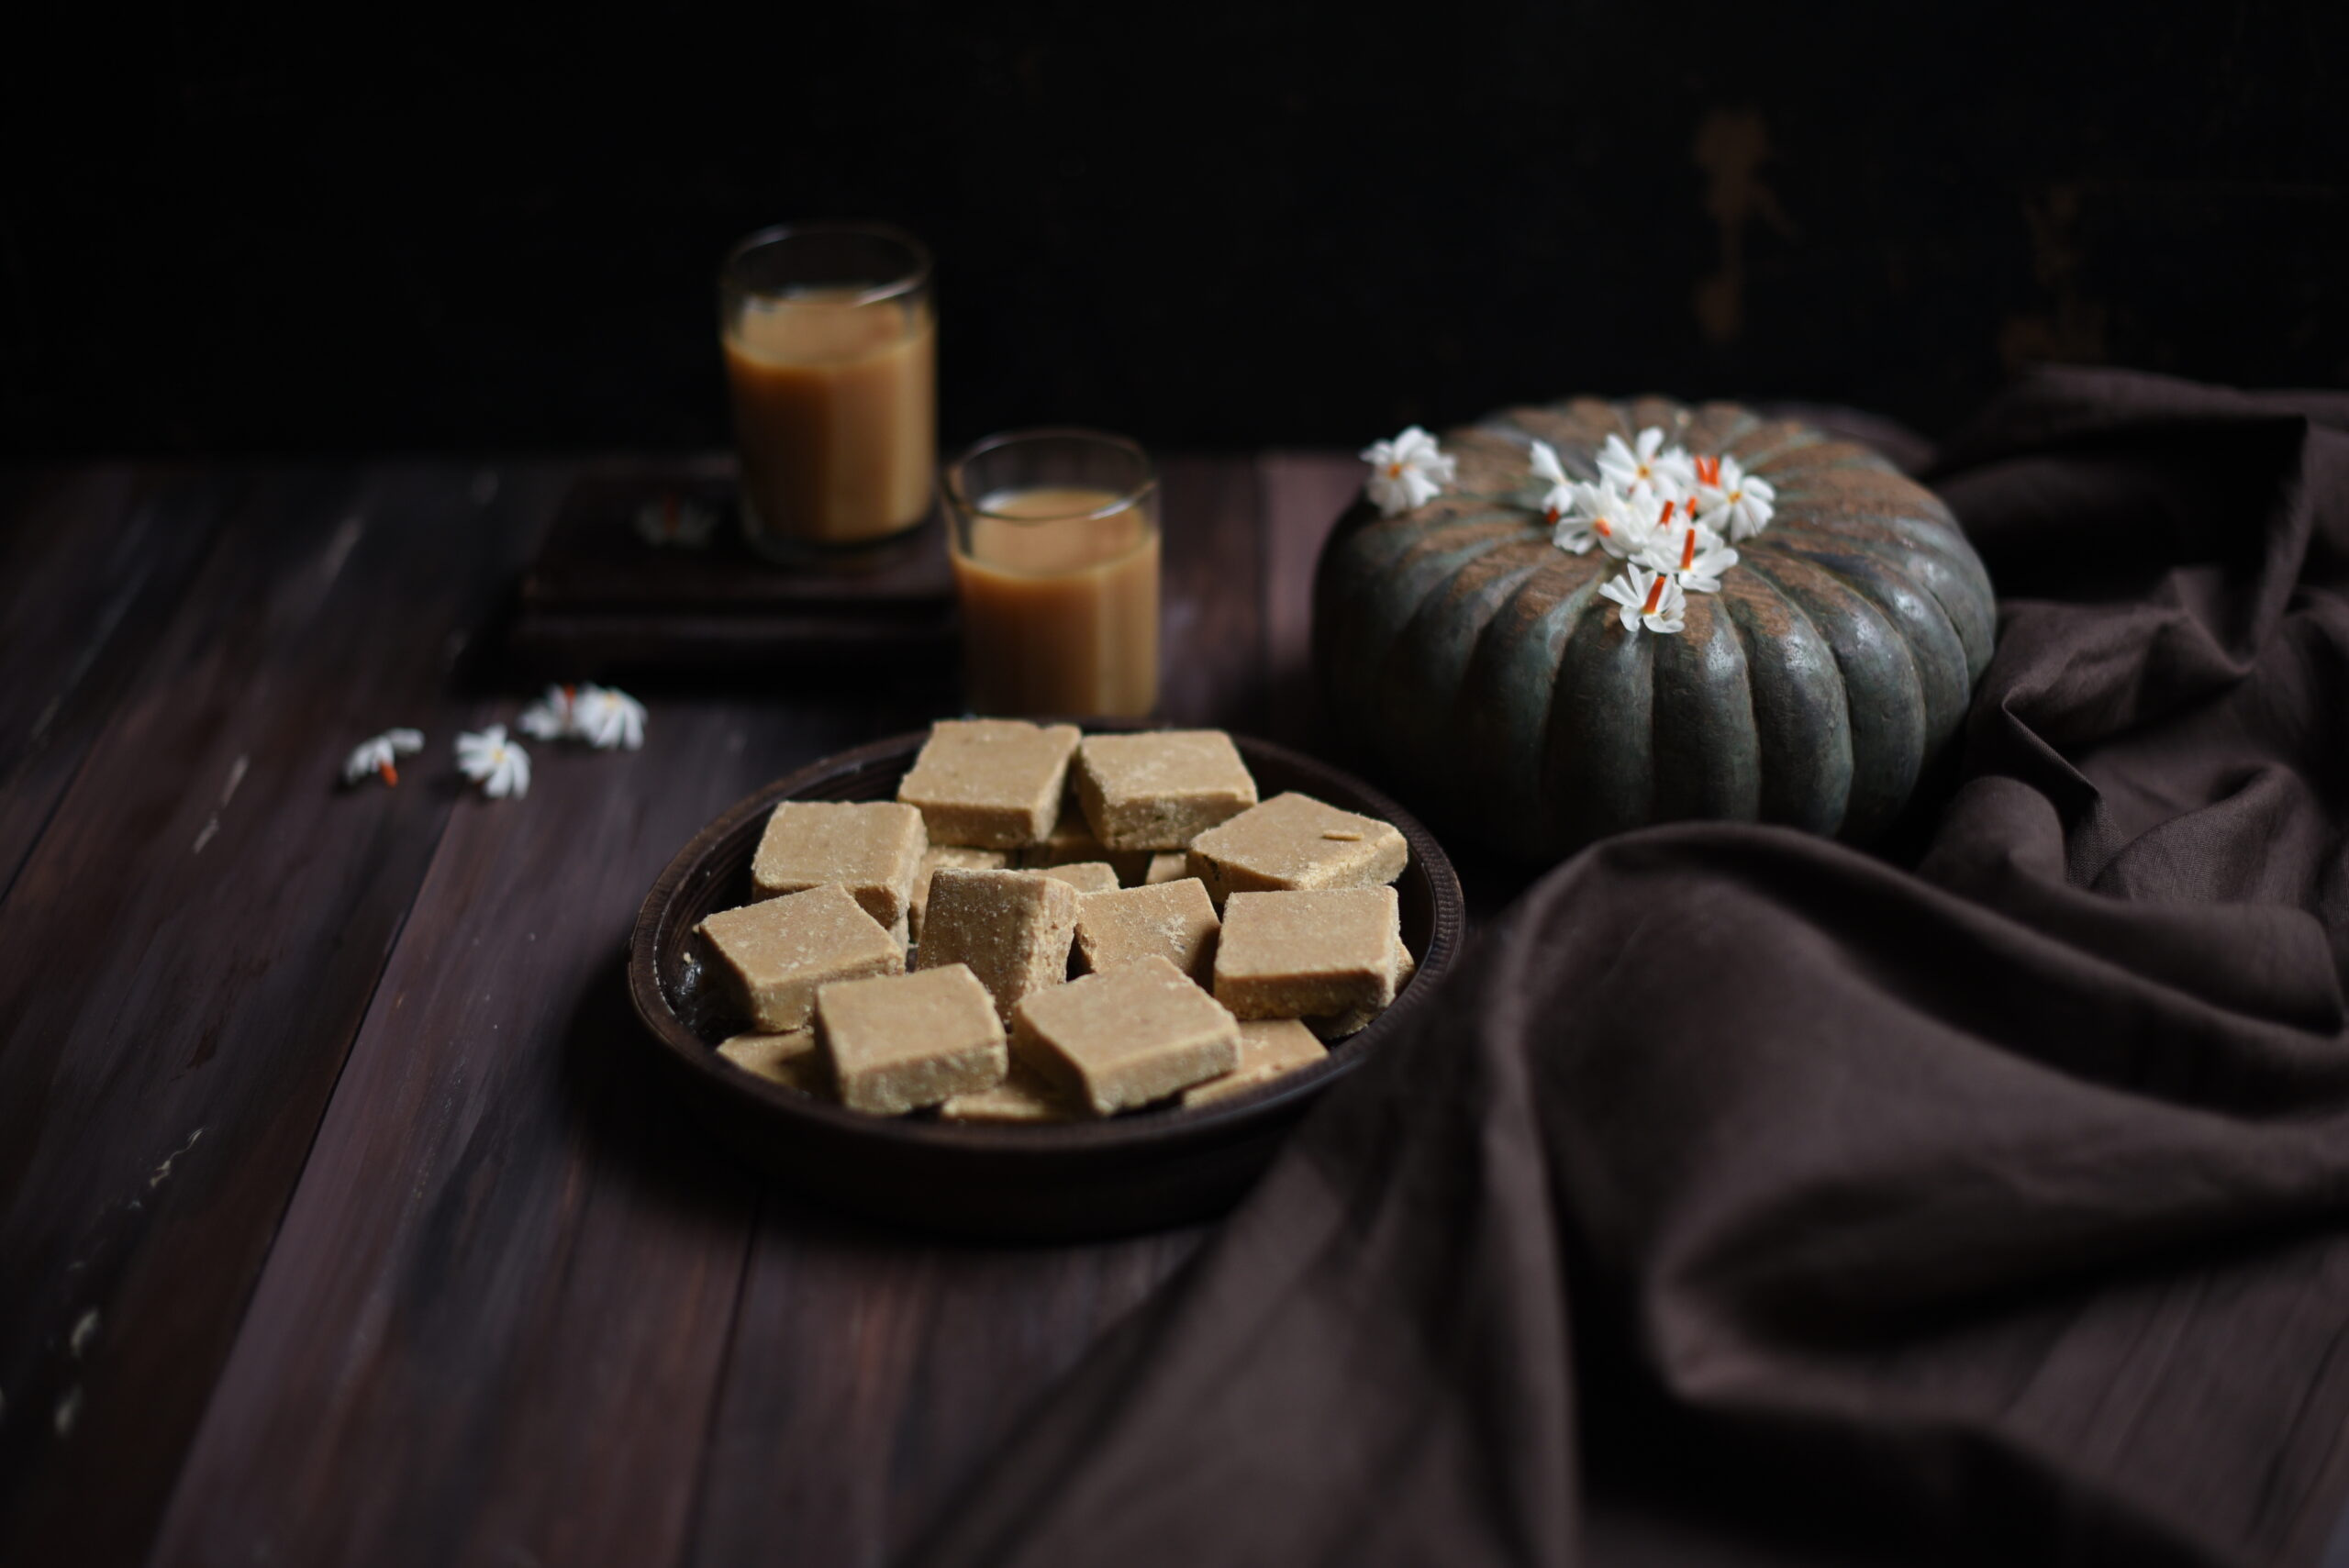
Whether you want to see these whole wheat jaggery squares as a religious offering or a treat for your sweet tooth is up to you. One thing is for certain: I hope they taste utterly divine.

Jaggery & Whole Wheat Squares

Yield: 10-15 pieces
Prep time: 20 minutes

1 cup whole wheat flour
½ cup clarified butter (ghee)
¾ cup jaggery
½ teaspoon ginger powder
2 tablespoons slivered almonds

Call them whole wheat jaggery squares, call them sukhudi or call them gol papdi – these sweets are very easy to make once you have the ingredients on hand.

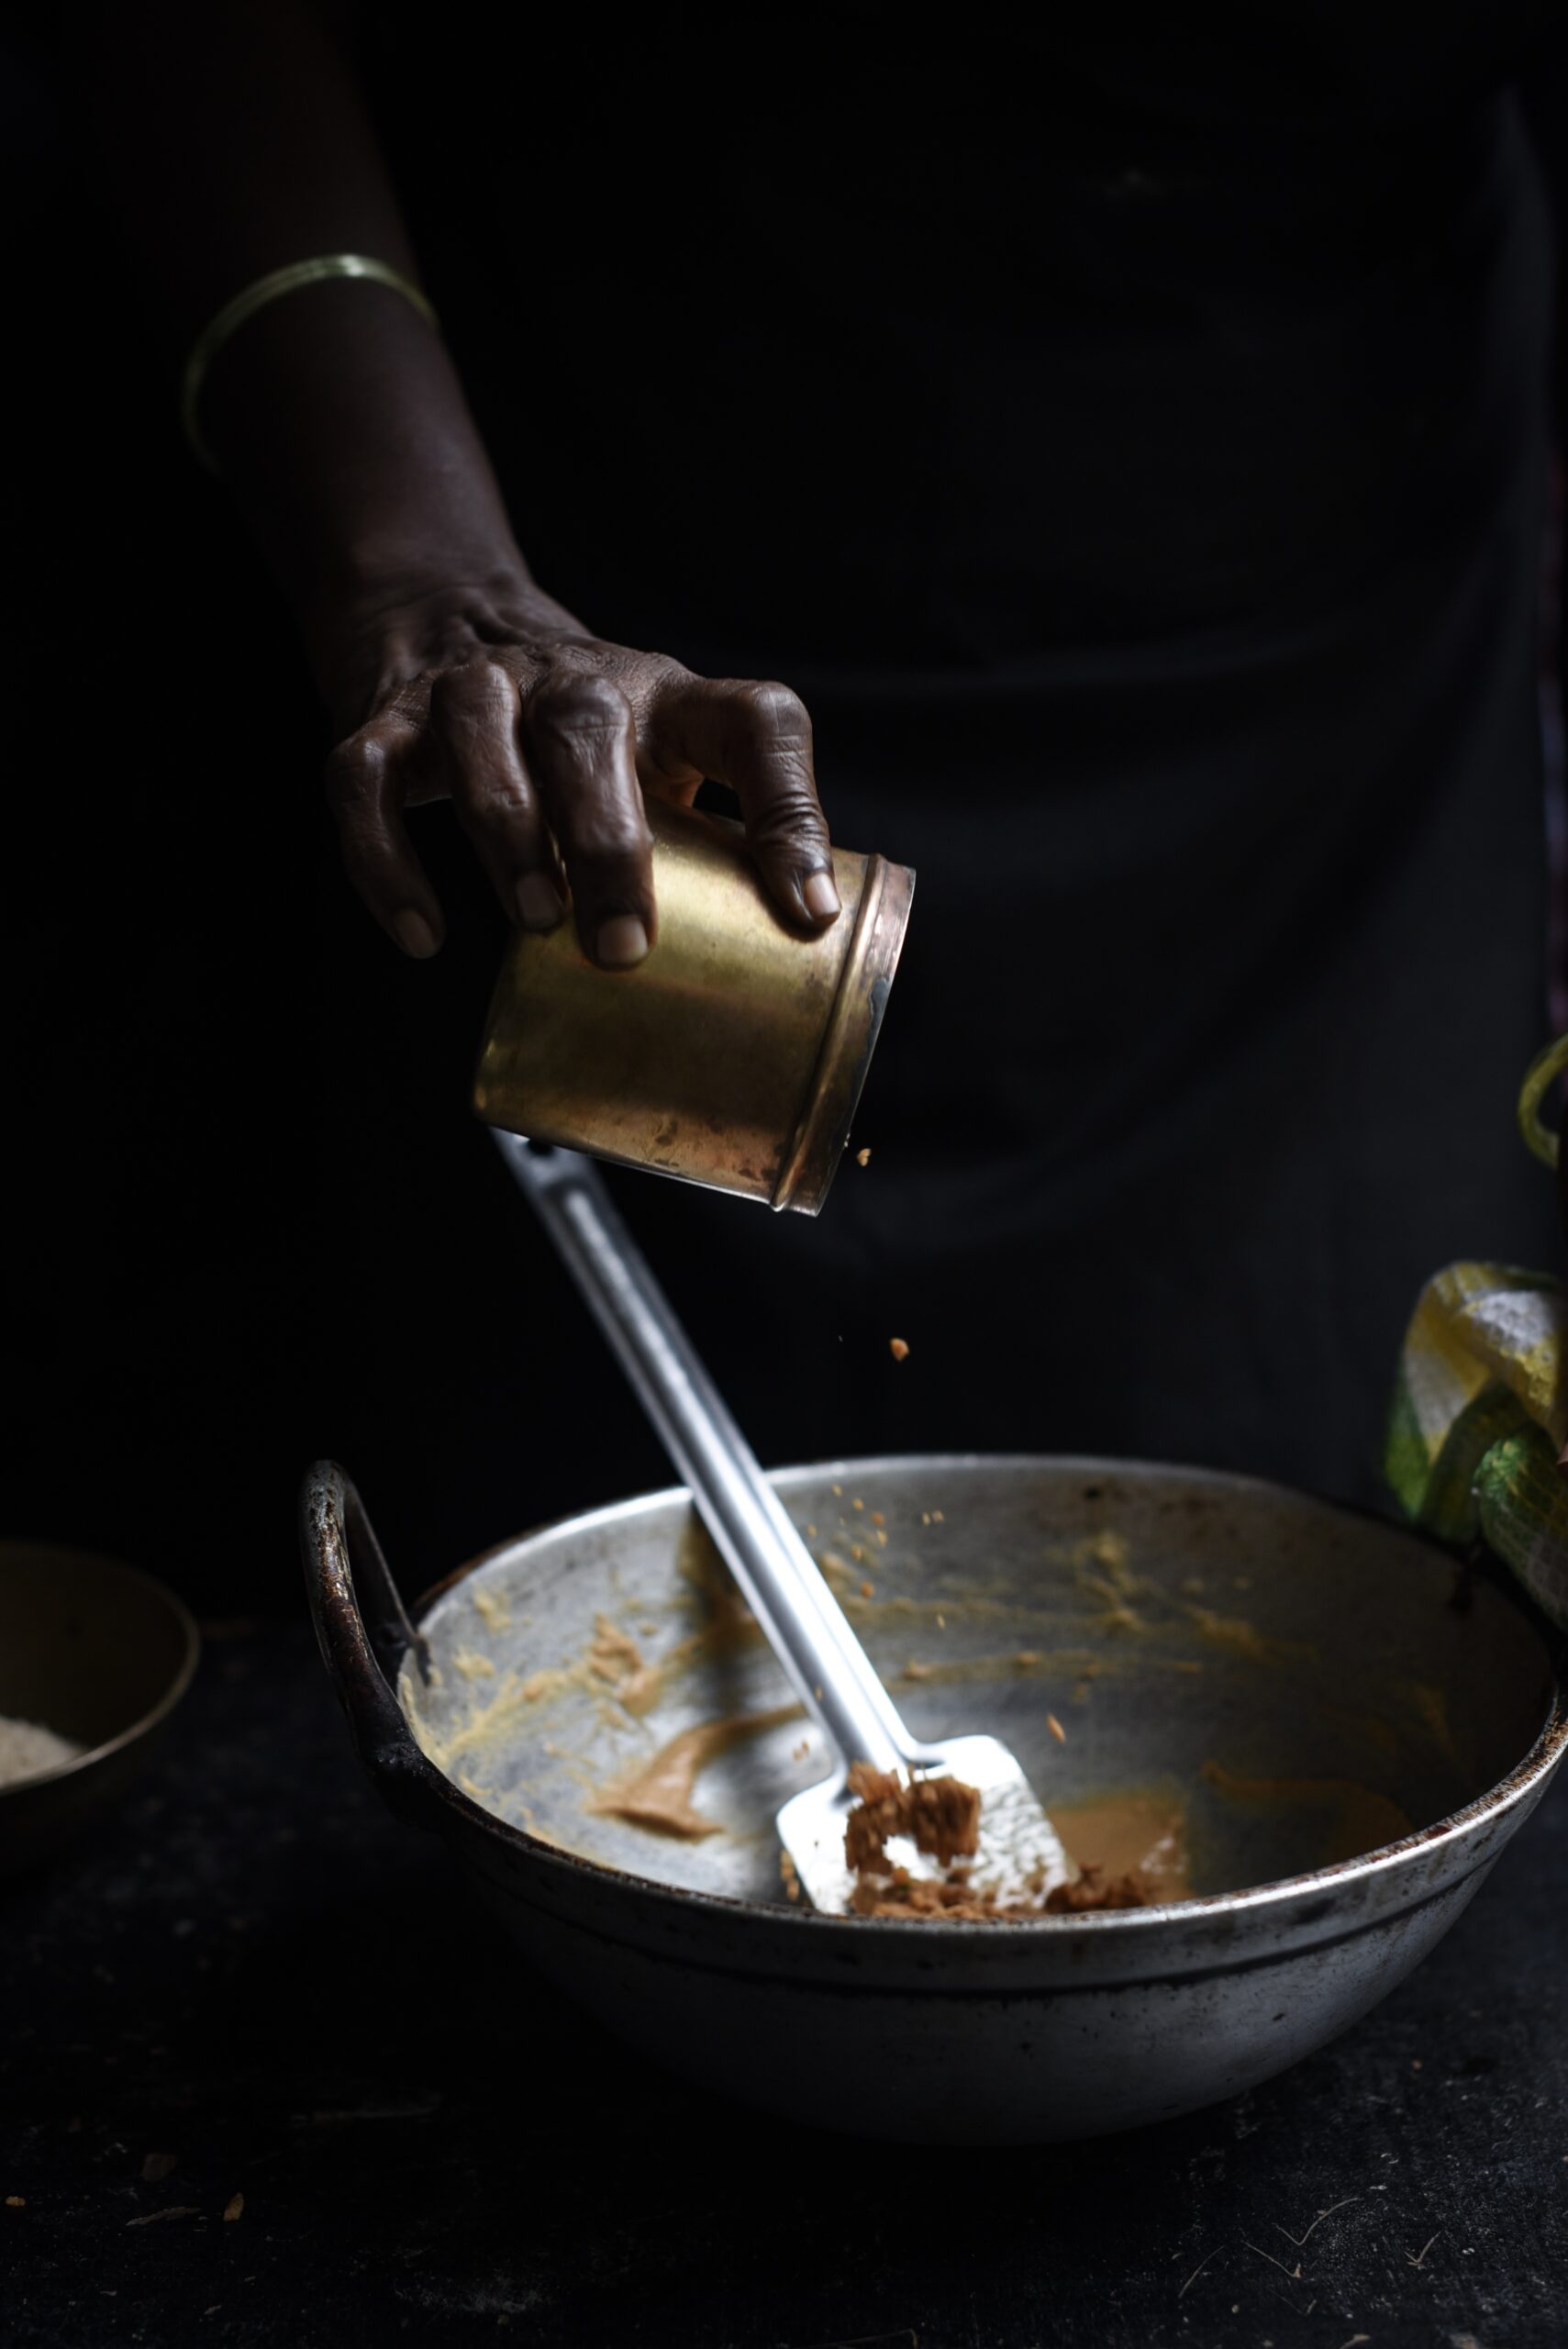
Grease a steel plate with some ghee and keep it aside. In a kadhai, or a wok-shaped pan, add ghee and allow it to melt. In a few seconds, add the whole wheat flour. With a spatula, stir and sauté until the mixture turns golden brown. This will take approximately 10-15 minutes on a medium to low flame. Remove from the stove and add the jaggery and ginger powder. As always, season to your taste – I even add cardamom, desiccated coconut, cinnamon or masala chai powder when I make this dish. Ginger in particular is something that is traditionally added during winters for its warming effect.

A word about jaggery: it varies in sweetness around the world, so you must gauge the correct amount to use when you make this dish. I had used a particularly sweet batch when I made this after talking to my aunt, and found it too cloying, then made it again to my taste. However, if you add too little jaggery, the mixture will not bind. As with any recipe, sometimes it takes more than one try to get it right.

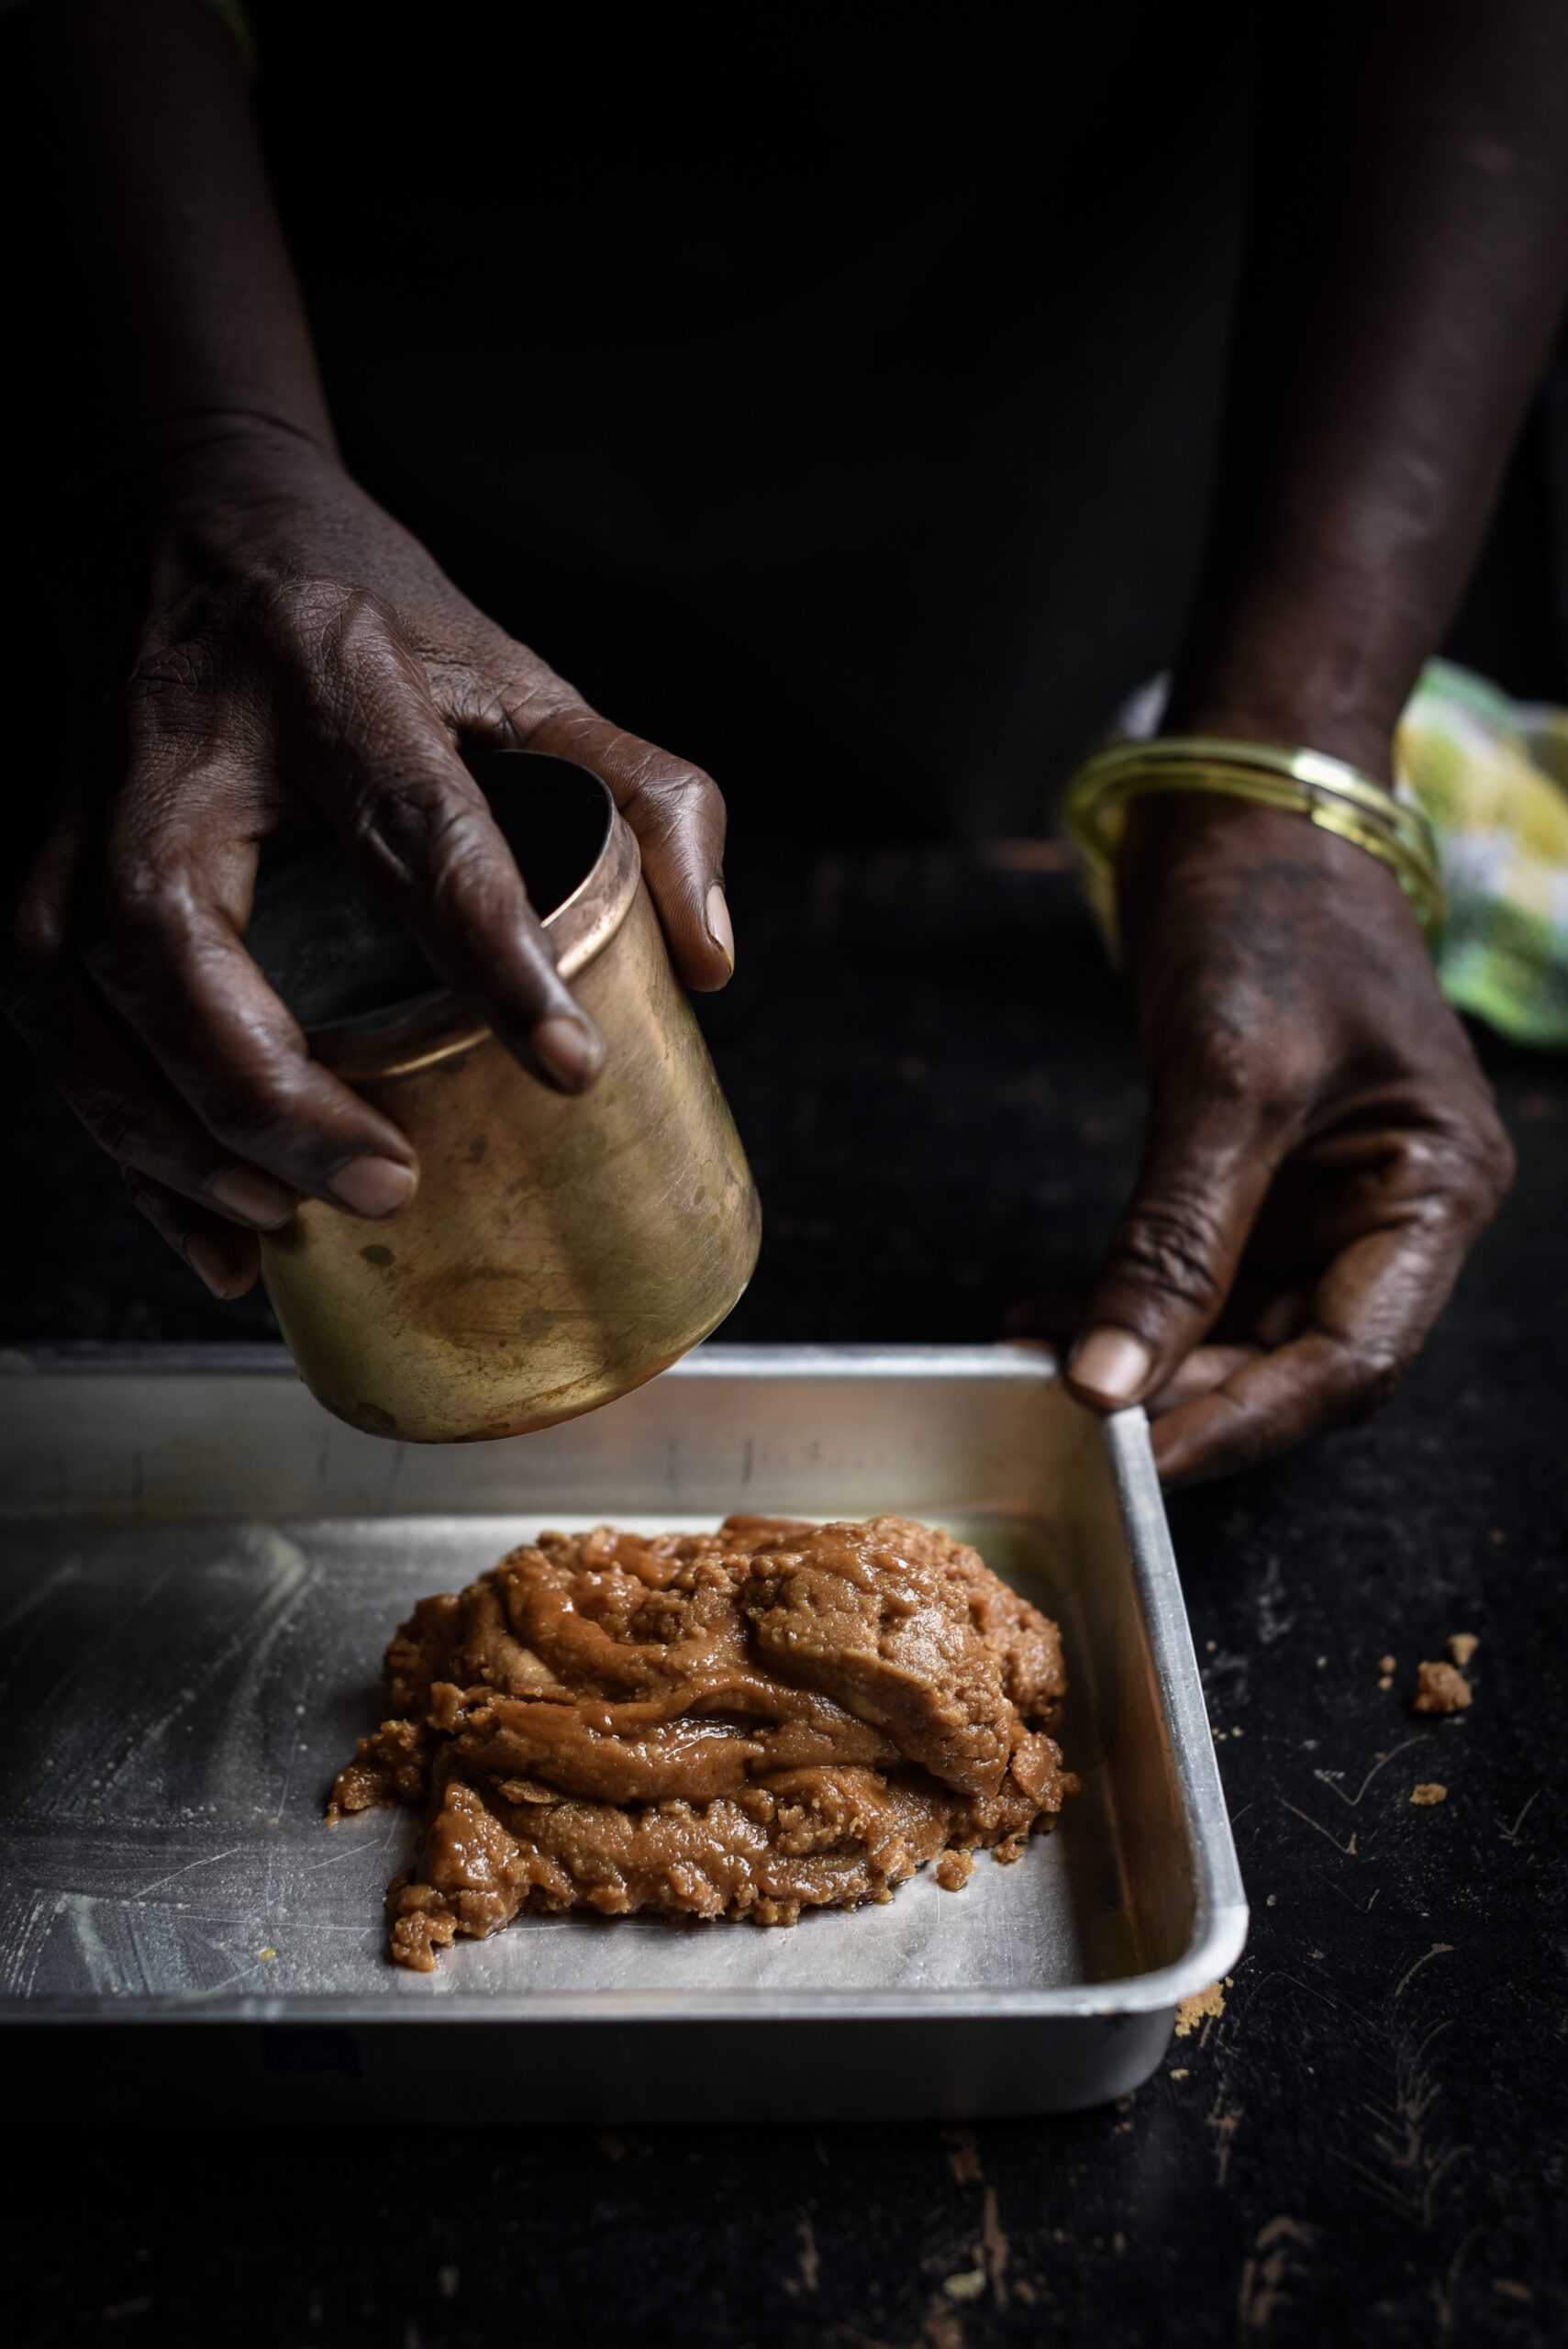
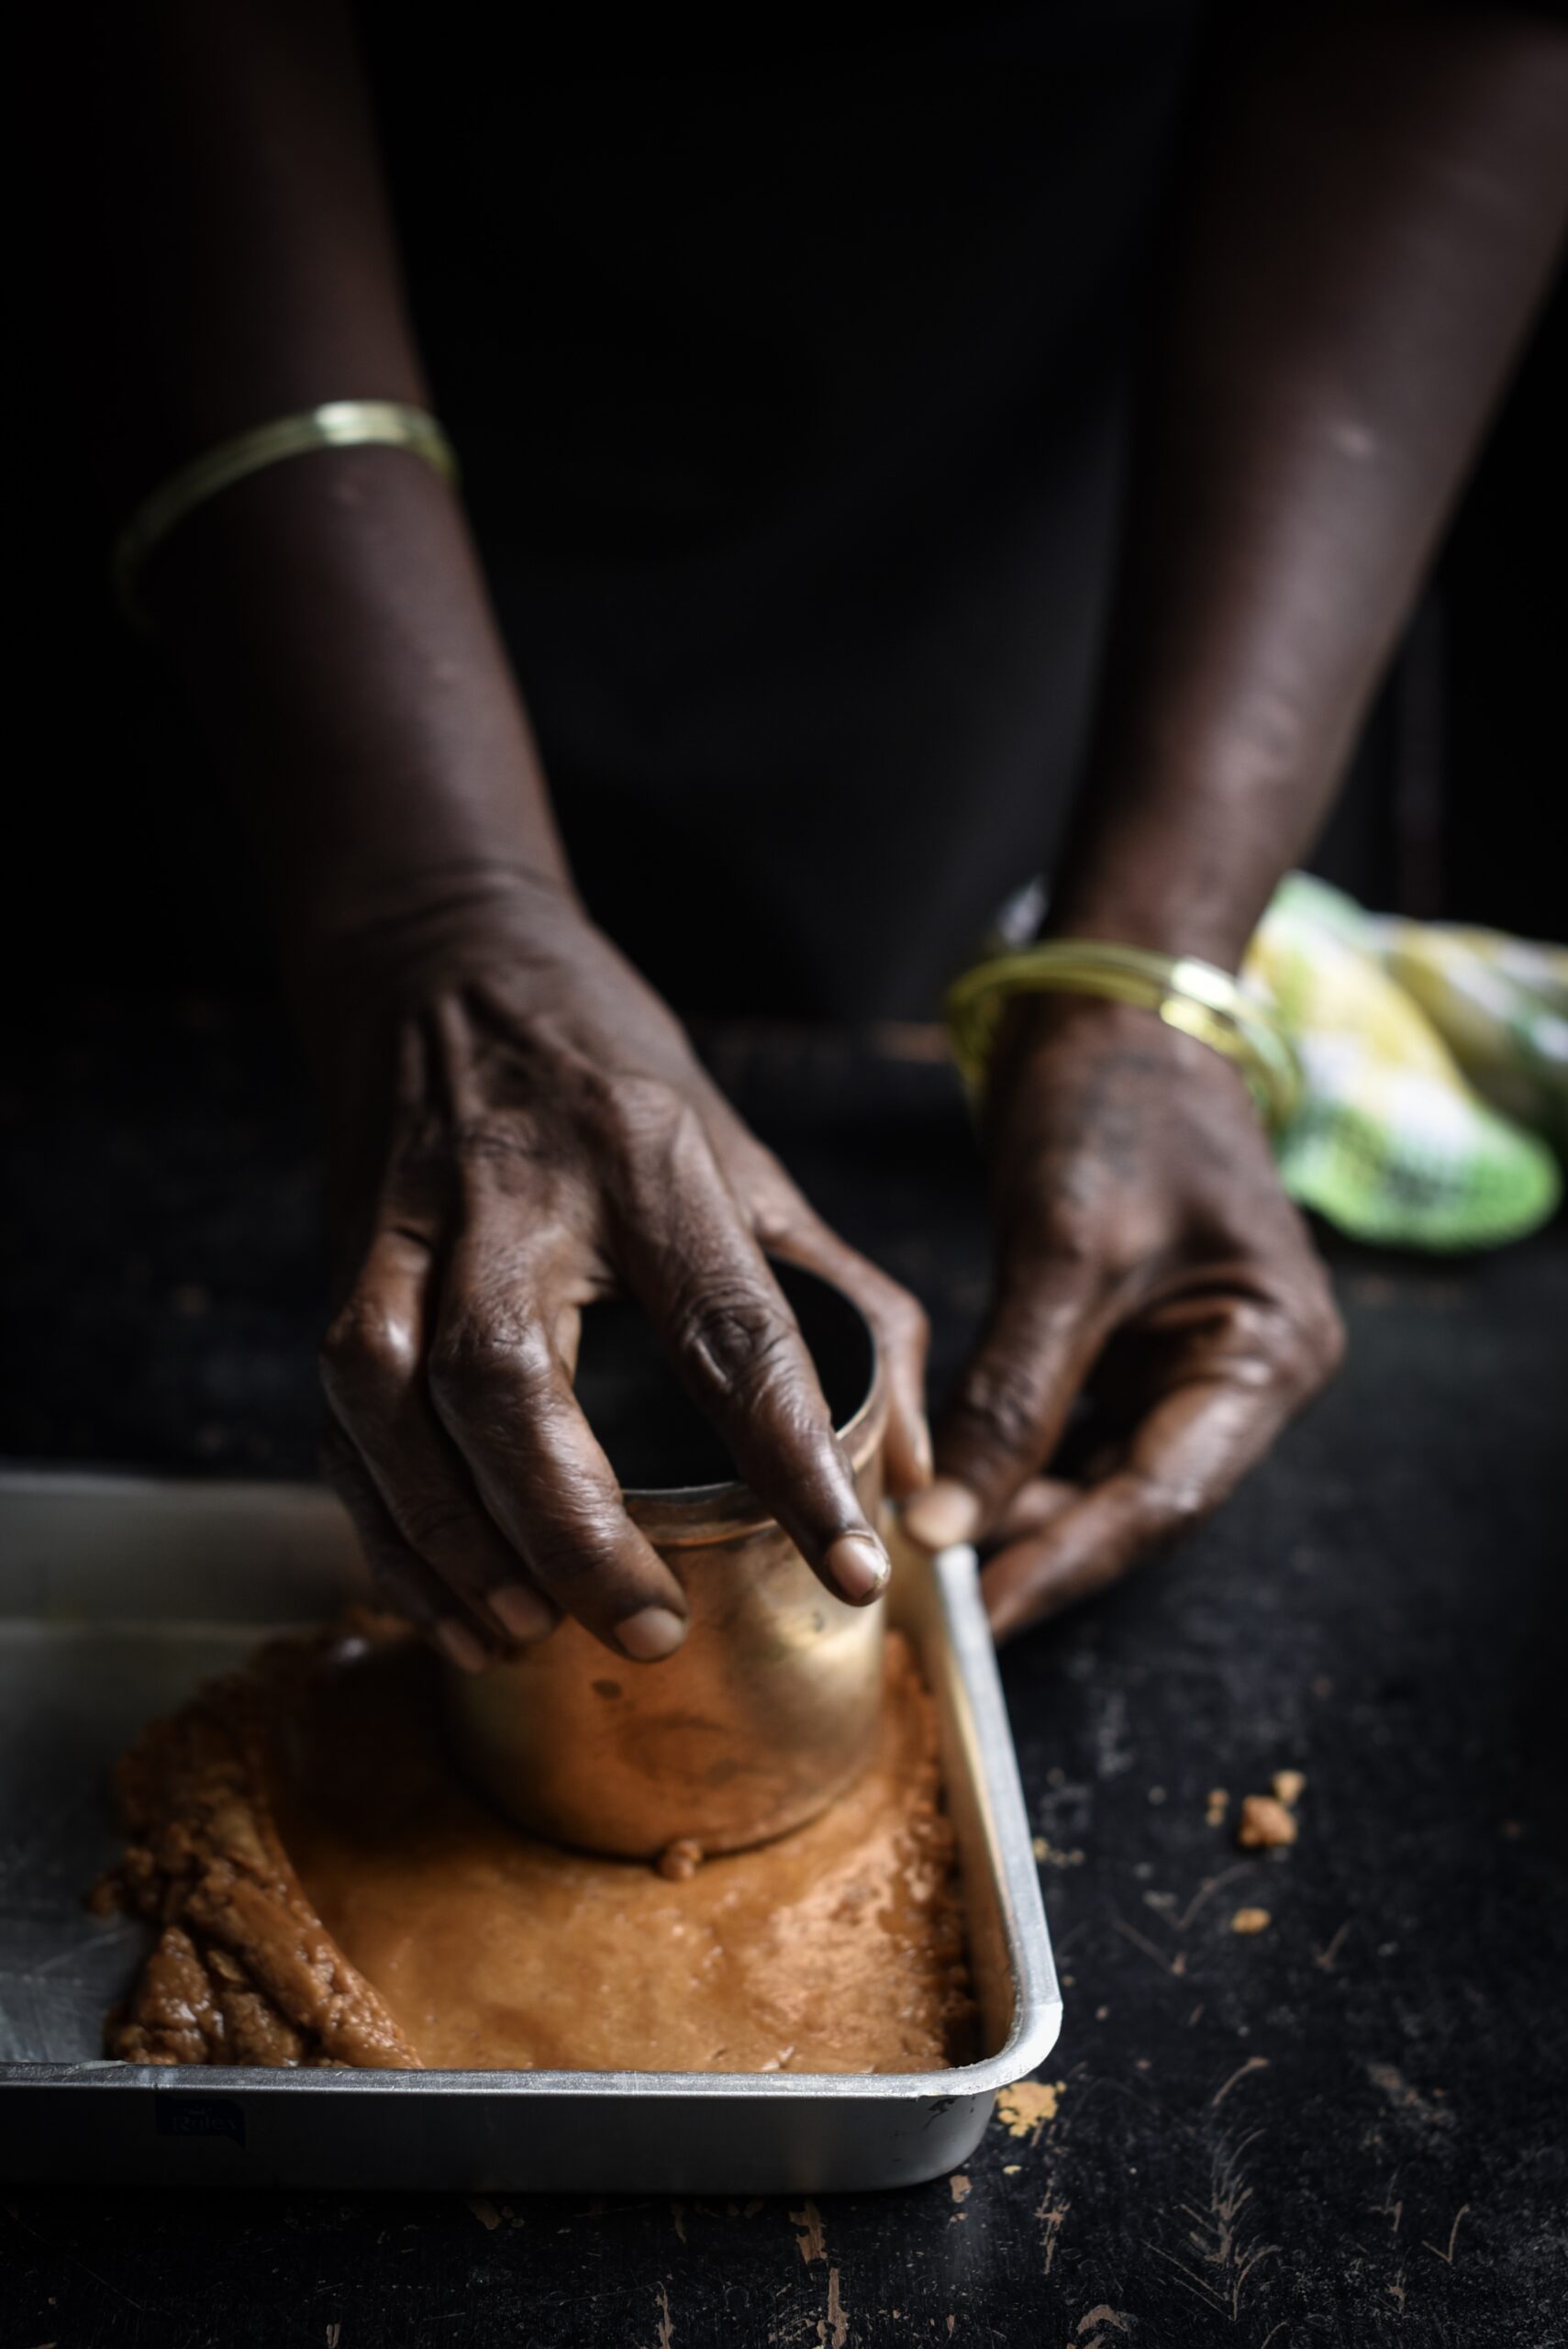
Mix well until the jaggery melts and the ginger powder or flavours of your choice are distributed evenly. While still hot, pour the mixture onto the greased plate and spread evenly. Flatten it with a cup so it evens out, and add the almond slivers on top quickly, before it begins to cool.

Then, cut into even squares and allow them to cool before transferring them to an air tight container.

These whole wheat and jaggery squares are so simple to make – all you really have to do is stir it well for it to cook properly. That’s probably why they were such a staple in my childhood, something my mom could whip up quickly and store for several days’ worth of after-school snacks. As they don’t spoil easily, gol papdi was also something we took with us when we travelled. Memories, love and a sense of security – they are contained in every bite of a cherished dish, aren’t they?

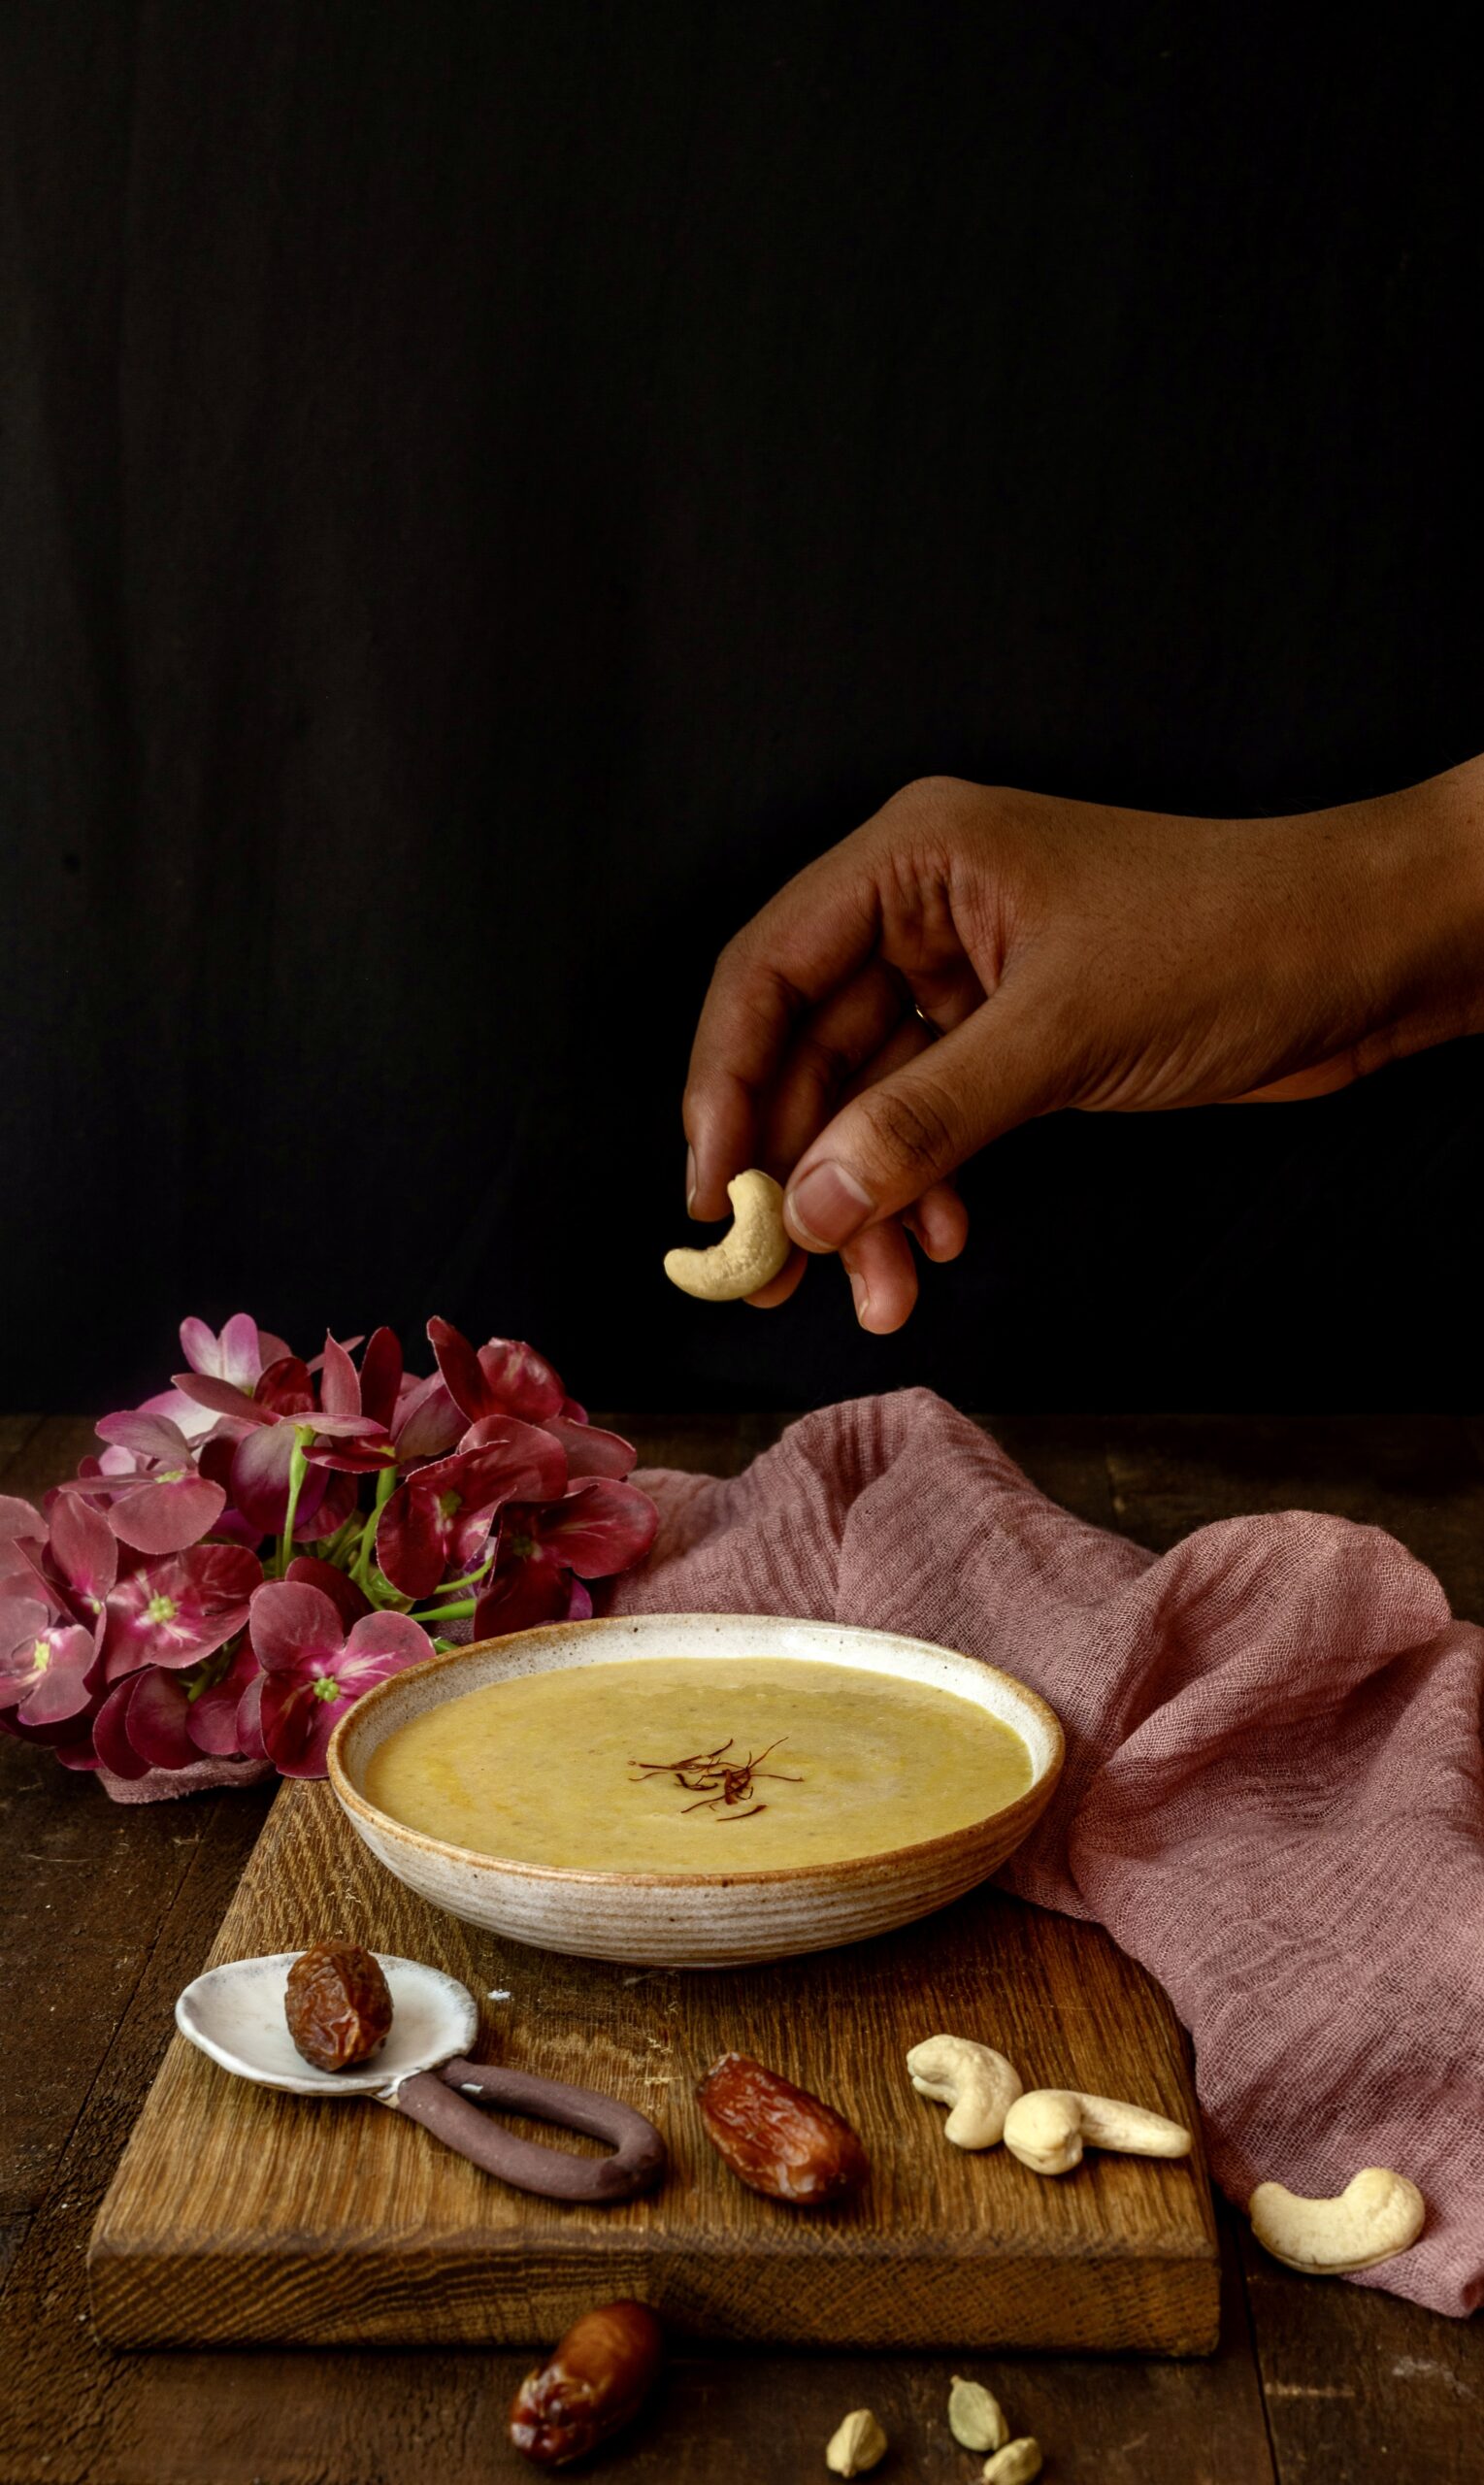
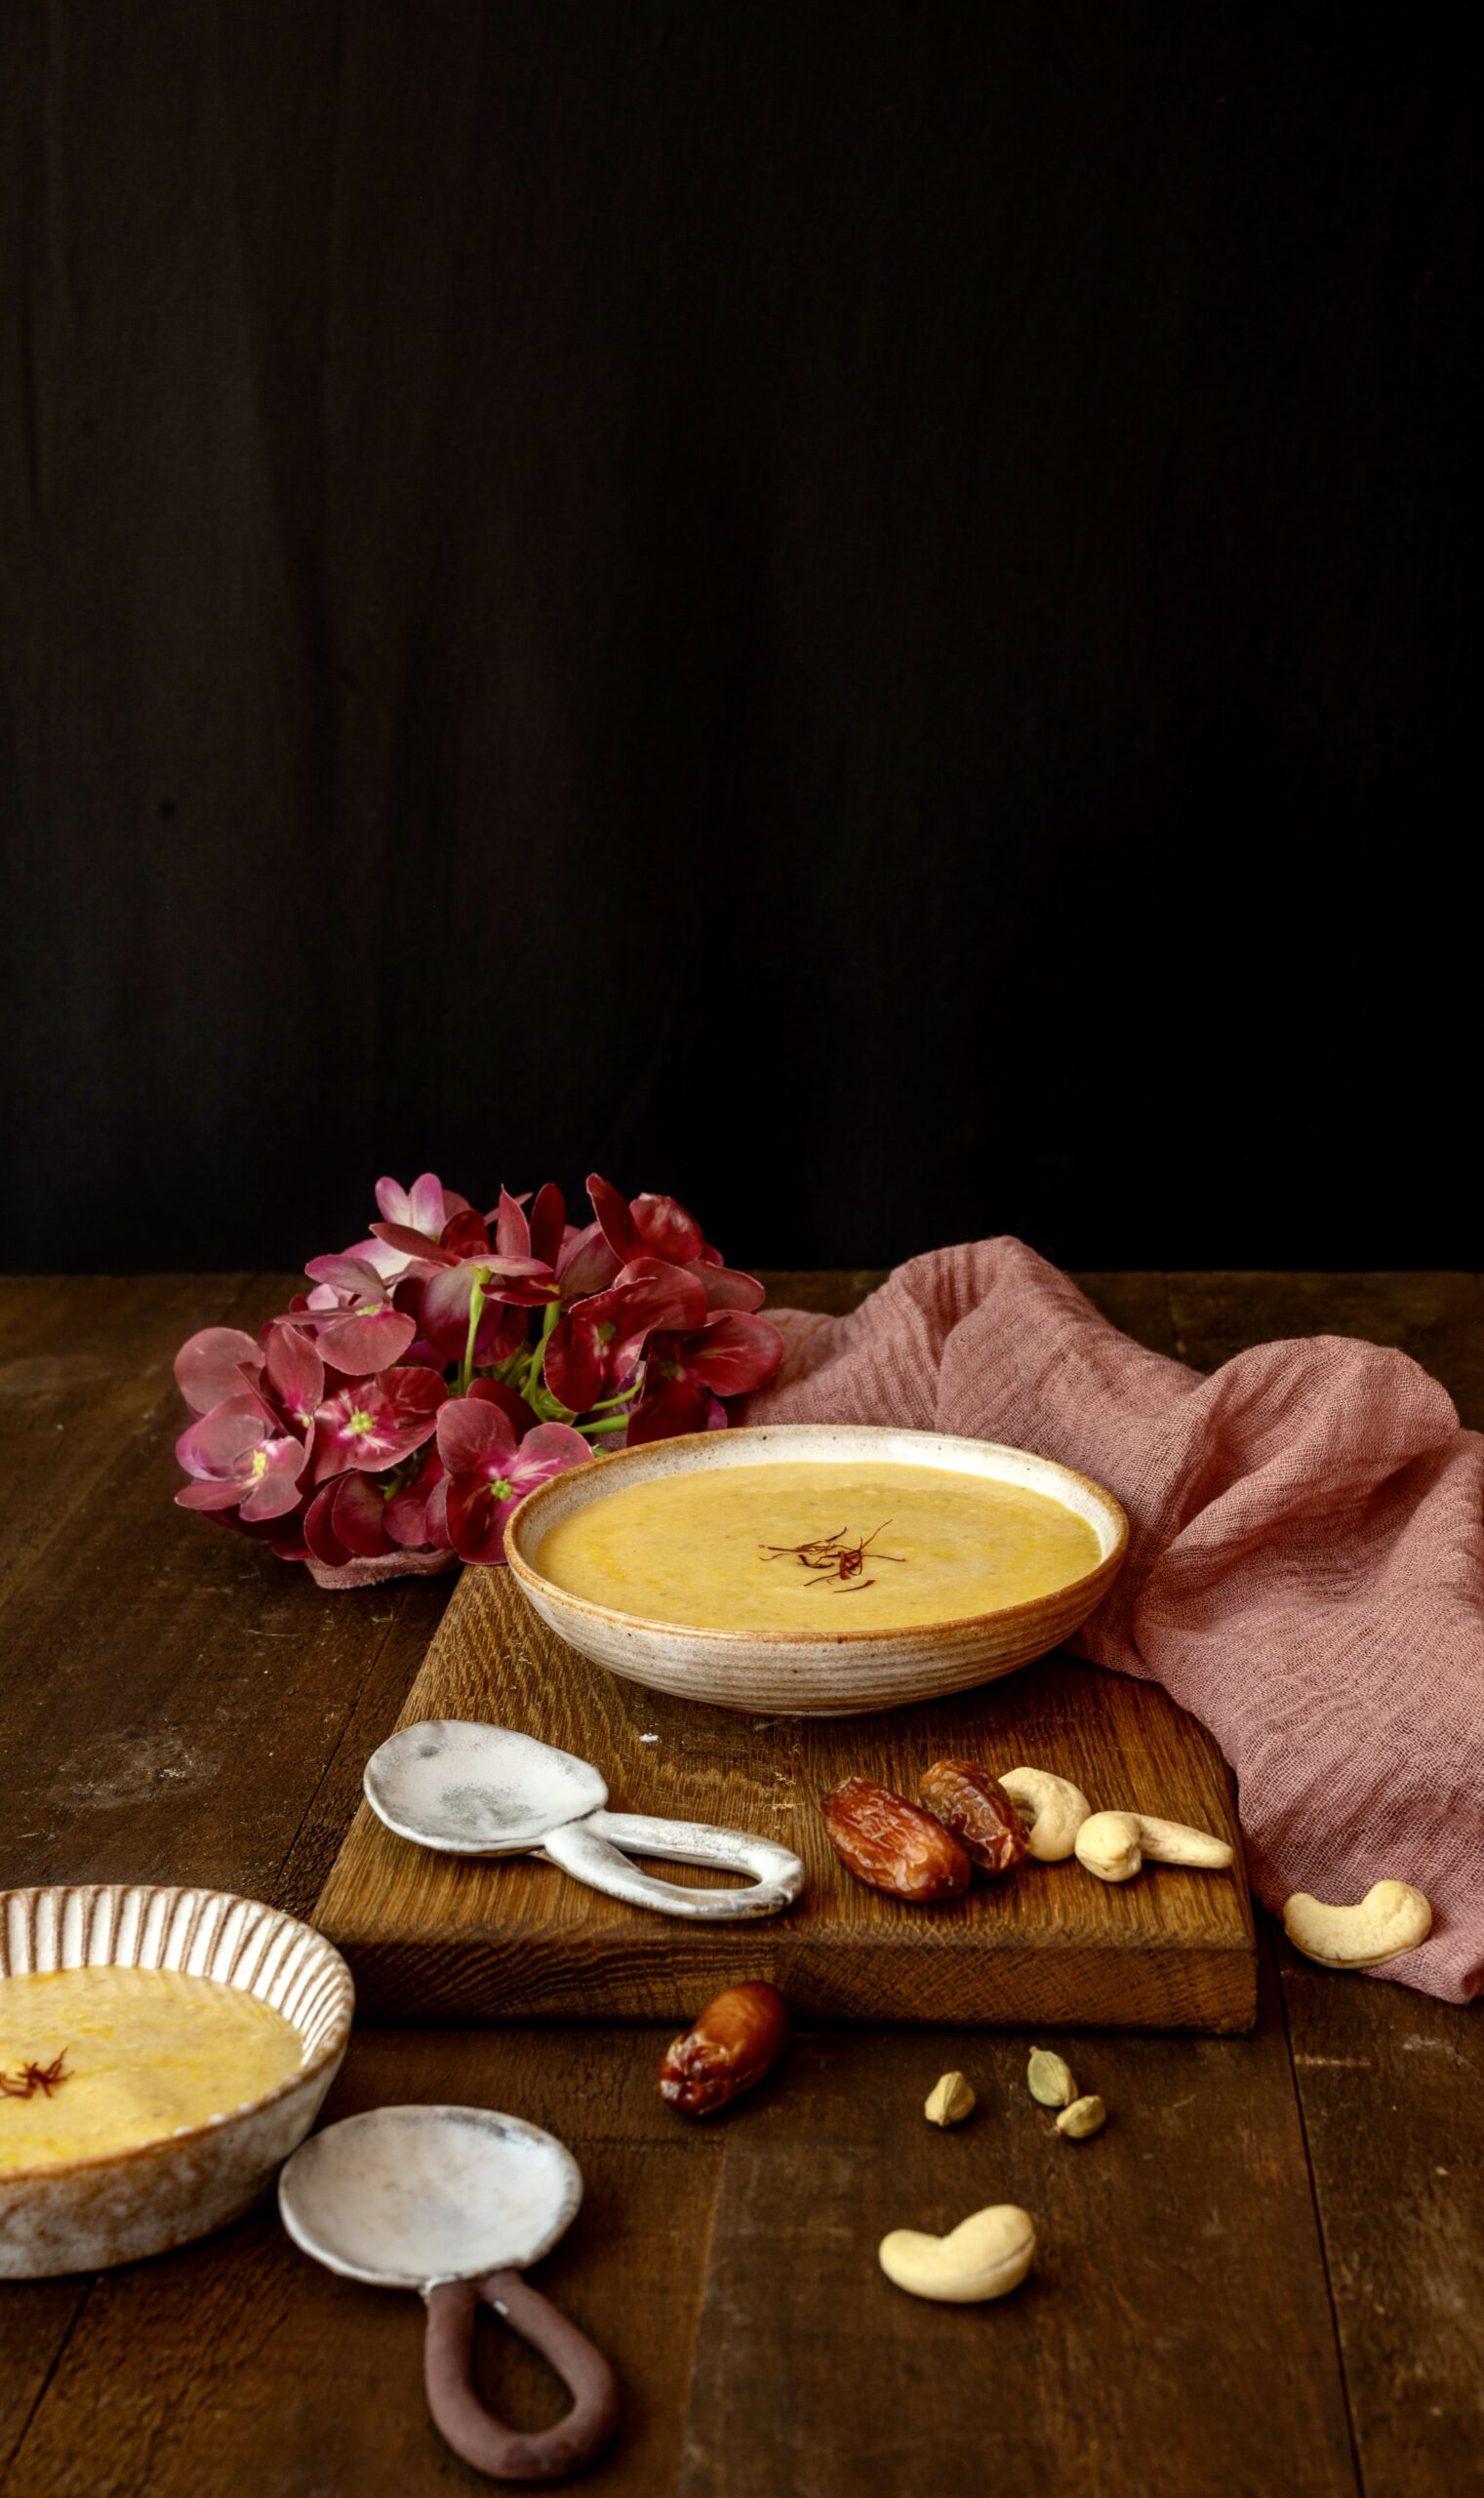
I have often been attracted to making sugarless desserts for two reasons. First and foremost, for myself, as I have an incredibly sweet tooth that I can’t seem to control, and I hope to satisfy it without making as steep a health compromise. I try to convince myself that when a dessert is sugarless or sugar-free I can also eat it guiltlessly, or guilt-free! I know this isn’t true, of course. Natural sweeteners and the sweetness that is intrinsic in certain ingredients like fruits do contain sugar, and anything sweet will spike your glucose levels even if you don’t add processed sugars to it. Still, I know that so many of you struggle with the same concern, which is why a treat like this sugarless date payasam can still make a difference in our dessert indulgences.

The other reason why I learned how to make more sugarless desserts was that my father-in-law used to put me up to the challenge of inventing ones for him. He was diabetic, and he would always say, “Just add Splenda or aspartame!” I would always refuse to, knowing that these have other side-effects. I would instead reach out for natural sweeteners like coconut sugar or dates, as their glycemic index is lower than that of refined white sugar. While my father-in-law is no longer around, the dishes I learned or came up with for him remain in my repertoire, and so does the habit of cutting down sugar content as far as I can.

Awareness of the dangers of too much sugar consumption is of extreme importance in India, which has one of the largest percentage of diabetics in the world. I often have diabetic visitors, which doesn’t surprise me at all given the prevalence of the disease in our country, and I ensure that I serve sugarfree desserts when they come over. There are also sugarless options on the re:store product menu. Whether or not my guests or family members are diabetic, I do keep an eye on balancing out our sweet consumption in multiple ways. Making dishes like these is one such way, and a necessary concession since giving desserts up completely is quite a big ask!

This particular sugarless date payasam is one that I learned from my dear friend Girija. I hadn’t heard of it before she served it to me, and I was wary of trying out the recipe, but I am very glad that I did. It is utterly delicious. For those who haven’t heard of it, a payasam is essentially a South Indian milk pudding, and I am thrilled to have a version of it that doesn’t require, let alone rely on, sugar or even jaggery. All it needs is the sheer sweetness of dates.

Sugarless Date Payasam

(Serves 6)

2 cups deseeded and chopped dates

1 cup cashew nuts

Water (for soaking)

2 cups milk

3-5 strands saffron

¼ teaspoon cardamom powder


Soak the dates and cashews separately in fresh drinking water for an hour.

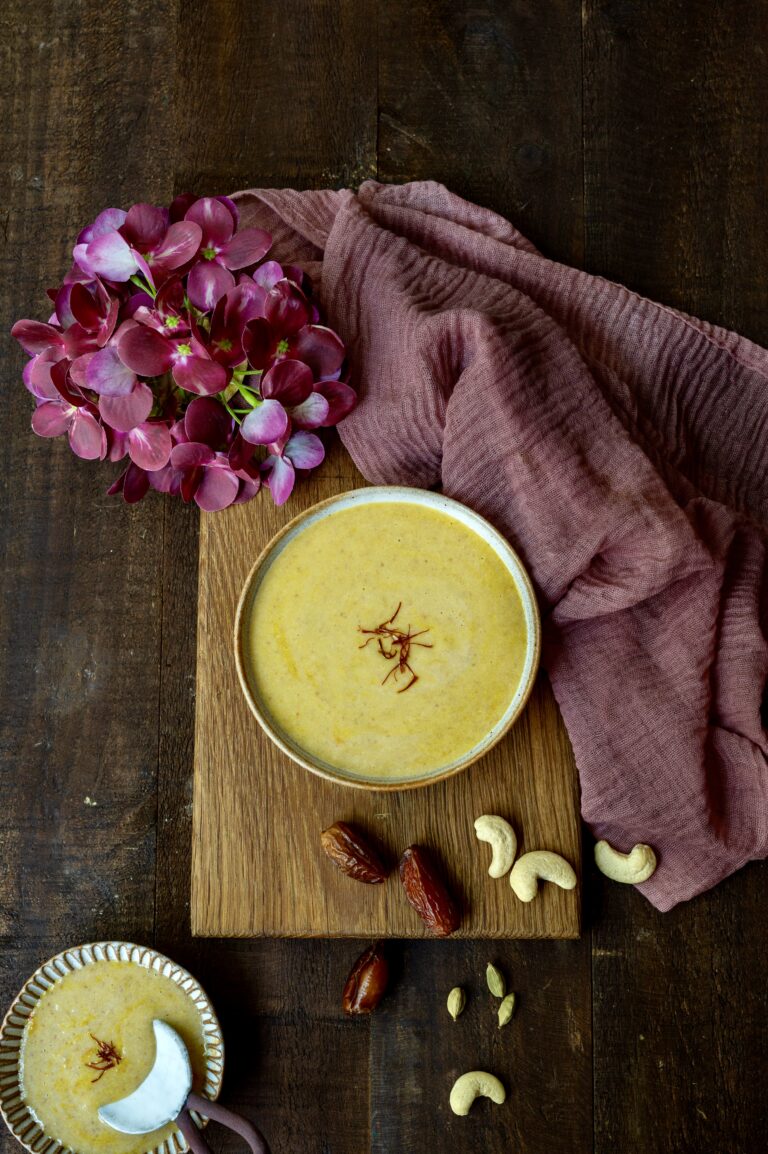
Then, grind the cashews with the water that was used for soaking. Once the paste is smooth, add the dates. Grind once more until the paste is smooth again. Add the cardamom powder and saffron strands. Place the mixture in a pot and refrigerate until cool.

Once it has cooled, add the milk and stir well until it all comes together nicely. Adjust the milk quantity to your preference. I like it to be a little thick. Return to the refrigerator and let it cool again.

Serve very chilled. This is a perfect dessert for these hot summer months. As you can see, this delicious sugarless date payasam requires only grinding and mixing, which also makes it an easy dessert that even beginner cooks can prepare.

I have used cashews as I enjoy the rich flavour the nuts provide, but you can substitute them for another kind if you prefer. I also feel that the cashews sort of tone down the sweetness of the dates, which can be intense.

Ultimately, the payasam is both rich and sweet, which means that it is best in smaller portions.

Here is a suggested tweak to this recipe: add a handful of cooked rice to the milk, and then add then to the ground cashewnut-date paste and mix. This will give the dessert more substance, and more of a mouthful in each serving. The sweetness quotient will also further reduce. This preparation may technically turn it into a kheer rather than a payasam, but I have little doubt that anyone will complain! It will turn out delicious both ways, and while my father-in-law is not here to enjoy this dish in either variation, the rest of my family certainly does. As for me, my sweet tooth is sated, with a spoonful or two less of… guilt!

There are numerous milk-based sweets that are very popular in India, and several have made appearances on this blog over the years, as you can see here. While they are all fantastic, for this Deepavali I was thinking about making something that doesn’t require milk. This recipe is great for lactose-intolerant people, and can be tweaked and made vegan (all you have to do is to replace the ghee with your usual alternative). Additionally, the dessert I came up with is millet-based, so it is extra nourishing. Here it is: foxtail payasam.

Foxtail payasam, strictly speaking, is not quite my own recipe, even though I’ve substantially played with the basic ingredients. As a payasam, it can be said to be traditional in South India, where they are a well-known category of dessert, eaten often and not just on festive occasions. Here in Tamil Nadu, foxtail millet is known as thinai and is a widely-known native produce. Like all millets, it is nutritious and versatile.

Many of us have become conscious about our eating choices and have brought millets into our diets over the last few years as a white rice replacement. Even the Tamil Nadu state government has been promoting their use, and so has the United Nations. This is something that I’ve advocated for as well, across many recipes.

In terms of payasam, I think the paruppu payasam (made with dal) is probably the most common. I always reach out for it whenever I have a banana leaf meal at a South Indian restaurant. It uses dried coconut bits and also contains jaggery, which is healthier than sugar yet satisfies my sweet tooth. Drawing inspiration from it, but adding my own twist, I have opted to use coconut milk in my foxtail payasam. The coconut milk, along with a cashew garnishing, adds a richness to it. You may also wish to use raisins, and reduce the jaggery quantity accordingly. Or you may want to use coconut sugar instead of jaggery. You may even want to replace the millet itself, just as you can also replace the moong dal with toor dal.

If you are a young adult making festive goodies for the first time, this is an ideal recipe for you to try wherever you are. It is simple and utilizes easily available ingredients. The world has become a smaller place, and I have no doubt that you’ll be able to find them even if you’re spending Deepavali away from home.

I have a South Indian daughter-in-law now and I wanted to prepare something this year that is familiar to her and the region she comes from. Thus, this foxtail payasam serves as a welcoming sweet for her as she enters our family. It is her first Deepavali with us, so it is really special. This recipe is for her, most of all. It is also for my sister, who always asks me to show her something new from South Indian cuisine whenever she visits me, and is very curious about what I am making at this time of year. It goes without saying that it is also for you: I wish you and your loved ones a blessed festive season, and much joy ahead!

Foxtail Payasam

(Serves 4-5)

25 grams moong dal (green gram)

60 grams thinai millet (foxtail)

¾ cup jaggery

2 + 1 cups water

1 cup coconut milk

1 teaspoon ghee

A handful of cashews

Rinse and soak the moong dal in water for at least an hour. Strain the water and set aside.

Roast the thinai in a pan for a few minutes or until it releases an aroma.

Next, add the thinai to the strained dal and add two cups of water. Place these in a pressure cooker and cook until tender. Remove the pot once cooled.

In another bowl, add jaggery and to it add one cup of water. Boil this mixture until the jaggery has melted. Strain this liquid and add it to the dal-thinai mixture.

Allow to cook until it all comes together. Finally, add the coconut milk, mix well and turn off the flame.

To garnish: heat the ghee and add the roasted cashew nuts. Toast until golden. Sprinkle over the payasam. Serve hot.

I hope you’ll enjoy this delicious, nourishing sweet this Deepavali and for many years to come!

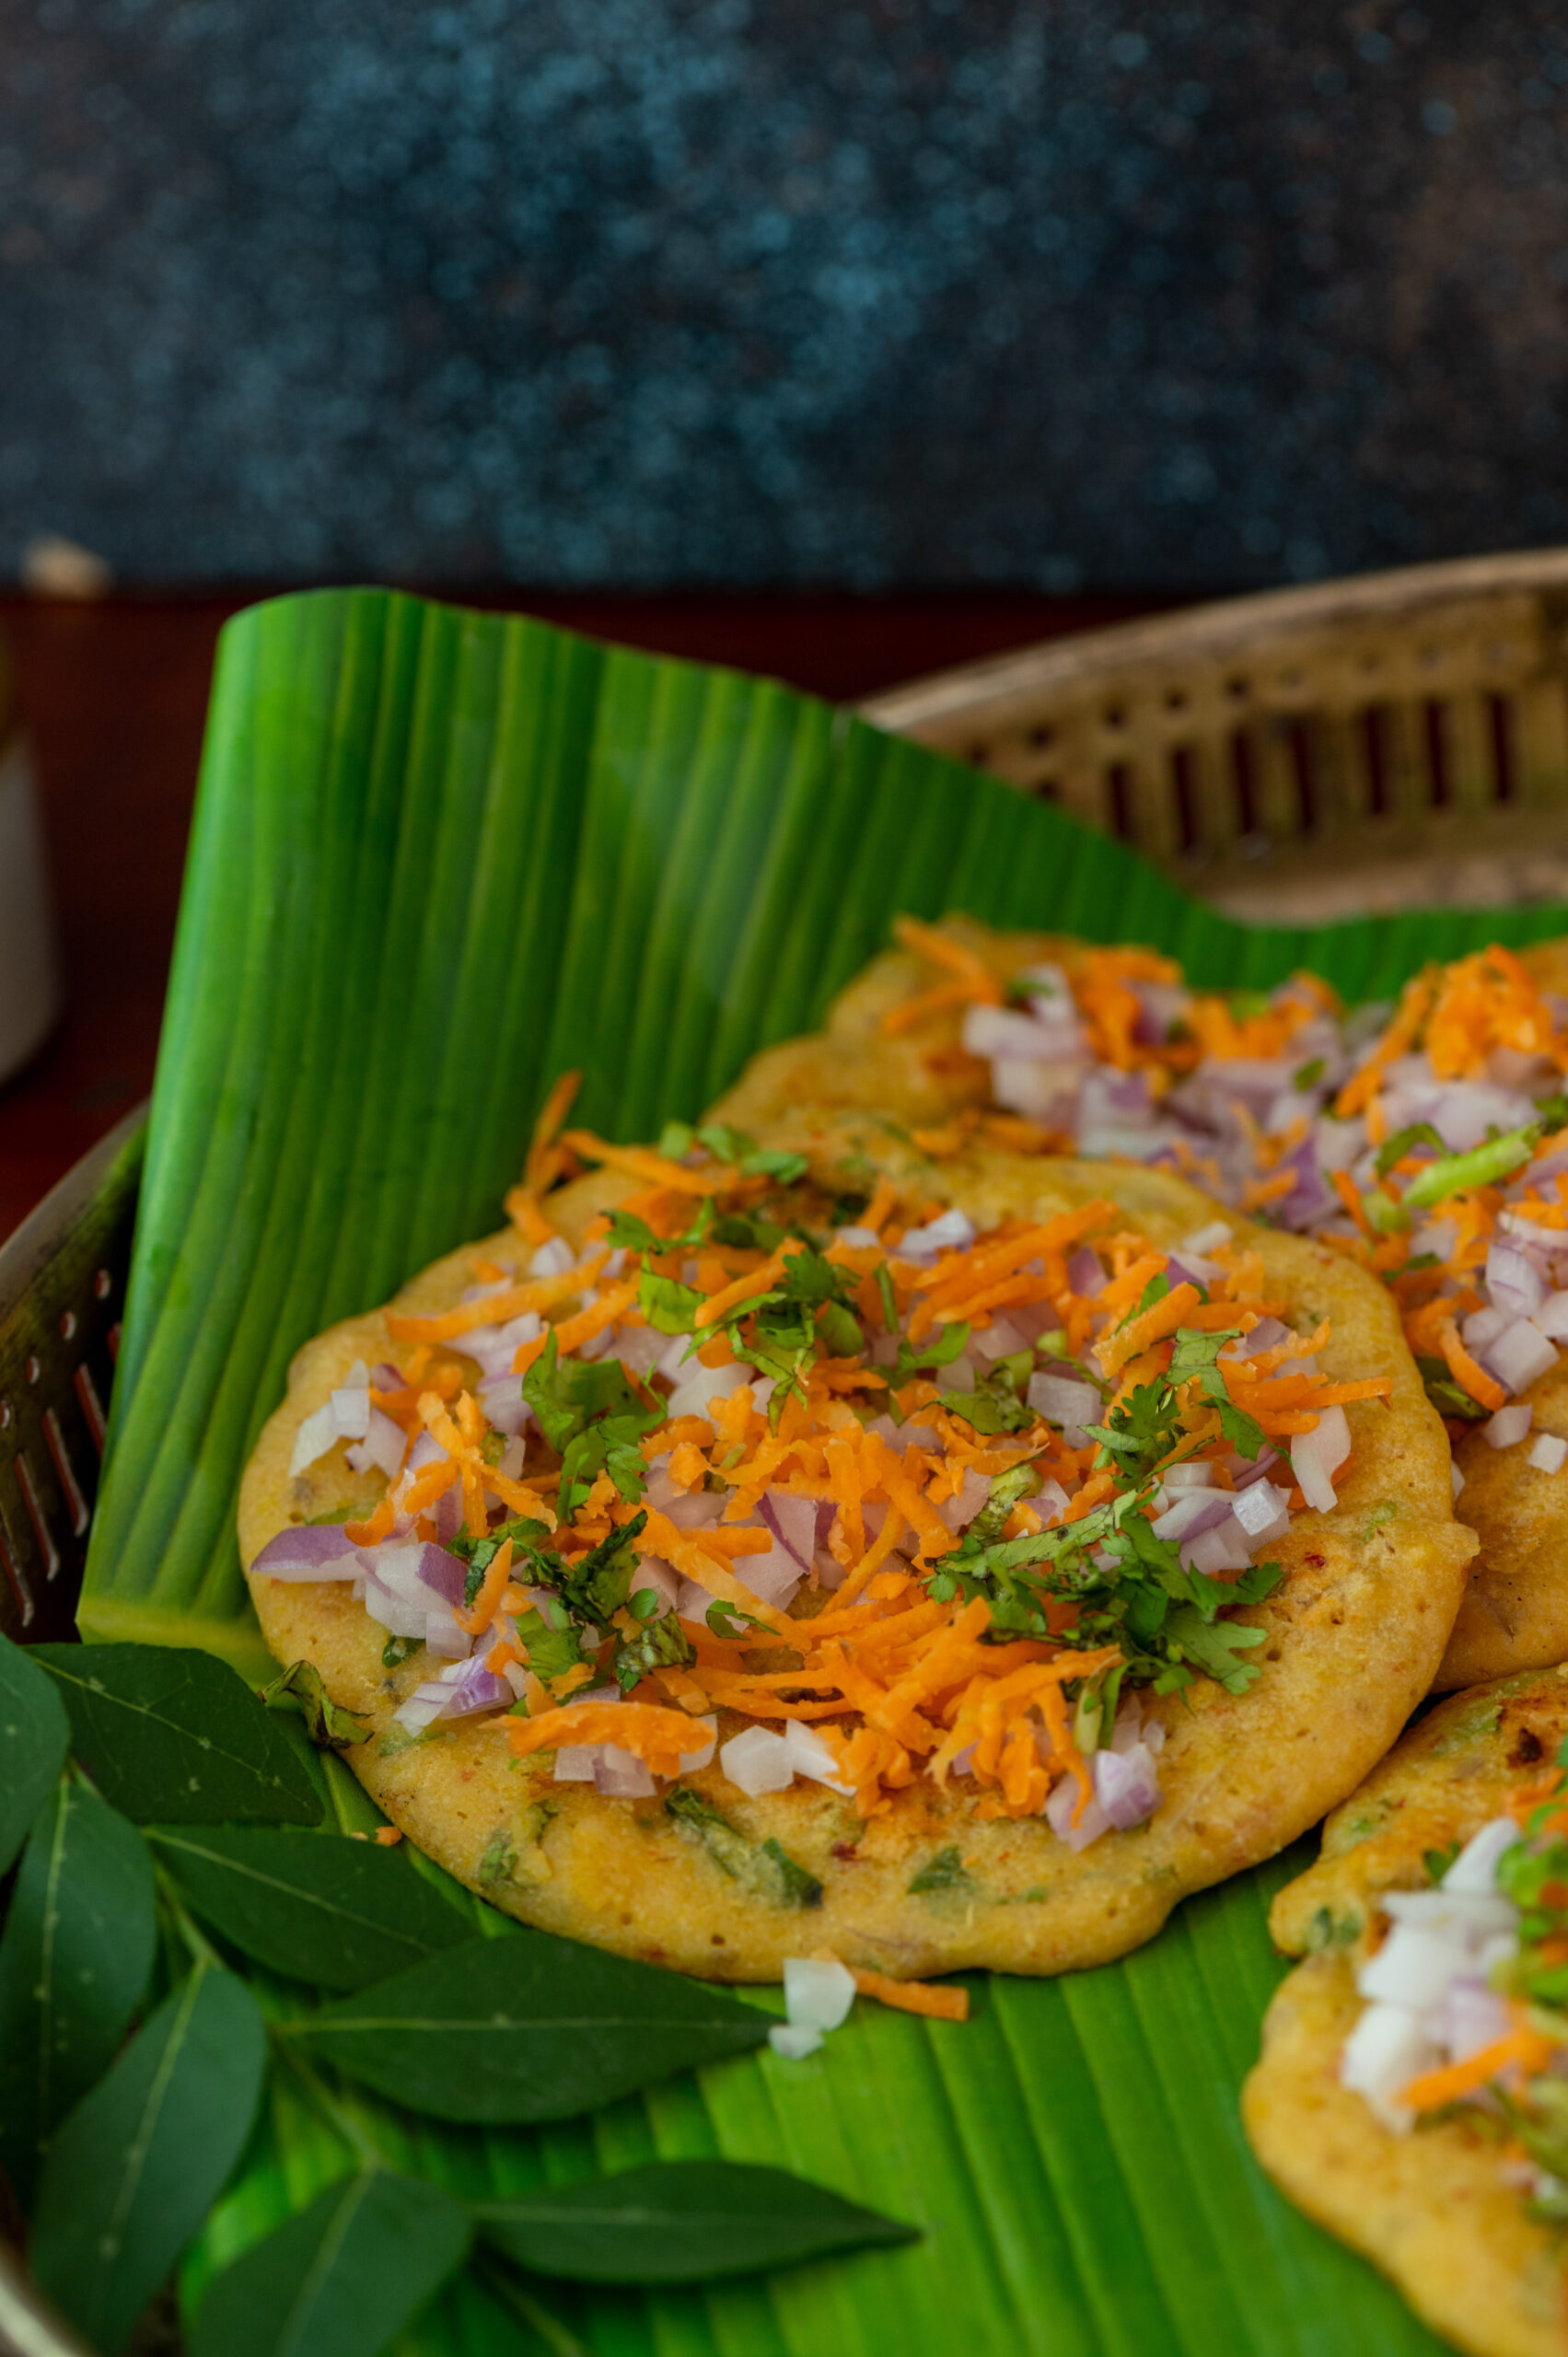
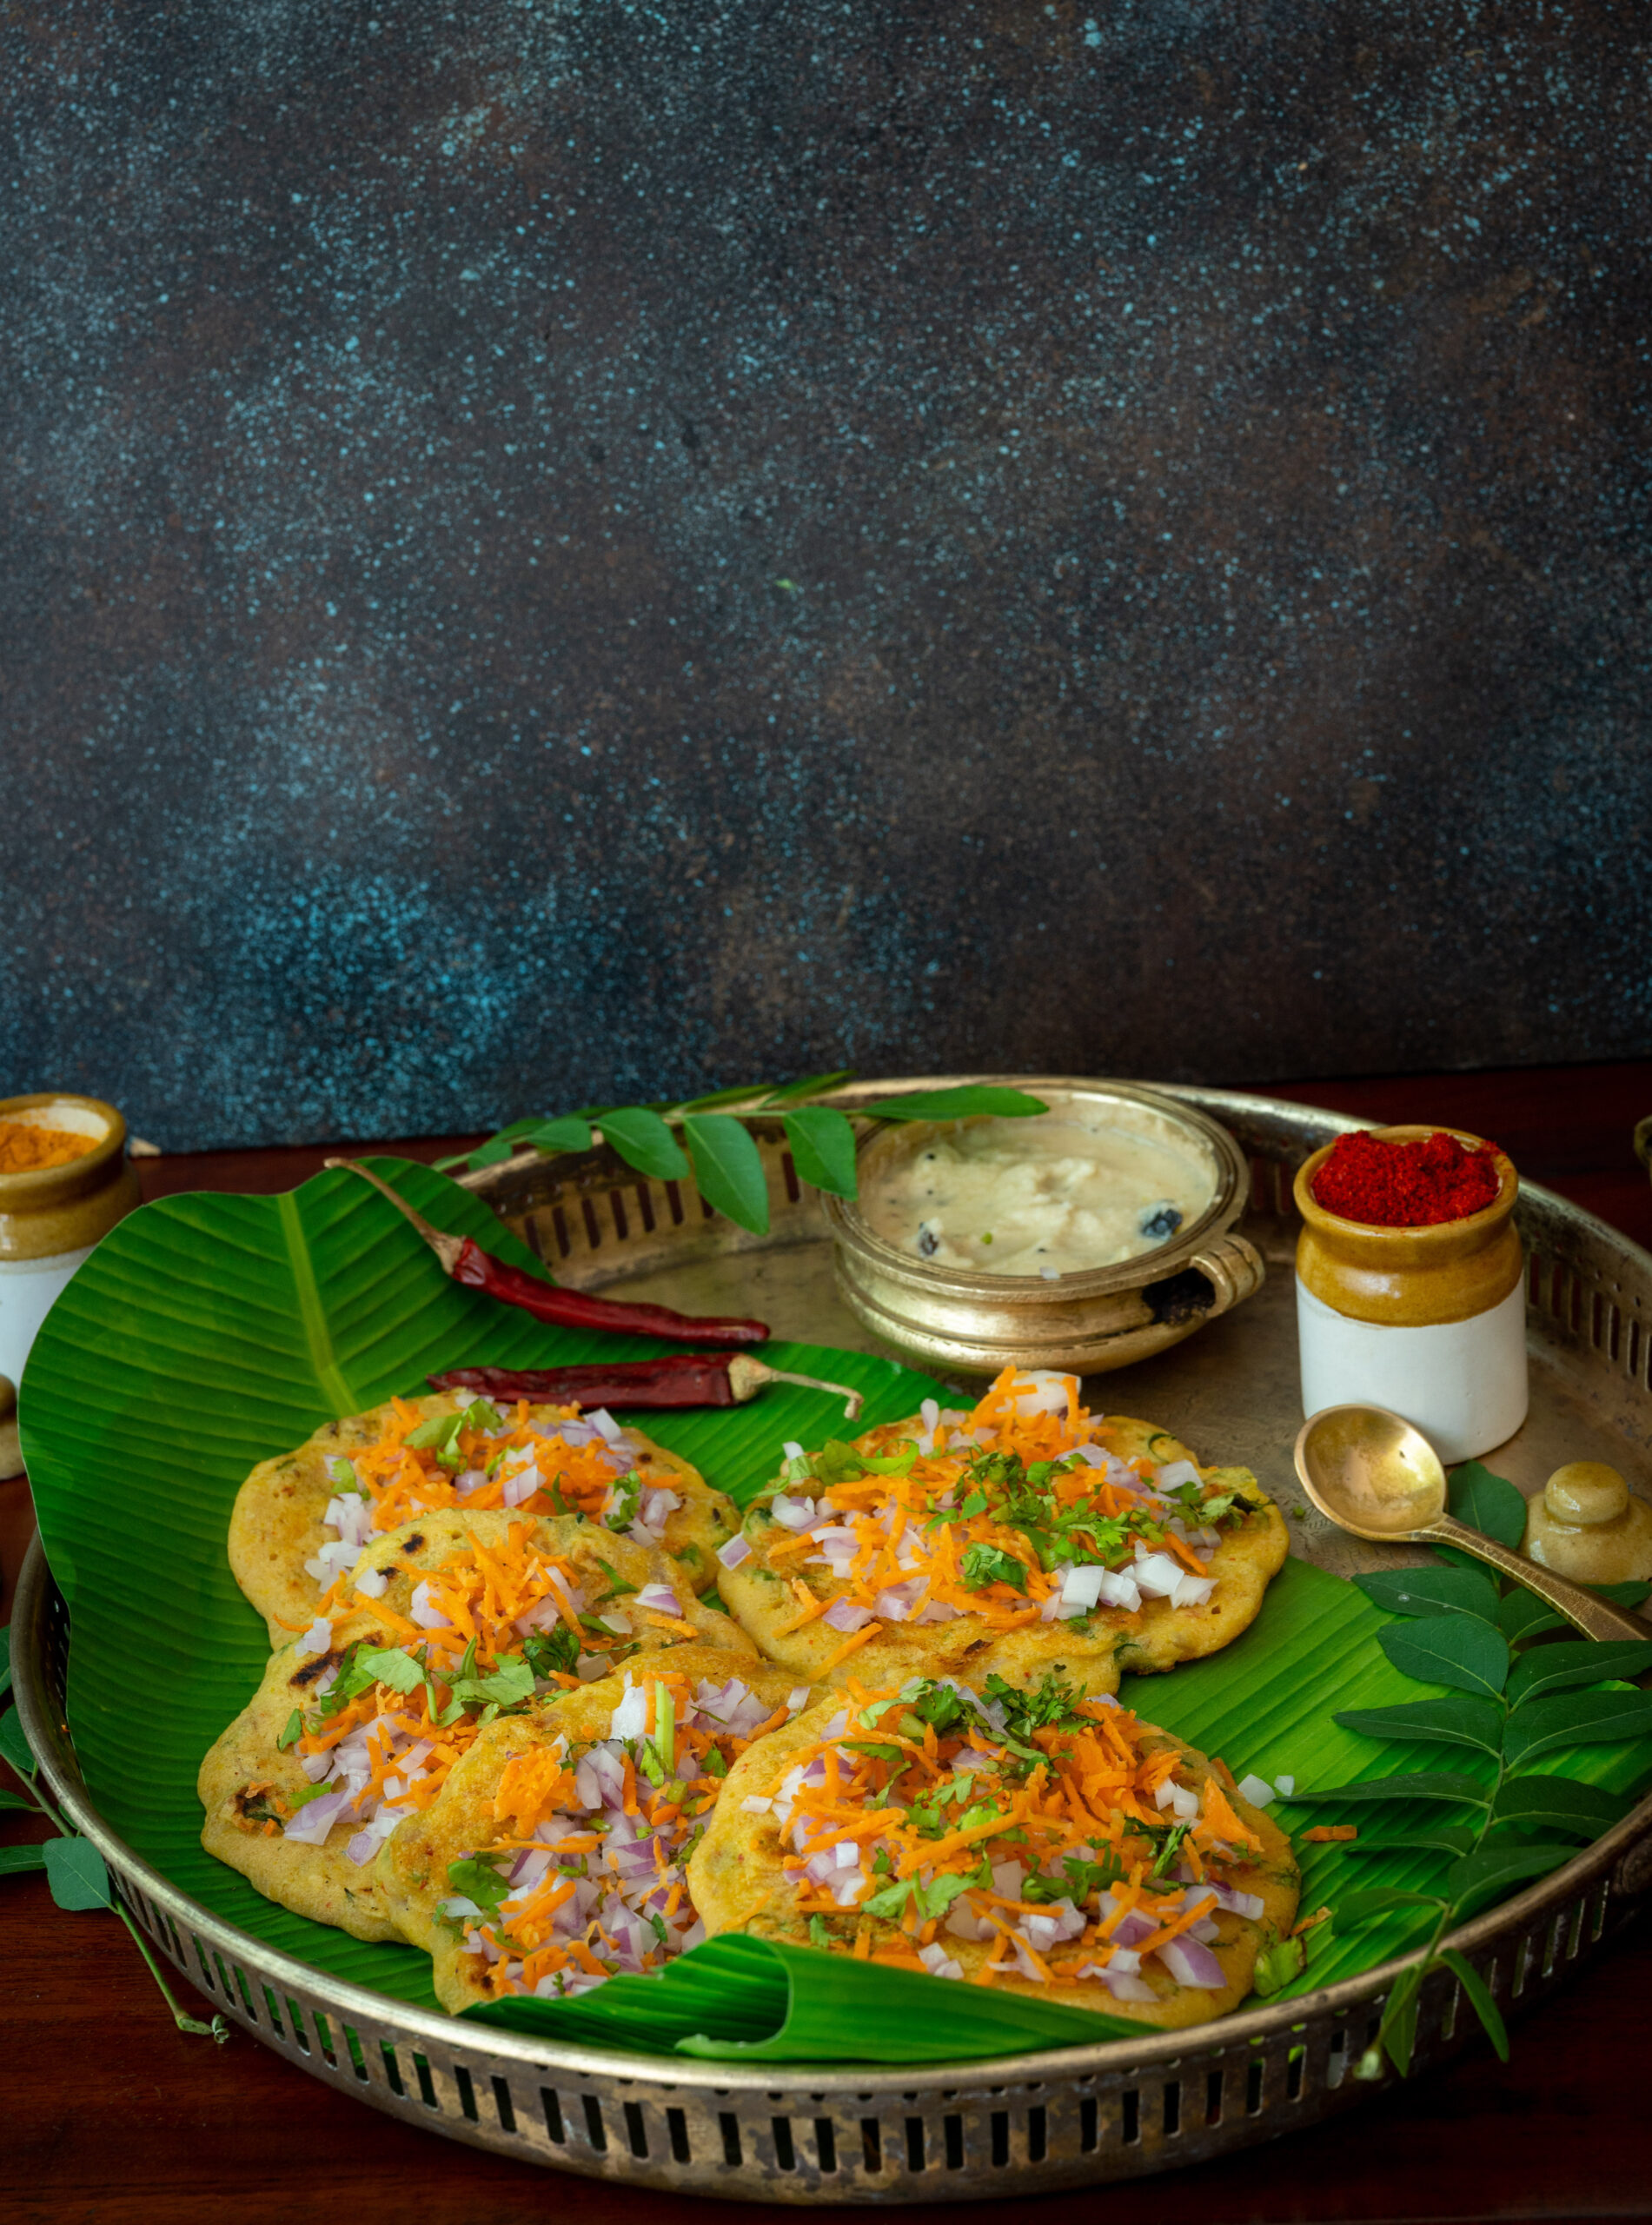
As you may know, I straddle the worlds of being Gujarati and having been raised in Chennai. I believe that I’m more of a Tamilian than a Gujarati in many ways, or at least I feel that way at times (especially while I’m preparing or sharing certain recipes, like this one). Adai is a very traditional dish from Tamil Nadu, similar to the dosa. I didn’t grow up with it, but once I discovered it, it became a regular on my dining table. I like it a lot as it ticks all the boxes for me in terms of nutrition and taste. It is rich in protein but makes you feel like you’re eating carbs, which it in fact has very little of. It is very satisfying, in the ways that simple dishes can be.

I learnt this recipe from a friend, a few decades ago, and it has been a staple in my home for decades, so I was a little surprised myself that I hadn’t shared it yet. The story of how I got this recipe is that when my son was in kindergarten, there were a bunch of anxious moms waiting outside the school on Day 1 and Day 2 to make sure the kids settled in well. We got around to talking, and as many young mothers do, wound up exchanging recipes. That was how I learnt this adai recipe, and I still think of the friend I made way back when my son started school every single time I use it. I’ve been to her home many times over the years and eaten it there too.

Traditionally, adai is had with fresh butter and jaggery. That is still my favourite combination, even though I also prepare it with a variety of chutneys, a number of which you can explore on the blog. I suspect the traditional accompaniment is my preferred one as it’s sweet, so the Gujju in me kicks in!

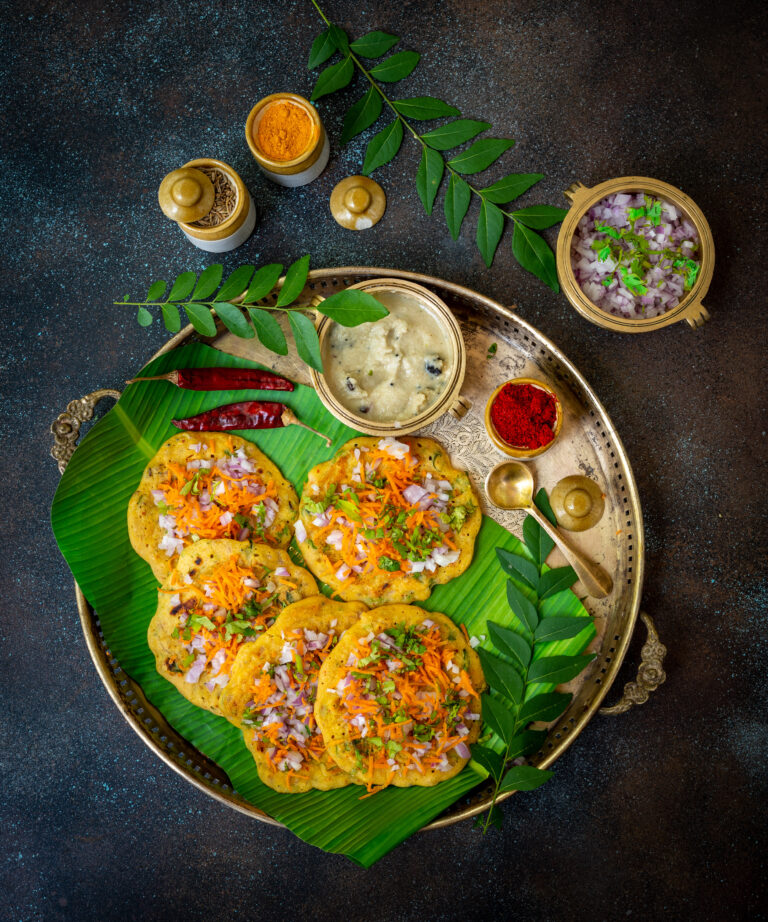
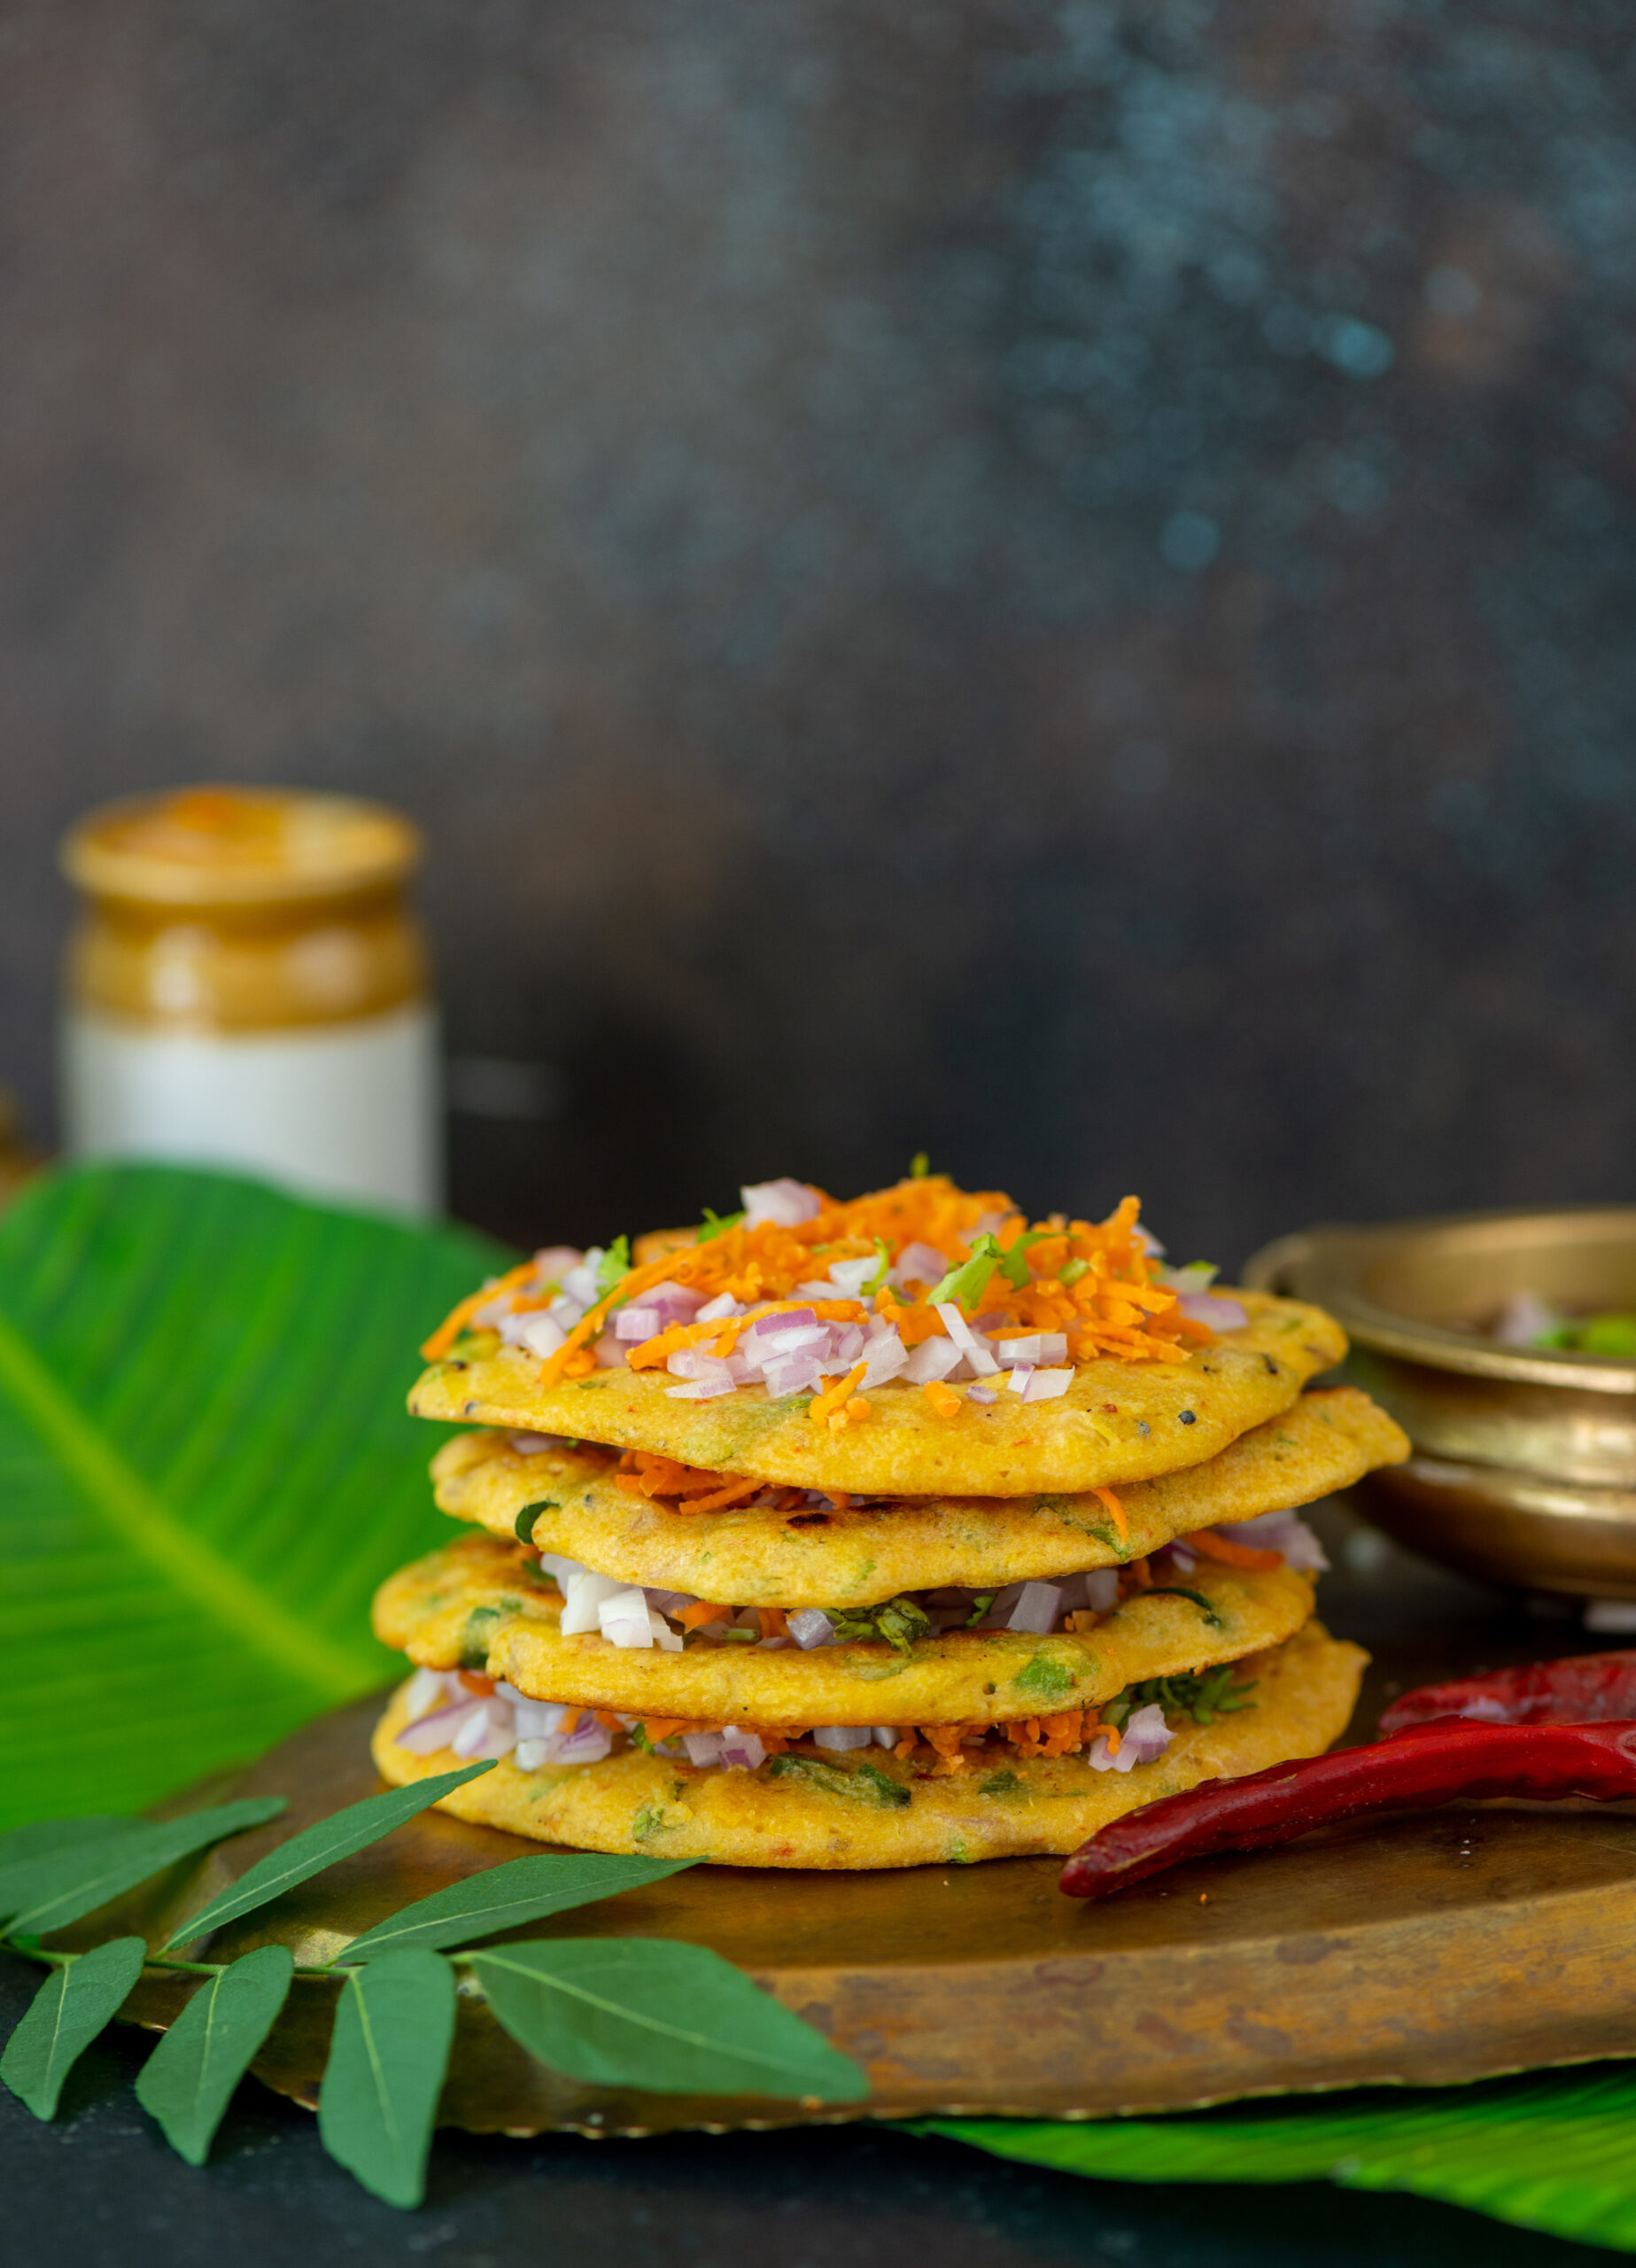
I make different versions of adai, in the sense that I may pour it into a waffle maker for novelty, make a big one for dinner or a small one for a starter. Sometimes I even prepare it with a filling – for this, I’ve found that paneer works well. I also make the batter thick and make it like a pancake with raw, finely chopped vegetables, which gives it a different taste and improves the healthiness quotient. Adai in and of itself is quite nutritious, as long as you go easy on the oil. In the version below, I share the recipe for smaller adais topped with the goodness of vegetables.

Adai

(Yield: 10-15 pieces)

1 cup boiled rice

¼ cup tuvar dal

¼ cup yellow moong dal

¼ cup channa dal

¼ cup urad dal

1 onion

1 teaspoon cumin

1 teaspoon fennel

2-3 cloves garlic

2-3 dried red chilli

1 teaspoon cumin

1 teaspoon fennel seeds

Salt to taste

½ teaspoon turmeric


Tempering:

1 tablespoon oil

½ teaspoon cumin

½ teaspoon mustard seeds

1 onion (finely chopped)

½ teaspoon asafoetida

Coriander leaves


Sesame oil for cooking

Finely chopped vegetables (onions, carrots and coriander leaves) for topping


Soak the dals and rice for 6-8 hours in enough water to cover them.

Grind the soaked dals and rice in a blender along with garlic, cumin, fennel seeds and red chilli until coarse. Set aside.

In a kadai, add the oil. Then, add mustard seeds, cumin, asafoetida, curry leaves and finely chopped onion. Sauté on a high flame for 2 minutes and add to the coarse batter. Add the turmeric and coriander leaves to the batter. Mix gently. Your batter is now ready for making the adai.

To cook the adai, the method is as follows. On a heated flat pan, make small discs of the batter, spreading them a little. Add the sesame oil as required to cook. About 1-2 teaspoons will do.

Once the adai is golden brown on one side, flip gently and allow to cook on the other. Then, turn back to the previous side, and add the finely chopped vegetables as an optional topping. Serve with a chutney of your choice. If you decide to serve it with butter or jaggery, you can skip adding the vegetables.

I hope you’ll enjoy this adai, especially if you were already familiar with dosas and wanted to explore a variation on the same!

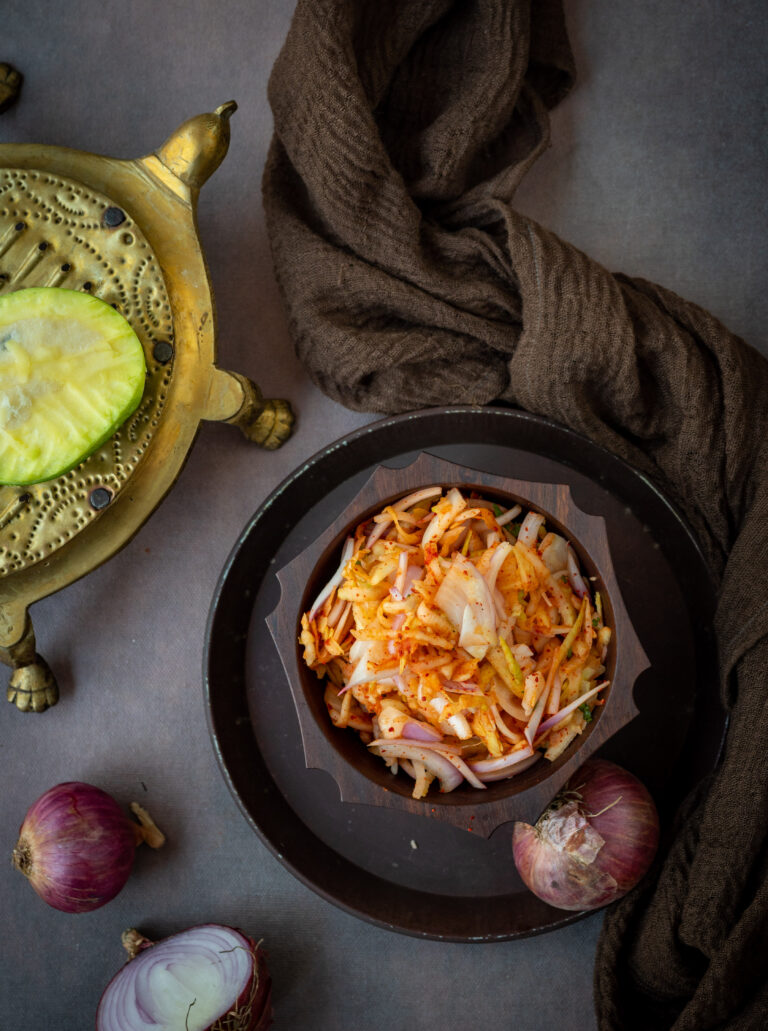
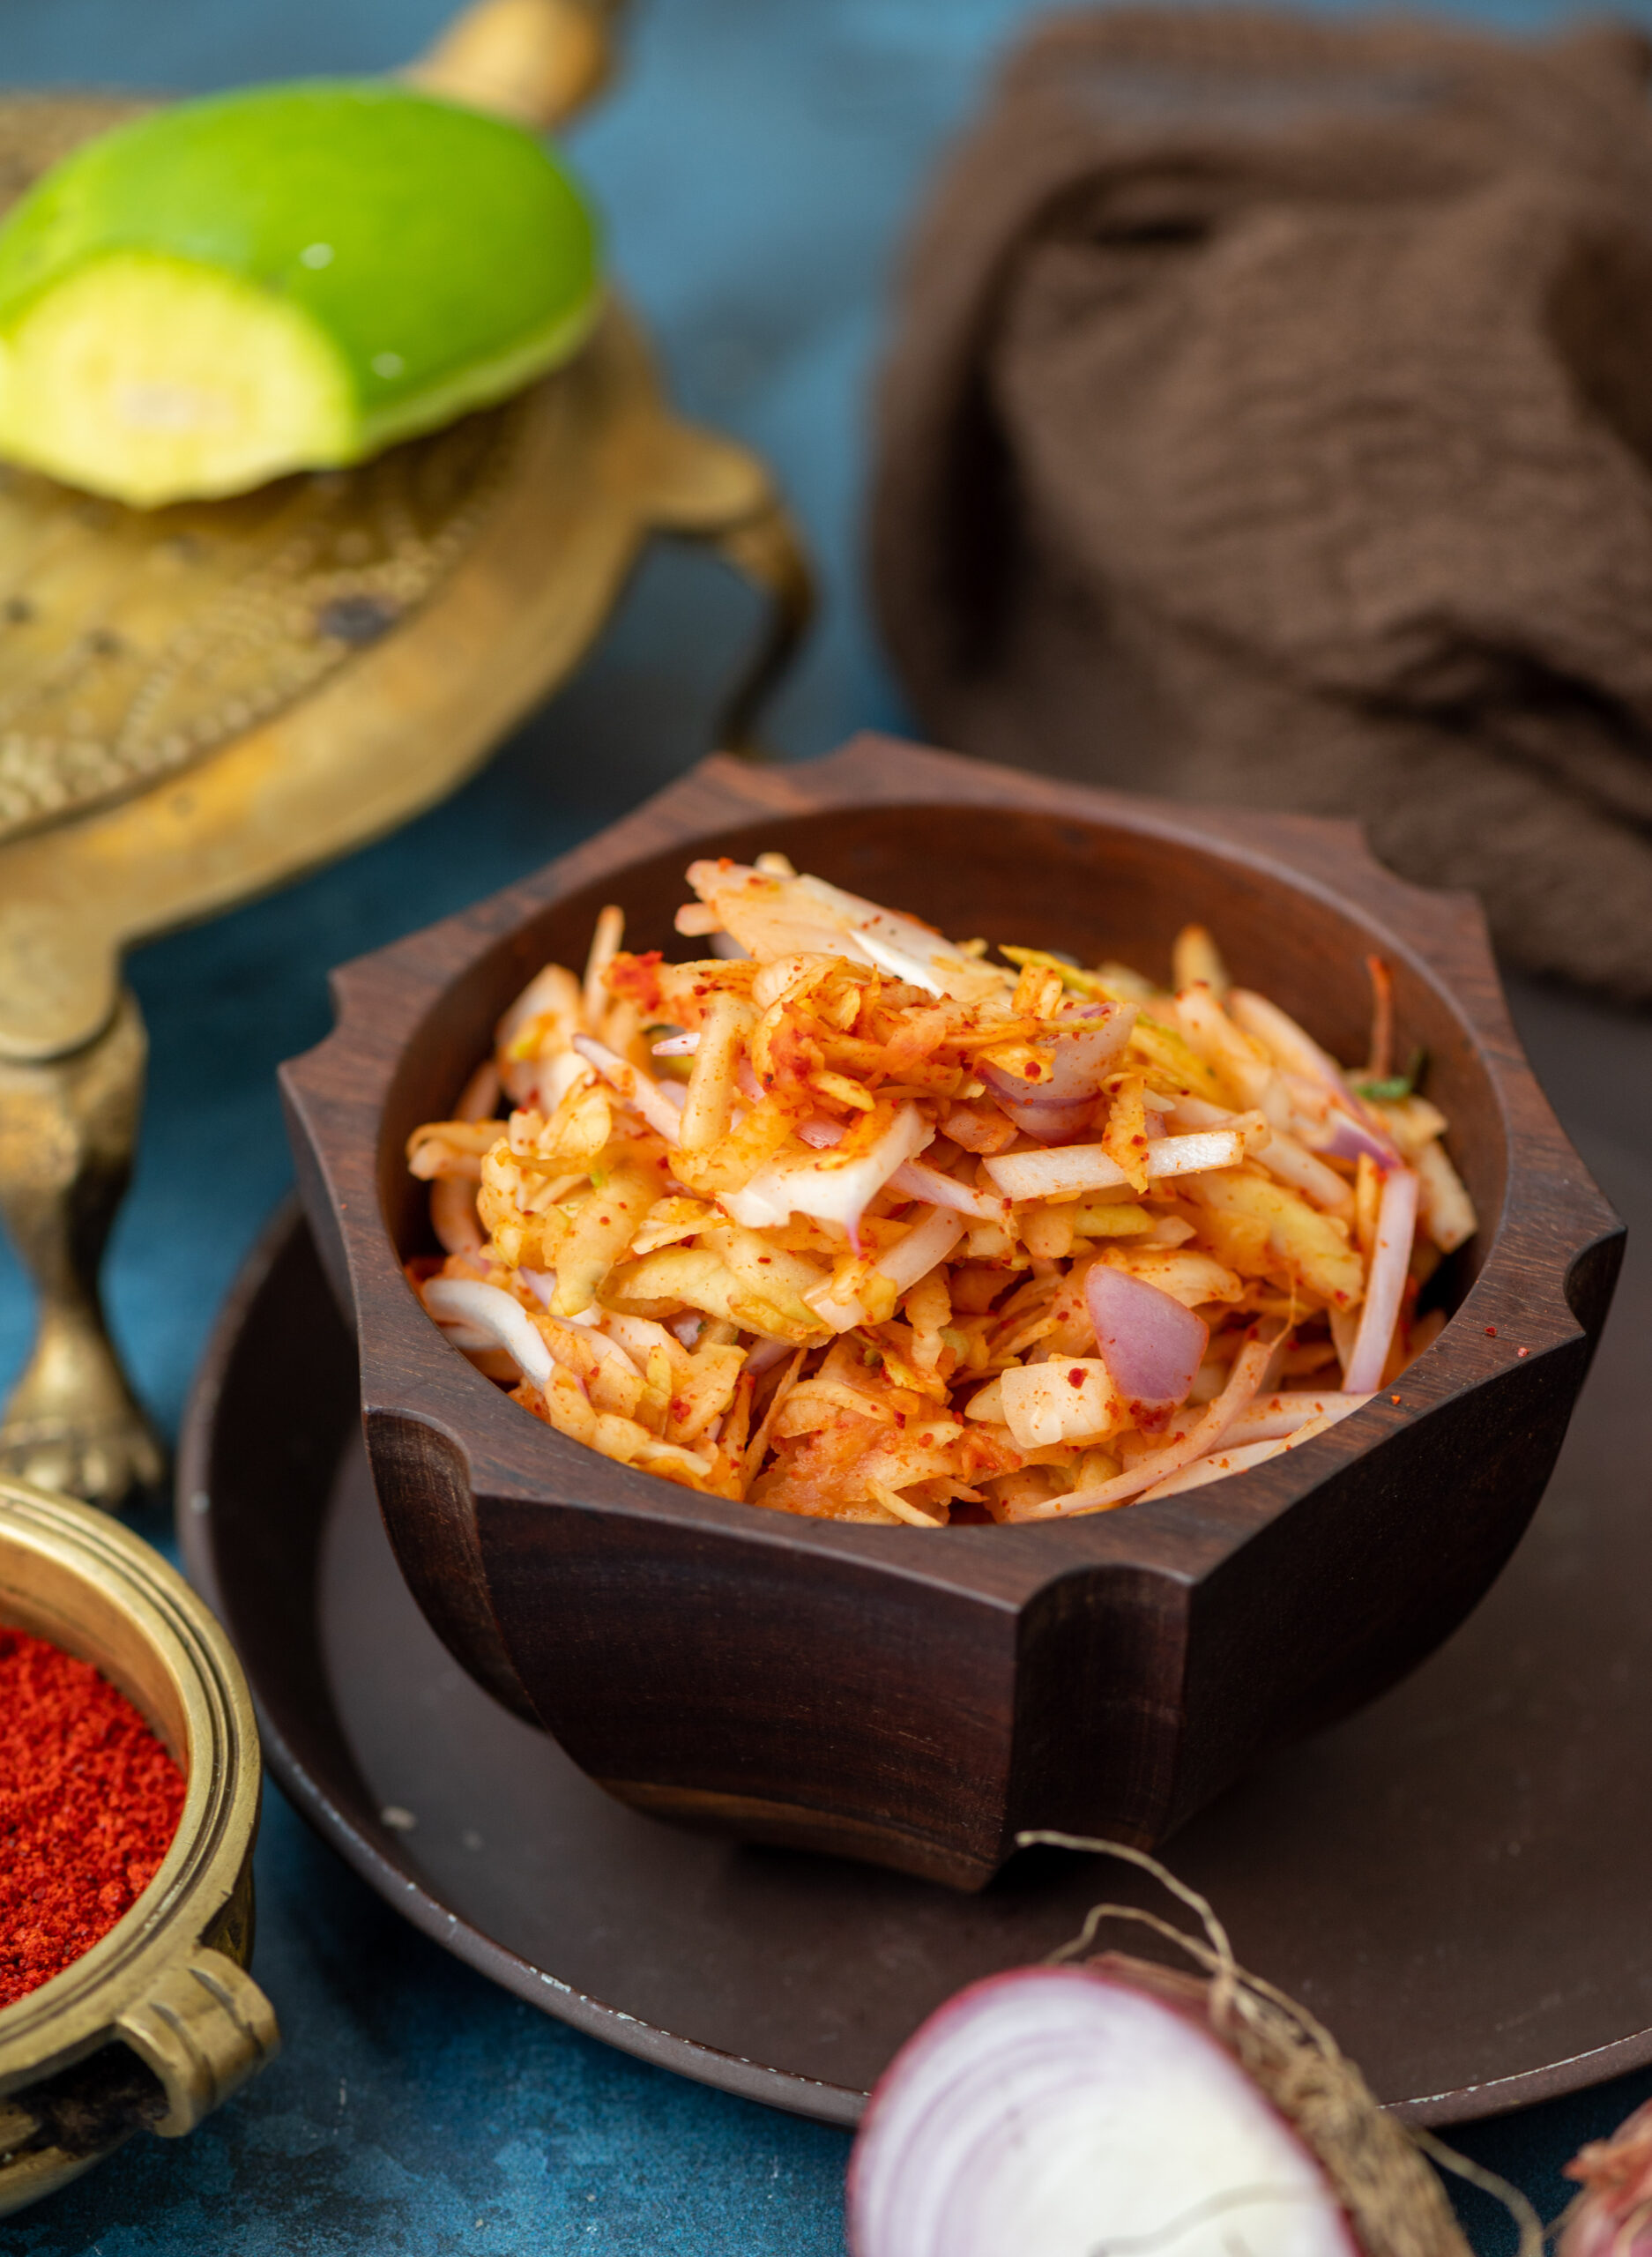
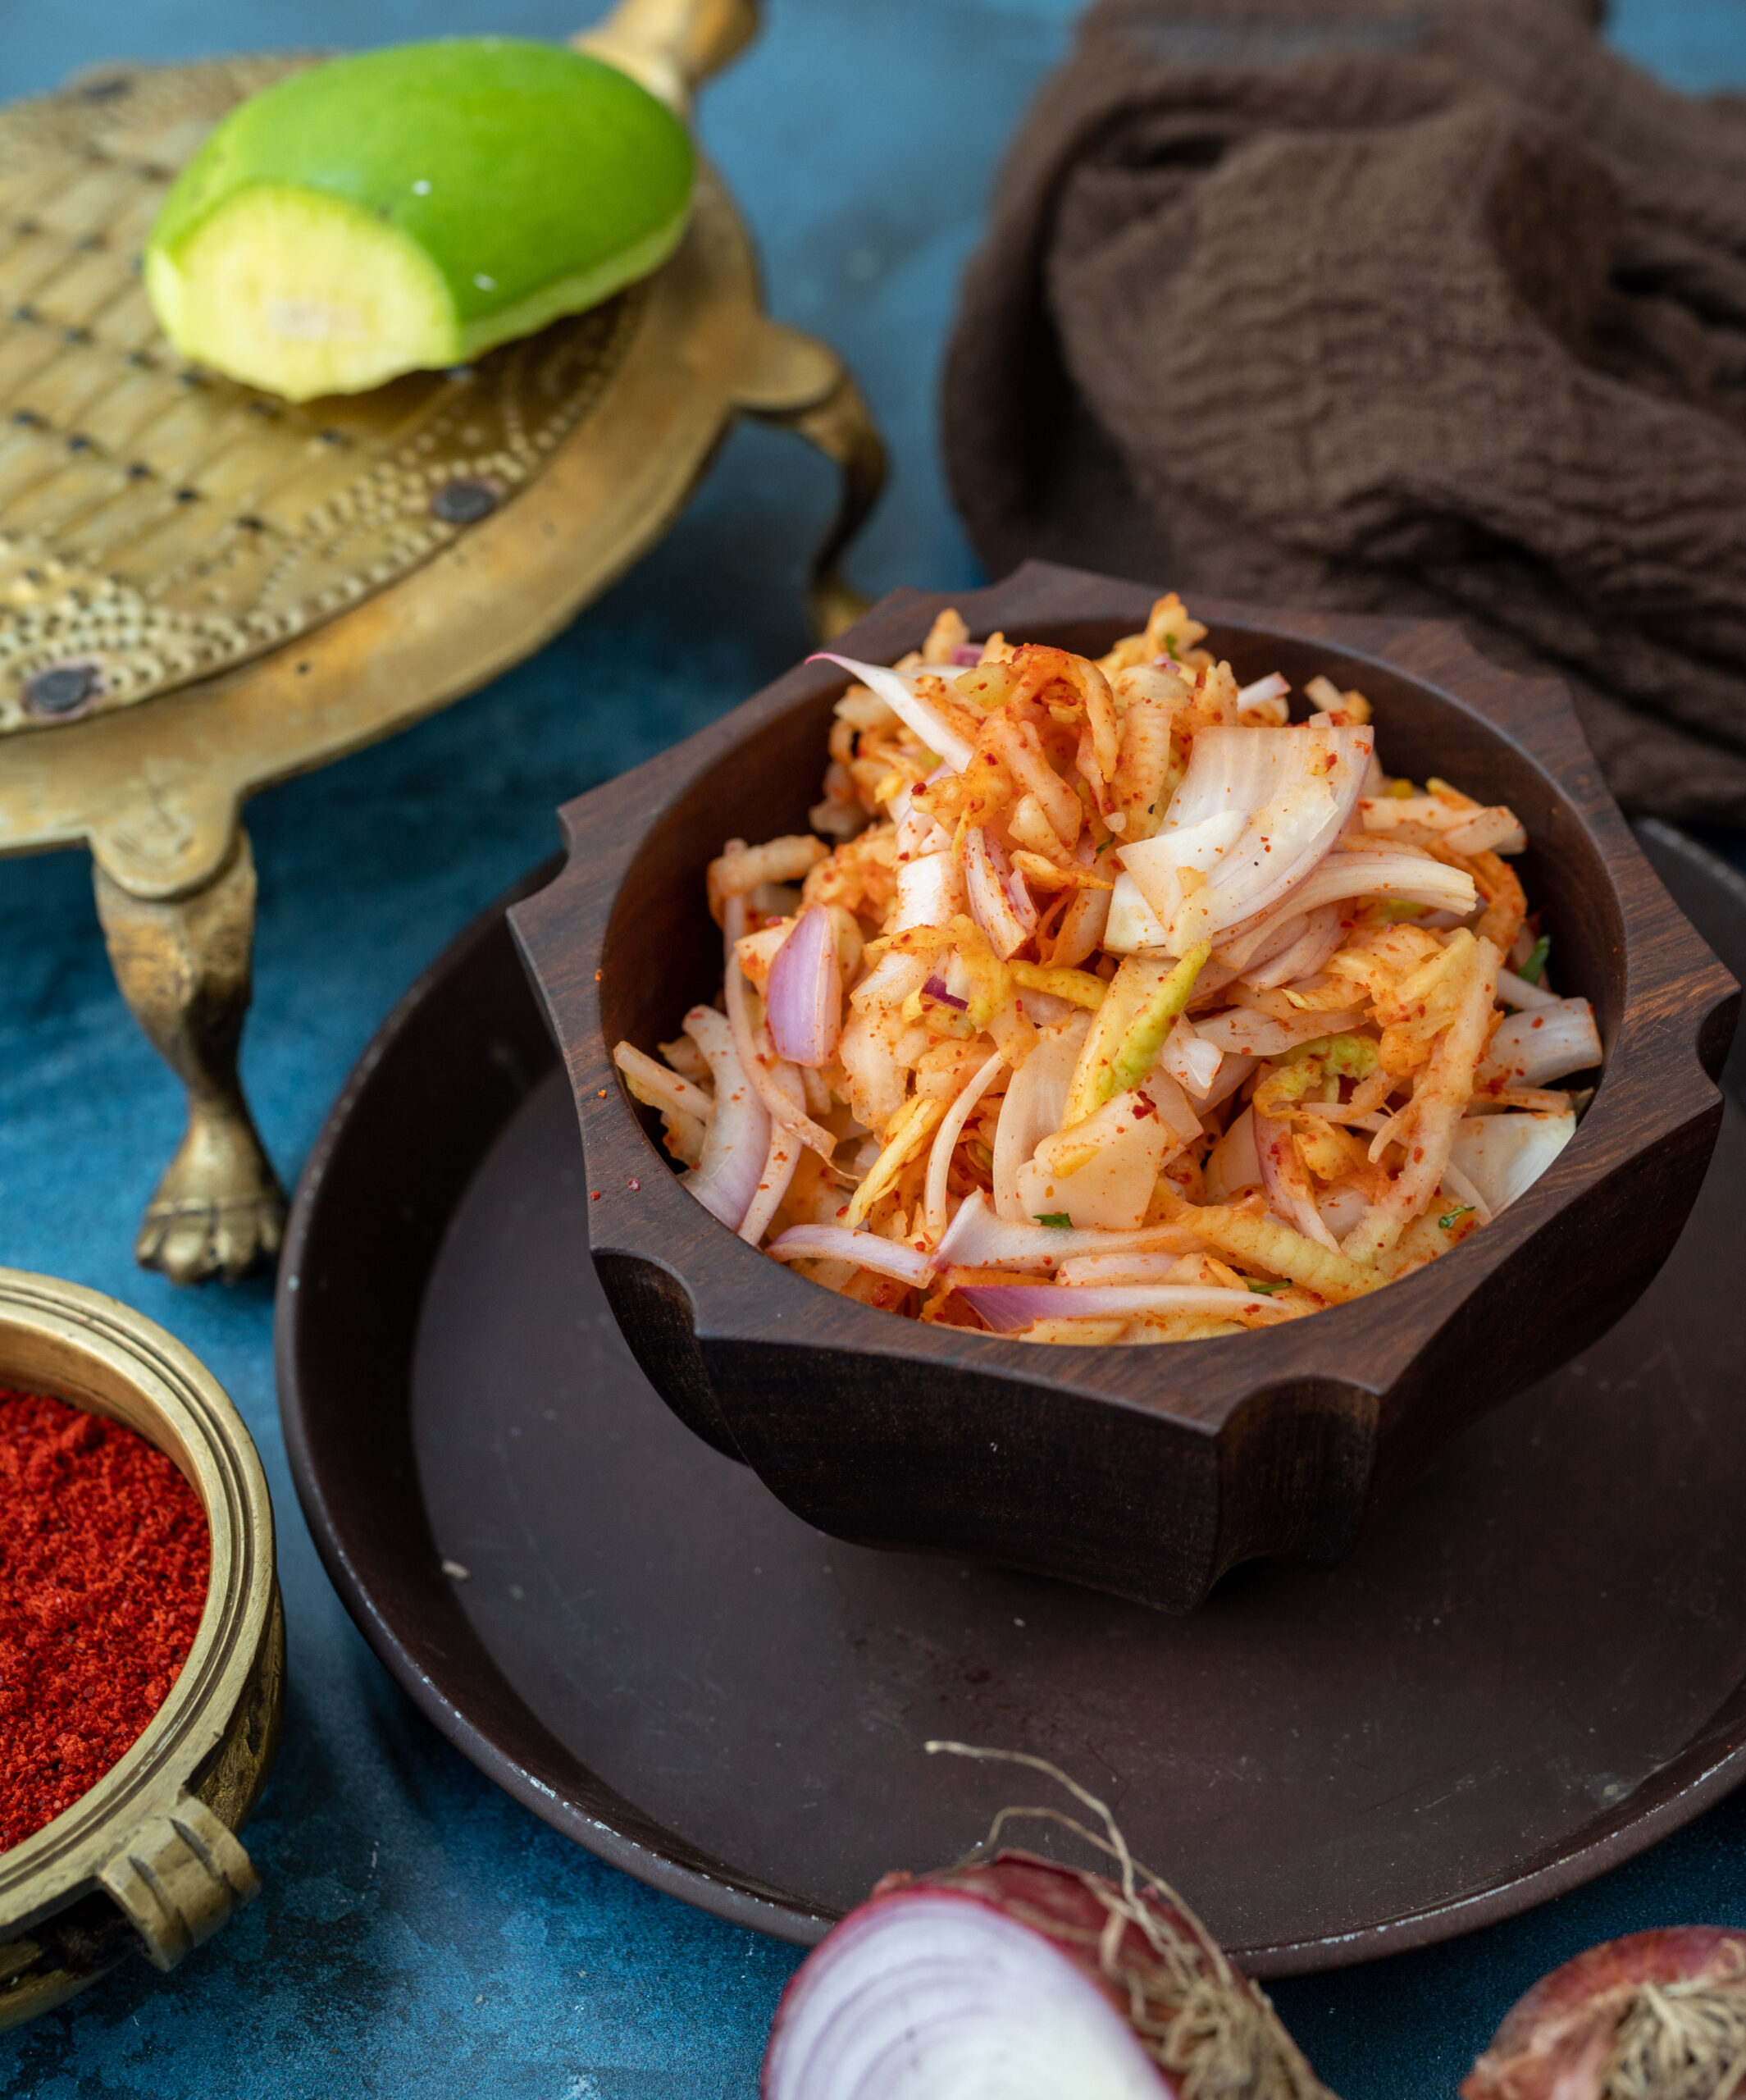
Kanda kairi is a traditional Gujarati condiment, but it is eaten in such large quantities in my home that it almost qualifies as a sort of salad. It features only two basic ingredients, as its name attests: onion (or kanda) and raw mango (or kairi). So it is remarkably simple to put together, and tastes great by itself and as an accompaniment.

Across Gujarati homes, you’ll find some kanda kairi being served on any thaali at this time of year. Similar to how buttermilk is a staple in the summer, so is this dish. It’s quite interesting how the kanda kairi has a reputation for being a cooling condiment, given the ingredients involved. Yet somehow, the combination works for this purpose. I recall how when I was growing up, my mom would insist that my siblings and I have a tablespoon of it daily during the hot months. I used to make a face every time, but now I do the same thing, and I love it.

Aside from onion and raw mango, I like to elevate the flavour with a bit of jaggery (which you don’t need if the fruit you use has a hint of sweetness), as well as some chilli powder. In India, we love to add that spice to raw mangoes as well as to guavas, as it adds a delicious edge.

Kanda Kairi

(Yield: Serves 2-4)

1 cup raw mango (grated)

½ cup onions (finely sliced lengthwise)

2 tablespoons coriander leaves (finely cut)

Salt to taste

1 teaspoon powdered jaggery

½ – 1 teaspoon red chili paste


In a bowl, add the raw mango and onions and coriander leaves. When ready to serve, add the salt, jaggery and chili paste. Mix well and gently, using your hands.

Your kanda kairi is now ready. Enjoy it as a salad or condiment. To me, it’s a bit of both – and so easy to bring together!

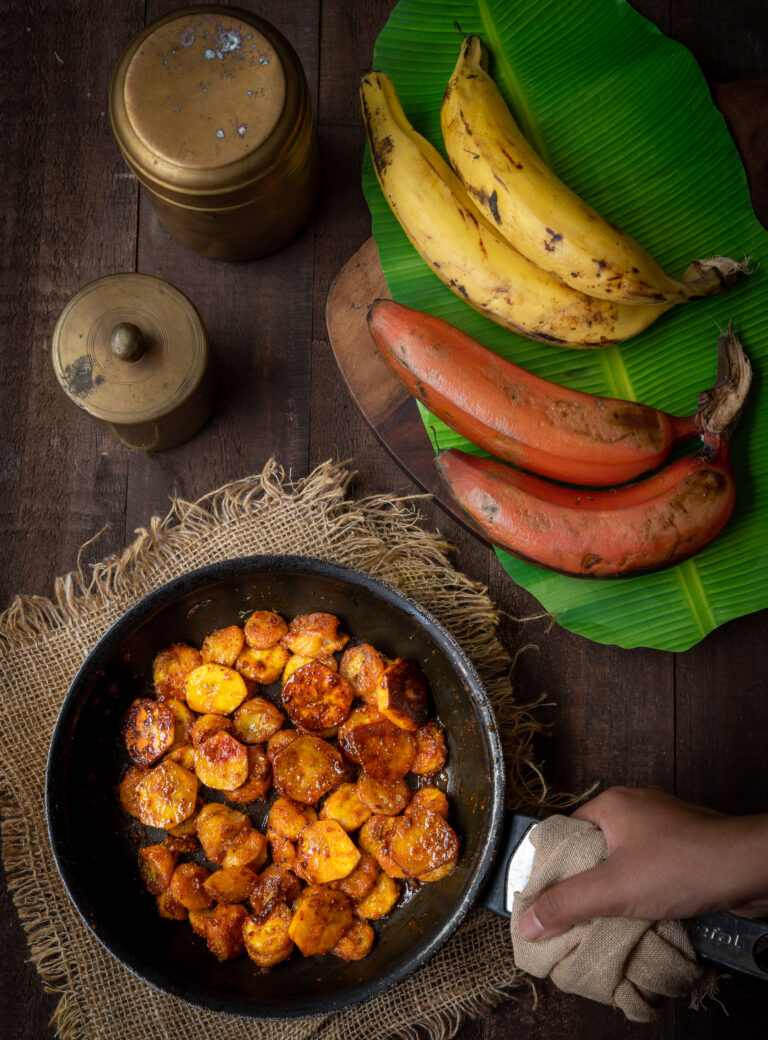
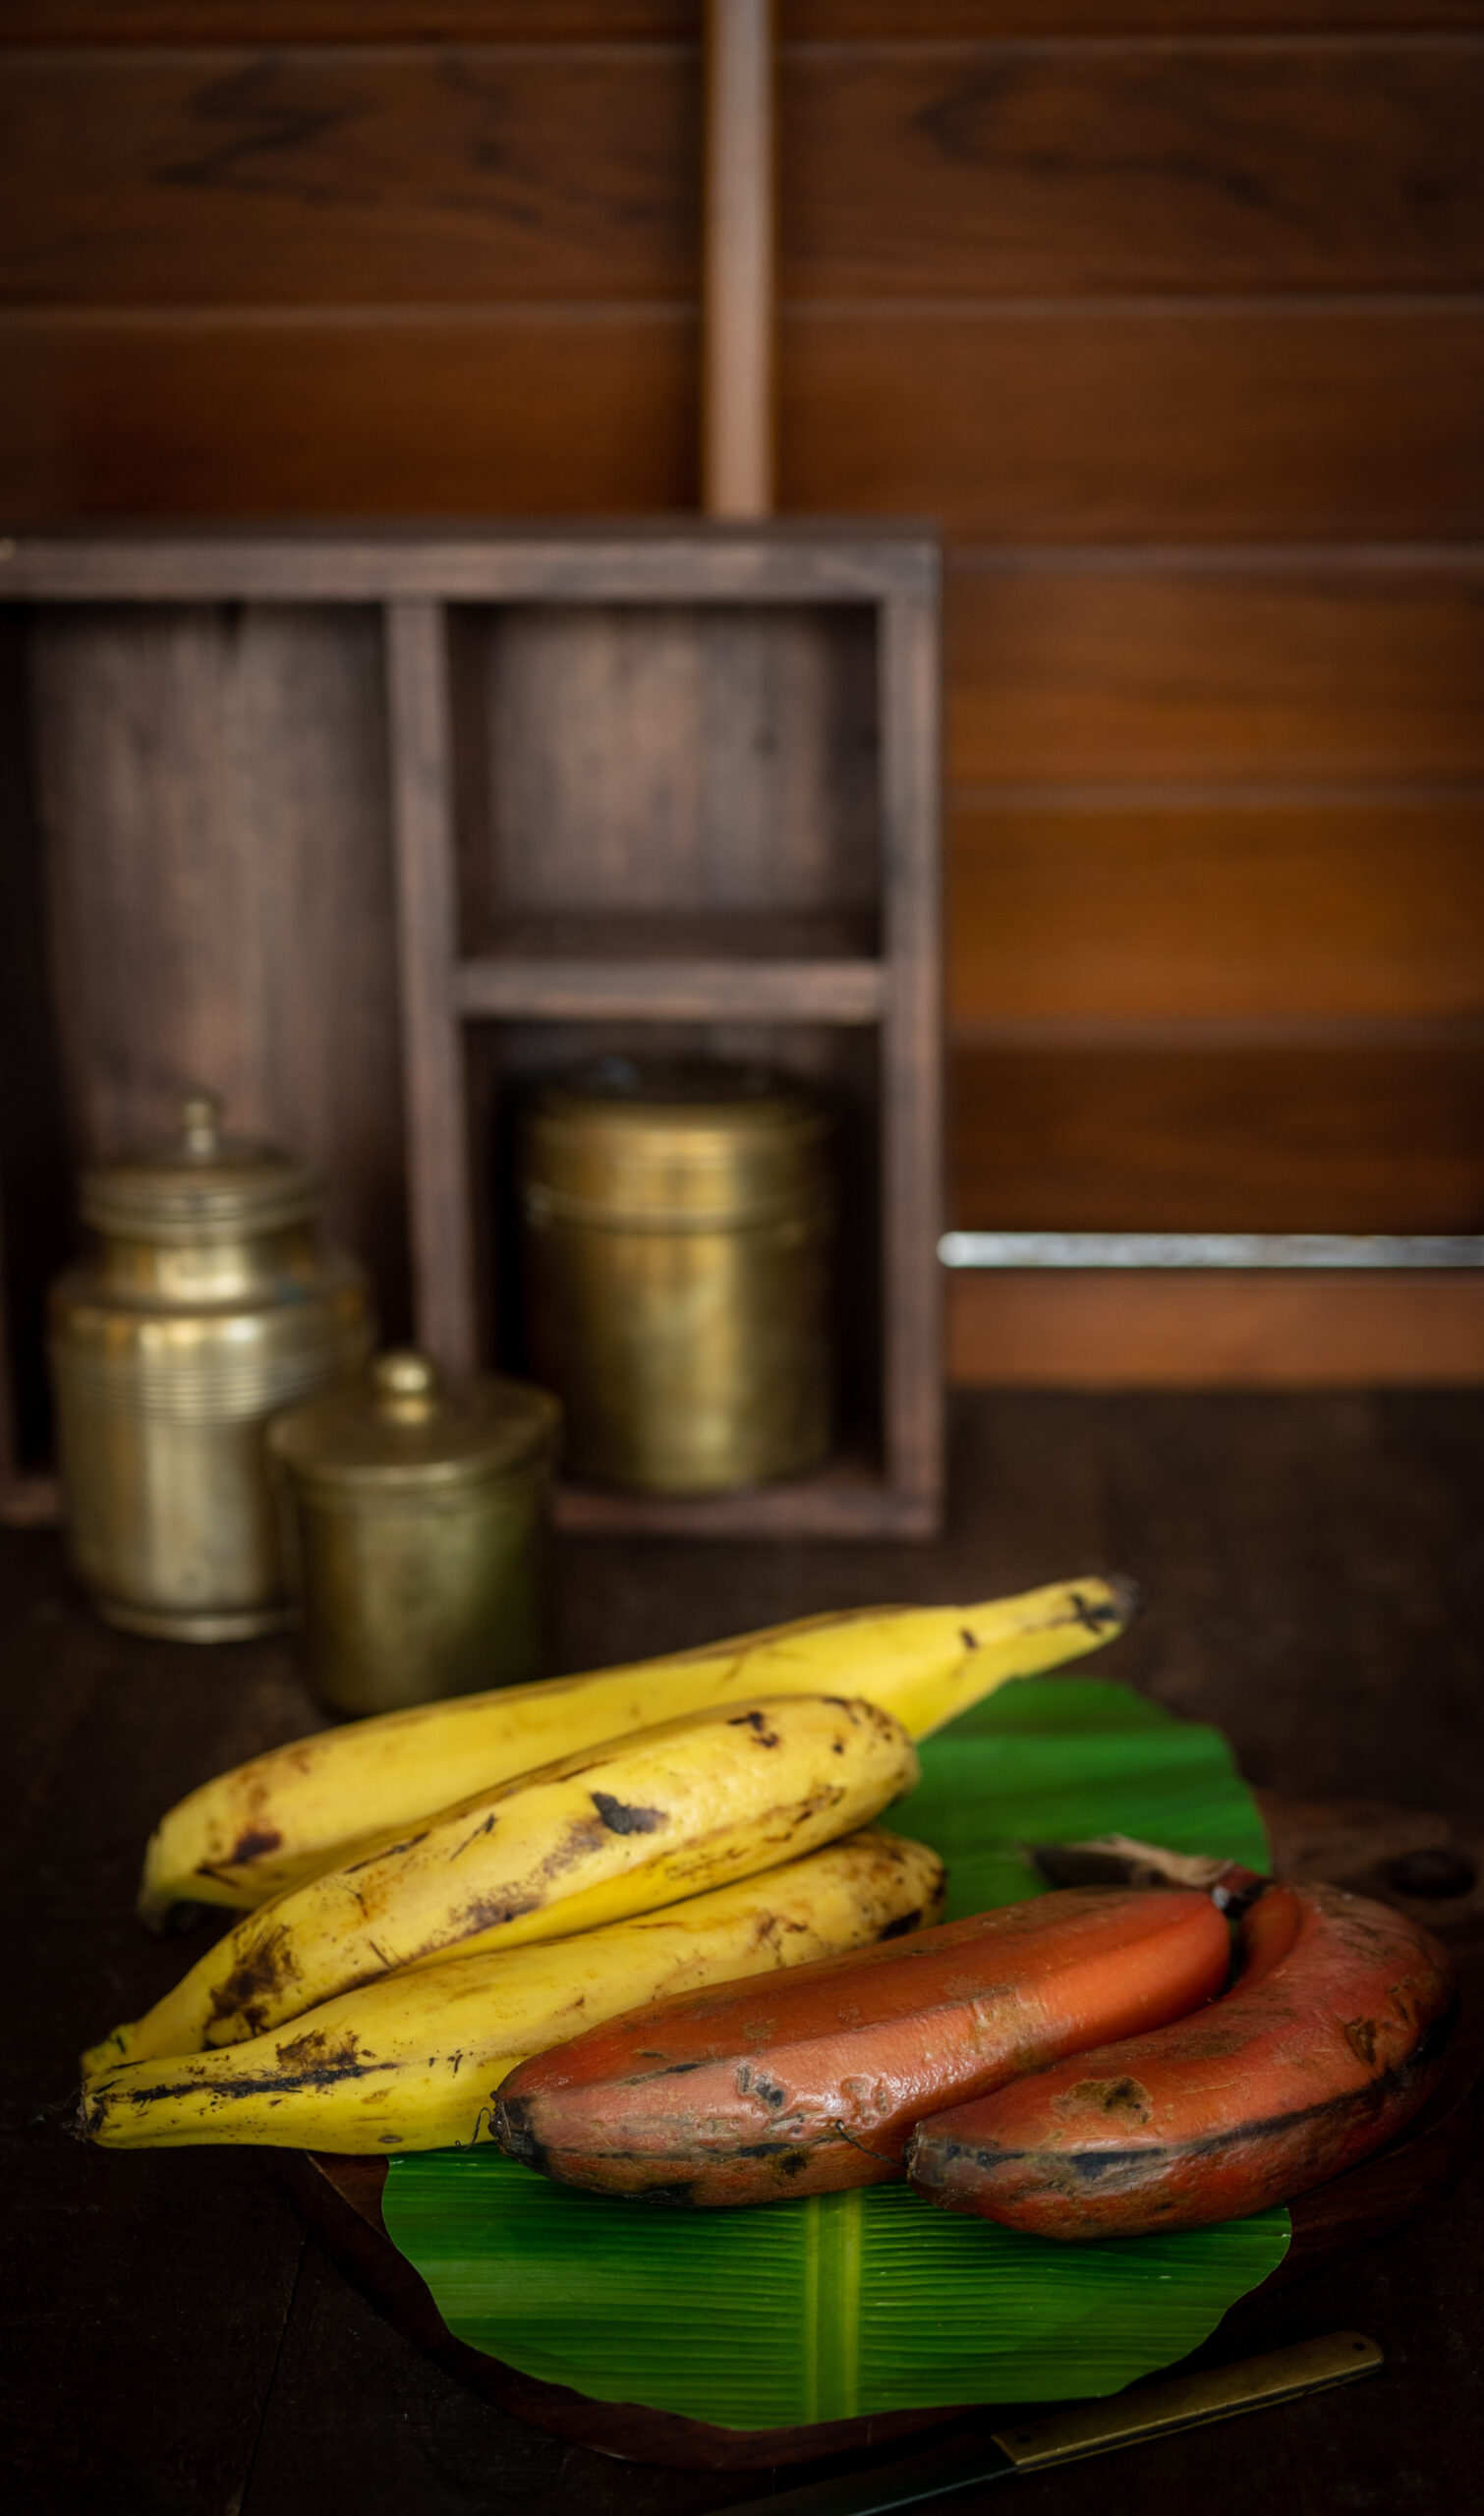
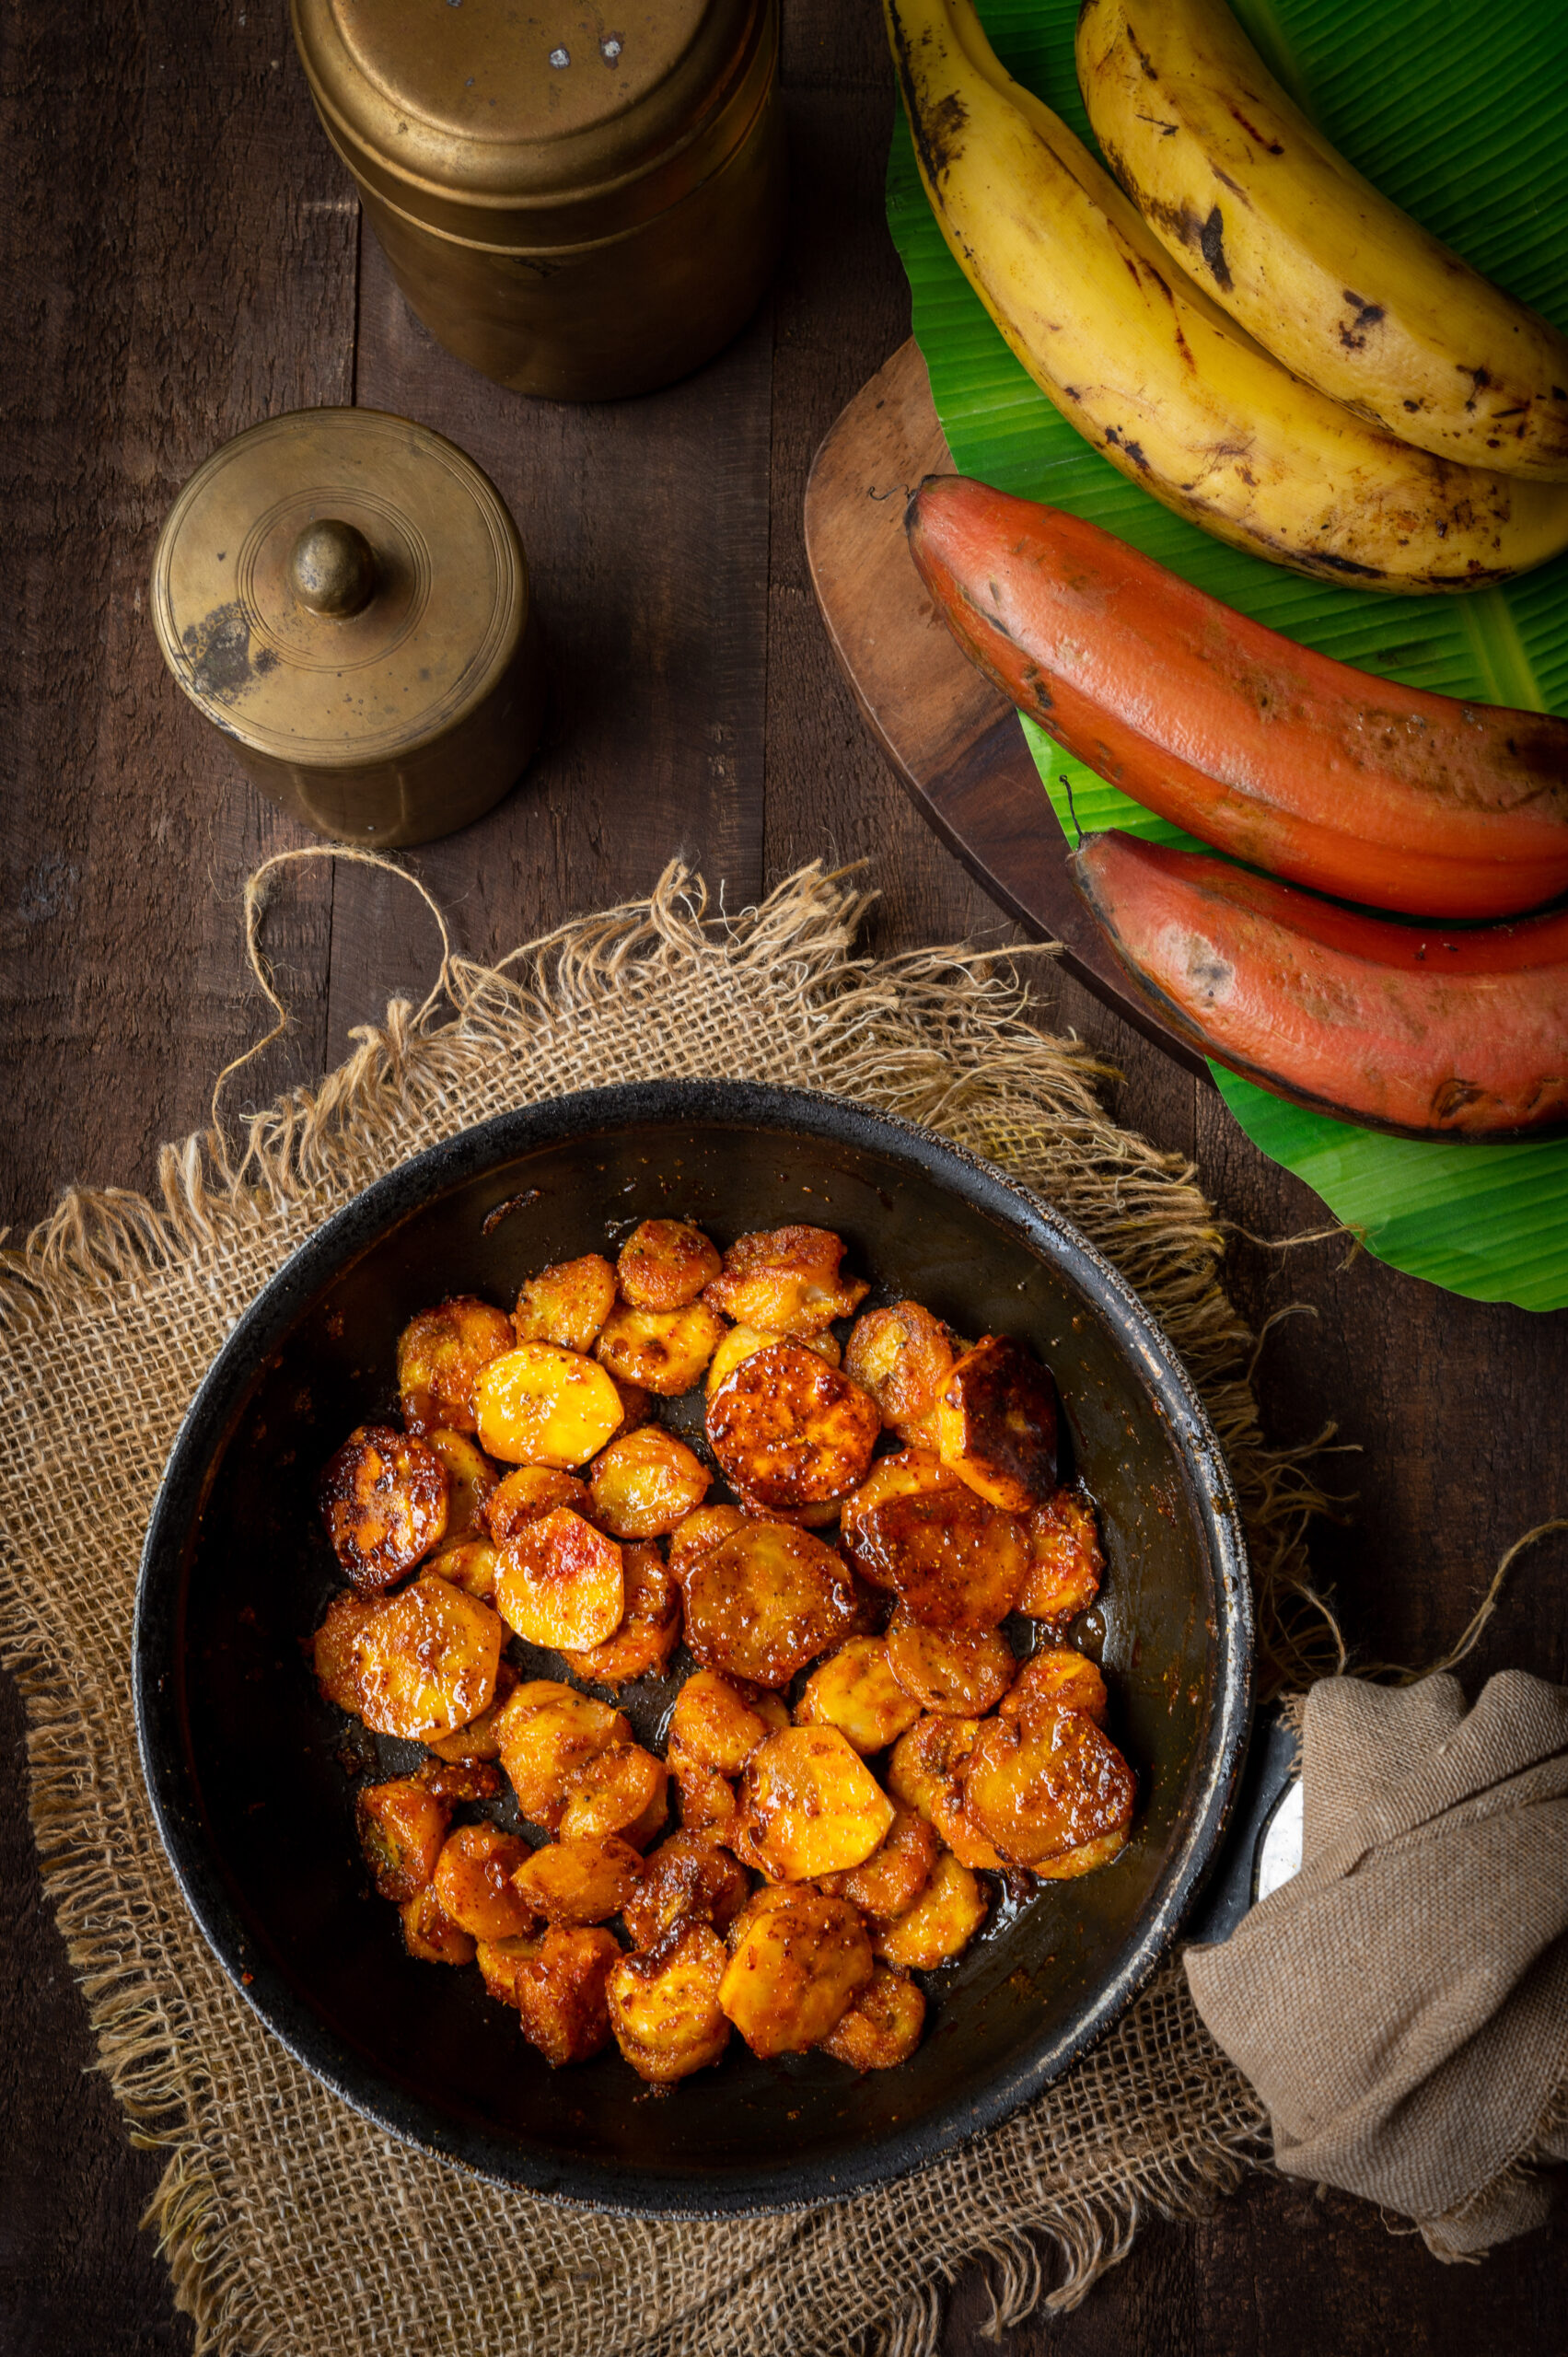
I am visiting Kerala at the moment. Being in God’s own country, as this state is often called, has been a great experience. This is because Nature can be very inspiring. There is barely a single dry leaf anywhere – it is that beautiful. The lush greenery is all around, everywhere I go: mangoes hanging over the backwaters or down to the ground, coconuts, and plenty of banana varieties. The bananas called to mind some recipes that I really enjoy, including this delicious Gujarati dish named kela nu shaak.

Kela nu shaak is very popular among Gujarati Jains during fasting periods, when they may avoid greens. Thus, this savoury dish works as a vegetable substitute, and is eaten along with chapatis. That is, it is basically a banana subzi (“subzi” being the term for vegetable dishes). But it really is so delicious that it is a regular staple in the cuisine even beyond fasts. It goes quite well with other savoury dishes like kadhi, as well as various vegetable accompaniments too.

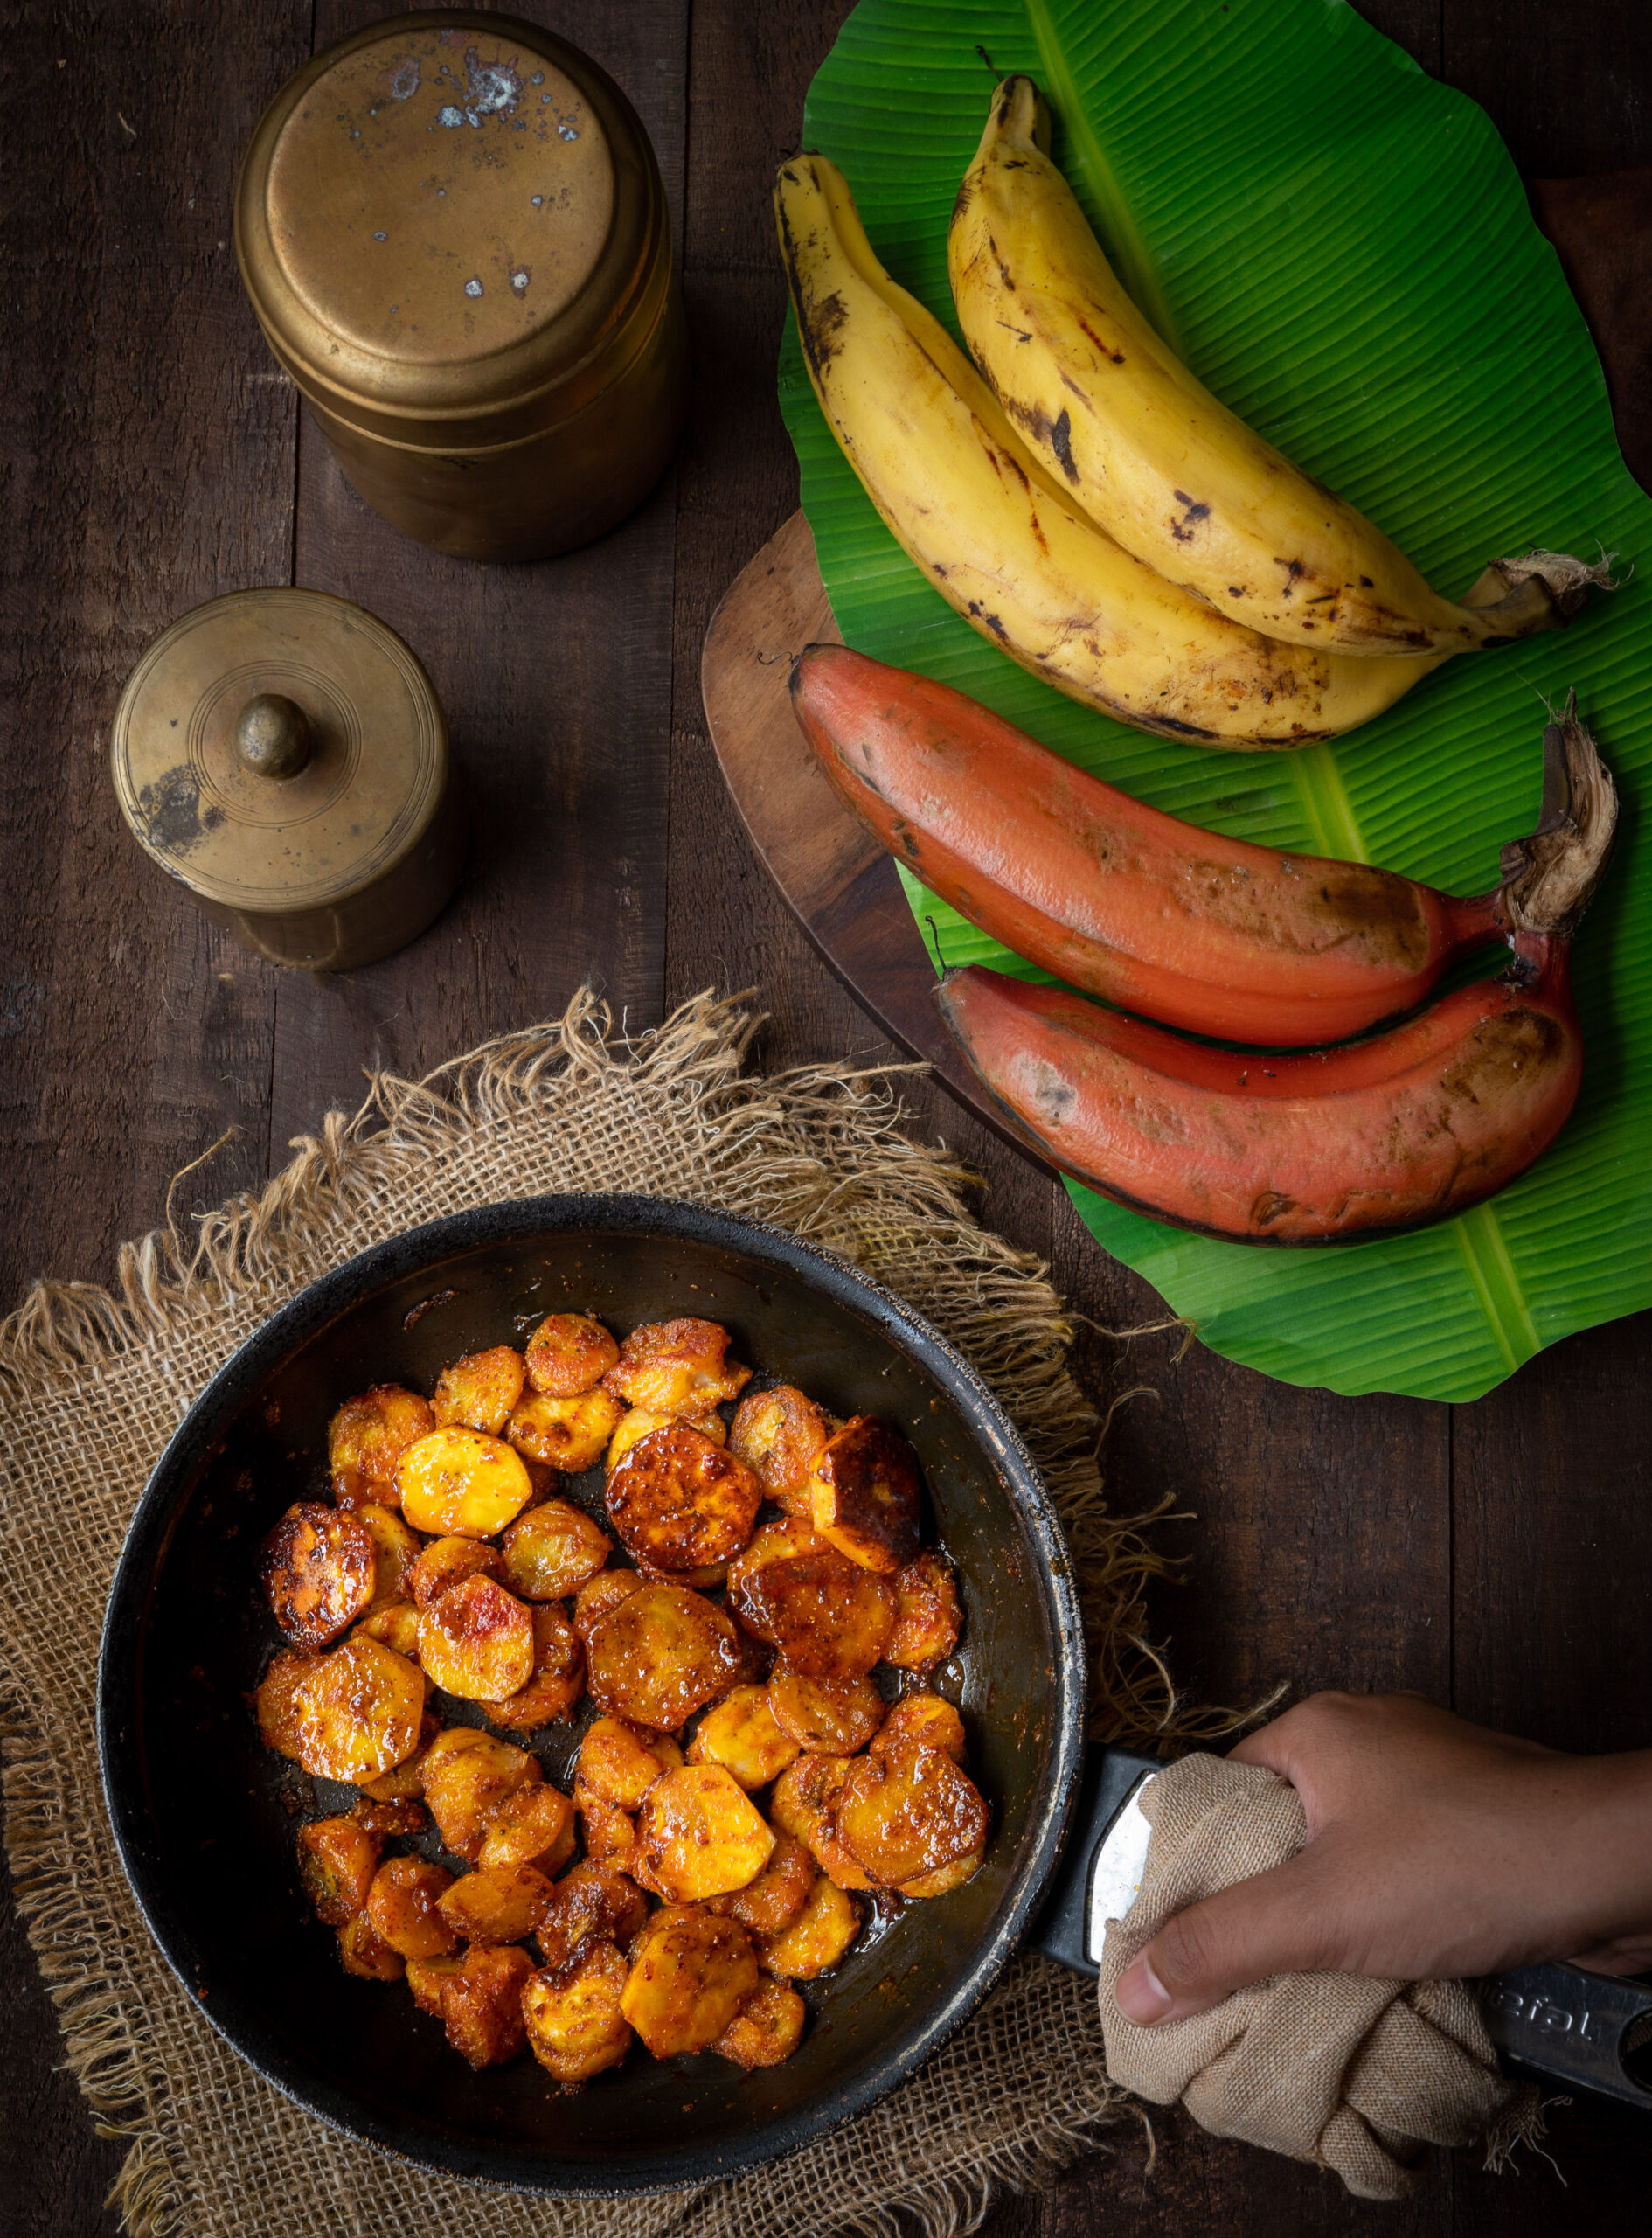
It was a dish my husband grew up eating, so it counts among his comfort foods and makes regular appearances in my cooking too as a result. It is really quite simple: the bananas are sautéed in ghee, and a few spices are added. I like to make it in a non-stick or iron pan, adding a little jaggery which turns crispy and golden at the bottom, almost caramelized. I find that this is a great way to lift the flavours of the dish.

If you don’t know what to do with overripe bananas, kela nu shaak is the dish for you. As you know, when they ripen the whole bunch does at once, so you may have quite a bit of fruit that doesn’t taste as good eaten raw. If you prefer something sweet instead, this banana bread recipe that I shared a while back is ideal.

I will be carrying back with me a few varieties of Kerala bananas, and it will be interesting to see the differences in flavours and the kinds of dishes they lend themselves well to. I will certainly share my findings with you once I get a good sense of how to use them. As for kela nu shaak, any of the usual green or yellow bananas that you have access to will do.

Kela Nu Shaak / Banana Subzi

(Yield: Serves 2)

5 small ripe bananas

1 tablespoon ghee

½ teaspoon jeera (cumin) seeds

½ teaspoon mustard seeds

Salt to taste

¼ teaspoon turmeric powder

½ teaspoon chilli powder

½ teaspoon dhaniya (coriander) powder

½ teaspoon jeera powder

2 tablespoons jaggery


Peel and slice the bananas. Set aside.

In a non-stick pan, add the ghee. Once it’s heated, add the cumin and the mustard seeds.

Wait for them to splutter, then add the sliced bananas.

Move the bananas around on the pan a little bit without mixing too much, and allow the slices to cook on both sides, flipping at intervals until lightly brown.

Now, add the spices and the salt. Mix very gently until the slices are coated. Next, add the jaggery.

Allow to cook on a low flame, making sure the jaggery doesn’t burn.

Once the bananas has turned golden and the jaggery has almost caramelized, turn off the flame. Your kela nu shaak is ready to serve. Enjoy hot, with chapatis.

I hope you will enjoy this savoury use of a sweet fruit!

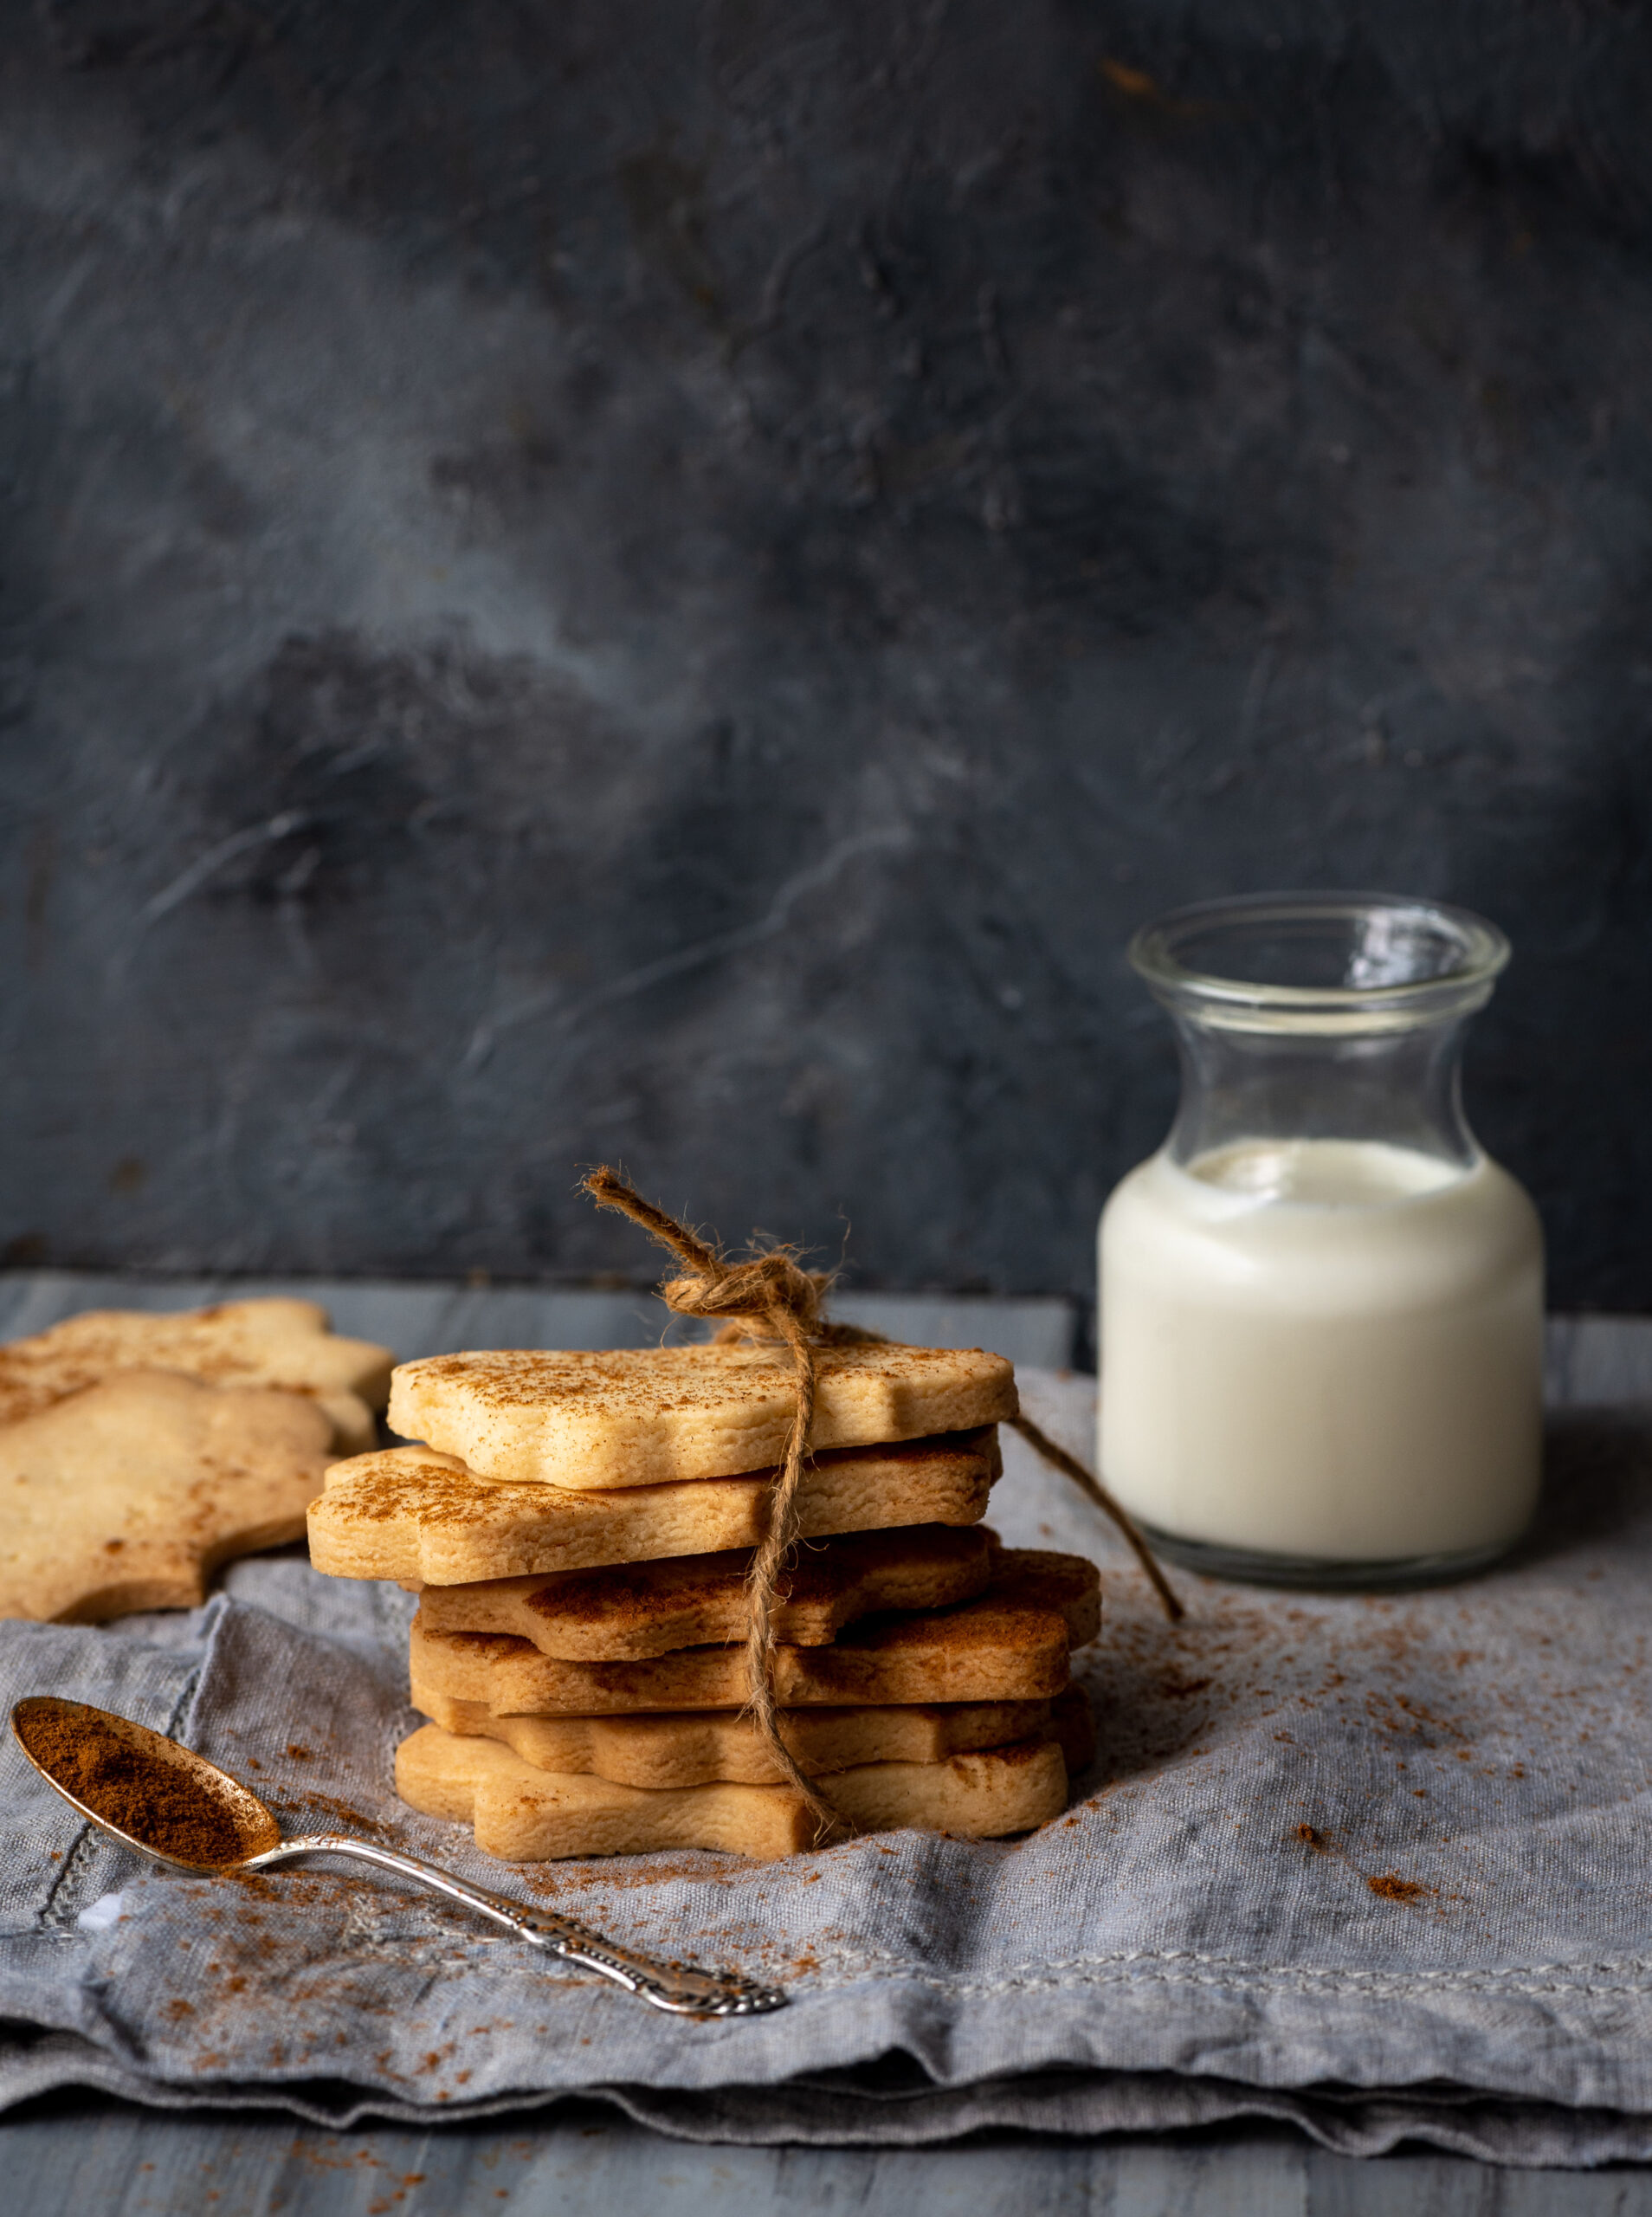
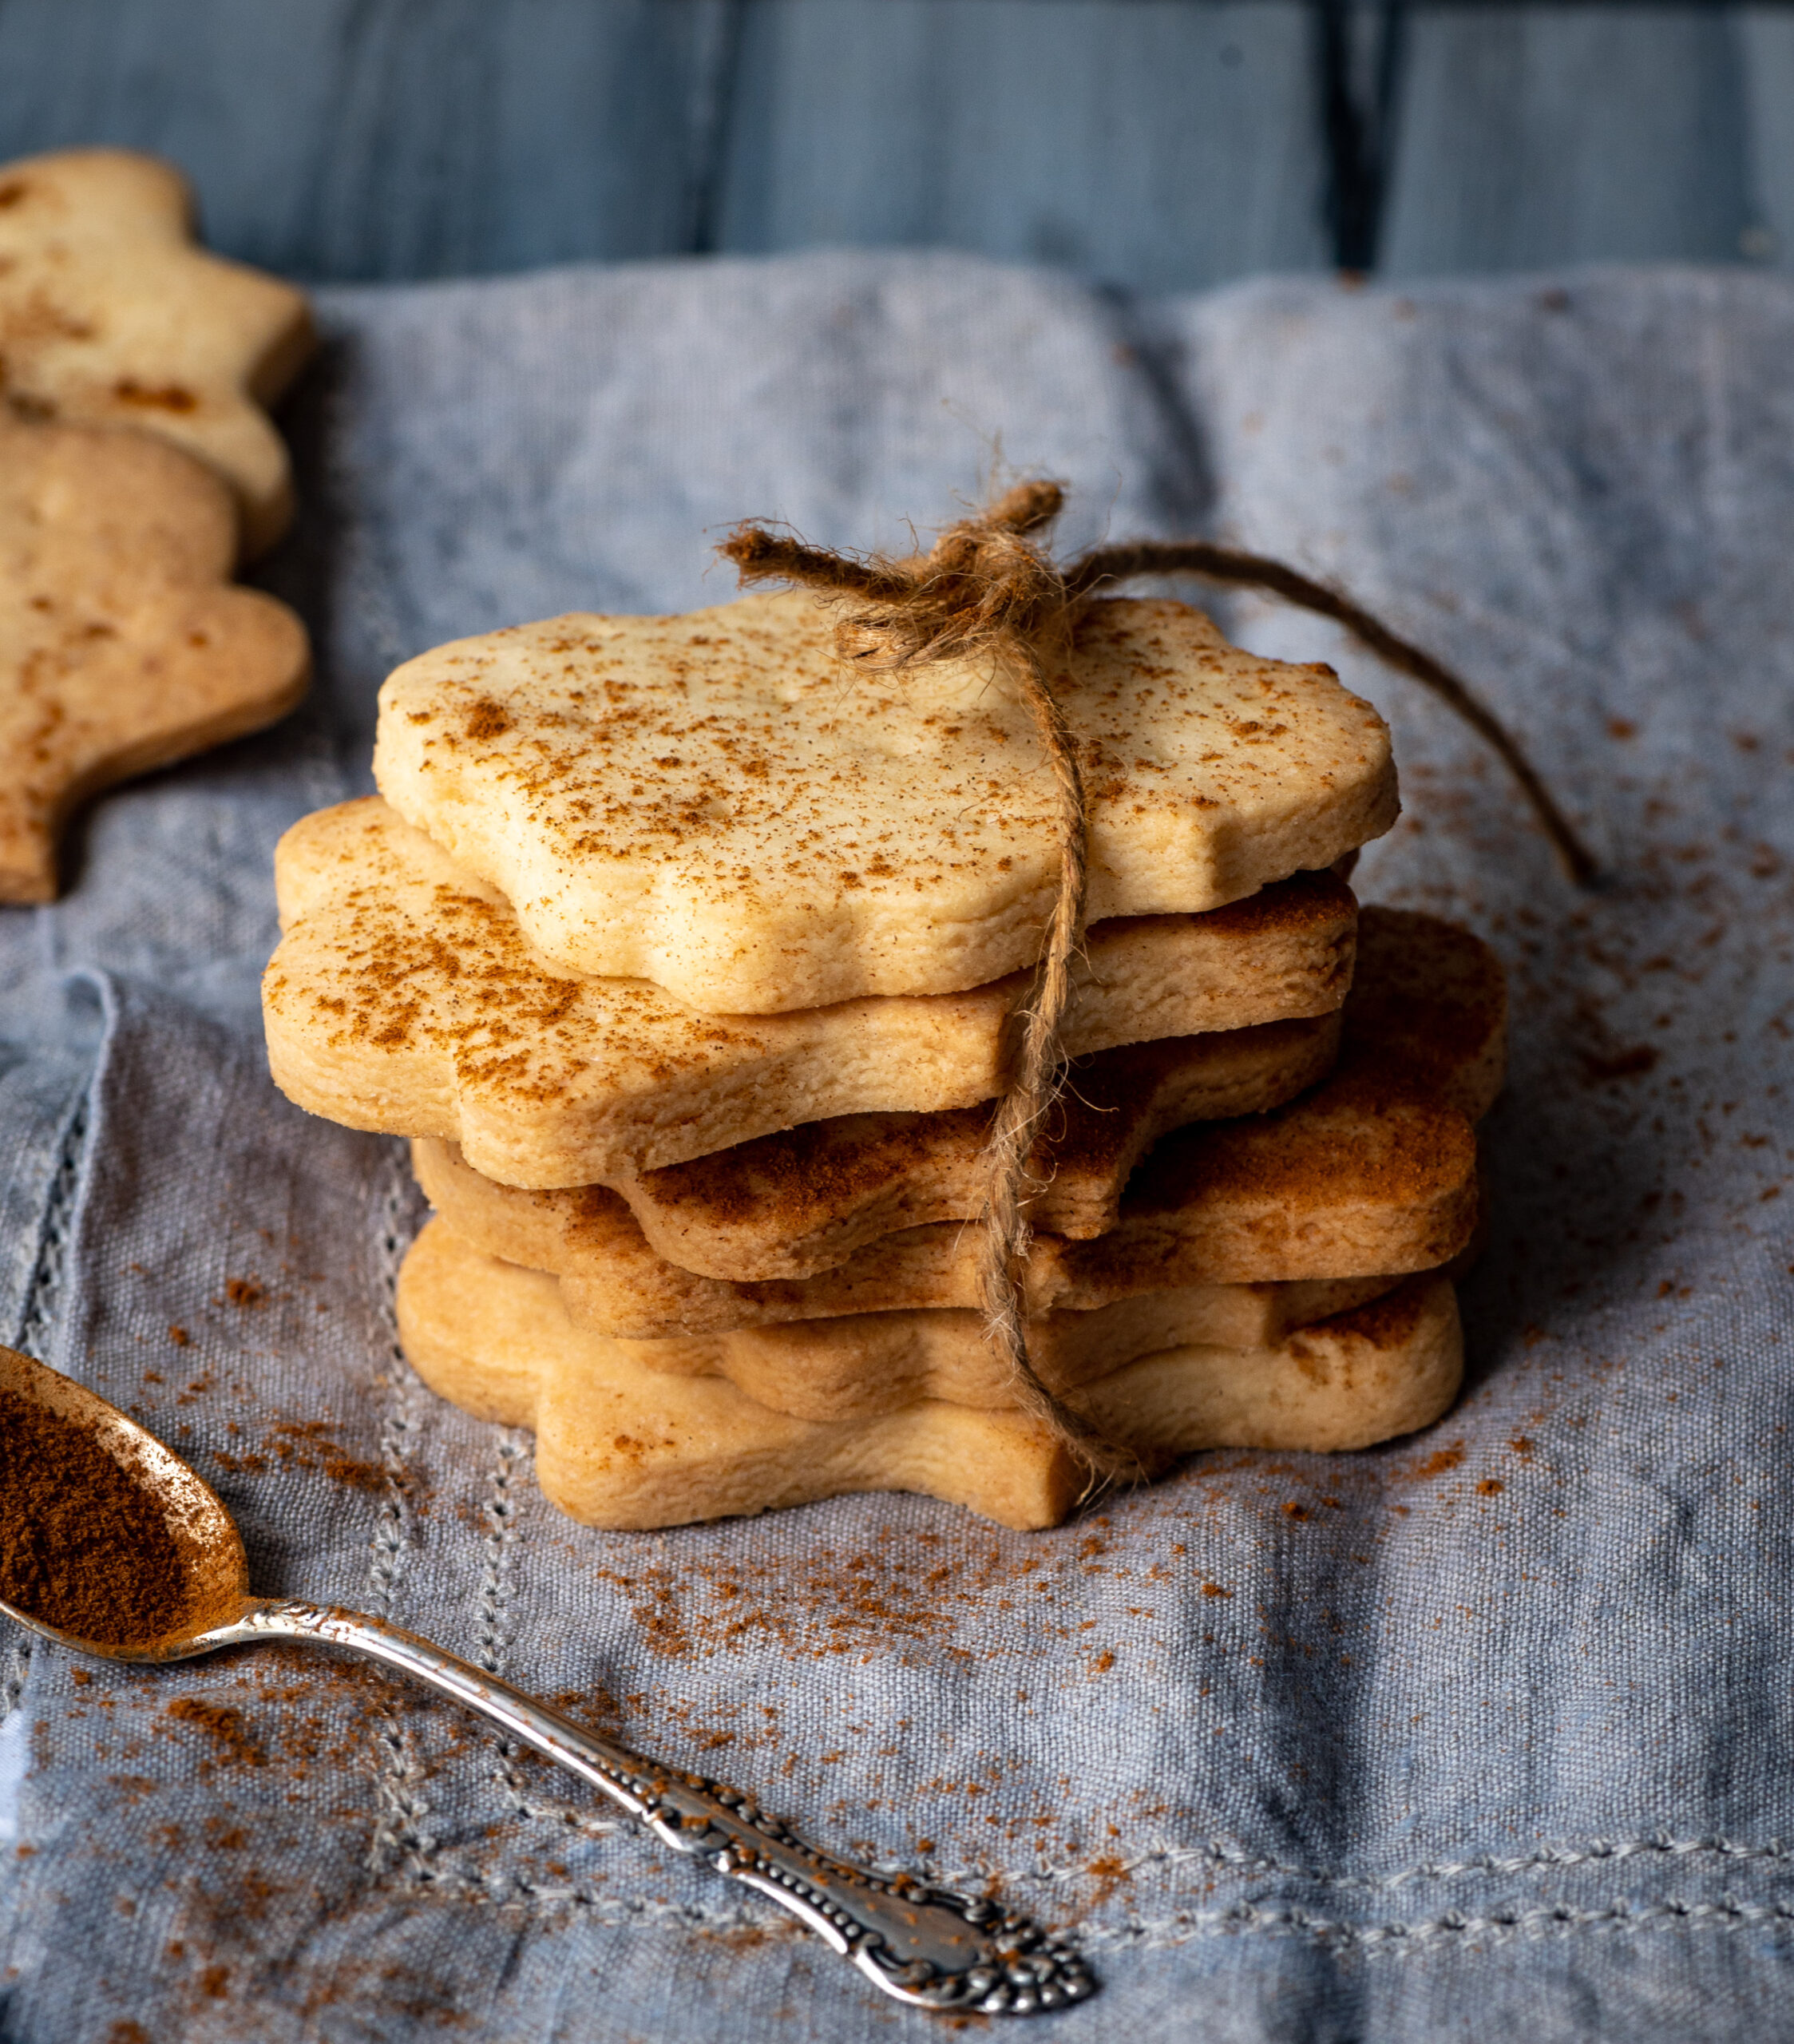
Over the last several years, I have really felt like I am expressing my artistic side and my creativity through re:store. I pour everything into cooking and photography. So much so that I sometimes believe that I can make anything in the kitchen: cakes, fig rolls, the works. Now and then, however, I come up against my limitations and learn a bit more about myself and about cooking too. For instance, I found that cookies are not my forte, and that cakes are where I tend to shine. That said, I still love baking both, and sharing them with you too. So just in time for Christmas, here is my recipe for eggless cinnamon cookies.

I’m not one to go down the street and find a store in order to satisfy a craving. I would much rather eat home-made fare as much as possible, even when it comes to snacks. I enjoy having a cookie or a biscuit along with my late afternoon tea, so I quite often put something in the oven just for that.

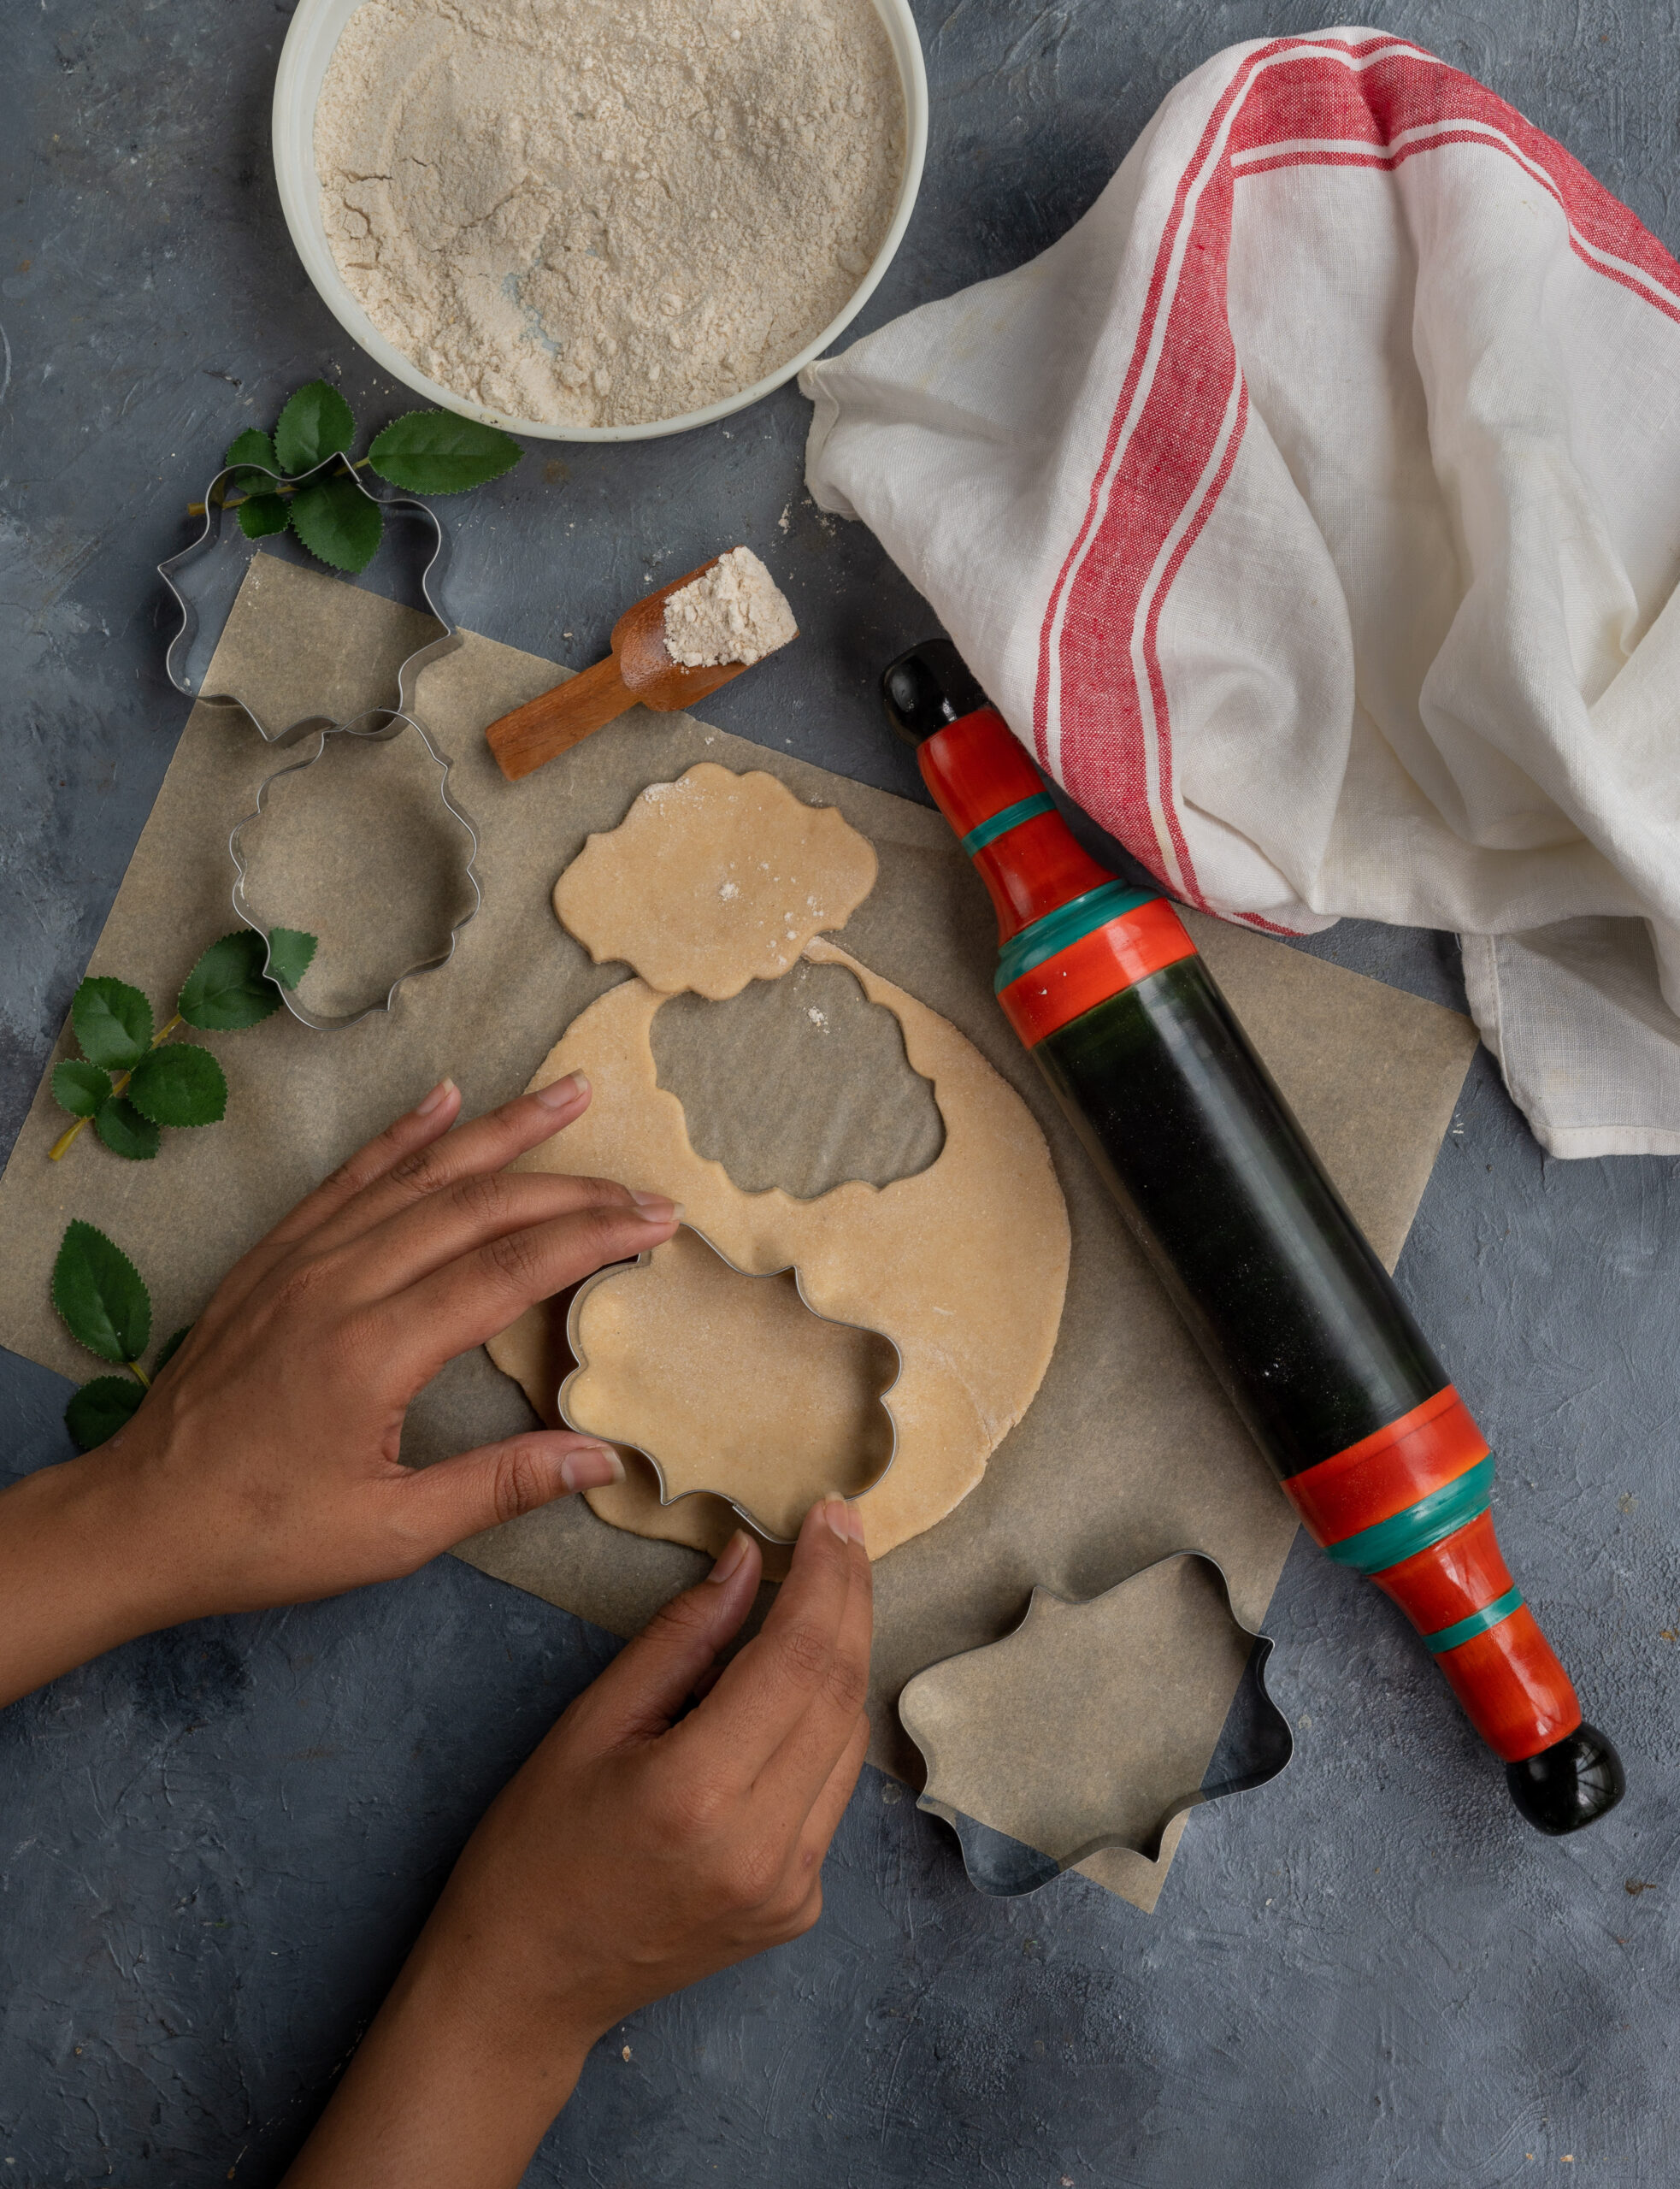
What I am sharing with you here is a very basic cookie which is eggless, easy to make and easy to decorate. I’ve used some fancy cookie cutters just for the fun of it, and in the festive spirit. After all, how long can you go on denying yourself the things you love and enjoy?

On that note, you may have noticed that I’ve shared quite a few sugary desserts of late, and that is because of all the special occasions and entertaining that you (and I) may be doing at this time of year. I assure you that I have lots of lovely recipes lined up for January that are all about healthy and clean eating though!

In the meanwhile, let’s indulge: eggless cinnamon cookies, dipped with chocolate, love and good tidings!

Eggless Cinnamon Cookies

(Yield: 12-15 cookies)


150 grams all purpose flour

75 grams powdered sugar

50 grams cornflour

½ teaspoon salt

85 grams butter

1 tablespoon milk

1 teaspoon vanilla extract

½ teaspoon cinnamon powder

1 cup chocolate chips


Mix all the ingredients (except the chocolate chips) together well with your palm. Form a dough and wrap it in cling film. Refrigerate for an hour.

Preheat the oven to 160° C. Divide the dough into two discs, and with the help of parchment paper, roll them out. Use a cookie cutter of any desired shape.

Bake the cookies for 12-15 minutes or until they turn slightly golden at the edges.

Remove from the oven and allow the cookies to cool completely.

Meanwhile, melt the chocolate chips on a double boiler or in a microwave. Stir constantly.

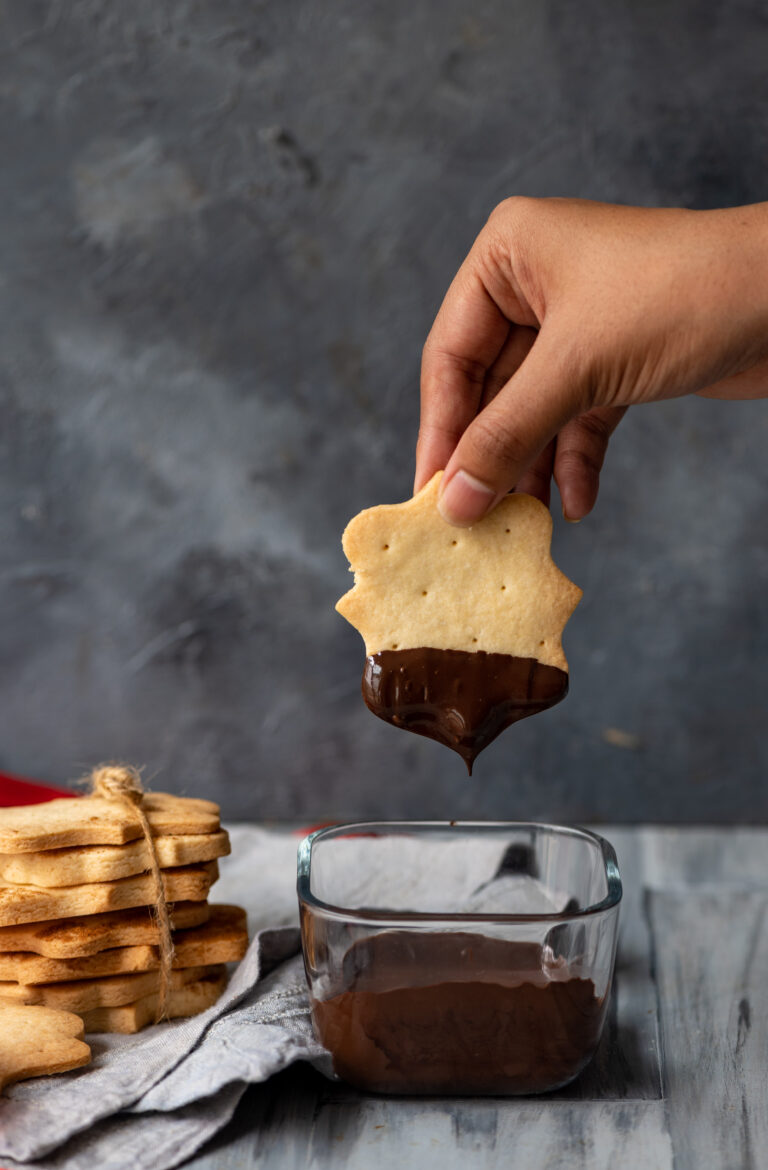
Remove from the heat. Dip the cookies into the melted chocolate. Then place them on a tray and cool in the refrigerator, or at room temperature in a cool room, until the chocolate sets.

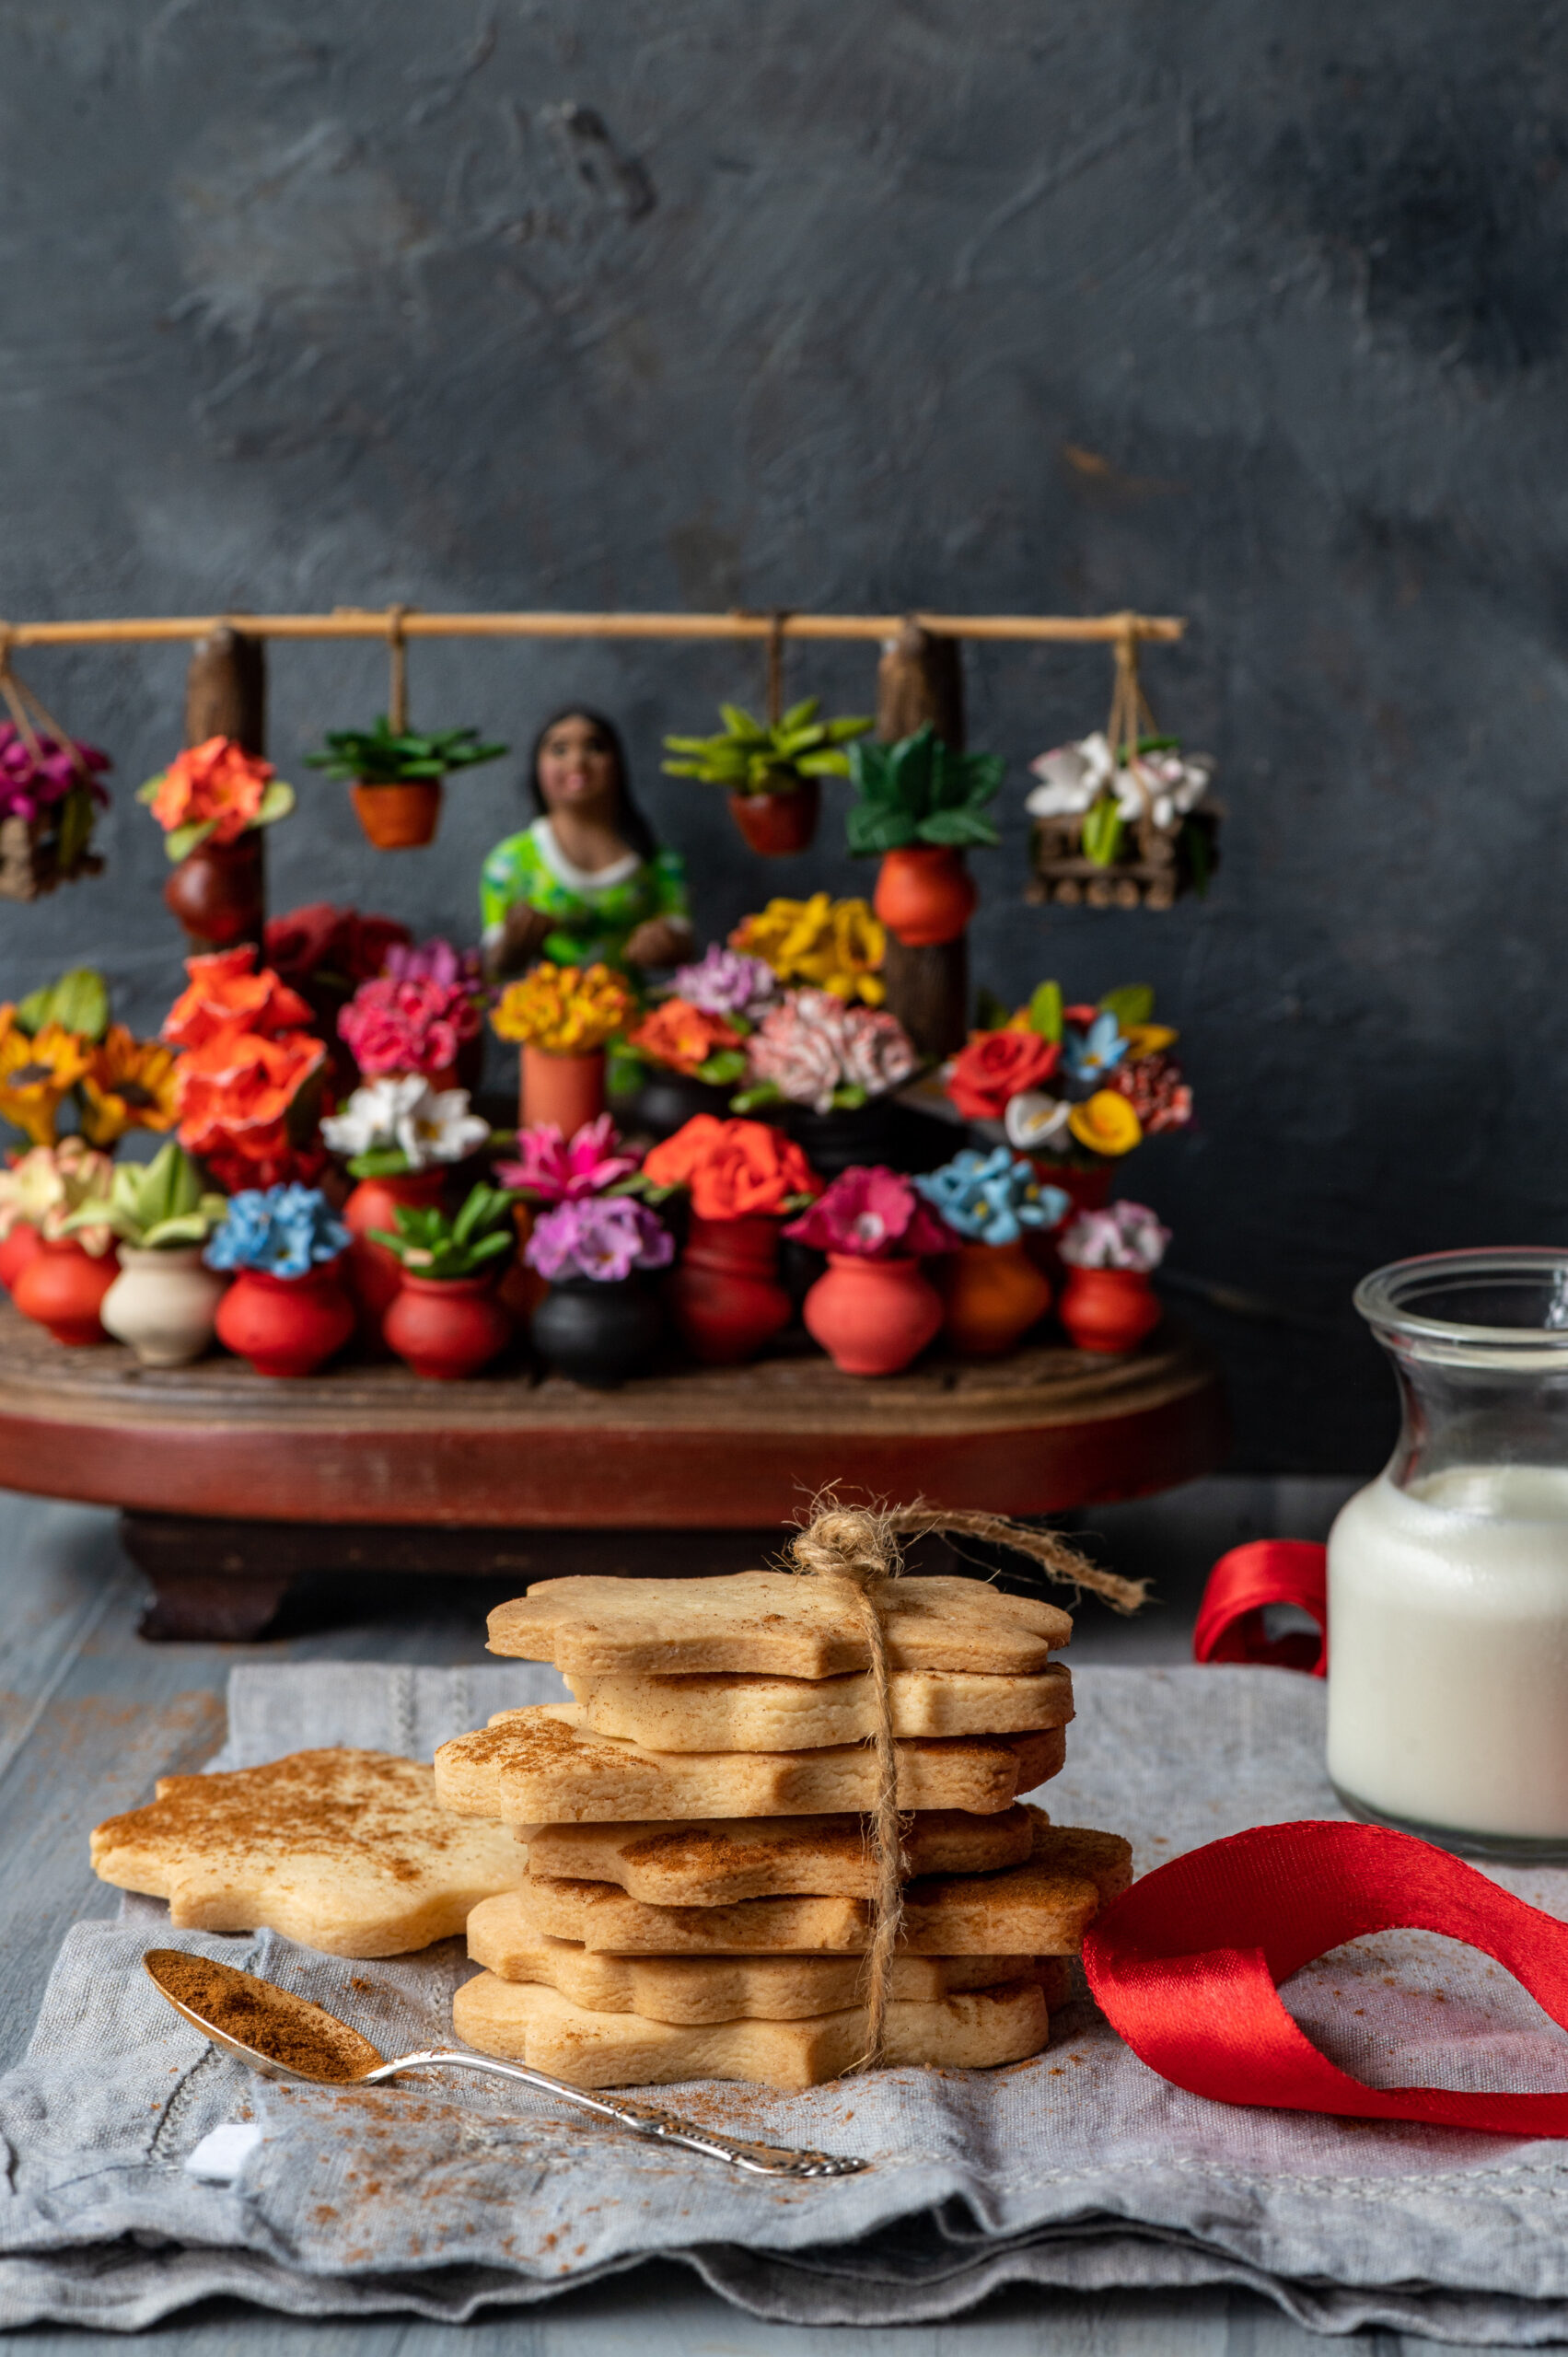
Store the cookies in an airtight tin and enjoy them with your favourite beverage. Whether you have a little treat daily or only now and then, these simple yet satisfying eggless cinnamon cookies are sure to delight you! If you enjoyed this recipe, you may also want to explore these sugar-free almond cookies and these ginger-jaggery Christmas cookies too!

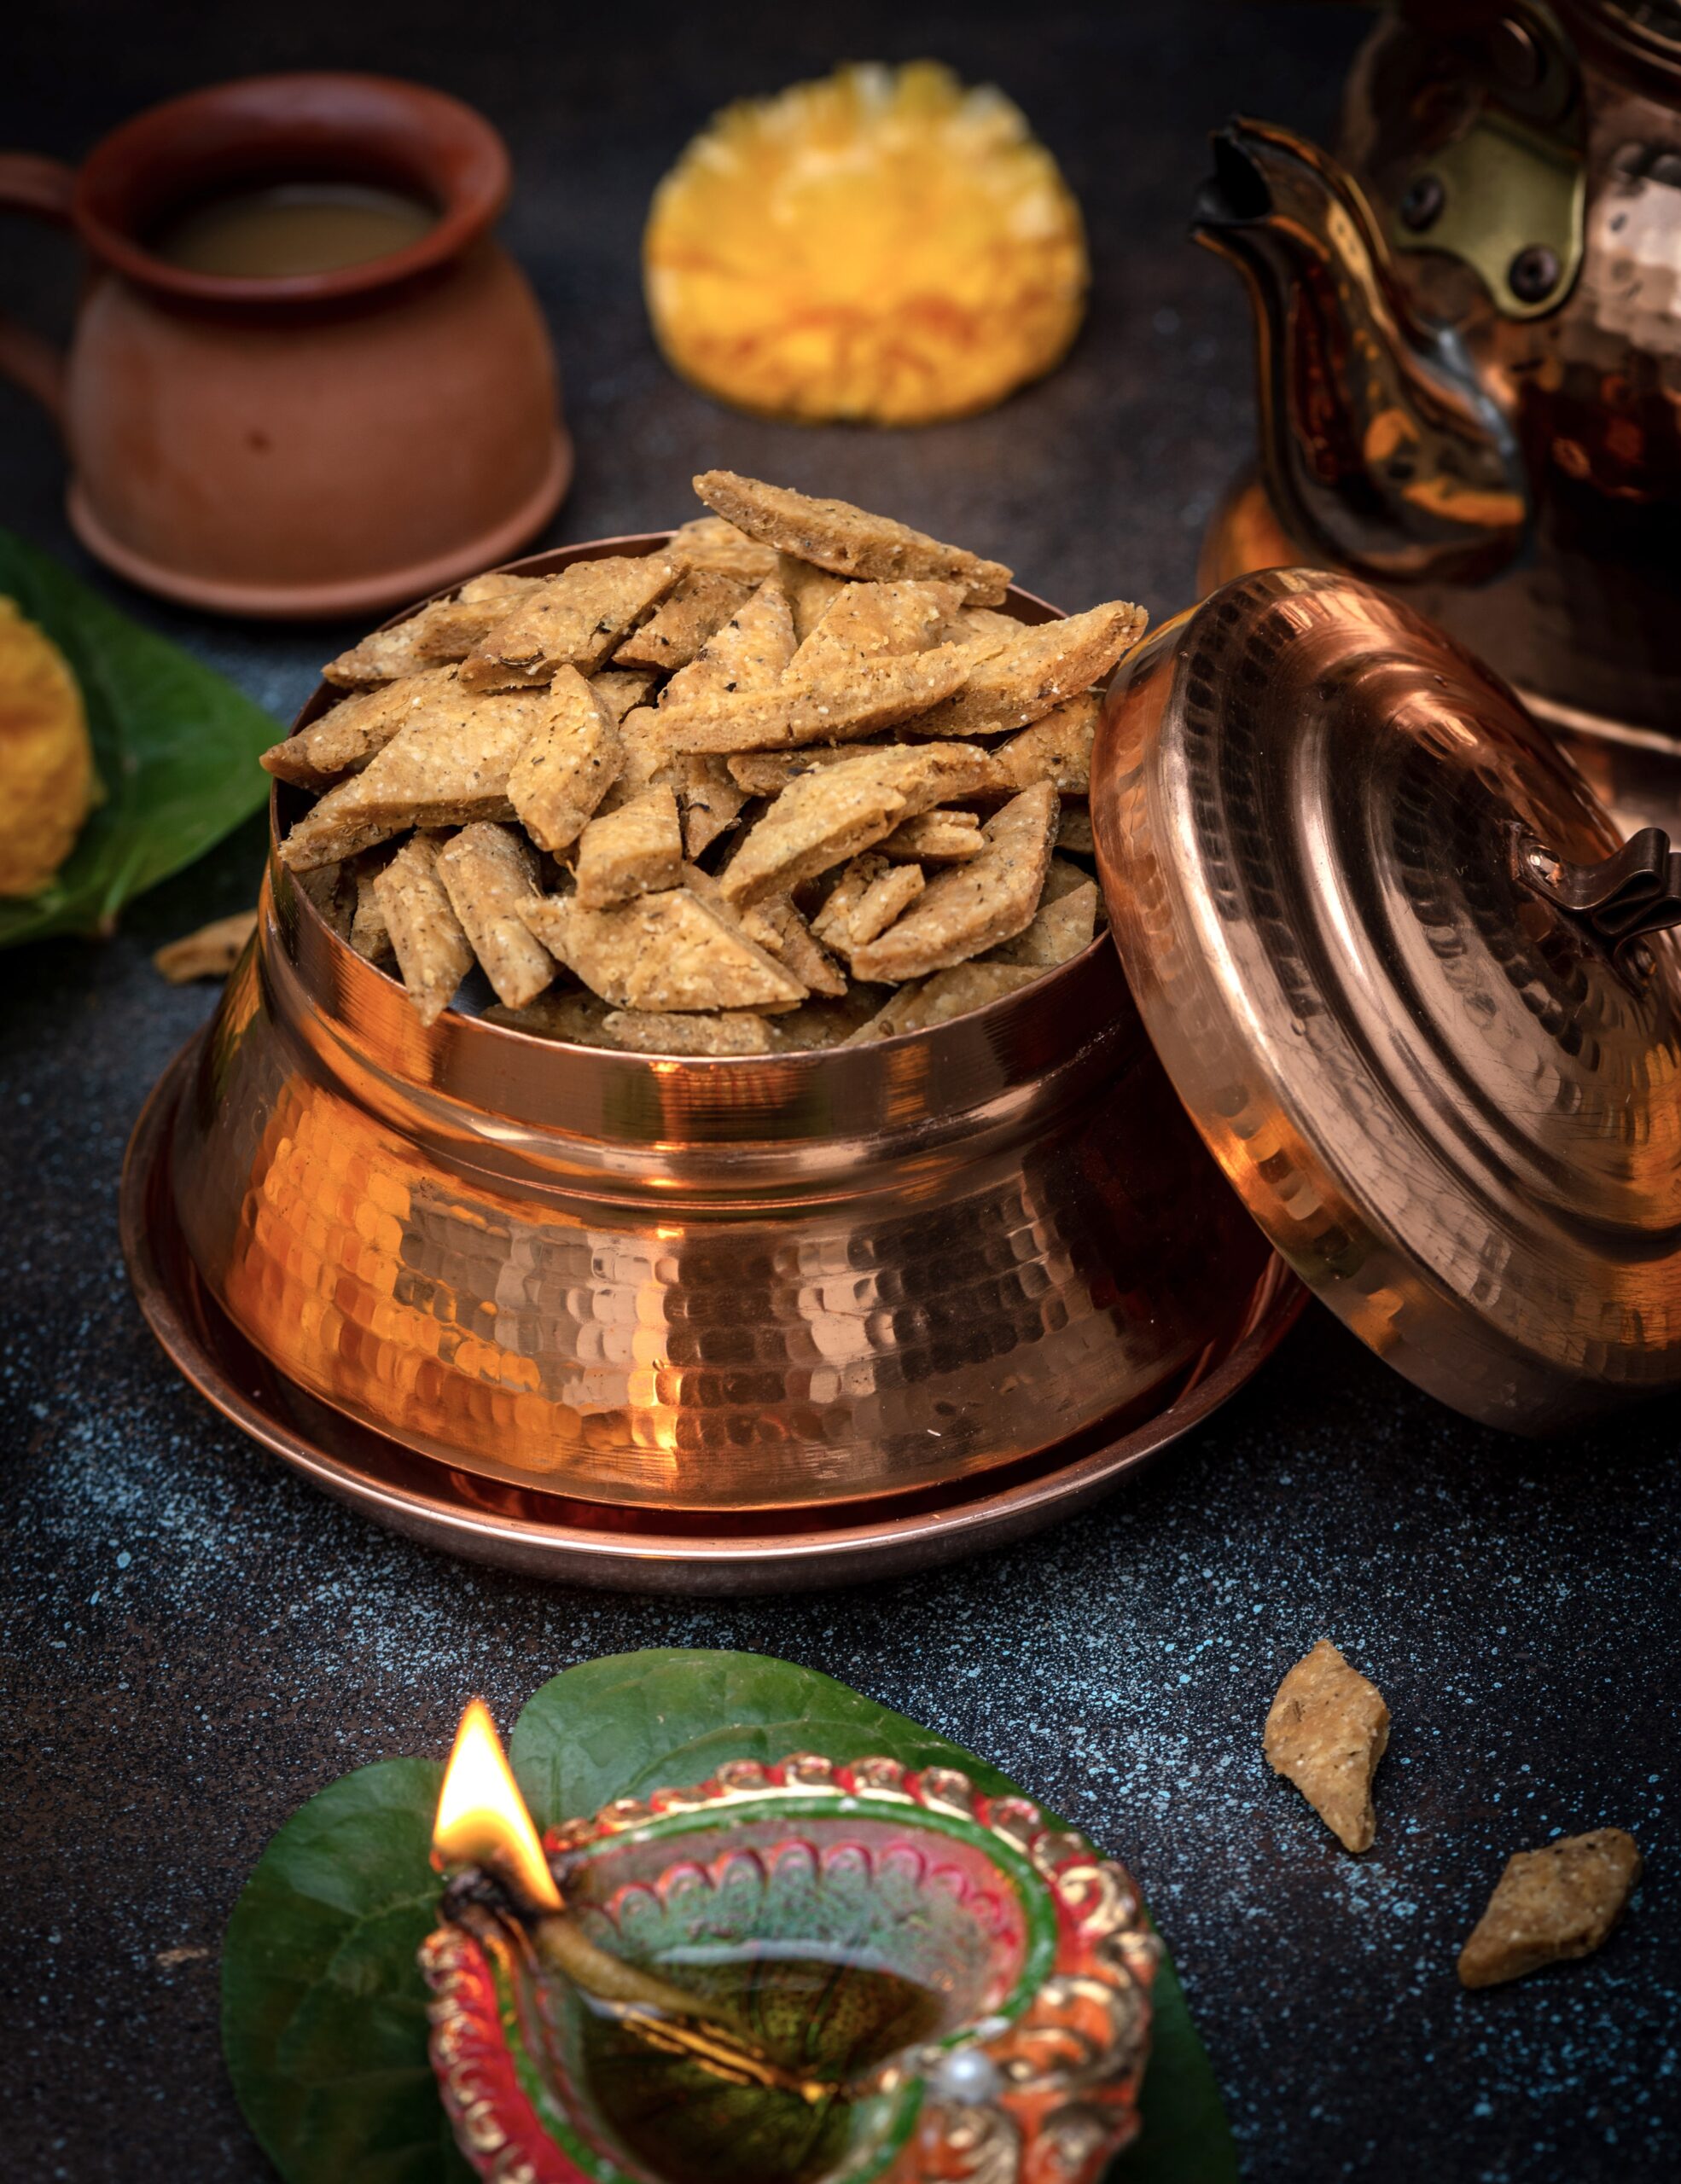
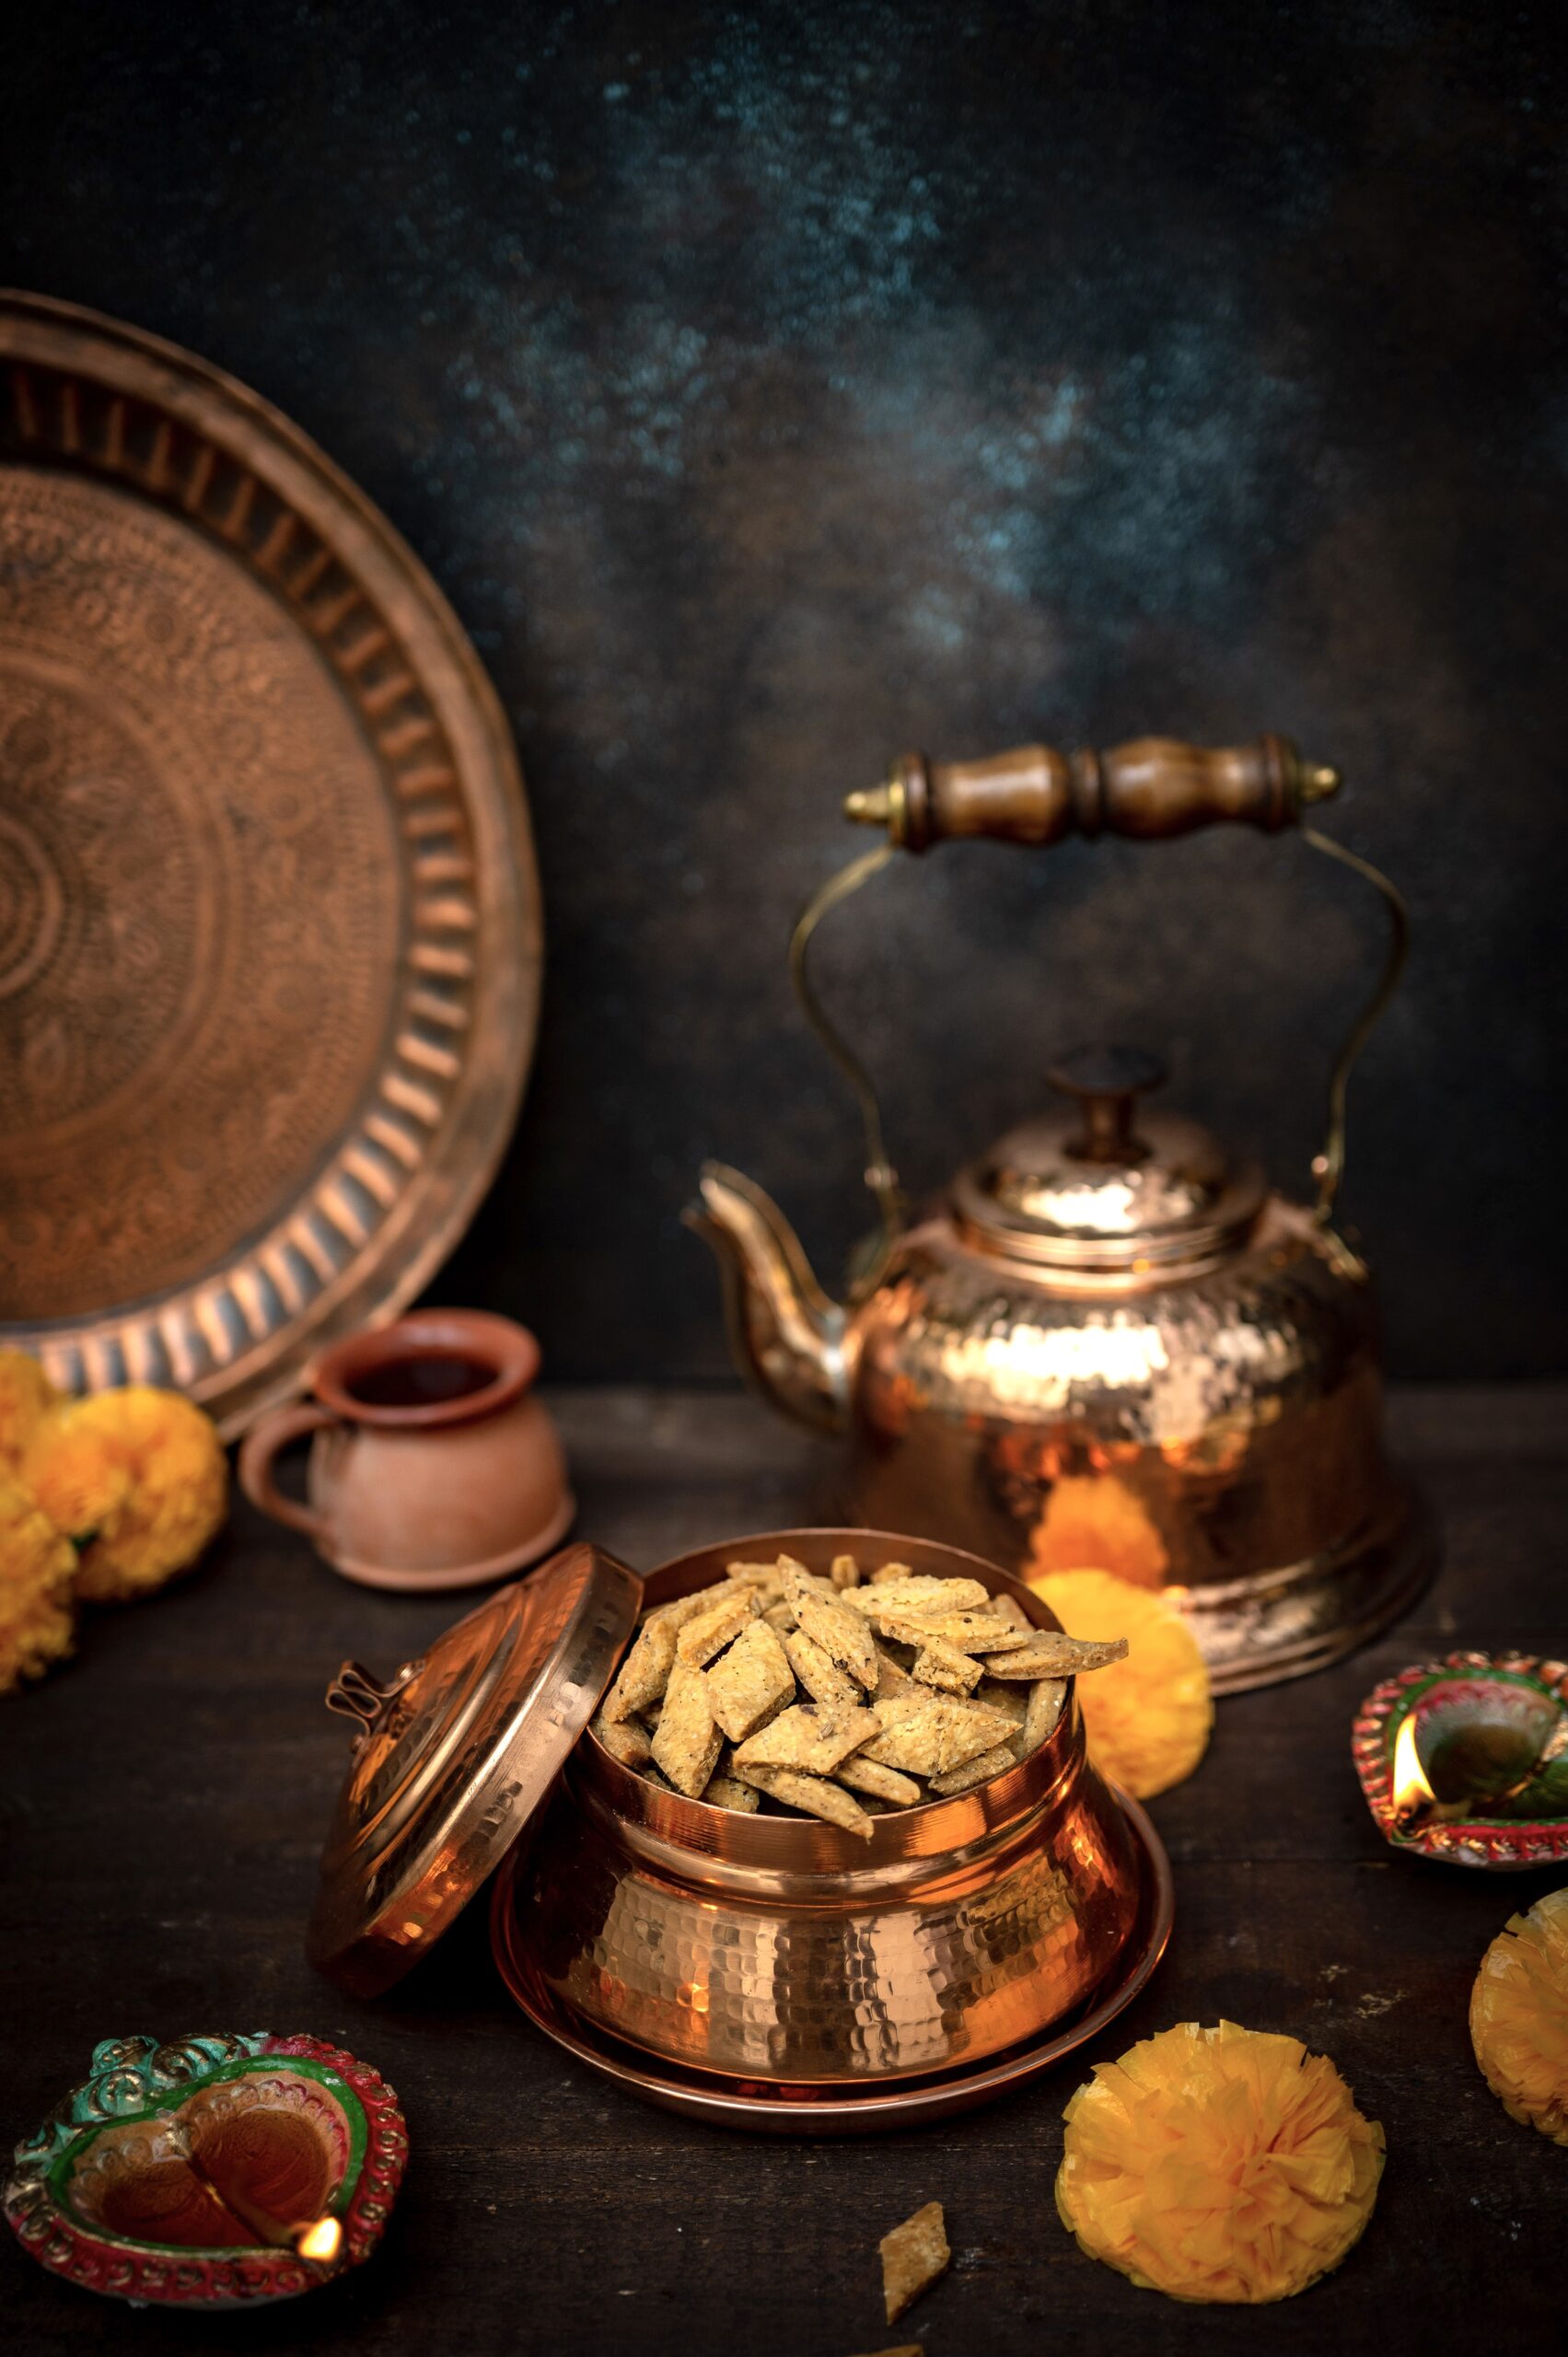
The re:store kitchen has been abuzz with orders this festive season and amidst all the delight of preparing your favourites for you, I’ve been taking some time to make some goodies for my family too. Among these is namakpara, a snack that is a type of Indian biscuit. The sweet version is called shakarpara (“shakar” means “jaggery” and “namak” means “salt”). I thought I would share the savoury version with you as it deliciously counterbalances the taste of the many desserts that you’ll no doubt also be enjoying during this indulgent month!

My absolute fondest memories from childhood have to do with the big festival of Diwali. All of us kids looked forward to it, not only for the special treats and new clothes but also because there was such a cheerful atmosphere around us. For me, the essential memory is all about fragrance: of waking up in the days preceding Diwali and on the day itself to the tantalising smell of the yummy savouries and sweets being fried at home.

Our mother would be busy making them early in the mornings, and the culinary preparations would happen over the course of several sessions. As I have mentioned in earlier festive posts, she and a few friends of hers would get together and cook communally. They would help each other out, making enough for everyone’s families and sharing recipes and techniques. There was a great sense of camaraderie in our homes, as well as mouth-watering anticipation among us kids. Of course, our mother would keep everything she fried in tins up on a high shelf out of our reach!

Each day, we looked forward to her giving us our share of those goodies. It would be a small portion every day. We relished the whole experience so much.

These days there’s such abundance and such accessibility – just make a call, open an app, pay online, have it home-delivered. That didn’t happen back in those days. Everyone had to make their treats on their own. Even gifting consisted of homemade goodies. We would send something made in our kitchen, and they would send something made in theirs. It was all unlike festive celebrations of today, when we can take things for granted.

There was a simplicity to our lives, and I miss it. I don’t know if it’s possible today, but I want my children to experience it too. So I do the next best thing: I continue to make the sweets and savouries I learned to make from my mom. And we observe a rule at home that no matter where they are in the world or how busy they are in their own lives, all of my kids must come home for certain occasions. Diwali, naturally, is one of them. I really believe that we must take a pause sometimes and understand the importance of family, and make time for friends who are like family. This is a great time to do that.

I hope this namakpara will be relished at your gatherings this Diwali too. If you’re looking for more recipes that are perfect for the festive season, I hope you’ll explore my blog archives. There are six years’ worth of wonderful sweets and savouries here, as well as a host of other dishes – from nutritious to decadent. Here’s to many more to come! Thank you for being with me on this journey.

Namakpara


1 cup maida

2 tablespoon ghee

1 teaspoon rawa

Salt to taste

¼ teaspoon turmeric

1 teaspoon ginger green chili paste

1 teaspoon kasuri methi powder (or fresh fenugreek leaves)

Water as required

Oil for deep frying


In a bowl, add the maida, ghee, rawa, kasuri methi powder (or fresh fenugreek leaves, if you have access to them), turmeric and ginger chili paste, along with salt to taste. Mix with your fingertips.

Add water as required, using a tablespoon so that it’s not over saturated. It needs to be sufficient to make a tight dough.

Mix well. Grease your palms and knead the dough until it is smooth.

Now, roll out the dough. Using a knife, cut it into diamond shapes or any shape you desire. The number of pieces in the yield quantity will depend on the size you choose (I have made mine small, as they look pretty). Meanwhile, heat the oil.

Deep fry the cut namakpara on a slow flame, occasionally turning up the heat for a few seconds or so. Fry until golden brown. Drain onto a paper. Once cooled, store in an airtight tin.

You may have noticed the unusual green tinge of this snack in the photographs. That shade comes from the use of fenugreek (methi). I like to add fresh leaves. They are supposed to be in season now, but the rain has made the supply irregular where I live. So what I do is dry the leaves when I can get them, then powder and use them. You can also purchase this powder, known as kasuri methi.

It will also add a slight hint of bitterness to the flavour of the namakpara, which I personally like as it balances the intense sweetness of festive desserts that may be consumed at the same time. I also sprinkle my fenugreek powder into dough, batter, salads and more, so that I can incorporate its benefits into more meals. I’m a fan, but you can skip it altogether if you prefer.

Isn’t it funny how fenugreek is in season right now – during a time of indulgent feasting? Balance is clearly one of the laws of nature. It’s a good law to observe when it comes to food too.

Enjoy this with anything else sweet, savoury or festive – or just make it as a teatime snack at another time of year, to add some pep to an ordinary day.

Tell me: what are you preparing for the festive season this year? As always, I love hearing from you!