55 Results

jaggery

Search

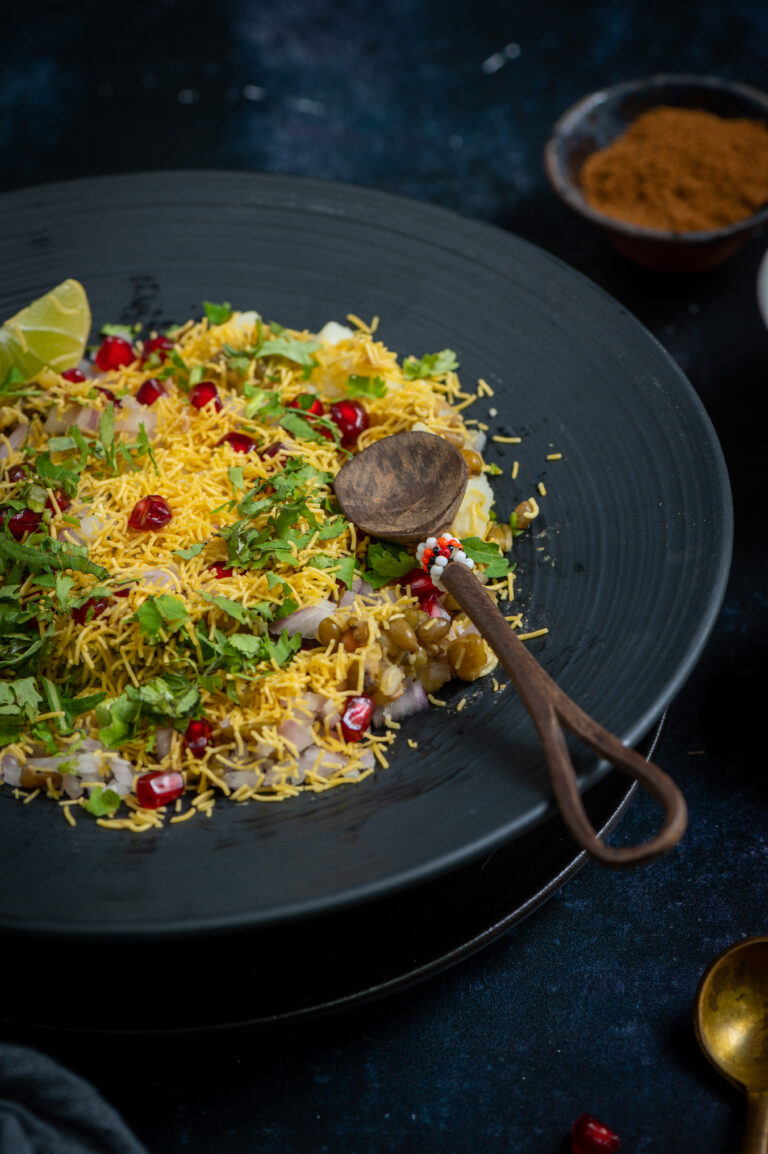
I have mentioned before that I go through phases when I binge on particular dishes, and right now, I can’t get enough of sweet potato chaat. Chaats are a category of Indian street food, and while it may be true that authentic street food is only found at roadside stalls, I love the healthier versions I make at home just as much. This one is especially so because it replaces the standard puri (a kind of crispy, round cracker) that is the base of many chaats with cubes of sweet potato. Sometimes I even pile on some extra roasted vegetables and this really boosts the nutrition quotient of this fun snack.

My version is made so that it is essentially the equivalent of an Indian salad, and I have a full plate’s serving of it. When I have it around 6.30pm, it is so filling that it can become my dinner.  It’s a no-guilt chaat, and is pretty good for you, not just good to eat. The sweet potatoes are boiled then roasted with very little oil, made as crispy as possible. These are layered with mung beans, vegetables, dry masalas and the delicious chutneys that I always have around the house. Date and tamarind and green chutneys are kitchen staples in my home and lift up the flavour of any Indian dish. I use just a little of the date and tamarind chutney – the date contains jaggery and sugar, and the tamarind has a particular tang – but the green chutney is more neutral and works with a wider range of ingredients, so I use a higher quantity of it.

I’m always looking for innovative ways to play with the chaat category, and the idea of using sweet potato in lieu of puri came about one day just because I had excess sweet potato on hand. It was in season, and the thought occurred to me that regular boiled potatoes are often used in chaats, so why not sweet potatoes? That’s when I came up with the idea of using this ingredient as a puri substitute, not just a potato substitute.

When we were kids, I would often have my friends over for chaat at home as my mom was famous for them. Since I grew up right here in Chennai, I am still connected to many of my childhood friends who are also born-and-bred natives who remained. So whenever they come over for a meal today, there is always some chaat served, as a reminiscence from days long ago. It’s a given, and pretty much expected when they dine at mine. I either prepare the chaat as a main course, or else I serve a variety as a starter. This sukha bhel and this green moong bhel may be on the menu too.

This sweet potato chaat has become a favourite in my social group because it hits all the right spots: nourishing, full of vegetable goodness, not unhealthy, and still scrumptious. It’s like the memory of our childhood chaat has been adapted for our adult palates and dietary needs, and the result is a fabulous mix of nostalgia and taste!
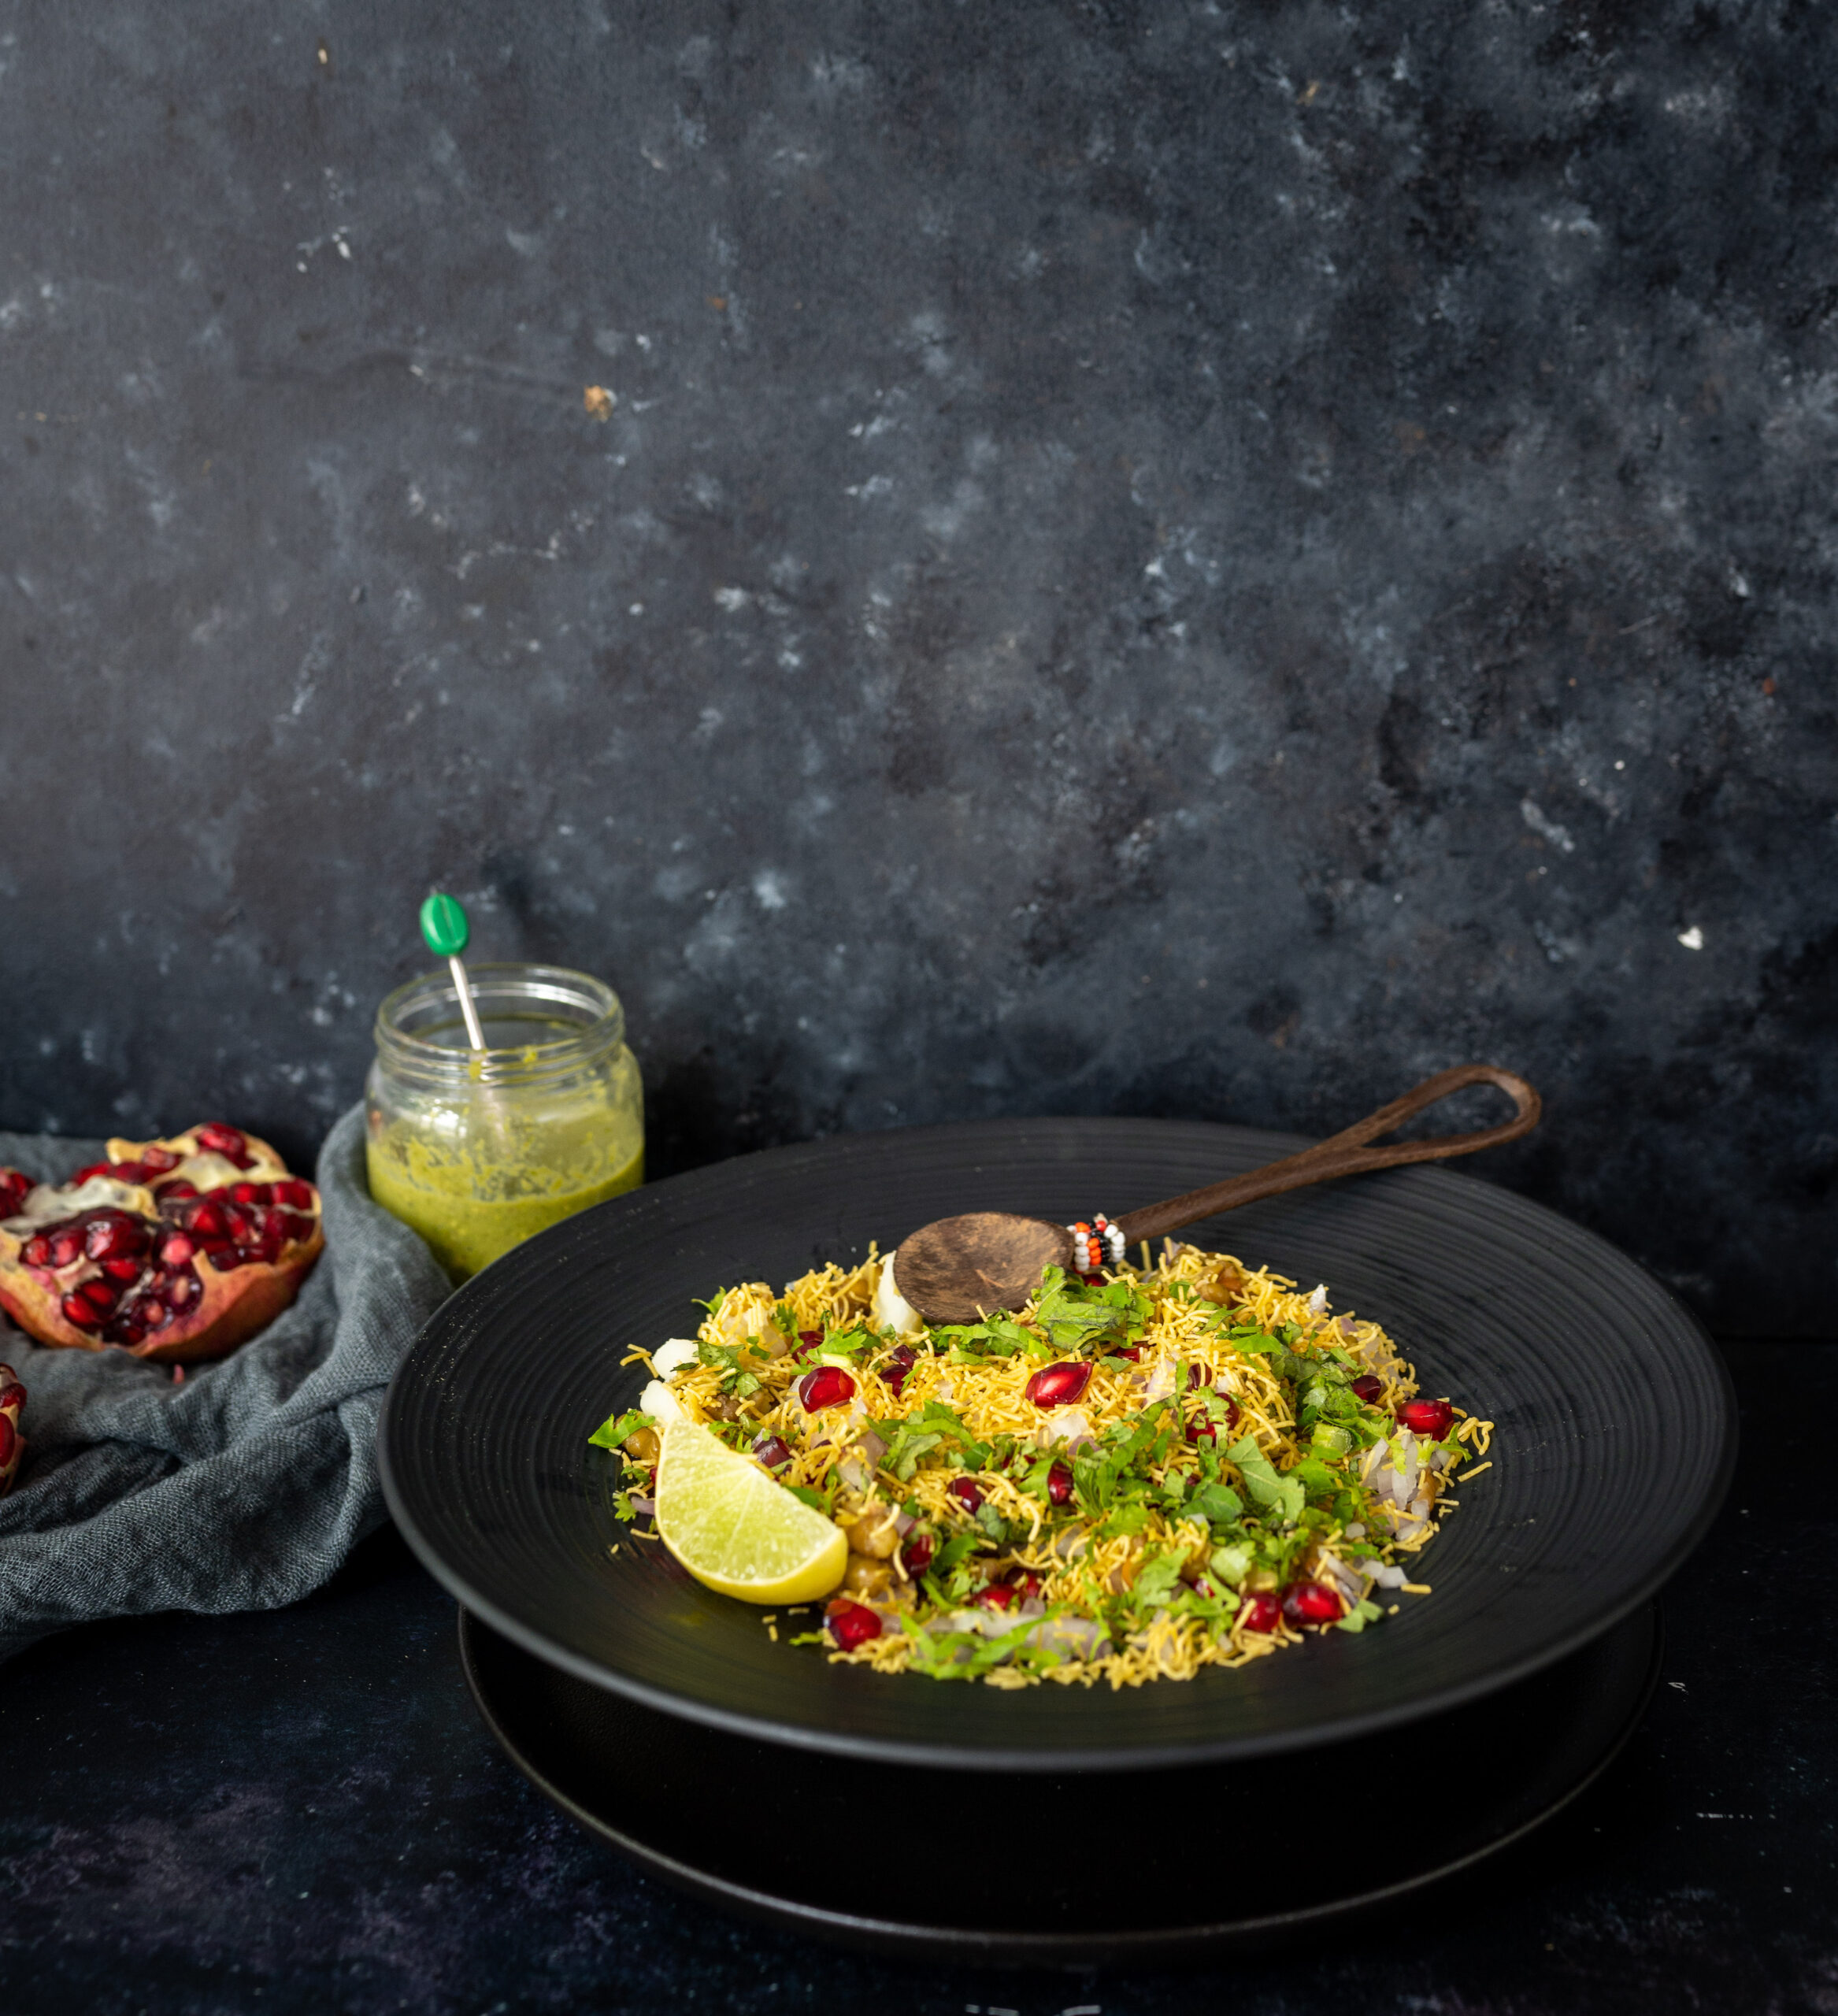
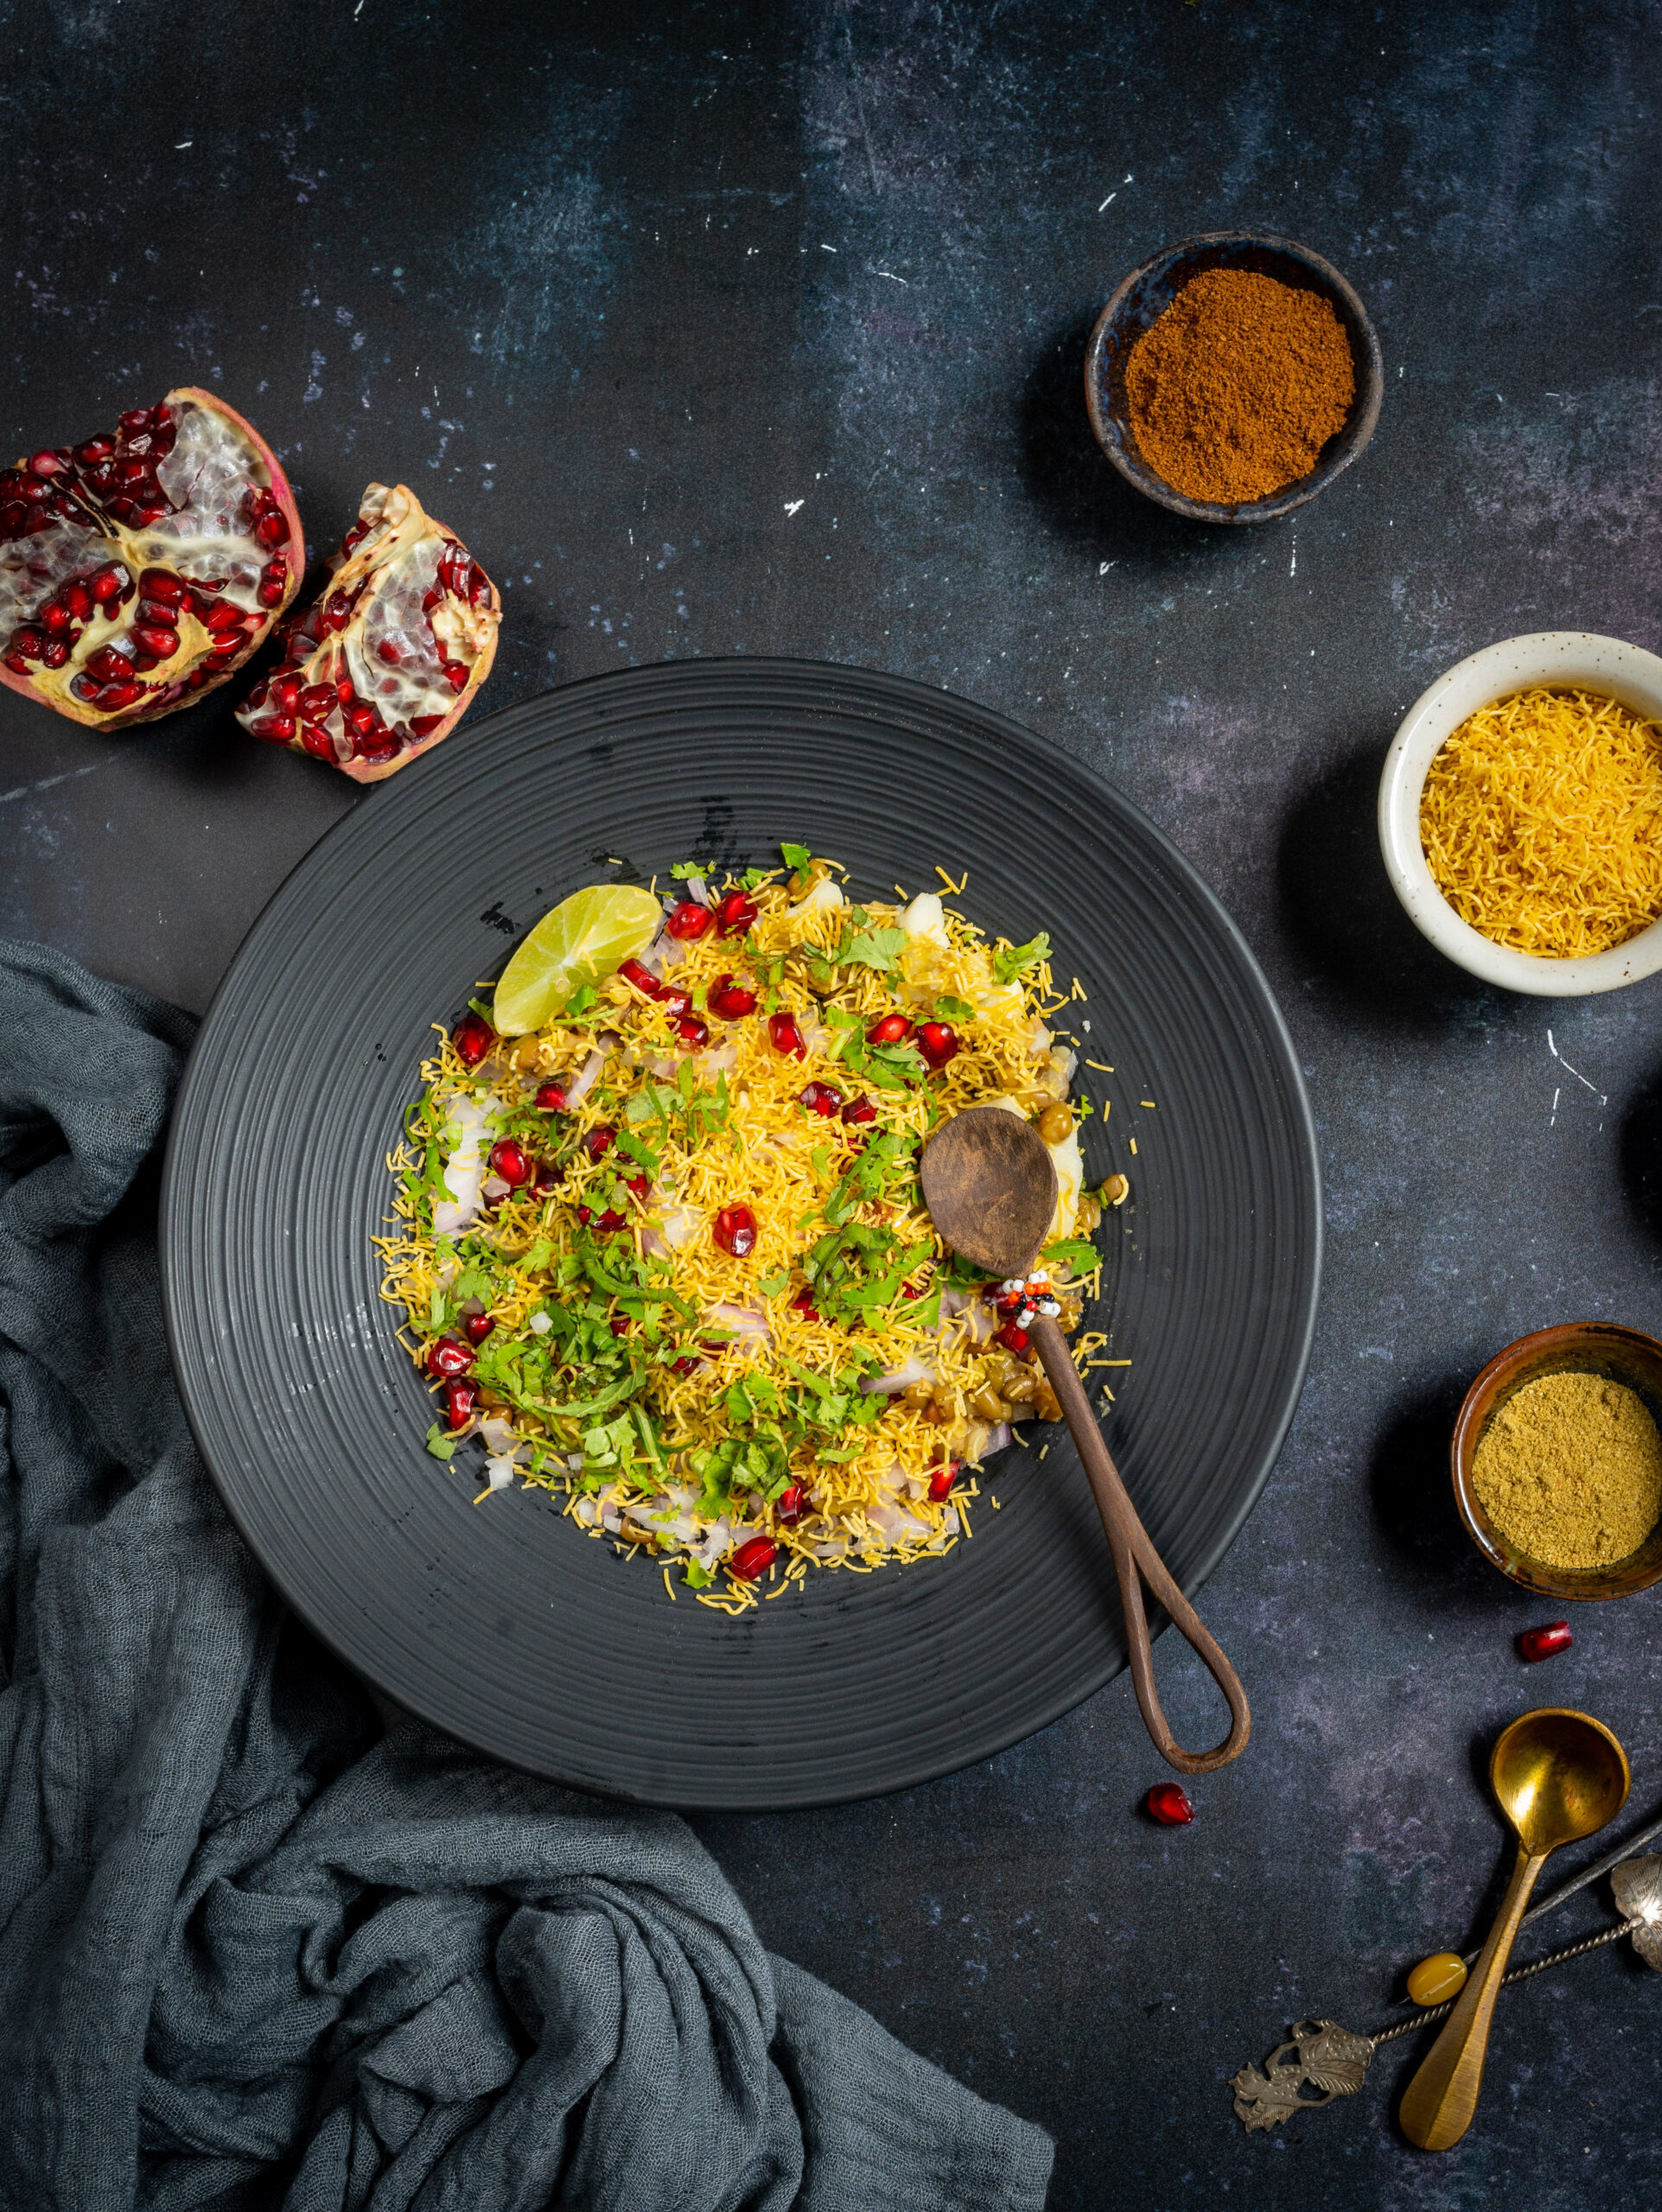
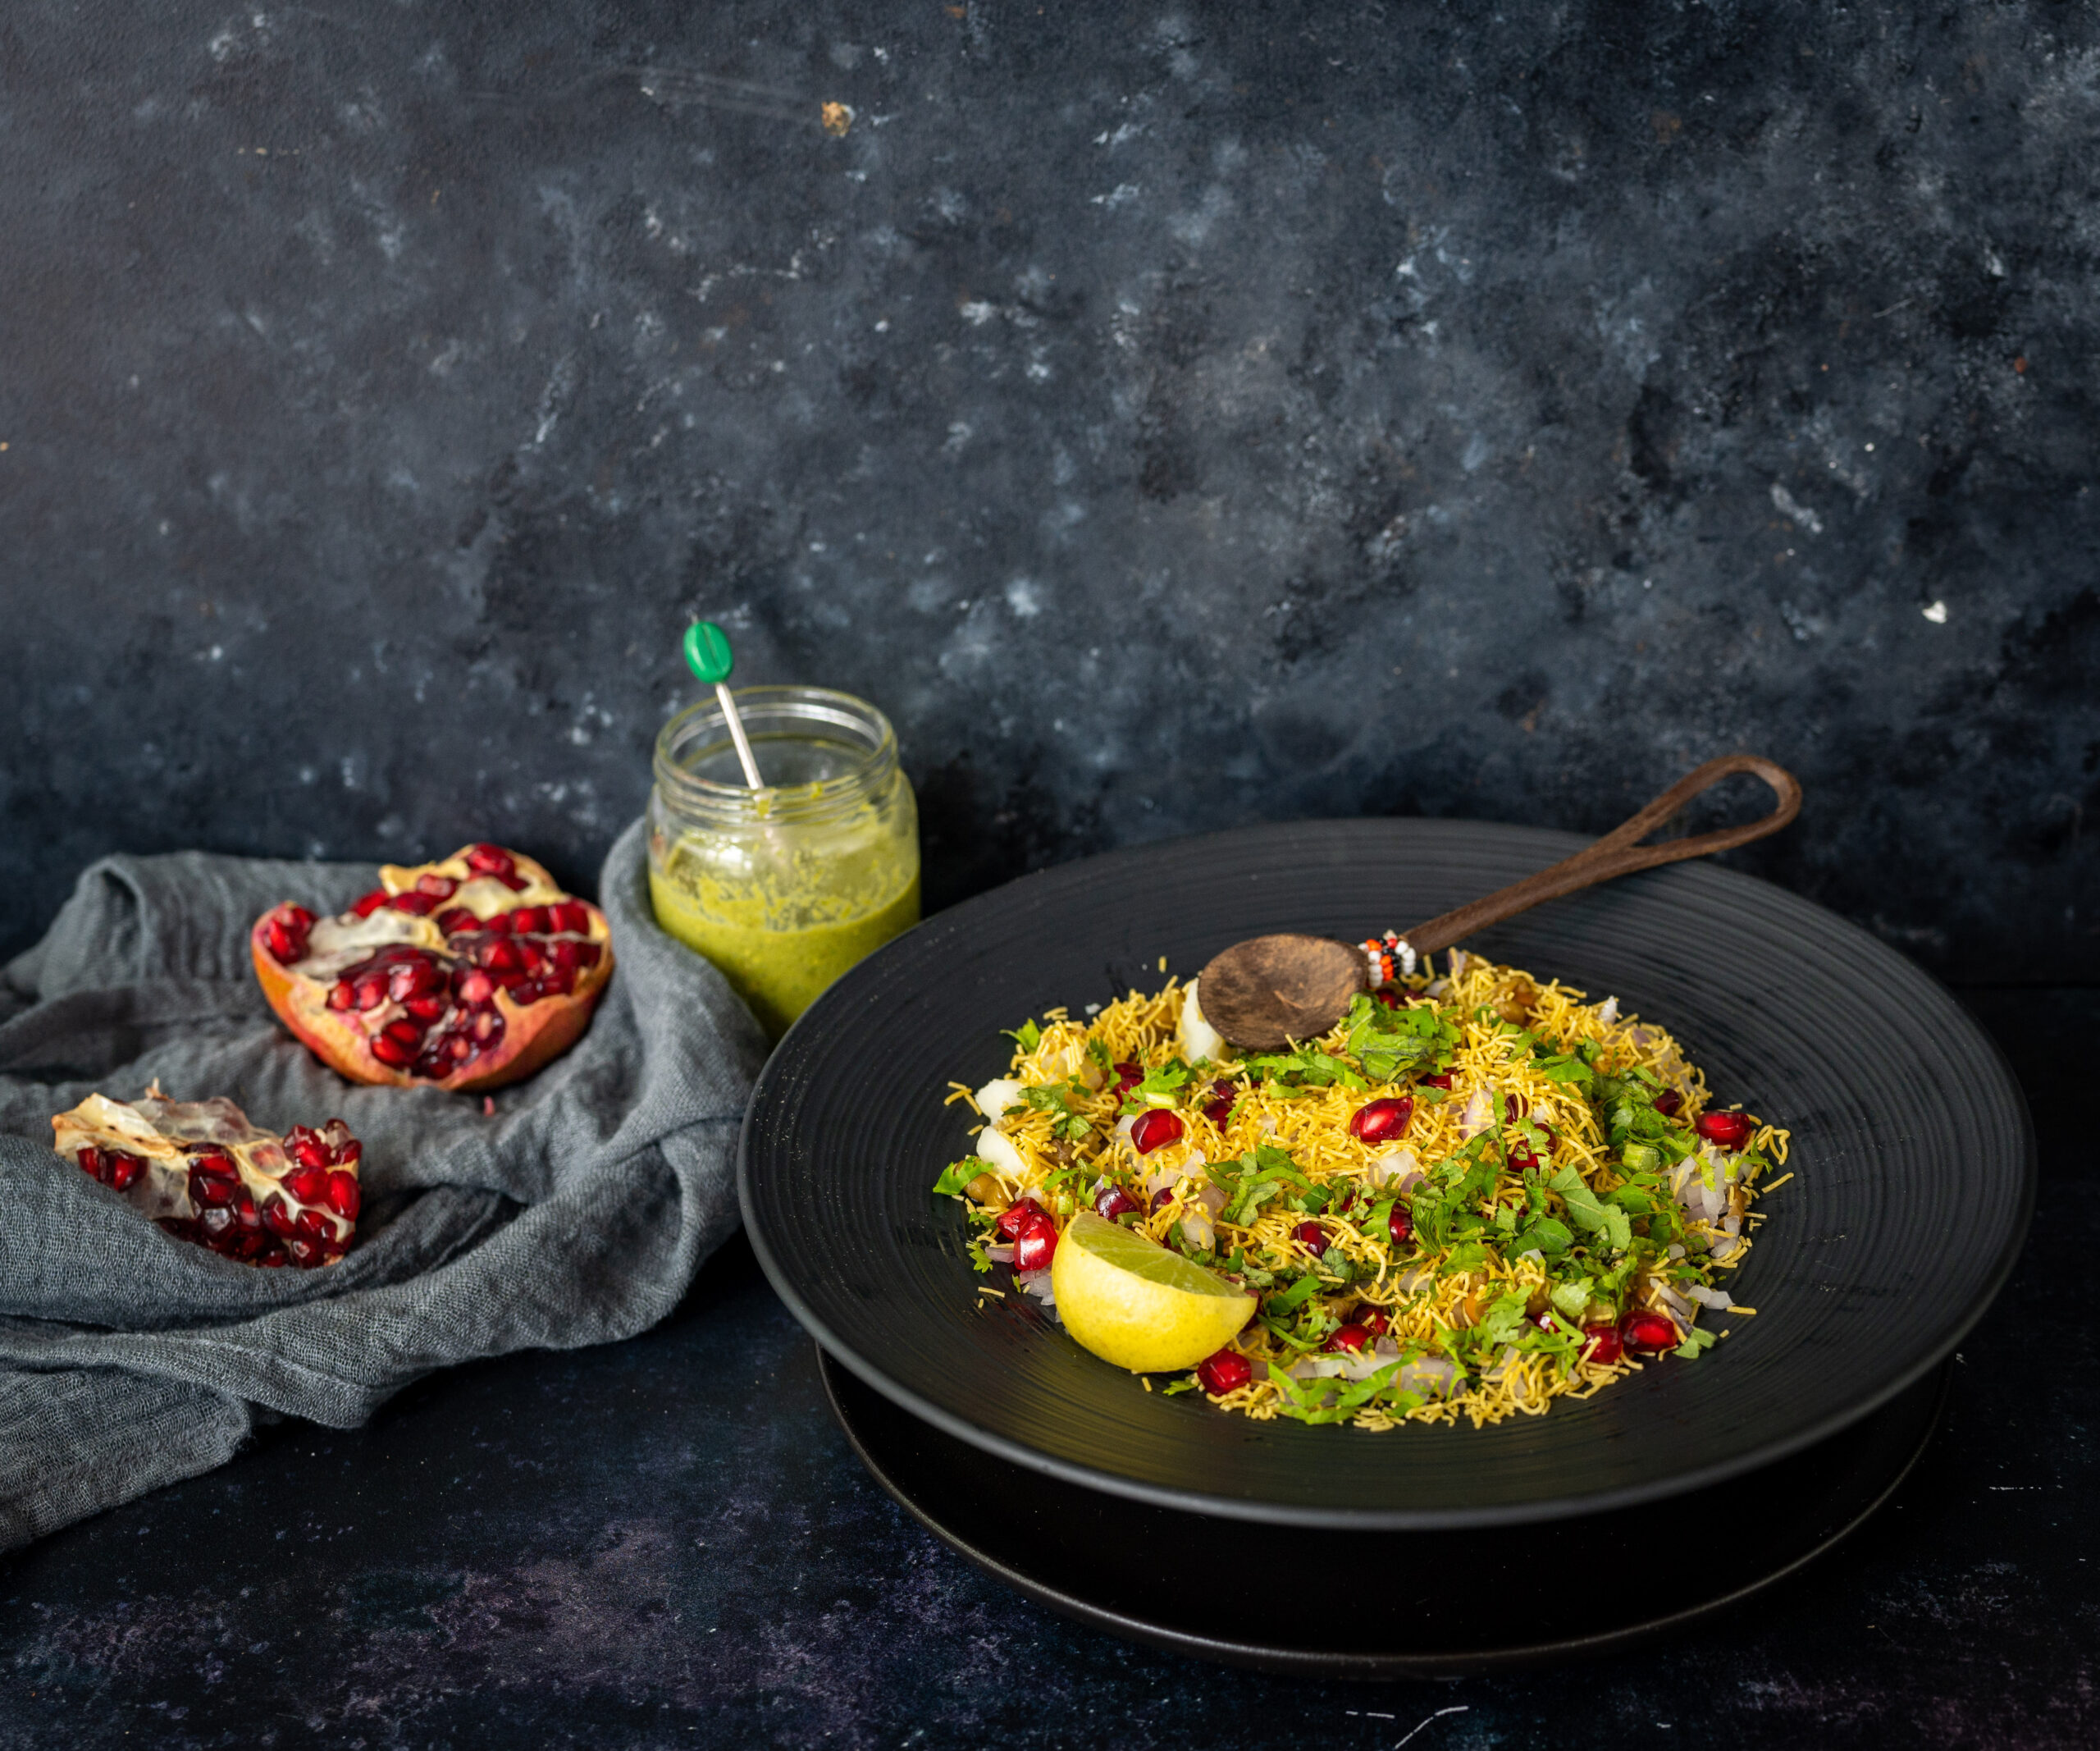
Sweet Potato Chaat

(Yield: Serves 2)


1 cup sweet potato (boiled)

½ cup finely chopped onions

¼ cup finely chopped coriander leaves

1 cup boiled mung beans

1 teaspoon oil

Salt to taste

½ teaspoon chaat masala

½ teaspoon roasted cumin powder

2 teaspoons lemon juice

1 tablespoon green chutney

1 tablespoon date and tamarind chutneys

2 tablespoons sev or any crispy topping


Chop the boiled sweet potato into cubes.

In a pan, add the oil and sauté the sweet potato cubes until they are crispy and golden on all sides.

Take two serving plates. Divide the sweet potato into both. Sprinkle the mung beans over the sweet potatoes. Sprinkle the onions. Next, add the two chutneys. Then, sprinkle the coriander leaves, followed by the spices. Finally, add the crispy topping. You can use sev, which is standard in many Indian chaats, or substitute it for something else that adds texture.

Your sweet potato chaat is now ready. As always, you can adjust any of the ingredients to your liking. Don’t forget that a big heaping of vegetables will also work well, and you may want to try some foreign vegetables so that it becomes a kind of fusion dish.

If you’re a big sweet potato fan like I am, sweet potato tikki and sweet potato and mango salad may also interest you. Enjoy!
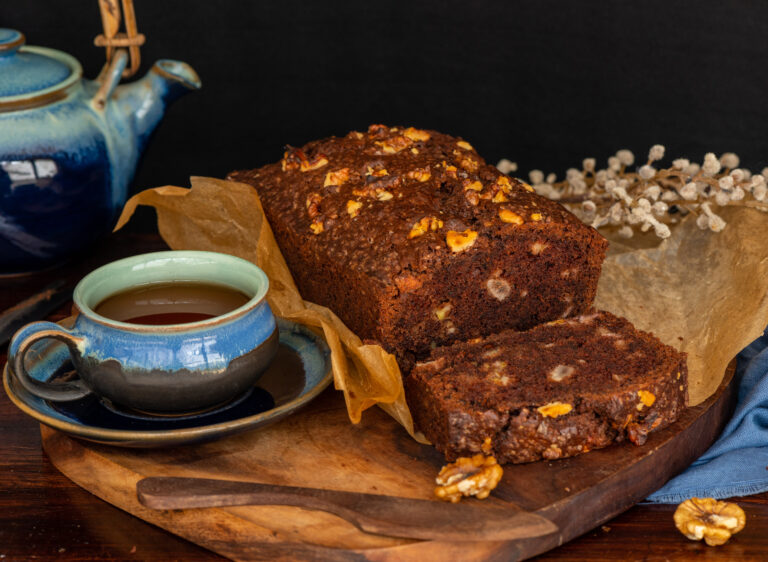
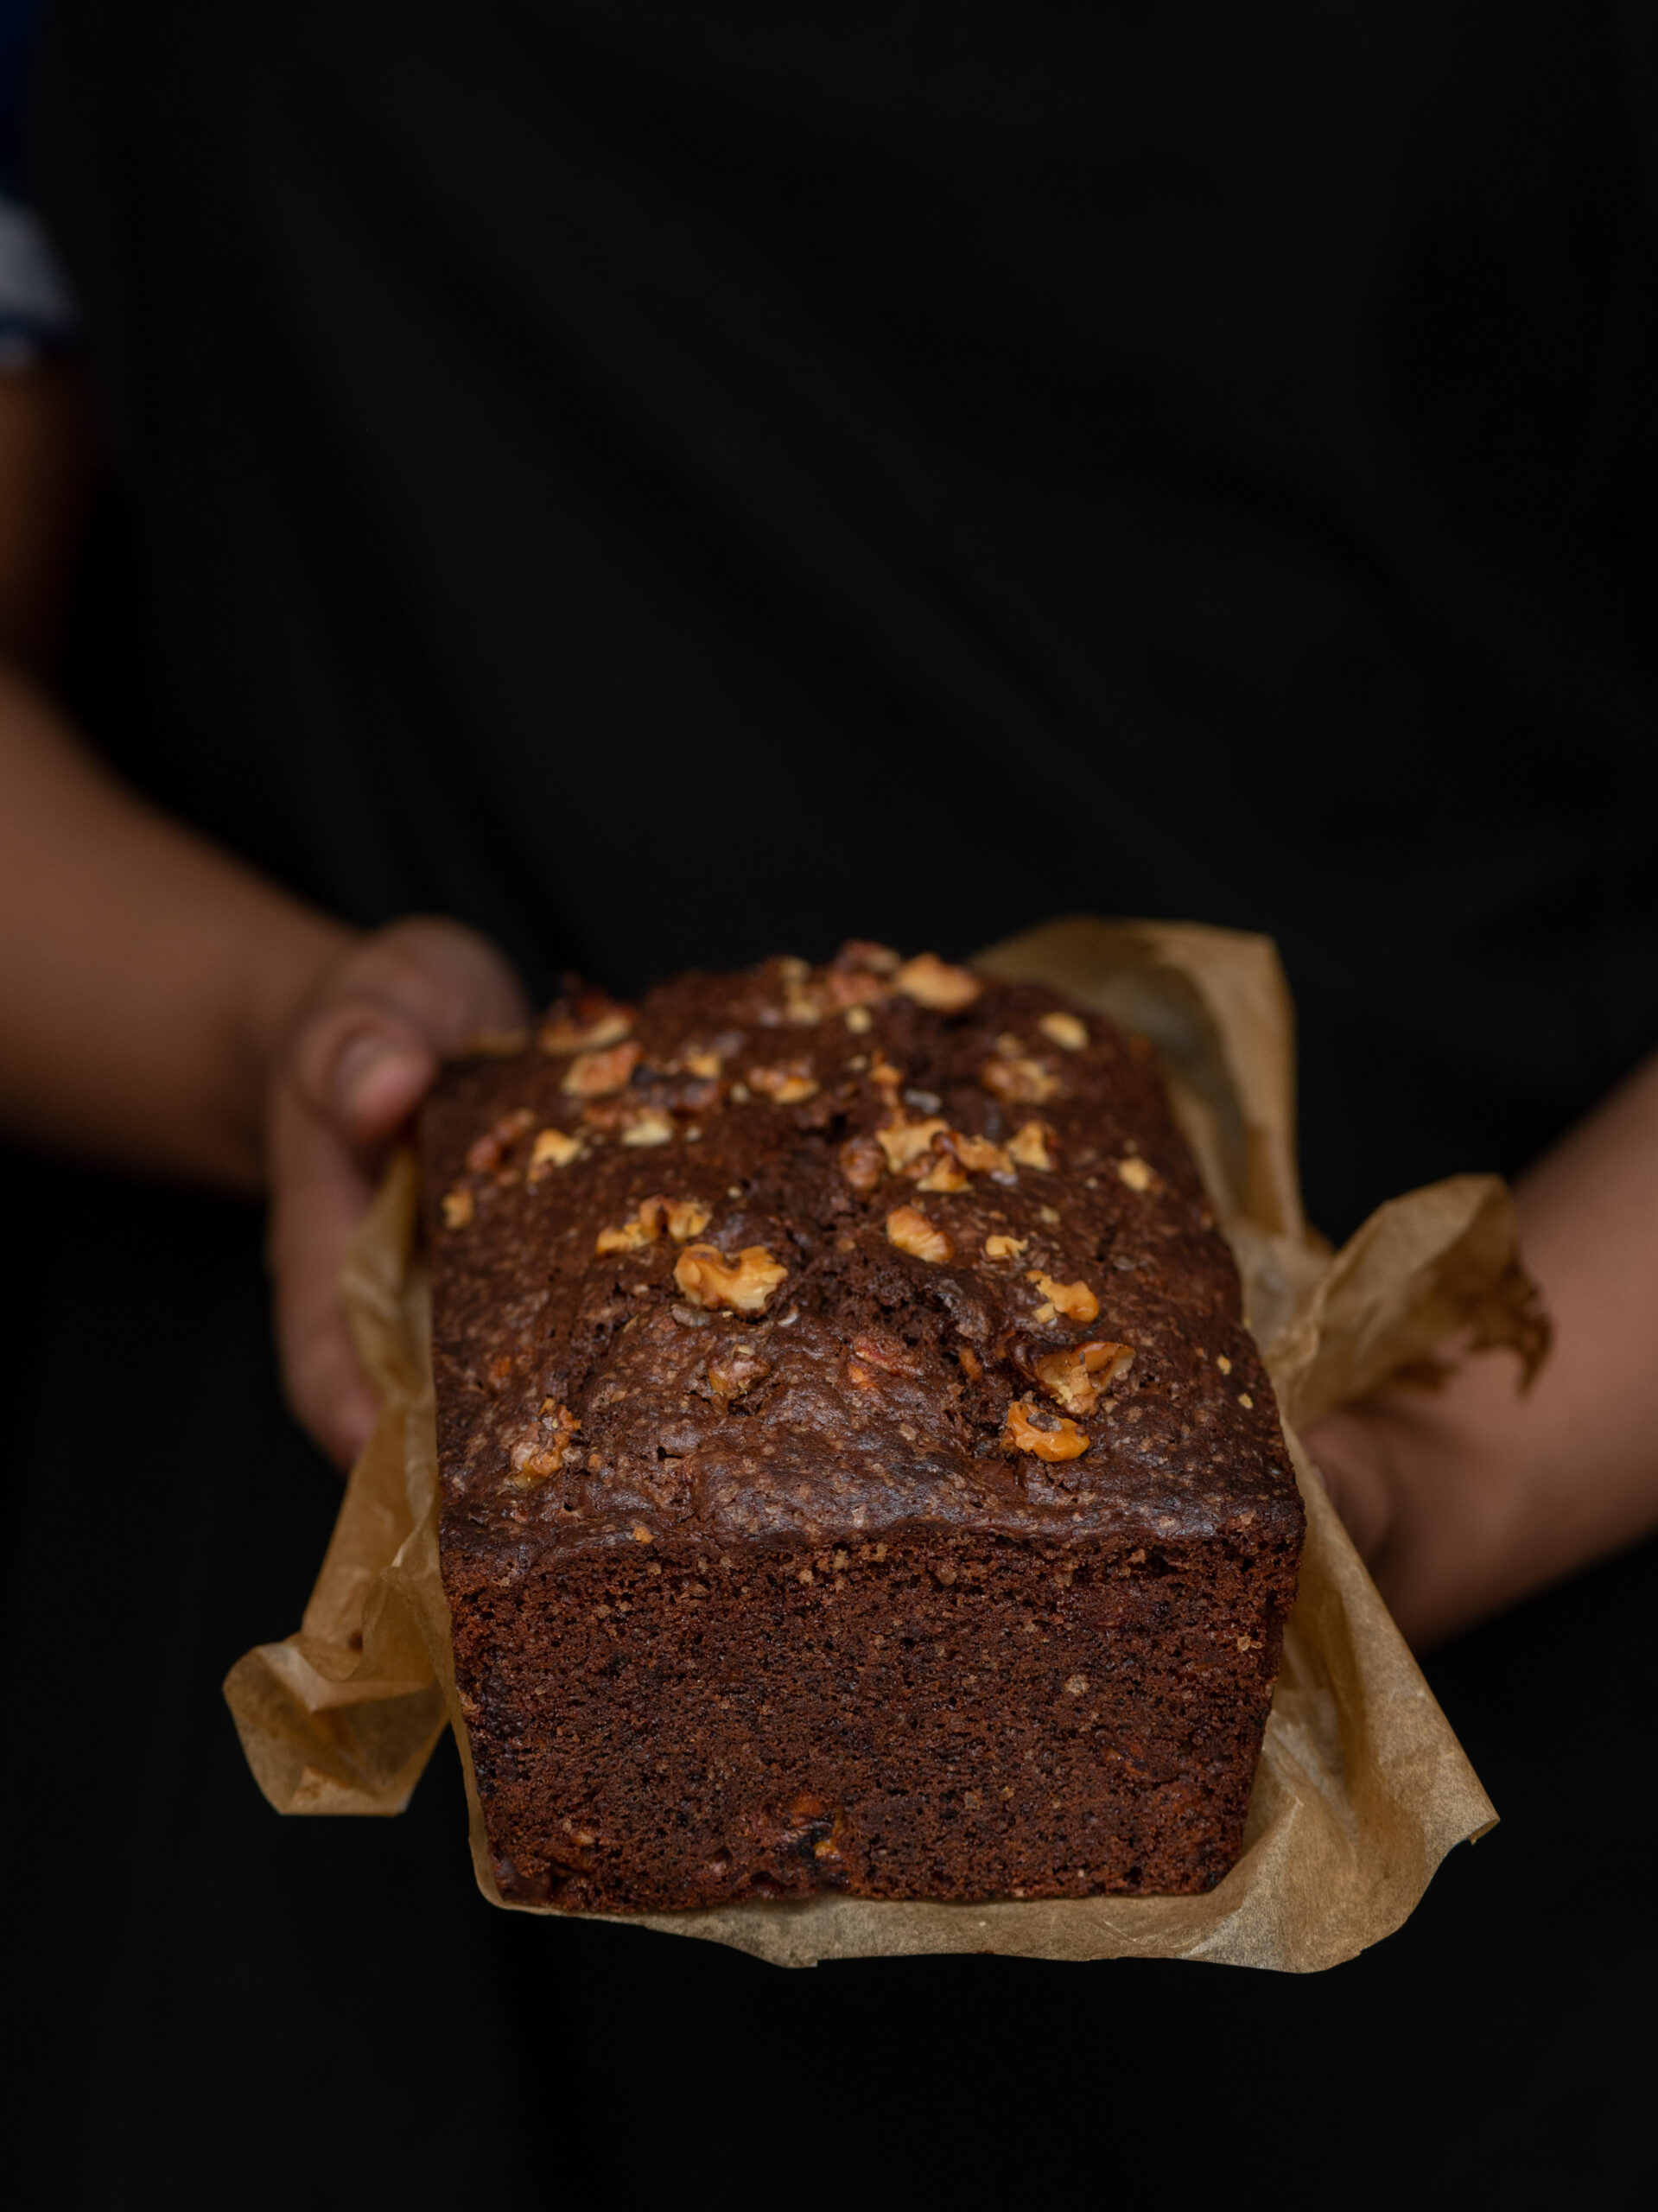
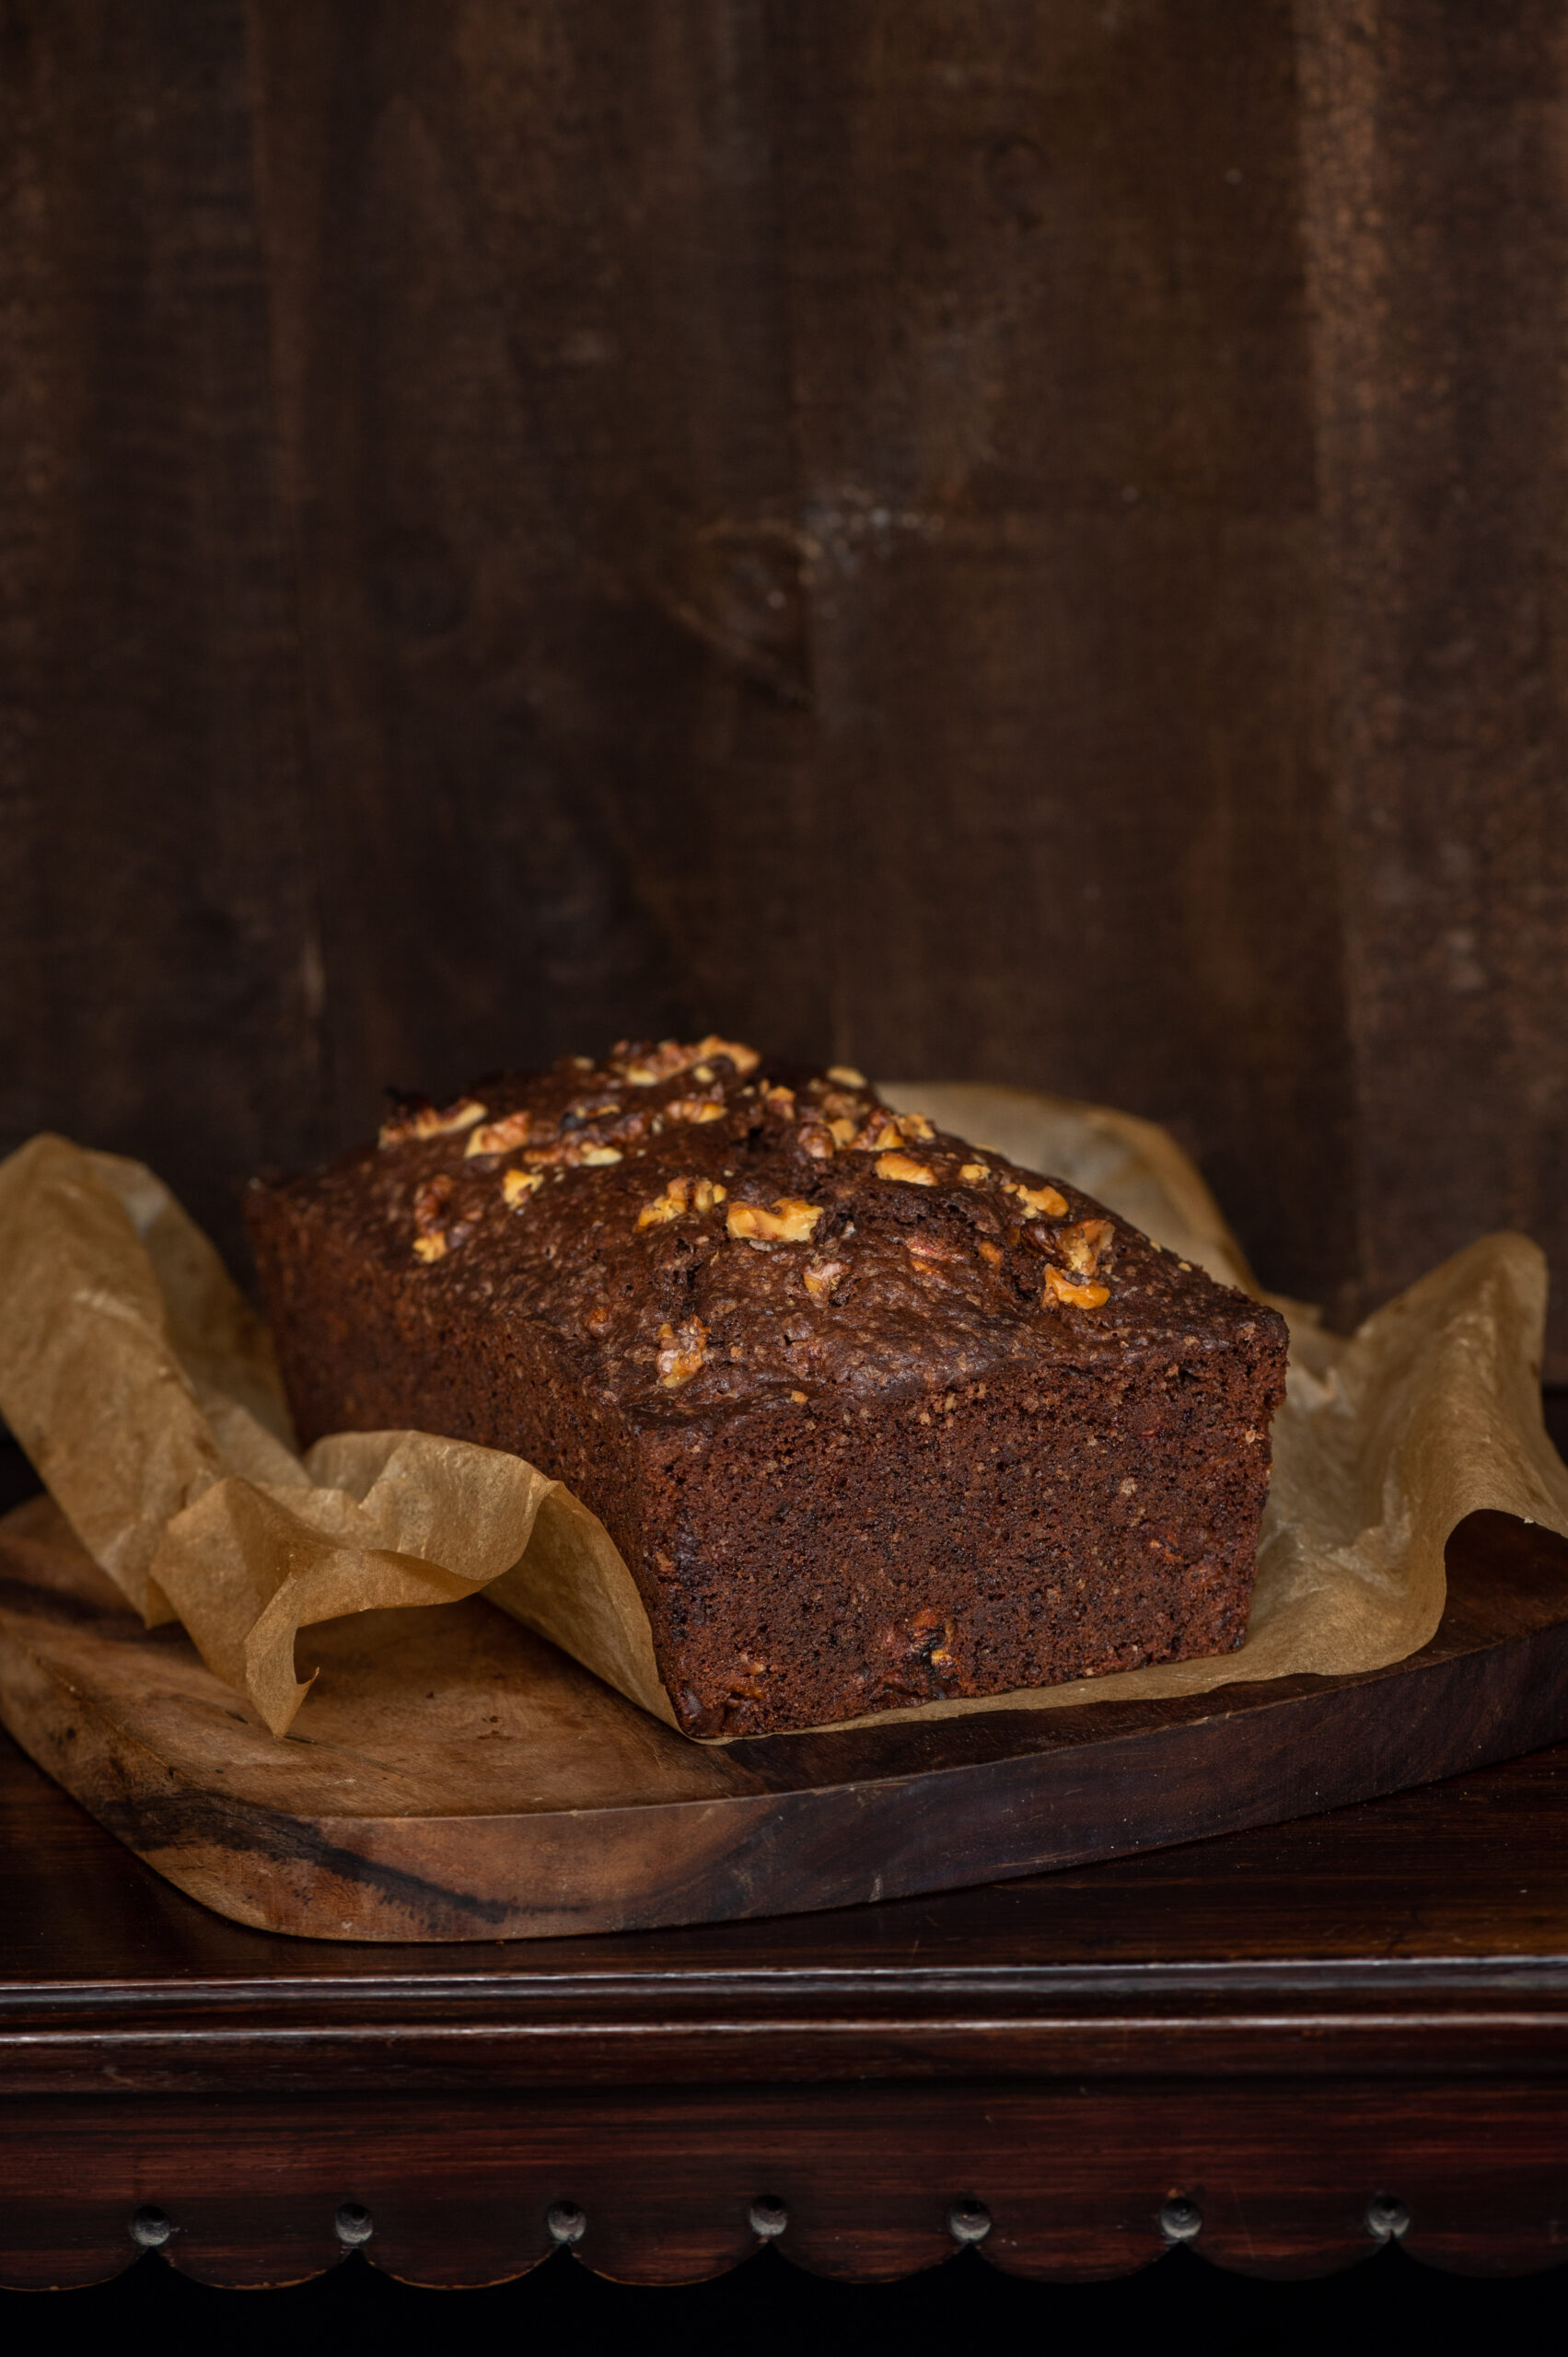
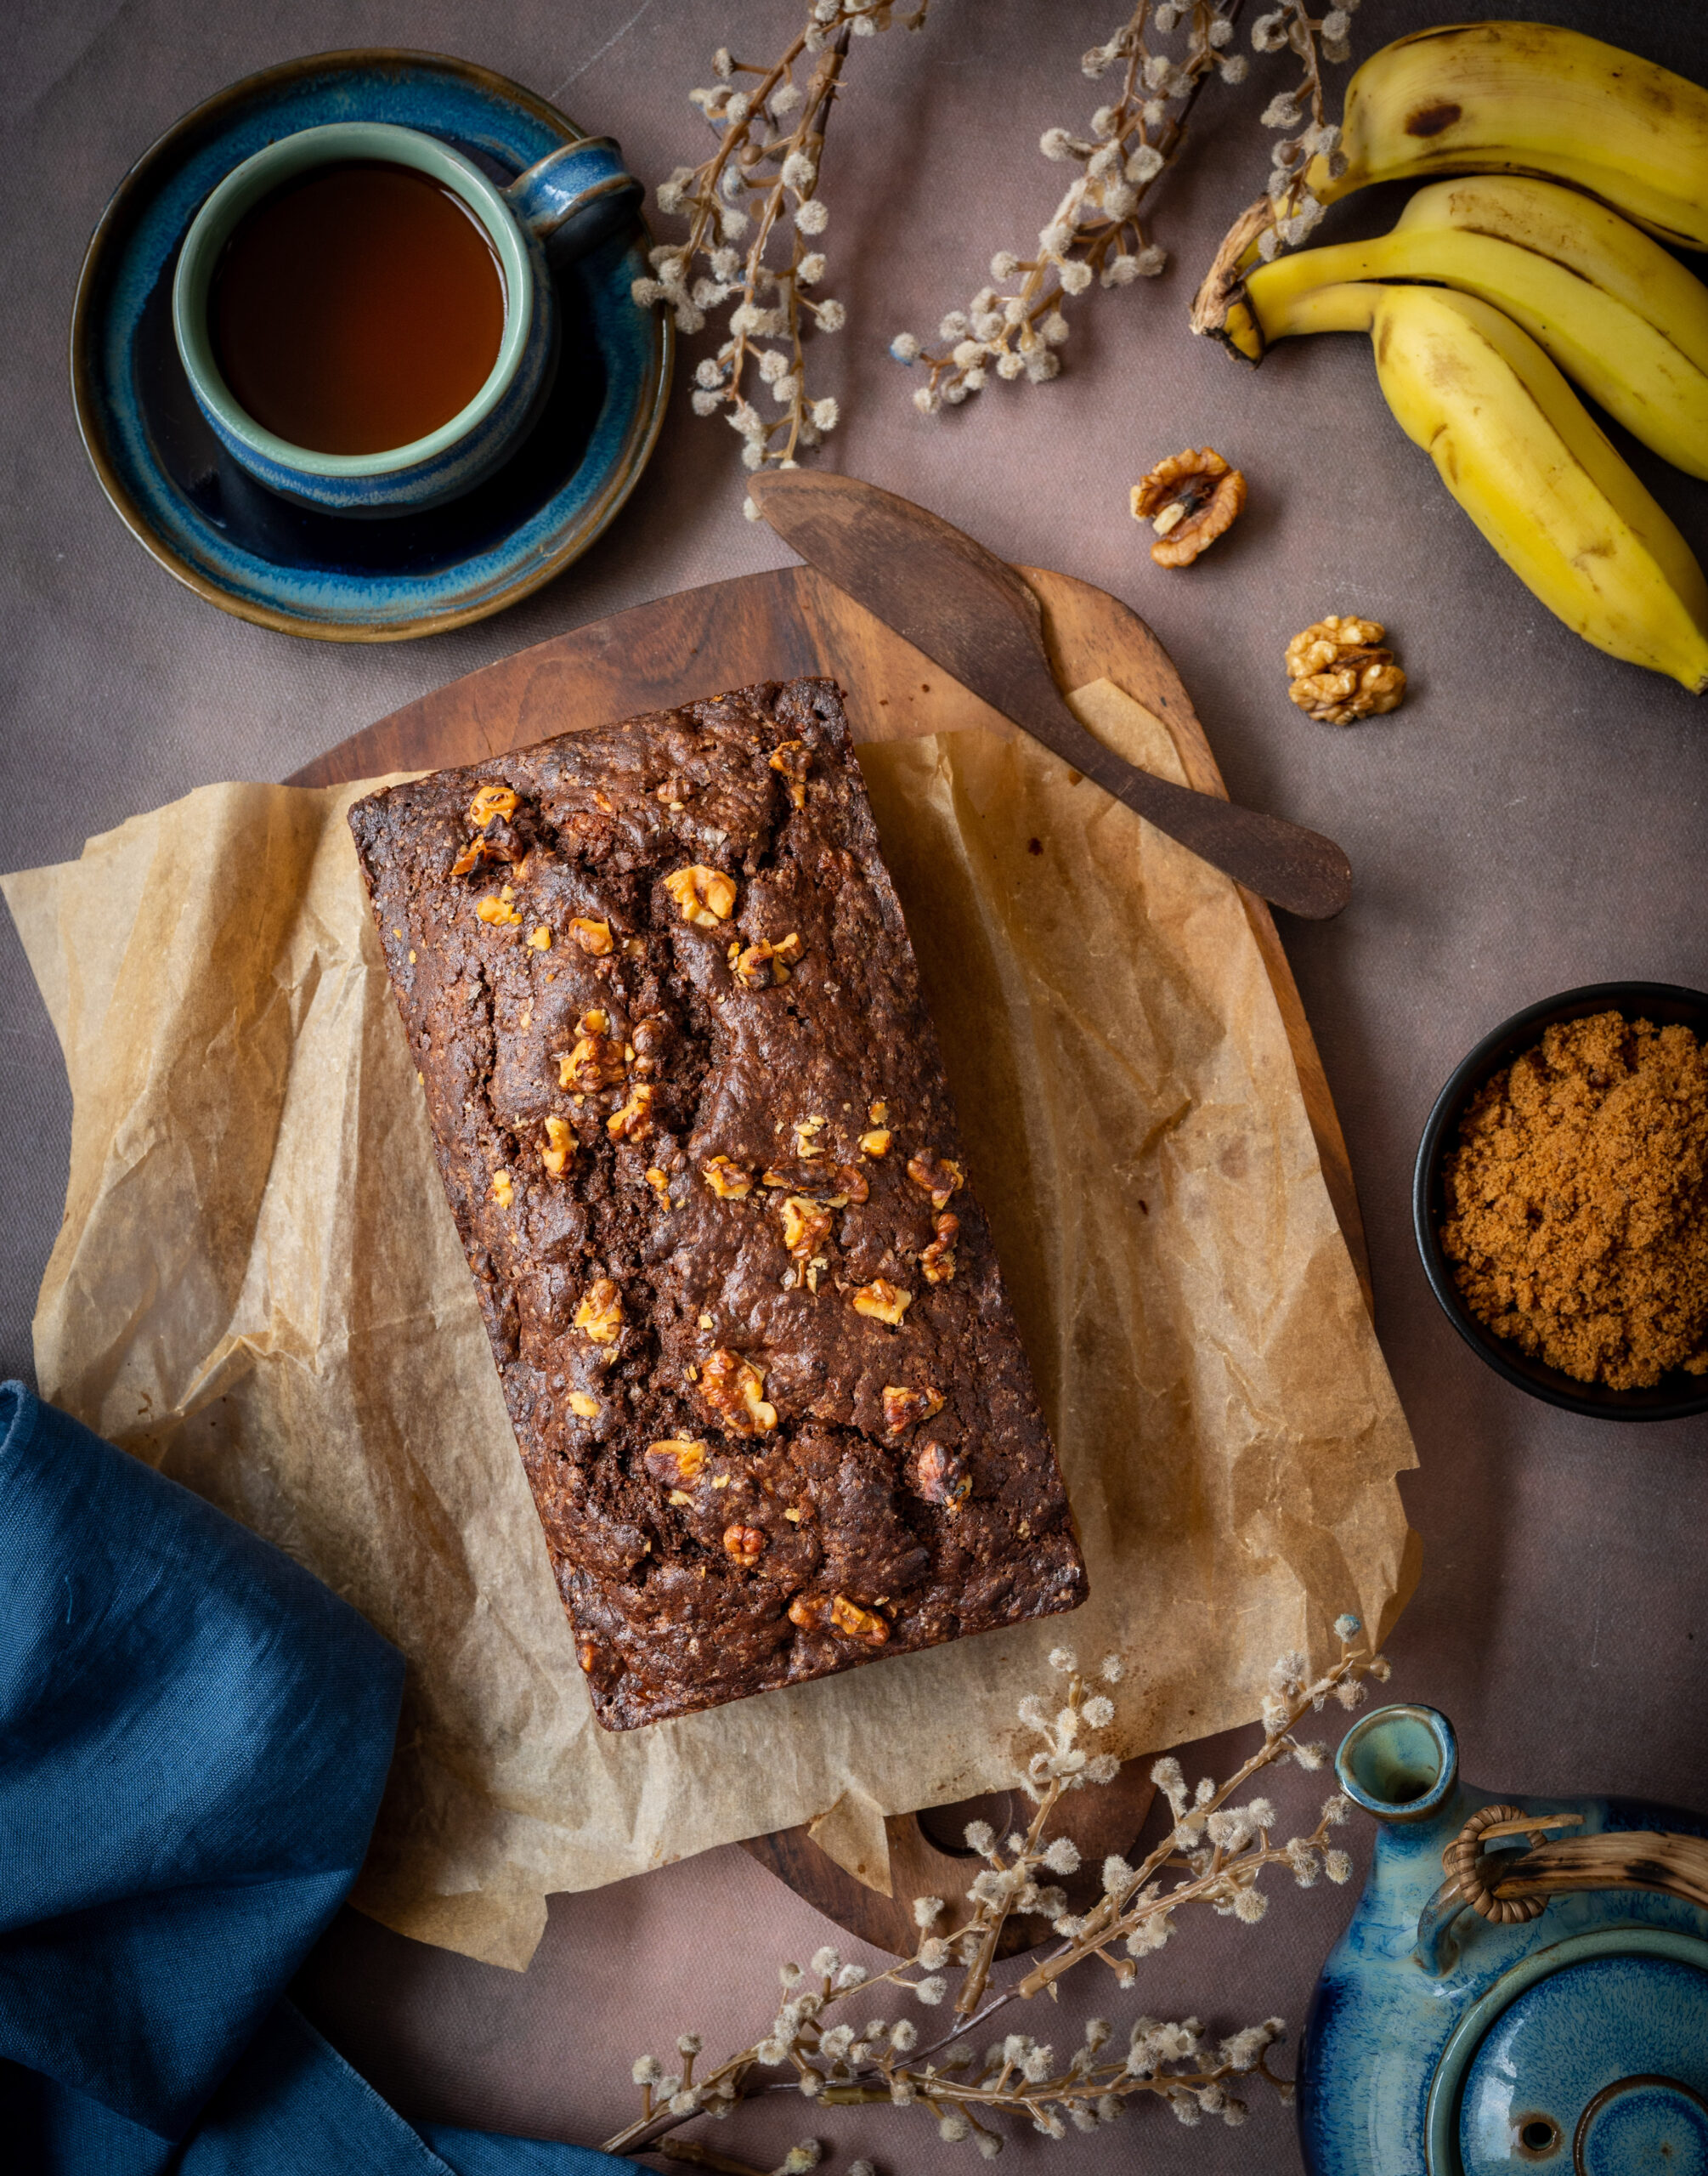
I shared a banana bread recipe with you a few years ago, which I hope you enjoyed. I encourage you to try it out too, if you have not already. I more recently began experimenting with a chocolate-banana combination, and this new version of deliciousness is what I’d like to share with you today. This banana chocolate loaf is not just an upgrade, but an entirely new recipe. As I’ve shared before, especially in this post, baking is a science, so please do go through the ingredients and method step by step when you prepare it, even if you are familiar with my earlier banana bread.

My first trial for this recipe didn’t include chocolate at all. The thought process behind it was that as I am not a fan of raw bananas, but appreciate the fruit’s amazing nutritional qualities, baking it into another cake was a fun way to incorporate it into my diet. After all, Indian meals often end with a banana, eaten for its digestive benefits, so why not end with a banana cake?

Keeping the health quotient in mind, as I have introduced chocolate into this cake, I have been mindful about its sugar quotient. I have chosen to use dark chocolate pellets, which are less sweet. I have also used brown sugar in a reduced quantity since the flavour of the banana already imparts the dish with natural sweetness. You may wish to substitute the same with jaggery powder, if you prefer. You will notice that this one also has a special ingredient, something that gives it a different zing from the earlier banana cake recipe.

I absolutely must have something to munch on along with my tea or coffee in the late afternoons, and this banana chocolate cake or my date cake (a favourite among re:store clients too) are what I find myself reaching out for often lately.

In fact, one of the best things about this banana chocolate loaf is that it packs and travels very well, which means I’ve gotten my fix of it even when I’ve not been at home. Recently, I made a trip with a dear childhood friend, and this treat was our companion for the first few days. Even though we were seeing each other after a long time, we picked up where we left off with ease. That’s how it usually is with childhood friends, isn’t it? You just catch up, and the happy memories from decades ago flood back afresh, and renew the bond quickly. The same thing happens with food, too. That’s why it is said that food is emotional: it helps one express and relive one’s memories, attachments and experiences.

I baked and carried this beautiful banana chocolate loaf with me on that holiday with my childhood friend. We travelled everywhere by train and by road, and enjoyed bites of this cake in the English countryside whenever we stopped to take in the scenery. Our afternoon tea in charming little villages had the requisite freshly-made traditional scones and clotted cream, of course, and I hope to master the recipe for that sometime. But my banana chocolate loaf was also present, loving parcelled and equally lovingly shared, and to me it was just as delicious as our authentic holiday treats.

Banana Chocolate Loaf

(Yield: 9 inch loaf)


175 grams maida

20 grams cocoa powder (unsweetened)

¼ teaspoon salt

1 teaspoon baking soda

½ teaspoon cinnamon

1 cup brown sugar

2 eggs

120 grams butter

1¼ cups very ripe bananas (mashed)

1 teaspoon vanilla extract

13 cup yoghurt and cream (mixed)

½ cup chocolate chips

¼ cup broken walnuts (for garnishing)

Preheat the oven at 160°-170° and grease and dust a 9-inch loaf pan.

In a bowl, sift the dry ingredients well. Set aside.

In another bowl, beat the butter and sugar well, scraping down sides and making sure they’re all mixed well. Now, add the eggs one by one and continue beating. Next, add the mashed bananas and vanilla extract and beat slightly.

Now, add the cream and yoghurt mixture and beat again. Next, add the dry ingredients as well as some of the walnuts and all the chocolate chips. Fold over lightly.

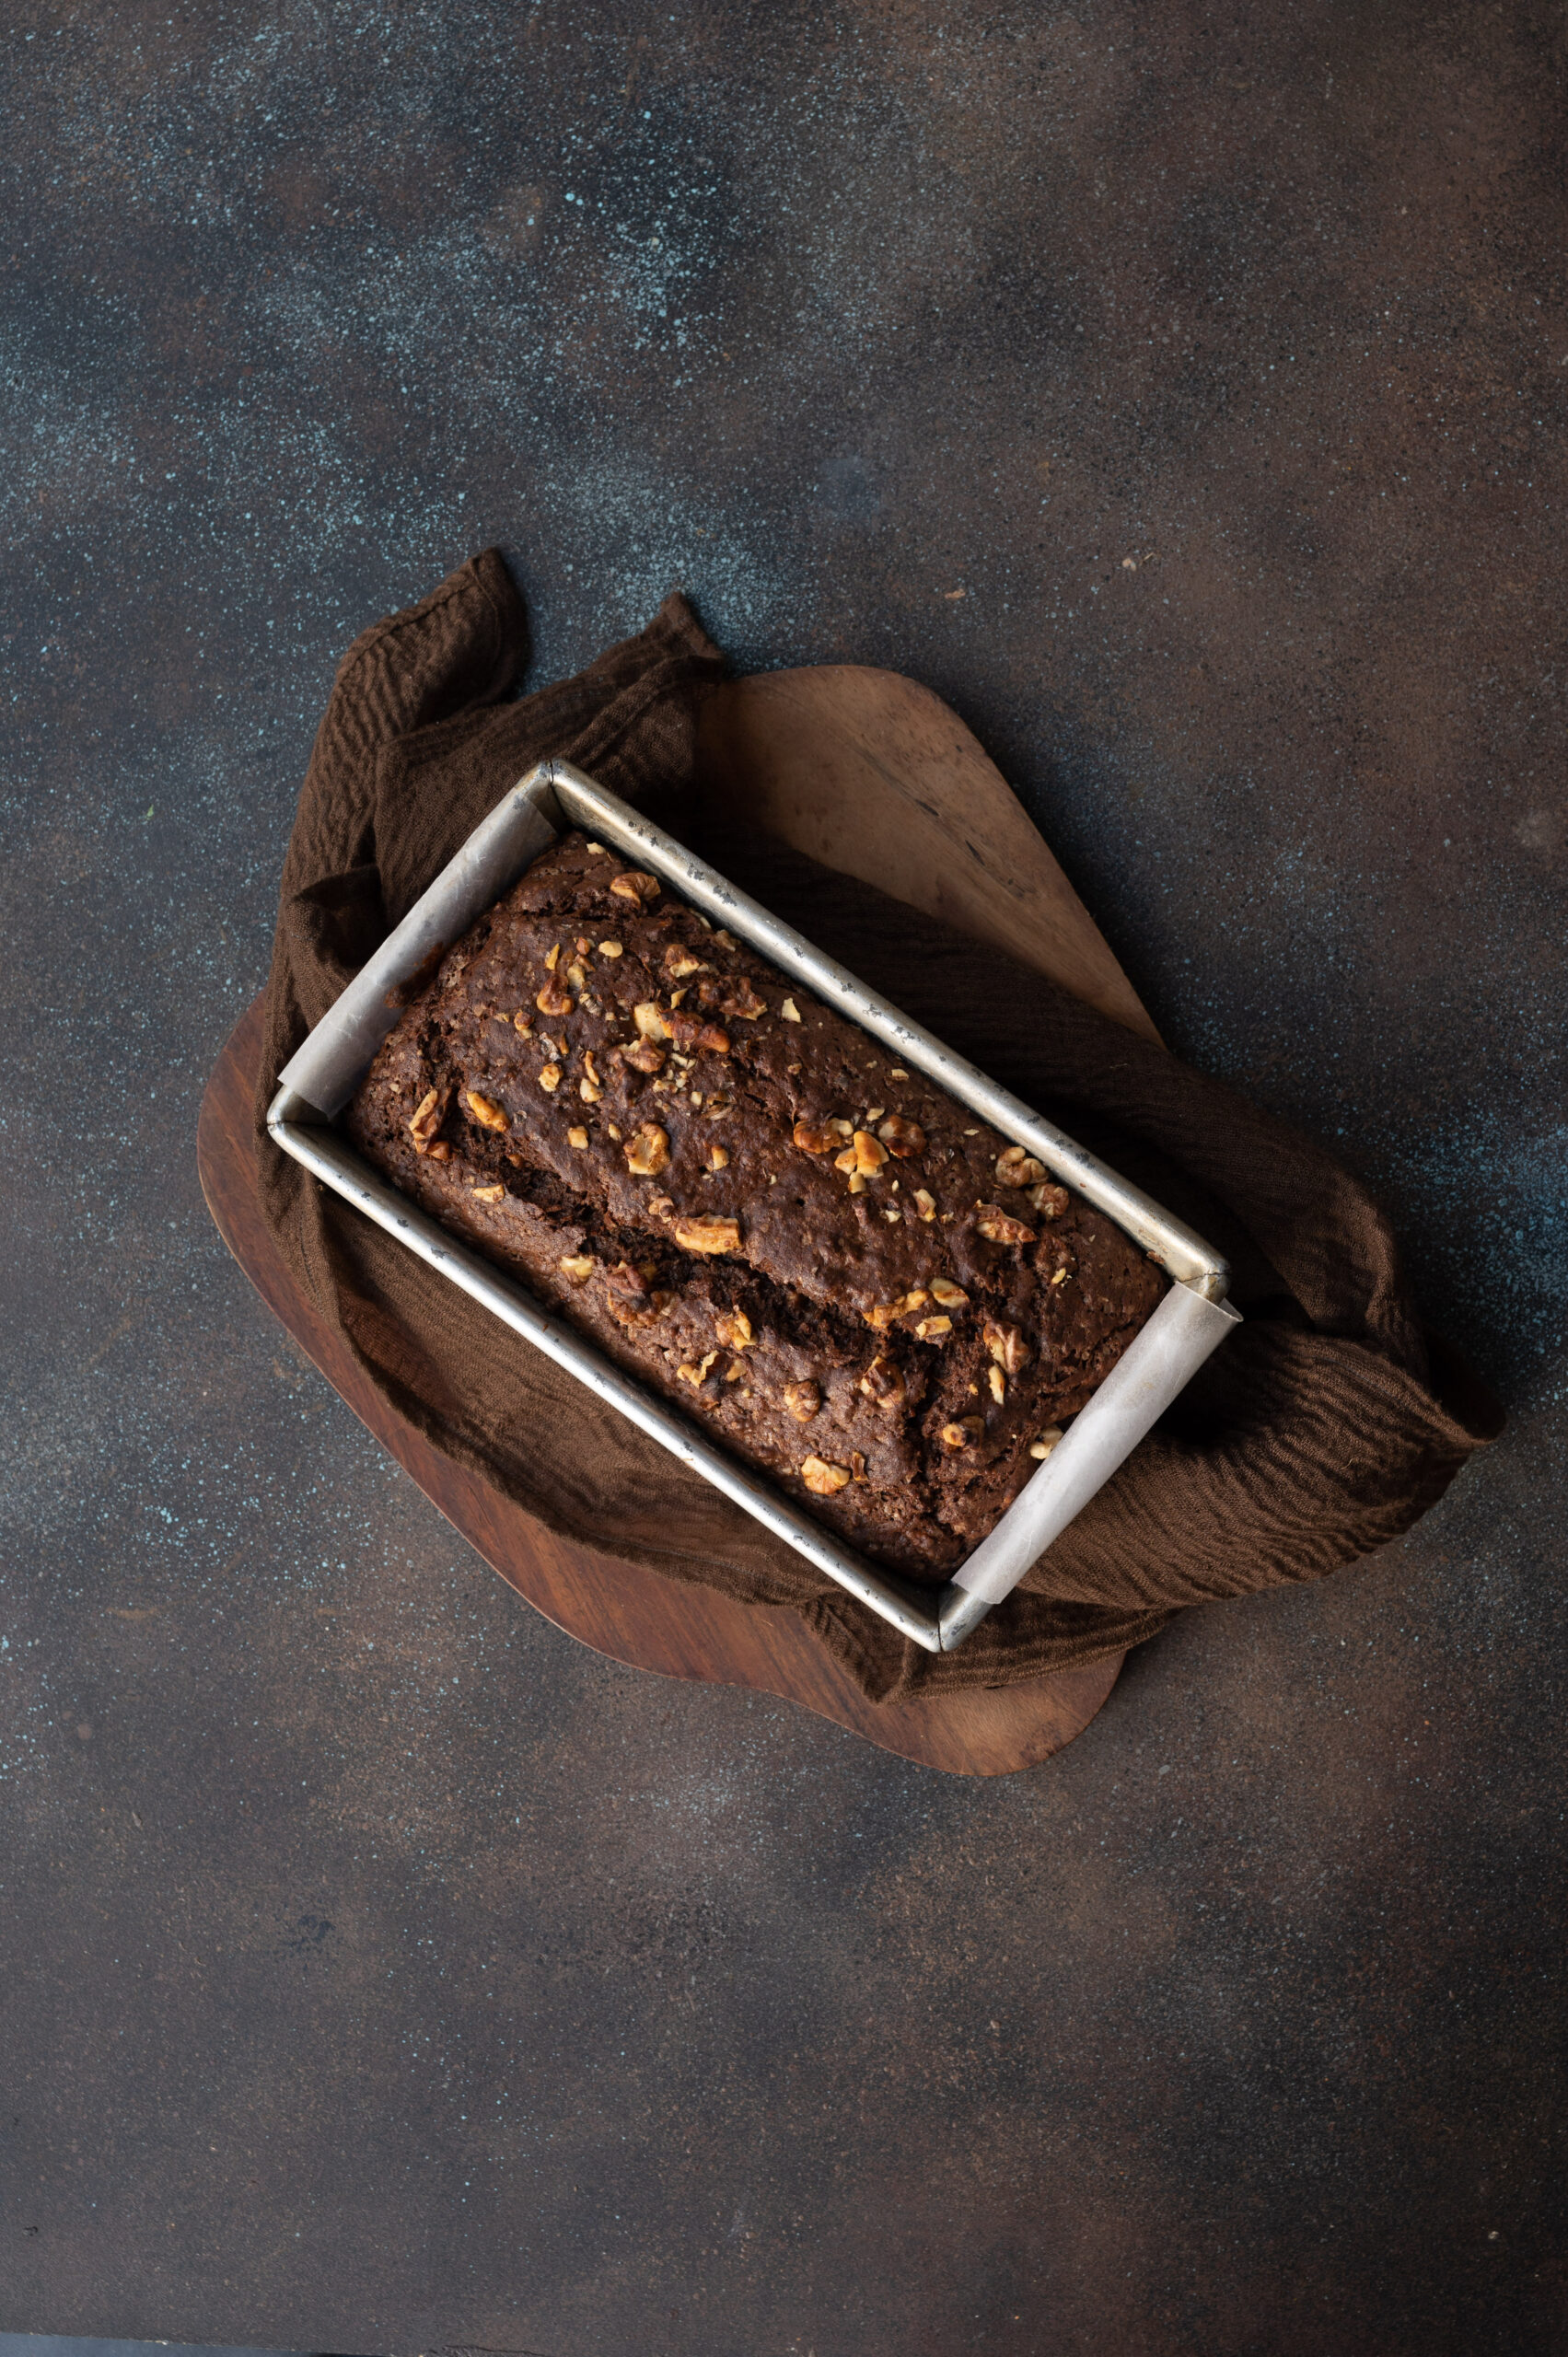
Pour the batter into the loaf tin and sprinkle the remaining walnuts on top.

Bake for about 30-40 minutes or until a skewer inserted comes out clean.

Rest the loaf in the tin for 10-15 minutes. Then, upturn and remove from the tin. Allow to cool.

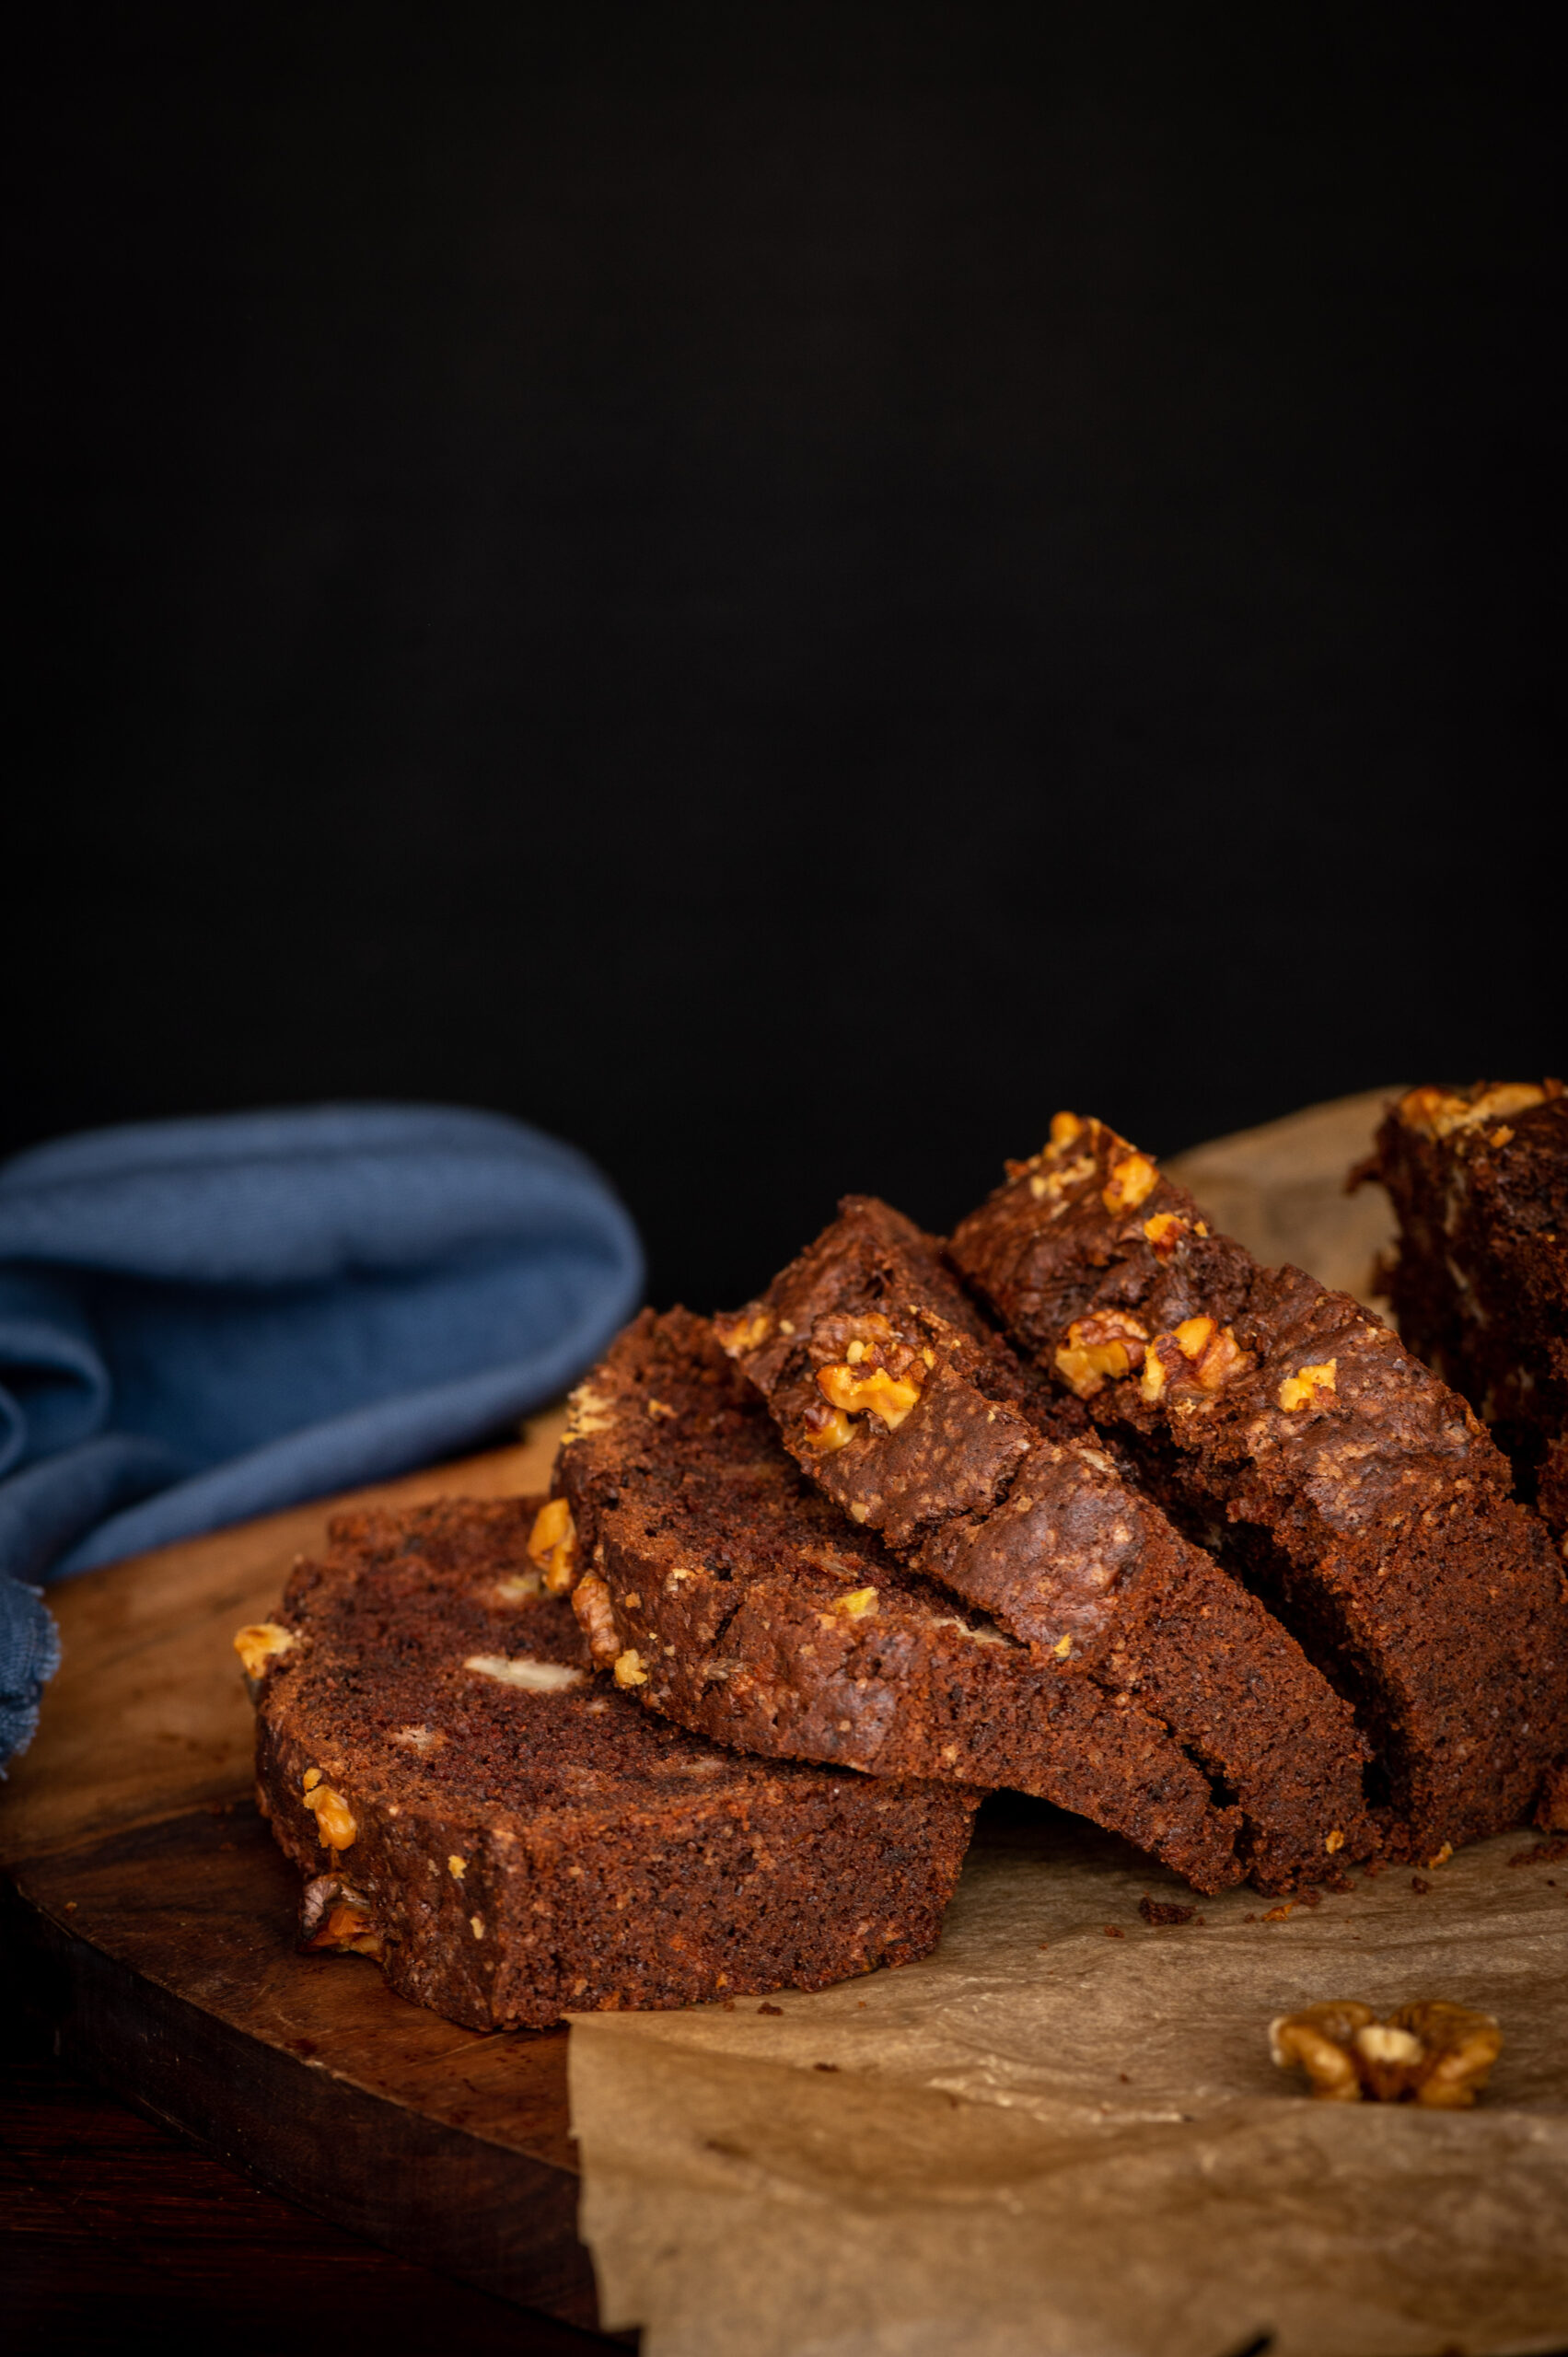
Your banana chocolate loaf is now ready to be sliced and served. I do hope you’ll enjoy this recipe, and that you’ll make some special memories with it just like my friend and I did on our travels recently. Whenever I share cake recipes, it’s so that more people can enjoy the pleasure of baking, and I encourage you to try them out for yourself. But if you would rather have me whisk a cake up for you, I’m always happy to do so too. Just drop me a line!

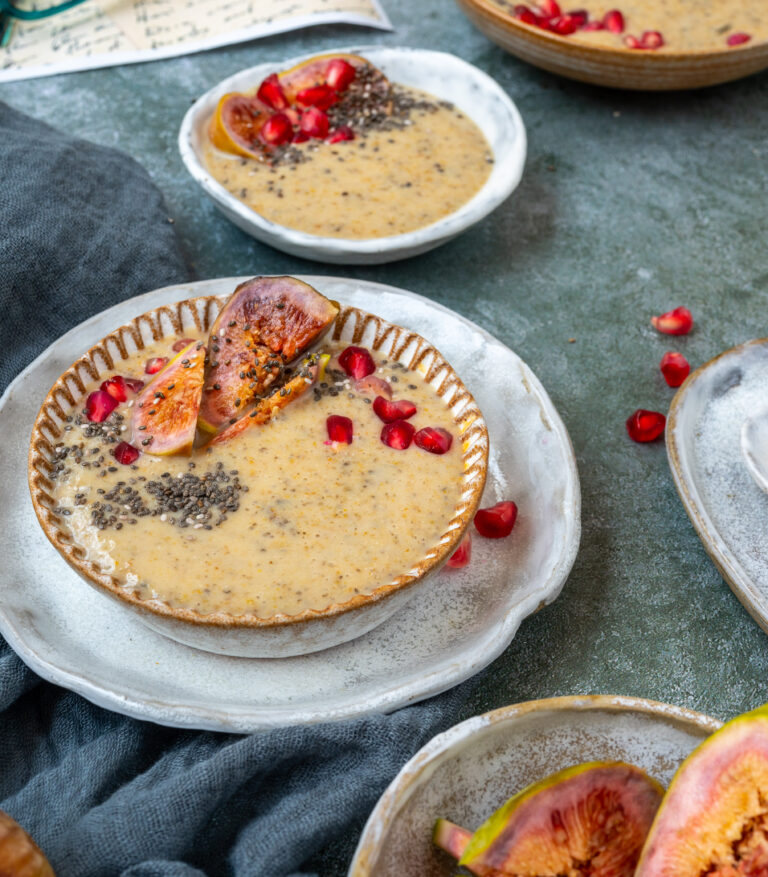
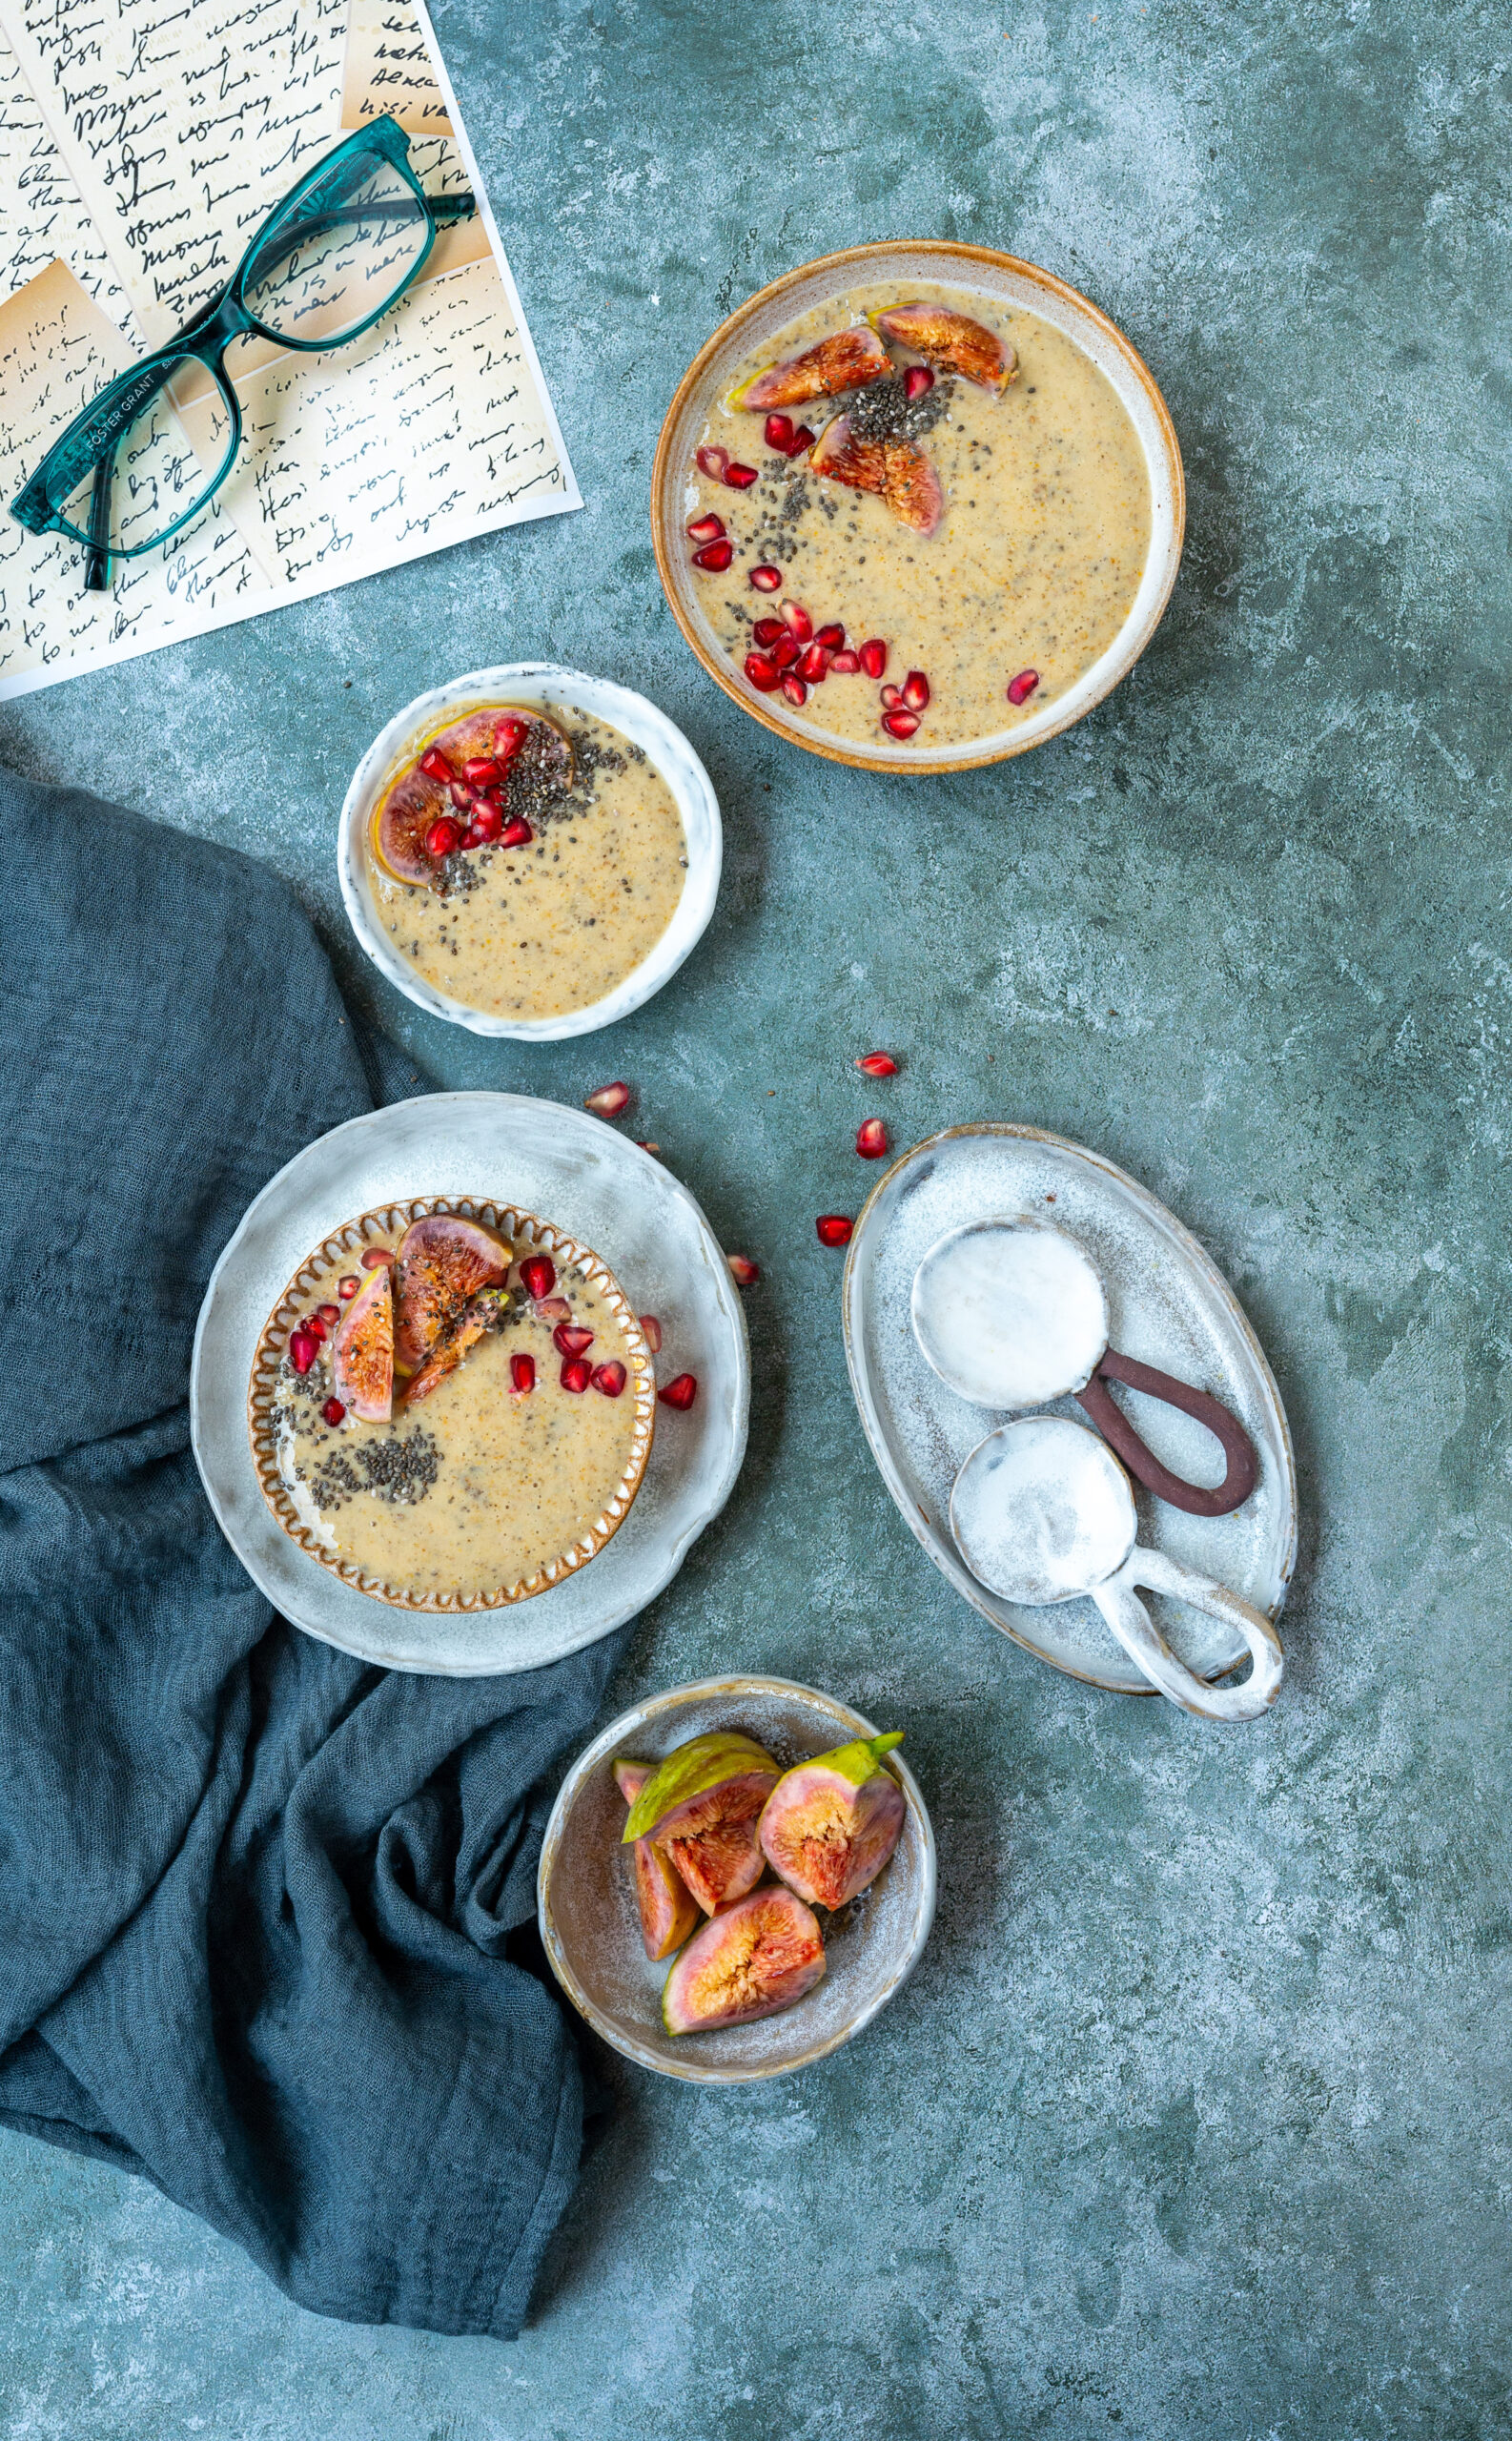
My ongoing sad saga is that I am trying to avoid carbs. I say “saga” because you’d have heard me repeat this time and time again on this blog over the last few months, as I sincerely share recipes that help me stick to my dietary plan. Truth be told, I probably say that I’m off carbs more often than I am actually off carbs, but to give myself due credit, I am constantly trying. The fruits of those efforts are recipes like this one, which indeed contains literal fruits! In addition to helping me in my anti-carb struggle, this vegan fig and chia smoothie bowl is also a great dish on my journey towards increased veganism. But the best part? Despite all these healthy-sounding proclamations, it’s simply delicious.

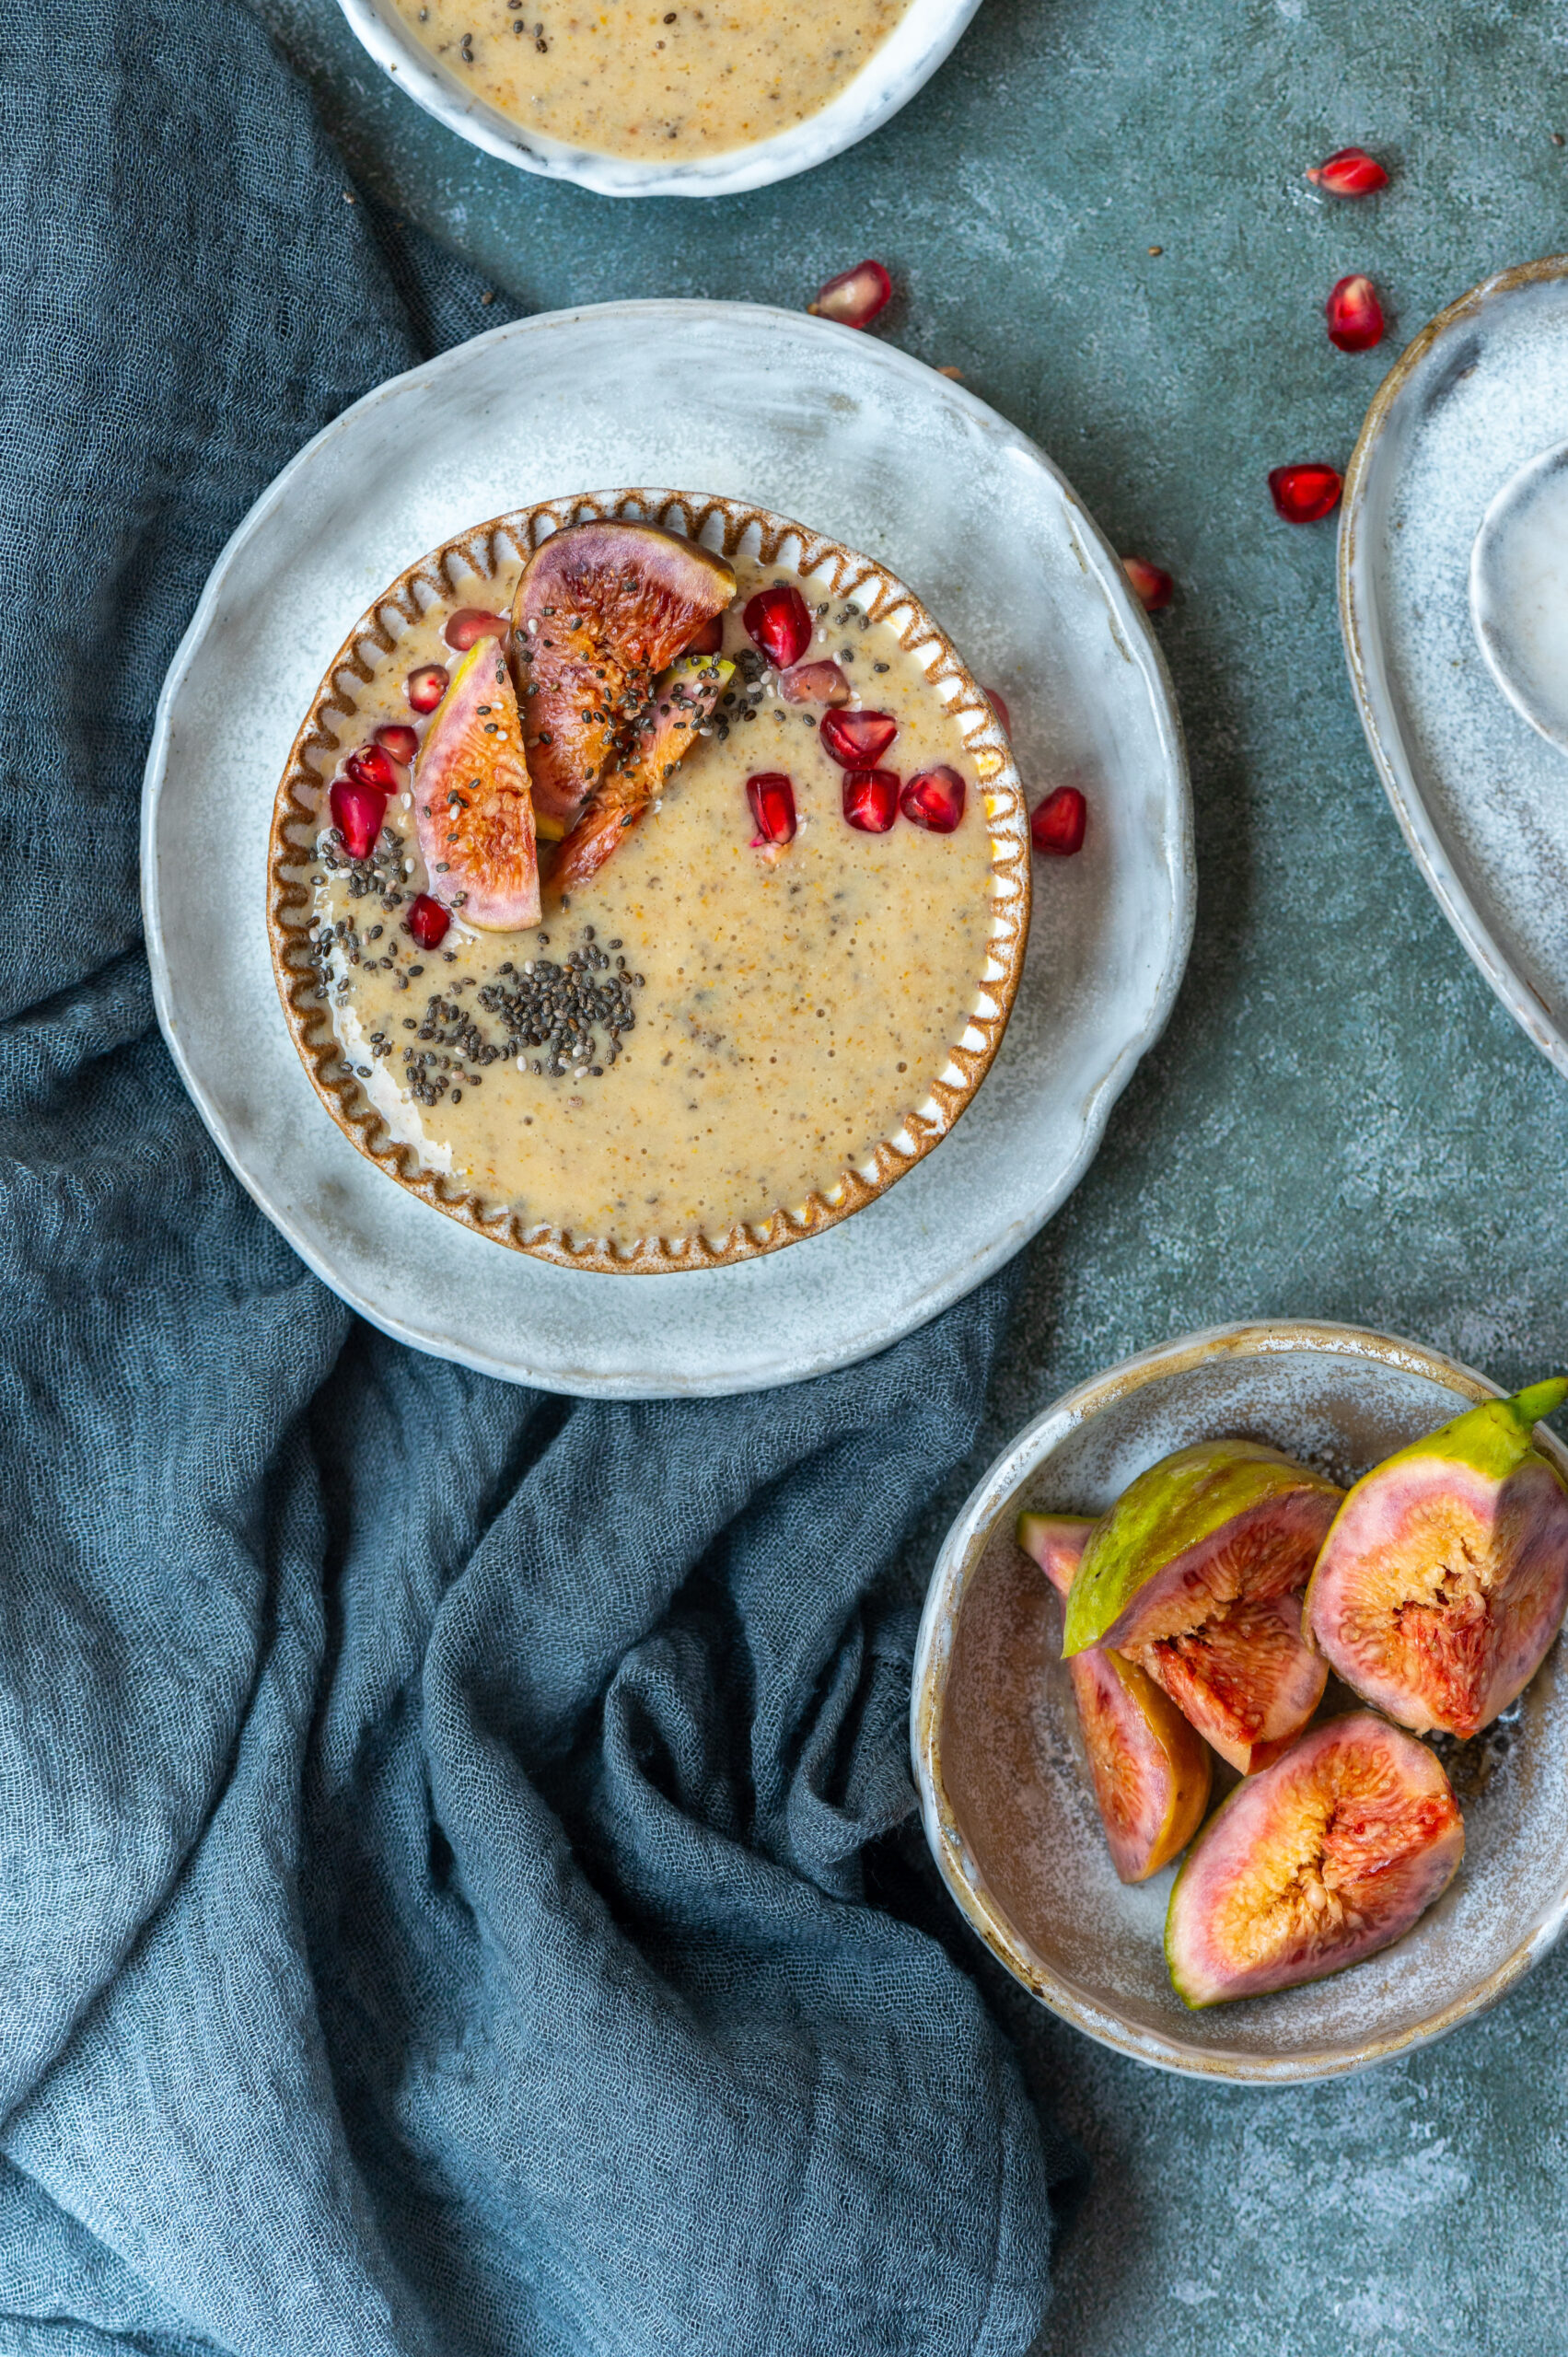
I have a mental block when it comes to smoothies: when I drink them, they don’t feel as filling as when I put them into a bowl. It’s a visual trick, convincing myself that this is indeed the full meal that it is. It also looks beautiful once you garnish it in a bowl setting. Whenever I prepare this for myself, some family member of mine inevitably walks by and says, “Hey, what’s that? It looks so good.” This reiterates the fact that presentation is key. We always eat with our eyes first.

The chia in this smoothie also makes it look and taste like a pudding, which dials down the feeling that one is consuming it only for its nutritional benefits. In addition to being a superfood, chia is a thickening agent, which is what provides that pudding feeling. Of course, this ingredient is also doing double duty as a superfood, being chock-full of antioxidants, omega-3 fatty acids, calcium fibre, magnesium, iron, Vitamin A and other very good things. One more advantage to it is that it has no flavour of its own, so it enhances the texture of whatever you put it into.

I tend to eat this fig chia smoothie bowl for dinner on days when I have had a very heavy lunch. Naturally, it will make an equally good breakfast. The versatility of this dish is fun to explore. This extends to the ingredients as well. Try your own variations with different flavours and garnishings, using the milk and chia base.

Vegan Fig & Chia Smoothie Bowl

(Serves 2-3)


5 dry figs

2 cups almond milk

A pinch of cinnamon powder

1 tablespoon chia seeds

Ice cubes (optional)

Soak the figs in enough water so that they are fully covered. Allow to soak for 2-4 hours.

In a blender, add the soaked figs, almond milk and chia seeds and blend until smooth and frothy.

Add the cinnamon powder and blend again lightly.

Pour into bowls, or into tall glasses, and add ice if you prefer. Top with any garnishings of your choice. Serve chilled.

As mentioned earlier, you can scoop this up as I do, with a spoon from a bowl, or you can drink it from a tall glass. You can also replace almond milk with dairy. It all depends on your dietary needs or preferences, as well as whether you enjoy experiencing this dish as a smoothie or as a smoothie bowl.

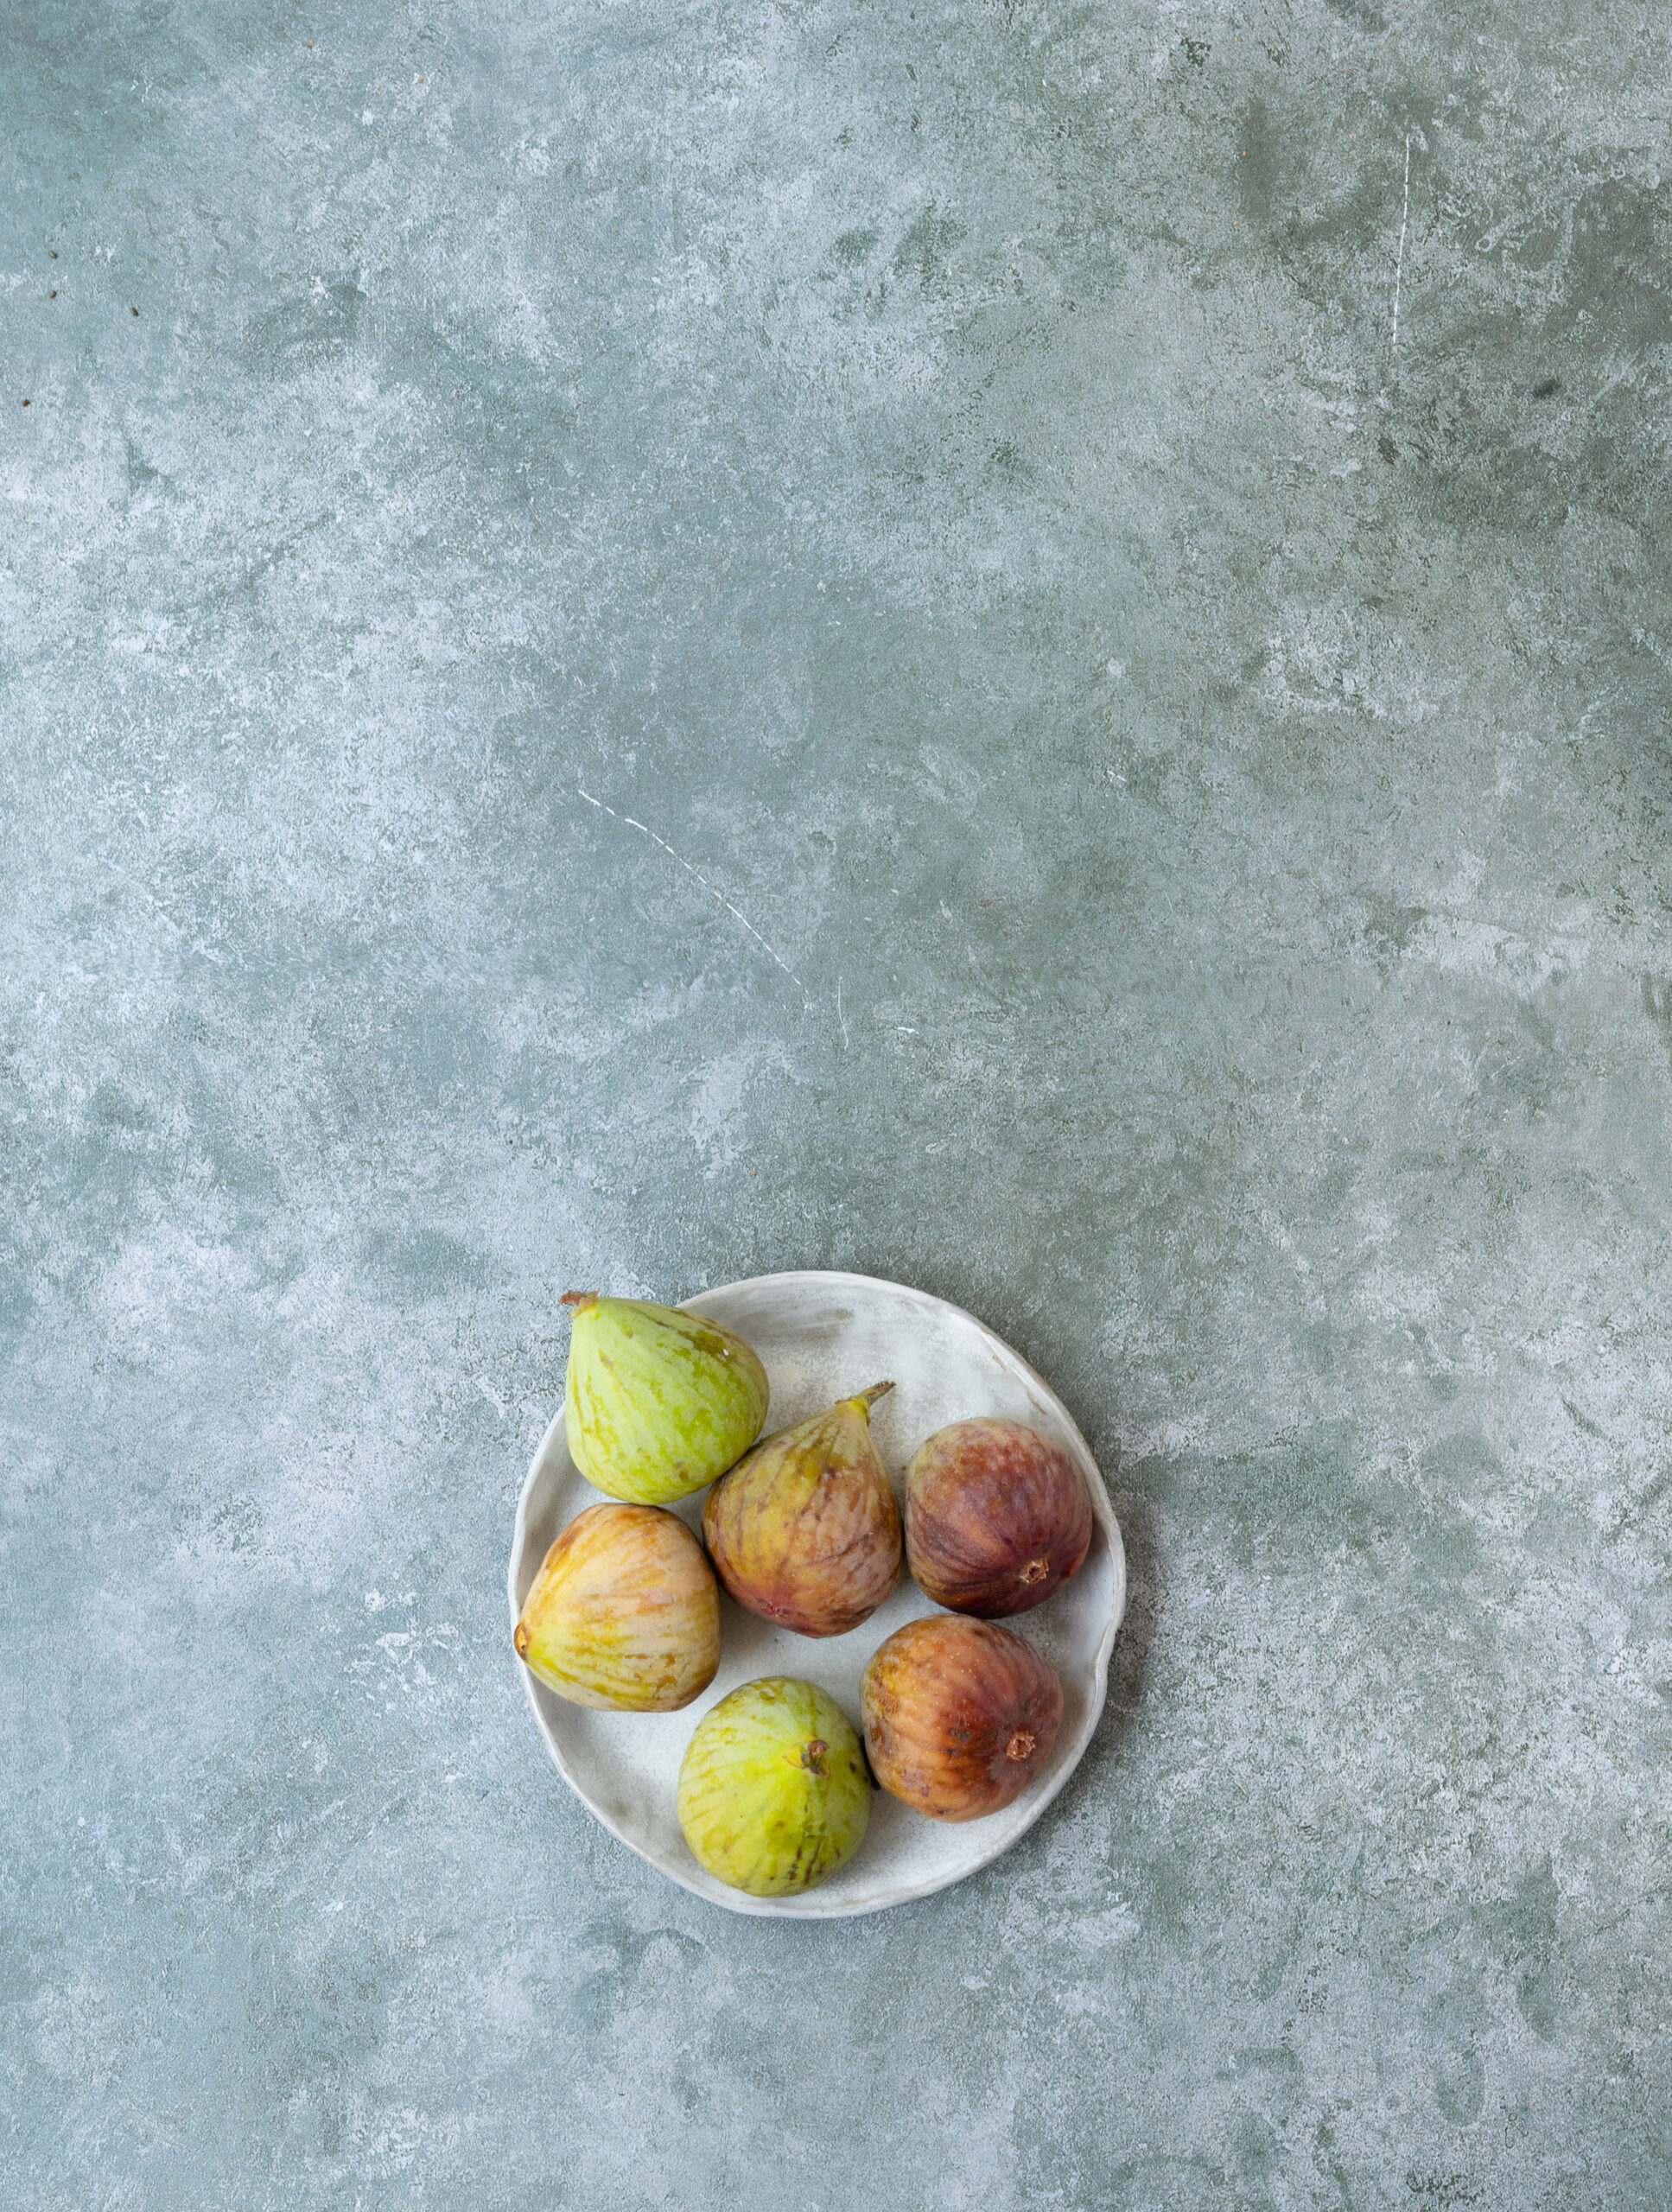
For instance, I’ve used a pinch of cinnamon powder as I find that refreshing; you may wish to eliminate this and replace it with another refreshing ingredient such as chopped apples. While I’ve used dried figs in the smoothie blend, I’ve used fresh ones to decorate the bowl. You can use either, based on seasonal availability. I’ve also added pomegranates in the garnishing for some colour. Nuts will boost nutrition as well as add more texture and flavour.

This fig and chia smoothie bowl is naturally slightly sweet due to the fruits it contains, so it does not need additional sweetening. However, if you’d like to increase that taste, I would recommend going with honey, maple syrup or jaggery rather than refined sugar. There are wonderful ways to indulge one’s sweet tooth without having to use unhealthy ingredients.

Another showcase of its versatility is that this fig and chia smoothie bowl could indeed work as a dessert replacement. Although if that’s what you’re looking for, let me suggest some summer-friendly chia-based recipes, such as this chia-vetiver coconut pudding or this strawberry smoothie.

What will you have it as: breakfast, lunch, dinner or in lieu of dessert? Try it out and let me know!

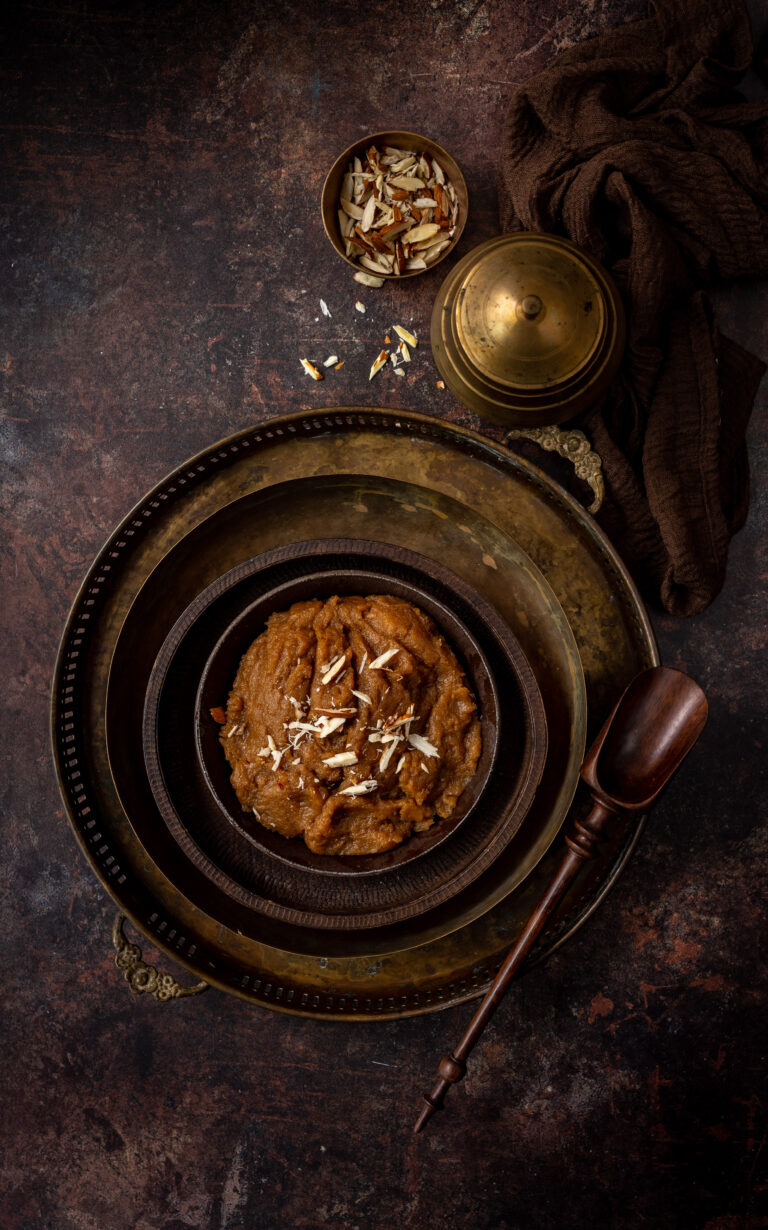
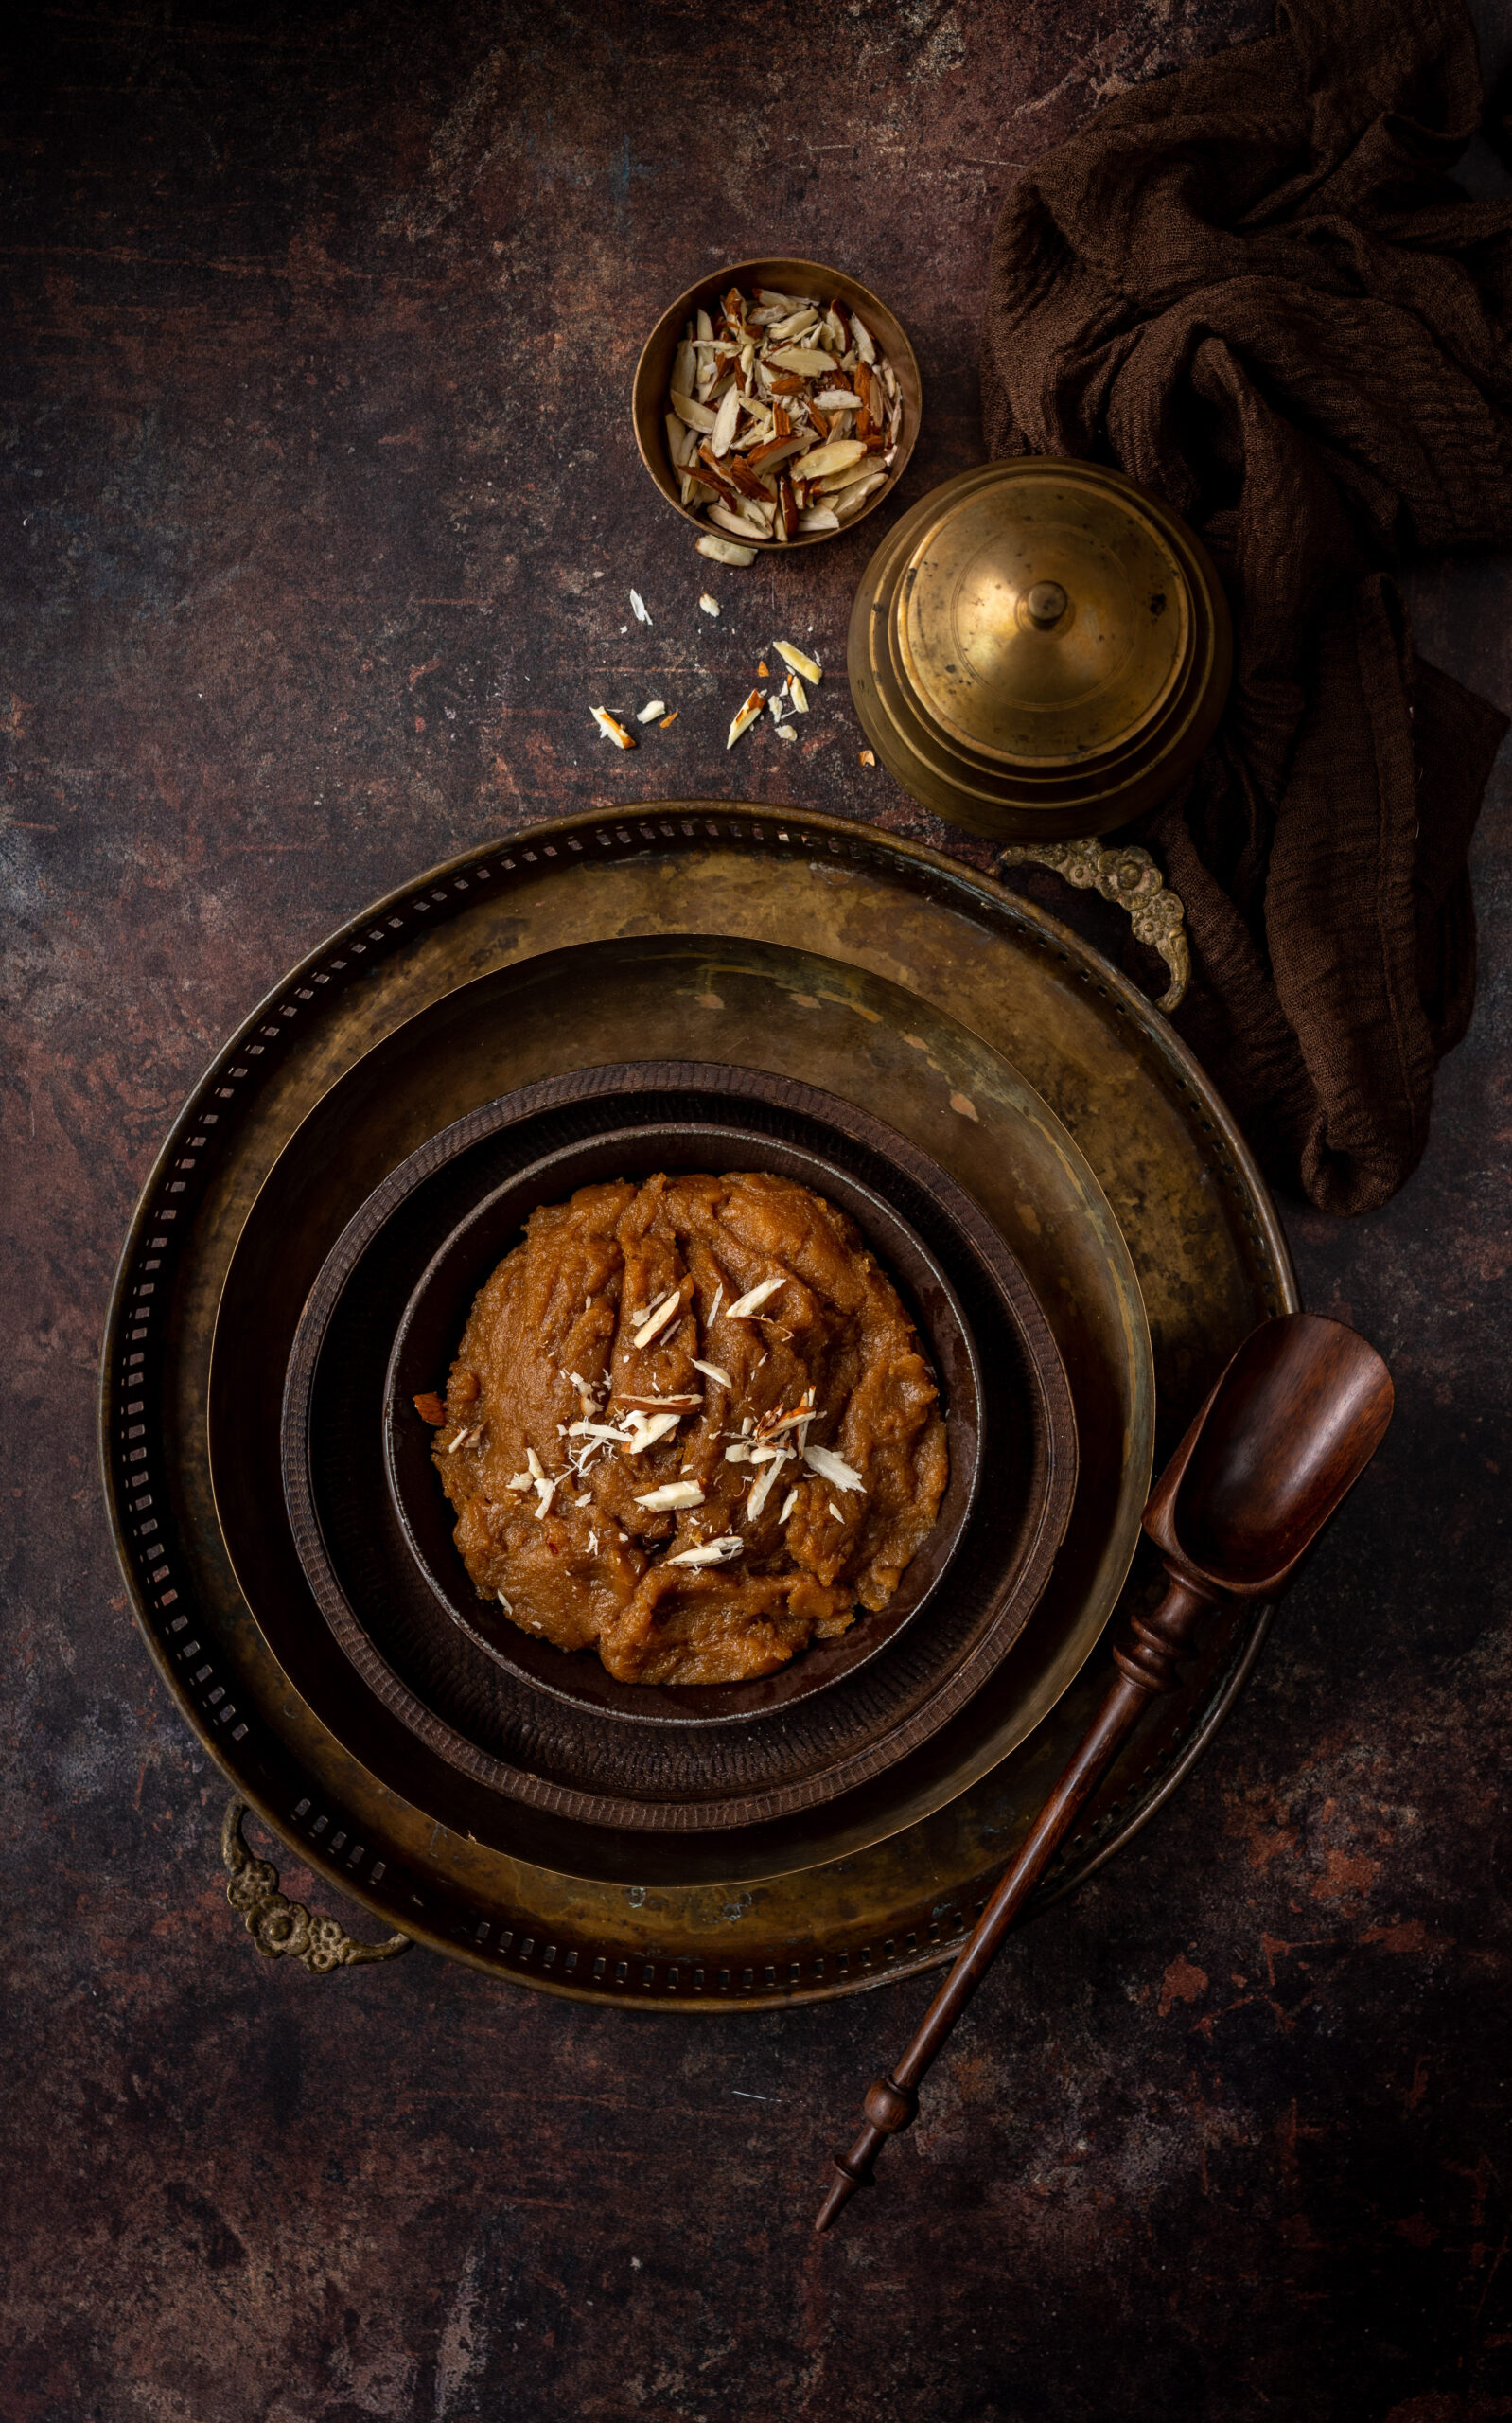
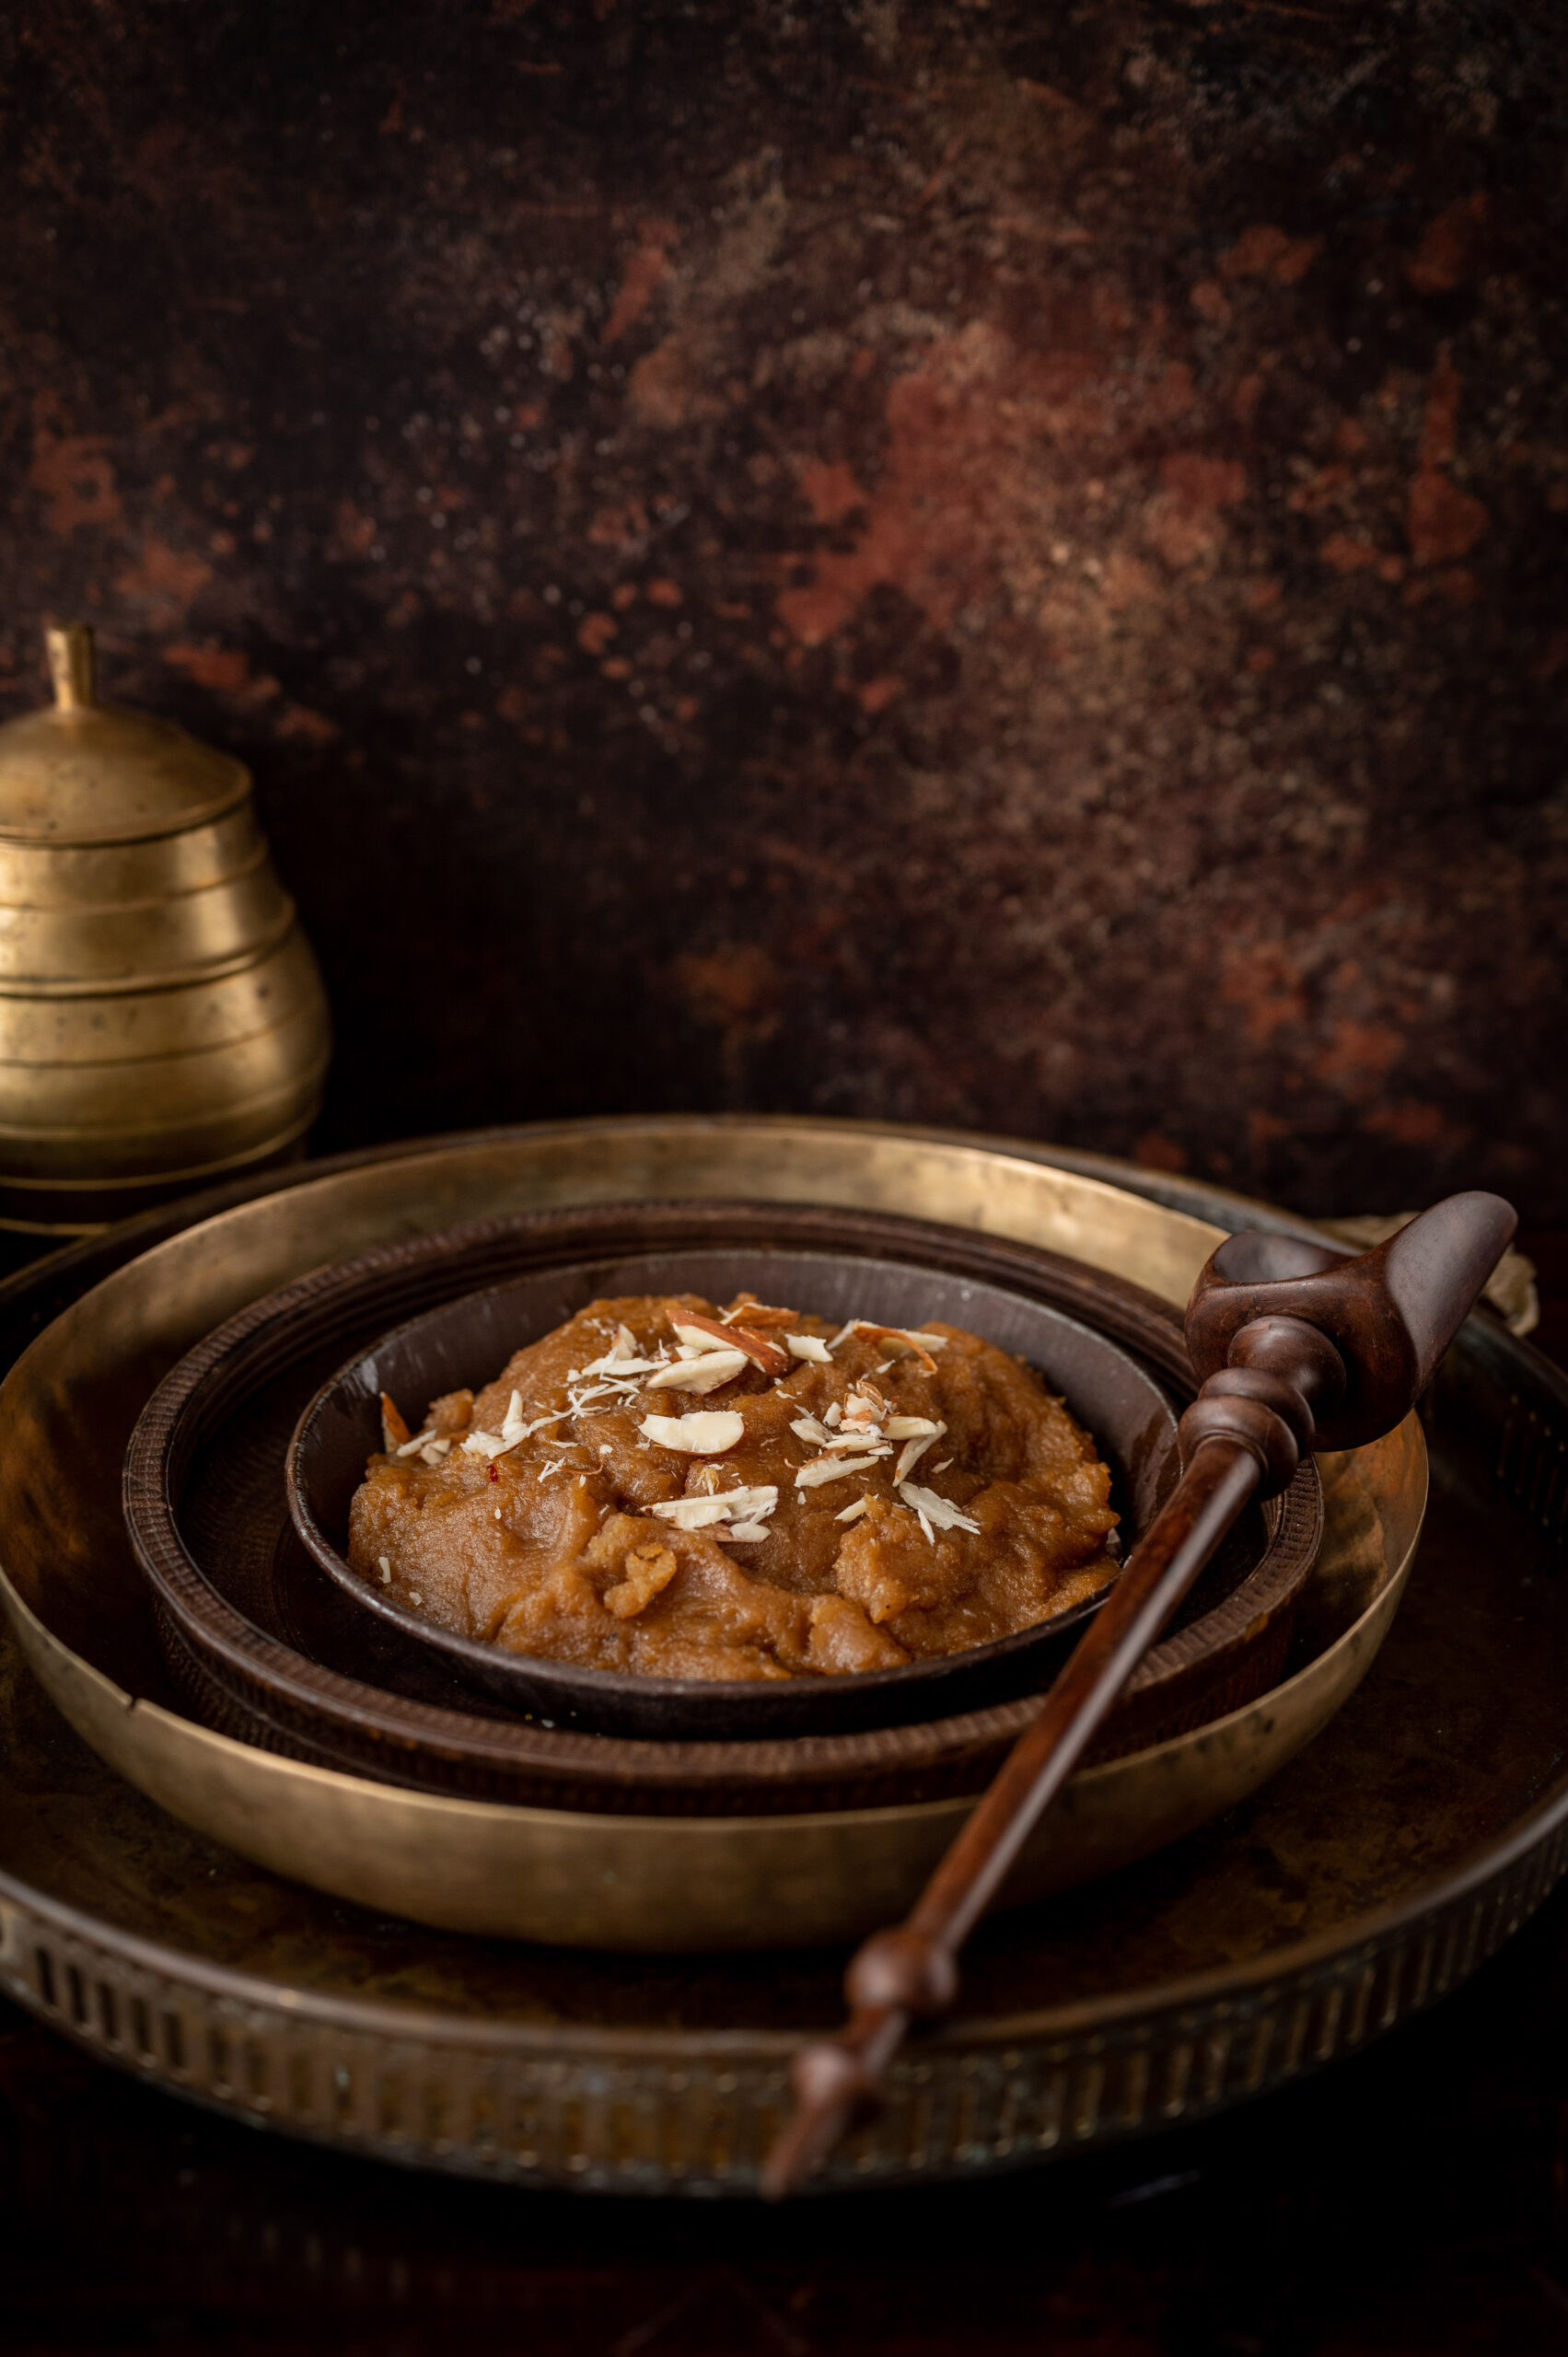
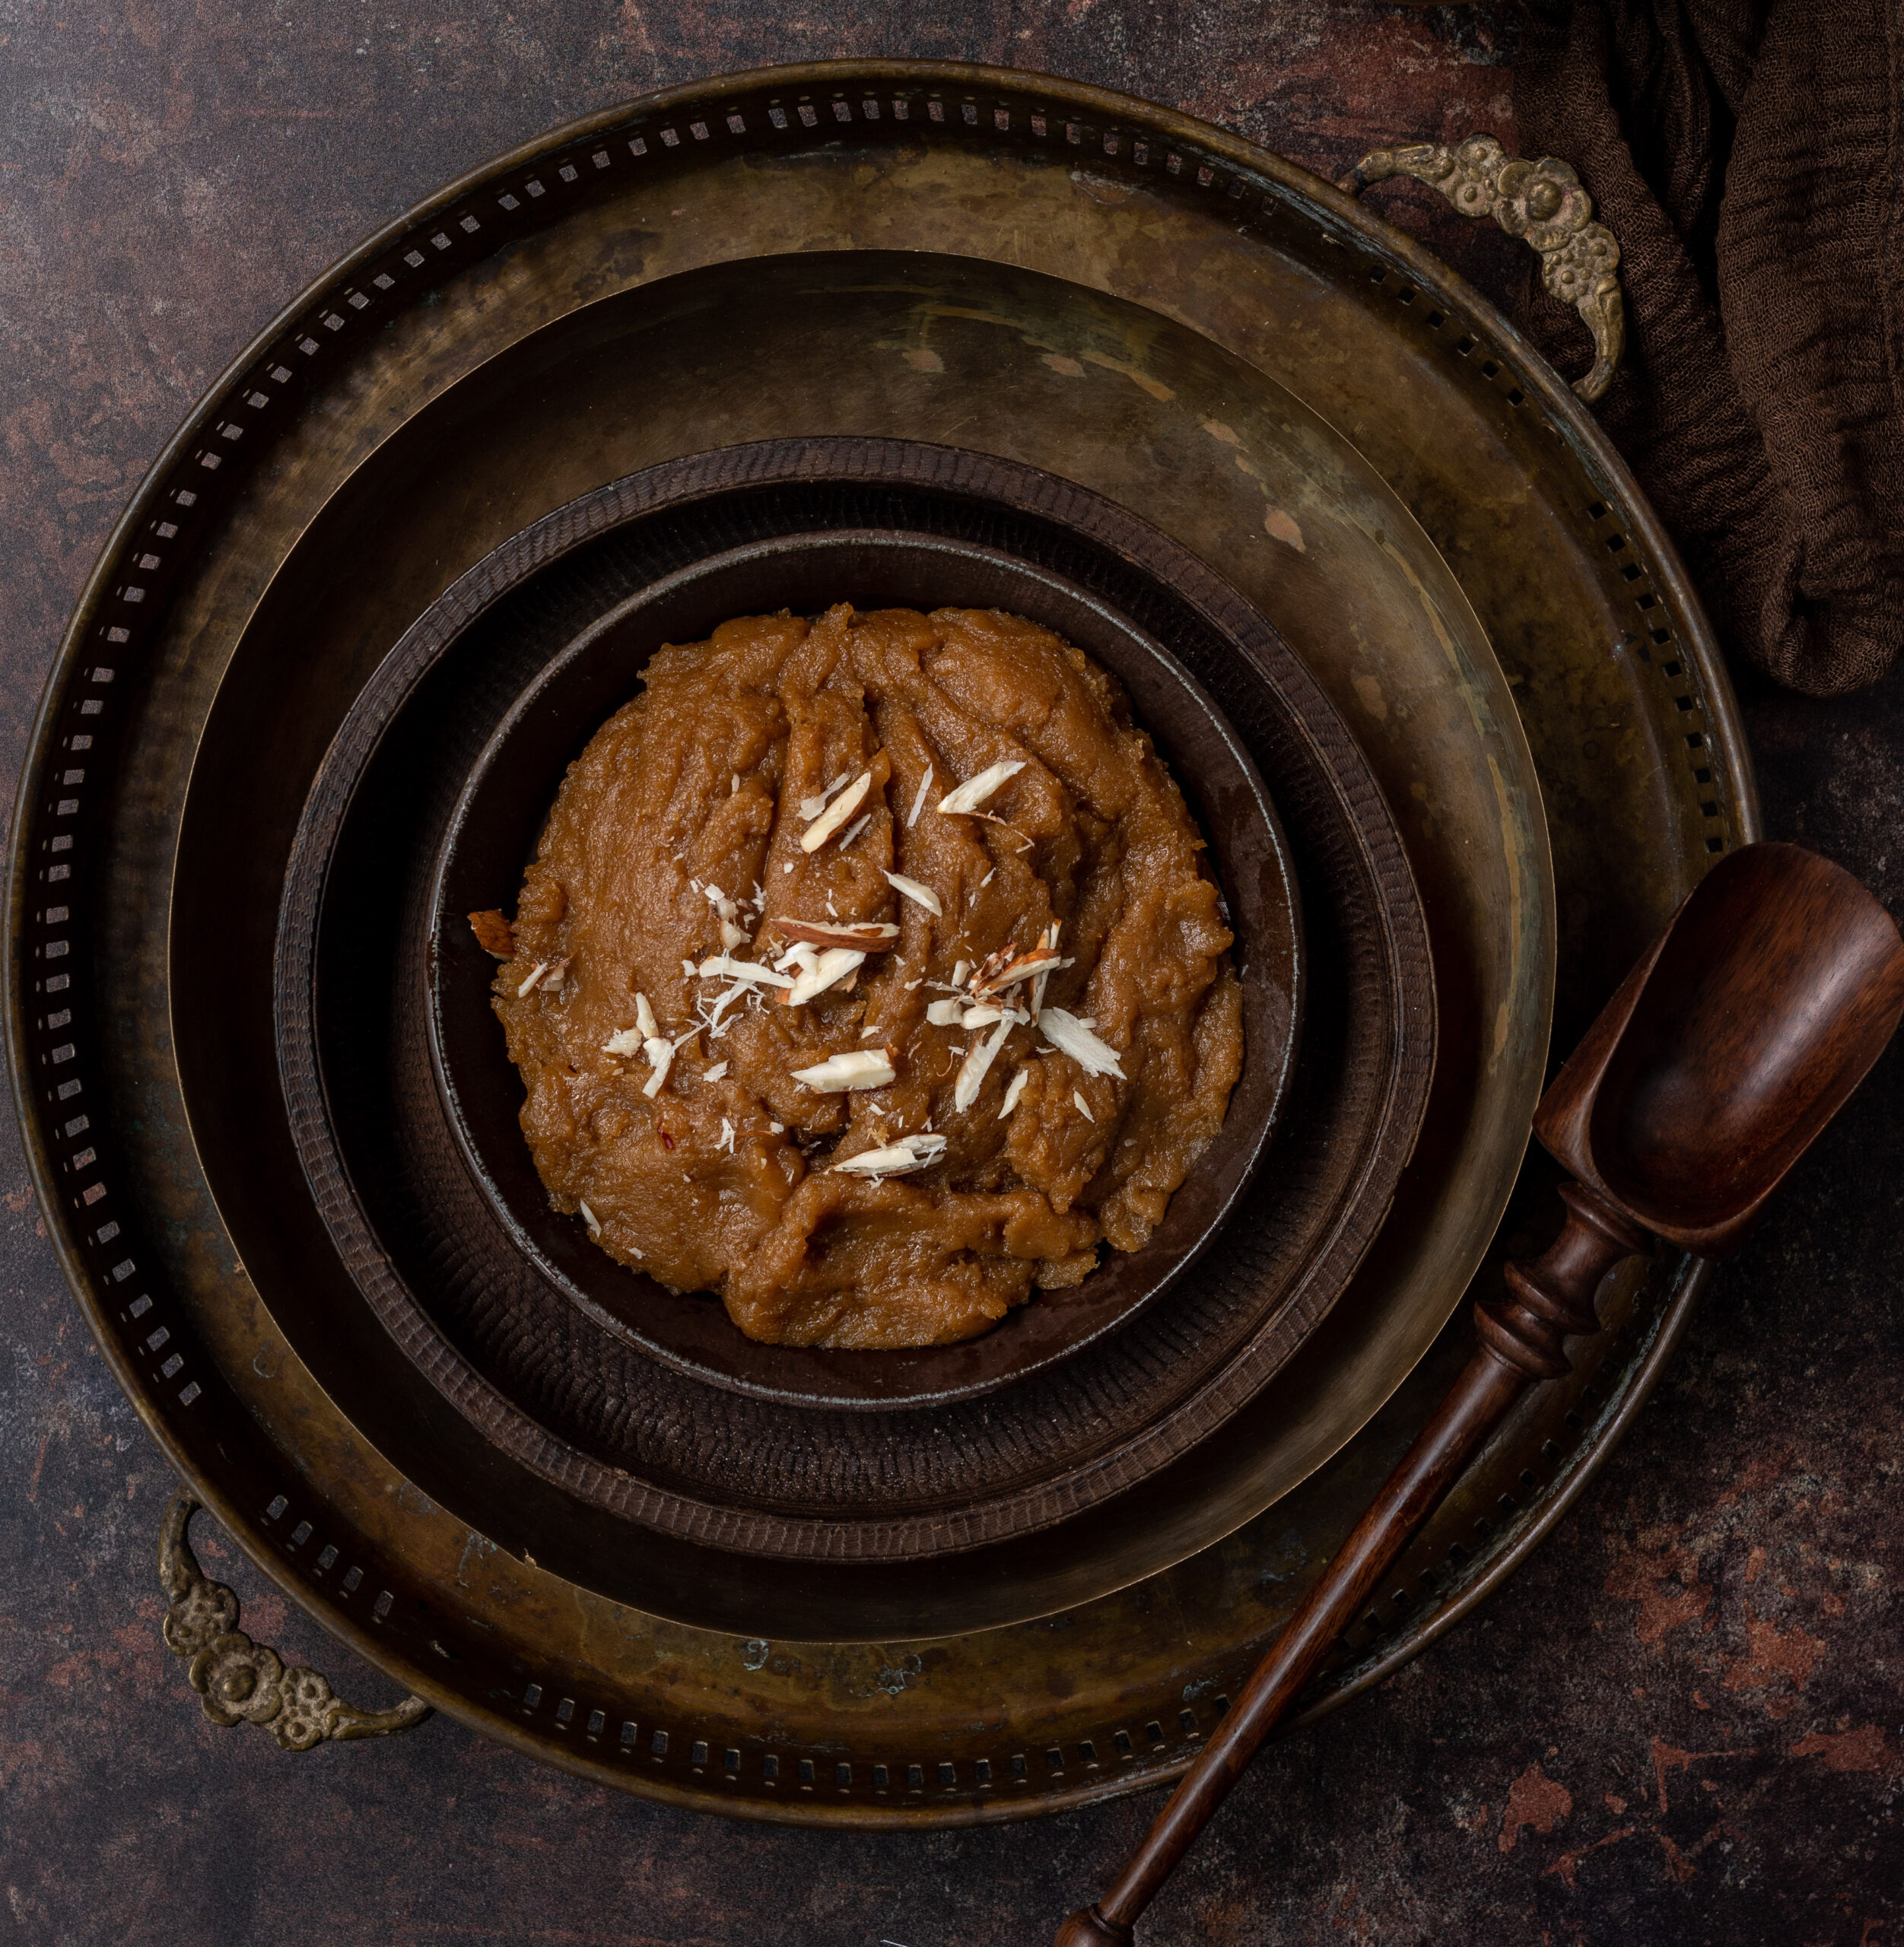
Every time that I had whole wheat halwa while I was growing up, it was mostly made in a jiffy. This was because whenever unexpected guests landed up at home and my mother had to make something sweet to serve them, this was her go-to recipe. Most people of that generation who cooked were extremely versatile. They knew what would work quickly, based on the ingredients they had on hand. It was also a time when those of my generation literally grew up in each others’ homes. So unexpected guests were always aplenty, and the Indian courtesy of feeding them was never forgotten, no matter how much of a surprise they may have been!

The base of this recipe is wheat, jaggery and ghee – items which would invariably be in any Indian kitchen. The additions like saffron and cardamom may not always be available, but the essential ingredient list is one that was quite reliably in every home while I was growing up, and most likely still is today. These are inexpensive ingredients. Not many could afford refined sugar back then, so the accessible and healthier jaggery was used, along with affordable staples like wheat and ghee.

Wheat-ghee-jaggery is an age-old combo, as can be seen in the auspicious sukhudi, which uses the same base. Sweets that utilise this combo are offered to the gods in many Indian homes, and it’s easy to see how the accessibility of the ingredients make them a logical choice for many.

The simplicity of such offerings is part of their beauty. In fact, aside from them being offered in worship, they were also the key feature of birthdays. Back when I was a kid, a birthday cake was not always guaranteed. What we would offer to the gods on that day, and then consume for ourselves, was the big question. “Birthday? Big deal. Get up and go to school!” was a refrain many of us heard! Still, our mothers would usually prepare our favourite Indian sweets that day. My brother liked rava kesari, so that’s what he would receive. As for me, it was this whole wheat halwa that was usually my birthday treat.

I loved birthday parties, and had been to a few of my friends’. There was one year when I decided to throw myself a surprise party – meaning, it was a surprise for my mum! I went back home after school with my whole class, with absolutely no advance notice, and announced that they had all come to celebrate with me. I knew that if I had asked her earlier, she would just have said No. But with all my friends already there, she obliged so very sweetly. Looking back, it could not possibly have been easy to muster up a party immediately. But the feast contained this whole wheat halwa, some standards like toasted sandwiches – and even some McRennett’s cake which she somehow managed to organise last minute. You may recall that I’ve never quite been a fan of what I call that smelly vanilla cake, but it is cherished by my generation. It was a hit at my party too, of course. But that whole wheat halwa was what shone in my mind, and still does, all these years later.

Whole Wheat Halwa

(Yield: 5)

¾ cup whole wheat flour

¼ cup jowar flour

½ cup ghee

½ cup jaggery

A pinch of saffron

1 tablespoon milk

A pinch of cardamom powder

1½ cups hot water

½ cup jaggery


Soak the saffron in the milk and set aside.

Heat a kadai and add the ghee. Once it has melted, add the flours. You will notice that I use jowar, or sorghum. This is my addition to the recipe, and another way for me to bring healthy millets into my desserts.

Stir on a medium flame. Stir continuously, else the flour will stick to the bottom. This will take approximately 12-15 minutes.  Stir until the mixture turns a dark golden colour. You never want a dull-looking halwa! Even if you skip the saffron or cardamom, you absolutely cannot skip the continuous stirring when it comes to this dish. The secret to it rests entirely in doing that well.

Then, add the jaggery and keep stirring until the jaggery melts.

Lower the flame and add the hot water slowly, continuing to stir continuously. Be careful as the mixture will splutter. Stand away from the kadai at this point. Once the water mixes well with the flour, then bring it back back to a medium flame – while mixing non-stop.

The mixture will thicken and the ghee will separate. Add the cardamom powder and saffron. Mix well again. Serve.

When I think back about my mother stirring constantly over the stove while a gaggle of hungry schoolgirls waited, I am filled with love. That love continues to be passed on in this recipe. I hope you’ll enjoy it too, and please do check out the various Indian sweets I’ve shared earlier on this blog as well.

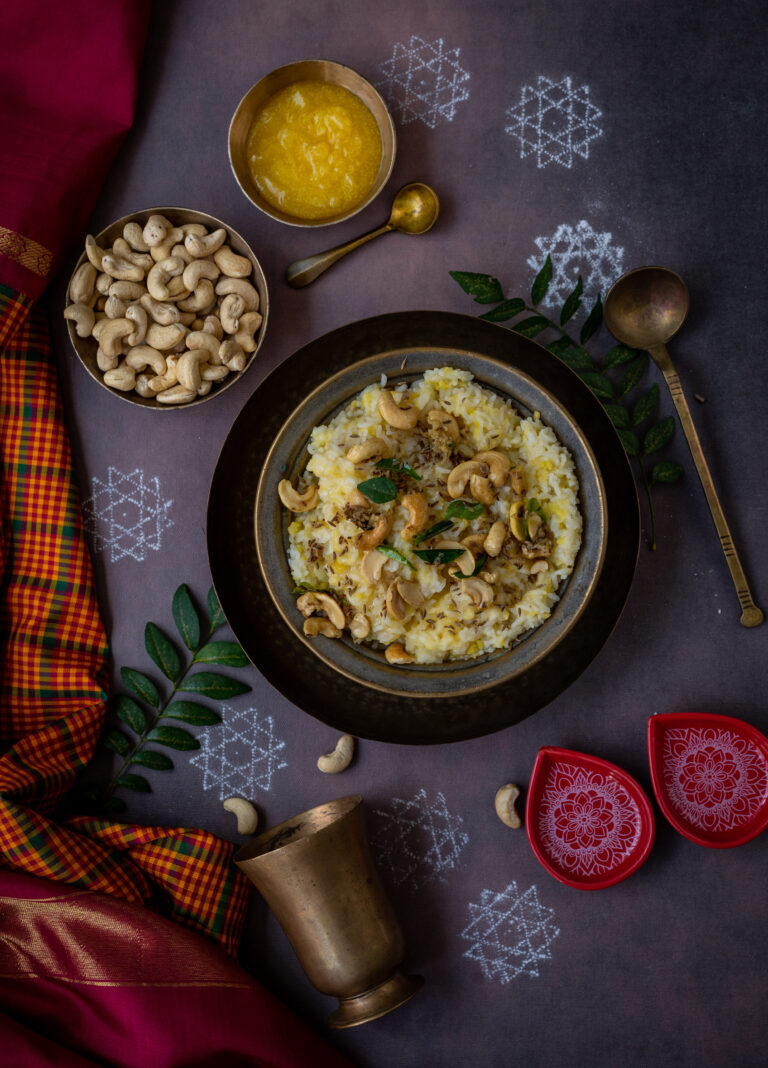
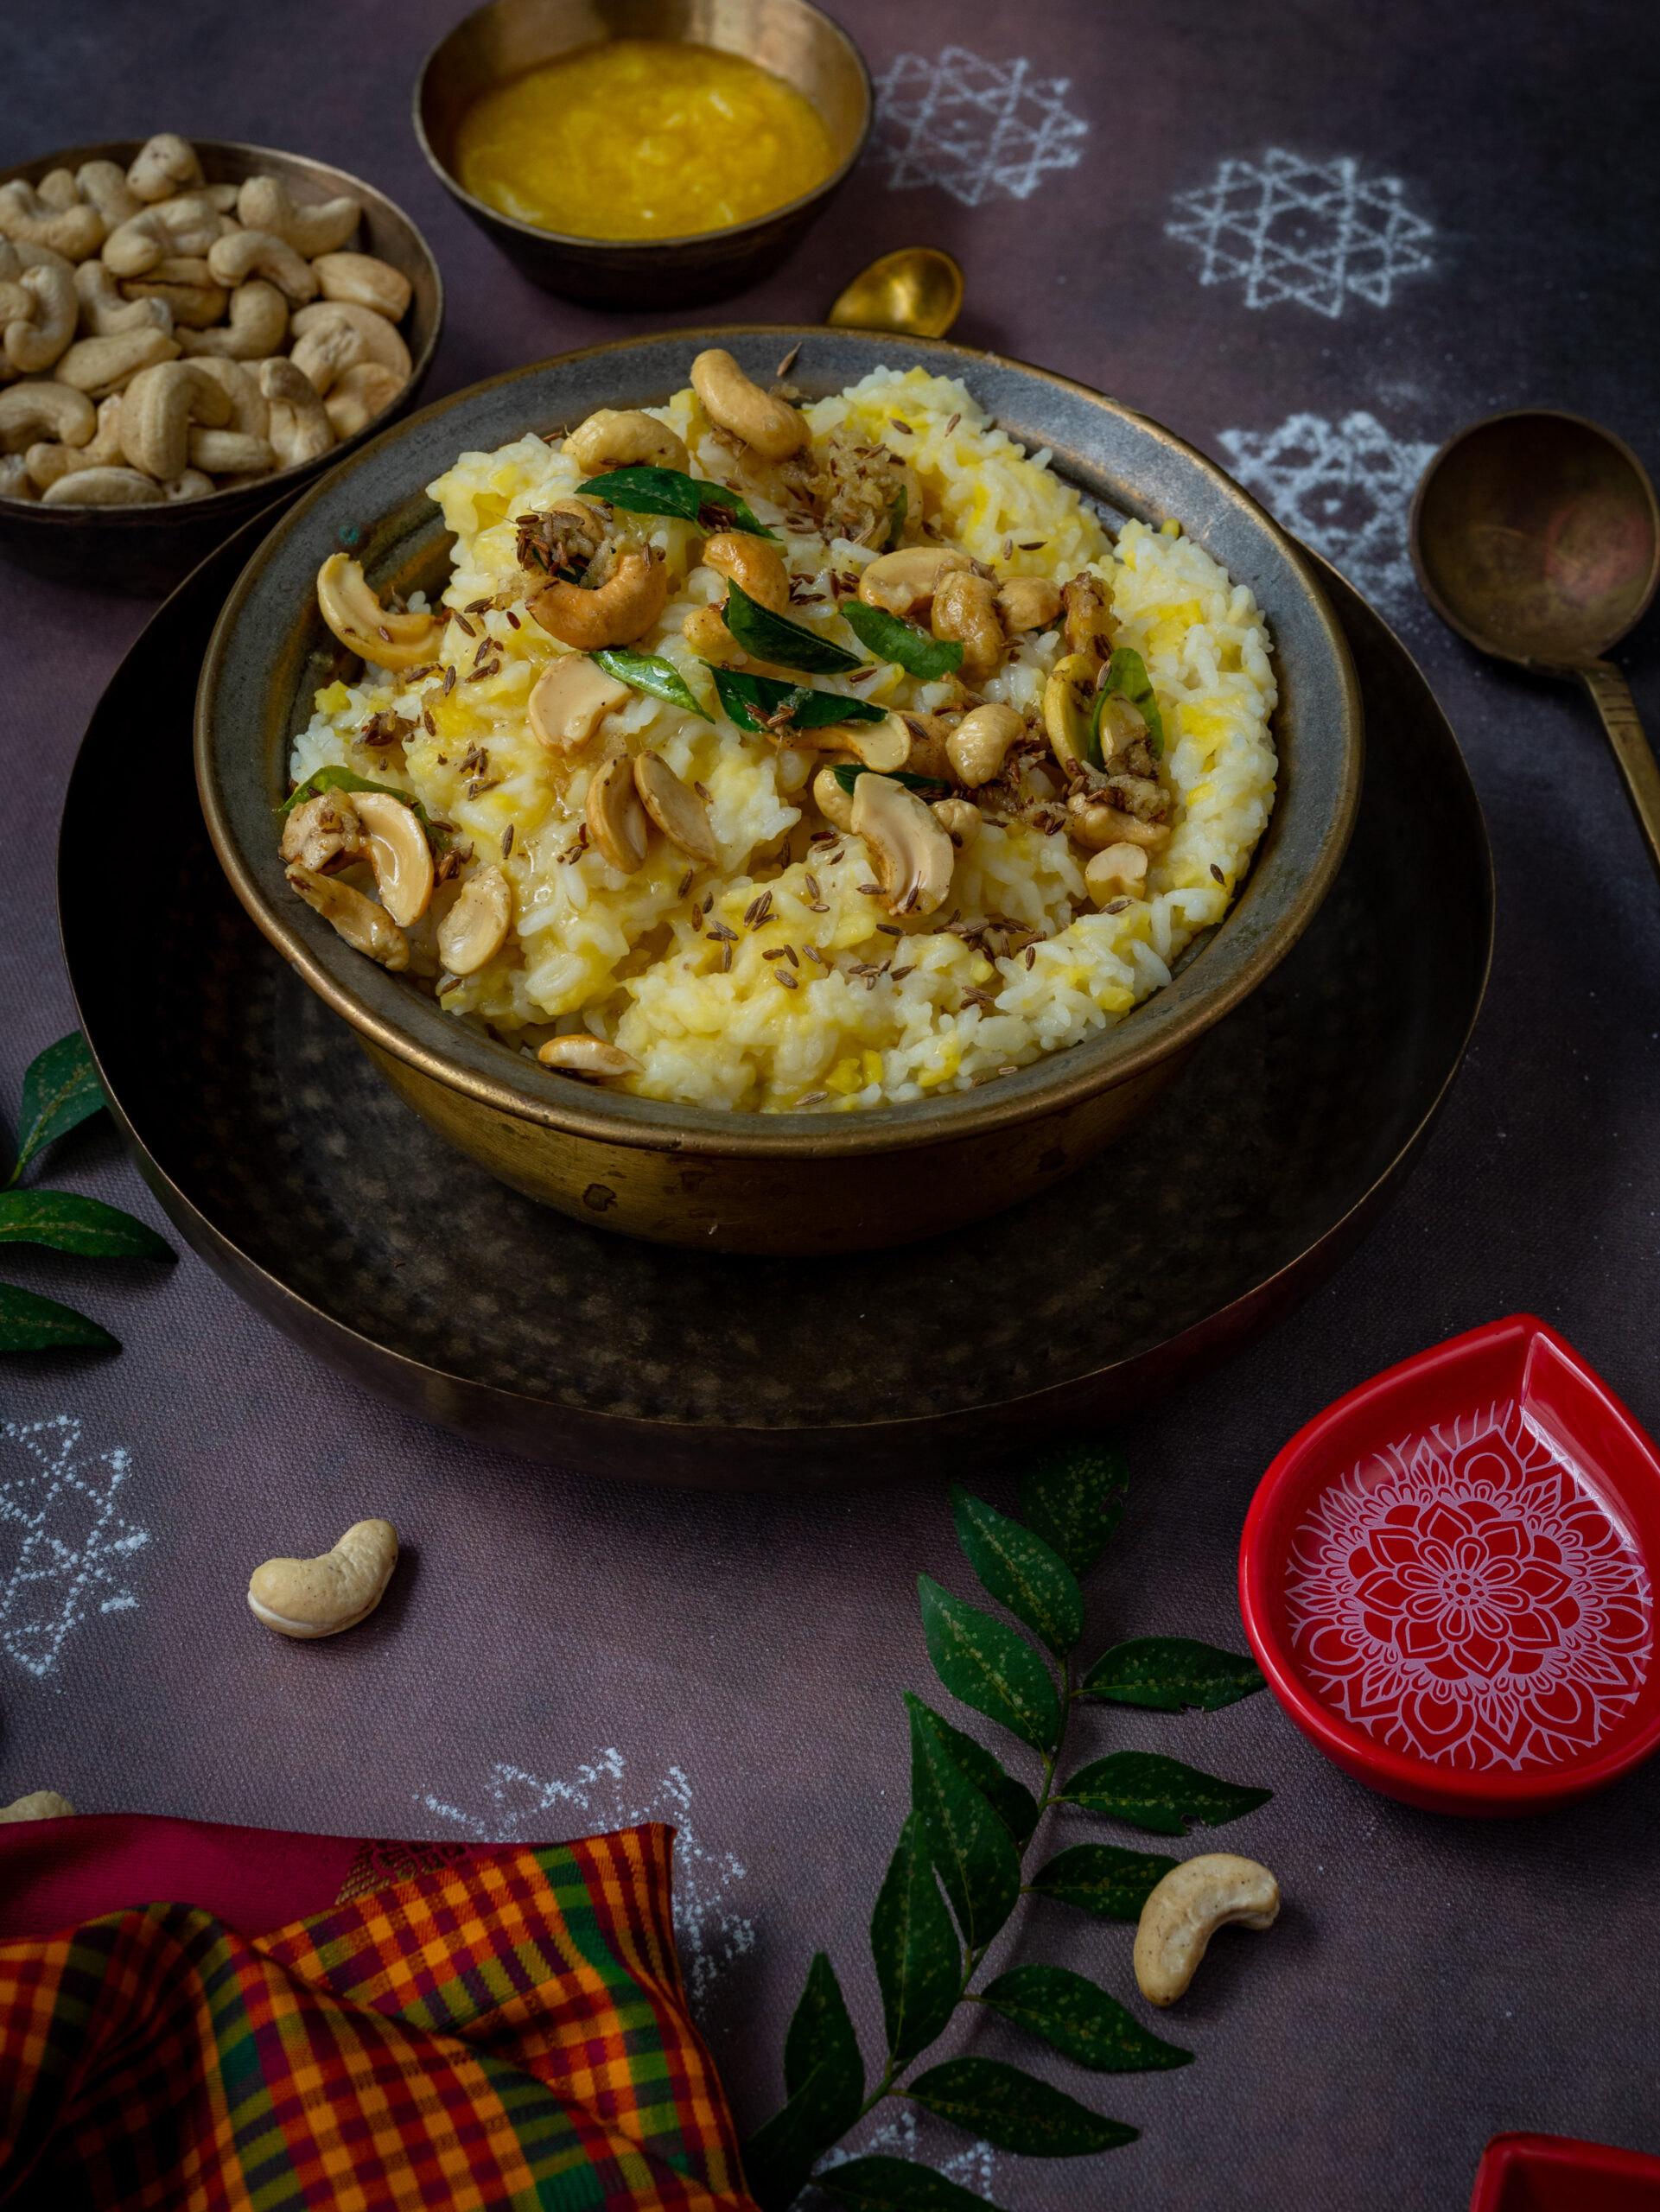
Here in Tamil Nadu, the harvest festival of Pongal has begun, and all over the state families are celebrating the occasion. Delicious, piping hot chakkara pongal is customarily consumed, but alongside it ven pongal (white pongal, made with freshly harvested rice) is also made. Oh, and let’s not forget certain creative yet authentic pongal renditions that are out there, such as this red rice and jaggery pongal. As you can see, there are many kinds of pongal, and this year, I thought I’d share with you a lovely savoury one.

Ven pongal is a traditional breakfast, one of my own favourites. It is a part of regular temple offerings too. This ven pongal is similar to a khichdi, which is a basic mixture of dal and rice. Unlike khichdi, it’s to be eaten with chutney or sambar. While khichdi is normally eaten for lunch or dinner but seldom for breakfast, with pongal it’s the reverse. As I mentioned, it’s a breakfast dish, and is rarely seen at other times of the day or night – except when it’s eaten for tiffin, which is what we call a late afternoon meal in this region.

Whenever I have breakfast while out and about in Chennai or elsewhere in Tamil Nadu, I always reach for the ven pongal. To me, it takes pride of place on the restaurant menu alongside its more famous counterparts, idli and dosa. The latter two are the “safe choices” that most people usually stick to, but I love ven pongal for breakfast and find it just as reliably made across the state. It’s very refreshing, filling, satisfying and healthy – and sees me through the day up until a hearty lunch.

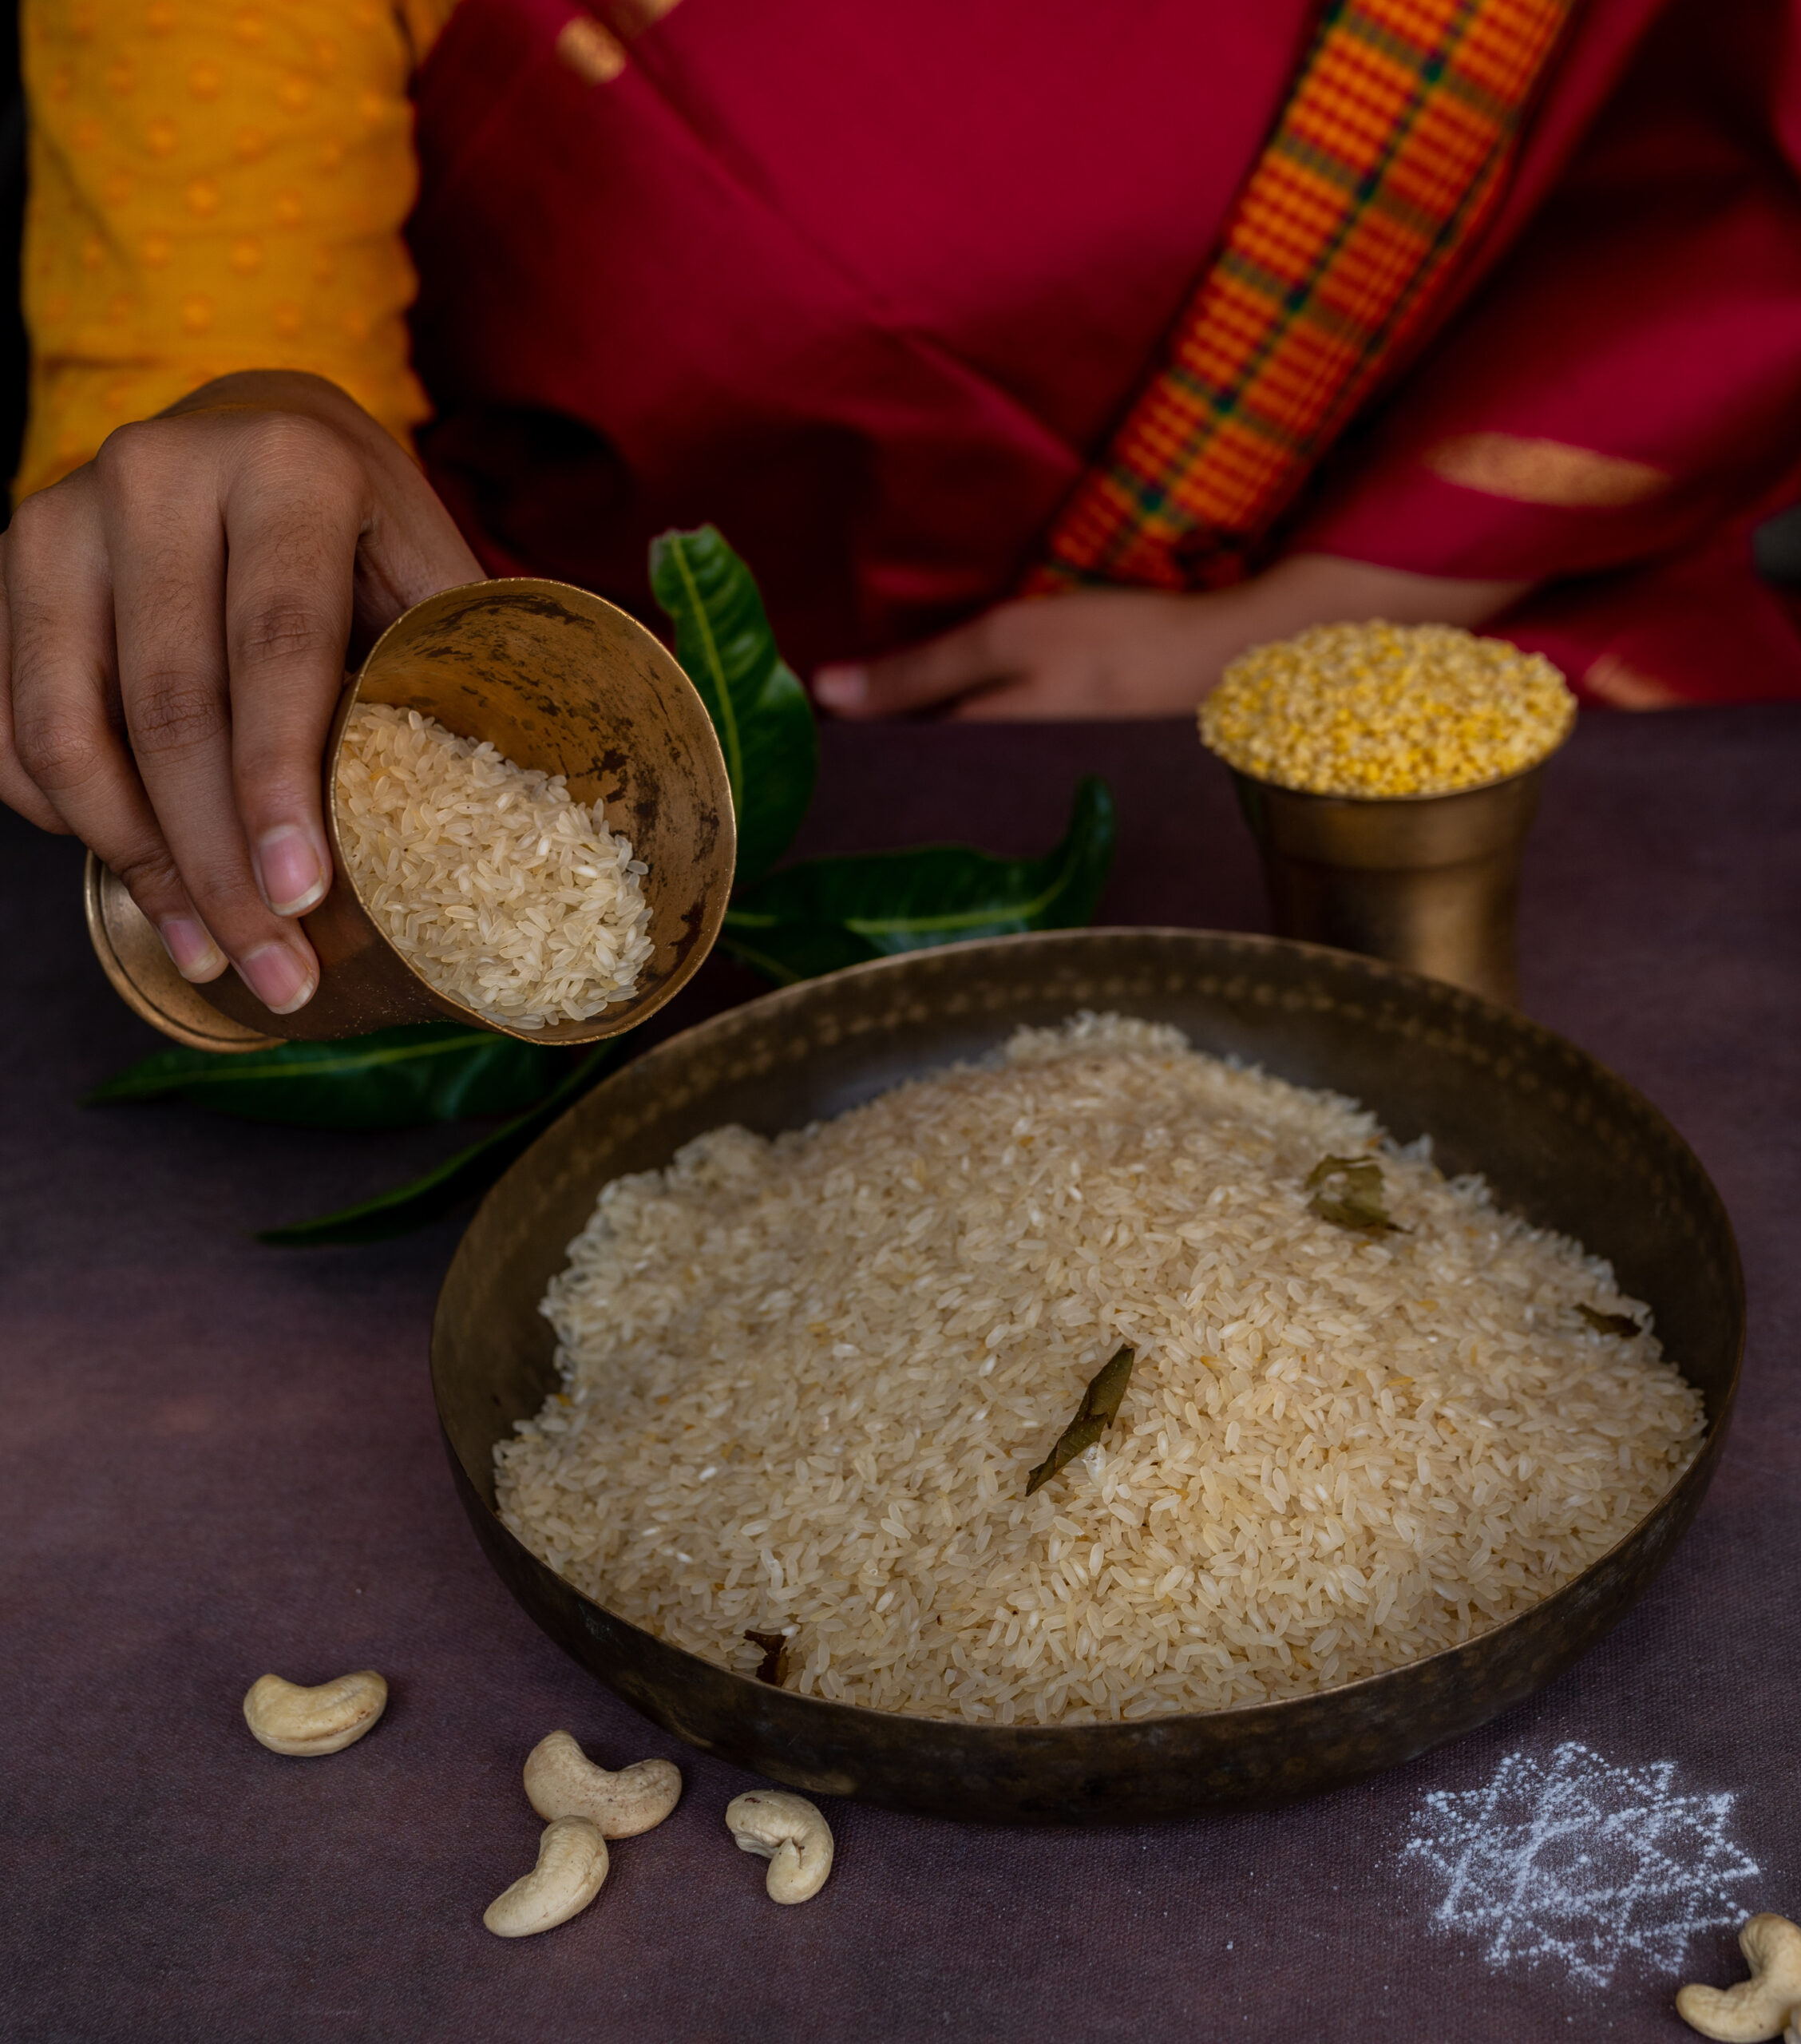
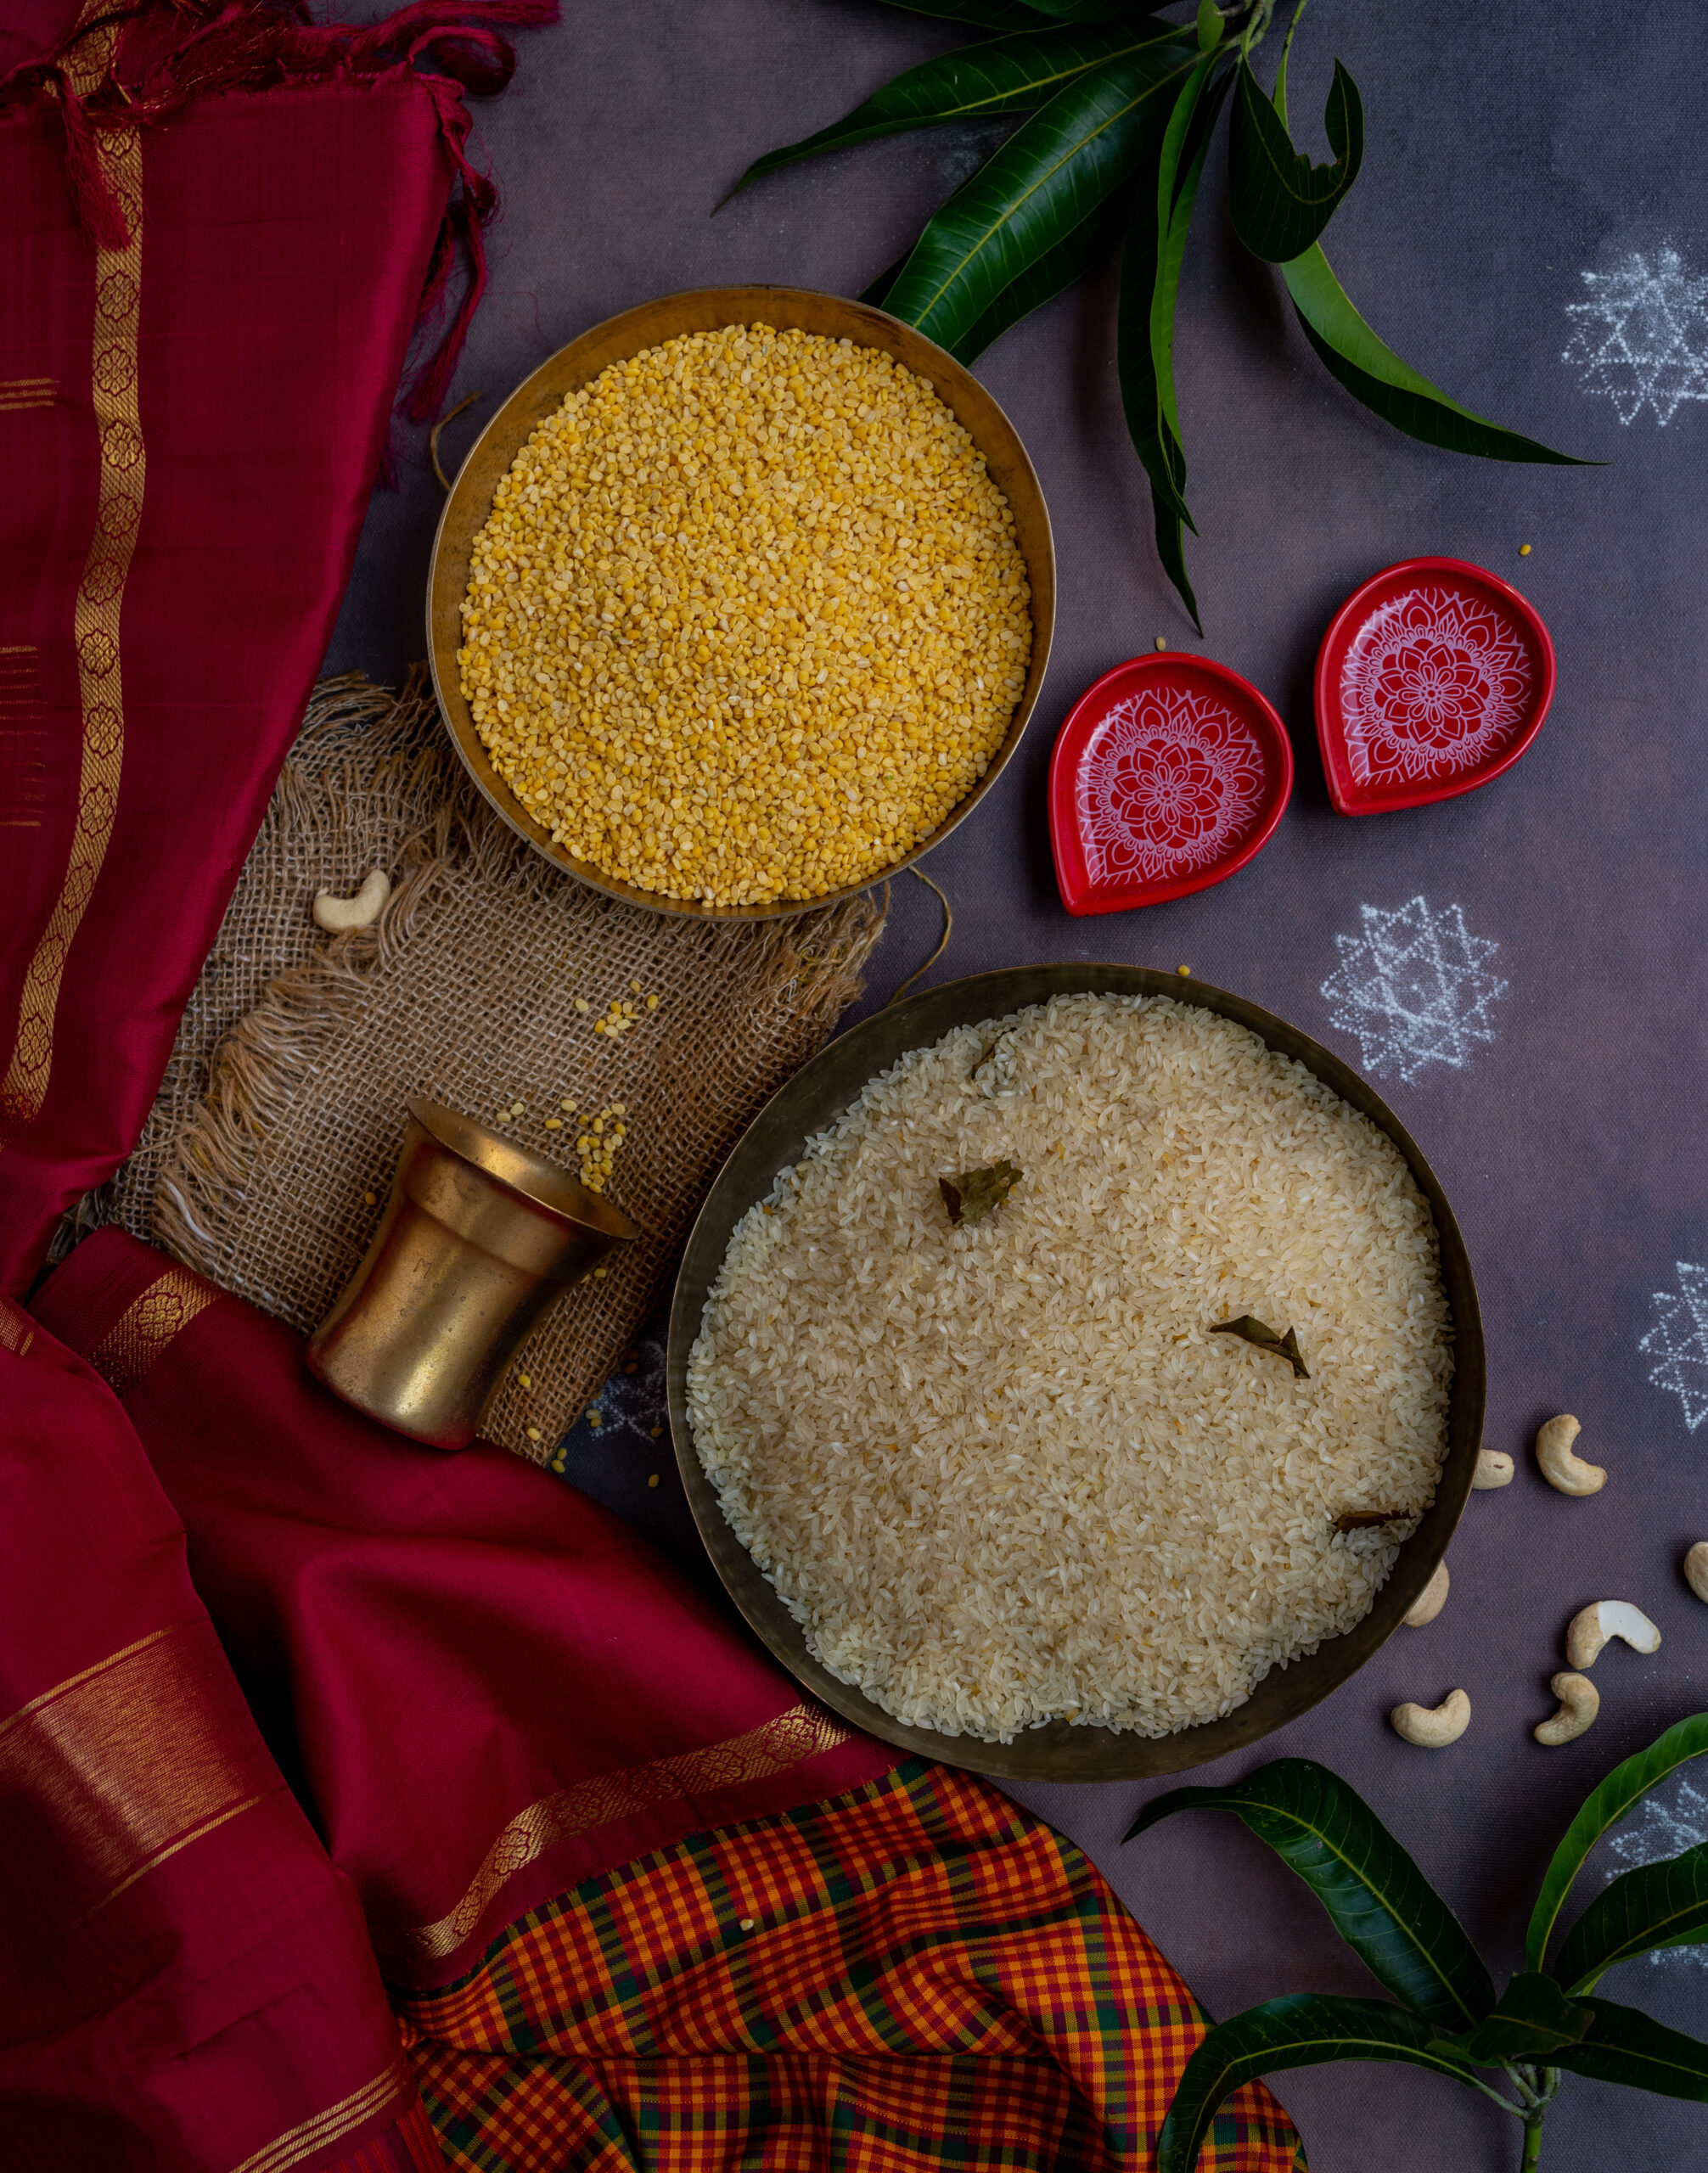
The rice that I use in the pongal made on Pongal comes from our farm, and I observe a local tradition on this day. As is custom, this is when I store rice for the household for the whole year. The older it gets, the better it tastes. It is preserved well through a natural method: the raw rice is dampened with castor oil, and neem leaves are layered on it as I fill the storage barrels. This ensures that bugs stay away, given the humidity and the climate of this region. This raw rice is eaten throughout the year. When it is rinsed before use, the castor oil goes way, and any residue left is healthy for the body in any case. You can see a part of the process in the photograph below.

My love for this dish started in childhood. We had many Tamilian friends in our neighbourhood, so my familiarity with South Indian flavours and cooking began early. The house beside ours had girls of my age, and so we used to hang out together all the time. In those days, there were no TVs, computers or other electronic devices to keep us distracted indoors, so our hobbies were to run around, climb trees (eating fruits from them and being bitten by hairy caterpillars, as I’ve recounted on this blog before), play fun games that kids no longer seem to do and generally make a racket.

With these particular neighbours, we often spent the late afternoon together. I would go to their house at around 3.30pm, right in time for tiffin. We would sit on their front porch, enjoying leisure time together. My friends’ grandmother would oil, comb and braid their long hair and decorate it with jasmine. As she did, she would tell stories. I would watch their grooming ritual, listen to their Paati’s tales and enjoy the snack of the day. Very often, it was vada (savoury fried dough) or ven pongal, like the recipe I’m sharing with you today.

While I was growing up, my mother would sometimes make this too. This was because I would bring recipes back and forth between the different homes in our neighbourhood. Pre-blog and even pre-Internet, I already loved the exchange of kitchen techniques and secrets! South Indian families we grew up with also ate quite a bit of Gujarati food as a result. Of course, festivals meant gathering together and sharing meals too. It’s funny how connected we all were in that time before cellphones. I had such a lovely, inter-cultural upbringing – it contained food, heritage, granny tales and so much more from my family and well beyond. I feel like my children missed out on those simpler times, since technology began to dominate when they were little. I wonder how the generation of today fares, with even more at their disposal, and perhaps with even more disconnection in the world. What are your thoughts on all this?

Ven Pongal

(Yield: serves 3-4)


½ cup split mung dal

½ cup raw rice

3½ cups water to cook

2 tablespoons ghee

1 tablespoon cumin seeds

1 teaspoon whole black pepper

3 tablespoon split cashews

2 teaspoons finely minced ginger

Salt to taste

A handful of curry leaves


Mix the dal and rice together and rinse well. Heat a pan and add the mixed rice and dal to it. Sauté until they release an aroma. Do not allow the grains to turn colour.

Now, add the water, salt and 1 tablespoon of ghee. Pressure cook until tender. This will take approximately 20-25 minutes.

In another pan, add the remaining ghee. Once it has heated, add the cumin seeds and pepper. Next, add the curry leaves and ginger. Finally, add the cashews. Once this tempering has turned golden, add it to the steaming hot rice mixture.

Mix well and serve warm. It can be eaten on its own, or with sambar or chutney.

Whether you’re having this as a festive dish, or just snacking on it at tiffin or breakfast, I hope that you find it as delicious as I do. If you happen to enjoy it while sitting on your porch or balcony with dear friends, as I used to as a child, I’d especially love it if you could paint me a picture of those special moments in the comments! Food is such an intrinsic part of bonding, is it not?

Still on the theme of post-festive millet-based goodness, after the previous post’s millet upma, I’m glad to share another recipe that I’ve been turning to frequently. This is another breakfast dish, and what’s even better is that it makes use of the previous day’s leftovers, maximizing resources and minimizing time. There’s a long tradition of innovative dishes that do this, as we’ve seen in my second helpings series from a few years back, and this bajra rotlo cereal fits beautifully into that category too.

Bajra, or pearl millet, is a long-fingered crop with hundreds of grains on the cob. It has been cultivated on the Indian subcontinent for thousands of years, and is a staple across different cuisines in this region. As a darker coloured millet, which indicates that it is heavier on the digestive system, it is perfect for monsoons and Indian winters. It keeps the body warm, since the digestive system is active for longer, working on those slow-release carbs, and thus reduces hunger between meal-times. I have noticed that it is one of the key ingredients consumed by farmers, such as the people I’ve met on my travels to the Rann of Kutch, where the salt-harvesting community eats bajra with chutney daily.  It has a high iron quotient, is gluten-free and is rich in amino acids, fibre and antioxidants.

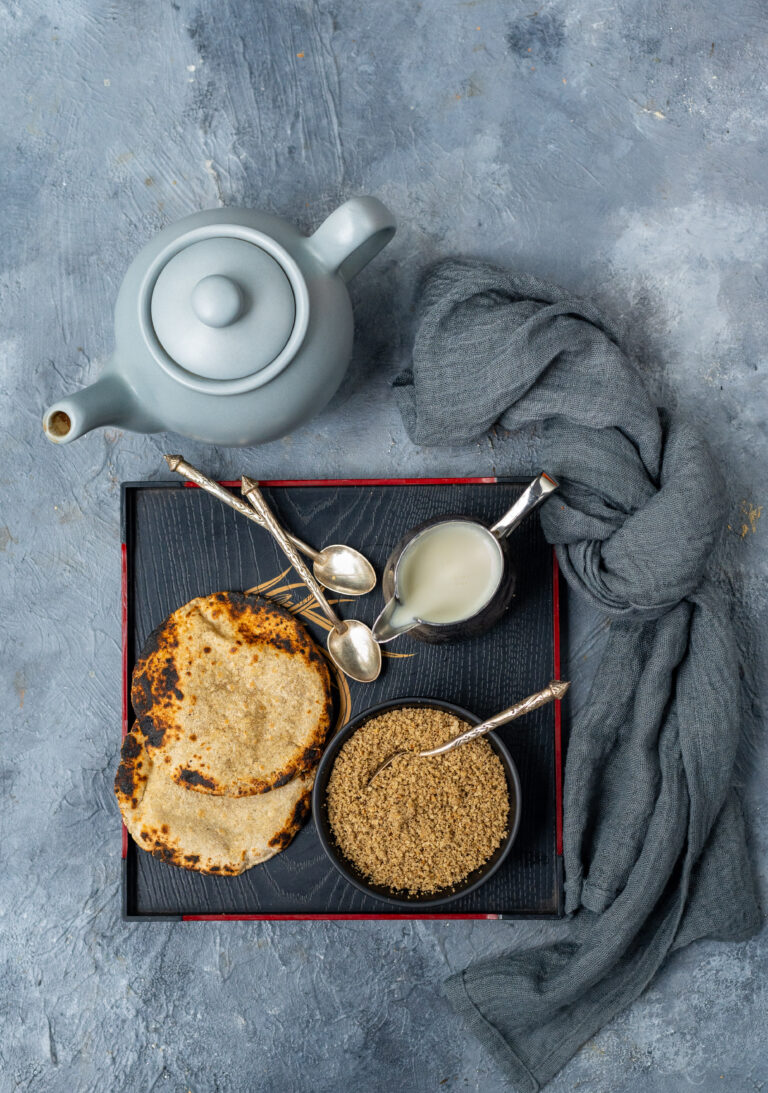
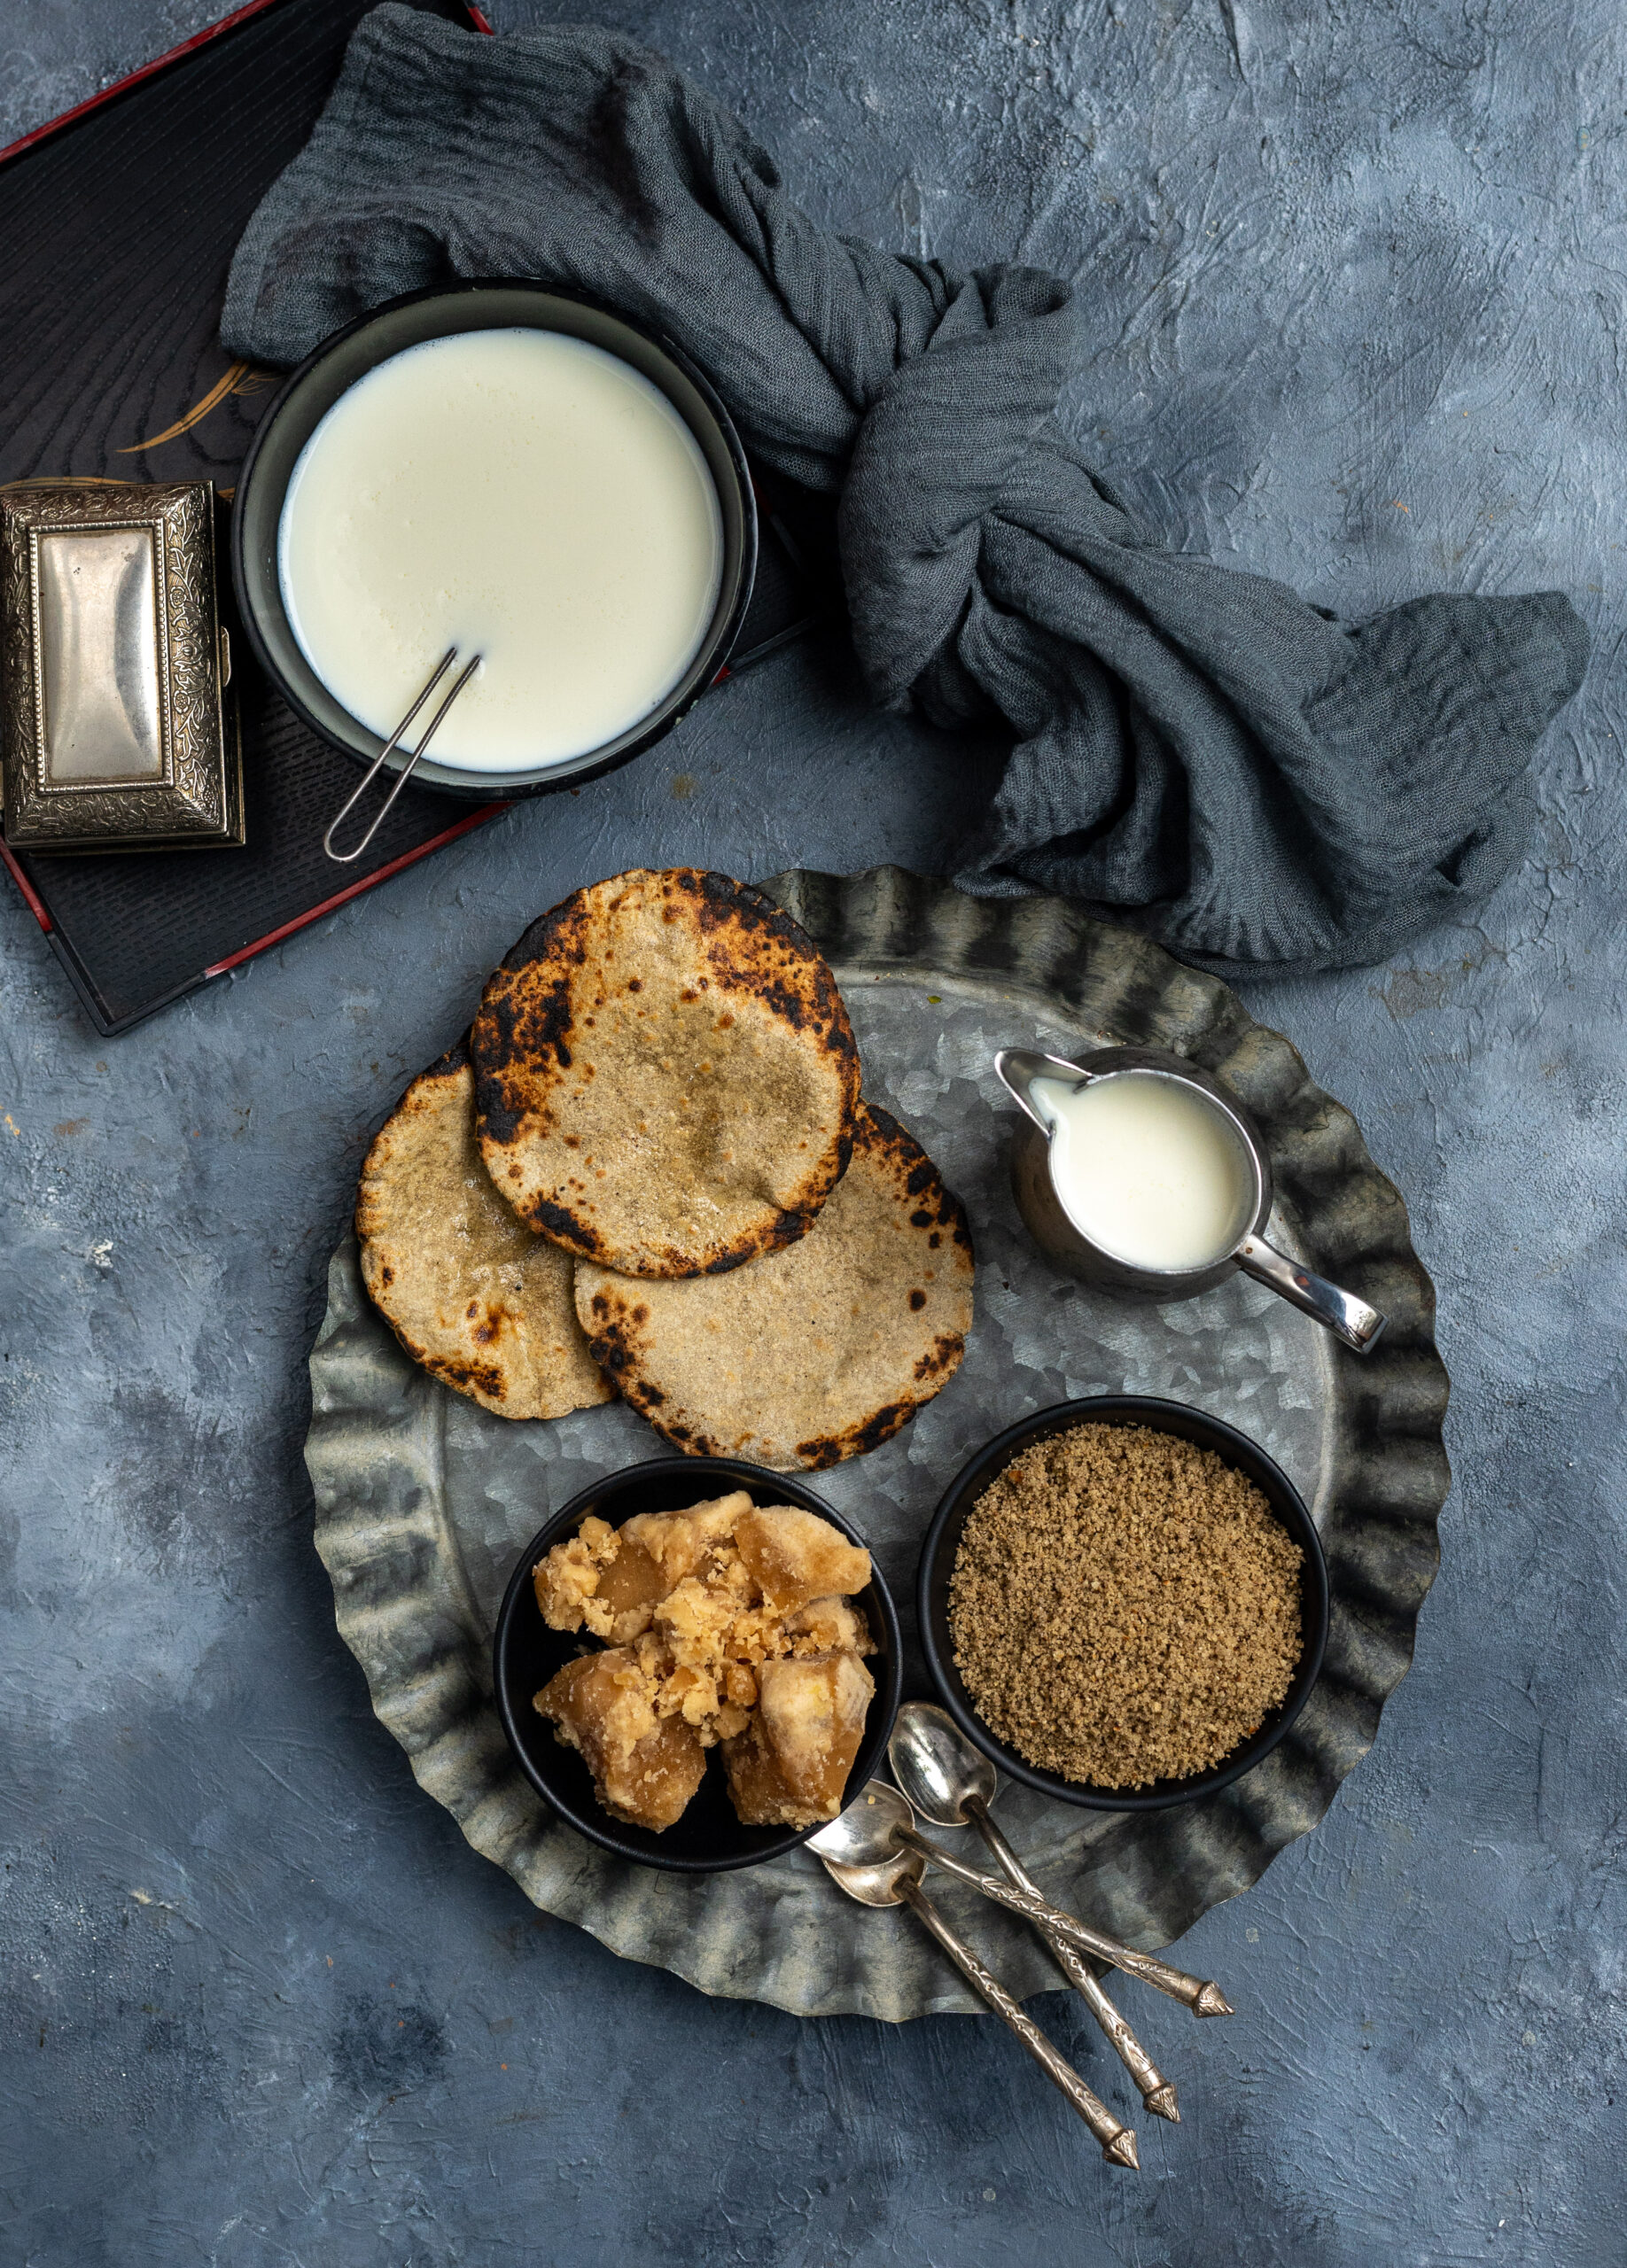
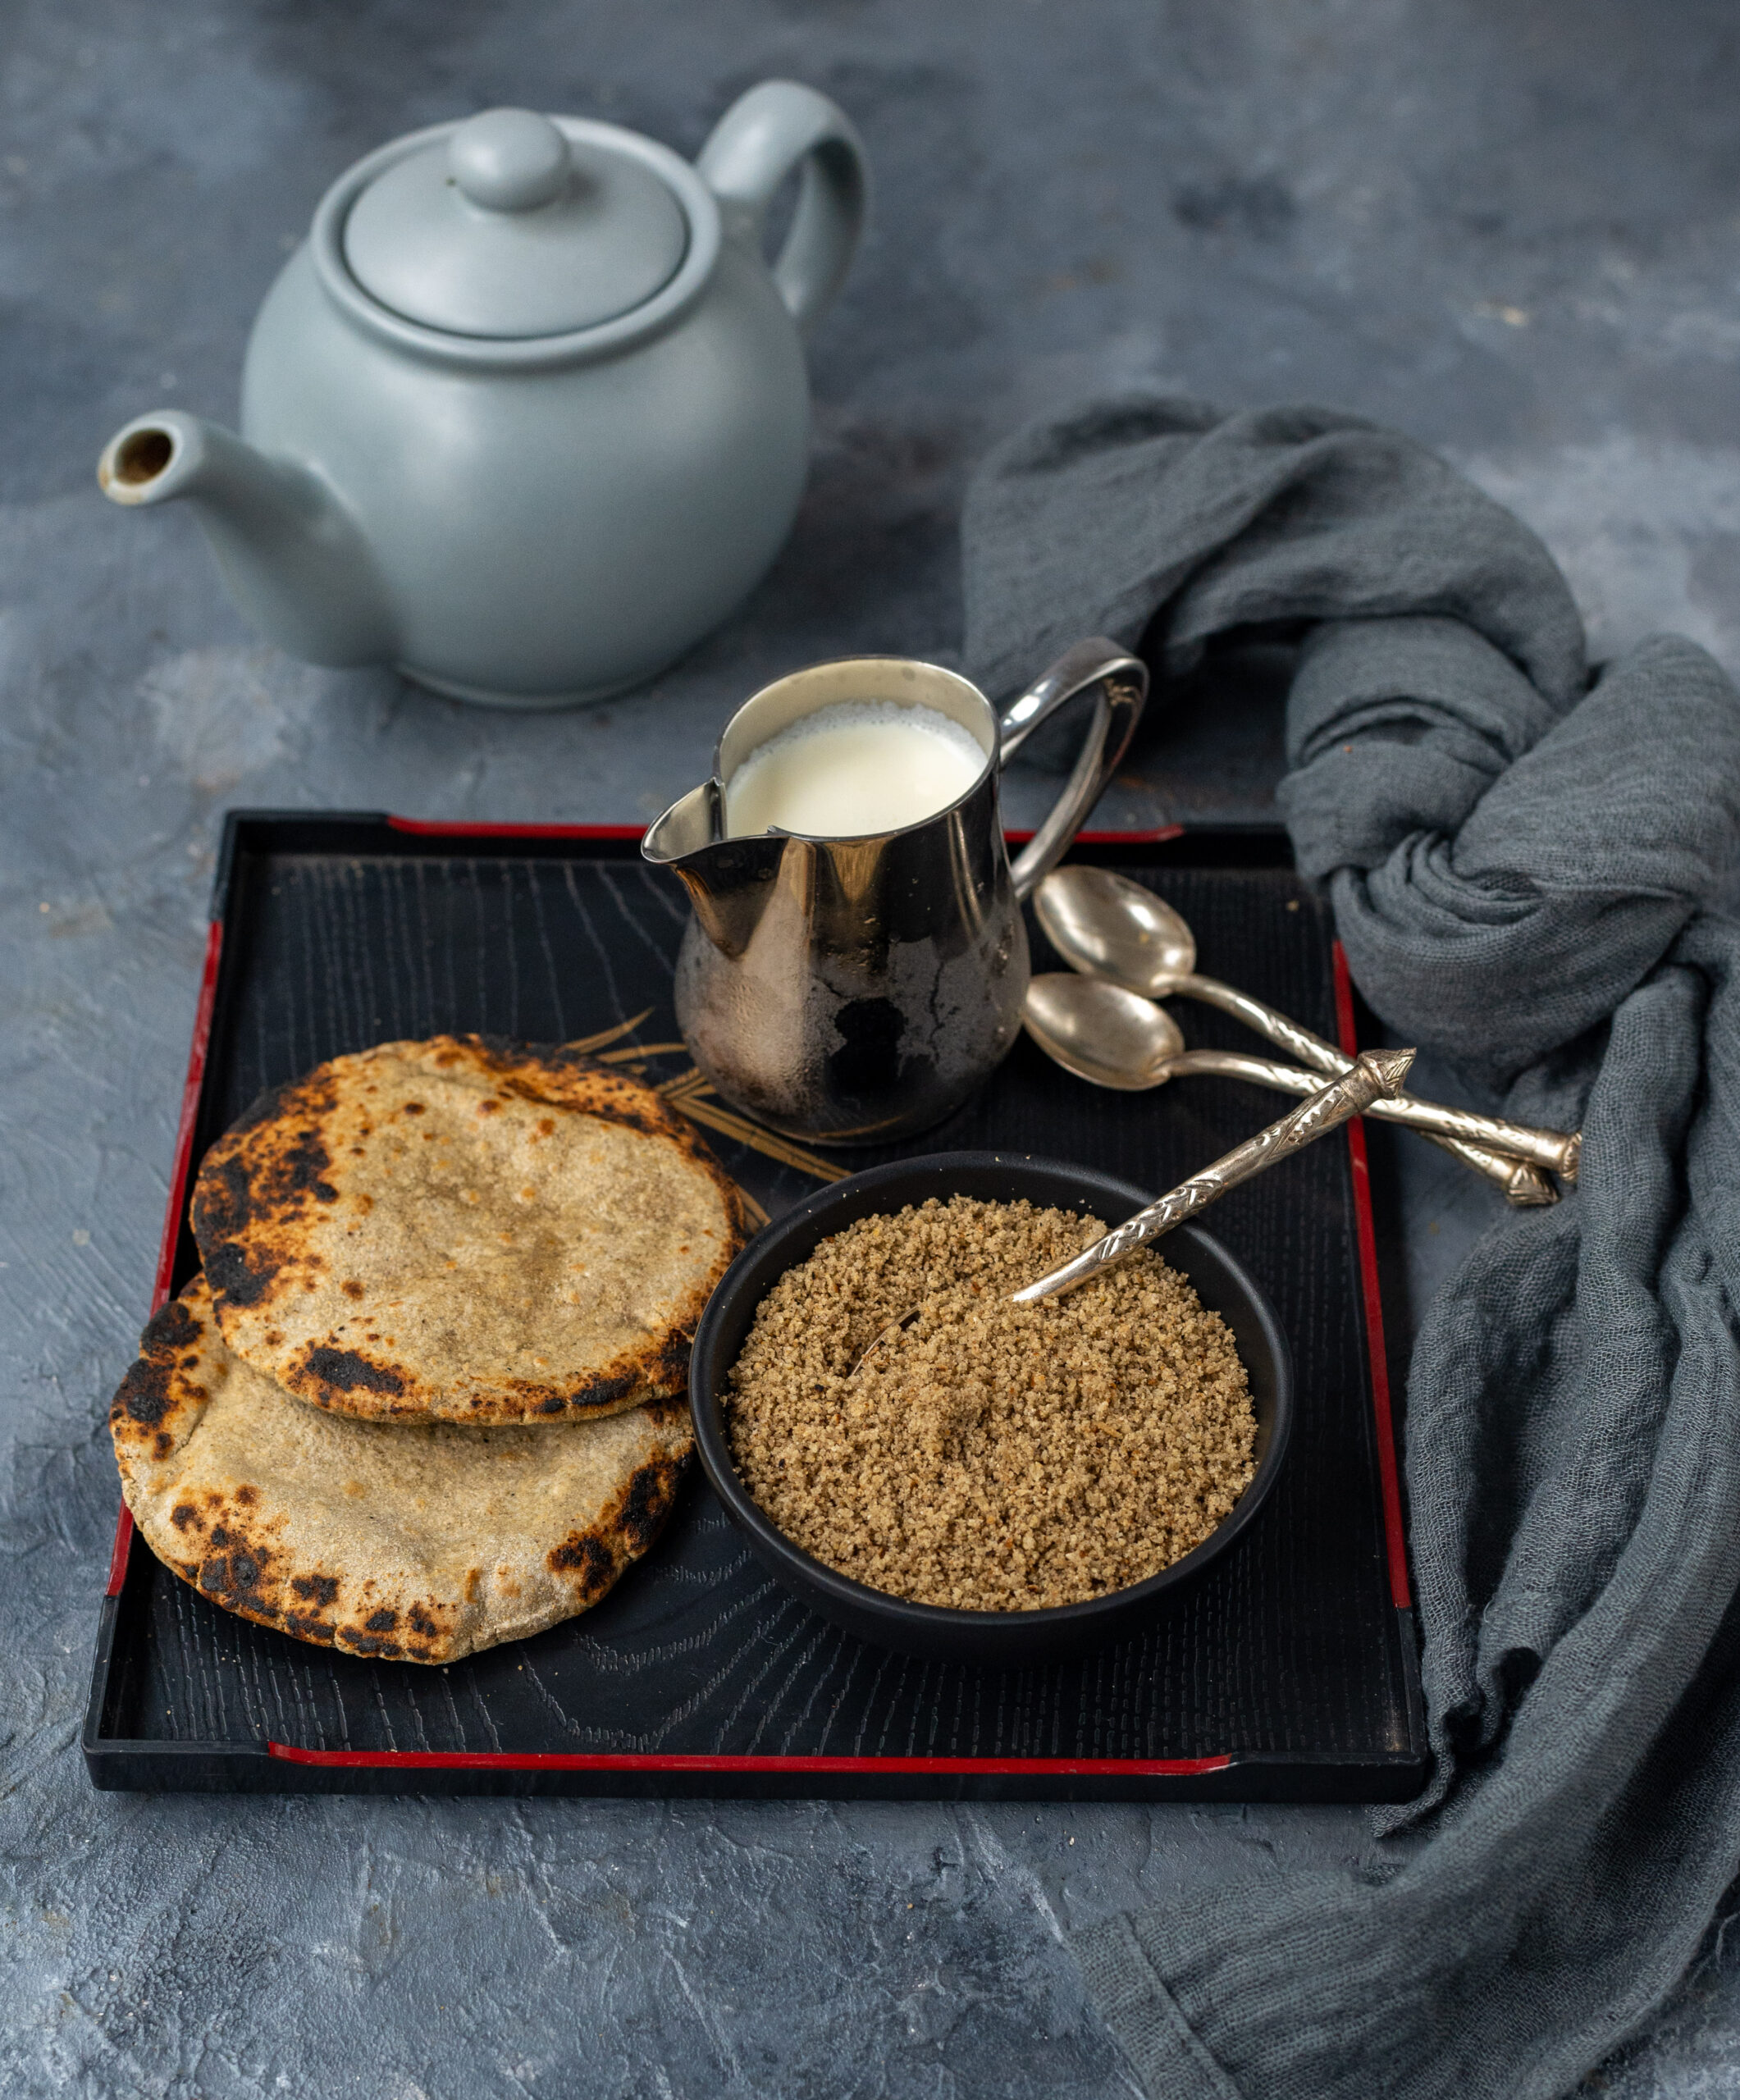
Bajra rotlo is a flatbread, one of many varieties enjoyed by the Gujarati community. It is most often accompanied by a garlic chutney, but while I was growing up my mother would usually serve it to us with jaggery and ghee or else with homemade white butter. In those days, the milk quality of brands that are still around today was pure and excellent, which meant we could extract our own buttermilk from the curd, and from this the butter. I remember watching my mother churning the buttermilk, which would make the butter float on top. She would often ask me for my help. We would collect the white butter and set it aside. Having it with some bajra rotlo over dinner was one of my favourite meals.

Of course, the homemade butter no longer exists and the store-bought ones just don’t compare when it comes to this purpose. Which brings me to my second-favourite way of eating bajra rotlo: as cereal.

It’s funny how things come full circle. As a child, this was a dish that I scorned at the breakfast table. My mother would always prepare a few extra bajra rotlos, to be kept overnight for my father and her to have in the morning. She would crumble these with her hands, turning them into a cereal consistency, and my parents would eat this cereal with milk. It looked like cornflakes to us kids, which was interesting in theory, but we did not like the taste back then. I grew to love it, however. In fact, I now enjoy this deconstructed version more than I enjoy the previous night’s freshly-made, unbroken bajra rotlos themselves!

Now, when I prepare bajra rotlo cereal, the memory of my mother’s hands and the way she would crumble the rotlos always comes to me. The dish is all the more special because of this.

For the time being, no one else in my family likes bajra rotlo cereal. But they watch me eat it, just as I once watched my parents eat it. I’ve never forced it on my kids, but maybe somewhere later down the line, they’ll reach out for this comfort food on some mornings too. Fond memories really are what make food palatable, above all else. Besides, as parents we always set an example. The next generation, be they little or a little older, will make similar choices to ours. So the more healthily we eat, the better a model we set for them.

Bajra Rotlo Cereal

(Yield: 4 servings)

1 cup bajra flour

½ cup water

A pinch of salt

½ cup flour for rolling


Optional (non-cereal version)

1 tablespoon finely chopped onion

1 tablespoon finely coriander leaves


Put the flour in a bowl, add the pinch of salt and stir. If you plan on having the bajra rotlo as a bread, not a cereal, then make the savoury version and add the onion and coriander now. Skip these optional ingredients if you plan on having the cereal version.

Add the water. Leave a little bit behind in the cup – use just enough to make a malleable dough.

Once the dough is made you, don’t let it sit. You will have to roast the rotlo immediately.

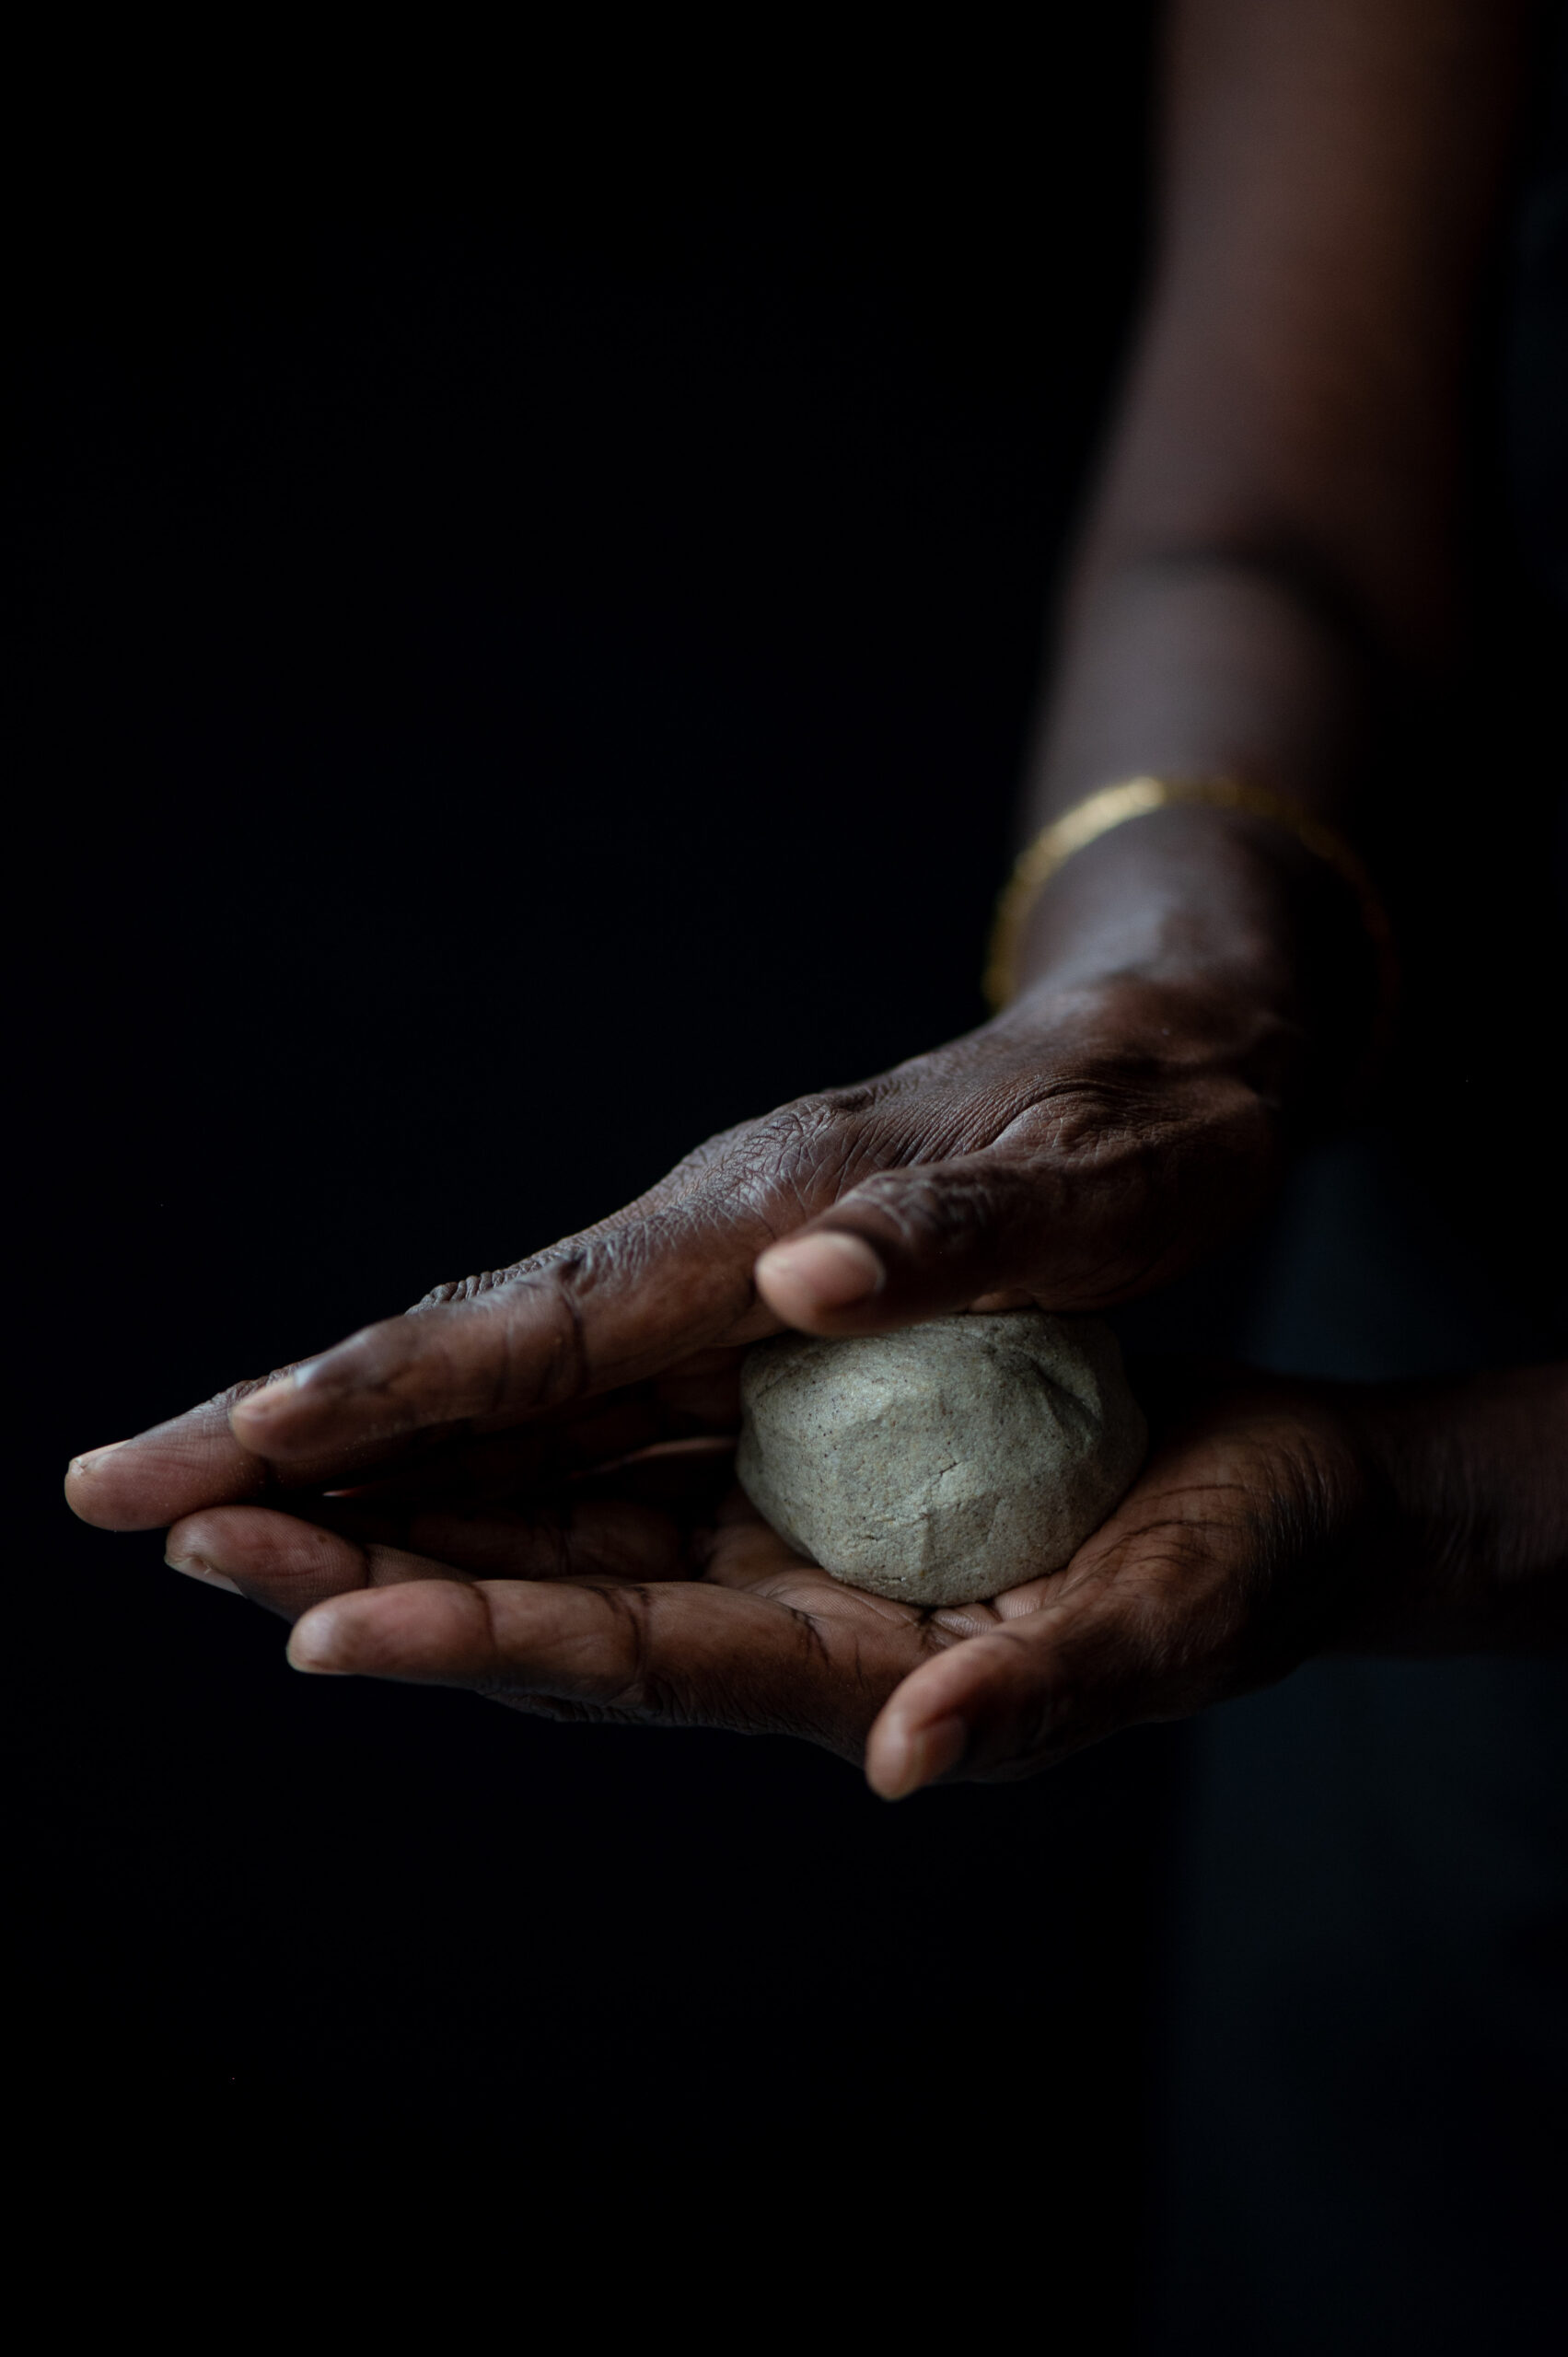
Make four smooth balls with the dough. On a rolling board, sprinkle more flour. Place a ball of dough on it and use your palms to gently pat it out. Use your fingers to press down the edges of the rotlo. If you need the help of the rolling pin, you may use it, but very lightly and gently. Since there is no gluten, the dough will be soft and needs to be handled with care. Add more flour if necessary. Each rotlo needs to be ¼ inch in thickness. Keep dusting with flour at the bottom too. Make all four pieces.

On a hot griddle, place each rotlo individually. Use your fingers to wet the top of the rotlo with water.

Roast on one side and flip over. Cool on a medium flame. As it’s thick, it needs to cook well on the inside. Once it has spots on both sides, place the rotlo directly on the flame to cook further.

Remove from the stove and top with ghee. Allow to cool. You can now serve this bajra rotlo with chutney or dal, if you like.

To make a cereal, once it has cooled, either the same day or the next morning, simply crush or crumble the rotlo with your hands.

You can have this with cold milk, if you prefer that. I usually have mine with warm milk. Specifically, I enjoy it with almond milk, which I’ve been reaching for more and more in my quest to make my diet more vegan. You can also add some sugar, if you wish to sweeten the cereal. All in all, it makes for a complete and healthy breakfast.

The festive season also coincides with the wedding season, which means that there is a general period of celebration until February or so in most Indian communities, peppered with religious occasions as well as personal gatherings. Foods like this dish, which nourish the body and let it recover from the heavy, fried, sugary, buttery, ghee-rich foods that are eaten at special events, are welcome and appreciated after and between feasts. This isn’t to knock indulgent foods at all – in fact, I have noticed how traditional ingredients like gond or gum resin, which are used in laddoos, are a warming agent and boost immunity. There’s a culinary and seasonal logic to indulgence too. But the body really does feel better when some millets are in the mix, balancing out the treats.

I’ve got quite a repertoire of millet-based dishes in my recipe archive, if you are keen to bring this nutritious category into your kitchen more often. Having tried this bajra rotlo cereal, if you find that you’re a fan of pearl millet at breakfast, the traditional Gujarati bajra ghensh is also a fantastic option. Here’s to happy, healthy mornings!

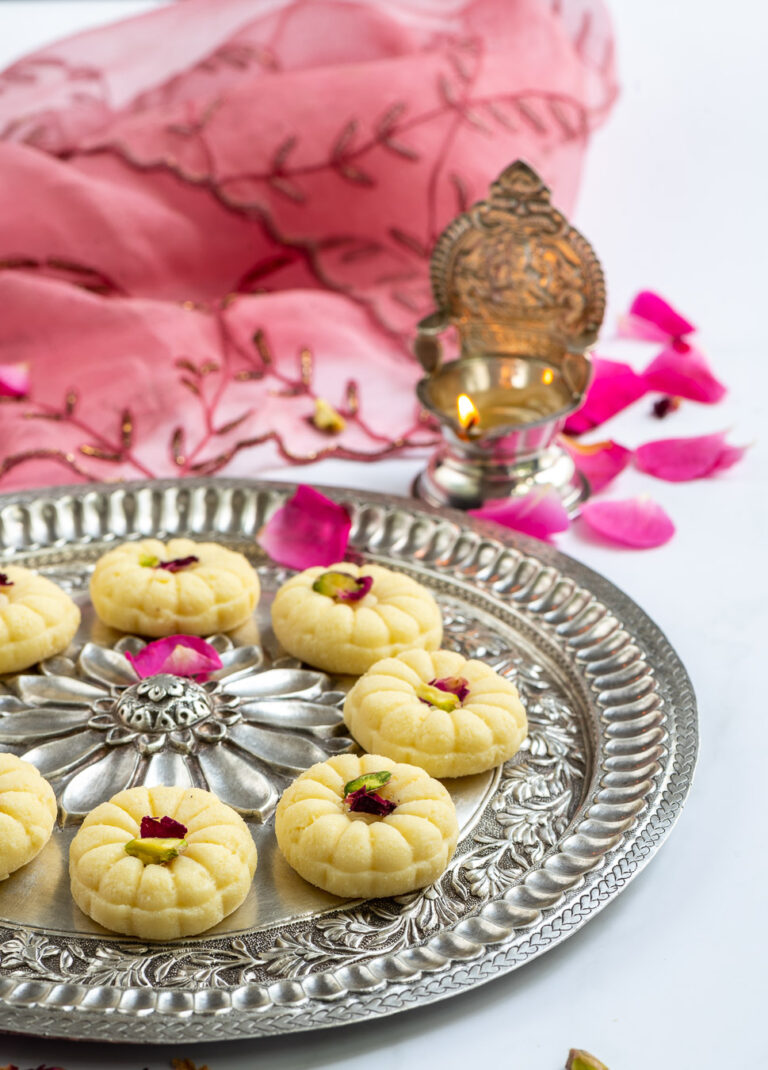
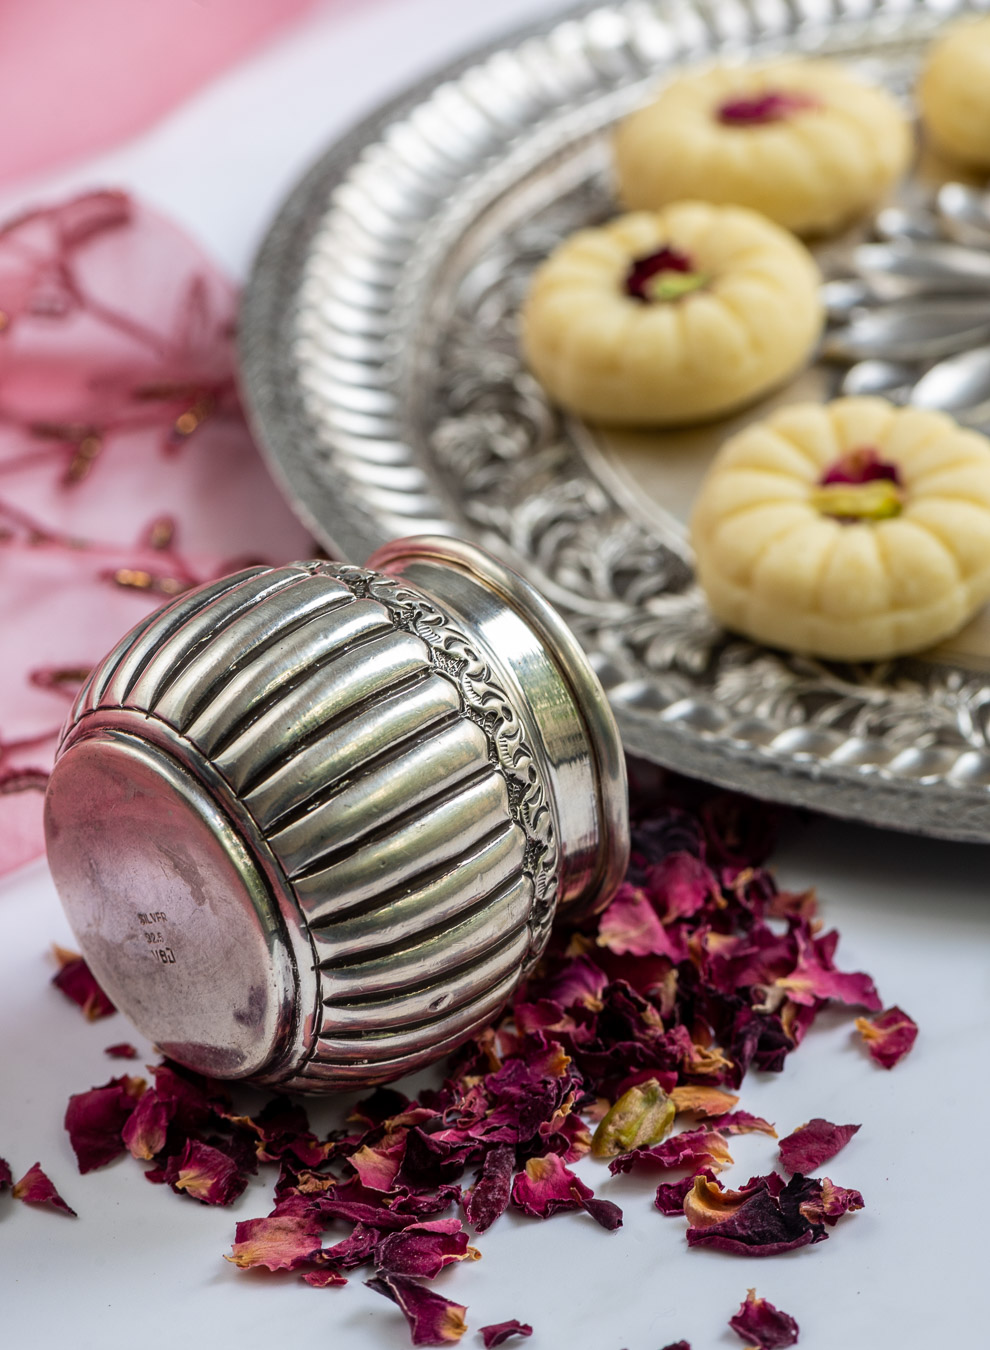
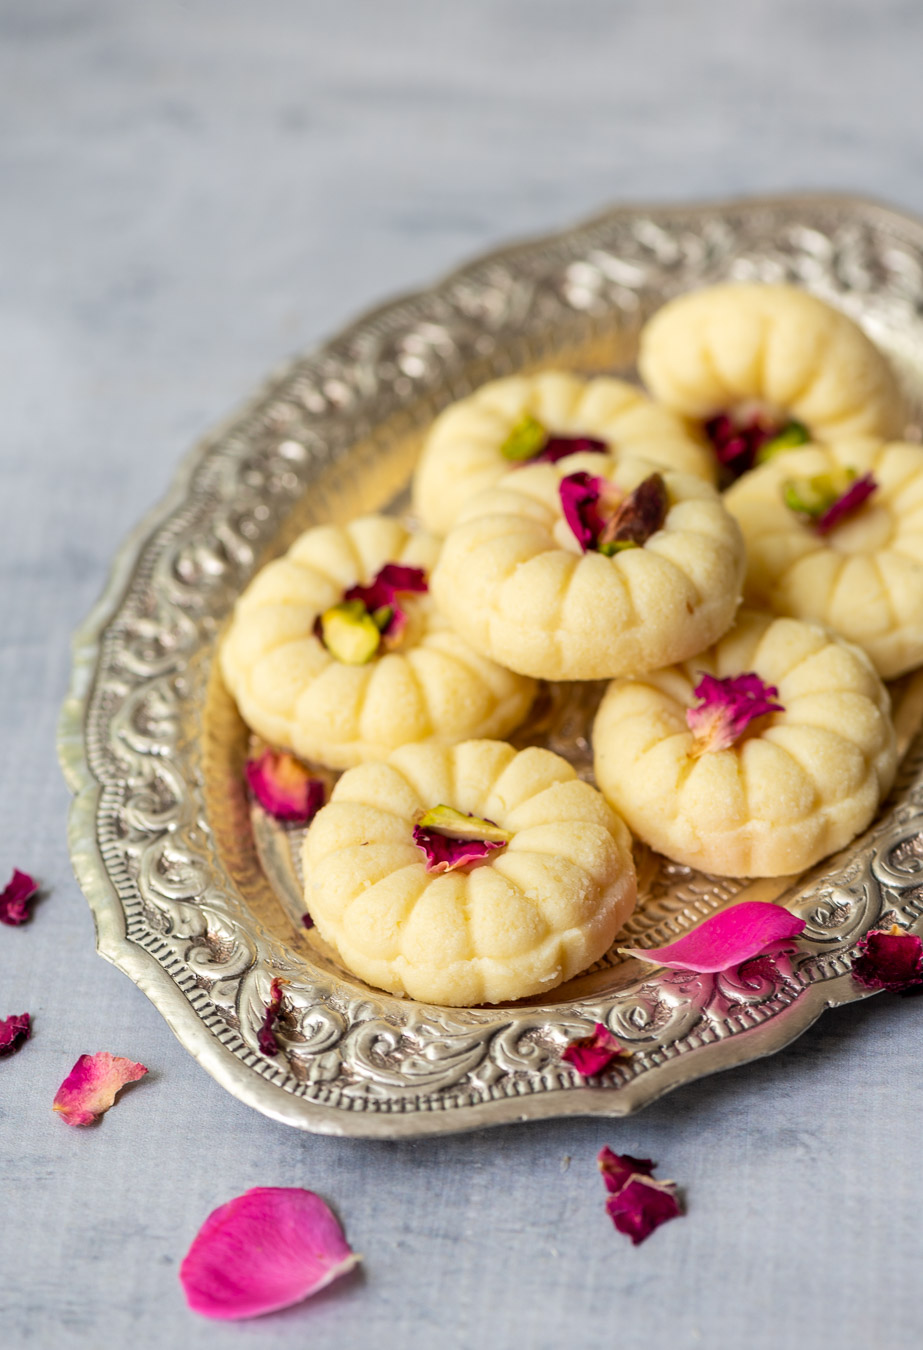
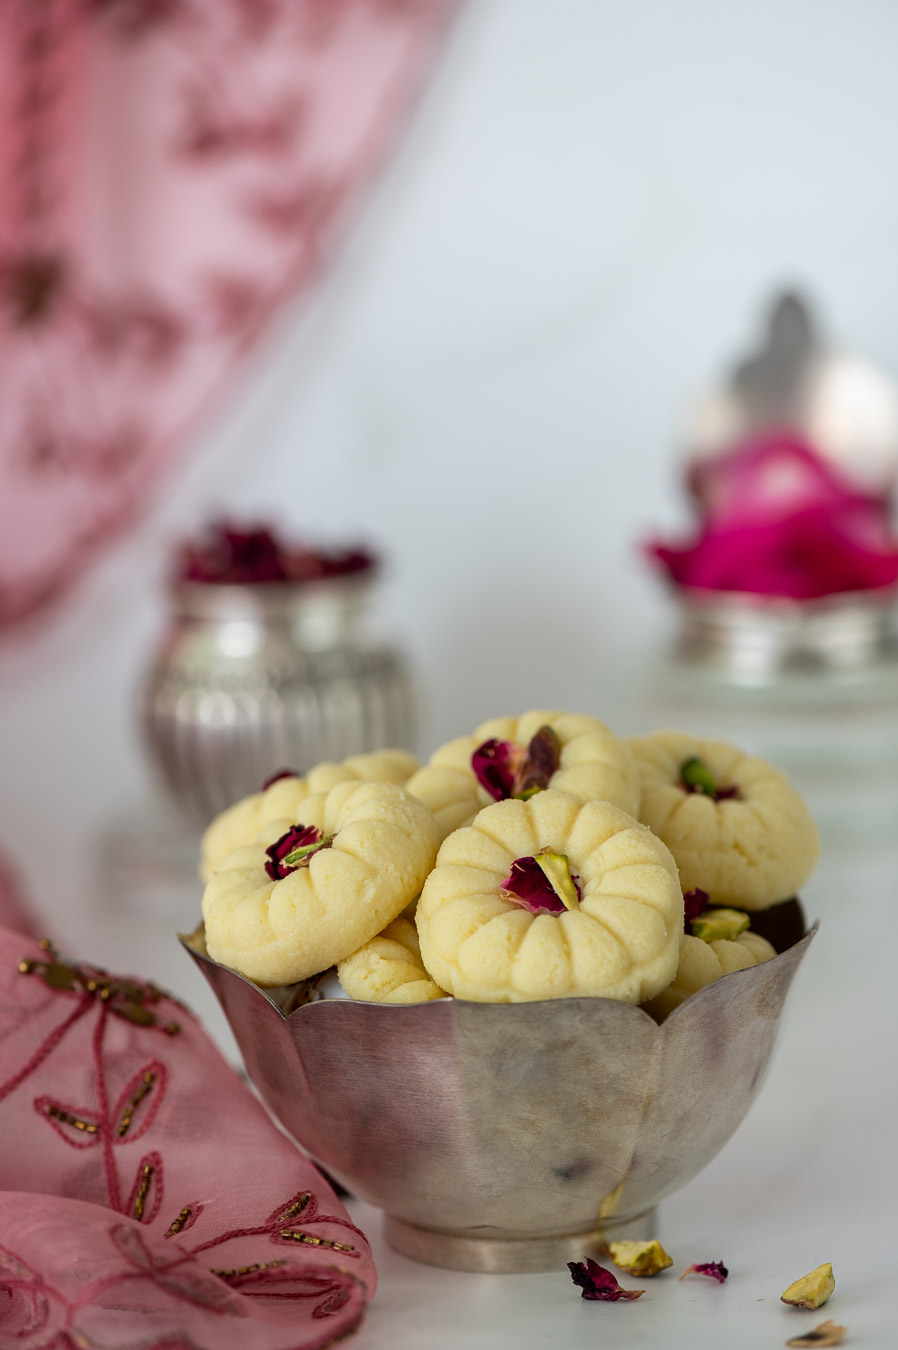
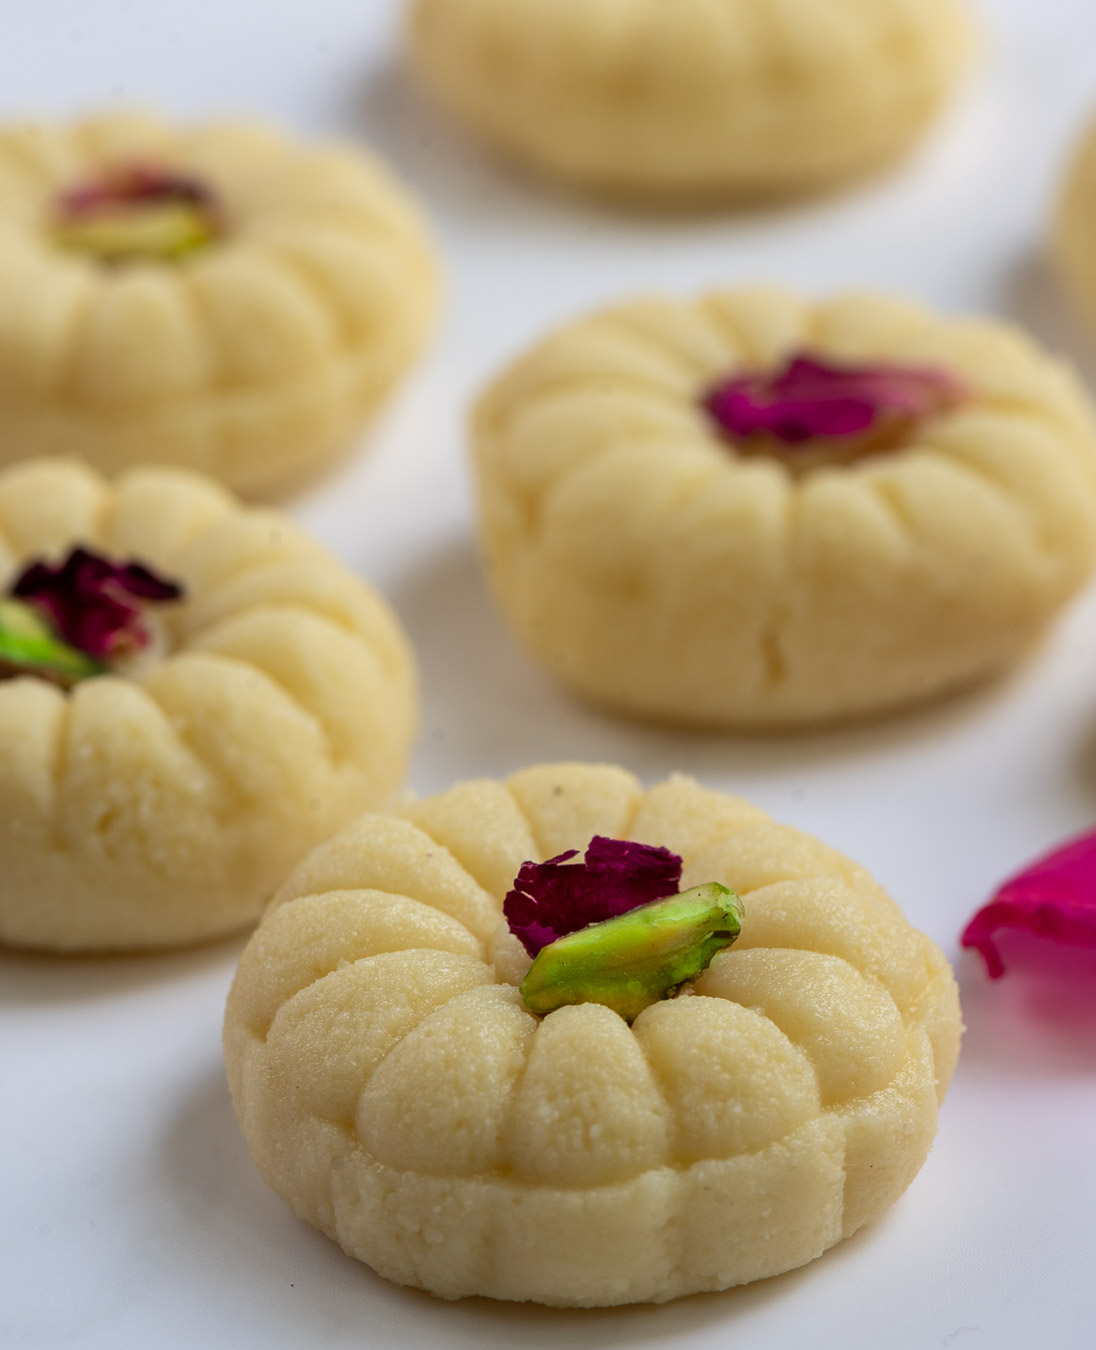
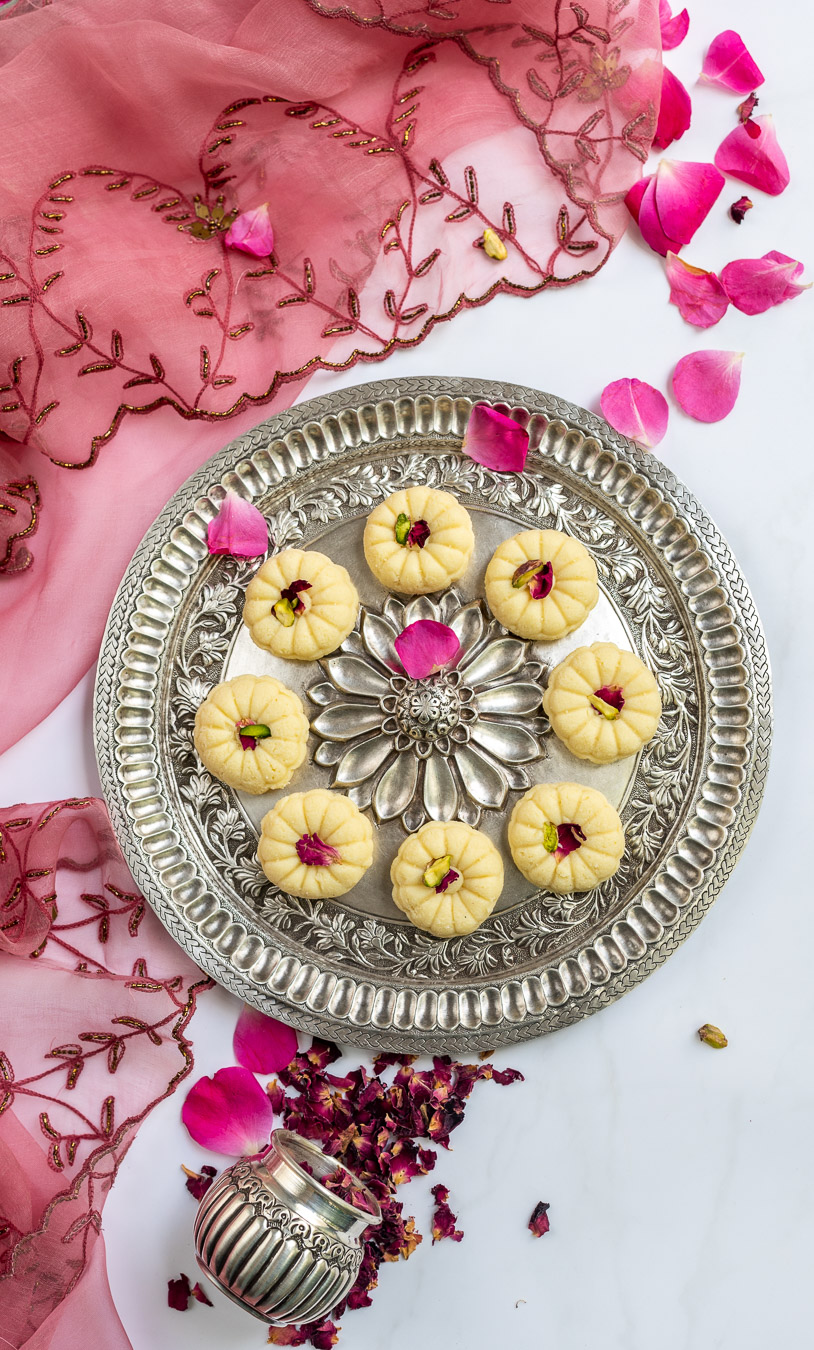
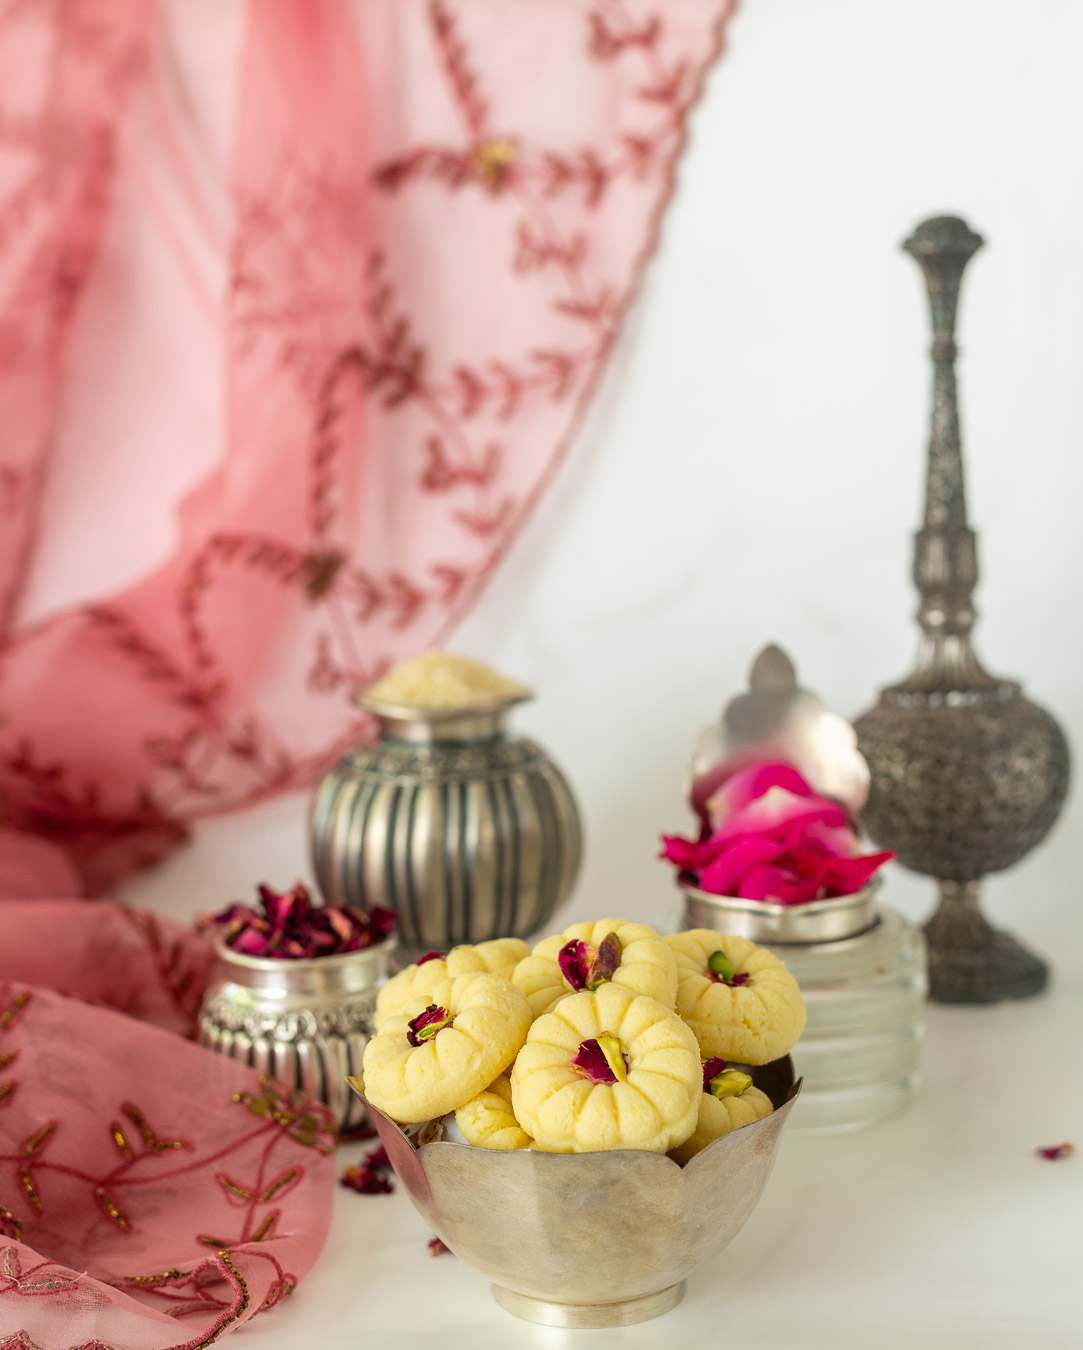
A while ago, I noticed on Instagram that many people had been making pedas in lovely shapes. These Indian milk sweets are always a mood-lifter, and seeing them online inspired me to put them on my own festive menu this year. I’ve always been a believer that presentation goes a long way when it comes to any dish, and we usually eat with our eyes first. That said, taste is ultimately the most important factor. So, while dreaming up my own pedas, the two elements came together. Firstly, I sought out exquisite little moulds that would beautify my sweets, thinking of Kolkata’s famously attractive sandesh. Secondly, I gave the flavouring quite a lot of thought. Through some trials, I eventually settled on one of my favourite flavours, and indeed one of re:store’s signature ingredients: rose water. These rose water pedas are aromatic, delicious and very sweet, just like I hope your Diwali will be.

Whenever I see something beautiful – either culinary or creative – I must learn to make it immediately. You could call it a flaw of sorts, or maybe a happy curse, but that’s just how I’m wired. From the moment of inspiration onwards, it becomes an obsession for me until I arrive at a rendition that I am happy with. That’s how I learnt how to bake, to photograph and to cook so many beloved items in my repertoire. I experiment, make mistakes and keep going until I succeed. Only sometimes do I concede that it’s time to give up, but even then I don’t consider those experiences failures. Rather, there are lessons in them too. When I succeed, the journey doesn’t just end at having made something. The next step is sharing it, which is why this blog exists, but also why I am an inveterate giver of gifts. In my case, my gifts are mostly edible nowadays.

The reason for this is that people really do receive enough and plenty of other kinds of gifts, and unlike a memento which may not be to one’s taste, food almost invariably will be consumed. Before I visit a friend, I now bake or cook a little gift, or else select organic vegetables and arrange them in a basket. These are items which I know for certain will be used by the recipient, and will never gather dust. Personally as well, there’s nothing more exciting to me than fresh ingredients, and I love getting gifts of the same. You may have noticed that many of my recipes here have been spurred by a present of some kind: such as lavender, cinnamon, saffron or more wonderful pleasures that travelled to me with love. Recipes, too, are fabulous gifts – and it’s my pleasure to keep gifting you these.

I learnt how to make basic pedas from my sister, who is the peda queen in my eyes. Peda-making was truly in my destiny because of a nickname in my extended family. My mother had nine siblings, and each had many children of their own, among whom I was one of the very youngest. As a baby, I seemed to that huge group of cousins to look like a little peda. So that’s what they called me: “pendo”, the Gujarati word for this dish. I remain Pendo to many of them, even to this day!
 

Rose Water Peda

(Yield: 10 pieces)

125 grams paneer

50 grams full fat milk powder

50 grams powdered sugar

2 teaspoons ghee

1 teaspoon rose water

1 teaspoon milk

Grate the paneer and place it onto a plate. Knead it with the palm of your hand until it is soft and even, like dough. Form a ball and set aside.

Heat a non-stick pan and add the ghee. Once it is hot, add the paneer. Keep stirring and pressing the paneer down. The paneer will become soft and smooth. This process should take no more than two minutes.

Add the rose water and the milk powder. Mix well. Then add the sugar and turn off the flame. Mix it all well together once more. Spread onto a plate. Allow to cool.

Once cooled, use the palm of your hand to knead this mixture until it’s smooth. It will feel sticky, but do not worry.

Then, wrap the mixture with cling film. Keep it in the refrigerator for between ½ an hour to five hours.

You will notice that this recipe uses milk powder rather than milk, and this is a common modern innovation on the old method, which involved boiling and boiling milk for hours on end. Milk powder makes the process far simpler and faster, while retaining the classic taste of this deeply cherished Indian sweet.

When you are ready to prepare the peda, take out the cold mixture and knead it once again, making sure there are no lumps. Now, make small balls and reshape them as you desire, or use moulds. Garnish with rose petals and pistachio slivers.

Keep the peda at room temperature, but protected by a netted cover. Allow to sit for a few hours.

Serve, and relish the delicate taste of these lovely rose water pedas. You can store any remainder in the refrigerator, as long as you consume them within three days.

In my home, whenever I make peda, the first offering is always to Balakrishna or Baby Krishna, the god who is very fond of dairy according to all the stories about him. He is our family deity and we have a seva or service for him every day, an elaborate process of waking him, bathing him, treating him lovingly like a child and of course feeding him. So when I’m making pedas, I always make tiny ones to offer at the altar, alongside the regular-sized ones. As with all kinds of prasad, it is never tasted while being cooked, as it must be offered pure.

Do you have rituals like these too, in which food and faith come together? I’m always interested in learning more about world cultures, and would love to hear from you.

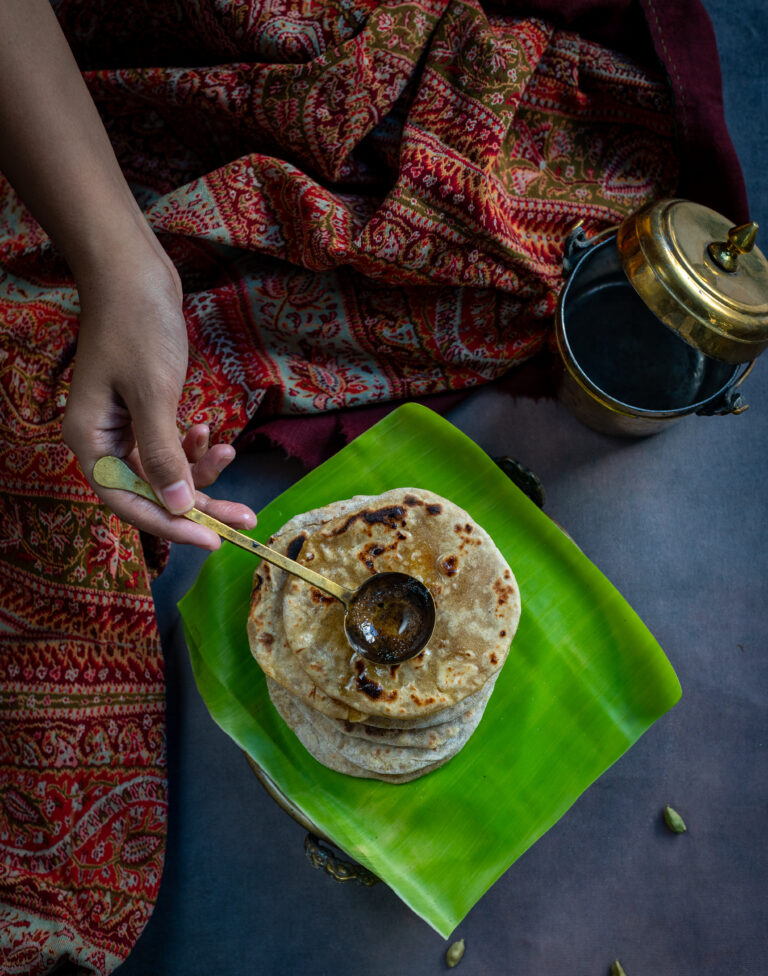
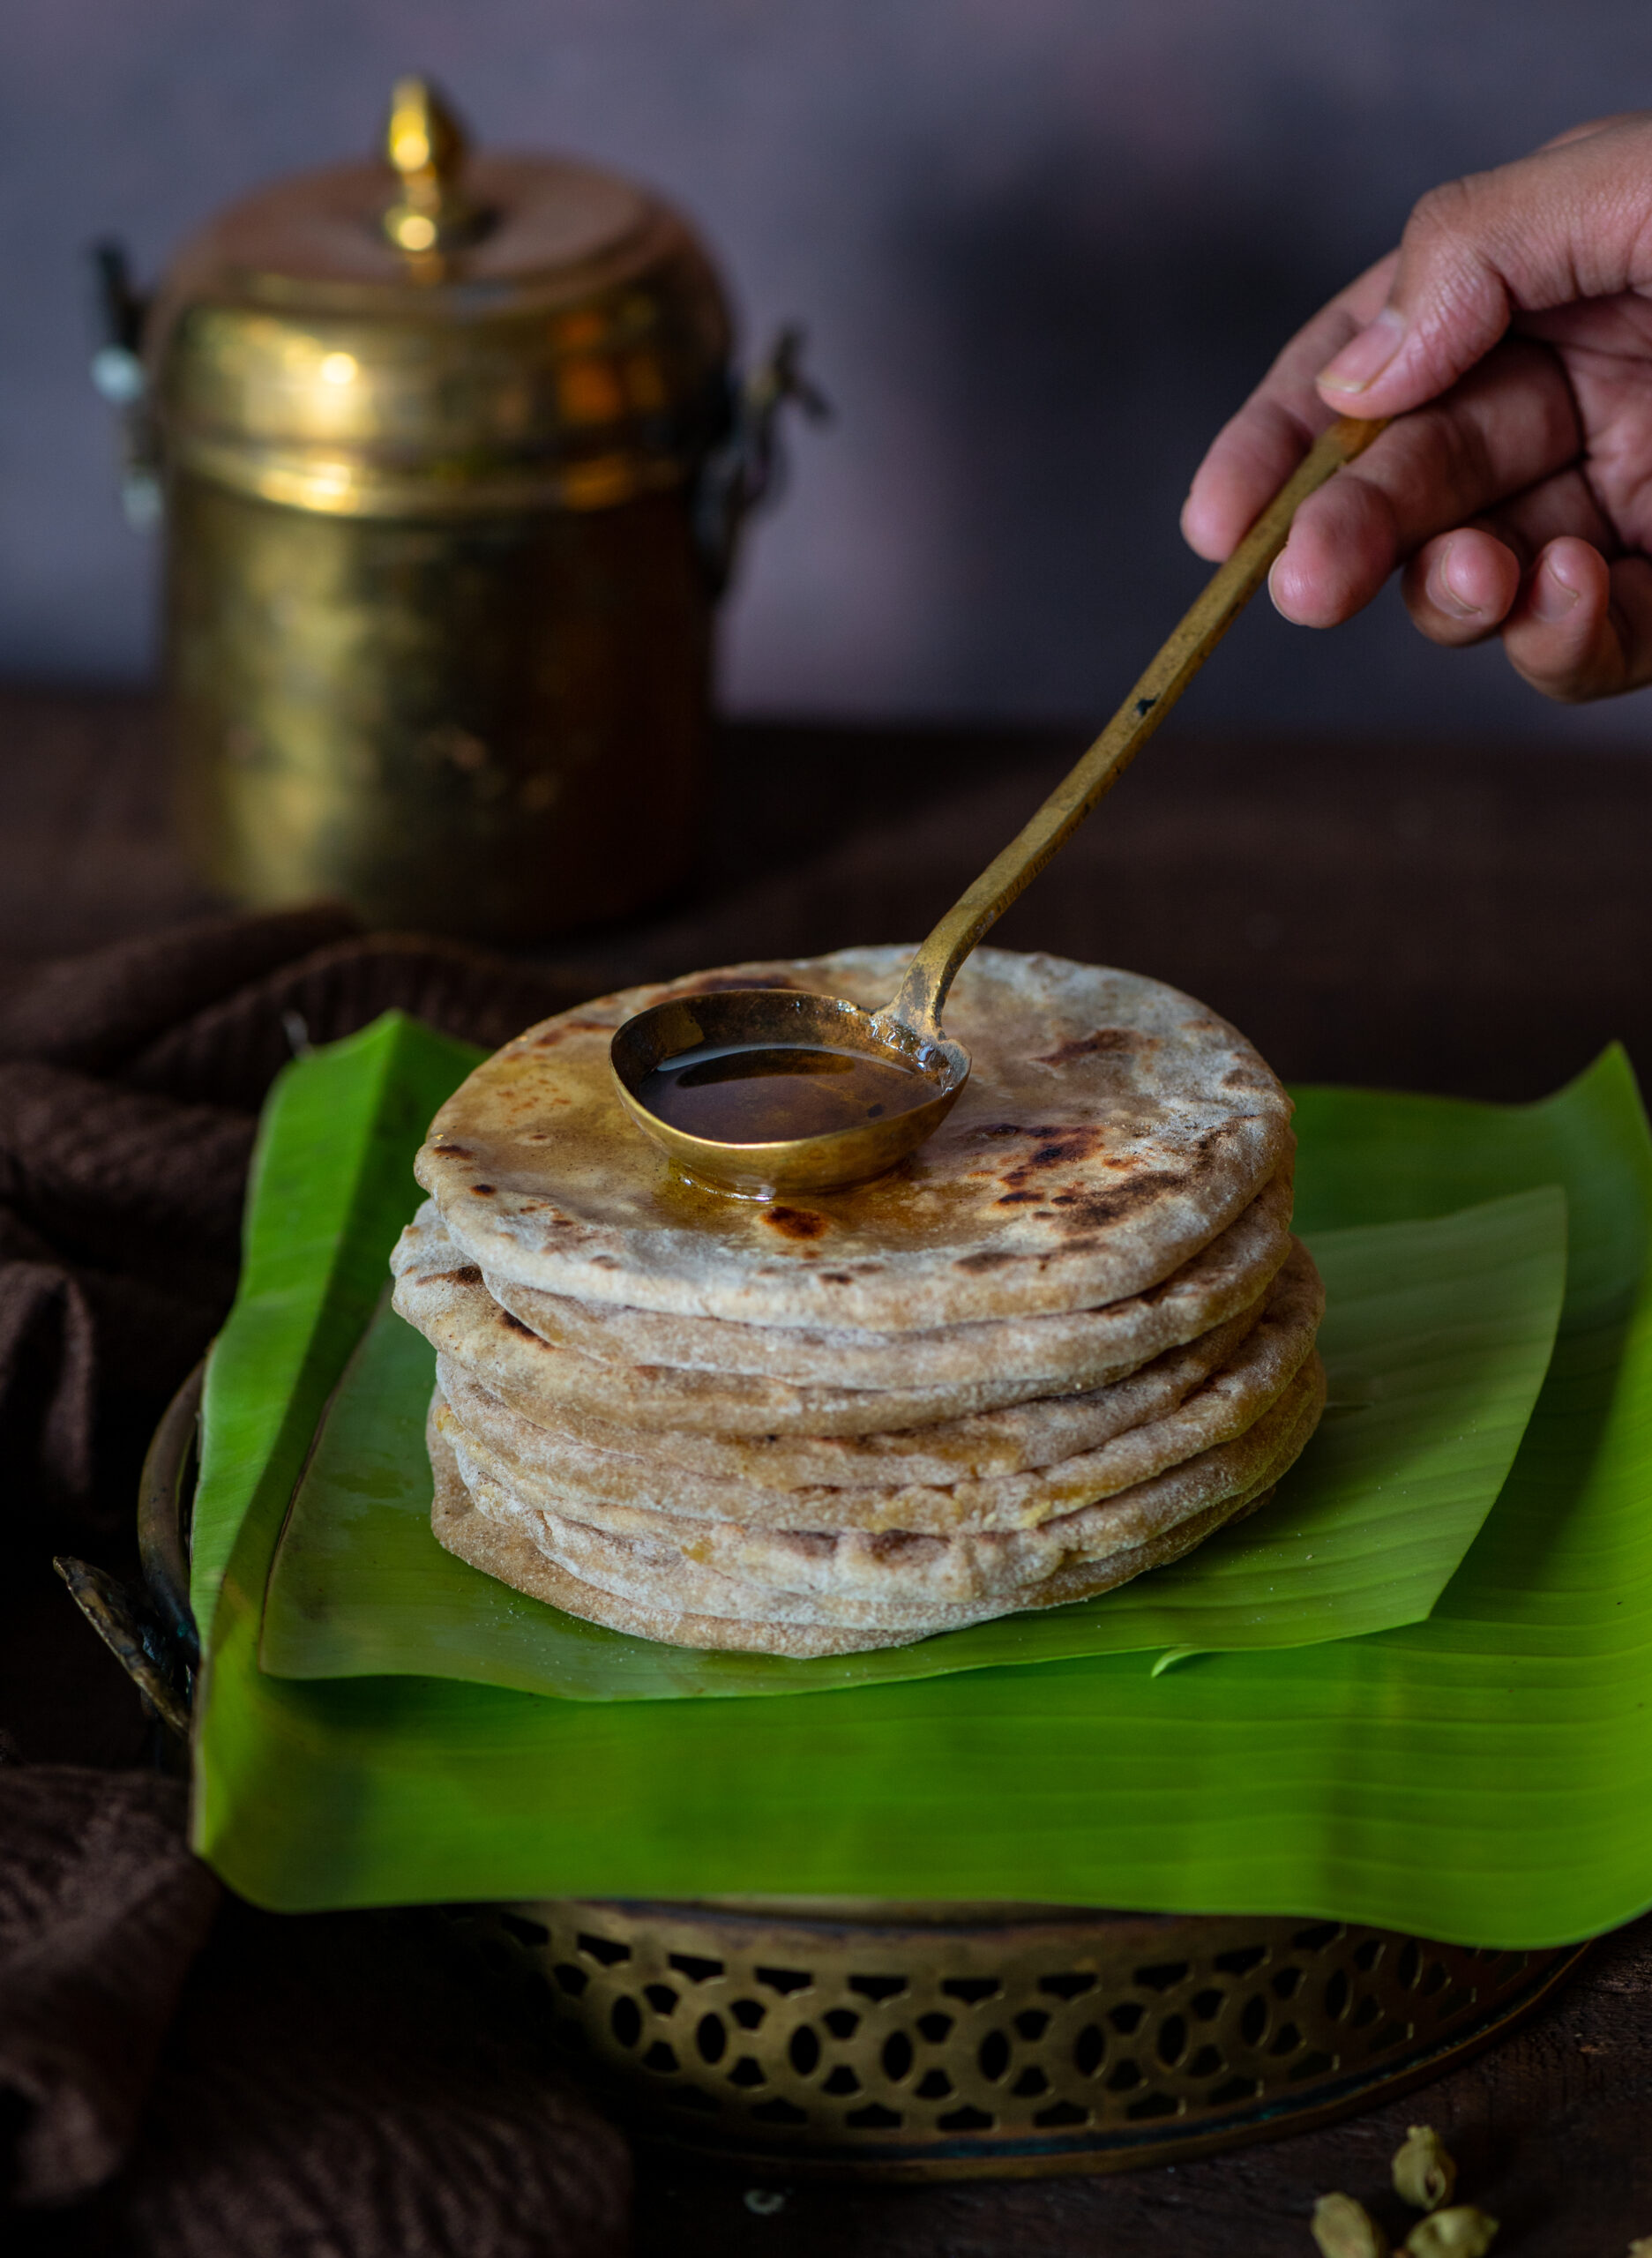
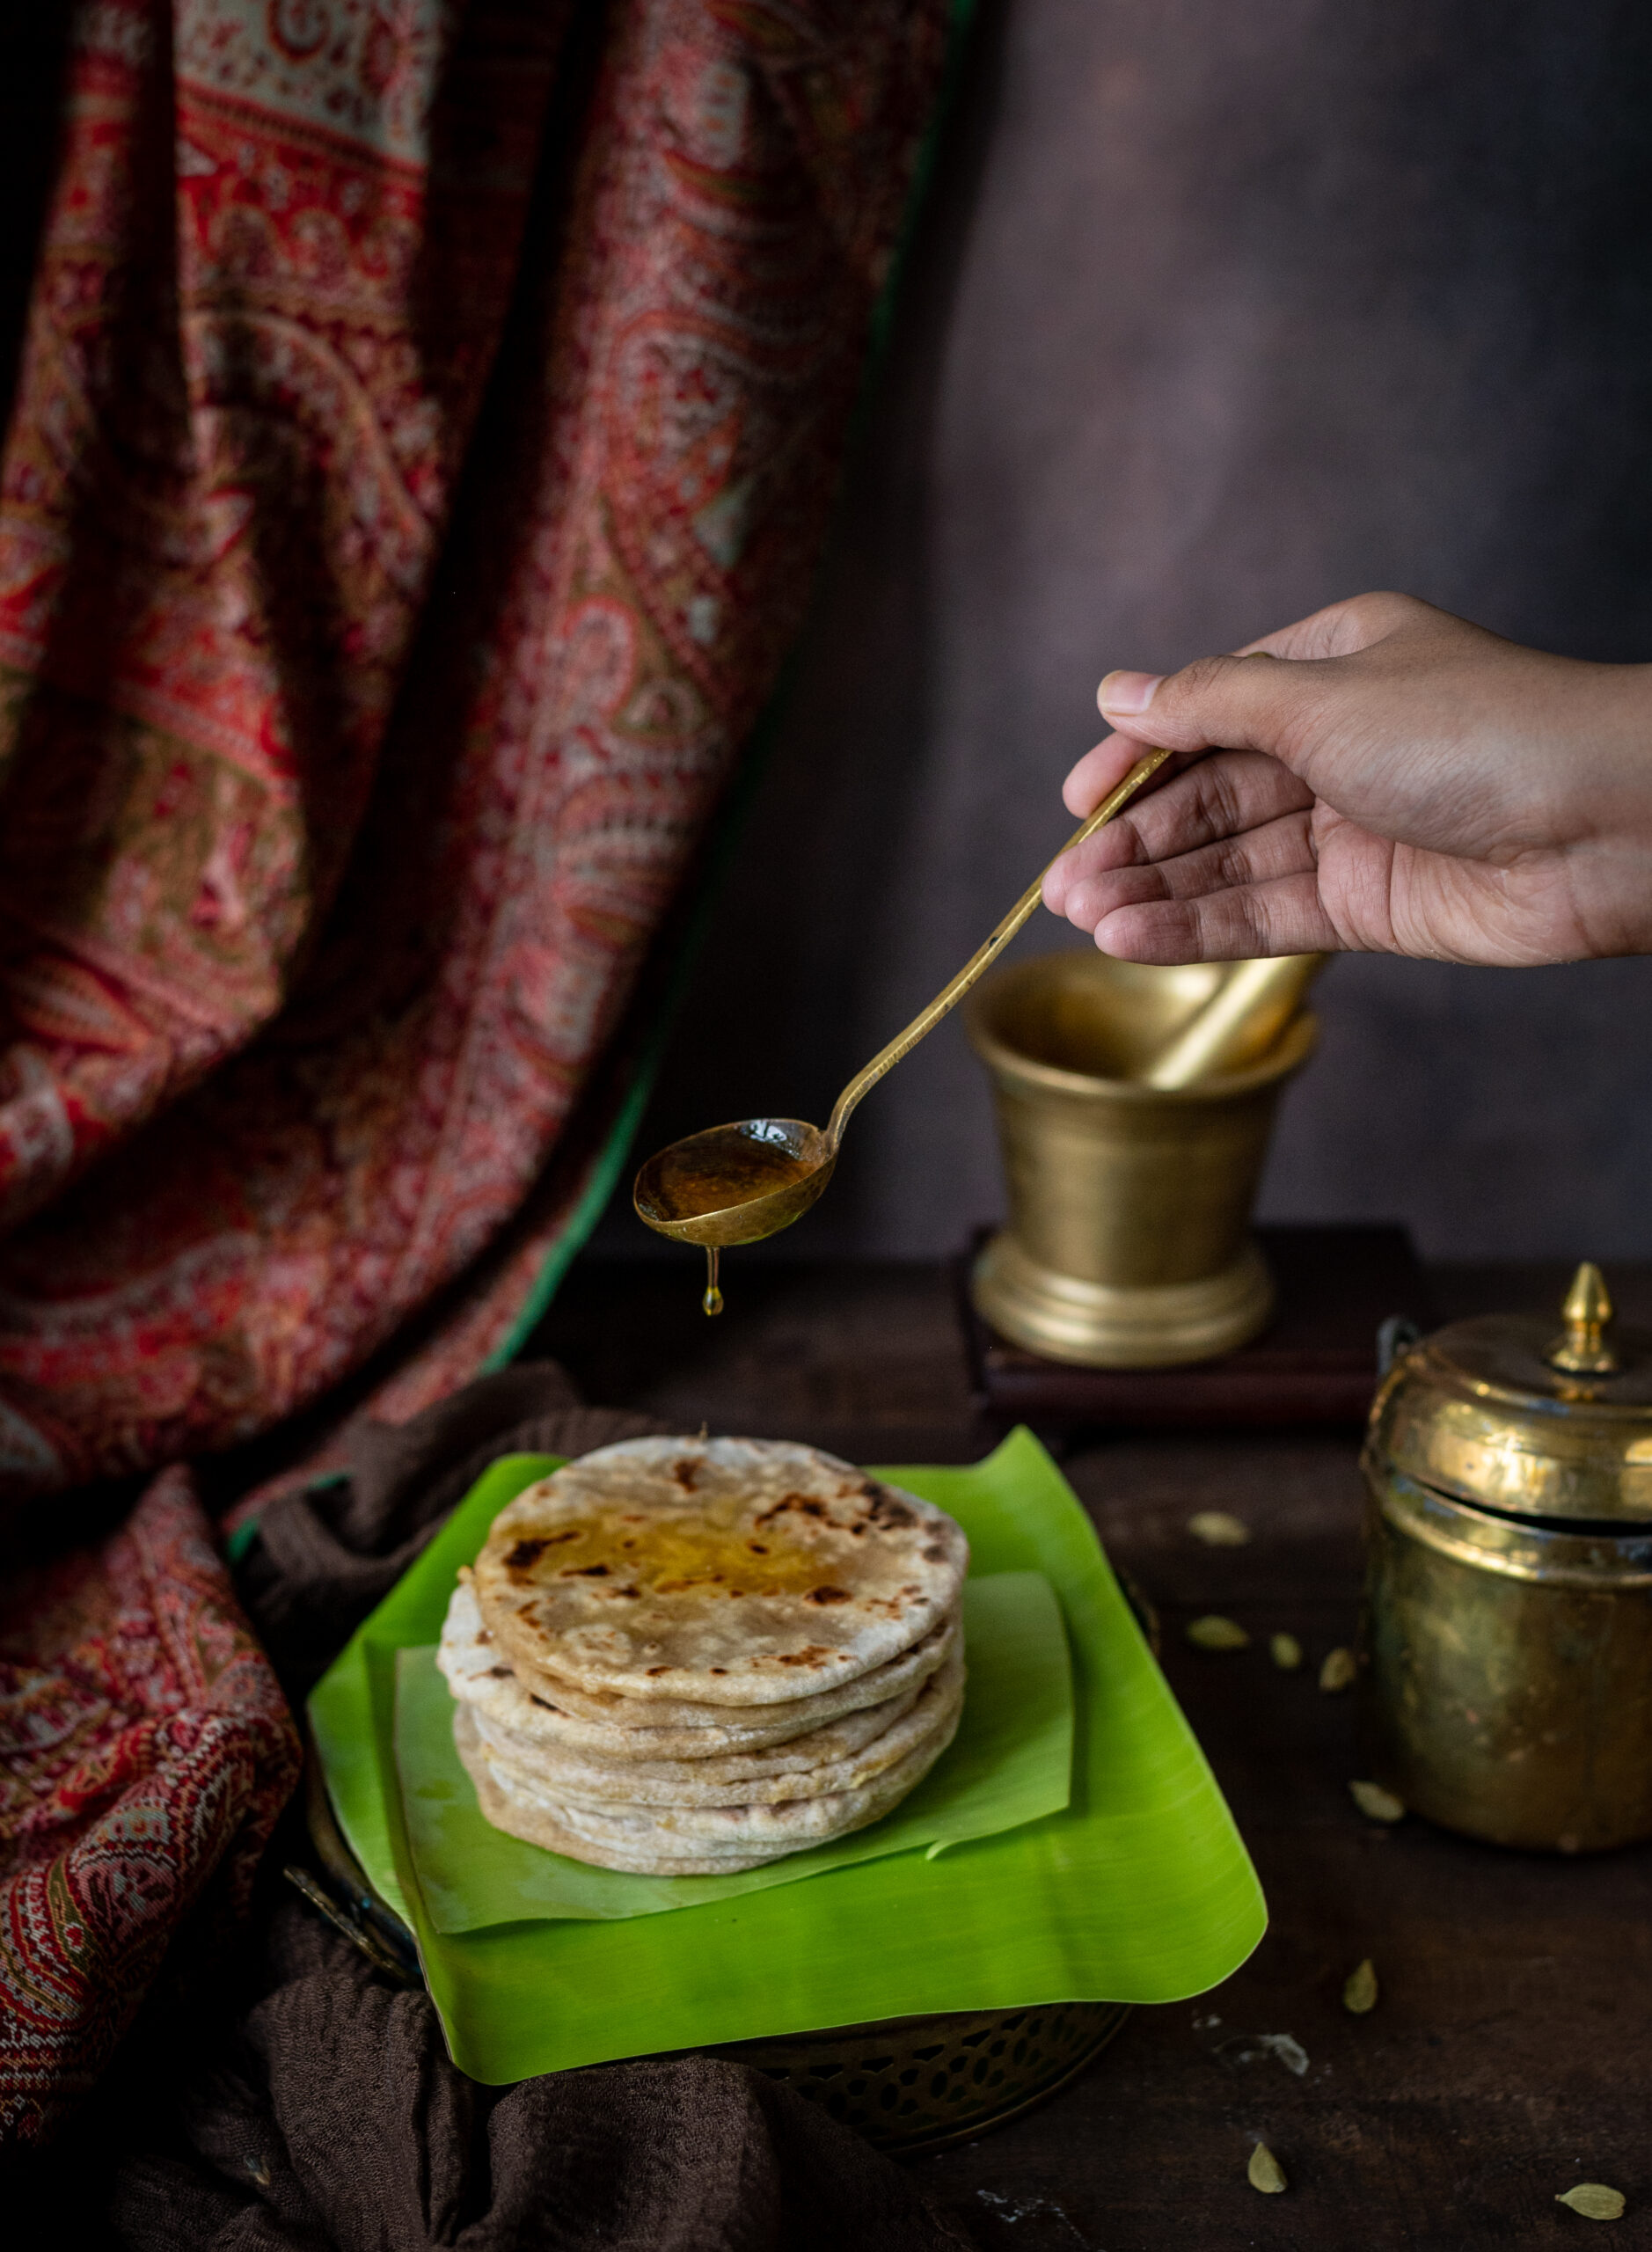
The festive season has begun here in India, and I hope that those of you who are celebrating are having a wonderful time. Feasting is such a big part of our festivals, and this month I’ll be sharing some delicious recipes to add to your repertoire of sweets and snacks to share with friends and family. At the top of this list is a dish of sentimental value: puran poli. This sweet, healthy flatbread always evokes my mother for me. Perhaps that is true of all sweet foods, if not all dishes, from my childhood. But she really was exceptional at preparing puran poli, and so it holds a special place in my heart.

Puran poli was the favourite of all five of us at home (my parents, my siblings and I). For my siblings and father, it was to them what her dhokla was to me – the one dish that they only wanted made by her, even if they would prepare or buy other items. I suppose in my case I lucked out because I learned how to make puran poli from her, rather than only have her make it for me. Now, whenever I roll out the dough to make this sweet treat, memories of my mother flood back. I recall her hands as she prepared it, the way she would measure out ingredients and little nuances about her movements. Whether she was teaching me, letting me work alongside her or just letting me watch, all those moments come together and fill me with nostalgia as I make this.

She prepared it for special occasions and birthdays, and it was always a part of our festive meals. On such days, the lunch table would be laden with rich, heavy food of all varieties. We would partake of the feast while surrounded by happy people, and a nice long afternoon siesta would follow. One of the reasons why this sweet, which always featured in these feasts, was such a star on the menu is that something about it made her indulge us more. Even though there would always be healthy greens in the spread, she would say with a smile when she saw us reach for her famous puran poli, “It’s okay if you don’t eat your vegetables today”. So we would look forward to this dish all the more.

To me, these are not just memories to fondly look back on, but they show the way forward too. I feel strongly that beautiful moments at home must be created. They don’t just happen. When we put time and thought into creating experiences that celebrate the love within a family, while honouring tradition and heritage, we ensure that the next generation has something precious to look back on too. Festive occasions offer the perfect opportunity for this, which is why I have such a firm rule that my children come home for Diwali and Raksha Bandhan no matter where they are in the world. Every year, as a family, we renew our bonds and form new memories together. I know that some day, when they are older and reminiscing, they will feel joy – and remember us with love, just as I do my dear mother.

I often ask myself these questions: what will my children recall; what will their memories of me be? The desire to bring joy to them always, not just now but well into the future, is what motivates me to make our time together as meaningful as possible. Food as a daily expression of love enables this, and festivities make this expression all the more vivid and enjoyable. Family, food and feelings are interconnected. When we have healthy relationships, we eat better (as we share mealtimes, and are stressed less overall). When we eat nourishingly, we have healthier relationships (as our bodies and minds are performing optimally, and fatigue or illness don’t impede our ability to spend time together). Do you notice that you binge eat when you feel downcast? Do you notice that you enjoy food more when you’re with a close friend? These are clues about the nature of this interconnection.

This puran poli, thanks to the wonderful memories it brings back, strengthens my connection to my late mother. It is also meaningful to my children for the same reason. Decades ago, when I was away from home and expecting my second child, my eldest missed his grandmother – my mother – so deeply that I had to ask my friend Chandrika Behn to make puran poli just for him. She prepared it just like my mother would, and I didn’t mind my kid gorging on the treat often as it’s stuffed with protein-rich dal. Even now, when one of us visits her, this elderly aunty rolls out a batch of puran polis just for us. Such is the power of a beautifully-rendered dish. It becomes a way to treasure a relationship – between grandmother and grandchild, between friends, between parent and child, between siblings, between partners, and so on…

Puran Poli

(Yield: 10)


Stuffing ingredients

½ cup toor dal

1 cup water

½ cup jaggery

1 tablespoon almond powder

½ teaspoon cardamom

Ghee for topping


Dough ingredients

¾ cup whole wheat flour

A pinch of salt

½ cup water (based on your requirement)

1 teaspoon oil


Make a dough with the ingredients. Ensure it is soft and smooth. Make small balls, cover and set aside.

In a pressure cooker, cook the dal in water until it is soft and tender.

Open the cooker and add the jaggery. Keep stirring the mixture of dal and jaggery constantly on a low flame. Make sure the dal does not stick to the bottom of the pan/cooker.

Once the mixture has thickened, which will take approximately 12-15 minutes, turn off the flame and add the cardamom powder and almond powder.

You will know the stuffing is ready when you make a spatula stand upright inside the thickened dal and it doesn’t fall.

Allow to cool. Divide this into portions of 10 balls. Your stuffing is now ready to roll.

Assemble each puran poli. Roll out one small dough ball into a small disc. Place the ball of stuffing in the centre, gather the rolled out roti together and flatten. Dip the stuffed disc into dry flour for easy rolling out once again.

Now, place the rolled-out stuffed disc onto a hot griddle and allow to cook. Flip and cook on the other side. Remove onto a plate and pour ghee over the puran poli. Repeat for the remaining balls of dough and stuffing, until you’ve prepared them all. Enjoy them hot and fresh.

Each puran poli will be small – palm-sized. As far as sweets go, this is quite healthy, not only because of the portion size but also because the jaggery and almonds used in it are nutritious. Traditionally, it is made with chopped almonds, but my mother always used powdered almonds. This changes the texture of the stuffing, making it softer, and I’ve retained this twist too.

These are lovely little treats that invariably feel festive to me, and increase the joy of this season. I hope they will do the same for you. Wishing you and yours a wonderful time of celebration!
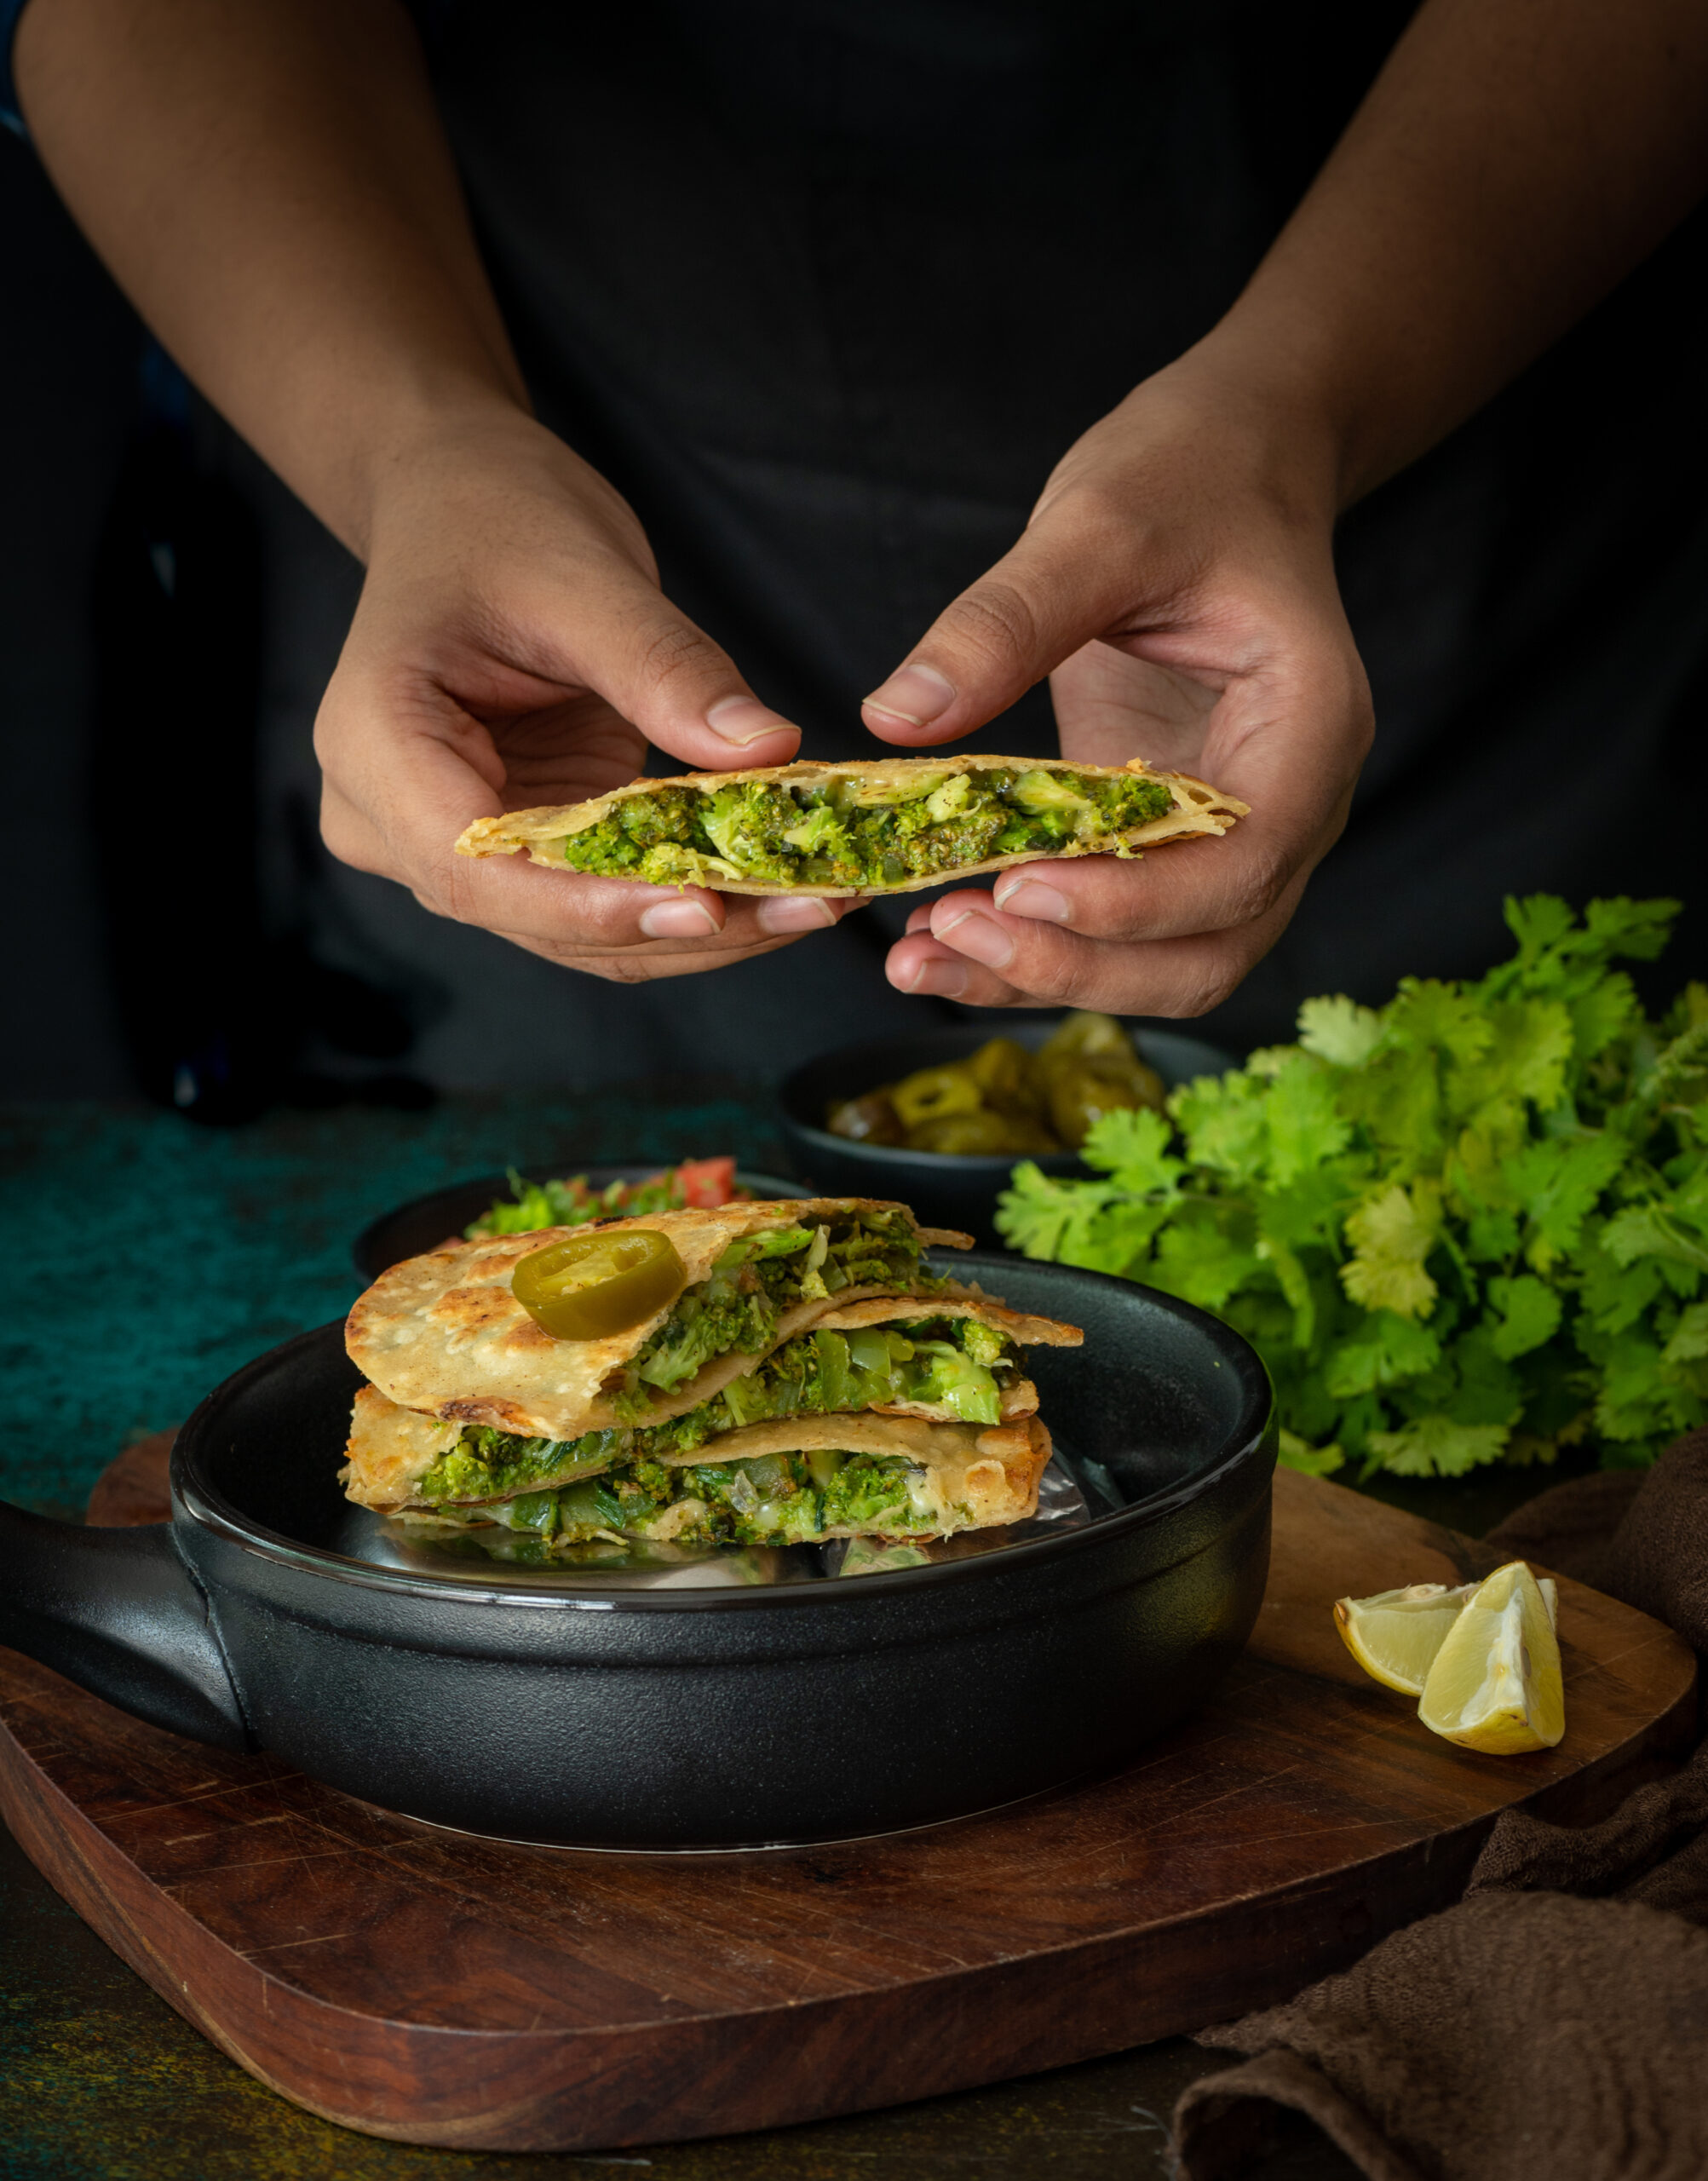
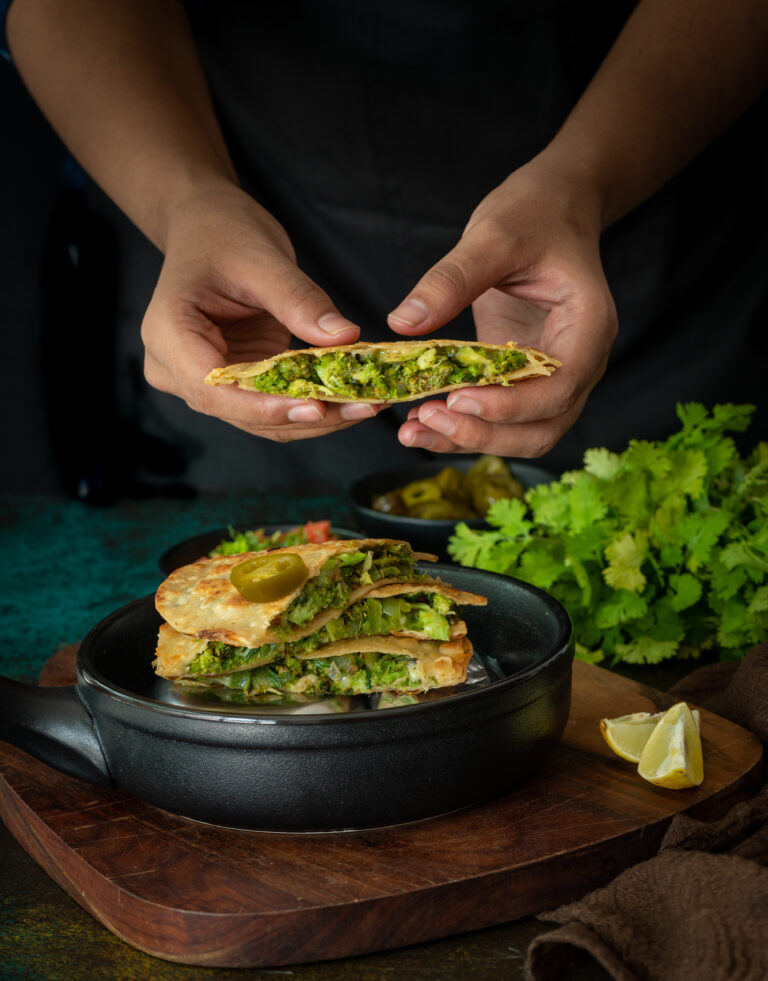
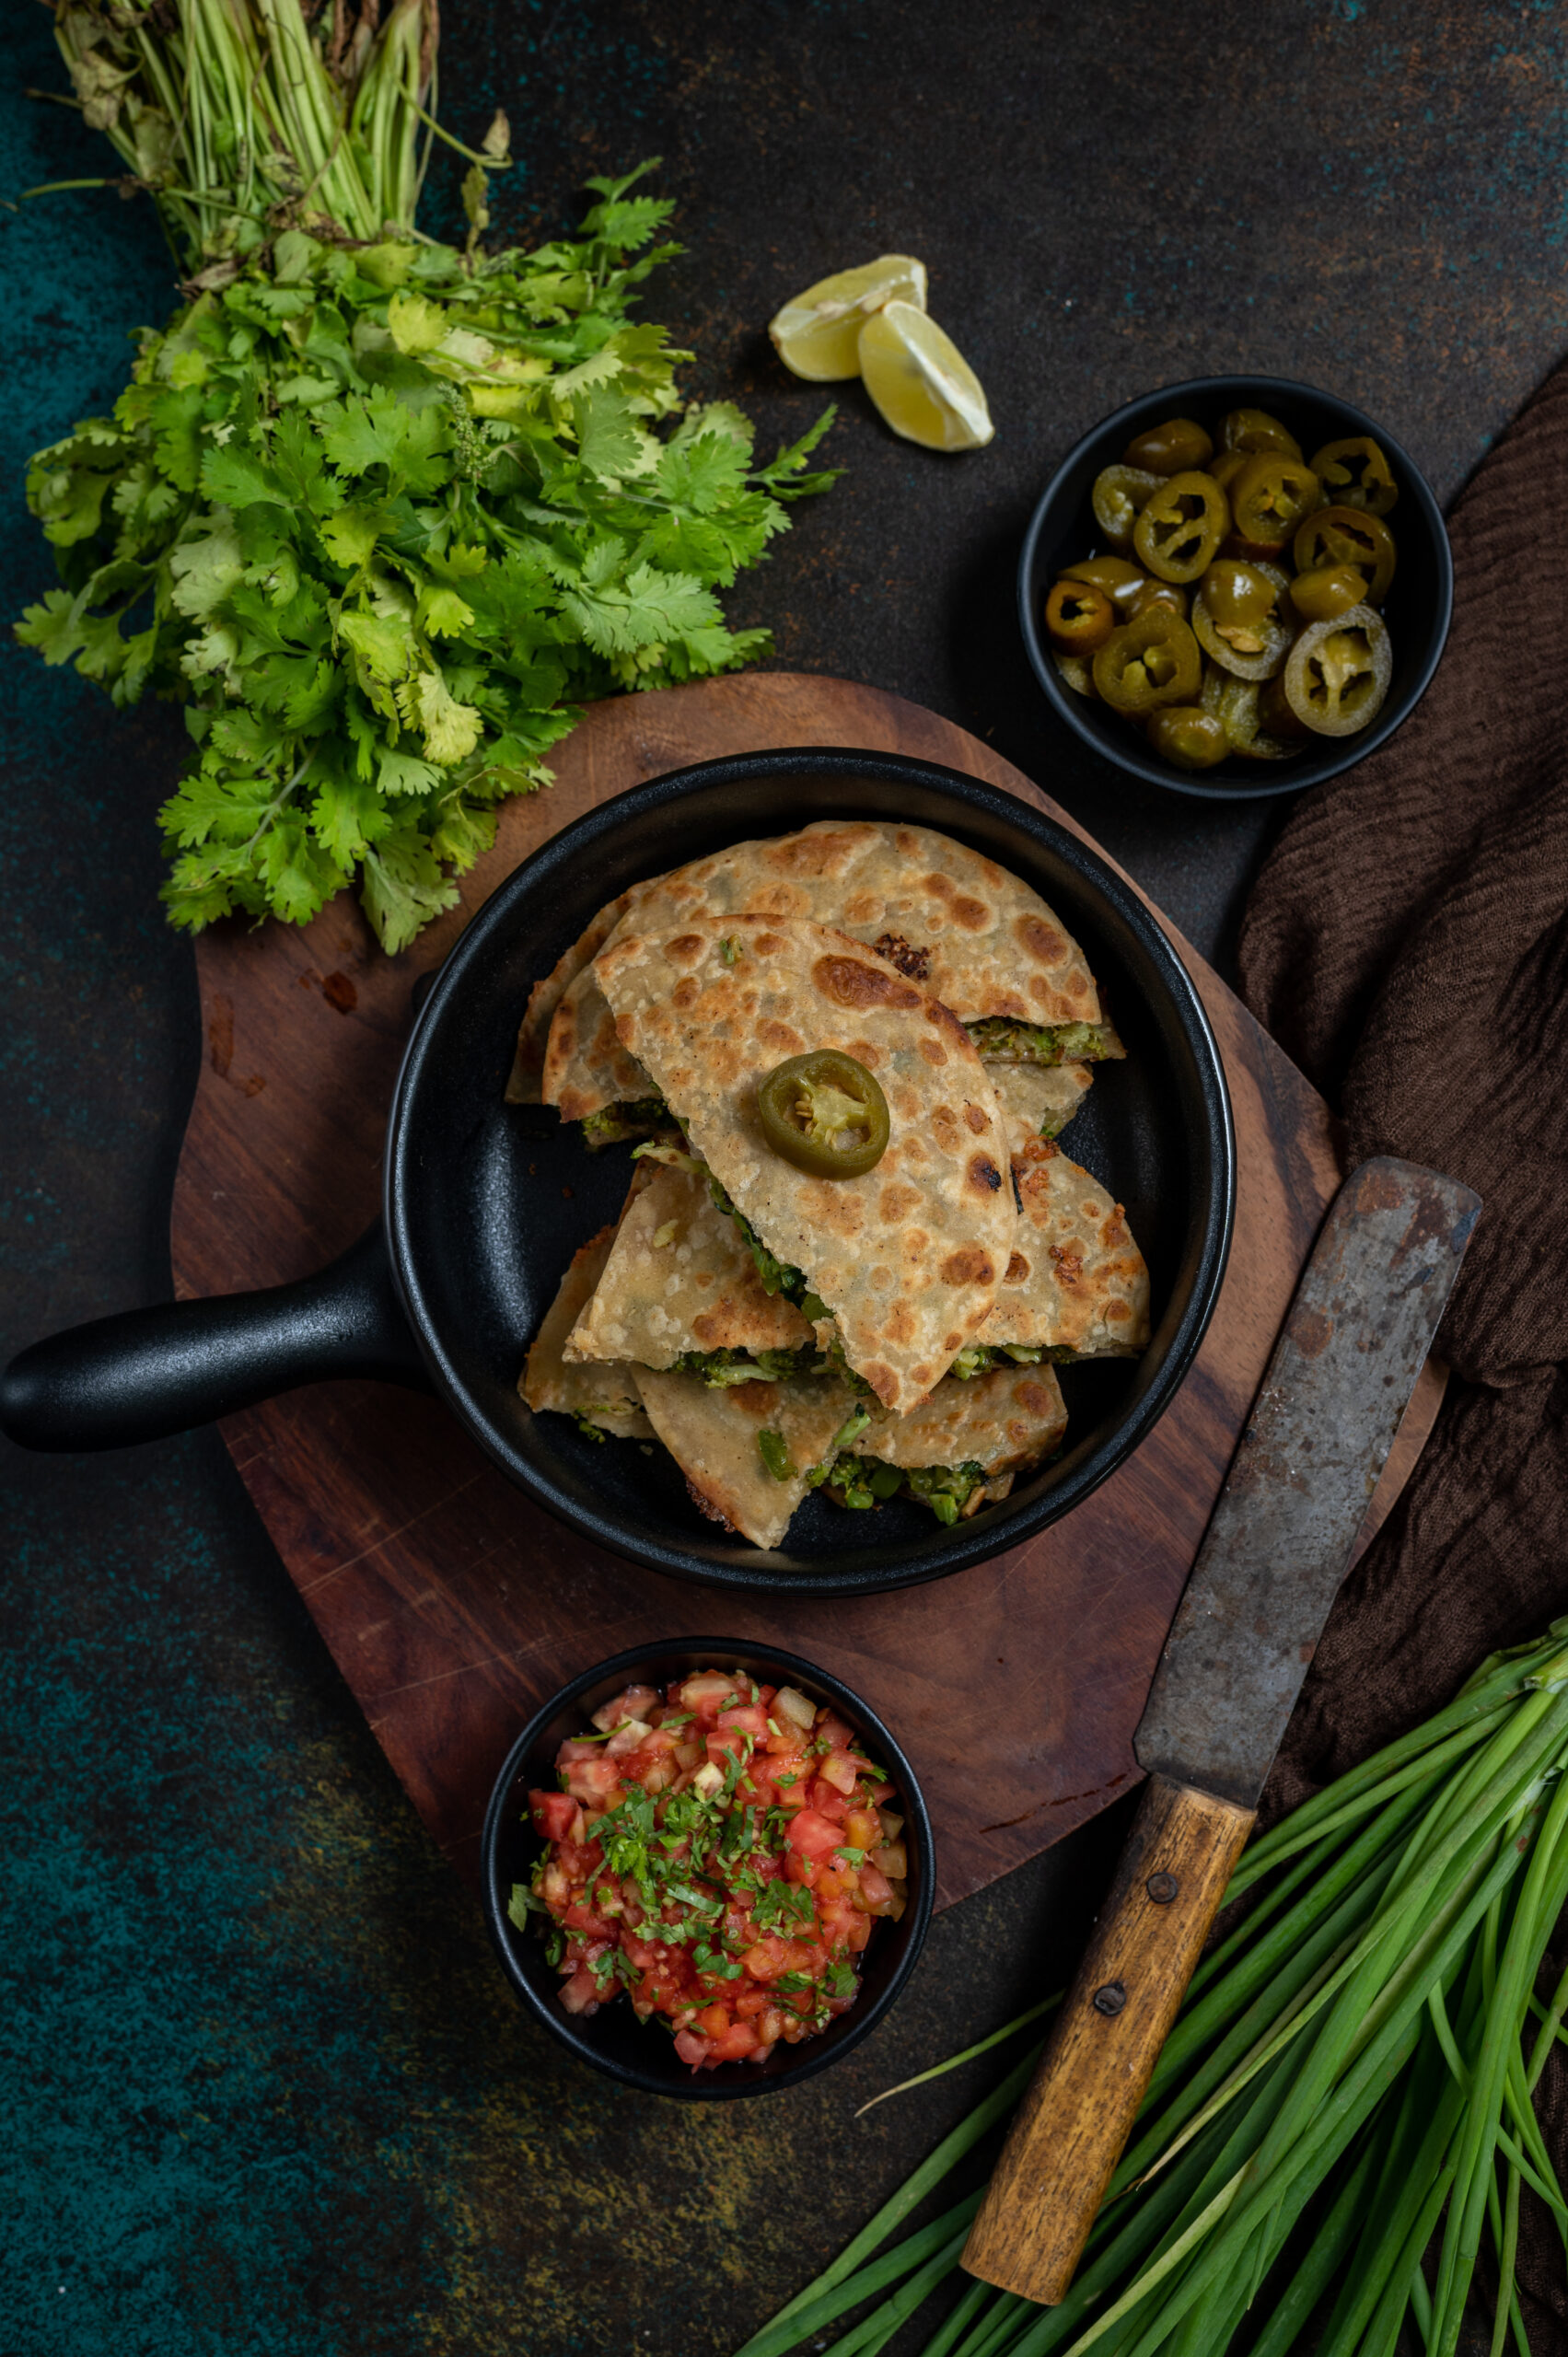
We can’t get enough of food inspired by Mexican cuisine at home, and after last week’s Mexican-style pineapple salad, I thought it would be perfect to share another delicious recipe in the same vein. This green quesadilla, truthfully speaking, is re:store style – a cross between Indian and Mexican, but leaning towards being an Indian dish with a Mexican name. For the culinary purists out there, no, this is not authentic. For the rest of us who love our fusion food and things that taste good under any moniker, I can assure you that this green quesadilla is quite amazing just the same. If you don’t believe me, ask my mother-in-law, who at 85 relishes it to the point of requesting it specifically when it’s been missing from our menu for even a week!

I can’t recall exactly how it came into being, but can make a vague guess that I must have had an excess of broccoli in my kitchen one day. I must have decided to pack it all into a quesadilla, to use up my stock while also ensuring that my family got a good load of greens that day. I do know that when I began serving it to them, my grown kids didn’t blink twice, distracted by the yummy cheese that holds the “tortilla” together (you’ll see why I use the quote marks when you read the method). I realised then that this dish is ideal for my readers with kids, especially younger ones who detest vegetables and need to be tricked into having them. In fact, calling it a quesadilla – even when you’re using ingredients that are so basic to an Indian kitchen – will also help with this, as children are always curious about trying new things and are likely to enjoy the novelty.

It has since become a staple at home, and I usually accompany it with a soup of some sort. Depending on your personal preferences, I can recommend several of my recipes for this pairing too. From the richly indulgent to the comfortingly simple, I have shared quite a range on this blog. Do check out my minestrone, zucchini soup, vegan whole corn and lemongrass soup, broccoli and almond soup or watermelon gazpacho at leisure.

Long before I encountered real quesadillas, and long before those of us who grew up in Chennai had the slightest clue what Mexican cuisine was all about, I enjoyed another dish based on the same concept at my friend Sharmila’s home. Whenever a small group of us would land up there after school, surprising her mother who would be unprepared to serve lunch for unexpected guests, she would take some rotis and whip up a simple, but extremely satisfying, treat for us. She would put some jaggery between two rotis and flip them on a pan with ghee. The jaggery would melt, bind the bread together, and would ooze out so appetisingly the moment you took a bite. Looking back, I can imagine how this clever innovation came into being. I’m sure you can too. Do you have a dish like this, one you put together in a rush one day that then became a regular?

The category of so-called quesadillas is, as proved by Sharmila’s mother, a highly diverse one. Sprinkle some idli podi on it and make it a South Indian version. Change up the veggies so they fulfill a specific dietary restriction, or to make a colourful version. Add textures or ingredients that you like. Just remember that the cheese is the main factor. Without it, the whole thing will literally fall apart!

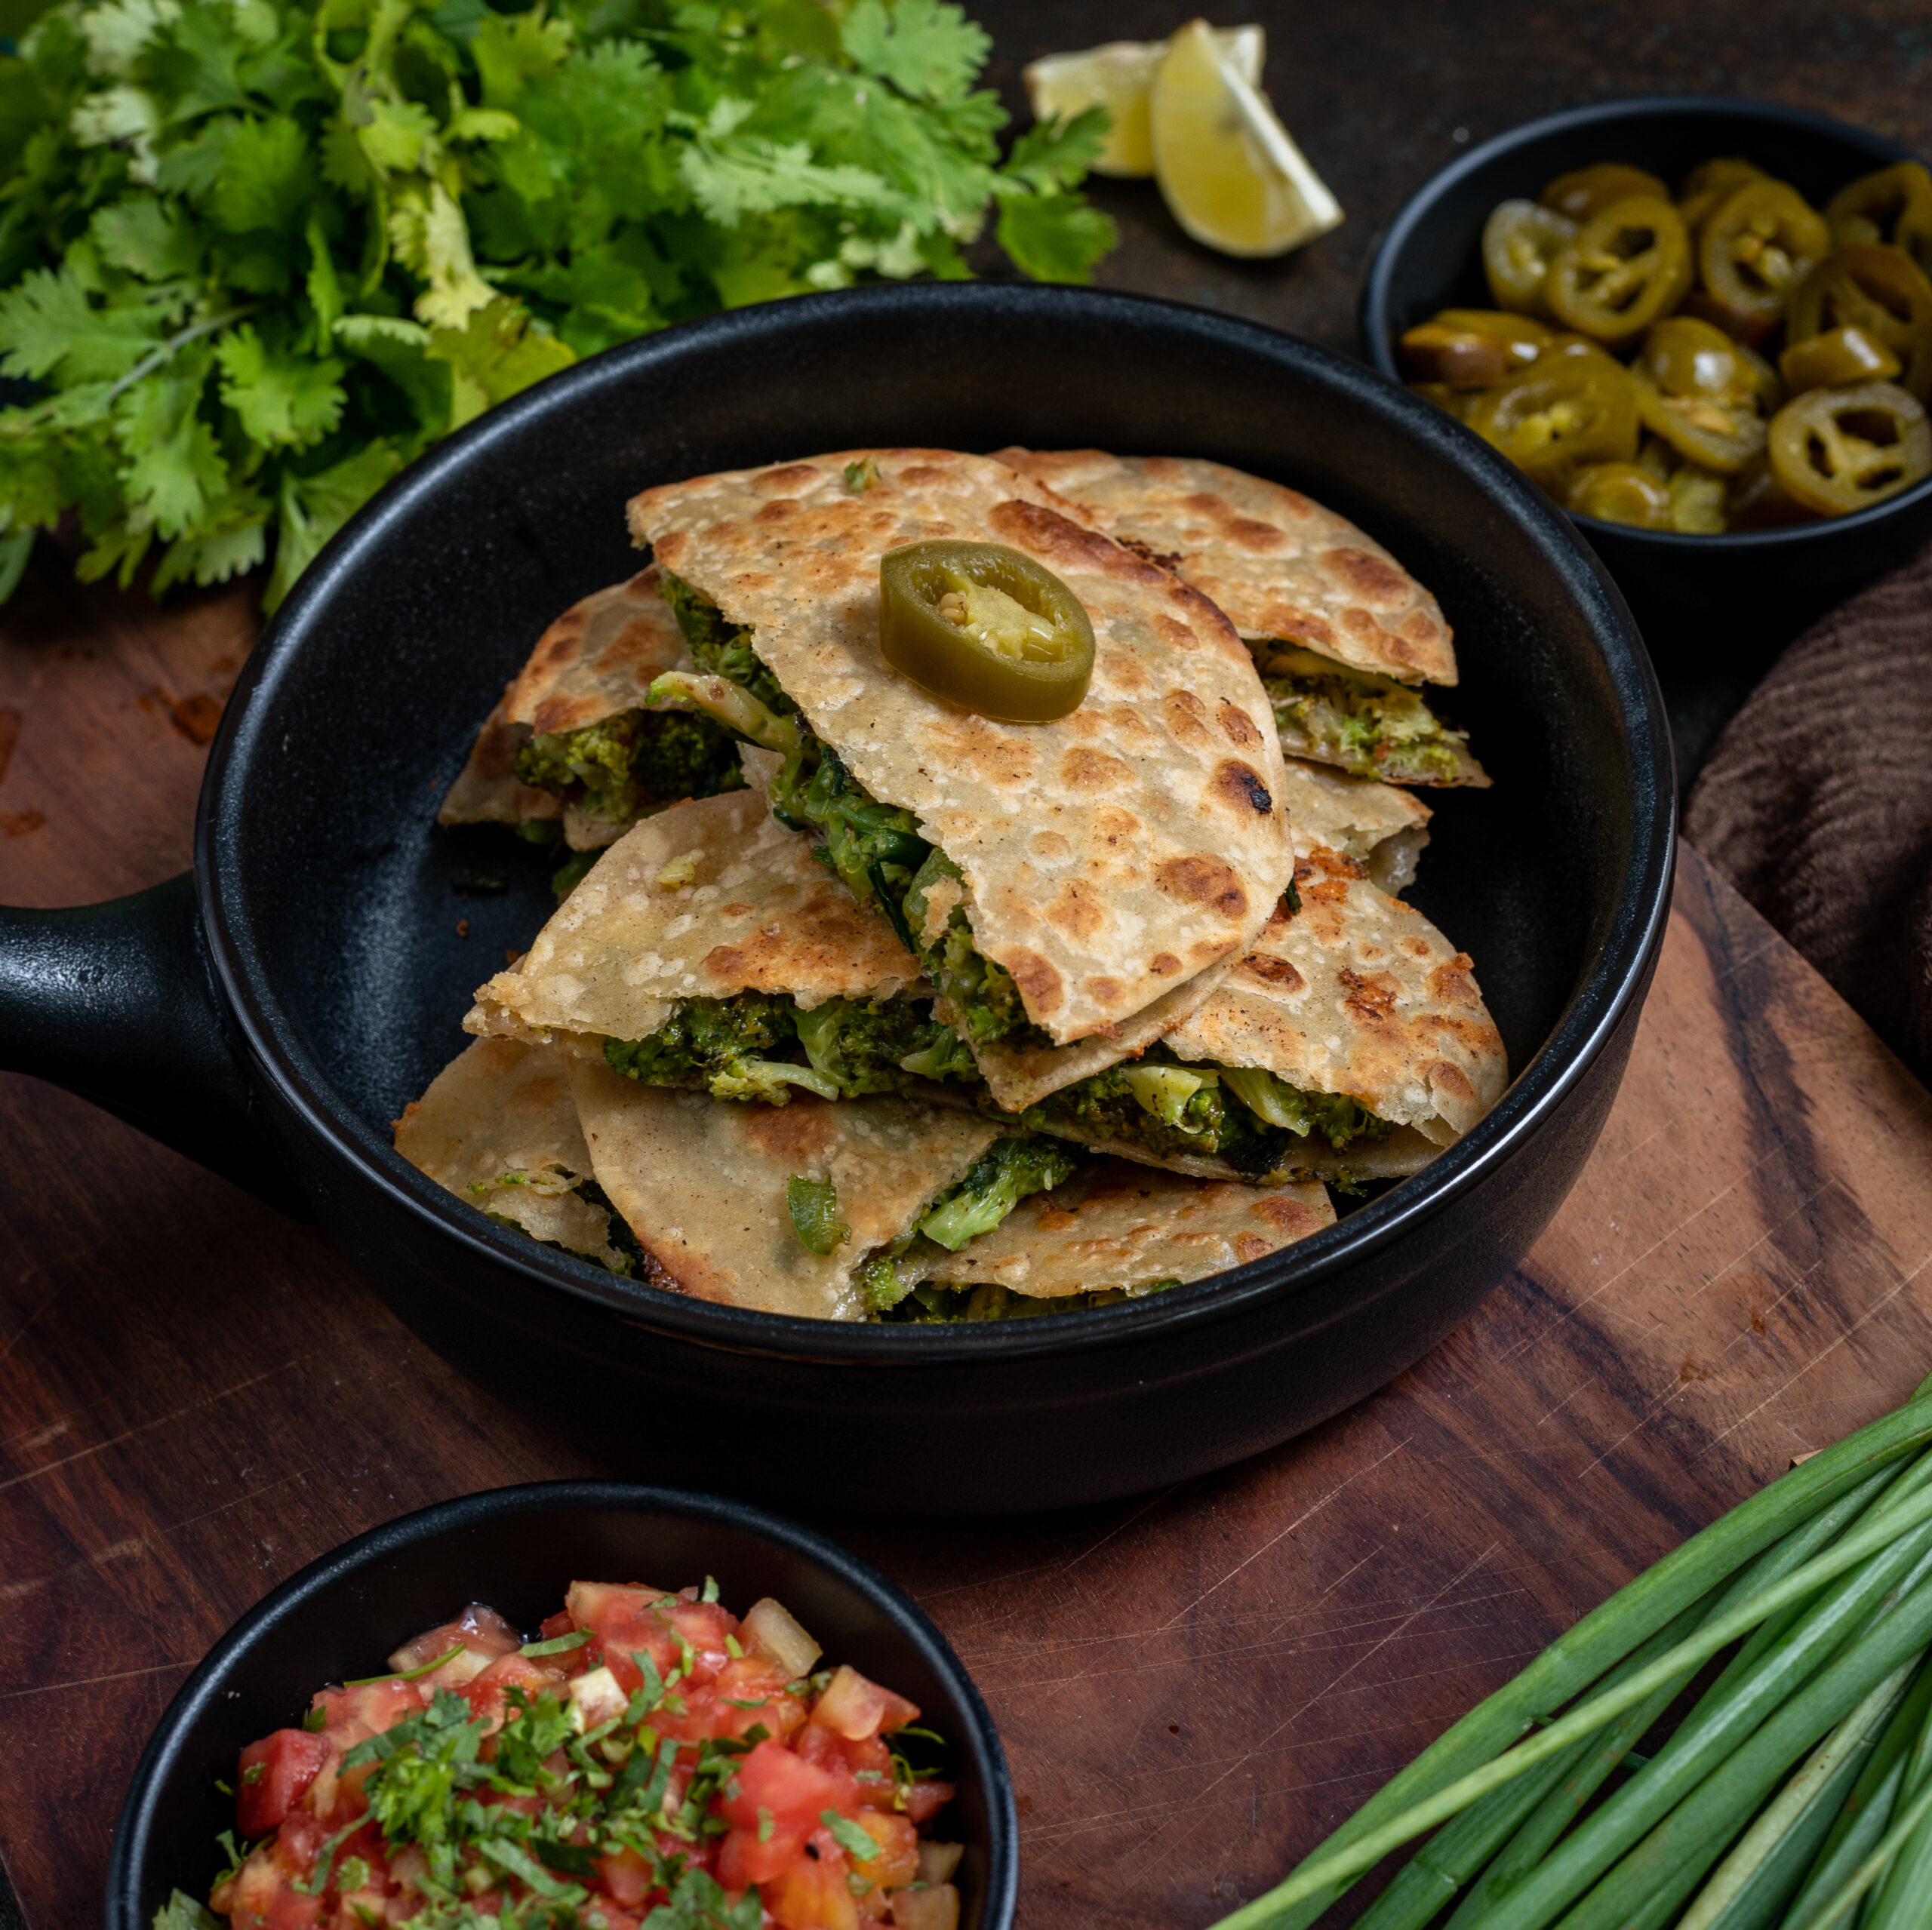
This green quesadilla makes for a filling dinner, or even a healthy snack. I flatten and slice it like a pizza, but you can also roll it up like a kati roll. Serving it in different ways will also keep your kids (or their grandmothers!) happy and enthusiastic. Isn’t it so interesting how our tastes when we are very young often have much in common with our tastes when we are very old? With that in mind, I’m delighted to share with you my recipe for a green quesadilla that is sure to satisfy several generations of your family!

Green Quesadilla

(Yield: 3 quesadillas)


Dough

¼ cup all purpose flour

¼ cup whole wheat flour

¼ cup water (or enough to make a tight dough)

Salt to taste

1 teaspoon oil


Filling

½ cup broccoli

¼ cup green bell pepper

¼ cup spring onions

2 teaspoons olive oil

Salt to taste

1 pinch pepper

½ cup grated cheese


Butter to cook


Make a tight and smooth dough using all of the dough ingredients and set aside. When it’s ready to be worked with, make six small balls of dough. Roll them out with the help of some flour. The method in my roti post may be useful here if you want to know how to do this.

Cook all six rolled-out rotis on both sides partially. Set them aside.

In a pan, add the oil. Once it has heated, add the vegetables. On a medium to high flame, stir the vegetables and cook them al dente. Add salt and pepper and mix well.

To assemble the quesadilla, place three rotis flat. Then, scoop the vegetables on top of them, making sure that most parts of the roti are covered. Now, sprinkle the grated cheese. Cover each of these prepared rotis with a plain one, sandwiching the veggies. Press down with your hands.

Add butter or oil on both sides of each quesadilla and cook on a hot griddle. Flip carefully. The cheese will hold the vegetables together, but be gentle anyway, else they will open up.

Cut them in half and serve. You may add jalapeños to the vegetable mix, or serve some alongside. As I said earlier, a soup makes a great accompaniment if you want to round it out into a full meal. A salsa or dip of your liking will also make it more delicious as a snack. You may want to adapt my peach salsa recipe, using complementary ingredients.

There you have it – a cheesy, nourishing dish that somehow blends the comfortingly familiar with the intriguingly foreign. Do you also make your own quesadilla-ish recipe, using the simple Indian roti, and how do you do it? I would love to know!

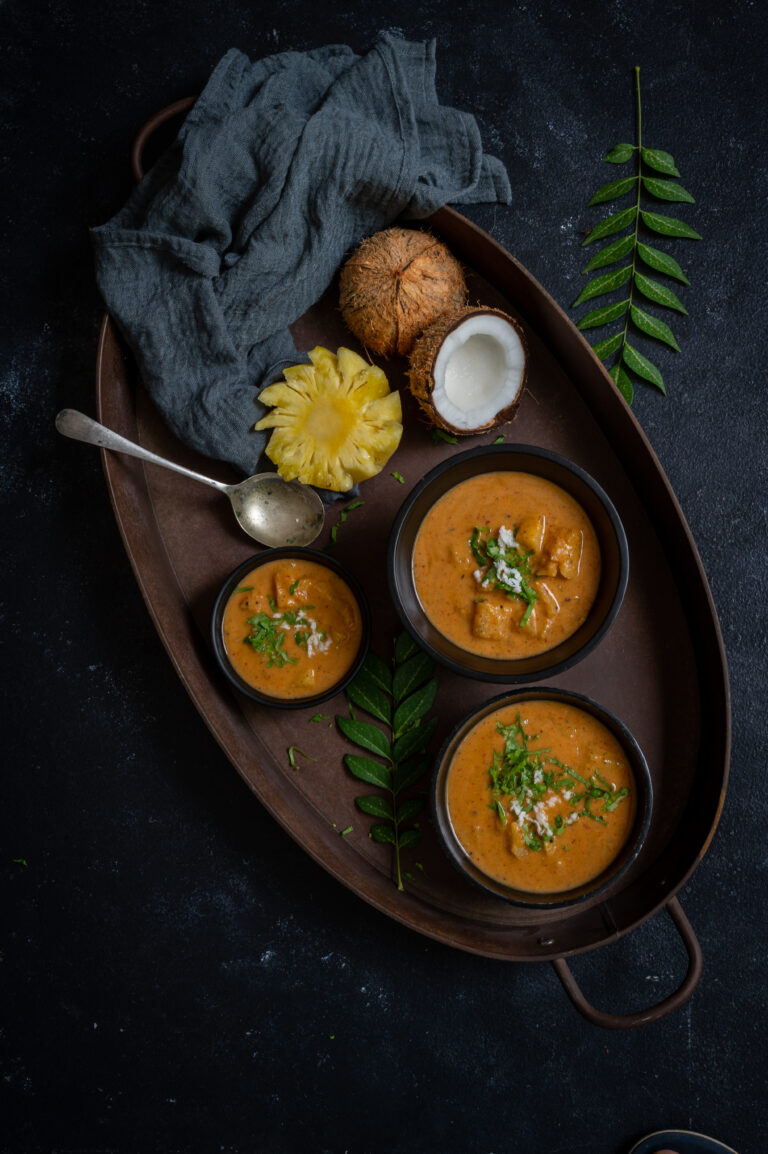
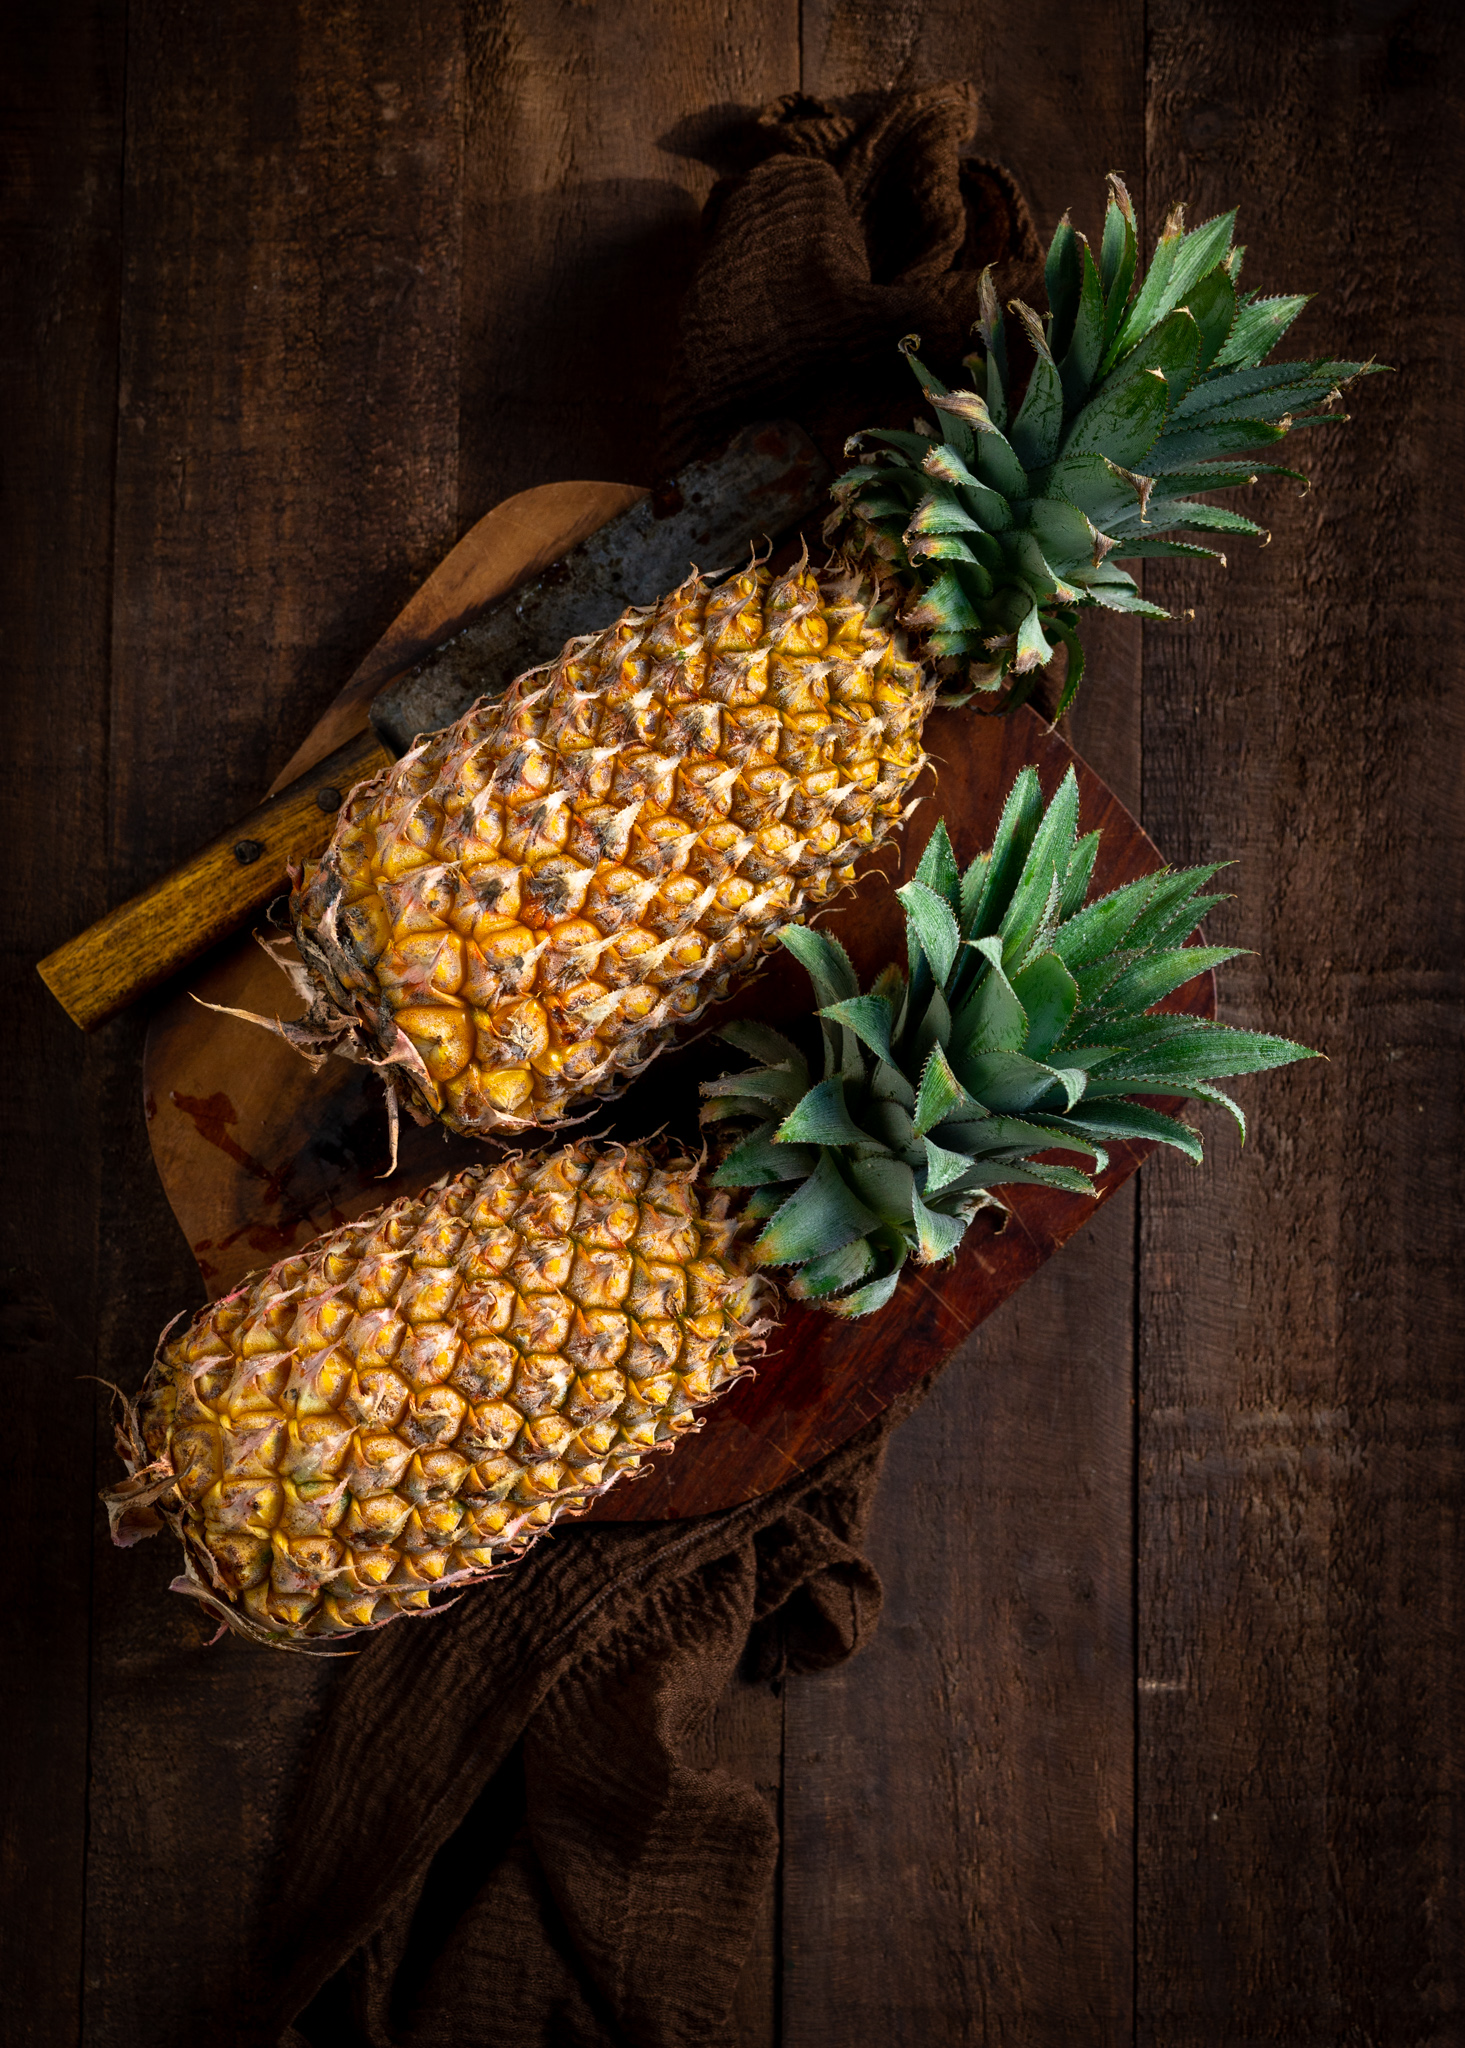
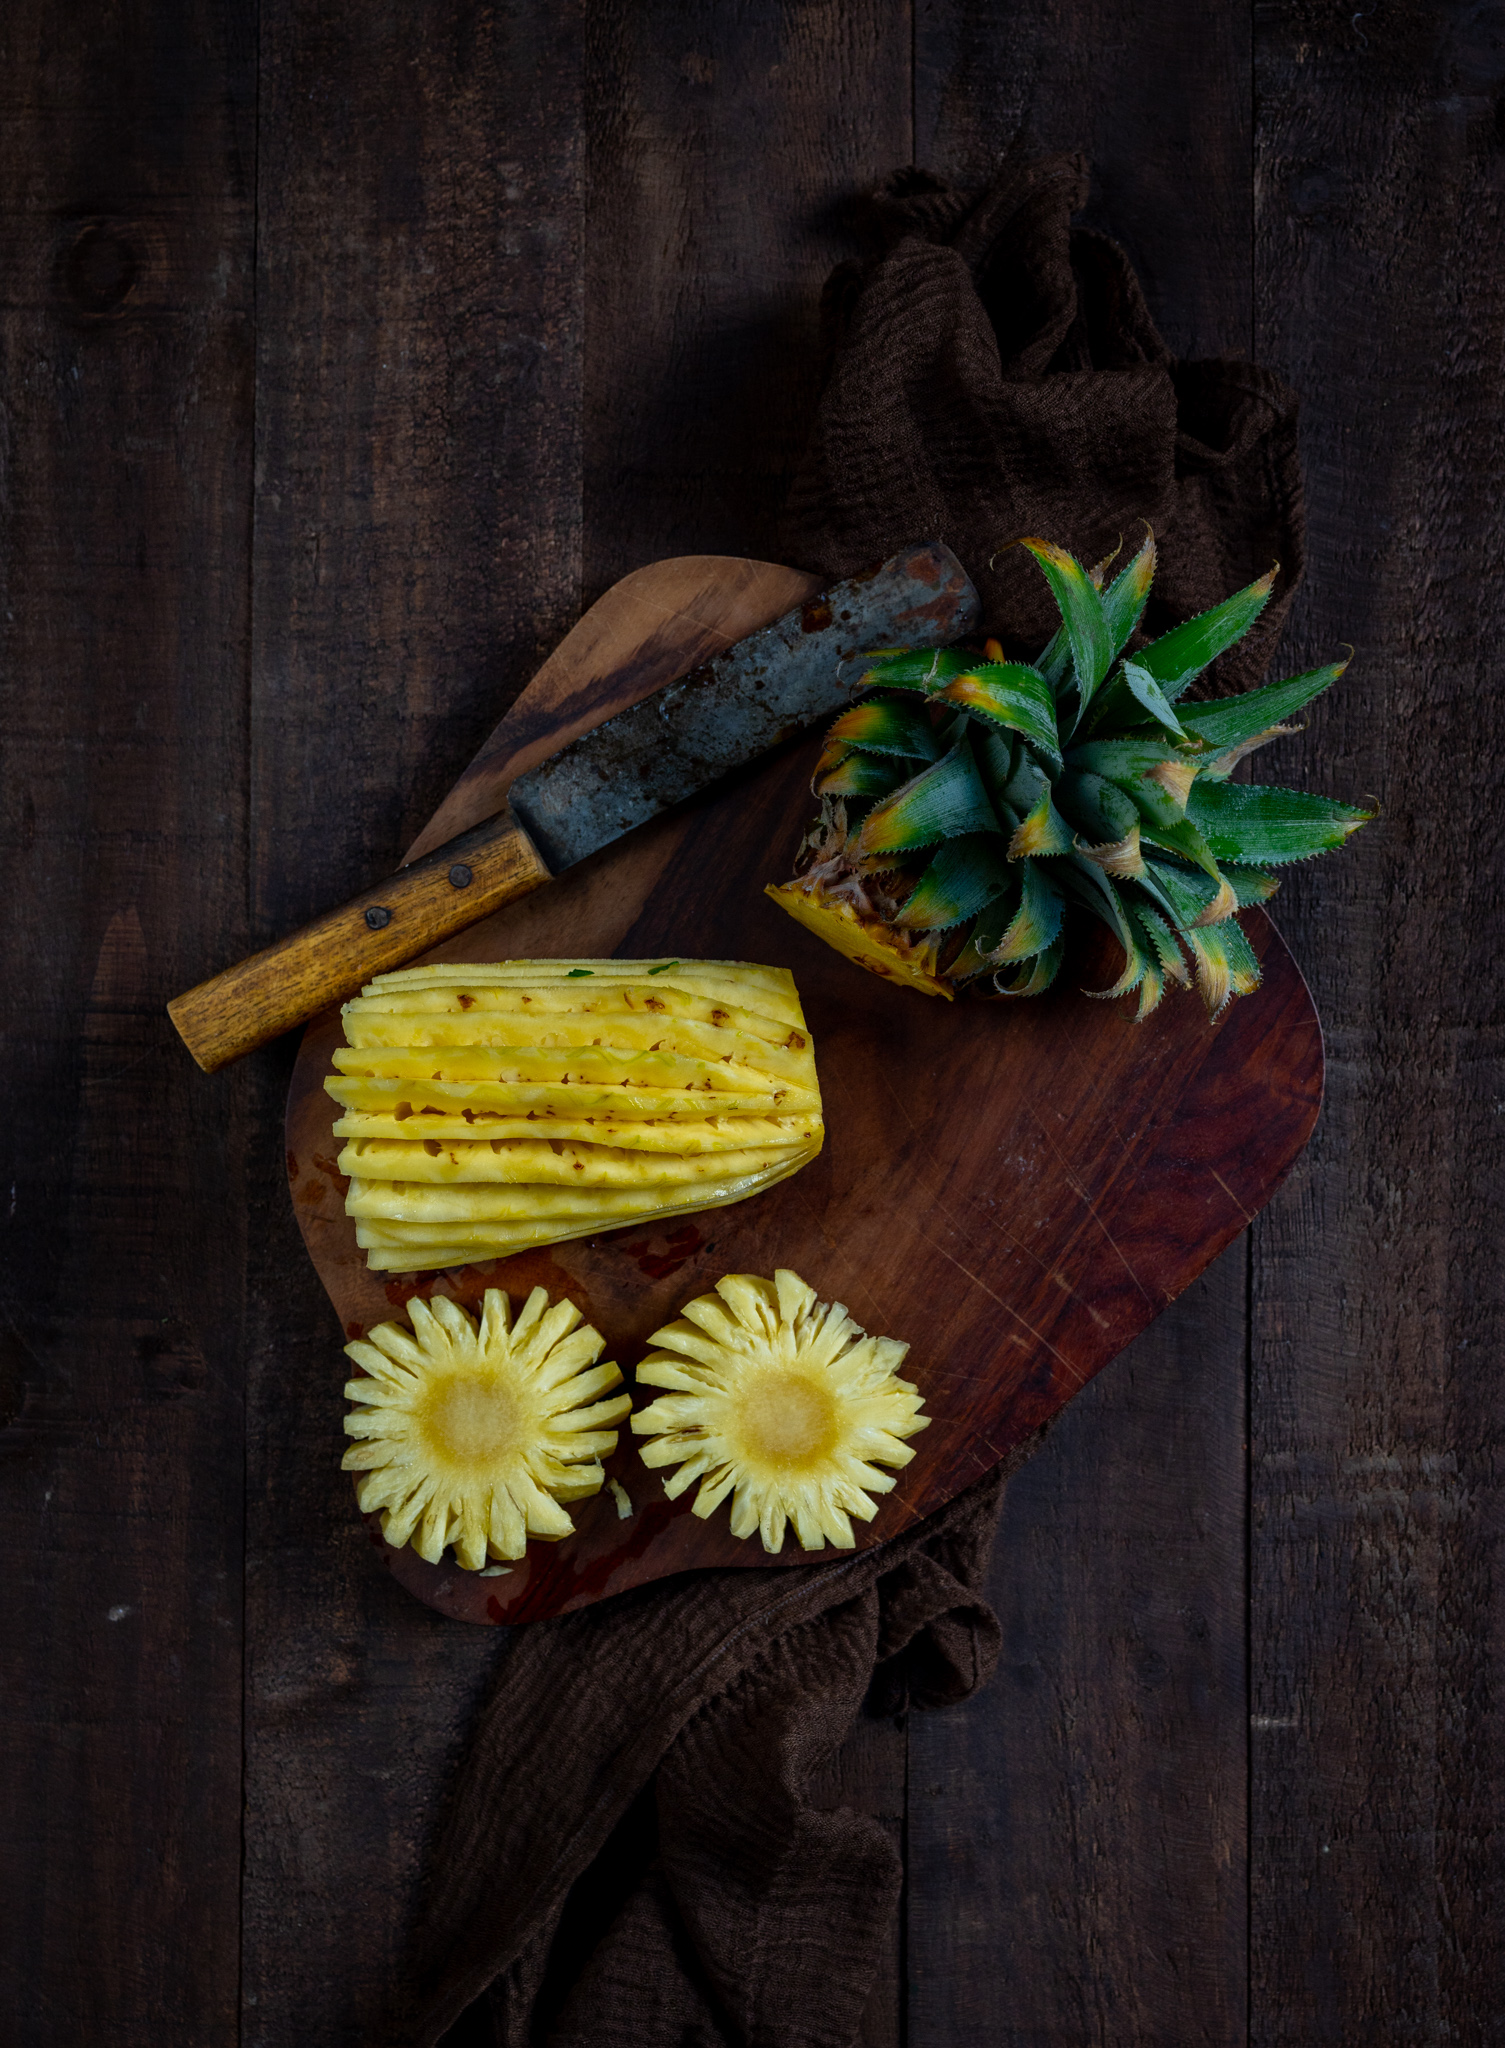
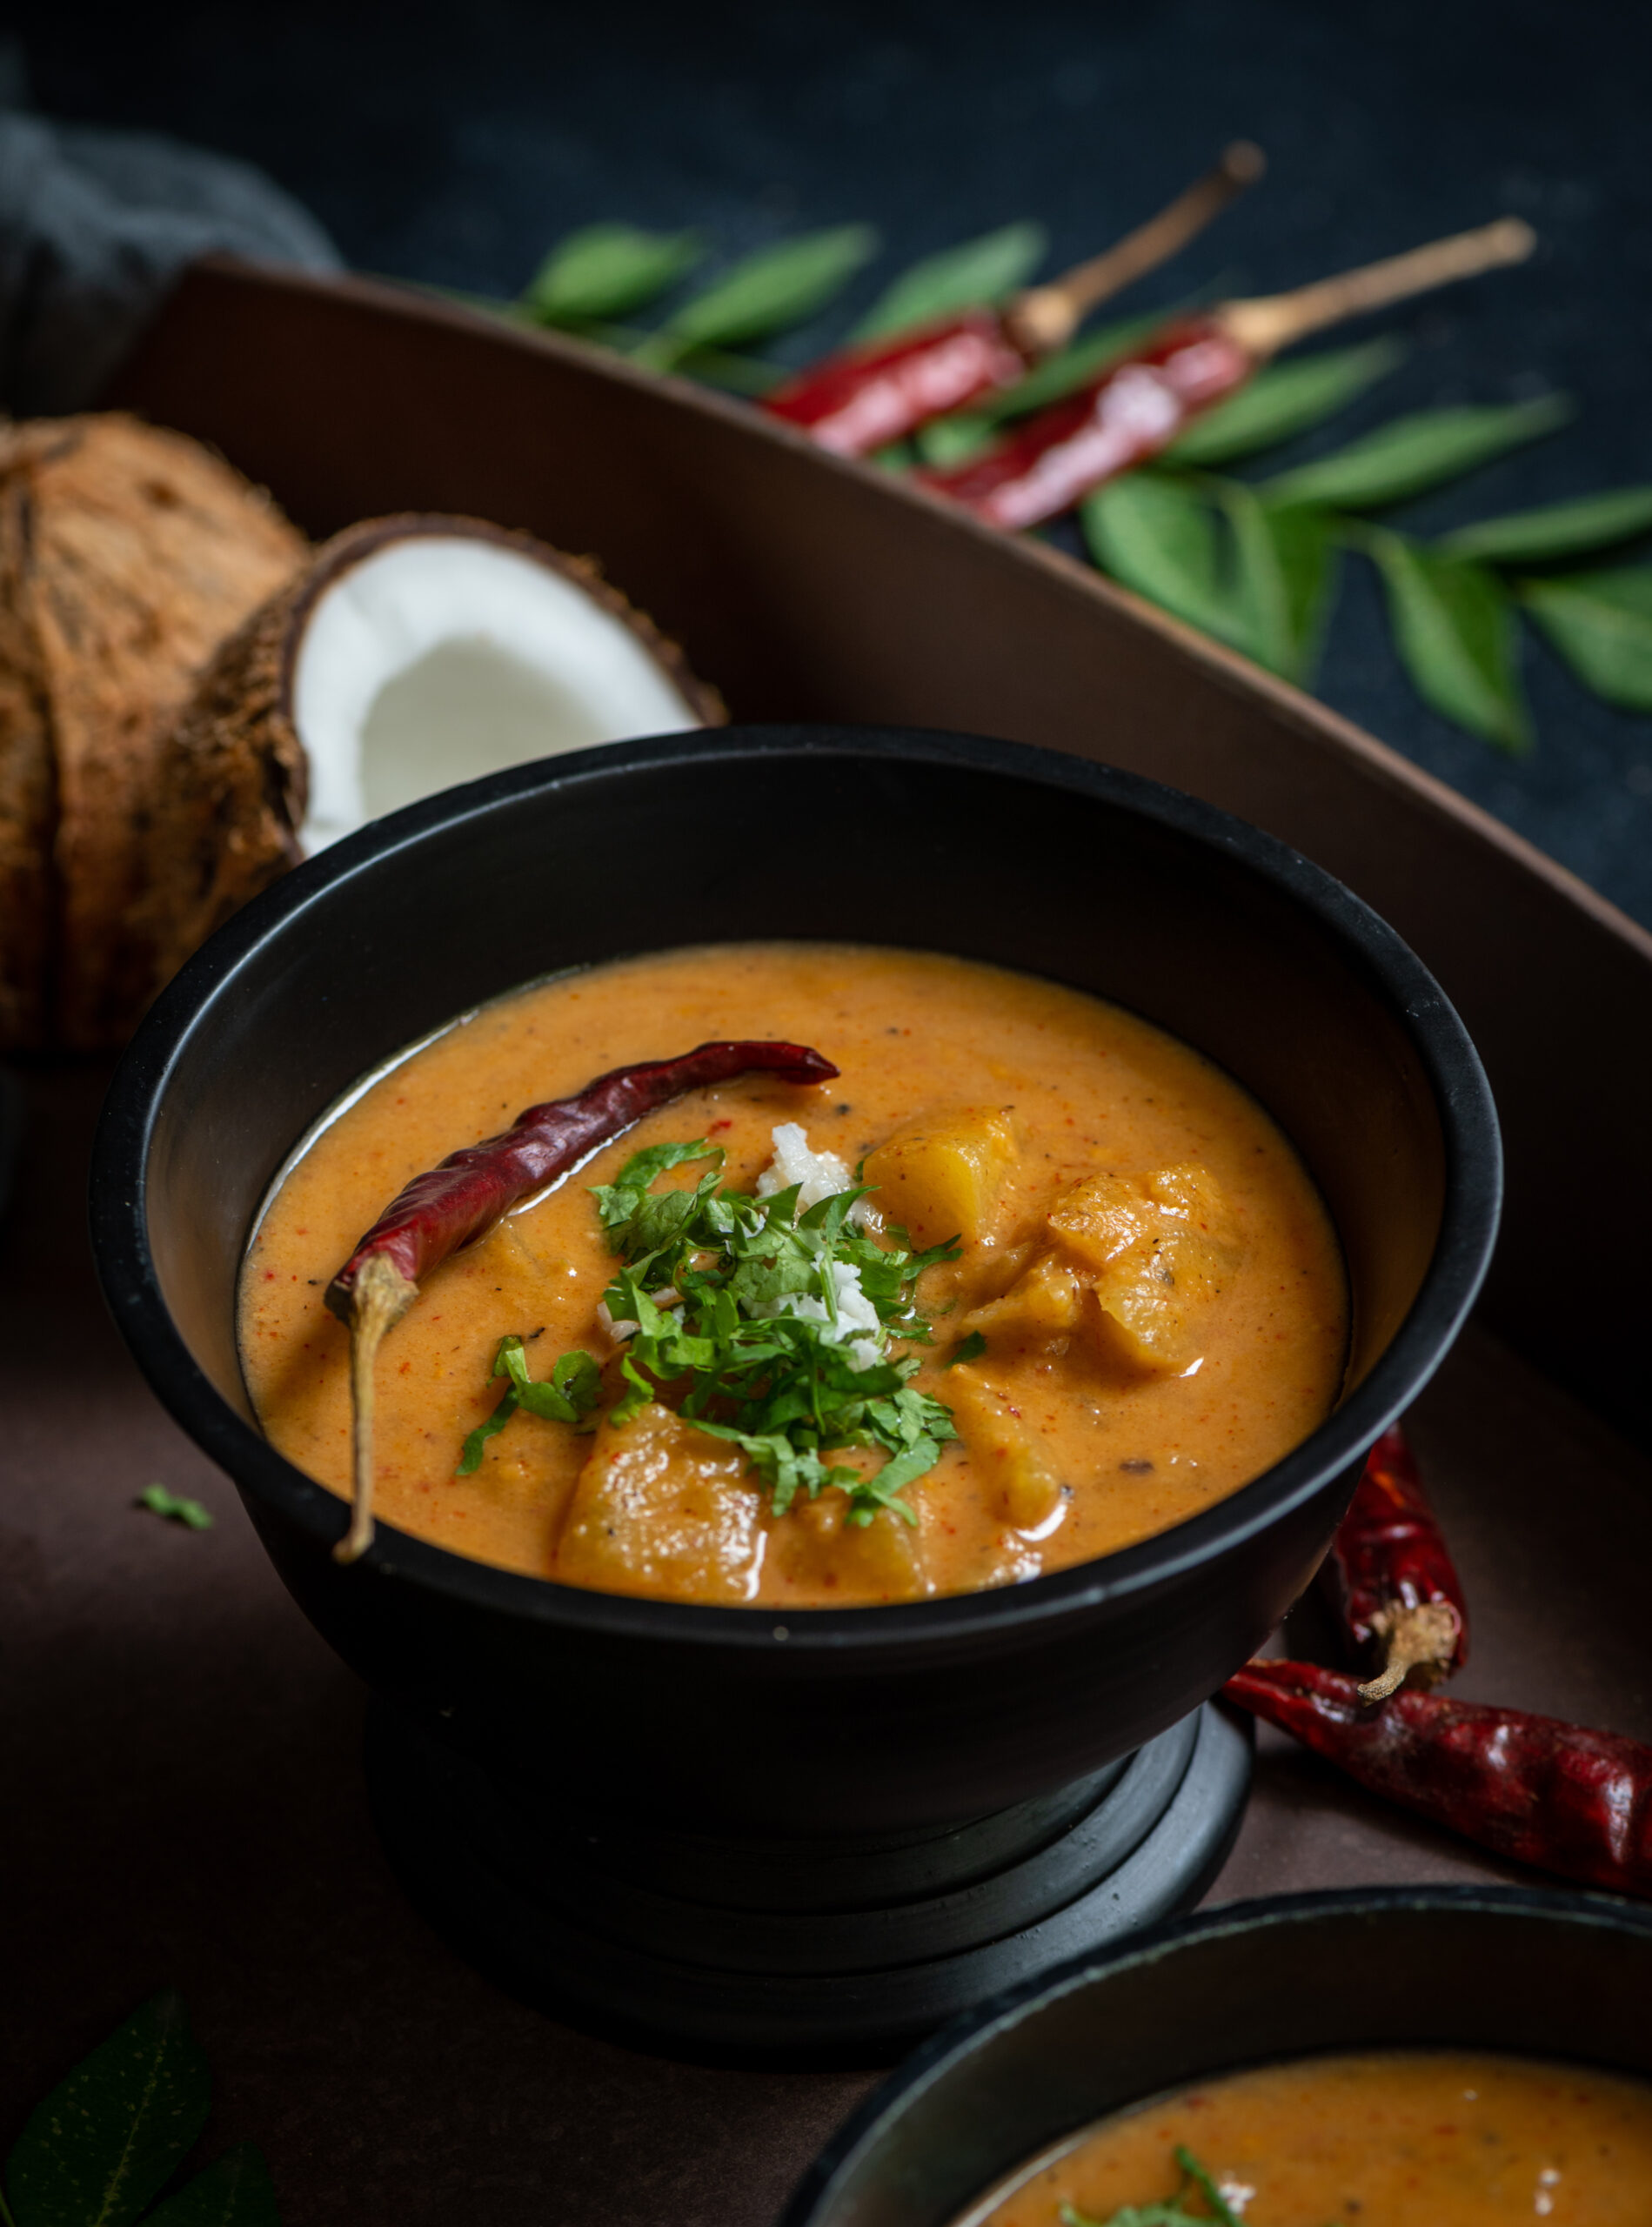
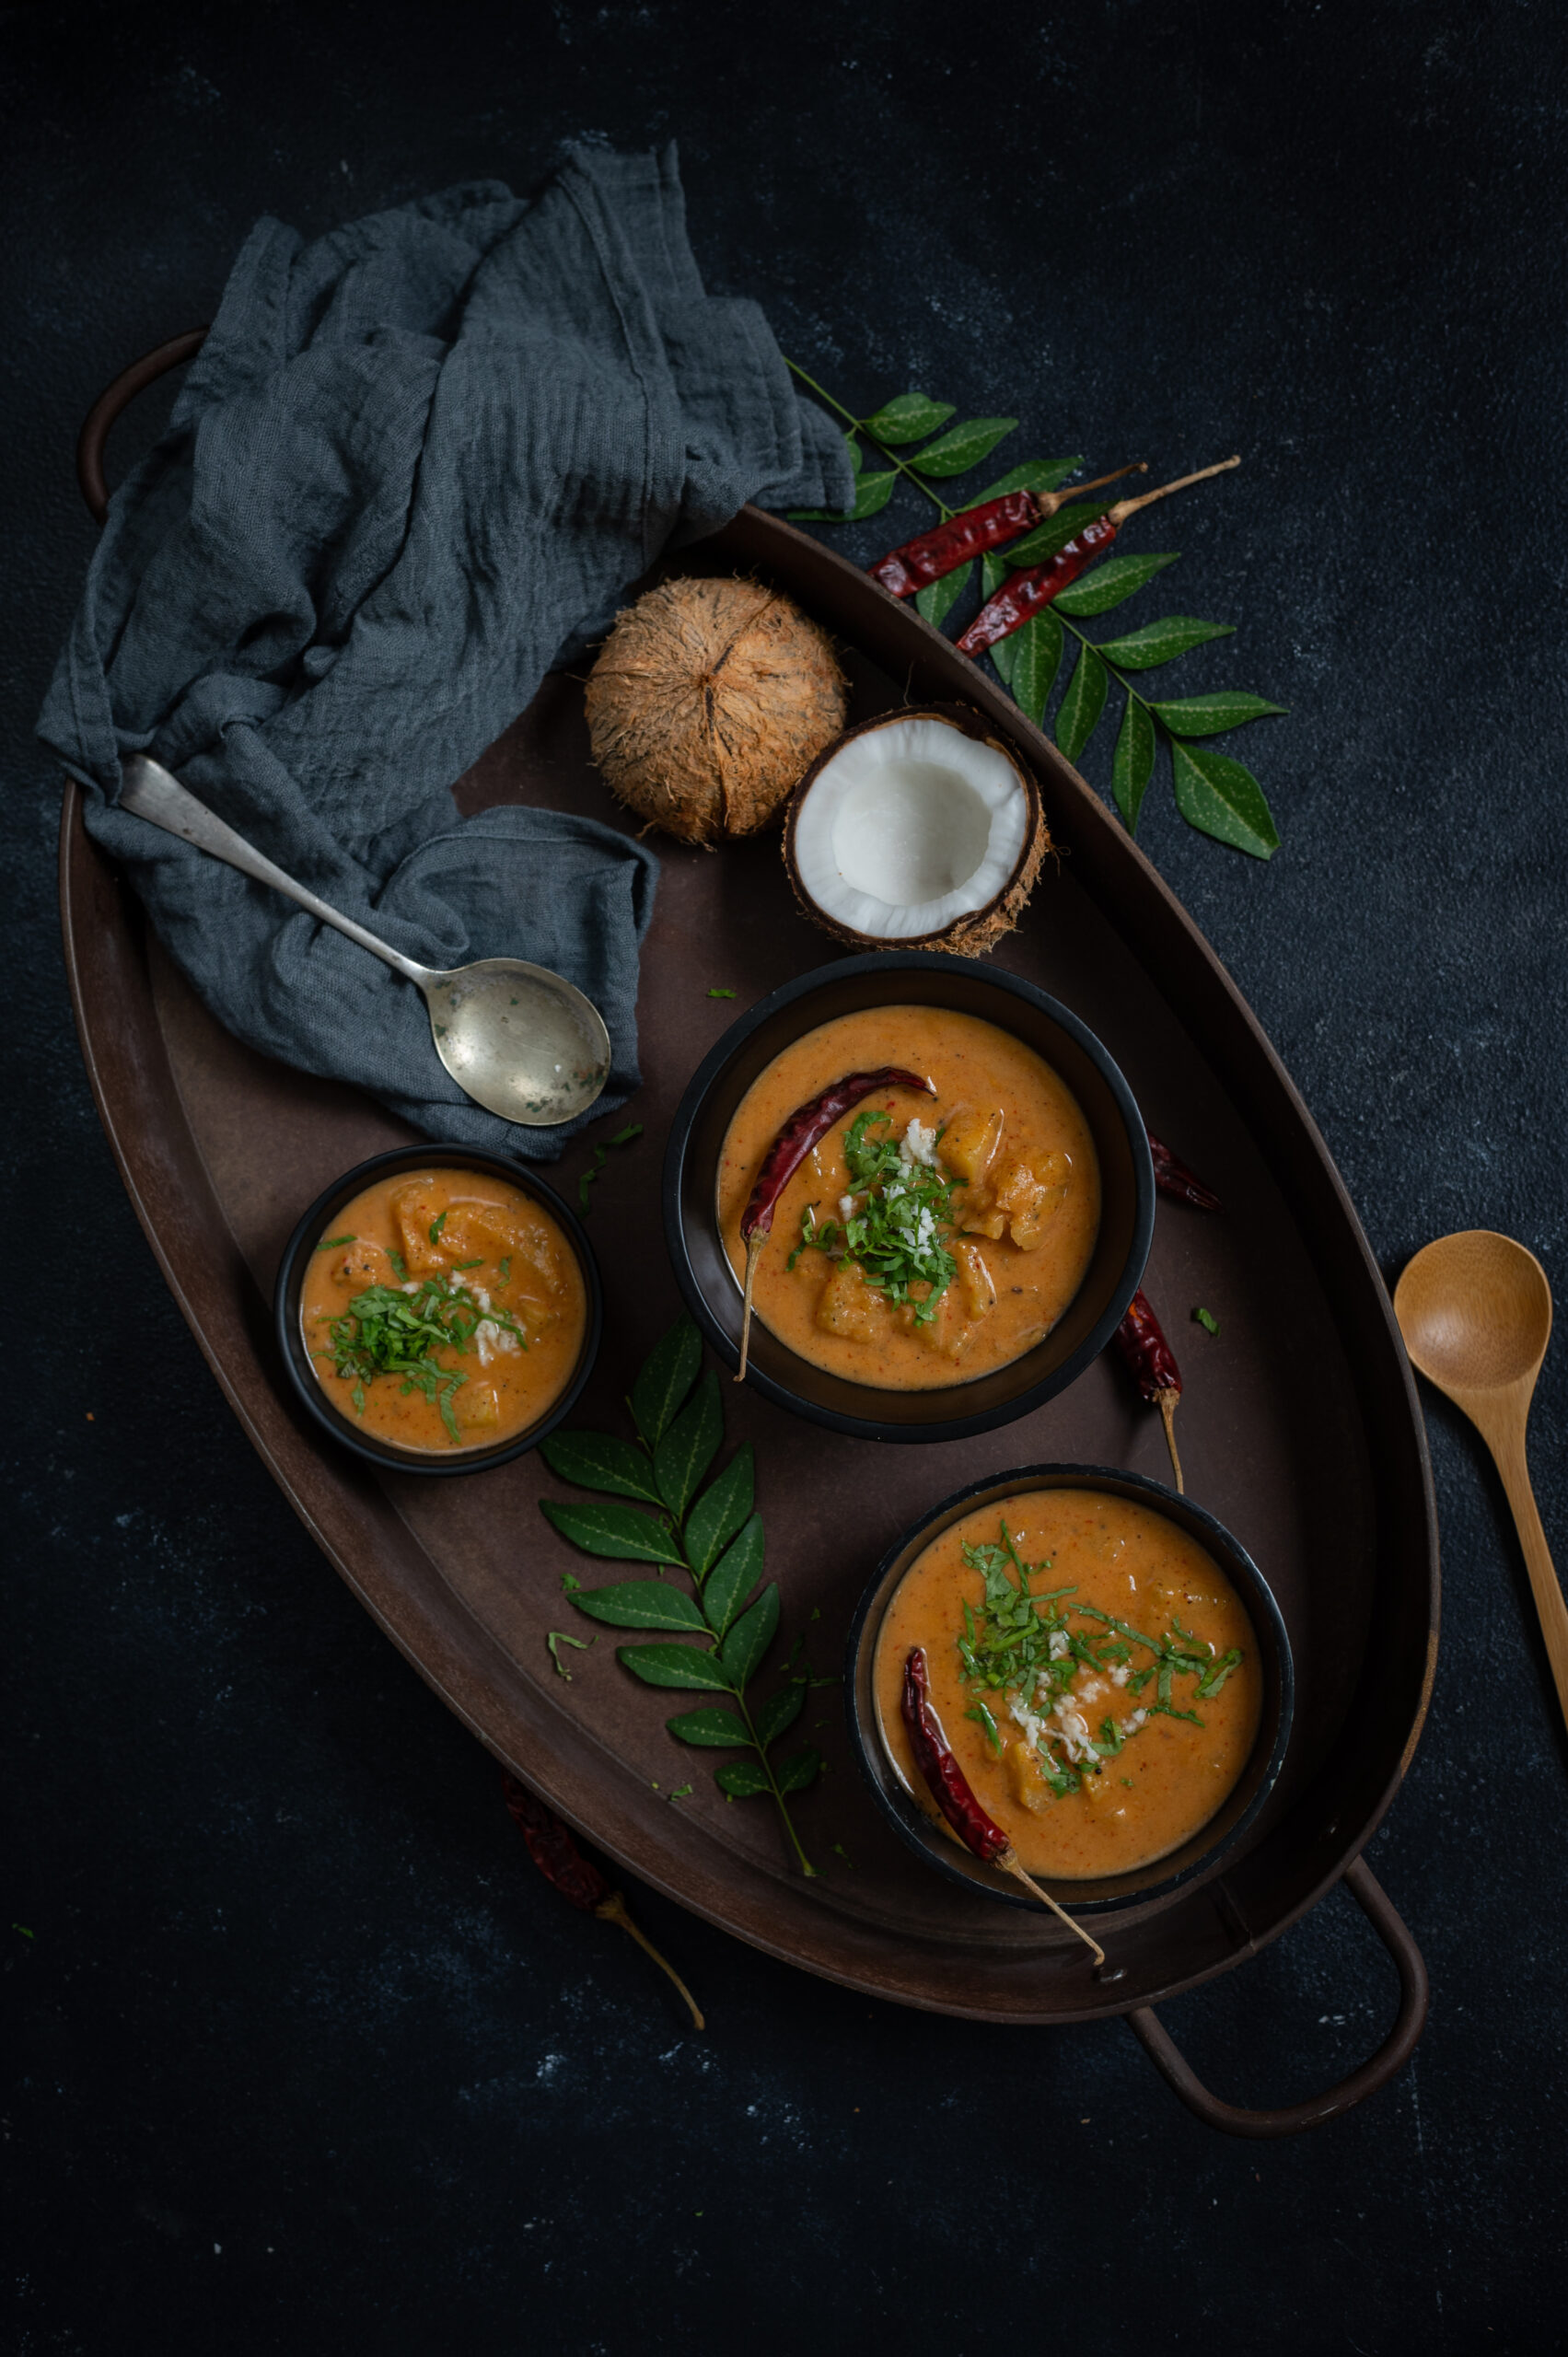
My pineapple craving only increased after my recent pineapple rice recipe, so I decided to go ahead and make another dish using that fabulous fruit. This pineapple curry has been a part of my repertoire for quite a while now. It is my own take on a pineapple curry, developed after many enquiries amongst friends over a long time. While asking around, I found that pineapple is used in a similar preparation, either in a curry or a rasam, by many communities in India. I always find it so heart-warming to discover that a cherished ingredient is enjoyed by so many. It’s amazing how versatile we ourselves are as cooks and consumers, imagining interesting ways to eat and continuously learning, even though it is the ingredients themselves that we usually consider versatile.

My earliest experiences with pineapple curry were at my dear friend Girija’s house when we were children. You may remember Girija from her exceptional stew recipe, and her pineapple curry one was also the base on which I built my own version, adding things that stood out to me from other friends’ versions. To this day, we have a tradition of exchanging recipes. She teaches me Malayali ones, while I teach her Gujarati ones (there’s a wide selection of the latter on this blog too). I then adapt the recipes to suit our palates at home. I’m sure most of us do the same whenever we pick up a new one, which is why I’m always curious to hear from you about how you’ve prepared the ones I share here.

This pineapple curry, with its natural hint of sweetness, is highly suitable for the notorious Gujarati sweet tooth. My husband absolutely loves it, and rest assured that there are never any leftovers on days when I make it at home. He polishes off the pan to the extent that I often have to remind him to leave some for me. That’s exactly what happened after my photo shoot for this post!

What makes this curry even sweeter is my addition of coconut milk or grated coconut. Funnily, this ingredient that appears so often in Kerala cuisine doesn’t play a part in Girija’s recipe, but it does in mine. I find that as a tropical fruit, pineapple is well-complemented by coconut, which is another form of tropical produce. At the moment, the coconut trees in my backyard have yielded a bounty. I have a profusion of fresh coconut milk at home as a result, and alongside the sweet seasonal pineapple, this recipe came together beautifully. That reminds me – have you checked out the coconut series from a few months ago, and tried out my coconut podi and coconut pudding recipes too?

On the note of continuing to learn about all things food-related – in my previous post, I had mentioned that my son has been experimentally growing miniature pineapples. I was a bit surprised when I started seeing these at the florist too. Baby pineapples (a hybrid, I suspect), so adorably nestled amidst blooms and leaves of all kinds. I found them so eye-catching, and I wondered how this decorative usage came into being. Would you happen to know?

Pineapple Curry

(Serves 2-4)

½ cup grated fresh coconut

3 dry red chillies

2 tablespoons urad dal

3 tablespoons tamarind paste

1½ cups pineapple chunks

2 tablespoons sesame oil

¼ teaspoon mustard seeds

A few curry leaves

1 cup hot water

1 cup coconut milk

Salt to taste

1 tablespoon jaggery

In a pan, dry roast each of these ingredients separately, until each is toasted: the coconut, the urad dal and the dry red chillies. While they are still hot, blend them together, along with the tamarind paste. Set aside.

In another kadai, add oil. Once it’s hot, add the mustard seeds. Allow to splutter and then add the curry leaves.

Add the pineapple chunks. Cover and allow to cook until tender.

Next, add the masala prepared earlier and the hot water. Adjust the quantity of water based on the consistency of gravy you prefer, but ensure that it is already warm or hot. Add salt and jaggery (which you can replace with brown sugar) and allow to cook until thick.Finally, add the coconut milk. You can avoid this ingredient if you aren’t a fan of it. Stir and set aside until ready to serve.

As I’ve said in almost every post on Indian food, Indians love flavour combinations in their meals, and sometimes even within a single dish. This dish also offers a wide range, from sweet to spicy. As you can see from the method above, this medley of flavours is quite simple to whip up.

The best partner for this pineapple curry would be plain rice, hot and right out of the pot, with a dollop of ghee. This really does make for the perfect meal. You can also have it with rotis.

I’ve been relishing pineapple so much at the moment that I’ve decided to make this a three-part series. So there’s one more dish coming up next weekend so that you can get even more out of this delicious fruit. In the meanwhile, if you are a fan of fruit in curry, you may also enjoy this lovely guava preparation. As I said earlier, as I say often: I’d love to know how you make it!