Tag

vegan

Browsing

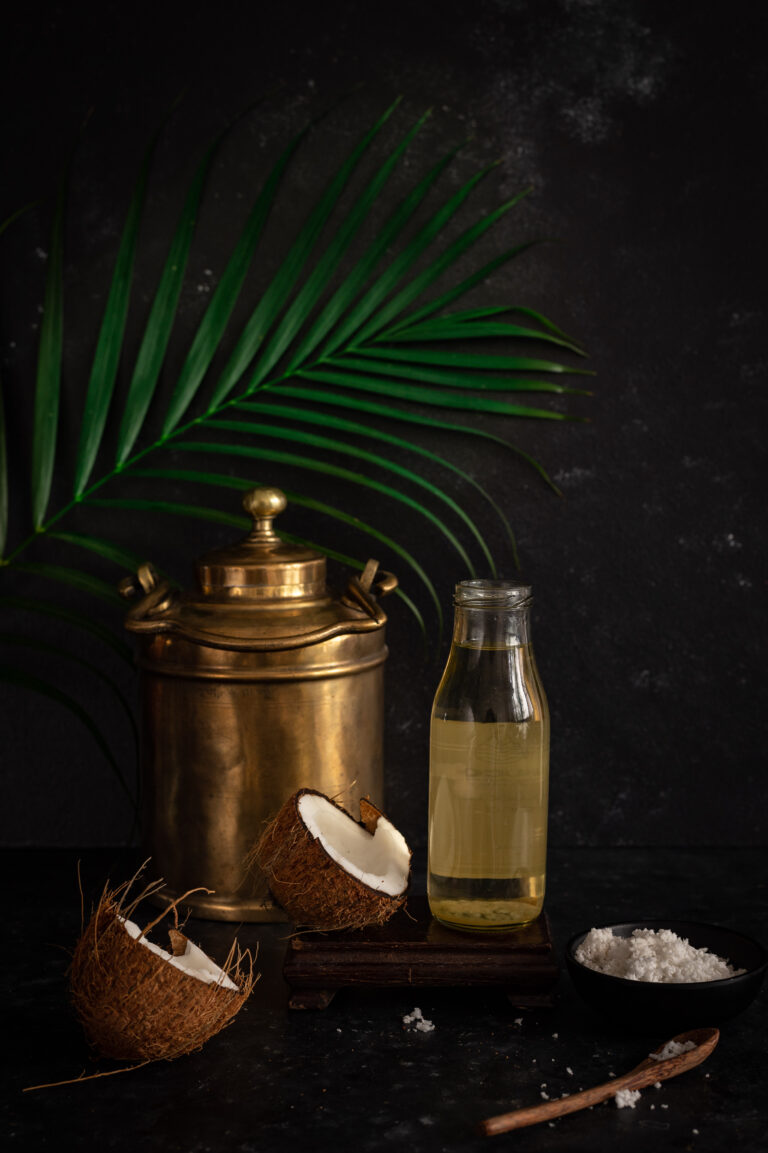
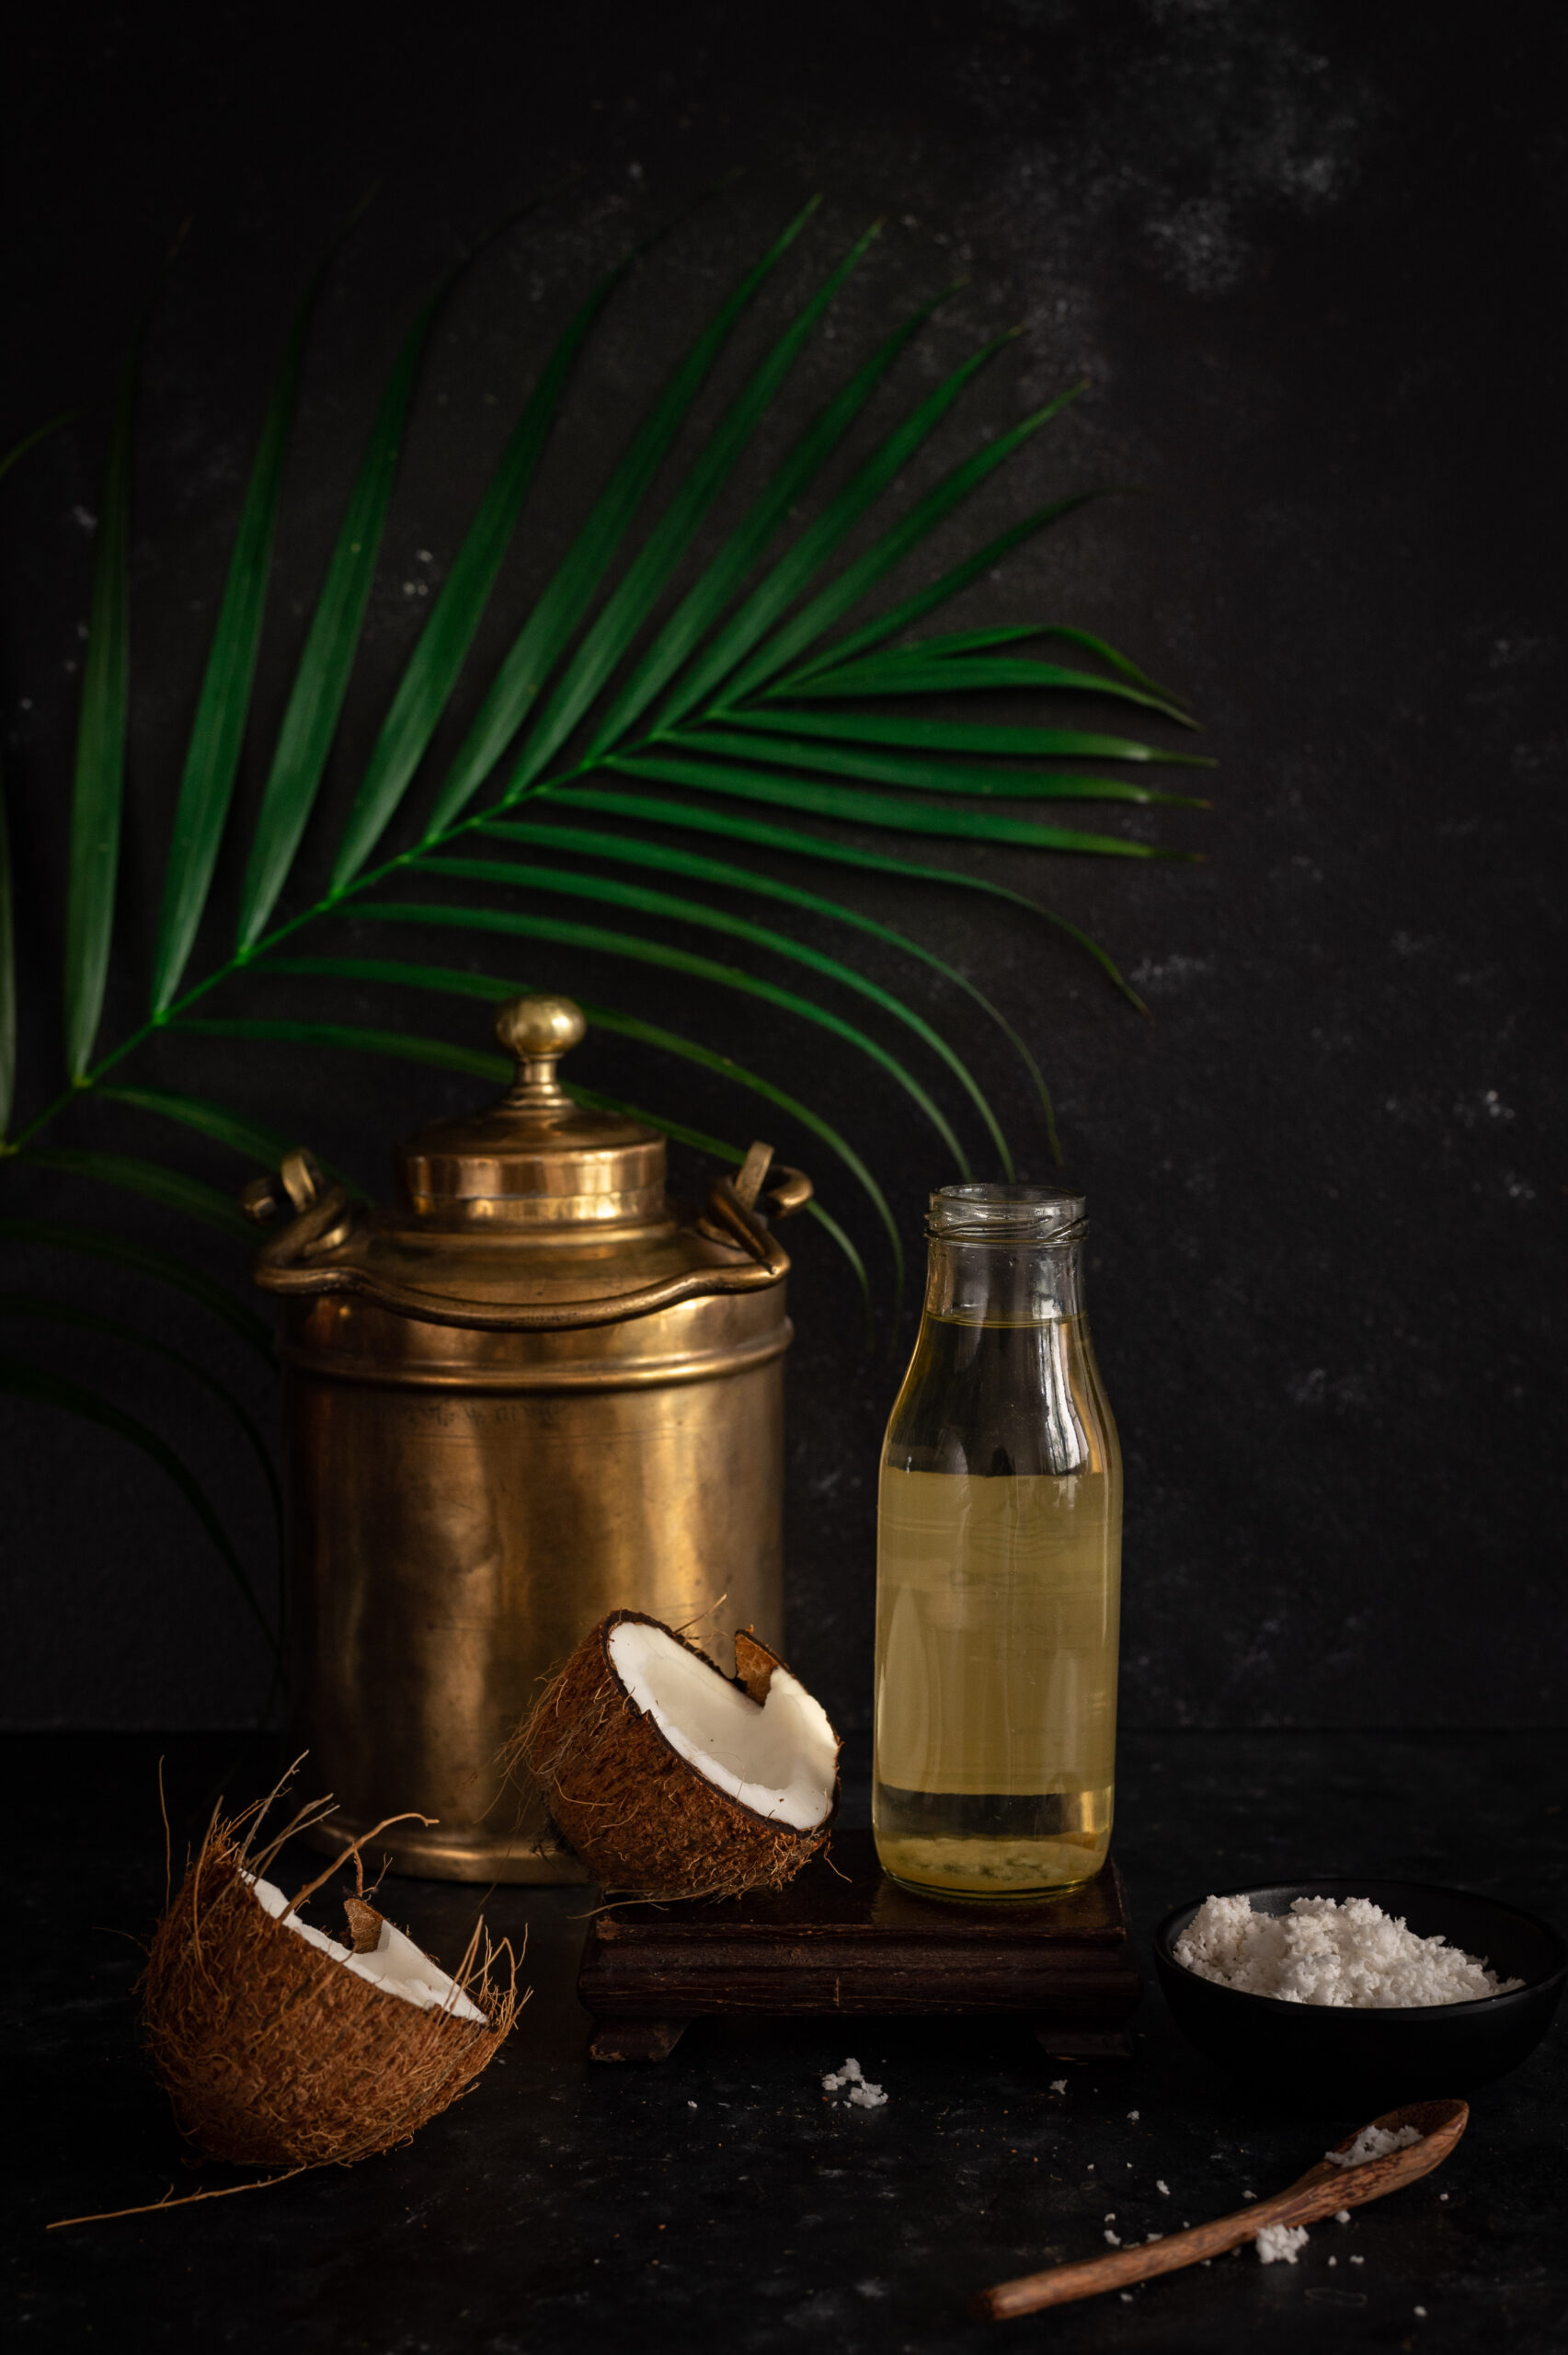
The coconut series continues with something a little different this time: coconut oil! Yes, the oil that most of us are used to purchasing can indeed be made not just at home, but even in a city like Chennai, as long as you have coconut trees around. With about a dozen coconut trees at home, and a reliable coconut harvester who was willing to visit, I collected a big batch of coconuts and embarked on my next adventure.

I’m going through a phase where I feel like I want to learn everything there is to know about food and cooking. Nowadays, when I hear about someone making a special jam or baking a new kind of cake, I experience FOMO (“fear of missing out”). Maybe this comes from having been very naughty as a child, and never focusing on my studies then – at least, that’s what I jokingly say to my kids each time they’re surprised to hear that I’ve taken up a new course or have signed up for some workshop. But I believe in challenging myself and growing. I want to be more self-reliant, and discover new things. Even though it’s impossible to truly learn, let alone master, every single possible recipe or method out there, I feel an urge to try. So when my friend Sujata told me that she had successfully made her own coconut oil, I immediately went, “OMG, I want to do this too!” My motivation was perfectly-timed, as the trees were ripe for harvest just then.

Coconut oil is only one of the many ways that the different parts of the bountiful coconut tree can be used. As I create this series for the blog, I’ve been reflecting on the versatility of the tree in its entirety, even though I’m personally only using its fruits. For instance, I recall how when I was growing up, there was a lady who would come home sometimes, take a knife, sit outside with some coconut tree fronds and use a knife to craft a broom (“thodapam” in Tamil) whenever a new one was needed. I’d watched this process many times over the years. Wherever the tree grows, the shells are used as utensils and even as a charcoal replacement, the husks to fashion ropes out of, the leaves in weaving and thatching, the flowers in herbal medicine, and so on. The edible flesh and water aren’t the only good things to come from this amazing tree.

What follows is more of a method than a recipe as such, and what is produced as a result will be a beautiful and versatile ingredient that you can use in everything from food to beauty essentials. Coconut oil is a staple in South India, used for everything from improving hair health to daily frying needs. It’s also something that has attracted the attention of beauty and health enthusiasts internationally. The latest trend I’ve read about is to have a spoonful of pure coconut oil in the mornings, as this is said to be good for the brain. What I will do in this post is walk you through my own process of preparing coconut oil, and my learnings from the same.
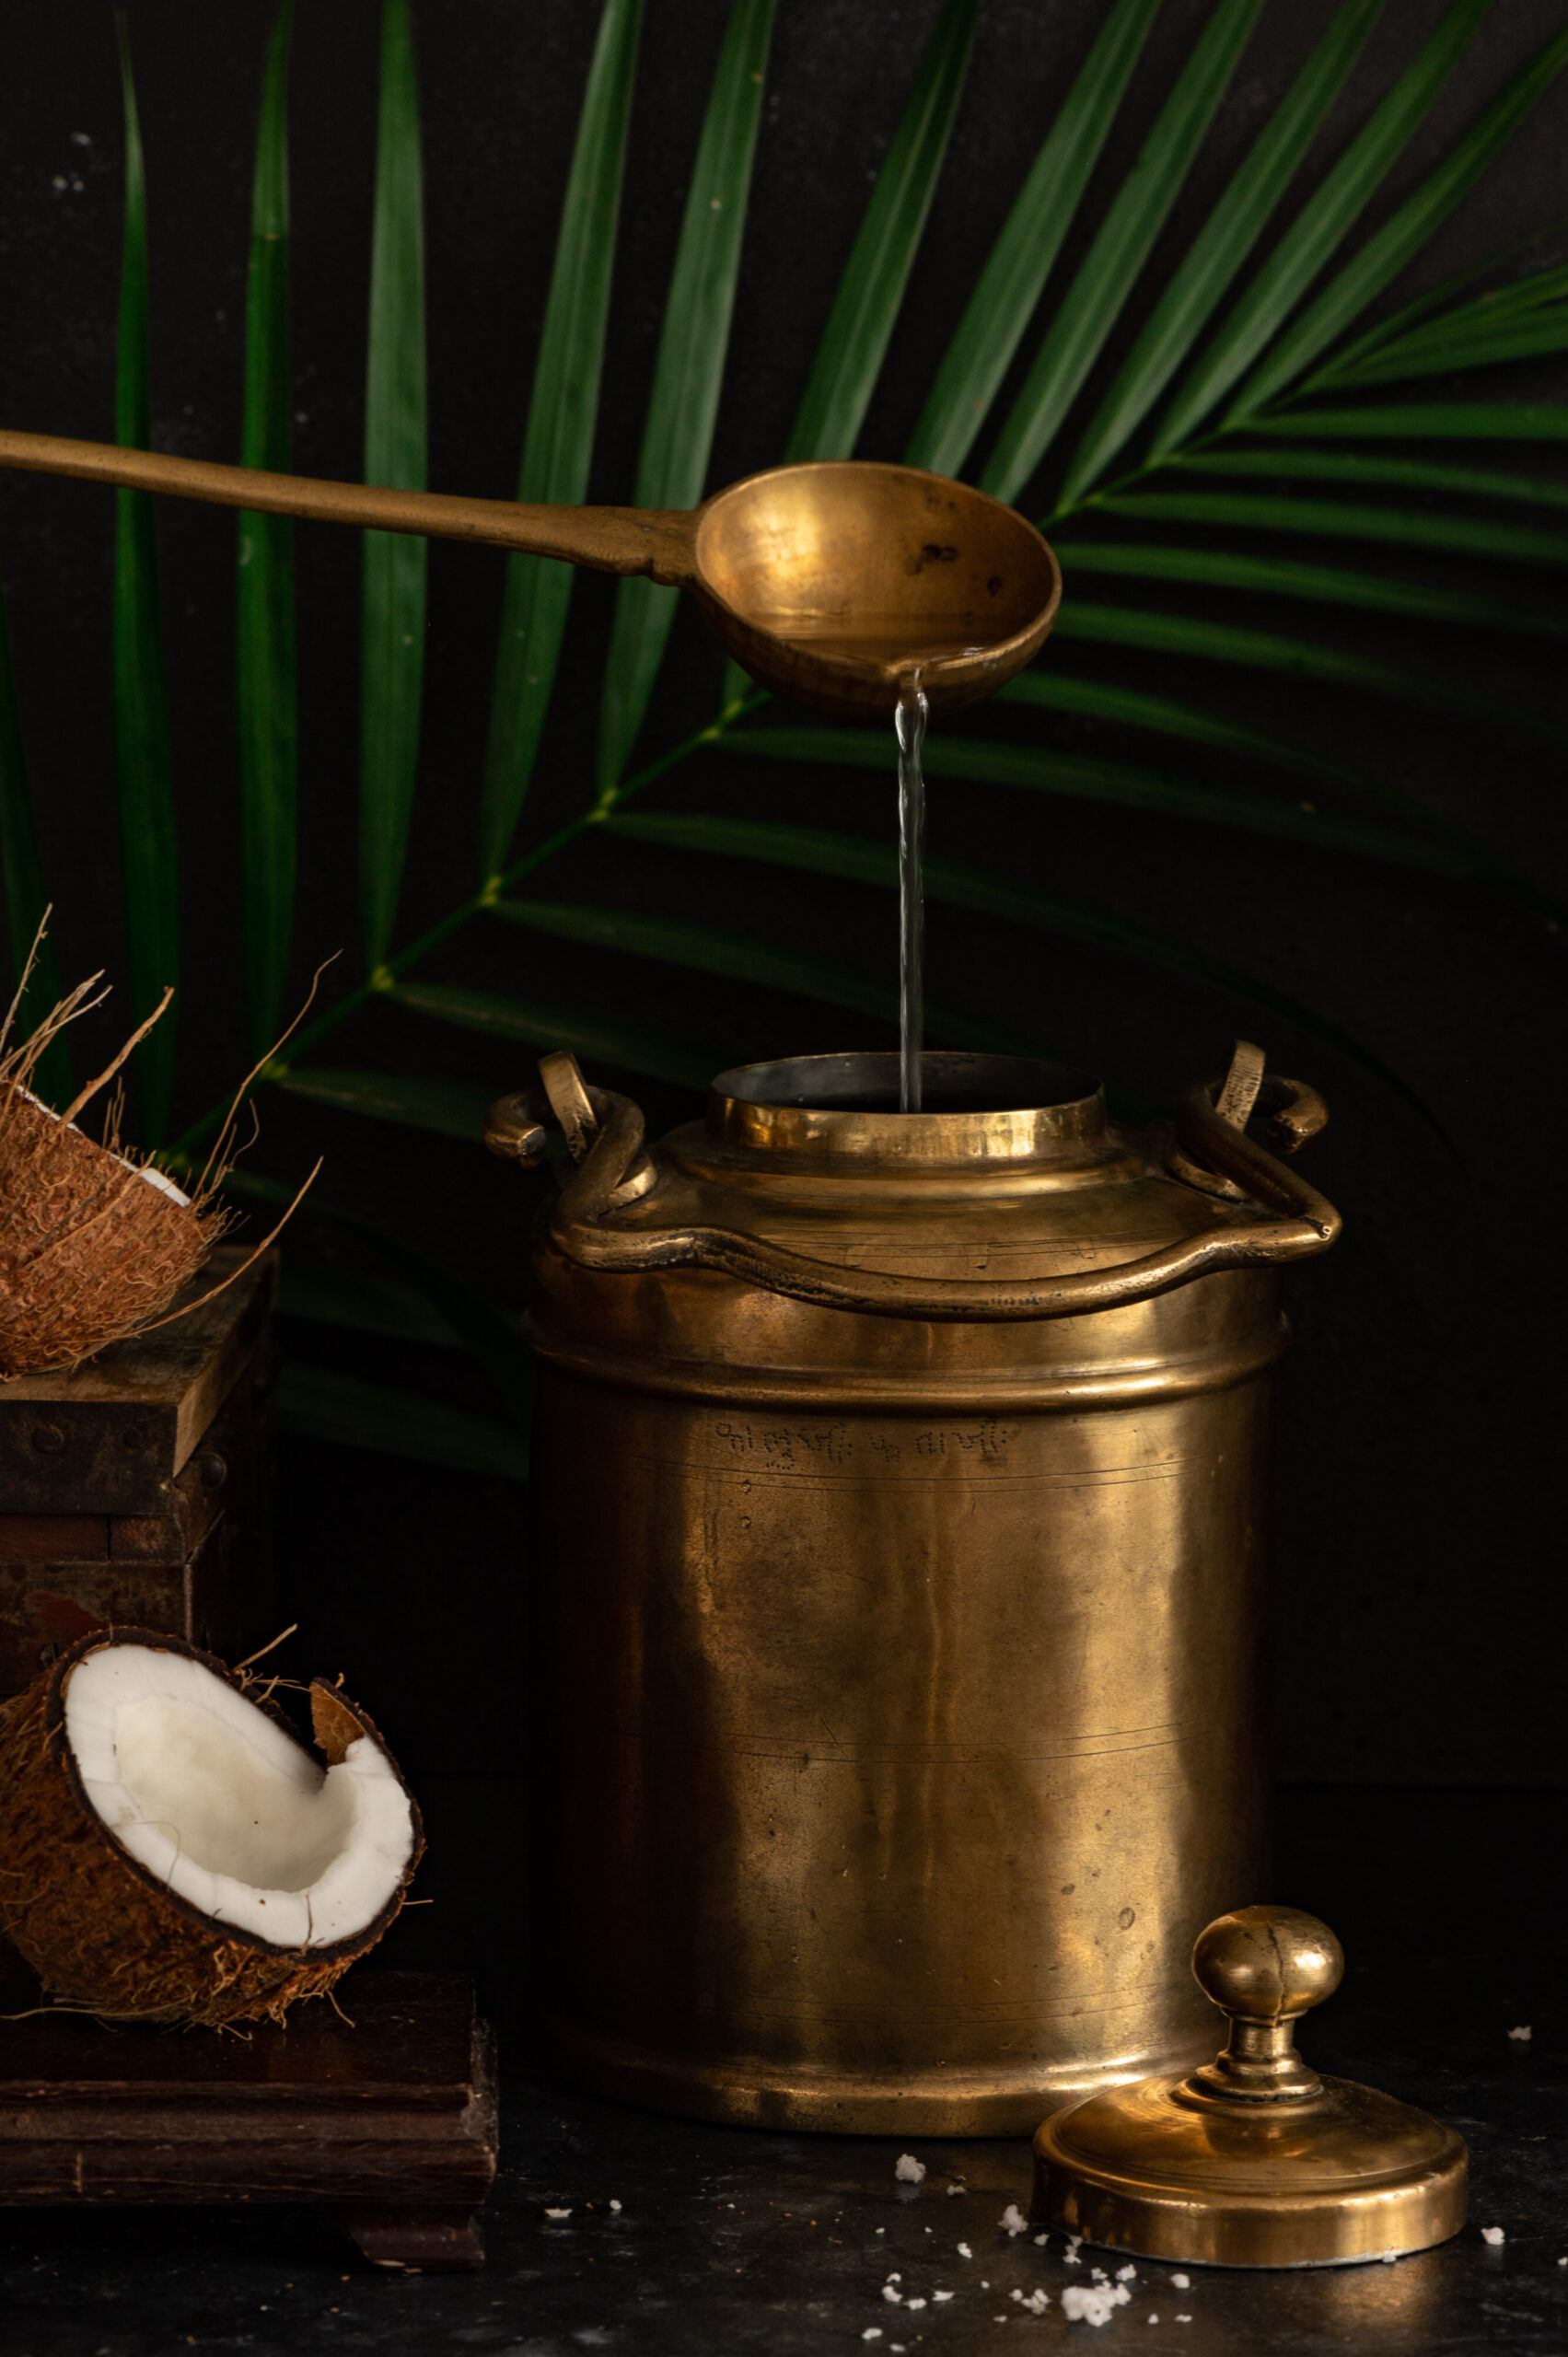
In order to prepare your own coconut oil, you’ll need: coconuts, access to a cold pressery, and space to sun-dry. There are many places in Chennai that do cold-pressing, and it should be possible for you to find a unit near you wherever you are.

The first step is to harvest the coconuts, of course. Then, they are peeled and chopped into smaller pieces (they will need to be small enough to feed to the cold pressing unit). The flesh is left to sun-dry for between four and seven days, depending on the coconut. You will know that it’s done when you press it with your thumb and it releases a little bit of oil.

Next, the dried pieces are sent to the cold pressery. I wanted to supervise the process to ensure that there was no dilution of any sort. The unit where I had my coconut oil made used a lovely old machine made of wood and canvas. I put in about 20 kilos of coconuts and got back about about half as much in raw oil.

The process doesn’t end there, however. This huge container of oil I came home with then had to be dried again, so that residual moisture from the coconut flesh gets evaporated. What you have to do at this stage is to pour it out into flat pans, and allow these to dry in the sun for anywhere between three and five days. You will know that it is done when all the dust particles settle at the bottom, and the raw smell goes away. This being my first time making my own oil, I was not sure whether the final product was less fragrant than the store-bought versions because I hadn’t let the coconut pieces dry long enough, or simply because they were free of artificial additives. Either way, once the oil completed the drying stage, it was ready to use. I couldn’t help but marvel at the result.
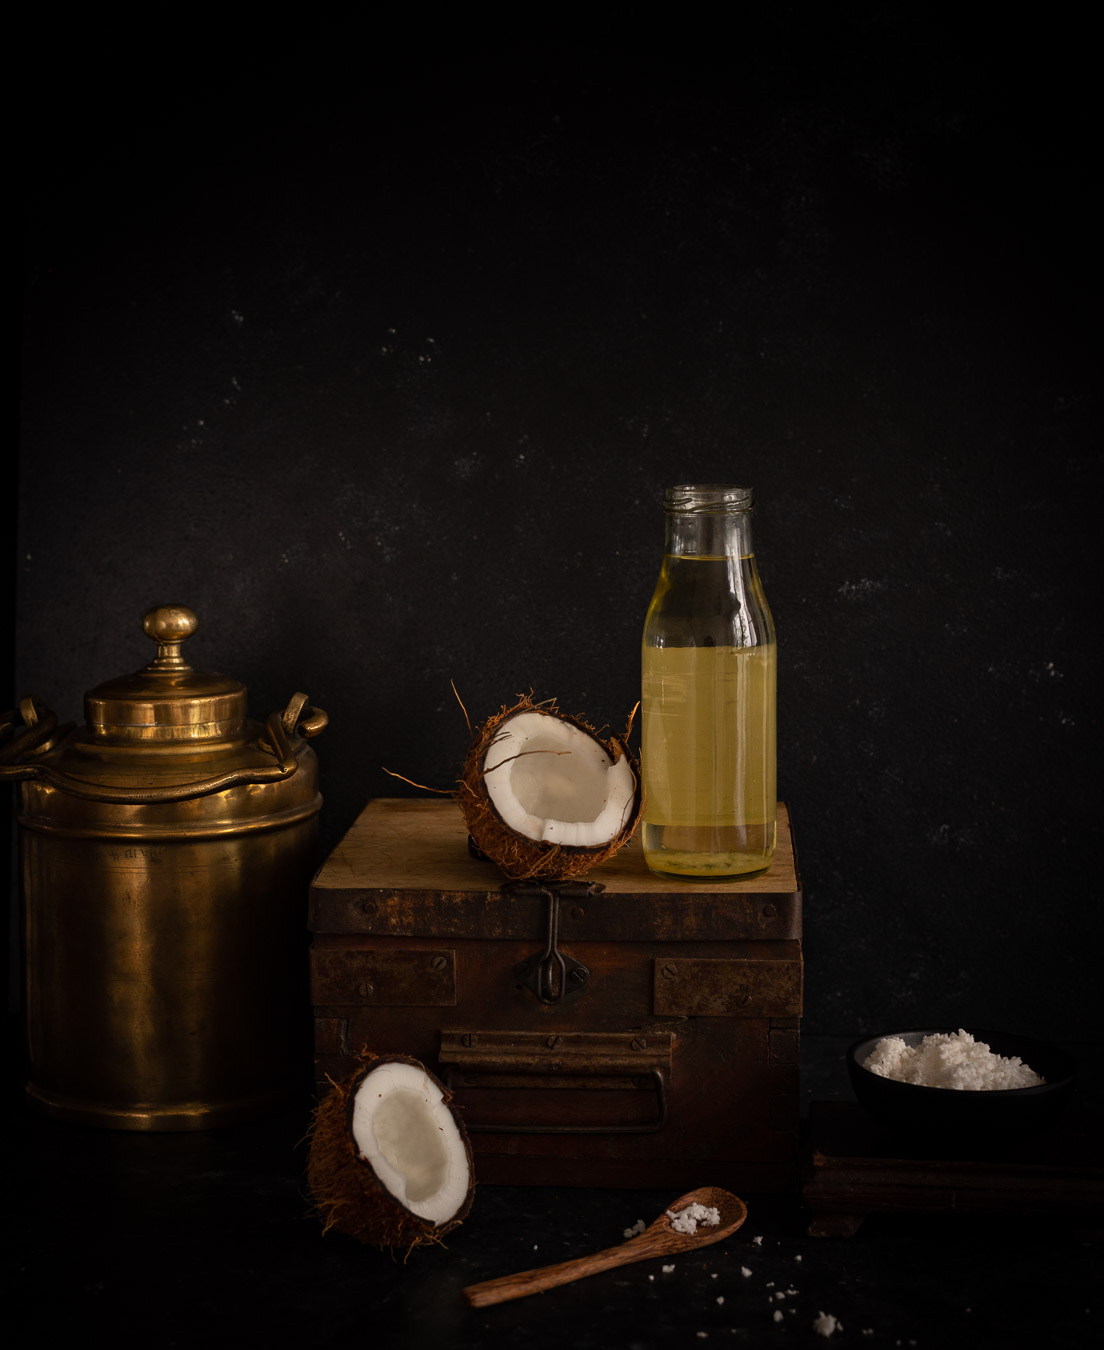
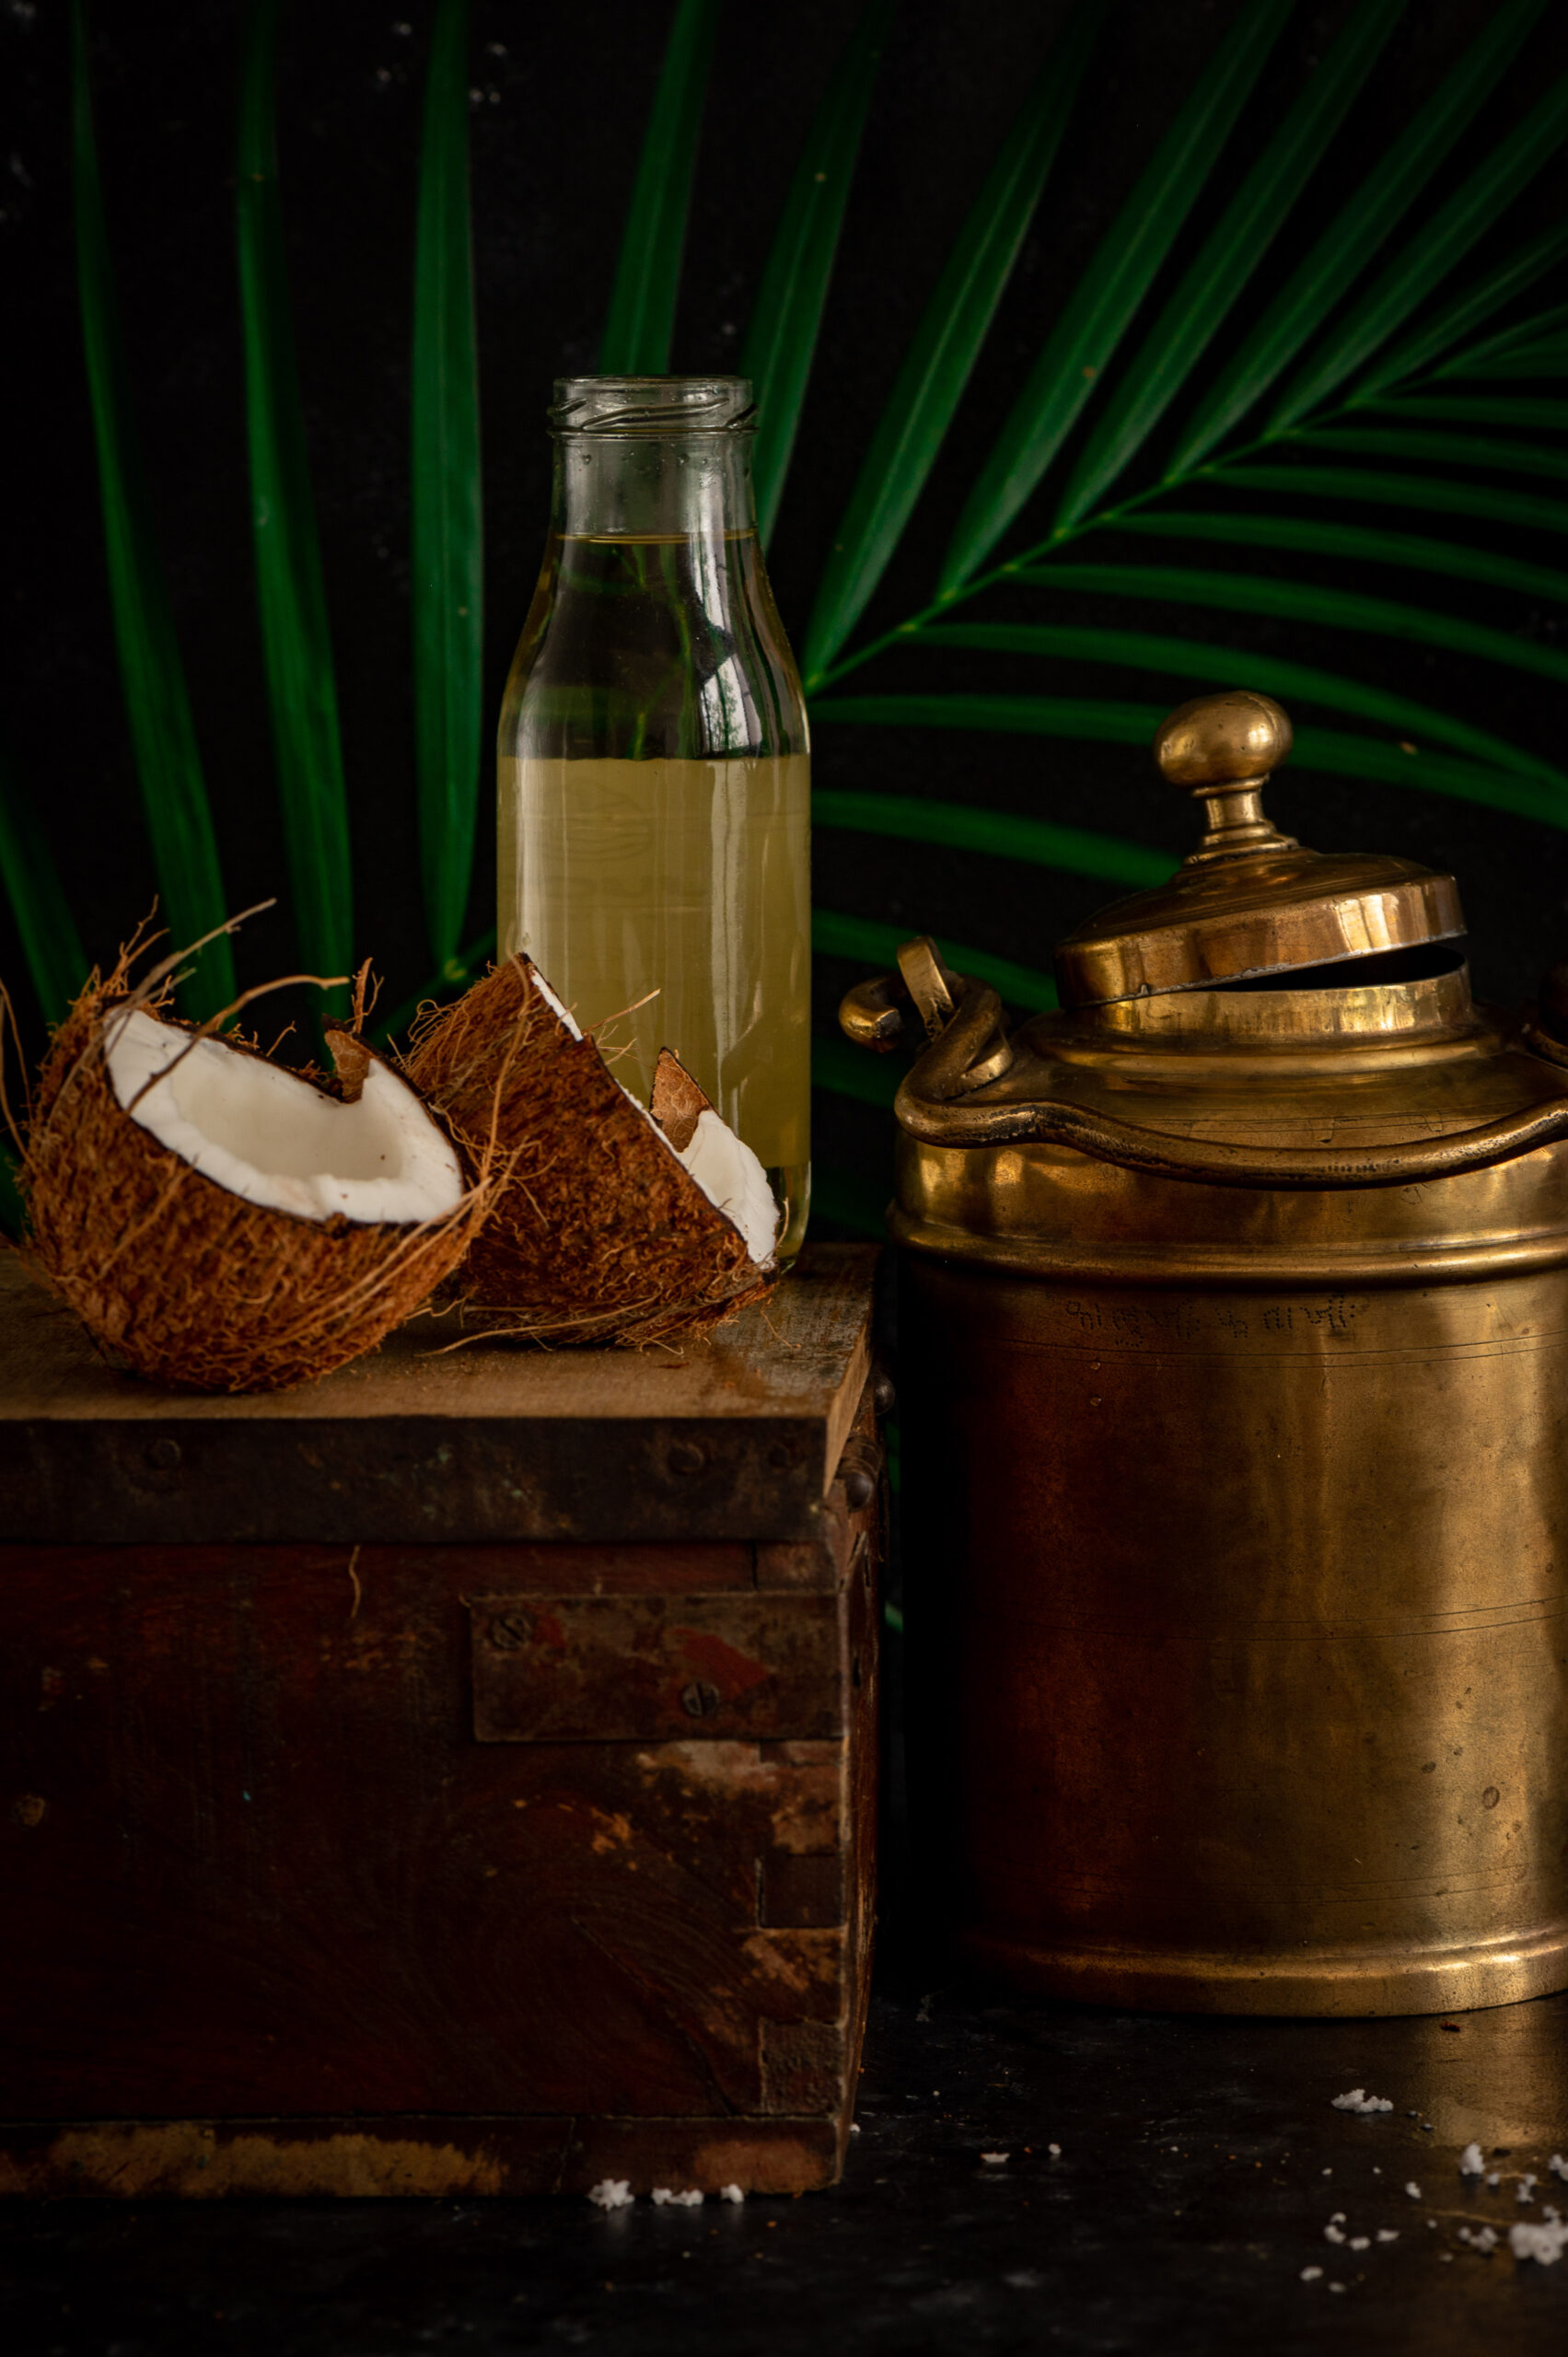
And there you have it: coconut oil that you can be sure is free of contamination, preservatives or any other issue that may come with commercially-produced brands. I can’t tell you what a delight it is to have your very own cold-pressed coconut oil. That’s something that you must experience for yourself, and if you can, please do.

Embarking on this little adventure was very rewarding for me, but the thing about my FOMO and subsequent hunger to do more is that sometimes experiments don’t turn out as expected. Whenever this happens, I always tell myself that it’s okay, and that I can focus on what I know I do well and can take pride in. For instance, expanding my repertoire of cakes is something that I am really keen to do, and I’m constantly exploring new recipes and whipping up trial batches. You may have seen the new additions I made to the menu recently, and it’s been really wonderful to prepare your orders for this festive season too.

I would even go as far as to say that I like to show off a little with each successful experiment, but when I share how I did it, I pass on that sense of achievement to you. It’s so exciting to have something that is all handmade, and made to order just for you. I’ve been sharing the oil from my coconut trees with very dear friends in glass jars, so in addition to being used at home both in cooking and in grooming, they’ve also become perfect for gifting this year.

I’d love to know if you try out preparing your own coconut oil based on my own experiment here. I’d also love to know how you use it. I am sure that you will find, as I have, that making your own batch of coconut oil is worth its weight in gold.
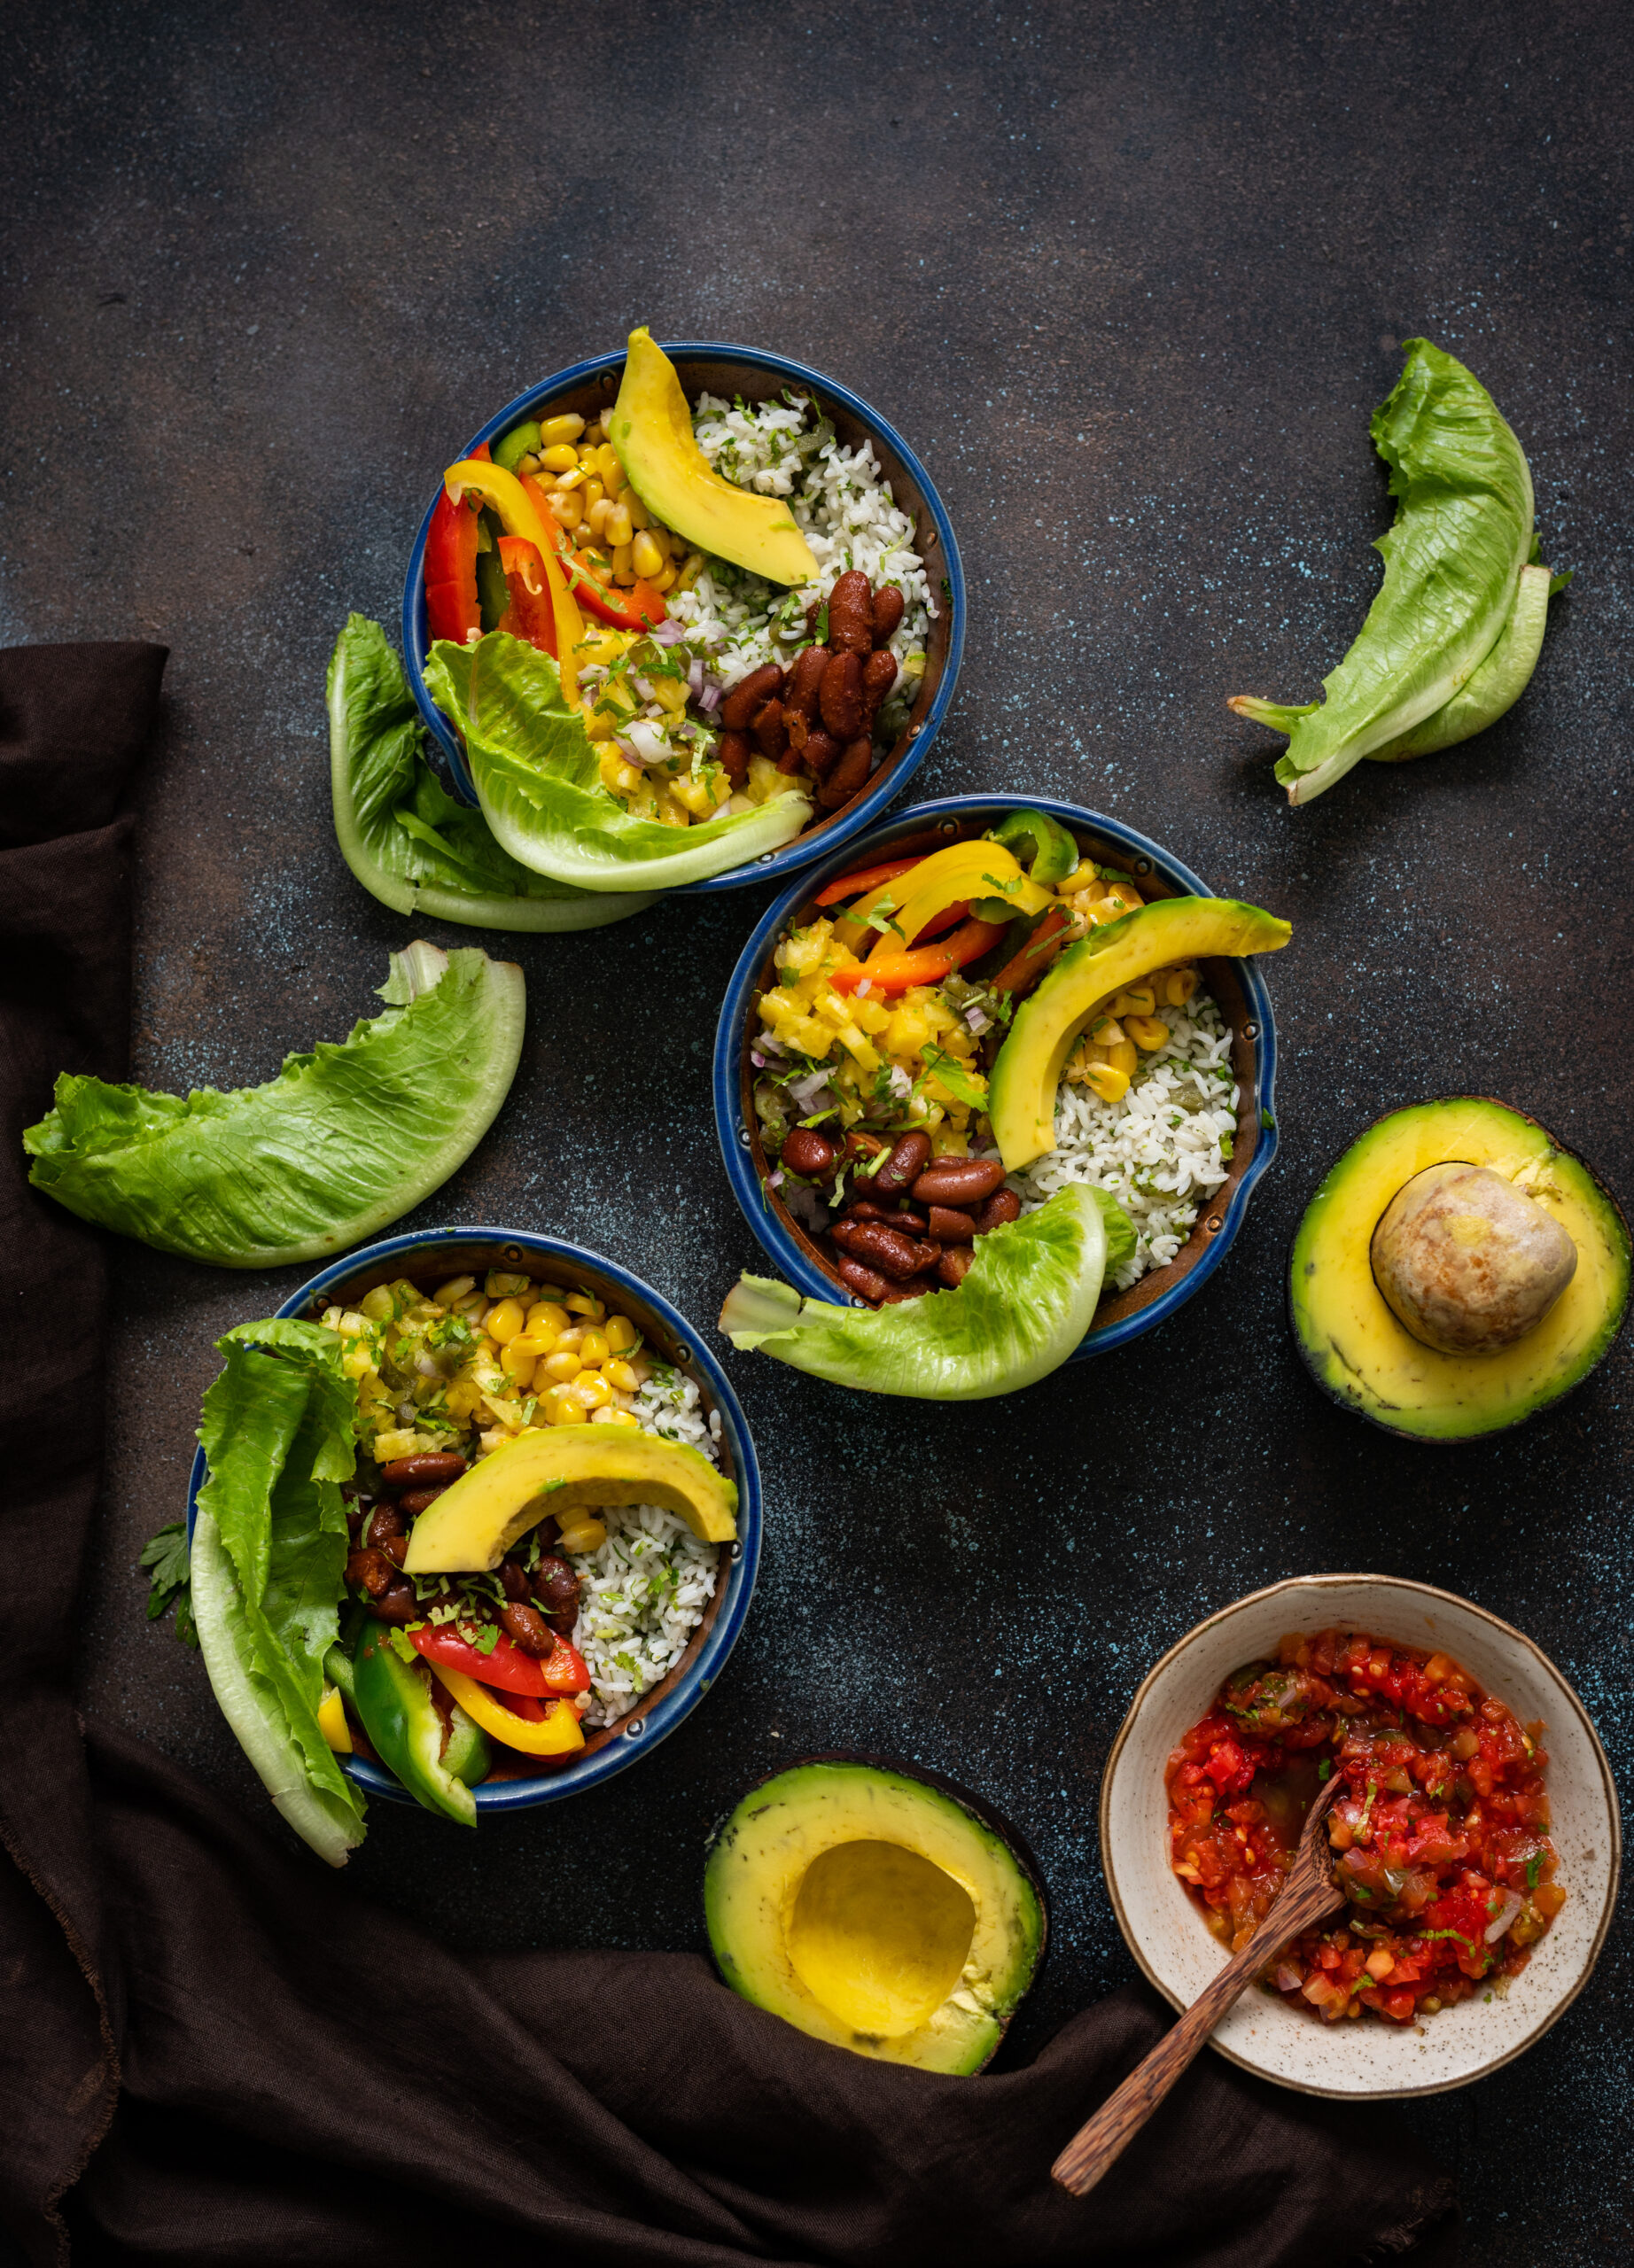
As promised, the Buddha bowl series now goes international, after the comfortingly familiar South Indian Buddha bowl. This is a Mexican-influenced Buddha bowl, and I’m making sure that you notice that I emphasise the word influenced.  My family enjoys Mexican-style cuisine very much, and I always end up making the more popular dishes, such as tacos, salsa, nachos and even my vegan take on chili, which you may remember from awhile back (this is a vegan recipe too). But over the years, whenever Mexican friends have visited my home, as much as they relish the meals I put together for them, they also tease me by saying that my style is Indian-Mexican, not authentic. I’m proud of this though. To me, fusion cuisine is all about feeling inspired and bringing different worlds together.

I’ve only spent one night in Mexico, en route to Cuba several years ago. That night, my family and I enjoyed dinner at a really nice restaurant, where we ordered a delicacy featuring black ants as a key ingredient. While I didn’t have a bite, my kids found the dish crunchy and tangy and very exciting. What to us was an adventurous dish was just local cuisine in another part of the world. Most of the Mexican food we had tried before was in the USA, and that too must have been one degree removed from authenticity. So to return to today’s Buddha bowl, let’s just say that it has a hint of Mexico, my culinary interpretation.

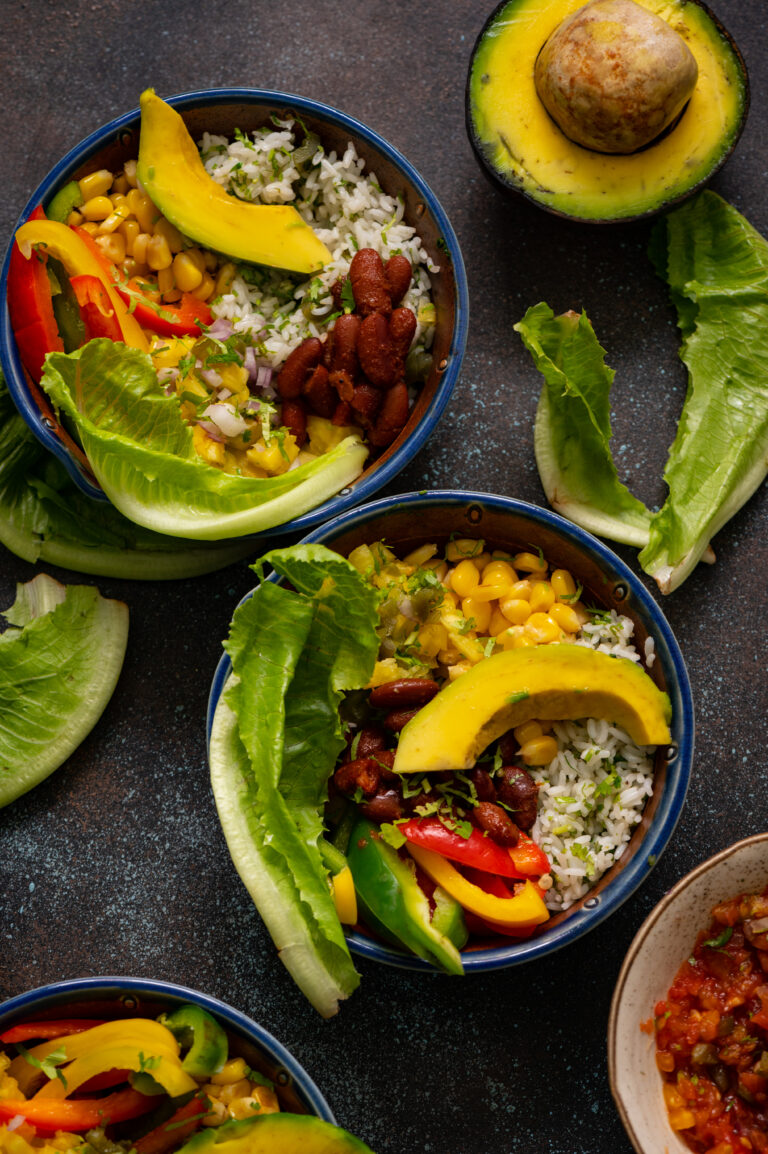
I often make this Mexican-influenced recipe for lunch, and the current abundance of avocados on the market is all the more reason to do so. These come from Karnataka, where the climate is conducive for their growth. Perhaps it’s because of my Macrobiotics background, but I feel that when all the ingredients in a dish are locally sourced, they tend to go together better. Aside from the fruit, the bowl contains cilantro rice, beans, vegetables and two types of salsa.

I was thinking about the term “Buddha bowl”, and although I know it’s a recently coined term, I believe I can imagine the thought process behind it. Could it be that it was because the Buddha carried a bowl for alms, and as he went from home to home, always received a motley combination of foods, just like the different components of this modern dish?

Carrying a bowl to seek food alms also exists in the Jain community, which many members of my family belong to. My sister, who lives in Mumbai, frequently has saintly women and men come to her home. They carry a bowl, called “patra”, and are supposed to graciously accept whatever is offered to them, although they can request a preferred quantity so that there is no wastage. The alms they receive are called “bhiksha”. Their arrival is considered a blessing, and whatever has been cooked at home that day will be shared with the monks, who are known as “Mahasatiji”. In the Stanakvasi sect of the Jain Shwetambari tradition, there is no idol worship, so the preaching of these monks is sacred and so is their presence. Whenever a Mahasatiji has come by while I’ve visited my sister, I’ve noticed that it feels like a special occasion. There is some protocol involved: the person offering alms needs to have bathed, there is some chanting, and then the Mahasatiji will bless the home before moving on to the next one, where the next person offering alms will look into the bowl and determine what to offer. If my sister had offered roti, for example, they will ensure they offer something that goes with it.

The Mahasatijis also ask for a teaspoon of chickpea flour, which they use to dry wash their patras. They won’t even waste this, as they will let this dry and eat it as well. They do not use soap due to the chemicals, and refrain from electricity too, so they take the stairs up six floors to my sister’s house. The tradition has many principles based on nature and doing no harm.

The patras themselves are made of natural wood, with lacquer, and I have seen them being sold as antiques as well. Perhaps I noticed this because I am always looking for interesting crockery and props for my photoshoots. What kind of vessels do you serve your Buddha bowls in? I’d love to know, as you try out more of this series.

Mexican-Influenced Buddha Bowl

(Serves 2)


Beans

½ cup beans (soaked overnight)

2 tablespoons tomato purée (find my recipe here)

Salt to taste

1 tablespoon olive oil

1 tablespoon chipotle cooking paste


Tomato salsa

2 tomatoes

Salt to taste

3 slices jalapeño

1 tablespoon cilantro

1 tablespoon finely chopped onion

1 tablespoon olive oil


Pineapple salsa

2 cups finely chopped pineapple

2 tablespoons finely cut jalapeño

2 tablespoons cilantro

2 tablespoons finely cut onion

Salt to taste

Spicy red sauce


Cilantro Rice

1½ cups cooked rice

1 tablespoon oil

¼ cup finely cut cilantro

½ lemon

2 slices jalapeños

Salt to taste


Vegetables

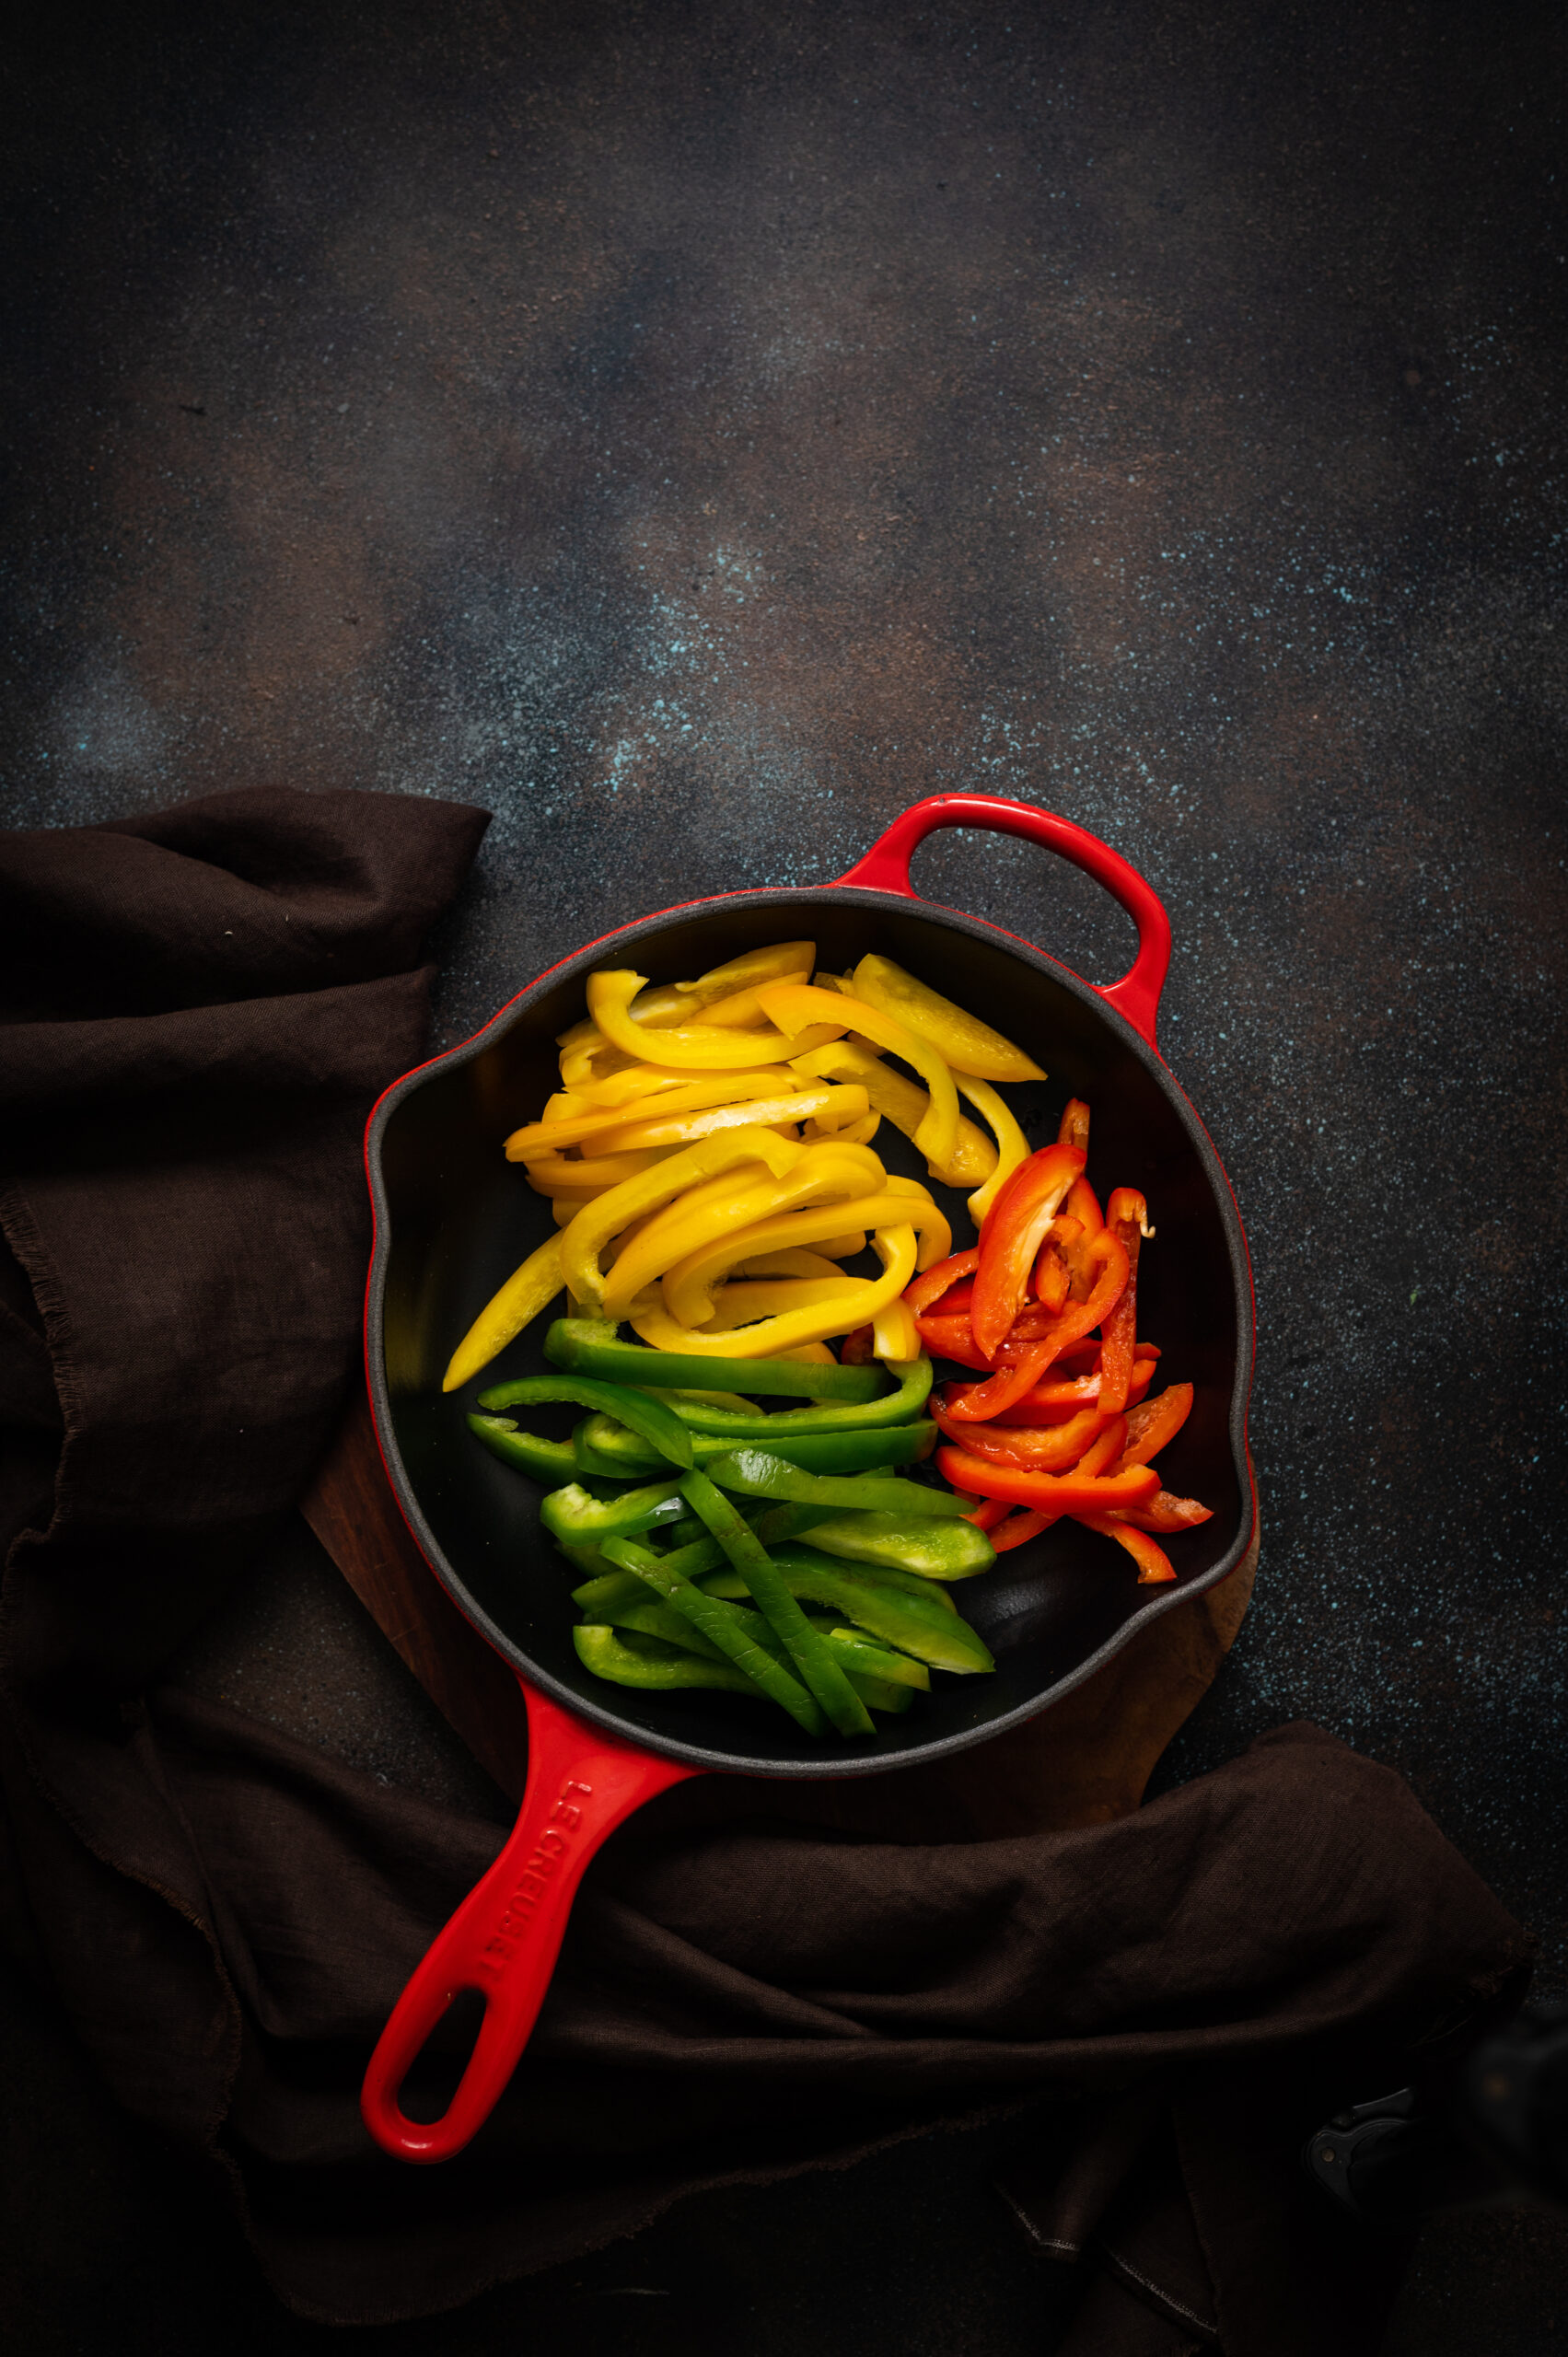
2 cups sliced bell peppers

1 cup whole corn

1 teaspoon oil

Salt to taste

Pinch pepper


Topping

1 avocado

Salt to taste

Olive oil to drizzle

A squeeze of lemon

Prepare each component, and keep them separate until you are ready to assemble and serve the bowl. Here is the method for the beans. First, pressure cook the beans in water. In a pan, add the oil. Now, add the purée, chipotle paste and salt. I used my fabulous all-purpose tomato puree, which you will surely find convenient to have on hand for many recipes too. Stir. Finally, add the beans. In order to make it in a slightly more gravy style, I added some of the water that I had kept aside.

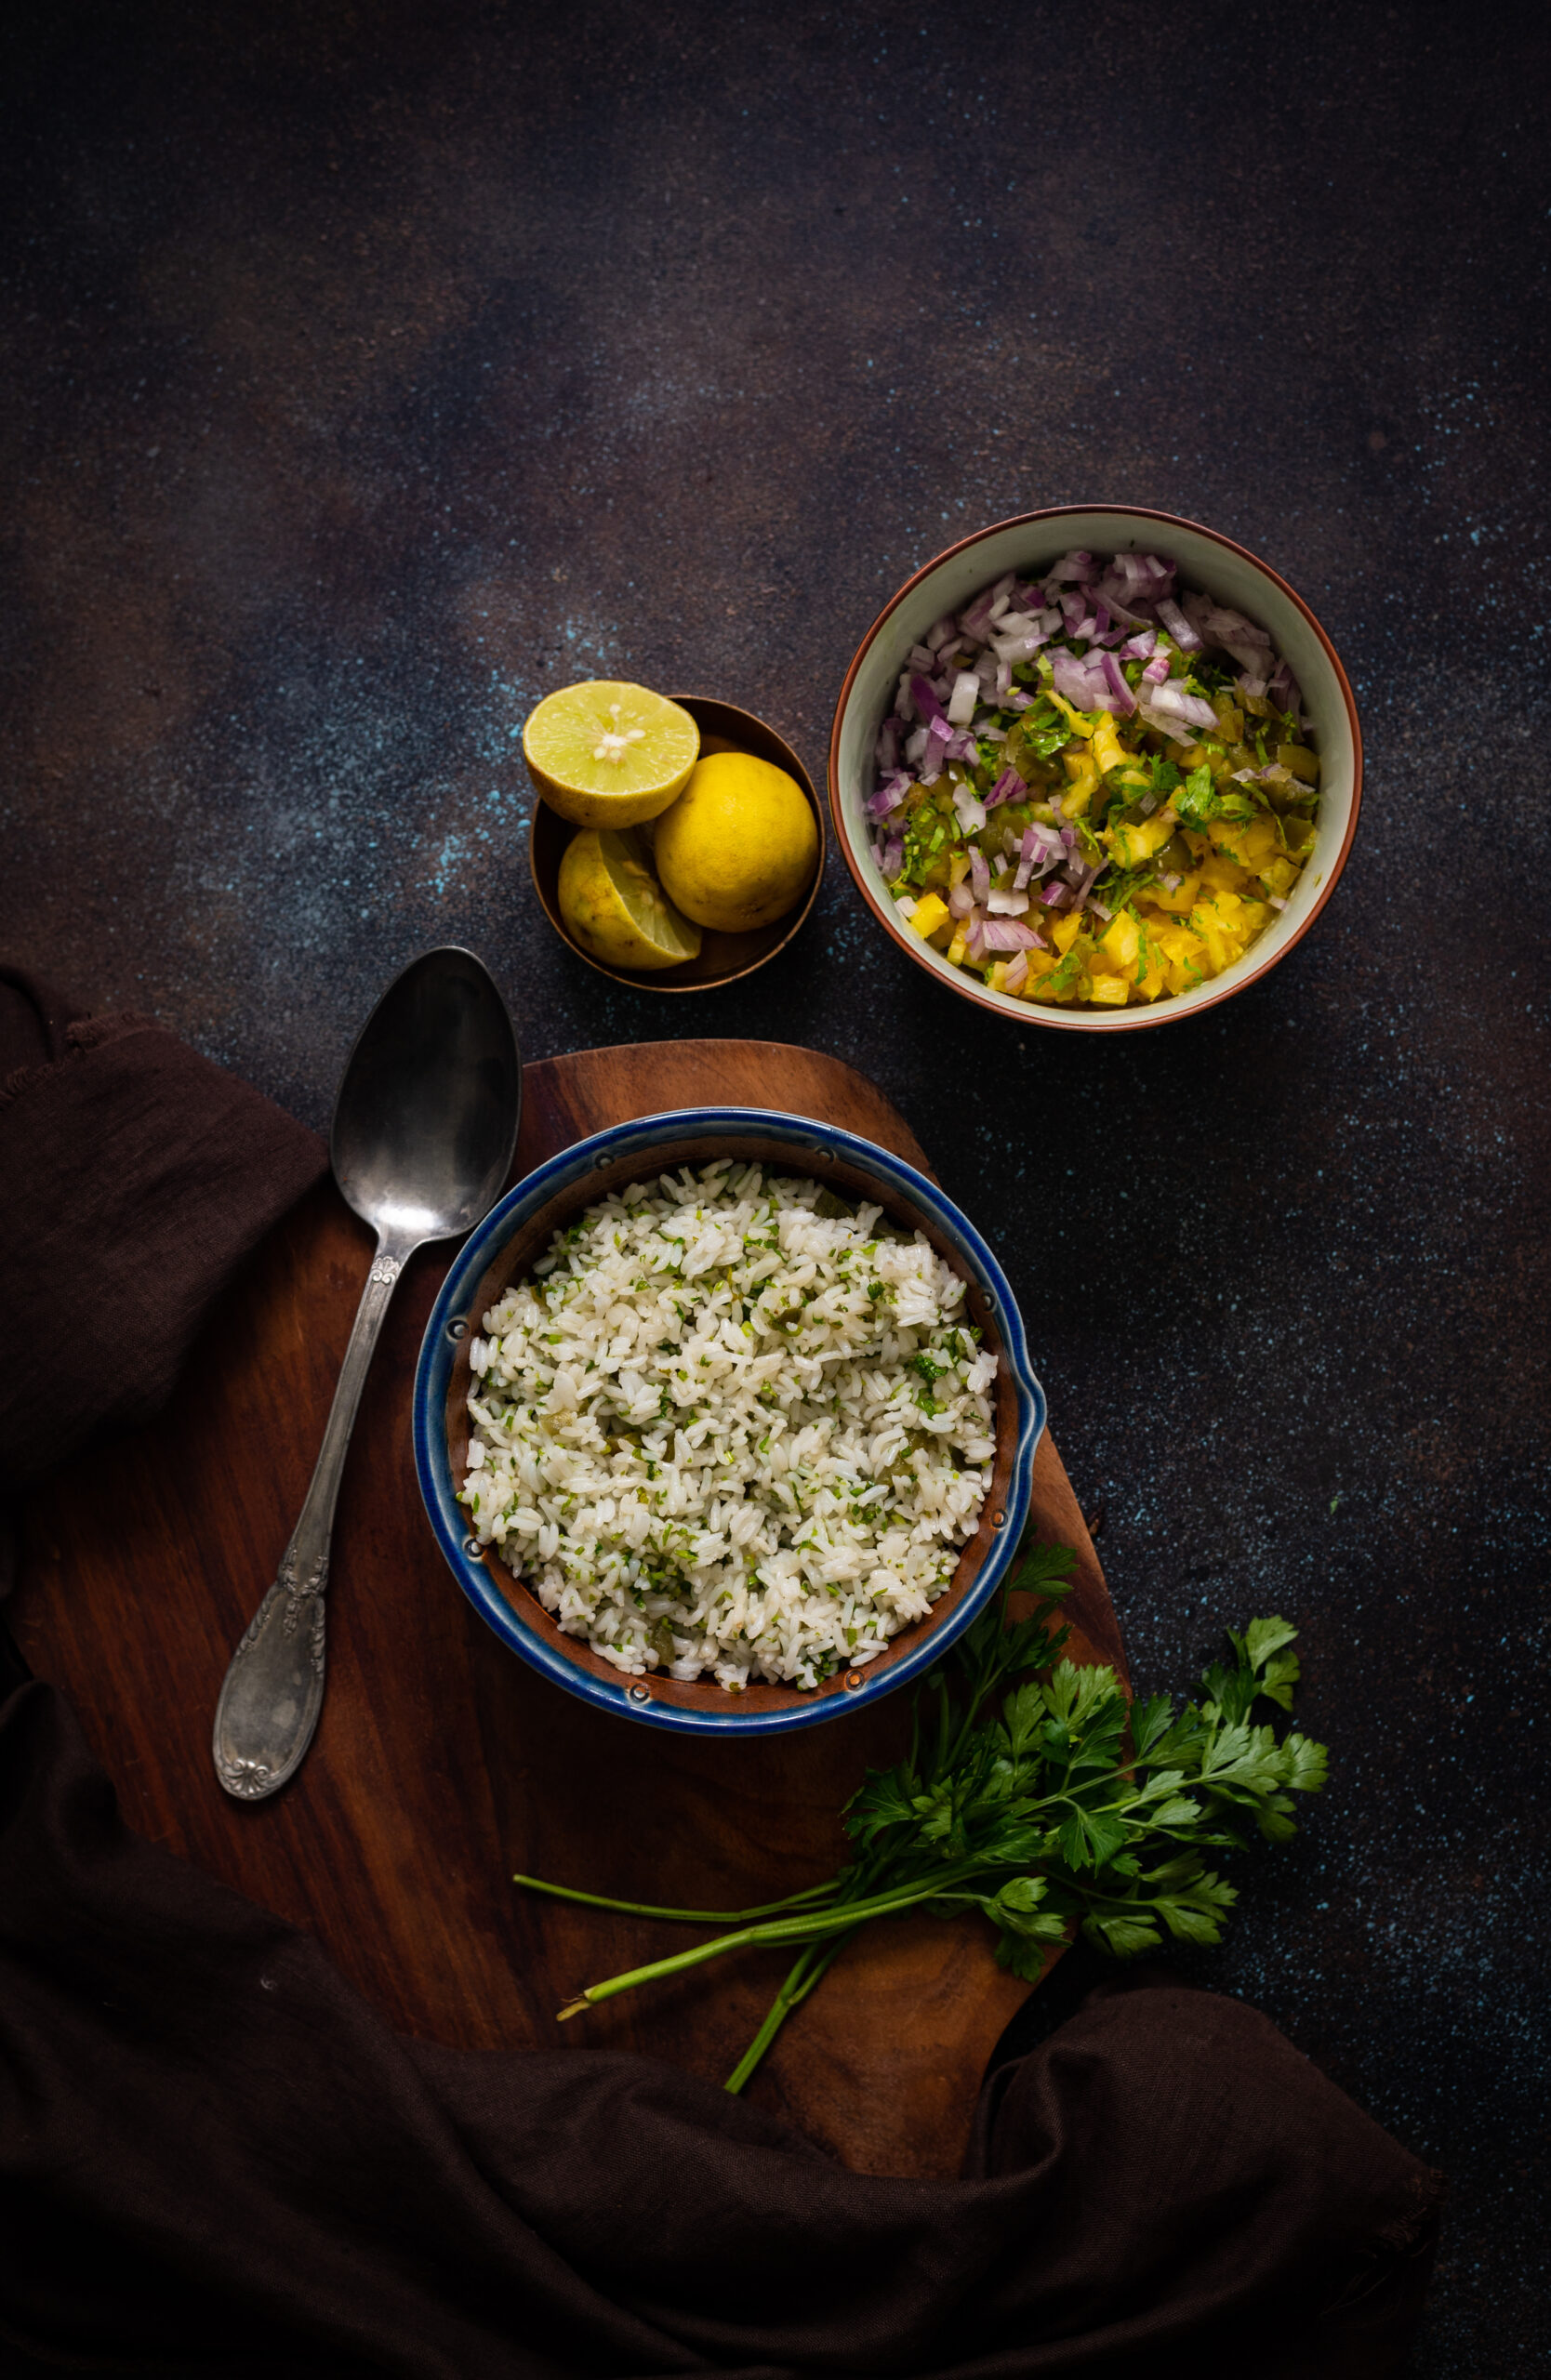
Next, here are the methods for the two salsas. For the tomato salsa, begin by roasting the tomatoes directly in a low flame until the skins are charred. Peel the charred skins and chop finely. Combine all the ingredients together in a bowl. Mix well and refrigerate until use. For the pineapple salsa, simply combine all the ingredients in a bowl and mix well. Refrigerate until use as well.
Now, onto the cilantro rice. In a pan, sauté the rice in oil. Add all the other ingredients and stir on high until it all comes together. You can replace the rice with any grain of your choice.

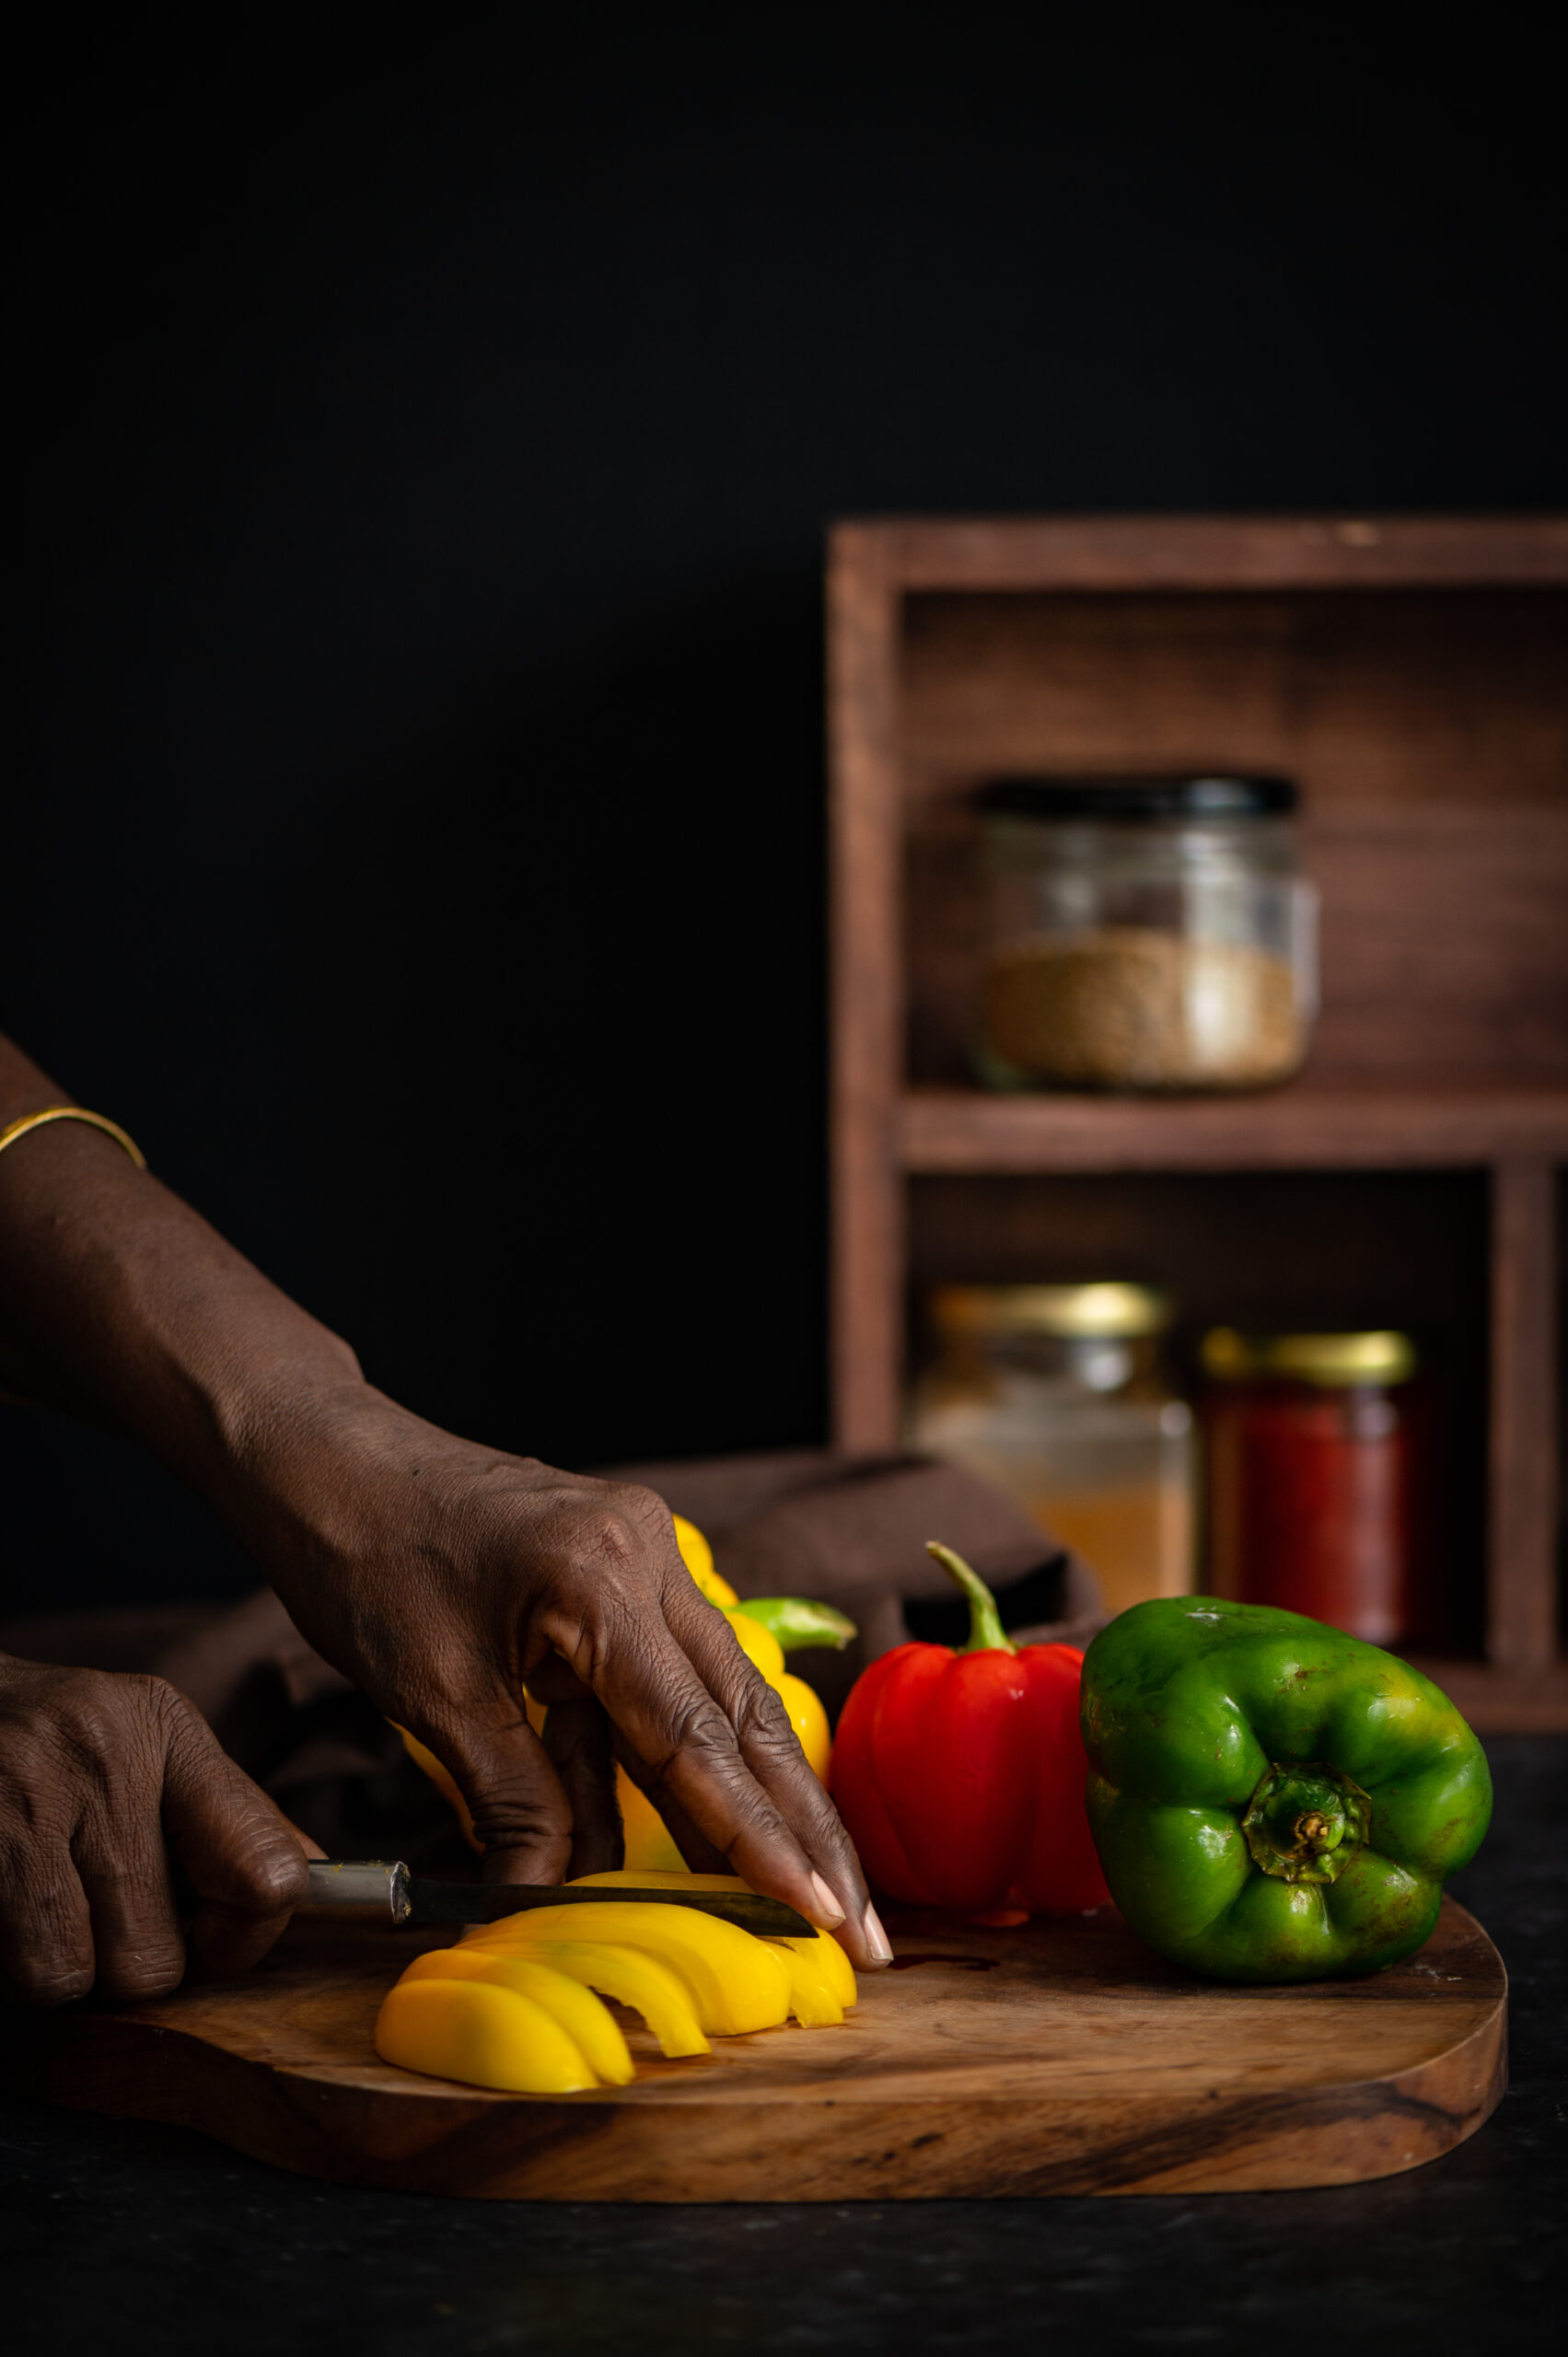
The vegetables should be sautéed in oil on a pan, and seasoned with salt and pepper as you stir.

Assemble the different components in two medium-sized bowls and add the toppings. Make sure you slice the avocado just before serving, or it will lose colour. Remember what I said in the previous Buddha bowl post about the aesthetics of this serving style and feasting with the eyes first. This dish is best enjoyed warm. You may wish to sprinkle some crushed nacho chips on top for texture too, and I think my kids wouldn’t mind some authentic, crunchy black ants either, if we could find that recipe! As you can see, I’ve also added a bit of green salad on top, as I do love my veggies.

I mentioned earlier that there are avocados galore on the market now, so be sure to come back for the next post, where they will be a starring ingredient…

Indians don’t have soups per se in our traditional cuisines, as far as I know. Instead, we have broths such as the thin South Indian rasam and the thick, sweet Gujarati raab. The rasam subsequently became known as mulligatawny soup in the West, but here it is eaten as a side dish, not an appetizer. In fact, that reminds me of how our staple dals are repackaged abroad and even in high-end restaurants here as “lentil soup”! In India, we have no such category as “soup”, but it goes to show how it’s all a matter of perspective. The soup, by any name, is really a universal dish, made with different, seasonal ingredients in cultures around the world.

For many of my generation, we were introduced to soups at clubs and restaurants. My own first memory of any soup was not Western at all, but Chinese (or rather, Indo-Chinese). While growing up, my friends and I would head to a restaurant called Nanking whenever we had something to celebrate. All of our birthdays would find us there, straight from classes in our school uniforms and pigtails, delighted to be spending our pocket money on a shared meal. The meal would invariably begin with an order of the delicious sweet corn soup for everyone at the table

The Nanking sweet corn soup was thickened with cornflour, loaded with MSG and had no more than a couple of kernels of corn floating in the white liquid but regardless it was always a special treat. It tasted fantastic to us, and till today reminds me of some of our fondest times growing up. When I think of it, I’m reminded of how much my kids say they miss their school canteen’s food! Perhaps the meals we share with our friends as we grow up simply create such vivid impressions on us that we associate them with the dishes themselves. What I would give to go back to Nanking, which has since closed down, and enjoy those memories all over again!

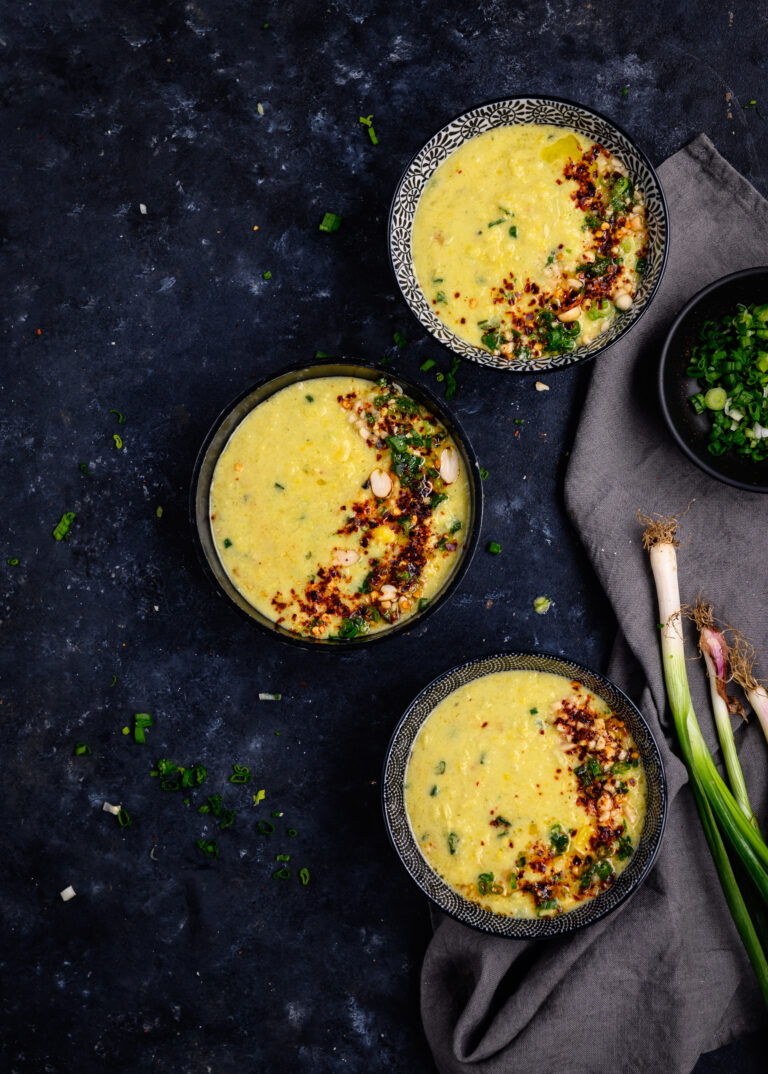
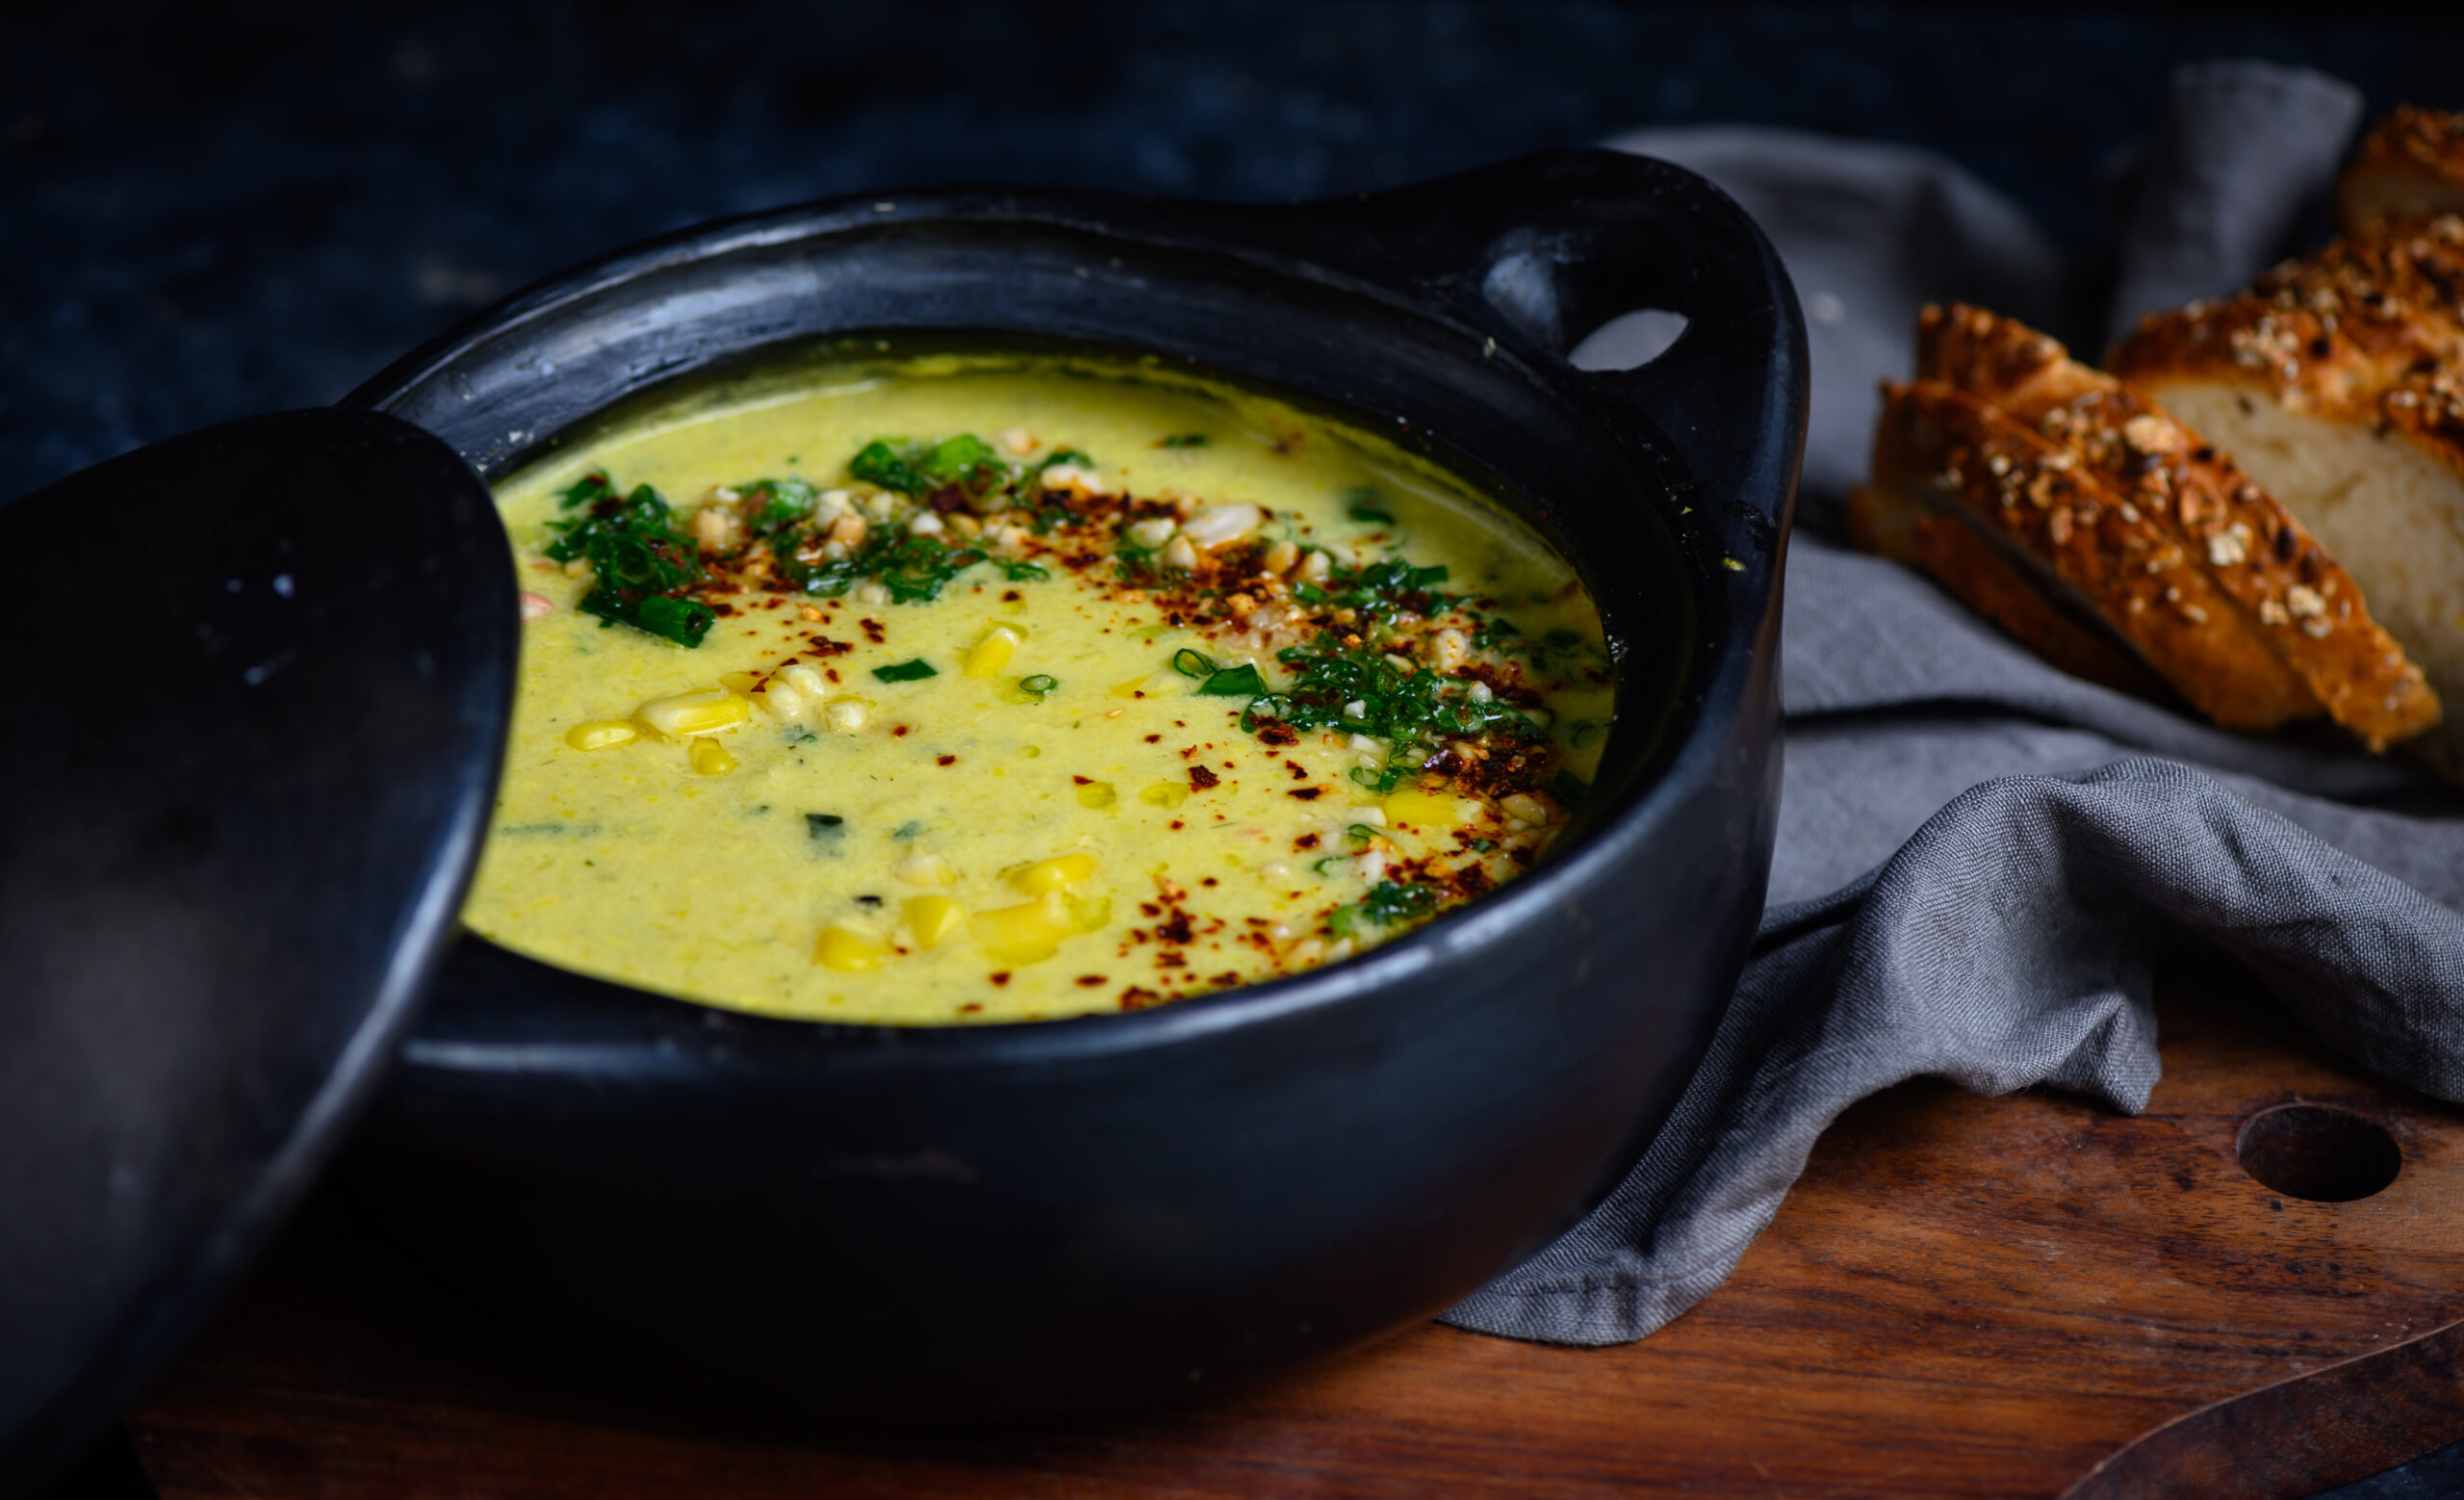
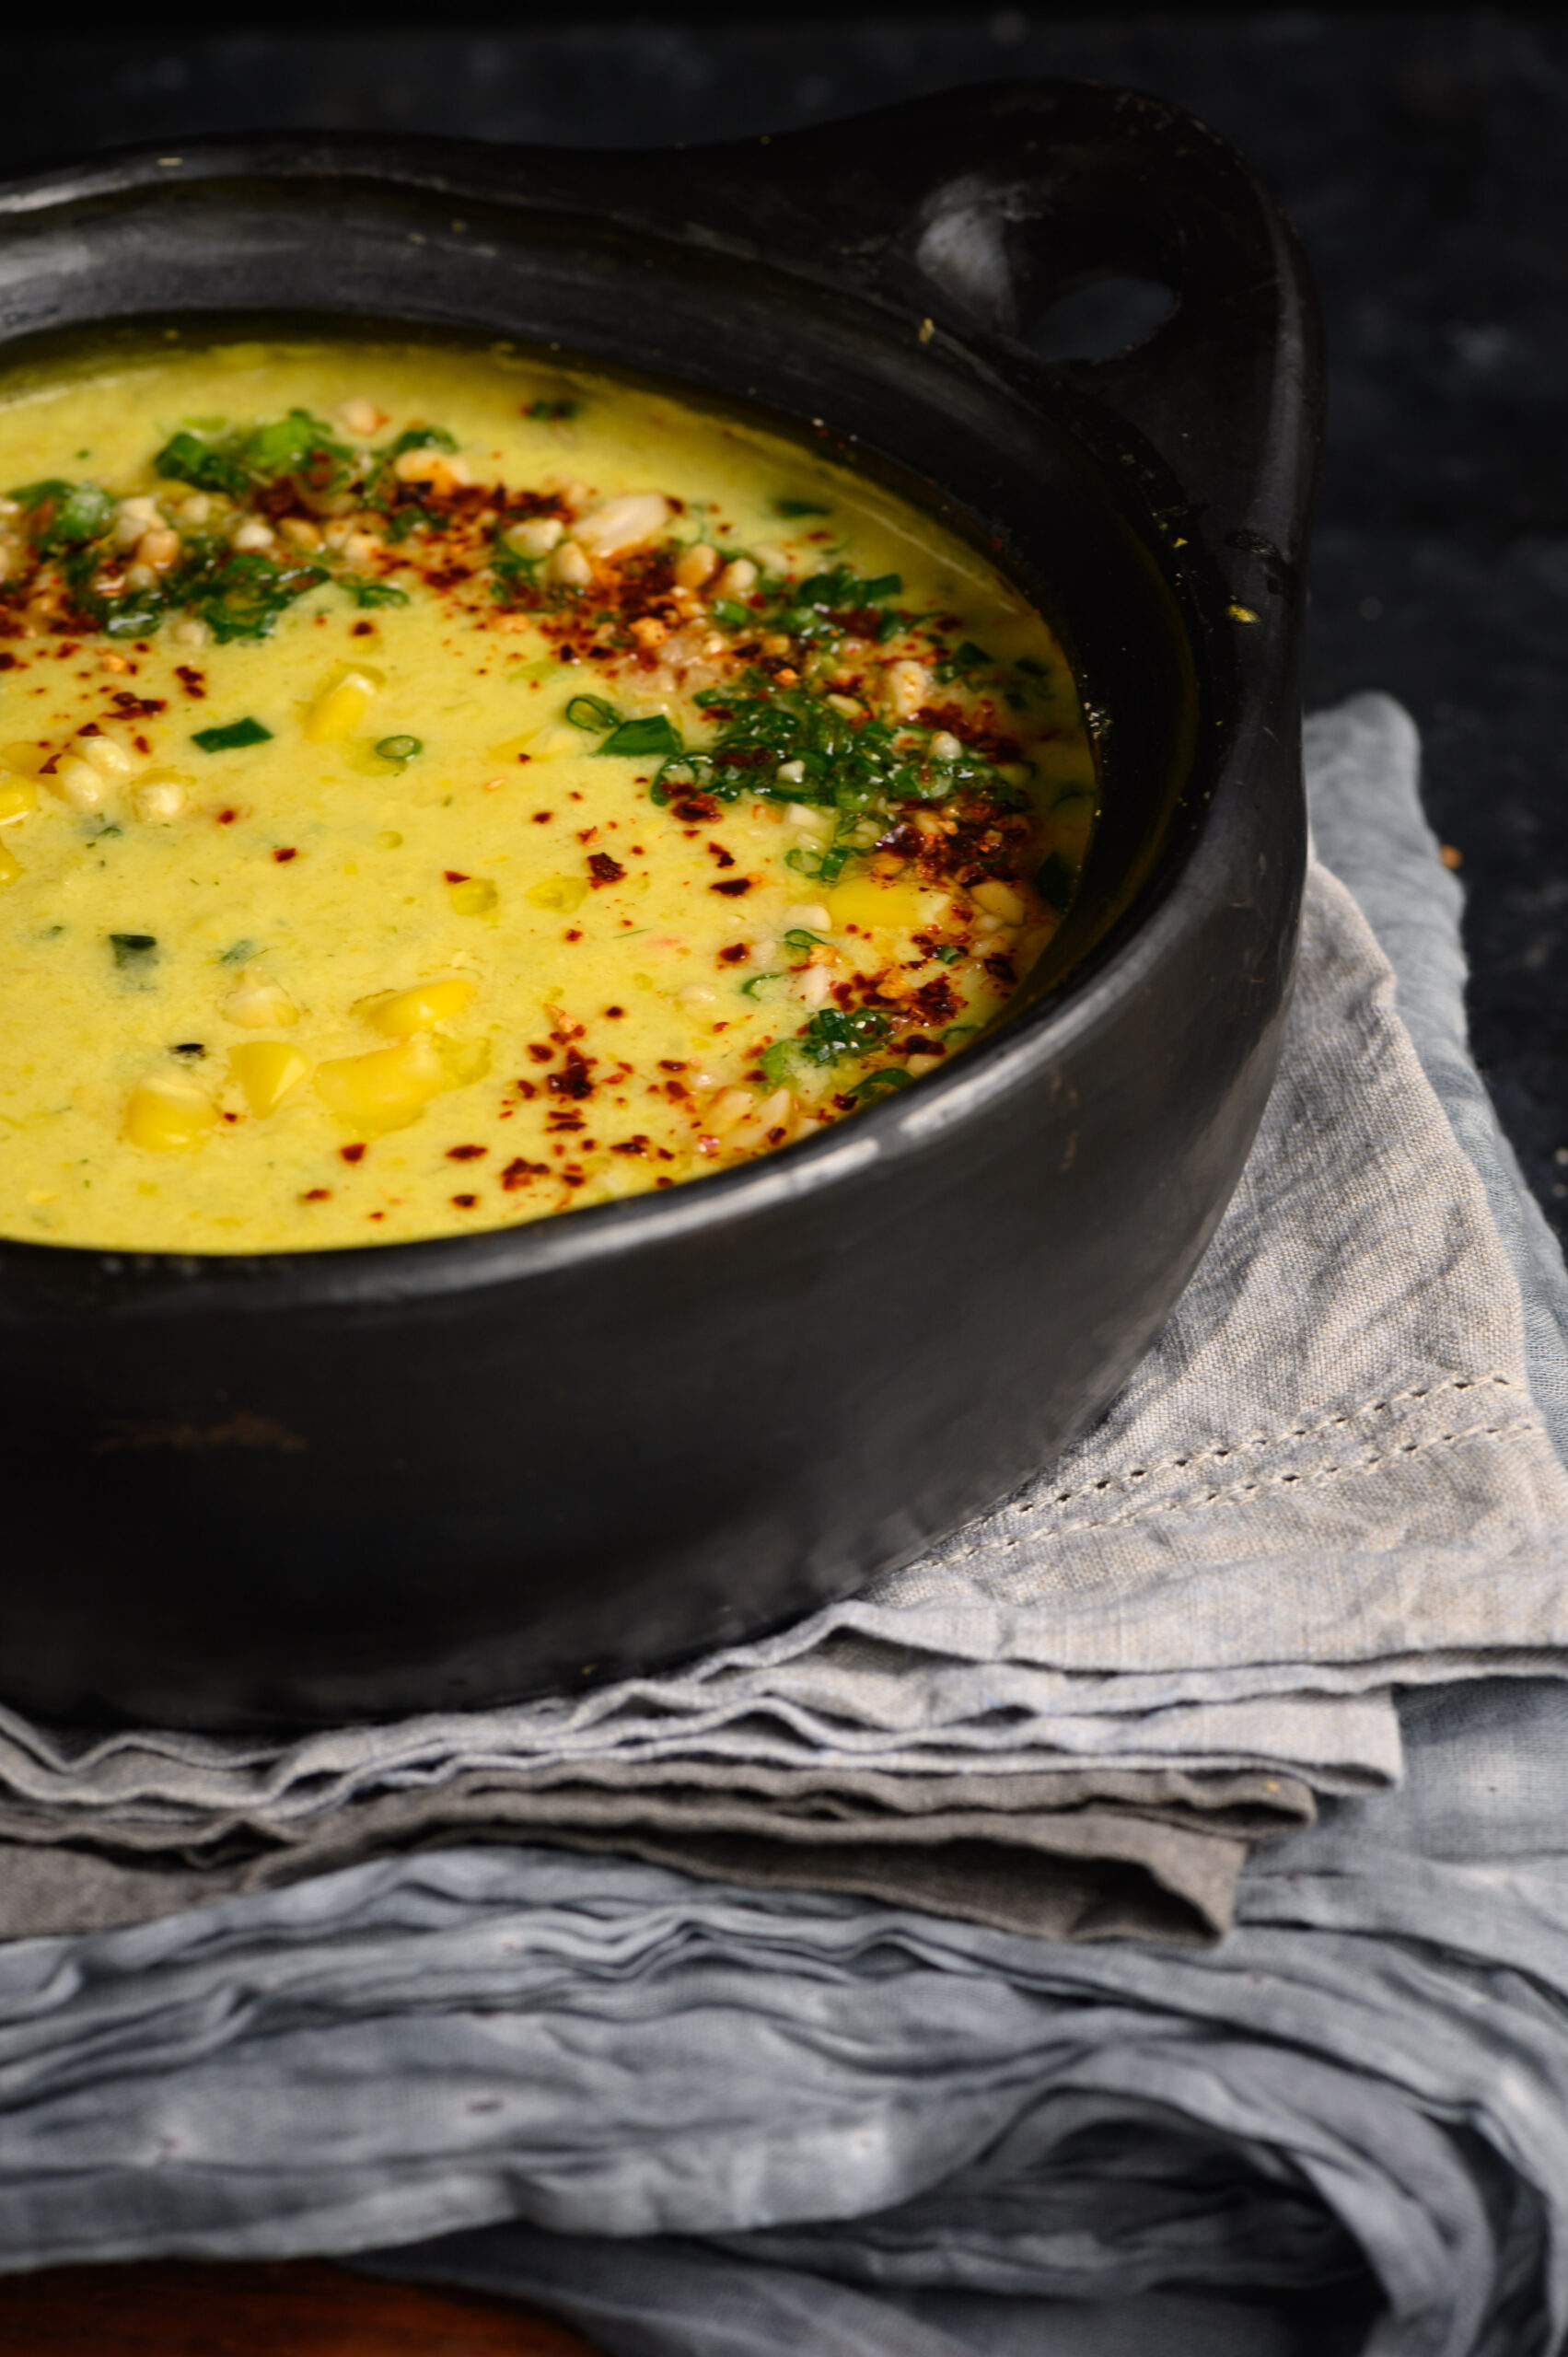
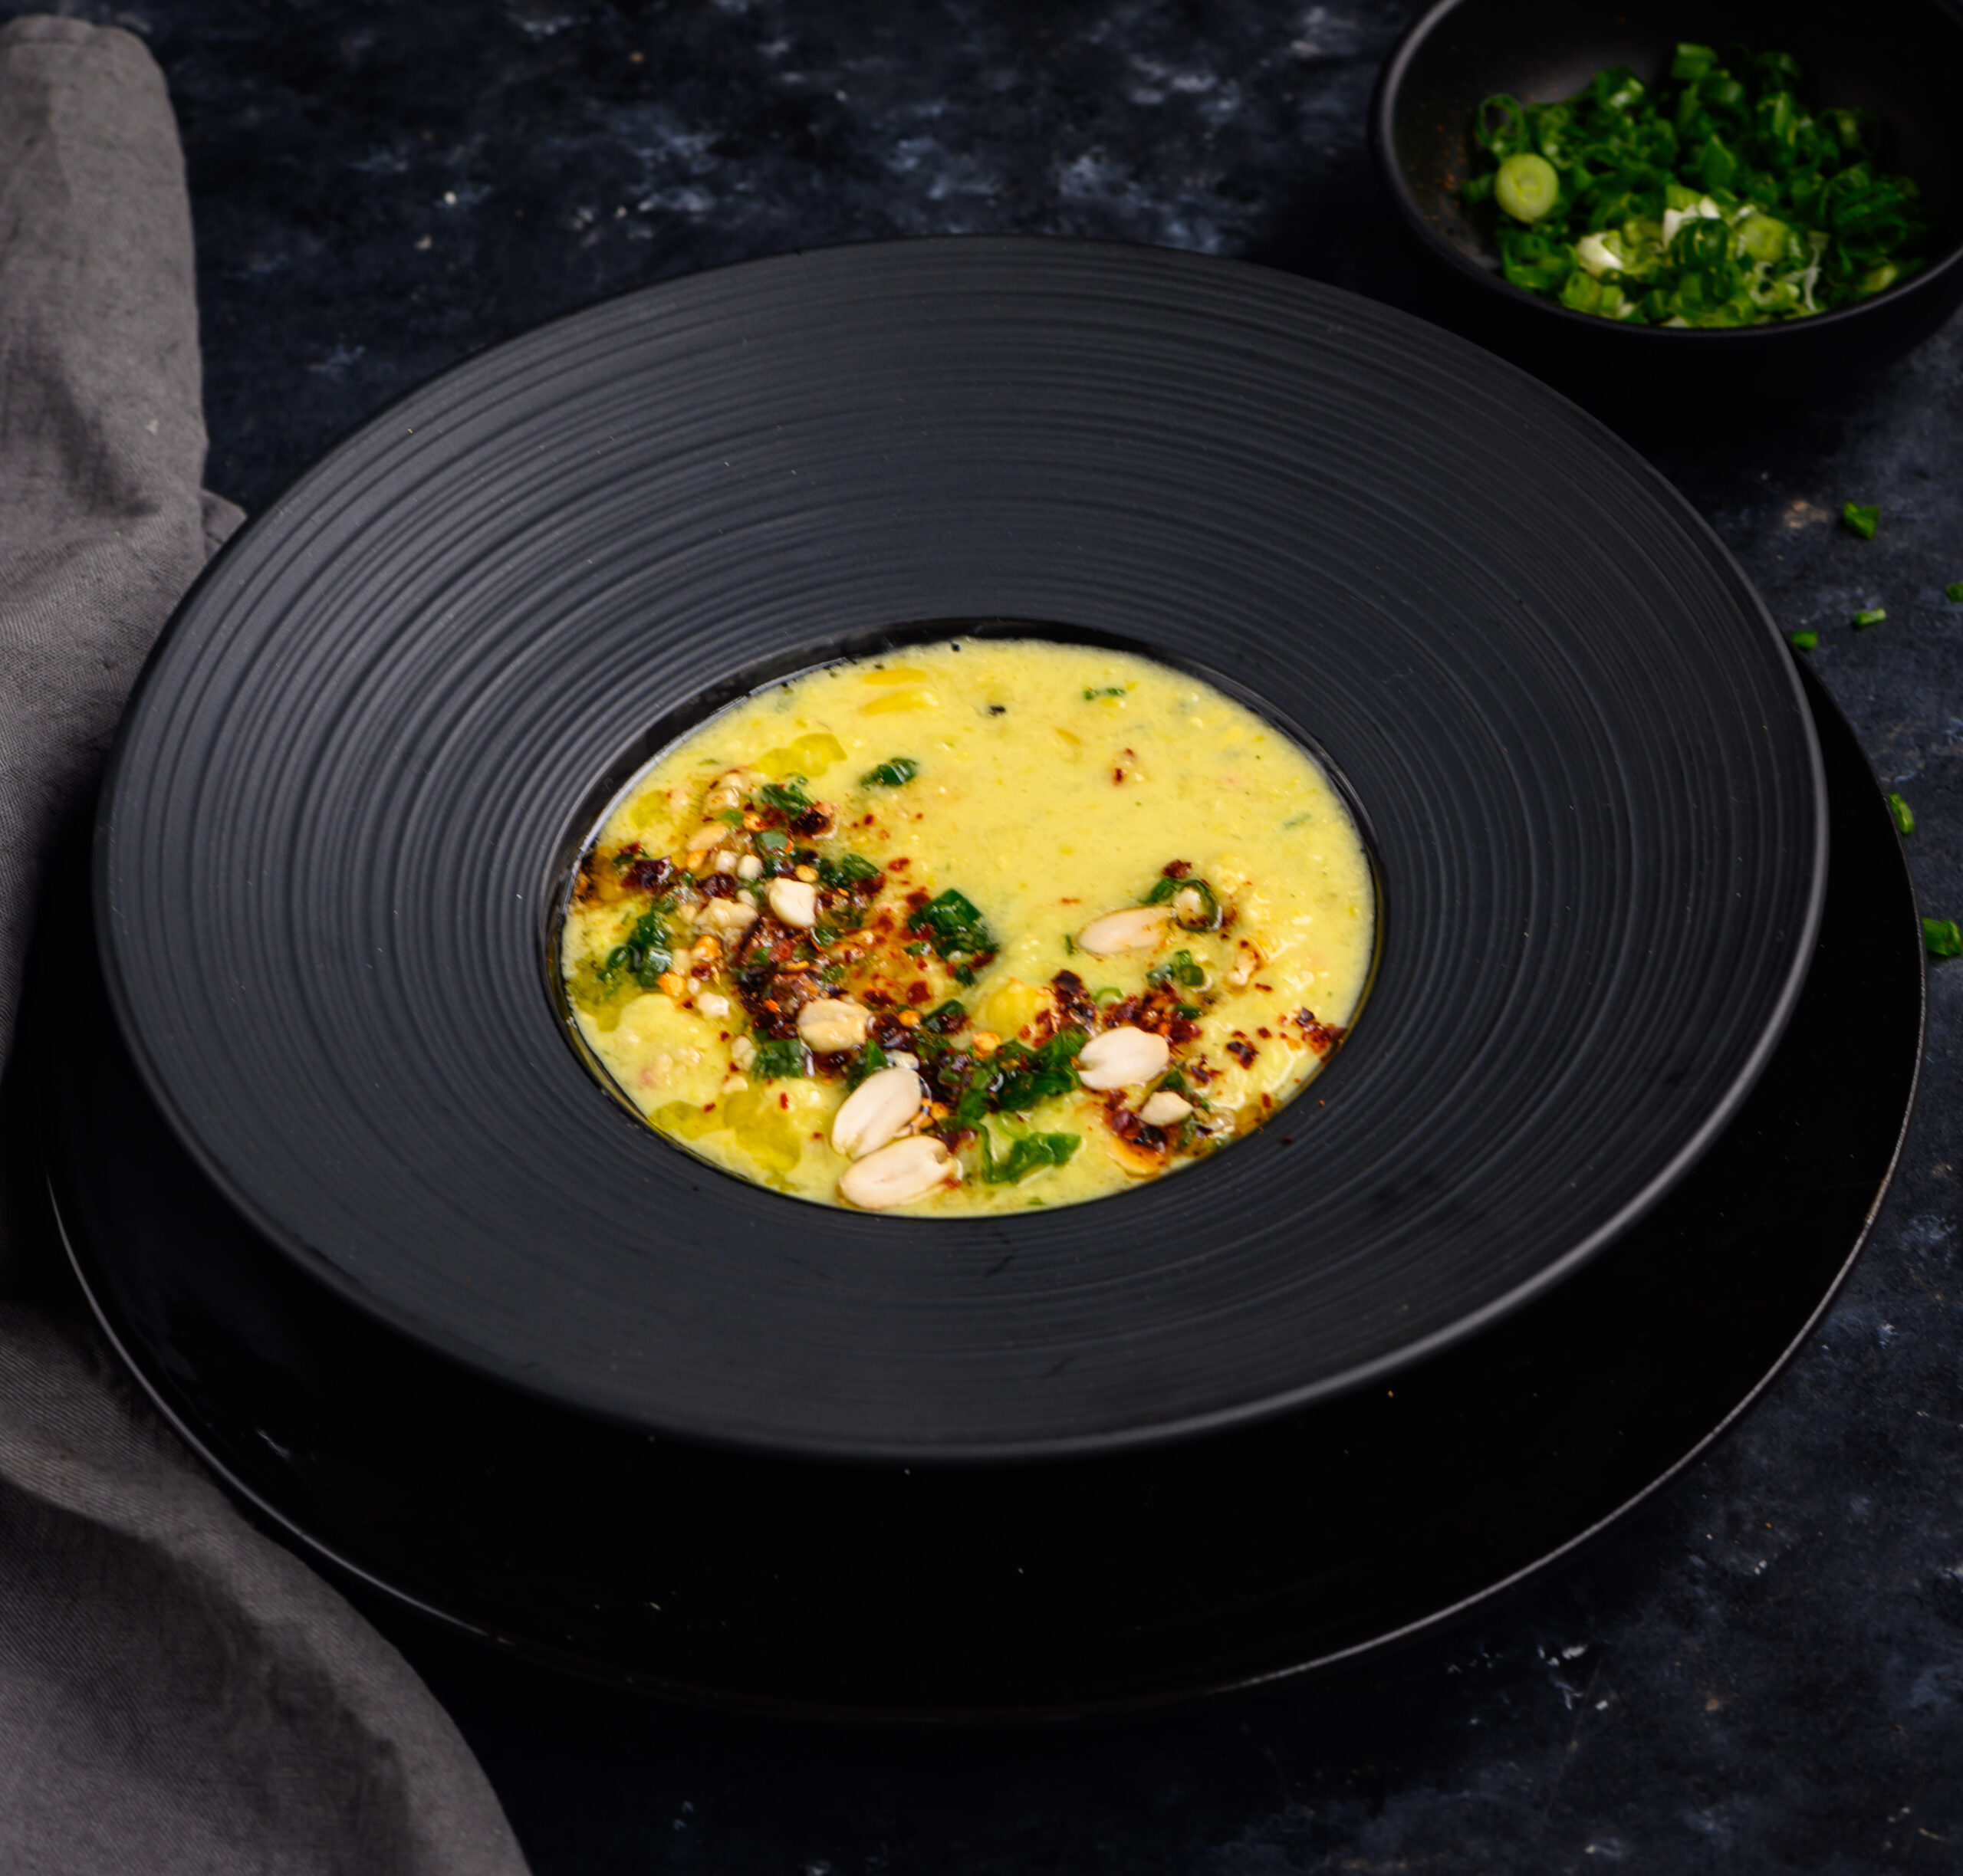
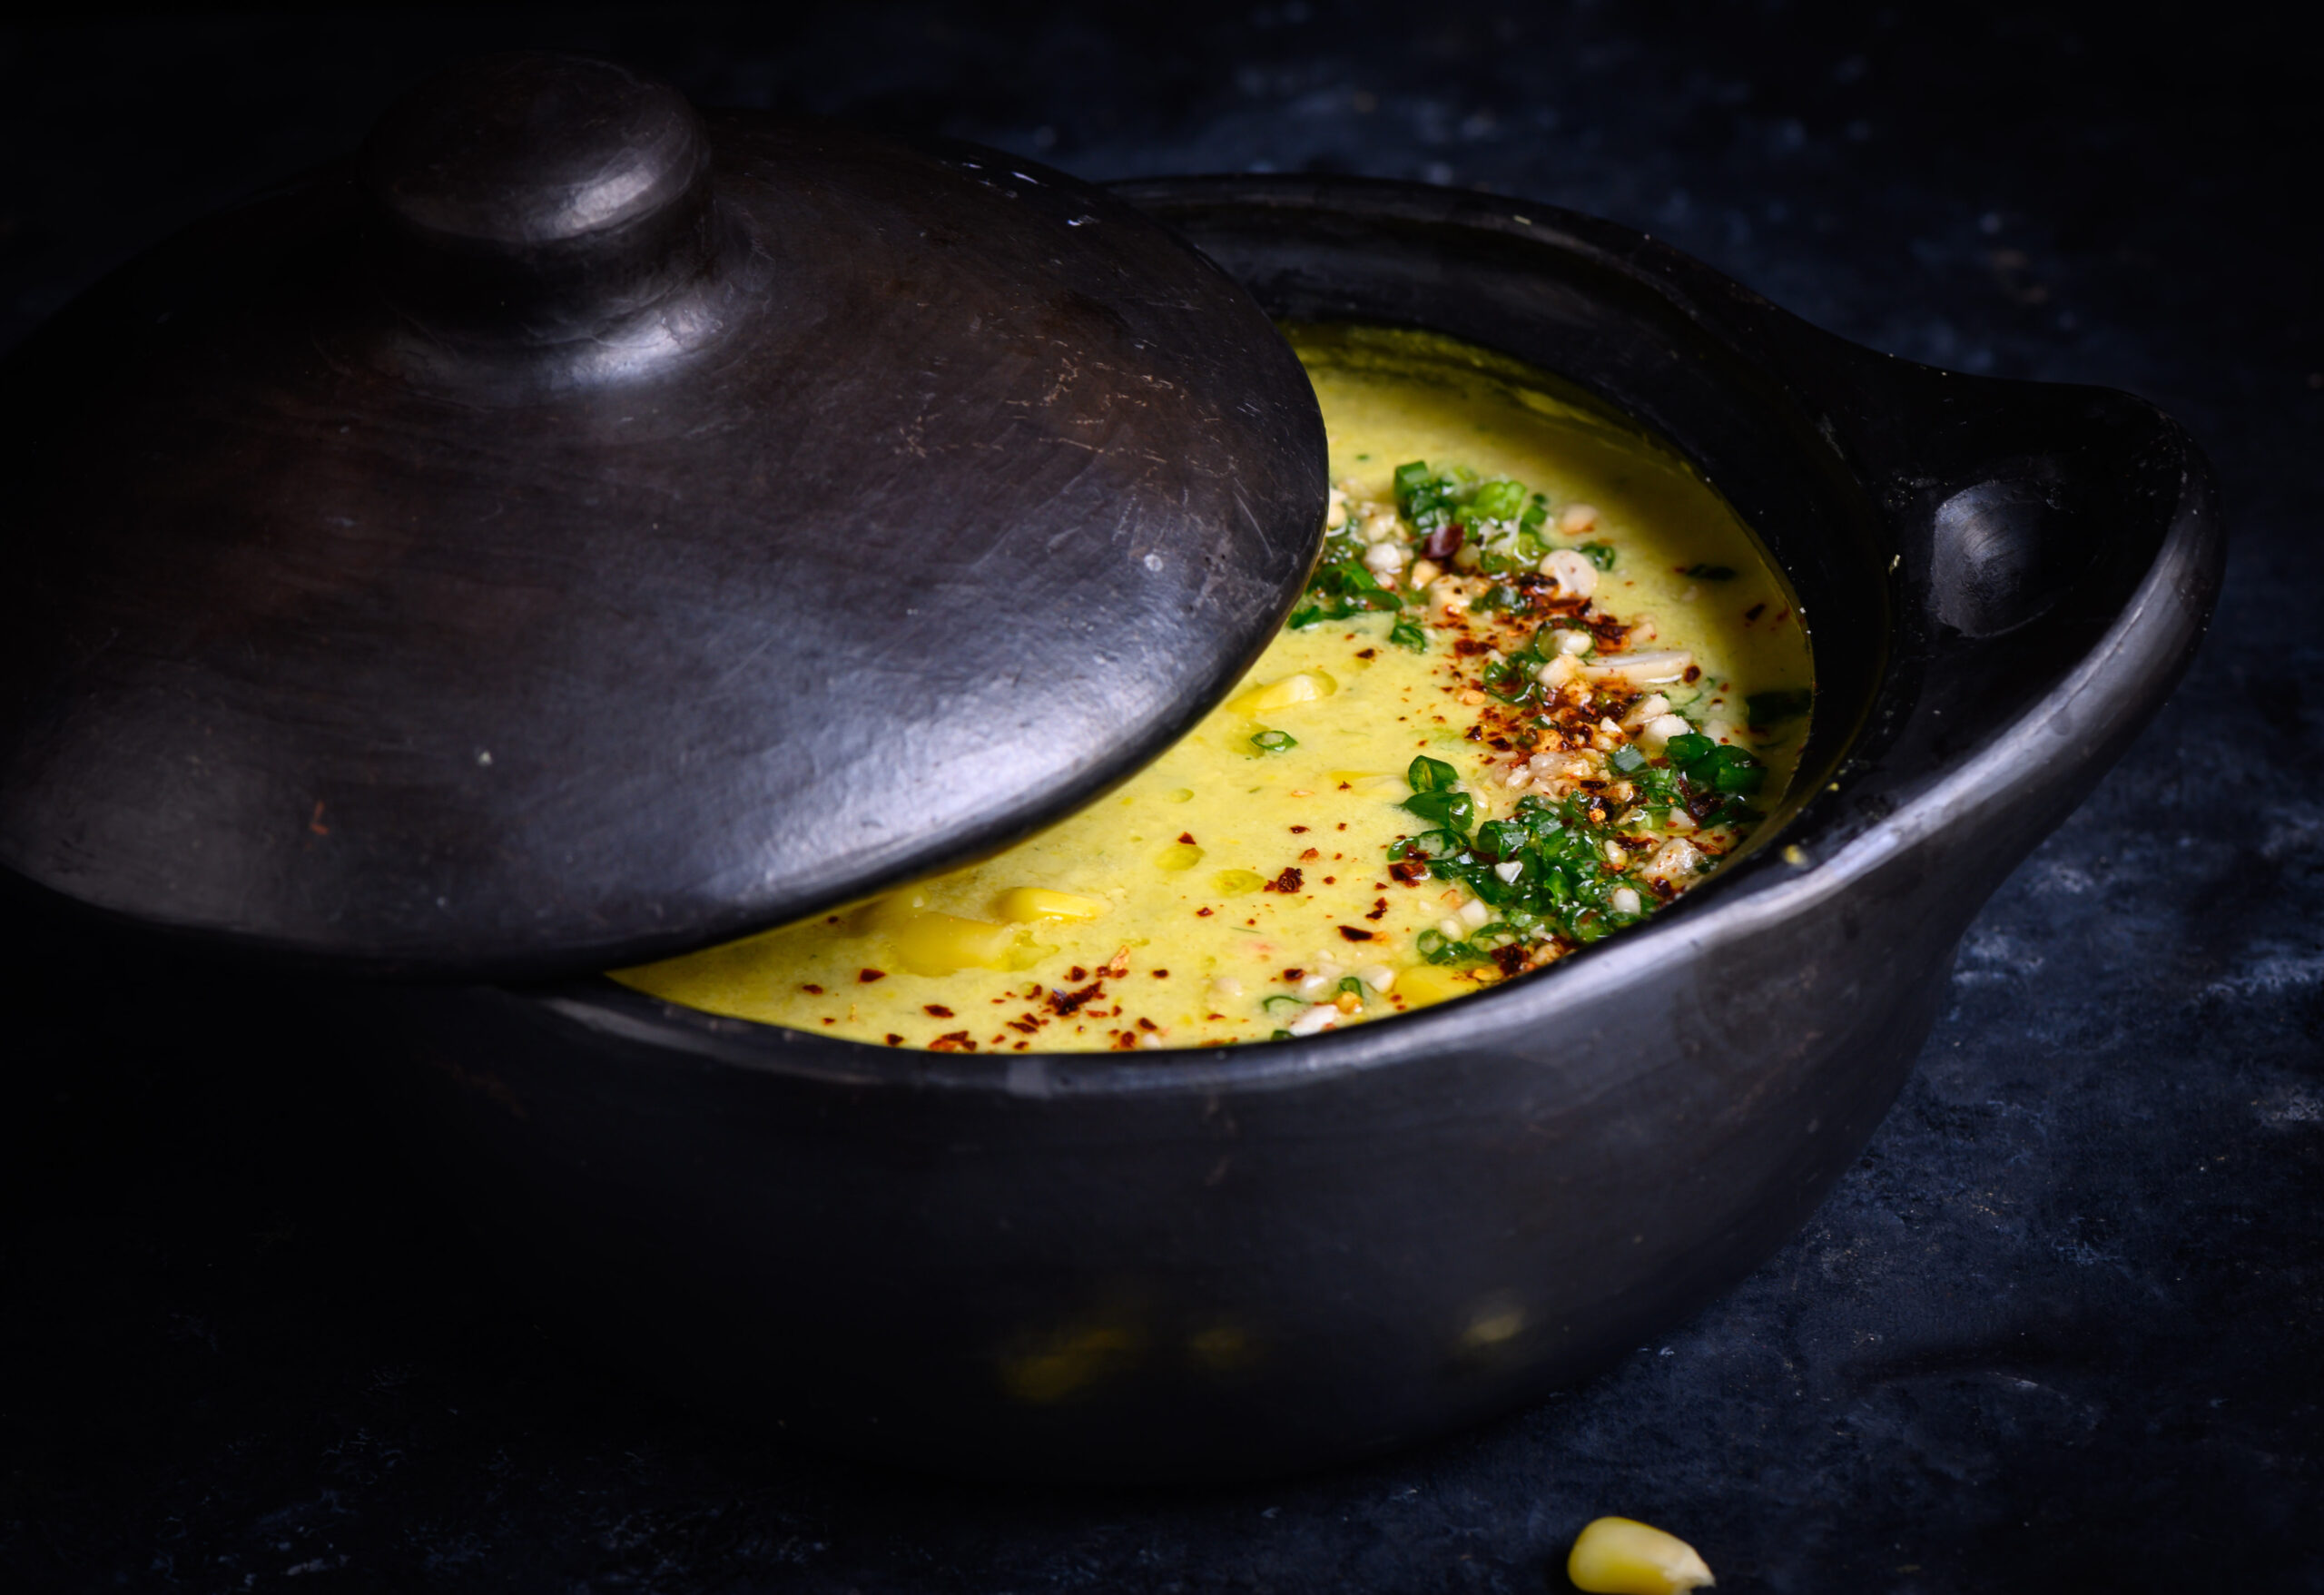
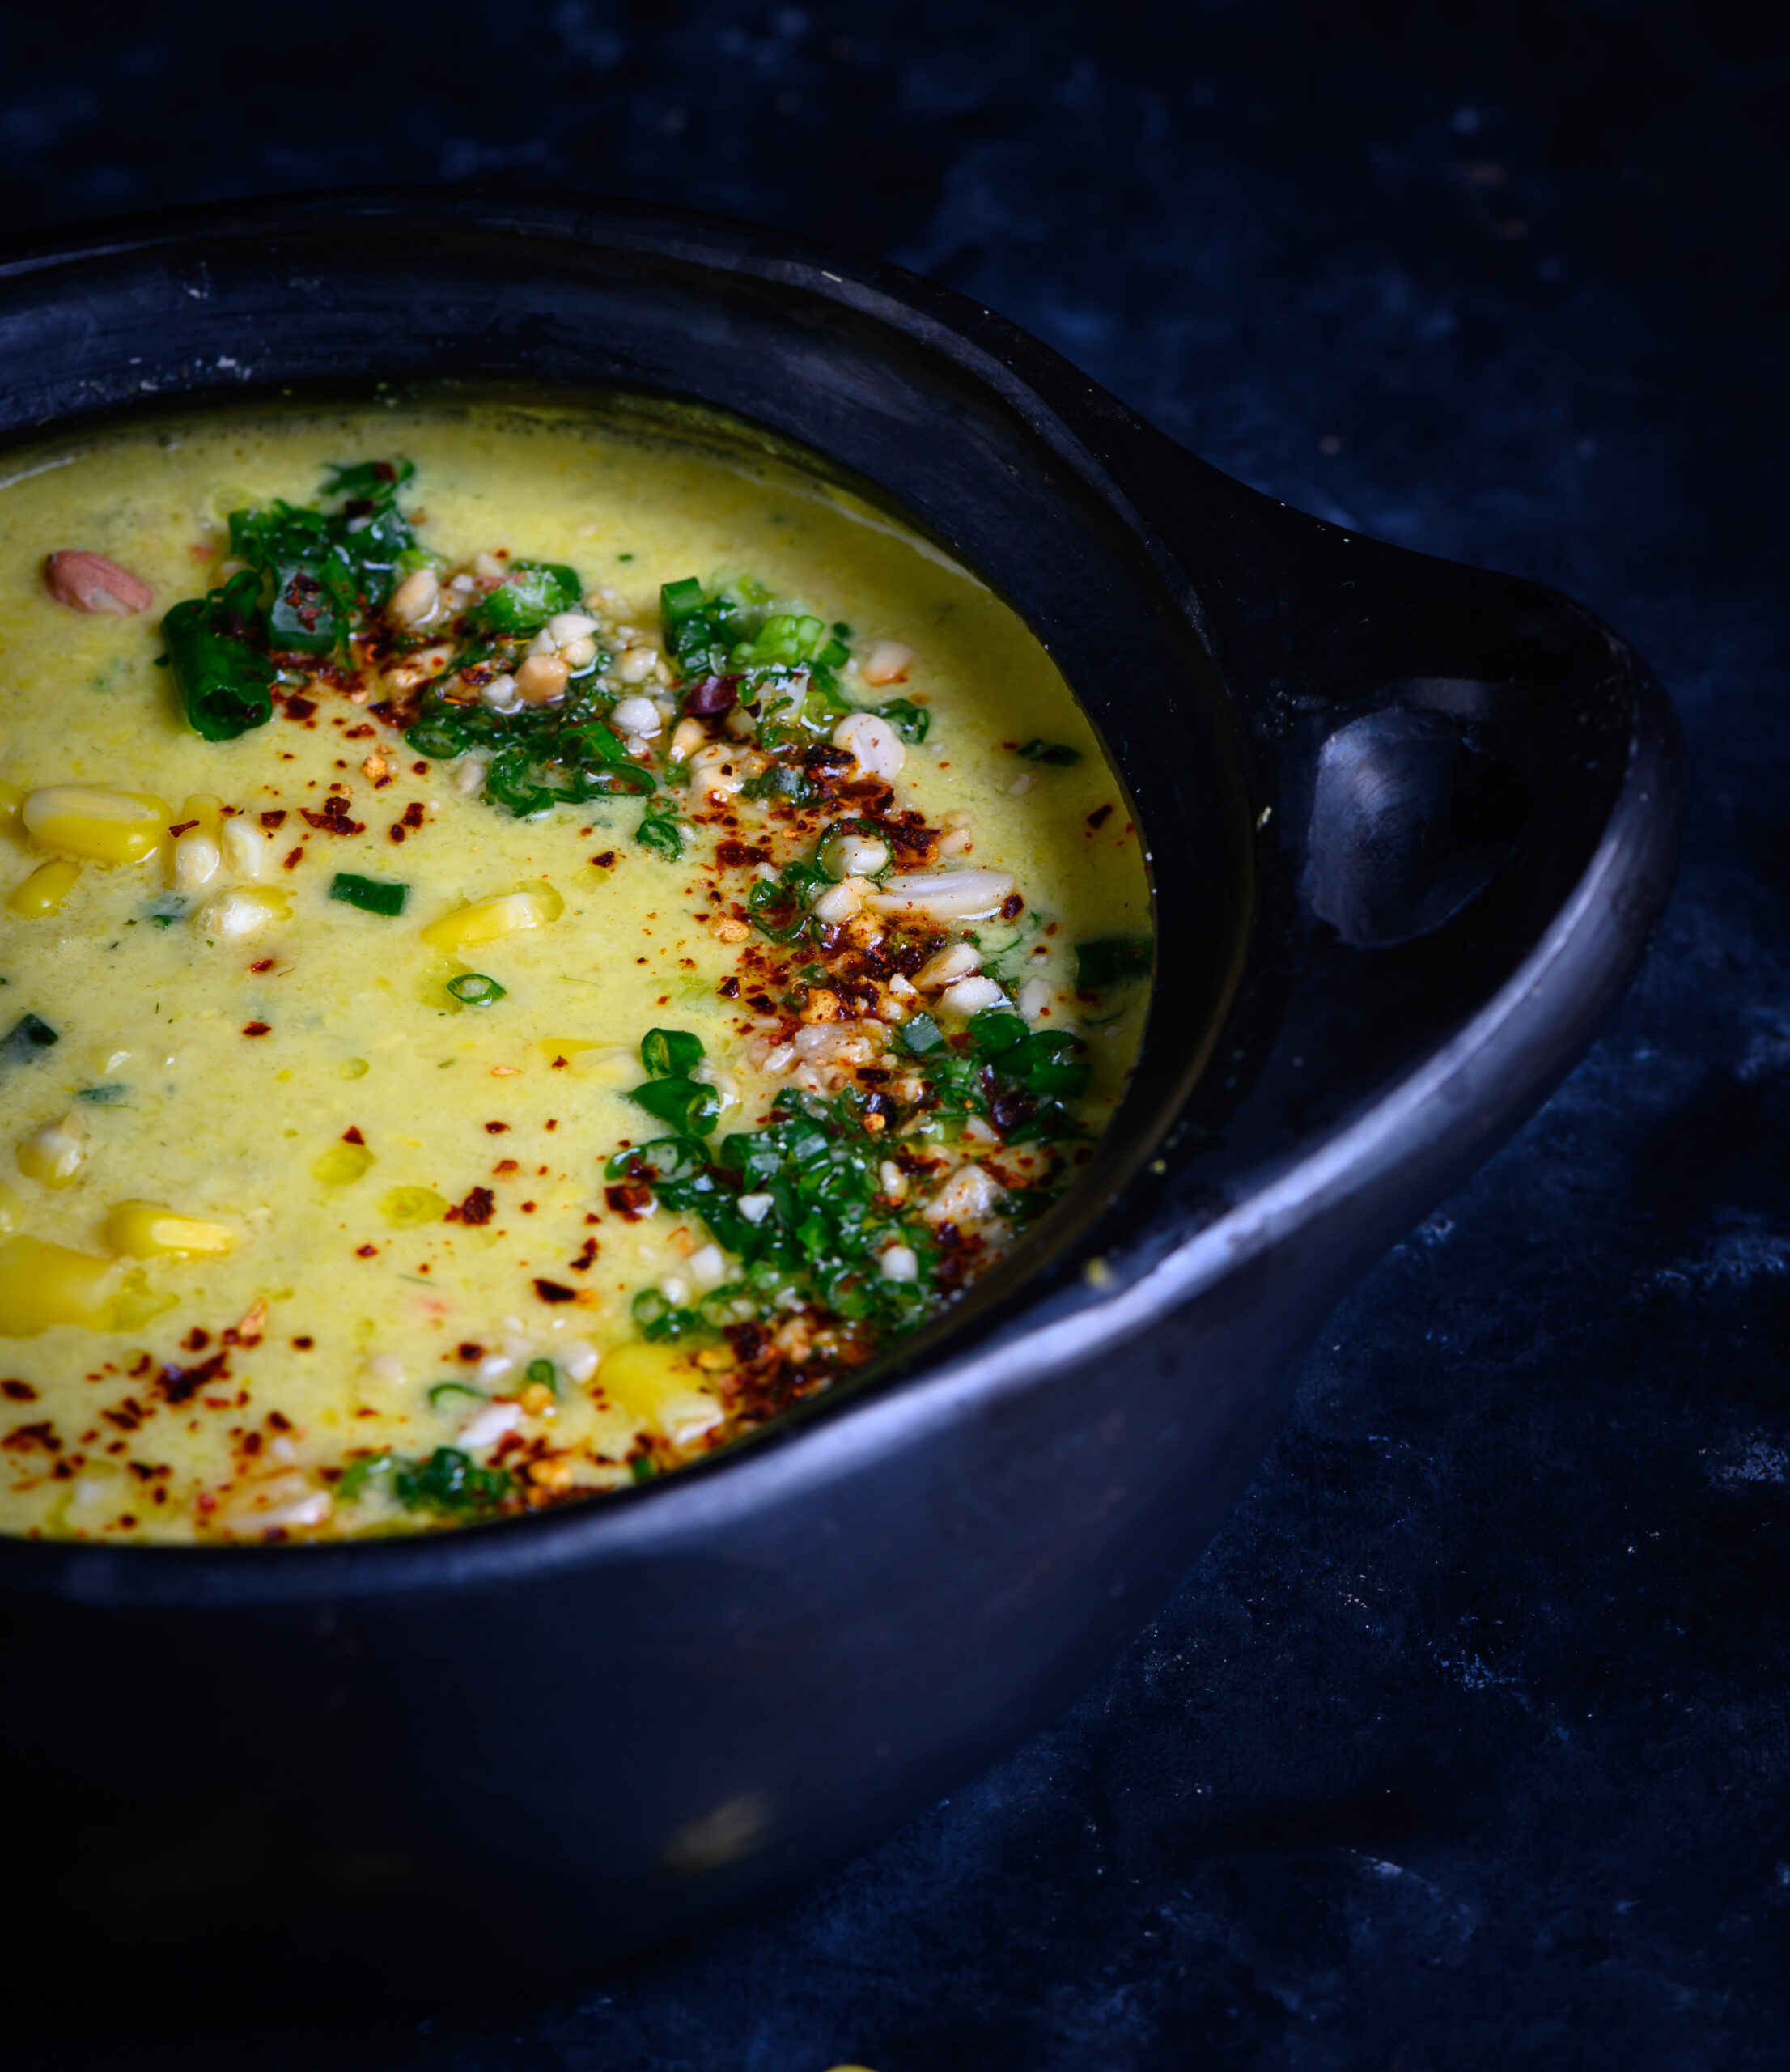
Nostalgia for Nanking drove me to the kitchen, to whip up my own version of sweet corn soup, or rather, a vegan whole corn and lemongrass soup. This recipe avoids the cornflour and the MSG and has some of those re:store twists in the form of aromatic lemongrass and spicy green chilli.

.

I enjoy the flavour of lemongrass and I think it livens up this soup very much. If you prefer not to use it, some good substitutes are coriander or a hint of mint. Corn has a strong flavour in itself, and my version of the soup is generous with it, so it needs to be balanced well. If you’re a fan of corn , you may also enjoy this makkai khichdi recipe that I shared recently. I use green chilli here for its spiciness, but you can try it with jalapeños too (they are also fast becoming a favourite of mine, and may find themselves in future recipes I’ll share).

Another way in which I’ve tried to recreate this nostalgic dish is with coconut milk. This not only gives it that distinctively South Indian essence, but also evokes many South East Asian delicacies. All in all, this corn and lemongrass soup is a satisfying, filling meal-in-a-bowl that reminds me of my teenage years and of some of my travels, thanks to the blend of flavours.

Speaking of traveling, I just returned from beautiful Colombia, where I heard about the 9-day fast observed by Catholics known as the ‘novena’. It reminded me so much of the 9-day Navaratri followed by Hindus and the 9-day Paryushan followed by the Jains, and got me thinking once again about how we are all so deeply connected. I wish we understood this instead of thinking along the lines of “This is mine, this is yours, my land, my country”, and other such divisions. The oneness and wholeness of humanity is a concept that cannot be lost; whether it be our festivals, our food or our sense of family, ultimately we are all the same and the more I travel, the more this concept is solidified.

Another thought that’s been on my mind a great deal is the famous Native American proverb that goes as follows: “When the last tree has been cut down, the last fish caught, the last river poisoned, only then will we realize that one cannot eat money.” It resonates so much right now. We should all be more aware of what we are doing and thinking. We should look not only at what we are creating, but also at what we are destroying in the process. These are some reflections that I’ve been having as we enter 2020. But first – how about a bowl of warm, crunchy, savoury soup?


Vegan Whole Corn & Lemongrass Soup

(Yield: 6-8 cups)

2 cobs of corn

½ teaspoon grated ginger

2-3 lemongrass stems

2 tablespoons olive oil/ butter

2 cups vegetable stock

2 tablespoons spring onion

1 green chilli/jalapeño

1 cup coconut milk

Salt to taste


Garnish:

2 tablespoons peanuts

Finely chopped spring onion

Finely chopped coriander leaves

Red chili flakes

1 teaspoon olive oil


Grate the corn from the cobs and keep aside.

In a blender, process the lemongrass, ginger and green chilli using 2 tablespoons of water, until coarse.

In a separate pan, add the olive oil and sauté the onions for a few minutes until they are tender. Now, add the grated corn along with its juices. I like to bite into pieces of corn, so in addition to the grated kernels I kept aside a ½ cup of whole kernels, which I add at this point as well. You may do so if you enjoy the texture of corn like I do. Once the mixture turns soft and tender, add the warm vegetable stock and then add the strained juices from the blender.

Gently simmer until the flavours all become one. Add salt to taste. Finally, add the coconut milk. Once heated, remove the pan from the flame.

For the garnish, warm the olive oil gently and stir the remaining ingredients in it.

Spoon the soup into bowls and add the garnish, topping with a spoonful just before serving.

What I do quite frequently nowadays is to make a large quantity of the soup during the day, and whoever wants some just warms up a portion for themselves at any time, just as I do when I find myself hungry for dinner by 6pm or 7pm. I’ve found that it keeps well for up to a couple of days.

In these photos, you may notice the beautiful bowls I’ve used to serve my soup in. I’m always looking for props for my photo and utensils for my kitchen, and when I discovered that blackened earthenware is made in Colombia, I just had to pick some up. I wish I could have carried an entire dinner set back with me from across the continents, but perhaps having to bring these treasures item by item will just mean more visits to that amazing place…

You may also be wondering whether starting the year off on a soup, when so many of us would have set health-related resolutions, was intentional. Actually, it was not. I feel we should eat mindfully all year round, and that we should see nutritious dishes as being a natural part of our diets, not an obligation. This beautiful vegan whole corn and lemongrass soup is exactly the kind of dish that fits into such a repertoire. It’s loaded with healthy ingredients, from corn to nuts and more, and tastes so very delicious. I’d love to know what you think of it if you give this recipe a try!

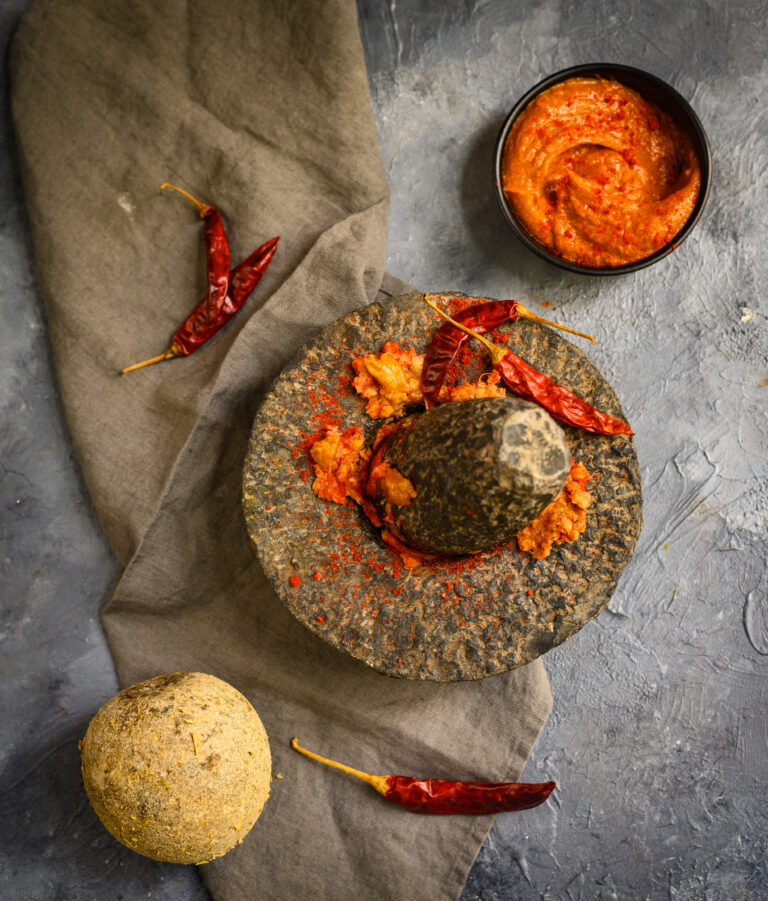
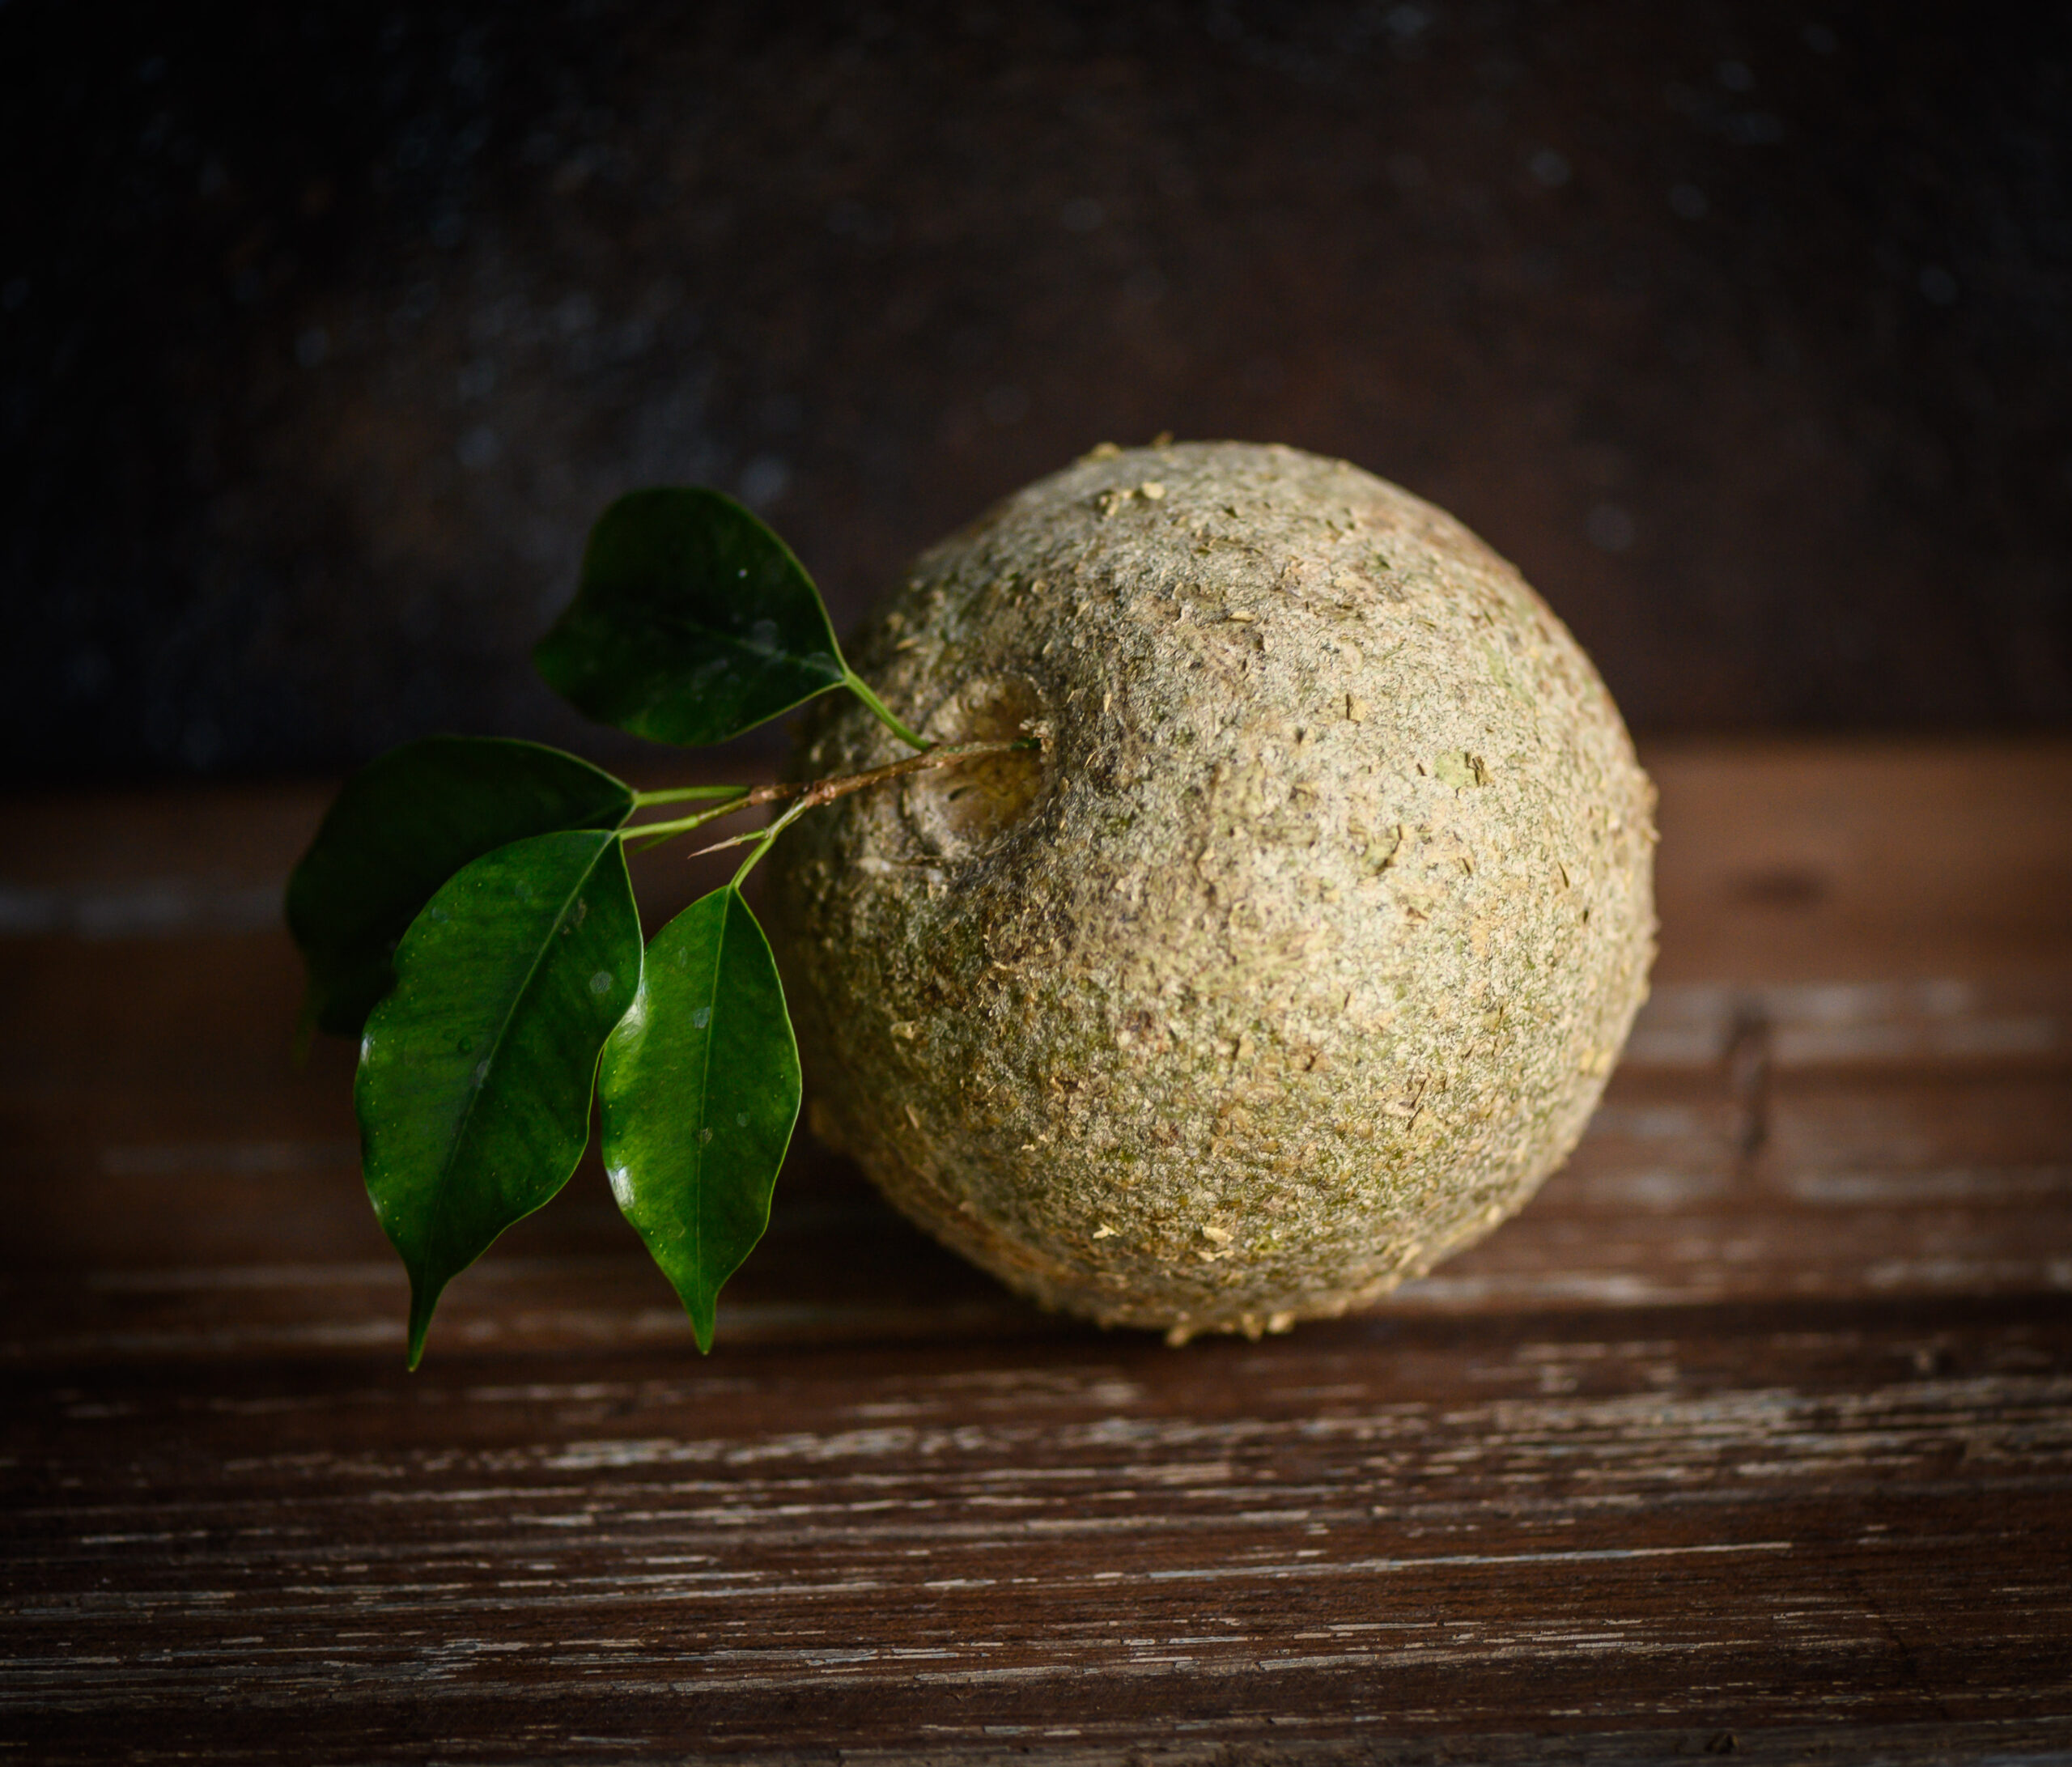
There are two things from the past that I have recently had a hankering for: wood rose trees and wood-apple fruits. For over a year, I’ve been asking people if they know where I can find a cutting of the wood rose tree, which I remember from gazebos at a club in my childhood. I loved to break its pods open and see the black seeds. Many cannot even recall such a plant, and it is sad to know how something that had once been familiar has almost faded from public memory. The wood-apple fruit, however, is one that everyone knows. Or rather, they remember its existence. Even if they may not be able to remember when they last tasted it. This fruit has slowly been disappearing from our palates, as I realised over recent months when this craving hit me and it became almost impossible to source.

Thanks to my good fortune, I found a vendor near the Mylapore market who had some wood-apples in stock. I asked him why I hadn’t been able to find it of late, and he told me that demand for the fruit has gotten so low that farmers no longer have an incentive to grow it. It is just not financially viable for them to do so. The wood-apple season that I remembered from my childhood is right around this time, in conjunction with the festive period and the colder months, and it seems that somewhere in the state, perhaps in a scarce way, there is a small harvest after all.

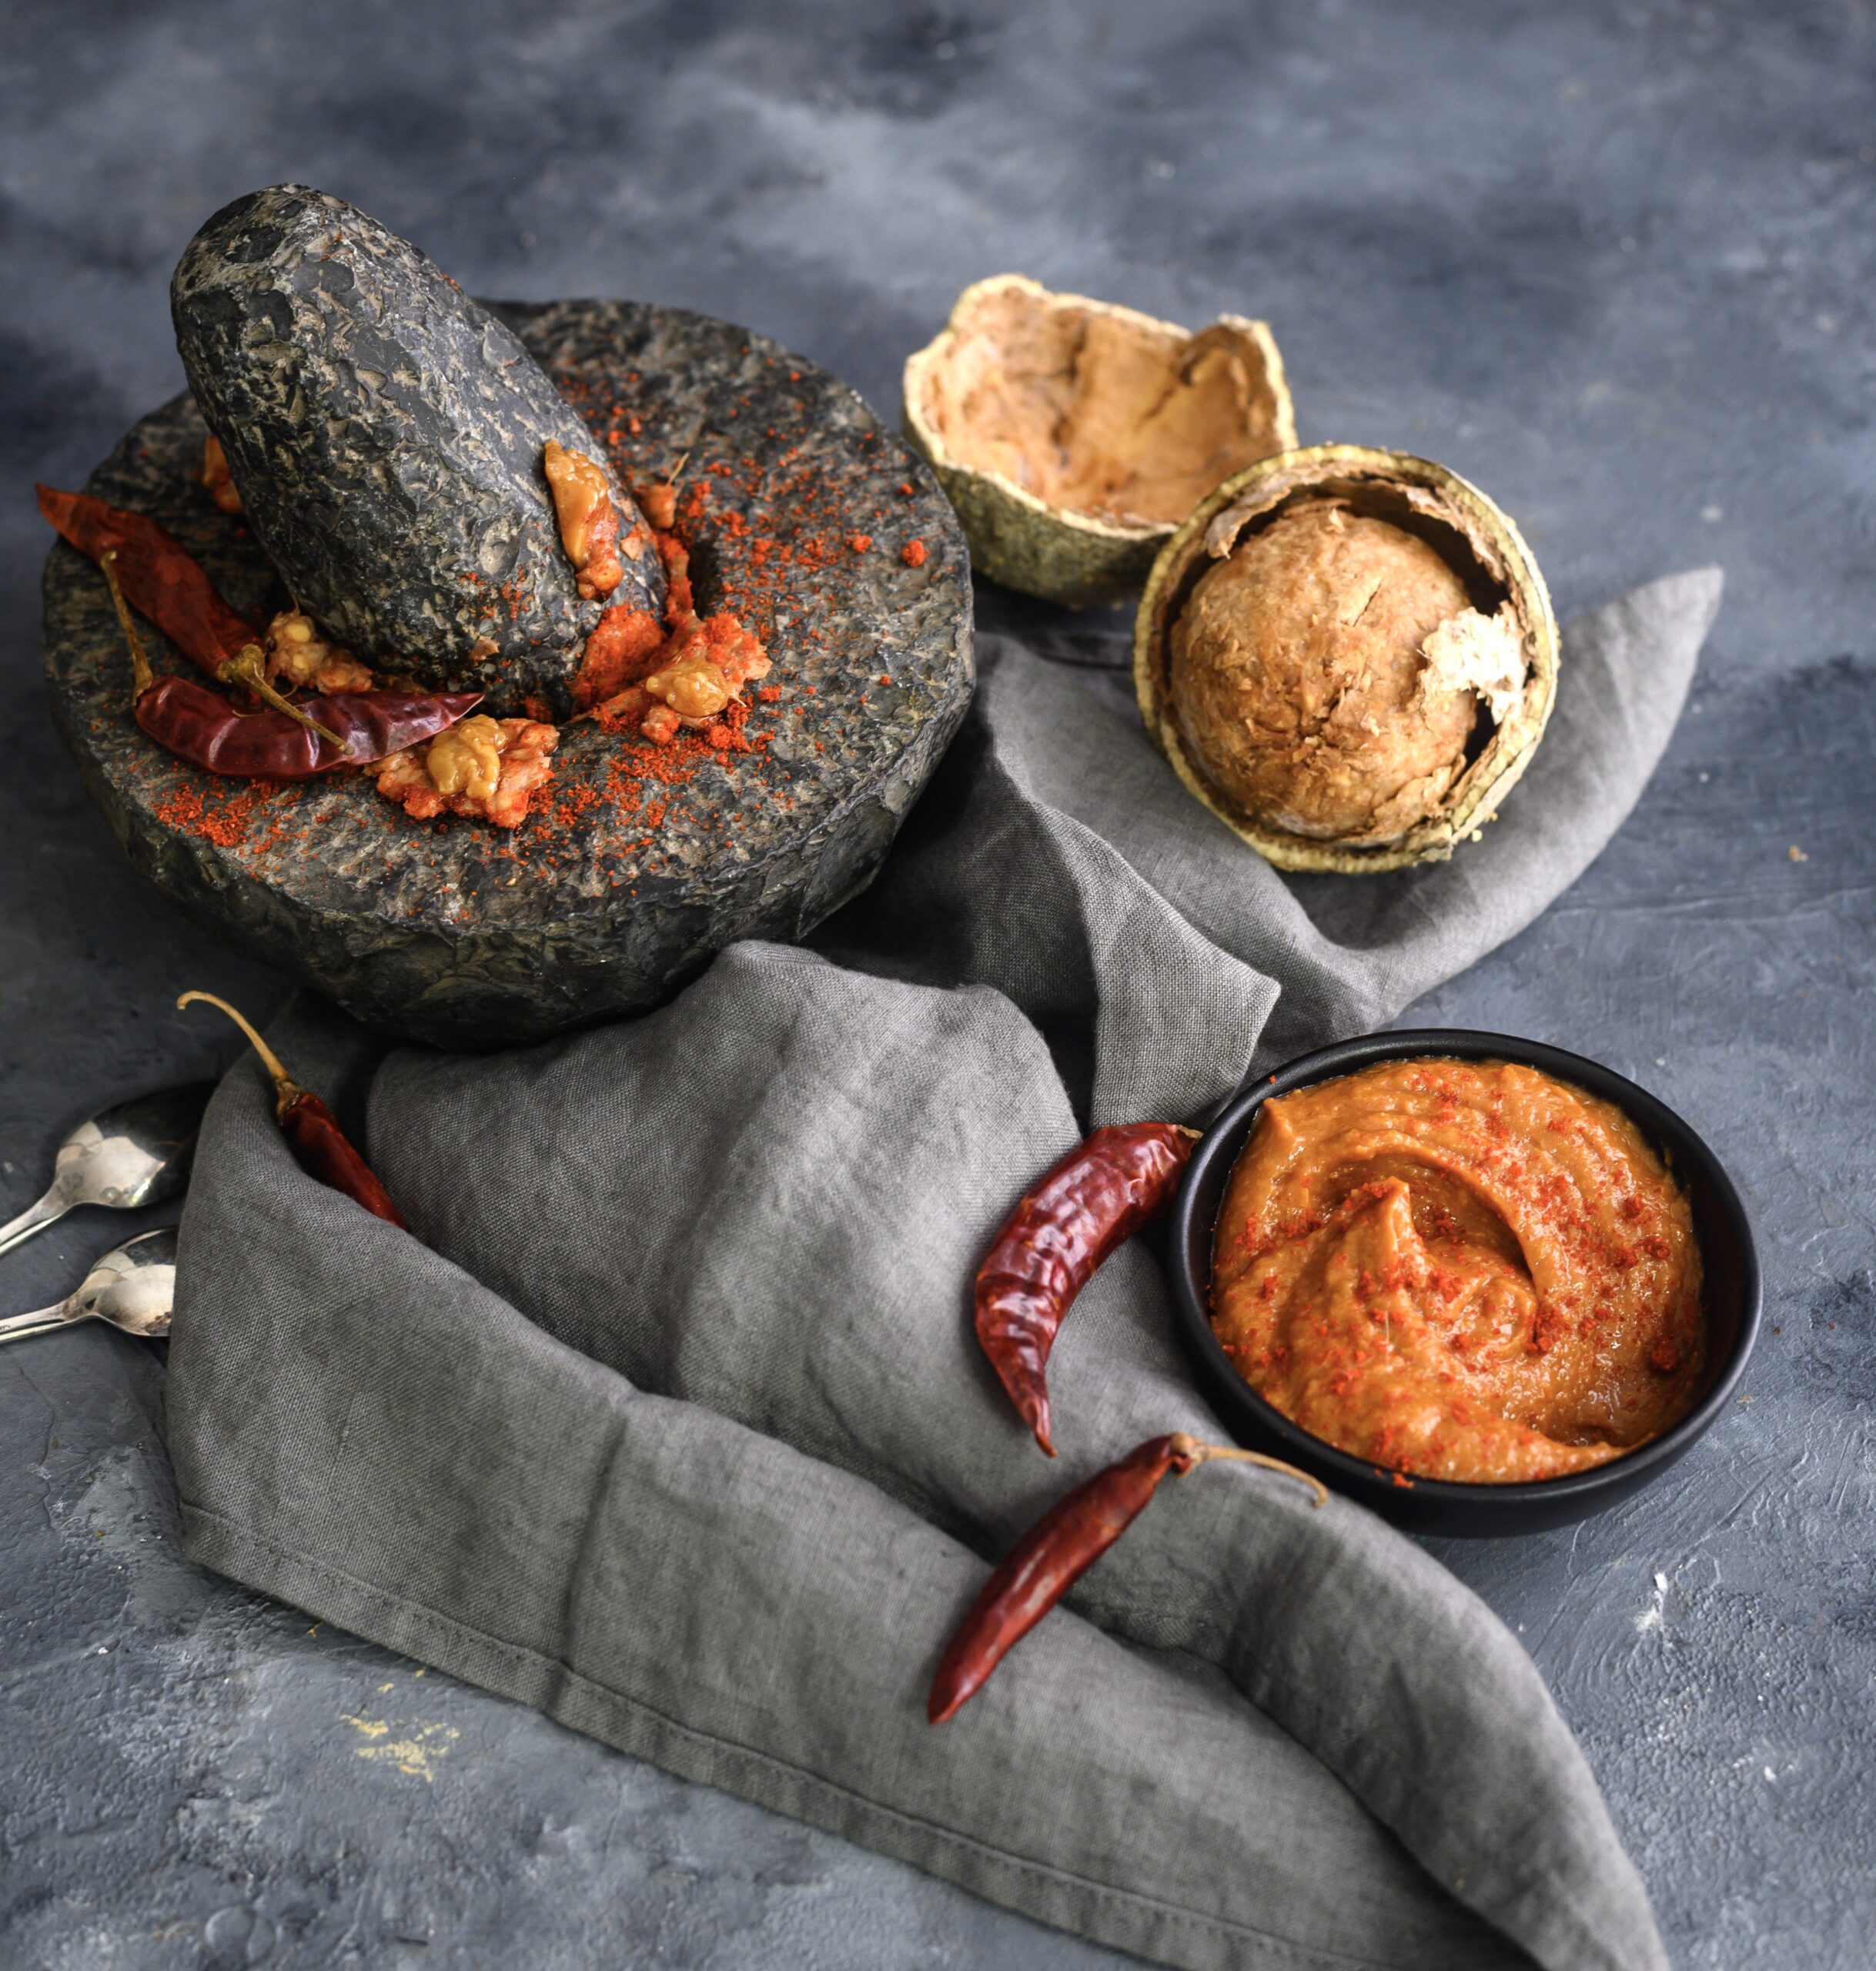
As I said, I have been craving this wood-apple chutney for months, and it means a lot for me to be able to share the recipe with you, since it took so long to source the chief ingredient! I consider this a “revival recipe”, one which I hope will inspire you to bring this fruit back into grocery shopping. This is the only thing that will allow farmers to cultivate it again as they did before.

Known as “kotha” in Gujarati and “vizhampazham” in Tamil, wood-apple is known to be a tonic for the heart and the liver, and is good for treating intestinal, throat and gum ailments. Many parts of the tree, including the pulp, also have anti-venom properties. It is a pungent fruit, which like jackfruit is something people either love or hate. Needless to say, I love it. My mother often made this wood-apple chutney for us when we were growing up, when the fruit was abundantly available.

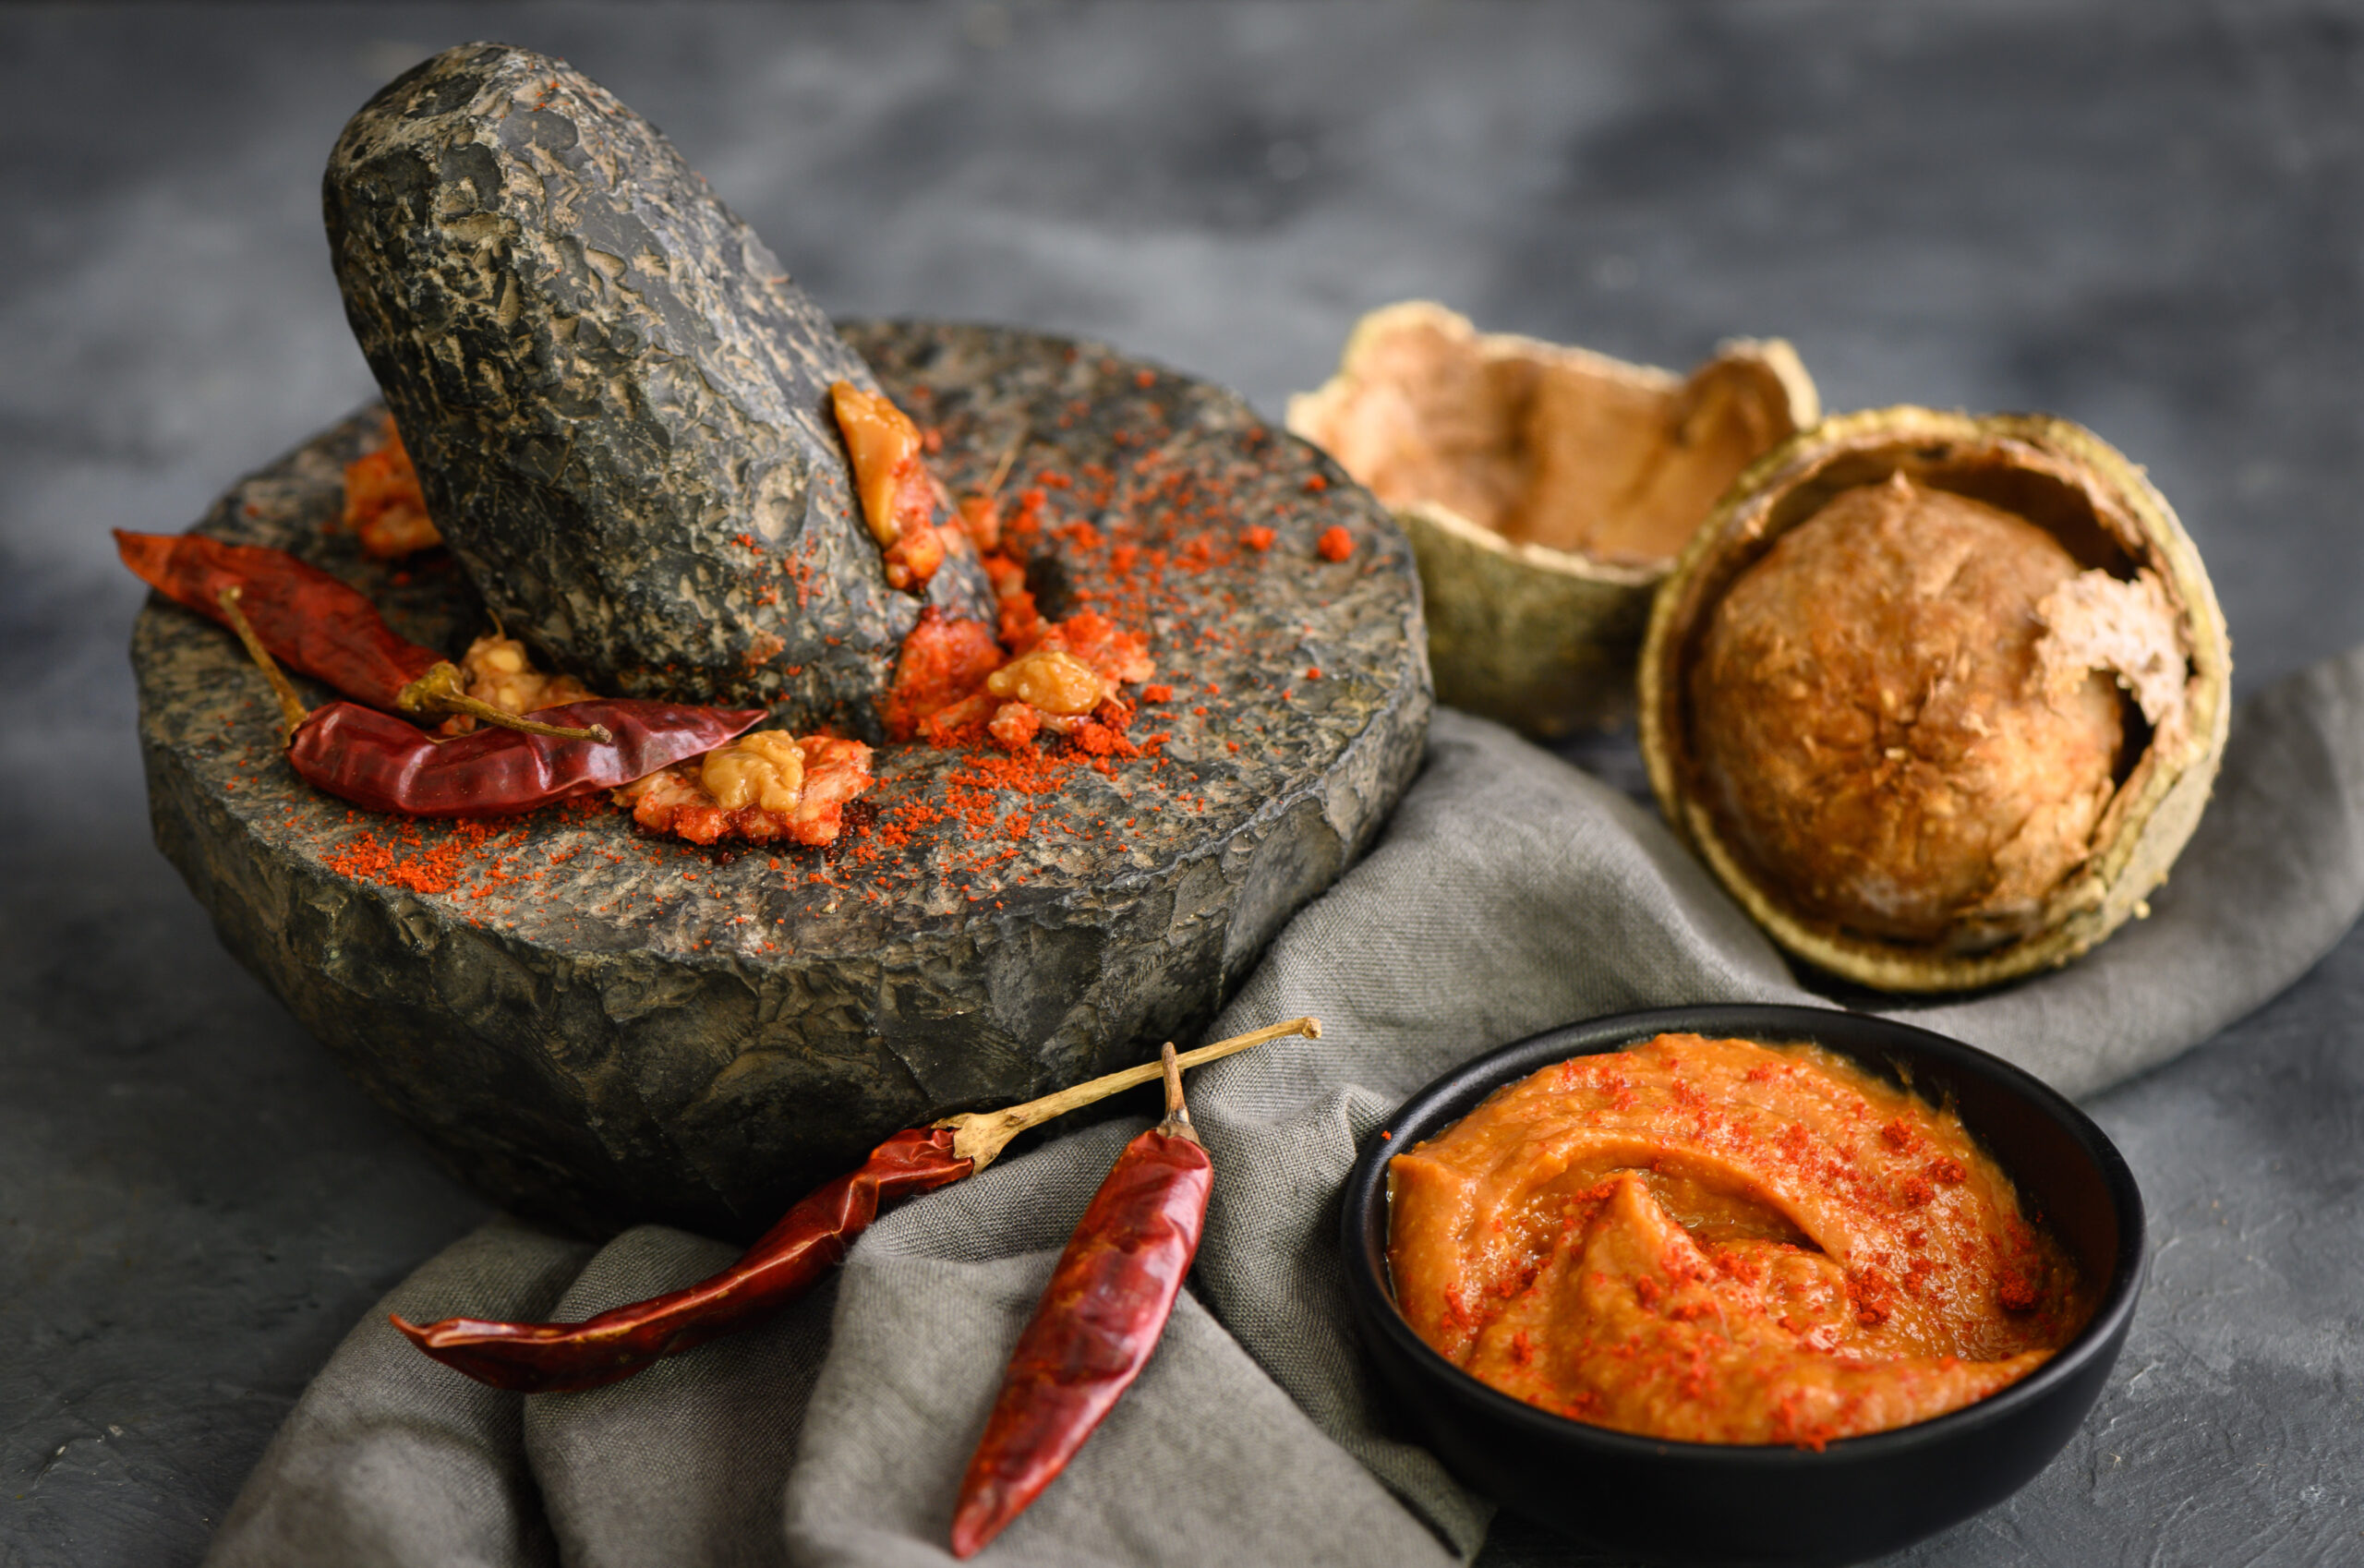
This incredibly simple vegan chutney contains just a handful of basic ingredients: wood-apple, jaggery and chilli powder. Some sweetness, some spice and the fruit pulp combined together create an addictive dip that can be eaten in many ways. I am told by a Sri Lankan friend that they often eat their version, which doesn’t contain spice, as a jam on toast. There are of course innumerable recipes in different homes, communities and regions.

What I am sharing today is my mother’s recipe for wood-apple chutney, which I recall eating along with leftover rotis as an after-school snack. I used to think of it as being a part of the larger category of homemade condiments that she would make and bottle at home. Many Indians used to do this – do you remember those pickles that would last a whole year? We would reach out for these pickles, chutneys and more whenever we were in a pinch and just needed something to eat between meals. This wood-apple chutney always satisfied the craving. It’s no wonder that “craving” is really the only way to describe how I kept searching for it for months, and how satisfied I am to have found it.


Wood-Apple Chutney

(Yield: 1 cup)

1 wood-apple

3 tablespoons jaggery

1 teaspoon chilli powder

1 teaspoon roasted cumin powder

1 teaspoon/small ball of tamarind paste

Salt to taste


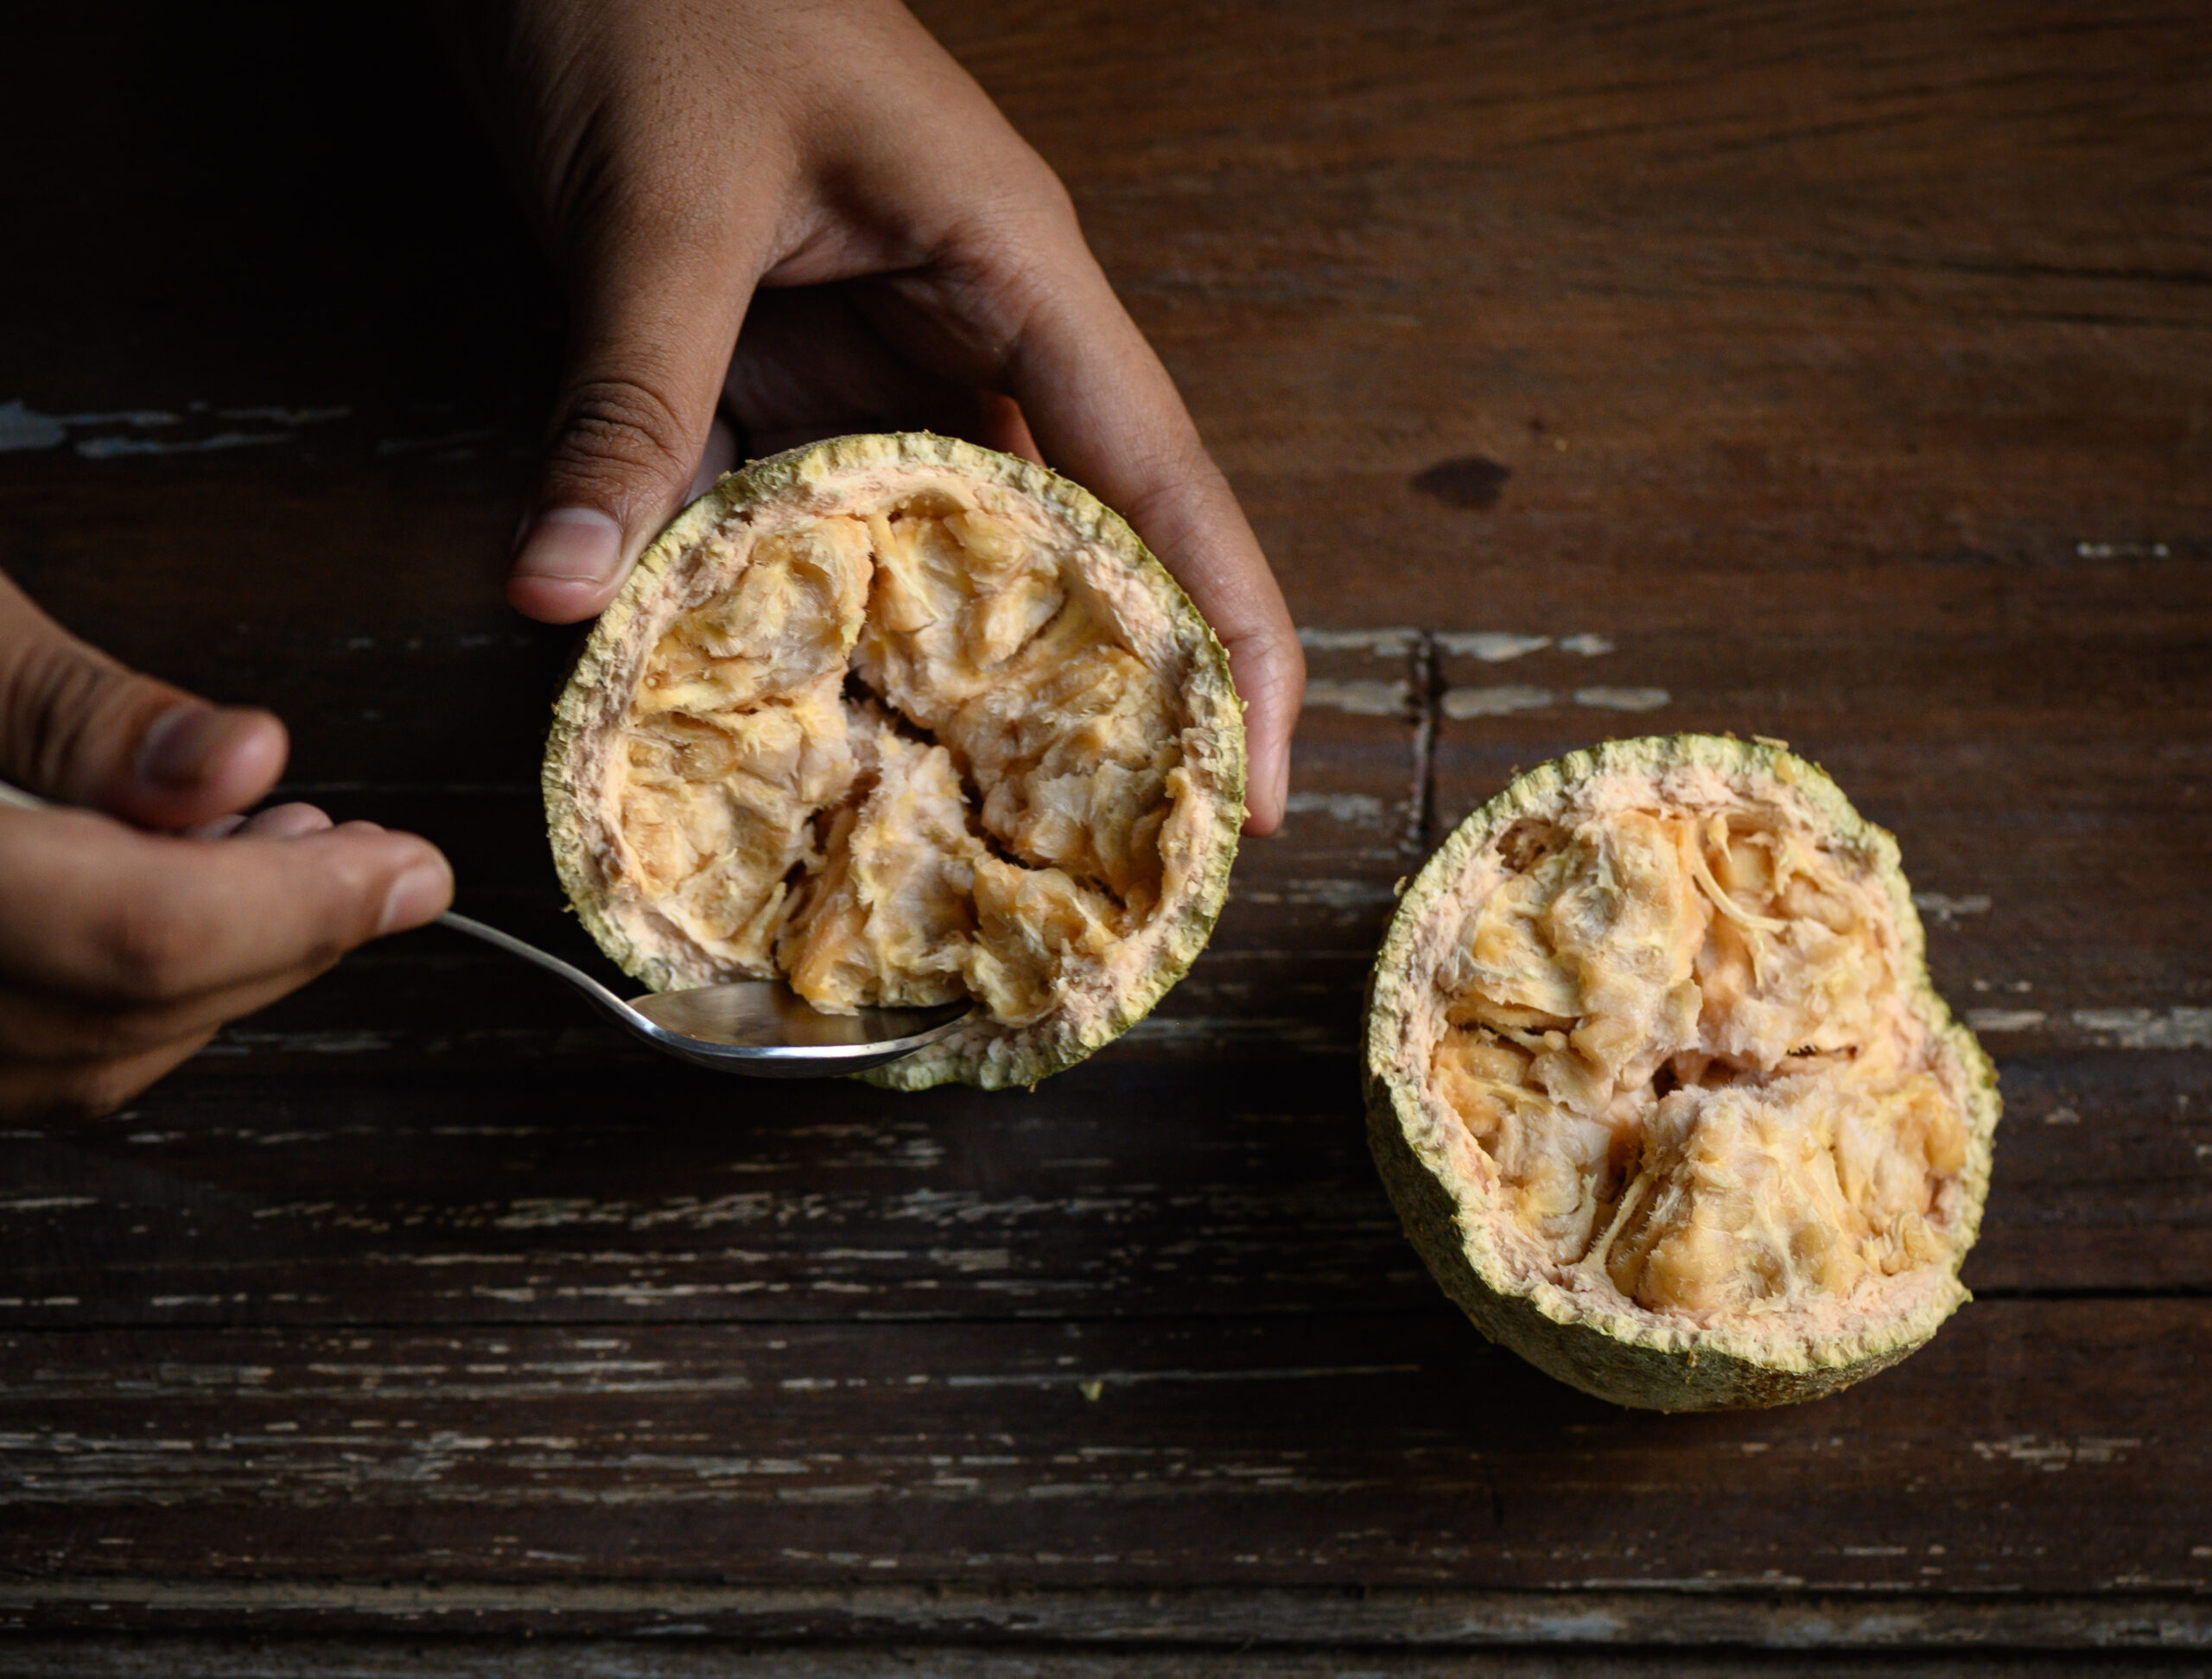
A ripe wood-apple gives out a faint fragrance and tastes a bit pungent on the tongue. It has a soft flesh of an orange-ish colour. You will know that a wood-apple is ripe when the fruit smells. Until then, there is no fragrance.

Scoop the flesh from the wood-apple and keep aside.

Instead of a blender, I used a mortar-and-pestle like my mum used to, which is the traditional way to grind chutneys. I reach out for it for certain recipes, even though we use the blender today for convenience’s sake. Blend the the wood-apple flesh, chilli powder, jaggery, roasted cumin powder, tamarind and salt to taste, either by hand or in a machine. Do so until it becomes of a chutney consistency.

Move to a bowl. You may enjoy it immediately, or refrigerate. It will stay good for 3-4 days, if it lasts that long. When I make bigger batches, I warm a little oil and pour it on top, so that it is preserved for longer.

This simple and tasty wood-apple chutney is a wonderful dish through which to discover (or rediscover) the fruit, which as I’ve shared earlier seems to be disappearing quickly from our markets. What are some of the fruits and vegetables that you recall from your childhoods which we rarely see anymore? Let’s figure out together how to bring them back into circulation. It’s important for us as mindful consumers to consider the origins of the produce we purchase and eat, and to be supportive of those who make it possible for us to do so. Looking forward to your ideas in the comments!

I was visiting my sister in Mumbai through the fasting week of Paryushan, the most important time of the Jain calendar. Over the course of 8 days, devout Jains maintain some form of abstinence, depending on their personal capacity. Most abstain from eating leafy green vegetables, as this ties in to a belief that they contain life in a way that grains and certain other ingredients do not. Causing harm to any life is forbidden according to the Jain tenets, and during this time of fasting, non-violence is taken as seriously as possible. Some eat only a single meal per day. Others embark on a very intense form of abstinence, in which they will not eat or drink anything at all for the course of the holy days. Paryushan lasts for eight days, the highlight of which is Mahavir Jayanti (celebrating the birth of Mahavir, the twenty-fourth and final spiritual teacher of the religion), which falls on the fifth day. Those who successfully complete the rigorous fasting of consuming nothing over these eight days will say that they have done atthai.

As my sister’s family is a devout one, I saw firsthand what a challenge it can be, in the kitchen, to ensure that meals fulfill the strict criteria of the various fasts being undertaken. At a time like this, there is a complete lack of focus on food as savouring or giving in to desires or temptations are to be avoided. It is the simplicity of the food cooked that is appreciated. Thanking God for the basic things that life gives us, we don’t exactly celebrate (it is not a “festival”) but rather appreciate our blessings.

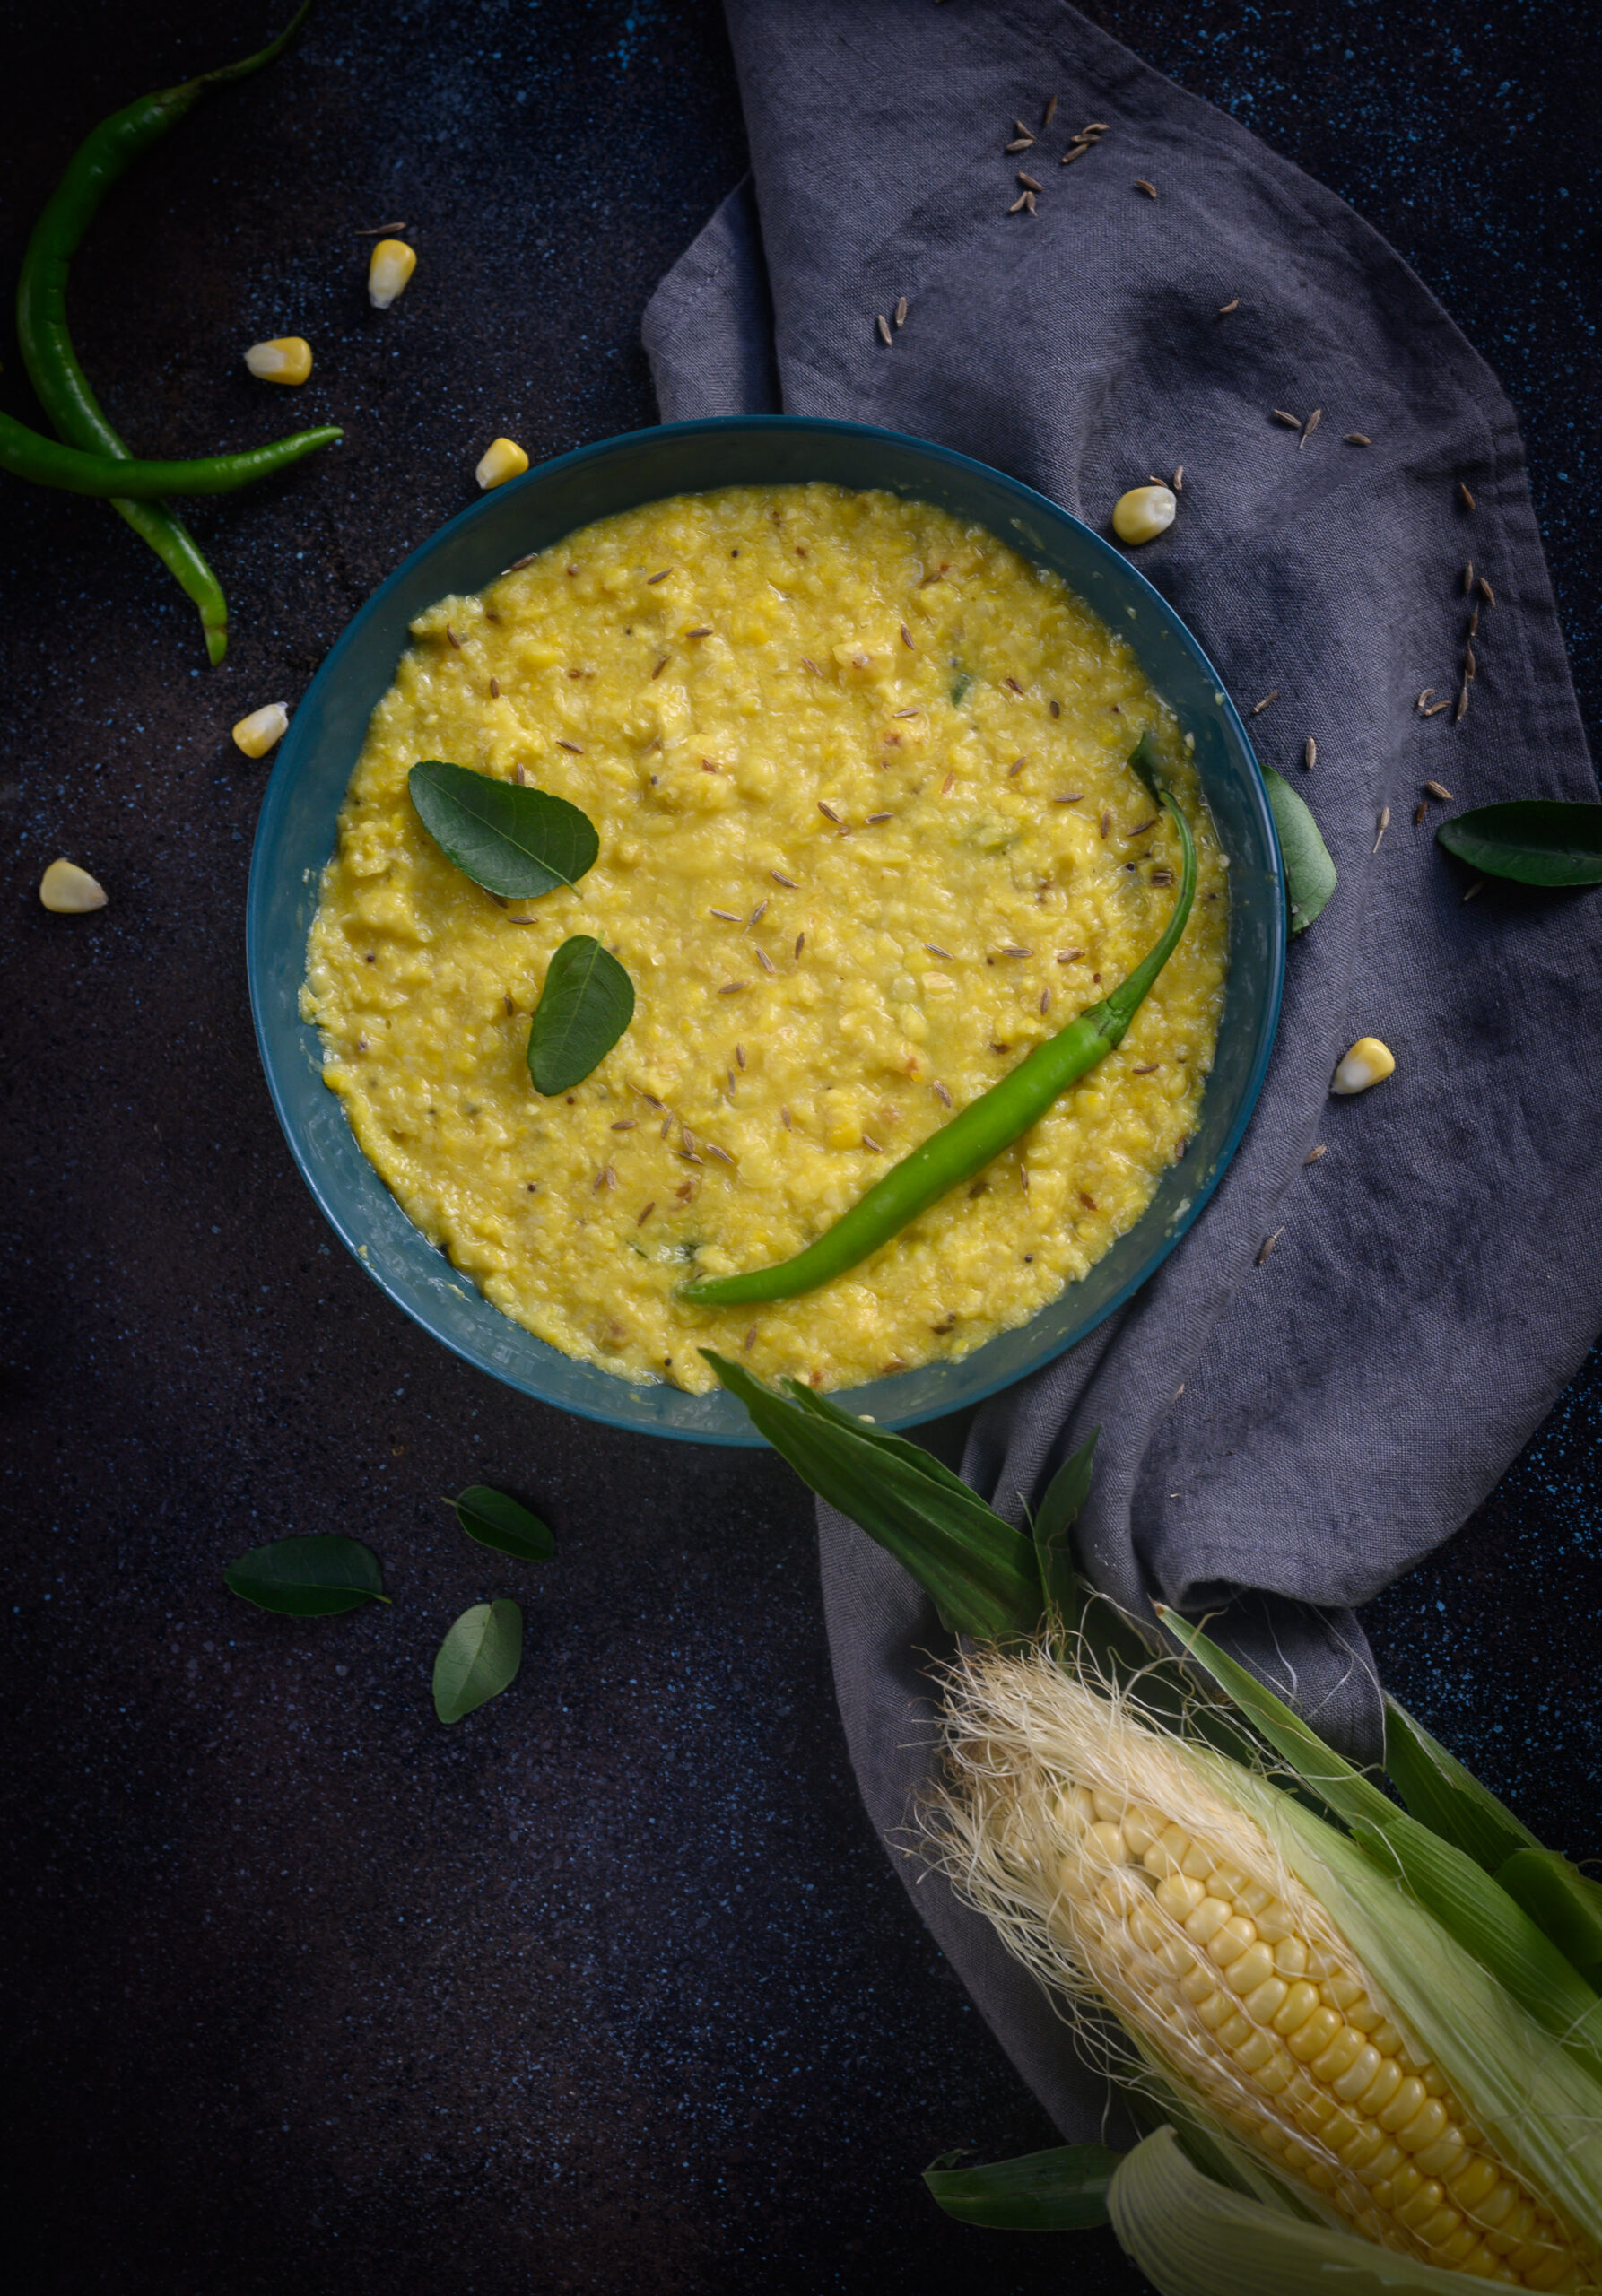
Given all this, one still has to be creative as a cook. One often finds, during this period, that ingredients that are normally reached for without a thought have to be excluded. For instance, my sister made green moong dhokla but carefully avoided the coriander leaves. Idli-sambar was a popular dish, reminiscent of our Chennai roots of course, that was surprisingly easy – one just avoided the onions and garlic. The one I enjoyed most of all, however, was makkai khichdi.

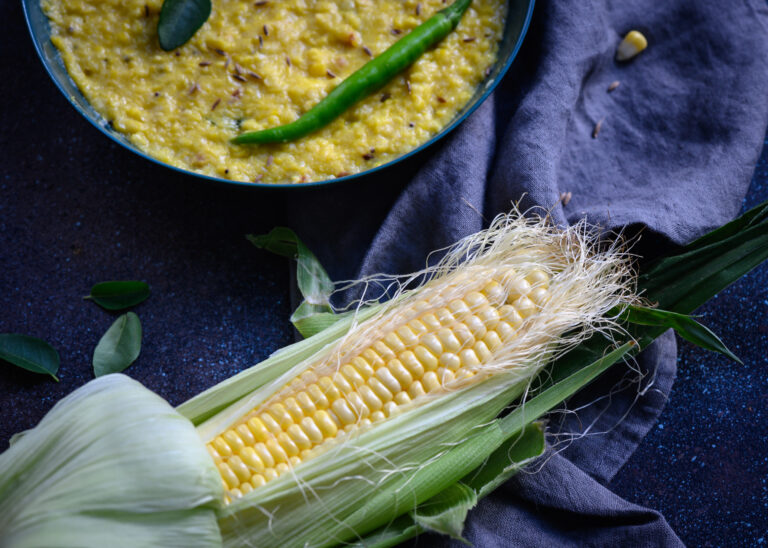
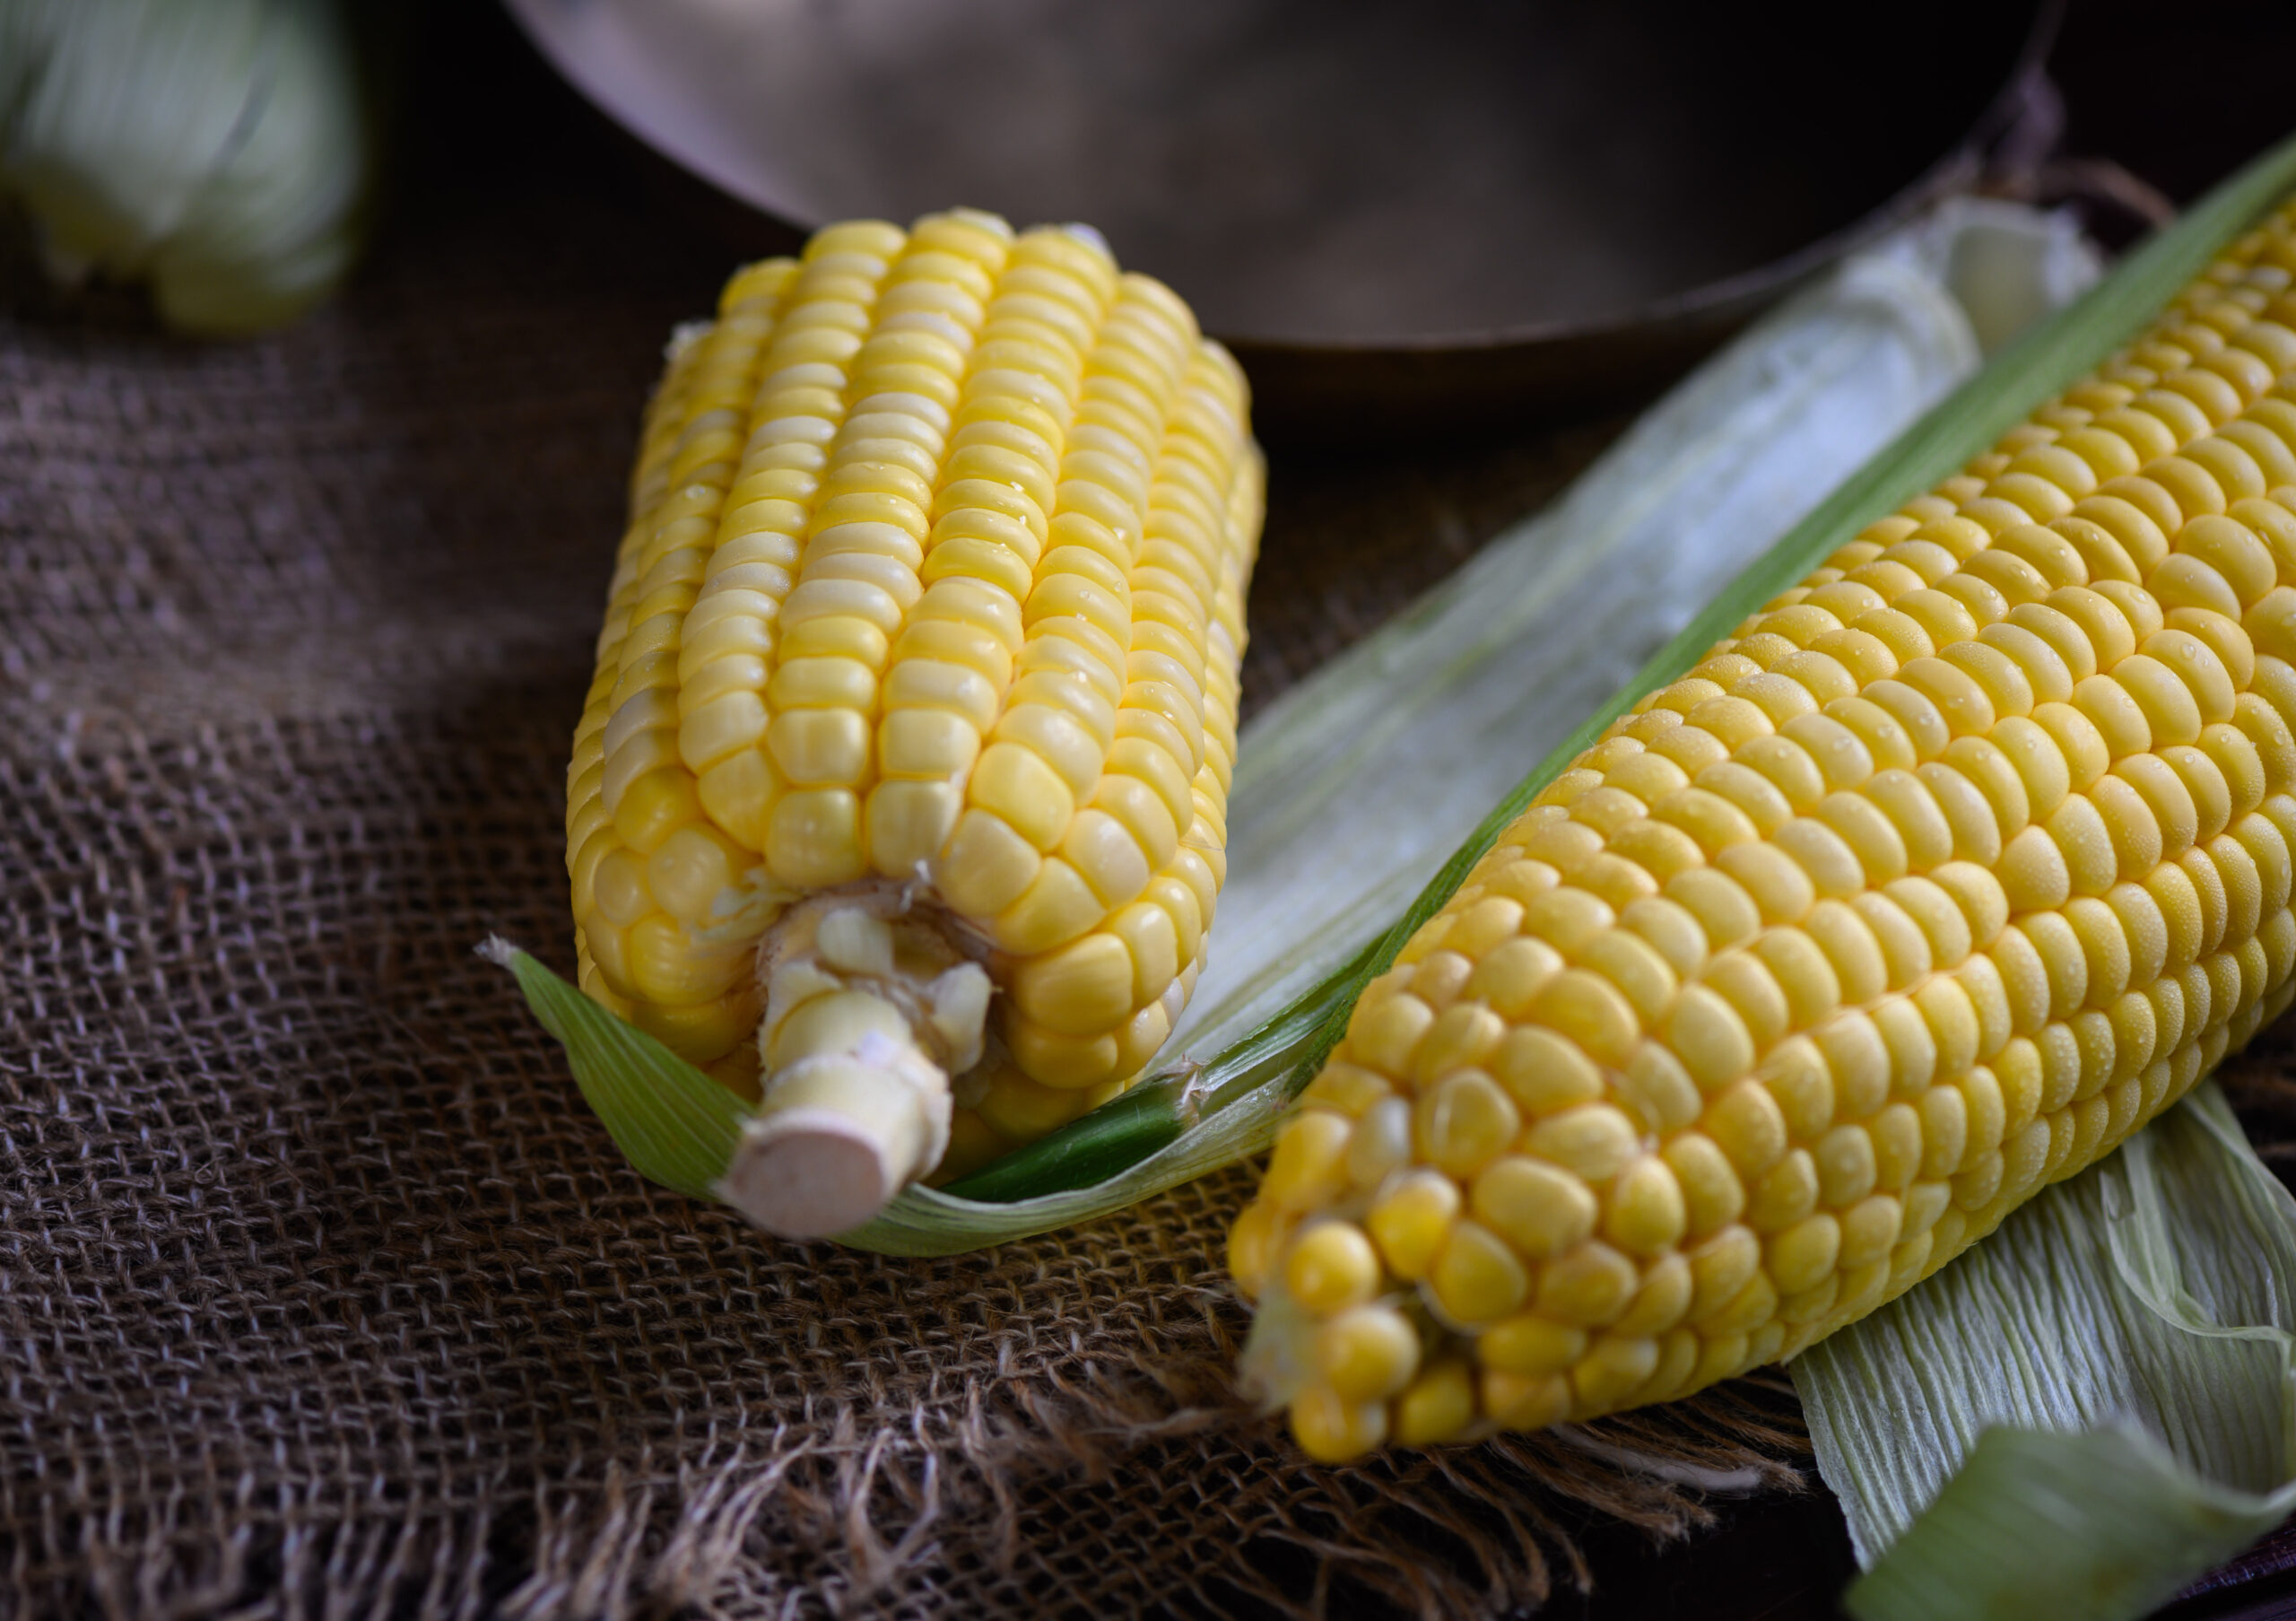
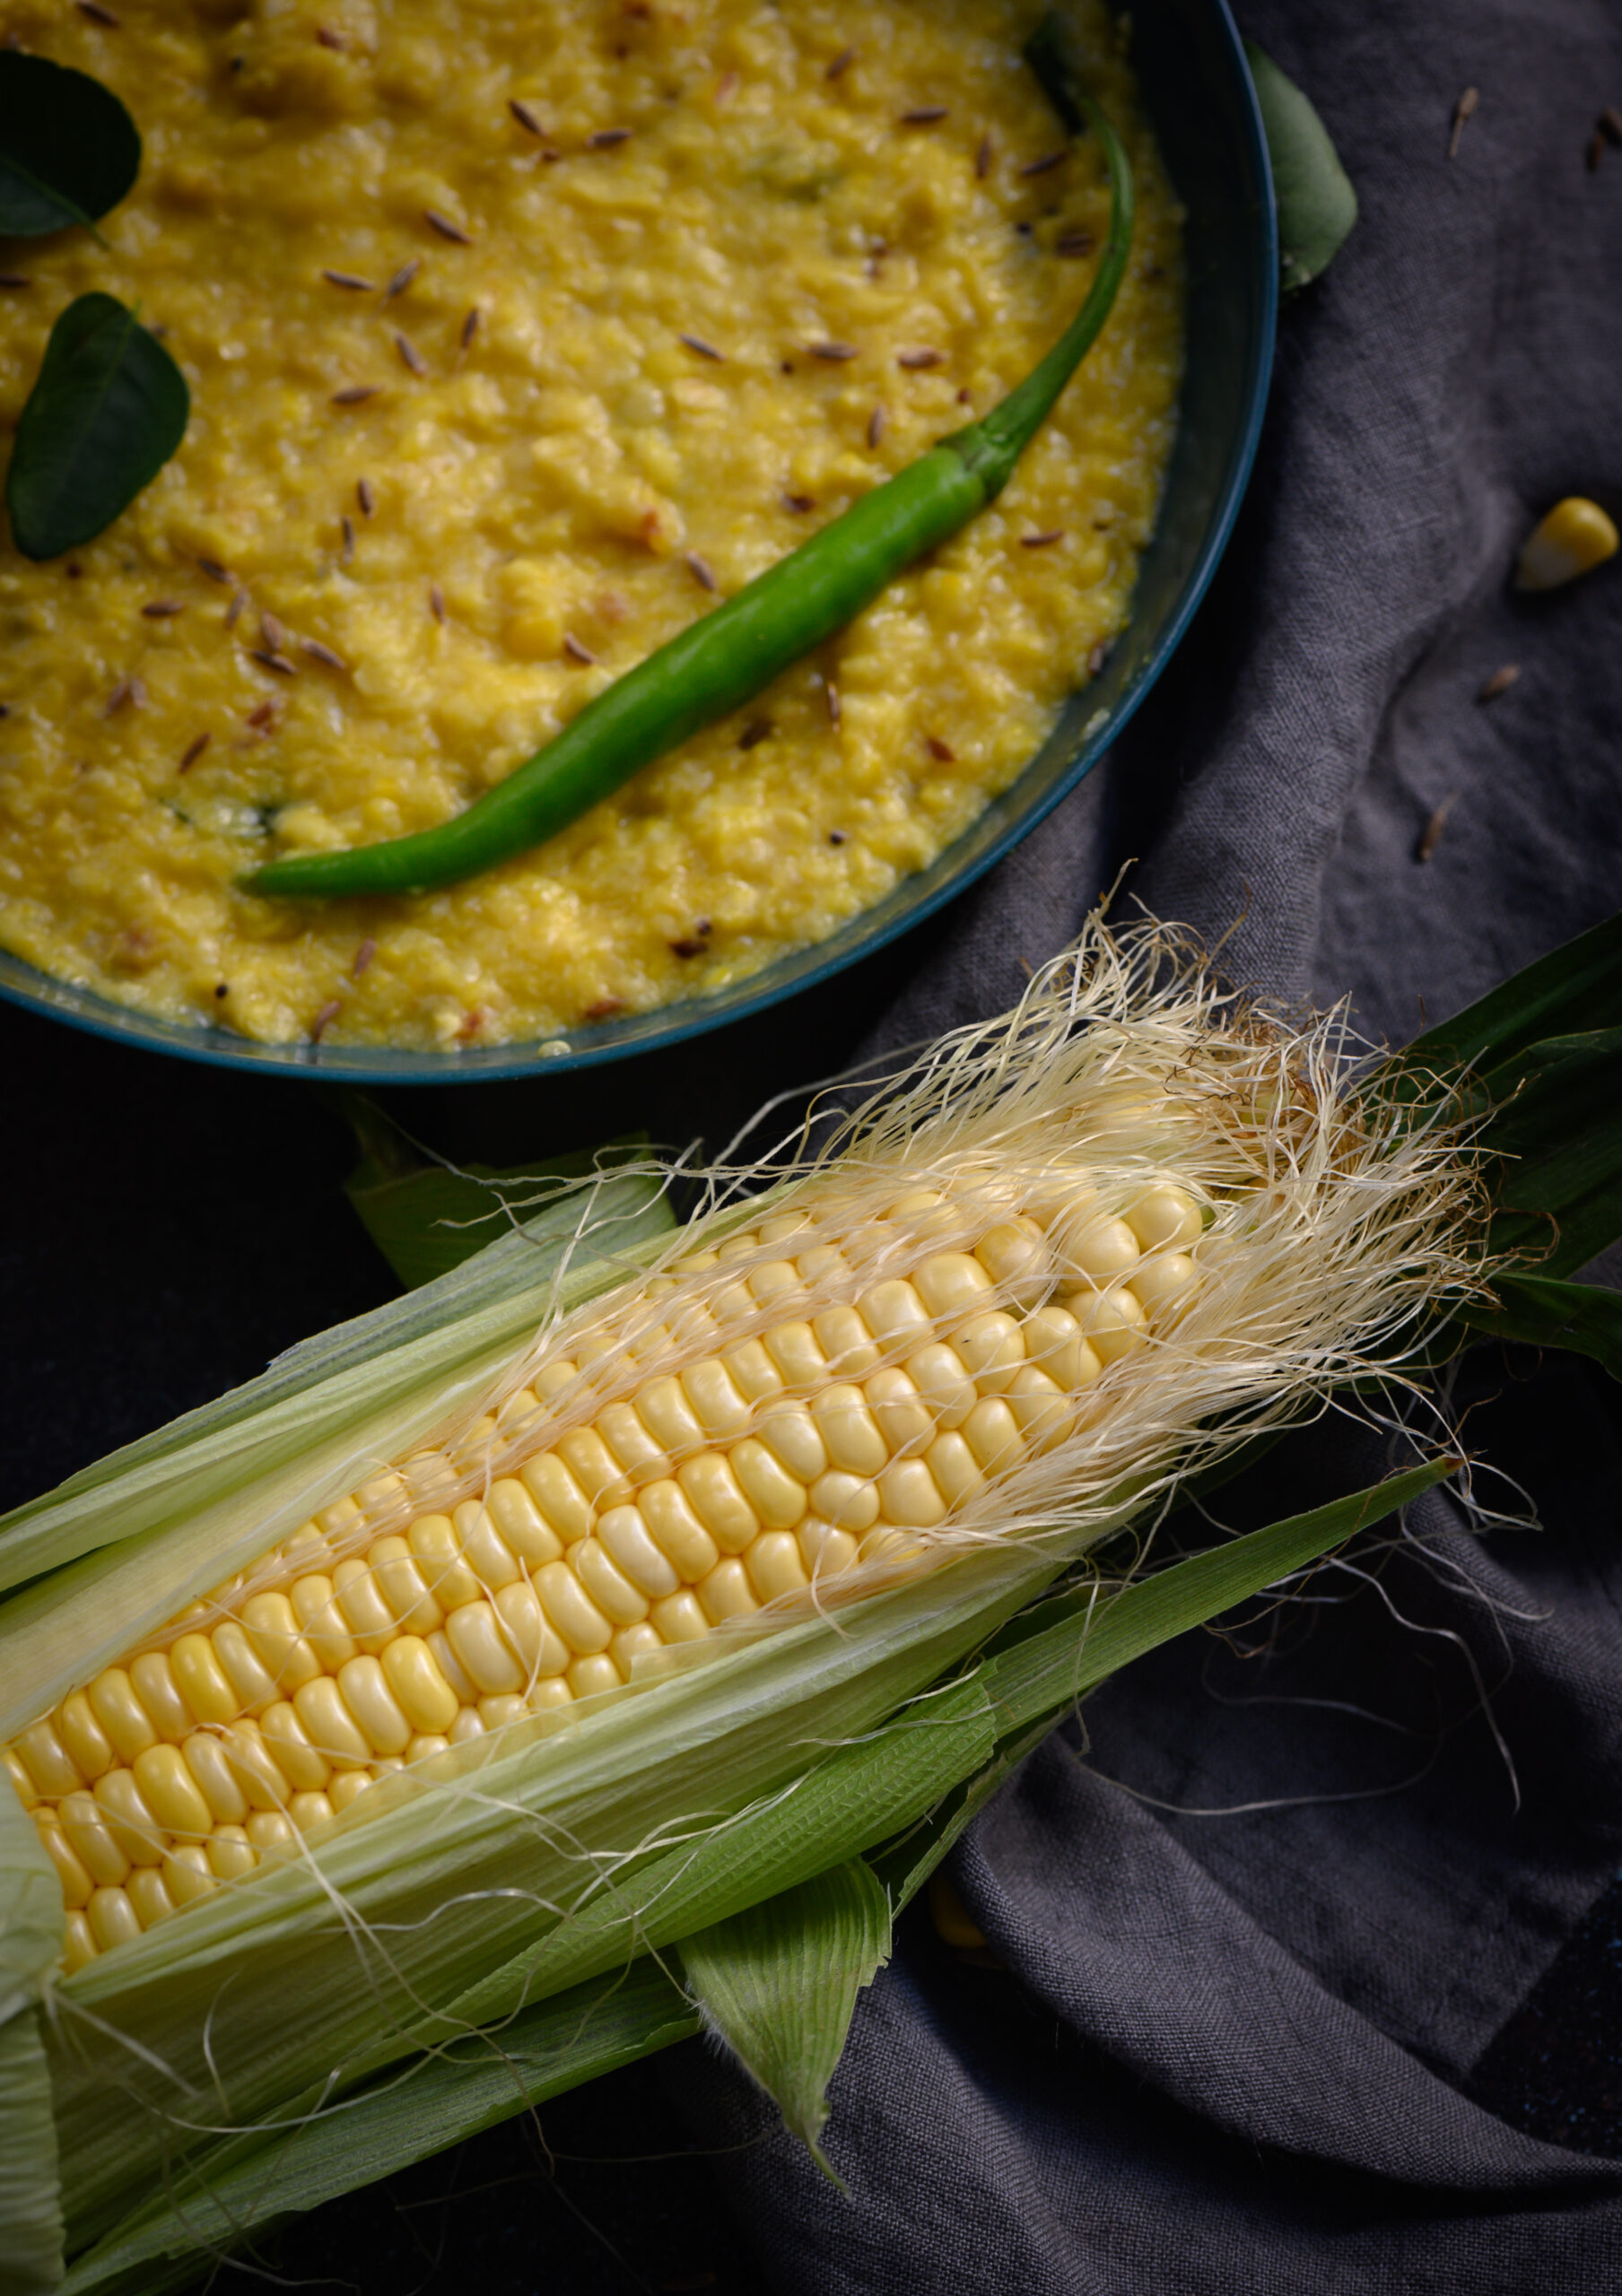
A khichdi, of which there are numerous variations, is a dish made of rice and lentils. In this version, however, the base ingredient is makkai – corn. Who doesn’t love corn? I’m a huge fan of anything to do with corn, which in addition to being delicious is also highly nutritious. It’s packed with Vitamin B, fibre, zinc, antioxidants, copper, iron and a bevy of other benefits. Corn-based dishes often lend themselves well to being either a snack or a meal, and this makkai khichdi fulfills both criteria.


As Jains consider corn (which is technically a grain) a green vegetable, my sister prepares this khichdi using coarsely dried corn. I enjoyed the dish very much when I visited her, but was eagerly waiting to trying out the fresh variation as soon as I got home. Of course, like always, I wanted to add my own twists. In this case, the twists were lemongrass and the use of coconut milk so as to make it vegan. The flavour of corn makes a great base to other flavours, so I knew that my experimental twists would turn out well. Sure enough, they did!

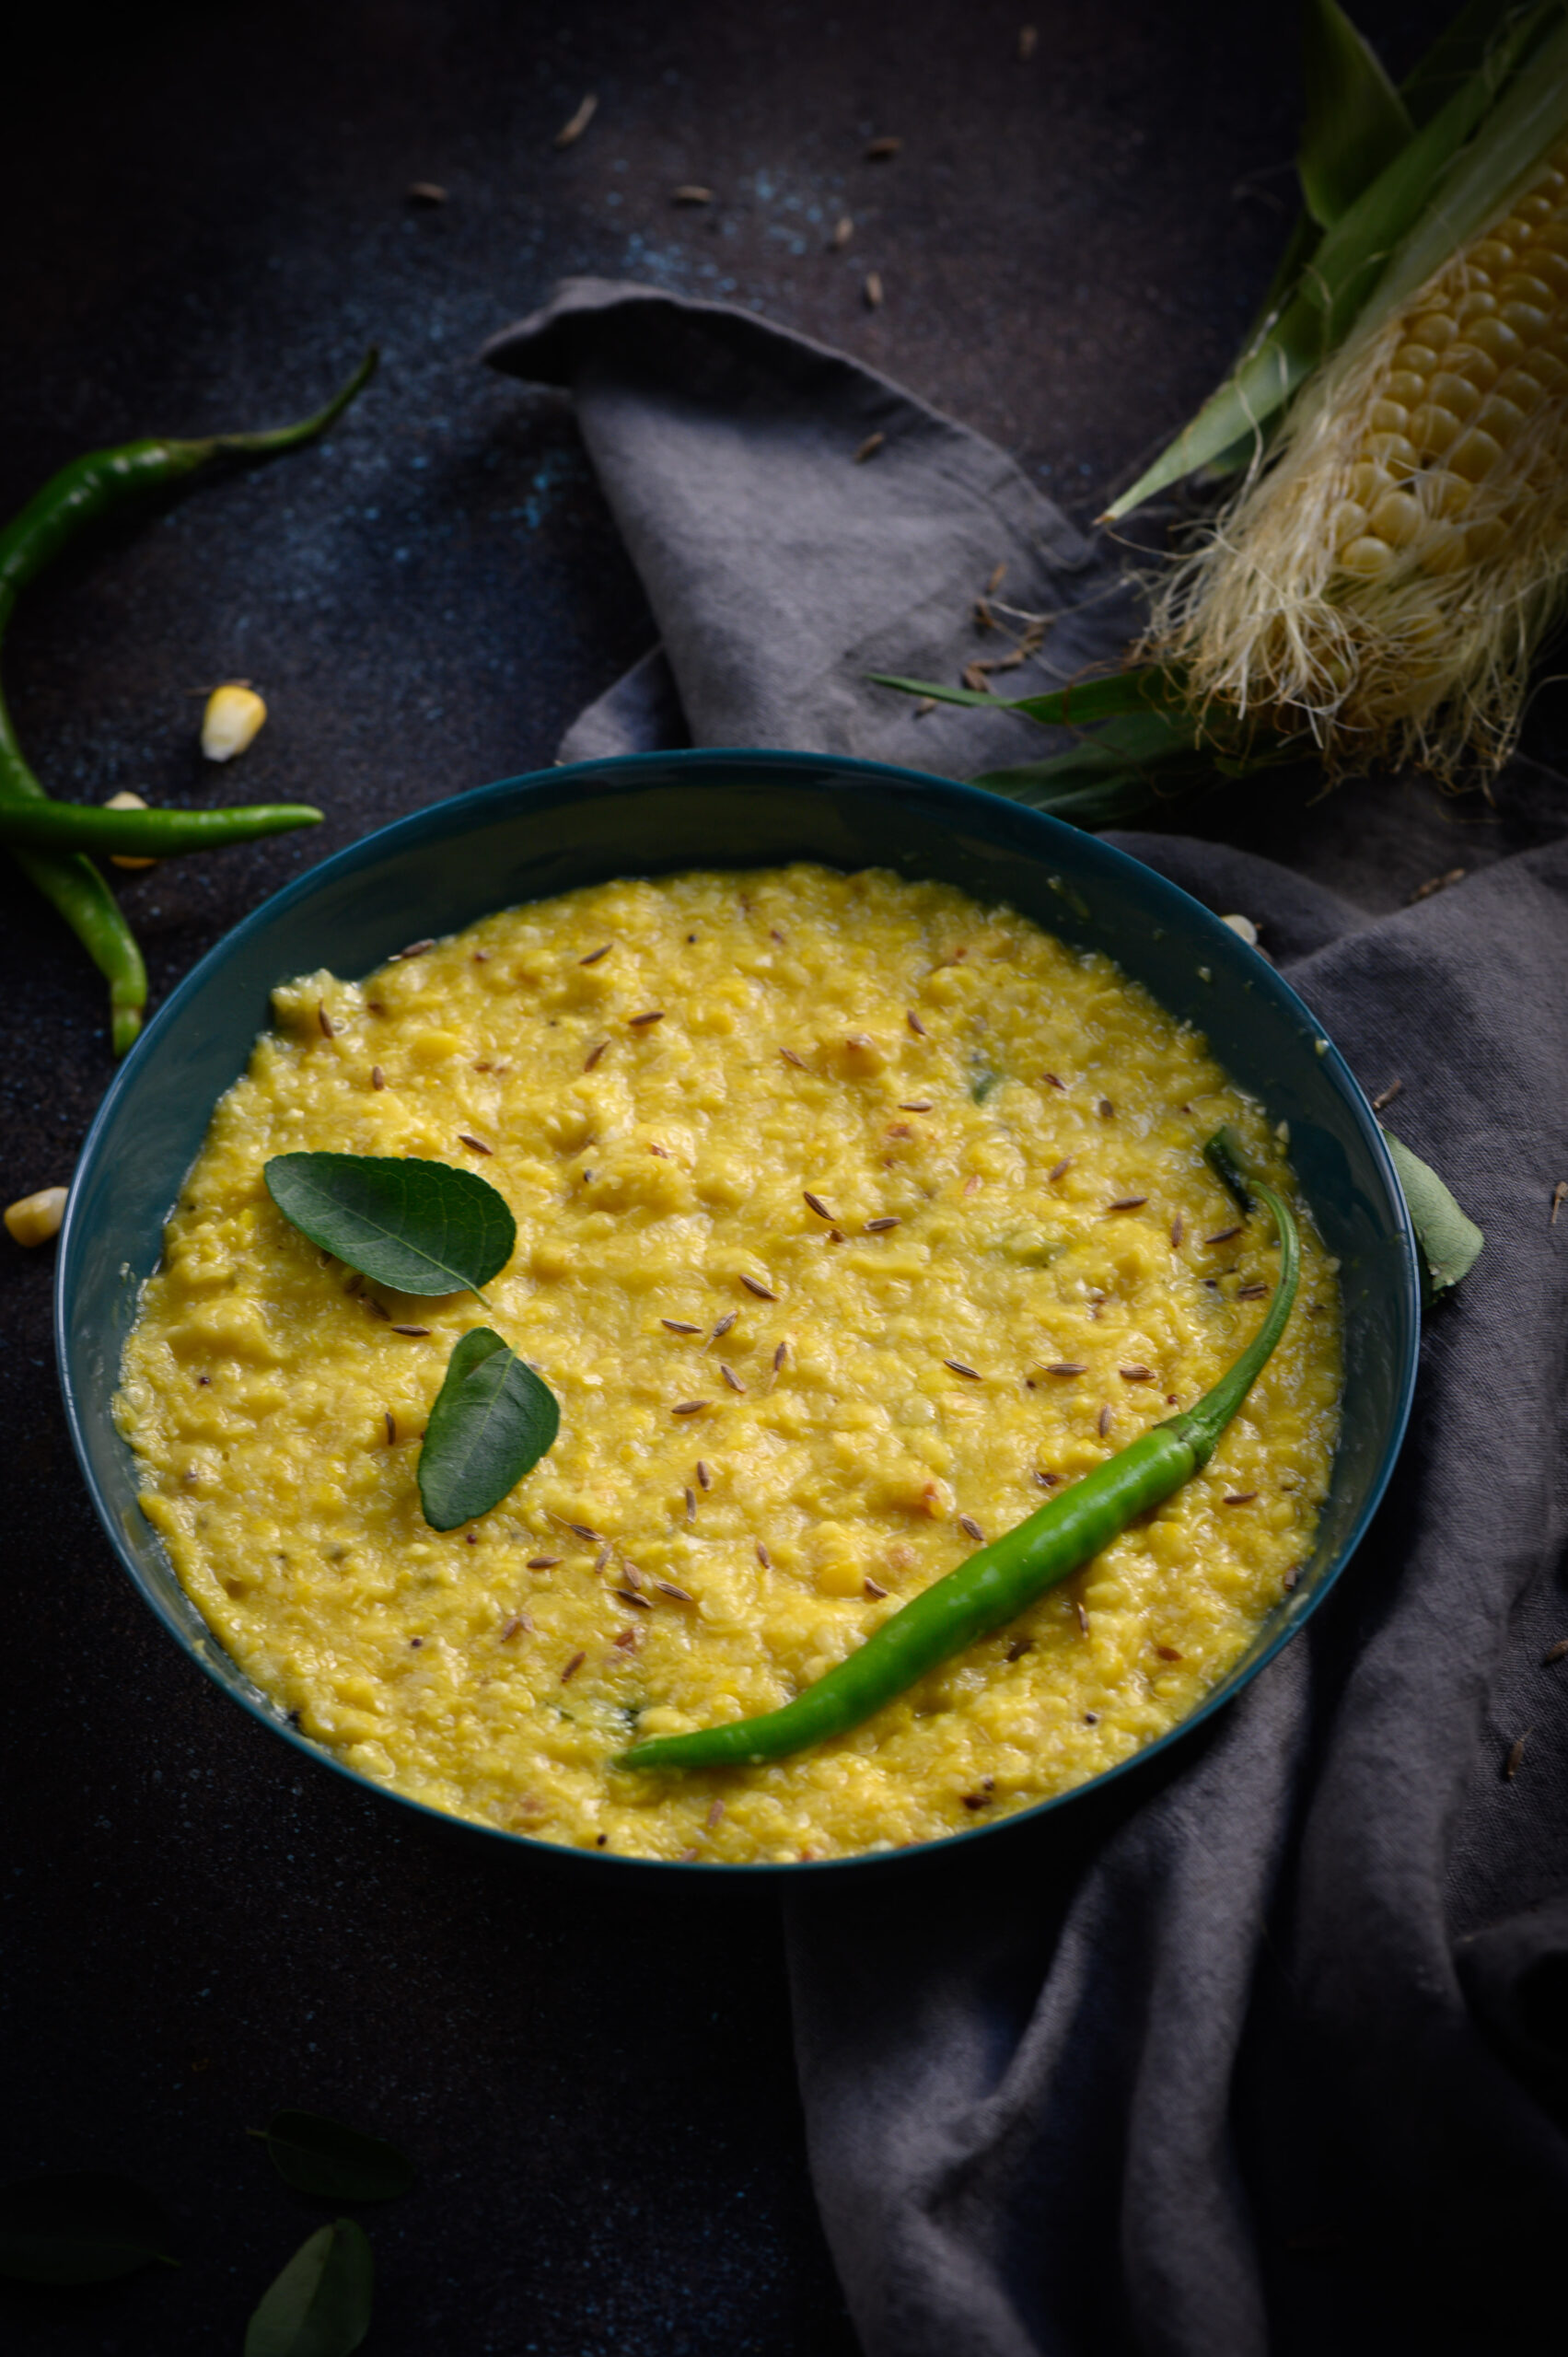
Simple, light and so delicious, this makkai khichdi is one of my favourites. The best evidence that this is a perfect comfort food is that the Dark Prince’s mother used to make it for him during his exams. When you know a child loves a healthy dish, you know that everyone will.


Makkai Khichdi

(Yield: 1 bowl)

3 cups grated fresh corn

1 cup milk (coconut milk optional)

1 tablespoon oil

½ teaspoon cumin seeds

1 green chilli

A handful of curry leaves

Approximately ½ cup lemongrass or about 8 stalks (cut long)

Salt to taste


If you are starting from scratch, ensure that the corn is grated length-wise. Keep it aside.

In a kadai, add the oil. Once it has heated, add the cumin seeds, curry leaves and green chili. Wait for it to splutter and then add the grated corn. Sauté on a medium flame and then add the milk/coconut milk at room temperature. Stir and allow to bubble for approximately 5-10 minutes. Add salt and lemongrass. Stir and turn off the flame.

With time, as the khichdi cools, it will thicken.

Now, remove the lemongrass from the concoction and discard it. You will find upon taking a bite that the flavours would have seeped in beautifully. Garnish with finely chopped coriander leaves and serve.

I also use a similar technique to make a soup some times, which I find pretty filling and tasty when I am not in the mood for a full meal. Prepare the recipe in a more liquid fashion, using more water. Eliminate the tempering, and grind the green chilli, lemongrass and corn together. Add a dollop of butter and voila – you have a rich, flavourful soup.

As a cook, and especially as someone who has trained in Macrobiotics and who is interested in the relationship between science and food, I’ve thought a lot about the logic of the Paryushan fasting season. My understanding is that it is a kind of pre-festive preparation. It falls at the end of the Gujarati calendar, ahead of occasions such as Navaratri, Diwali and so on, which are full of sweets and feasting. By keeping atthai, one detoxes the body and cleanses it before the indulgences of sugar and ghee that are to come. Moreover, the practice of fasting is also a kind of emotional release, a conscious way to close the chapter of a year.

The innovative dishes made during Paryushan, which eliminate all forms of violence as far as possible, are only half of what make me so interested in this holy season. The other half is the way it ends. On the eighth day, the ritual of Micchami Dukkadam is practised. This is the day on which we greet our relatives and friends with the words “Micchami dukkadam”, a Prakrit phrase which translates to “May all the evil that has been done be fruitless.” The ritual is essentially the practice of asking for forgiveness, allowing us to start our new year on a fresh note. What a beautiful way to close the week of purification through fasting, and begin the next chapter. What are some of the rituals from your culture that let you clean the slate? Are there special dishes that are a part of these too?

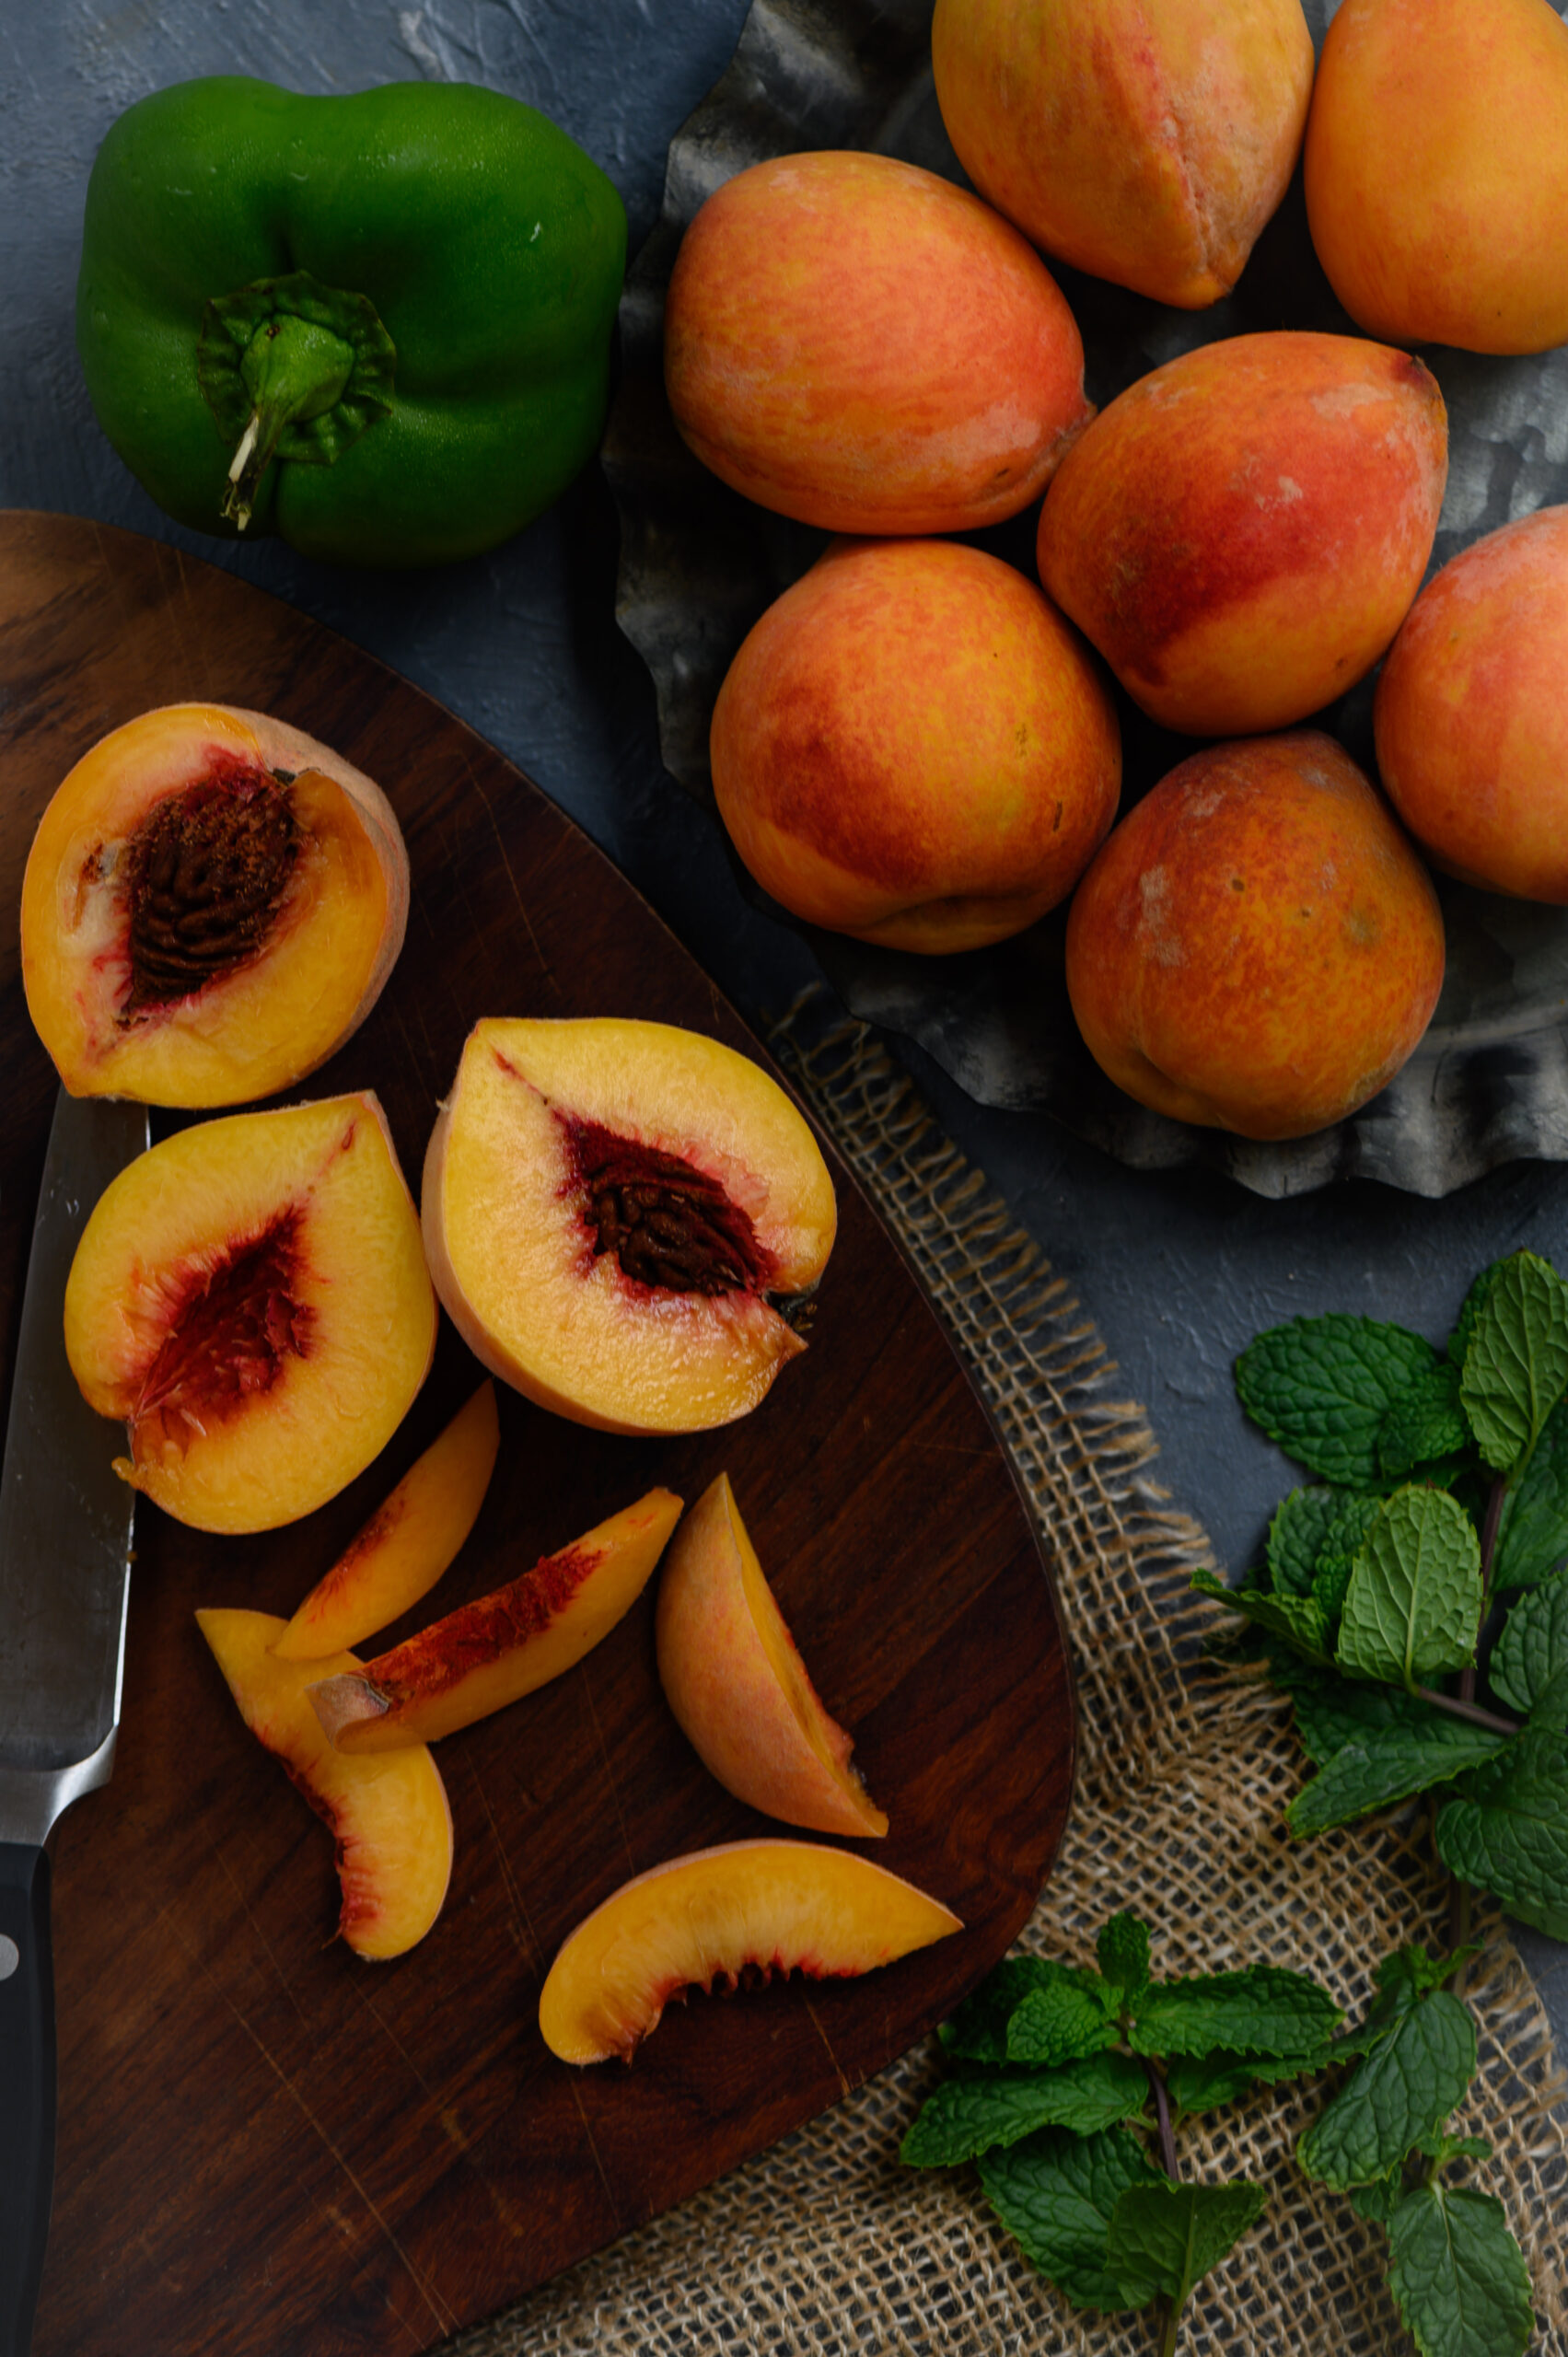
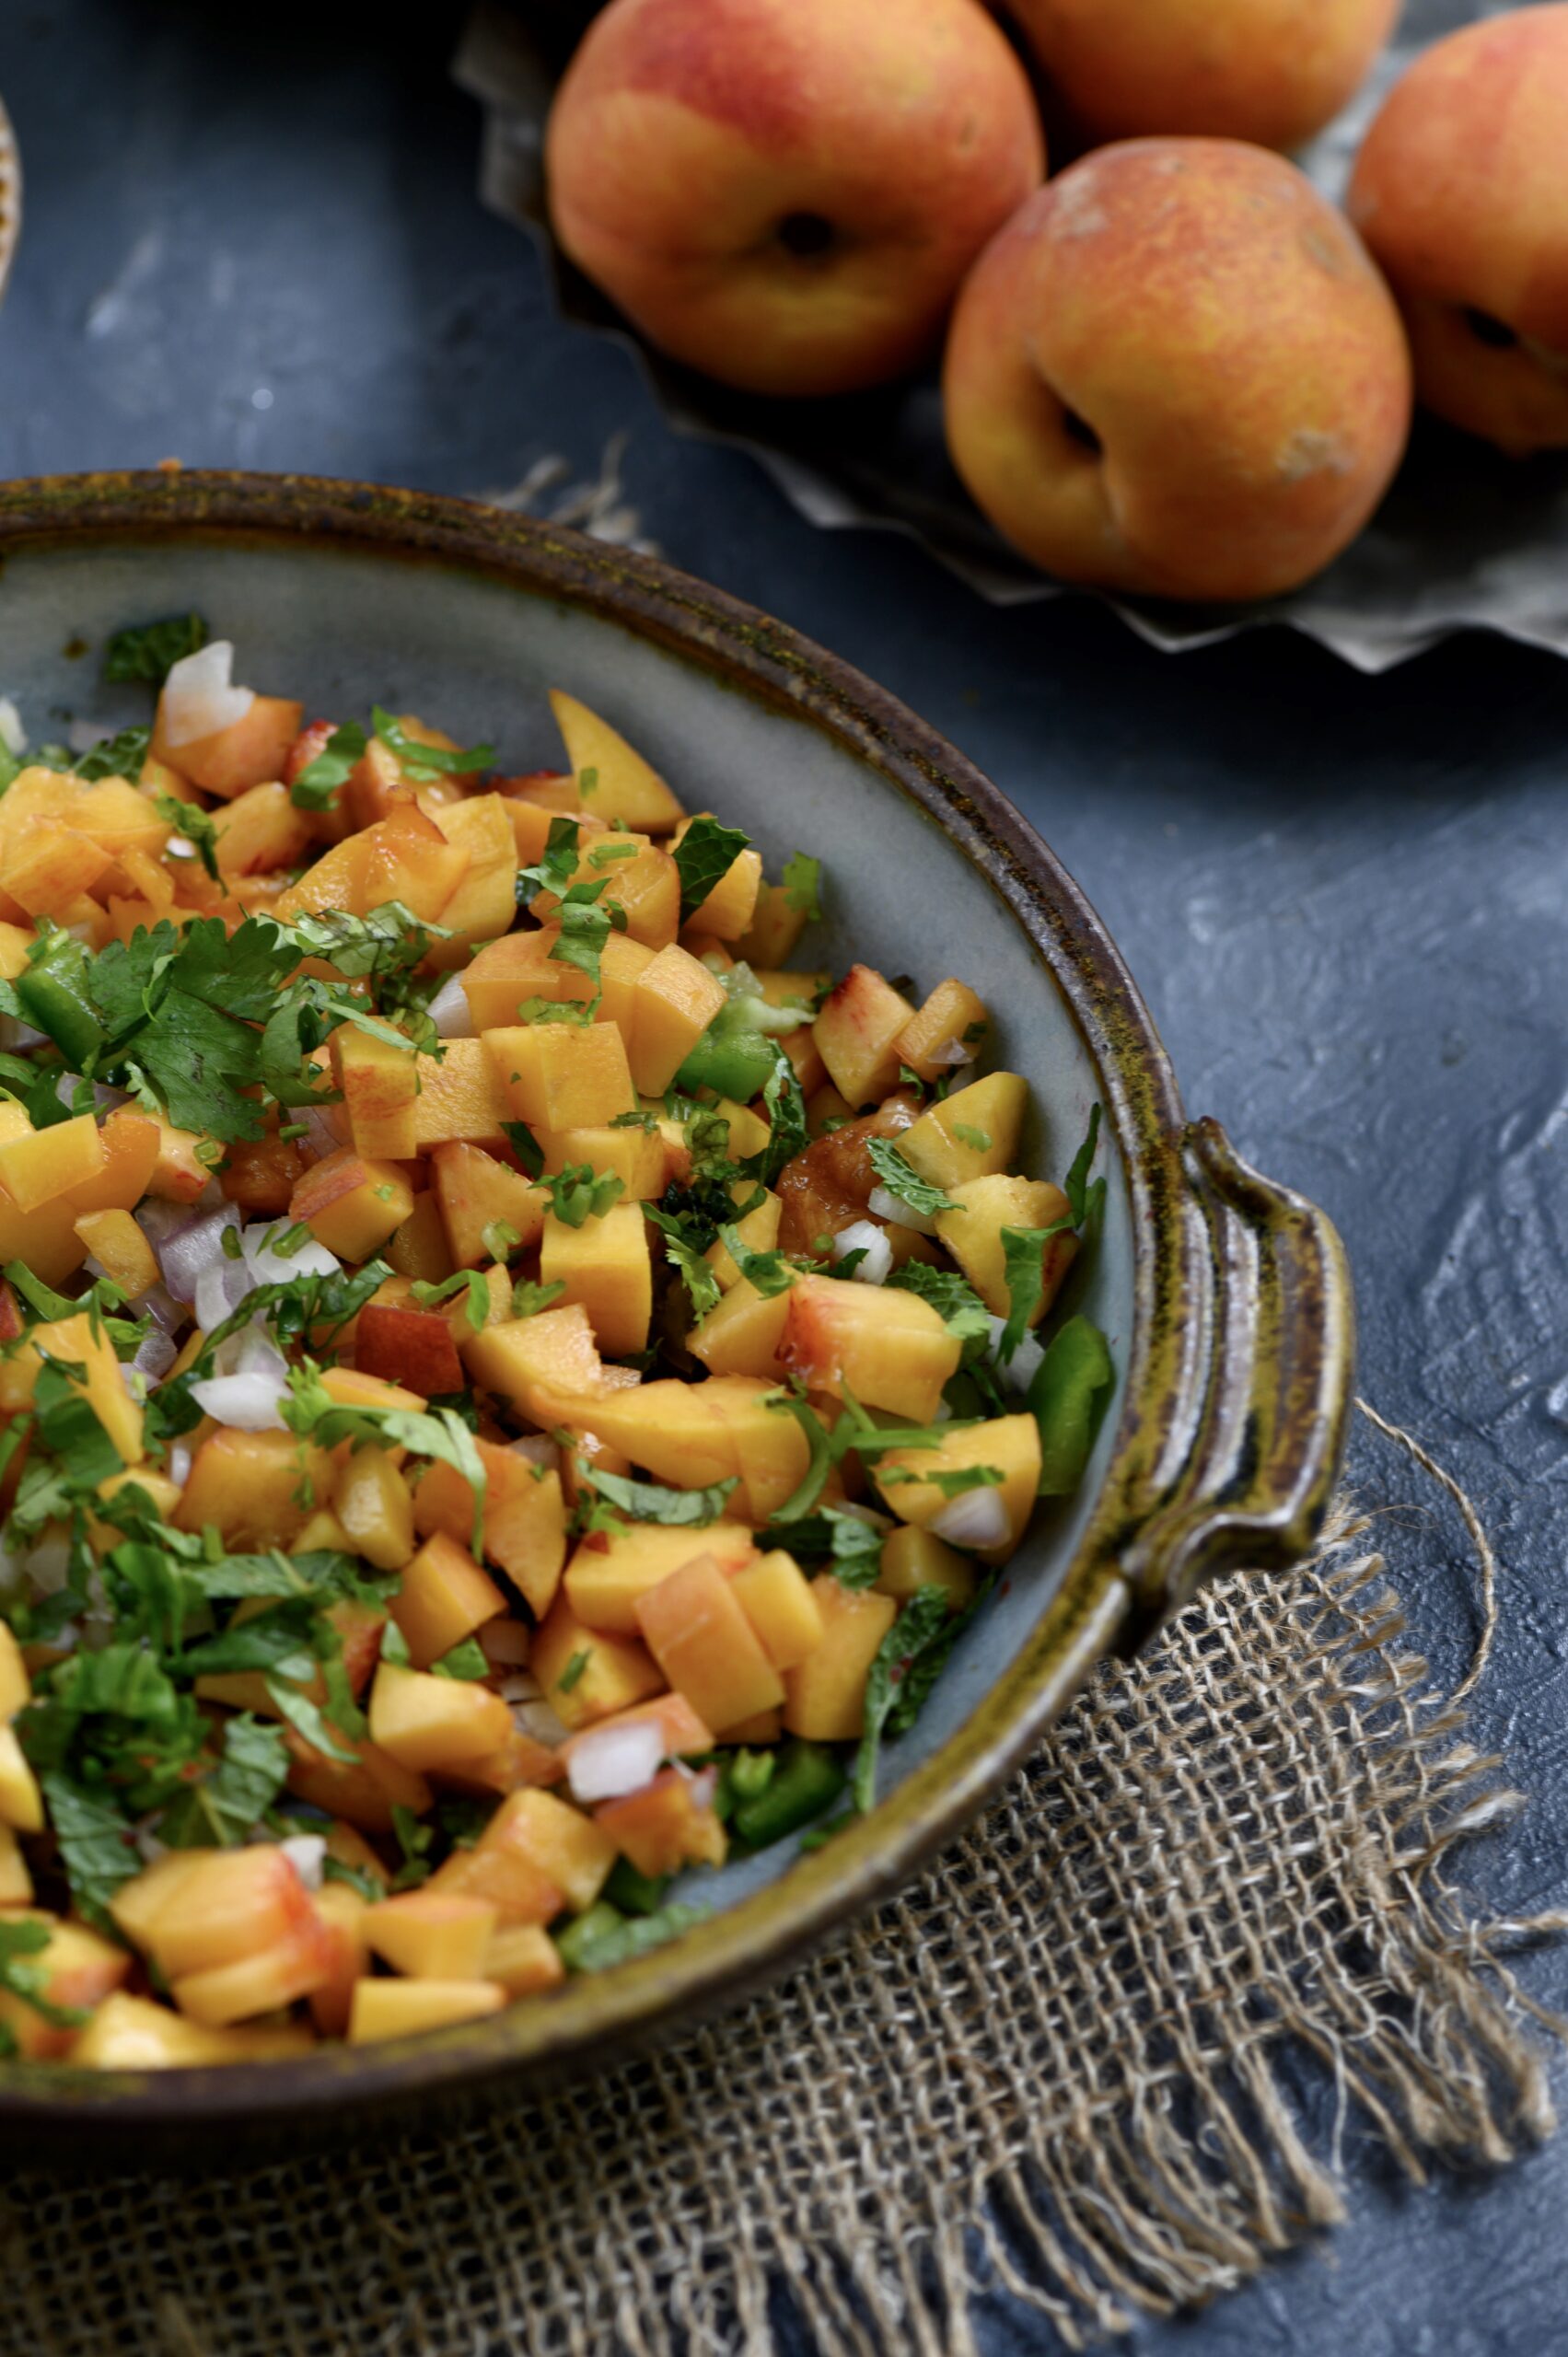
When my sister sent me a huge batch of peaches, brought down from the hills of Himachal Pradesh to the markets of Mumbai and then finally to my kitchen, I was simply bursting with joy. The possibilities were endless. I couldn’t decide between making peach juice for breakfast, or perhaps peach melba accompanied by some classic vanilla ice cream, or maybe baking a fruity cake as a delightful tea time accompaniment. Needless to say I did all of the above and then some more. This vibrant peach salsa, bursting with luscious flavours, has been a frequent feature at my table during the past few weeks.

While peaches aren’t a tropical fruit, they are abundantly available here. I can remember a time when this was not the case. We would encounter a country variety only when we went to the hills, when we would visit Ooty every year through our childhood summers. While we took our familiar fruits like mangoes, guavas and coconuts for granted, the summer fruits of the hilly region were a novelty. I remember the first time I saw pear trees in those hills, for example, and how exciting that was. During these holidays, we became familiarised with various homegrown but somehow exotic produce, including “English vegetable”. As well as local peaches, of course. They were smaller, rustic-looking, greenish in colour and a little more sour in taste than the large juicy imported ones (and even the ones from North India), but they were peaches just the same. The season was short, and as they were a slightly rare fruit, we treated them as a delicacy. In addition, peaches were associated with the holidays in the hills. They are still reminders of a time when things were simpler and carefree. A time when that cool climate was a yearly escape, far from school and the sweltering heat of Chennai.

Peaches are a luscious, sweet fruit which are native to China, which are believed to have made their first appearance in India during the Harappan period. They became popular in Europe via Persia, and are grown in numerous places around the world today. As with all fruits, peaches help regulate body weight. They are also good for cardiovascular health and improve gut function. They are beneficial for the skin, and the phrase “peaches and cream complexion” is derived from this fact.

Now, the world has become a smaller place and we get all kinds of exotic fruits from places like Thailand and beyond. Peaches, too, are now available everywhere in India. They come to us from cooler climes like Ooty and Himachal, as well as from abroad. They are currently in season, but bear in mind that the season is brief. If you’d like to try this peach salsa, there’s no time like the present.

During the recent mango season, in which I made a profusion of fruit-based dishes, a mango salsa was also served during several occasions. The simplicity of a salsa lends itself to quick, easy and usually successful experiments, so I often whip one up using whichever fruit happens to be in season, or on hand. Melbas, cakes and milkshakes aside, the abundance of peaches that arrived in my kitchen were inevitably going to receive this treatment too.

My first exposure to salsa was through Mexican food, which is hands-down my favourite cuisine in the world. Salsa is one of their staple dishes, and made in a versatile number of ways. There are liquidy sauces, creamy dips and coarsely-chopped mixed ingredients which all bear this name. I think the recipe I am sharing today is closest to a pica de gallo (literally “rooster’s beak”) rendition, which is crunchy in texture.

I must confess that I usually get to enjoy the American versions of tacos, enchiladas and the like, and I hope that my travels will take me to South America some day so that I can have an authentic experience of these beloved dishes of mine. My own attempts at recreating these dishes at home have always been warmly received, but perhaps my kids are biased. Others have told me that what I make are Indianised versions of Mexican-American food, but I can take that as a compliment. That’s what we human beings are all about, no? We share our stories and our lives, and keep creating new experiences that are influenced by everything we see and feel… and taste!


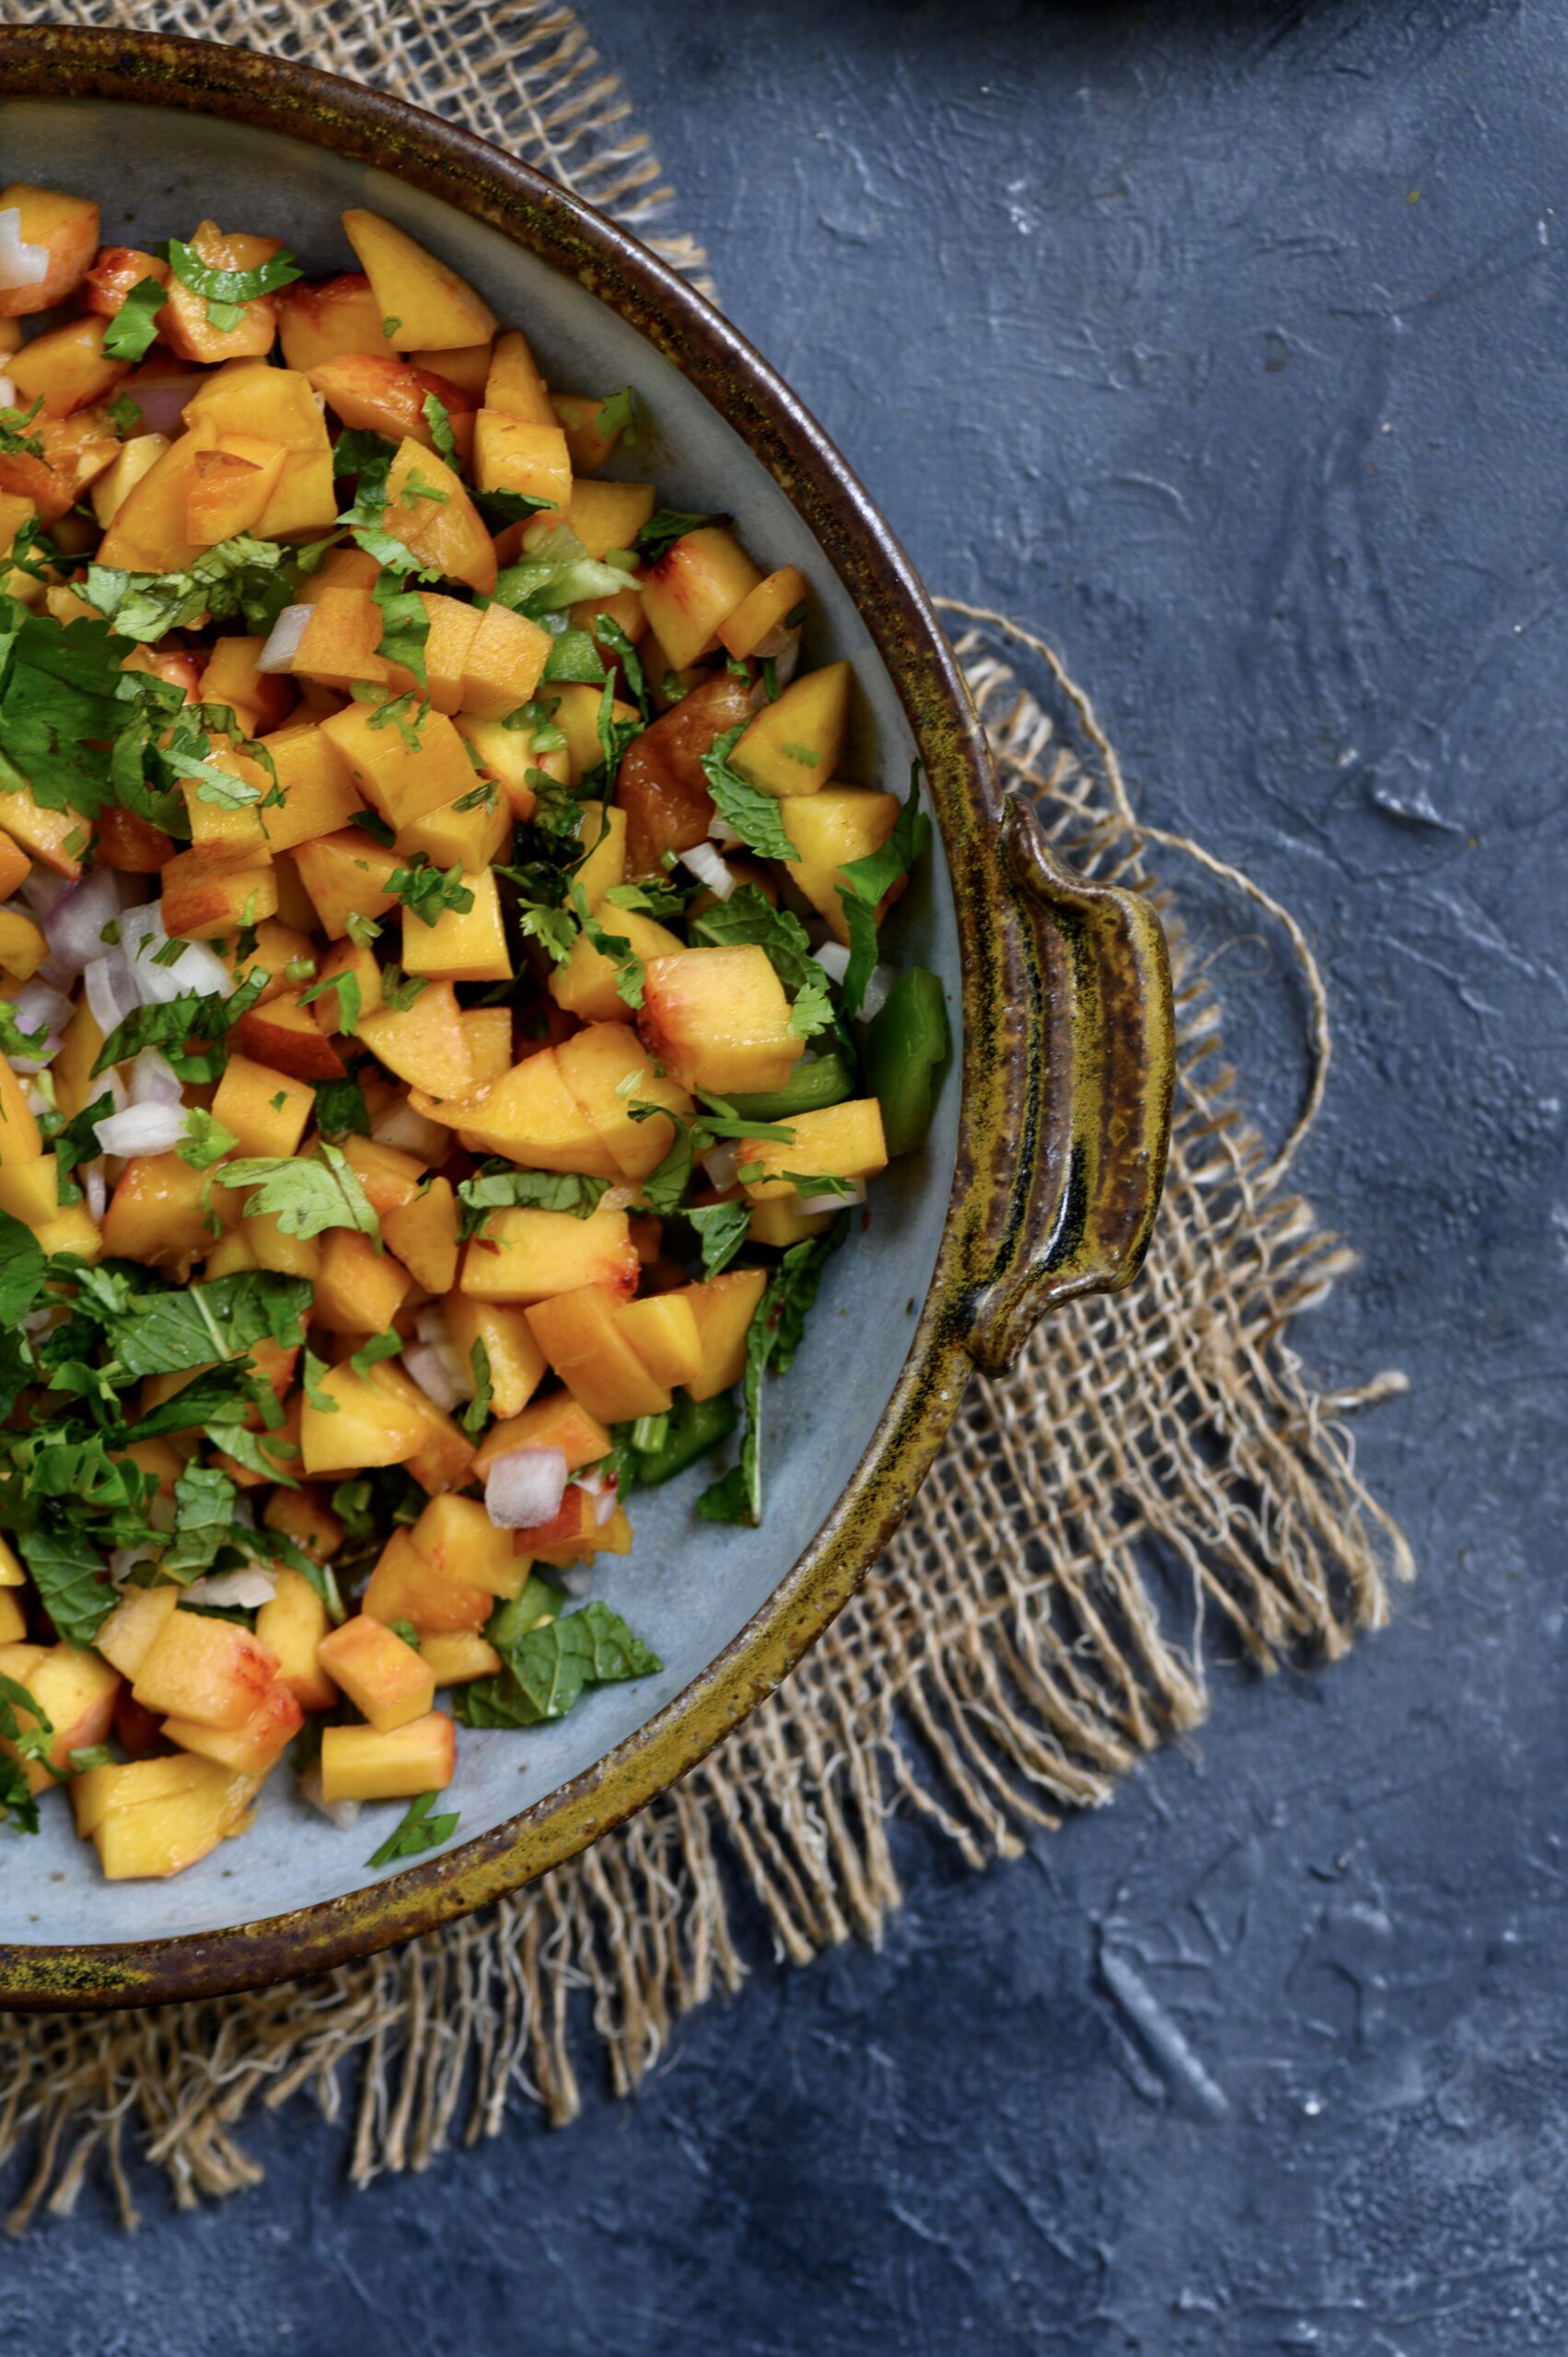
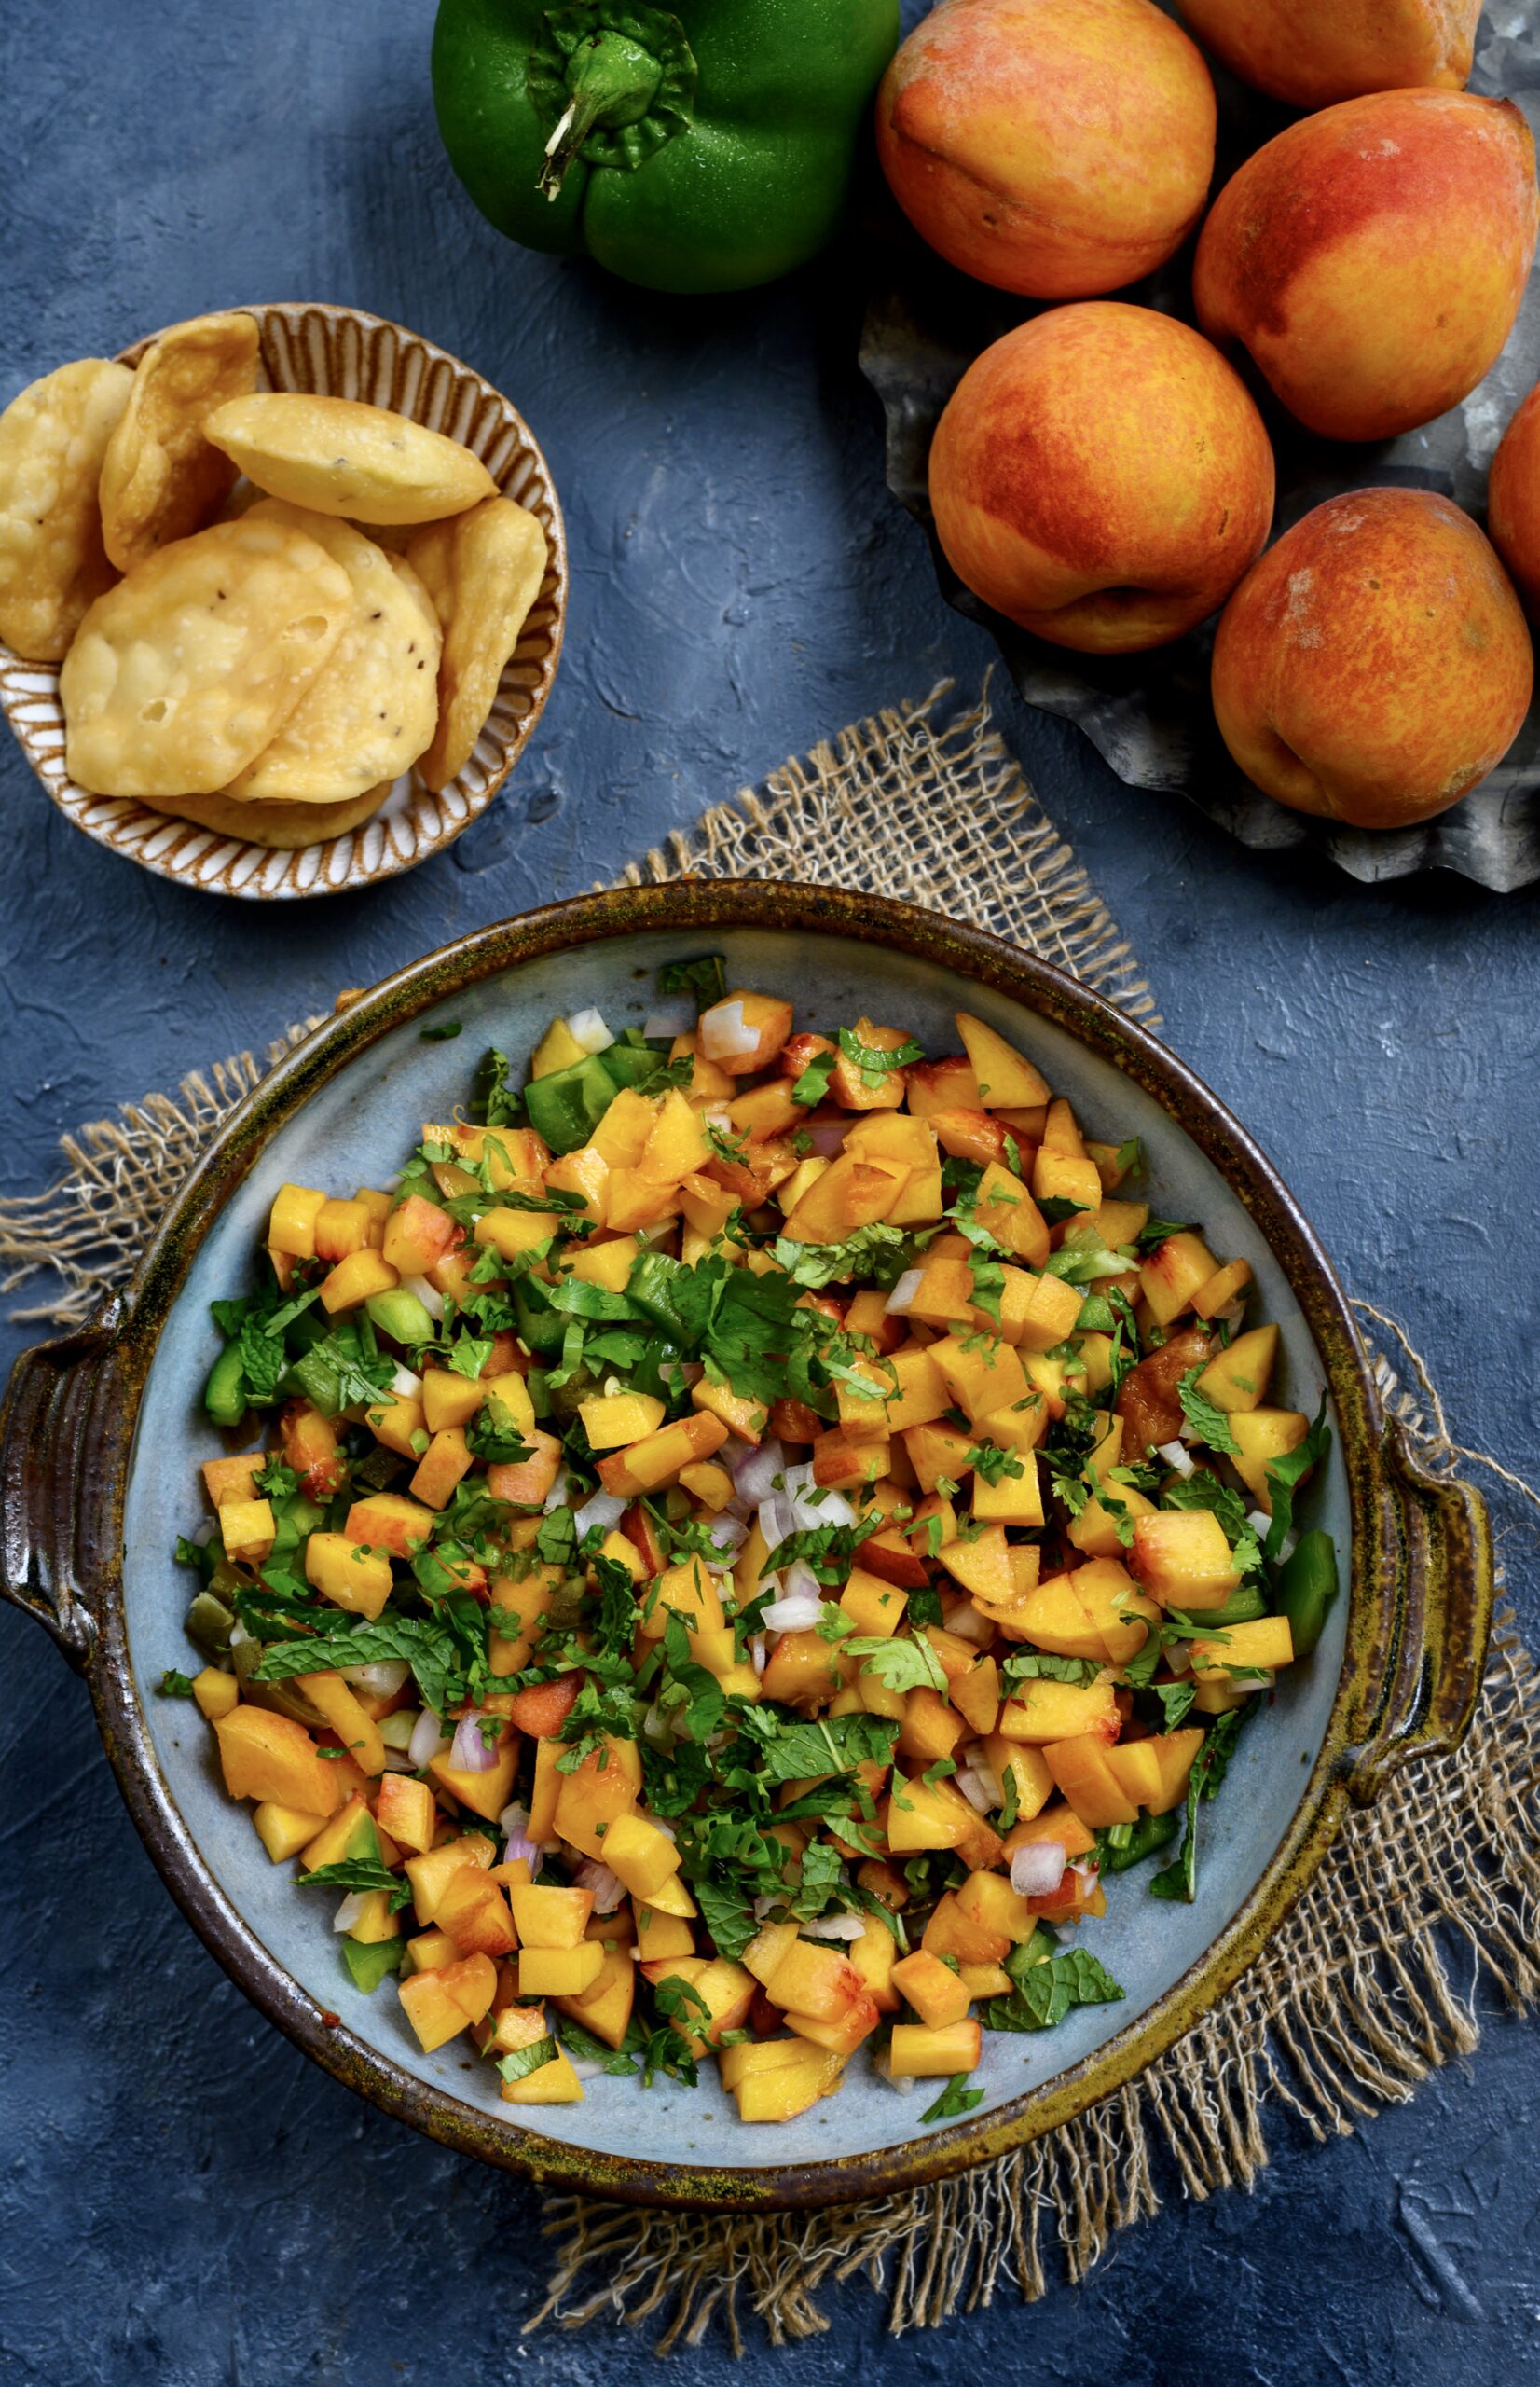
Peach Salsa

(Yield: 1 bowl)

2 full cups cut peaches
¼ cup chopped onions
¼ cup cut green bell peppers
1 tablespoon cut jalapeños
Handful of fresh mint leaves
Handful of finely cut coriander leaves

Dressing:
Salt to taste
A pinch of pepper powder
1 tablespoon lemon juice
1 tablespoon olive oil
A pinch of pepper powder
1 tablespoon honey (optional)

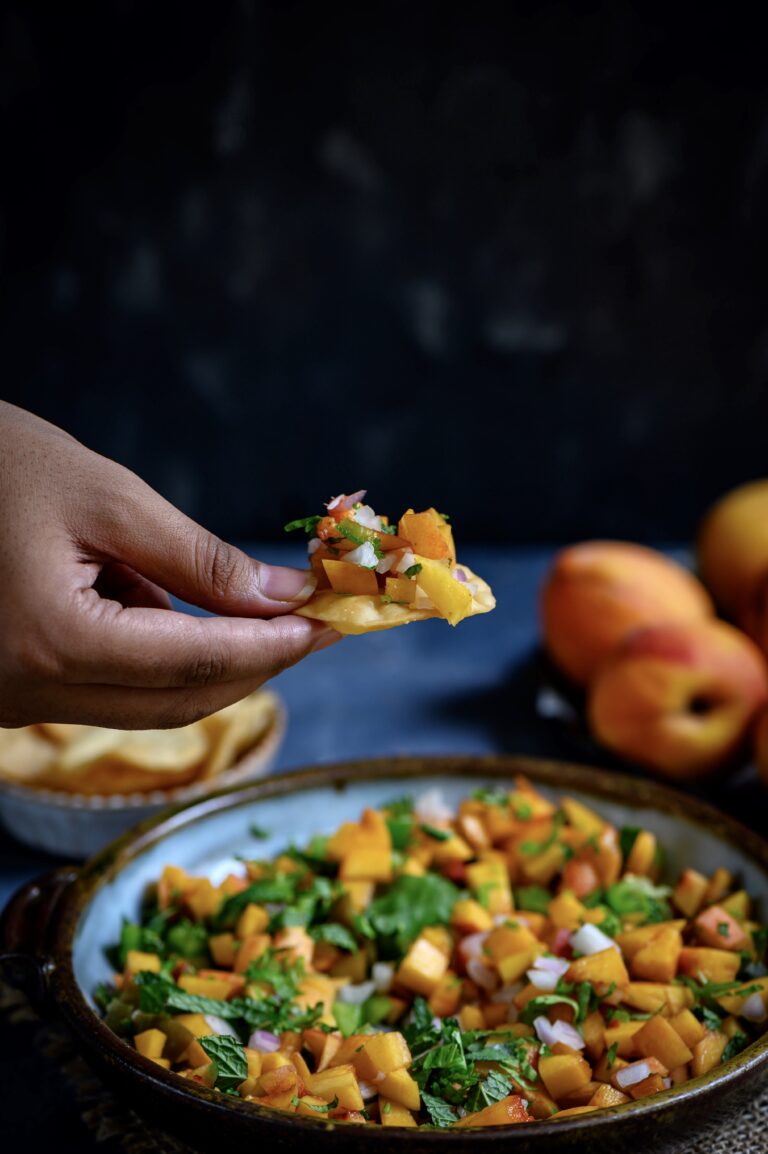
In a bowl, add all the freshly cut vegetables and fruit. Feel free to improvise and add some of your own choice, to enhance the flavours you prefer. I like a bit of spice, so I added jalapeños. Since there was some fresh mint available at home, I used a handful of that too, and I found it gives a lovely flavour to the whole salsa.

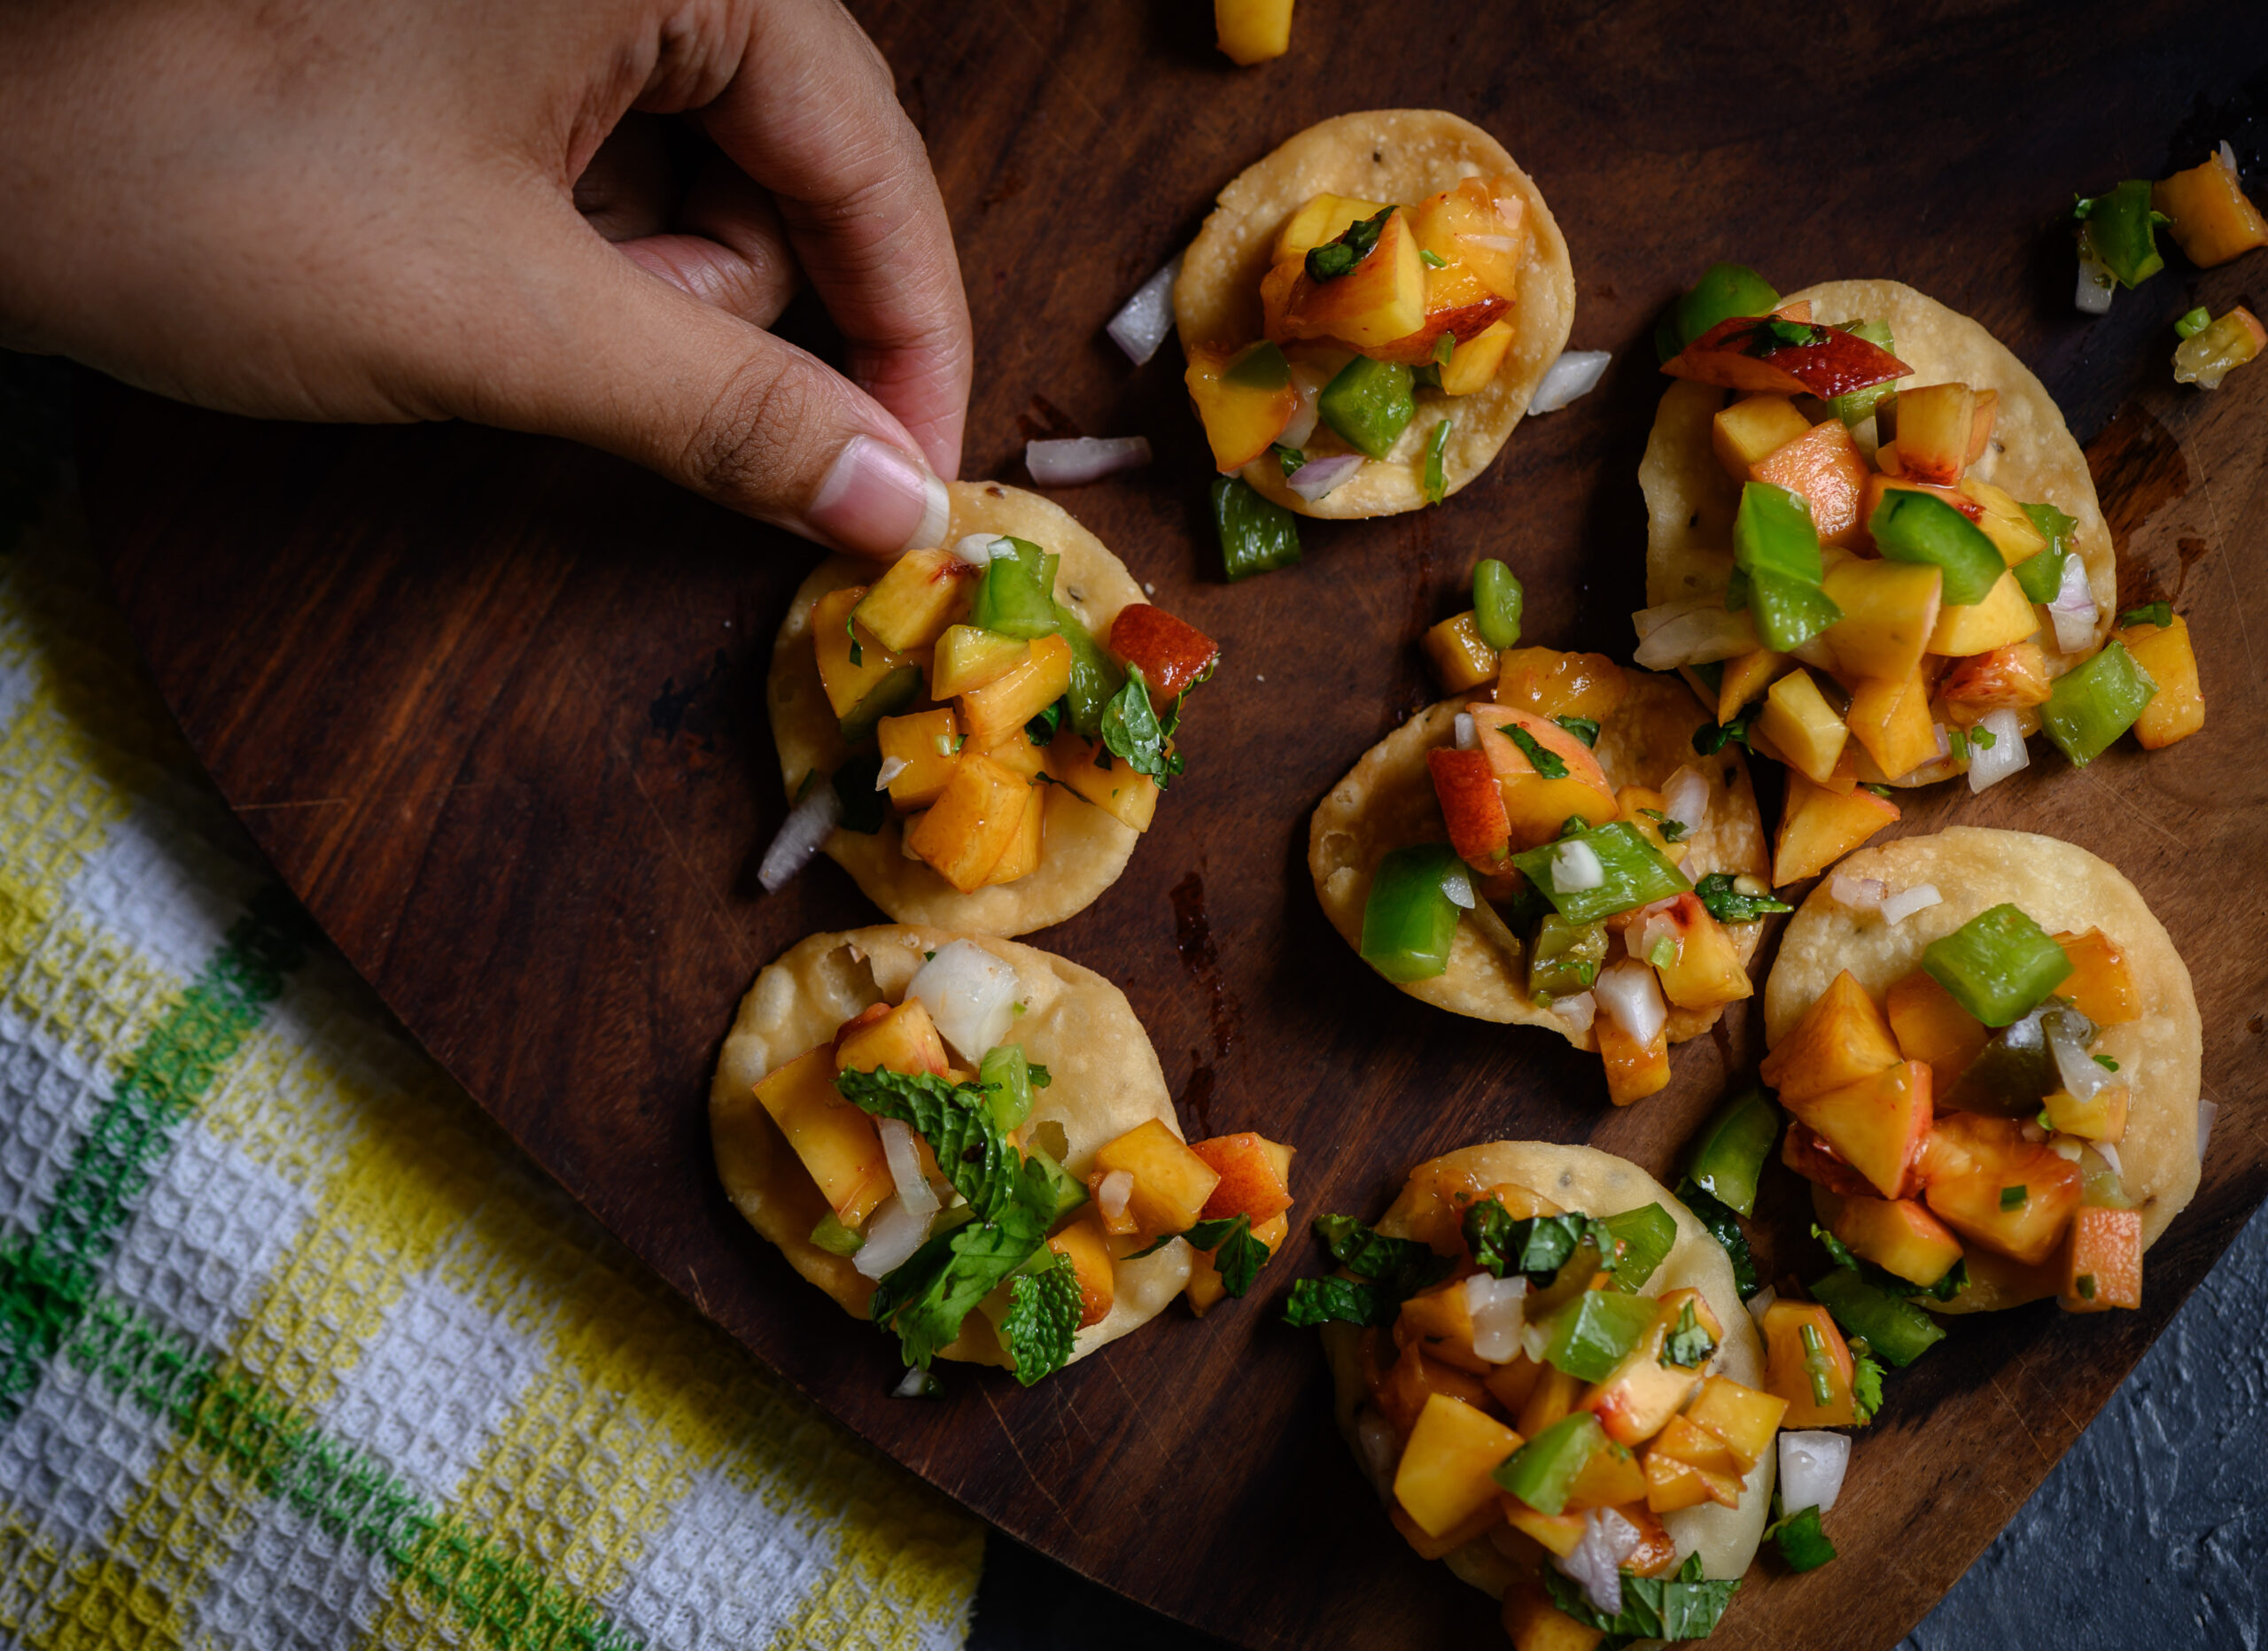
In another bowl, add all the dressing ingredients. Stir well and pour over the fruit/vegetable mixture just before serving. Nacho chips are a traditional accompaniment. Any Gujarati kitchen will have the perfect substitute in one of our preferred snacks – in lieu of nachos, I often fry up some crispy pooris!

While preparing this salsa, I observed that the cutting technique is crucial. When the fruit slices are larger, they become a salad ingredient, and go well when mixed with greens. When they are finely chopped, as they are here, they become a salsa. Both styles were a big hit at home. If you’re incorporating more salads into your diet, try the former, and add some diversity and sweetness to your menu with a nutritious fruit-loaded salad. If you’ve cut the ingredients finely and have prepared a salsa, serve it with something crunchy, as suggested.

The fresh, ripe fruit and the crispy pooris, laced with the spicy flavours of jalapeño chillies and raw onions, come together to form a dish which may be Mexican, may be Indian, may be neither… but is most definitely one of our favourites at home! I’d love to know what you think of it. For a few more similar dishes, check out my sundal and moong bhel recipes too.

The beauty that we see all around us, we take for granted. This is why I love flower exhibitions, which put that beauty at the centre and let us appreciate it fully. Flowers represent inner peace to me. Amongst other things, the Chelsea Flower Show, was on my wishlist. And I recently had that dream fulfilled. It was like the experience of so many flower market visits, multiplied.

One of my favourite things to do in London is to wake up early and go to the flower market, which I enjoy just as much as I do a flea market or an antique market. It was a dear friend who first took me to the Columbia Street Market, which soon became one of my favourite London experiences. It begins with a coffee at any of the quaint shops alongside the flower sellers, sipping leisurely while watching them set up their stalls. They bring their fresh flowers in and I watch them at work while I have my coffee, which is always so lovely and which sets off the mood. I could sit there all day, between the taste of the coffee and the sight of the blossoms.

Amidst the abundance of peonies and a variety of English greens, I was taken aback to see a jasmine plant in a pot. It was simply laden with flowers which reminded me of the oosi malli back home. I was surprised to see it blossoming when the climate was not conducive for it, and it gave me fresh inspiration to continue working in my own gardens. I was reminded of my own home and the manoranjithas I’m trying to revive. The dedication of those London florists, and the sheer variety of flowers they cultivate, are lessons to inspire us to look at the diversity and beauty that exists around us.


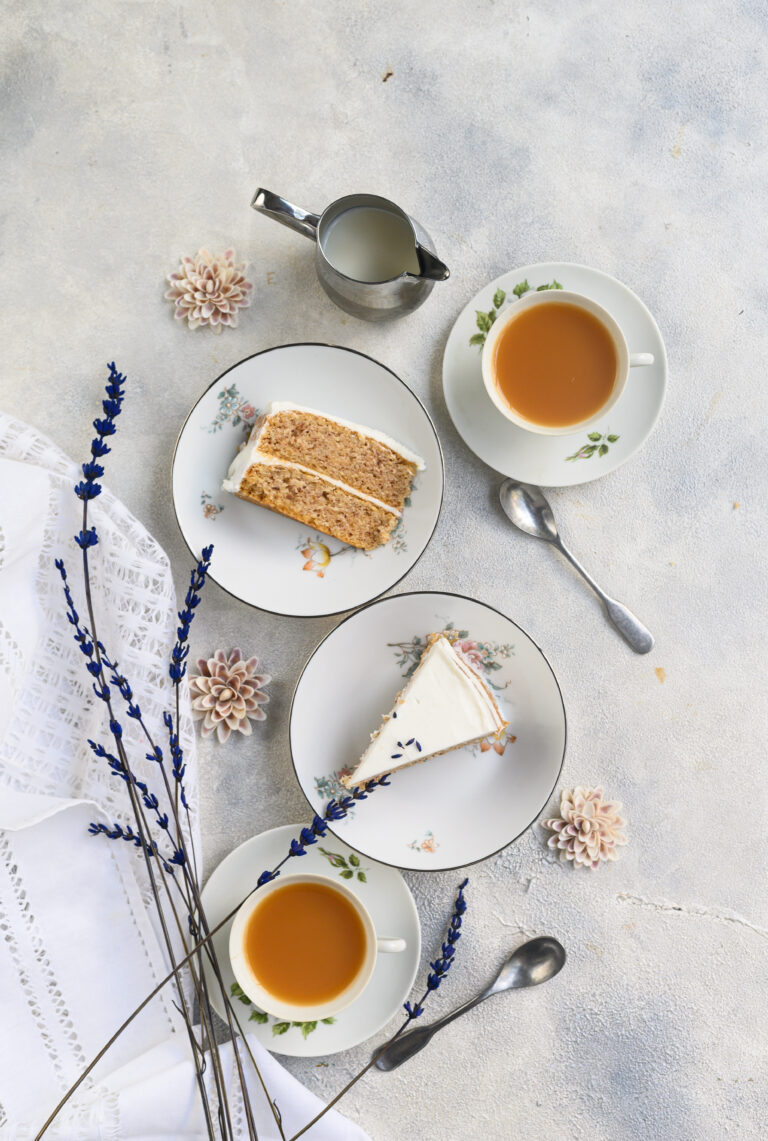
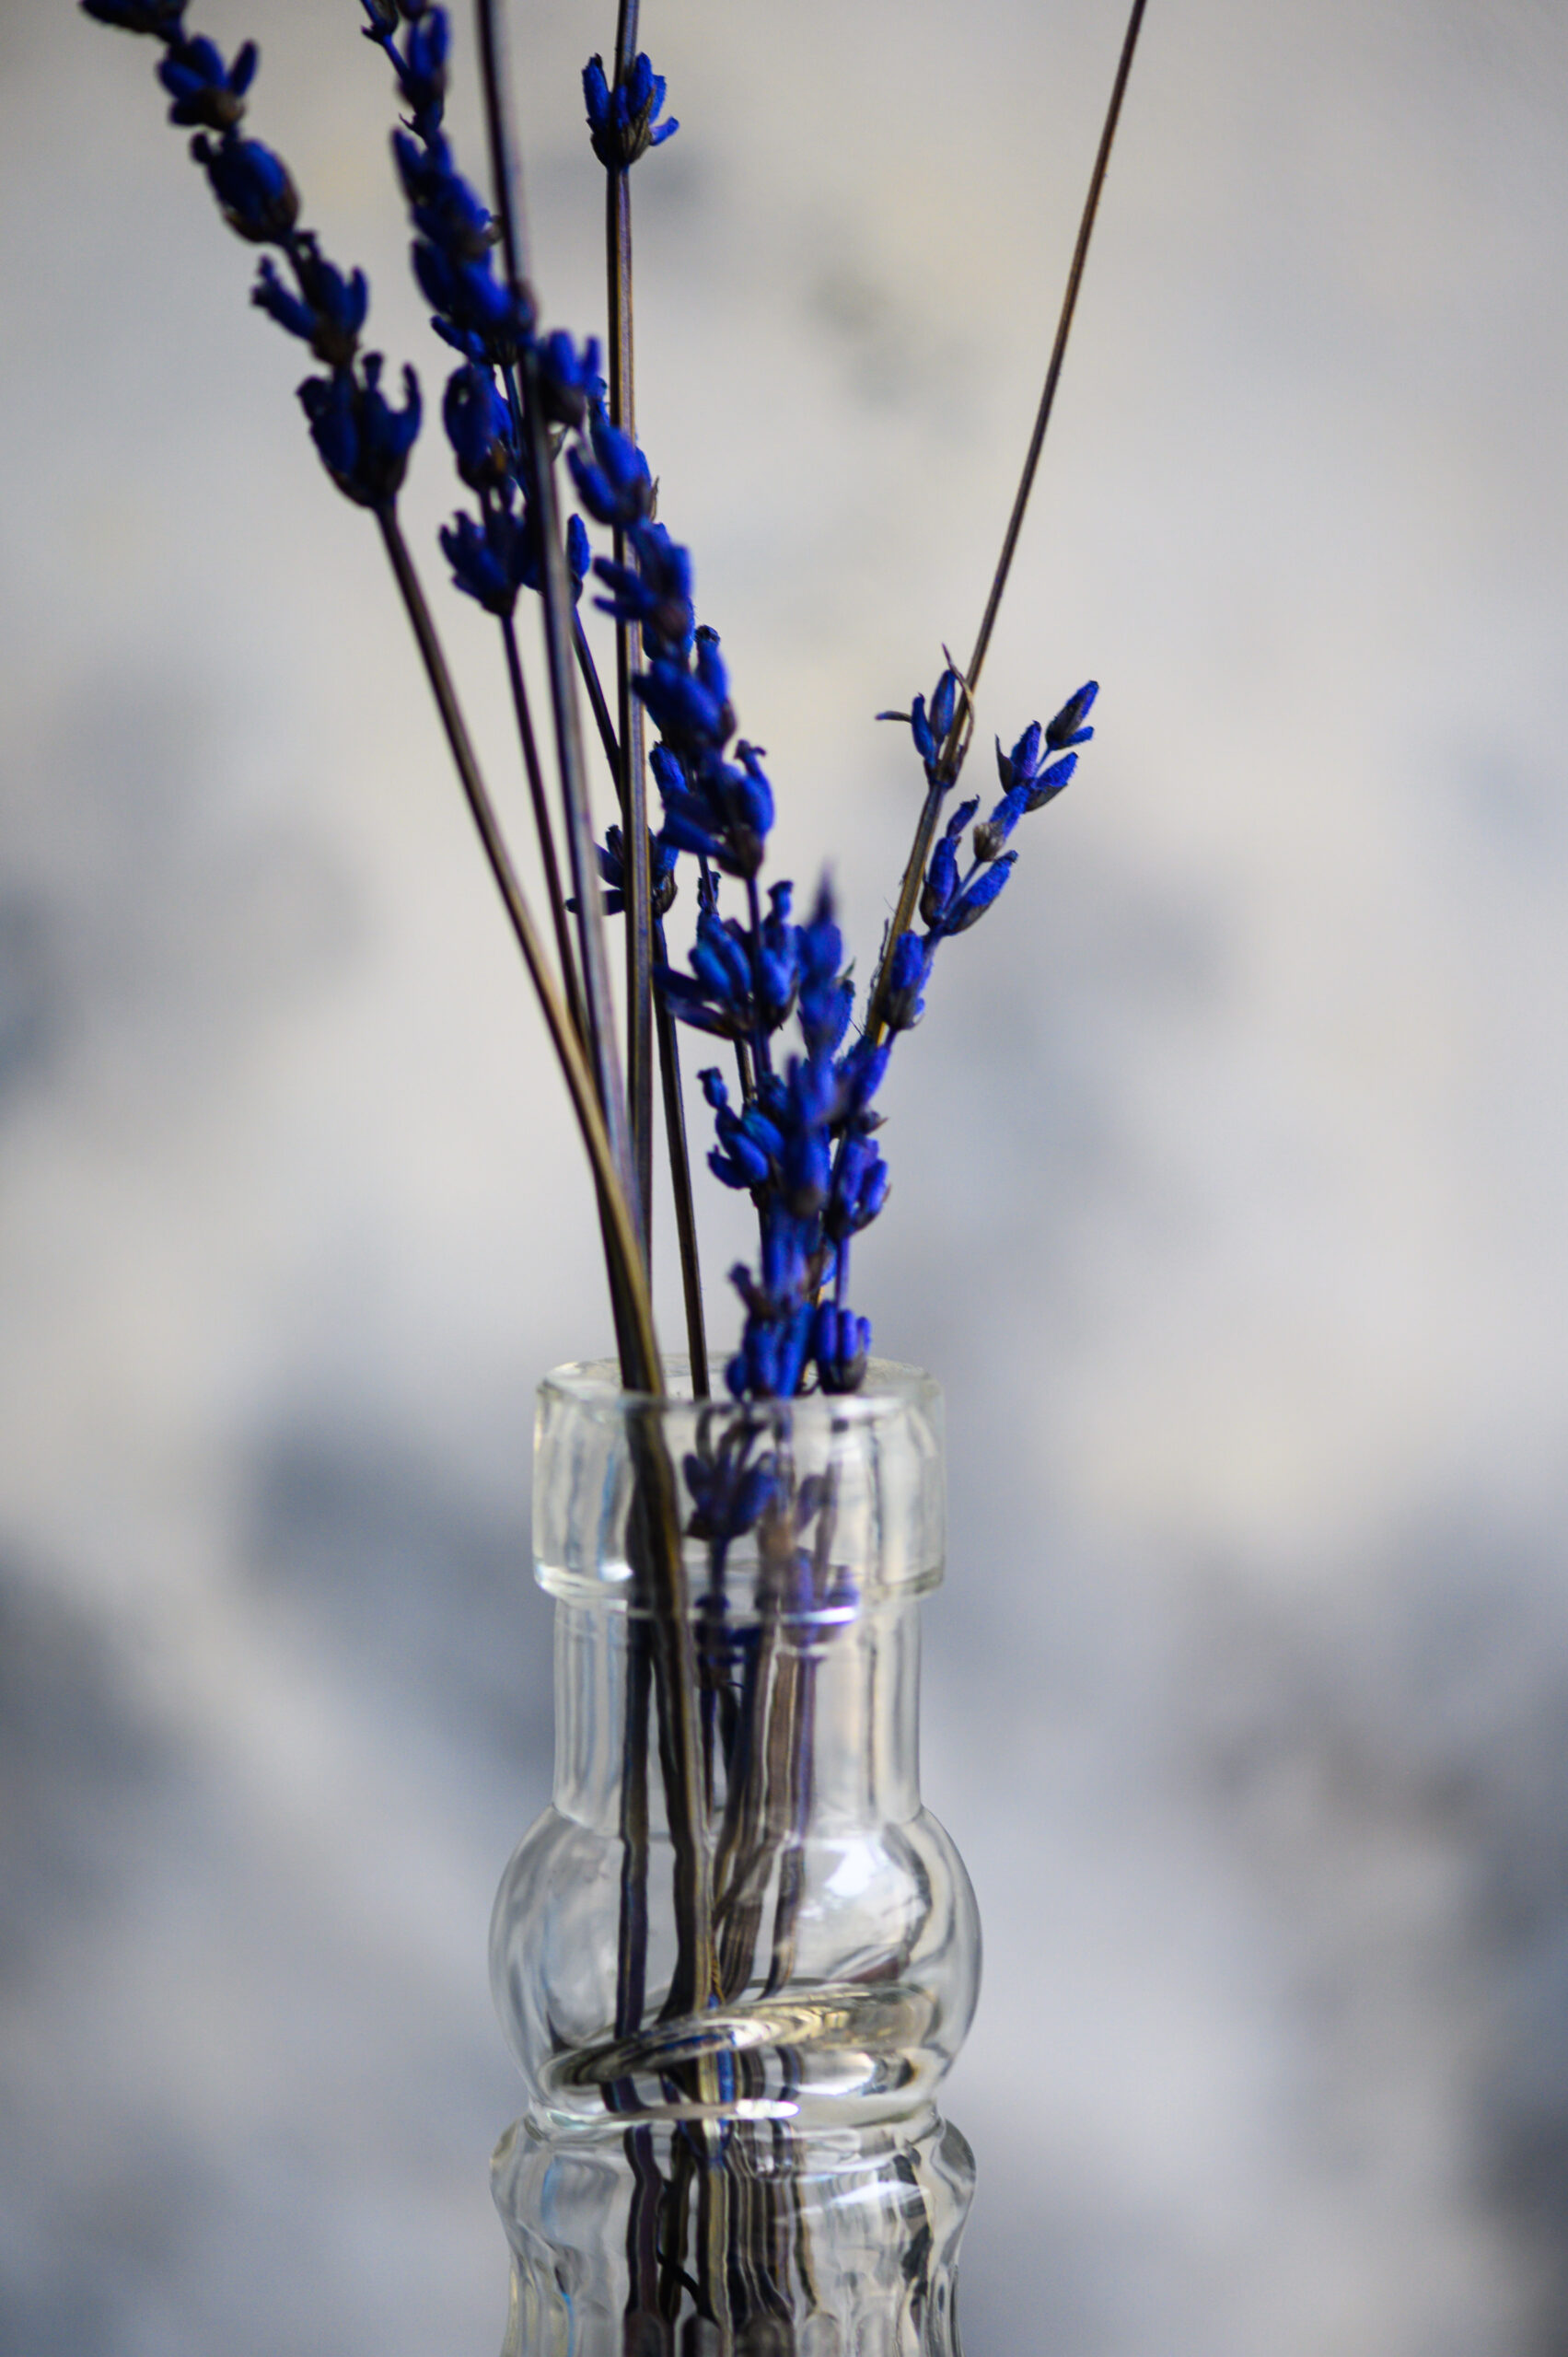
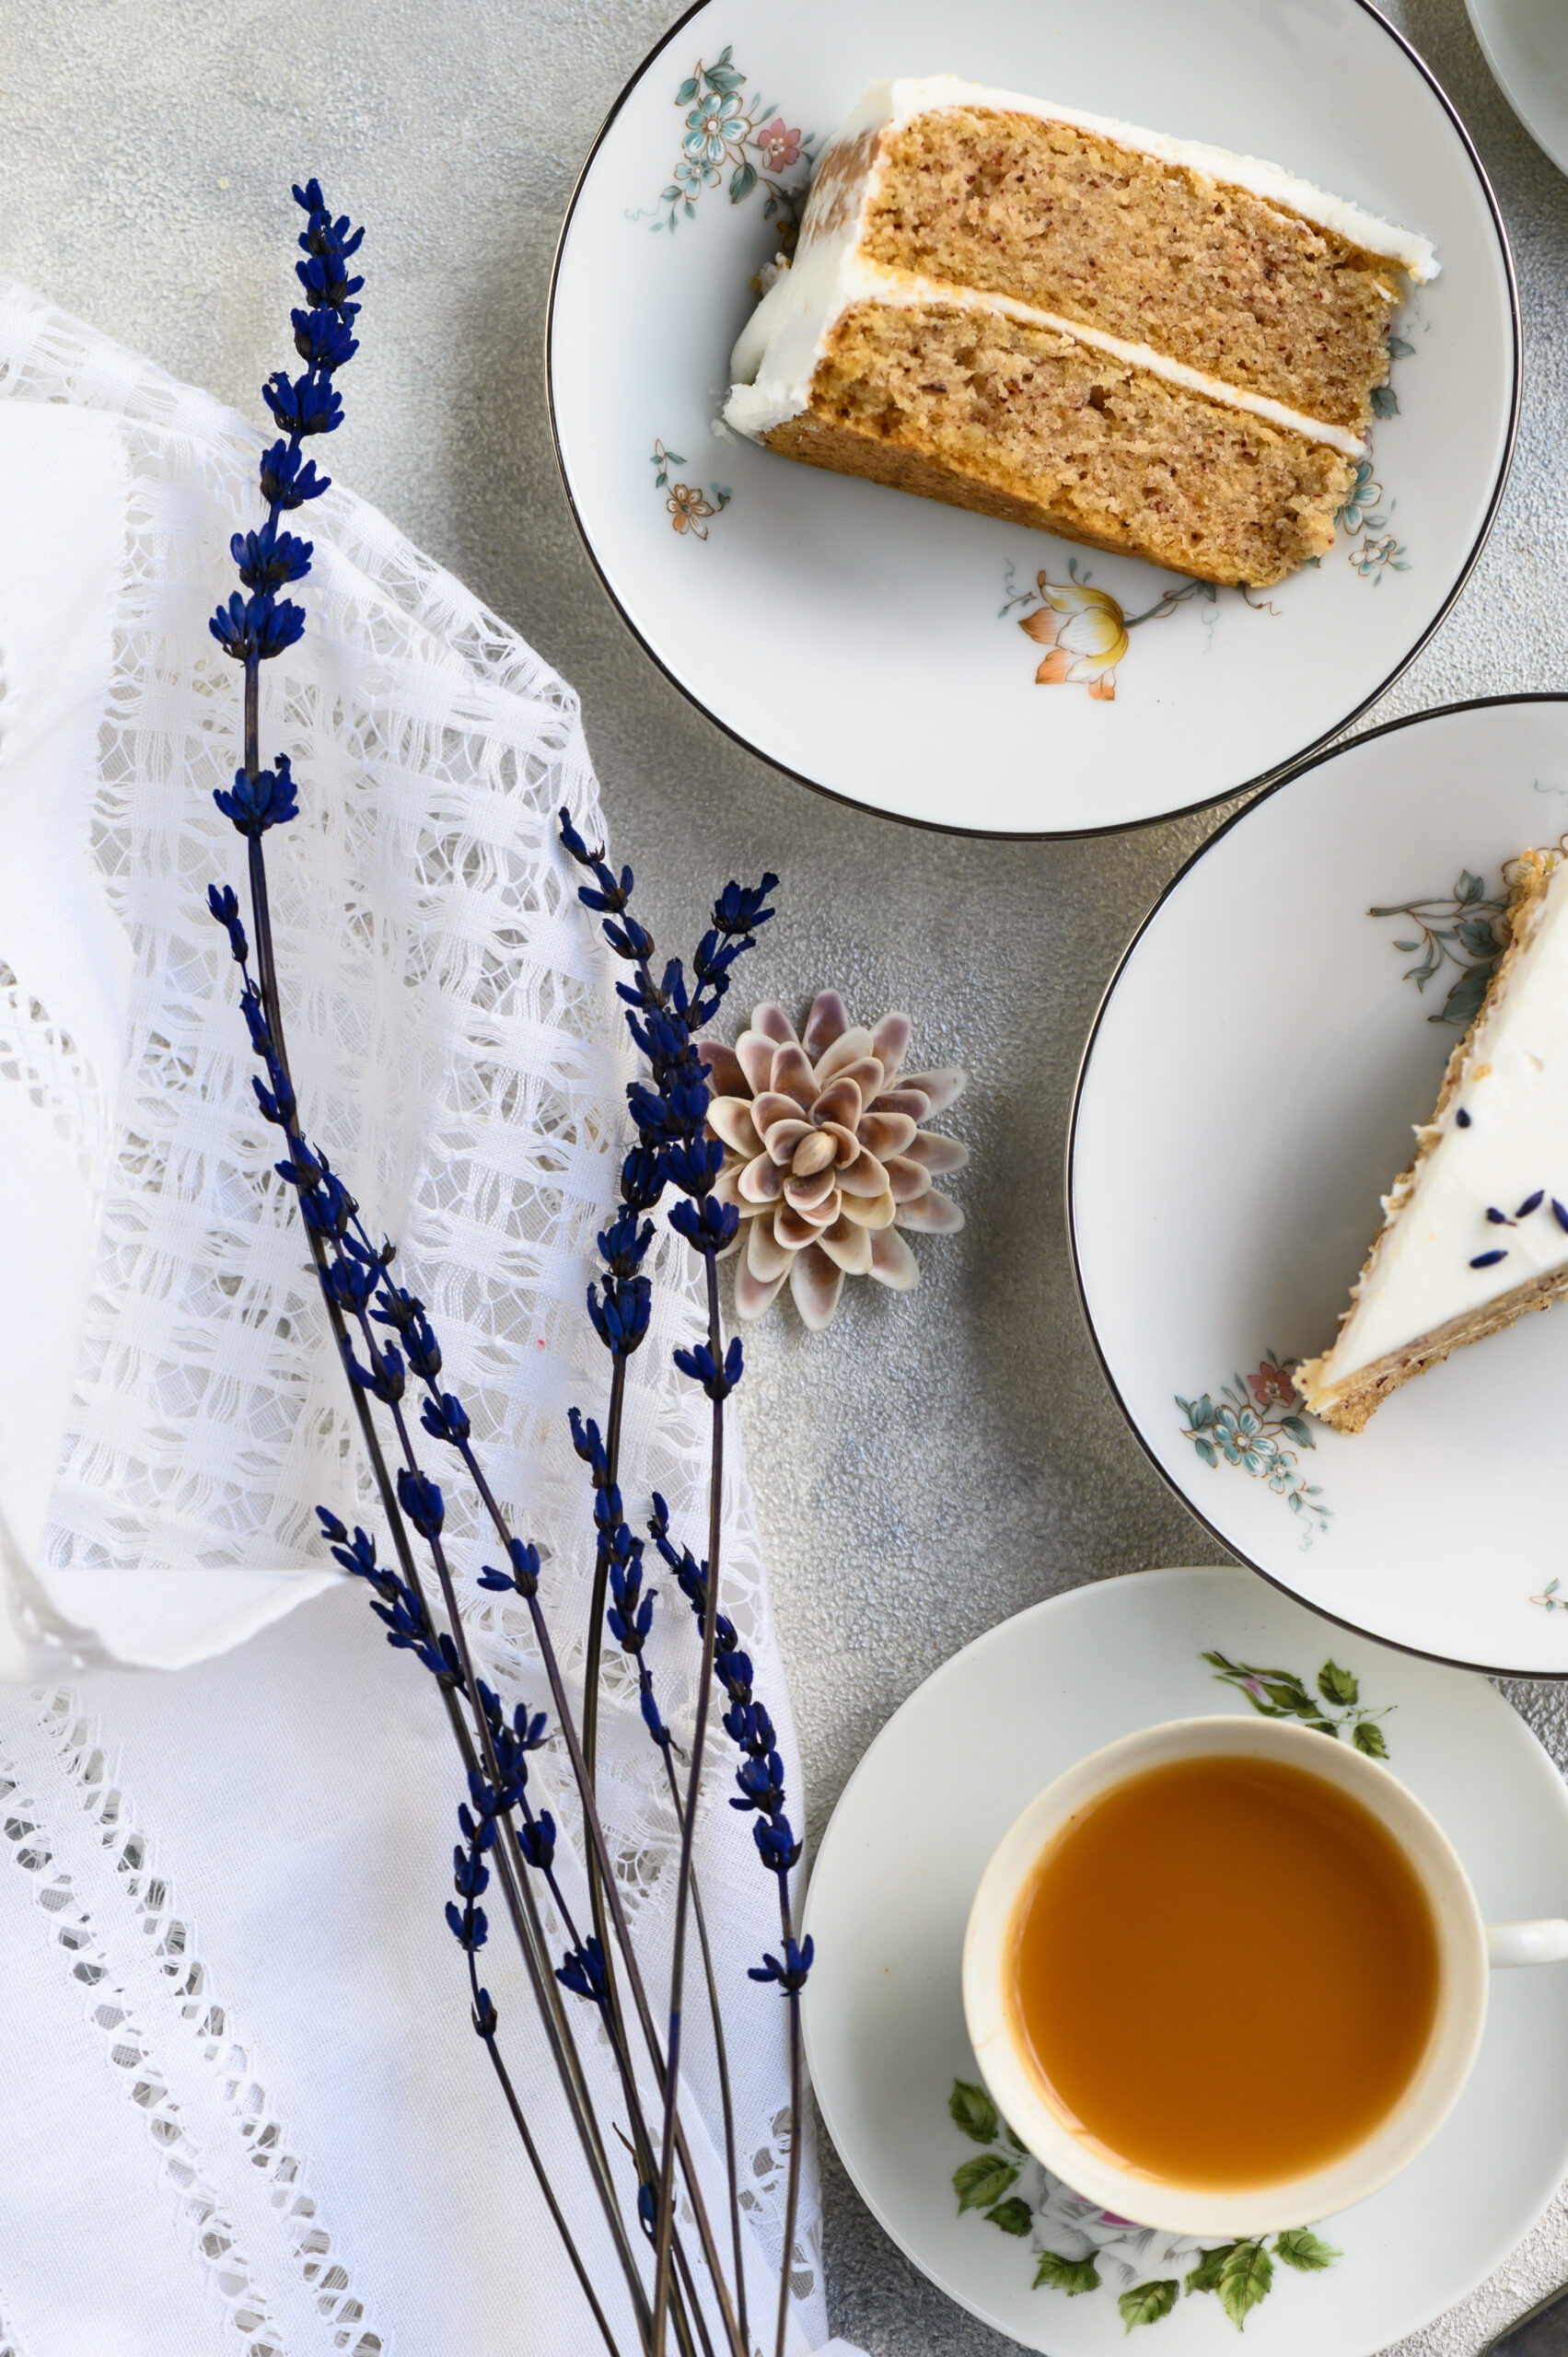
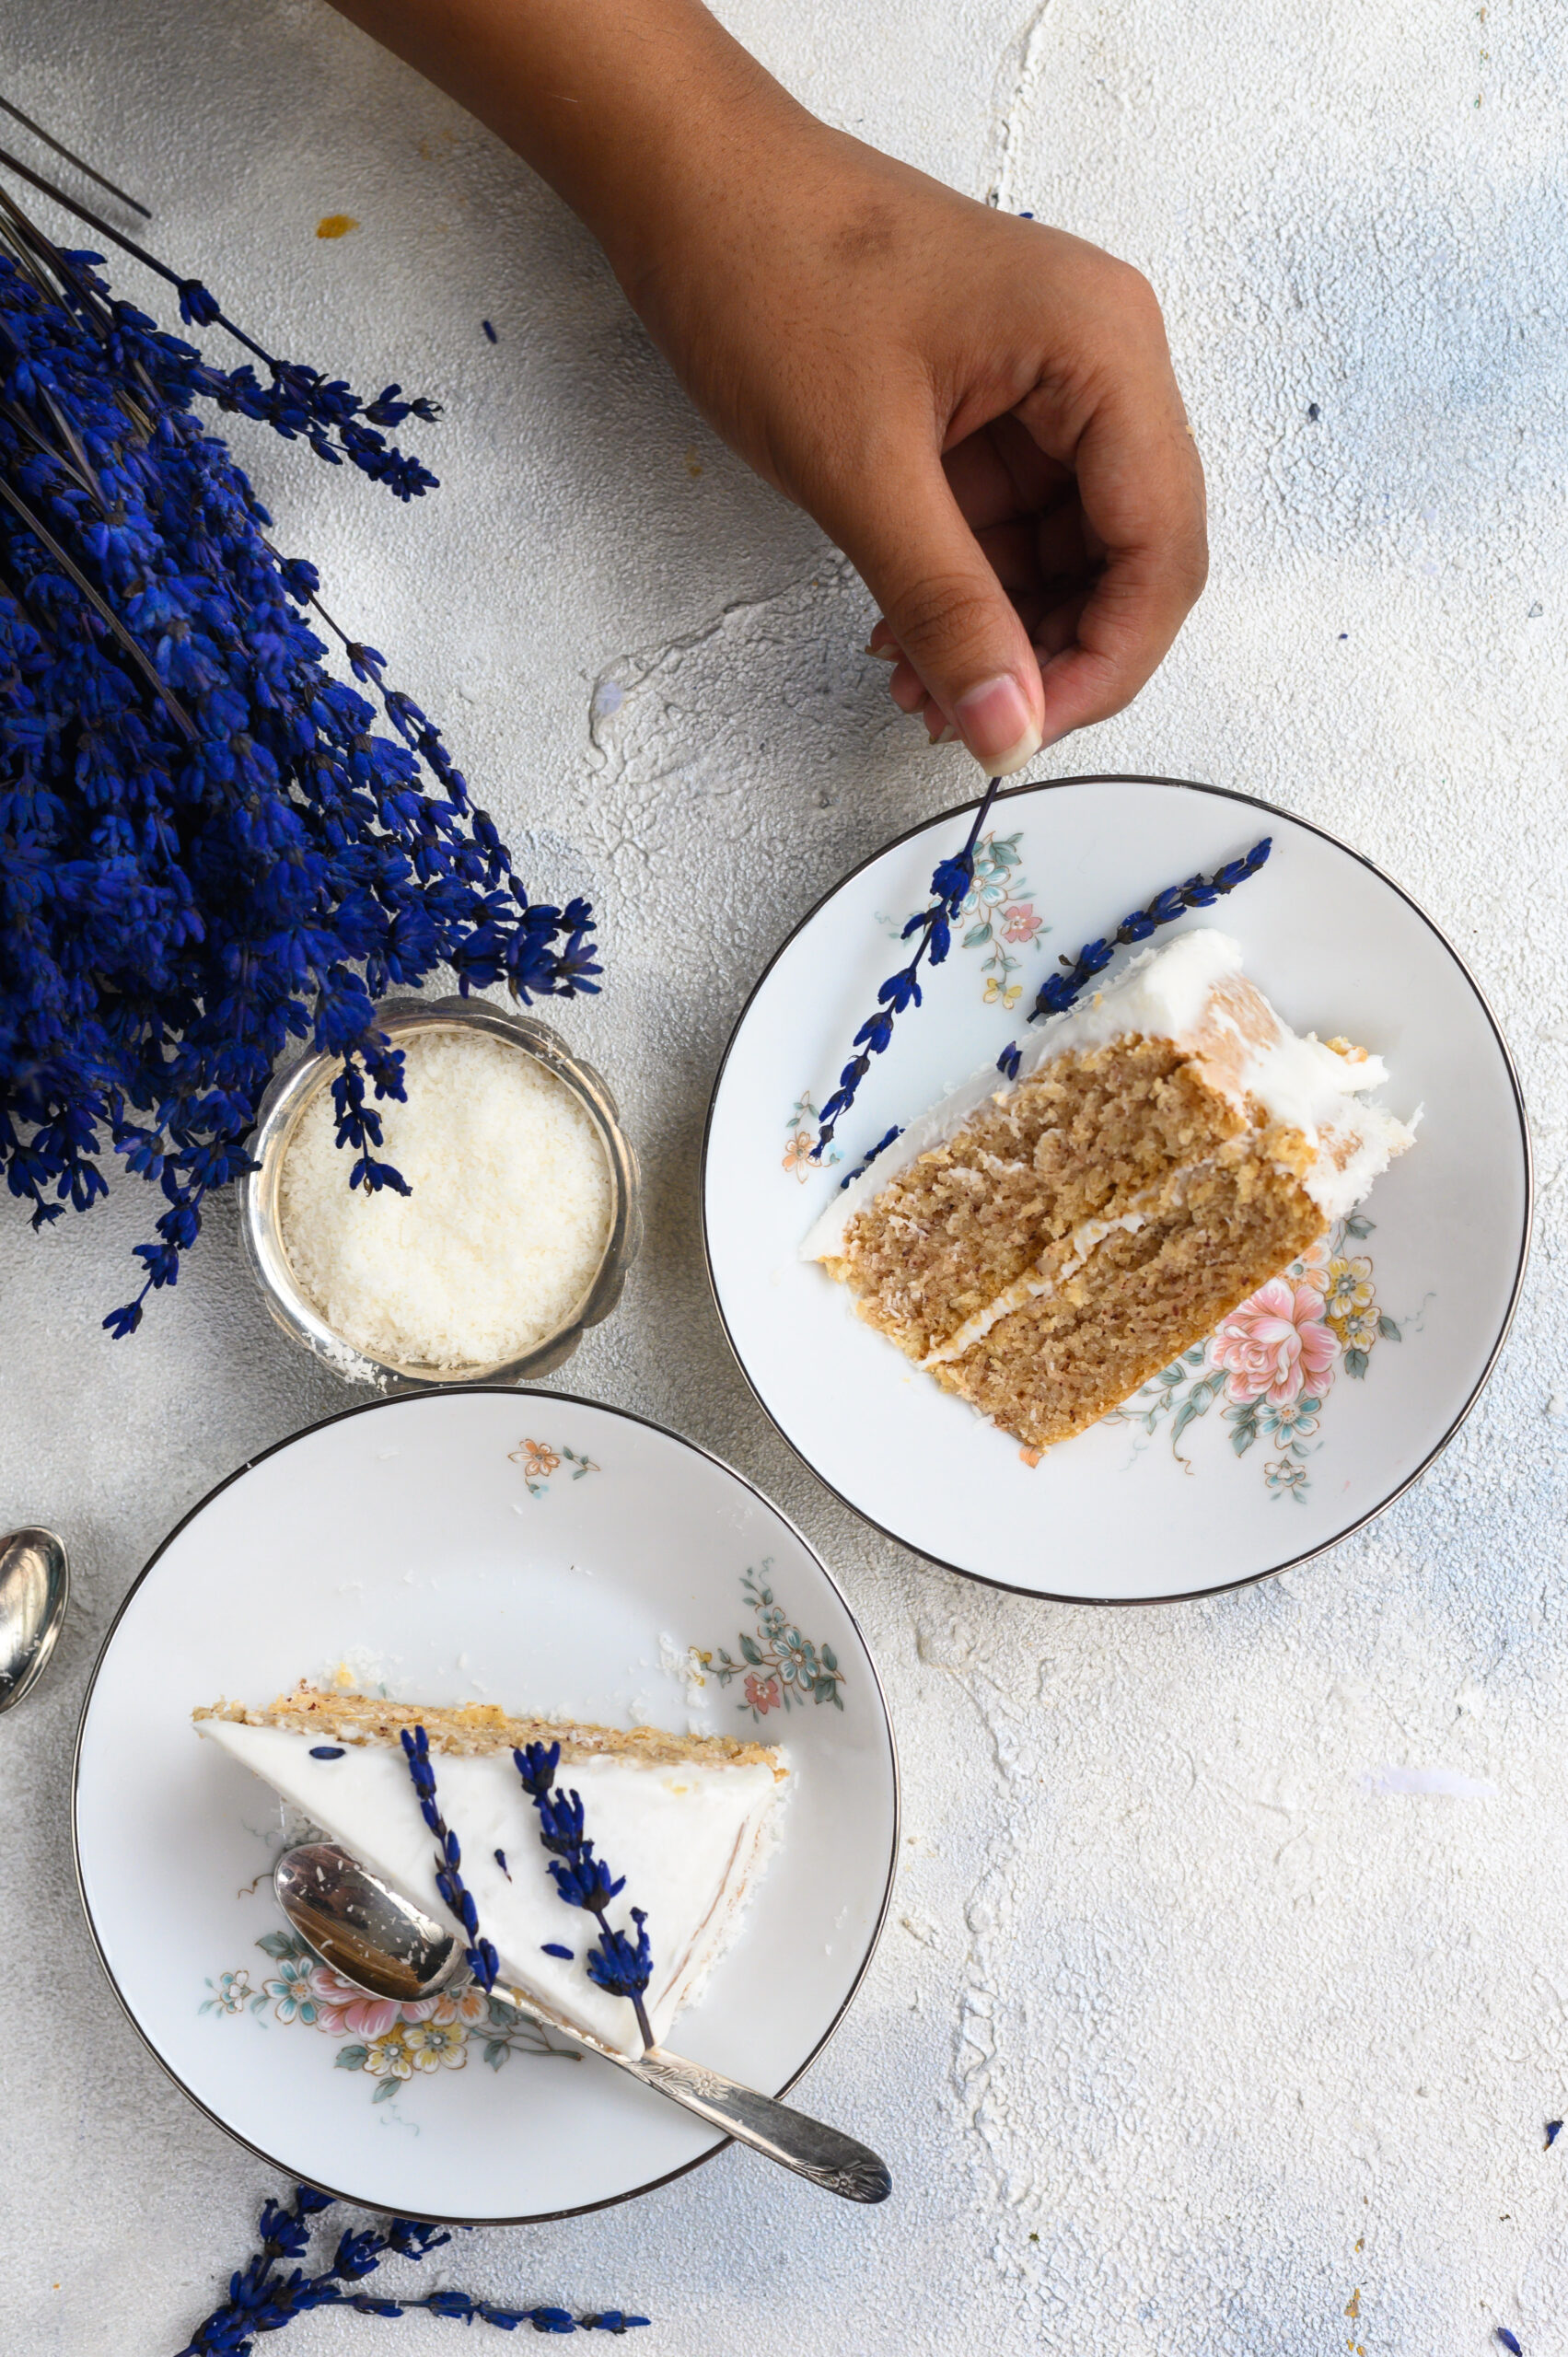
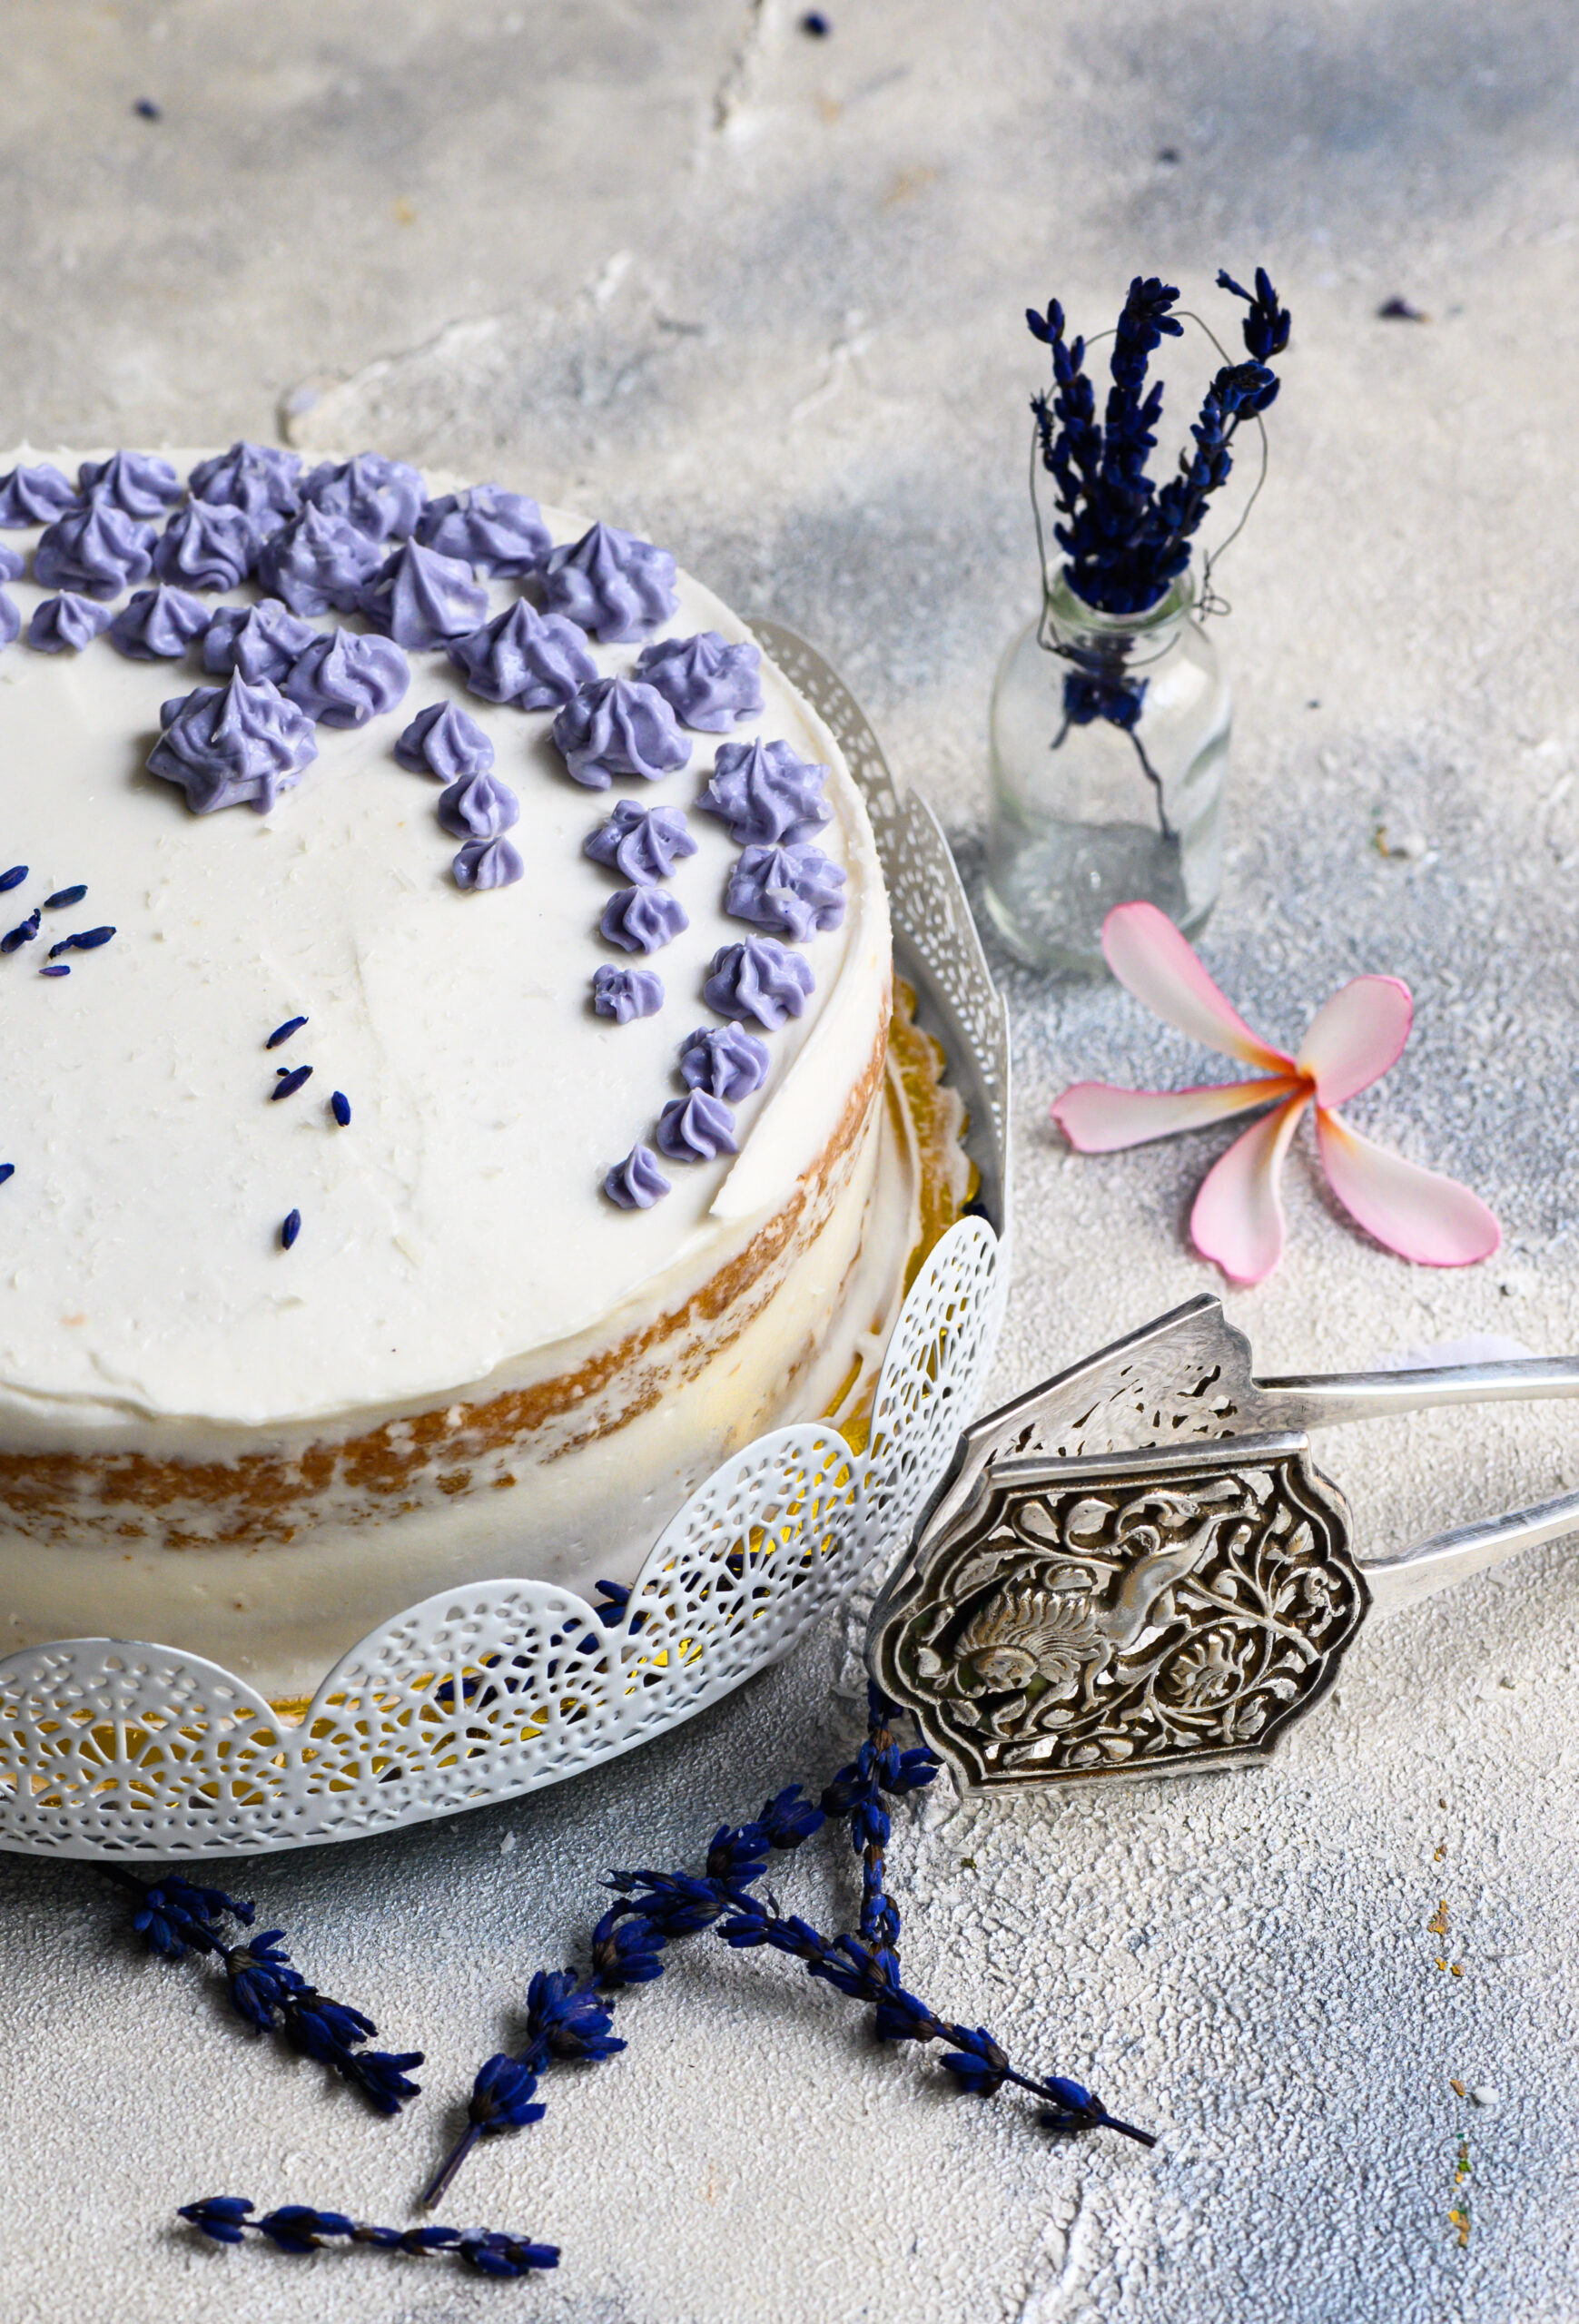
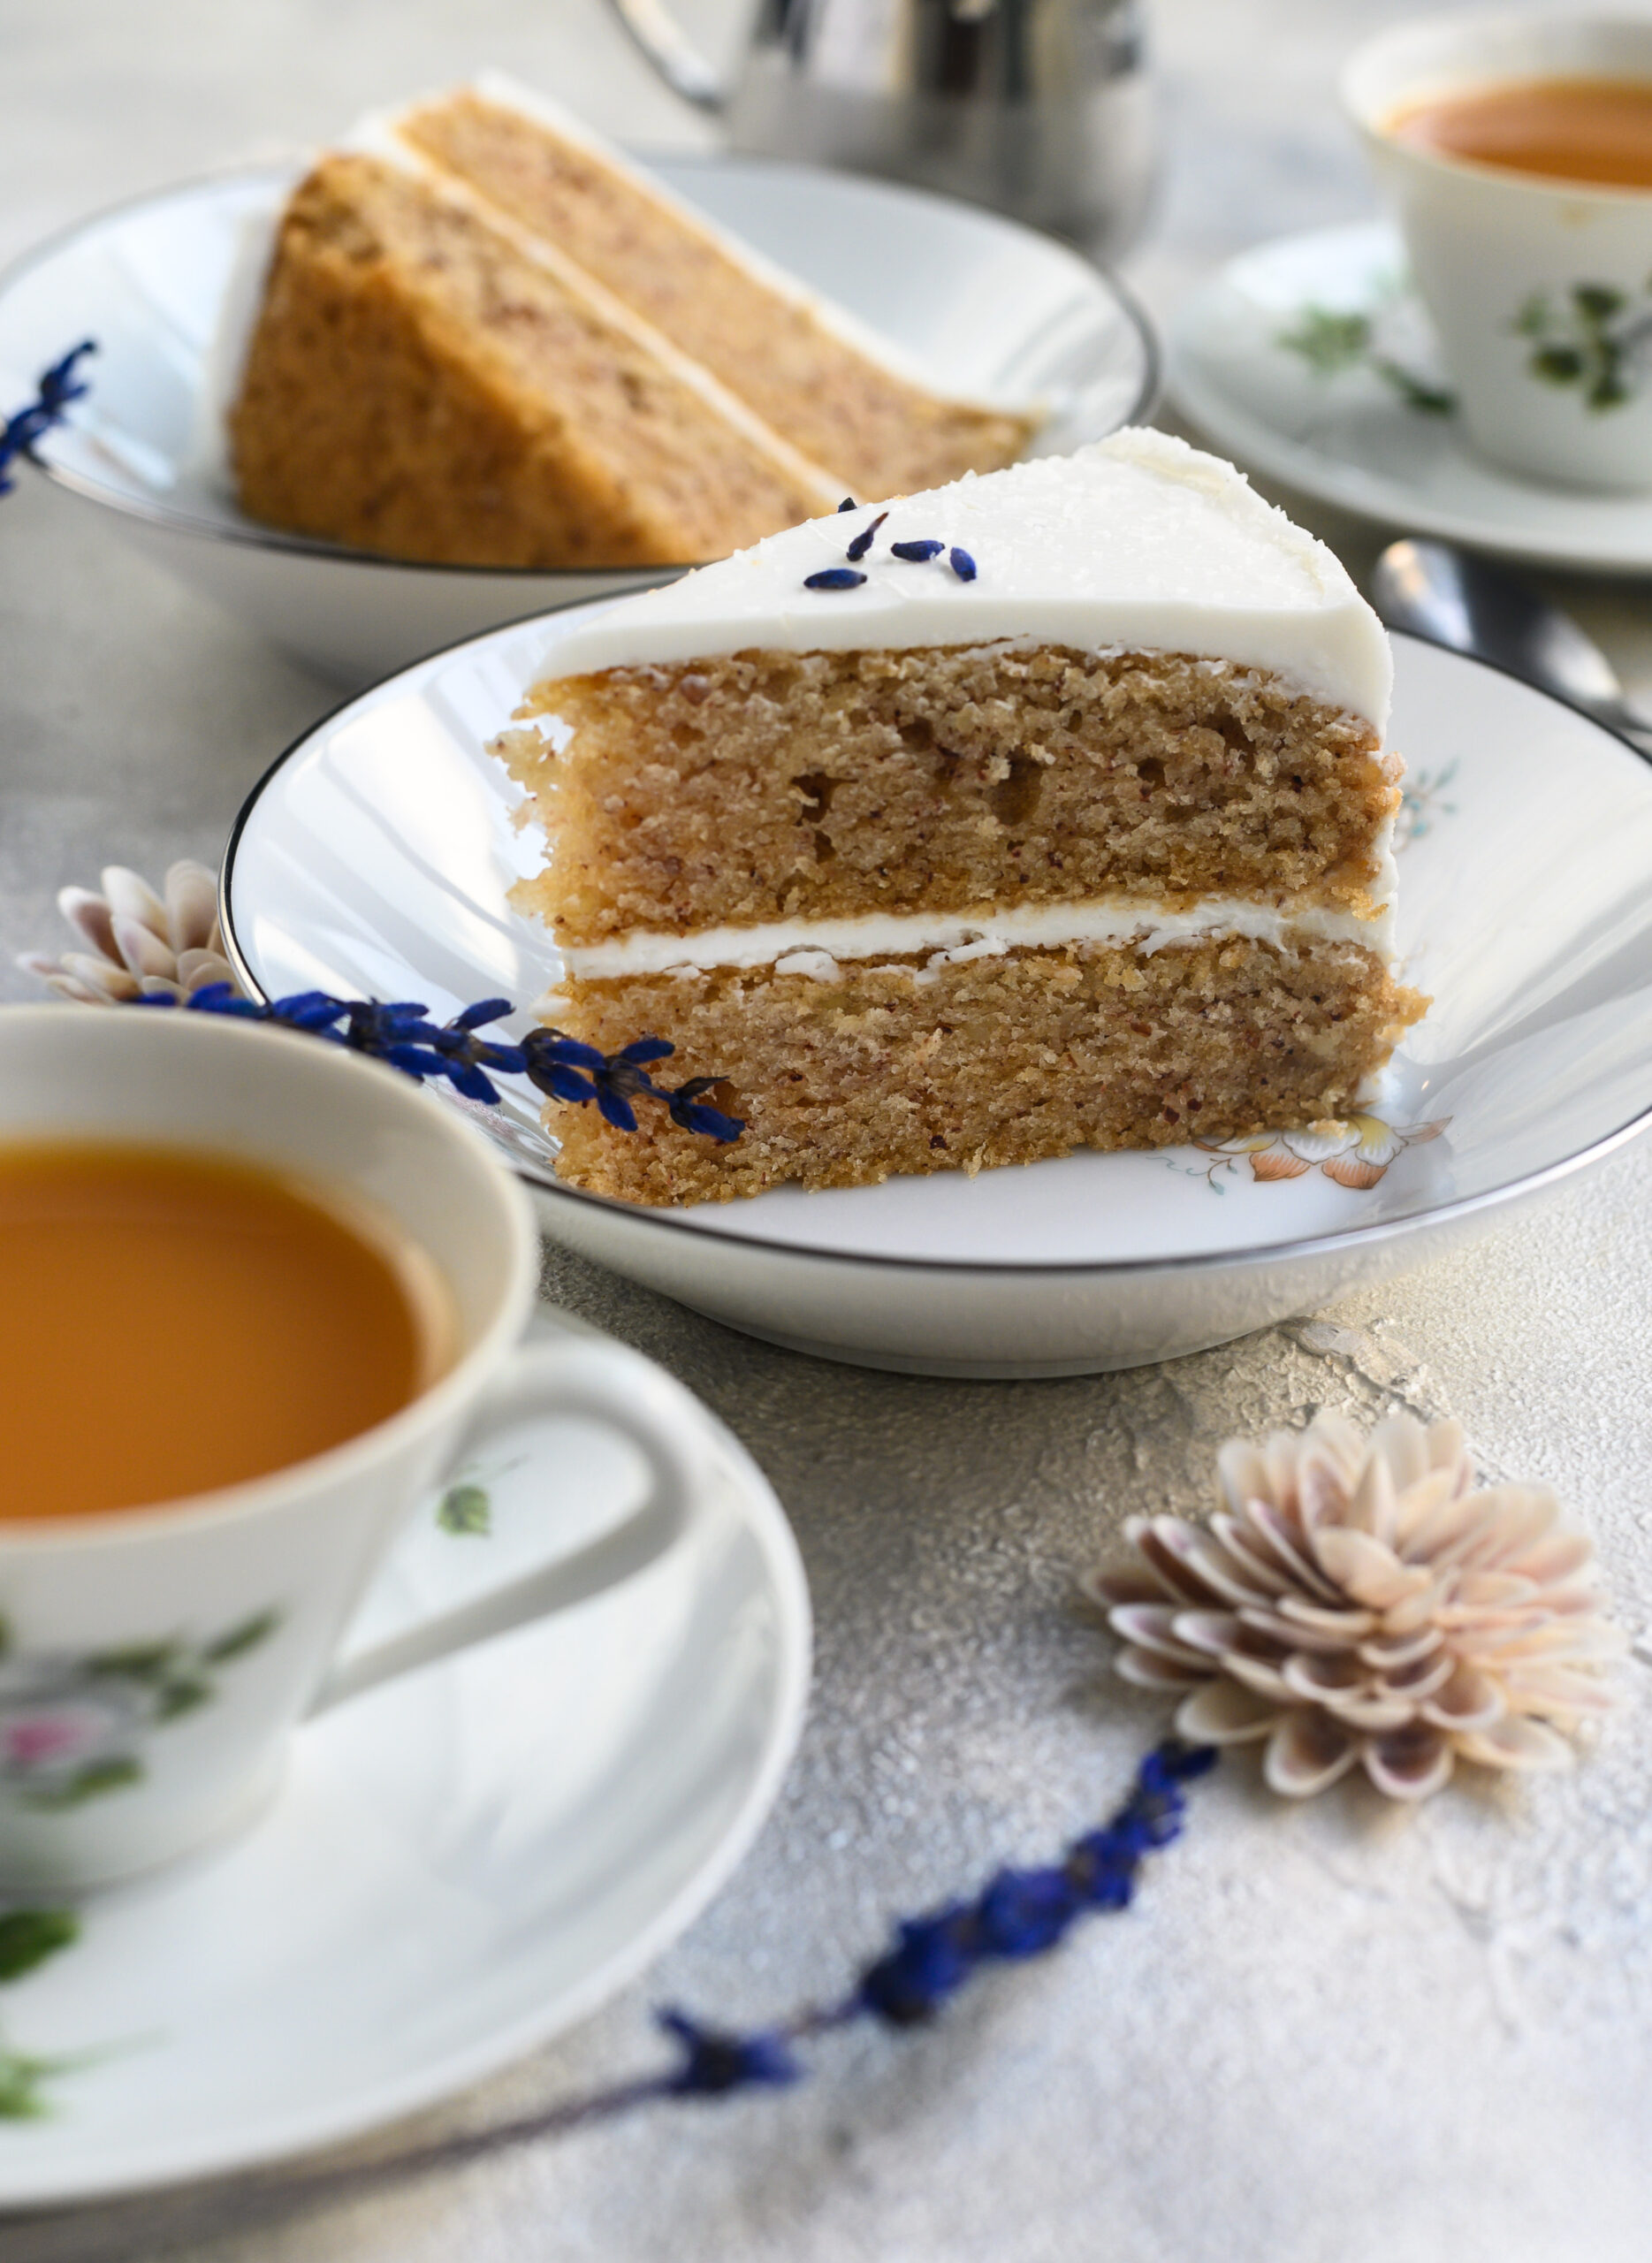
Sitting in one such market not long ago, taking impromptu images on my iPhone camera, my eyes were wandering around looking for those flowers which were dried, so I could carry them back with me. This was when this exquisite batch of lavender caught my attention. Since I brought this beautiful lavender back with me, my entire home is carrying its fragrance and I’d do anything to keep it lasting. If there was a way I could capture its fragrance, I’d easily share it with you. But since I can’t, this vegan lavender cake with coconut icing is the next best thing.

As you may know, lavender is one of the flowers/ingredients that most inspires me, and you may have enjoyed several of my previous recipes featuring it. Some of my experiments have yielded such delights as this lavender shrikand and this vegan lavender panna cotta.

This cake is made for the vegan palette. Veganism is becoming increasingly popular, and rightly so. Among other reasons, the treatment of animals to procure ingredients for non-vegan meals is a big factor as to why people choose it. I am increasingly becoming aware of veganism and trying to include it in my food journey, and you can see several of my recipes here.

Vegan Lavender Cake

Cake:

190 grams flour

30 grams desiccated coconut

200 grams sugar

1 teaspoon baking soda

¼ teaspoon salt

1 cup coconut milk

2 teaspoons vanilla extract

80ml sunflower oil

1 tablespoon apple cider vinegar

½ teaspoon lavender


Icing:

400 grams icing sugar

40 grams vegan butter or margarine

2 teaspoons coconut milk

1 teaspoon vanilla extract


Decoration:

¼ cup desiccated coconut

I’ve talked so often about the pleasure of baking that whenever I share a recipe like this – something from the re:store menu – it makes me happy to know that you can have that same experience of the joy of preparation, not just the satisfaction of the final product!


Preheat the oven to 160°C. Grease and dust two 7’ cake tins and line them.

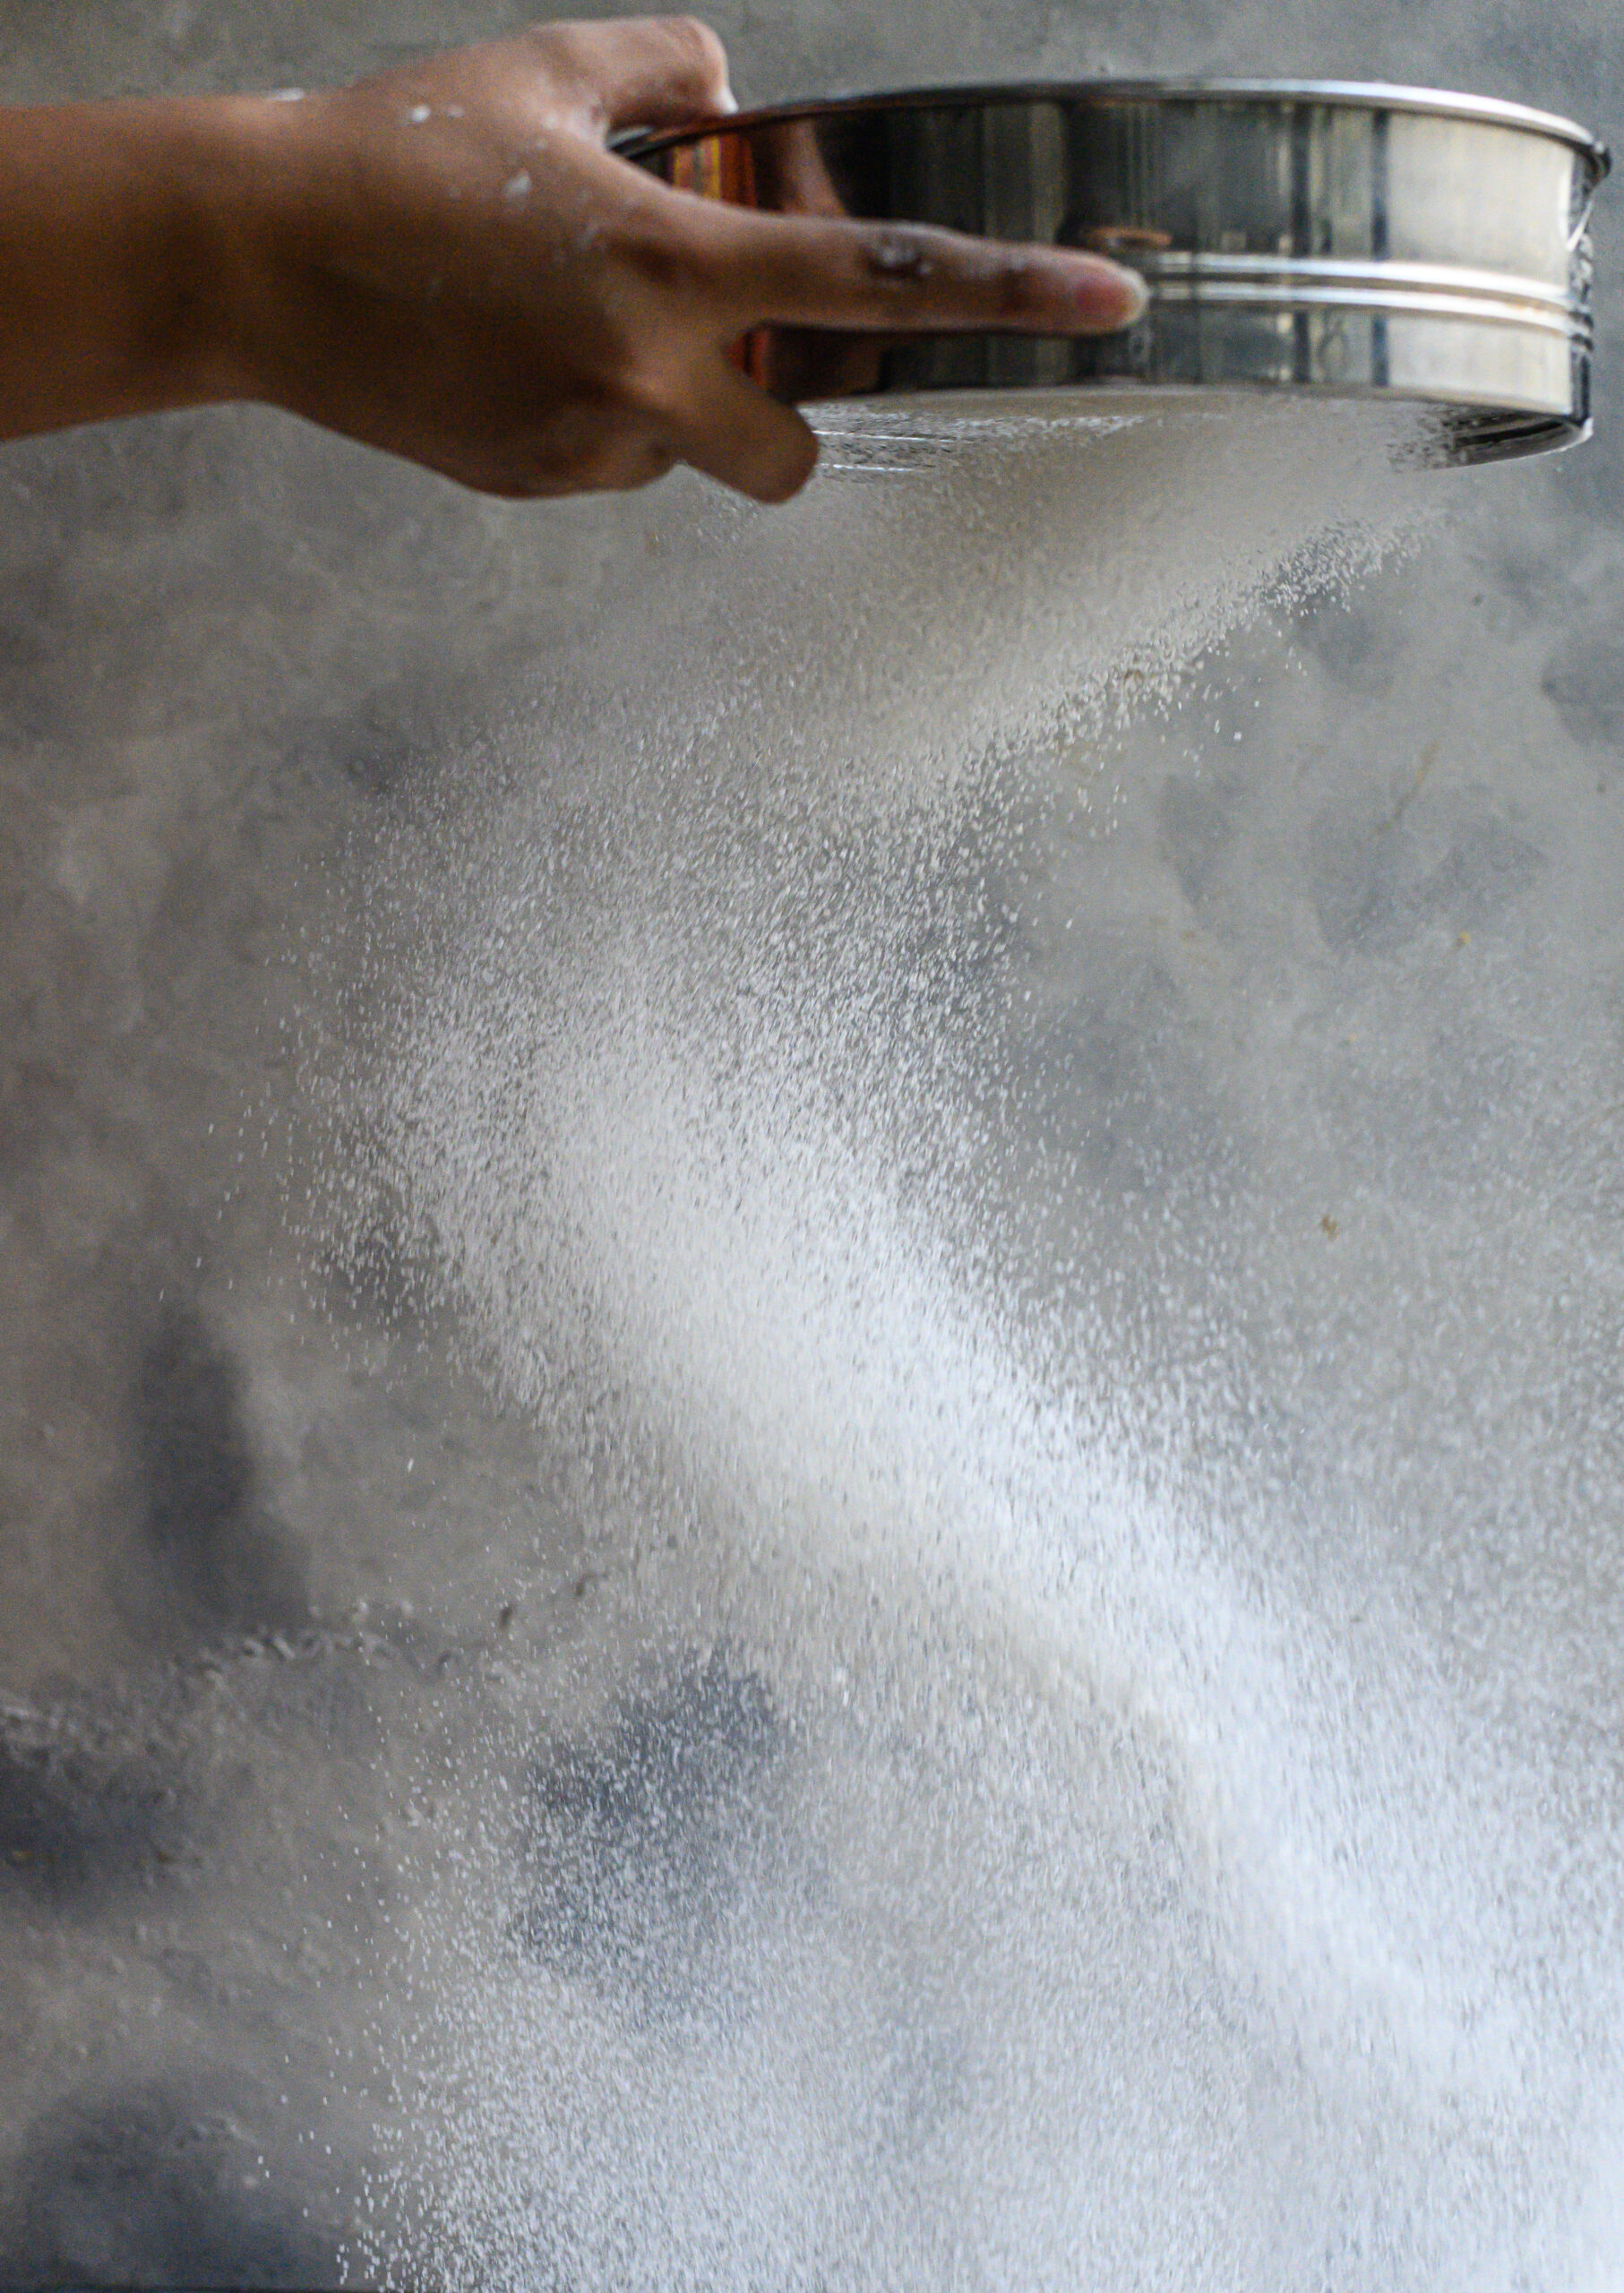
Sift the flour.

Add all the dry ingredients – flour, desiccated coconut, lavender, baking soda and salt – into a bowl and whisk. Now add the sugar. Keep aside.

Now, put all the wet ingredients – coconut milk, oil, vanilla extract and vinegar – in a separate bowl, blend, then add these to the dry mixture.

Whisk the wet and dry ingredients together gently. Once you have a batter, divide it equally between the 2 cake tins.

Bake both tins for approximately 30 minutes or until a tooth pick comes out clean.

Allow to cool for 10 minutes before removing the cakes onto a cooling rack. Once they have cooled completely, they are ready to be decorated with icing. So it’s best to make this as they cool.

This vegan lavender cake is garnished with a coconut milk icing. In a mixer, add the butter, vanilla extract and sugar. Beat on a low speed. Slowly, increase the speed and add the coconut milk carefully. Add only as much as required, and make sure that the mixture is spreadable. Adjust the coconut milk or sugar quantities as required to ensure this.

Place one of the cakes on a base and apply half the icing on top of it. Sprinkle 1 tablespoon of the desiccated coconut, then place the second cake on top of this to form a layer.

Ice the top generously and sprinkle the remaining desiccated coconut. Decorate as desired. A good presentation makes for a tasty cake too. As I always say, the eye tastes before the mouth does, and using attractive serving ware and garnishings can really enhance the experience.

As is most often the case, I decided on this recipe based on the ingredients I had on-hand and how they inspire me. Lavender and coconut were the flavours I chiefly wanted to bring out, and vanilla is of course a baker’s best friend. Together, for me they evoke the way it feels to sit at a café and watch a flower market being set up. When you try out this recipe, please let me know what these scents and tastes evoke for you!

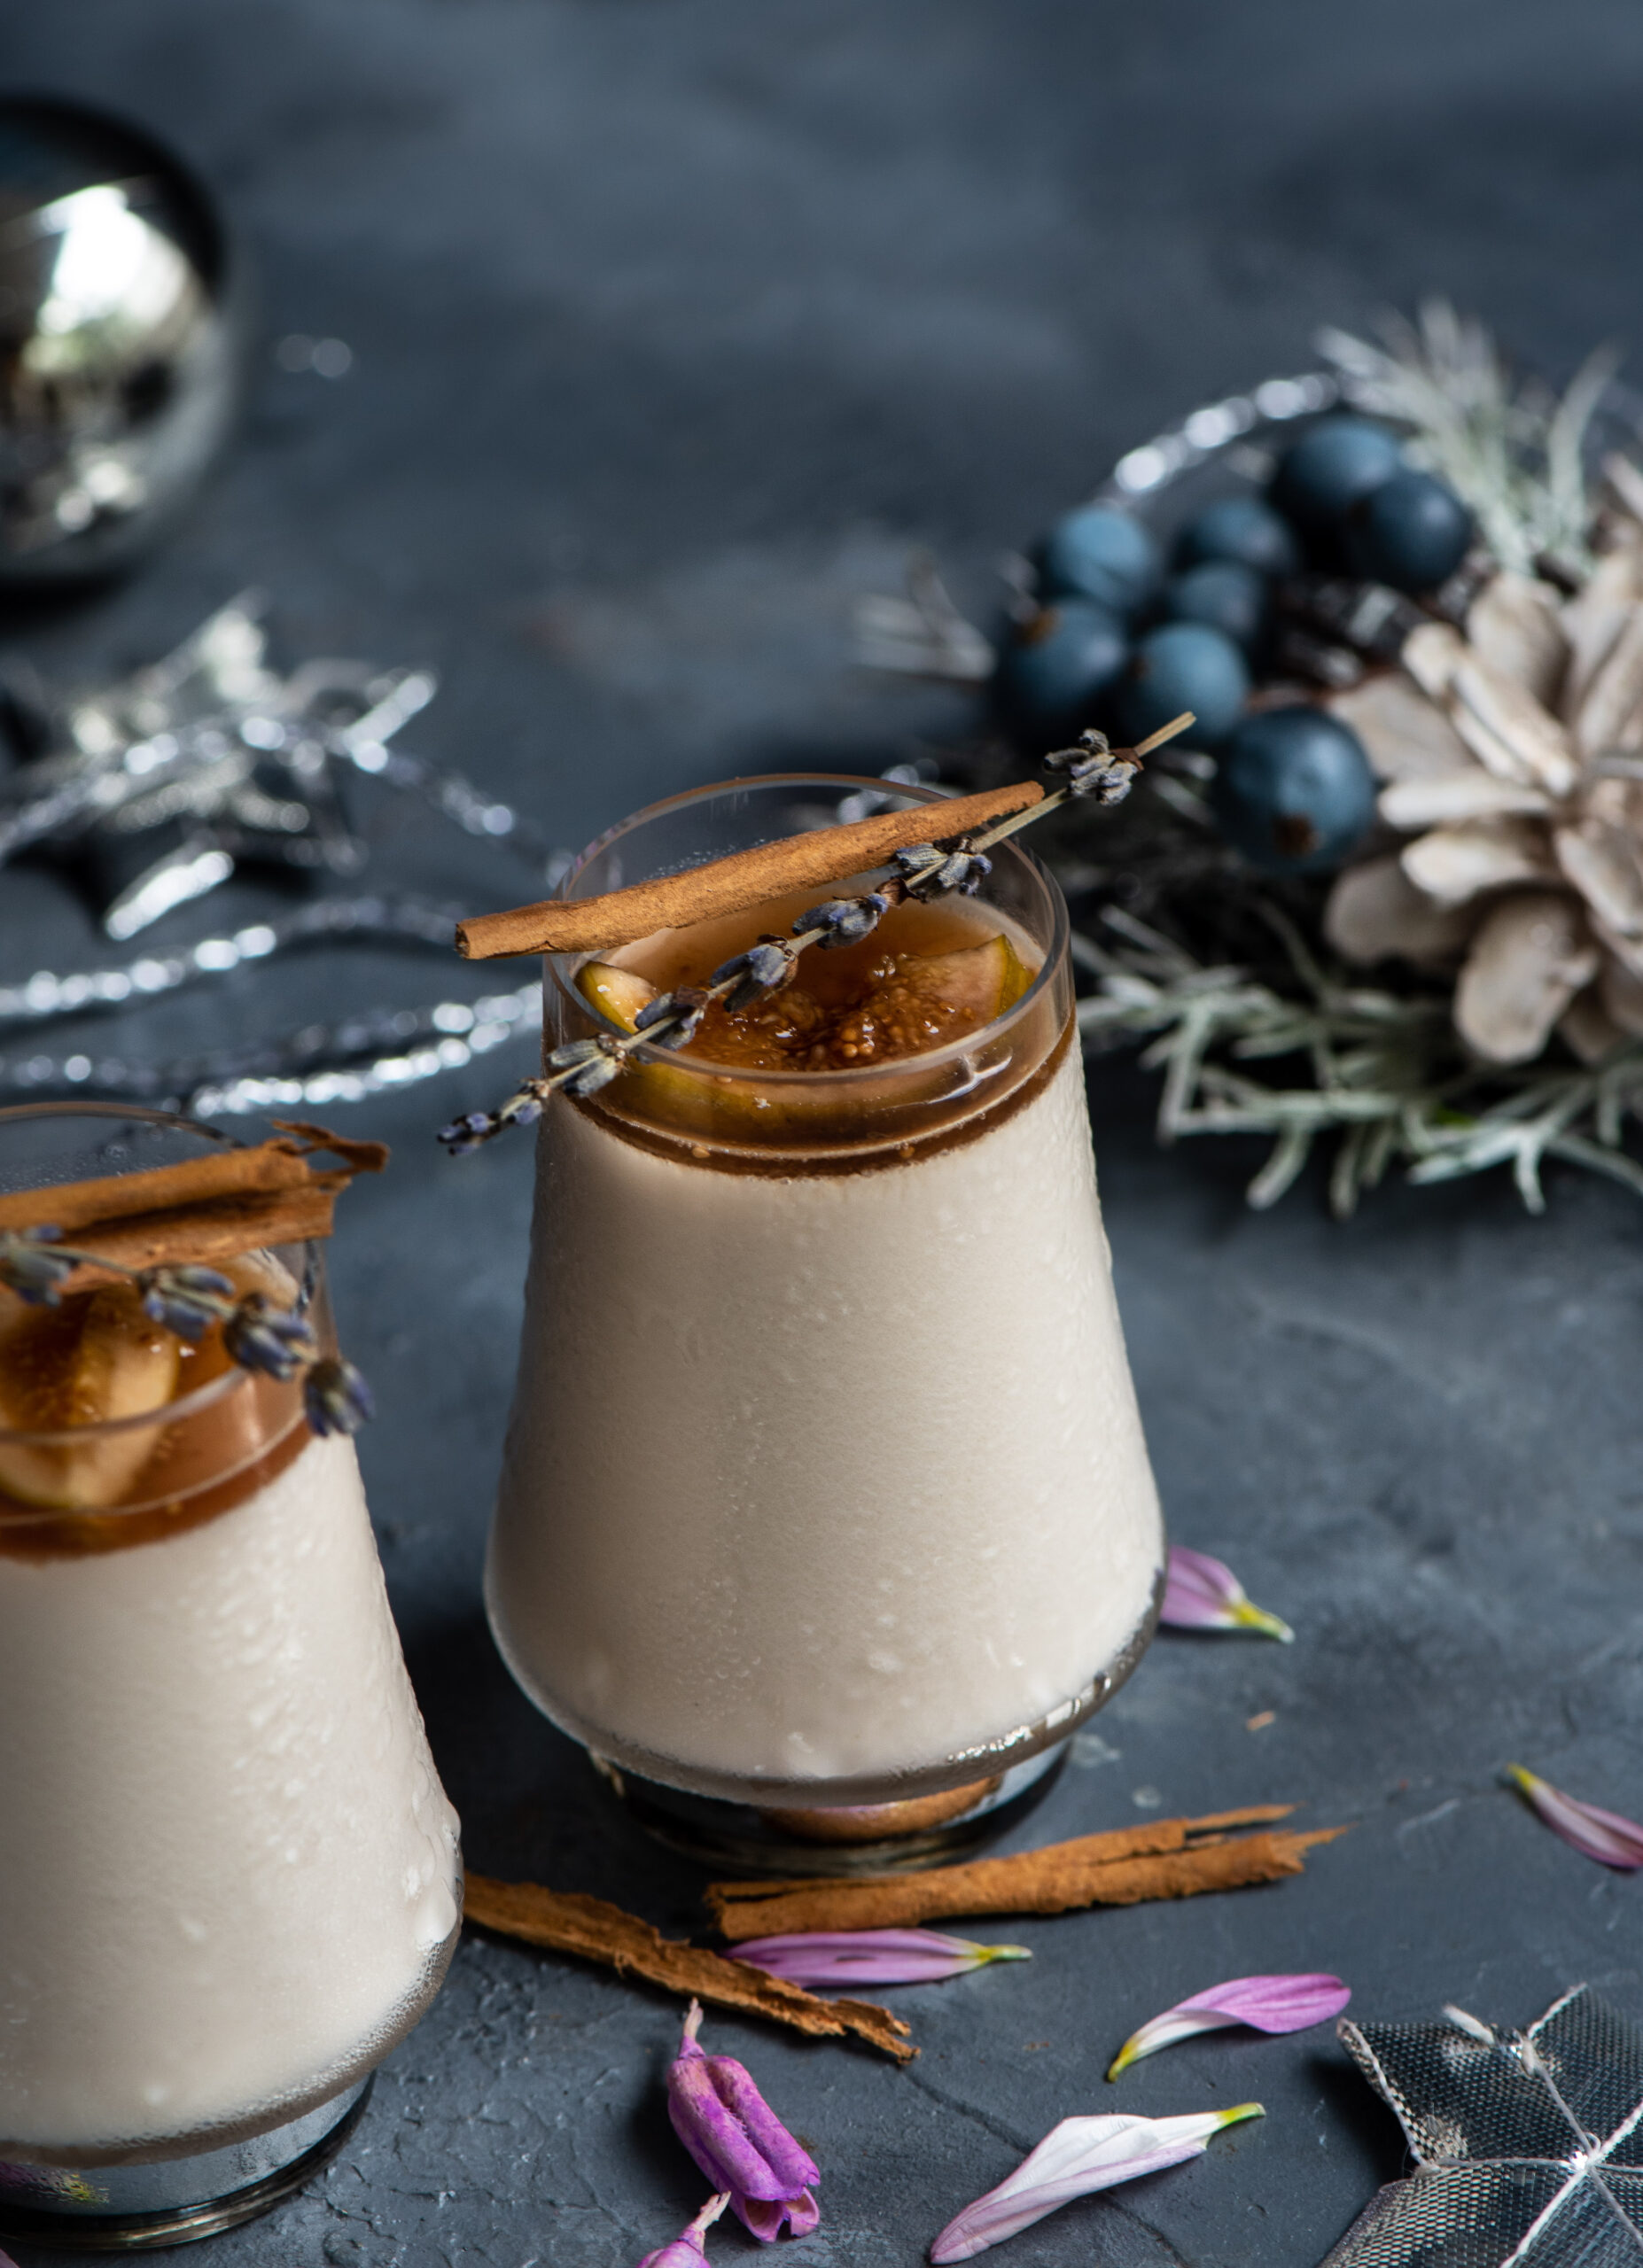
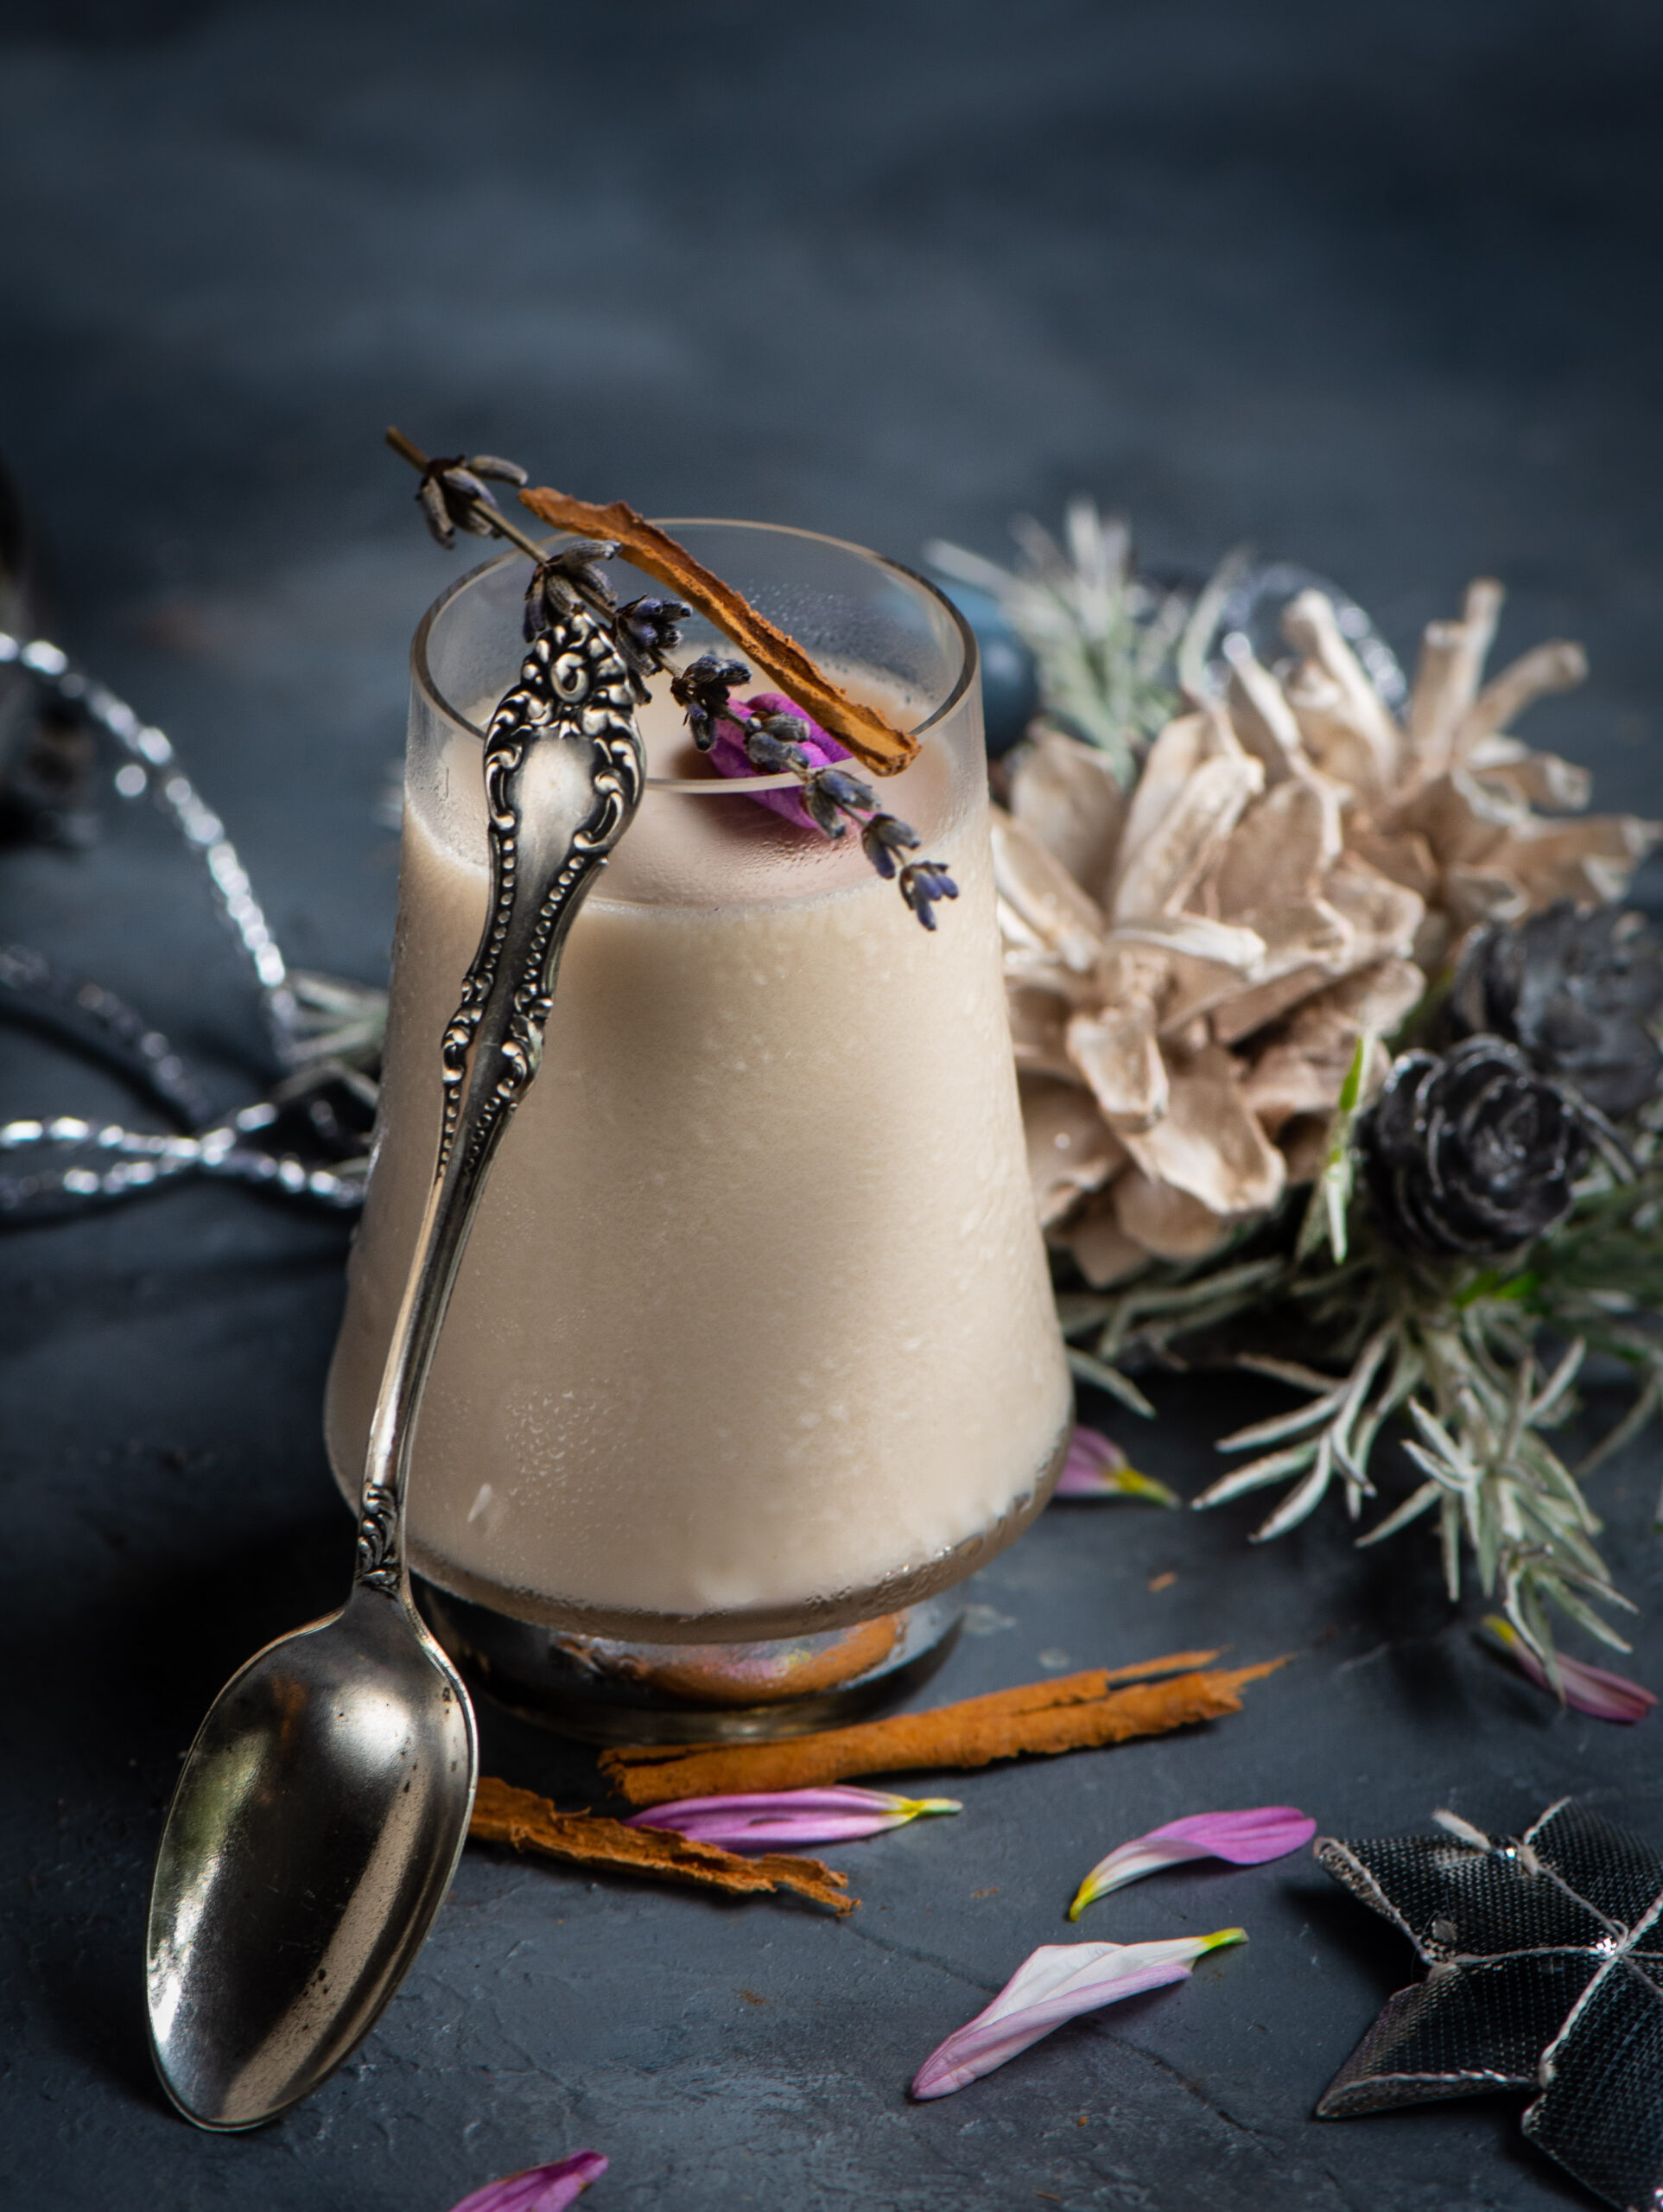
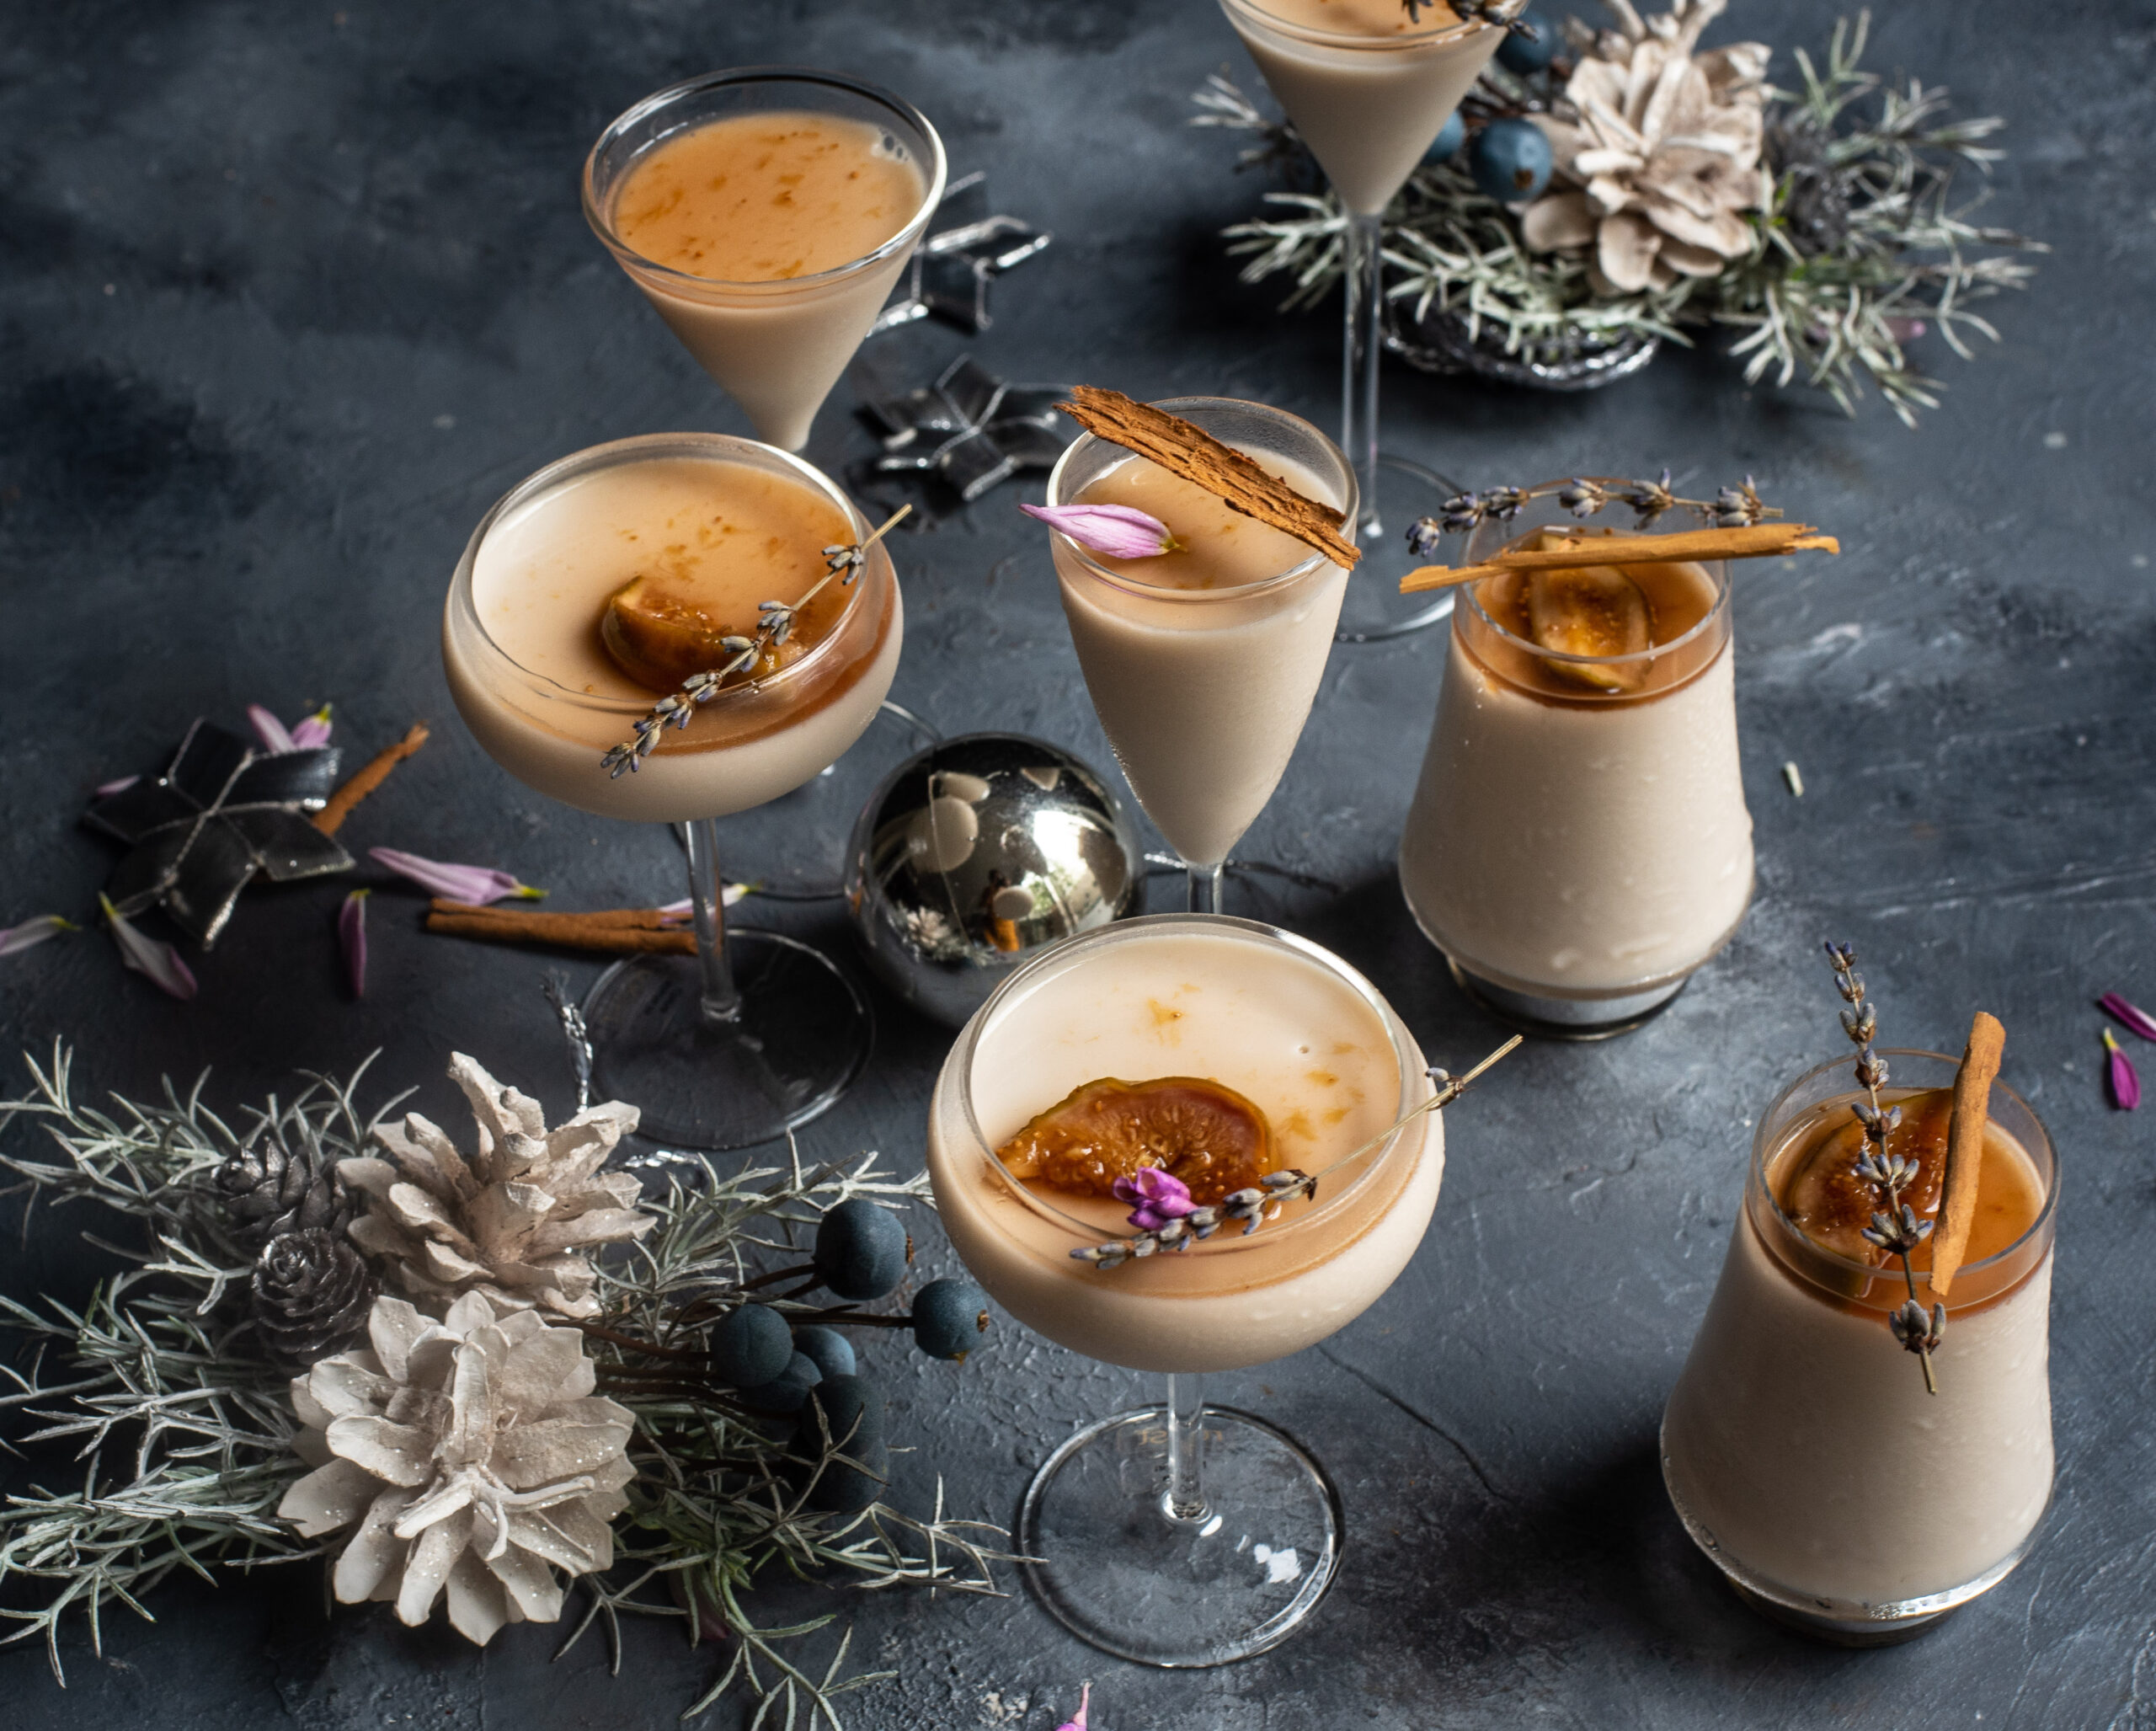
A panna cotta is a classic Italian dessert that is among my favourites – mostly because it is not too sweet. Some say it is quite like baked yoghurt, which I also enjoy. A traditional panna cotta is just dairy, sugar and gelatin, which are then topped with a fruity sauce. But you can also infuse the mixture itself with a flavour of your choice. Perhaps you remember my lavender shrikand from some time ago. That recipe came about thanks to a gift of lavender from my friend Siddharth’s farm in Australia. If you click on the link in the previous line, you’ll find lots of information about the cultivar of culinary lavender known as Miss Donnington. Siddharth sent me a batch from the most recent harvest, and its wonderful scent gives me much calm and joy at the moment. As I held those beautifully dried buds in my hands, I was inspired once more. I was already in the mood for some panna cotta. A lavender infusion would kick it up a notch. And to make it vegan? Perfection.

I’m on a vegan wave at the moment, as you saw from my vegan masala milk post earlier this month. Making a vegan panna cotta is quite simple, just requiring you to replace regular milk with almond or coconut milk. I used coconut cream here for a more luscious texture. If you already have a panna cotta recipe and are trying to wean yourself off dairy, just try it with a milk or cream substitute, using the measurements below. This recipe calls for half the guilt: even thought coconut cream has a high fat content, you can enjoy it without cheating on your dietary preferences. Of course, if you’d rather not try the vegan version, or have milk in your fridge you want to use up, just replace the coconut cream with regular milk or cream.

In my masala milk recipe, I suggested honey as a sweetener, which strict vegans don’t touch. In this one, my preferred sweetener is maple syrup. You can substitute this with another of your choice too. But what I like about maple syrup is that like all the other key flavours here, it is subtle. Coconut, lavender, fig and maple syrup – combined, they are subtly sweet as well. This makes for a perfect dessert after a heavy meal, when anything too rich might be too much.

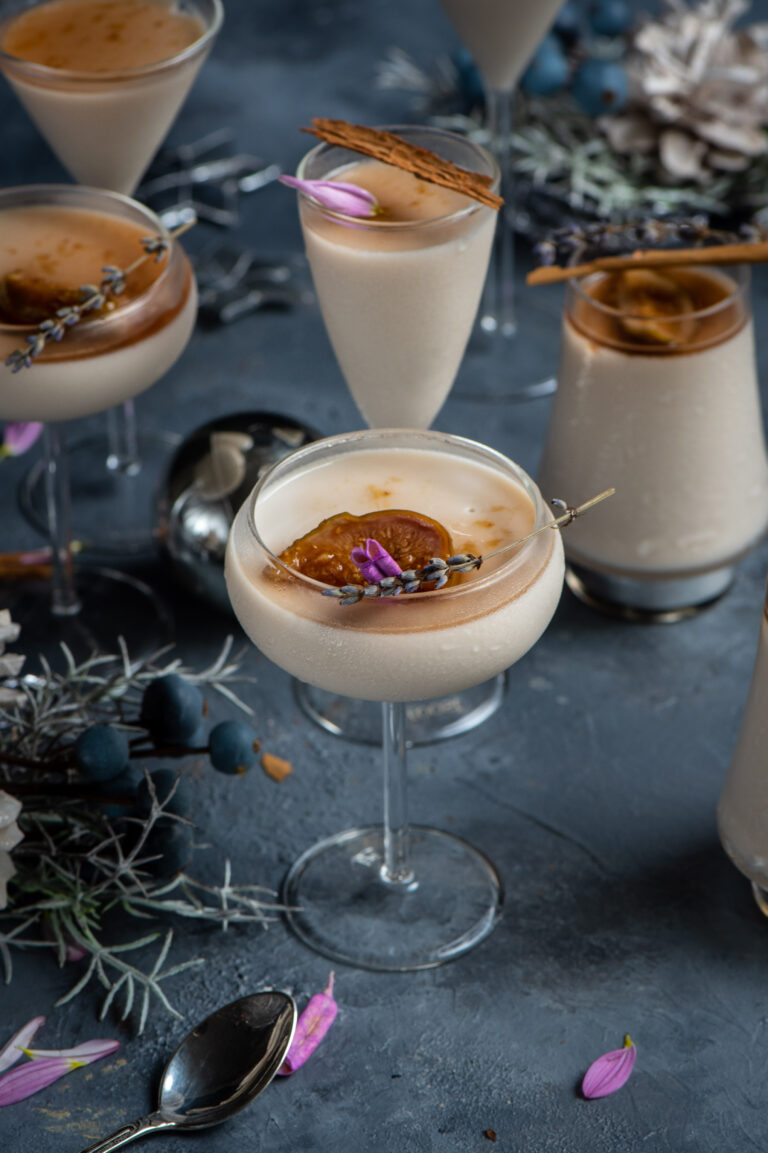
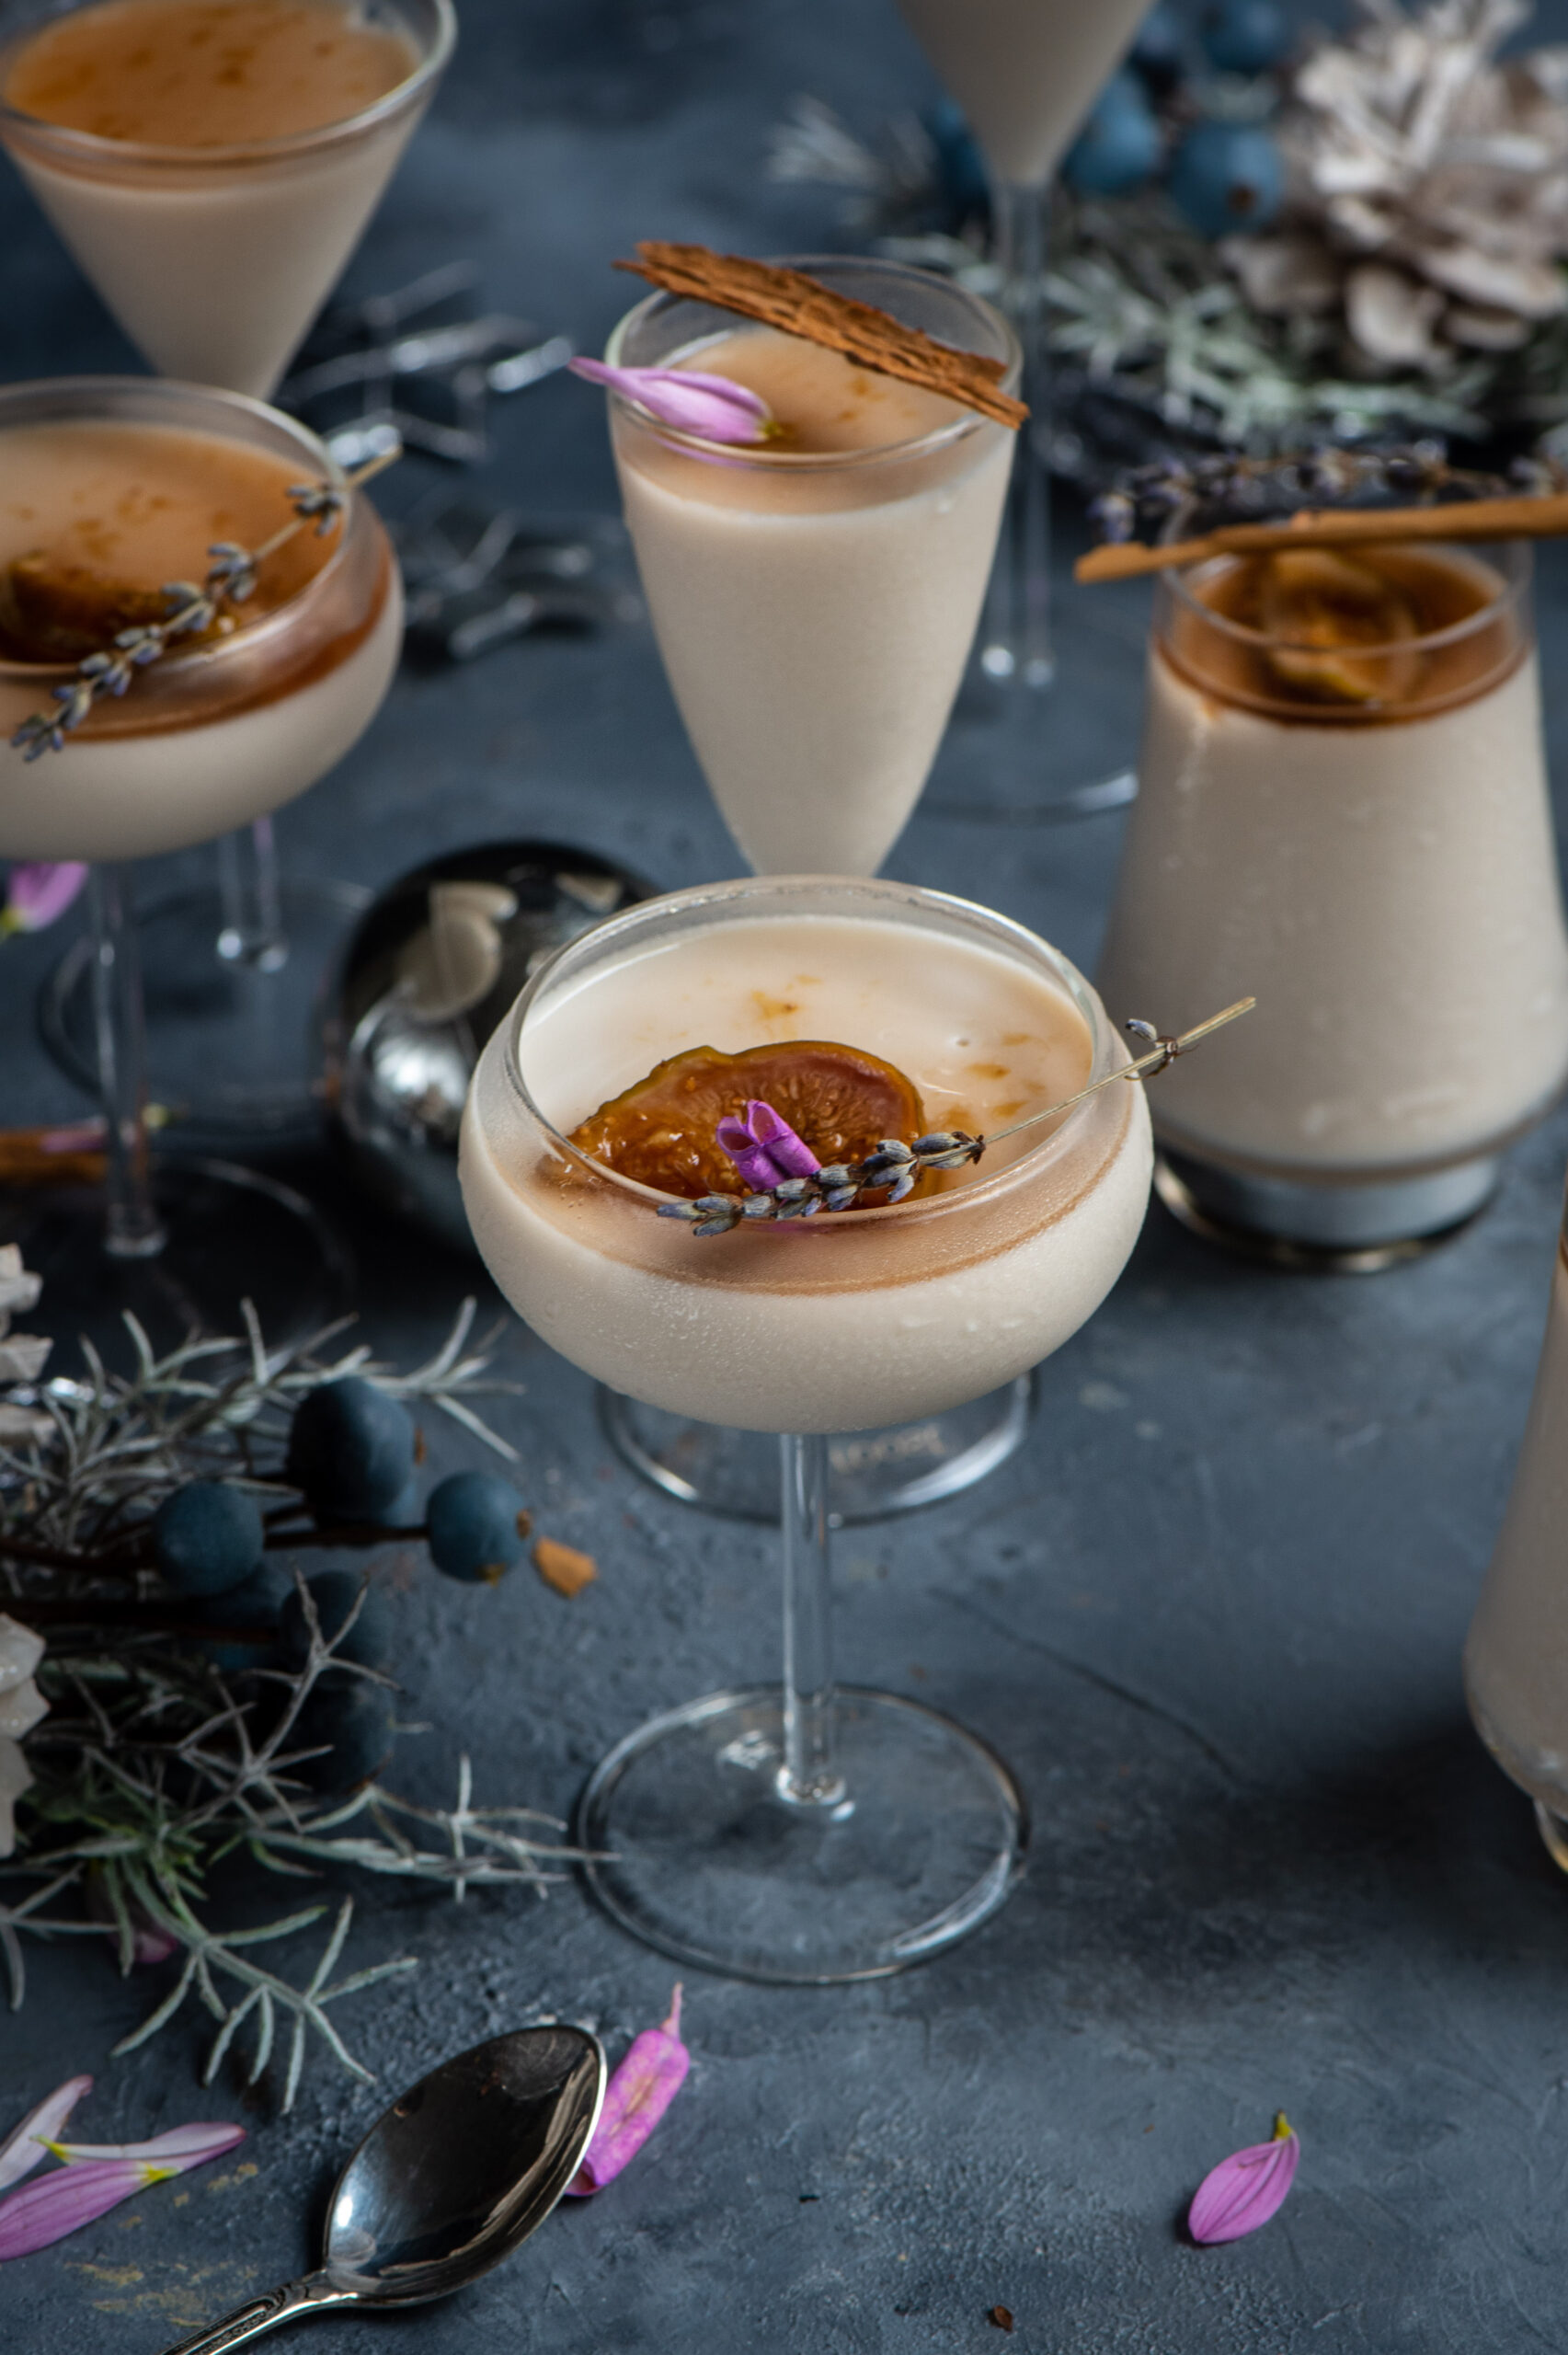
To top this panna cotta, I used a fig sauce as I found the flavours to be complementary, but you can experiment with everything from blueberries to lilac sauce, depending on your tastes and availability. I’ve refrained from using other additives, keeping the ingredients simple. I want to add here that panna cotta, despite having the ring of a fancy dessert, is actually quite easy to make. It’s perfect for youngsters who are entertaining guests more formally for the first time. And the decorative potential also gives you creative scope.

Plating is essential for a dish like this, otherwise it runs the risk of looking too plain. When it comes to something like panna cotta, you have to find a way to lift the dish so that the person who is going to eat it finds it fascinating even before they place that first spoonful into their mouth. So the visual presentation is crucial. How do you want to impress someone? Do you want to add flower petals, or cut figs and cinnamon sticks, or find another way to bring colour into the display?

Developing my style as a photographer helped me innovate with plating as well. I love setting up my photoshoots, and I feel like I have found a distinct look now – I like dark and moody pictures in 100% natural light, and very little editing. For this shoot, to play up the dish, I decided to bring a bit more brightness in. Yes, brightness – what better quality for a New Year dish (and a New Year wish) to have?


Lavender Panna Cotta

(Yield: 3-4 small cups)


Ingredients

Panna cotta

2 cups coconut cream

¼ cup maple syrup

½ teaspoon lavender buds

1¾ teaspoons kanten (agar agar)

Fig sauce

4 figs (cut to small pieces)

¼ cup maple syrup

1 long cinnamon stick


In a pan, add all the ingredients for the panna cotta. Allow to heat on a medium flame, stirring constantly. Once the mixture begins to boil, you will notice the edges bubbling. Give it a few more minutes (remember to keep stirring), and then turn off the flame. The contents will start to thicken at this point. Close with a lid, allowing the lavender to steep well for about 10-15 minutes. The quality of lavender that my friend sent me was so good, and so fragrant, that I barely had to steep it for the recommended time for the flavours to become well-infused, but this will vary.

Then, strain the liquid into cups of your choice and allow them to set in the refrigerator. Panna cotta is always served chilled.

For the fig sauce, simply add all the ingredients to a pan and allow to boil until the liquid thickens. Keep aside.

When you are ready to serve this dessert, add a spoonful of the fig sauce onto each cup of panna cotta. Decorate as desired. As I said earlier, plating is quite important for panna cotta of any kind as the dish by itself looks quite bland. You can do this easily, and keep it all edible too, with nuts, fruits and so on.

Lavender is used in alternative healing such as aromatherapy as it is believed to be a calming influence. As I prepared this dessert in my kitchen, inhaling that evocative fragrance, this is what I pondered. I know that the past year has had a lot of volatility for many of us. As we move into this new year, this lavender panna cotta is a heartfelt metaphor for what I hope for us all. Let us wish that 2019 is just as subtle, calming, peaceful – and simply delicious.

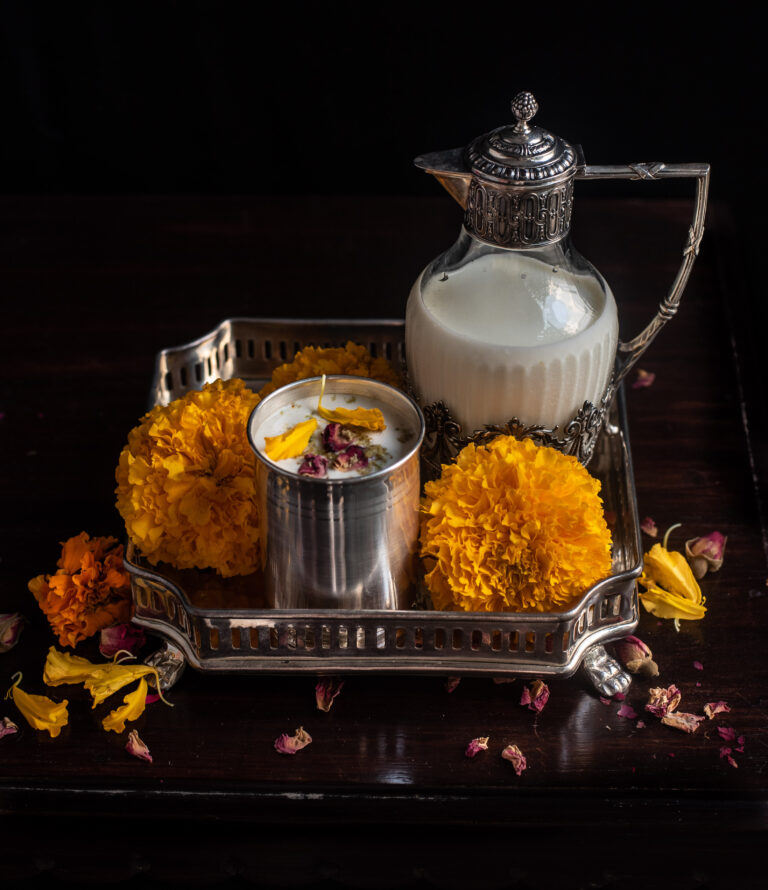
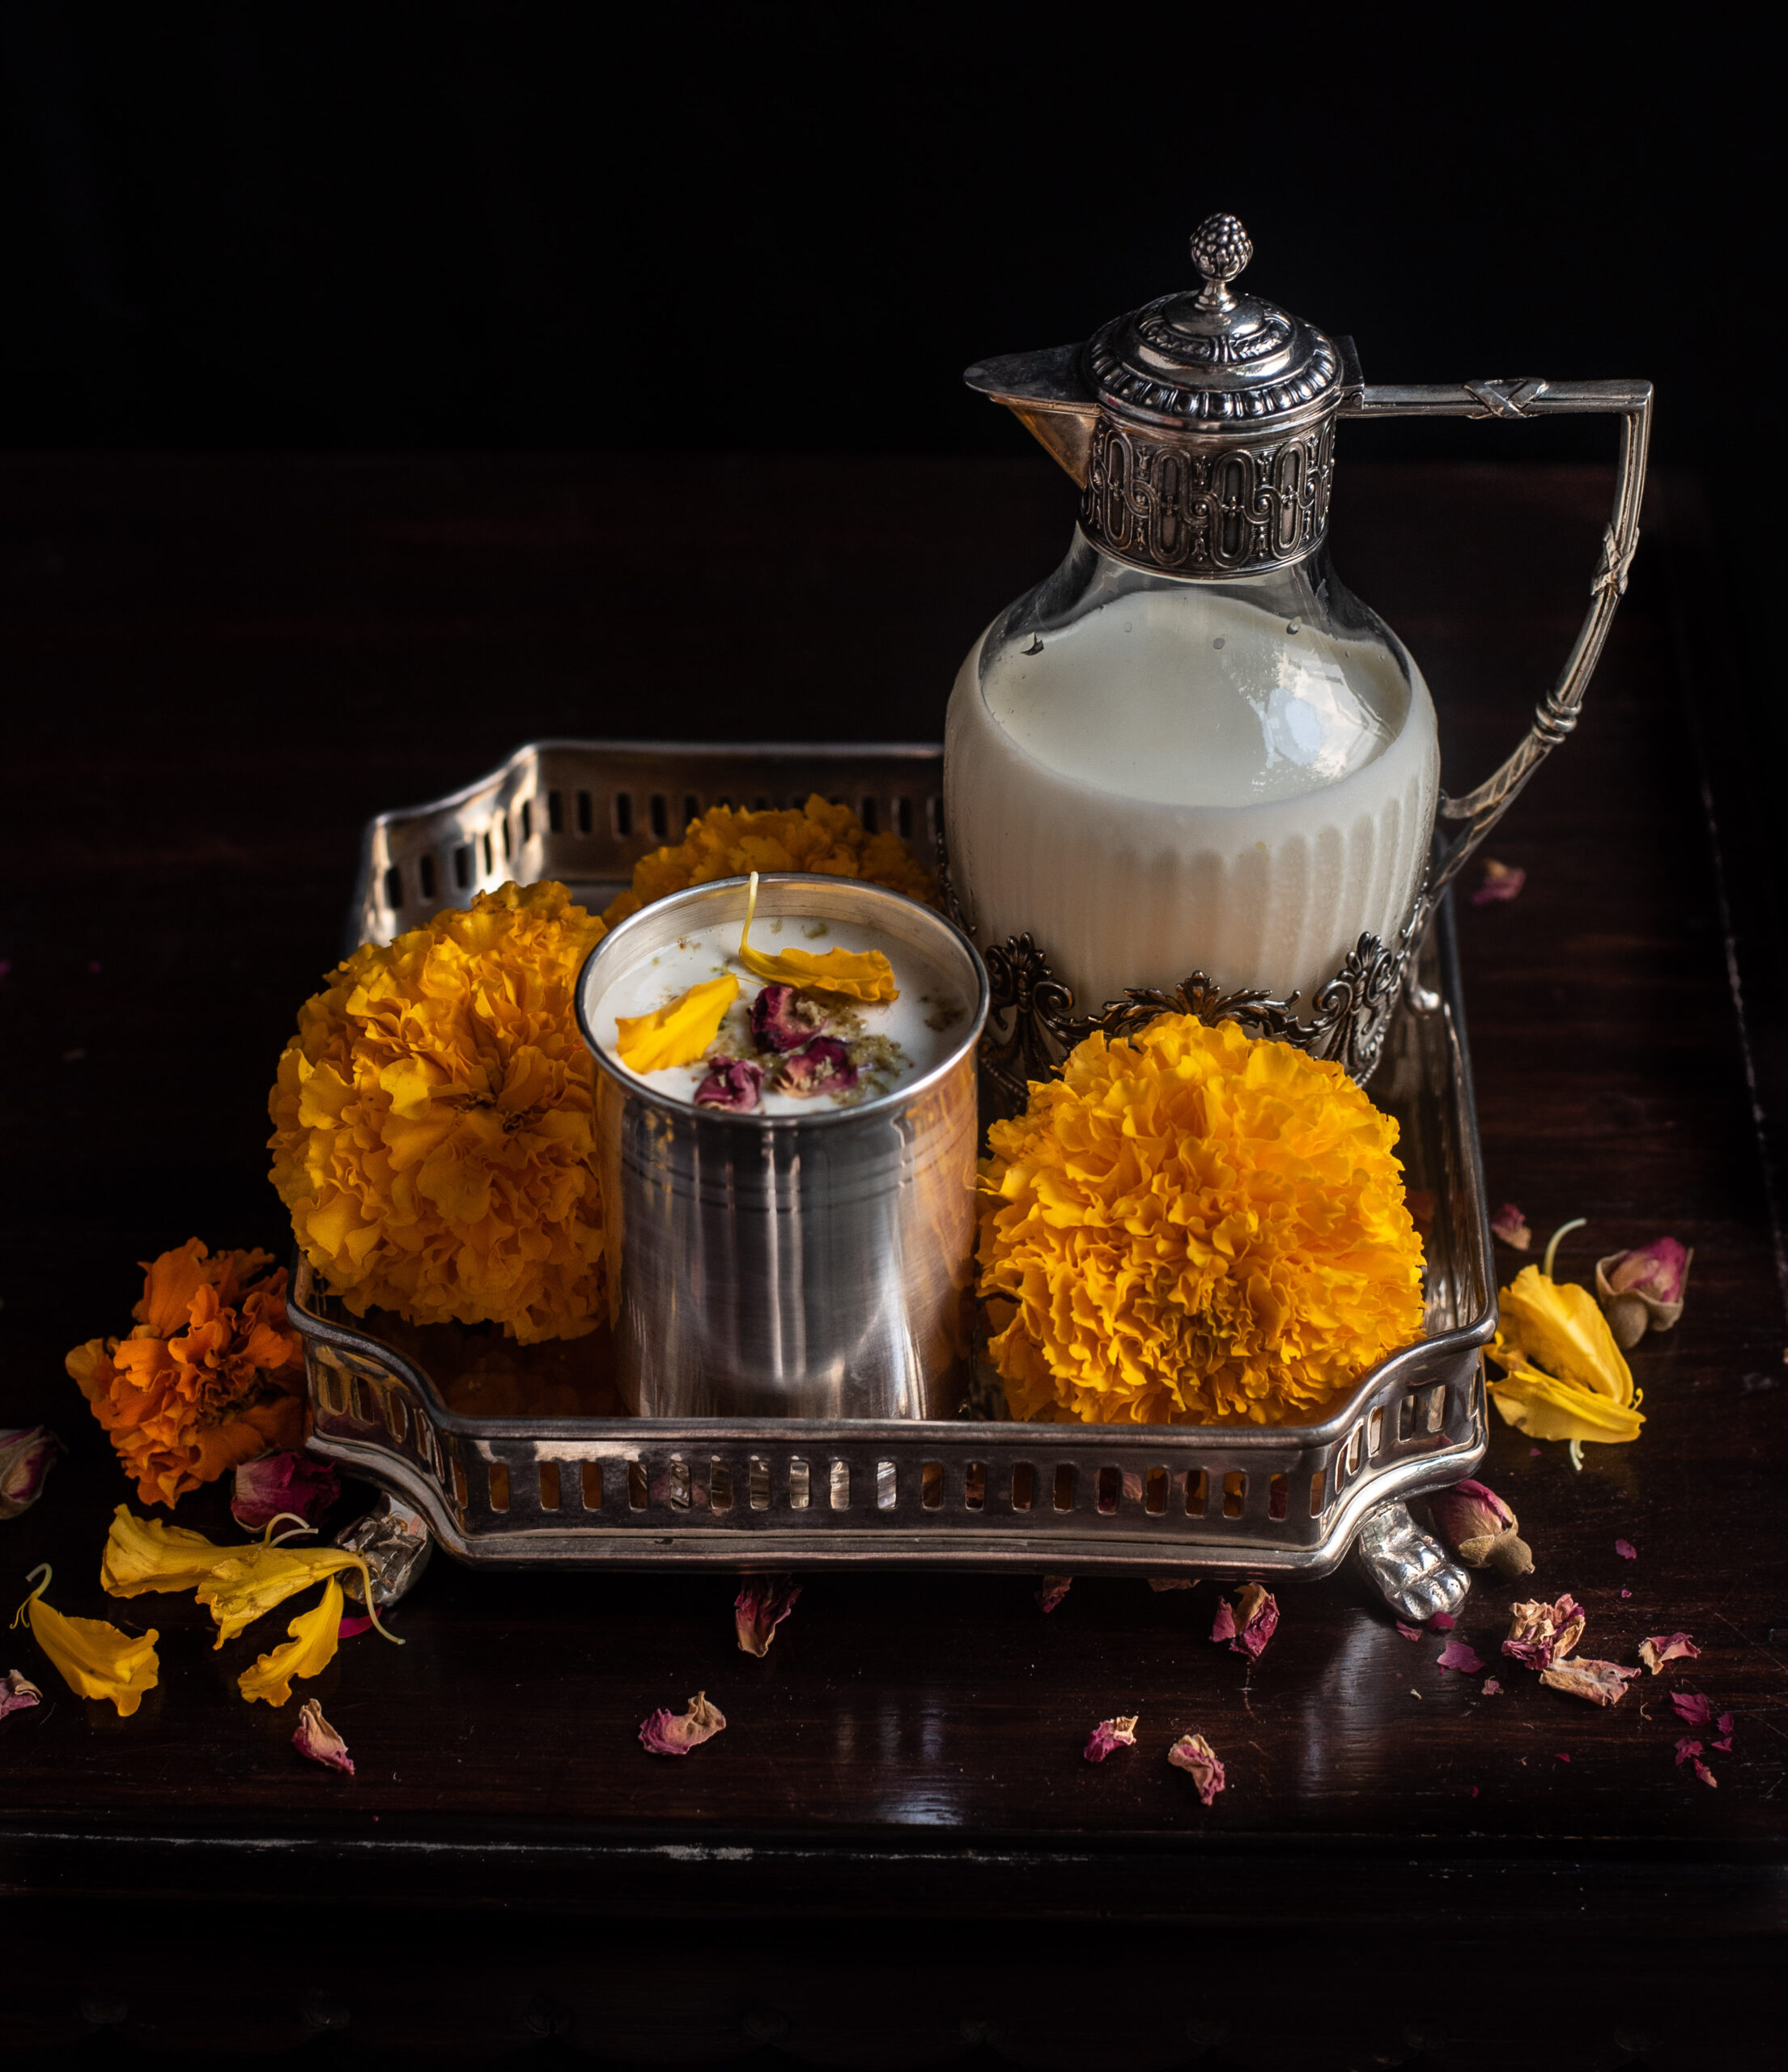
When I was growing up, it was believed in every Indian home that milk provided everything that a child’s developing body needed. Proteins, minerals, the works. This was true to an extent, of course, as milk contains an impressive range of nutrients that the human body needs. There were no fancy gyms back then, but I have fond memories of my siblings and friends and I going to the club and rowing. You needed to have strength to row, and being a vegetarian family, my mum made dairy a big priority so that our fitness and wellness needs were met. We consumed milk fresh and on its own, but also with Bournvita or Complan at different times to keep us going through the day or before going to bed. Coffee and tea were seldom given to children, and in Gujarati households were practically taboo to the point that I did not drink tea until after I was married. But milk was had aplenty. And when winters came around, my mother would prepare a special masala milk loaded with nutty goodness. With almonds, pistachios and good old milk, we had what would be called the perfect protein shake today.

Although I’m now a proponent of this protein-rich pudding that I devour each morning after my workout, I felt sentimental about this simple, nutty masala milk from my childhood days. I then remembered that my mother used to be particularly keen on us having this instead of regular milk during winters, so that we were more fortified. Although Chennai doesn’t experience winter like you may know it, it does rain a lot and kids certainly fall ill during this time. But for us, the Indian “ishtyle” masala milk was just a treat. In some ways, this beverage was our version of a hot chocolate, which is why I share the recipe with you as a Christmas drink.

Second to milk, most Indians still believe that dried fruits and nuts are the best source of protein. Obviously, our ancestors already knew the nutrient values that others are only discovering now. Nowadays, thanks to a growing health consciousness, instead of the customary mithai exchange during festive occasions, we have taken to exchanging pretty parcels of fruits and nuts with well-wishers. As you may know, I use both generously in my muesli, one of re:store’s bestsellers. My mother used nuts to make this masala, but I’ve taken it a step further…

I also feel that the milk we had when we were younger was much less adulterated. Cows were treated better, and most of all, we had the sense that we could trust what we were buying. But milk has nothing to do with the recipe I am sharing with you today, despite its status as a crucial part of my childhood version of this beverage. As you know, I often experiment with vegan ingredients as many of re:store’s clientele enjoy them. So here’s my own twist to my mother’s trusted recipe. Not only is this masala milk vegan, but I also share how to make vegan milk rather than rely on a store-bought product. This way, you can ensure that what you and your family consume is of the best quality.

Vegan Masala Milk

(Yield: 2-3 cups)

Ingredients

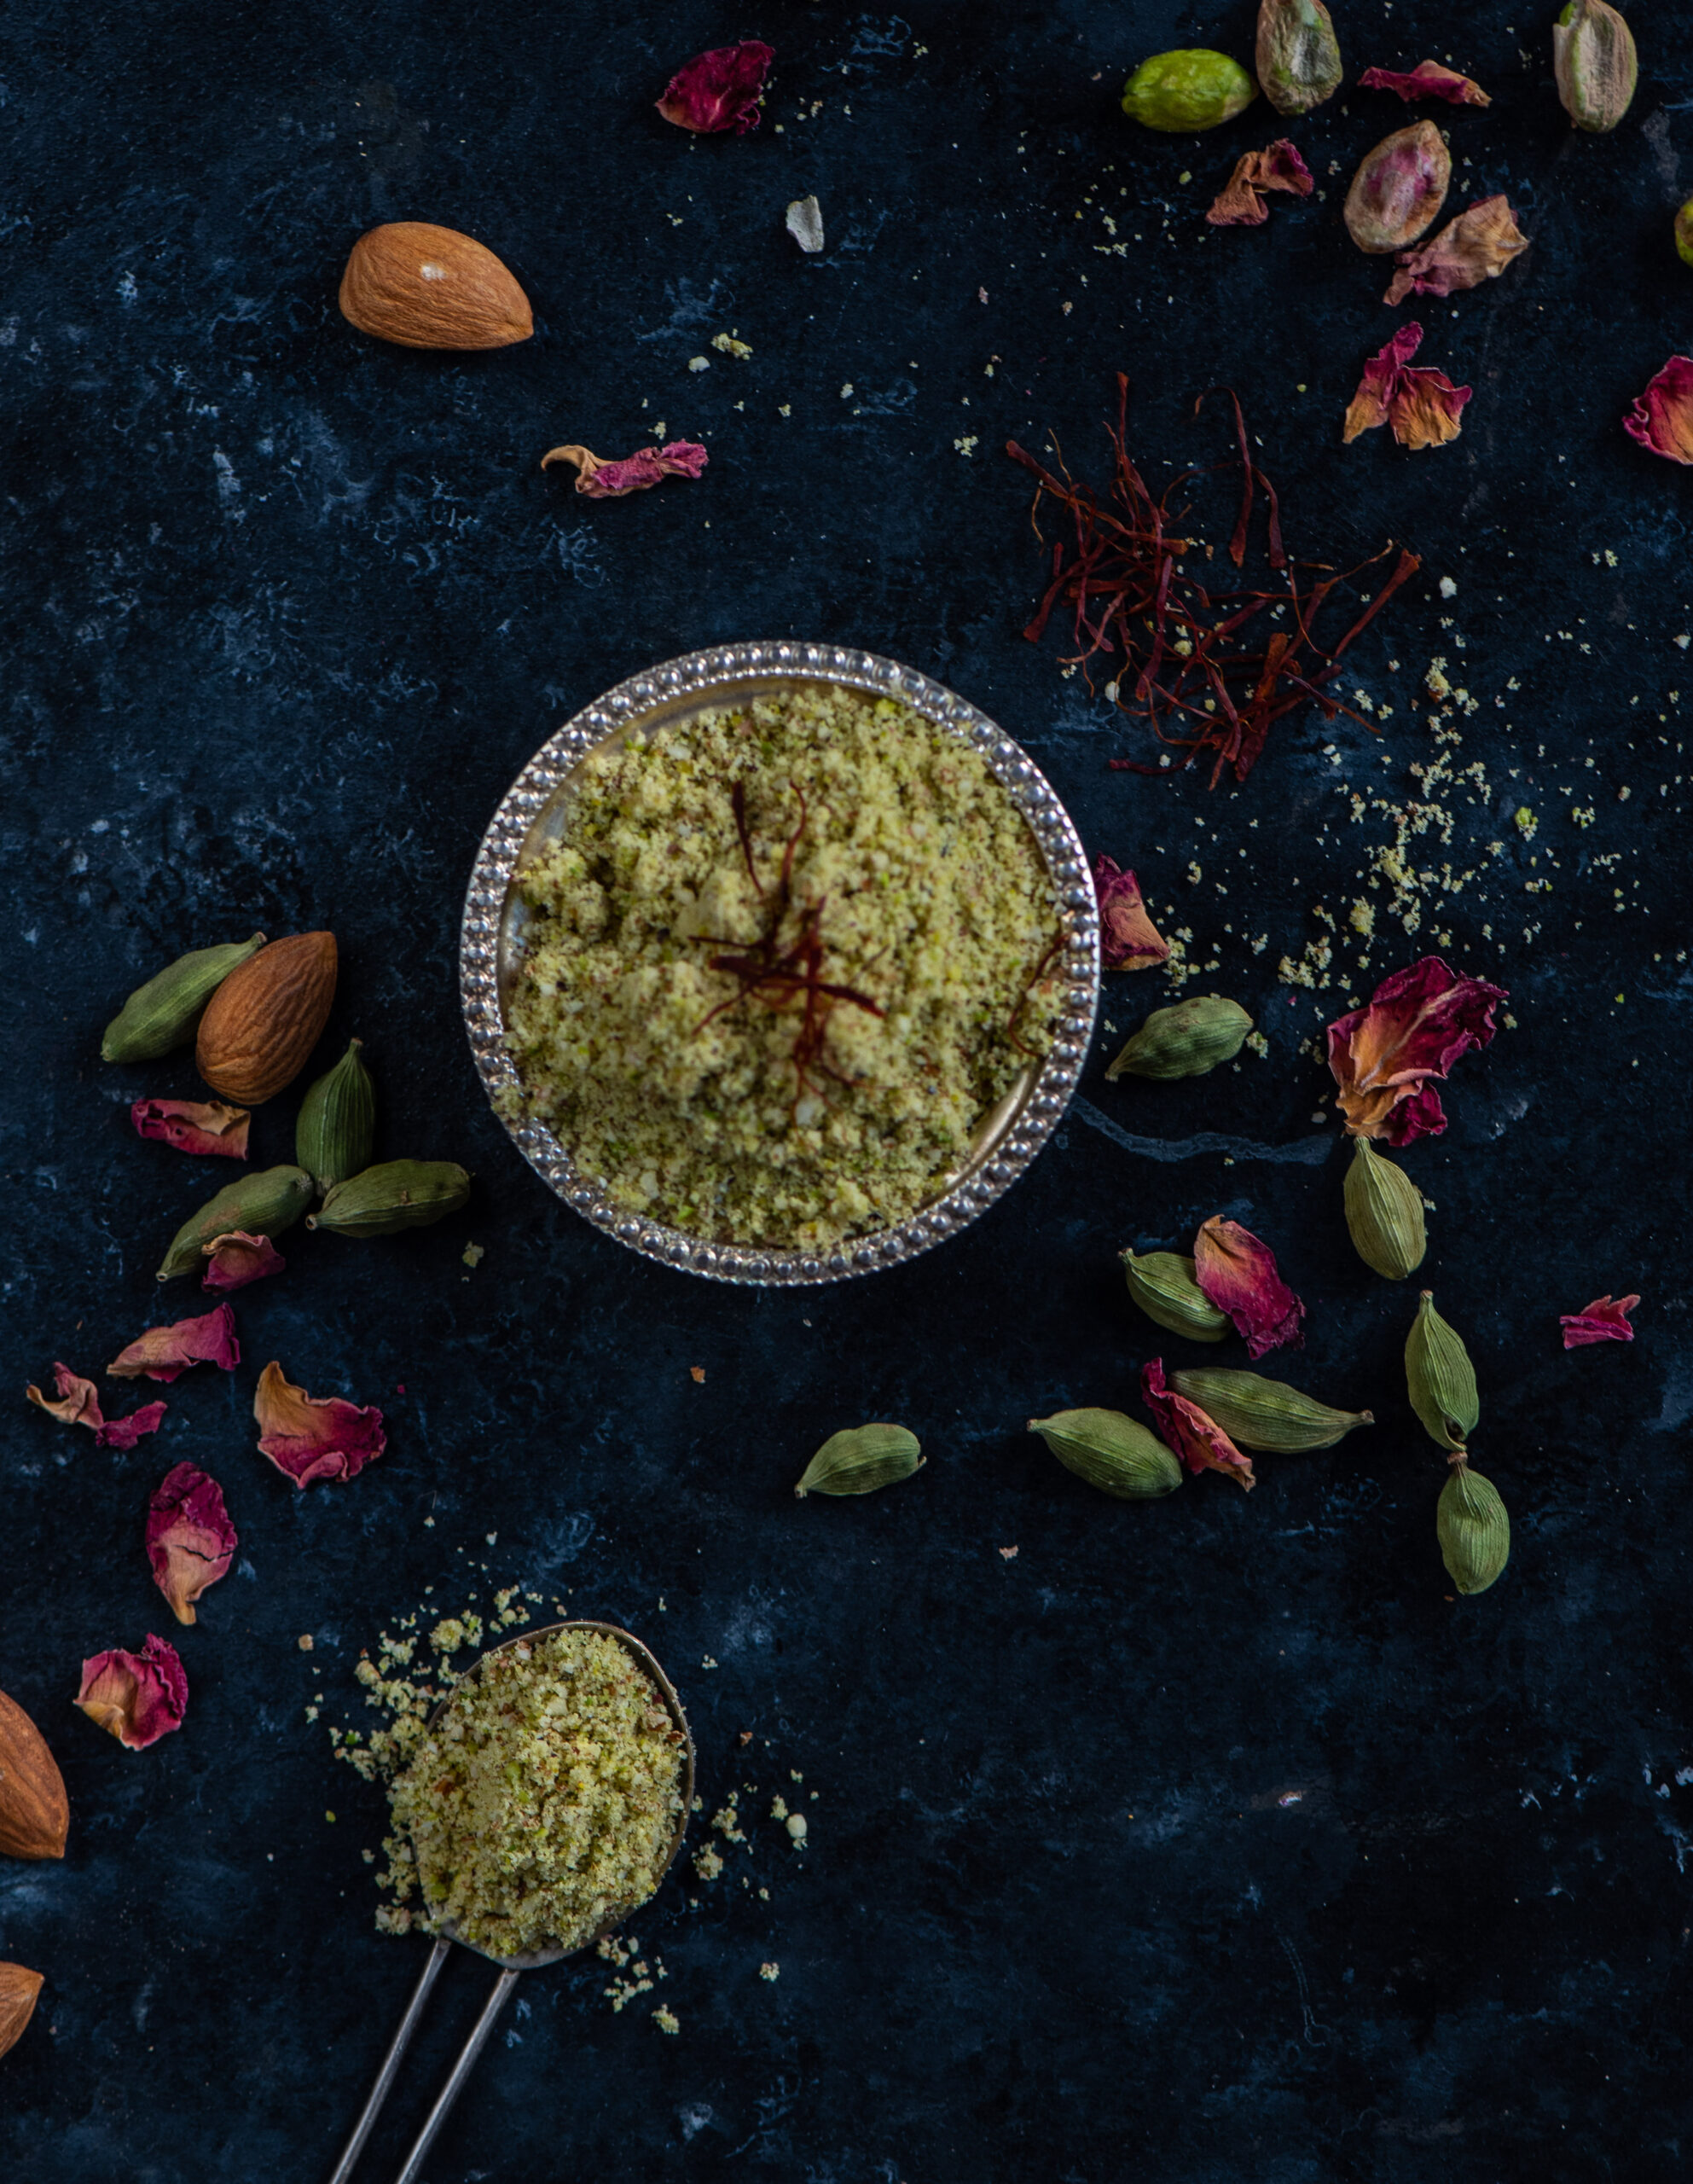
Nutty Milk Masala

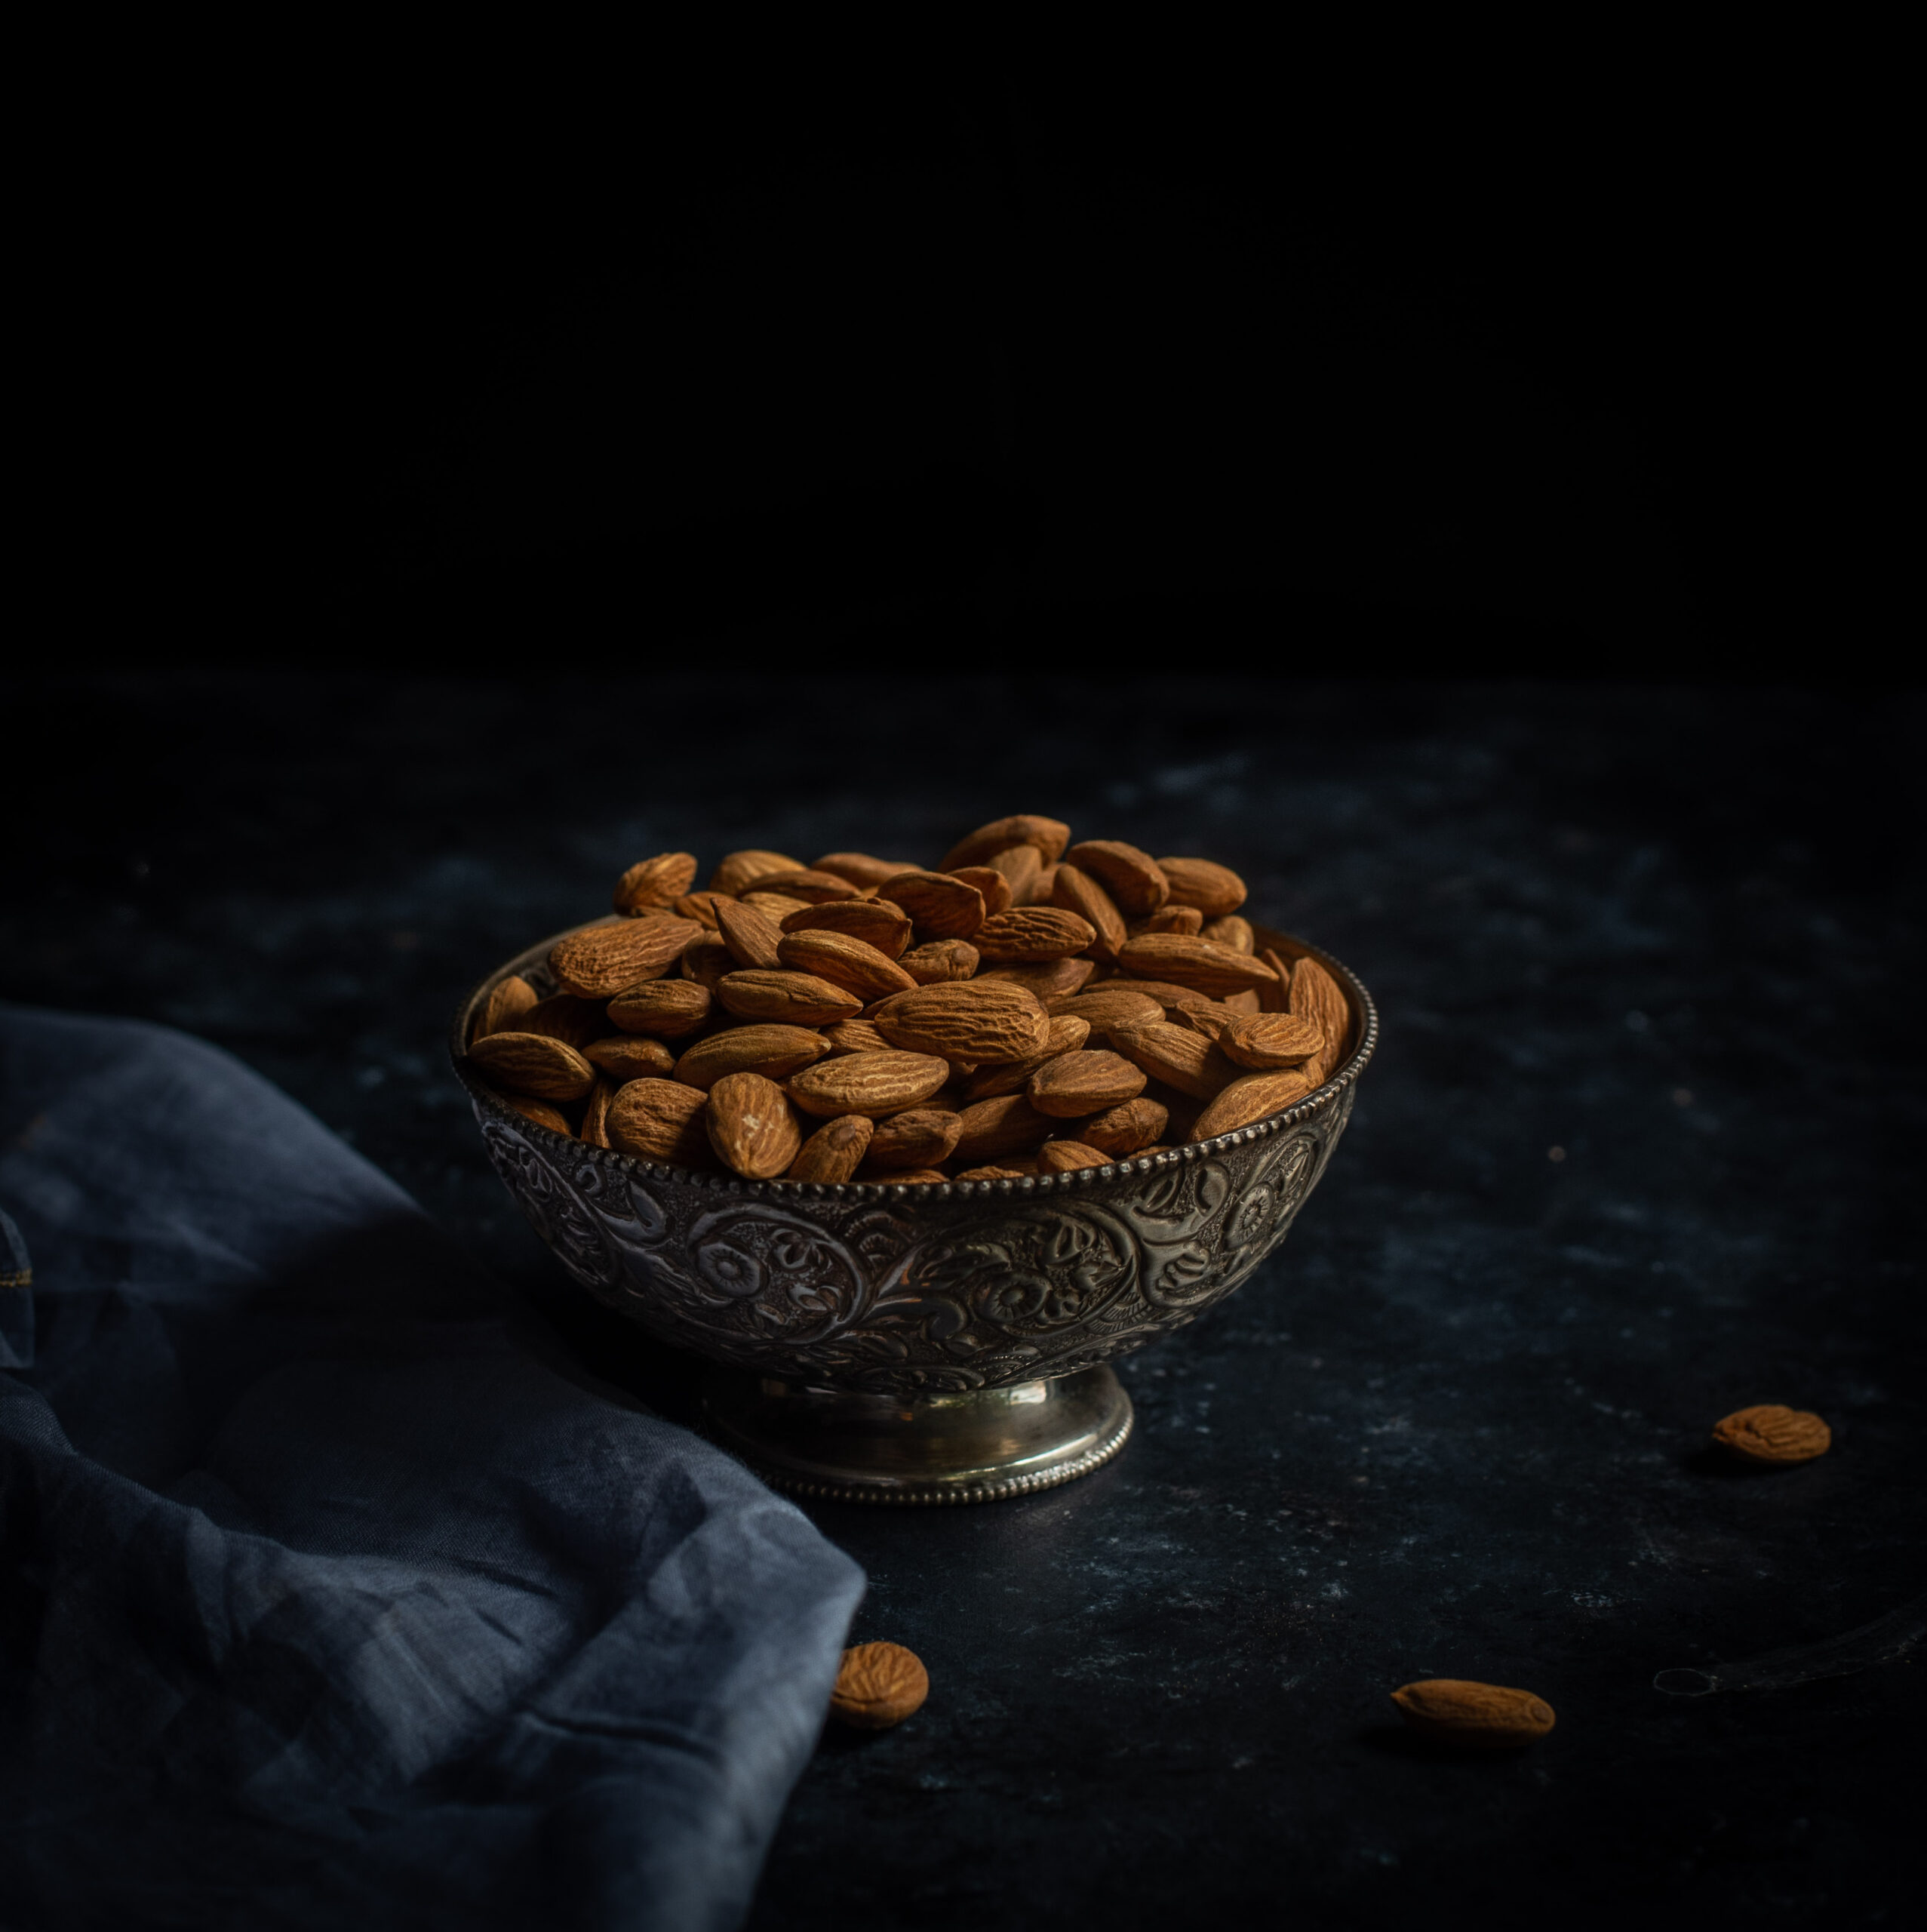
1 cup whole almonds

1 cup shelled unsalted pistachios

2 pinches saffron

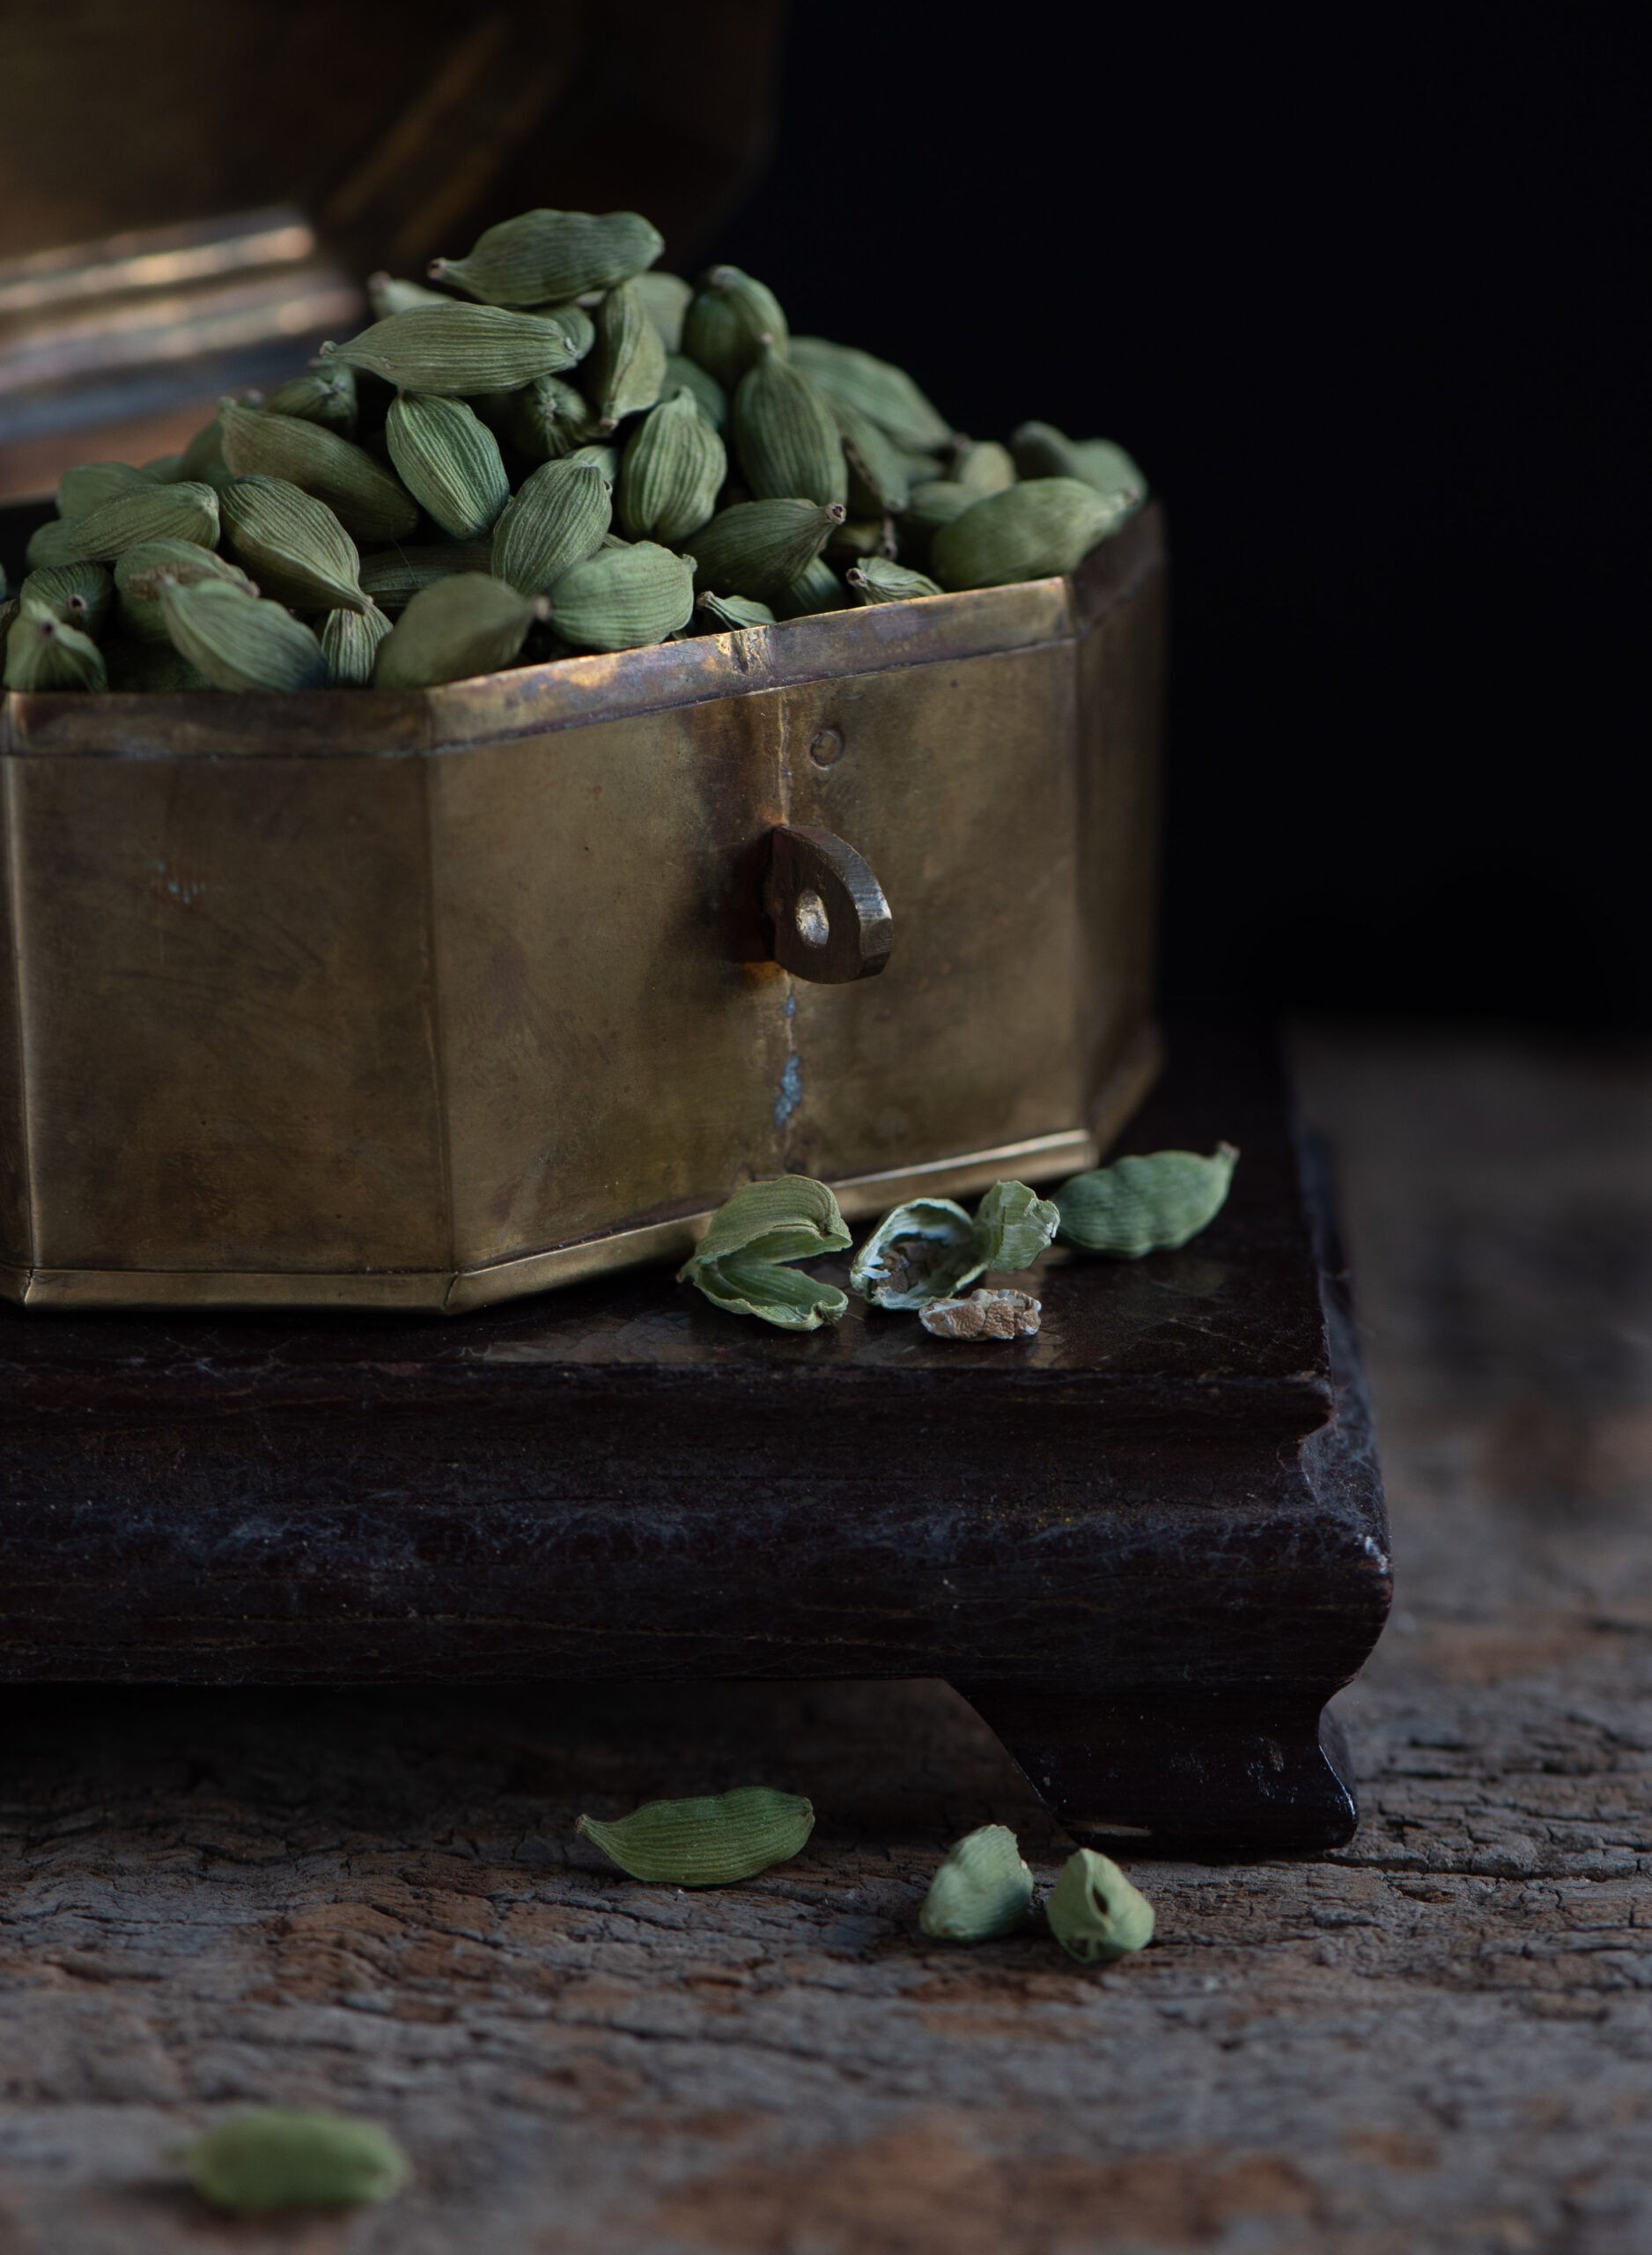
10 pods cardamom

Vegan Milk

¾ cup cashew nuts

1 cup hot water

1 teaspoon milk masala (or more)

2 teaspoons honey (or sweetener of your choice – dates, maple syrup or sugar)

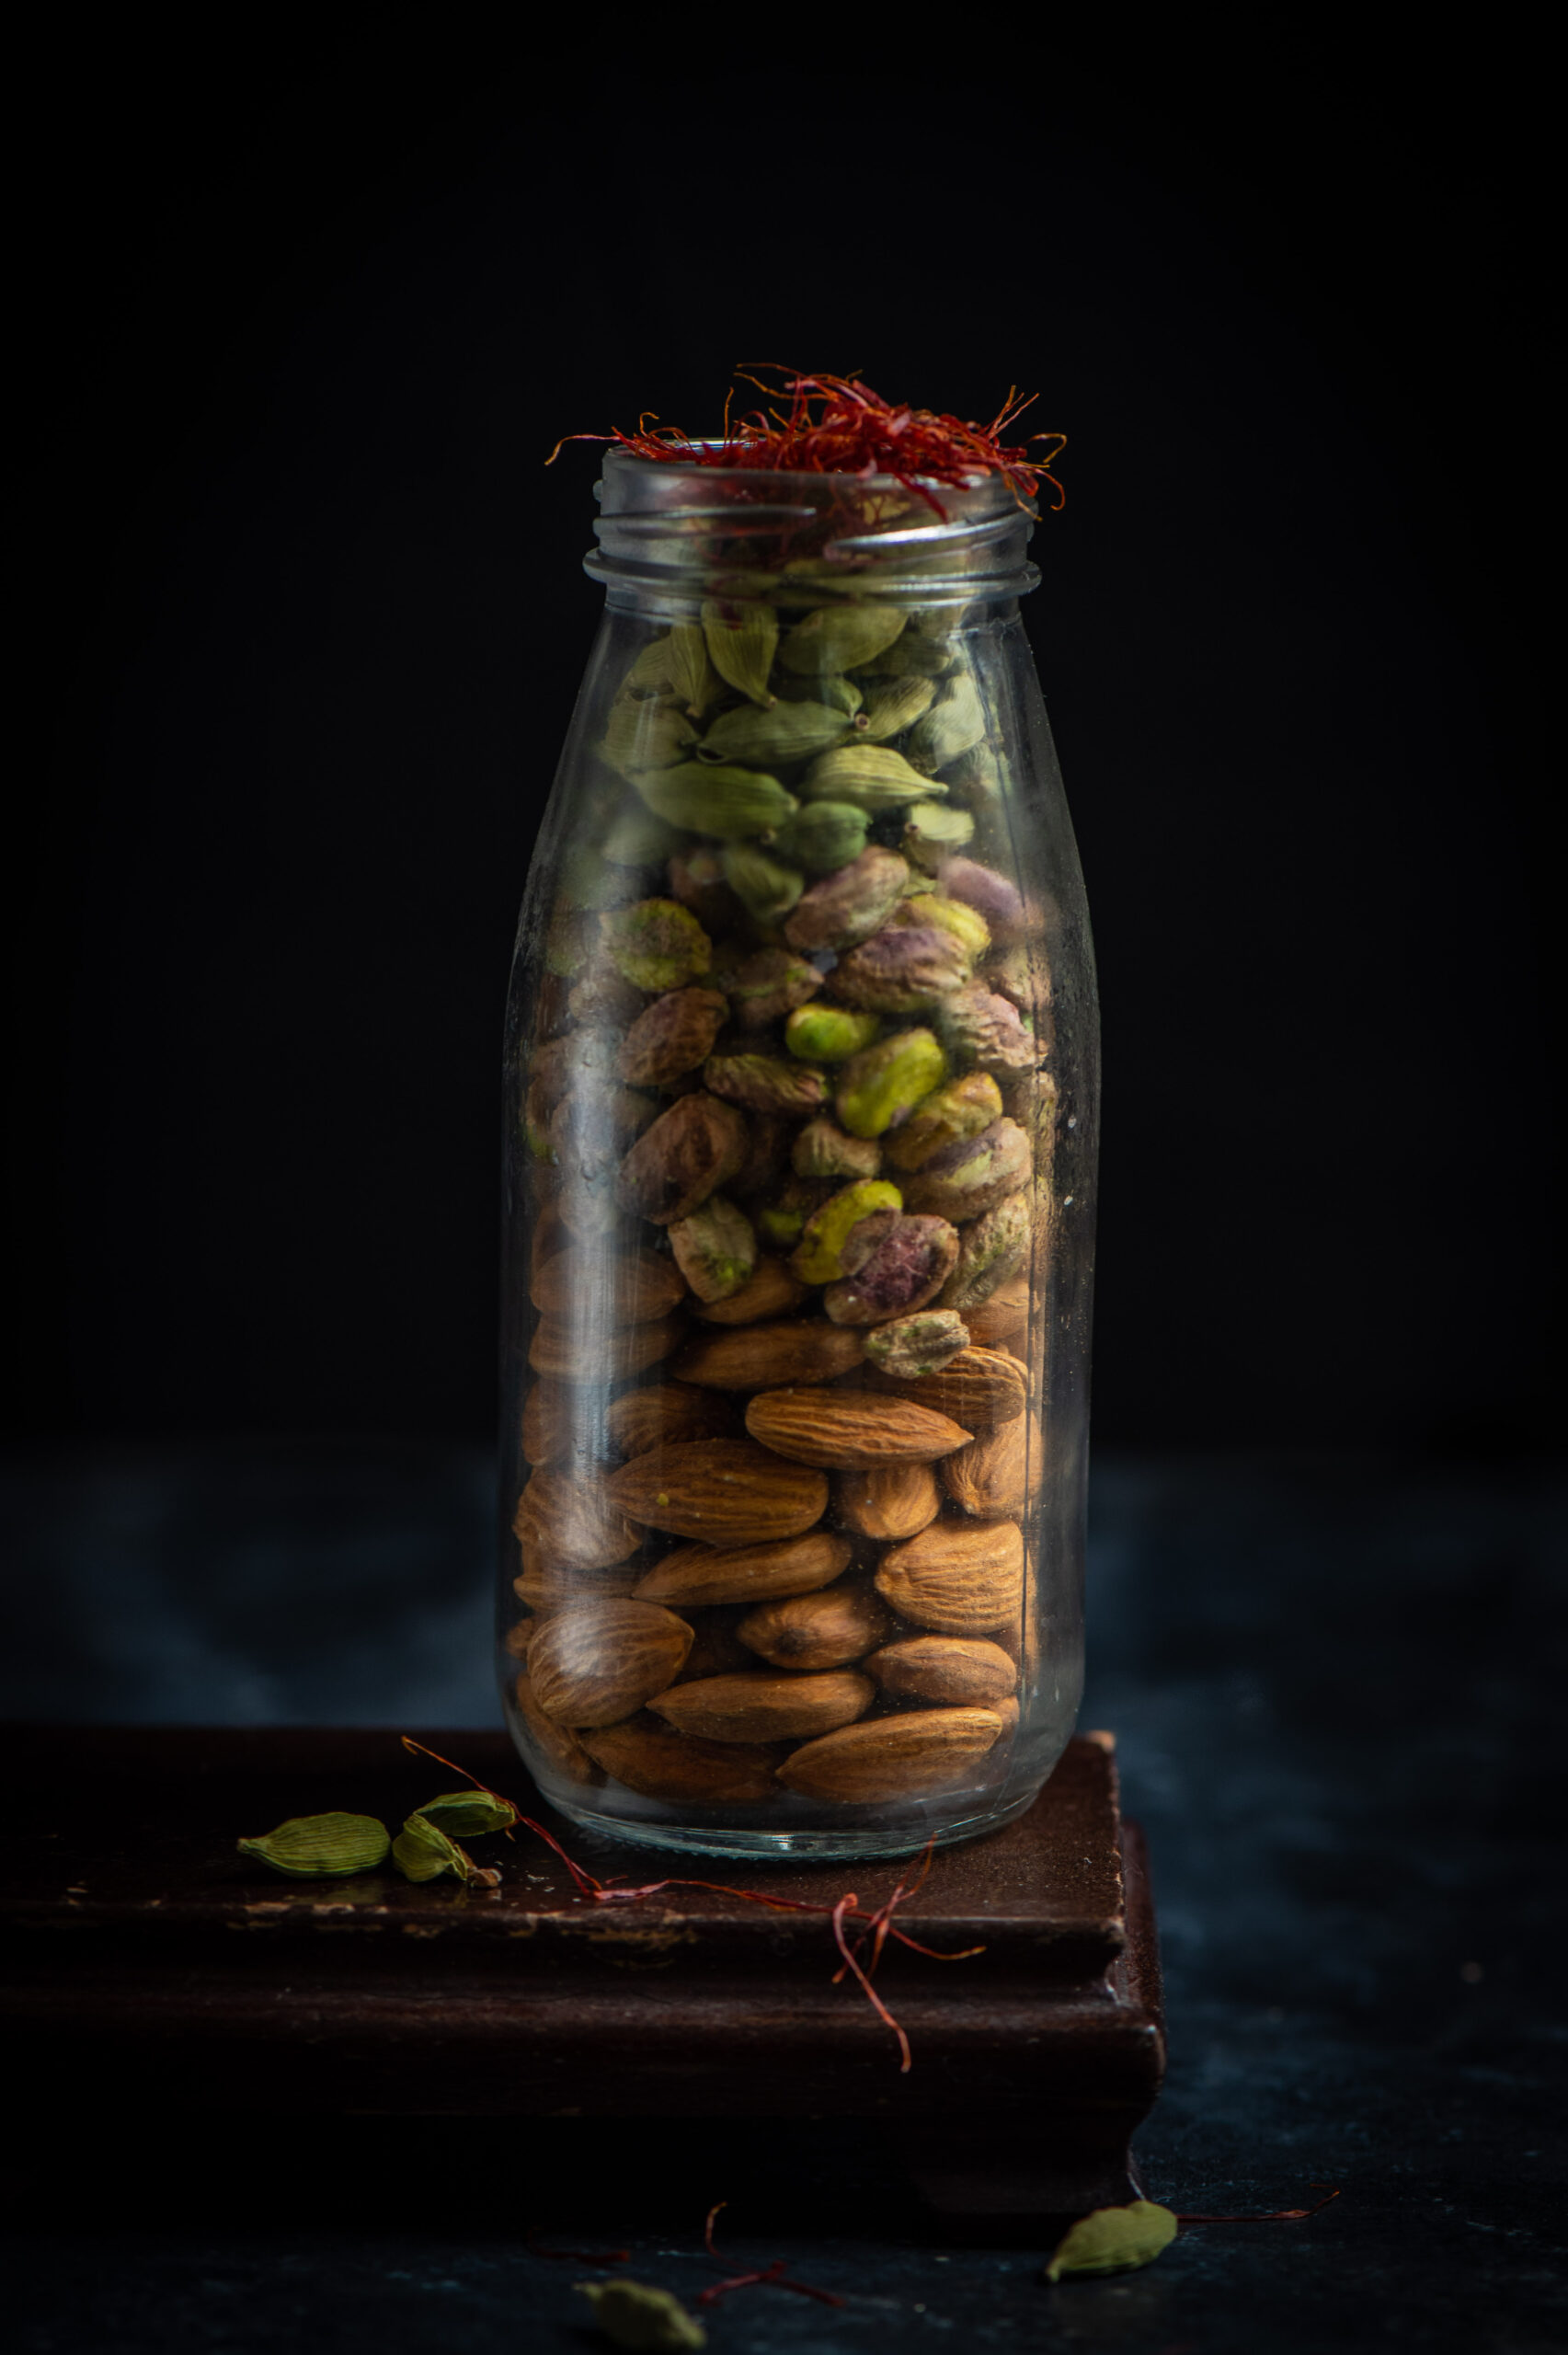
Begin by preparing the nut-based masala, and set it aside. All these ingredients should remain dry until they are added to the milk. You can prepare a larger quantity so you can store and use it later. My mother would make a batch at a time and just blend it into (regular) milk when it was serving time.

Peel the cardamom and add to the remaining ingredients: saffron, pistachios and almonds. Blend. You can make this powder as coarse or as fine as you prefer. If you would like a crunchy taste to your masala milk – which also tastes amazing – you can hand-pound the ingredients instead of using a blender. Store in a clean glass jar and use as required.

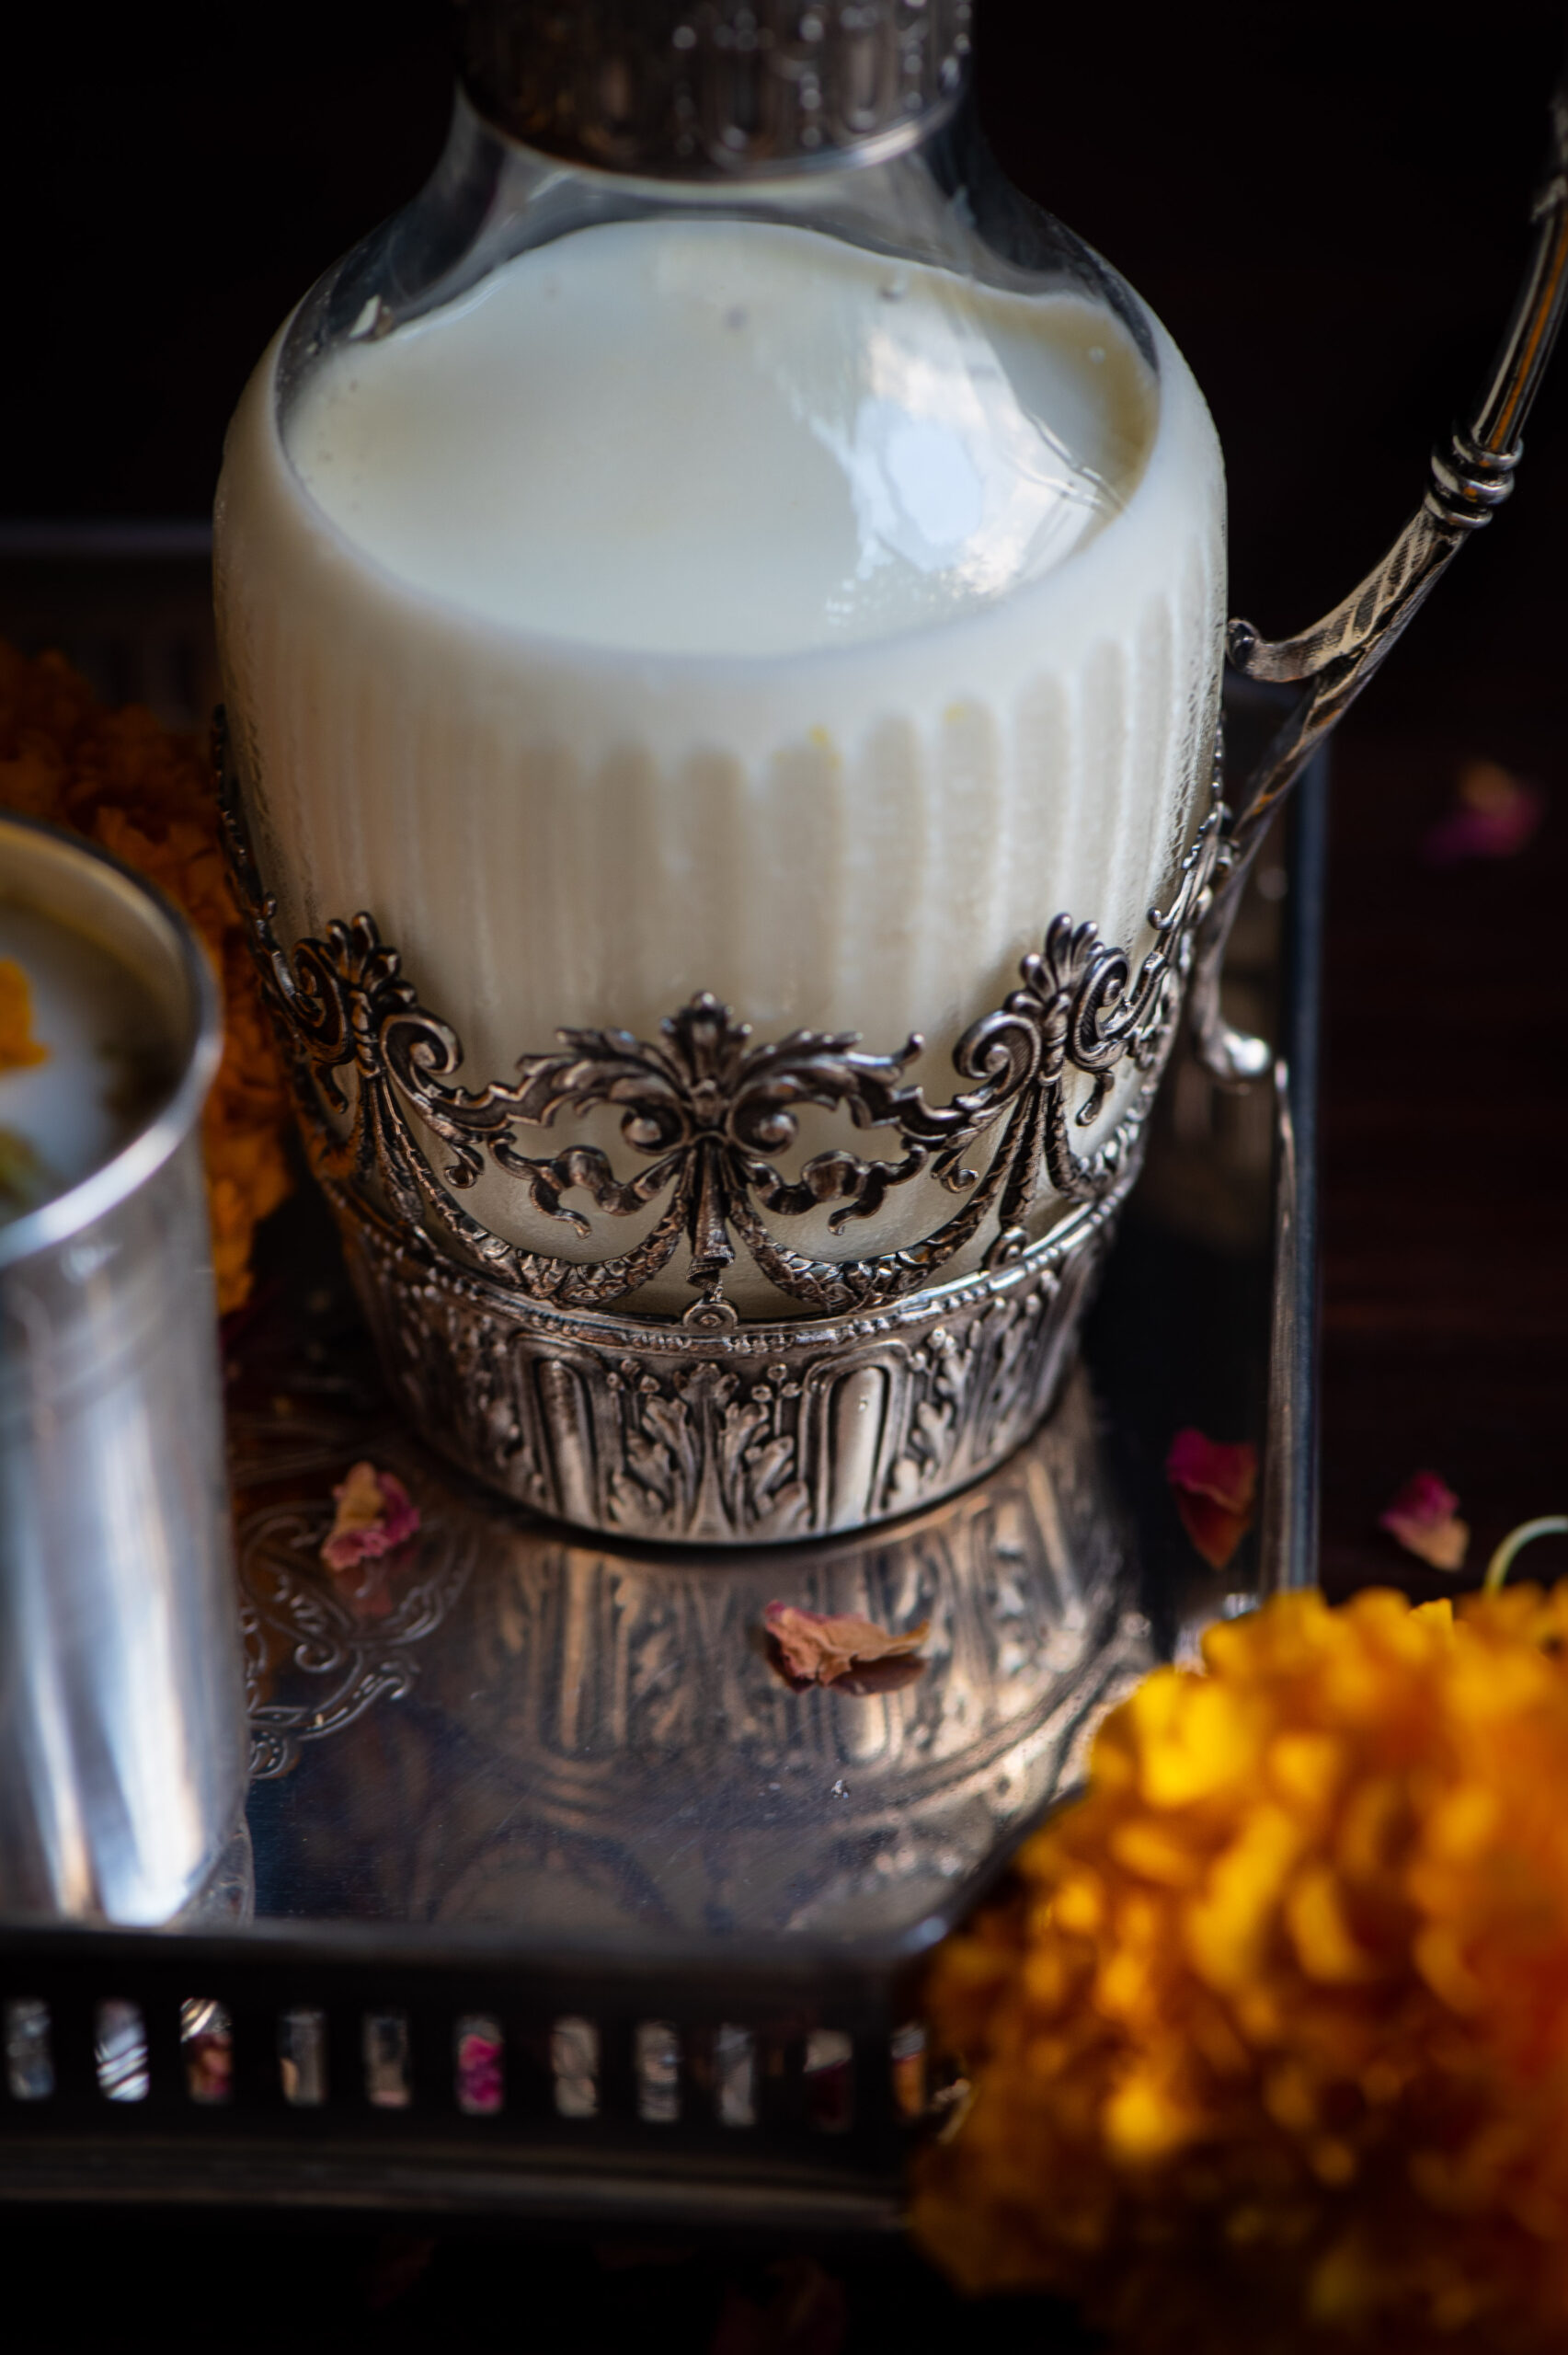
Then, make the vegan milk itself. As those of you familiar with vegan diets know, soy, seeds, or almonds or other nuts are the usual source. In this case, I have used cashew nuts. Soak the cashew nuts in water for about 3 hours. Then, remove the water that was used for soaking. Add the hot water, and blend the nuts until they are thick and creamy. If you prefer the consistency to be thinner, add more hot water. Voila – vegan milk! If you’ve ever wondered what it is, you now know how easy it is to make.

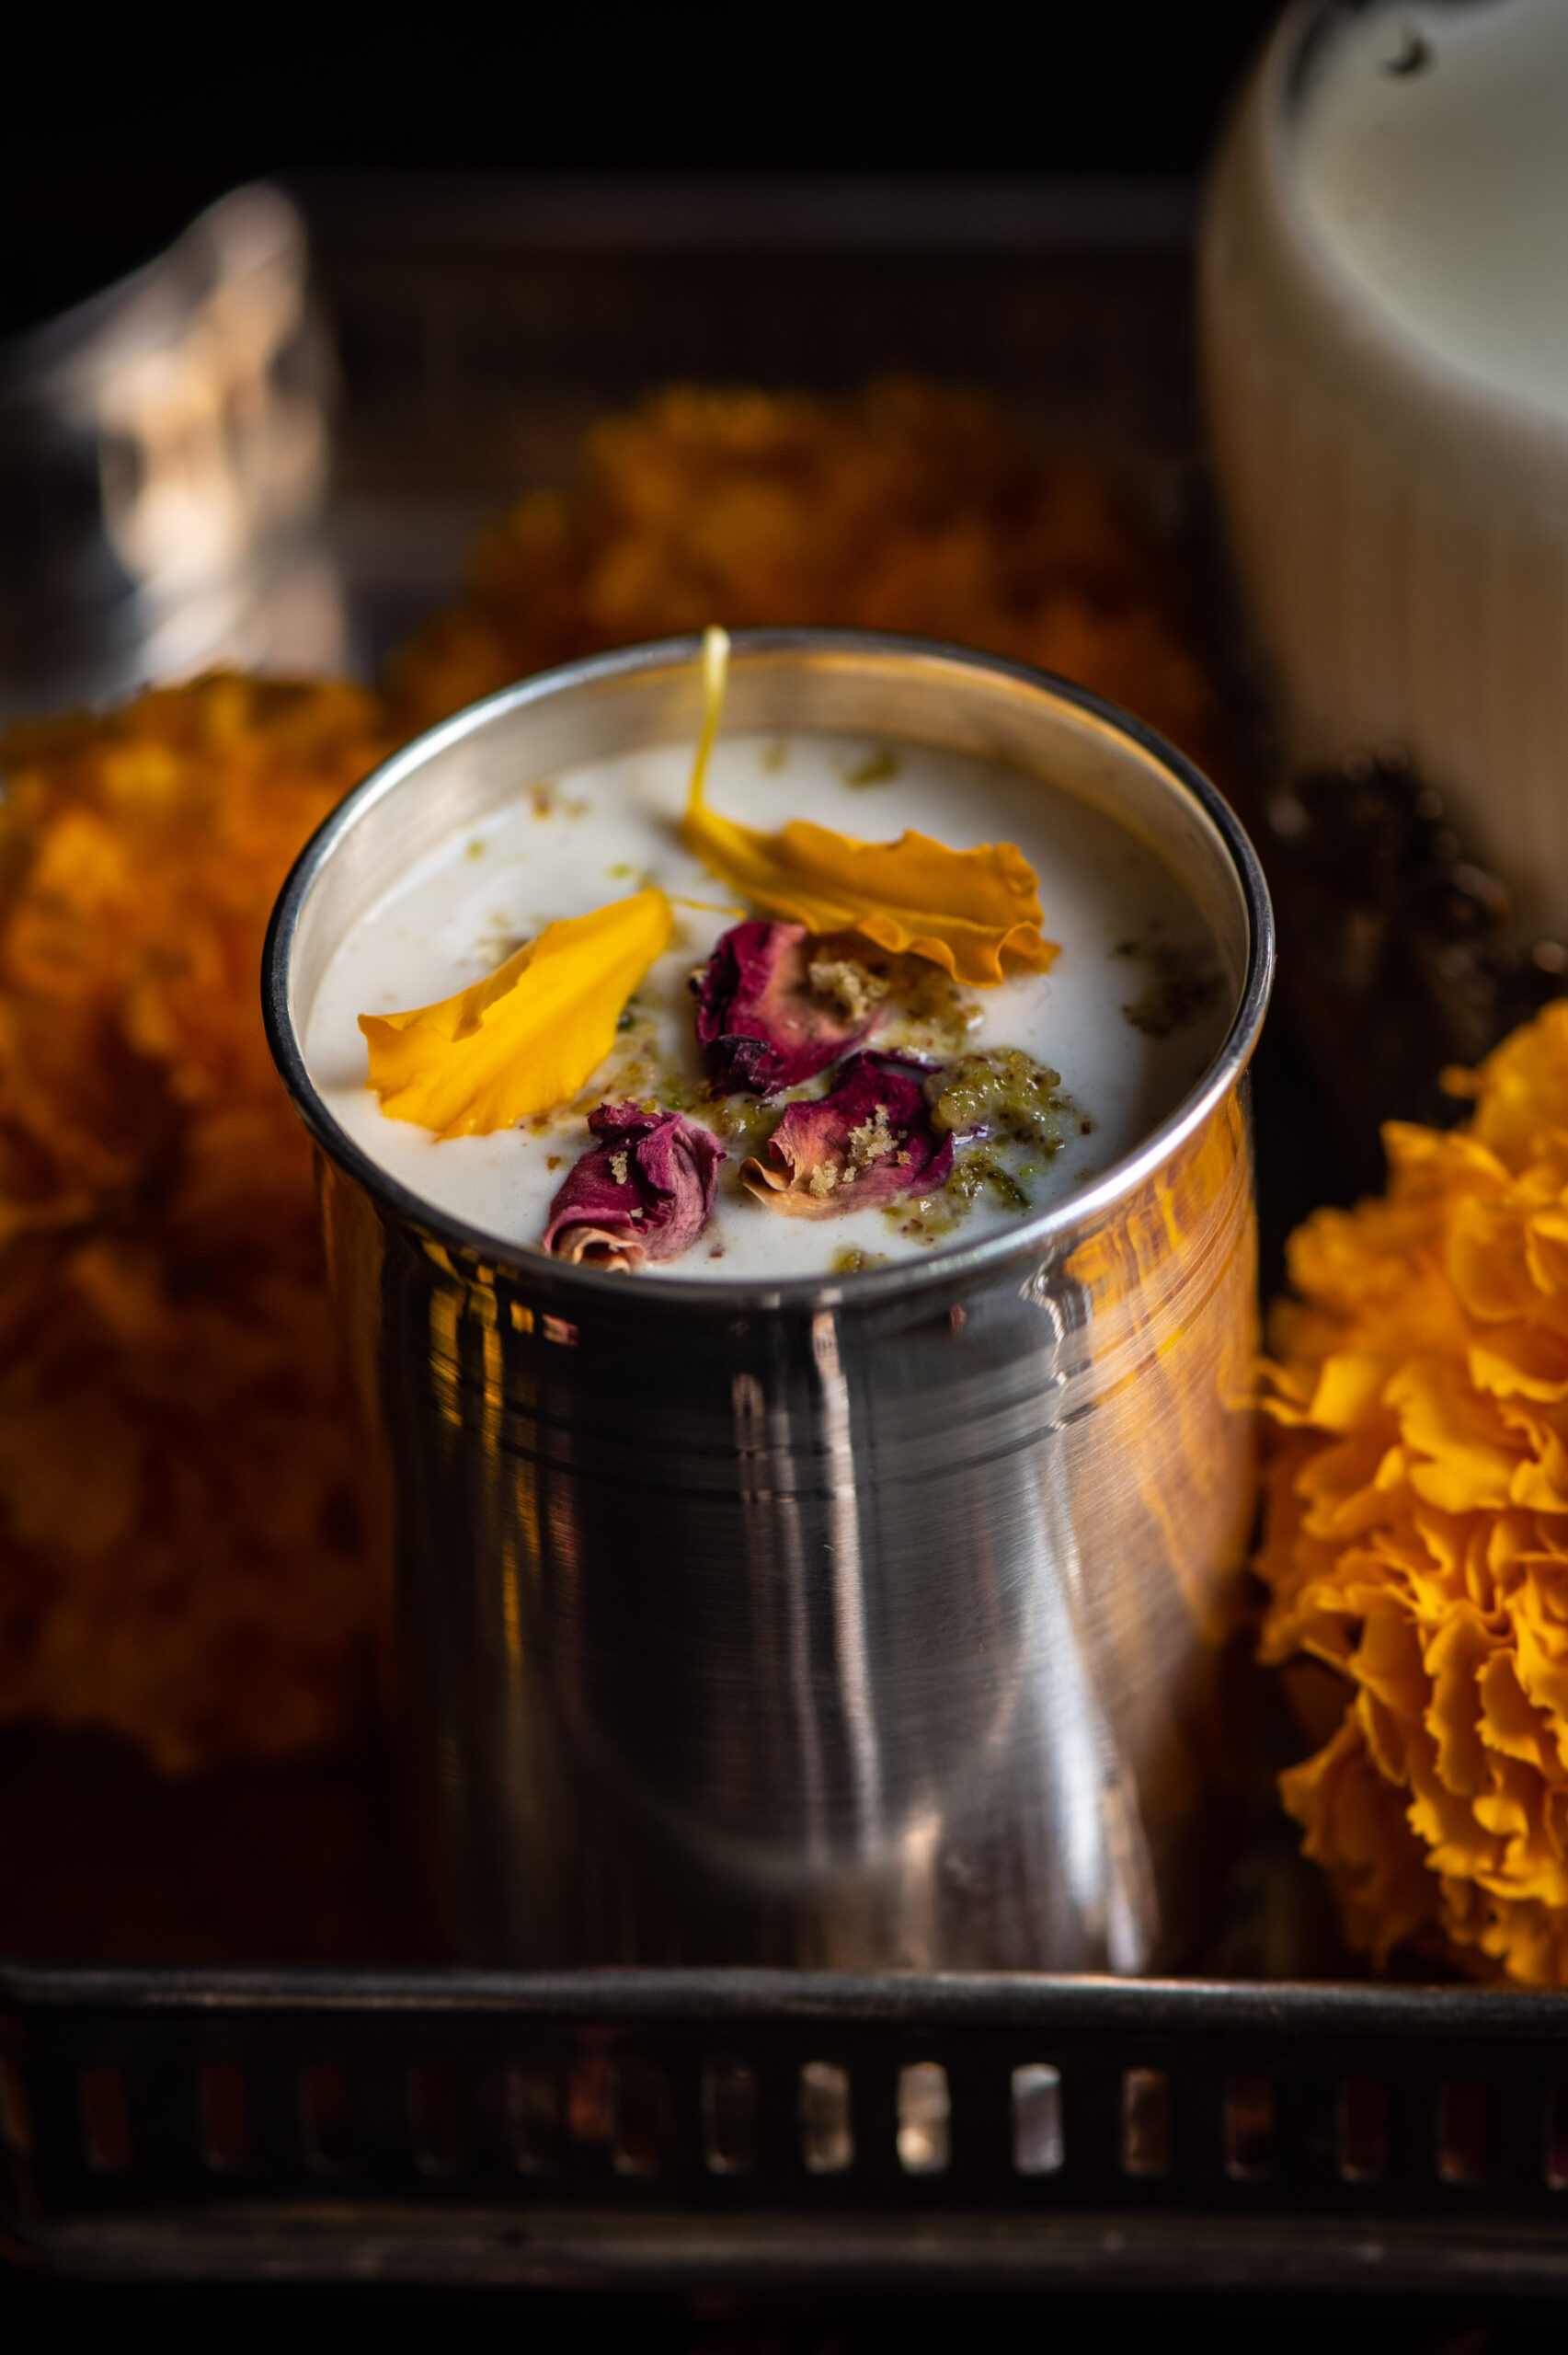
Once the vegan milk has been well blended, add the masala prepared earlier and stir. Serve in small cups. I find this vegan milk masala to be very filling and heavy, so I prefer small portions. Sweeten as per your liking.

What I love about this recipe is that it has a bit of novelty to it, as well as a bit of nostalgia. Just perfect for Christmas time, especially if you’re watching your diet this year – don’t you think?

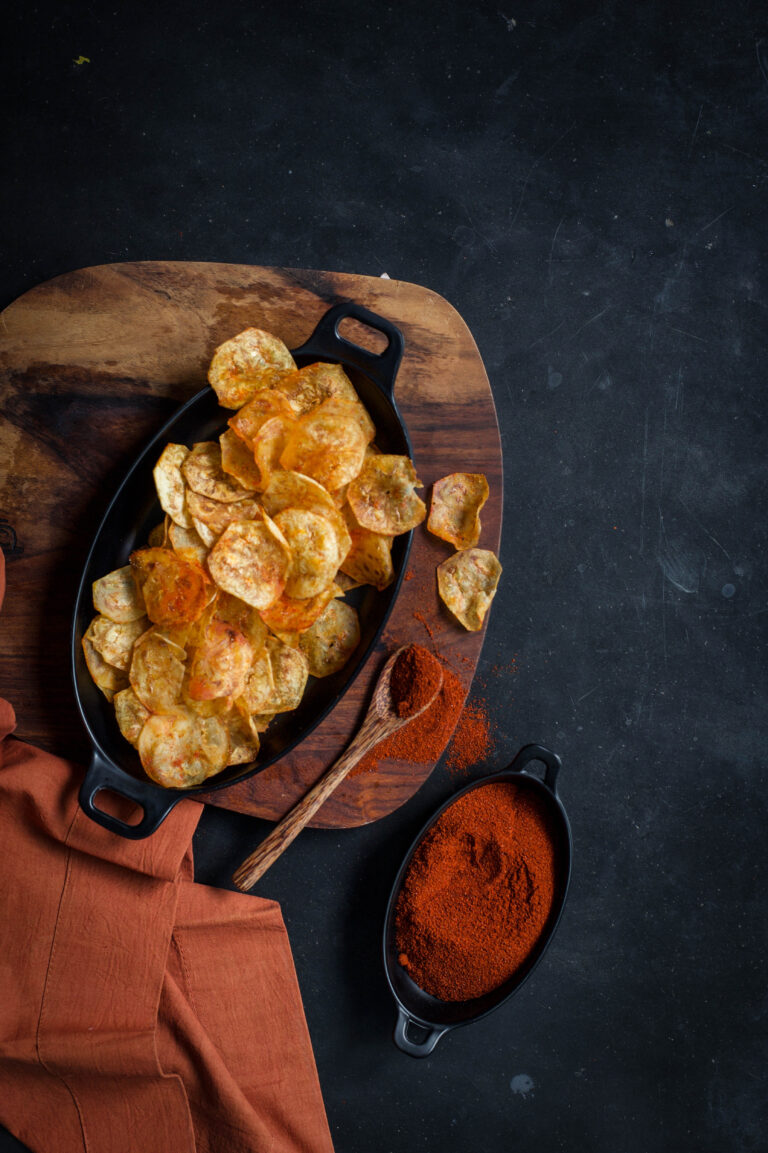
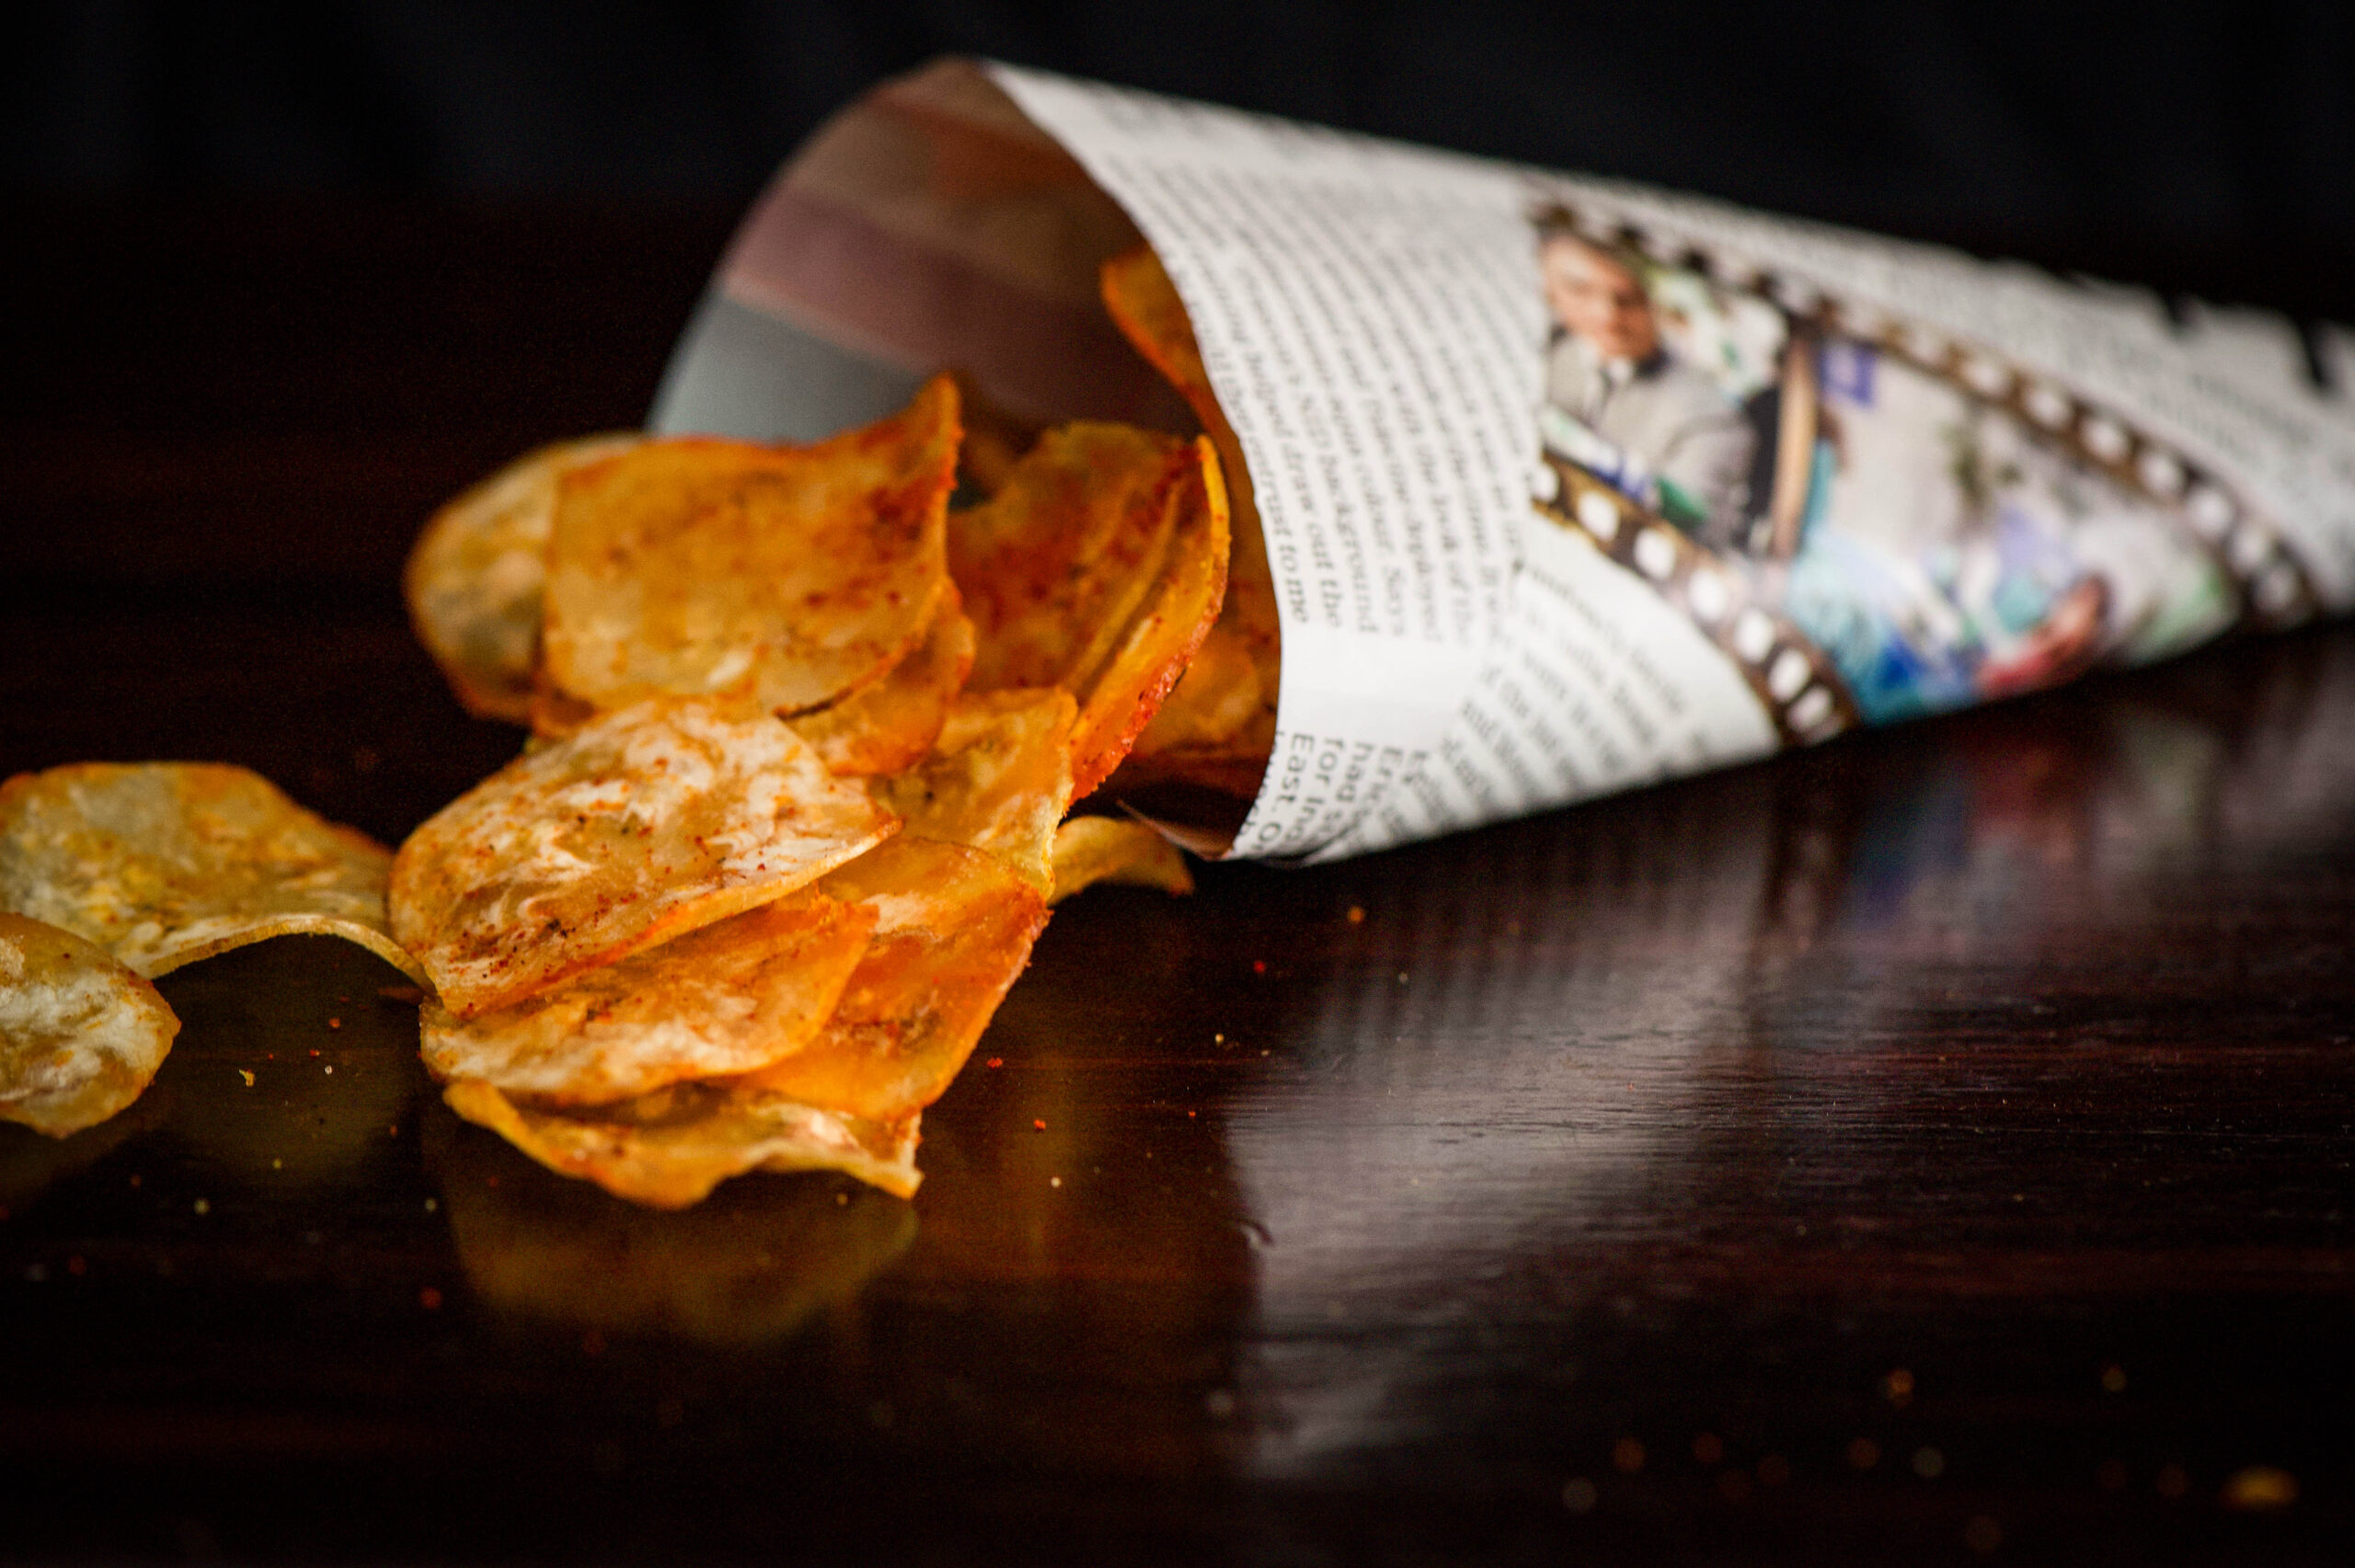
For someone who grew up disliking bananas, I’ve simply not been able to get enough of them this month! I hope you enjoyed my previous recipe for banana bread. There’s been a windfall of plantains on my farm, and so the fruit has found its way into several more dishes I’ve made lately. The recipe I’m sharing today adds a bit of crispiness to my traditional lunch thaalis. It’s so easy to make, and so difficult to resist. I really have gone bananas for these banana chips!

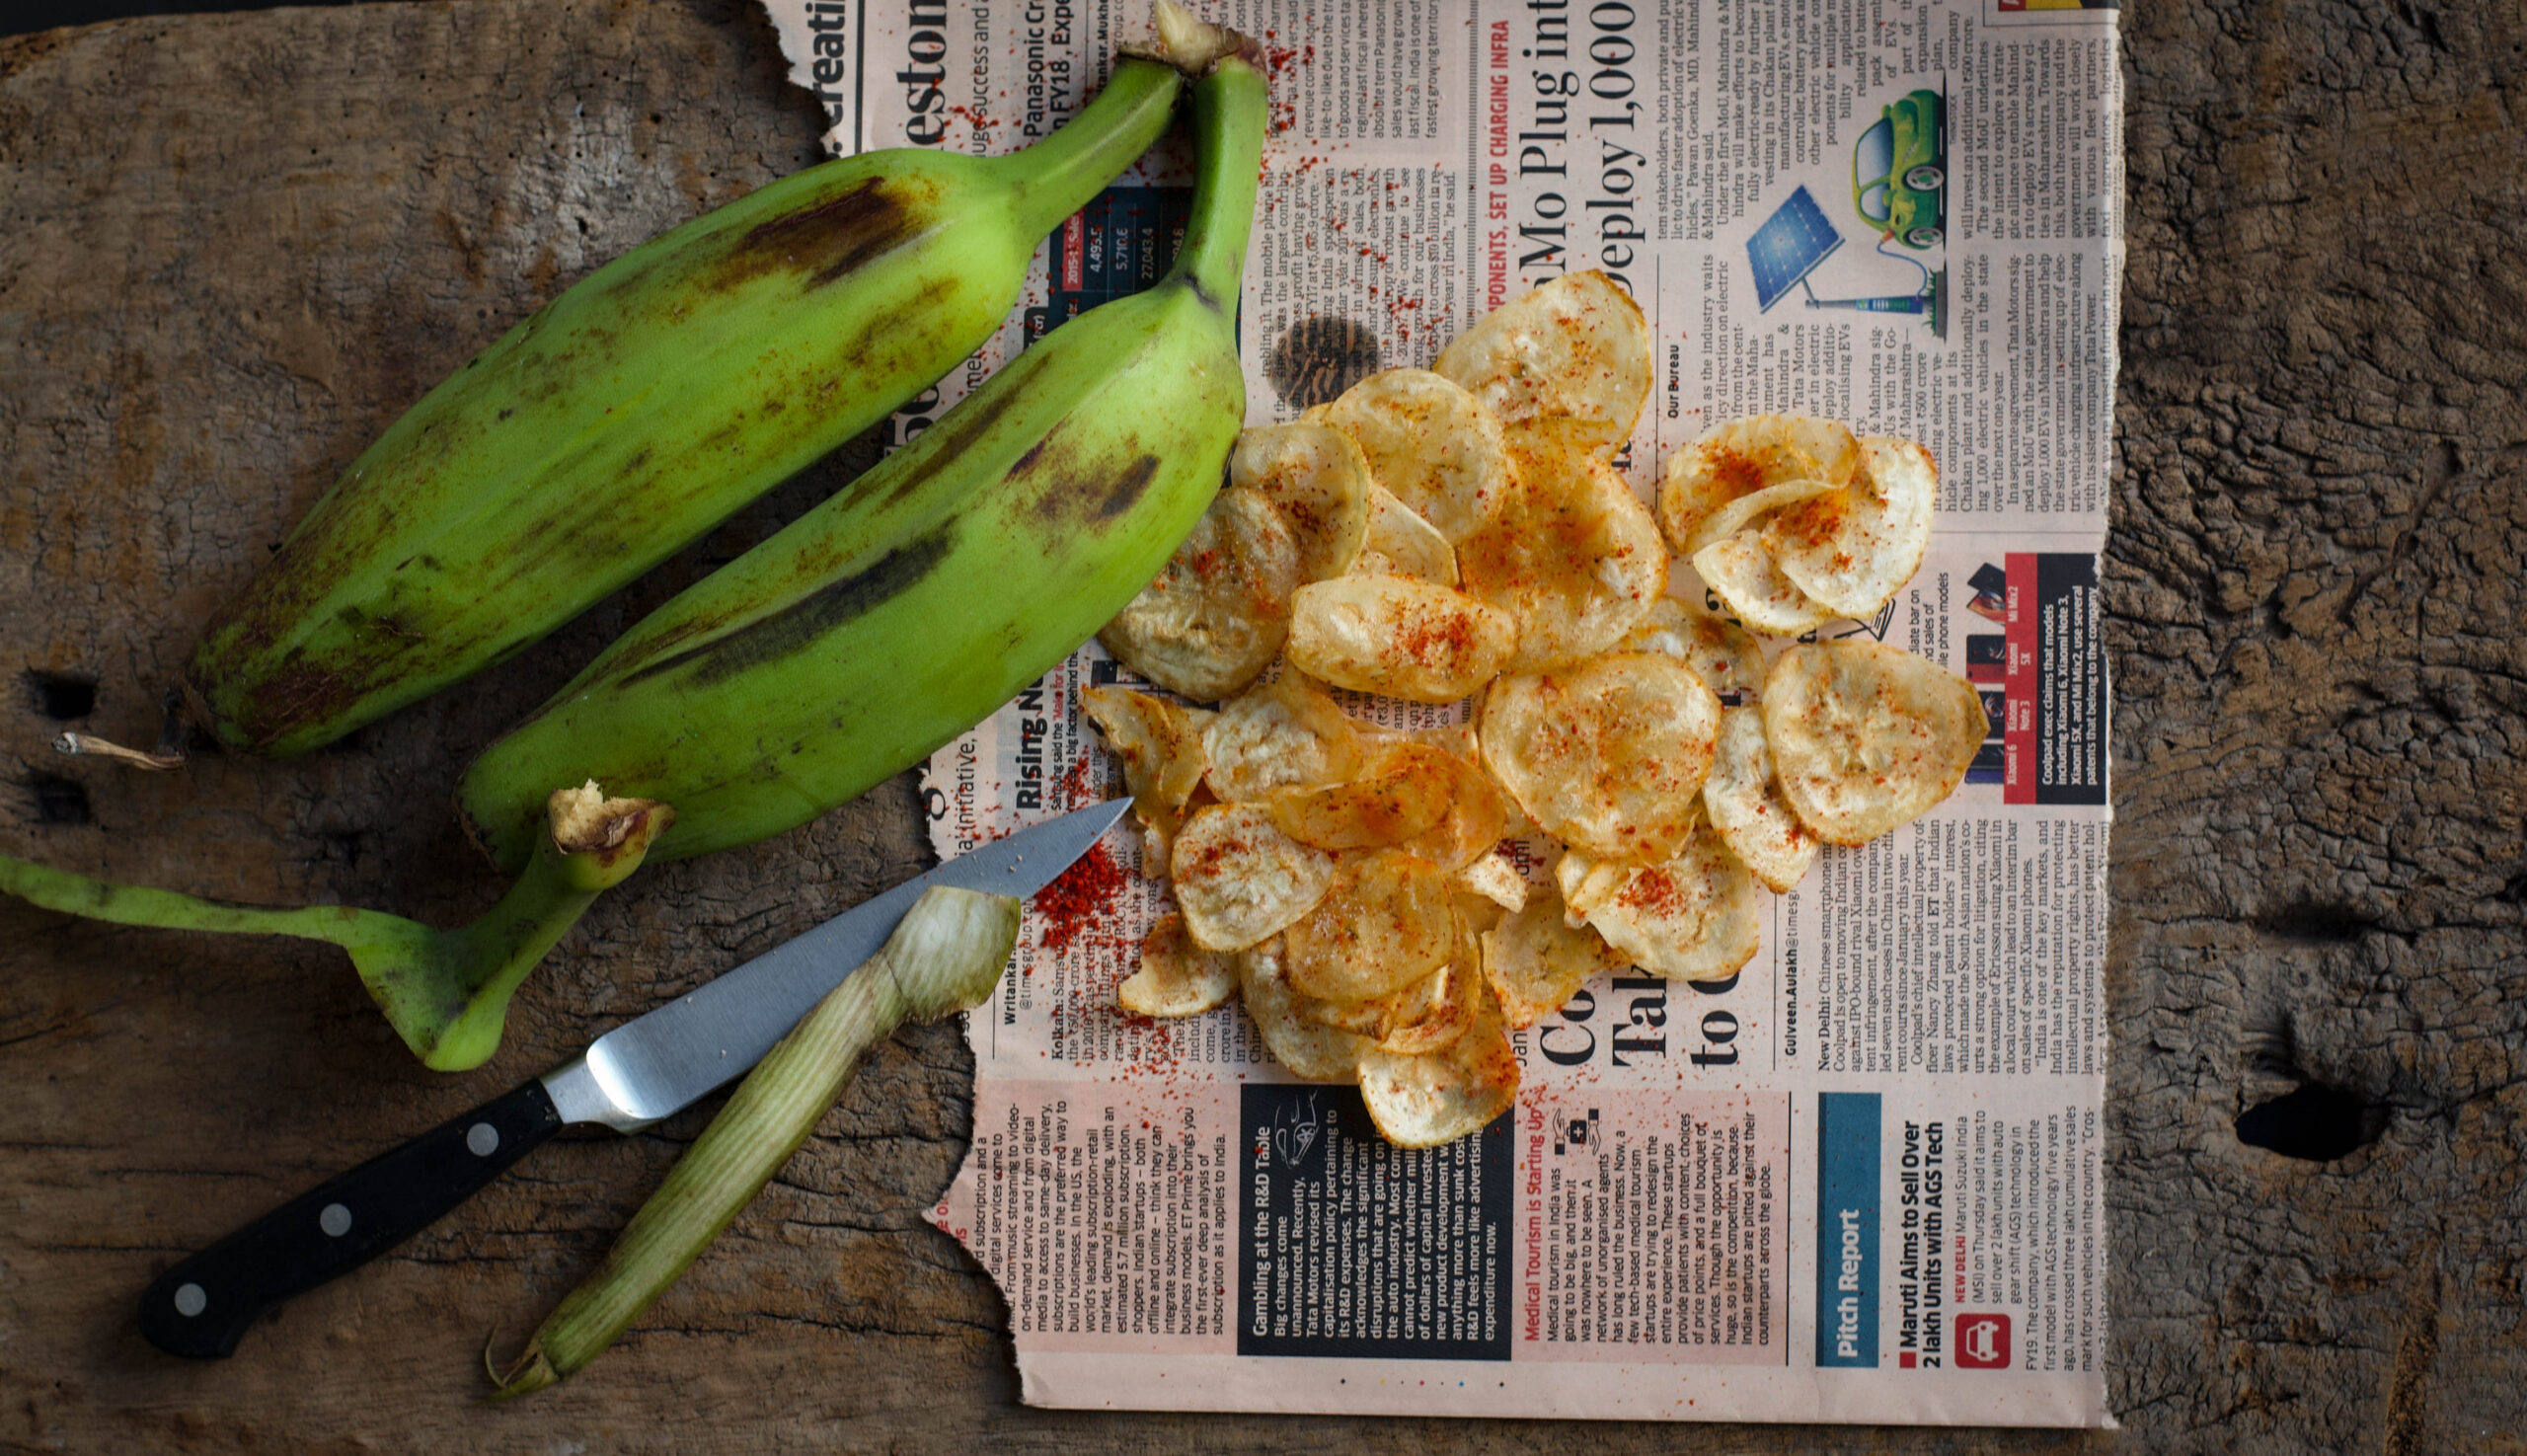
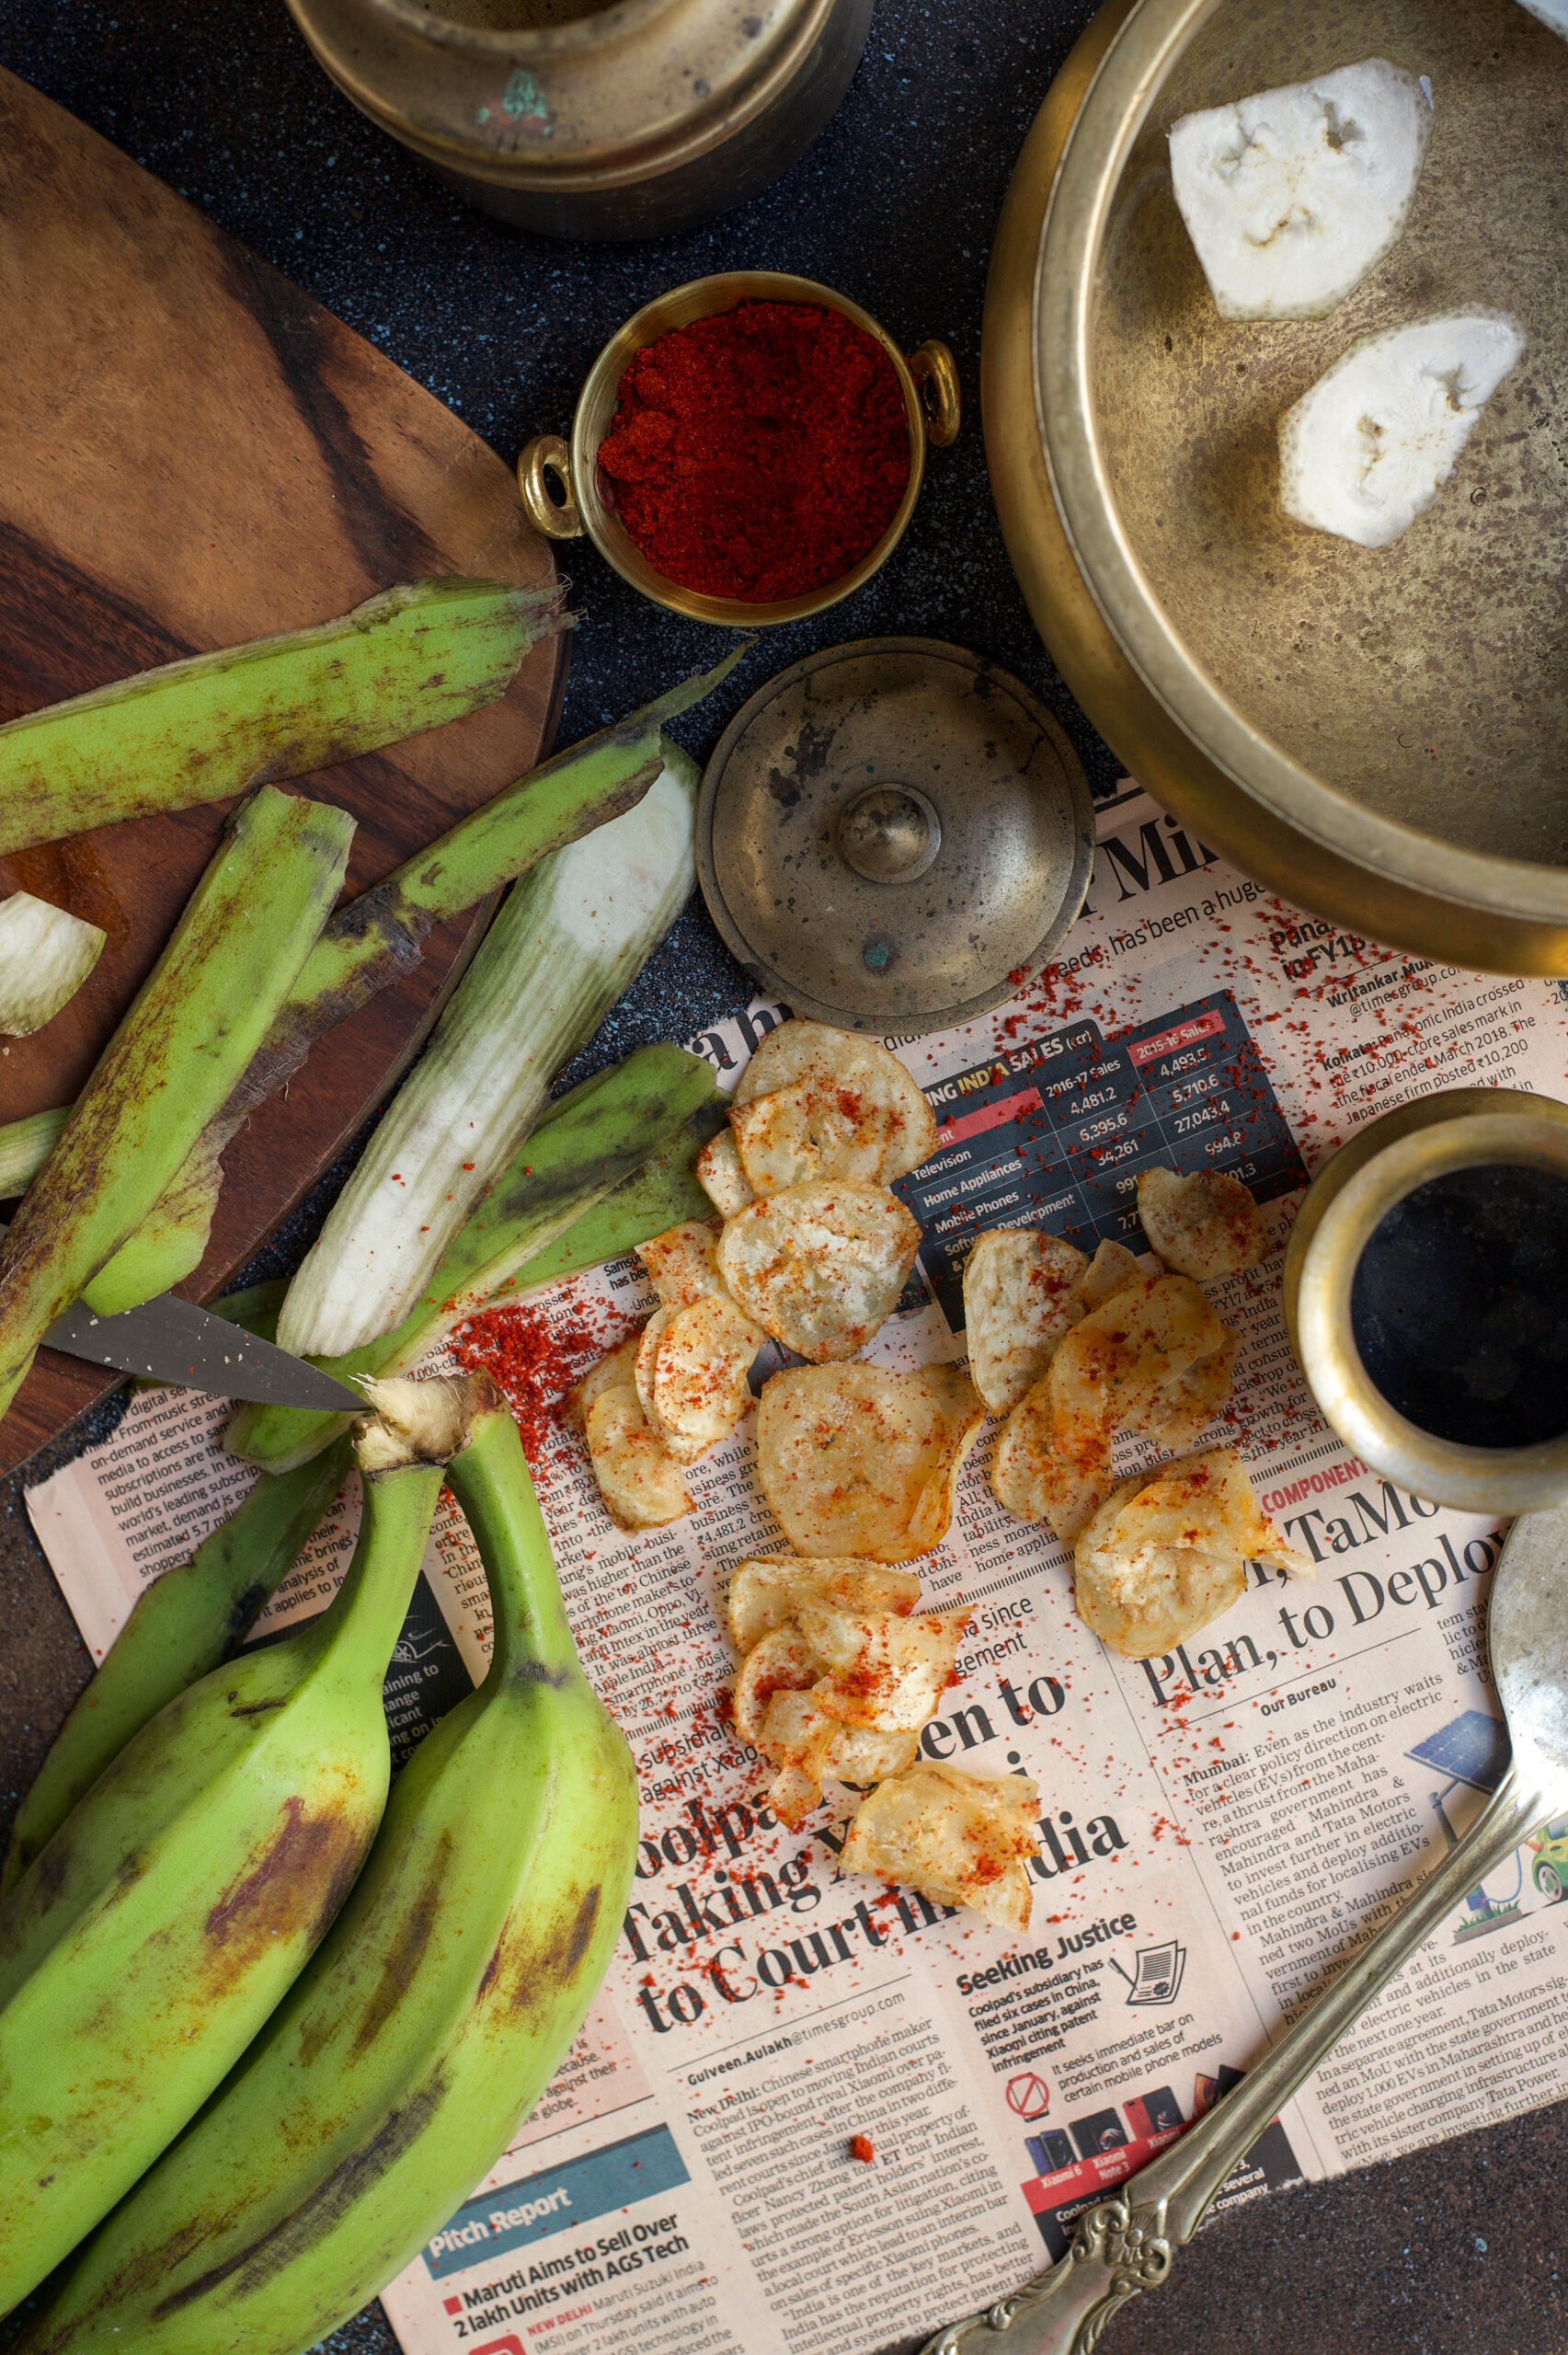
These chips don’t use the ripe bananas that we peel and eat when in need of a portable snack. Instead, they use unripe green plantains of the Monthan variety, which fruit in the 8th or 9th month after planting. They are not sweet, unlike ripe ones, but are edible both raw and cooked. Rich in potassium, iron and several vitamins, they are used in cuisines in Polynesia, Jamaica, and here in India of course. The banana tree itself is considered sacred in Hinduism, and is worshipped in some sects and used in wedding ceremonies. Not only the fruit but the flower too can be consumed, and food is traditionally eaten on a banana leaf itself.

I have a new gadget in my kitchen that I picked up on one of my travels – a nifty slicer that lets me quickly slice the banana directly over hot oil, so I was quite excited to use it when my sister taught me how easy these chips are to make.

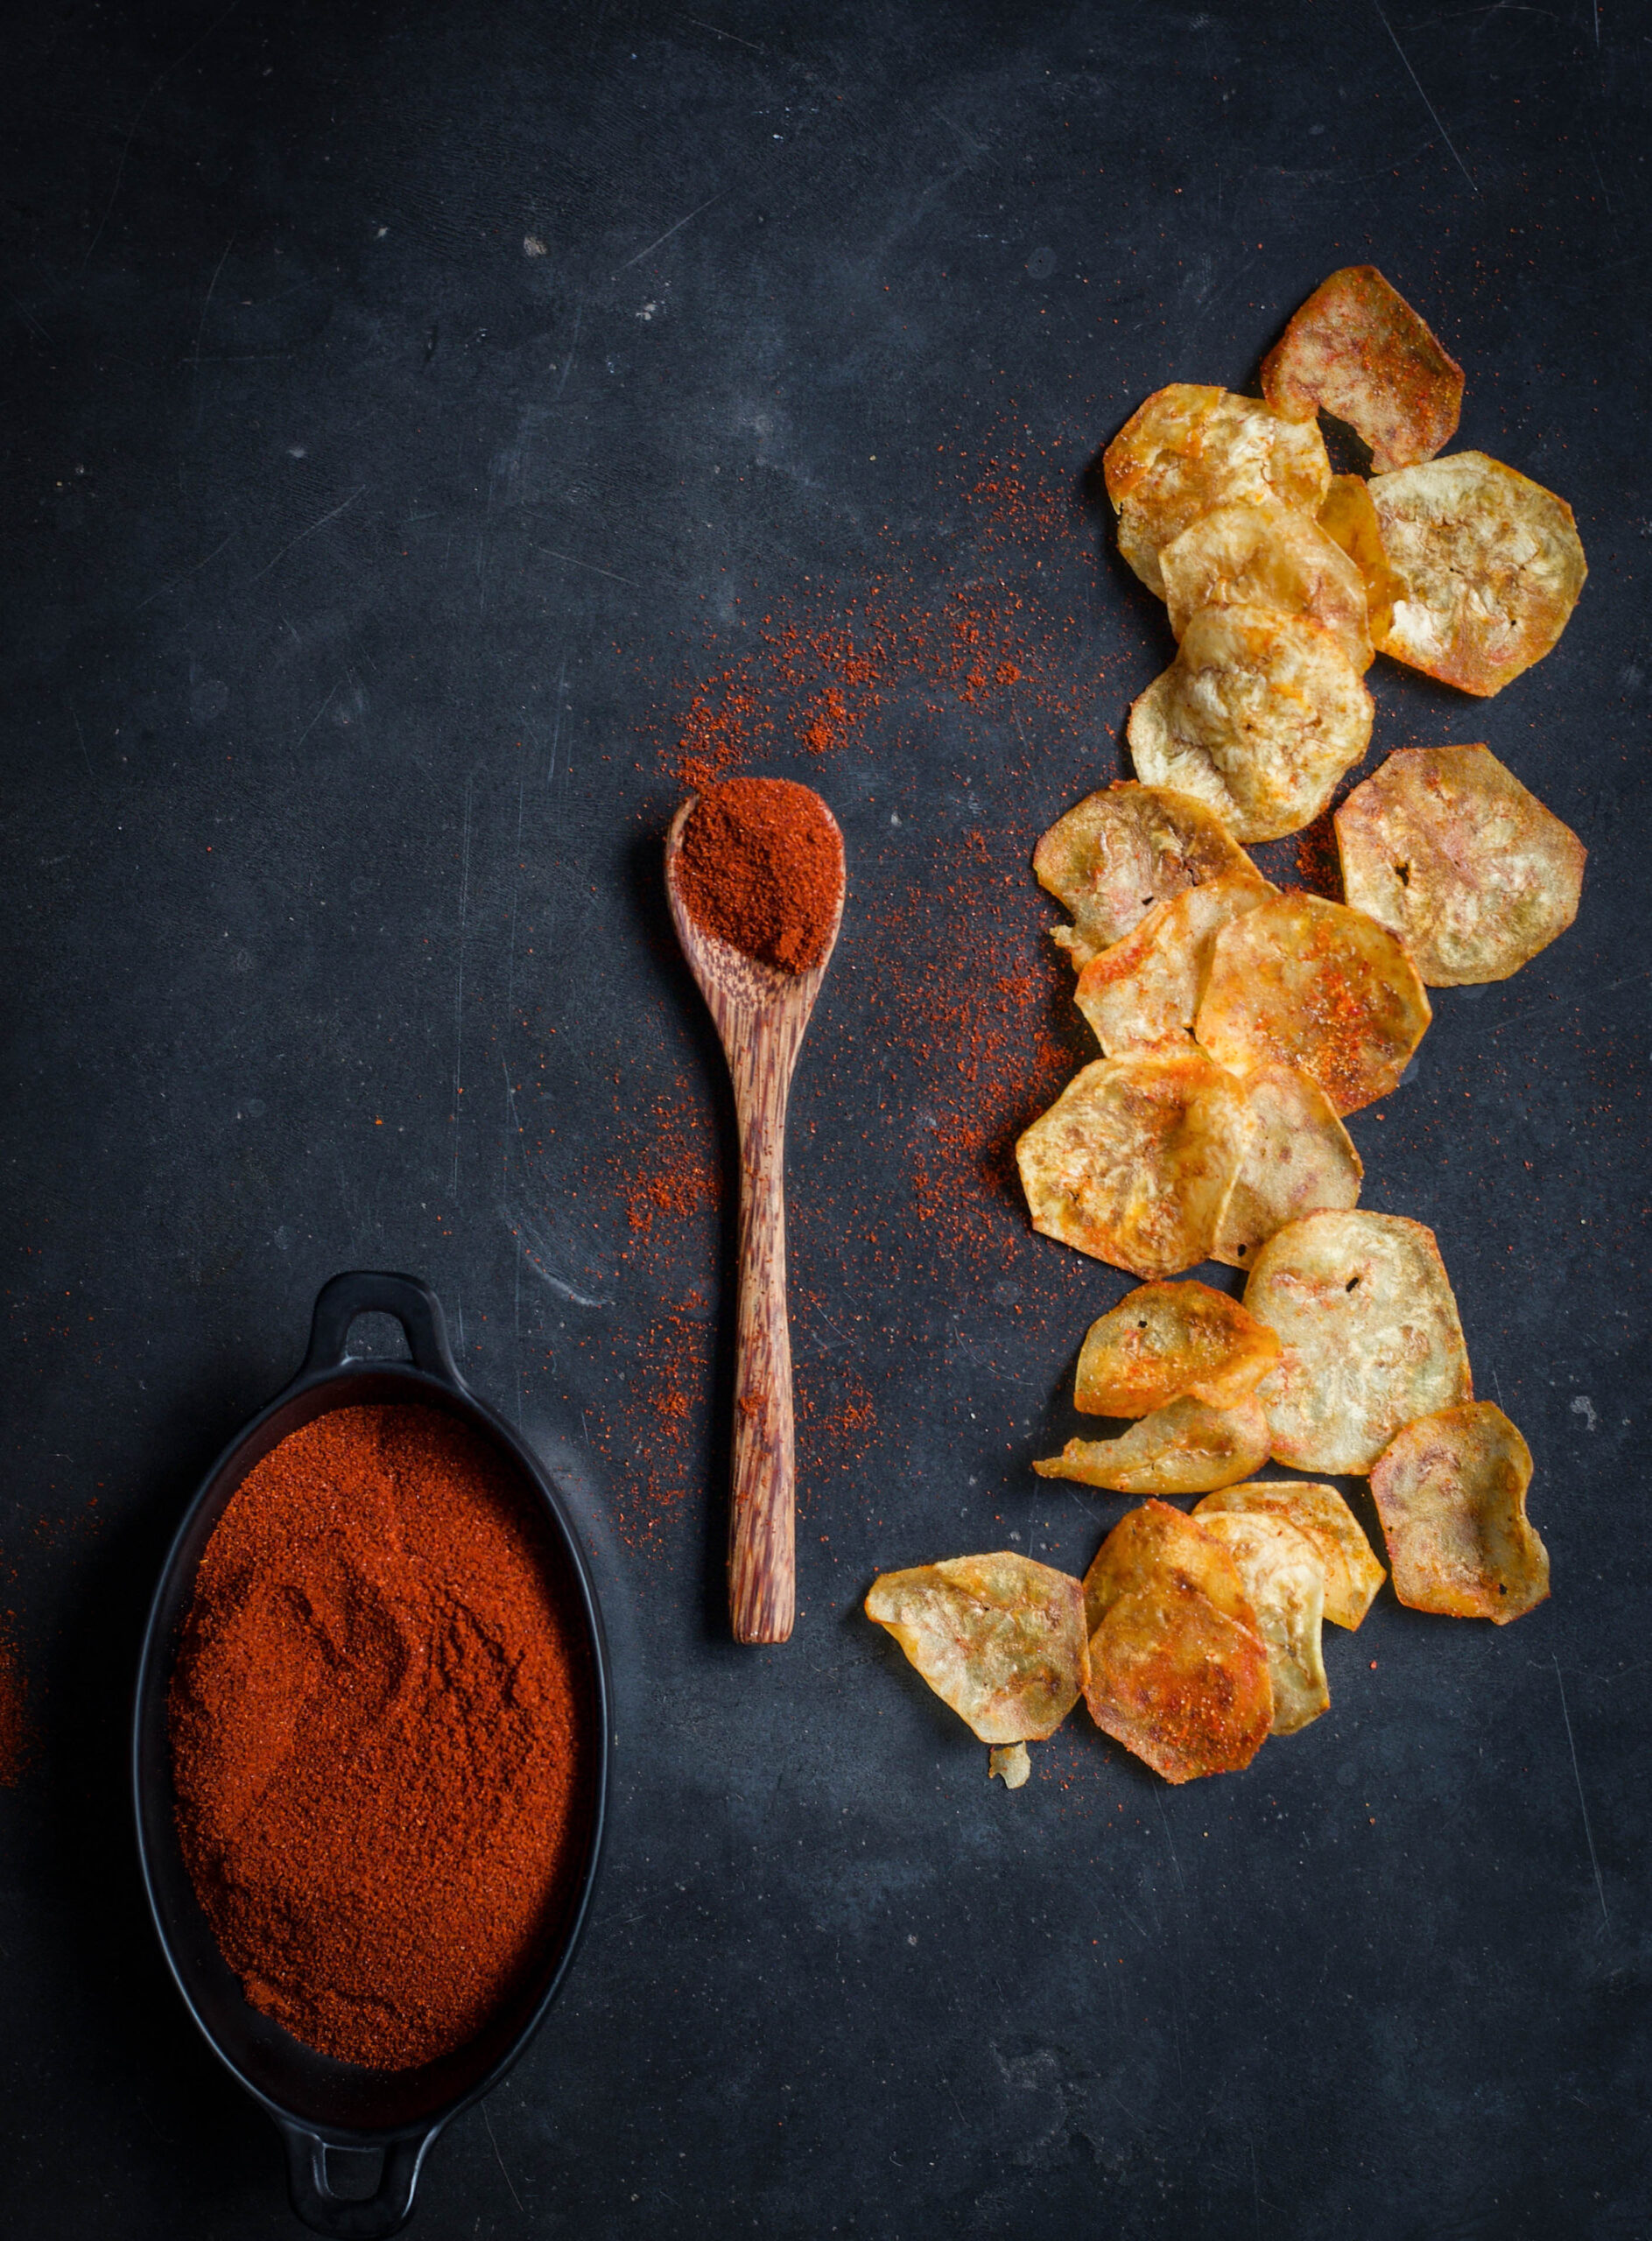
Banana chips are made all over India, but they differ from state to state. The famous Kerala ones, for instance, are cut thicker and are bright yellow. These Gujarati-style ones are thin and reddish-coloured because of the spices used. They are called “kudkudiyas” – a bit of onomatopoeia, because of the “kud kud” crunch sound. They remind me of all my visits to Ahmedabad, and in fact my husband (aka The Dark Prince!) is so partial to them that I order them for him all the way from that city. Fortunately, everyone at home loves my banana chips too, so they can now have them fresh and not imported!

Gujarati-Style Banana Chips

(Yield: Approximately 1 bowl)

Ingredients

1 large raw plantain

Salt to taste

¼ teaspoon chili powder (or to taste)

¼ teaspoon powdered sugar

2 cups oil (for deep frying)

Heat the oil in a frying pan. Peel the plantain and wash it. Be watchful as it may be a bit sticky to the touch.

Slice the plantain and immediately drop the slices into the hot oil. If you use a gadget like I do, you can slice them directly over the pan.

Now reduce the flame to medium. Turn the slices around a few times until they turn golden.

Remove them from the oil, placing them onto an absorbent paper. Immediately sprinkle the salt, chili powder and sugar. Make them your way by adding spices of your choice, such as pepper or chaat masala. The trick is to add the spices as soon as they’re off the oil because this is the only way the spices will stick to the chips. Also remember that the thinner the slice, the crispier and tastier they’ll be. Store in an air tight jar. Enjoy the crunch!


This exact same recipe can also be used for sweet potato chips, if you prefer them to green bananas or find them more readily available.

I prefer using these homemade banana chips instead of any store-bought snack to add crispiness to our lunch thaalis at home. They are cleaner and healthier, and I know exactly what’s going into our mouths, so I don’t mind that they are deep fried.

Even though these banana chips are made in a popular and easy style, you will surely agree that every dish tastes different depending on the cook. Each home and each hand has its own flavour, despite the recipe being exactly the same. Even something as simple as banana chips will have a unique taste. When you try this recipe, be sure to let me know how yours tastes!