Tag

tasty

Browsing

The first time that I tasted this sublime soup was when I was visiting a dear friend who was unwell at home. Valli Subbiah is an amazing person with an exceptional gift with kids, and even though she was feeling poorly, her hospitality was as gracious as ever. She offered us this simple, flavourful zucchini soup in mugs. At her place, what was served was more of a hot beverage than a soup, but I made it in a thicker consistency when I tried replicating it at home. Valli was sweet enough to share the recipe with me, and we are both happy to share it with you today.

I’m not a great fan of zucchini, so the fact that this dish captured my heart says a lot about how tasty it is. Since having this soup, I’ve been reading up about the vegetable (well, technically it’s a fruit – did you know?) and am delighted to have found a way to consume something that’s so good for us. It is excellent in supporting or easing menopause and post-menopausal health concerns, and is rich in fibre, folate, Vitamin C and a host of other nutrients.

Zucchini is native to South America, which naturally meant that European colonials began to export and cultivate it too. It’s a late addition to Indian markets, but it’s well-suited to our climes and has a fast growing period, which has made it become popular on our menus over the last decade. I certainly never had it while growing up, and am glad it’s so easily available now. Its novelty to us is revealed in the fact that we don’t have names for it in our own languages. If we are non-English speakers, we just call it “jukini” or “jugni”, in our Indian accents!

Despite the main ingredient being of foreign origin, the most interesting part of this recipe is the distinctly South Indian twist. I love the kick that curry masala gives this soup. It seasons the dish without overpowering the taste of the zucchini. I like dishes which can be subtly enhanced in this way, while retaining the basic flavours of ingredients. If you’re a fan of fusion cuisine, some of my other recipes in this category are here.

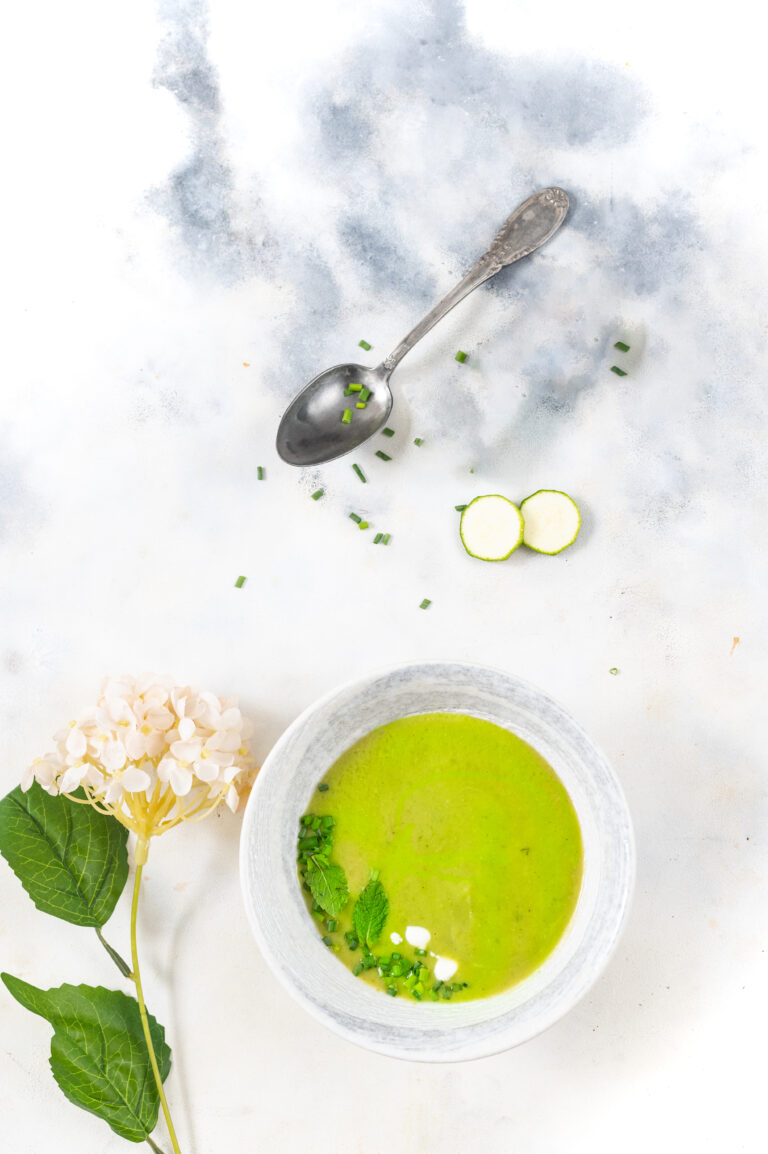
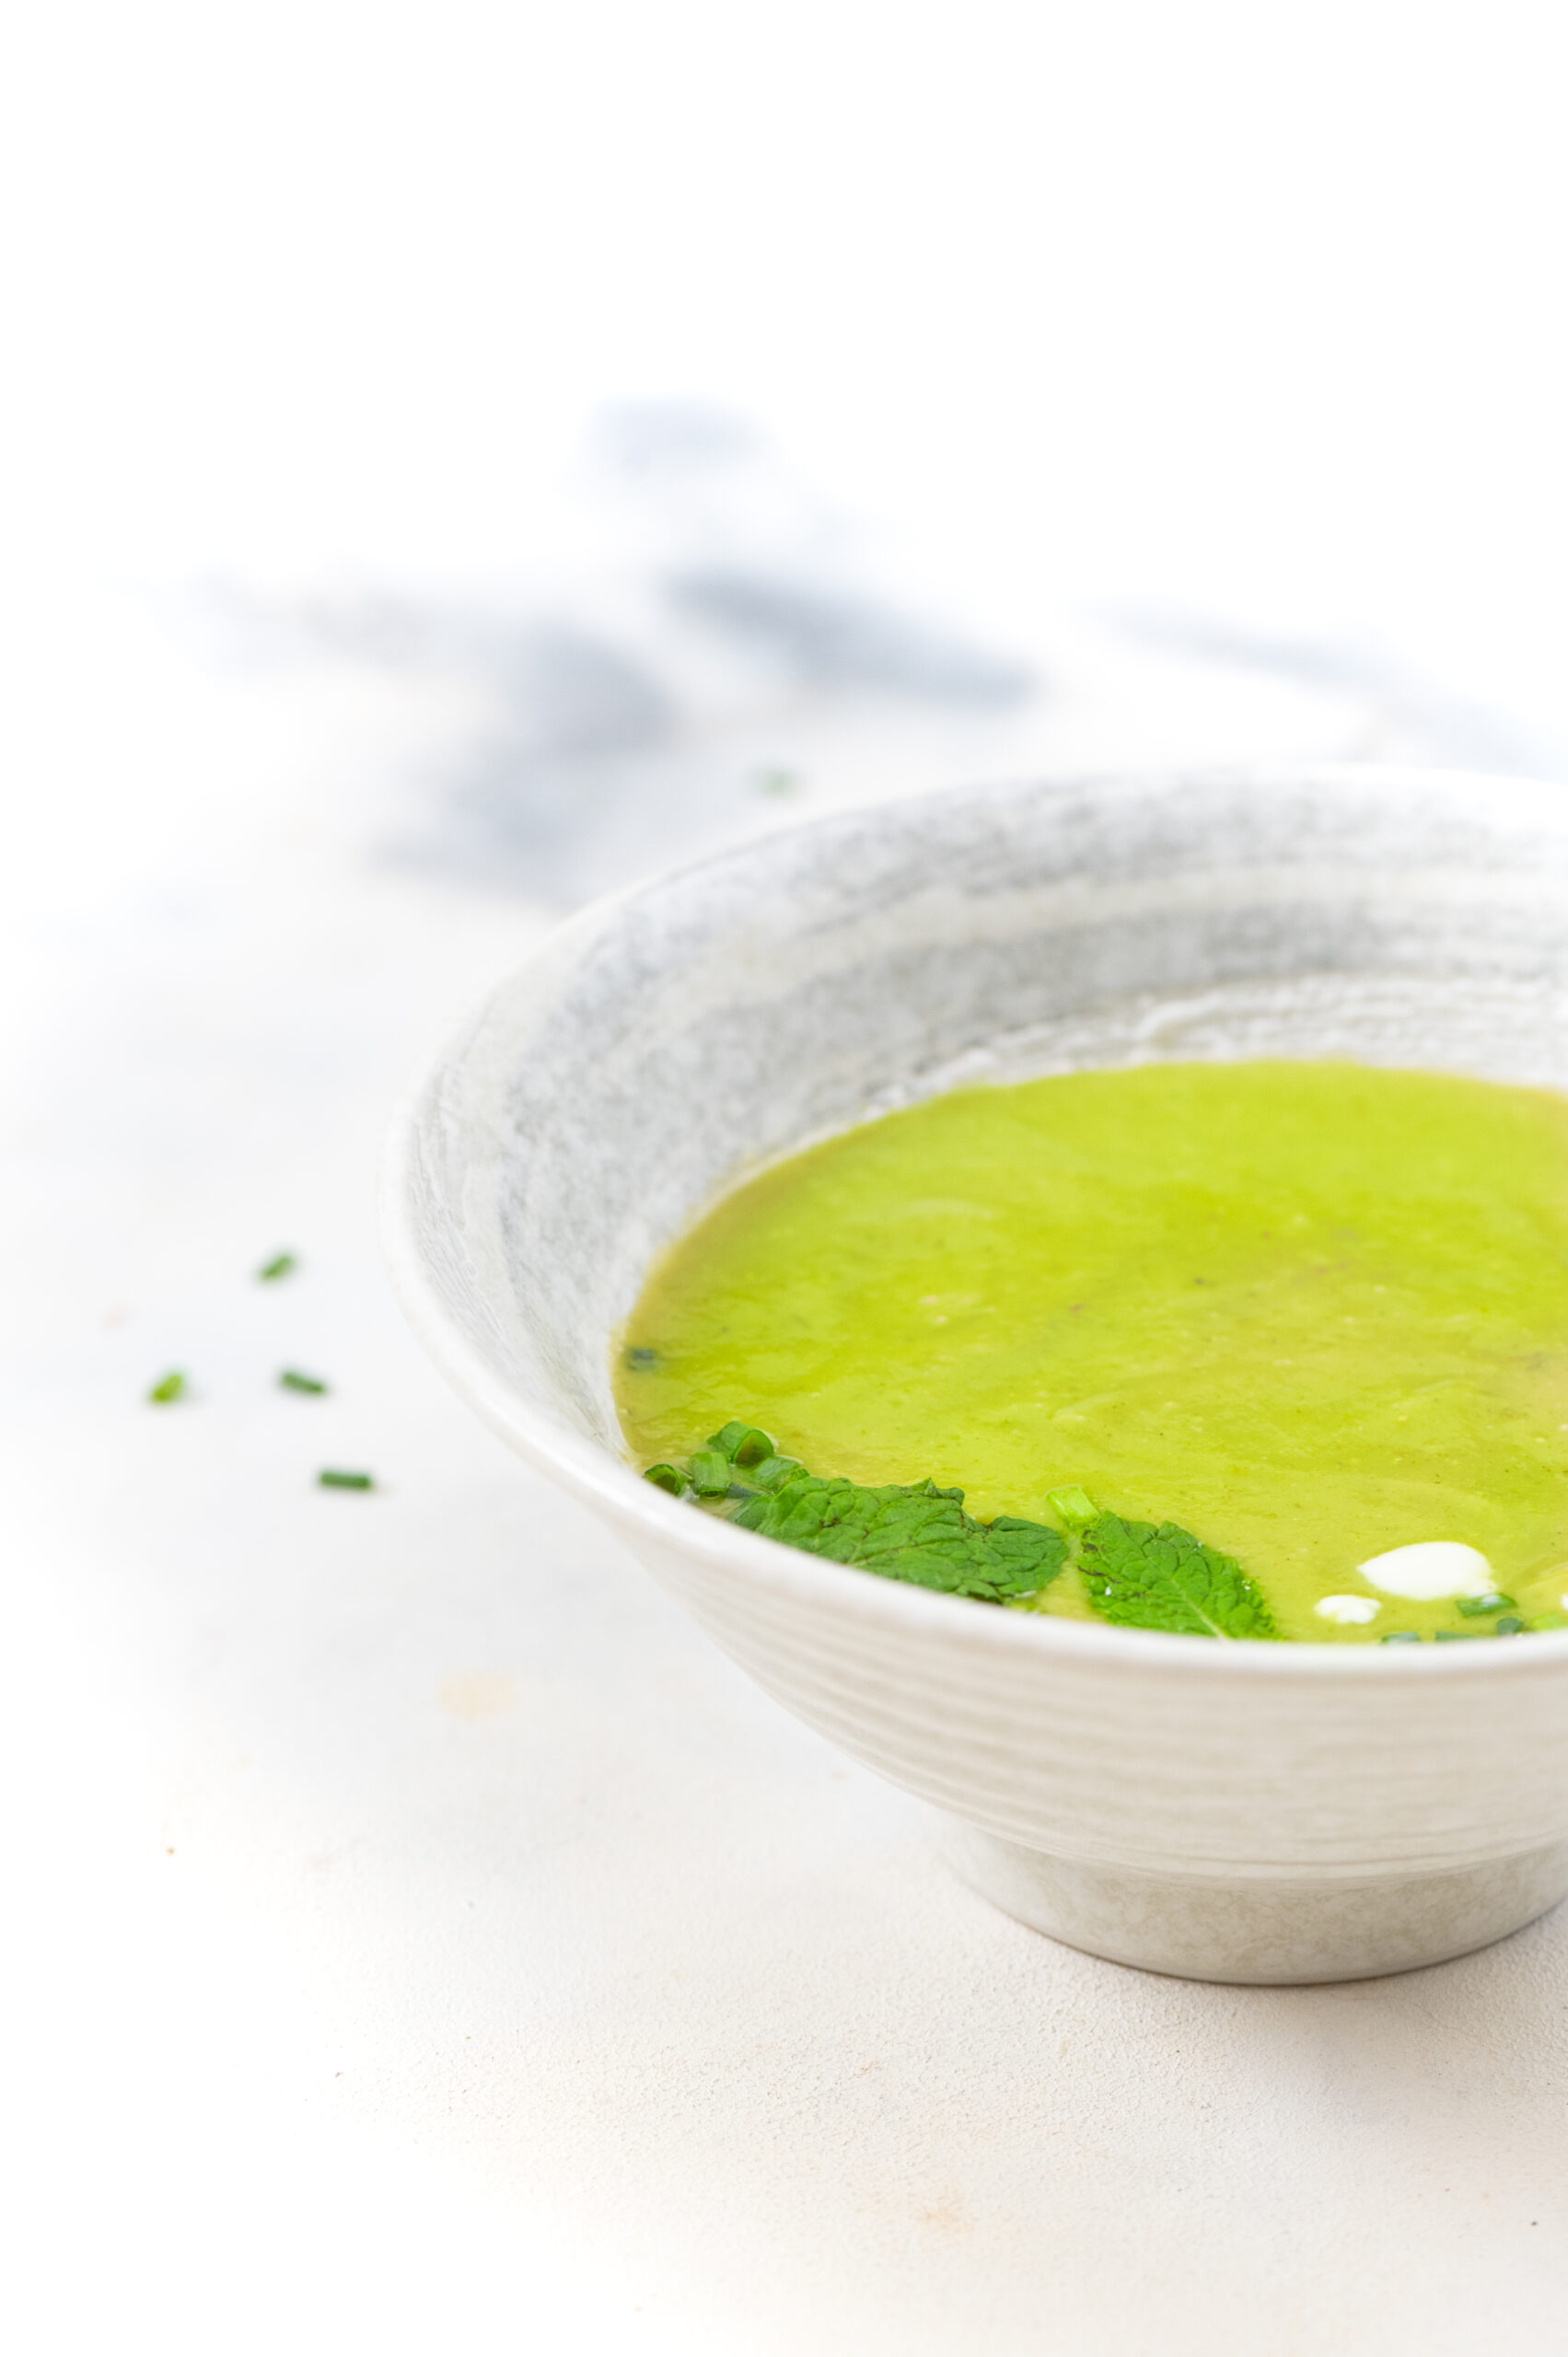
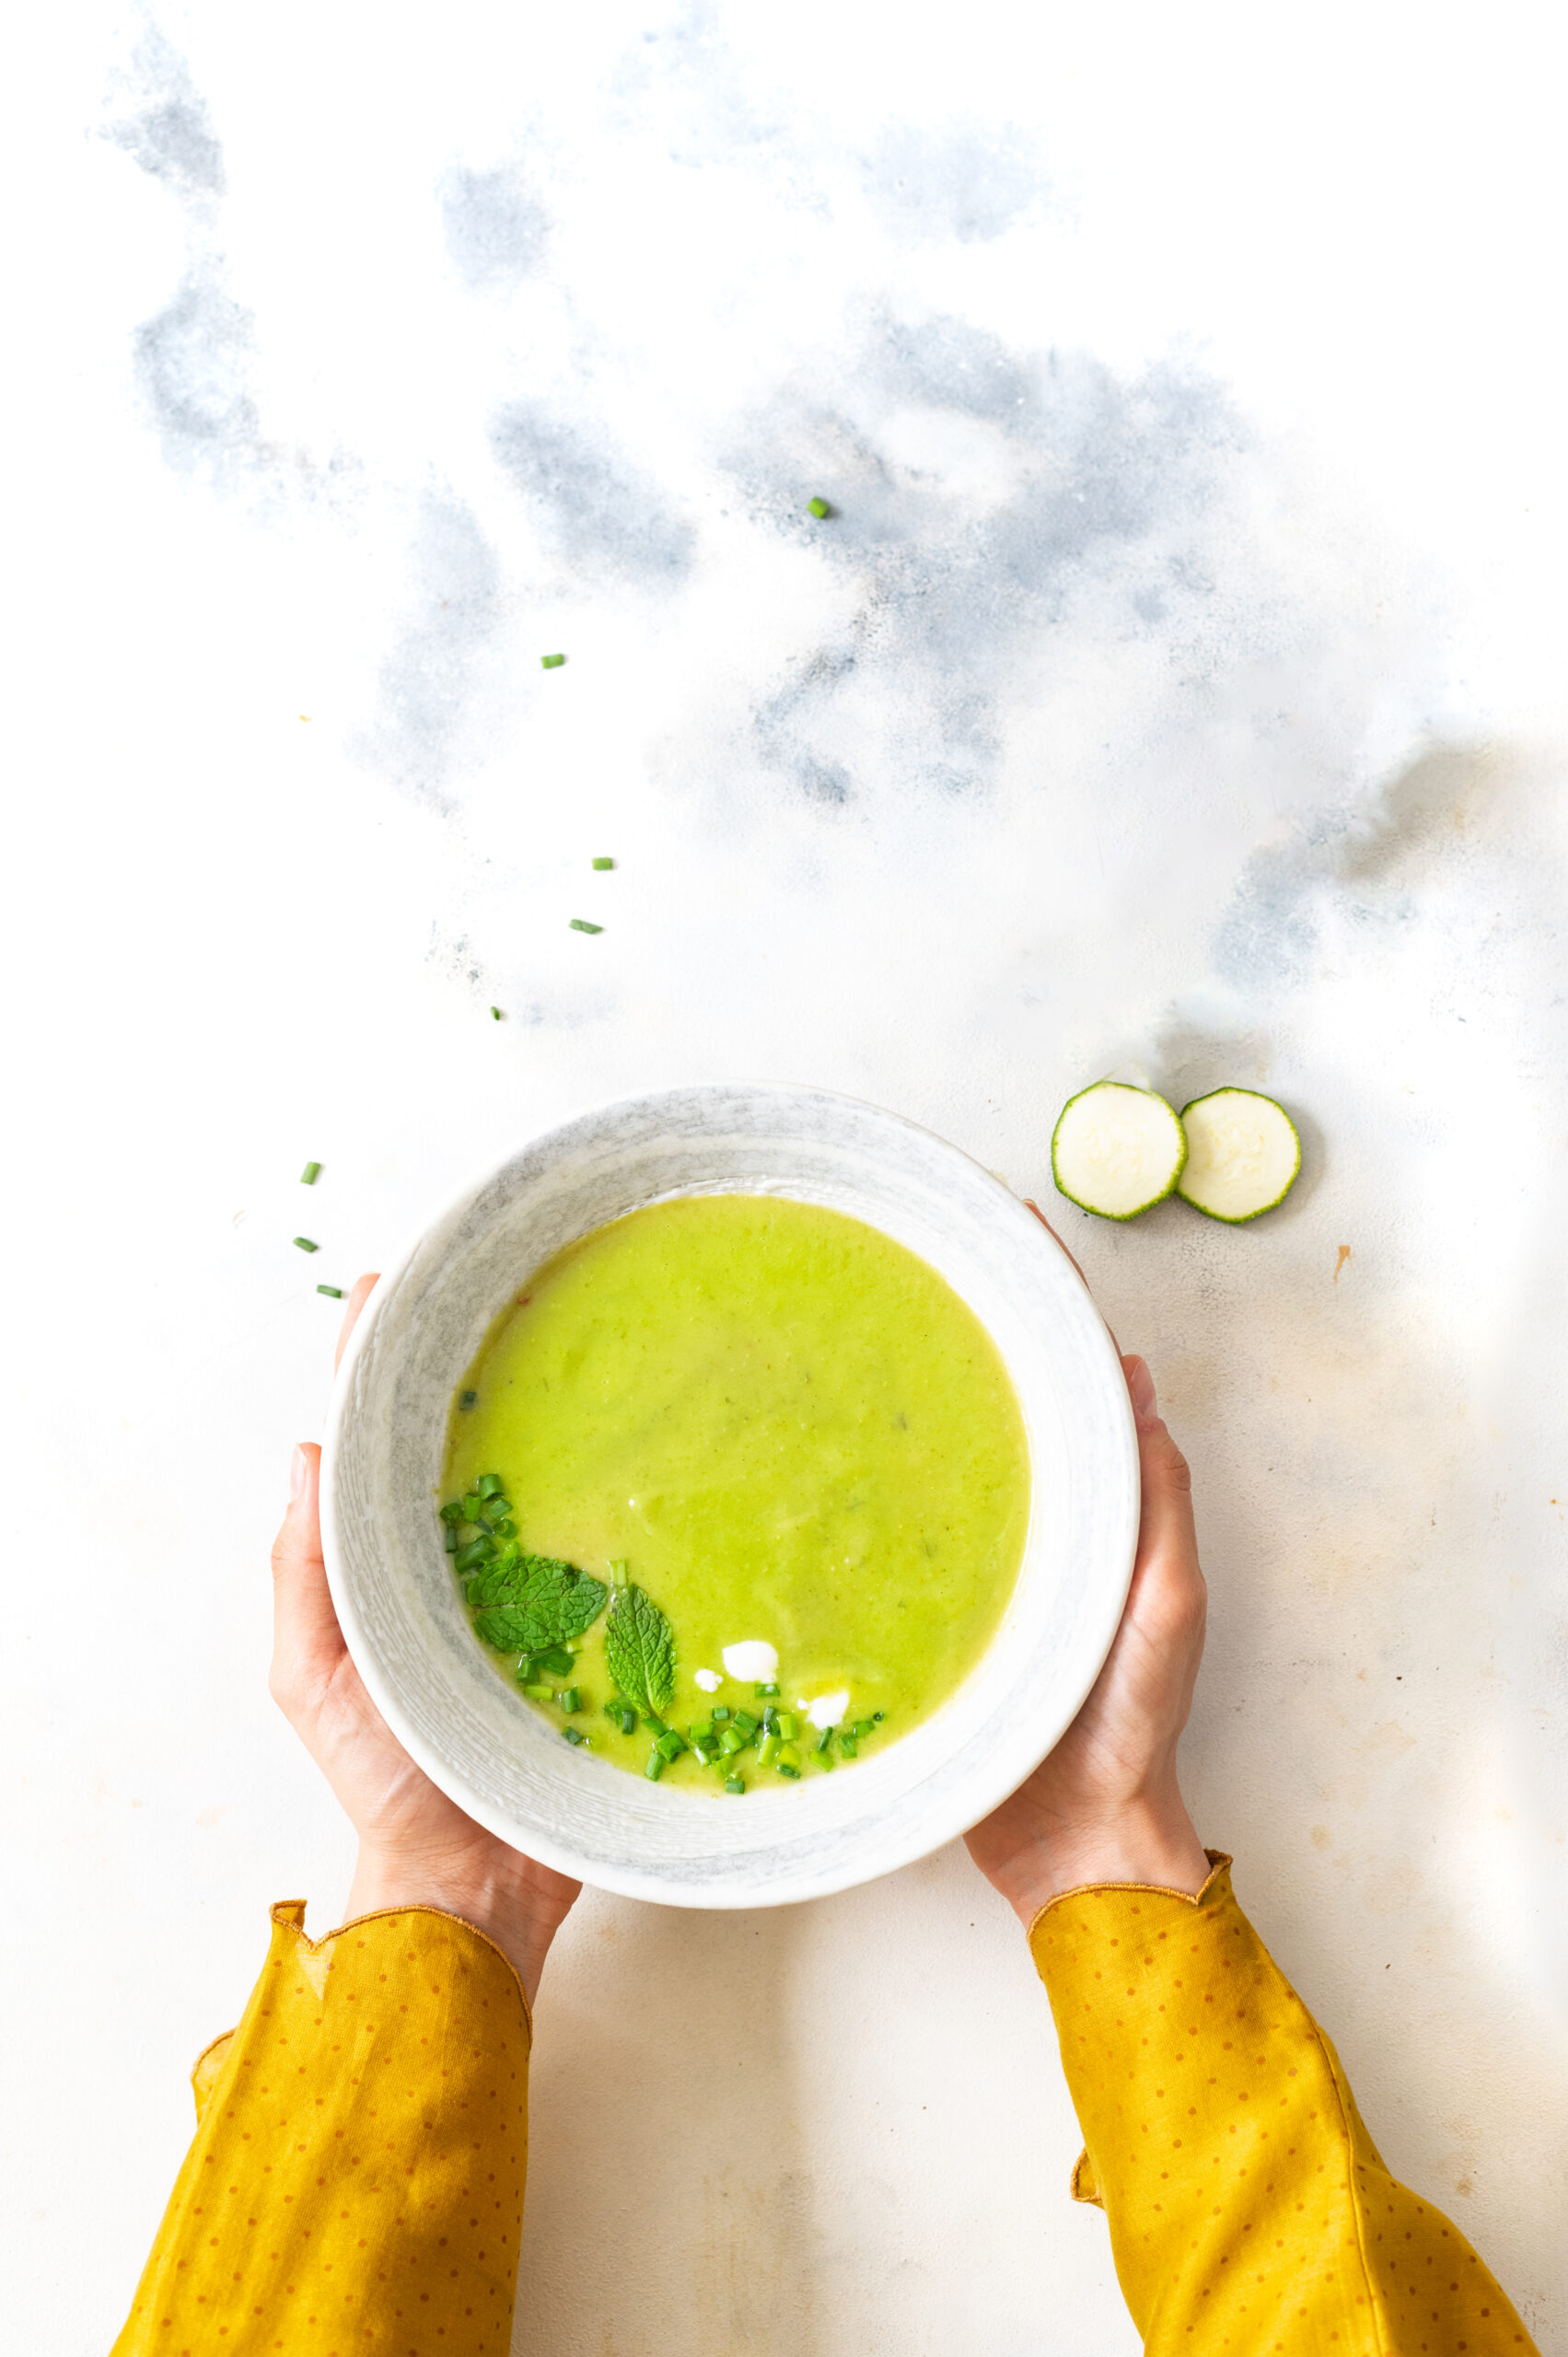
There are a few types of zucchinis available in Indian markets, and certainly even more abroad. I used the green one and decided to leave the skin on as it was very thin, and I wouldn’t be surprised to learn that it’s also good for you. The bitterness of vegetable skins is why people usually discard them, but it’s often the case that nutrients may be packed within. Besides which, leaving the skin on meant that the colour of my soup really popped. You know how I always say that food must please the eye first, which is why attractive plating is so important when you serve a meal.

The aesthetics are also important to me as a photographer. Most of you know that the dark and moody tones of the Dutch masters are my inspiration, and I try to replicate the visual effect of their paintings through my own Indian still life and culinary images. However, while doing the photoshoots for this recipe (yup, I did a few – I have fun playing with different looks and pursuing the perfect one), I decided to step out of my comfort zone and challenge myself by making white the key note. I was aiming to capture summer’s brightness in these images, and I enjoyed the result, even though deep, sombre tones will always be my big love. I’m curious to know what you think of this style. I’m always excited about new discoveries both in the kitchen at re:store and behind the camera at Nandi Shah Photography.

It’s birthday month right now at our household, with both my husband and I being June-born. But I’m off sugar for three weeks, and after the cake binge we had on this blog (therefore, at home as well!) recently, I wanted to think up something fun but healthy to share to celebrate. I’d never have imagined that zucchinis would be a part of it, but here we are. This surprisingly simply and surprisingly mood-uplifting zucchini soup really does make me feel like raising a mug or a bowl in a toast!


Zucchini Soup

(Yield: 2 servings)


200 grams chopped zucchini

30 grams shallots

2 – 3 cups hot water

Salt to taste

1 tablespoon olive oil

¼ teaspoon curry masala


Sauté the shallots in olive oil. Then, add the chopped zucchini and stir for a bit.

Next, add two cups of hot water and cover the pan with a lid. If you want the soup to be a little thin, or want to serve it as a beverage, use the third cup of water as well. As you can see from the photos, I personally prefer it thicker. Allow the vegetables to cook until they are tender.

Finally, add the curry masala and turn off the flame. Allow to cool just a little and blend. Serve the soup while it’s still warm.

Now that I’ve been swayed by the charms of the zucchini, I’m curious about other ways in which I might enjoy preparing it. I’ve heard that zucchini flower fritters are a fun snack, and that the flowers themselves are quite pretty, with yellow petals that brighten the plate. I haven’t seen them outside of photographs, but I’m certainly intrigued about getting my hands on some – both for the taste, and for the look! Another simple way to use the vegetable/fruit is to slice it up, roast it with a drizzle of olive oil, and serve it with a dip. A slightly more adventurous idea, but which is actually quite easy in preparation, would be zoodles. Made with a spiraliser and eaten either raw or cooked, zoodles are an ideal alternative to pasta for those who are on gluten-free diets. Do you have more ways to incorporate zucchini into your meals? Let’s chat in the comments.

I hope you’ll enjoy this simple and wonderfully spiced zucchini soup, and that it will taste just as extraordinary to you as it did to me the first time I had it at my friend Valli’s house. That day, as we sat around exchanging stories and sipping at this deliciousness, we all felt a little better about everything. Some food items and some friends just have that effect, don’t they? I know how important it is to bring comforting things into our lives at this time, and I hope that this recipe will be one of them. May good health return to us all on the planet, and with it, may we cherish our diversity and honour our oneness.
Lassi is an extremely popular and very effective Indian beverage, a coolant that’s popular in the summer months. Being yoghurt-based, it not only reduces the heat in the body but is also rich in probiotics. Naturally, the classic mango lassi had to find a place in my ongoing mango series here on the blog!

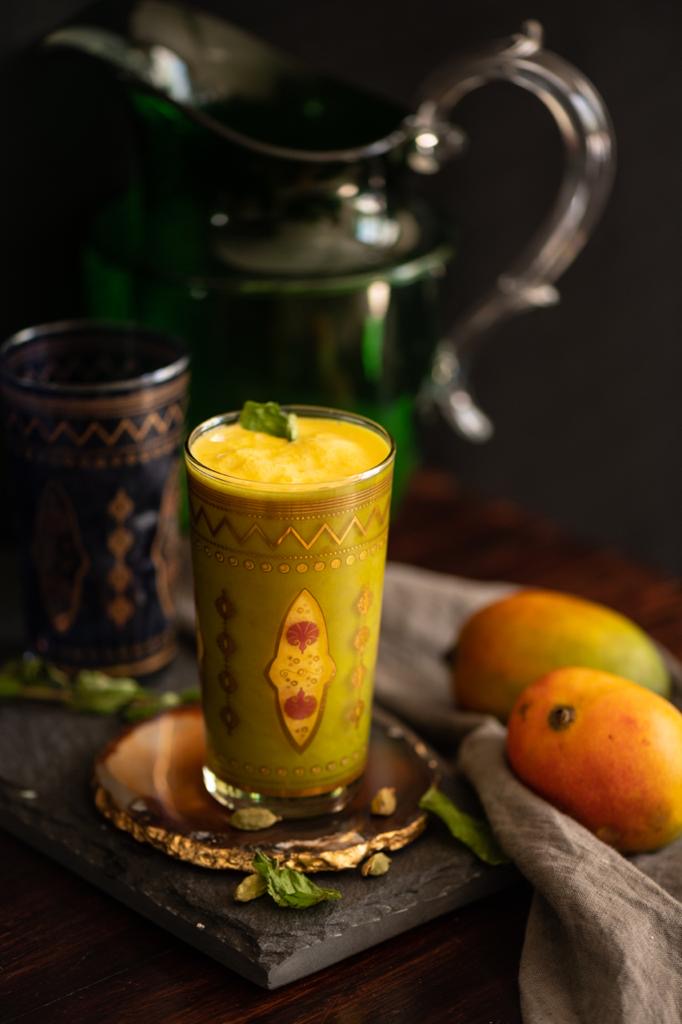
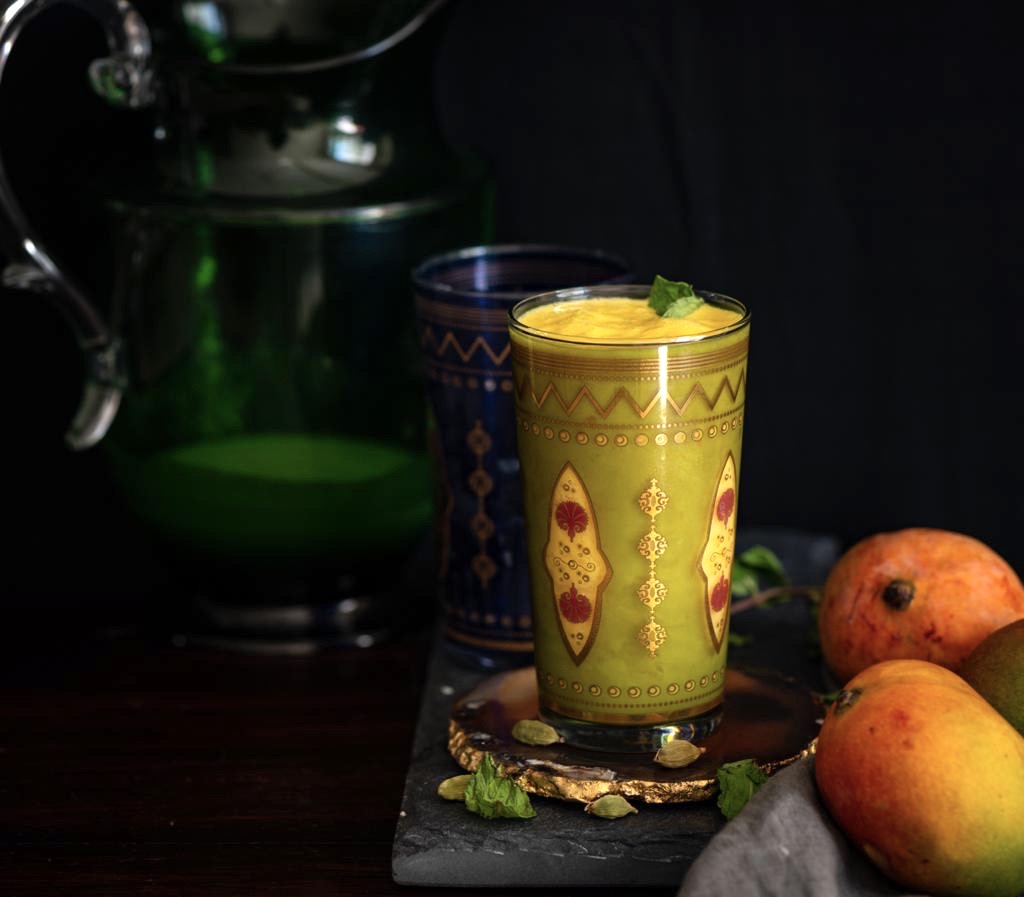
This wonderful, lip-smackingly good mango lassi doubles as a dessert. The natural sweetness of the fruit is enhanced by the use of honey (or a sweetener of your choice). I like a flavourful lassi, so a little cardamom and a sliver of ginger go into mine as well.

Some wonder whether mangoes, which are known to be a “heaty” fruit, can really be eaten so much during the summer, despite this being the season when they are most delicious. I’d like to share a very interesting Ayurvedic technique that I came across. It seems that by simply soaking the fruit in water for at least half an hour before consumption, the heat is depleted from it. Mixing it with yoghurt as one does with this lassi also neutralises the heat.

Yoghurt in India is usually homemade, and dairy is consumed regularly. Chaas, also known as buttermilk, was a daily drink for us when we were growing up, as our mother insisted that we always had it after lunch. Lassi is a more indulgent dairy drink that has the same beneficial effects. It can be had salty or sweet, and flavoured in many ways. As a child, I enjoyed a watery lassi best. An excellent savoury variant uses ginger, green chilli, mint, coriander and salt. As for the best sweet variant, well, the recipe is below!


Mango Lassi

(Yield: 2 servings)

½ cup peeled & cut Alphonso mango

½ cup plain yoghurt

¼ cup plain milk

1 cup water

A pinch of salt

1 heaped teaspoon sugar or honey

¼ teaspoon cardamom powder

½ teaspoon grated ginger

A few mint leaves

Blend all the ingredients together, except the mint leaves. Adjust the water quantity based on your requirement. If you prefer a thick lassi, use less. Or use more to thin it according to your preference.

Top with ice and serve with the mint leaves as a garnish. Sliced nuts or saffron also work well as garnishing options.

Mango season will continue on this blog, and hopefully in the world too, and I have a variety of innovative dishes I’m excited about sharing with you soon. So do stay tuned for more fruity deliciousness to come!

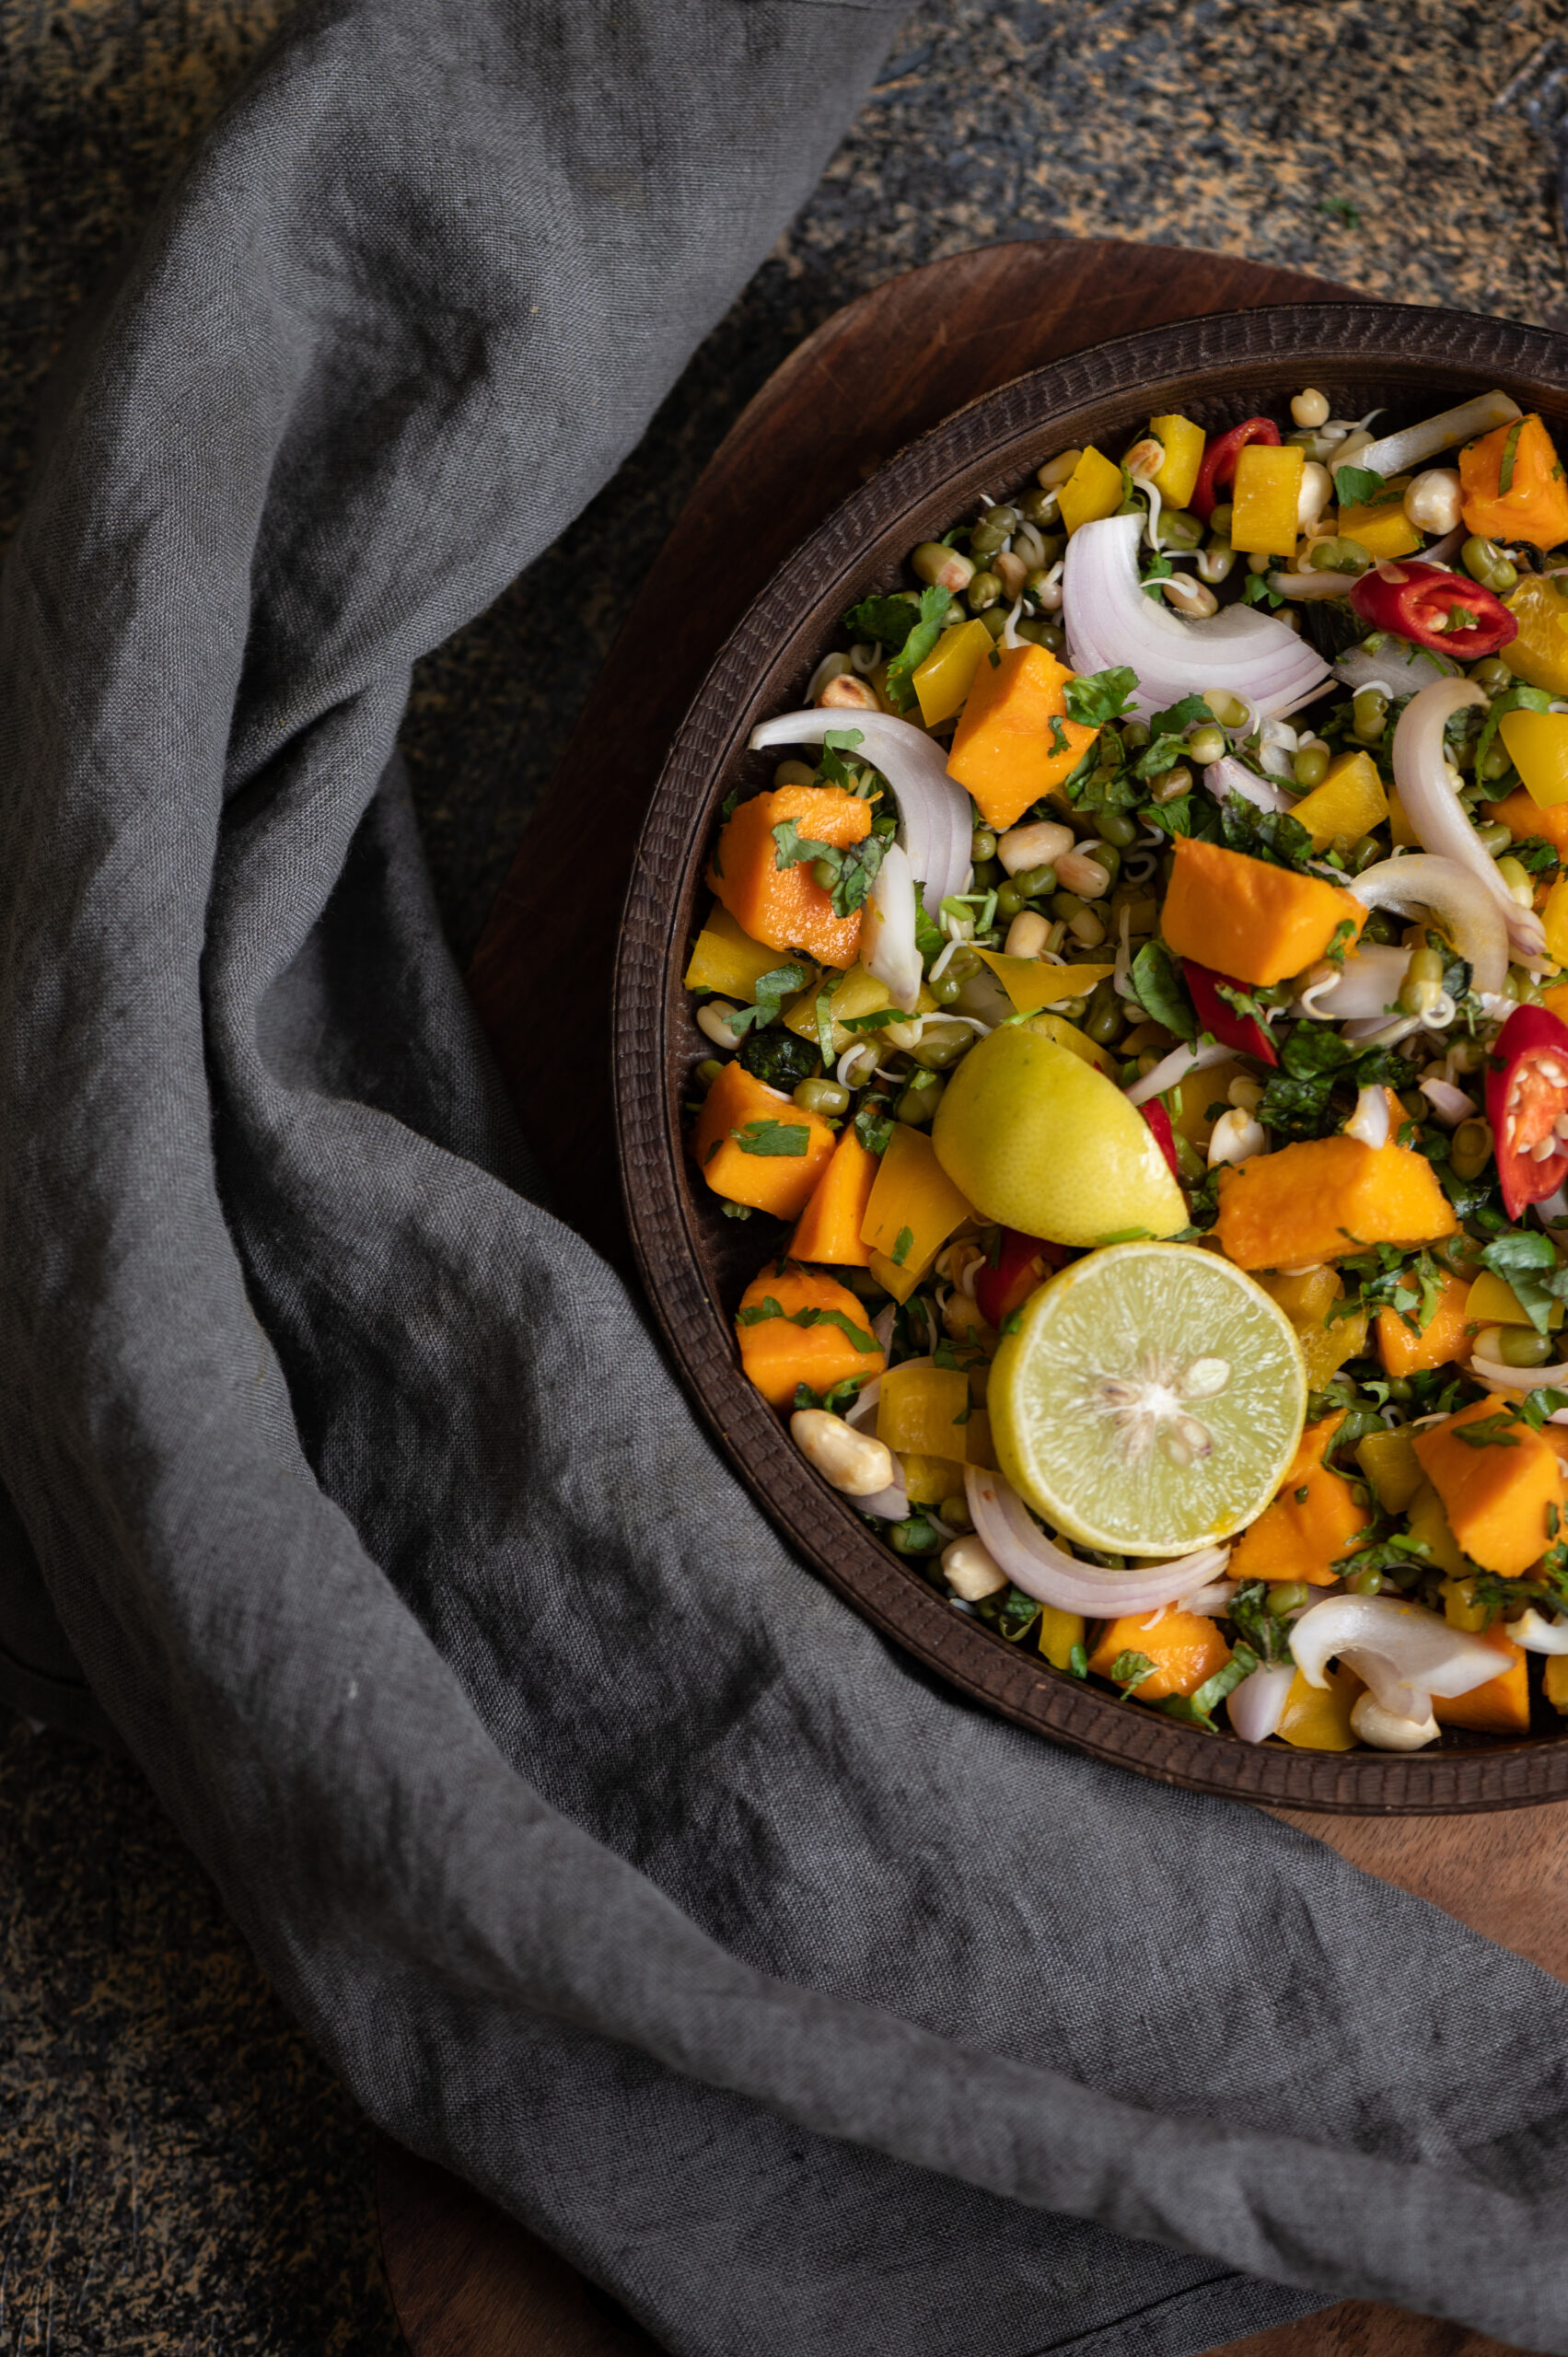
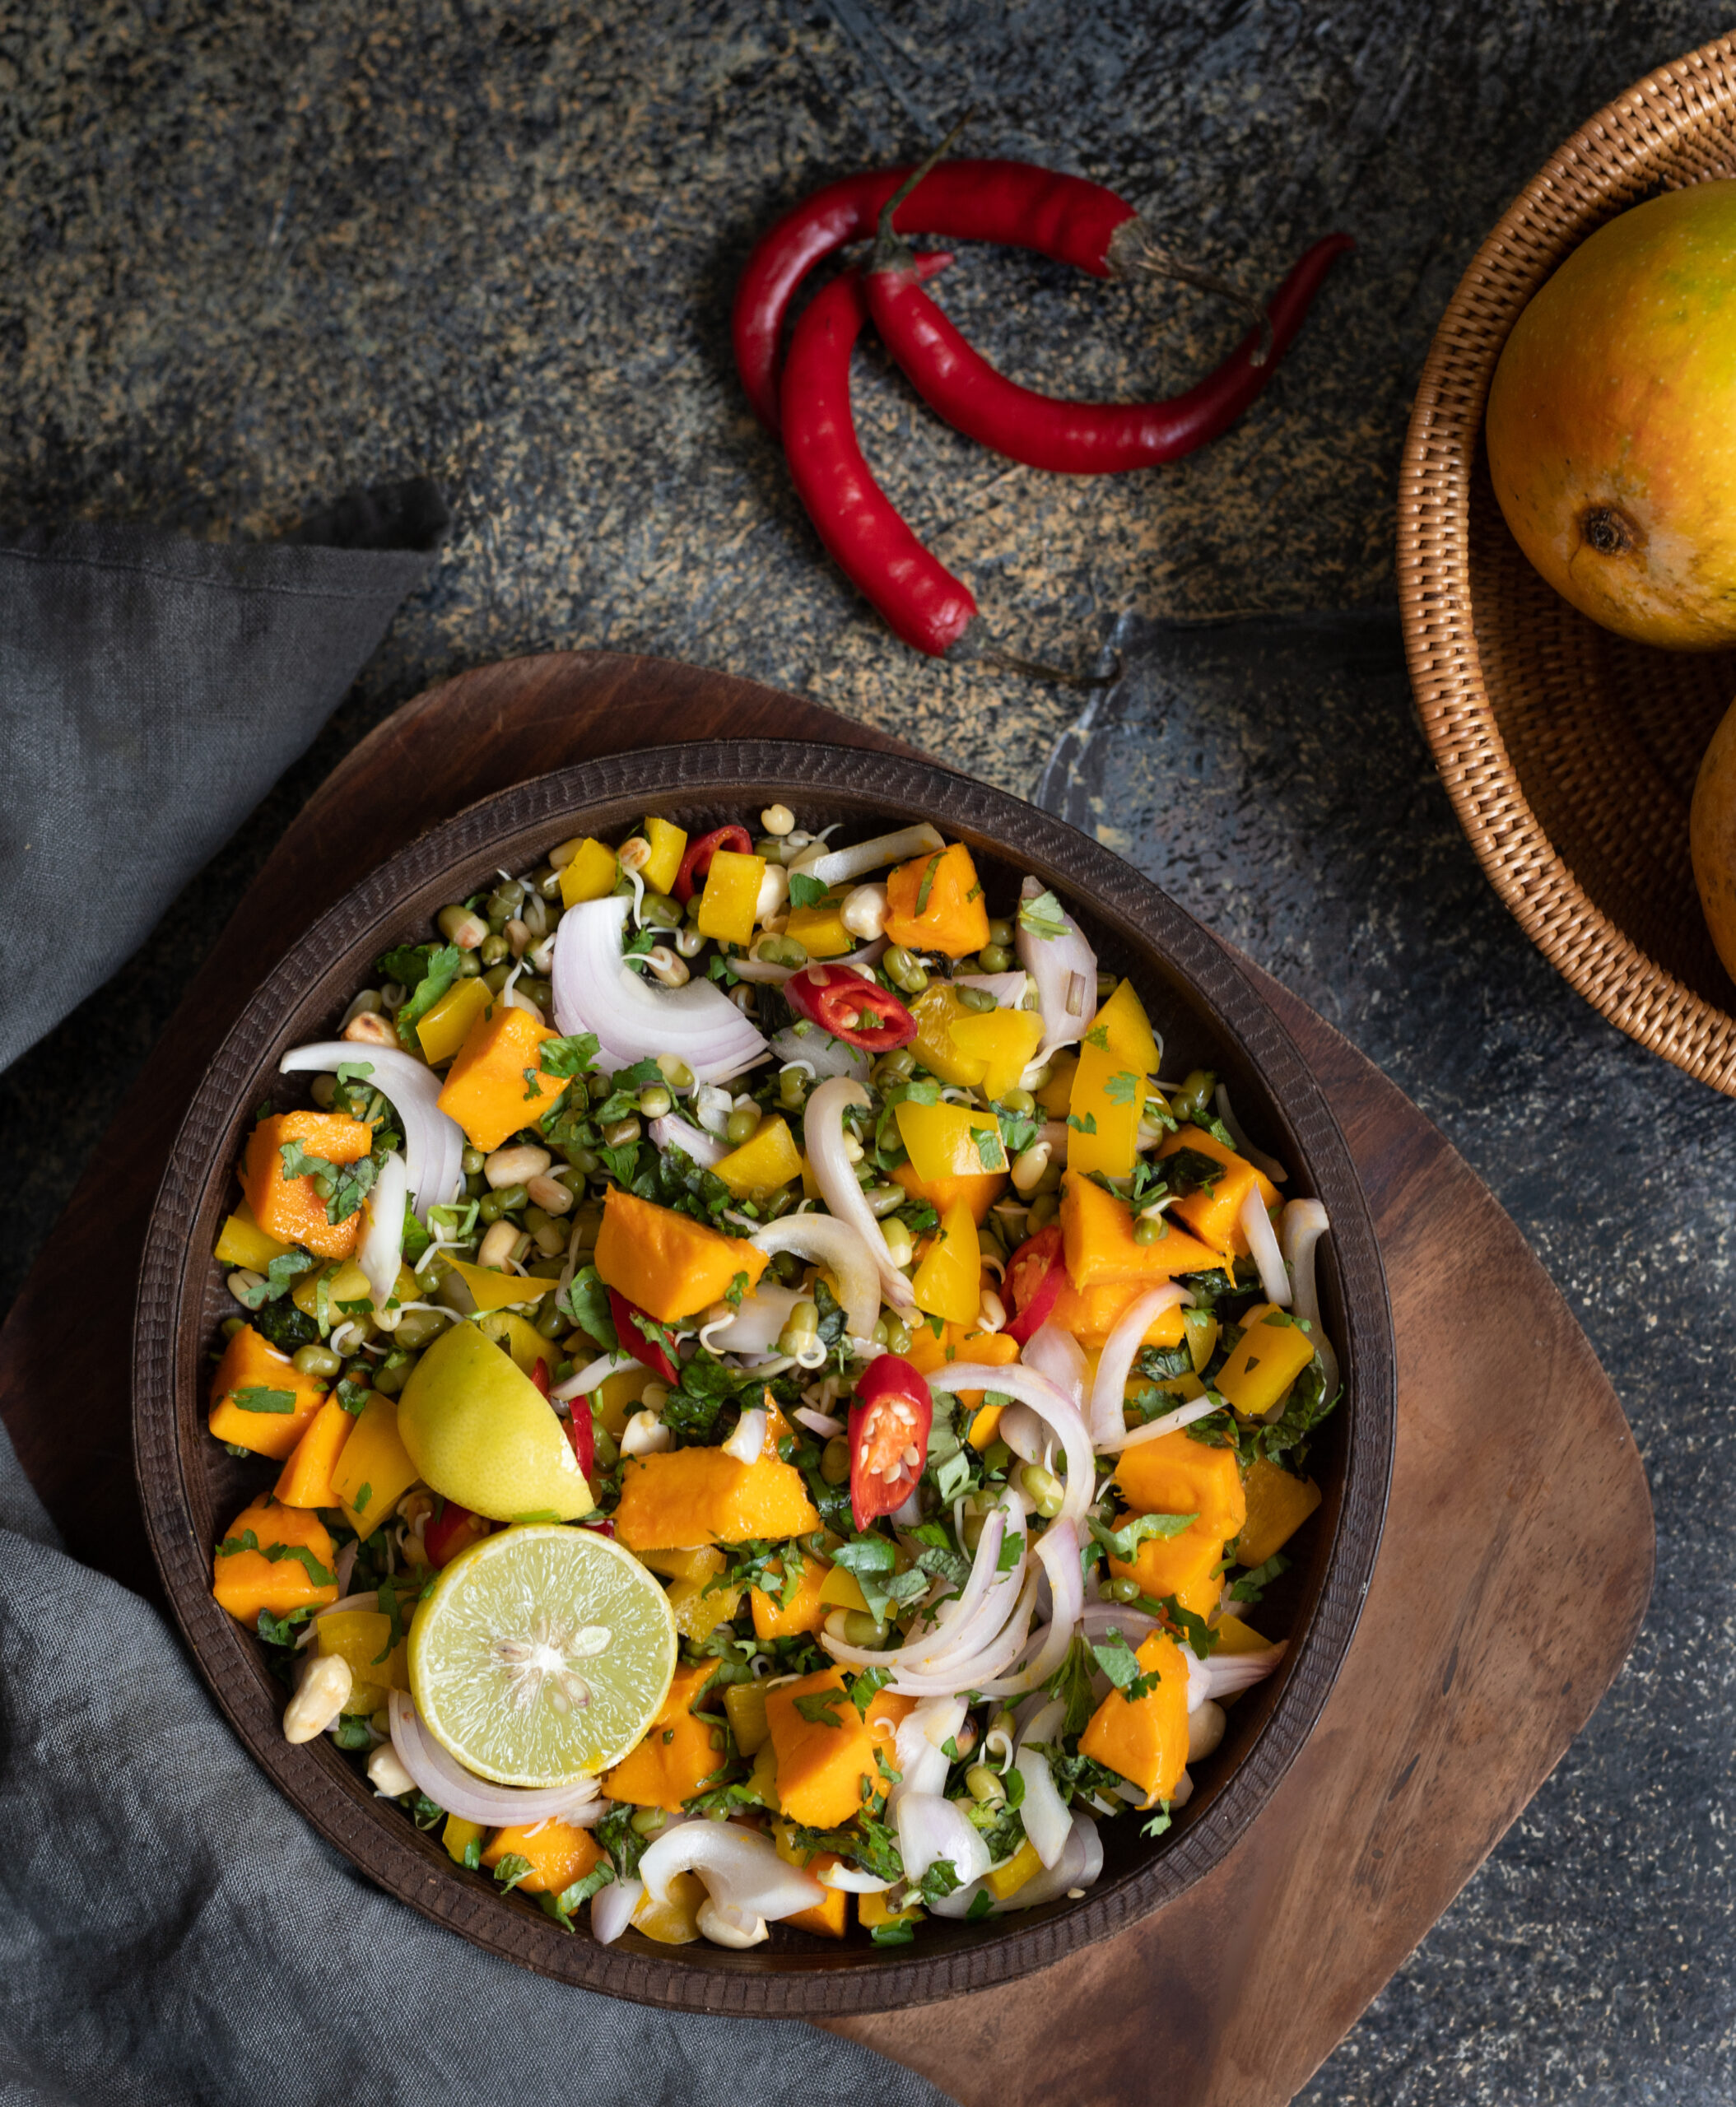
I was very fortunate to receive a batch of delicious Alphonso mangoes from Nashik, procured by a friend. Nashik is most famous for this variant, one of hundreds grown throughout the country, as it enjoys the ideal clime for its cultivation. I believe they are also grown in Andhra Pradesh and other places, but the Maharashtra Alphonso is the one with the beautiful orange flesh. The colour caught my eye as I cut the fruit open, and inspired me to do a mango series here. To kick things off, here is this filling and vibrant mango salad. This lovely dish is a way to bring a bright spark of healthiness into your diet, without compromising even the slightest bit on taste and flavour.

You may be wondering why I’m talking about good health again after posting three decadent cake recipes back to back. This is why: I believe we are at a point during this COVID-19 crisis when we are ready to empower ourselves to return to normalcy. There was a time and a place for mood-uplifting solutions, but now is the moment when we must accept that the pandemic is here to stay for a while. This means that we need to be more responsible in all aspects of life, pay closer attention to our health, and bring our diets back into balance as well.

The cake recipes were expressions of joy at a time when we all felt confused, terrified and hopeless, and this mango series retains the delectability factor but with a more nutritious angle. I’ve always been very health-conscious, as long time readers will most likely know. I’m not getting any younger, and cutting down on carbs, increasing protein intake and prioritising general well-being and mindful caution are important to me. Honestly, I feel excited about this. I believe we will be able to rise to this challenge. I think this is probably the reason why the human race is at the top of the pyramid of Earth’s many species. No matter what happens, we slowly achieve a sense of normalcy and practicality. We believe in and foster hope.

Of course, it being mango season makes this turn towards pragmatism all the sweeter. Mangoes are lower in calories relative to other fruits, and are a source of Vitamins A and C and beautifying beta-carotene (which is good for the skin). They’re so tasty that it’s hard to believe they could be beneficial, but like all fruits, they are.

This mango salad that I’ve been making lately is such a super hit at home that my family has begun asking for it daily. Considering that the season is limited, usually lasting till the end of June but subject to climactic changes, I’m happy to indulge everyone.

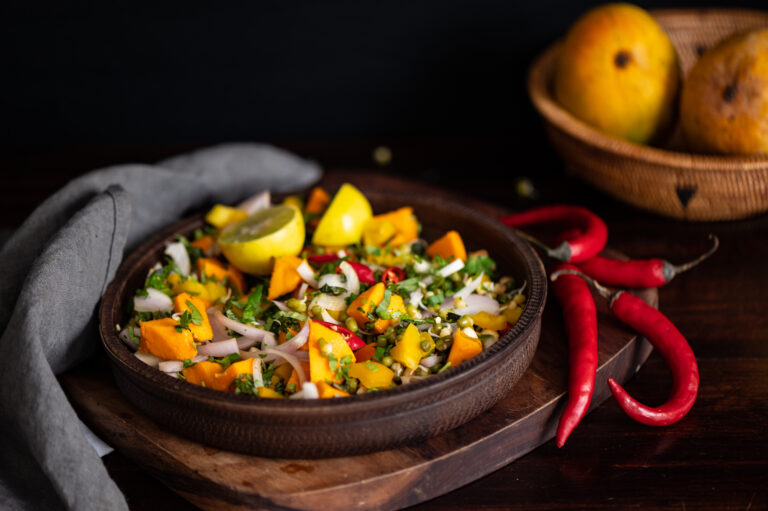
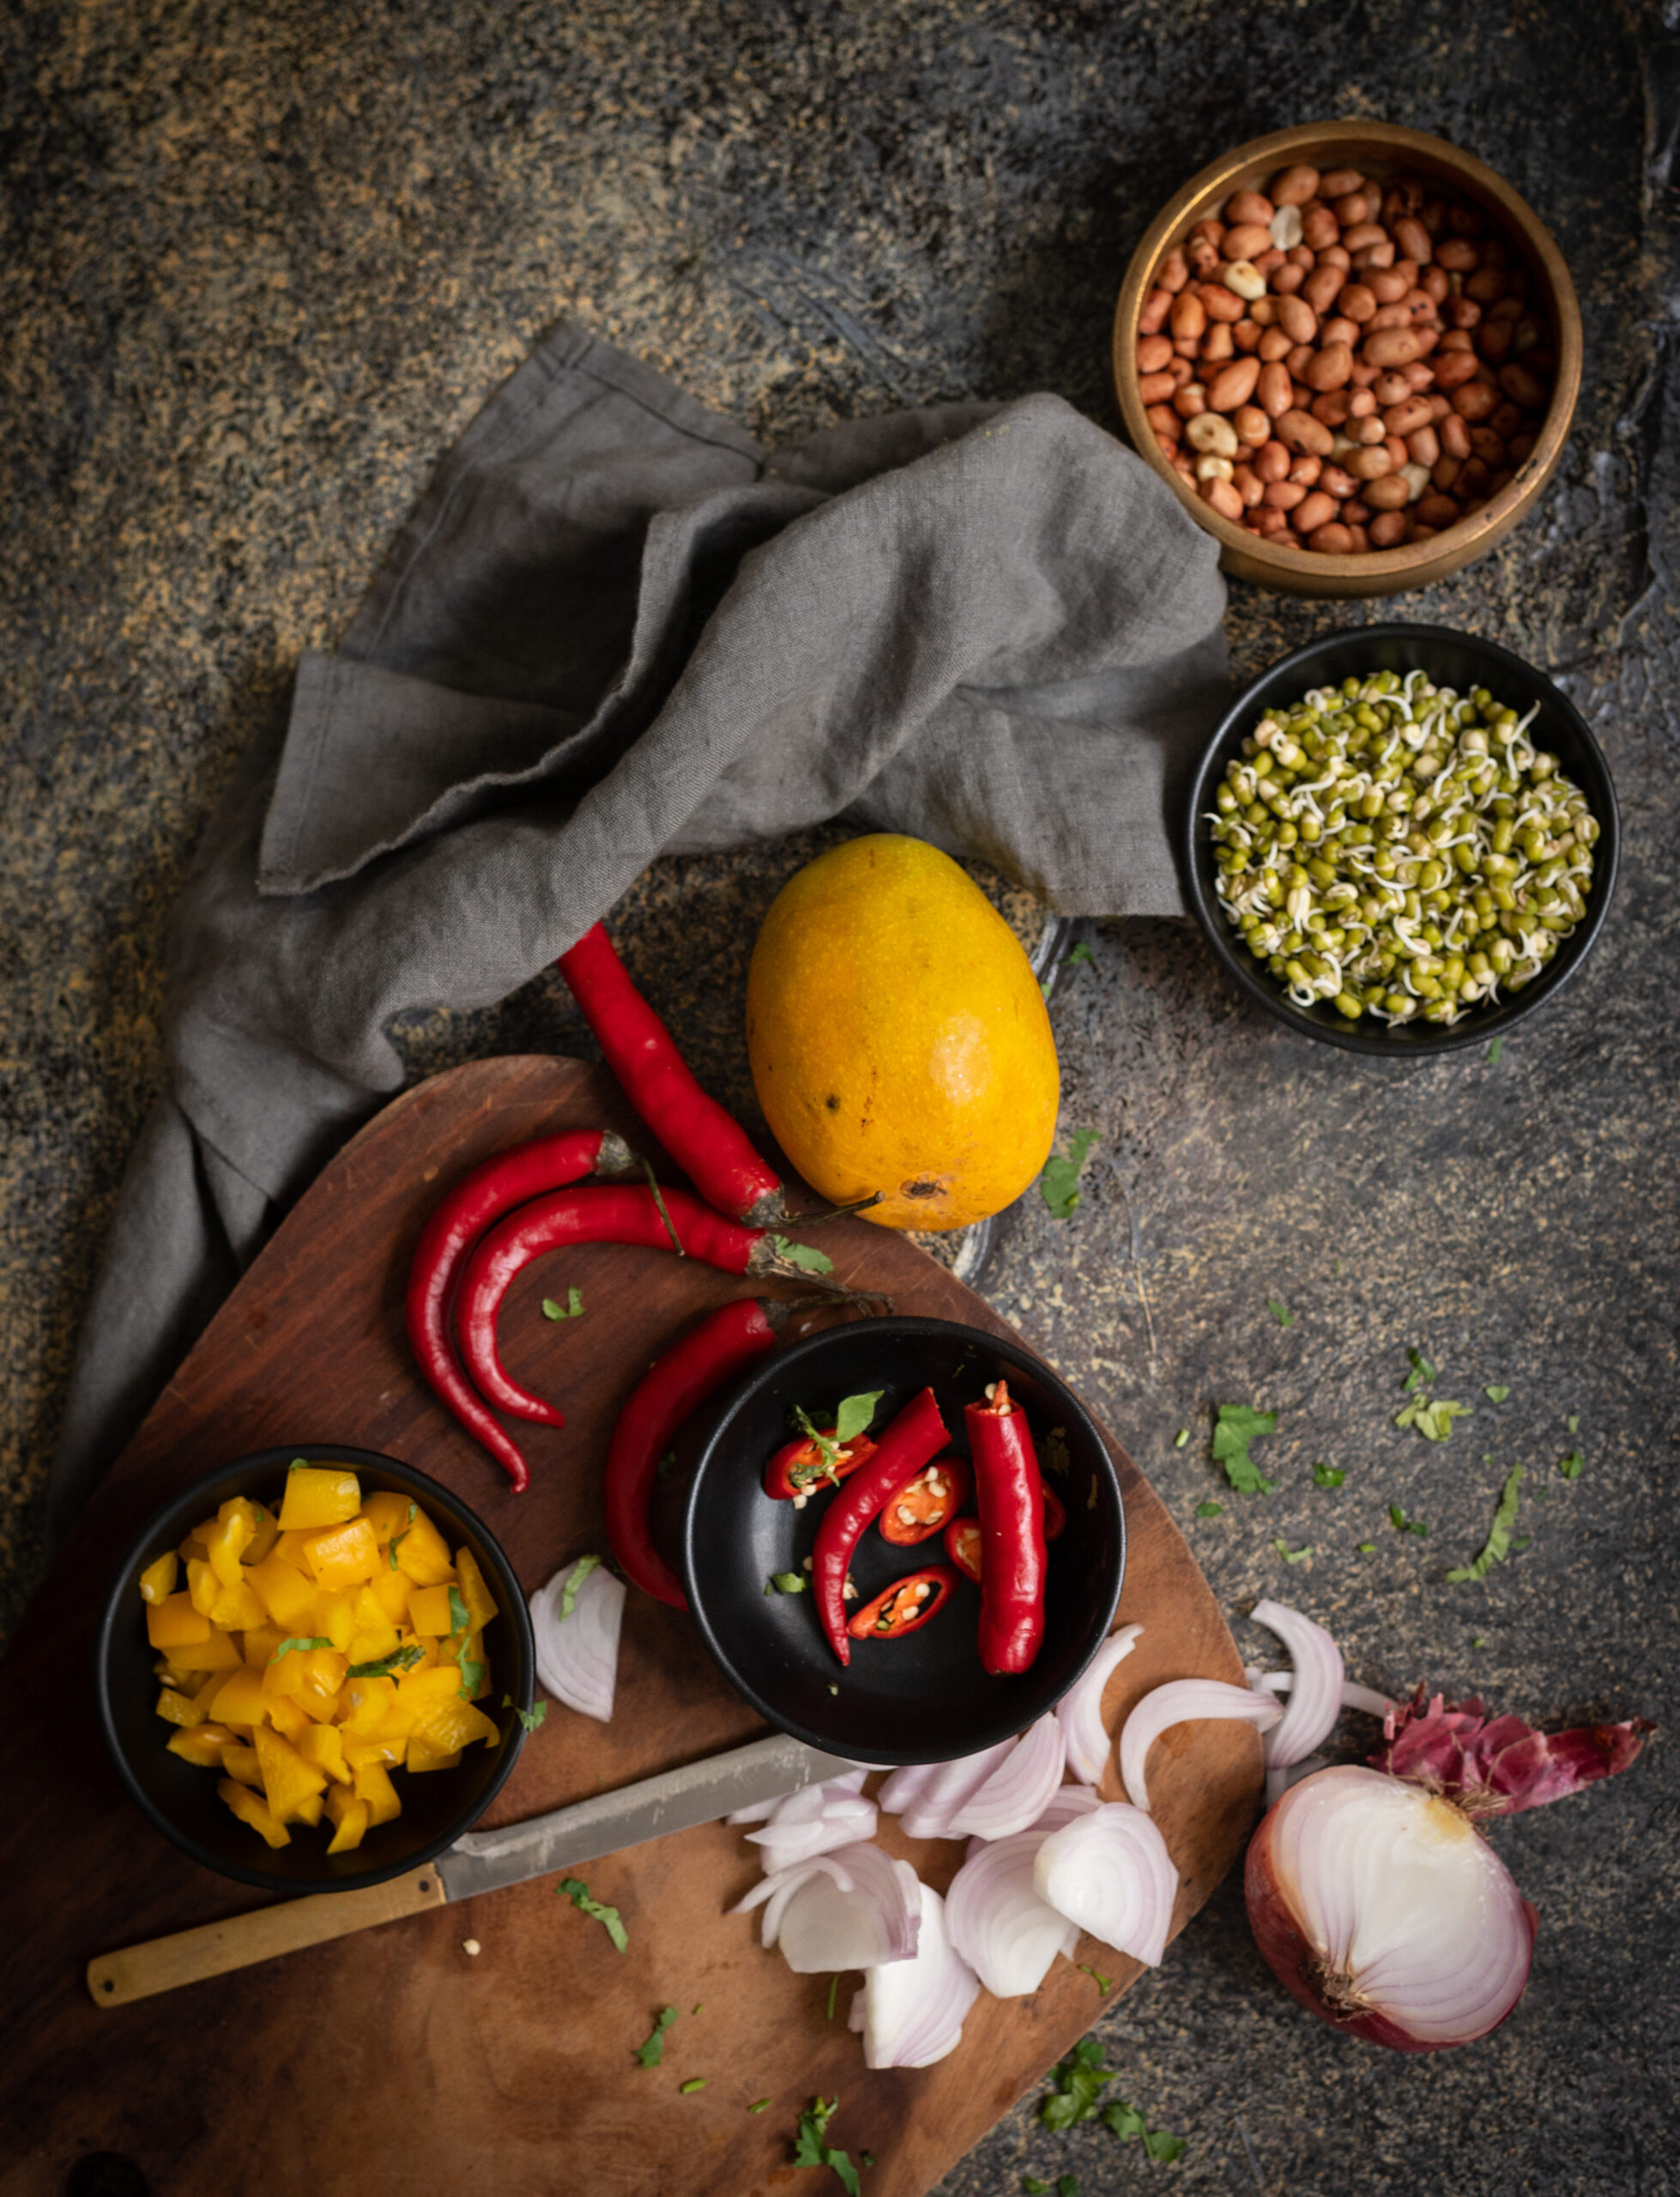
This is a recipe that I came up with, and it layers the sweet fruit with some Asian flavours, courtesy of soy sauce, lemongrass and a sprinkling of peanuts. I add mung bean sprouts for protein, and you may also wish to sauté long strips of tofu or chicken and mix them in if you prefer. Both work well with the Asian flavours, and boost the protein quotient. I sometimes add a grain like quinoa or wild rice to make it an even more textured and filling meal. Other vegetables I’ve used also add a nice crunch, contrasting the soft fleshiness of the mangoes.

It looks and tastes absolutely fantastic – I enjoyed this whole bowl for lunch right after my photoshoot!

I’ve been loving thinking up different ways to make mangoes an ingredient in different dishes, some of which you’ll see on this blog soon. I’ve also been trying to make mango pickle with raw mangoes, growing on one of my trees at home. Gujarati pickles need to be sun-dried in the initial stages, so I am making the most of this hot weather. You could say I’ve been making the most of mangoes, as well as making the most of the summer sun.


Mango Salad

(Yield: 1 bowl)

1 cup freshly cut ripe, firm mango

½ cup bell peppers

½ cup sliced onions

½ cup sprouted mung beans

1 tablespoon chopped mint leaves

1 tablespoon chopped coriander leaves

½ teaspoon finely cut lemongrass

2 cloves garlic

1 teaspoon finely cut jalapeños

½ chopped red chilli

2 tablespoons roasted peanuts


Dressing:

Salt to taste

1 teaspoon soy sauce

A drizzle of honey

1 tablespoon lemon juice

1 pinch pepper

Mix the salad ingredients together. It’s always best if they’ve been chilled.

Stir the dressing ingredients together well, separately.

Now, pour the mixed dressing over the salad ingredients. Stir gently to assemble the dish, making sure that the dressing coats all of the salad. Voila! The simplicity of preparing this dish is an extra plus in these sweltering months, cutting down on your time in the kitchen.

Refrigerate for a short while, so that you’ll get a fresh and chilled salad at serving time.

Then, all that’s left to do is to enjoy it! You’ll find that the sweetness of the soft ripe mangoes is enhanced by the tanginess of the dressing, and marvellously contrasted by the crunchiness of the nuts and vegetables. What you have is an interestingly textured, and exceedingly tasty salad that can be a starter, a full meal, or a snack – depending entirely on your mood.

I’m in the mood for mangoes any day of this season – are you? Let me take this opportunity to wish all who are celebrating the occasion a very happy Eid. I’d love to hear if my mango salad becomes a part of your celebrations!

With my kids being at home with me during the lockdown, I’ve found myself baking even more than usual – which is saying a lot! I’ve been enjoying this process, and as always I can’t help but reach out for my camera to challenge myself and indulge my creative side. With every new image of a cake that I post on Instagram, a flood of messages comes in, mostly from people asking for recipes. I’m so thankful to each and every one of you who enjoys my posts and I’m thrilled to share this recipe with you today.

The joke in the house is that I won’t share my cake recipes with my kids unless they bake along with me, which they rarely do. I’ve decided to make an exception as April happened to be my son’s birthday month, and I want to spread some happiness during what is a challenging time for all of us. This classic-style chocolate cake recipe is my gift to my son, to make use of when he returns to his city eventually, so he can remember all the bonding moments we shared together in these last few months. I am just as delighted to share it with you. As someone who took her first step into the world of entrepreneurship through the world of baking, I know just how much pleasure and empowerment and sheer comfort the process can bring. I hope you experience that delight today.

This chocolate cake is a repeat order in my house, so to speak, because it is my son’s favourite. Every single time I bake it, he relishes a generous slice and says, “Mom, today’s cake is the best one I’ve had in 27 years!” Every single time! Such appreciation truly makes my day. I’ve also noticed how there’s just something about cakes in particular that have such an uplifting effect. Perhaps that really is why they’re such a vital element of celebrations.

What I am sharing today is a no-fail or foolproof recipe. What’s lovely about it is that it is not very heavy, being oil-based. This also makes it very moist. It has a lovely, deep and rich colour which comes courtesy of the coffee powder used. The coffee powder enhances the cocoa flavour, and doesn’t impart even a whiff of its own flavour into the cake. Don’t be perturbed by it. This will not turn out to be a coffee cake. Follow the simple recipe step by step, and you’ll achieve a chocolate cake that is not cloyingly sweet, tastes absolutely delicious, and that you’ll no doubt bake over and over.


I hope that all of you baking for the first time because of the resultant free time due to the lockdown will also find the same comfort and satisfaction in it that I do. There are two things I’d like to share with beginner bakers. Firstly, I get a lot of questions about ingredient substitutes and shortcuts that go something like: “I don’t have baking powder; can I still bake a cake? How about without an oven?” My answer to them all is straightforward: baking is a science. It’s all about formulas and proportions. Once you’ve understood that, you can tweak ingredients, explore different flours and powders, and experiment. Until then, don’t start off on the wrong footing. Baking isn’t like cooking. It isn’t like replacing chilli powder with another spice. Every part of the process and every ingredient involved has a role to play when it comes to the final product of a cake.

Which brings me to the second major tip I have for beginner bakers: patience is key. If you’re in a hurry to see the end of the cake, it won’t happen! Enjoy the process.

I know that more people are binging on sweet treats now more than ever, so I’ll let you in on one more secret from the re:store kitchen. The key to moderation is not making less, it’s sharing more! A neighbour once asked my son, “Your mother bakes every day; how come you’re all so trim?” That’s because everything I put into the oven is split into many portions. For instance, whenever I bake this chocolate cake, everyone from family members to our household staff to our neighbours gets a slice. There’s a different quality of delight that comes when everyone partakes. Rest assured, there are never leftovers. It’s wonderful to bring that bit of sweetness into everyone’s day.

To my son: I hope this recipe travels with you through your life. Spending your birthday with the family, despite lockdown, was a beautiful occasion for us. Dressing up, dining together, cutting a cake, and bonding – we have been creating memories to cherish. I initially thought that we’d get on each others’ nerves, but I’m glad to be experiencing the opposite. We’re learning so much from each other about sharing and caring. Up until now, everyone was living in their own cities and doing their own thing, and sometimes I felt scared that I would be alone when I most needed it. Instead, the joy we’ve experienced in this time through being together reassures me of all the love that I have in my life.


Classic Chocolate Cake

(Serves 5)

Ingredients:

250 grams all purpose flour

85 grams unsweetened cocoa powder

400 grams powdered sugar

2 teaspoons baking powder

1 teaspoon baking soda

1 teaspoon salt

1 teaspoon coffee powder

120 ml oil

240 ml milk

2 tablespoons white vinegar

2 eggs

1 teaspoon vanilla essence

240 ml hot water


Butter icing:

150 grams unsalted butter at room temperature

400 grams icing sugar

¾ cup cocoa powder

1 teaspoon vanilla essence

A few drops of milk, if needed


Preheat the oven to 170°C. Prepare two 8’ cake tins by greasing the tins and dusting them with flour. Line the bases with parchment paper. The parchment paper helps release the cakes easily from the tins, after baking. Two tins are used as this allows you to put a layer of chocolate icing between them.

In a bowl, add the milk (at room temperature) and the vinegar. This is called buttermilk. Set aside.

Sift the dry ingredients together: flour, cocoa powder, salt, sugar, baking soda and baking powder.

In another bowl, add the eggs, oil, buttermilk and vanilla essence and mix them together.  If you’d like to, you can use orange or mint essence instead of the vanilla to give the cake a different flavour.

Now, add this wet mixture to the dry mixture and fold well, making sure there are no lumps. Do not over-beat. Next, add the coffee powder to the hot water to create a slightly thin liquid. Add this to the cake mixture too.

Now, pour the batter evenly into the prepared tins and bake for 30-40 minutes, or until a skewer comes out clean when you insert it.

Remove the tins from the oven and allow them to cool for 10-15 minutes. When cooled, flip the cake tins, remove the parchment paper and cool the cakes on a rack. Then, flip them back again (top side up).

While the cakes are cooling, prepare the icing. Stir the butter and dry ingredients with a spoon first, otherwise you’ll have the cocoa powder and sugar flying out of the bowl. Add the cocoa powder and vanilla essence, and slowly add the icing sugar until the mixture reaches a spreadable texture. Only once the mixture has been partially incorporated should you use a handheld blender. Beat until creamy. If required, add milk to achieve the consistency you desire. Store in the refrigerator.

Once the cakes have cooled to room temperature, you can frost and layer them to form a single cake. Here’s a video of the frosting – tempting, isn’t it?

Level the tops of both cakes with a sharp knife, until they are flat and even. Place one layer on a cake stand. Frost the top, and then gently place the second layer over it. Now, frost the top of this as well. If you have any kind of toppings on hand that you’d like to use, such as confectionery or fruit, go ahead and decorate the cake as you wish.

The trick to making clean slices lies in a half hour of refrigeration after frosting, so don’t skip this step before you serve it.

At a time like this, I believe that sharing something uplifting and refreshing is the need of the hour, and I could think of no better recipe that would do that than this beautiful chocolate cake. We should all remain in positive spirits, hoping and praying for the best and resisting feeling pulled down. I want you to feel good when a notification about a new post from me arrives. So I want you to tell me: what are some recipes you’d like to see on the blog in future? Looking forward to hearing your wishes in the comments!

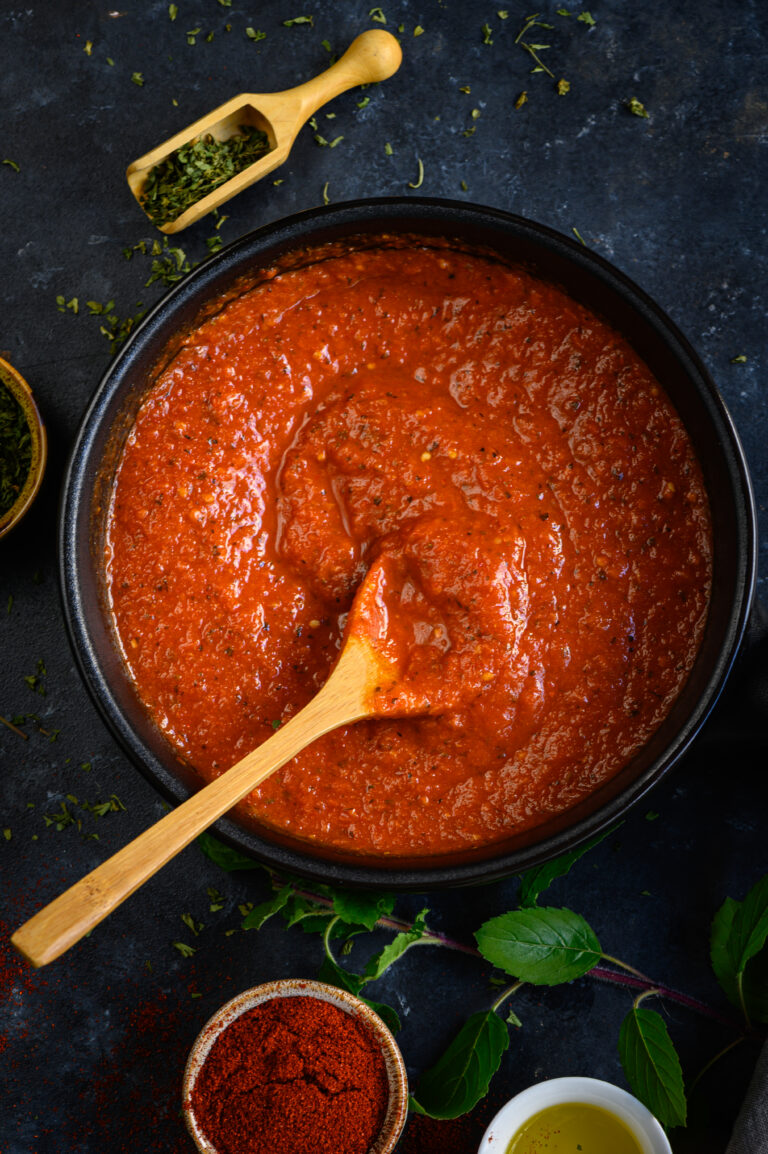
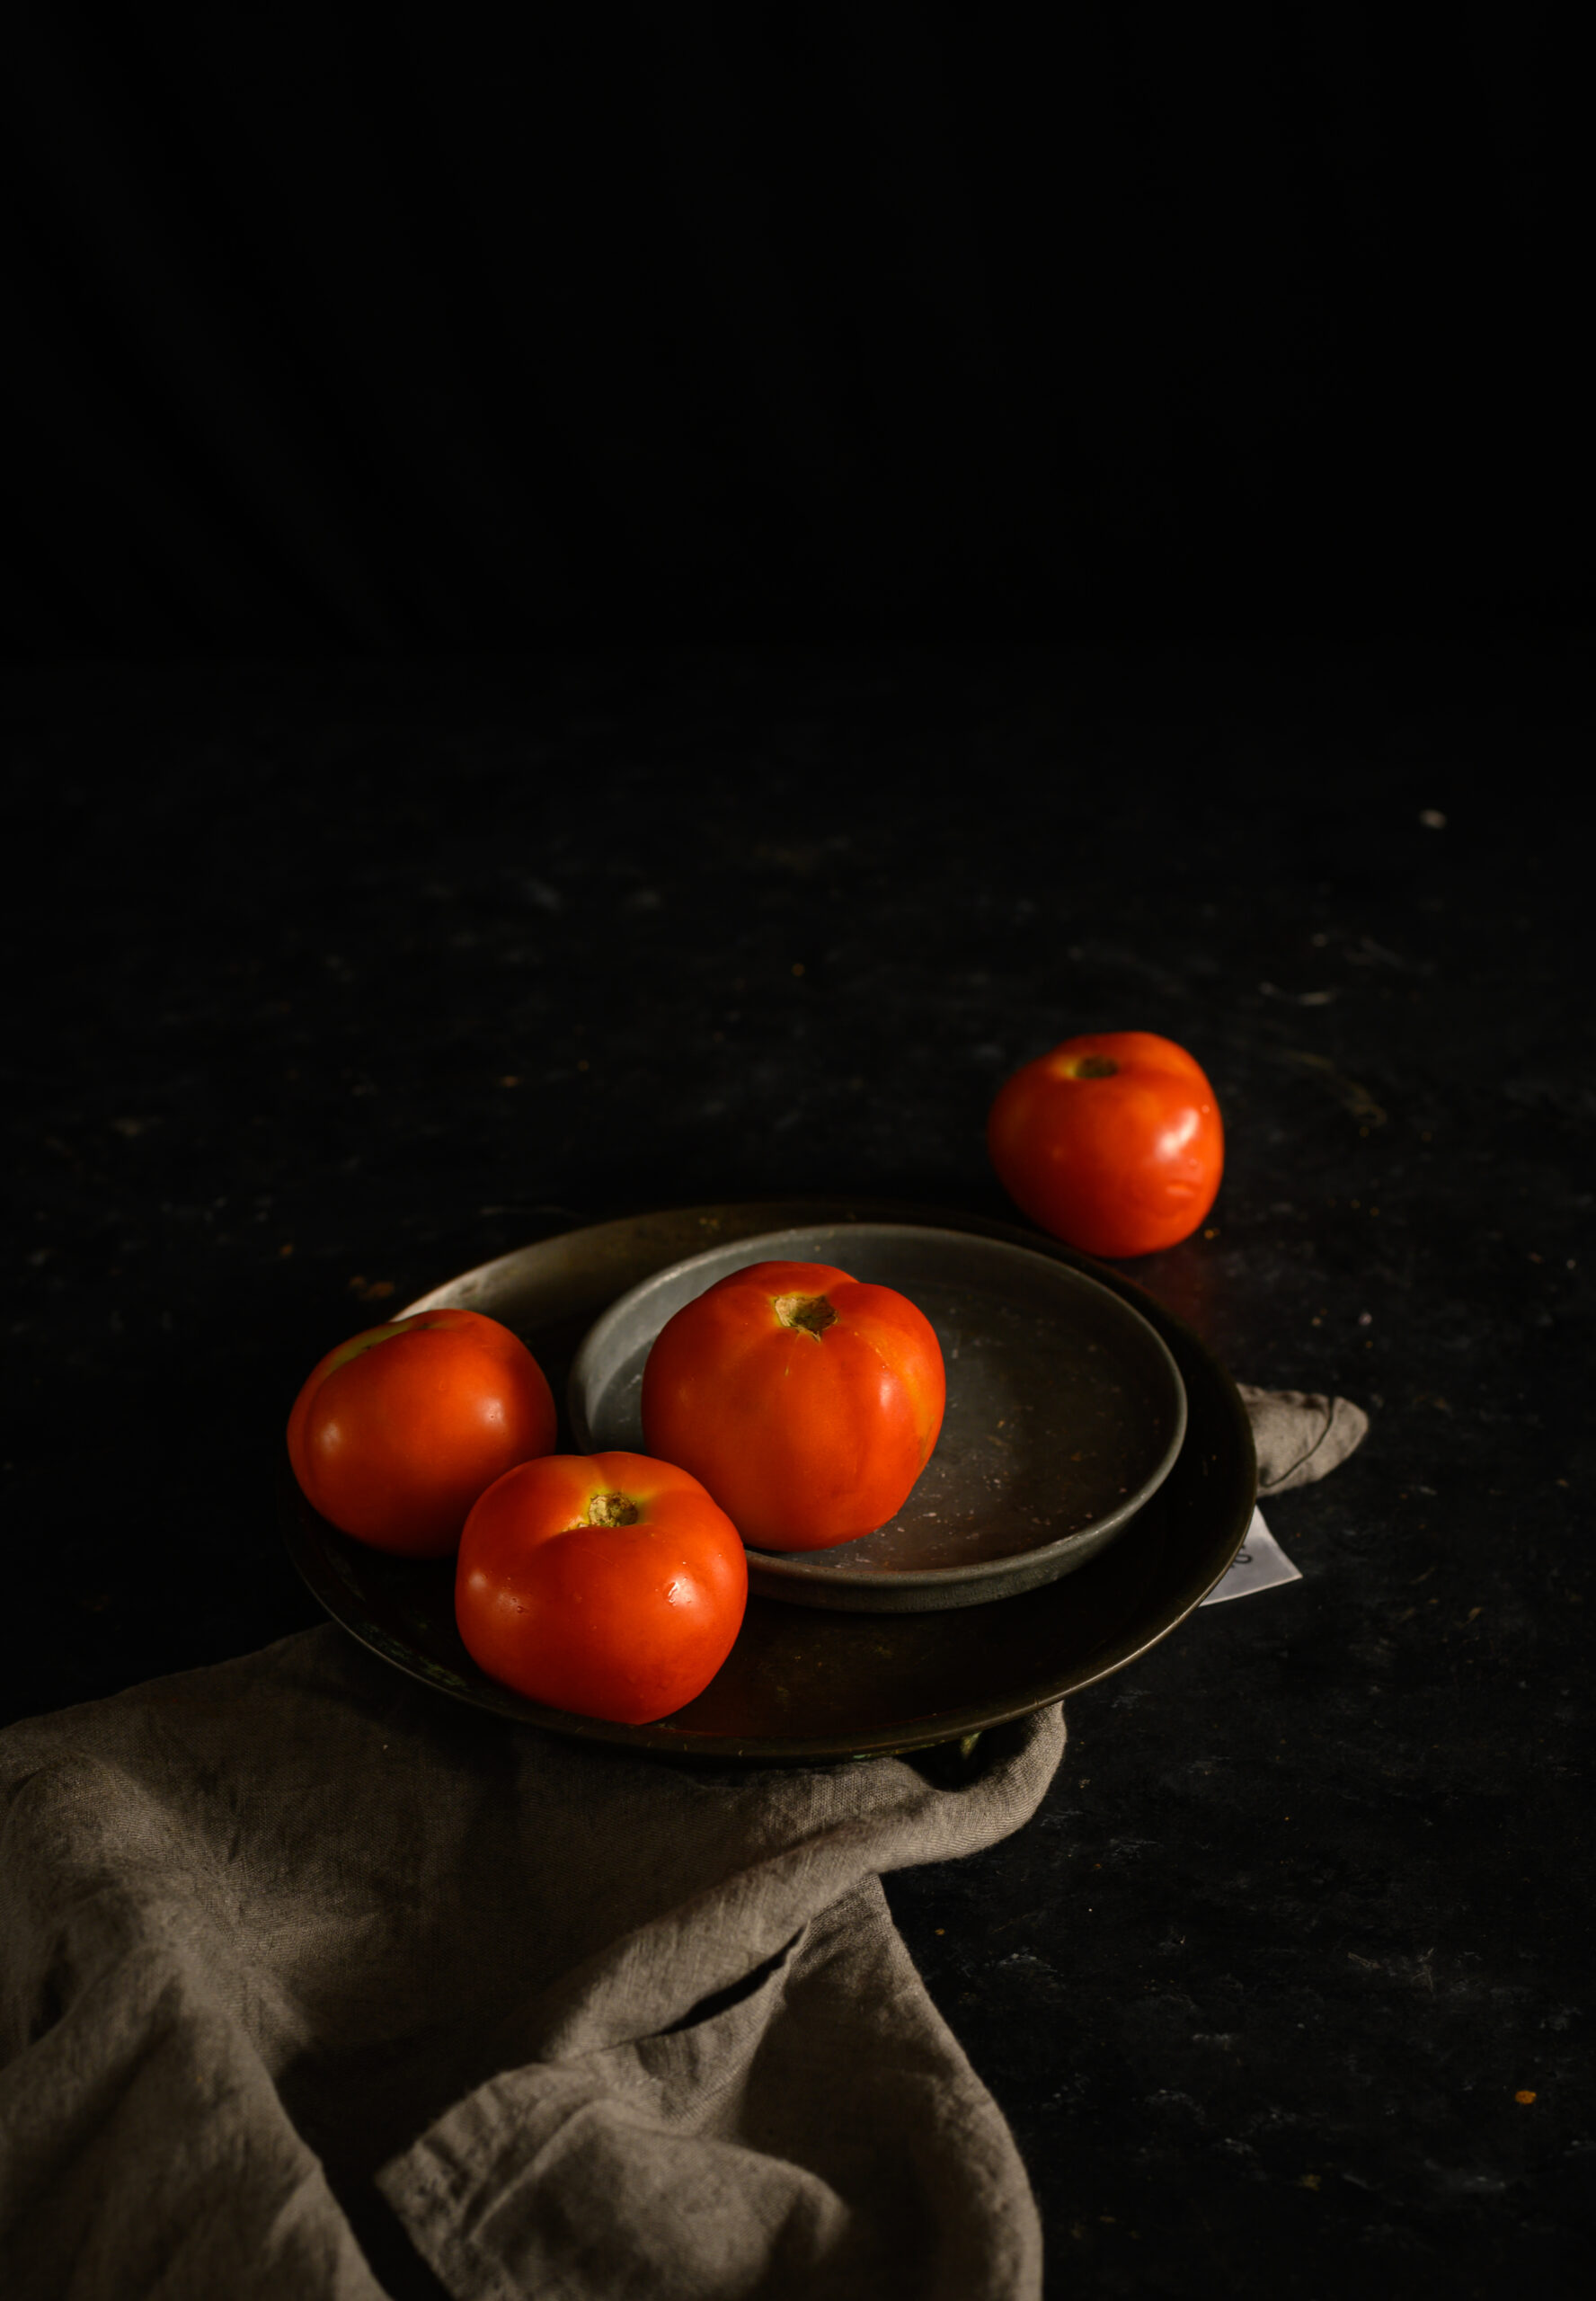
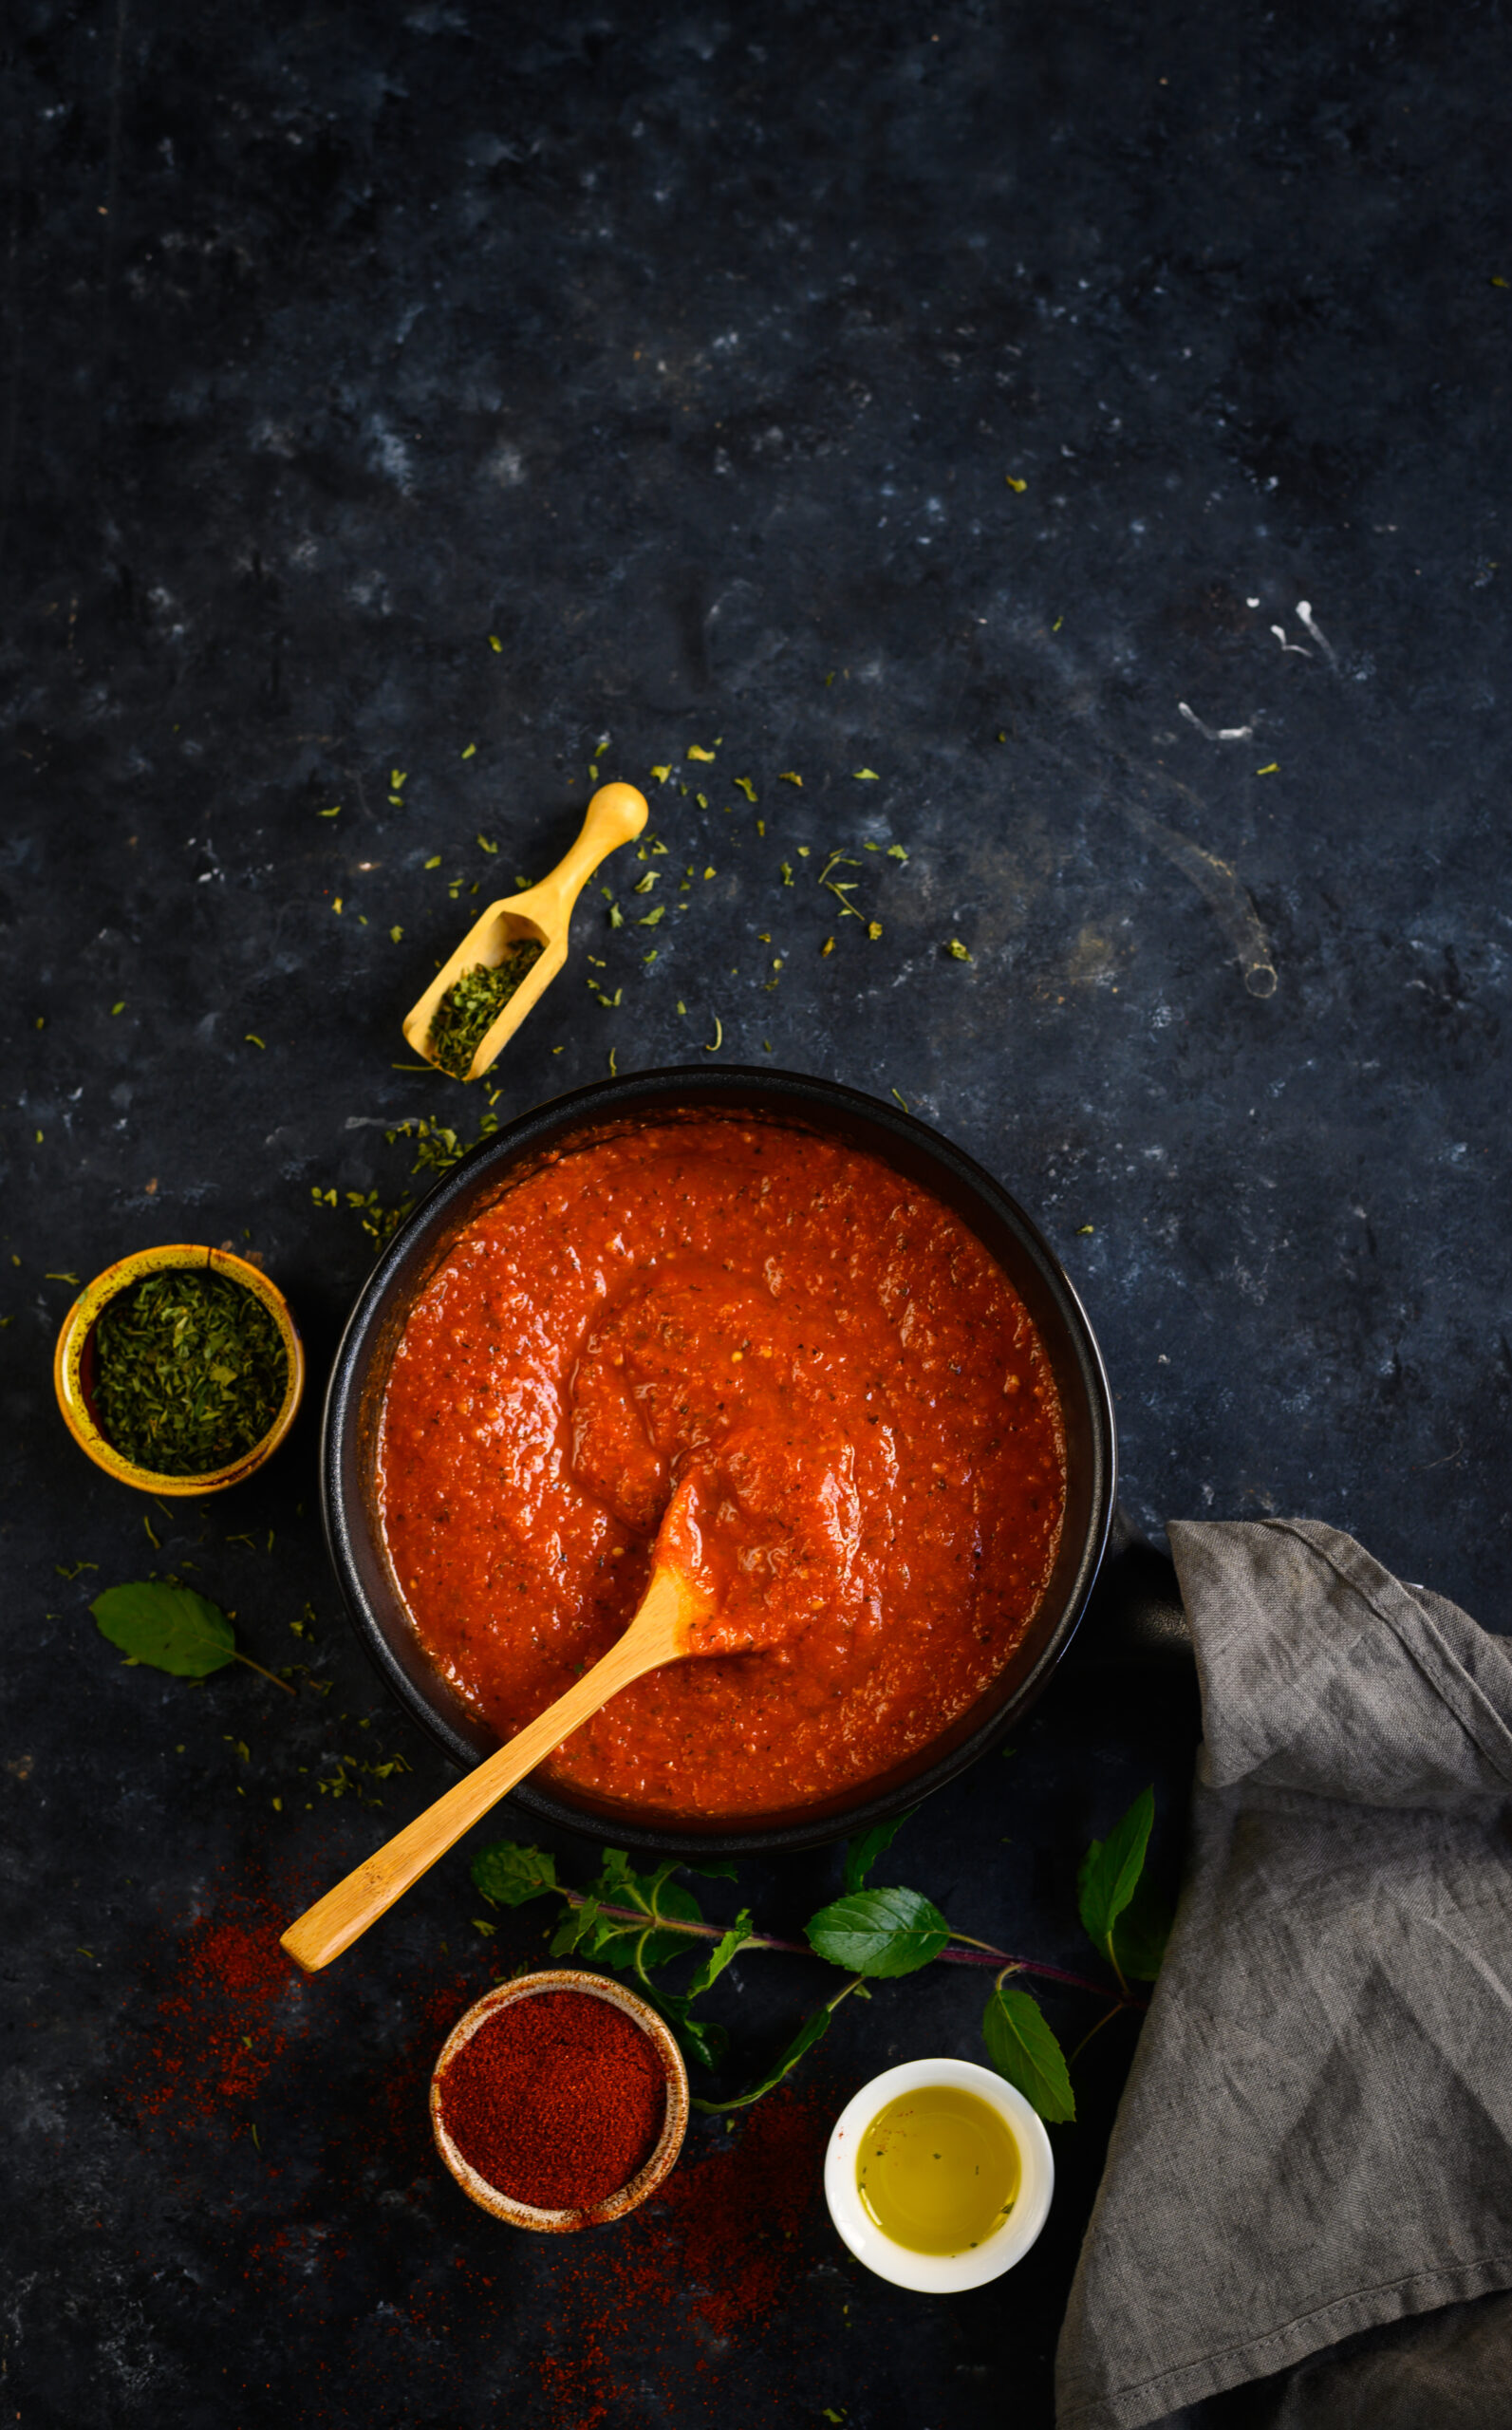
Being resourceful in the kitchen comes naturally to many of us, and I’m someone who has long included homemade flours and powders and organic produce as parts of my everyday cooking. To me, preparing big batches of dishes that keep well and can be reheated is just the smart thing to do. I’ve noticed that canning is a culinary and DIY trend that has really been catching on on social media. I admire the trend as it takes a lot of hard work, and requires being inventive and patient. I think it’s similar in some ways to the Indian art of pickling. I don’t seem to have the talent for canning, but I do the next best thing and make a delicious tomato purée that can be kept for several days, and used in several ways. The wonderful part of it is that it’s a very versatile item. This all-purpose tomato purée works in myriad cuisines effortlessly.

It suits kids’ cravings, adults’ larger appetites, and everything from Continental meals for those with a wide palate and traditional Indian dishes for those seeking comfort food. That it can be stored for a while is a big plus. My daughter who lives in Mumbai insists that I bring her a batch whenever I visit her, or packs a big jar into her luggage each time she returns there from home, and uses it for over the course of a whole week.

When I’m in a hurry for a curry, I just take the jar or pot out of the fridge and have a readymade base on which to build the dish. The same goes for when there’s a request for a homemade pizza, or more likely a pasta – my son is notorious for changing his mind, and my menu, last minute! So it’s great that I have something that works both ways.  Sometimes, I’ll scoop a dollop of this tomato purée into minestrone soup as well (the recipe for it will follow sometime soon).

That’s why having an all-purpose key product helps me so much. It cuts down on the prep time regardless of what I’m making that day. My tomato purée imitates the famous pasta sauce called ragú, except it is vegetarian whereas the traditional Italian recipe is meat-heavy.

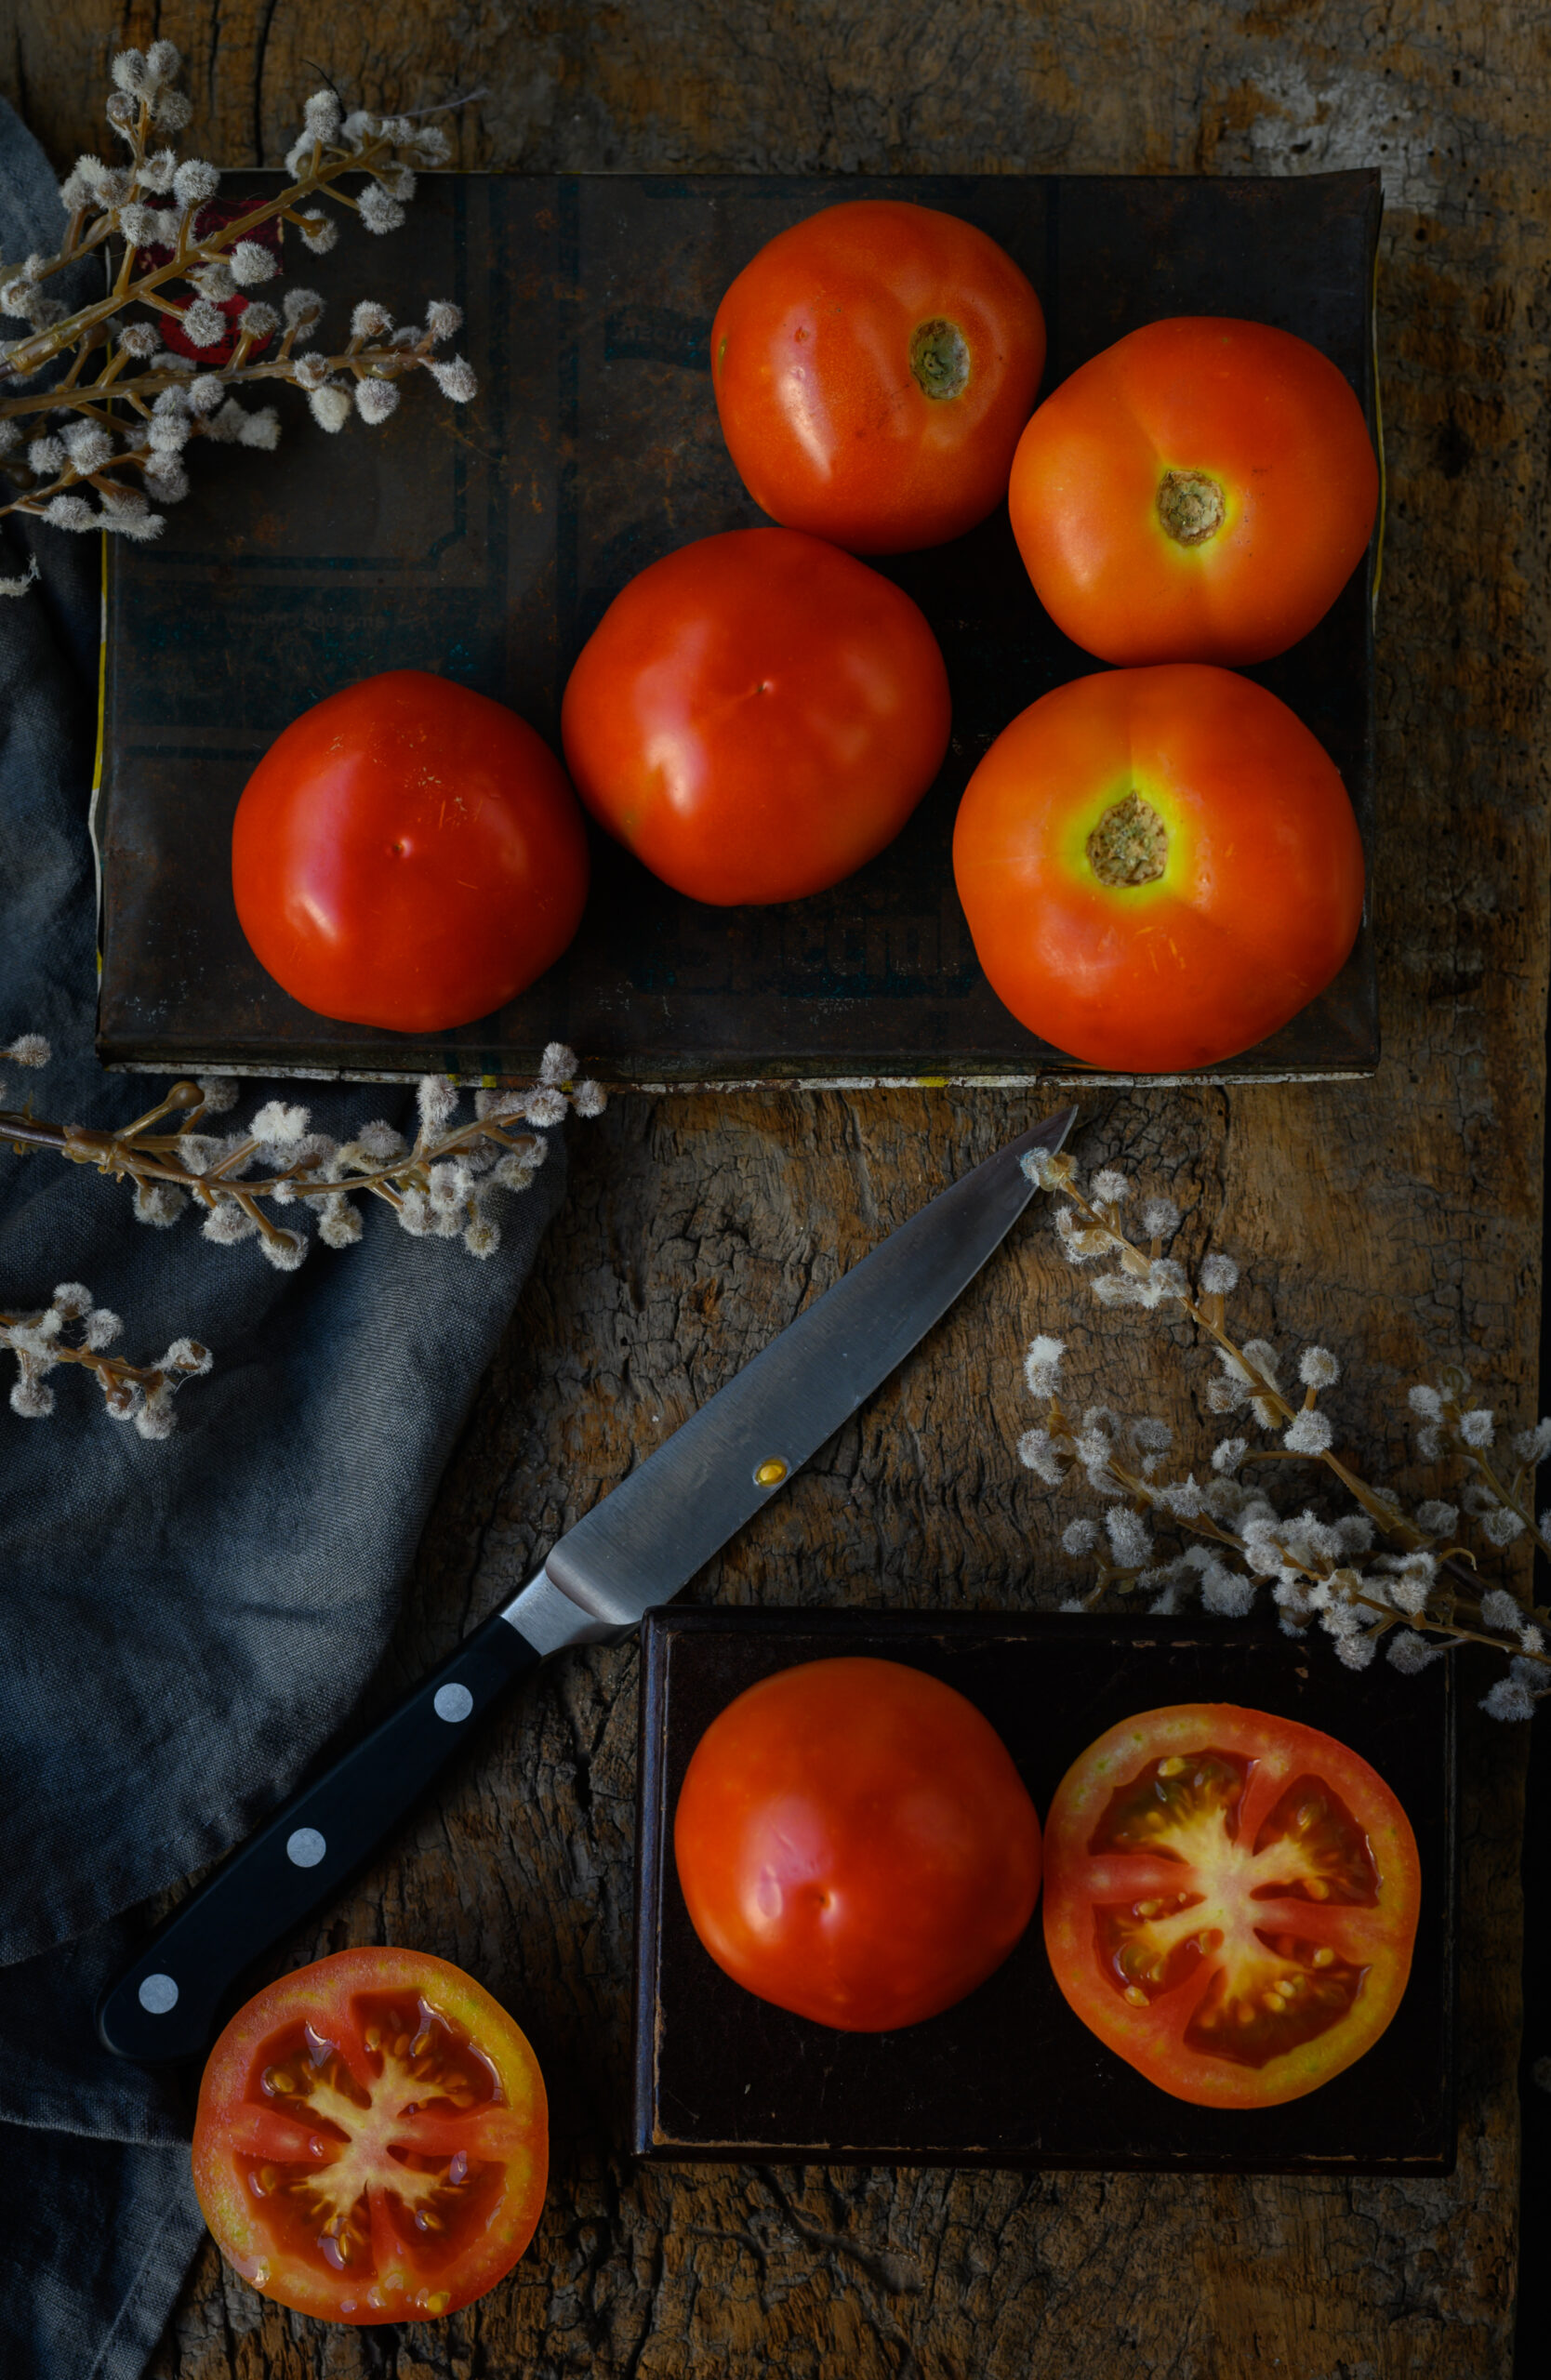
What makes this tomato purée extra special is that we’ve been growing the tomatoes ourselves on our terrace. I often talk about our farm and the varieties of produce and plants we grow there, and it’s really special to me that I get to bring some of that spirit back home too. Once you get a knack for gardening, you realise just how easy is it to cultivate some of the staples we reach for in our kitchens often. Many people I know grow herbs, vegetables and even fruit trees, which go directly into their diets. We are currently enjoying an abundant harvest of tomatoes, and are putting these lovely vegetables (or more accurately, fruits) to good use in a wide variety of dishes.

I guess you could say that while I haven’t yet found the talent for canning the way the Instagrammers do it, I’ve definitely had the patience to develop other culinary skills. Tending to homegrown produce is one, and making sourdough is another. Those of you who have followed my own IG stories for a while now would have noticed my eventual success in making that complicated bread! Whenever it’s pasta night at home, I put some into the oven and bake it an hour before dinnertime. A fresh, warm loaf accompanied by this tomato purée as a dip is served alongside delicious plates of pasta, which themselves are rich with this purée in the sauce. Now, I have my sights on mastering a sourdough base for pizza. My homemade pizza has been a hit in my household ever since my kids were little, and my daughter would often take some to school (to promptly exchange for spinach rice!). Her friends still ask me for some when they all visit together, and I’d love to surprise them with a sourdough twist to their childhood favourite soon. Made, of course, with this all-purpose tomato purée as a pizza sauce. Wish me luck, and be sure to follow my journey of trials, errors and triumphs on social media!


All-Purpose Tomato Purée

(Yield: 1 jar)

½ kilogram tomatoes

150 grams onions

4-5 garlic cloves

Salt to taste

1 teaspoon sugar (optional)

¼ teaspoon basil powder

2 tablespoons olive oil

1 teaspoon paprika

Roast the tomatoes over a flame until the skin is charred. Discard the skin and purée the tomatoes in a blender. Set aside.

Purée the onion in a blender along with the garlic cloves.

Heat a pan and add the olive oil. Then, add the puréed onion mixture and sauté till it turns golden. Next, add the tomato purée and mix well. Keep the flame to a medium heat and stir occasionally, making sure that the mixture does not stick to the bottom and sides. Be careful as the purée will soon start to bubble. Reduce the flame intermittently. When the purée begins to reduce, add the remaining ingredients and stir well.

Some notes on adjusting the ingredients to suit your taste: change the proportion of onions or garlic depending on how you like them, substitute chili powder for paprika if that’s your preference, and adding a sprinkling of fresh basil towards the end of the reduction adds a nice flavour, if you have that ingredient on hand.

Reduce the purée until it is thick and spreadable, or to the consistency you desire.

Allow to cool and store in a glass jar in the fridge. This all-purpose tomato purée lasts for approximately a week, and up to ten days with good storage. As it keeps well, you can also adjust all the proportions to make a batch in a size that’s ideal for all the ways you may use it over the course of a week.

Whether it’s a pasta, a pizza, a sandwich, or even an Indian curry with a hint of Mediterranean flavours, this all-purpose tomato purée just adds so much convenience to my regular cooking. I’d love to know if you try it out, and I’d especially love to hear about the creative ways in which you add it to your own menu!

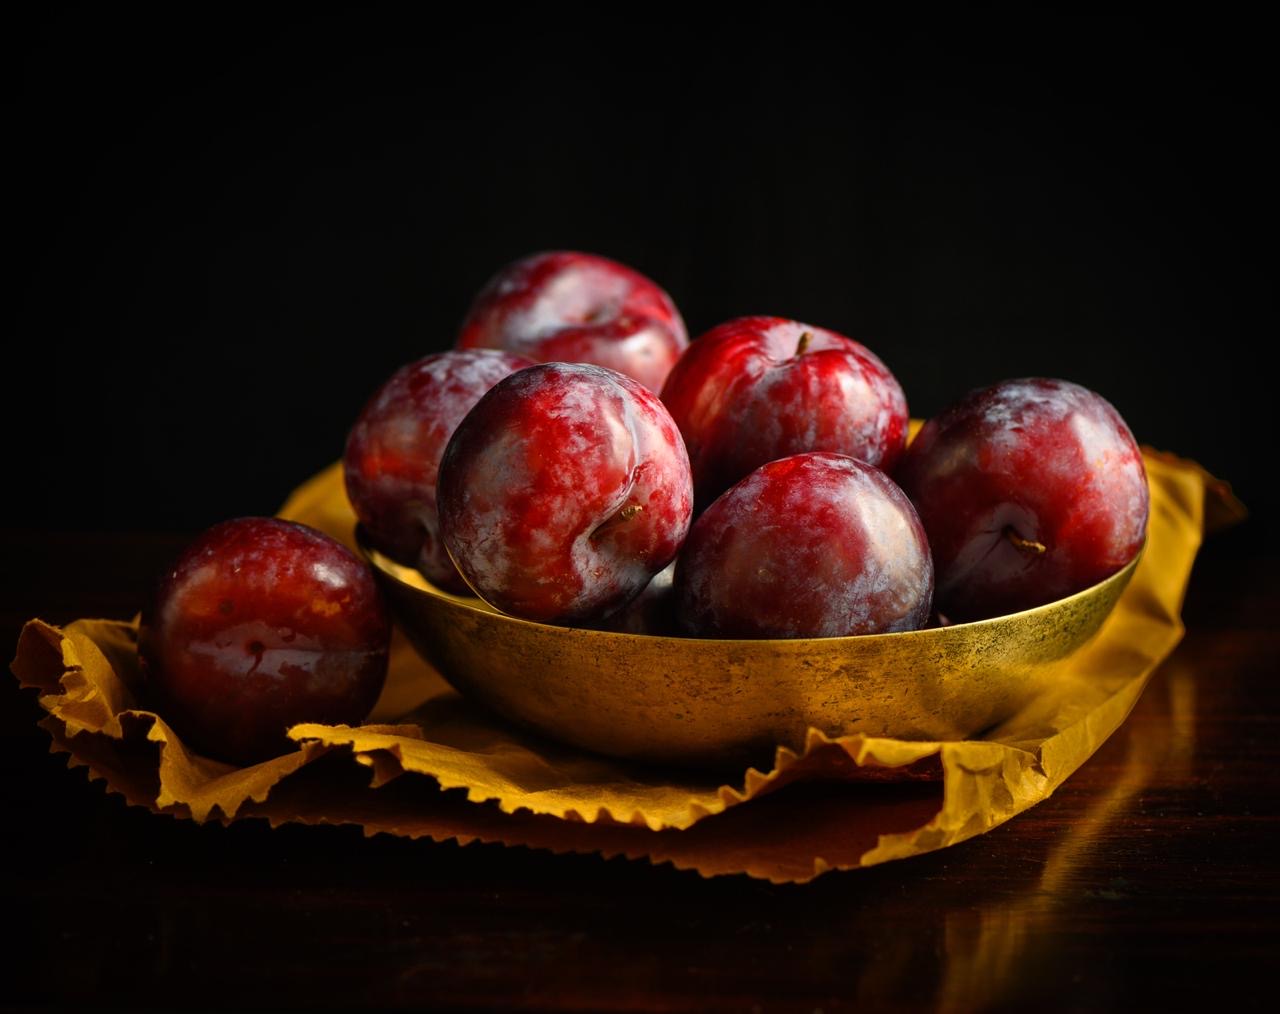
When I began to imagine this post, it was with the idea that there was not much of a memory storyline behind the recipe I am sharing today. All that had come to mind when a friend gifted me a basket of plums, and I wondered what I could make with them, was that I would pluck the tiny, country variety from trees in Ooty during our summertime holidays when I was growing up… And then, before I knew it, an abundance of recollections came flooding back – of reaching with my own hands for something to eat, raw and delicious and freshly-plucked. Before I get carried away with those reminiscences, let me just say that the recent occasion of Thanksgiving, which is important to my American friends and family, as well as the upcoming Christmas season also gave me inspiration. The plum relish that is traditionally enjoyed during those festivities has been Indianised in my home as plum chutney, and that’s the recipe that this trip down memory lane will culminate in.

The gift basket I received contained what I call “the millennial plum”, a delicious hybrid cultivar which is large and has a deep maroon colour. It usually tastes sweet. The country plums of my childhood, by contrast, were sour and tangy. They came in an orangeish shade and were relatively tiny. Still, as little children, my siblings, cousins, friends and I absolutely delighted in them. There was just a certain immense joy in picking fruits right off a branch and eating them unwashed. There was a rawness to the experience that brought us closer to Nature. Even the sourest fruit was enjoyed in this way.

Fruit-picking was always a thrilling activity for us, both with and without permission. When we had the chance to go abroad for holidays with our aunt, she would give us baskets of our own and take us to strawberry farms, where we would spend the day indulging this hobby of ours to the fullest. We would cherish and guard those baskets full of fresh, ripe fruit. Every last berry was special, plucked with our own hands, and tasted all the more delicious for this reason.

Back home, far from the hills of Tamil Nadu or the strawberry farms of Europe, we still pursued our fruit-gathering in earnest. We would run loose in our neighbourhood and steal mangoes from the trees, as I think I’ve mentioned a number of times on this blog before. It was certainly one of our favourite past-times, even if scoldings were a natural consequence!

The fruit-bearing local naatu cherry tree and the nellika or gooseberry tree were two that I grew up under, and to this day the sight of either of these can make me feel a bit emotional. The gooseberry tree in our garden was laden with kambilipoochis (hairy caterpillars), which would invariably leave a hair or two on me when I reached up to grab those fruits, and I would have to go crying to my mother to get her to remove those caterpillar hairs! Those naatu (country) cherries weren’t the beautiful, glossy-looking ones that top my cakes today, but a small, orange-coloured variety with a tiny, grain-like seed inside. There was also a black-coloured berry, sour and with a high Vitamin C content, with a name that slips my mind. These local, edible fruits were so plentiful in Chennai in those days, available to anyone who knew how to climb a tree.

I’ve spoken before of how much I long to revive different varieties of plants and flowers in our little farmland. I really believe that some of our green wealth is disappearing, and it hurts to find proof of it, as I did when I went looking for wood-apple recently. I dream of planting the trees of some of the fruits I plucked and ate in childhood. I’ve started the process by asking everyone I know for cuttings. Would you have some – of any kind of fruit, flower or plant that seems to be scarce in and around Chennai these days, but which you remember from before? I only specify Chennai because the cutting needs to be suitable to our climate.

The more time I spent reminiscing, the more I remembered: not only did we love eating freshly plucked (and sometimes stolen) fruit, but we even foraged for plants and flowers! The three leaf clover that grows like a weed was one of these. We’d just pop one into our mouths and enjoy its sour, earthy taste. There were also certain flowers, like the gorgeous orange trumpet flower, which we would suck the nectar out of after removing the stem. Did you do any of these activities growing up, when it seemed like we played in the outdoors so much more than the children of today do?

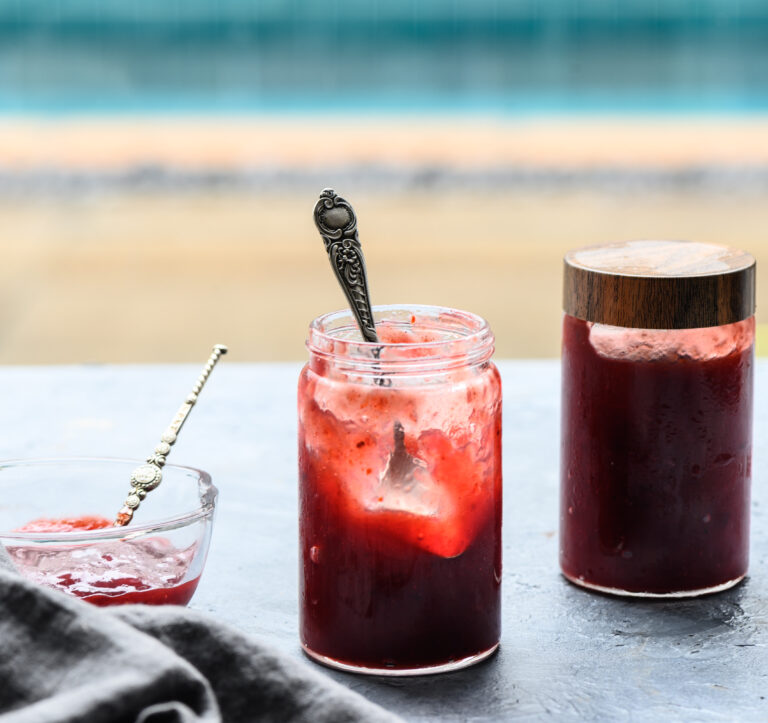
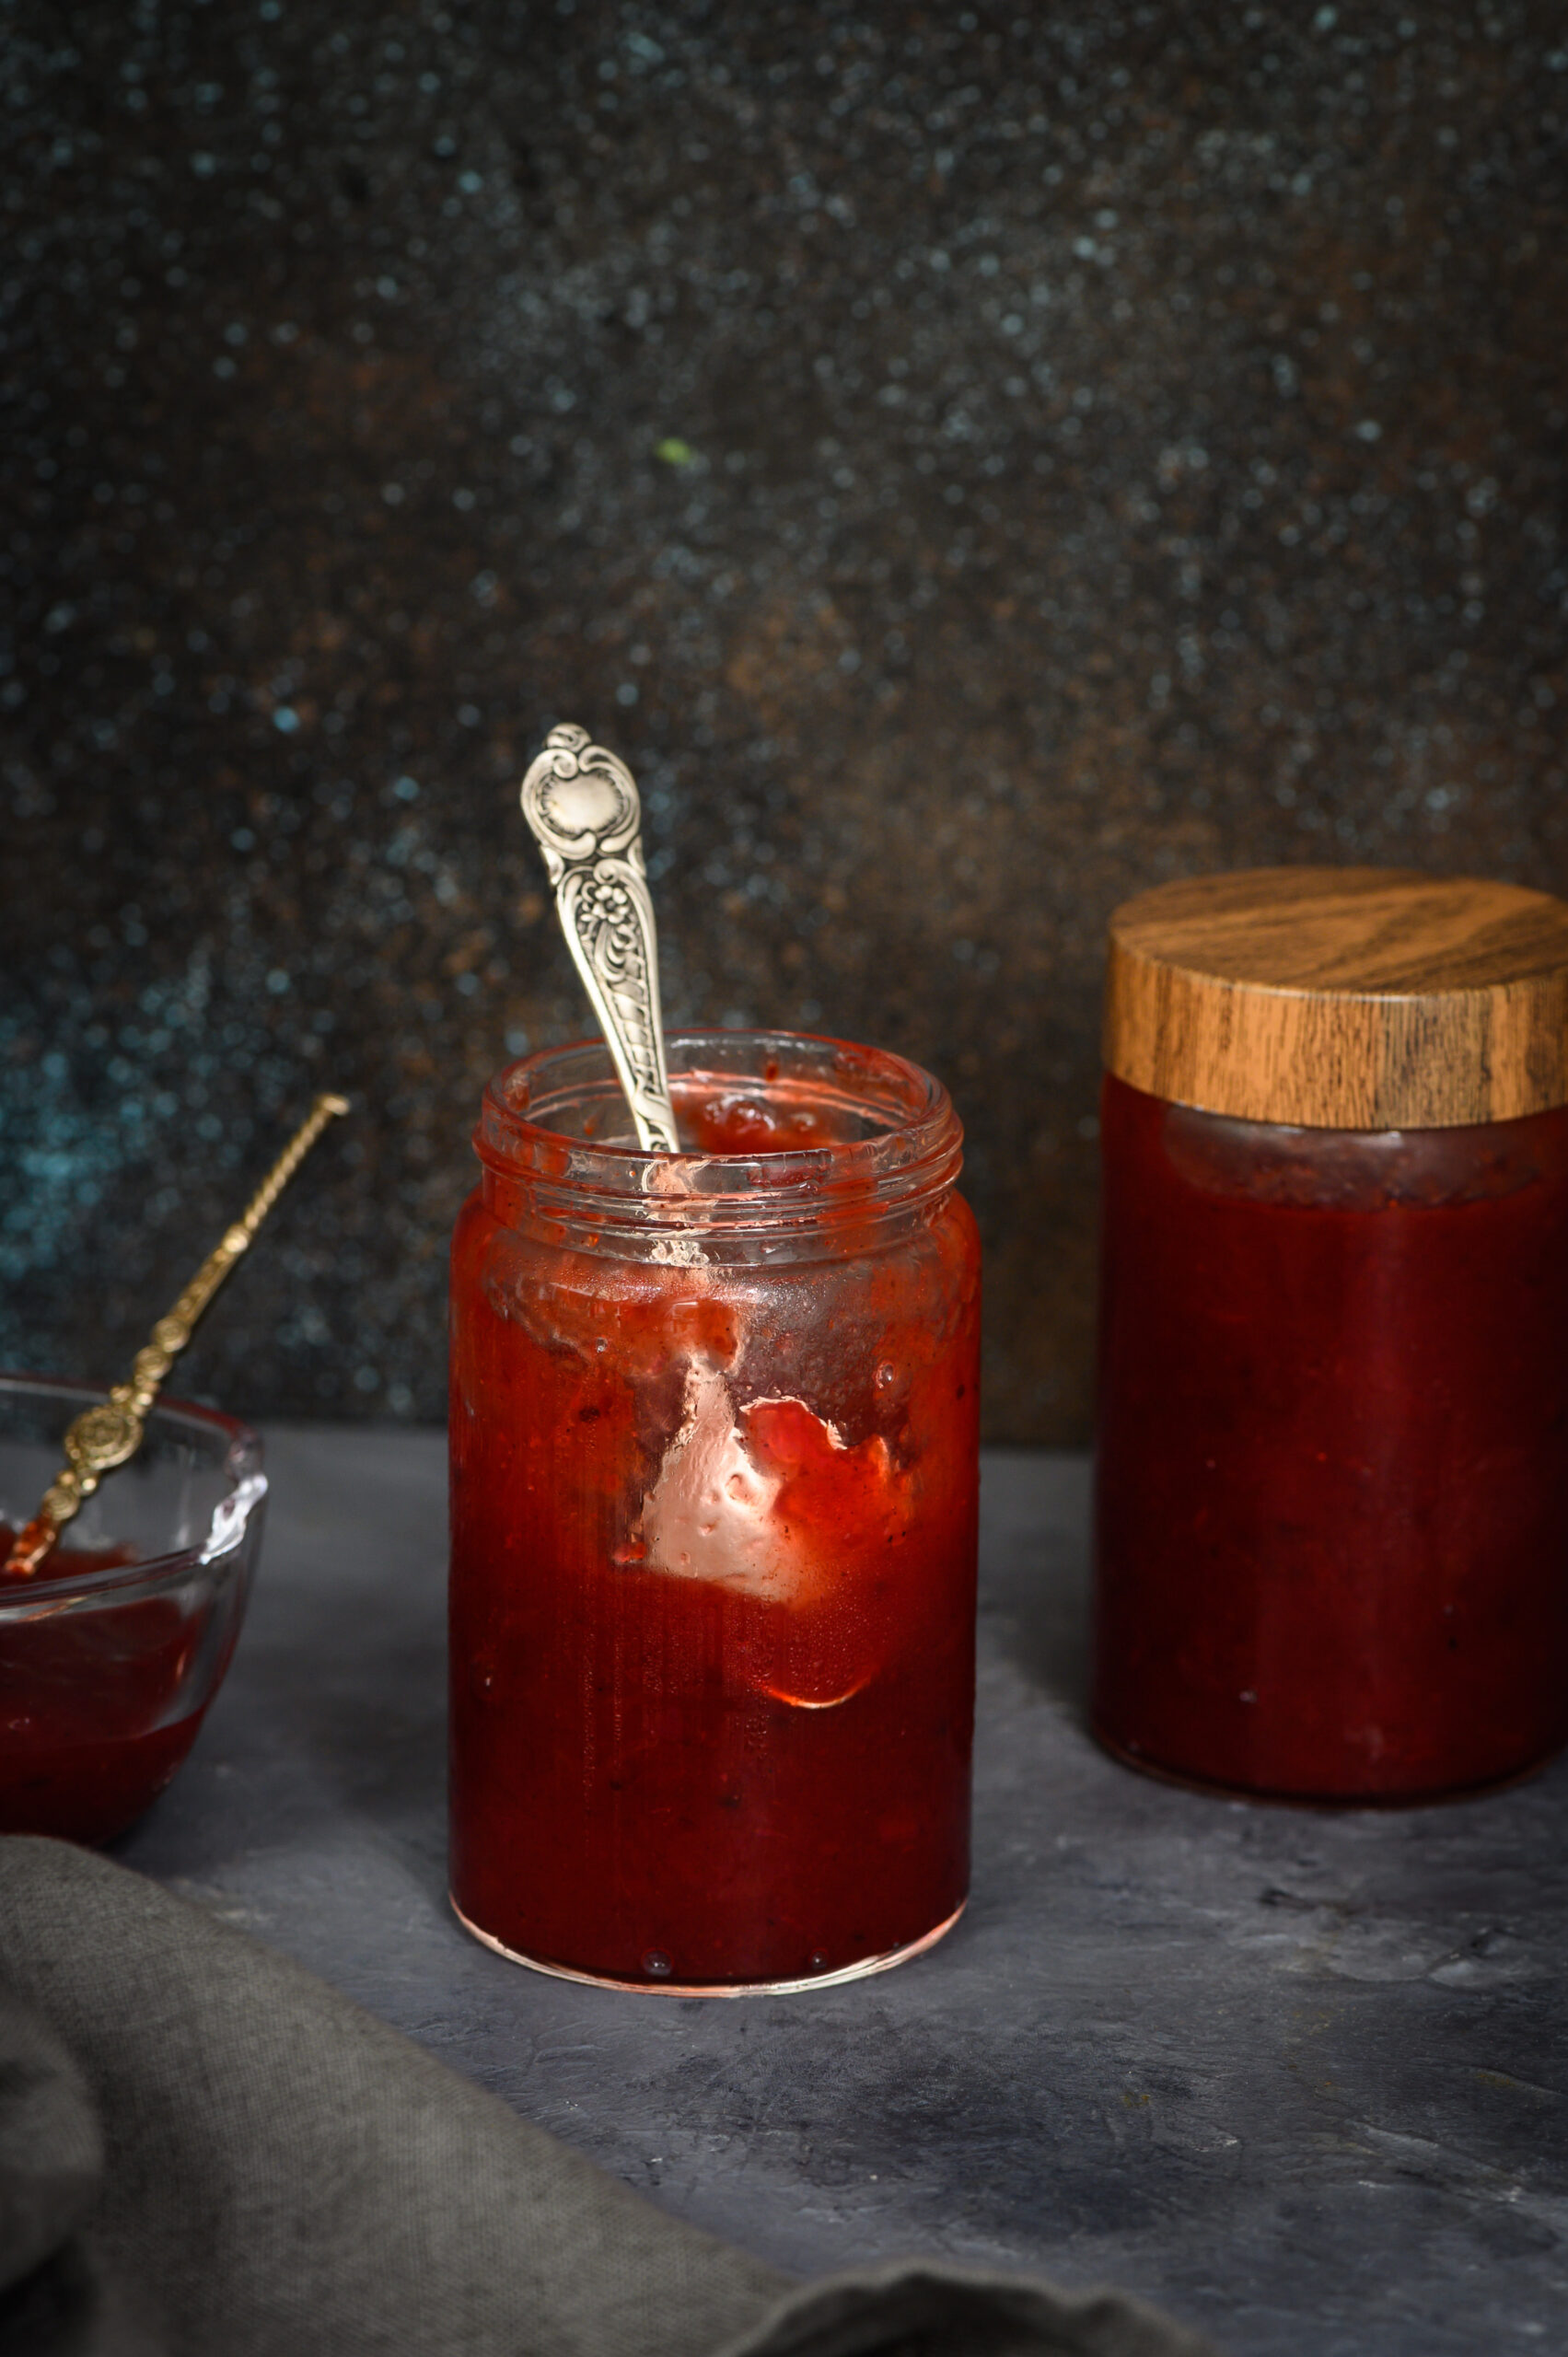
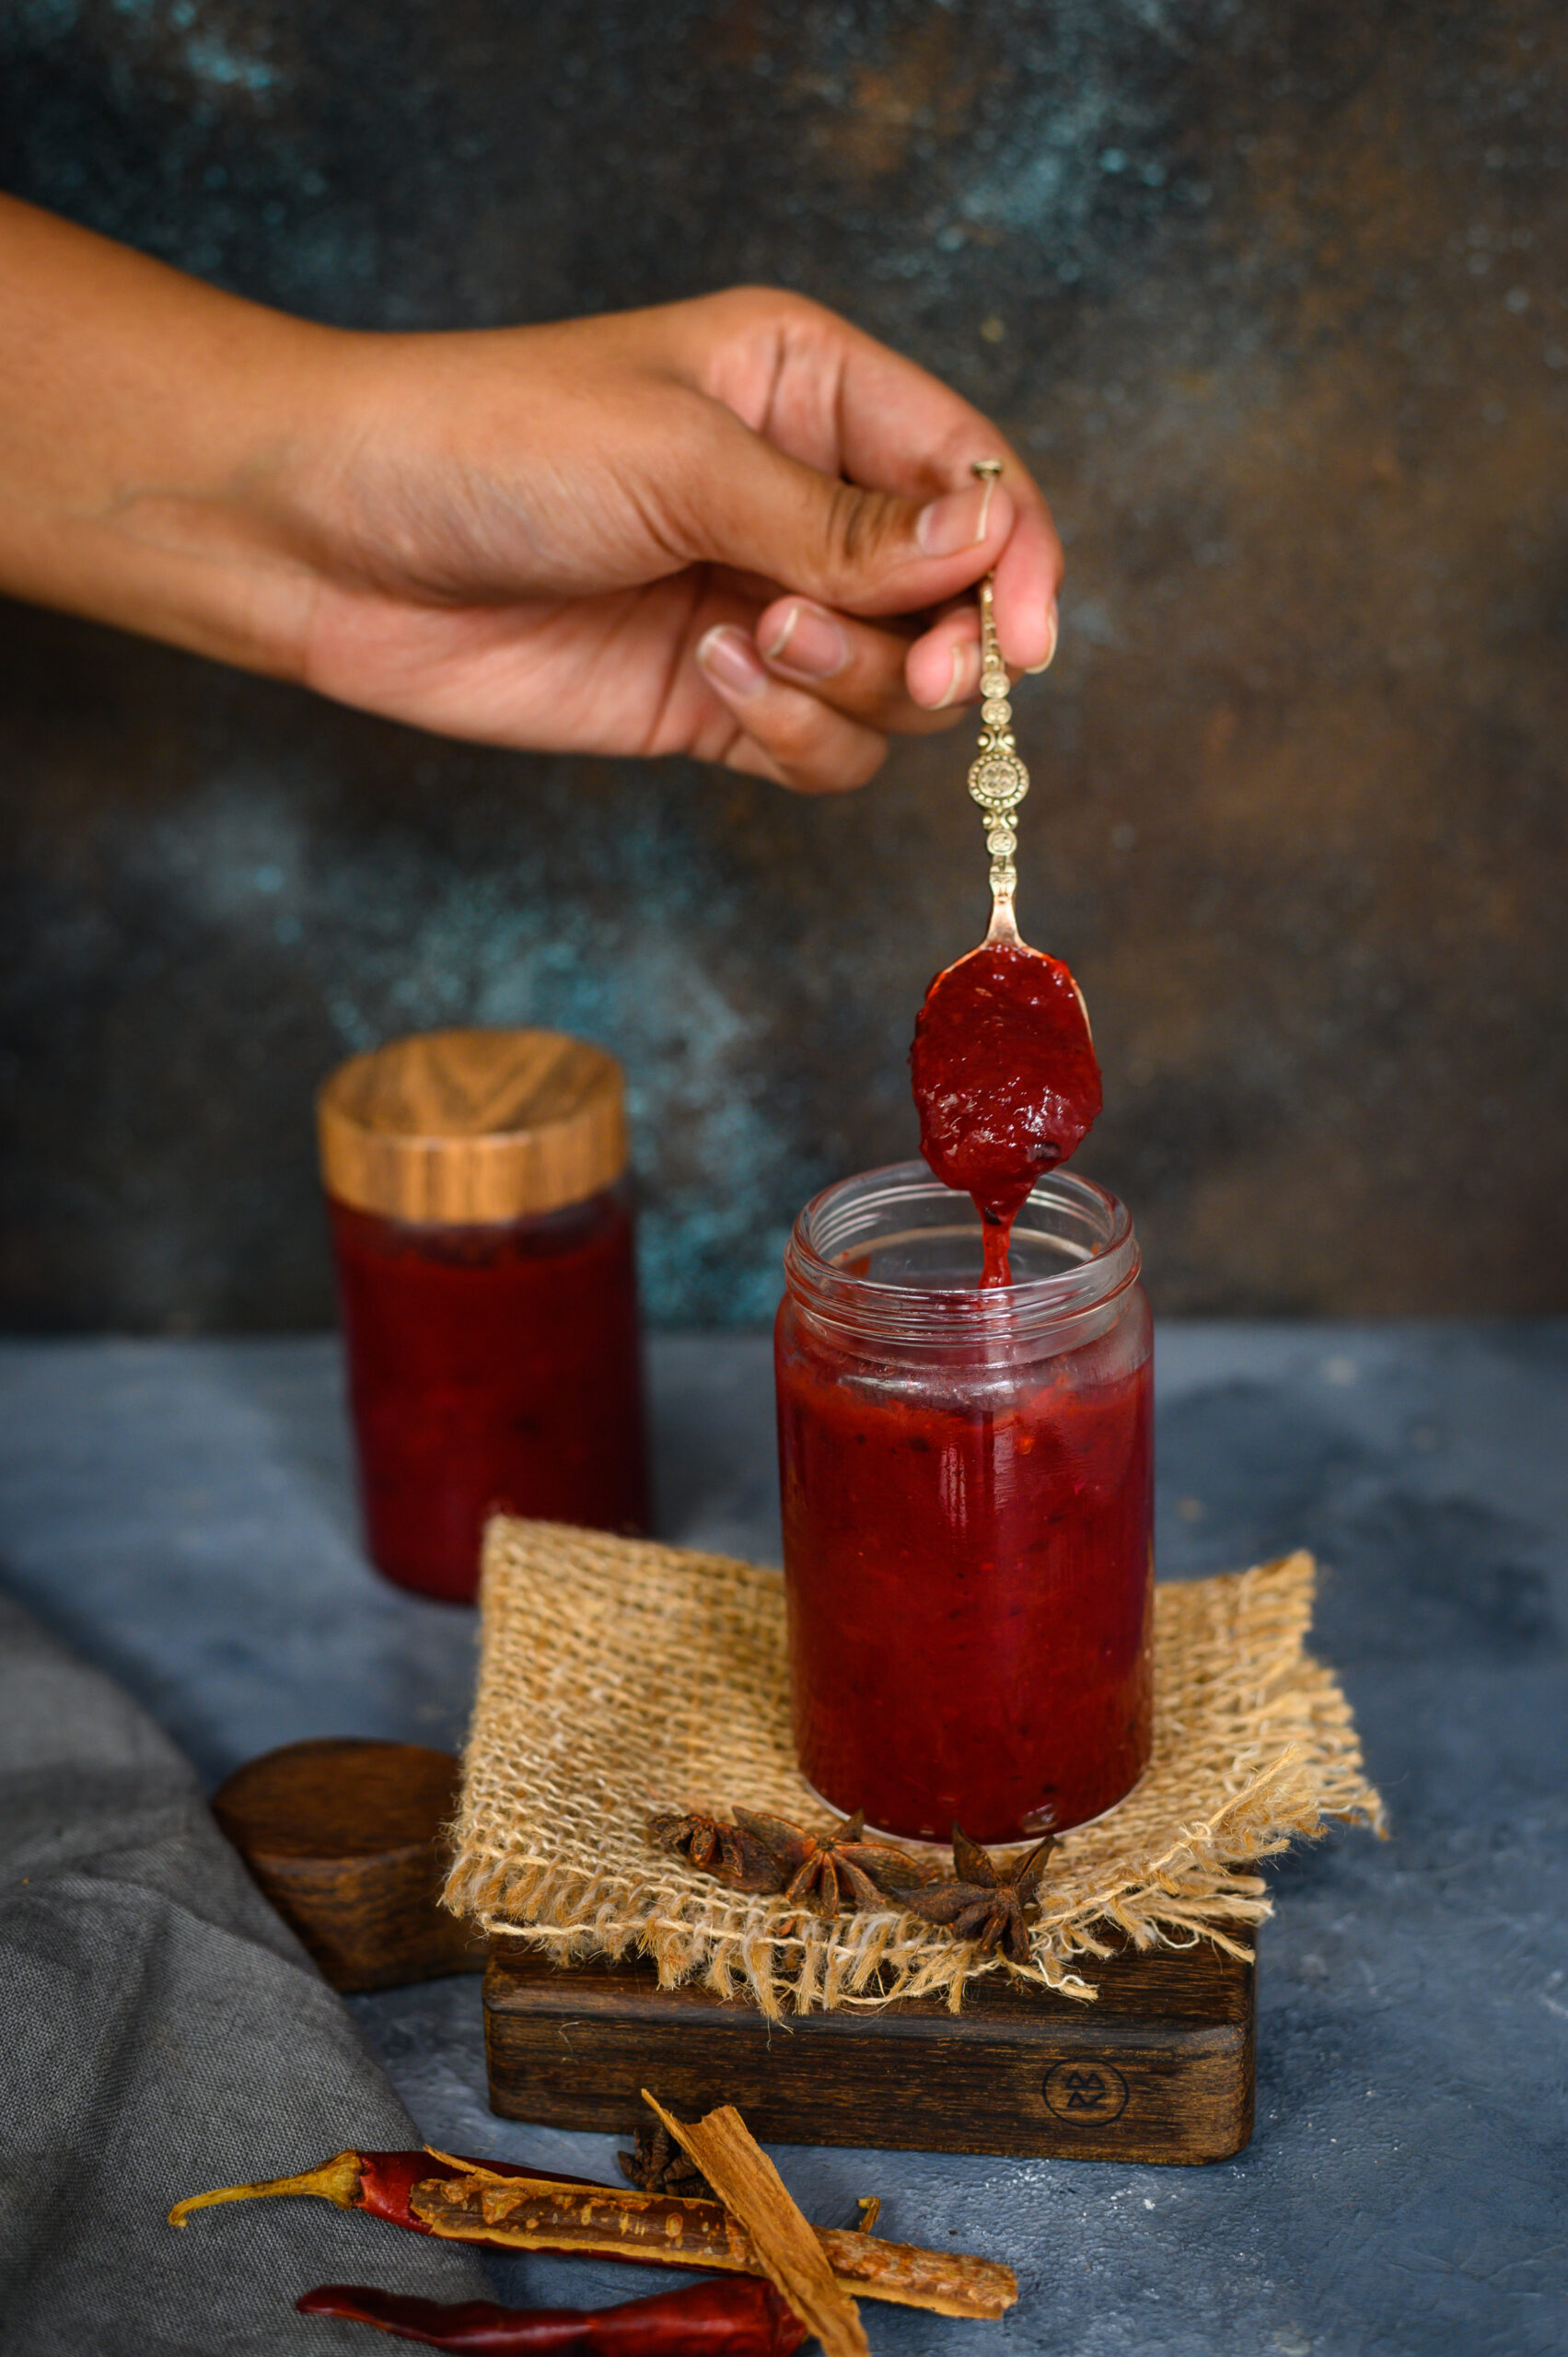
Let me bring this little trip down memory lane, lined with fruit-bearing trees, full circle by coming back to the gift of plums. In India, you can make a chutney with pretty much anything, and I was curious to try out this fruity one. My husband is a big fan of chutneys, and will even have some on the side with a pasta, so I know for a fact that this plum chutney is very versatile. You can also roll it up in a chapatti for a tiffin box, or spread it on toast. It has a sweet, spicy flavour that lends itself as an accompaniment to many dishes.


Plum Chutney

(Yield: 350 grams)

500 grams plums

150 grams sugar

1 small onion

⅛ teaspoon ginger powder

1 star anise

Salt to taste

2 teaspoons dry chili flakes

2 tablespoons apple cider vinegar

Lemon zest


Plums are a succulent fruit with a vast number of health benefits, from improving cardiovascular health to reducing the risk of osteoporosis to promoting skin health. They are packed with Vitamin C and Vitamin A, as well as antioxidants and minerals. They have been grown since ancient times, and the hybrid types we get today thrive in various places in India – which means we are fortunate that the market is abundantly flooded with them too.

This plum chutney is very simple to prepare, but requires one step of overnight prep. Chop the plums and discard the seeds. Add sugar to the fruit pieces, and cover with a lid. Allow to soak and refrigerate overnight, as this will reduce the cooking time.

The following day, add all the remaining ingredients to the sugar-soaked fruit. Boil on a medium flame. I lightly blended the mixture with a hand blender to break down and bring the flavours together.

Allow to simmer until the chutney thickens. Then, allow to cool.

With a clean spoon, transfer the plum chutney into a clean jar and refrigerate. As long as dry spoons are used and the container is refrigerated, a batch can be kept for up to a couple of weeks.

You may serve it with cheese as they do in the West, or with chapatti as I do at home, but either way, I hope a jar of it finds a place at your table this Christmas – and I hope you’ll simply relish it!

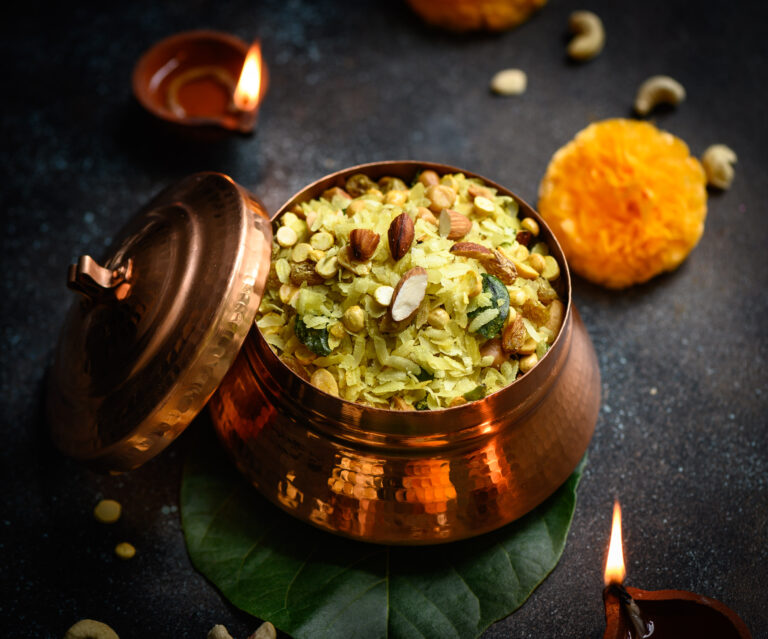
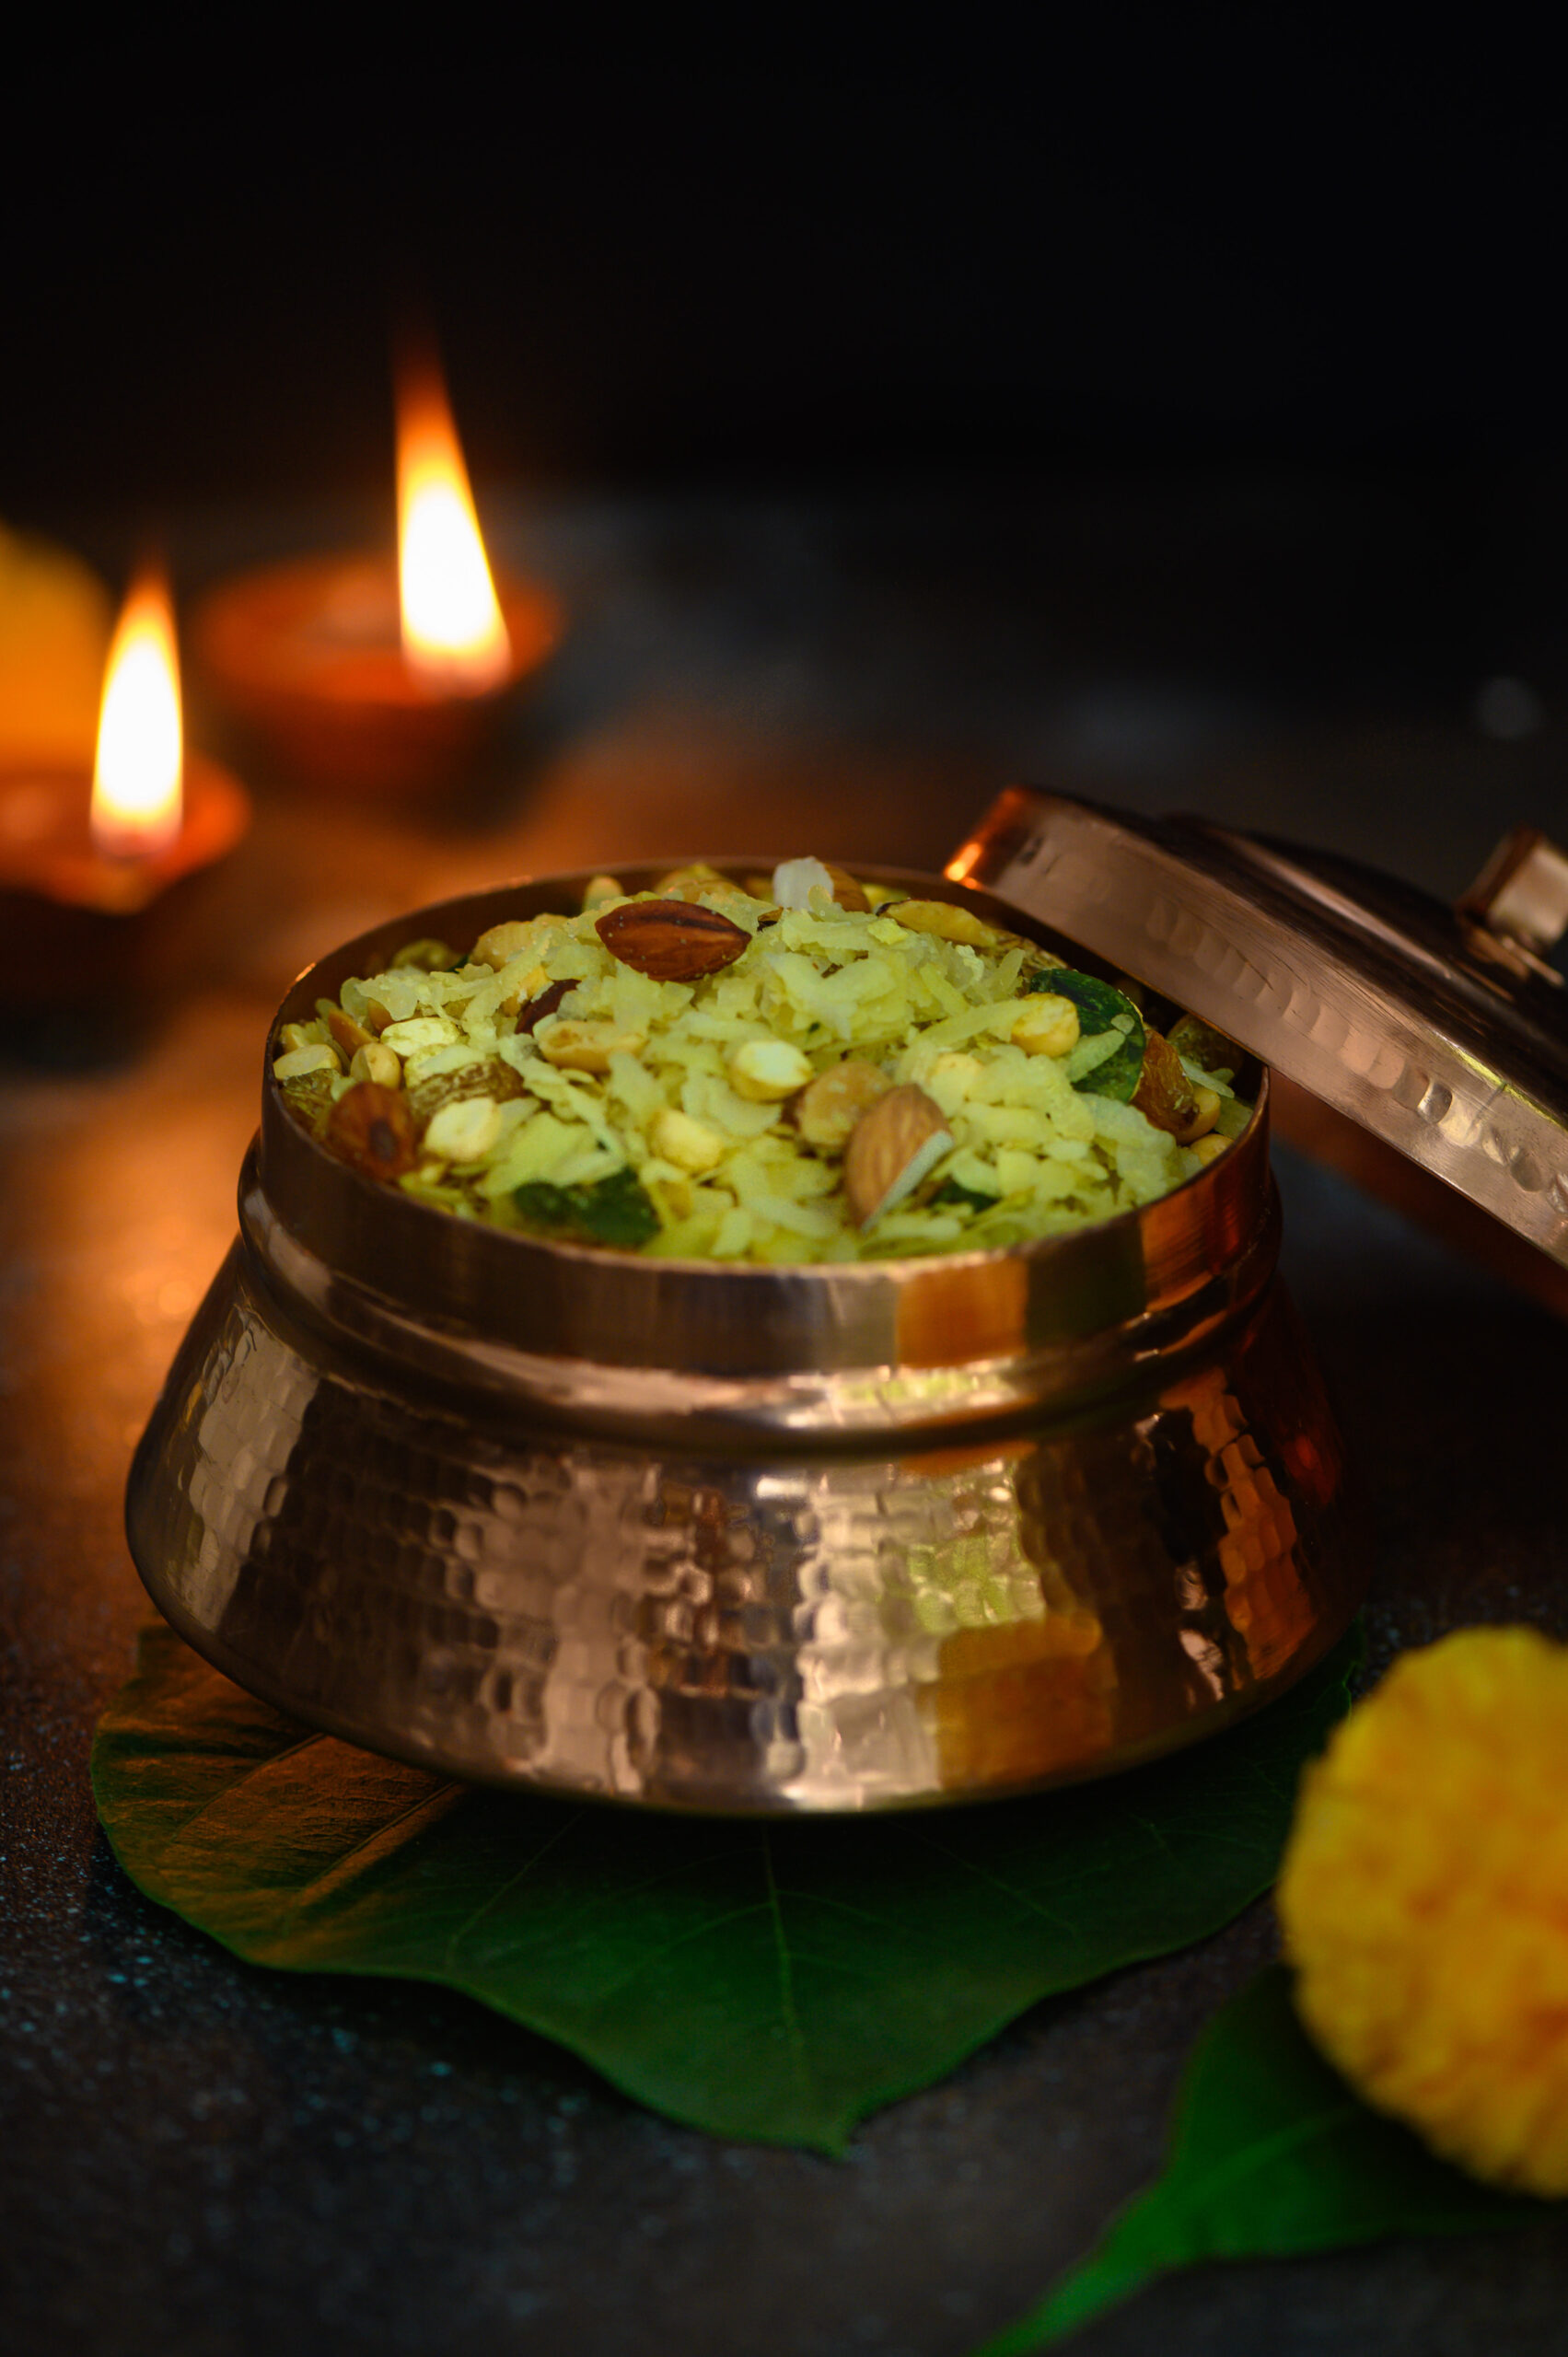
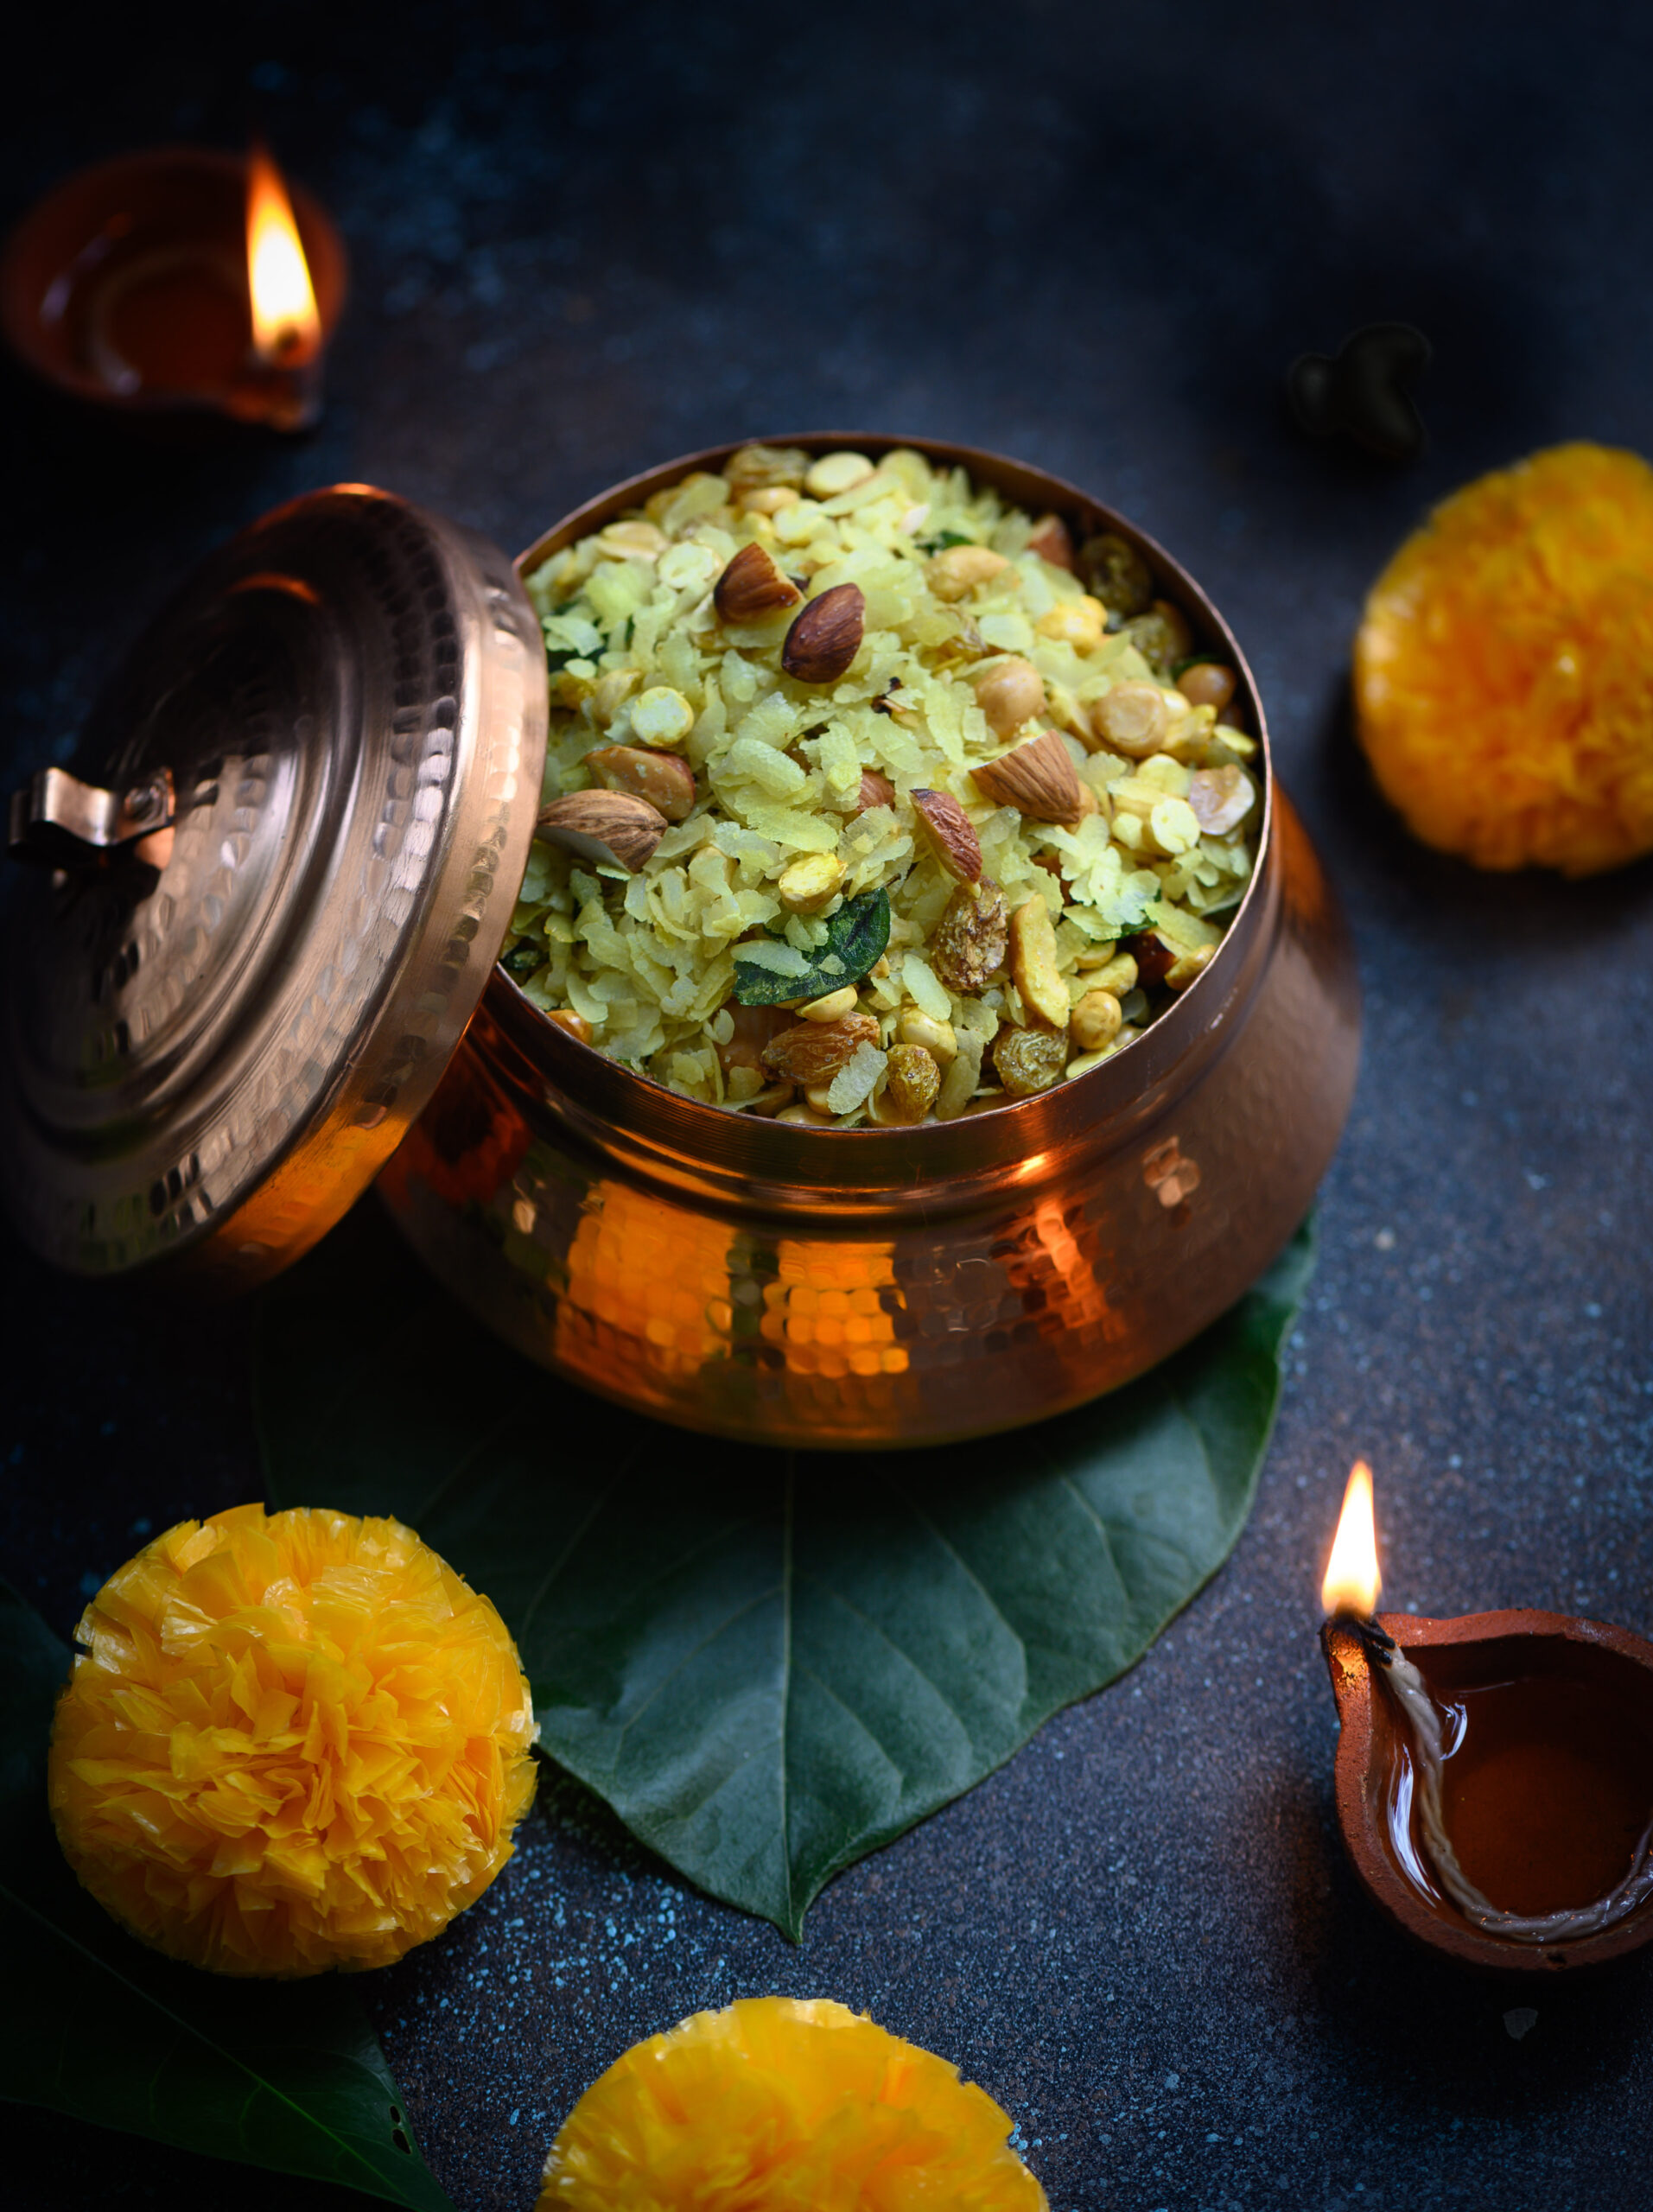
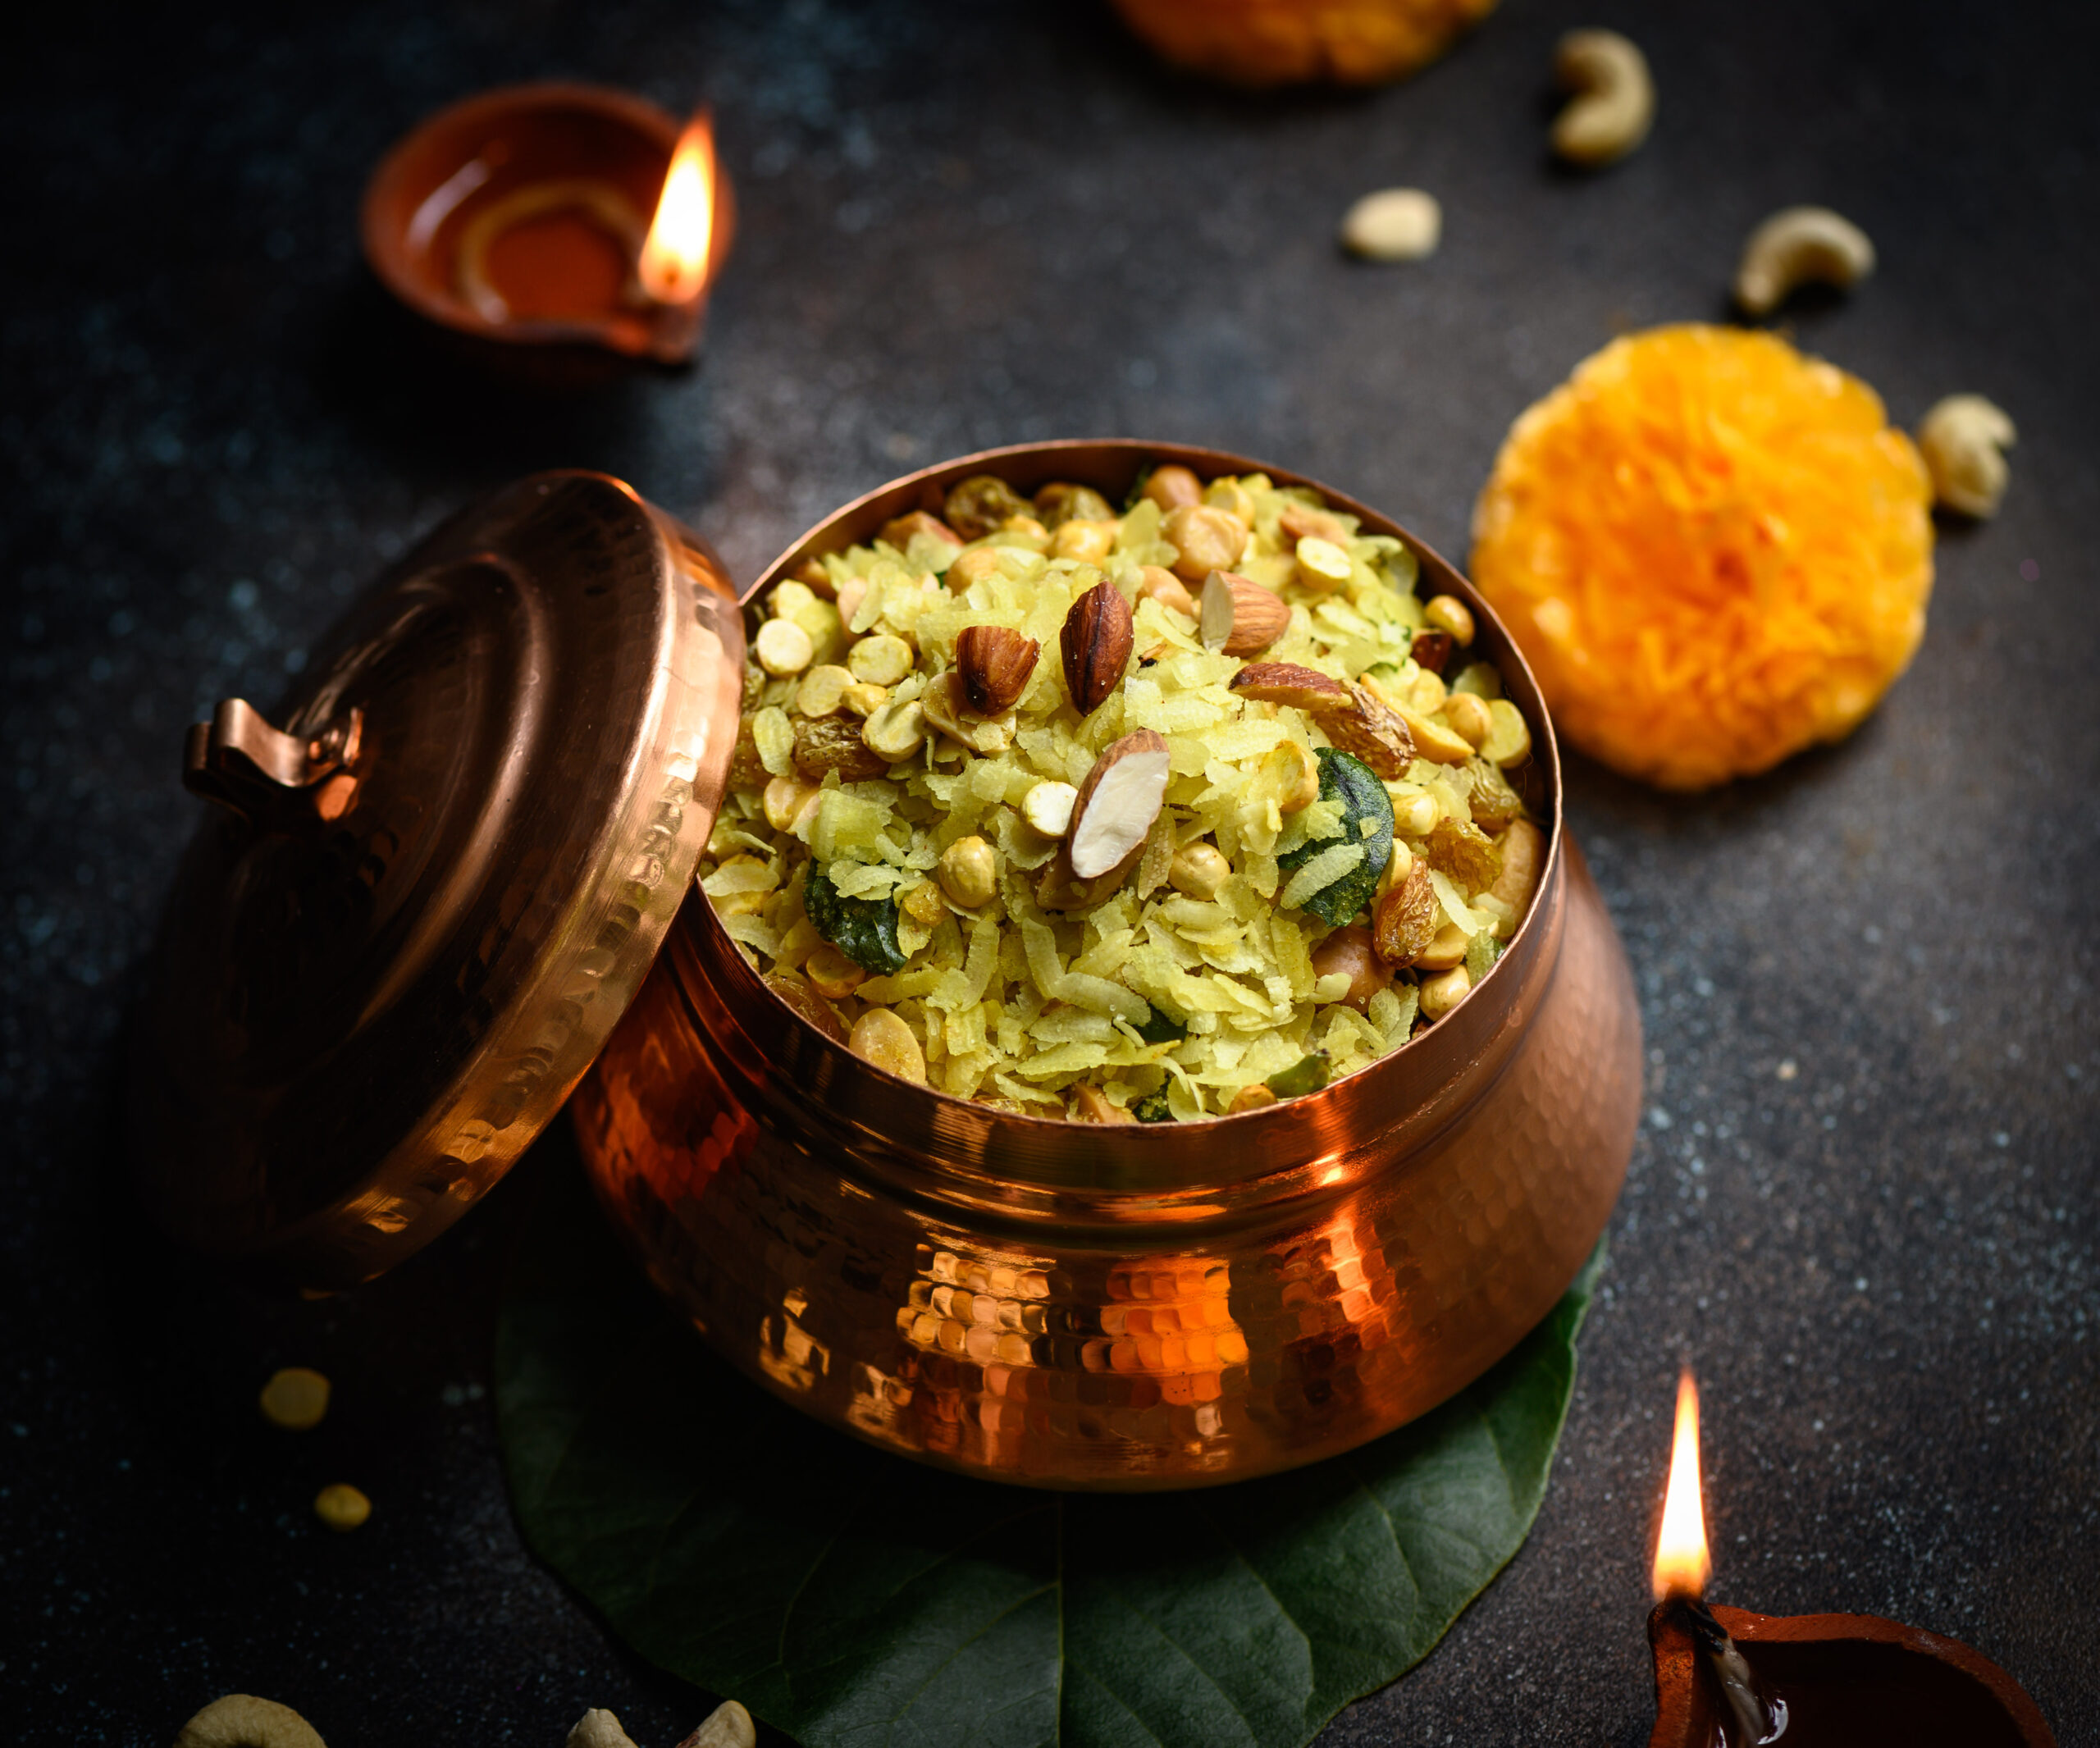
When I was growing up, middle class culture in India was all about eating what was cooked at home. Fresh food was prepared for every meal, every day. When there were leftovers, they were always put to good use. Eating out was a rare occasion, and we didn’t have the luxury of junk food. Even snacks were made at home, and this poha roast mix – what we Gujaratis call chevdo – was one of them.

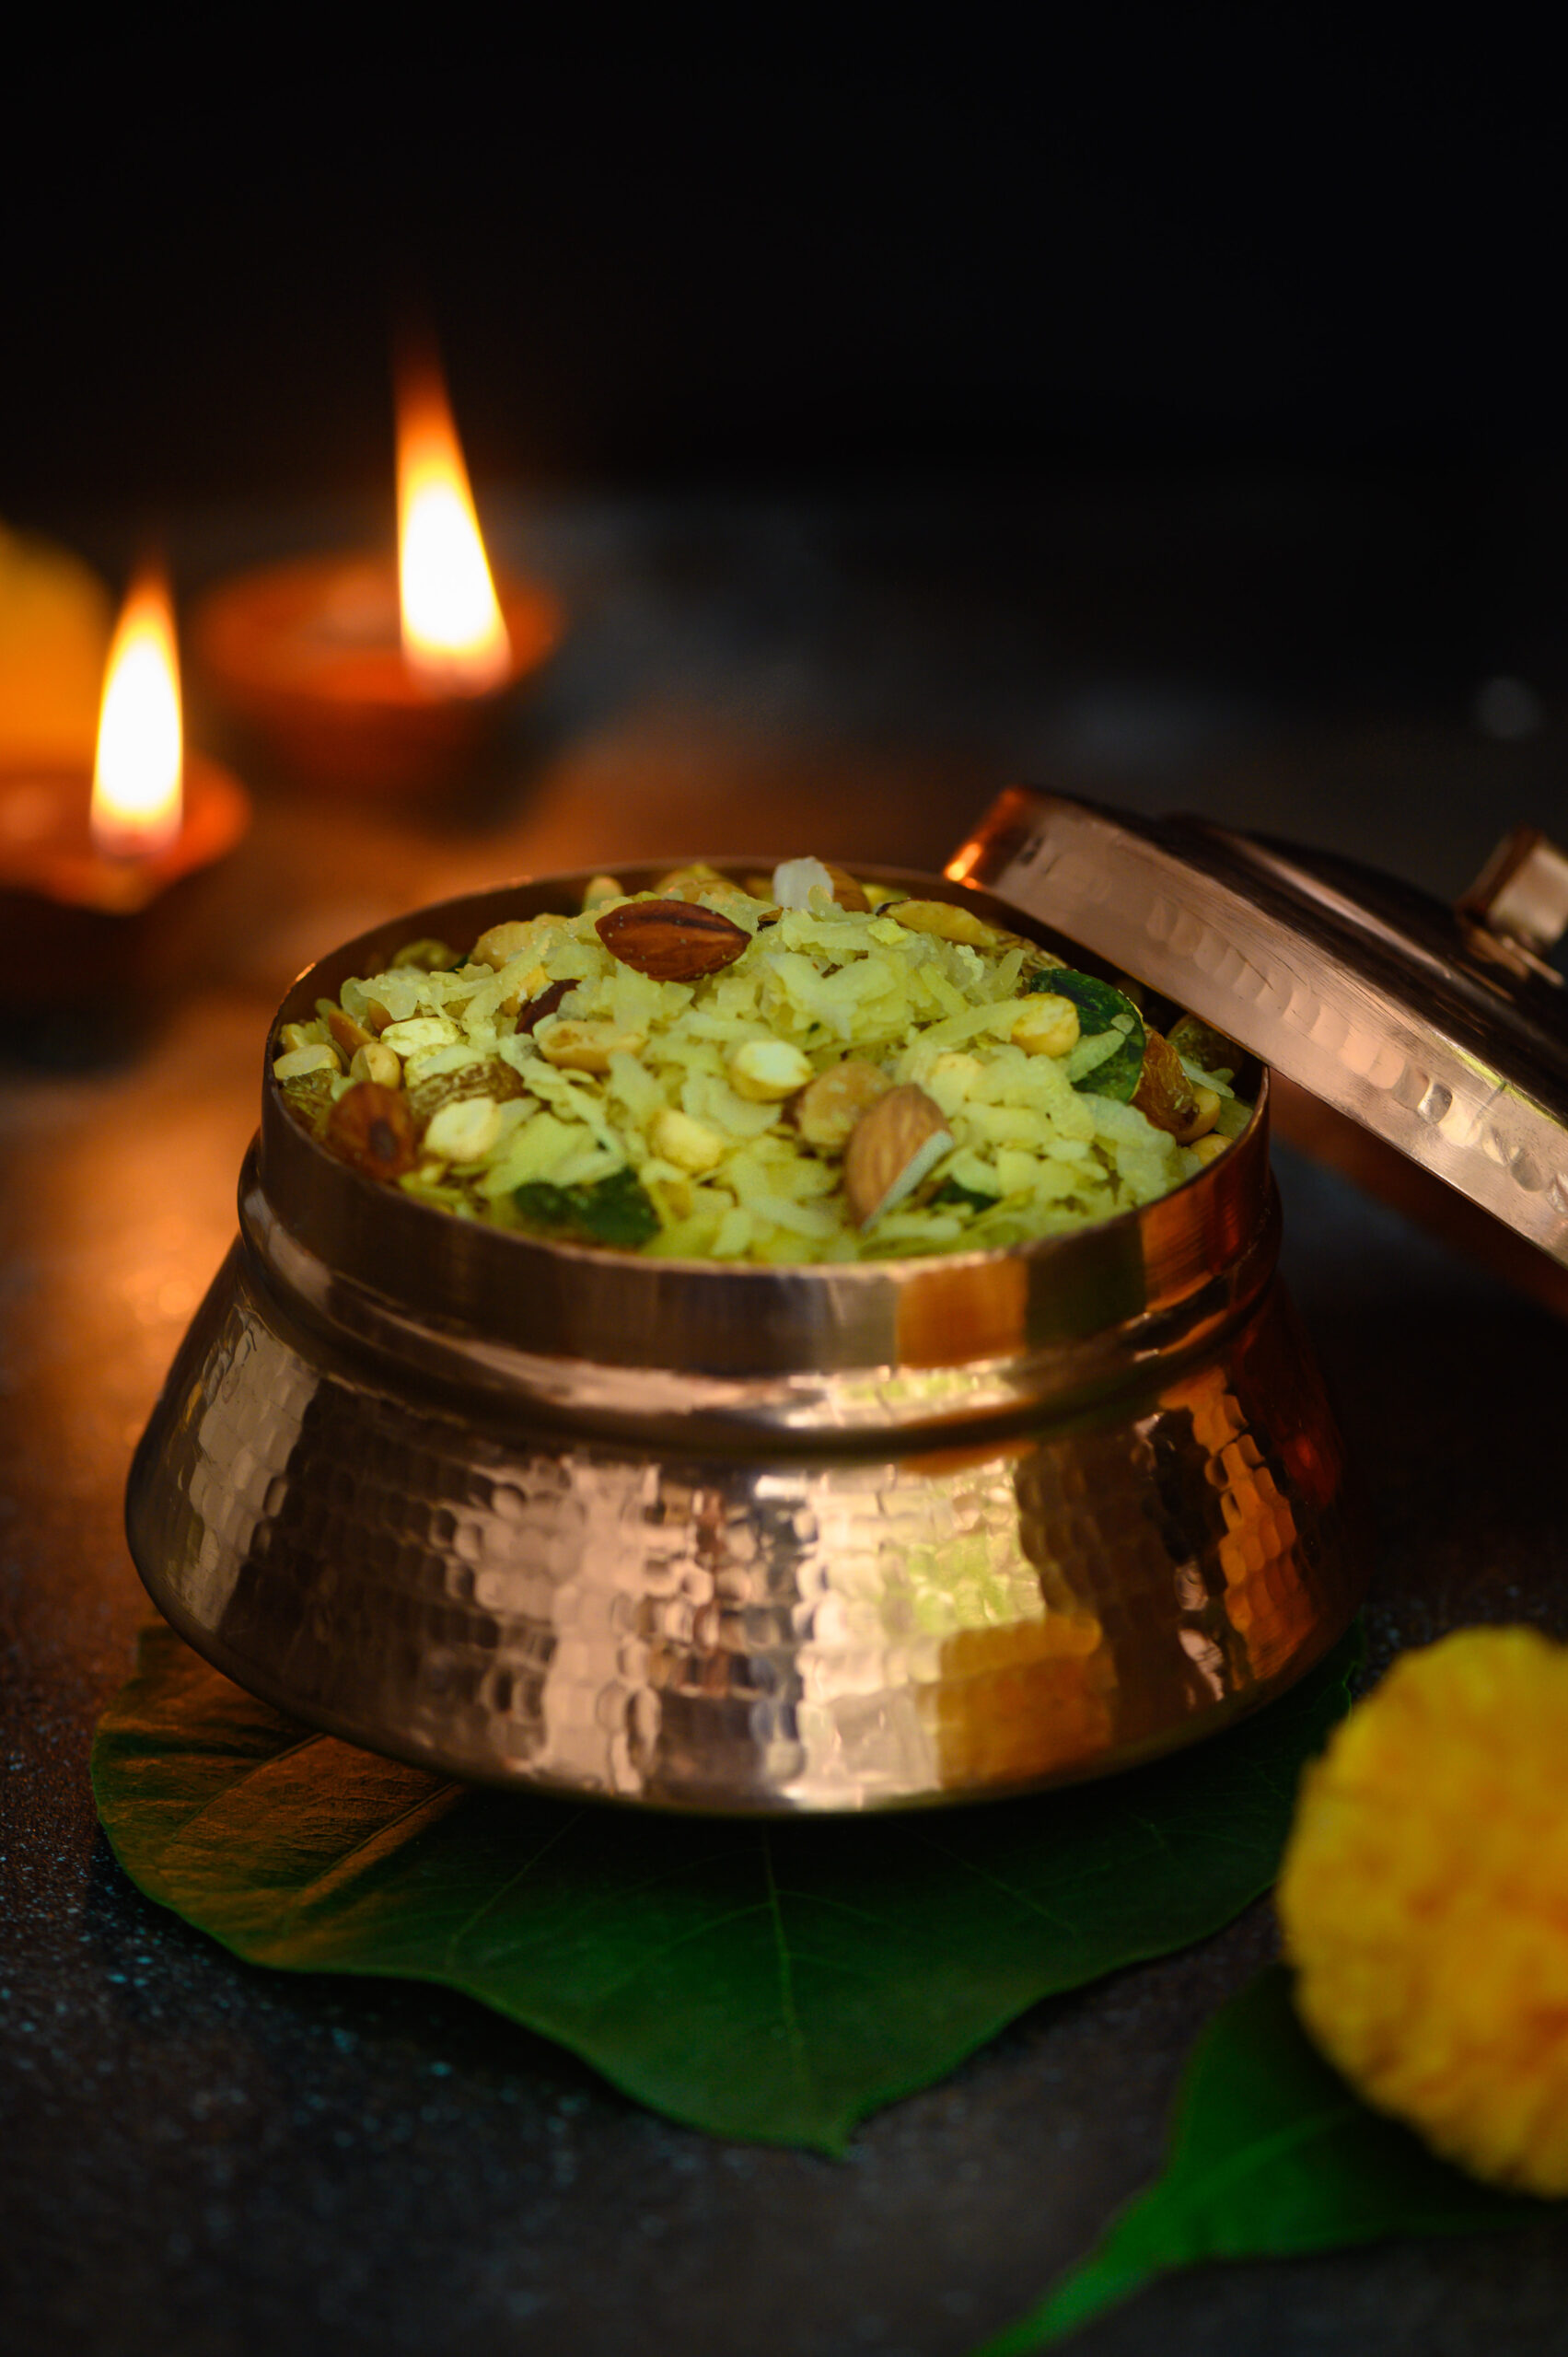
This is a snack to be consumed by the handful, with a fun mix of nuts and seasoning. The basic ingredient is poha, or flattened rice, which most Indian communities use in some way or another. My own earliest memories of it are in the form of the dudh-poha which my mother would make to take with us to the beach on Sharad Purnima nights, as well as this poha roast mix – the recipe for which I am sharing today.

In those days, this simple but addictive snack was one of my mother’s Diwali staples. I remember how she would usually make it a few days before the festival, in the evenings, after all the duties with us kids were done and we had finished our homework. But sometimes, when we were at school, she would meet with her friends and they would make everyone’s festive batches together. Nowadays, this might be called a community cooking type of get-together. To the mothers of that generation, who did not have home staff, it was so much more easy and convenient to join hands and cook. It was also a way to socialize. Occasionally, if the joint cooking happened on a weekend or at a time when the kids were at home, we would also get a chance to hang out with our own friends, and this was always fun.

The mothers learned from each other in this way. They would just be a group of 3 or 4 women, but each with her own expertise. I recall how my mother would say, for example, “This aunty’s mithai turns out very well, so this year I want to make some with her.” The homes they convened in depended on practical considerations like space or utensils. Who had the big kadai? Whose house was less crowded that day? These gatherings happened mostly around festive occasions, and I think of them as an early version of our blogs today. This is one reason why I treasure my mum’s cookbook so much. It contains all these different recipes that she learned from her friends, collected over the years through interacting with each person who shared the best from her personal repertoire.

As Gujaratis in Tamil Nadu, I think they also wanted a sense of community. Although we never felt alienated by Tamils or their culture, and grew up in our Tamil neighbours’ homes too, there was something meaningful about these gatherings. Meeting a few times a year to celebrate auspicious events in our traditional ways allowed us children to connect with language, cuisine and other aspects of the culture which were reminiscent of our parents’ and grandparents’ own upbringings.

Diwali is all about exchanging sweets and savouries, and back then there were no fancy delicacies to be ordered in bulk, either. Everything was homemade and non-commercial. Everything was simple and there was a spirit of sharing – “I give you a Diwali treat in my box, and you give me a Diwali treat in your box.”. When this group of women got together and cooked, they made enough for each family to take home, as well as to give away.

Some traditions you just have to keep. Which is why, even though Gujaratis are inventive when it comes to mixtures (and you know how much I love doing something unique to any recipe I try!), this chevdo / poha roast mix is a basic, traditional recipe. The one difference is that it is roasted, not fried. You can replace some of the ingredients based on your preference, but I recommend that you leave a hint of the sweetness in as it goes well with the crunch.

Diwali Chevdo / Poha Roast Mix

(Yield: approximately 400 grams)

150 grams poha

60 grams peanuts

60 grams roasted gram

50 grams almonds

50 grams raisins

50 grams cashew

¼ teaspoon turmeric

1 tablespoon heaped powdered sugar

⅓ cup oil + ½ tablespoon oil

1 tsp salt or as per taste

2 green chillies

A handful of curry leaves


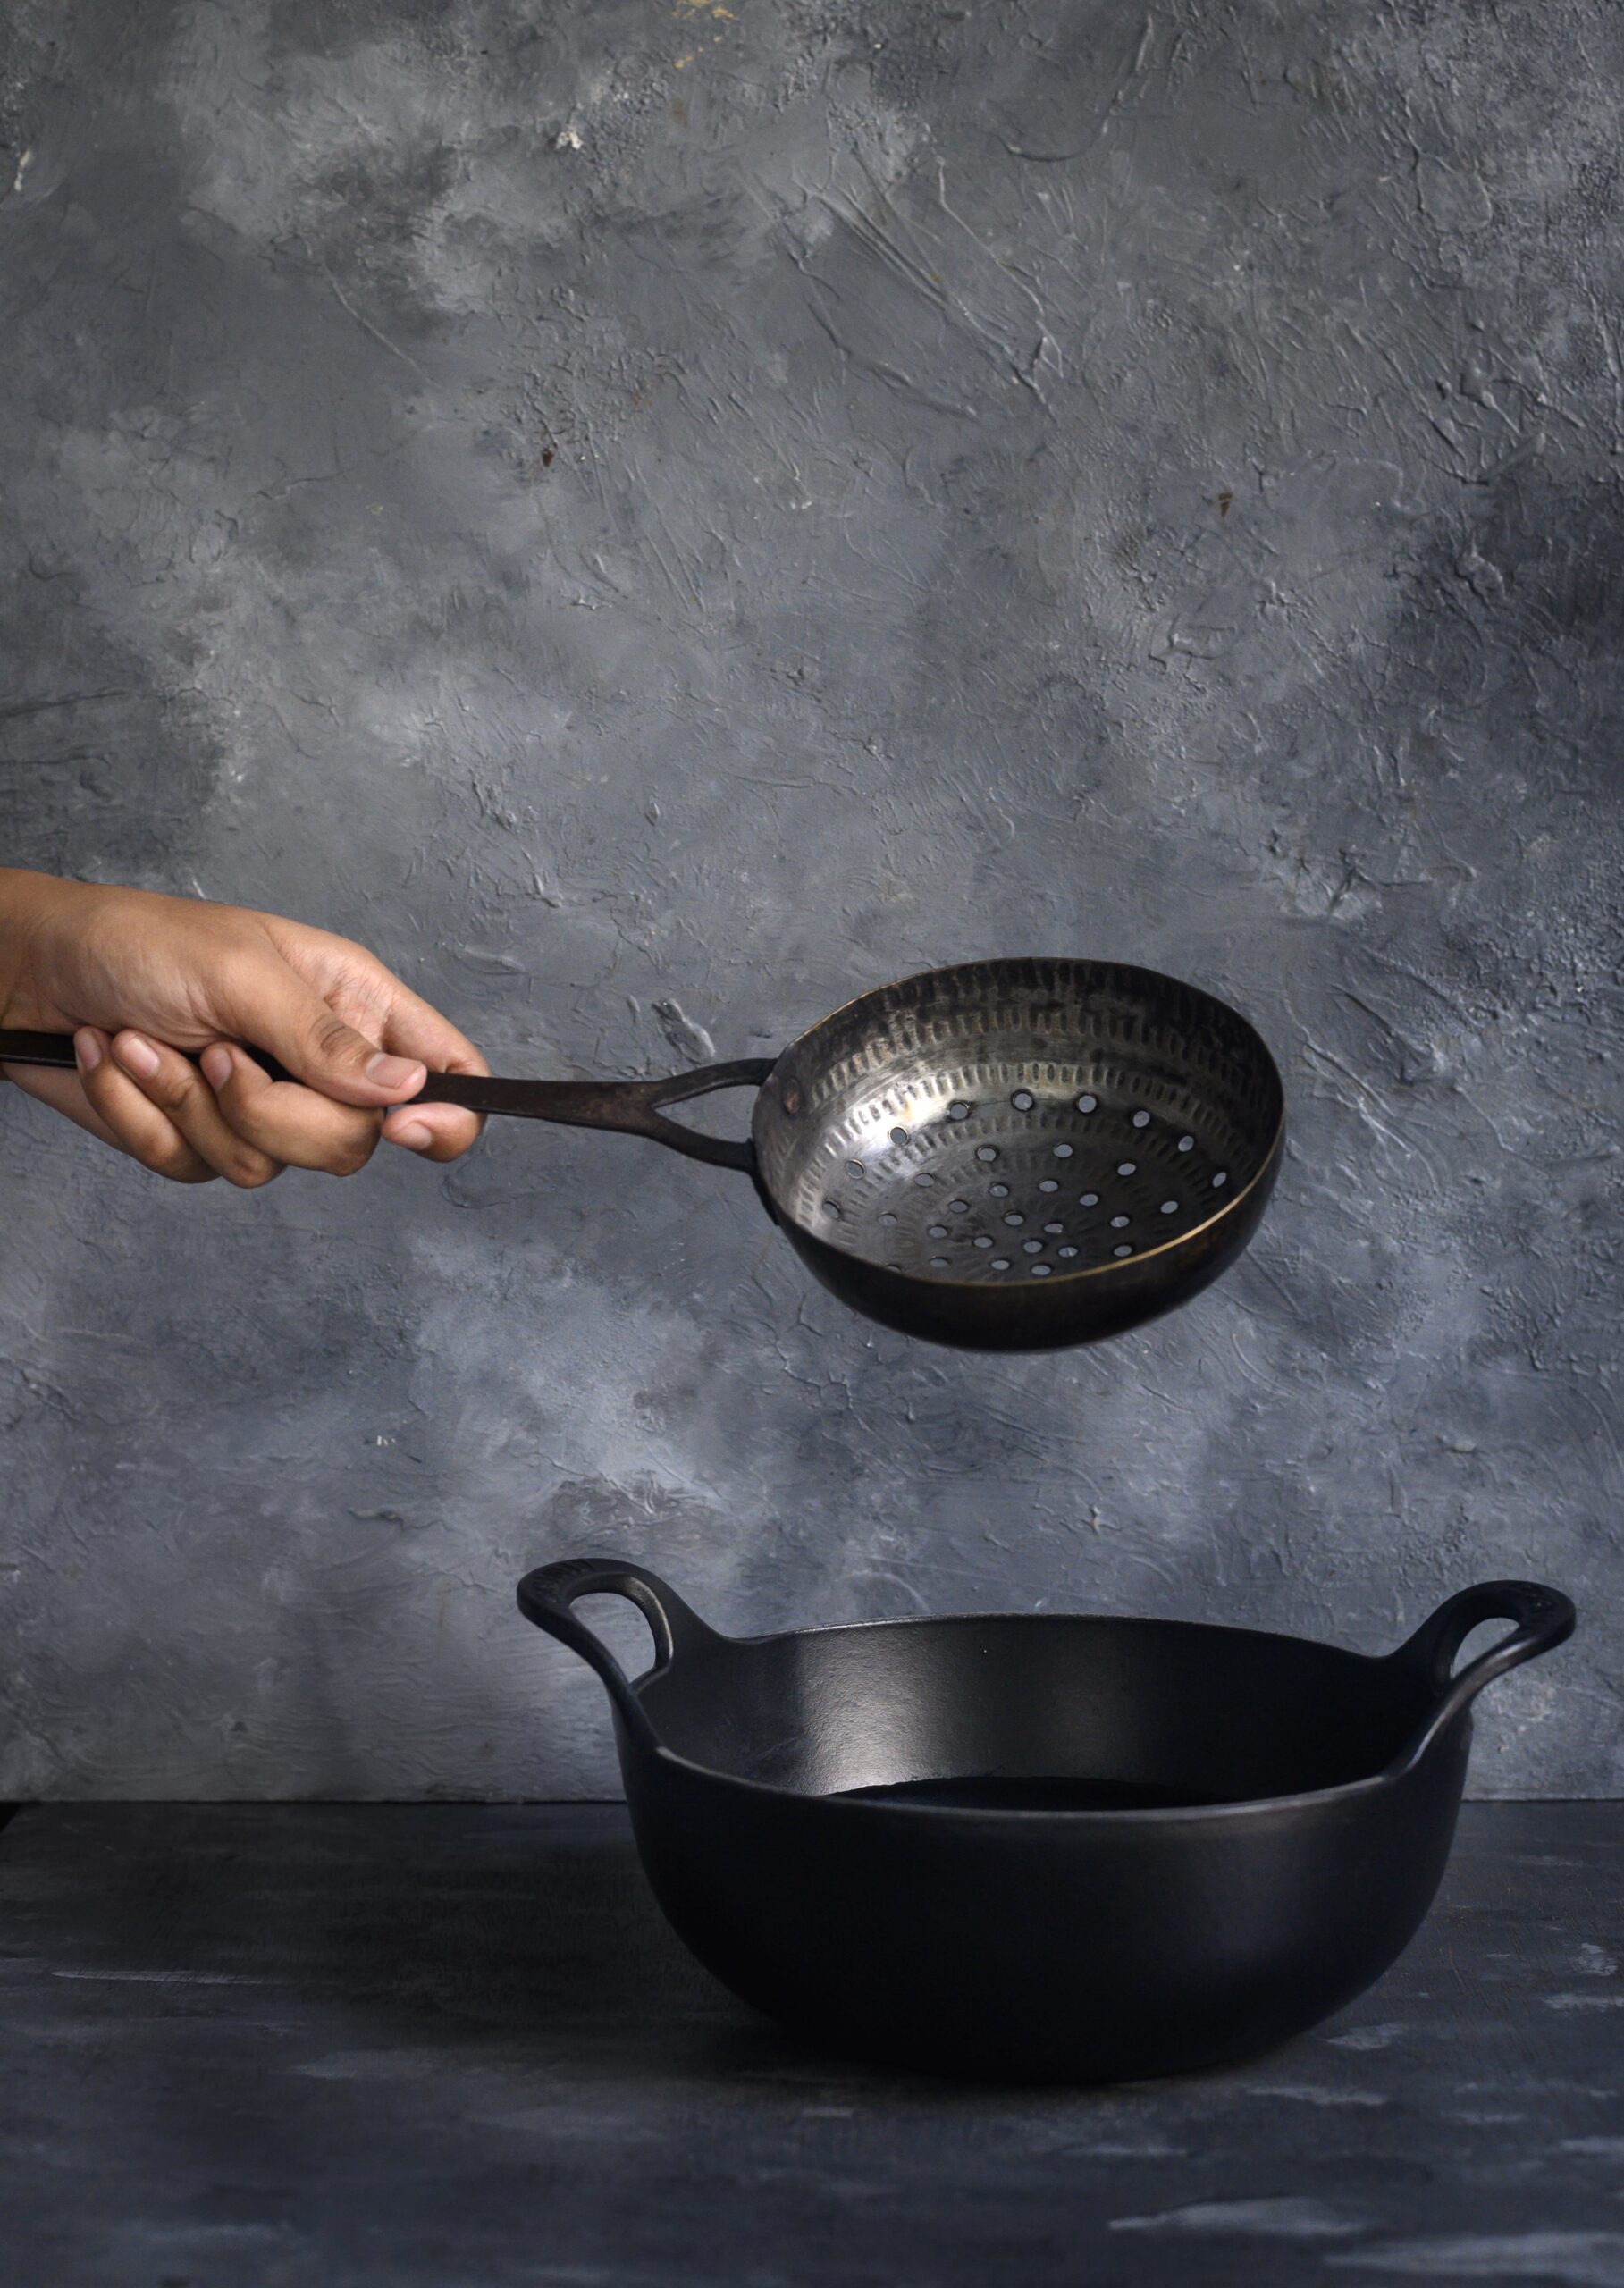
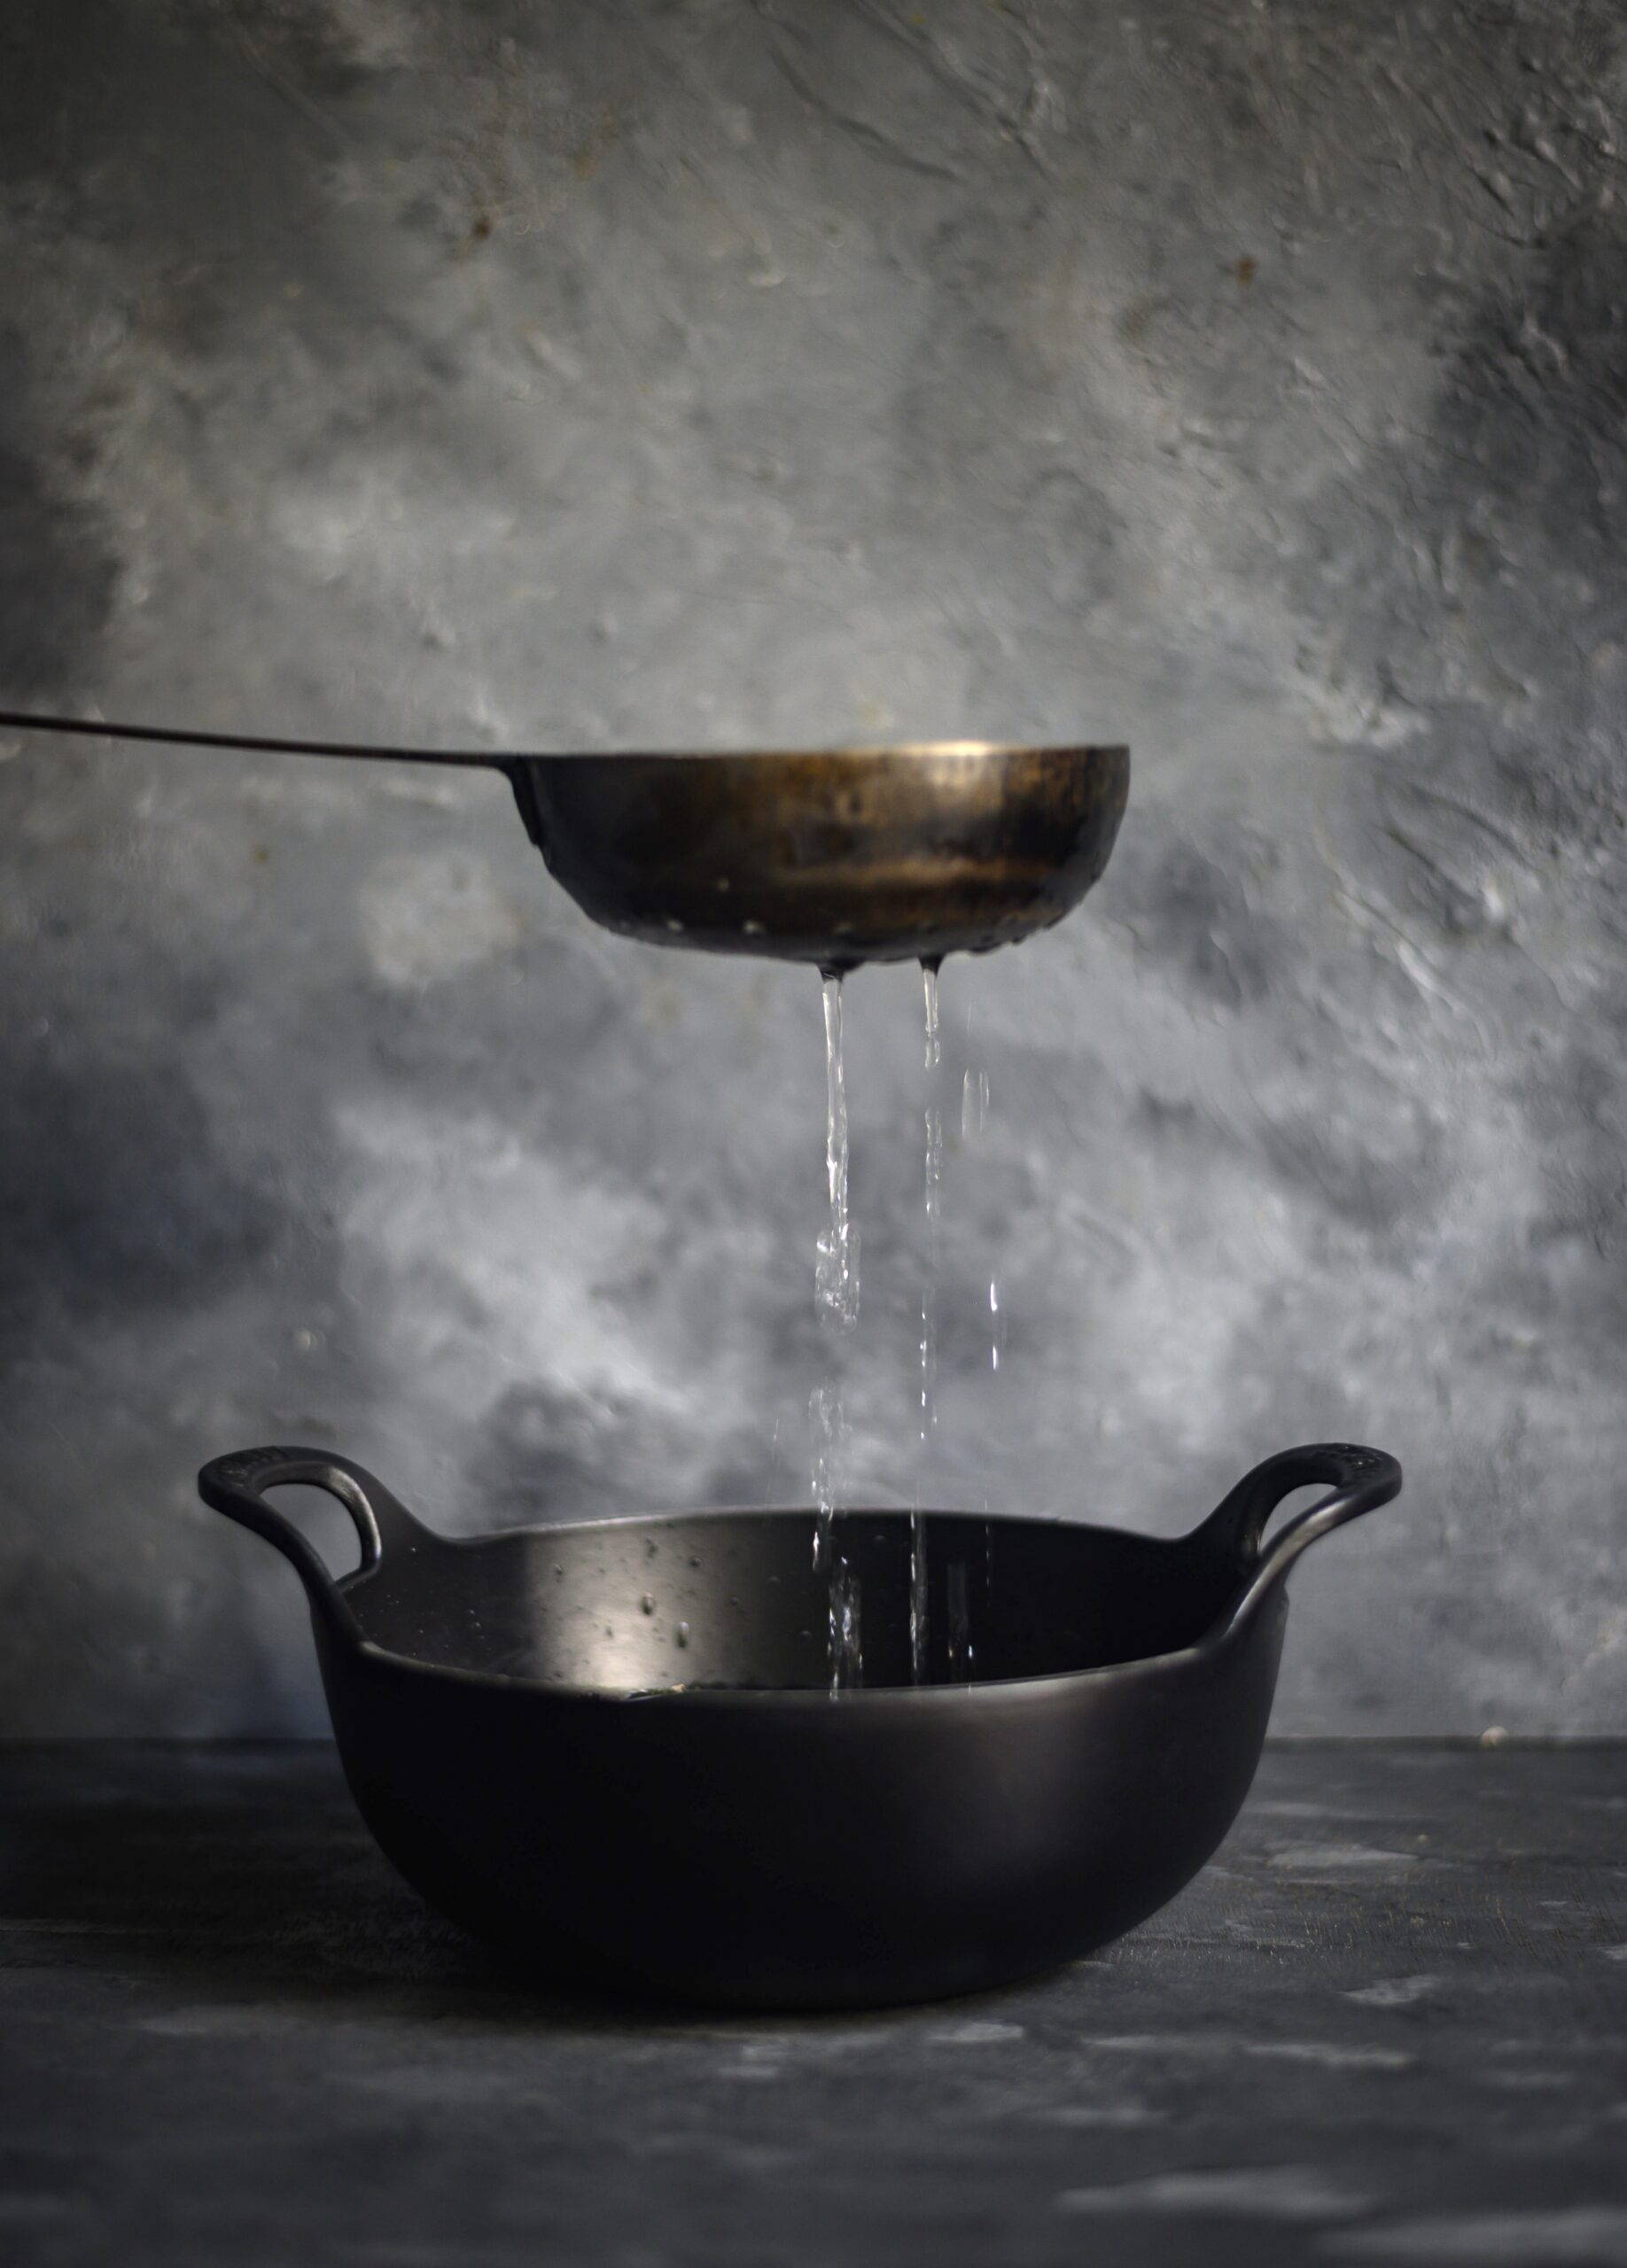
The truth is that fried poha tastes fantastic, but I am giving you a roasted poha version in order to keep up with the times. With the pollution in the environment today, we must make an effort to eat healthier. This method below is completely different from the fried kind, but if you do want to try a fried variant, do try to get your hands on a special utensil which will make the process easier and less messy – a cup-shaped ladle with draining holes, into which you put small batches of the ingredients in at a time.

In a wide bottom pan, roast the poha on a low flame, making sure it does not turn brown. Avoid using a spatula to stir as this will only cause the brittle poha to break into tiny pieces. I picked up the pan and swirled it around gently, and used my hands to turn the poha around. Keep the poha moving frequently. The roasting takes approximately 15-20 minutes. Once the poha is roasted, set it aside.

In another pan, add the ⅓ cup of oil and allow it to heat. Now, add the roasted gram. On a medium flame, stir using a ladle. Once the roasted gram is golden, drain well and place on an absorbent paper.

Next, add the peanuts and repeat the roasting. Do the same to the cashew nuts and almonds, separately, as well.

Lastly, roast the golden raisins. Be careful as they will burn easily. At this point, lower the flame and once they fluff up, drain and remove them.

Now all the ingredients are ready to be assembled. On a low flame, add the ½ tablespoon of oil to a pan. Add the green chillies and some curry leaves. Once the chillies turn colour slightly, add salt, sugar and turmeric. Immediately after, add all the roasted ingredients – poha, peanuts, cashew nuts and raisins – turn by turn and mix gently. Make sure all the spices are incorporated well and coat all the ingredients. Ensure that the spices do not get burnt. This can be done by keeping a low flame and stirring the ingredients constantly as you add them.

Allow to cool on the pan. Do not cover as this may cause moisture to fall into the crispy chevdo.

Your Gujarati Diwali chevdo / poha roast mix is now ready, and it tastes especially yummy with chai. It’s my husband’s and daughter’s most favourite snack, which is why I’ve got a headstart on making it for this Diwali. I hope you’ll enjoy it, and make it a part of your festivities too. I’d love to know what you think of this delicious mixture, the recipe for which could be as much my mother’s, or her friend’s, but is now mine and yours!

The beauty that we see all around us, we take for granted. This is why I love flower exhibitions, which put that beauty at the centre and let us appreciate it fully. Flowers represent inner peace to me. Amongst other things, the Chelsea Flower Show, was on my wishlist. And I recently had that dream fulfilled. It was like the experience of so many flower market visits, multiplied.

One of my favourite things to do in London is to wake up early and go to the flower market, which I enjoy just as much as I do a flea market or an antique market. It was a dear friend who first took me to the Columbia Street Market, which soon became one of my favourite London experiences. It begins with a coffee at any of the quaint shops alongside the flower sellers, sipping leisurely while watching them set up their stalls. They bring their fresh flowers in and I watch them at work while I have my coffee, which is always so lovely and which sets off the mood. I could sit there all day, between the taste of the coffee and the sight of the blossoms.

Amidst the abundance of peonies and a variety of English greens, I was taken aback to see a jasmine plant in a pot. It was simply laden with flowers which reminded me of the oosi malli back home. I was surprised to see it blossoming when the climate was not conducive for it, and it gave me fresh inspiration to continue working in my own gardens. I was reminded of my own home and the manoranjithas I’m trying to revive. The dedication of those London florists, and the sheer variety of flowers they cultivate, are lessons to inspire us to look at the diversity and beauty that exists around us.


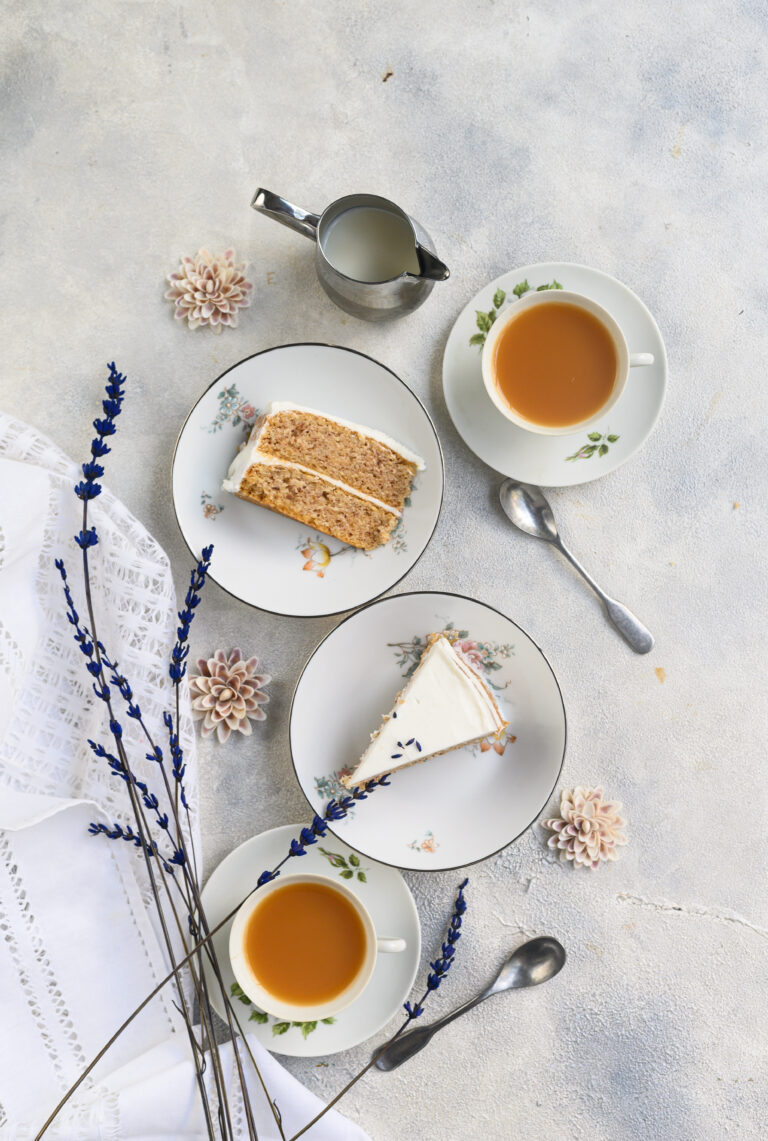
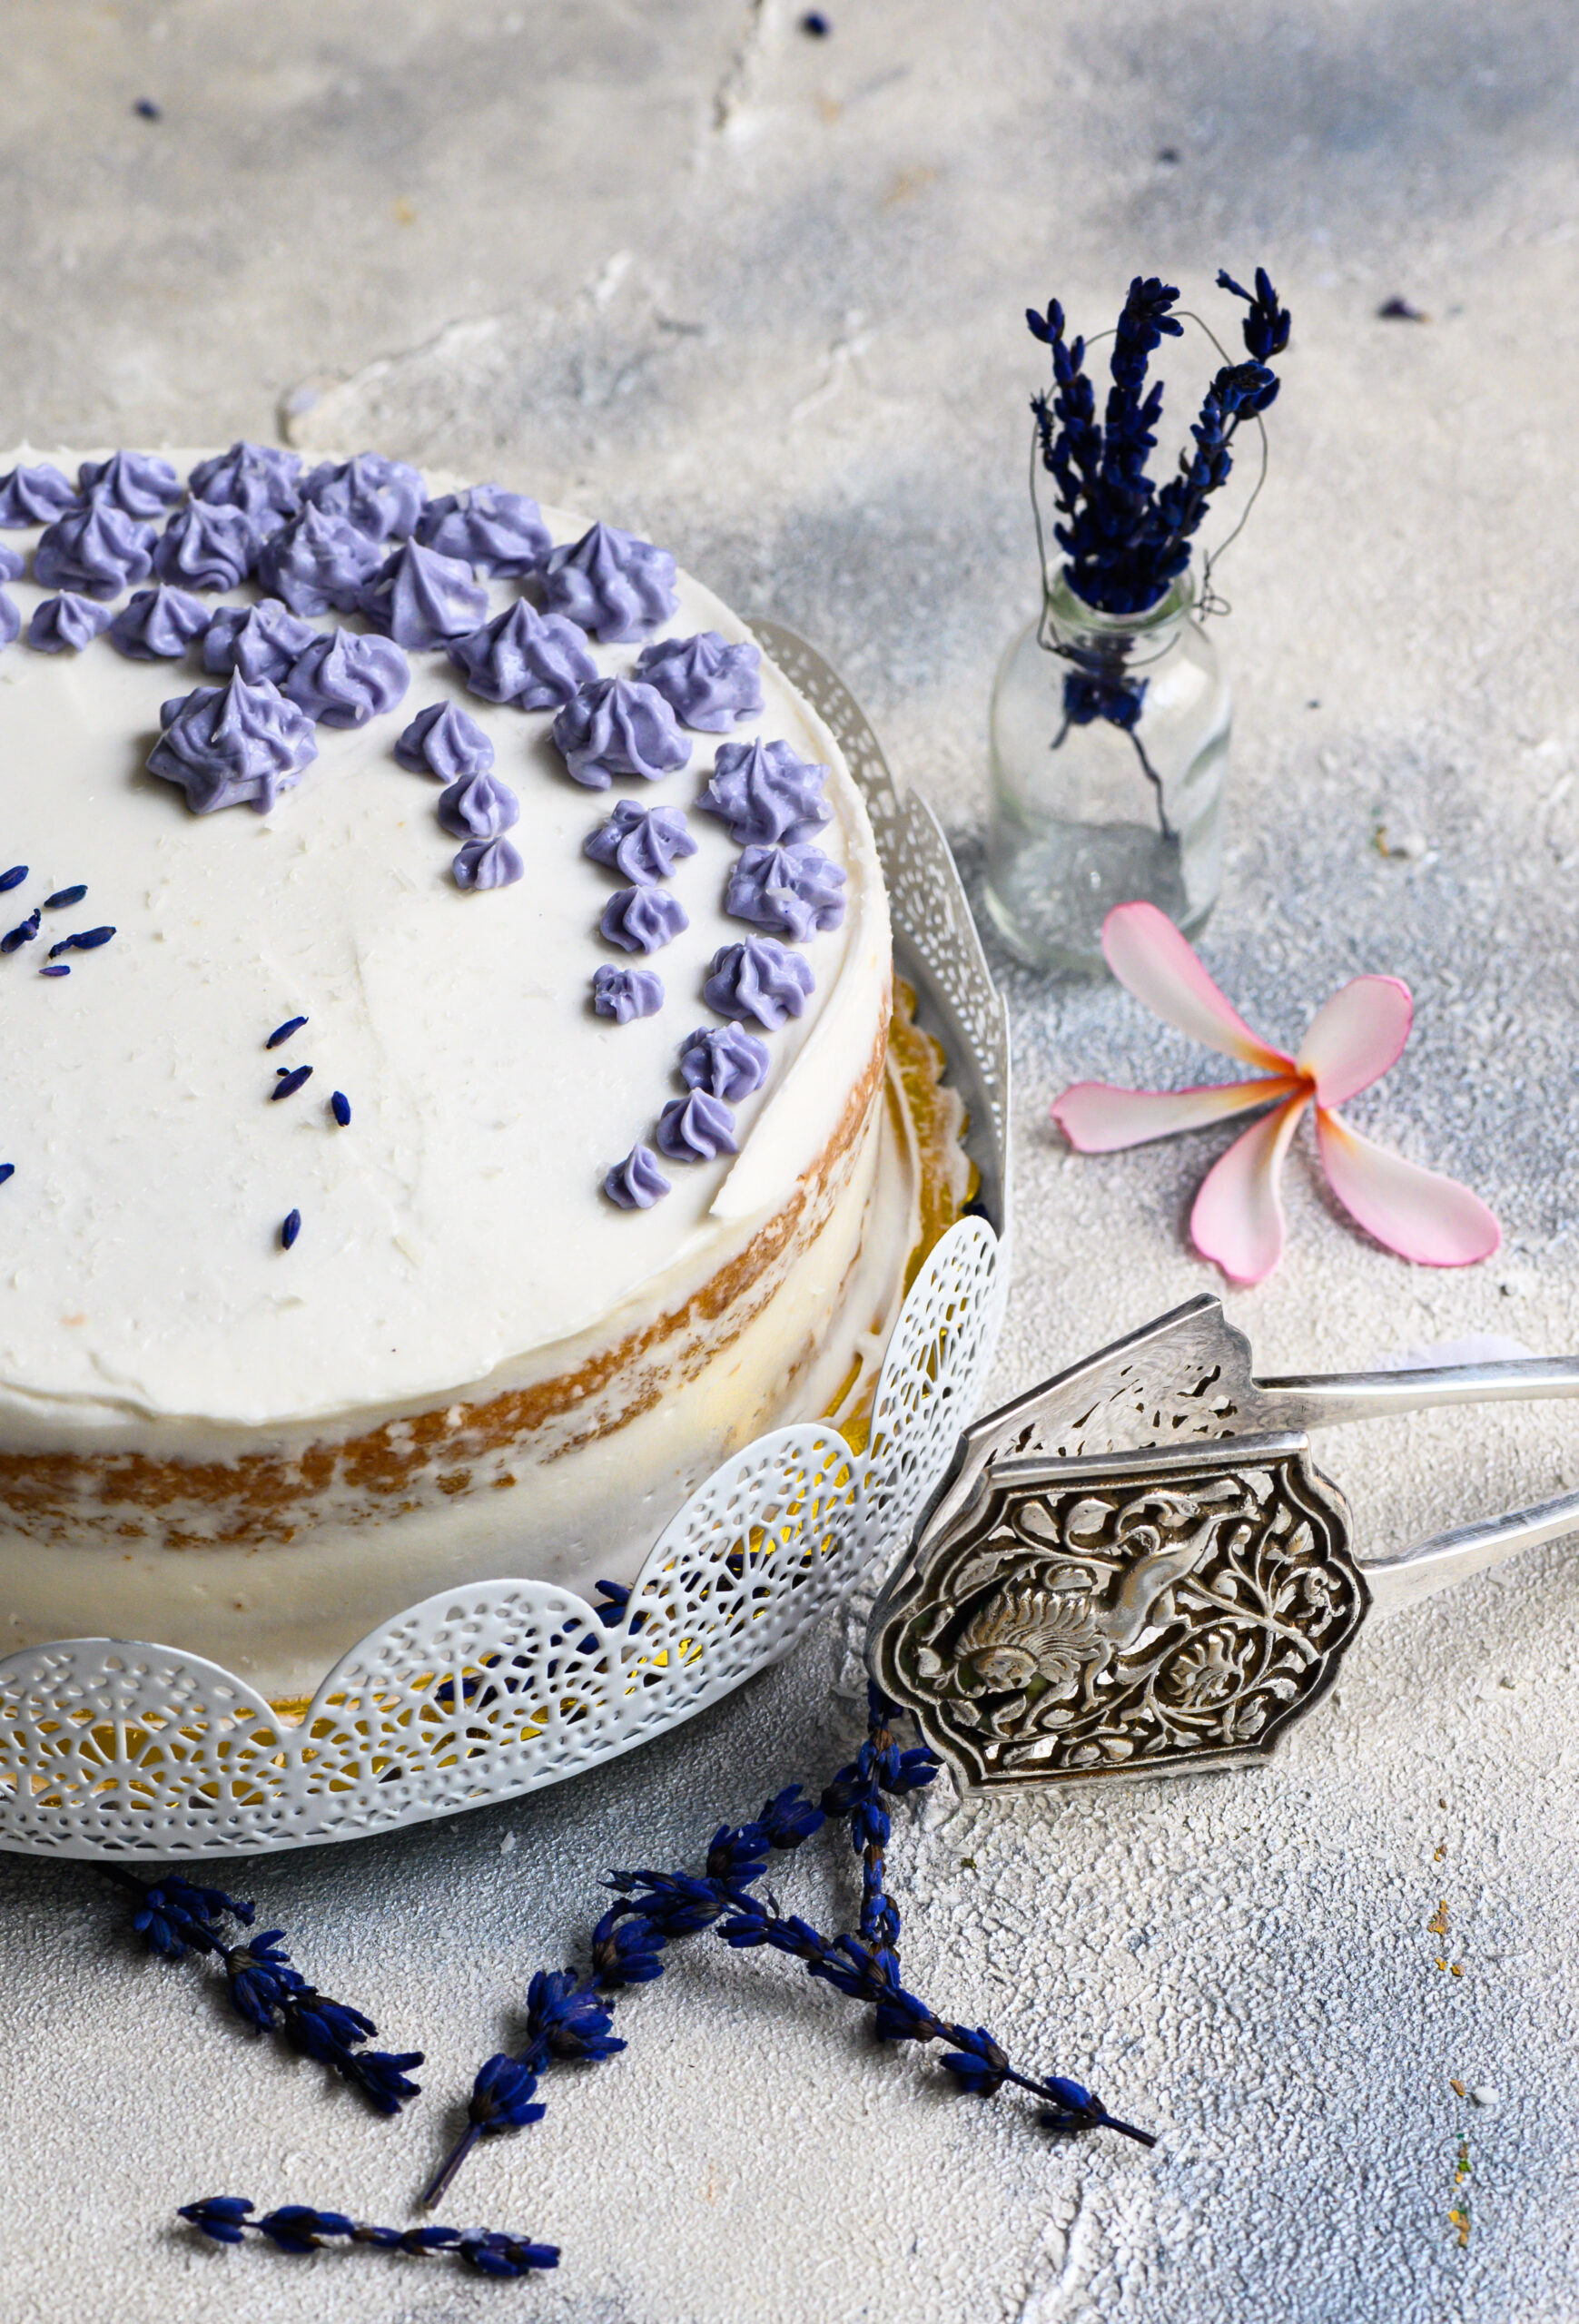
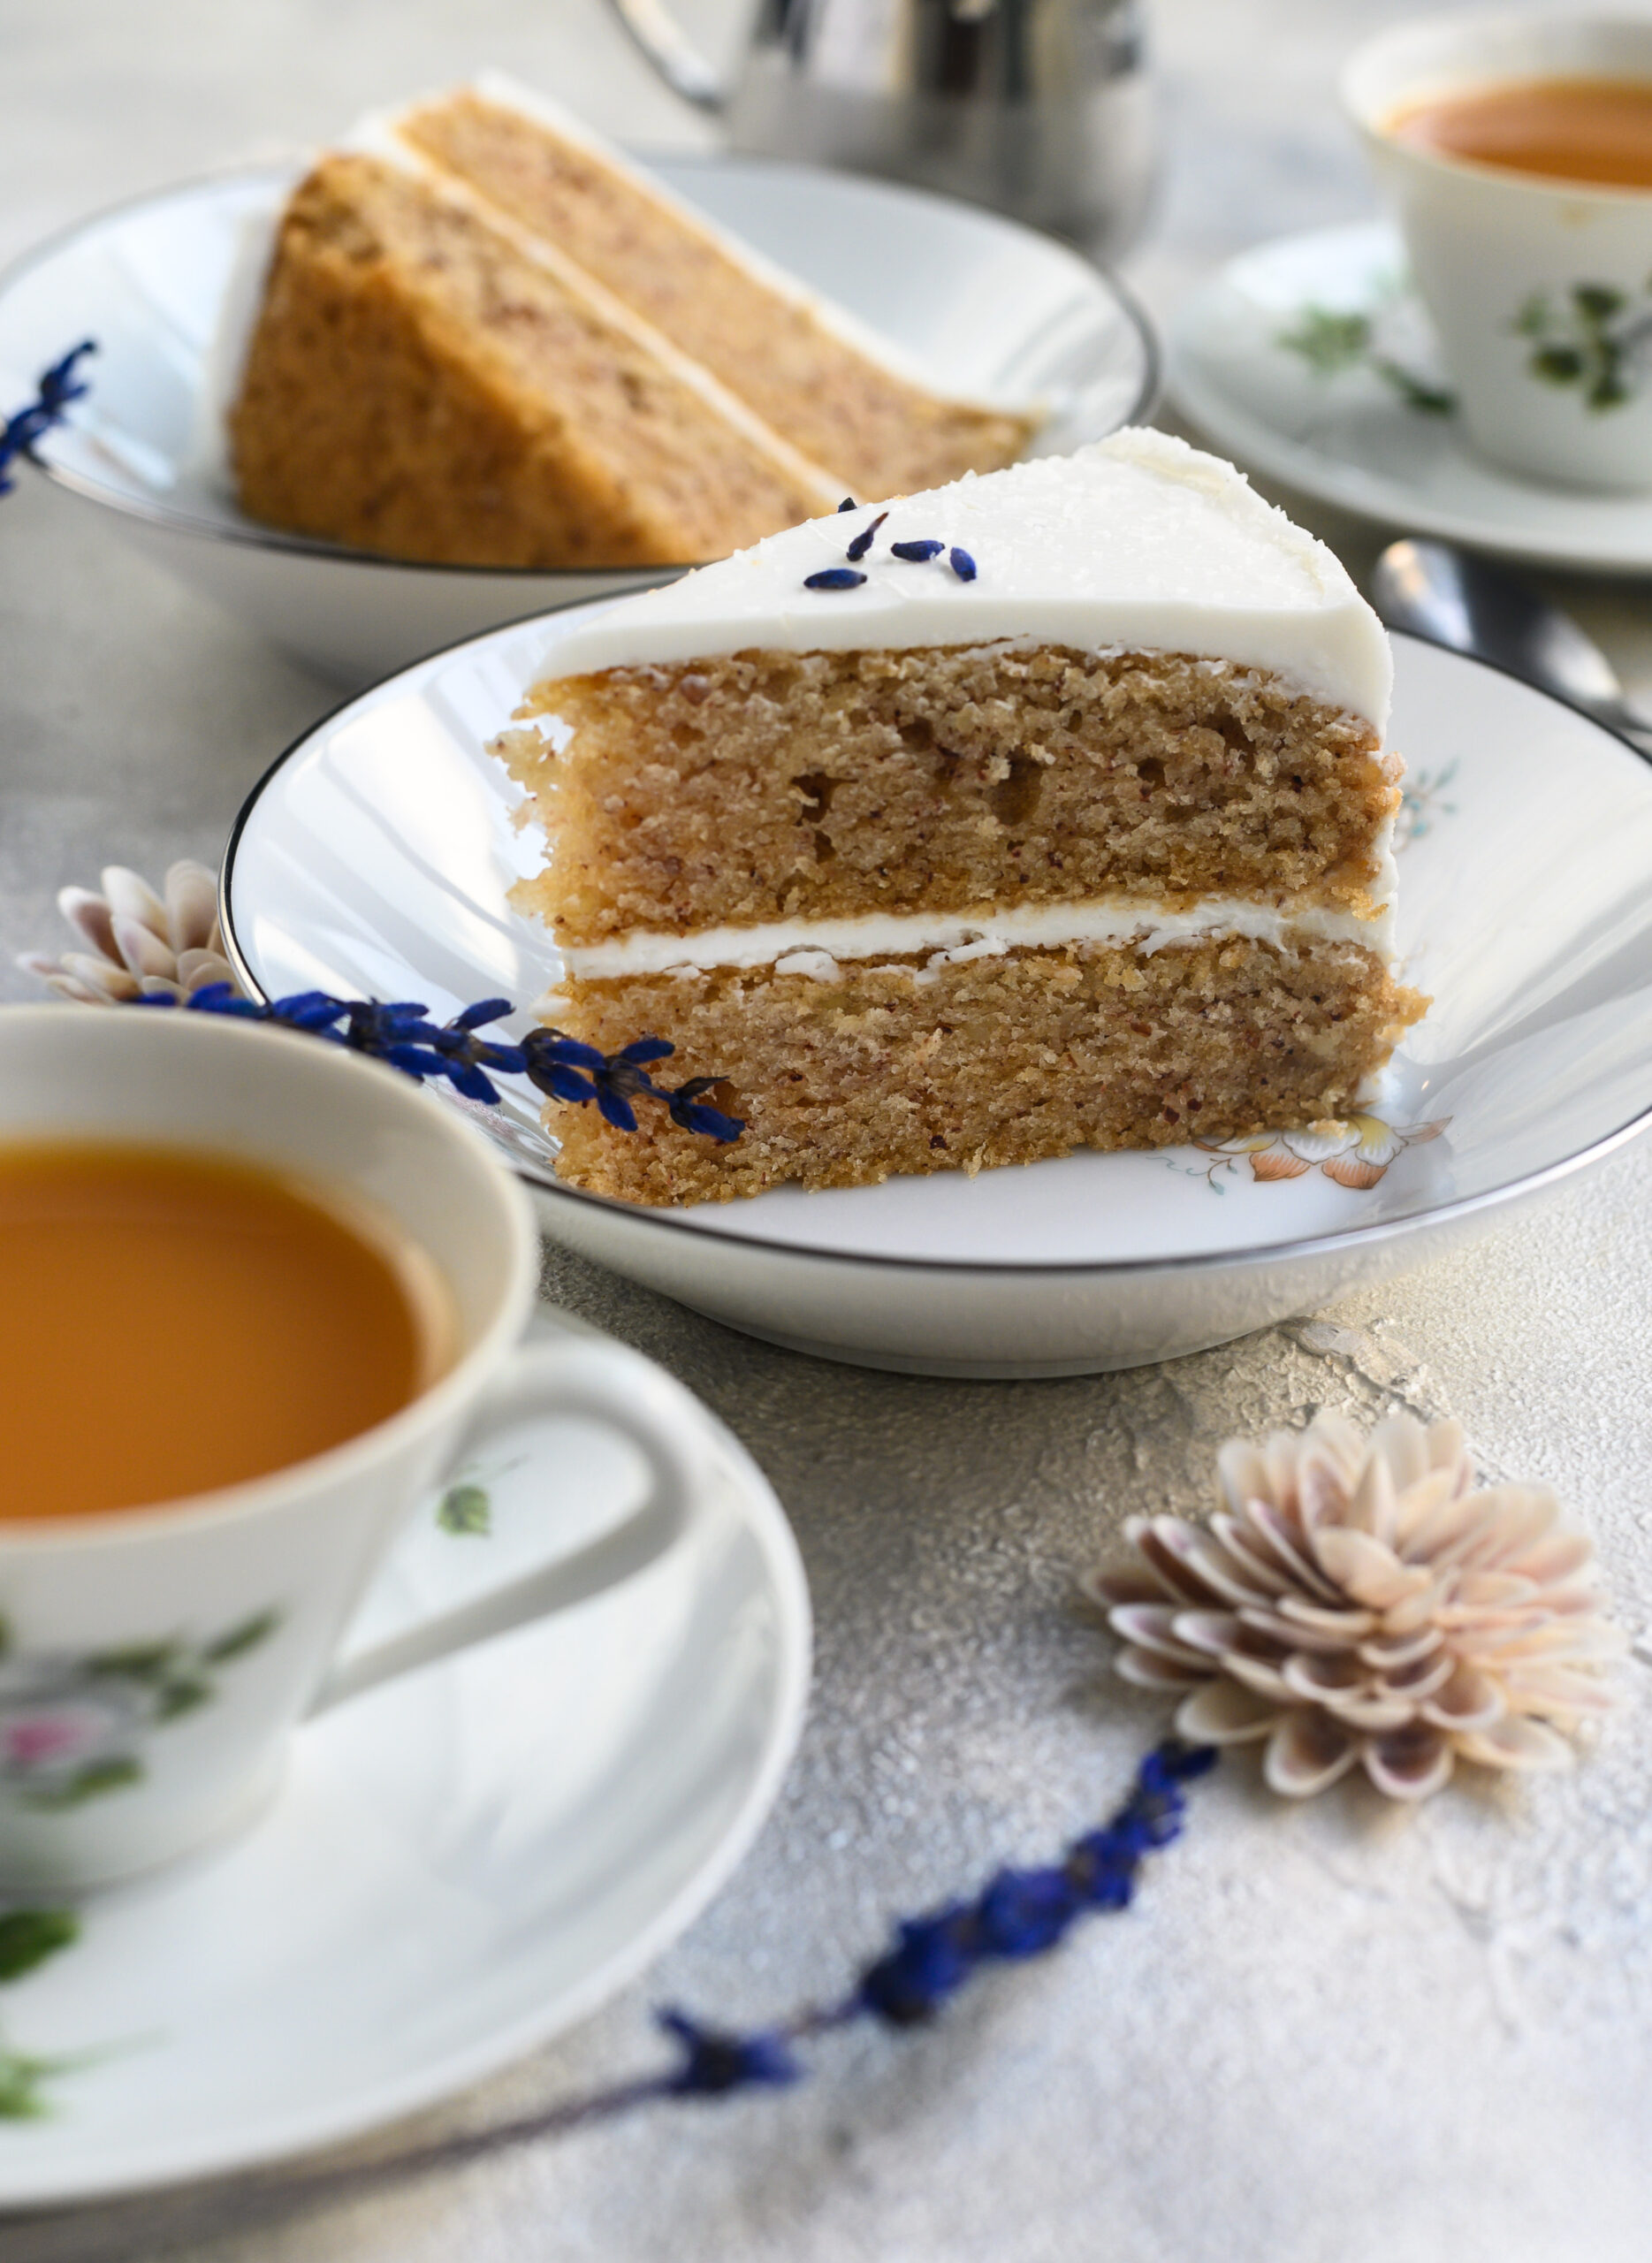
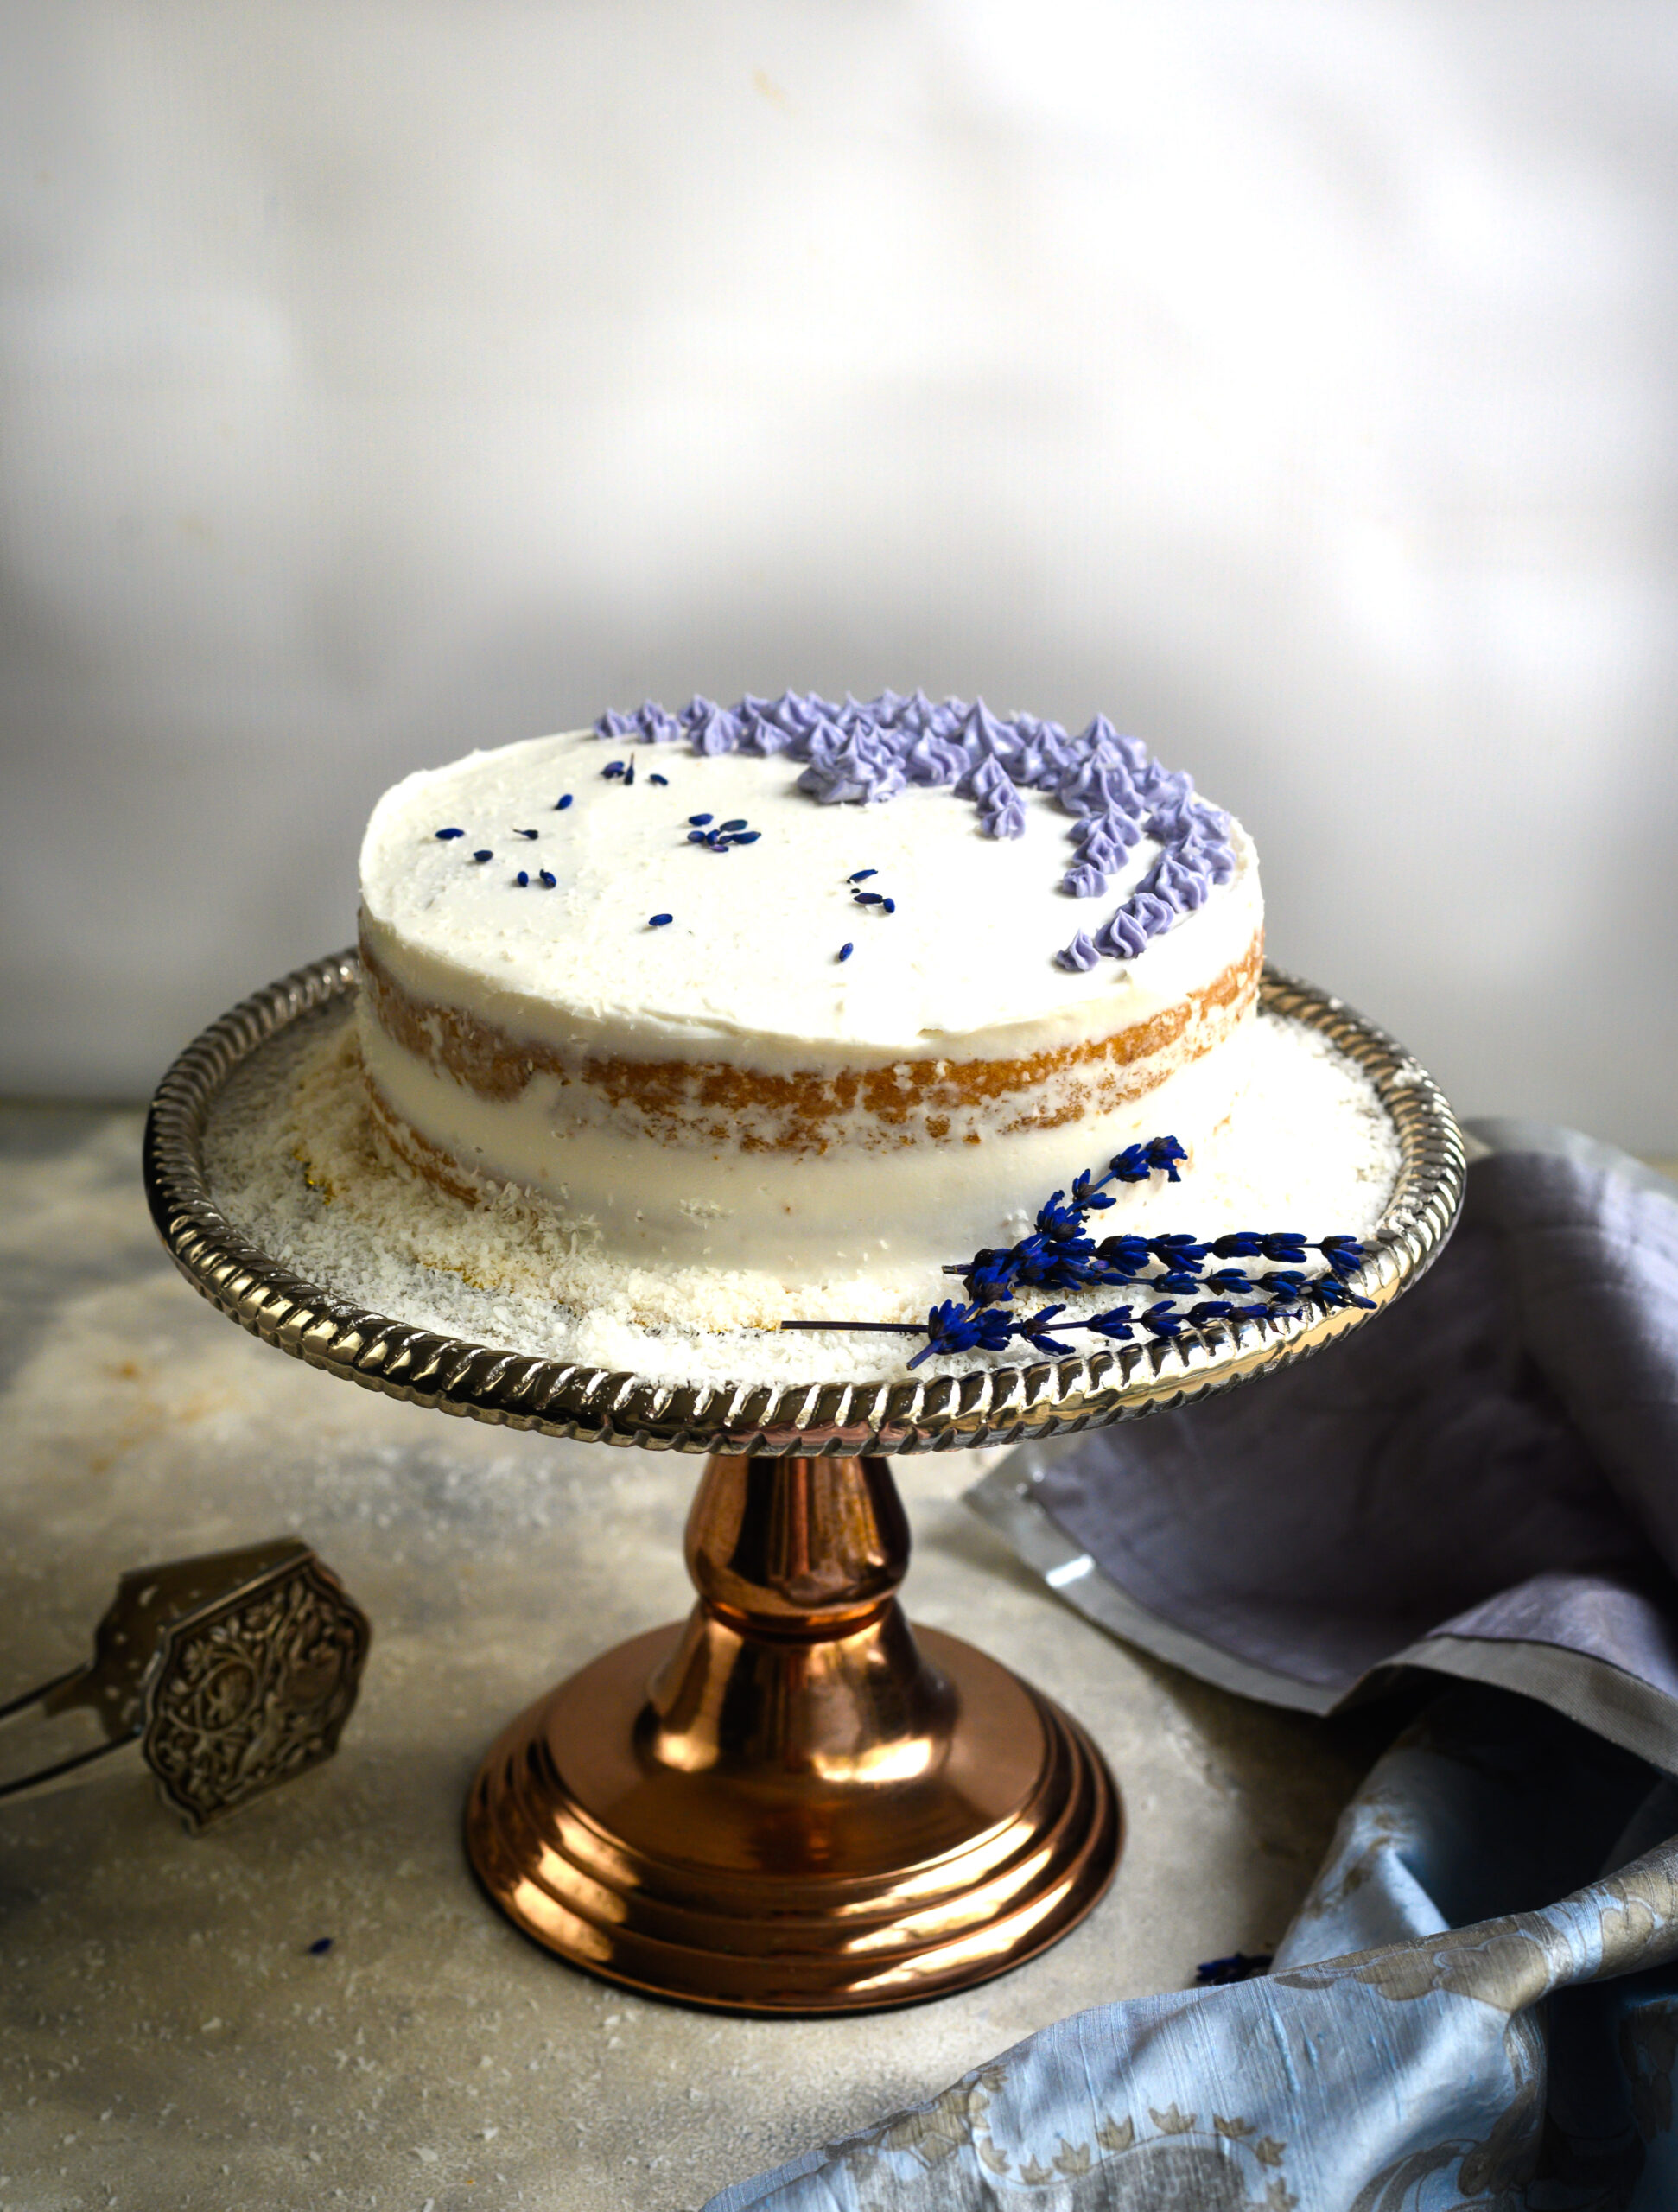
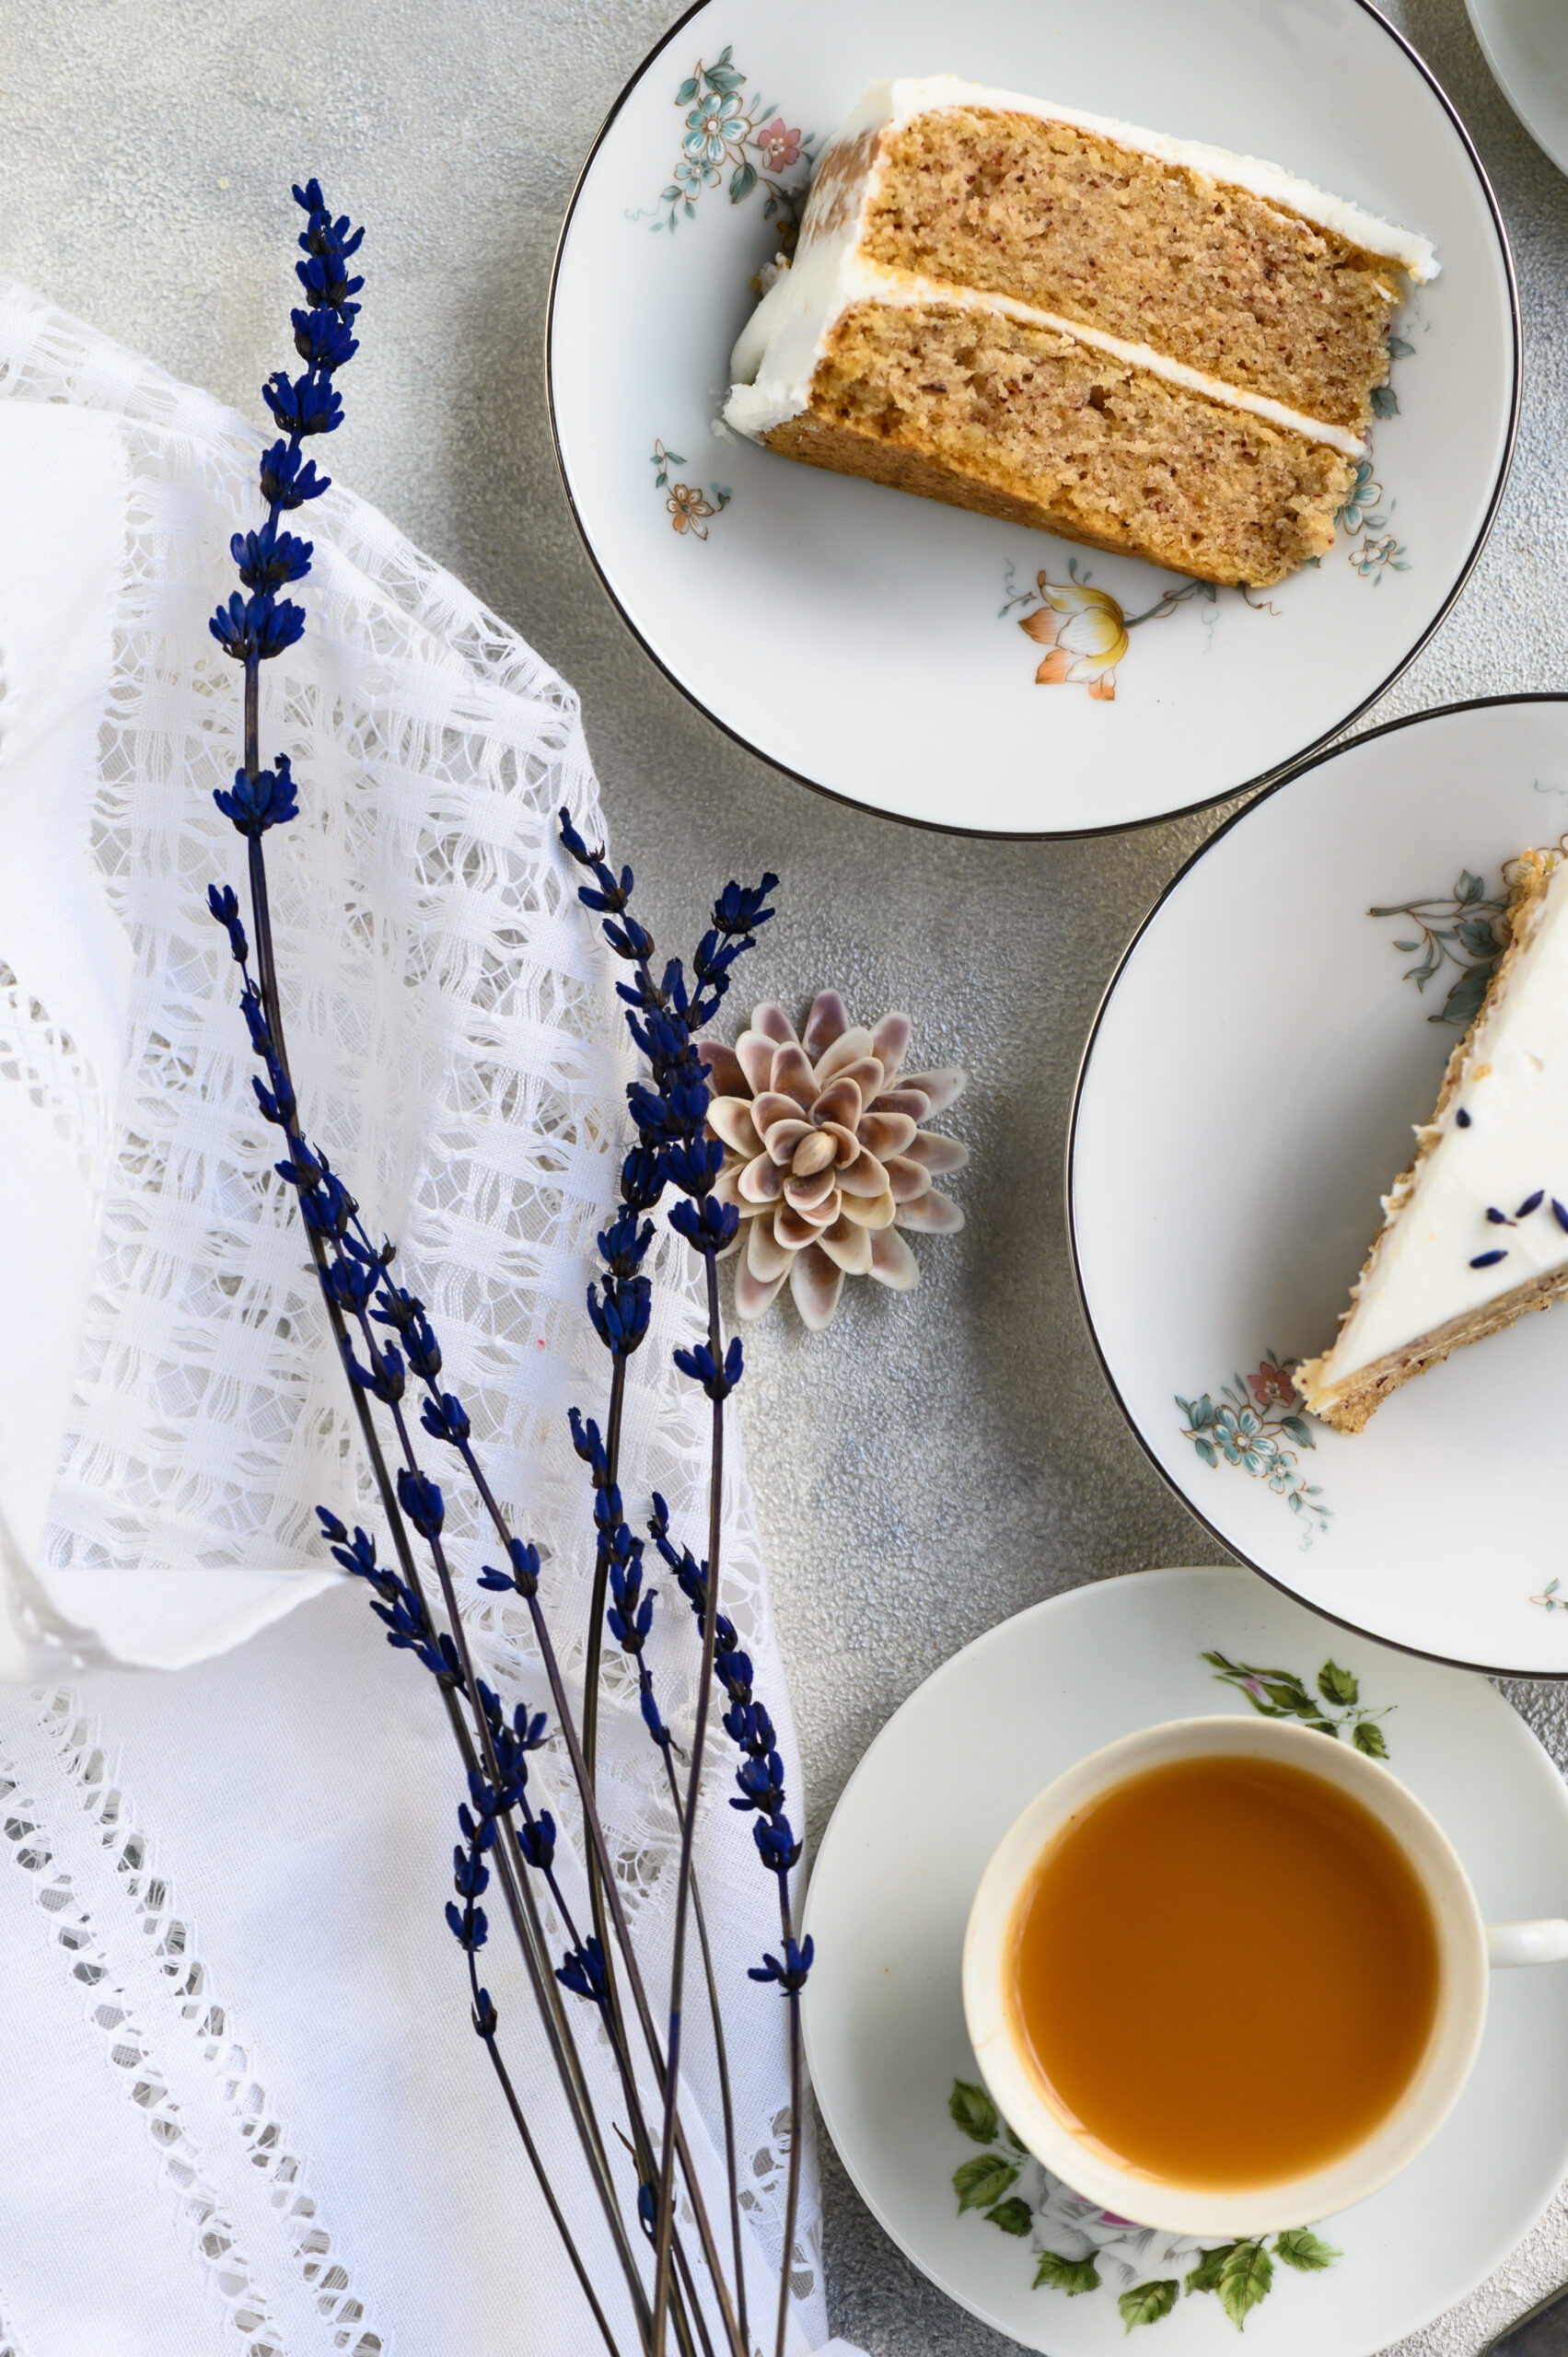
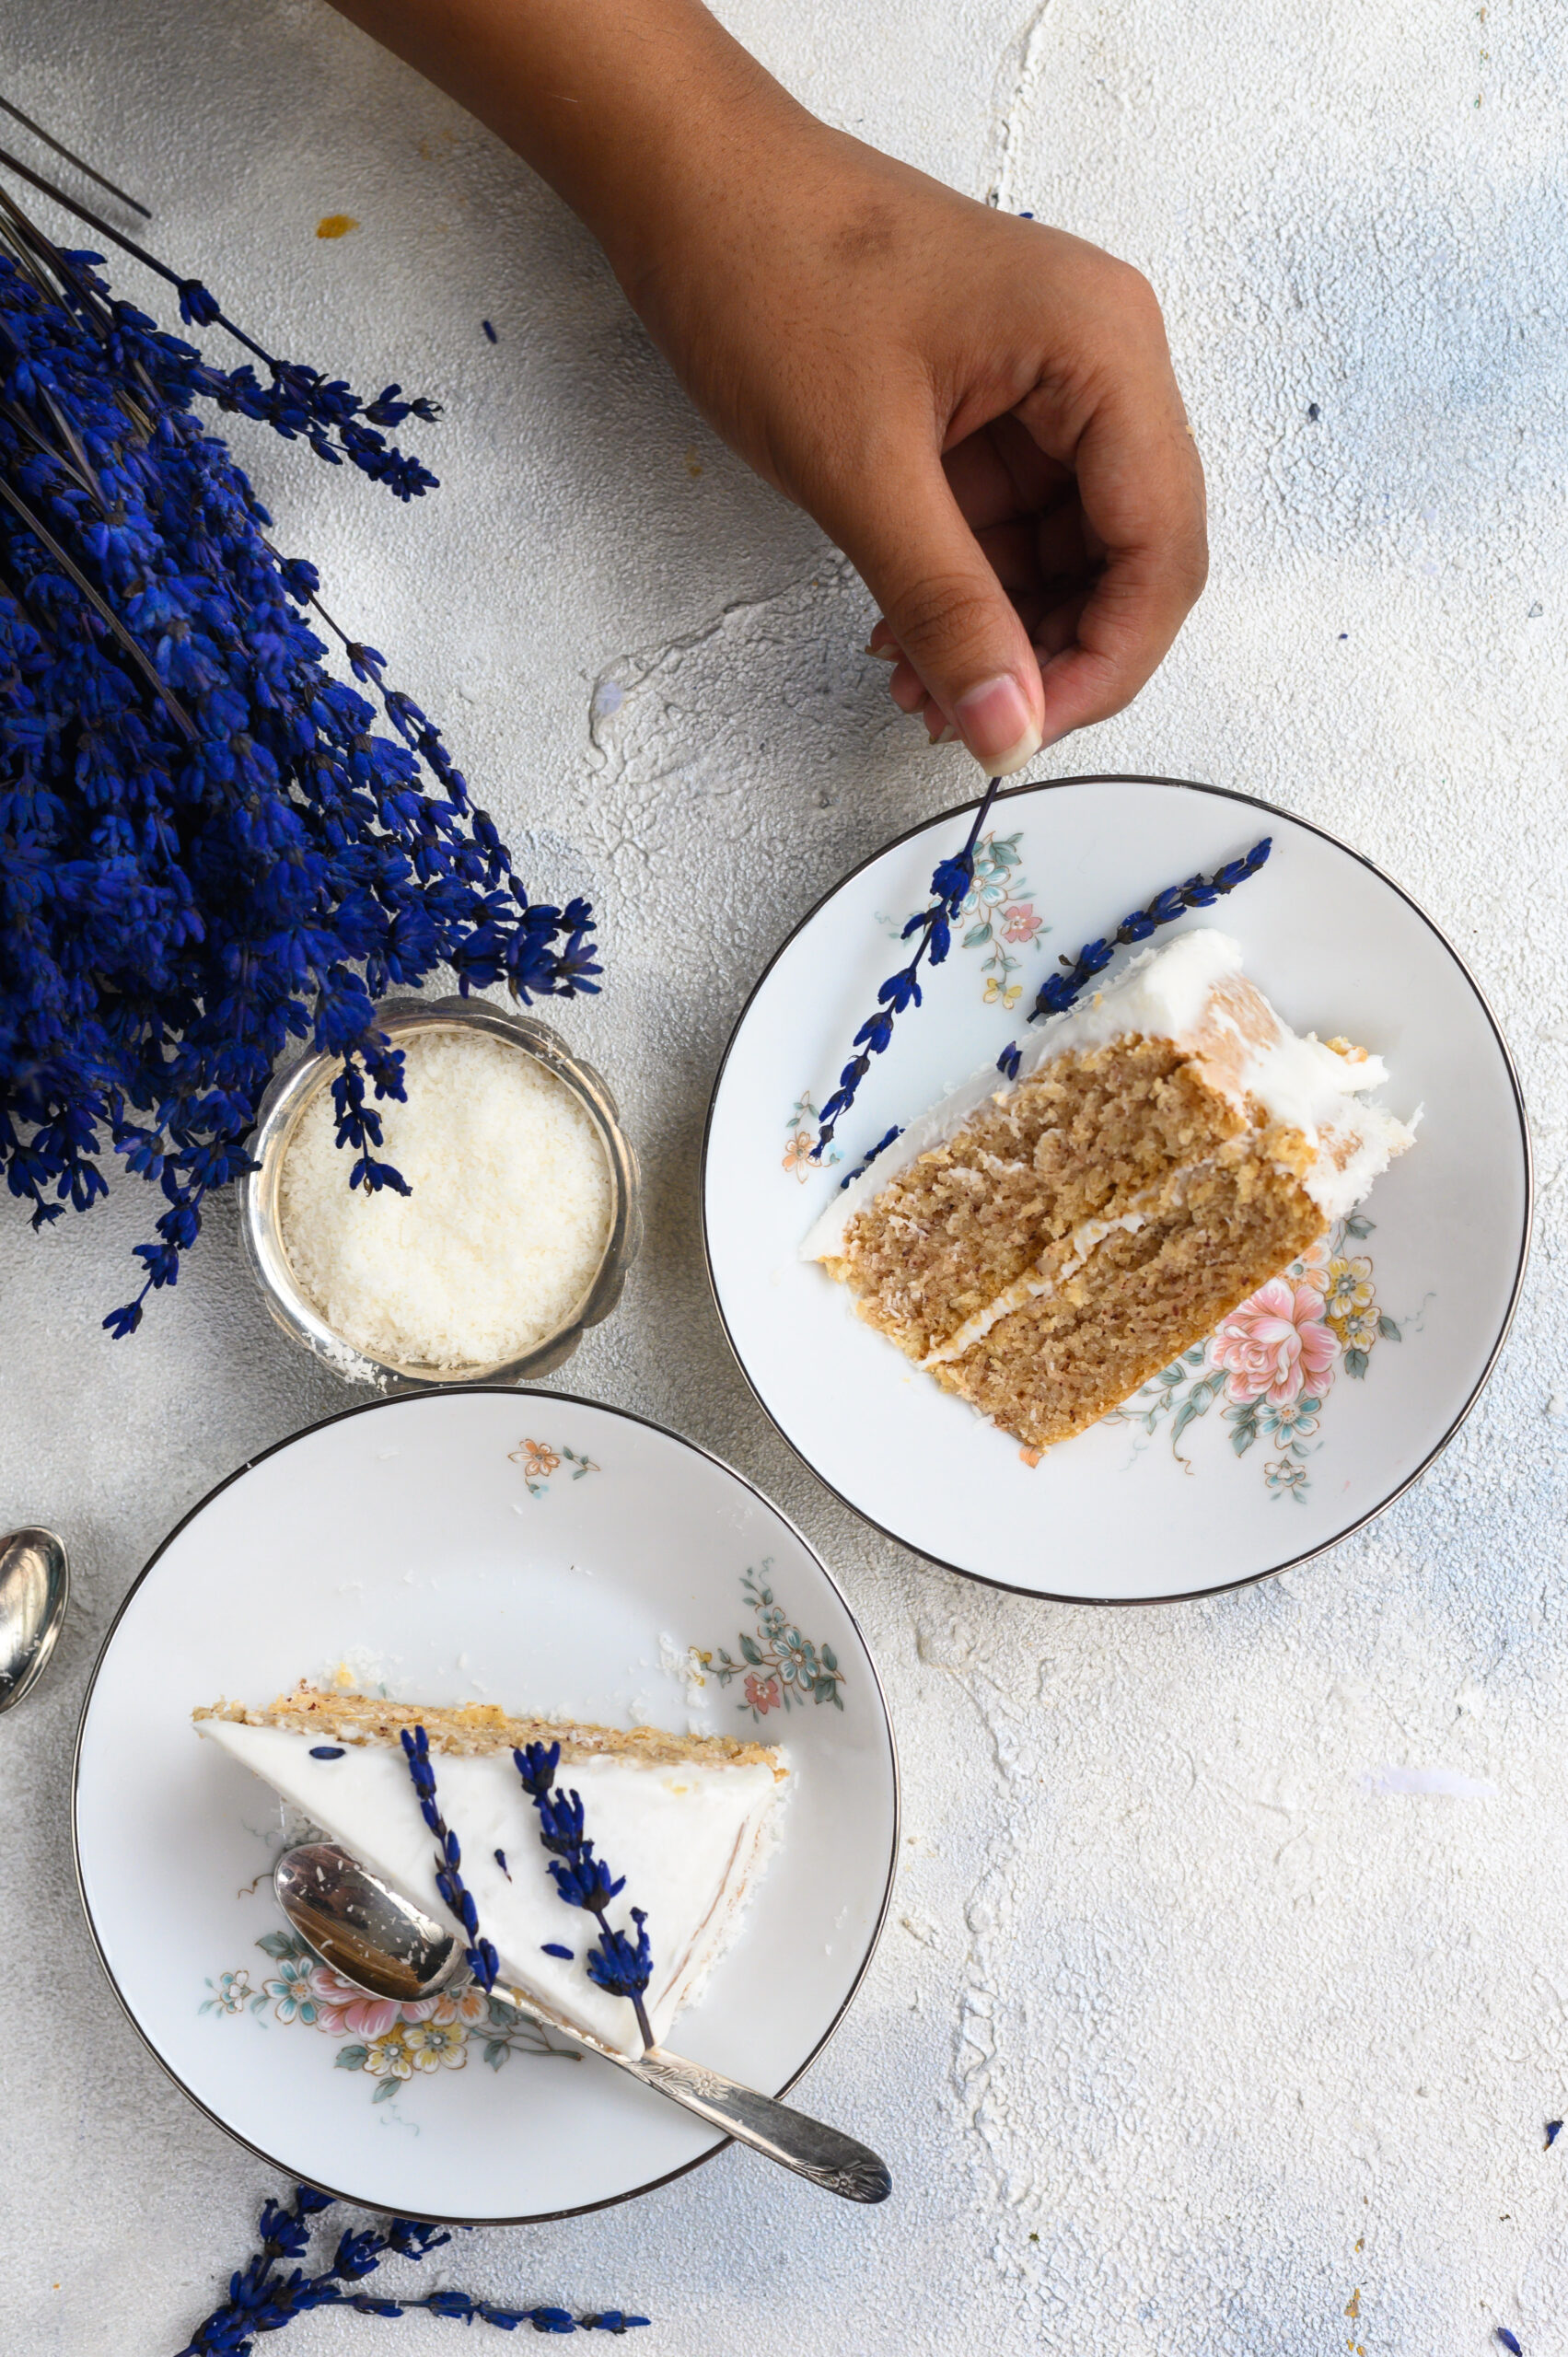
Sitting in one such market not long ago, taking impromptu images on my iPhone camera, my eyes were wandering around looking for those flowers which were dried, so I could carry them back with me. This was when this exquisite batch of lavender caught my attention. Since I brought this beautiful lavender back with me, my entire home is carrying its fragrance and I’d do anything to keep it lasting. If there was a way I could capture its fragrance, I’d easily share it with you. But since I can’t, this vegan lavender cake with coconut icing is the next best thing.

As you may know, lavender is one of the flowers/ingredients that most inspires me, and you may have enjoyed several of my previous recipes featuring it. Some of my experiments have yielded such delights as this lavender shrikand and this vegan lavender panna cotta.

This cake is made for the vegan palette. Veganism is becoming increasingly popular, and rightly so. Among other reasons, the treatment of animals to procure ingredients for non-vegan meals is a big factor as to why people choose it. I am increasingly becoming aware of veganism and trying to include it in my food journey, and you can see several of my recipes here.

Vegan Lavender Cake

Cake:

190 grams flour

30 grams desiccated coconut

200 grams sugar

1 teaspoon baking soda

¼ teaspoon salt

1 cup coconut milk

2 teaspoons vanilla extract

80ml sunflower oil

1 tablespoon apple cider vinegar

½ teaspoon lavender


Icing:

400 grams icing sugar

40 grams vegan butter or margarine

2 teaspoons coconut milk

1 teaspoon vanilla extract


Decoration:

¼ cup desiccated coconut

I’ve talked so often about the pleasure of baking that whenever I share a recipe like this – something from the re:store menu – it makes me happy to know that you can have that same experience of the joy of preparation, not just the satisfaction of the final product!


Preheat the oven to 160°C. Grease and dust two 7’ cake tins and line them.

Sift the flour.

Add all the dry ingredients – flour, desiccated coconut, lavender, baking soda and salt – into a bowl and whisk. Now add the sugar. Keep aside.

Now, put all the wet ingredients – coconut milk, oil, vanilla extract and vinegar – in a separate bowl, blend, then add these to the dry mixture.

Whisk the wet and dry ingredients together gently. Once you have a batter, divide it equally between the 2 cake tins.

Bake both tins for approximately 30 minutes or until a tooth pick comes out clean.

Allow to cool for 10 minutes before removing the cakes onto a cooling rack. Once they have cooled completely, they are ready to be decorated with icing. So it’s best to make this as they cool.

This vegan lavender cake is garnished with a coconut milk icing. In a mixer, add the butter, vanilla extract and sugar. Beat on a low speed. Slowly, increase the speed and add the coconut milk carefully. Add only as much as required, and make sure that the mixture is spreadable. Adjust the coconut milk or sugar quantities as required to ensure this.

Place one of the cakes on a base and apply half the icing on top of it. Sprinkle 1 tablespoon of the desiccated coconut, then place the second cake on top of this to form a layer.

Ice the top generously and sprinkle the remaining desiccated coconut. Decorate as desired. A good presentation makes for a tasty cake too. As I always say, the eye tastes before the mouth does, and using attractive serving ware and garnishings can really enhance the experience.

As is most often the case, I decided on this recipe based on the ingredients I had on-hand and how they inspire me. Lavender and coconut were the flavours I chiefly wanted to bring out, and vanilla is of course a baker’s best friend. Together, for me they evoke the way it feels to sit at a café and watch a flower market being set up. When you try out this recipe, please let me know what these scents and tastes evoke for you!

I’ve spoken often of how, just a few years ago, my daughter baked a chocolate cake for the family which was a turning point in my life. It was the best cake I had ever eaten, and I remember watching her as she made it. She was in good spirits, and hummed and sang while she was gathering the ingredients and lining them up in front of her. Then, she happily pulled out a recipe and began with such lightness and joy. Watching her, I thought to myself: “I’ve tried baking for so many years. I must try again with the same spirit my daughter has.” The first bite of the cake that came out of the oven was the last push of encouragement I needed. I set my mind to it: I would learn to bake with joy. I spent the next month baking the exact same cake every single day, tweaking the method and learning with each effort, until I too fell into a happy, humming rhythm. And the rest, as they say, was history…

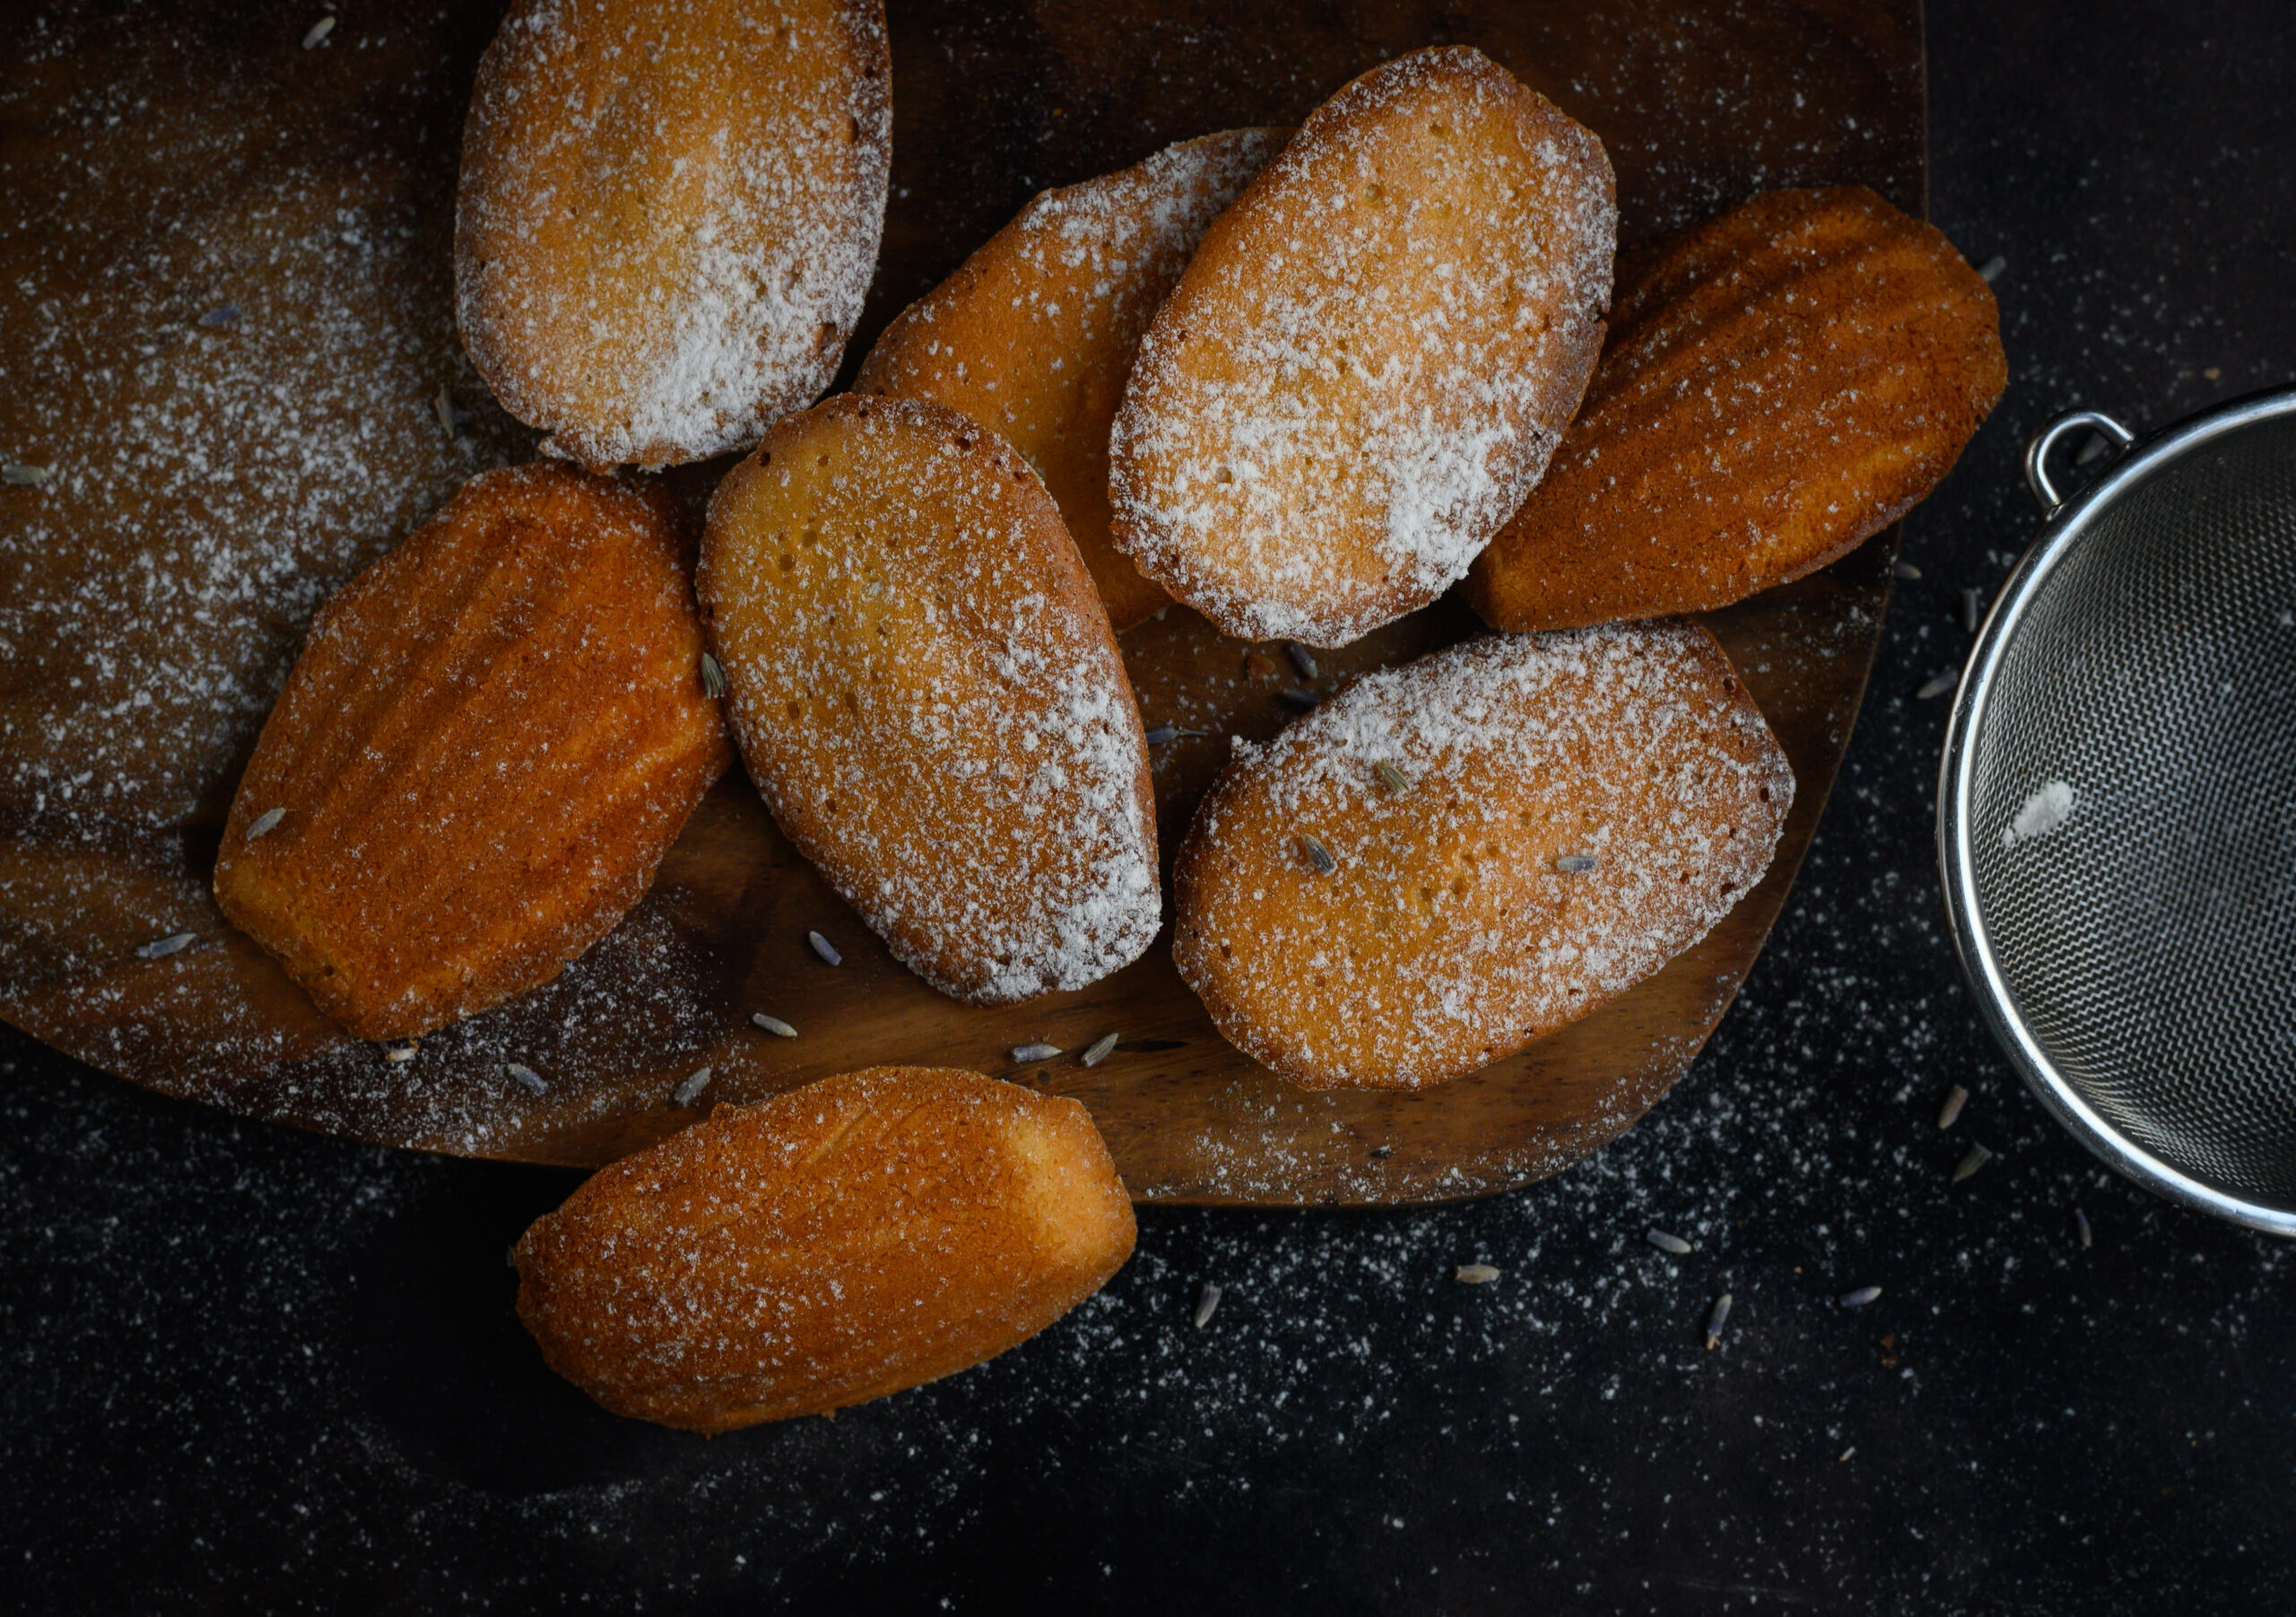
My daughter is a big part of the recipe I am sharing today, but it’s not just because of that life-changing chocolate cake (which you can order right here if you are in Chennai). Rather, it’s because of one of the many dishes she introduced me to when she was studying for her Bachelor’s in Boston. Whenever I would visit her, she would always take me to interesting new places to try out delicious cuisines and treats that never failed to inspire me. It was in one such café that I tasted madeleines for the first time. They were pistachio ones, and you know I love pistachio (of course, a pistachio cake also sits prettily on the re:store product list).

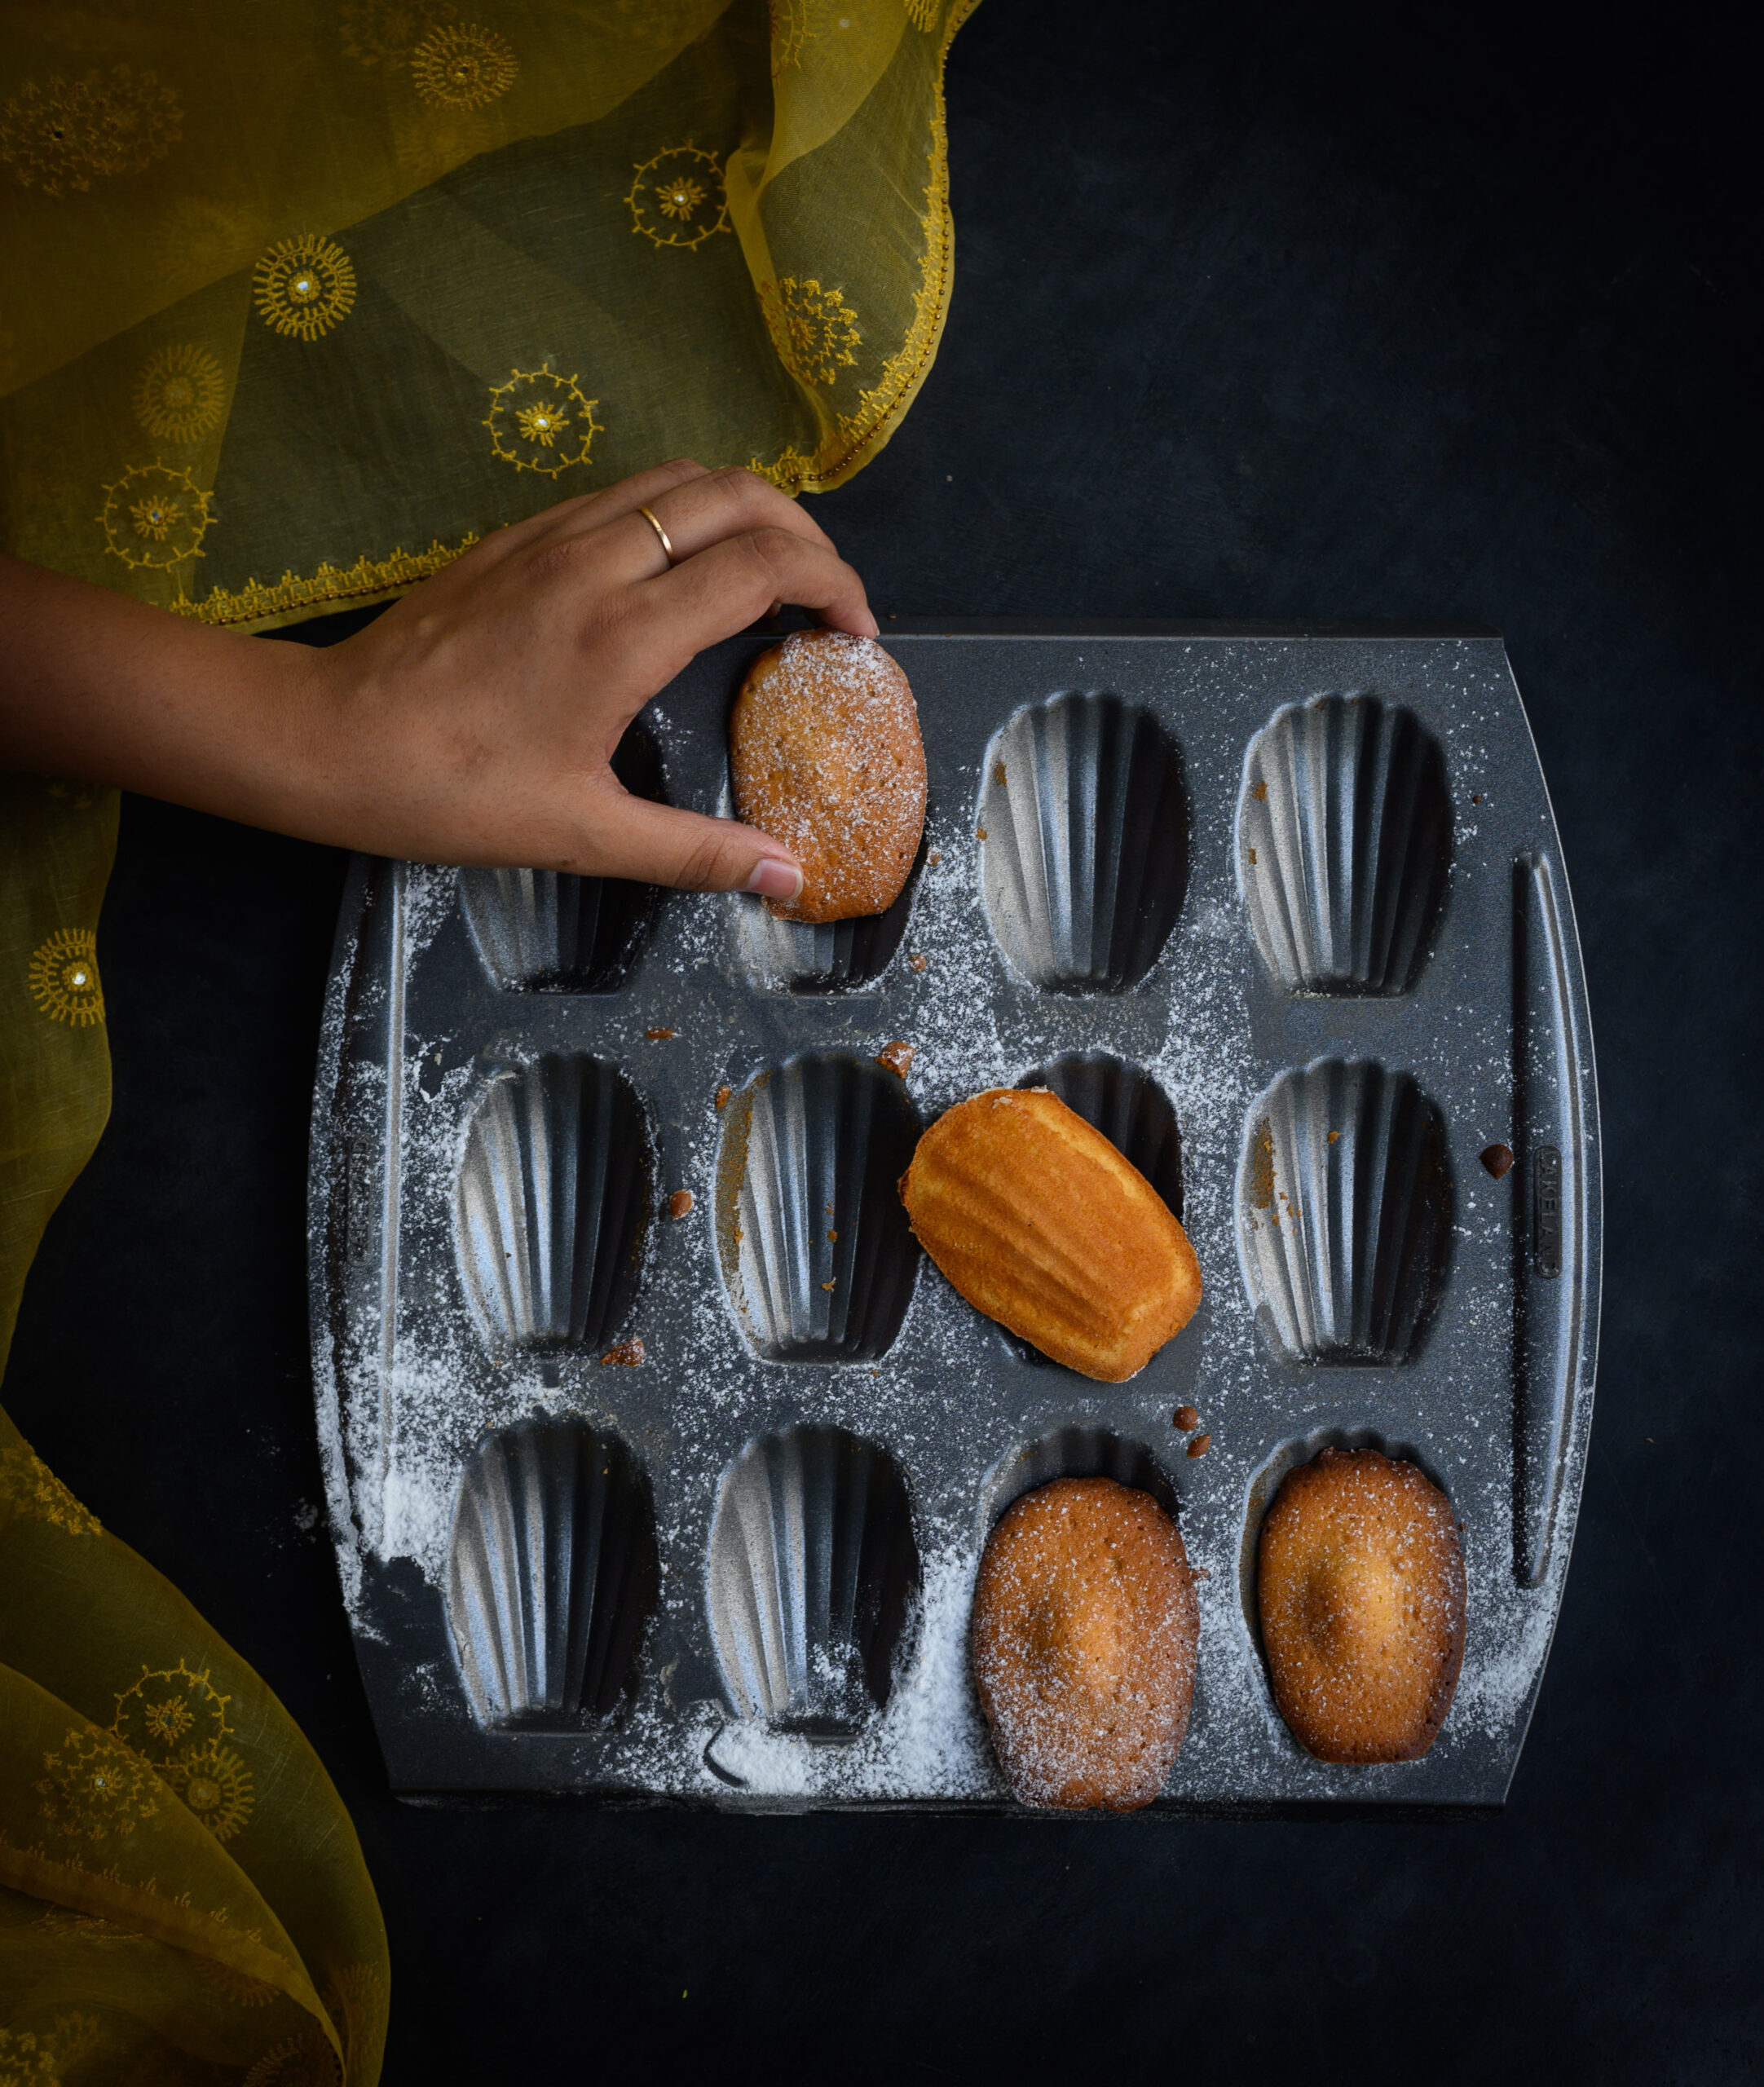
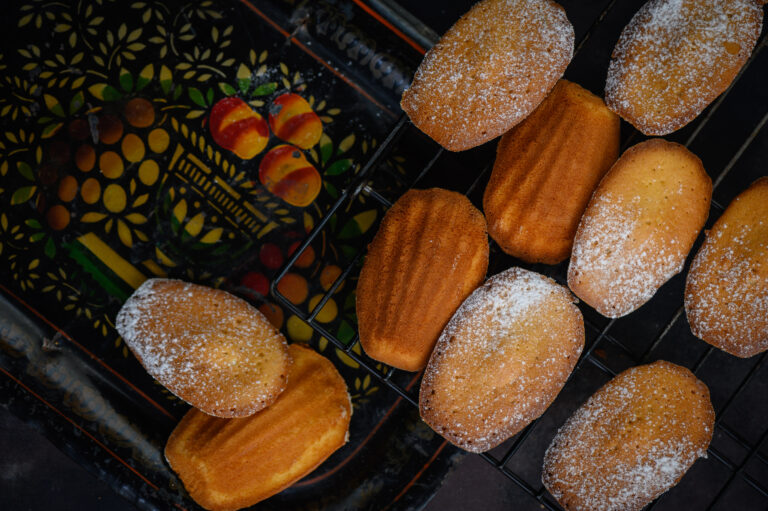
Madeleines are a kind of basic sponge cake which are made in a shell-like shape (you can find trays for this in most baking stores). They are widely regarded as being of French origin, and an English version with jam, desiccated coconut and cherries is also popular. But to me, it’s the Spanish madeleine that captured my heart. You see, some time before being introduced to the sweet treat in Boston, we had gone to Spain, where I first heard of the little sponge cake. It was the loveliness of the trip itself which gave its local version a sentimental value for me, even though it wasn’t until later that I got a chance to eat it.

It was an experience of a lifetime to be in Santiago de Compostela, in Spain’s Galician region, on the holy day of Palm Sunday. We had been delayed and had missed our connecting flight, so we were surprised to find we had made it in time for the services. And even better, we had somehow wound up in the front row. Here, we had a wonderful view of a special ritual that only takes place on special occasions. Enormous incense holders known as botafumeiro are swung across the expanse of the church and back, filling the environment with scent, smoke and a feeling of divine grace.  The effect of the smoke in that beautiful cathedral, amidst the chants and prayers, was surreal.

Heading back to the exquisite Hostal dos Reis Católicos, which dates back to 1486 and is thought to be the most beautiful hotel in Europe, I gathered these new memories together. Somewhere on this trip was where I learned how the humble madeleine is related to the grandeur of a Spanish cathedral, and that’s how I think of it, no matter where I eat it. You see, Santiago de Compostela is the culminating point of the Camino de Santiago pilgrimage route. In the Spanish origin story of the recipe I am sharing today, a medieval chef named Madeleine used to make these little shell-shaped delights to feed the pilgrims there. The treats took on her name.

Short or long, pilgrimages are all metaphors for our own life as we pursue our dreams and life’s mission. To me, my own pilgrimage is a journey of delighting people through food which appeals to every sense. From the tastebuds to the memory centres, and everything in between. These sweet madeleines are a perfect example – and yes, they are made with joy!

Madeleines

(Yield: 12 madeleines)

90 grams flour

¾ teaspoon baking powder

100 grams unsalted butter

65 grams sugar

2 eggs

1 teaspoon vanilla extract

½ teaspoon lavender seeds

2 teaspoons maple syrup

2 teaspoons milk

Powdered sugar for dusting

The basic madeleine recipe is simple and elegant and I have done little to change it but sweeten it further using maple syrup. I also added a little re:store flourish in the form of one of my favourite ingredients – lavender, the subtle hint of which always lightens up my mood.

Prepare a madeleine pan by buttering and dusting it.

Whisk all the dry ingredients together. Carefully melt the butter in a pan, on a medium flame, until it turns brown.

Place the sugar in a bowl and mix it. Add the eggs one at a time and beat well.

Now, add the vanilla extract, the lavender seeds and the maple syrup. Whisk well until the mixture is perfectly blended.

Now, add the remaining dry ingredients. Once all the ingredients are well incorporated, add the butter in slowly, using just a small quantity at a time. Then, stir in the milk.

Now that you have made the batter, divide it into the moulds of the madeleine tray and allow it to cool in the refrigerator for 15 minutes. In the meantime, preheat the oven at 160 °C.

Remove the tray from the refrigerator and place it directly into the oven. Depending on what kind of oven you use, bake for 10-15 minutes.

Once the baking is done, remove the tray from the oven. Upturn it and watch as the beautiful madeleines fall out. Dust them with powdered sugar and store in a dry container. That is, if you don’t serve them immediately. Chances are, you won’t be able to resist.

These delicious madeleines are a perfect tea-time snack, so brew yourself a pot of your favourite as you enjoy the scent of baking still lingering in your kitchen.

I love ruminating over tea, as I sit with Max and enjoy a little me-time. It was on one such day that I dreamt up this post as well. And I especially like having a little sweet treat to go with my beverage. How about you? Please be sure to let me know what tasting these madeleines inspires in you!

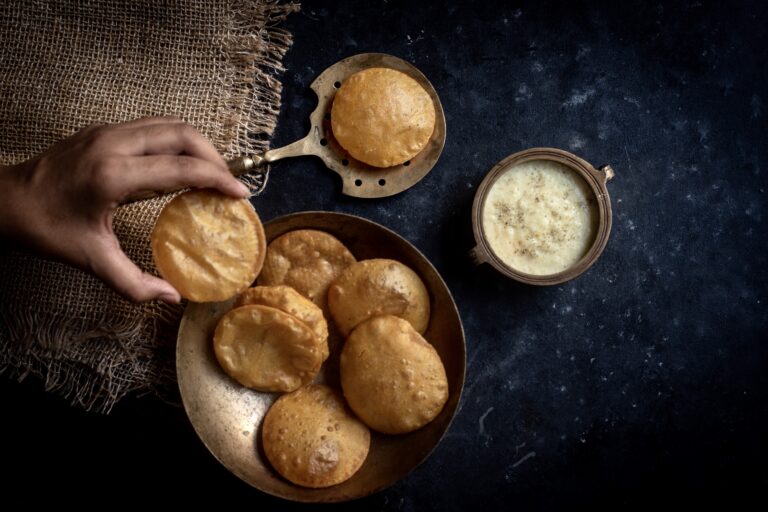
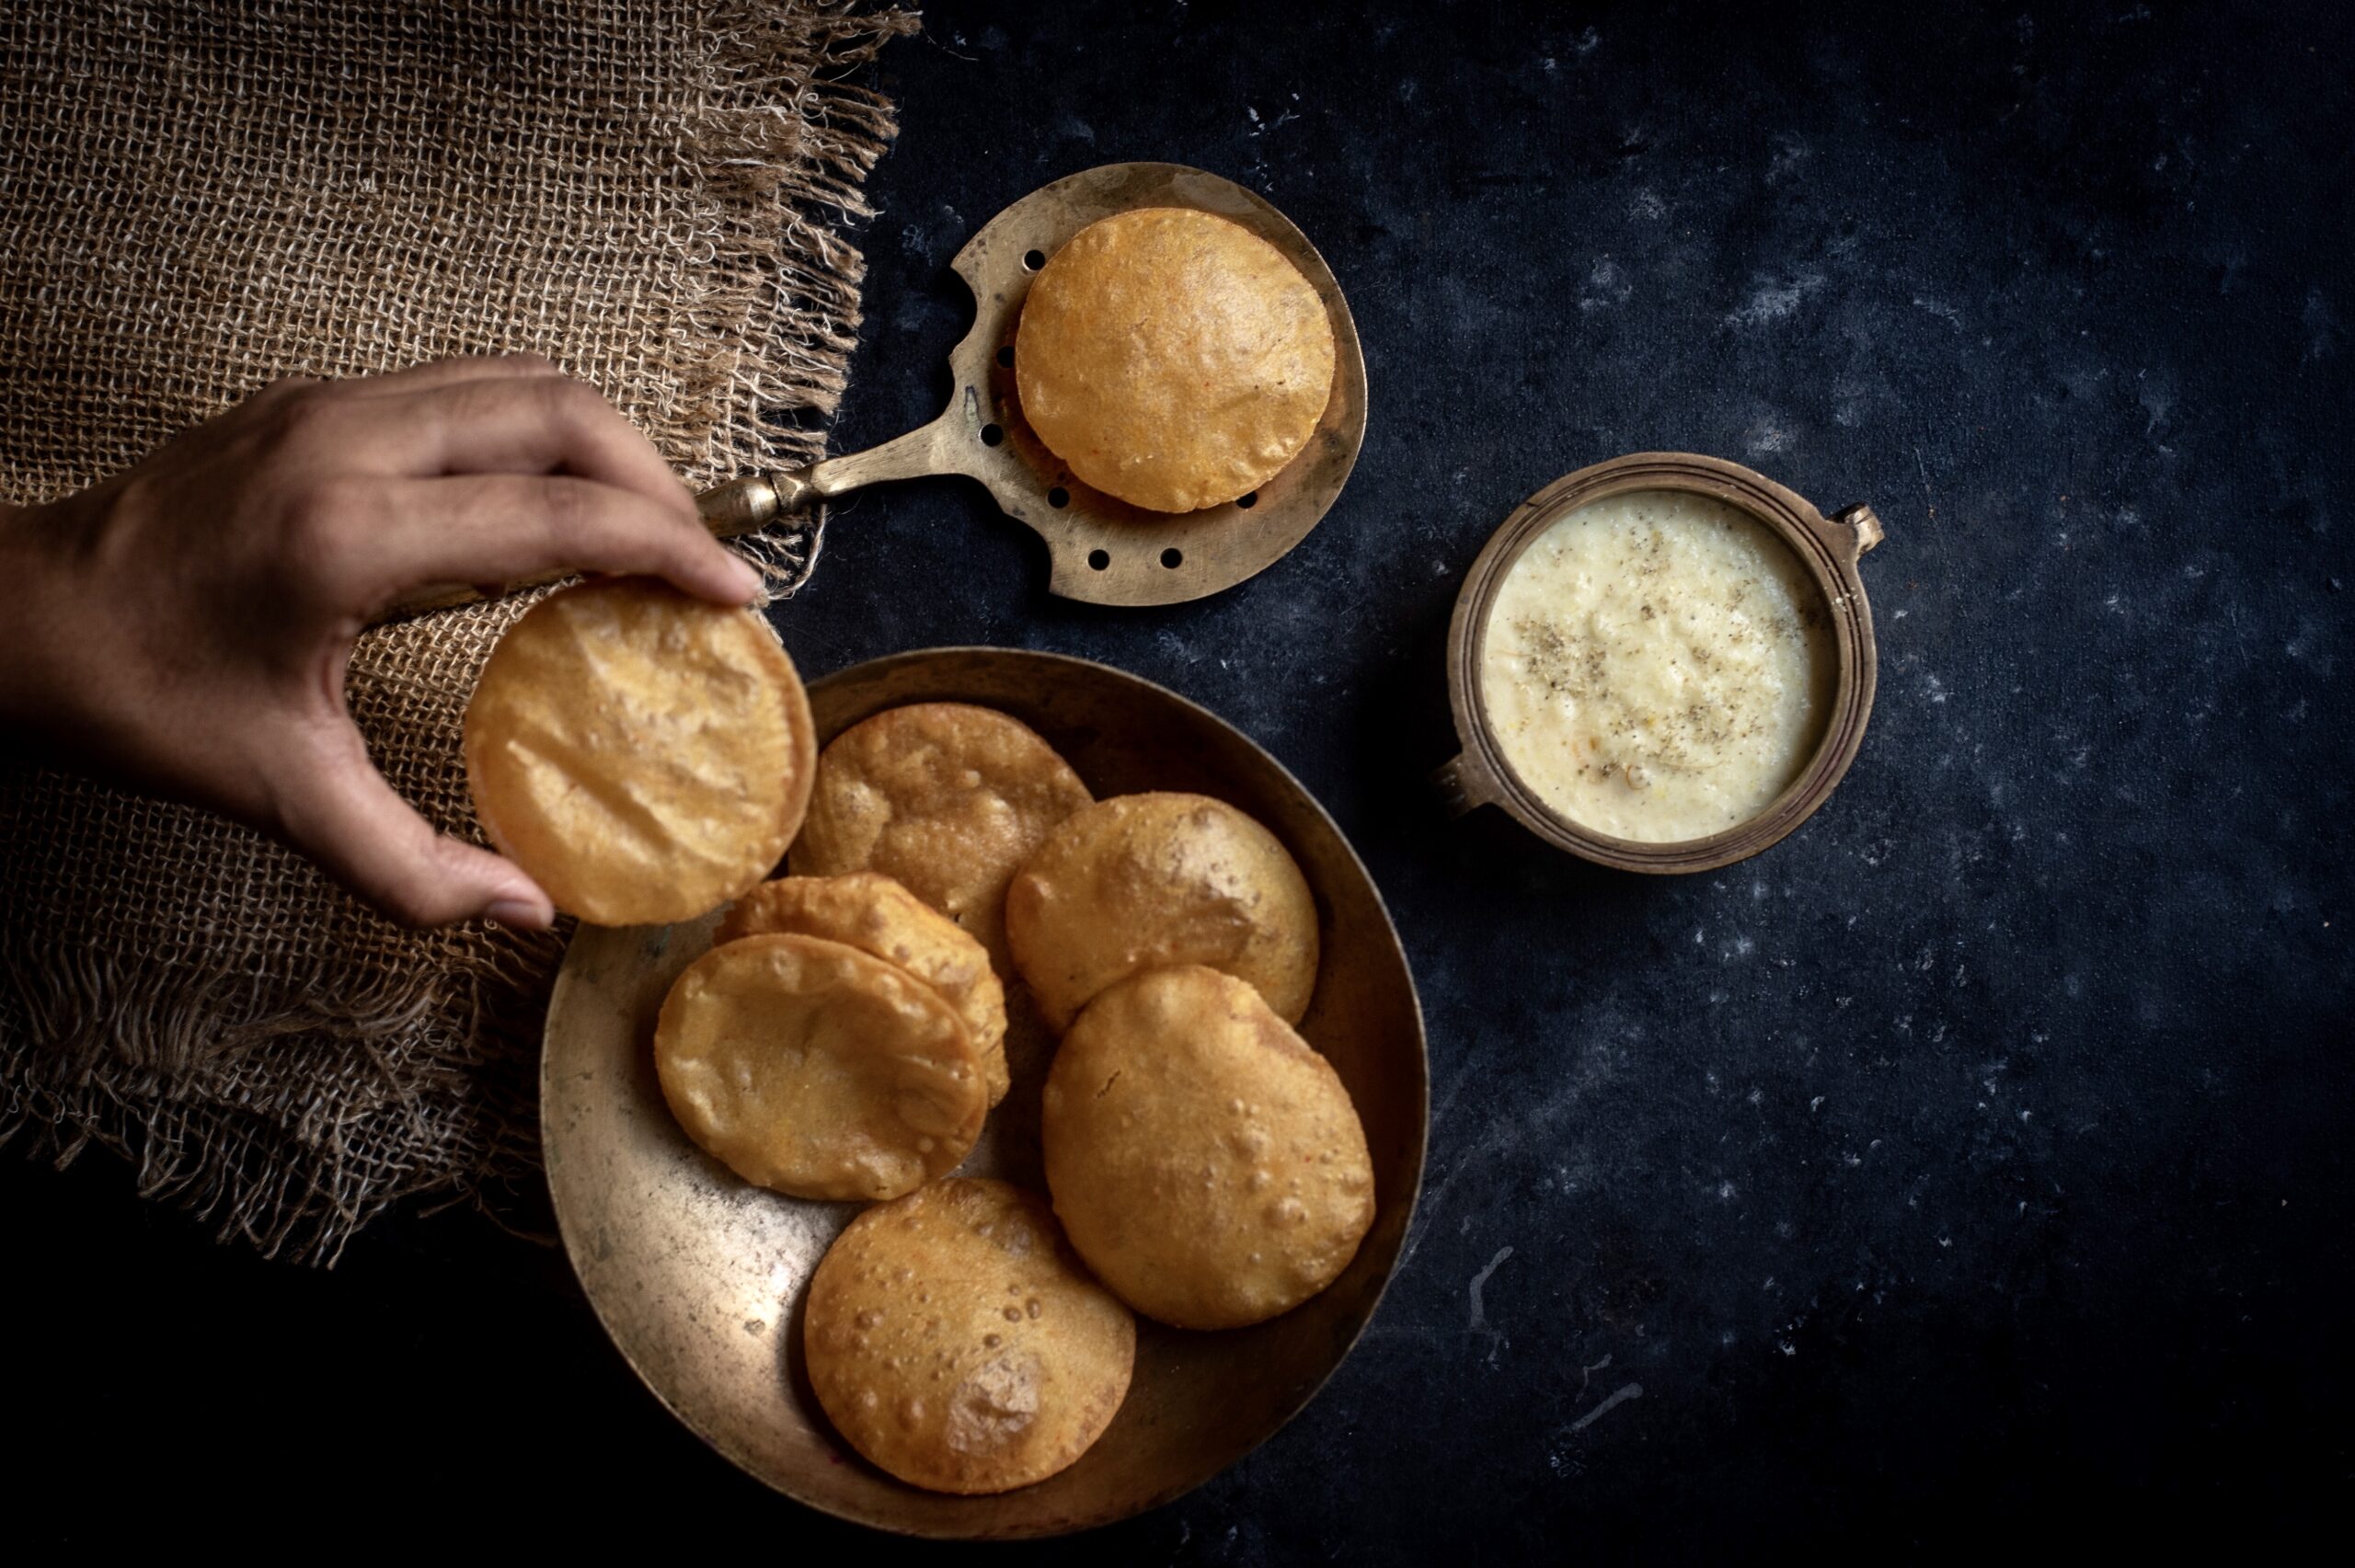
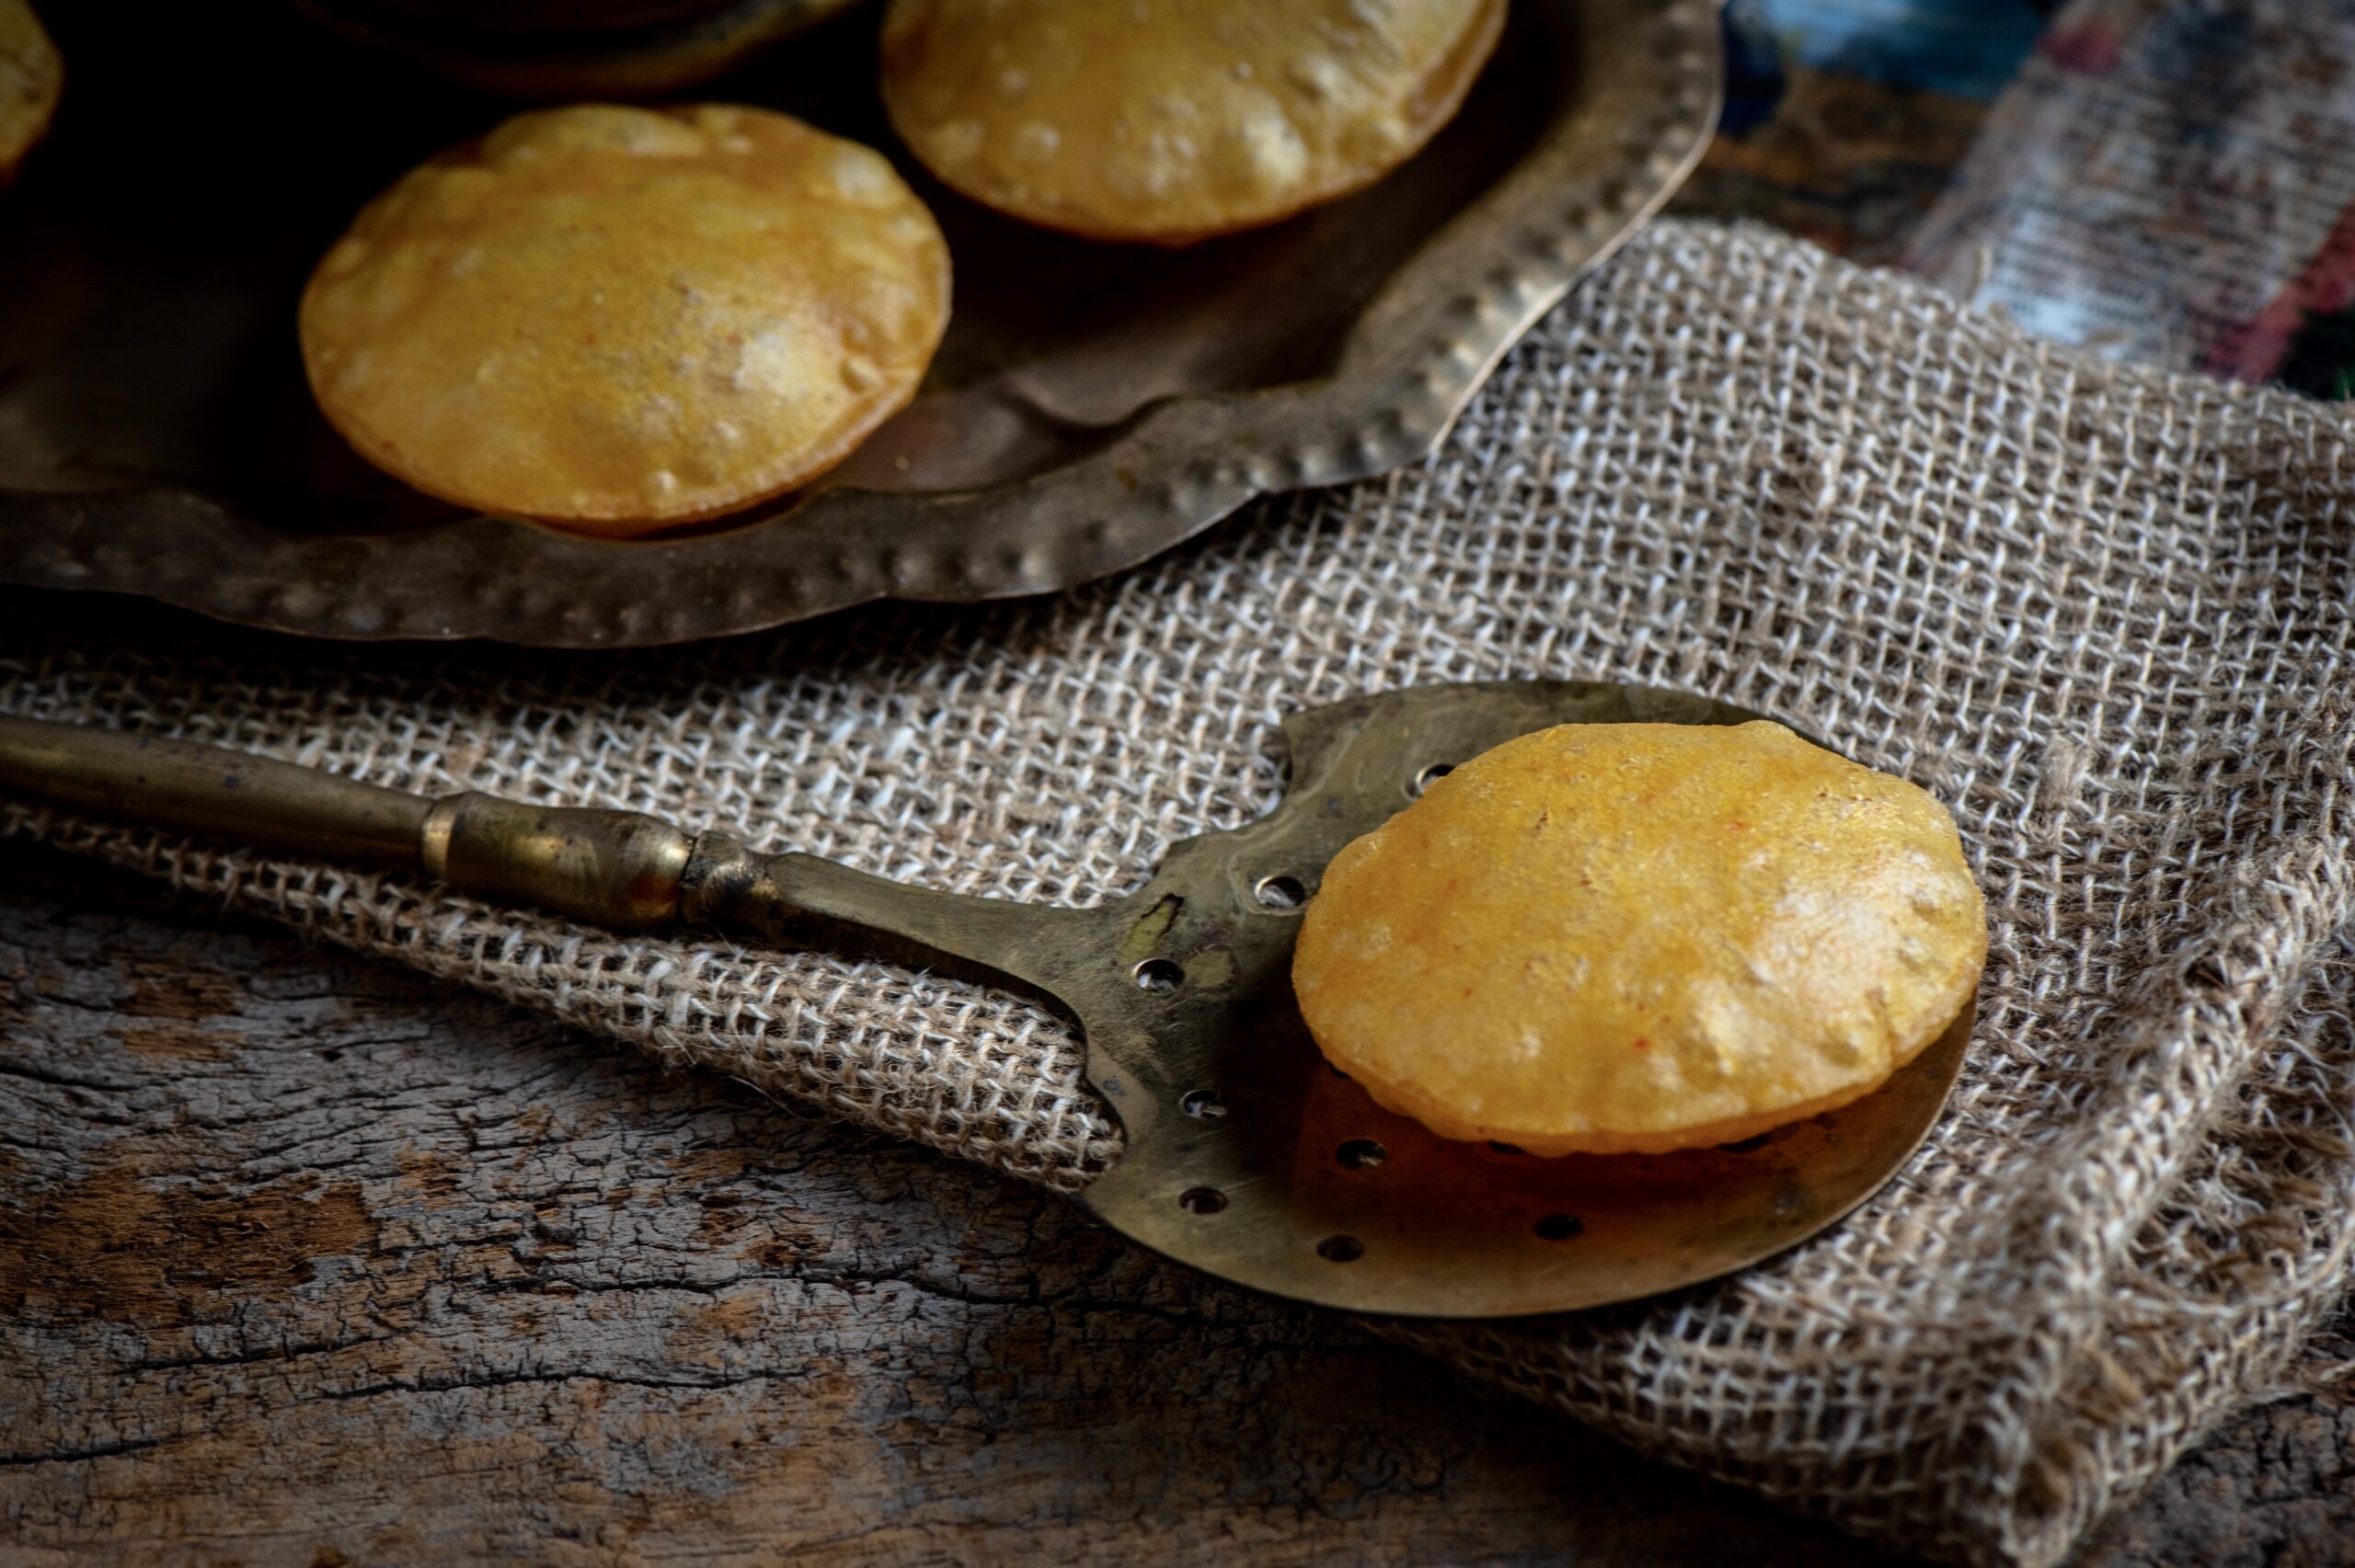
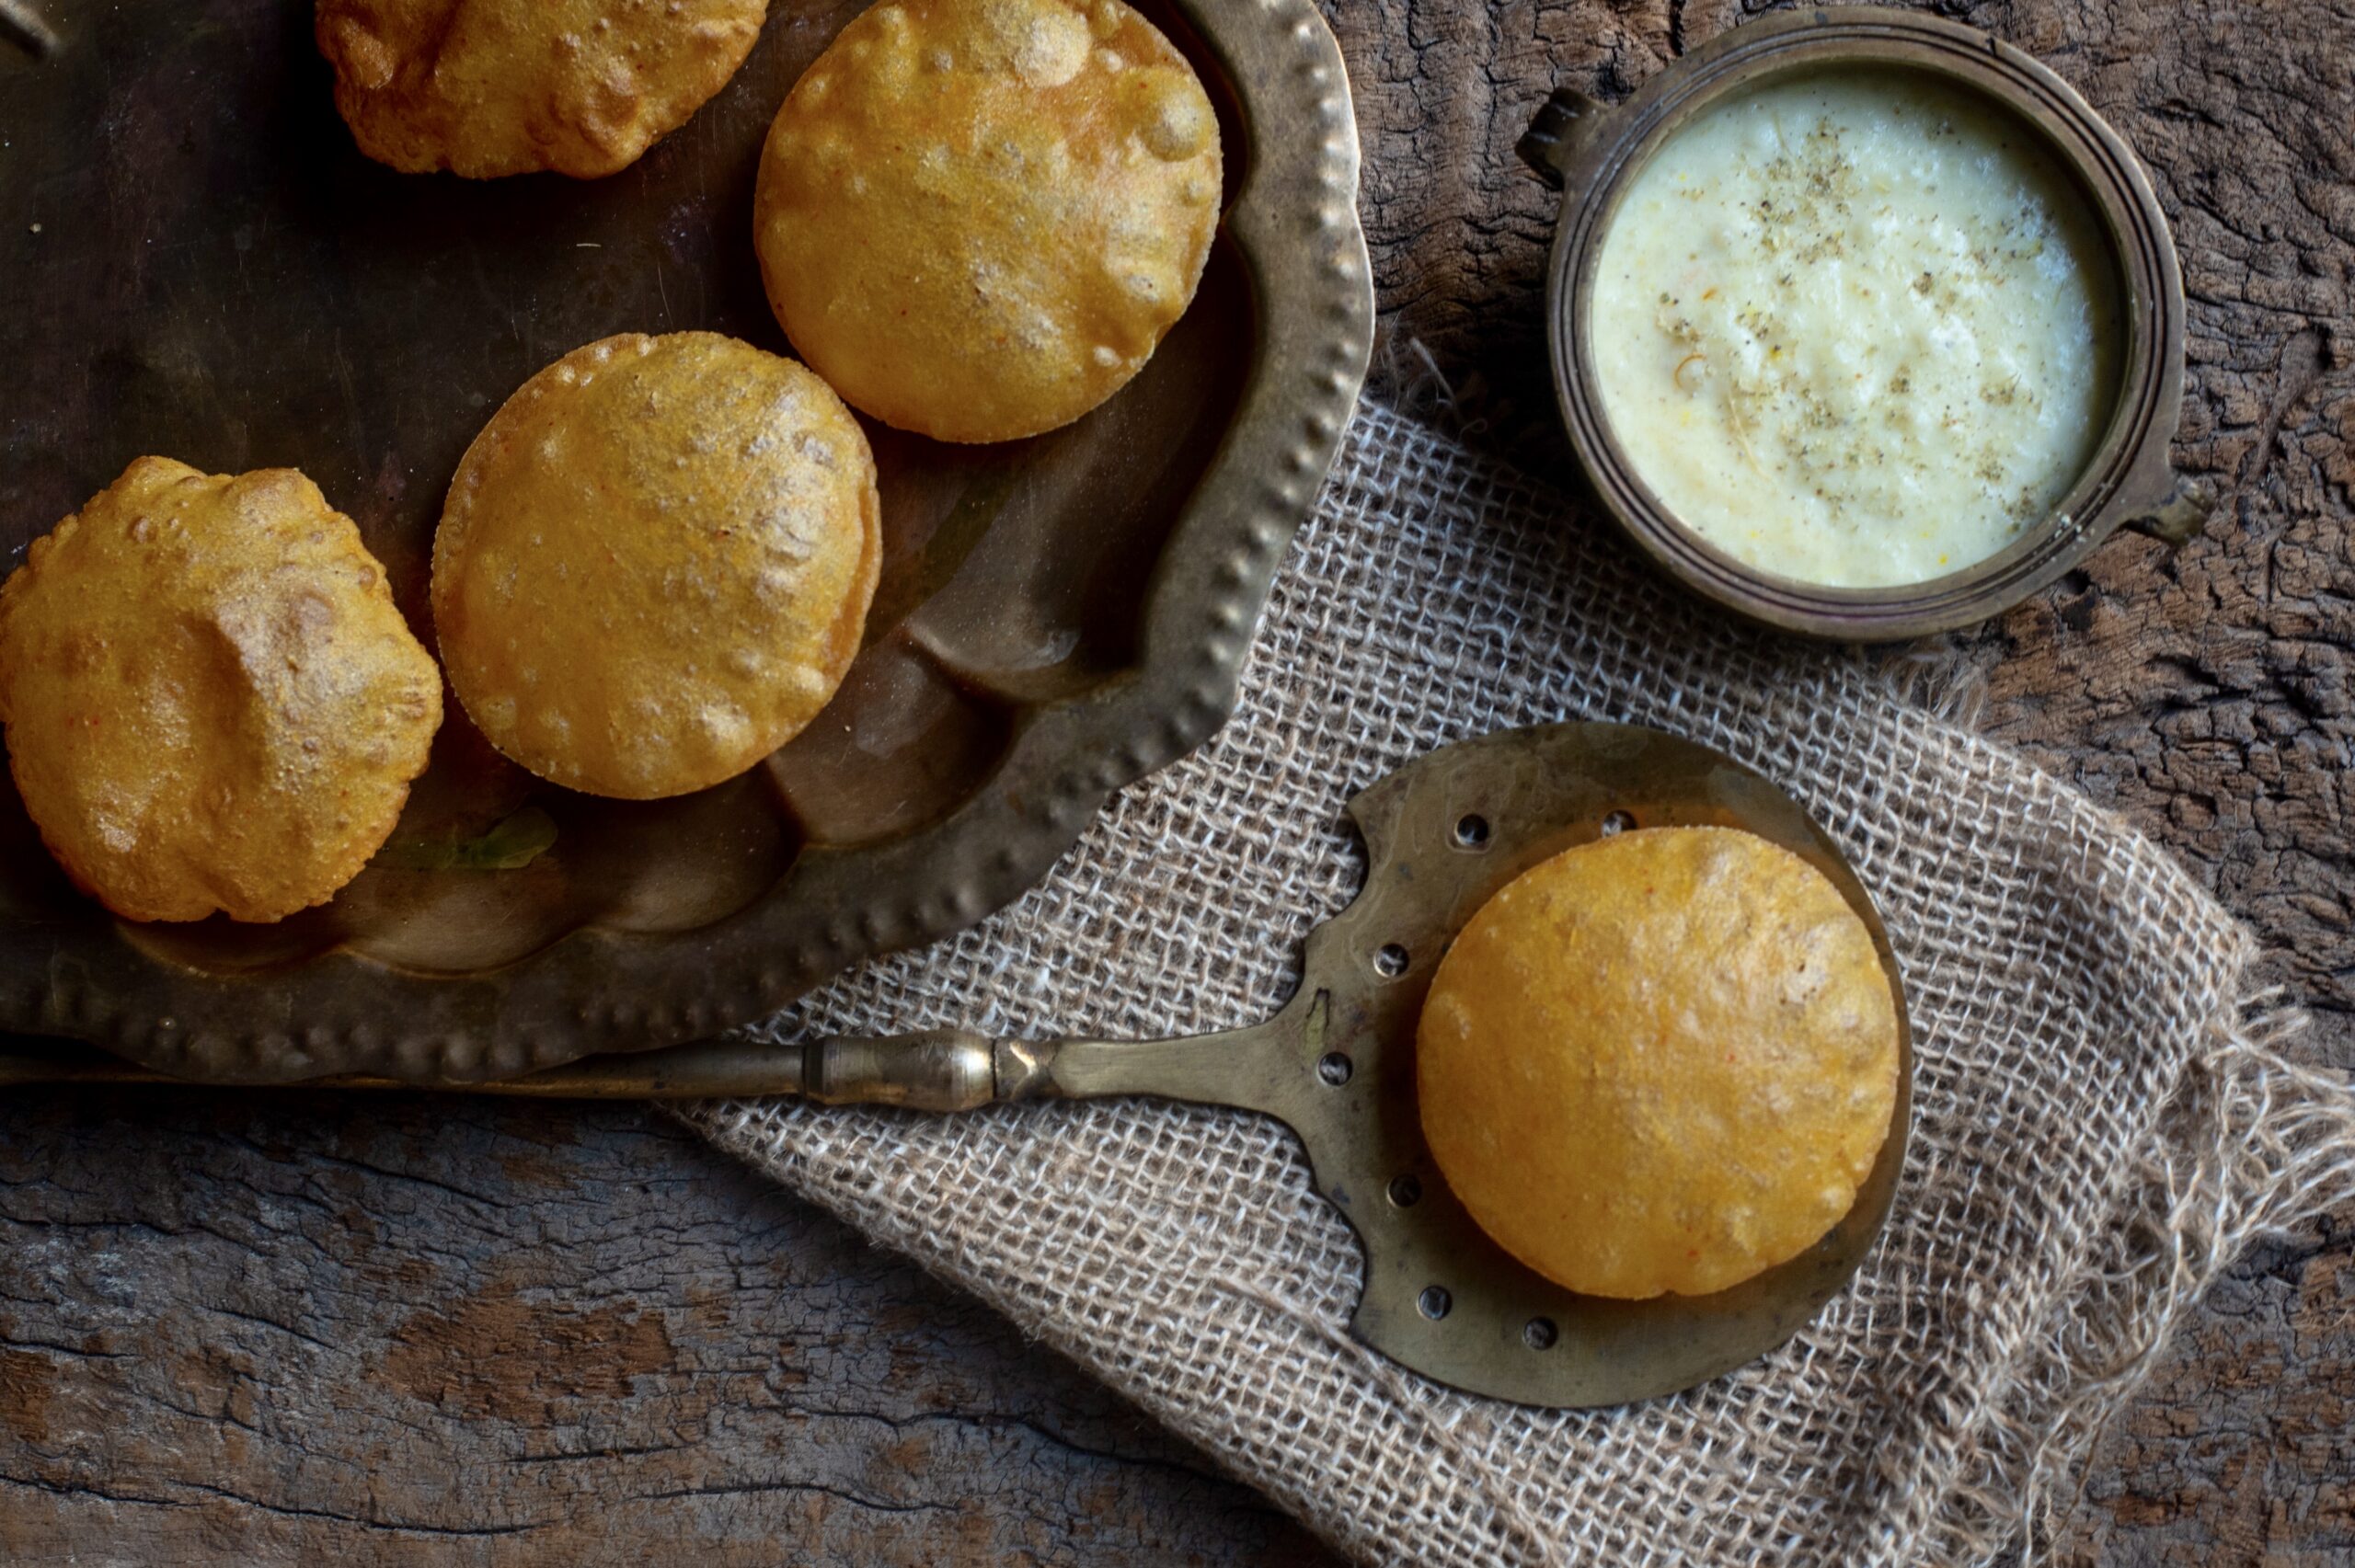
Gujaratis love fried things. Full stop! We love them so much that we even start the day with them. Specifically, with pooris, which are our traditional breakfasts. We never feel guilty or bad about reaching out for our fried snacks either, which includes ganthia (fried mini pappad) and a variety of mixtures (popularly known as chevdo, which vary from region to region and can be sweet, tangy, or spicy). Ganthia and jalebi, a deep-fried sweet, are also popular as breakfast. It will come as no surprise that pooris – discs of dough which fluff up in hot oil – are another such staple. They also come in several variations. Crunchy, crispy-salty (to be had with tea), and soft. Today, I’ll be sharing how to make the soft version… with another typically Gujju twist.

That twist, of course, is sweetness. As you’d already have known from the long list of traditional desserts on this blog, Gujaratis love sweetness just as much or even more than we love fried things. The perfect combination of these two cravings is the kheer poori, which in simplest terms is a poori eaten with kheer, a milk-based sweet.
When I was growing up, cakes were not yet popular in Chennai, and this kheer poori was often a birthday treat that my mother made for us. Especially for me, because I just loved that combination of tastes and temperature: the saltiness and heat of the poori, the sweetness and coolness of the kheer. It was also something made for special occasions, which as you know are usually observed with an offering of sweets to the divine, as well as for weddings and other celebrations.

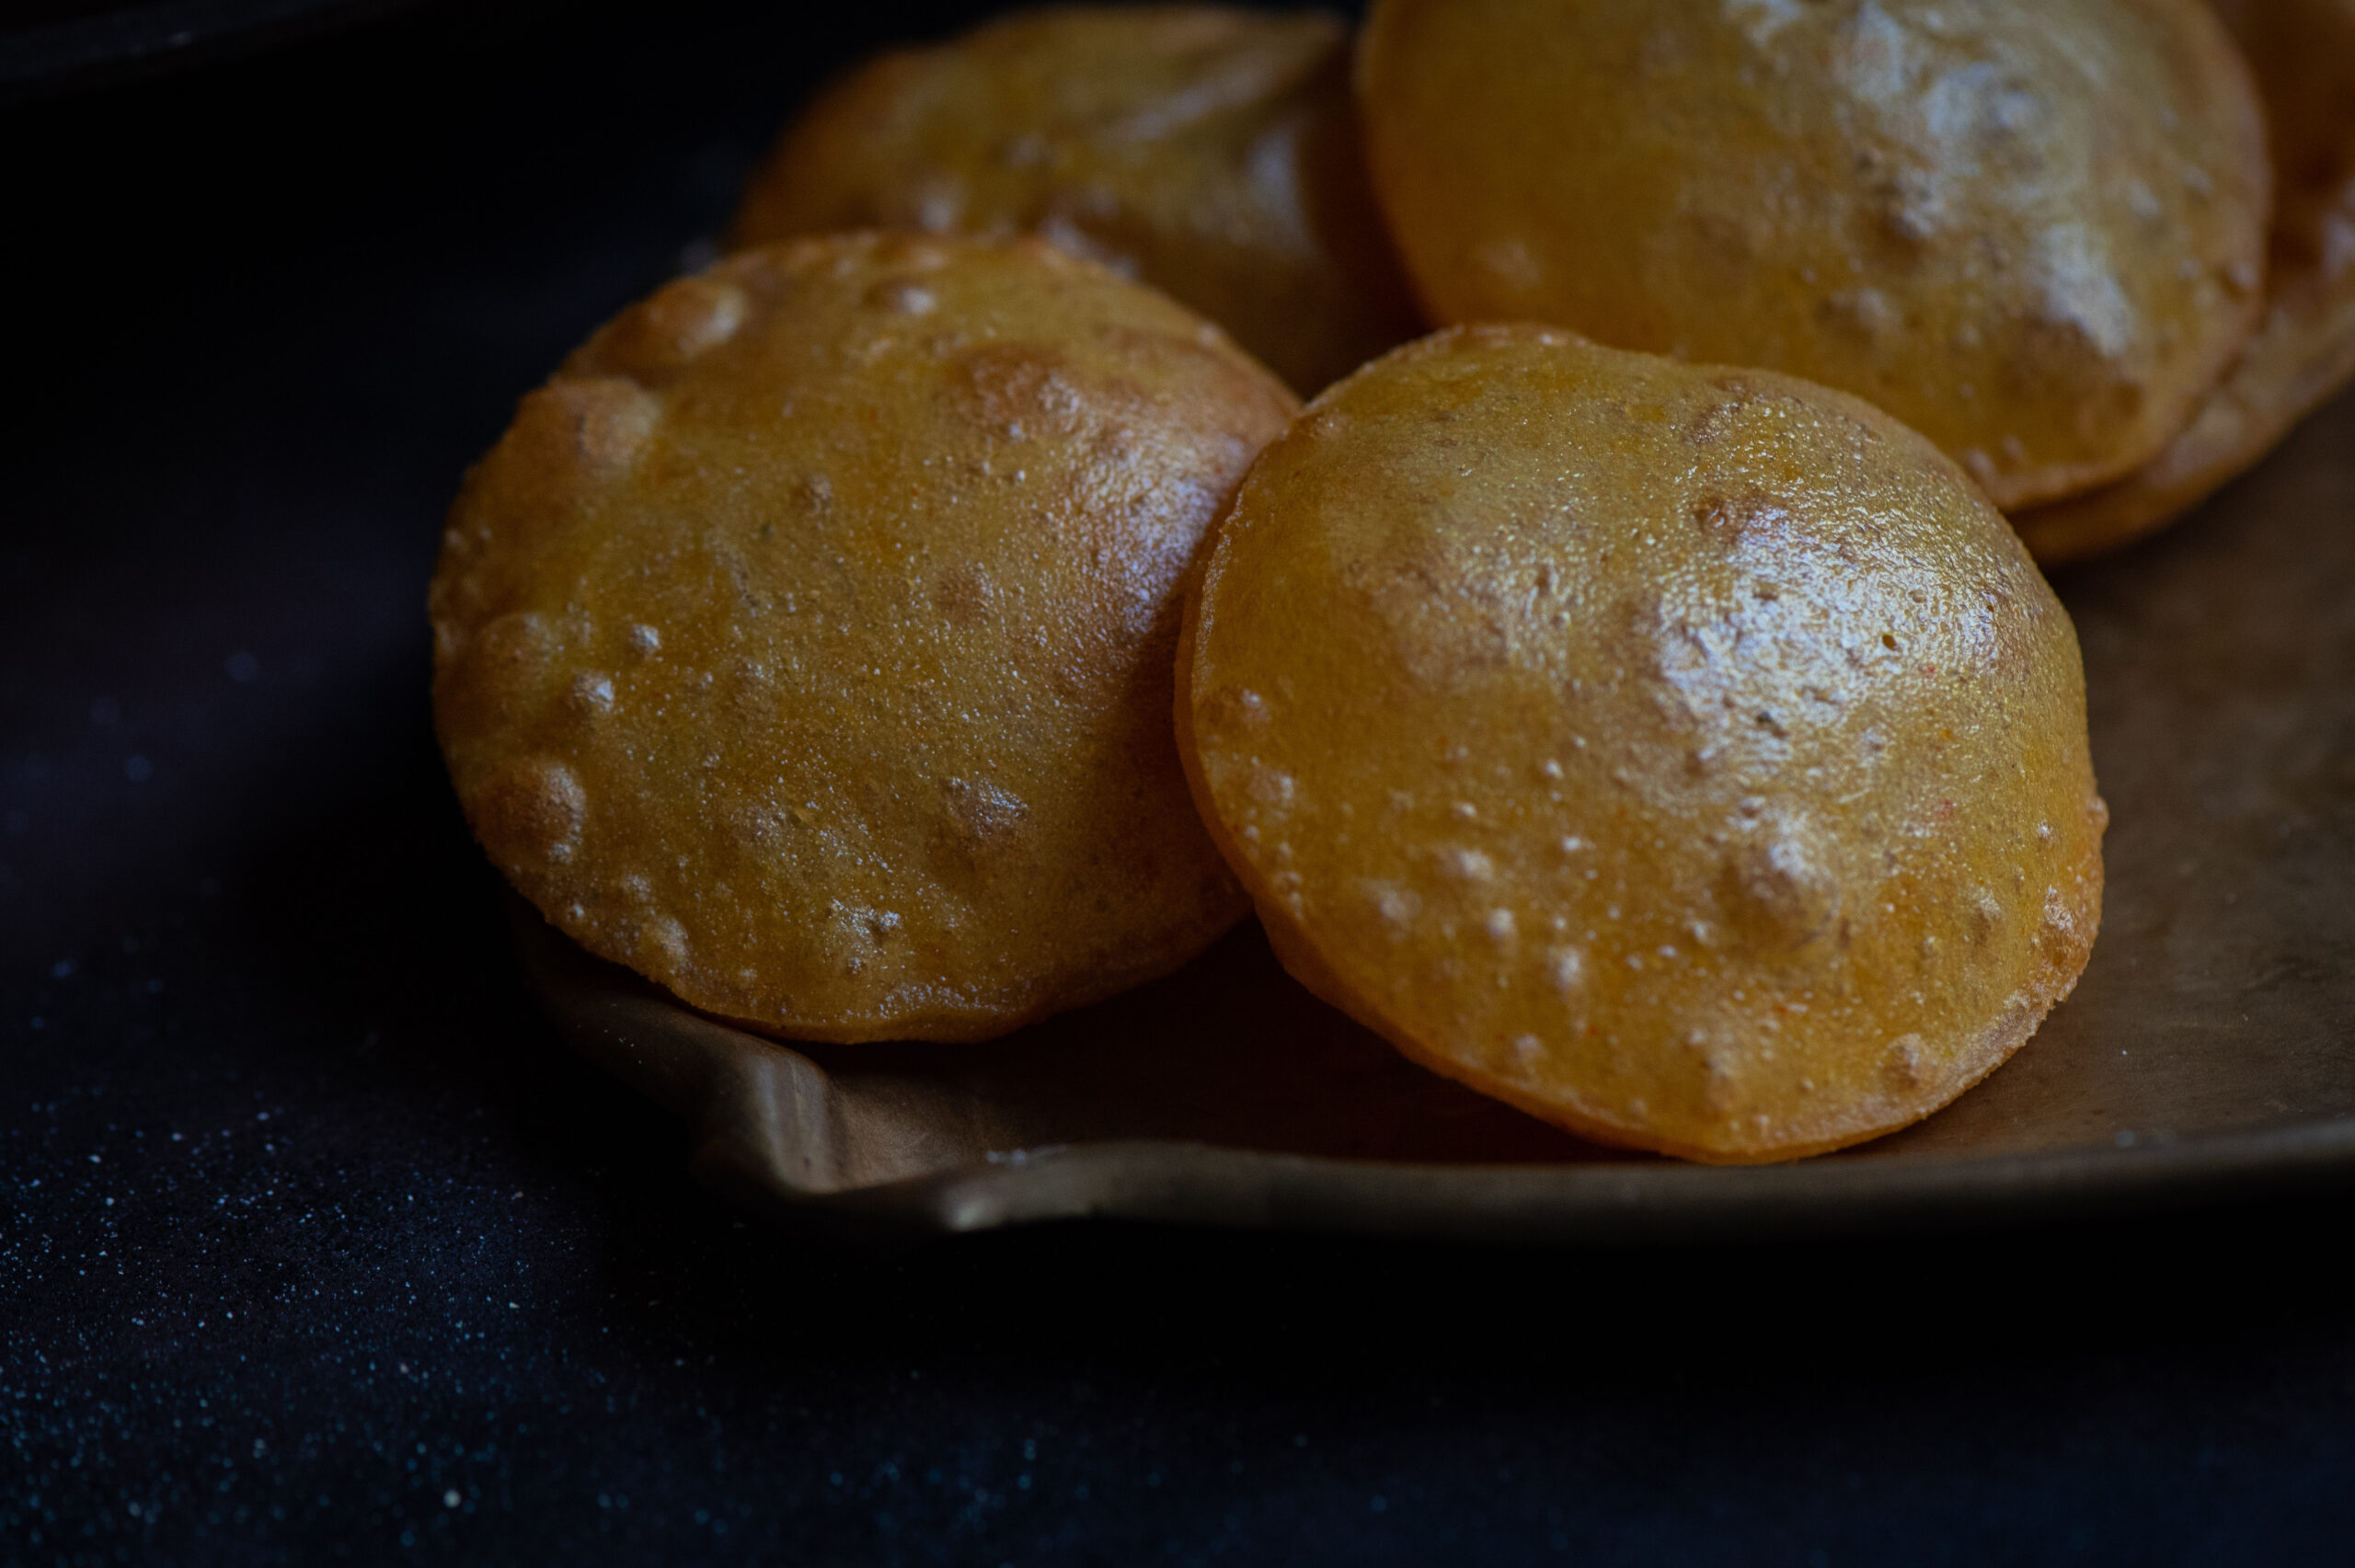
The frying of pooris is an art, and being a Gujarati, size does matter – in this case, the smaller, the more delicate and dainty, the better. My mother was strict about this. She always said that if a poori did not puff, if it did not bloom in the oil, then the person frying it just did not know how to make a good poori! Pooris are generally eaten hot and fresh. Not only did my mother tend not to serve unpuffed pooris at the table, but if a poori became flattened by the time it reached my plate, I would absolutely refuse to eat it as a child! Perhaps that’s why I became so keen on, and so good at, frying perfectly puffed ones later.

I’ve shared two kheer recipes earlier, and have linked to them below. So this recipe teaches you only how to make pooris – a standard in almost any Indian kitchen, but hard to perfect, as many will tell you! Alternately, you can eat your pooris with any accompaniment of your choice. Once you have the basics in place, it’s fun to experiment. If you don’t have a sweet tooth, you can always have pooris with a potato curry (like the Gujarati bataka-nu-shaak) or another accompaniment, like a pickle. Perhaps because it is so simple, a poori is also an incredibly versatile dish. And yes, you WILL need (and want) more than one, for sure!


Poori (With Kheer)

(Yield: 15-20 small pooris)

Ingredients

1 cup whole wheat flour

¼ teaspoon turmeric powder

½ teaspoon cumin powder

½ teaspoon chilli powder

½ teaspoon salt

1 tablespoon oil

¼ cup water

2 cups oil for deep frying


As I said above, I’ve provided two kheer recipes earlier, and you can pick which one to make based on seasonal availability and individual taste. Whether you go with the sitaphal kheer, the rose-coconut kheer, or your own variation, you should have this prepared and refrigerated first.

I don’t know if I’ve ever shared this with you before, but in most Gujarati homes, we regularly make fresh batches of green chilli and ginger paste. This keeps for two or three days, and we use a dollop of it in lieu of red chilli powder. If you prefer this taste, and have it on hand, you can substitute the red chilli powder in the ingredients for the same. I have fond memories of our helper when I was growing up using the stone rubi-kallu to make the paste. We rarely used the blender, and I can’t even remember if we had one at the time. Now, it’s such a necessity.

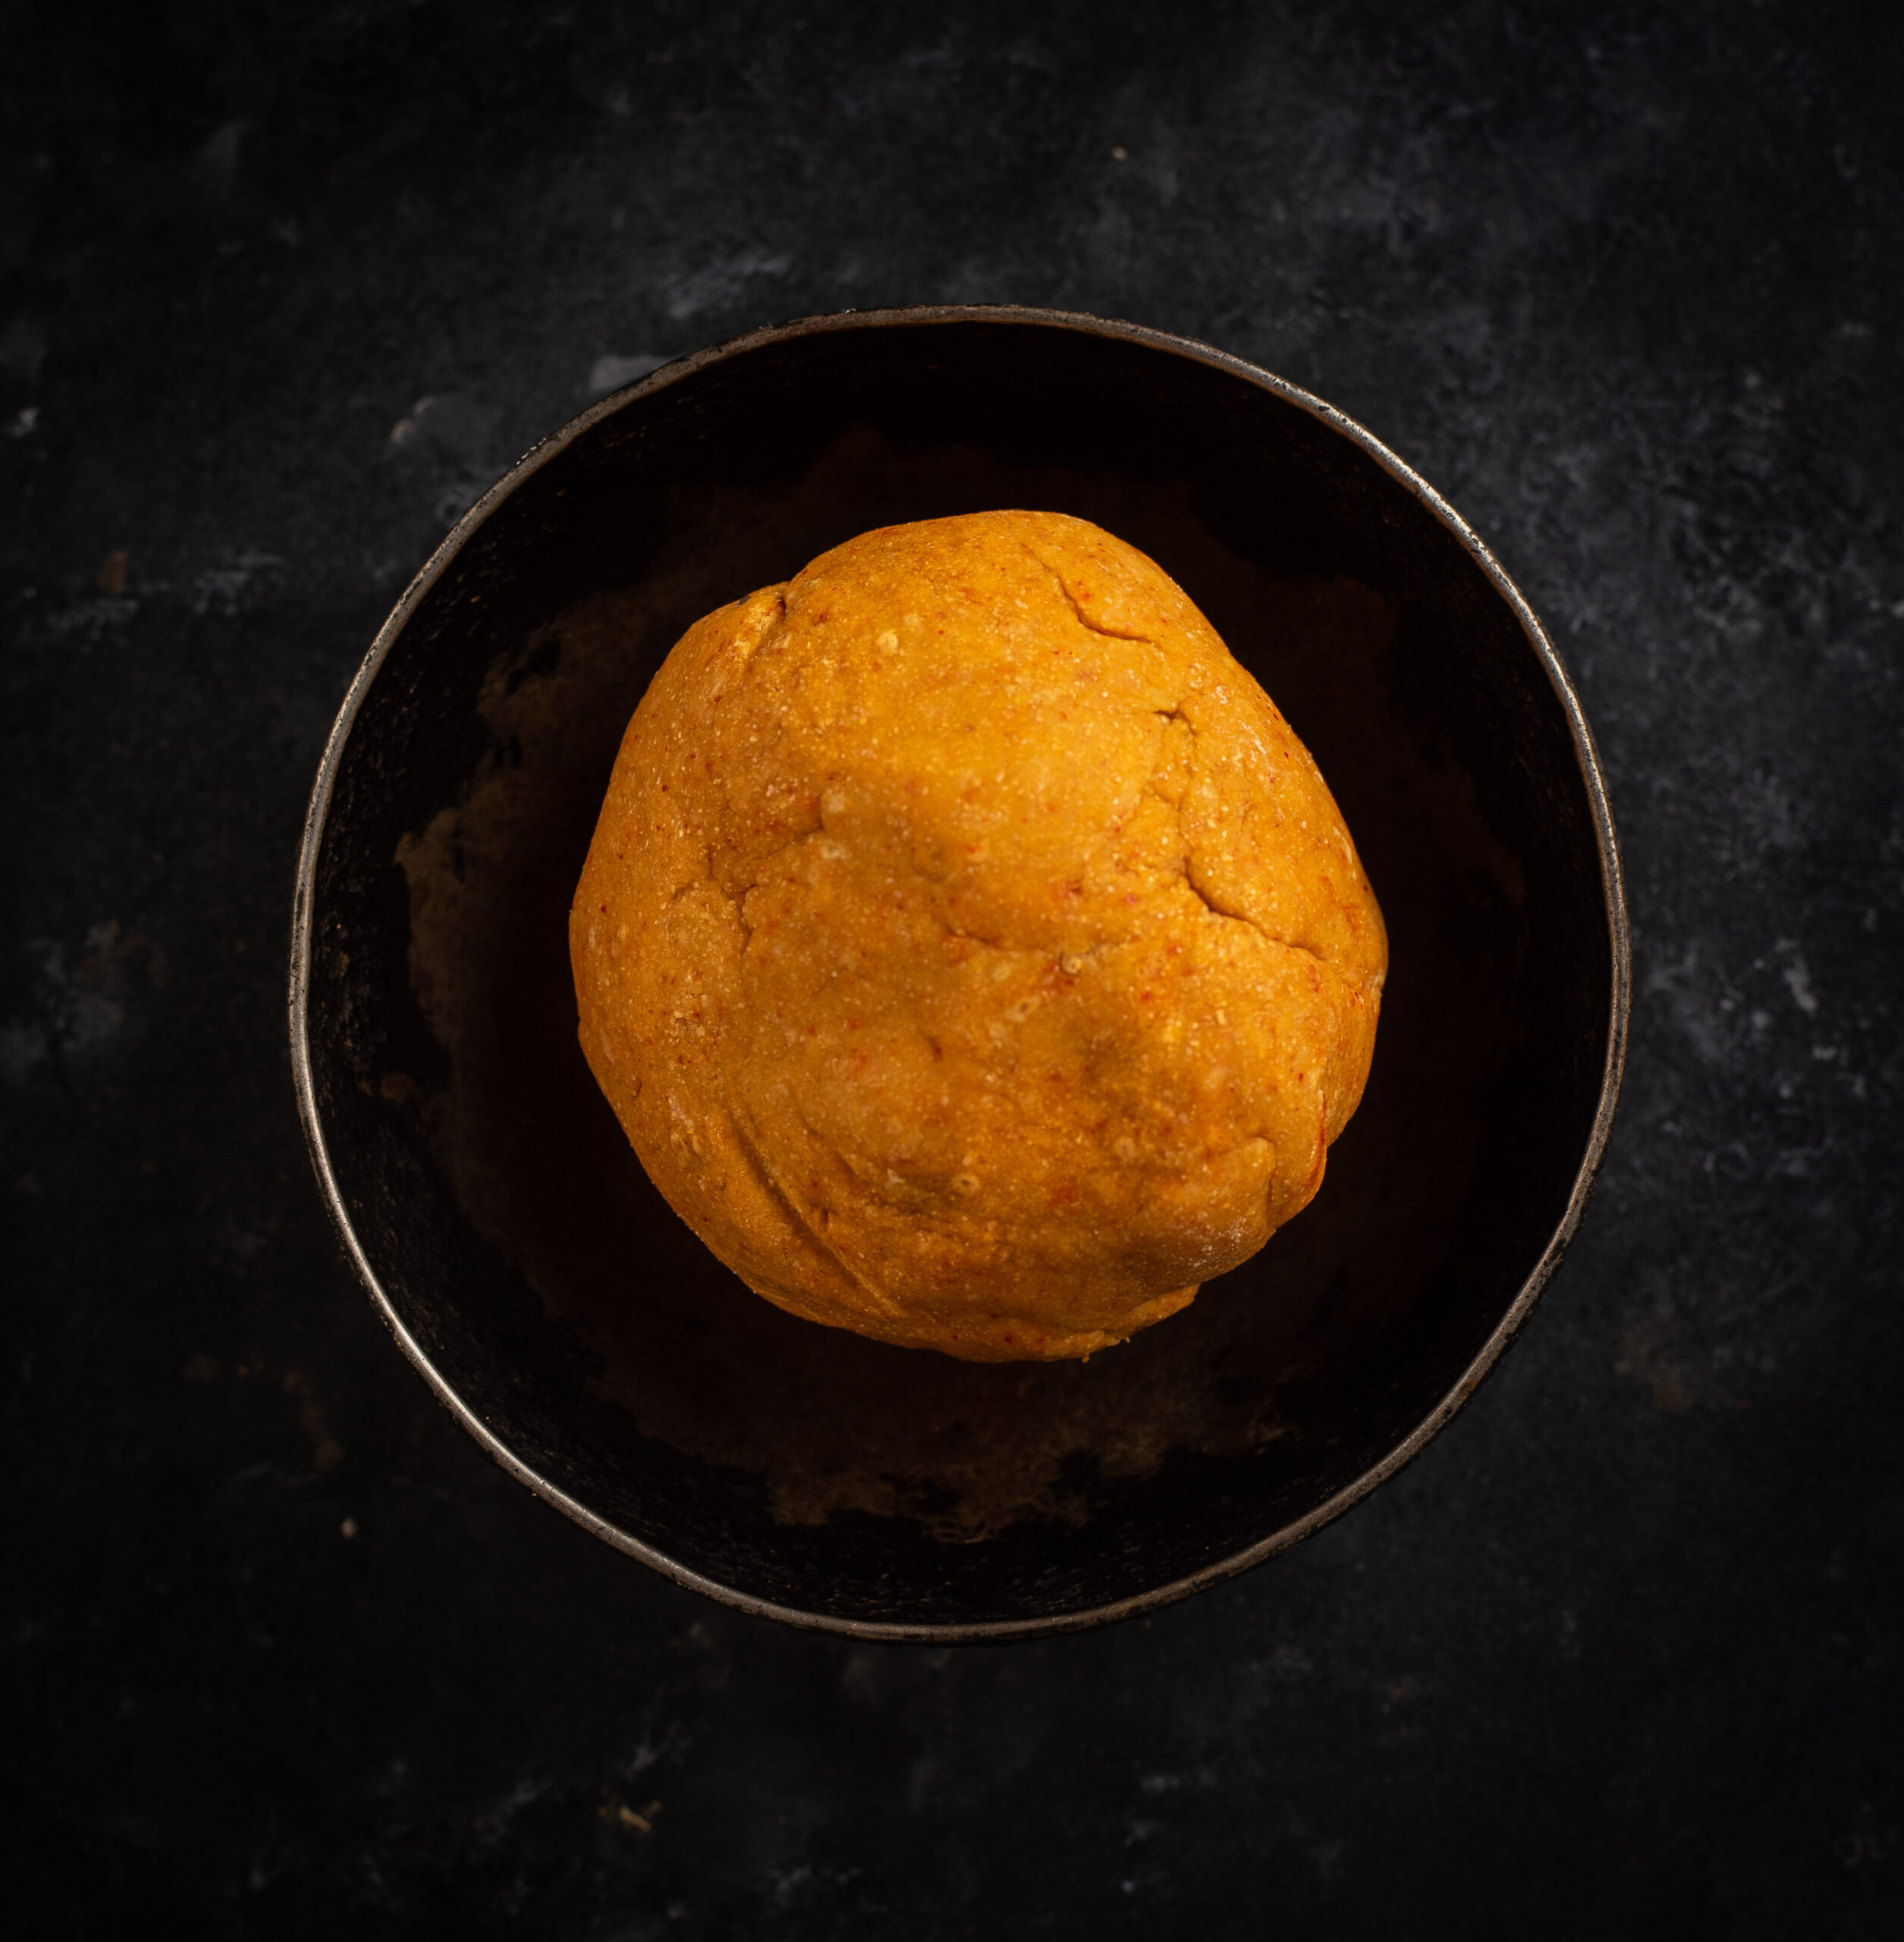
In a bowl, add all the ingredients (except the oil for deep frying) and make a dough. The dough should be equivalent to a tight smooth ball.

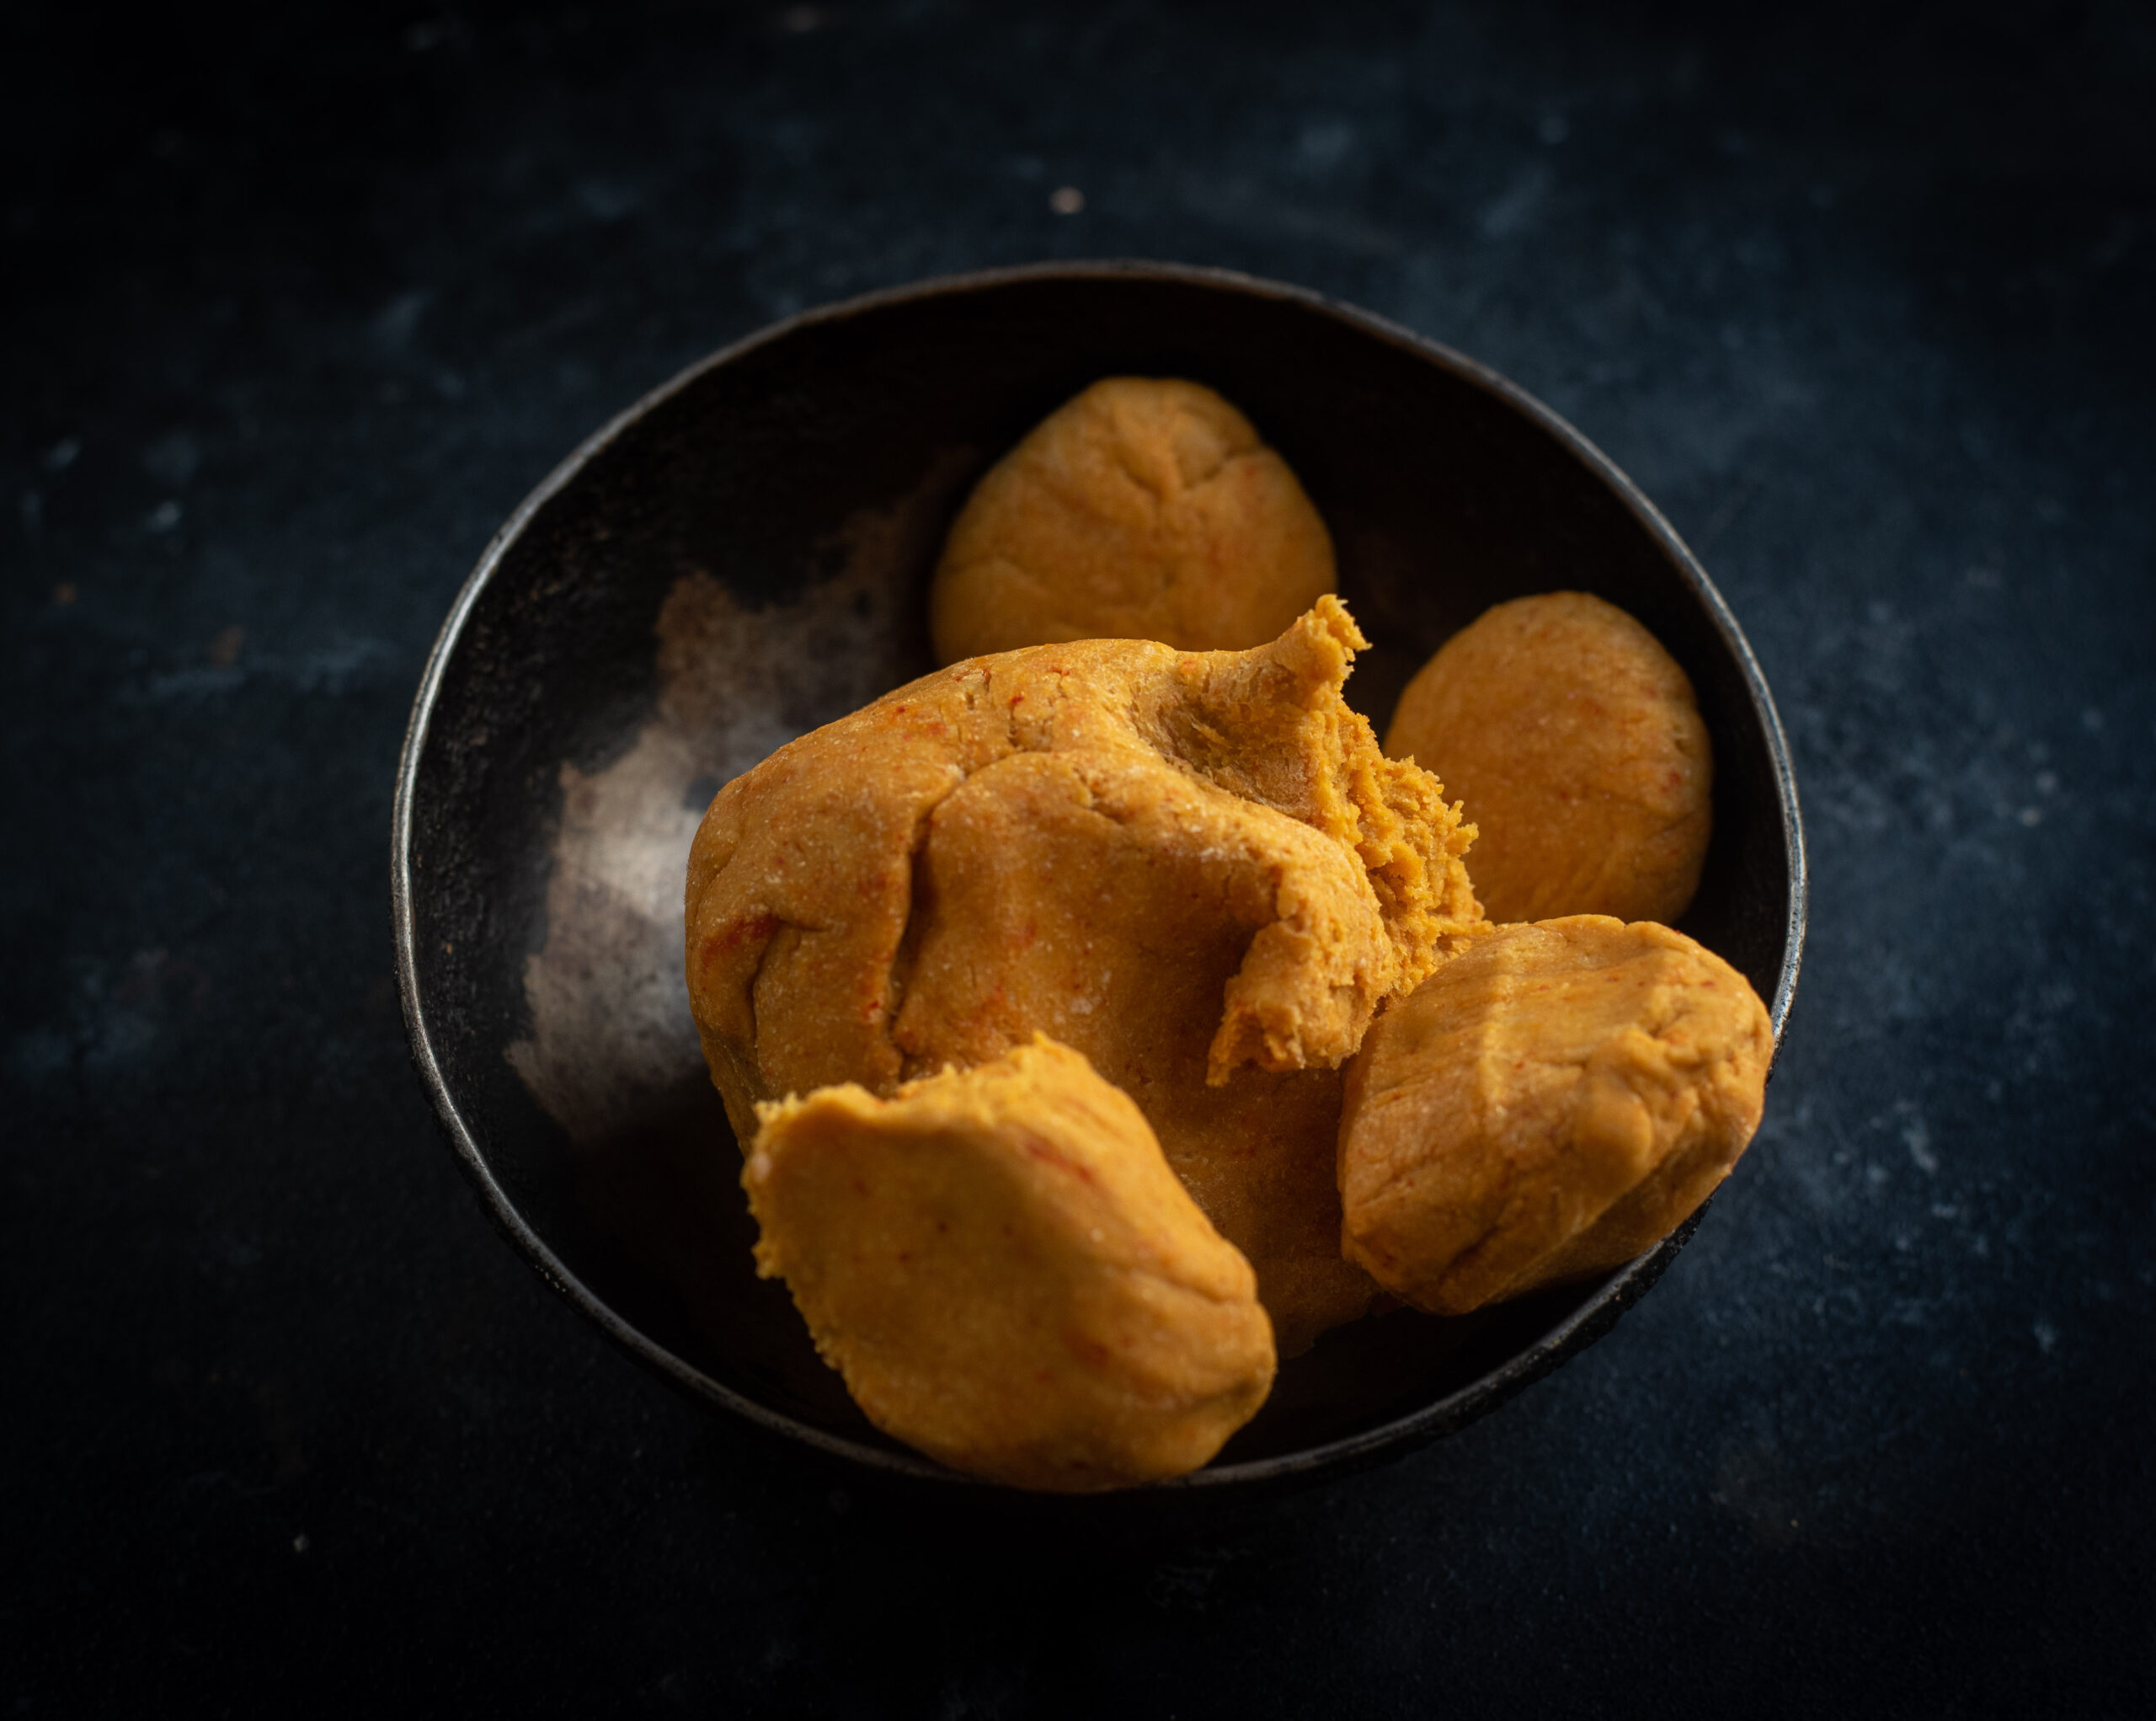
Now, divide the dough into round small balls ready for rolling out. Roll them out evenly shaped as far as possible. They should also have the same, even thickness. Take care that they are not too thin, as they will be unable to puff up if so. Did you get rolling practice when you made these rotis? If you did, it may be worth noting that this dough is similar to thepla dough, except we don’t add yoghurt.
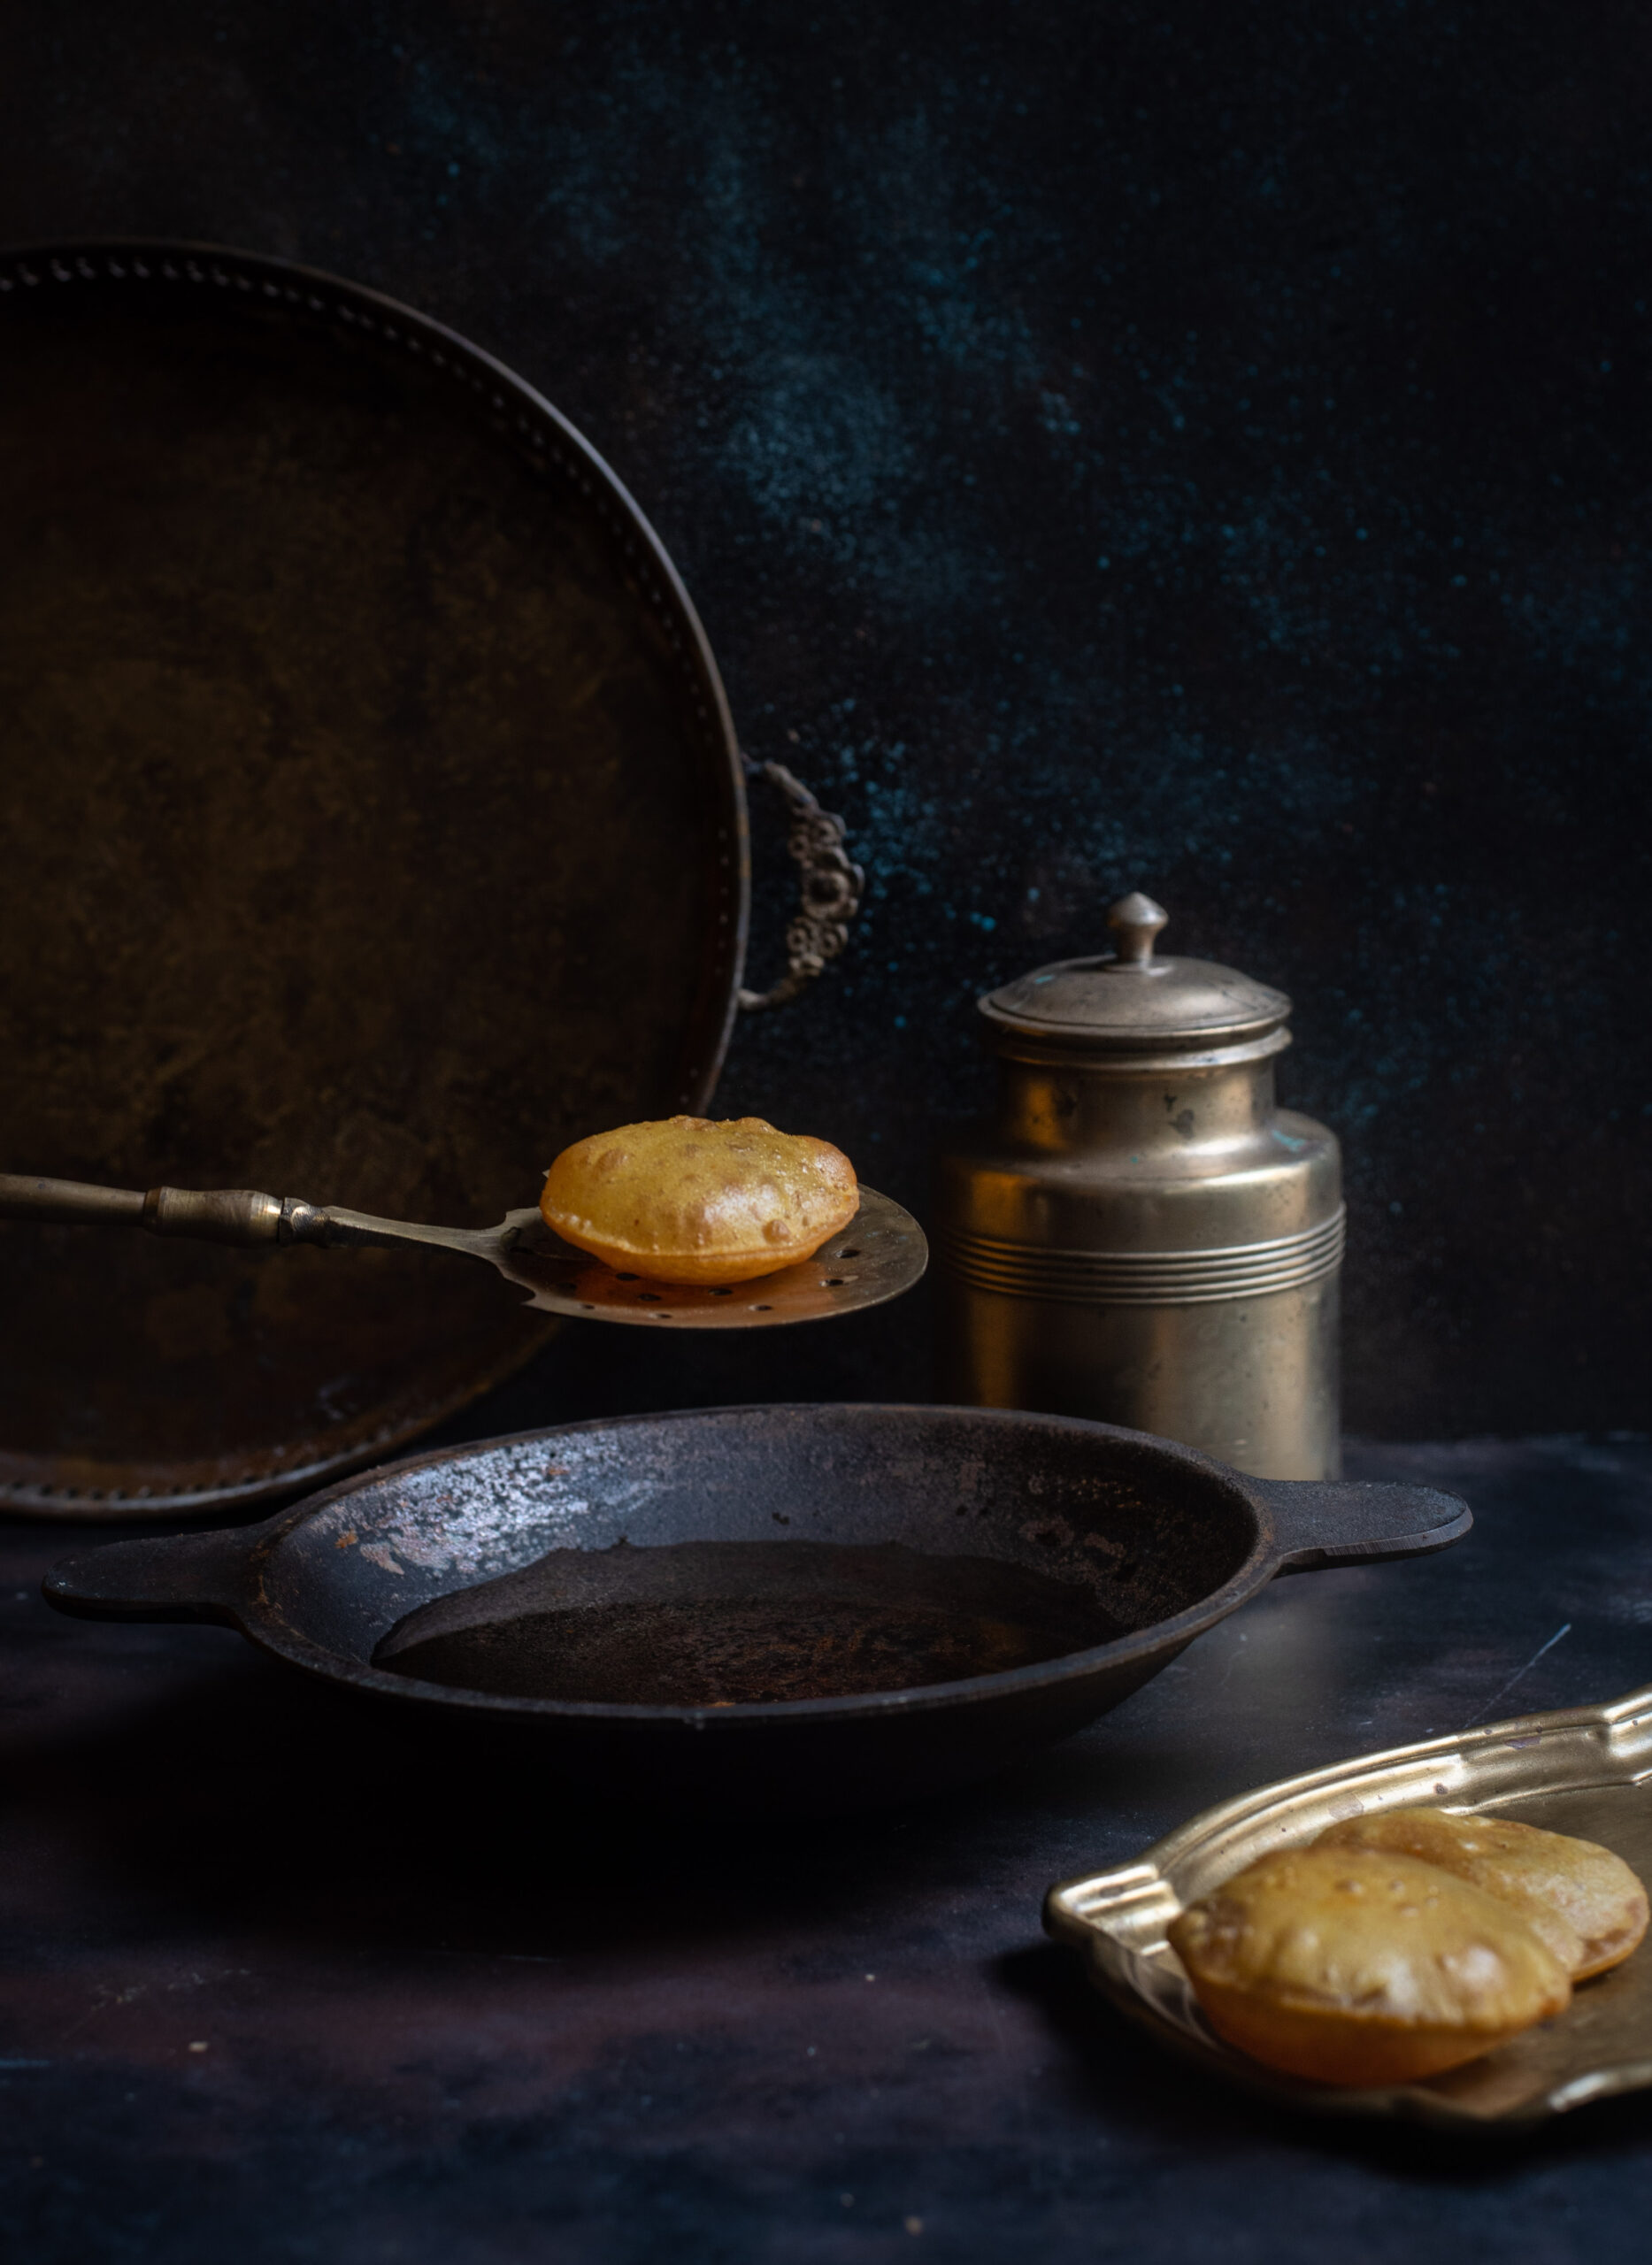
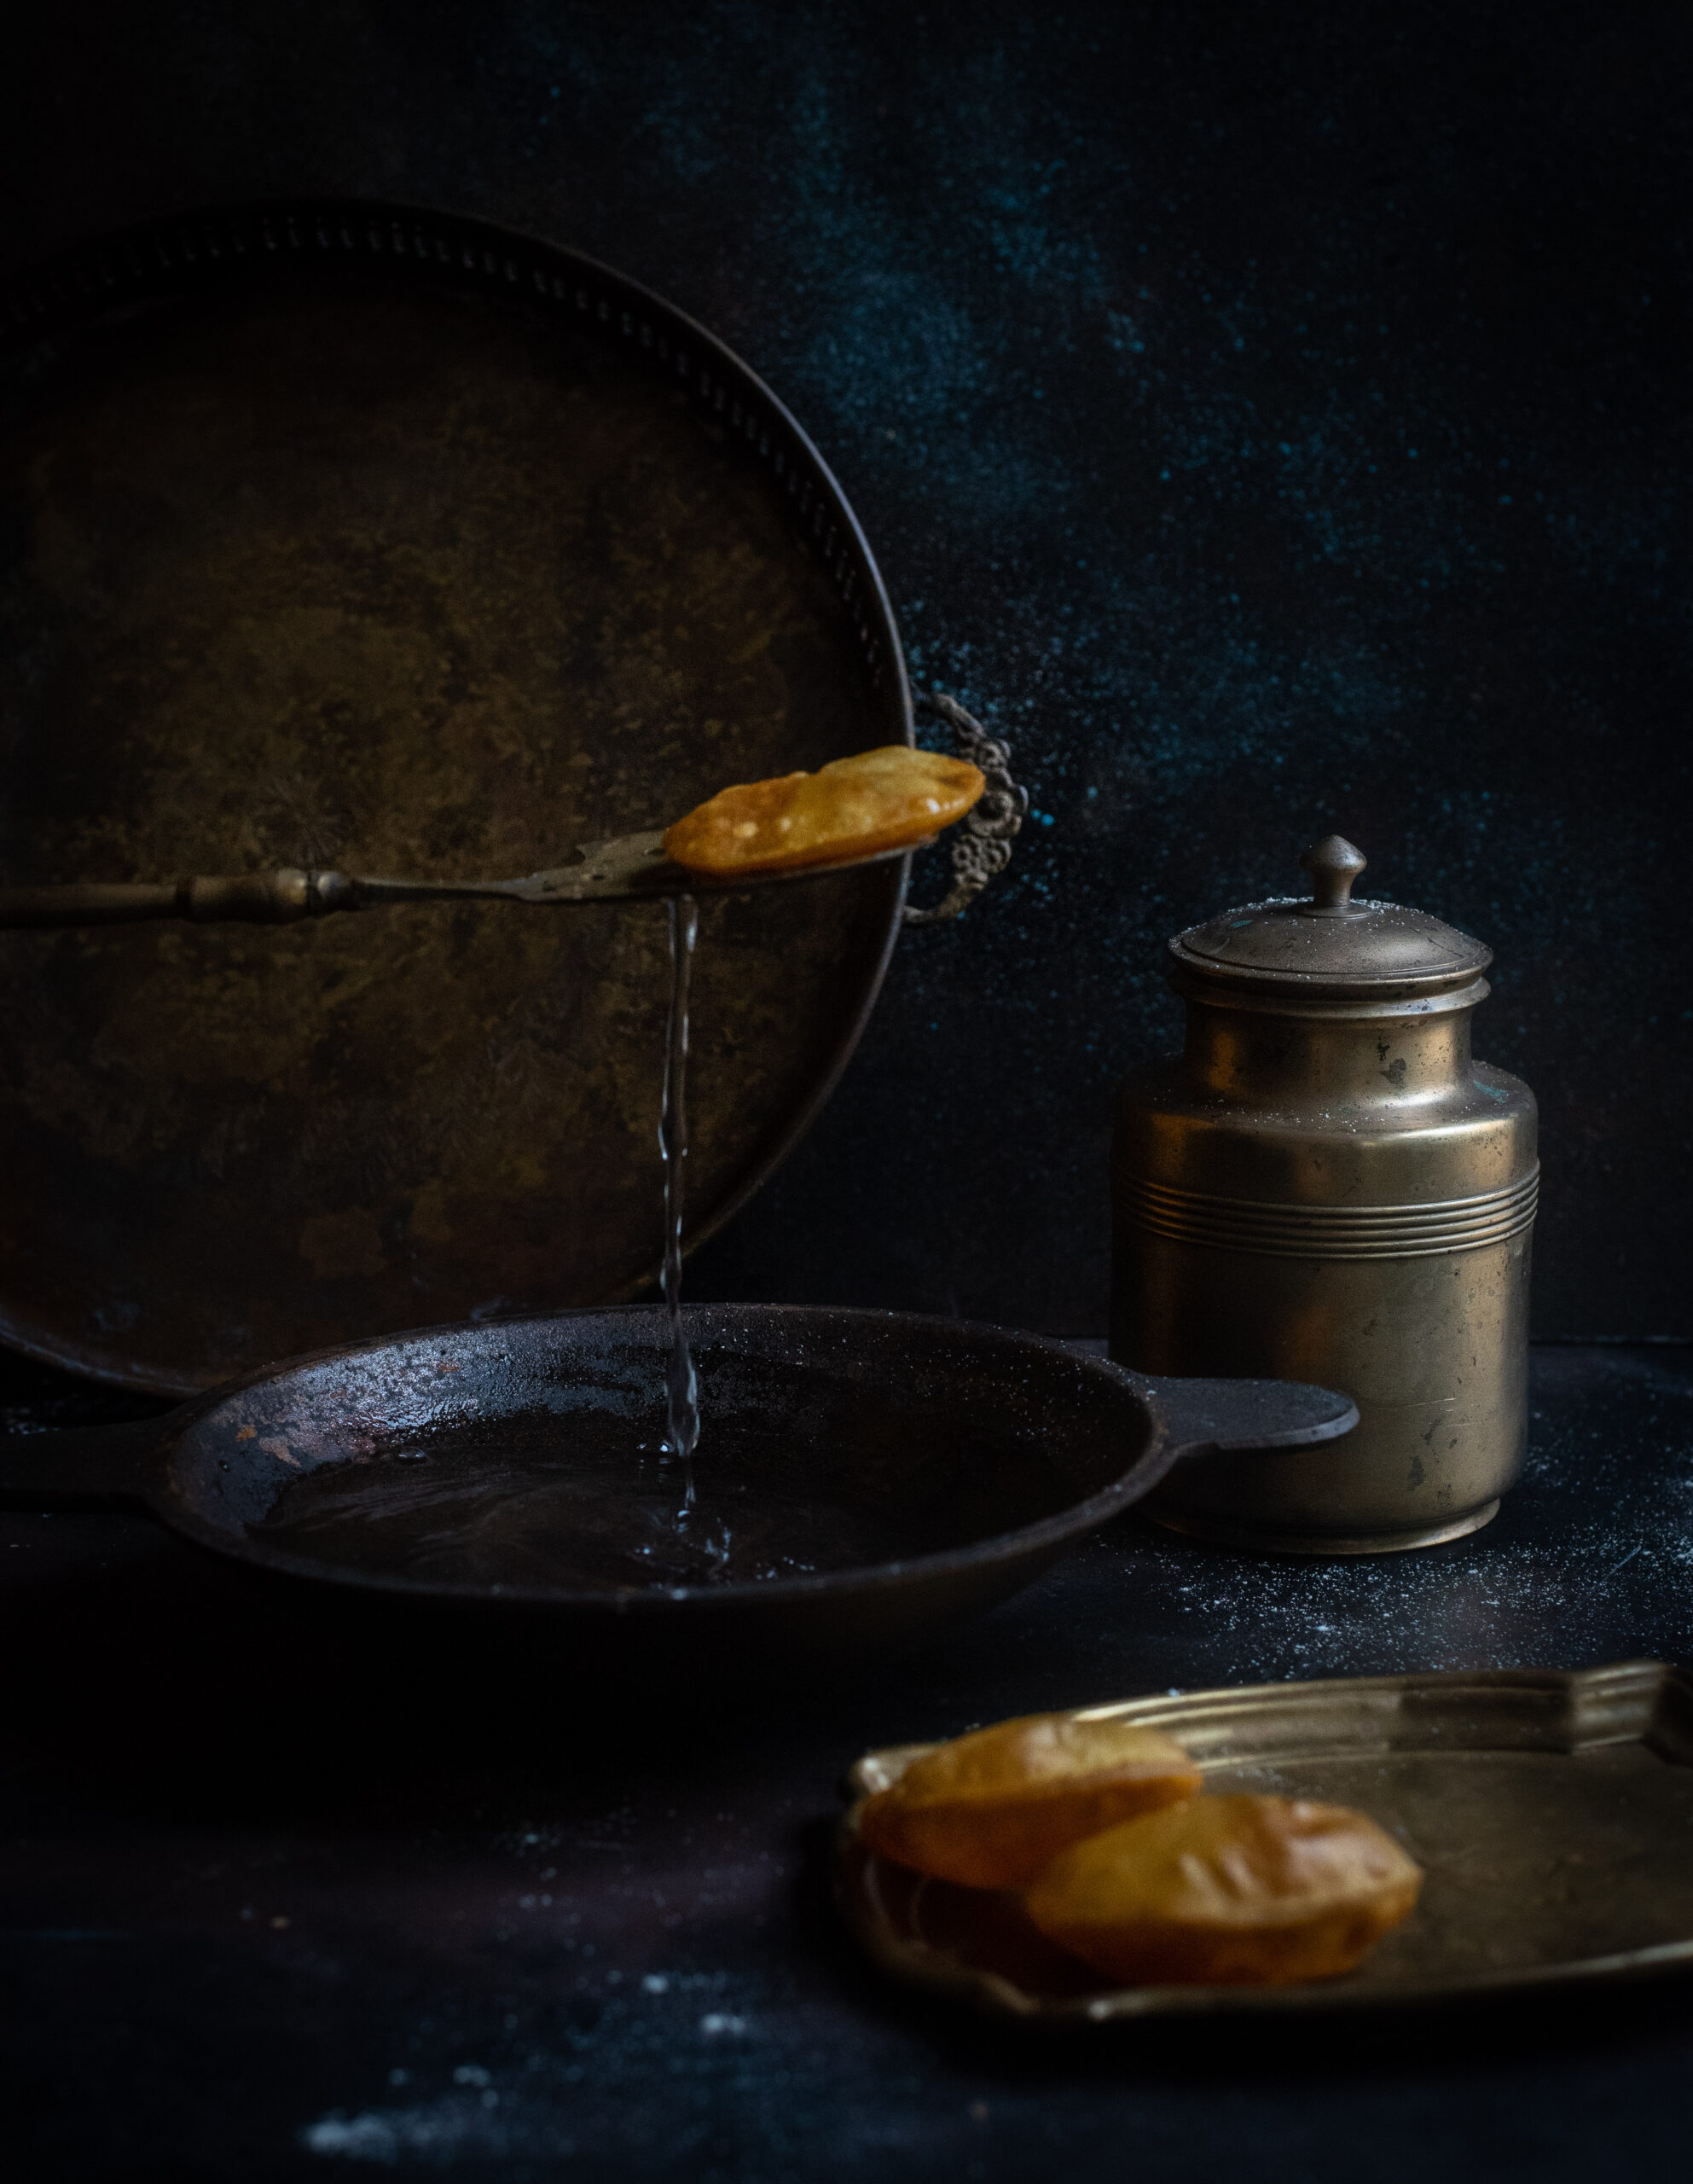
Prepare the oil by heating it. You can check the heat by dropping a pin size drop of dough. If it gathers bubbles, then it means the oil is ready. On a high flame, drop the pooris in one at a time. Wait for each one to rise up, and then flip it over. You need to flip it over just once. The secret to the puffiness lies in a mixture of of the correct level of thickness, the heat of the oil, and timing. It takes practice, and despite my childhood aversion, deflated pooris are perfectly edible too.

The poori needs to fry for just 8-10 seconds after being flipped. When you remove them from the pan, you will notice that they will be darker on the bottom side, and this is normal. Place on a sheet to drain excess oil. Serve immediately with a generous helping of kheer, fresh from the fridge.

Hot, fluffy pooris are such wonderful comfort food. And when their heat melds with the chilled kheer, the combination is simply divine. The craving-busting deliciousness of fried dough and the sweetness of a Gujarati dessert – no wonder these were birthday treats when I was growing up! I hope you’ll enjoy this simple yet sinfully indulgent recipe. As always, I’d love to hear from you in the comments.