Tag

South Indian

Browsing

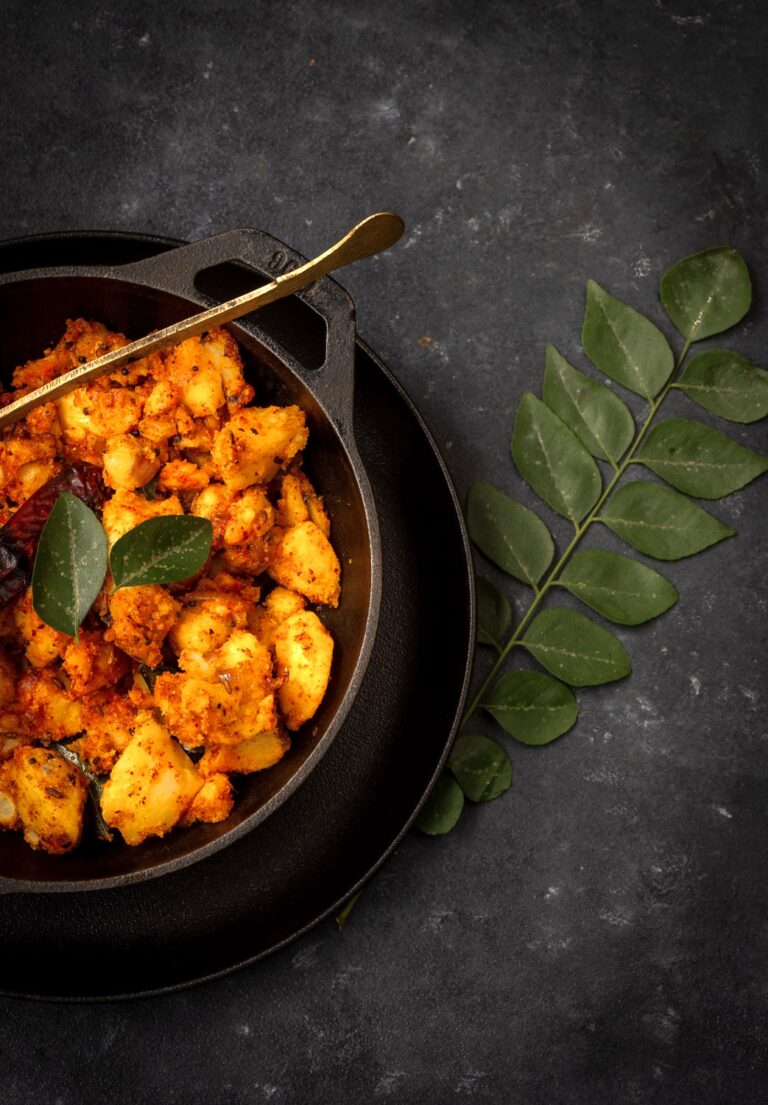
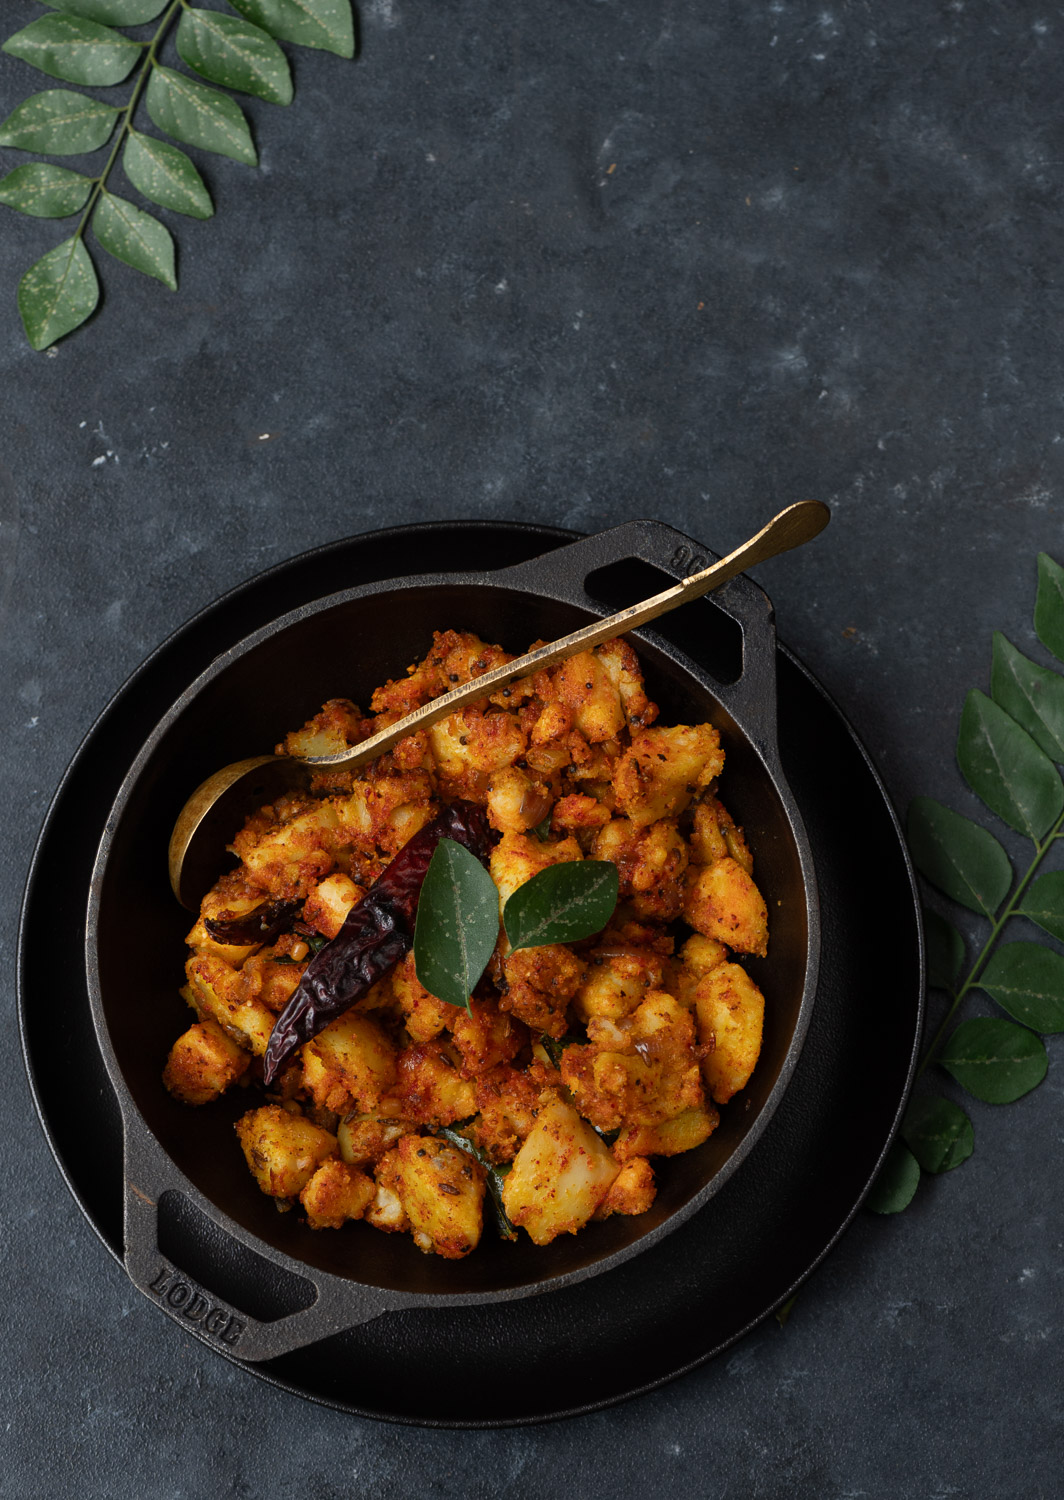
When it comes to recipes, sometimes just having one of a certain dish isn’t enough. I have shared my own version of roast potatoes on this blog in the past, but lately I have felt inspired to start making them in the Tamil Nadu style more often. As someone born and brought up in Chennai, this dish is one that I have known and enjoyed all my life, as will anyone who loves a spicy accompaniment.

When I said I was feeling inspired, this was in part because one of my favourite pastimes is surfing the Internet for all things to do with food. I love looking up and reading about the subject, seeing what people out there are making, and watching videos not just on trends but also on classic dishes. They may or may not be authentic, but they are exciting just the same. I choose whichever I am interested in, tweak the recipes a bit based on my preferences, and they often turn out yummy. Through this blog, I am a part of that community too, and contribute to it. It feels special to know that we are all inspirations to one another, and to me this is true whether in the art world or in cooking or in writing or in so many other arenas. Online and offline, my passion for recipes – creating them, discovering them, and sharing them – is joy-bringing, I love being gifted or gifting nice cookbooks too. It has long been a dream of mine to publish one of my own, and this is the year in which that will come to fruition.

Coming back to the South Indian-style roast potatoes, let me just say at the outset that it’s okay to indulge in carbs and a little extra oil sometimes. I try not to do either too often, so when I do I choose my favourites and make sure I relish them. This dish is one I have become such a pro at that I even make the masala at home, powdering and keeping a fair quantity to use as needed. I have shared the recipe for that too, and recommend that you take a little extra time to prepare that too. You’ll taste and smell the difference it makes.

The aroma and flavour truly take me back to my school days, when many of my friends would bring curd rice in their tiffin boxes with roast potatoes on the side. The moment that lunch was unpacked was special: the fragrance of deep-fried, well-seasoned potatoes would rise. It would be irresistible. We loved sharing our lunches, as I’ve shared in earlier posts like this spinach rice recipe.

I will admit: carb-consciousness has made me like potatoes somewhat less now than I used to, or at least eat them less often. But as a child and a teenager, I simply adored them. So much so that when I first started learning how to cook, I told my mom that the first dish I would prepare on my own would feature this ingredient. I had also been inspired by my older brother. When our mom travelled, he would make my sister and I sit in the kitchen and watch as he prepared potato sabzi and roti for us. So at around age 14 or 15, under her supervision, I made a simple sautéed potato dish with barely anything but salt. Salt, heat and oil are all that’s really needed to make a potato taste good, anyhow.

Still, what a long way I have come since that basic fried potato dish! From nothing-but-salt to grinding my own spices, from the easiest way to the elaborate and the innovative. I continue to learn every day, and the journey goes on. I am so glad to have you along on mine, sharing recipes that make life more delicious.

South Indian Roast Potatoes
(Yield: Serves 2)

250 grams potatoes
Salt to taste
½ teaspoon turmeric powder
¼ tsp mustard seeds
½ teaspoon urad dal
¼ tsp cumin seeds
¼ tsp asafoetida
A few curry leaves
2-3 tablespoons oil
3-4 Kashmiri red chillies (whole)
2 tablespoons onions (finely chopped)

Spice powder
1 tsp urad dal
½ teaspoon methi seeds
½ teaspoon cumin seeds
1 teaspoon channa dal
1 teaspoon oil

Boil, peel and dice the potatoes. Set aside.

In a pan, begin to prepare the spice powder by adding the one teaspoon of oil. Once it has heated, add all the spice powder ingredients and roast until golden. Remove onto a plate and allow to cool. Now blend coarsely and keep ready.

In the same pan, add the 2 tablespoons of oil, and once heated add the mustard seeds, cumin seeds and urad dal. Once they turn golden and splutter, add the red chilies, curry leaves and asafoetida.

To this, add the onions first. Sauté and then add the potatoes and the freshly-made spice powder. Sprinkle with salt and turmeric powder. Mix this all together well. Allow to roast until it all comes together well and the potatoes are slightly golden at the bottom.

This dish works as a great accompaniment for dosas, rotis or any kind of rice dish. If you’d like to explore more potato dishes or more South Indian flavours, there’s more in the blog archives where this came from!


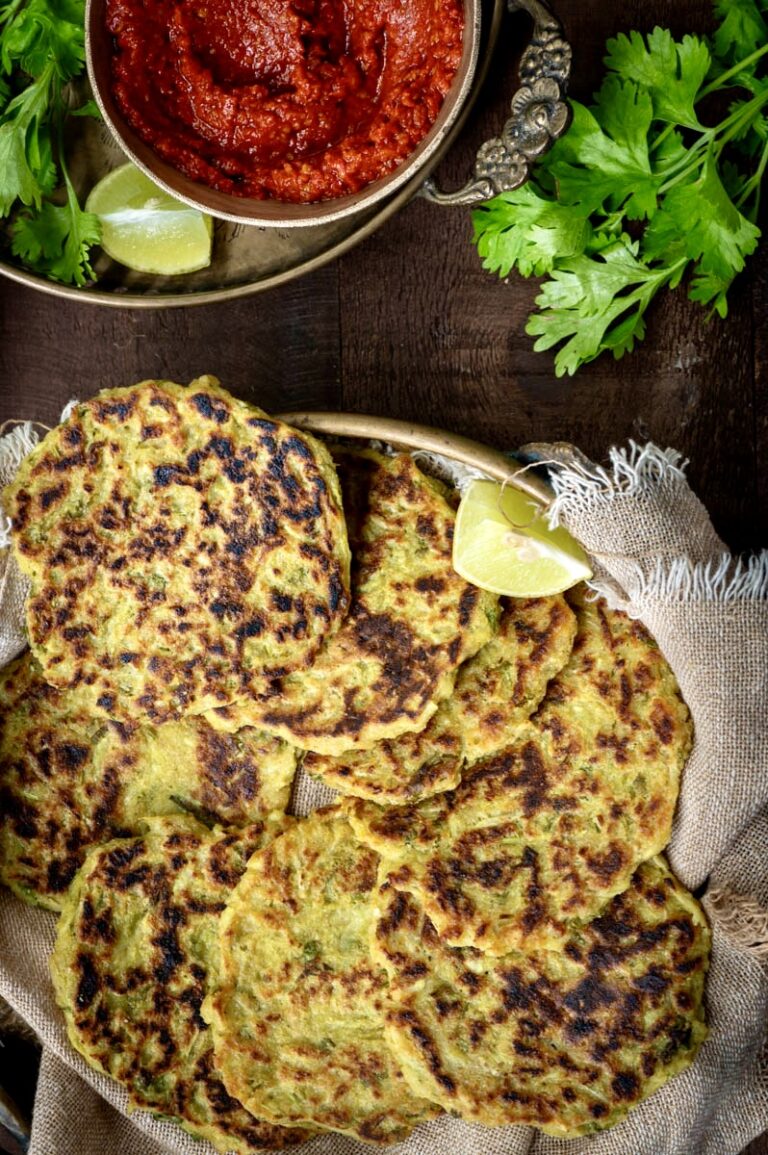
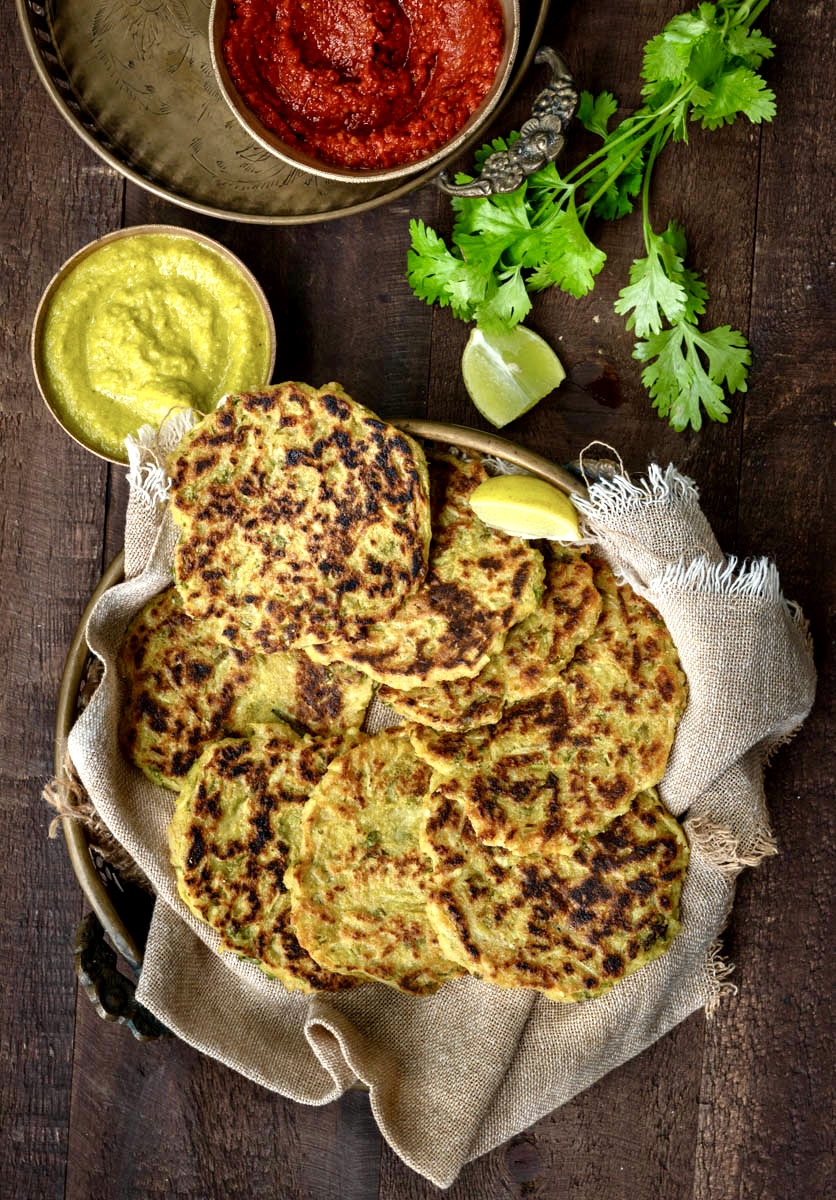
In recent years, oats – which were unheard of when I was growing up – have become quite popular in India as a breakfast dish. Due to that classic Indian innovation, oats here are therefore served enhanced with masalas, spices, tastes and flavours, making them more suited to our palates and generally more exciting. However, according to me there is a misconception that oats are exceptionally healthy. While they are rich with nutrients, they are a form of carbohydrates and contain starch. Quantity therefore matters, as does preparation. This is where the oats uthappam comes in, and I prepare it in a way that boosts its healthiness as much as possible.

It doesn’t surprise me that oats have become a favourite for many in India precisely because they contain carbs. This appeals to us because if you take a look at any Indian thaali, you’d be able to see that rice, wheat and carbohydrates are the central point. My preferred approach is to work with this knowledge, about culturally ingrained preferences, rather than against it. Don’t forget that we need complex carbs for our bodies to function well and to have energy for the active lifestyles of today. So I don’t say No, I just try to shift the focus. This can be in little ways, like the use of chia seeds in an overnight oats porridge to the vegetables I use in this uthappam.

Now, for the big reveal: it is the use of millets that make my version of oats uthappam good for us. I have used jowar or sorghum, but you can use any millet of your choice. Rice flour is what would be normally used, but if you’ve followed this blog for a few years, you may have noticed me writing about millets before. They are traditional foods in the region I live in, and everyone from the Government of Tamil Nadu to the United Nations have of late been talking about their benefits to us. If you’re interested in switching to millets in more dishes, you could explore the link shared for a range of other recipes.

Uthappams, if you aren’t familiar with them, are a thicker variant of the famous dosa. On a pan-Indian level, we are now familiar with dosa batter. When it is fresh and new, we make thin and crisp dosas. When it’s a couple of days old, it suits uthappams better. You can make the batter from scratch too, and use it for idlys as well – take a look here. Here, because of the use of jowar, the batter is made from scratch.

Coming to the oats themselves, there are a variety available on the market, from whole oats to quick and easy oats. Take your pick. Similarly for the vegetables: just use what you like to use, and what you have on hand.

These oats uthappams – which you can call oats fritters if you like – are a great way to start the day and to avoid a sweet and sugary breakfast. As someone whose version of cereals was leftover millet rotis, and who had neither idea of nor access to oats, this dish evokes a sense of my childhood uthappams while also enticing my need to explore and innovate too.

Oats Uthappam

(Yield: 12 small pieces)

1 cup oats

½ cup flour (I have used jowar/sorghum)

1 cup grated bottle gourd (+ grated carrots, optional)

2 teaspoon ginger + green chili paste

Salt to taste

2 tablespoons curd

¼ teaspoon turmeric

¼ cup coriander leaves

½ cup water

Oil for cooking

In a bowl, add the oats, flour, grated gourd, grated carrots (if you are including them), salt, coriander leaves, curd, ginger + green chilli paste and turmeric. Mix well. Add ¼ cup water and mix. Add the remaining water as required. The batter needs to be a little thick.

Allow the well-mixed batter to sit for half an hour, so that it can sit and ferment for a bit.

Heat a griddle and add two teaspoons of oil. Add two tablespoons of the batter and press down with your fingers and make a disc shape. I like making smaller discs, but you can make them bigger and cut them into slices like a mini-pizza. Allow to cook on a medium flame. Once golden on one side, flip and let fry on the other side.

Repeat and cook as many as the griddle will allow, depending on the size.

Remove from the griddle and serve hot with chutney of your choice. Alternately, these are great to be packed into a tiffin lunchbox for the office or school too.

I hope you’ll enjoy this filling and nourishing oats uthappam and make it a part of your repertoire, just as you may have already become very familiar with the now ubiquitous oats upma!

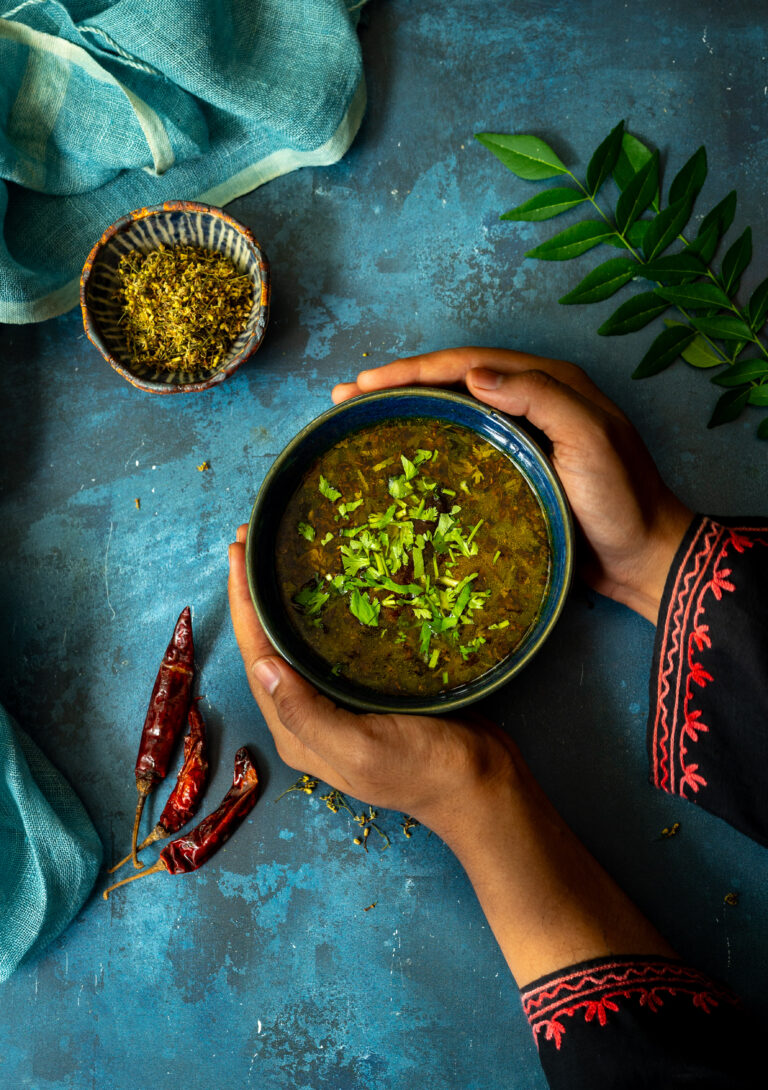
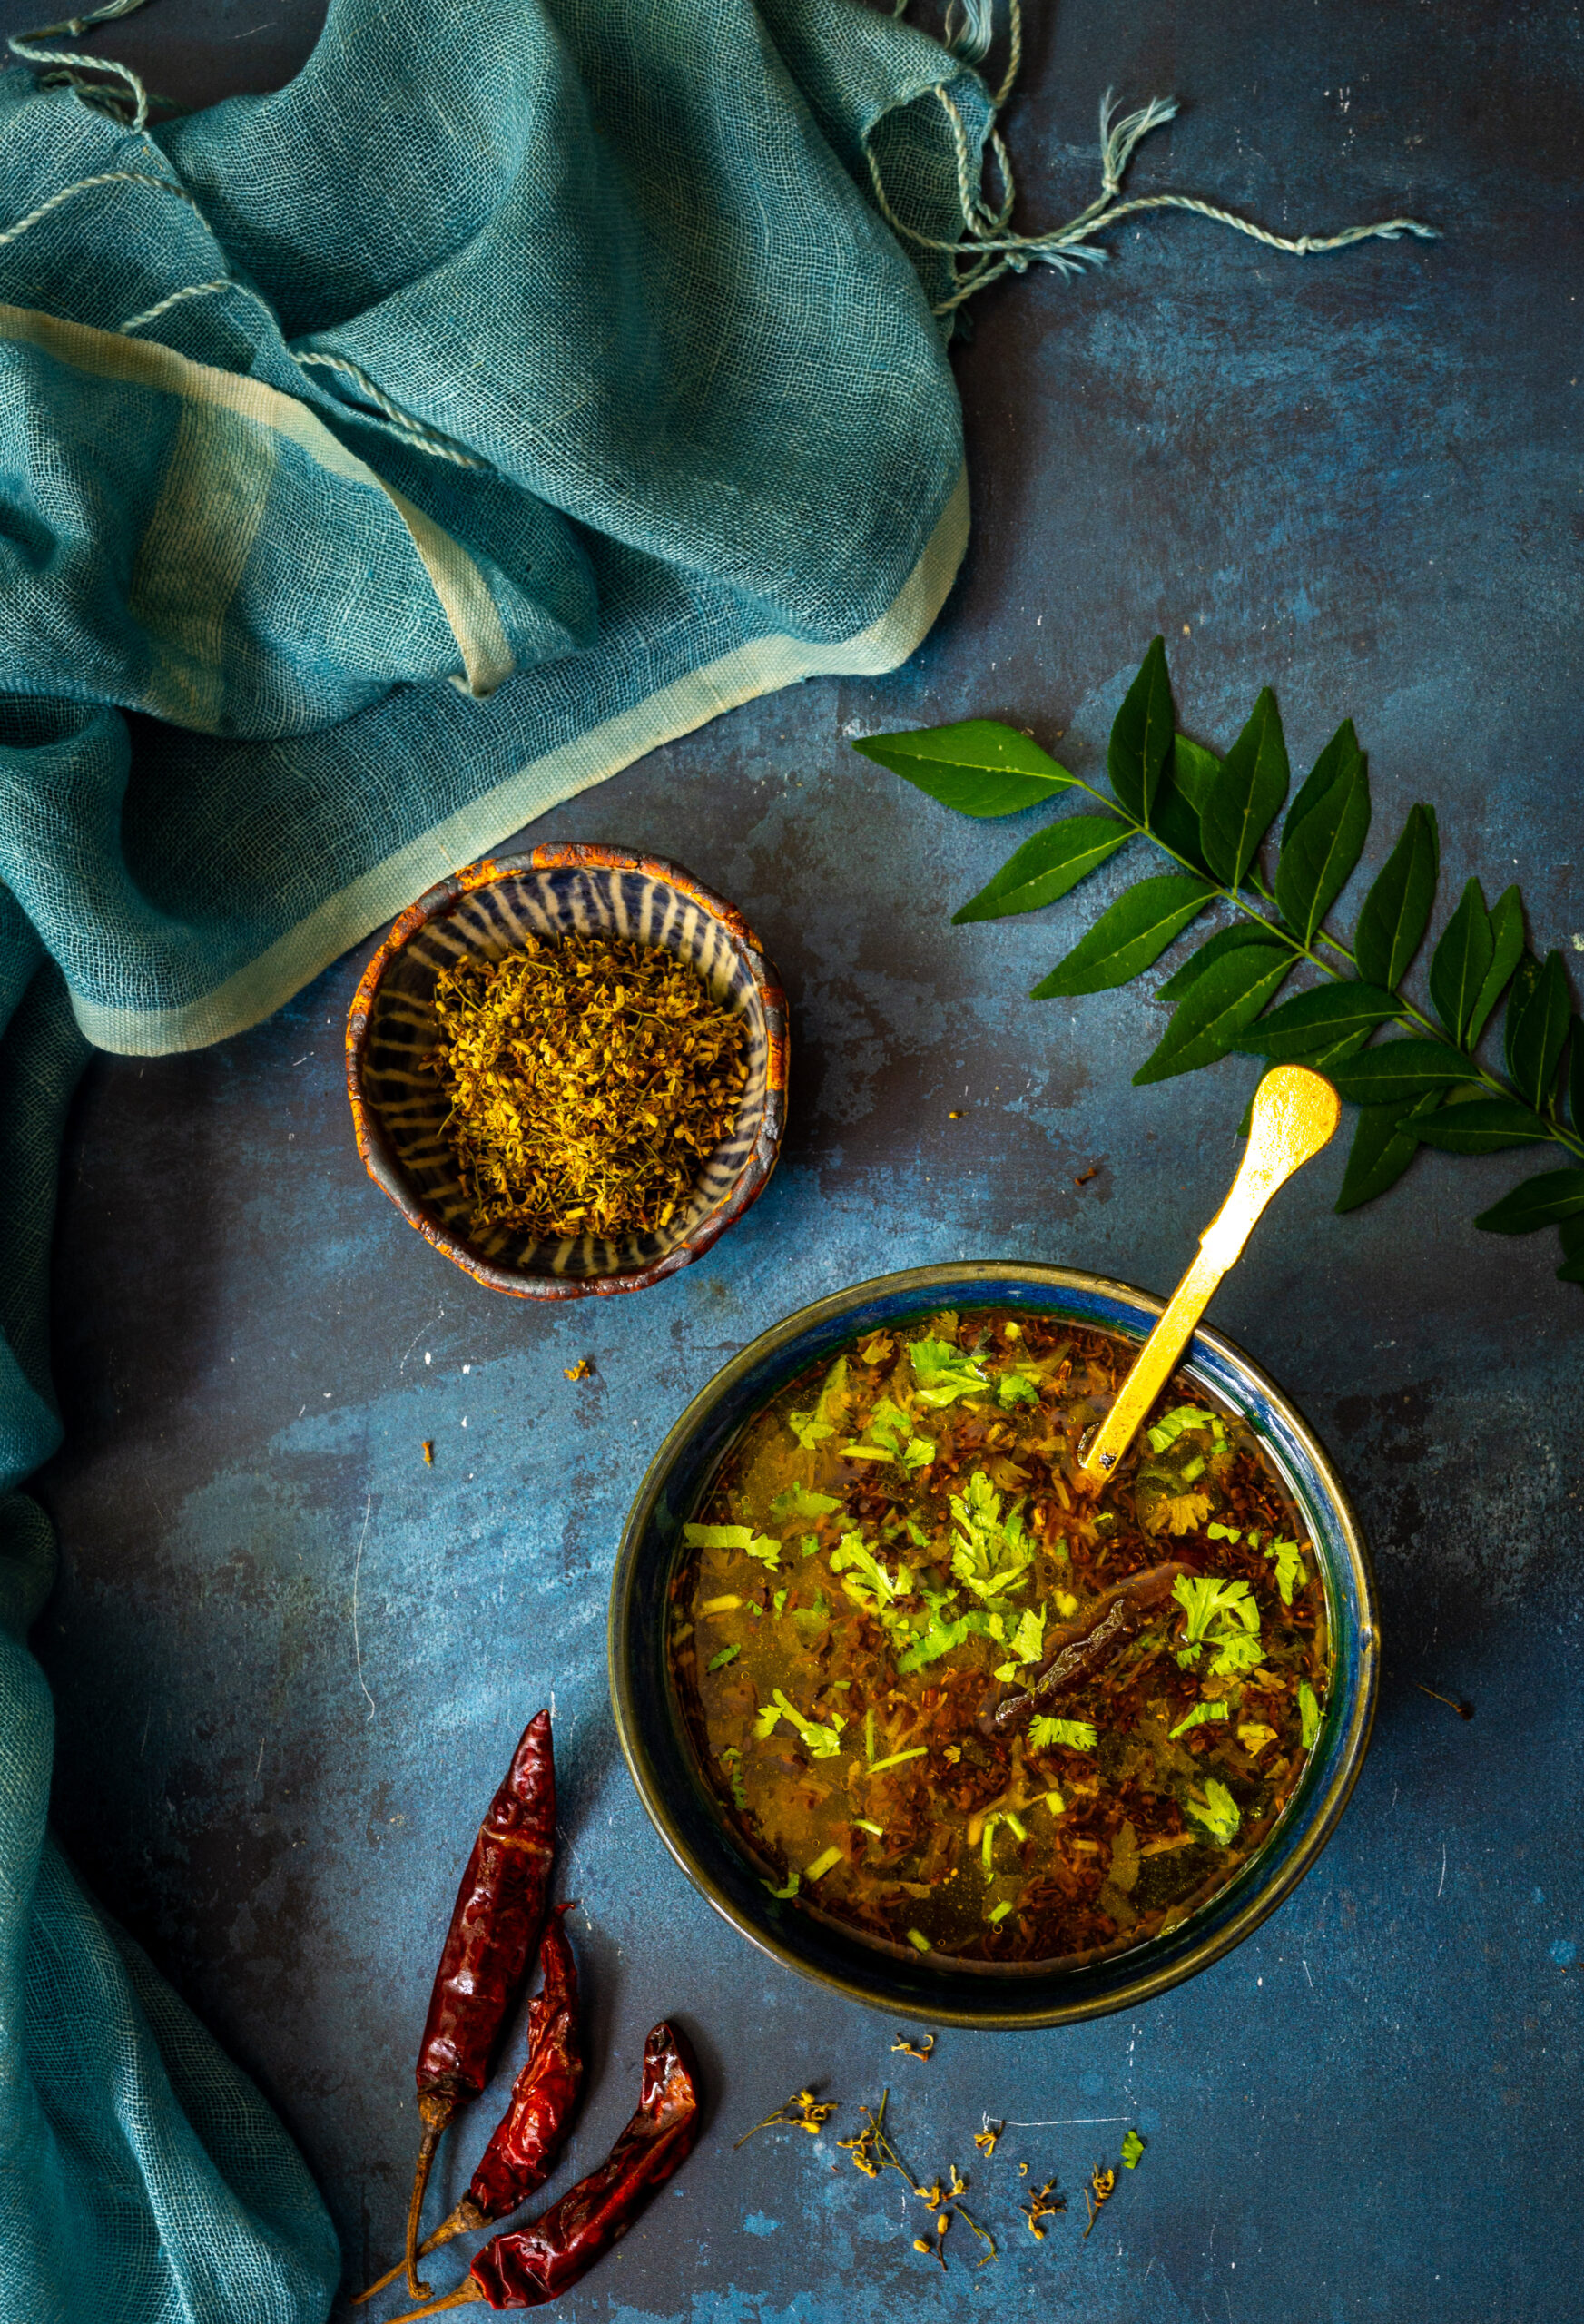
I always prefer to treat myself naturally if I can help it, and completely avoid pharmaceutical medication as far as possible, even painkillers and such. It isn’t that I won’t take them if necessary; it’s just that if I can there is a natural medication or a home remedy, I would much rather go down that route first. Not long ago, I had a stomach bug that went on for quite some time, so when the home remedies didn’t suffice, I visited a naturopath. She was a lovely lady who had come down from the US, and upon seeing my bloodwork, she diagnosed me with some kind of minor bacterial infection. She said that the best way to treat it would be through neem tablets. I came home and sat in my garden to think about this, and about what I wanted to do, which was when I realised that I was sitting right under a neem tree. I thought, “How silly of me to buy tablets, when the tree itself is right here!” I decided to consume different parts of it, including the leaves obviously, to treat my ailment. The direct, natural, literally homegrown approach appealed to me. During this phase, I came upon innumerable neem flower recipes, and began experimenting with concocting my own versions. One I particularly enjoyed was this neem flower rasam.

A rasam is a soup-like staple prepared in South India with a range of spices. It may be consumed with rice, or it may be consumed as a drink. It is often prepared when a person is ill with a cold, which means that when I was exploring the naturopath’s advice, rasam’s known medicinal qualities made it especially interesting to me. It has all kinds of good ingredients that help infections dissipate. To those known qualities, I added the healing touch of neem flowers, which are especially beneficial for gut health. They are antiseptic in nature and aid with cleansing the digestive organs.

The neem flower is often overlooked – it is a small, whitish-yellow, and only occasionally in bloom. While neem trees themselves are common in Chennai, since the flowers aren’t eye-catching, we don’t always notice when they are in season. As for me, during the time when I was preparing this recipe more often, I was only concerned with the collecting, drying and cooking of the neem flowers – and forgot to pick up my camera. This is why I do not have images of the fresh flowers. I do encourage you to take a closer look at the neem trees around you, if they are there where you are too, especially in very early summer. I know I will be appreciating them much more from now on.

What I did was to spread an old sari out under the neem tree and leave it there overnight. In the morning, a large quantity of fallen neem flowers were in the cloth. As they are difficult to pluck directly, this is the best method to harvest them. Then, I lay them to dry in the sun, which makes them last longer. Alongside those, I dried raw mango for amchur powder, and some turmeric too. When the flowers were well-dried, I stored them and began sprinkling them into different dishes. They made their way into salads, of course. I found that the flowers do not have much of a flavour, and are less bitter than the leaves. This makes them ideal for versatile usage. A little pinch here and there – into a soup, or onto rice, isn’t going to dramatically alter the taste of your food, but it will give you an additional boost of healthiness on your plate.

This neem flower rasam is a dish in which they are the featured ingredient – providing an unusual twist to a very common preparation. The other thing is that I did not use off-the-shelf rasam powder, but ground all the required spices at home. The recipe below provides this from-scratch method. I am sure you too will realise that it does not take much effort at all to do this. There’s nothing like a truly homemade recipe, and this is all the more important when it comes to home remedies.

Neem Flower Rasam

(Serves 2)

½ teaspoon pepper

½ teaspoon cumin

½ teaspoon mustard seeds

¼ teaspoon asafoetida

A handful of curry leaves

1 teaspoon neem flowers

Salt to taste

2 dry red chillies

1 tomato

1 lemon size ball tamarind (for the juice)

4-5 cloves garlic

1 teaspoon oil

¼ teaspoon turmeric powder

½ litre water

2 tablespoons chopped coriander leaves

In a mortar and pestle set, add the cumin, black pepper and garlic and crush coarsely. Set aside.

Soak the tamarind in half a cup of water and remove the juice. Crush with the tomato to form a paste. Set aside.

Heat a kadai. Add the oil and then the mustard seeds. Once they splutter, add asafoetida, neem flowers, red chili and curry leaves. Sauté for a few minutes. Then add the mixture that was crushed earlier.

Next, add the crushed tomato and tamarind paste and allow to cook for few minutes. Add the remaining water and allow to reach boiling point. Add salt to taste. Finally, add chopped coriander leaves. Cover and remove from the stove.

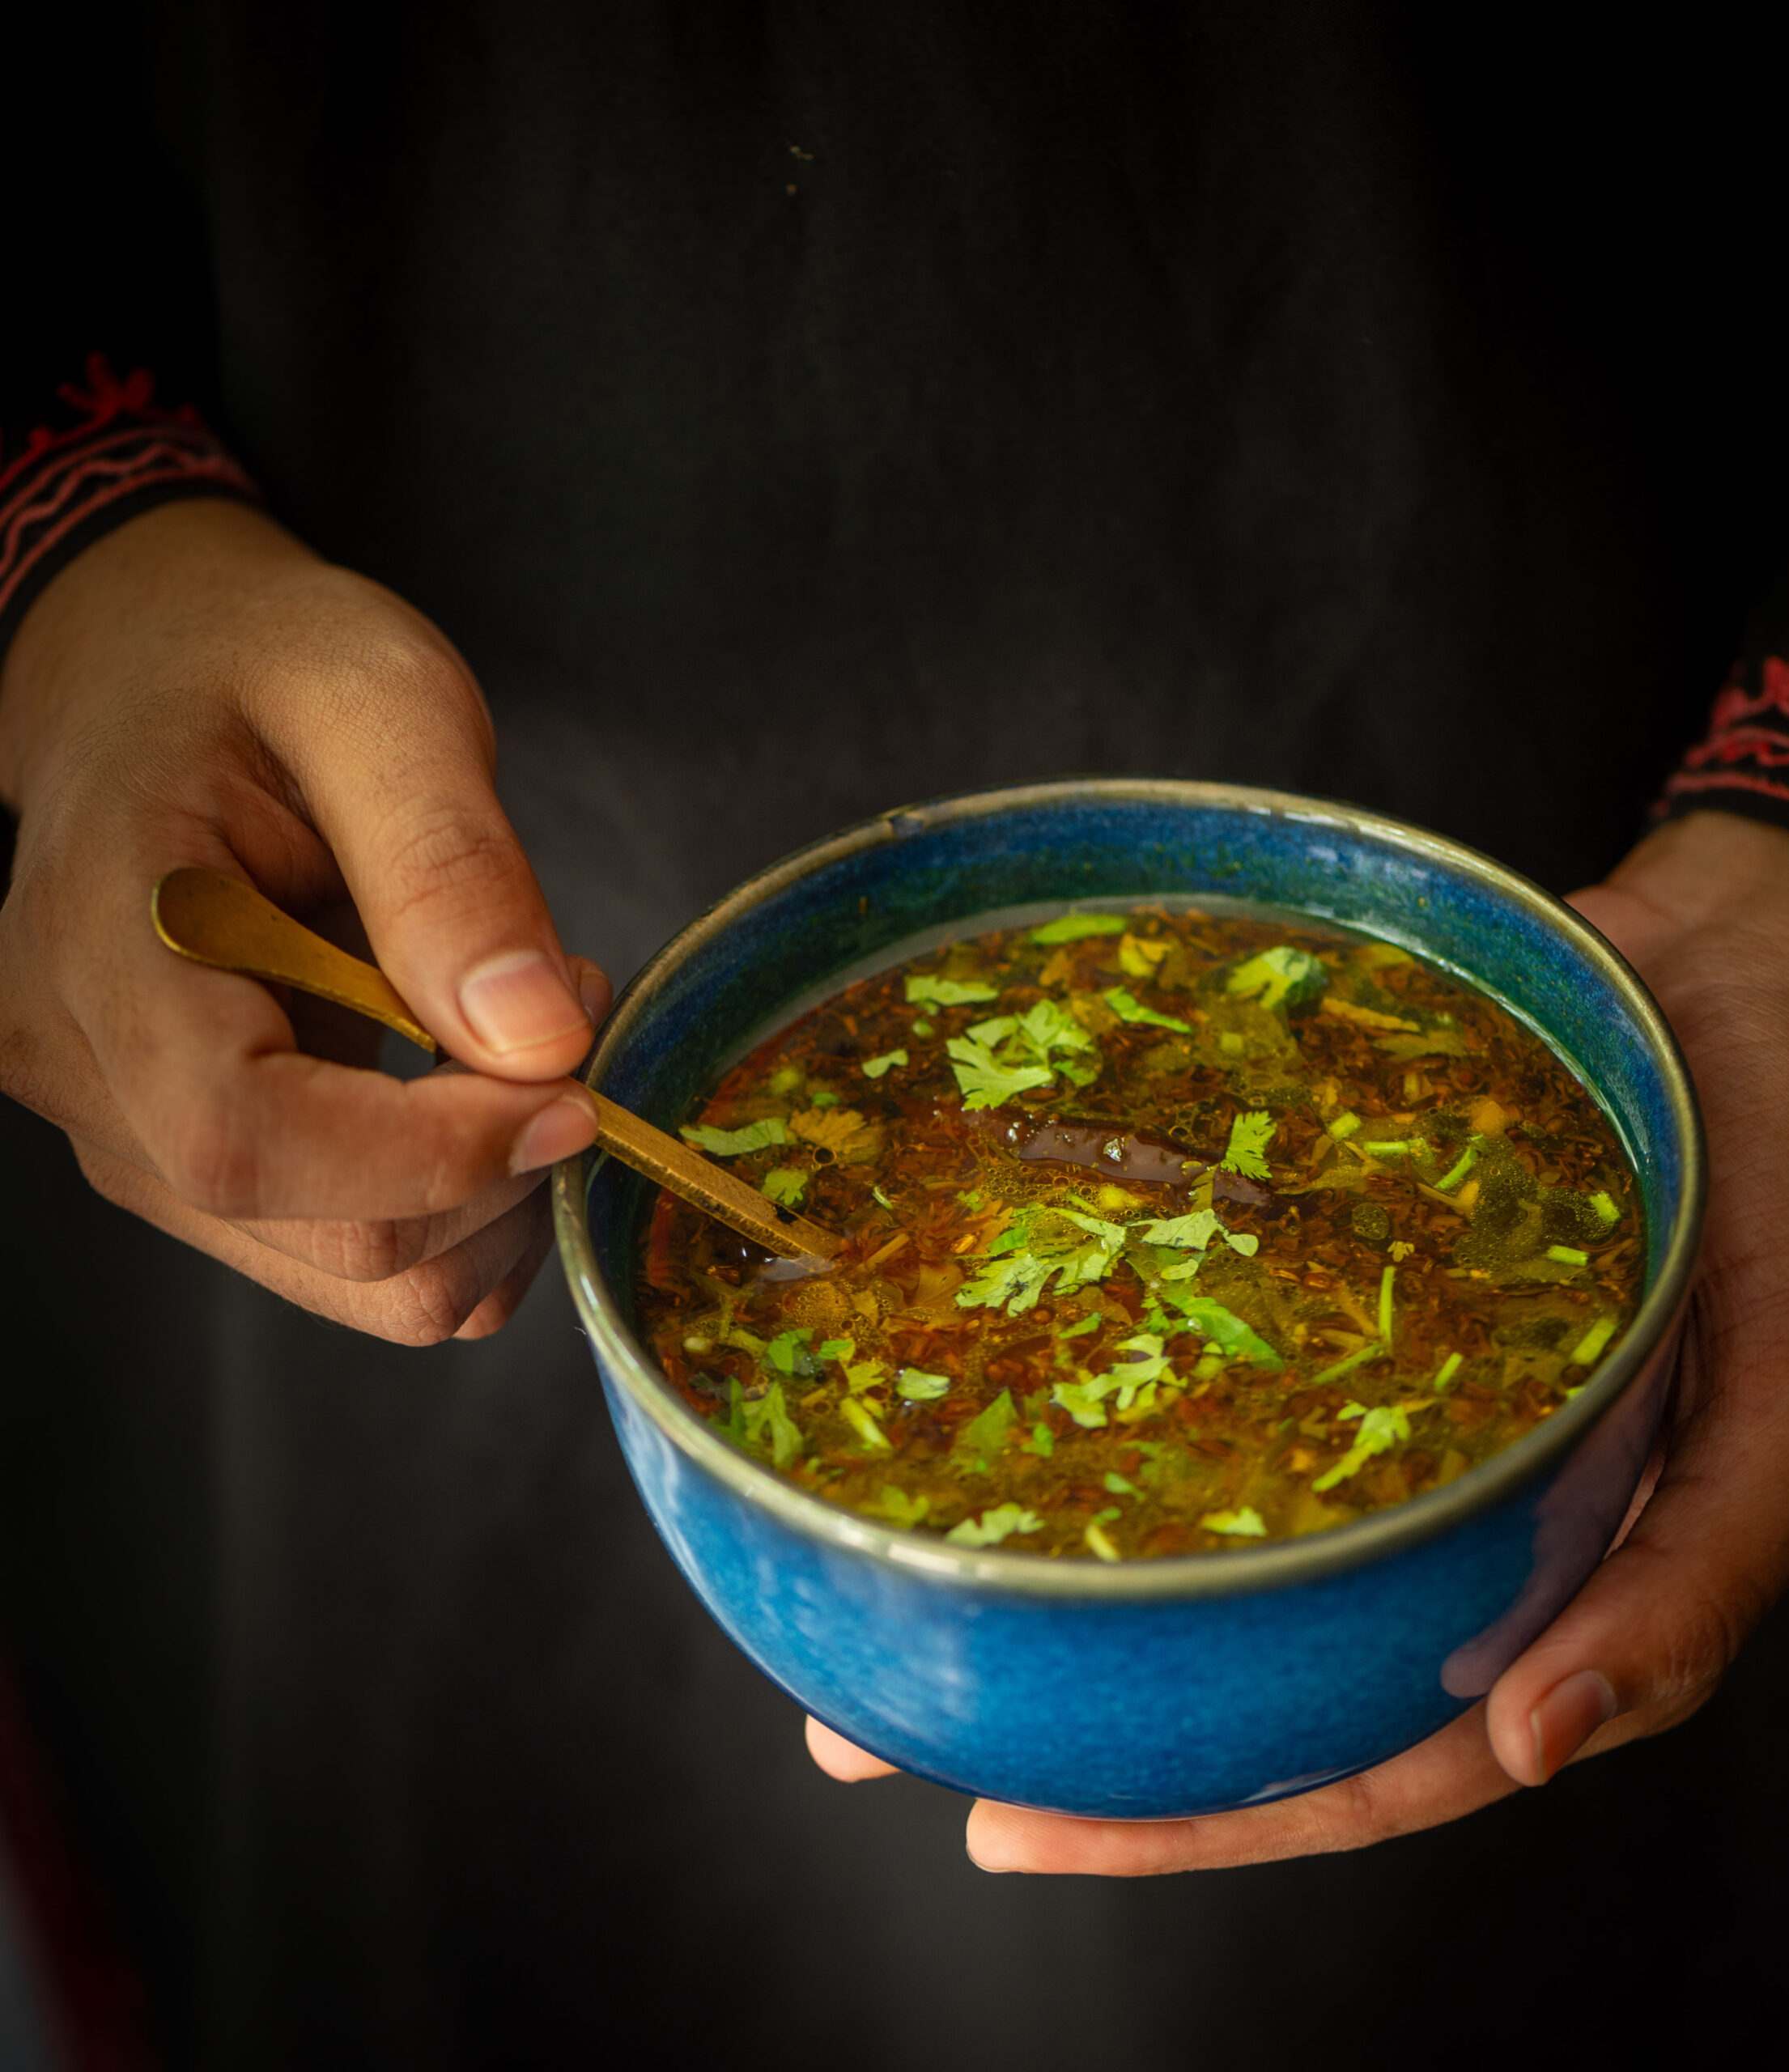
Serve this neem flower rasam hot, preferably with rice and any other sides of your choice.

I have shared various other South Indian recipes on this blog – both traditional ones as well as inspired ones, including this ripe mango rasam. I hope you’ll enjoy exploring them too.

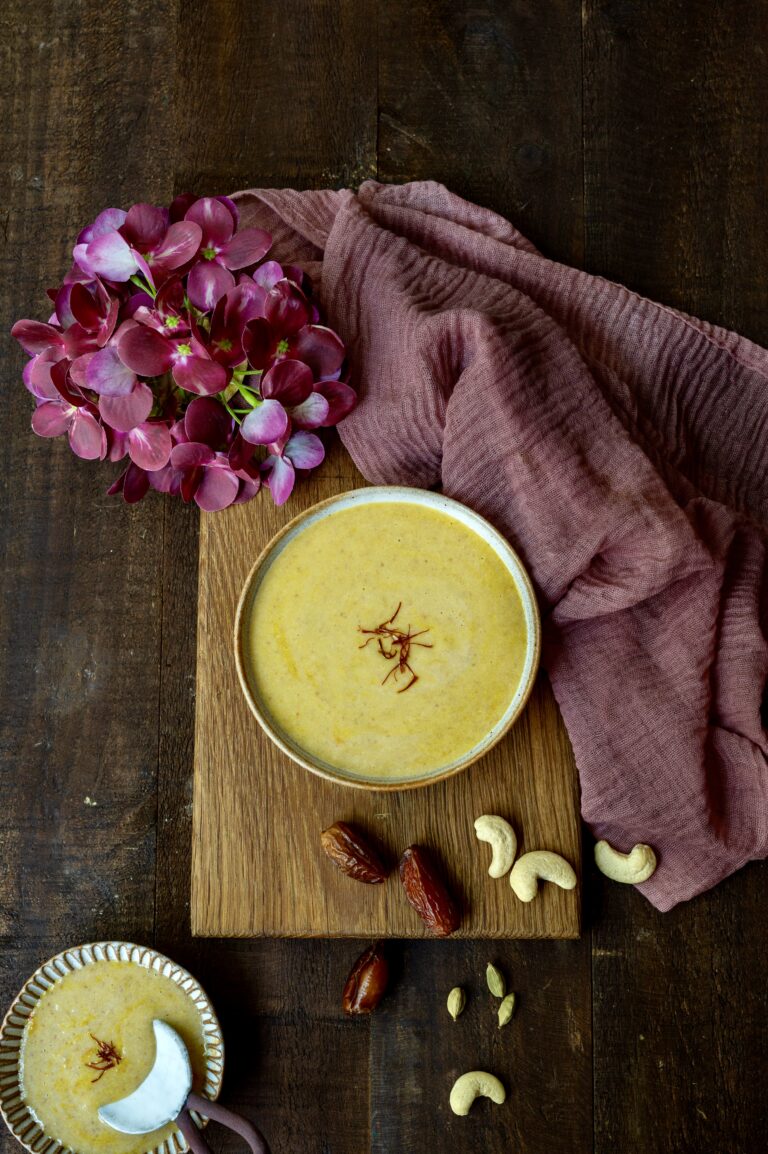
I have often been attracted to making sugarless desserts for two reasons. First and foremost, for myself, as I have an incredibly sweet tooth that I can’t seem to control, and I hope to satisfy it without making as steep a health compromise. I try to convince myself that when a dessert is sugarless or sugar-free I can also eat it guiltlessly, or guilt-free! I know this isn’t true, of course. Natural sweeteners and the sweetness that is intrinsic in certain ingredients like fruits do contain sugar, and anything sweet will spike your glucose levels even if you don’t add processed sugars to it. Still, I know that so many of you struggle with the same concern, which is why a treat like this sugarless date payasam can still make a difference in our dessert indulgences.

The other reason why I learned how to make more sugarless desserts was that my father-in-law used to put me up to the challenge of inventing ones for him. He was diabetic, and he would always say, “Just add Splenda or aspartame!” I would always refuse to, knowing that these have other side-effects. I would instead reach out for natural sweeteners like coconut sugar or dates, as their glycemic index is lower than that of refined white sugar. While my father-in-law is no longer around, the dishes I learned or came up with for him remain in my repertoire, and so does the habit of cutting down sugar content as far as I can.

Awareness of the dangers of too much sugar consumption is of extreme importance in India, which has one of the largest percentage of diabetics in the world. I often have diabetic visitors, which doesn’t surprise me at all given the prevalence of the disease in our country, and I ensure that I serve sugarfree desserts when they come over. There are also sugarless options on the re:store product menu. Whether or not my guests or family members are diabetic, I do keep an eye on balancing out our sweet consumption in multiple ways. Making dishes like these is one such way, and a necessary concession since giving desserts up completely is quite a big ask!

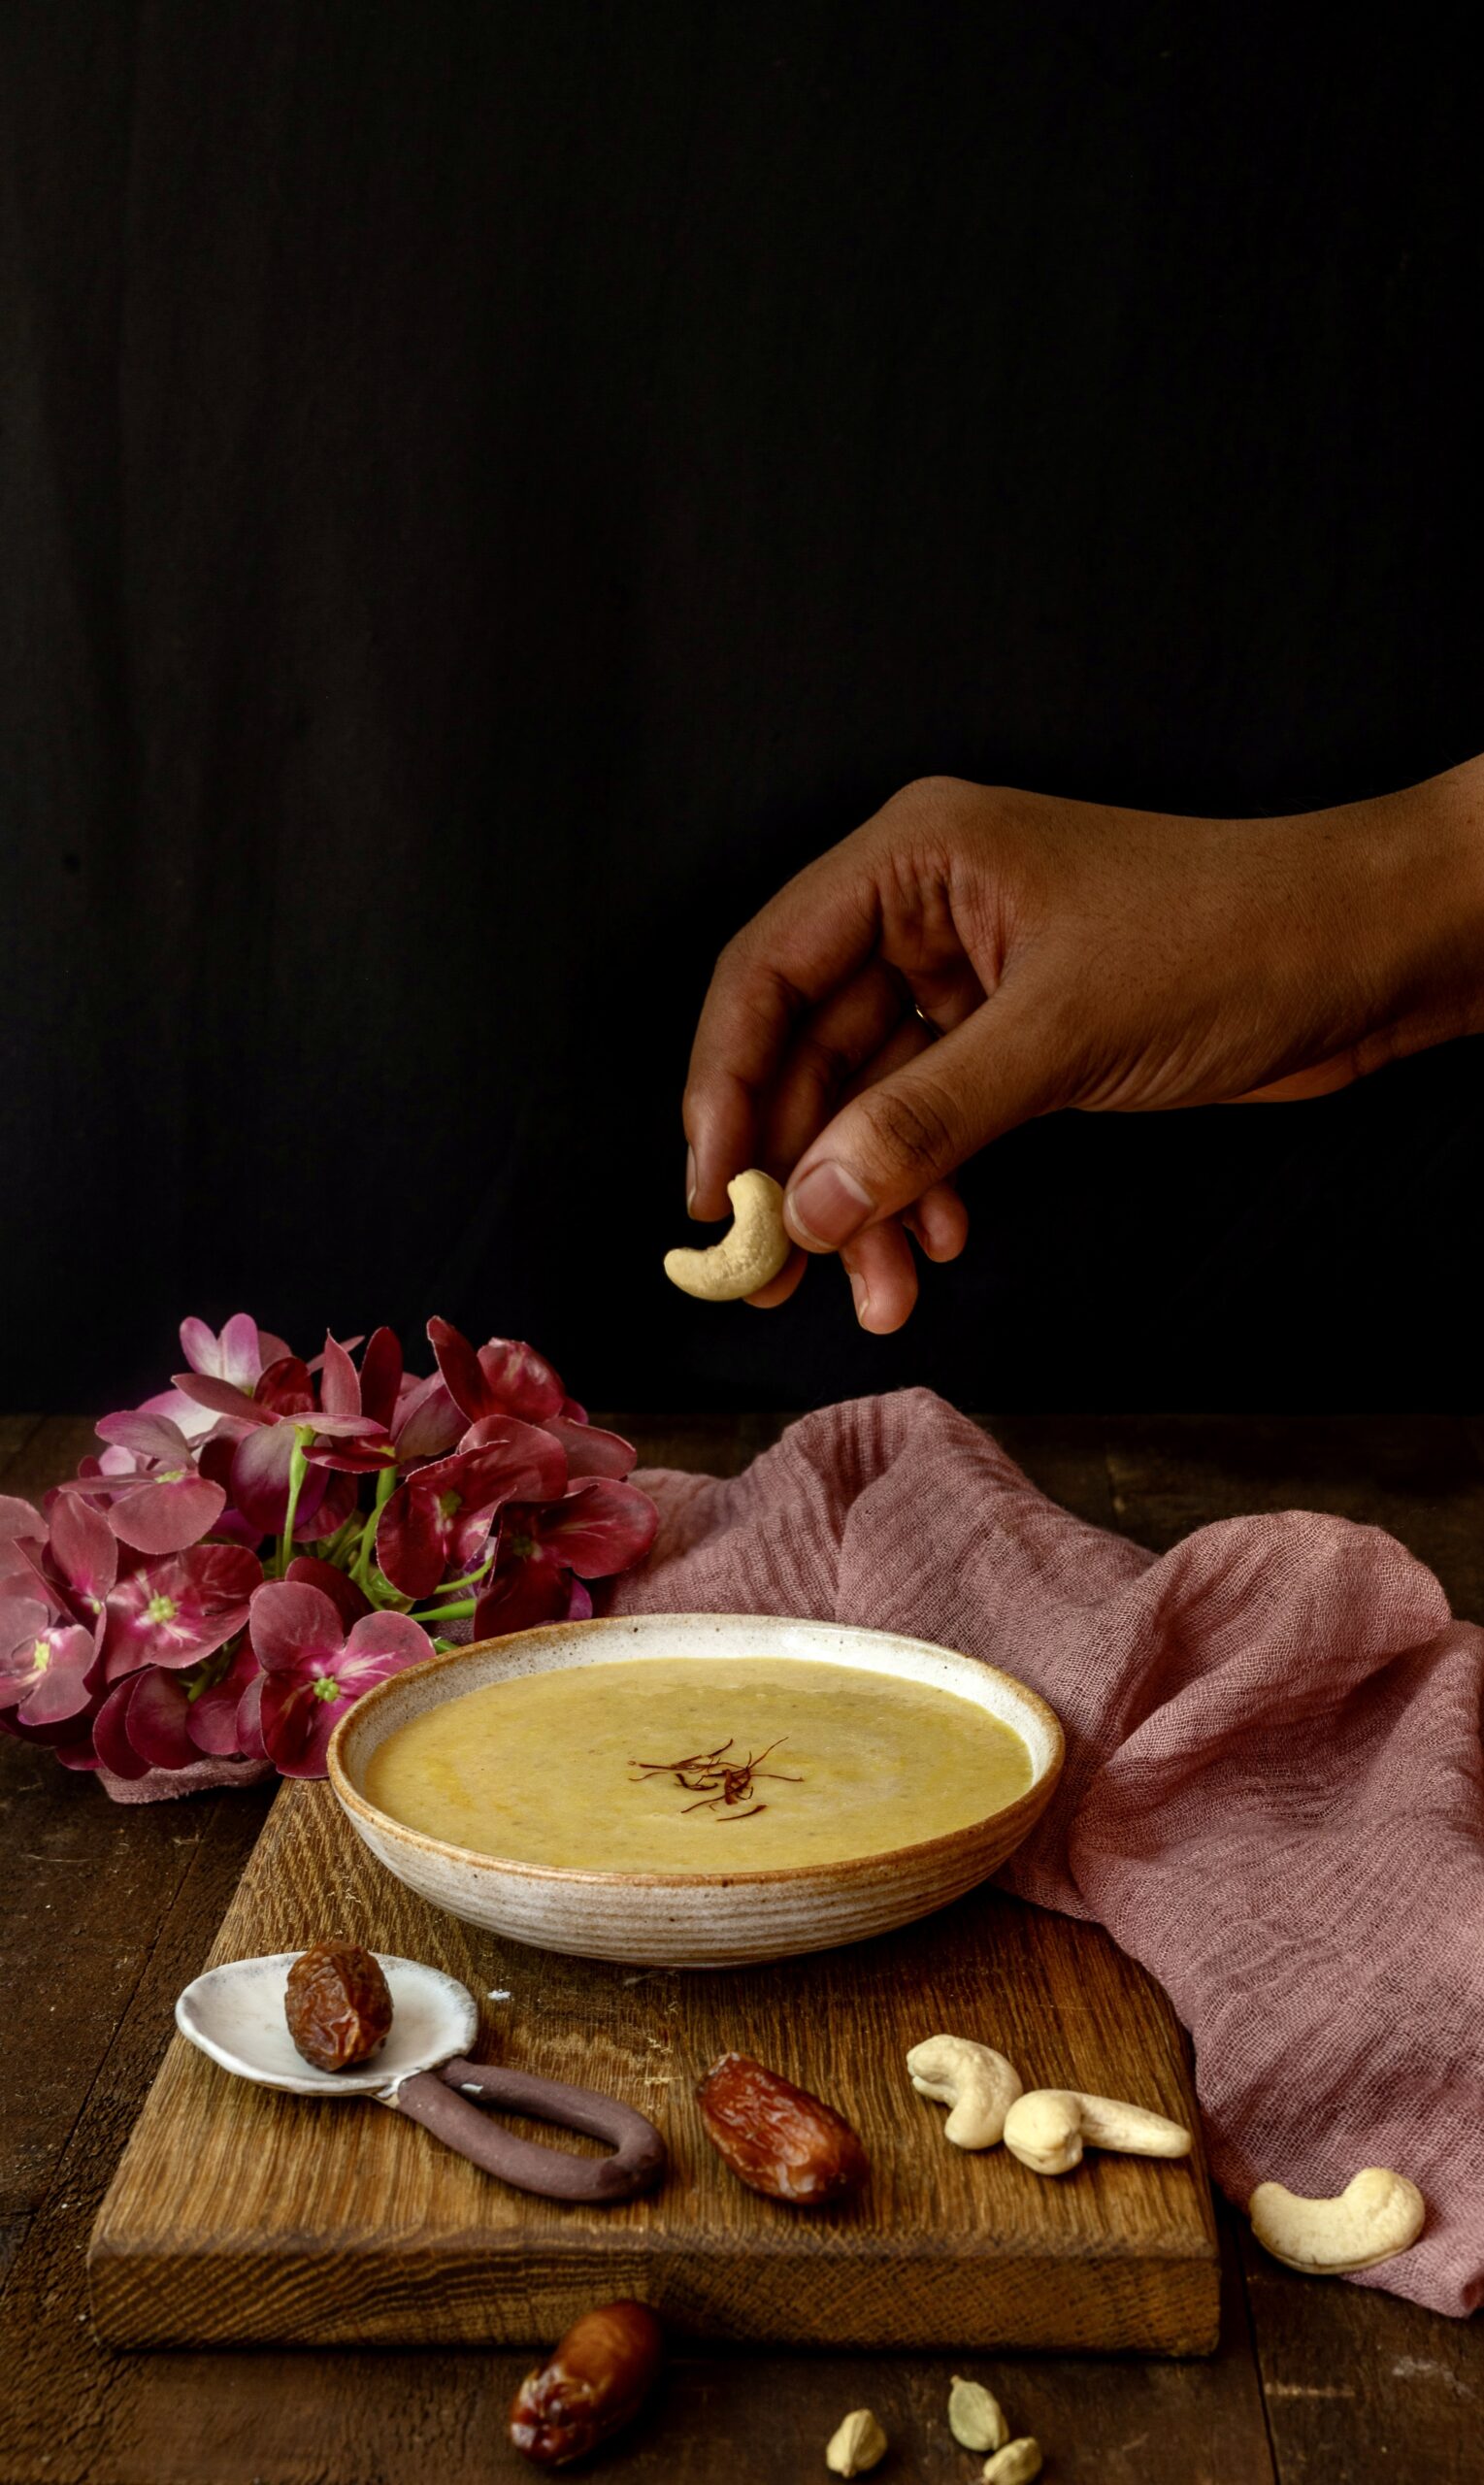
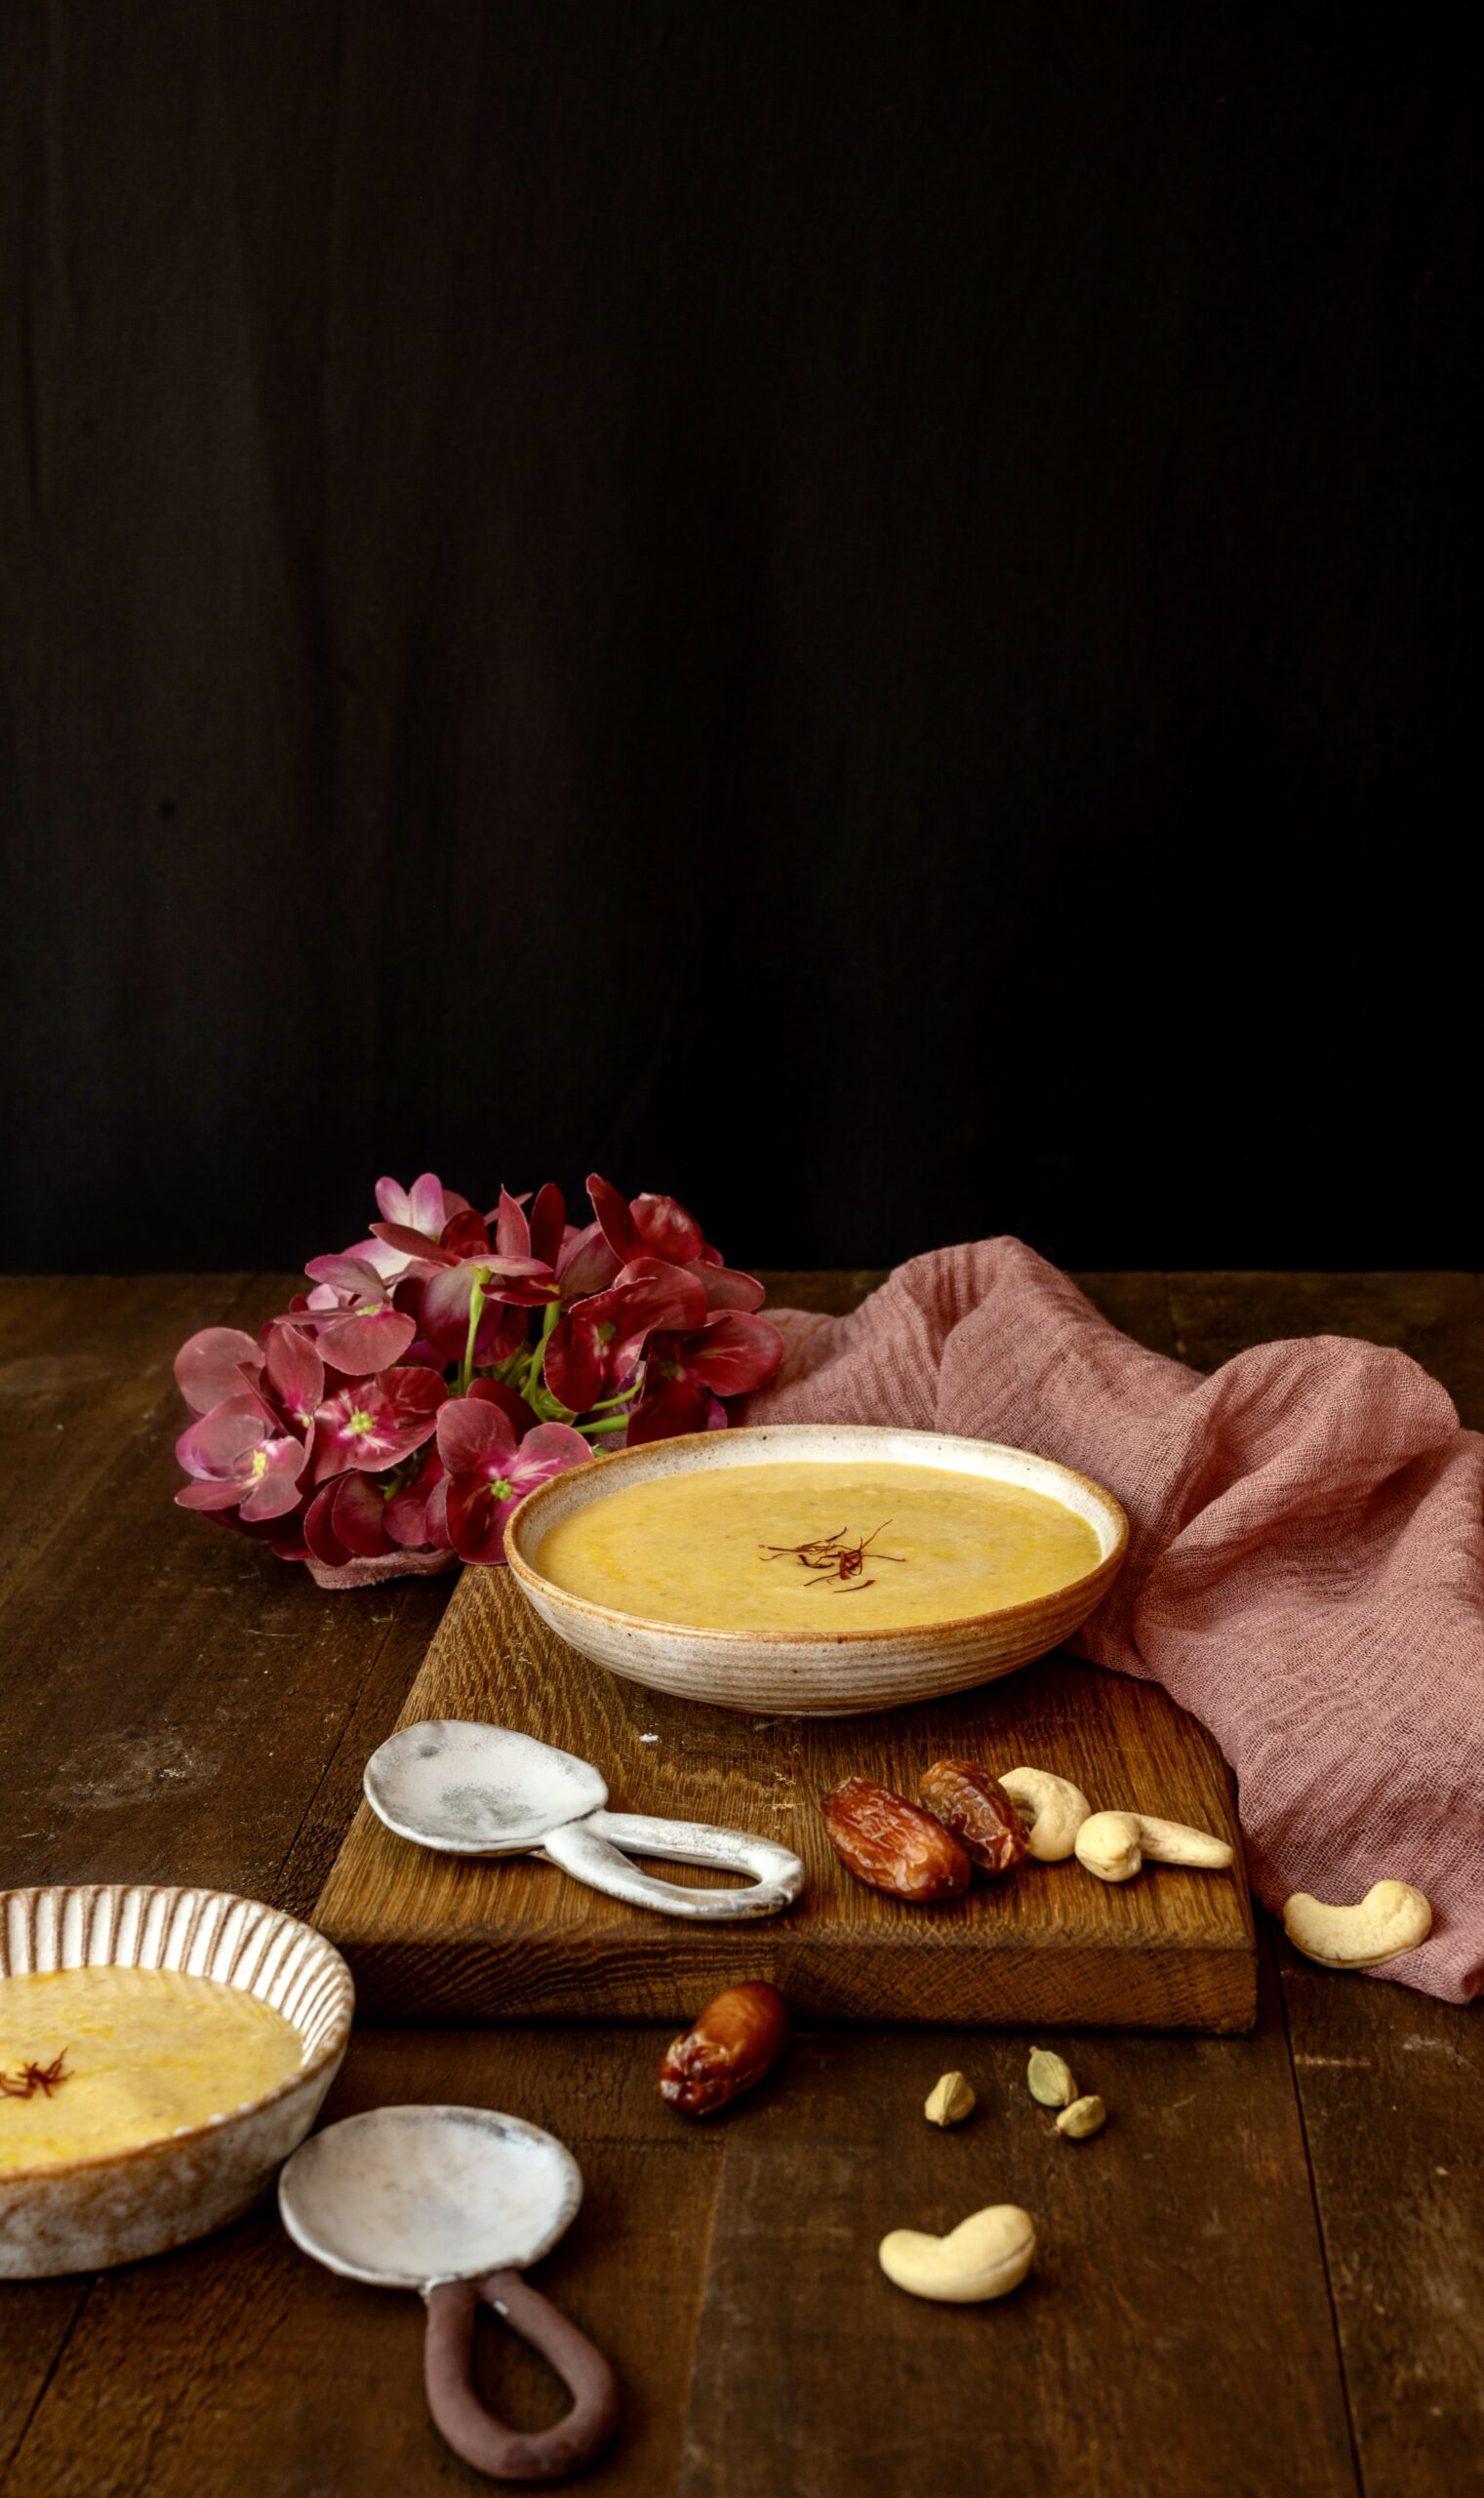
This particular sugarless date payasam is one that I learned from my dear friend Girija. I hadn’t heard of it before she served it to me, and I was wary of trying out the recipe, but I am very glad that I did. It is utterly delicious. For those who haven’t heard of it, a payasam is essentially a South Indian milk pudding, and I am thrilled to have a version of it that doesn’t require, let alone rely on, sugar or even jaggery. All it needs is the sheer sweetness of dates.

Sugarless Date Payasam

(Serves 6)

2 cups deseeded and chopped dates

1 cup cashew nuts

Water (for soaking)

2 cups milk

3-5 strands saffron

¼ teaspoon cardamom powder


Soak the dates and cashews separately in fresh drinking water for an hour.

Then, grind the cashews with the water that was used for soaking. Once the paste is smooth, add the dates. Grind once more until the paste is smooth again. Add the cardamom powder and saffron strands. Place the mixture in a pot and refrigerate until cool.

Once it has cooled, add the milk and stir well until it all comes together nicely. Adjust the milk quantity to your preference. I like it to be a little thick. Return to the refrigerator and let it cool again.

Serve very chilled. This is a perfect dessert for these hot summer months. As you can see, this delicious sugarless date payasam requires only grinding and mixing, which also makes it an easy dessert that even beginner cooks can prepare.

I have used cashews as I enjoy the rich flavour the nuts provide, but you can substitute them for another kind if you prefer. I also feel that the cashews sort of tone down the sweetness of the dates, which can be intense.

Ultimately, the payasam is both rich and sweet, which means that it is best in smaller portions.

Here is a suggested tweak to this recipe: add a handful of cooked rice to the milk, and then add then to the ground cashewnut-date paste and mix. This will give the dessert more substance, and more of a mouthful in each serving. The sweetness quotient will also further reduce. This preparation may technically turn it into a kheer rather than a payasam, but I have little doubt that anyone will complain! It will turn out delicious both ways, and while my father-in-law is not here to enjoy this dish in either variation, the rest of my family certainly does. As for me, my sweet tooth is sated, with a spoonful or two less of… guilt!

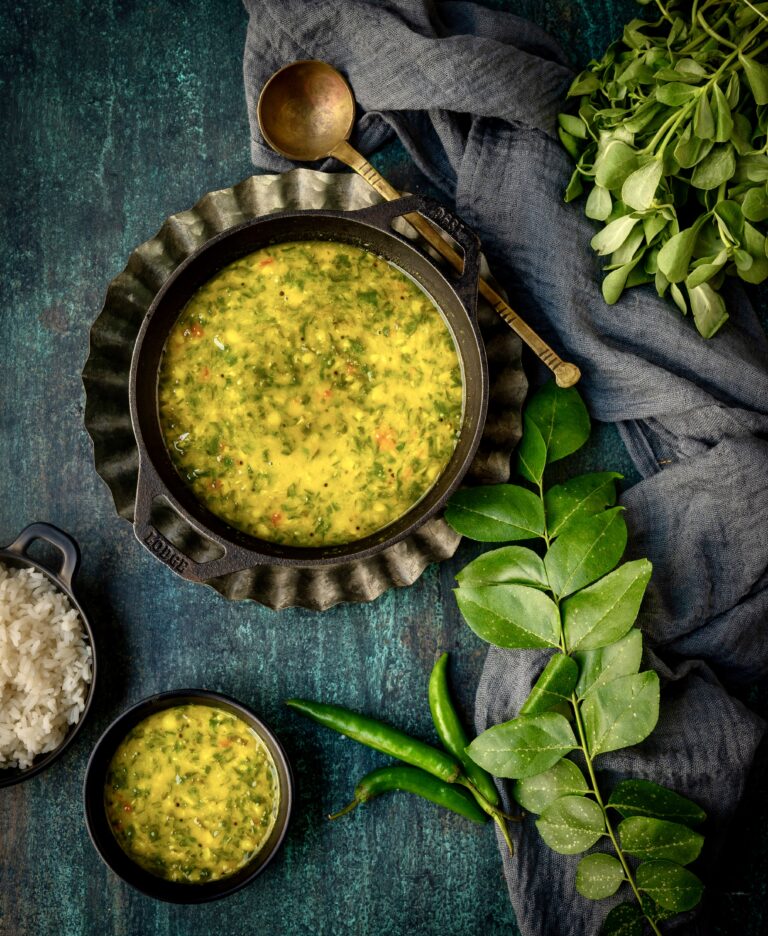
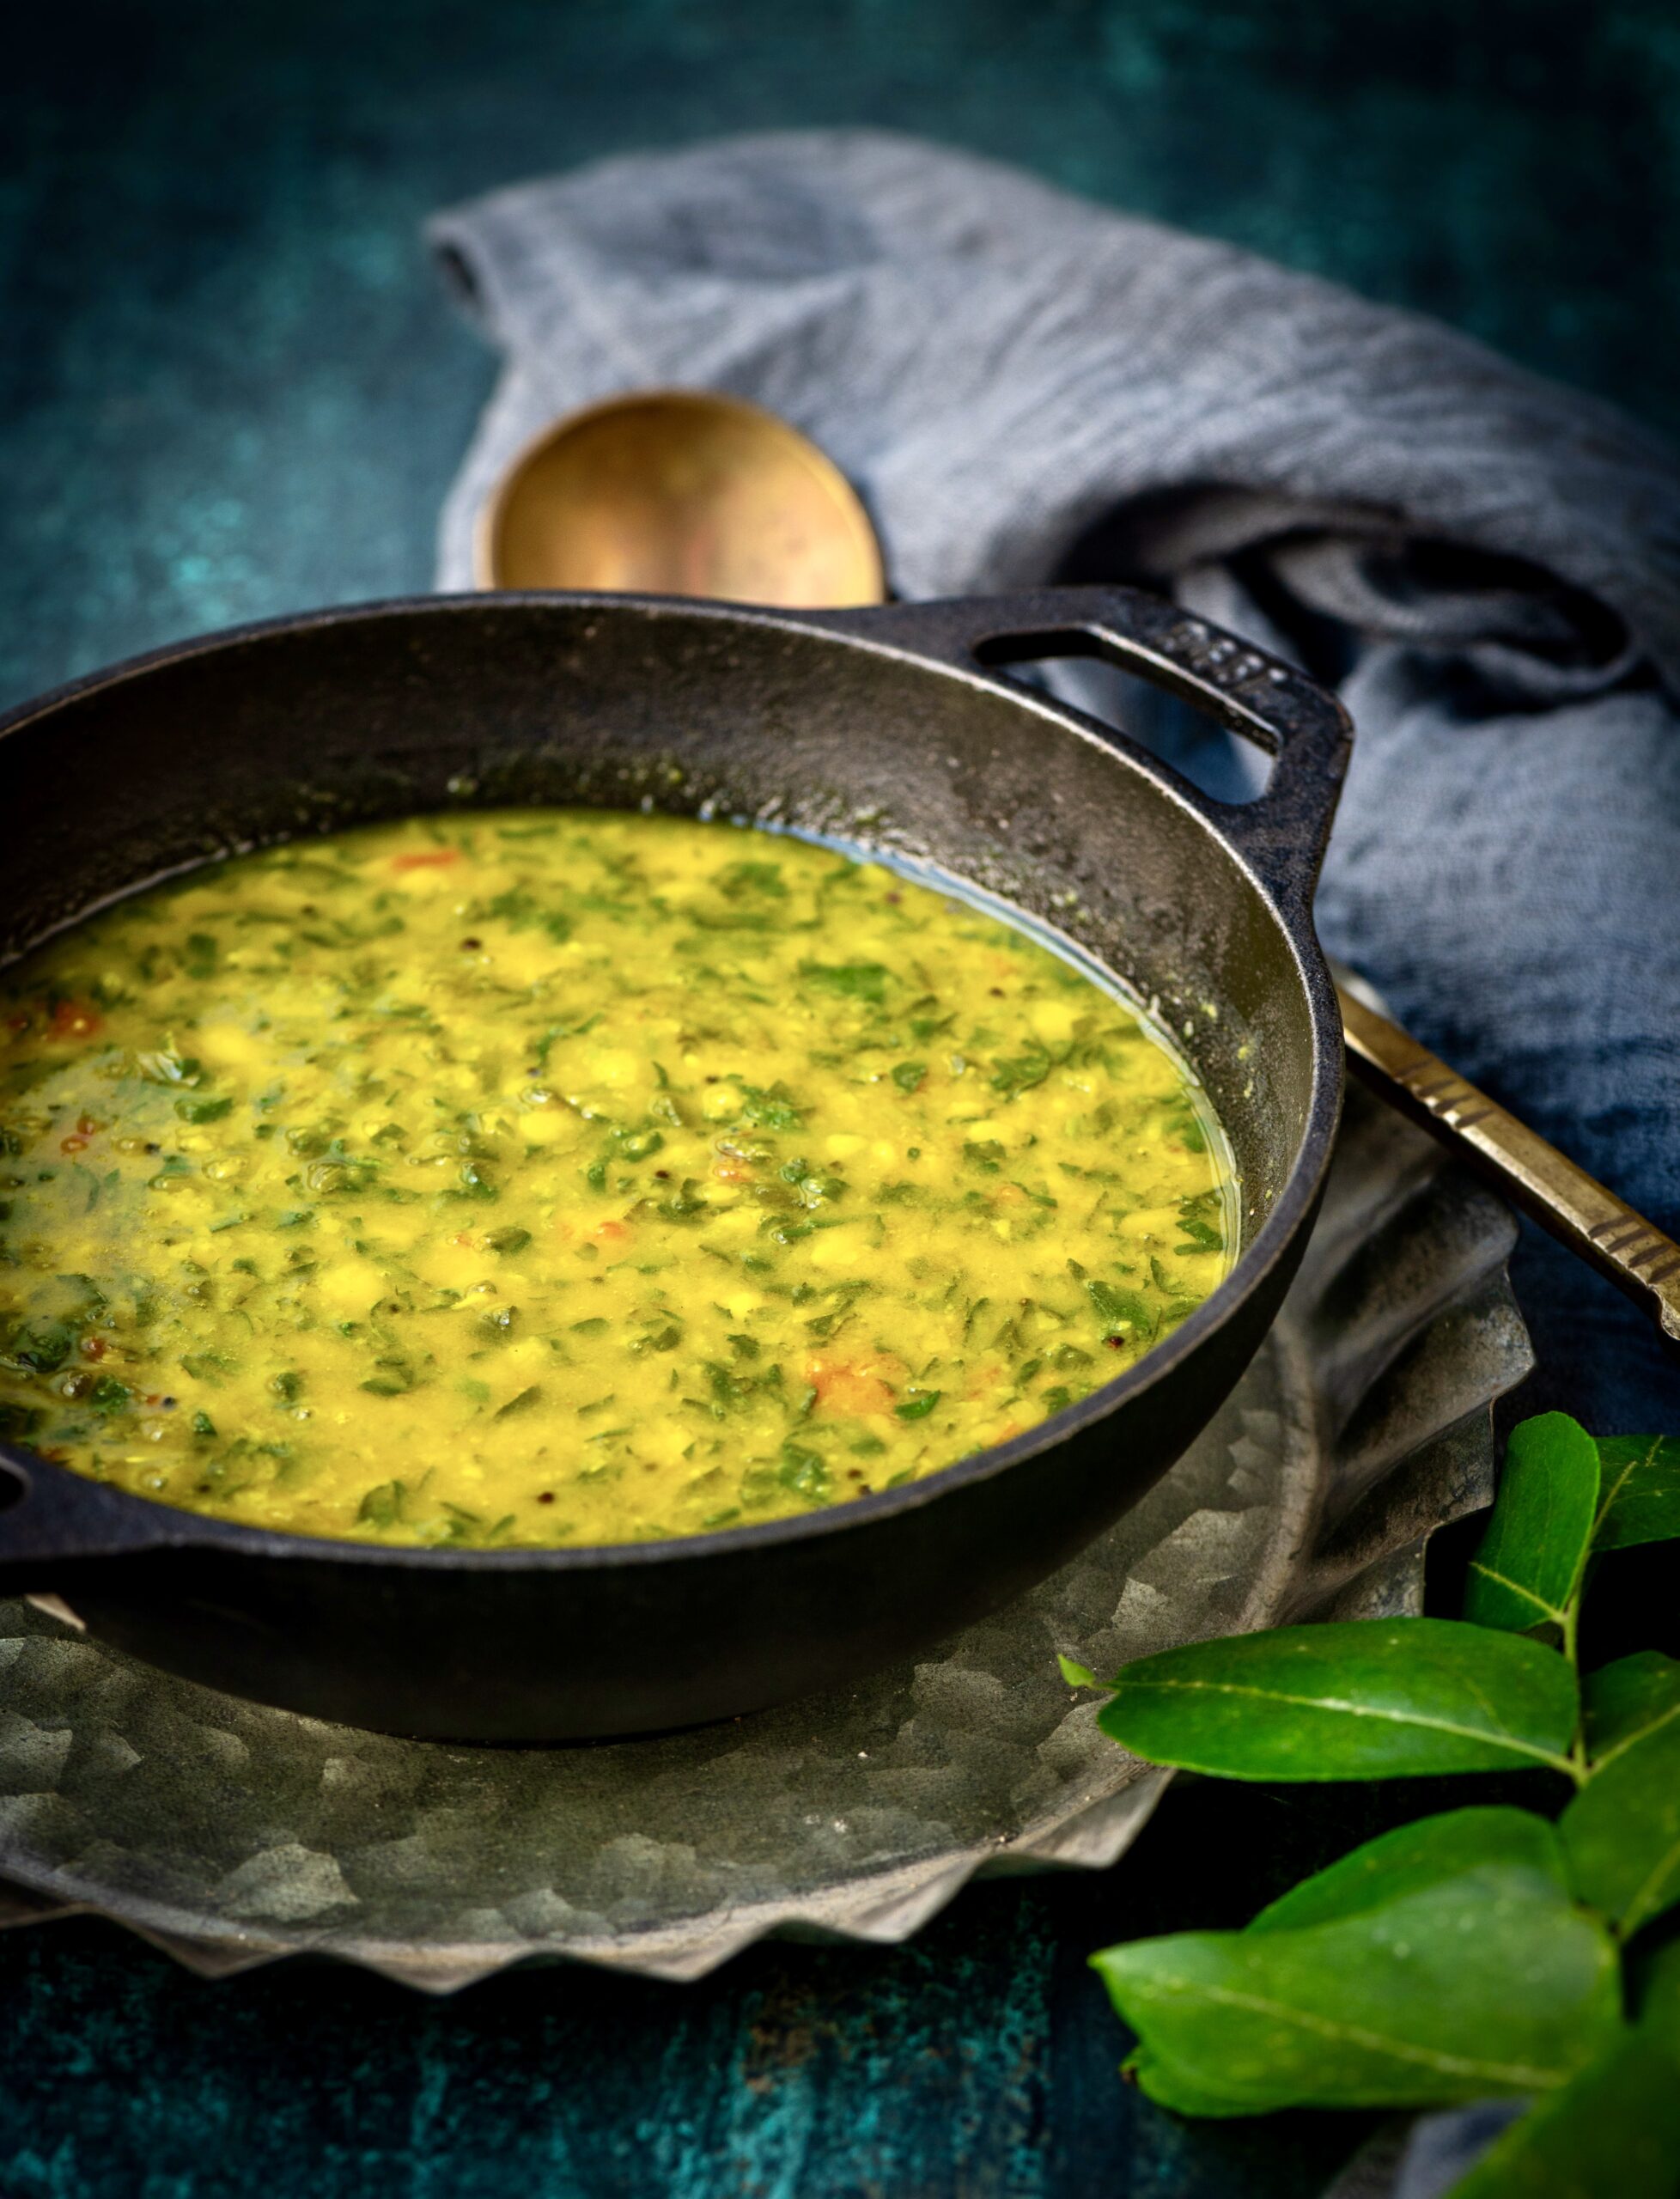
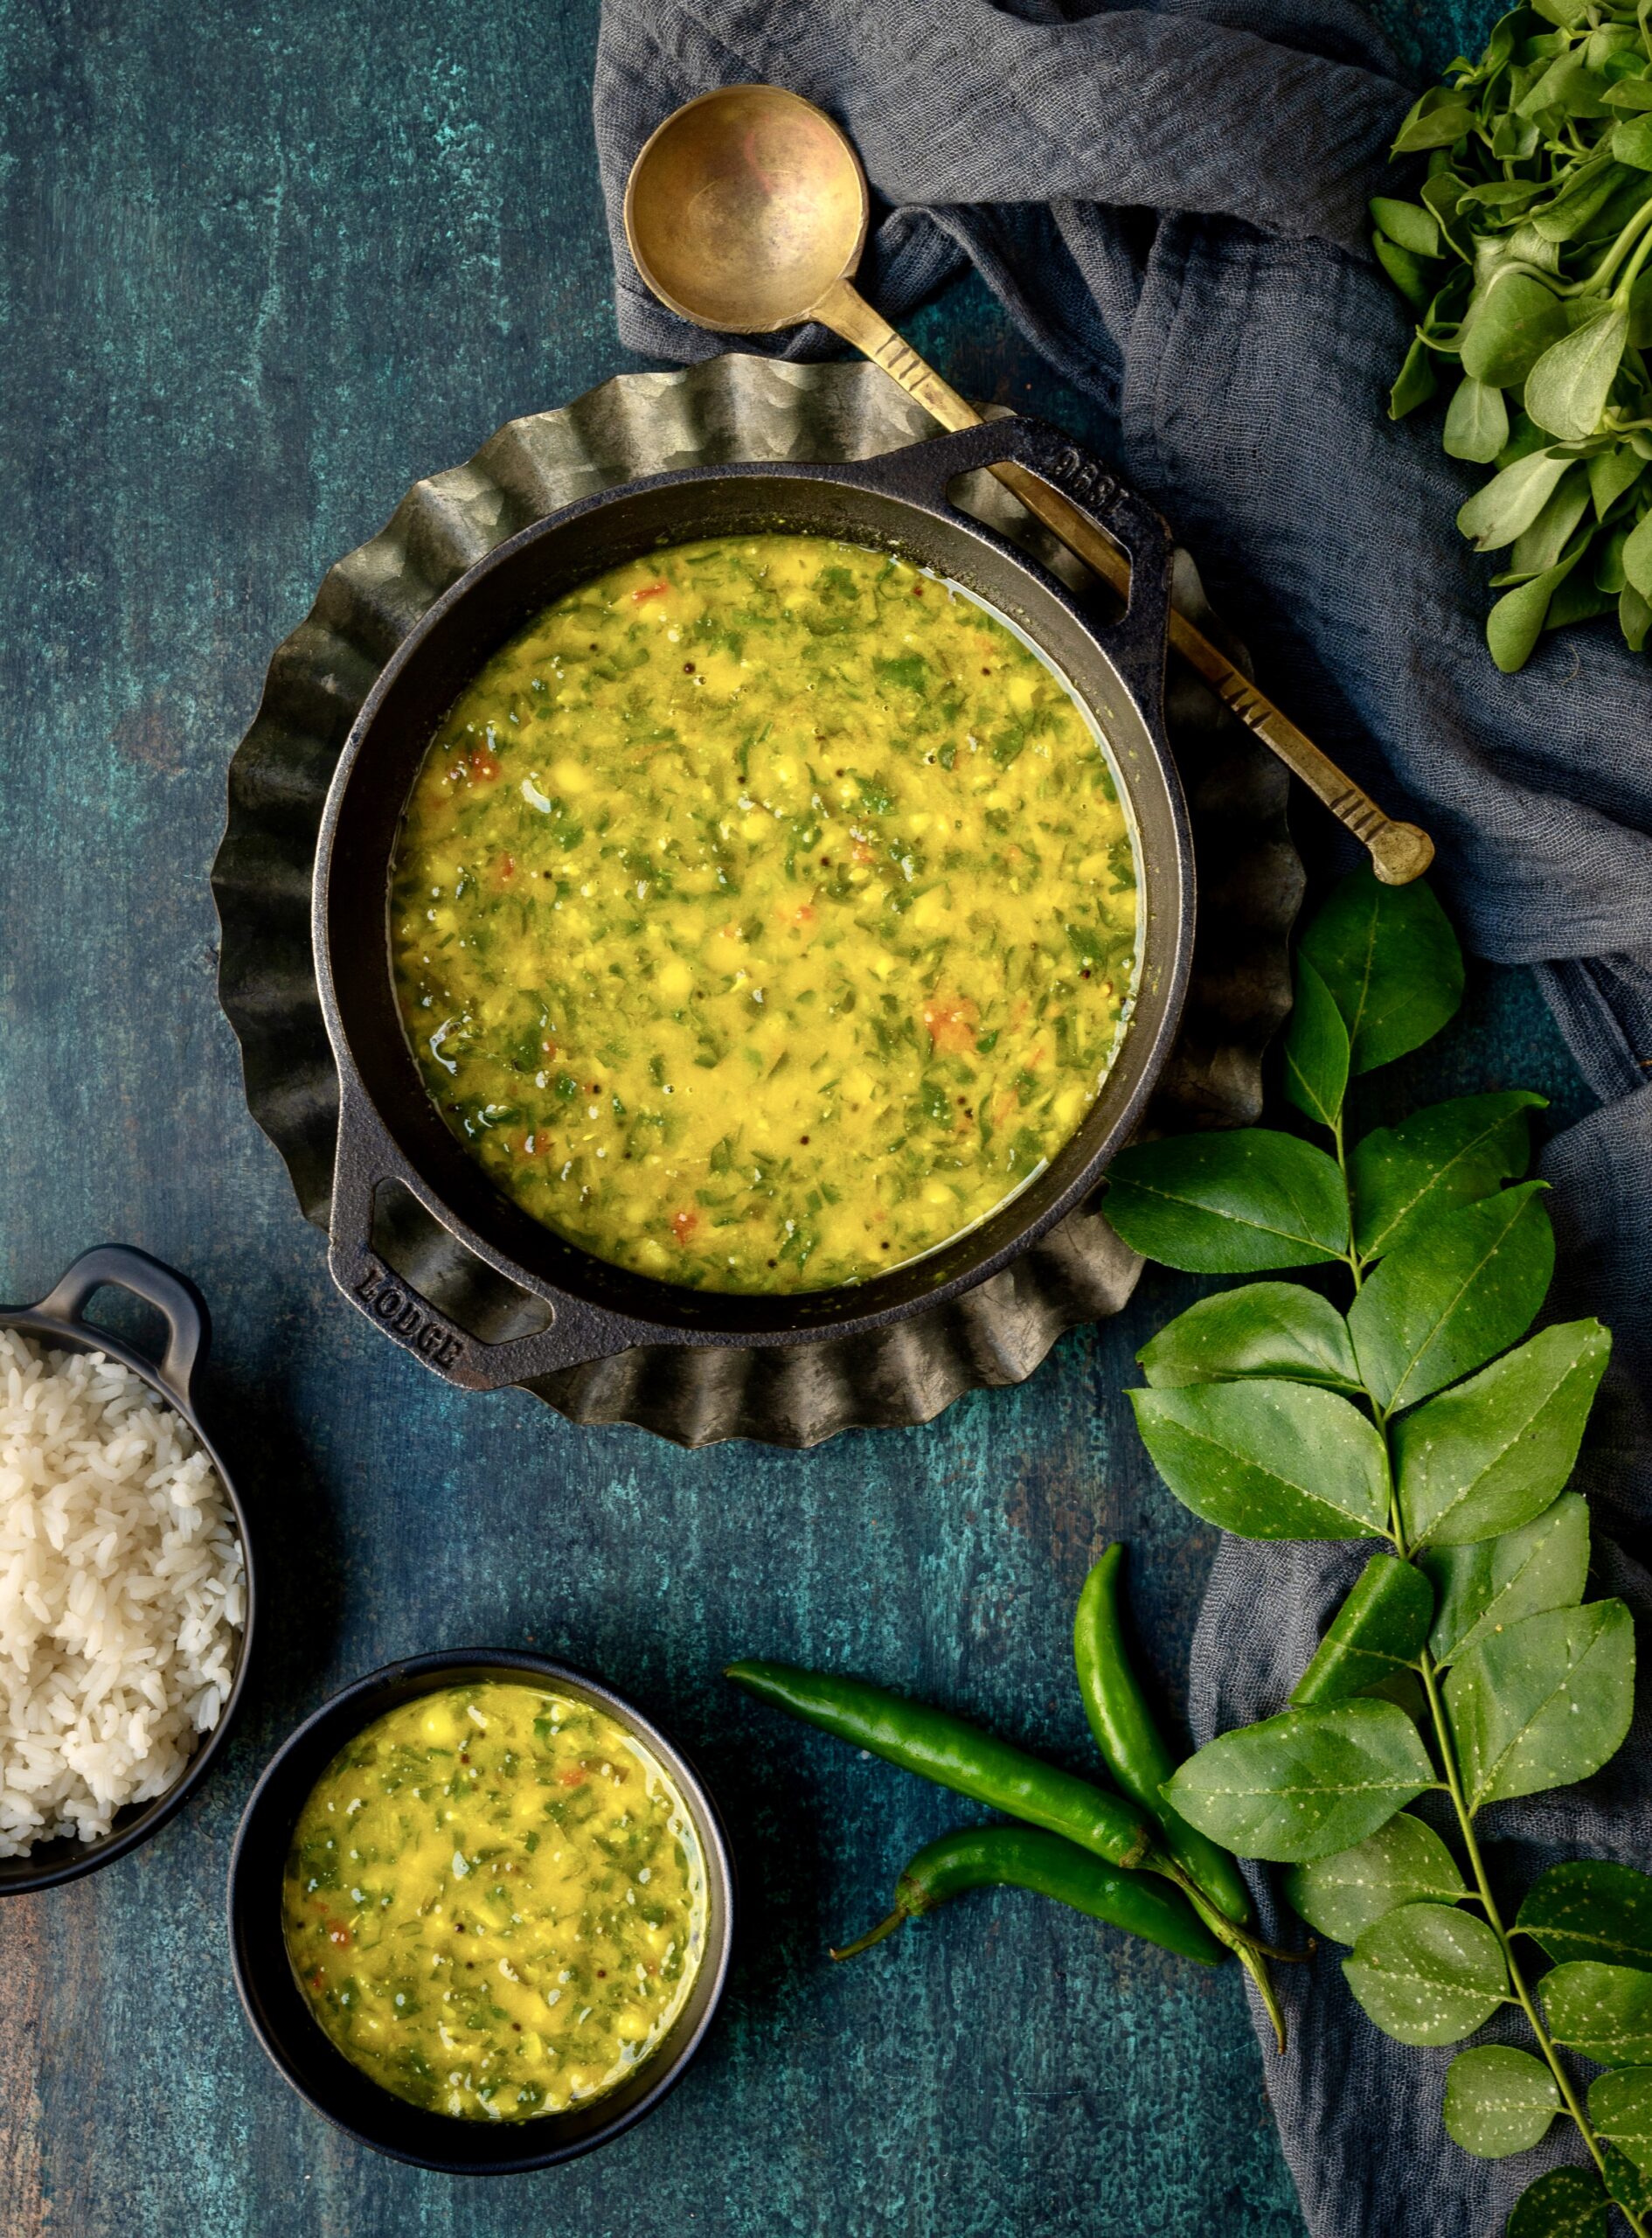
In India, spinach is used in so many ways for so many types of dishes. There are hundreds of varieties of spinach that are grown here, and each is grown and therefore used during a particular season, and usually cooked in a certain way depending on the household or region. I have shared many recipes that use different kinds of spinach here on this blog in the past – from moringa (murungakeerai) in an omelette to amaranthus (araikeerai) in a savoury vadai and palak (Spinacia oleracea, what is known simply as “spinach” in the West) in a corn bake. This is a dal that utilises common purslane, or paruppu keerai, which is abundant in summers. This green grows at this time according to Nature’s wonderful logic: its thick leaves hold water and provide added hydration for us who consume it now.

Purslane is a kind of weed that has a range of health benefits, including reducing the risk of cardiac and digestive ailments. It is rich in antioxidants and minerals. Coupled with lentils, which are great for protein, this spinach dal becomes a nutritious dish that can be paired with rice or rotis. The Tamil word for this green, paruppu keerai, literally translates to “dal-spinach”, as that is its primary form of preparation.

I would call it my good fortune to be a Gujarati who was born and brought up in Tamil Nadu, so I am able to understand the cuisines of both states. This is a typically South Indian recipe, and I enjoy it alongside my Gujarati-style vegetables, some rice and a dollop of ghee. This combination is a standard on my plate. I realise that my particular upbringing is what brings these eclectic dishes together, and I think about how that’s one of the things that is beautiful about India. Just like all kinds of distinct cuisines can appear within a single thali and complement each other, so too can we as diverse humans enjoy being together.

Speaking of being together and enjoyment, we just had a huge celebration in the family. As with any such occasion, we ended up eating so much rich food, and of course, lots of sugar. The time has come for us to eat light and healthy, to detox our bodies. Spinach features at home a lot right now, and it was only natural for me to want to share with you this particular dish that I’m making frequently. My daughter is here for a few days, post-celebrations, and eager to learn more recipes, and I’m teaching her this one on this visit too.

I went through a phase once when I wanted to have greens every single day. My understanding is that when a person has a craving like that, the body either has a deficiency or is heading for one. At that time, I heeded that craving without guilt, especially as greens are always good for us. Imagine if all our cravings were only for the most nourishing ingredients!

Nowadays, some kind of spinach appears on my table at least thrice a week, in one form or another. As I said earlier, there are varieties available year-round and interesting recipes from different parts of India to keep trying out. I’m thinking about the assortment that I know, and the new ones I want to learn, and also marvelling at how innovative it is that there is even a spinach pickle (using sorrel leaves or gongura, which are very popular in Andhra Pradesh and Telangana).

Right now, of course, it’s purslane that is popular in my own home, so to return to this spinach dal: the fragrance of this dish somehow always reminds me of being in the kitchen as a child when it was being cooked by my mother. I am not sure why, but I associate this dish with South India to the extent that even when I cook it myself in Ahmedabad or somewhere else, it just seems different. Despite that, I do enjoy it anywhere. It always brings me back to a sense of home, and when cooking and eating it while away, I can’t help but think, “Gujarat in the air, but South India in my thali.”

Spinach Dal

(Yield: Serves 4)

½ cup toor dal (pigeon pea)

Water to pressure cook

2 cups spinach leaves

2-3 tablespoons finely chopped onion

1 tablespoon finely chopped tomato

2 cloves garlic

1 tablespoon sesame oil

1 teaspoon mustard seeds

Salt to taste

½ teaspoon turmeric

1 green chili


Rinse the dal, then pressure cook with the required quantity of water. Set aside.

Heat a pan and add the oil. Now, add the mustard seeds and let them splutter.

Next, add the onion, garlic, tomato, salt and turmeric. Sauté for a few minutes on a medium flame and immediately after, add the green chili.

Finally, add the spinach and sauté again.

Once the spinach becomes tender, add the dal and allow it to boil for a few minutes until the flavours come together.

Your purslane dal is now perfect, and ready to be served hot alongside rice or roti. It will give you a great boost of nutrients. Perhaps it will even become one of your own most craved comfort dishes!

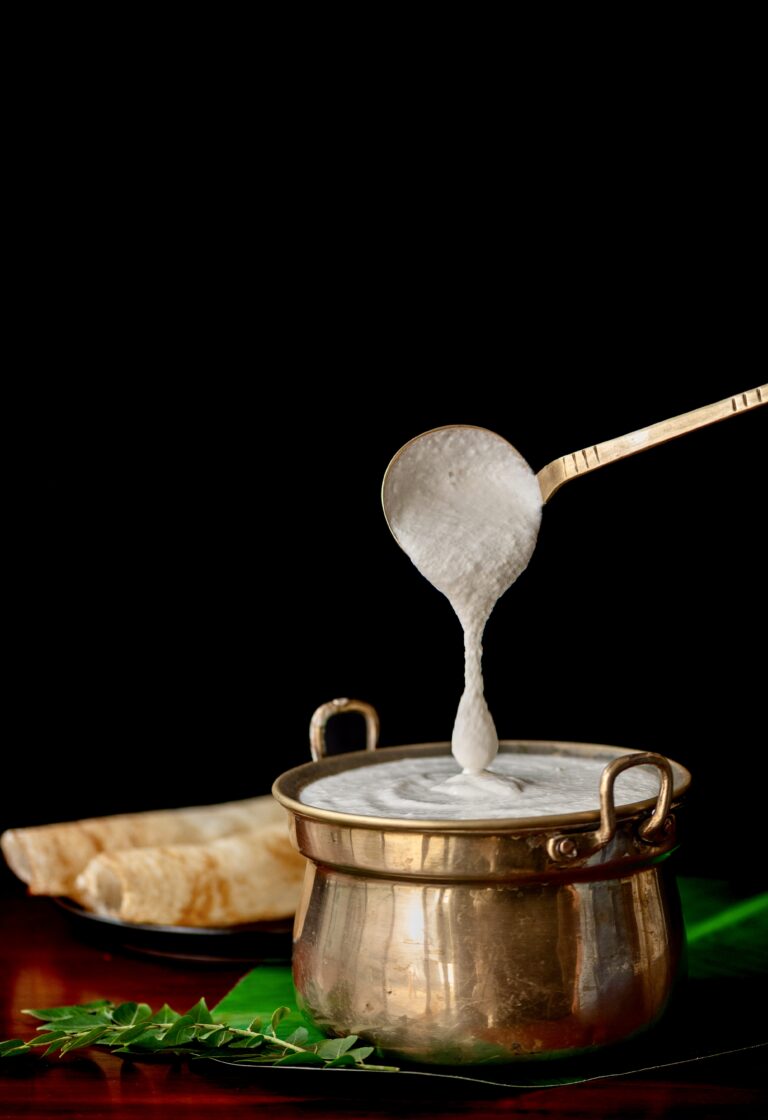
Growing up in Chennai, idly and dosa and other South Indian dishes were home food for us, comfort food alongside Gujarati dal and dhokla. Of course, home food – usually made from scratch – was the norm as there weren’t as many restaurants back then and going out to eat was a luxury. This applied even for staples and simple fare, which are now just as easily available as fine dining. While you can now buy dosa and idly batter at a drop of a hat, and the convenience is great, I still prefer to make it myself. This recipe is for those who, like me, would like the reassurance of knowing exactly what goes into every plate you serve yourself and your loved ones.

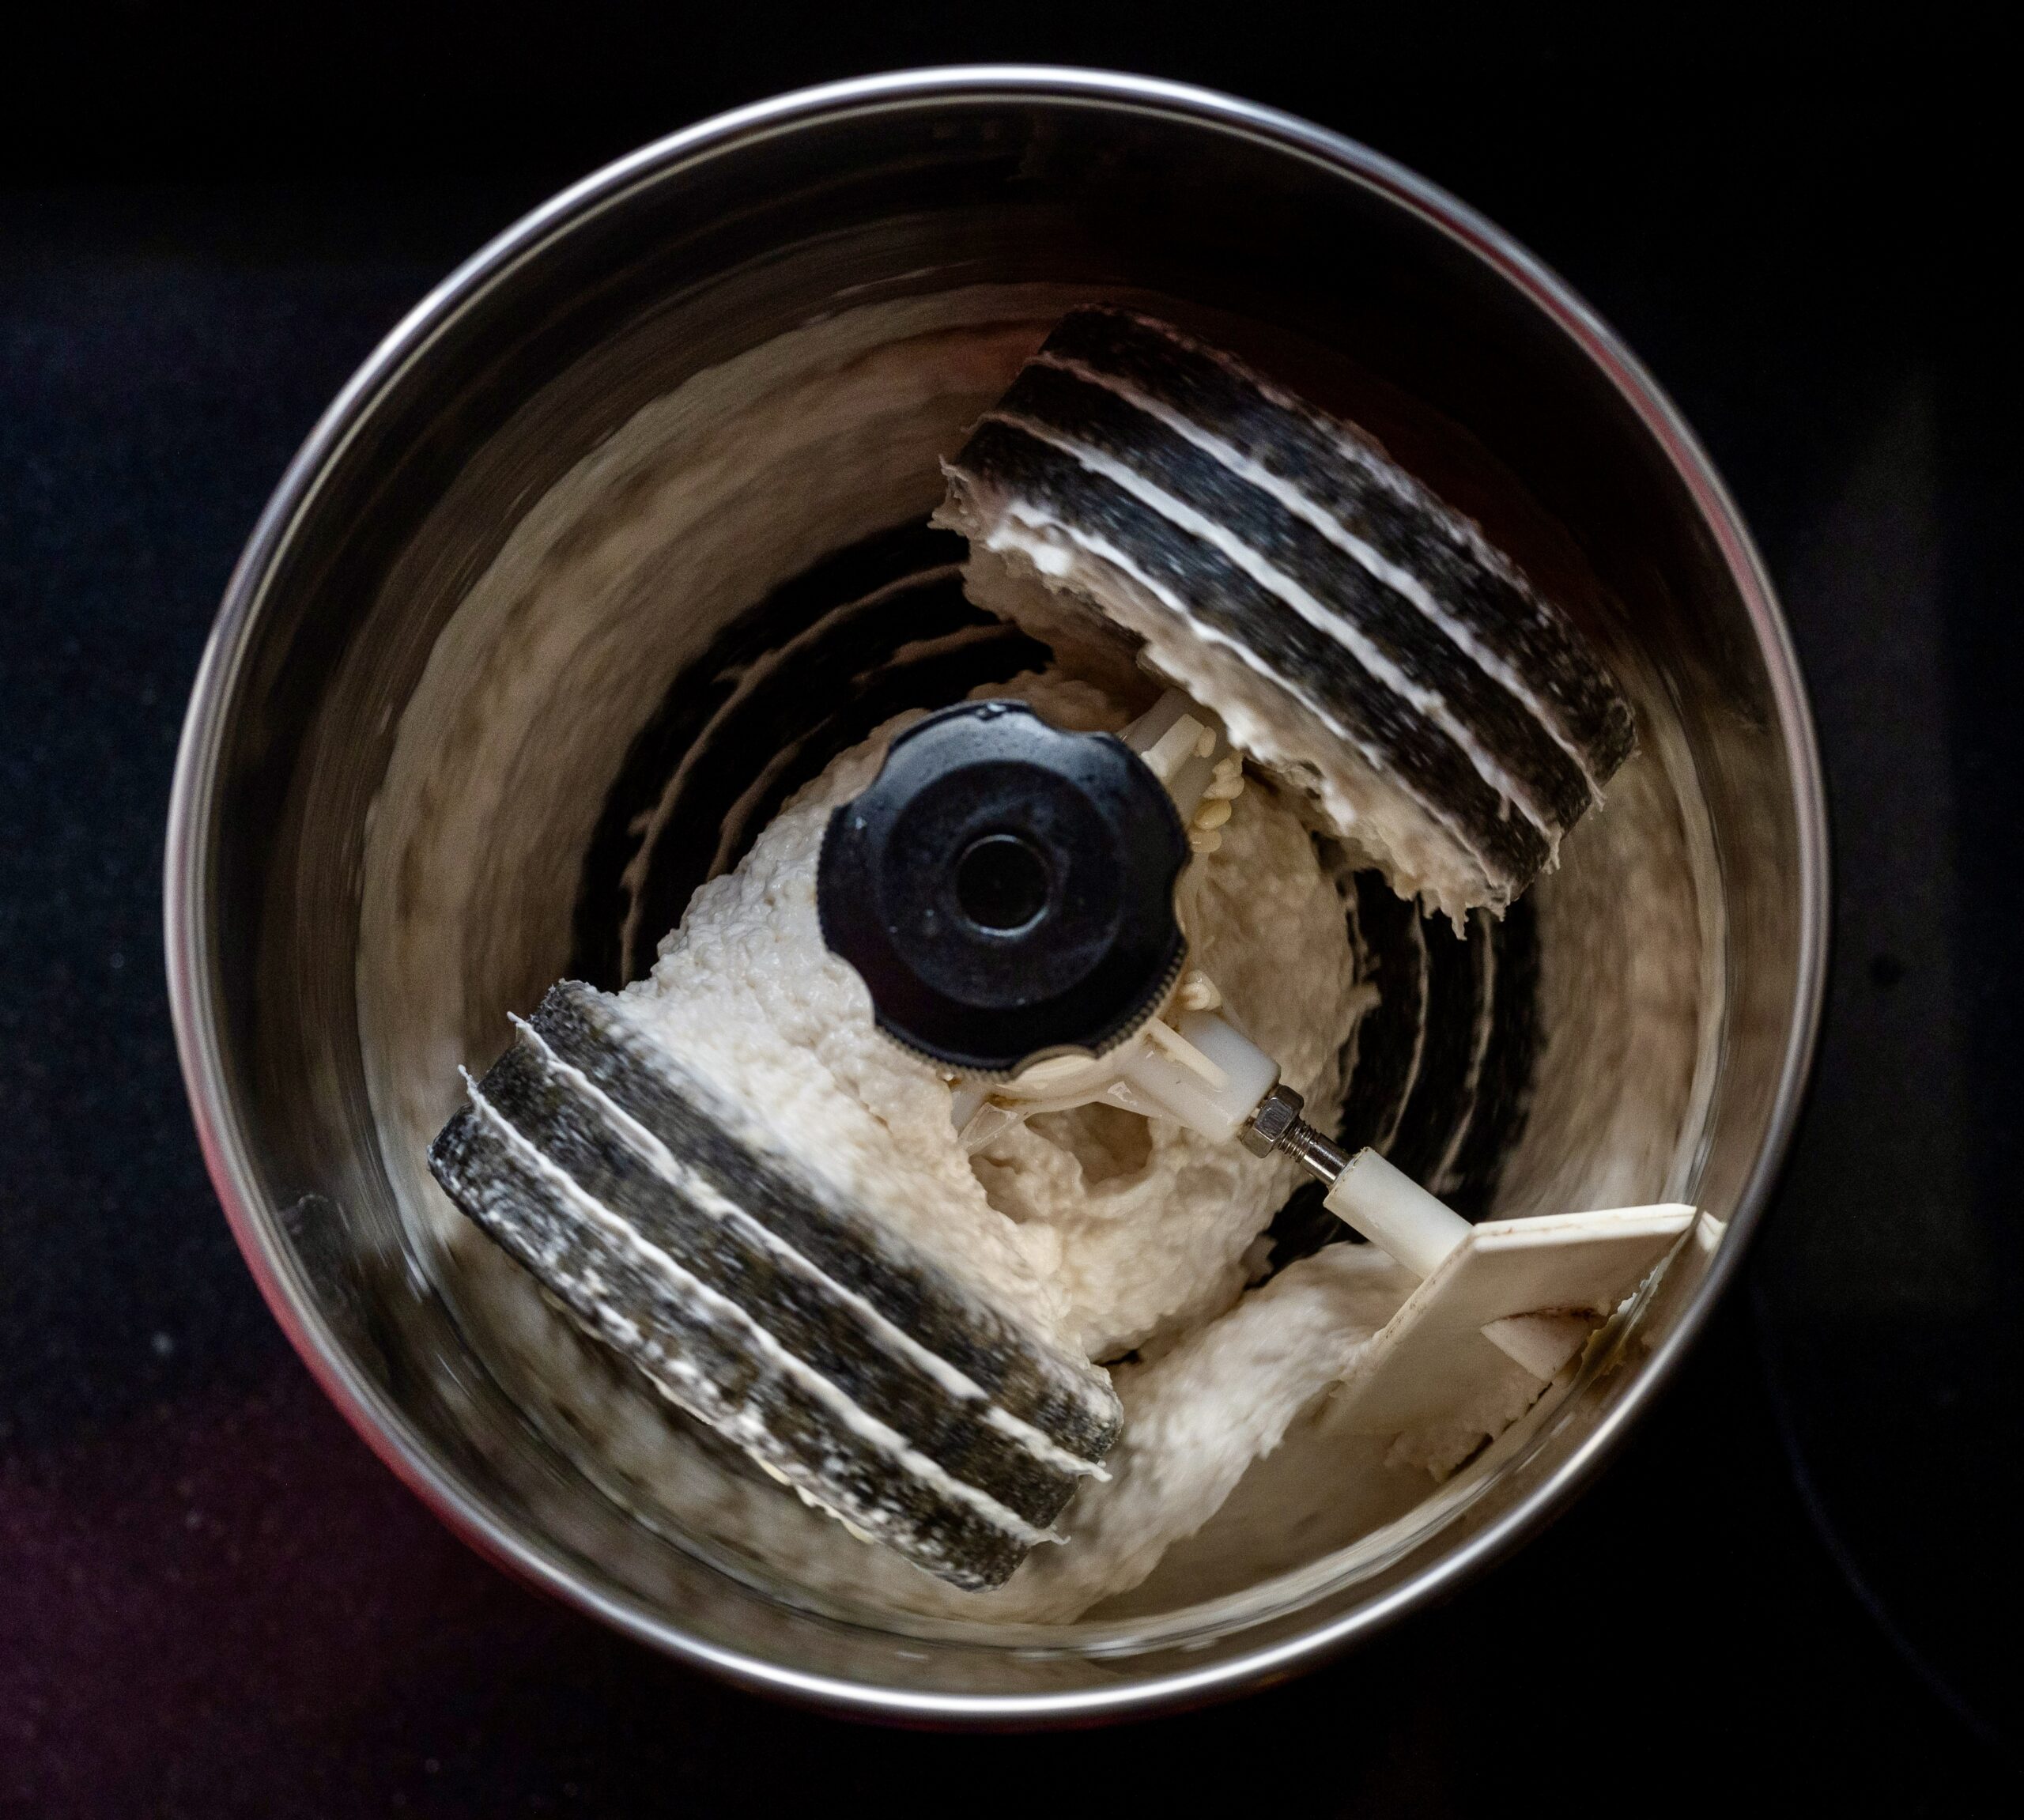
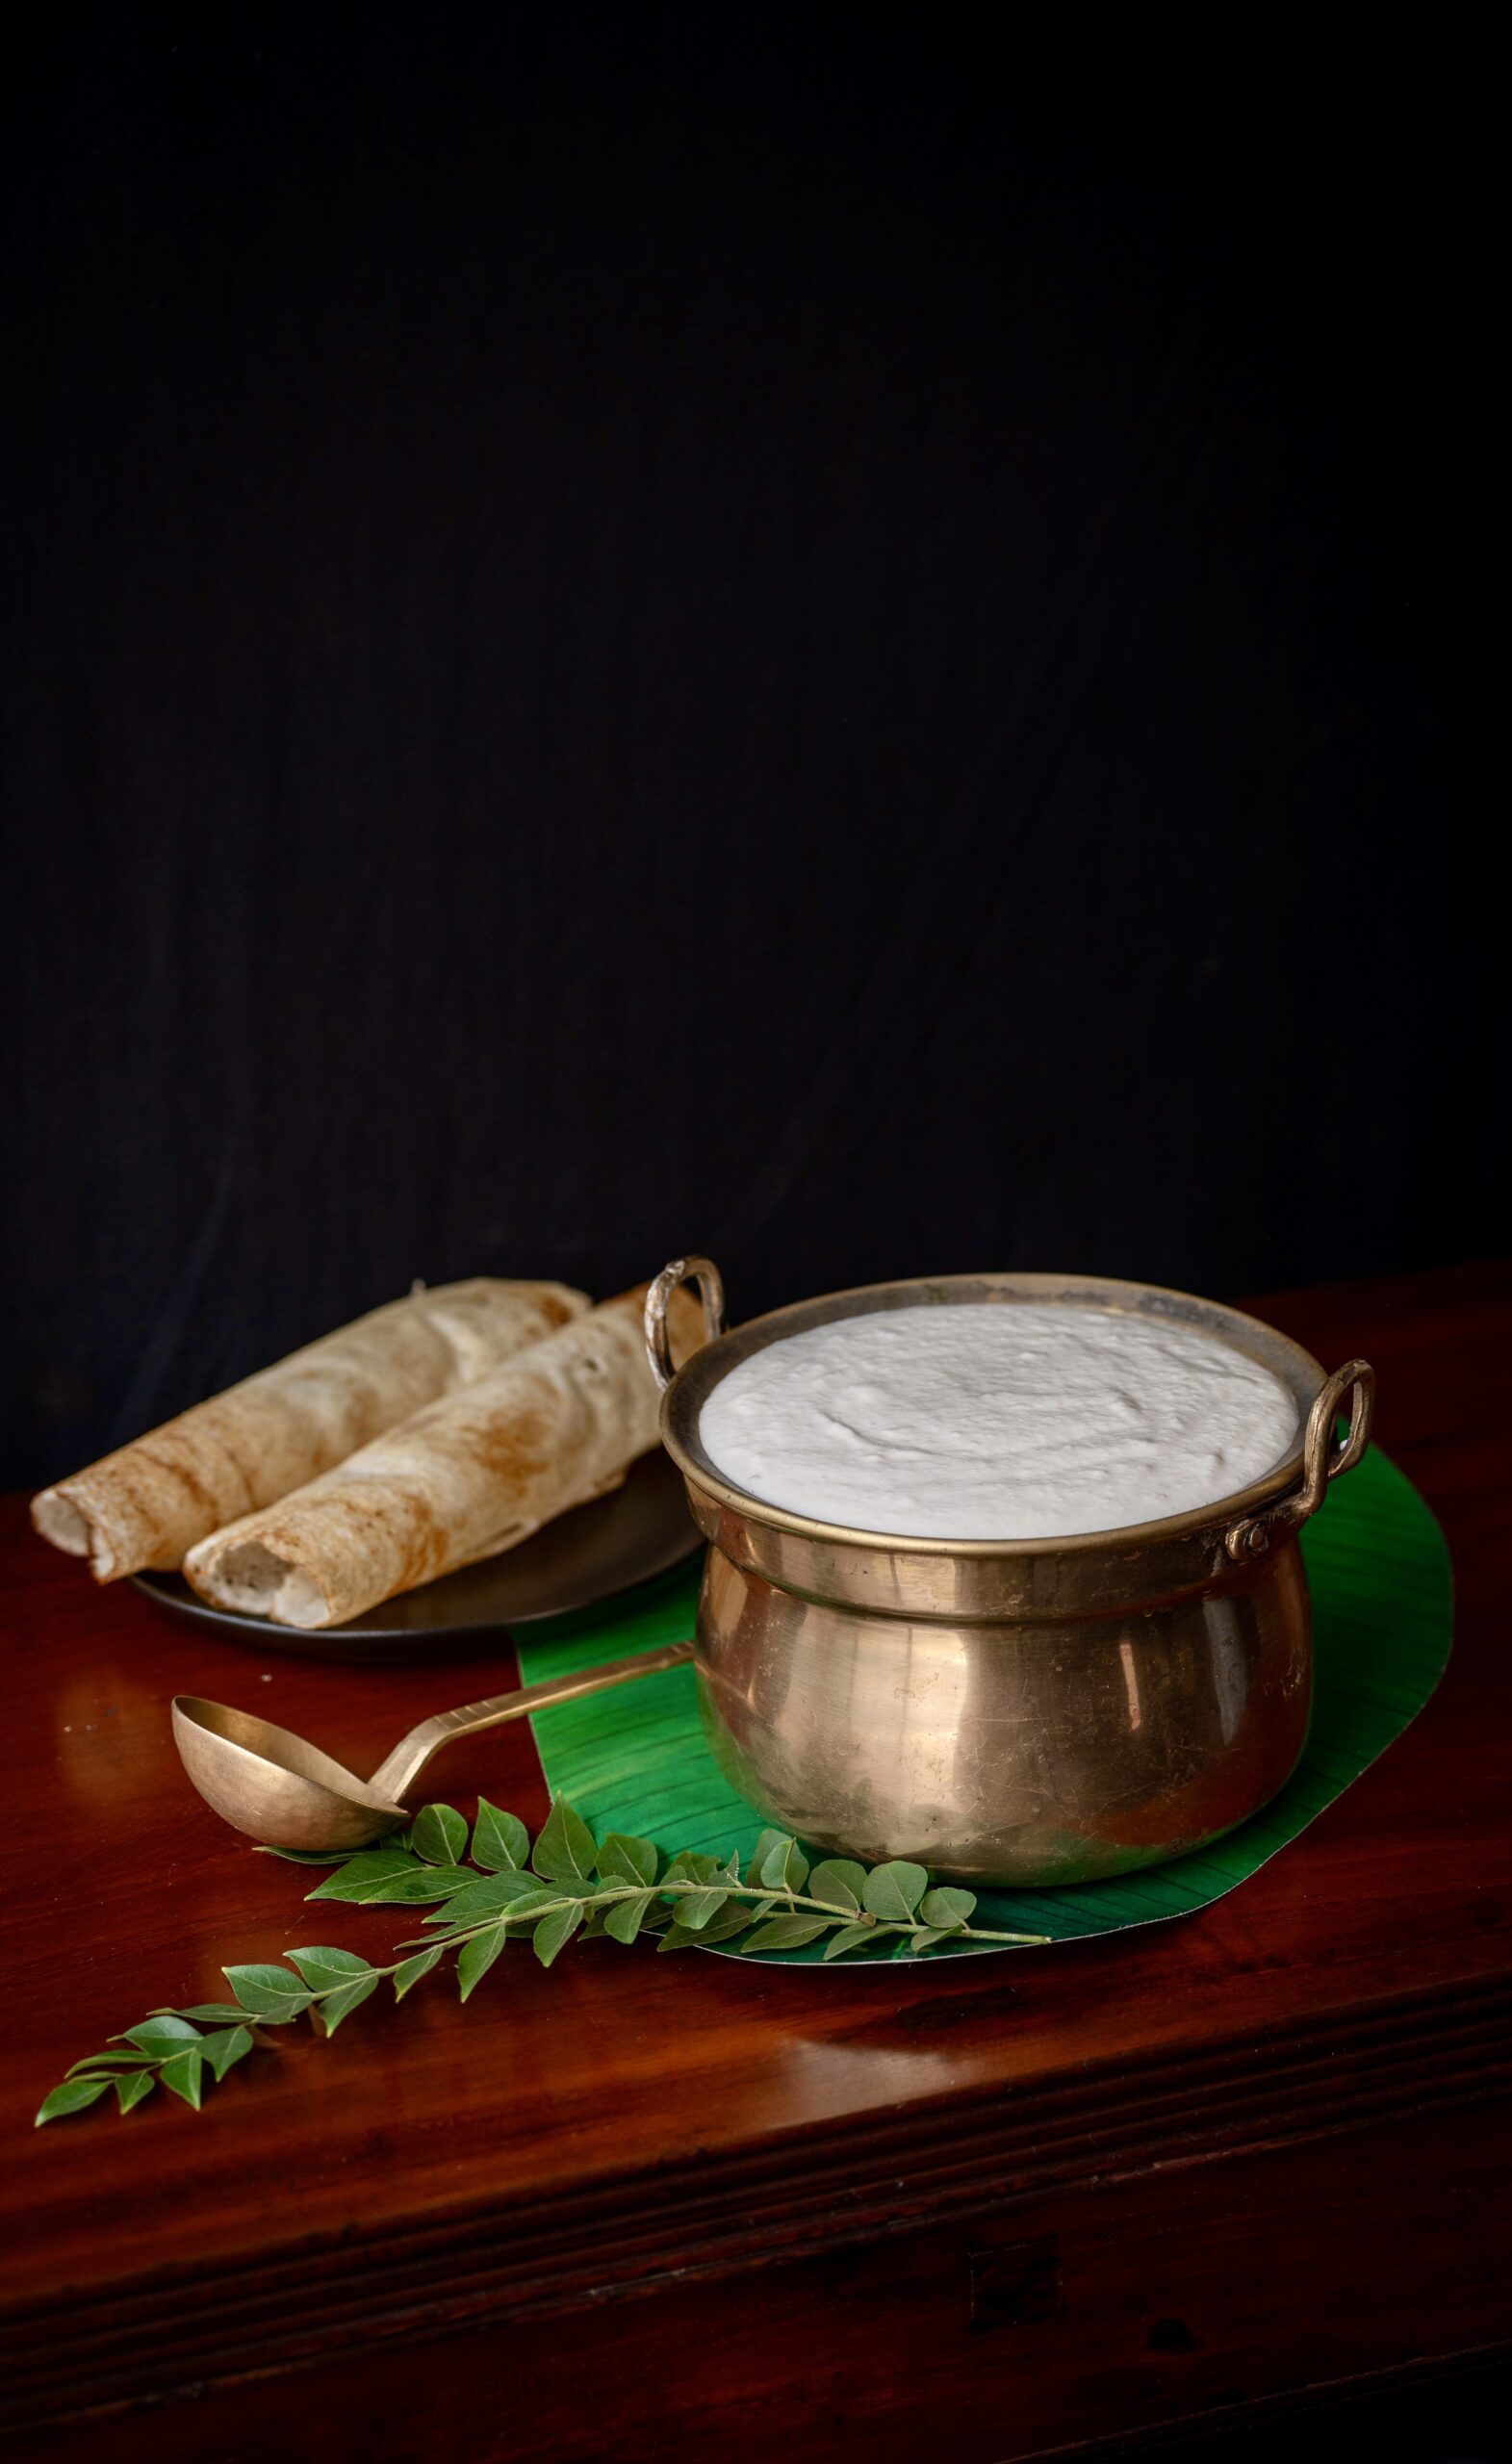
Dosa and idly batter is much easier to make than many think. It uses rice which has been boiled and processed in a mill after harvesting, which is sold as idly rice. It requires fermentation, and the humid temperatures in this region are conducive to that. You can use the same batter for kuzhi paniyaram, a kind of dumpling, too. In fact, when I was growing up, this is usually the order in which we consumed each batch: the first day was for idlys, the second for dosas and the last leftover batter was used up in kuzhi paniyarams.

To this day, I find a special joy in waking up in the mornings and seeing that this batter has risen overnight, sometimes so high that it knocks the lid off the pot! That’s the sign of a great breakfast to come, although the delicious things you can prepare with this can be eaten at any time.

You can get fluffy, soft idlys and crispy dosas from the same batter. It’s all about the preparation method. In the recipe below, I share the method for making dosa, which is pretty straightforward and which pairs well with chutneys and sambars too. As for idlys, they are steamed; some people do this in a microwave, but I’m not a fan of that gadget and I love hot idlys from a traditional steamer with my preferred chutney or a sambar. The trick to them is to not beat the batter, as one does for a dosa, but to be gentle both while mixing and while dropping the batter into the tray. In the next post, I have a bit of a surprise, using the same batter. First, however, this is how you make the batter, and how you make a dosa!

Dosa & Idly Batter

(Serves: 6)

3 cups boiled rice

1 cup urad dal

2 teaspoon methi (fenugreek) seeds

2 + 2 cups water

Salt to taste

Wash and soak the rice, urad dal and the methi seeds separately for at least 6 hours or overnight. I recommend around 10 hours.

Dispose the soaking water. Add 2 cups of fresh water and grind the urad dal and methi seeds finely, using a wet grinder or blender. Set aside.

Now, grind the rice with 2 cups of fresh water until you get a fine consistency.

Pour the rice batter over the dal batter. Add salt and mix gently using your hands.

Cover in a big pot and allow to ferment. The size of the pot matters so that the batter has space to rise. Well-fermented batter doubles in quantity and is sour. When stored in the fridge between uses, it will remain fresh for 3-4 days.

Here are a few more tips: the trick behind making a batter that can yield both a crisp brown dosa and a soft white idly is the proportion of rice to lentils. To make dosas even crisper, add some poha or rice flakes to the batter while grinding. Some people also add rava. However, I personally feel that the use of a heavy iron pan and adequate ghee or oil contribute more to crispness than these other techniques. Use only parboiled or boiled rice to make dosas, and only husked urad dal. Adding fenugreek increases the fermentation and makes for a tastier dosa.

As I said earlier, you can use this for dosas, idlys and kuzhi paniyarams. Here is the method to prepare dosa, a South Indian crepe that is staple in this part of the world.

Remove the required quantity, and gently mix the batter with a steel spoon. Heat a cast iron pan or tava.

Once it is hot, sprinkle some water on the pan. When it sizzles, you know that it’s the right temperature. Take a ladle full of the batter and pour it into the centre of the pan. Gently, using a circular motion, spread the batter on the griddle, similar to making a crepe. Use a teaspoon of ghee or oil and spread drops of it onto the dosa.

Allow it to cook on high heat, until you see it turn golden at the bottom. Gently, with the help of a spatula, lift from the edges and flip for no more than a few seconds. Now fold the dosa and serve hot. Accompany it with sambar, chutney, curry or podi – the choice is yours.

I hope you’ll begin making your idly and dosa batter from scratch too. It’s an easy process, and I am sure you’ll enjoy both the preparation method as well as consuming the results!

The monsoon returns to South India around Deepavali and the festive season, yet it causes no dampener at all to our spirits of enjoyment and our desire to cook – especially when it comes to snacks. Vadais are deep-fried dumplings that are common in South India, and can be made in a number of ways. To make this type, I reached out for a delicious local green, known in Tamil as araikeerai and in English as spleen amaranthus. Deep-fried it may be, but the use of this regional spinach can give one the sense that this dish is at least remotely healthy! We absolutely love it at home, and eat araikeerai vadai more often than we do traditional Gujarati treats of a similar kind. I’m quite sure that once you try this recipe out, you will feel just as addicted too.

Spinach varieties are aplenty in Tamil Nadu, and araikeerai is currently in season. It is a protein-rich green, and is also great for digestion as it is rich in fibre. Iron, vitamin C and antioxidants are some of the other nutritious elements of this vegetable. I love to add a large amount to my vadai batter. I find it really enhances the taste. Araikeerai has a pleasant flavour, one that isn’t very distinct and doesn’t take away from the crunchy yumminess of the vadai. You may wish to substitute it in this recipe with a local, seasonal green of your choice.

As you may already have guessed, this is the kind of snack that sneakily convinces your children to consume more greens, a bit like the way this roasted tomato soup incorporates gourds and carrots, or perhaps more straightforwardly like this kid-friendly spinach and corn bake. I’m glad to say that it is also pleasing to the elderly, who can be just as fussy in their tastes as little ones. My octogenarian mother-in-law is crazy about araikeerai vadai, and it’s a frequent feature at home these days as she enjoys it so much.

As far as accompaniments go, a coconut chutney is traditional. I recently started making mine with a twist that was learnt at my new daughter-in-law’s home. I will share that recipe soon, to add to the collection of chutneys on this blog.

I said earlier that rainy weather doesn’t get in the way of our desire to cook, but actually, it is a little more than that. I have noticed that Indians have this thing – somehow, rain inspires us to prepare and consume more! All across the country, I have seen families whip up bajjis, vadais and all kinds of fried tastiness at the first sight of a drizzle. To be honest, I’ve never understood the association between the weather and the food made, but to me it feels like an extension of the festive season. Come January of course, everyone seems to run to the gym and talk about calories – but such is the cycle of life! In the meanwhile, during this season, we are free of guilt – and free to gorge on the good stuff.

Araikeerai Vadai

(Yield: Approximately 10 pieces)

1 cup chana dal (split chickpeas)

1 bunch araikeerai (equal to 2 full cups of spinach)

Salt to taste

1 onion (finely chopped)

1 green chilli (finely chopped)

1 tablespoon ginger and green chili paste

A handful of curry leaves

Oil for deep frying


Soak the chana dal for 4 hours or until tender to the touch. Drain the soaking water. Rinse.

Remove the stalks and chop the araikeerai finely. Rinse in running water.

Add the dal to a blender and grind coarsely. Do not add water. Put the ground dal into a bowl. To prepare the batter, add the salt, green chili, araikeerai, ginger and green chili paste, curry leaves and onions. Mix well. Allow this to sit outside for 1-2 hours, or refrigerate if frying later.

Heat the oil in a kadai. Once it’s hot, make discs the size of a lime and flatten them, using your palms. While making the discs, ensure that the edges are perfectly rounded. Drop each into the hot oil gently. Fry on a medium flame. If you feel the vadais are crumbling as they fry, add a spoonful of rice flour. Allow to cook on both sides, flipping them occasionally, until dark golden. Drain onto a paper.

Serve hot with a chutney or a dip of your choice.

I hope this delicious araikeerai vadai gives you something to look forward to on a rainy day – or any day, really!

There are numerous milk-based sweets that are very popular in India, and several have made appearances on this blog over the years, as you can see here. While they are all fantastic, for this Deepavali I was thinking about making something that doesn’t require milk. This recipe is great for lactose-intolerant people, and can be tweaked and made vegan (all you have to do is to replace the ghee with your usual alternative). Additionally, the dessert I came up with is millet-based, so it is extra nourishing. Here it is: foxtail payasam.

Foxtail payasam, strictly speaking, is not quite my own recipe, even though I’ve substantially played with the basic ingredients. As a payasam, it can be said to be traditional in South India, where they are a well-known category of dessert, eaten often and not just on festive occasions. Here in Tamil Nadu, foxtail millet is known as thinai and is a widely-known native produce. Like all millets, it is nutritious and versatile.

Many of us have become conscious about our eating choices and have brought millets into our diets over the last few years as a white rice replacement. Even the Tamil Nadu state government has been promoting their use, and so has the United Nations. This is something that I’ve advocated for as well, across many recipes.

In terms of payasam, I think the paruppu payasam (made with dal) is probably the most common. I always reach out for it whenever I have a banana leaf meal at a South Indian restaurant. It uses dried coconut bits and also contains jaggery, which is healthier than sugar yet satisfies my sweet tooth. Drawing inspiration from it, but adding my own twist, I have opted to use coconut milk in my foxtail payasam. The coconut milk, along with a cashew garnishing, adds a richness to it. You may also wish to use raisins, and reduce the jaggery quantity accordingly. Or you may want to use coconut sugar instead of jaggery. You may even want to replace the millet itself, just as you can also replace the moong dal with toor dal.

If you are a young adult making festive goodies for the first time, this is an ideal recipe for you to try wherever you are. It is simple and utilizes easily available ingredients. The world has become a smaller place, and I have no doubt that you’ll be able to find them even if you’re spending Deepavali away from home.

I have a South Indian daughter-in-law now and I wanted to prepare something this year that is familiar to her and the region she comes from. Thus, this foxtail payasam serves as a welcoming sweet for her as she enters our family. It is her first Deepavali with us, so it is really special. This recipe is for her, most of all. It is also for my sister, who always asks me to show her something new from South Indian cuisine whenever she visits me, and is very curious about what I am making at this time of year. It goes without saying that it is also for you: I wish you and your loved ones a blessed festive season, and much joy ahead!

Foxtail Payasam

(Serves 4-5)

25 grams moong dal (green gram)

60 grams thinai millet (foxtail)

¾ cup jaggery

2 + 1 cups water

1 cup coconut milk

1 teaspoon ghee

A handful of cashews

Rinse and soak the moong dal in water for at least an hour. Strain the water and set aside.

Roast the thinai in a pan for a few minutes or until it releases an aroma.

Next, add the thinai to the strained dal and add two cups of water. Place these in a pressure cooker and cook until tender. Remove the pot once cooled.

In another bowl, add jaggery and to it add one cup of water. Boil this mixture until the jaggery has melted. Strain this liquid and add it to the dal-thinai mixture.

Allow to cook until it all comes together. Finally, add the coconut milk, mix well and turn off the flame.

To garnish: heat the ghee and add the roasted cashew nuts. Toast until golden. Sprinkle over the payasam. Serve hot.

I hope you’ll enjoy this delicious, nourishing sweet this Deepavali and for many years to come!

As you may know, I straddle the worlds of being Gujarati and having been raised in Chennai. I believe that I’m more of a Tamilian than a Gujarati in many ways, or at least I feel that way at times (especially while I’m preparing or sharing certain recipes, like this one). Adai is a very traditional dish from Tamil Nadu, similar to the dosa. I didn’t grow up with it, but once I discovered it, it became a regular on my dining table. I like it a lot as it ticks all the boxes for me in terms of nutrition and taste. It is rich in protein but makes you feel like you’re eating carbs, which it in fact has very little of. It is very satisfying, in the ways that simple dishes can be.

I learnt this recipe from a friend, a few decades ago, and it has been a staple in my home for decades, so I was a little surprised myself that I hadn’t shared it yet. The story of how I got this recipe is that when my son was in kindergarten, there were a bunch of anxious moms waiting outside the school on Day 1 and Day 2 to make sure the kids settled in well. We got around to talking, and as many young mothers do, wound up exchanging recipes. That was how I learnt this adai recipe, and I still think of the friend I made way back when my son started school every single time I use it. I’ve been to her home many times over the years and eaten it there too.

Traditionally, adai is had with fresh butter and jaggery. That is still my favourite combination, even though I also prepare it with a variety of chutneys, a number of which you can explore on the blog. I suspect the traditional accompaniment is my preferred one as it’s sweet, so the Gujju in me kicks in!

I make different versions of adai, in the sense that I may pour it into a waffle maker for novelty, make a big one for dinner or a small one for a starter. Sometimes I even prepare it with a filling – for this, I’ve found that paneer works well. I also make the batter thick and make it like a pancake with raw, finely chopped vegetables, which gives it a different taste and improves the healthiness quotient. Adai in and of itself is quite nutritious, as long as you go easy on the oil. In the version below, I share the recipe for smaller adais topped with the goodness of vegetables.

Adai

(Yield: 10-15 pieces)

1 cup boiled rice

¼ cup tuvar dal

¼ cup yellow moong dal

¼ cup channa dal

¼ cup urad dal

1 onion

1 teaspoon cumin

1 teaspoon fennel

2-3 cloves garlic

2-3 dried red chilli

1 teaspoon cumin

1 teaspoon fennel seeds

Salt to taste

½ teaspoon turmeric


Tempering:

1 tablespoon oil

½ teaspoon cumin

½ teaspoon mustard seeds

1 onion (finely chopped)

½ teaspoon asafoetida

Coriander leaves


Sesame oil for cooking

Finely chopped vegetables (onions, carrots and coriander leaves) for topping


Soak the dals and rice for 6-8 hours in enough water to cover them.

Grind the soaked dals and rice in a blender along with garlic, cumin, fennel seeds and red chilli until coarse. Set aside.

In a kadai, add the oil. Then, add mustard seeds, cumin, asafoetida, curry leaves and finely chopped onion. Sauté on a high flame for 2 minutes and add to the coarse batter. Add the turmeric and coriander leaves to the batter. Mix gently. Your batter is now ready for making the adai.

To cook the adai, the method is as follows. On a heated flat pan, make small discs of the batter, spreading them a little. Add the sesame oil as required to cook. About 1-2 teaspoons will do.

Once the adai is golden brown on one side, flip gently and allow to cook on the other. Then, turn back to the previous side, and add the finely chopped vegetables as an optional topping. Serve with a chutney of your choice. If you decide to serve it with butter or jaggery, you can skip adding the vegetables.

I hope you’ll enjoy this adai, especially if you were already familiar with dosas and wanted to explore a variation on the same!

We talk about leftovers in all of our homes. How to store them, how to repurpose them and so on. You may have remembered from my Second Helpings series a while back that certain traditional dishes, like rotli na ladoo, are in fact innovations that deliberately use leftovers. This ragi paniyaram recipe is similar in nature. It basically uses up the leftover batter from ragi idly, and becomes a whole new savoury snack of its own.

You would already have learned the recipe for the batter used here, as linked above, so we can head straight into how to make paniyaram. They are amazing: pillowy soft on the inside and crisp on the outside. Dip one in chutney and it’s heavenly. I really feel like ragi paniyarams are bites of paradise!

The recipe below is my go-to. It is very easy to prepare and uses only readily available ingredients. You can add a flavouring of your choice as well. One special way that I like to make it is by dropping half the required batter in the paniyaram mould, adding a dollop of pickle in the centre, and then layering it with more batter. Mango or lemon pickle work perfectly for this, and add a piquant taste when you bite into the paniyaram. That’s the thing about many traditional staples – they are so flexible that you can add whatever you want within your reach. Be innovative, be creative, do you. Enjoy the process and the taste will come on its own.

I would describe paniyarams as being the South Indian version of Gujarati dhoklas, which are a quick fix for sudden guests. All you have to do is add some chopped veggies and seasoning to your regular idly batter and you have everything you need. They are a great snack at tea time and mid-morning, and I would say they are versatile even as dinner or breakfast items.


Ragi Paniyaram

(Yield: Serves 2-4)


1+½ cups ragi batter

1 small onion (finely chopped)

1 green chili (finely chopped)

1 tablespoon coriander leaves

1 teaspoon urad dal

½ teaspoon mustard seeds

¼ teaspoon cumin seeds

2 teaspoons sesame oil +oil for cooking


Pour the ragi batter into a bowl and set aside.

Heat a pan and add the oil. Once it’s hot, add the mustard seeds. When they splutter, add the cumin seeds. Now, add the urad dal and heat until golden. Next, add the onions, green chili, coriander leaves and curry leaves. Sauté for a minute.

Add all of this to the bowl of ragi batter. Mix well.

Prepare and heat the paniyaram plate (I use a seasoned iron grid for the same; you can use non-stick to be safe or if you’re new to the game). Add a few drops of oil to each mound (I like to use ghee for its flavour; since it’s no longer considered one of the evil fats, I’d suggest trying it out, or use either as you prefer). Once heated, add a tablespoon of batter into each mould. Cover, reduce the flame and allow to cook. In a few minutes, with the help of a sharp knife, turn each paniyaram over and allow to cook on the other side until golden.

Remove and serve. There you have it – ragi-rich bites of paradise! Paniyarams are best paired with chutney. I always have grated coconut at home from my trees in the backyard, and make a fresh chutney with it pretty much every day. I sometimes throw in some coriander leaves to make it green. This aside, there is an amazing tomato chutney that I feel works beautifully with ragi paniyarams, and that will be my next recipe on this blog. Stay tuned!