Tag

snacks

Browsing

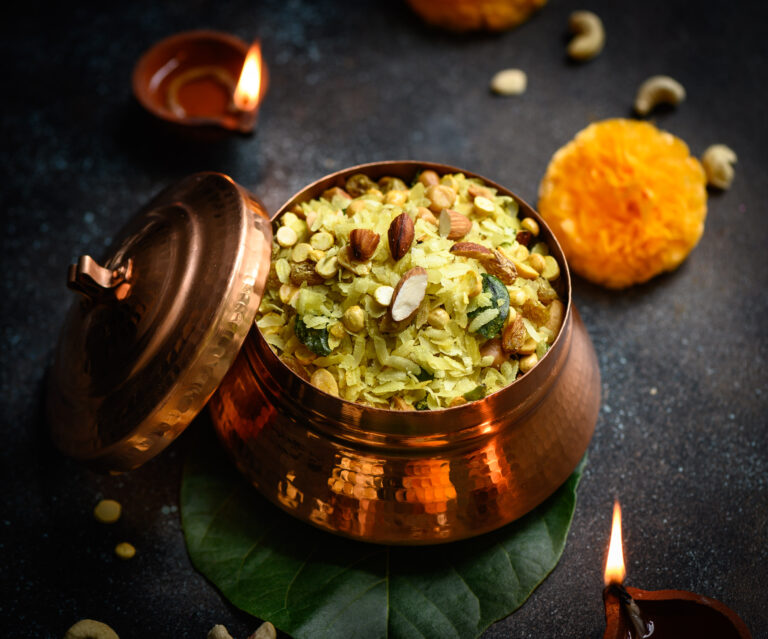
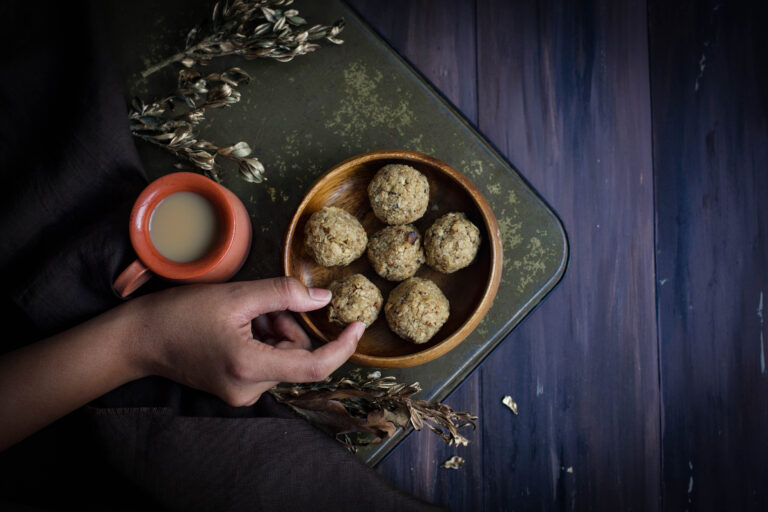
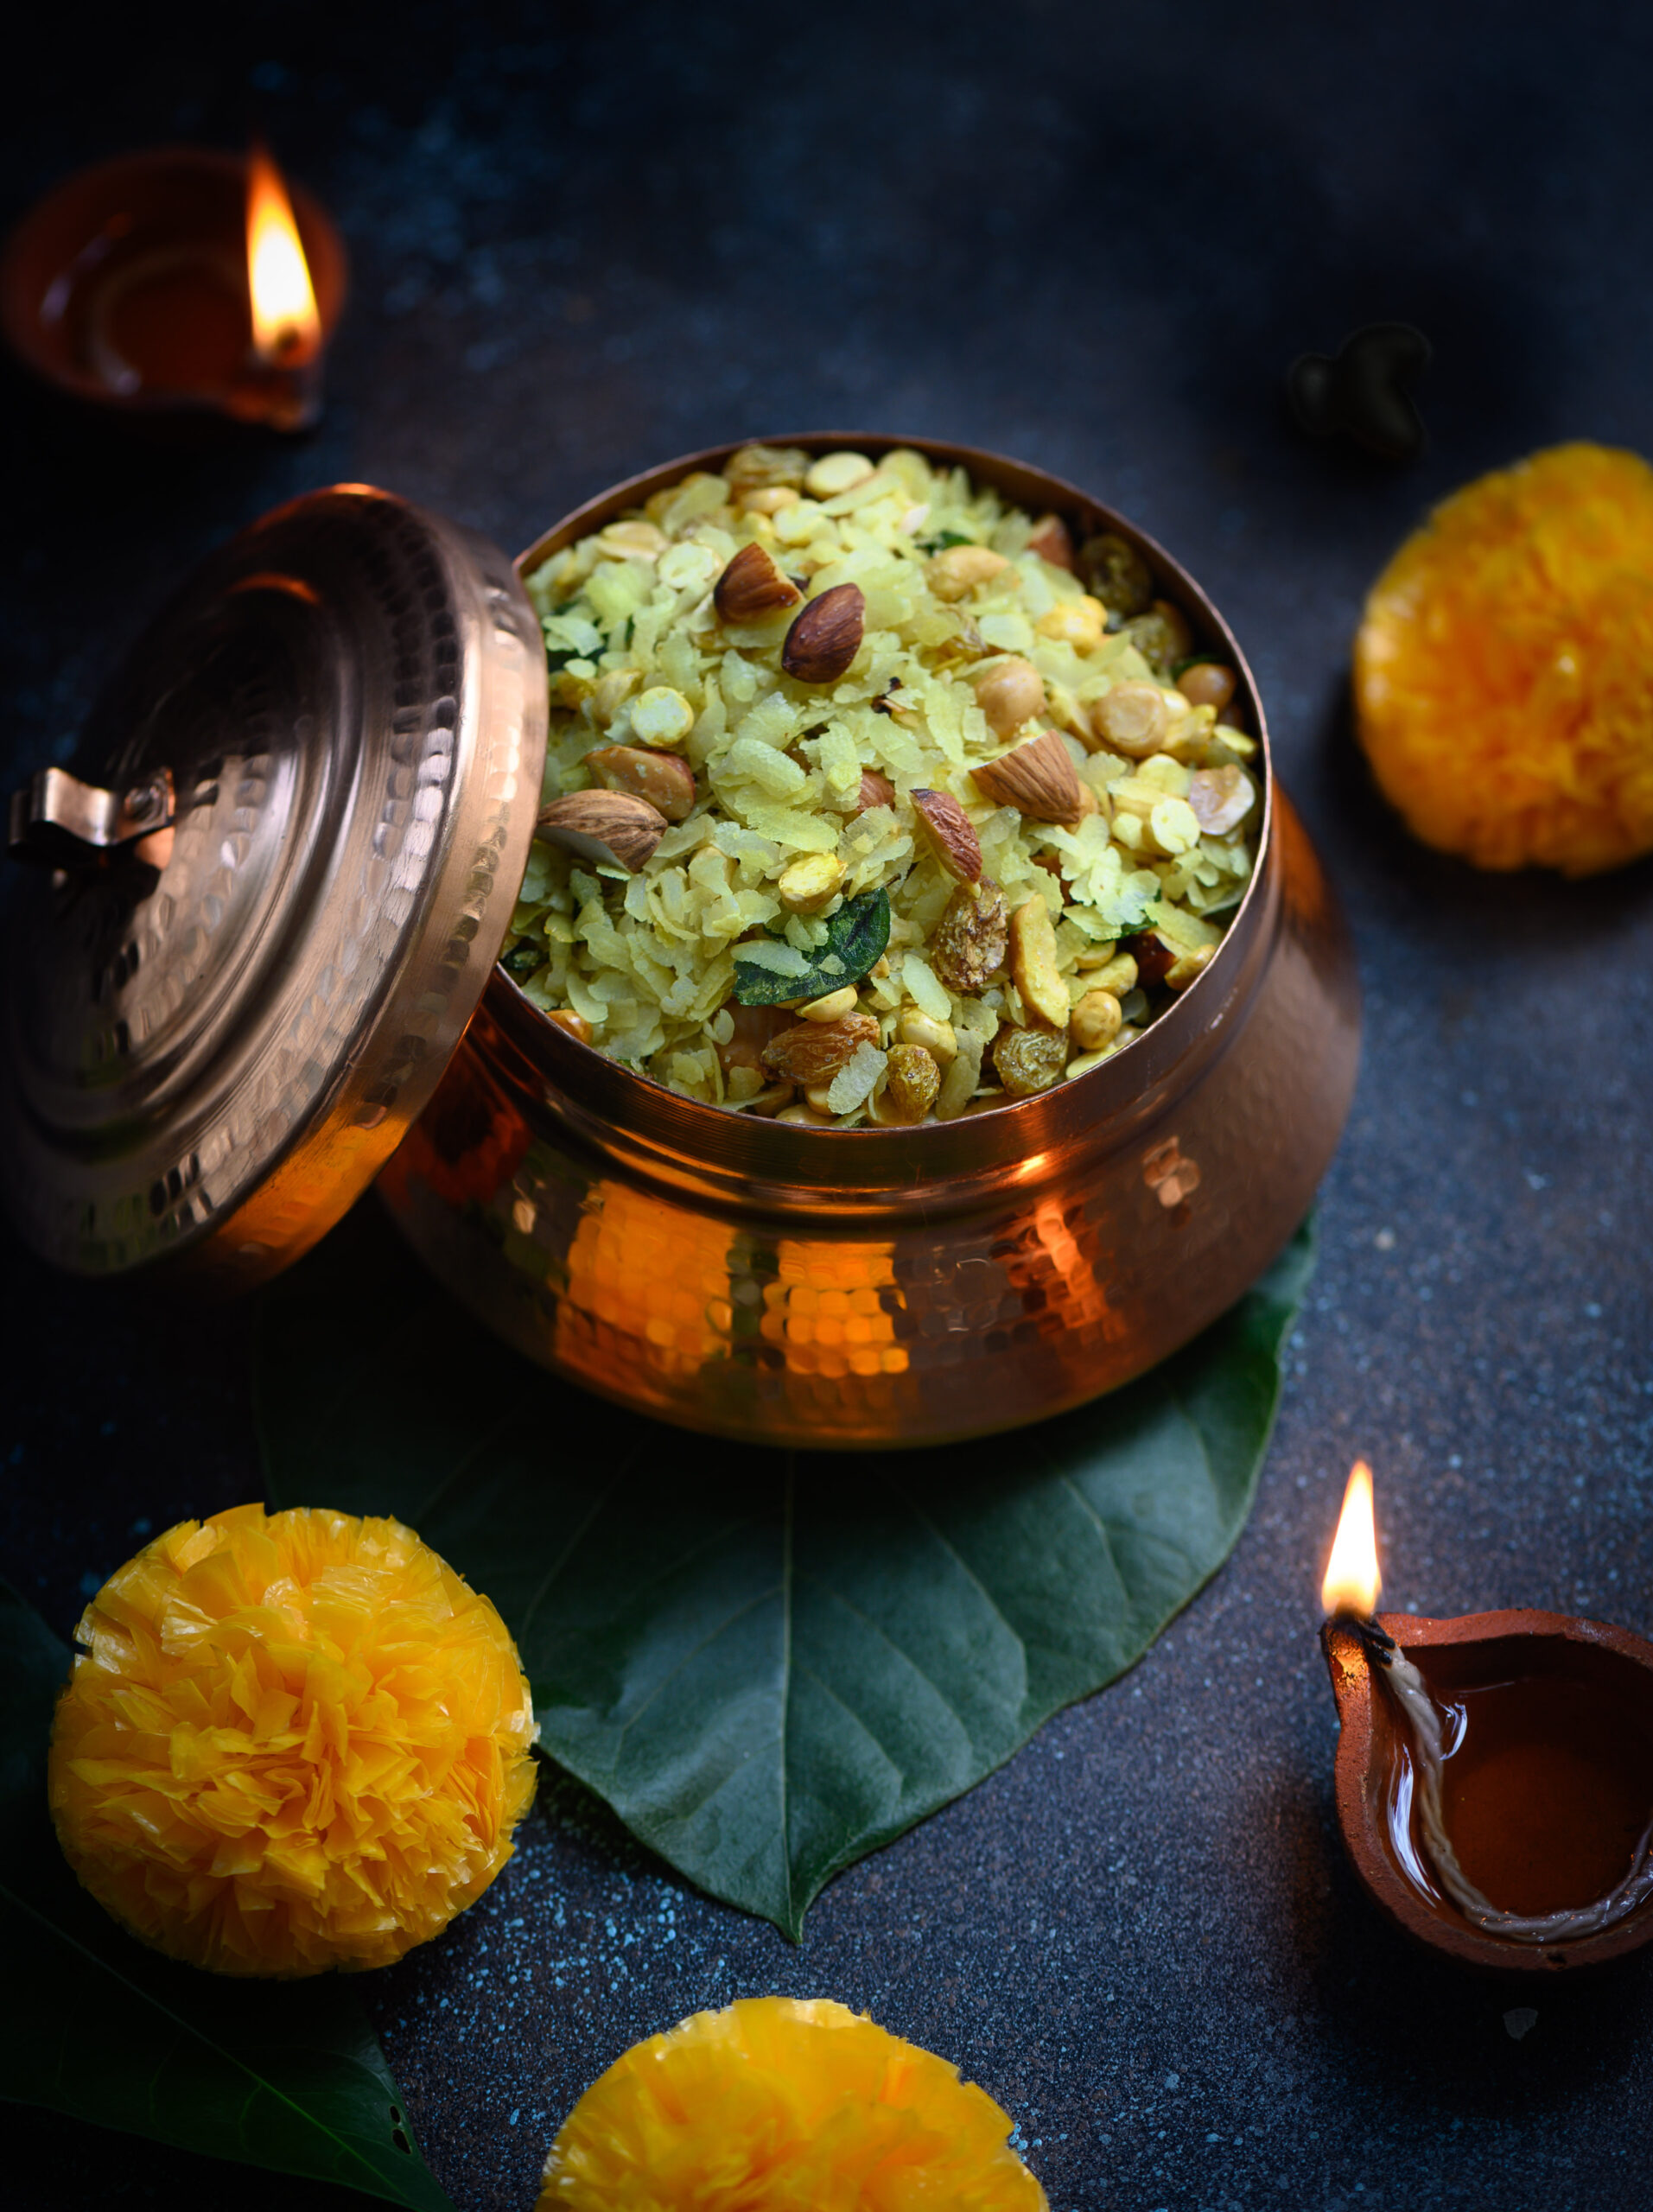
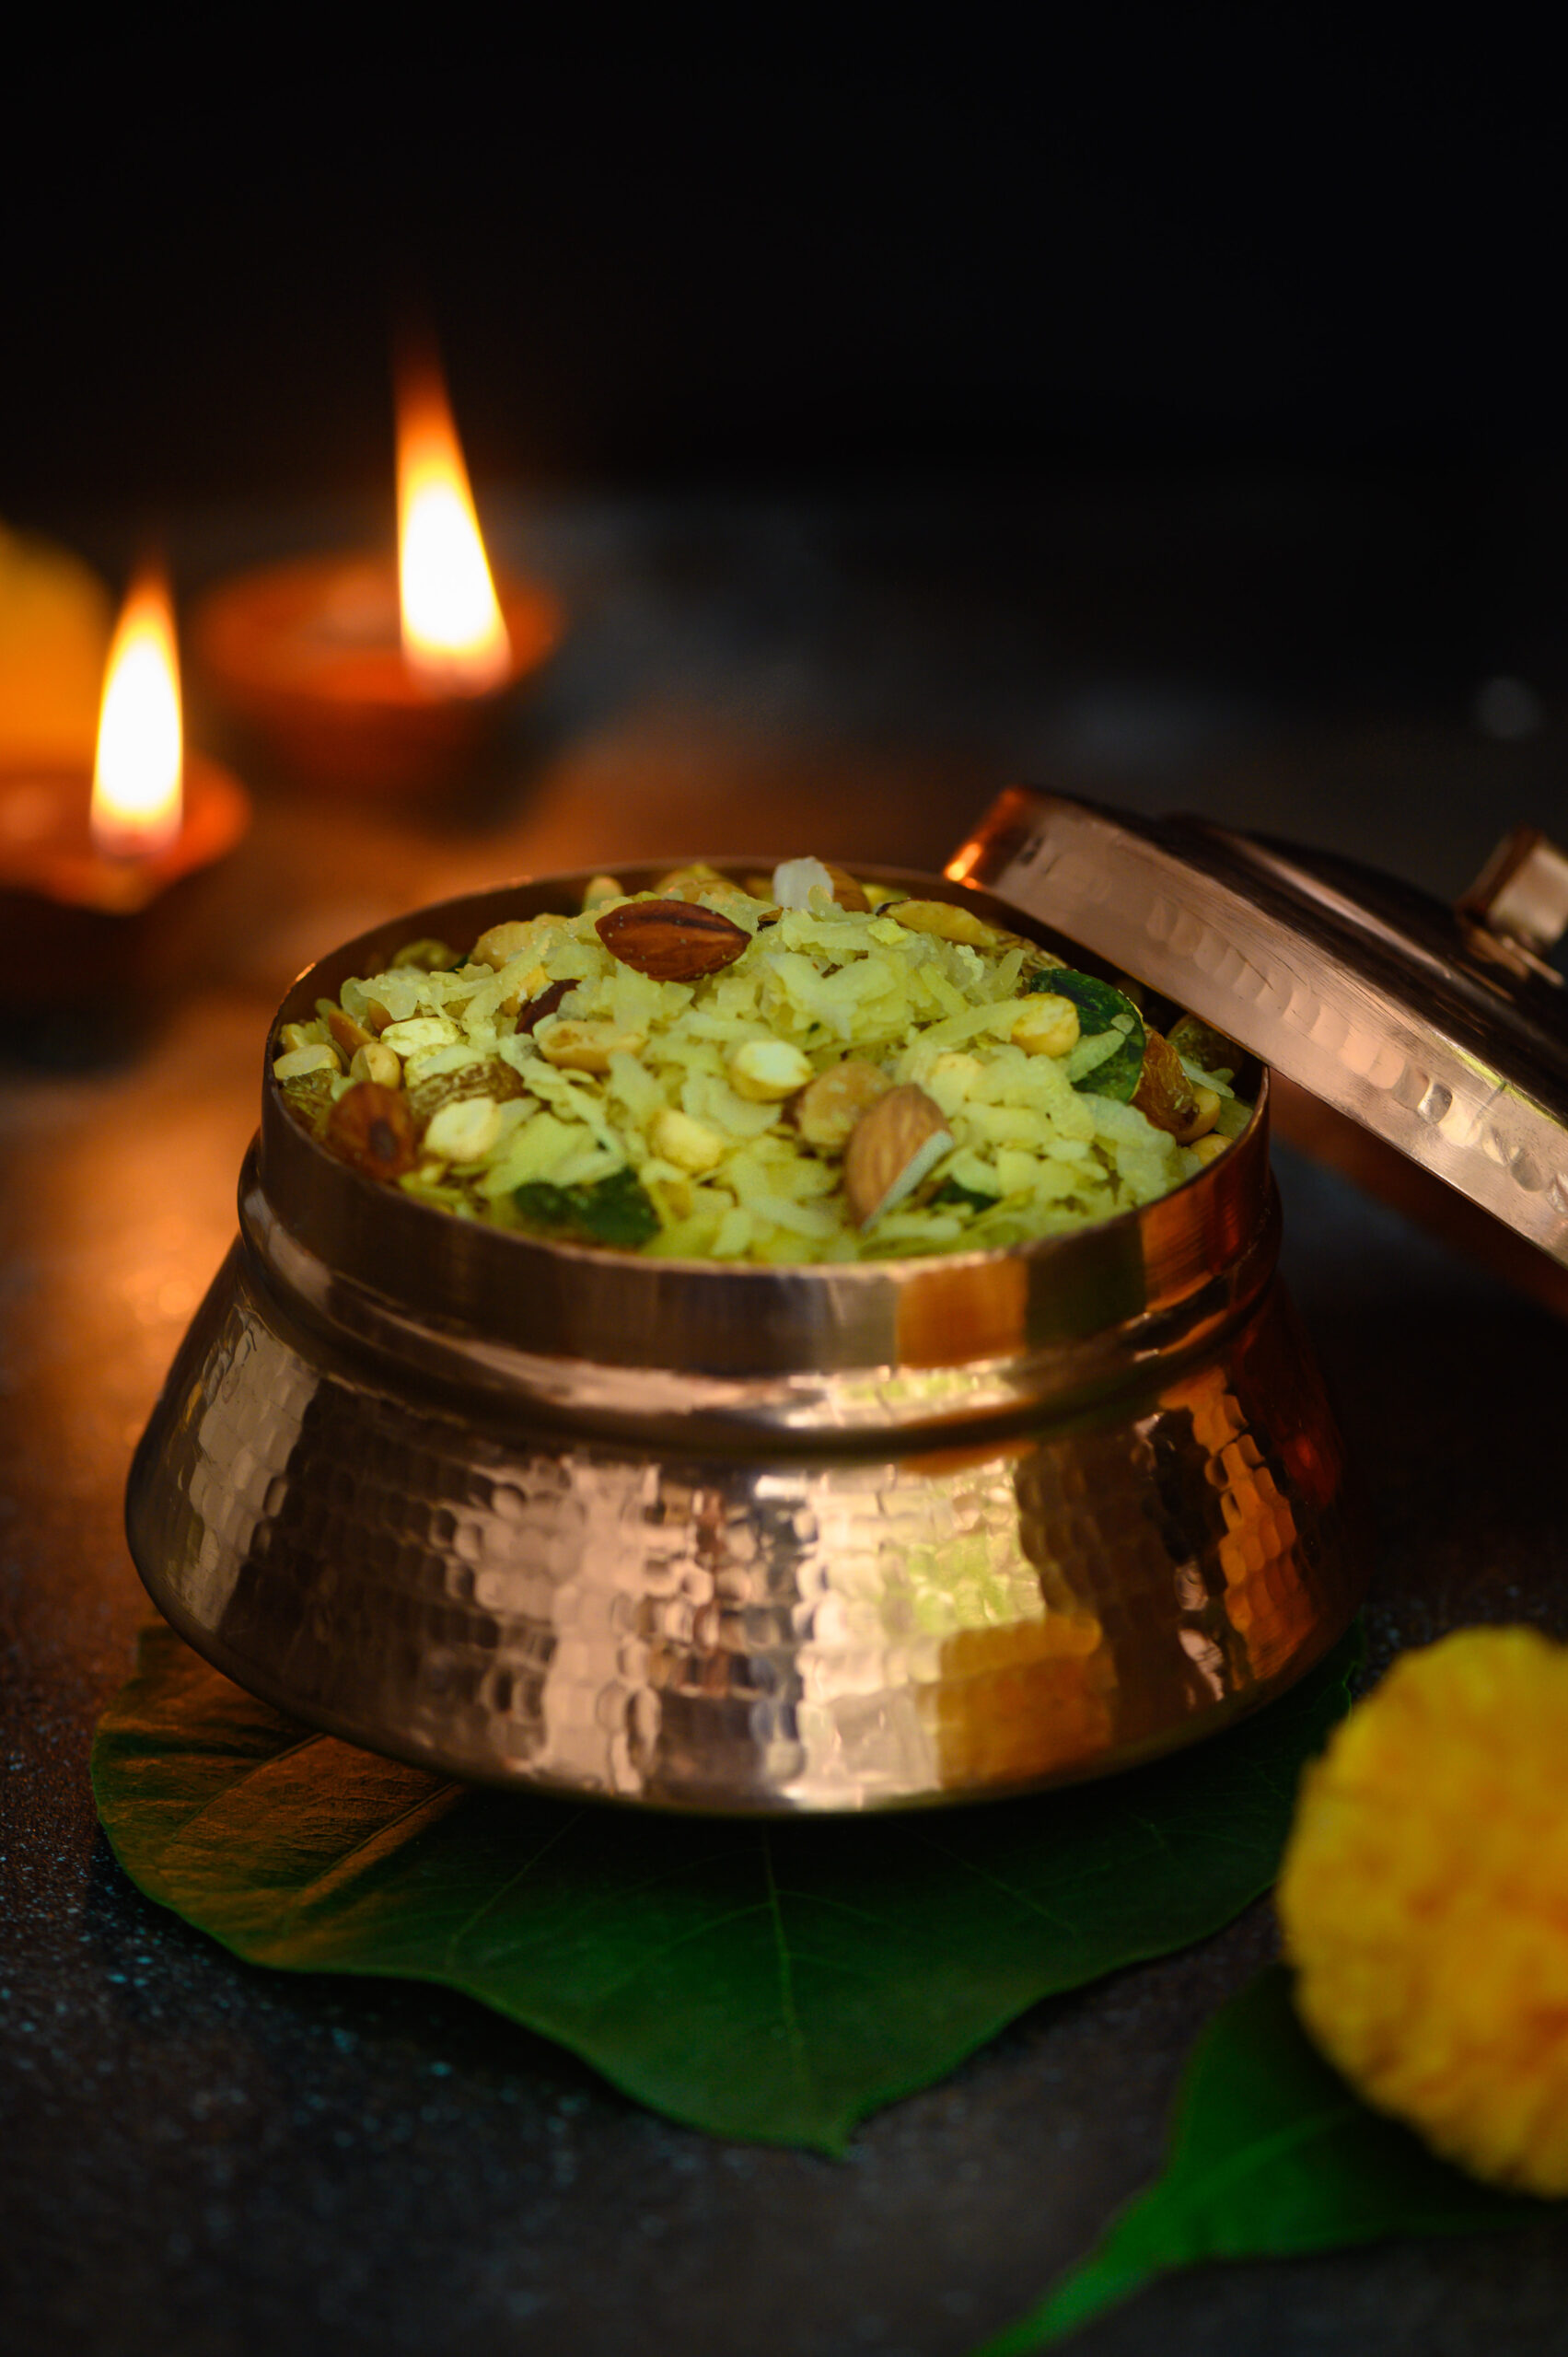
When I was growing up, middle class culture in India was all about eating what was cooked at home. Fresh food was prepared for every meal, every day. When there were leftovers, they were always put to good use. Eating out was a rare occasion, and we didn’t have the luxury of junk food. Even snacks were made at home, and this poha roast mix – what we Gujaratis call chevdo – was one of them.

This is a snack to be consumed by the handful, with a fun mix of nuts and seasoning. The basic ingredient is poha, or flattened rice, which most Indian communities use in some way or another. My own earliest memories of it are in the form of the dudh-poha which my mother would make to take with us to the beach on Sharad Purnima nights, as well as this poha roast mix – the recipe for which I am sharing today.
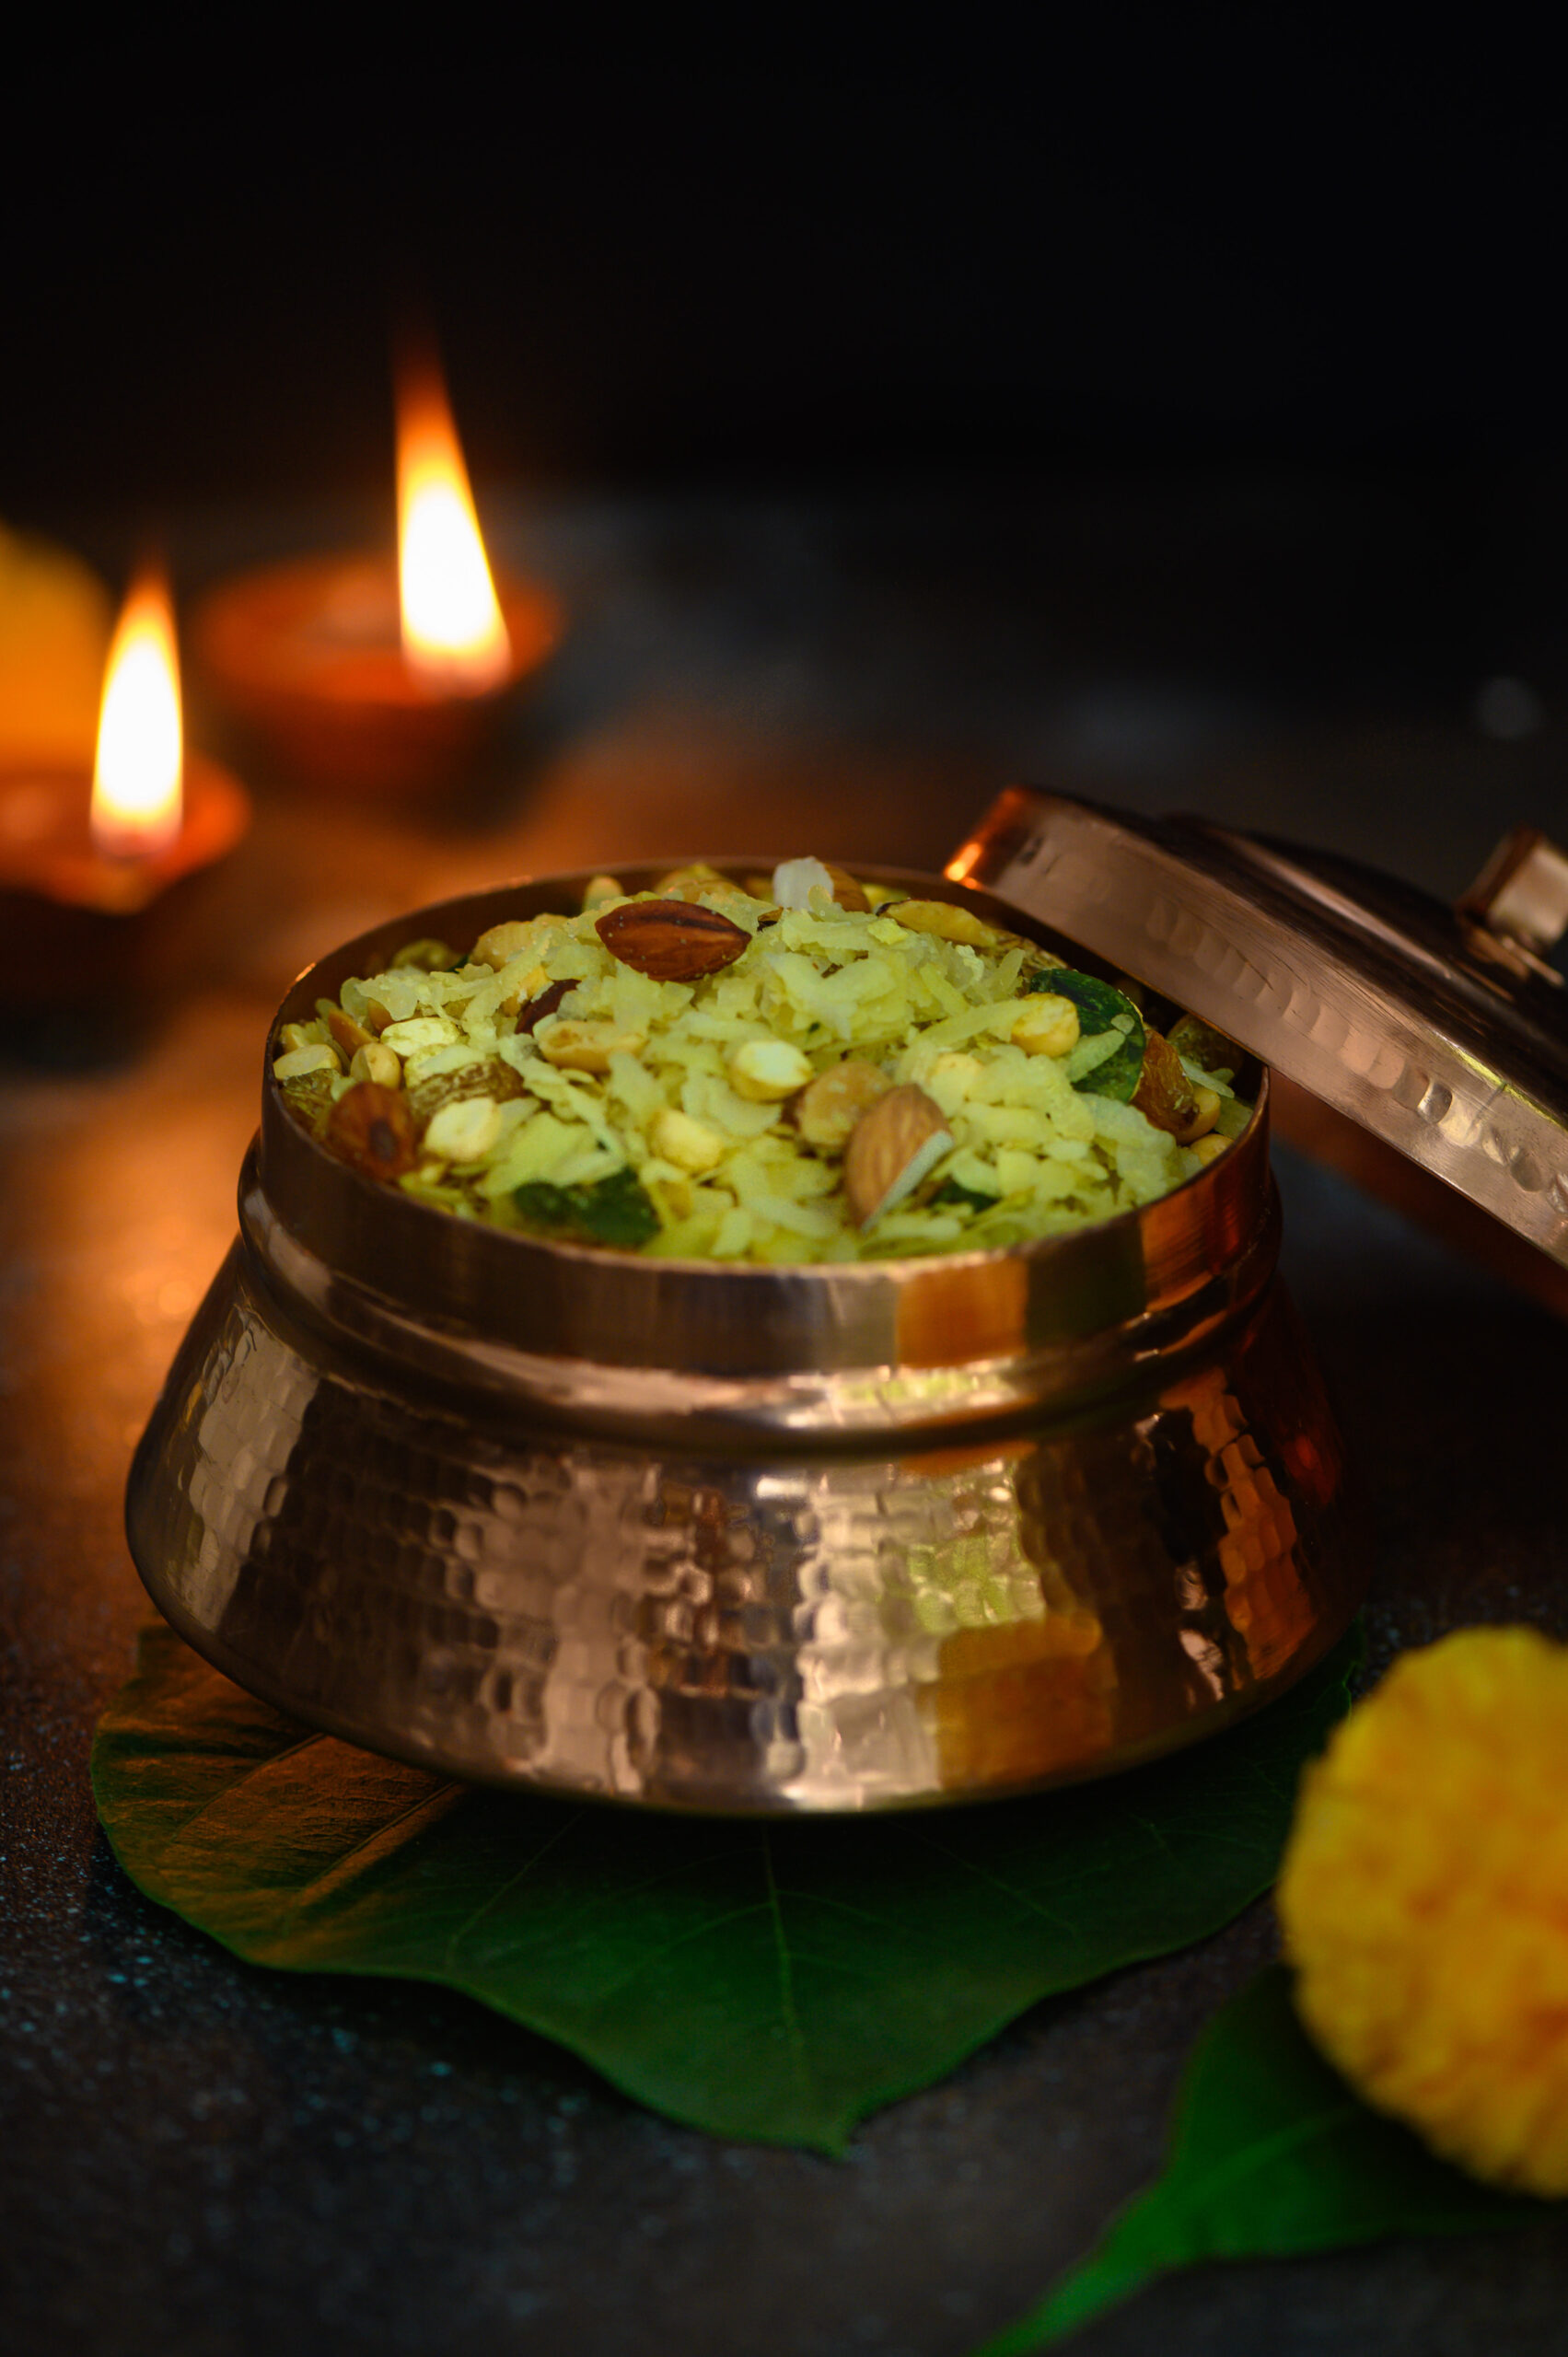
In those days, this simple but addictive snack was one of my mother’s Diwali staples. I remember how she would usually make it a few days before the festival, in the evenings, after all the duties with us kids were done and we had finished our homework. But sometimes, when we were at school, she would meet with her friends and they would make everyone’s festive batches together. Nowadays, this might be called a community cooking type of get-together. To the mothers of that generation, who did not have home staff, it was so much more easy and convenient to join hands and cook. It was also a way to socialize. Occasionally, if the joint cooking happened on a weekend or at a time when the kids were at home, we would also get a chance to hang out with our own friends, and this was always fun.

The mothers learned from each other in this way. They would just be a group of 3 or 4 women, but each with her own expertise. I recall how my mother would say, for example, “This aunty’s mithai turns out very well, so this year I want to make some with her.” The homes they convened in depended on practical considerations like space or utensils. Who had the big kadai? Whose house was less crowded that day? These gatherings happened mostly around festive occasions, and I think of them as an early version of our blogs today. This is one reason why I treasure my mum’s cookbook so much. It contains all these different recipes that she learned from her friends, collected over the years through interacting with each person who shared the best from her personal repertoire.

As Gujaratis in Tamil Nadu, I think they also wanted a sense of community. Although we never felt alienated by Tamils or their culture, and grew up in our Tamil neighbours’ homes too, there was something meaningful about these gatherings. Meeting a few times a year to celebrate auspicious events in our traditional ways allowed us children to connect with language, cuisine and other aspects of the culture which were reminiscent of our parents’ and grandparents’ own upbringings.

Diwali is all about exchanging sweets and savouries, and back then there were no fancy delicacies to be ordered in bulk, either. Everything was homemade and non-commercial. Everything was simple and there was a spirit of sharing – “I give you a Diwali treat in my box, and you give me a Diwali treat in your box.”. When this group of women got together and cooked, they made enough for each family to take home, as well as to give away.

Some traditions you just have to keep. Which is why, even though Gujaratis are inventive when it comes to mixtures (and you know how much I love doing something unique to any recipe I try!), this chevdo / poha roast mix is a basic, traditional recipe. The one difference is that it is roasted, not fried. You can replace some of the ingredients based on your preference, but I recommend that you leave a hint of the sweetness in as it goes well with the crunch.
Diwali Chevdo / Poha Roast Mix

(Yield: approximately 400 grams)

150 grams poha

60 grams peanuts

60 grams roasted gram

50 grams almonds

50 grams raisins

50 grams cashew

¼ teaspoon turmeric

1 tablespoon heaped powdered sugar

⅓ cup oil + ½ tablespoon oil

1 tsp salt or as per taste

2 green chillies

A handful of curry leaves


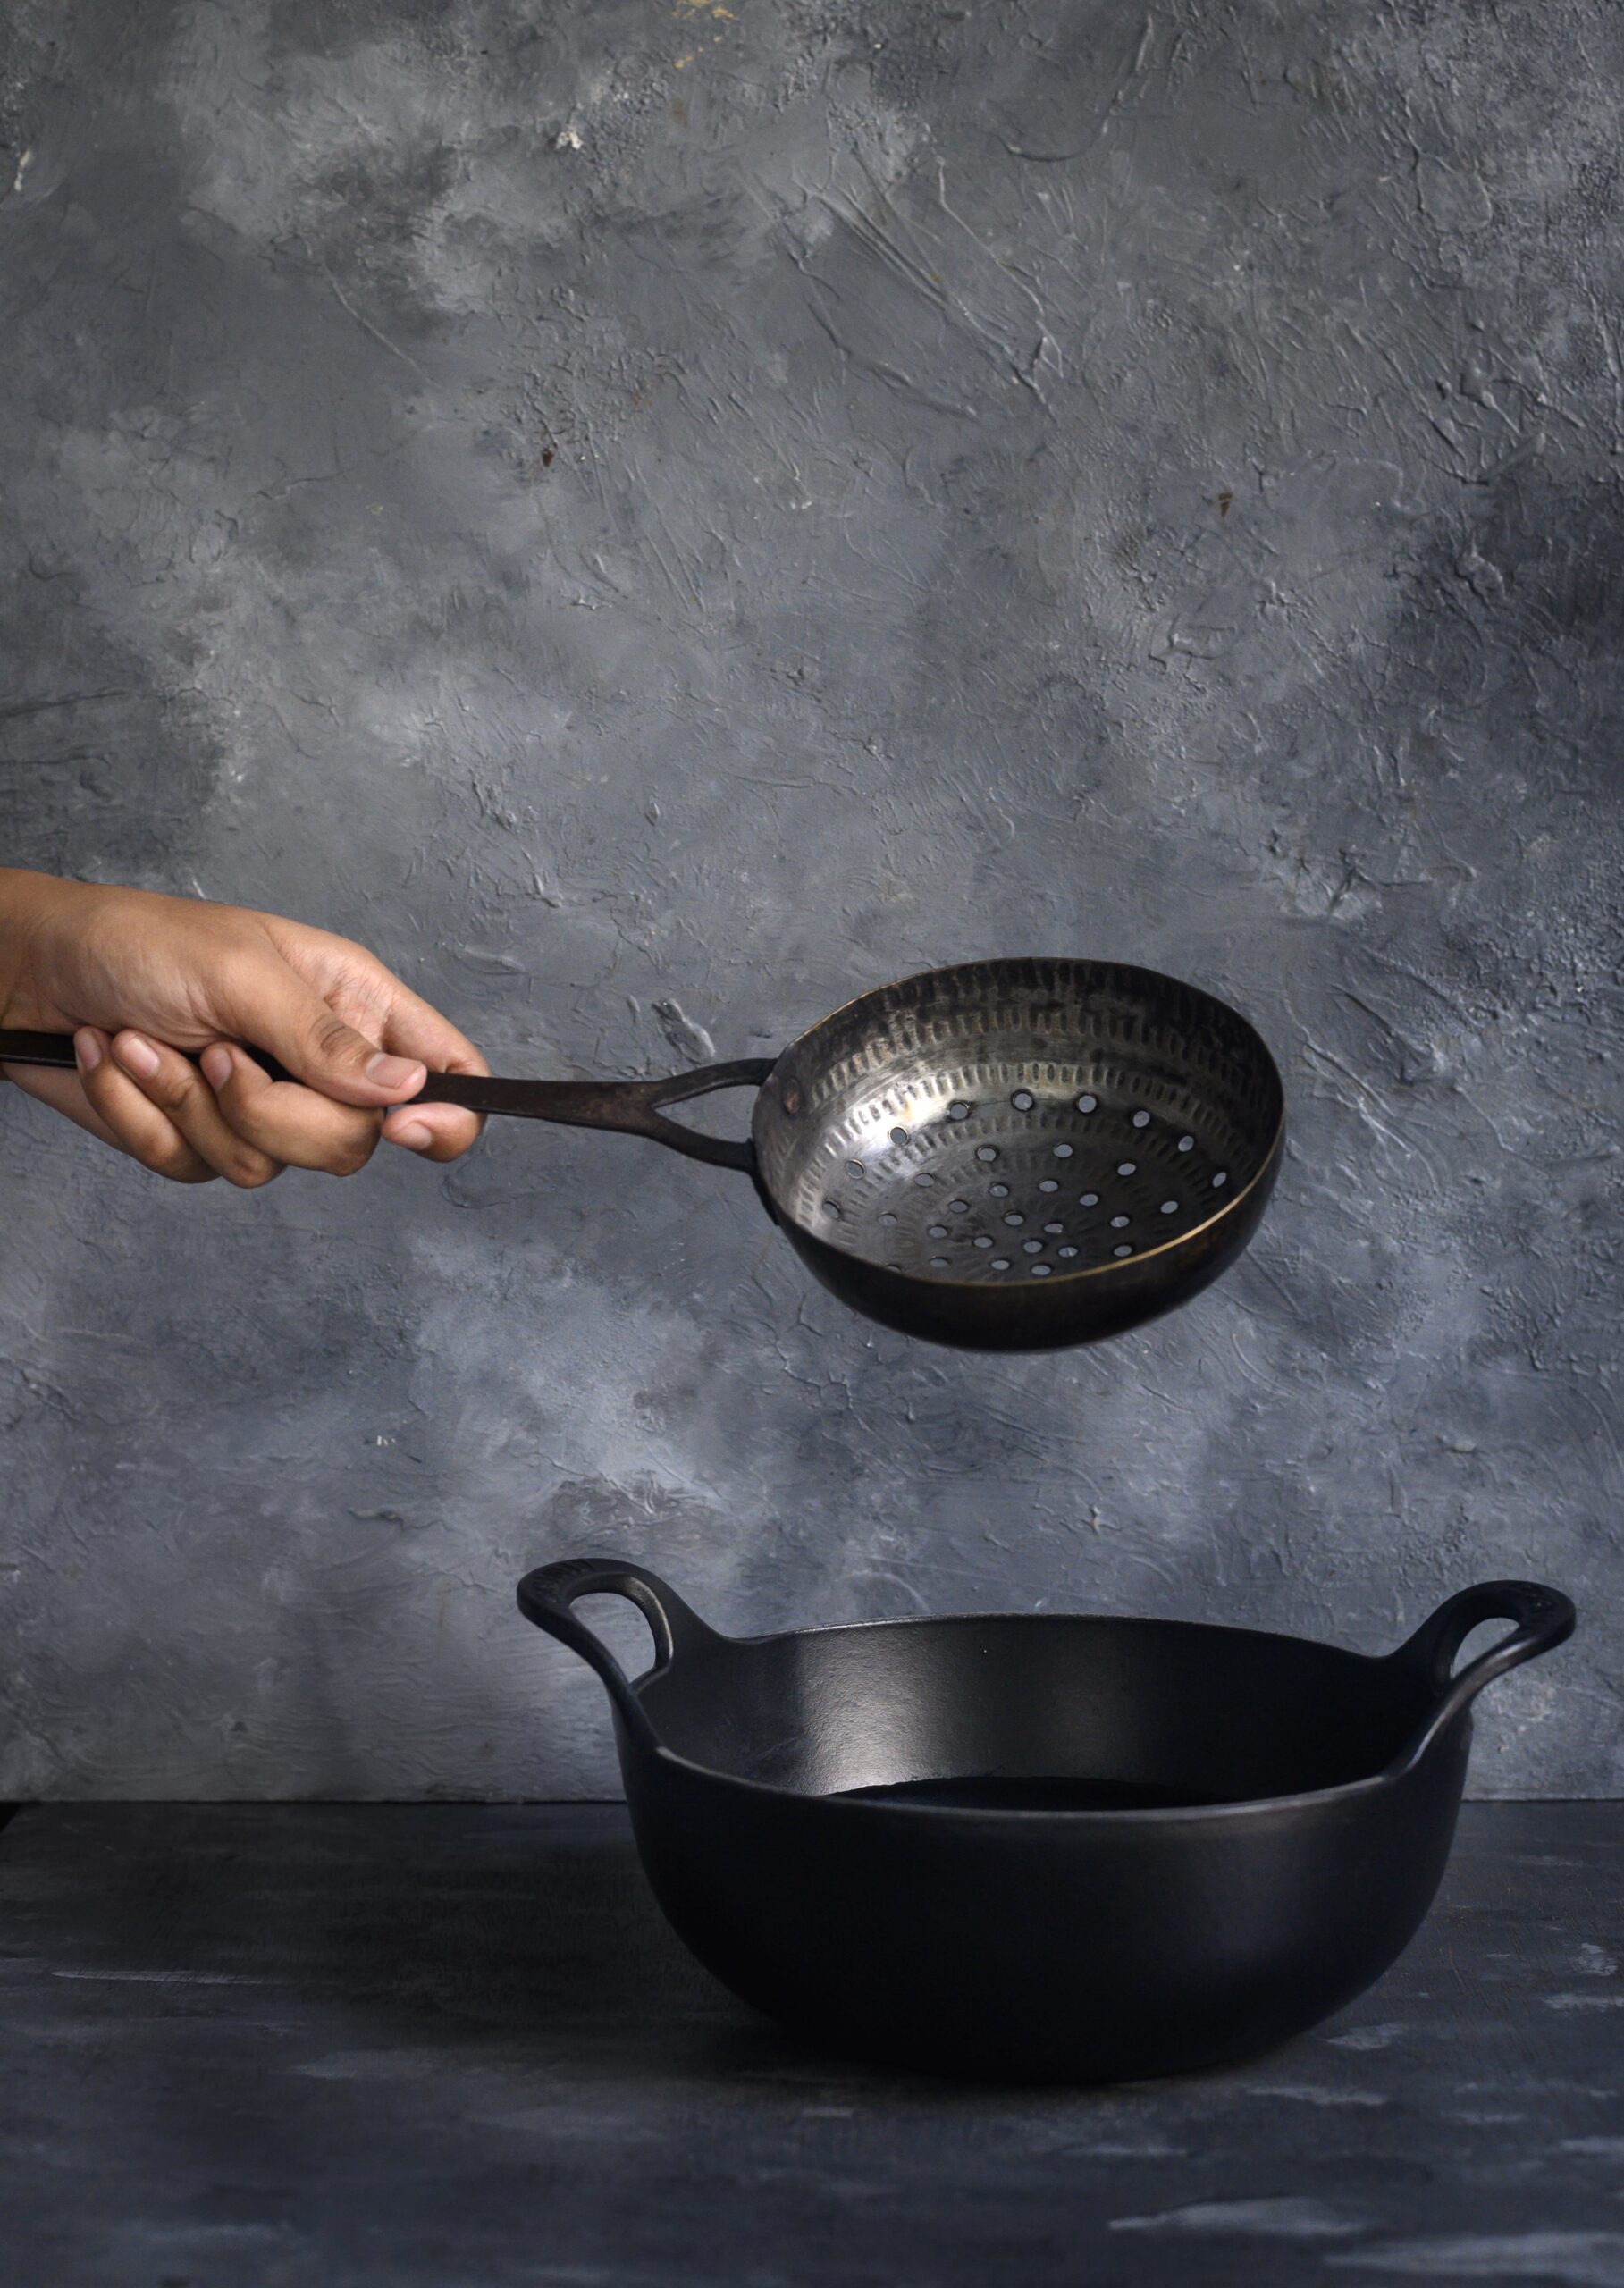
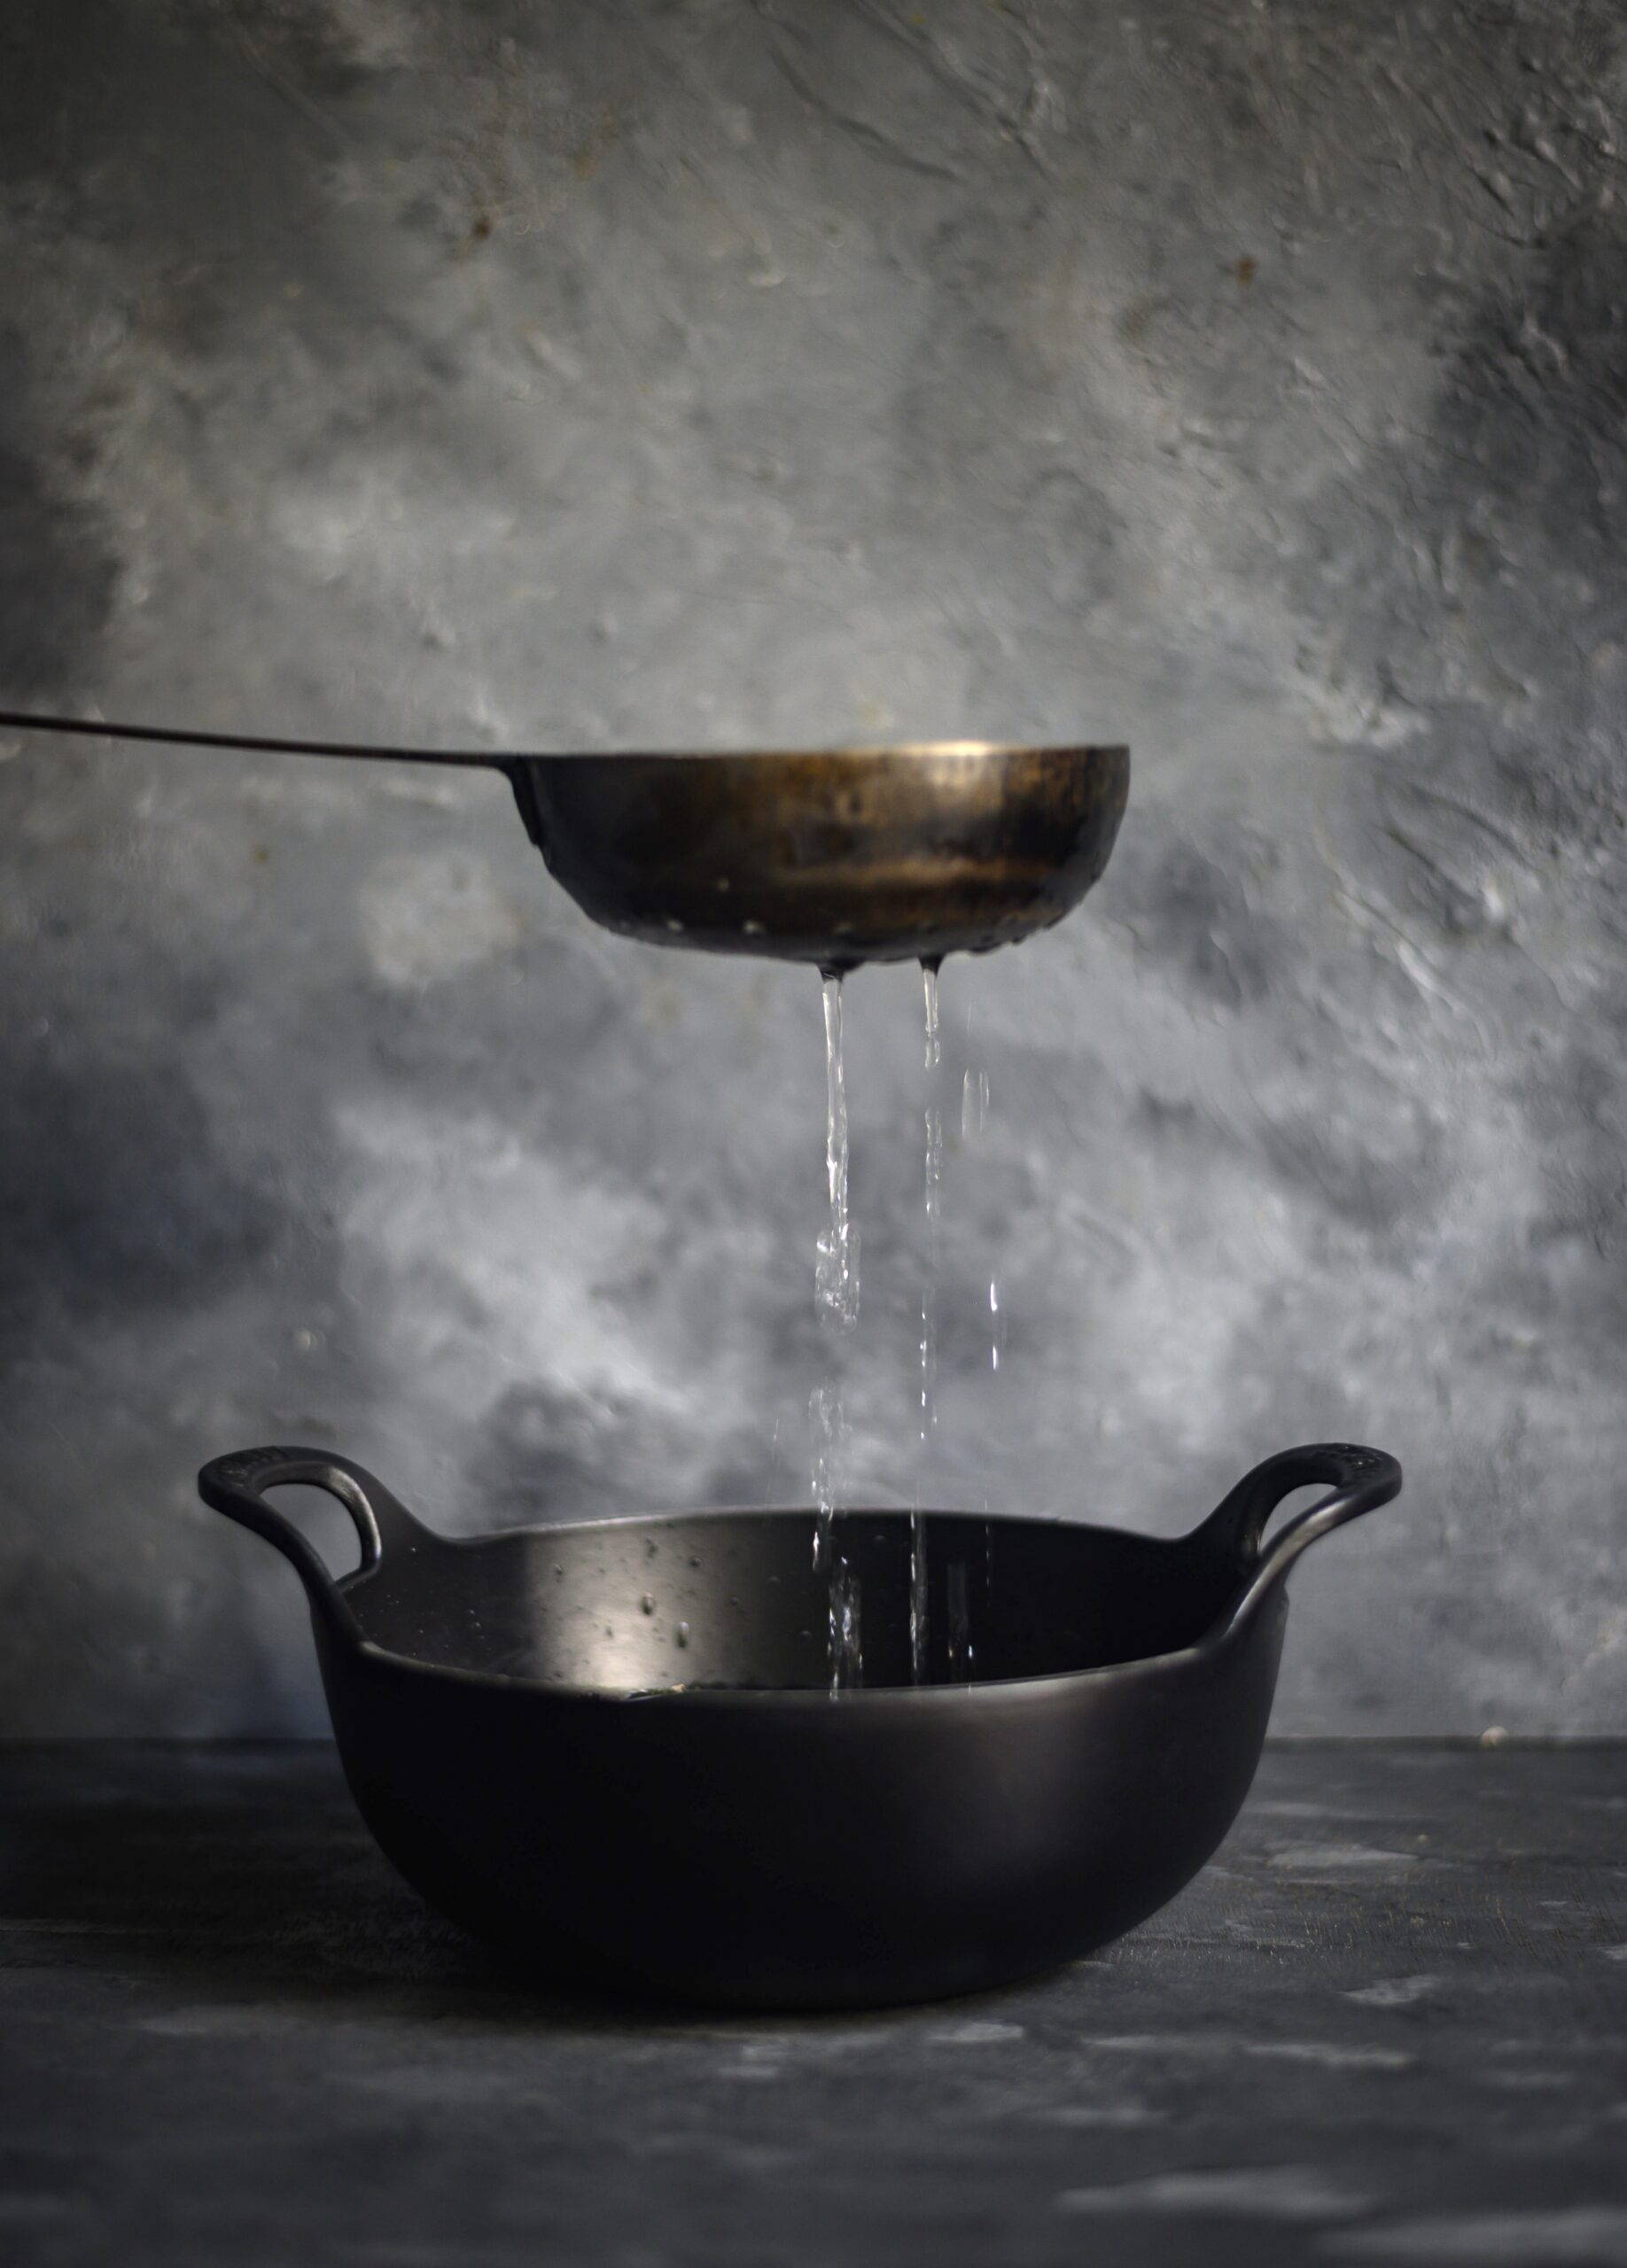
The truth is that fried poha tastes fantastic, but I am giving you a roasted poha version in order to keep up with the times. With the pollution in the environment today, we must make an effort to eat healthier. This method below is completely different from the fried kind, but if you do want to try a fried variant, do try to get your hands on a special utensil which will make the process easier and less messy – a cup-shaped ladle with draining holes, into which you put small batches of the ingredients in at a time.
In a wide bottom pan, roast the poha on a low flame, making sure it does not turn brown. Avoid using a spatula to stir as this will only cause the brittle poha to break into tiny pieces. I picked up the pan and swirled it around gently, and used my hands to turn the poha around. Keep the poha moving frequently. The roasting takes approximately 15-20 minutes. Once the poha is roasted, set it aside.

In another pan, add the ⅓ cup of oil and allow it to heat. Now, add the roasted gram. On a medium flame, stir using a ladle. Once the roasted gram is golden, drain well and place on an absorbent paper.

Next, add the peanuts and repeat the roasting. Do the same to the cashew nuts and almonds, separately, as well.

Lastly, roast the golden raisins. Be careful as they will burn easily. At this point, lower the flame and once they fluff up, drain and remove them.

Now all the ingredients are ready to be assembled. On a low flame, add the ½ tablespoon of oil to a pan. Add the green chillies and some curry leaves. Once the chillies turn colour slightly, add salt, sugar and turmeric. Immediately after, add all the roasted ingredients – poha, peanuts, cashew nuts and raisins – turn by turn and mix gently. Make sure all the spices are incorporated well and coat all the ingredients. Ensure that the spices do not get burnt. This can be done by keeping a low flame and stirring the ingredients constantly as you add them.

Allow to cool on the pan. Do not cover as this may cause moisture to fall into the crispy chevdo.
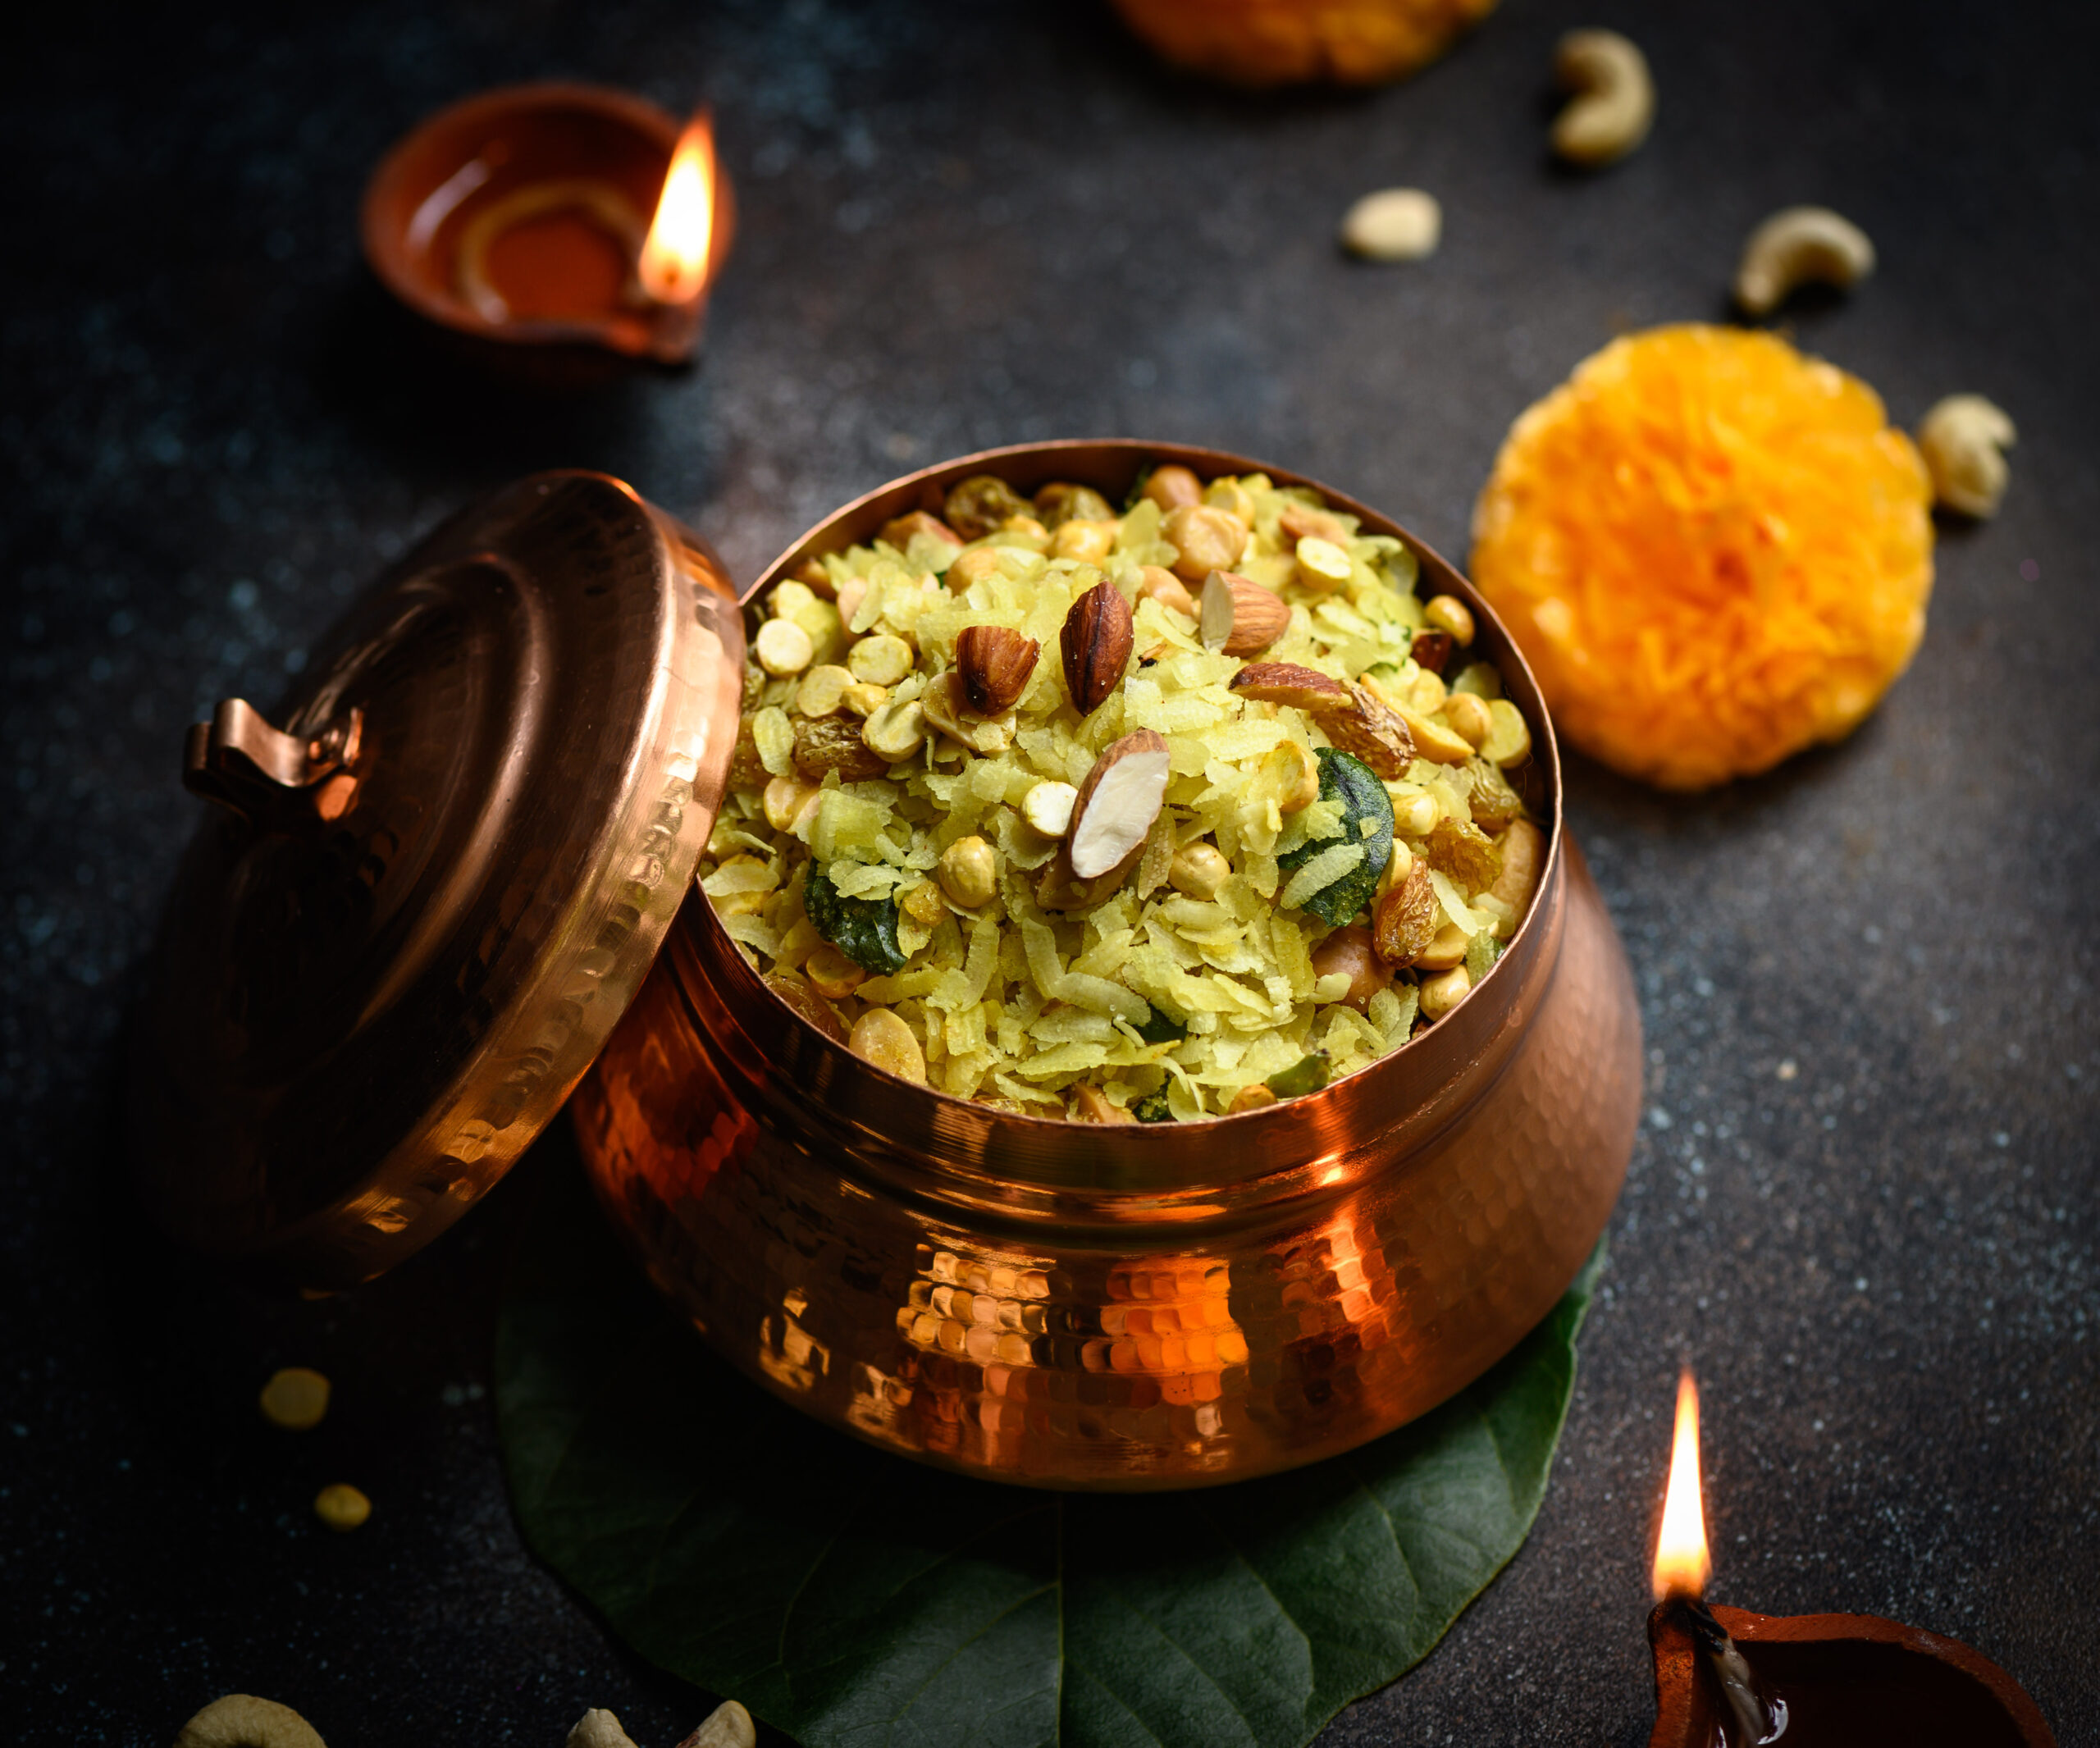
Your Gujarati Diwali chevdo / poha roast mix is now ready, and it tastes especially yummy with chai. It’s my husband’s and daughter’s most favourite snack, which is why I’ve got a headstart on making it for this Diwali. I hope you’ll enjoy it, and make it a part of your festivities too. I’d love to know what you think of this delicious mixture, the recipe for which could be as much my mother’s, or her friend’s, but is now mine and yours!
It was Raksha Bandhan a few days ago, and my home was reverberating with boisterous laughter and shouting, filled with the joy and commotion of having all three of my children visiting. This was no coincidence, as Raksha Bandhan is one of the special occasions on which I enforce a very strict rule: no matter where they are in the world, they must return to Chennai to be with their parents and each other.

Raksha Bandhan is doubly special as it is in honour of their relationships to one another. This North Indian festival is a unique one that celebrates one of the most important bonds of all, the one between a sister and her brother. My daughter is fortunate to have two loving elder brothers, and the older they all get, the more precious this day has become to my family. It’s a delight for me as a mother to have them all come home at the same time, as well as a wonderful opportunity for me to fully express my “love language” – cooking!

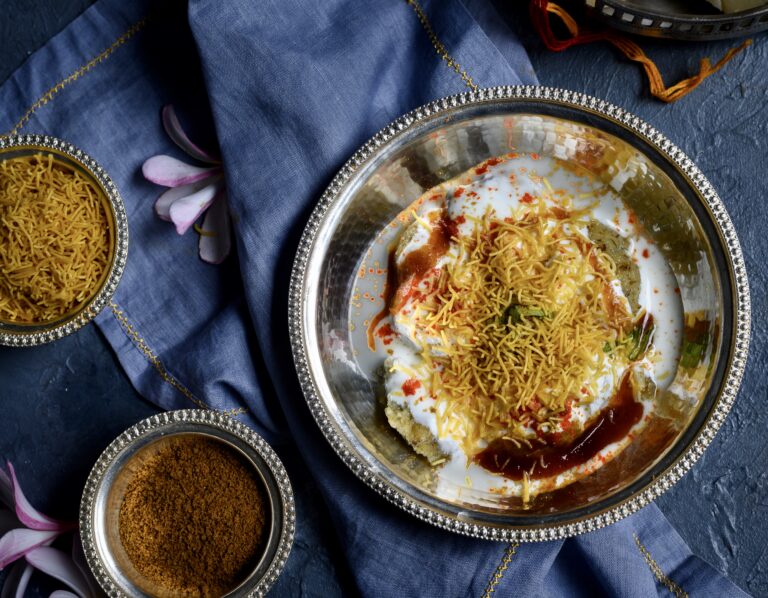
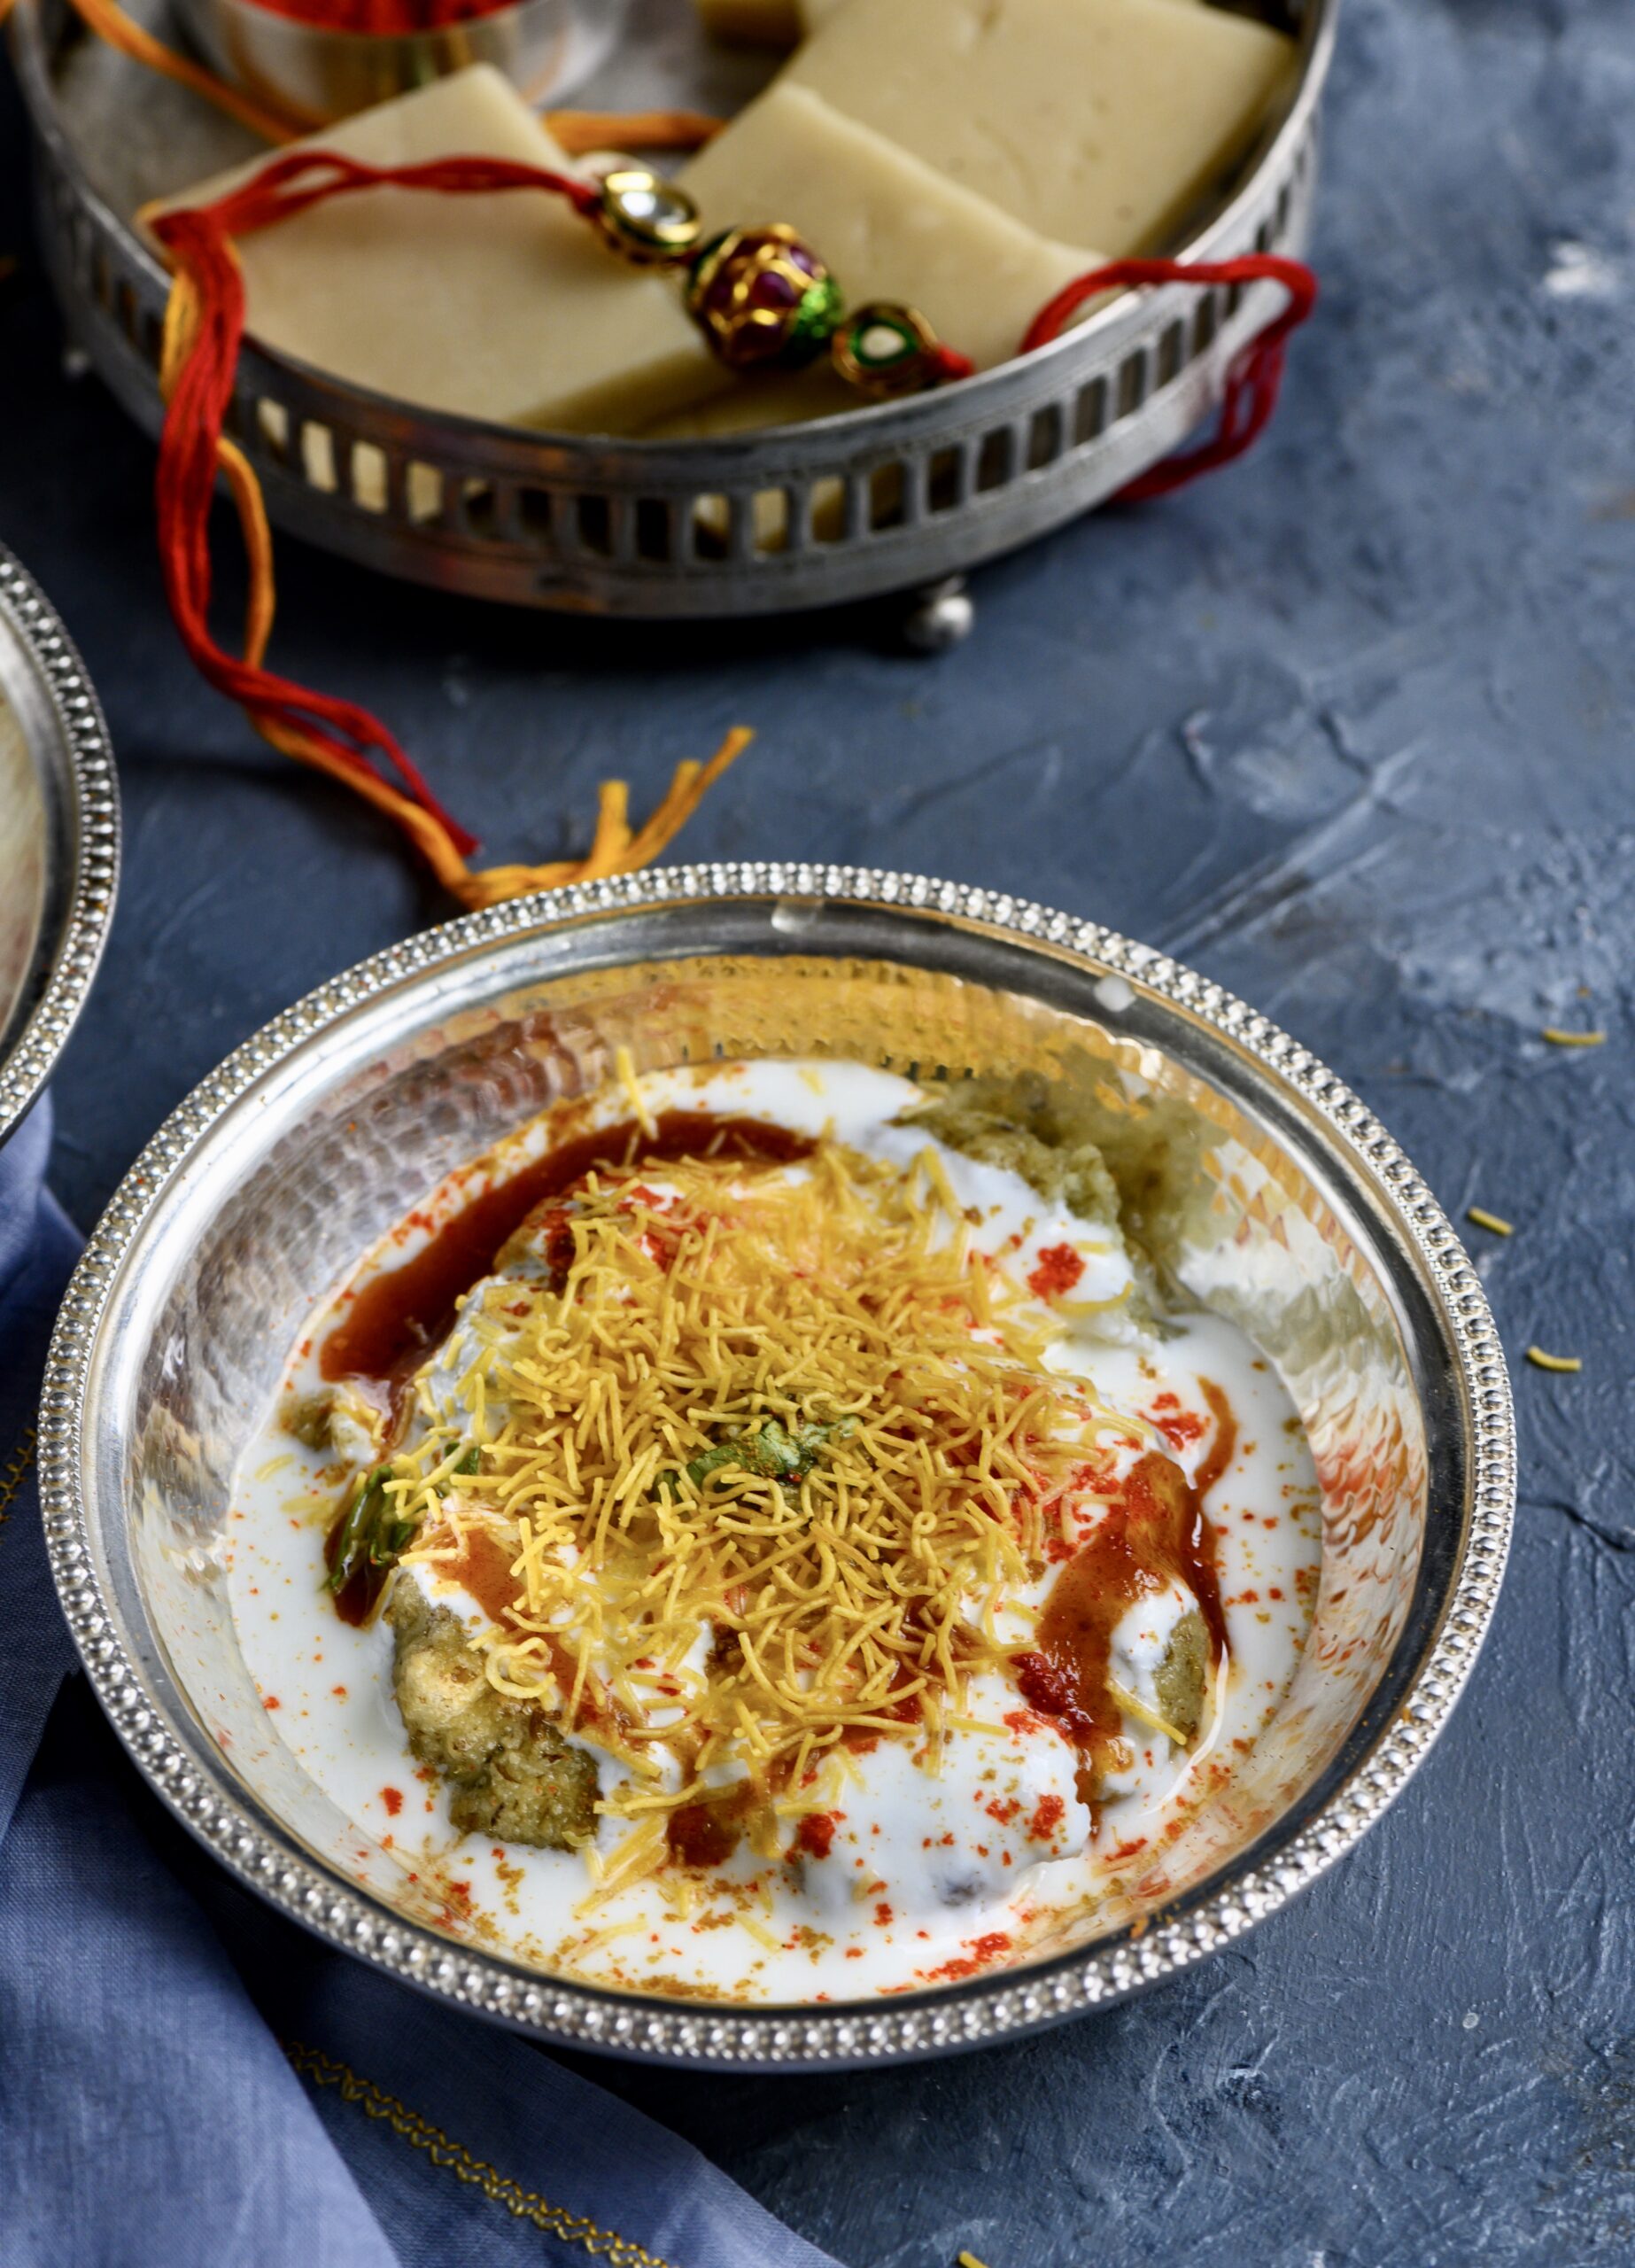
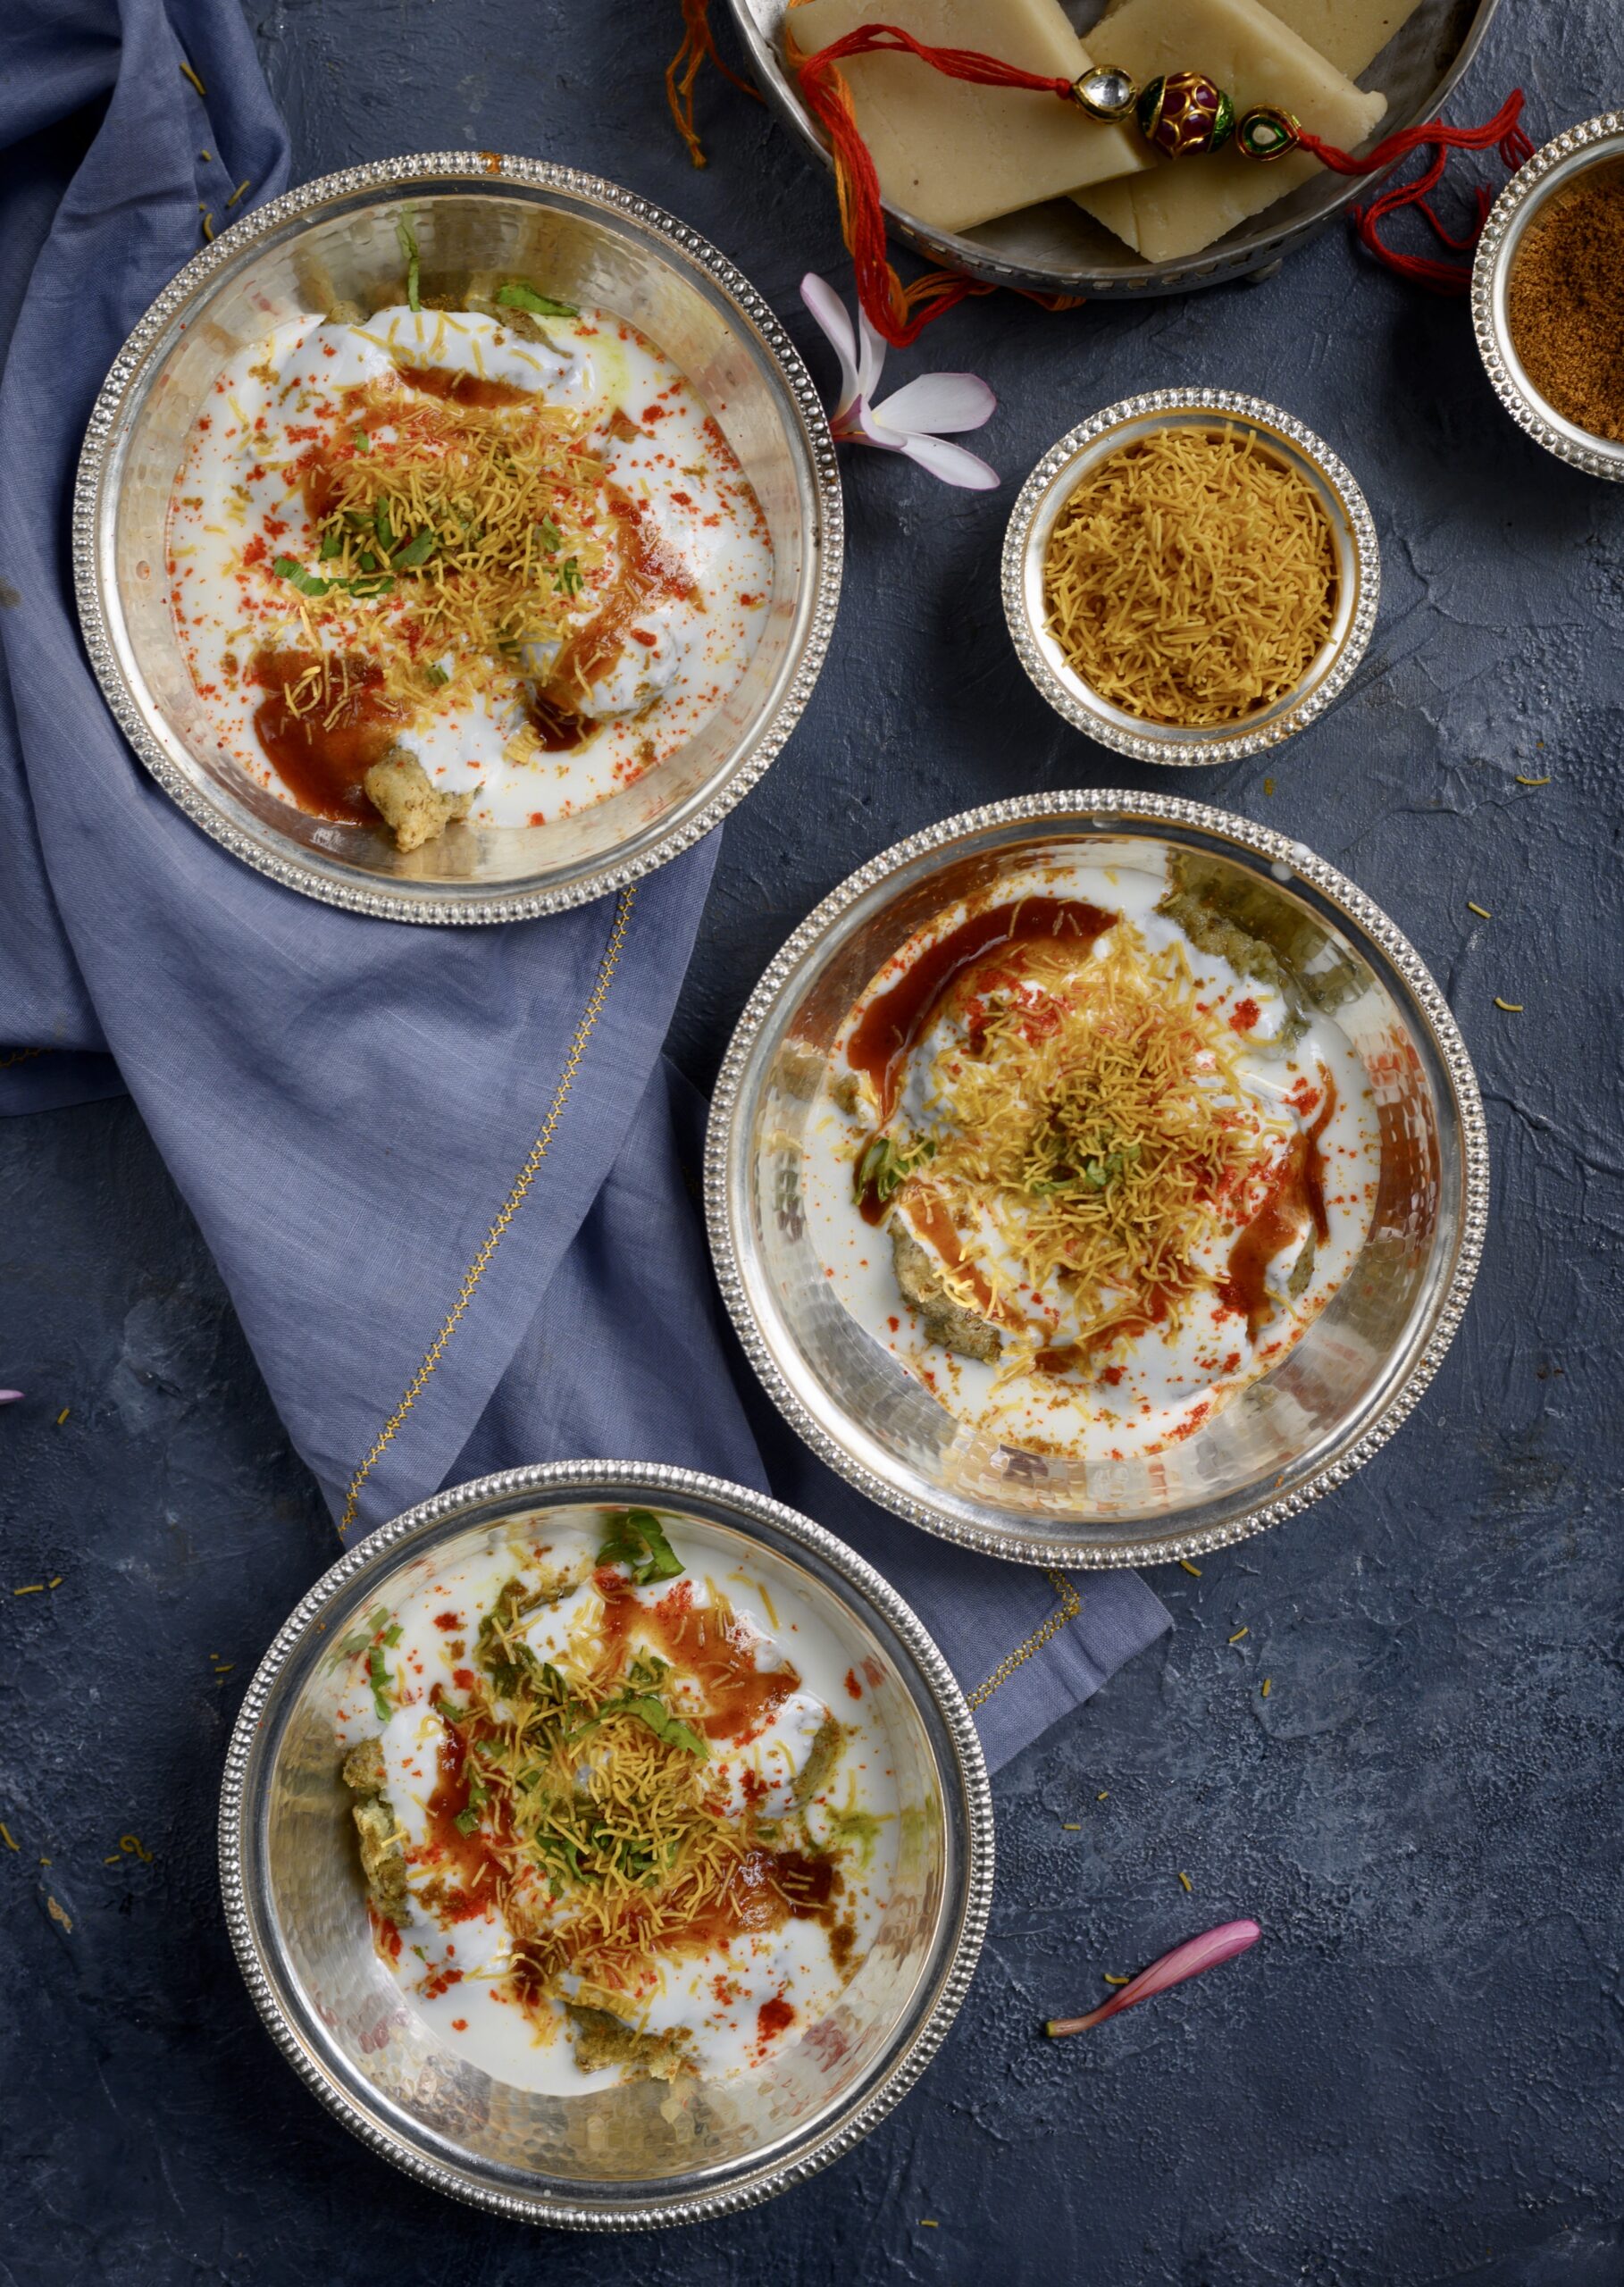
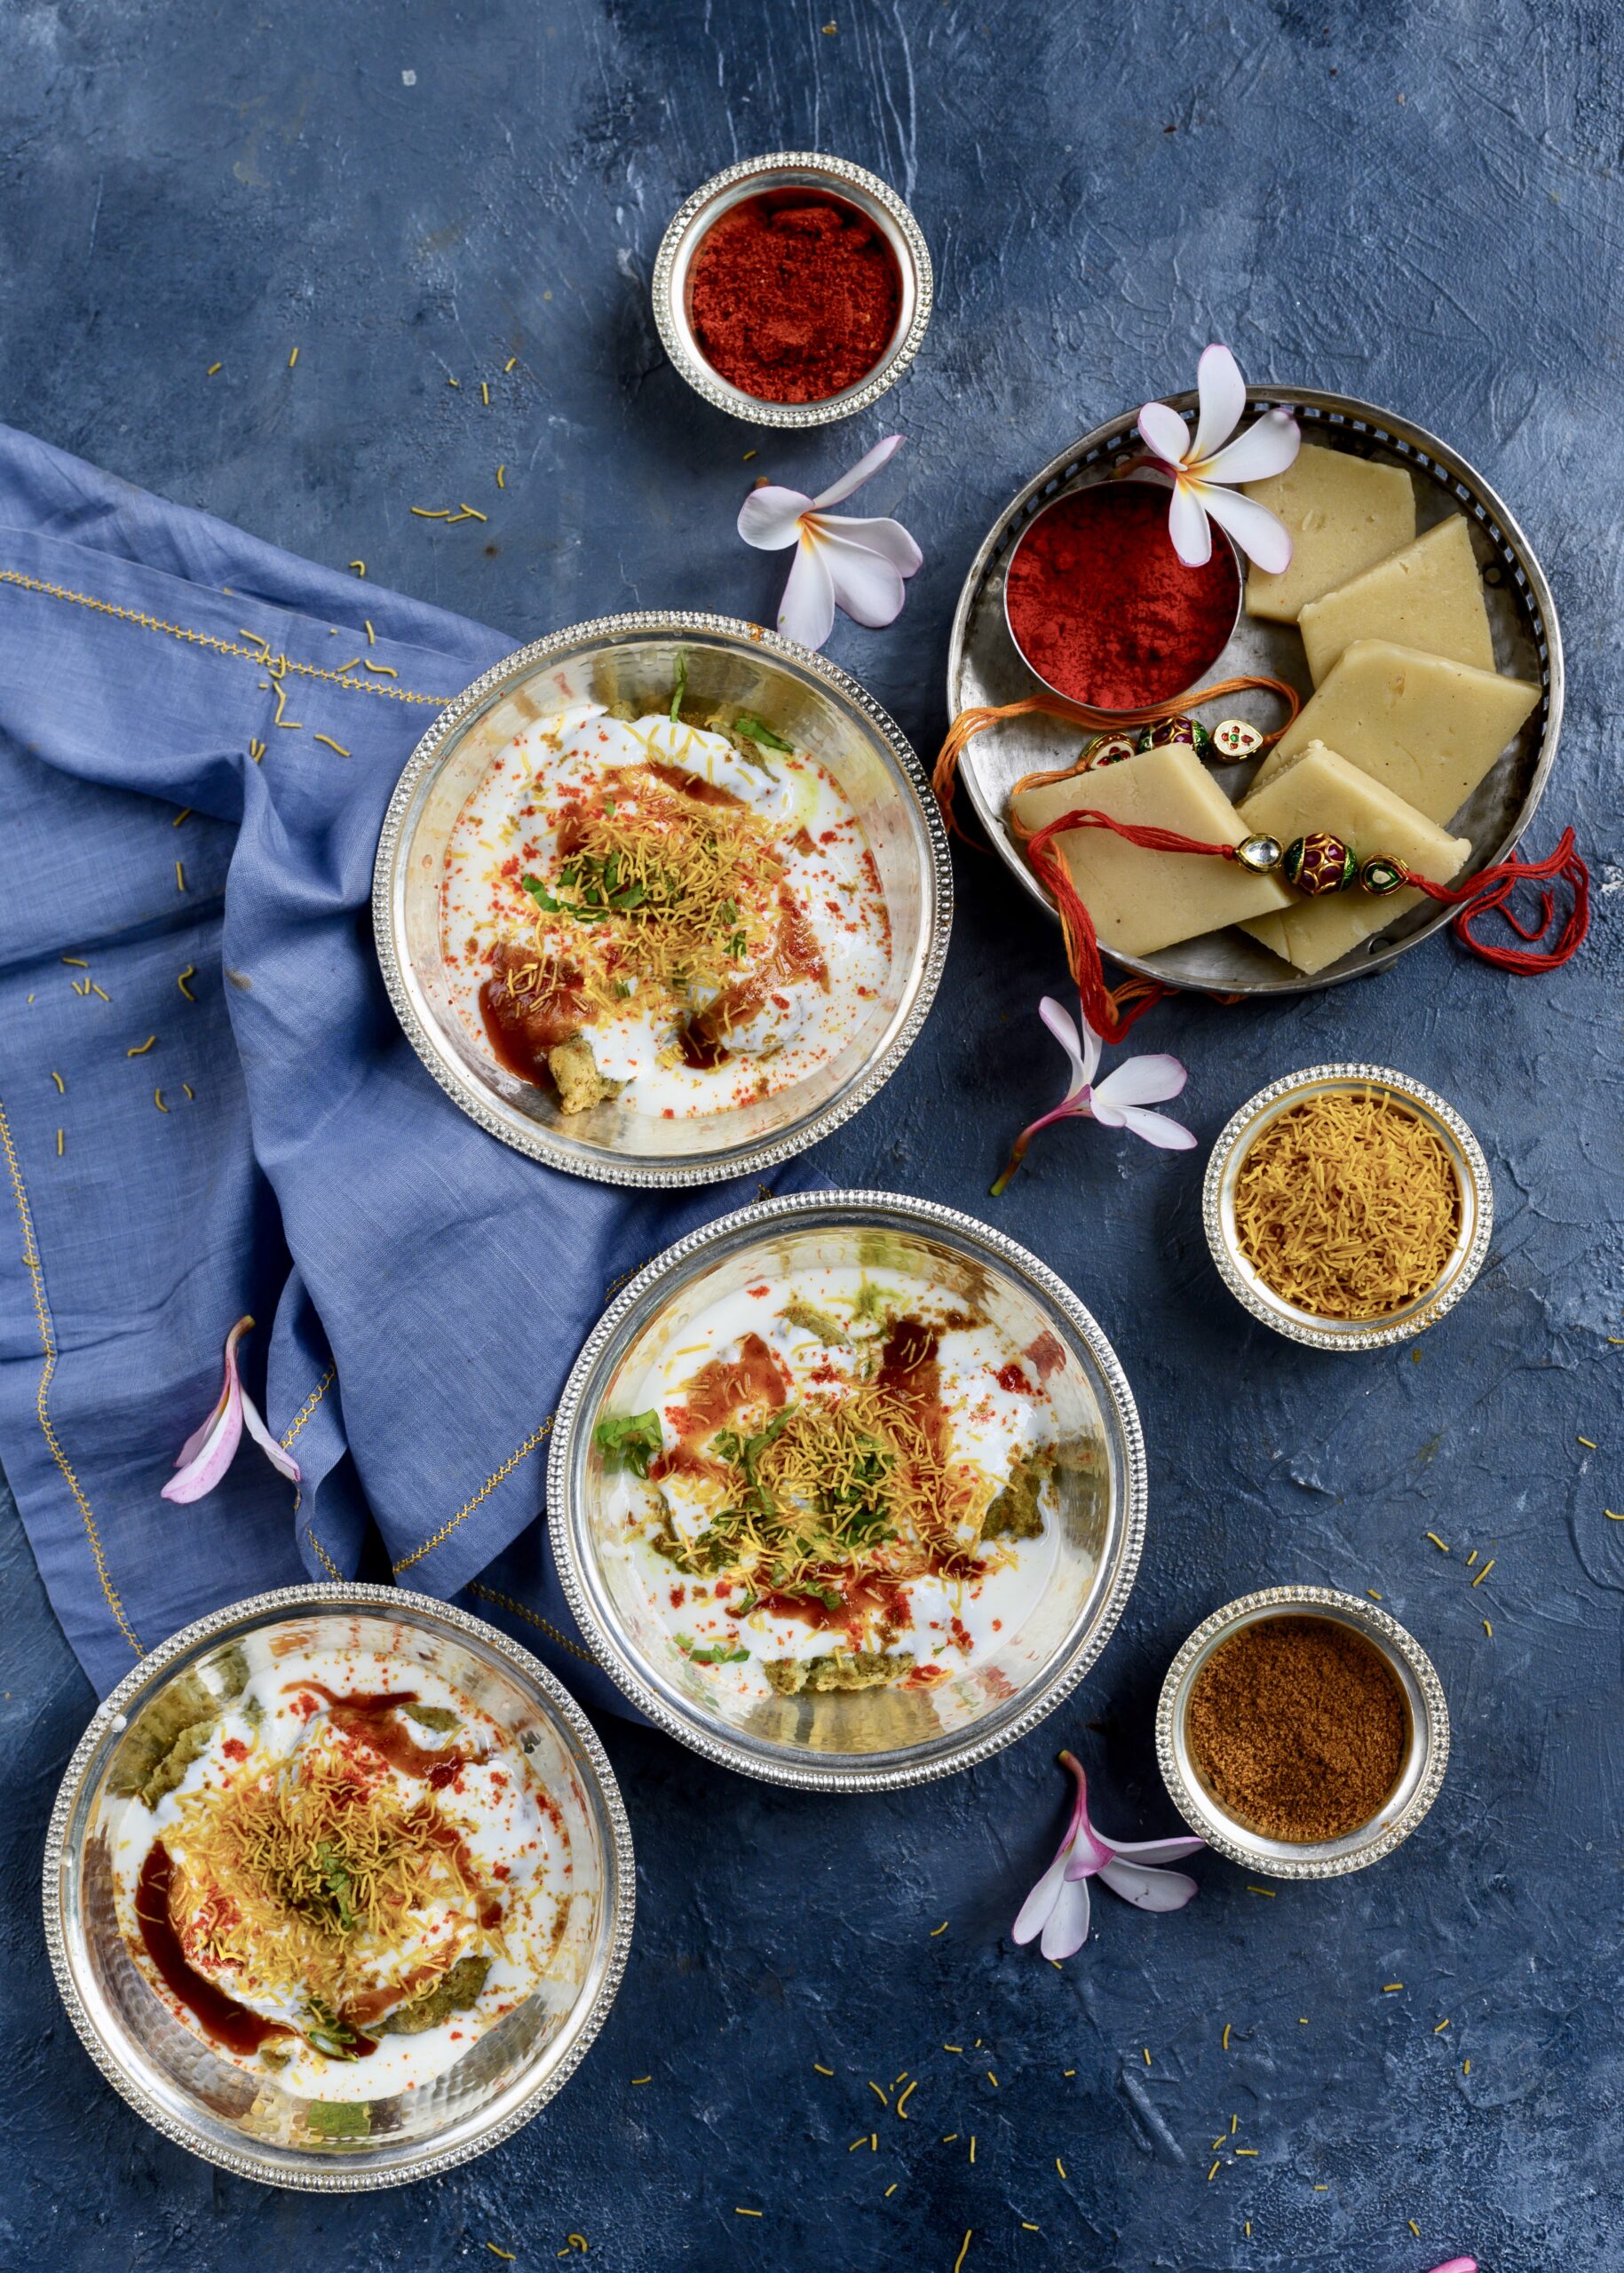
This time, I chose to make dahi vada, a simple yet important traditional dish. A vada is a kind of deep-fried doughnut or dumpling, made from ground lentils (sago or potato may be used in some varieties). You may remember that vadas have ritual symbolism to Gujaratis during our new year.  Dahi vada is made by soaking the plain vada in yoghurt (“dahi”) and serving it with light toppings ranging from basic curry leaves to more elaborate garnishings like pomegranate.  There are innumerable versions of the dish varying from state to state, community to community, and kitchen to kitchen. In Tamil Nadu, it’s the popular snack item known as “thayir vadai”. The Gujarati variant is made in an exciting way, almost like a chaat, with an added tangy flavour thanks to the use of date or tamarind chutney. It is one of my favourites to prepare on auspicious occasions.

On Raksha Bandhan, the traditional ritual is for the sister to place a sweet in her brother’s mouth so that his life will be blessed. In turn, he promises to protect her and take care of her for the rest of his life, and she ties an amulet called a “rakhi” around his wrist to seal this. At home, we love renewing this vow annually. There is a cheerful feel in the air, and we enjoy catching up over the delicious feast that I always prepare. But more than that, it’s the kind of vow which I take very seriously. I know that my children, who are young and full of ambition and who crib about having to shuffle their schedules around to be here, will some day understand why I insist on observing this occasion. I tell my daughter that I don’t care if she has to take the last flight out after her tough day as a law student, and ensure that both my sons (especially the one who must come from abroad) have planned their schedules around the dates that I insist that they spend here together. I am confident that they will carry this ceremony forward even decades into the future, and will continue to meet across continents to celebrate special occasions.

The recipe I am sharing today is from my own sister, who loves to spoil me every time I visit her in Mumbai by making these traditional dishes that I so enjoy. In exchange, she asks me to bake some kind of bread or to teach her how to make an eggless cake, and in this way we deepen our bond and expand our culinary repertoires too.

I hope this recipe below is also a healthier version of the usual vada, as it uses split mung, also known as moong beans, instead of urad dal or black grams. I prefer this lentil for its many nutritious benefits, especially its richness in minerals, vitamins, fibre and protein.

Although dahi vada is commonly seen as a snack or side dish, we love it so much at home that with enough servings, it simply becomes our dinner. As it uses ingredients which are always on-hand in the Indian kitchen, and combines two basic staples (vadas and yoghurt), it’s a great dish to serve to unexpected guests and as a light festive dish for upcoming occasions like Ganesh Chathurthi and Diwali. It’s also ideal for those who have senior citizens at home, as it’s soft to chew and yoghurt always has a soothing effect. Given the mix of ages in my household, especially during festivals, I find it works very well to please everyone. The young ones find it tasty and chatpata (tangy and flavourful), while the older people enjoy it as a type of comfort food.

Dahi Vada

(Yield: approximately 15 vadas)

For the vada

1 cup split mung

½ teaspoon asafoetida

Salt to taste

1 teaspoon cumin seeds

½ teaspoon green chili paste

Other ingredients

4 cups water

Oil for deep frying

3-4 cups yoghurt

Coriander leaves

Green chutney

Sweet date chutney

Roasted cumin powder


Wash the split mung and soak it in water for 4-6 hours until tender.

Rinse and then grind the soaked mung coarsely, without adding water, in the idly grinder.

Then, beat the batter in a bowl. Make sure that it is nice and frothy. This will ensure the fluffiness of the vada.

I like to add all the spices and other ingredients in the last whiz of the batter and fry the vadas immediately after.

In a wok, heat the oil and make small vadas by shaping and then dropping the batter into the hot oil. These vadas are dumpling-shaped, and you can make them in your palm.

Once golden, remove the fried vadas and sink them in the 4 cups of water. This will ensure they become softer. Once all the vadas are fried and soaked, remove them individually. Gently squeeze out the water and arrange them on the plate for serving. I like to serve individual portions.

In the meantime, beat the curd, adding the salt and roasted cumin powder and mix thoroughly. Many Indian families eat homemade yoghurt, and the recipe to make the same is here. You can use store-bought curd as well. If you have access to coconut yoghurt or soy yoghurt, feel free to substitute accordingly. In India, these innovative items have yet to hit the market, so I’m afraid this is very much a dairy post, with apologies to my local vegan readers!
Pour the curd over the vadas, just enough to cover them.

Finally, top the curd with the green coriander chutney and sweet date chutney. Sprinkle some more roasted cumin powder and garnish the dish with some finely-cut coriander leaves.

When the weekend after Raksha Bandhan ends, my house will slowly quieten down as one by one, each of my children return to the places where they are establishing their own lives. Eventually, if they get married or have kids, I will look forward to them all coming home with their families. I can already imagine how Raksha Bandhan and Diwali will be exuberant get-togethers of the entire clan, giving us a chance to rekindle our bonds as well as get to know new members. There is already so much warmth and love between the five of us now, and I only want it to keep growing.

This warmth and love is something that we strive to build and to keep, and we never take it for granted. You have to learn how to tide over difficulties and manage practical struggles like living far apart. This is a choice. I believe that families with close ties exist because someone chose to take on the responsibility of creating and maintaining those ties. In mine, I am that person. My grandfather used to call me “the Lady of the House” for this reason. He would say that the entire family bond was in my hands, because I take my role as the one who holds it together seriously. Many women of my generation do, and I am sure you may feel the same way. We hold the bond together through tradition, love – and always – food. Here’s to all the joyous feasts in my home and in yours, right now and far into the future…

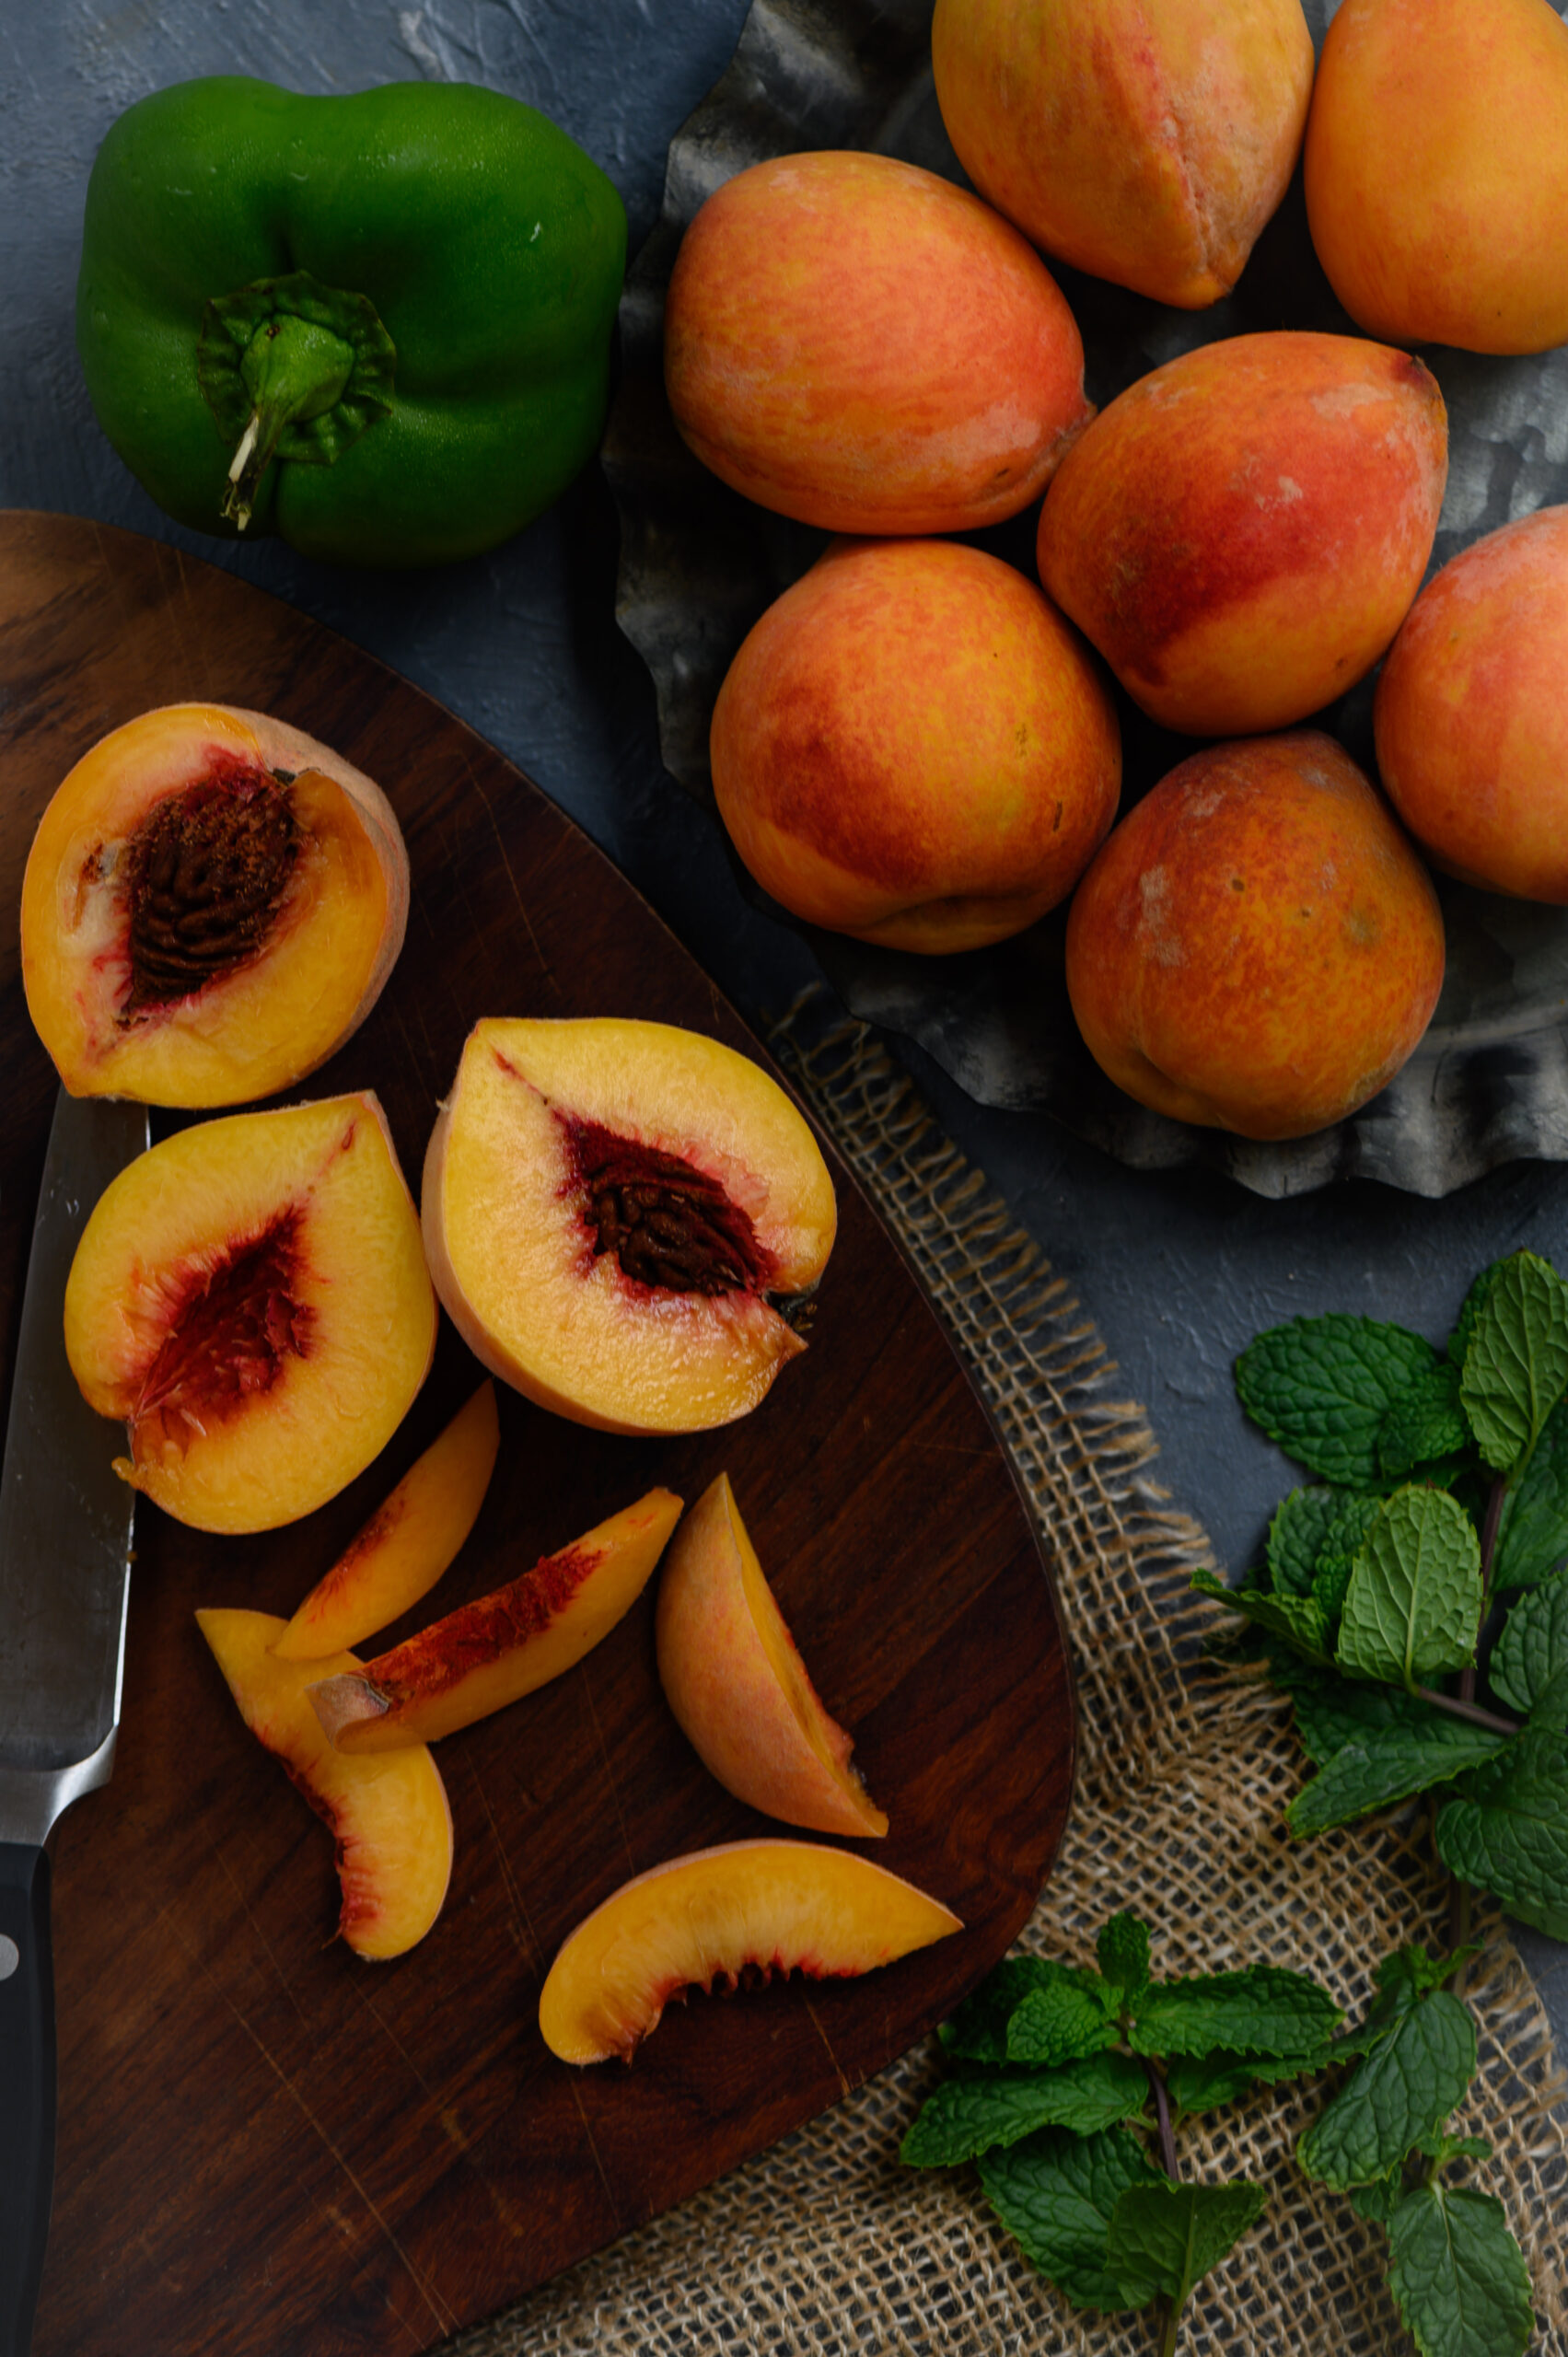
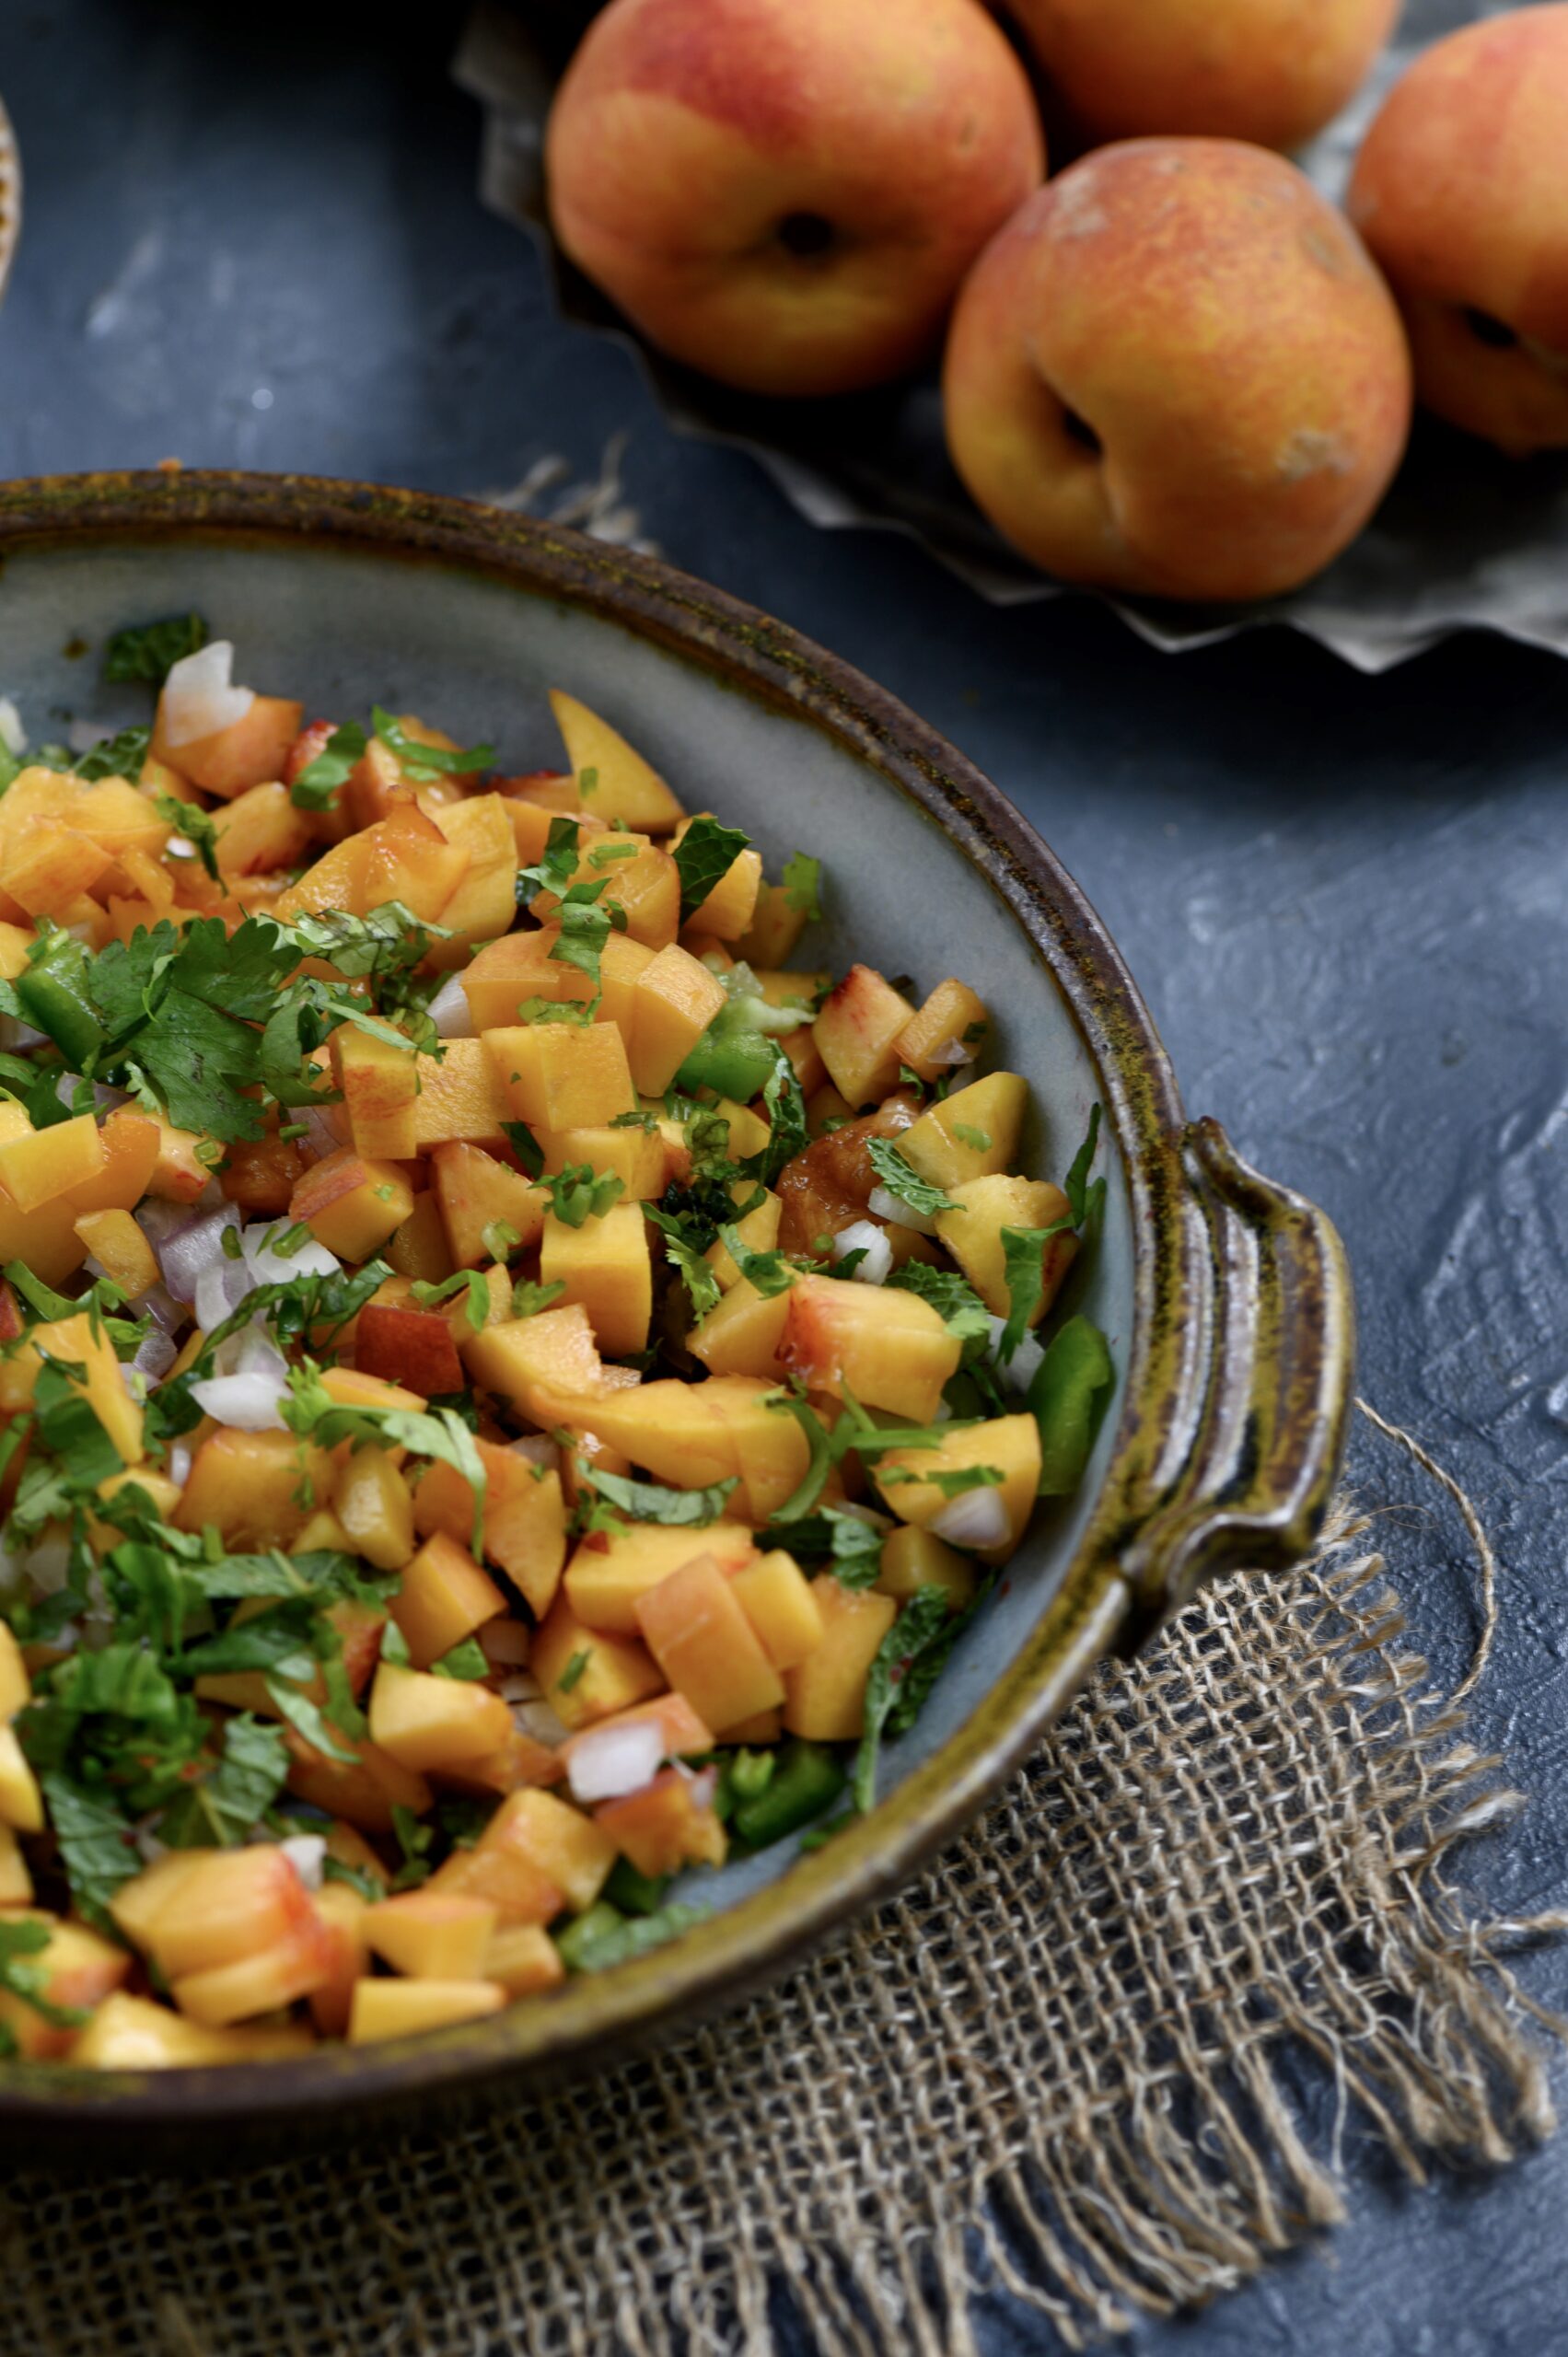
When my sister sent me a huge batch of peaches, brought down from the hills of Himachal Pradesh to the markets of Mumbai and then finally to my kitchen, I was simply bursting with joy. The possibilities were endless. I couldn’t decide between making peach juice for breakfast, or perhaps peach melba accompanied by some classic vanilla ice cream, or maybe baking a fruity cake as a delightful tea time accompaniment. Needless to say I did all of the above and then some more. This vibrant peach salsa, bursting with luscious flavours, has been a frequent feature at my table during the past few weeks.

While peaches aren’t a tropical fruit, they are abundantly available here. I can remember a time when this was not the case. We would encounter a country variety only when we went to the hills, when we would visit Ooty every year through our childhood summers. While we took our familiar fruits like mangoes, guavas and coconuts for granted, the summer fruits of the hilly region were a novelty. I remember the first time I saw pear trees in those hills, for example, and how exciting that was. During these holidays, we became familiarised with various homegrown but somehow exotic produce, including “English vegetable”. As well as local peaches, of course. They were smaller, rustic-looking, greenish in colour and a little more sour in taste than the large juicy imported ones (and even the ones from North India), but they were peaches just the same. The season was short, and as they were a slightly rare fruit, we treated them as a delicacy. In addition, peaches were associated with the holidays in the hills. They are still reminders of a time when things were simpler and carefree. A time when that cool climate was a yearly escape, far from school and the sweltering heat of Chennai.

Peaches are a luscious, sweet fruit which are native to China, which are believed to have made their first appearance in India during the Harappan period. They became popular in Europe via Persia, and are grown in numerous places around the world today. As with all fruits, peaches help regulate body weight. They are also good for cardiovascular health and improve gut function. They are beneficial for the skin, and the phrase “peaches and cream complexion” is derived from this fact.

Now, the world has become a smaller place and we get all kinds of exotic fruits from places like Thailand and beyond. Peaches, too, are now available everywhere in India. They come to us from cooler climes like Ooty and Himachal, as well as from abroad. They are currently in season, but bear in mind that the season is brief. If you’d like to try this peach salsa, there’s no time like the present.

During the recent mango season, in which I made a profusion of fruit-based dishes, a mango salsa was also served during several occasions. The simplicity of a salsa lends itself to quick, easy and usually successful experiments, so I often whip one up using whichever fruit happens to be in season, or on hand. Melbas, cakes and milkshakes aside, the abundance of peaches that arrived in my kitchen were inevitably going to receive this treatment too.

My first exposure to salsa was through Mexican food, which is hands-down my favourite cuisine in the world. Salsa is one of their staple dishes, and made in a versatile number of ways. There are liquidy sauces, creamy dips and coarsely-chopped mixed ingredients which all bear this name. I think the recipe I am sharing today is closest to a pica de gallo (literally “rooster’s beak”) rendition, which is crunchy in texture.

I must confess that I usually get to enjoy the American versions of tacos, enchiladas and the like, and I hope that my travels will take me to South America some day so that I can have an authentic experience of these beloved dishes of mine. My own attempts at recreating these dishes at home have always been warmly received, but perhaps my kids are biased. Others have told me that what I make are Indianised versions of Mexican-American food, but I can take that as a compliment. That’s what we human beings are all about, no? We share our stories and our lives, and keep creating new experiences that are influenced by everything we see and feel… and taste!


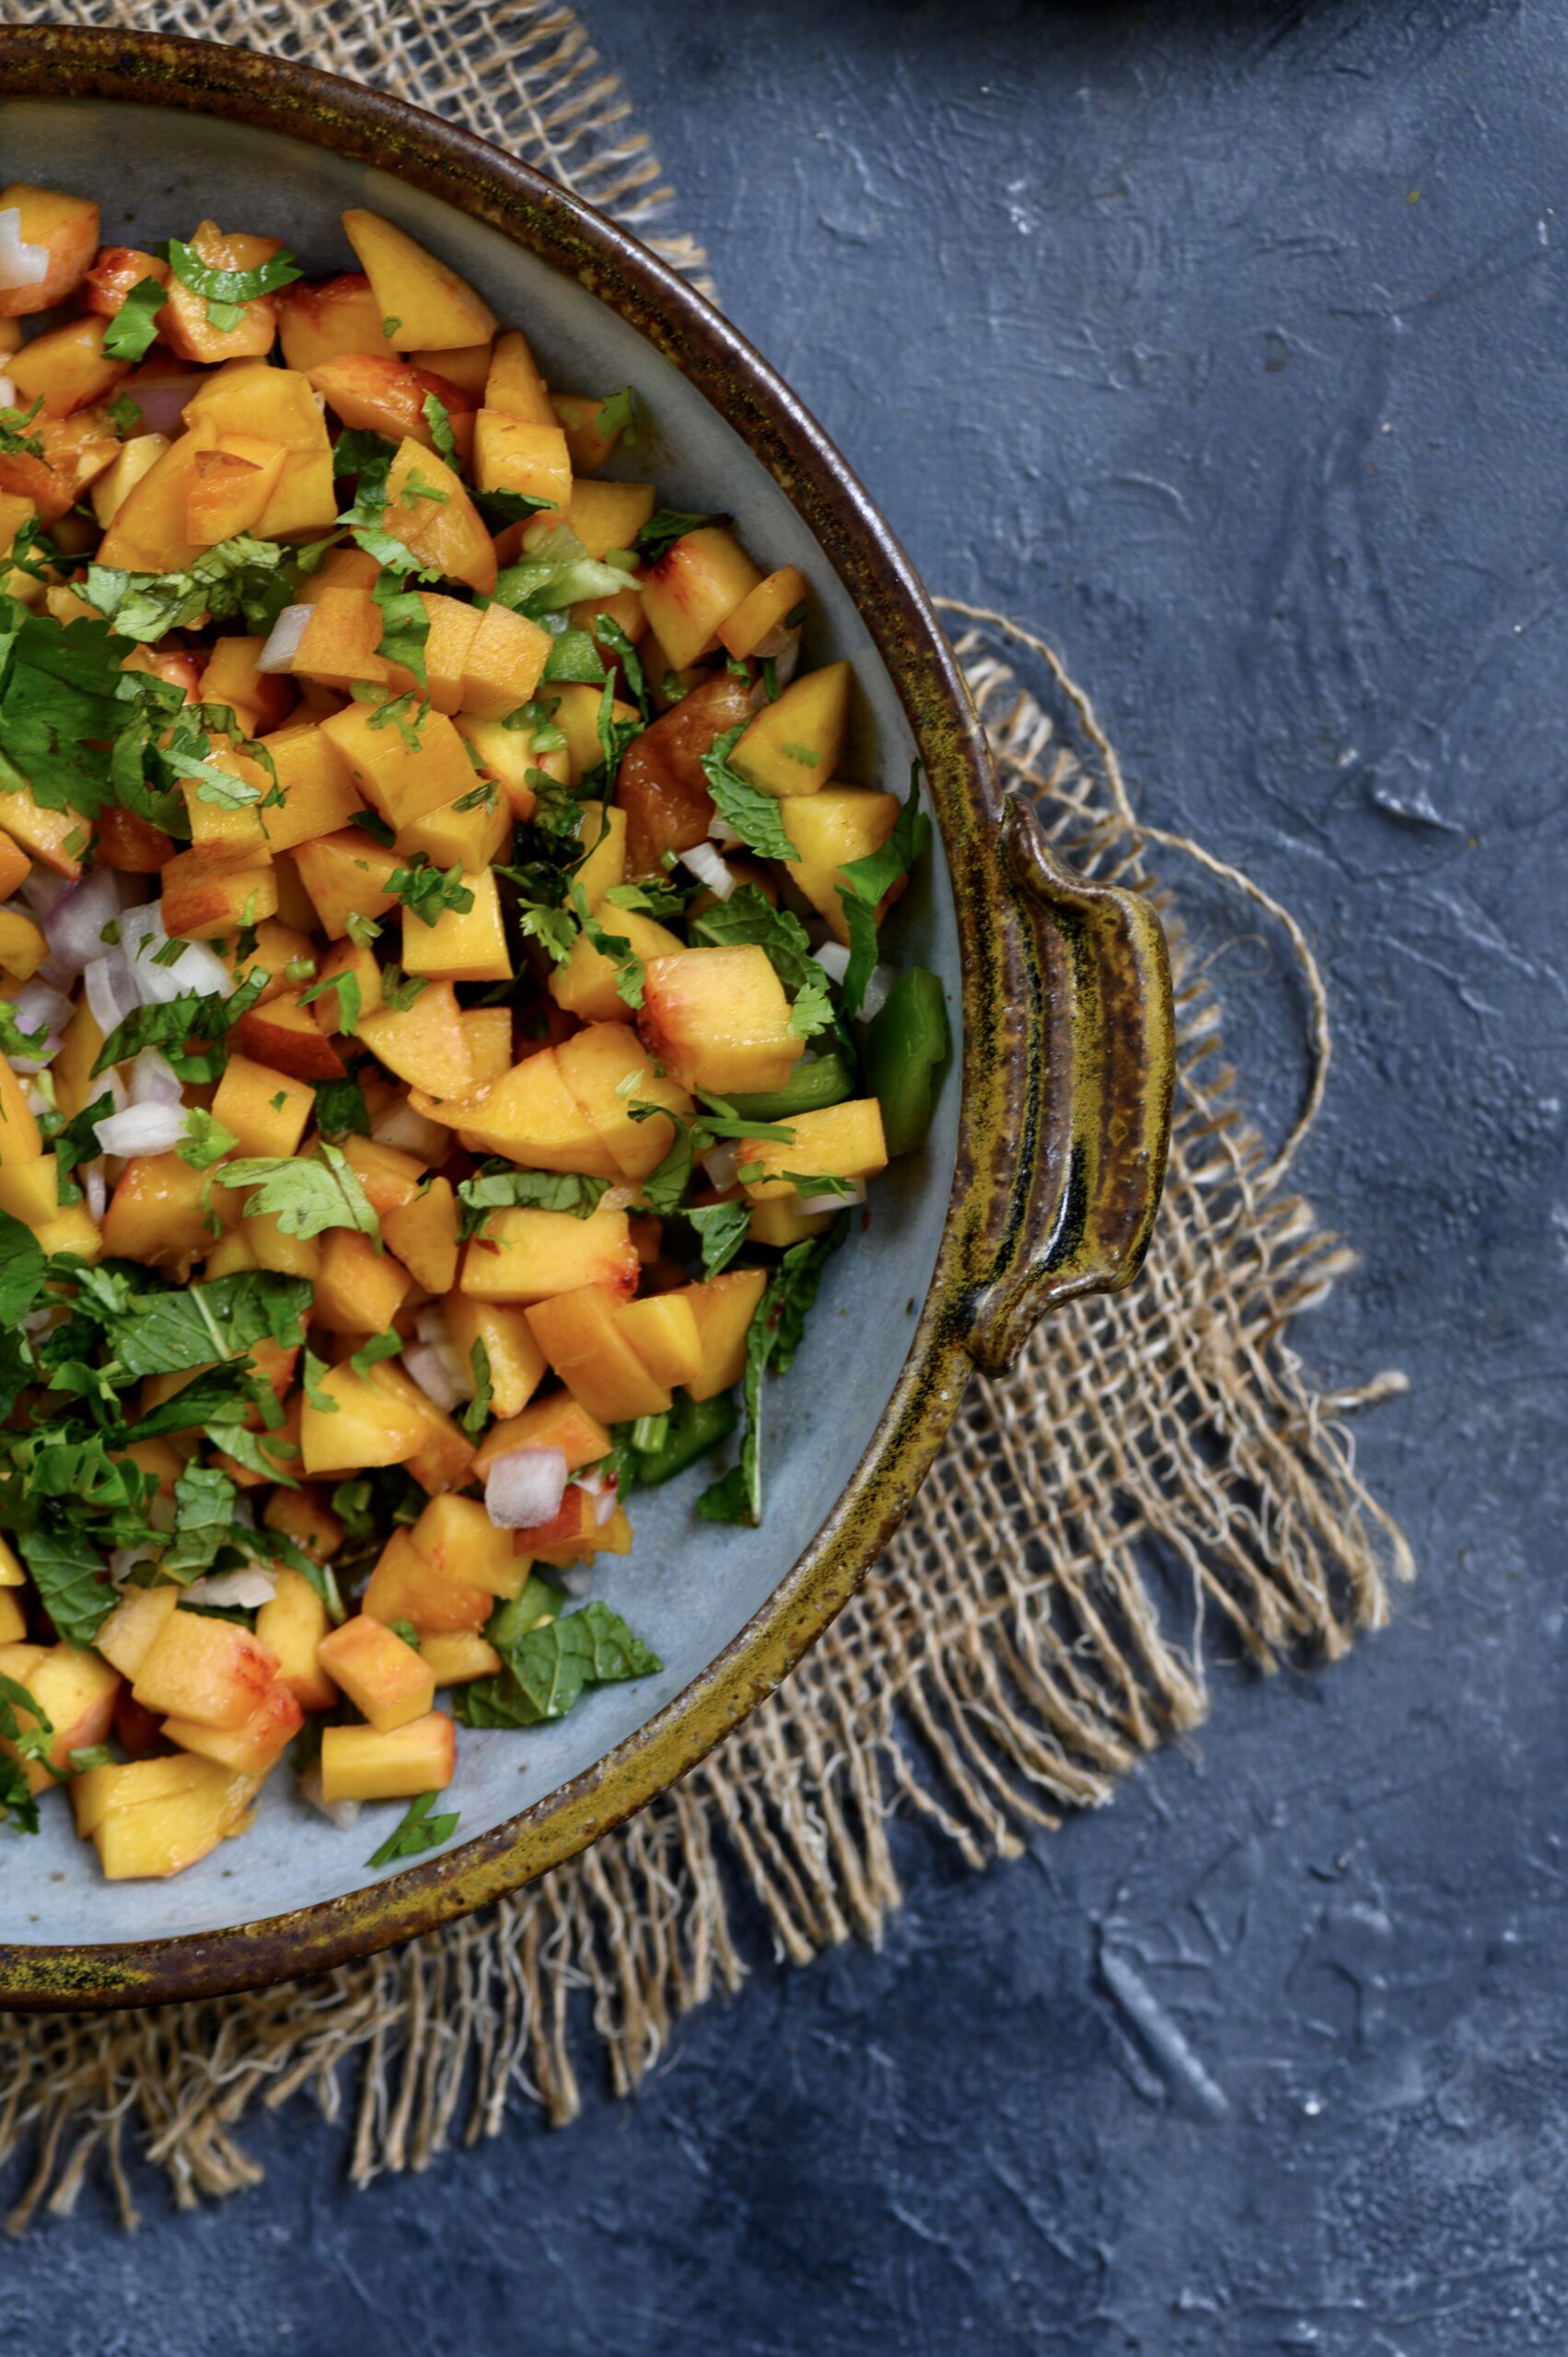
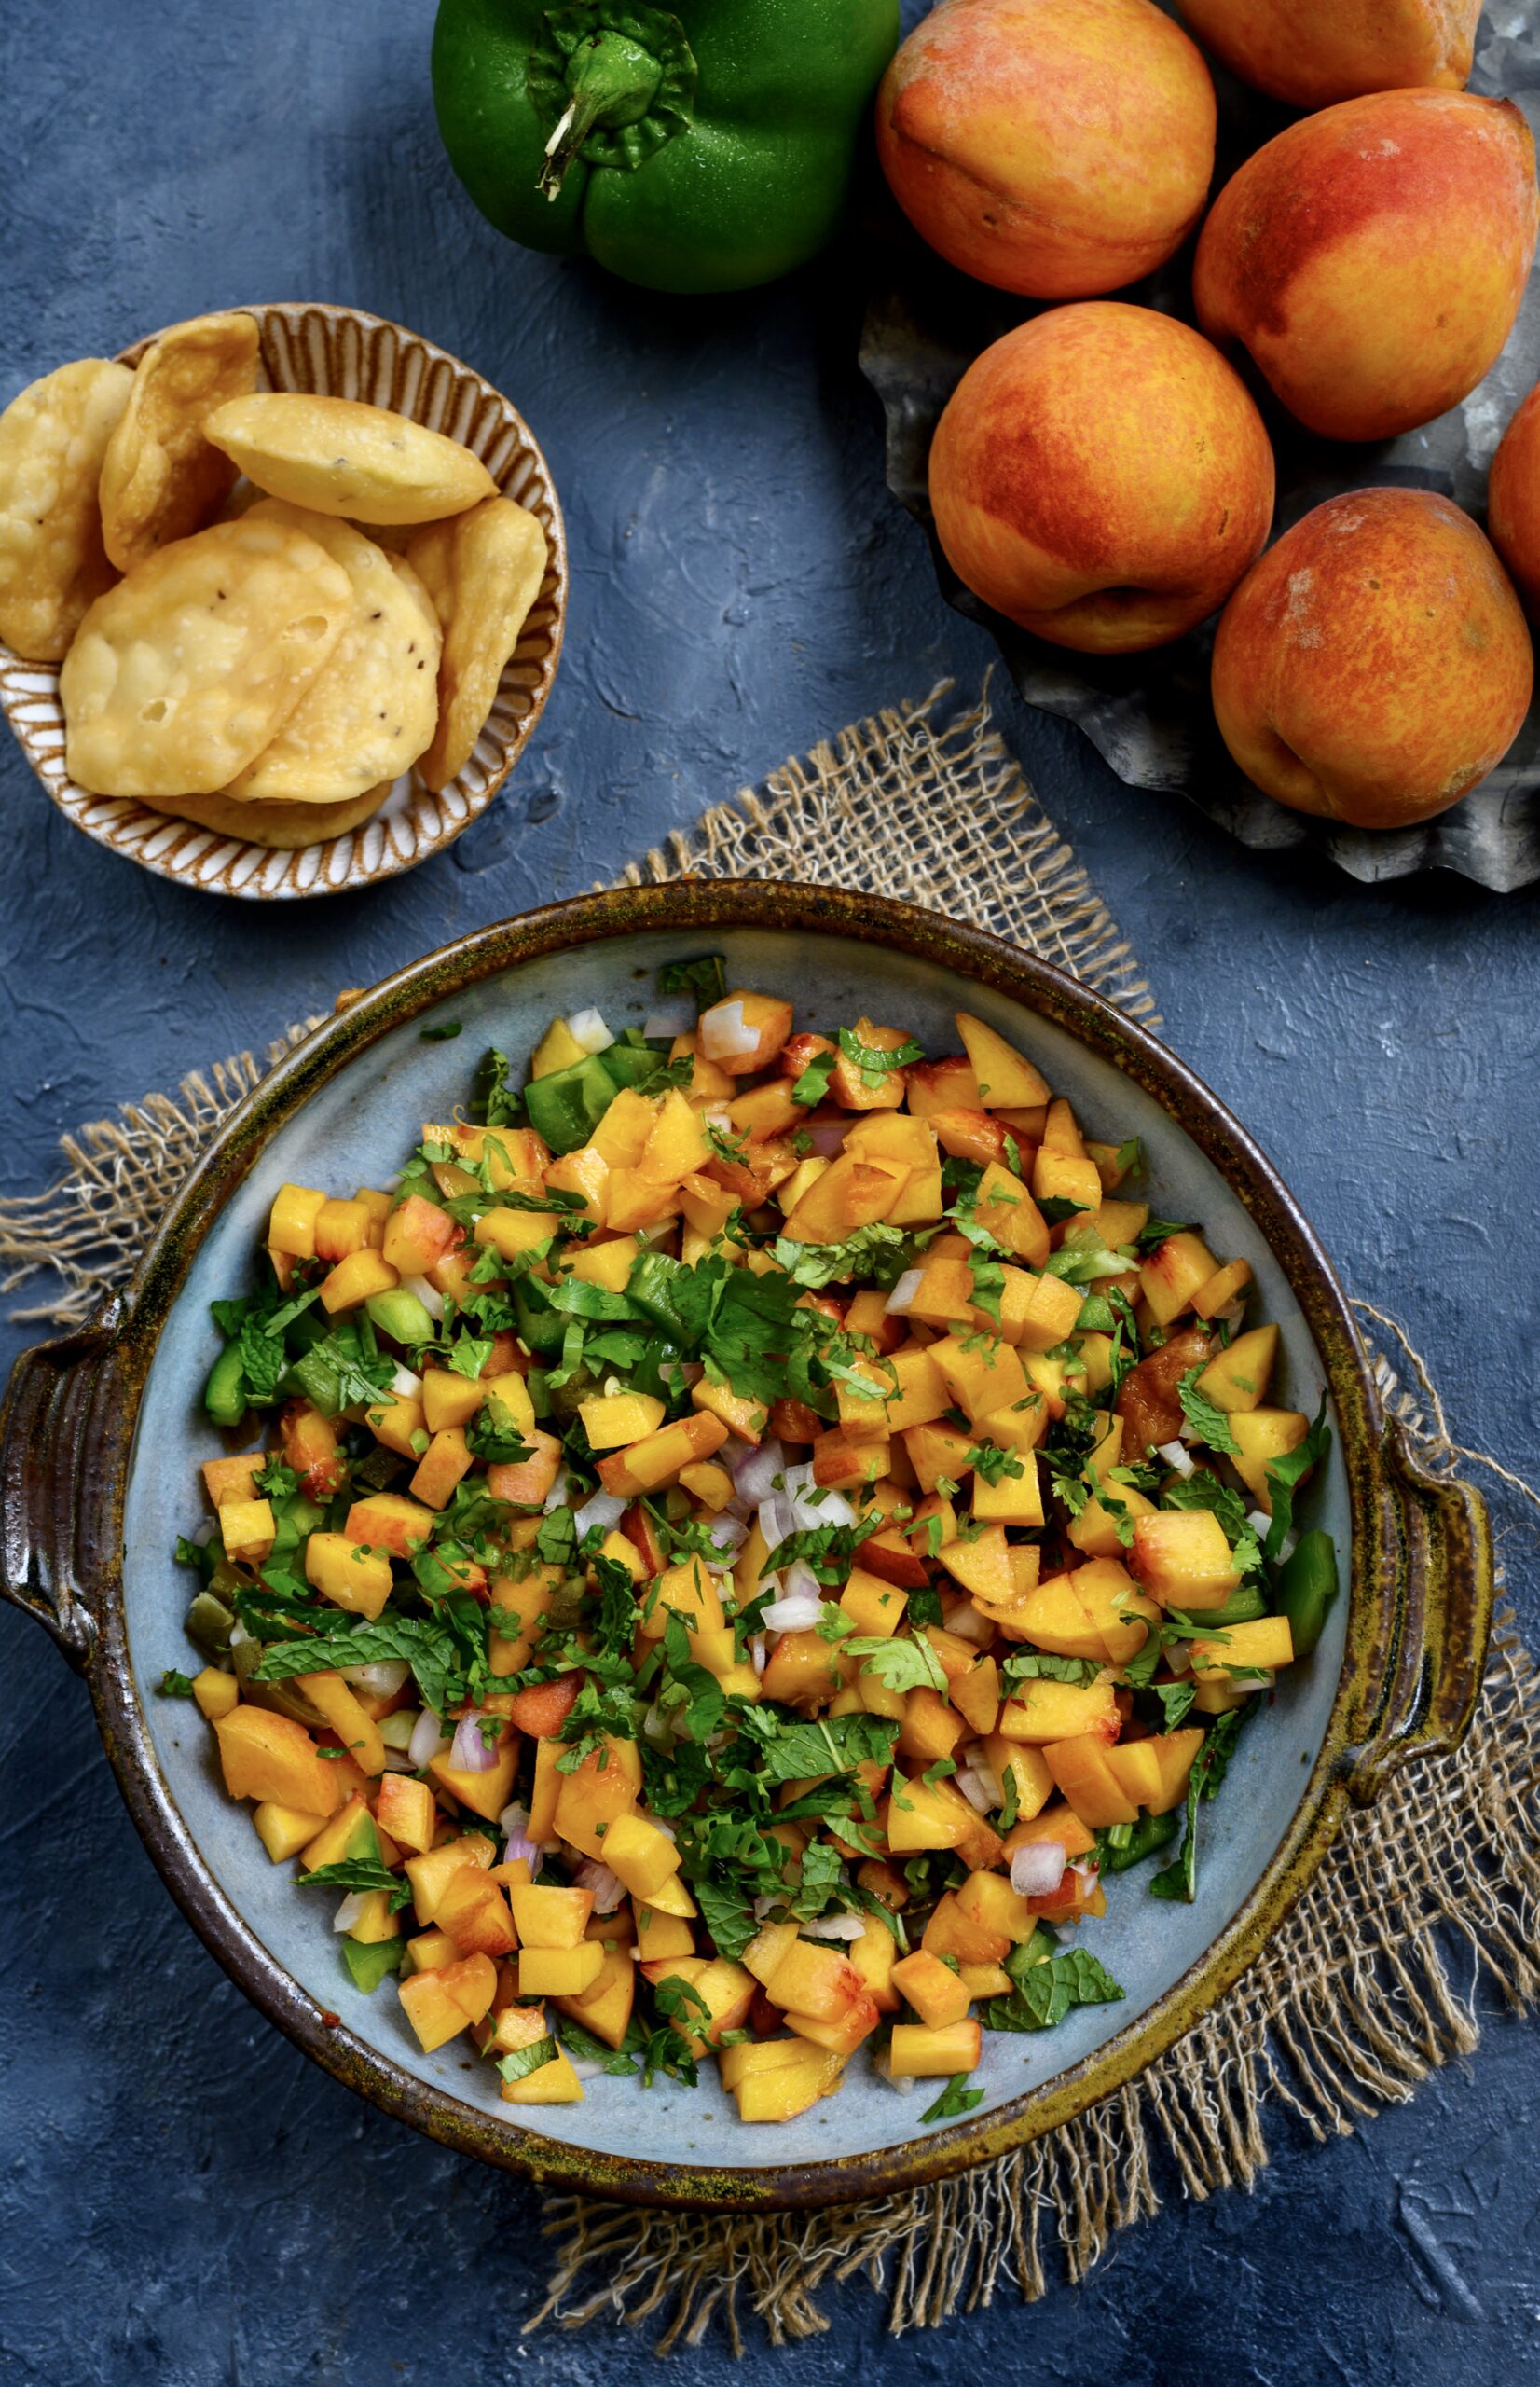
Peach Salsa

(Yield: 1 bowl)

2 full cups cut peaches
¼ cup chopped onions
¼ cup cut green bell peppers
1 tablespoon cut jalapeños
Handful of fresh mint leaves
Handful of finely cut coriander leaves

Dressing:
Salt to taste
A pinch of pepper powder
1 tablespoon lemon juice
1 tablespoon olive oil
A pinch of pepper powder
1 tablespoon honey (optional)

In a bowl, add all the freshly cut vegetables and fruit. Feel free to improvise and add some of your own choice, to enhance the flavours you prefer. I like a bit of spice, so I added jalapeños. Since there was some fresh mint available at home, I used a handful of that too, and I found it gives a lovely flavour to the whole salsa.

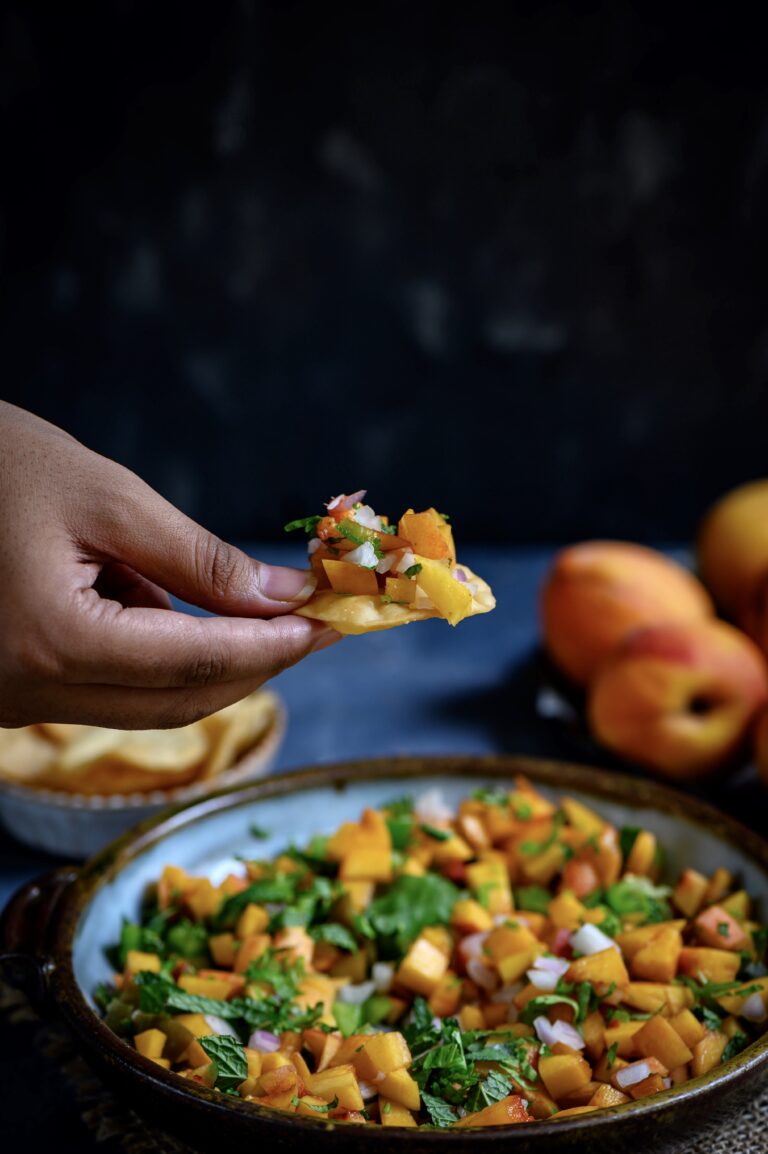
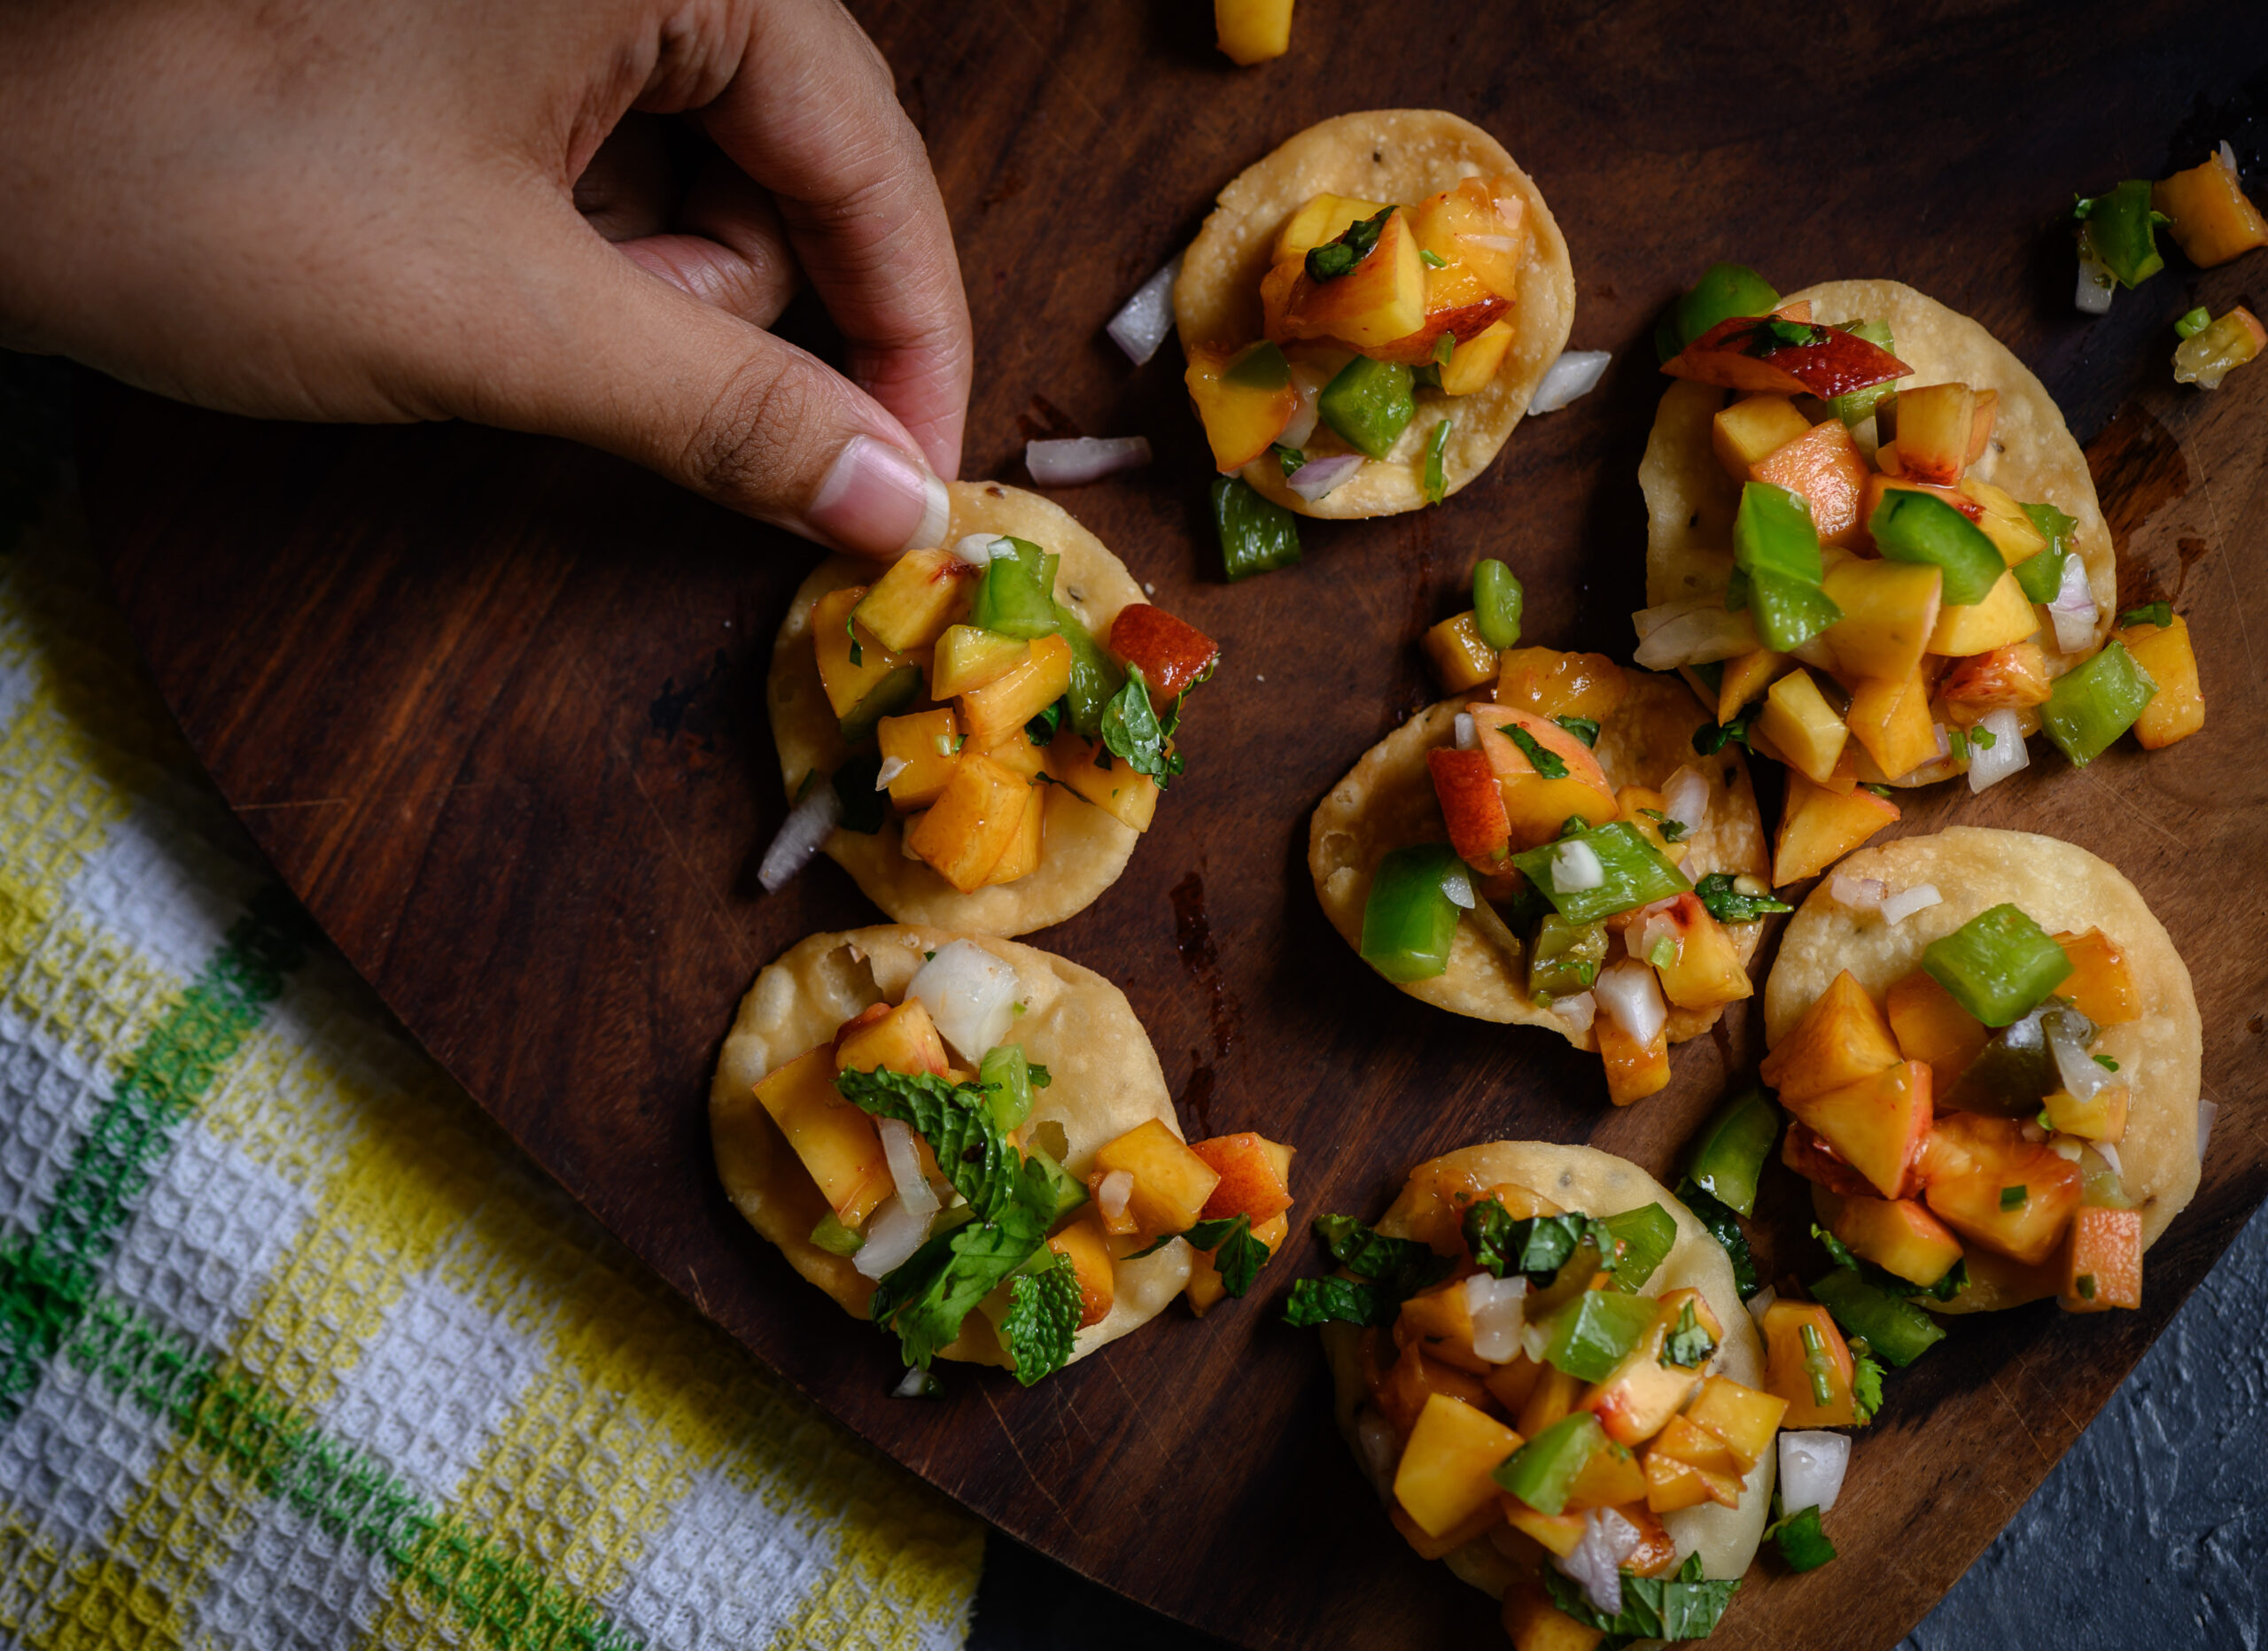
In another bowl, add all the dressing ingredients. Stir well and pour over the fruit/vegetable mixture just before serving. Nacho chips are a traditional accompaniment. Any Gujarati kitchen will have the perfect substitute in one of our preferred snacks – in lieu of nachos, I often fry up some crispy pooris!
While preparing this salsa, I observed that the cutting technique is crucial. When the fruit slices are larger, they become a salad ingredient, and go well when mixed with greens. When they are finely chopped, as they are here, they become a salsa. Both styles were a big hit at home. If you’re incorporating more salads into your diet, try the former, and add some diversity and sweetness to your menu with a nutritious fruit-loaded salad. If you’ve cut the ingredients finely and have prepared a salsa, serve it with something crunchy, as suggested.

The fresh, ripe fruit and the crispy pooris, laced with the spicy flavours of jalapeño chillies and raw onions, come together to form a dish which may be Mexican, may be Indian, may be neither… but is most definitely one of our favourites at home! I’d love to know what you think of it. For a few more similar dishes, check out my sundal and moong bhel recipes too.
 

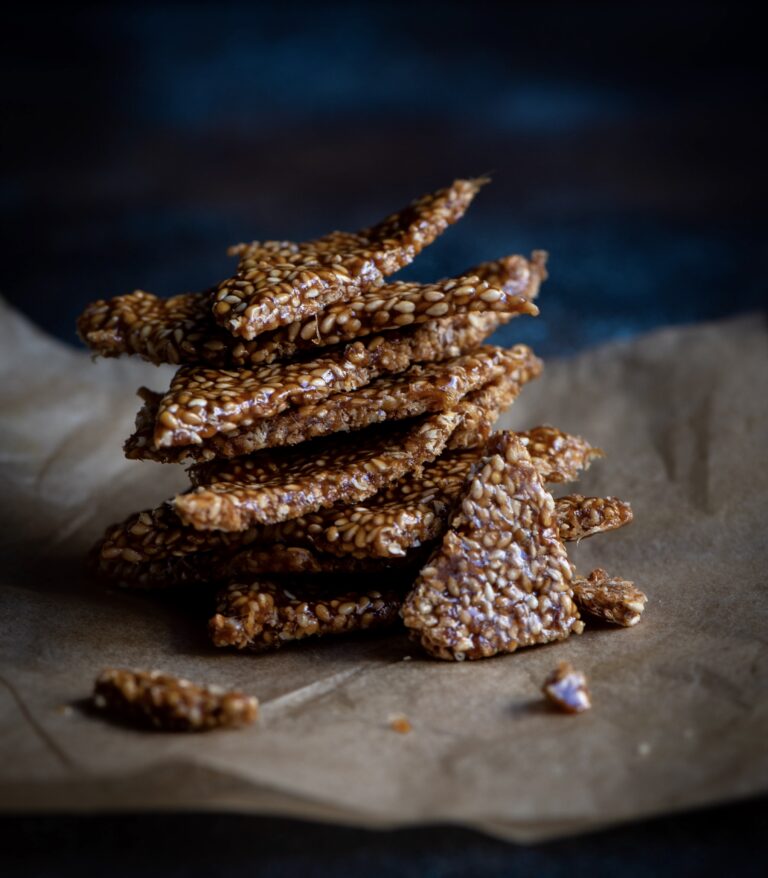
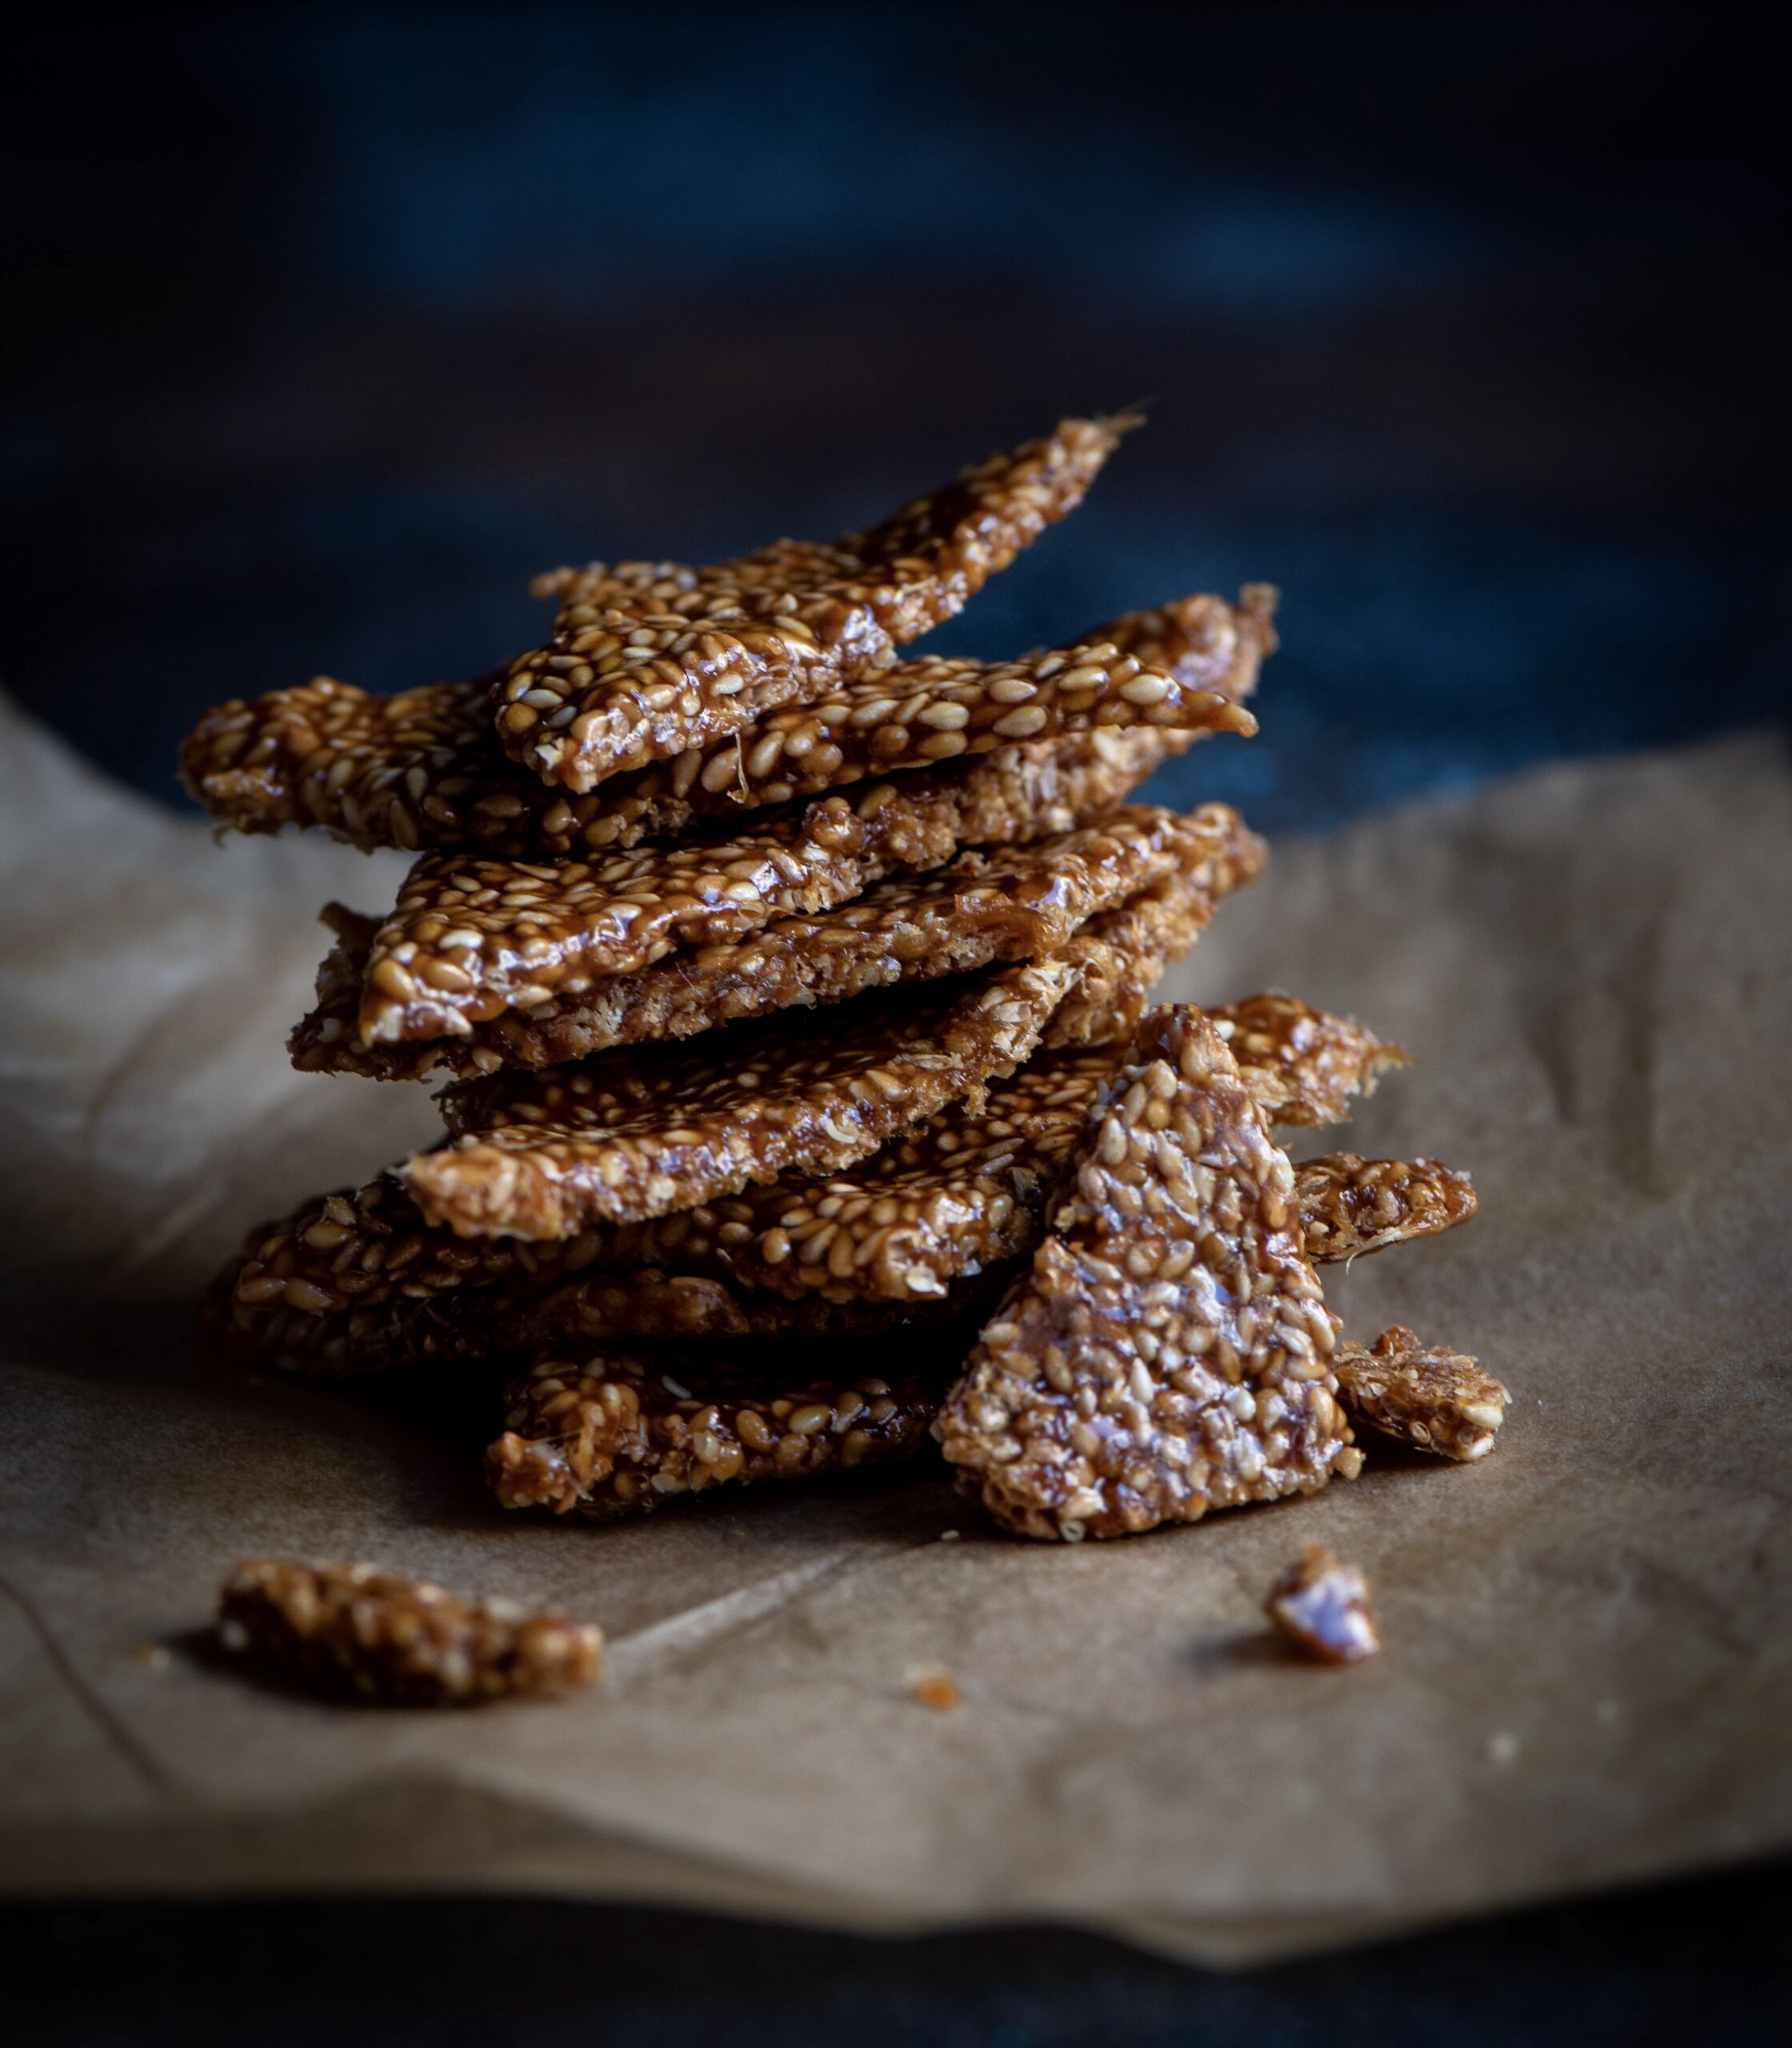
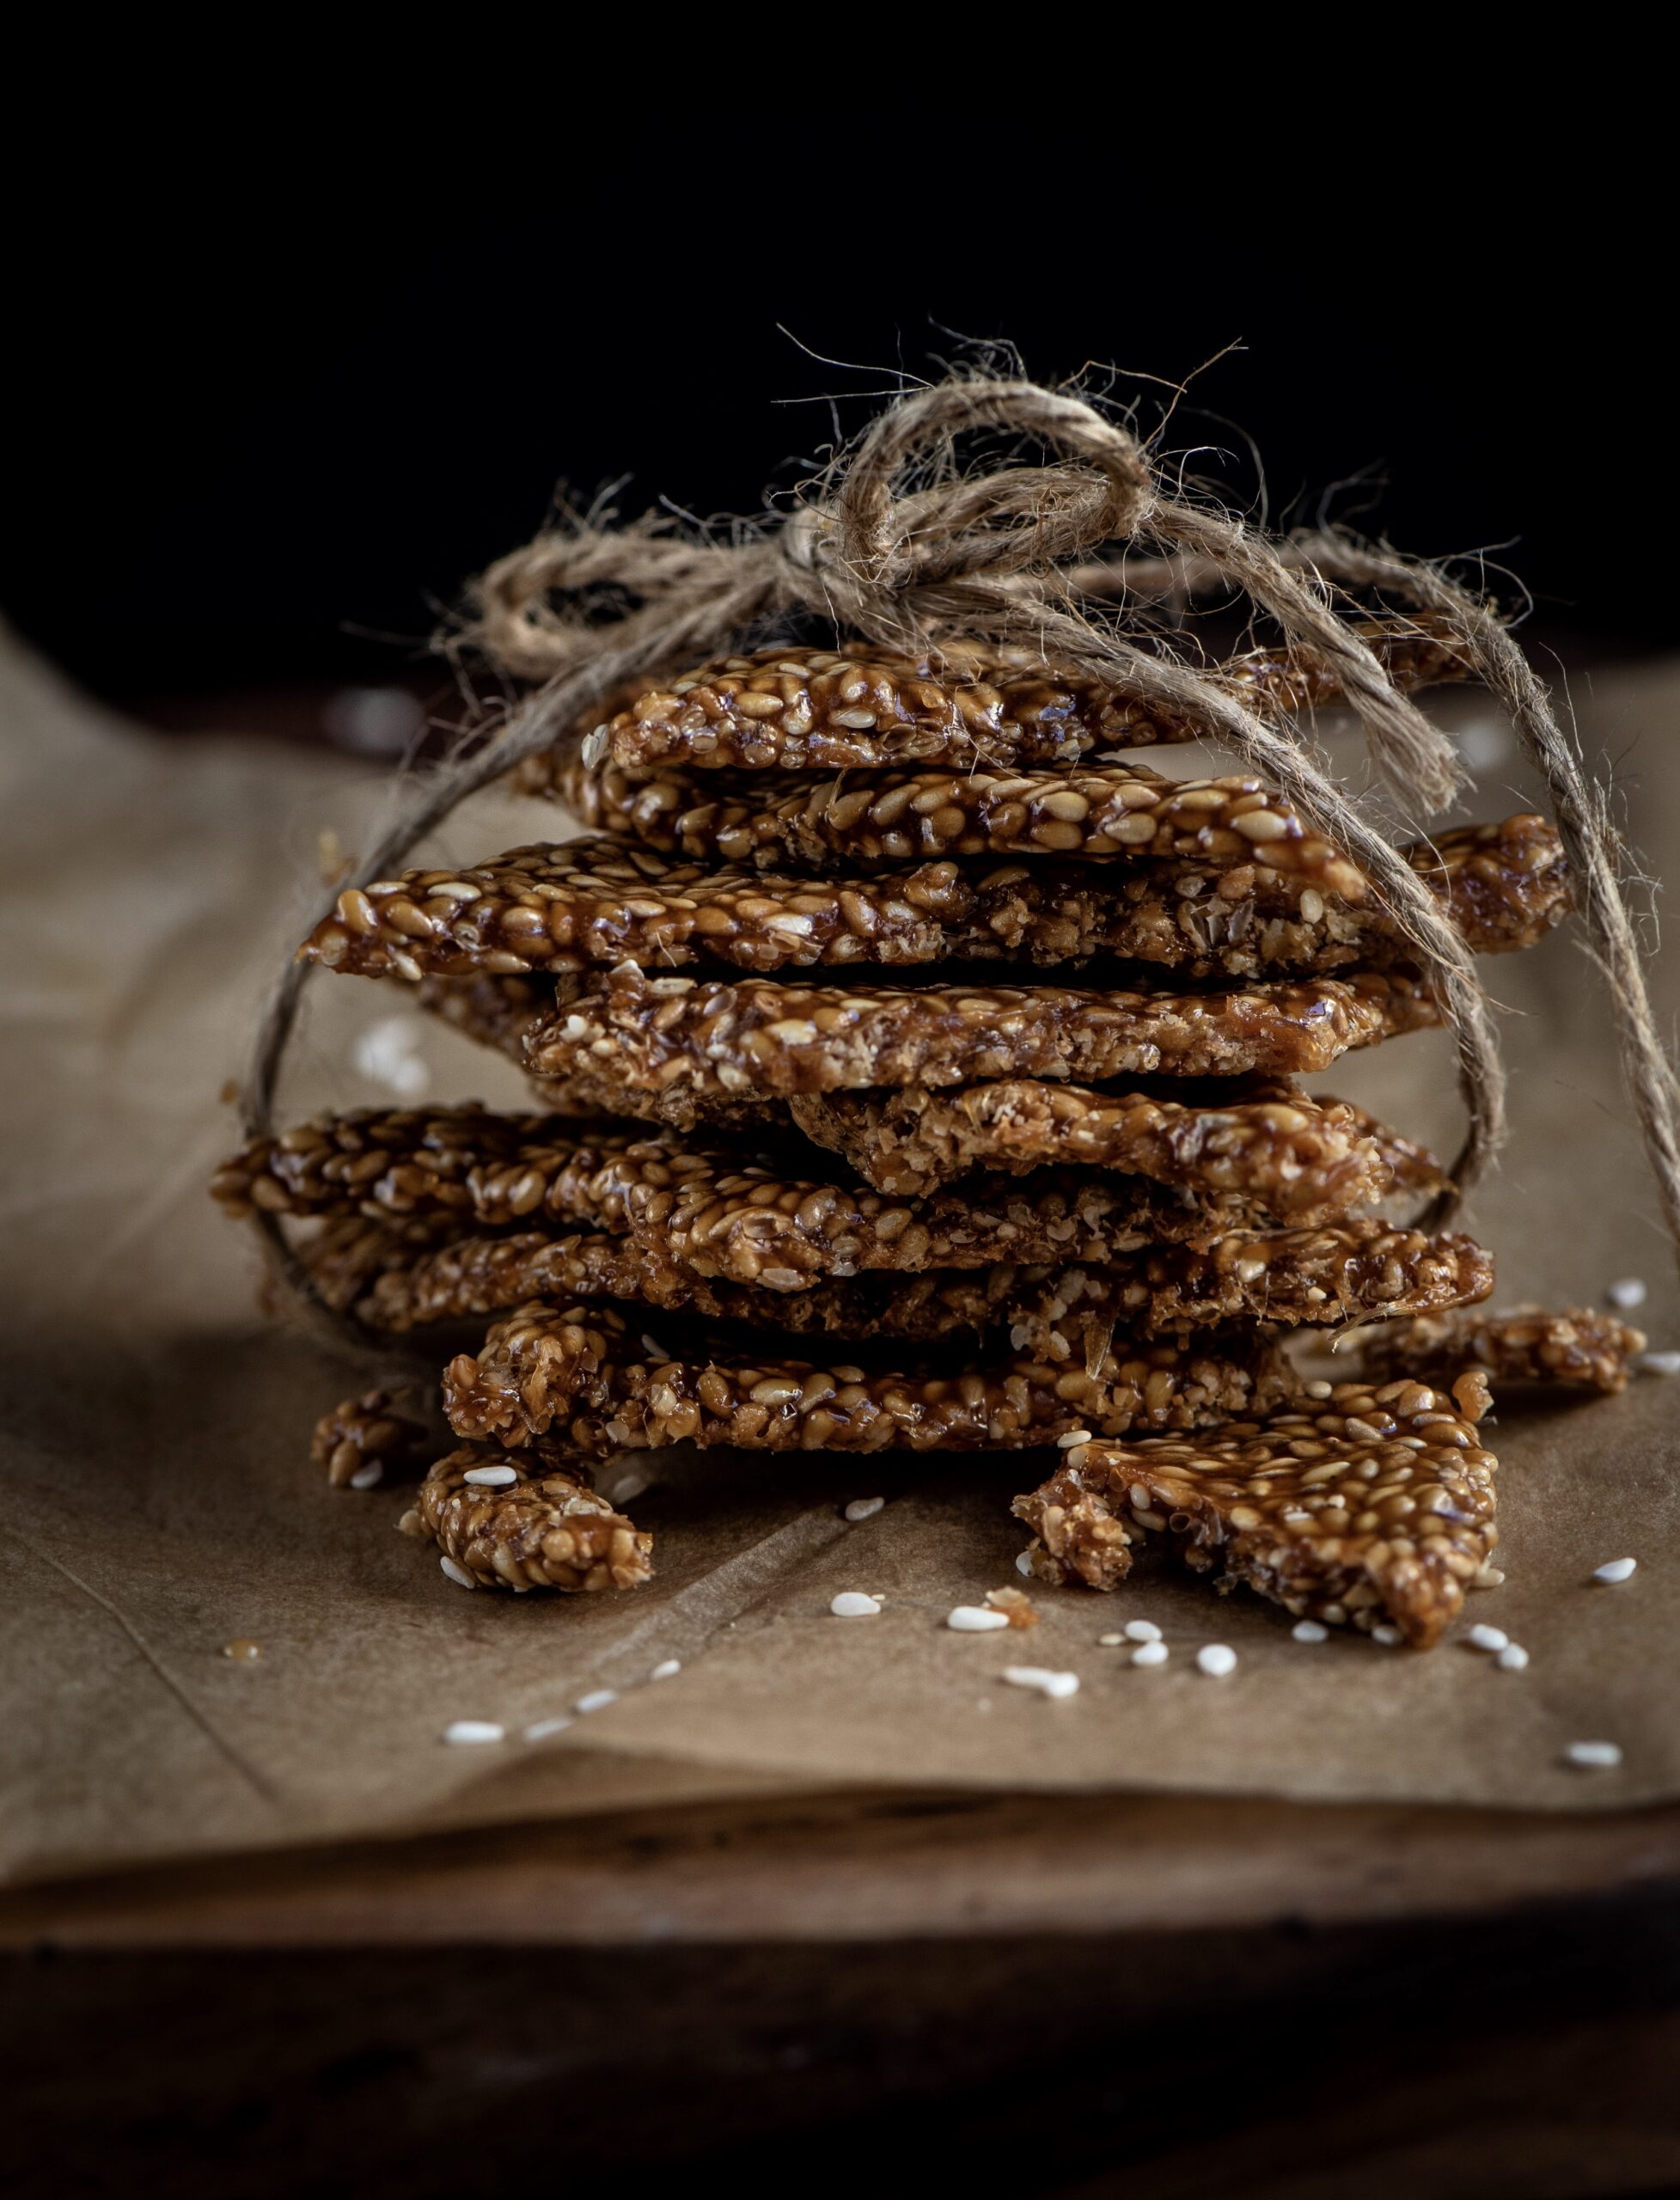
Sankranti, the harvest festival, is here and as we celebrate by giving thanks for the crops we eat daily, it’s til-ka-chikki that strikes me as a perfect dish for the occasion. The chief ingredient of this crunchy sweet is sesame, which is believed to have been cultivated in India for over 5500 years. As a form of produce that can grow with relatively little supervision, and in less than ideal conditions, there is no doubt to me that many of our ancestors would have considered it a perfect if not vital part of their Sankranti. Sankranti is known by various names throughout the country – it is also observed as Pongal, Bihu, Maghi and by other names depending on region. No matter where, it falls in mid-January and is a time when the sun is worshipped for its life-giving properties.

“Til” is the Gujarati word for sesame, as well as in other languages including Hindi and Punjabi. The English word “sesame” is from the Arabic “semsem”, indicating oil or liquid fat. This is because it is an oilseed produce. It’s an excellent digestive aid as it’s full of fiber, and also has high copper, manganese and calcium content, in addition to other vitamins and minerals.

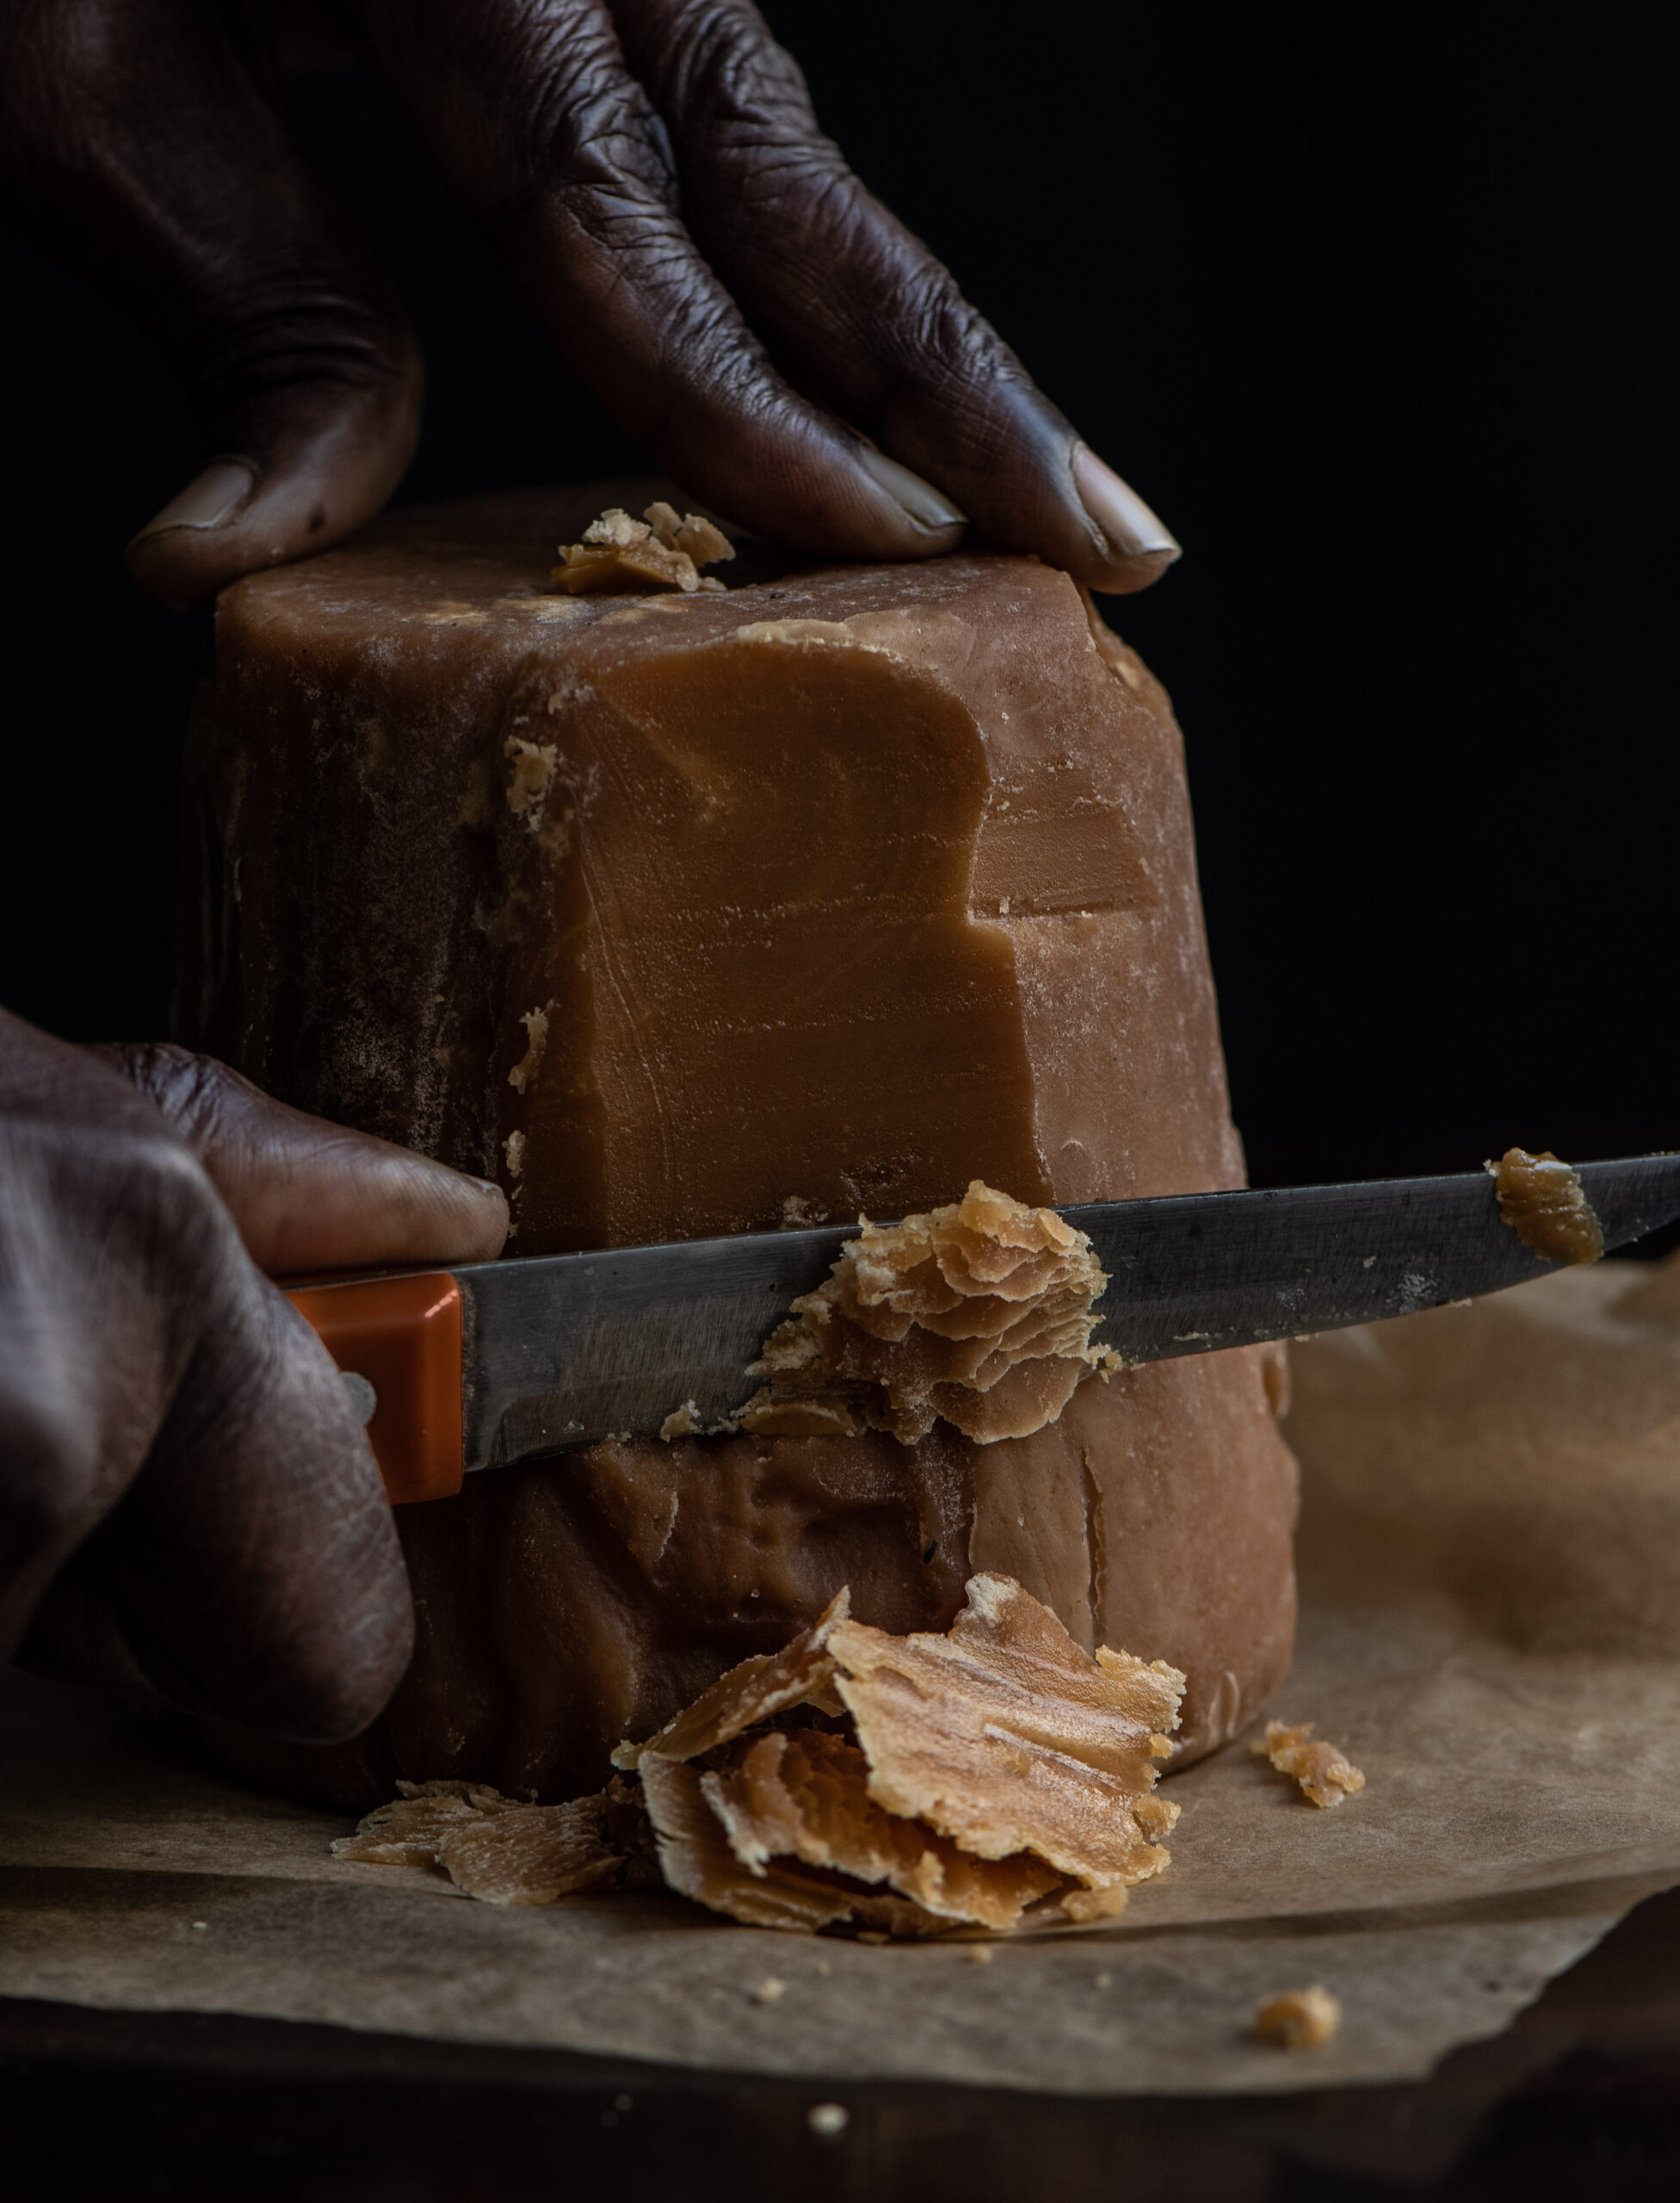
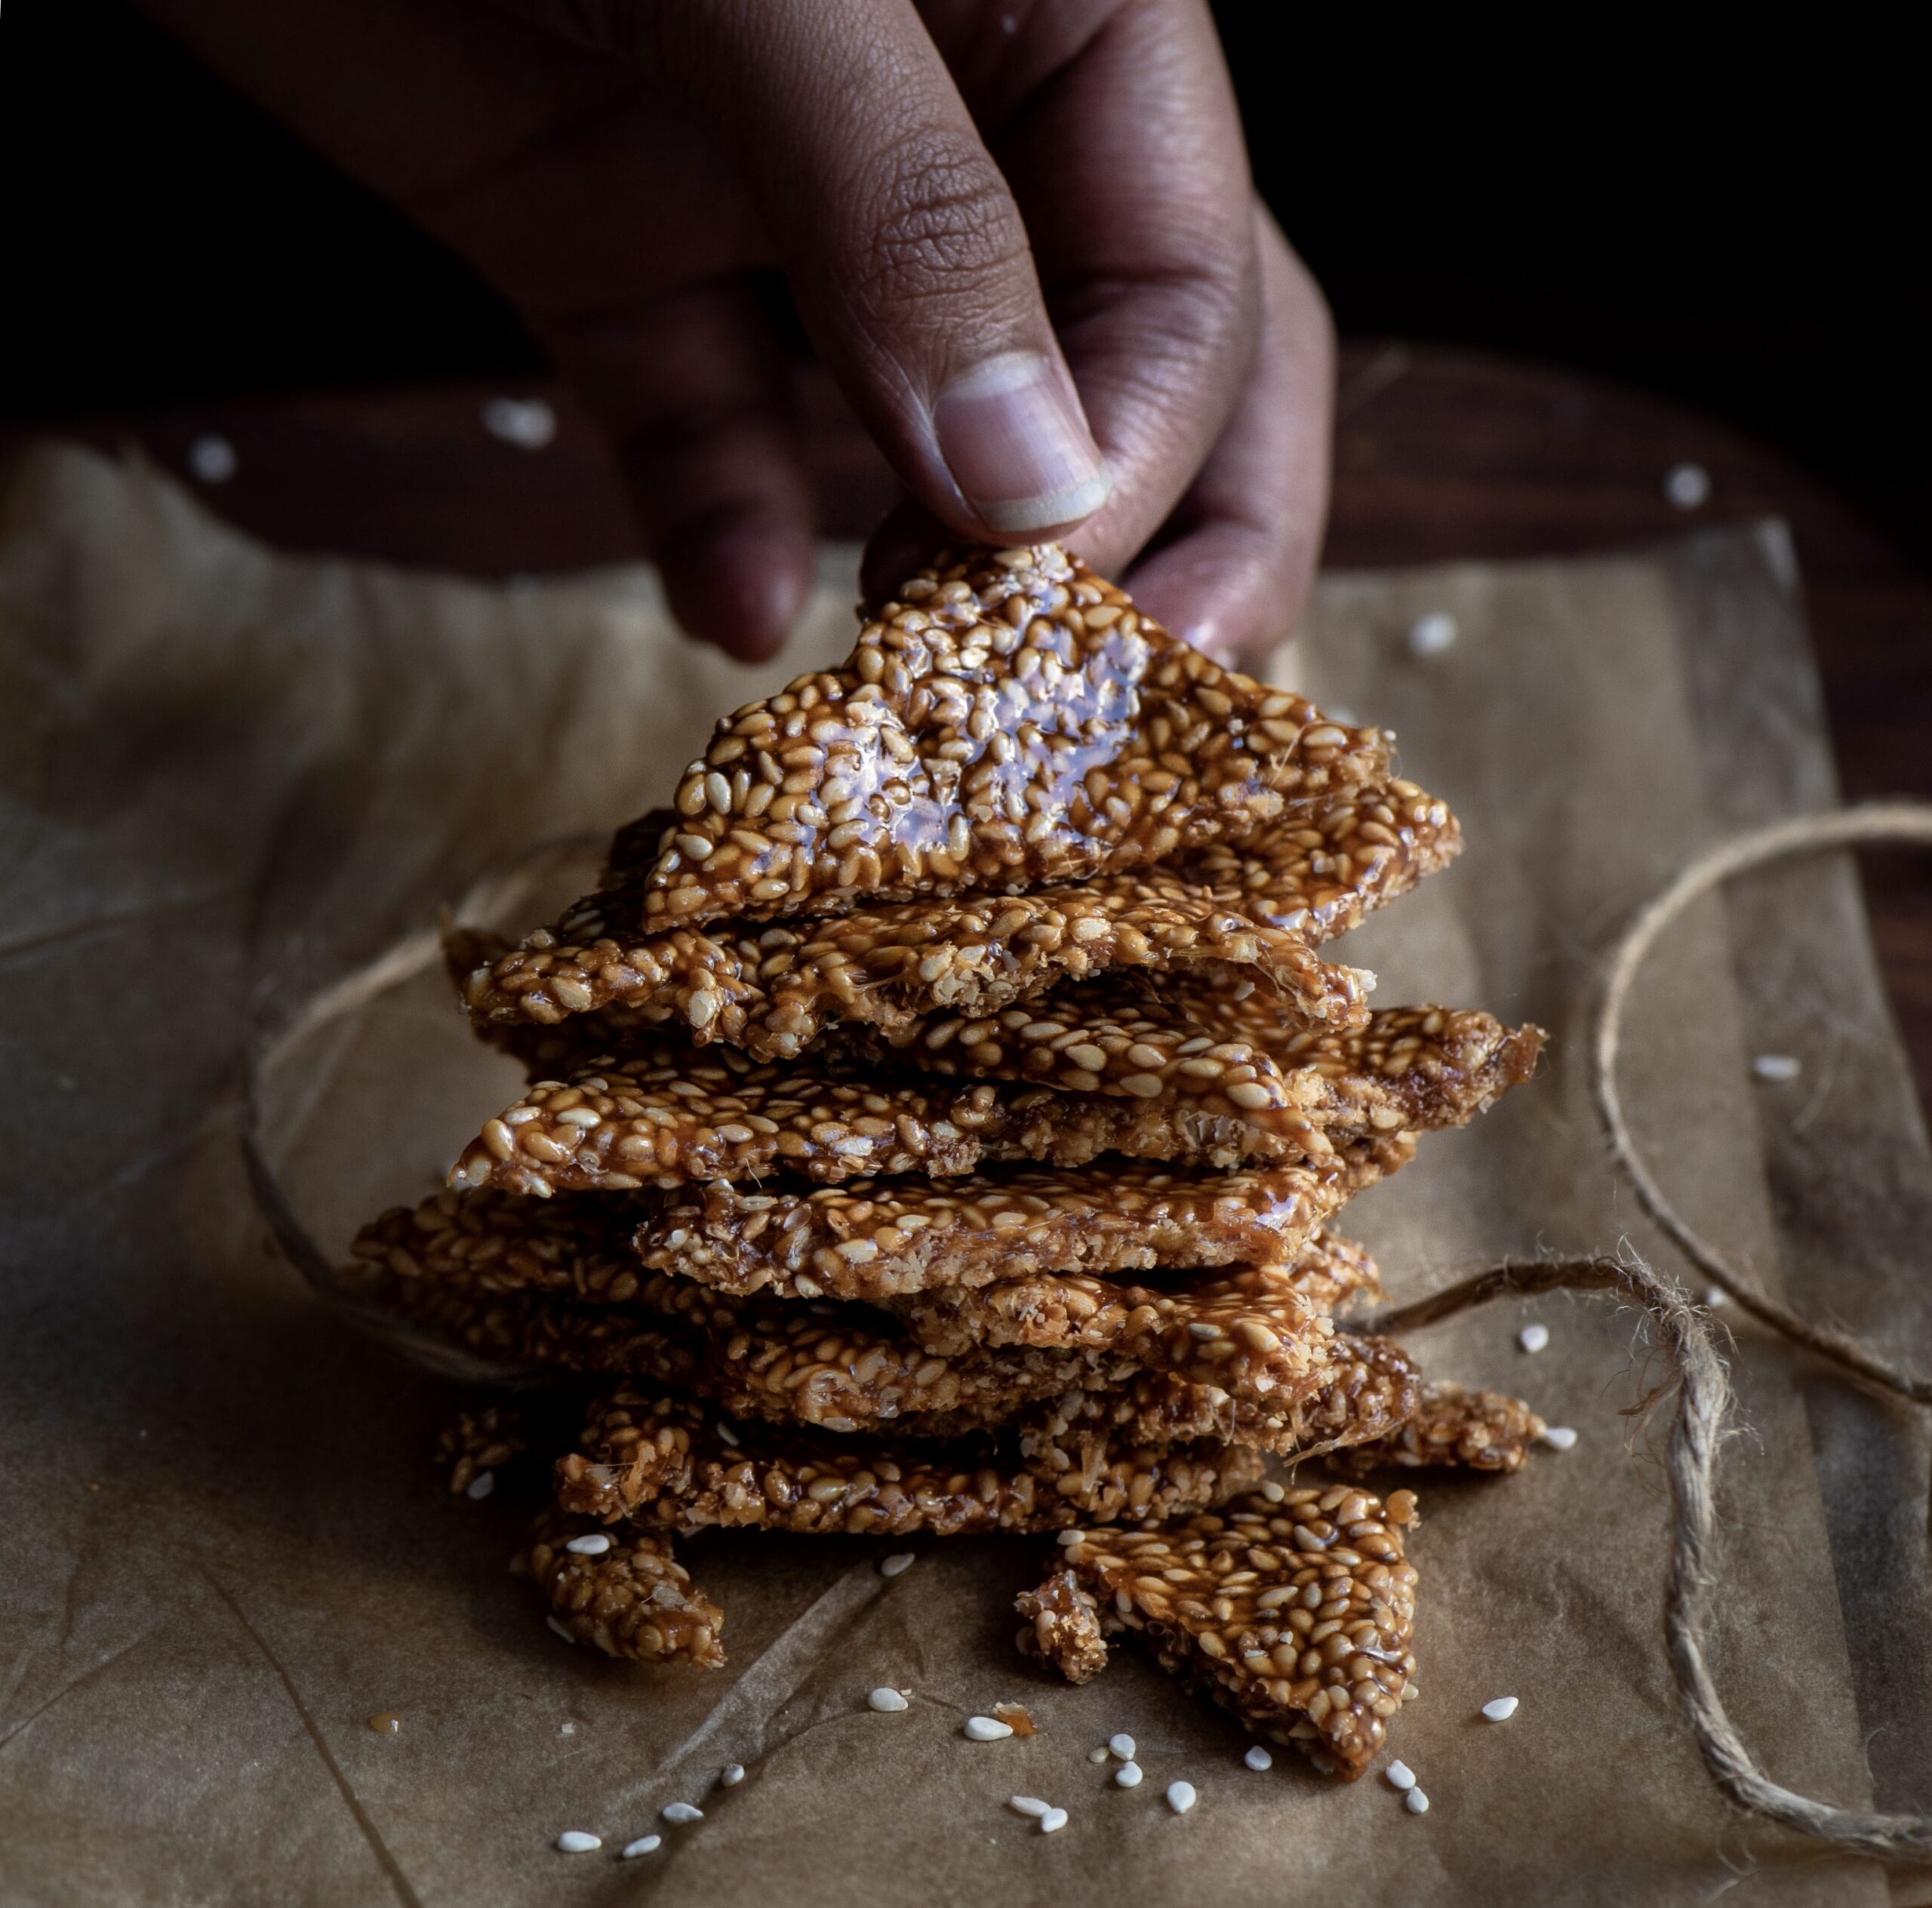
Chikkis are a whole category of snacks, usually sweet thanks to the sticky jaggery that holds them together. We also make them with groundnuts, puffed rice (mora mora) and other variations, depending on the season. You can make them either in bars or in balls, and they also make a great ice cream topping when crushed. Til-ka-chikki is basically a sesame brittle, and today I’ll share the method to make them into bars.

I used to have a huge mental block about til-ka-chikki as I simply hadn’t known how to make it. My sister got married when she was just out of college, and she hadn’t learned how to cook yet. She went to her mother-in-law’s house, where she learned how to make the most beautiful traditional Gujarati dishes. I was still in high school at the time, and am still envious to this day about the culinary skills she picked up back then. Meanwhile, in my mother’s house, I was still studying but also began to slowly pick up recipes and techniques in the kitchen. I was probably inspired by my sister’s newfound talents, and our mother started me off on the basics, like rotli. Over time, I began to regard not only my mother and my own mother-in-law as my culinary teachers, but my older sister as well. My sister’s repertoire is vast. Even to this day, each time I visit her, I insist that she teaches me an entirely new dish  every time.

I overcame my mental block when I finally learned how to make this til-ka-chikki a couple of years ago, with her guidance. And I’ll admit that I am still learning. I don’t quite have the confidence to make it on my own yet, but every experiment has ended in happy mouths and sticky fingers. It would be great if you could learn it together alongside me. We could master it together, just as my sister has.

As with most traditional Gujarati sweets and snacks, this too requires only three ingredients. In this case, they are jaggery, sesame and ghee. If you’d like a vegan version, replace the ghee with a flavourless oil of your choice. Til-ka-chikki is also offered as a prasad, so while it is a simple dish it can also be a part of prayers for festive and special occasions. For Sankranti, of course, it’s a beautiful way to honour the sun that gave us this ancient and nutritious crop.


Til-Ka-Chikki (Sesame Brittle)

(Yield: 10-15 pieces)


Ingredients

½ cup sesame seeds

½ cup jaggery

1 tablespoon ghee

Grease an overturned steel plate and a rolling pin and keep these ready. Next, in a wok or kadai, roast the sesame seeds on a low flame. Occasionally increase to a medium flame for short spans. The sesame will take about 7 minutes to roast. Keep stirring until the colour changes.

Once roasted, transfer to a plate and allow to cool. Once cooled, taste a few seeds to check if they have a crunch to it. This means they are ready.

In the same wok or kadai, add the ghee. Then, add the jaggery and stir constantly on a low flame. As with the roasting of the sesame seeds, you may occasionally increase the flame to a medium for short spans, then immediately reduce it to a low again. Take care that the jaggery does not burn. Do see this video for reference: re:store sesame brittle video – 1

Mine took approximately 9 minutes to turn into a reddish colour. Once this happens, turn off the flame. Add the sesame seeds and stir well.

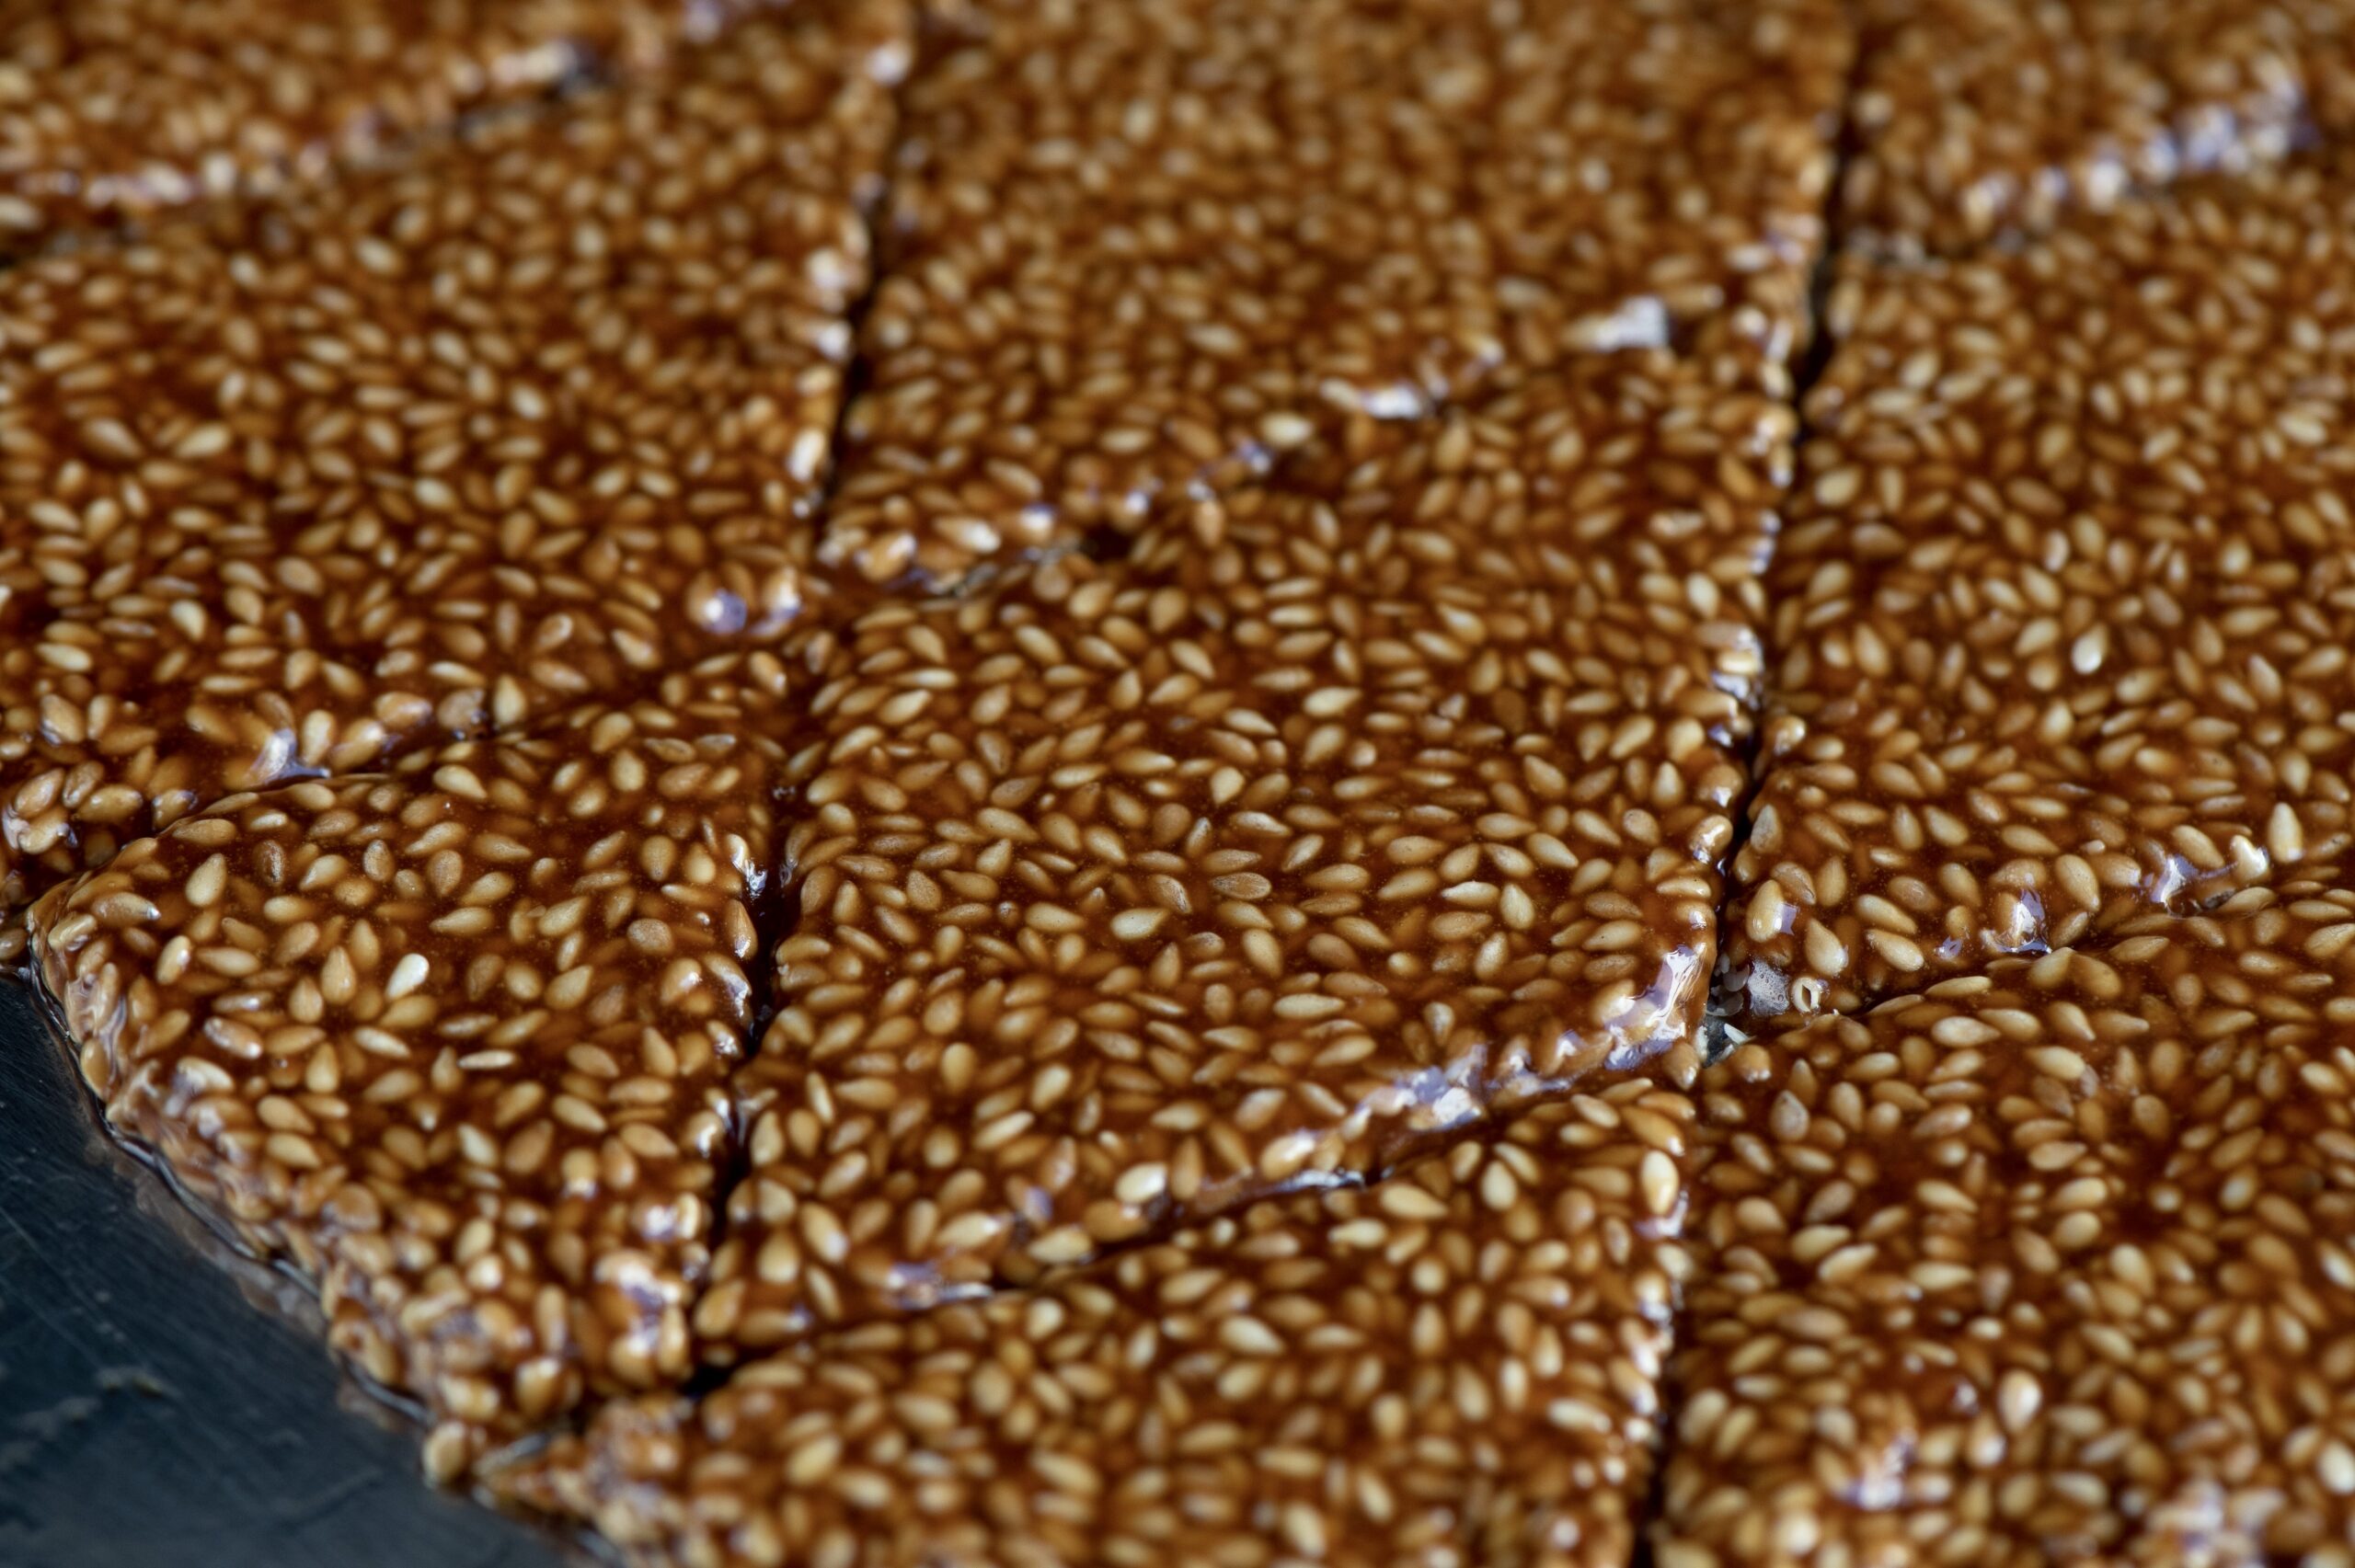
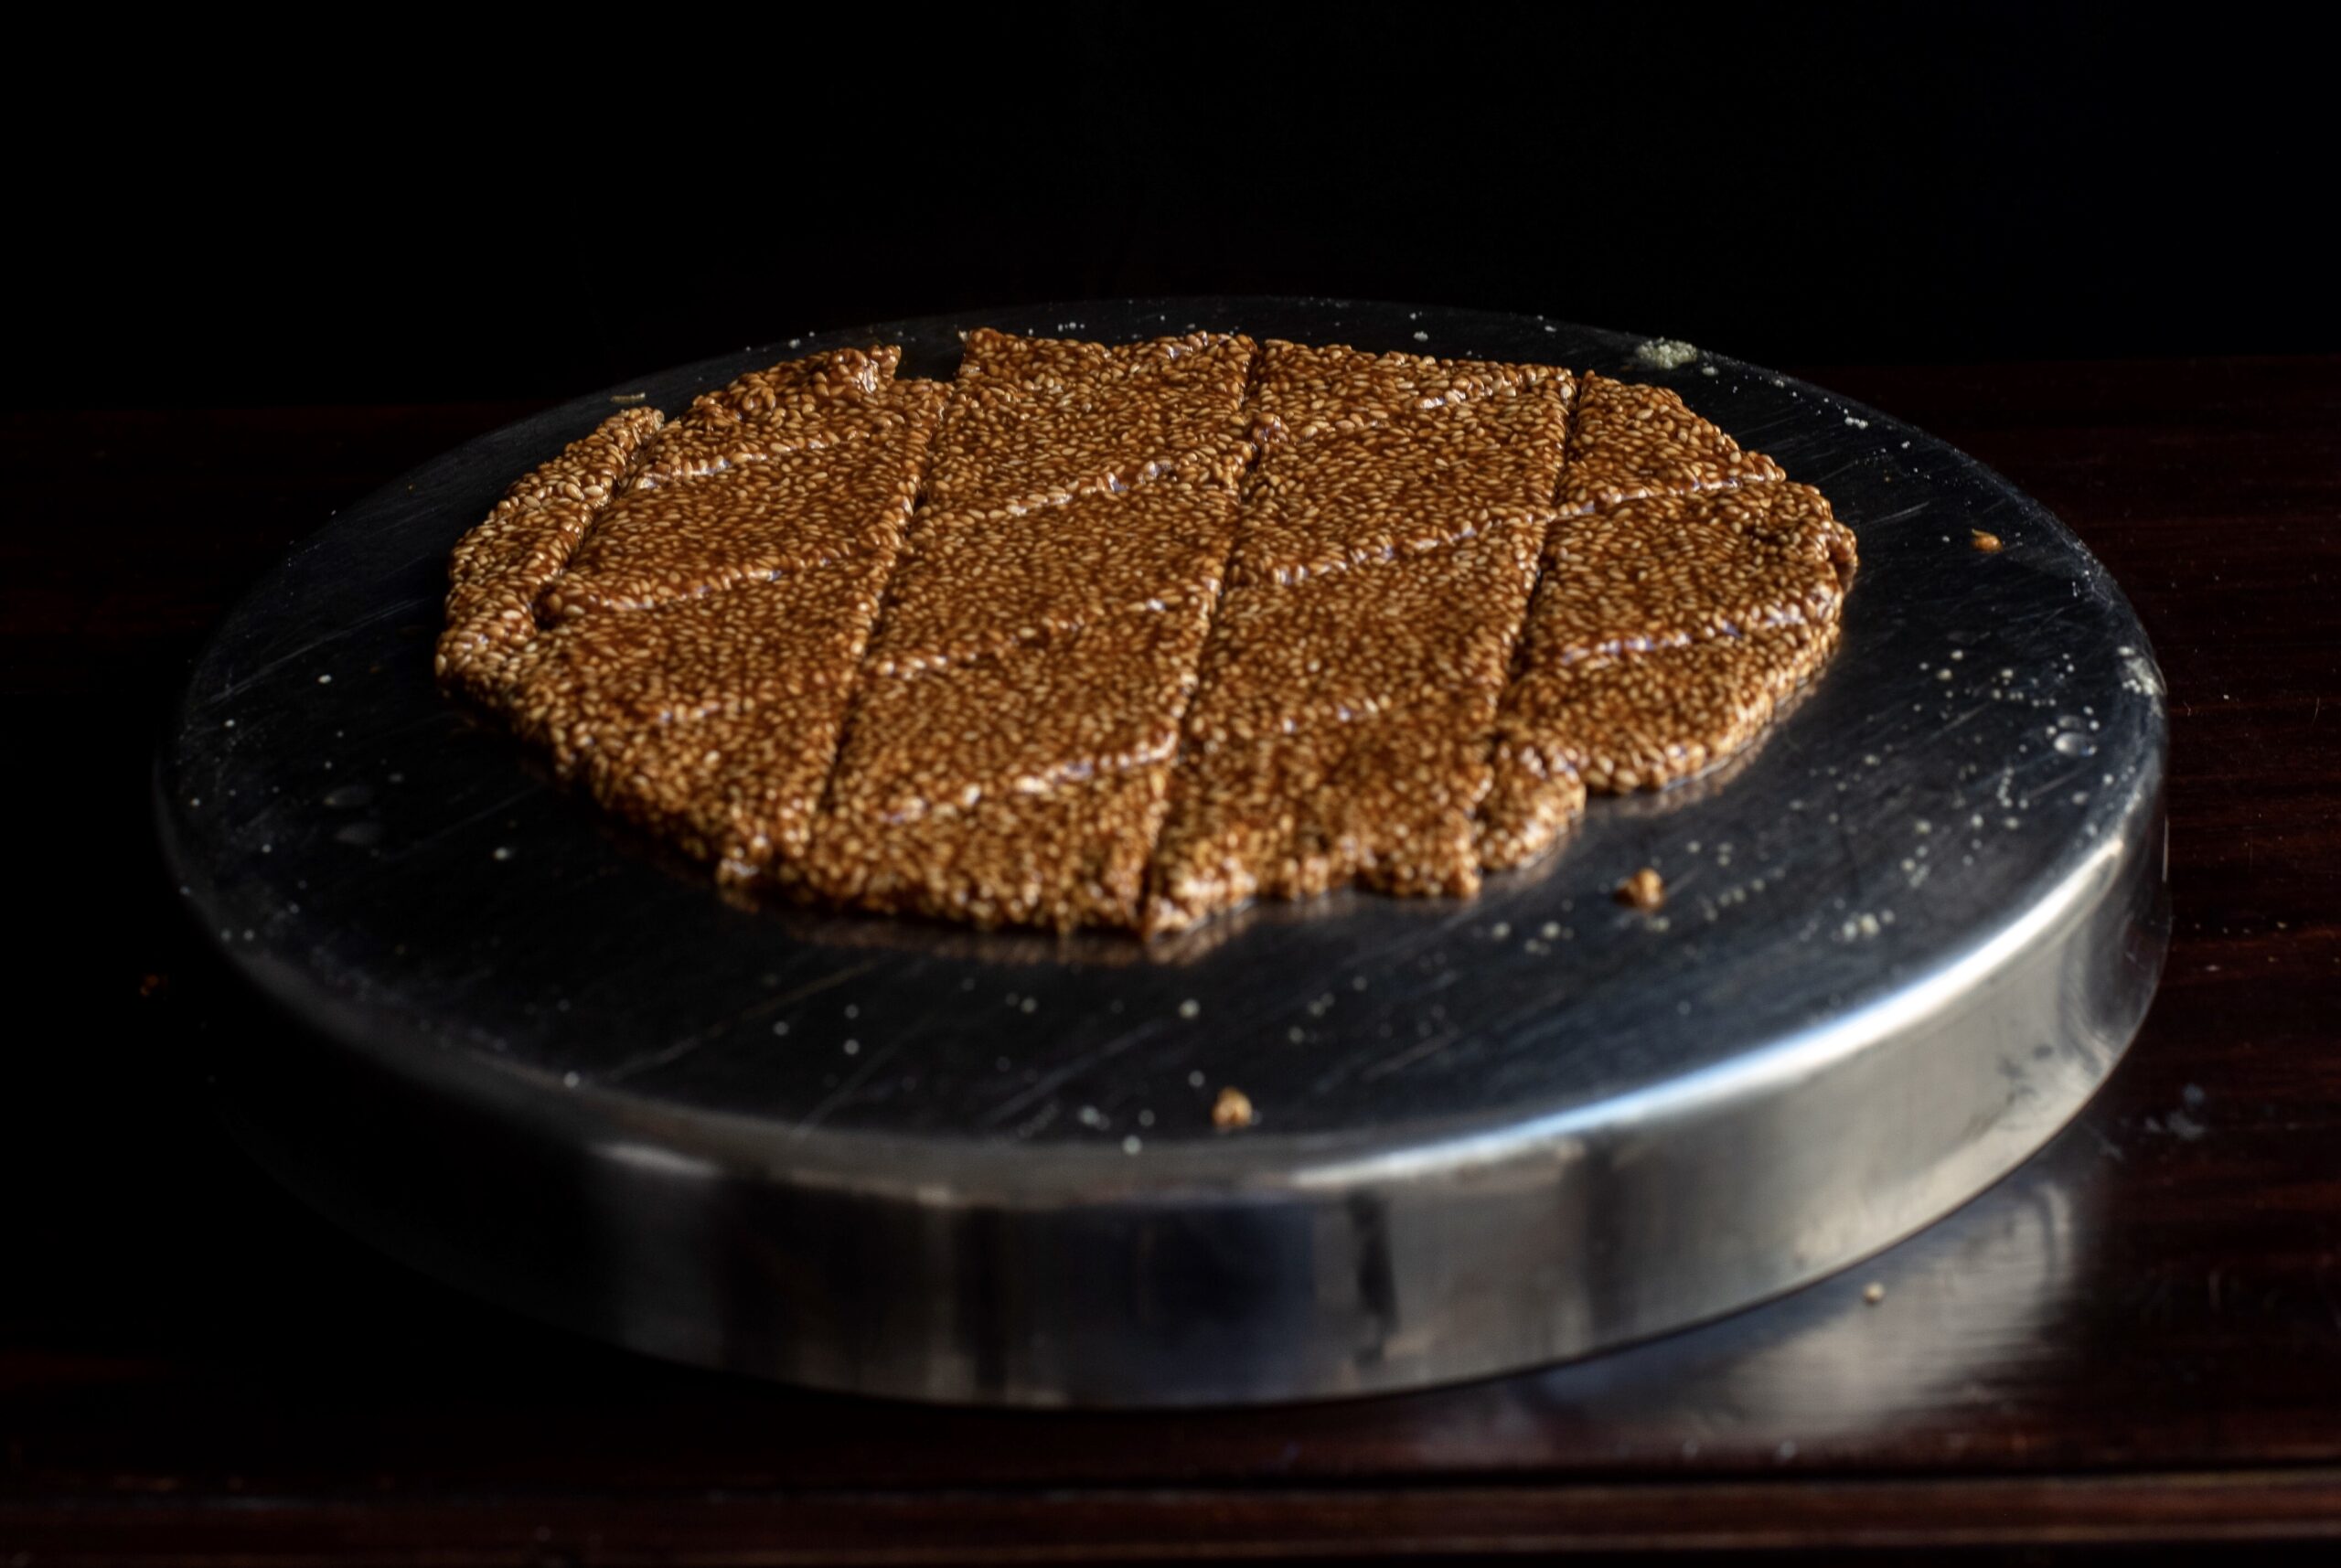
Drop the mixture onto the greased, overturned plate and immediately start to spread it out as thin as possible. You may need to use your fingers (dipped in water), while the rolling pin is coated with ghee. With this combination, try and spread it out in such a way that you mark lines for the pieces later.

Allow the spread mixture, striped with lines to form bars, to cool. Once it has completely cooled, place the plate on the stove and warm from below. The entire piece will come out as a whole. Break it along the marked lines. Store in an airtight container.


Here’s another process video: re:store sesame brittle video – 2

I want to say that this til-ka-chikki is easy to make, but I’ve already told you honestly that it’s not. But I love a challenge in the kitchen, and try again and again to better then perfect my dishes. Even with my photoshoots, it’s the same. When the end result comes out well, it’s all the more delicious when I know the effort that’s gone into it! Tell me how it goes when you try your hand at this dish. Wishing you and your loved ones a happy Sankranti!


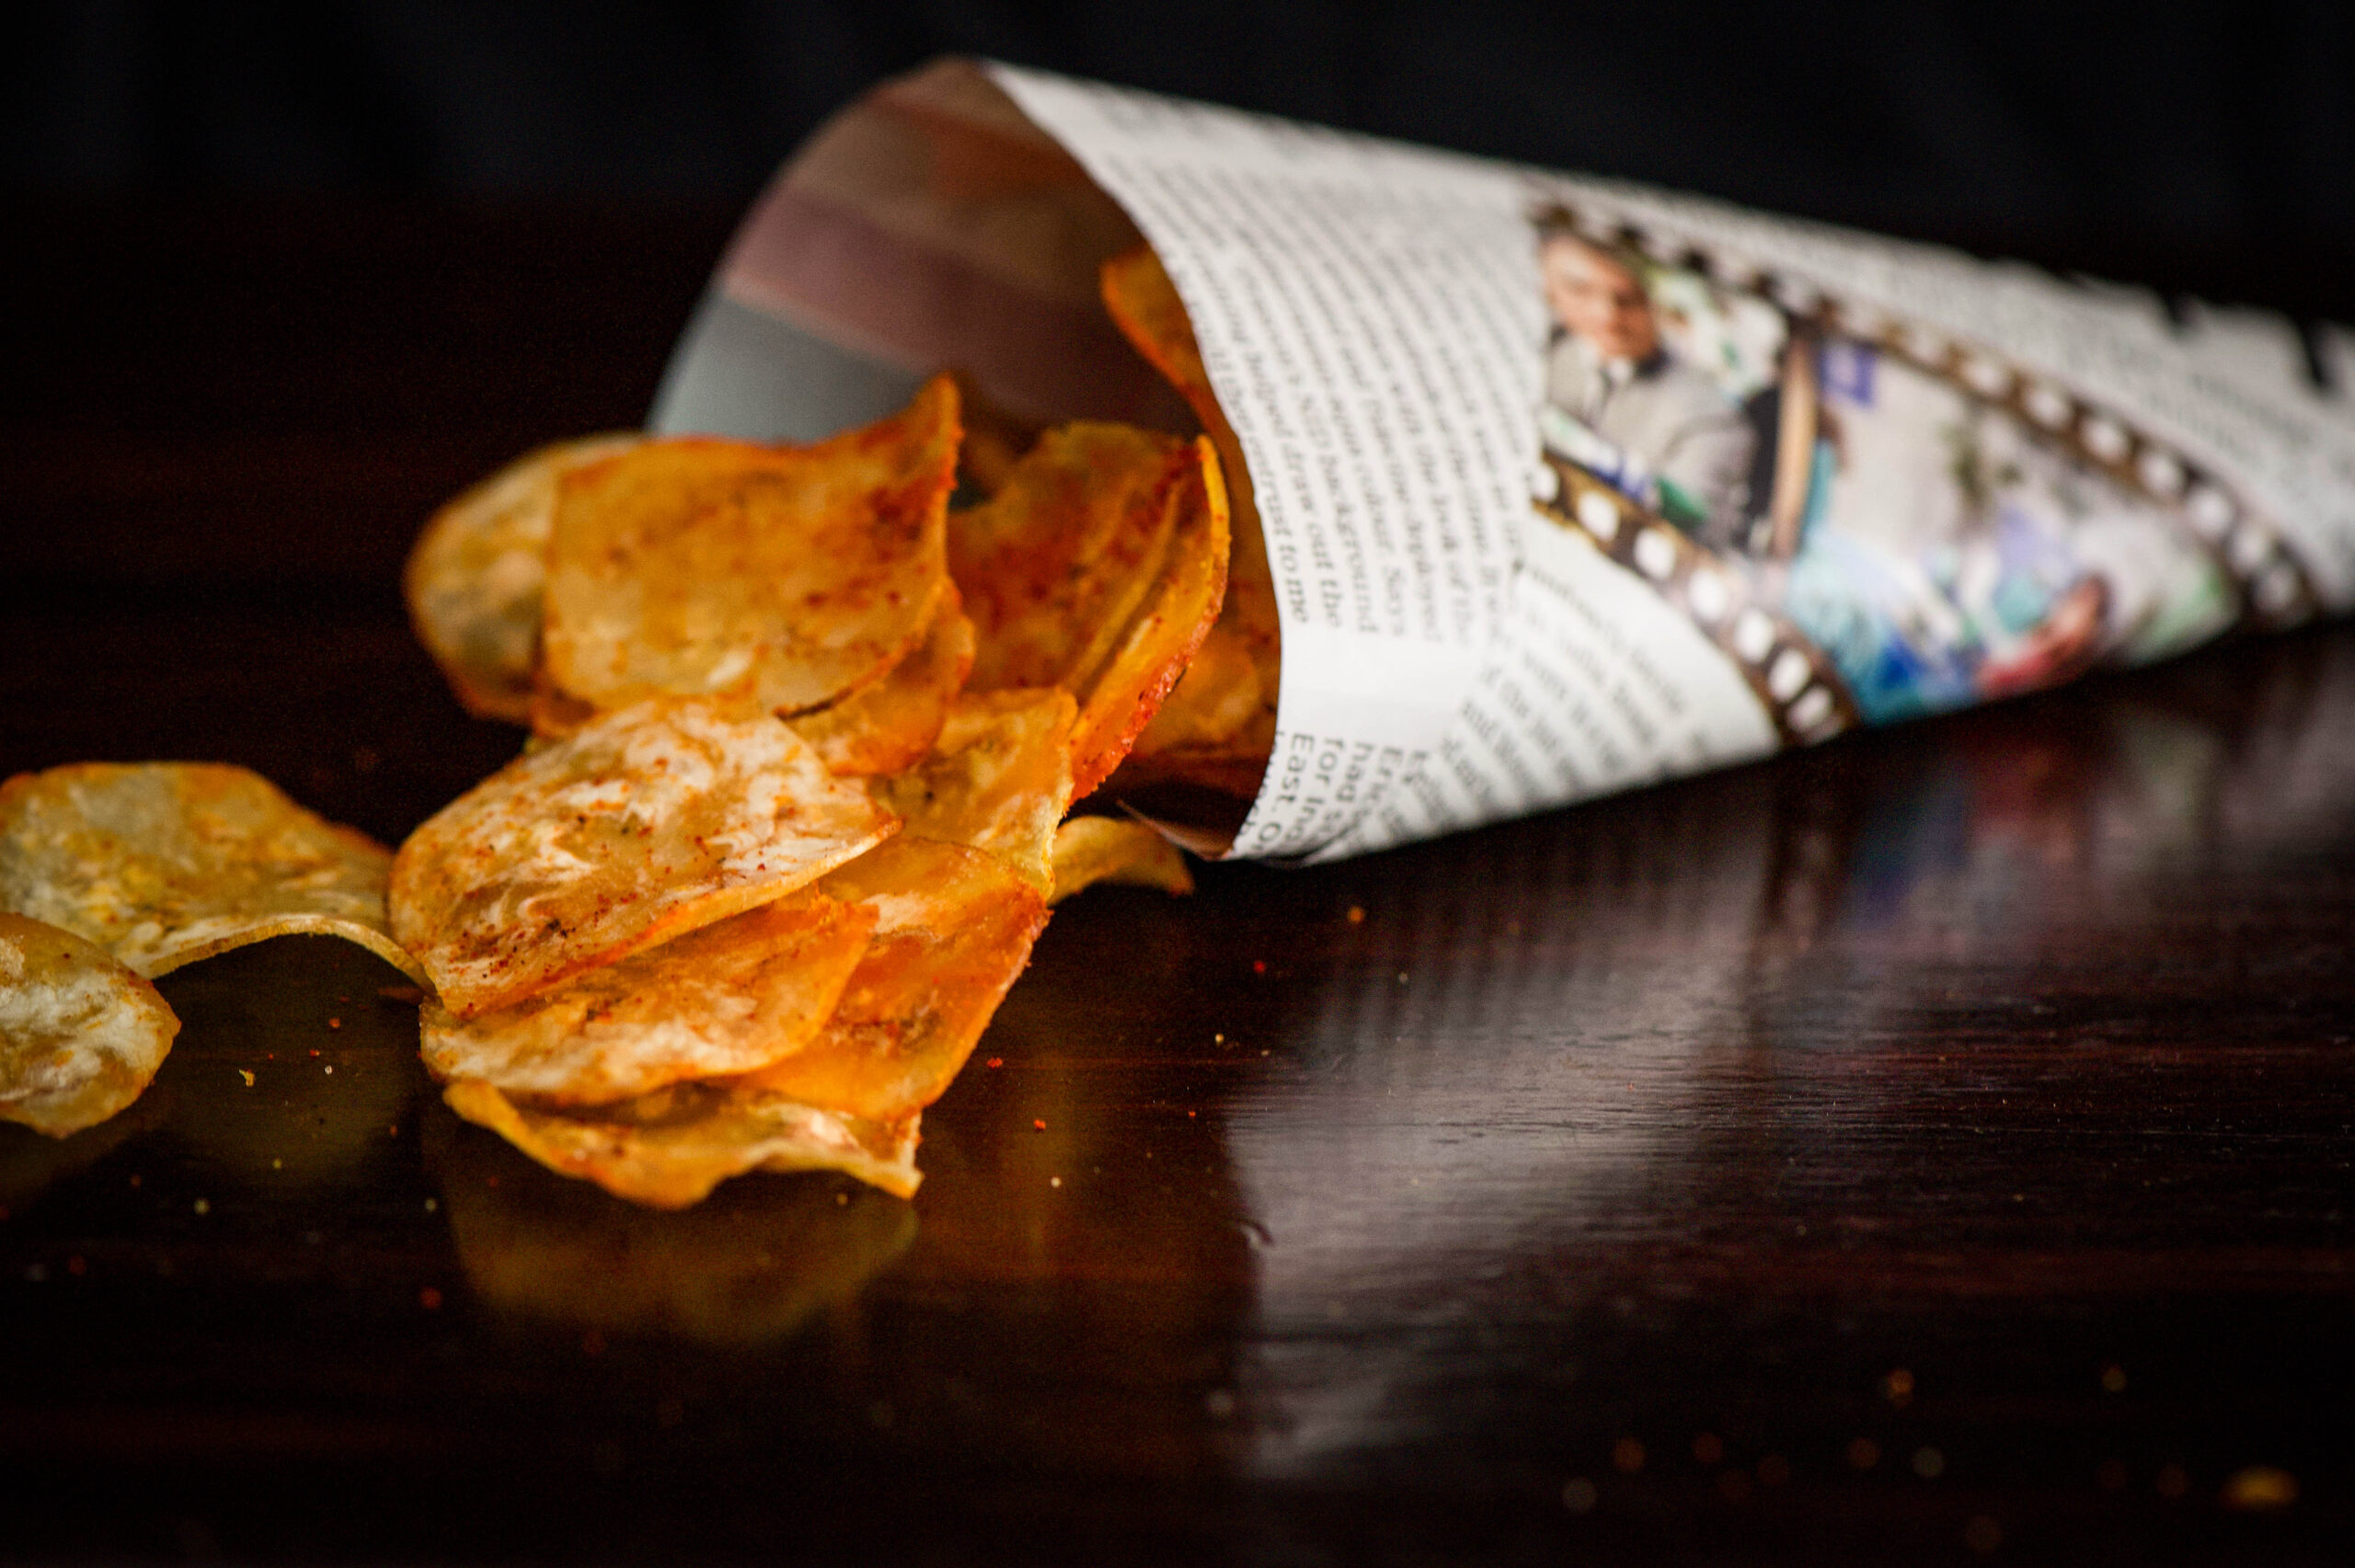
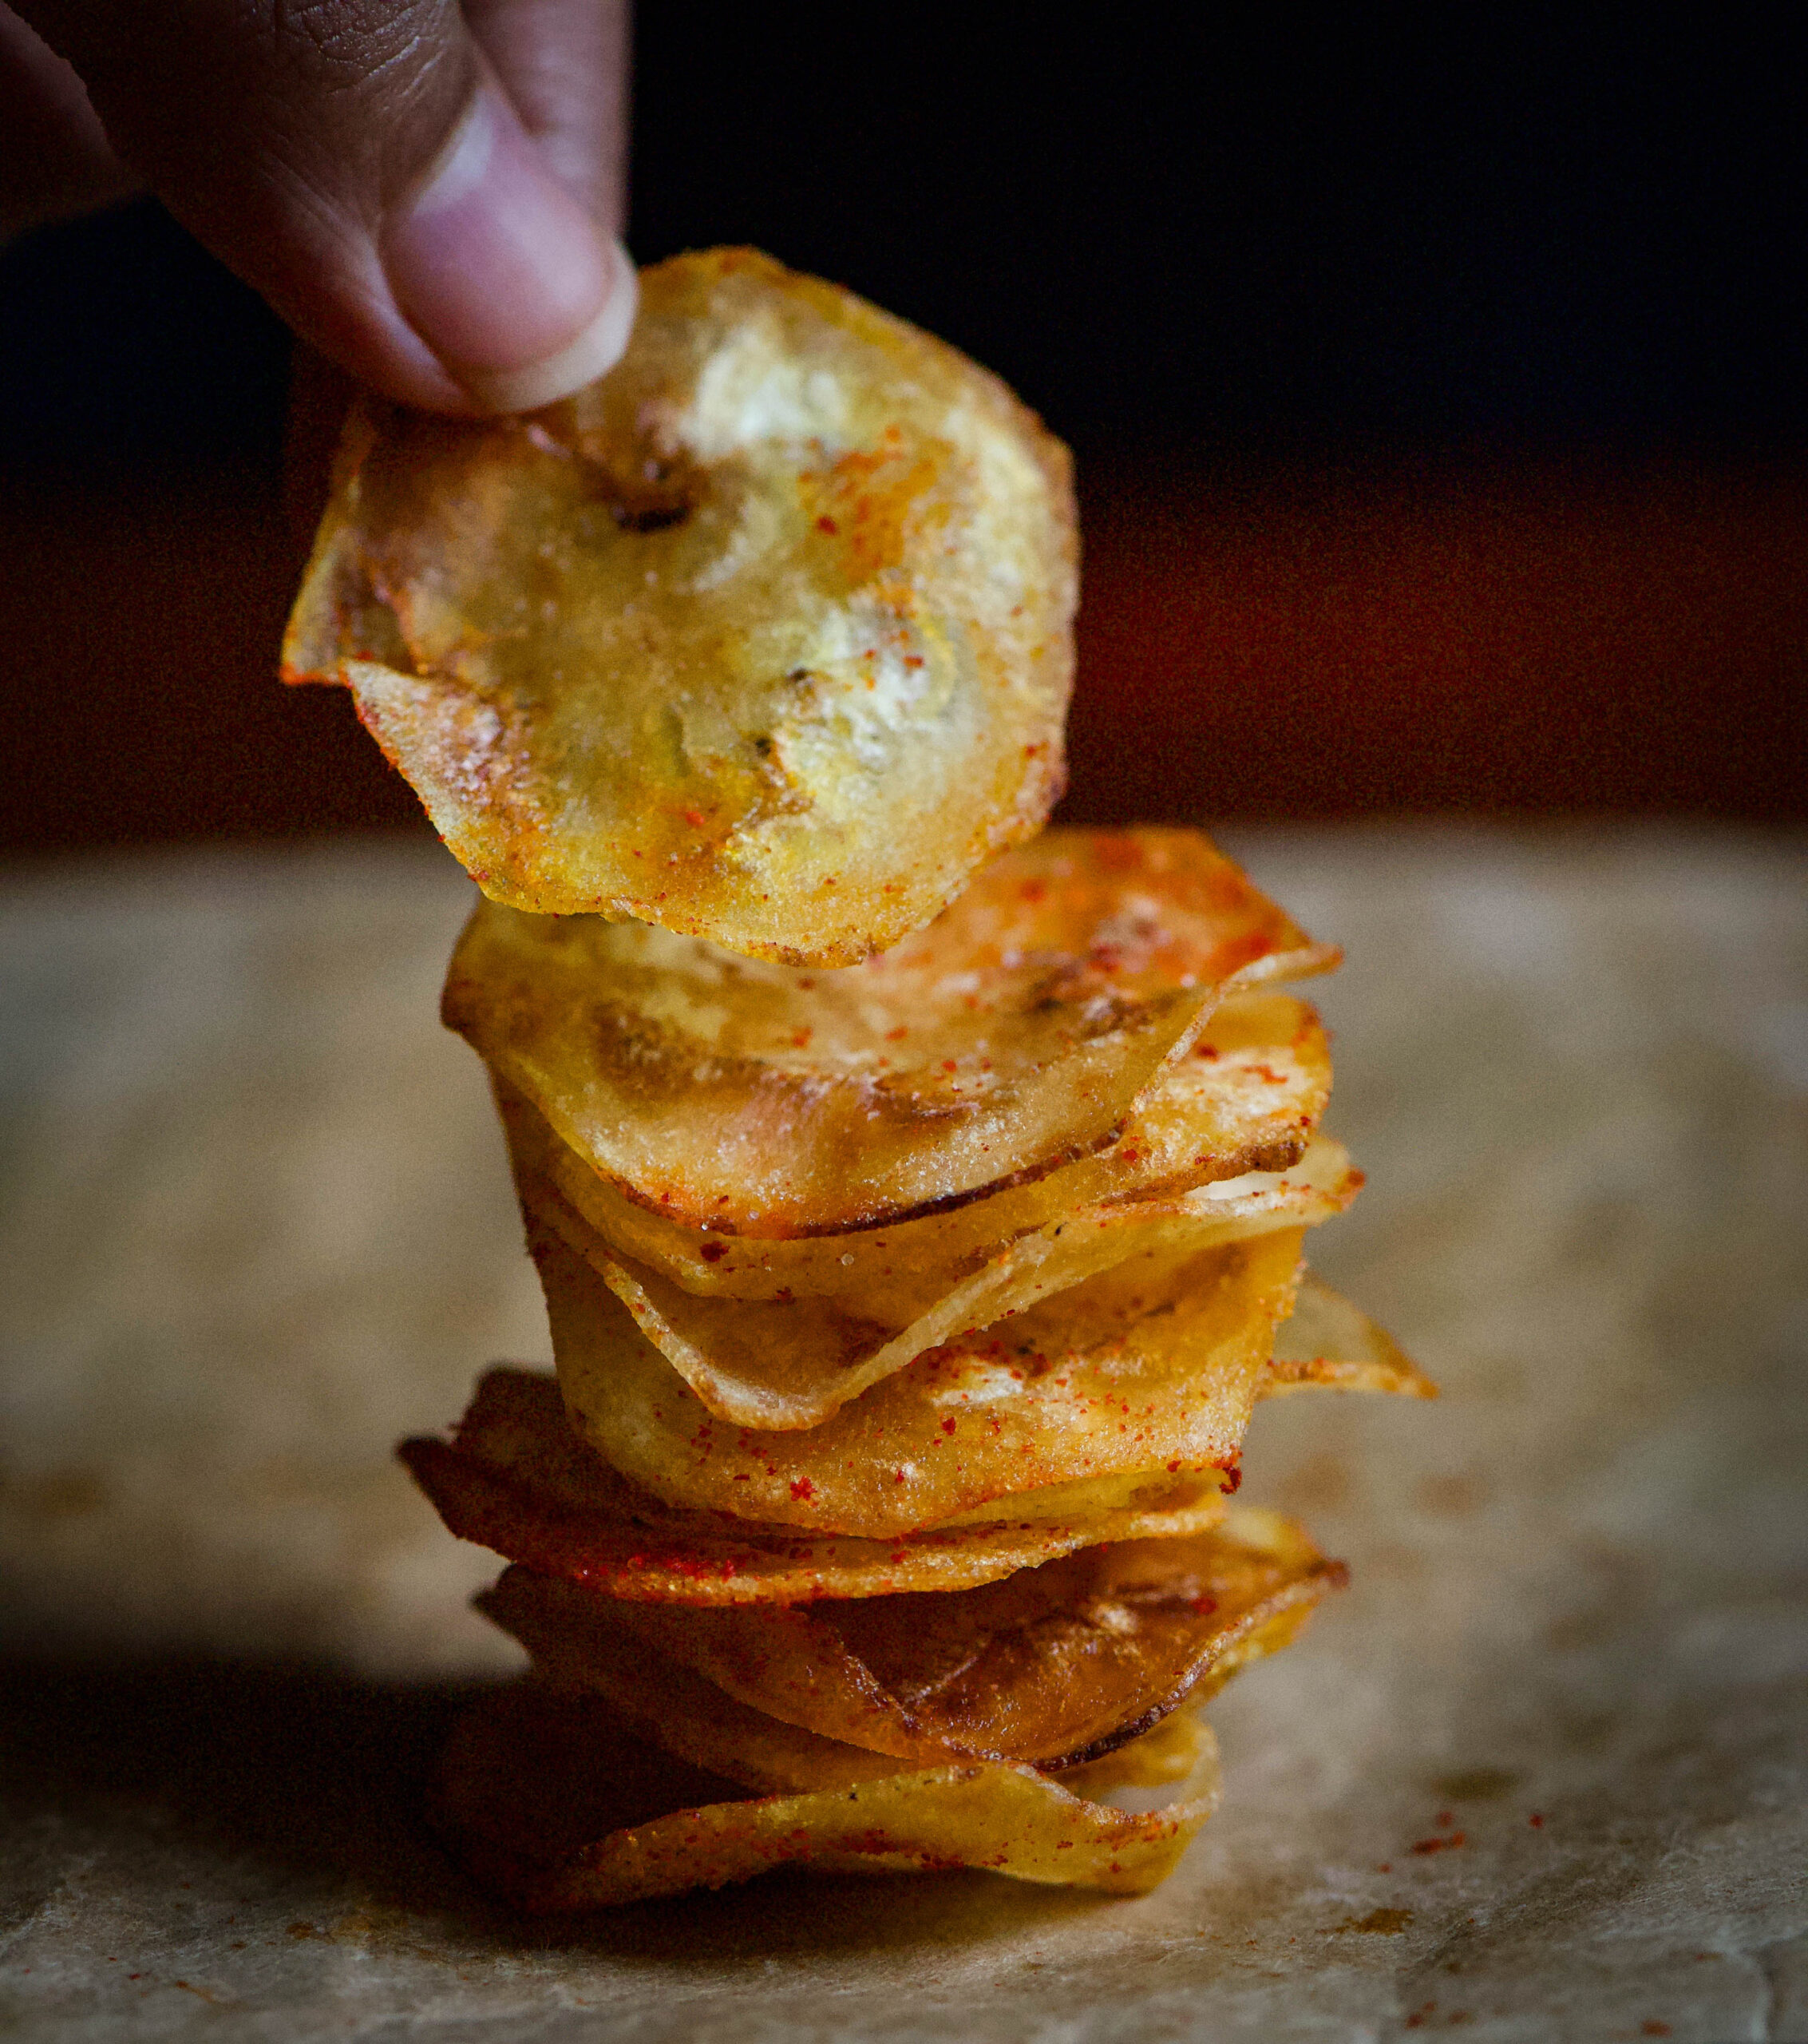
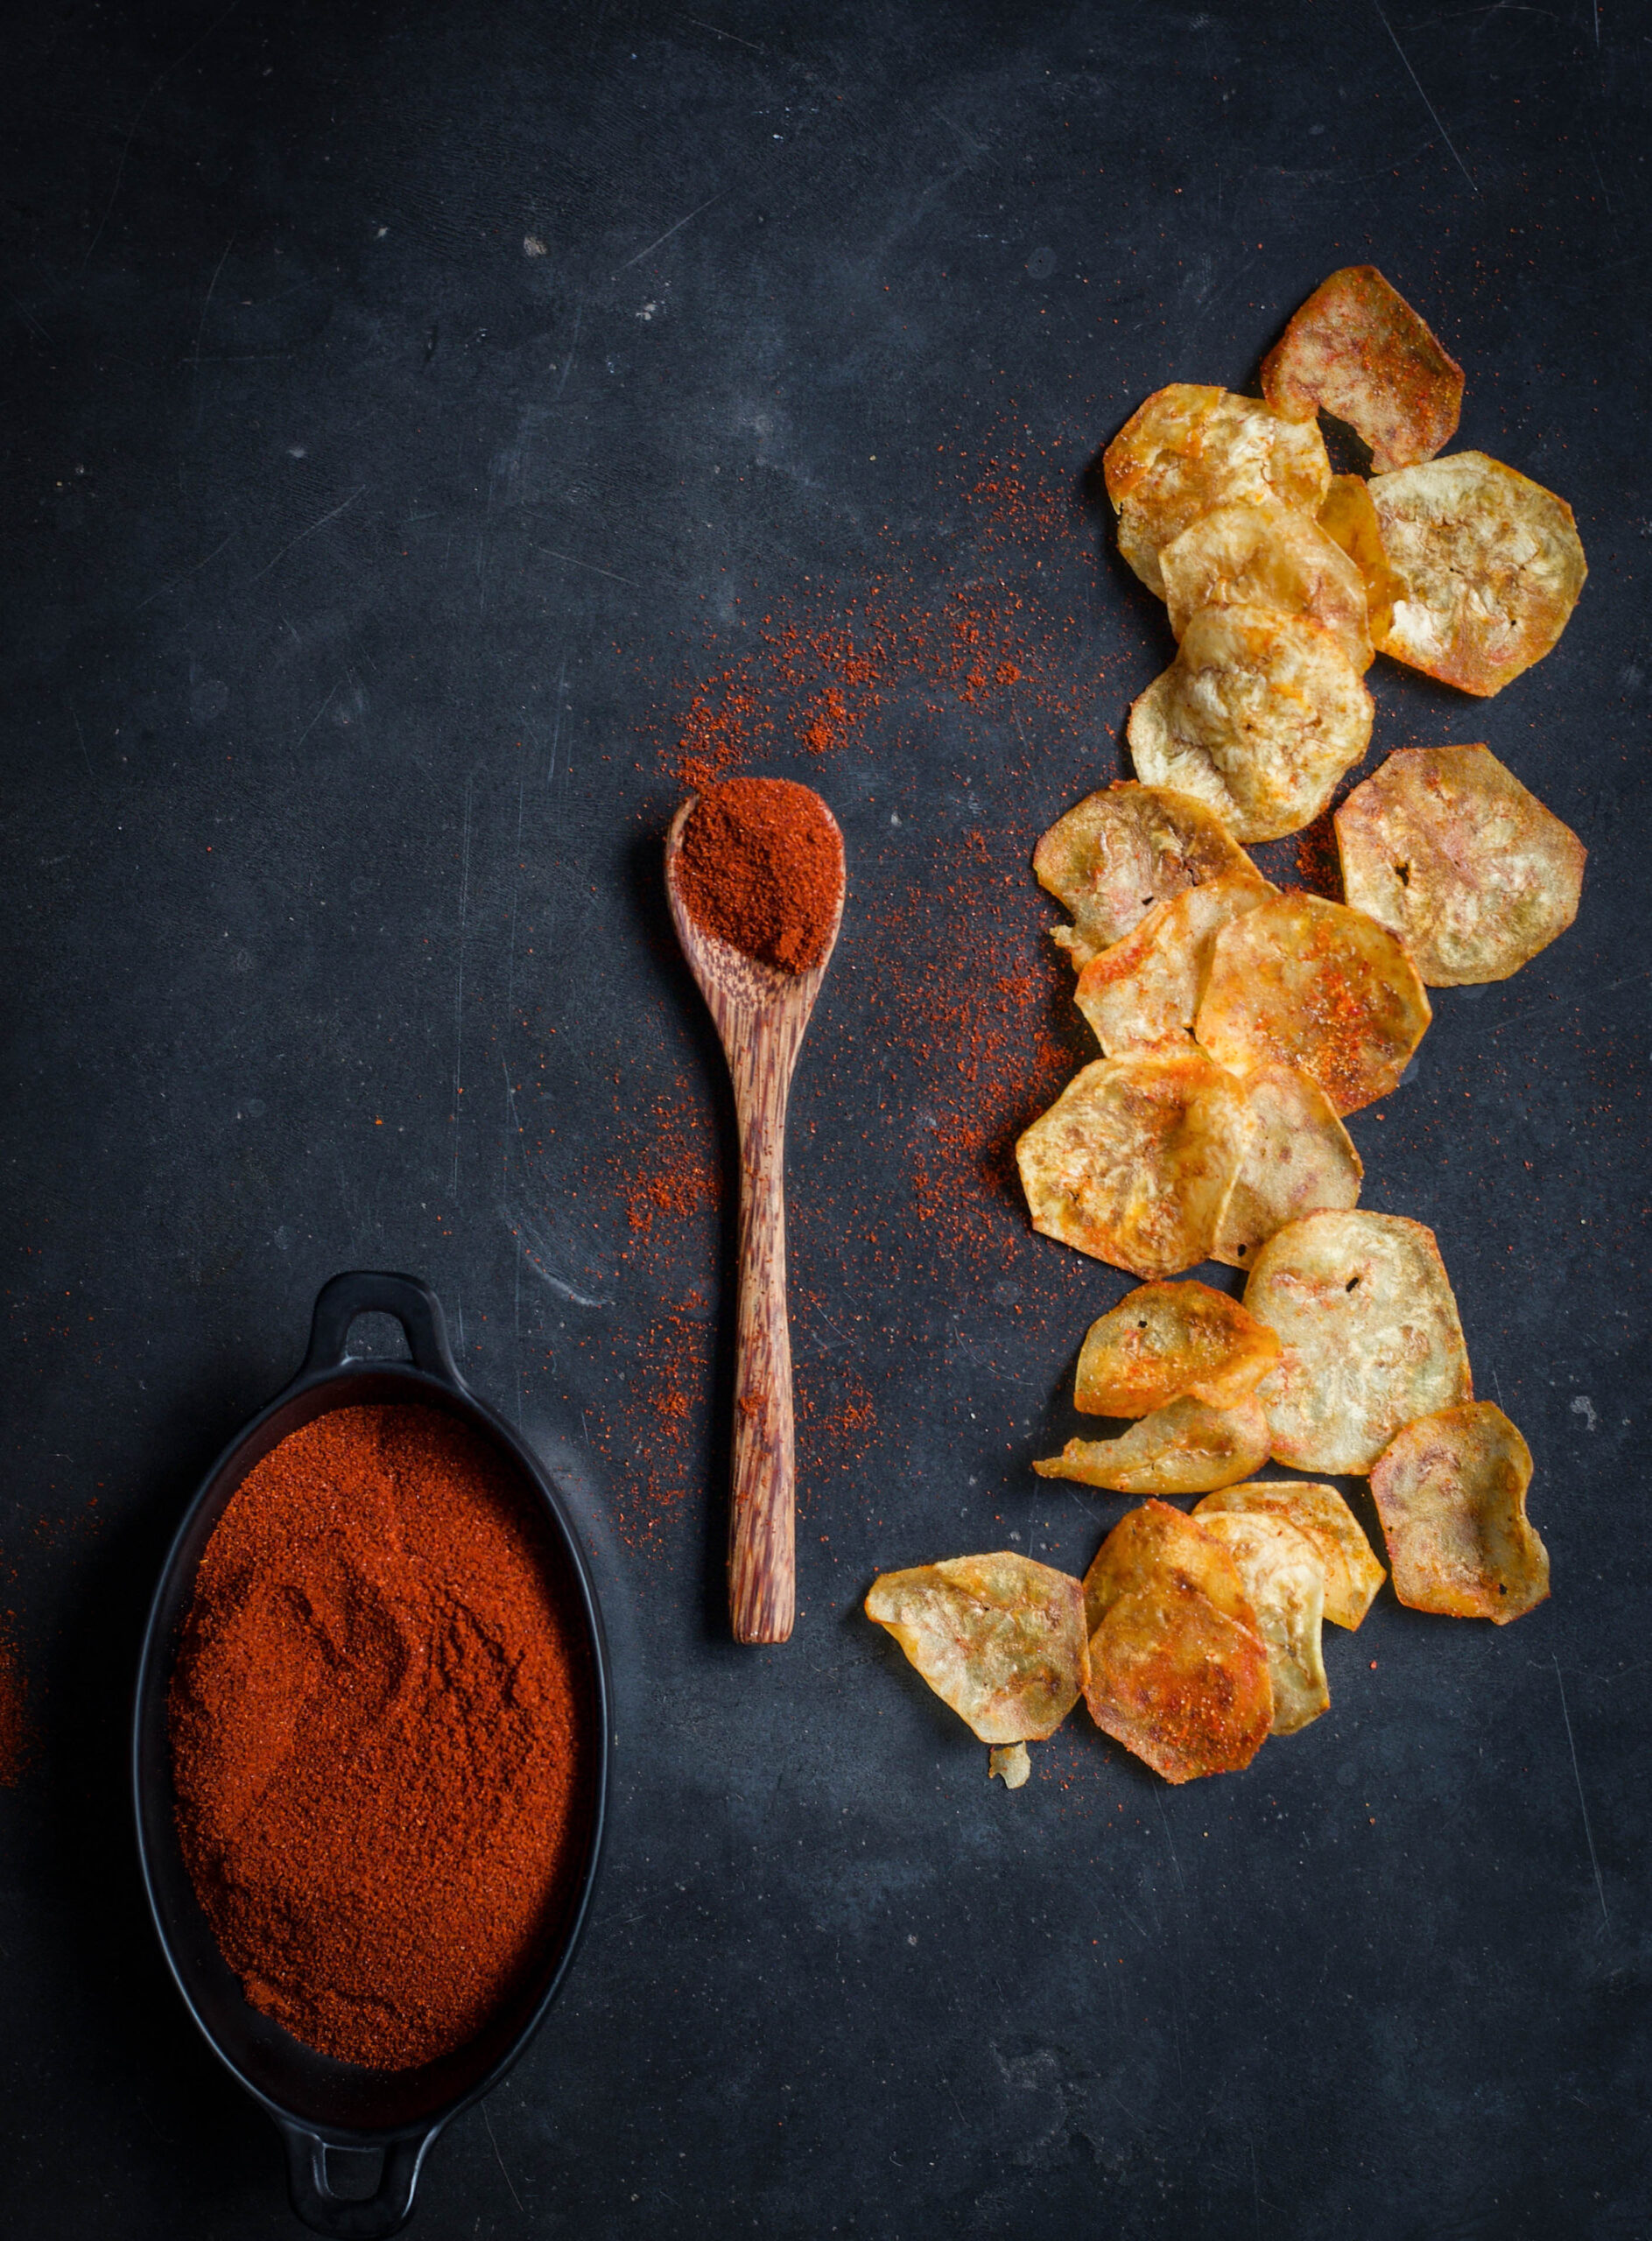
For someone who grew up disliking bananas, I’ve simply not been able to get enough of them this month! I hope you enjoyed my previous recipe for banana bread. There’s been a windfall of plantains on my farm, and so the fruit has found its way into several more dishes I’ve made lately. The recipe I’m sharing today adds a bit of crispiness to my traditional lunch thaalis. It’s so easy to make, and so difficult to resist. I really have gone bananas for these banana chips!

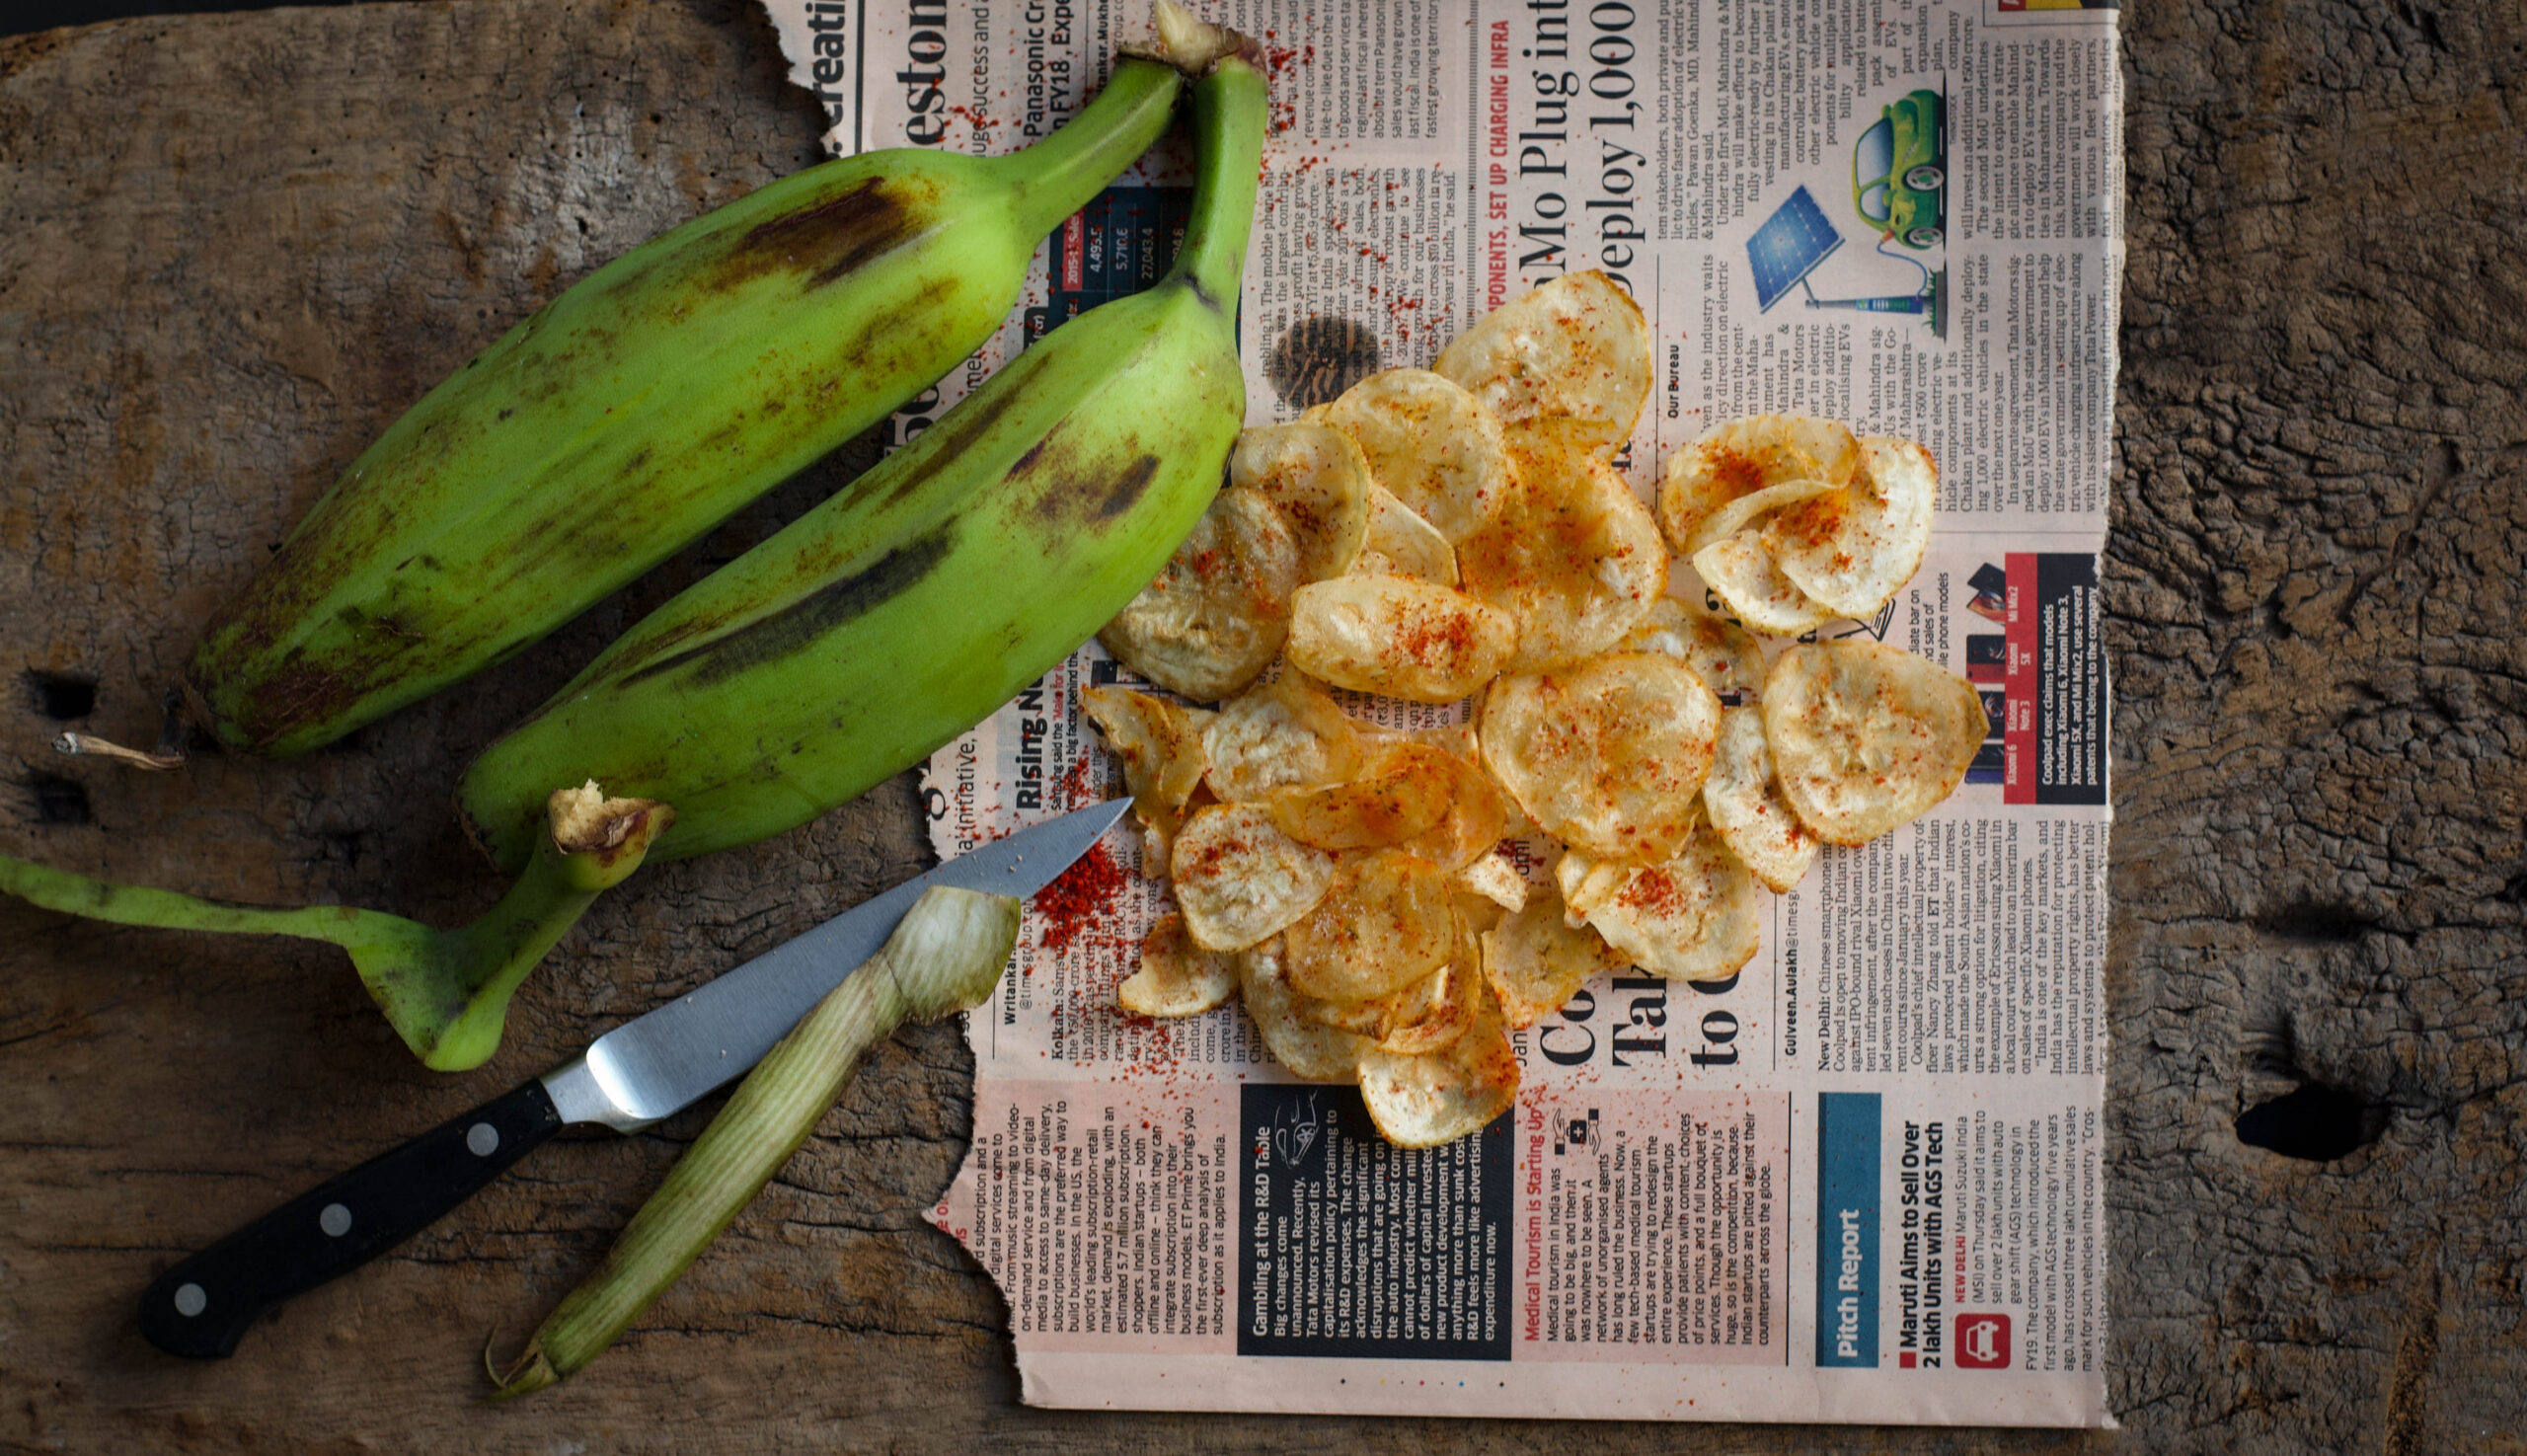
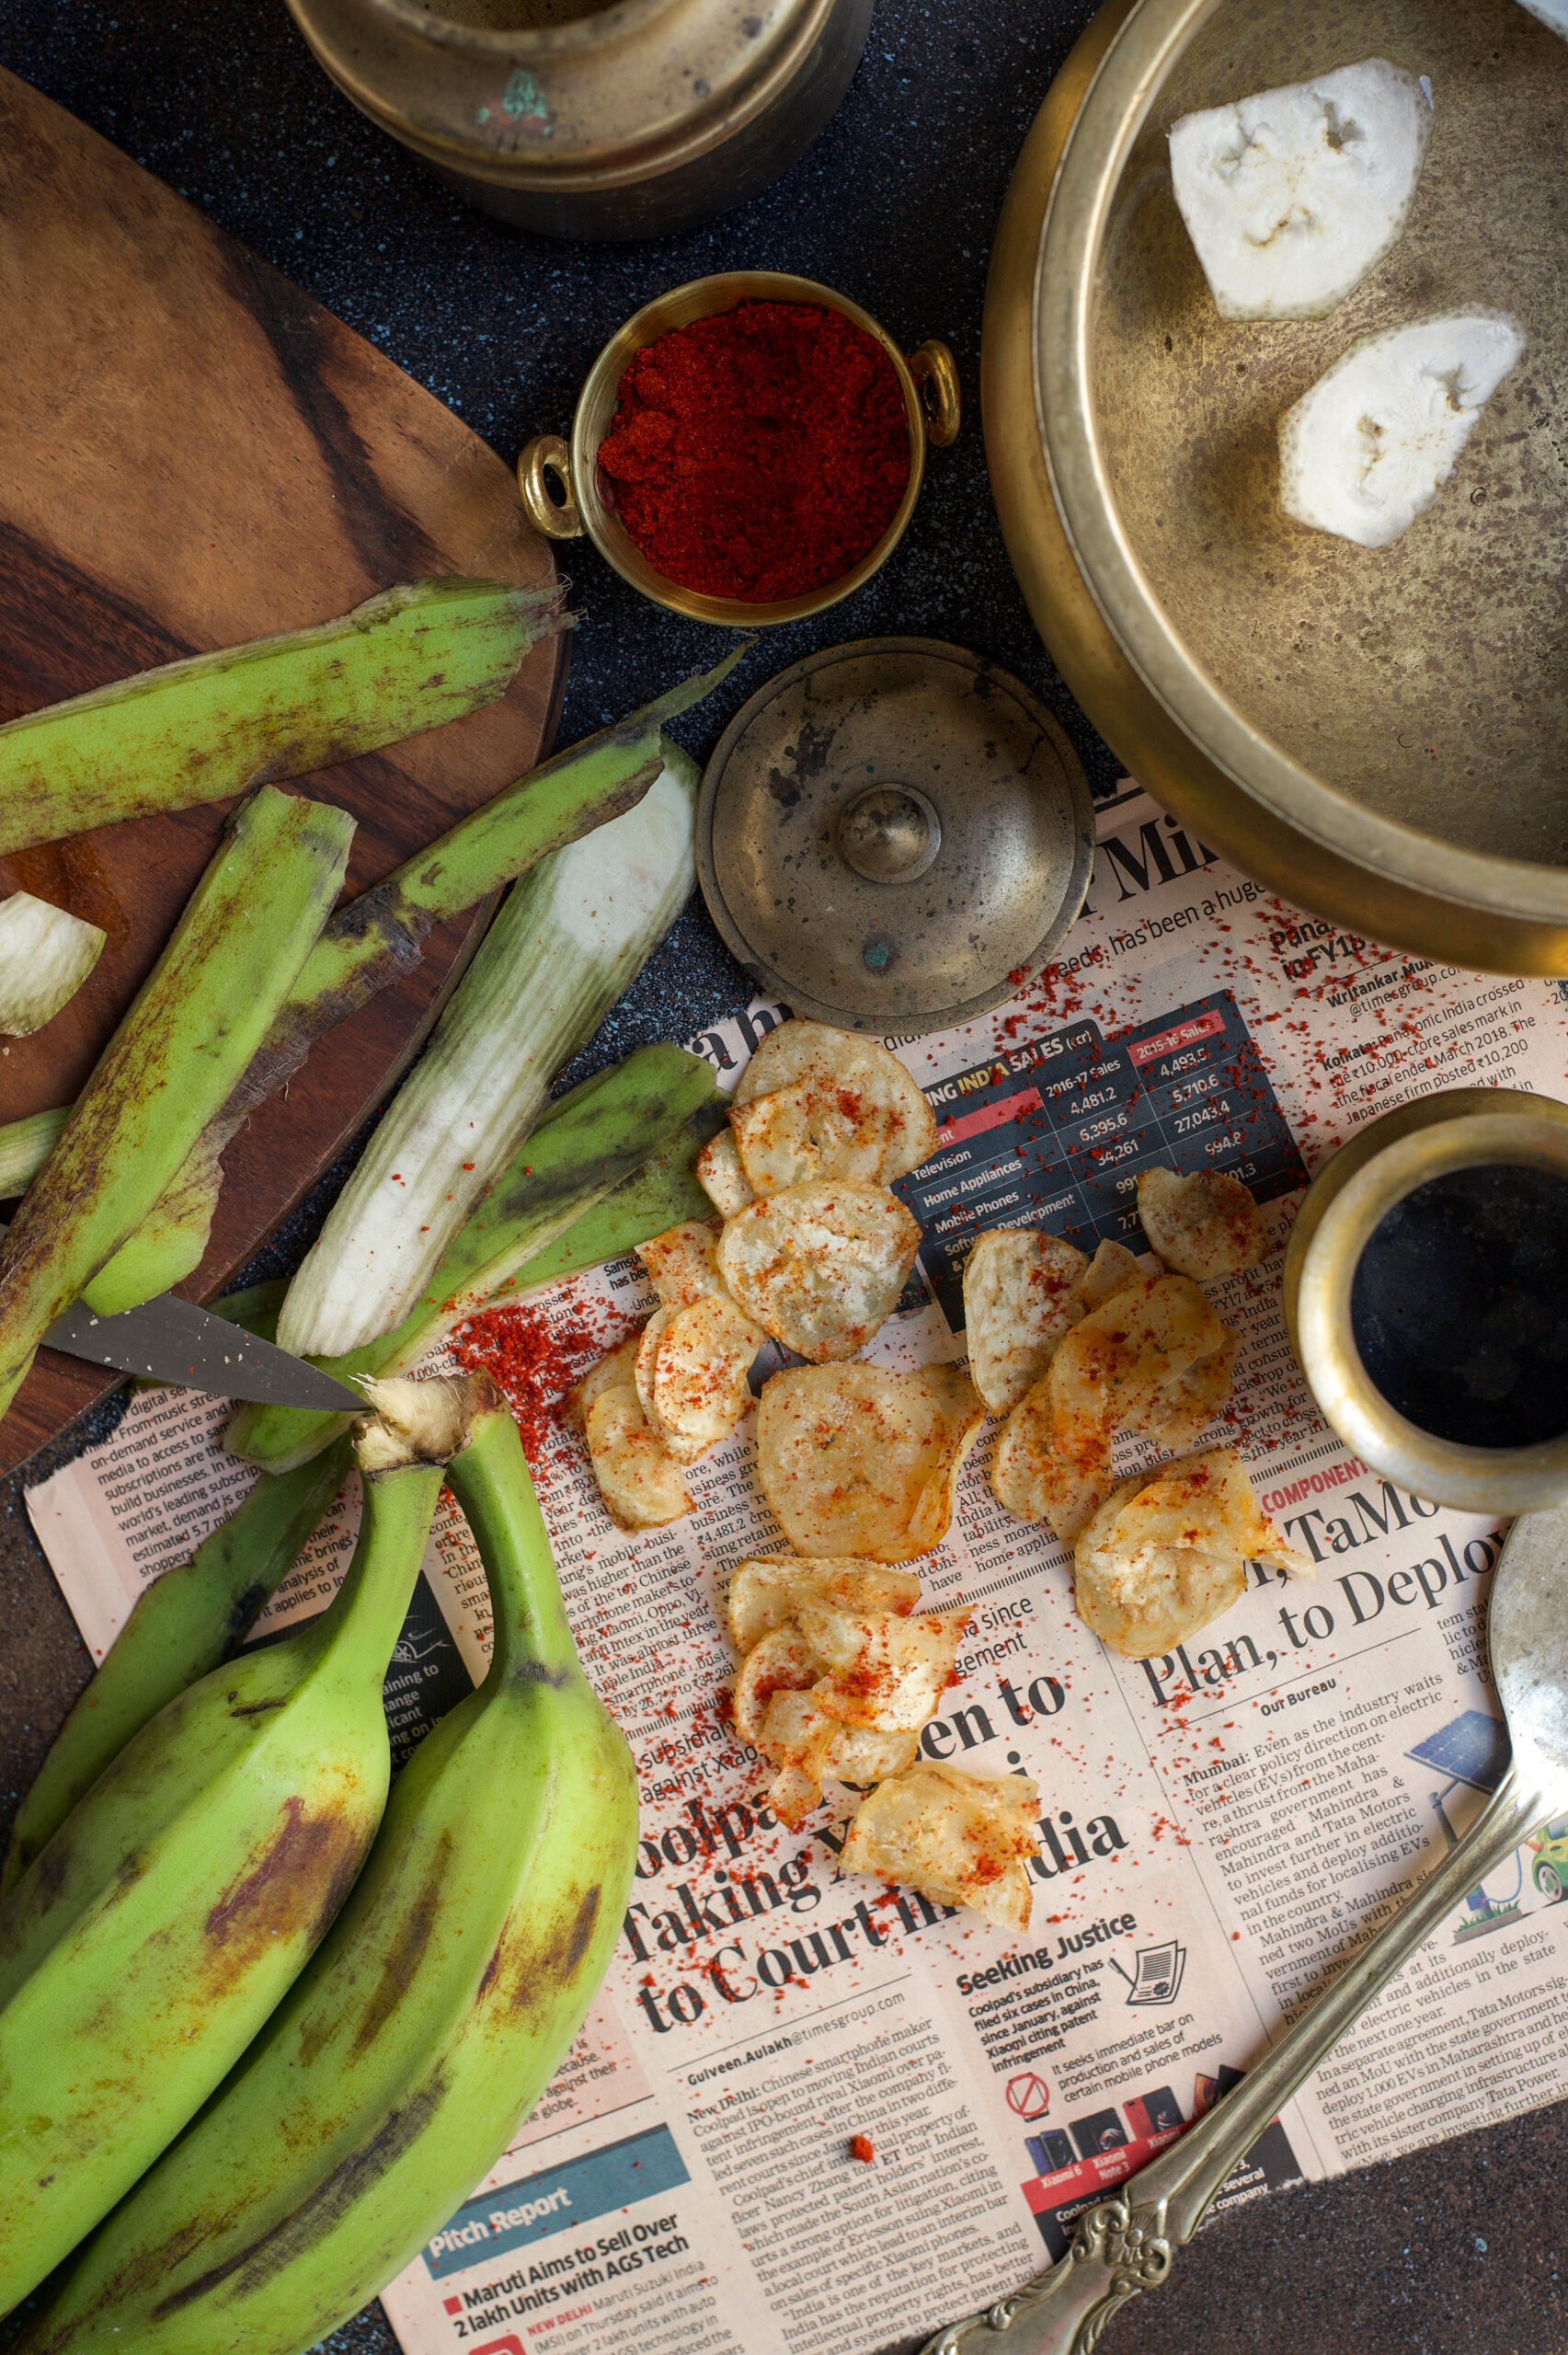
These chips don’t use the ripe bananas that we peel and eat when in need of a portable snack. Instead, they use unripe green plantains of the Monthan variety, which fruit in the 8th or 9th month after planting. They are not sweet, unlike ripe ones, but are edible both raw and cooked. Rich in potassium, iron and several vitamins, they are used in cuisines in Polynesia, Jamaica, and here in India of course. The banana tree itself is considered sacred in Hinduism, and is worshipped in some sects and used in wedding ceremonies. Not only the fruit but the flower too can be consumed, and food is traditionally eaten on a banana leaf itself.

I have a new gadget in my kitchen that I picked up on one of my travels – a nifty slicer that lets me quickly slice the banana directly over hot oil, so I was quite excited to use it when my sister taught me how easy these chips are to make.

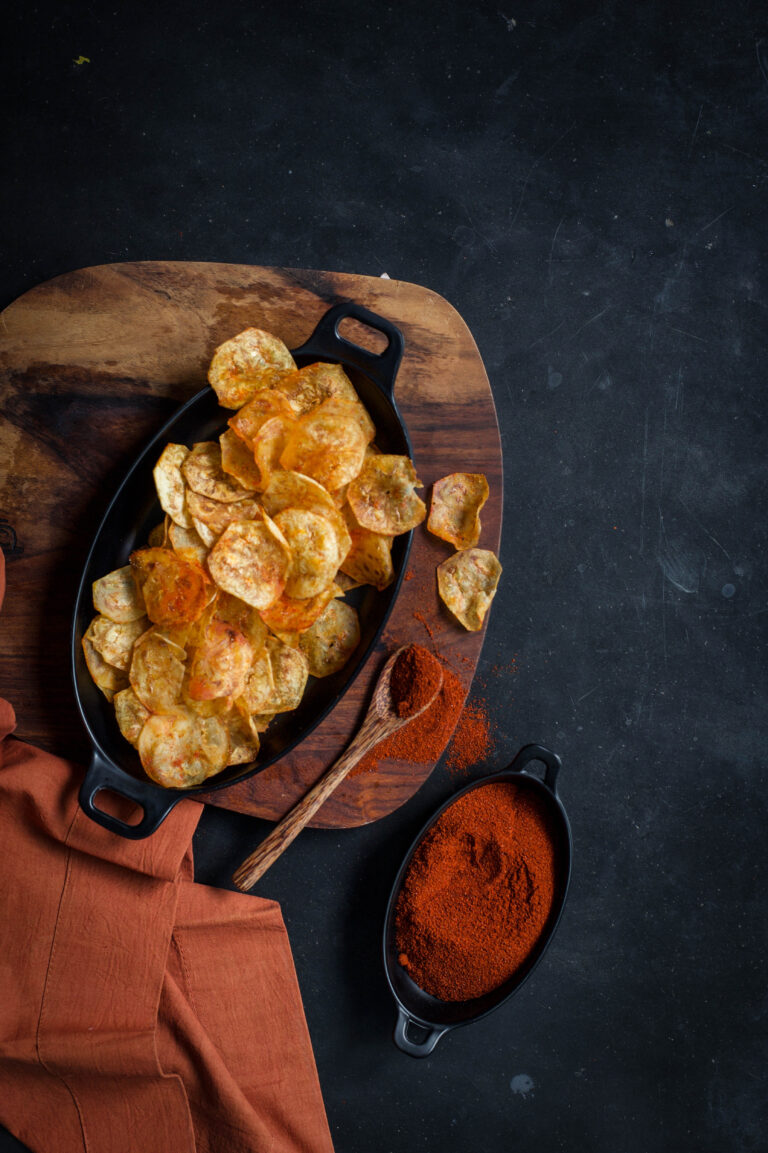
Banana chips are made all over India, but they differ from state to state. The famous Kerala ones, for instance, are cut thicker and are bright yellow. These Gujarati-style ones are thin and reddish-coloured because of the spices used. They are called “kudkudiyas” – a bit of onomatopoeia, because of the “kud kud” crunch sound. They remind me of all my visits to Ahmedabad, and in fact my husband (aka The Dark Prince!) is so partial to them that I order them for him all the way from that city. Fortunately, everyone at home loves my banana chips too, so they can now have them fresh and not imported!

Gujarati-Style Banana Chips

(Yield: Approximately 1 bowl)

Ingredients

1 large raw plantain

Salt to taste

¼ teaspoon chili powder (or to taste)

¼ teaspoon powdered sugar

2 cups oil (for deep frying)

Heat the oil in a frying pan. Peel the plantain and wash it. Be watchful as it may be a bit sticky to the touch.

Slice the plantain and immediately drop the slices into the hot oil. If you use a gadget like I do, you can slice them directly over the pan.

Now reduce the flame to medium. Turn the slices around a few times until they turn golden.

Remove them from the oil, placing them onto an absorbent paper. Immediately sprinkle the salt, chili powder and sugar. Make them your way by adding spices of your choice, such as pepper or chaat masala. The trick is to add the spices as soon as they’re off the oil because this is the only way the spices will stick to the chips. Also remember that the thinner the slice, the crispier and tastier they’ll be. Store in an air tight jar. Enjoy the crunch!


This exact same recipe can also be used for sweet potato chips, if you prefer them to green bananas or find them more readily available.

I prefer using these homemade banana chips instead of any store-bought snack to add crispiness to our lunch thaalis at home. They are cleaner and healthier, and I know exactly what’s going into our mouths, so I don’t mind that they are deep fried.

Even though these banana chips are made in a popular and easy style, you will surely agree that every dish tastes different depending on the cook. Each home and each hand has its own flavour, despite the recipe being exactly the same. Even something as simple as banana chips will have a unique taste. When you try this recipe, be sure to let me know how yours tastes!

In my previous post, I gave you a fresh spin on the classic dal dhokli, a dinner staple made with leftovers from lunch. In fact, the use of leftovers was so well-designed in traditional cuisines that afternoon snacks would be planned in the morning, and dinnertime planned even while making lunch – and each would be built on the other. In India, no meal is complete without a sweet, and resourceful cooks through the generations also found ways to make sweet snacks using the remnants of a previous meal. Which brings me to the second dish of the promised trio in this series.

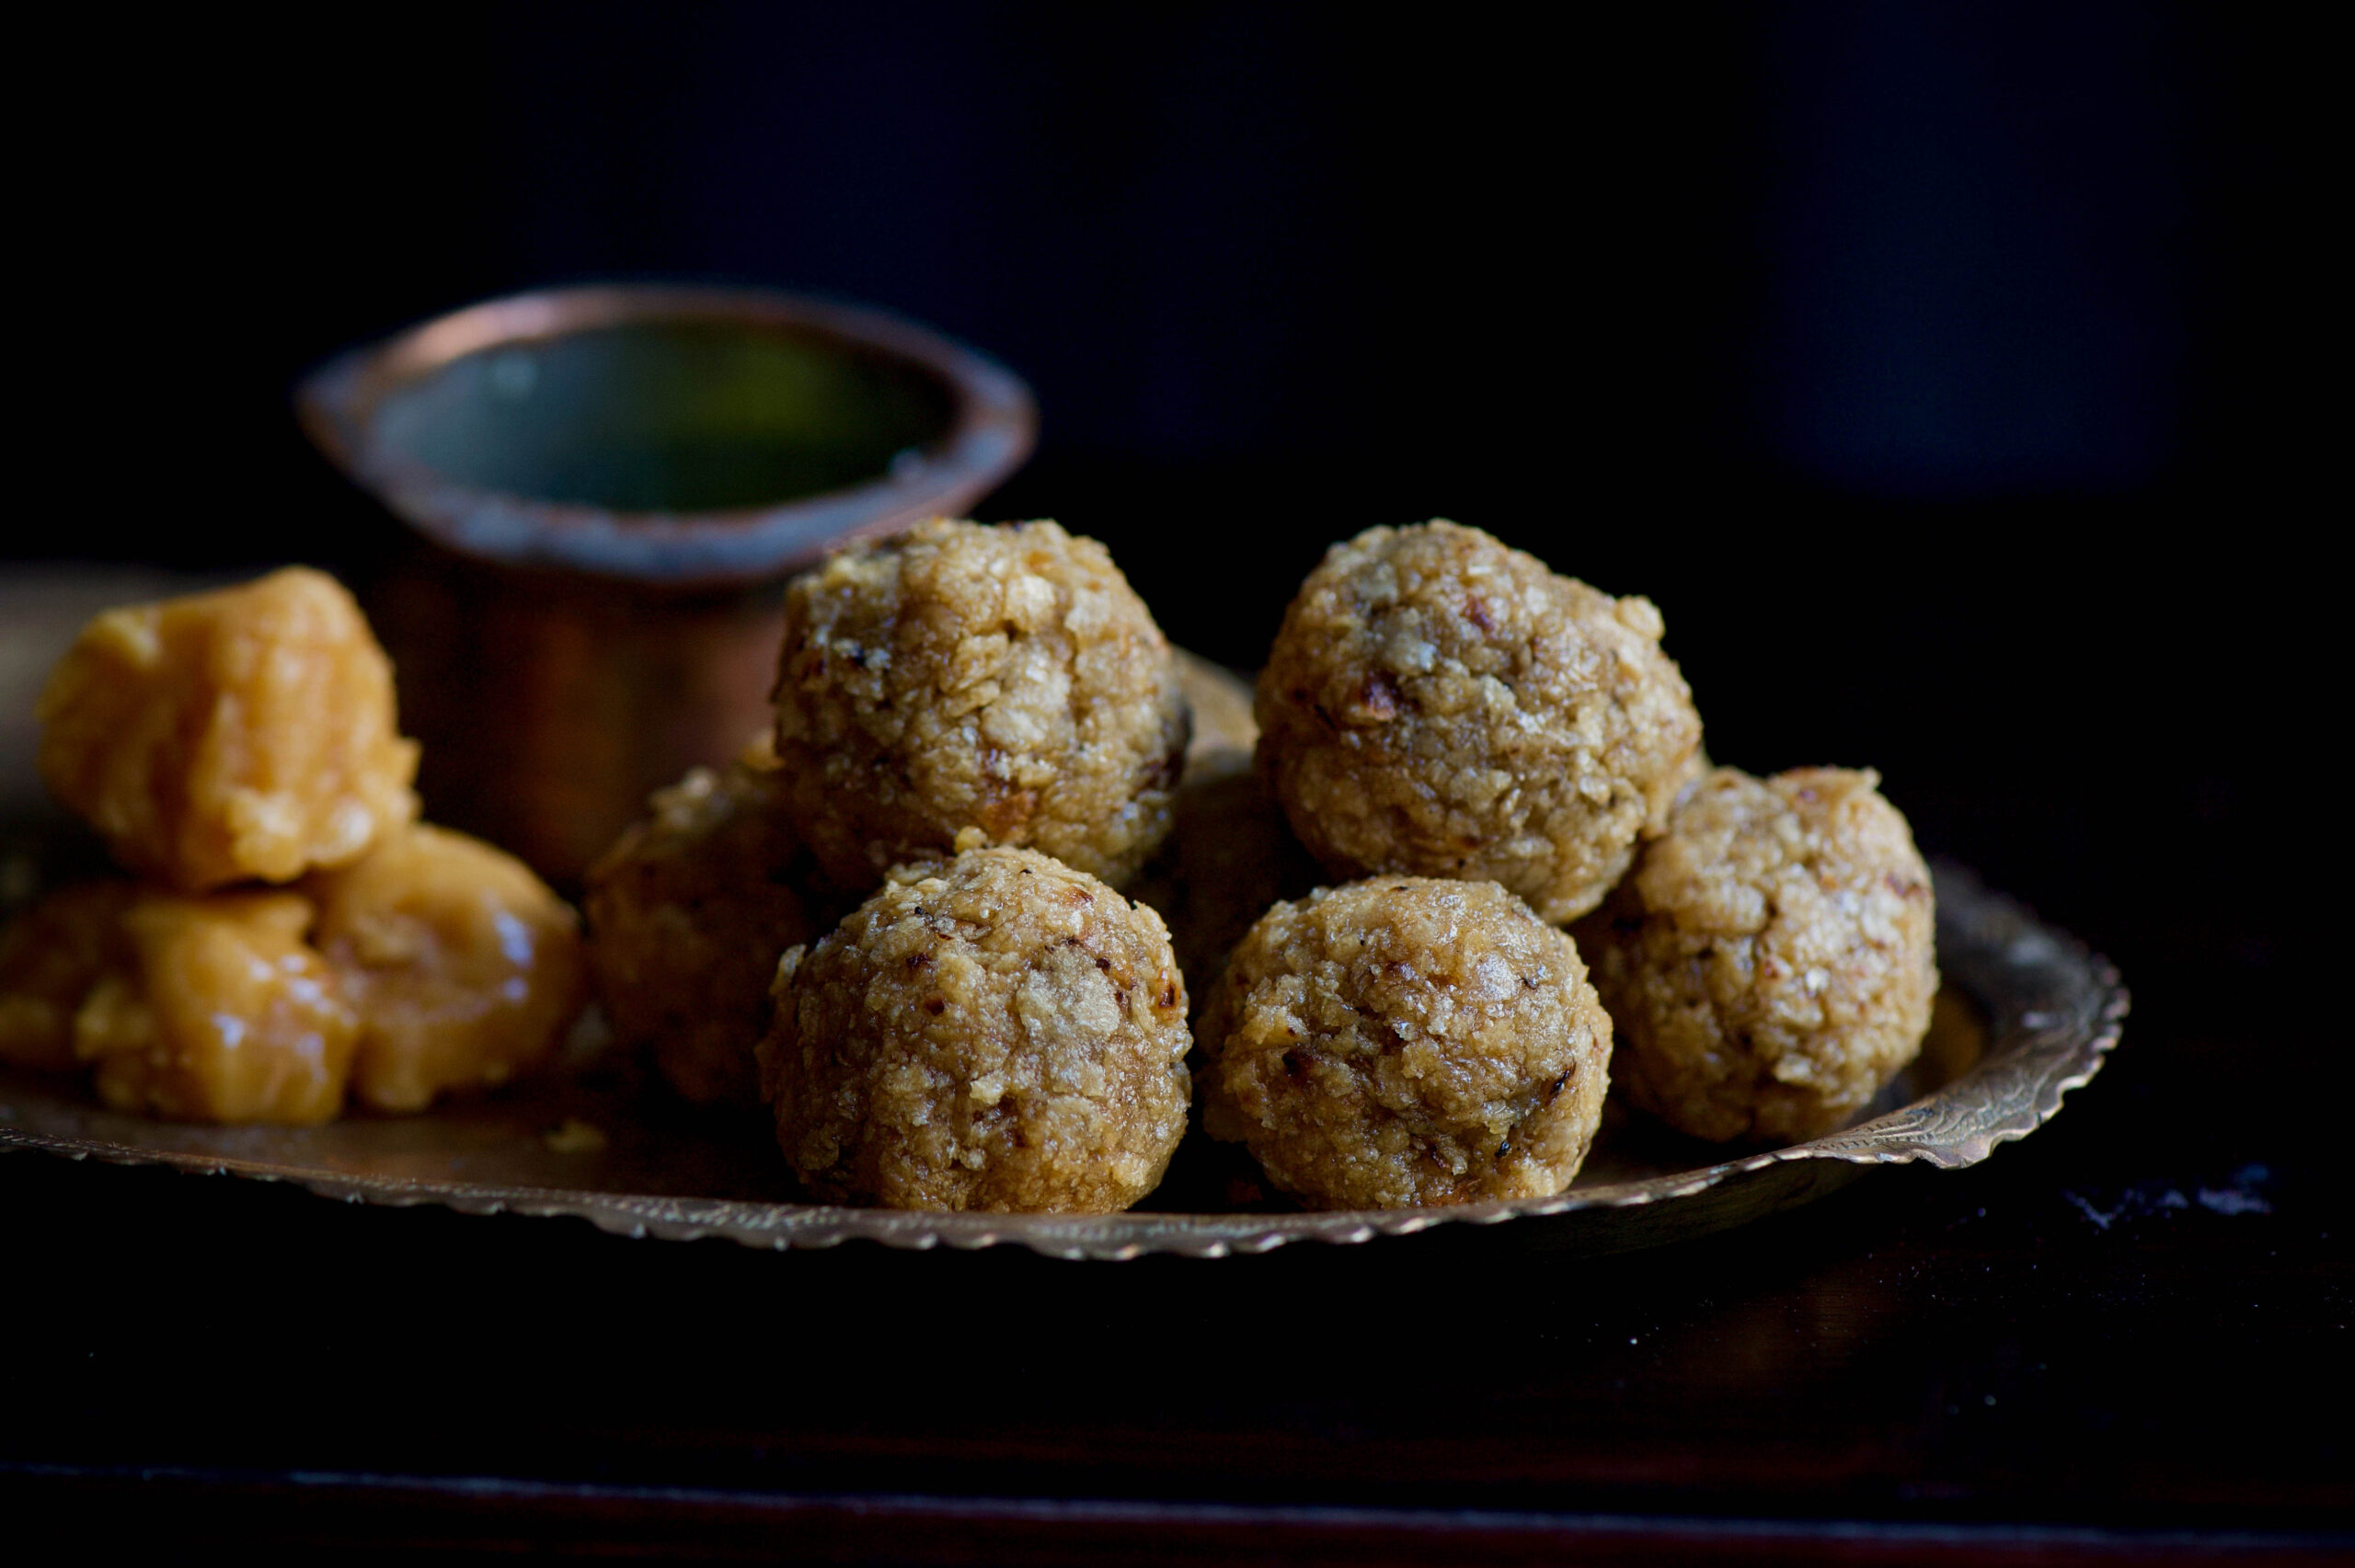
While I was growing up, my mother would often cook a little extra dal and rotli in the morning. Some of it would go into the lunch thali, and some of that would go into the evening’s dal dhokli. And she often found a way to make sure that there was just a little extra rotli to be turned into a wonderful after-school treat: rotli na ladoo.

Just as leftover-based dishes developed to fulfil practical needs like conserving supplies, snacks were often made at home because inexpensive candies and savouries were not freely available like they are now. The Chennai of my childhood wasn’t as developed as it is now, and we didn’t have the chips and junk food that the kids of today enjoy. But I consider myself all the more fortunate for it. From an early age, I was exposed to a culinary ethic that has kept me in good stead. Some of its features include: never wasting food as it is precious, using healthy and nourishing ingredients, and not tasting food while it is being cooked as it is first an offering to god (this trained me to be able to read a dish using sight and smell).

Today, my mother has difficulties with her eyesight but still cooks for herself and her family, using her hands and trusting the fragrances. There is so much wisdom in her kitchen, and when I visit her I still learn new things – and moreover, there are certain dishes, like her sabudana khichdi, that never taste quite the same to me when anyone else makes it. My daughter today makes those same demands of me, for things that taste of my heart and my love.

My very resourceful mother even attended a baking class when I was kid, a rarity in Chennai at the time. So our homemade snacks and sweets included some rather exotic treats occasionally, but the rotli na ladoo holds a place in my heart like no other. There are only three ingredients, and it takes all of three minutes to make it. Well, there is a fourth, secret ingredient. And you can guess what that is.


Rotli Na Ladoo

(Yield: approximately 10 pieces)

Ingredients

2 cups rotli (torn into tiny pieces or coarsely blended)

1/3 cup jaggery

1 tablespoon ghee

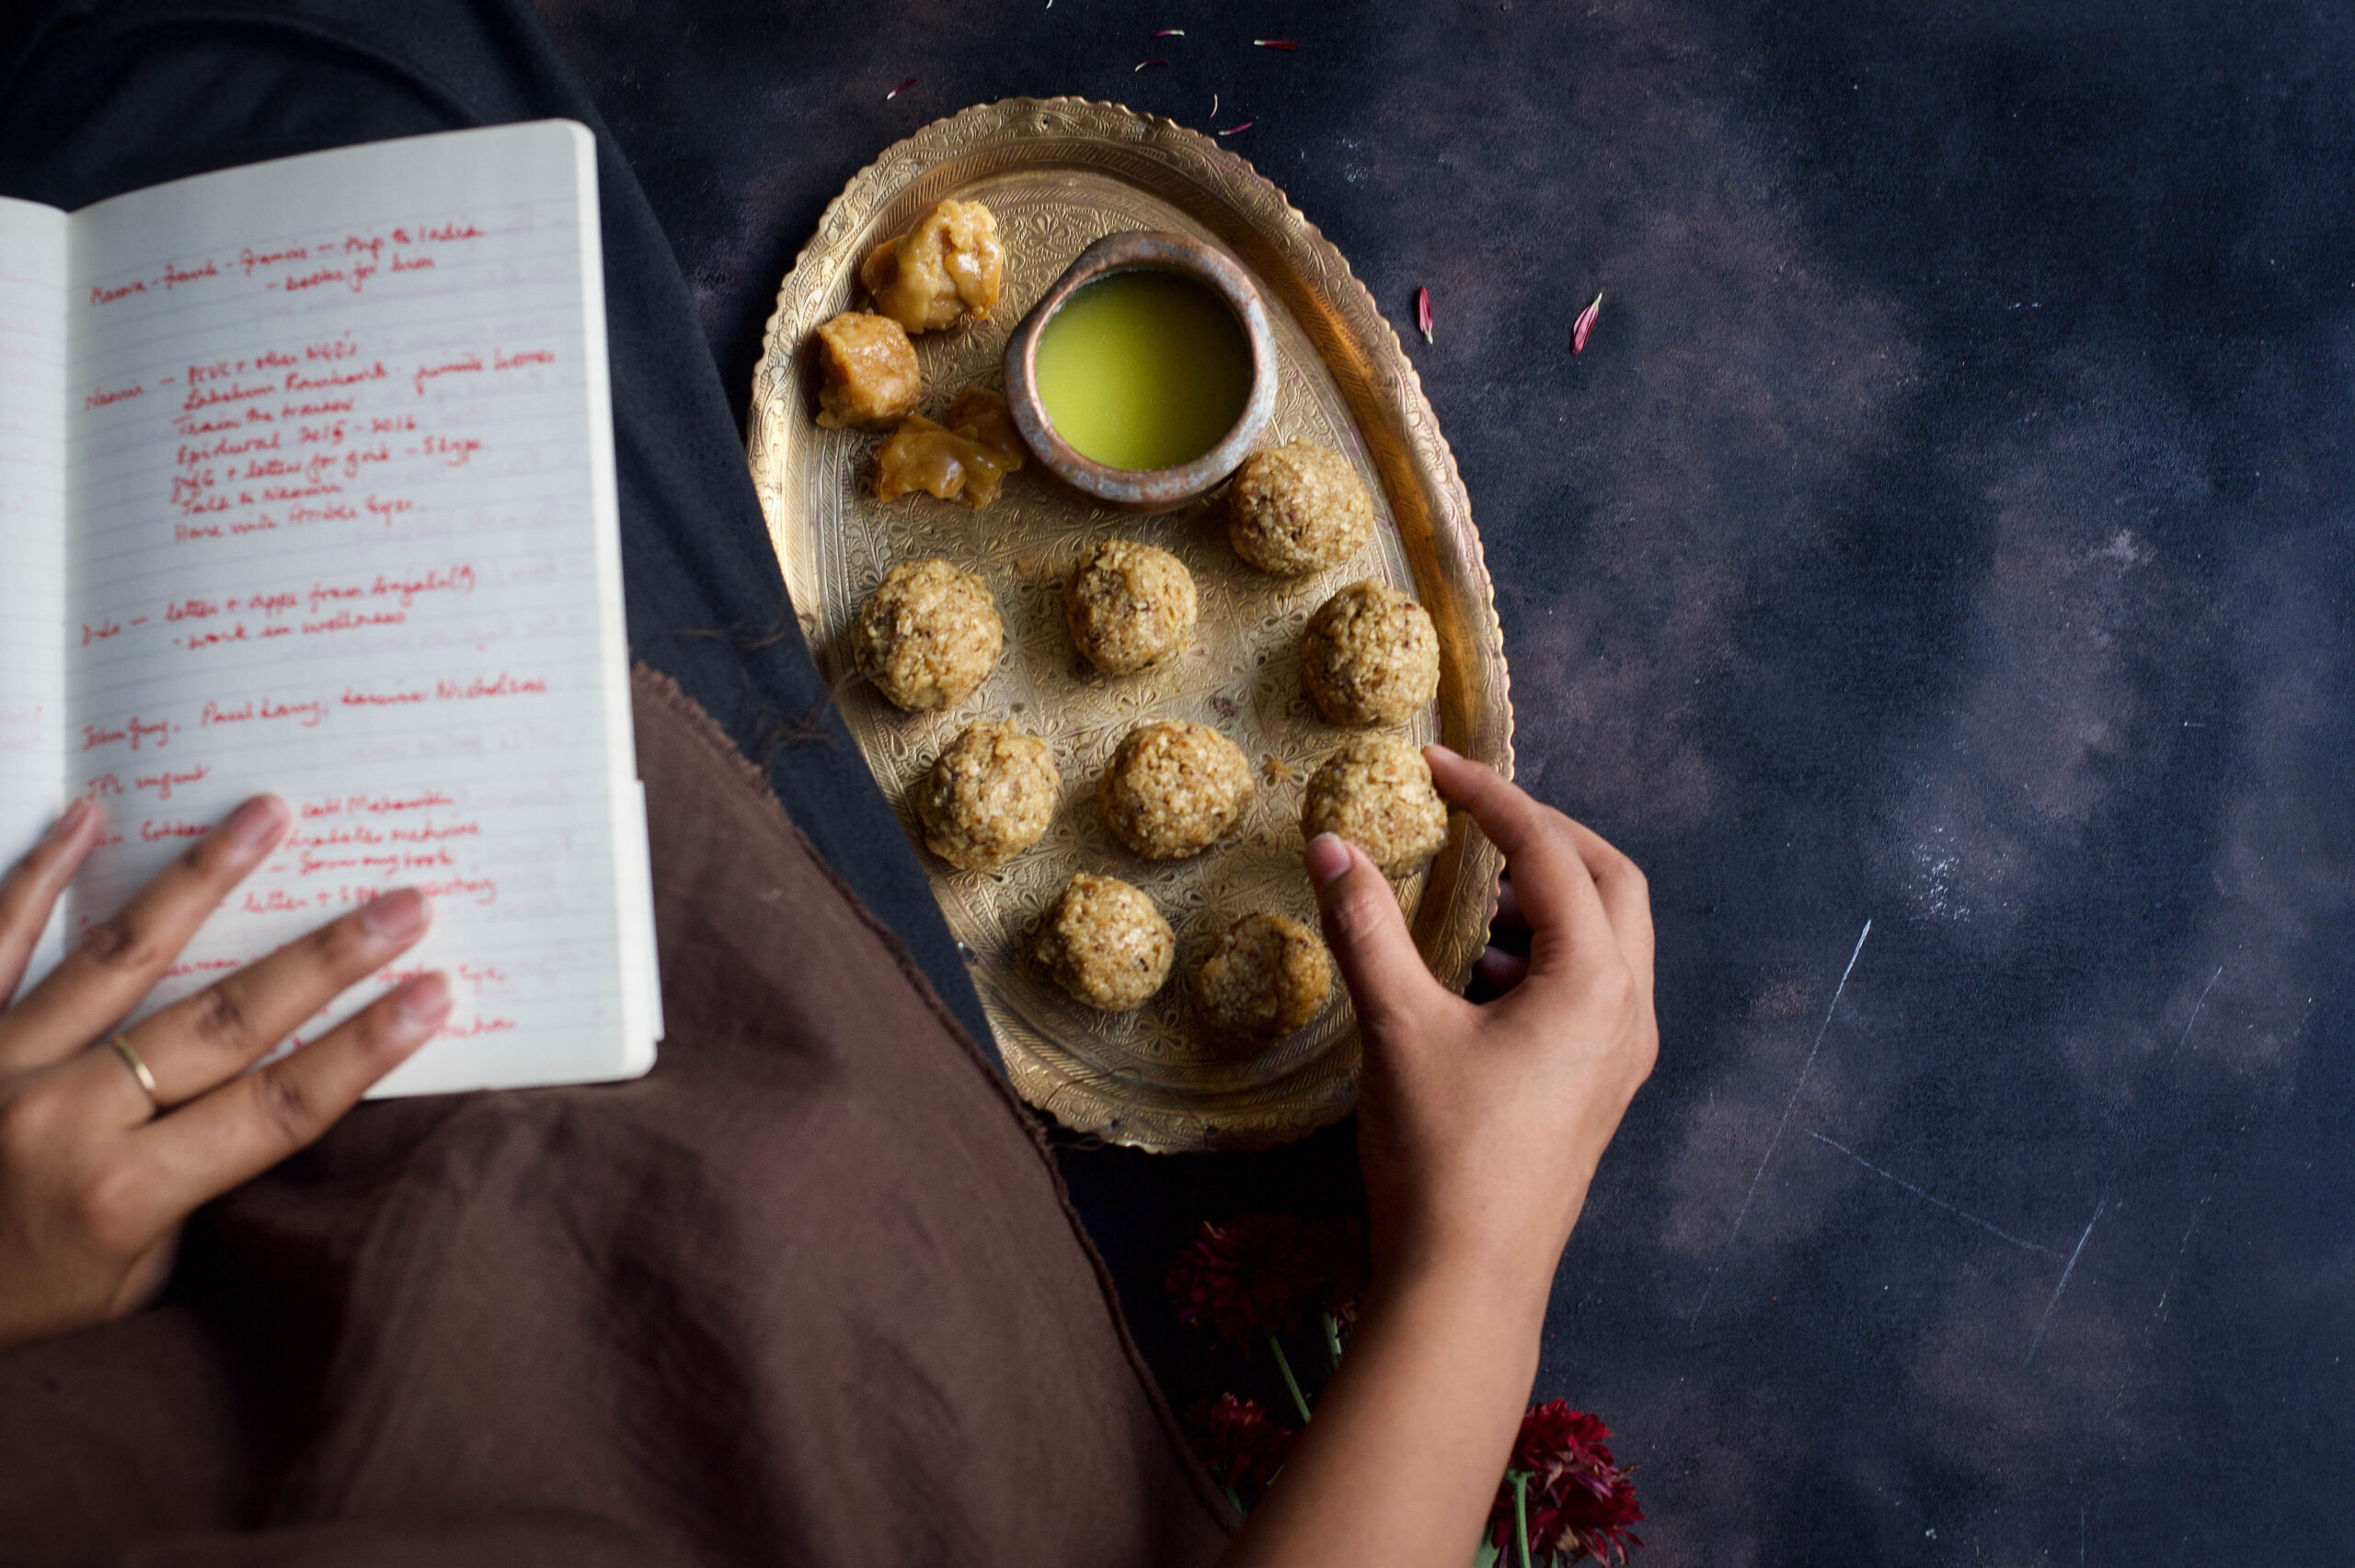
In a pan, add the ghee. Once it has warmed, add the jaggery. Allow it to melt, stirring continuously on a medium-low flame, making sure it doesn’t get burnt. When it starts to bubble after a few minutes, add the rotli bits and turn off the flame.

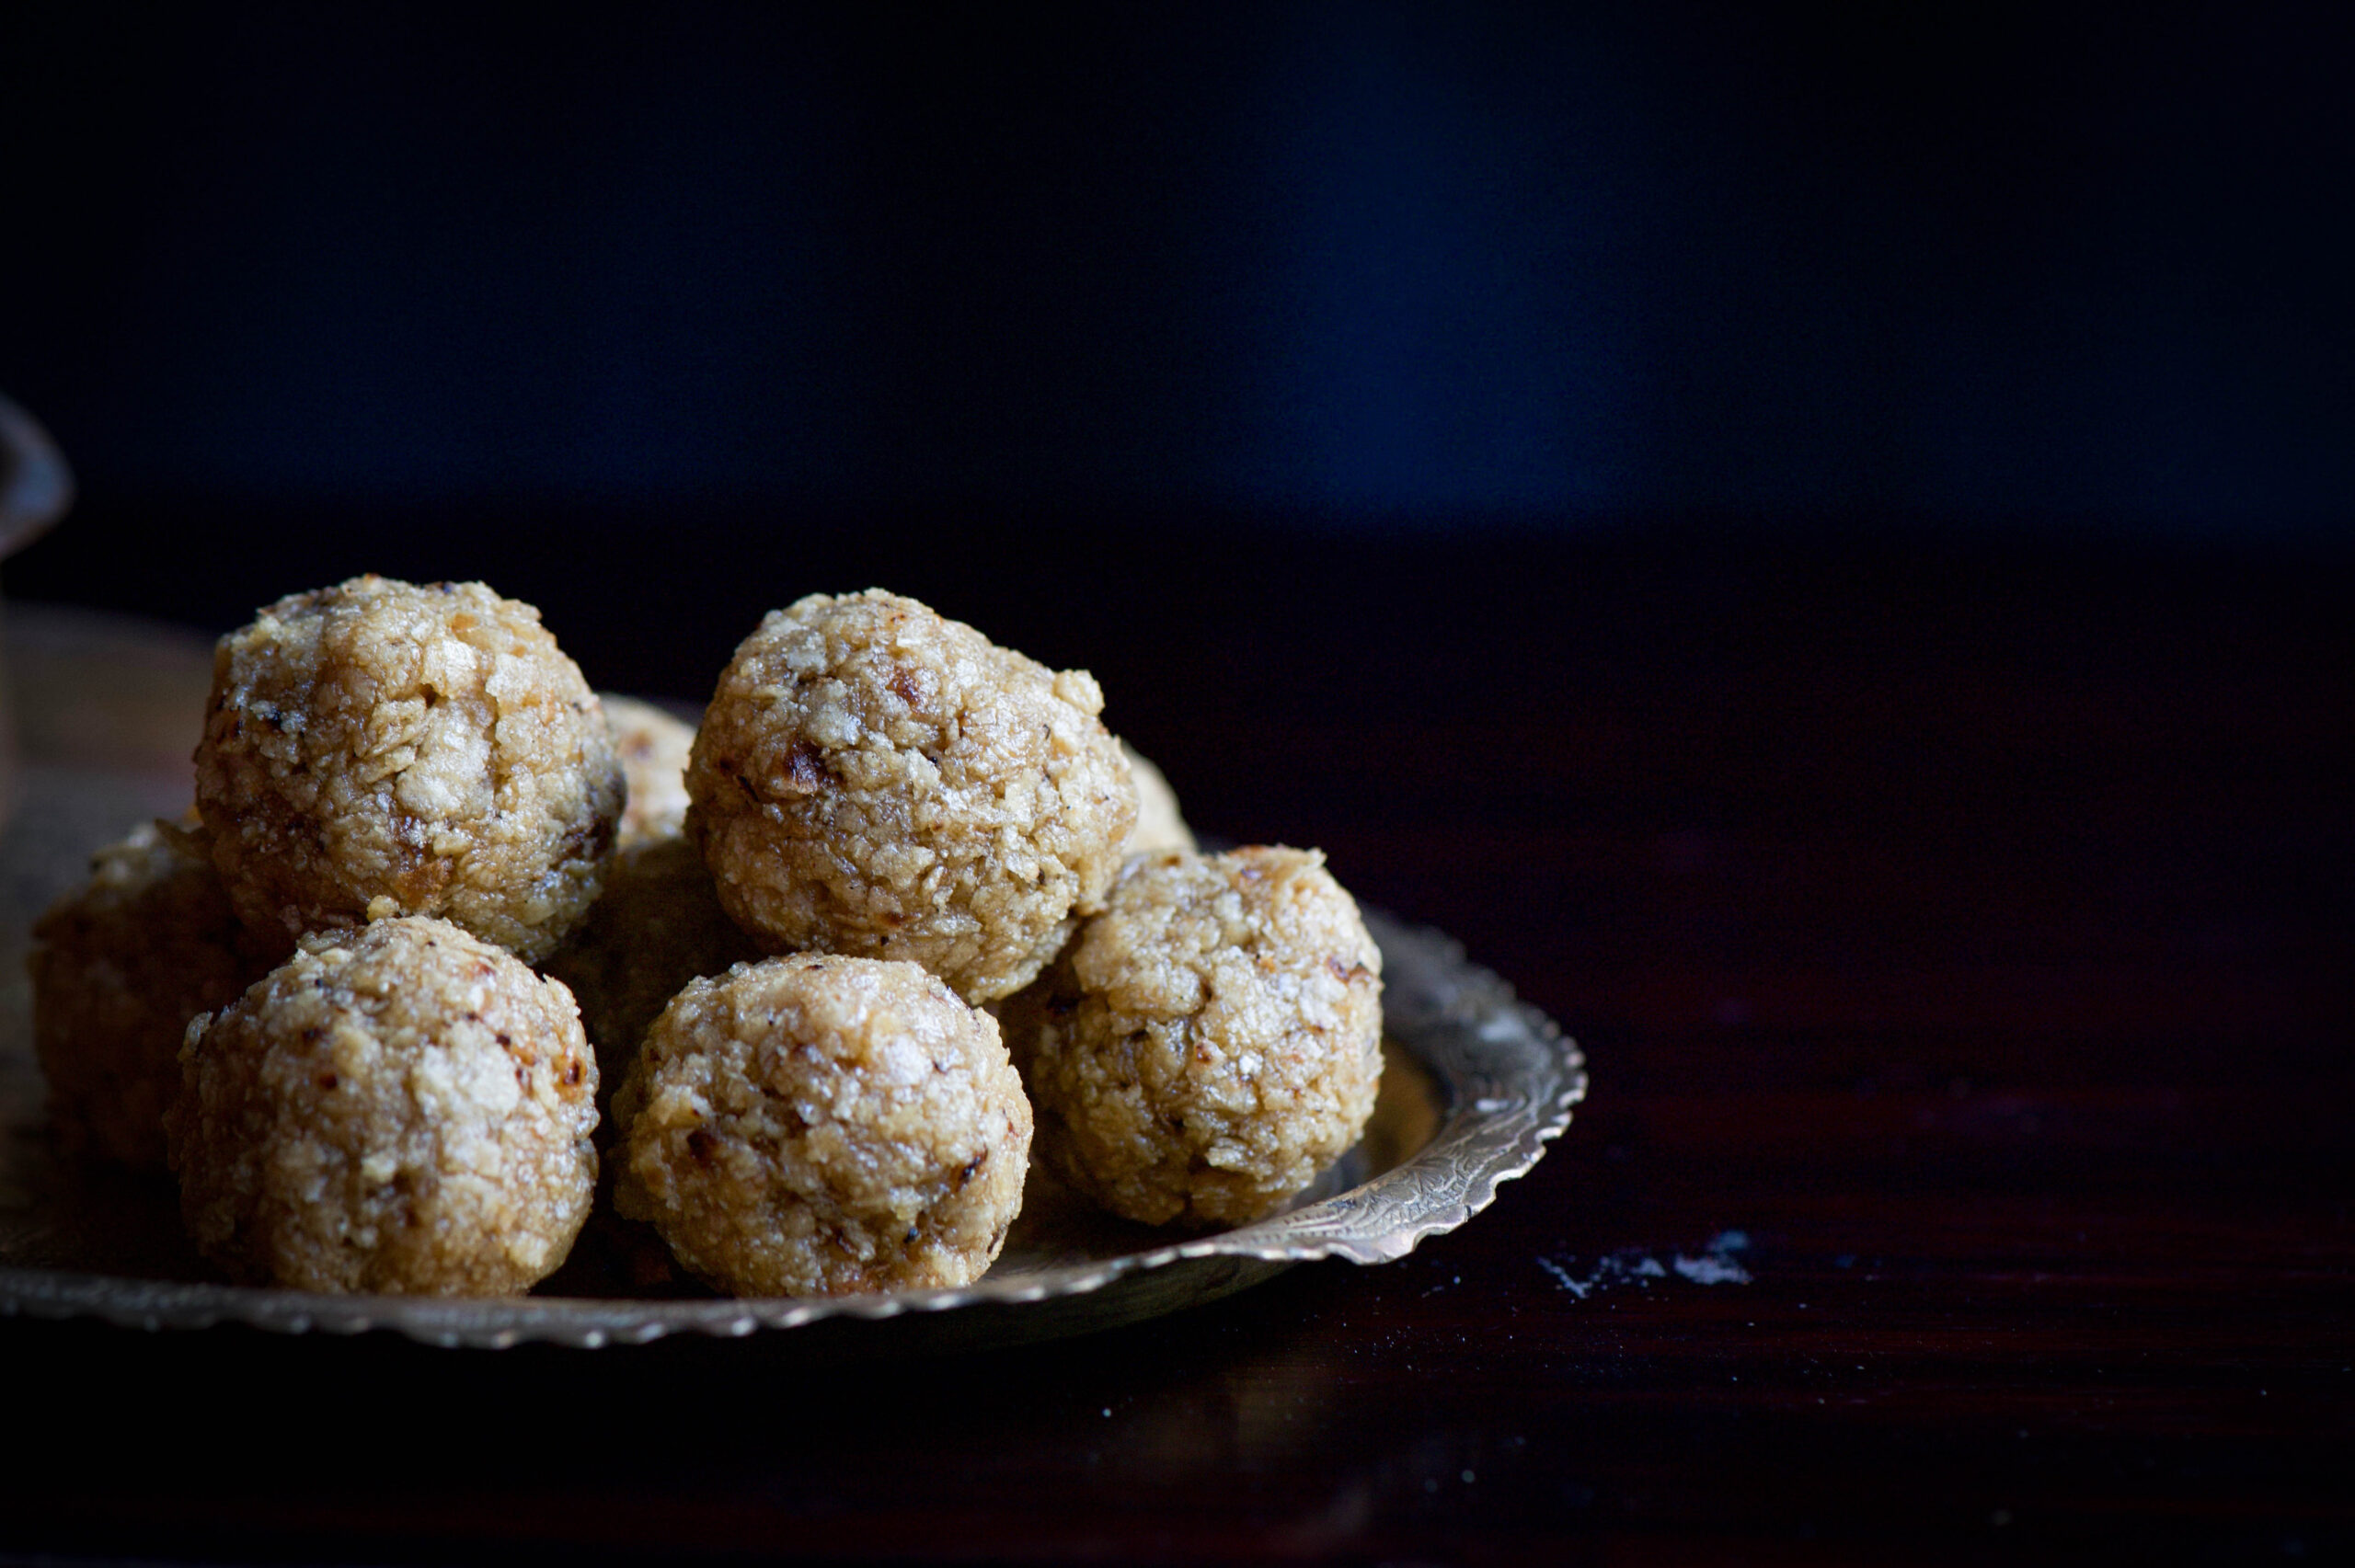
Once you’ve added the rotli pieces, mix everything properly. Now, it’s time to use your hands. Grease your palms and bind a handful of the hot rotli mixture together. Gently press between your palms to shape into a somewhat rounded shape, then very gently roll it. Be careful, as it may crumble. It’s as simple as that, but if you’re having trouble shaping the balls, you can eat the well-blended mixture in a bowl. It will taste the same, but will require utensils! Allow to cool, and enjoy.

The above three-ingredient method is assuming that you already have rotlis prepared. If you don’t, and are making them from scratch, the ingredients and method are below. Rotlis are essentially theplas without the masala and yoghurt, so if you’ve tried your hand at the recipes in this post on Gujarati breads, you should find this easy.

Don’t forget that if you have lots of leftovers from the method below, you can always make yourself some delicious traditional dal dhokli, or eat it with lavender shrikhand. The possibilities for breads are endless!


Rotli

Ingredients

(Yields: 12)

1 cup whole wheat flour

A pinch of salt

1 tablespoon sunflower oil

100 ml water or less

In a mixing bowl, blend the flour and salt. Now add the 1 tablespoon of oil. Slowly add water and continue mixing, until you feel the mixture is slightly tougher to the touch than bread dough. You do not need to use the entire 100ml. Allow to sit for half an hour.

Make small lemon-sized balls. Dust both sides of the ball with flour. Now, dusting more flour as you do, roll out the dough into discs. Make them as thin as you can.

On a heated iron pan, place the rotli on a medium flame for 30-40 seconds. Then turn it to the other side. Now increase the flame, lift the pan, remove the rotli using tongs and place it directly on the flame. Allow it to fluff or rise. Flip over so it cooks on both sides. Set aside and spread ghee over it. Repeat until all the rotlis are made.

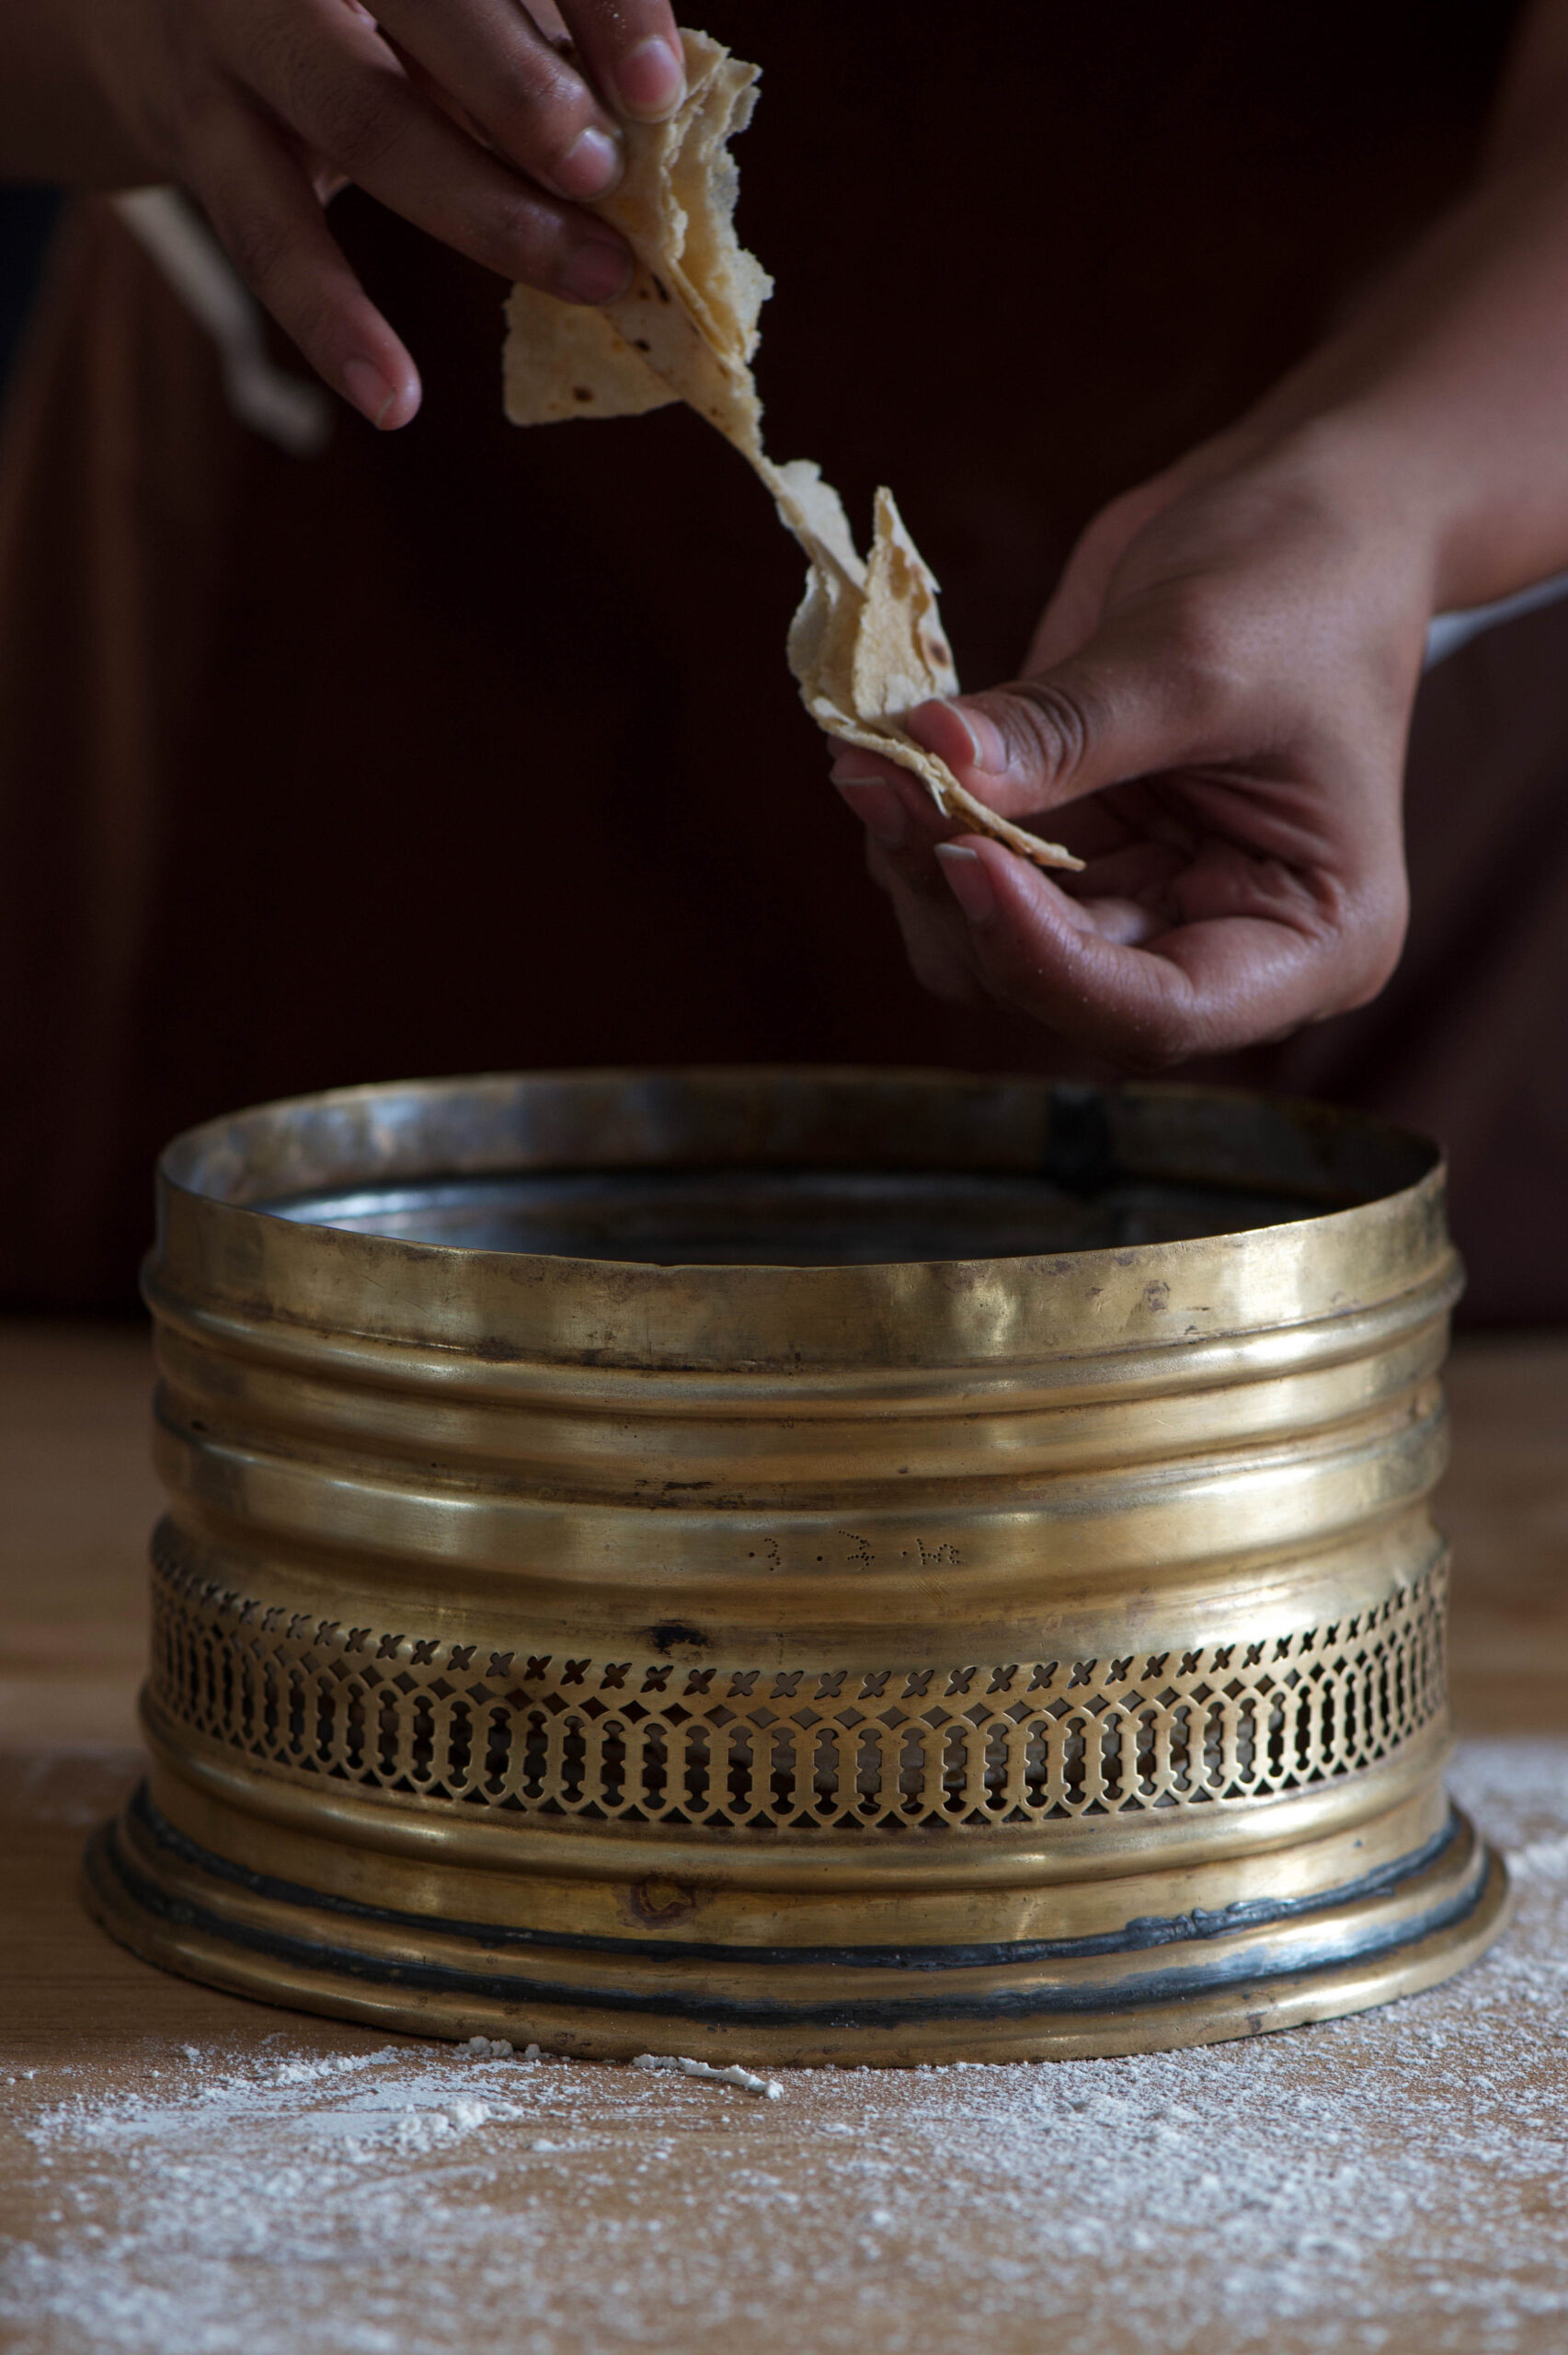
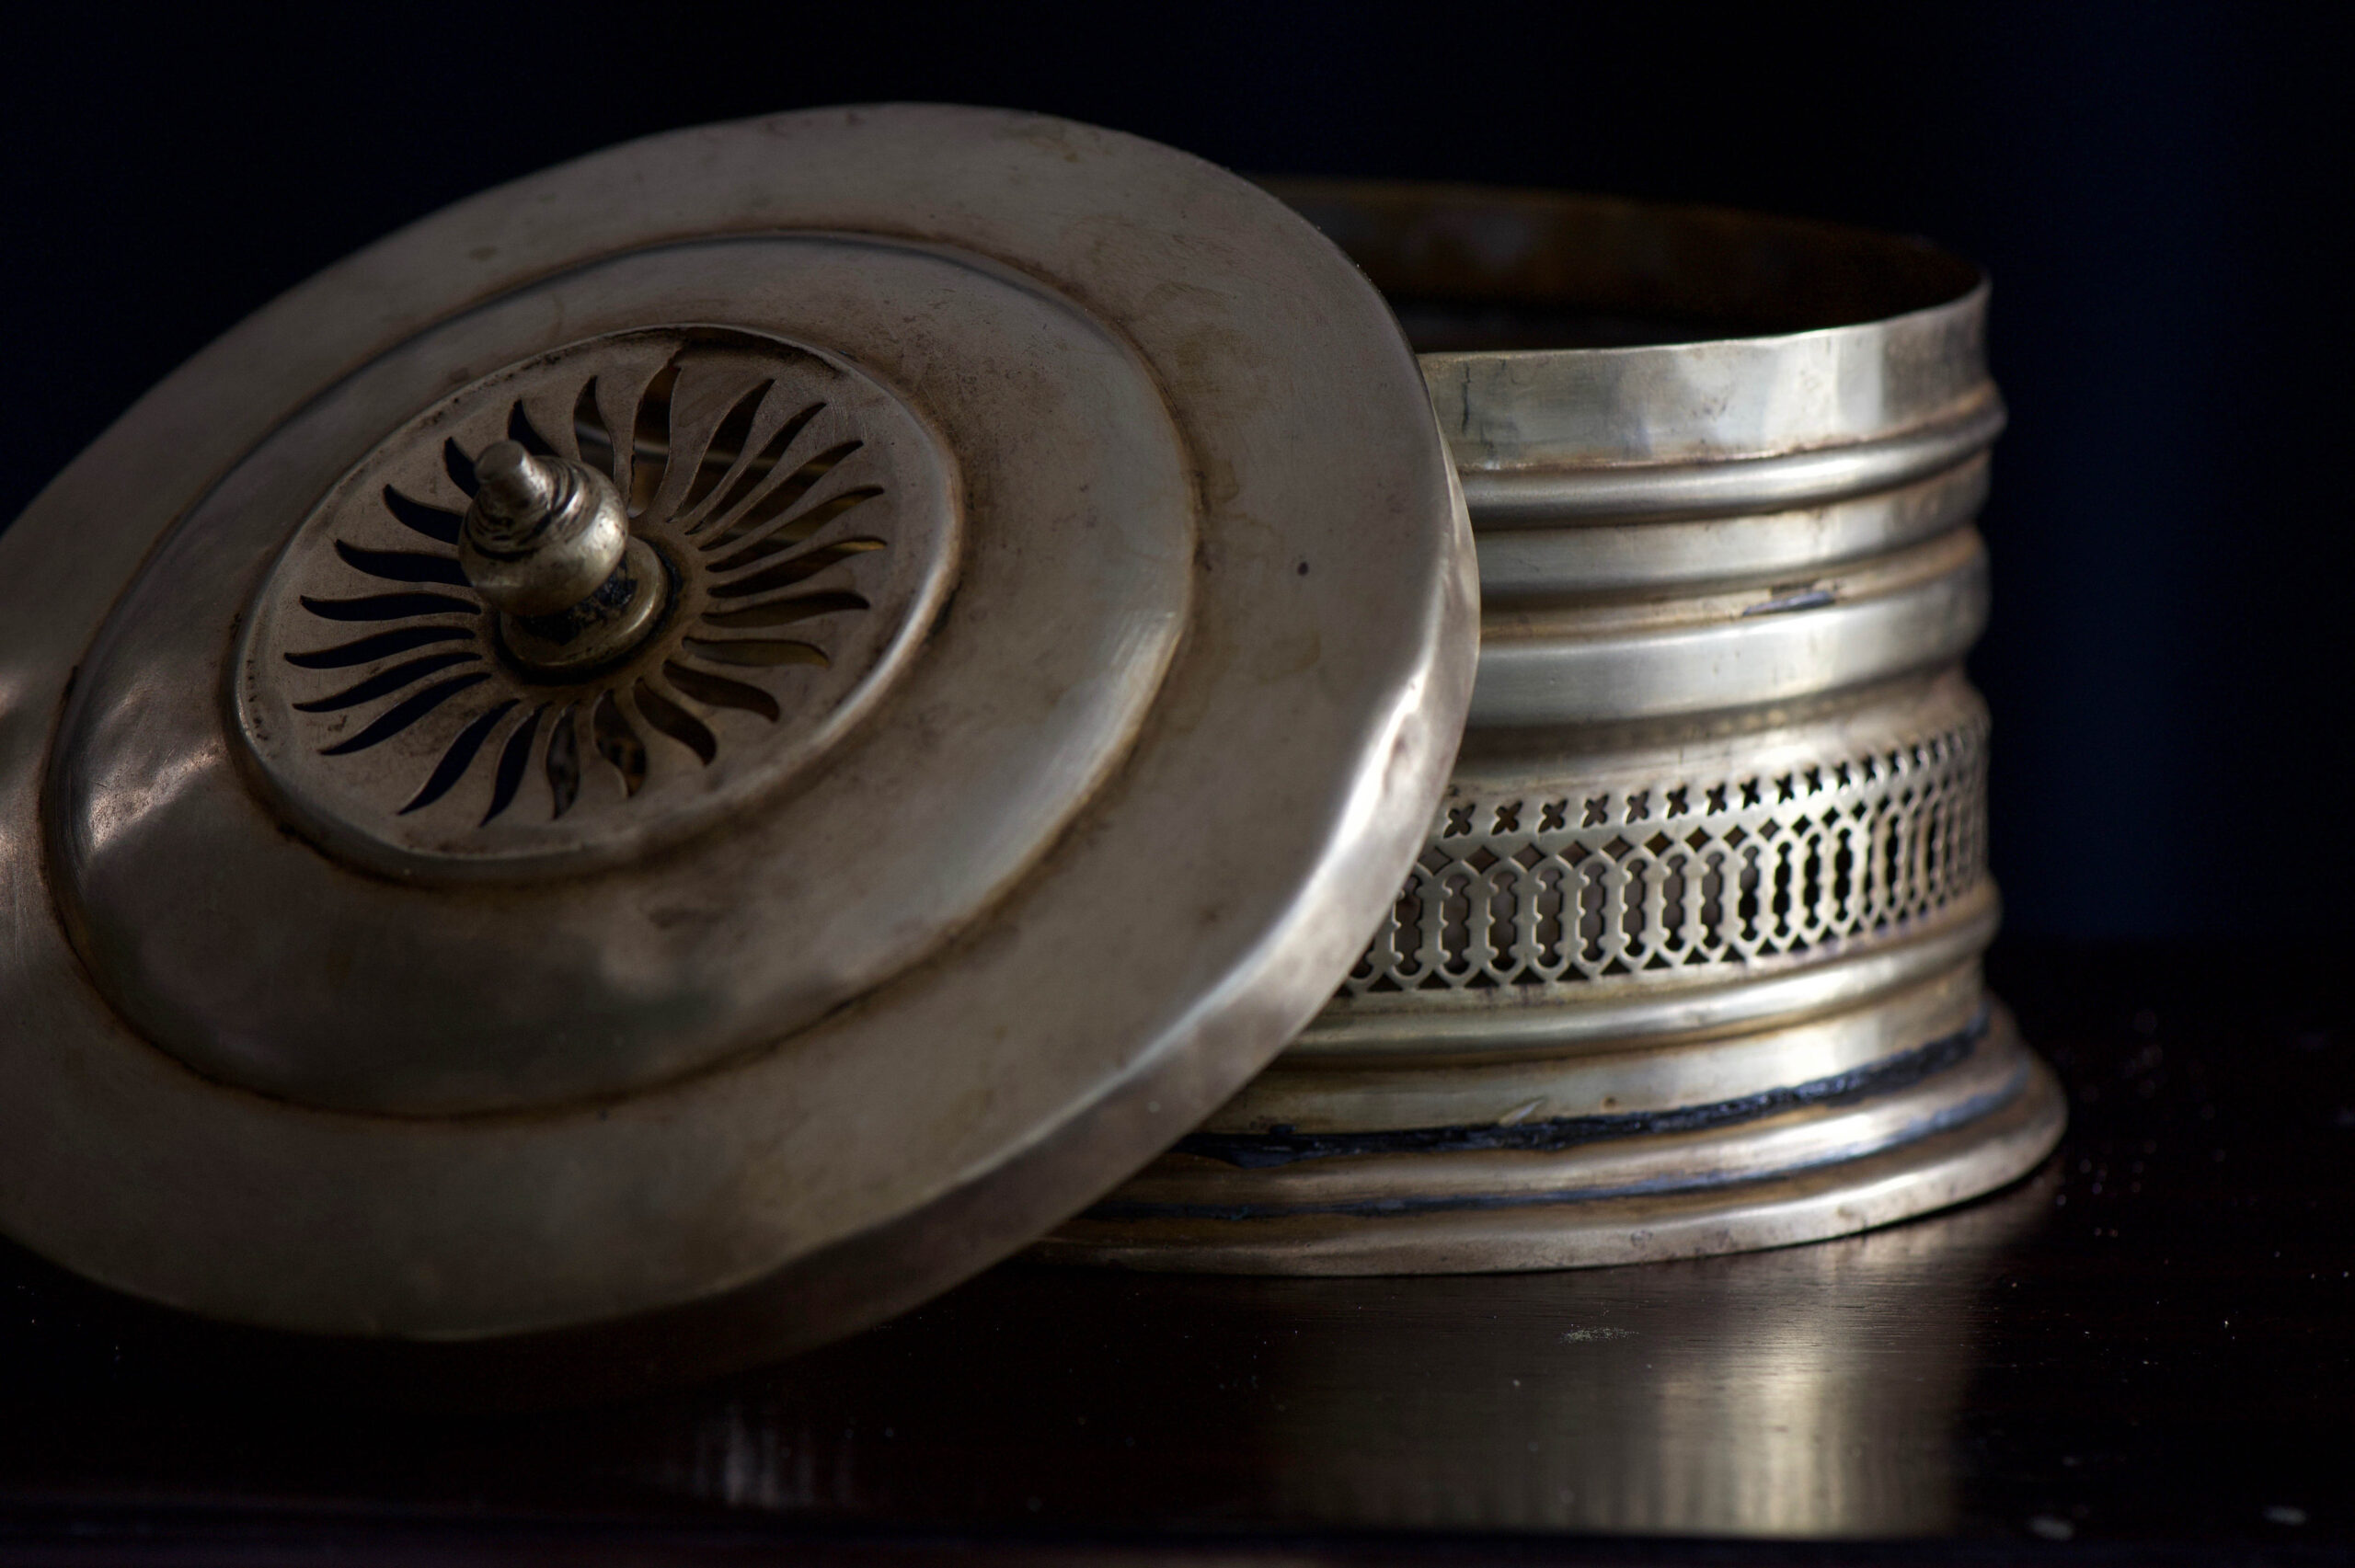
I like storing these ladoos in a “rotli no dabbo”, a traditional box used for breads. It looks beautiful, but also serves a practical purpose. Notice the intricate “jali” work that rings the box. This is a form of ventilation that cools the rotli and removes moisture.


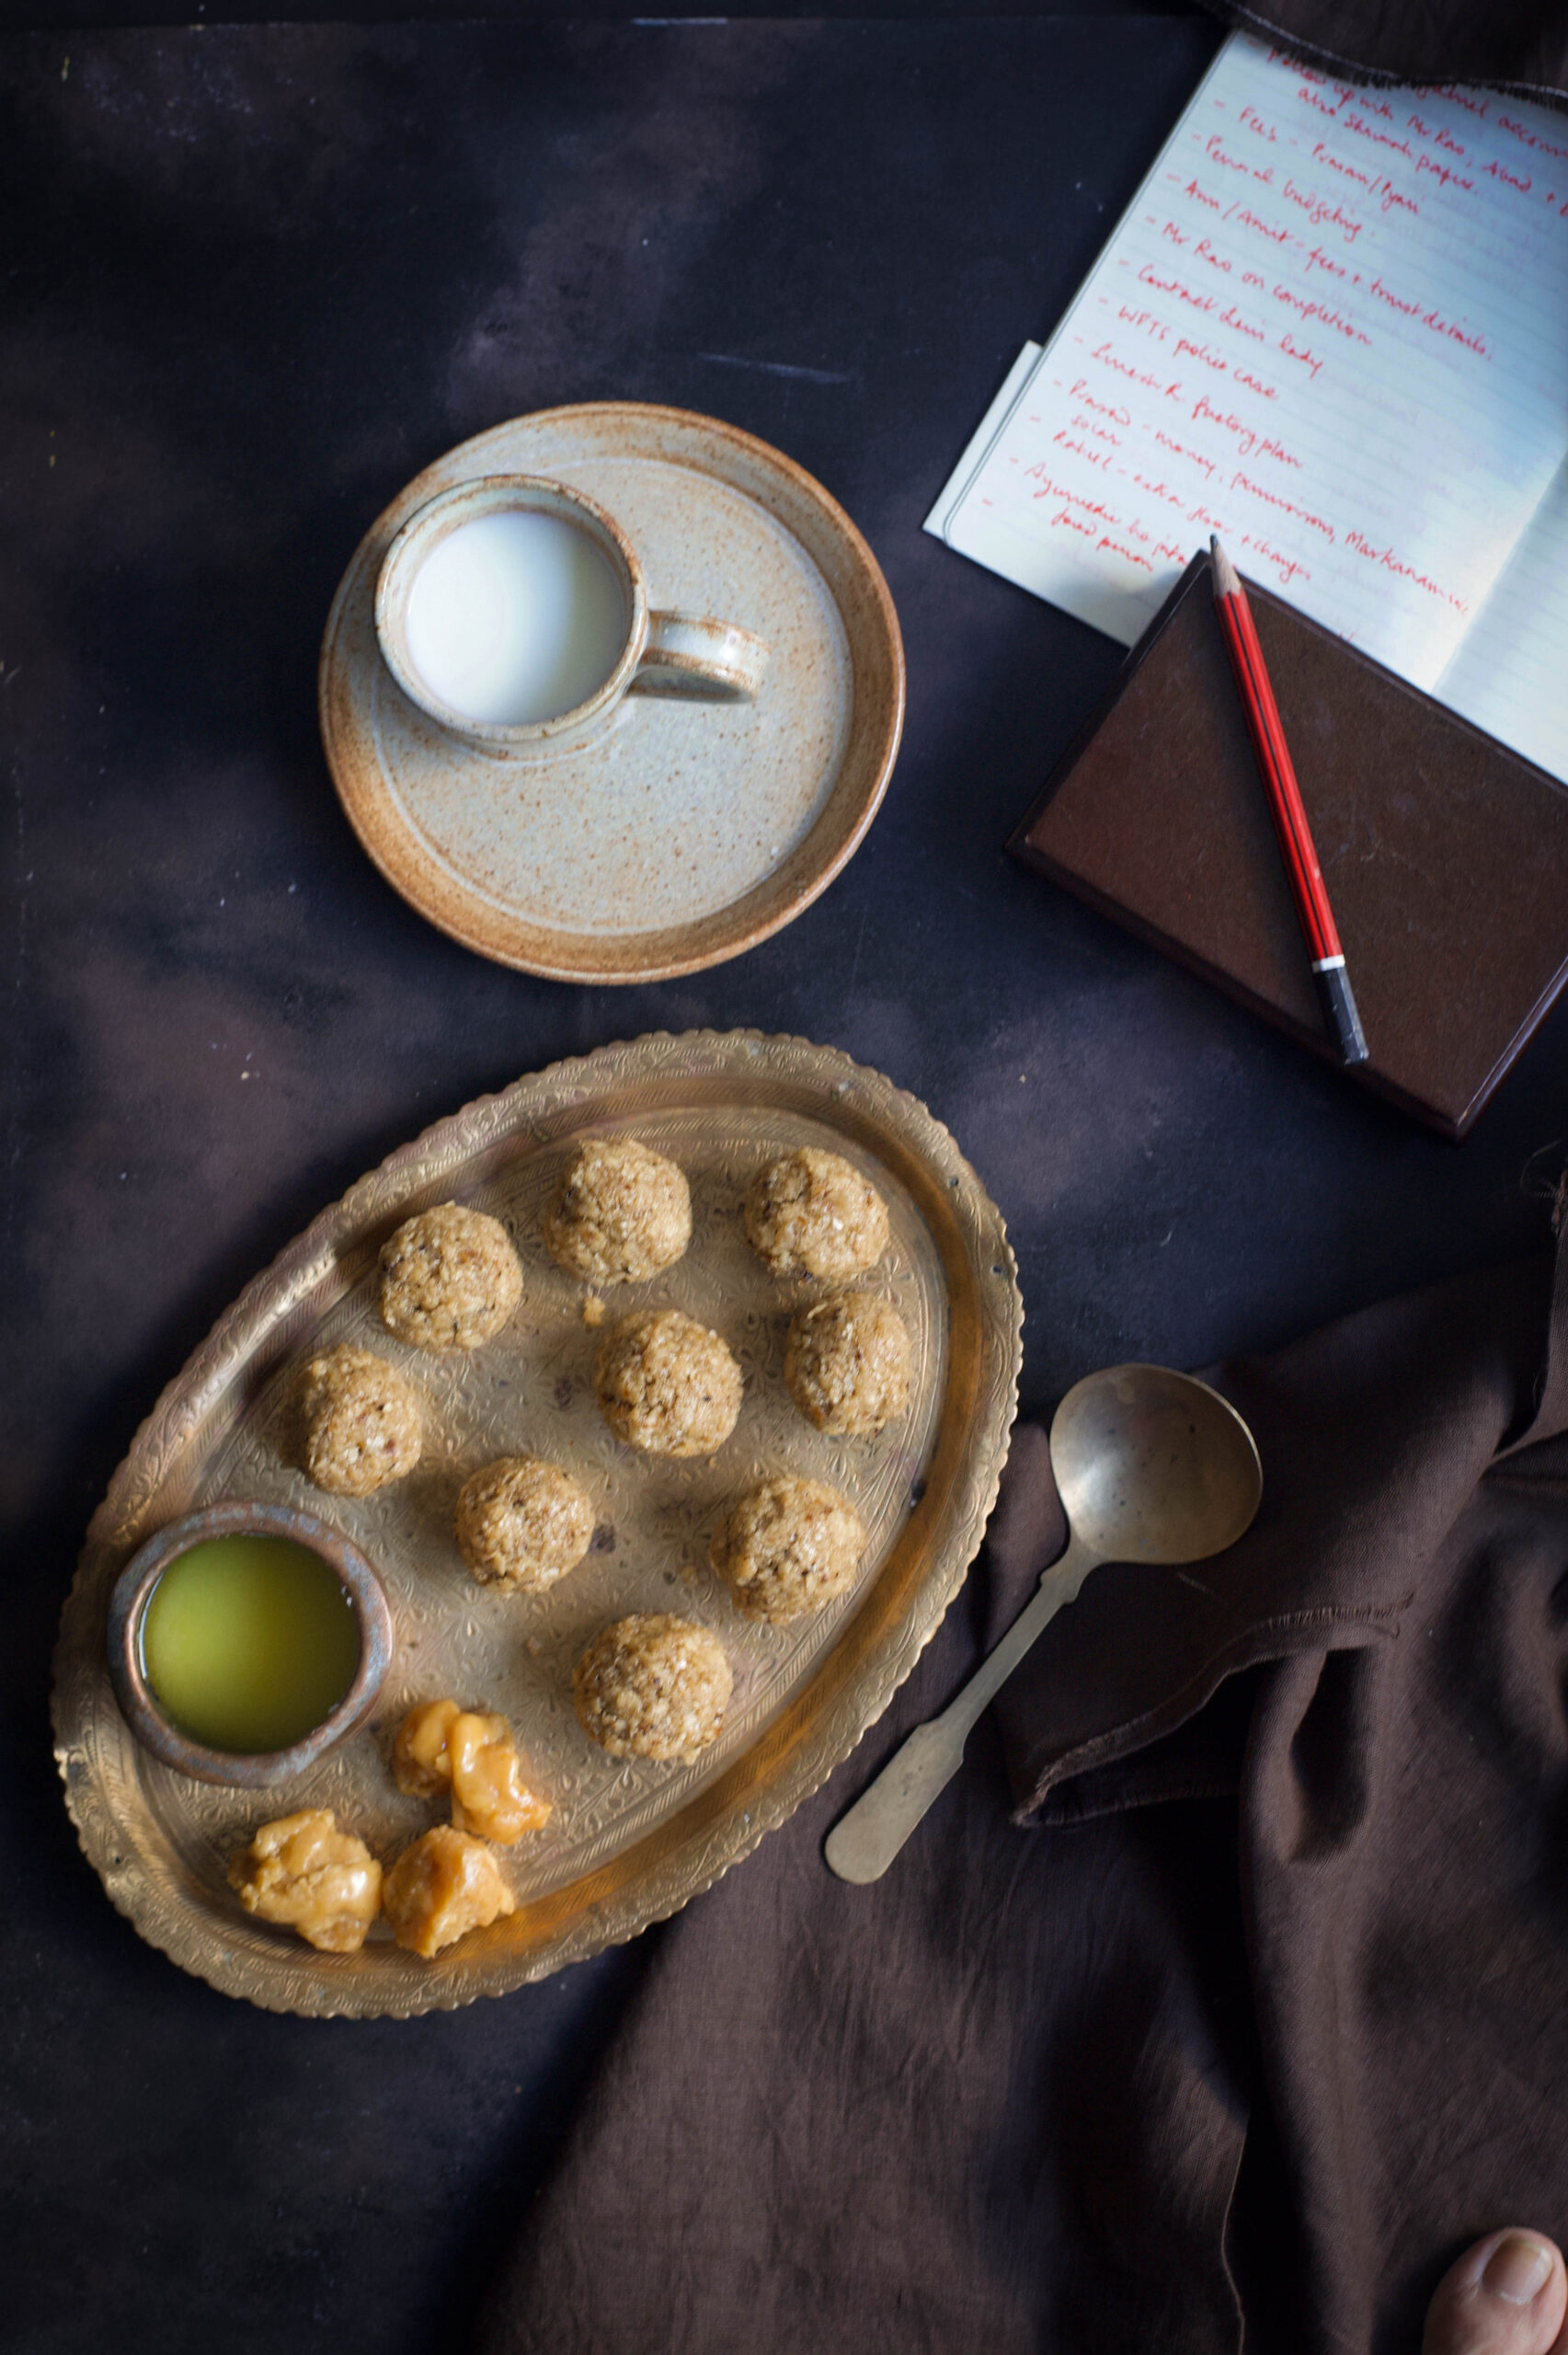
I have fond memories of eating rotli na ladoos in the afternoons, after returning home from school. They are so perfect with a glass of milk or a cup of tea after an exhausting day! It’s funny how torn pieces of bread can be turned into a delicious snack with a little jaggery, a little heat – and a pair of hands that make everything with love.

Do stay tuned for the third and final part of this Second Helpings series. Any guesses on what it might be?


When it comes to Indian street food, the first and last word is always “chaat”. Yes, the vendors of sundal and cotton candy on my beloved Marina Beach will put up a fight, but when it comes to tastes savoured throughout India, chaat wins hands down. Chaat is a catch-all term, and extends from fried breads like pav bhajji to pastries called puris, filled with everything from potato to spiced water. Among the popular ones is bhel, also known as bhel puri.

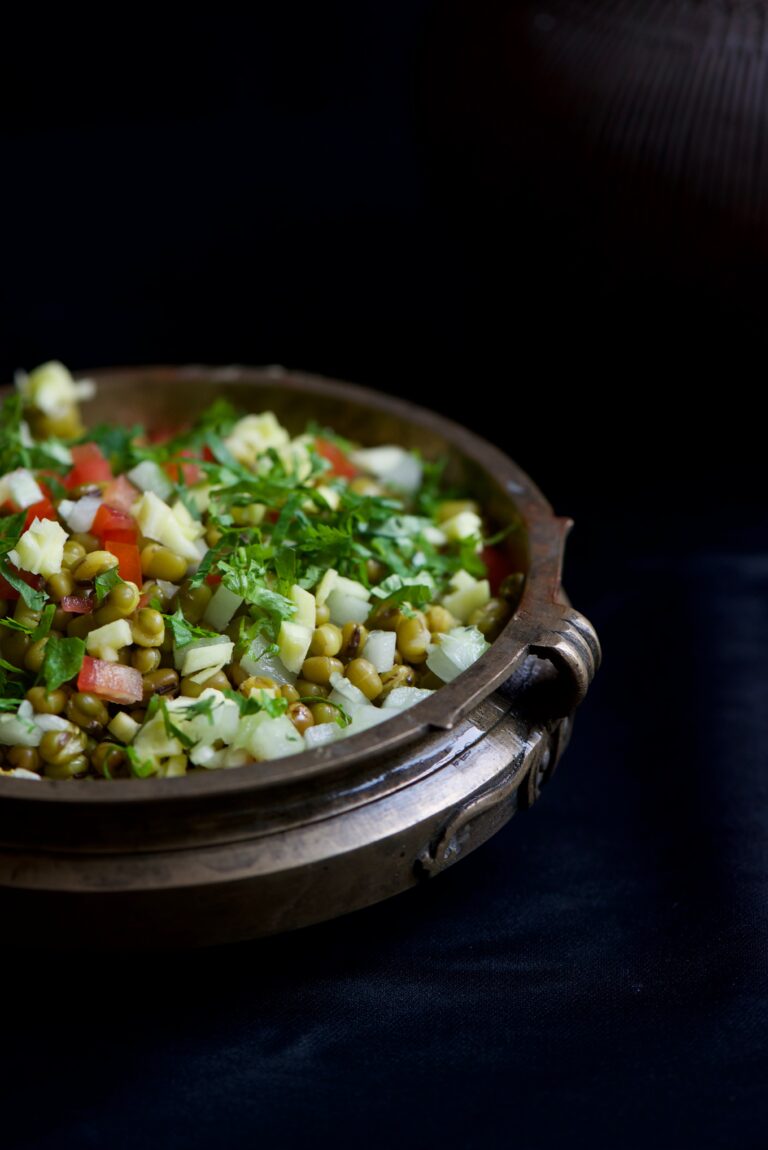
Bhel is usually made with puffed rice as the main ingredient. As I’m always trying to make all the food we enjoy healthier, without compromising on taste, I substituted the puffed rice for the humble and very nutritious mung bean, also known as green gram or moong.


Moong is a versatile legume, used extensively in Asian cuisines. It can be eaten sweetened as a filling in pastries like mooncakes, stir-fried with vegetables, soaked and softened into a dal, ground into paste for crepes like dosa, and even made into noodles once starched. Moong beans are high in protein, low in carbs as compared to other legumes and pulses, and rich in antioxidants, phytonutrients and fibre. Unlike various other kinds of beans, they are also easy to digest, meaning you won’t feel bloated after eating them.

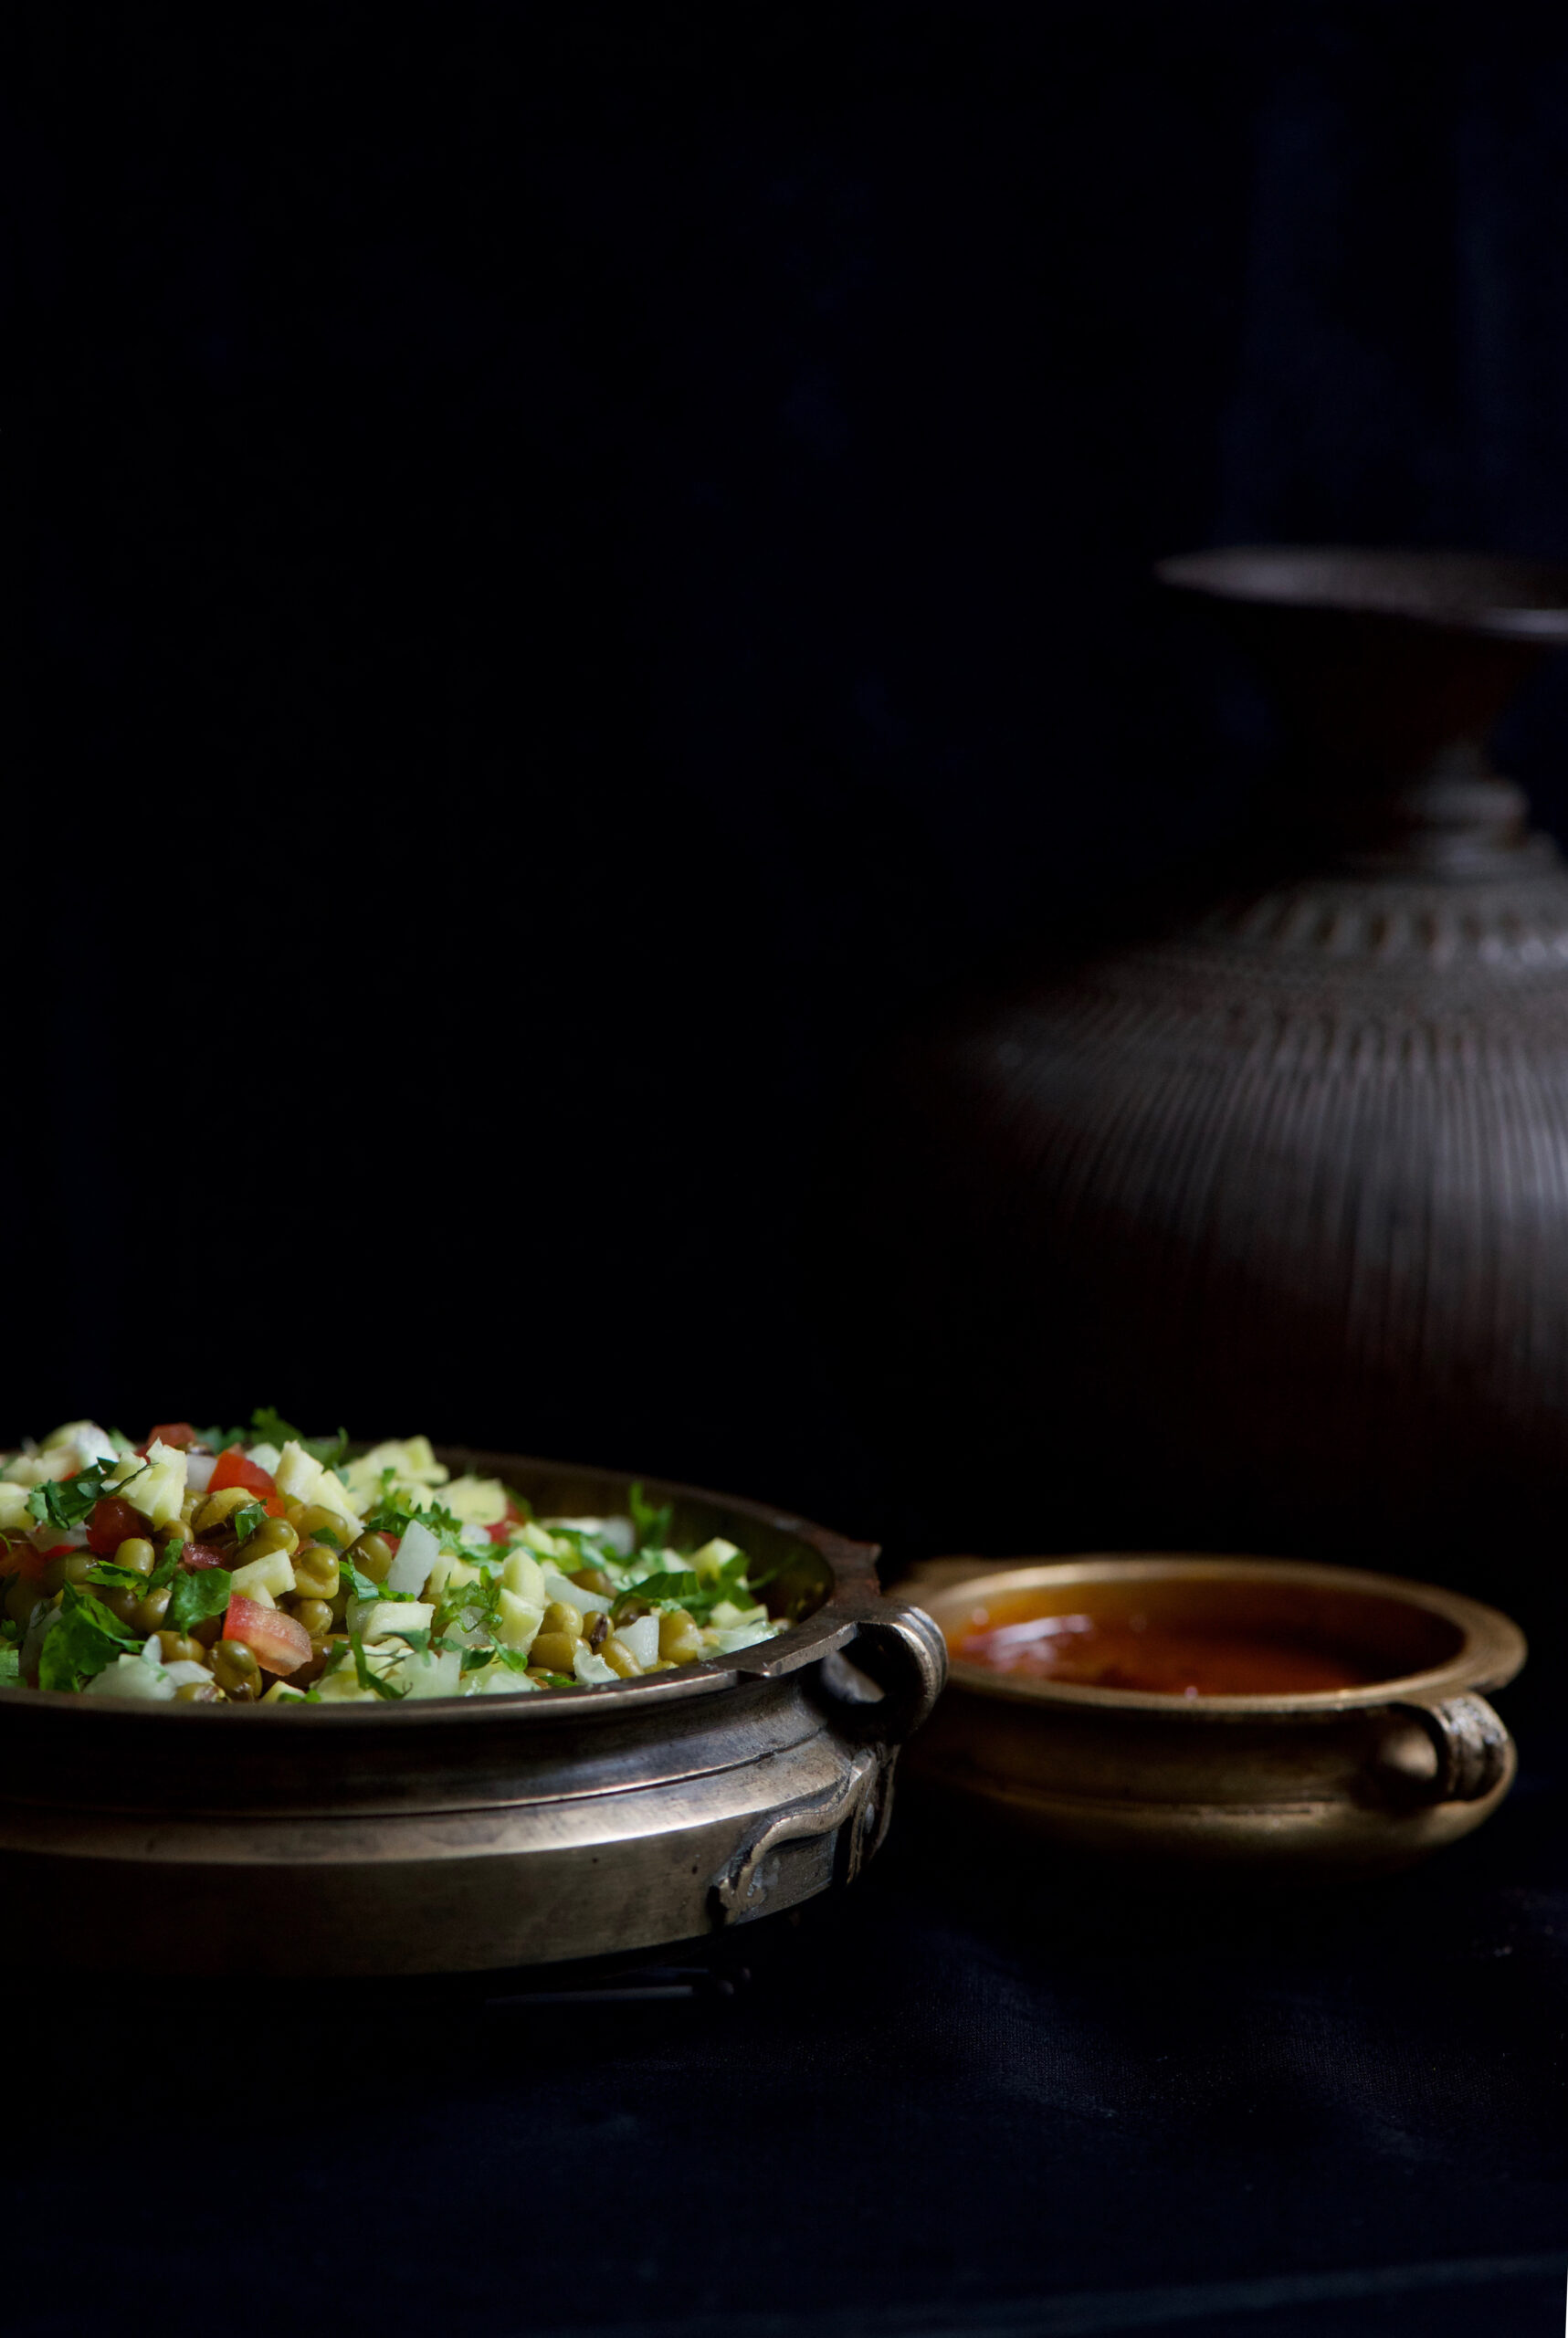
This Green Moong Bhel brings the tanginess of authentic streetside chaat, thanks to a blend of two chutneys, to the wholesomeness of mung beans. Like all chaat, it’s an anytime dish – and like all chaat, once you’ve enjoyed it, you’ll always have a craving for it.


Green Moong Bhel

Ingredients
Bhel (Yield – 4-5 small cups)

½ cup moong beans
½ cup finely cut cucumber
¼ cup finely cut onions
¼ cup cut tomatoes
¼ cup cut raw mango
¼ cup finely chopped coriander leaves
¼ teaspoon roasted cumin powder
3 cups water
Salt to taste

Date Chutney (Yield: 3 Cups)

1 cup jaggery
1 cup chopped dates
1 cup tamarind
¼ cup sugar
1½ + 1 + 1 cups water
2 teaspoons roasted cumin powder
1 teaspoon black salt
¼ teaspoon chilli powder
Salt to taste

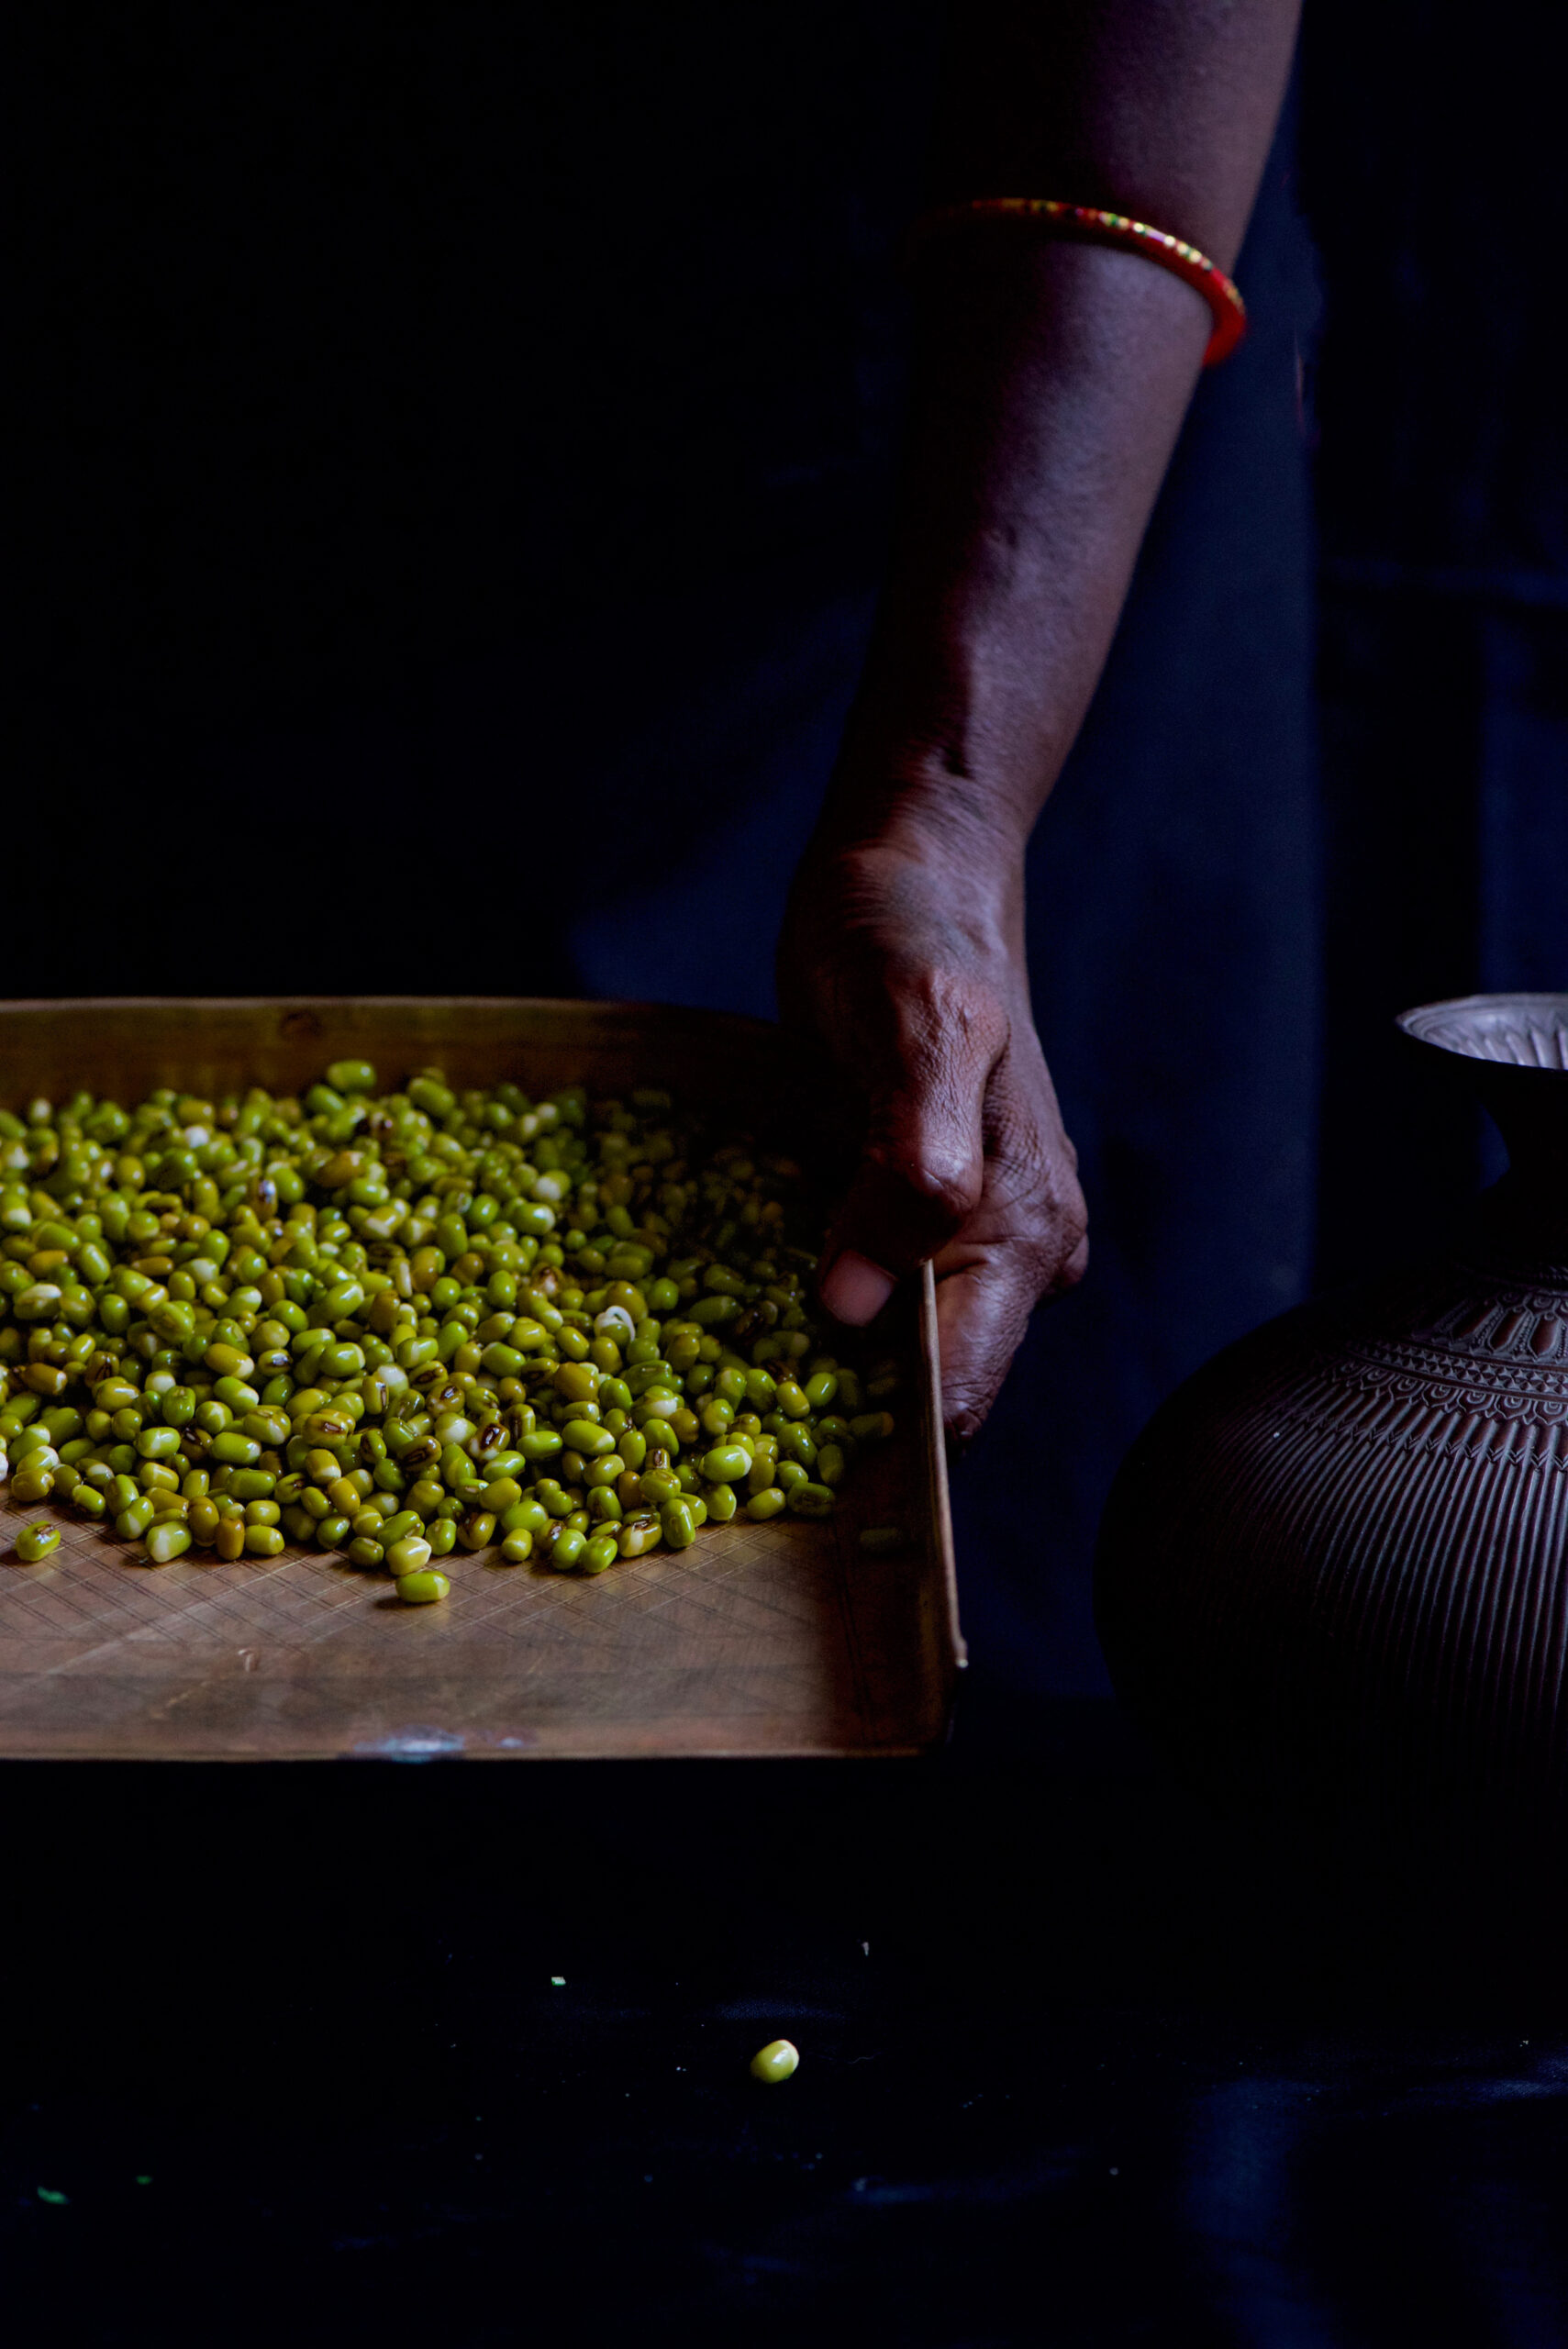
Soak the moong beans overnight, or for 6-8 hours. They will triple in size when they have been well-soaked.

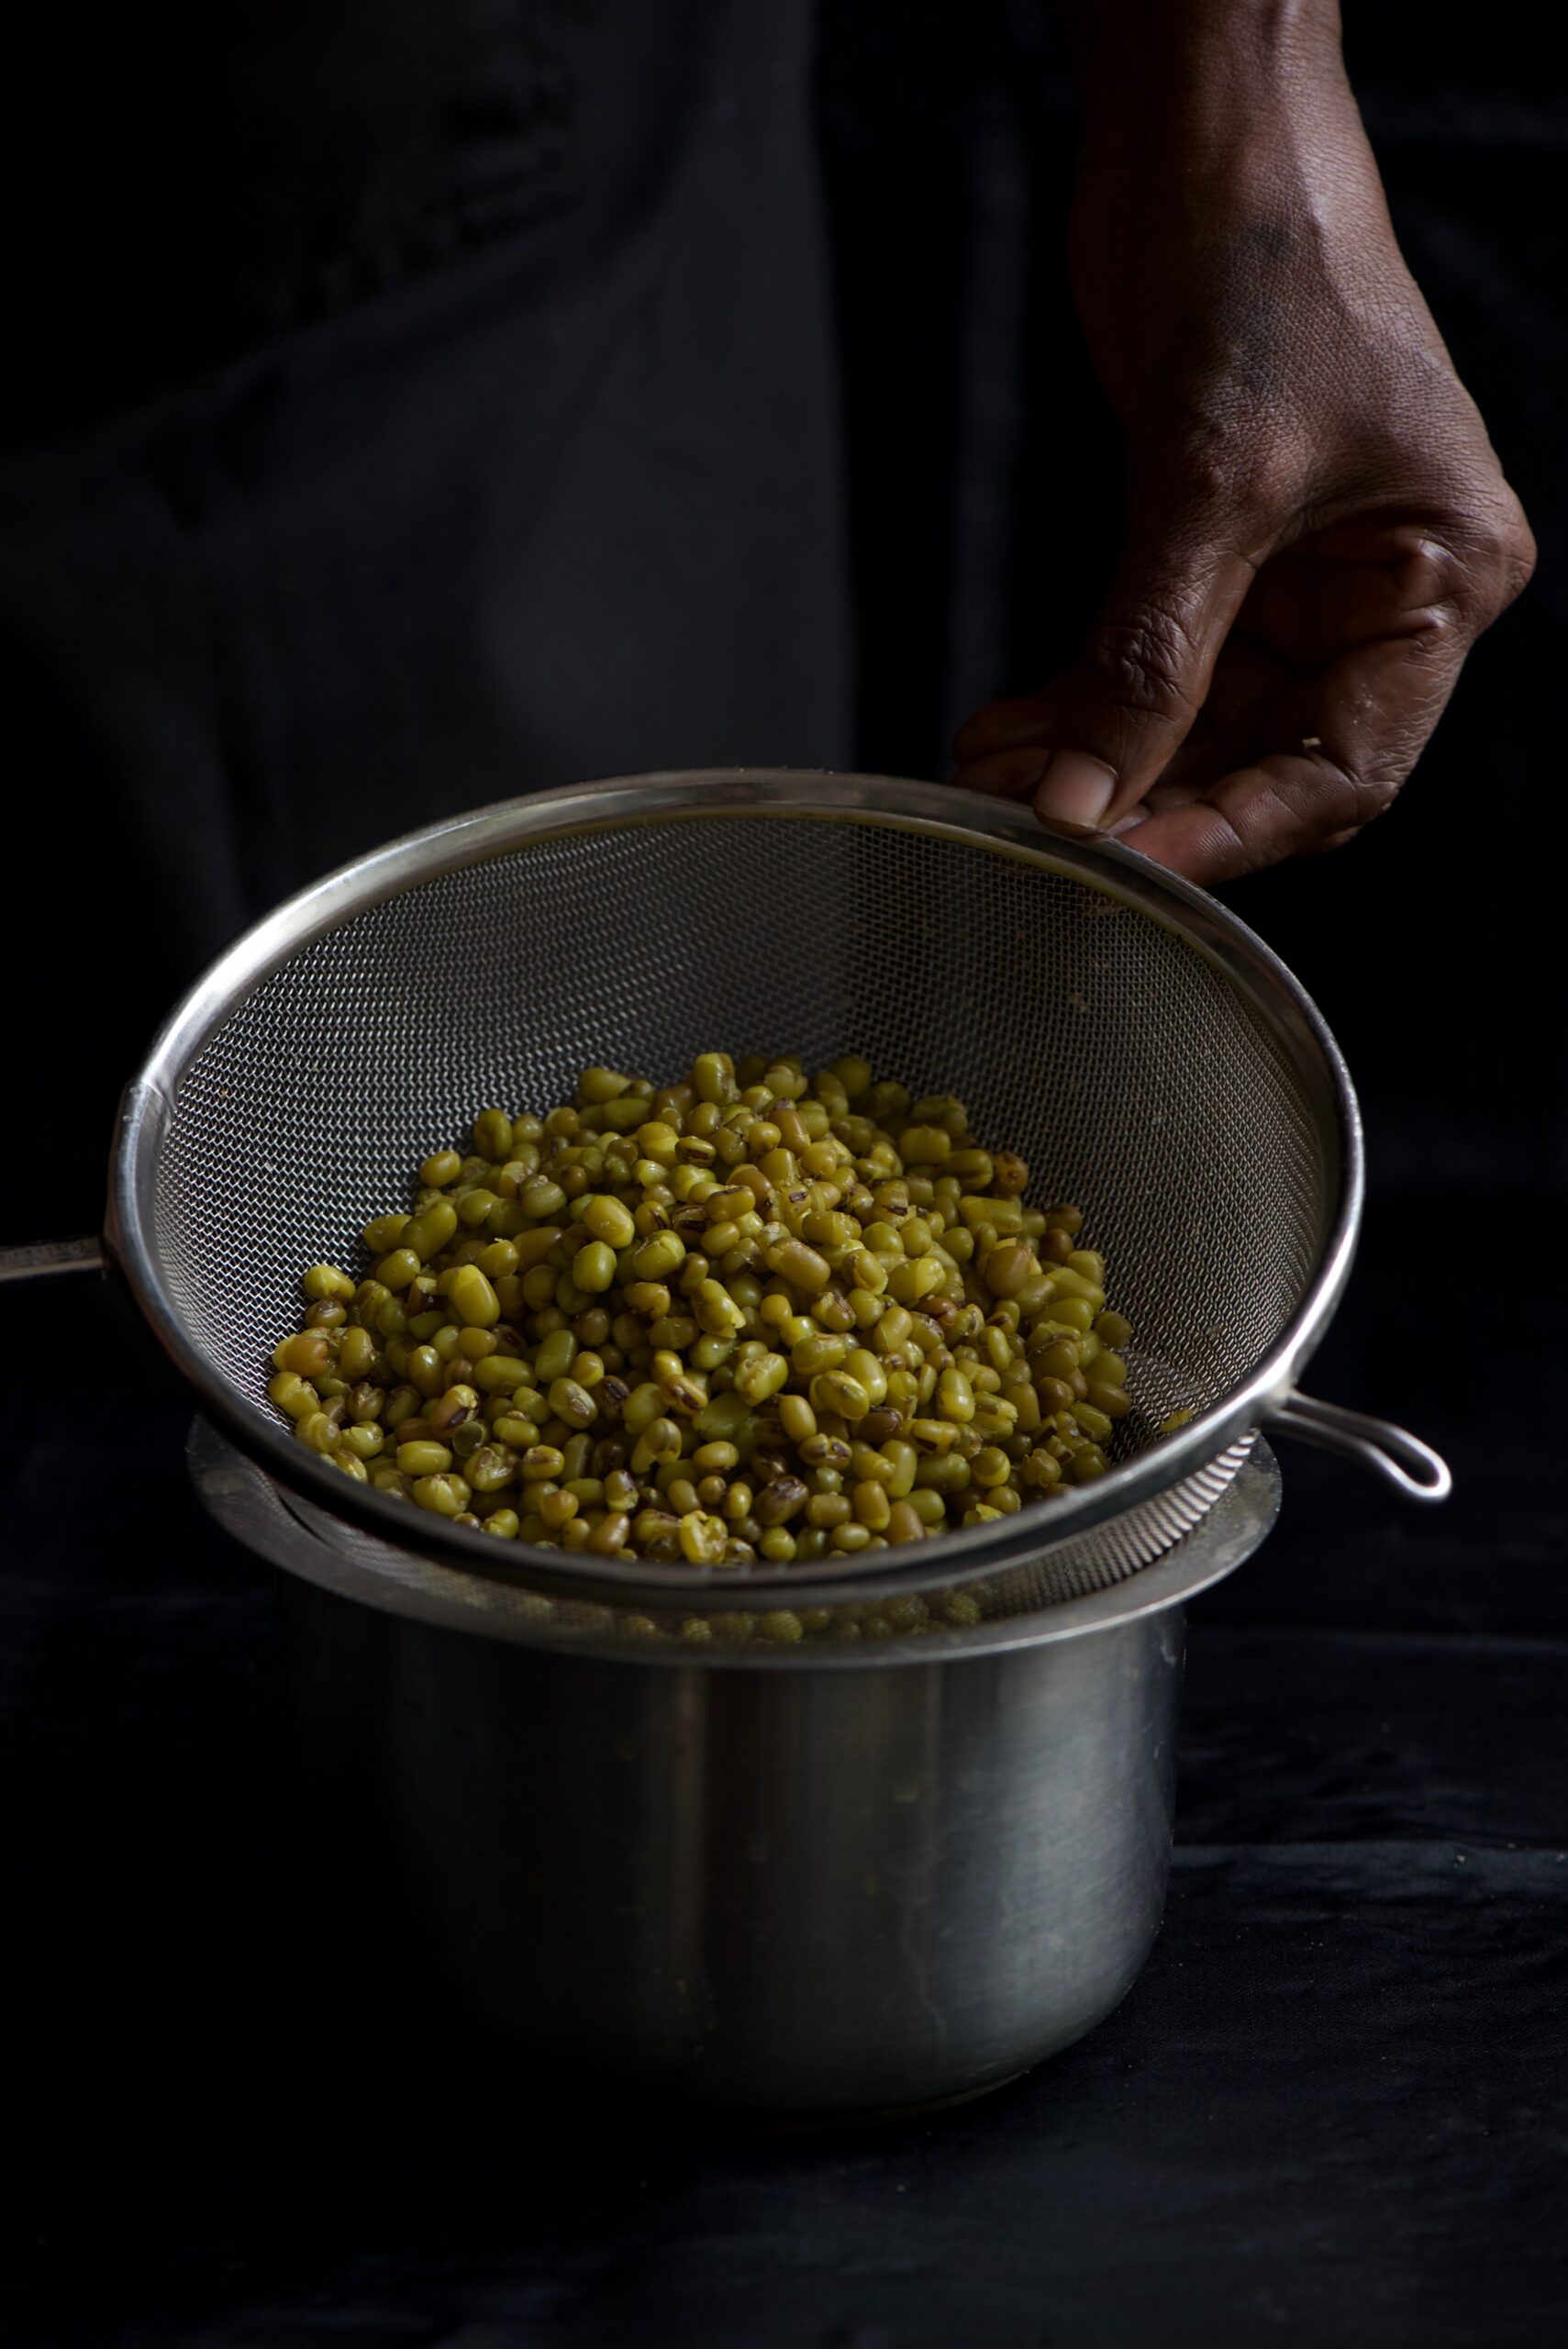
On a medium flame, add 3 cups of water, ¼ teaspoon of salt and a pinch of turmeric to the beans and allow to cook. This will take 15-20 minutes. The beans should be soft to the bite.


Strain the beans and allow them to cool.


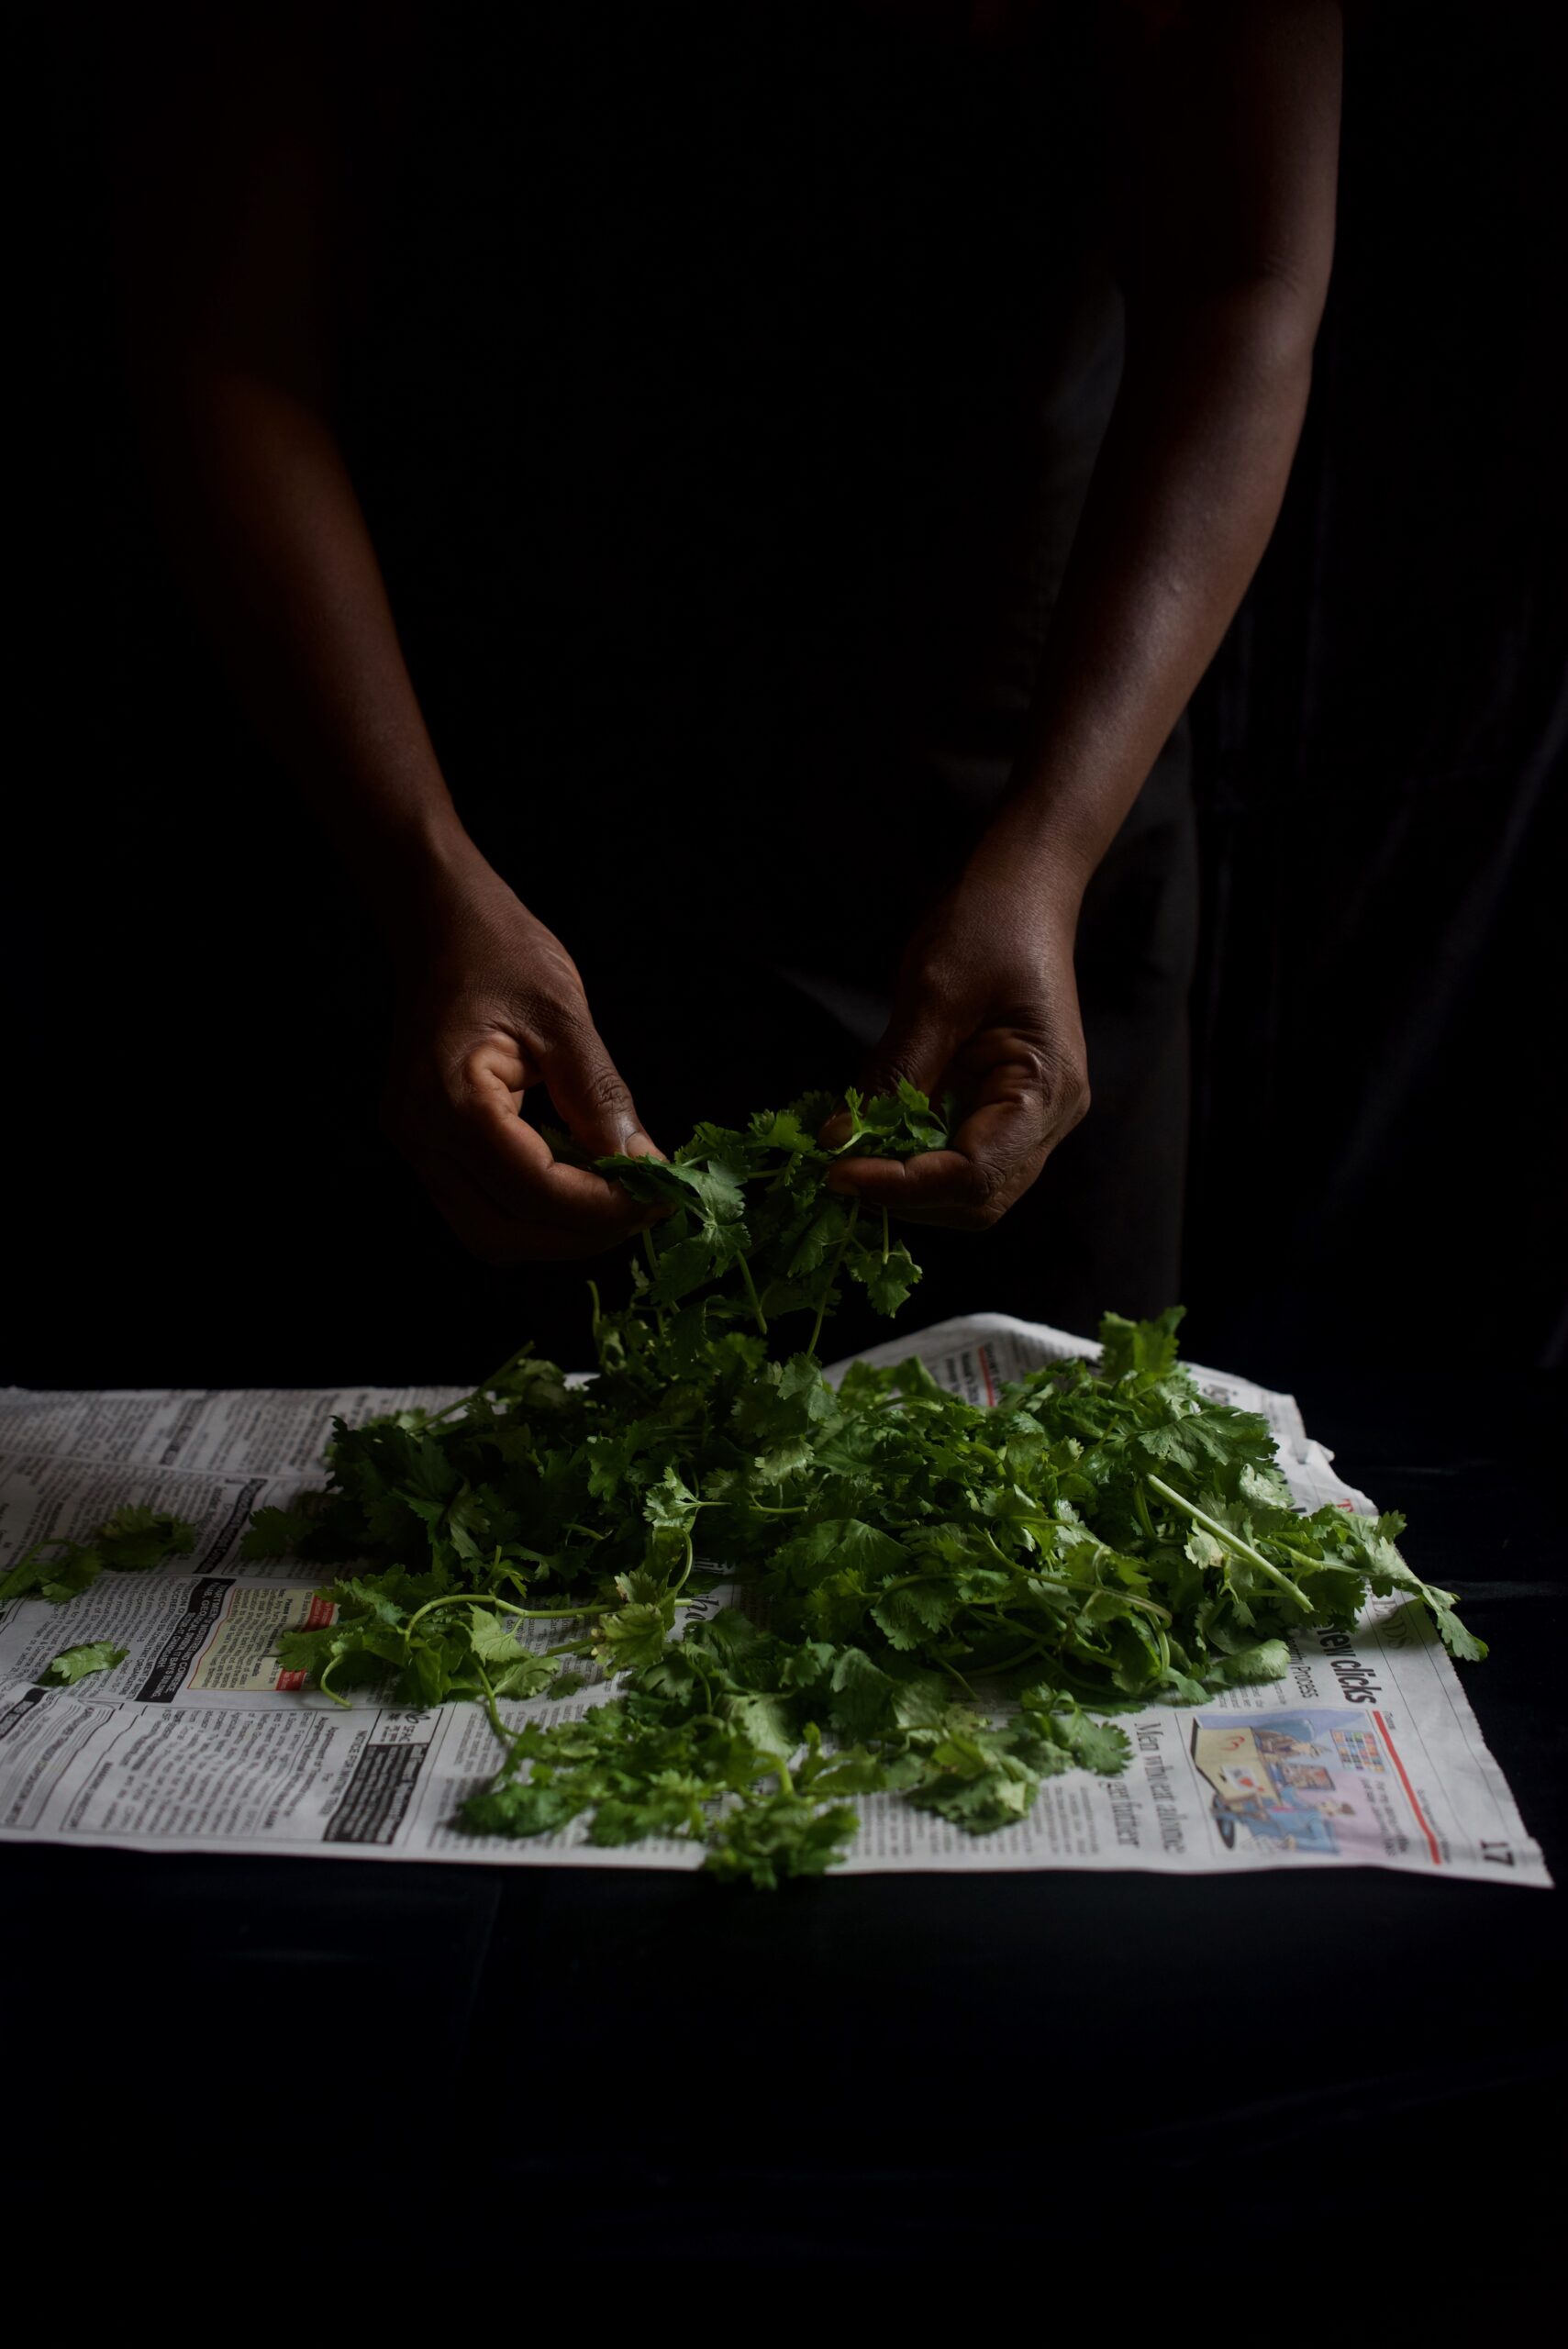
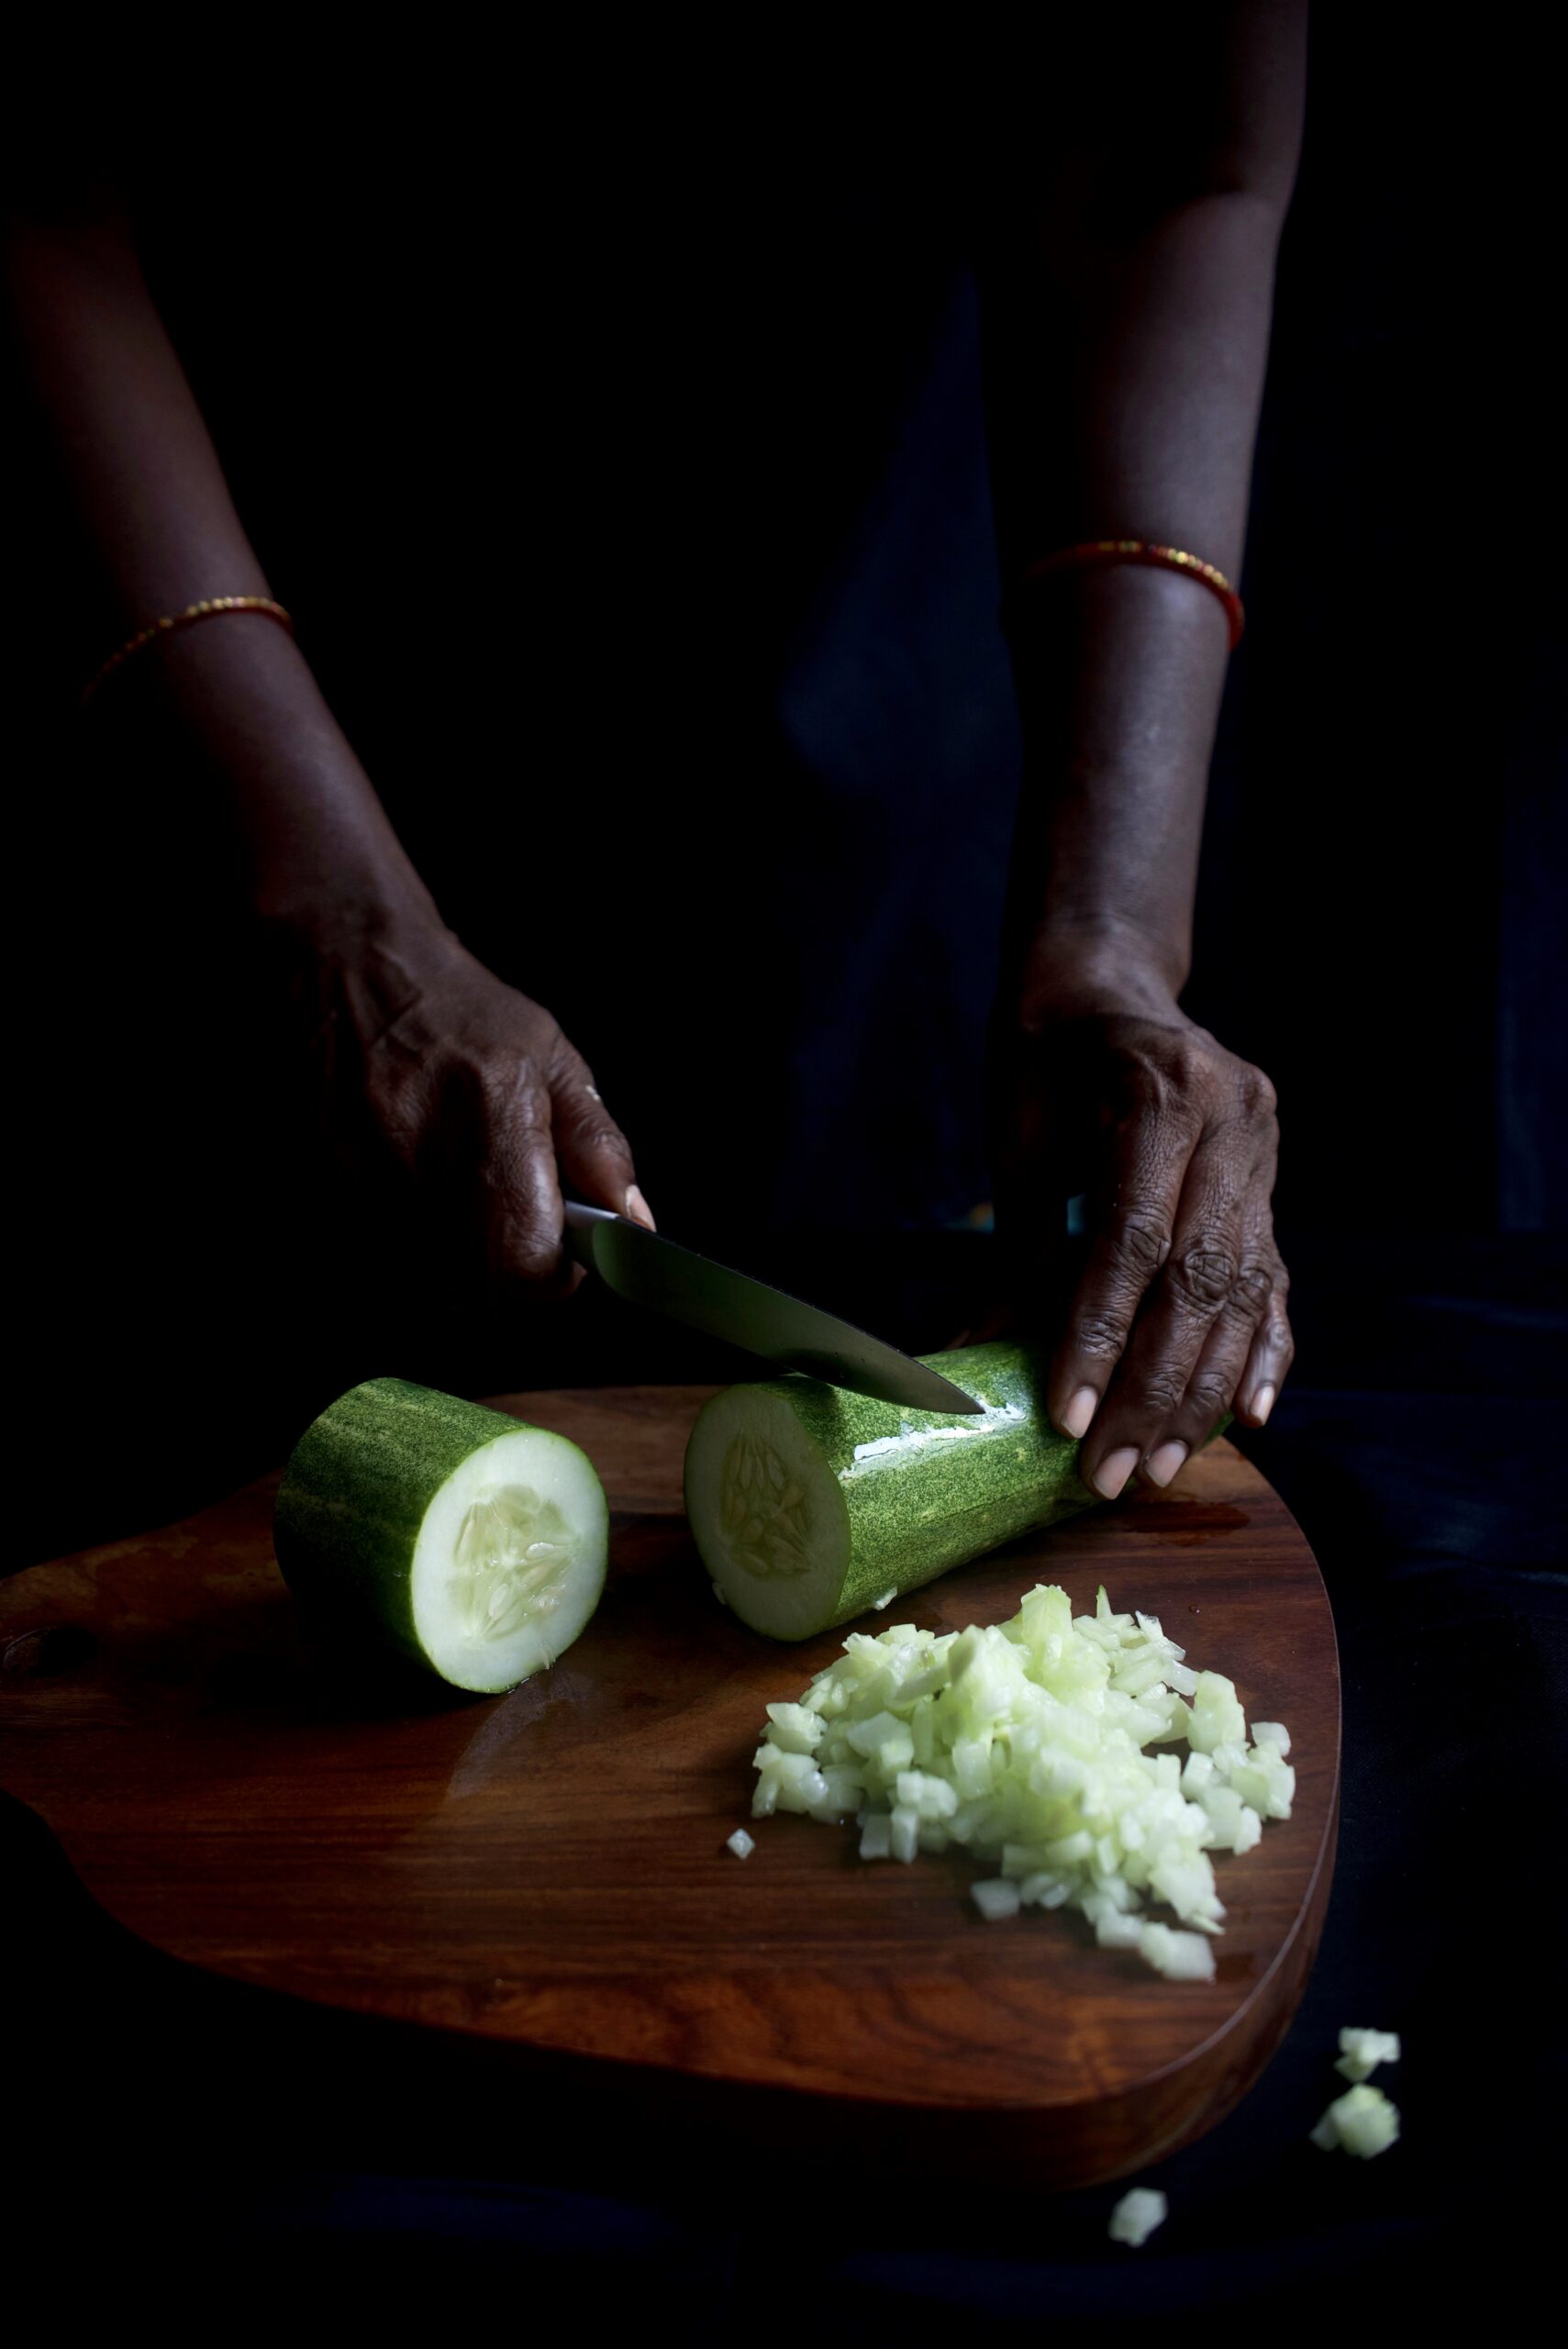
In the meantime, put all the cut vegetables and the raw mango into a bowl. You can add any vegetables of your choice, whatever you find handily available, and increase or decrease the quantities to your preference. My selection here is a very typically “chaat” selection of fresh, affordable local produce. Keep aside some coriander for garnishing.


To this bowl of vegetables and fruit, add two chutneys. You can find the green coriander chutney recipe here (if you’re on a health kick, try not to get distracted by the banana-methi fritters recipe!). It’s an extraordinary simple just-blend-it-chutney, and you can use it in versatile ways.

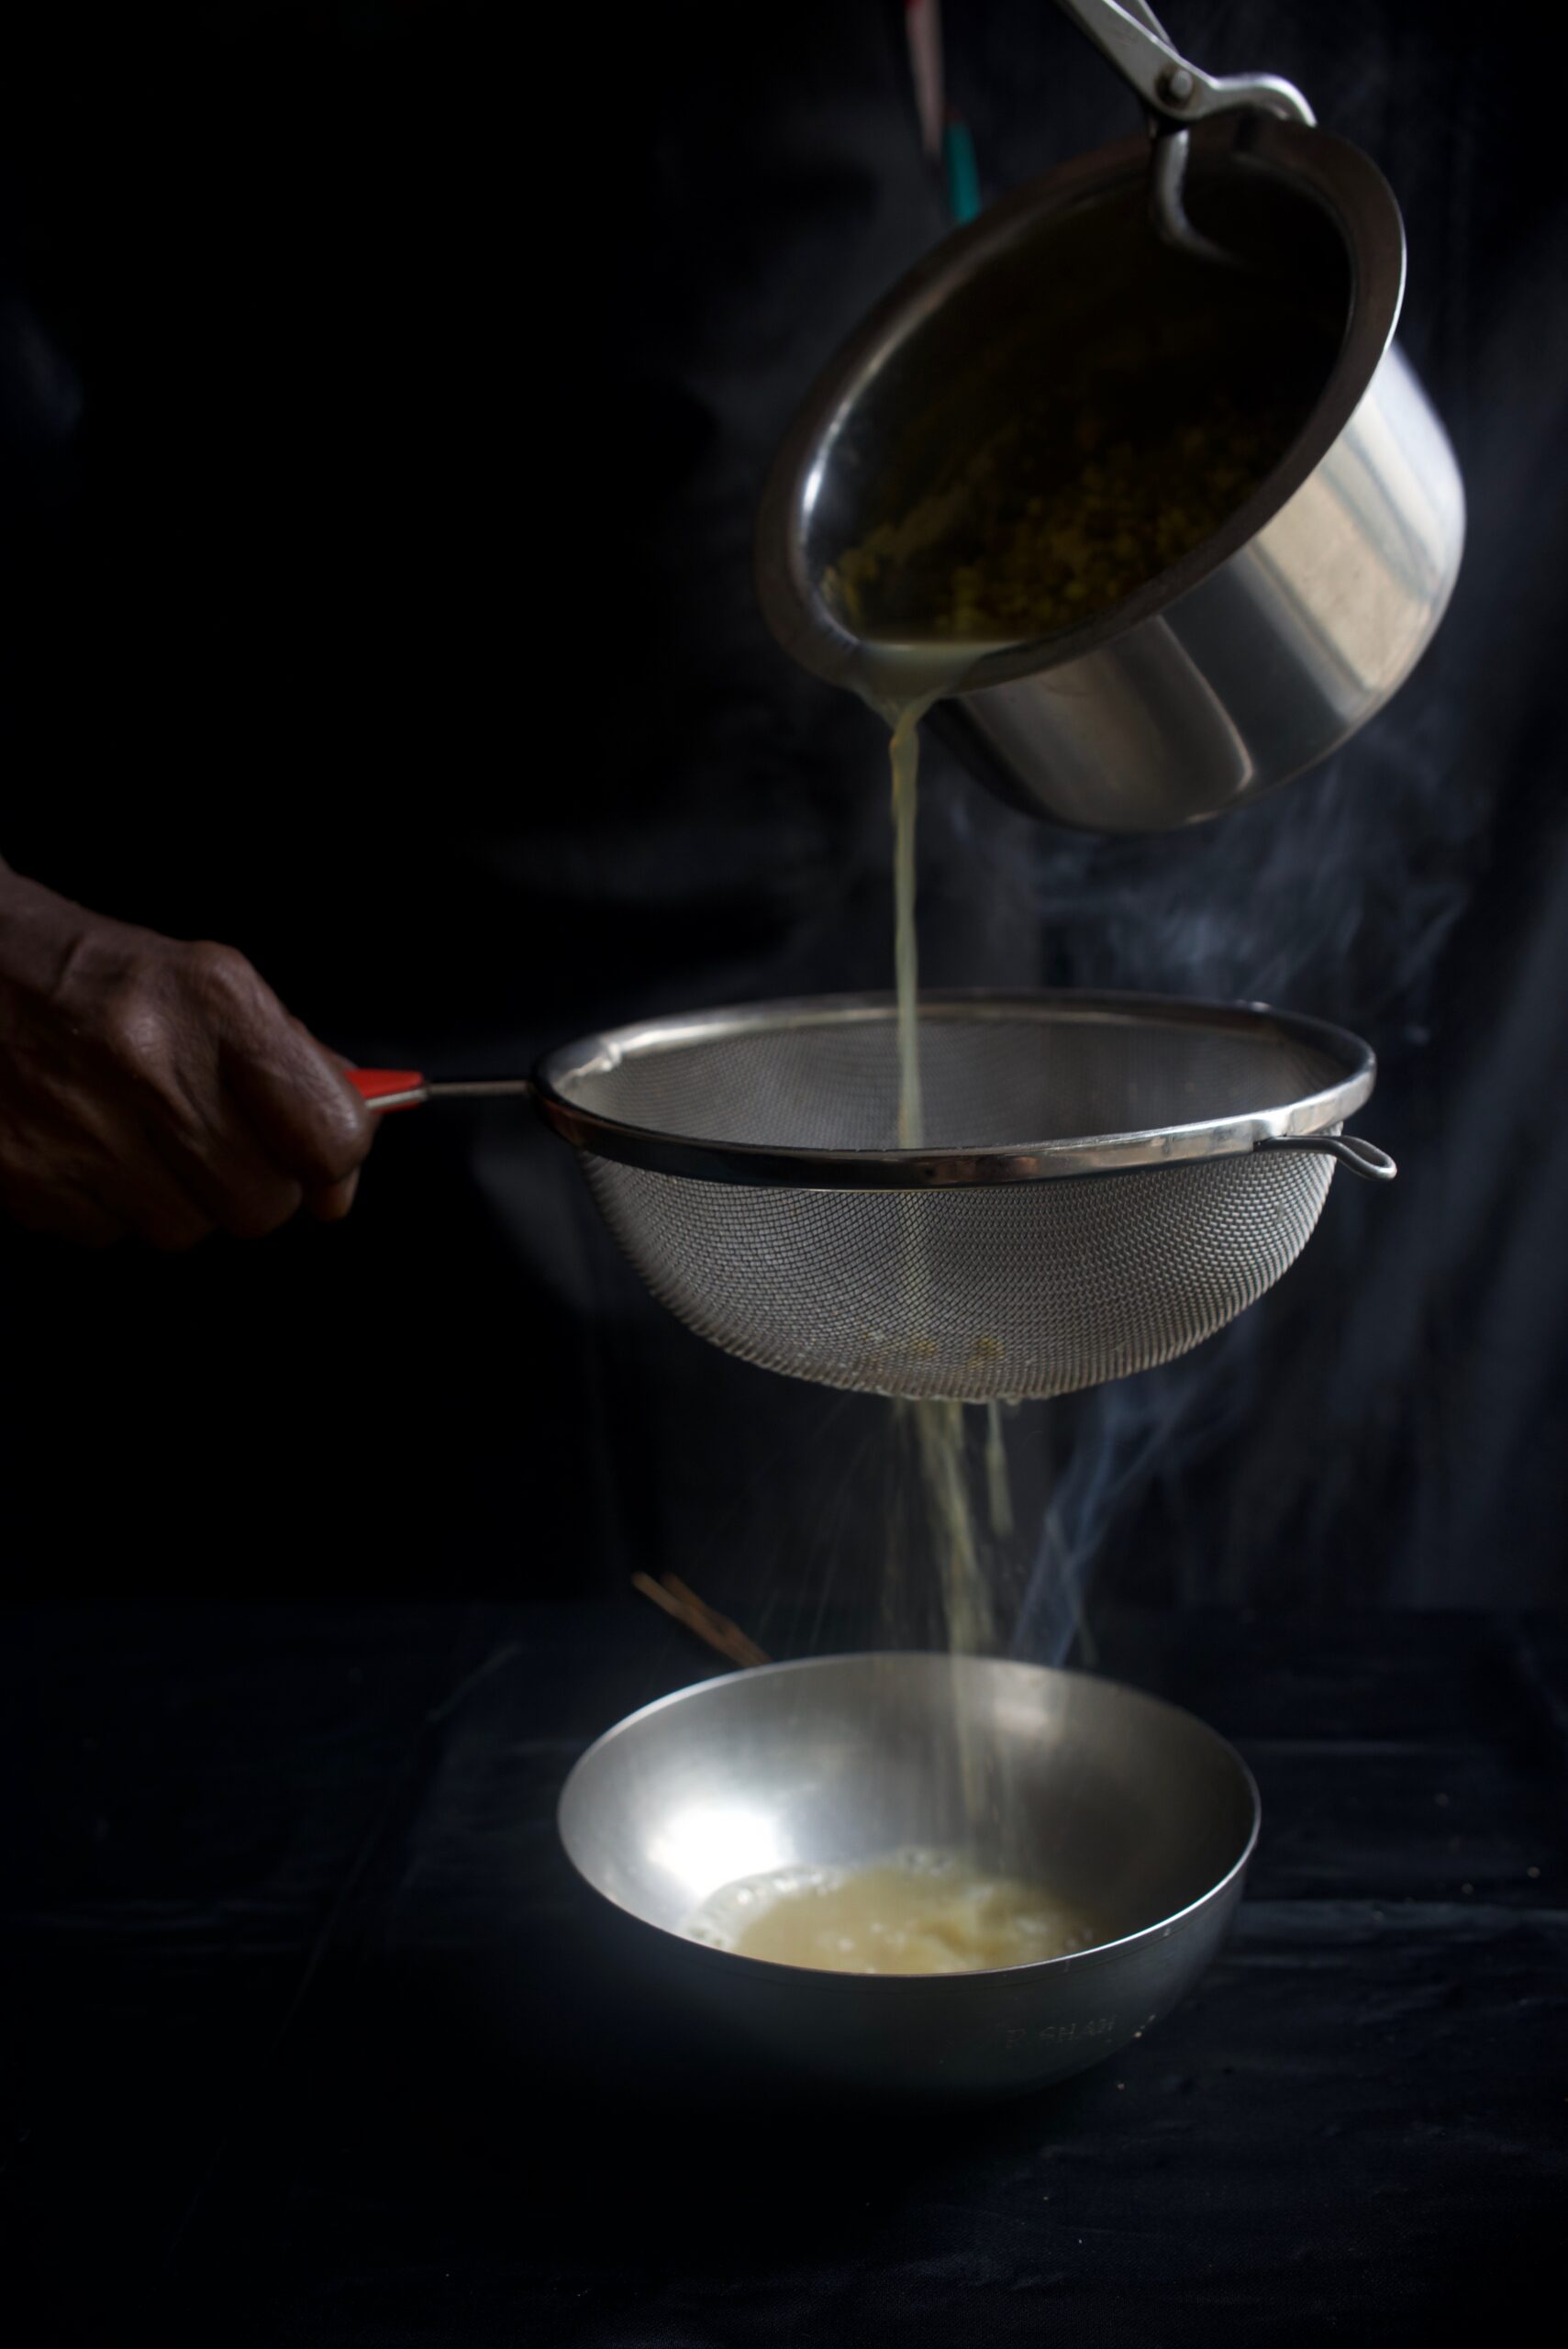
The date chutney requires just a few more steps. Soak the jaggery, chopped dates, tamarind and sugar in 1½ cups of water for at least half an hour. Then blend this very well with 1 cup of warm water. Sieve the mixture to remove any sediments. Now, add the roasted cumin powder, black salt, chili powder and salt, as well as an additional cup of water, and boil for approximately 15 minutes. You will notice the mixture thickening, and you can adjust this to the consistency you desire by adding more water. This recipe yields a generous three cups of date chutney. Use only as much as you need for the green moong bhel dish, then save the rest in the fridge.

Blend 2 teaspoons each of the two chutneys into the bowl of cut vegetables and raw mango. Then add all the spices as well as the cooled moong beans to the bowl. Mix all the ingredients together nicely, making sure the chutneys coat them well.

Now, serve the green moong bhel in smaller bowls, garnishing with the coriander leaves. I often like to add a bit of crunch on top too, such as crushed peanuts, pomegranate, fried crisps or the puffed rice that is reminiscent of traditional chaat.

You can put this healthy snack on the list along with sundal, pea-pomegranate kachoris, sweet ghugras and, of course, banana-methi fritters and enjoy it with some piping hot chai or coffee. Or have it as an alternative to salad or quinoa, and enjoy a big bowl as a full breakfast or a light lunch. As simple as the dish looks, it’s absolutely loaded with flavours. Healthy can taste so good, sometimes!


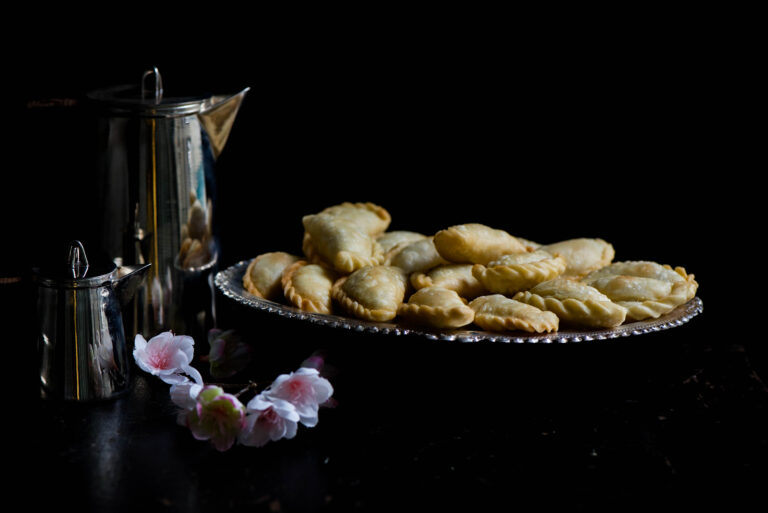
I want to begin with a word of thanks to all my readers around the world. Many of you have stayed with this blog for a whole year! I hope you’ve loved peeking into my kitchen, and I’m so glad to have you here as re:store grows. As the festive season is in full swing here in India, I thought this would be the perfect time to share my mother’s recipe for sweet ghugras, which was promised many posts ago when I gave you my mother-in-law’s recipe for pea-pomegranate kachoris.

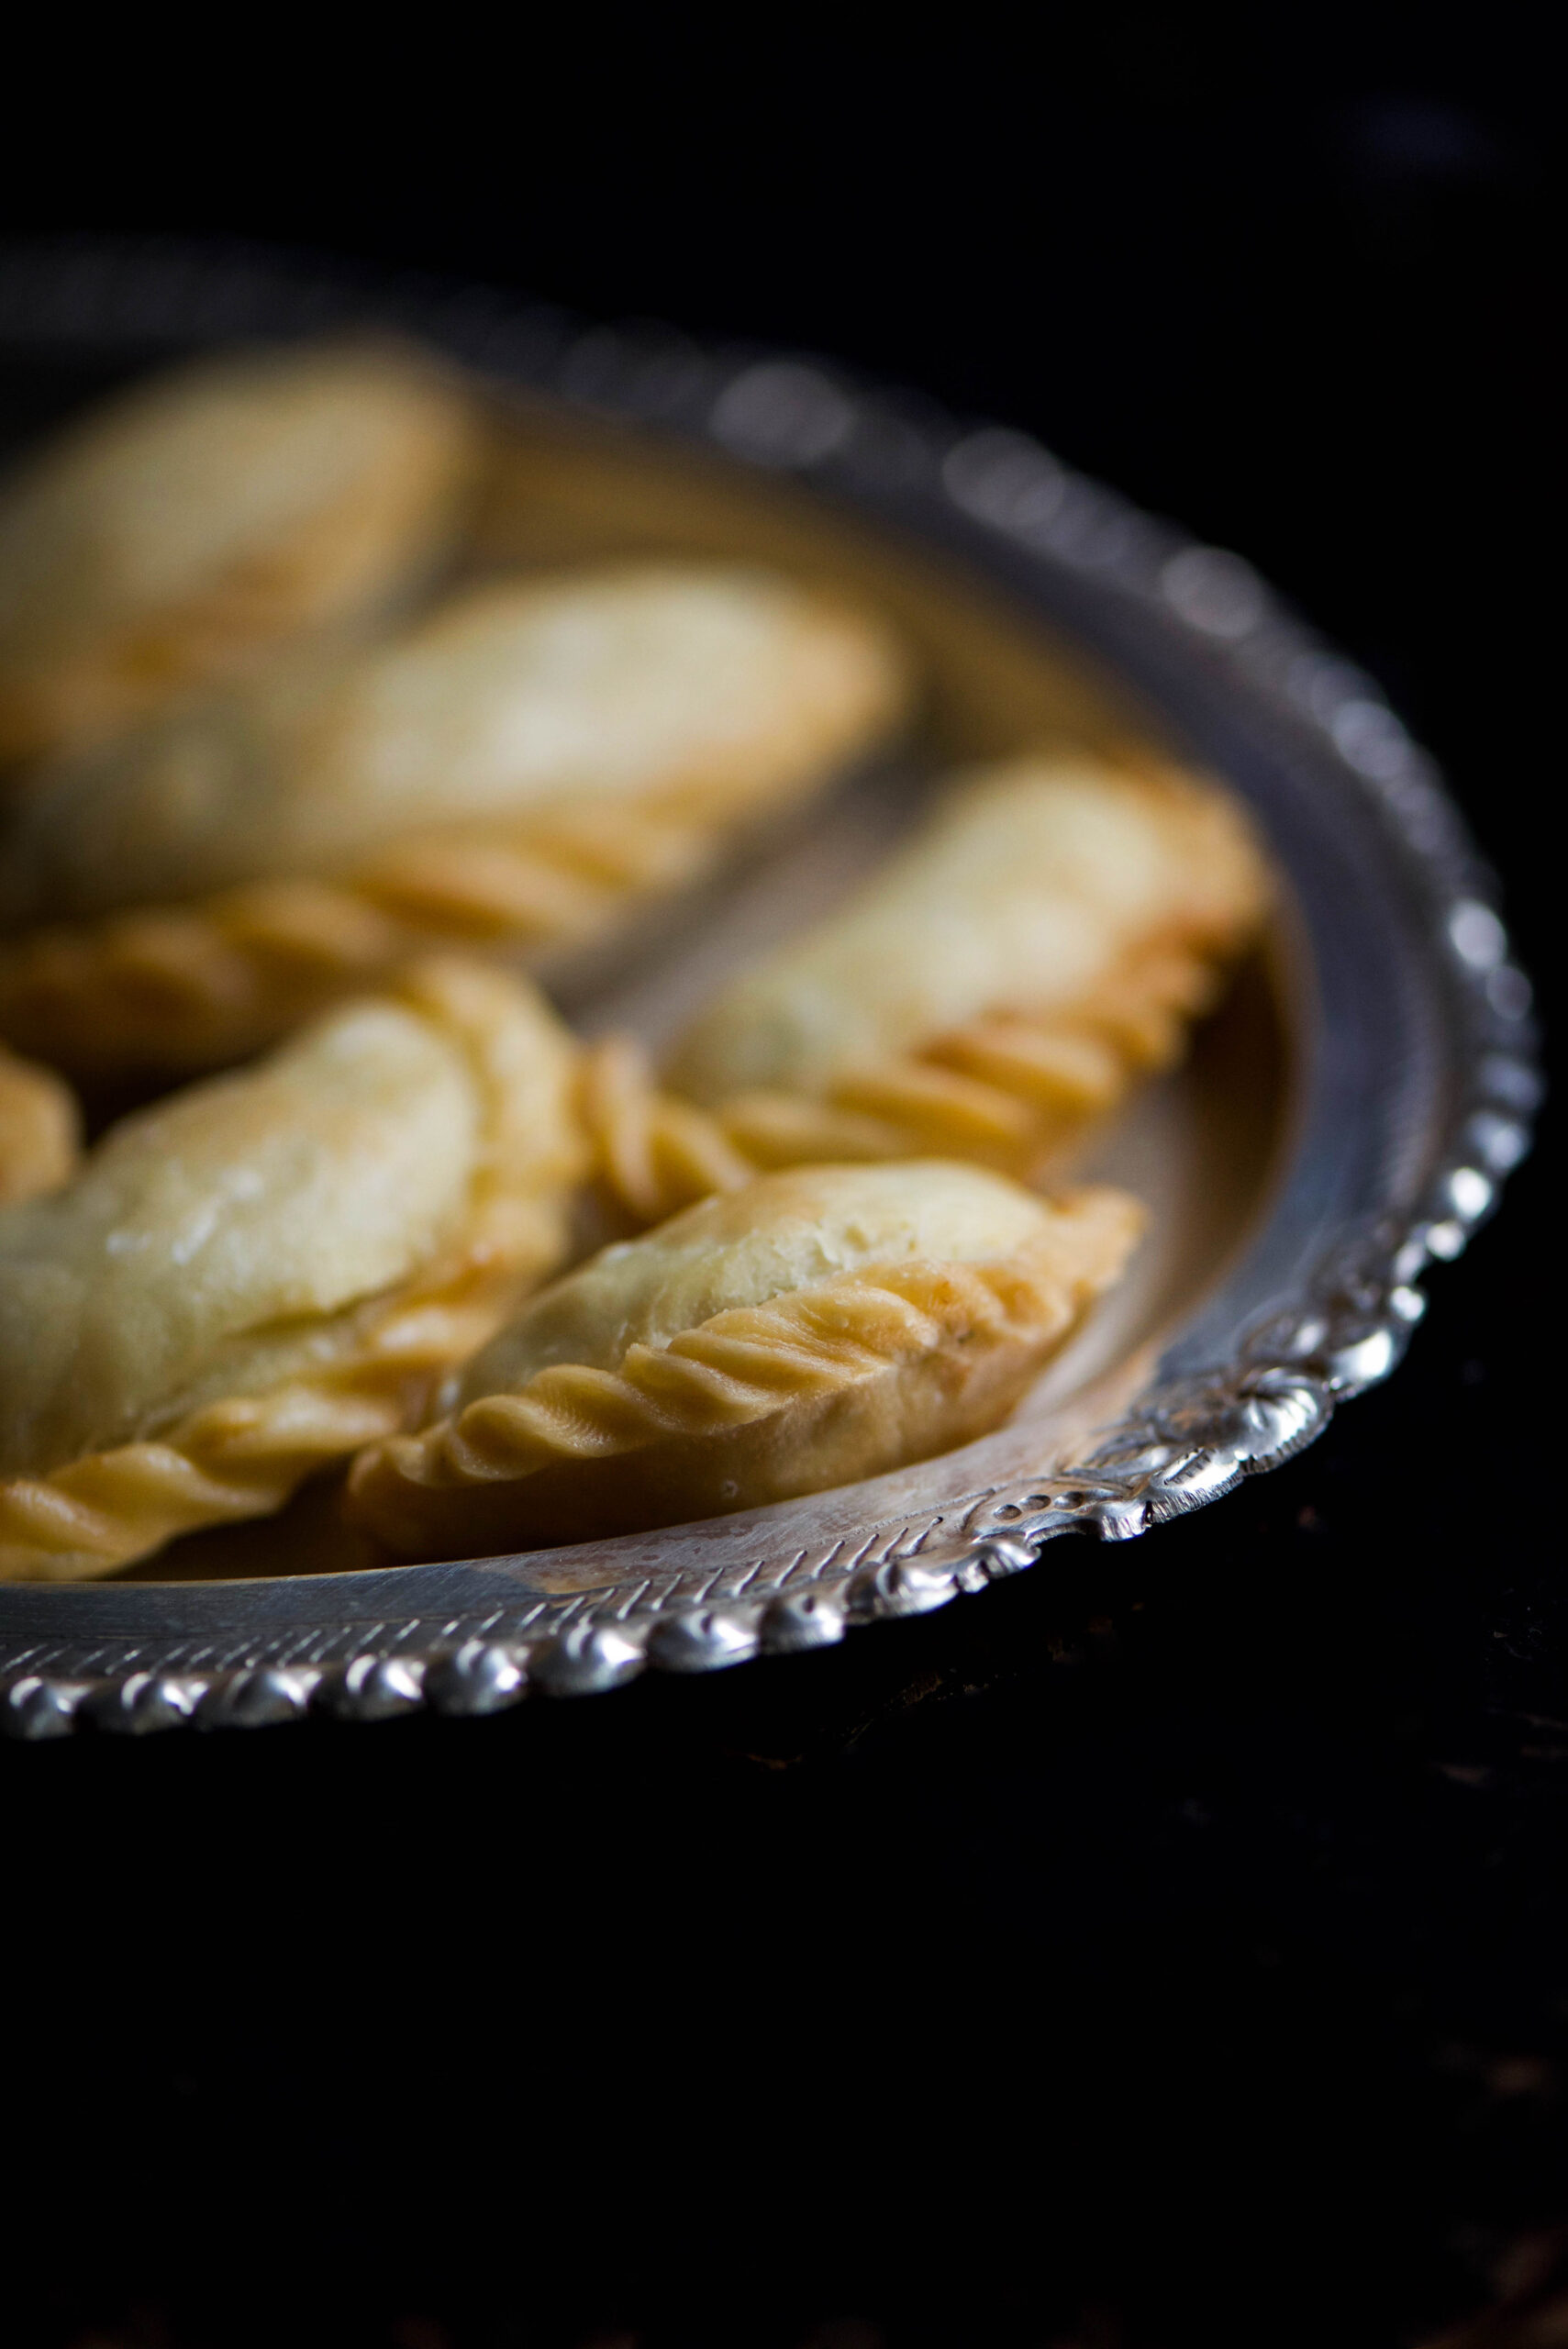
Whether you know them as samosas, kachoris or ghugras, these fried stuffed pastries are a timeless favourite. It’s the fillings that make the difference, and the one I’m sharing today fills my heart with so many beautiful memories of childhood. It was one of the food items that my mother reserved exclusively for Diwali. In the same way that most people make modaks only on Ganesha Chathurti, she made these sweet, nutty ghugras only on Diwali.

Let me paint you a picture of just what these ghugras evoke in me. It’s amazing to recall now just how consistent the scene was: coming home from school year after year the day or so before Diwali to my mother standing in the kitchen, preparing the sweets. The anticipation, and the enjoyment. How does it feel like it was the exact same sight every year, even though both she and I grew older? The scents of that kitchen, the sheer delight of it all!

In those days, all the sweets and savouries were made at home. Each family would make 3 or 4 variants, depending on their status. The preparations began a couple of days before Diwali, and the treats would last for a week – and therefore, in a sense, the celebrations too. It was customary to visit one another’s homes, where we would eat versions of the same sweets. Back home, those who cooked in the families – usually our moms and aunts – would trade notes. Did that person’s cardamom twist suit the sweet? Was her own ghee-rich version of a treat the tastier one?

I grew up in a middle-class home where everything was rationed. Two sweets per child, and the rest for guests – but first, if you remember from my jaggery-whole wheat prasad recipe, to God. Those two sweets each were so relished, and to this day I believe that fulfilment and gluttony are two different things when it comes to dining.

The day after Diwali is the Gujarati New Year, and these two festivities are indelibly linked in my mind. Growing up in Chennai, the latter was not a public holiday, so school remained open. I remember the mix of restlessness and excitement I’d feel through classes all day, waiting for 3pm when our parents would come to pick us up. For that one day of the year, we did not have to take the school bus home – and just having our parents come to collect us to take us for our New Year prayers was such a thrill!

There is a beautiful old haveli, a traditional mansion, in Chennai’s Kilpauk neighbourhood that I still go to every year, and this was where we would drive to – still in our school uniforms, so happy to be celebrating this special day with our extended family and community. Dedicated to Lord Srinathji, the haveli observes an annakut darshan – an unlimited offering – made to the deity on New Year. In the spirit of abundance, it is forbidden to count the number of food items given as prashad. In order to achieve this, the cooking tasks are divided amongst several people. Each person makes a different kind of sweet or savoury, and the total collection is presented to the deity at once. It was always such a wonderful experience, a time when so many families came together and enjoyed ourselves – praying, playing and eating together, keeping our traditions alive through simply being joyous.

Diwali is in fact only one day in a string of special occasions. For us Gujaratis, the season began with Dhanteras (in which goddess Lakshmi is worshipped for prosperity), followed by Kali Chaudas (where a fried vada, a lentil doughnut, is thrown over one’s shoulder at a crossroads; my modern version of this custom is to serve thayir vada, curd-soaked vada, at home on this day), then Diwali (the festival of lights, which invariably falls on a new moon – on this day I make a broken wheat and jaggery dish for good luck). Diwali is followed by the Gujarati New Year (on which I make specialties like kesari or lapsi), and subsequently by Bhaibeej (the day when brothers visit their sisters’ homes to feast, the reverse of which happens on a day in August known as Raksha Bandhan). As you can see, feasting is an integral part of our festivals!

And to your own feasts, this year and for all time, I hope you’ll add this heirloom recipe of mine…

Sweet Ghugras

(Yield – 15-20 pieces)

Ingredients:

Filling

½ cup white raw almonds (with skin)

½ cup shelled pistachio

½ cup powdered sugar

2 tablespoons ghee

1 – 2 pinches of saffron

½ teaspoon cardamom powder


Pastry

See here.


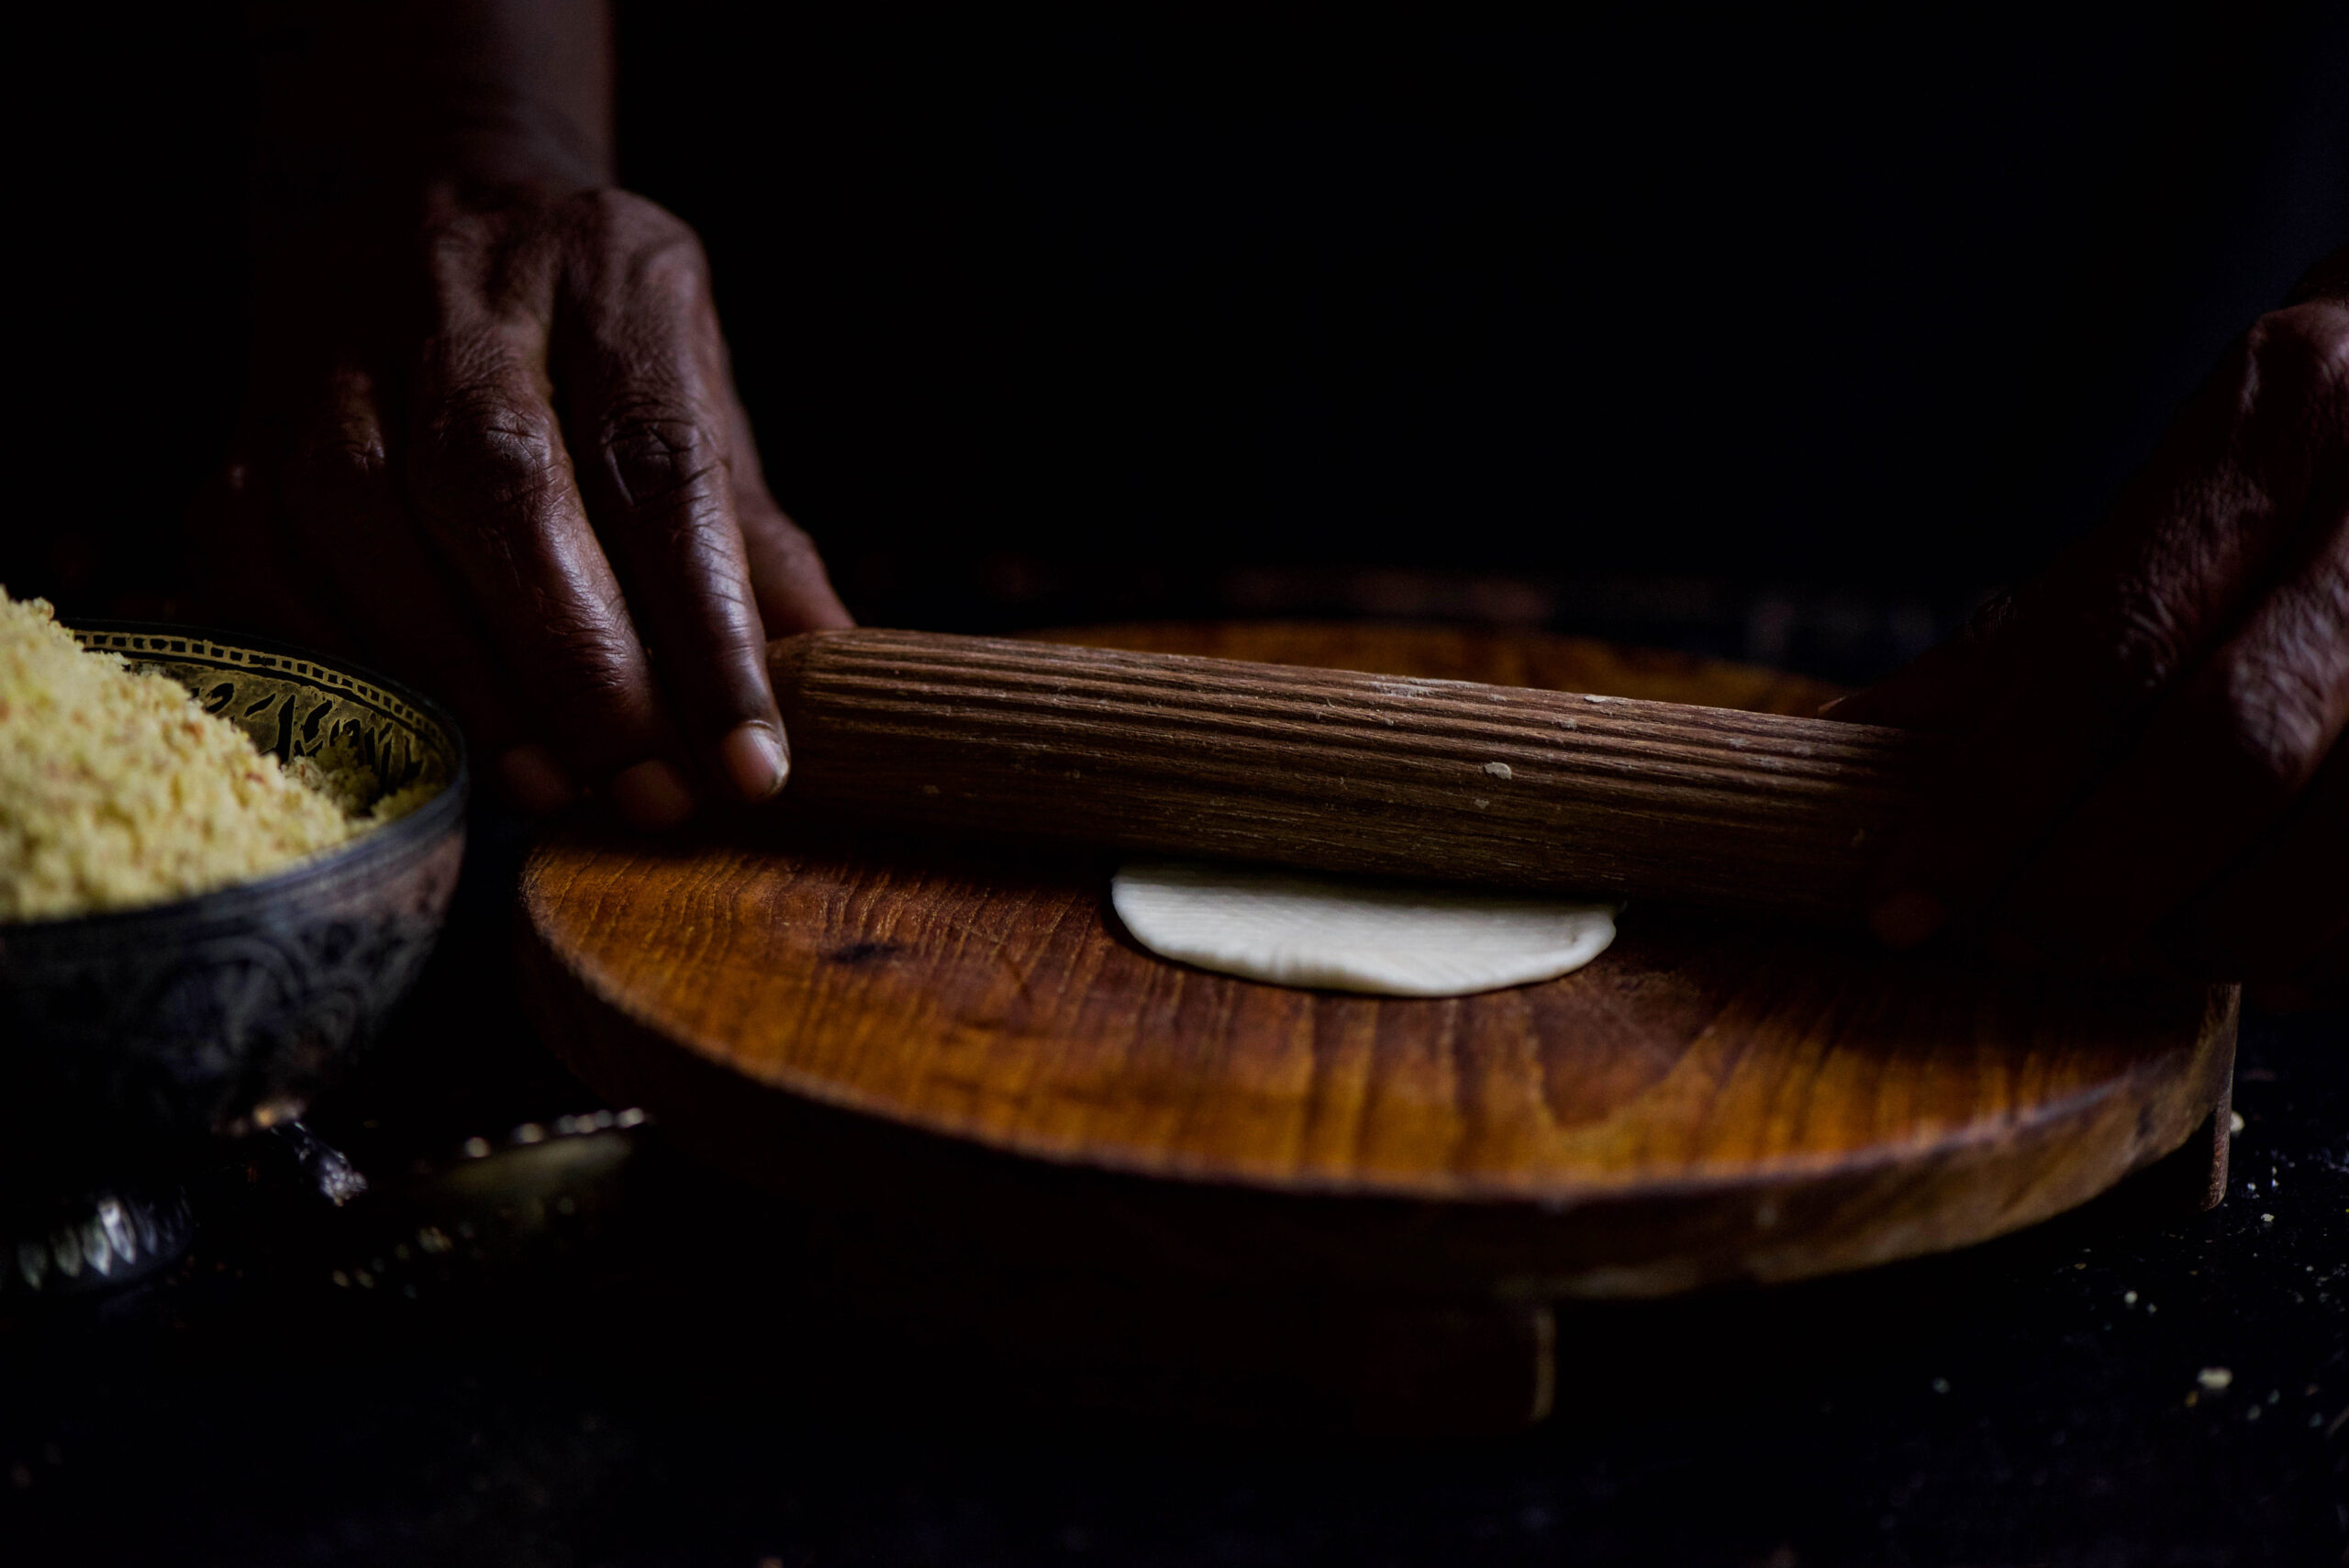
If you tried your hand at my sweet-savoury pea-pomegranate kachori recipe, you’ve already had practice at making the pastry for these ghugras too. The ingredients and technique can be found by clicking through to that post.

Here, let me share the recipe only for the filling of the sweet ghugras. It is the filling that makes each samosa, ghugra or kachori different.

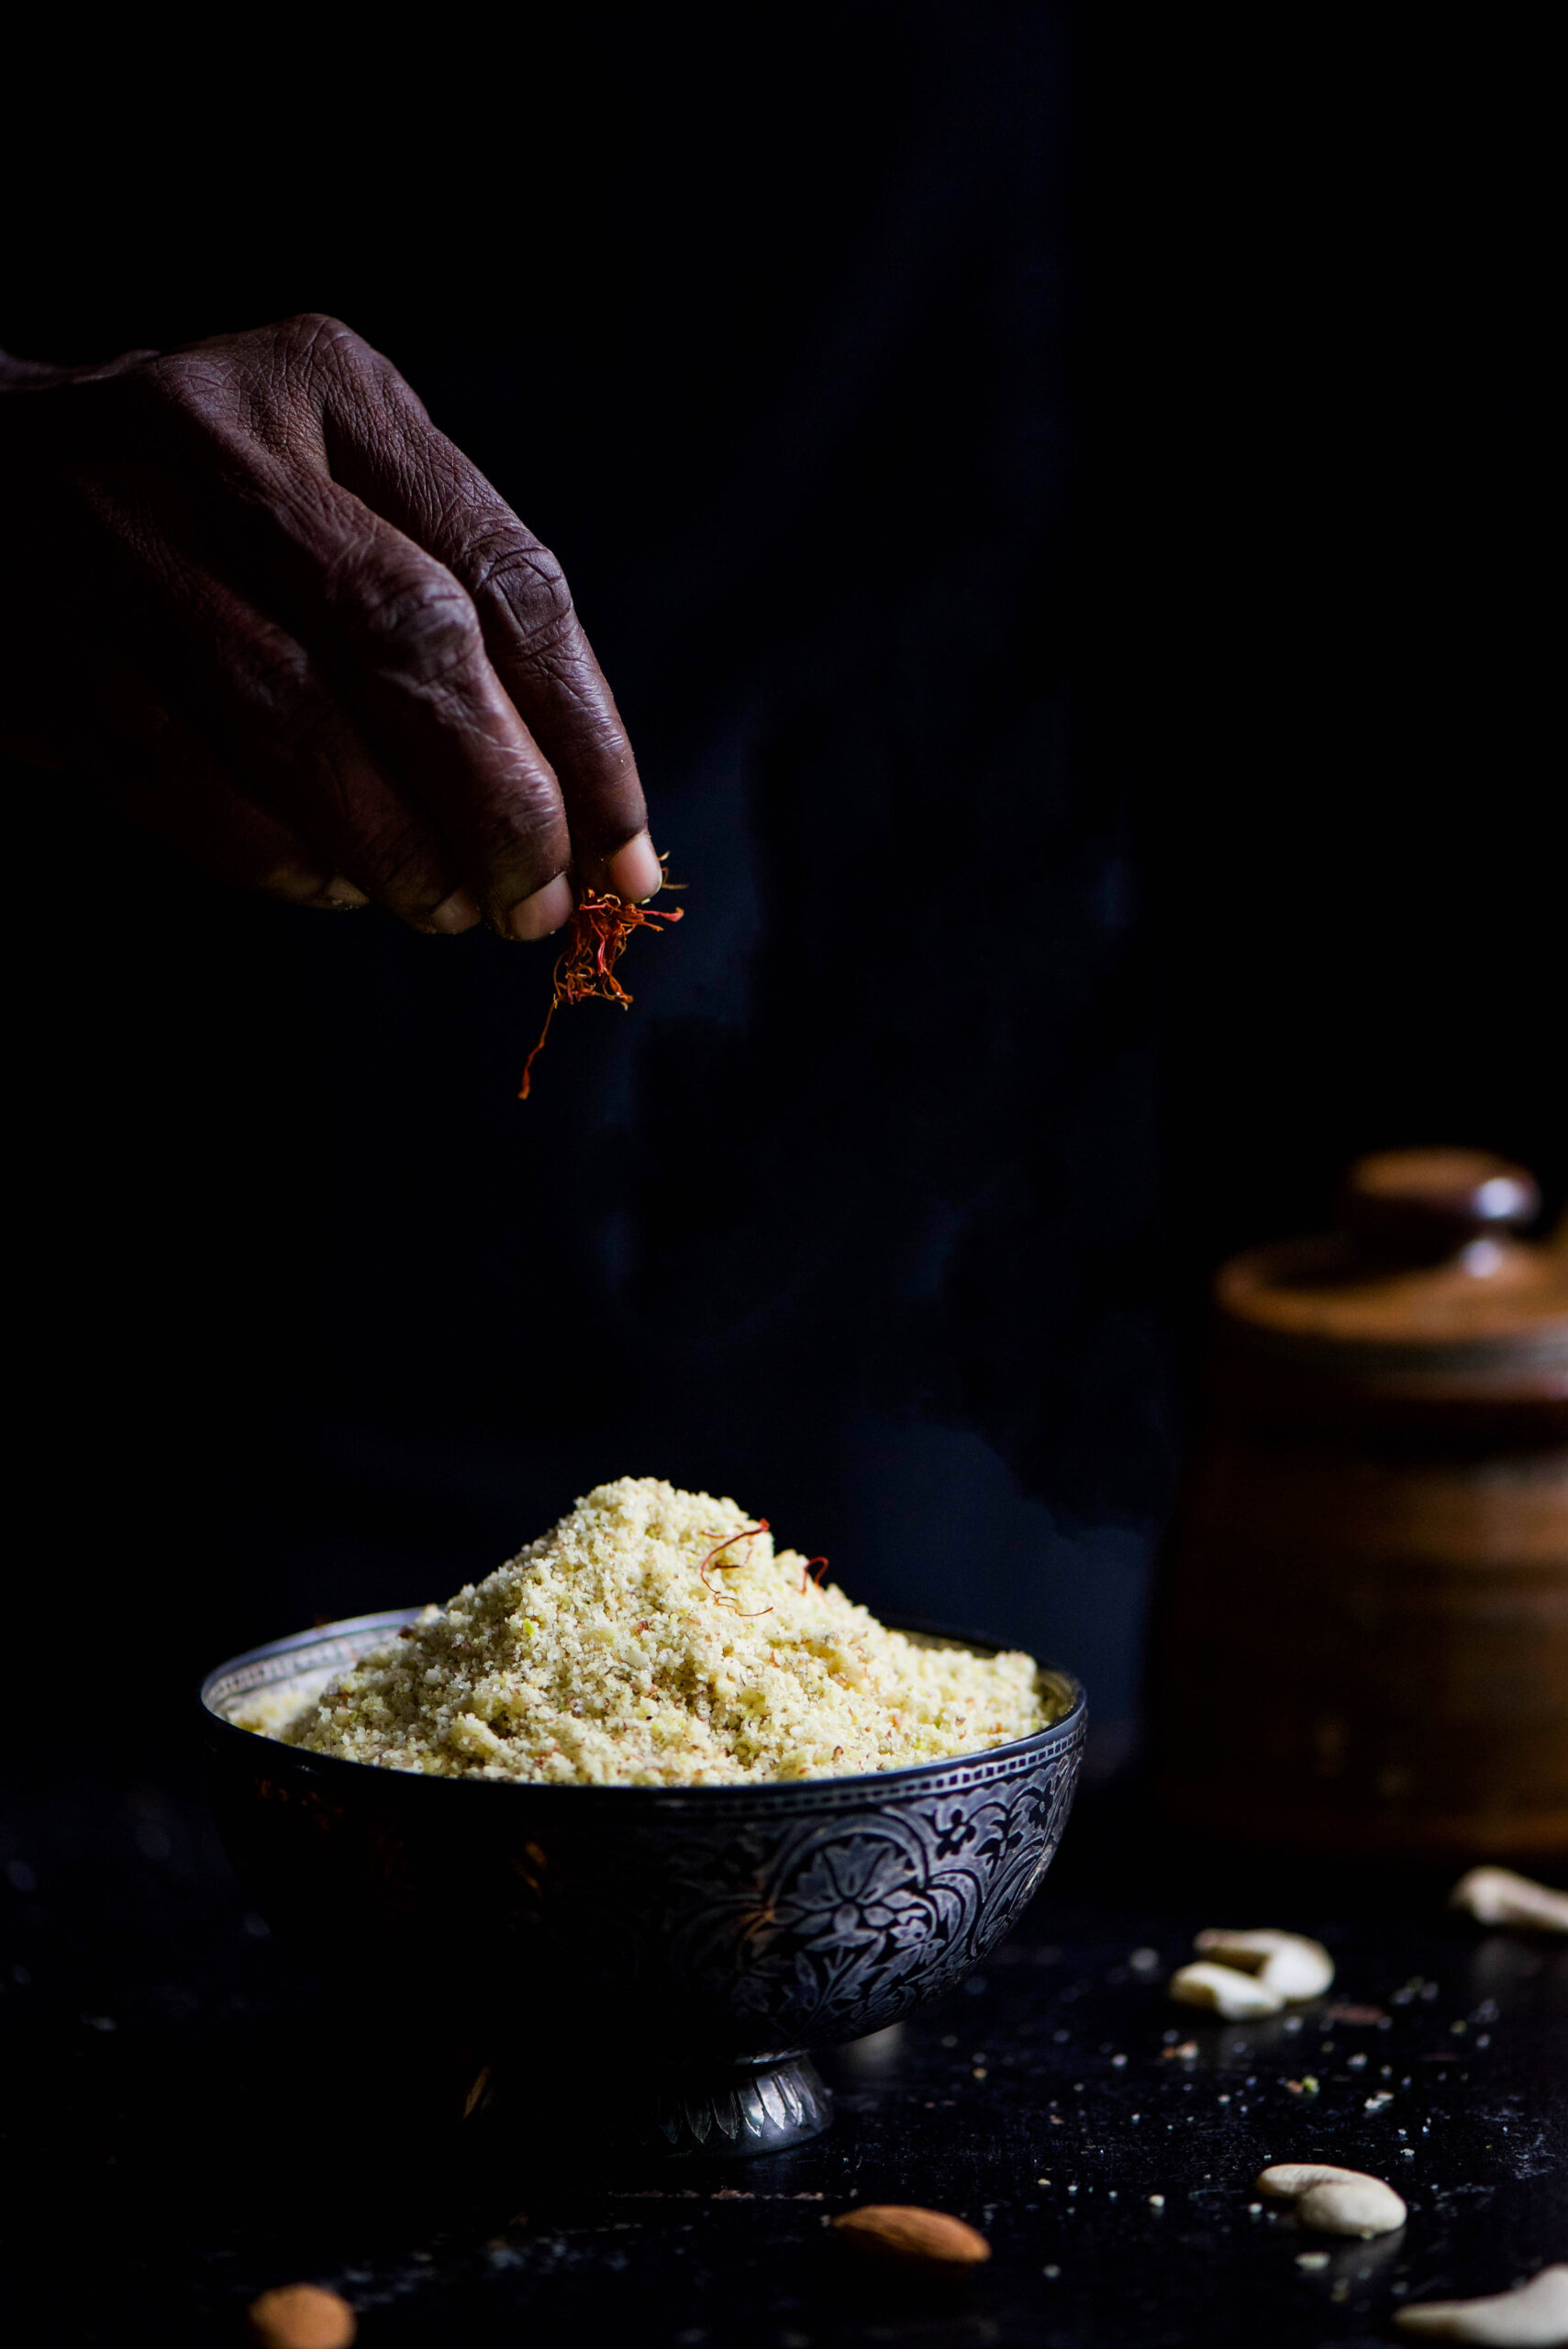
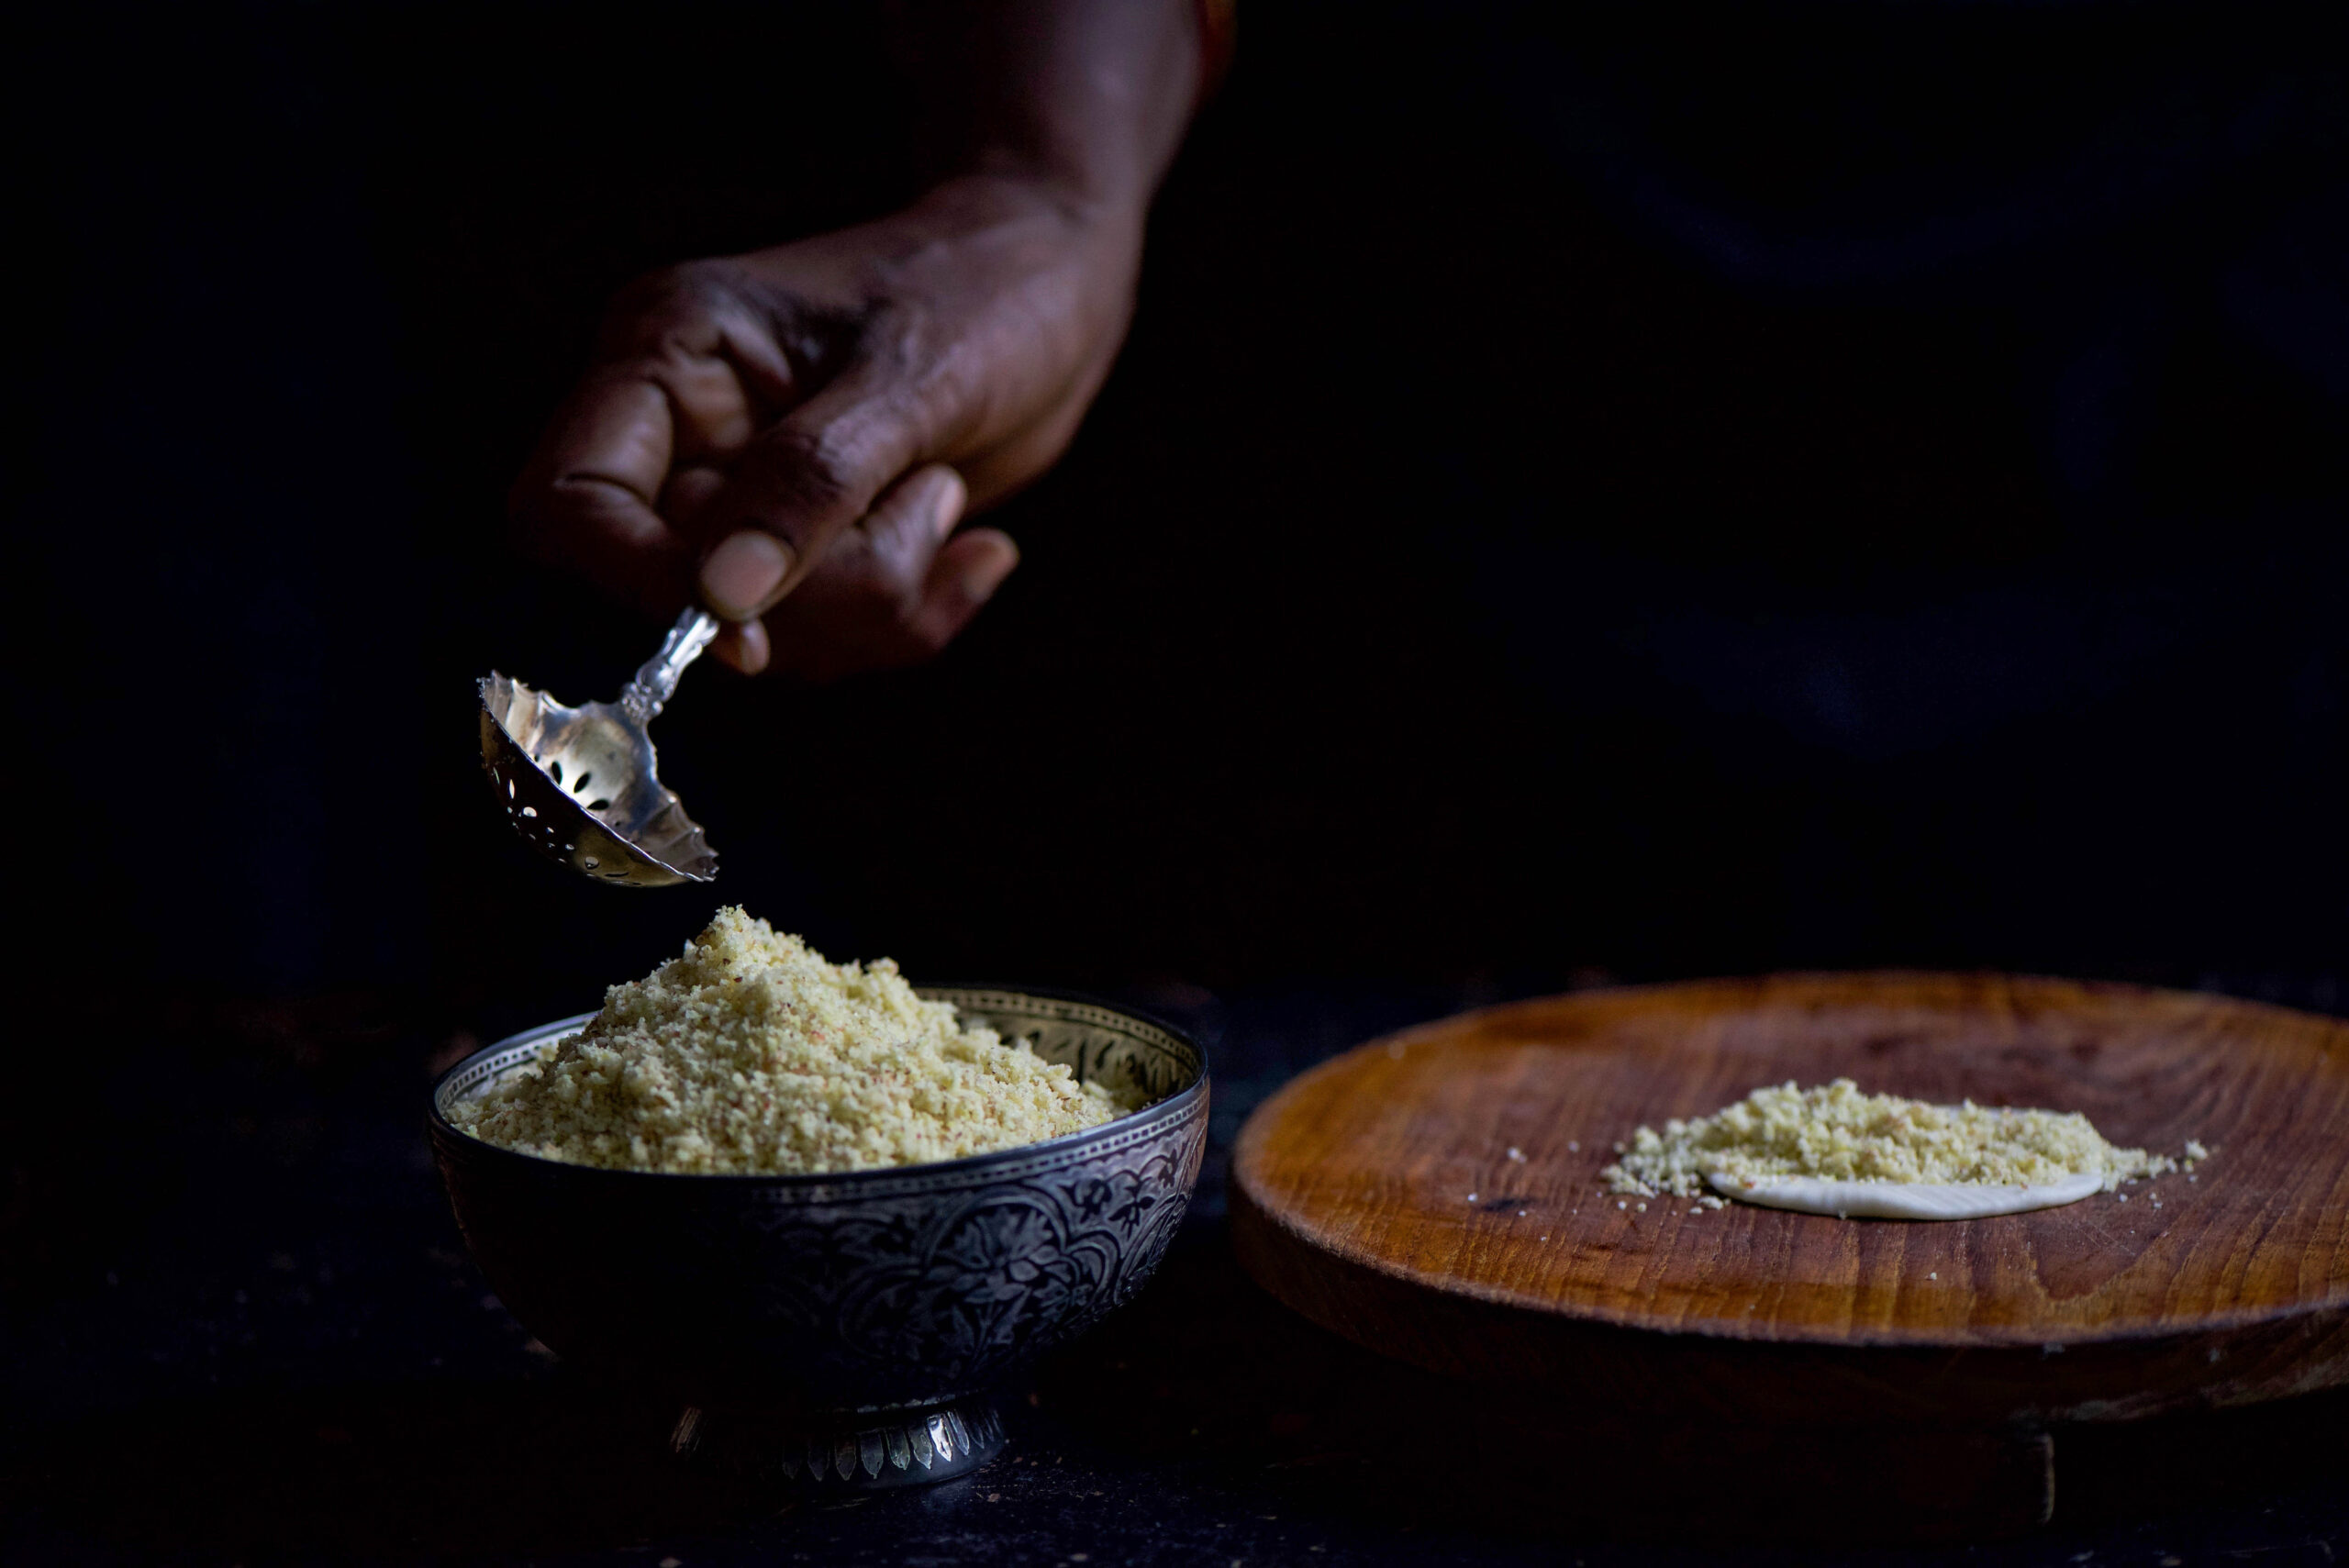
Roast the nuts until they turn into a light golden colour (you may replace the pistachio with cashew nuts if you wish). Allow to cool. Once cool, blend them to a coarse powder.

Now, add the powdered sugar and ghee. The ghee binds all the flavours together. Next, add the cardamom and saffron. Using your hands, gently blend the ingredients together.

The filling is as simple as that. Most Gujarati households will have a similar recipe for sweet ghugras. Many will use mava (known in Tamil as palkova), which is a sugary milk reduction. The mava version was my brother’s  favourite, and my mother made it for him for over five decades of Diwali celebrations – even the one in the hospital. But if you don’t like extreme sweetness in your desserts, you will prefer this nutty variation I’ve shared.

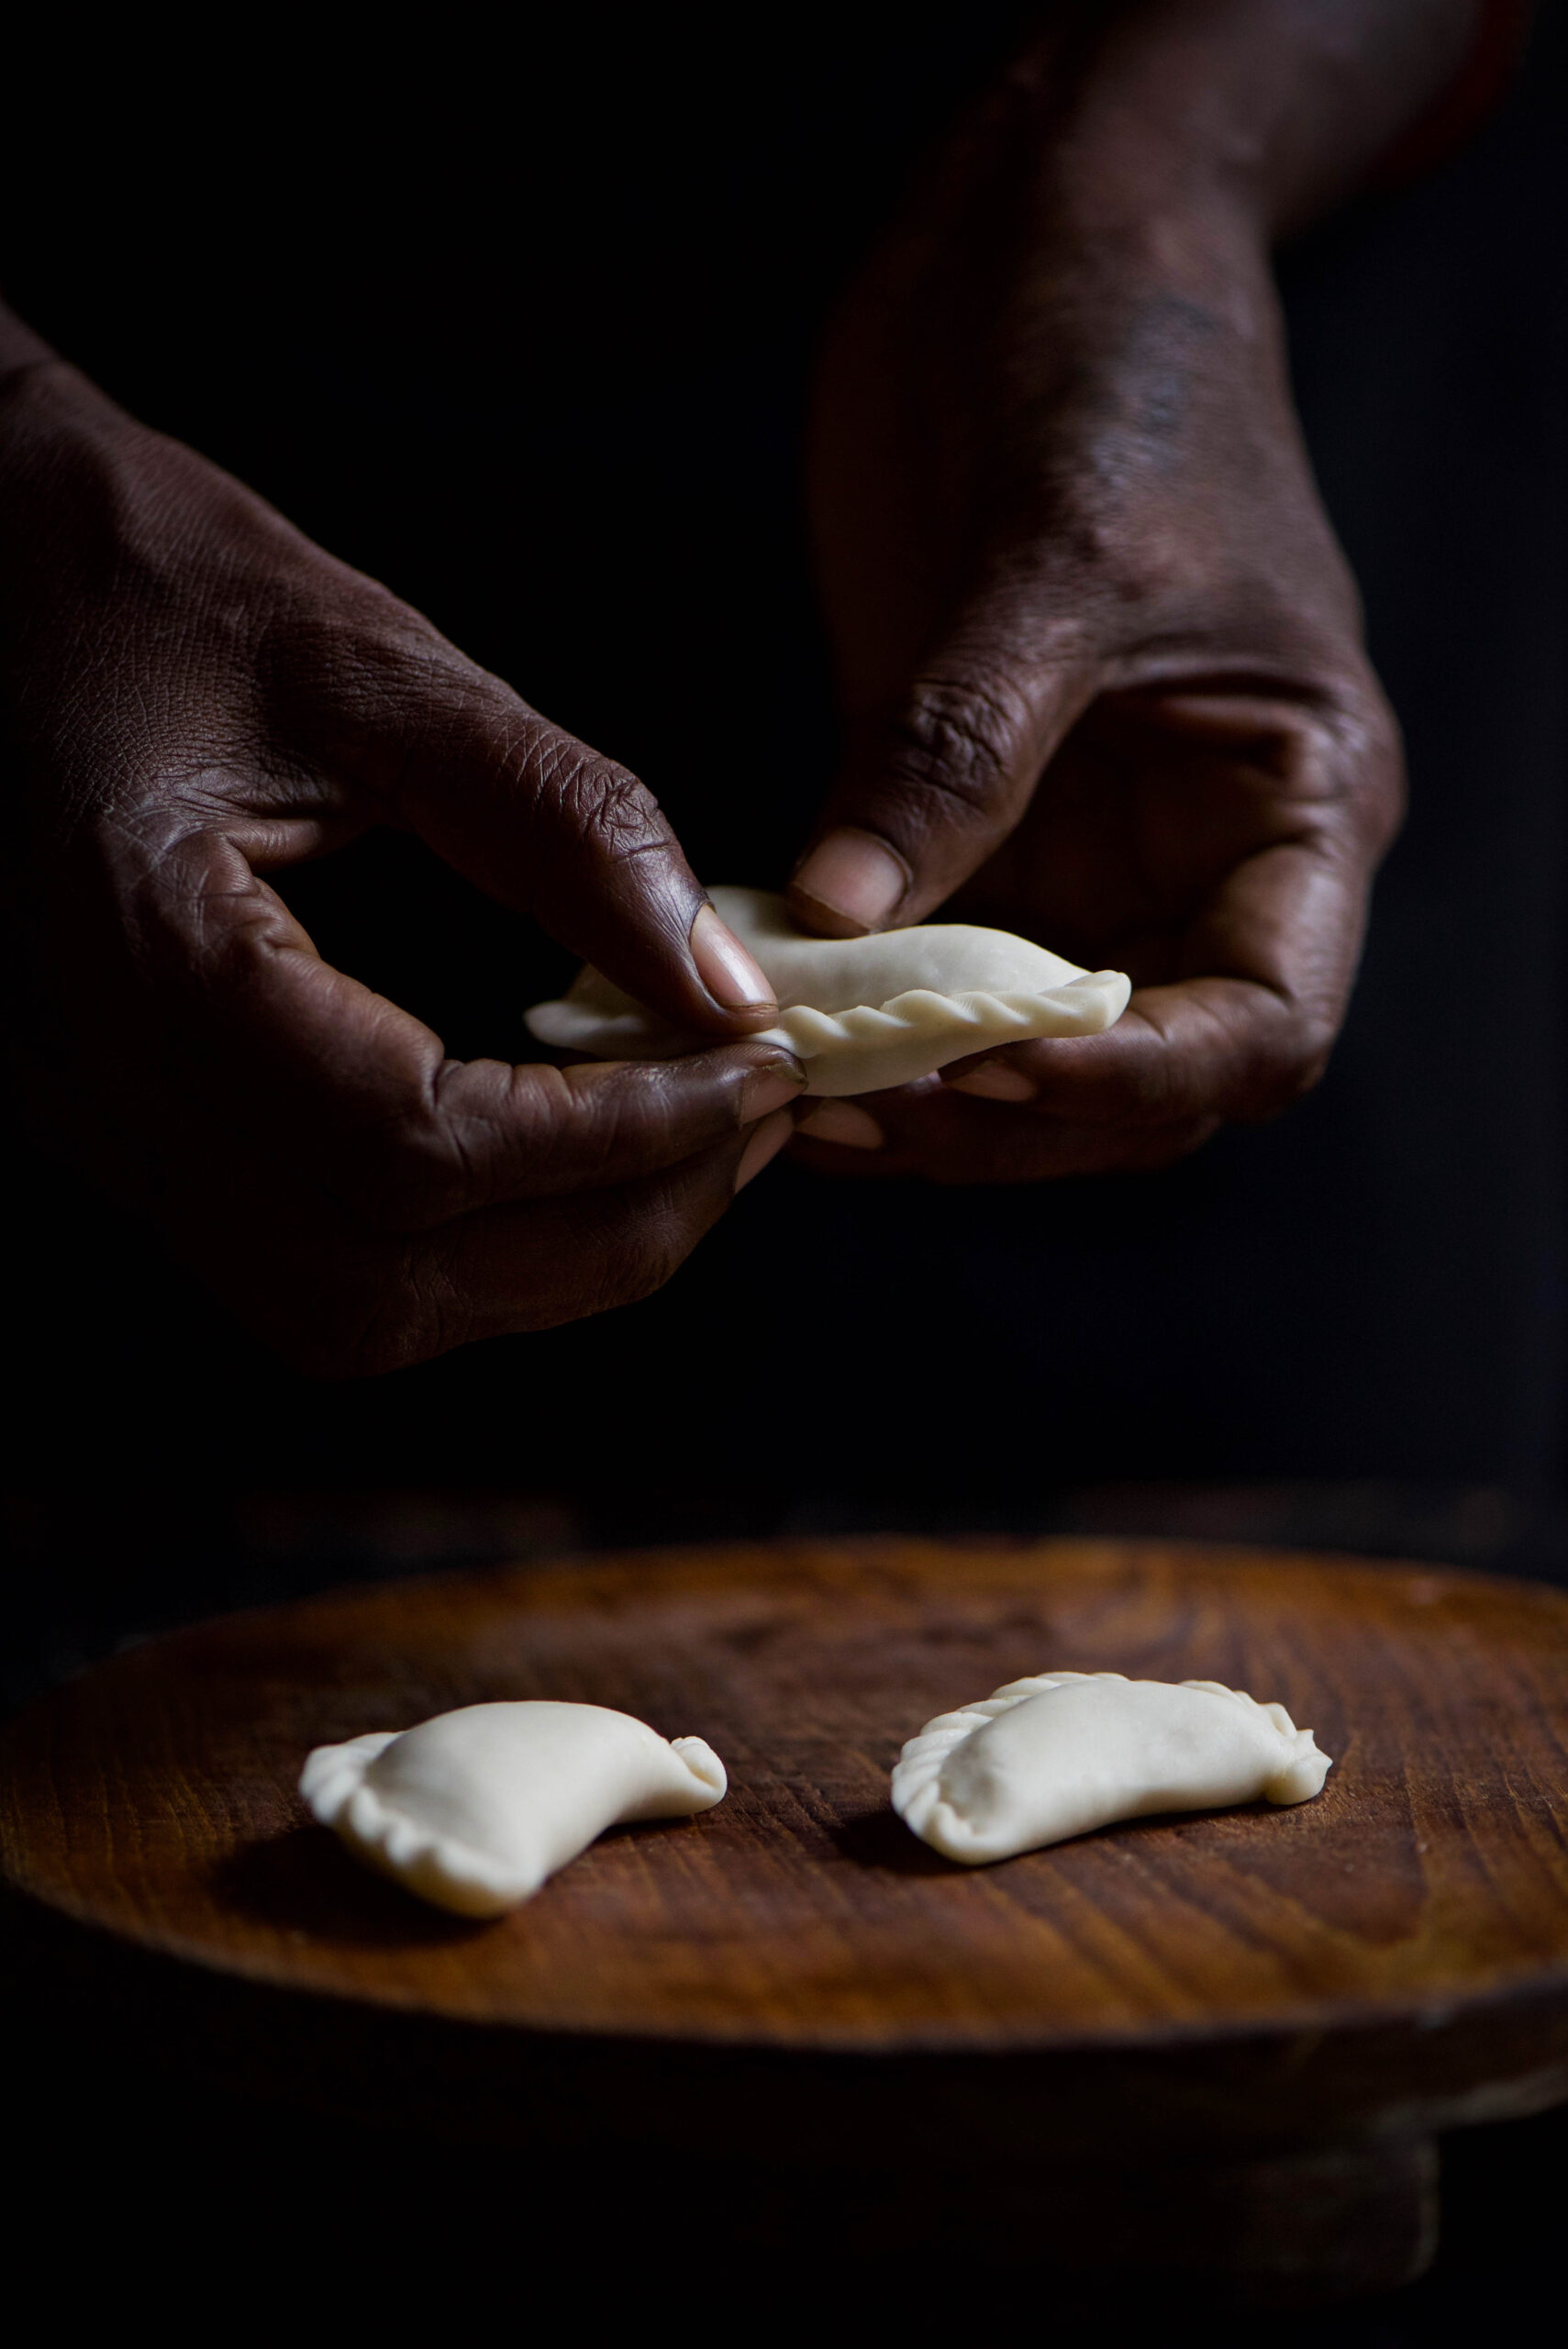
If you made the pea-pomegranate kachori recipe given earlier, making, rolling out and delicately folding the dough into a pretty shape should be very easy for you.

If this is your first attempt, do watch the video below to see how to stuff and fold the pastry casings. You will be able to make between 15-20 ghugras using this recipe, depending on the size. I like mine small and dainty, so that you’re both satisfied in a bite and have a slight craving for one more.

Once the pastries have been filled with the sweet, nutty stuffing, they must be fried.

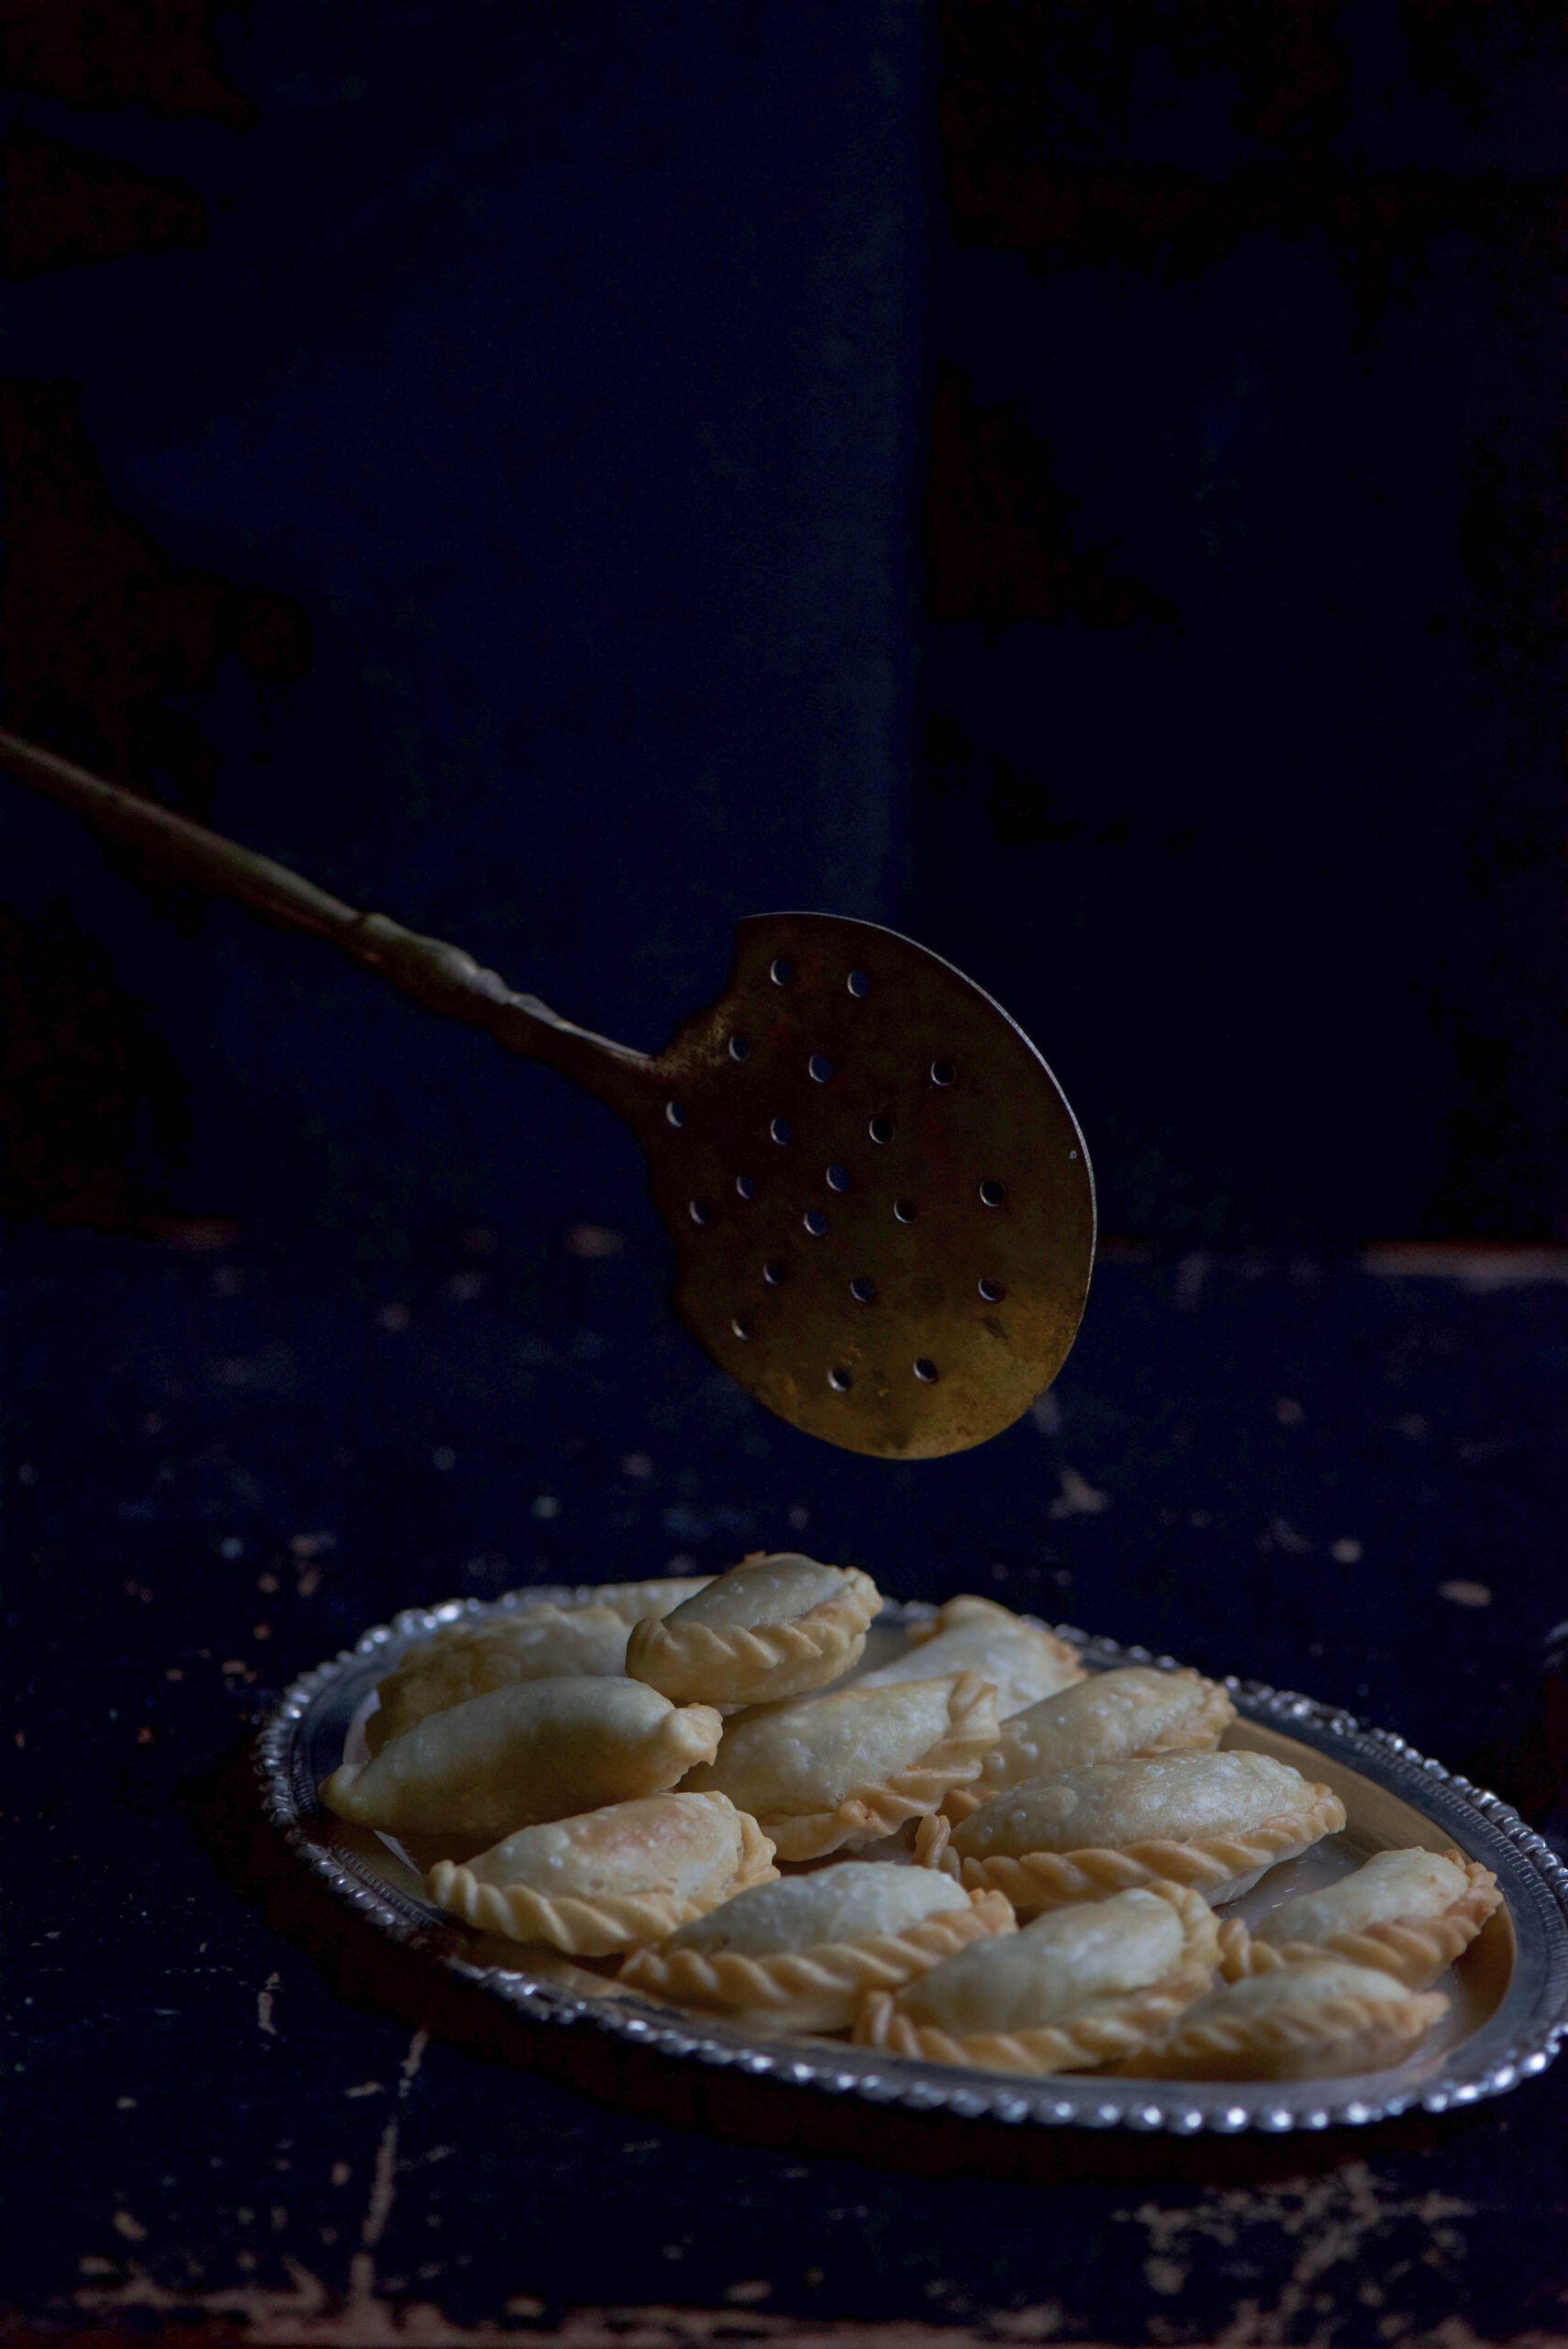
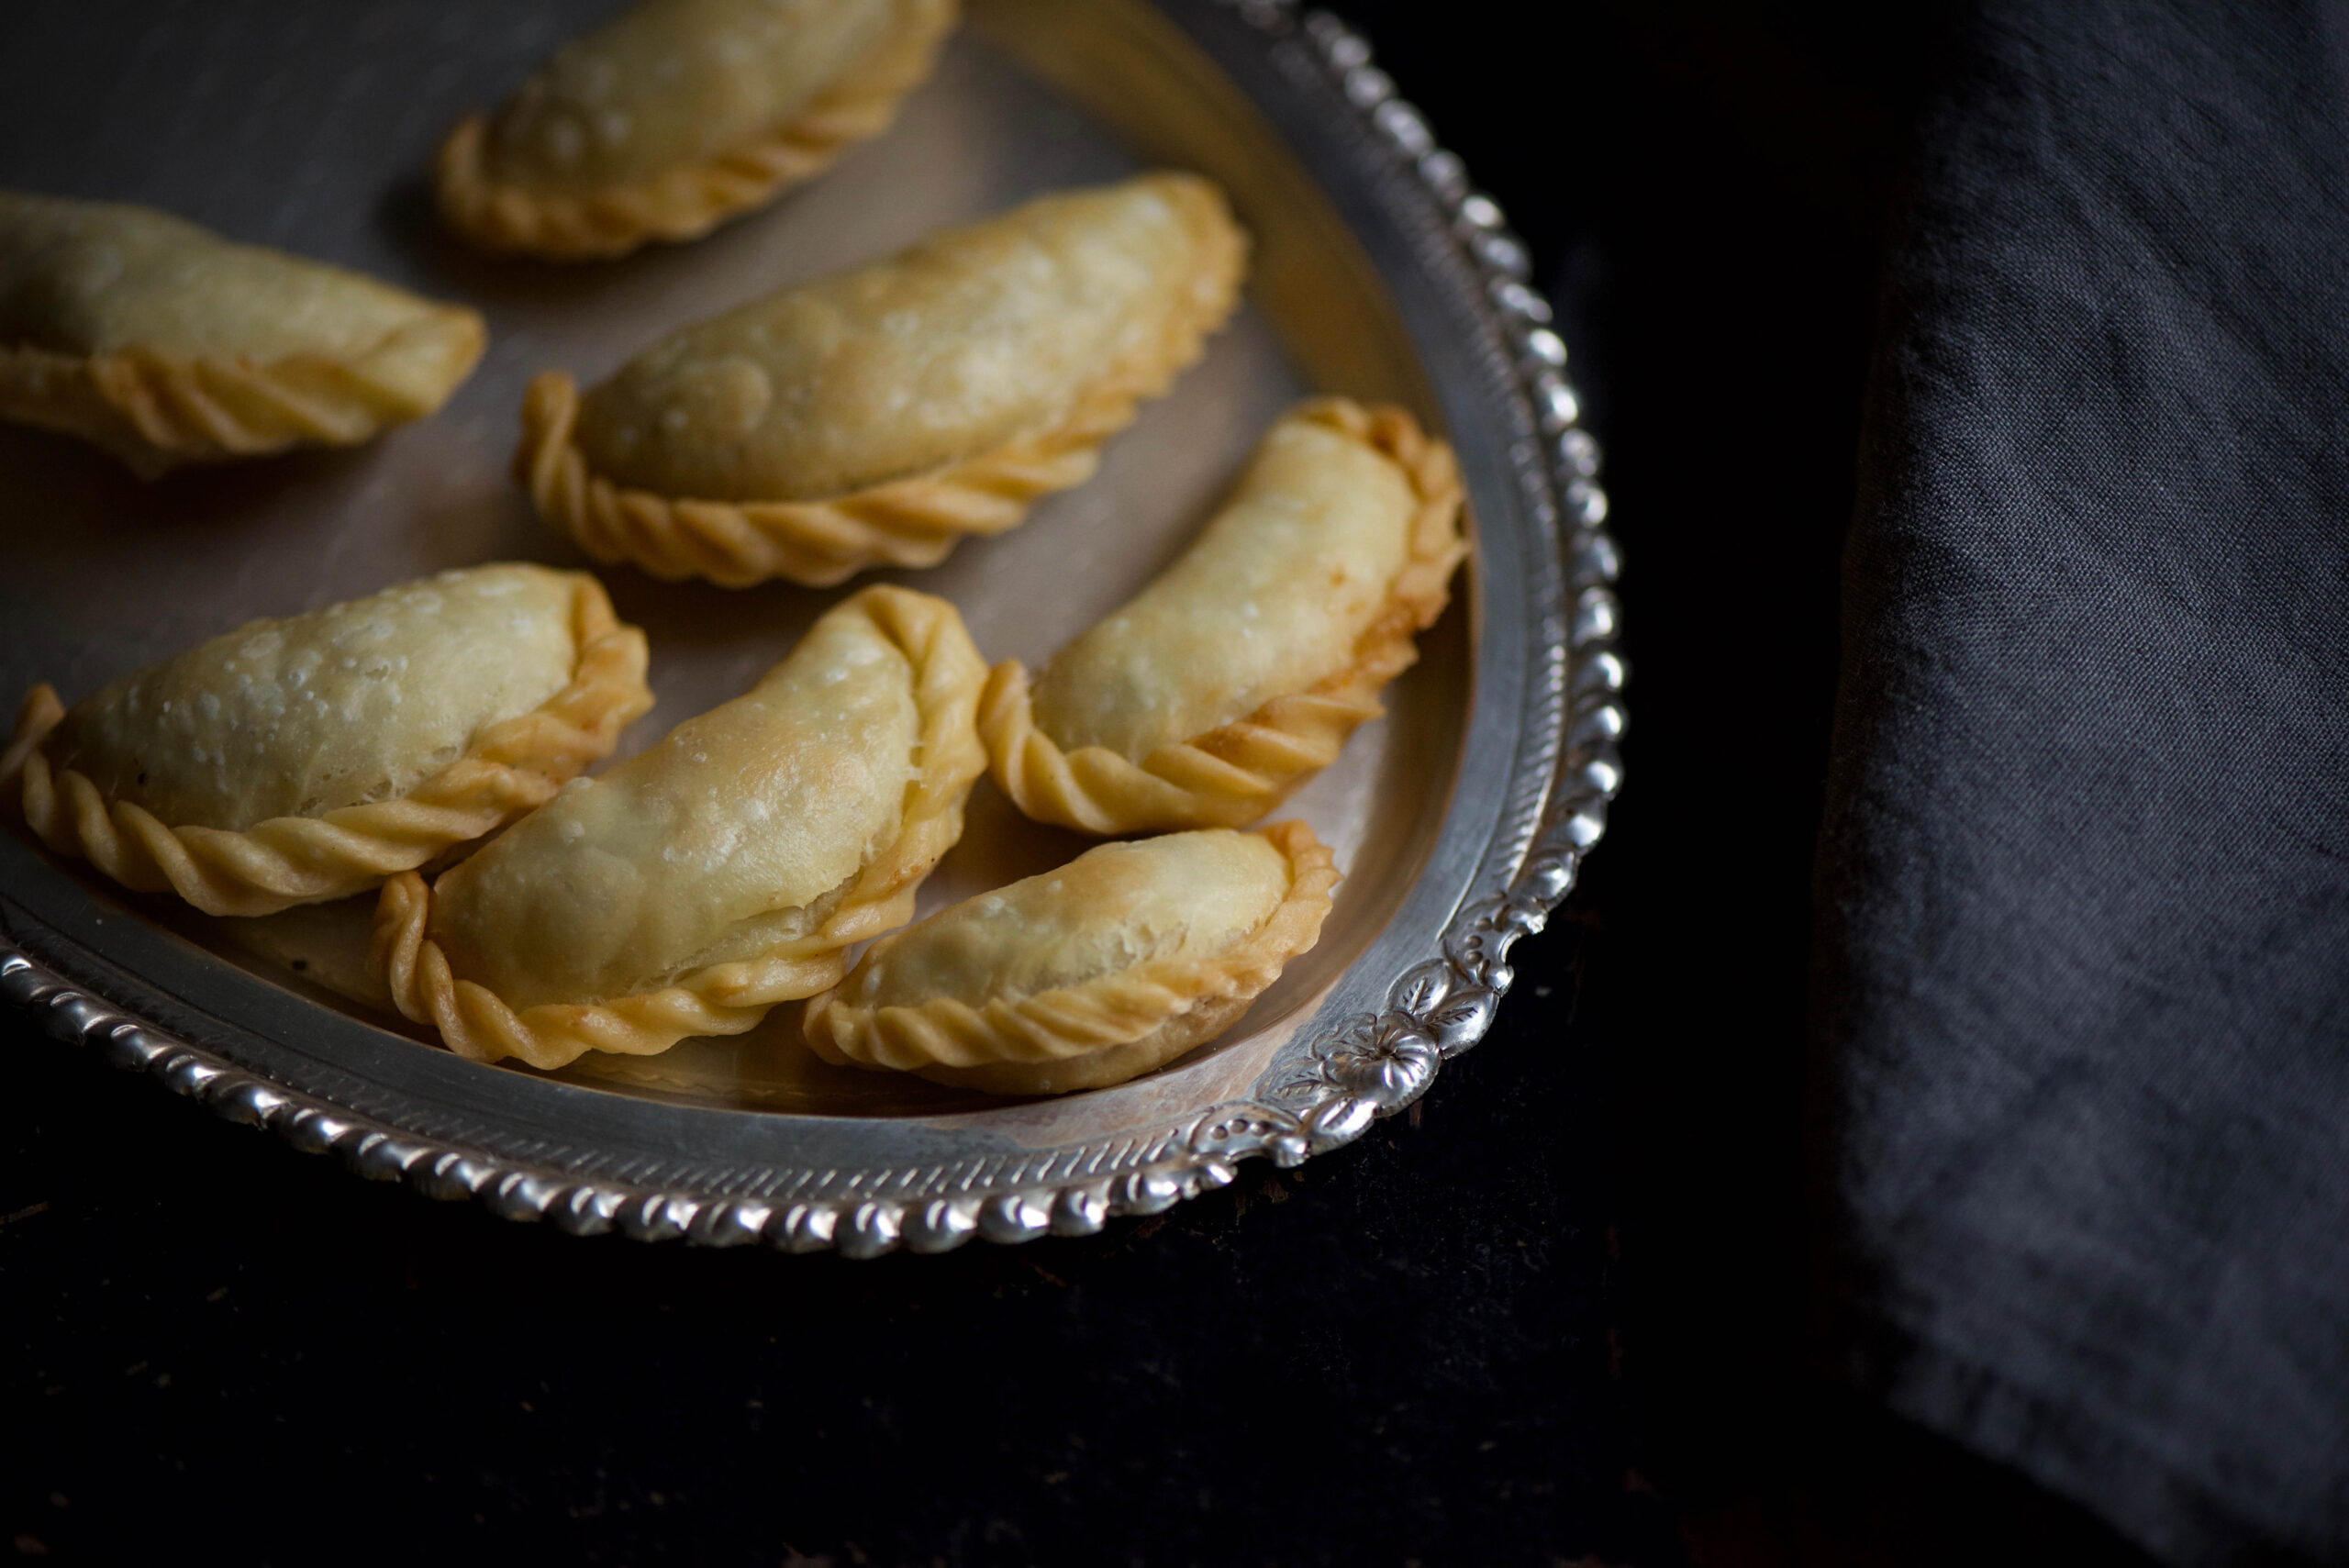
I prefer the traditional method of deep-frying them in ghee over a low flame, but you can use oil if you wish. After a couple of minutes, increase the flame for about 15 seconds then lower it again for a minute. Continue alternating high and low flames. The ghugras will take 12-14 minutes to turn to a light golden colour. And then they are ready to serve.

These sweet ghugras have travelled a long way with me, from childhood. Isn’t it funny how we take our mothers’ food for granted? I’m so glad I made the effort to absorb her culinary wisdom. Now, during special occasions, my kitchen smells just like hers did when I was growing up – and I am filled with all the love she raised us with.

Heartfelt festive wishes from re:store to you and your family!

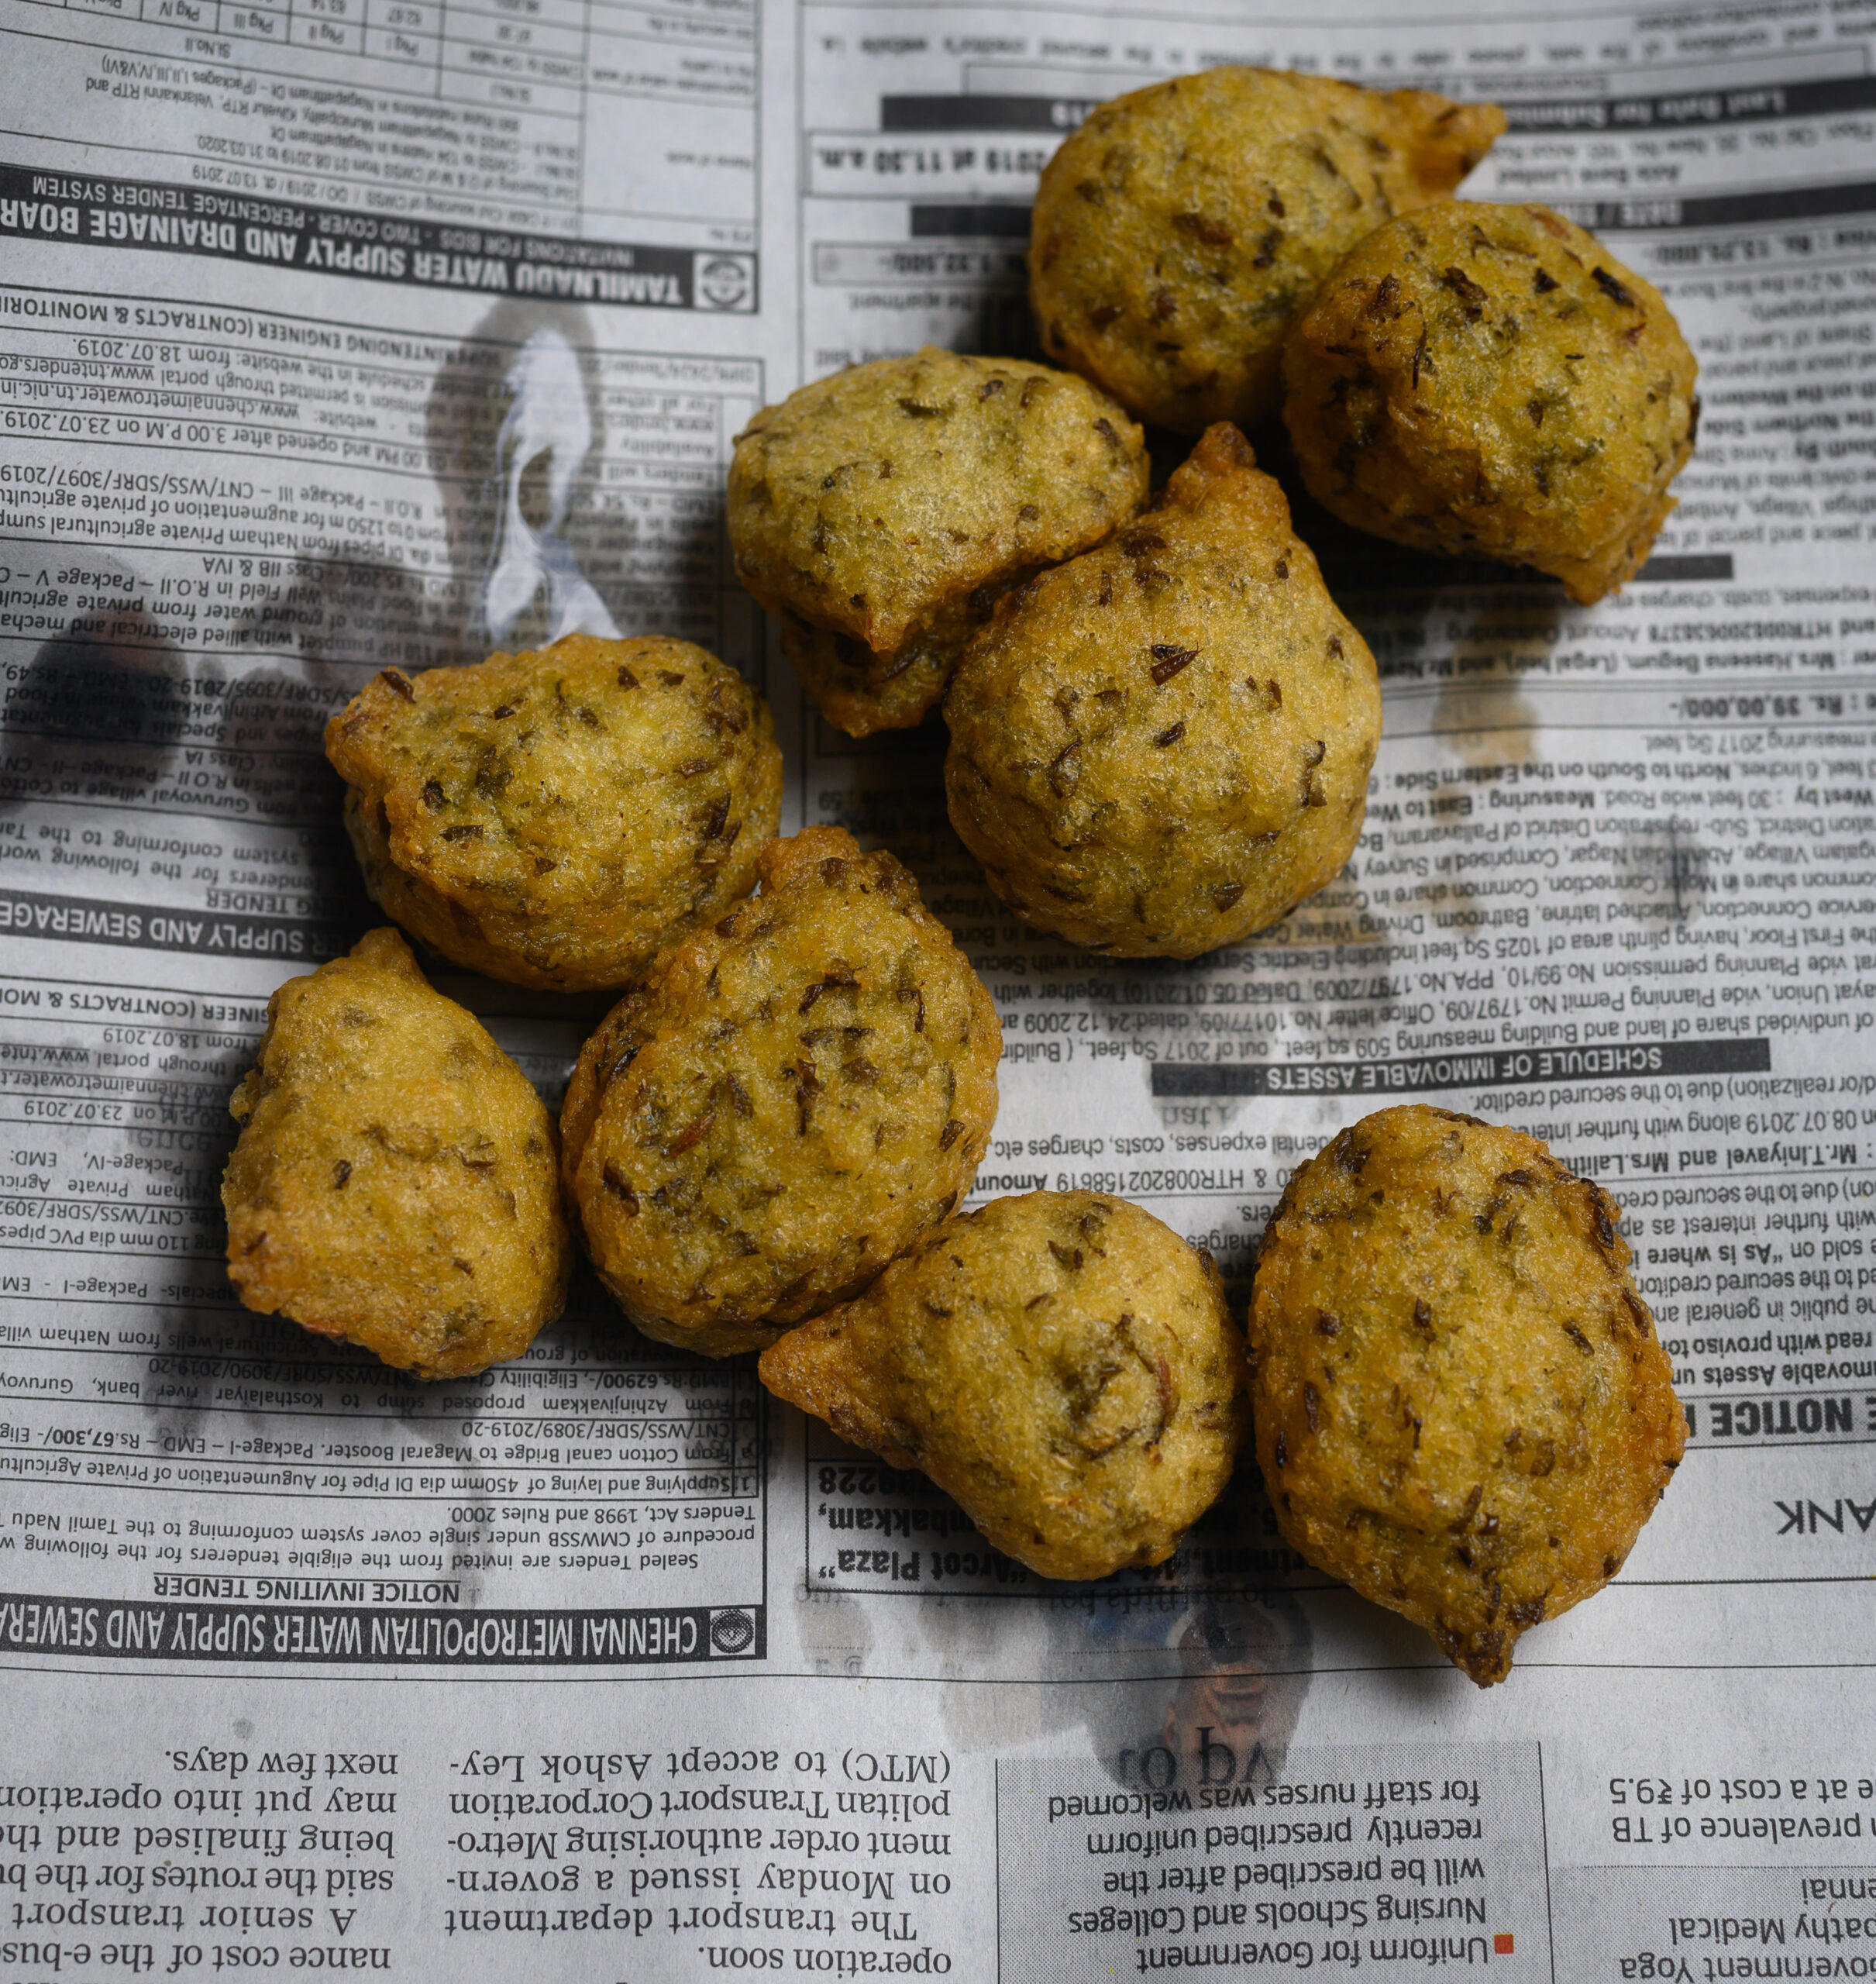
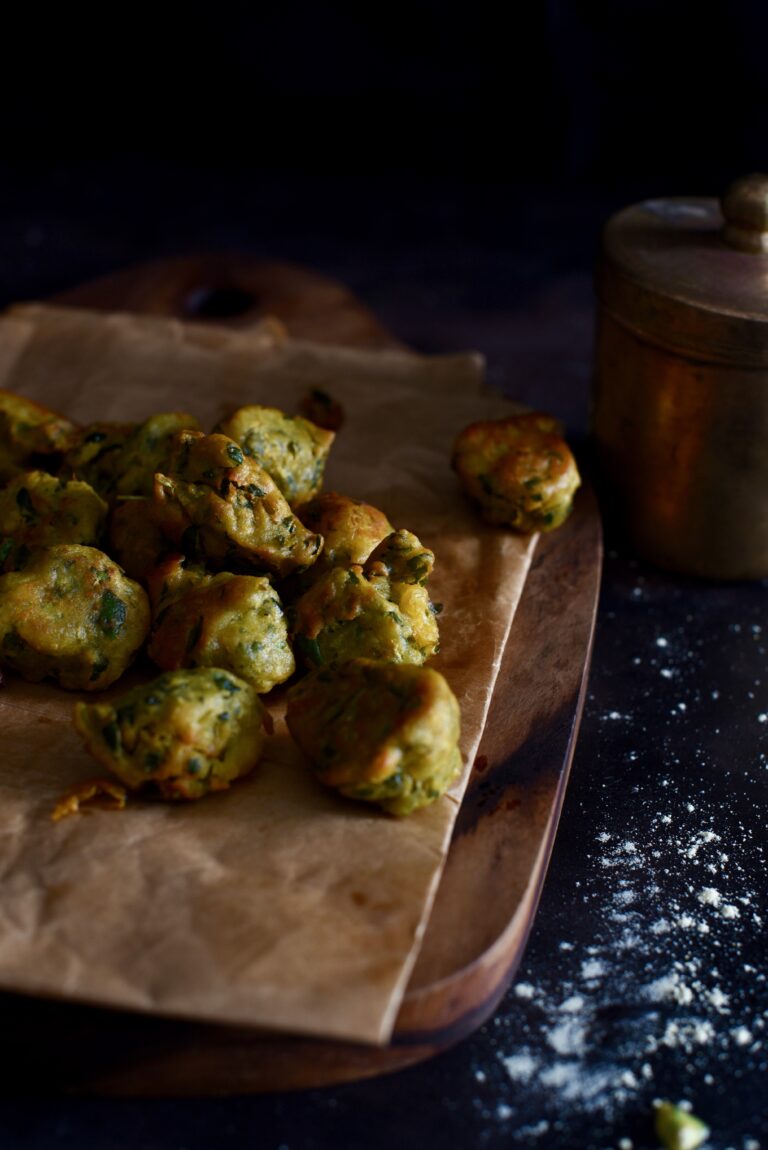
If you’ve been following my blog, you’d have noticed that despite my quintessentially Gujarati sweet tooth, my culinary adventures are often based on healthy eating. I hardly ever reach for a fried item first, but these banana-methi fritters are a part of our wide kitchen repertoire at home during Diwali. Perhaps one just can’t feel guilty about indulgence when it comes to special occasions! The festive season isn’t far away, so you may want to try your hand at these fritters and see if you’d like to share them with your friends and family too this year.

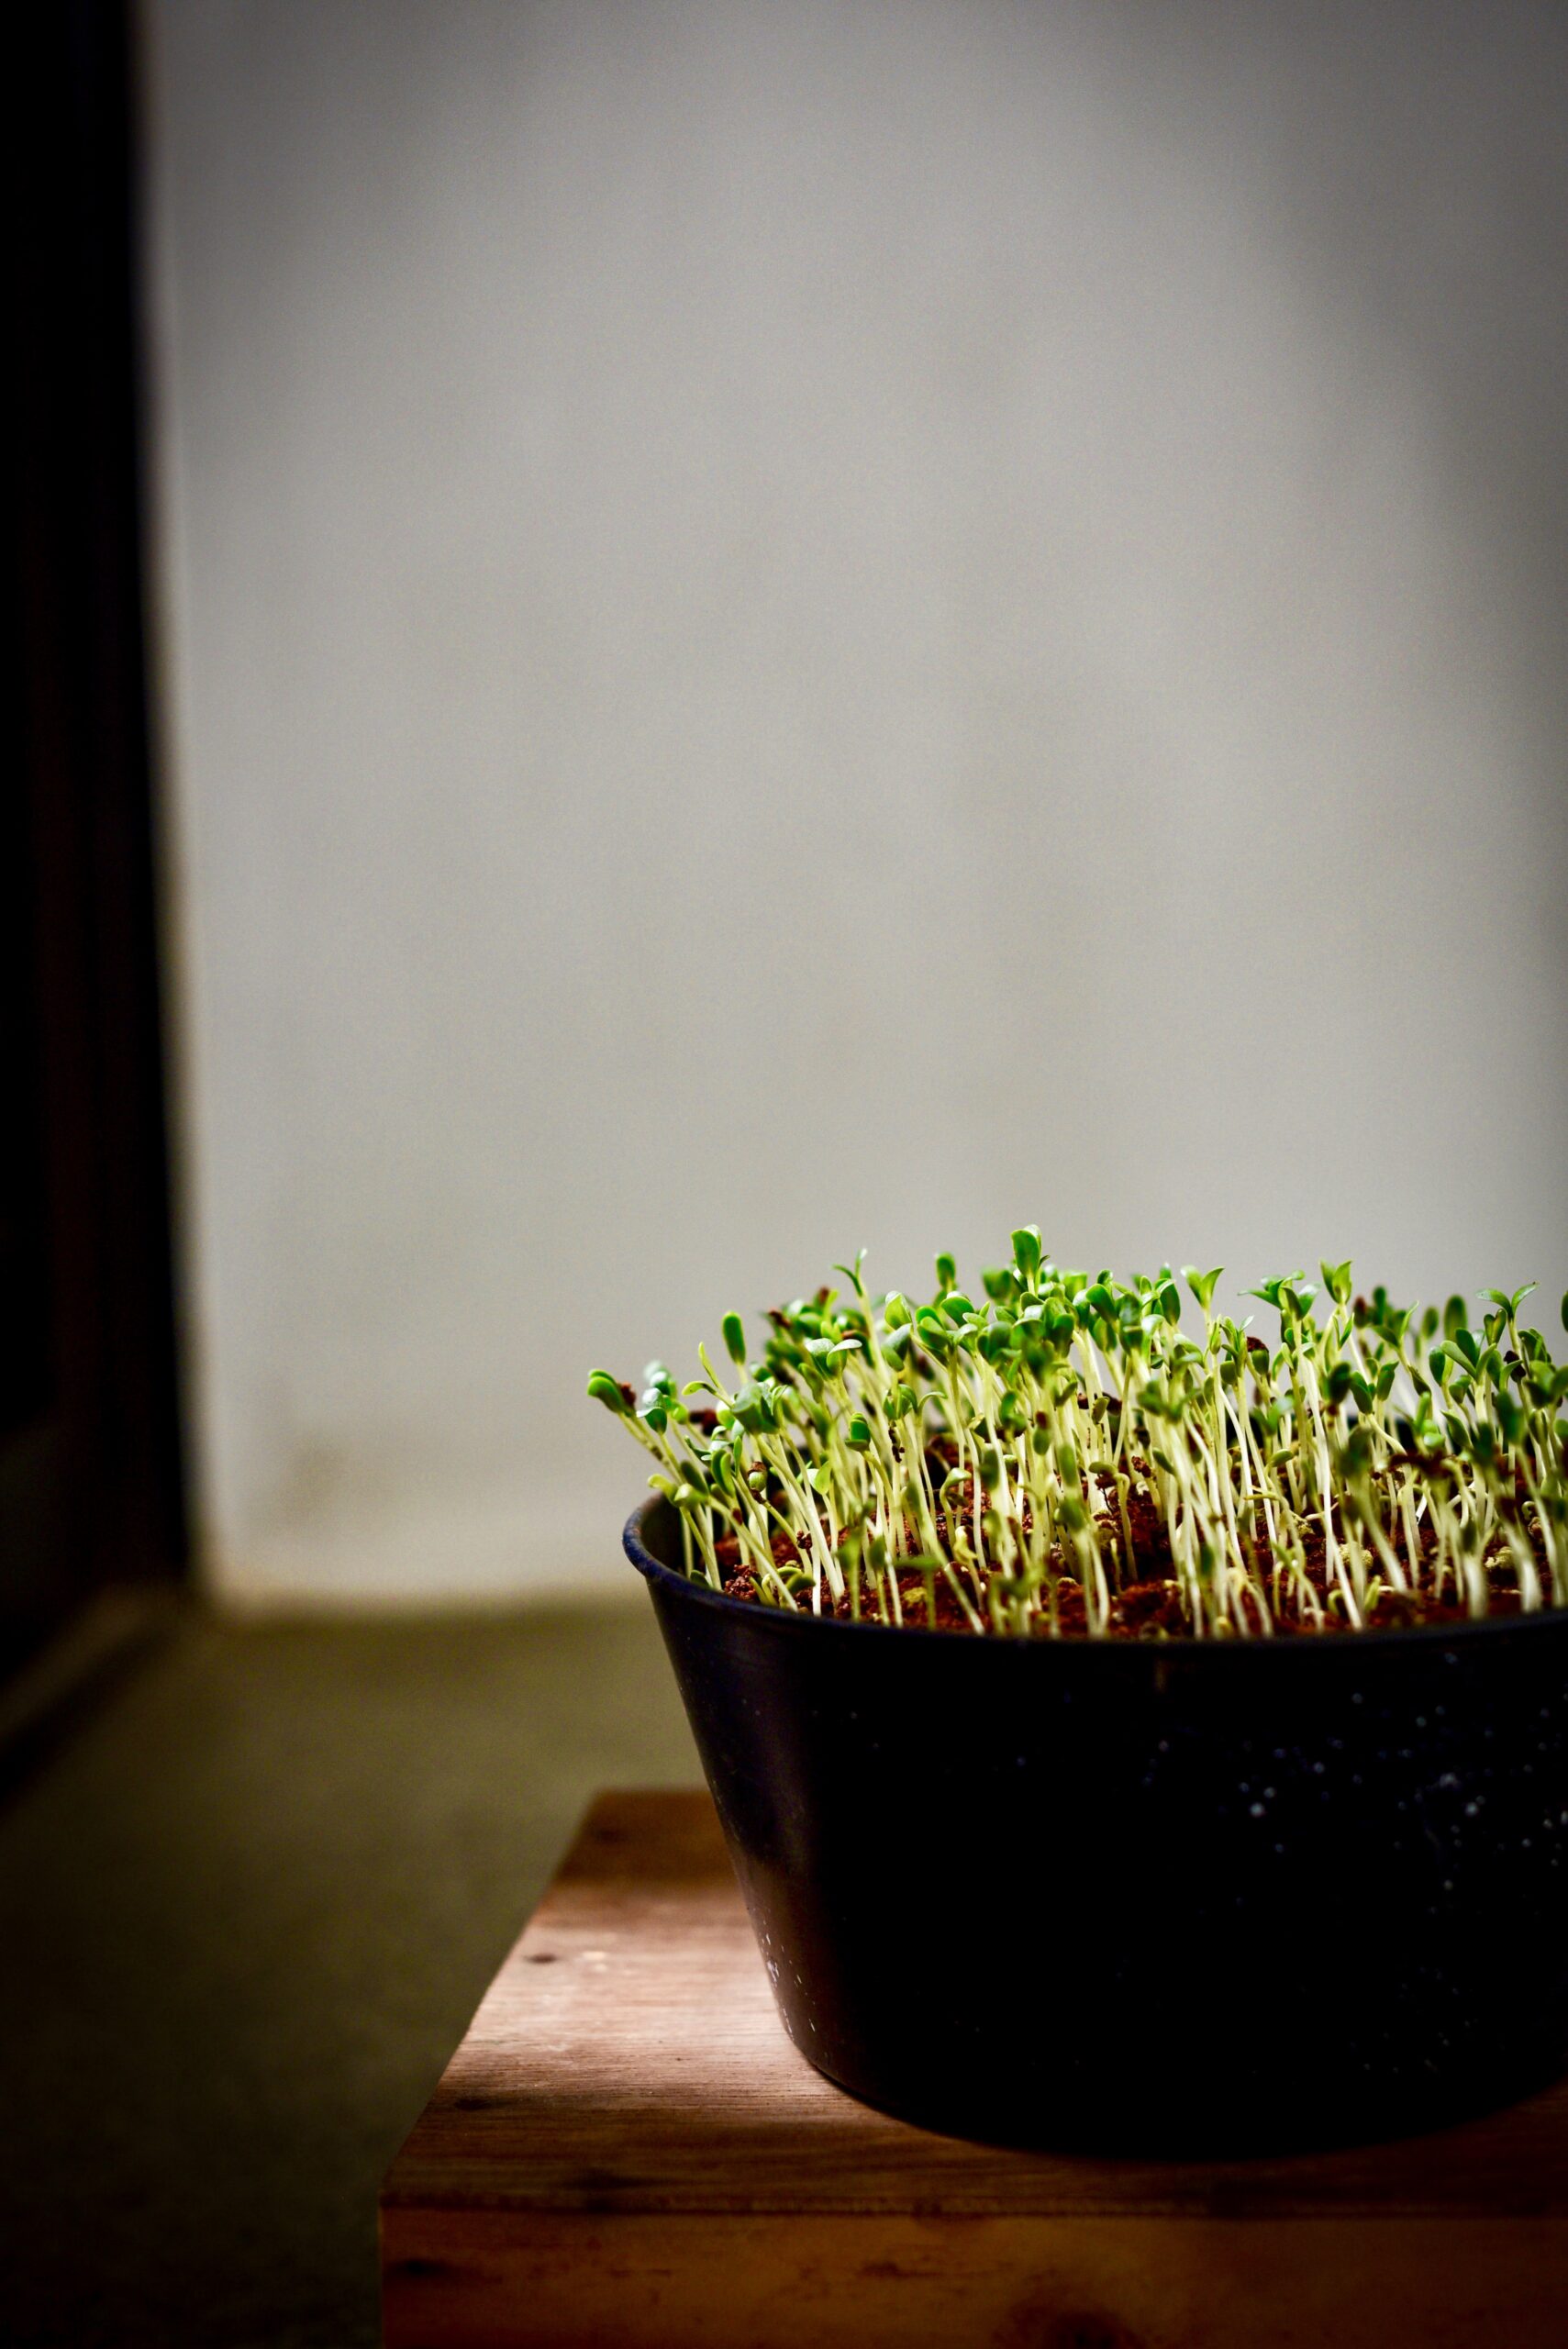
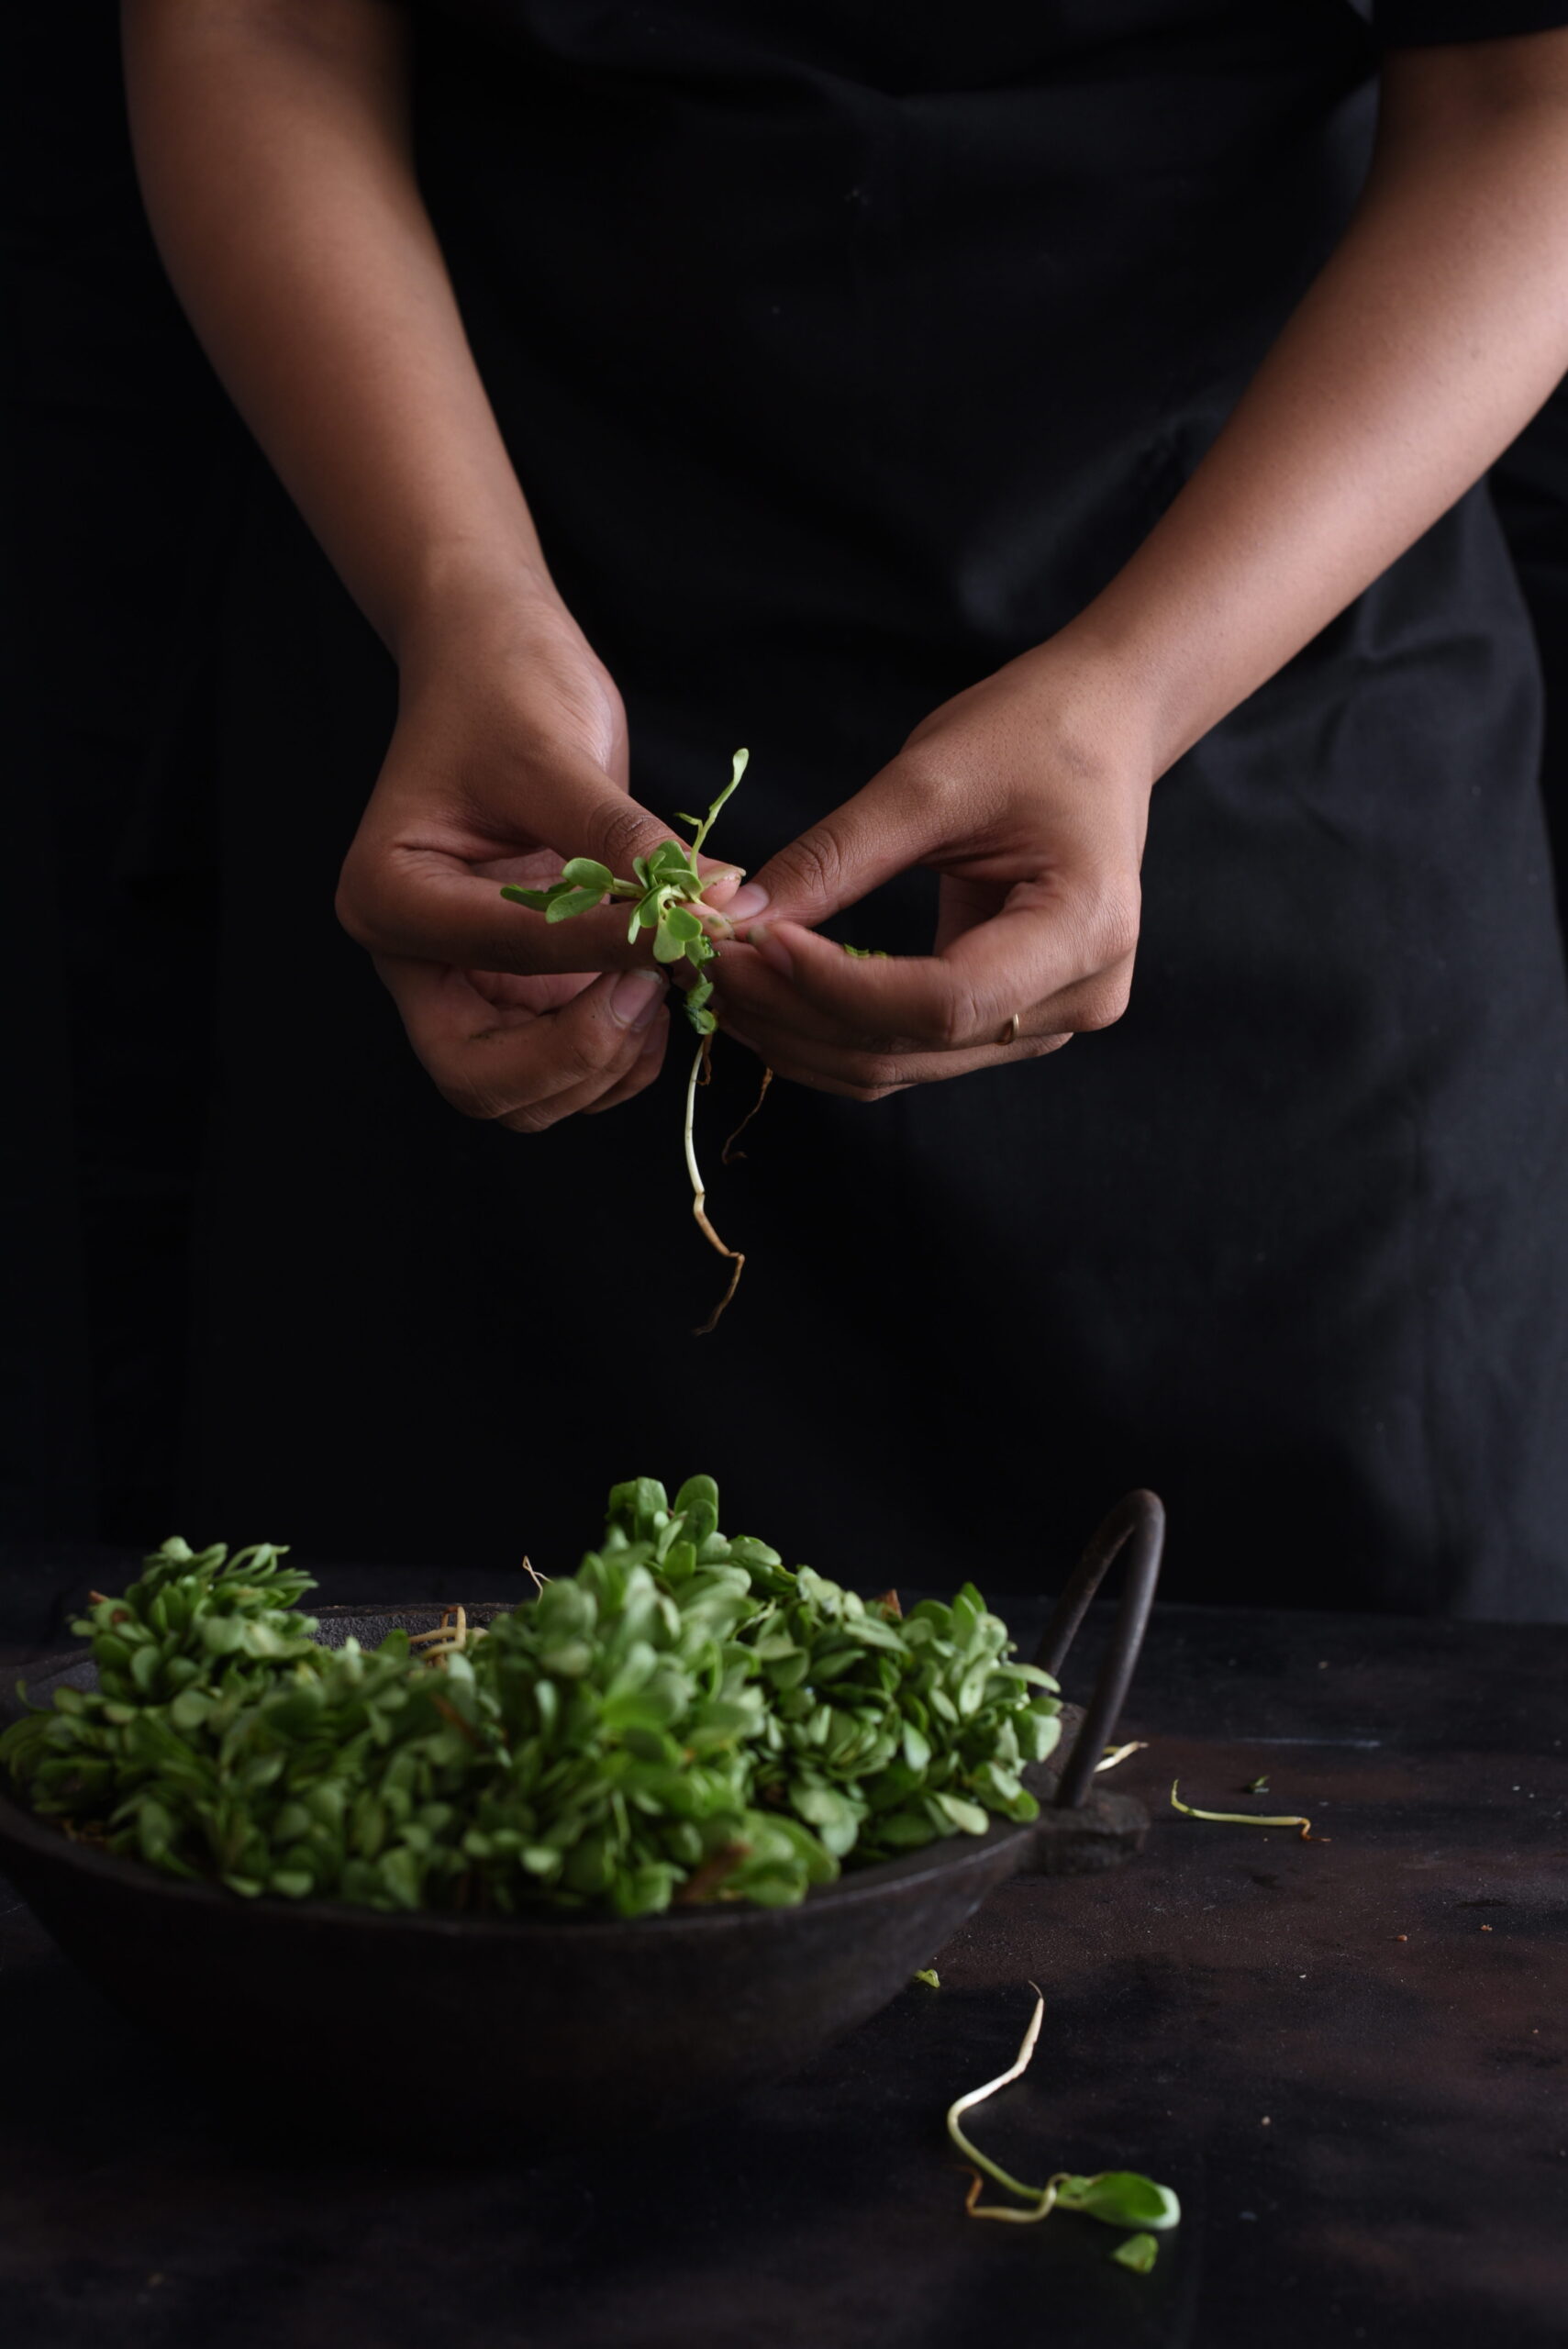
Growing methi (known in English as fenugreek, and in Tamil as vendeyakeerai for the leaves and vendeyam for the seeds) is as easy as throwing a few seeds in the soil and allowing them to sprout in a matter of days. This is why I can use freshly-plucked methi leaves for so many of my dishes. Alongside tulsi, lemongrass and numerous herbs, fruits and vegetables, it flourishes right in my home. Whether it’s a traditional Indian staple or a salad (Chennai’s weather makes fresh lettuce difficult to find in the city sometimes, and I love experimenting with healthy substitutes), these pretty greens are a familiar ingredient in the re:store kitchen.

Methi has an array of health benefits. Among them, it helps improve digestion, tackle respiratory allergies, cure anaemia, and lower cholesterol and blood sugar levels (which is why it is used in diabetes management). Due to its high estrogen content, it even helps lactating mothers in the production of milk – I remember being given lots of methi laddoos after giving birth. In addition to these benefits, methi is also known to have a beautifying effect on the hair and skin when used in a paste form as a mask or conditioner.

I’m telling you all this to put a healthy spin on the recipe below – which is a fried indulgence!

The other ingredient in this spicy, crispy snack I’m about to share with you hardly needs to be promoted on the basis of health, because it is so very sweet and tasty. That filling, versatile, portable and very nutritious fruit – the banana! It just so happens that bananas are rich in potassium, fibre, antioxidants and share blood sugar-lowering, cholesterol-management and overall wellness-boosting benefits with methi.

Hundreds of banana varieties are grown in India through the year, and with Tamil Nadu being the source of 23% of the country’s supply, we really have our pick of the fruit here. In fact, the banana tree is auspicious in many Indian cultures, and has a place in wedding and fertility rituals. Similar to the coconut, its various parts have many uses. The banana flower, known as vazhaipoo, is diced and eaten in Tamil cuisine – and traditionally, South Indian food is always served on a banana leaf.

So we have here two key ingredients so nourishing that you can forget you’re chomping on fried deliciousness. Without further ado, here are my banana-methi fritters, served with a green coriander chutney.


Banana-Methi Fritters With Green Coriander Chutney

(Yield: 20-25 small fritters)

Fritters
¾ cup chickpea flour
¾ teaspoon salt
¼ teaspoon turmeric
½ teaspoon cumin powder
1 teaspoon grated ginger
1 finely chopped green chilli or 1 teaspoon chilli ginger paste
¾ cup methi leaves, washed and finely chopped
½ cup ripe banana, pulped or finely chopped
2 cups of oil + 1 tablespoon hot oil
¼ cup water

Chutney

1 cup coriander leaves, washed and finely chopped
1 green chilli
1 tablespoon peanuts
1 teaspoon lemon juice
2-3 tablespoons water
1 generous slice raw mango (optional)
Salt to taste

In a mixing bowl, add the flour, salt, turmeric, cumin, grated ginger and green chilli and mix. To this, add the banana and the methi leaves. Mix them well with your hands, adding enough water to make a paste-like consistency. Allow this batter to sit for a minimum of half an hour.

Heat the 2 cups of oil. Add 1 tablespoon of hot oil to the batter. The hot oil in the batter helps make the fritters soft. Blend well with your hands.

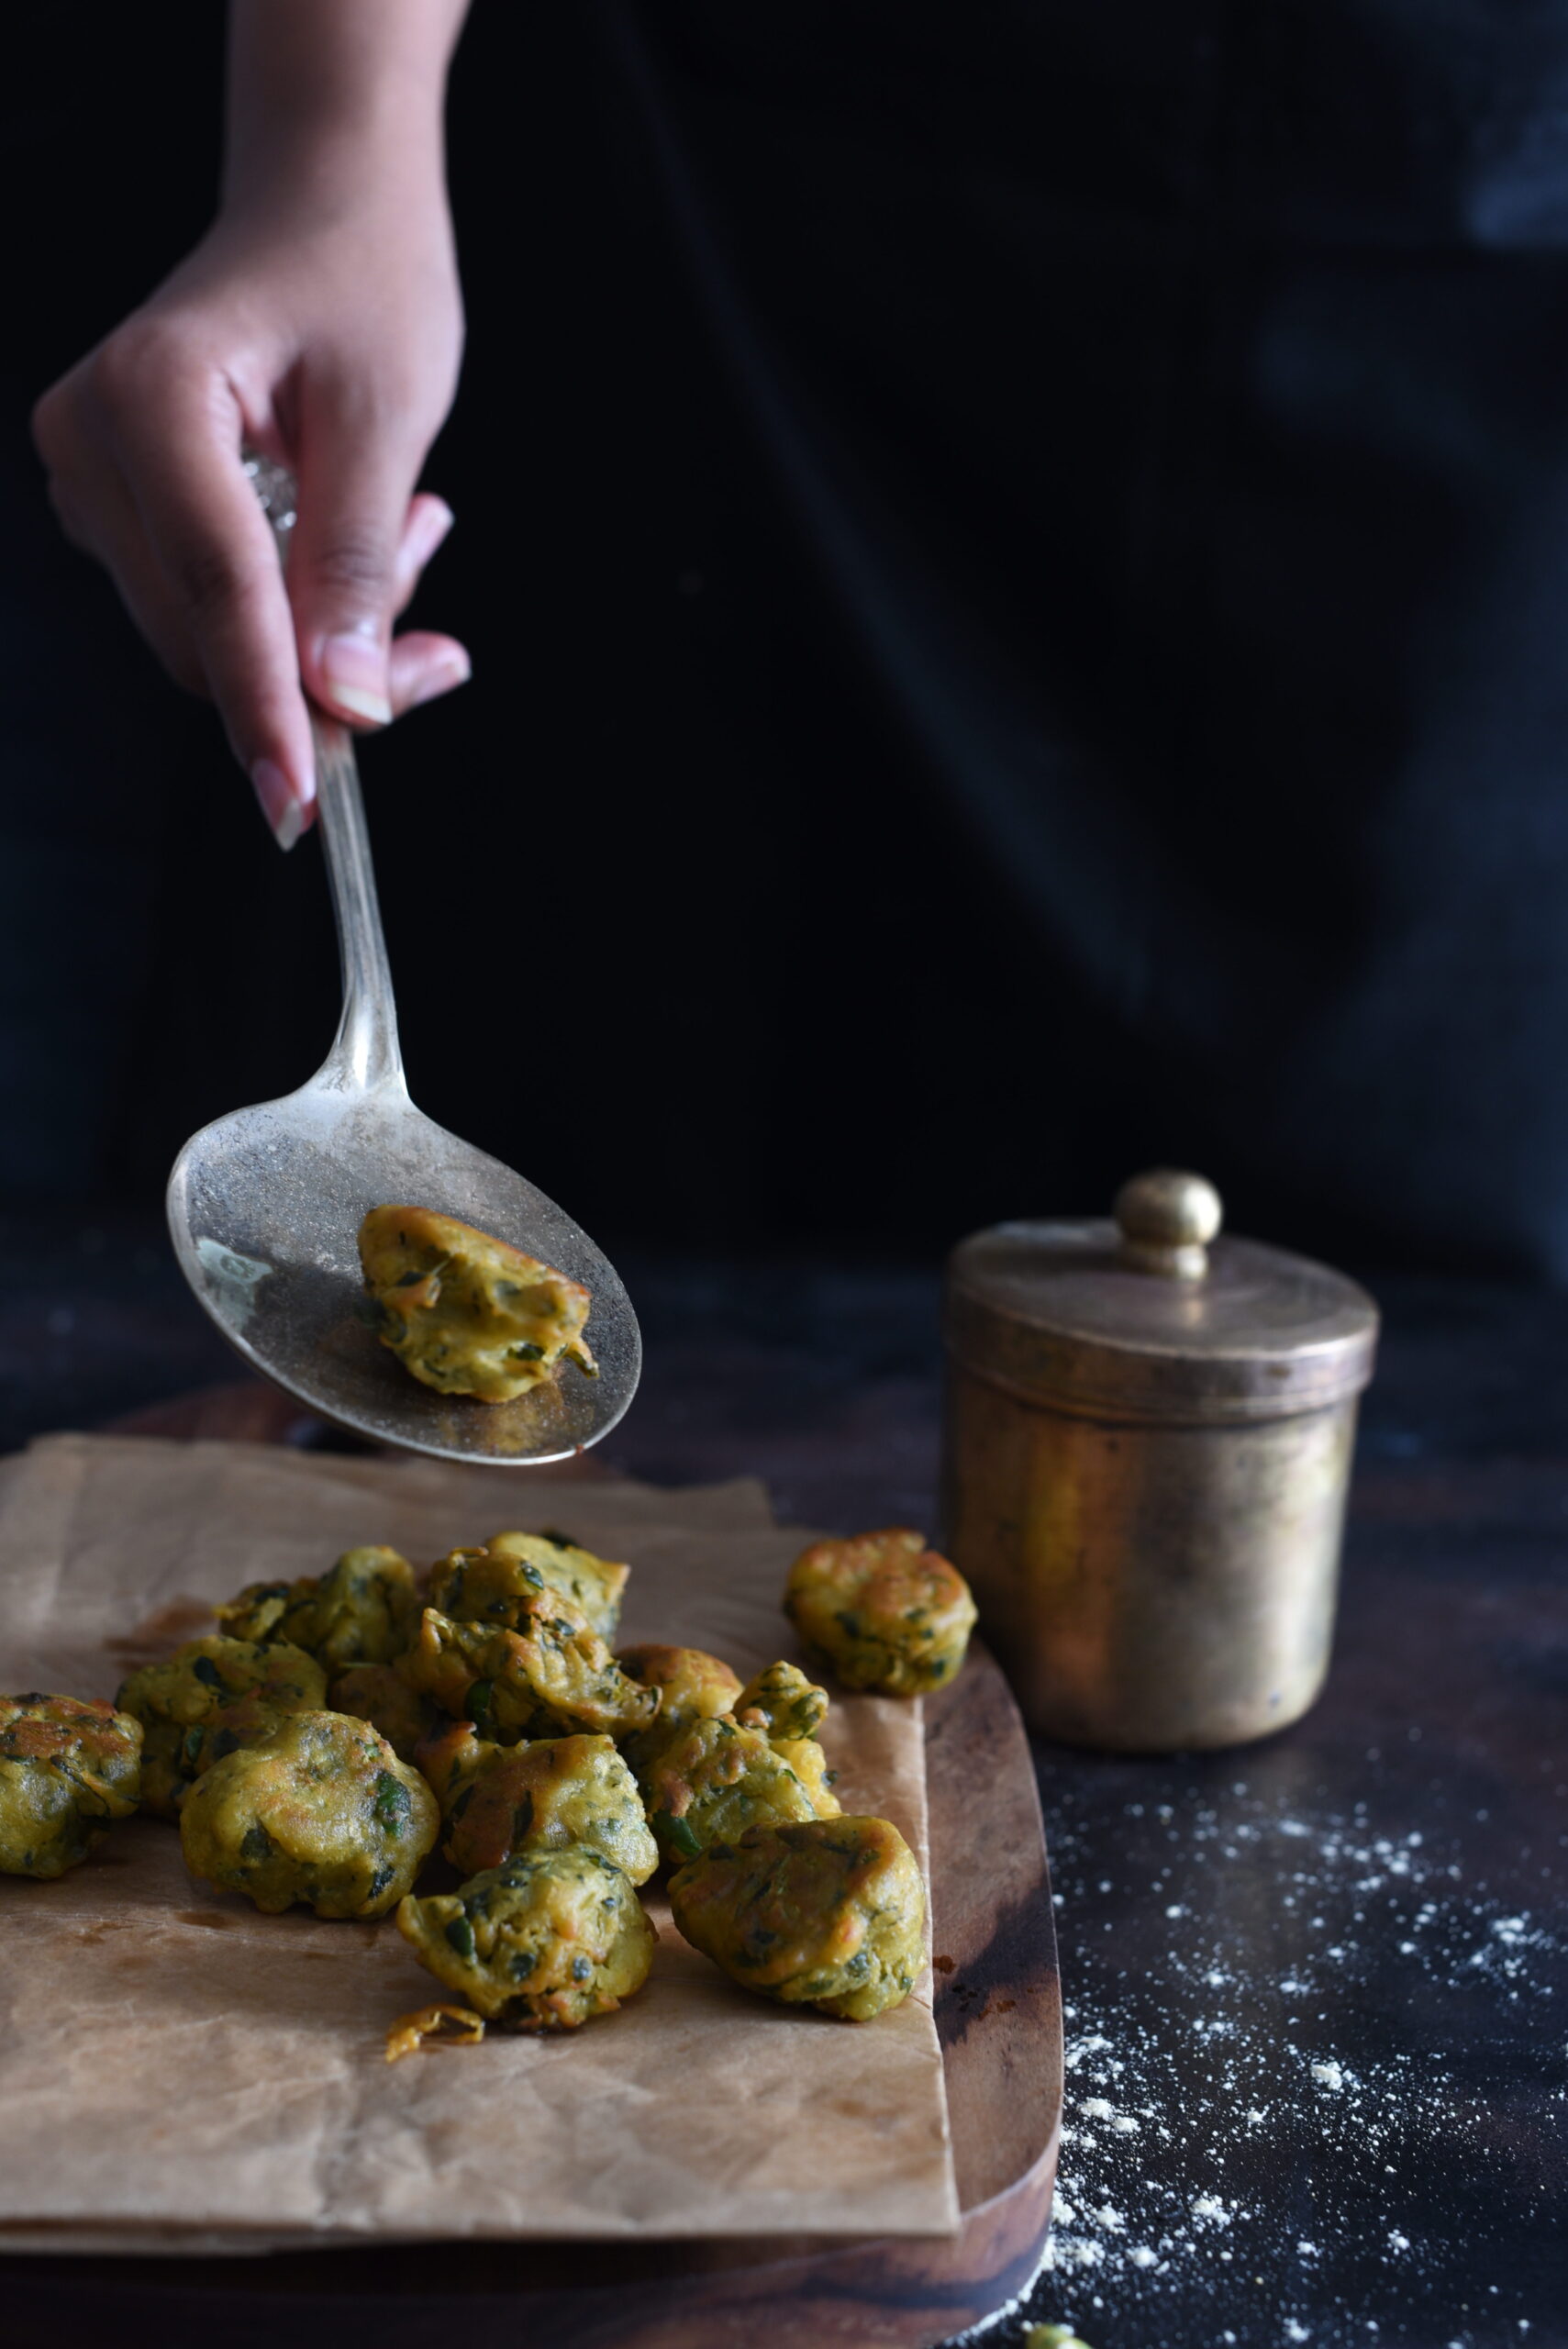
The remaining oil should be in a pan on the stove, and you can check its heat by adding just a drop of the batter into the oil to see if it sputters. If it does, the oil is ready. Lower the flame and add small spoonfuls of batter into the oil.

Keep the flame low and allow the fritters to fry well. Once the fritters have cooked on one side, flip them over using a butter knife. At this point, you may increase the flame slightly then lower it again, ensuring that the oil doesn’t get so hot that the fritters burn and blacken. You want them to be fried to a golden colour on both sides. Once this colour is achieved, remove the fritters from the stove and drop them onto an absorbent paper to remove excess oil.

Serve hot. I like to complement these crispy banana-methi fritters with a green coriander-based chutney. For this, I use coriander, green chilli, ginger, peanuts, salt, lemon juice and water, usually with a generous slice of raw mango. Simply blend all the ingredients together well in a mixer-grinder. The result is a flavourful chutney that perfectly accompanies the fried fritters.

Between the sweetness of the banana, the bitterness of the methi and the tangy kick of the chutney, you won’t be able to stop at just one! Try it for yourself and see. Let me know what you think in the comments.

India contains a diverse mix of religions, both brought from abroad and homegrown. Among the latter category is Jainism, which has been practised for thousands of years. Some of my family members belong to this religion, and as the most sacred Jain festival, a time of fasting known as Paryushana, fell this year between August 19 and August 26, I was reminded of a particular temple we used to visit when we were kids… and a specific delicacy that was served there.

As I mentioned in my previous blog post, food is ritually offered to gods in many Eastern religions. At the Mahudi or Madhupuri temple just outside Ahmedabad, the deity Ghantakarna Mahavir Dev loves a ghee-rich dessert known to Gujarati Jains as sukhudi. Gujarati Vaishnavites like myself know it as gol papdi, and offer it to the baby Lord Krishna. By whichever name you call it, it’s a very simple dish both in its preparation and in the ingredients used. It could have become a staple as a religious offering because of both reasons: any family would have been able to afford to make and serve it to God.

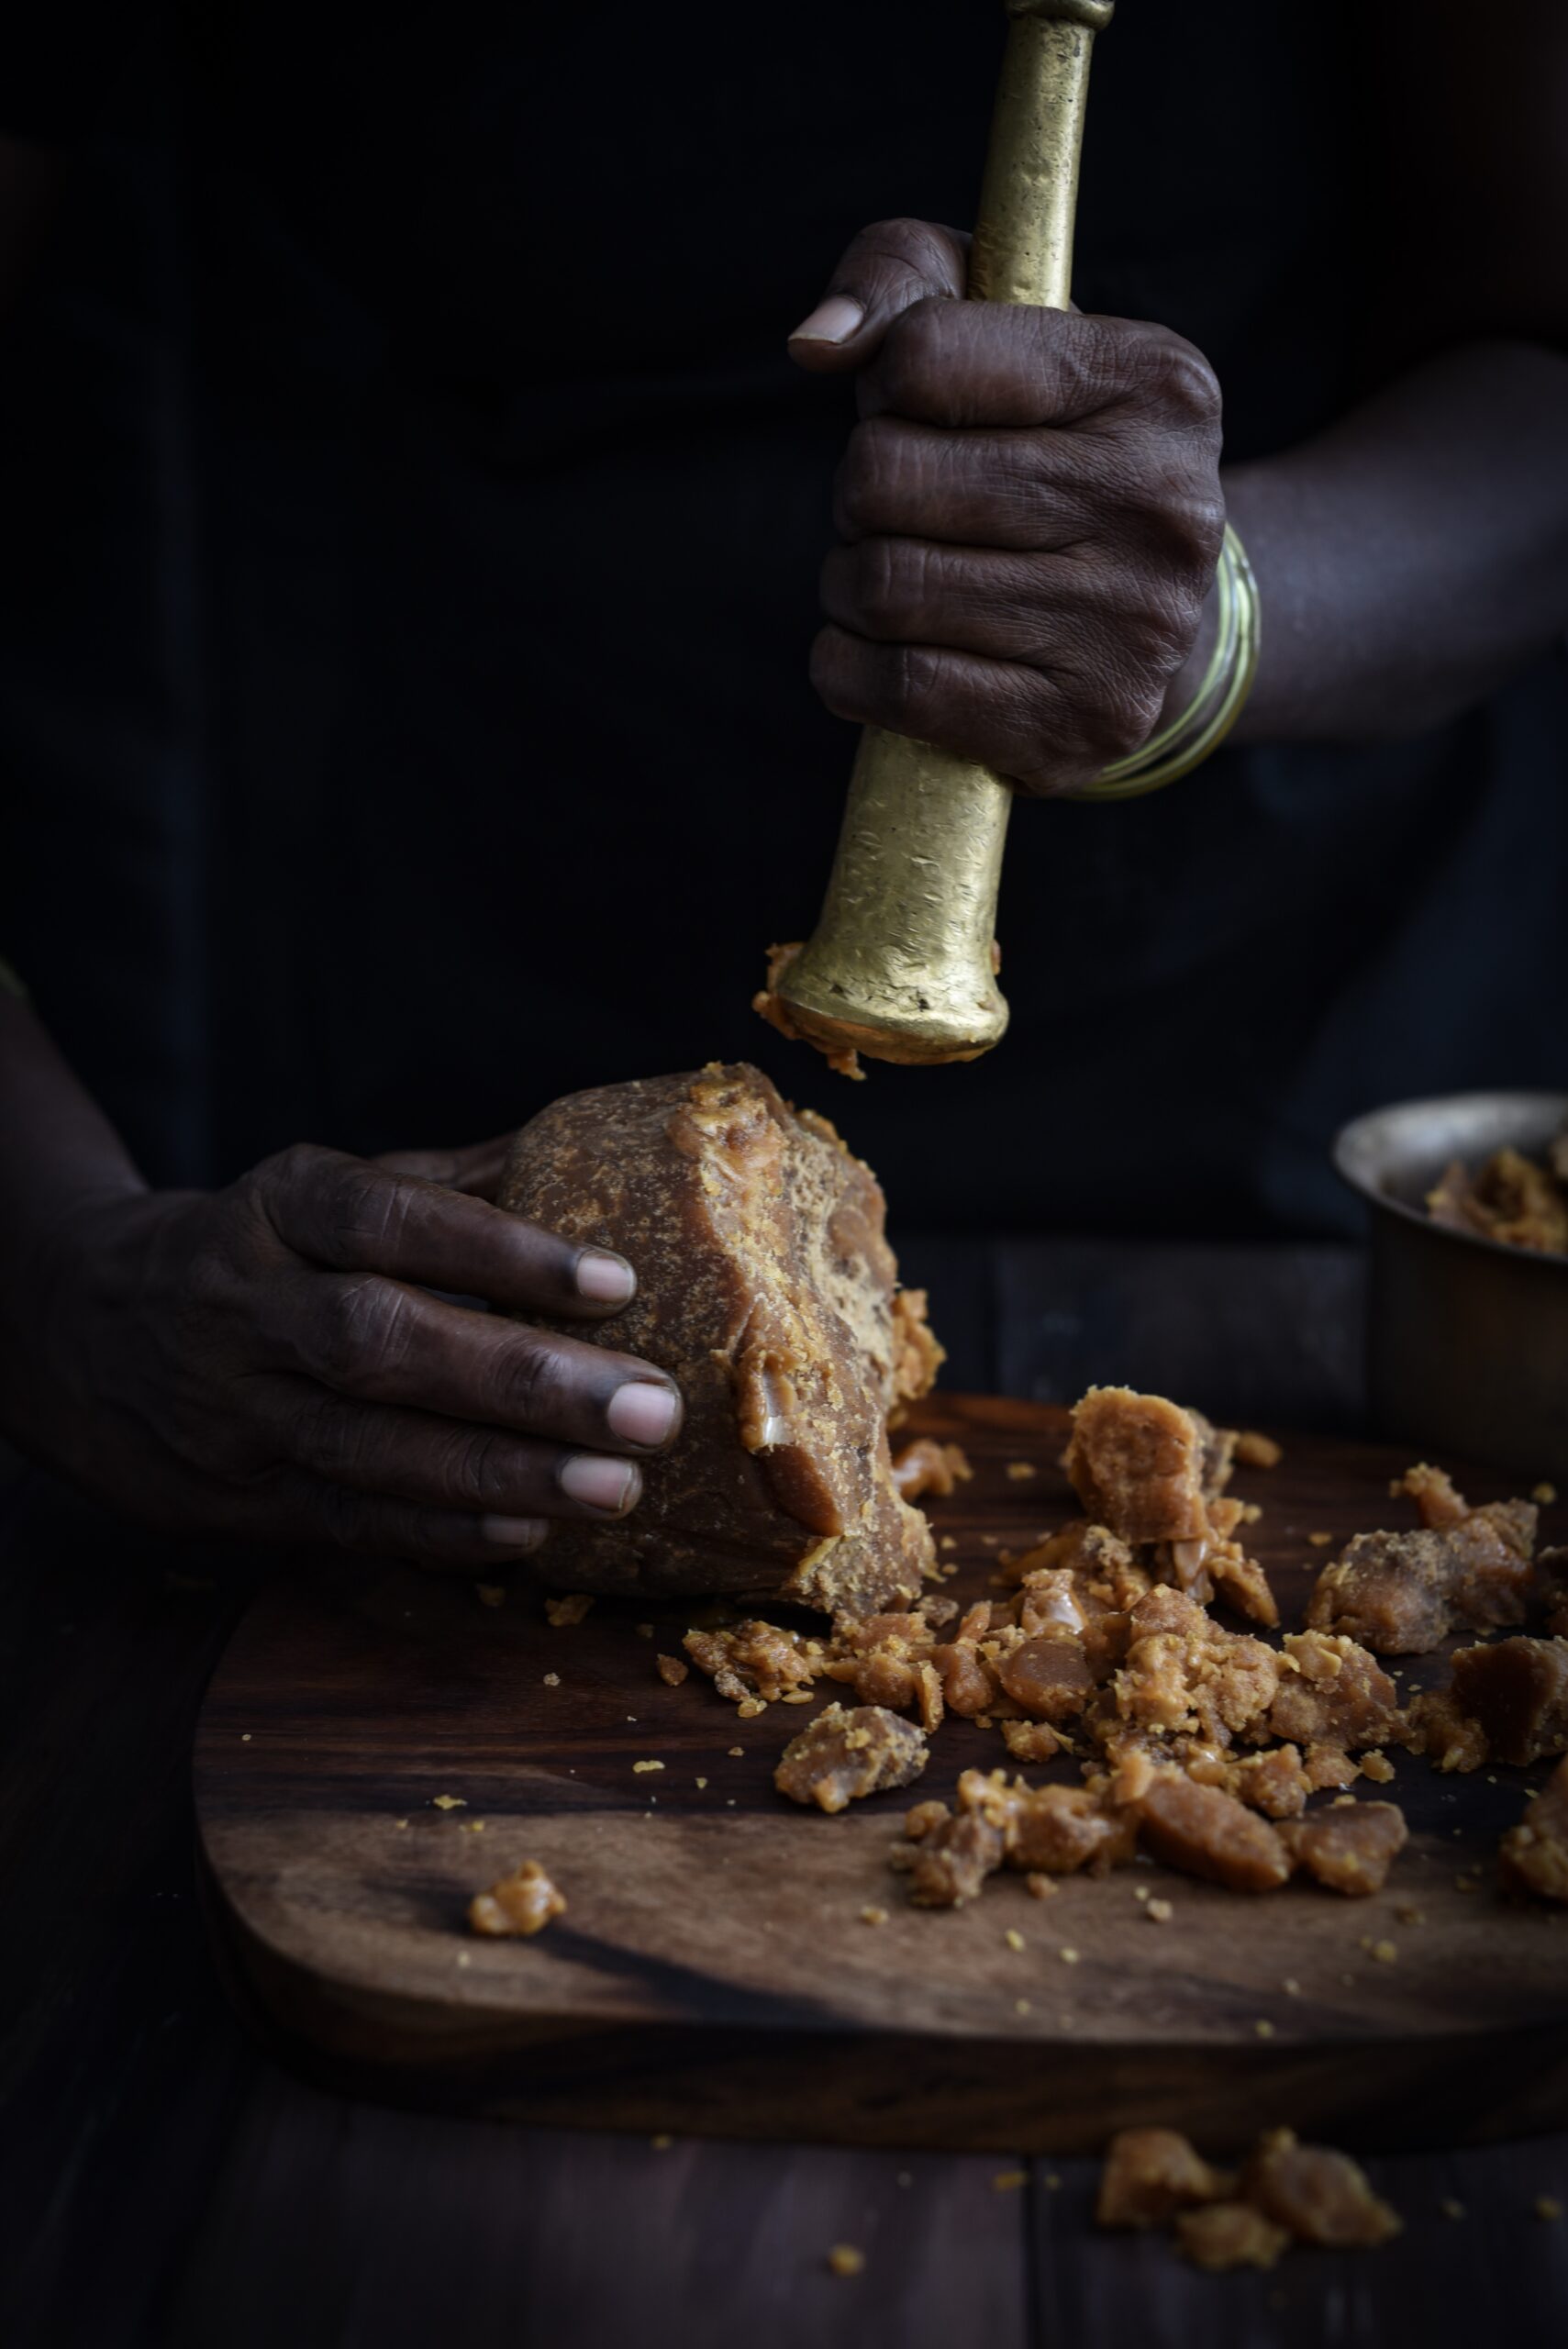
Jaggery is made of cane sugar or date palm. A sweetener that is believed to aid digestion, it is generally a healthier alternative to refined sugar. It has a cooling effect in the summer, and a warming effect in the winter. It’s a vital ingredient in Gujarati cuisine, and a pinch is used in so many dishes (even those which you wouldn’t classify as sweet) to add to the flavour. And it’s a sacred ingredient, of course – the gods certainly seem to enjoy it!

At this temple, this whole wheat and jaggery sweet is made in individual earthenware vessels. After it is offered to the deity, it is served piping hot to those who come to the temple. It is absolutely forbidden to either waste even a little or to take it outside of the temple compound. If you know you’ll be unable to finish your portion, you must give it to pilgrims rather than throw it away. And it is considered extremely bad luck to take sukhudi out of the temple – a theory which my grandmother once tested to her great surprise!

The story was recounted to me by my aunt Sam, whom I visited a couple of weeks ago. Many years ago, when Sam was still a teenager, some of the family had gone to Mahudi. When they returned, the parents and elders were chatting downstairs, while the kids played on the third floor. Sam had been sitting atop of a pile of mattresses that had been set by a window. Down below, her mother (my grandmother) was telling the others that she didn’t believe in the superstition about taking sukhudi out of the temple. Just as she firmly insisted, “Sam just brought some back for me, and nothing happened – I do not believe in such tales!” – a loud thud was heard.

Sam had fallen out of the window! Miraculously, for a fall from the third floor, she was absolutely unscathed. Her mother winced and bit back her words, and made a promise to offer sukhudi at the Mahudi temple as an appeasement. The incident ended any further attempt in my family to take sukhudi out of the Mahudi temple. Perhaps it was a coincidence, and perhaps all our beliefs are created with our own minds (I am reading Yuval Noah Harari’s amazing Sapiens: A Brief History of Humankind and it’s making me ponder such ideas deeply). Still, none of us has tempted fate since.

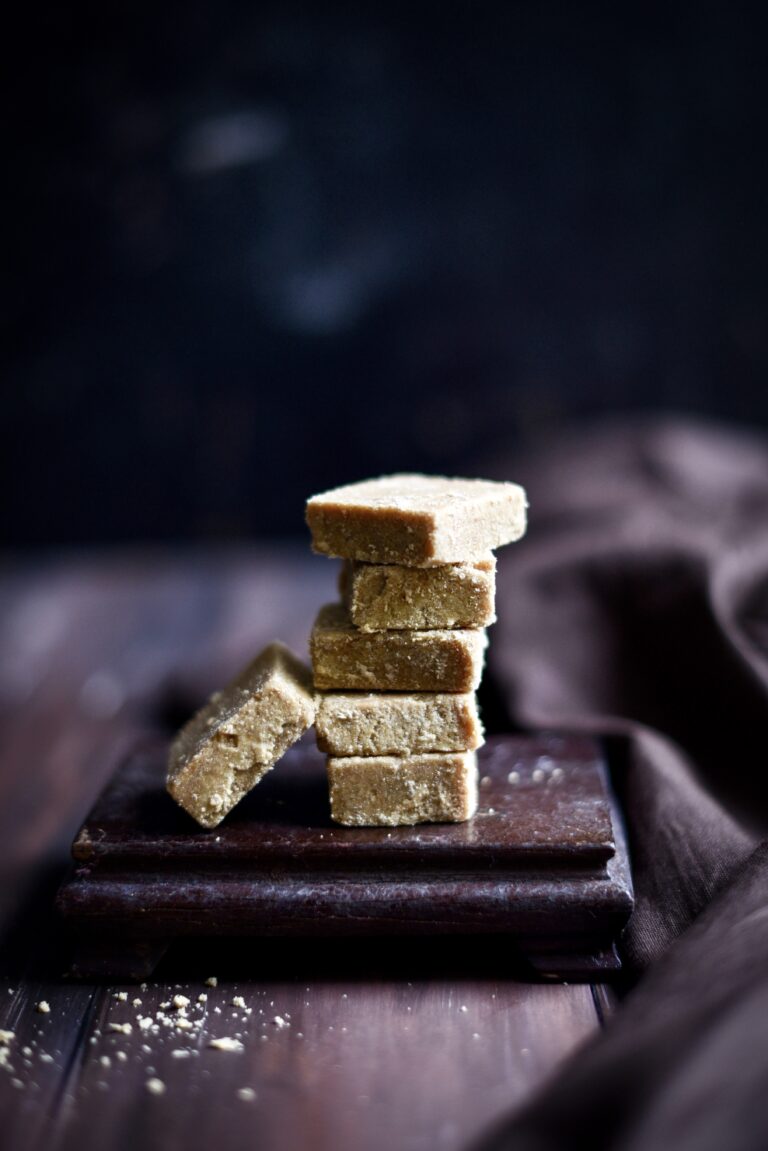
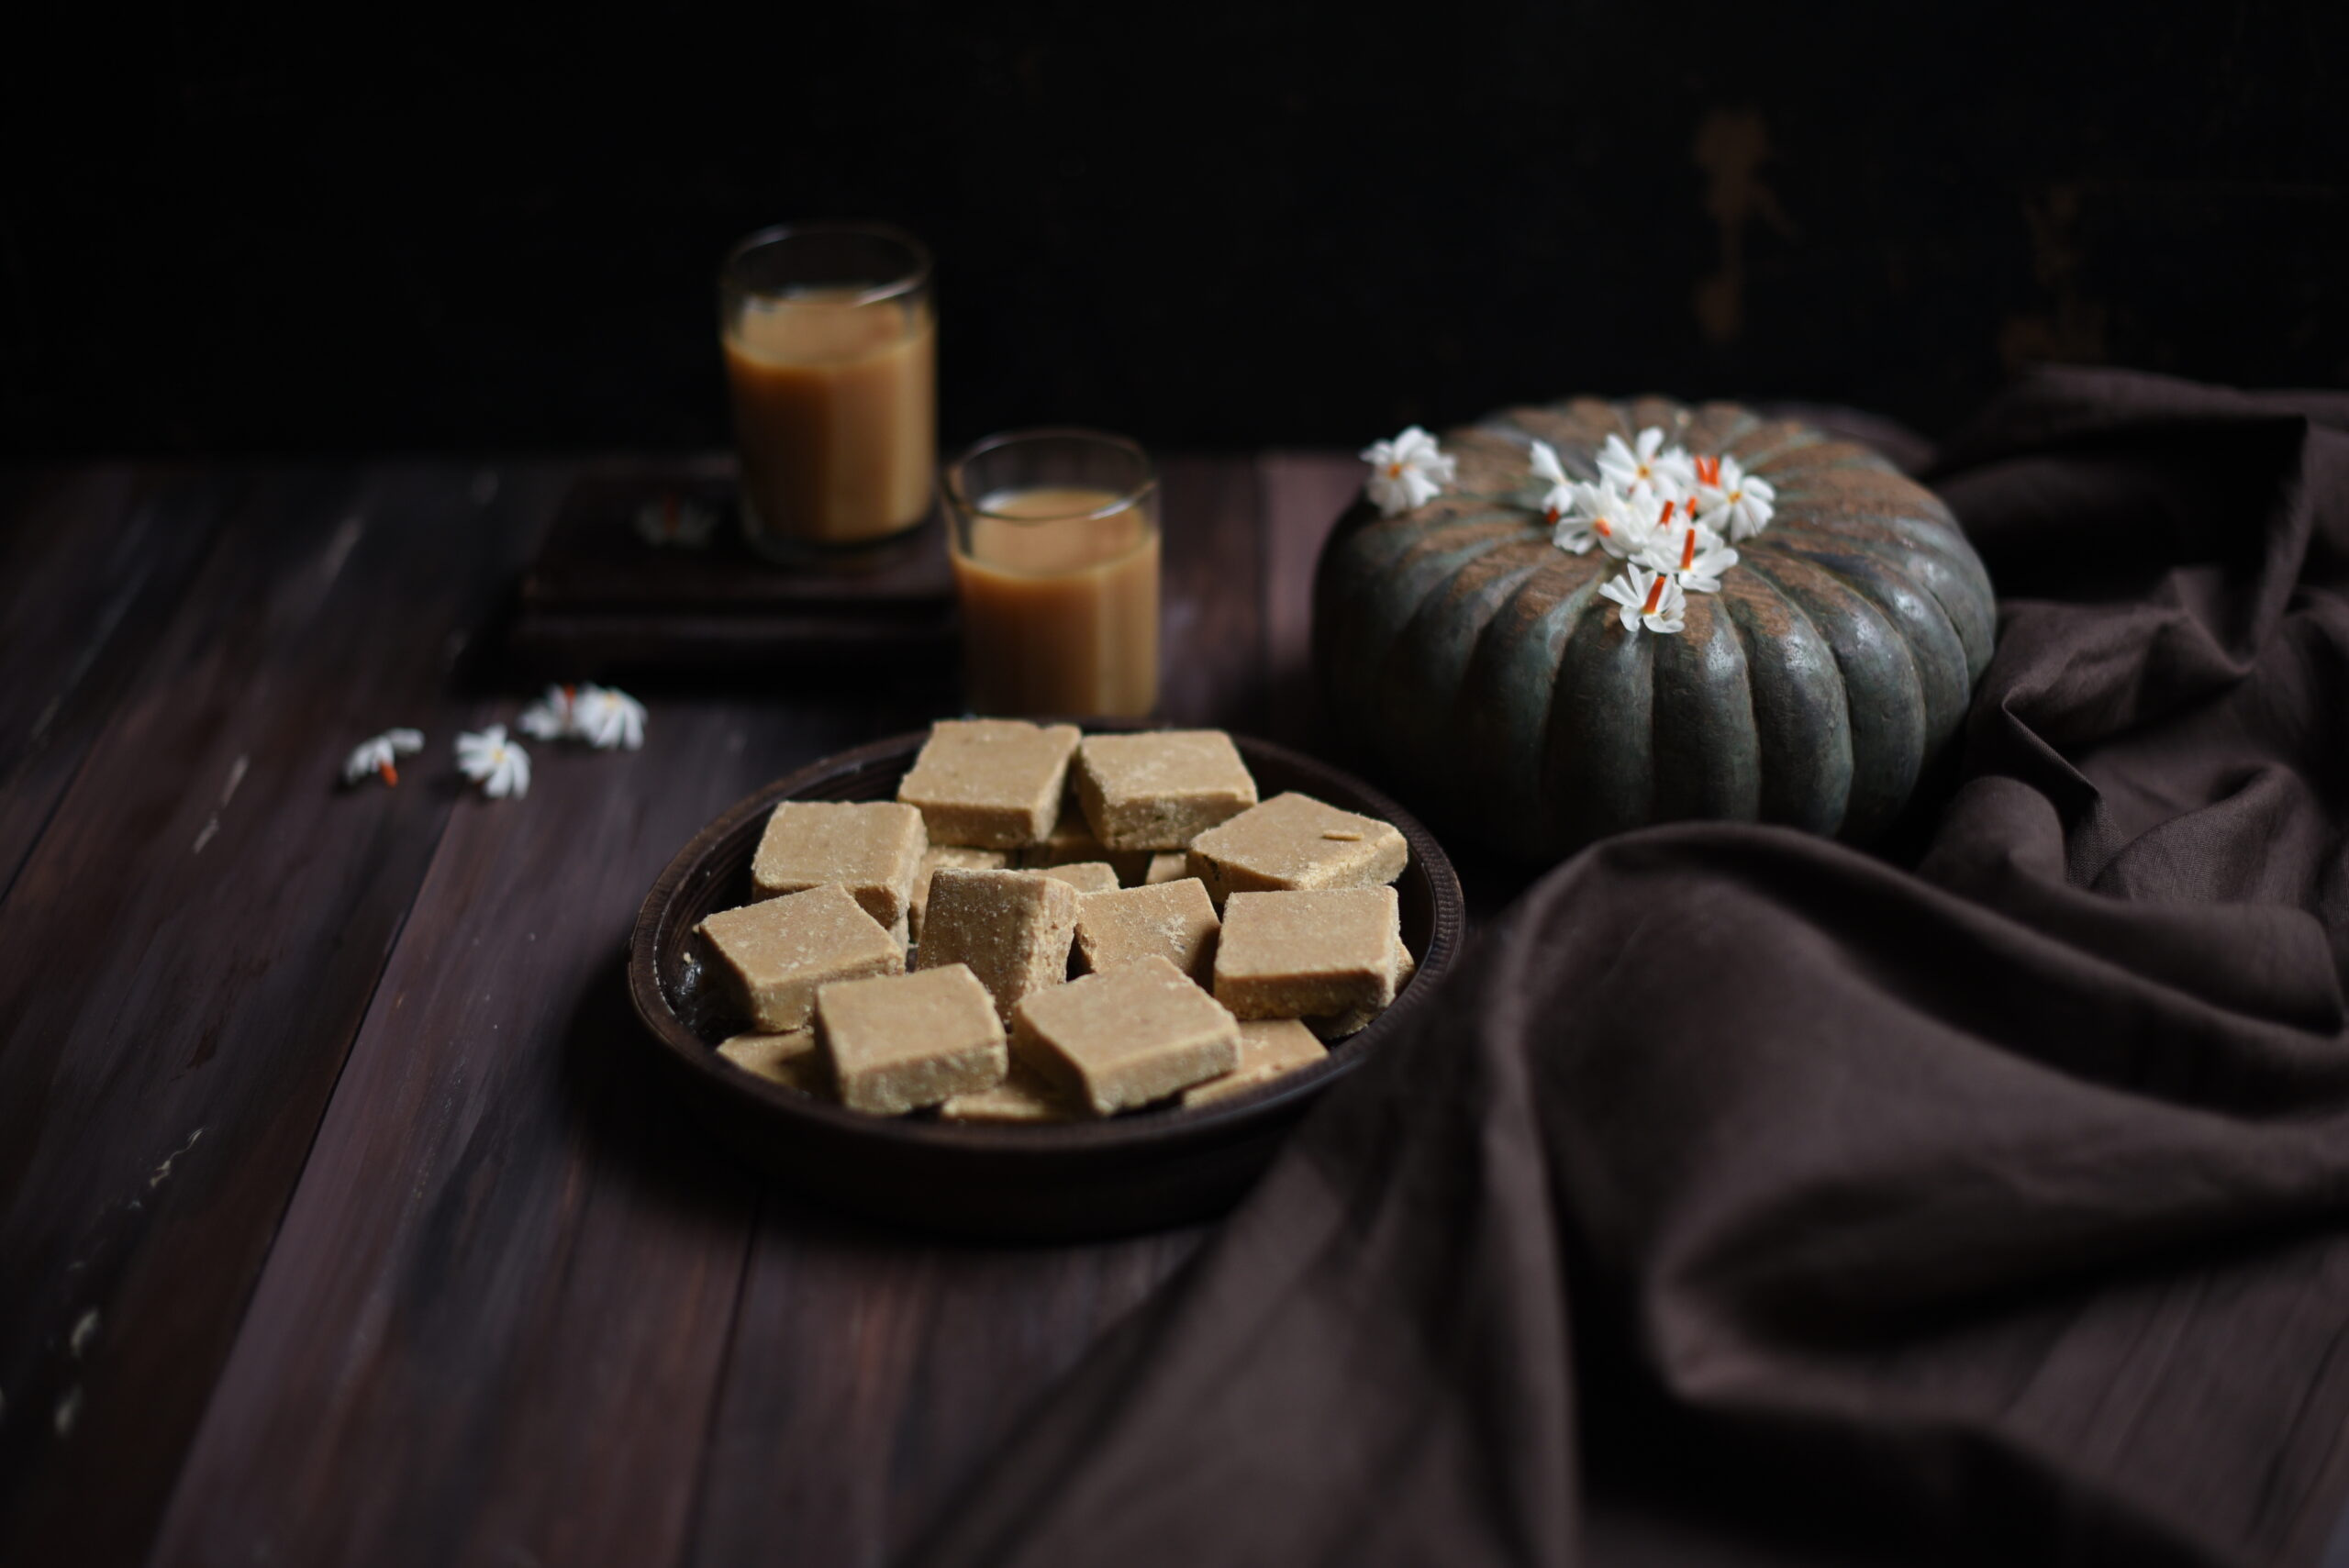
Whether you want to see these whole wheat jaggery squares as a religious offering or a treat for your sweet tooth is up to you. One thing is for certain: I hope they taste utterly divine.

Jaggery & Whole Wheat Squares

Yield: 10-15 pieces
Prep time: 20 minutes

1 cup whole wheat flour
½ cup clarified butter (ghee)
¾ cup jaggery
½ teaspoon ginger powder
2 tablespoons slivered almonds

Call them whole wheat jaggery squares, call them sukhudi or call them gol papdi – these sweets are very easy to make once you have the ingredients on hand.

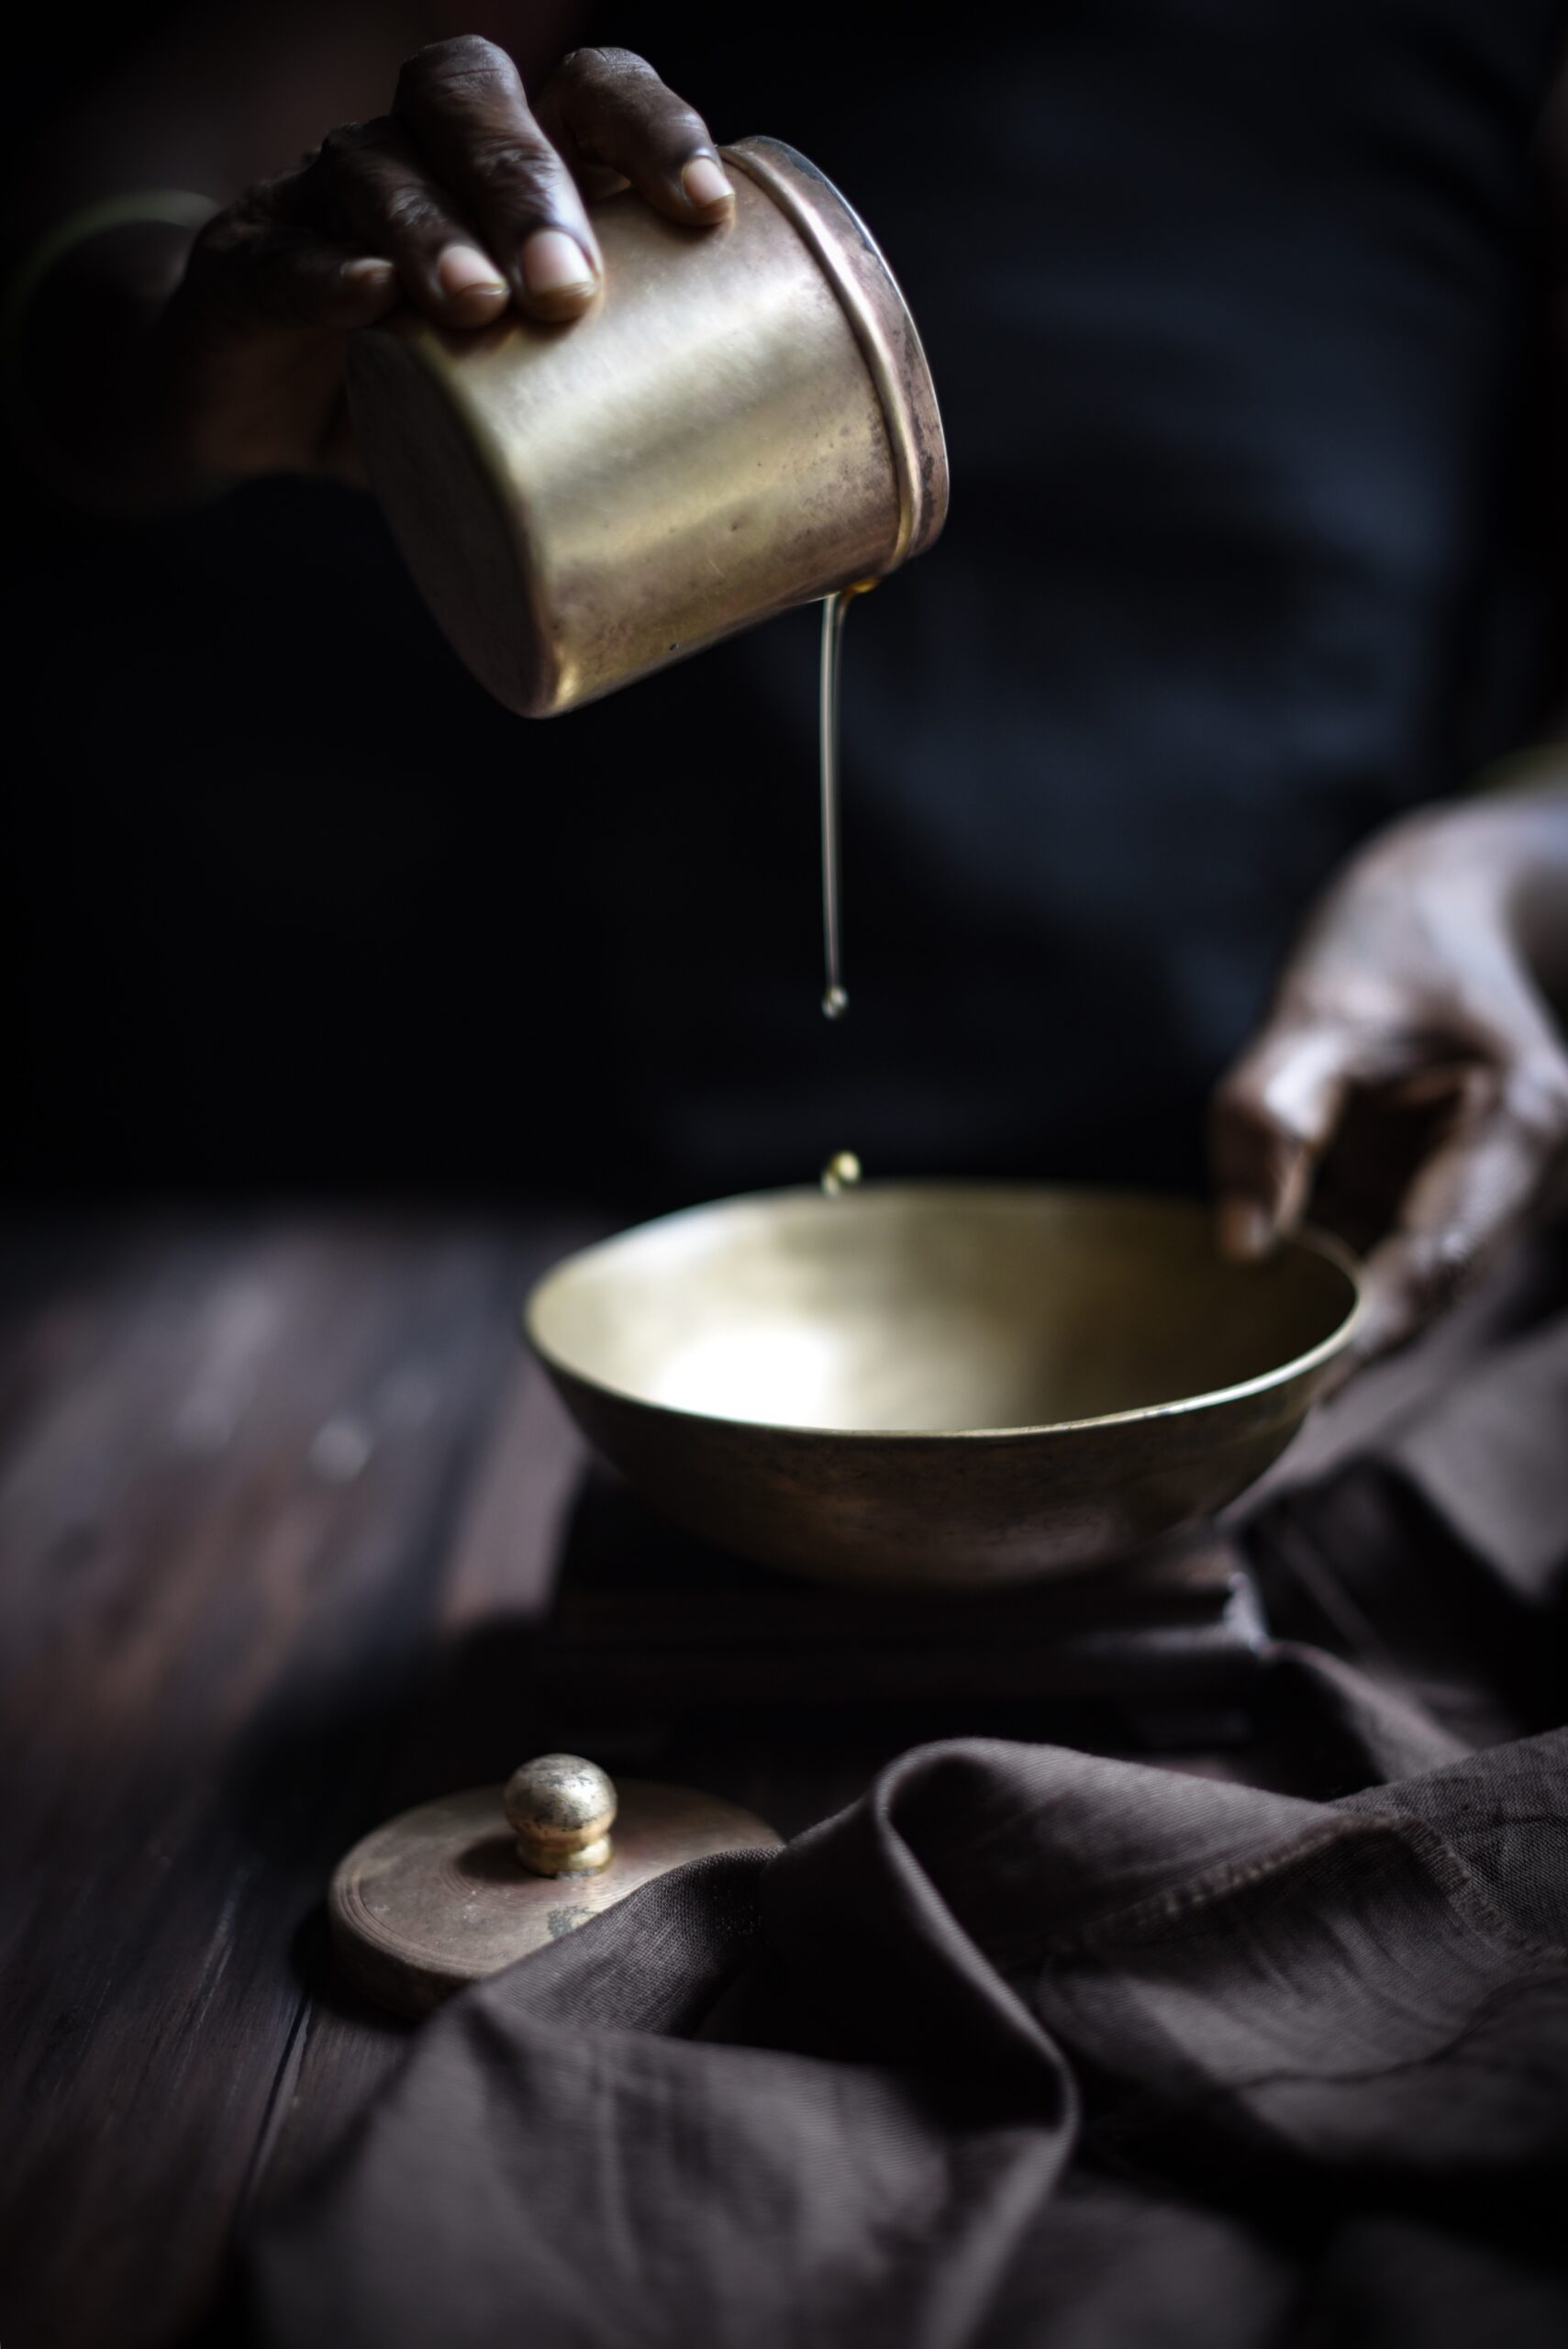
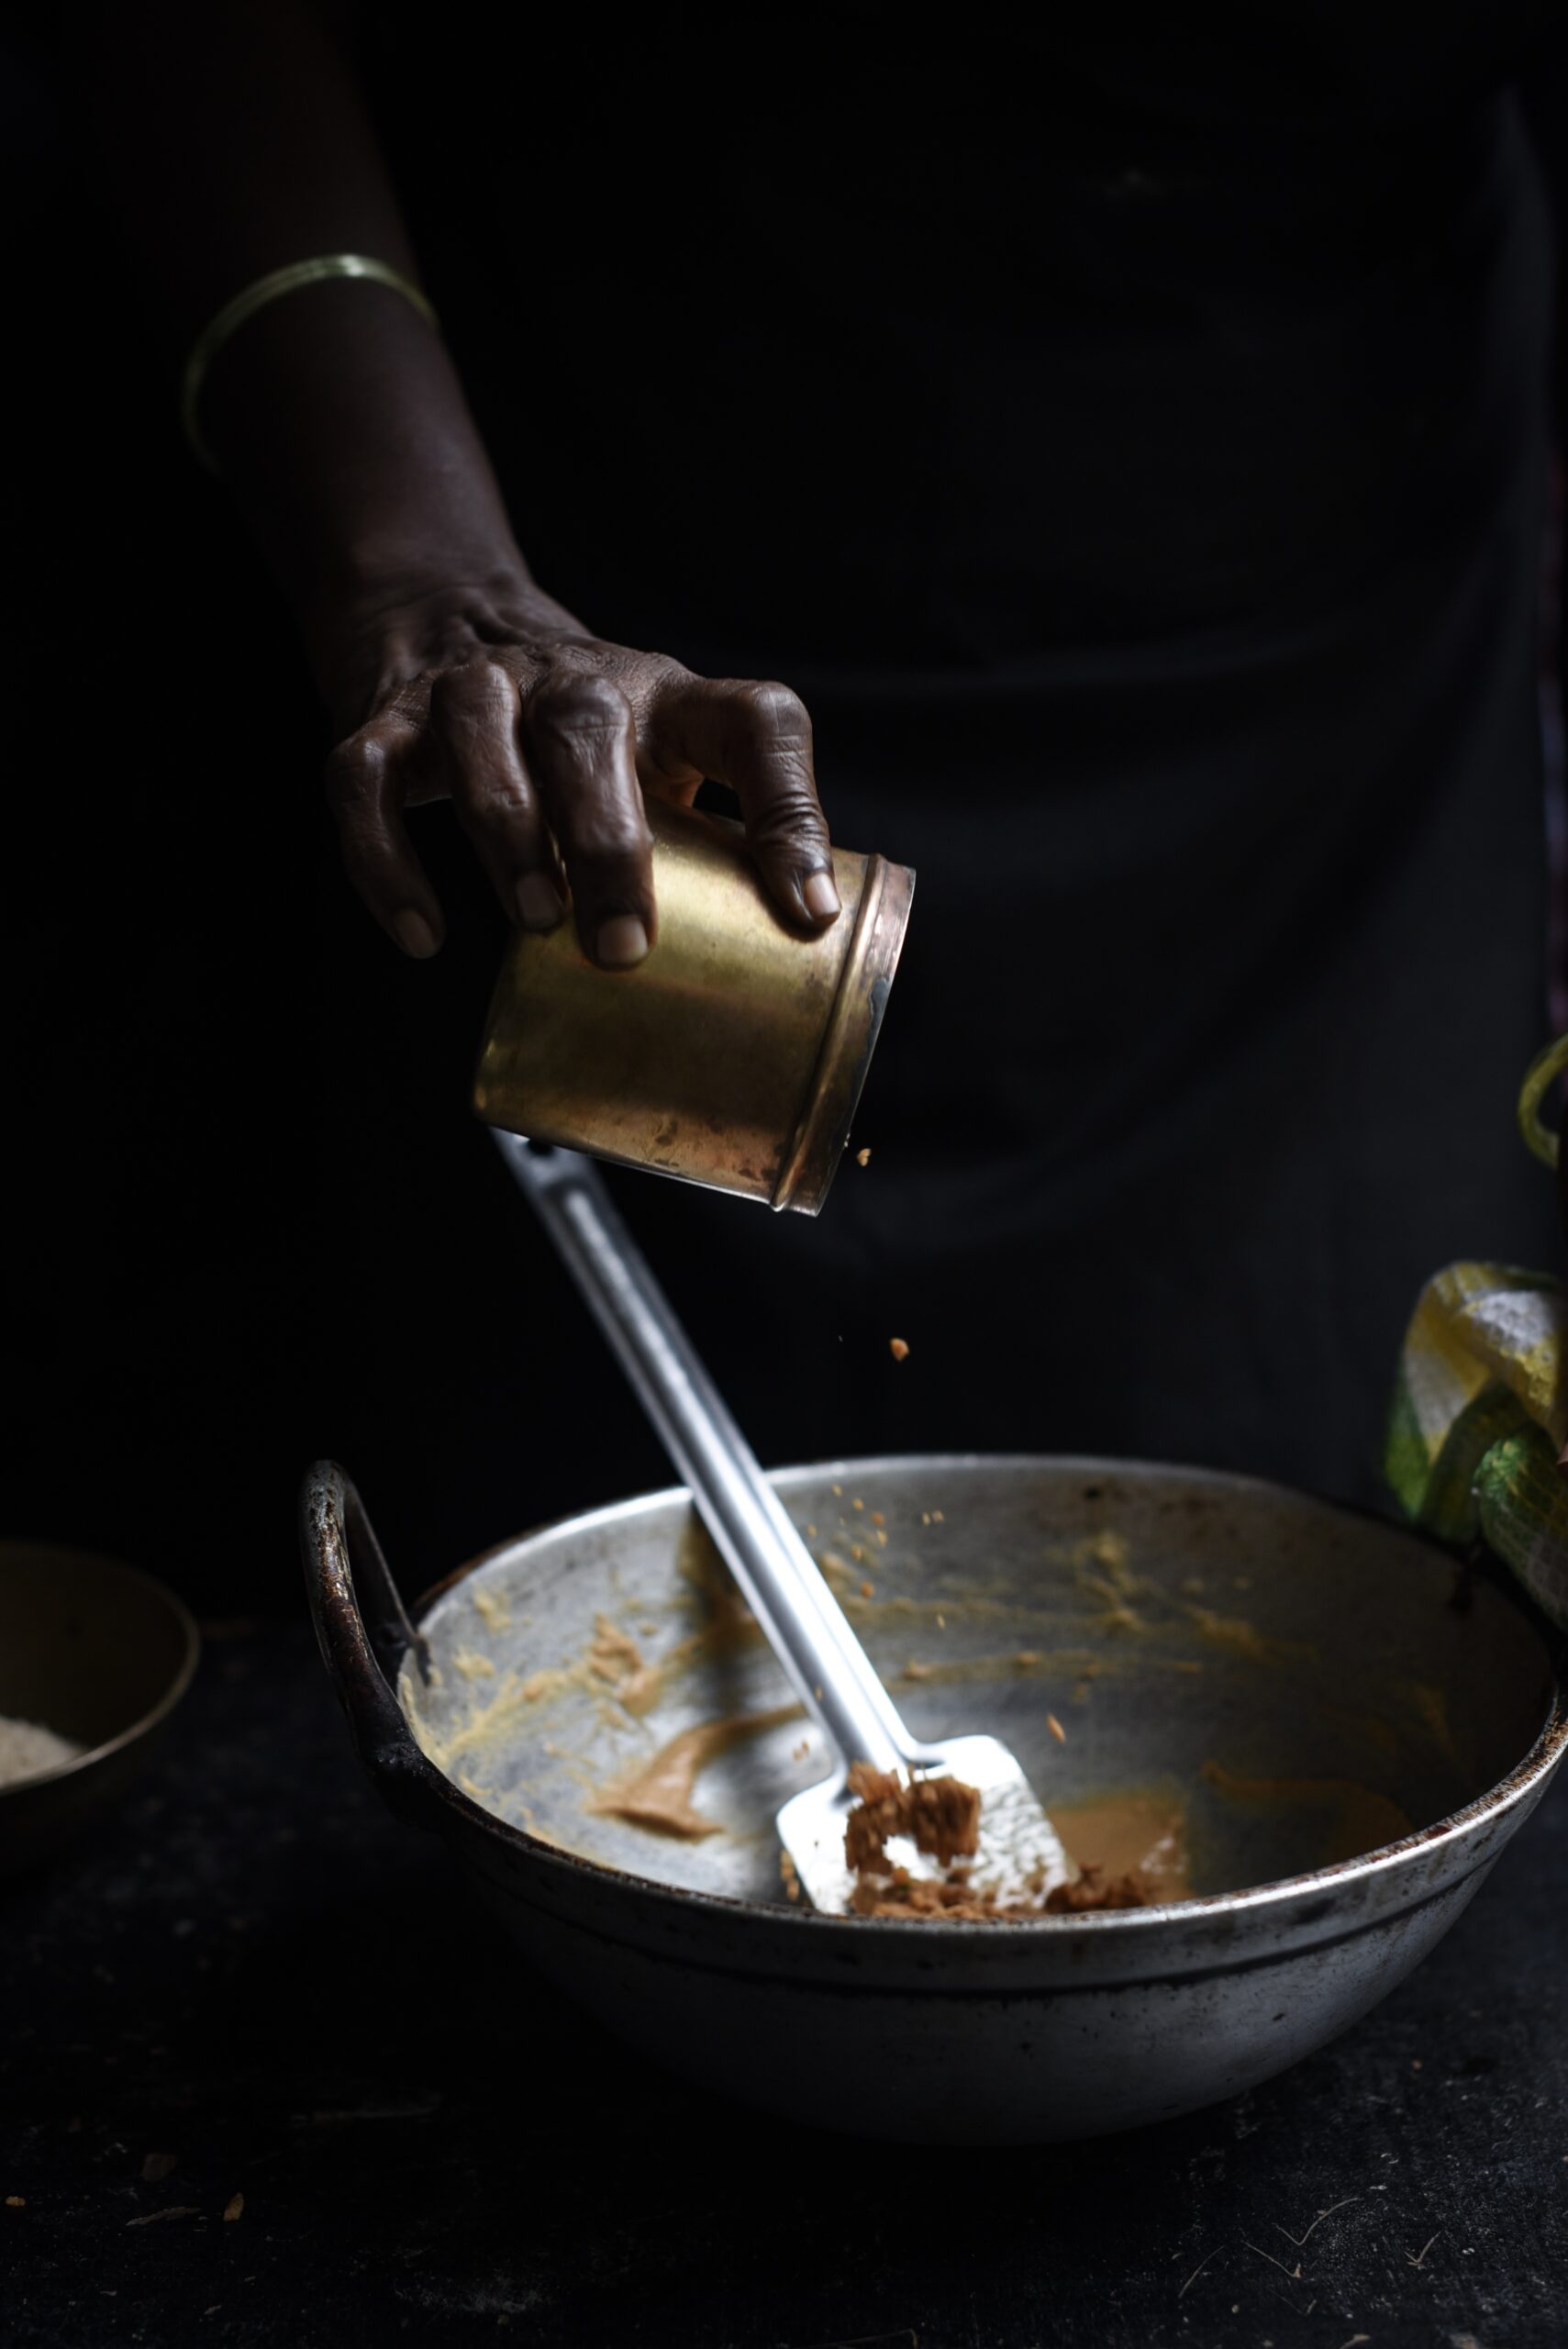
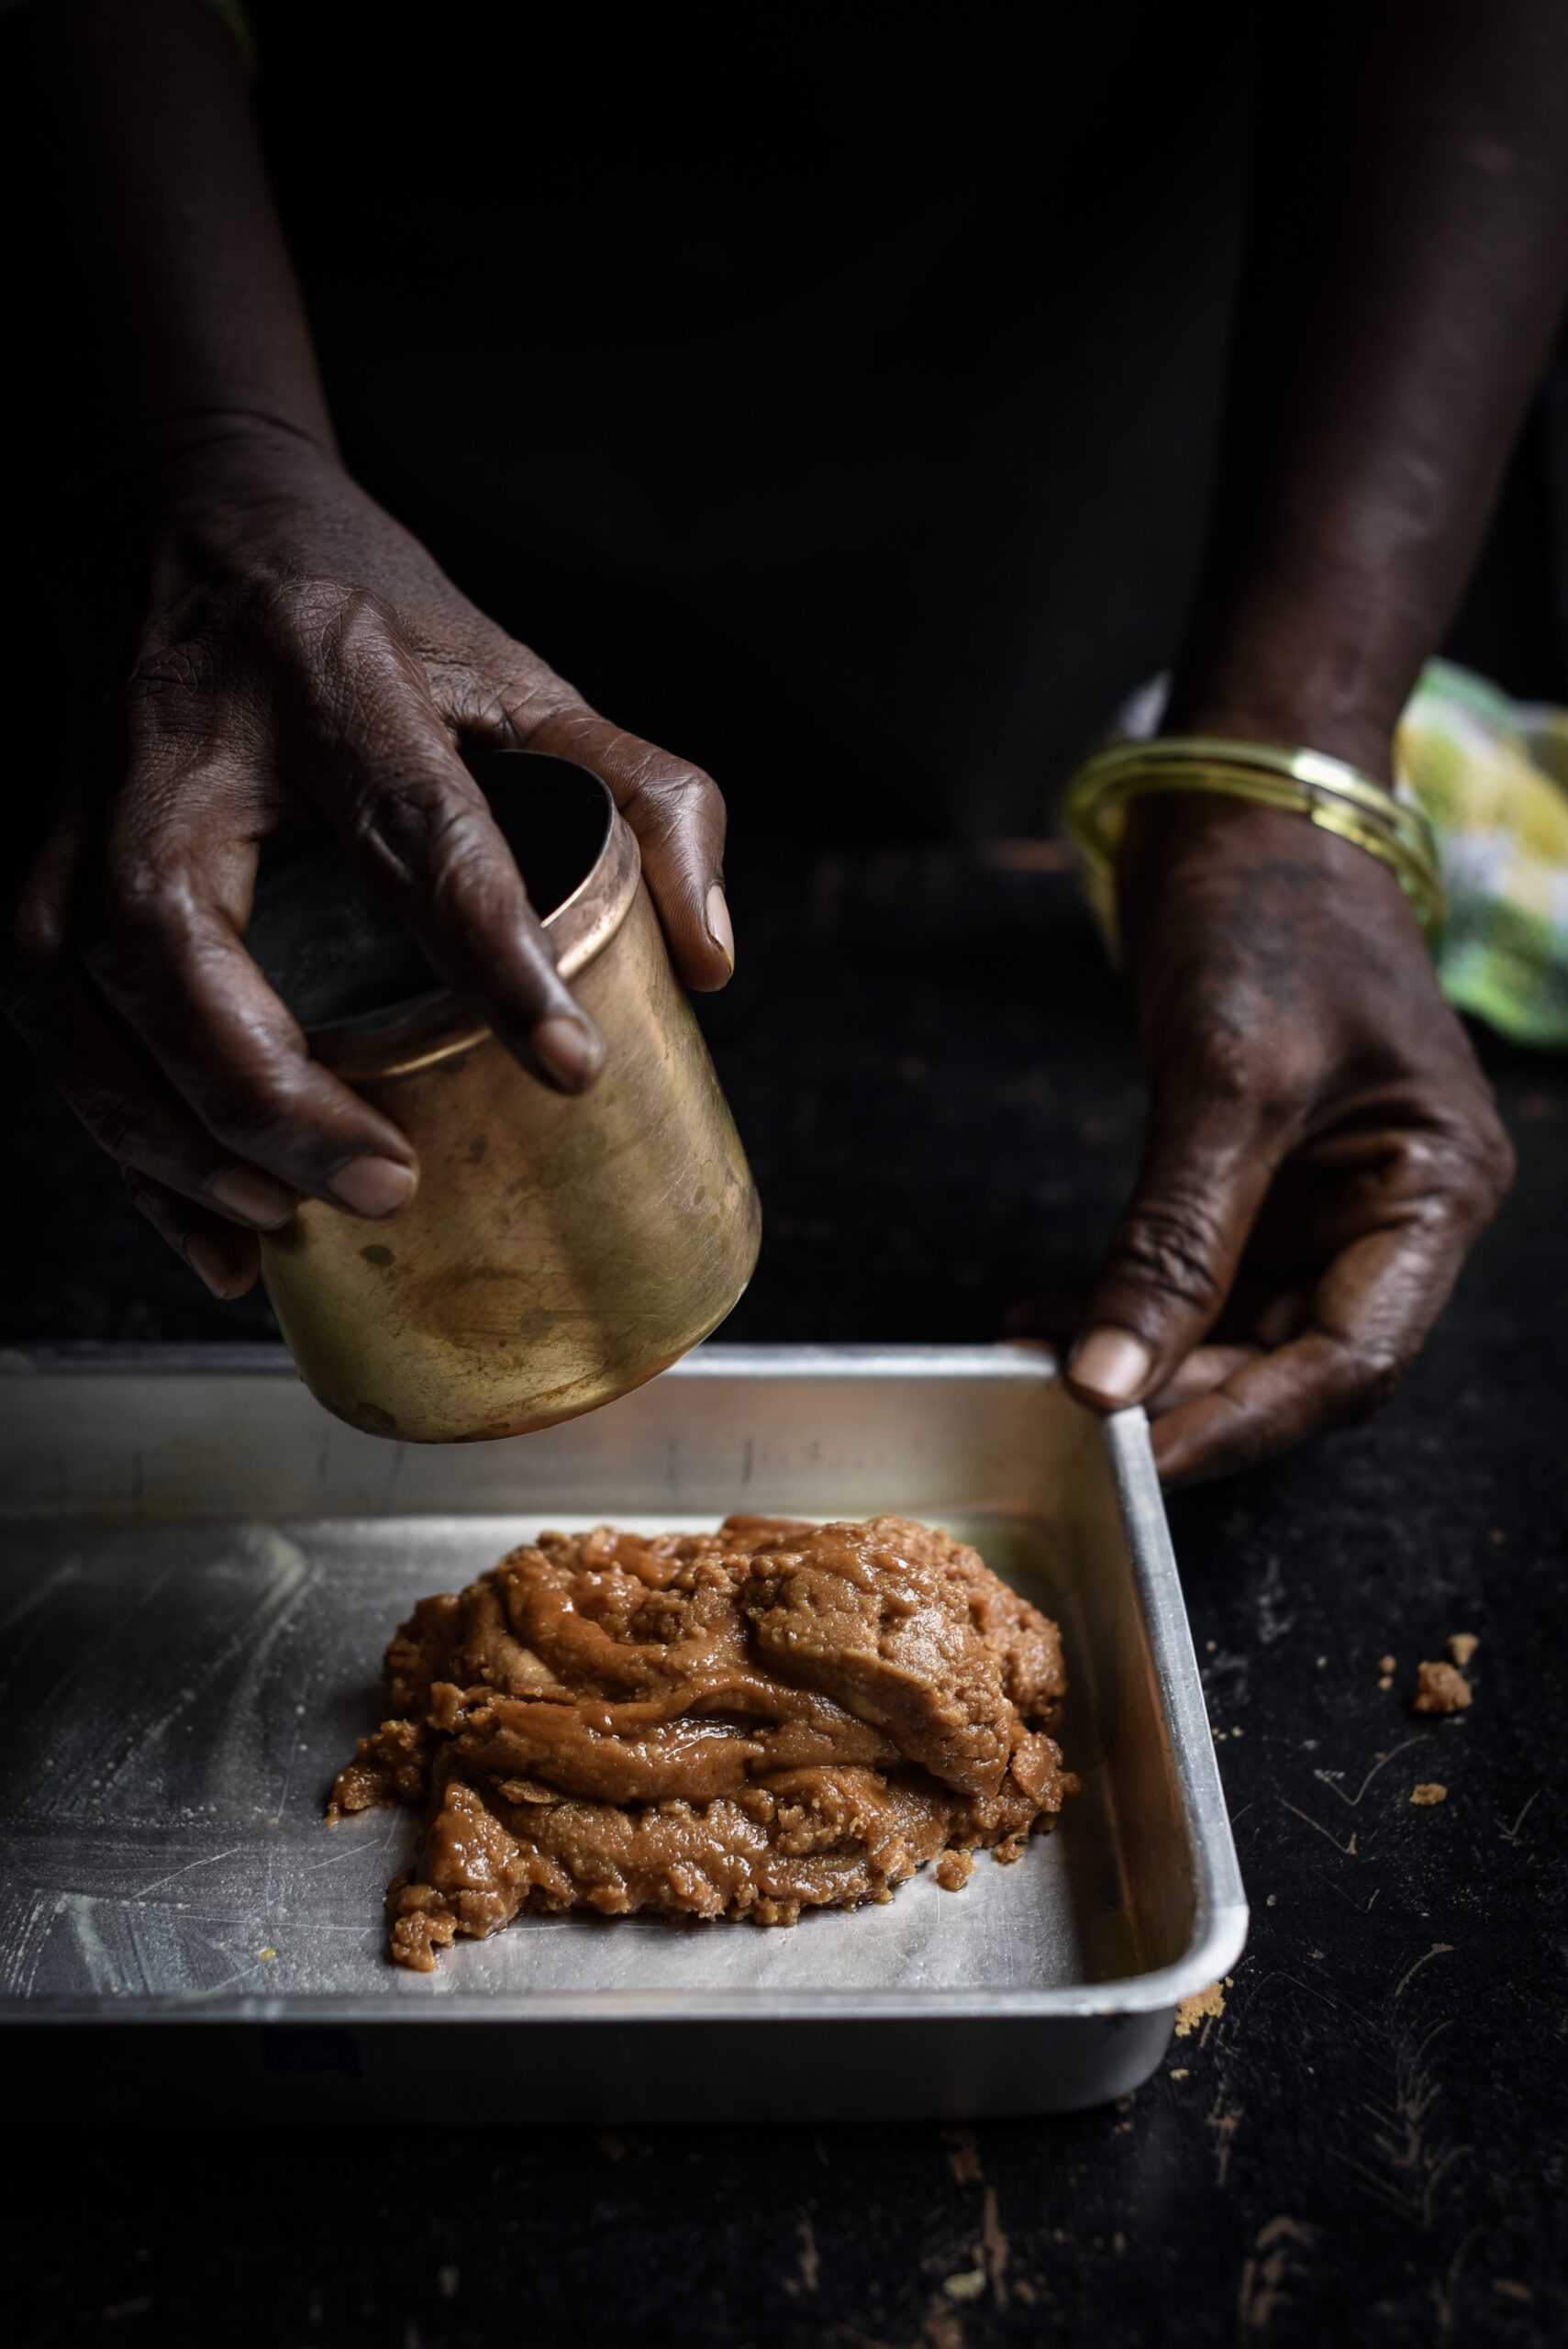
Grease a steel plate with some ghee and keep it aside. In a kadhai, or a wok-shaped pan, add ghee and allow it to melt. In a few seconds, add the whole wheat flour. With a spatula, stir and sauté until the mixture turns golden brown. This will take approximately 10-15 minutes on a medium to low flame. Remove from the stove and add the jaggery and ginger powder. As always, season to your taste – I even add cardamom, desiccated coconut, cinnamon or masala chai powder when I make this dish. Ginger in particular is something that is traditionally added during winters for its warming effect.

A word about jaggery: it varies in sweetness around the world, so you must gauge the correct amount to use when you make this dish. I had used a particularly sweet batch when I made this after talking to my aunt, and found it too cloying, then made it again to my taste. However, if you add too little jaggery, the mixture will not bind. As with any recipe, sometimes it takes more than one try to get it right.

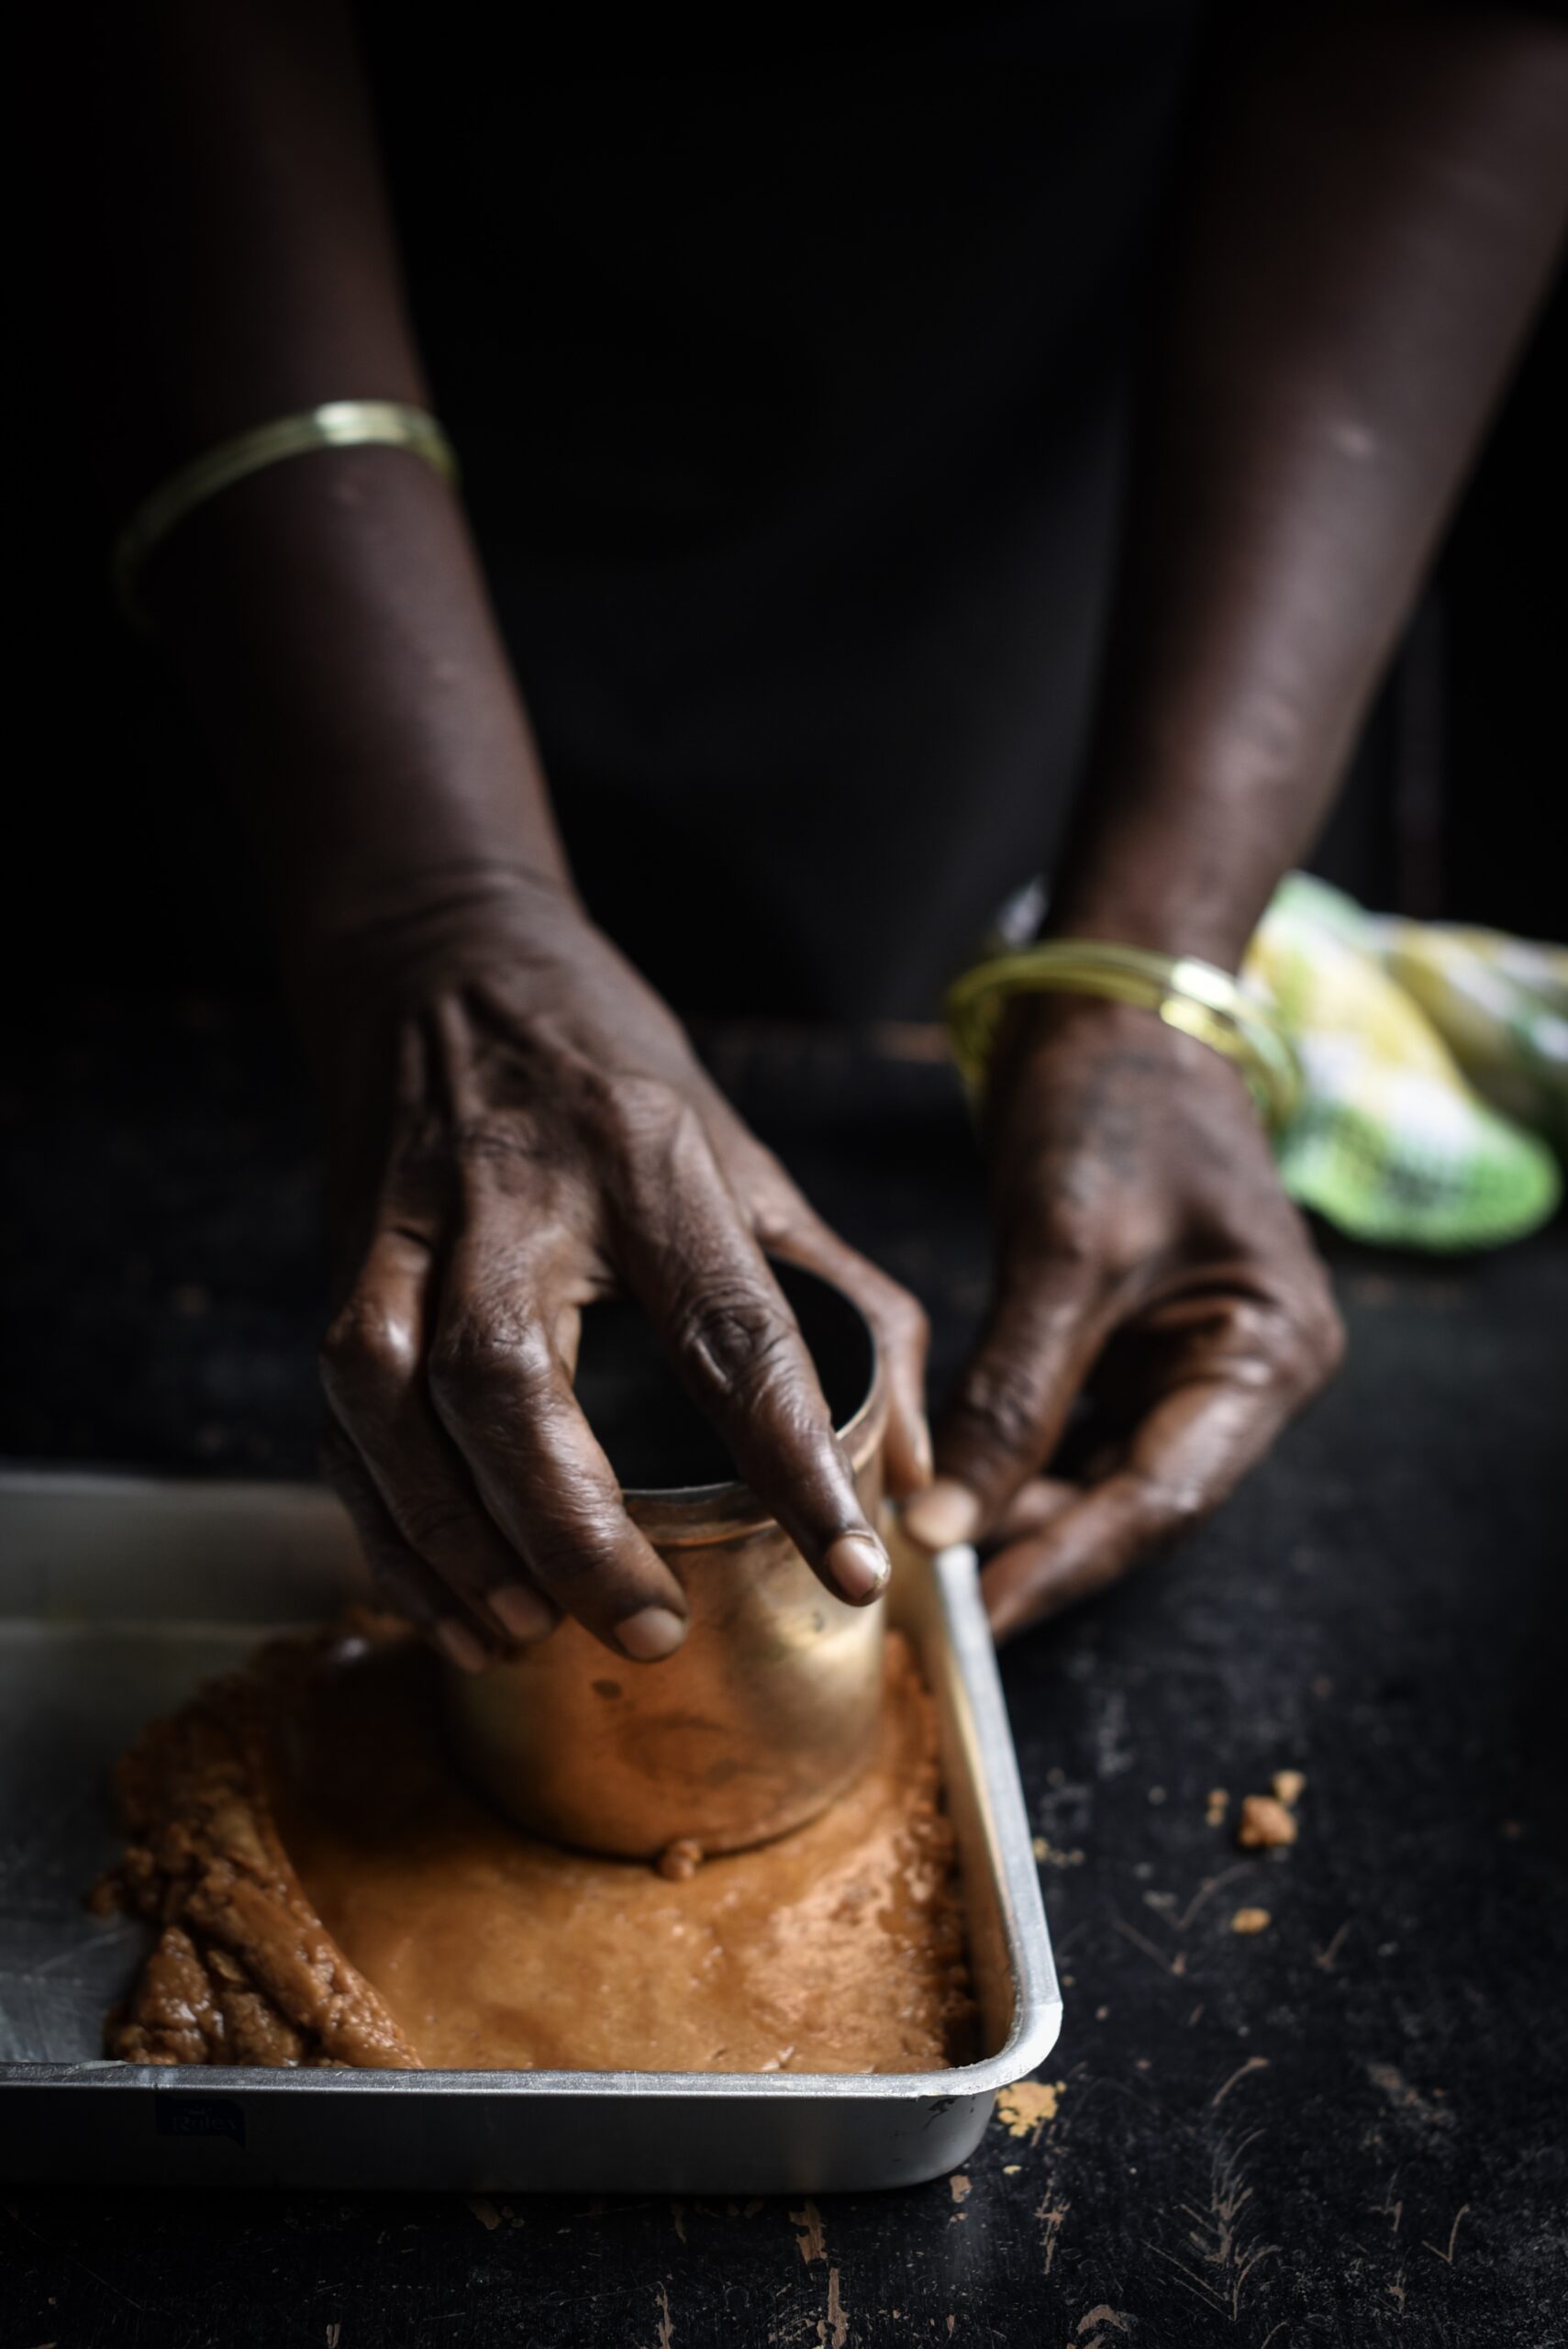
Mix well until the jaggery melts and the ginger powder or flavours of your choice are distributed evenly. While still hot, pour the mixture onto the greased plate and spread evenly. Flatten it with a cup so it evens out, and add the almond slivers on top quickly, before it begins to cool.

Then, cut into even squares and allow them to cool before transferring them to an air tight container.

These whole wheat and jaggery squares are so simple to make – all you really have to do is stir it well for it to cook properly. That’s probably why they were such a staple in my childhood, something my mom could whip up quickly and store for several days’ worth of after-school snacks. As they don’t spoil easily, gol papdi was also something we took with us when we travelled. Memories, love and a sense of security – they are contained in every bite of a cherished dish, aren’t they?