Tag

jaggery

Browsing

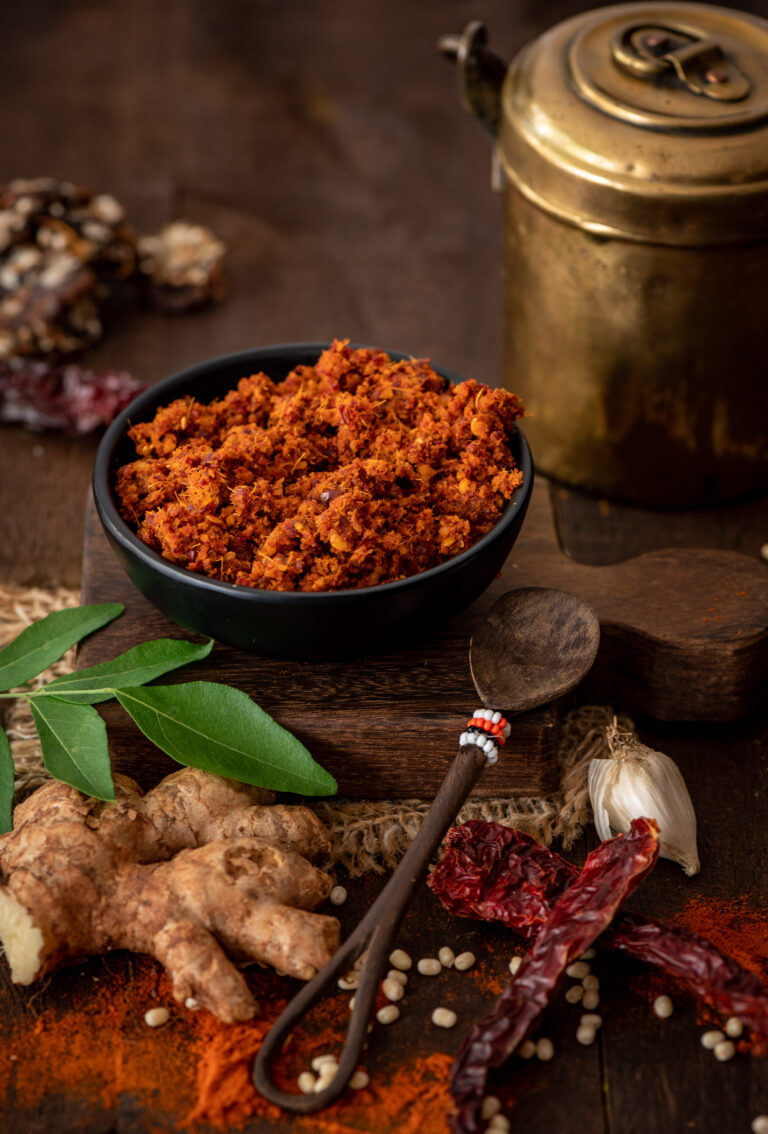
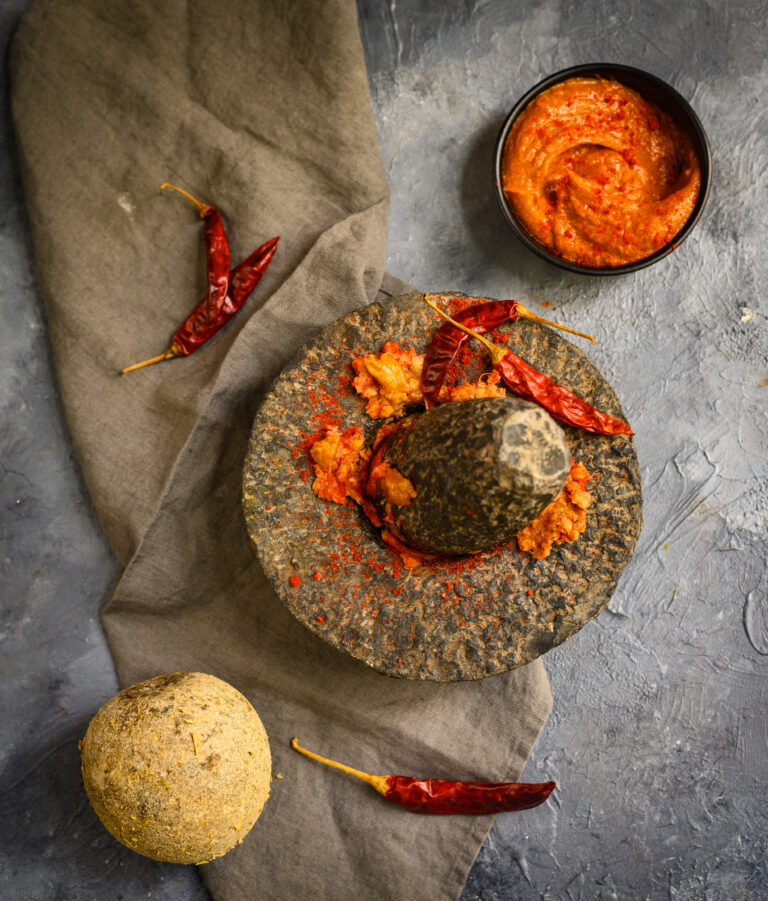
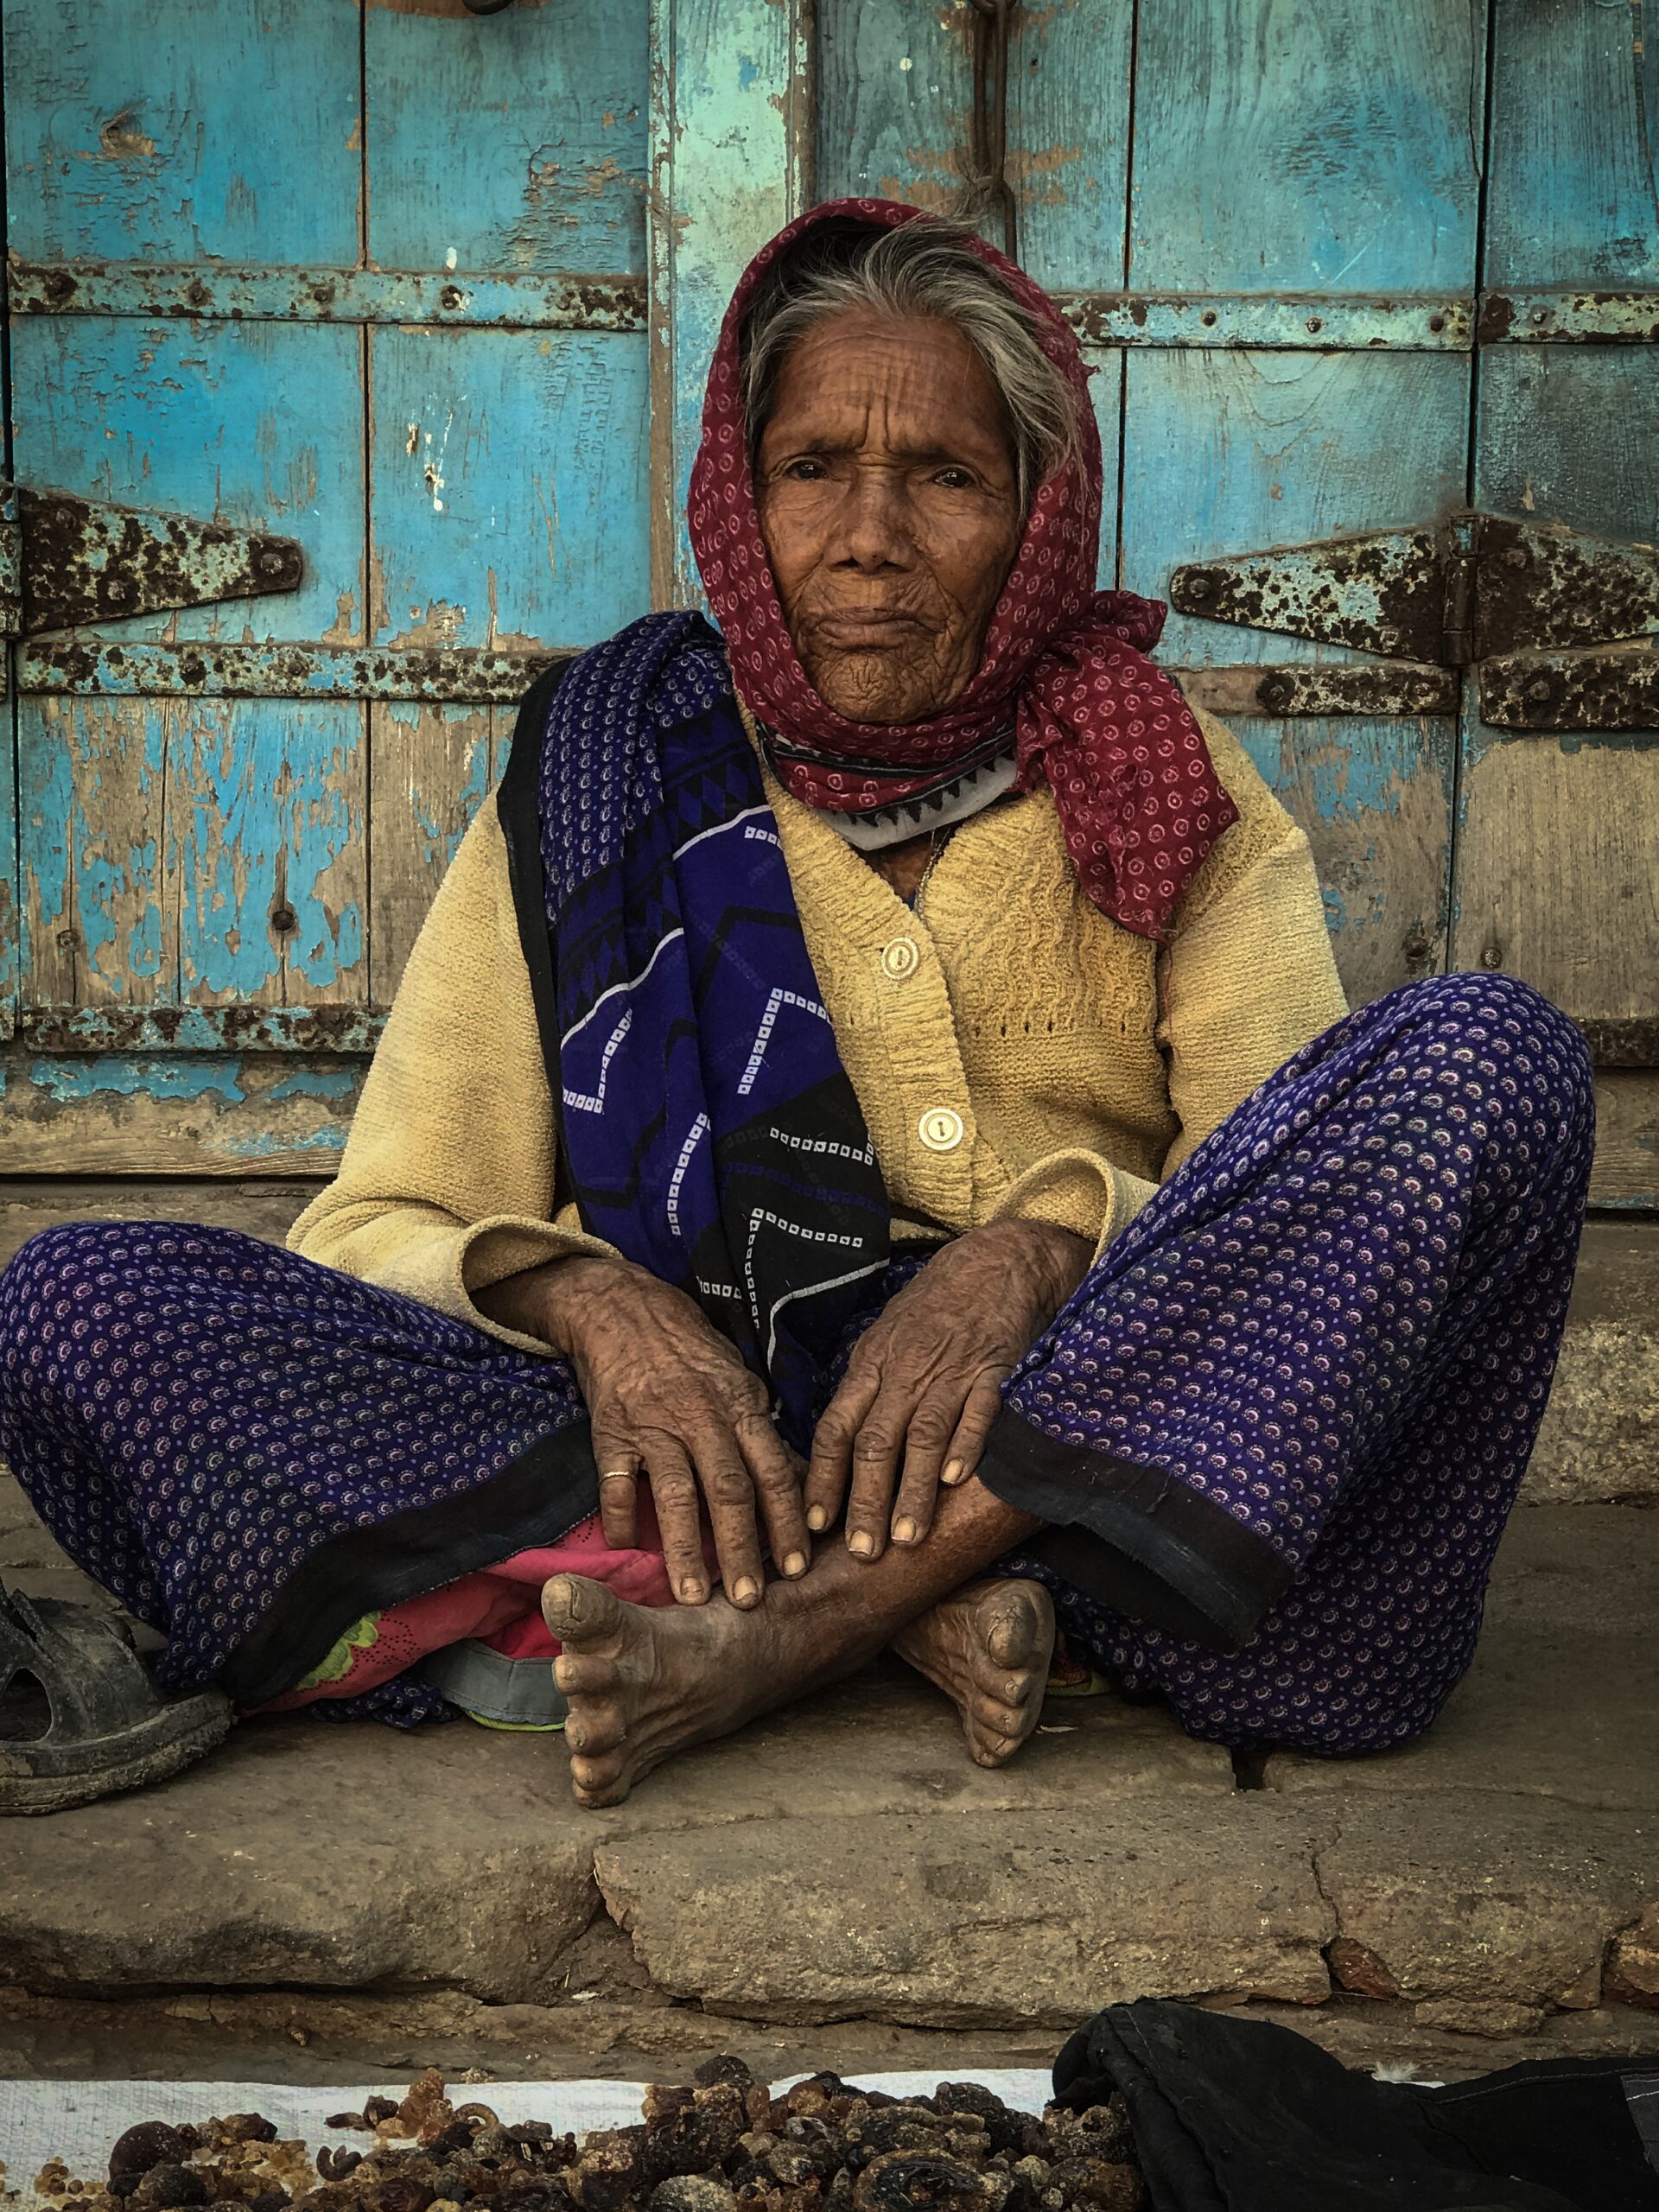
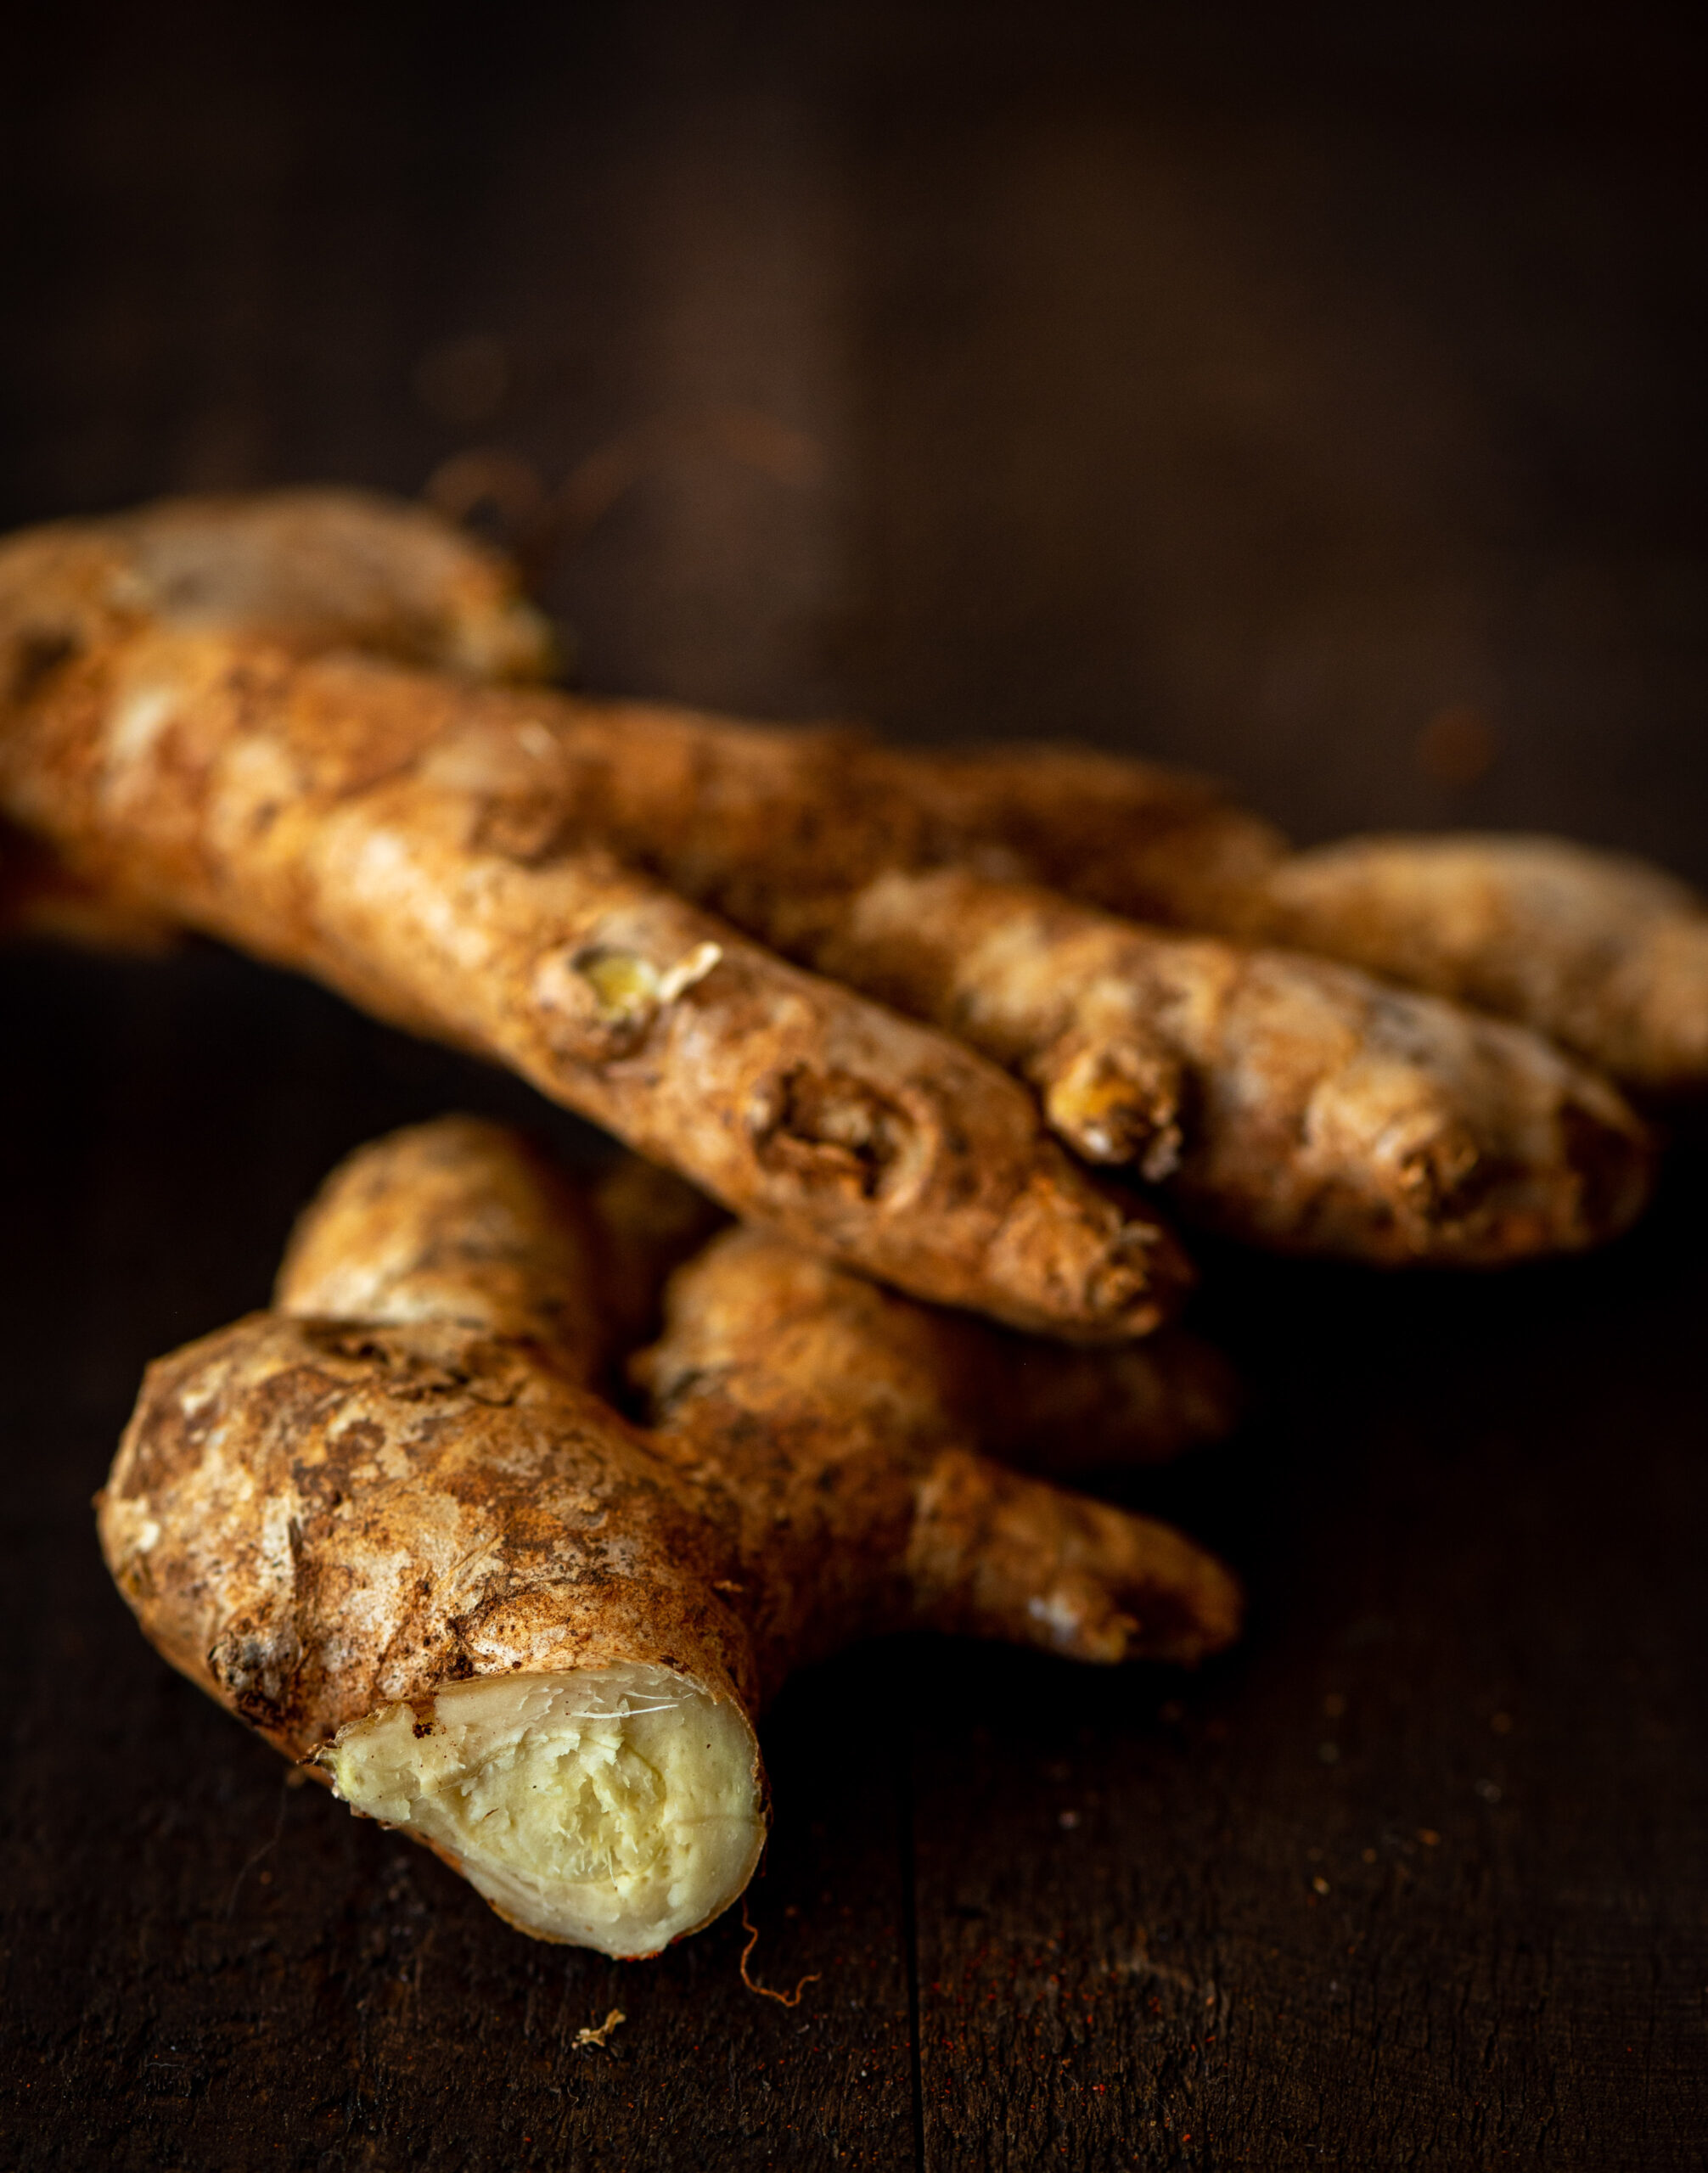
For many years, a lovely lady named Hamsa has visited a few times a week, to conduct a chanting class for me. She teaches me Sanskrit scriptures like the Vishnu Sahasranamam and the Lalitha Sahasranamam. I’ve been chanting for the last fifteen years and it’s a source of immense solace for me. Hamsa is from Andhra Pradesh, a region known for its spicy cuisine, and it so happens that one of my favourite condiments comes from there. It’s a ginger chutney sweetened with a hint of jaggery, and I’m delighted to share the recipe for it with you today.

Before the pandemic, I was a frequent customer at a wonderful South Indian restaurant where an array of chutneys would be served. No matter how diverse the spread, I would always reach instantly for the ginger chutney, so much so that I’d even ask to have any leftovers of it packed to take back home and enjoy with the next meal. One day, as we were chatting after class, I asked Hamsa if she knew how to make that fabulous dish. I was thrilled to hear her say, casually, that she made it daily! Of course, she then kindly brought me some a couple of times, after which I asked that she teach me the recipe. I’m a hands-on learner and I wanted to watch her preparing the dish. So one day when she visited, she prepared it in my kitchen as I eagerly watched the process, and I’ve been making it happily ever since.

I believe that we all experience learnings from any person. It doesn’t matter who they are, or in what form the learning comes, but it enriches us just the same. This is something that’s so crucial for us to keep in mind at this difficult time for India. If we keep our eyes and our minds open, we will perceive that all of life itself is a learning, and that we are amidst so many ongoing lessons given what is happening is the country and the world. We are learning about what works and what doesn’t, and what has to change for a better future. In our personal lives and relationships, we are learning something every day about how to get through this crisis – seeing which relationships can withstand it and how, seeing sometimes that the problem isn’t the other person but us, and so much more. These are valuable learnings that we must carry forward.

I’m grateful to have learnt this recipe from Hamsa, to add to all the knowledge she has given me over the years spiritually. She doesn’t just teach me chants, but also talks about culture and ritual, deepening my understanding of the same. When I’m feeling down, she will often suggest a mantra that I can say to strengthen myself. This is advice that has kept me in good stead through my adversities.

I’m sharing the recipe for ginger chutney with you today along with a slice of my life. After I have completed my baking, cooking and exercise schedule in the morning, I always sit down to chant. I genuinely believe in prayer, and in the power of hope. I believe that as a human race we will come out of this darkness, and when I am in prayer, my conviction in this is at its strongest.

With the current lockdown in Chennai, I now take virtual classes from Hamsa daily. I can read Sanskrit, and one of the things I appreciate about her teaching style is that she is very particular about pronunciation. This takes me back to when I was a little girl in a convent school full of wonderful Irish nuns, who insisted on precision in handwriting and enunciation. The lovely Mrs. Martanda, my English teacher, would teach us the difference between the spoken words “vow” and “wow”, for example. She used the Wren and Martin grammar book and various dictionaries as teaching tools. That I am able to recall these details decades on is a testament to the influence a good teacher can have, in any aspect of life. As I said earlier: we learn something from someone, every day. We are all students, and we are all teachers.

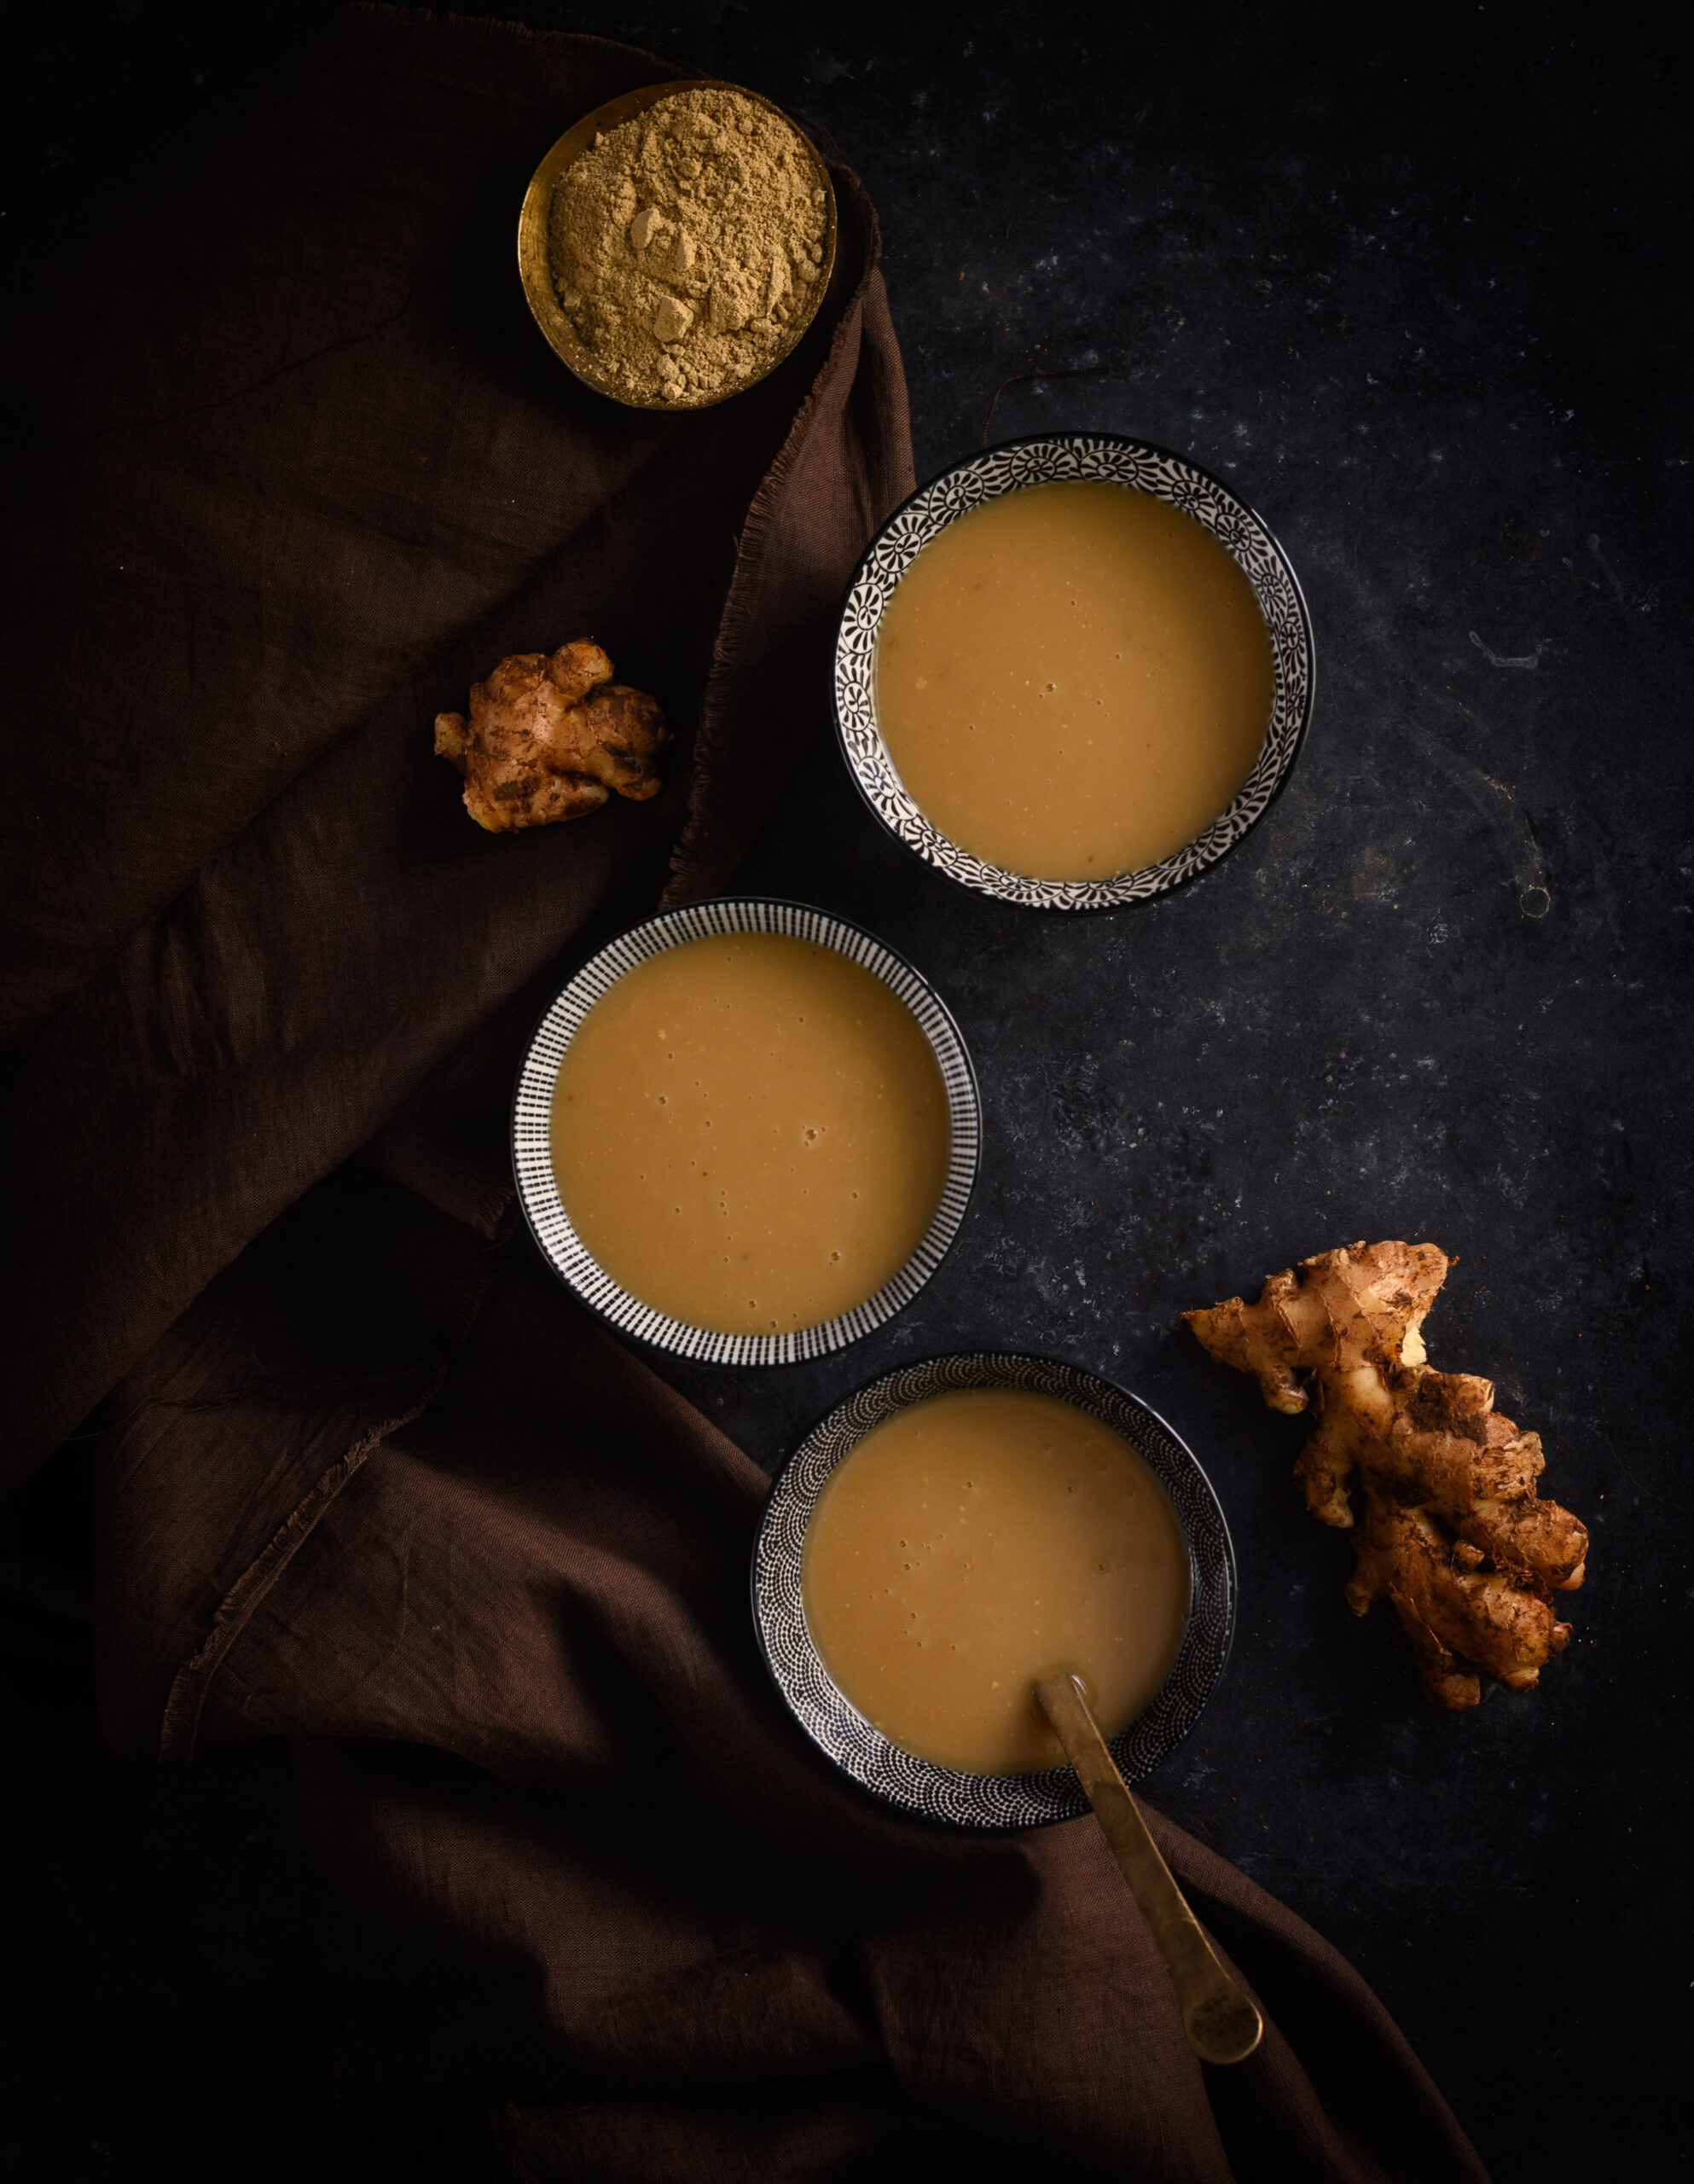
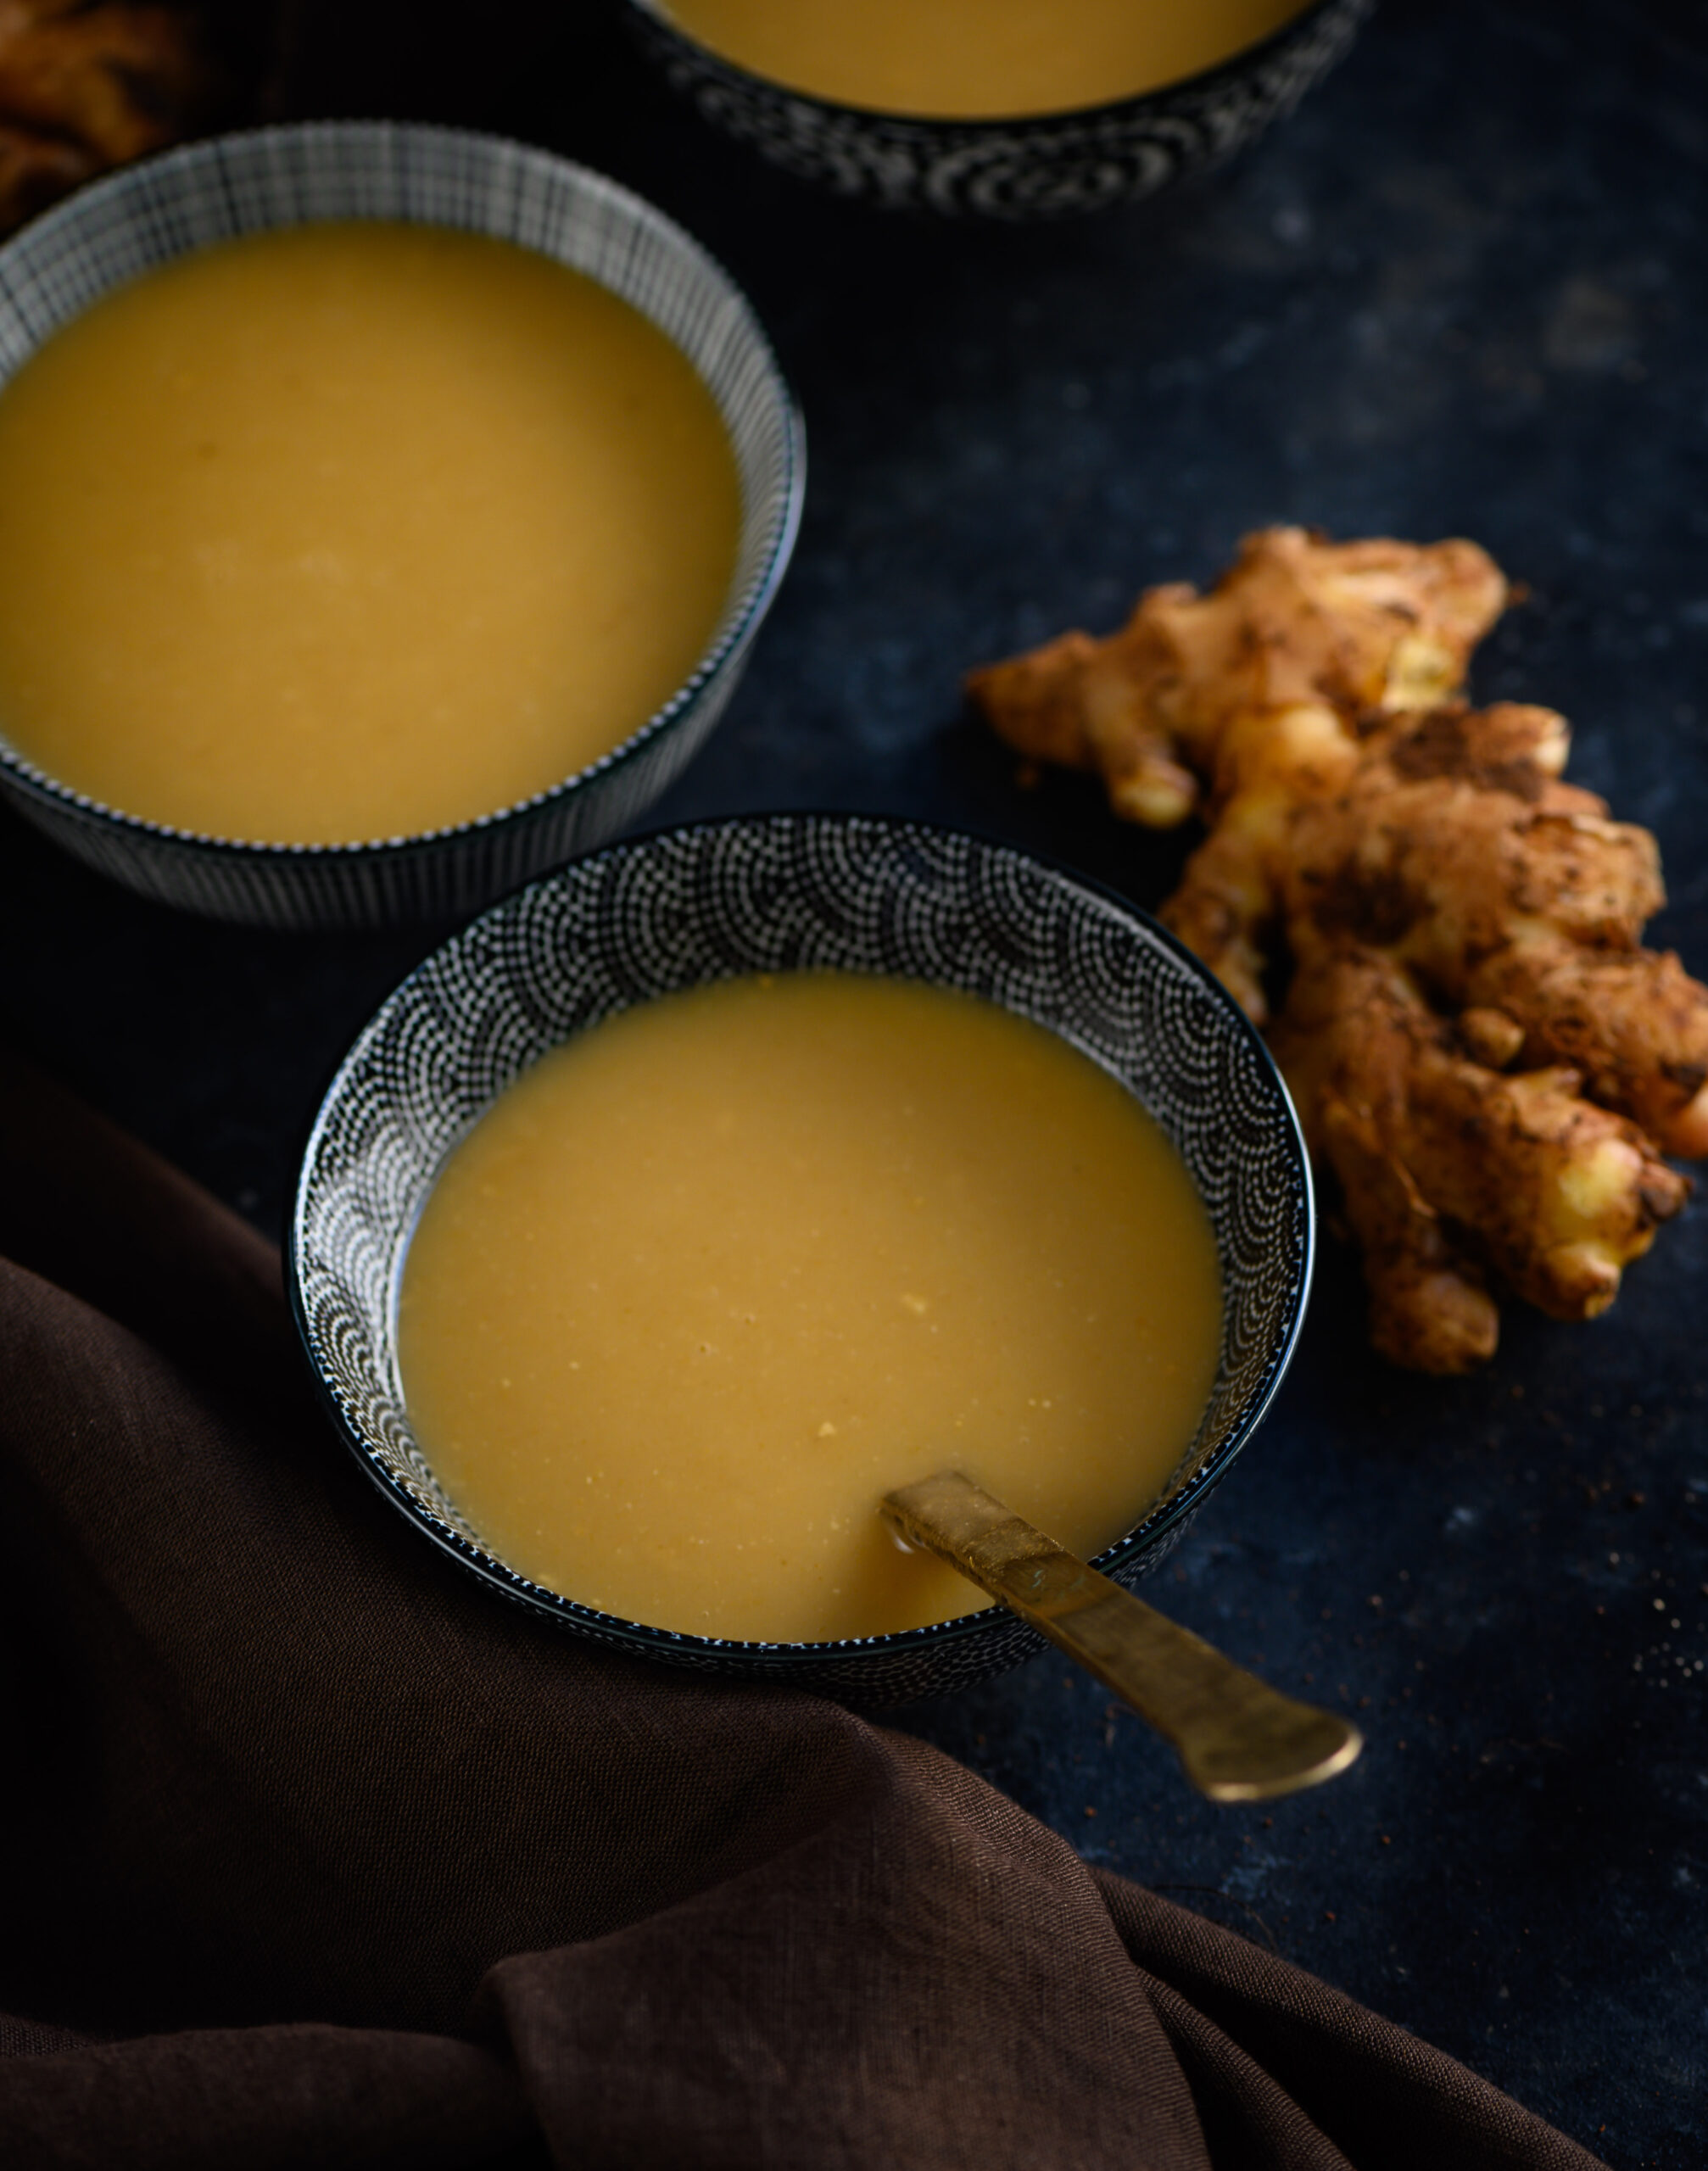
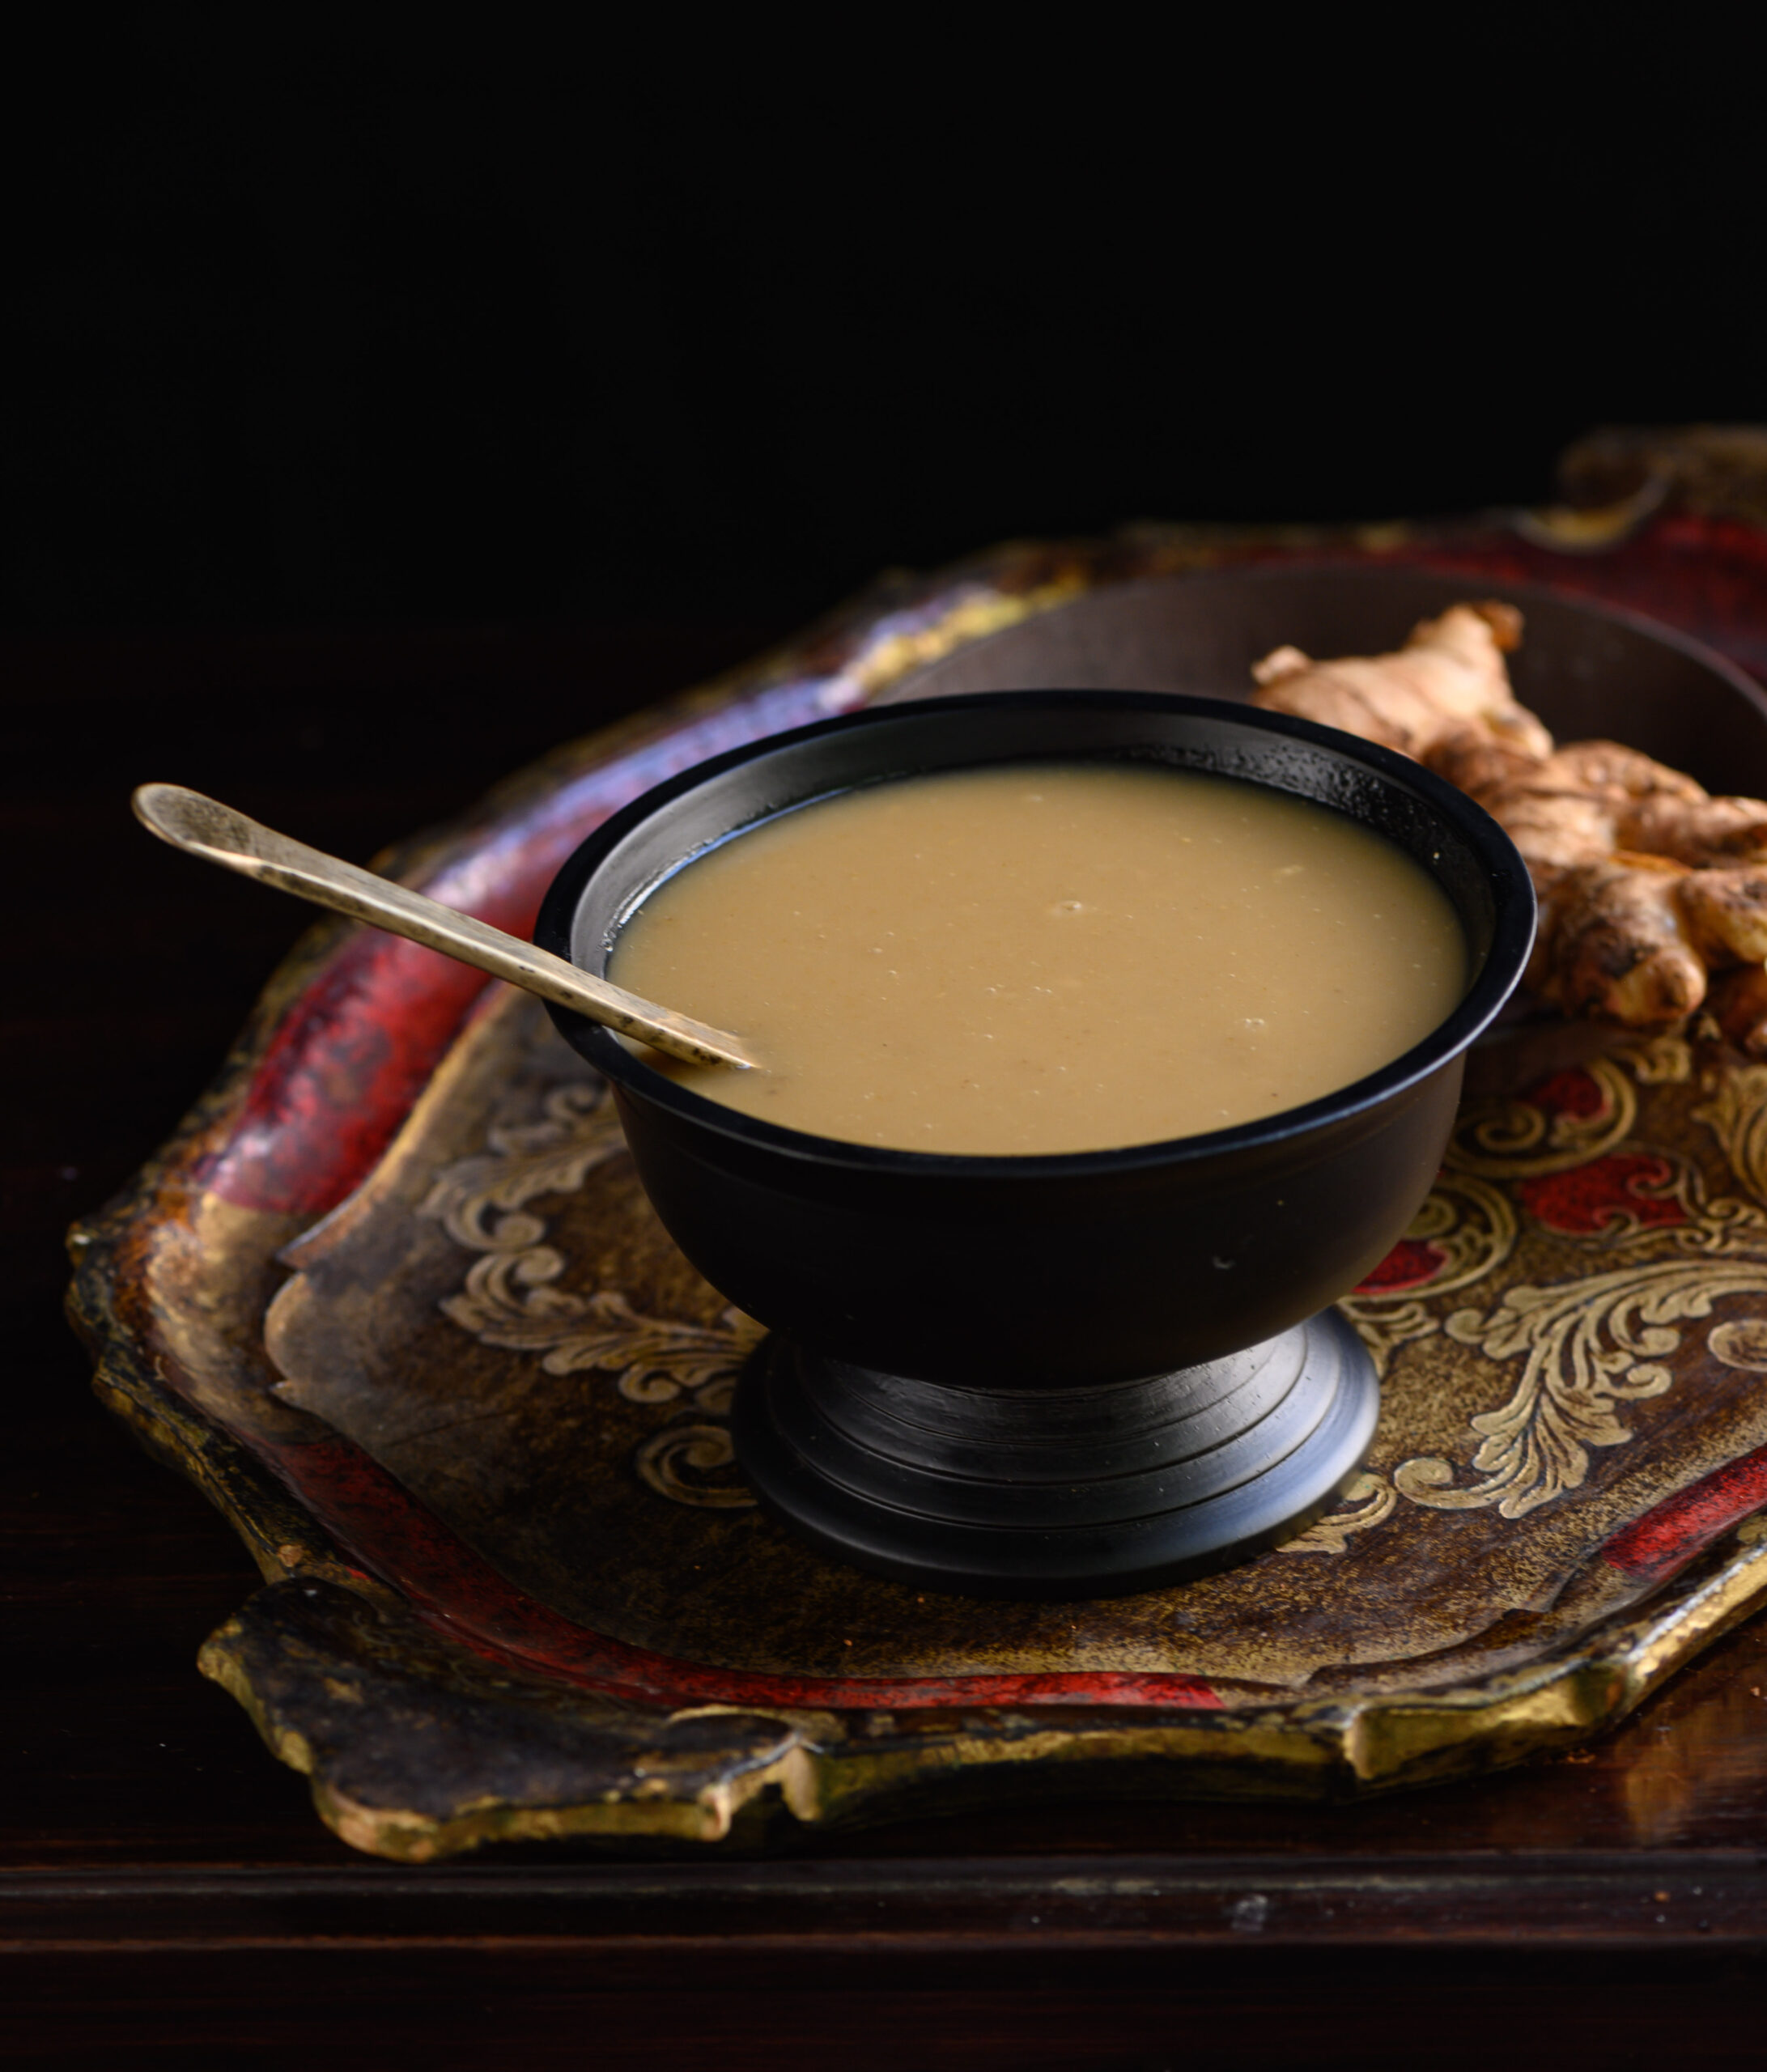
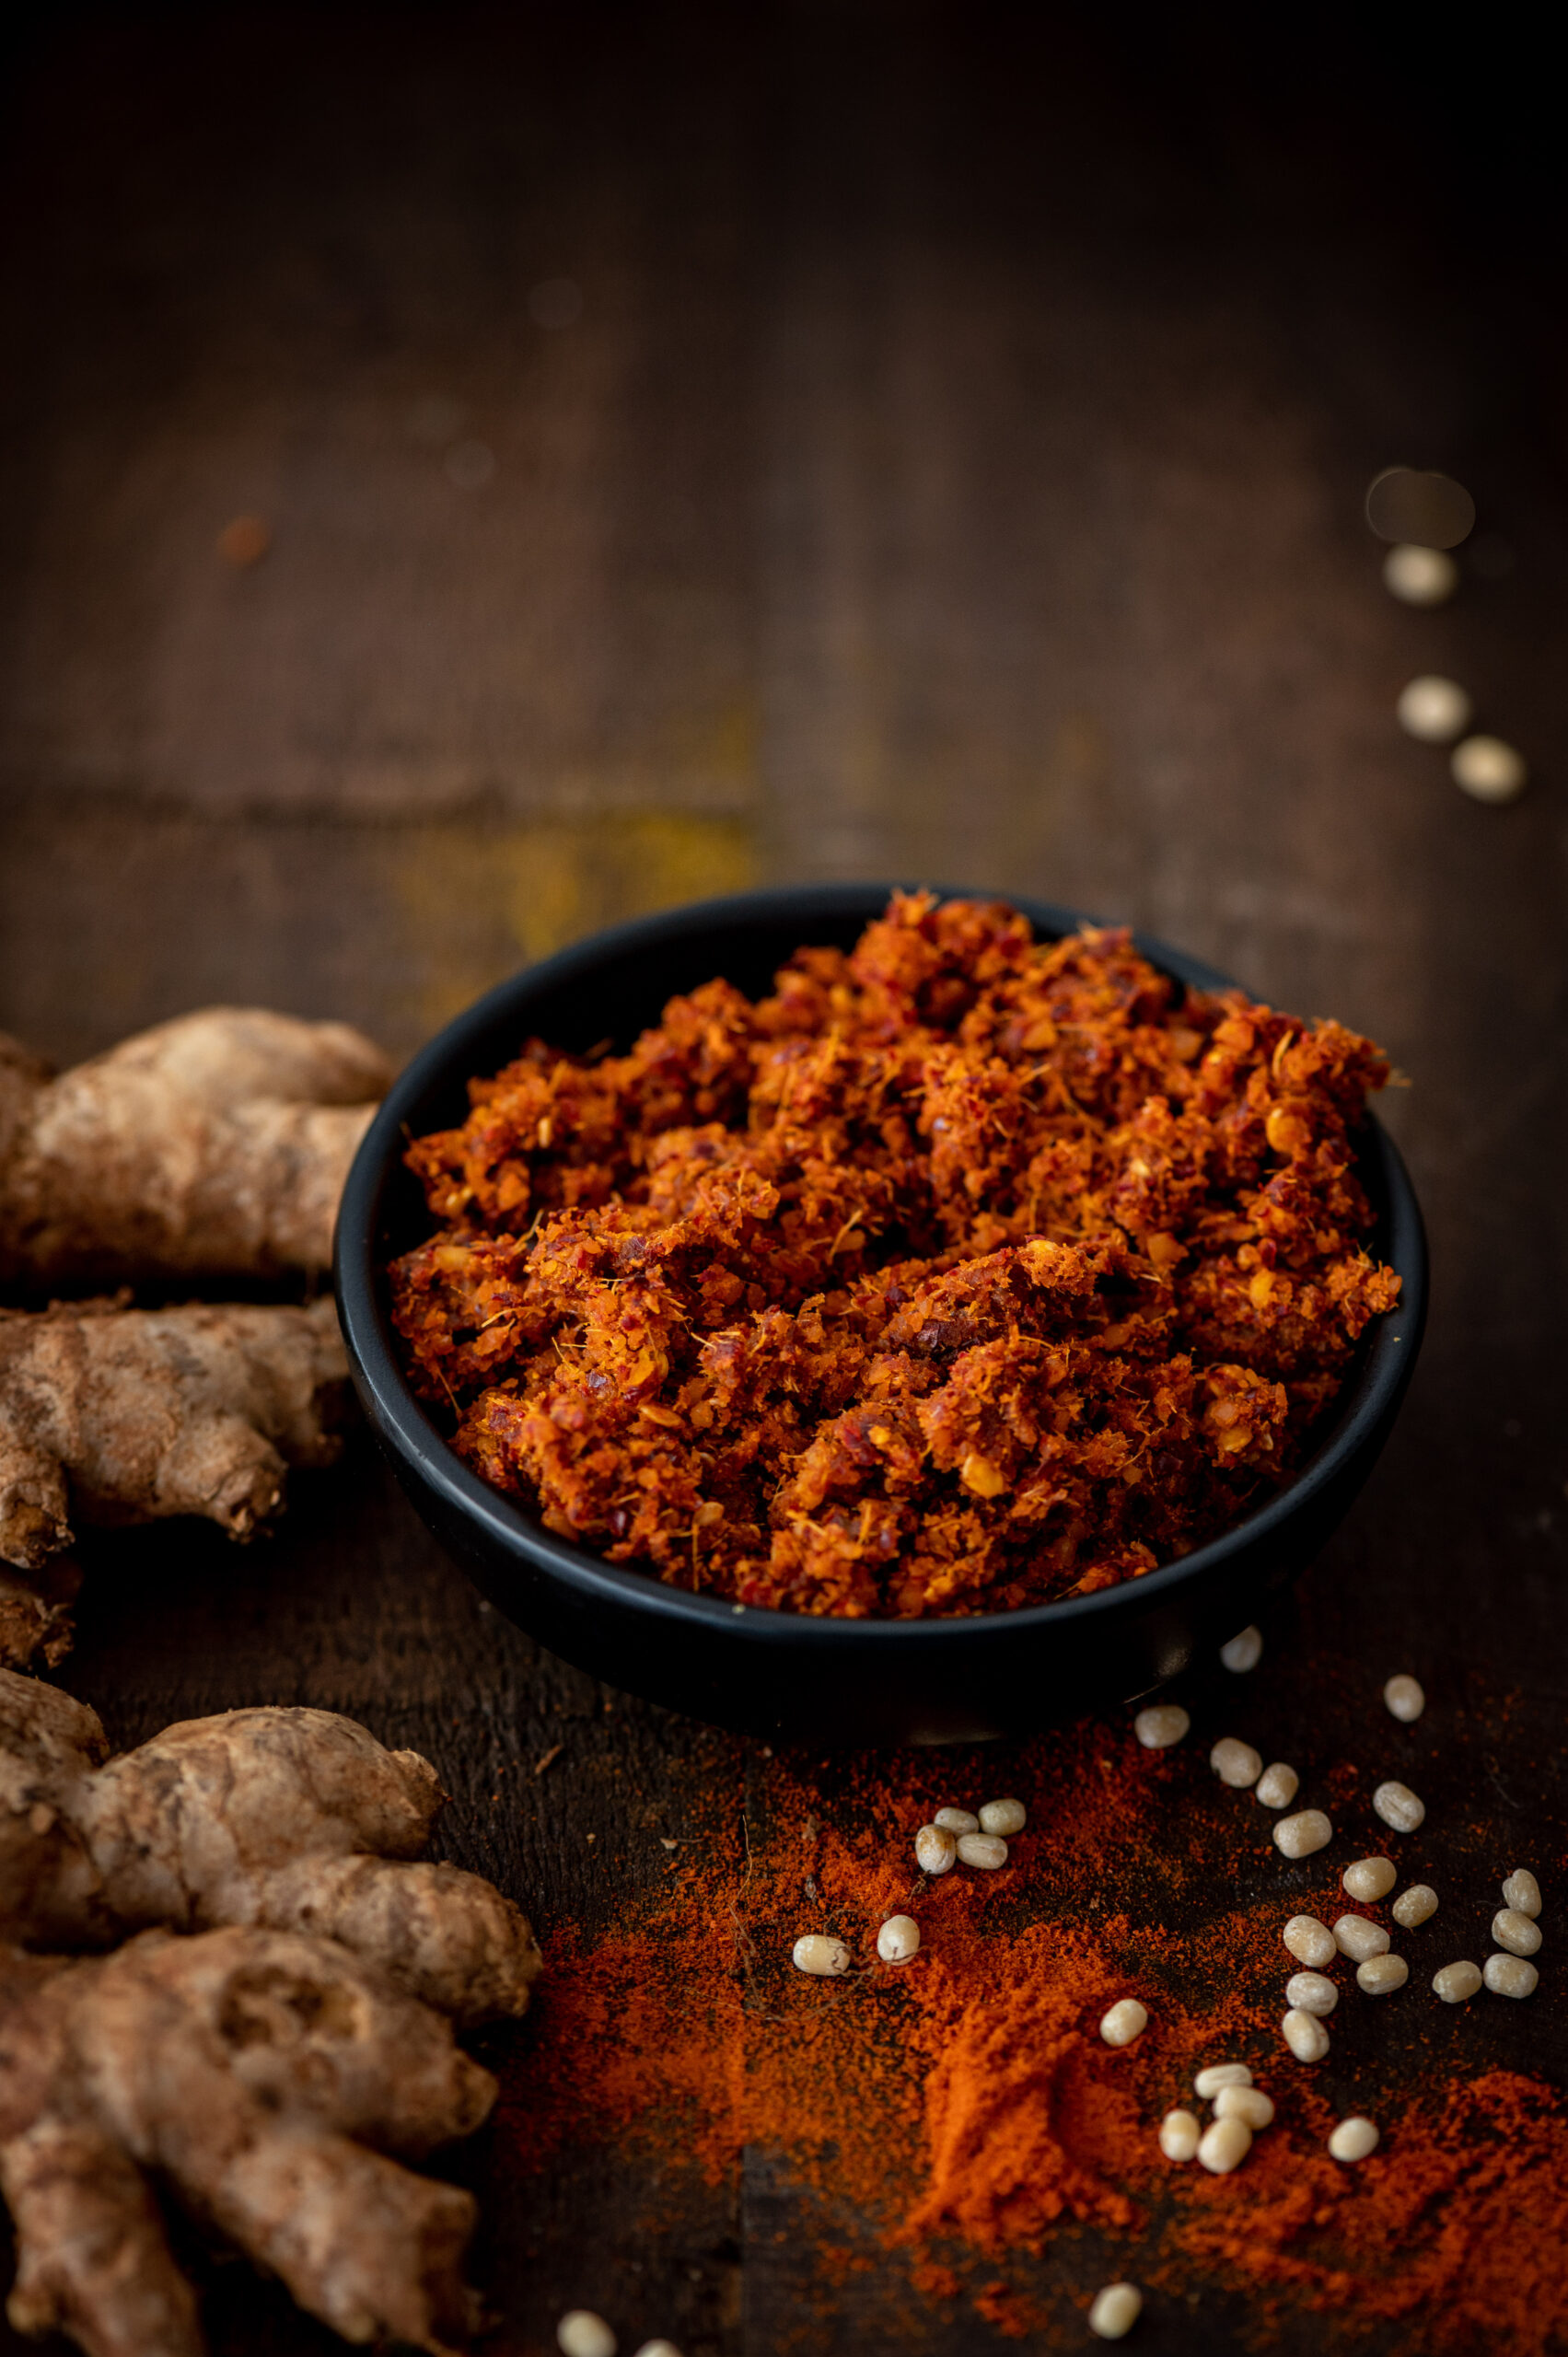
And so – I learnt this from Hamsa and I am now teaching it to you. It’s a brilliant ginger chutney made in the Andhra style. My version is drier than Hamsa’s, and I make it this way so that it lasts longer. It has a perfect combination of flavours – sweet jaggery, spicy red chilli and piquantly aromatic ginger, the last one being a particular favourite of mine. It’s so Indian, yet so doable in any part of the world, consisting of simple ingredients and a quick and easy process. In case you cannot source jaggery, try brown sugar or coconut sugar as a substitute. This ginger chutney lifts up the flavours of my Buddha bowls, my dhoklas, my dosas… it adds such a sumptuous taste to anything I pair it with.
Ginger Chutney

(Yield: 1 cup)

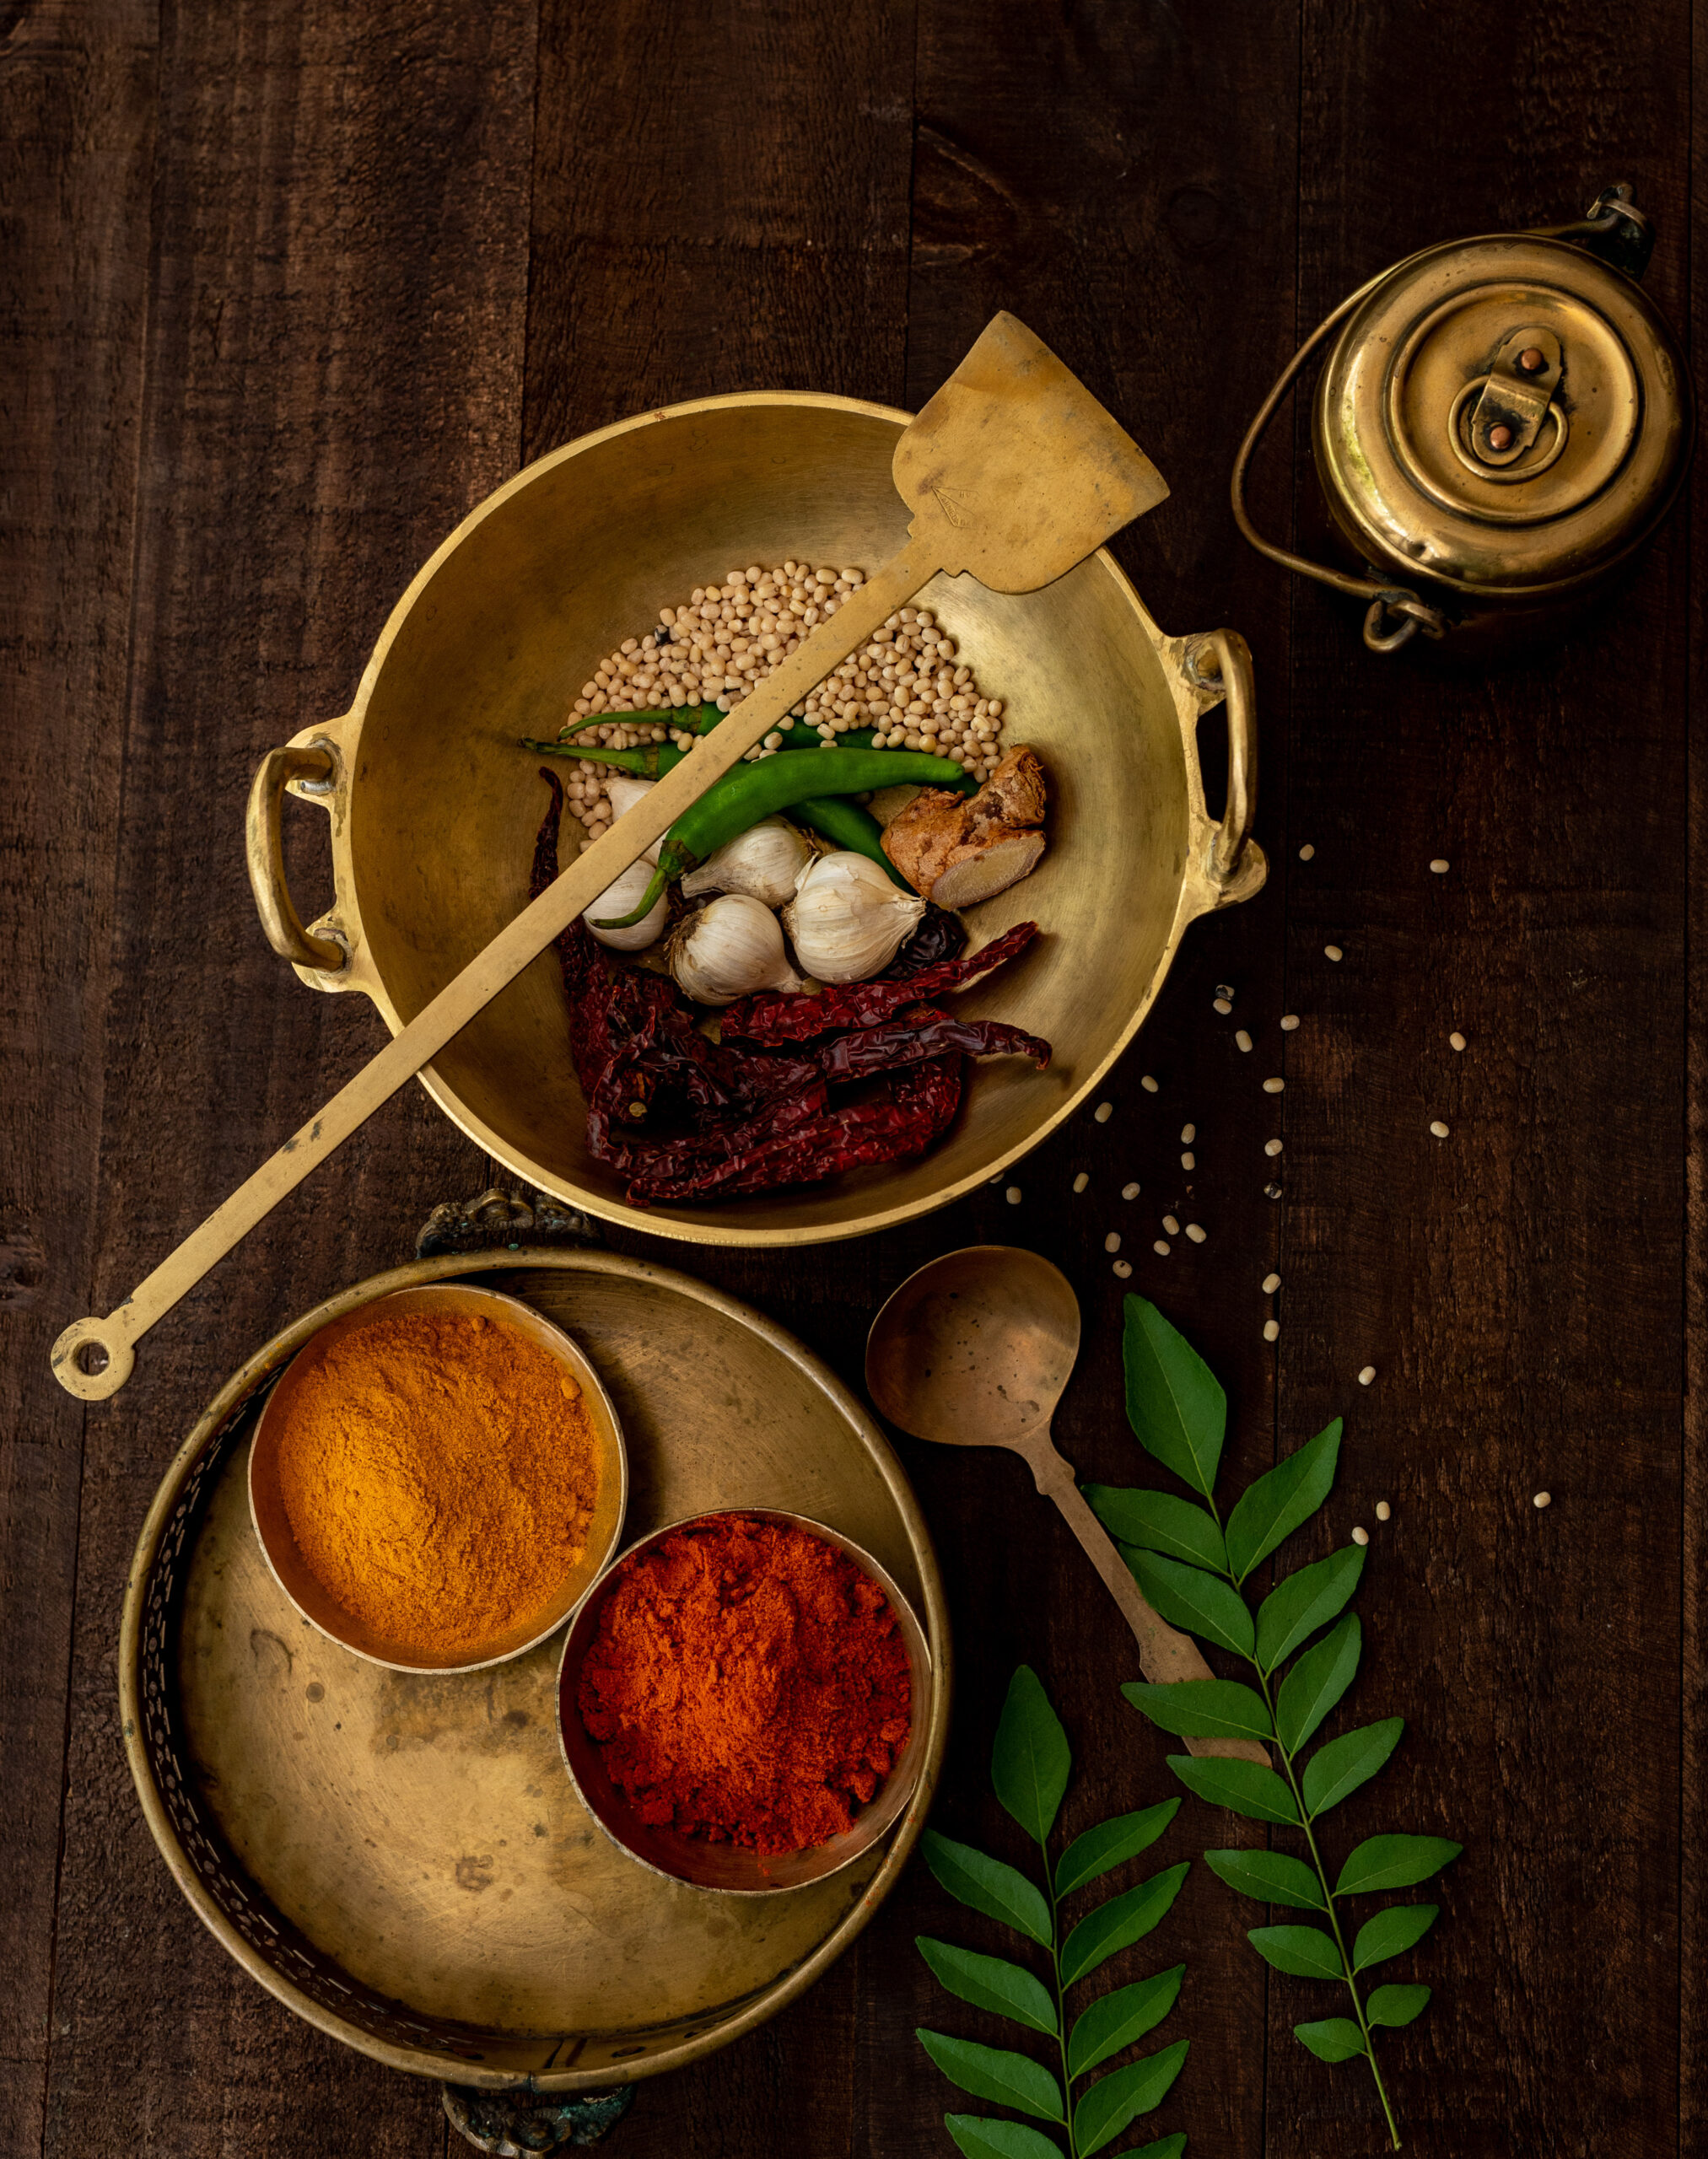
2 small cups washed, finely cut ginger

1 small (lime-sized) ball tamarind

8 dry red Kashmiri chillies

2 tablespoons urad dal

Salt to taste

2 teaspoons cumin seeds

2 tablespoons jaggery powder

2 tablespoons sesame oil


Add the oil to a pan. Dry roast all the ingredients – except the jaggery – until they all turn golden, on a medium flame. Finally, add the jaggery.

Allow to cool. Blend well together without adding any water. You can store this in the refrigerator for 10-15 days. As a dry chutney, it is inherently more long-lasting.

I’d love to know how you’ve been pairing the various dips I’ve been sharing. The previous two in this Indian condiments series were the Tamil-style raw mango thovayal and the Gujarati-style dry garlic chutney. In the past, I’ve also shared several fusion and Indian dips and condiments, all of which can be used creatively, and I hope you’ll be curious about exploring those too. Here they are: curry leaf and green chilli hummus, plum chutney, wood-apple chutney, coriander chutney and date chutney. Enjoy!
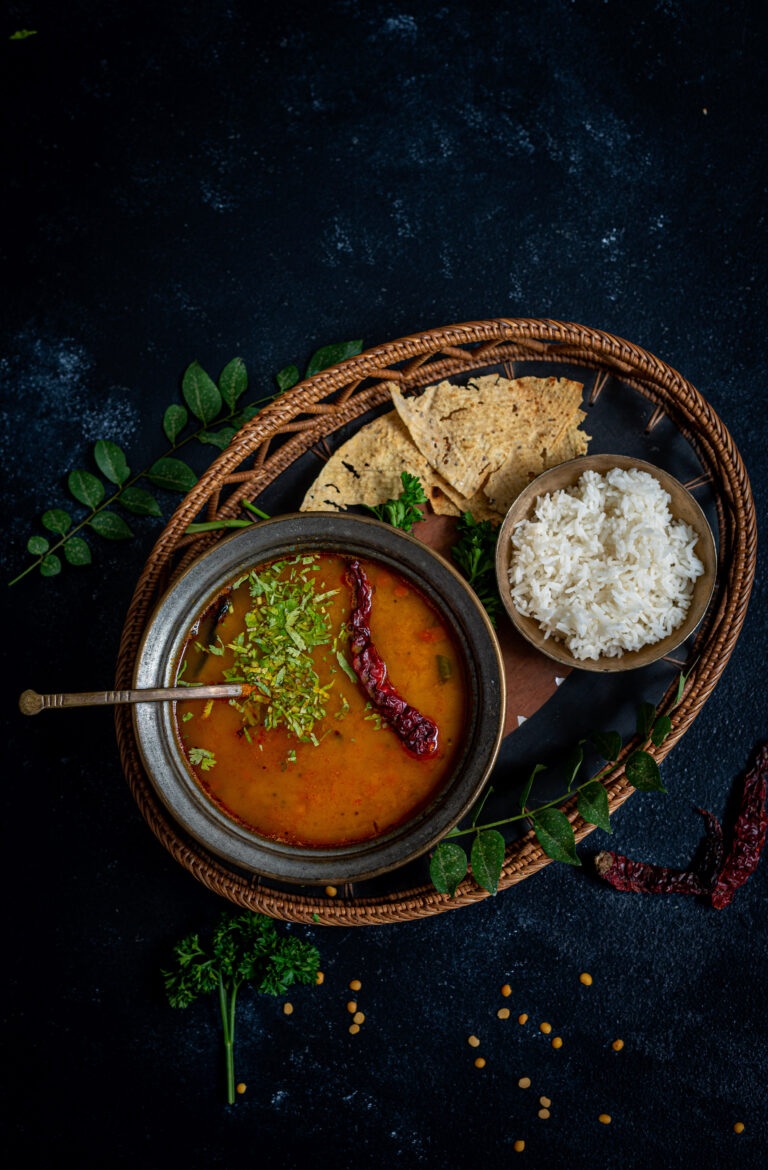
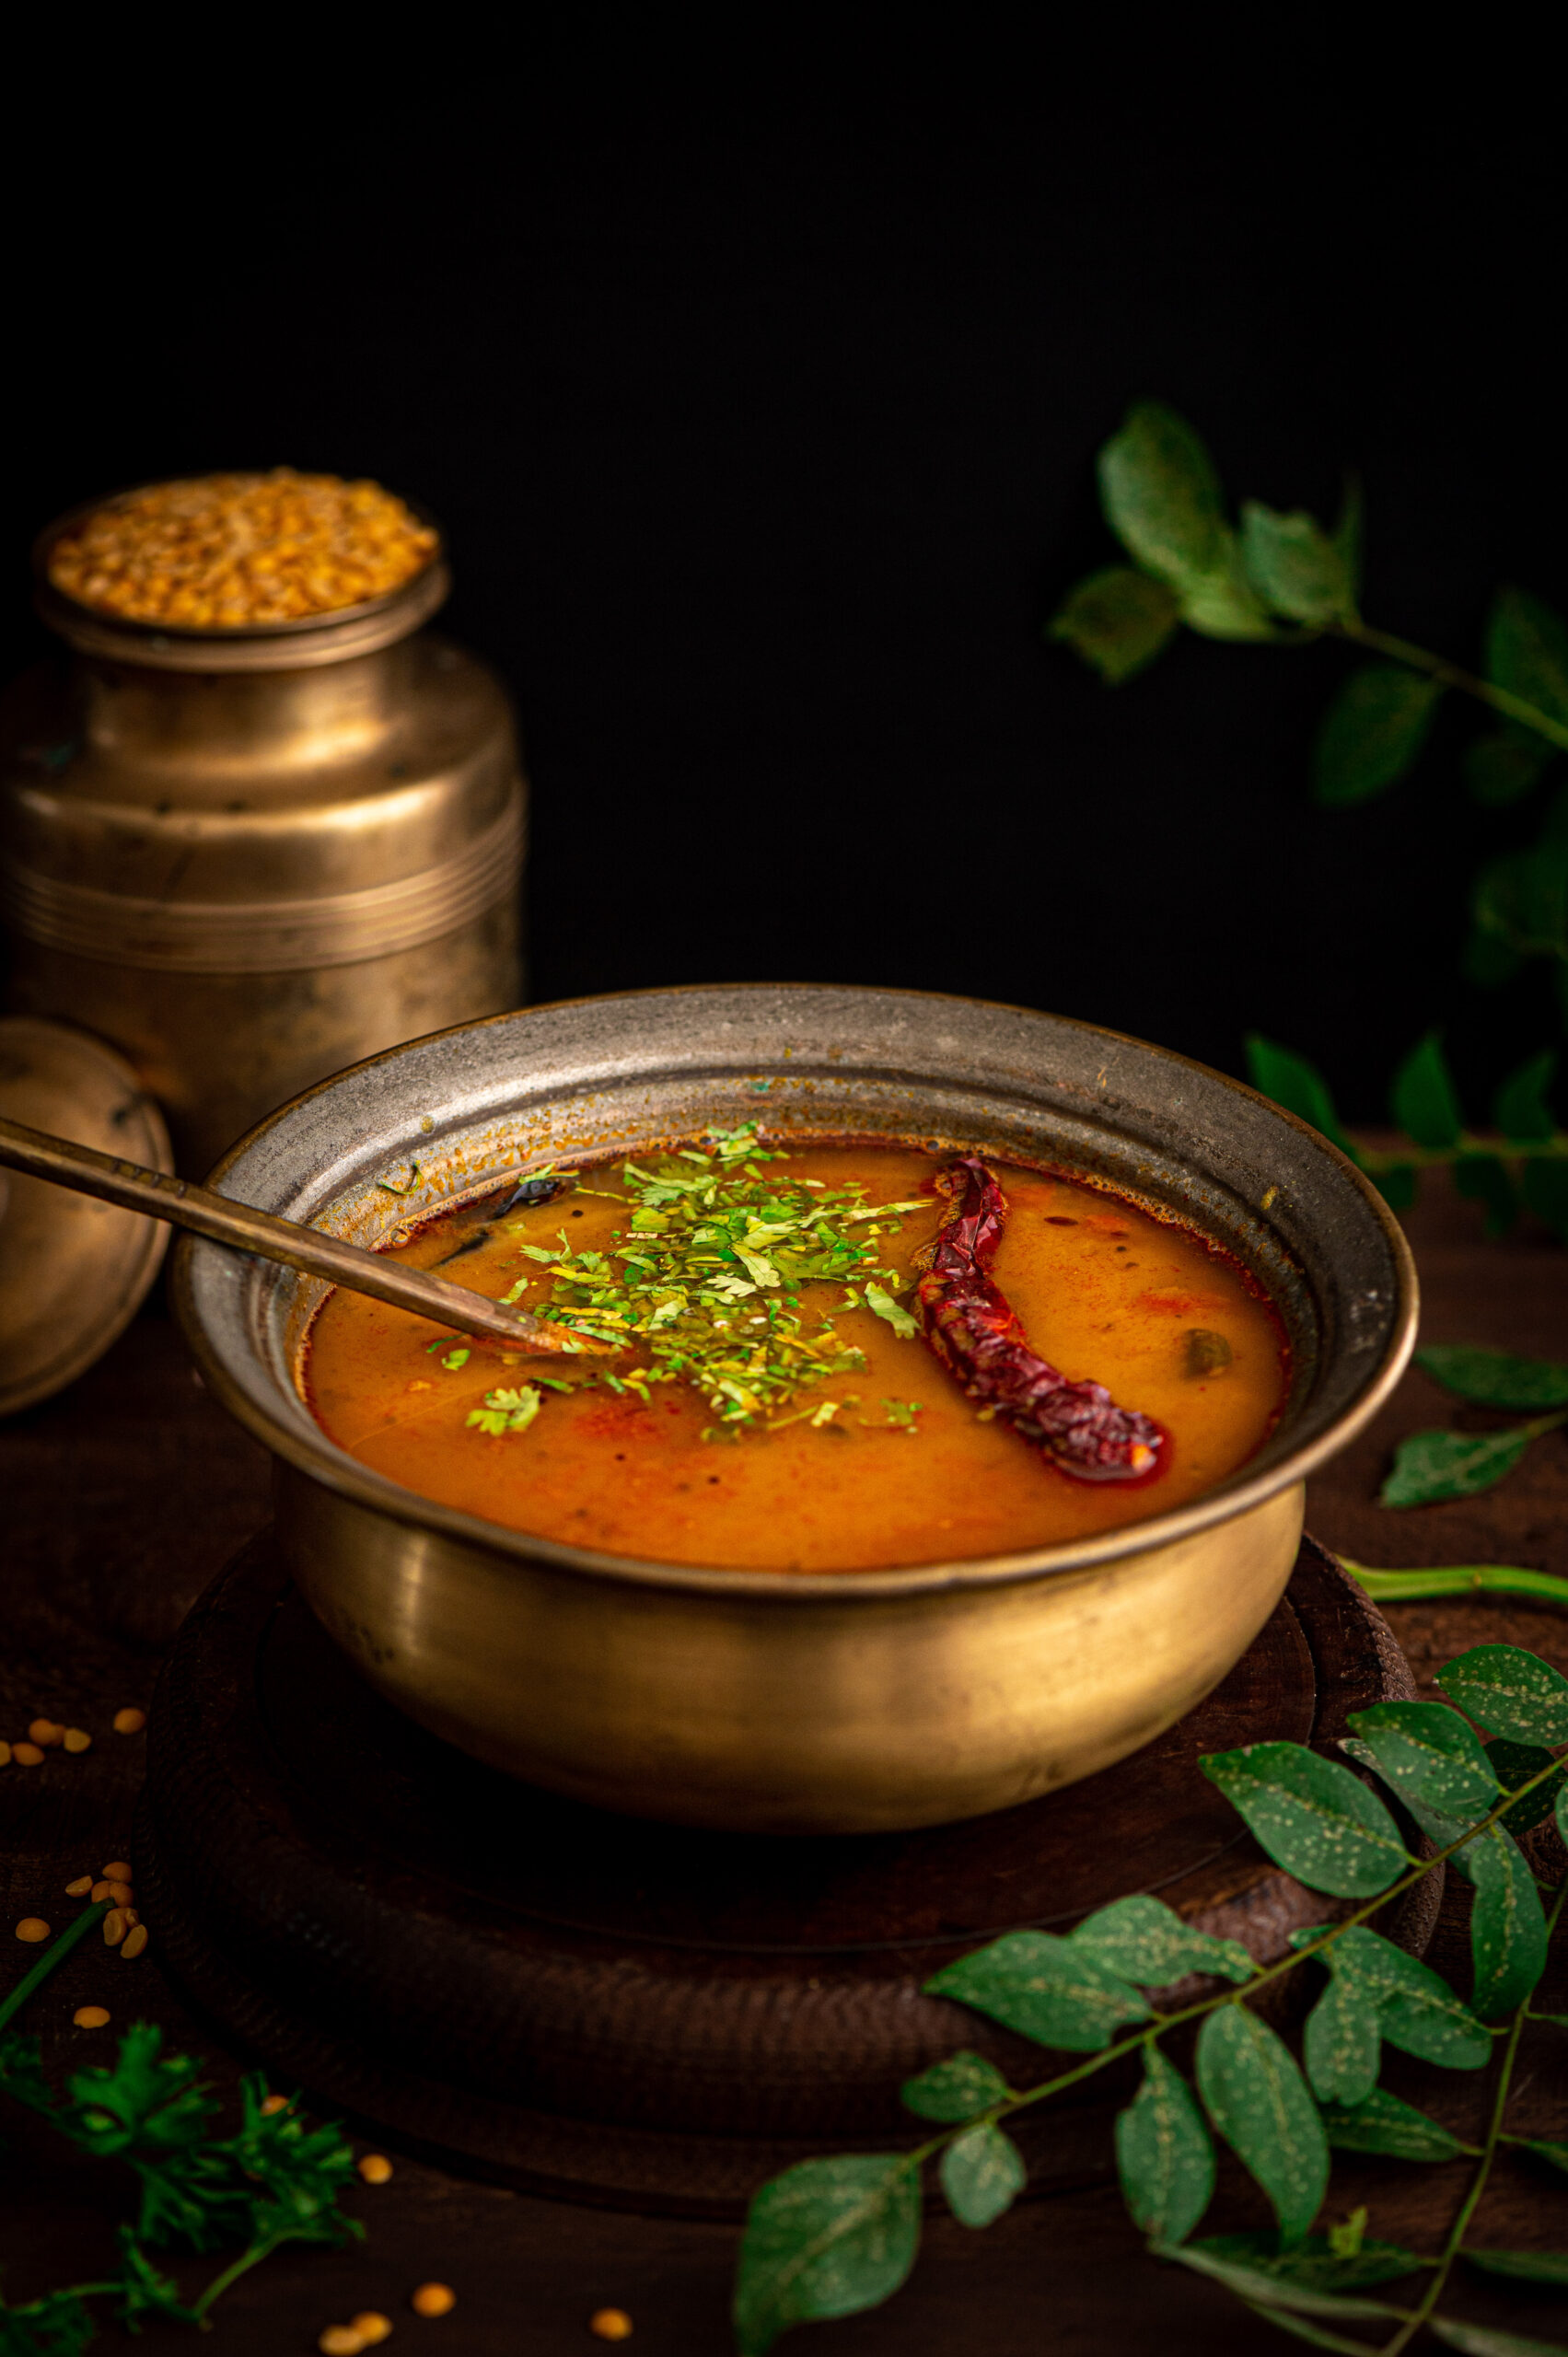
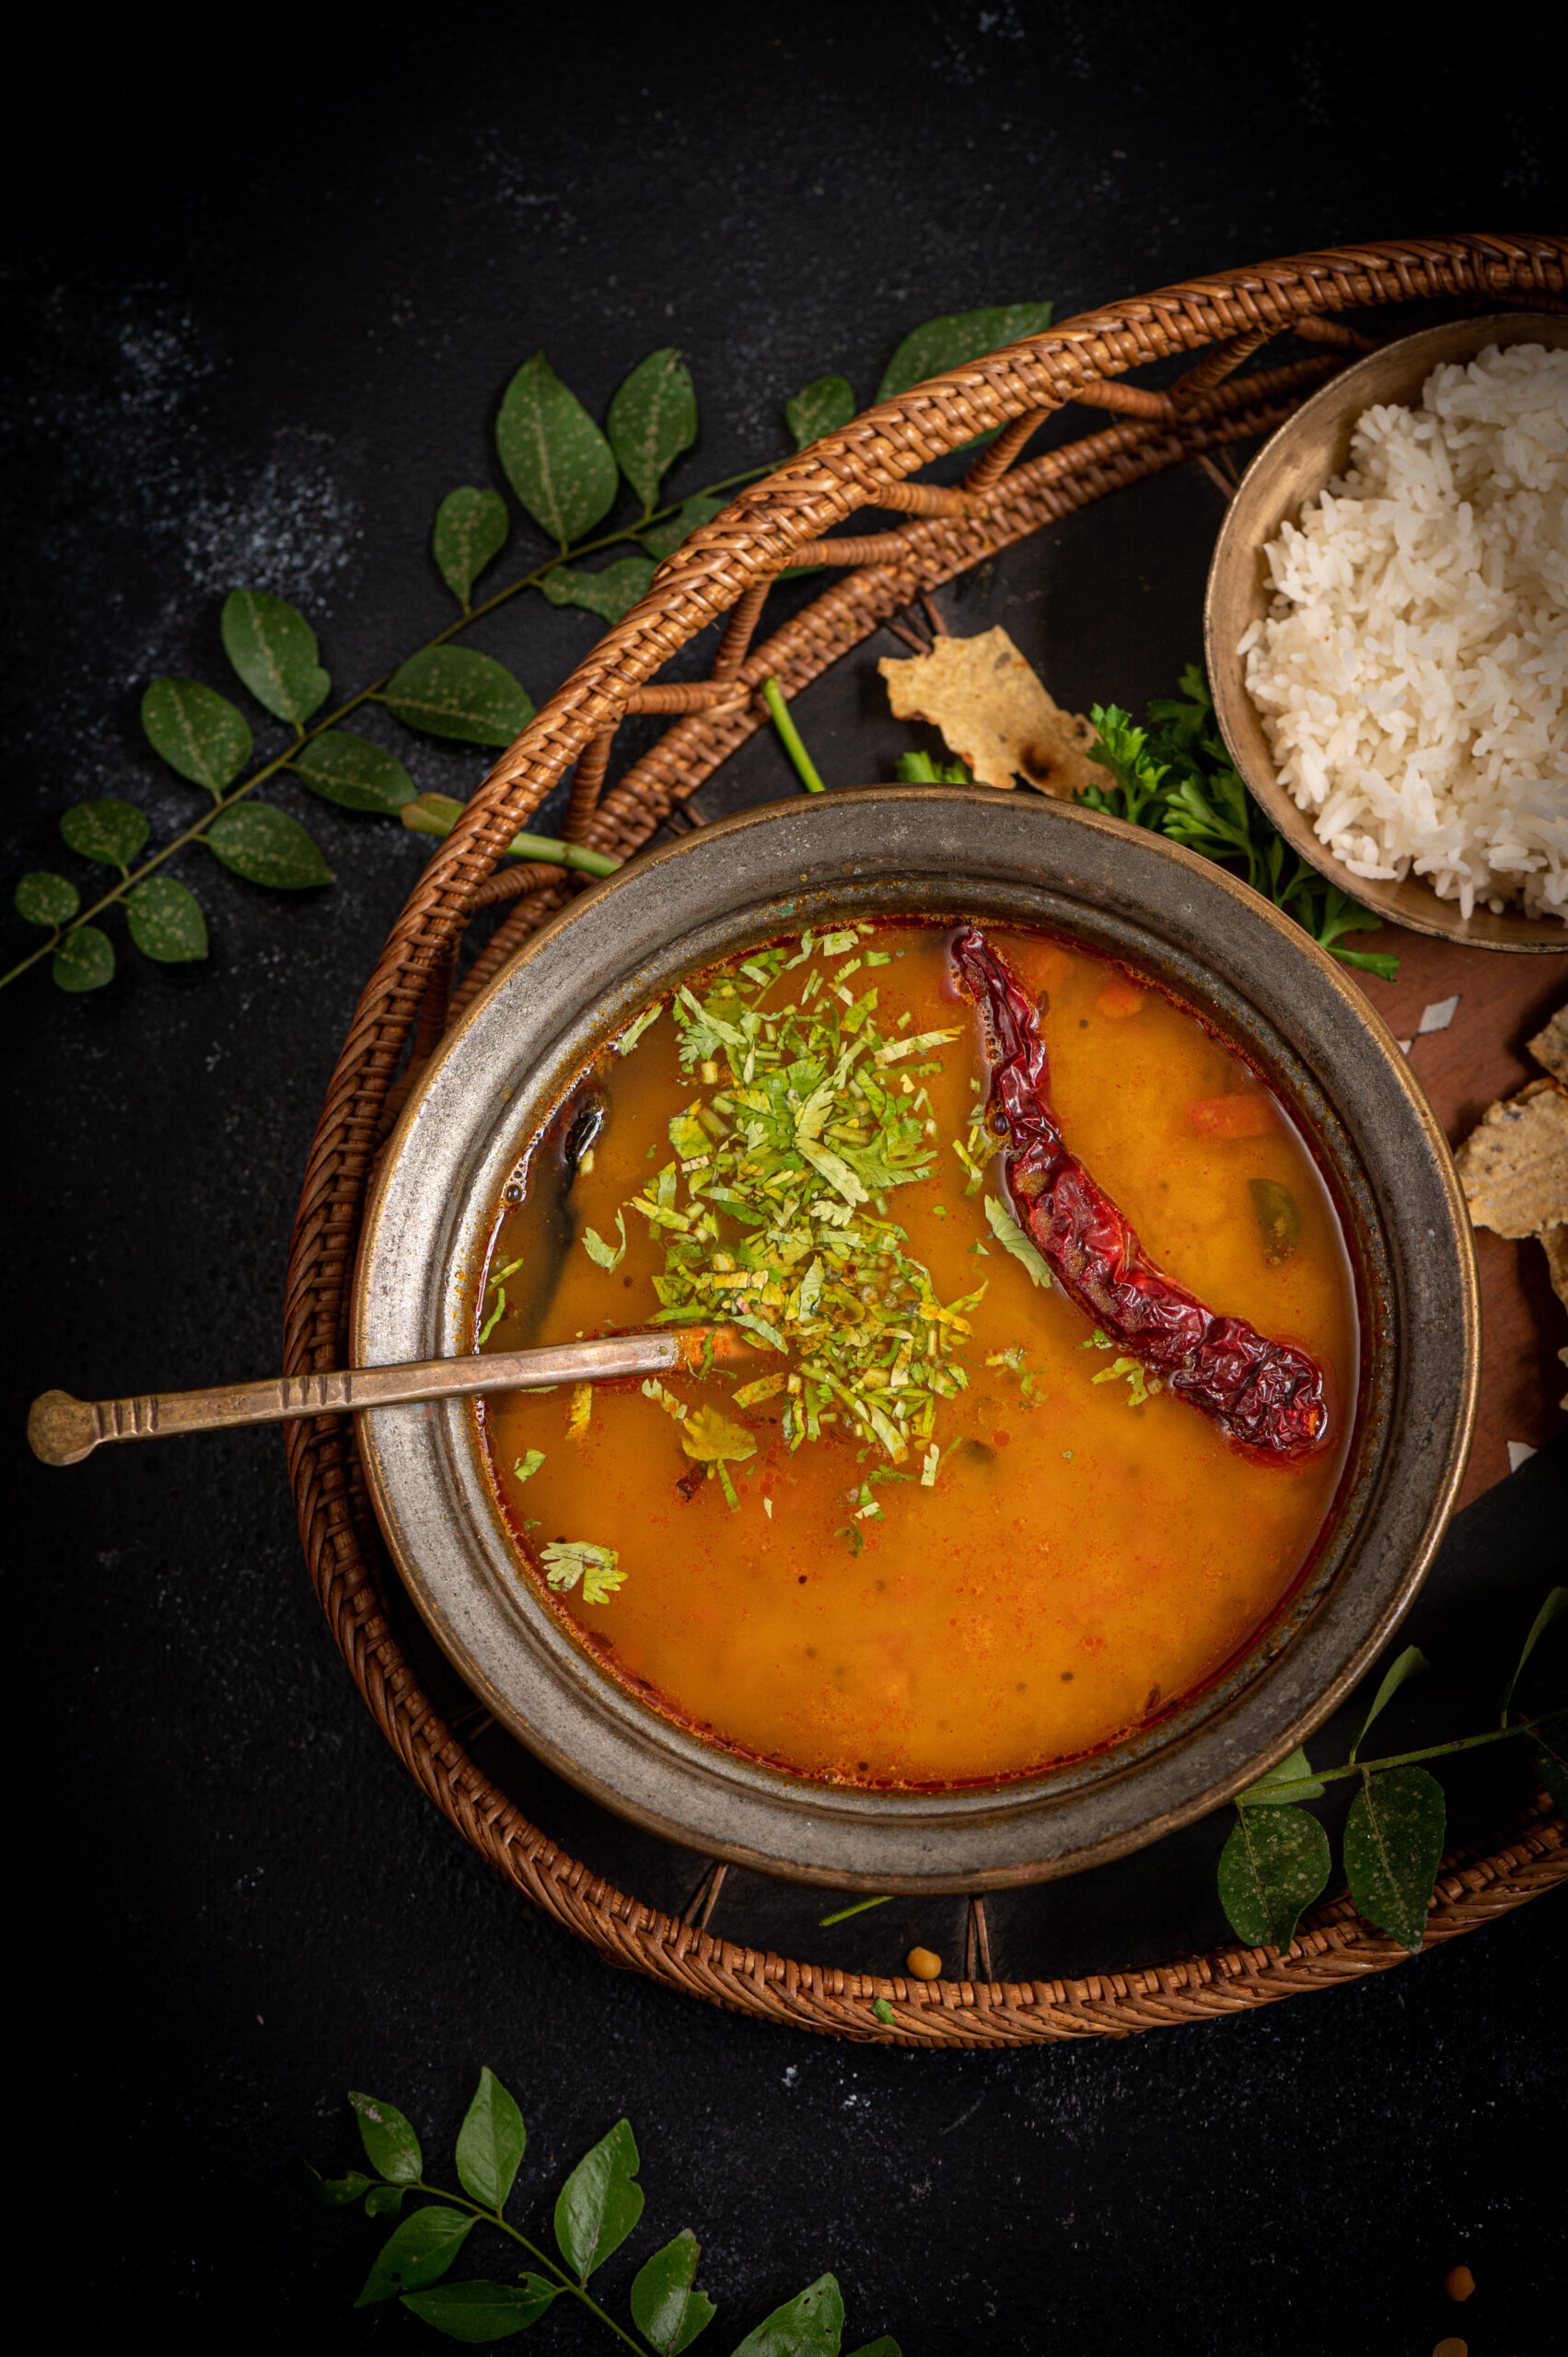
Dal is made in every single Gujarati home almost every single day. Literally. No exaggeration. Dal is the staple, the tradition, the go-to, the “I must have my daily dal”. It is made the same way every afternoon, and we never get bored of it. Come what may, there’s a bowl of dal on the table for lunch, alongside a vessel of hot rice. Given what a fundamental part of our palate it is, it’s funny that it’s taken me over four years of blogging to share the recipe, especially when so many of you have also requested it from me. But here it is, finally! I can say for certain that it’s been worth the wait.
While I’ve asserted repeatedly over so many recipes that every dish tastes different based on the cook, the kitchen and the place it’s being made in, this one somehow always tastes the same. Which is to say: it tastes perfect. It’s a mainstay, made exactly the same way no matter who is making it or where. I have enjoyed it everywhere I have tried it and have never tasted a difference. So what you are getting today is an absolutely authentic, time-honoured recipe for quintessentially Gujarati dal.

It’s funny how the stereotype as far as food is concerned goes “dhokla!”, when dhokla isn’t quite the backbone of the cuisine the way that dal-bhat (dal and rice) is. It should tell you so much about stereotypes versus the real experience because while we may not be famously associated with dal-bhat, it’s such a part of our culture that the dish even forms part of our pleasantries. When one Gujarati person meets up with another, we often say these words: “dal-bhat, rotli, shaak?” The phrase means: “dal and rice, rotli and vegetables?”. The question is a way of saying, “Have you eaten?” – a typical and pan-Indian form of polite chatter. If you notice, dal-bhat is the first term even though it is actually served later in a meal. In a traditional meal, it is rotlis that are served first, and once the rice comes out you know that there are no more rotlis left. Still, in our greetings, the importance is accorded to dal-bhat, because that’s the place it has in our hearts.

The Gujarati dal and rice combo is one that has been relished for generations in my home. When my husband was little, his grandpa nicknamed him Dal-Sukh Dal-Bhat (“sukh” means “happiness”) because it was the only dish that always satisfied him, without fail. My husband’s grandpa also lived to the ripe old age of 99, very fit and healthy on a daily diet of dal and rice – and happily watching his great-grandchildren eat this beloved dish every day too. The very first solid food that my children all ate was dal and rice, and it is still their comfort food. Just as in some South Indian homes, when kids come home after eating out somewhere, they’ll head to the kitchen and say, “Ma, do you have any thayir sadam (curd rice)?”, a bit of dal-bhat is the dish that most Gujaratis will crave in order to feel like a meal is truly complete.

Never come between a Gujarati and their dal rice. Trust me, no matter what other traditions are parted from, this one will stay true for the ages!
While dals are eaten everywhere in India, what makes this one unique to our community is that it panders to our famous sweet tooth. It contains jaggery, which sweetens it, and is also made tangy through kokum. It should only be made with toor dal (pigeon pea), and there is no substitute for this ingredient that won’t alter the entire recipe and the entire experience.

Gujarati Dal

(Yield: Serves 4-5 persons)


½ cup raw toor dal

2 cups + 2 cups water

2 tablespoons ghee

½ teaspoon mustard seeds

½ teaspoon cumin seeds

1 dry red chilli

A pinch of methi seeds

A few curry leaves

A pinch of asafoetida

½ cup finely chopped tomato

Salt to taste

¼ teaspoon turmeric powder

½ teaspoon red chili powder

2 tablespoons unsalted peanuts

3 tablespoons jaggery

4-6 stems of kokum flowers

¼ cup chopped coriander leaves


Wash and strain the dal. Pressure cook it in 2 cups of water. Then, blend the dal with a handheld blender and set it aside.

In a kadai, add ghee. Once it has heated, add the mustard seeds, cumin seeds and fenugreek seeds and allow them to splutter. Next, add the dry red chili and the salt, chili powder, turmeric and asafoetida. Finally, add the curry leaves, peanuts, chopped coriander leaves and chopped tomato. Sauté. Cover with a lid and allow this to cook on a slow flame until all the spices and the tomato come together and look mashed, as in this video below.

Now, add the jaggery. Then, add the blended dal that was set aside earlier. You will need to add more water at this stage, based on the thickness you prefer. I’ve added 2 cups. Remember that once cooled, the dal will thicken a little more.

The final touch is to add the kokum to the kadai. If you don’t have this ingredient, you can use a little lime juice as a substitute. Allow the concoction to boil for approximately 4-5 minutes.

Then, serve hot alongside rice or rotli, or both – as in a traditional Gujarati thaali.

Not only does this dish have the charm of simplicity and familiarity, it is also downright delicious. It’s truly such a pleasure to share this recipe for this deeply-loved Gujarati dal with you. I would not be surprised to hear of it being made in your own home daily from now on, just as it has been in mine since time immemorial!

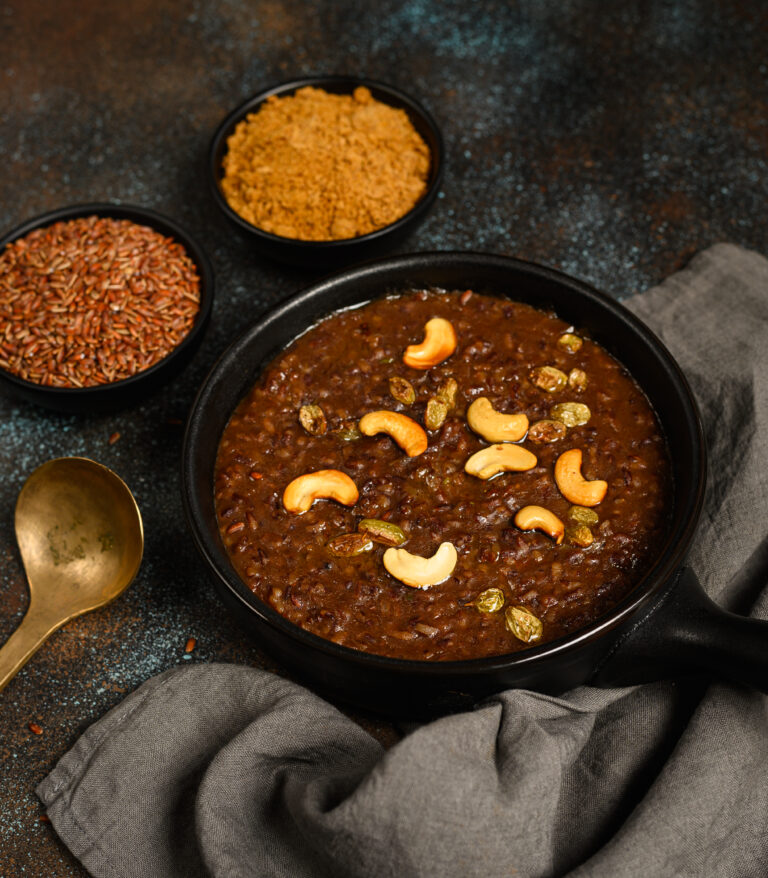
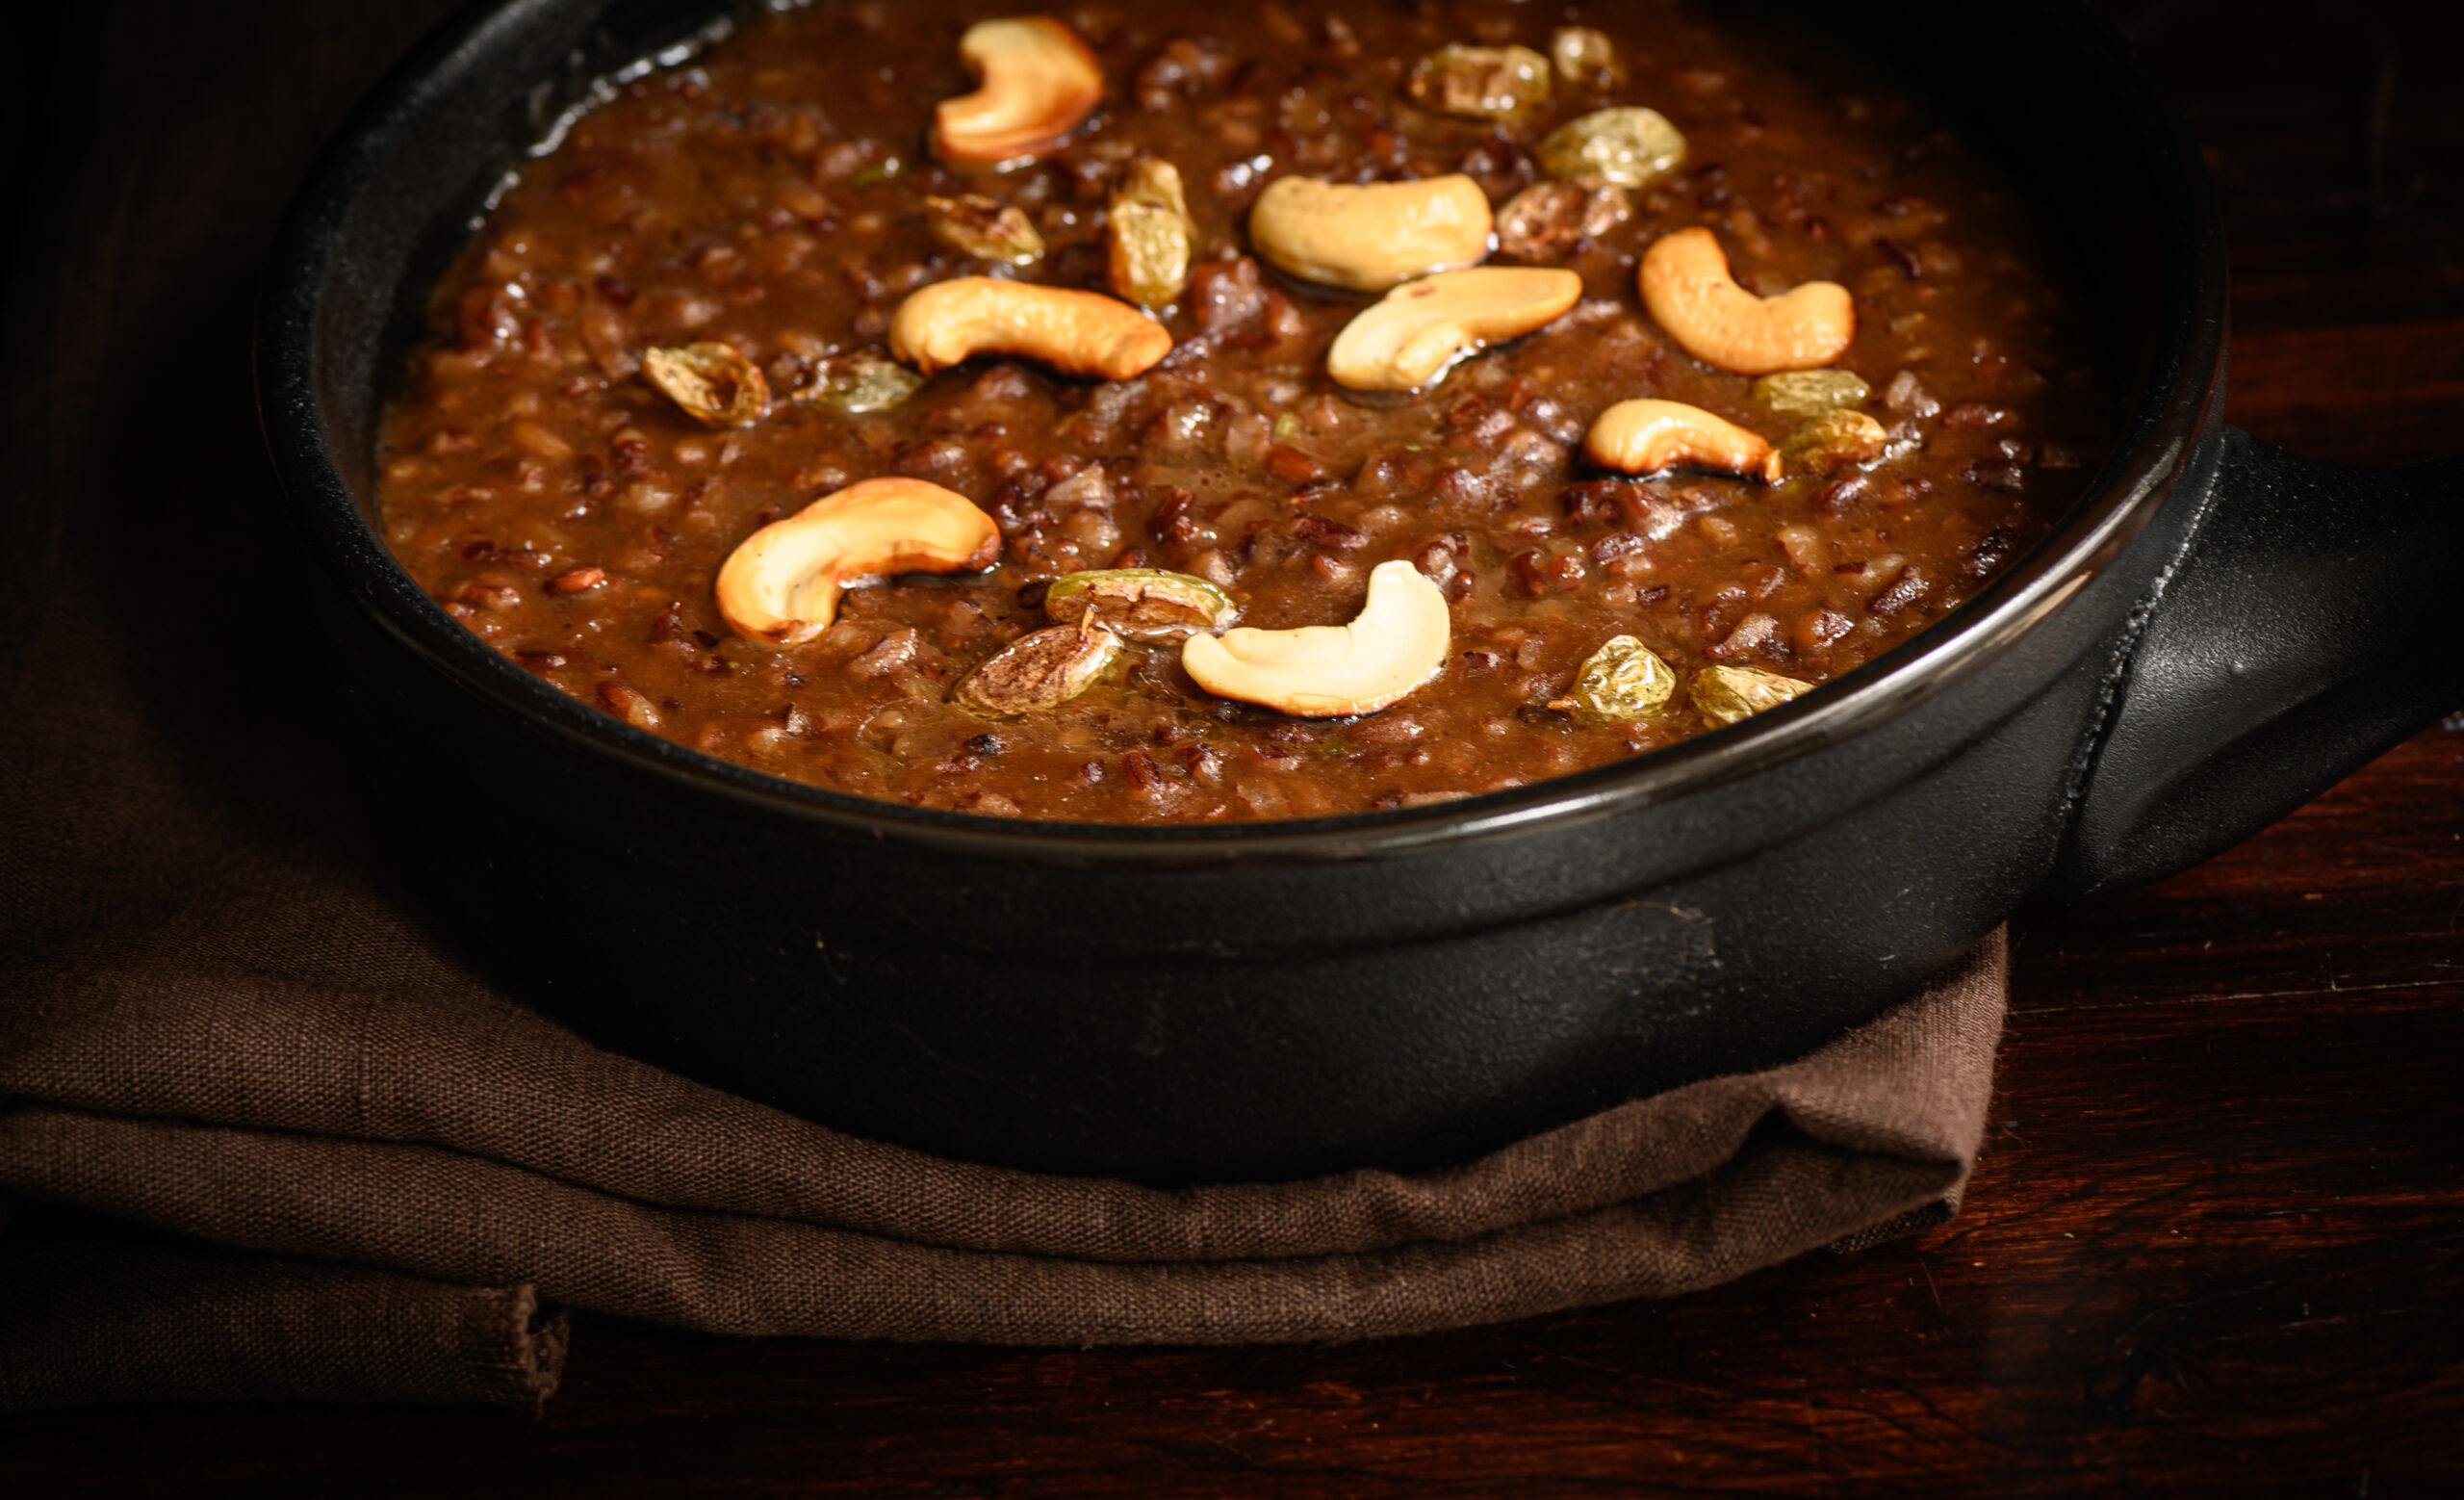
The revival of traditional ingredients and culinary methods is something very close to my heart, and you may have noticed this passion in everything from the cookware you see in my photographs to the recipes I’ve shared on this blog over the years. This is also the reason why I celebrate so many festive occasions, and believe in passing on traditions to my children, be they cultural (such as certain Diwali or raksha bandhan rituals) or sentimental (such as heirloom recipes). This return to a time-honoured way of life is very valuable to us. It was in this spirit that I accepted the opportunity to create a recipe over the Pongal festival for a special feature in The Hindu. Although Pongal has now passed, any time is a good time to try something delicious, and I hope you’ll like this recipe for traditional South Indian red rice and jaggery pongal.

When I discovered an organic store in Chennai, Spirit of the Earth, I really enjoyed looking at the hundreds of varieties of locally produced rice from around India. I especially love black rice, which has a nutty flavour and appealing colour as well as being nutrient-rich. As someone with Vitamin B12 deficiency, it provides a source of iron that I’m glad to incorporate into my diet frequently. It’s also a very versatile grain, and I enjoy using it in dessert, specifically in Thai-inspired sticky rice with mango pudding. The red rice varieties were also very intriguing to me, and one of them is the key ingredient of this recipe.

Having experimented with growing organic produce on our farm over several seasons now, I now truly understand why turning away from chemical-heavy and industrialised agriculture is good for us. What we do is on a small scale, and mostly for our own sustenance, although we do sell to selected organic stores as well. We cultivate traditional varieties of fruit, flower and produce, and the only kinds of rice and millets we usually eat at home are from our own fields. Among the produce we grow are: ragi, green moong, black rice, barnyard millet, samai and thinnai. Even taste-wise, I find that hybrid varieties of fruit simply don’t taste as sweet. The sight of blossoms like the manoranjitha, which I grew up with but hardly find in Chennai anymore, warms the heart.

It is deeply meaningful to me to be able to provide all these forms of a sense of belonging to my children, who are grown up and live in different parts of the world. They know that they have a home to return to, which will be filled with love and tradition, where meals will be served with ingredients we have carefully cultivated ourselves. When they are not here, they have the recipes on this blog, which will teach them (no matter what time zone they’re in!) how to whip up their favourite comfort foods for themselves. This was one of my core reasons for beginning this blog. While it may look like a motley collection of recipes, that is only because I want it to speak to many generations and tastes, and span influences that reflect all our travels and dreams. We are all multi-taskers with many interests, which is why I keep things varied.

Beginning with my love of cooking for others, I then also started taking photographs. After early trials and errors, I attended workshops to hone my skills, and practiced hard. I think the results of these efforts will be clear even if you look back at old posts. I am proud to have come a long way since then, and especially that I took the step to establish Nandi Shah Photography in 2019. I think it’s still early enough in the year to share again this calendar, which showcases the combination of two of my great loves: baking and photography.

Another very important component of this blog is the health aspect, and whether it’s vegan, Macrobiotic or simply a smarter ingredient substitute, I am always on the look-out for how to create the most nutritious recipes. This red rice and jaggery pongal checks all the boxes here.

Pongal is a traditional South Indian rice porridge, and red rice is a perfect substitute for white rice. I like using Onamatta rice in this recipe as it has a beautiful fragrance. It also tends to cook faster and is a soft rice variety. Originating in Kerala, it is also known as Rosematta rice. A highly nutritious and filling grain, it keeps you full for a long time, making it an ideal appetite-curbing dish during dieting or fasting. I find that red rice also has a way of uplifting the flavours of local vegetables and dhal. It tastes delicious with palm jaggery, which is great sweetener. I’ve had the opportunity to see it being made as well, and I highly encourage it as a sugar substitute. Jaggery has long been the traditional sweetener in Tamil Nadu cooking, and I believe that ancient pongal varieties would have also been made with millets and older grains.

What I am sharing today is a traditional recipe, relished for centuries. You’ll see why when you taste it.


Red Rice & Jaggery Pongal

(Yield:  3-4 cups)

½ cup red rice

½ cup jaggery

6-8 cashews

2 tablespoons mung dal

2 ½ cups water

3 + 1 tablespoons ghee

1 pinch of cardamom powder

1 handful of raisins


Roast the cashews in a ½ teaspoon of ghee. Add the raisins and roast until they bubble up. Set aside.

Roast the mung dal in a ½ teaspoon of ghee until it releases an aroma. Now, add the cleaned and washed Onamatta rice to it. Add water and allow the rice and dal to cook until tender in a pressure cooker on a medium flame.

In a pan, add ghee. Now, add the palm jaggery. It will begin to melt in a few minutes. Then, add the rice mixture and blend well.

Add the cardamom powder, raisins and cashews, mix well and top it off with a drizzle of ghee before serving.

Preparing a traditional dish like this, no matter when, always has a comforting feeling to it. I truly believe in the adage “We are what we eat.” Food has a unique way of expressing this. Four generations of my family have lived in South India now, and it’s a part of who we are. This red rice and jaggery pongal is a beautiful way for me to honour that connection, as well as my personal appreciation for all things organic. I’d love to know what you think when you try it out!


There are two things from the past that I have recently had a hankering for: wood rose trees and wood-apple fruits. For over a year, I’ve been asking people if they know where I can find a cutting of the wood rose tree, which I remember from gazebos at a club in my childhood. I loved to break its pods open and see the black seeds. Many cannot even recall such a plant, and it is sad to know how something that had once been familiar has almost faded from public memory. The wood-apple fruit, however, is one that everyone knows. Or rather, they remember its existence. Even if they may not be able to remember when they last tasted it. This fruit has slowly been disappearing from our palates, as I realised over recent months when this craving hit me and it became almost impossible to source.

Thanks to my good fortune, I found a vendor near the Mylapore market who had some wood-apples in stock. I asked him why I hadn’t been able to find it of late, and he told me that demand for the fruit has gotten so low that farmers no longer have an incentive to grow it. It is just not financially viable for them to do so. The wood-apple season that I remembered from my childhood is right around this time, in conjunction with the festive period and the colder months, and it seems that somewhere in the state, perhaps in a scarce way, there is a small harvest after all.

As I said, I have been craving this wood-apple chutney for months, and it means a lot for me to be able to share the recipe with you, since it took so long to source the chief ingredient! I consider this a “revival recipe”, one which I hope will inspire you to bring this fruit back into grocery shopping. This is the only thing that will allow farmers to cultivate it again as they did before.

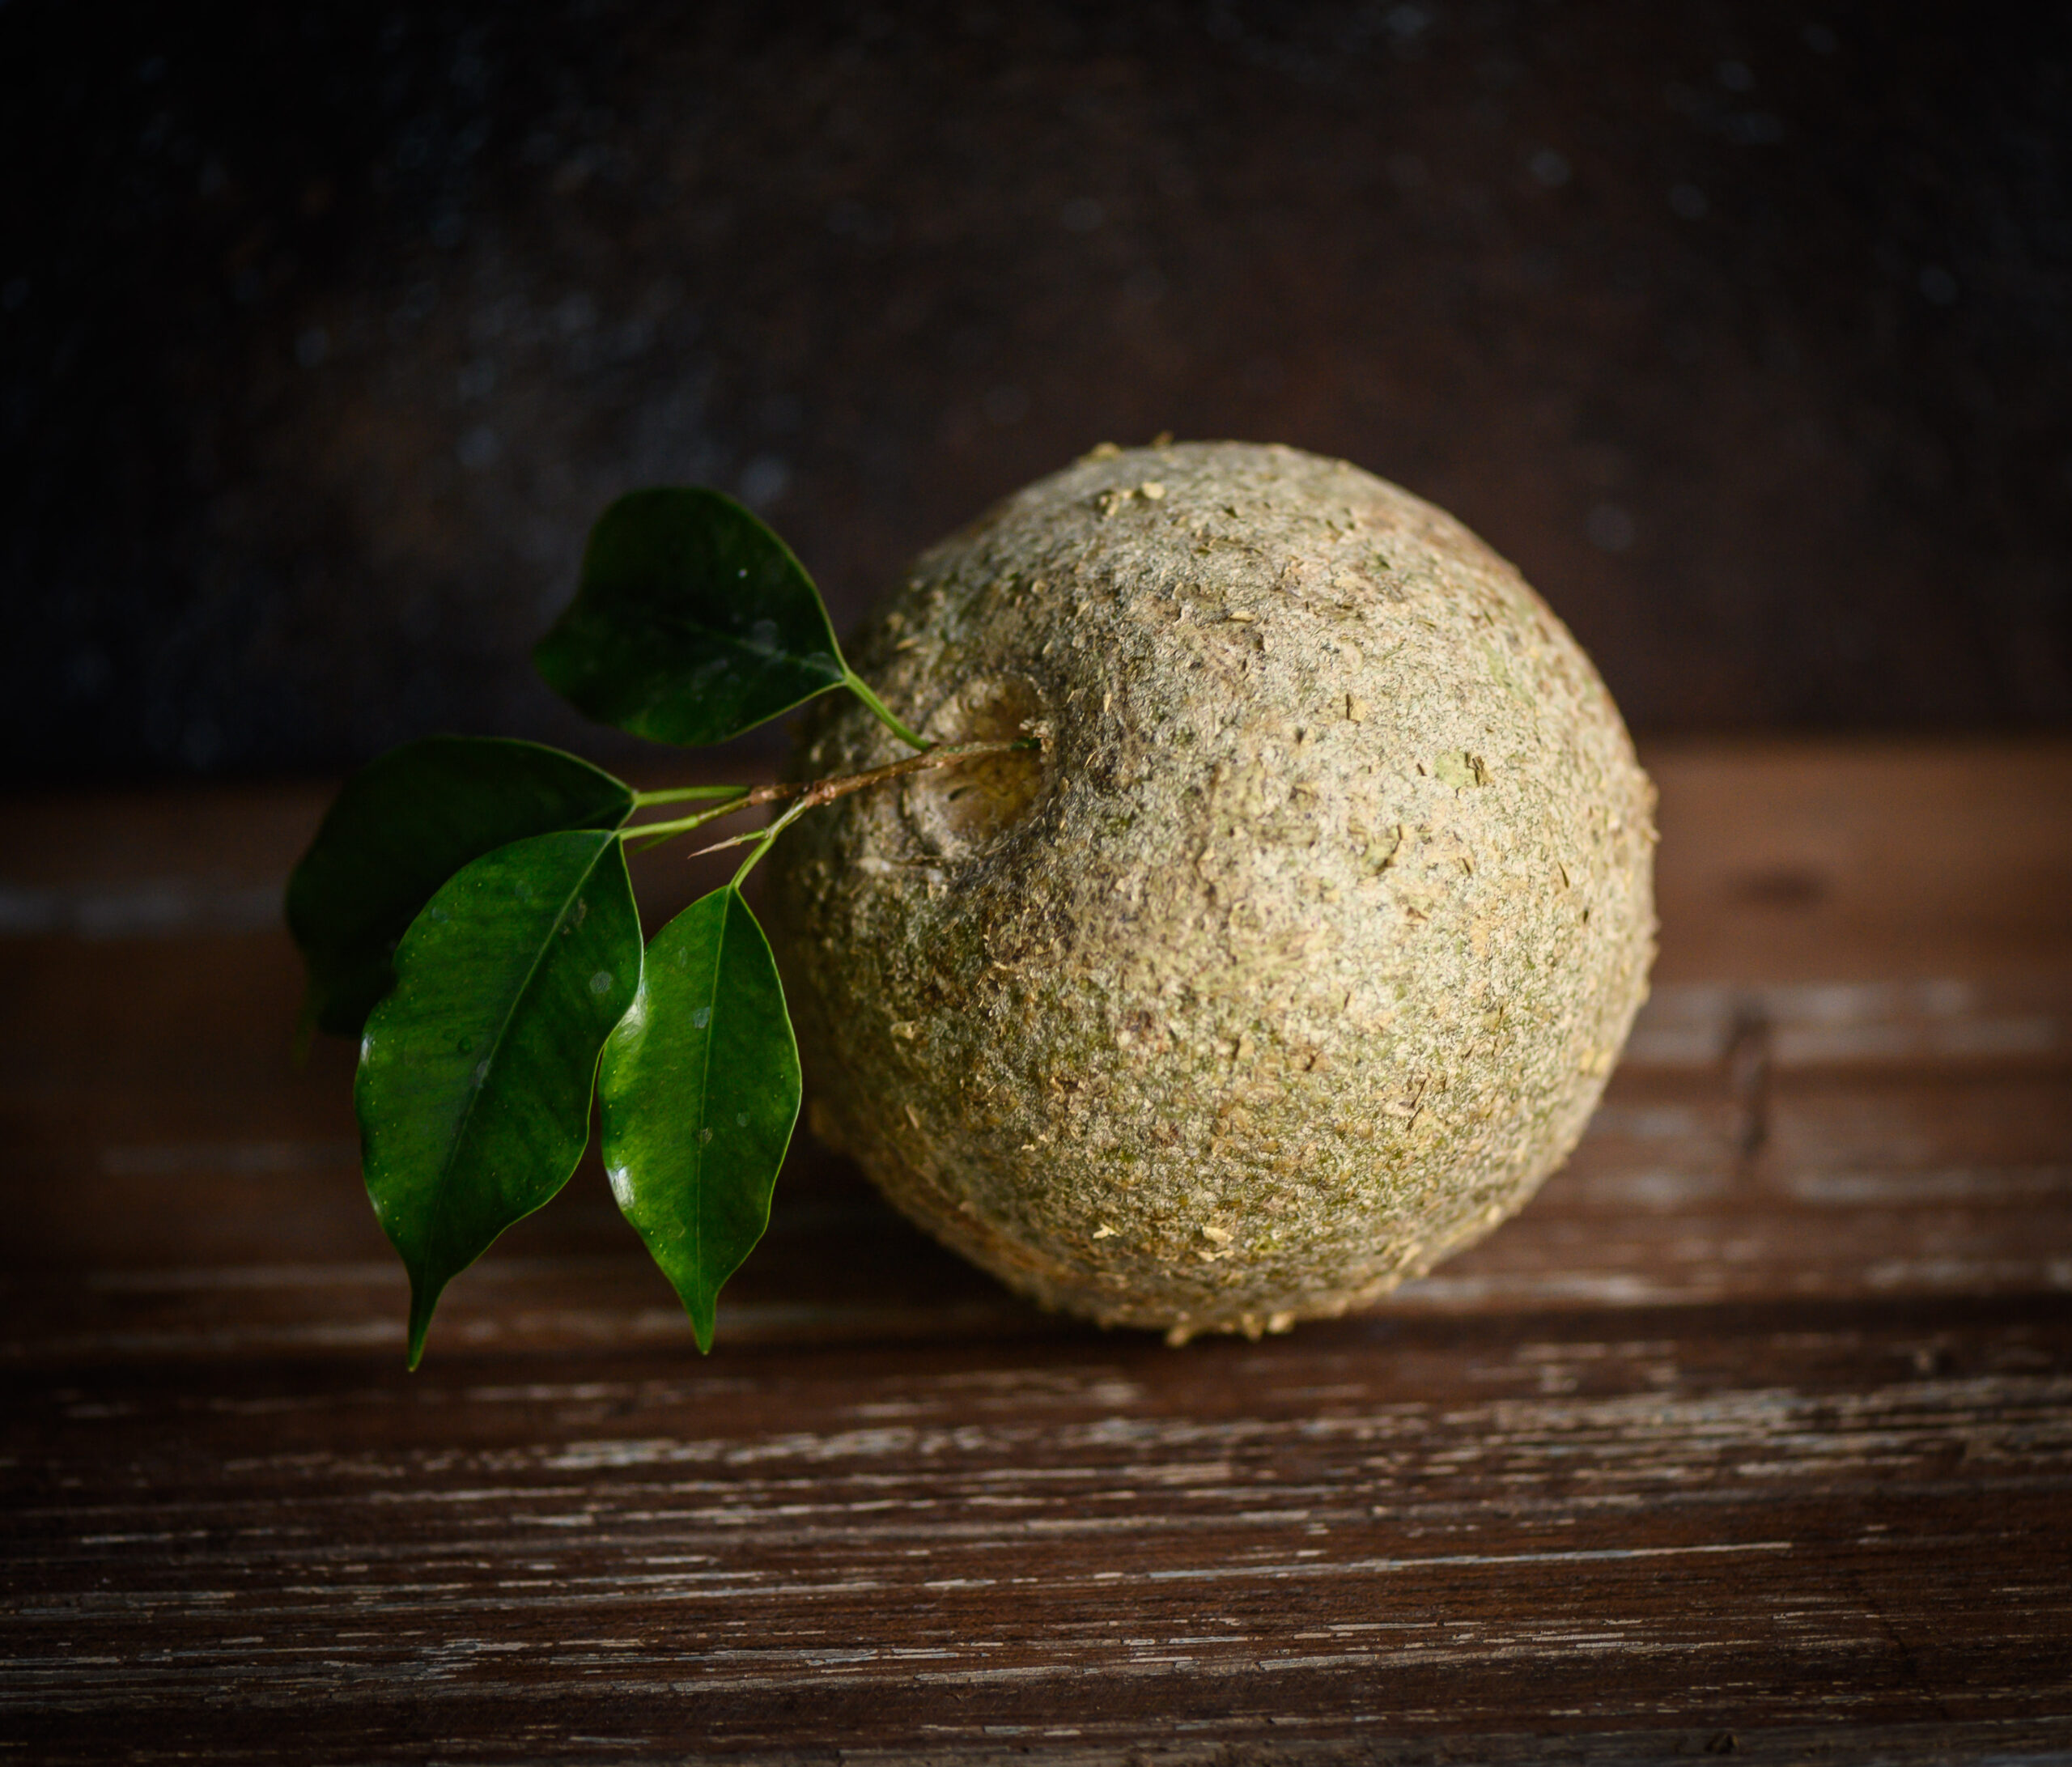
Known as “kotha” in Gujarati and “vizhampazham” in Tamil, wood-apple is known to be a tonic for the heart and the liver, and is good for treating intestinal, throat and gum ailments. Many parts of the tree, including the pulp, also have anti-venom properties. It is a pungent fruit, which like jackfruit is something people either love or hate. Needless to say, I love it. My mother often made this wood-apple chutney for us when we were growing up, when the fruit was abundantly available.

This incredibly simple vegan chutney contains just a handful of basic ingredients: wood-apple, jaggery and chilli powder. Some sweetness, some spice and the fruit pulp combined together create an addictive dip that can be eaten in many ways. I am told by a Sri Lankan friend that they often eat their version, which doesn’t contain spice, as a jam on toast. There are of course innumerable recipes in different homes, communities and regions.

What I am sharing today is my mother’s recipe for wood-apple chutney, which I recall eating along with leftover rotis as an after-school snack. I used to think of it as being a part of the larger category of homemade condiments that she would make and bottle at home. Many Indians used to do this – do you remember those pickles that would last a whole year? We would reach out for these pickles, chutneys and more whenever we were in a pinch and just needed something to eat between meals. This wood-apple chutney always satisfied the craving. It’s no wonder that “craving” is really the only way to describe how I kept searching for it for months, and how satisfied I am to have found it.


Wood-Apple Chutney

(Yield: 1 cup)

1 wood-apple

3 tablespoons jaggery

1 teaspoon chilli powder

1 teaspoon roasted cumin powder

1 teaspoon/small ball of tamarind paste

Salt to taste


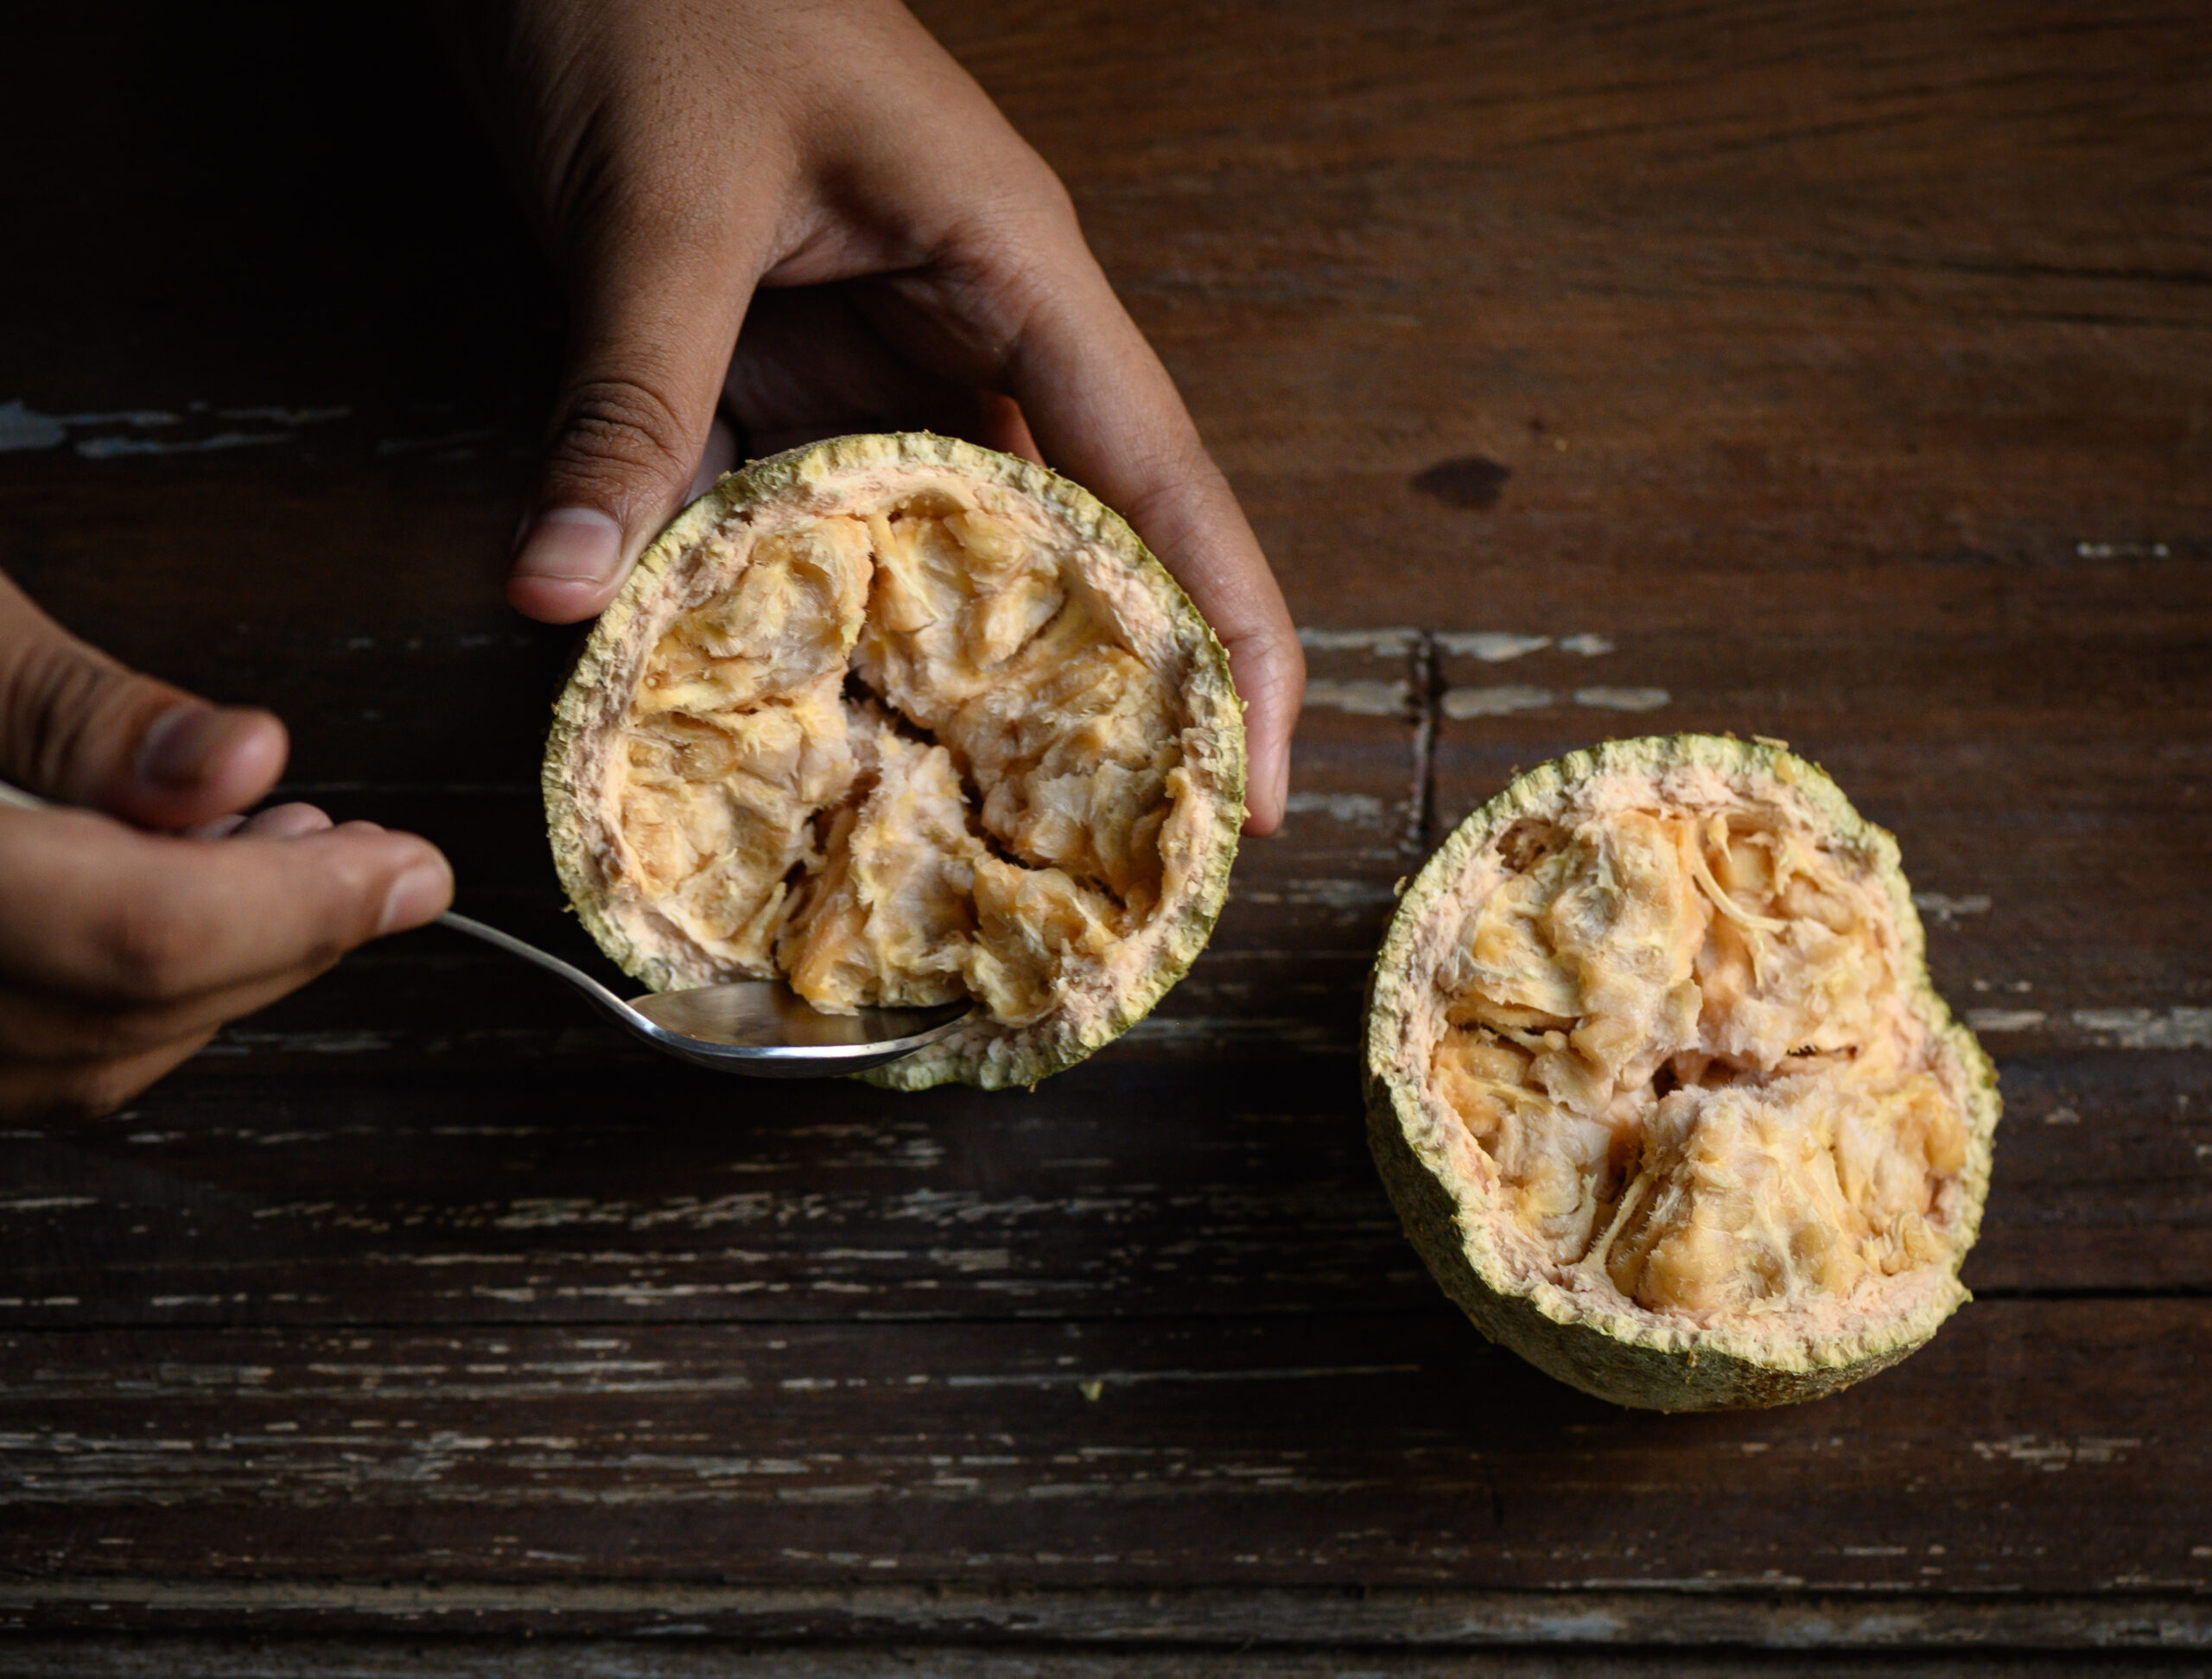
A ripe wood-apple gives out a faint fragrance and tastes a bit pungent on the tongue. It has a soft flesh of an orange-ish colour. You will know that a wood-apple is ripe when the fruit smells. Until then, there is no fragrance.

Scoop the flesh from the wood-apple and keep aside.

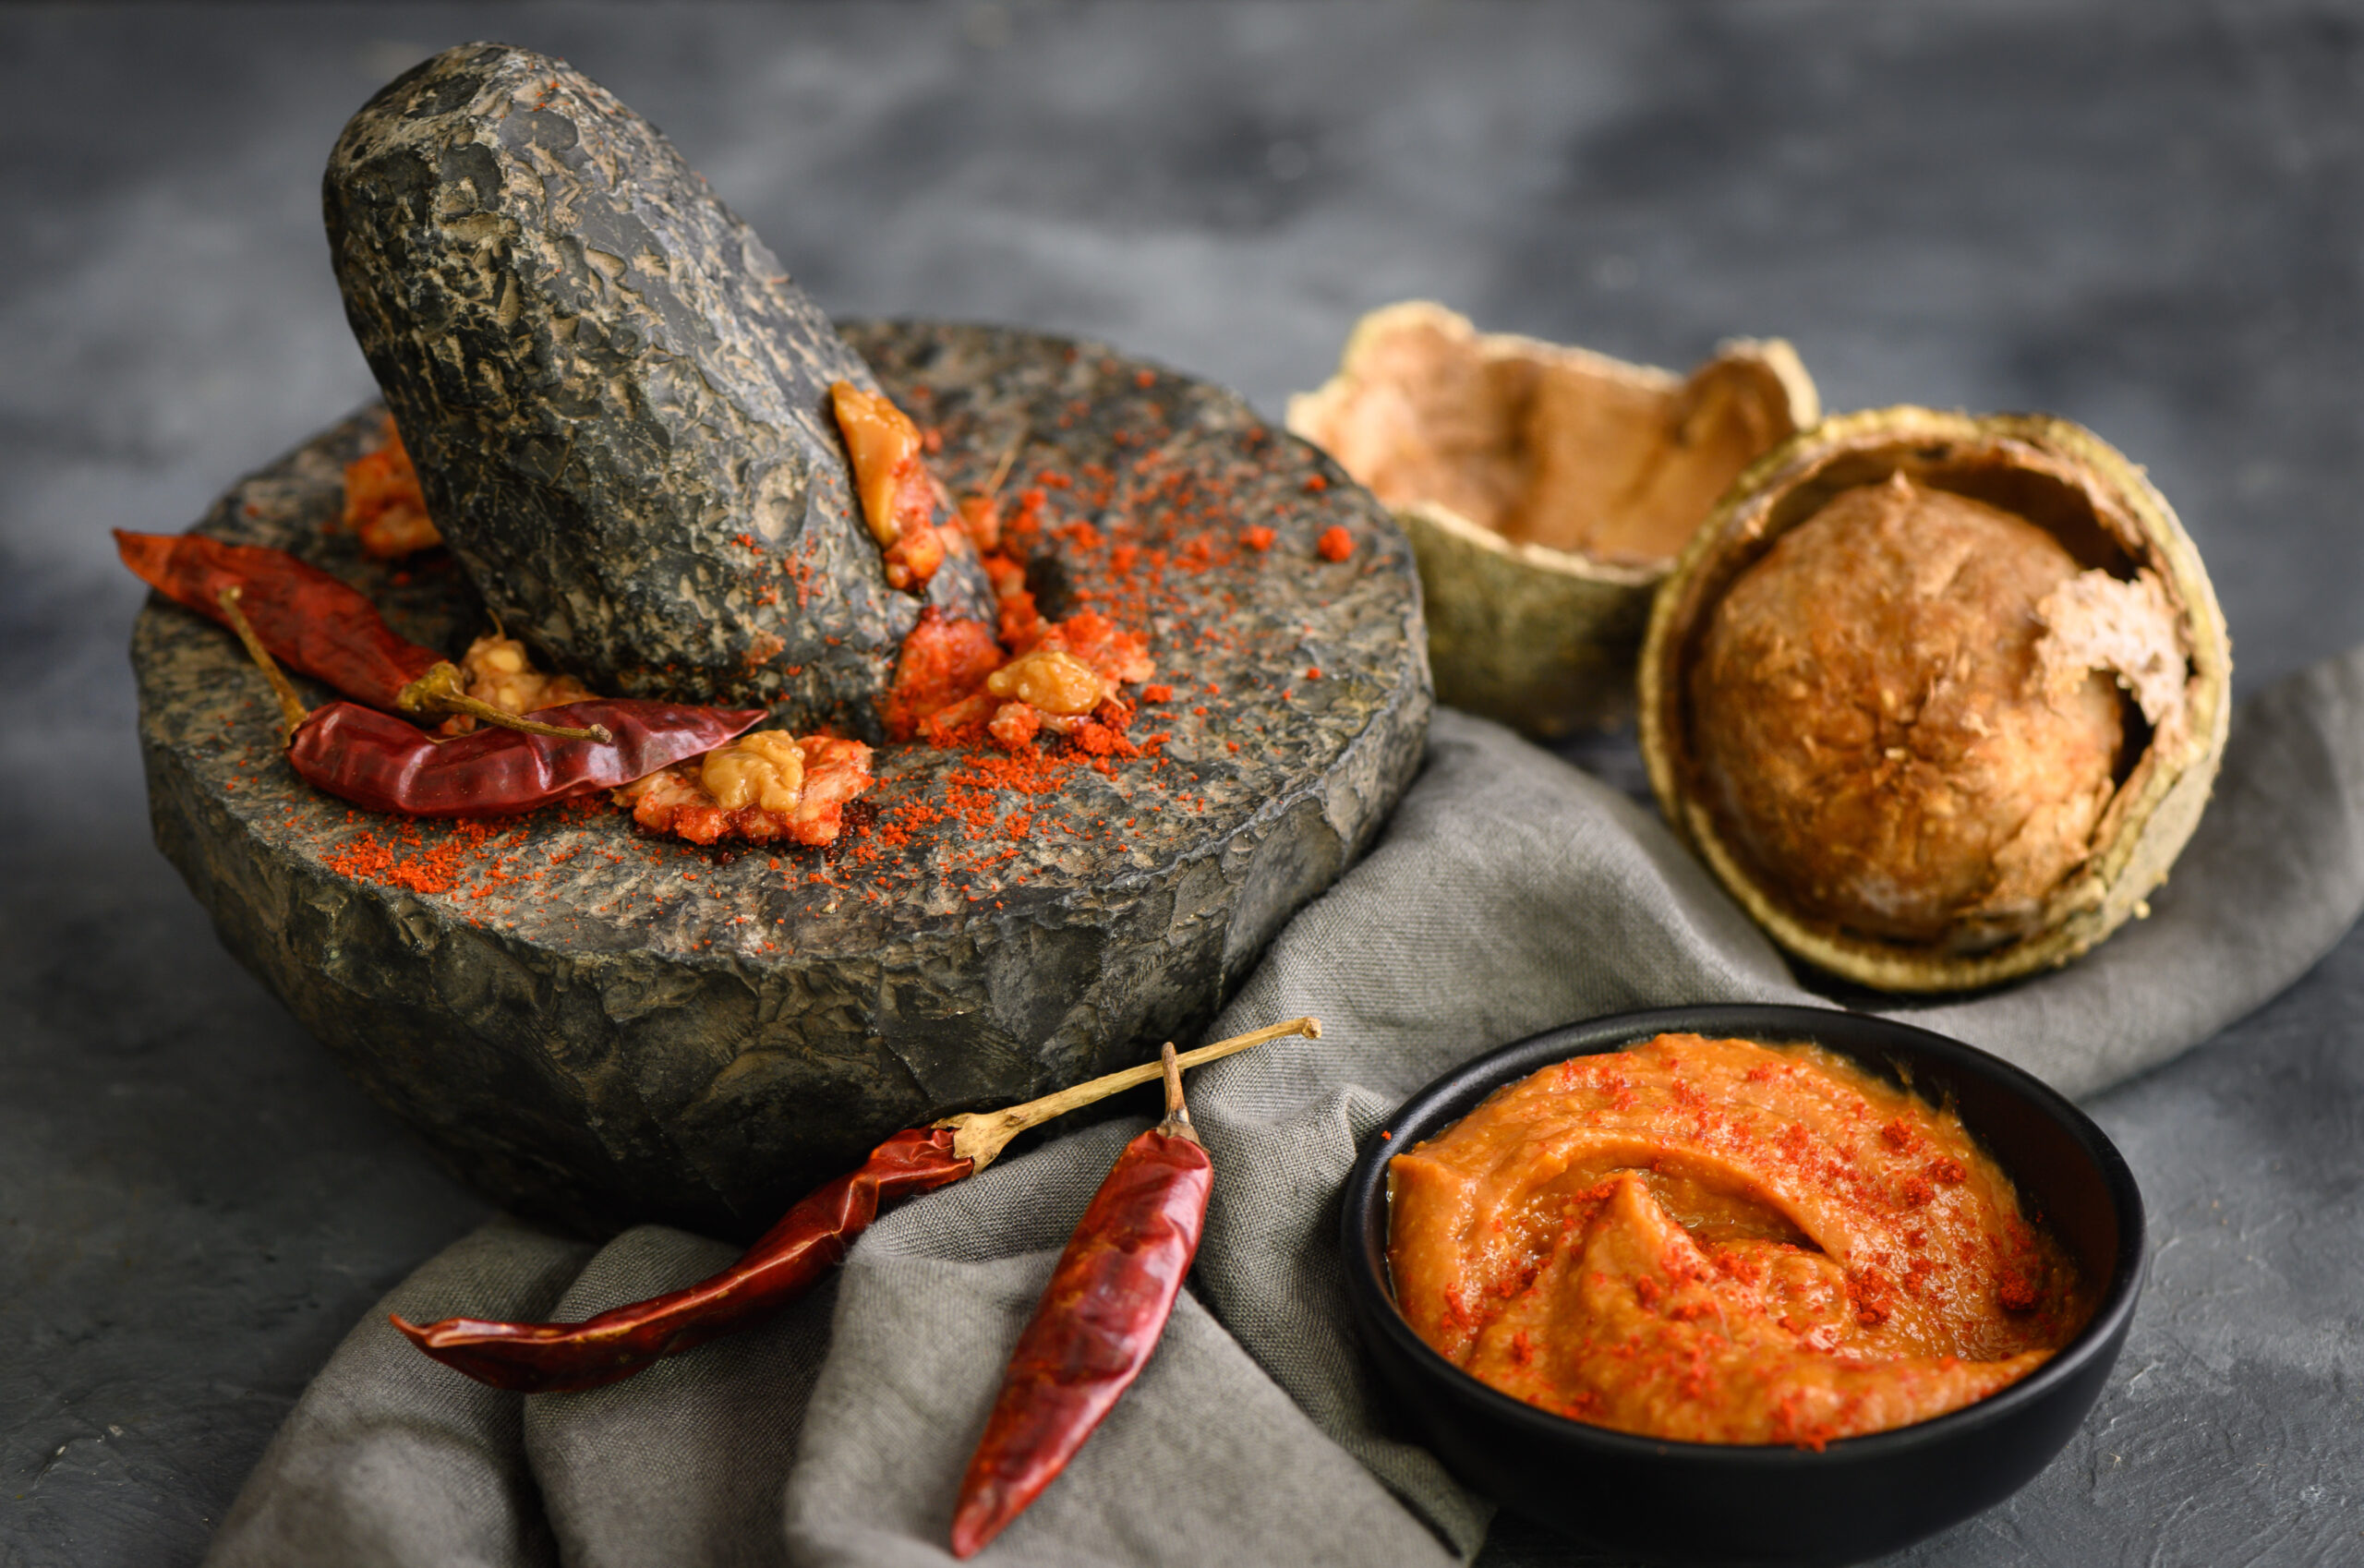
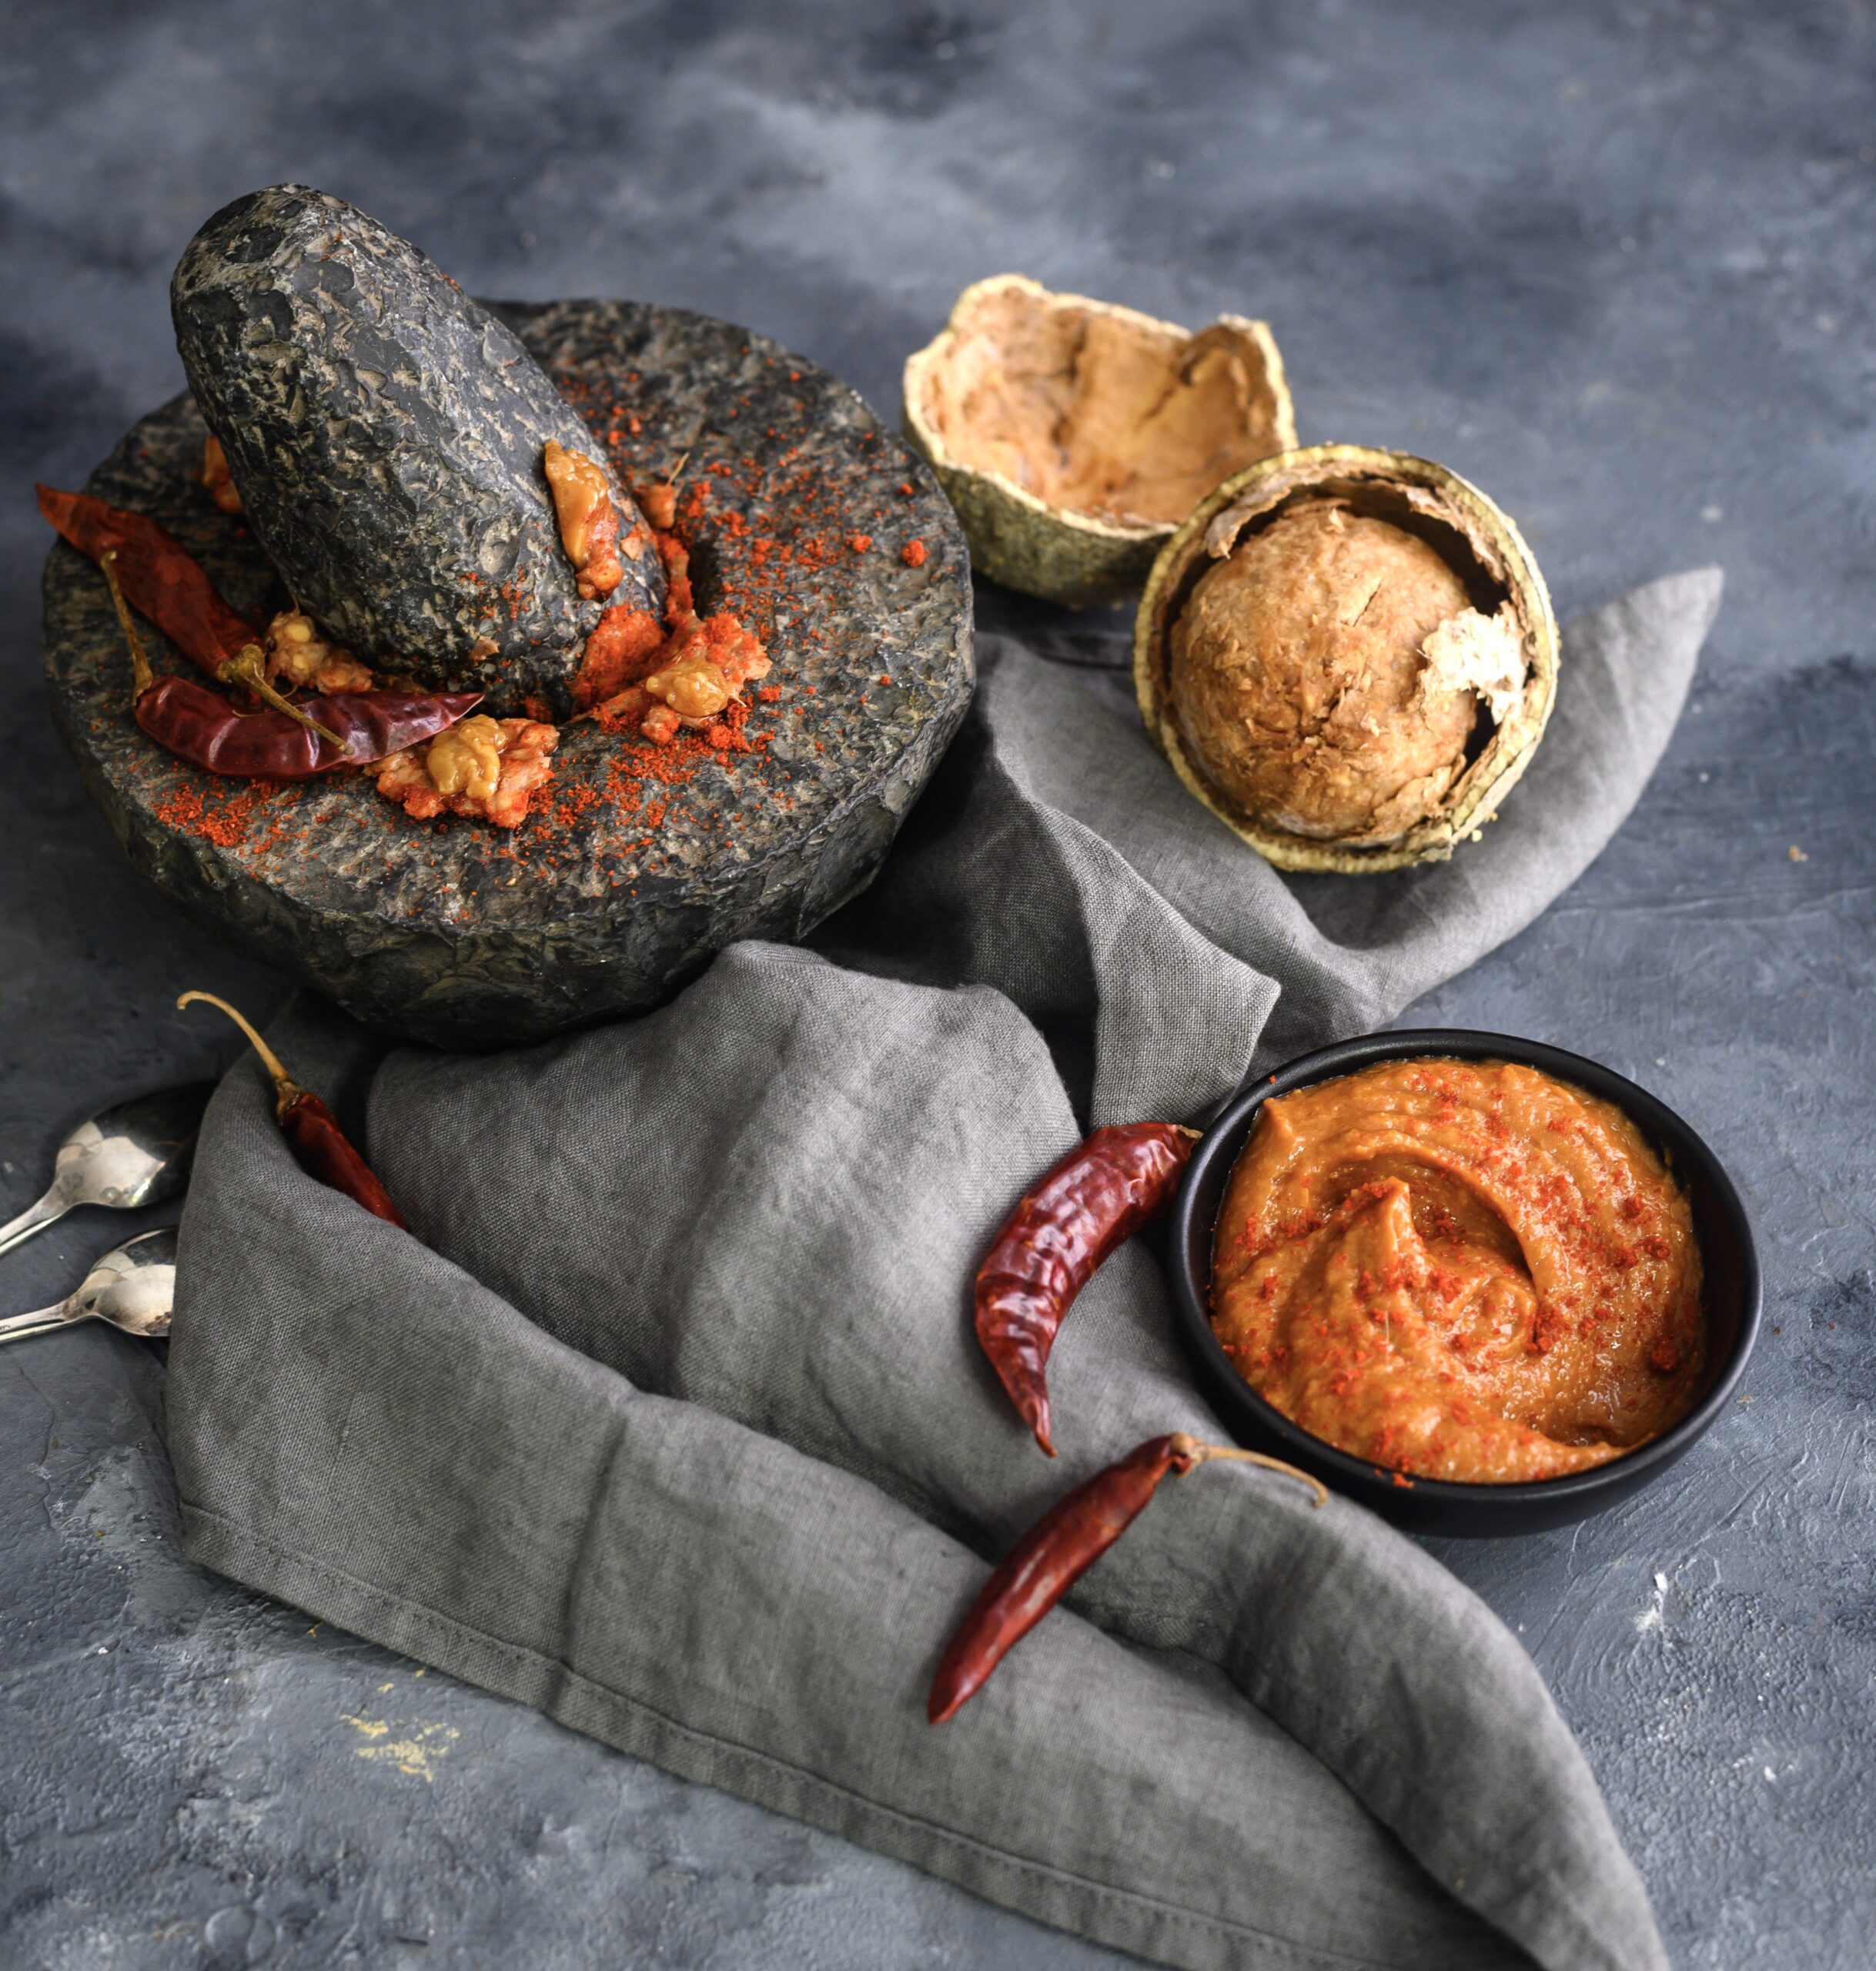
Instead of a blender, I used a mortar-and-pestle like my mum used to, which is the traditional way to grind chutneys. I reach out for it for certain recipes, even though we use the blender today for convenience’s sake. Blend the the wood-apple flesh, chilli powder, jaggery, roasted cumin powder, tamarind and salt to taste, either by hand or in a machine. Do so until it becomes of a chutney consistency.

Move to a bowl. You may enjoy it immediately, or refrigerate. It will stay good for 3-4 days, if it lasts that long. When I make bigger batches, I warm a little oil and pour it on top, so that it is preserved for longer.

This simple and tasty wood-apple chutney is a wonderful dish through which to discover (or rediscover) the fruit, which as I’ve shared earlier seems to be disappearing quickly from our markets. What are some of the fruits and vegetables that you recall from your childhoods which we rarely see anymore? Let’s figure out together how to bring them back into circulation. It’s important for us as mindful consumers to consider the origins of the produce we purchase and eat, and to be supportive of those who make it possible for us to do so. Looking forward to your ideas in the comments!

The seasons are changing and the usual respiratory illnesses are going around as we adjust to the weather, worsened of course by pollution and the busy modern lifestyle. A few years ago, I shared this remedy from my childhood, and many of you told me that you found it effective and refreshing. Now, I’ll share a complementary dish, a warm and nourishing porridge that I absolutely loved while growing up. This raab is like chicken broth for the Gujarati soul, and is one of my most favourite comfort foods of all.

Raab was my mother’s go-to fixer for colds, sore throats, coughs and so on. It coats the throat well, alleviating any itchiness there. New mothers are often fed raab, due to its fortifying properties. I think of it as a dish to simply warm the soul, when you’re feeling down and need a hug. It’s a light meal for whenever you’re feeling under the weather.

Raab falls into the category of “accessible medicine”, something which anyone can make, especially when a pharmacy is out of reach. It is comprised of very basic and affordable ingredients that can be found in any Gujarati kitchen: ghee, bajra (pearl millet) or wheat flour, ginger powder (soont) and edible gum resin (gond). Most communities will have some version of such a dish, made of elements which are at hand for all members of society.

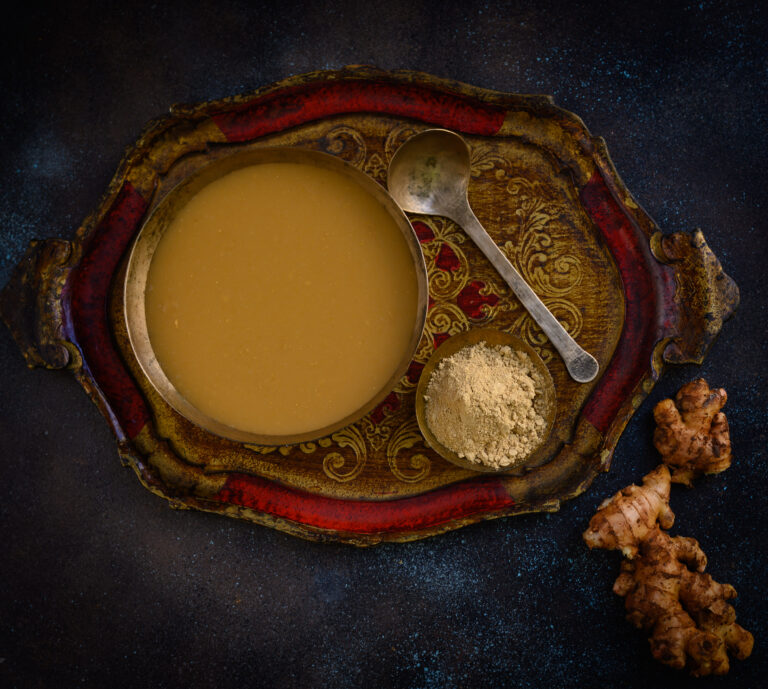
Bajra or pearl millet is usually had during the winter months or during the wet, cold seasons. My aunt, an expert in Gujarati cooking, and from whom I learnt a lot during my many summer holidays with her, explained that bajra and ajwain (carom seeds) are used during winters as they warm the body. In the summers, wheat flour is substituted for the millet. The ginger powder also has a warming effect, in addition to adding taste. I’m still trying to find out exactly why dry ginger powder is used rather than freshly grated ginger, and have arrived at my own conclusion. My theory is this: dry ginger is a ‘yang’ ingredient, hence positively affects the deeper organs in the body like our bones. It is also stronger than hydrated fresh ginger.

My aunt would also also say, “Don’t forget to add the gond.” It has numerous health benefits, including aiding the digestion. I saw this lady in Patdi, Gujarat, selling the resin, which she told me she collected herself from the bark of trees in her village. I couldn’t resist buying some from her.

With so many healthy ingredients, you would imagine that children would need a lot of convincing before they ate this porridge, but that’s not true. Whenever my siblings or I fell ill when we were growing up, I would ask for a bowl of raab as I absolutely loved it. The reason for this is that this remedy is… sweet! This is thanks to the jaggery, of course, which has its own host of benefits, as regular readers of this blog will be familiar with. Raab tastes so delicious that you’d never believe it was good for the body, but the proof is in how healed and nourished you feel after you’ve had some.

If I wasn’t unwell, my mother always said No to my request, and this has created a powerful memory link for me. She never treated raab as an anytime dish, as a result of which I too refrain from doing the same. There is also something to the charm of having it when under the weather, and feeling soothed by it in those times, and I feel this would disappear if I began to enjoy it as an ordinary meal. Today of course, my dearest mother is gone and when I make it for myself, I associate it with being soothing both to my throat and to my heart because it was she who would make it for me…

In that sense, raab is sentimental for me in the same way that laapsi, a sweet I only ever make on Diwali, is. No one is going to stop me from making it at some other time of the year, but I consider it sacred in some way, just as I do the raab.

Raab

(Yield: 1 bowl)

⅛ cup bajra (pearl millet) flour

⅛ cup jaggery

1½ tablespoons ghee

2 cups water

1 teaspoon dry ginger powder

½ teaspoon ajwain

In a pan, add the ghee and the flour. Stir them together on a low-medium flame until the mixture looks like a roux. Keep stirring, making sure it does not stick to the bottom of the pan, until it turns a golden colour.

At the same time, in another pot, add the jaggery and the water. Heat until the jaggery melts, stirring occasionally.

Once the roux is golden, add the ginger powder, the ajwain and the powdered gond resin. The gond will make the mixture bubble and fluff up at this point. Finally, add the warm jaggery water. Stir well and carefully, so the mixture does not start to coagulate and get lumpy.

Once it is completely smooth, it is ready to be served. Raab is best enjoyed hot.

As explained above, bajra is especially good for the winters and monsoons, as is ragi. In the summer months, you can replace it with whole wheat flour or any seasonal flour of your choice. If you don’t have much of a sweet tooth, you can also reduce the quantity of jaggery in this dish.

I wish you and your family good health as the season changes, and I am glad to share this simple and satisfying dish that will help with the sniffles and fatigue that are customary at this time. Such recipes have been treasured for generations, and it’s up to us to keep these healing traditions going in the time to come. Here are a few more home remedies: soothing syrup, raisin kalkand syrup and turmeric shot. Each of them boosts the health – and, as I personally find, the mood too! They take me on a trip down memory lane that always reminds me that food is a form of love.


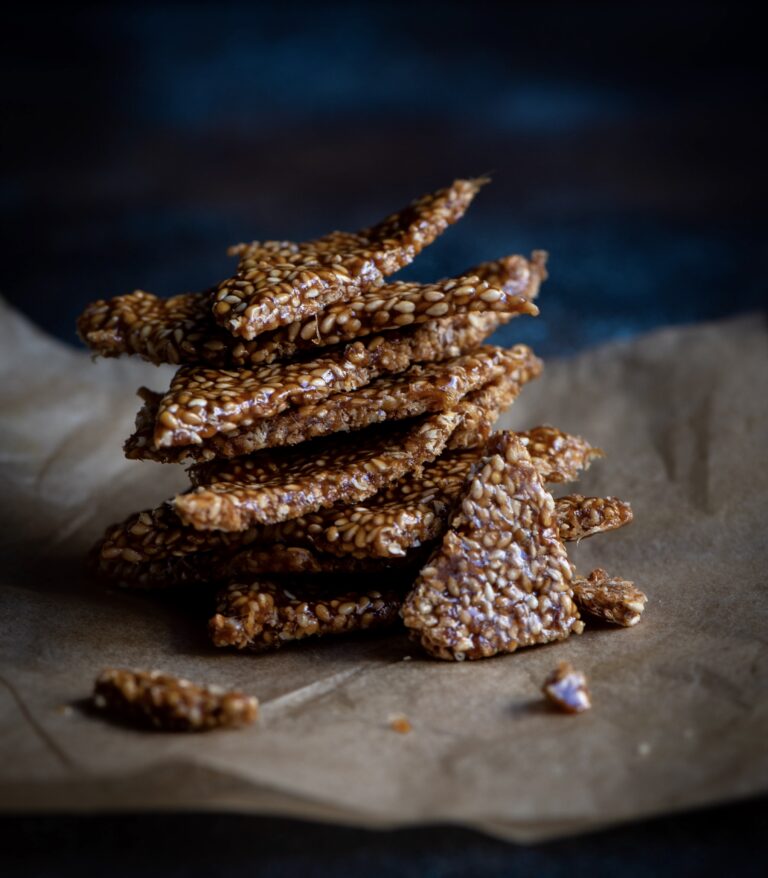
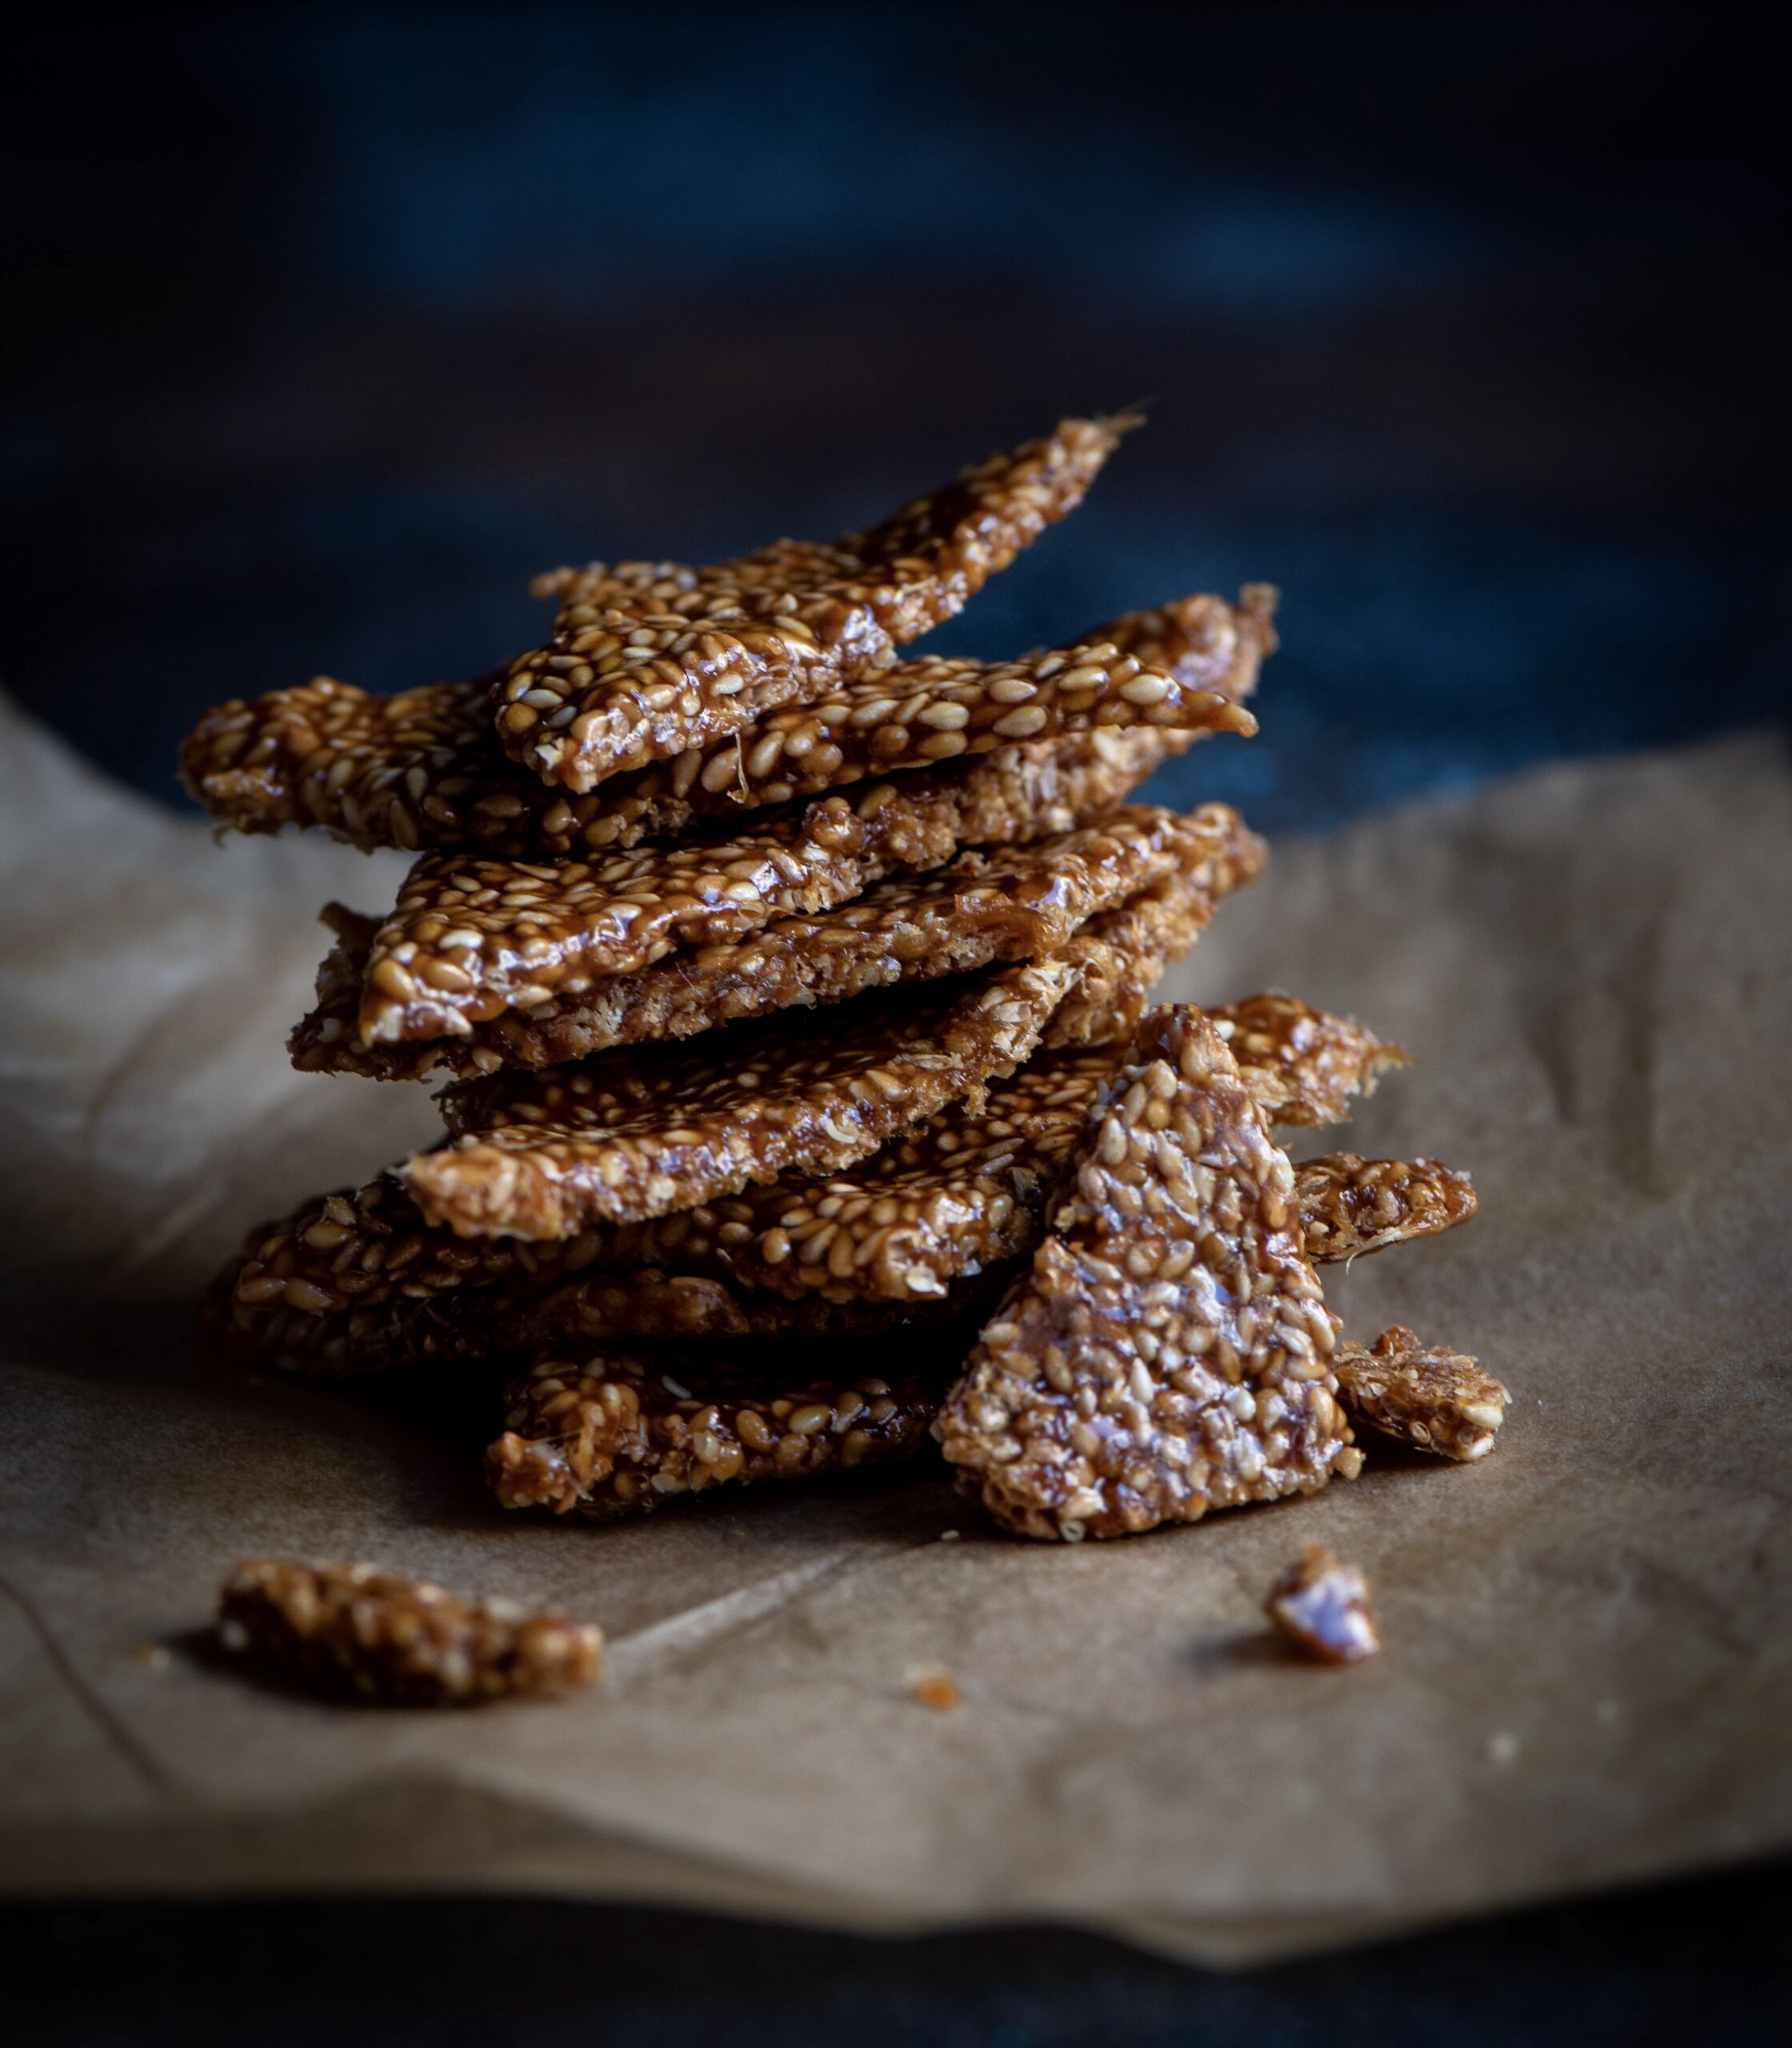
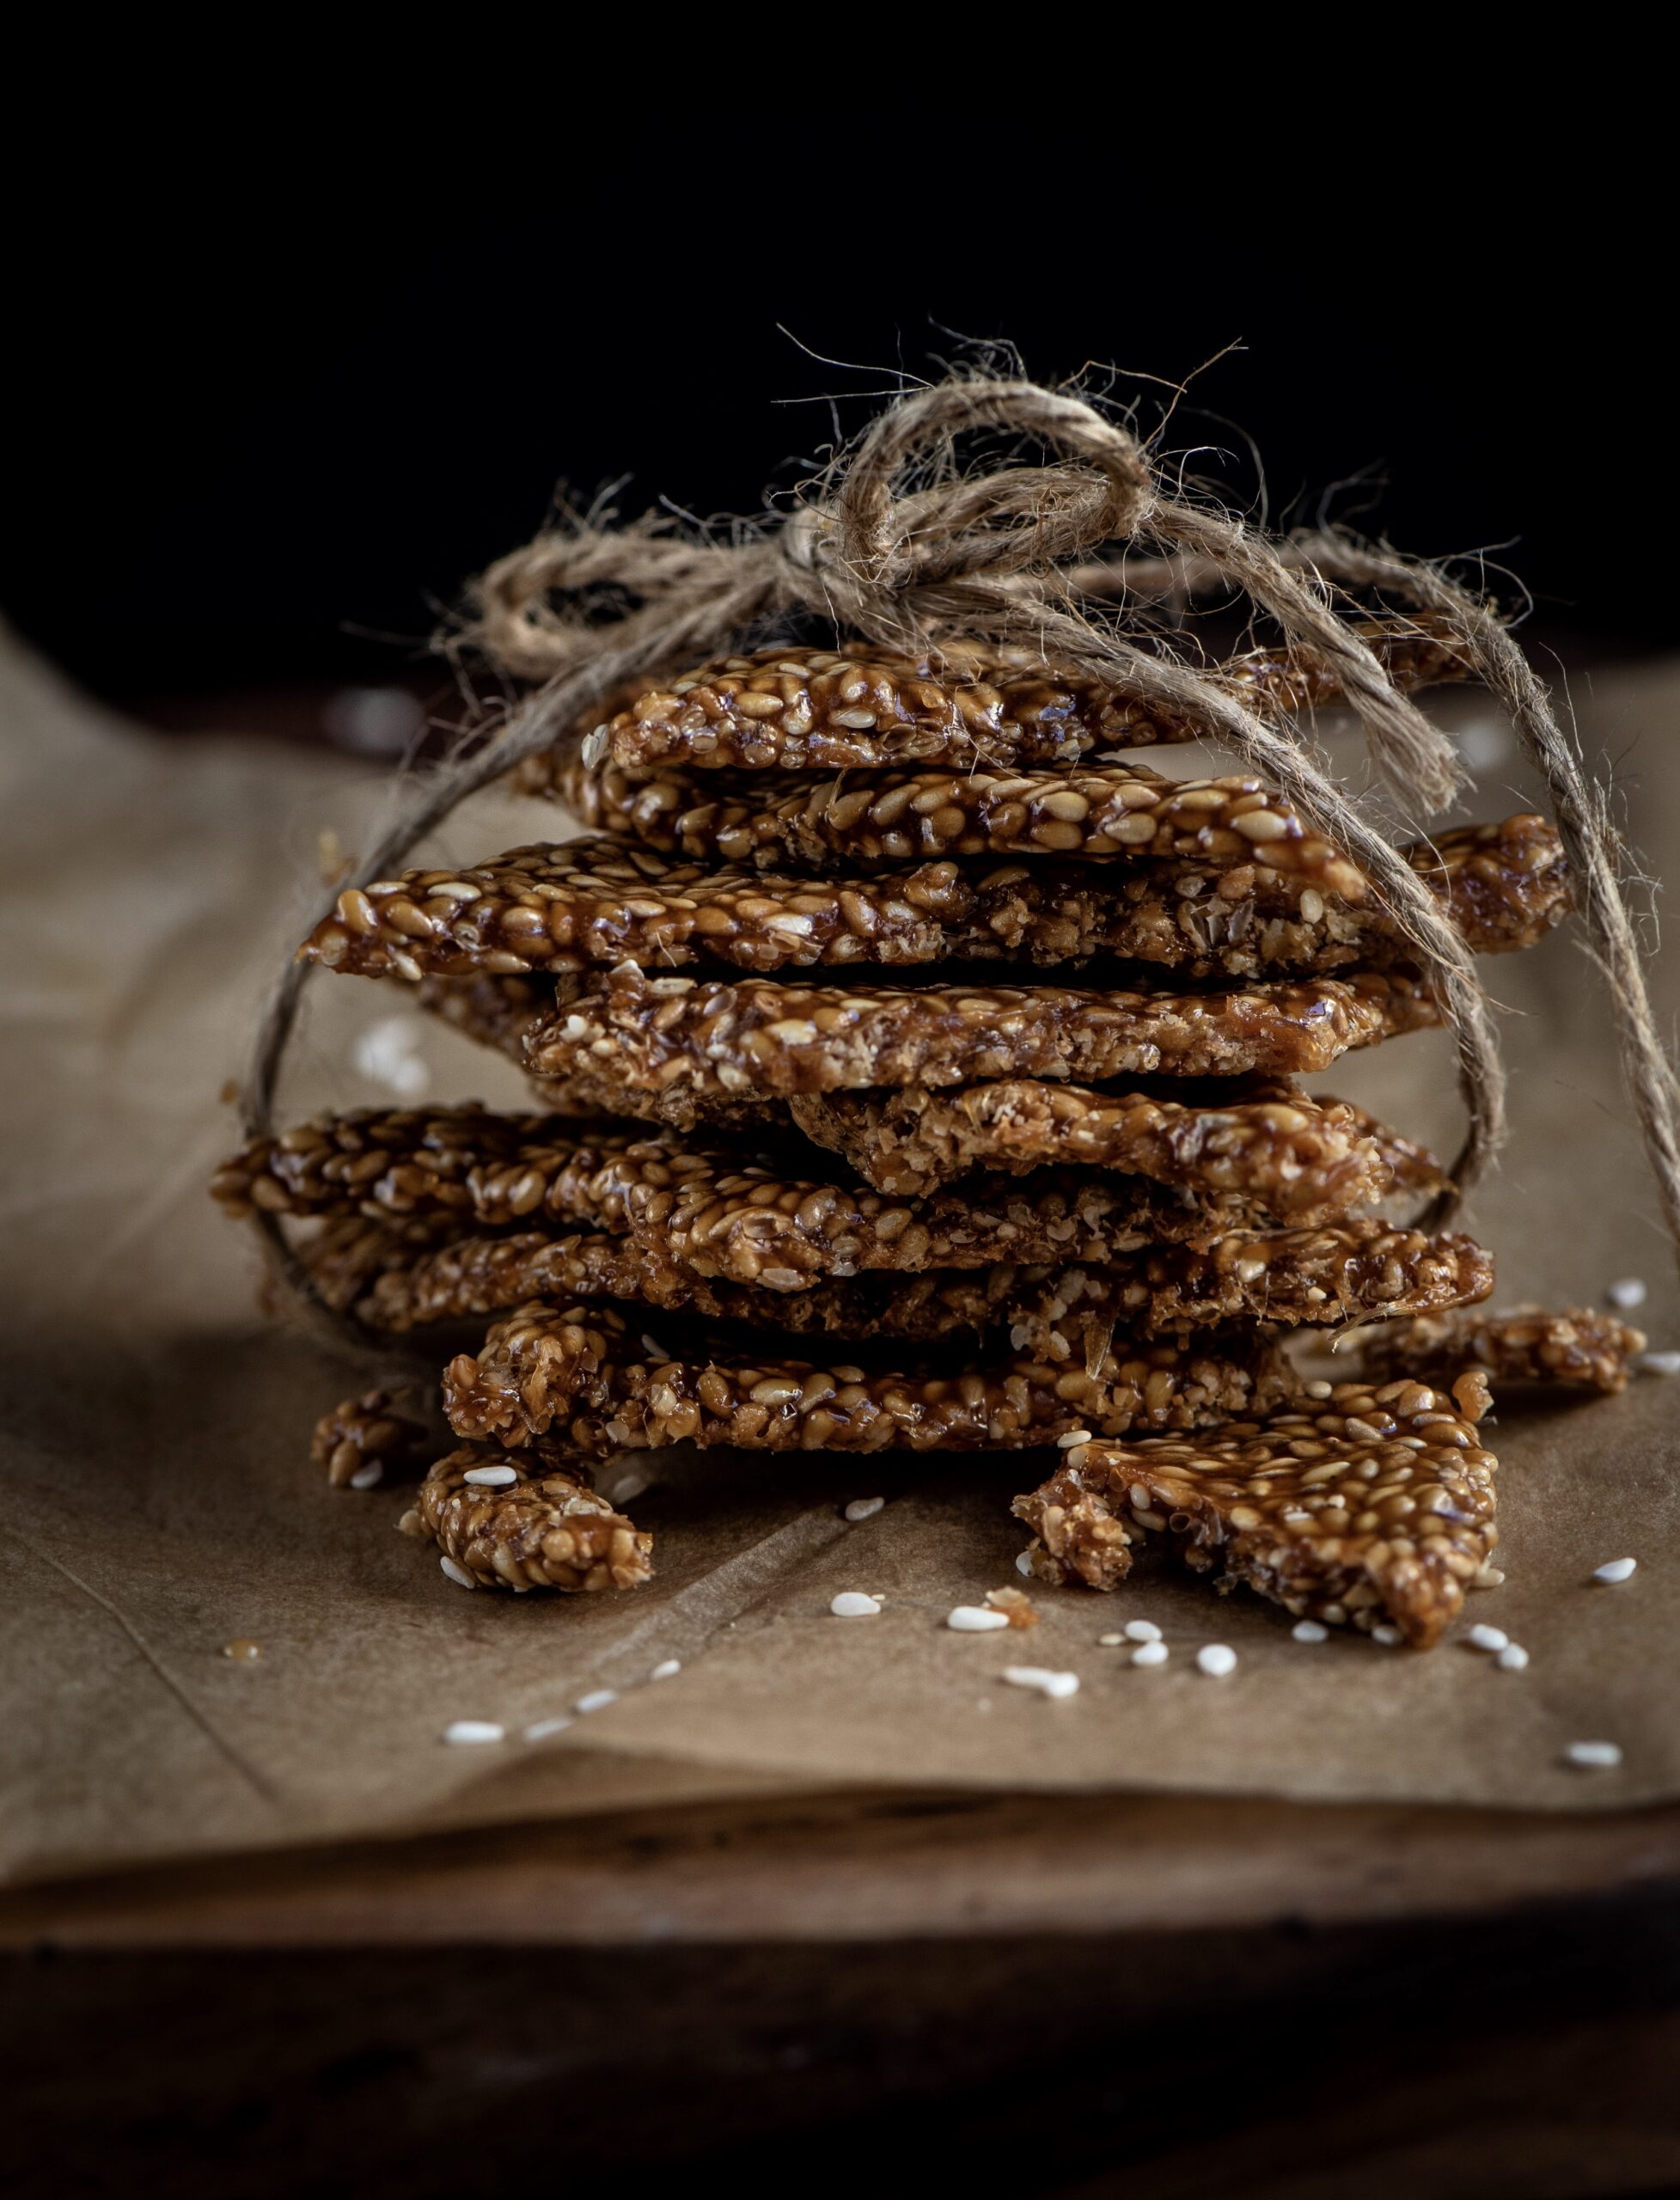
Sankranti, the harvest festival, is here and as we celebrate by giving thanks for the crops we eat daily, it’s til-ka-chikki that strikes me as a perfect dish for the occasion. The chief ingredient of this crunchy sweet is sesame, which is believed to have been cultivated in India for over 5500 years. As a form of produce that can grow with relatively little supervision, and in less than ideal conditions, there is no doubt to me that many of our ancestors would have considered it a perfect if not vital part of their Sankranti. Sankranti is known by various names throughout the country – it is also observed as Pongal, Bihu, Maghi and by other names depending on region. No matter where, it falls in mid-January and is a time when the sun is worshipped for its life-giving properties.

“Til” is the Gujarati word for sesame, as well as in other languages including Hindi and Punjabi. The English word “sesame” is from the Arabic “semsem”, indicating oil or liquid fat. This is because it is an oilseed produce. It’s an excellent digestive aid as it’s full of fiber, and also has high copper, manganese and calcium content, in addition to other vitamins and minerals.

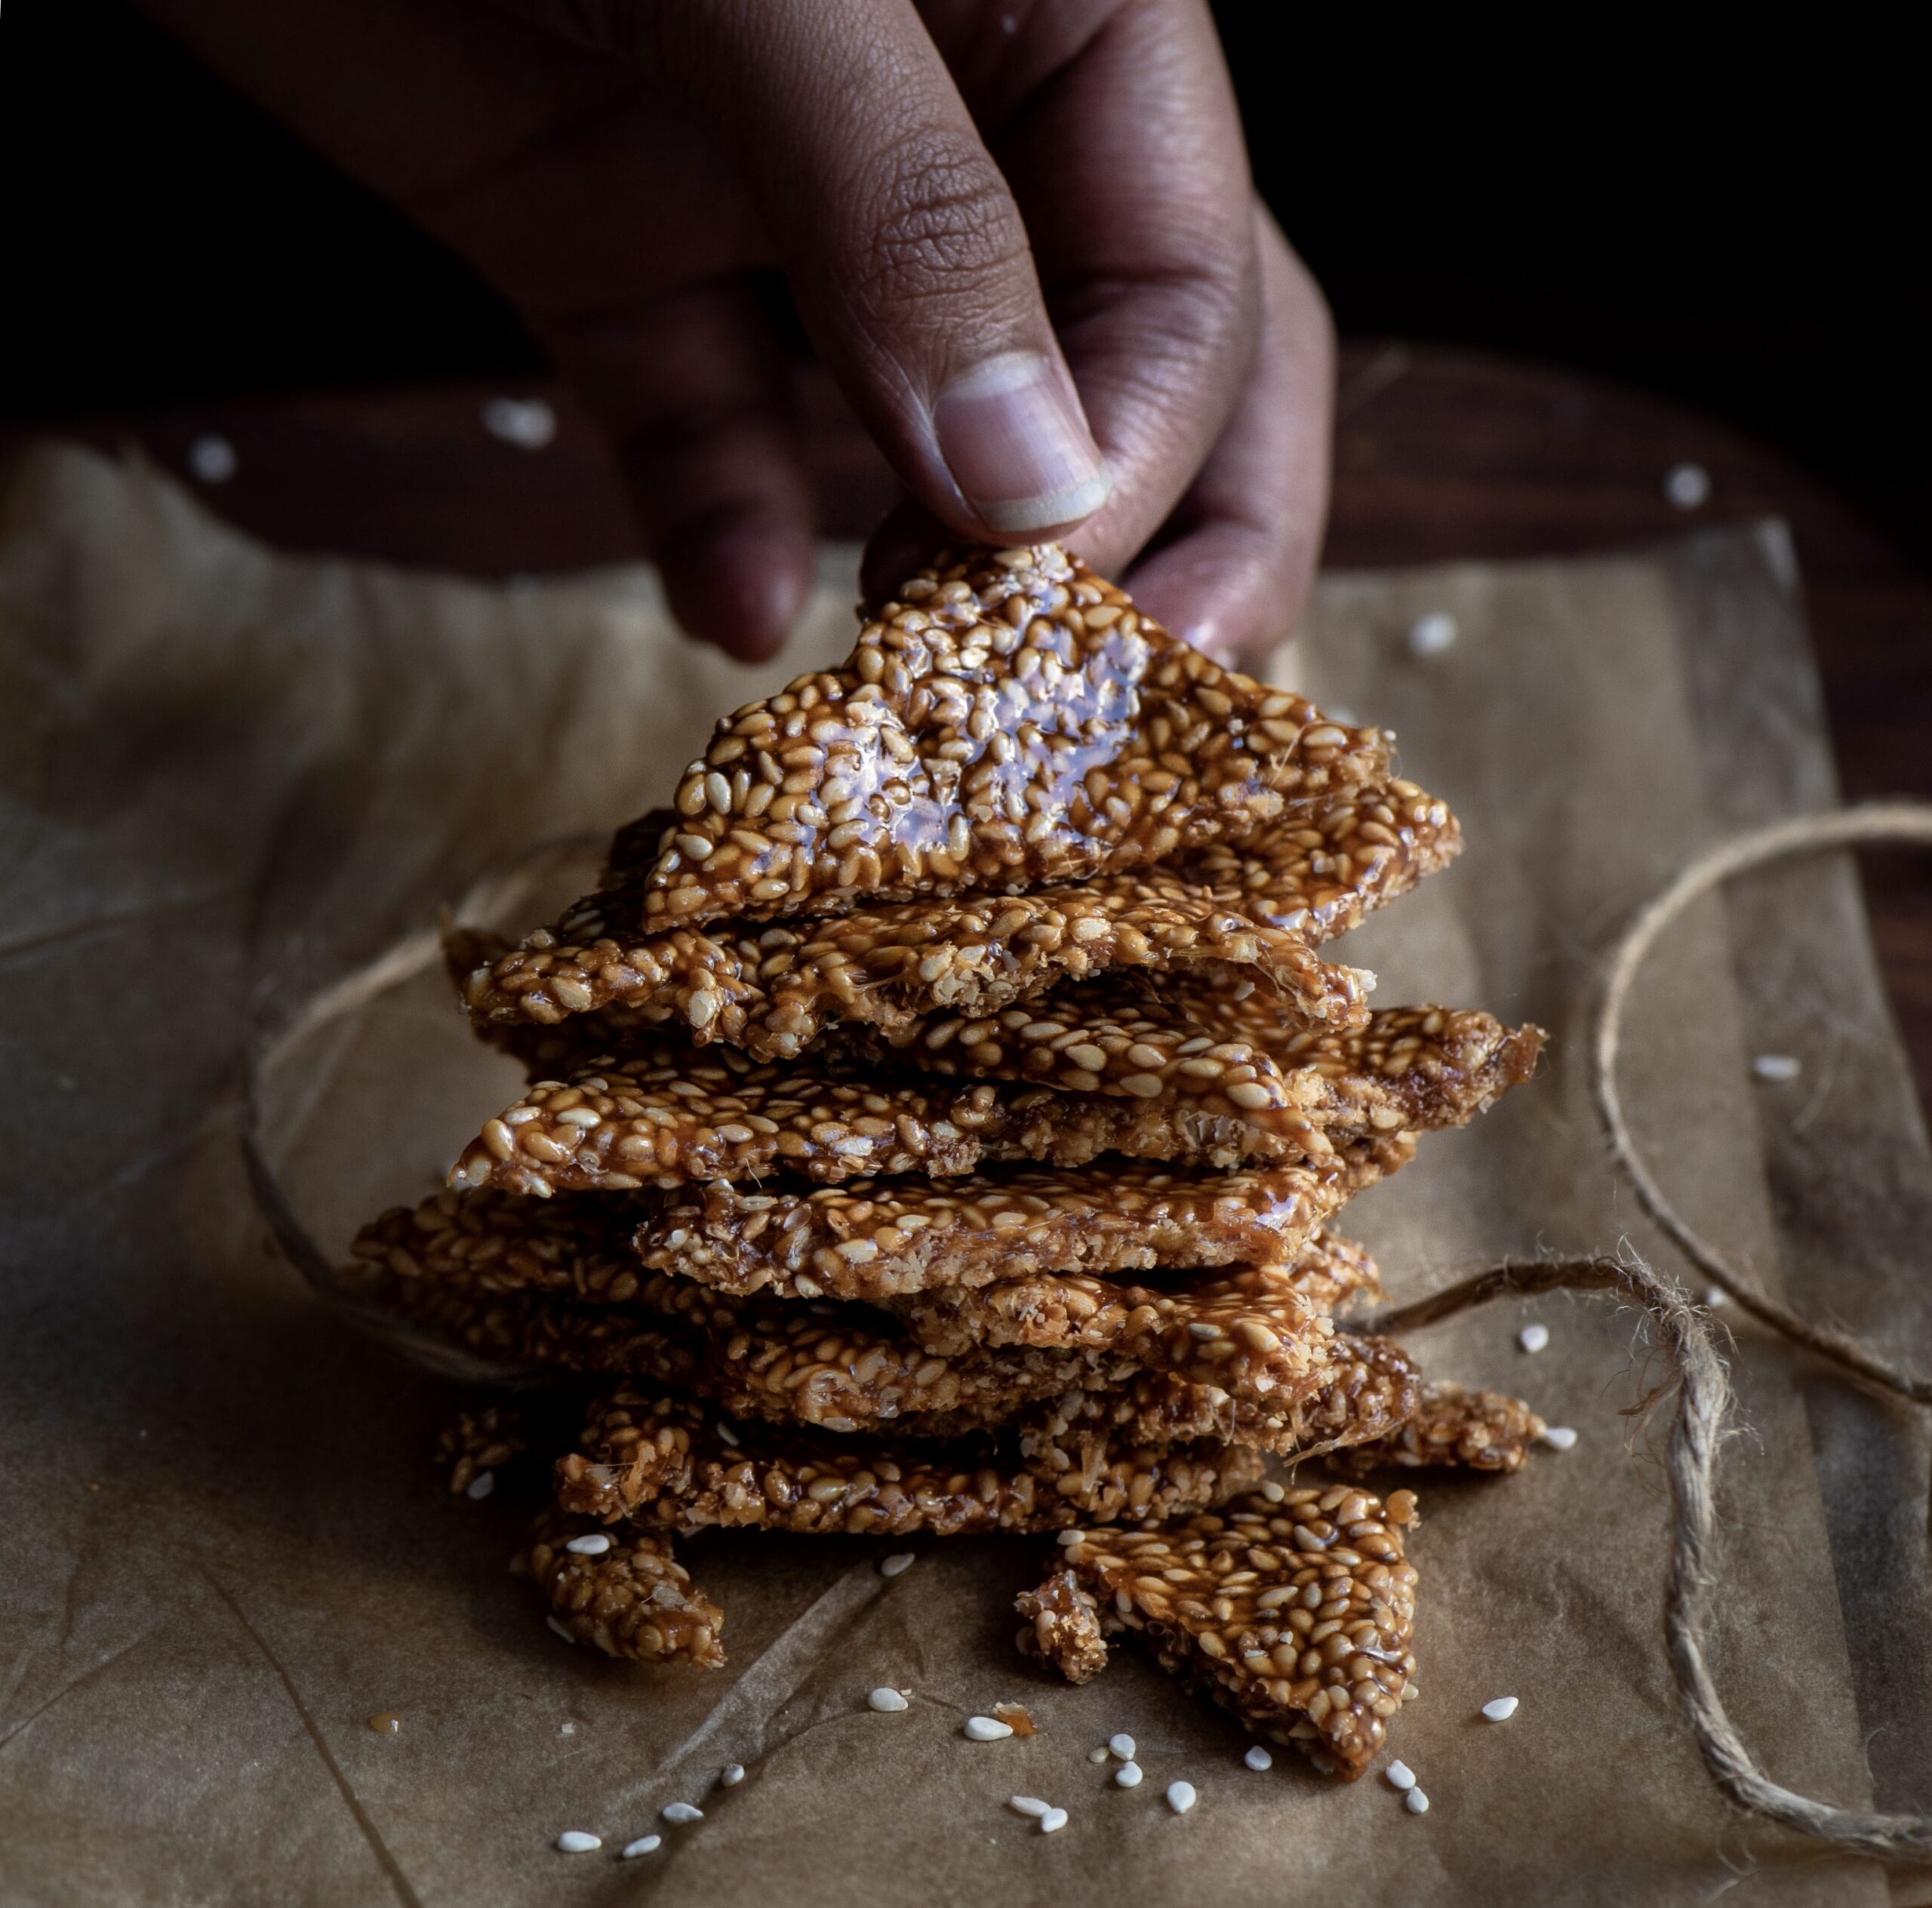
Chikkis are a whole category of snacks, usually sweet thanks to the sticky jaggery that holds them together. We also make them with groundnuts, puffed rice (mora mora) and other variations, depending on the season. You can make them either in bars or in balls, and they also make a great ice cream topping when crushed. Til-ka-chikki is basically a sesame brittle, and today I’ll share the method to make them into bars.

I used to have a huge mental block about til-ka-chikki as I simply hadn’t known how to make it. My sister got married when she was just out of college, and she hadn’t learned how to cook yet. She went to her mother-in-law’s house, where she learned how to make the most beautiful traditional Gujarati dishes. I was still in high school at the time, and am still envious to this day about the culinary skills she picked up back then. Meanwhile, in my mother’s house, I was still studying but also began to slowly pick up recipes and techniques in the kitchen. I was probably inspired by my sister’s newfound talents, and our mother started me off on the basics, like rotli. Over time, I began to regard not only my mother and my own mother-in-law as my culinary teachers, but my older sister as well. My sister’s repertoire is vast. Even to this day, each time I visit her, I insist that she teaches me an entirely new dish  every time.

I overcame my mental block when I finally learned how to make this til-ka-chikki a couple of years ago, with her guidance. And I’ll admit that I am still learning. I don’t quite have the confidence to make it on my own yet, but every experiment has ended in happy mouths and sticky fingers. It would be great if you could learn it together alongside me. We could master it together, just as my sister has.

As with most traditional Gujarati sweets and snacks, this too requires only three ingredients. In this case, they are jaggery, sesame and ghee. If you’d like a vegan version, replace the ghee with a flavourless oil of your choice. Til-ka-chikki is also offered as a prasad, so while it is a simple dish it can also be a part of prayers for festive and special occasions. For Sankranti, of course, it’s a beautiful way to honour the sun that gave us this ancient and nutritious crop.


Til-Ka-Chikki (Sesame Brittle)

(Yield: 10-15 pieces)


Ingredients

½ cup sesame seeds

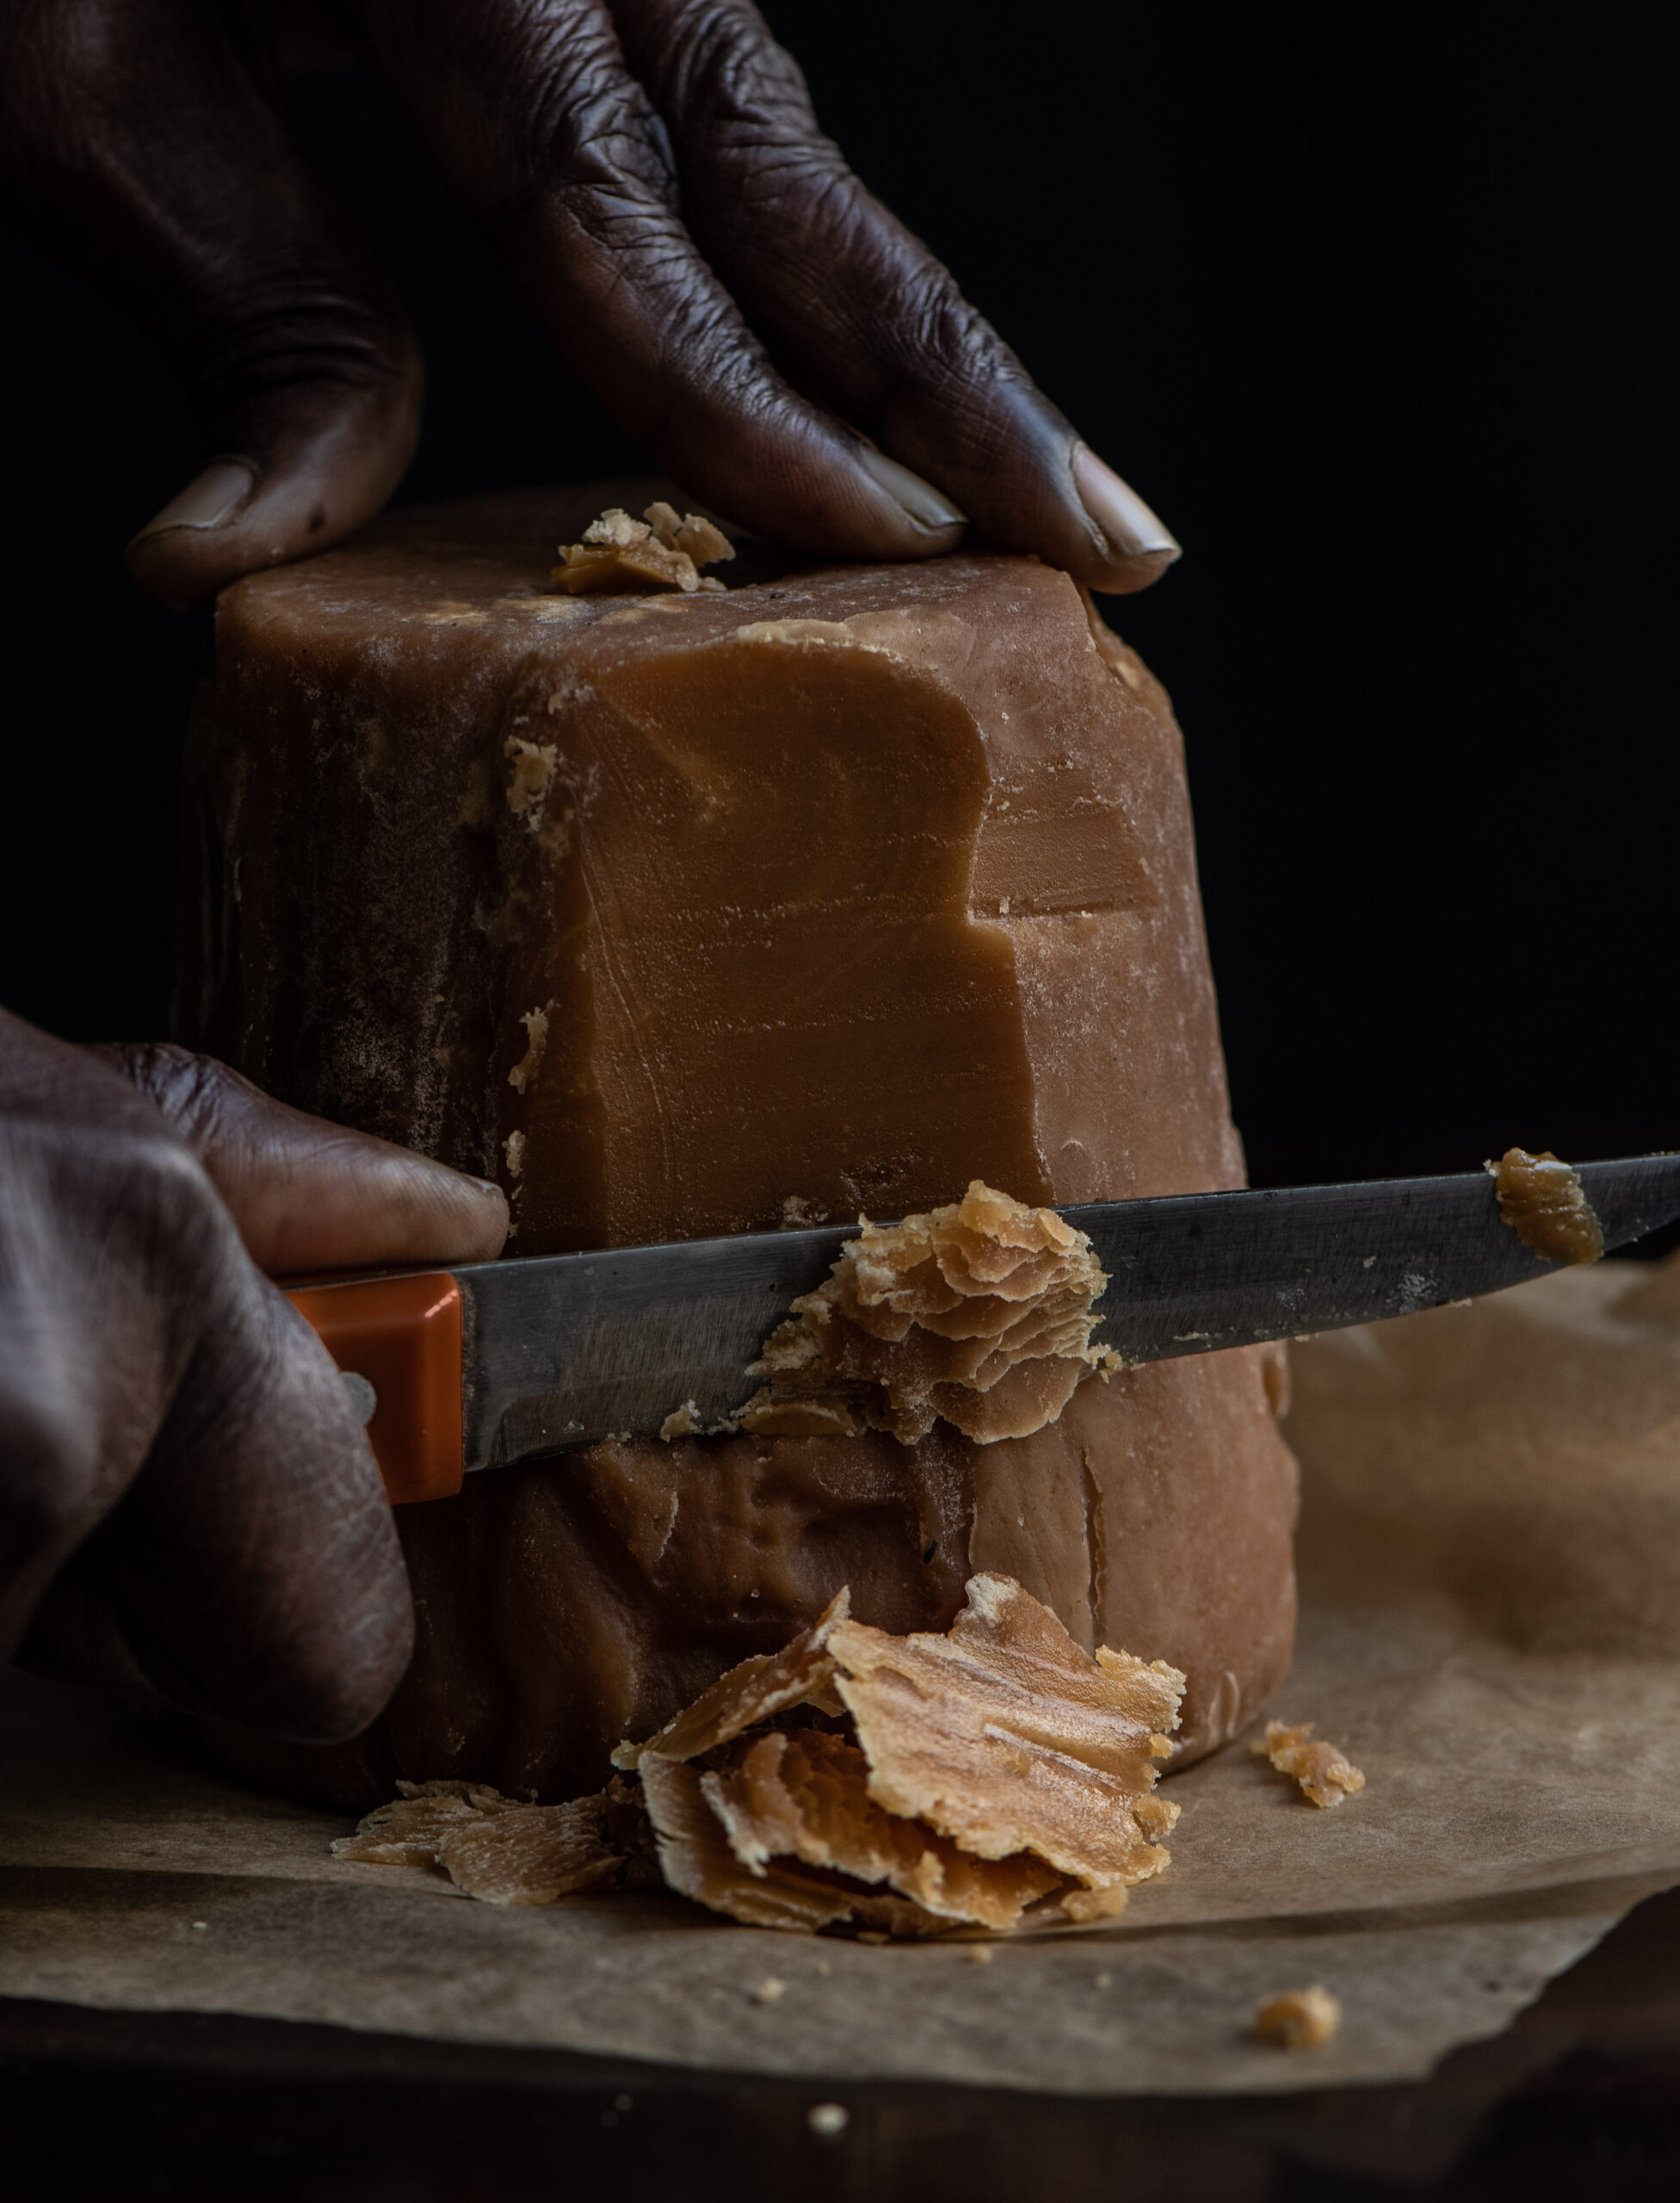
½ cup jaggery

1 tablespoon ghee

Grease an overturned steel plate and a rolling pin and keep these ready. Next, in a wok or kadai, roast the sesame seeds on a low flame. Occasionally increase to a medium flame for short spans. The sesame will take about 7 minutes to roast. Keep stirring until the colour changes.

Once roasted, transfer to a plate and allow to cool. Once cooled, taste a few seeds to check if they have a crunch to it. This means they are ready.

In the same wok or kadai, add the ghee. Then, add the jaggery and stir constantly on a low flame. As with the roasting of the sesame seeds, you may occasionally increase the flame to a medium for short spans, then immediately reduce it to a low again. Take care that the jaggery does not burn. Do see this video for reference: re:store sesame brittle video – 1

Mine took approximately 9 minutes to turn into a reddish colour. Once this happens, turn off the flame. Add the sesame seeds and stir well.

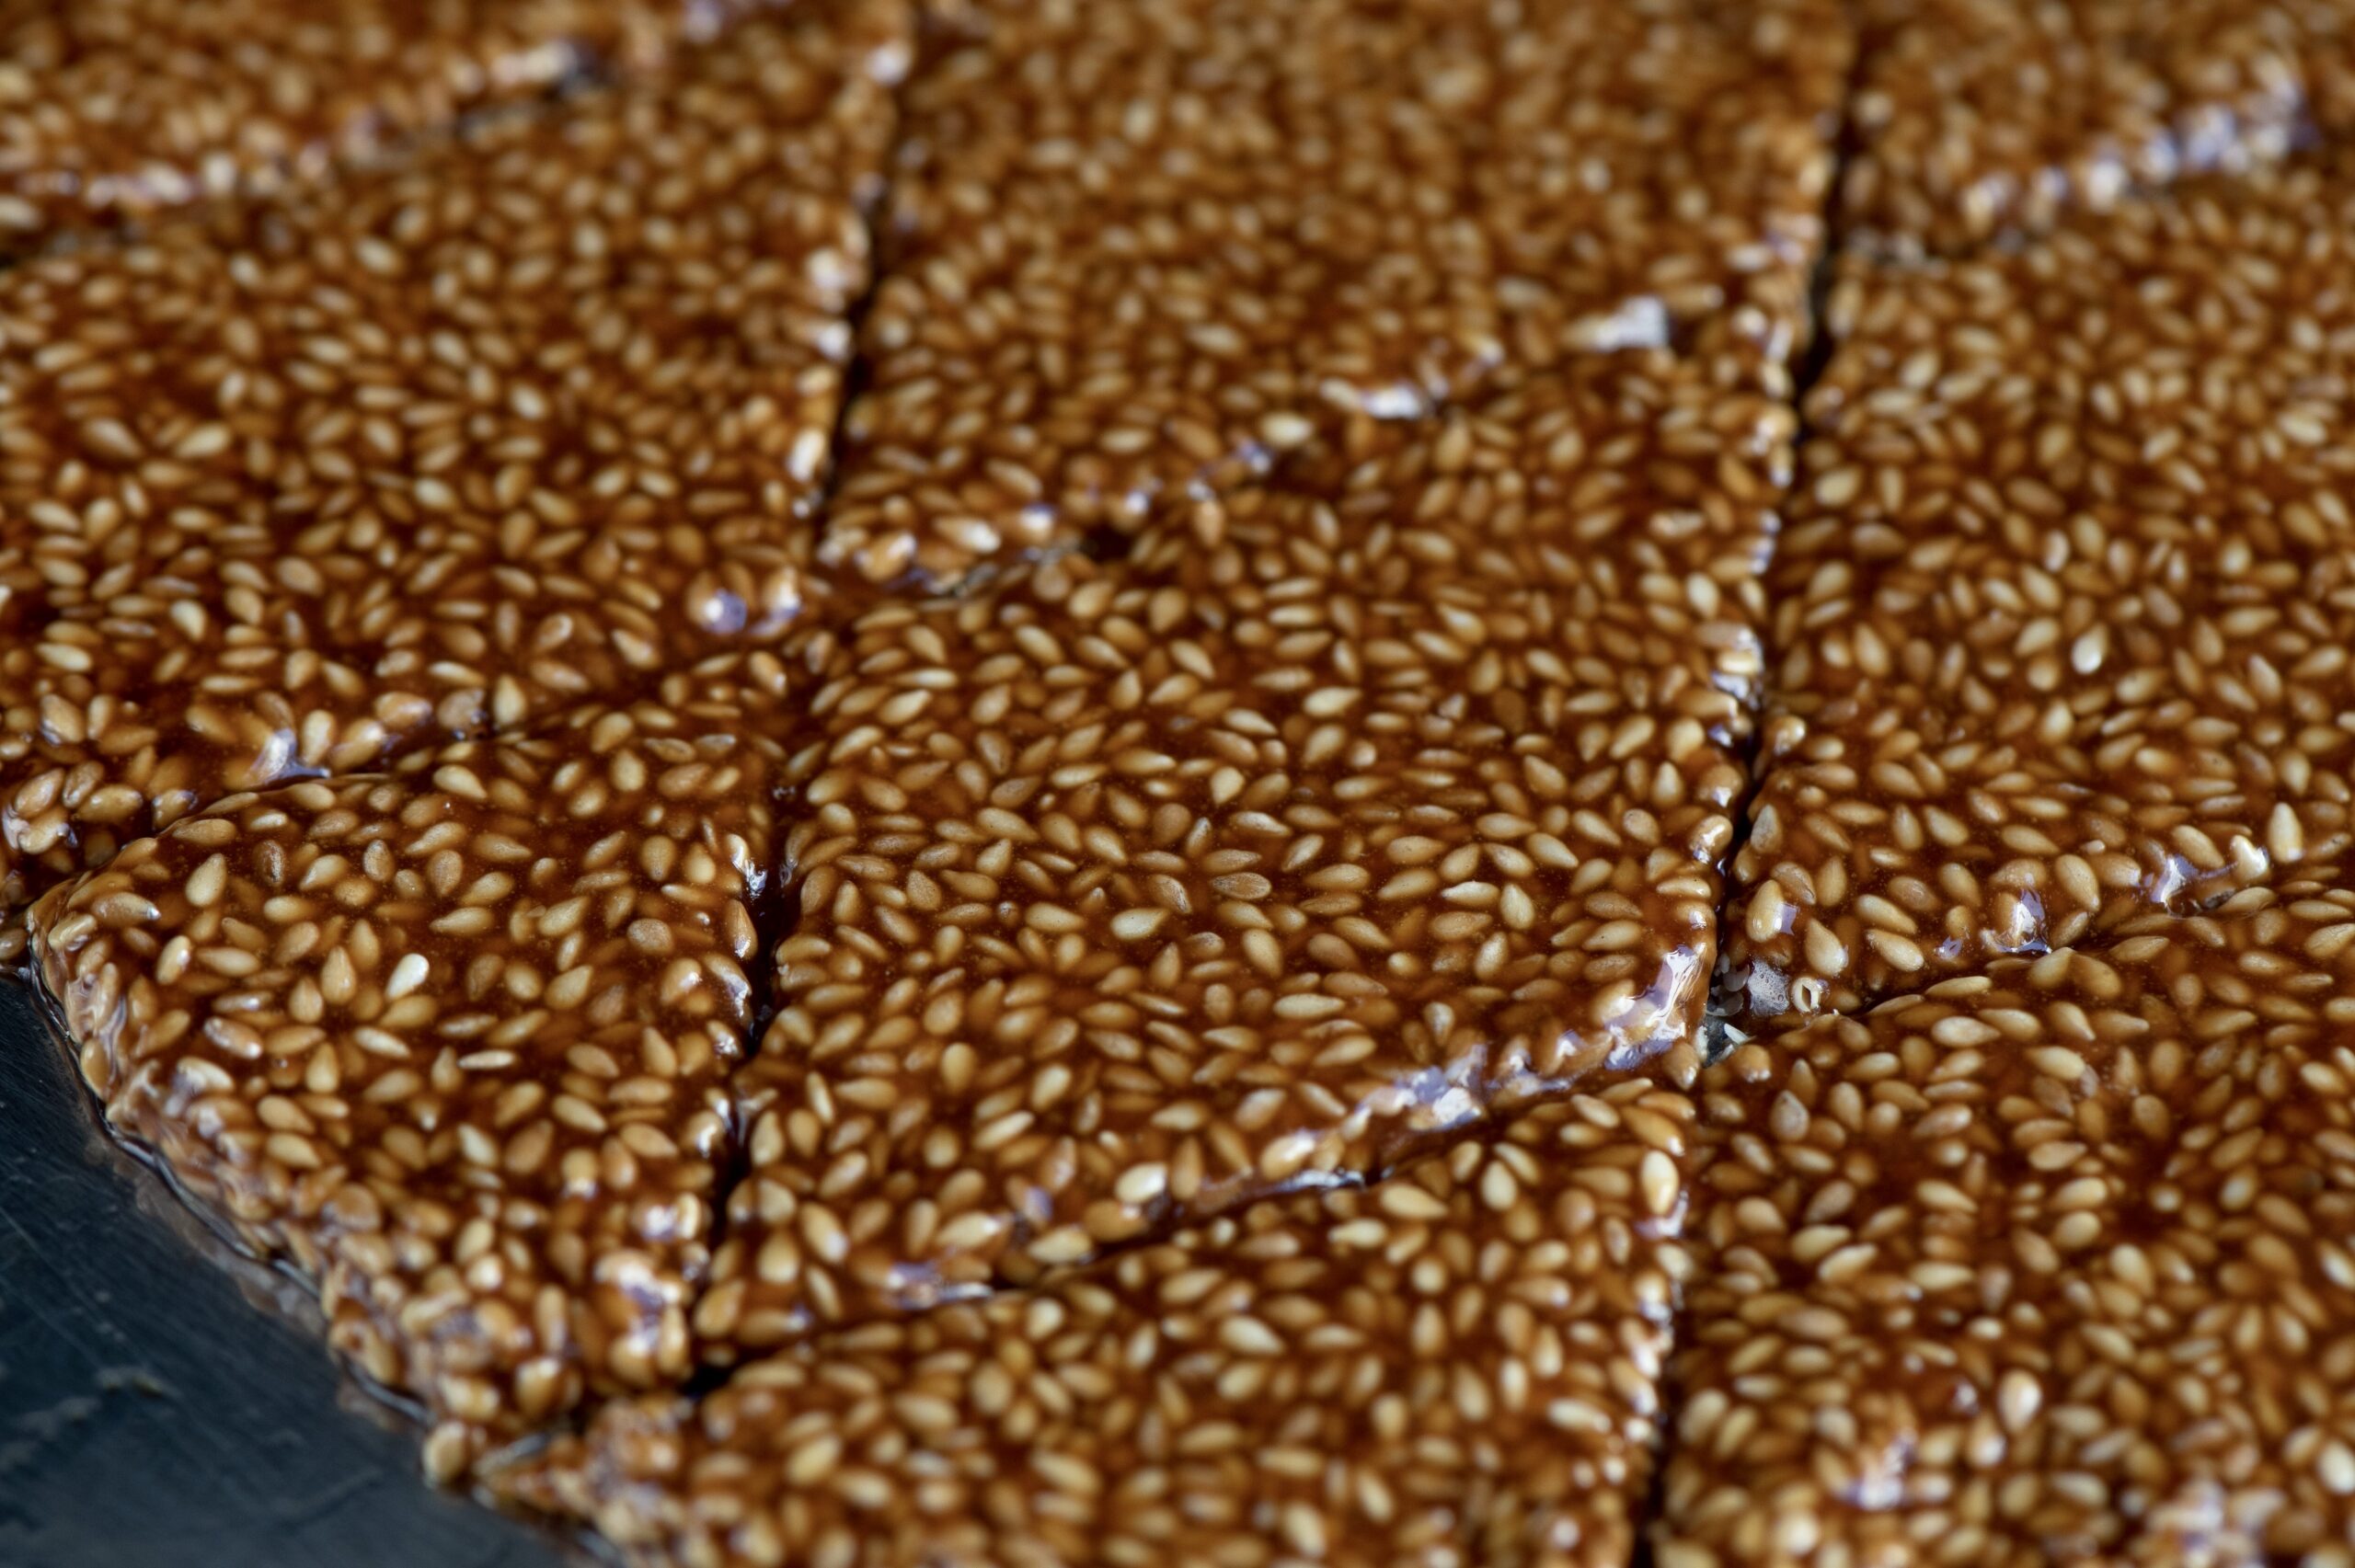
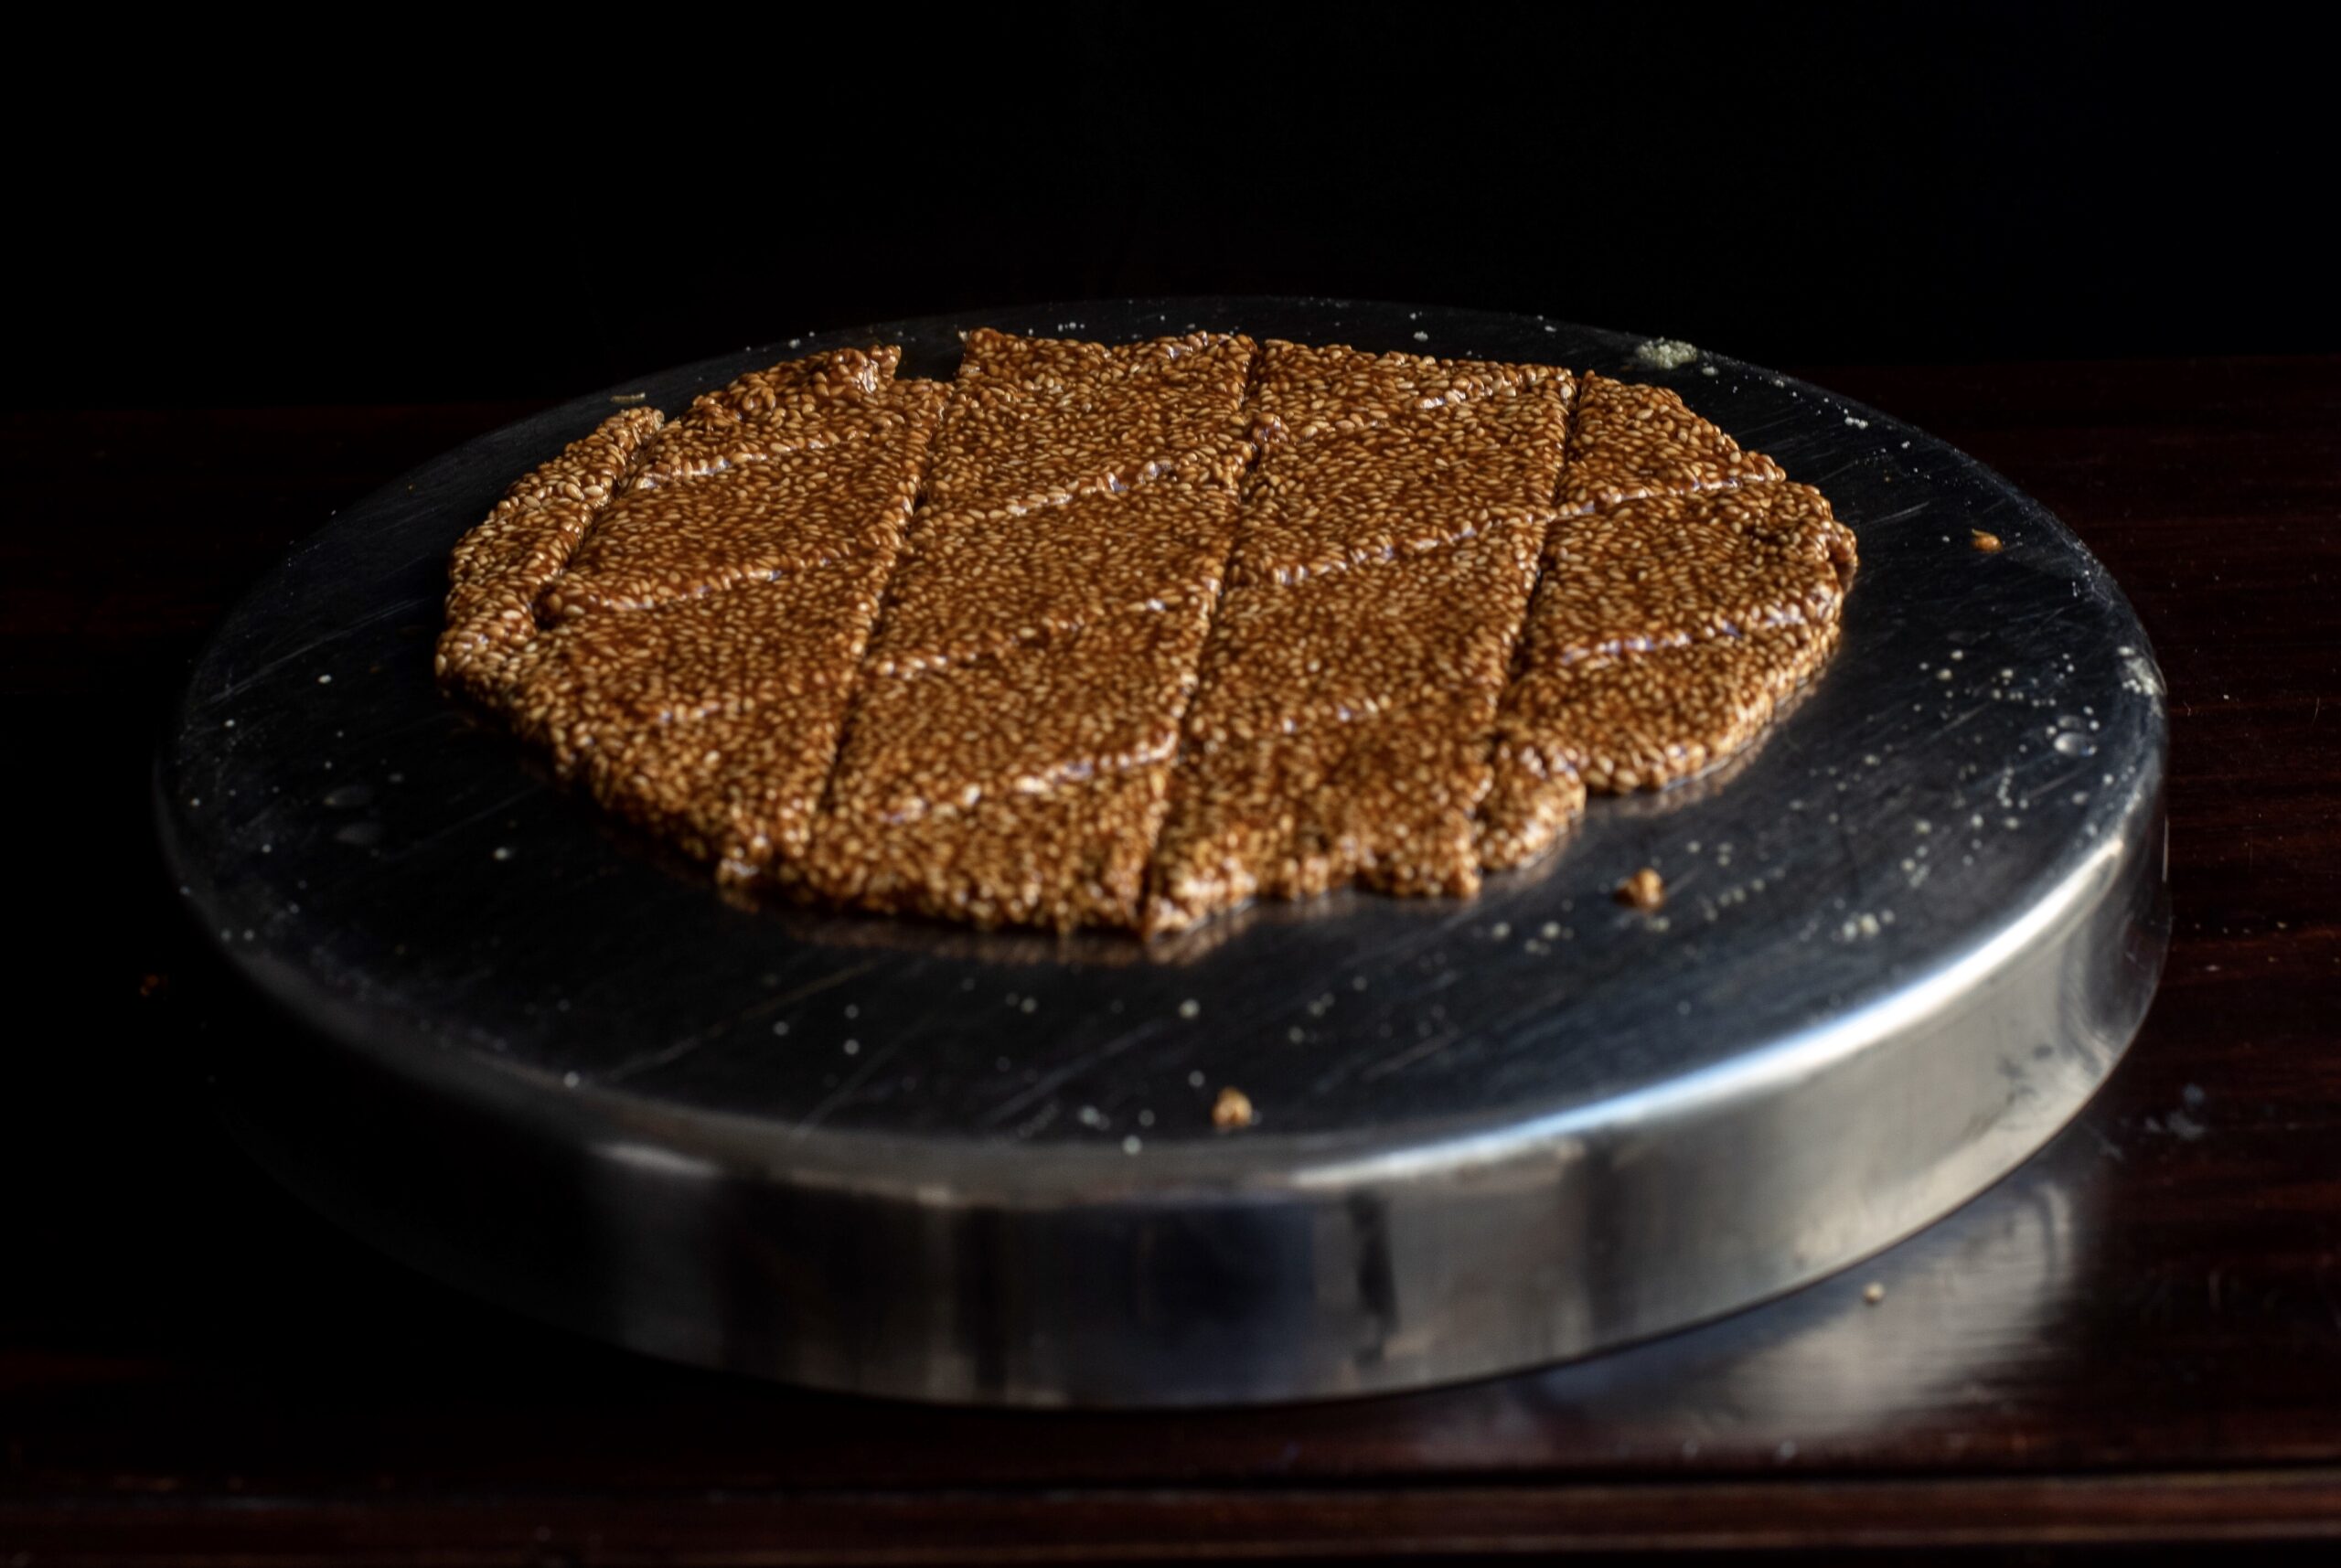
Drop the mixture onto the greased, overturned plate and immediately start to spread it out as thin as possible. You may need to use your fingers (dipped in water), while the rolling pin is coated with ghee. With this combination, try and spread it out in such a way that you mark lines for the pieces later.

Allow the spread mixture, striped with lines to form bars, to cool. Once it has completely cooled, place the plate on the stove and warm from below. The entire piece will come out as a whole. Break it along the marked lines. Store in an airtight container.


Here’s another process video: re:store sesame brittle video – 2

I want to say that this til-ka-chikki is easy to make, but I’ve already told you honestly that it’s not. But I love a challenge in the kitchen, and try again and again to better then perfect my dishes. Even with my photoshoots, it’s the same. When the end result comes out well, it’s all the more delicious when I know the effort that’s gone into it! Tell me how it goes when you try your hand at this dish. Wishing you and your loved ones a happy Sankranti!


When I was growing up, Diwali was a time when my mother made an entire array of sweets and savouries, such that I cannot point out one as a single most important tradition. All that changed for me when I got married and moved into my new home, when I became introduced to what is now a 30 year tradition for me: the simple and sacred dish of laapsi.

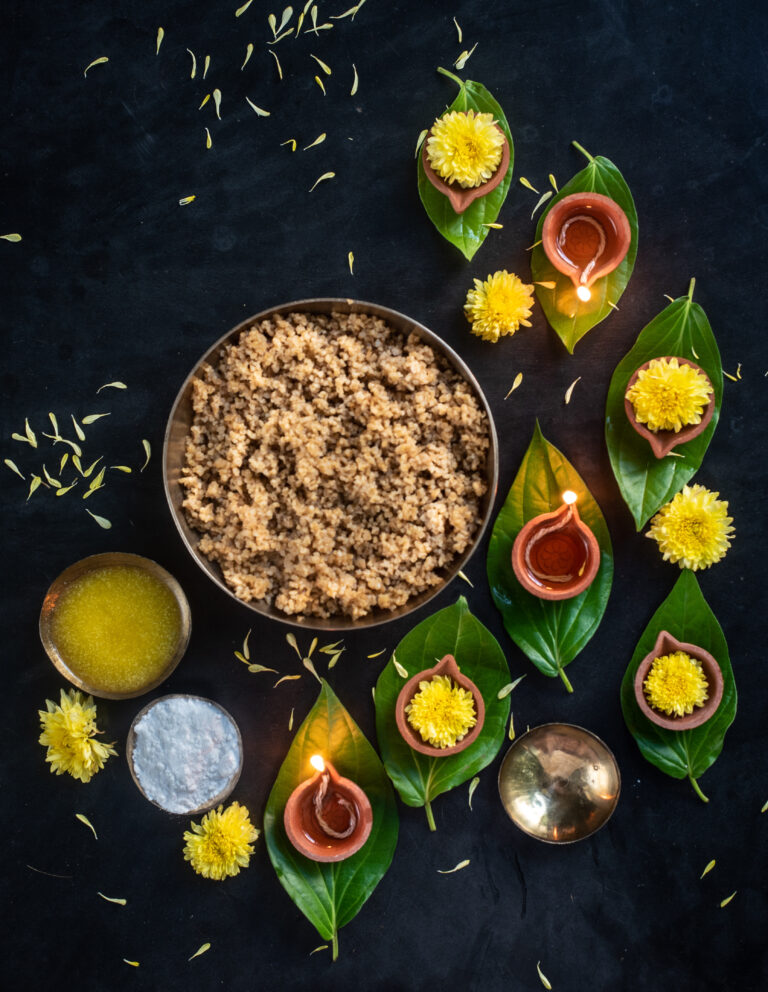
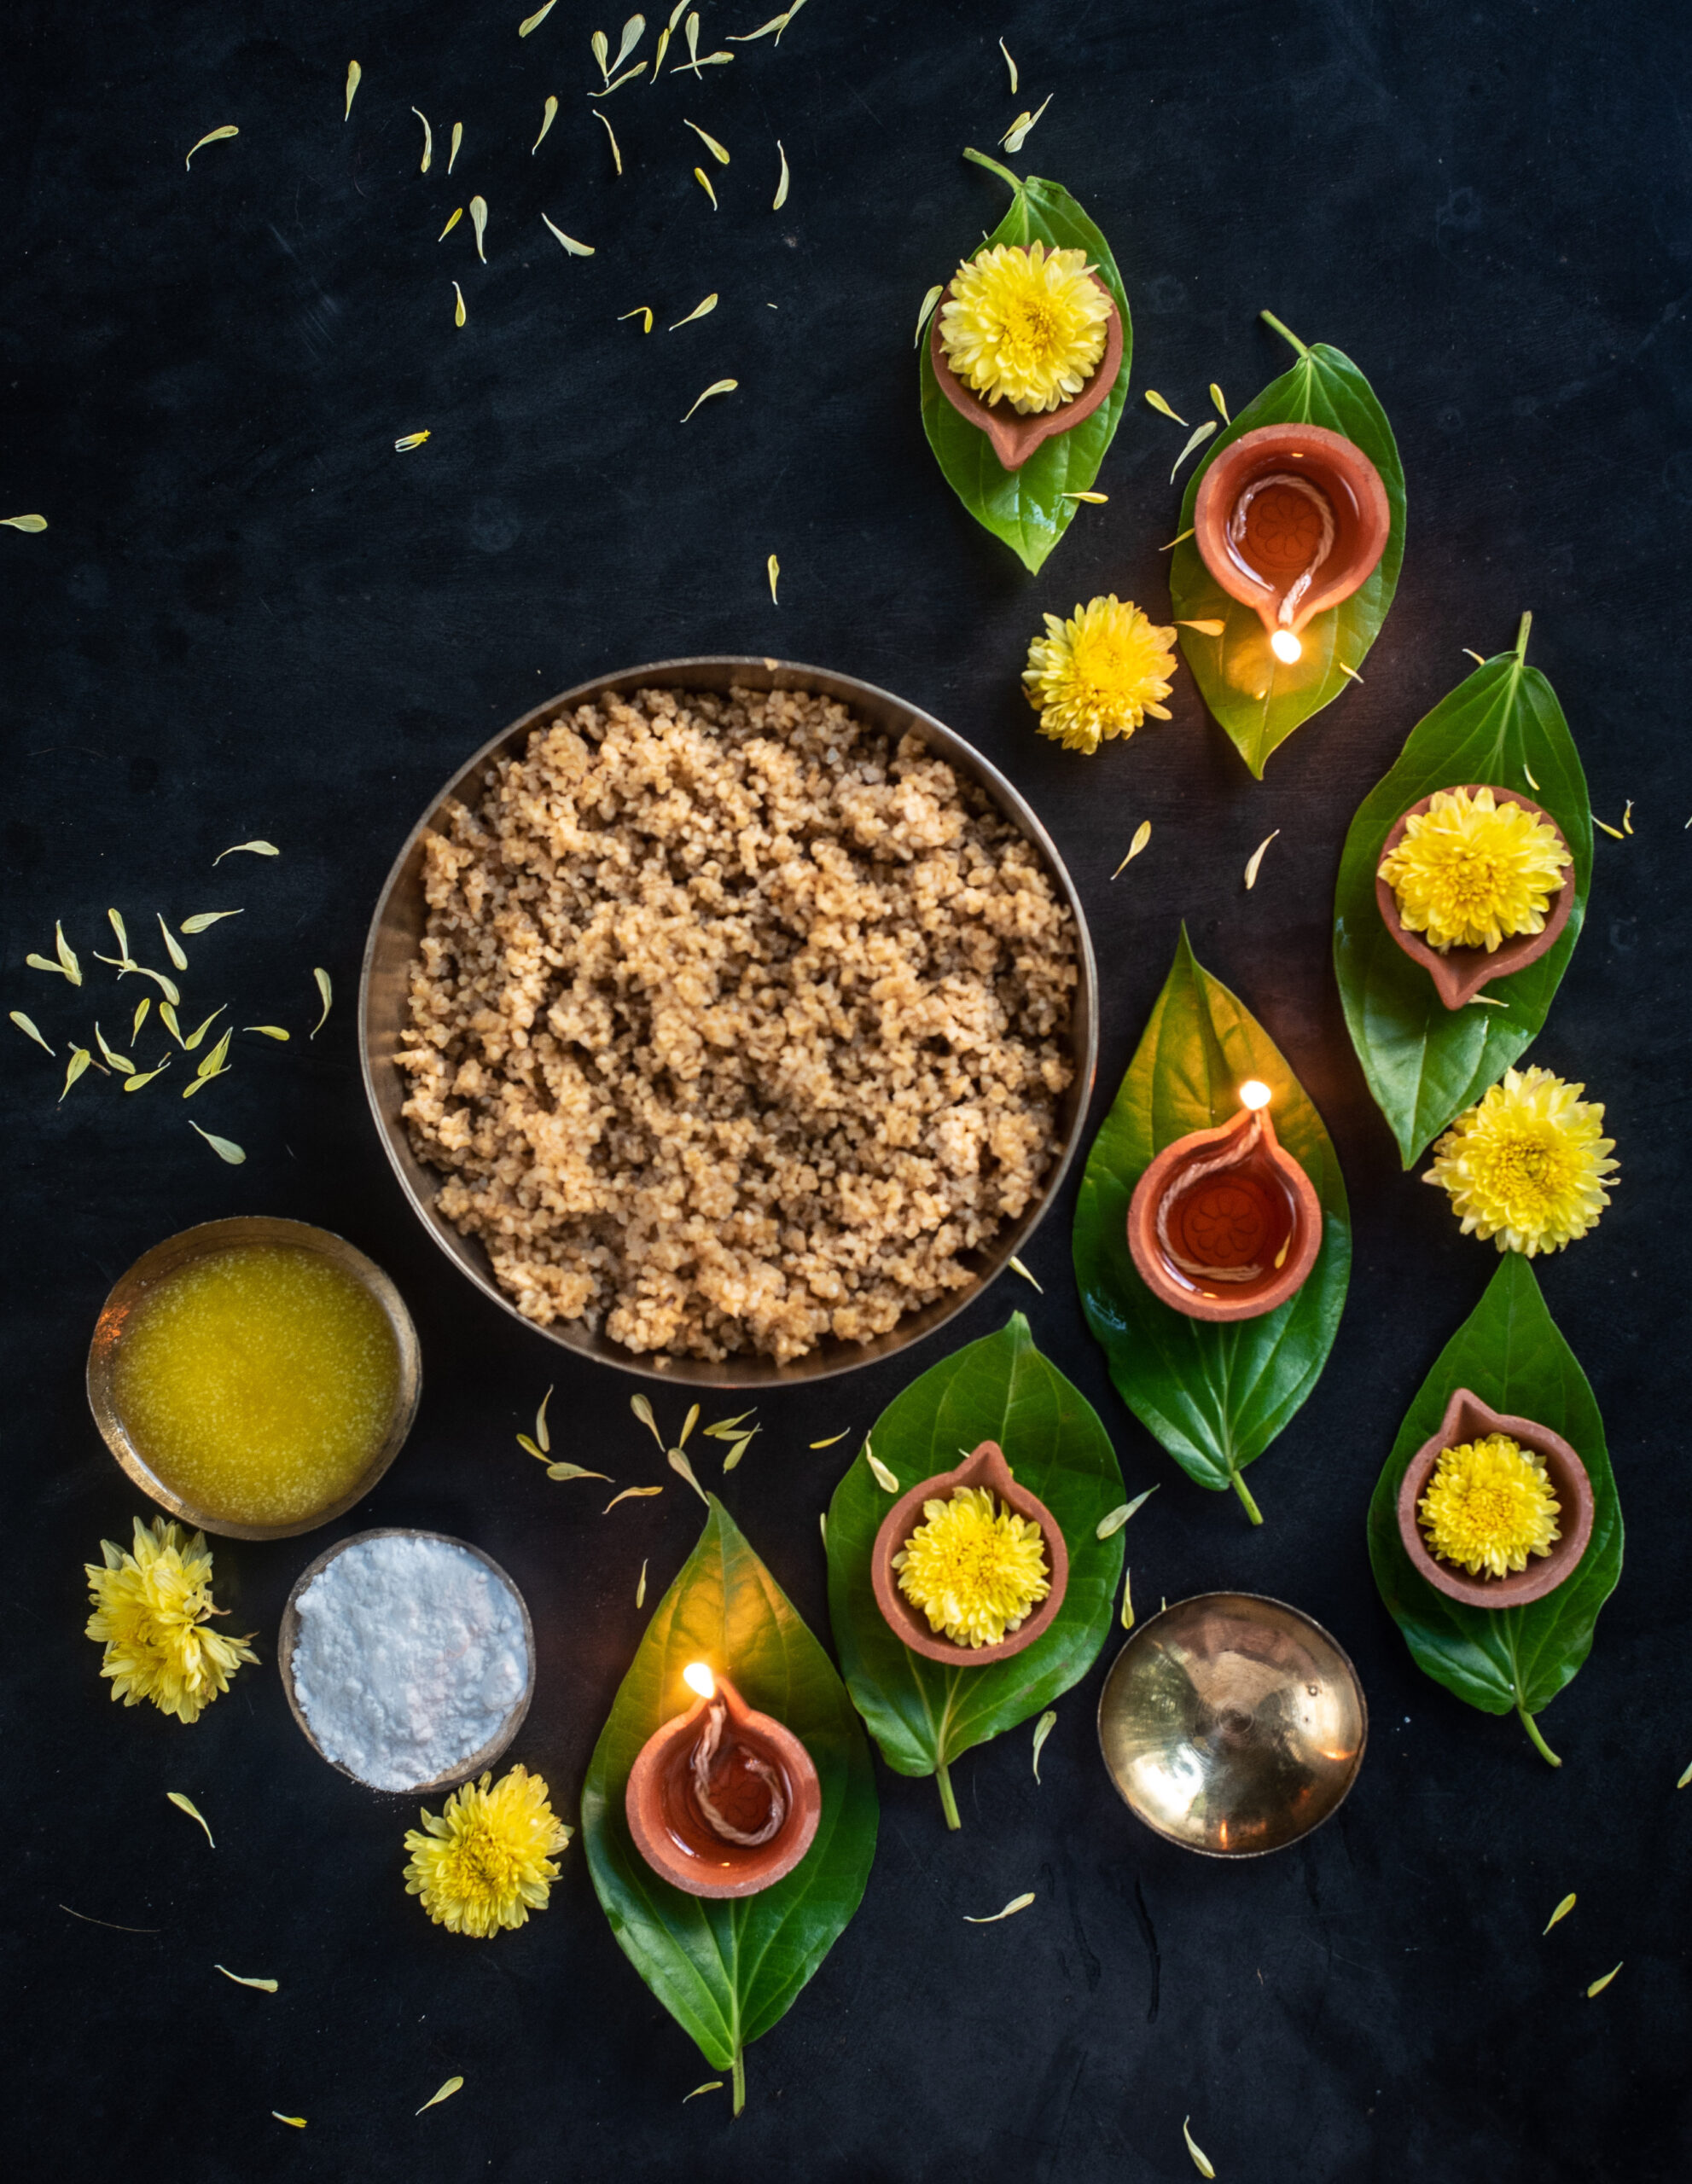
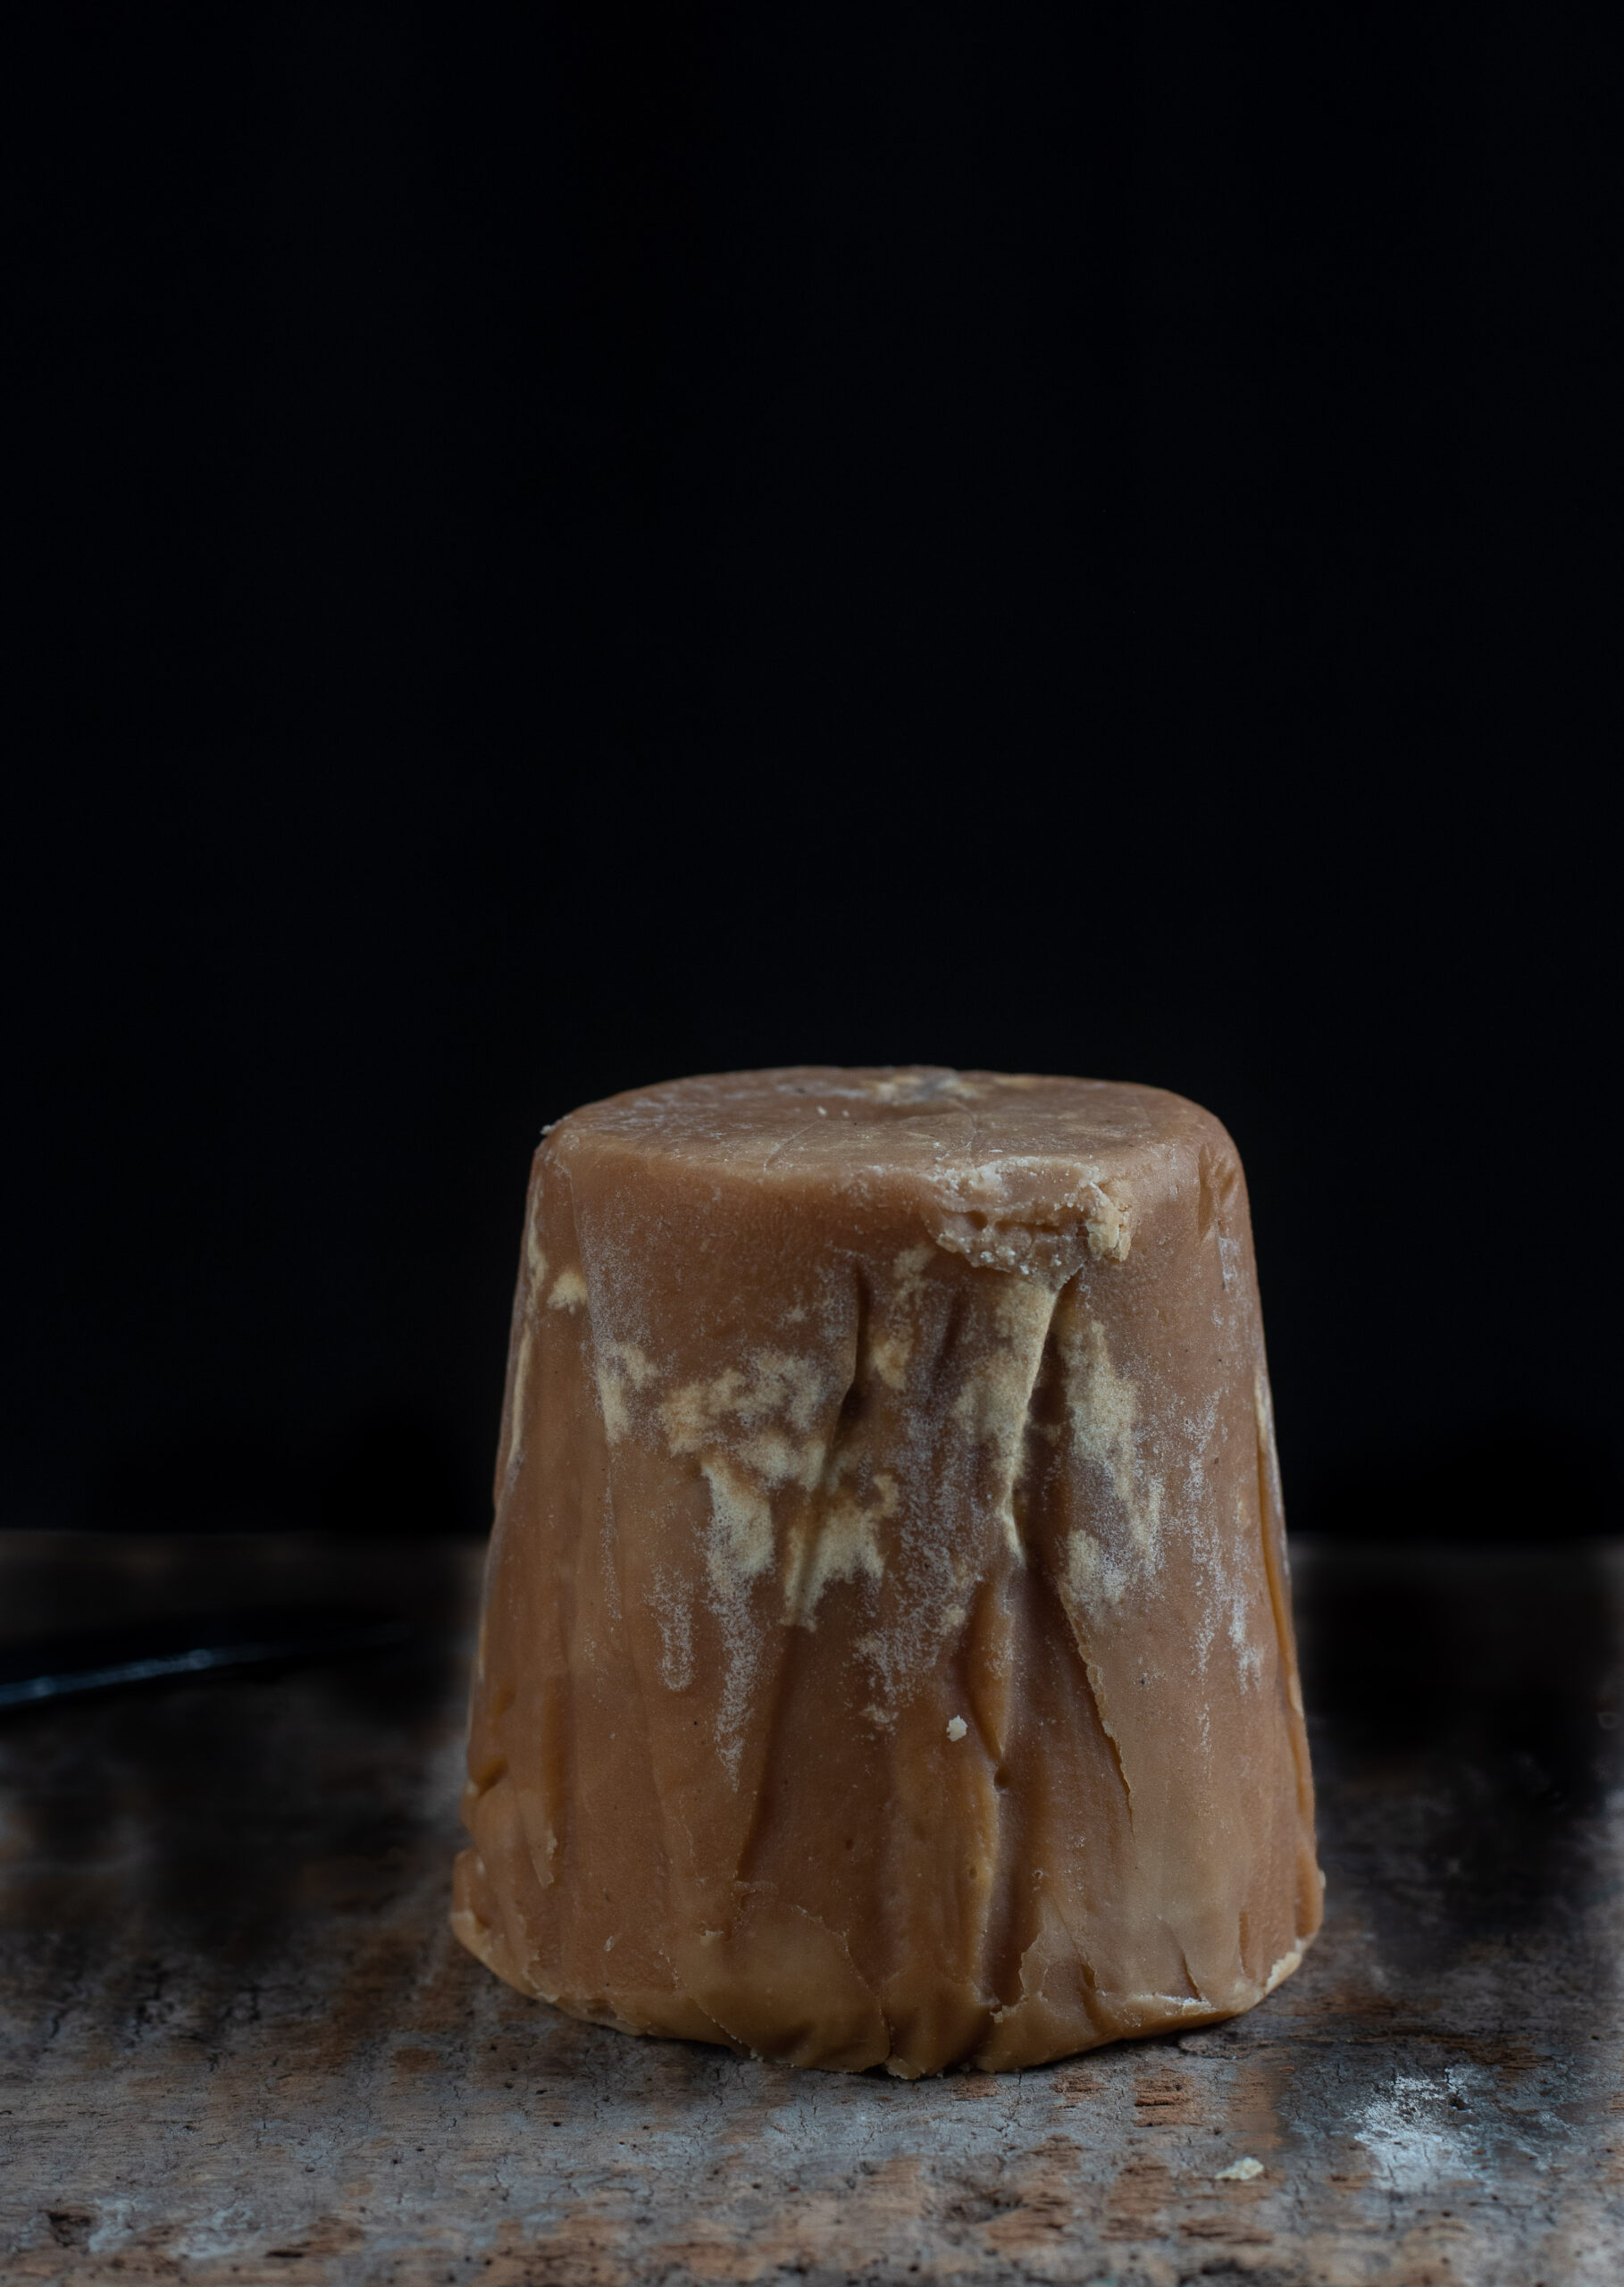
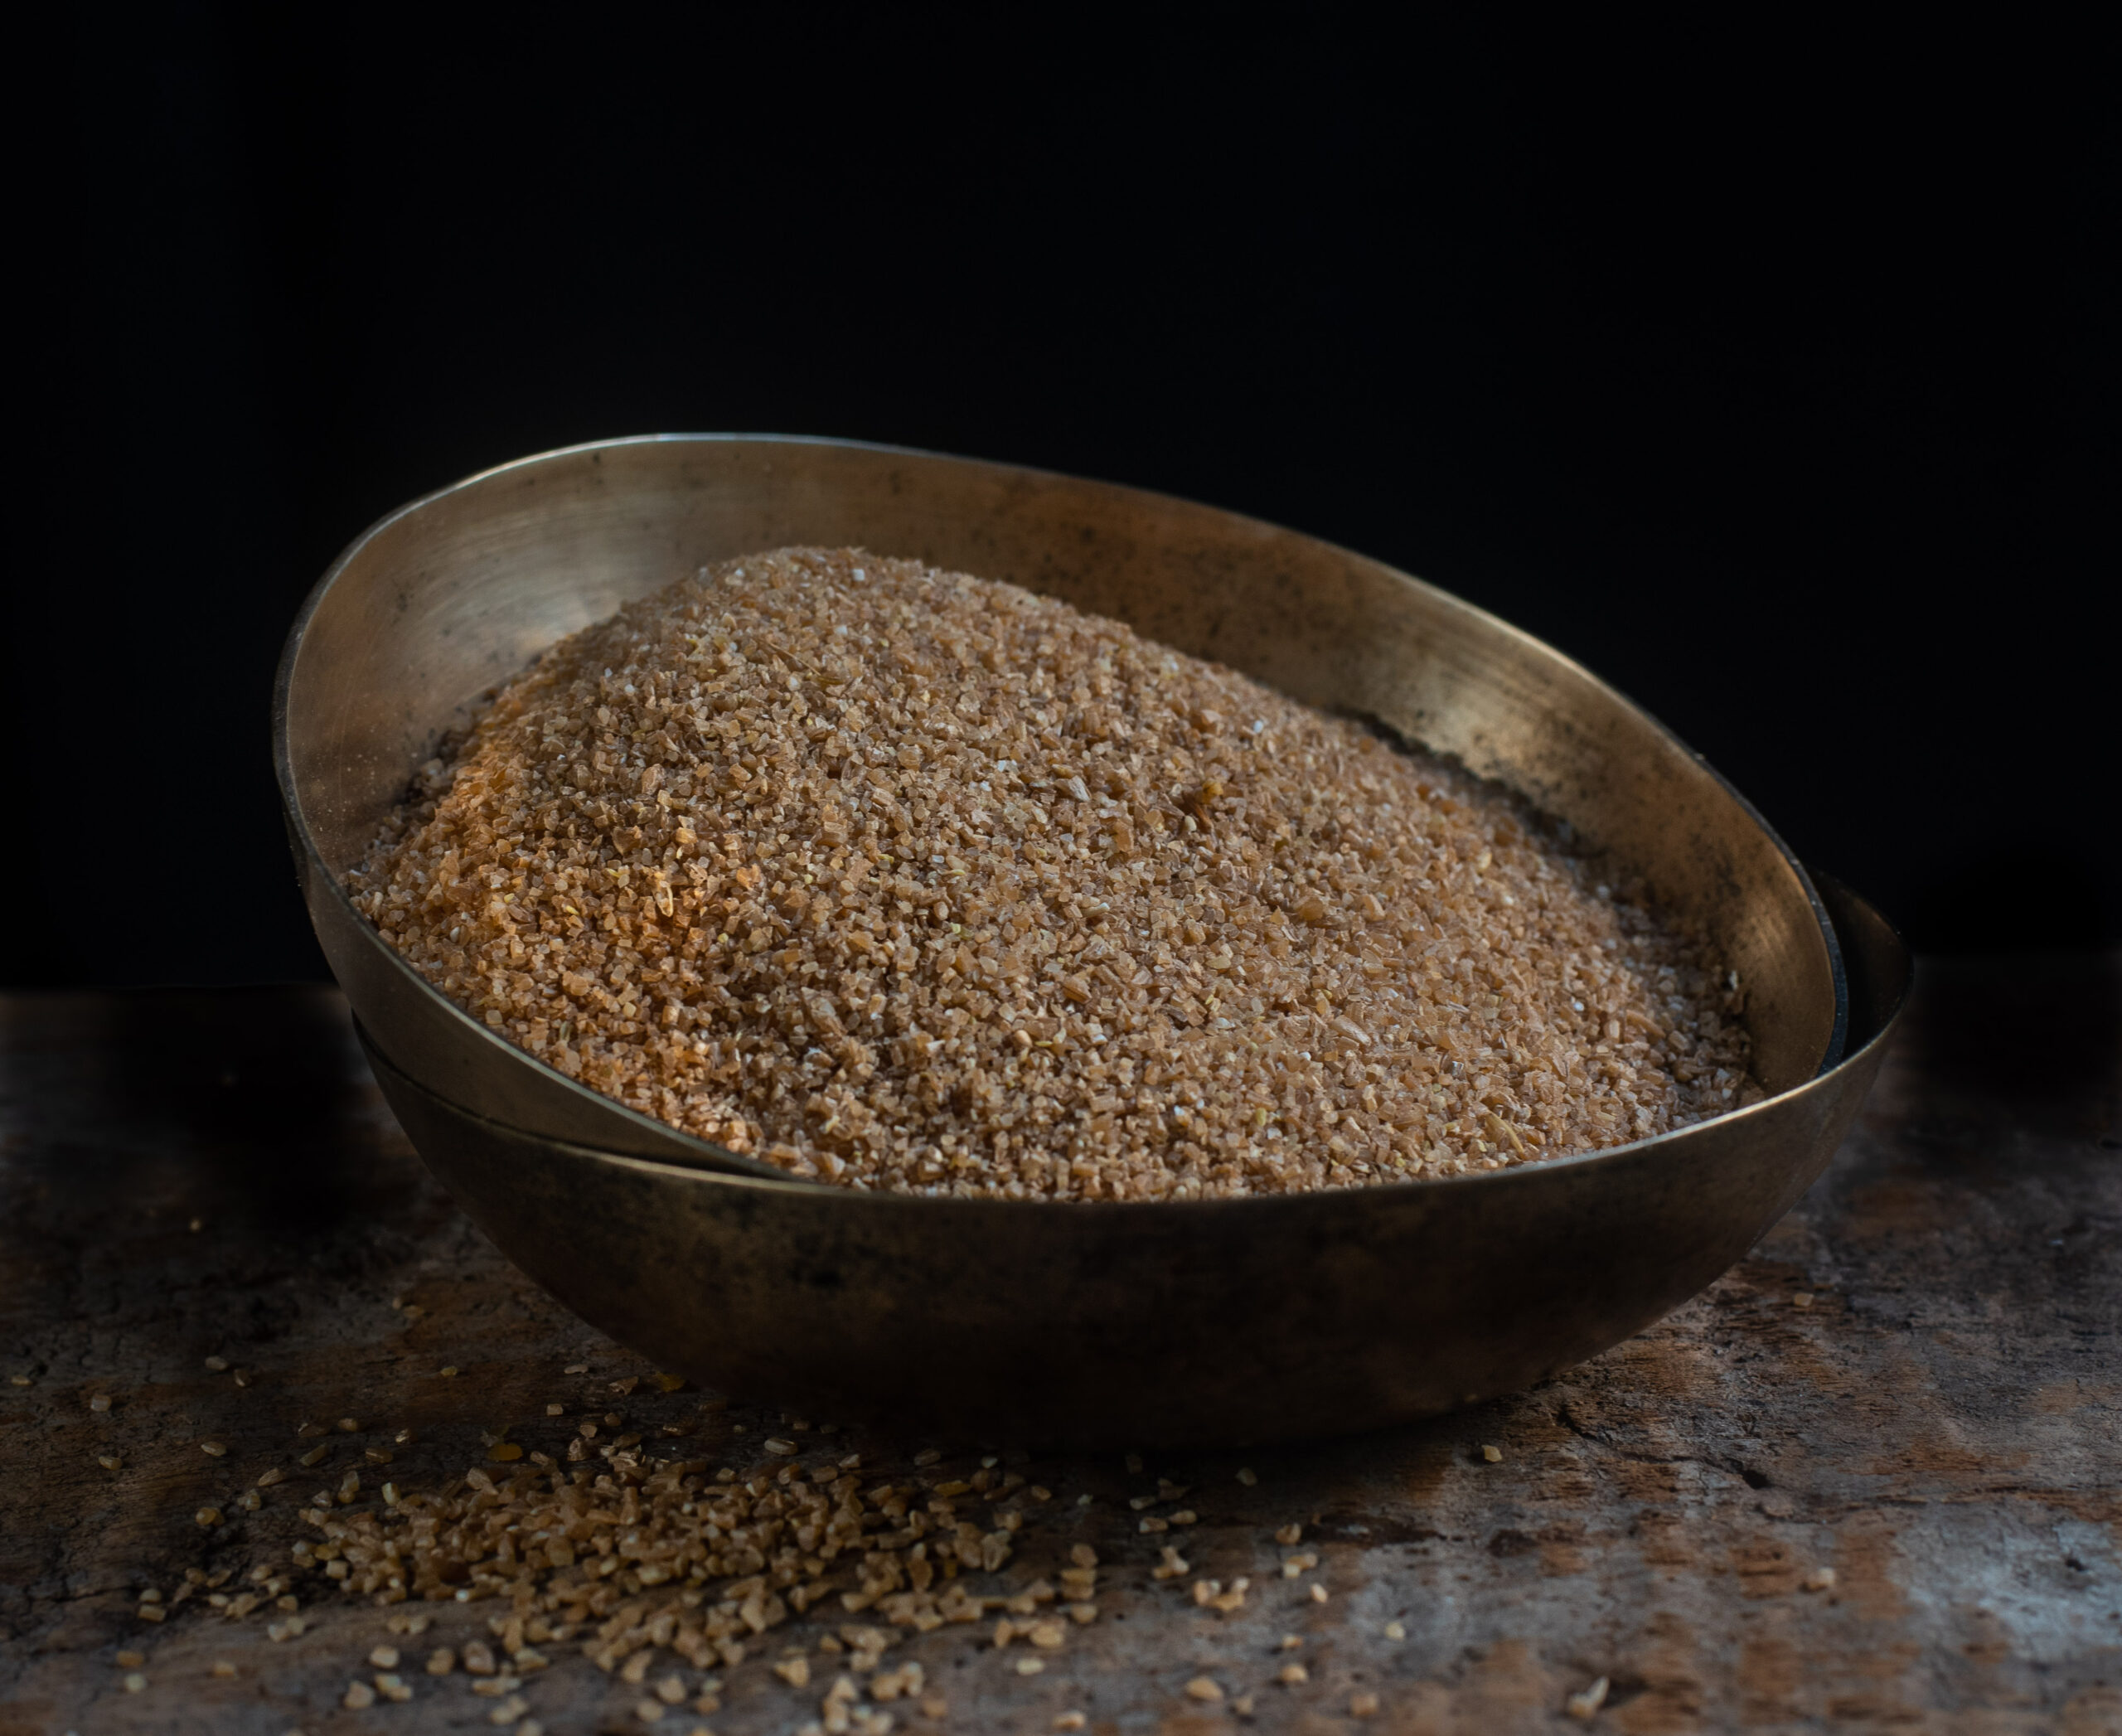
Laapsi is a Gujarati sweet which, like sukhudi uses just three ingredients: jaggery, broken wheat and ghee. In modern versions, people often add nuts, saffron and other flavourings, but the original and deep-rooted traditional method is extremely simple. The three basic ingredients were and are frugal, humble and delicious. In the old days, every household could reliably find enough to make a festive offering. As with sukhdi, laapsi is also first offered as prasad to the gods.

Diwali always falls on amavasai day, or the new moon. Different communities observe their own sets of festivities. For Gujaratis, it begins with Baras (the 12th day towards the waning moon), then Dhanteras (the 13th day, during which we pray to the goddess of prosperity, Lakshmi), then Kali Chaudas (when the goddess Kali is worshipped, not only with a sweet, but with a fried vadai which is symbolically thrown over the shoulder at a crossroads, indicating that you wish to leave behind the previous year) – and then, we have Diwali, which is also Chopda Puja. Chopda means “books”, and this is the day on which we perform a prayer similar to Ayudha Puja in other communities, when all our instruments (from accounting books to cameras and ladles) are kept at the altar and blessed. The day after Diwali is the Gujarati New Year.

I lost my father-in-law earlier this year, and since Indian homes traditionally will not celebrate festivals for a year after a loss, we won’t be going the whole way this year. However, my father-in-law was full of life and spirit and did not believe in observing that grieving period. He believed the life cycle should continue. So while we won’t over-celebrate this year, I will also ensure that we won’t put a full stop to joy. I am sure that is how he would have wanted it too. We had a cool, chilled out relationship. We had many fights and arguments, but I always knew that everything would be taken in the right spirit. And he was someone who was a huge influence on me, in everything from changing my perspectives to gifting me my first camera.

I will certainly miss him this Diwali. Every Diwali, he would give everyone a special token, a crisp 50 rupee note. All of us considered it a lucky charm, and kept it in our wallets until the following year. Who will do it this year? Many recent incidents have reminded me how important roots and traditions are, and how necessary it is to respect them. This is why there are so many things that I insist on doing in a ritualistic way, like keeping the umbrella on Ganesh Chaturthi, and making laapsi on Diwali. I know my kids will not follow all the things that I follow, but at least a few of those traditions will become meaningful to them too…

And if I can be hopeful, I would absolutely name laapsi as one of the traditions I hope my children will keep and cherish. Although we have all became health conscious and started rejecting sweets, I still insist that everyone partakes of our Diwali laapsi.

This year, my mother-in-law has moved back in with us, and it is nice to have her home. It reminds me of all the times that she shared her culinary wisdom with me (such as when she taught me this kachori that many of you enjoyed too). Diwali is just a few days away, and I am calling to mind how I used to watch her make laapsi during the first ten or twelve years of my marriage. Slowly, she stopped coming into the kitchen as often and I began to manage more of the cooking. But for a long time, I would still ask her to come in for certain traditional dishes. Laapsi was, of course, one of them. Different families follow different methods in order to make their own traditions. I follow hers to a T: no garnish, no frills, just three simple ingredients made for God and family.

And just like my mother-in-law taught me, I will not serve laapsi on any day other than Diwali. I consider it sacred. My family and I wish you a very happy Diwali and festive season, and I hope that this special dish brings you sweetness and joy too.

Laapsi

(Yield: 2-3 cups)

Ingredients

½ cup broken wheat
½ cup jaggery
2 ¼ cups water
3 teaspoons ghee

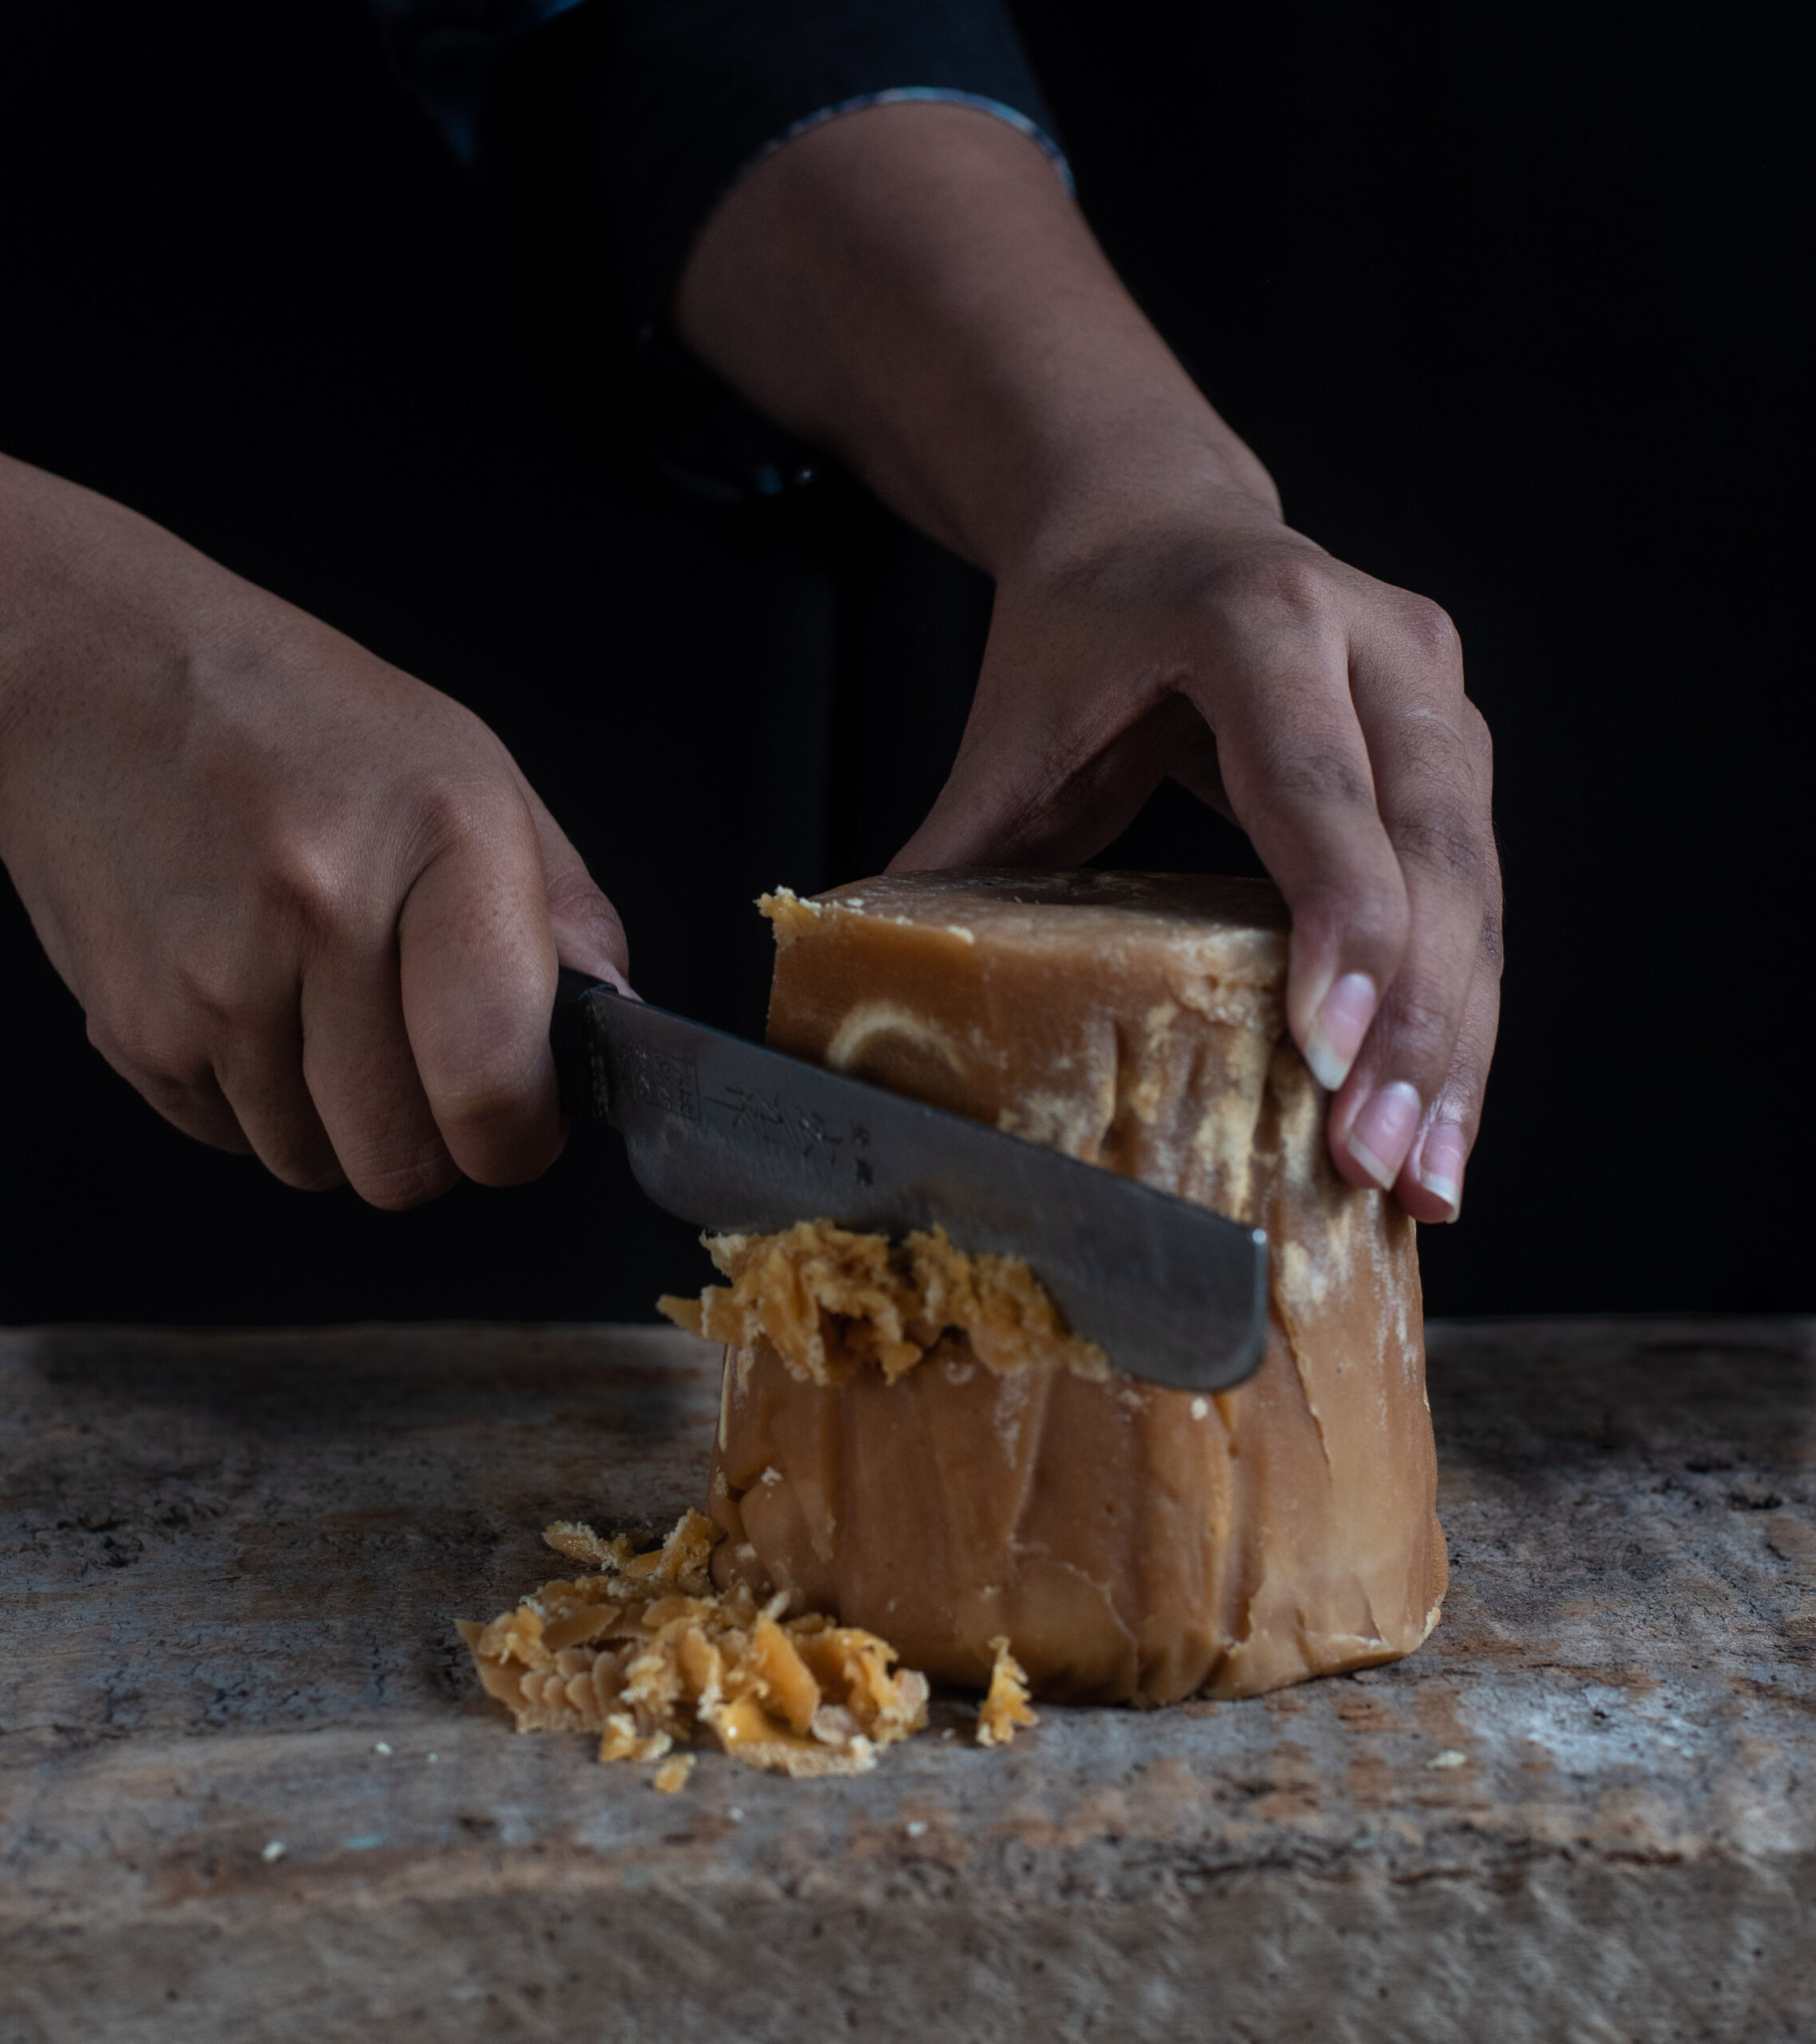
Boil the water in a pot and add the jaggery to it. Stir until the jaggery melts. Then strain the liquid through a strainer, making sure that it is clean. Measure the liquid to check that you now have 2 cups of jaggery water.

Toast the wheat and ghee till slightly golden. This will take approximately 3 minutes. Now add the liquid to the wheat and cover with a lid. Place this in a pressure cooker for 4-5 whistles. Once you open the pressure cooker, you will find that the concoction is still soft. You can now place the pot directly on to a low flame. Cover and let cook until the liquid dries up and its grainy.

I prefer using the cooker as it lessens the cooking time. Alternately, pour the hot jaggery water into the wheat in the pan and allow to cook covered, on a low flame, so it does not stick to the bottom. Let it be on the stove until the grains are cooked perfectly and soft to the bite. Do not stir frequently as this may cause the grains to get sticky.

As I mentioned earlier, there are different ways to make this. I do hope you will find yours once you make this often enough. You don’t have to restrict yourself to an annual occasion like I do!

Typically, we serve the hot lapsi with ghee, powdered sugar and lentils.

Given the deep Gujarati-ness of this recipe and this post, I hope you’ll also take a look at some of my previous recipes that celebrate my traditional cuisine.


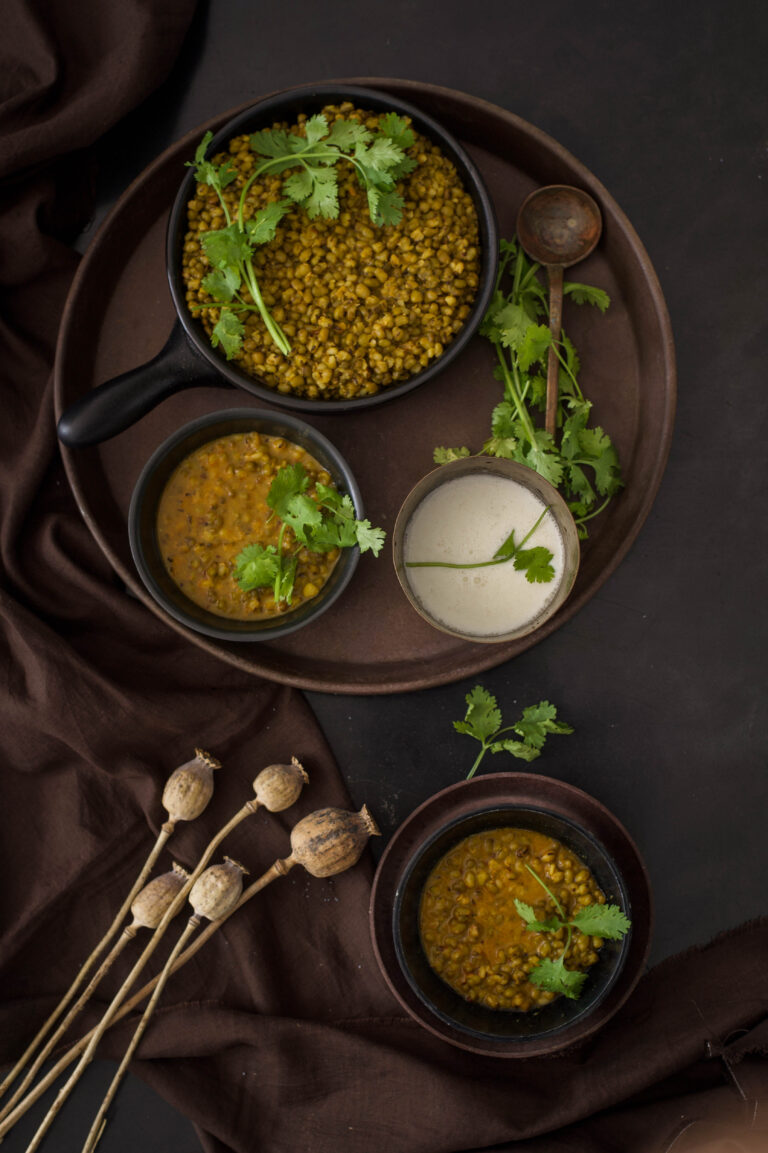
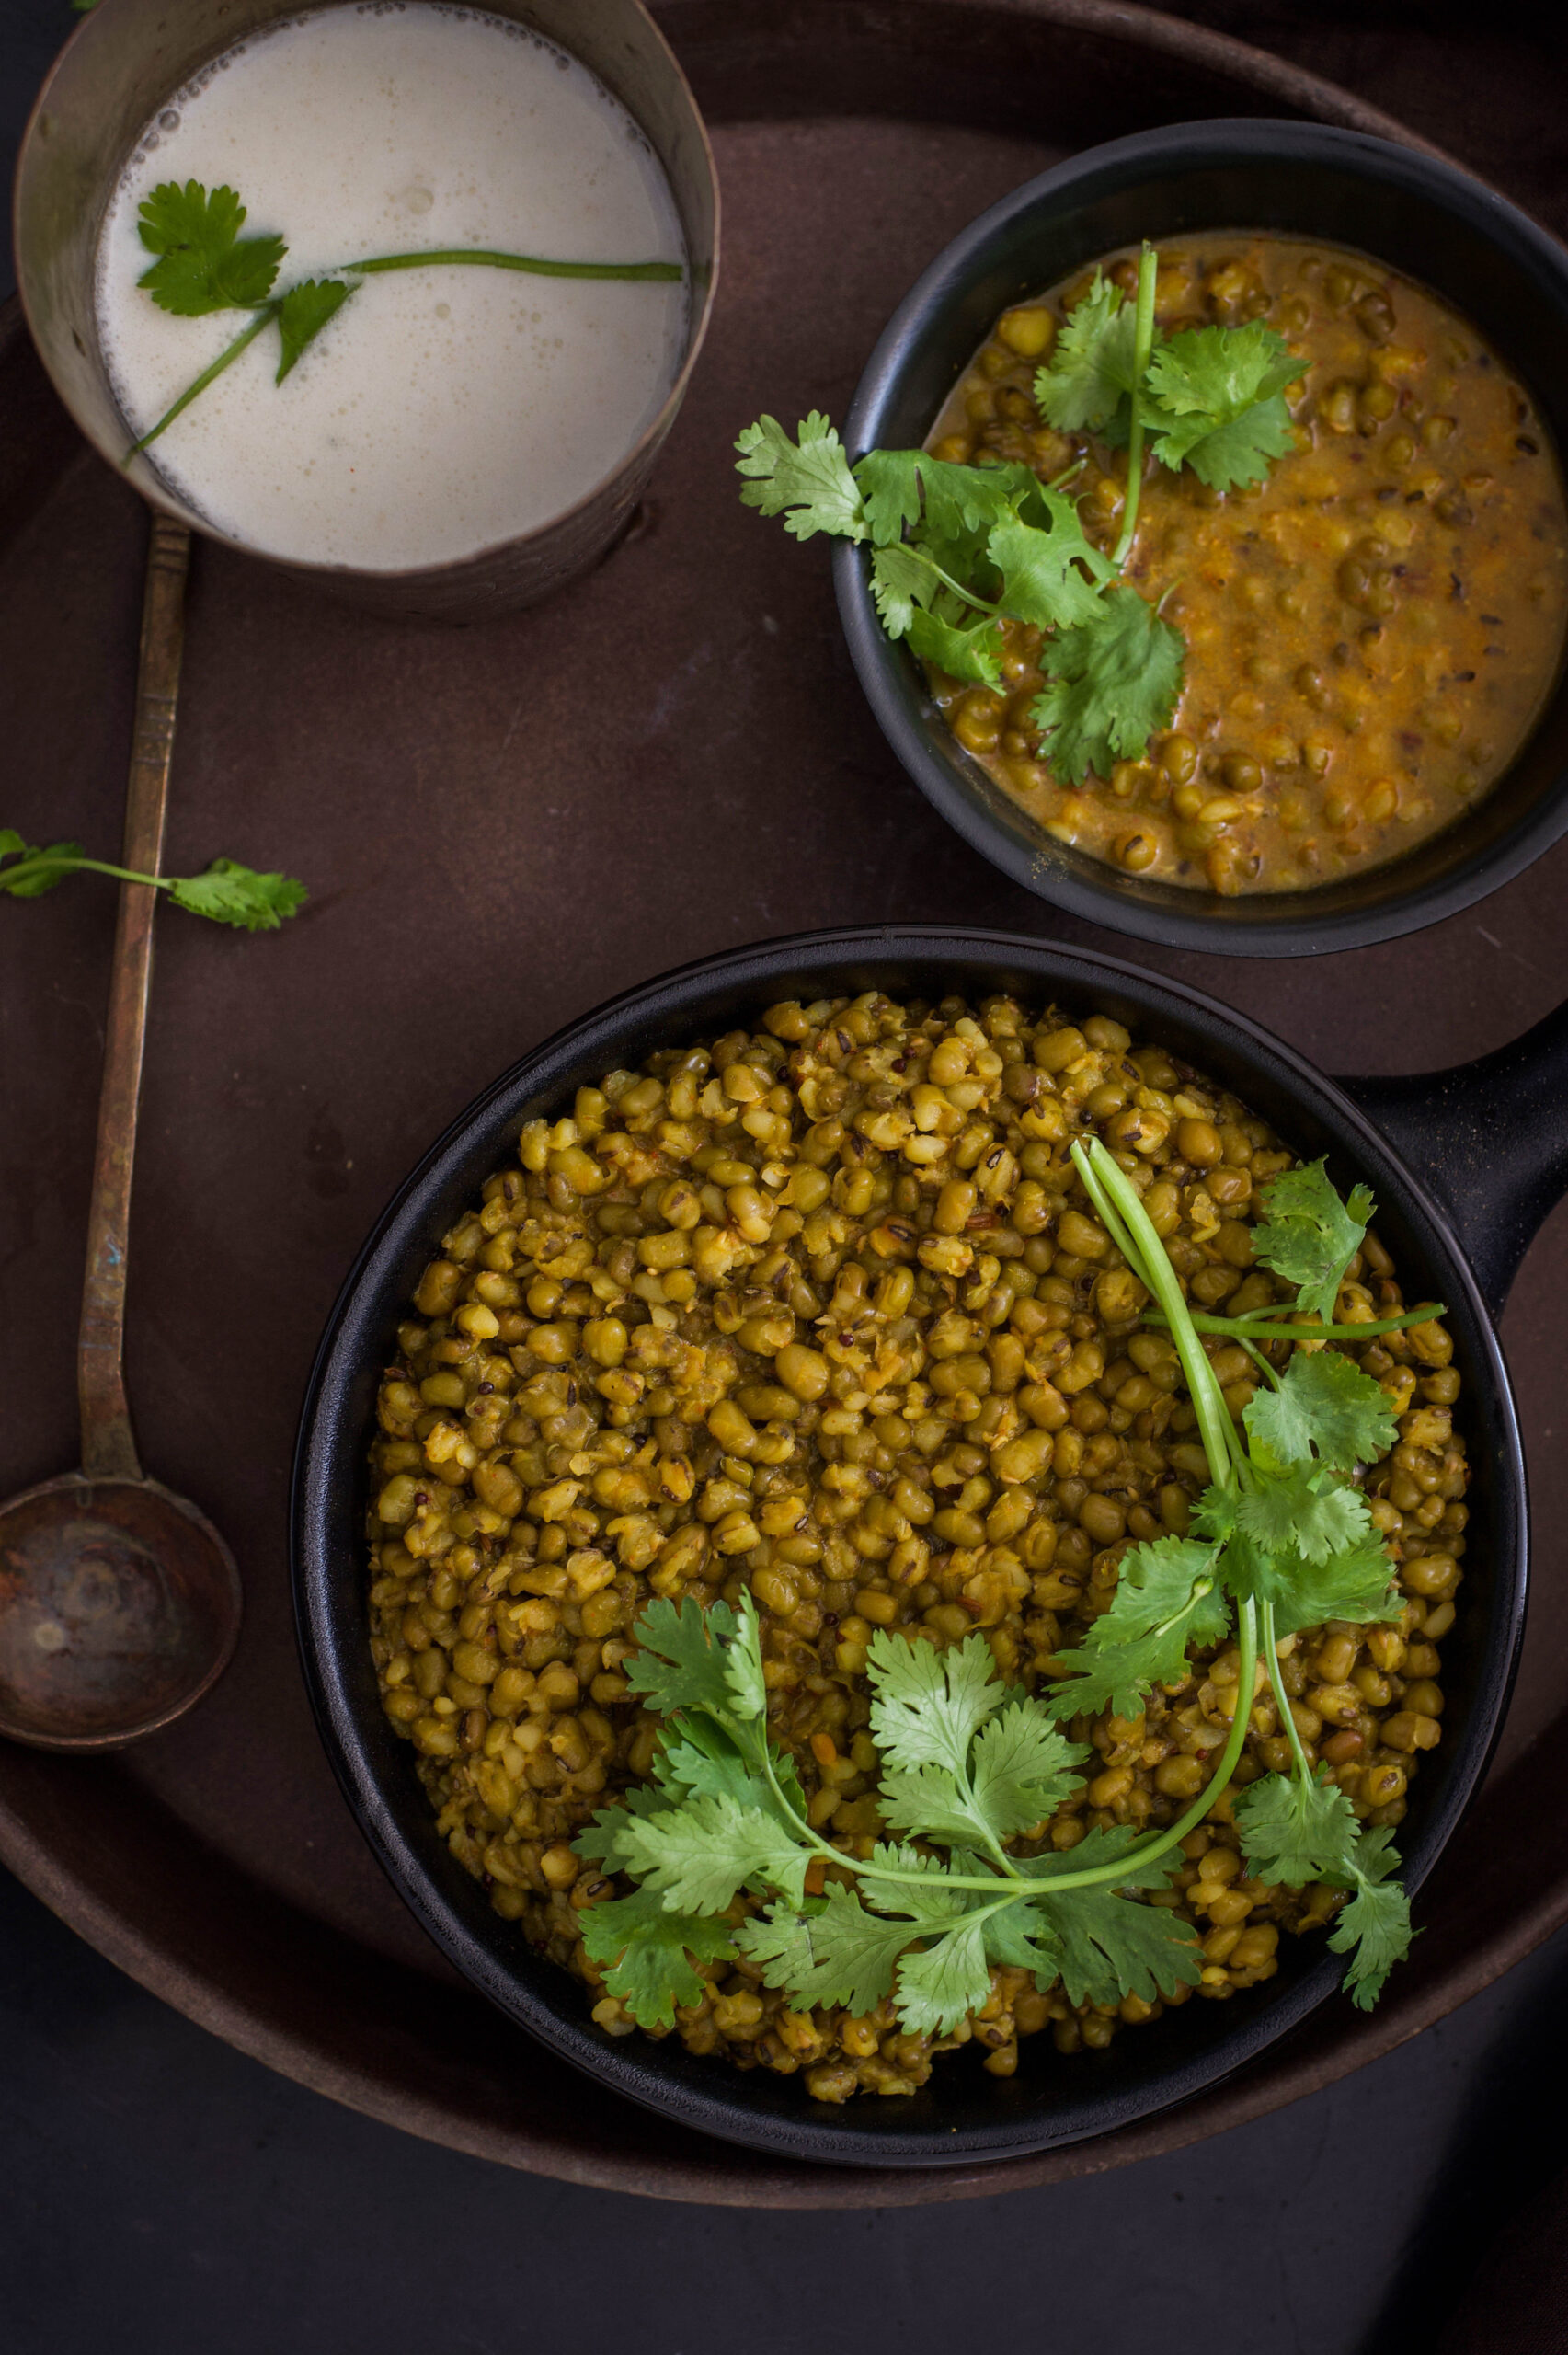
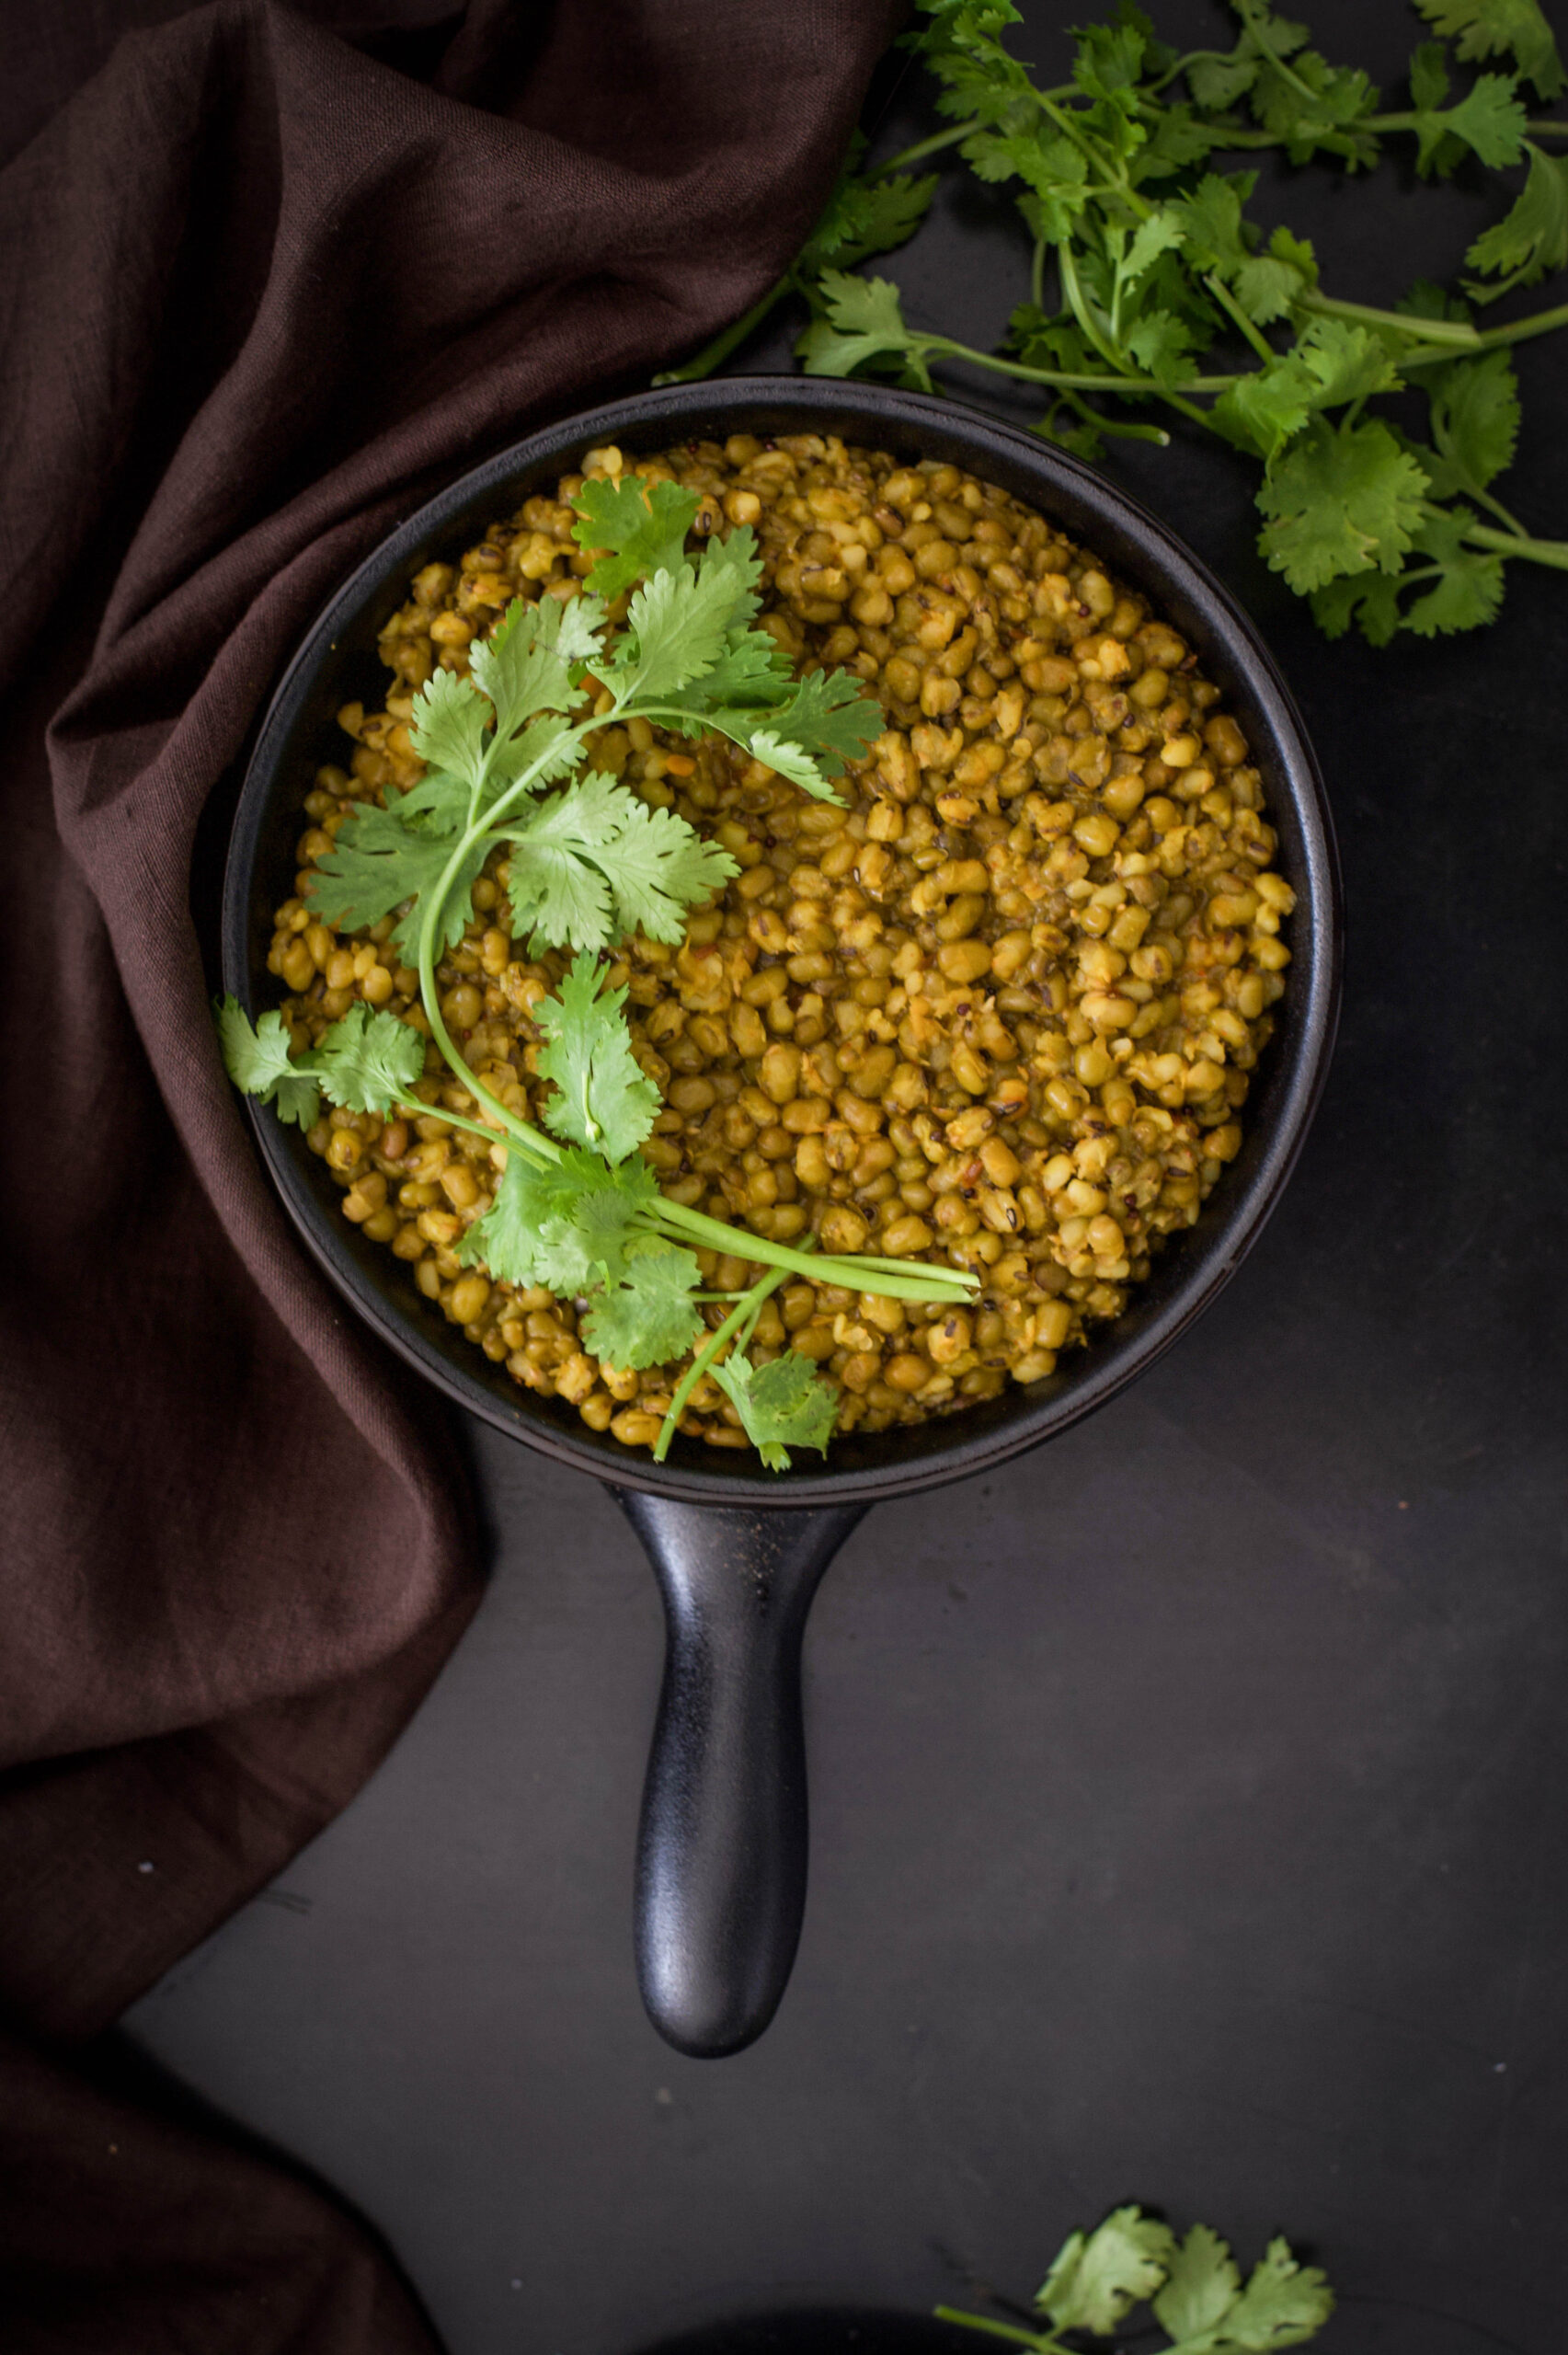
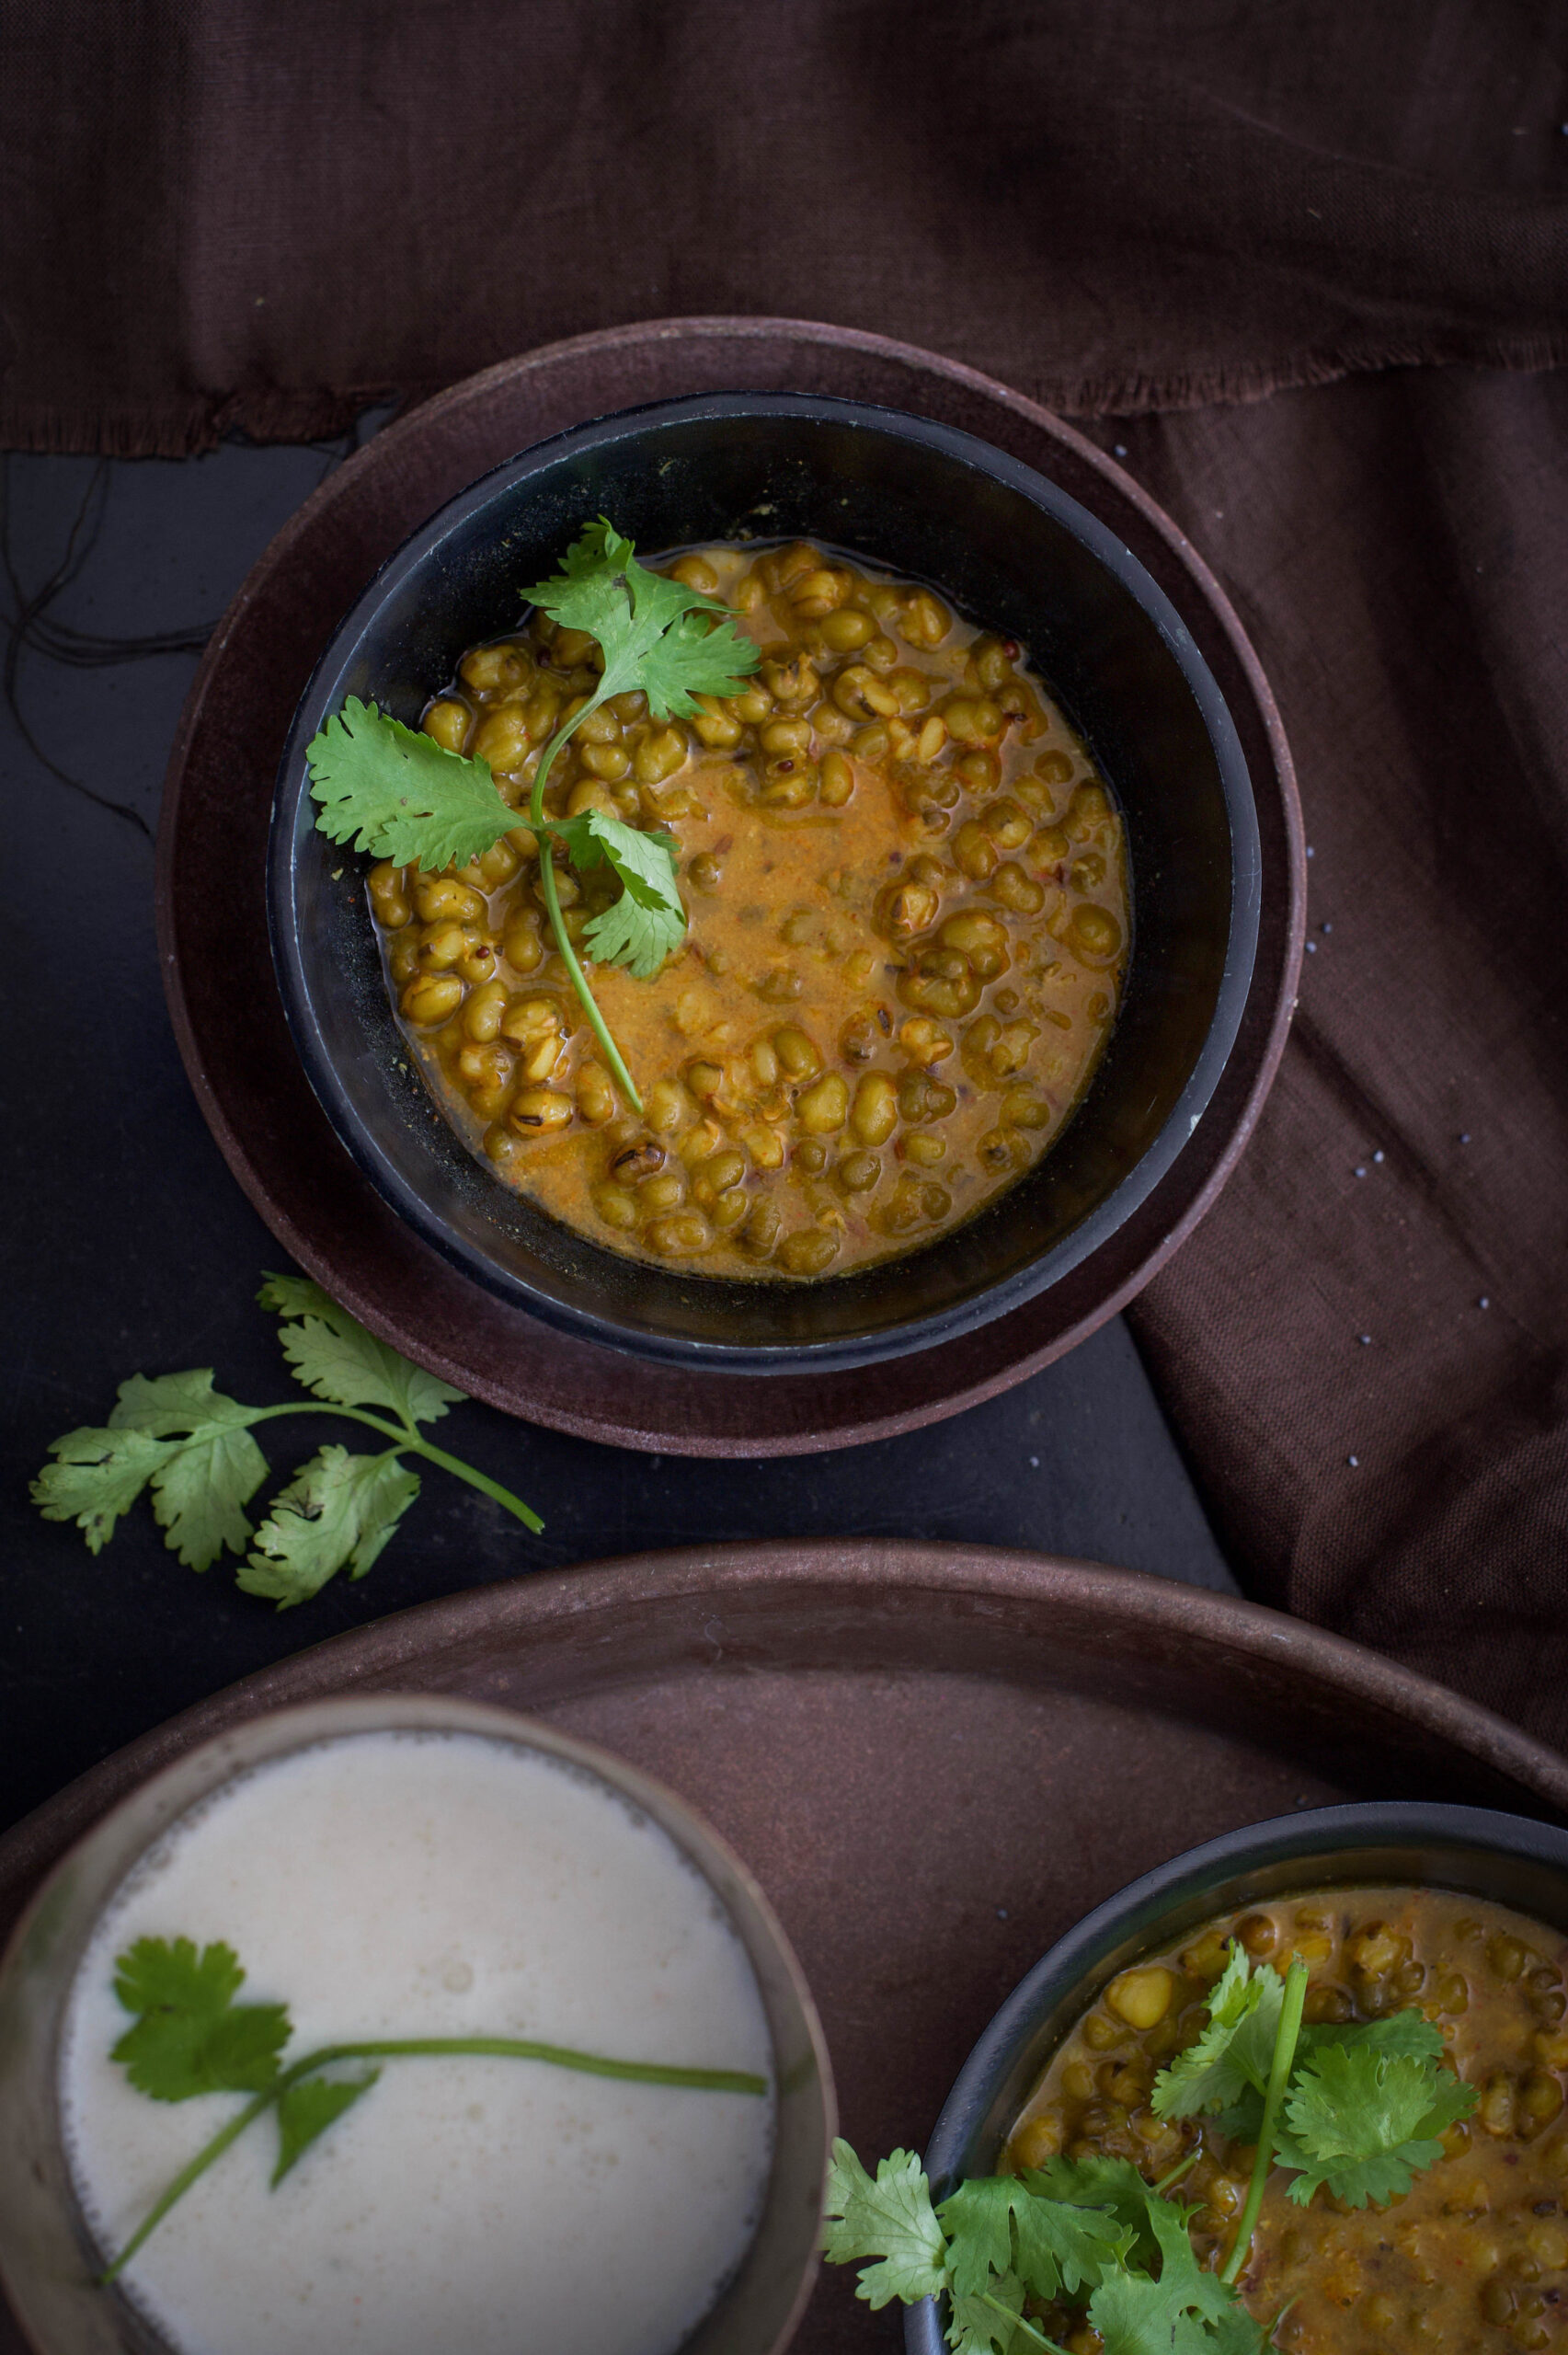
The lovely, versatile mung bean (also known as moong and green gram) found pride of place in one of my recent recipes for a street food-inspired snack, green moong bhel. If you tried your hand at that, its taste will be familiar to you even if you didn’t grow up eating it. The beauty of mung is that it can be in everything from a simple Sri Lankan breakfast to creamy desserts relished in South East Asia. Here in India, a Gujarati staple known as khatta mung is something I make quite often. It’s a particular go-to dish when I feel like I need to keep my weight in check, or to just bring a healthier balance into my meals. While it’s traditionally enjoyed with rotis or rice, I like to have it as a meal-in-a-bowl. Think of it as one more variant of an Indian salad, perhaps inspired by a more flavourful compact meal.

There’s a particular reason why khatta mung and other mung-based dishes are Gujarati staples. That’s because the humble mung bean is regarded as auspicious in my culture, and is even used in housewarming and other special ceremonies. It is a symbol of health, but is also affordable and accessible – so any family can have it. It is also of importance to Jainism, especially when devotees break their nine-day fasts. The very first thing that they consume upon doing so is a sip of mung water. Not only is it high in protein and energy-restoring, it also does not shock the stomach after the fasting period. You could think of mung as a traditional protein powder, accomplishing what modern glucose drinks do. Mung, both whole and split, is also consumed widely for every day meals, and some other classic dishes include mung dhokla (wholesome, steamed savoury cakes) and pesseretta (which is a crepe like a dosa).

“Khatta” literally means “sour”, and indicates the use of yoghurt in the dish. Yoghurt can be removed from the ingredients if you wish to make it vegan-style. There will not be much difference in the taste, especially if you add a twist of lemon for the tang. As with all Gujarati dishes, there is an interplay of sweetness and sourness in khatta mung, so I always add a hint of jaggery too. It lifts the saltiness of the dal and improves the flavours overall. Some people add garlic, onions and various condiments, but I personally feel that the more basic the dish is, the better it tastes. You’ll find that the spices remain the same for most dishes, but palates differ from family to family. I prefer simplicity, so that the original flavours are maintained and not doused with additives. Have you noticed how people today seek out cookbooks on how to simple eating and healthy cuisines, without recognising that that’s what was happening in their own kitchens growing up? As always, the unfussiness of my mother’s cooking style is what inspires my own work, although I am always curious and glad to learn – and always, to share what I learn as well.


Khatta Mung

(Yield: 3-5 cups)

Ingredients

½ cup whole moong dal

2+2 cups water

Salt to taste

1 teaspoon cumin powder

1 teaspoon dhaniya powder

¼ teaspoon turmeric

1 teaspoon jaggery

½ teaspoon chili powder

1 teaspoon ghee

¼ teaspoon mustard seeds

¼ teaspoon cumin seeds

2 tablespoons yoghurt

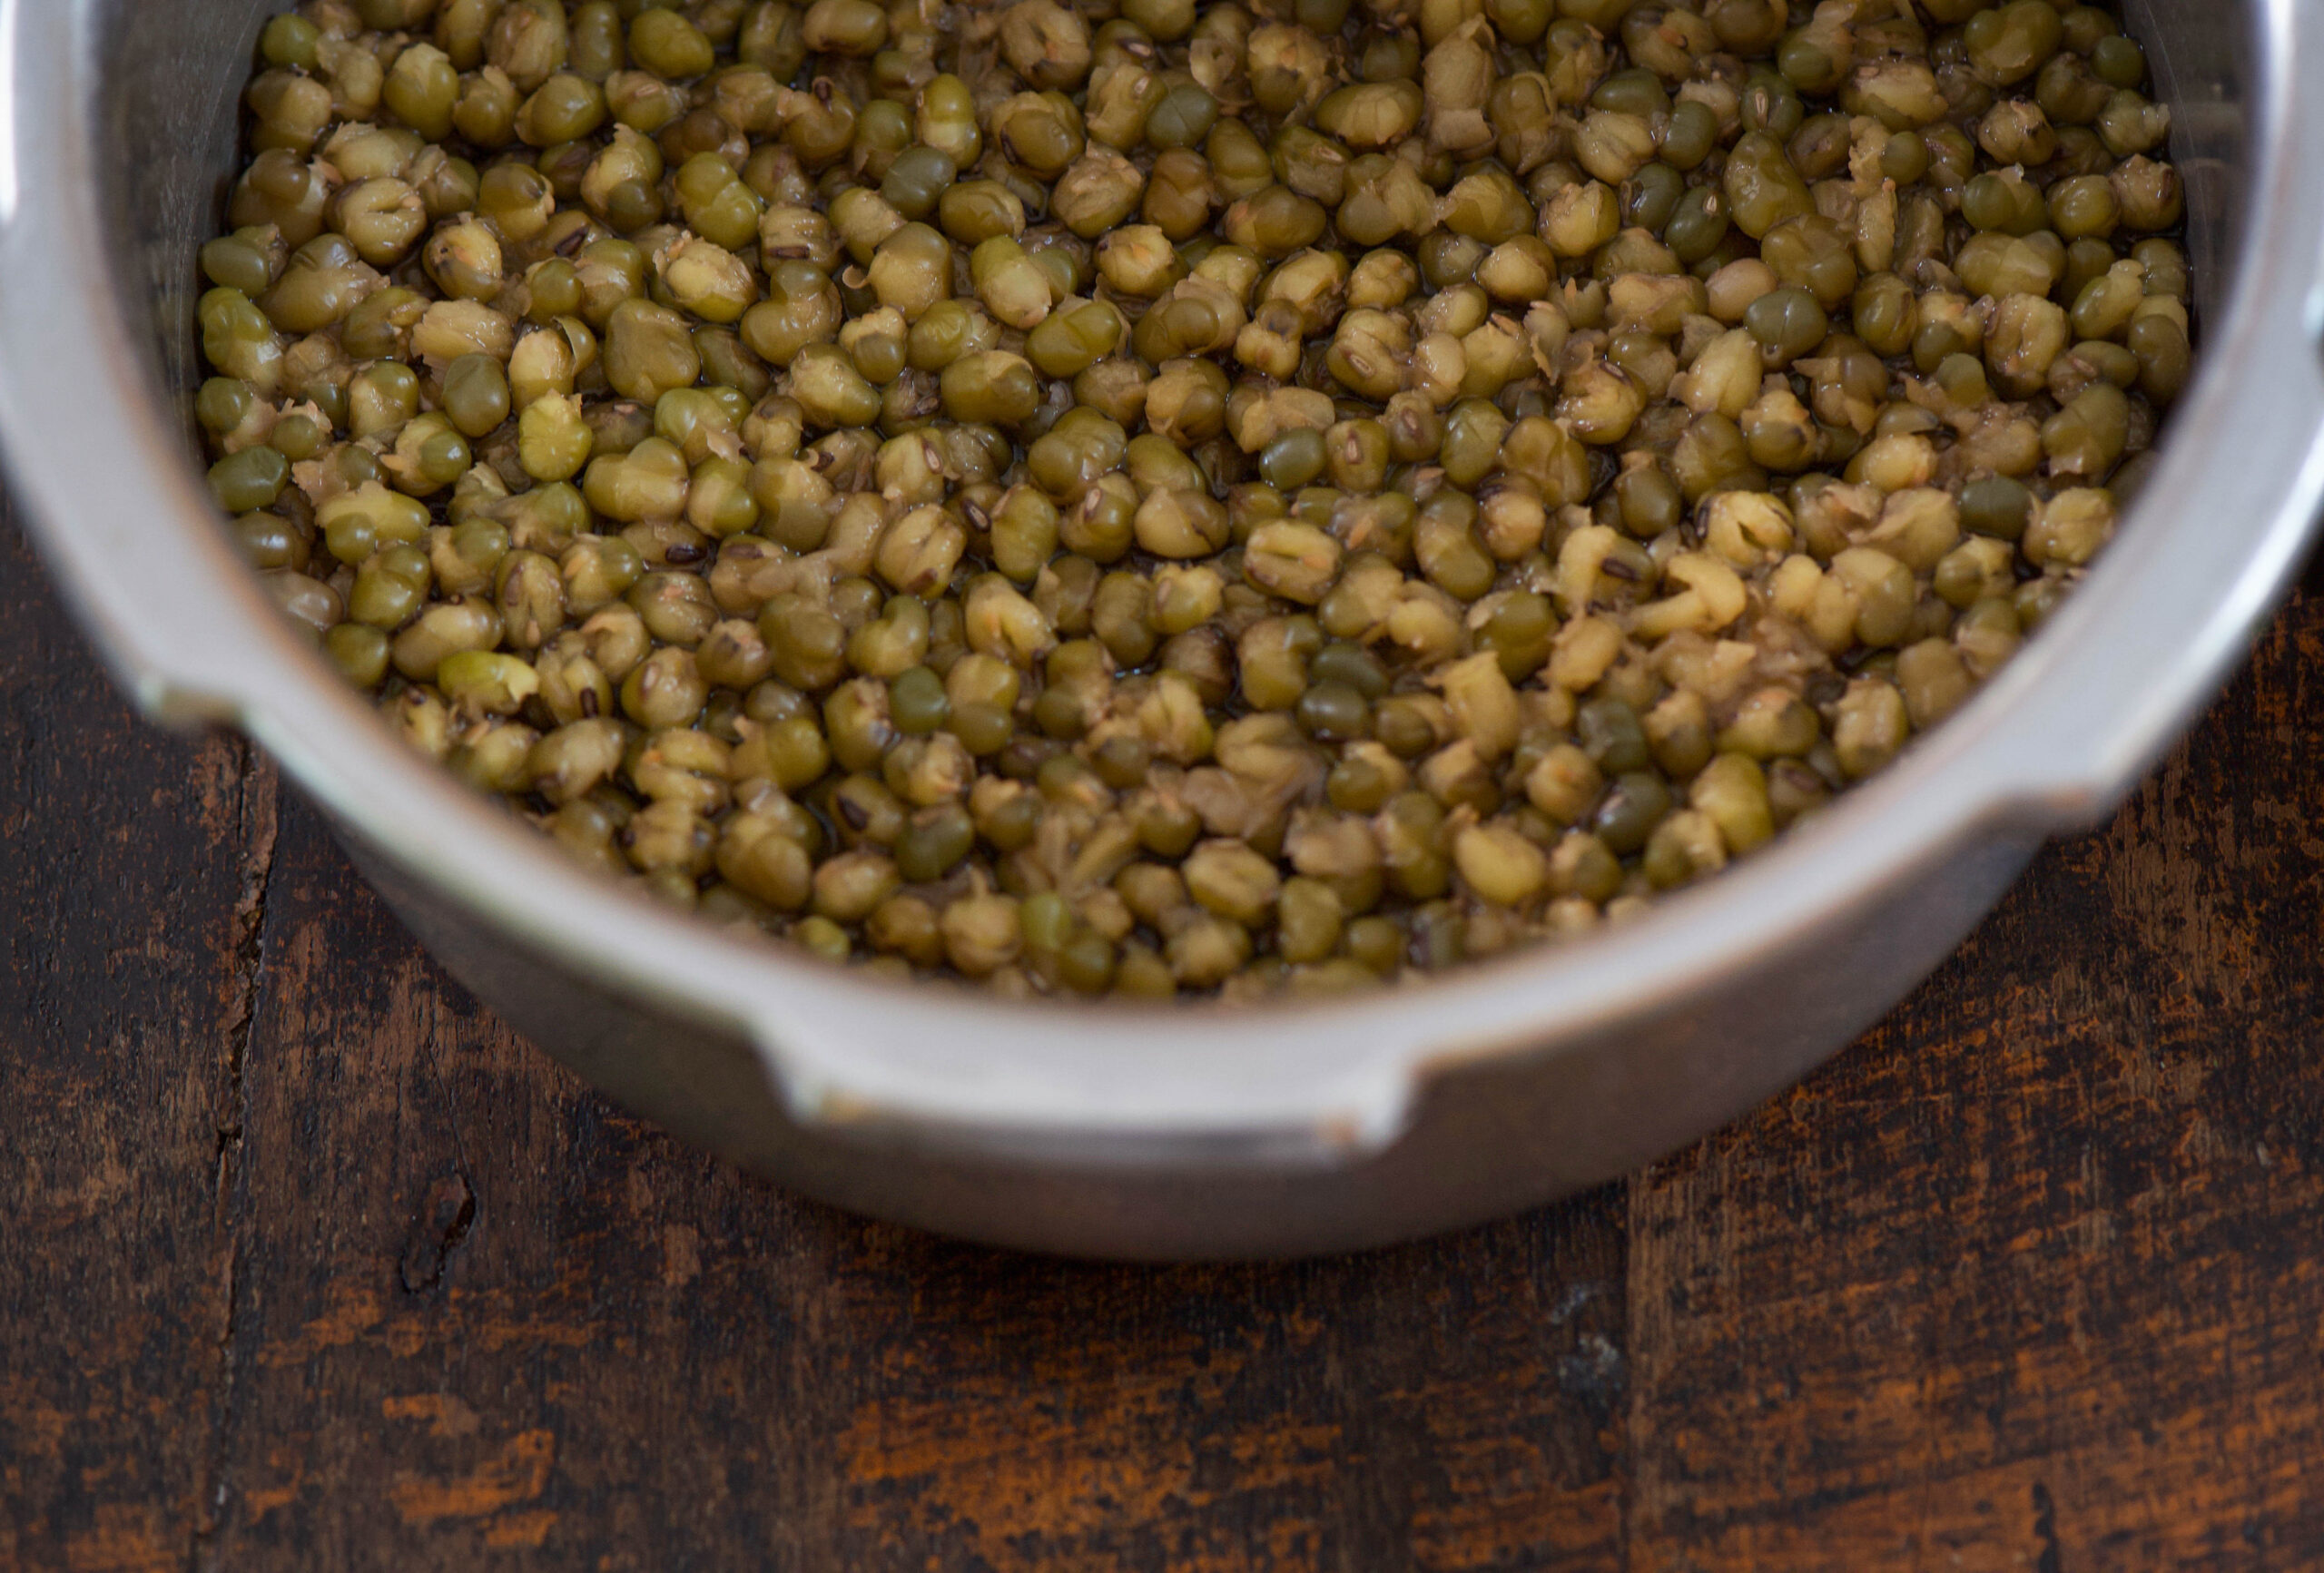
Soak the moong dal in water for an hour. Then, pressure cook the dal with 2 cups of water until the lentils are soft to the touch. Meanwhile, beat the yoghurt until it resembles a fine paste.

Empty the cooked dal into a pot and add the turmeric, water, salt, jaggery, yoghurt, cumin powder and dhaniya powder. Now, allow to boil for 7-10 minutes until all the flavours blend well.

In a small tempering pan, add the ghee. Once the ghee is hot, add the whole cumin and mustard seeds. They will splutter. Add the chilli powder and stir. Immediately, pour the sizzling tempering into the mung dal. Garnish with finely chopped coriander leaves. It is now ready to serve. You may eat it with rice, rotis and other kinds of breads – or even just by itself, a delicious and filling meal-in-a-bowl.

I like this spiced up version of the standard healthy meal-in-a-bowl which is usually comprised of millets, grains or legumes because it is flavourful without compromising on nutrition. And in true Gujju style, the hint of sweetness from the jaggery makes the whole pot irresistible! I like to finish mine off with a glass of fresh buttermilk… So filling, so heartening.

In my previous post, I gave you a fresh spin on the classic dal dhokli, a dinner staple made with leftovers from lunch. In fact, the use of leftovers was so well-designed in traditional cuisines that afternoon snacks would be planned in the morning, and dinnertime planned even while making lunch – and each would be built on the other. In India, no meal is complete without a sweet, and resourceful cooks through the generations also found ways to make sweet snacks using the remnants of a previous meal. Which brings me to the second dish of the promised trio in this series.

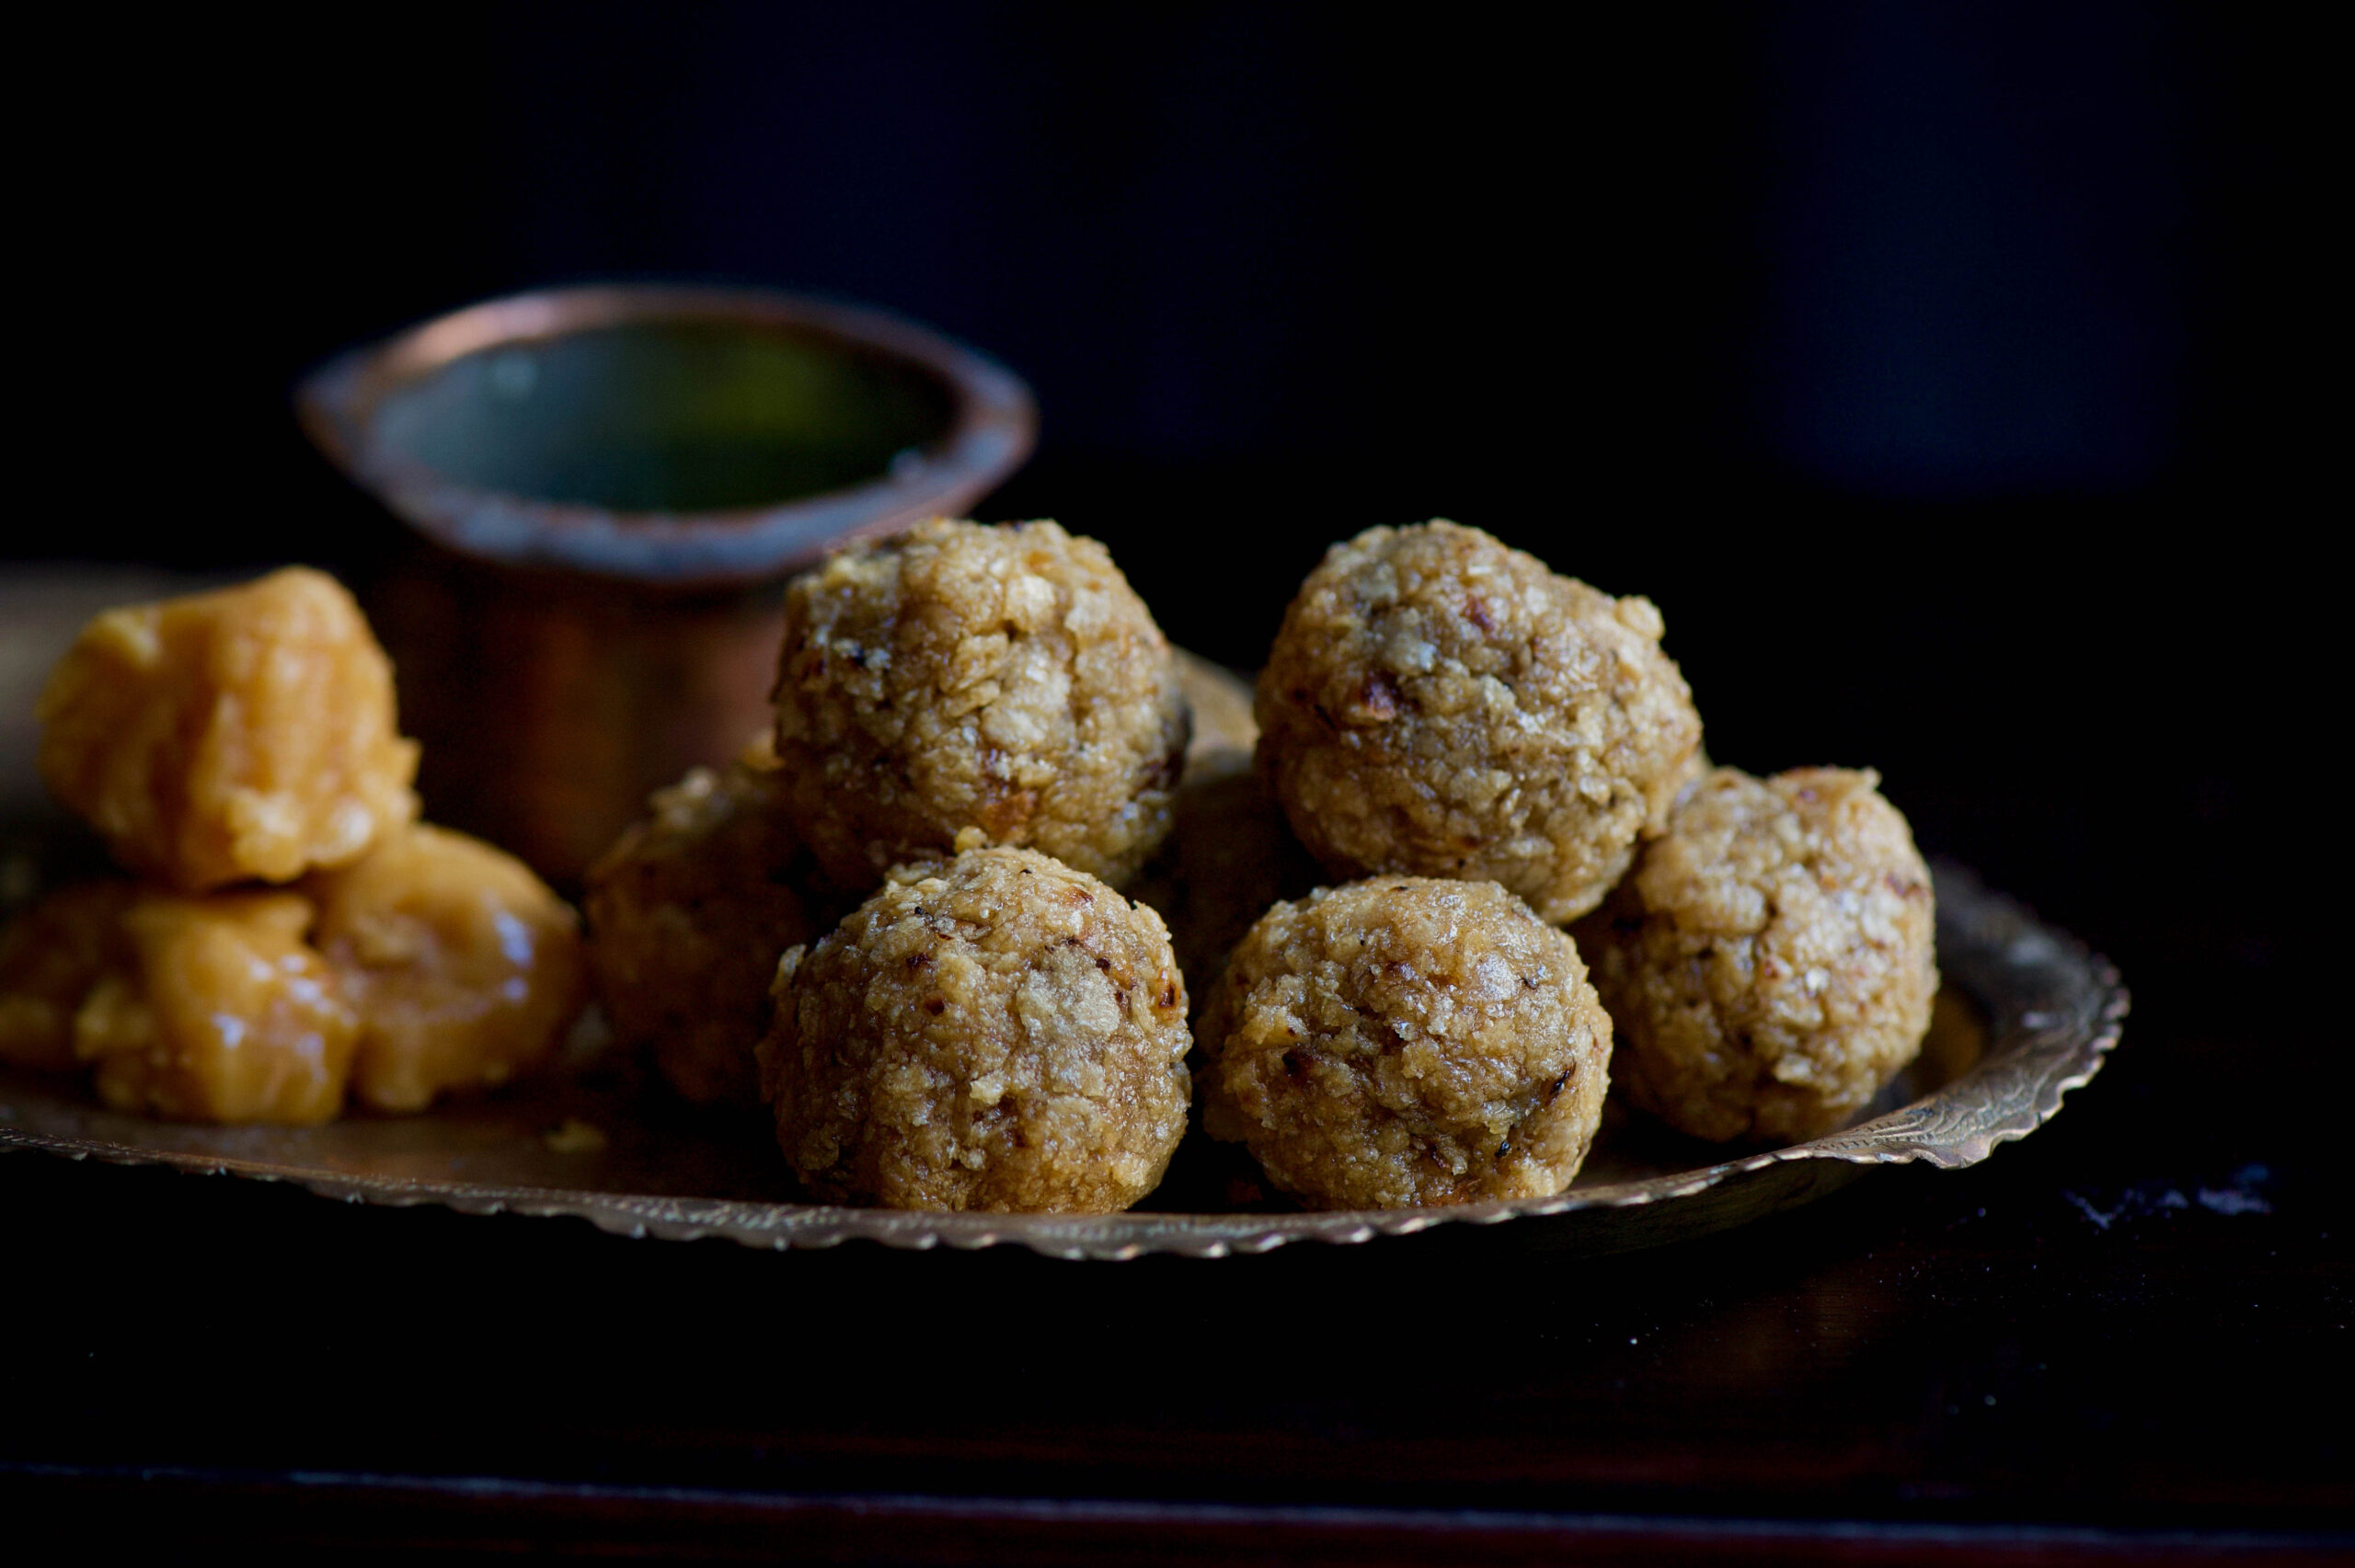
While I was growing up, my mother would often cook a little extra dal and rotli in the morning. Some of it would go into the lunch thali, and some of that would go into the evening’s dal dhokli. And she often found a way to make sure that there was just a little extra rotli to be turned into a wonderful after-school treat: rotli na ladoo.

Just as leftover-based dishes developed to fulfil practical needs like conserving supplies, snacks were often made at home because inexpensive candies and savouries were not freely available like they are now. The Chennai of my childhood wasn’t as developed as it is now, and we didn’t have the chips and junk food that the kids of today enjoy. But I consider myself all the more fortunate for it. From an early age, I was exposed to a culinary ethic that has kept me in good stead. Some of its features include: never wasting food as it is precious, using healthy and nourishing ingredients, and not tasting food while it is being cooked as it is first an offering to god (this trained me to be able to read a dish using sight and smell).

Today, my mother has difficulties with her eyesight but still cooks for herself and her family, using her hands and trusting the fragrances. There is so much wisdom in her kitchen, and when I visit her I still learn new things – and moreover, there are certain dishes, like her sabudana khichdi, that never taste quite the same to me when anyone else makes it. My daughter today makes those same demands of me, for things that taste of my heart and my love.

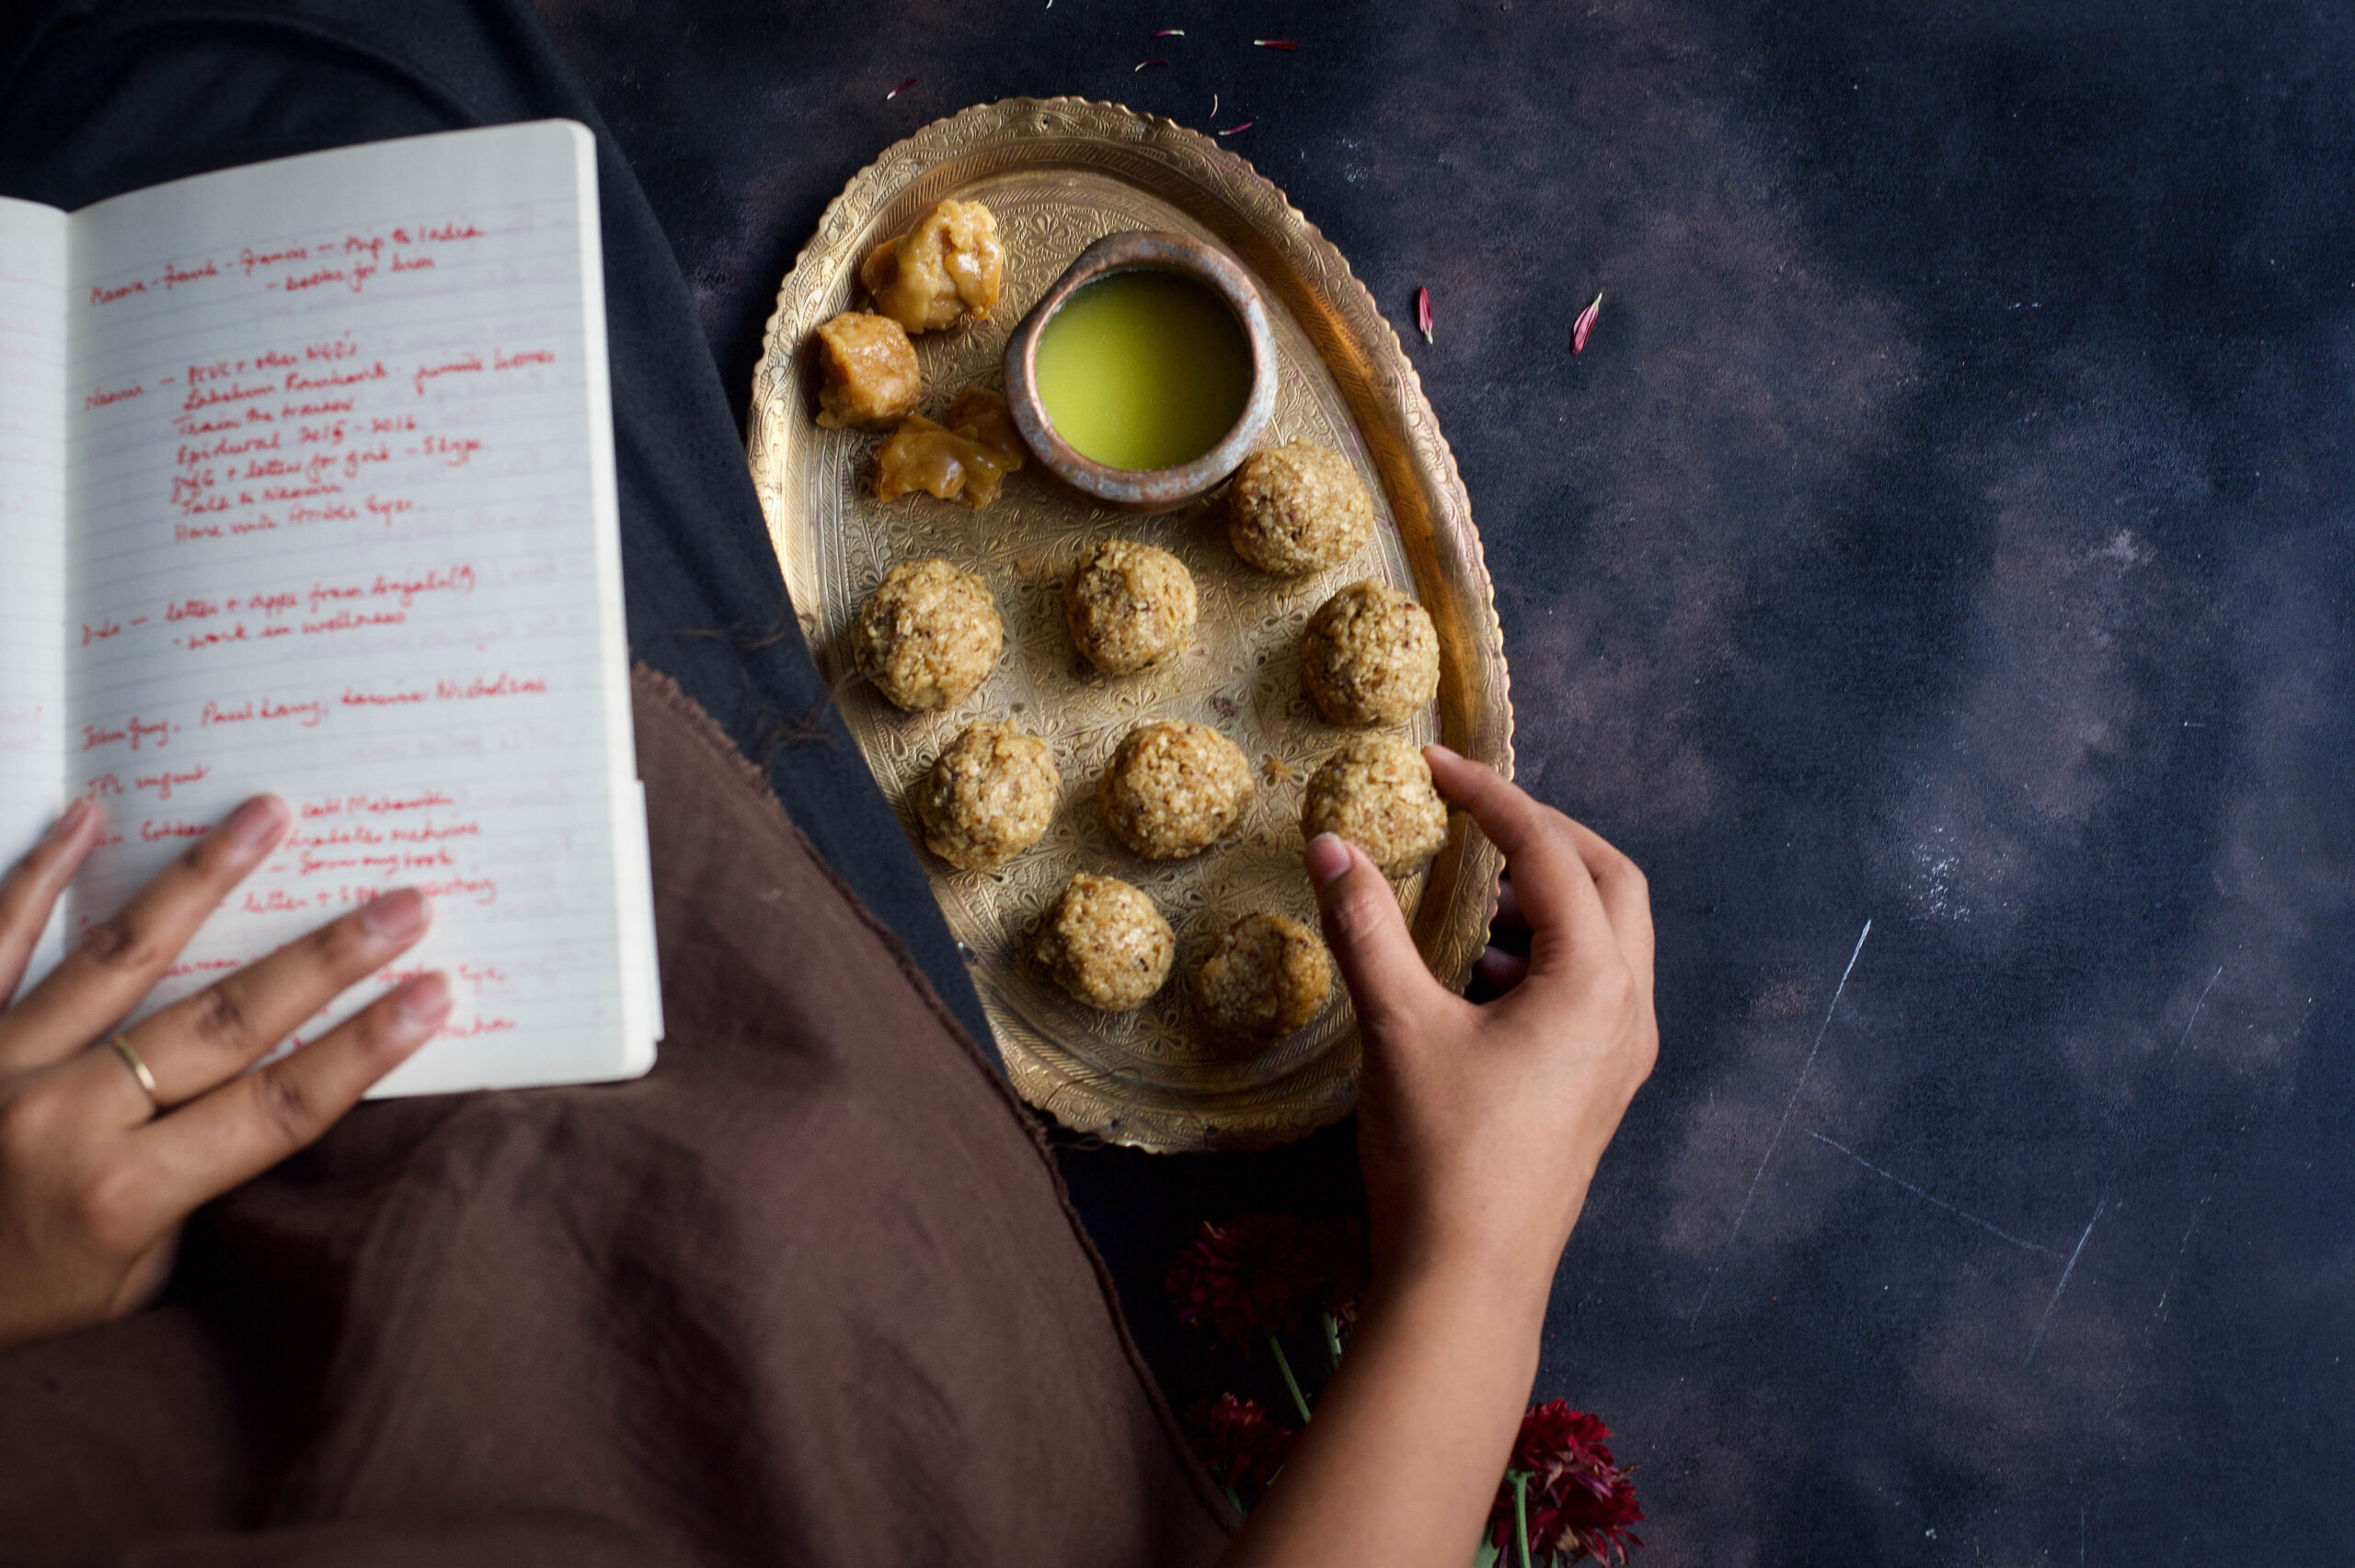
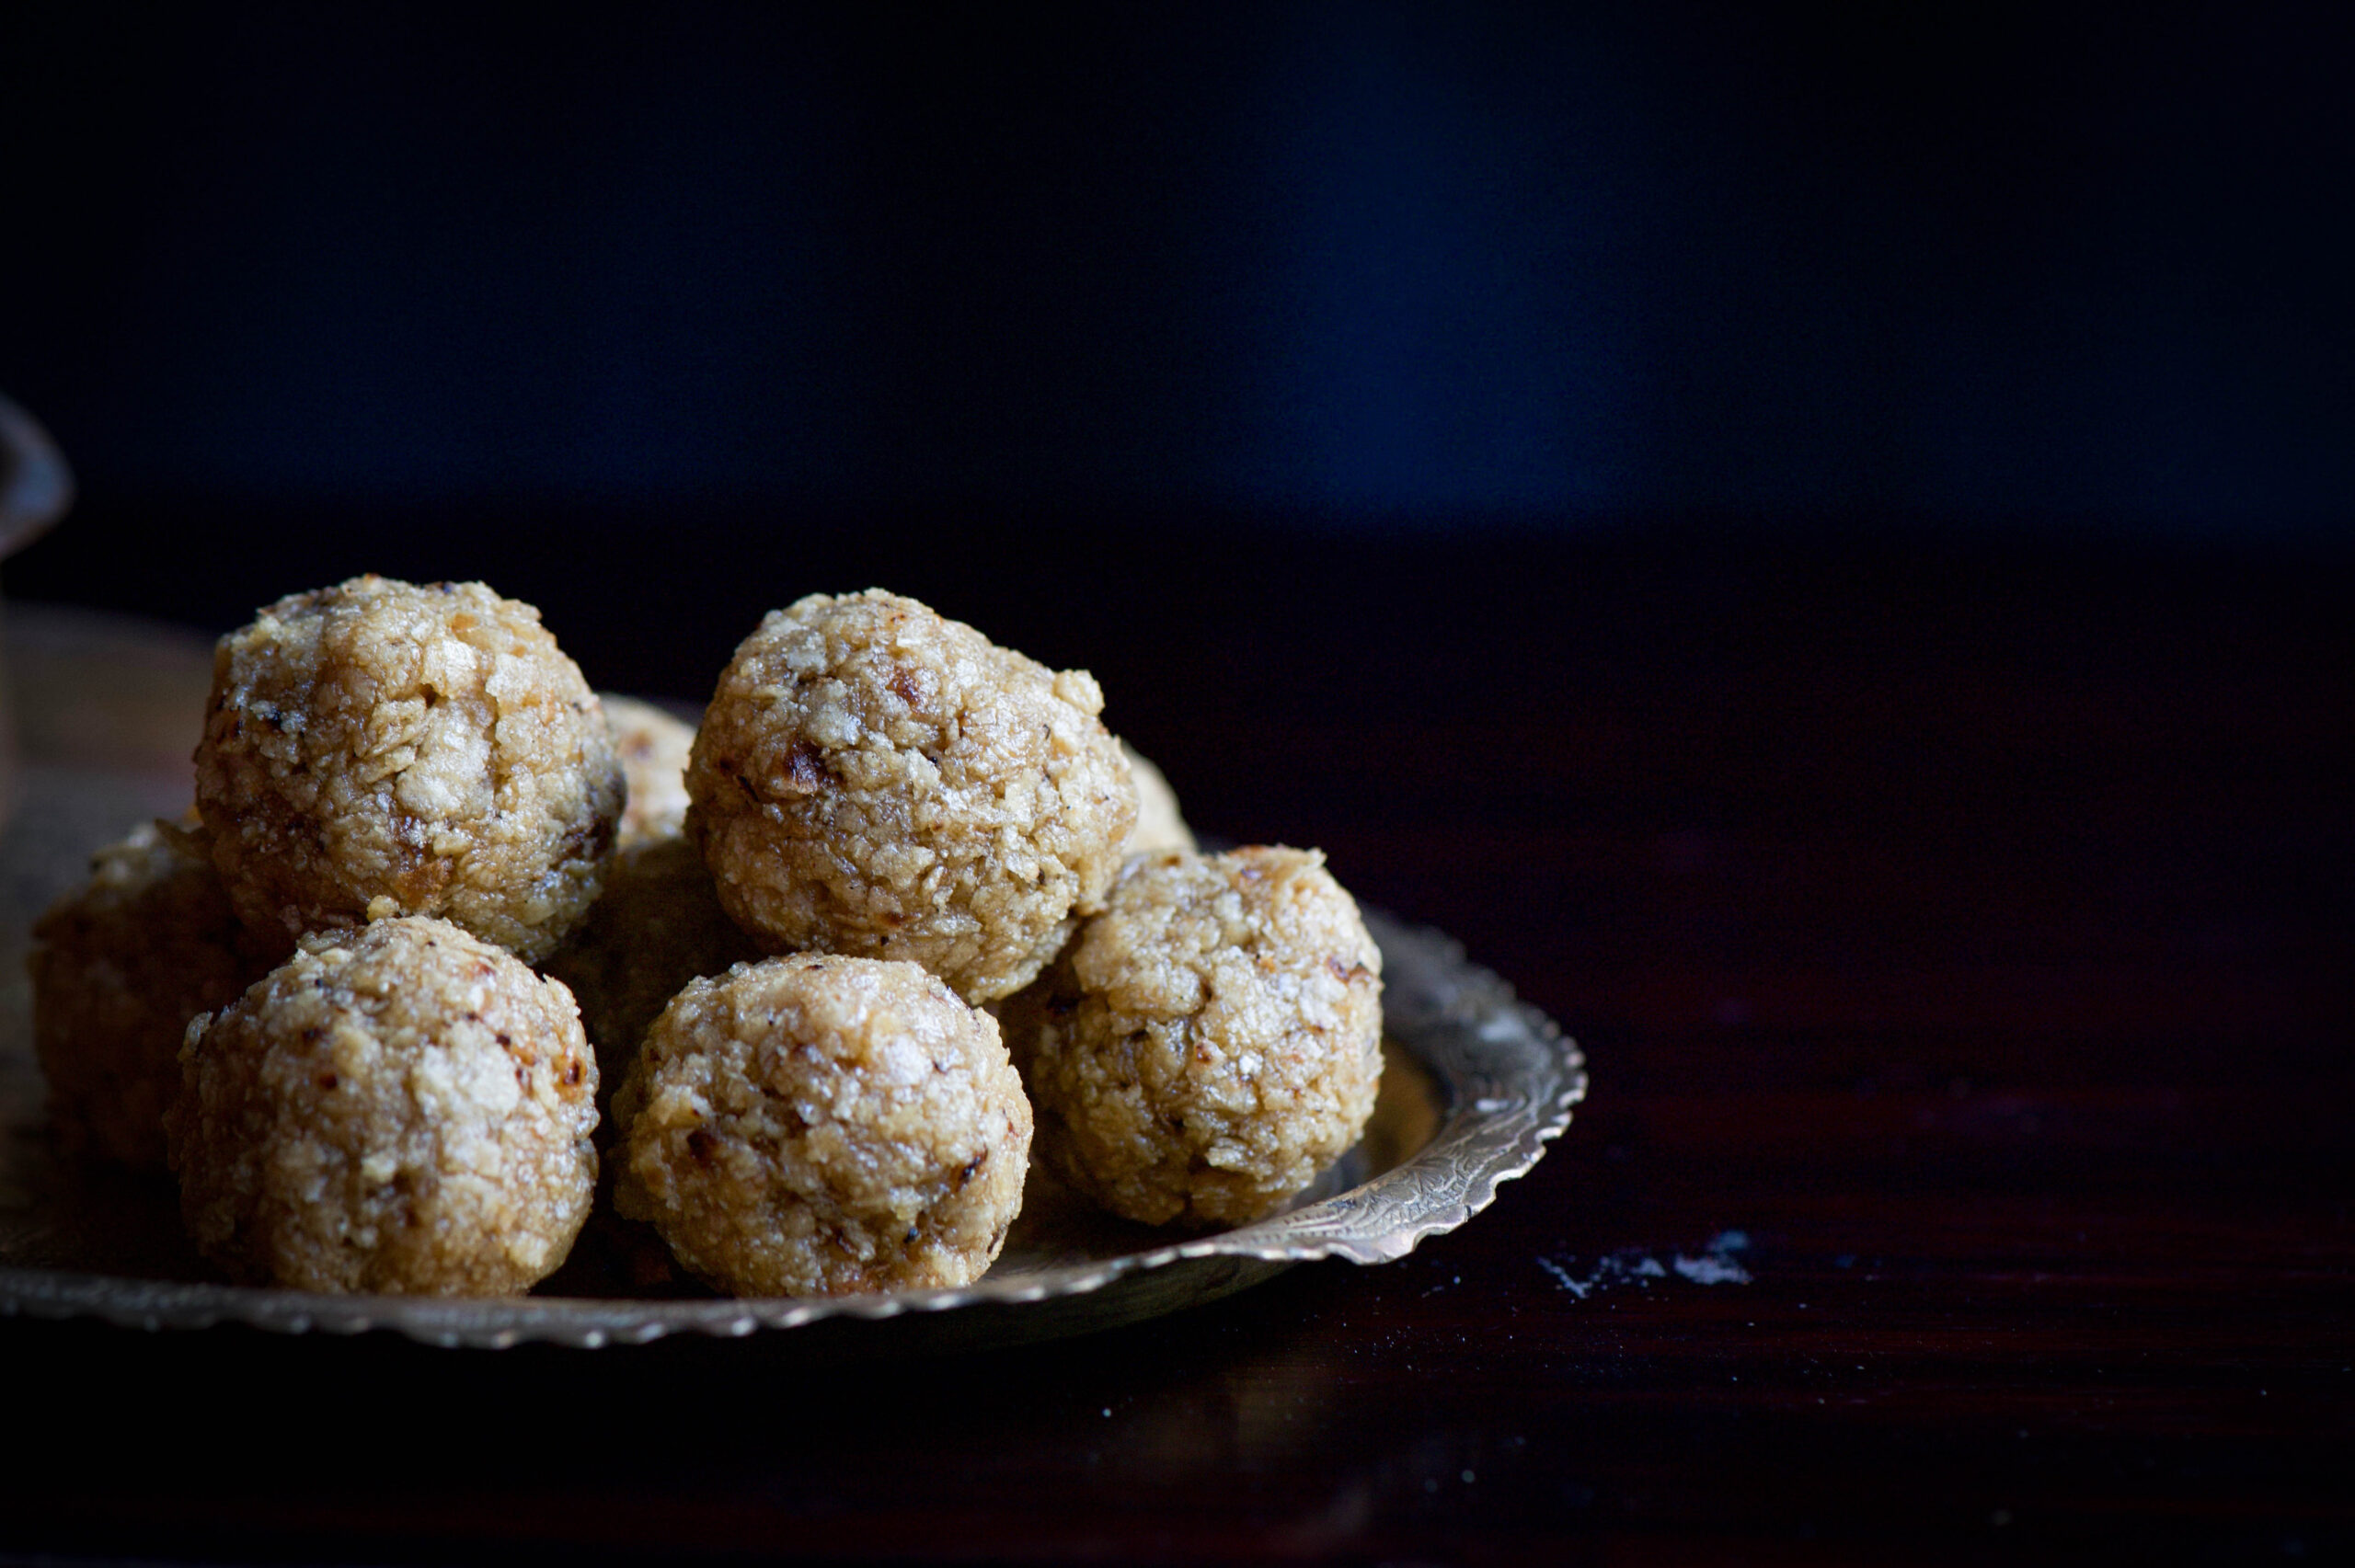
My very resourceful mother even attended a baking class when I was kid, a rarity in Chennai at the time. So our homemade snacks and sweets included some rather exotic treats occasionally, but the rotli na ladoo holds a place in my heart like no other. There are only three ingredients, and it takes all of three minutes to make it. Well, there is a fourth, secret ingredient. And you can guess what that is.


Rotli Na Ladoo

(Yield: approximately 10 pieces)

Ingredients

2 cups rotli (torn into tiny pieces or coarsely blended)

1/3 cup jaggery

1 tablespoon ghee

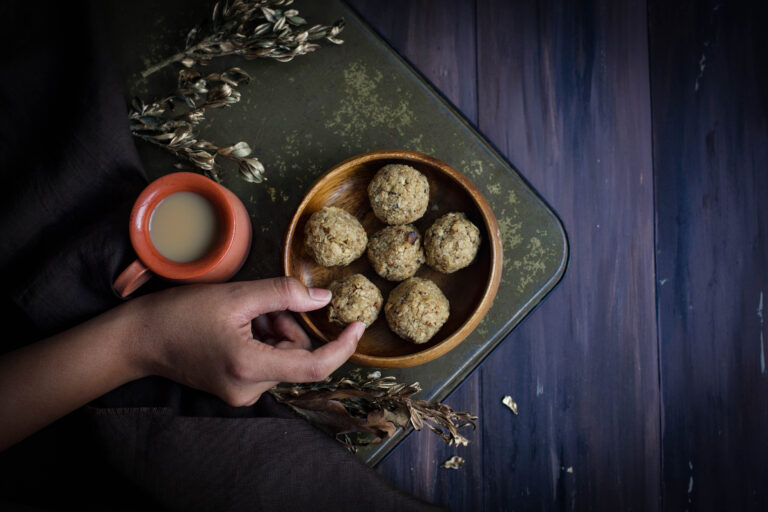
In a pan, add the ghee. Once it has warmed, add the jaggery. Allow it to melt, stirring continuously on a medium-low flame, making sure it doesn’t get burnt. When it starts to bubble after a few minutes, add the rotli bits and turn off the flame.

Once you’ve added the rotli pieces, mix everything properly. Now, it’s time to use your hands. Grease your palms and bind a handful of the hot rotli mixture together. Gently press between your palms to shape into a somewhat rounded shape, then very gently roll it. Be careful, as it may crumble. It’s as simple as that, but if you’re having trouble shaping the balls, you can eat the well-blended mixture in a bowl. It will taste the same, but will require utensils! Allow to cool, and enjoy.

The above three-ingredient method is assuming that you already have rotlis prepared. If you don’t, and are making them from scratch, the ingredients and method are below. Rotlis are essentially theplas without the masala and yoghurt, so if you’ve tried your hand at the recipes in this post on Gujarati breads, you should find this easy.

Don’t forget that if you have lots of leftovers from the method below, you can always make yourself some delicious traditional dal dhokli, or eat it with lavender shrikhand. The possibilities for breads are endless!


Rotli

Ingredients

(Yields: 12)

1 cup whole wheat flour

A pinch of salt

1 tablespoon sunflower oil

100 ml water or less

In a mixing bowl, blend the flour and salt. Now add the 1 tablespoon of oil. Slowly add water and continue mixing, until you feel the mixture is slightly tougher to the touch than bread dough. You do not need to use the entire 100ml. Allow to sit for half an hour.

Make small lemon-sized balls. Dust both sides of the ball with flour. Now, dusting more flour as you do, roll out the dough into discs. Make them as thin as you can.

On a heated iron pan, place the rotli on a medium flame for 30-40 seconds. Then turn it to the other side. Now increase the flame, lift the pan, remove the rotli using tongs and place it directly on the flame. Allow it to fluff or rise. Flip over so it cooks on both sides. Set aside and spread ghee over it. Repeat until all the rotlis are made.

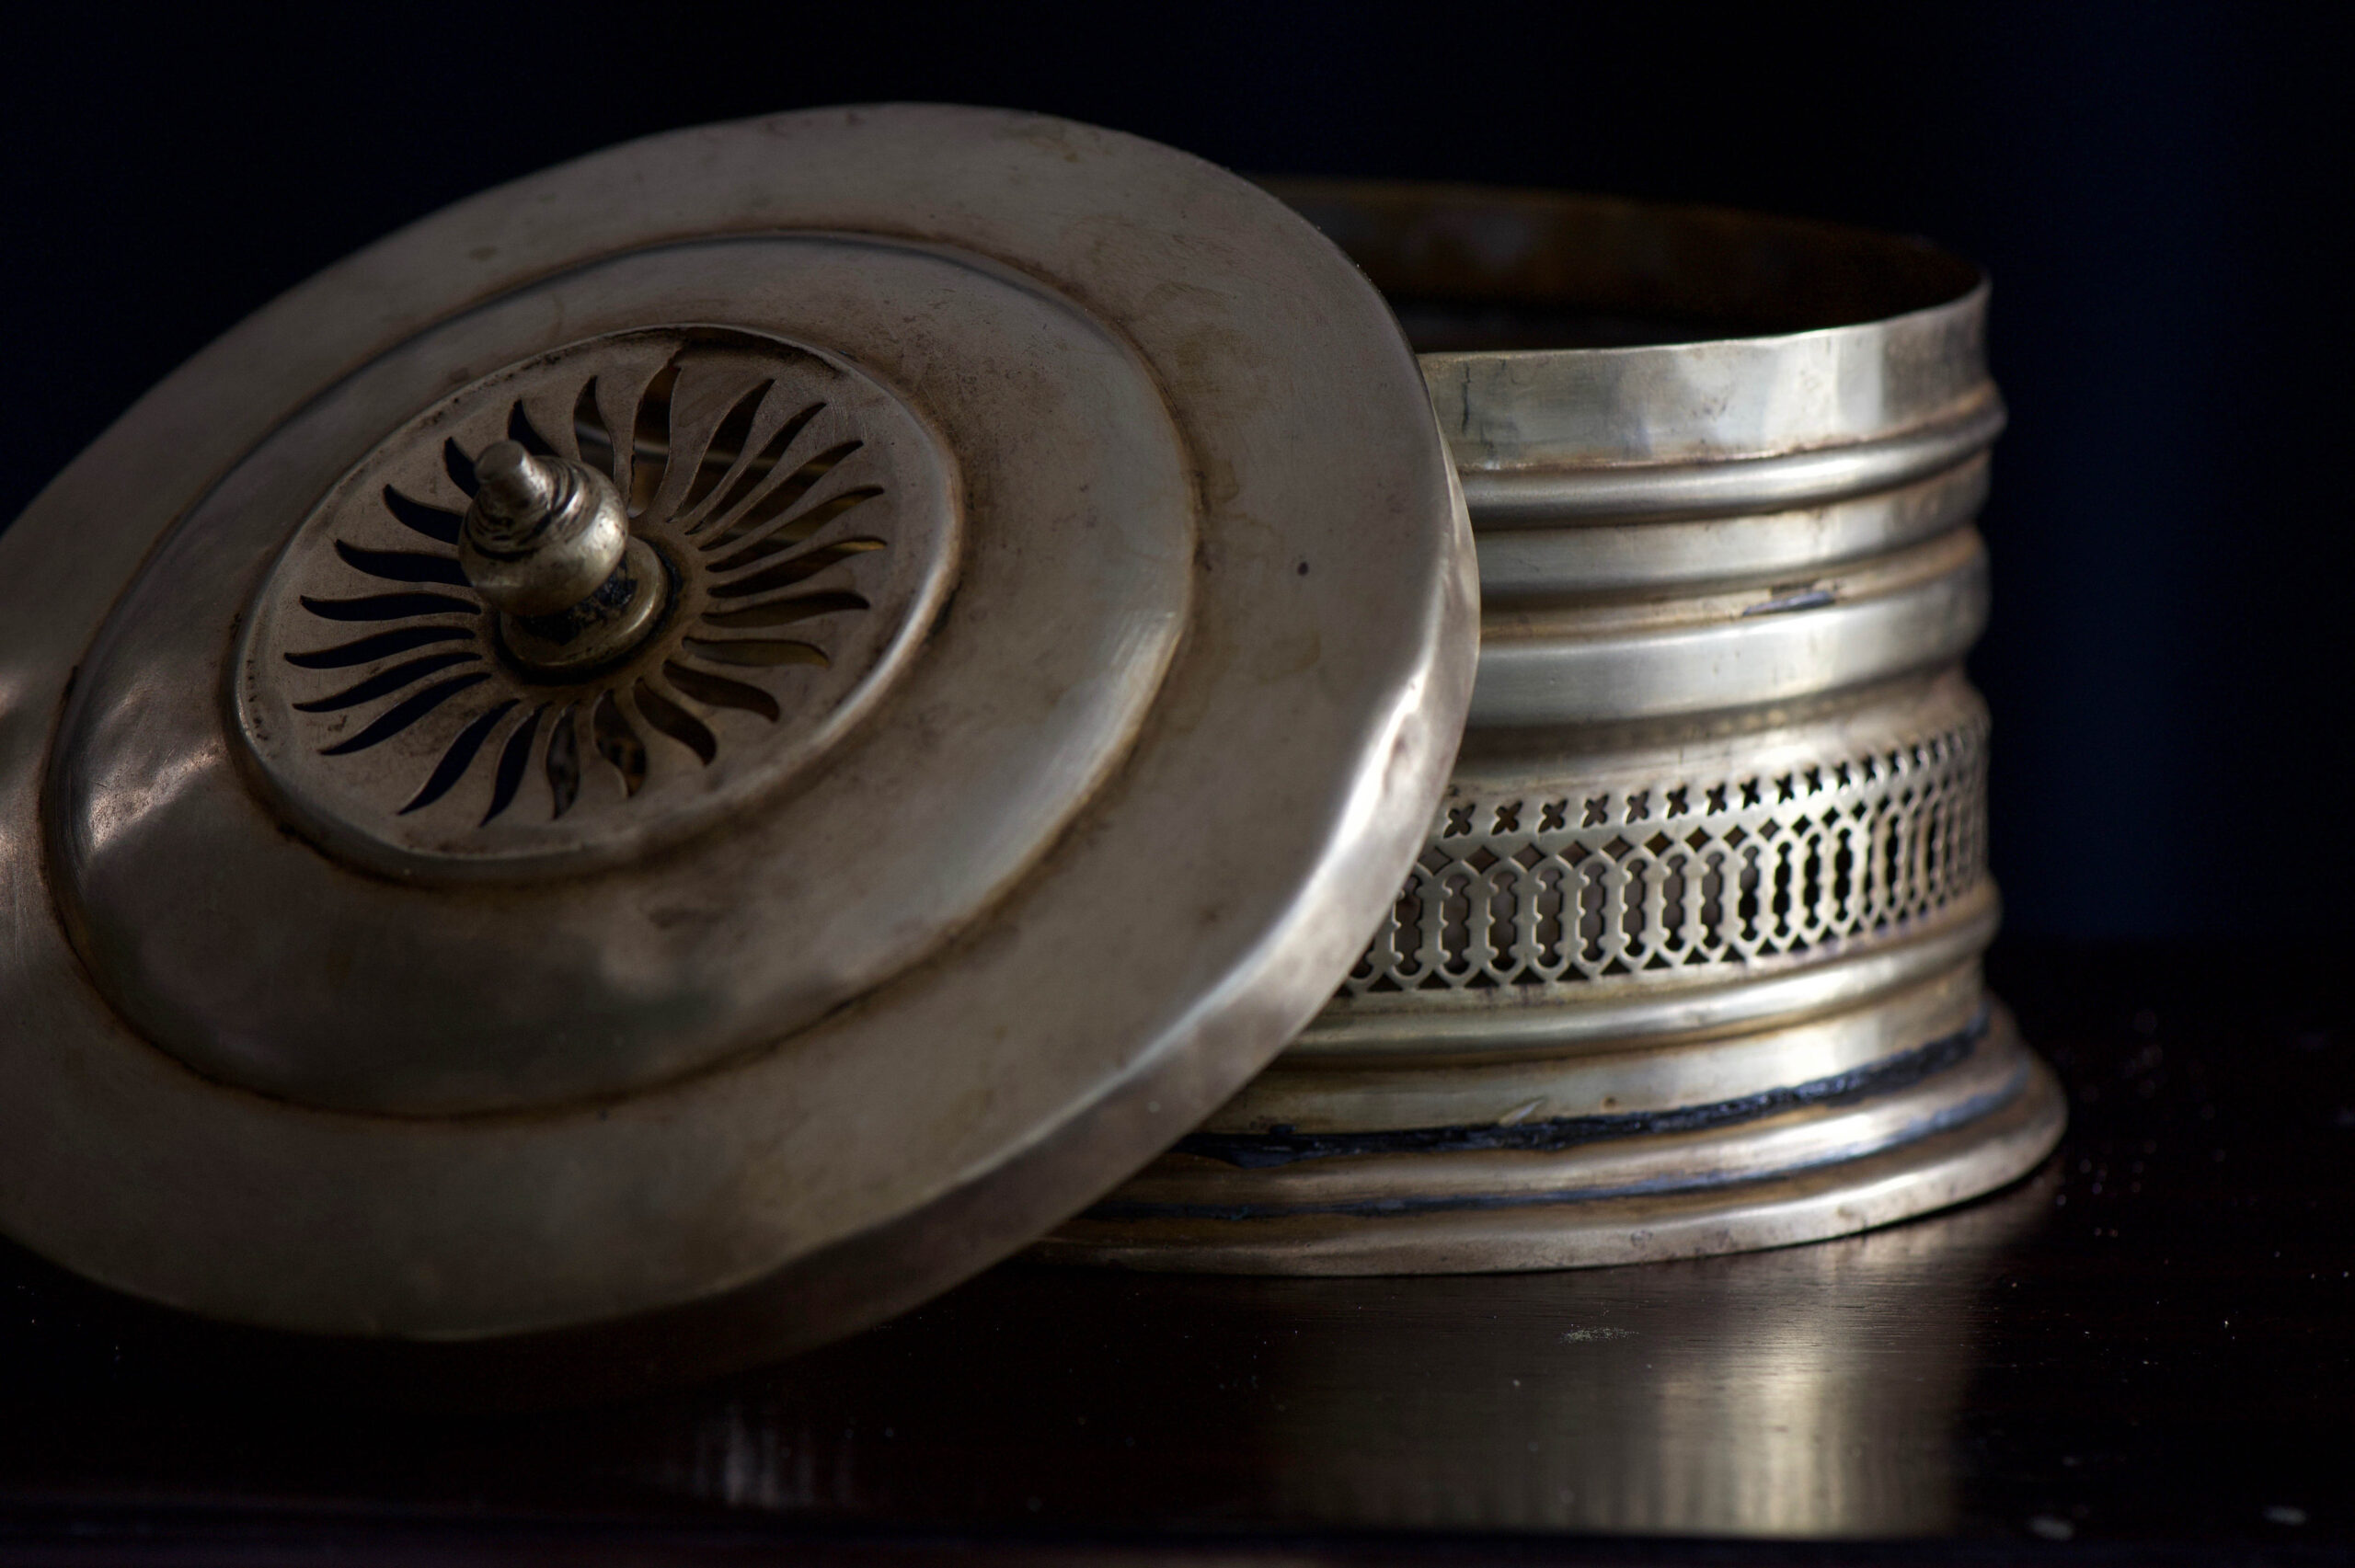
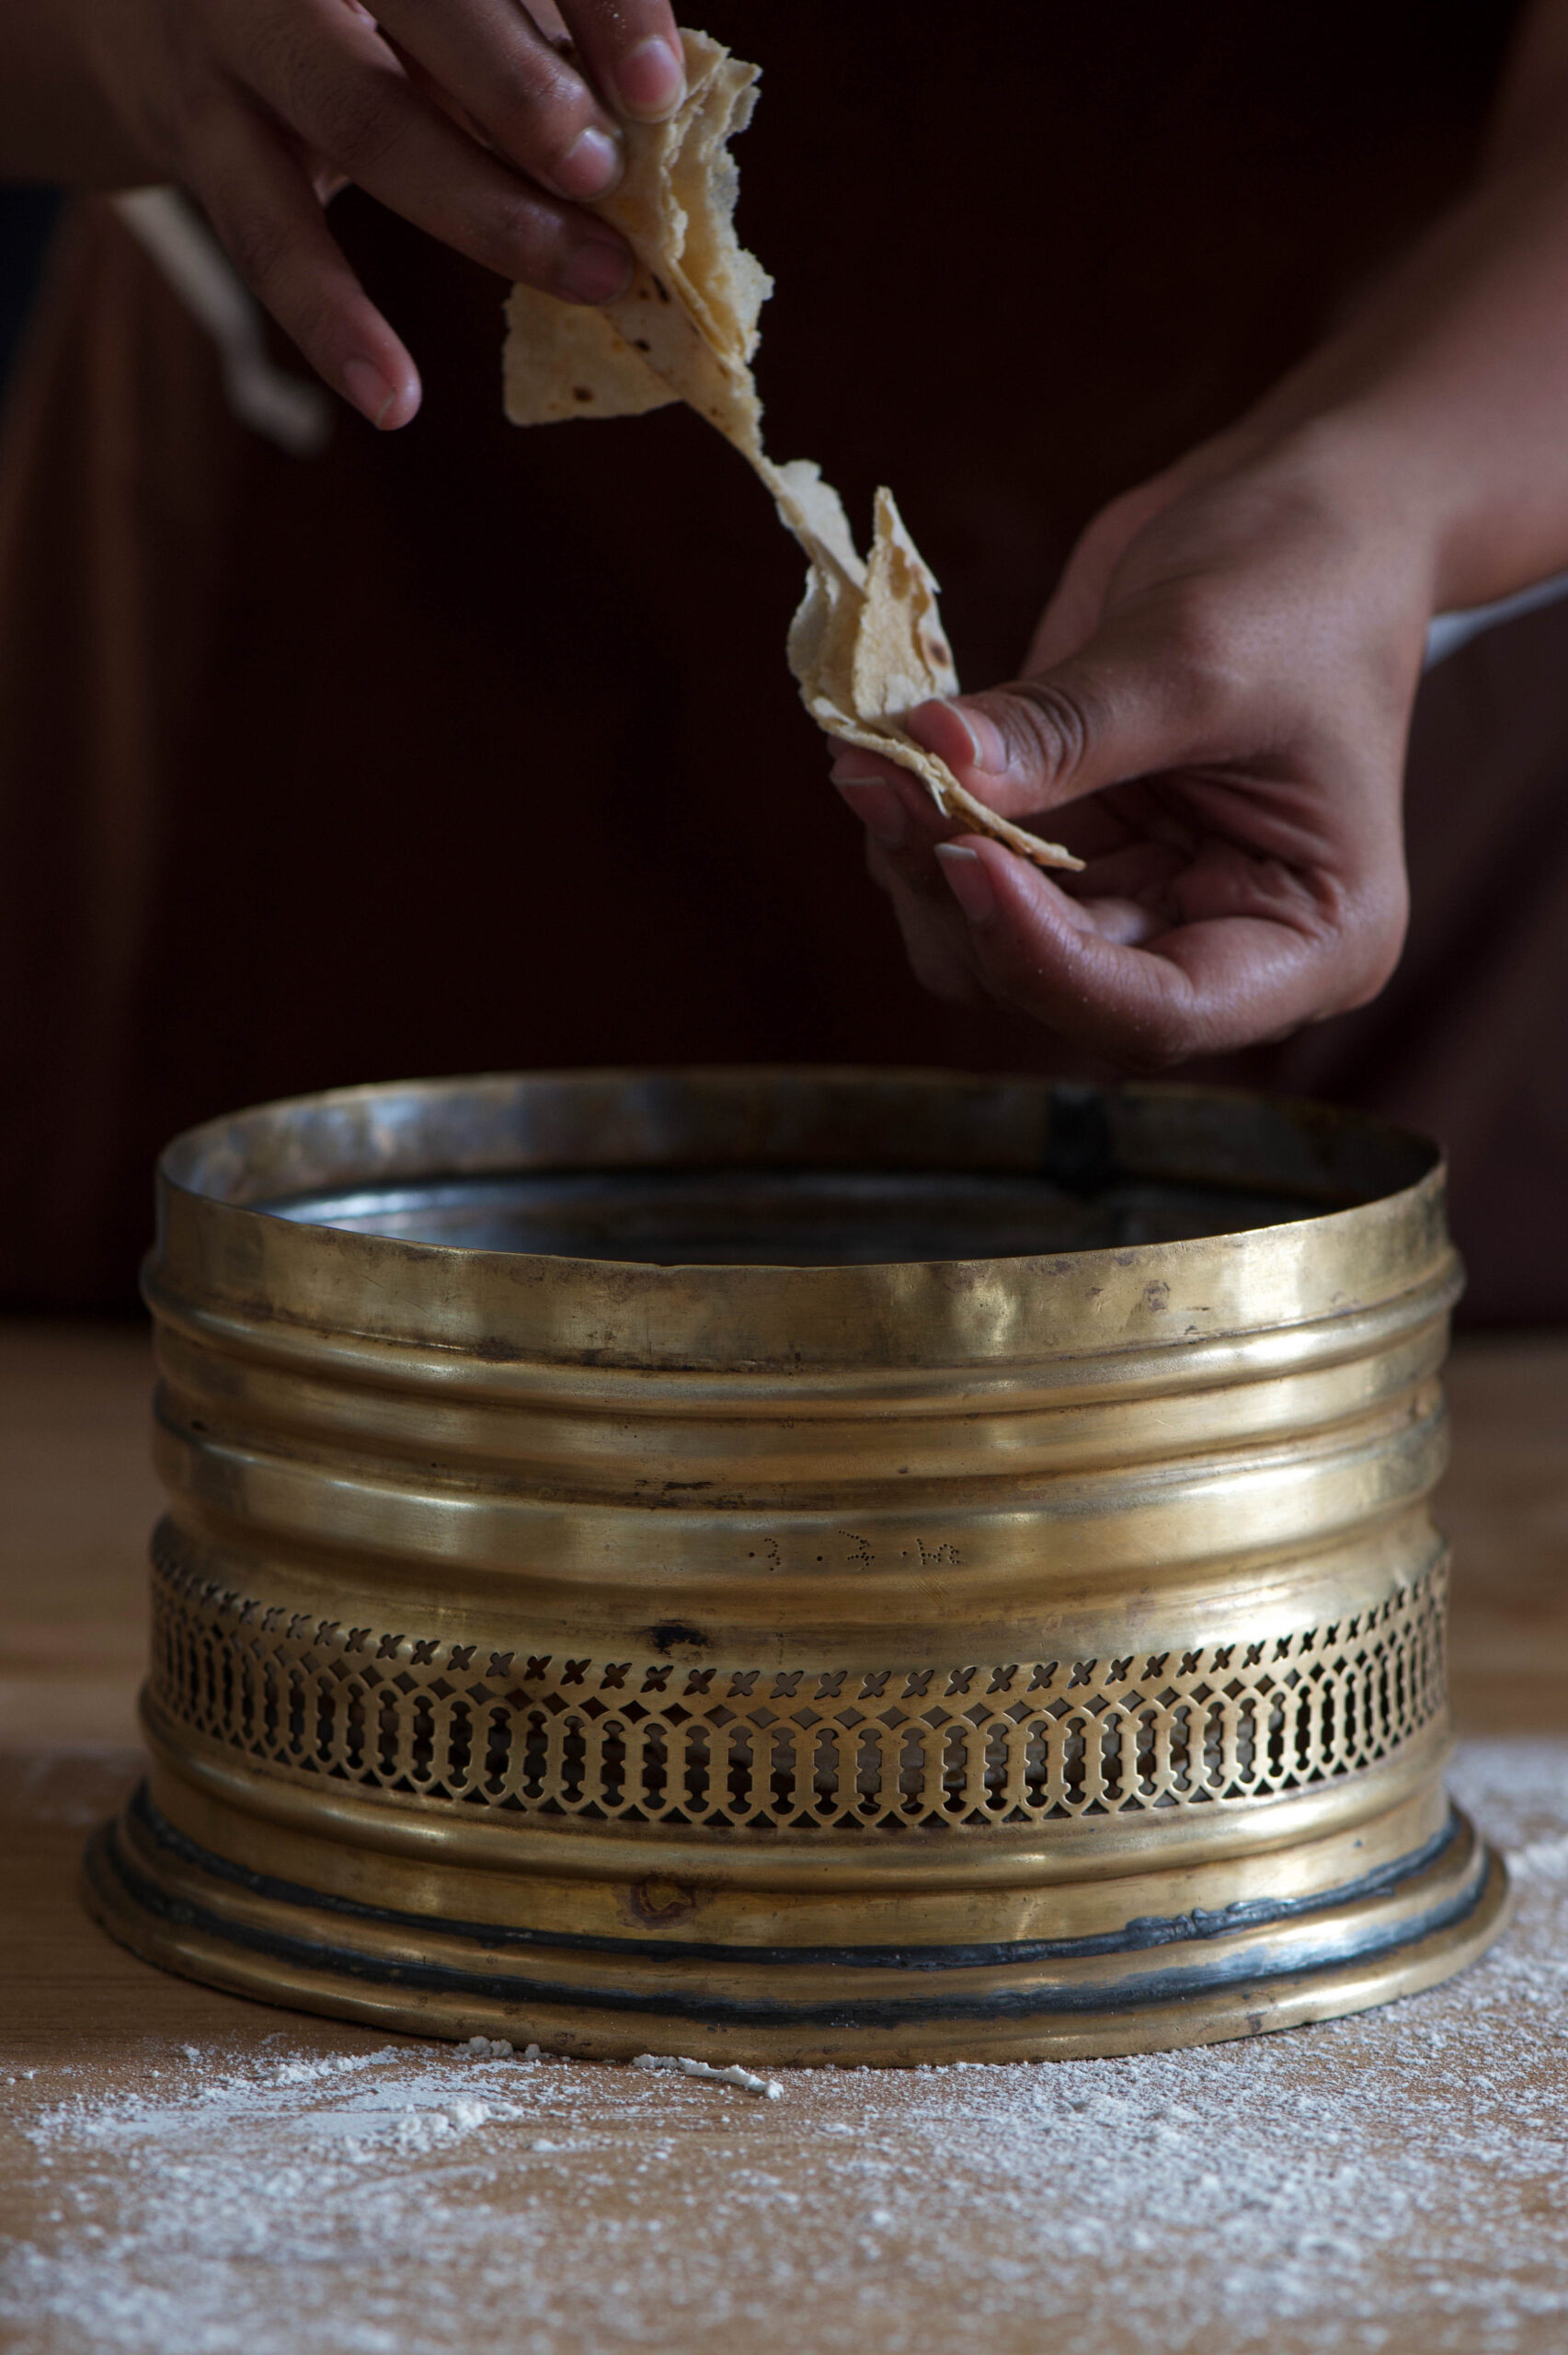
I like storing these ladoos in a “rotli no dabbo”, a traditional box used for breads. It looks beautiful, but also serves a practical purpose. Notice the intricate “jali” work that rings the box. This is a form of ventilation that cools the rotli and removes moisture.


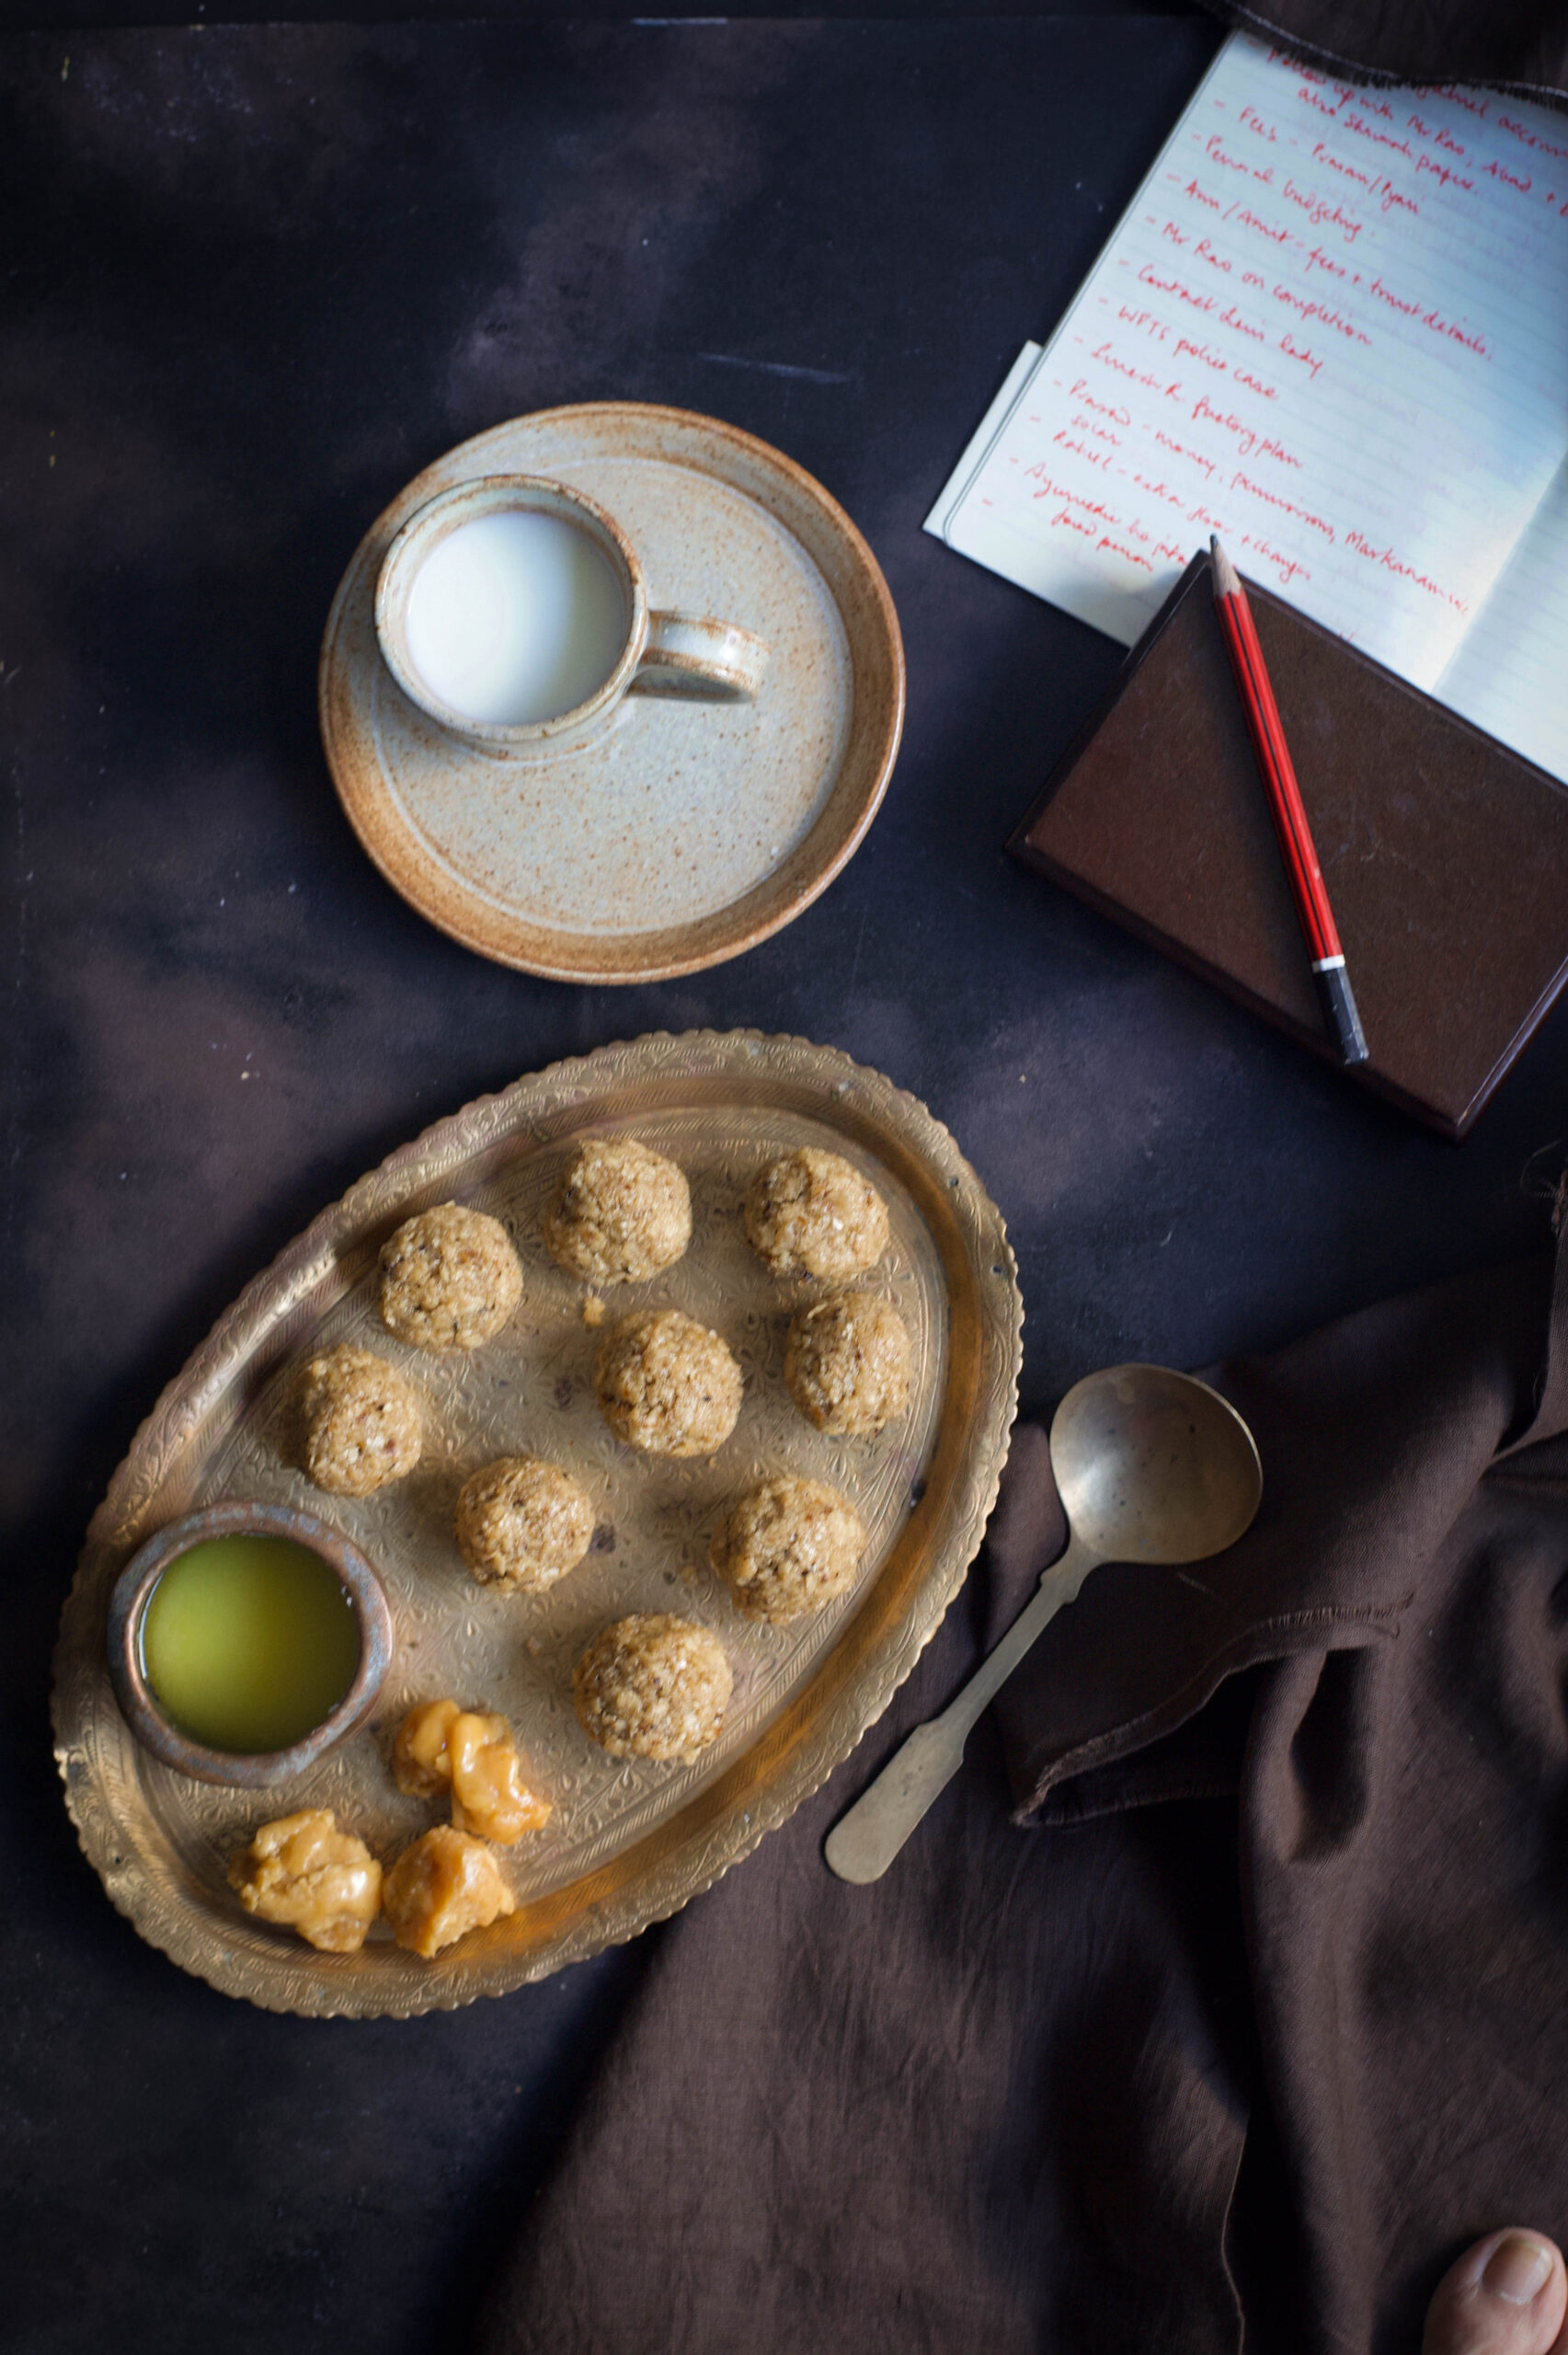
I have fond memories of eating rotli na ladoos in the afternoons, after returning home from school. They are so perfect with a glass of milk or a cup of tea after an exhausting day! It’s funny how torn pieces of bread can be turned into a delicious snack with a little jaggery, a little heat – and a pair of hands that make everything with love.

Do stay tuned for the third and final part of this Second Helpings series. Any guesses on what it might be?


What’s the go-to dish in your home when you don’t want to think about what to make? For me it is the chilla, and it was also my mother’s staple dish. Once I began to cook, I saw that it was not a lack of inspiration but ease that makes certain dishes a part of cooking-on-default mode. Whether the dish in question is idli, upma, macaroni – or in my case, chilla – it’s something you’re so good at that you don’t even have to spend a moment mulling it.

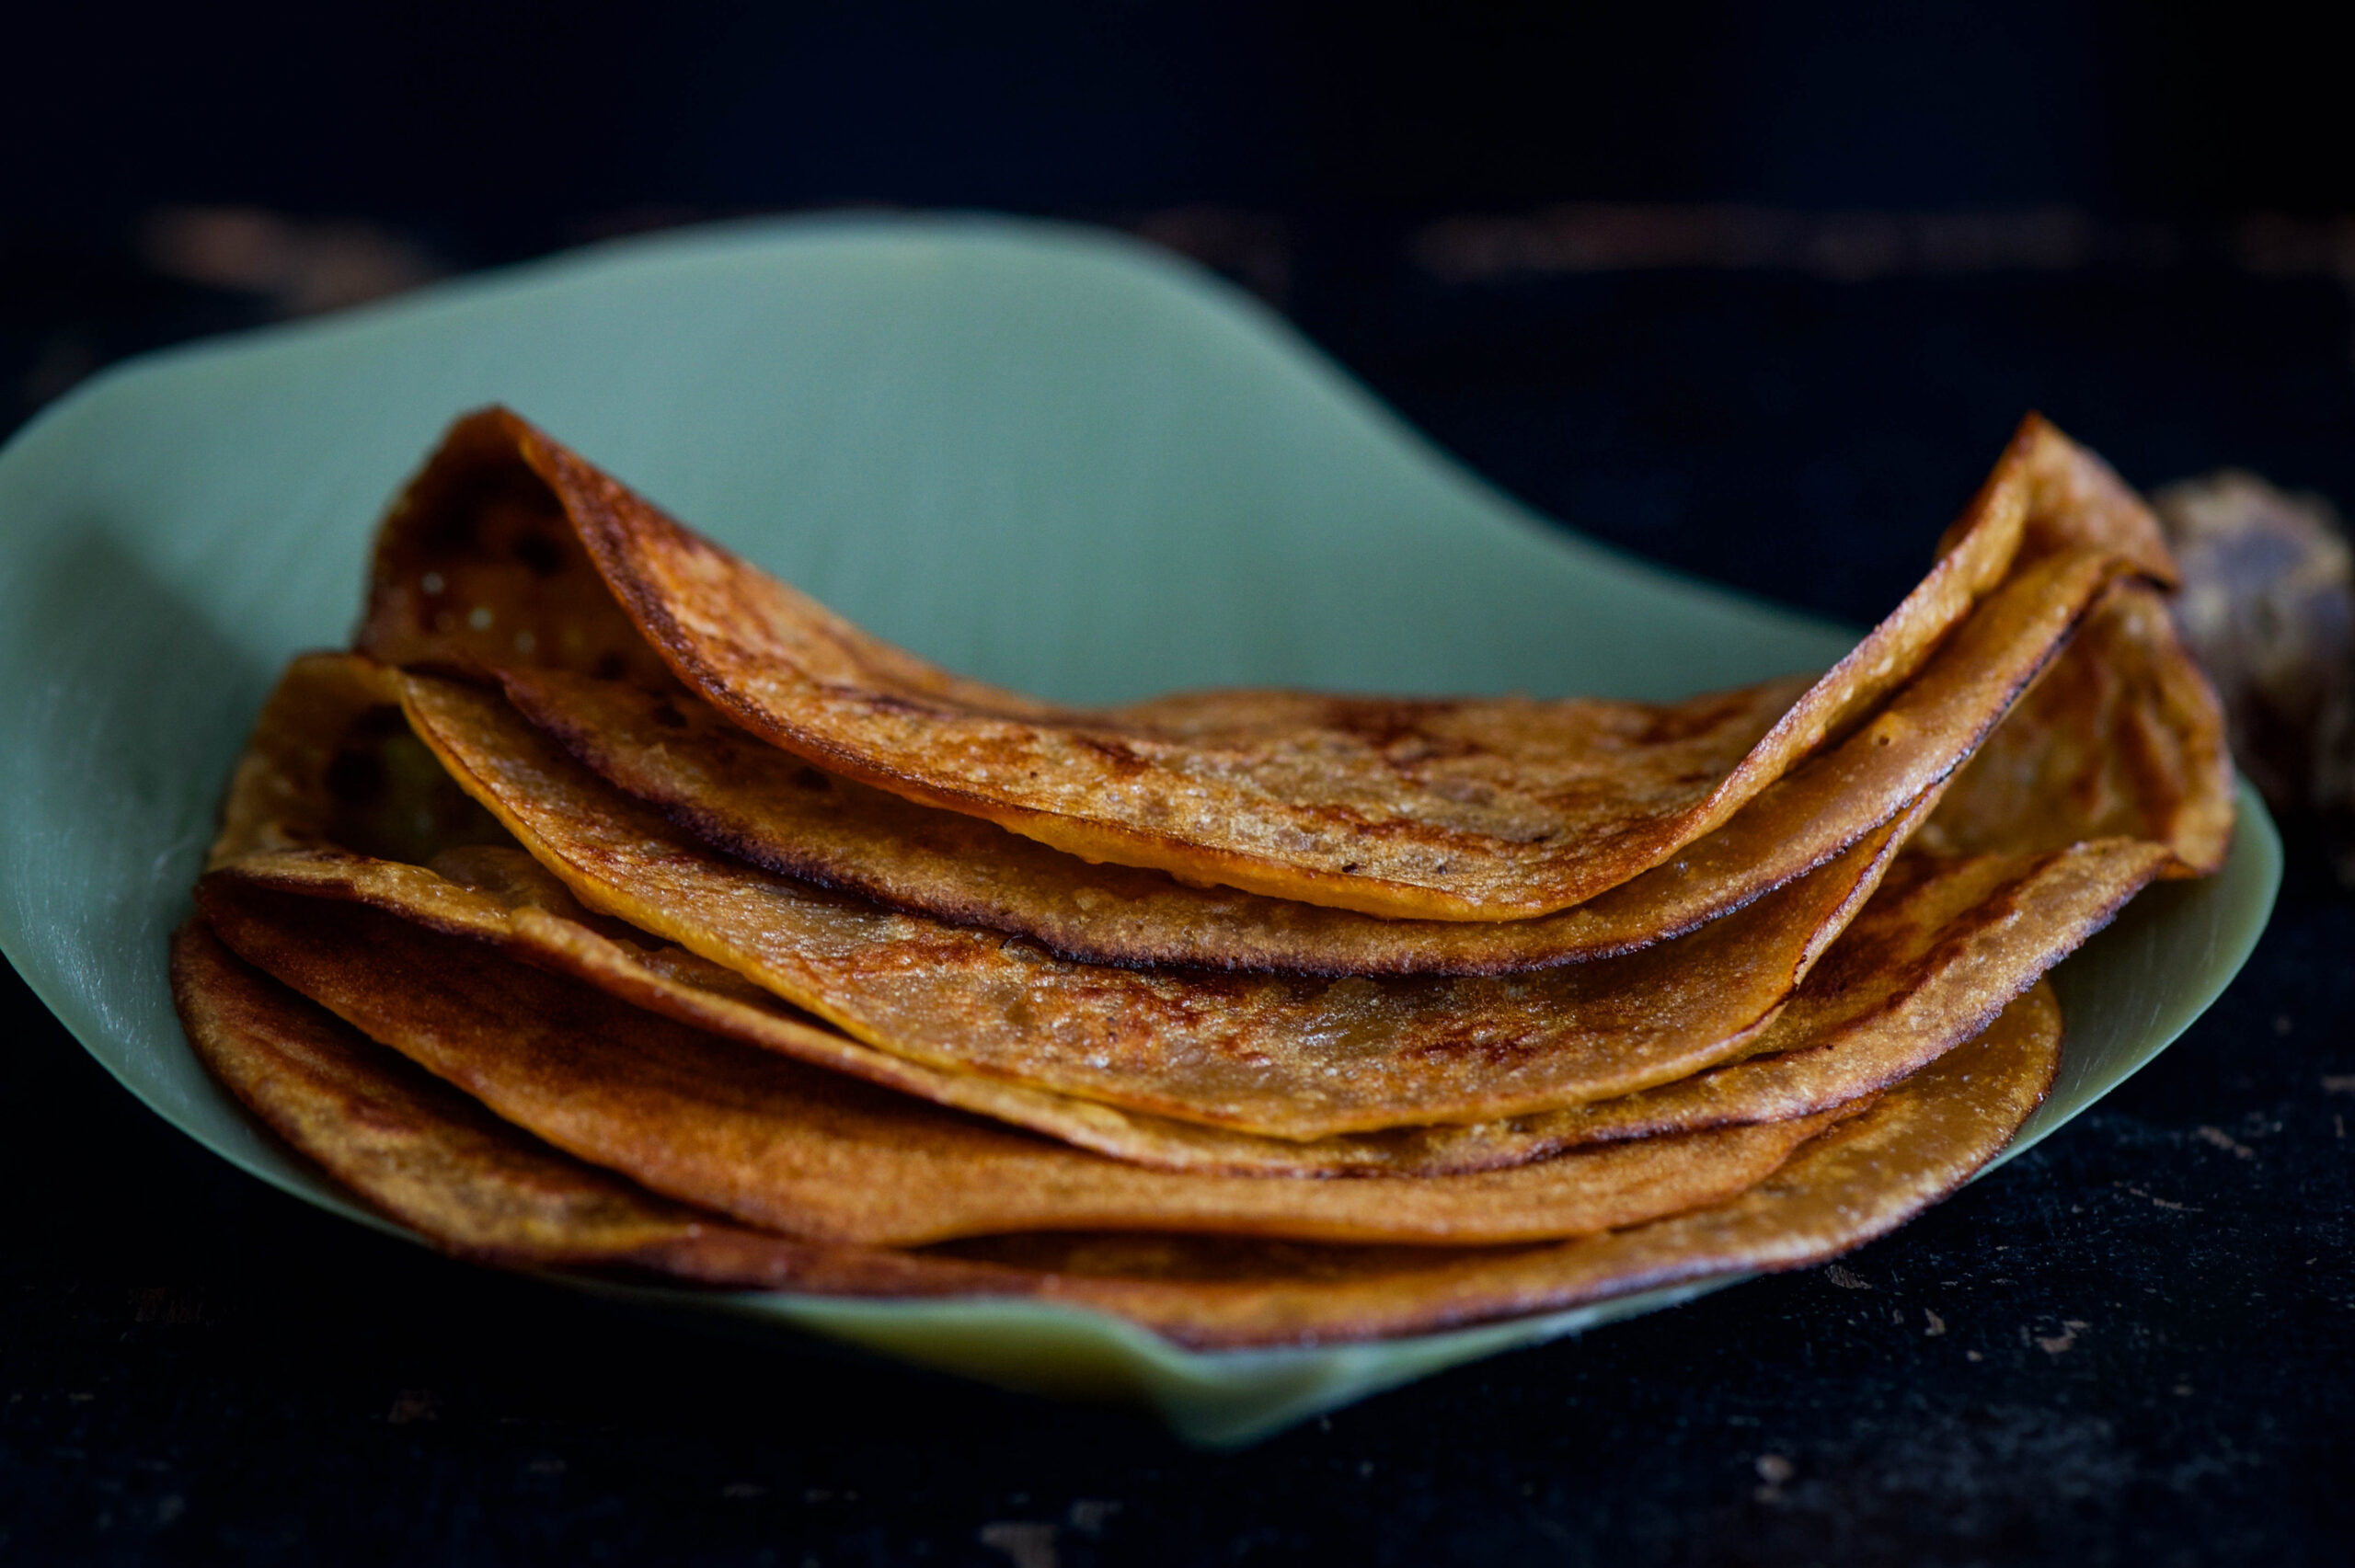
Chilla was what we had for dinner whenever my mother was busy or tired, or if we were in a post-festive feasting slump. Chilla is a kind of crepe, made with powdered pulses and flavoured with vegetables and spices. Like all staples, each cook will have her own variations – and her family will definitely grow up on the same. My mother made two: a moong dal chilla and a sweetened variant. The deal was that only if I ate the savoury one would I be given the sweet one – which itself was quite healthy, considering it was made of jaggery and whole wheat.

Instead of moong dal, which is most often used, I prefer to make savoury chillas using chickpea flour, also known as besan. I love chickpeas because they are so versatile and so easily accessible – they’re found everywhere from Mexico to Lebanon (hummus!) to right here in India, and have been cultivated by humans for at least 7,500 years. The many names this humble and popular legume has attests to this fact: Bengal gram, garbanzo bean, channa and Egyptian pea are but some. Did you know that in the 1700s, a German writer brewed them to drink instead of coffee, and Germany cultivated them for the same purpose during World War 1?

Chickpeas are widely loved as a healthy ingredient, for they are rich in protein, which is one reason why they are so popular with vegans.

In Indian cuisine, chickpeas are eaten whole in dishes such as sundal, a fun salad that is popular on Chennai’s beaches, and in dough form to make the pastry for fried goodies like fritters, among other variations. The ingredient works perfectly in both sweet and savoury items, and is also a thickening agent like cornflour or agar-agar.

I now have great respect for the humble chickpea, but it must be said: growing up, I’d argue with my mother about having to eat it. My reasoning was that: since I used powdered chickpea to wash my face (it exfoliates the skin gently and is an ancient beauty treatment), I should not also have to consume it!

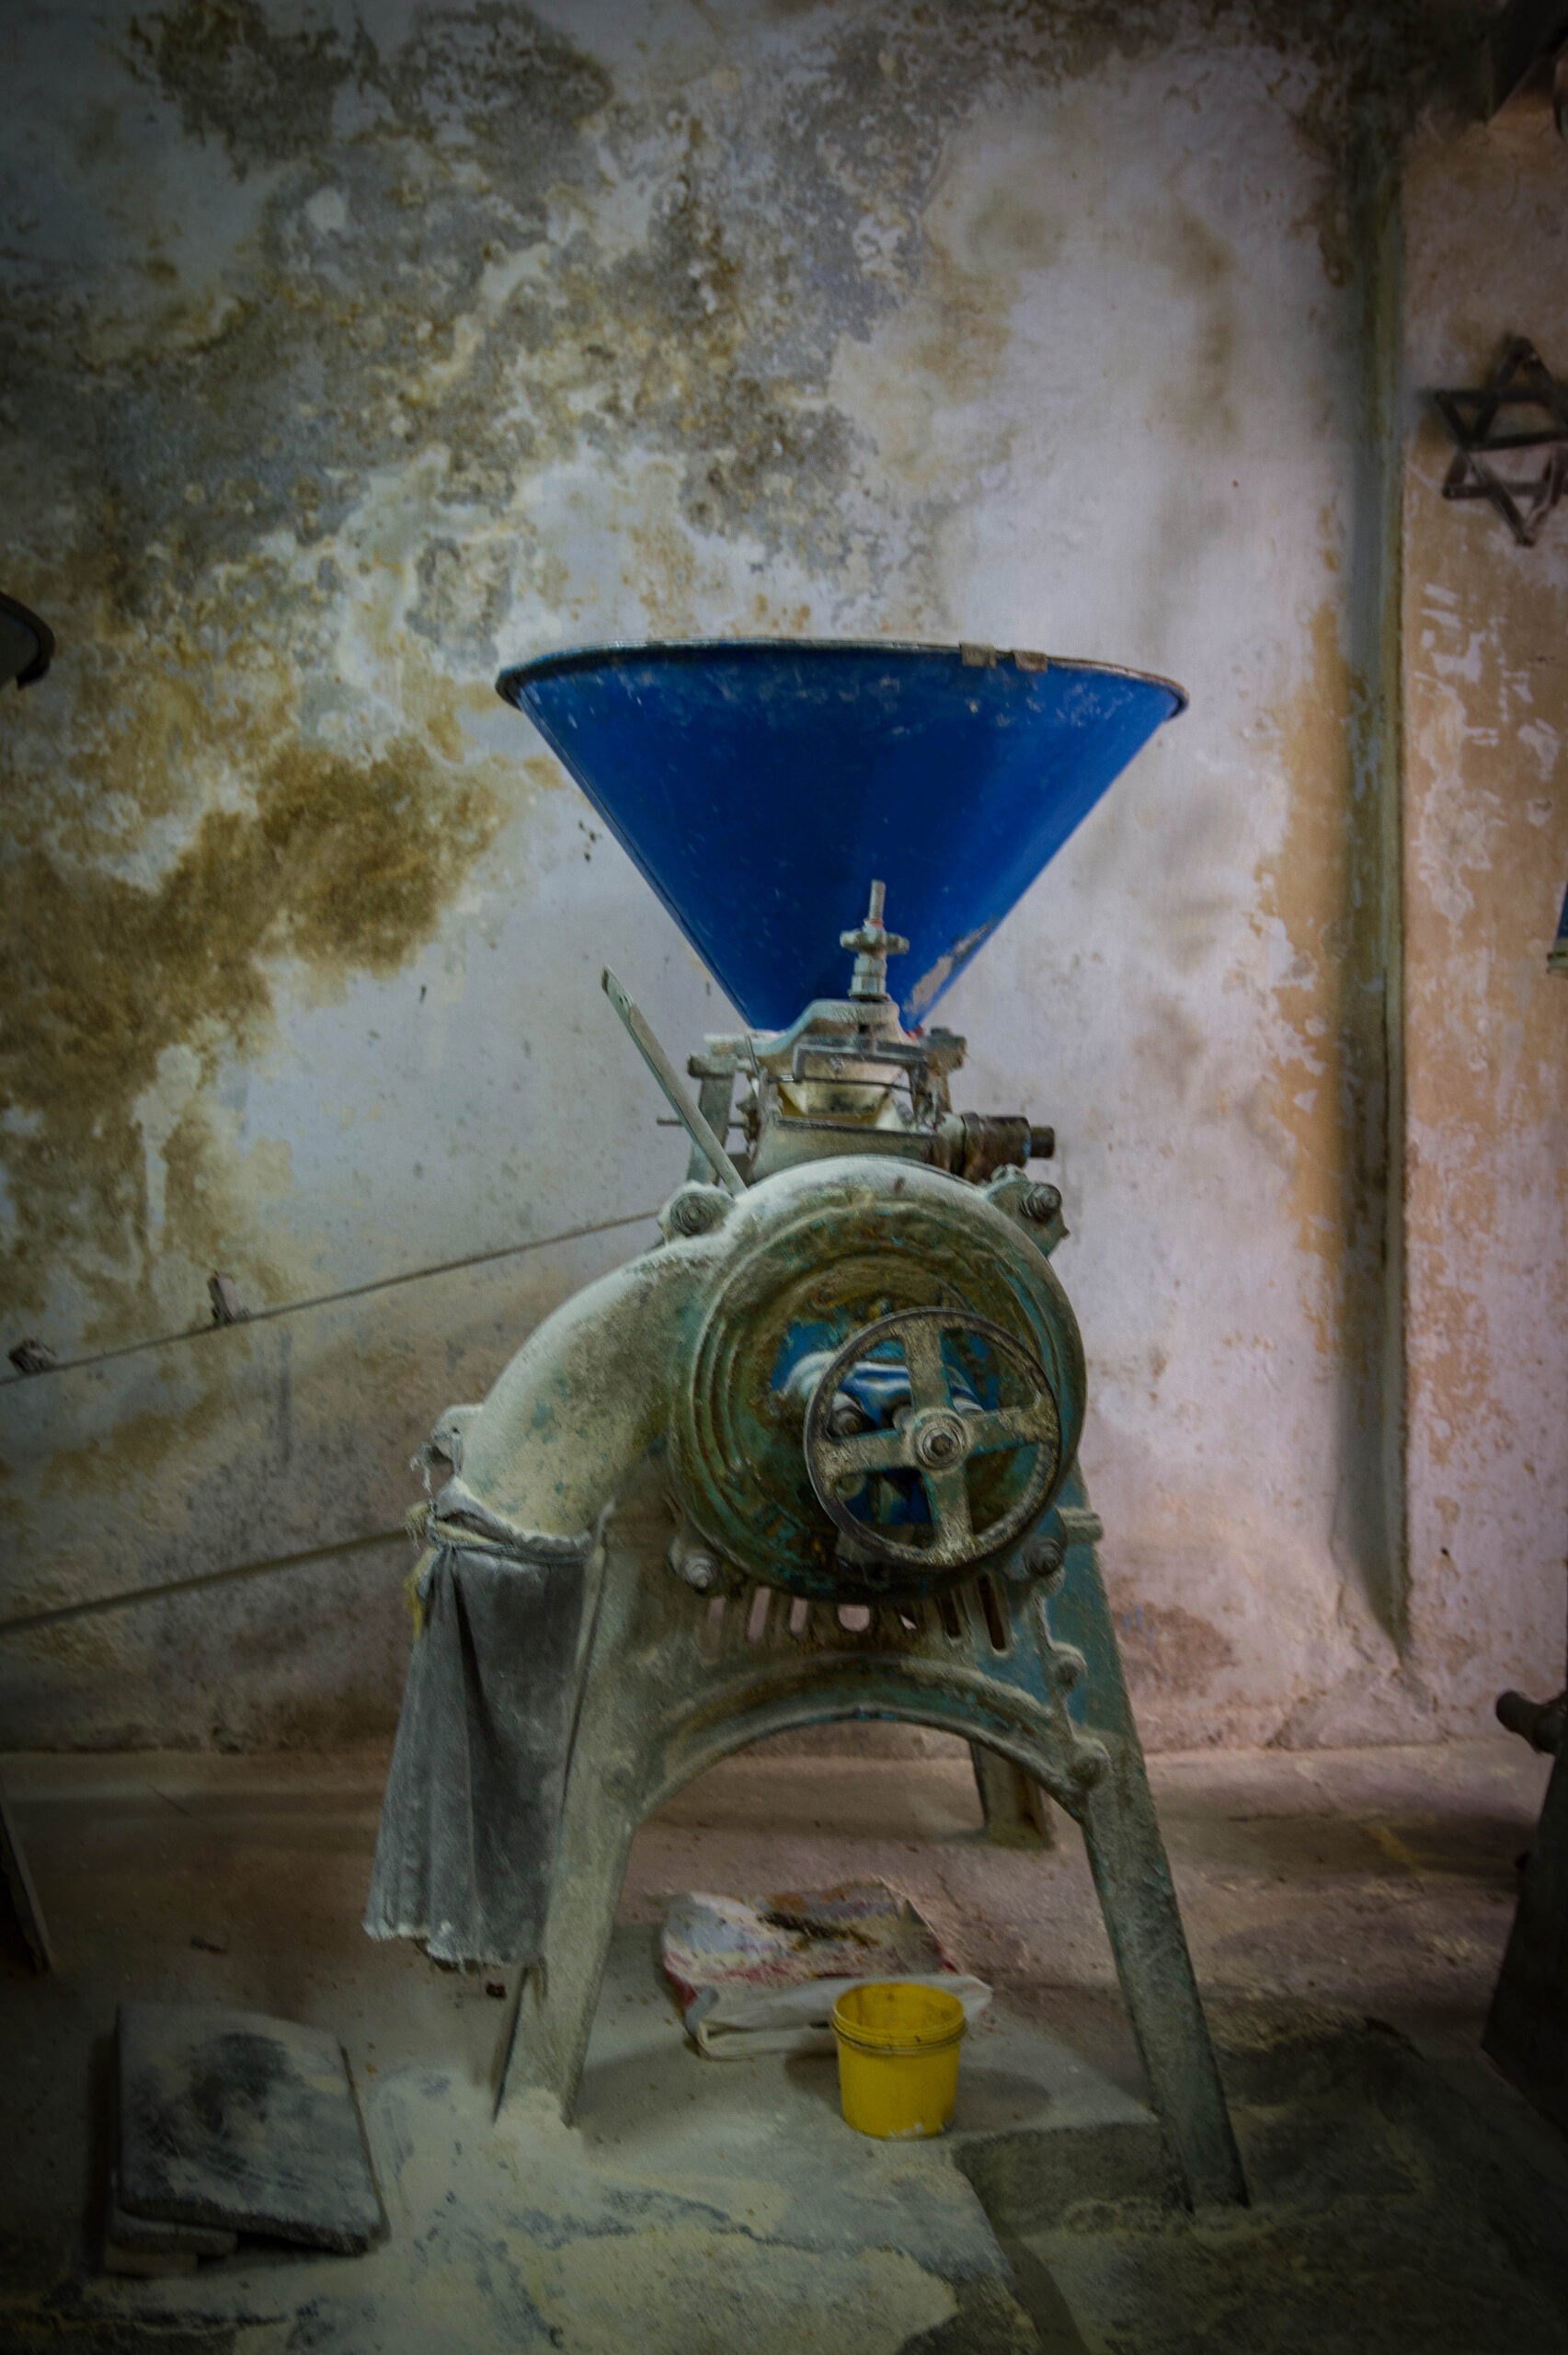
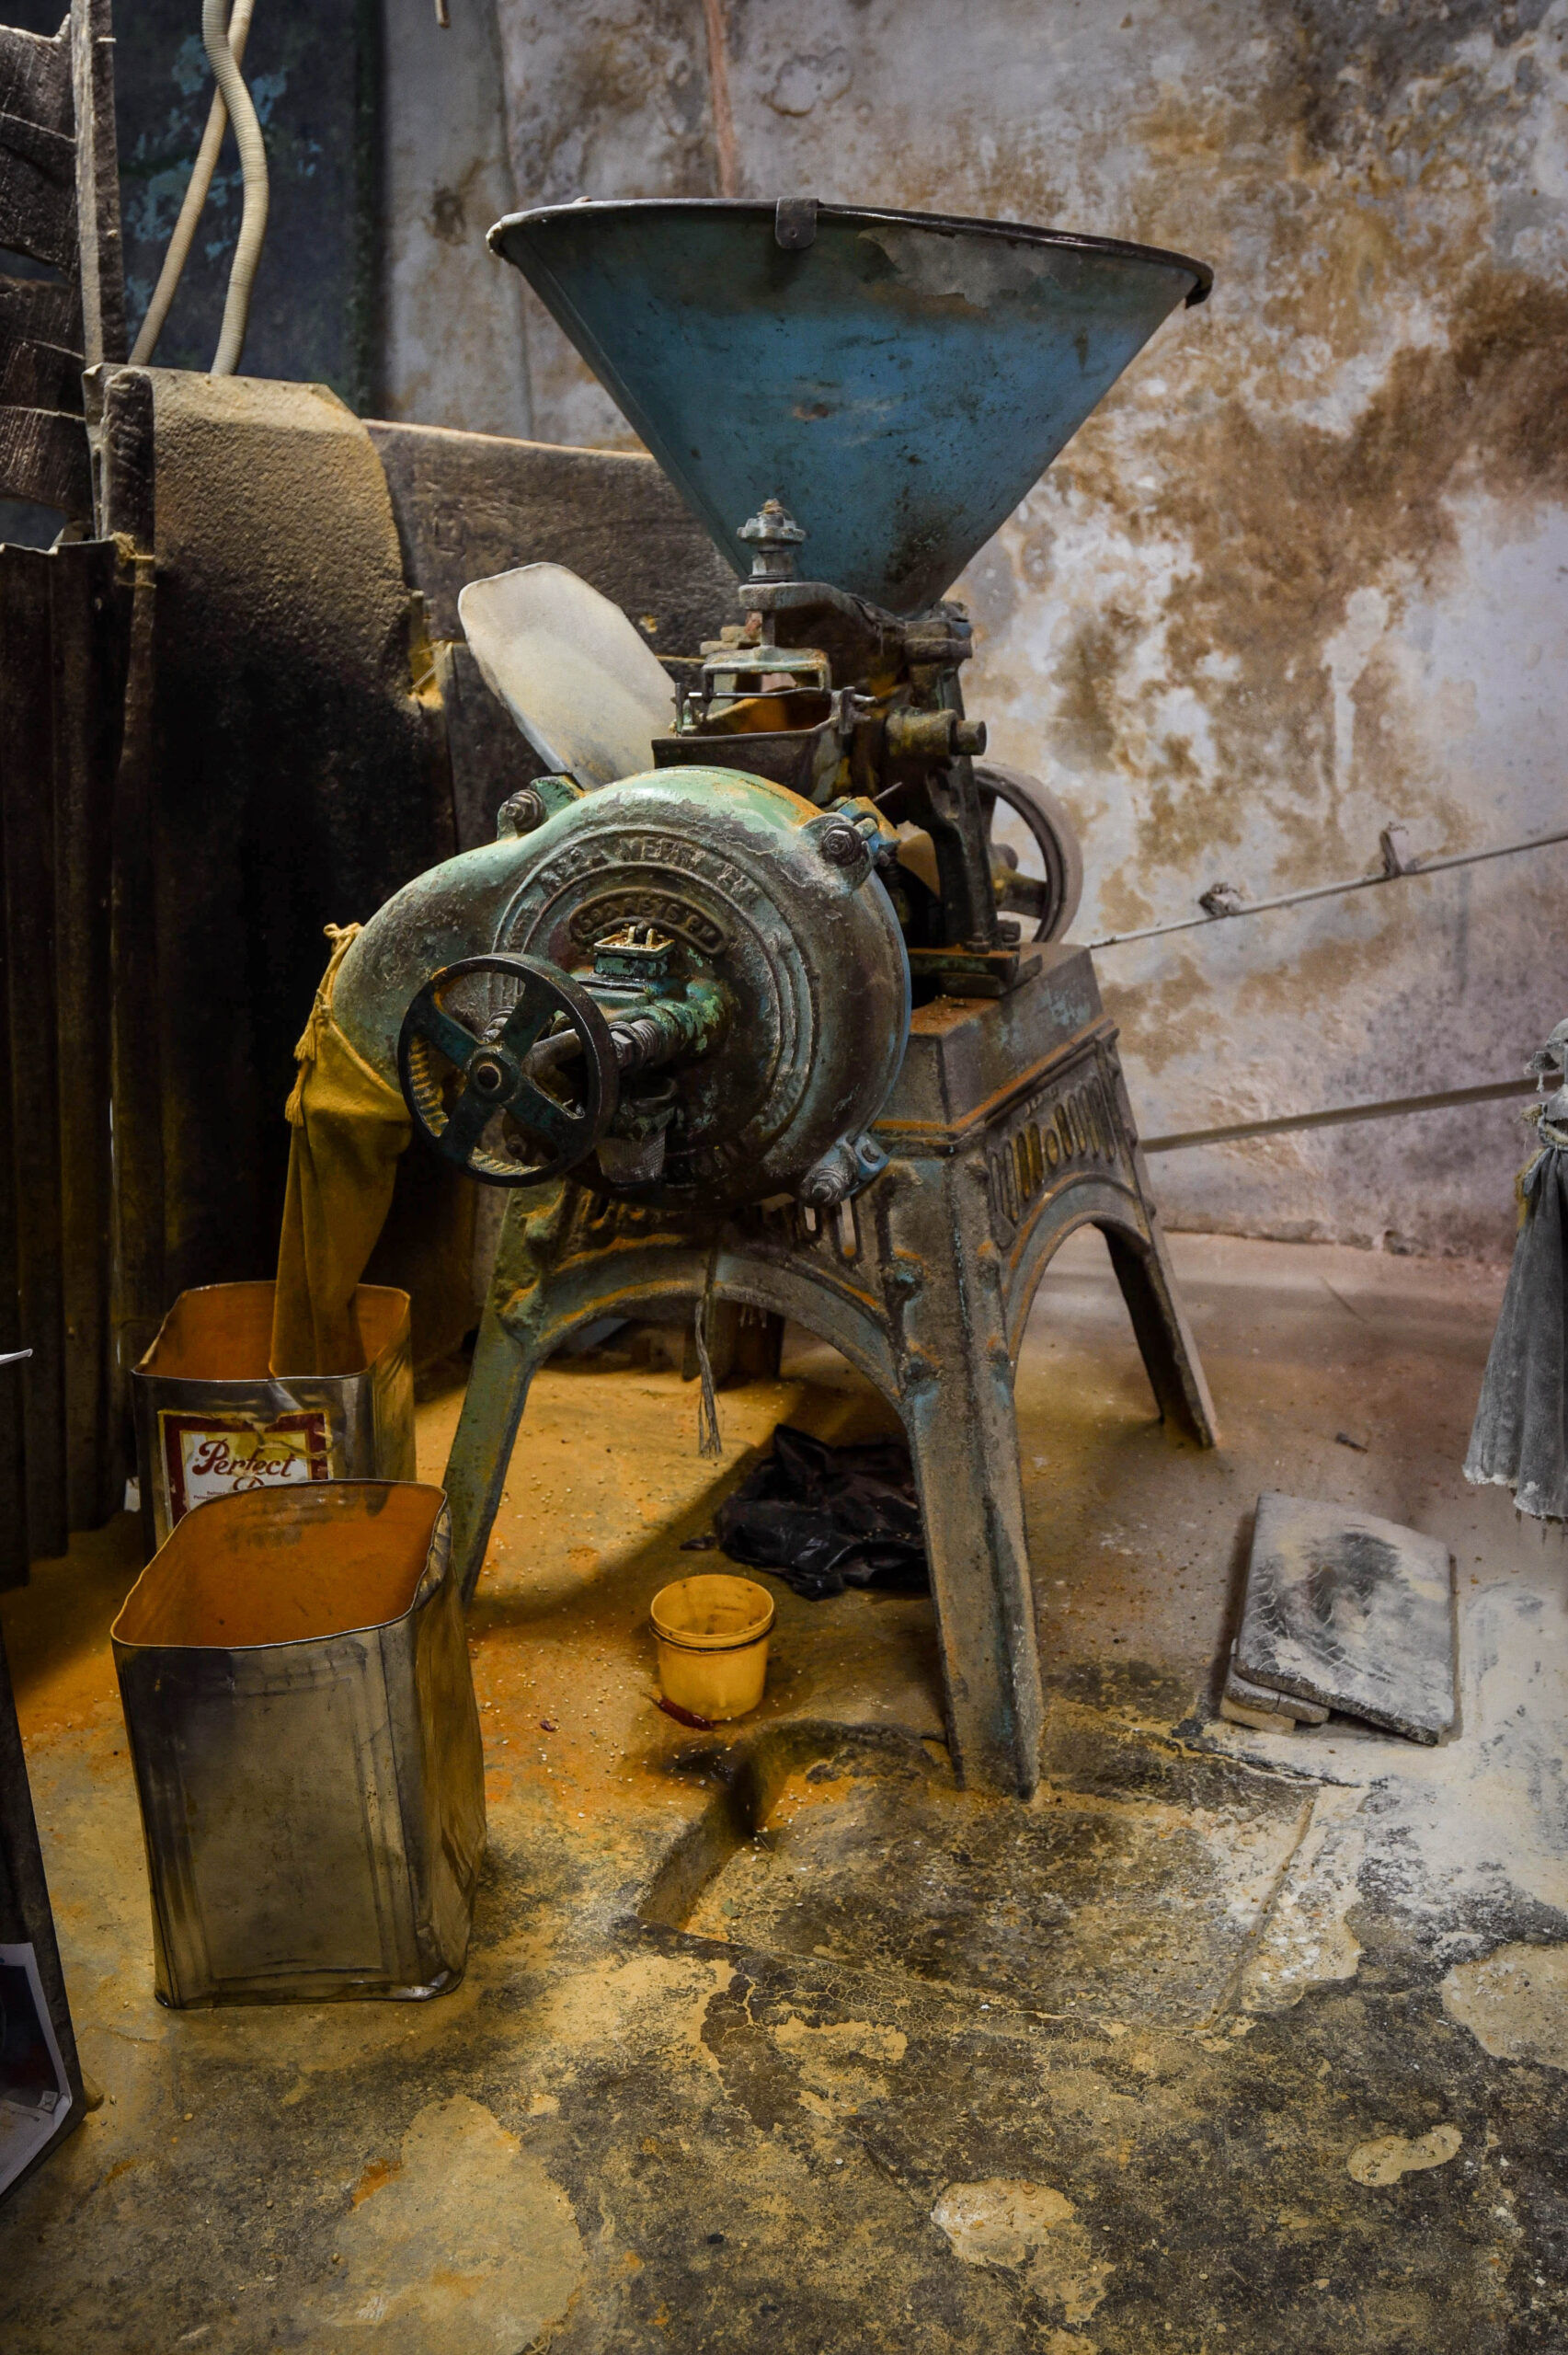
Of course, I love to have my ingredients be made or processed at home as much as possible, and by “home” in this case I mean Arumugam Chettiar’s quaint flour mill. Established in 1939, the mill uses a 10hp machine, with two grinding plates, that was imported from England by his grandfather. These machines are no longer available, and what you get now are pulverisers. But there’s nothing like old-fashioned, time-honoured methods when it comes to food. Along with chilli, ginger and other dry powders, I buy channa dal and have it ground to make chickpea powder.


I’m going to share both the recipes for savoury and sweet chilla with you, so that you can strike a version of my deal with my mother – whether that’s with your own kids, or just your diet plan!


Chilla – Savoury

(Yield – 4-5 crepes)

Ingredients
1 cup chickpea flour

2 cups water

½ teaspoon cumin powder

½ teaspoon grated ginger and garlic paste

½ cup finely chopped fenugreek (methi) leaves

½ teaspoon salt

Blend the water with the chickpea flour until there are no lumps. Add the salt, turmeric, cumin powder, grated ginger and garlic paste and fenugreek leaves, and mix the batter well. The consistency should be a little thicker than crepe batter.

Fenugreek in batter may remind you of theplas, one of the many types of Indian breads. A note about the ingredient: most people soak fenugreek leaves in water with salt, to remove the bitterness. This is something I don’t like to do because I don’t see why the flavour should be removed. With regards to these chillas especially, the taste of the savoury one is offset by the sweet one beautifully.

You may replace the fenugreek with another spinach available to you, or even with finely chopped vegetables like onions, grated carrots, bell peppers or coriander leaves.

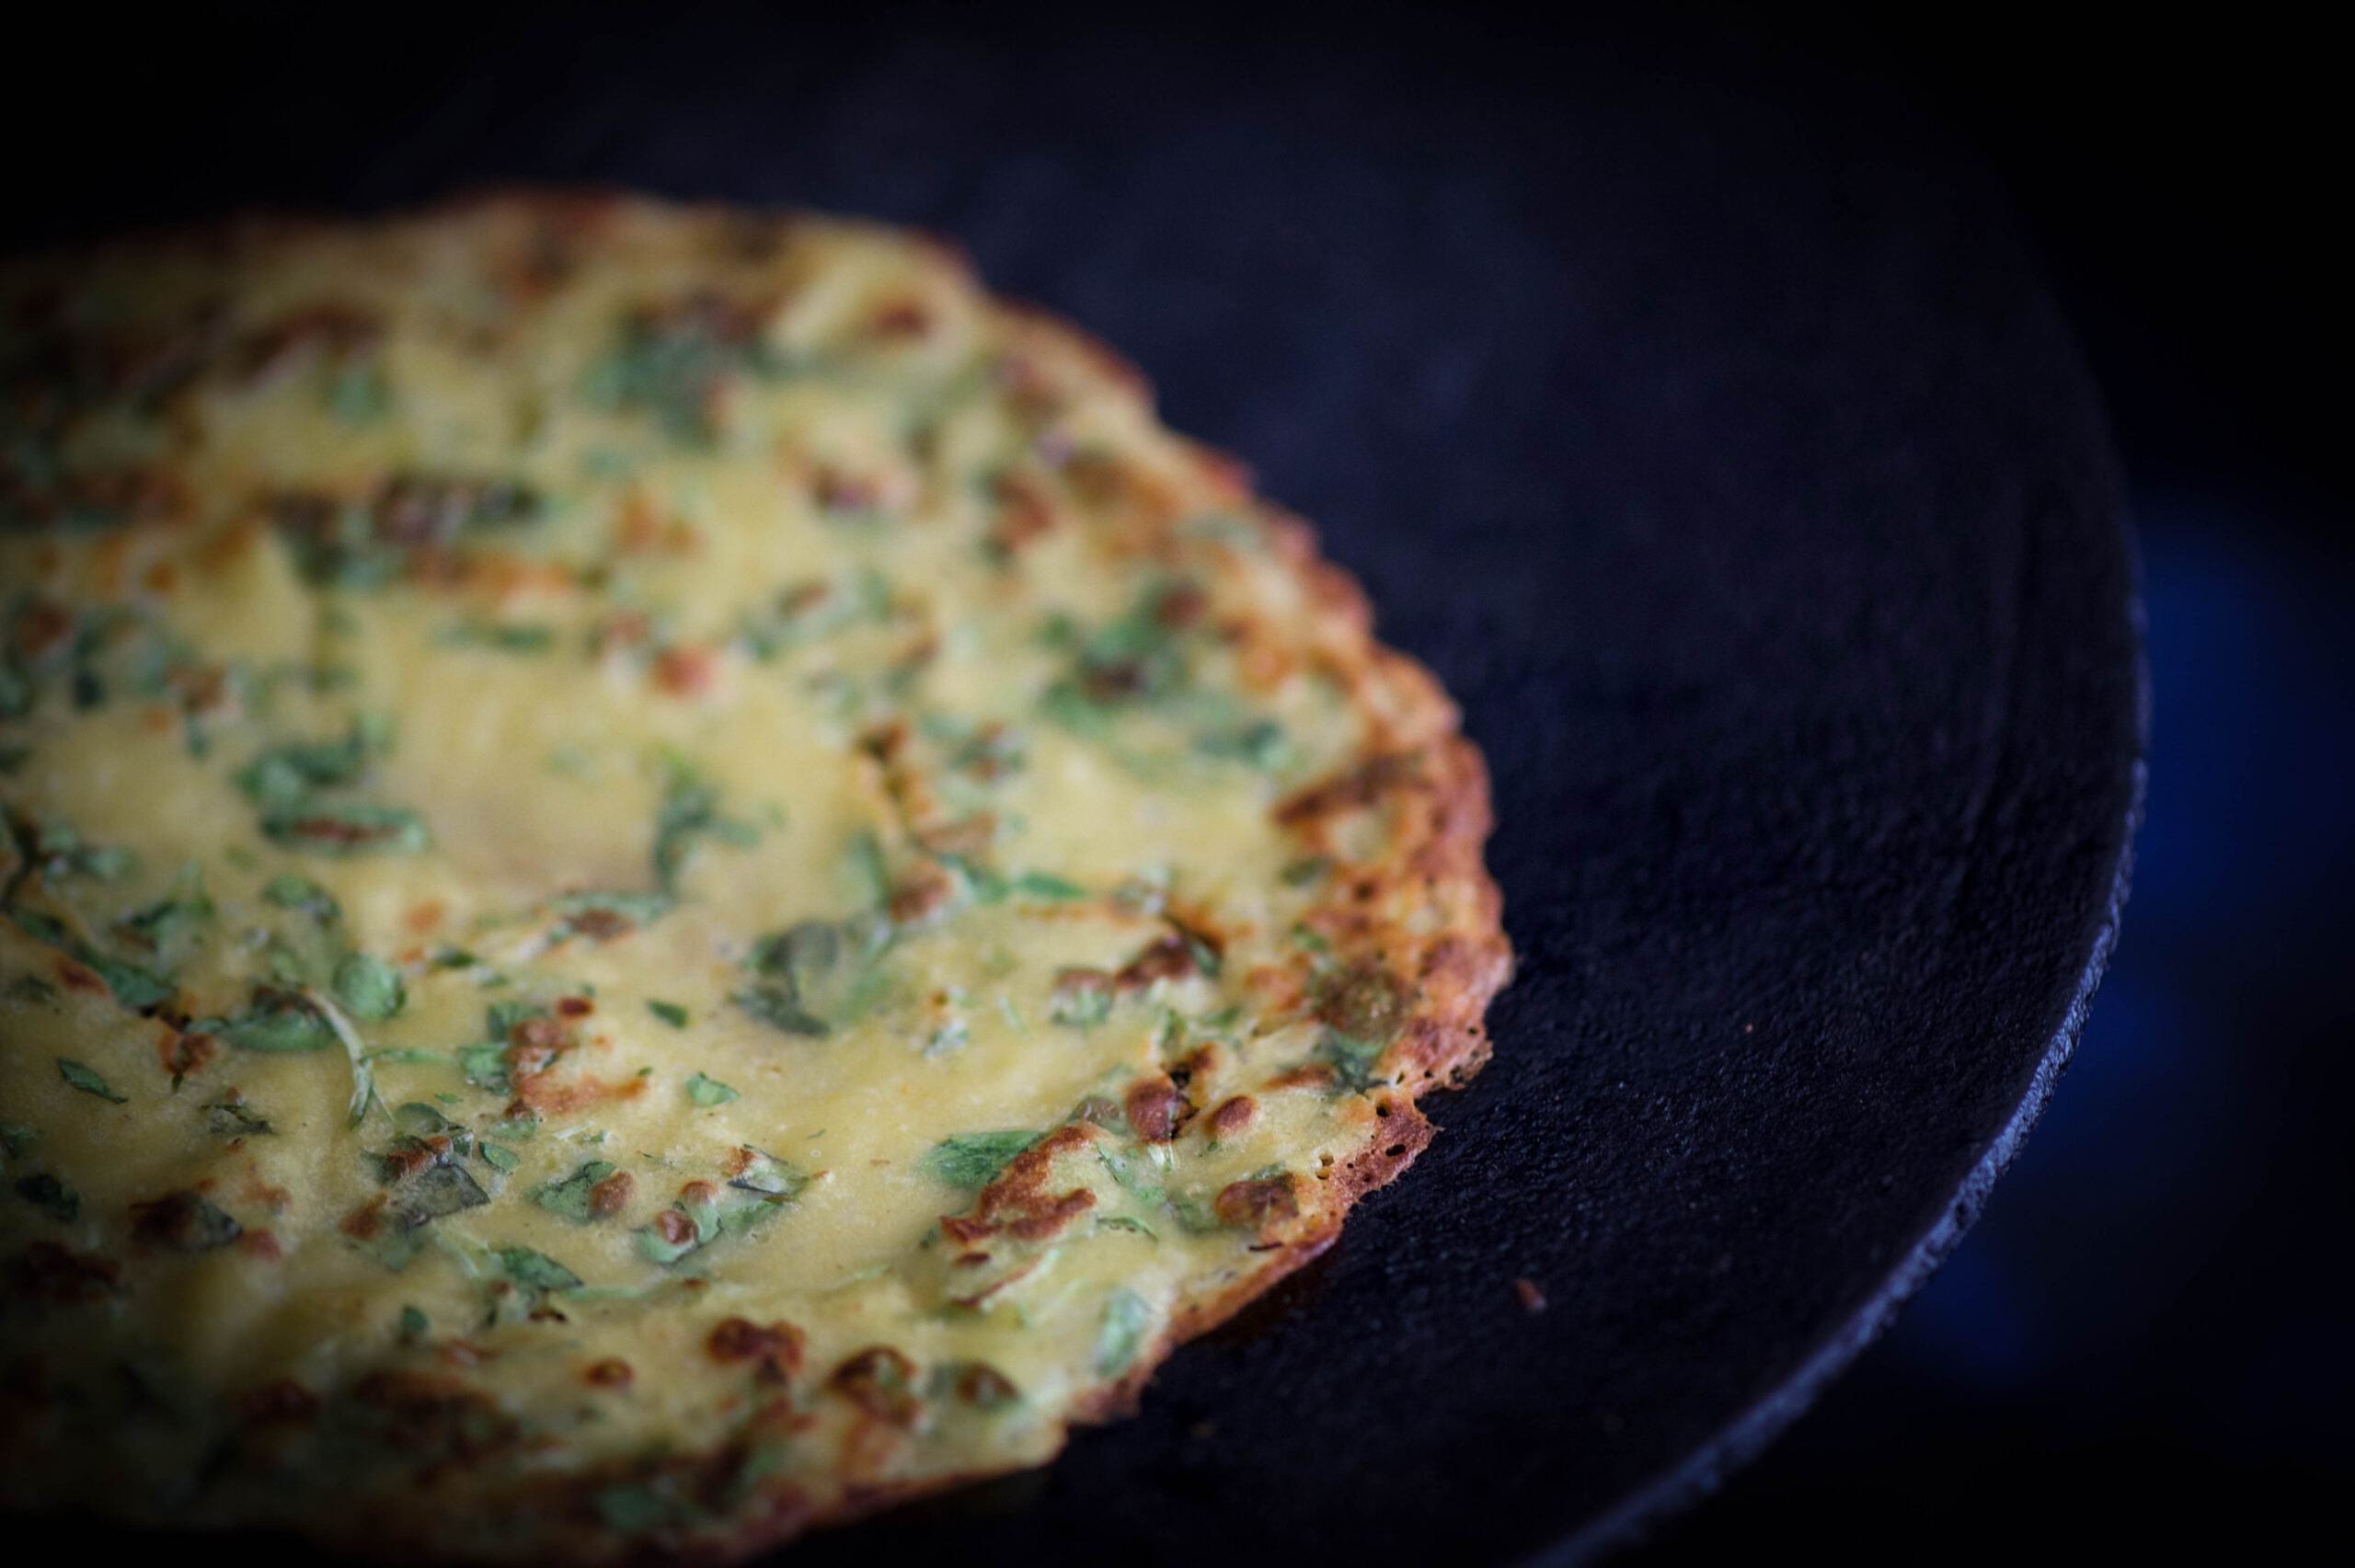
Heat an iron griddle or a non-stick skillet and pour a few drops of oil on it. I make both my savoury and sweet chillas on an iron pan. Mine is a seasoned one, hence it does not stick. But if you do not have one, use a non-stick vessel.

Wait till the skillet is hot, then turn the flame down. This is a delicate moment, because if the batter falls on a too-hot pan, it will spread unevenly. My trick for this is that when the skillet is very heated, I sprinkle a little water on it and allow it to sizzle. This cools it down just enough so that I can pour the batter.

Spoon the batter onto the skillet. Spread it in a circular motion, much like you would a regular crepe. The video below gives you a look at the technique, if you’re unfamiliar with it. For those who make dosas, you will already be experts at this.

As the chilla fries, drizzle a few drops of oil around (not on) it, so that it can be removed easily. Increase the flame. You will know when it’s ready to be flipped when the edges begin to rise and turn golden. Do not attempt to flip the chilla earlier, as it will tear.

Using a spatula, flip the chilla and allow its other side to cook as well. Both sides should be a lovely golden colour before you take it off the skillet.

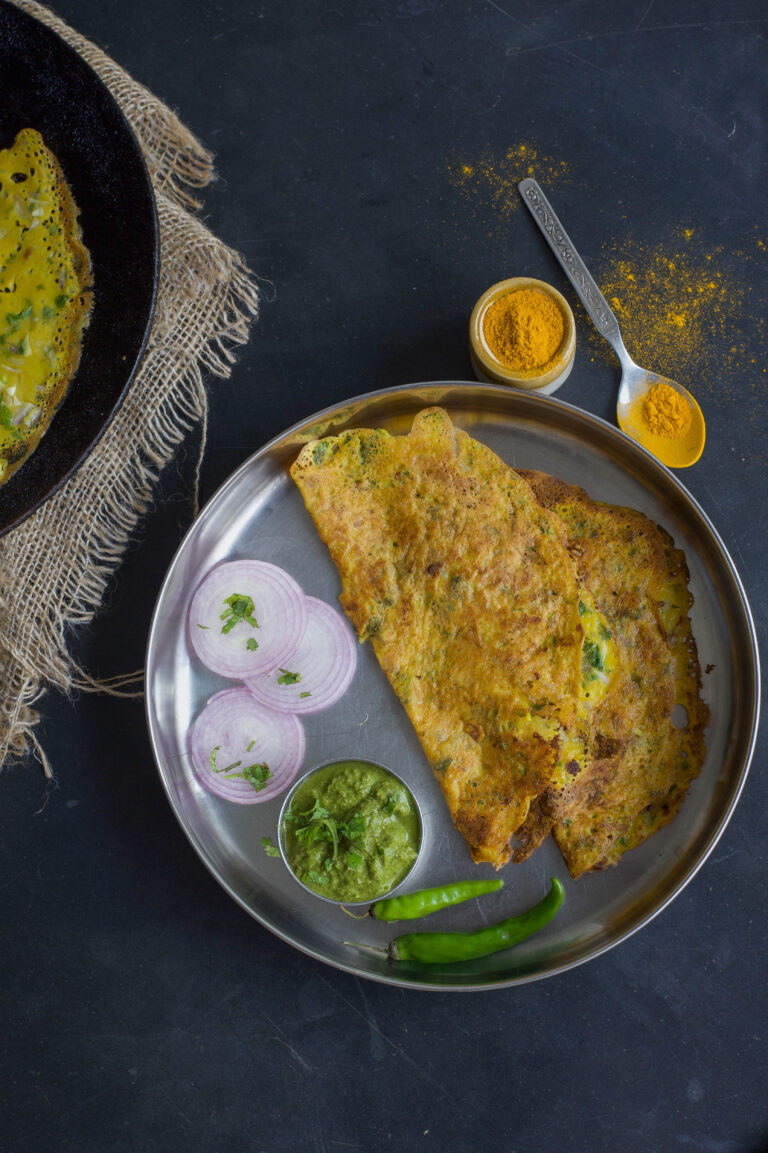
Then make the next one, and so on, until you have enough. Fold each chilla in half and serve with green chutney or date chutney, both of which I’ve shared recipes for earlier on this blog. I also top these savoury chillas with finely chopped vegetables, with gives the health factor an extra boost, and makes them even more filling. Just a couple will give you a light but complete meal – provided you’re able to stop eating them, that is!


Chilla – Sweet

(Yield – 5 small crepes)

Ingredients
1 cup whole wheat flour
½ cup jaggery
1 ½ cup water
1 teaspoon ghee per crepe (oil for a vegan option)

Warm the water a little and allow the jaggery to melt into it. Stir well until all the lumps are removed.

Wait till the jaggery-infused water has cooled, then strain it so the sediments are removed.

To this, add the whole wheat flour and blend it so it’s a little thicker than regular crepe batter. You may have to adjust the quantity of water added to make it just the right consistency.

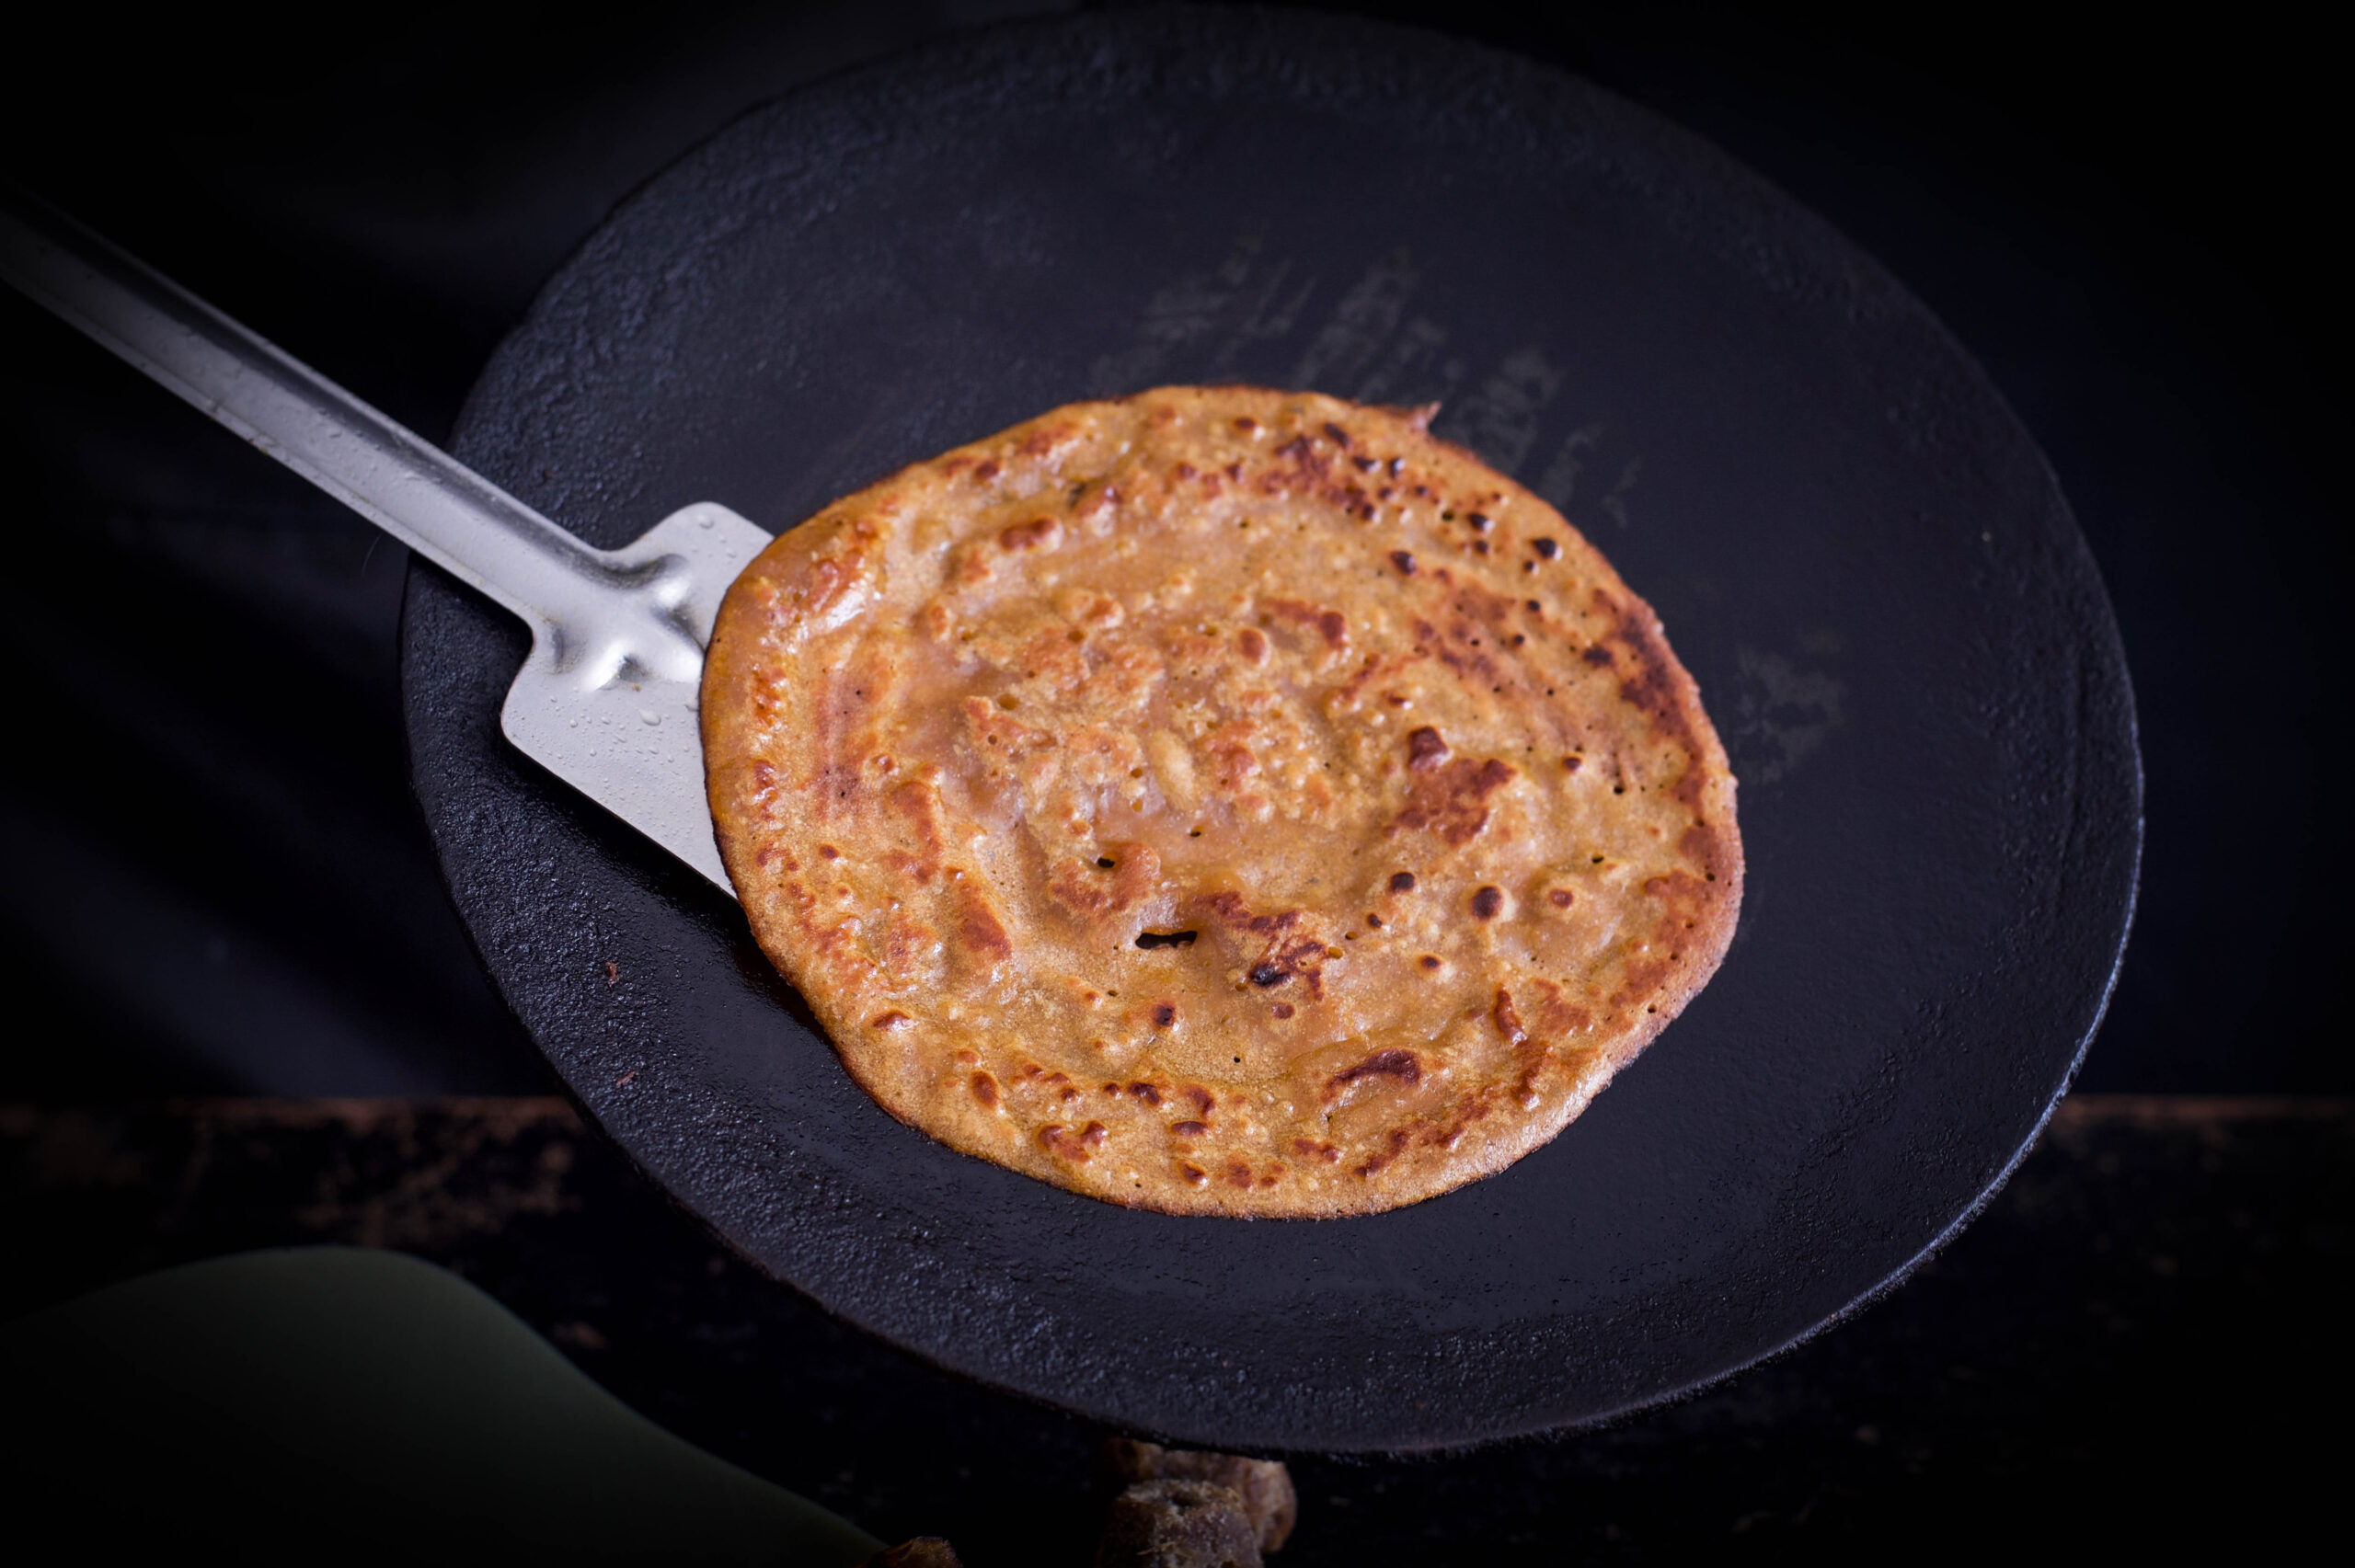
Now, pour a drop of ghee or oil on a non-stick skillet. When it is hot, lower the flame. Start spooning out about half the batter onto the skillet, in small and well-spaced quantities. These sweet chillas are ideally dessert, so they are smaller than the savoury chillas.

Using a circular motion with the spoon, make small crepes on the skillet (as shown in the video above). Keep the flame on medium, so as to ensure that the chillas don’t burn. When one side has begun to turn golden, flip it over. Both sides will be thoroughly cooked in about 2-3 minutes.

The process of frying the sweet chilla is almost identical to making the savoury one, so do refer to the above recipe for more extensive notes and tips. They do not need to be served with an accompaniment.

These delicious chillas are very much comfort food to me, and I hope they find the same place in your cooking repertoire. The sweet ones are especially popular with kids, and as I said earlier – if they crave it, offer it to them as a reward for eating the savoury one!

I’ve come to understand that most Indian palates require something sweet and something savoury in order to feel satisfied. Life is all about both the sweet and the savoury isn’t it? And sometimes, like in the fenugreek-flavoured chilla, a hint of the bitter too. But that’s why the order of eating makes such sense: after everything else, one is always assured of sweetness.