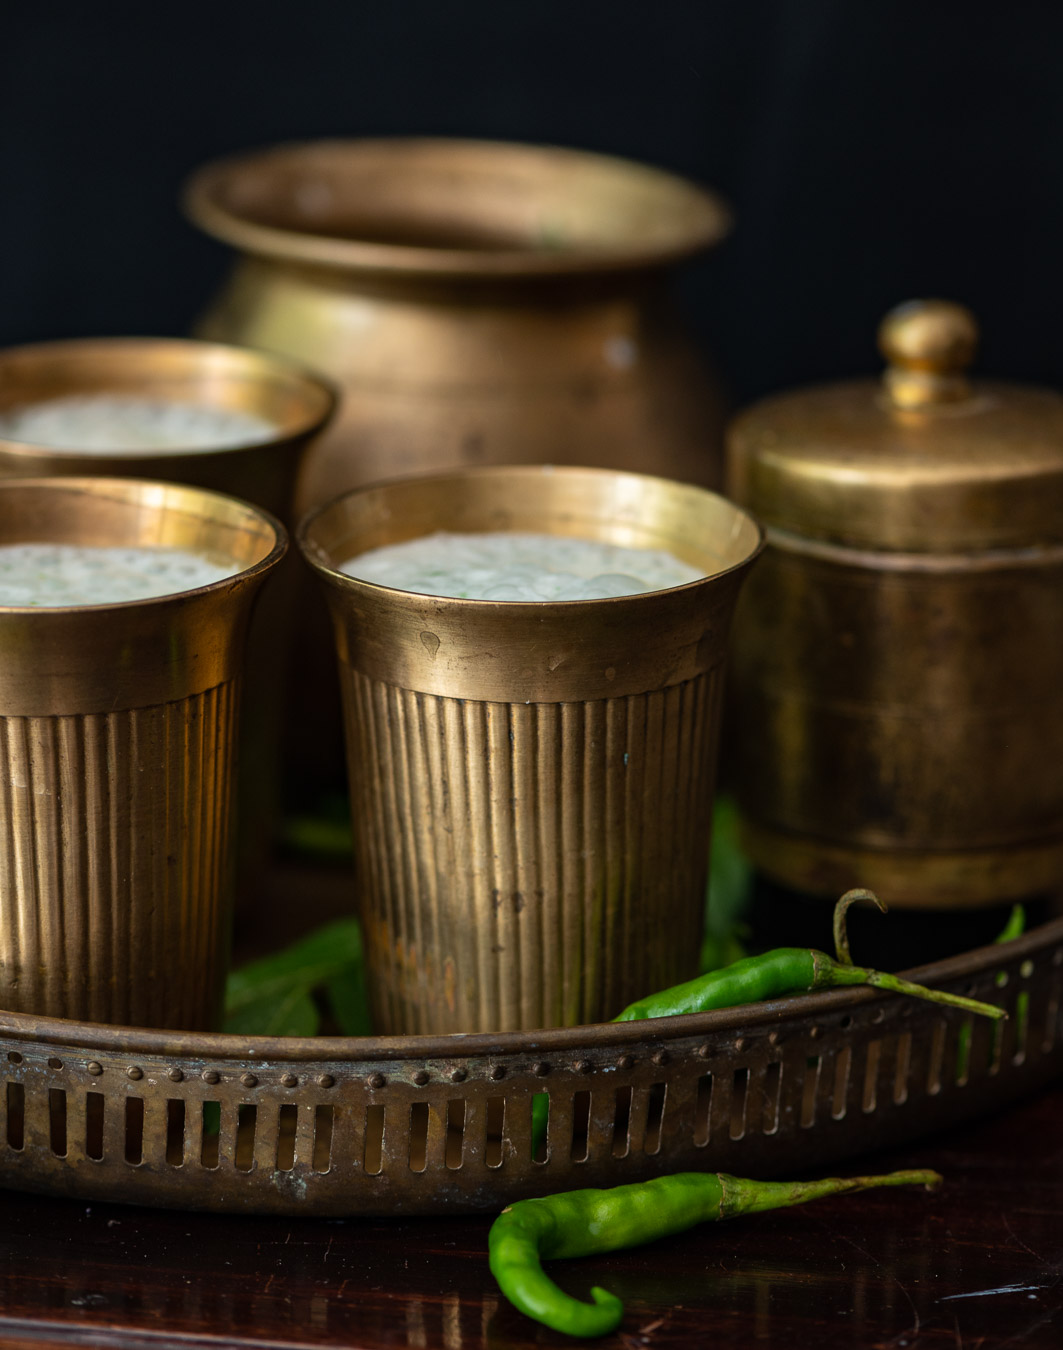
Dairy is a huge part of the pan-Indian diet, and among its many forms, buttermilk is consumed across the length and breadth of the country during the summer. It is mentioned in Ayurvedic texts as a coolant, and provably has this effect on the body. In lore, it was among the delicious goods that Krishna often stole from the cowherds, with his mother Yashoda usually discovering his theft quickly and reprimanding him for it. It has been in our history and mythology for millennia, and in our kitchens as well. A few years ago, I shared a recipe for spiced buttermilk, and today I am sharing one for a flavoured variant: banana stem buttermilk.
As I mentioned in a recent recipe, my mother made butter at home while we were growing up, and its sour residual buttermilk was used in kadhi and other dishes. As a beverage, I prefer my buttermilk less sour and make it with fresh homemade yoghurt, which you can also get into a daily routine of preparing yourself.
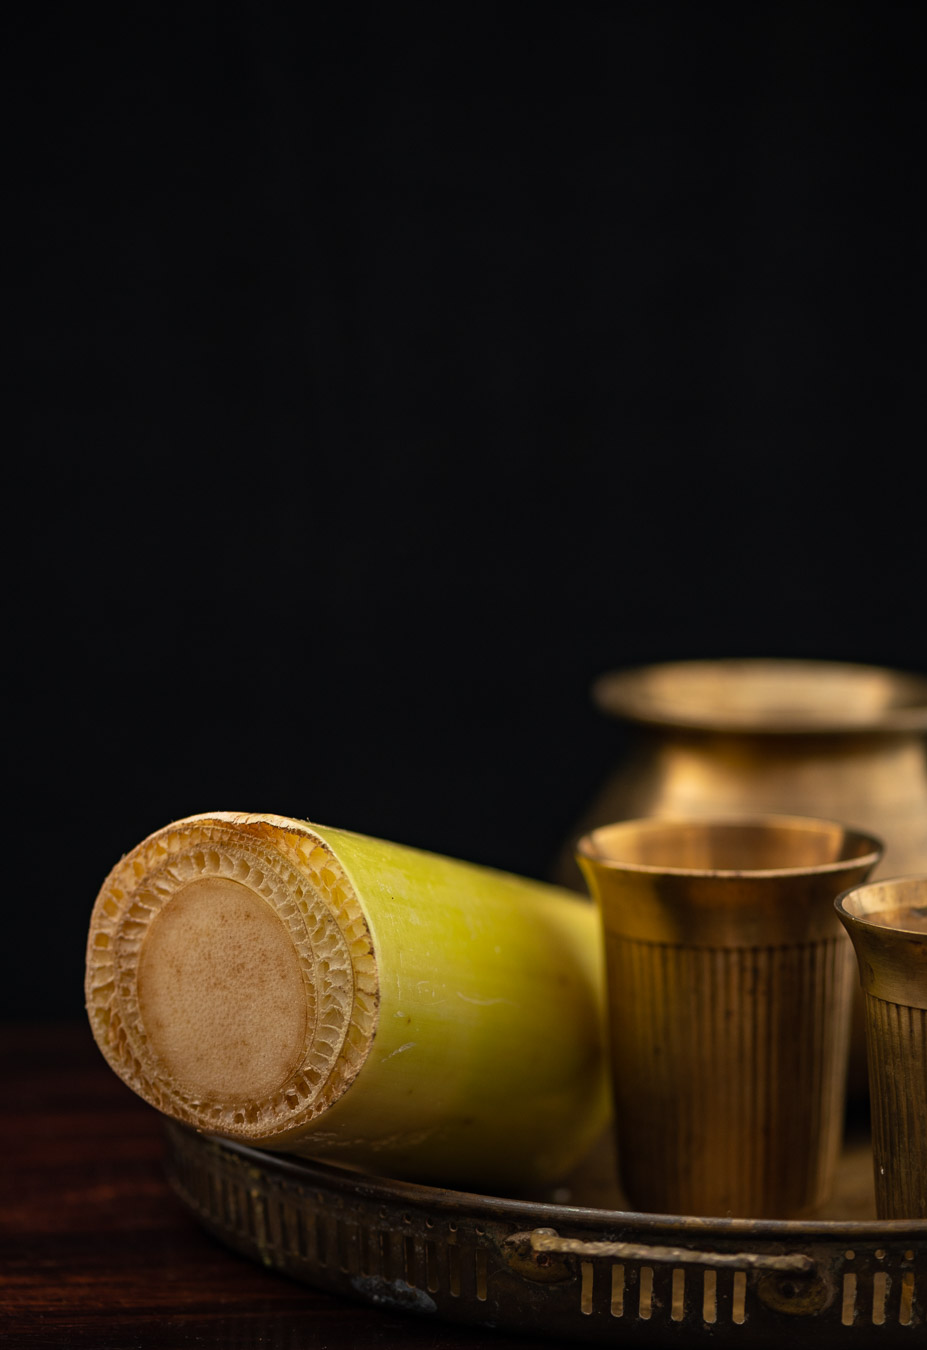
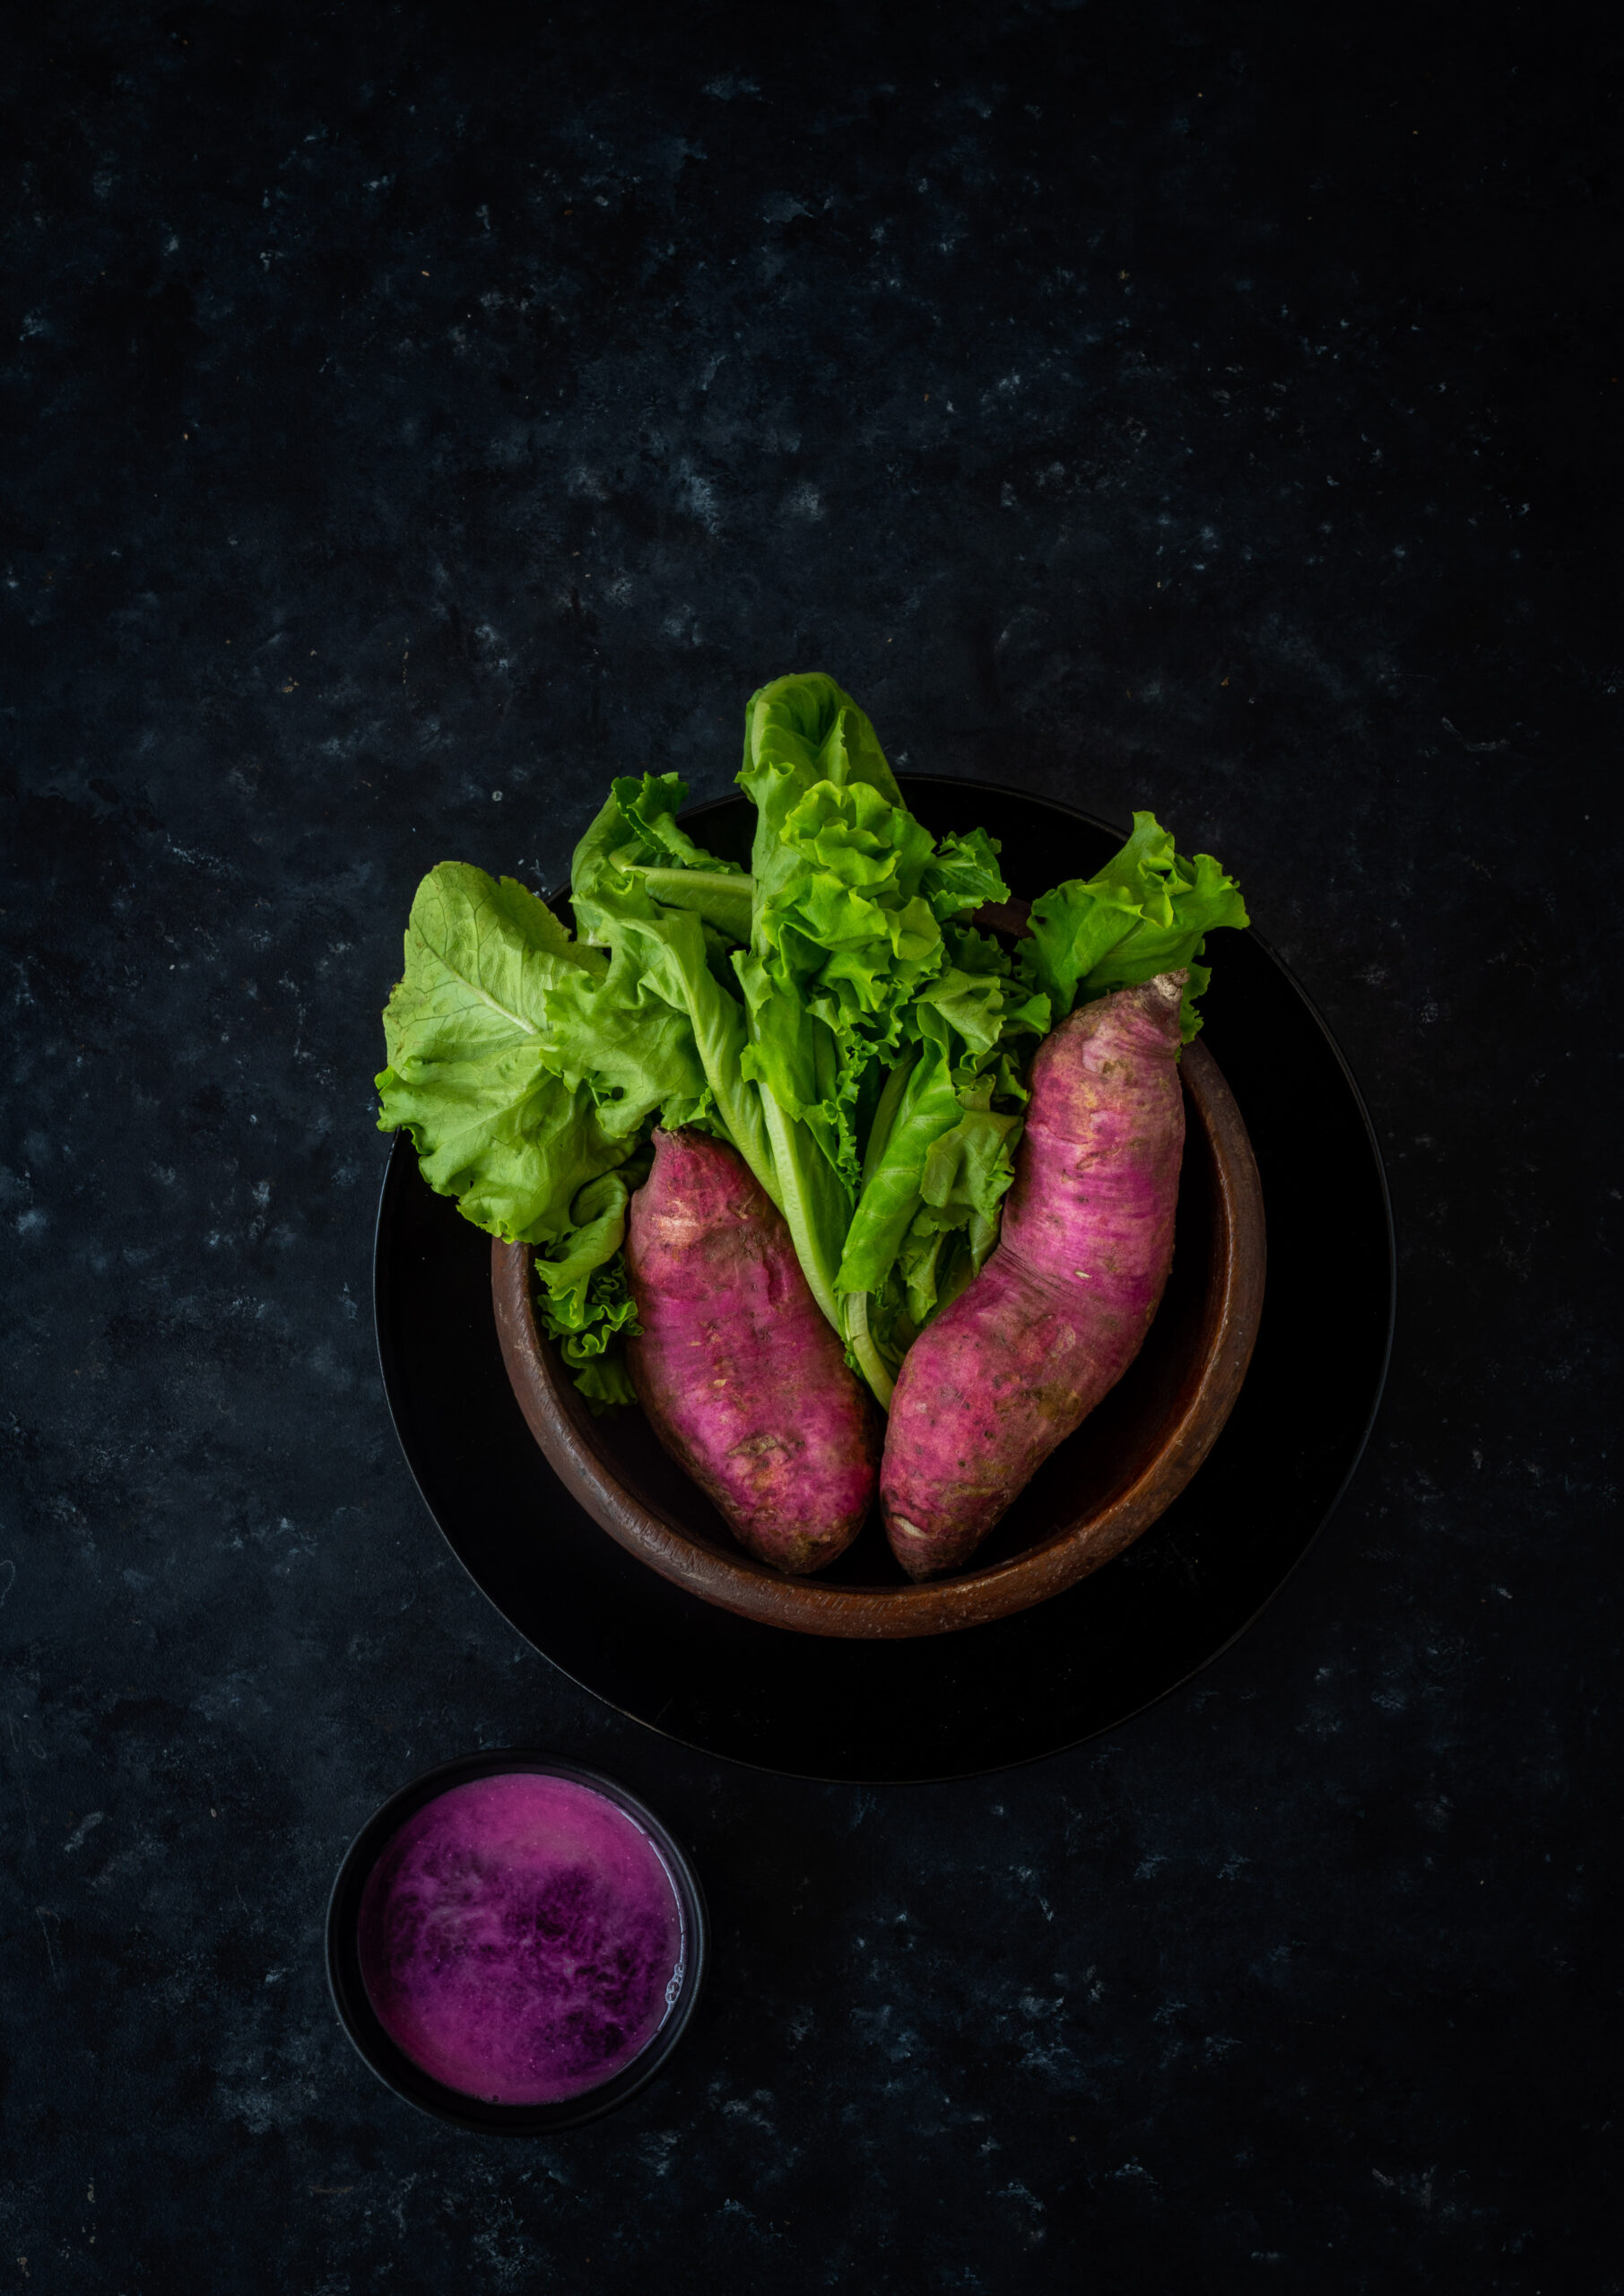
How the straightforward buttermilk that I regularly consume came to be pepped up with banana stem is really a photographer’s story. Some time ago, I had been preparing banana stem poriyal, a Tamil stir-fry side dish, when something caught my eye as I was slicing the ingredient. A beautiful geometric pattern (designed by Nature) along the edges of the stem captivated me. I was moved to pause my cooking and pick up my camera. Somehow, as I worked, the thought of adding the ingredient to our regular post-lunch buttermilk occurred to me. From stir-fry to shoot subject to summer heat-buster, the humble banana stem had quite a journey in my hands that day.
Though it is humble indeed, and sometimes neglected for this reason, banana stem is a much-loved ingredient in Tamil cuisine due to its powerful health benefits. It is most famous for being able to dissolve kidney stones, and also has anti-diabetic and detoxification properties. It is rich in iron, fibre, potassium and Vitamin B. It can be eaten raw, but not everyone’s constitution reacts well to this, so you can lightly steam it before consumption without losing much of its nutritious qualities too. Although I was inspired that day to put my photographic muse into my afternoon drink, it was not a brainwave that simply came out of nowhere. Somewhere in my growing years, at some friend’s house or another, I certainly drank banana stem buttermilk. As a local, accessible and inexpensive ingredient, it has always been put to good use by cooks over the centuries.
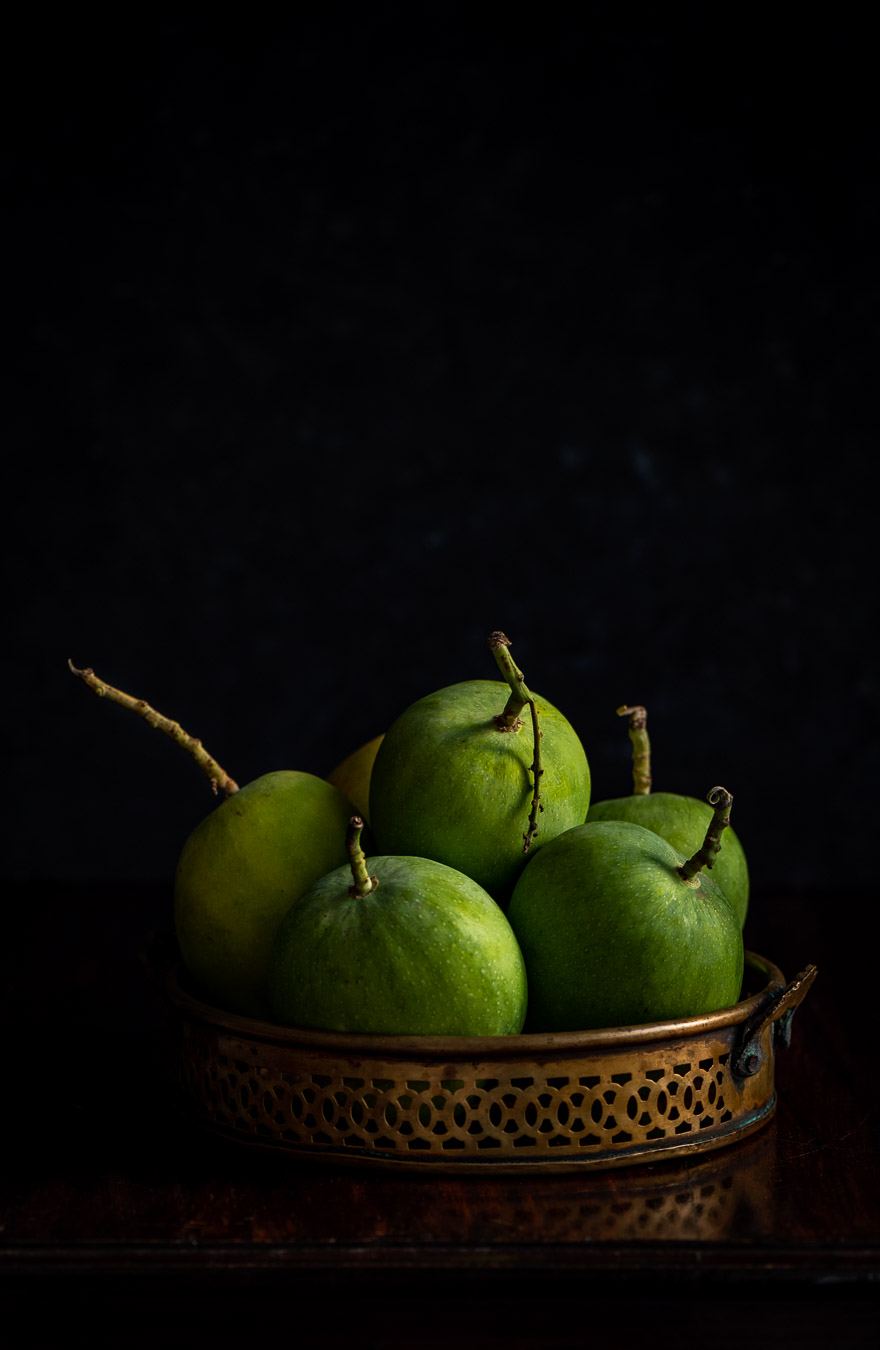
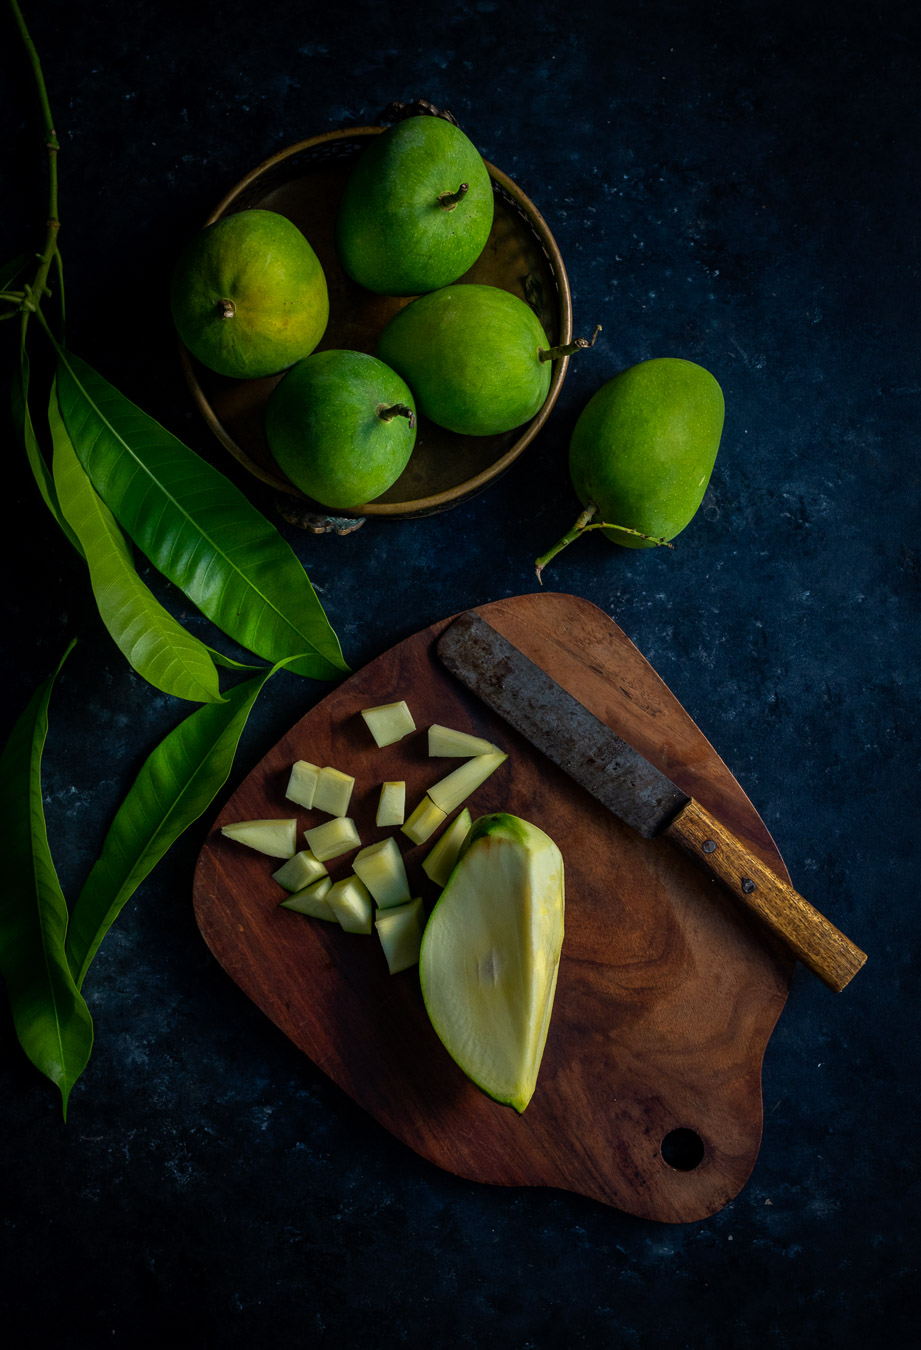
As mentioned, we have buttermilk with our summer lunches daily, or else a banana. Either a drink to cool the body down, or else the fruit of the same plant to assist with digestion. This was the case when I was a child as well, when my mother would prepare plain buttermilk that was seasoned with nothing but salt and cumin powder. During the summers, our school holiday time, we would play with our neighbourhood friends in the afternoon, climbing trees and tiring ourselves out in a happy way, then have a glass of this and go off for a siesta. The drink was especially vital because it would also be mango season. Mangoes in high quantities increase body heat. Of course, we would have gorged on them, so something had to be consumed to counter this.
Buttermilk really is a summer beverage for so many reasons, and I always find it interesting and awe-inspiring how Nature laid everything out for us in such a way that there is always a seasonal logic. Isn’t it marvellous that yoghurt just takes 3-4 hours to set at this time of year, when it is a more necessary part of our diets, as opposed to needing to set overnight in winter? To this natural design, we also add our common sense: we consume cooling buttermilk during the day, when the sun is high, and not at dinner time.
As a Gujarati born and brought up in Tamil Nadu, bringing the local banana stem into my traditional buttermilk was an intuitive choice. You can make it with other flavours too. The sweetened version of this drink, the lassi, is similarly versatile, and you may remember a fruity version from my recent mango series.
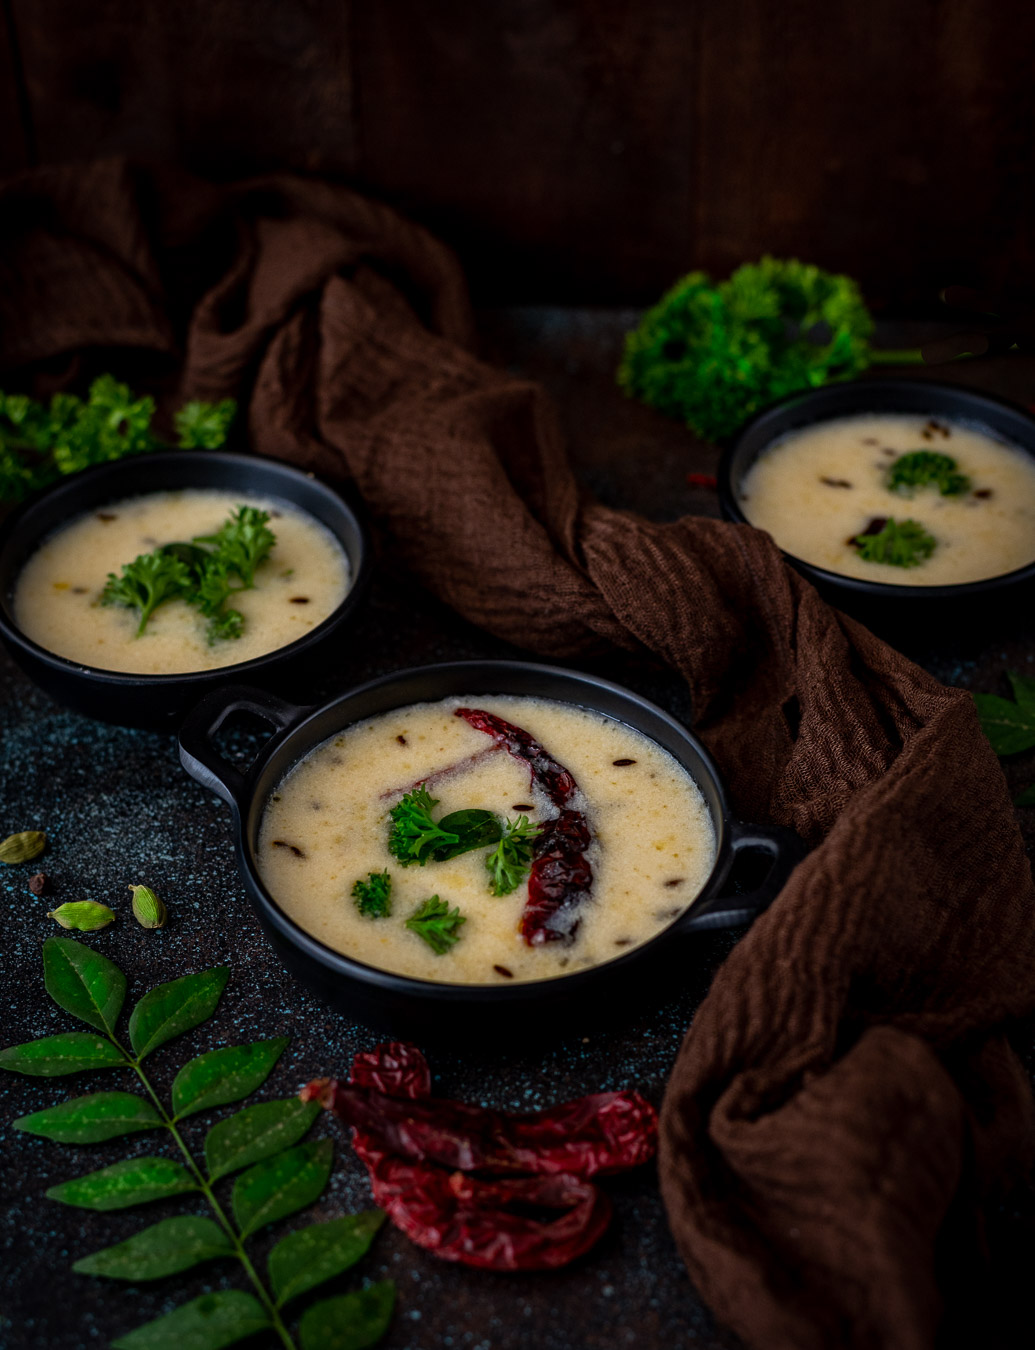
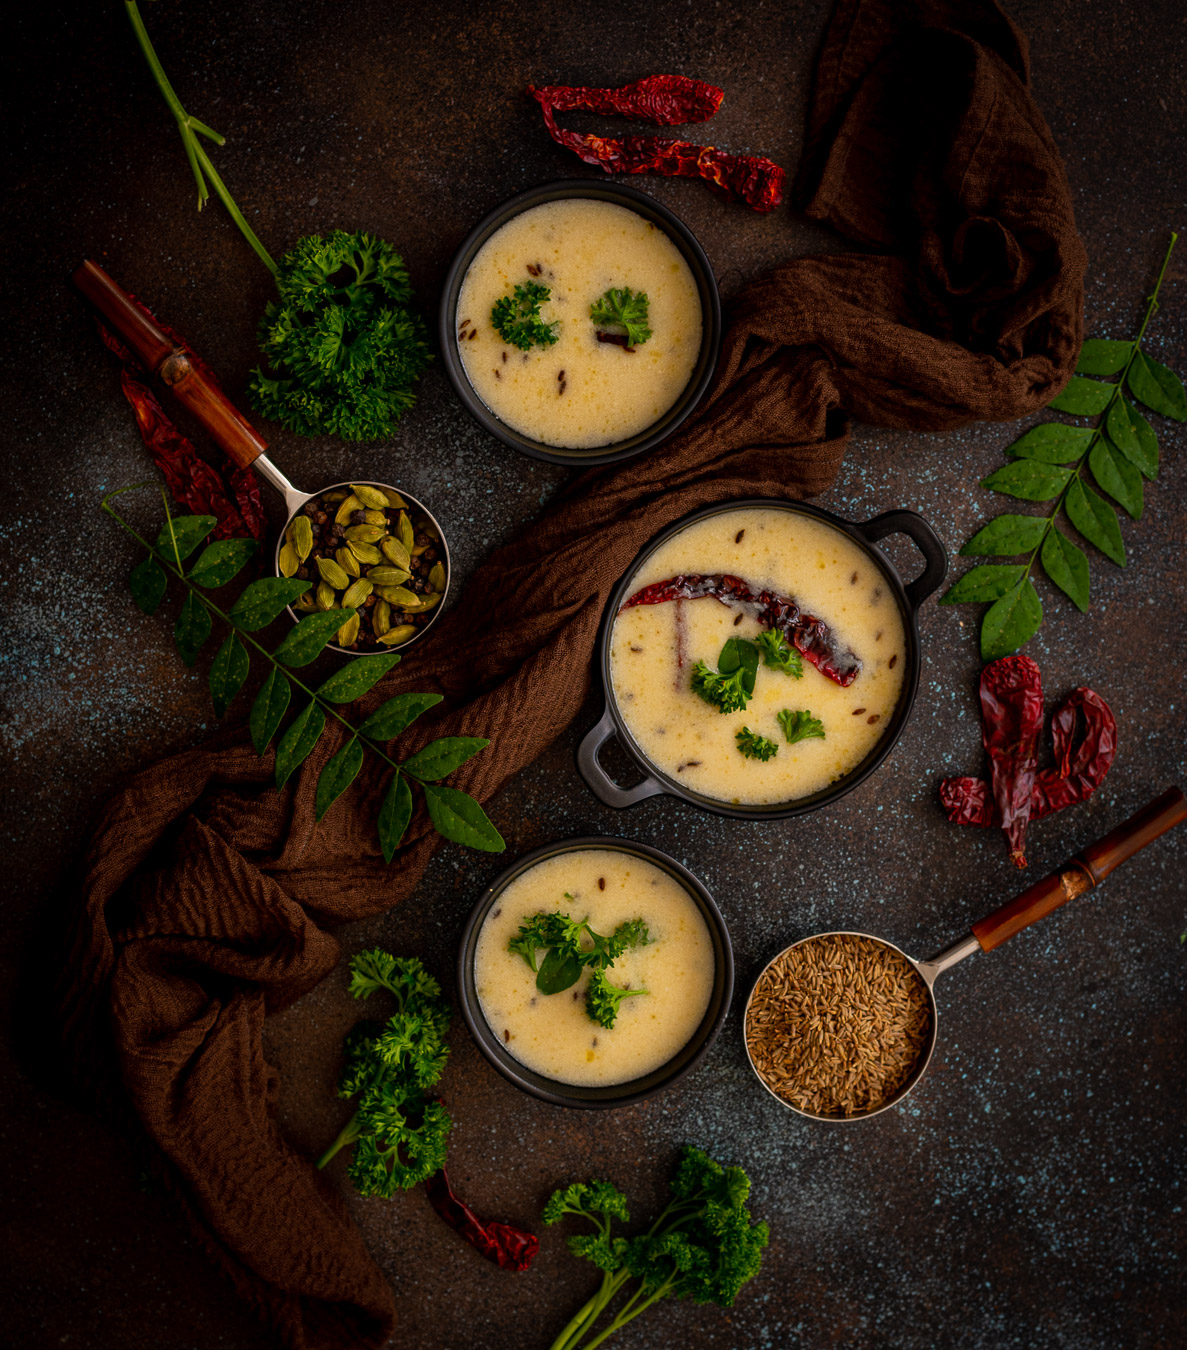
Banana Stem Buttermilk
(Yield: 2 cups)
1 cup chopped banana stem
2 cups yoghurt
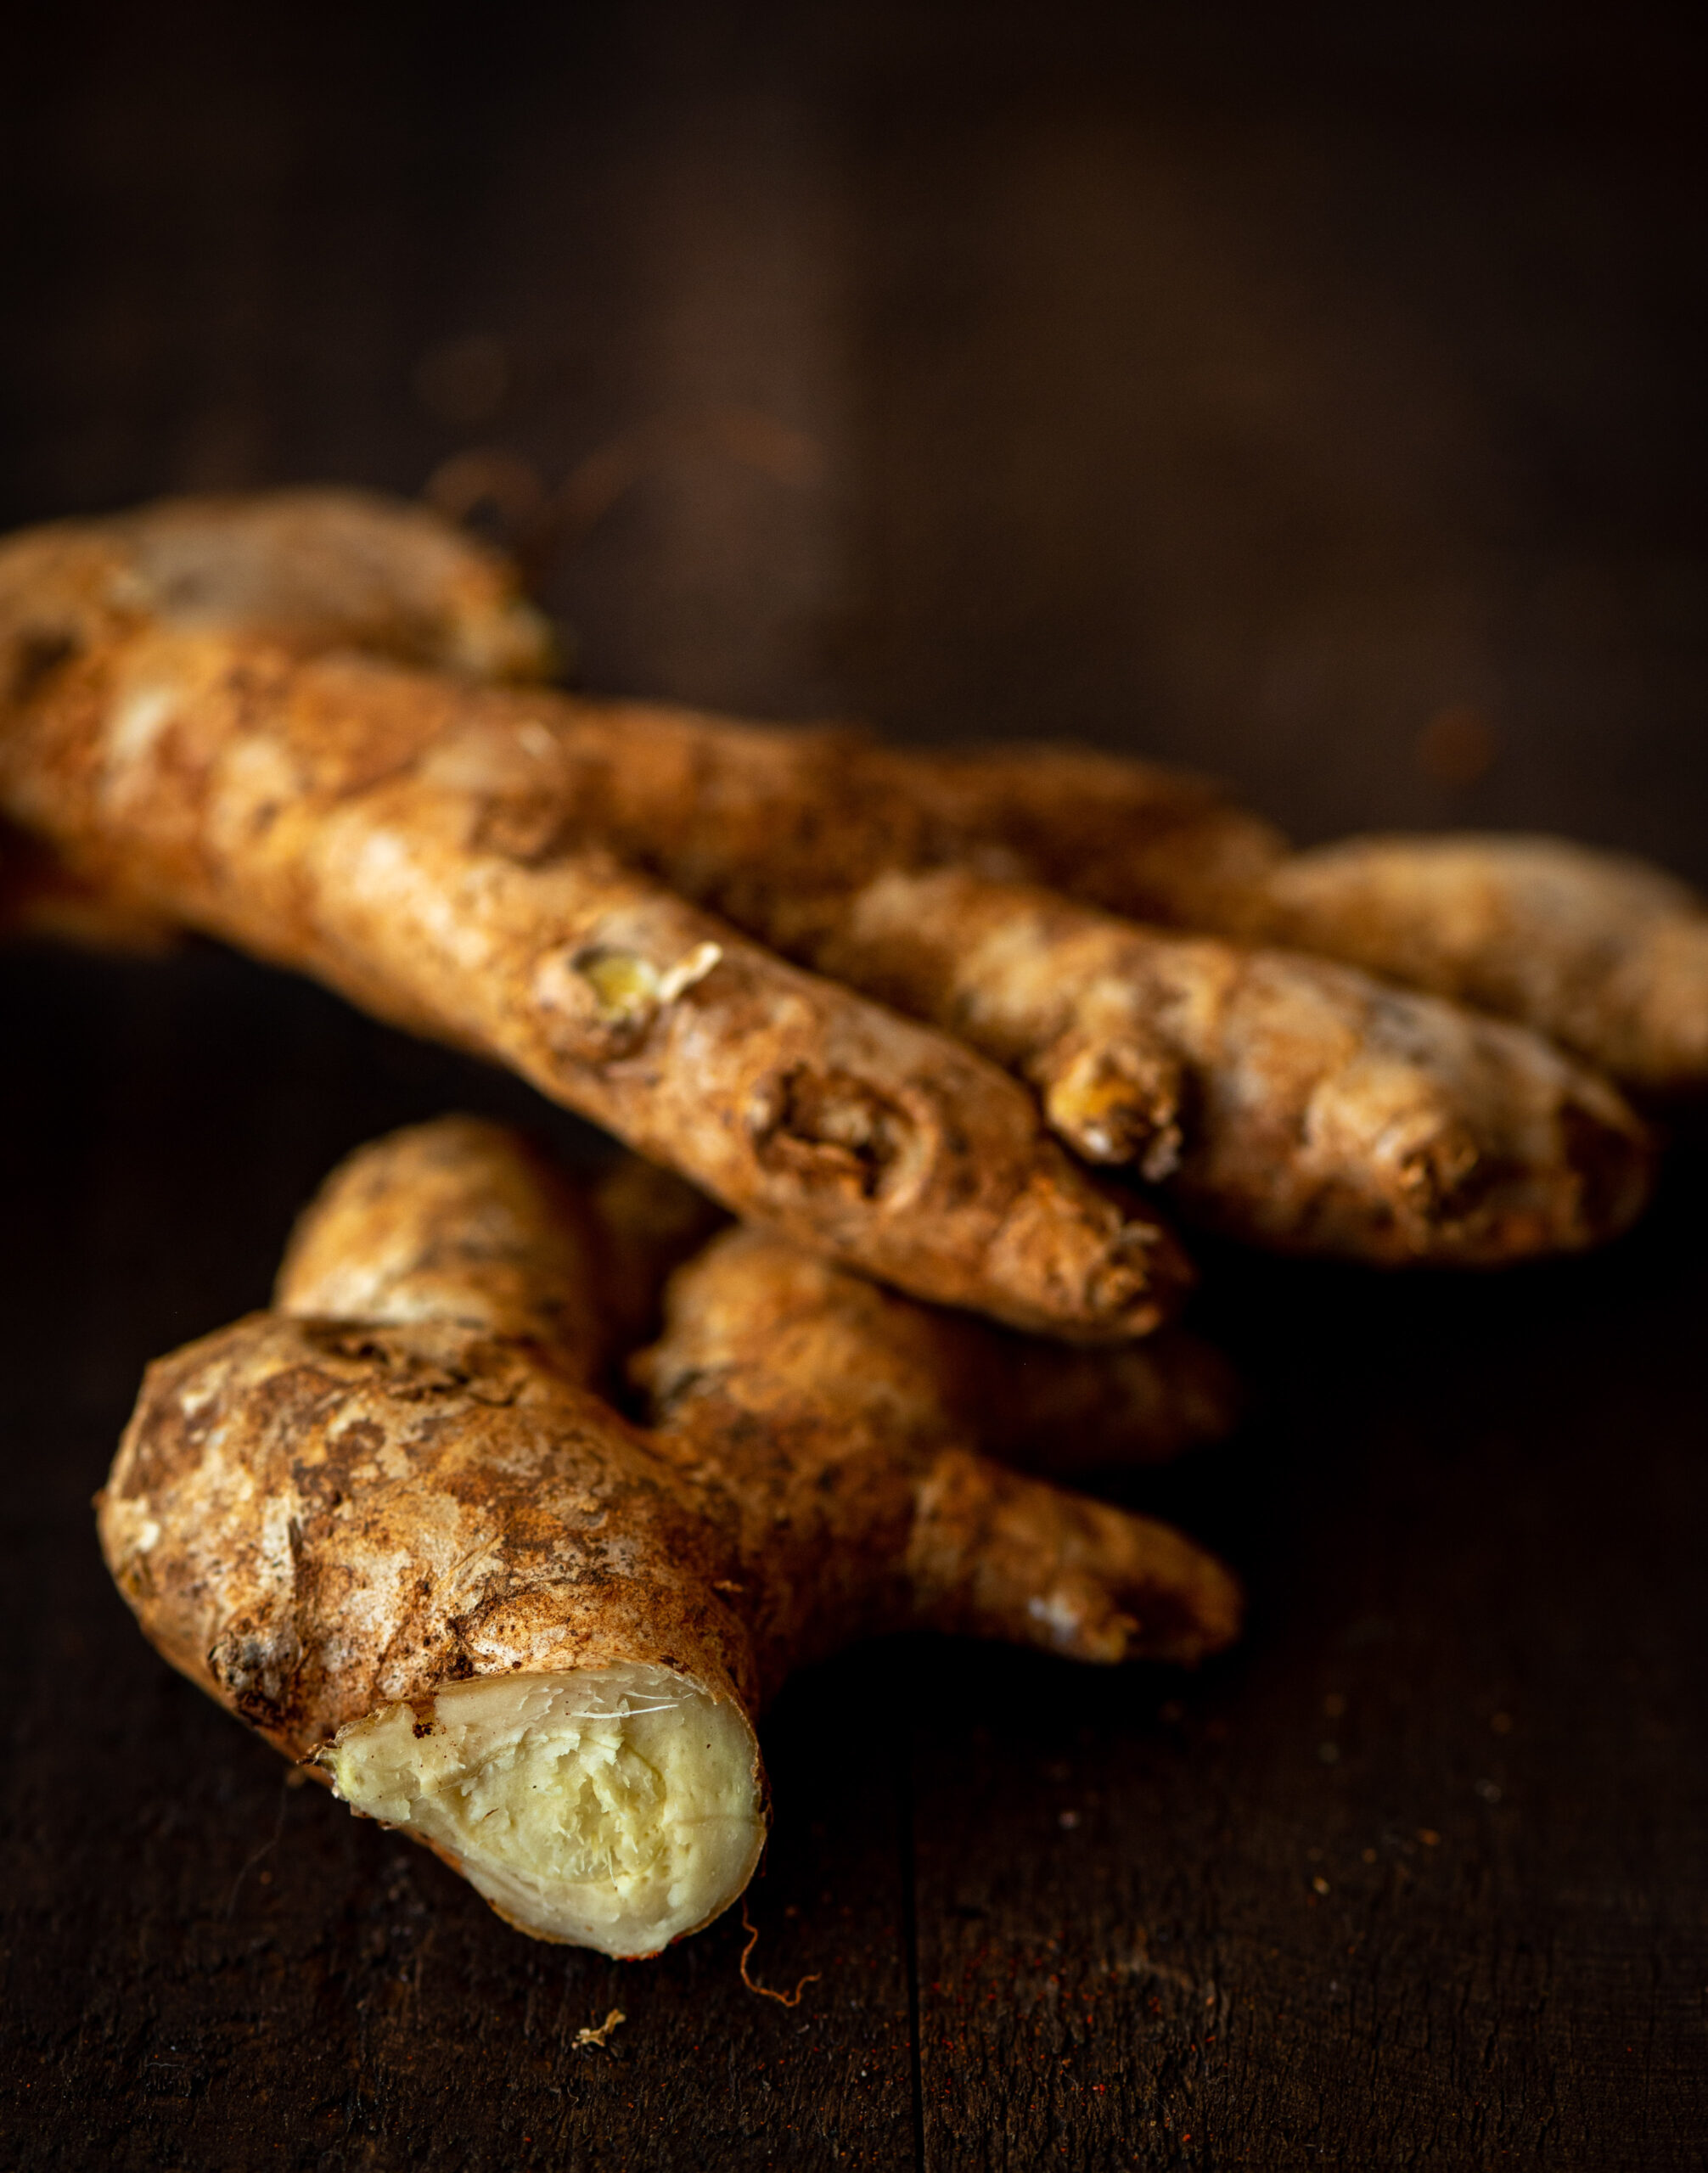
1 piece ginger
¼ teaspoon asafoetida
A few curry leaves
A handful of chopped coriander leaves
1 green chilli
½ teaspoon roasted cumin powder
Salt to taste
2 -3 cups water
Juice of half a lime/lemon
Chop the banana stem and soak the pieces in water. Set aside while you prepare the other ingredients. If you tend to find consuming raw banana stem difficult on your digestion, lightly steam it beforehand.
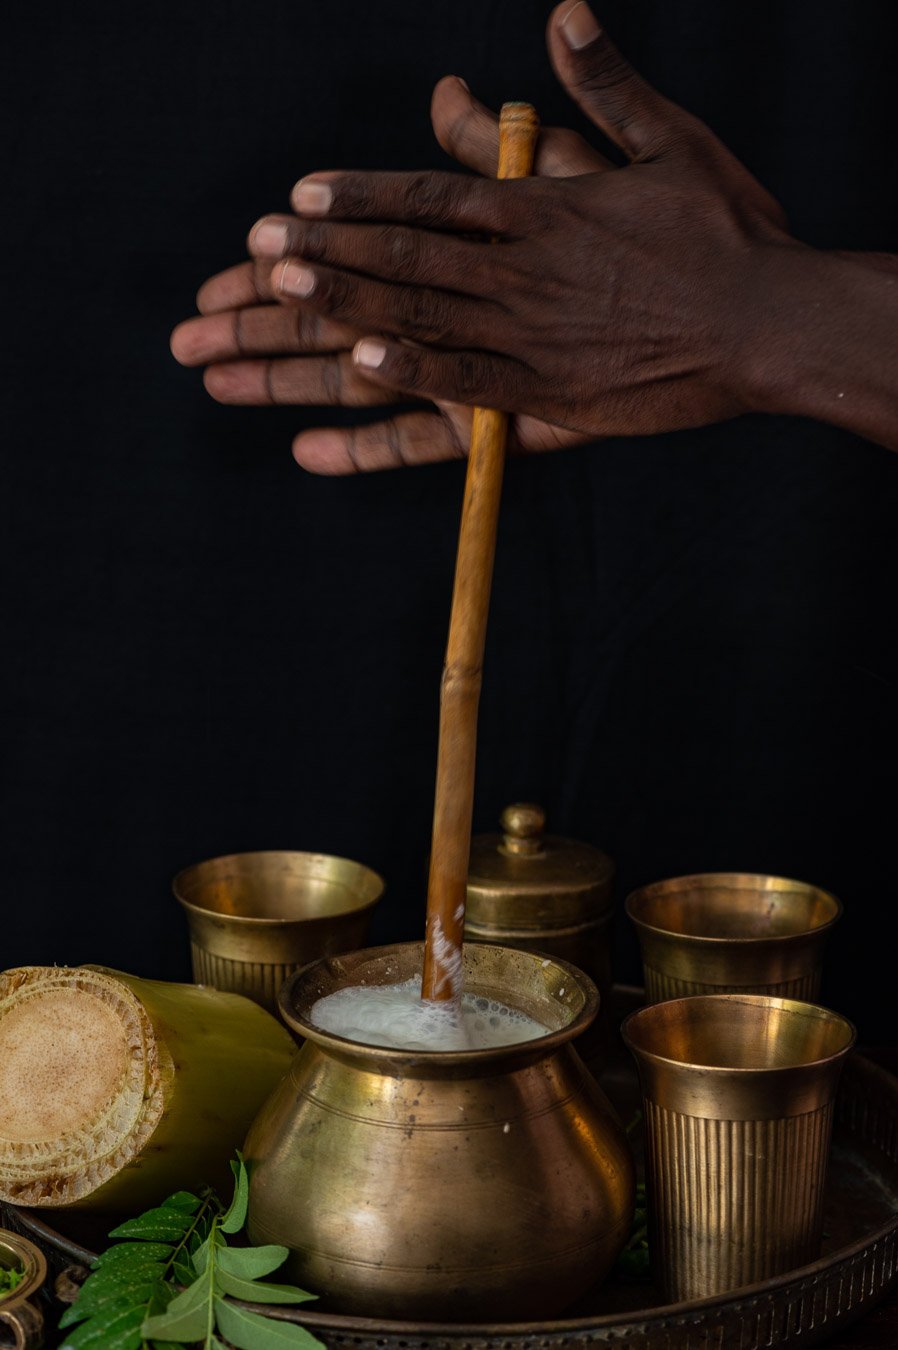
In a bowl, prepare the yoghurt by adding salt and cumin powder. Add 2 ½ cups water and beat well. Keep aside.
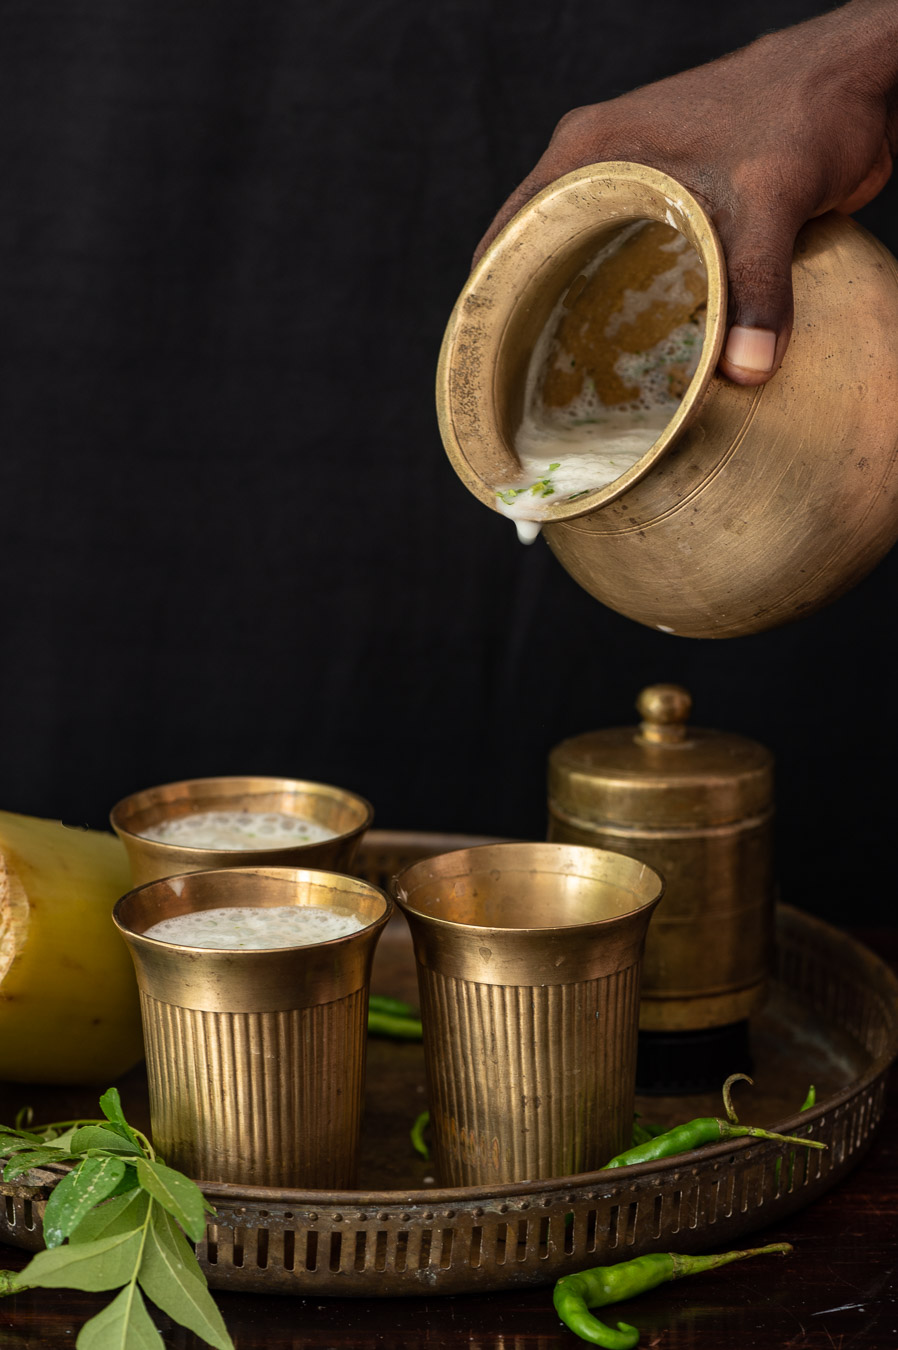
Discard the water that the chopped banana stem was soaking in. Put the chopped stem pieces into a blender. Add the green chili, coriander leaves, asafoetida, ginger and curry leaves. Add the remaining ½ cup water and blend well. The quantity of water you use depends on how thick you want your beverage. Then, strain the thick purée into the prepared buttermilk. Add a dash of lime/lemon juice, for a bit of a sour tang. Beat well. Consume immediately, before it starts to change colour.
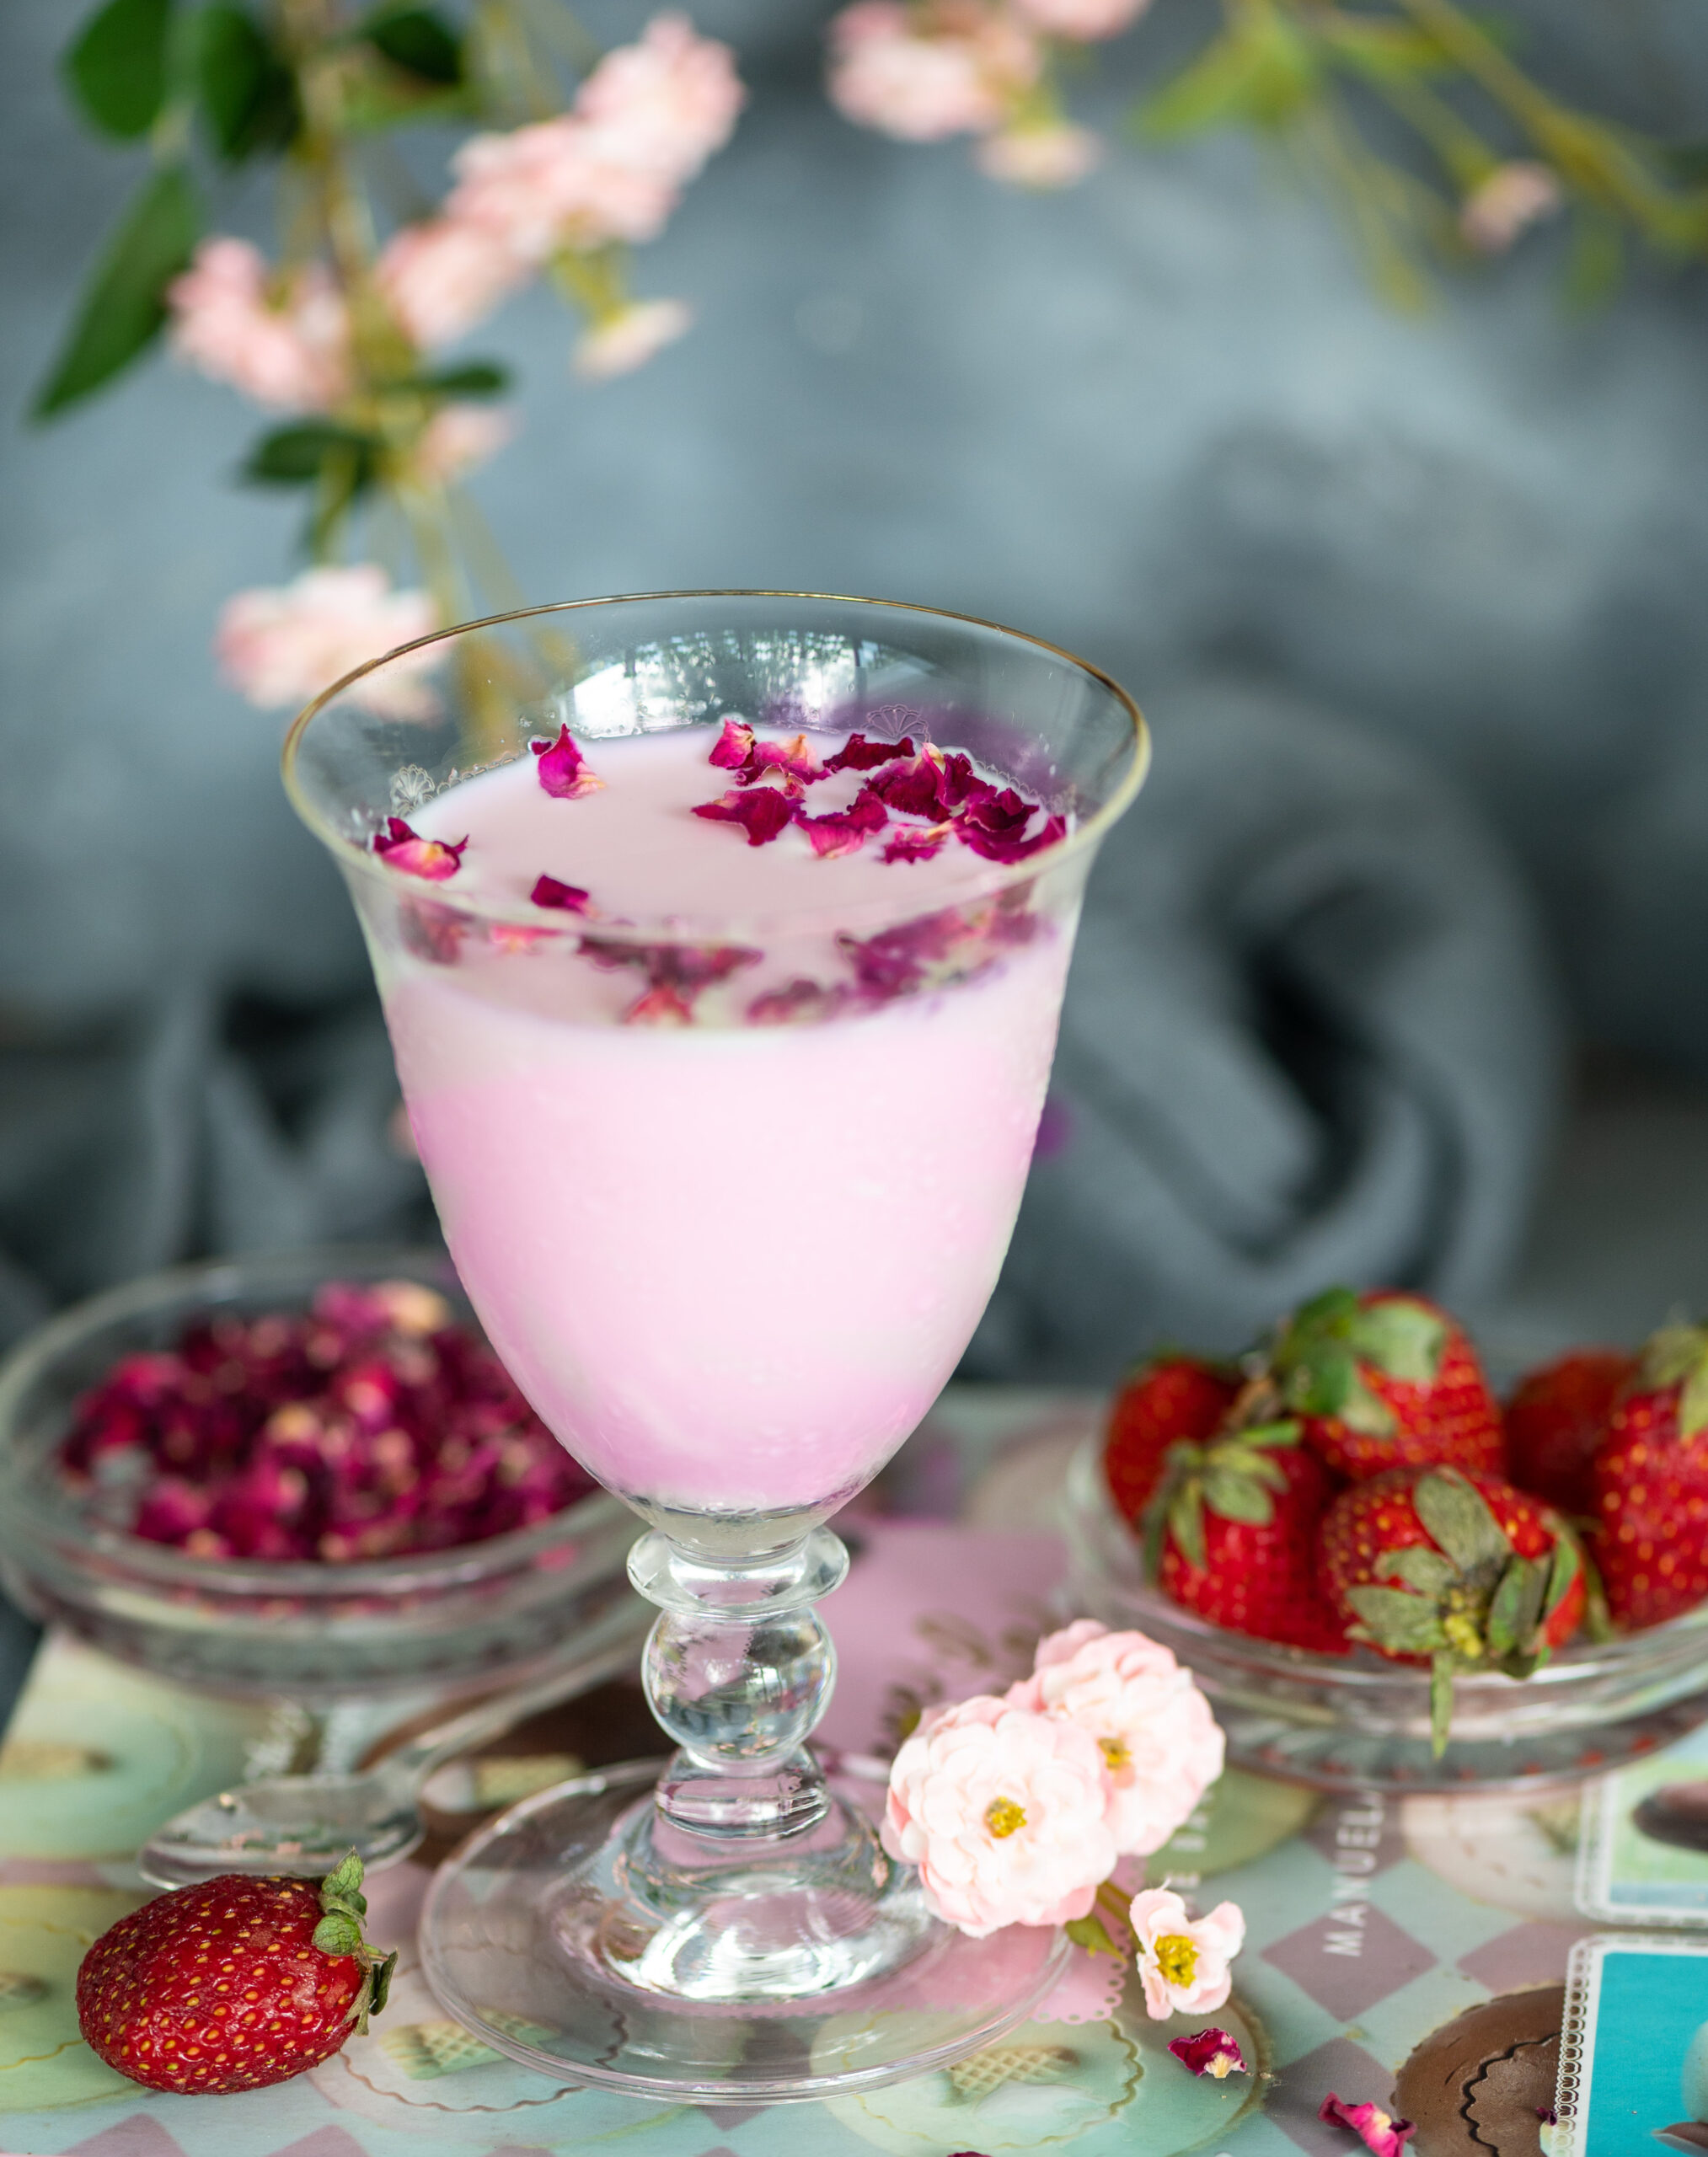
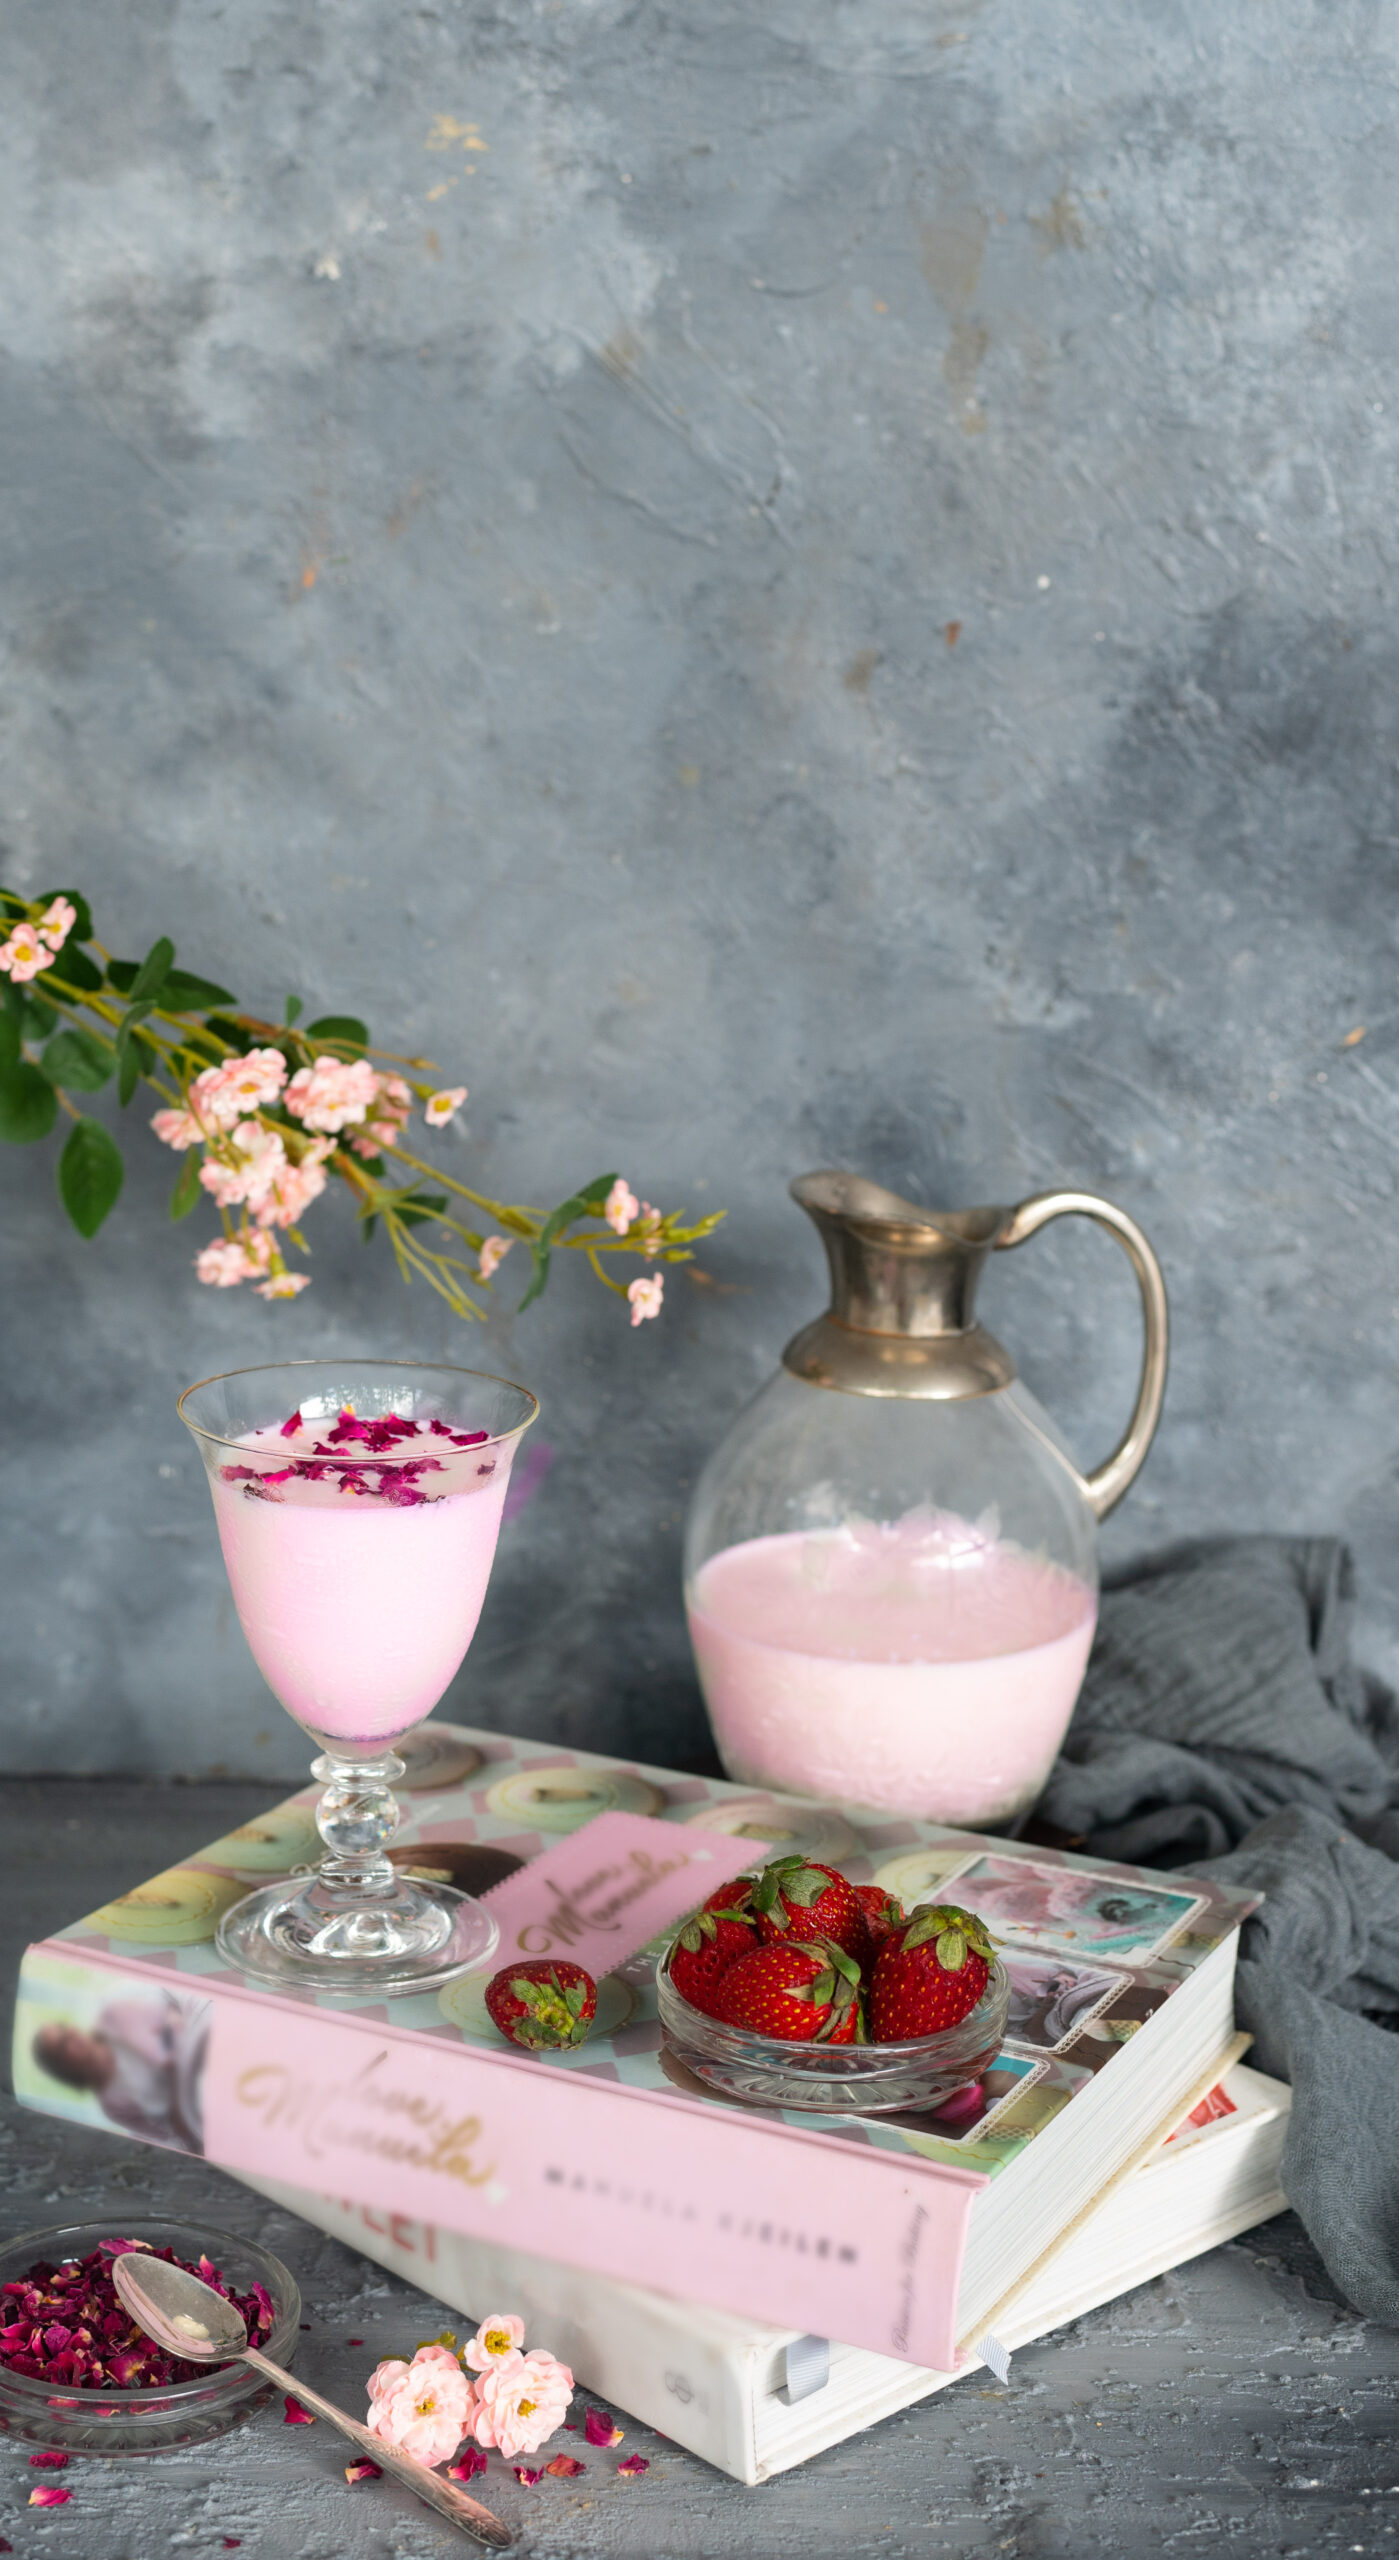
I hope you’ll enjoy this nutritious banana stem buttermilk! I’ve shared quite a few summery beverages over the years, and here are some more recipes for your enjoyment too, shared with good wishes for your health and well-being: strawberry-rose smoothie, barley lime drink, rose sherbet and curry leaf and raw mango cooler.


")