Tag

India

Browsing

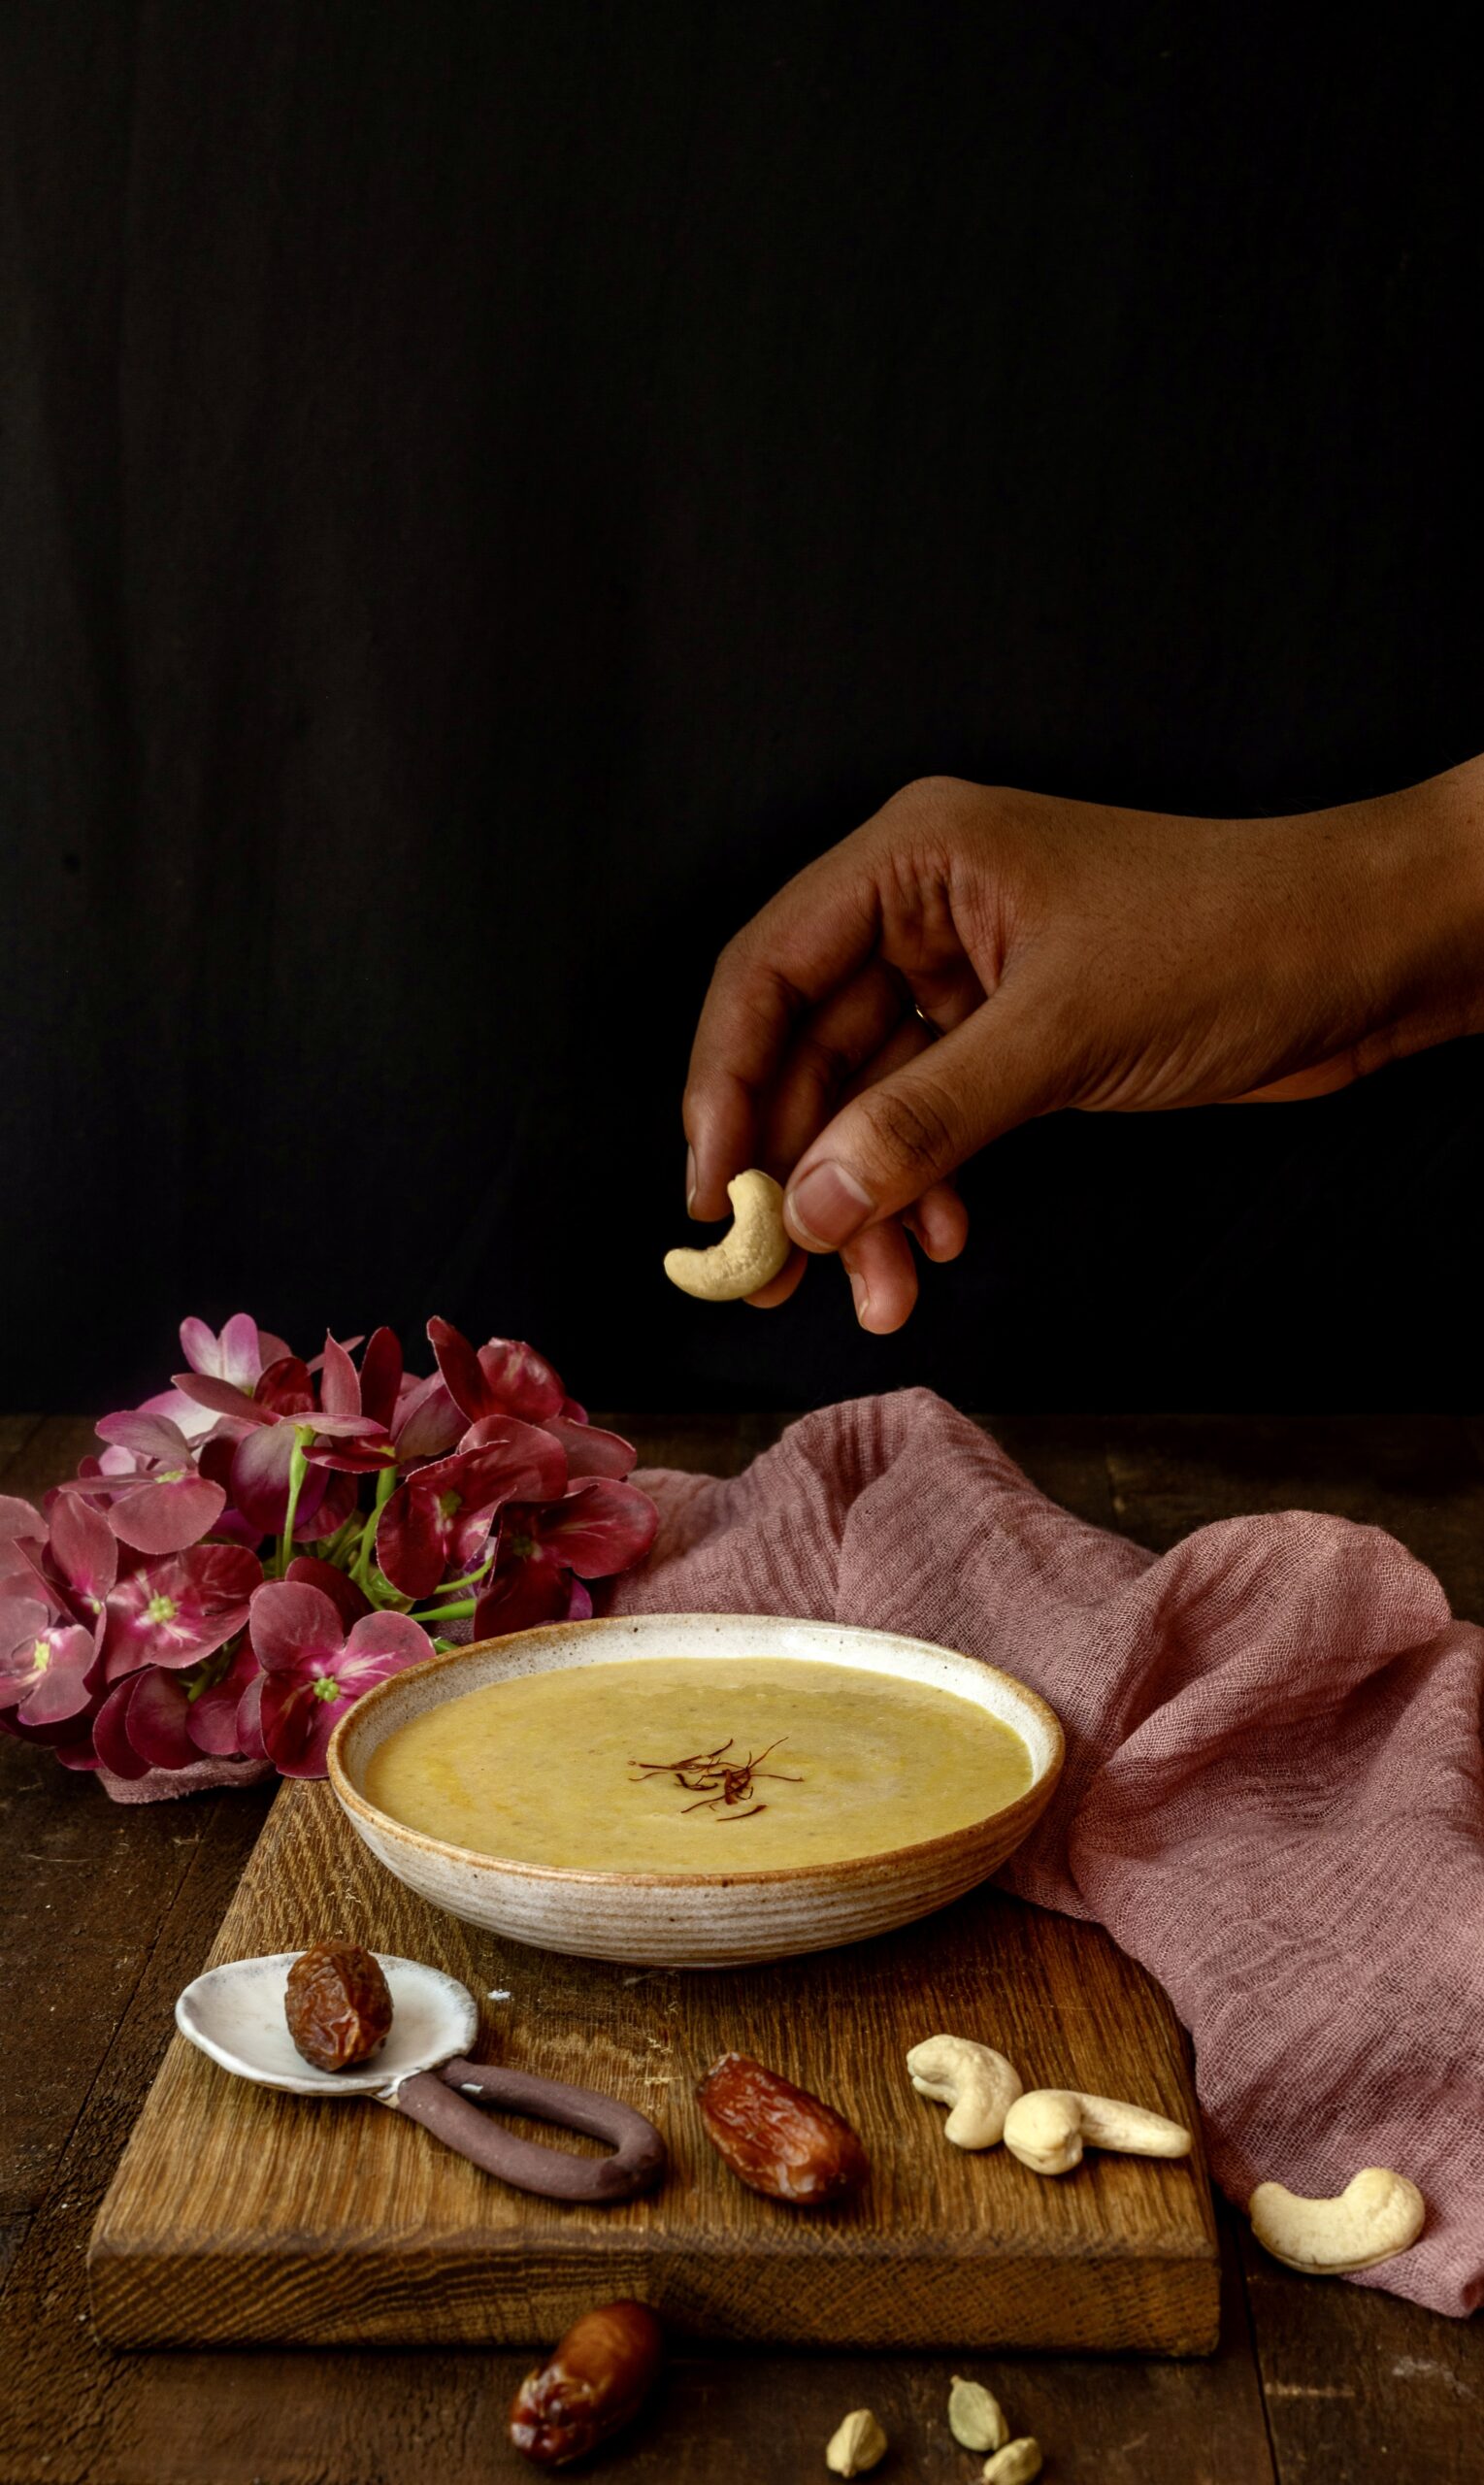
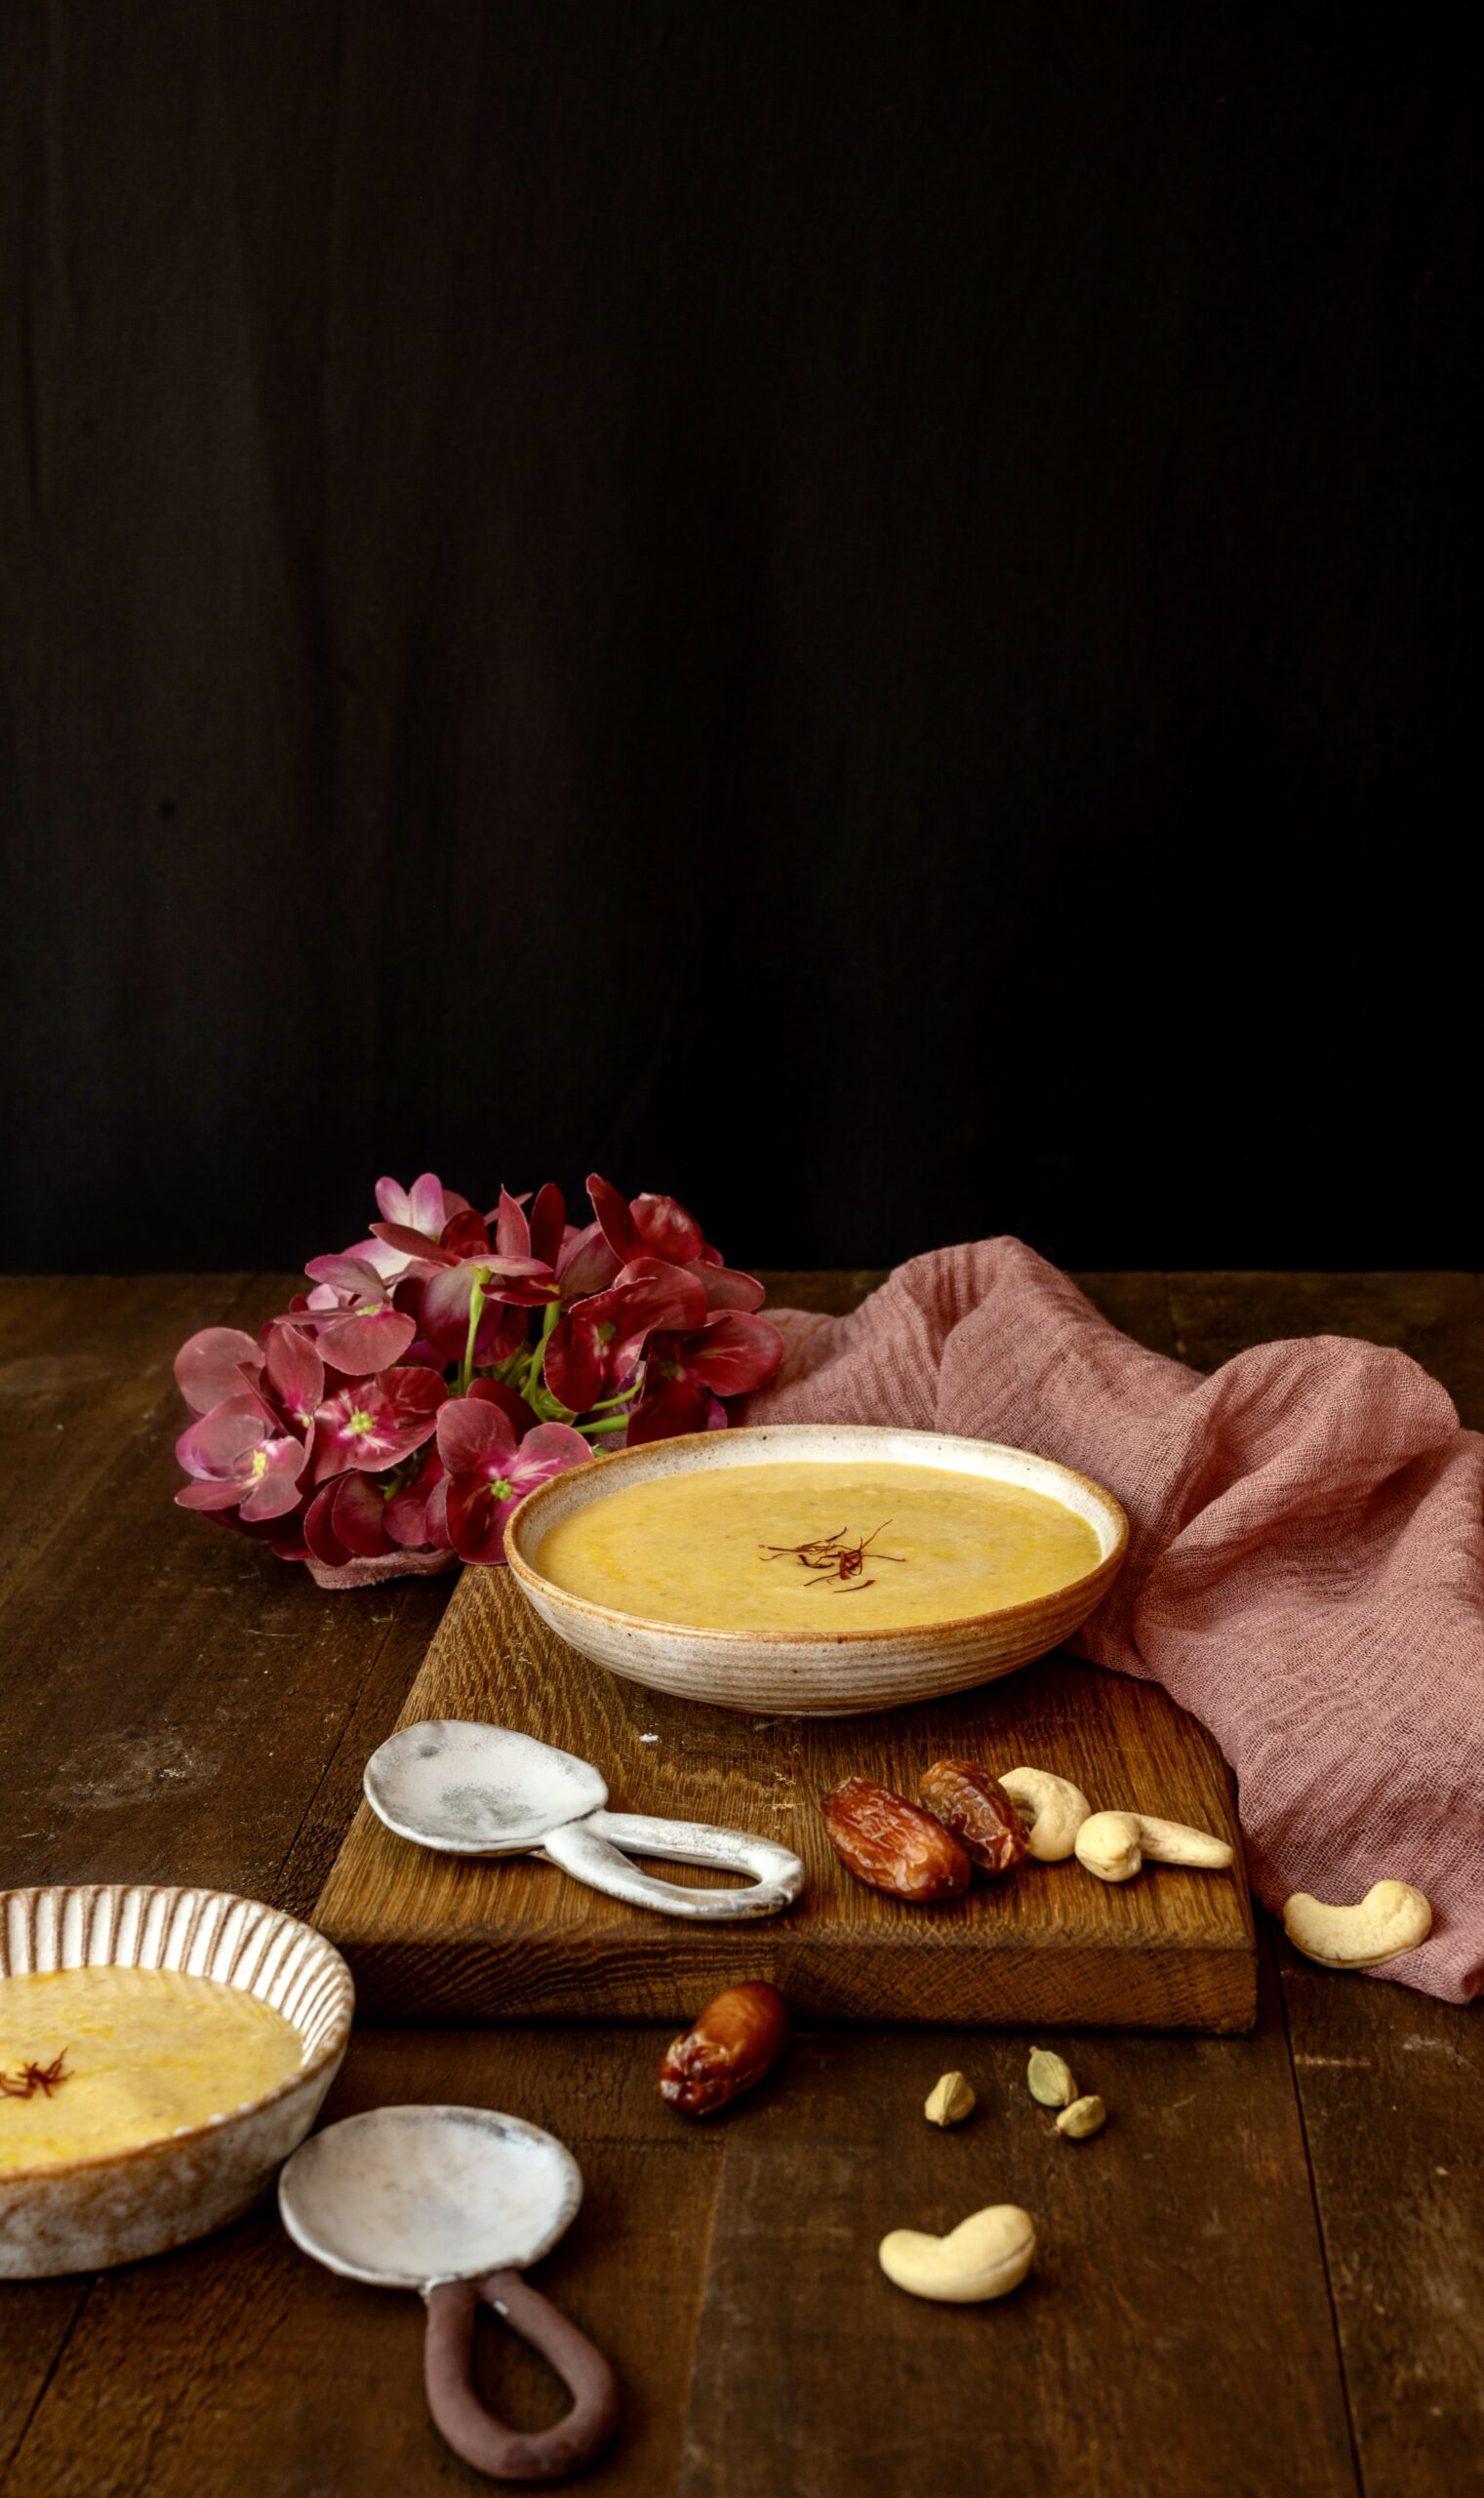
Kesari is a very common Indian sweet, one that can be prepared in a jiffy. Thus, it is perfect for when unannounced guests show up. Rava or semolina is the core ingredient, and most Indian kitchens will have some, alongside the other required basics. I find that it’s very useful to know a few simple desserts – whether to serve to guests or to satisfy one’s own cravings – and this kesari perfectly matches both requirements.

Kesari is named because of the traditional use of saffron or “kesar”. It is known in Gujarati as “sheero” and is also called “sooji halwa”. Saffron imparts a light yellowish tinge to the sweet, which is usually heightened by colouring. That is, if the spice is used at all, since it is an optional flavour and can be quite expensive. I have chosen to stick to the natural appearance of this sweet, and to avoid artificial ingredients. I have also used saffron – authentic Kashmiri saffron from my trip there this year. I have been fortunate to receive as gifts several boxes of saffron from other parts of the world, but I remain partial to what is grown in this region. However, you can prepare this recipe with colouring and without saffron, based on your preference or convenience.

And convenience really is the basis of the popularity of kesari. It can be made so quickly, and as I said earlier, its main ingredients are usually on hand. The reason why rava is almost always in an Indian kitchen is because it is so versatile. You can make upma, dhokla, porridge and so much more with it – which means it is ideal for savoury food as well as sweets like this one. It can be the base for either dessert, or for dinner – or both. There are numerous variants: refined wheat rava, wheat rava, rice rava and so on. I have used sooji, which is refined wheat rava.

Our mom seemed to make kesari very often in our childhood. It was what she whipped up as a treat whenever we came home from school with good grades or an achievement. While this demonstrates how kesari is ideal for celebrating unexpected joys, I also recall how it was made lovingly and with anticipation for certain special occasions too. For instance, it was usually kesari that was served to us as a greeting when we arrived at our dear grandparents’ home in Vijayawada. It was that “something sweet” that they had ready to welcome their daughter and her family – all of us – after our long journey to meet them. In these ways, it is a part of many memories of mine. If you make it frequently, it will become a part of many cherished moments of yours too.

Kesari

(Serves 4)

1 cup rava

¾ cup sugar

3¼ cups milk + water

8-10 split cashew nuts

8-10 raisins

75 grams ghee or clarified butter

A pinch of cardamom powder

A few strands of saffron in 1 tablespoon of milk


Add the ghee to a kadai. Once it has heated, add the split cashews and stir until golden. They darken quickly, so keep the flame low. Remove the cashews and set them aside. Repeat this process with the raisins.

Add the rava to the remaining ghee in the kadai. Roast on a low flame. Simultaneously, in a separate pot, add the sugar and water and stir until the mixture starts bubbling. The sugar water will be boiling while the rava turns golden. This will take about 15 minutes. Keep stirring the rava, ensuring the flame remains low.

The sugar quotient I have used is minimal. Add more if you prefer. I have not added colouring, but you may if you prefer to.

Then, gently add the boiling sugar water to the rava. Maintain a little distance between yourself and the pot as the contents may splutter. Stir. Add the saffron. Cover with a lid for five minutes.

Next, add the cardamom powder, along with the toasted cashews and raisins. Mix gently.

Your kesari is now ready to be enjoyed. You may wish to spread and slice it and then use cookie cutters to make shapes, or simply scoop it out and serve it. I suppose it depends on if you’re making it with or without advance notice. I hope you find this process simple and quick, and will now be able to add this easy dessert to your repertoire!

The monsoon returns to South India around Deepavali and the festive season, yet it causes no dampener at all to our spirits of enjoyment and our desire to cook – especially when it comes to snacks. Vadais are deep-fried dumplings that are common in South India, and can be made in a number of ways. To make this type, I reached out for a delicious local green, known in Tamil as araikeerai and in English as spleen amaranthus. Deep-fried it may be, but the use of this regional spinach can give one the sense that this dish is at least remotely healthy! We absolutely love it at home, and eat araikeerai vadai more often than we do traditional Gujarati treats of a similar kind. I’m quite sure that once you try this recipe out, you will feel just as addicted too.

Spinach varieties are aplenty in Tamil Nadu, and araikeerai is currently in season. It is a protein-rich green, and is also great for digestion as it is rich in fibre. Iron, vitamin C and antioxidants are some of the other nutritious elements of this vegetable. I love to add a large amount to my vadai batter. I find it really enhances the taste. Araikeerai has a pleasant flavour, one that isn’t very distinct and doesn’t take away from the crunchy yumminess of the vadai. You may wish to substitute it in this recipe with a local, seasonal green of your choice.

As you may already have guessed, this is the kind of snack that sneakily convinces your children to consume more greens, a bit like the way this roasted tomato soup incorporates gourds and carrots, or perhaps more straightforwardly like this kid-friendly spinach and corn bake. I’m glad to say that it is also pleasing to the elderly, who can be just as fussy in their tastes as little ones. My octogenarian mother-in-law is crazy about araikeerai vadai, and it’s a frequent feature at home these days as she enjoys it so much.

As far as accompaniments go, a coconut chutney is traditional. I recently started making mine with a twist that was learnt at my new daughter-in-law’s home. I will share that recipe soon, to add to the collection of chutneys on this blog.

I said earlier that rainy weather doesn’t get in the way of our desire to cook, but actually, it is a little more than that. I have noticed that Indians have this thing – somehow, rain inspires us to prepare and consume more! All across the country, I have seen families whip up bajjis, vadais and all kinds of fried tastiness at the first sight of a drizzle. To be honest, I’ve never understood the association between the weather and the food made, but to me it feels like an extension of the festive season. Come January of course, everyone seems to run to the gym and talk about calories – but such is the cycle of life! In the meanwhile, during this season, we are free of guilt – and free to gorge on the good stuff.

Araikeerai Vadai

(Yield: Approximately 10 pieces)

1 cup chana dal (split chickpeas)

1 bunch araikeerai (equal to 2 full cups of spinach)

Salt to taste

1 onion (finely chopped)

1 green chilli (finely chopped)

1 tablespoon ginger and green chili paste

A handful of curry leaves

Oil for deep frying


Soak the chana dal for 4 hours or until tender to the touch. Drain the soaking water. Rinse.

Remove the stalks and chop the araikeerai finely. Rinse in running water.

Add the dal to a blender and grind coarsely. Do not add water. Put the ground dal into a bowl. To prepare the batter, add the salt, green chili, araikeerai, ginger and green chili paste, curry leaves and onions. Mix well. Allow this to sit outside for 1-2 hours, or refrigerate if frying later.

Heat the oil in a kadai. Once it’s hot, make discs the size of a lime and flatten them, using your palms. While making the discs, ensure that the edges are perfectly rounded. Drop each into the hot oil gently. Fry on a medium flame. If you feel the vadais are crumbling as they fry, add a spoonful of rice flour. Allow to cook on both sides, flipping them occasionally, until dark golden. Drain onto a paper.

Serve hot with a chutney or a dip of your choice.

I hope this delicious araikeerai vadai gives you something to look forward to on a rainy day – or any day, really!

There are numerous milk-based sweets that are very popular in India, and several have made appearances on this blog over the years, as you can see here. While they are all fantastic, for this Deepavali I was thinking about making something that doesn’t require milk. This recipe is great for lactose-intolerant people, and can be tweaked and made vegan (all you have to do is to replace the ghee with your usual alternative). Additionally, the dessert I came up with is millet-based, so it is extra nourishing. Here it is: foxtail payasam.

Foxtail payasam, strictly speaking, is not quite my own recipe, even though I’ve substantially played with the basic ingredients. As a payasam, it can be said to be traditional in South India, where they are a well-known category of dessert, eaten often and not just on festive occasions. Here in Tamil Nadu, foxtail millet is known as thinai and is a widely-known native produce. Like all millets, it is nutritious and versatile.

Many of us have become conscious about our eating choices and have brought millets into our diets over the last few years as a white rice replacement. Even the Tamil Nadu state government has been promoting their use, and so has the United Nations. This is something that I’ve advocated for as well, across many recipes.

In terms of payasam, I think the paruppu payasam (made with dal) is probably the most common. I always reach out for it whenever I have a banana leaf meal at a South Indian restaurant. It uses dried coconut bits and also contains jaggery, which is healthier than sugar yet satisfies my sweet tooth. Drawing inspiration from it, but adding my own twist, I have opted to use coconut milk in my foxtail payasam. The coconut milk, along with a cashew garnishing, adds a richness to it. You may also wish to use raisins, and reduce the jaggery quantity accordingly. Or you may want to use coconut sugar instead of jaggery. You may even want to replace the millet itself, just as you can also replace the moong dal with toor dal.

If you are a young adult making festive goodies for the first time, this is an ideal recipe for you to try wherever you are. It is simple and utilizes easily available ingredients. The world has become a smaller place, and I have no doubt that you’ll be able to find them even if you’re spending Deepavali away from home.

I have a South Indian daughter-in-law now and I wanted to prepare something this year that is familiar to her and the region she comes from. Thus, this foxtail payasam serves as a welcoming sweet for her as she enters our family. It is her first Deepavali with us, so it is really special. This recipe is for her, most of all. It is also for my sister, who always asks me to show her something new from South Indian cuisine whenever she visits me, and is very curious about what I am making at this time of year. It goes without saying that it is also for you: I wish you and your loved ones a blessed festive season, and much joy ahead!

Foxtail Payasam

(Serves 4-5)

25 grams moong dal (green gram)

60 grams thinai millet (foxtail)

¾ cup jaggery

2 + 1 cups water

1 cup coconut milk

1 teaspoon ghee

A handful of cashews

Rinse and soak the moong dal in water for at least an hour. Strain the water and set aside.

Roast the thinai in a pan for a few minutes or until it releases an aroma.

Next, add the thinai to the strained dal and add two cups of water. Place these in a pressure cooker and cook until tender. Remove the pot once cooled.

In another bowl, add jaggery and to it add one cup of water. Boil this mixture until the jaggery has melted. Strain this liquid and add it to the dal-thinai mixture.

Allow to cook until it all comes together. Finally, add the coconut milk, mix well and turn off the flame.

To garnish: heat the ghee and add the roasted cashew nuts. Toast until golden. Sprinkle over the payasam. Serve hot.

I hope you’ll enjoy this delicious, nourishing sweet this Deepavali and for many years to come!

Moringa leaves have made some appearances on my blog in the past, for instance in this omelette, as well as a suggested sprinkling across numerous other dishes. Moringa leaves are a very versatile green commonly used in South Indian cuisine, which happen to be considered a superfood. You may also know them as the leaves of the drumstick tree. Today, I want to share the recipe for moringa chutney, a tasty way to make use of this highly nutritious ingredient.

Moringa powder is also easy to make at home, if you have access to the trees. Just dry the leaves in the sun for five or six hours, powder and store. Remember to only use the leaves, and discard the stem. You can use it liberally across all kinds of dishes, to boost their antioxidant, mineral, amino acid and vitamin content.

Coming back to the chutney: I wanted to make it in a more traditional way. You may recall from my previous post, on roasted tomato soup, that I was nostalgic for the food mill method my mother would use. So this time, I decided to use the ammi-kallu, or grinding stone, to prepare this chutney. I do believe that it has come out extra flavourful because of the hand-ground effect. You can of course still get a delicious chutney with a modern blender.

I know it’s unfair to compare this moringa chutney to a pesto, but that’s what comes to mind for me. Like a pesto, it can be used in lots of different ways. You can have it as a dip with idli, mix it with a dollop of ghee onto rice, or even spread it on toast. The jar I made when I did the photoshoot for this recipe was wiped clean in two days, as my family found so many uses for it. It’s not a runny kind of chutney, which lets you get creative in terms of how you can use it.

Speaking of creativity, I was even thinking of bottling some and gifting it for Diwali, as a unique and surprising alternative to the usual Indian sweets. Perhaps that’s something you may want to do too, this festive season. I hope you’ll enjoy making and sharing this lovely moringa chutney!

Moringa Chutney

(Yield: One bowl)

1 tablespoon oil

¼ teaspoon asafoetida

4-6 shallots

1 teaspoon urad dal

3 cloves garlic

1 inch piece of ginger

6-8 curry leaves

2 slit green chilies

2 marble-sized balls of tamarind

1½ cups moringa leaves

½ cup shredded coconut


Add oil to a pan. Once it has heated, add the urad dal and asafoetida. Sauté until the dal is golden and well-roasted.

Next, add the green chilli, tamarind, garlic and ginger. Sauté for a few minutes.

Next, add the curry leaves. Sauté and add then add the moringa leaves. Sauté some more. Turn off the heat and then add the shredded coconut. I find this final ingredient tames the flavour a bit, and enhances it in its own way.

Add the above to a blender and make a paste of a thick consistency. If you are using a traditional kitchen tool, do so instead. Your moringa chutney is ready, and can be enjoyed as an accompaniment in numerous ways. If you are a fan of chutneys in general, you may also want to check out a few other variations I’ve shared, including lasun ki chutney, plum chutney and raw mango chutney.

Several years ago, close to when I began this blog, I had shared a post on a variety of Gujarati flatbreads. The ones featured therein were just a small selection. There are hundreds of kinds of flatbreads in India, and even within different communities or regions, each family will have its own version. The thepla in particular has many types. It is basically a masala flatbread, and may have additions of grated vegetables or flavourings. Bottle gourds and leafy greens, of all different sorts, are often used. Here, I share with you a recipe for jowar methi thepla. It uses fenugreek leaves (methi) and sorghum millet (jowar) alongside the standard wheat, which makes it richly nutritional.

I prefer to use fresh methi, but dried kasoori methi will also work. If you’d like to totally substitute the methi, you can do so with any spinach. In my version of this flatbread, I make it with green chilli paste. My sister likes to use red chilli powder instead, which gives it a darker colour. Traditionally, jowar (sorghum) is replaced by bajri (pearl millet) in winters, as the latter is more warming. You can use the same method below to make bajri methi thepla.

Theplas go well with pickles, vegetables, curries and gravies (a potato and tomato gravy pairs nicely, for instance). They are also great by themselves, or as an accompaniment to a cup of chai. They are perfect for school and office tiffin boxes – applying some chhundo on one, rolling it up and packing it makes for an easy lunch. However, they are more traditionally eaten at dinner time, and I think this is because they don’t go well with dals, which are usually served in the afternoon. There are no hard and fast rules about theplas because convenience is the key to their popularity. They keep for a few days, and travel well. I often make a pile of theplas and carry them with me during short trips, so that I can avoid eating outside food.

As for jowar methi thepla specifically, I’ve had it all my life and so I take it for granted. Only if I sat down to think about it would I really be able to list the memories associated with it. It was frequently served at home for dinner, eaten as leftovers for breakfast, or carried to school for lunch. It was just a part of everyday life, and it still is. I hope it finds a regular place in your meals too.

Jowar Methi Thepla

(Yield: 12 pieces)

1 cup whole wheat flour

½ cup jowar flour

Salt to taste

1 tablespoon oil

½ teaspoon turmeric

½ teaspoon sesame seeds

1 teaspoon cumin and coriander powder

1 teaspoon green chilli paste

1 tablespoon yoghurt

½ cup chopped methi leaves (or any spinach)

Water to bind dough (approximately 1 cup)

Oil for pan frying


Add all the ingredients to a mixing bowl. Knead and bind the dough with water, pouring it a little at a time. Ensure the dough is neither too soft nor too hard.

Leave the dough covered for at least 30 minutes. Then, make even-sized balls from it. You will get roughly 12.

Roll each ball out with the help of flour into flat round discs.

Shallow fry them on a hot griddle with the help of some oil. Make sure the oil is added to the edges, as this way the thepla will not dry out.

Store the theplas in a covered box and consume within three days.

While there are endless variations on theplas themselves, all Gujarati homes will invariably have theplas available on a more or less daily basis. I hope you will explore more of my thepla recipes on this blog, and I’d especially suggest that you take a look at the taco theplas, if you’re feeling in the mood for some fusion fun, and this khichdi thepla that makes great use of leftovers.

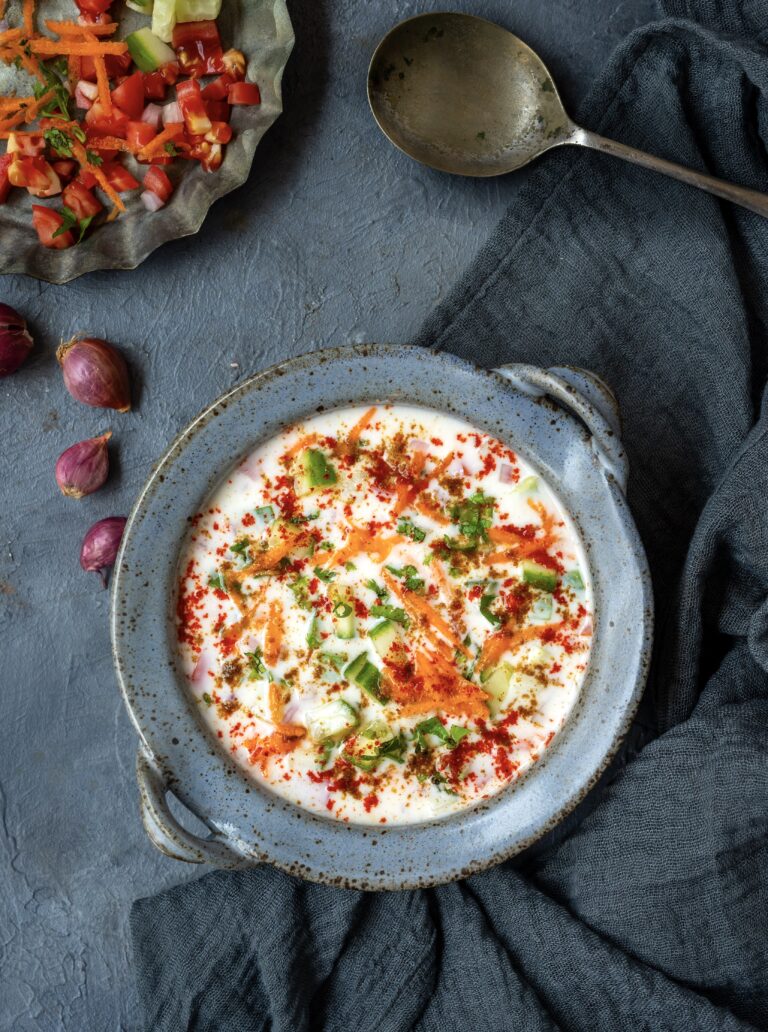
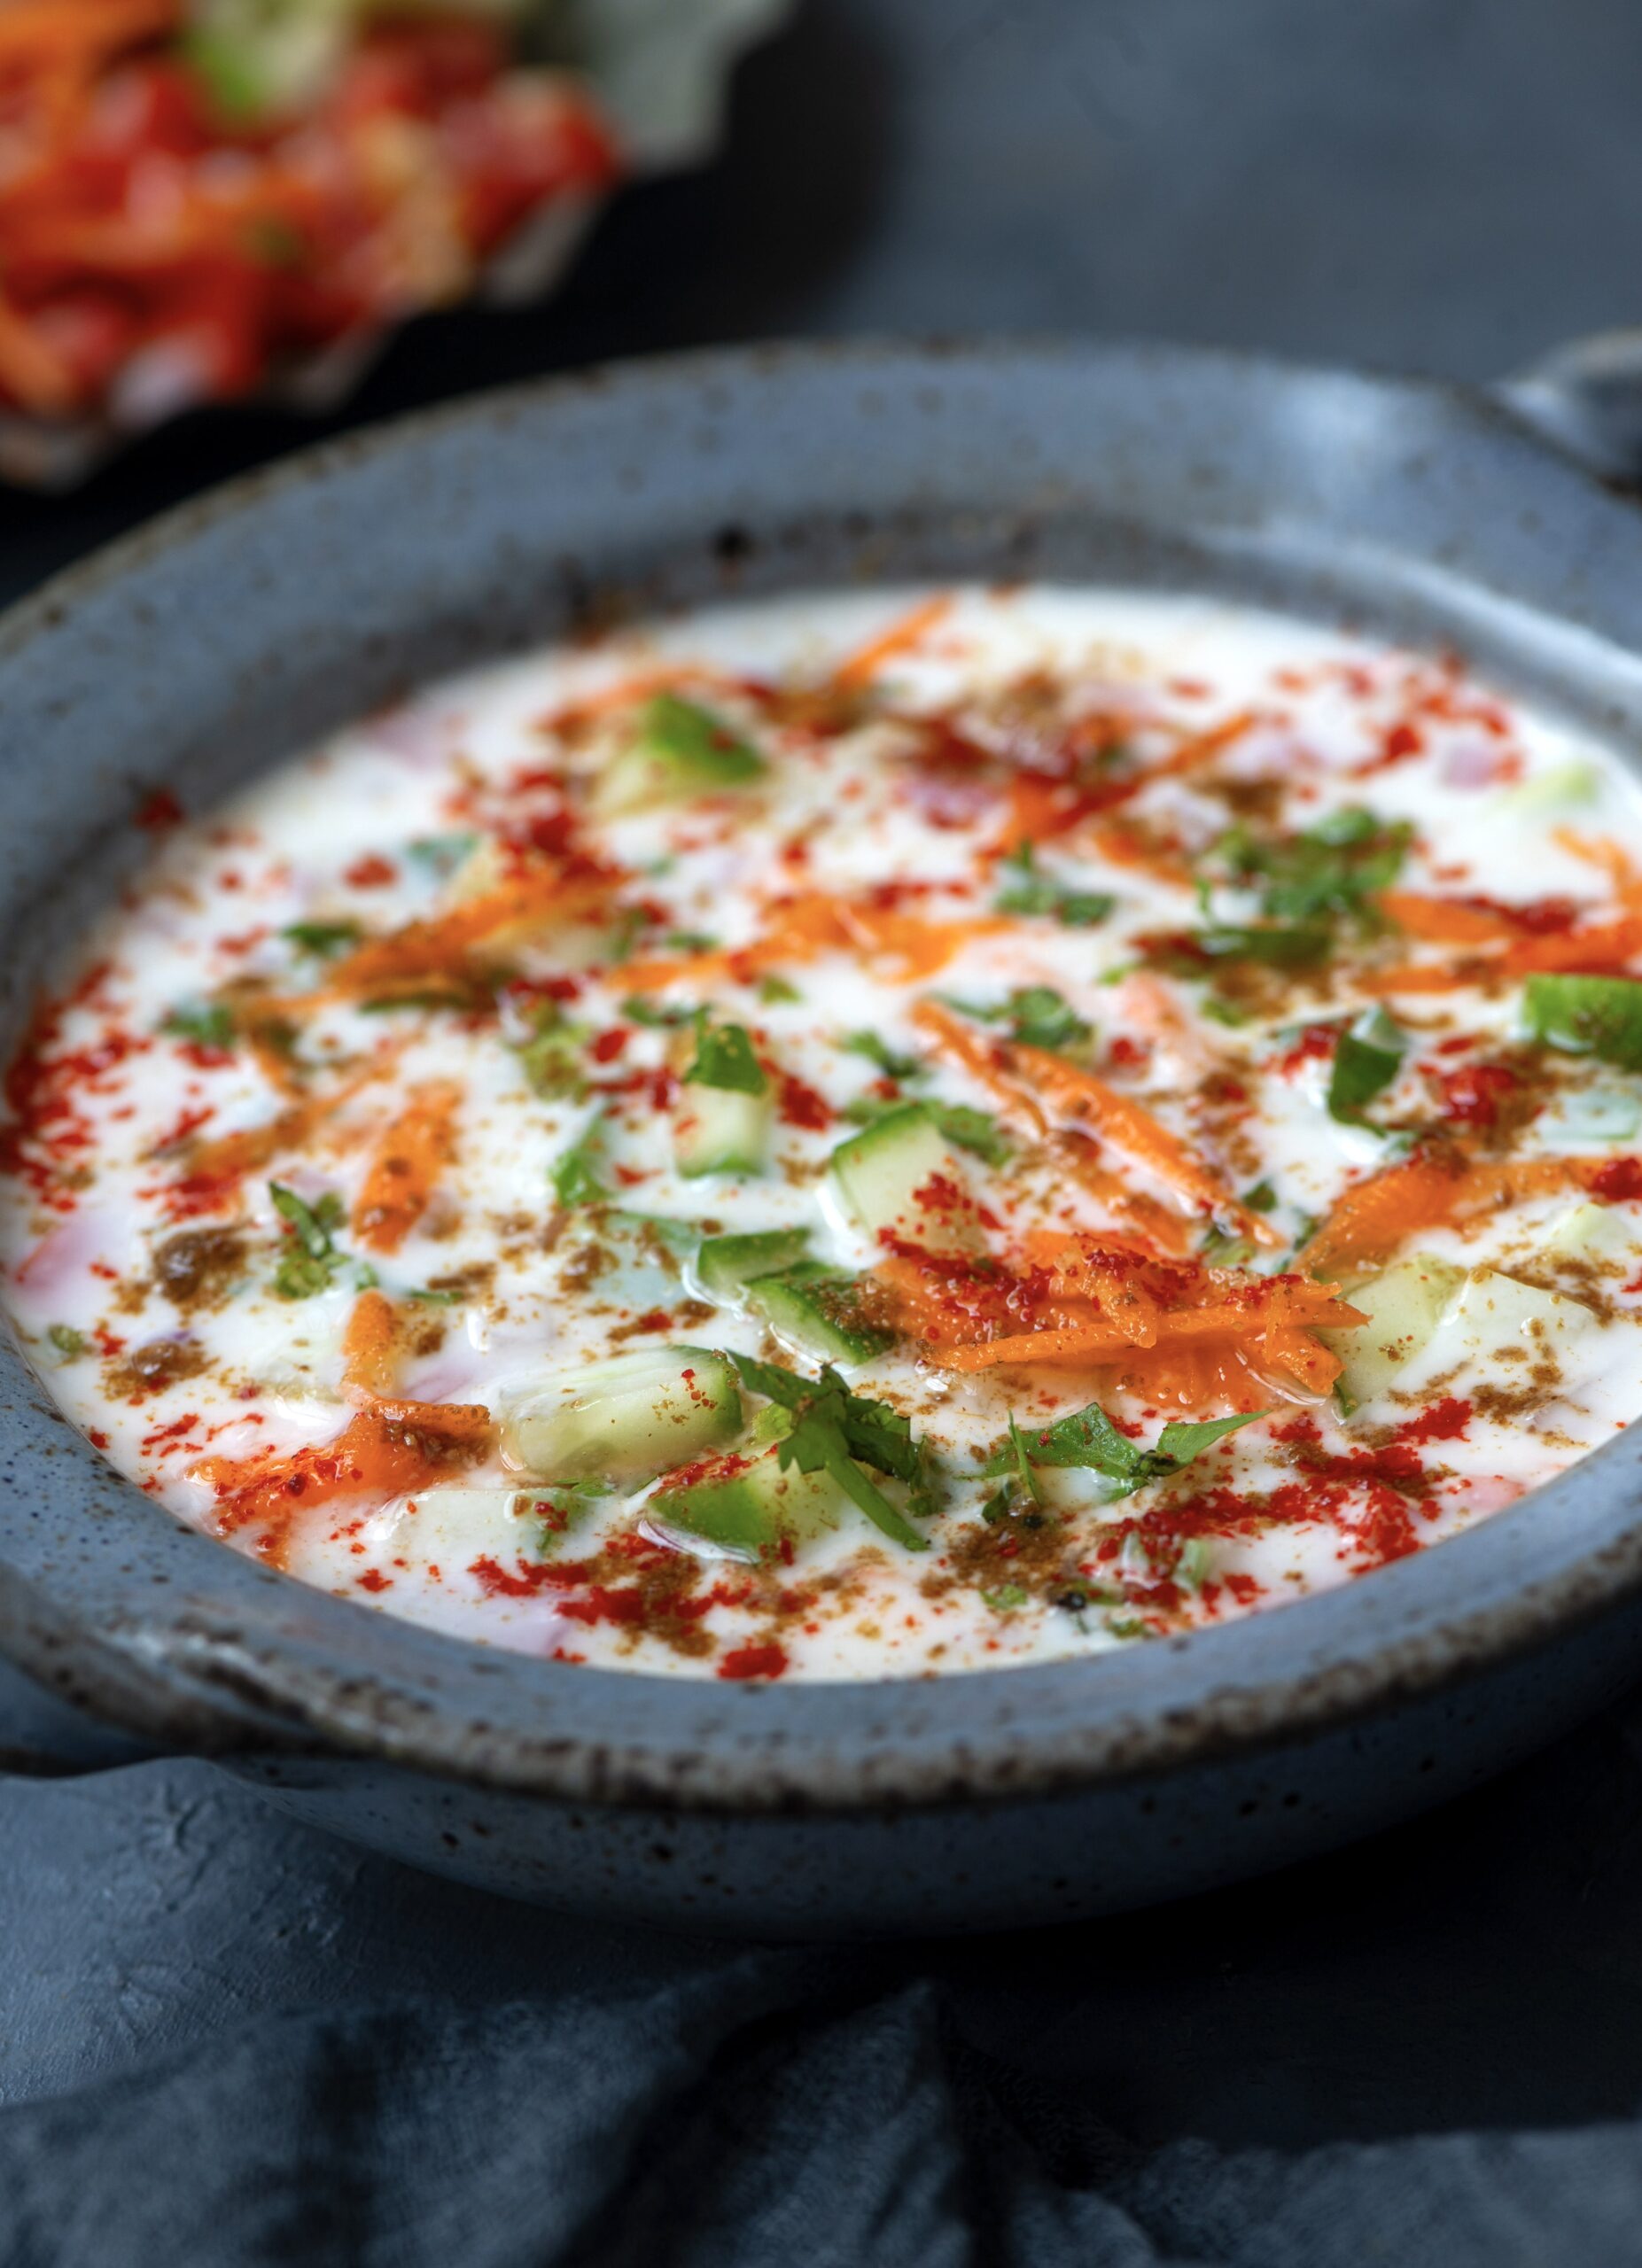
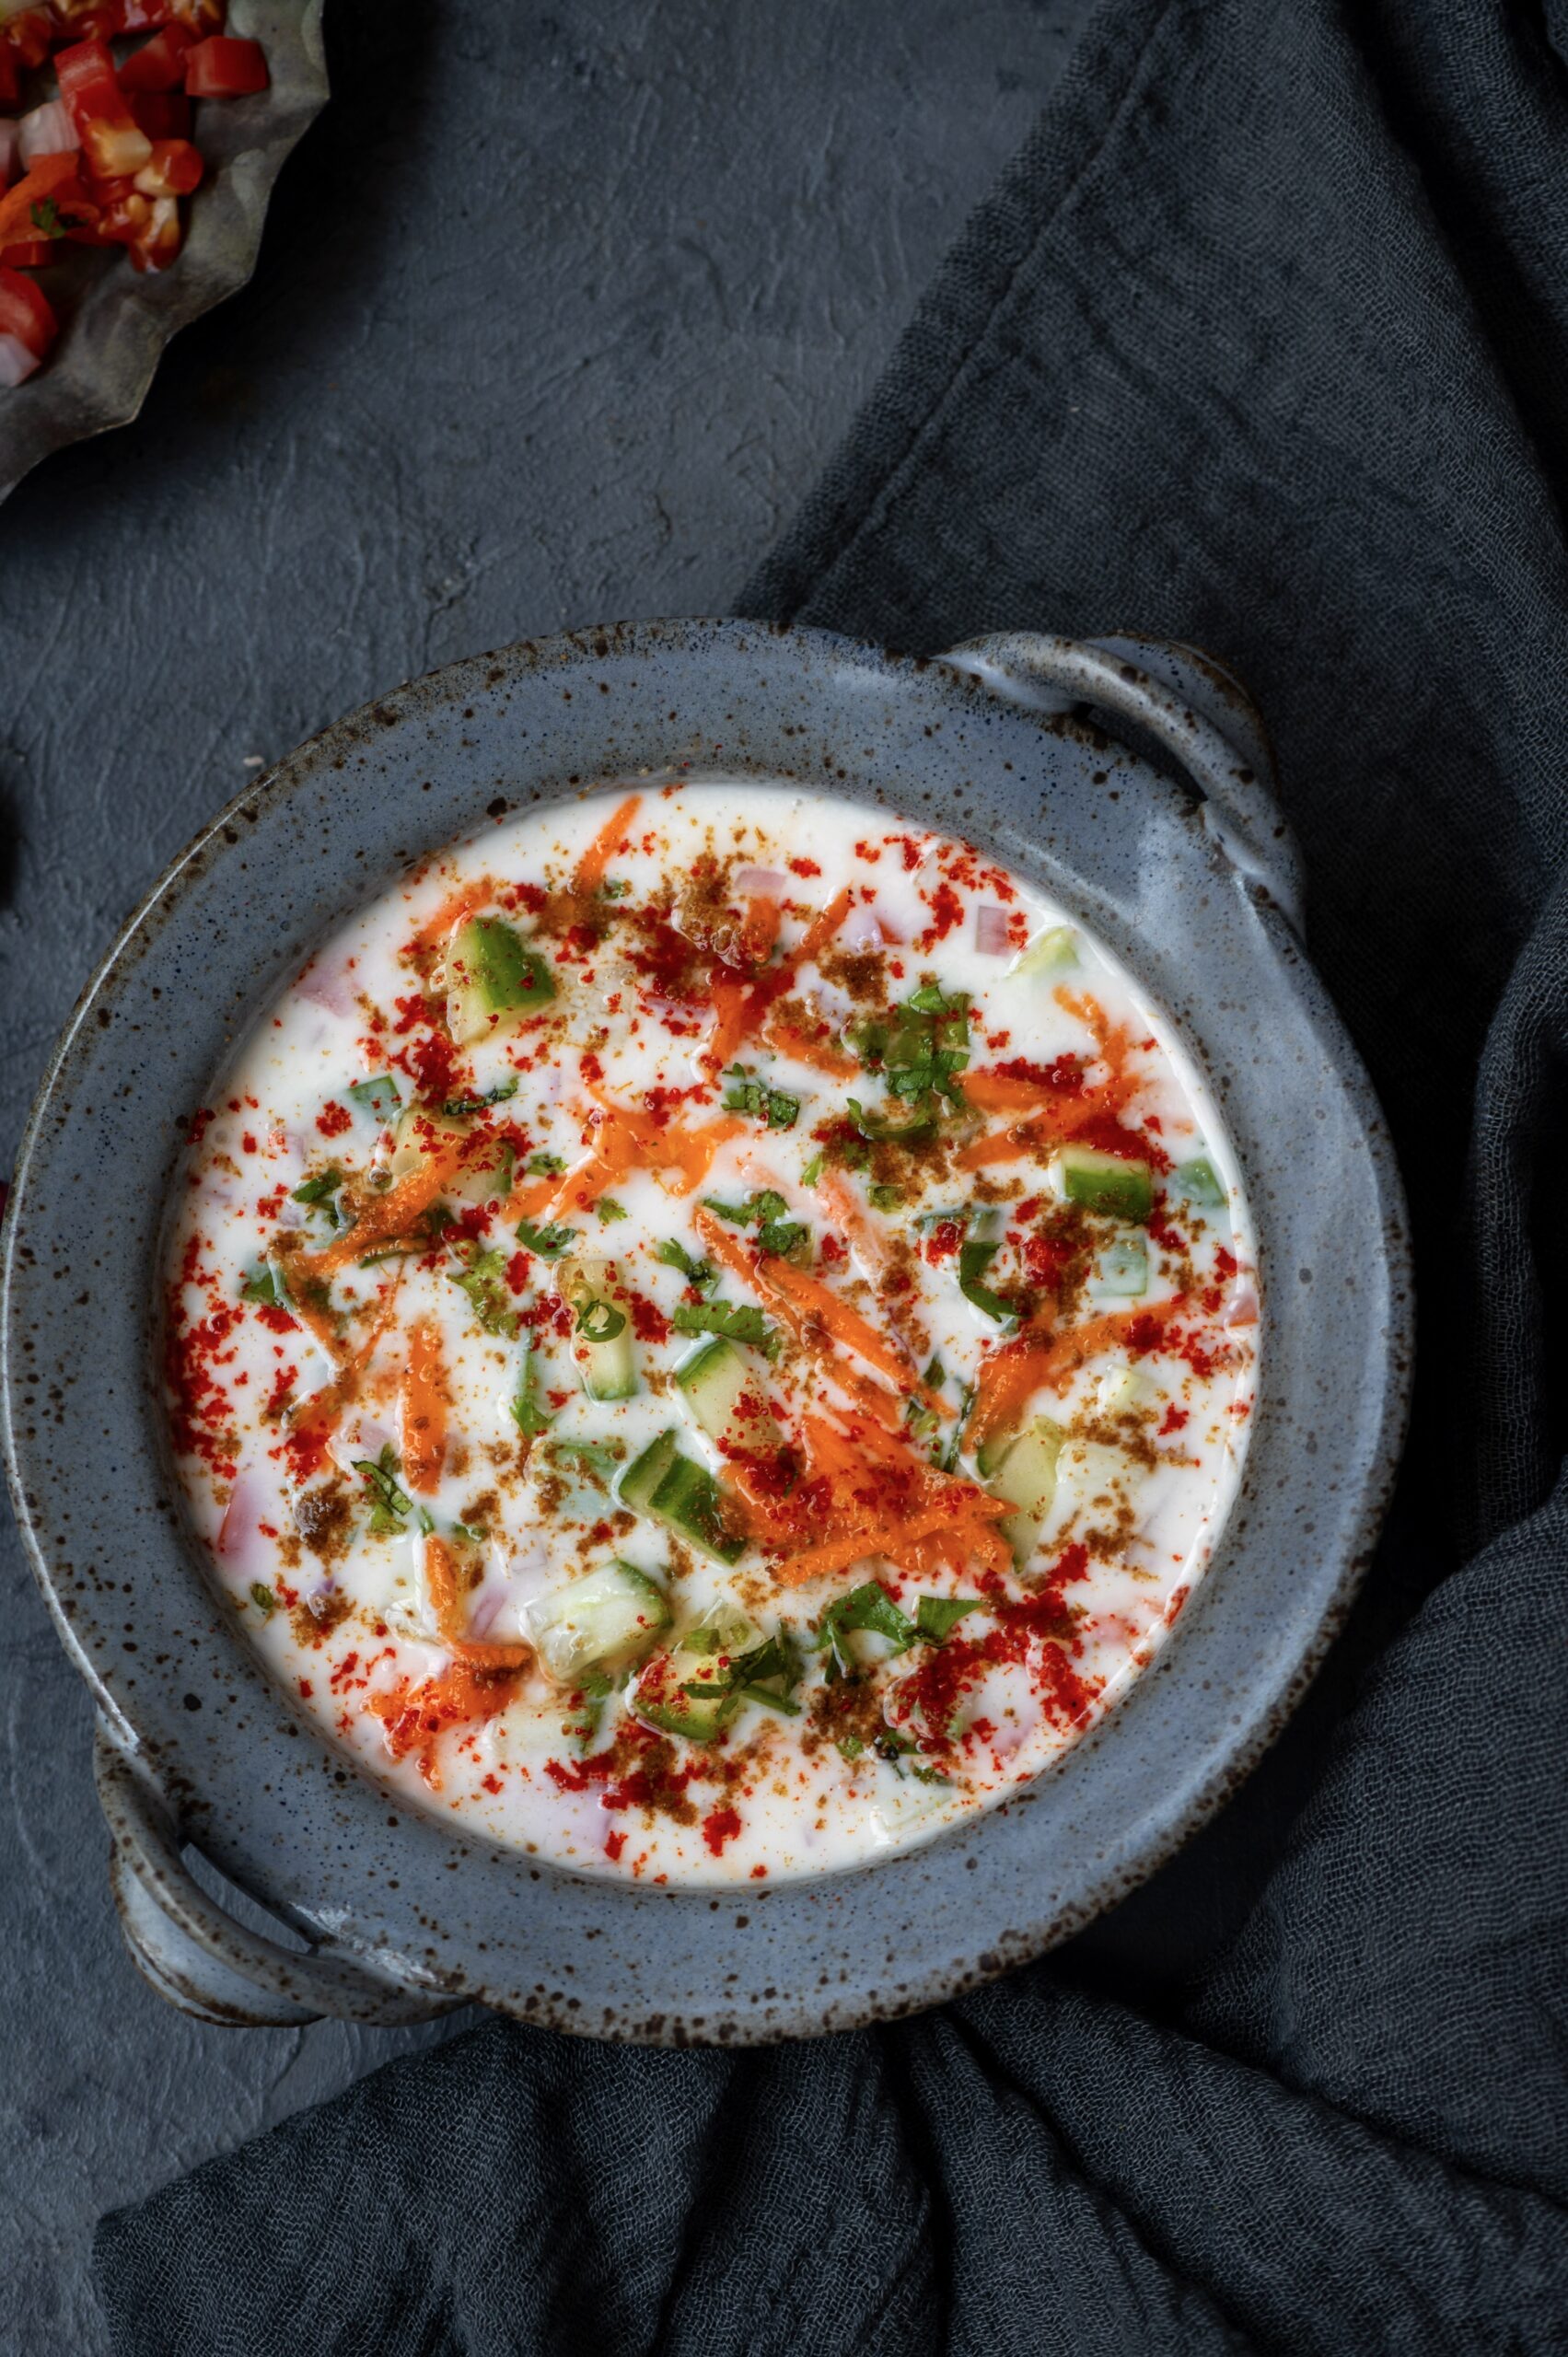
Yoghurt, curd, dahi – whatever you want to call it, this essential dairy product is a staple at home with every single meal. It has been this way for many years. When I was growing up, my family would tease me about my love for dahi. It was often joked, “She will even have dahi with bread!” It’s true: I loved it so much that I would eat it in any form. Nowadays, I am equally happy just having it plain, without accompaniments. Sometimes, it’s nice to dress the dahi up and enjoy its versatility, and that’s when a recipe like this cucumber raita gets made.

Later, once I moved into my marital home, I discovered that curd was not a big part of their meals. It began to be included because of me, and gradually it became a staple here as well. So much so that my entire extended family on both sides have another running joke about how dahi should be kept ready whenever I’m about to visit.

Truly, it’s a lifelong love. I have shared in the past that my love for curd is the key reason why the vegan lifestyle is a challenge for me, and for those of you who have mastered it, I hope you’ll explore the many vegan recipes I’ve shared.

Plain homemade curd is my go-to. Greek yoghurt and so on were unknown to me while I was growing up, although I have explored it since. I’m happy to say that my simple, traditional homemade curd literally travels the world. There is a Spanish family whom we are close with, and they visit us every year. Each time, they take back a little bit of curd culture from my kitchen so that they can make their own Indian dahi when they are back home. My friend used to ask me for the recipe each time to jog her memory, but over the last five years, I’ve been able to simply direct her to the method that I published here. You can make it too, and the technique is right here.

Coming to the raita, I’ve made mine a little more exciting. Traditional cucumber raita is a two-ingredient dish, but I’ve added some spices, some mint and some garlic. This brings out a medley of flavours. You may want to try your own variations. For instance, why not replace cucumber with beetroot and watch the dish change colour? It will add quite a bit of novelty, especially when you are entertaining.

Cucumber Raita

(Serves 2-4)


1 cup grated cucumber

2 cups thick yoghurt

Salt to taste

2 teaspoons oil

½ teaspoon cumin seeds

A few curry leaves

2-3 pods garlic (cut lengthwise)

2-3 dried red chilies

Mint leaves (for garnishing)

Finely chopped coriander leaves (for garnishing)


A point to be noted is that you must be certain that the yoghurt is not sour. If you’re making it at home, follow the technique carefully to ensure this. If you are using it store-bought and find it slightly sour, adding a splash of milk will fix this.

In a bowl, grate the cucumber. Discard a little bit of the released water. Add the yoghurt and salt. Mix well.

In a hot pan, pour the oil to prepare the tempering. Add the cumin seeds to it. Then add the sliced garlic and allow these to turn golden. Once this is done, add the curry leaves.

Pour this tempering over the yoghurt. Garnish and allow to cool in the refrigerator.

As with all other raitas, this is meant to be served cold. It beautifully accompanies certain kinds of rice, such as biryanis, as well as Indian breads. I’ve also served it in a Lebanese spread, alongside pita bread and hummus. It’s quite versatile as a dip or side dish. If you enjoy this raita, why not try my banana-mustard raita too?

I recently travelled to see my son, and spending time with him reminded me of a conversation that we had a few years ago. He manages his own home and kitchen – as all my kids do, now that they have all stepped out to live their own lives as adults. Around five years ago, I had brought some grains along on one such visit and kept them in this son’s home. Subsequently, he told me, “Ma, these are very old. I’m going to throw them out.” I was not happy about this. I explained to him how every seed has a life of its own. Even a thousand years later, you could plant it and it would grow, and you could cook the pulses or dals. Seeds and grains have a power that is ingrained – pardon the pun – in every aspect of our life. From metaphors of sustenance and growth, as I have spoken of earlier to giving us our staple nutrition, they offer us so much. These thoughts inspired me to share another dal-based dish with you. This is a moong dal chilla, rich with the nutrients of green mung.

I’ve shared a recipe for chilla on this blog before, which you may have tried out. A chilla is a kind of Indian crepe, known by different names. I first encountered green mung chilla in Andhra Pradesh, when I was visiting cousins in Vijayawada as a child. There, it was known as pesarattu, and was eaten with upma or onions within its fold. When I think about it, the fact that this dal is a native of South India means that it has many different uses across the cuisines of this region. I take pride in the many wonderful ingredients, including rice and turmeric, that have been cultivated here through history.

Now of course, green mung sits on the world map as a superfood. Not only is it high in protein and iron, but it also has numerous healing properties and other benefits. When you’re recovering from a sickness, boiled mung water consumed in sips can help. It’s easy to digest. It doesn’t create a heaviness in the stomach, which makes it great for light meals.

More often than not, there’s sprouted mung as well as raw mung dal in my home. I sometimes sauté the sprouts for breakfast. At other times, I just grind the raw, soaked dal and have chilla for dinner – especially on evenings when I just want something light. Which brings us back to this recipe. You can make a chilla out of anything. Chickpea flour is an easy base and a quick fix. Green mung chilla takes longer as you have to soak it and grind it. I feel it is worth the extra time as due to the many health benefits described above. It also tastes great, as I think you’ll find out when you try it out yourself.

Green Mung Chilla

(Yield: 6-8 pieces)

1 cup raw green mung

Water for soaking

Salt to taste

1 inch piece of ginger

2 green chilies

1 teaspoon cumin seeds

Oil for frying

¾ cup water (approximately)


Soak the green mung overnight in sufficient water for 8 hours.

When ready to prepare the chillas, drain the green mung.

In a blender, add the soaked mung, ginger, green chili, cumin seeds and two tablespoons of water. Grind coarsely.

Remove the batter into a bowl. Add salt and add enough water so that it still remains a thick batter. Let this batter sit at room temperature for an hour.

Then, heat a griddle, and splash a few drops of water to test that it’s hot enough. If it sizzles, the griddle is ready.

Mix the batter gently and drop a ladle-full onto the centre of the griddle. Using the back of the ladle, spread the mixture in a circular motion such that it spreads evenly. This is just like how you would make a dosa or a crepe.

Drop some oil to help the chilla fry up. Cook well on a medium flame until slightly golden. Flip it and allow it to cool for a few seconds. Then flip back, fold into halves and take it off the griddle.

Enjoy your green mung chilla hot, and serve it along with chutney or sambar. You may also want to add some toppings or vegetables, to round the meal out more and increase the nutrient and taste quotients. While it requires some prep, the green mung chilla is a simple and satisfying dish. I hope you’ll try it out!

When people say Gujaratis are synonymous with dhoklas, I often think about how it is probably actually poha that’s a better symbol of our eating habits. Even though it is originally a Maharashtrian dish, Gujarati-style poha has been tweaked to suit our palates and makes such a frequent appearance at our meals that it is also quintessential to us. At any Gujarati home – including mine – on literally seven days of any given week, you are very likely to get to see, and of course taste, poha.

The Gujarati palate likes a bit of sweetness and a bit of tanginess in every dish, which is the tweak that this recipe contains. There is some sugar, of course. There is also a squeeze of lime and some green chilli paste. These additions bring in a perfect combination of three flavours: sweet, tangy and spicy.

Poha is, as established already, a staple. It is flattened rice prepared in a savoury way. It is a reliable dish, and made with easily accessible ingredients. It is basic, simple and nourishing. It is healthy and light on the system. It is versatile: good to serve to guests, good to have when unwell or recuperating, and even good at certain celebrations (such as the morning functions of weddings). It is mainly a morning dish, and it is ideal for an everyday breakfast too.

For me, poha is so essential that if it is served every day in my home, I must also have it at least on three days of the week when I travel abroad. Be it London or New York, I must have poha. I carry the ingredients with me and prepare it wherever I am. When I’m travelling, I like to make it in my own special way, by topping it with lots of vegetables. I do know that some people add green peas during pea season, but otherwise this isn’t typically Gujarati. I add the vegetables to suit my health and lifestyle requirements. In this recipe, I have used corn along with a handful of peanuts, to bring in more of the nutrition quotient that I strongly prefer.

Gujarati Poha

(Serves 2-3 people)

2 cups poha

1 medium size onion (finely chopped)

1 medium sized potato (finely cut)

½ cup corn niblets

1 tablespoon peanuts

1 green chilli

A handful of curry leaves

3 tablespoons oil

1 teaspoon cumin seeds

½ teaspoon mustard seeds

Salt to taste

¼ teaspoon turmeric powder

1 tablespoon sugar

Juice of 1 large lime

You may want to use the red rice variety of flattened or beaten rice to prepare this dish, but I like to use the thinner white rice variety. The advantage of it is that you don’t have to soak it for fifteen minutes to half an hour beforehand. You only have to rinse it. Do keep this in mind; if you use the thicker variety, you must soak and drain it.

Rinse the poha under running water and allow to drain, half an hour before cooking. Set aside.

Heat a kadai, and add the oil. Add the cumin and mustard seeds. Once they splutter, add the peanuts and then the onions, curry leaves and green chilli. Sauté until the onions are tender and then add the potatoes. Now, cover the kadai with a lid and allow the potatoes to cook on a low flame. Sprinkle a little water if required.

Next, add the corn and sauté until all the vegetables are tender.

Add the salt, turmeric powder, sugar and lemon juice and mix. Add the poha and mix gently. Sprinkle a little water and cover again for a few minutes.

Mix again gently and serve. You can garnish this dish with grated coconut and coriander leaves. As I mentioned, you can also top with vegetables for a greater nutritional boost. This will give you a re:store-tweaked, Gujarati-style poha!

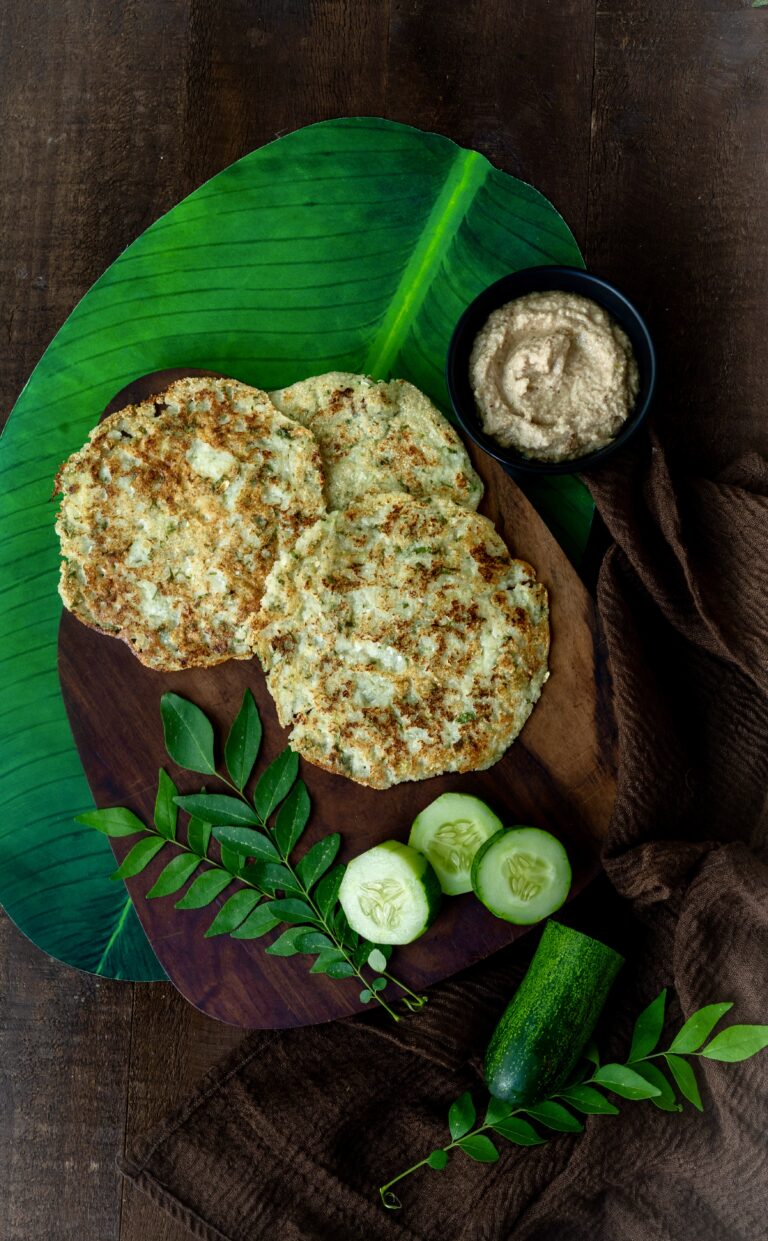
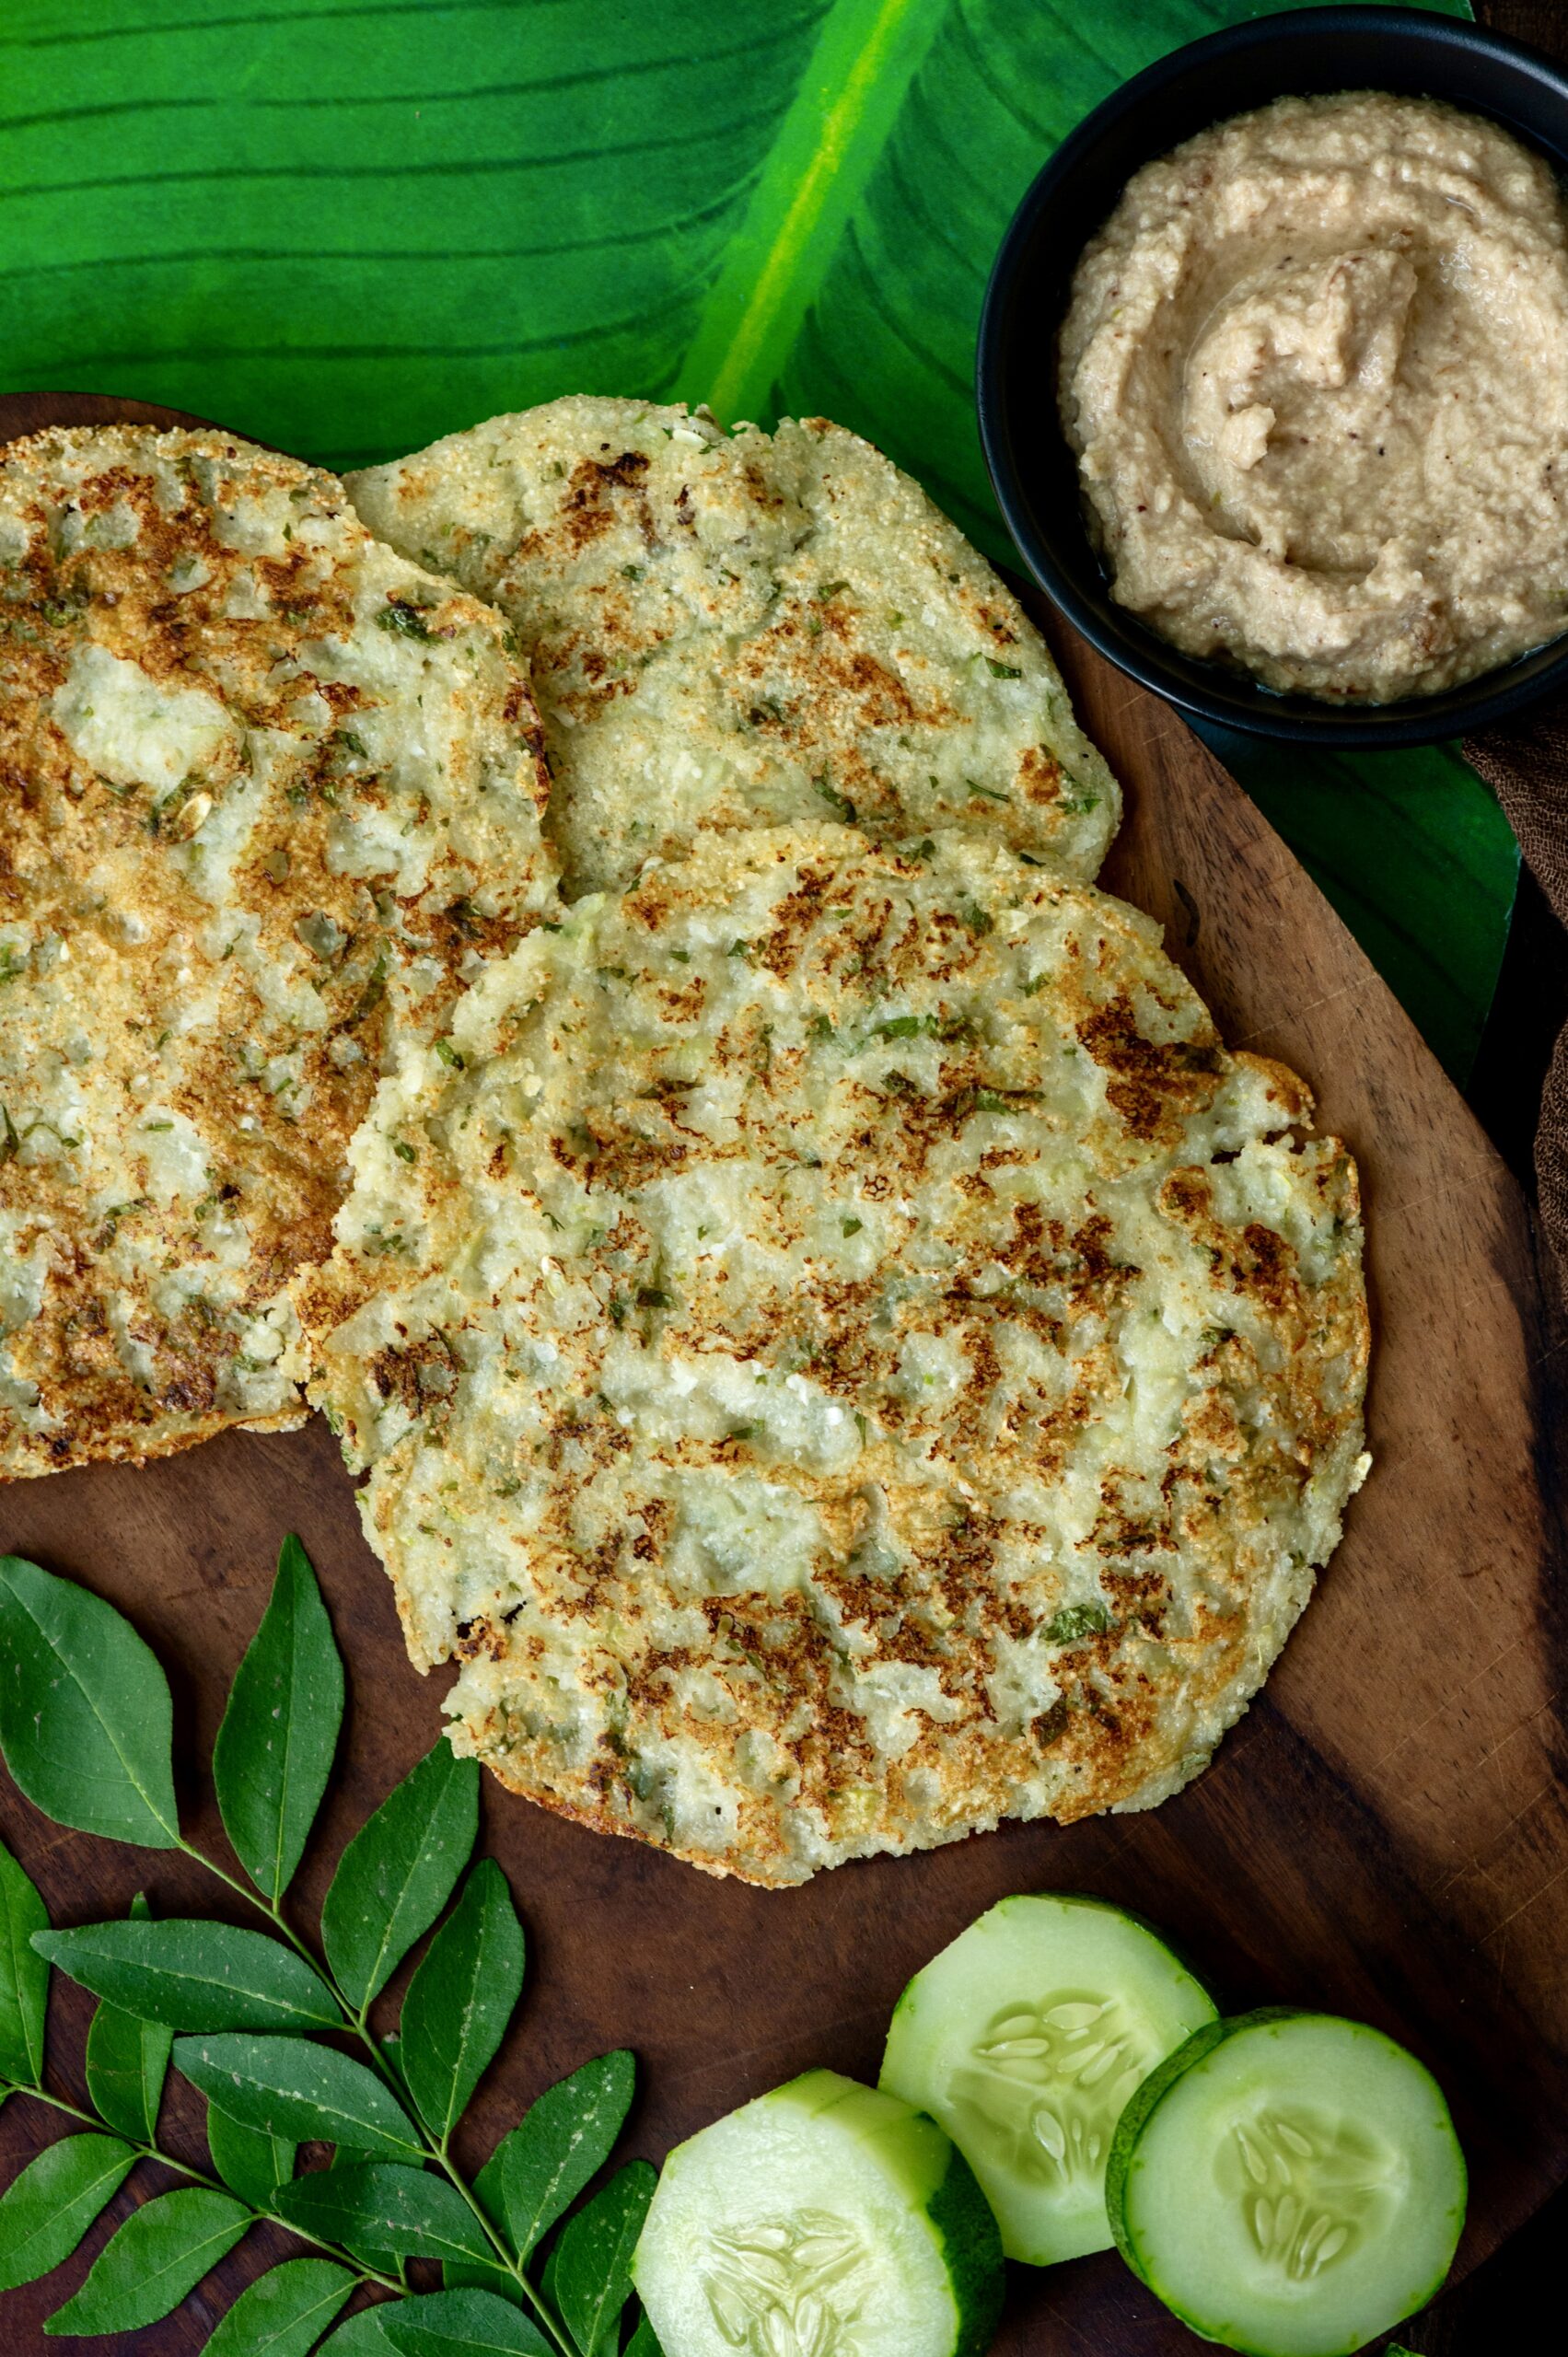
As you may know, I straddle the worlds of being Gujarati and having been raised in Chennai. I believe that I’m more of a Tamilian than a Gujarati in many ways, or at least I feel that way at times (especially while I’m preparing or sharing certain recipes, like this one). Adai is a very traditional dish from Tamil Nadu, similar to the dosa. I didn’t grow up with it, but once I discovered it, it became a regular on my dining table. I like it a lot as it ticks all the boxes for me in terms of nutrition and taste. It is rich in protein but makes you feel like you’re eating carbs, which it in fact has very little of. It is very satisfying, in the ways that simple dishes can be.

I learnt this recipe from a friend, a few decades ago, and it has been a staple in my home for decades, so I was a little surprised myself that I hadn’t shared it yet. The story of how I got this recipe is that when my son was in kindergarten, there were a bunch of anxious moms waiting outside the school on Day 1 and Day 2 to make sure the kids settled in well. We got around to talking, and as many young mothers do, wound up exchanging recipes. That was how I learnt this adai recipe, and I still think of the friend I made way back when my son started school every single time I use it. I’ve been to her home many times over the years and eaten it there too.

Traditionally, adai is had with fresh butter and jaggery. That is still my favourite combination, even though I also prepare it with a variety of chutneys, a number of which you can explore on the blog. I suspect the traditional accompaniment is my preferred one as it’s sweet, so the Gujju in me kicks in!

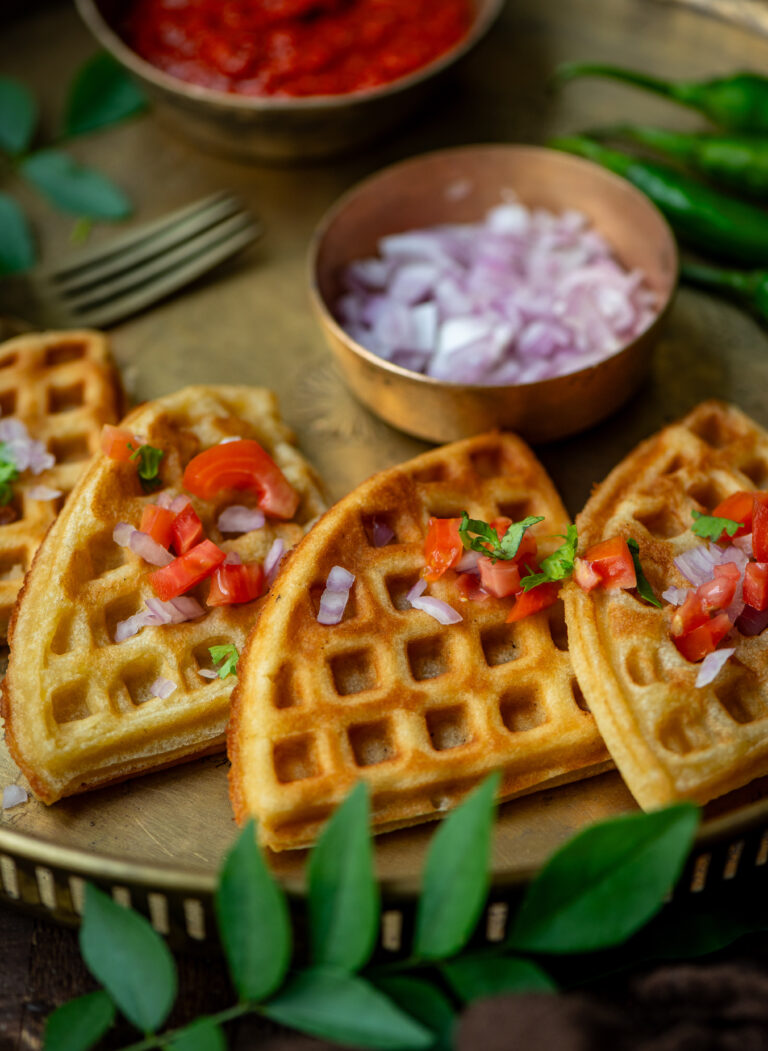
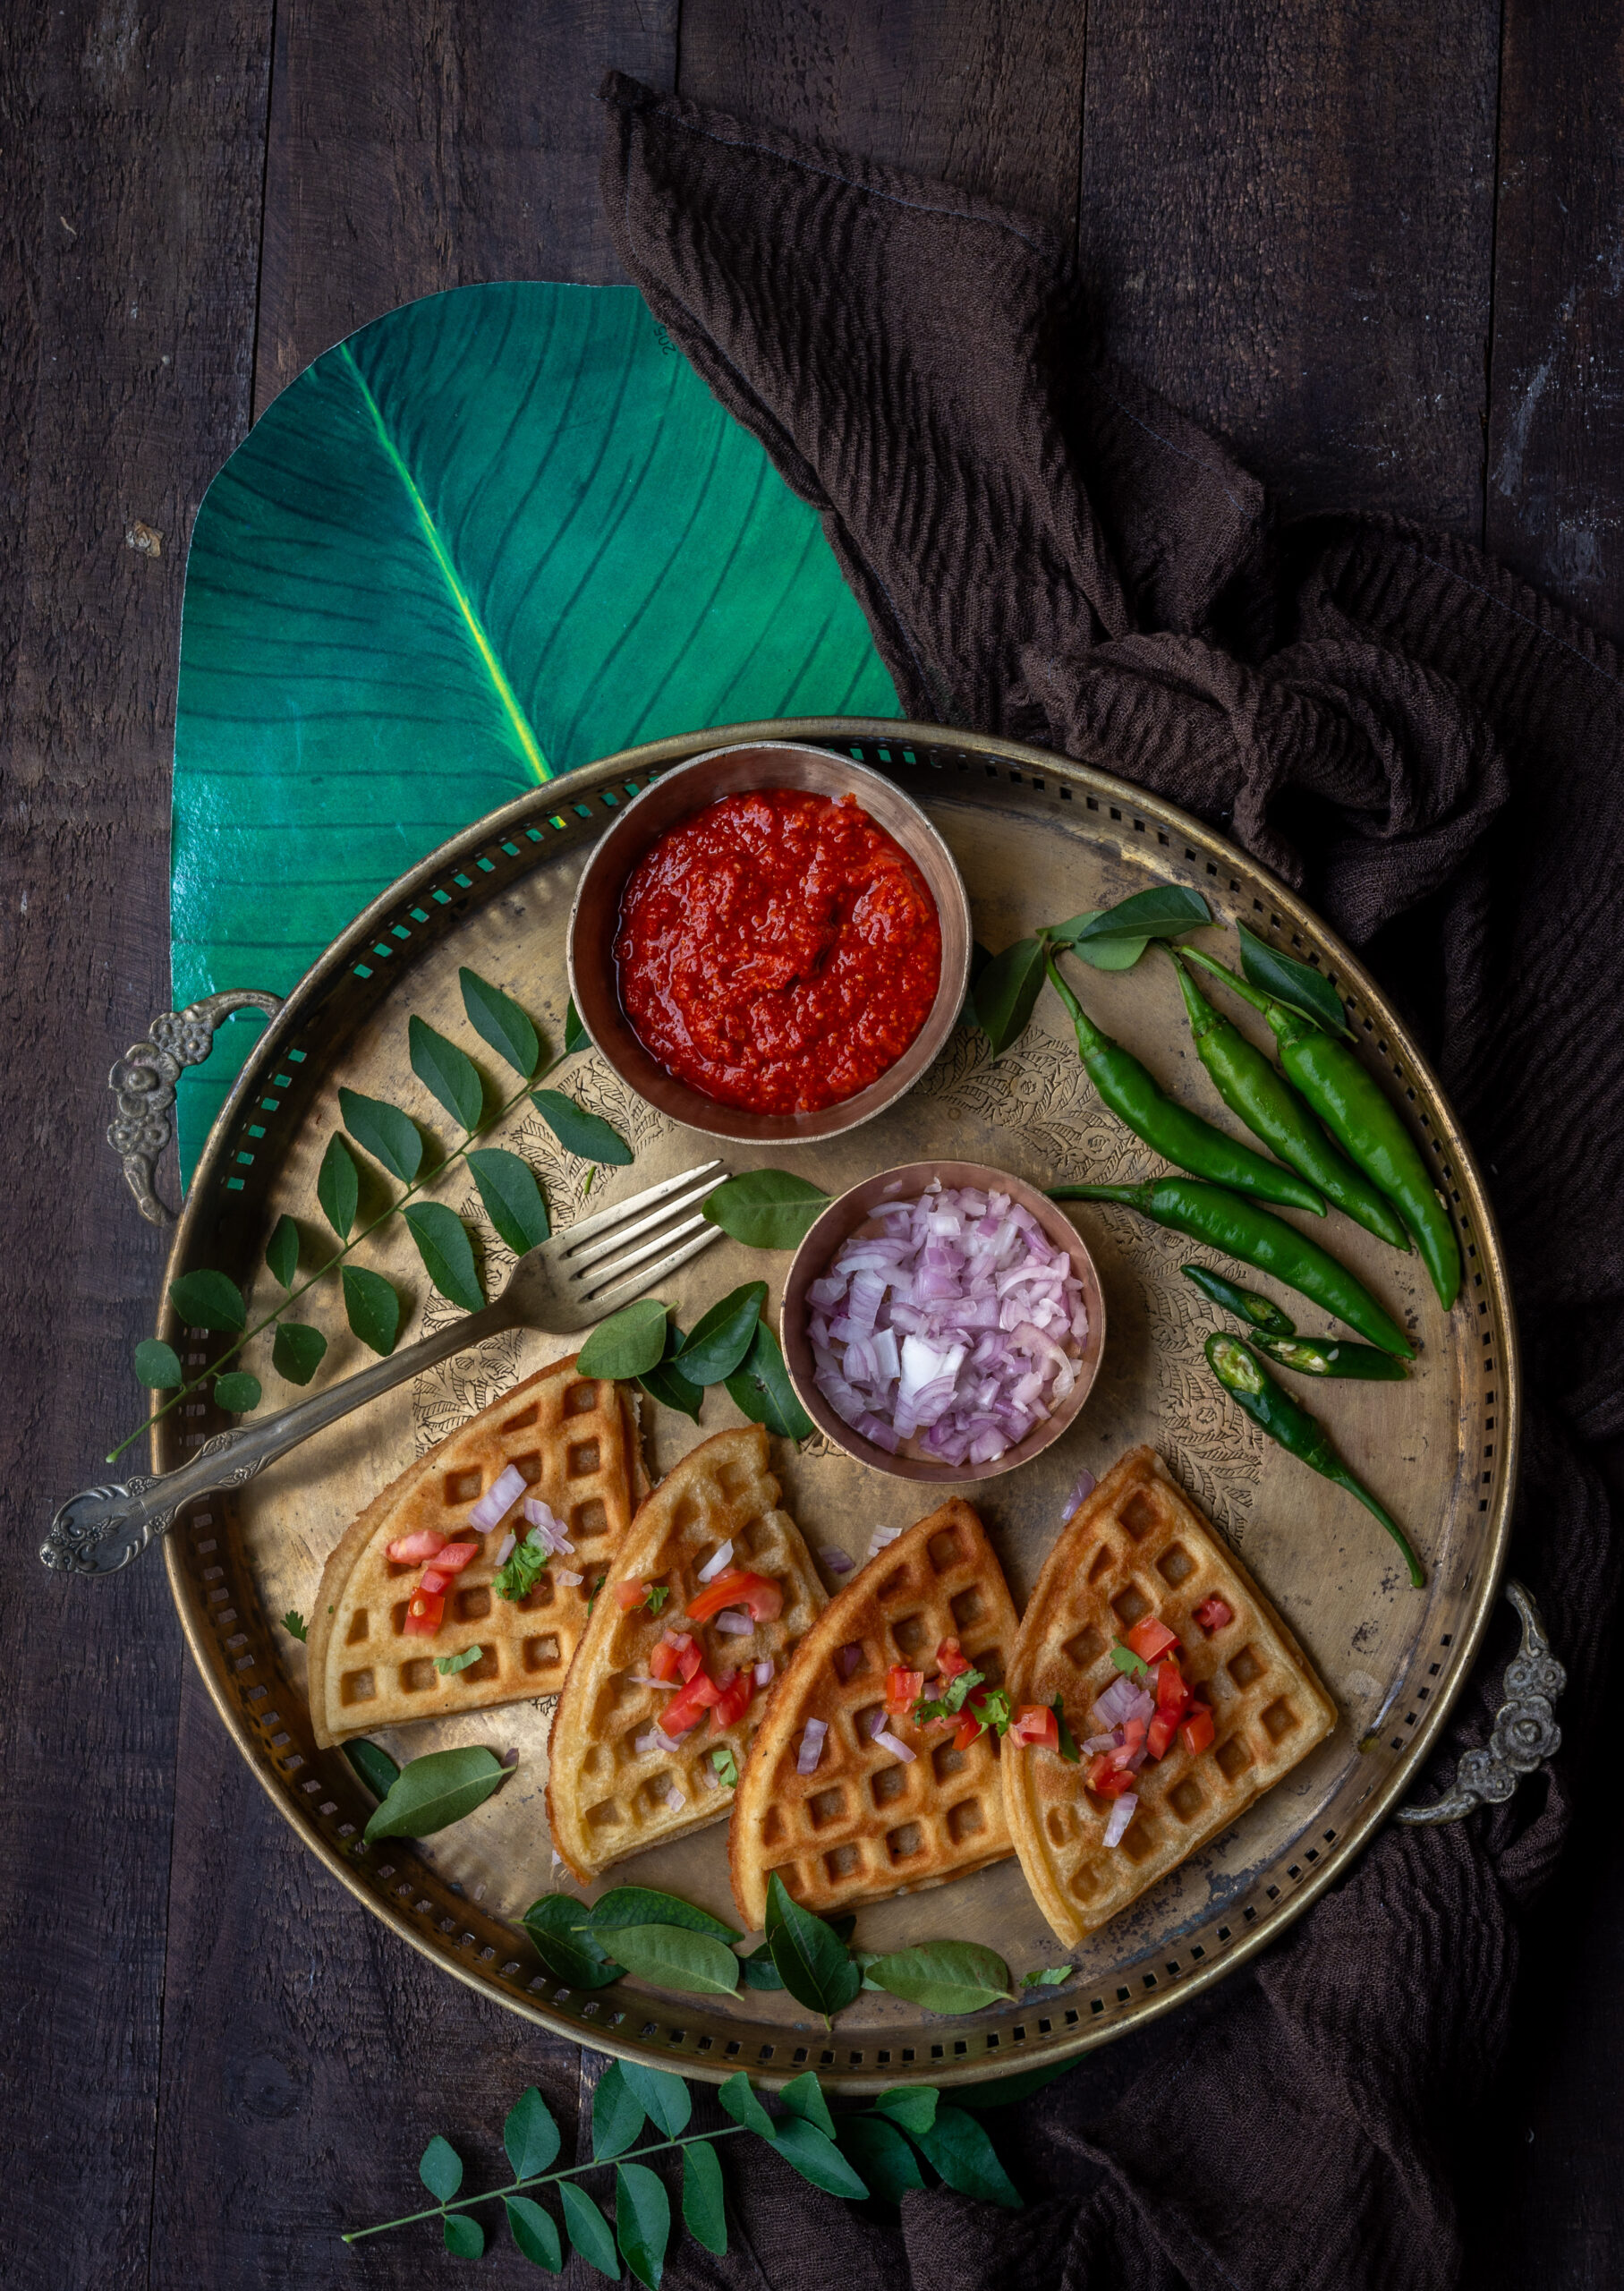
I make different versions of adai, in the sense that I may pour it into a waffle maker for novelty, make a big one for dinner or a small one for a starter. Sometimes I even prepare it with a filling – for this, I’ve found that paneer works well. I also make the batter thick and make it like a pancake with raw, finely chopped vegetables, which gives it a different taste and improves the healthiness quotient. Adai in and of itself is quite nutritious, as long as you go easy on the oil. In the version below, I share the recipe for smaller adais topped with the goodness of vegetables.

Adai

(Yield: 10-15 pieces)

1 cup boiled rice

¼ cup tuvar dal

¼ cup yellow moong dal

¼ cup channa dal

¼ cup urad dal

1 onion

1 teaspoon cumin

1 teaspoon fennel

2-3 cloves garlic

2-3 dried red chilli

1 teaspoon cumin

1 teaspoon fennel seeds

Salt to taste

½ teaspoon turmeric


Tempering:

1 tablespoon oil

½ teaspoon cumin

½ teaspoon mustard seeds

1 onion (finely chopped)

½ teaspoon asafoetida

Coriander leaves


Sesame oil for cooking

Finely chopped vegetables (onions, carrots and coriander leaves) for topping


Soak the dals and rice for 6-8 hours in enough water to cover them.

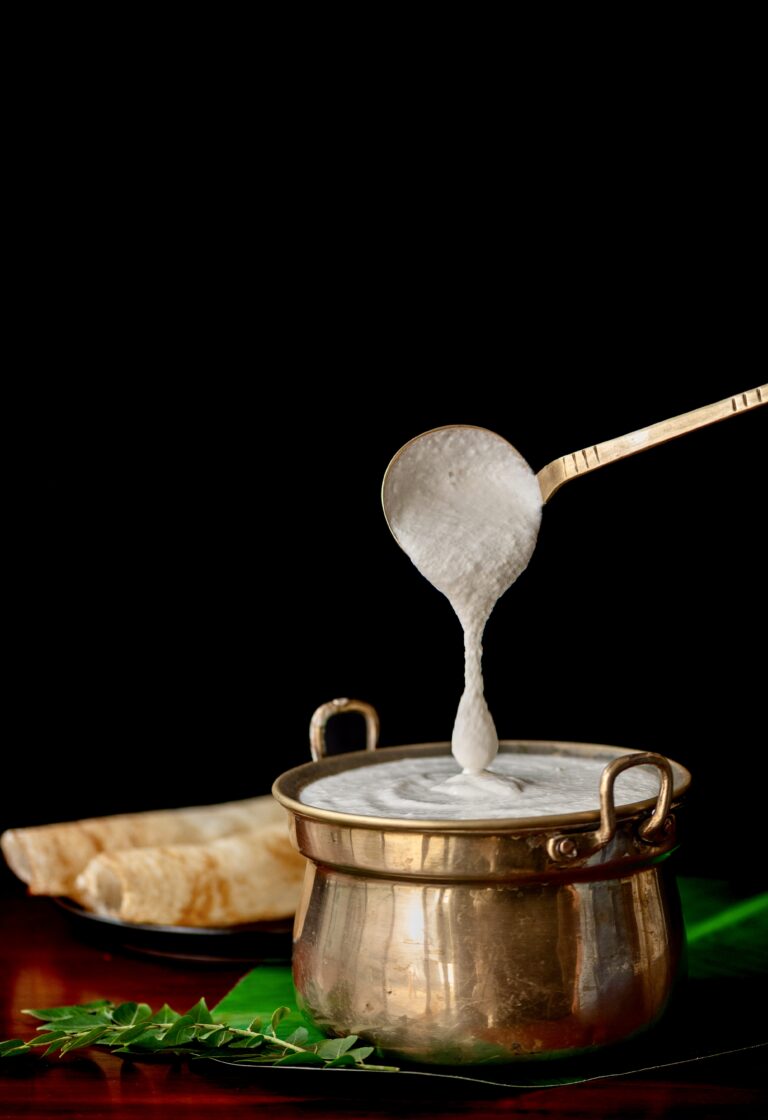
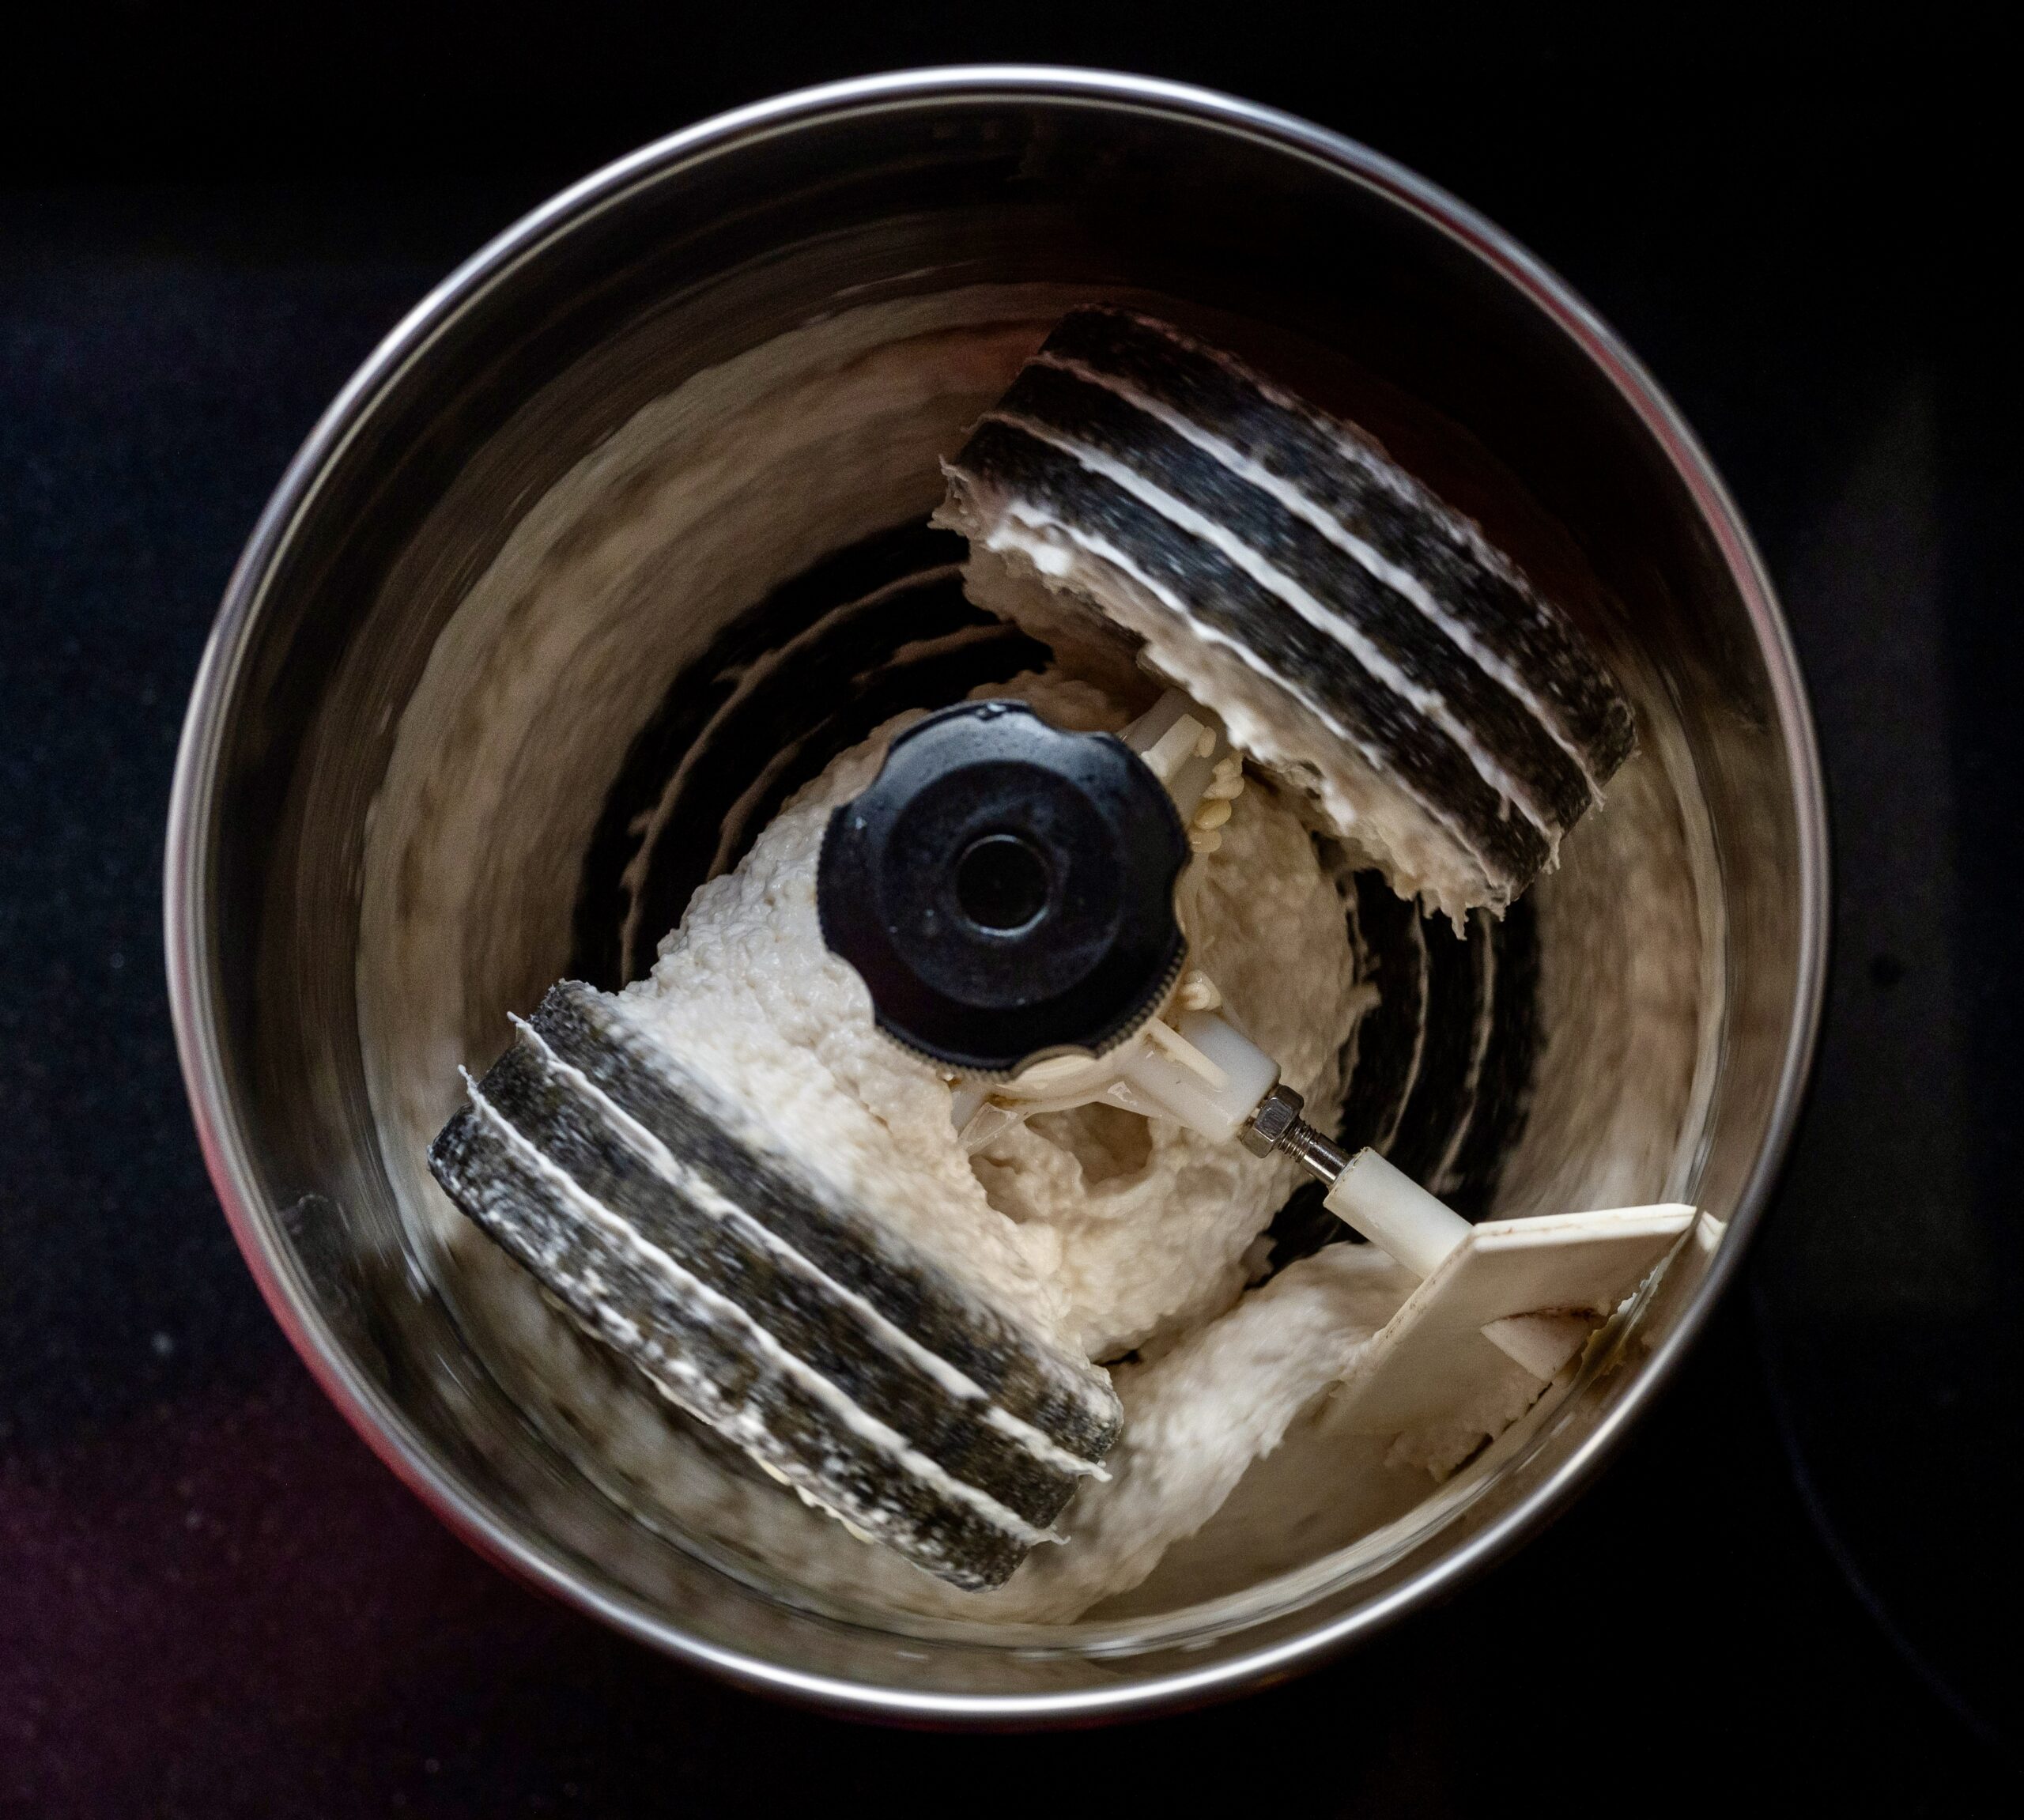
Grind the soaked dals and rice in a blender along with garlic, cumin, fennel seeds and red chilli until coarse. Set aside.

In a kadai, add the oil. Then, add mustard seeds, cumin, asafoetida, curry leaves and finely chopped onion. Sauté on a high flame for 2 minutes and add to the coarse batter. Add the turmeric and coriander leaves to the batter. Mix gently. Your batter is now ready for making the adai.

To cook the adai, the method is as follows. On a heated flat pan, make small discs of the batter, spreading them a little. Add the sesame oil as required to cook. About 1-2 teaspoons will do.

Once the adai is golden brown on one side, flip gently and allow to cook on the other. Then, turn back to the previous side, and add the finely chopped vegetables as an optional topping. Serve with a chutney of your choice. If you decide to serve it with butter or jaggery, you can skip adding the vegetables.

I hope you’ll enjoy this adai, especially if you were already familiar with dosas and wanted to explore a variation on the same!

I am visiting Kerala at the moment. Being in God’s own country, as this state is often called, has been a great experience. This is because Nature can be very inspiring. There is barely a single dry leaf anywhere – it is that beautiful. The lush greenery is all around, everywhere I go: mangoes hanging over the backwaters or down to the ground, coconuts, and plenty of banana varieties. The bananas called to mind some recipes that I really enjoy, including this delicious Gujarati dish named kela nu shaak.

Kela nu shaak is very popular among Gujarati Jains during fasting periods, when they may avoid greens. Thus, this savoury dish works as a vegetable substitute, and is eaten along with chapatis. That is, it is basically a banana subzi (“subzi” being the term for vegetable dishes). But it really is so delicious that it is a regular staple in the cuisine even beyond fasts. It goes quite well with other savoury dishes like kadhi, as well as various vegetable accompaniments too.

It was a dish my husband grew up eating, so it counts among his comfort foods and makes regular appearances in my cooking too as a result. It is really quite simple: the bananas are sautéed in ghee, and a few spices are added. I like to make it in a non-stick or iron pan, adding a little jaggery which turns crispy and golden at the bottom, almost caramelized. I find that this is a great way to lift the flavours of the dish.

If you don’t know what to do with overripe bananas, kela nu shaak is the dish for you. As you know, when they ripen the whole bunch does at once, so you may have quite a bit of fruit that doesn’t taste as good eaten raw. If you prefer something sweet instead, this banana bread recipe that I shared a while back is ideal.

I will be carrying back with me a few varieties of Kerala bananas, and it will be interesting to see the differences in flavours and the kinds of dishes they lend themselves well to. I will certainly share my findings with you once I get a good sense of how to use them. As for kela nu shaak, any of the usual green or yellow bananas that you have access to will do.

Kela Nu Shaak / Banana Subzi

(Yield: Serves 2)

5 small ripe bananas

1 tablespoon ghee

½ teaspoon jeera (cumin) seeds

½ teaspoon mustard seeds

Salt to taste

¼ teaspoon turmeric powder

½ teaspoon chilli powder

½ teaspoon dhaniya (coriander) powder

½ teaspoon jeera powder

2 tablespoons jaggery


Peel and slice the bananas. Set aside.

In a non-stick pan, add the ghee. Once it’s heated, add the cumin and the mustard seeds.

Wait for them to splutter, then add the sliced bananas.

Move the bananas around on the pan a little bit without mixing too much, and allow the slices to cook on both sides, flipping at intervals until lightly brown.

Now, add the spices and the salt. Mix very gently until the slices are coated. Next, add the jaggery.

Allow to cook on a low flame, making sure the jaggery doesn’t burn.

Once the bananas has turned golden and the jaggery has almost caramelized, turn off the flame. Your kela nu shaak is ready to serve. Enjoy hot, with chapatis.

I hope you will enjoy this savoury use of a sweet fruit!