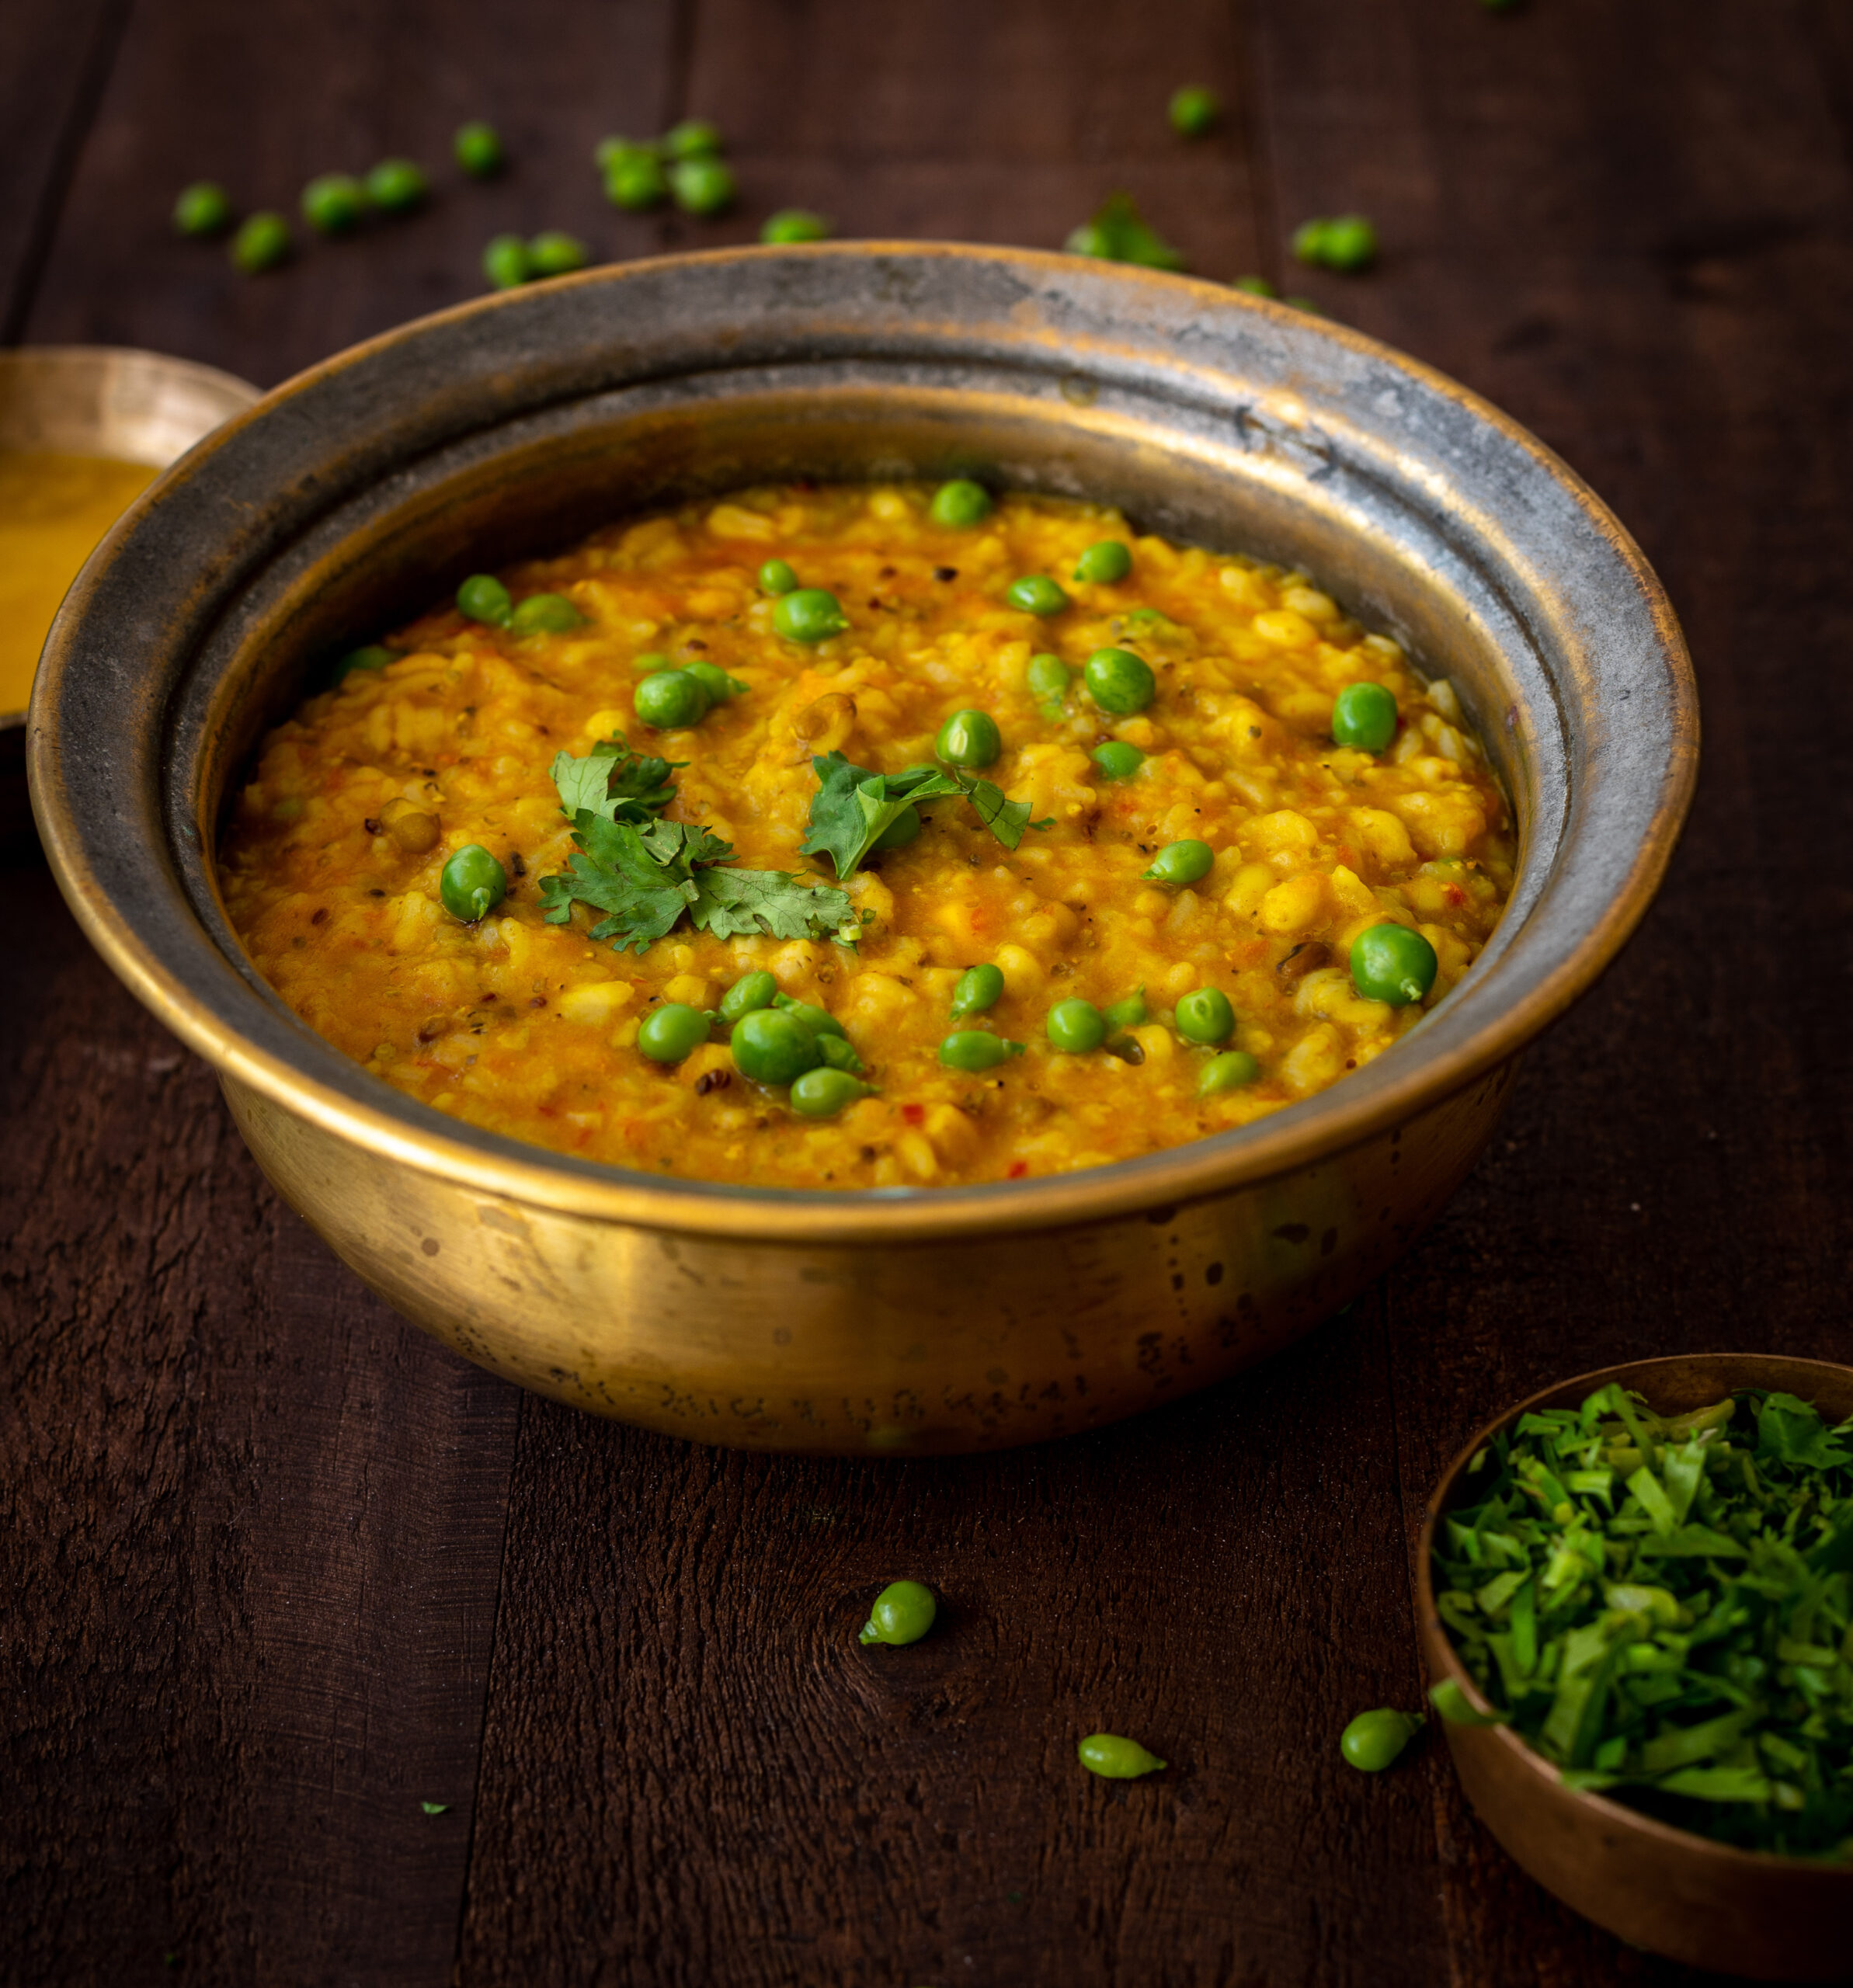
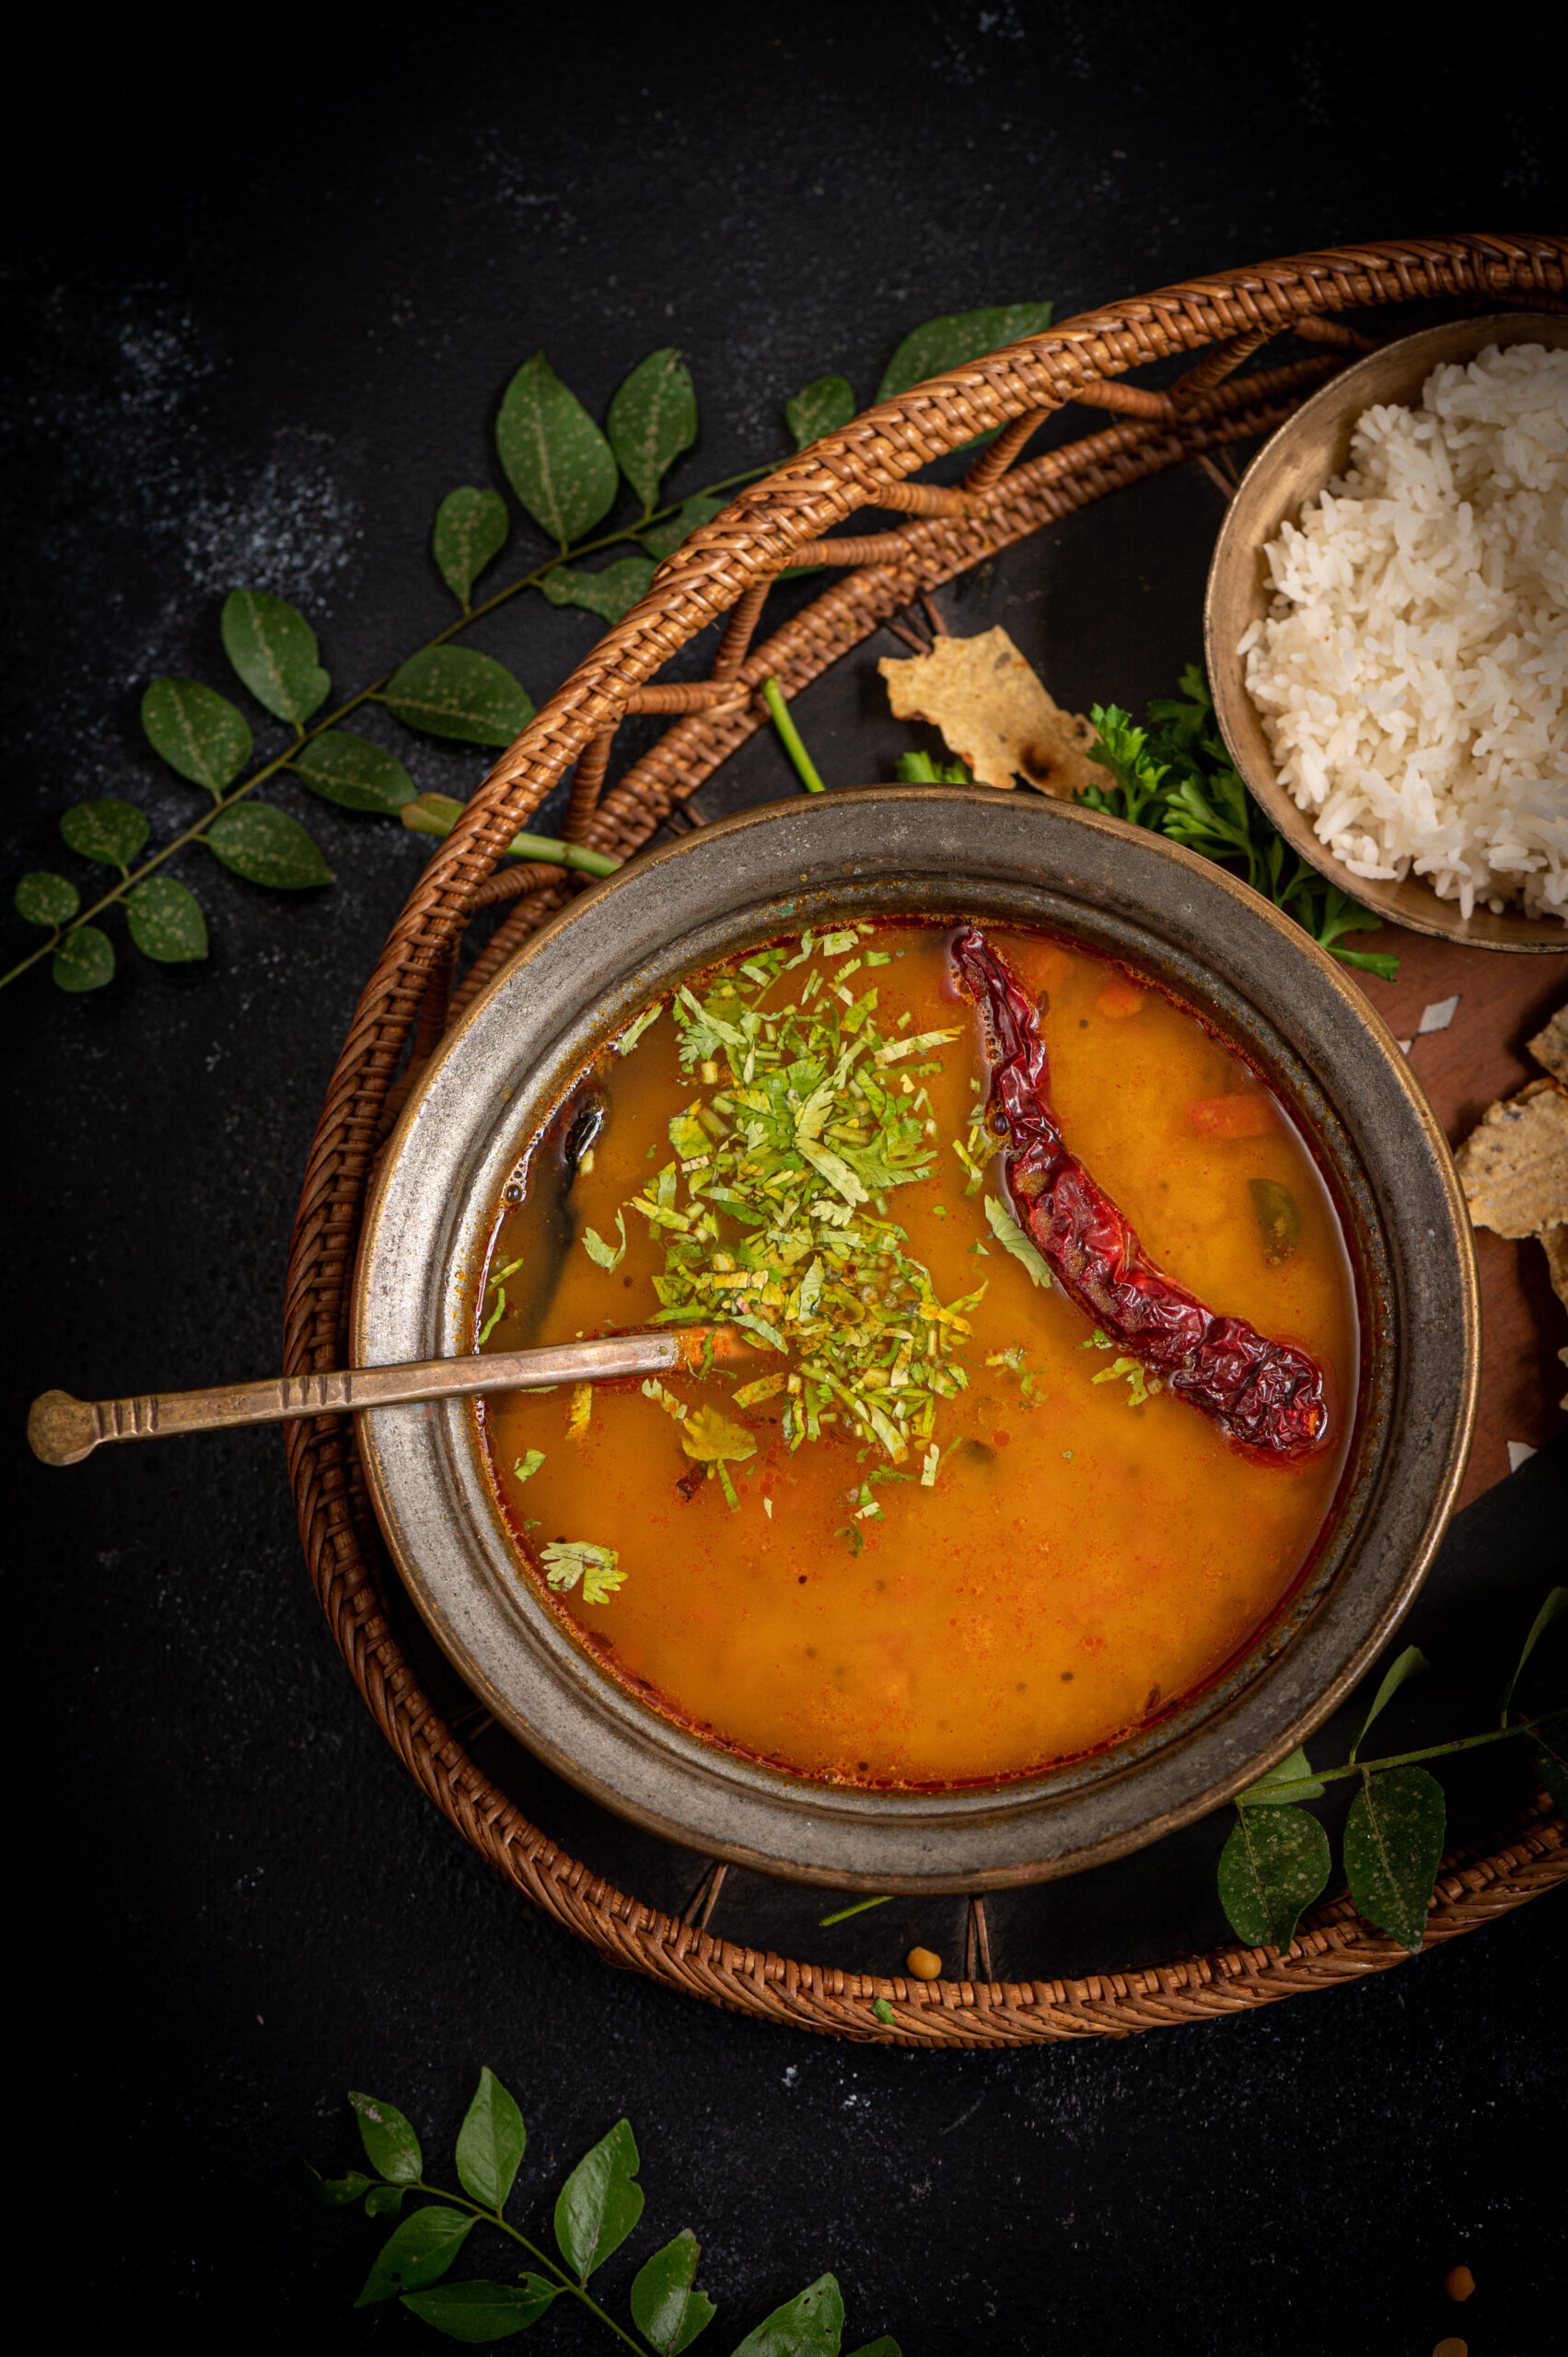
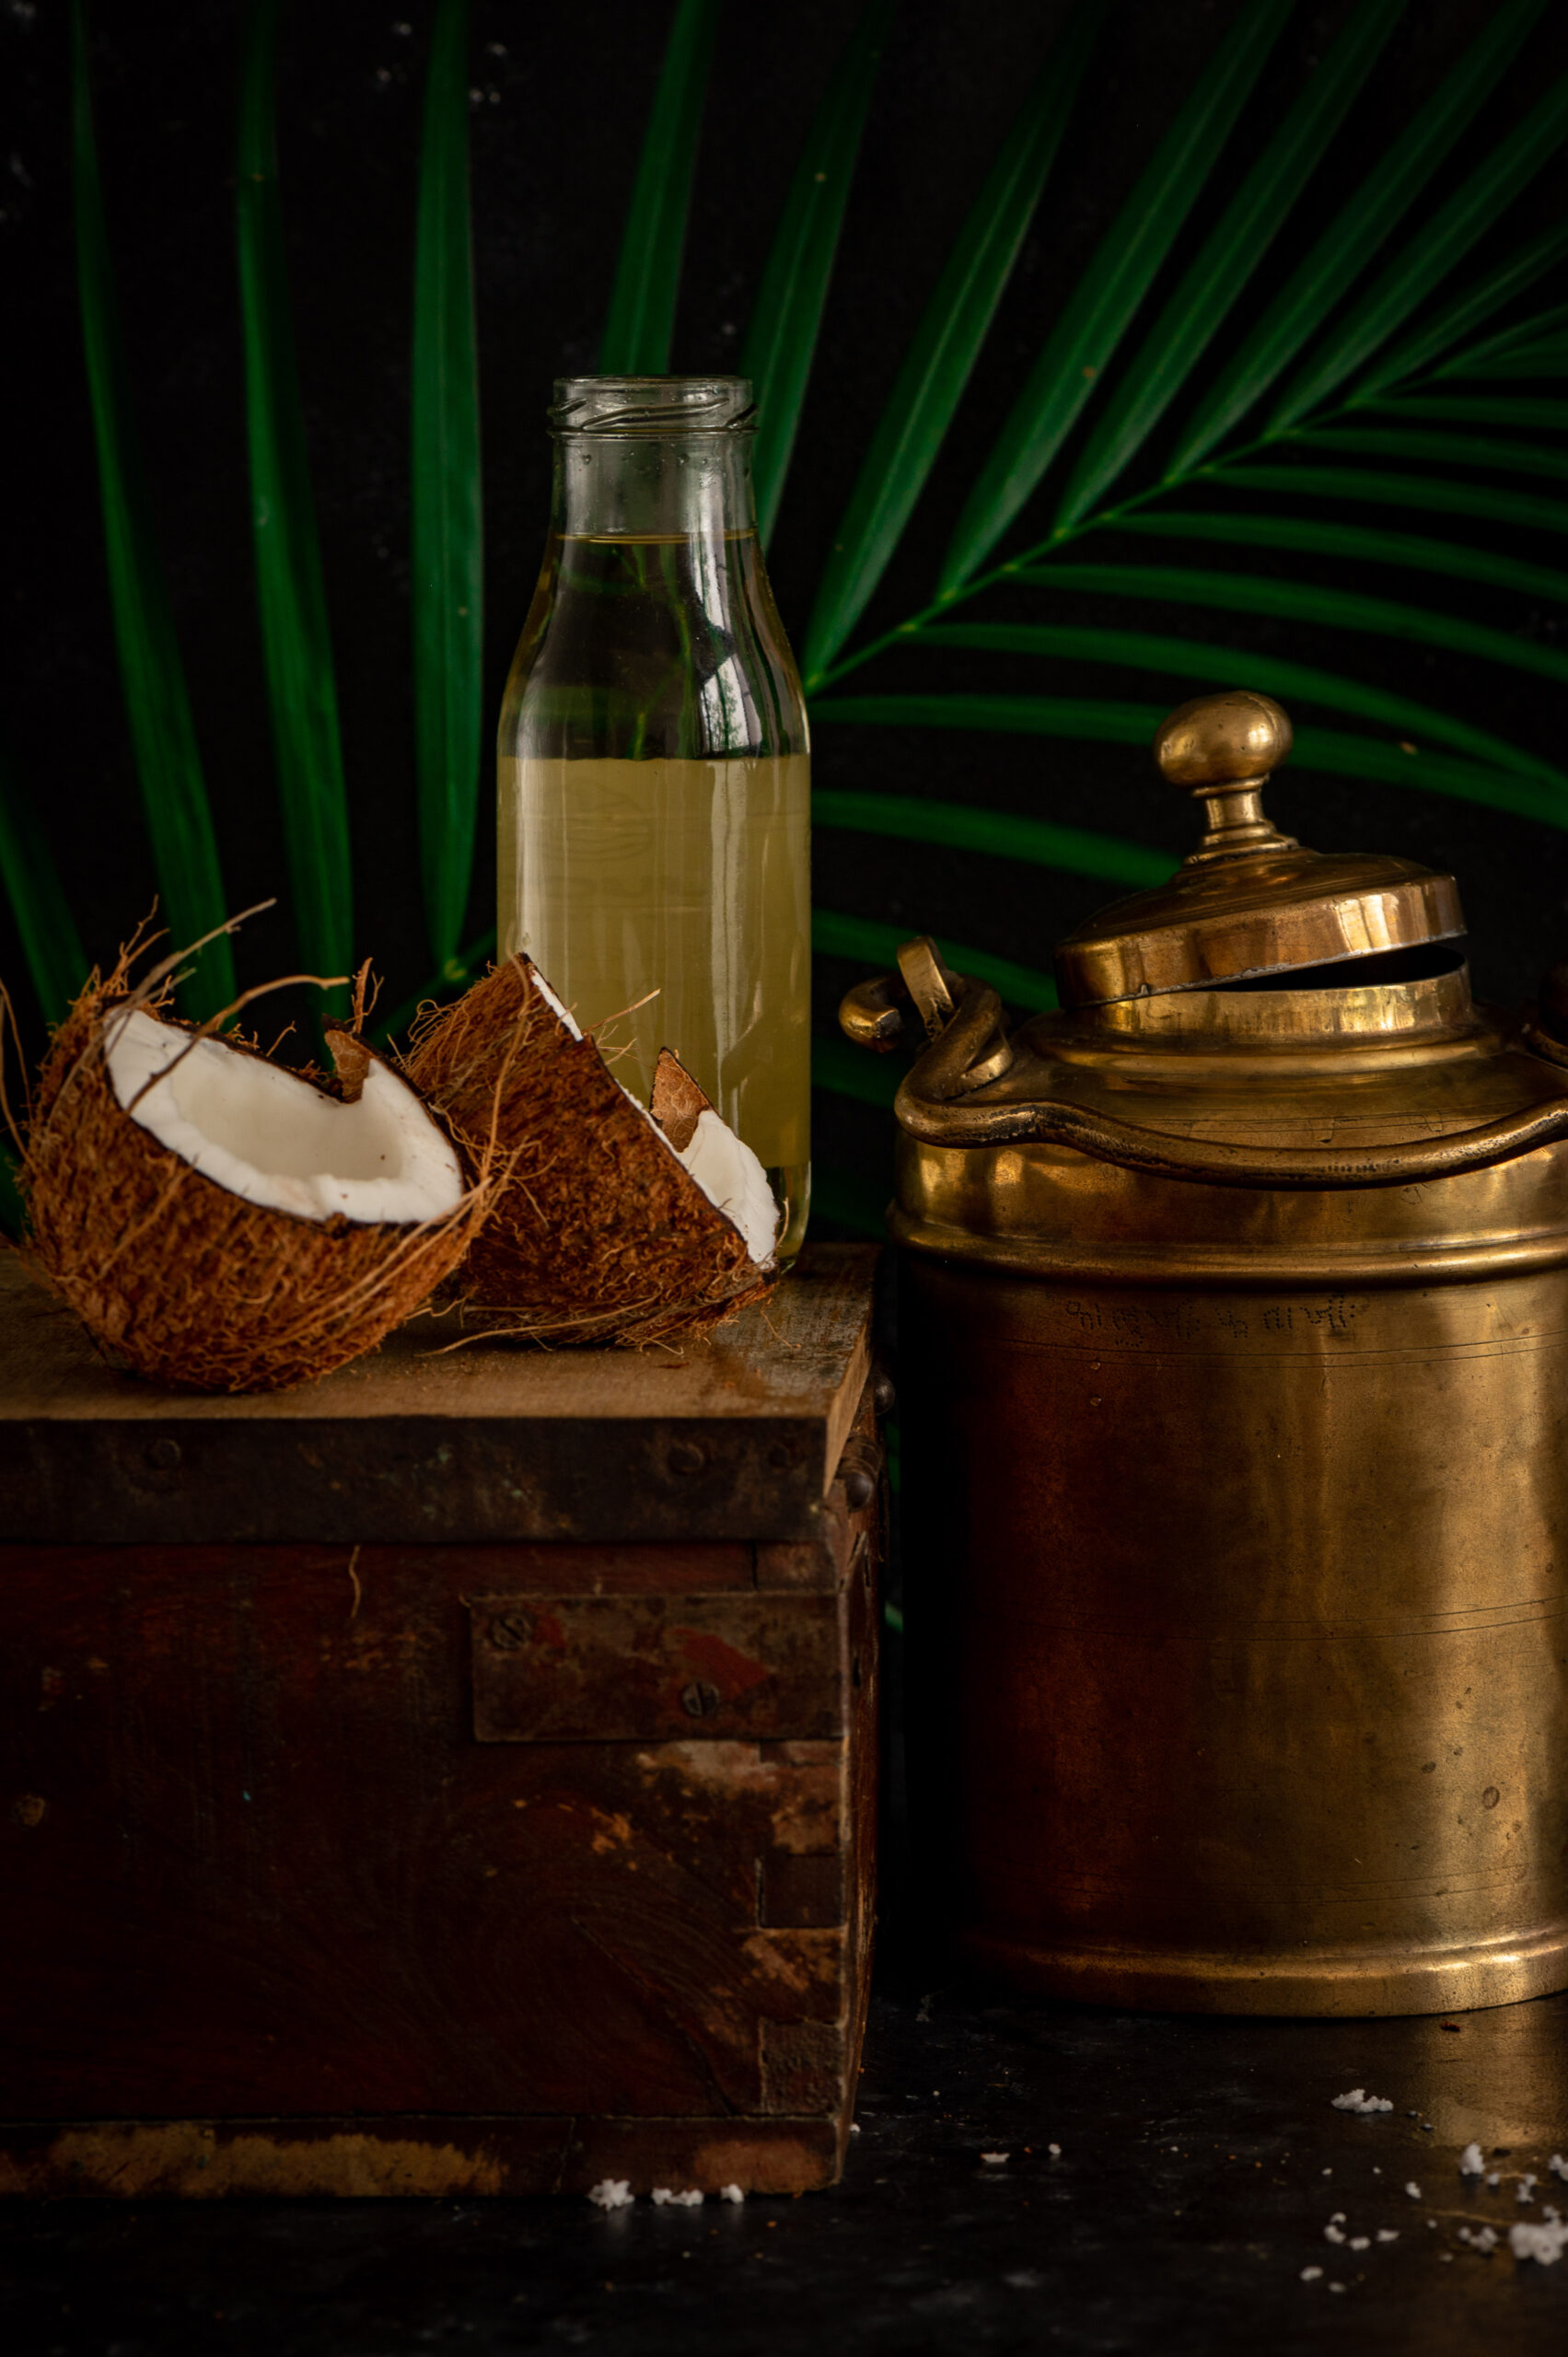
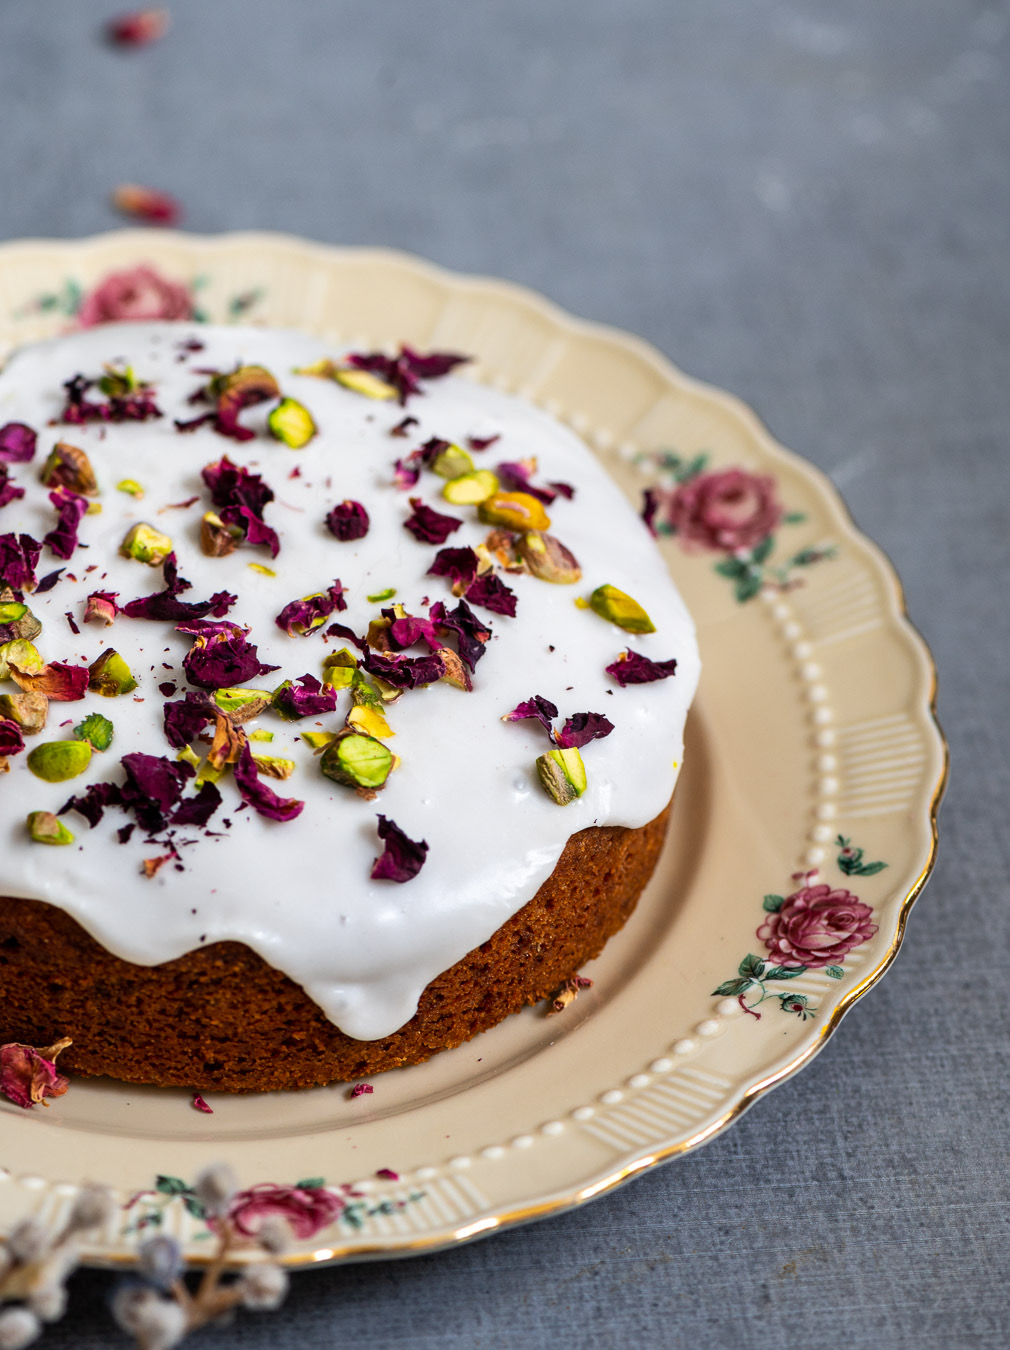
After making the nutritious (and labourious) seven-grain khichdo to share with you last week, I felt inspired to do a short series of similar dishes. This series will showcase the versatility of the staple grains we consume, and the many ways they help make up the traditional Gujarati menu. So here is part two of this series: bajra ghensh, which uses the goodness of broken pearl millet. Pearl millet has been cultivated in India for thousands of years, and is a vital part of both the authentic Gujarati and authentic Tamil cuisines that I grew up surrounded by. As you may know, I truly believe in the revival of higher quantities of millet usage in our diets, especially as a preferred alternative to white rice, and have written many times about their value to us.
I’ve been spending more time with my sister recently, and as always this means exploring her cooking style and picking up new techniques to include in my own. As she sometimes does, she said to me the other day, “Come, I’ll teach you a new recipe.” Working alongside her in her kitchen, I was very surprised to discover that it wasn’t a new recipe to me at all, but only a different interpretation of one I knew well, and made for a different meal of the day. My sister prepares bajra ghensh as dinner, whereas for over three decades my mother-in-law and I have been eating it for breakfast.
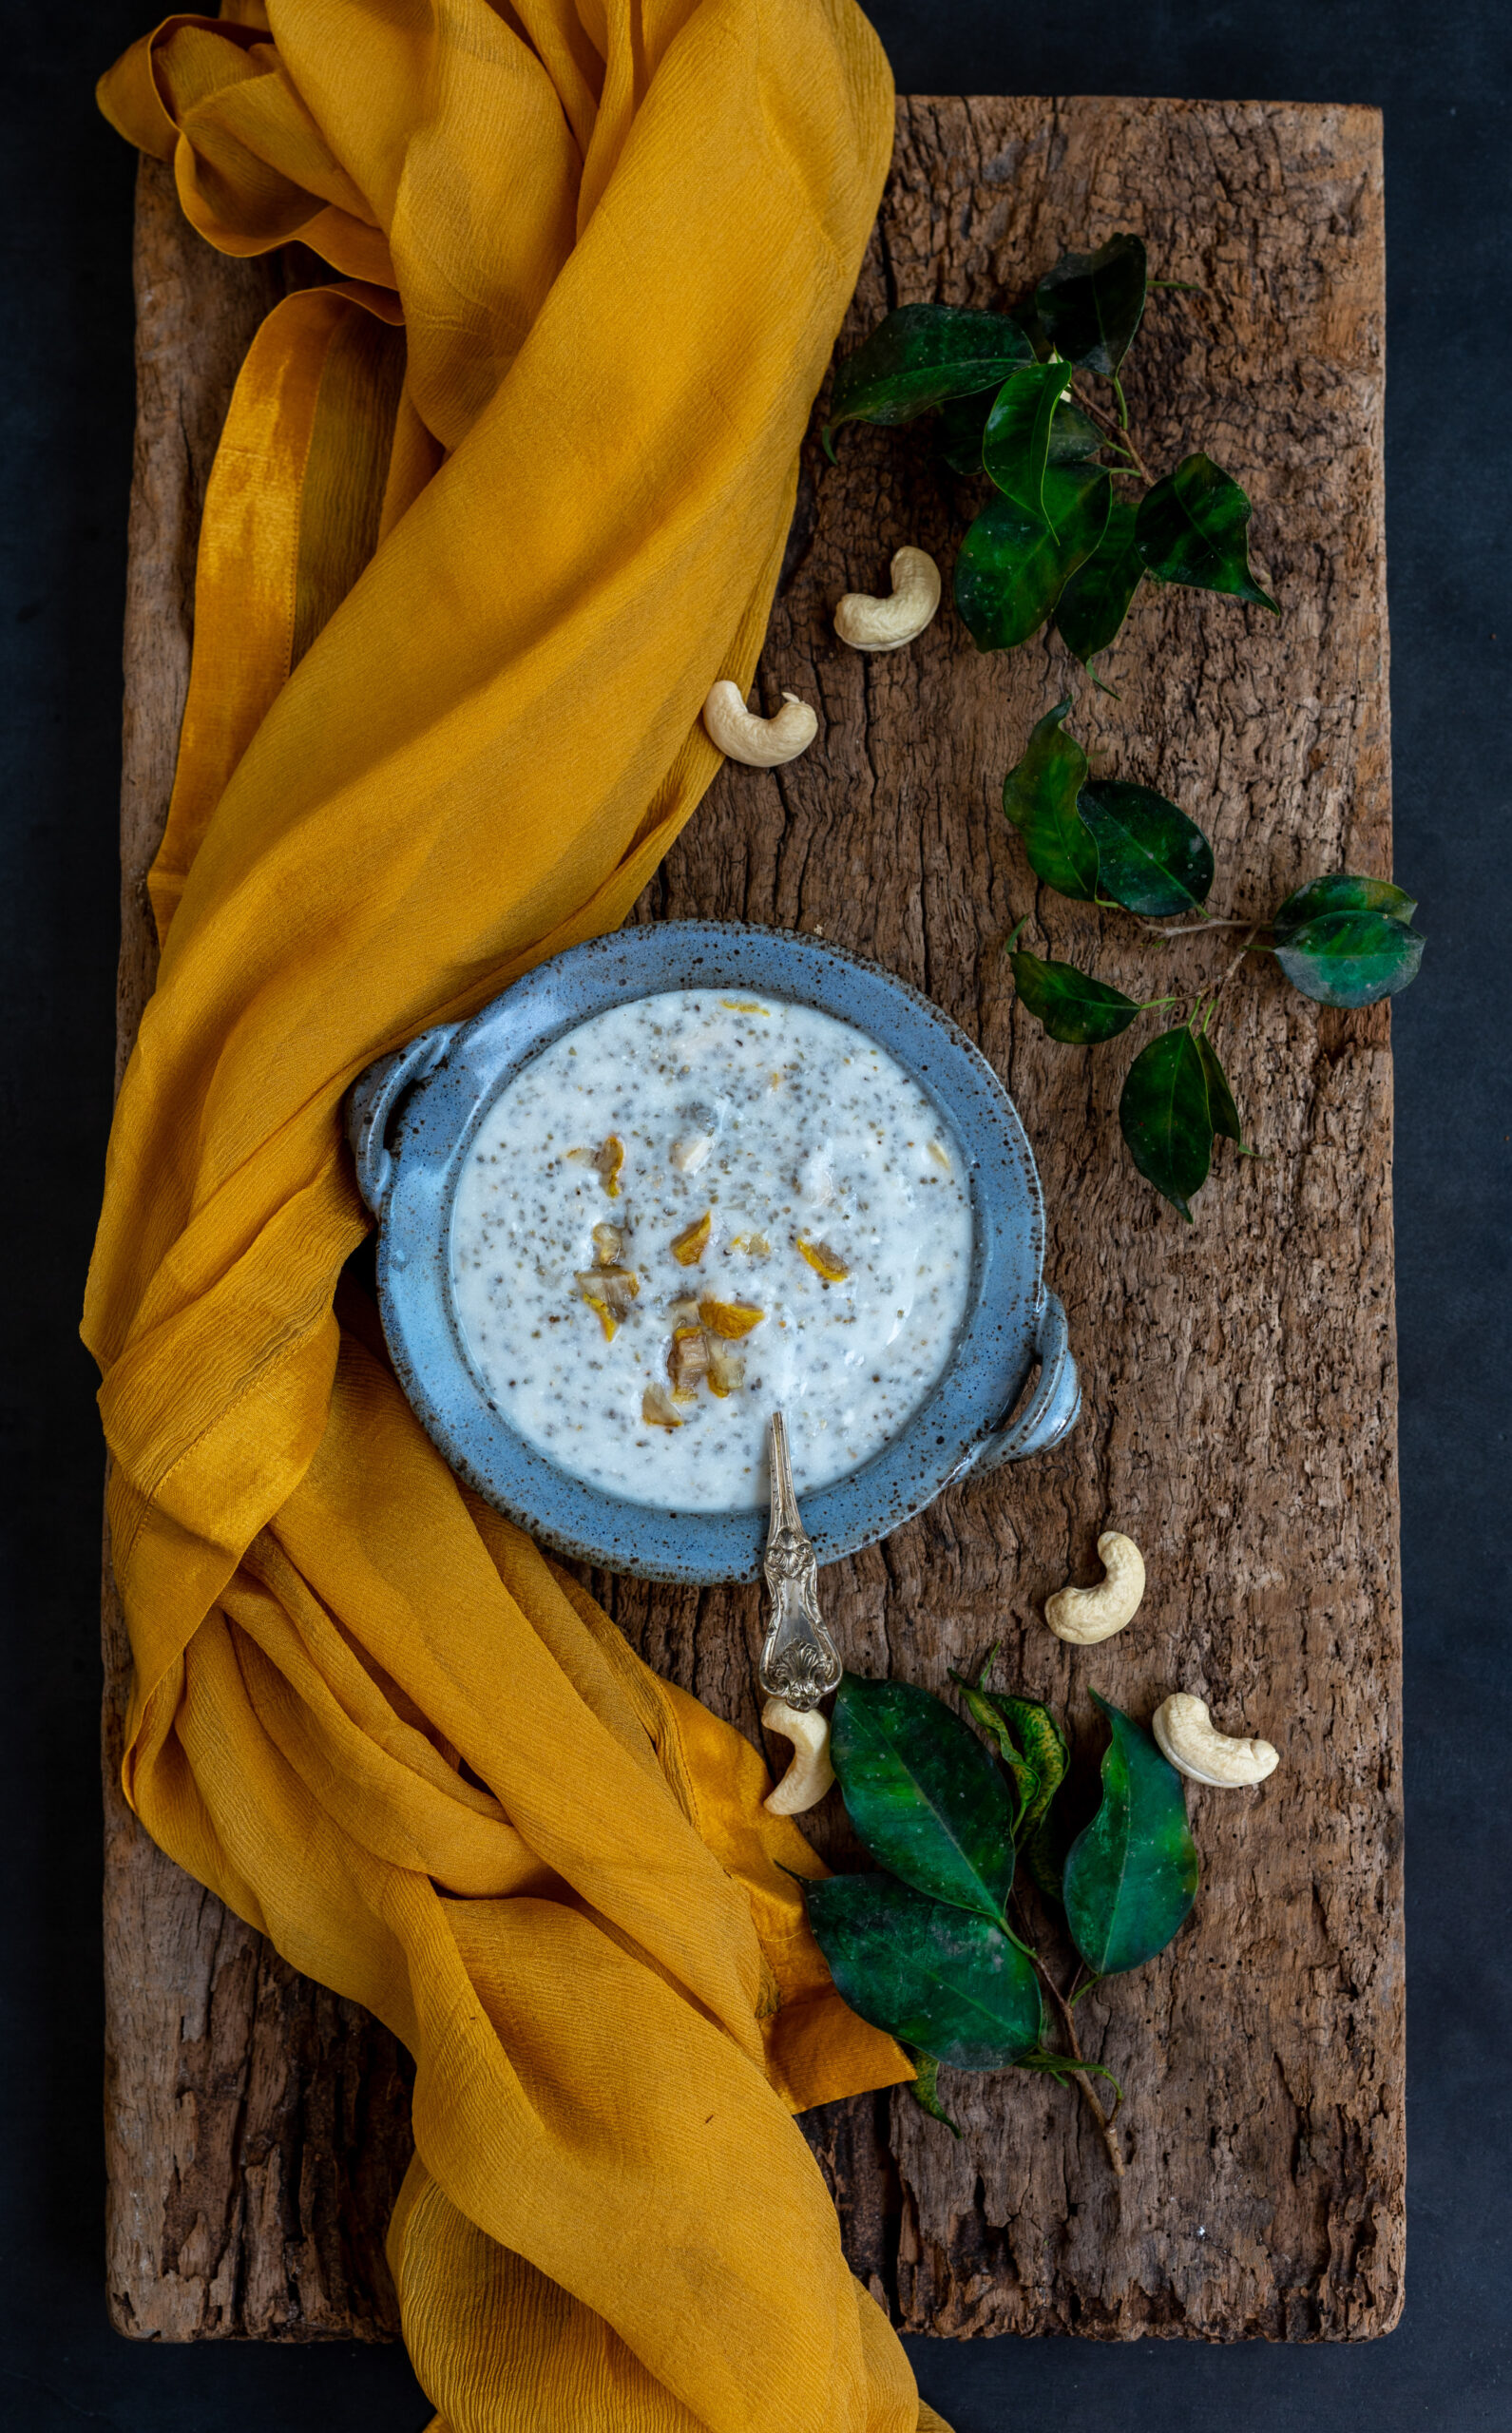
What did I tell you about the versatility of millets? In this highly adaptable bajra ghensh, we see an example of how dishes themselves become versatile too depending on the choices of the cook and the habits of the one consuming the same. The method of preparing it, as either breakfast or dinner, is still less the same, but storage and serving determine the type of meal it becomes. It’s a very simple dish with three base ingredients and a generous helping of dry fruits and nuts.
Bajra ghensh wasn’t something we ate while we were growing up, and just as my sister was introduced to it after getting married, I too first encountered it thanks to my mother-in-law. I remember how when I first moved in, my mother-in-law would make it as a porridge or cereal to be had in the mornings, and I loved it from the start. Soon, I was frequently whipping up a big pot of it for both her and I and we would share it for breakfast. We both enjoyed it so much that we would have the same dish for two or three mornings in a row, without needing variety. This was the only way I’d ever eaten it, until my sister served it for dinner the other day.
As delicious as that was, to my mind this is still a breakfast dish, and so my recipe and my photographs here reflect this perspective. It’s a very healthy post-workout meal, and it’s an ideal replacement for supermarket cereals, which make tall claims about nutrition values but are usually full of processed ingredients and sugar. On the other hand, this is comparable only to the simplicity and goodness of whole oats. It is also gluten-free, for those who are making a dietary switch, but it is not dairy-free.
Traditionally, just like the seven-grain khichdo, bajra ghensh was also a winter dish. Pearl millet is warming and high in iron, and the Macrobiotic principle of darker grains being considered winter-friendly applies here. They are harder to digest, whereas in summer lighter grains like jowar and amaranth that are light on the stomach and easiest to digest are better, as per the time-honoured logic of seasonal culinary usages. As I said earlier, since I usually have bajra ghensh in the mornings, I’ve noticed that on days when I have done so, I tend to not become hungry again till at least lunch time or even later. A dish like this cancels out your snack cravings, which automatically increases its already high healthiness quotient.
Finding out that this works well both as a filling breakfast and as a heavy dinner, as well as making the connections with Indian seasonal logic and Macrobiotics, also made me ponder how my mother-in-law and I prepare this at night and store it in the fridge. Since this is a traditional recipe, this meant that in earlier times it could only have been made in winters, when the climate as well as the type of vessels used would allow it to be stored overnight. Only certain probiotic foods would be kept to be on eaten the following day (including homemade yoghurt). There could be no such thing as leftovers, and if there were there were resourceful ways to ensure that these were consumed quickly too. Particularly for Jains, wastage goes against religious philosophy and practice, so quantities are an important part of cooking methods. In the absence of refrigeration, and often with access issues or resource concerns to consider as well, creating perfect portions that satisfy the entire family without any excess is a special skill, and one that cooks across the centuries had to cultivate. It is only in our modern age that we can rely on certain conveniences.
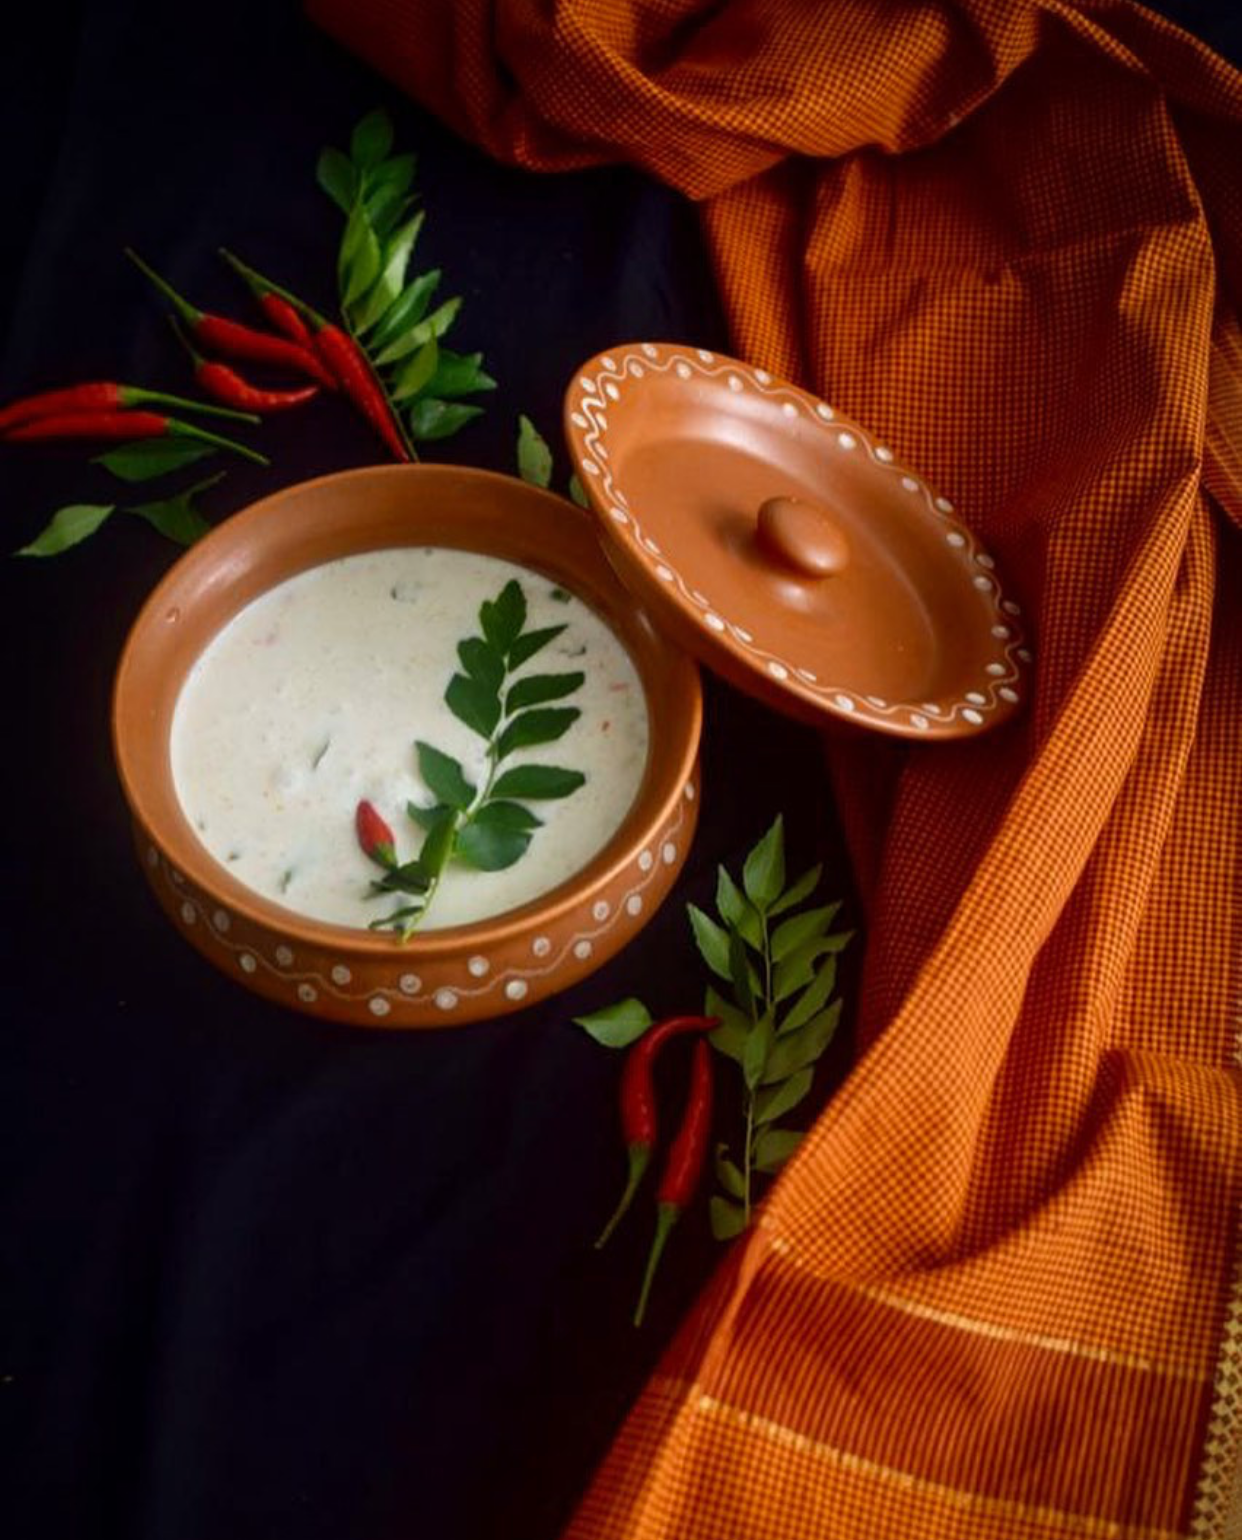
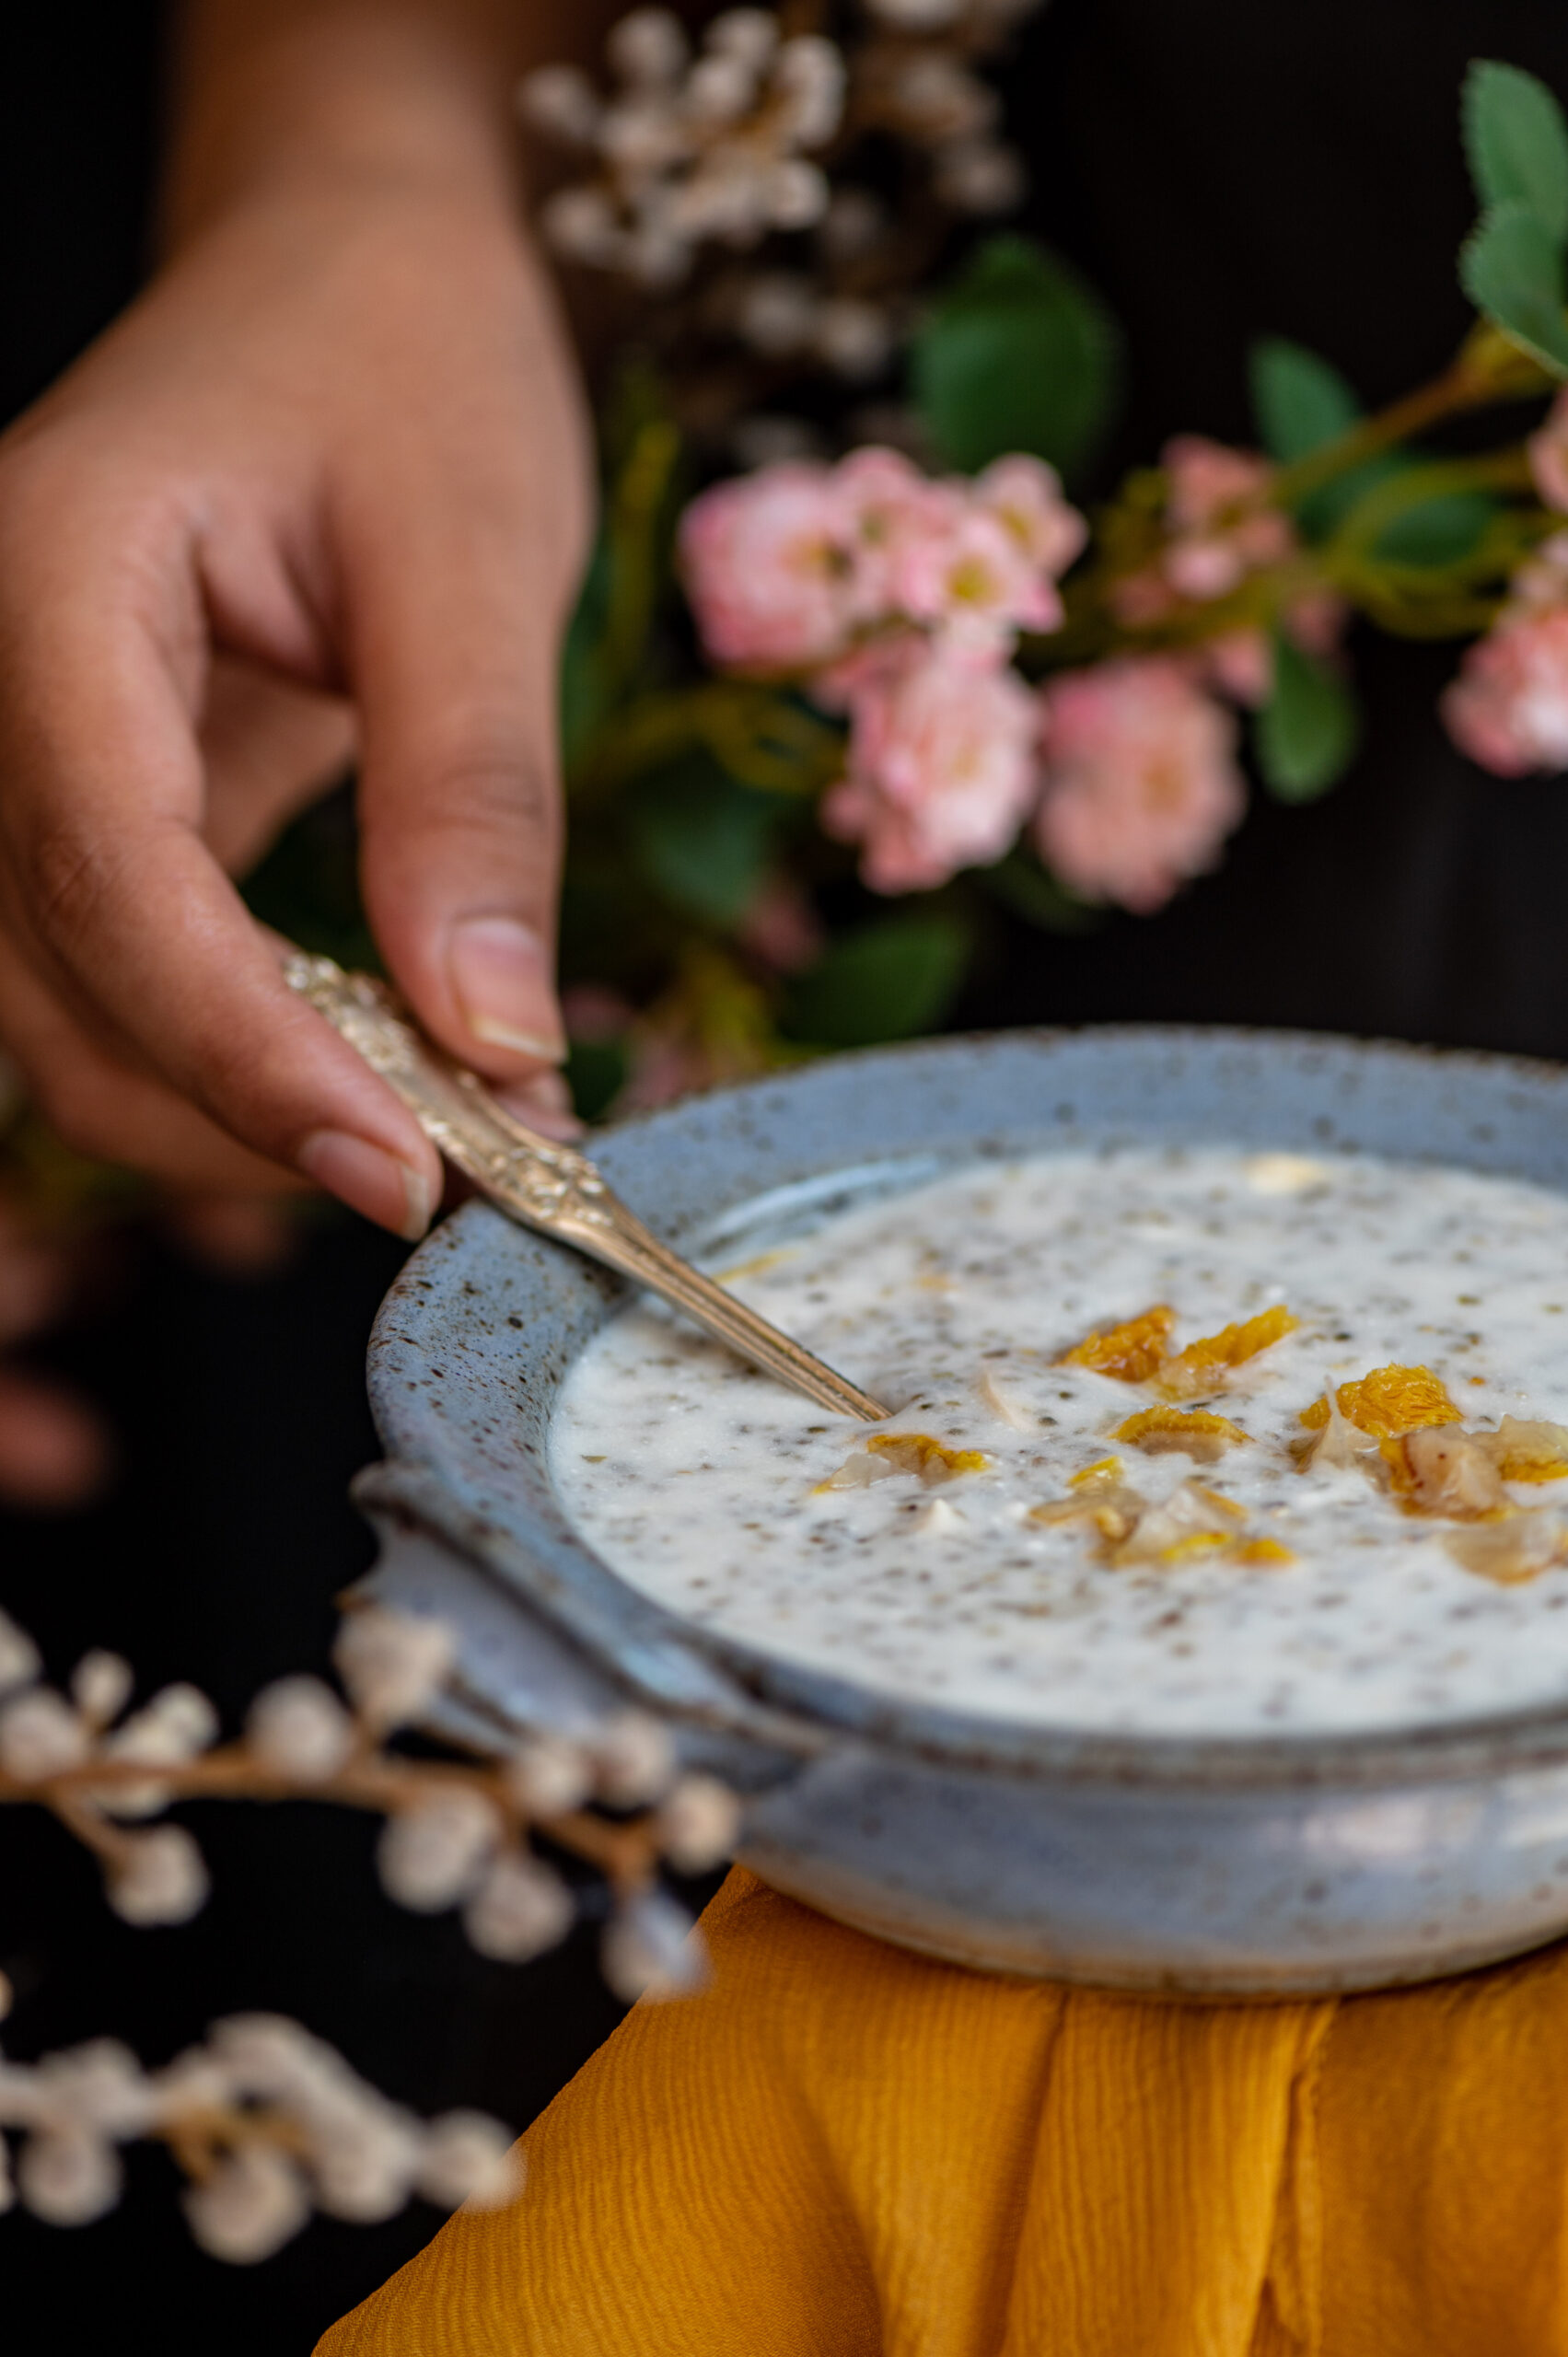
So what happens is this: because of its thick consistency, this bajra ghensh sets when you keep it in the fridge. In the morning, take a chunk, add a bit of milk and have it as a cereal. Or else, prepare it in the evening and eat it hot, right off the stove and with no milk added for breakfast, just like a khichdo.
Bajra Ghensh
(Yield: 2 persons)
½ cup broken bajra (pearl millet)
1½ – 2 cups water
½ cup thick yoghurt
Salt to taste
20 grams kharek (dried dates)
10 grams dried coconut slices
10 grams cashew nuts
Clean, rinse and soak the broken bajra for 2-3 hours.
Once soaked, cook the bajra along with the 1½ cups of water in a pressure cooker until the grain is soft and tender. Open the pressure cooker lid when ready.
Place a kadai on a medium flame and pour the bajra into it. Now, add the yoghurt and stir continuously. Next, add the salt. Finally, add the dried nuts, dates and coconut and mix well.
This is the point at which you have a choice: today’s main meal, or tomorrow’s breakfast?
Let’s say you decide to have it for breakfast. Just pour the concoction into a container and set it aside for some time. As the bajra ghensh cools, it will solidify. Once it is at room temperature, refrigerate.
You don’t have to do anything the next morning but scoop out a portion into a bowl, add a little milk or buttermilk (which I prefer for the tang) and enjoy!
Do you have a recipe in your own repertoire that you’ve been making and having a certain way for ages, which you later found in an alternate rendition somewhere else? It’s always fascinating to me how the very same dish is prepared or consumed in different ways, depending not even on the community but just on the family or the person who does the cooking. I hope you’ll enjoy this bajra ghensh, and be sure to let me know which meal you had it for!