Tag

healthy

Browsing

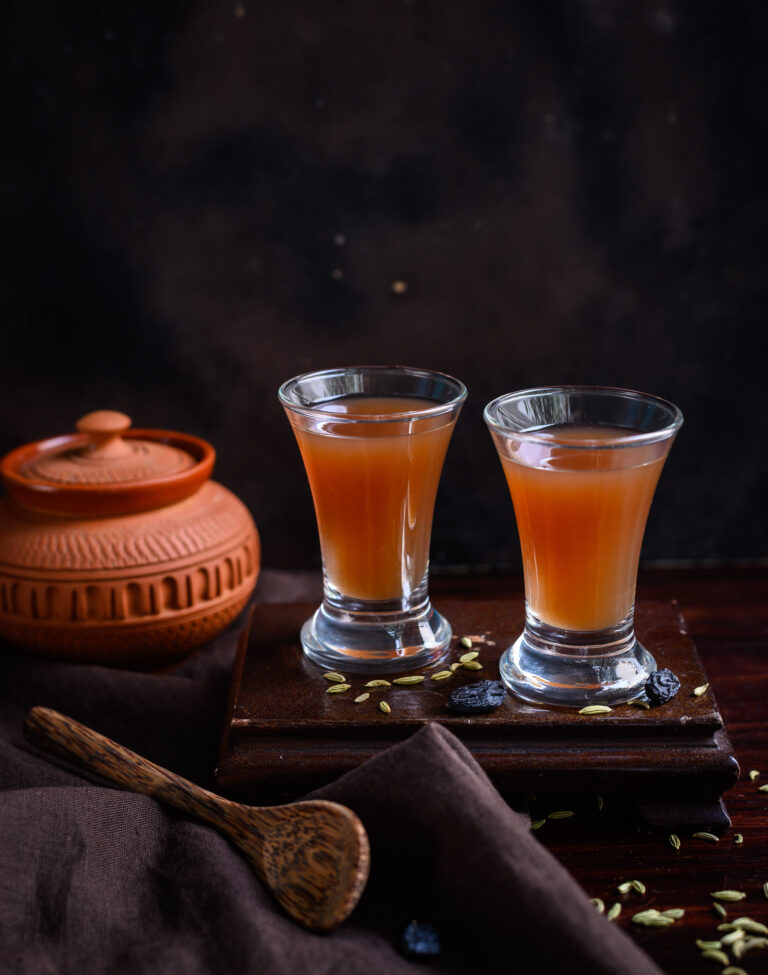
In my recent recipe for a barley lime drink, I mentioned how my sister and I were anaemic while growing up, and how we were subjected to a range of homemade remedies to improve our condition. When she and I reminisce about the good old days now, we often laugh about all those horrible tonics and preparations, and very fondly remember one we actually loved. In fact, many children would, because of its delicious sweetness. The “medicine” in question was the raisin kalkand (crystal sugar) syrup, a simple health-boosting tonic our mother often prepared for us.

We would be given this first thing in the morning during the summers because it’s a highly cooling drink, in addition to its strengthening properties. Dehydration is something we’ve all become mindful of given this heat. But it’s also important to consume foods and beverages which have a cooling effect on the body. The science of Ayurveda has helped us identify many of these. As I’ve said before, I don’t know how much of it was science and how much of it was intuition, but my mother had an amazing skill when it came to knowing the heating and cooling properties of various ingredients. So she made sure that the raisin kalkand syrup was a summertime drink for us. It’s cooling both in terms of what’s in it and how it’s made.

Life was so different back then, when we were growing up. We were all so dependent on natural remedies, avoiding pills, and were no less healthy for it. These are ways of life which are being forgotten. Do you remember growing up in that time, in which mothers and grandmothers always seemed to know what to reach for in the kitchen to not just treat but even cure all kinds of common ailments?

In retrospect, I appreciate those kinds of healing methodologies and natural sciences all the more. They followed traditional customs, had seasonal logic, and maintained health in the family and community. I have become a big believer in these remedies, and many trips down memory lane have helped me bring some of them back into my life. This health-boosting turmeric shot and this herbal tonic for sniffles are but two examples of how a handful of common ingredients can make you feel all better.

Still, I must admit that I struggle sometimes to maintain and share the old ways of healing, especially when it comes to my children and how fast-paced their lifestyles now are. But that’s partly why I feel it’s so important to revive and invest in these methods. They counter the demands of the world through their time-honoured and proven usage. They were not passed down through so many generations for nothing. For small complaints, they often work like a charm.

And as far as charms go, this raisin kalkand syrup is a particularly sweet one. Literally! You’d be hard-pressed to find a child who will reject a shot of it.

Like so many old recipes, the secret to this one lies in its simplicity. Fennel seeds are a source of iron, histidine and folic acid, zinc, magnesium, potassium, Vitamins C and K and essential minerals. Black raisins too are full of iron, thus increasing haemoglobin levels, and are also good for bone strength, immunity and a host of other needs of growing children.
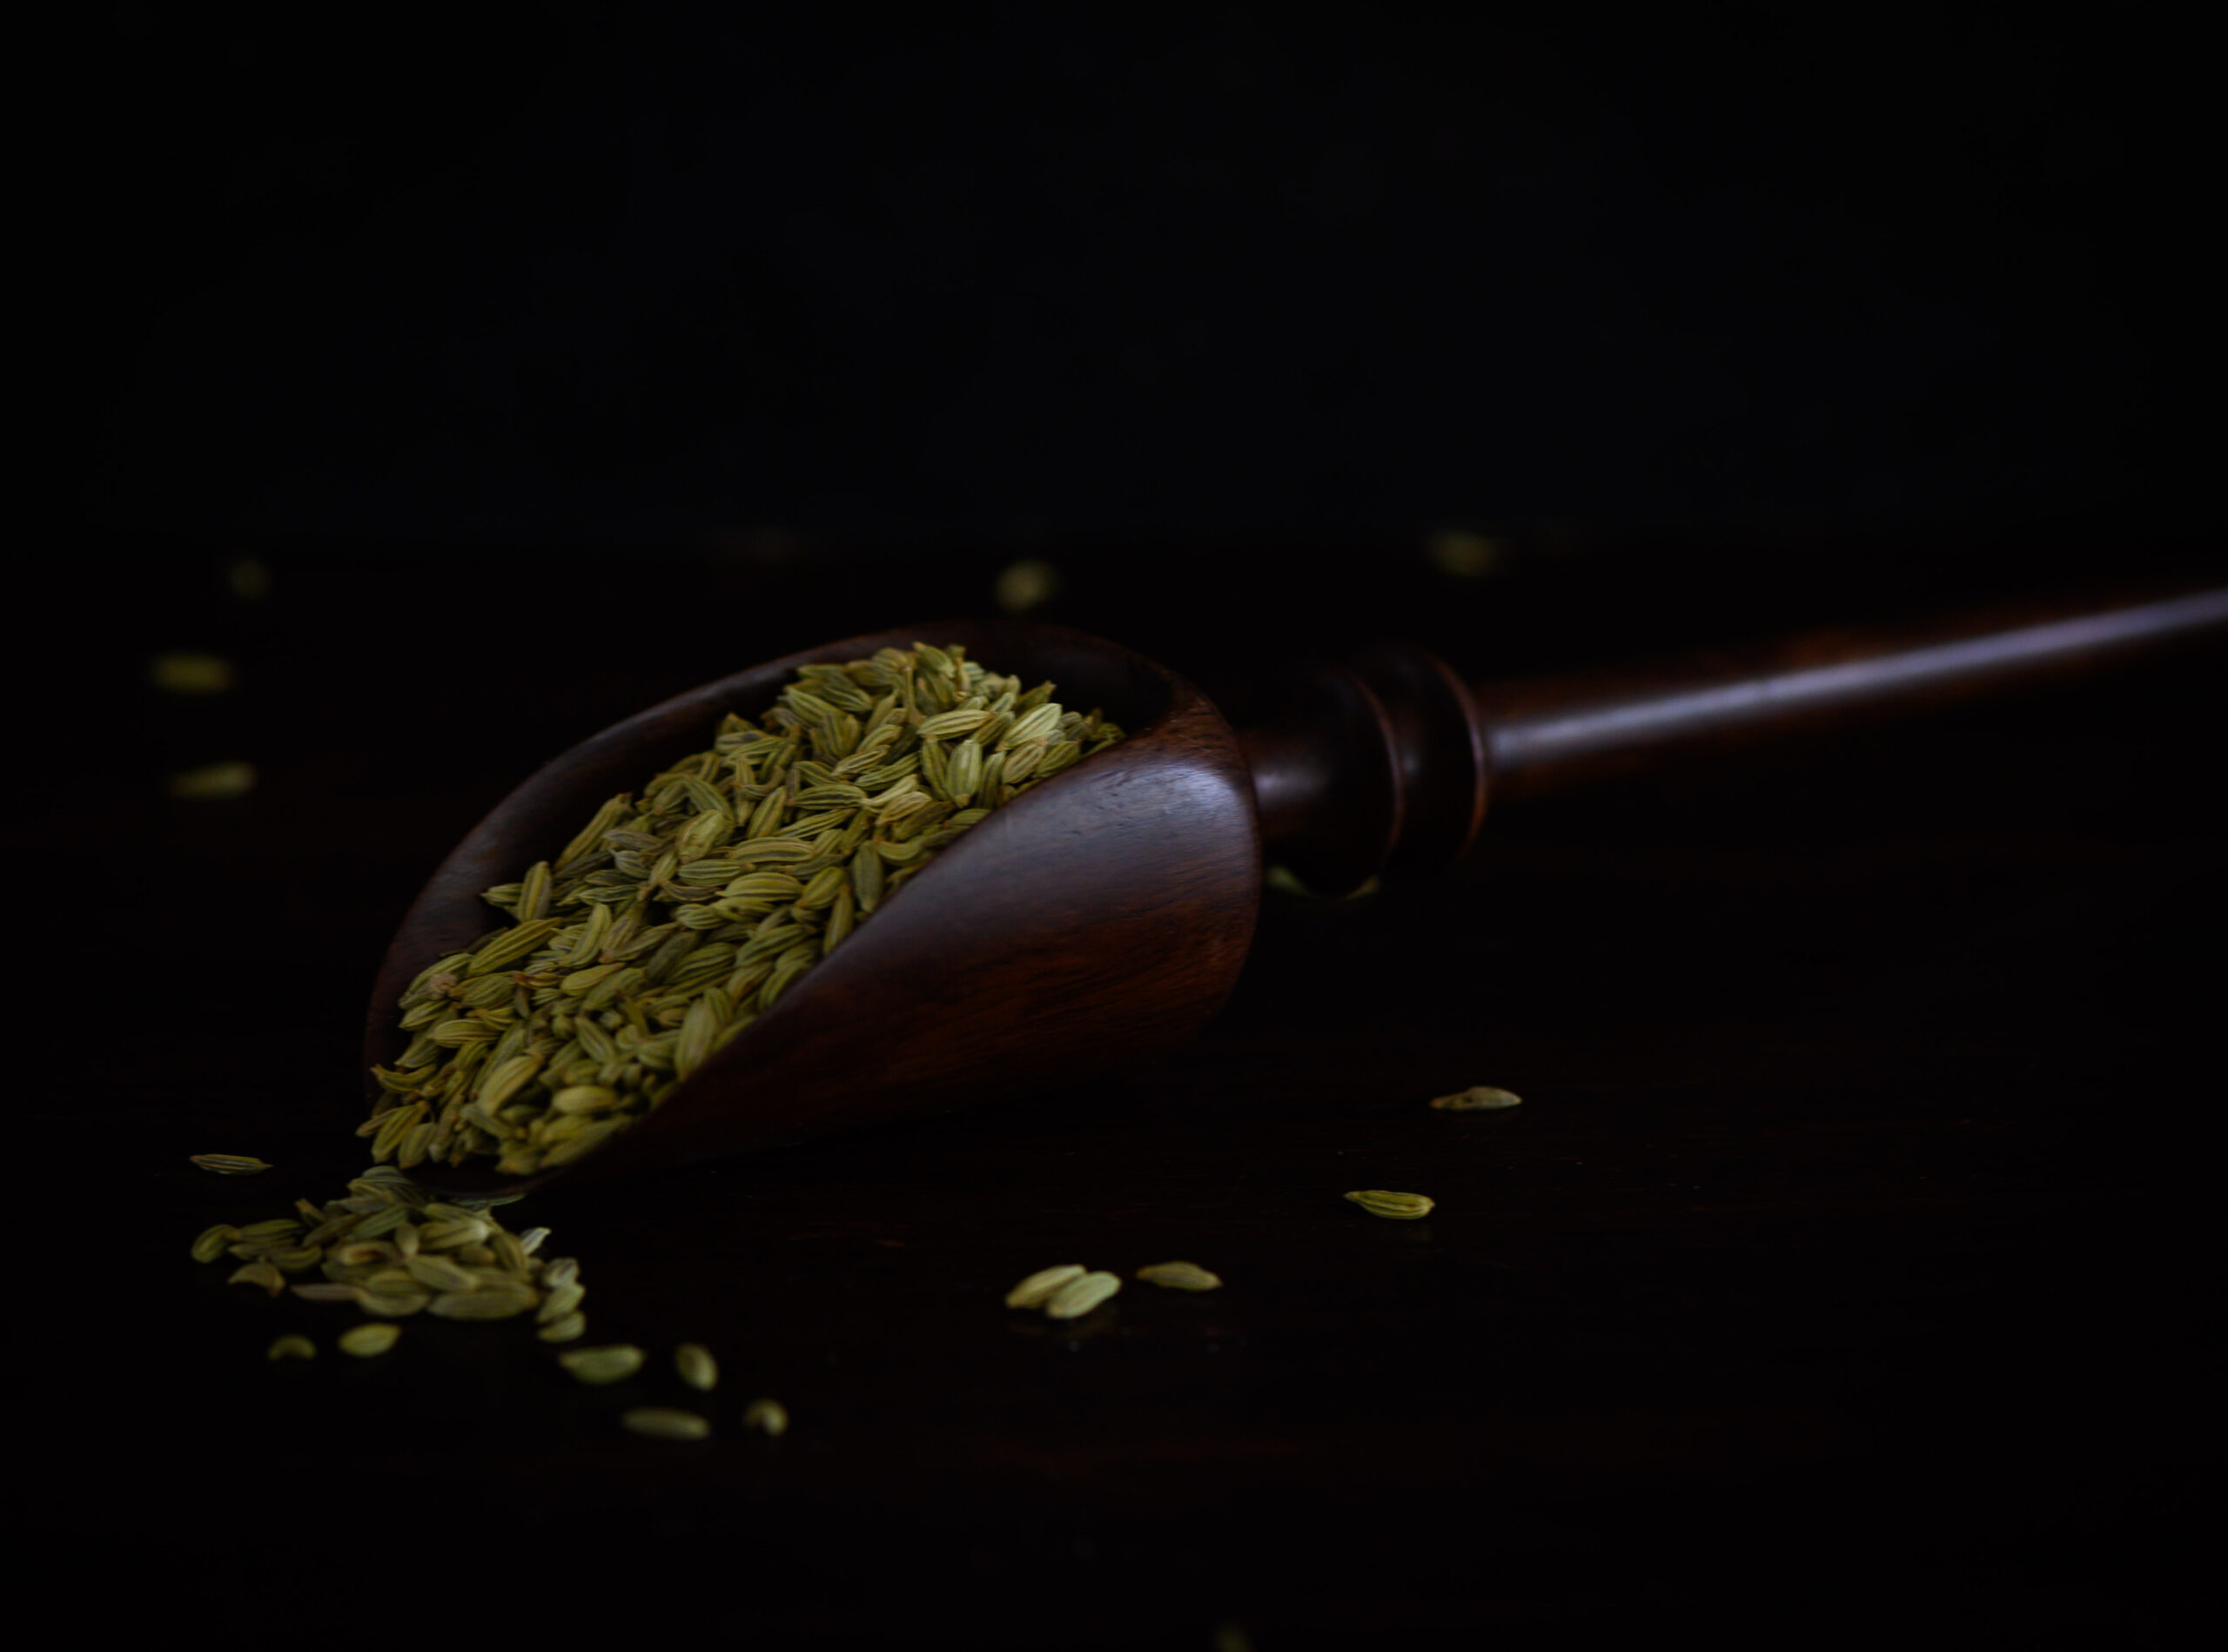
Furthermore, there is a process of soaking which brings out the nutrients in the raisins and the fennel. This takes place in a terracotta pot, an ancient cooling method that continues to be a part of Indian kitchens. This amazing, energy-efficient refrigeration technique is also great for curd, water and so many items which are best served cooled in the hot summers. Adapted for both adults and children as a sort of raisin and fennel juice, this syrup that I liked to gulp in a shot from my childhood is an ideal drink to cool down in the heat.

You may be wondering how sugar, which so many nutrition-conscious people regard as a big no-no, could be such a major part of a home remedy. Its presence in this recipe is neither for reducing bitterness nor for making it more palatable for children, especially since delicious raisins don’t need to be (literally) sugar-coated like certain other nourishing ingredients. The use of kalkand here is only for a cooling effect, just like the terracotta pot. A substitute like jaggery would have a heating effect, and is better avoided.

This raisin kalkand syrup is best taken in the summer months, and joins an ever-growing list of heat-fighting drinks on this blog, including rose sherbet and spiced buttermilk.
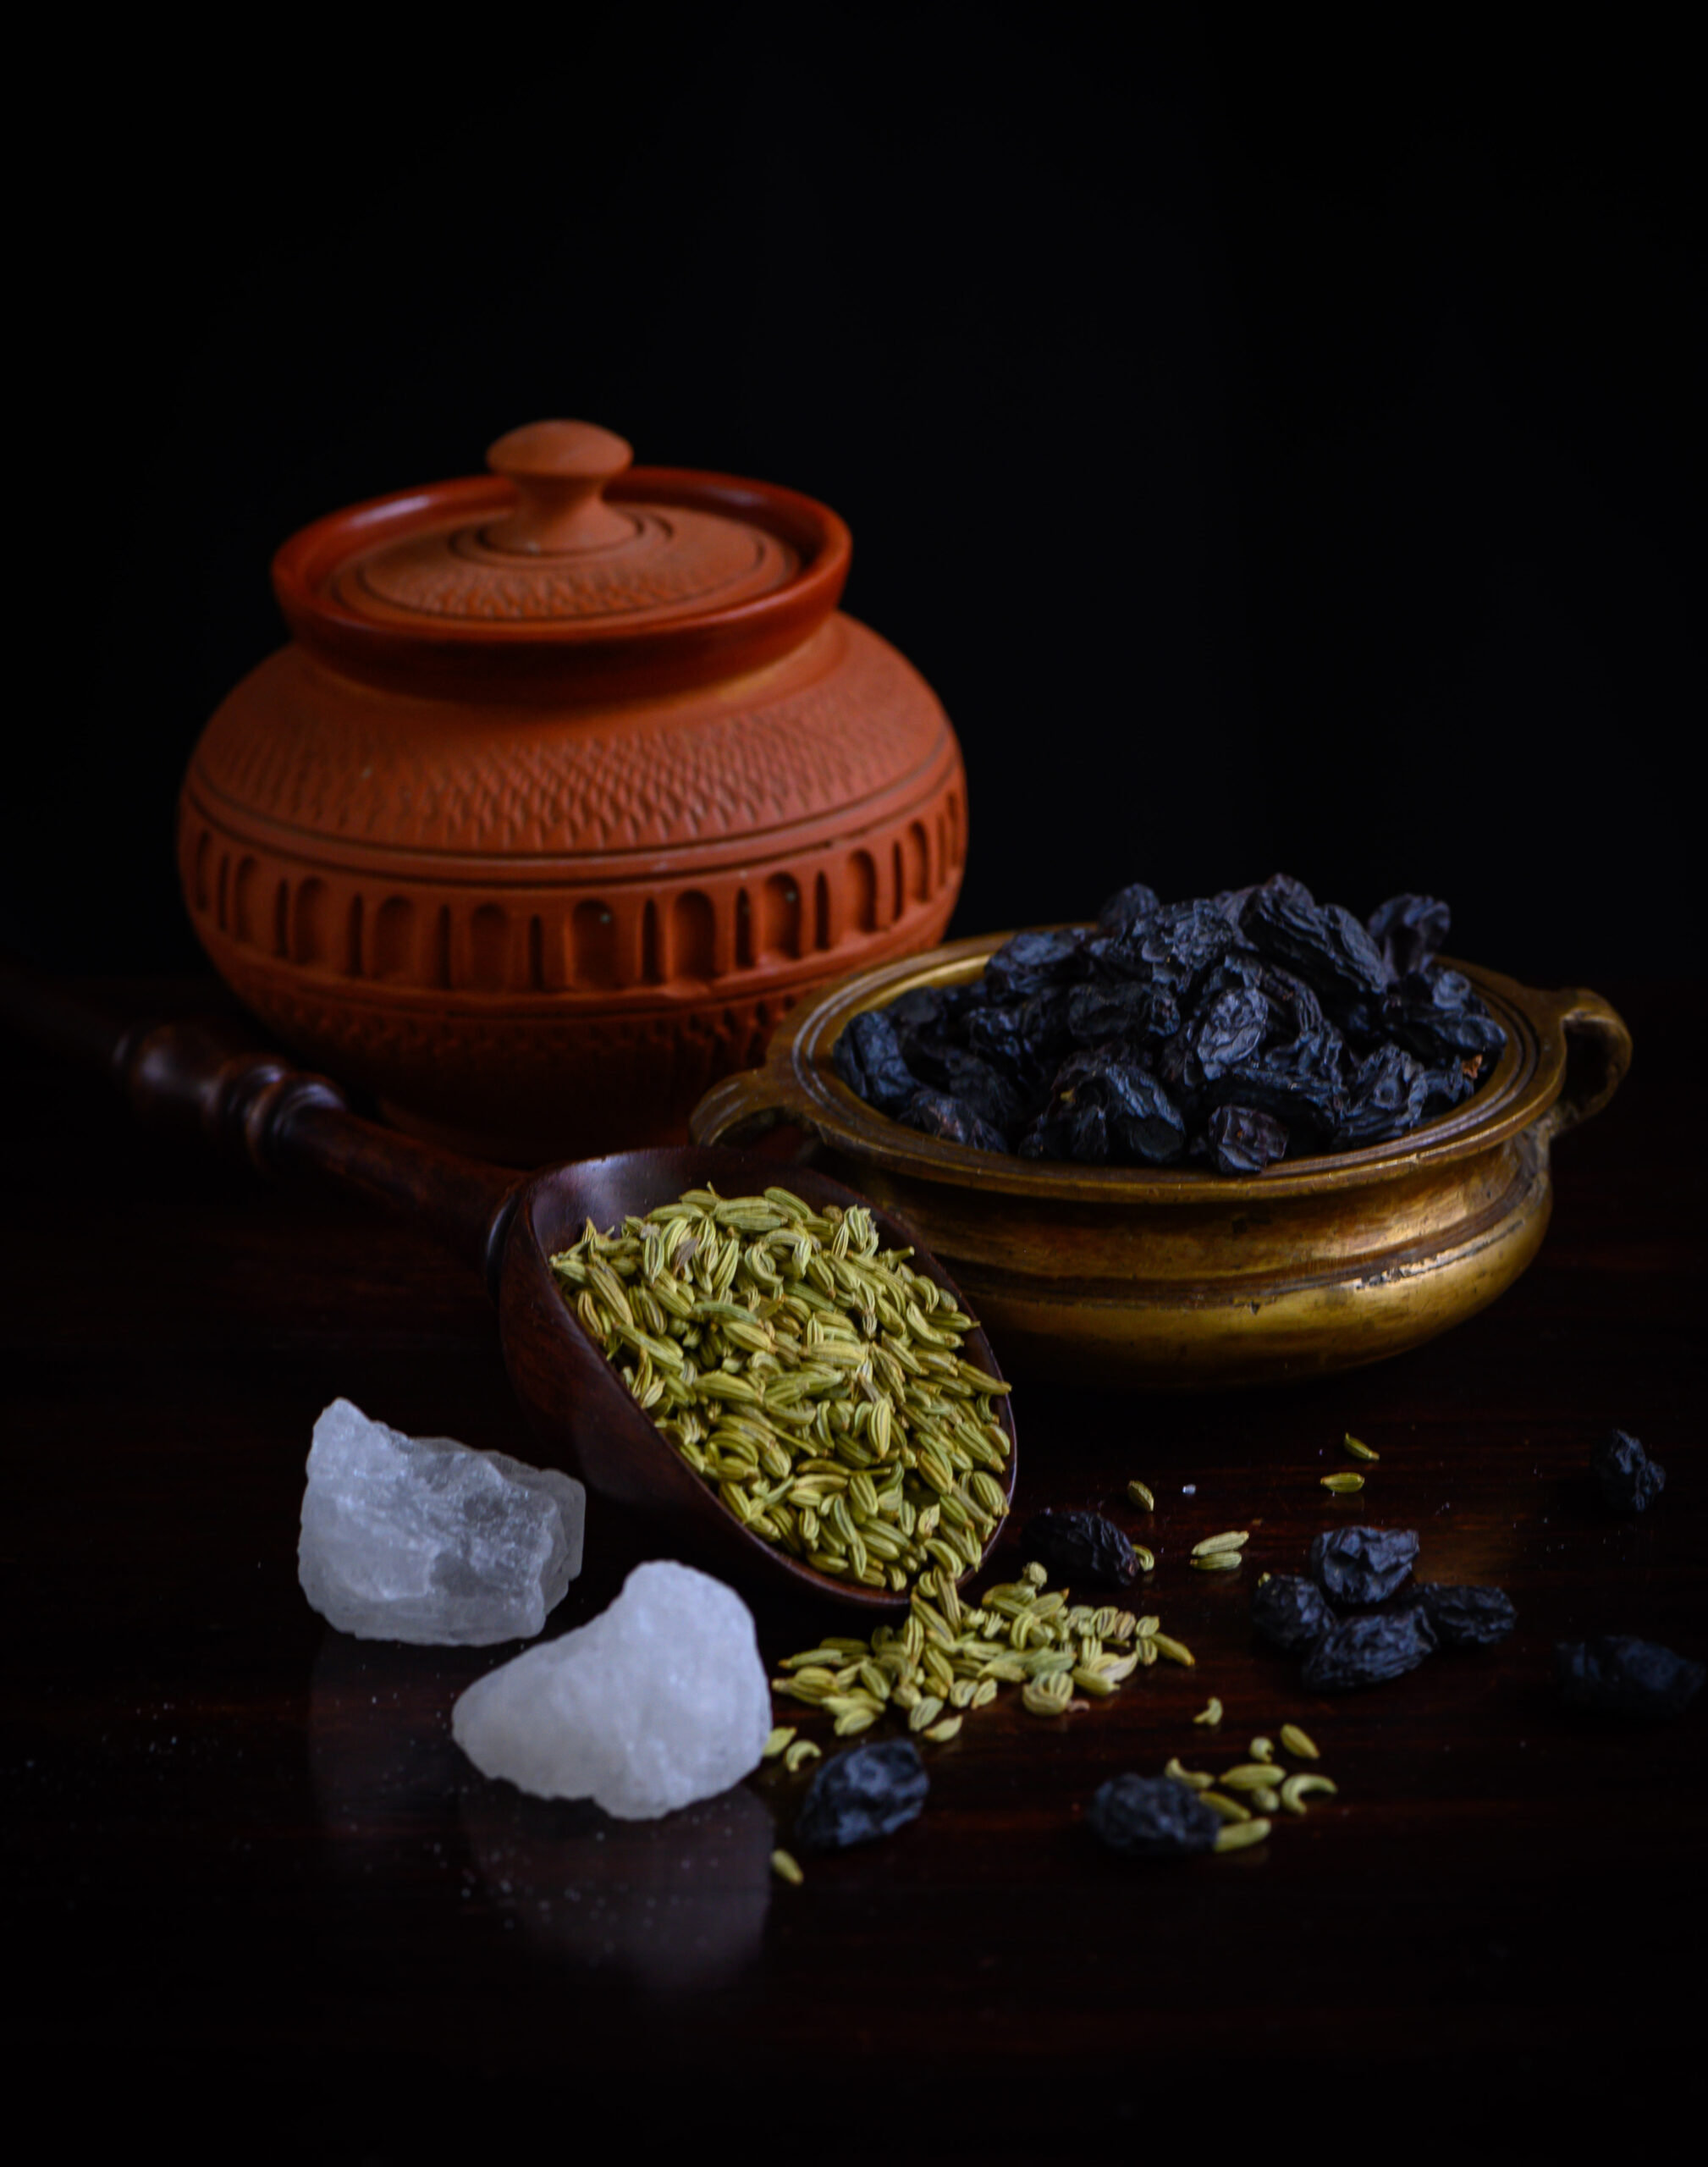
Raisin Kalkand Syrup

(Yield: 1 cup)

¼ cup black raisins

1 lump crystal sugar (optional)

2 tablespoons fennel seeds

1 cup water


A terracotta pot was always considered a must by my mother when making this cooling syrup, so it’s still a part of my own method. Put all the ingredients in a small terracotta pot, including the water. Soak overnight or for a minimum of 6-8 hours.

Please note that the sugar quantity is really a question of personal preference. If you have been advised to cut down on it, you may use less or omit it from the recipe.

Once the soaking process is complete, blend the soaked ingredients with more water.
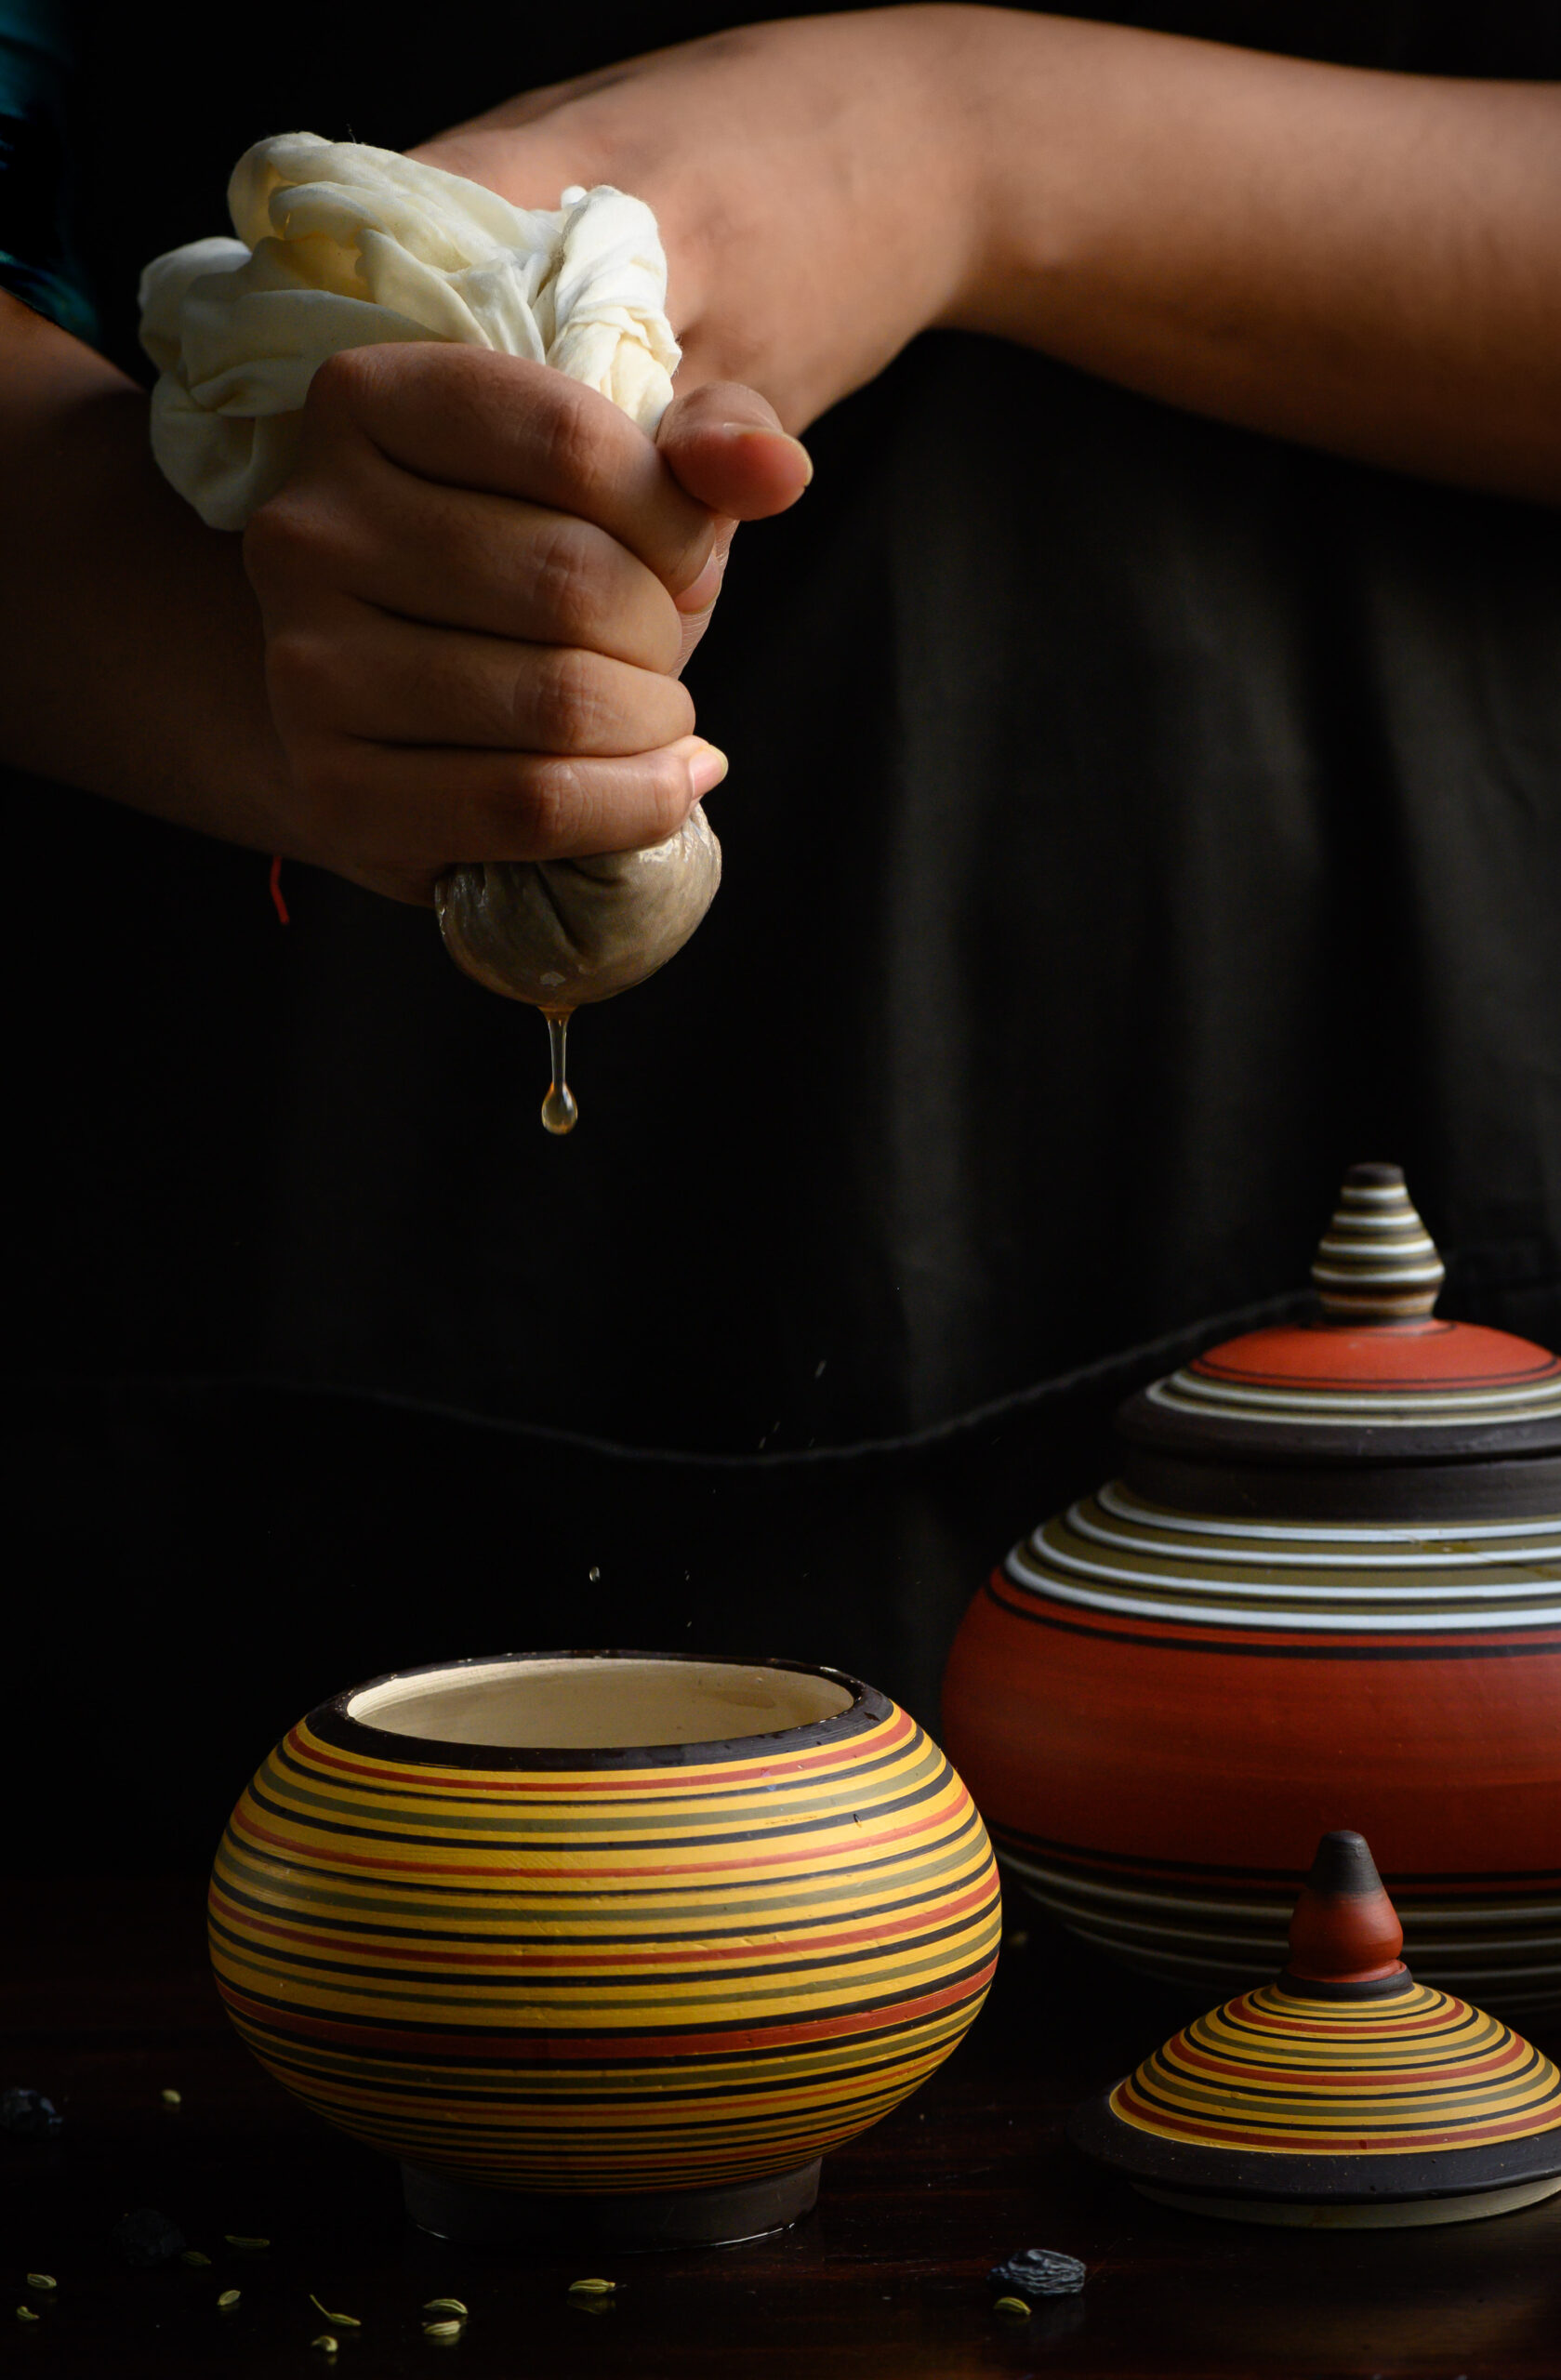
The beauty of how this drink was made was that it was lovingly crushed by our mother’s hands, because we didn’t have a blender around yet. Now of course, I blend it but then strain it with a muslin cloth just as she did. She would use an old saree of hers which had been worn to tatters. Ever resourceful, she would cut pieces from used clothing and keep it for such purposes.

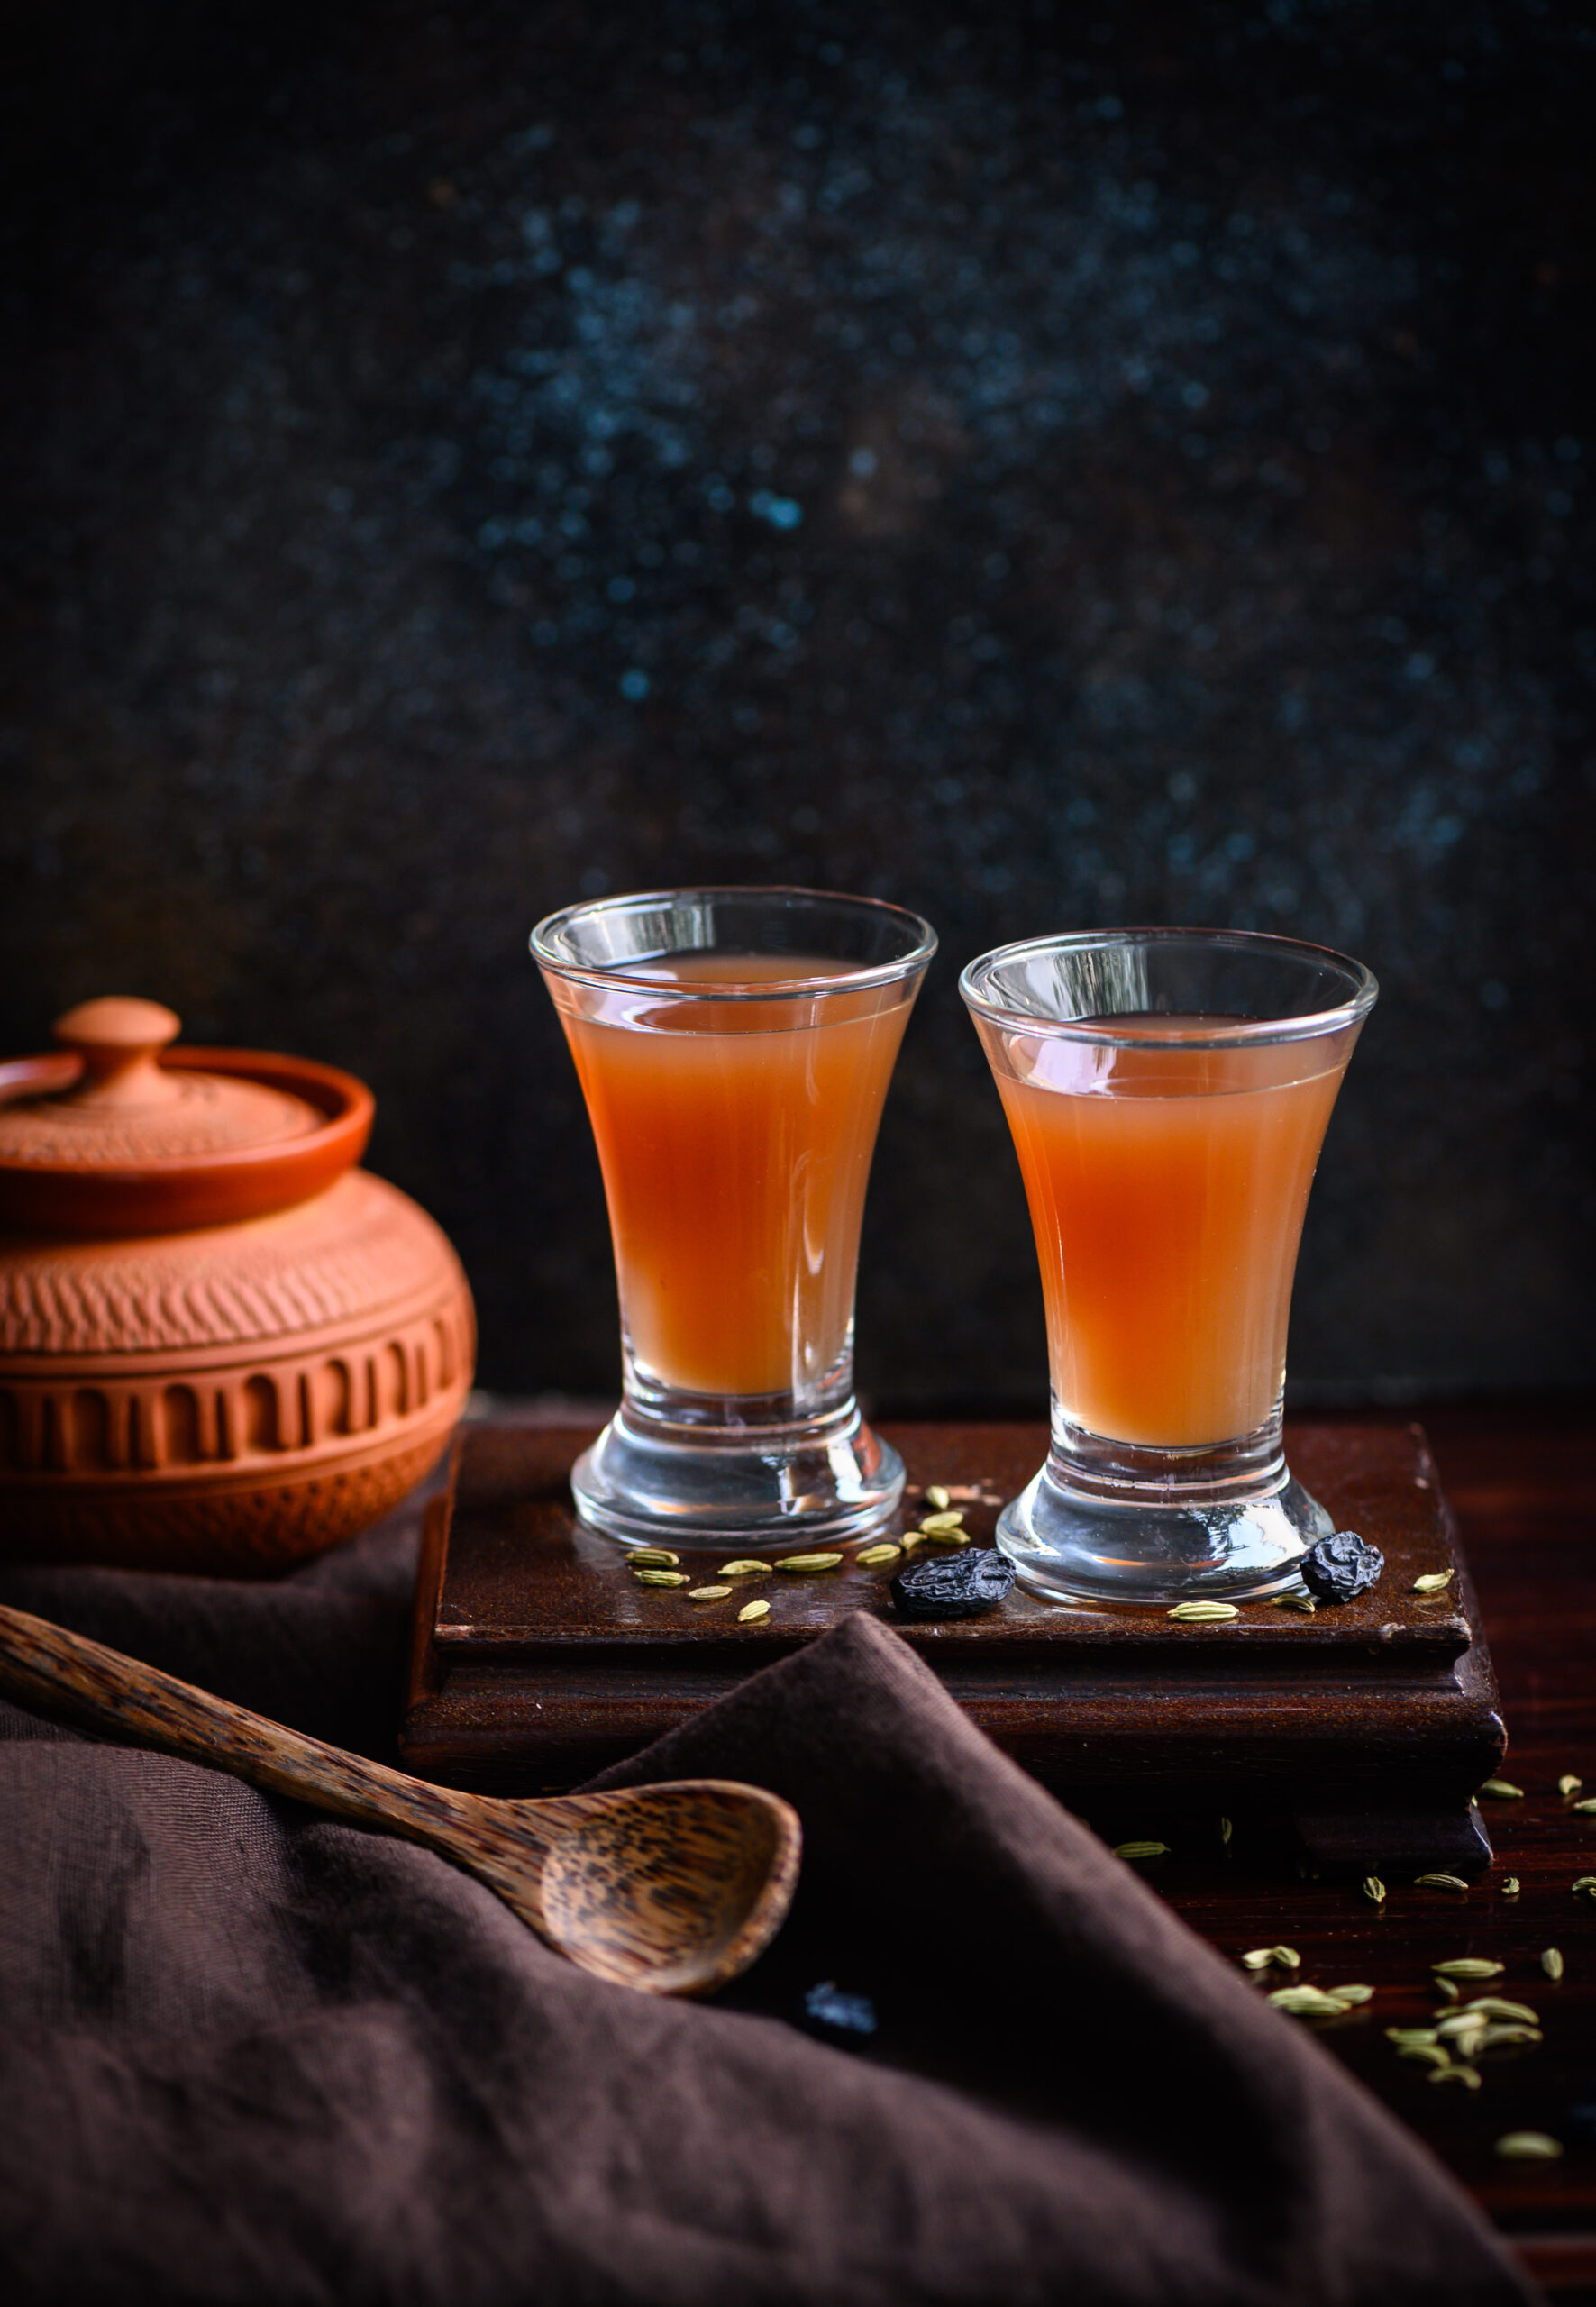
Using a fine muslin cloth, strain the blended mixture well. Squeeze the liquid into a glass. As children, we loved drinking it like a shot, although you may prefer to sip it. Enjoy at room temperature and preferably fresh. This recipe serves one. Increase quantities as desired to serve more.

With all the bitter remedies that we were forced to spoon down growing up, this raisin kalkand syrup was not only a tasty respite, but also a beautiful metaphor on balance. It served to teach us something important about life itself, and finding ways to make it sweeter. And that’s the lesson that comes to mind as I share it with you today.

With the summer being as harsh as it is, keeping hydrated should be at the top of our list of nutrition priorities. While water goes a long way, imbibing different beverages with beneficial properties both gives us our required quota, and also keeps things creative in the kitchen! In my quest for new recipes, I often find myself turning to older ones, especially ones I took for granted while growing up. This barley lime drink is one such.

I’m a great believer in “grandmother’s remedies”, those old forms of healing that some people just have a great sense for. My mother always just knew what was good for us. She could simply look at an ingredient and know whether it was cooling or heating, or what its healing uses were. Her intuition was similar to the system of Ayurveda, which uses as one of its main principles the idea that some foods are cooling for the body, and some are heating.

During the summer months, we often drank barley lime. I later learned that one reason for this was because we used to run around climbing the neighbours’ trees, getting our knees scraped, plucking and eating the mangoes. Mangoes are famous for having a heating effect on the body, so barley lime was served to counter and balance this, since our mother knew we were having mangoes in excess every summer! You may be interested to know that raw mango, on the contrary, is cooling. Which is why it was the star of this post a couple of summers ago.

The goodness of barley was something I never thought about, except when I remembered how often our mother would feed my sister and I glasses of barley lime, even beyond the summers. The two of us were considered weaklings. Because she was worried that no one would marry us eventually, sometimes it was like our mother’s goal in life was to fatten us up. Interestingly, barley is actually good for weight loss. The intent behind this drink was good health, translated simply into putting on weight for scrawny kids, when in fact what it does is to provide a range of impressive benefits. These include: lowering cholesterol, balancing blood sugar and gut bacteria and helping to heal asthma and anaemia and numerous other common conditions (cue: “weaklings!”). Because I work so often with millets and organic produce, it was no surprise to learn about the bevy of benefits barley gives us. Barley is a cereal, and was one of the first domesticated grains, with a history that can be traced to the Nile region. North and Northwest India are huge producers of it, and it is known as “jau” in Hindi.

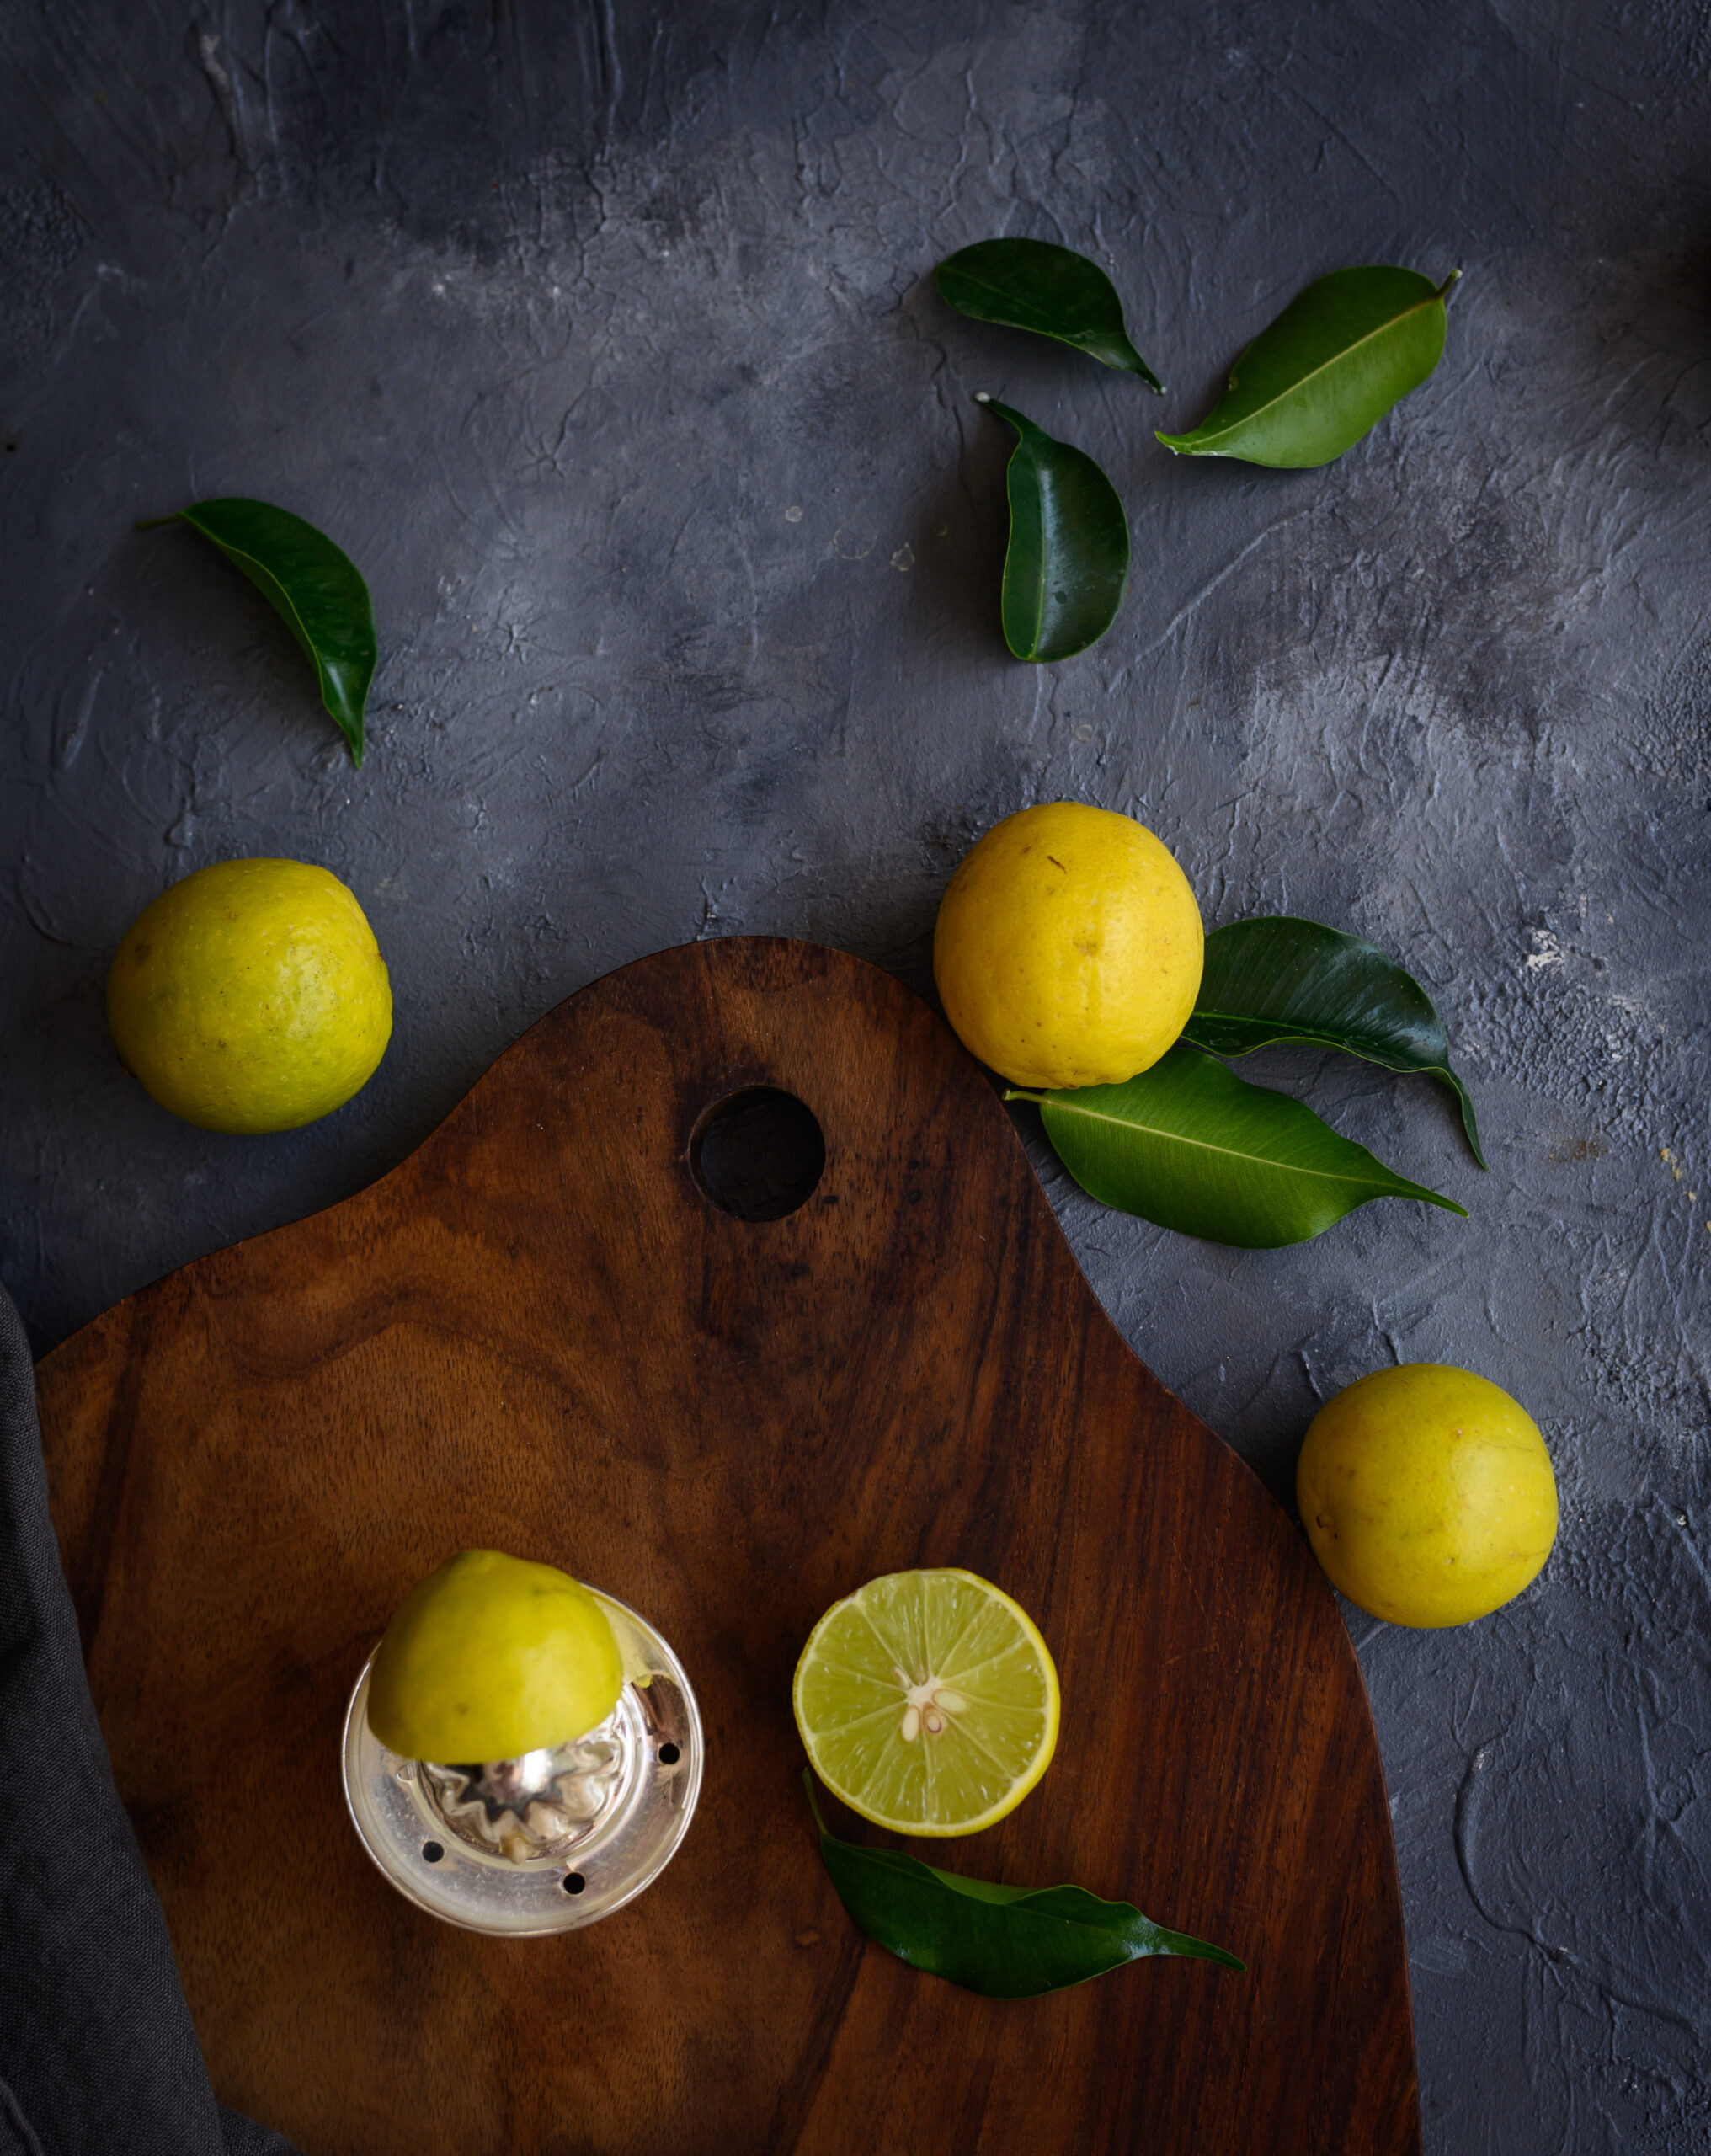
The other chief ingredient in this drink is the wonderfully versatile citrus fruit known as the lime. While a barley lemon drink is what you may be familiar with in many parts of the world, here in South India we usually reach for the ubiquitous lime as a substitute for all recipes that call for lemon. So much so that we often call the fruit itself “lemon”! Lime is a vital part of our cuisines, and also important in religious ceremonies. It has a powerful tangy flavour as well as a pleasing aroma, which influence any dish it’s used in. Lime is very good for digestion, thanks to its high acidity, and it complements barley’s beneficial properties such as improved respiratory function and weight management.

Both barley water and lime water are considered easily affordable, nutrient-rich beverages. So imagine what a super-boost combining the two provides. In these months of constant dehydration, a glass of barley lime makes me feel so thankful for my mother’s wisdom in the kitchen, which has kept my energy going to this day.

Barley Lime Drink

(Yield: 4-5 glasses)


½ cup barley

2 teaspoons sugar or honey

A pinch of salt

2 tablespoons lime juice

A few sprigs mint leaves


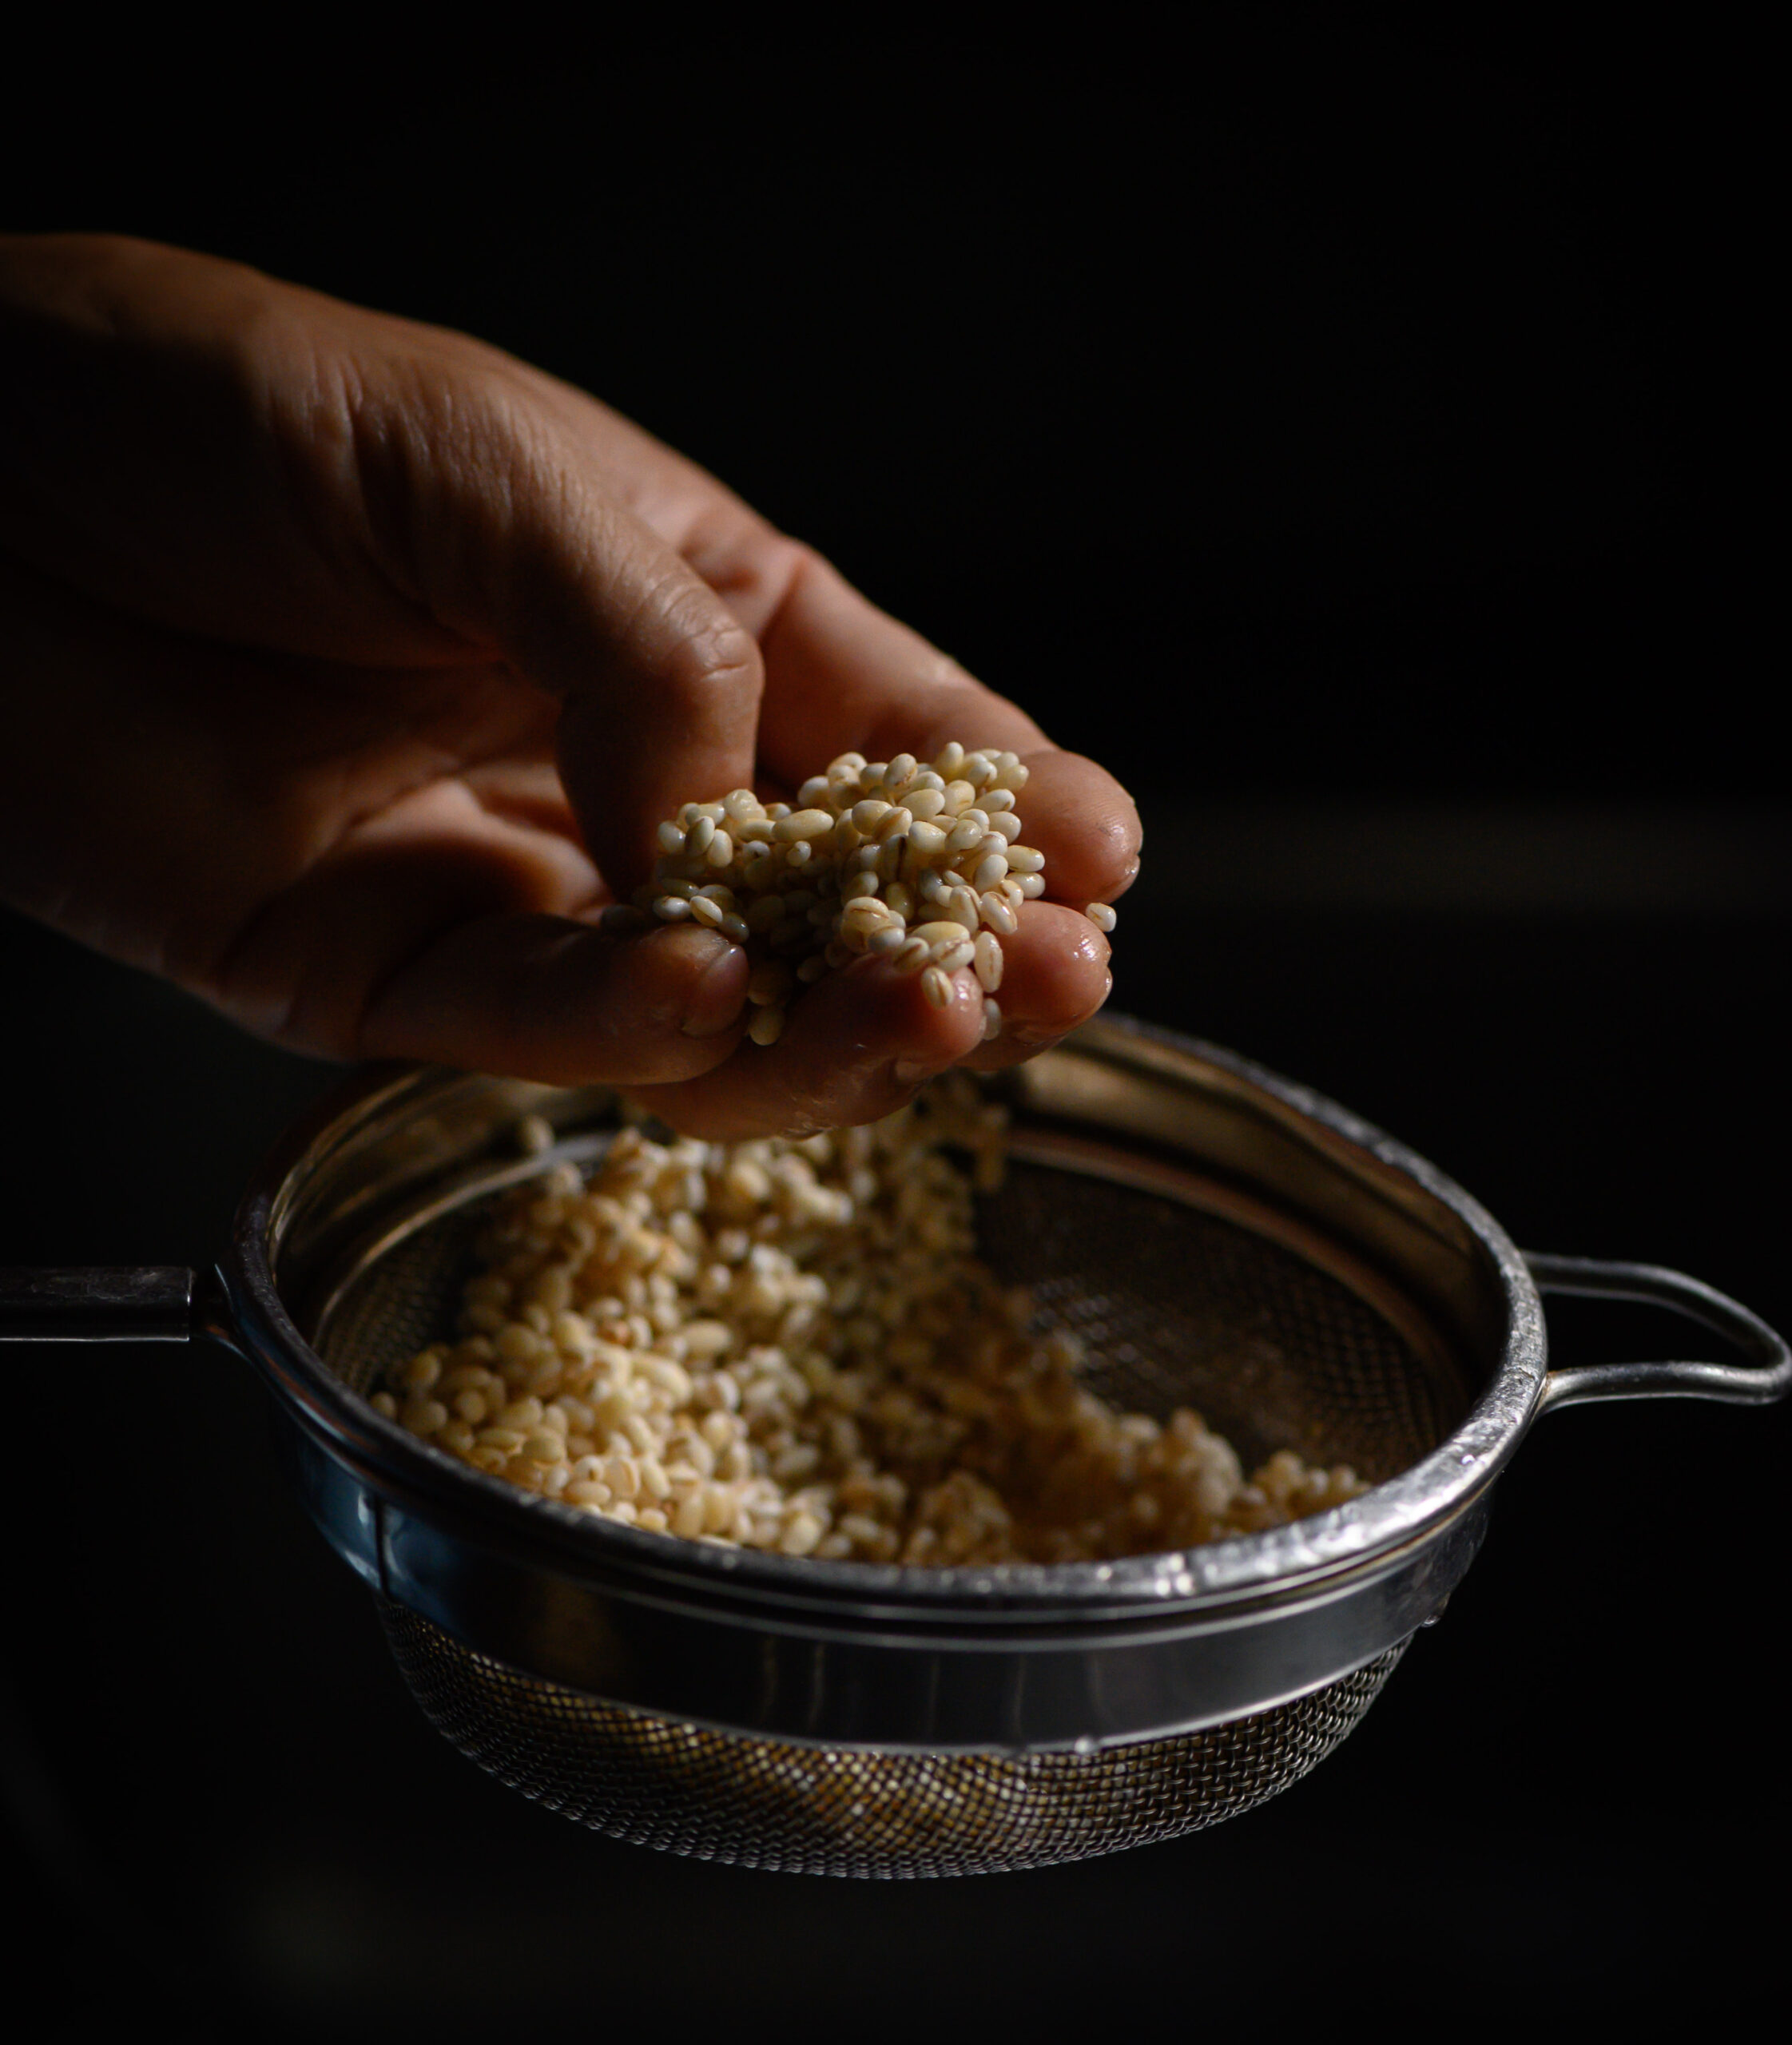
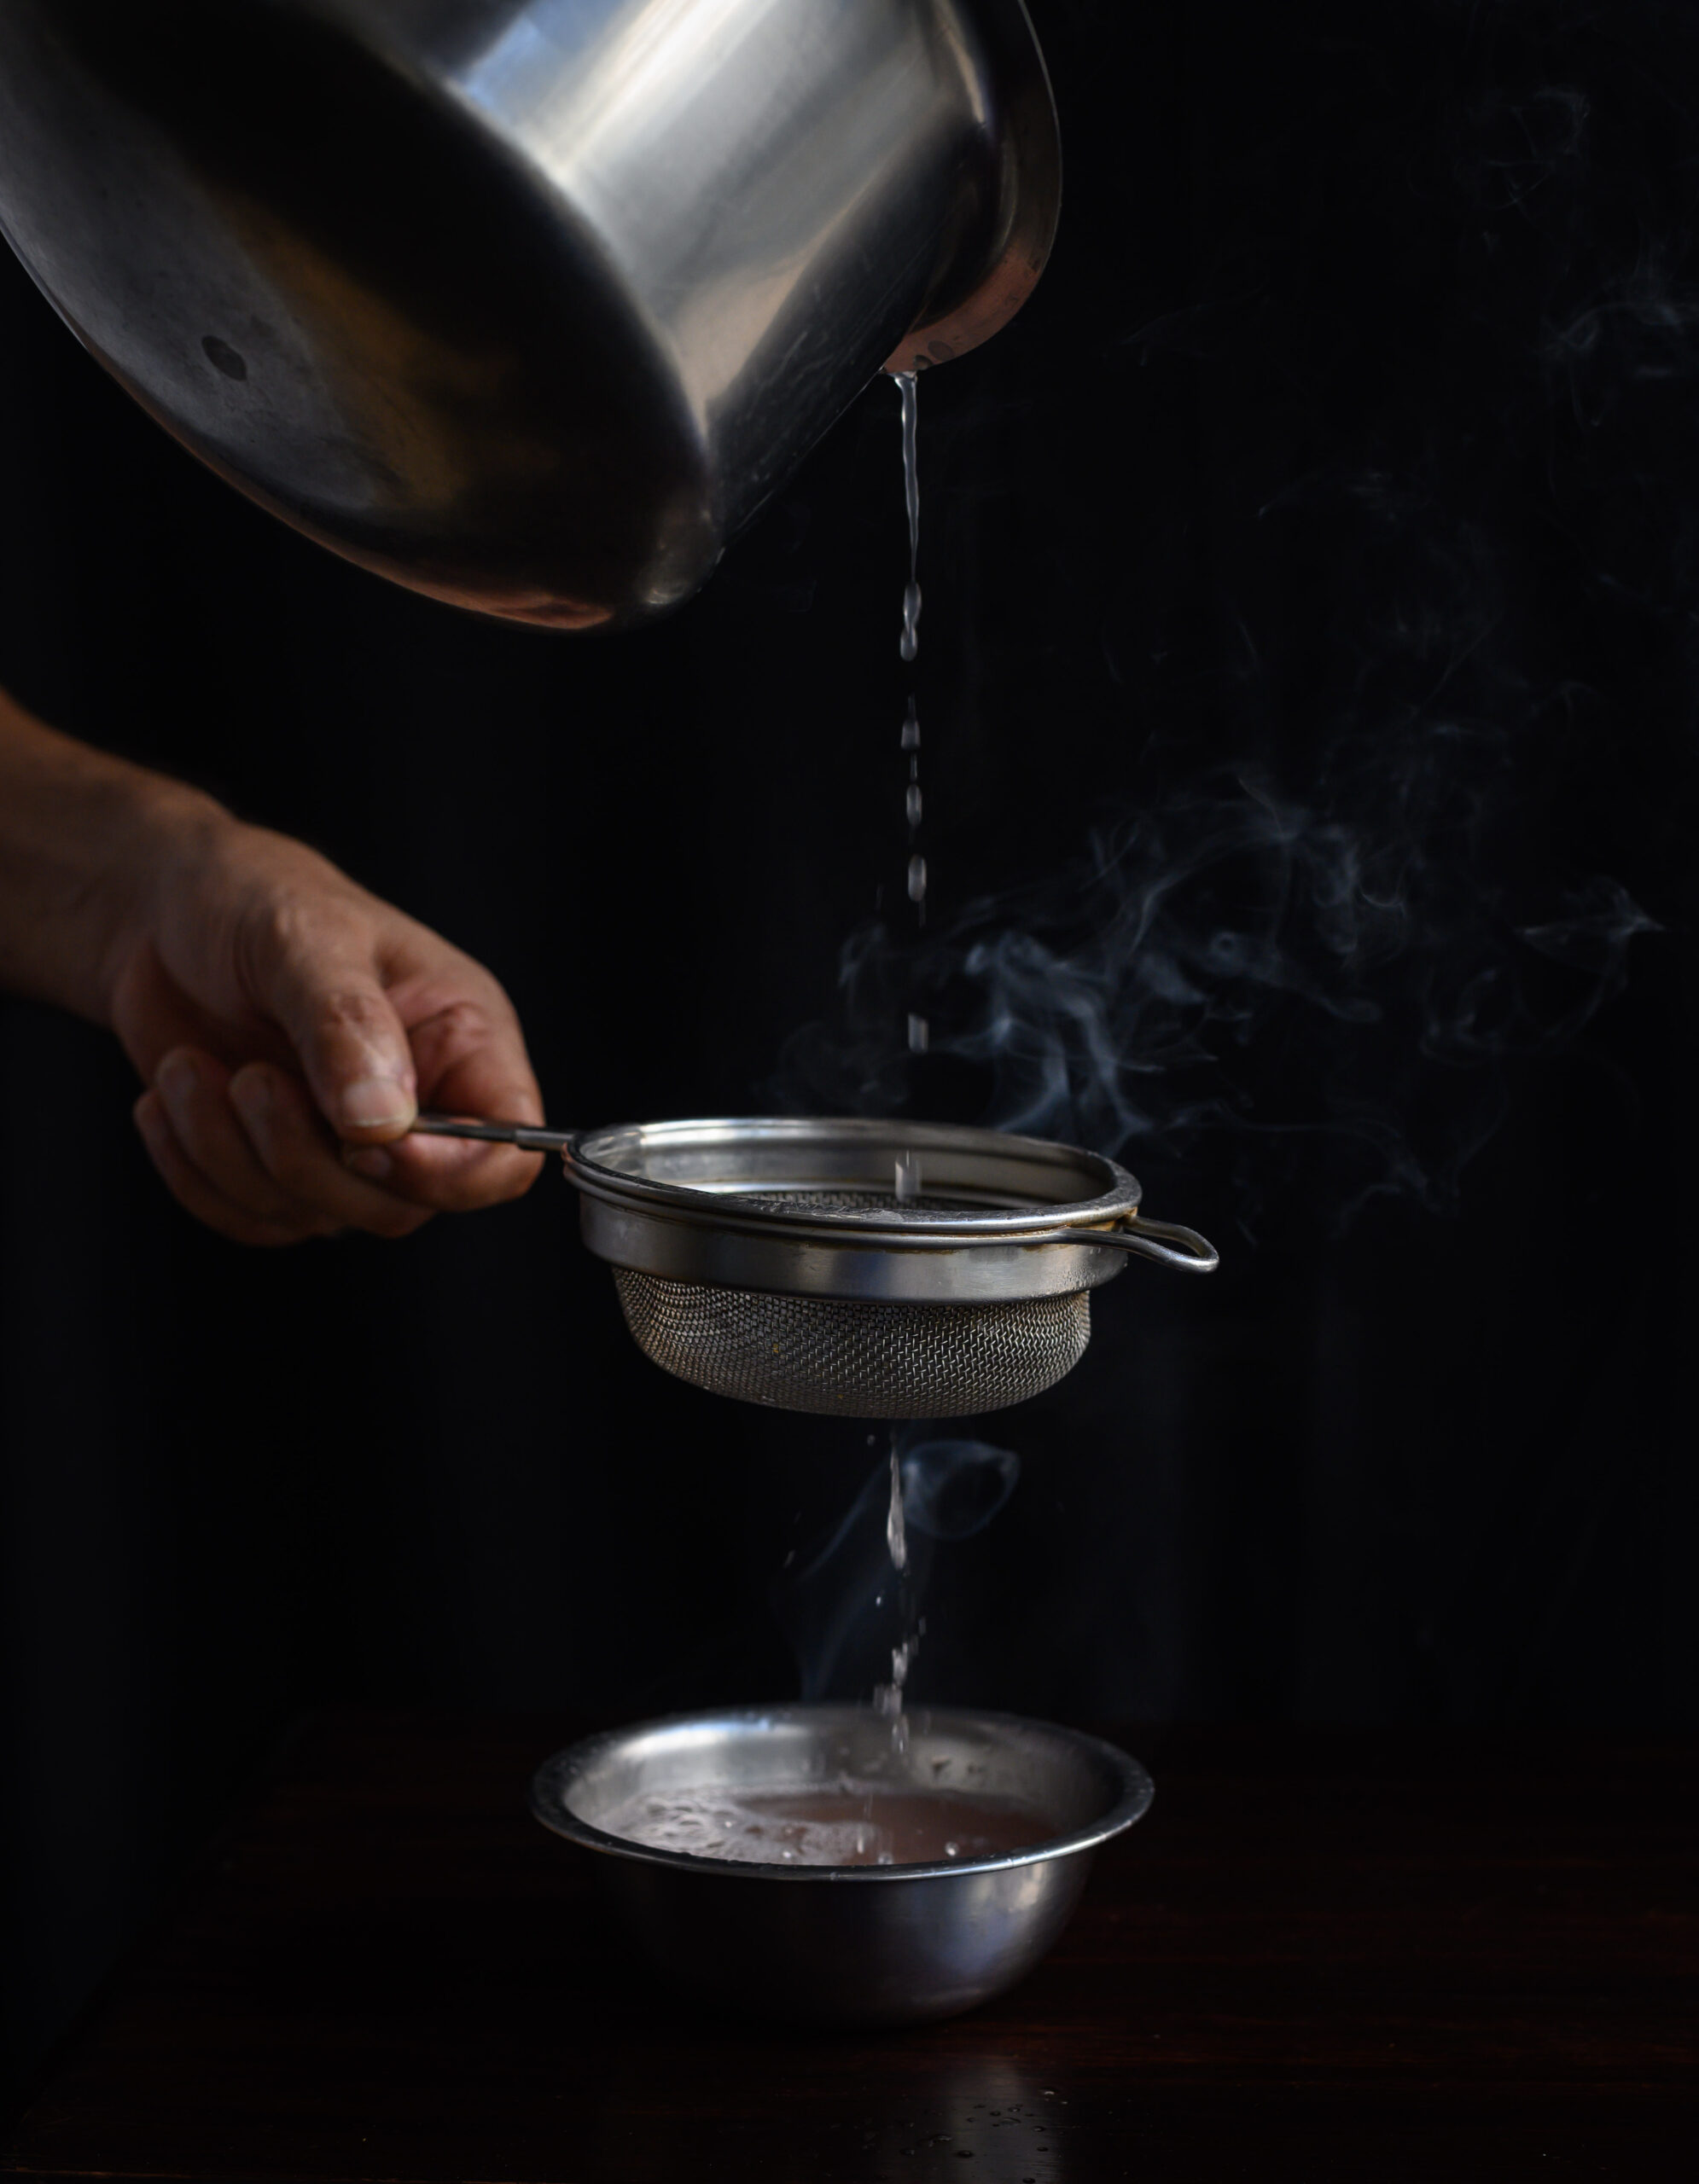
Pick and rinse the barley. Place it in a pot and add 6 cups of water. Allow to boil for about 12 minutes. Strain the water and discard the barley.

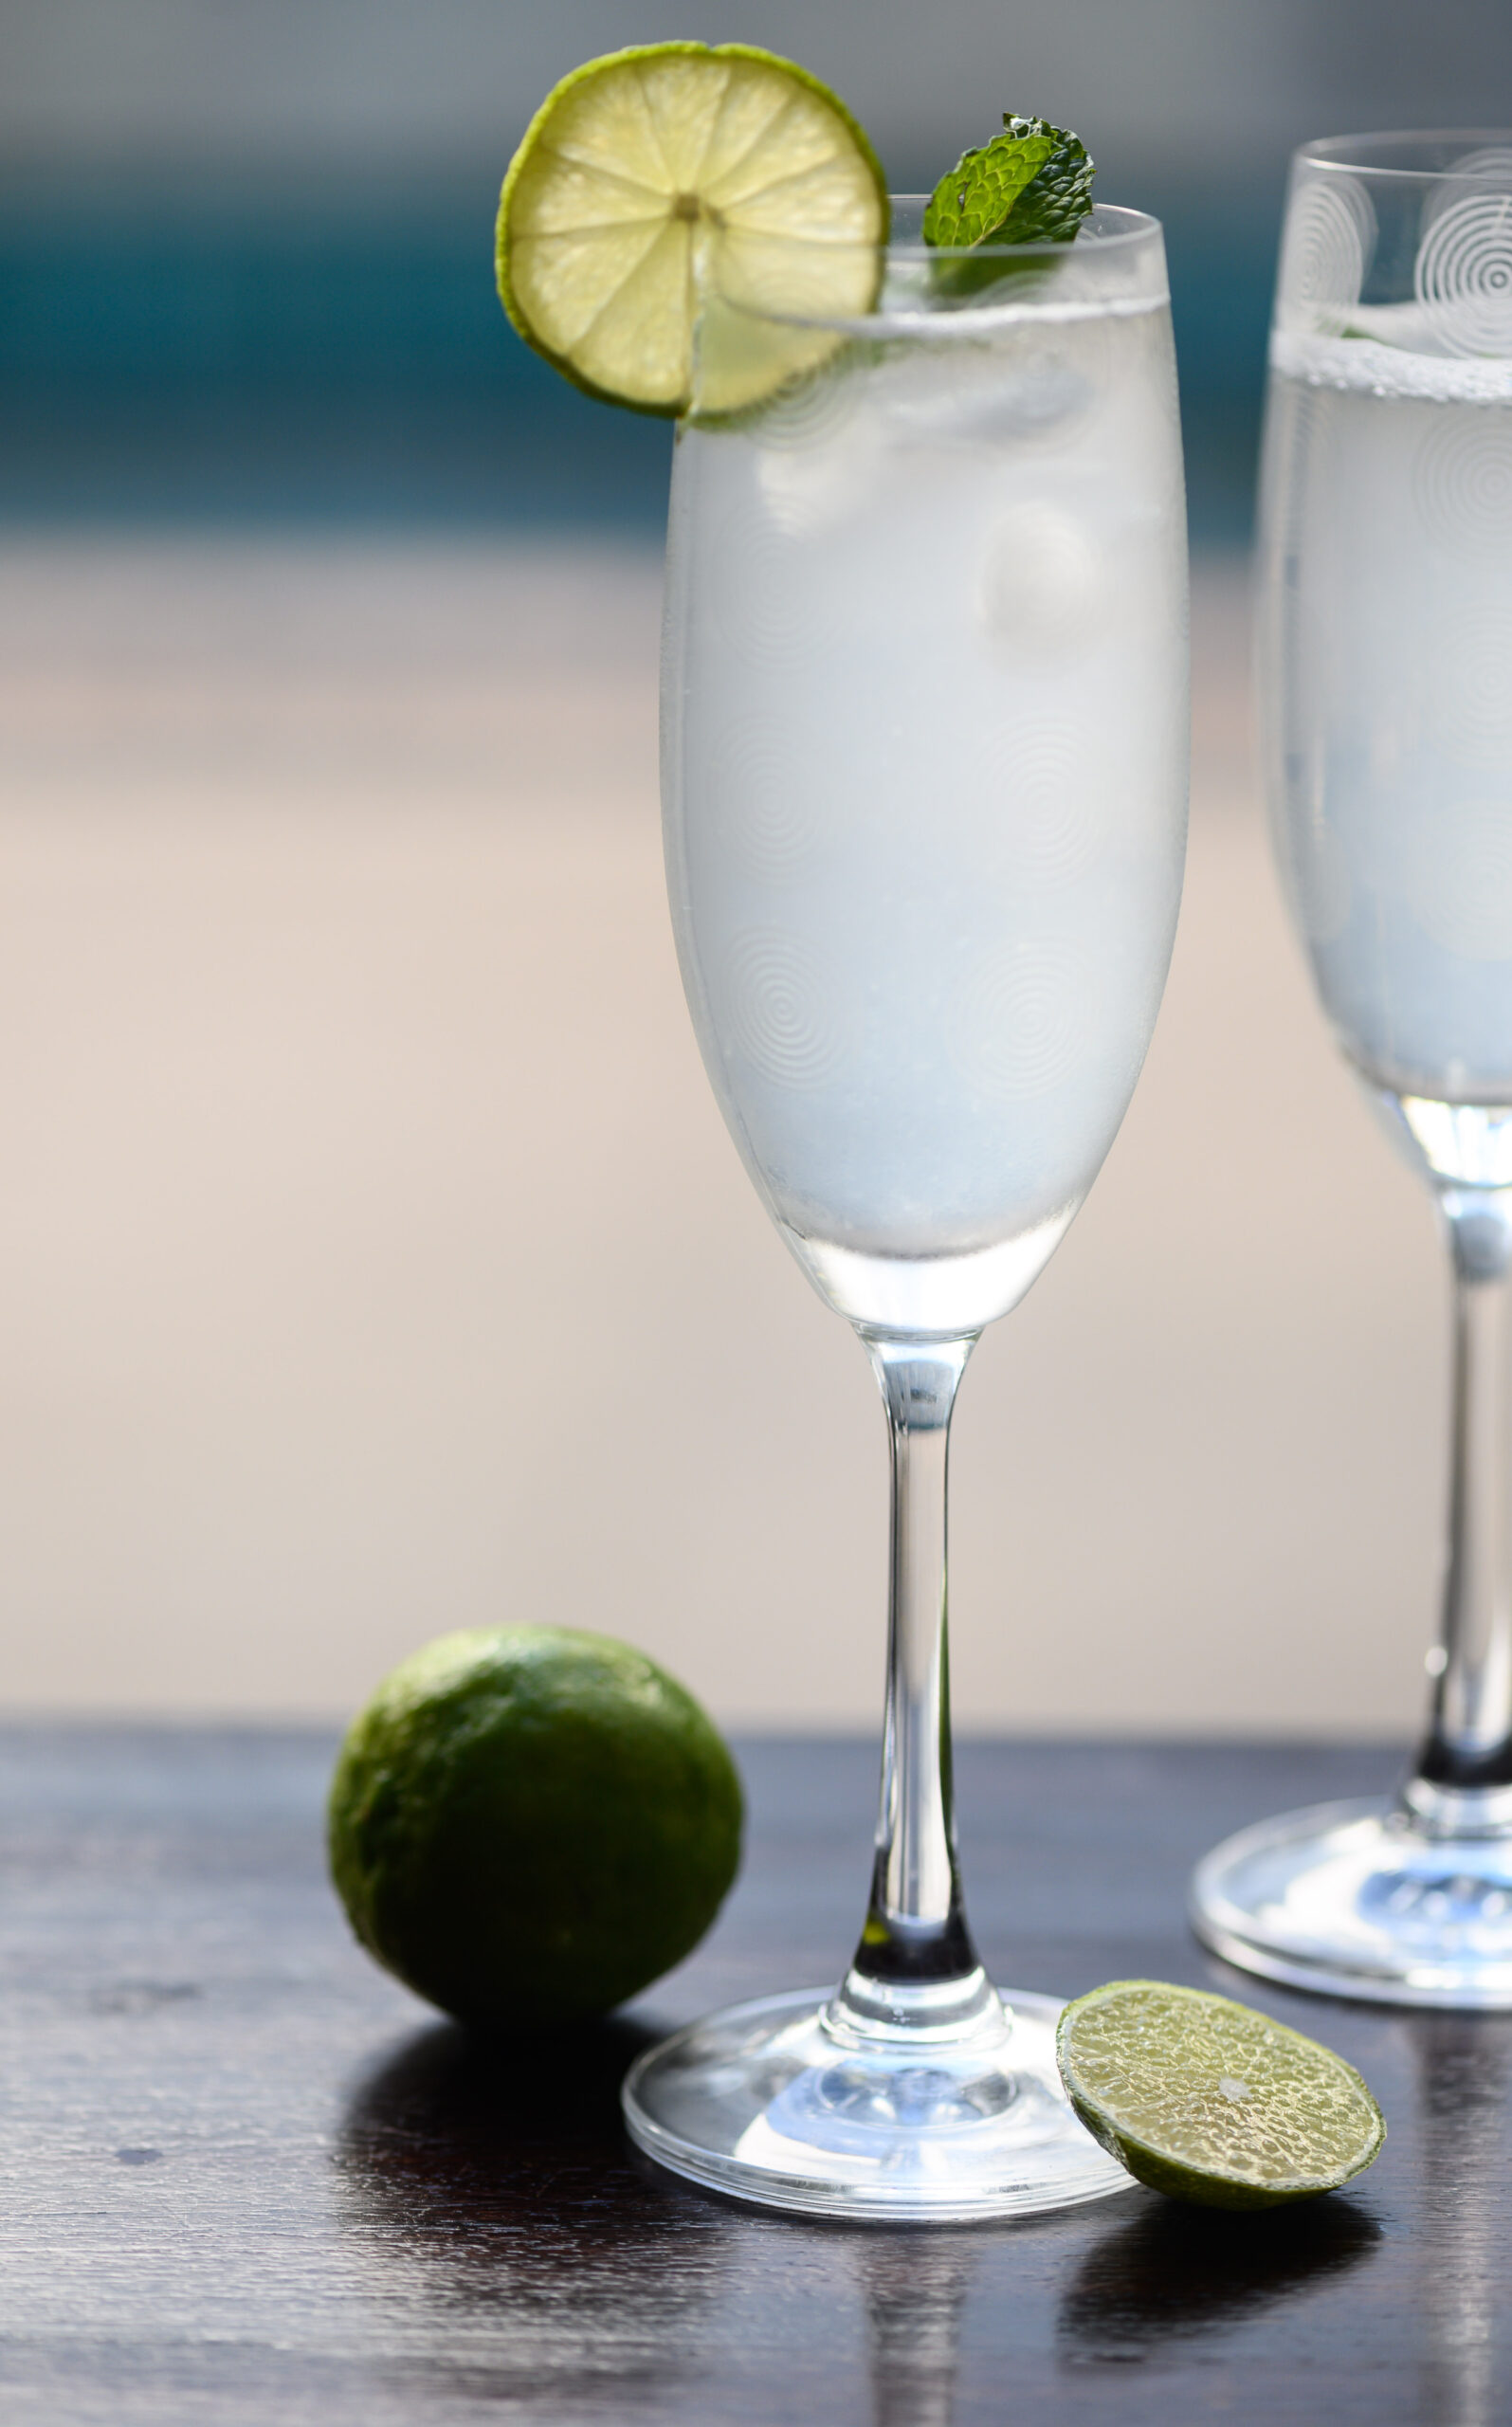
Allow the barley water to cool, and simply add the remaining ingredients. You may adjust the quantity of the ingredients to suit your taste. If you prefer it to be sweeter, you may add more sugar or increase the quantity of honey.

Keep the barley lime drink in the refrigerator. Serve chilled, garnished with mint leaves, and with extra ice if you prefer.

This anti-weakness, health-boosting beverage from my childhood has now become an elegant refreshment which I serve to my guests during this hot summer. I also frequently make a range of other chilled drinks, such as spiced buttermilk with homemade yoghurt, rose sherbet, and of course, my curry leaf and raw mango cooler. How are you keeping cool? I’d love to know in the comments.

Every summer during my childhood, my family would drive up to Ooty to get away from the heat in Chennai. There we’d be, little children in our little Fiat car, excited to reach the hills. The drive would take anywhere between 8 and 12 hours, and since our car didn’t have an AC, it would be sweltering for most of the ride. So we’d stick our heads out of the windows and enjoy the drive. There were no eateries along the way, so we’d pack picnics for the journey. This was a ritual for many families we knew, who would escape the summer weather during the school vacations, in favour of the refreshingly cool climate of the hills.

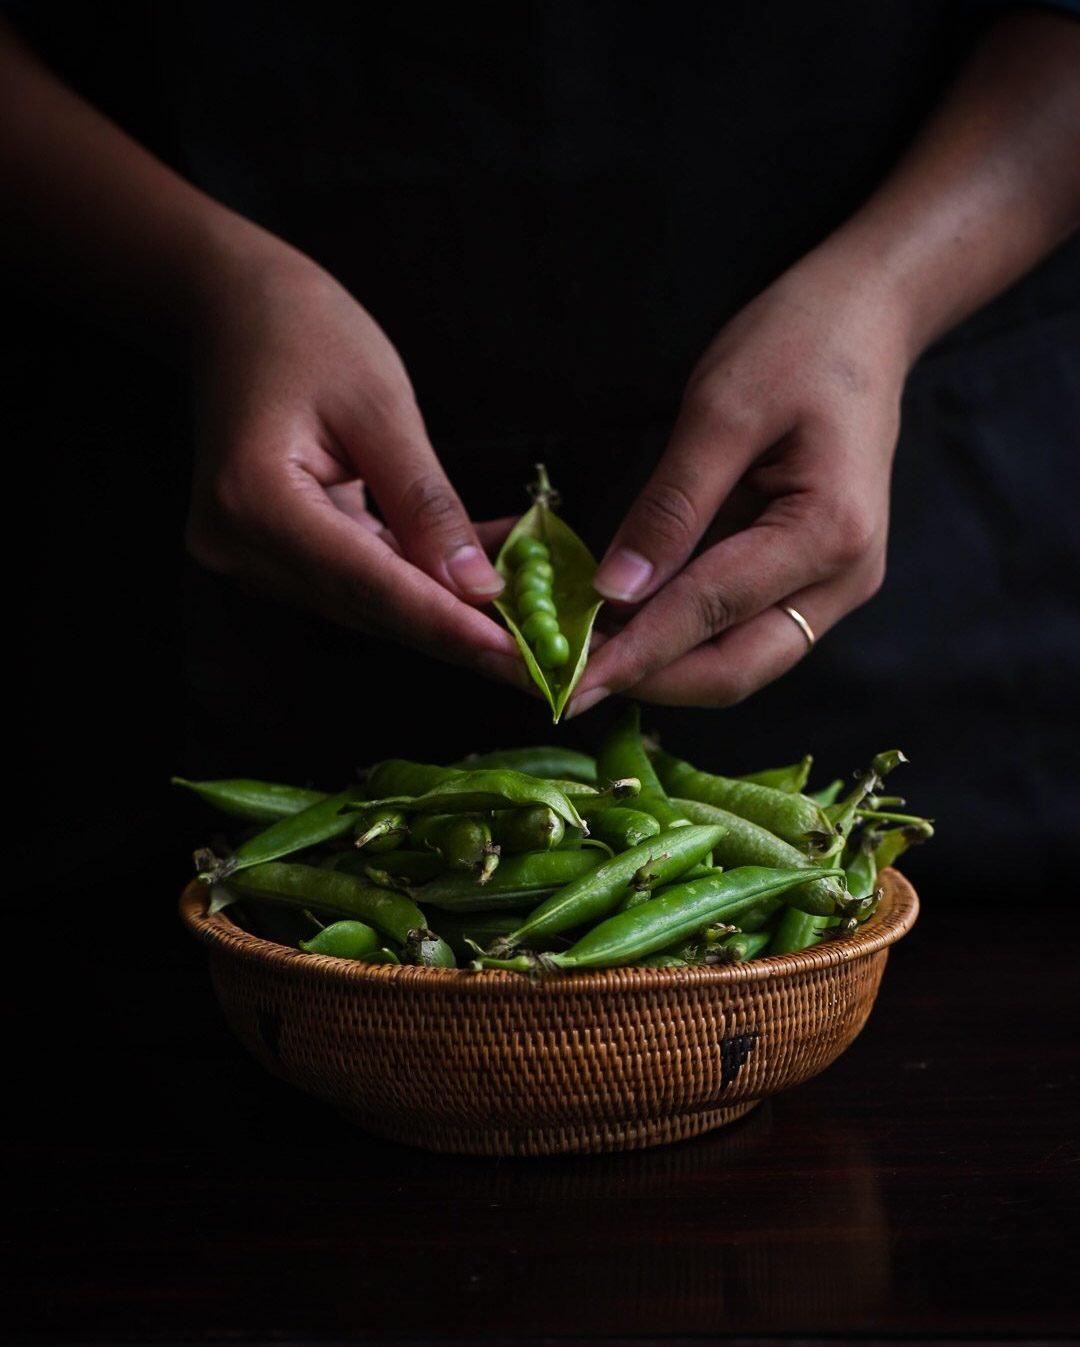
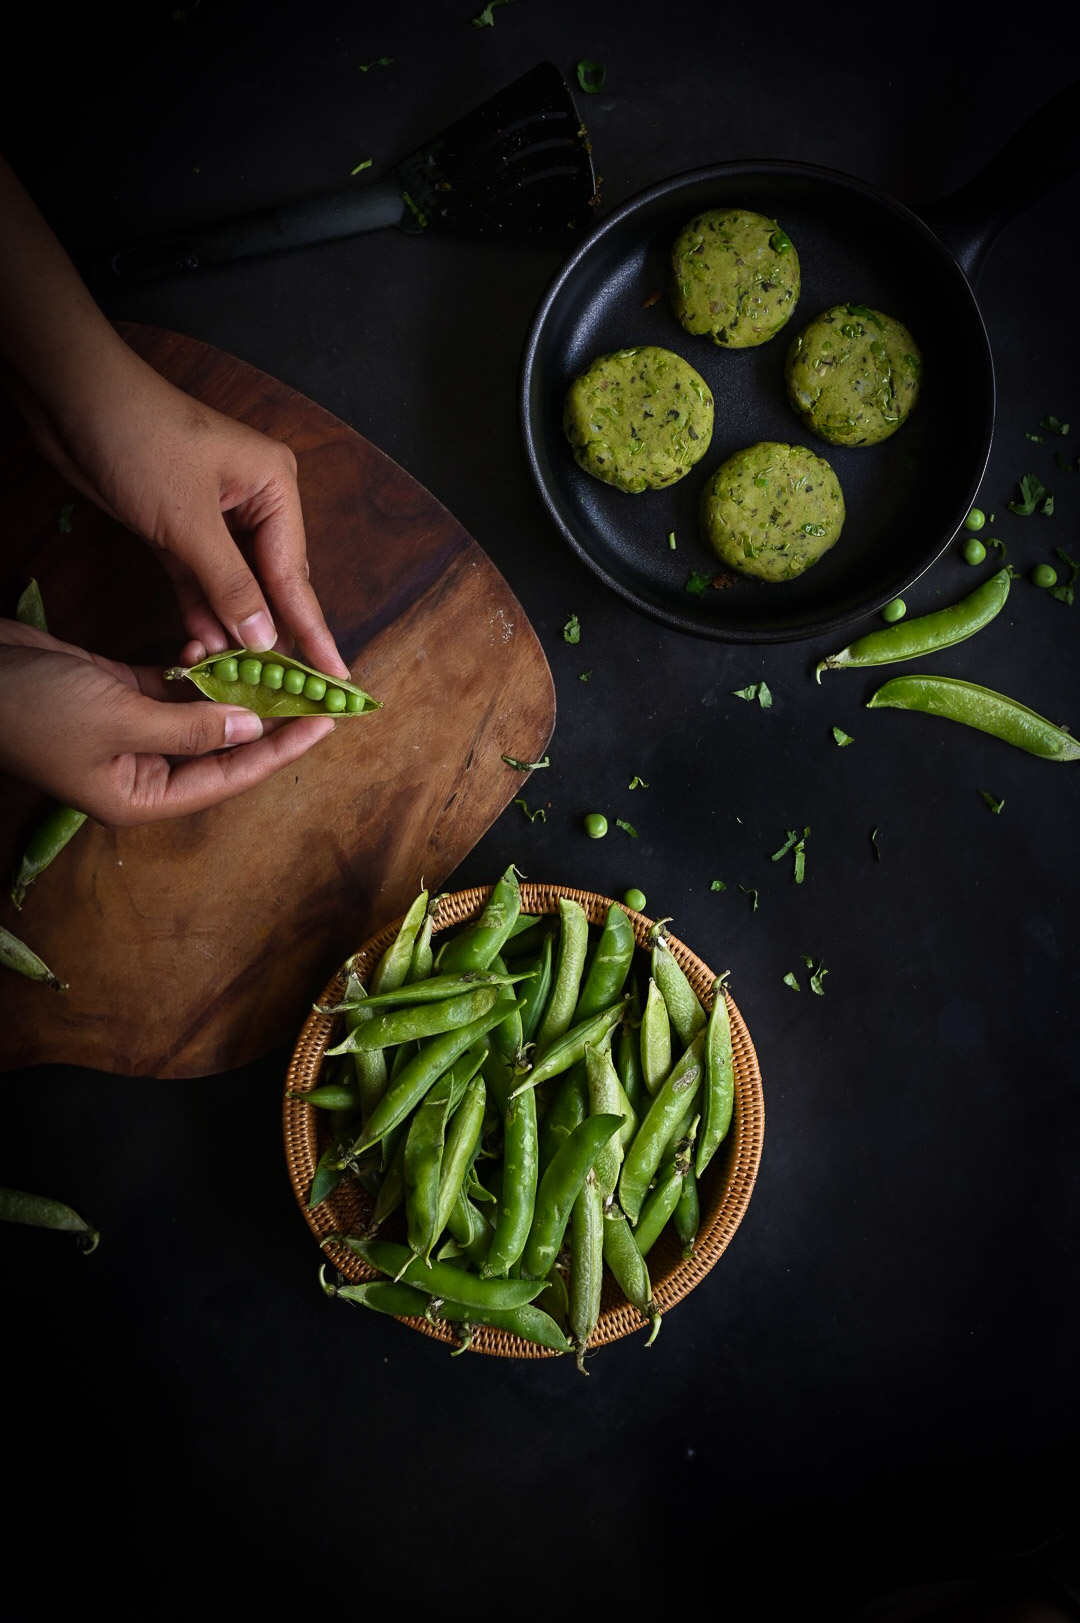
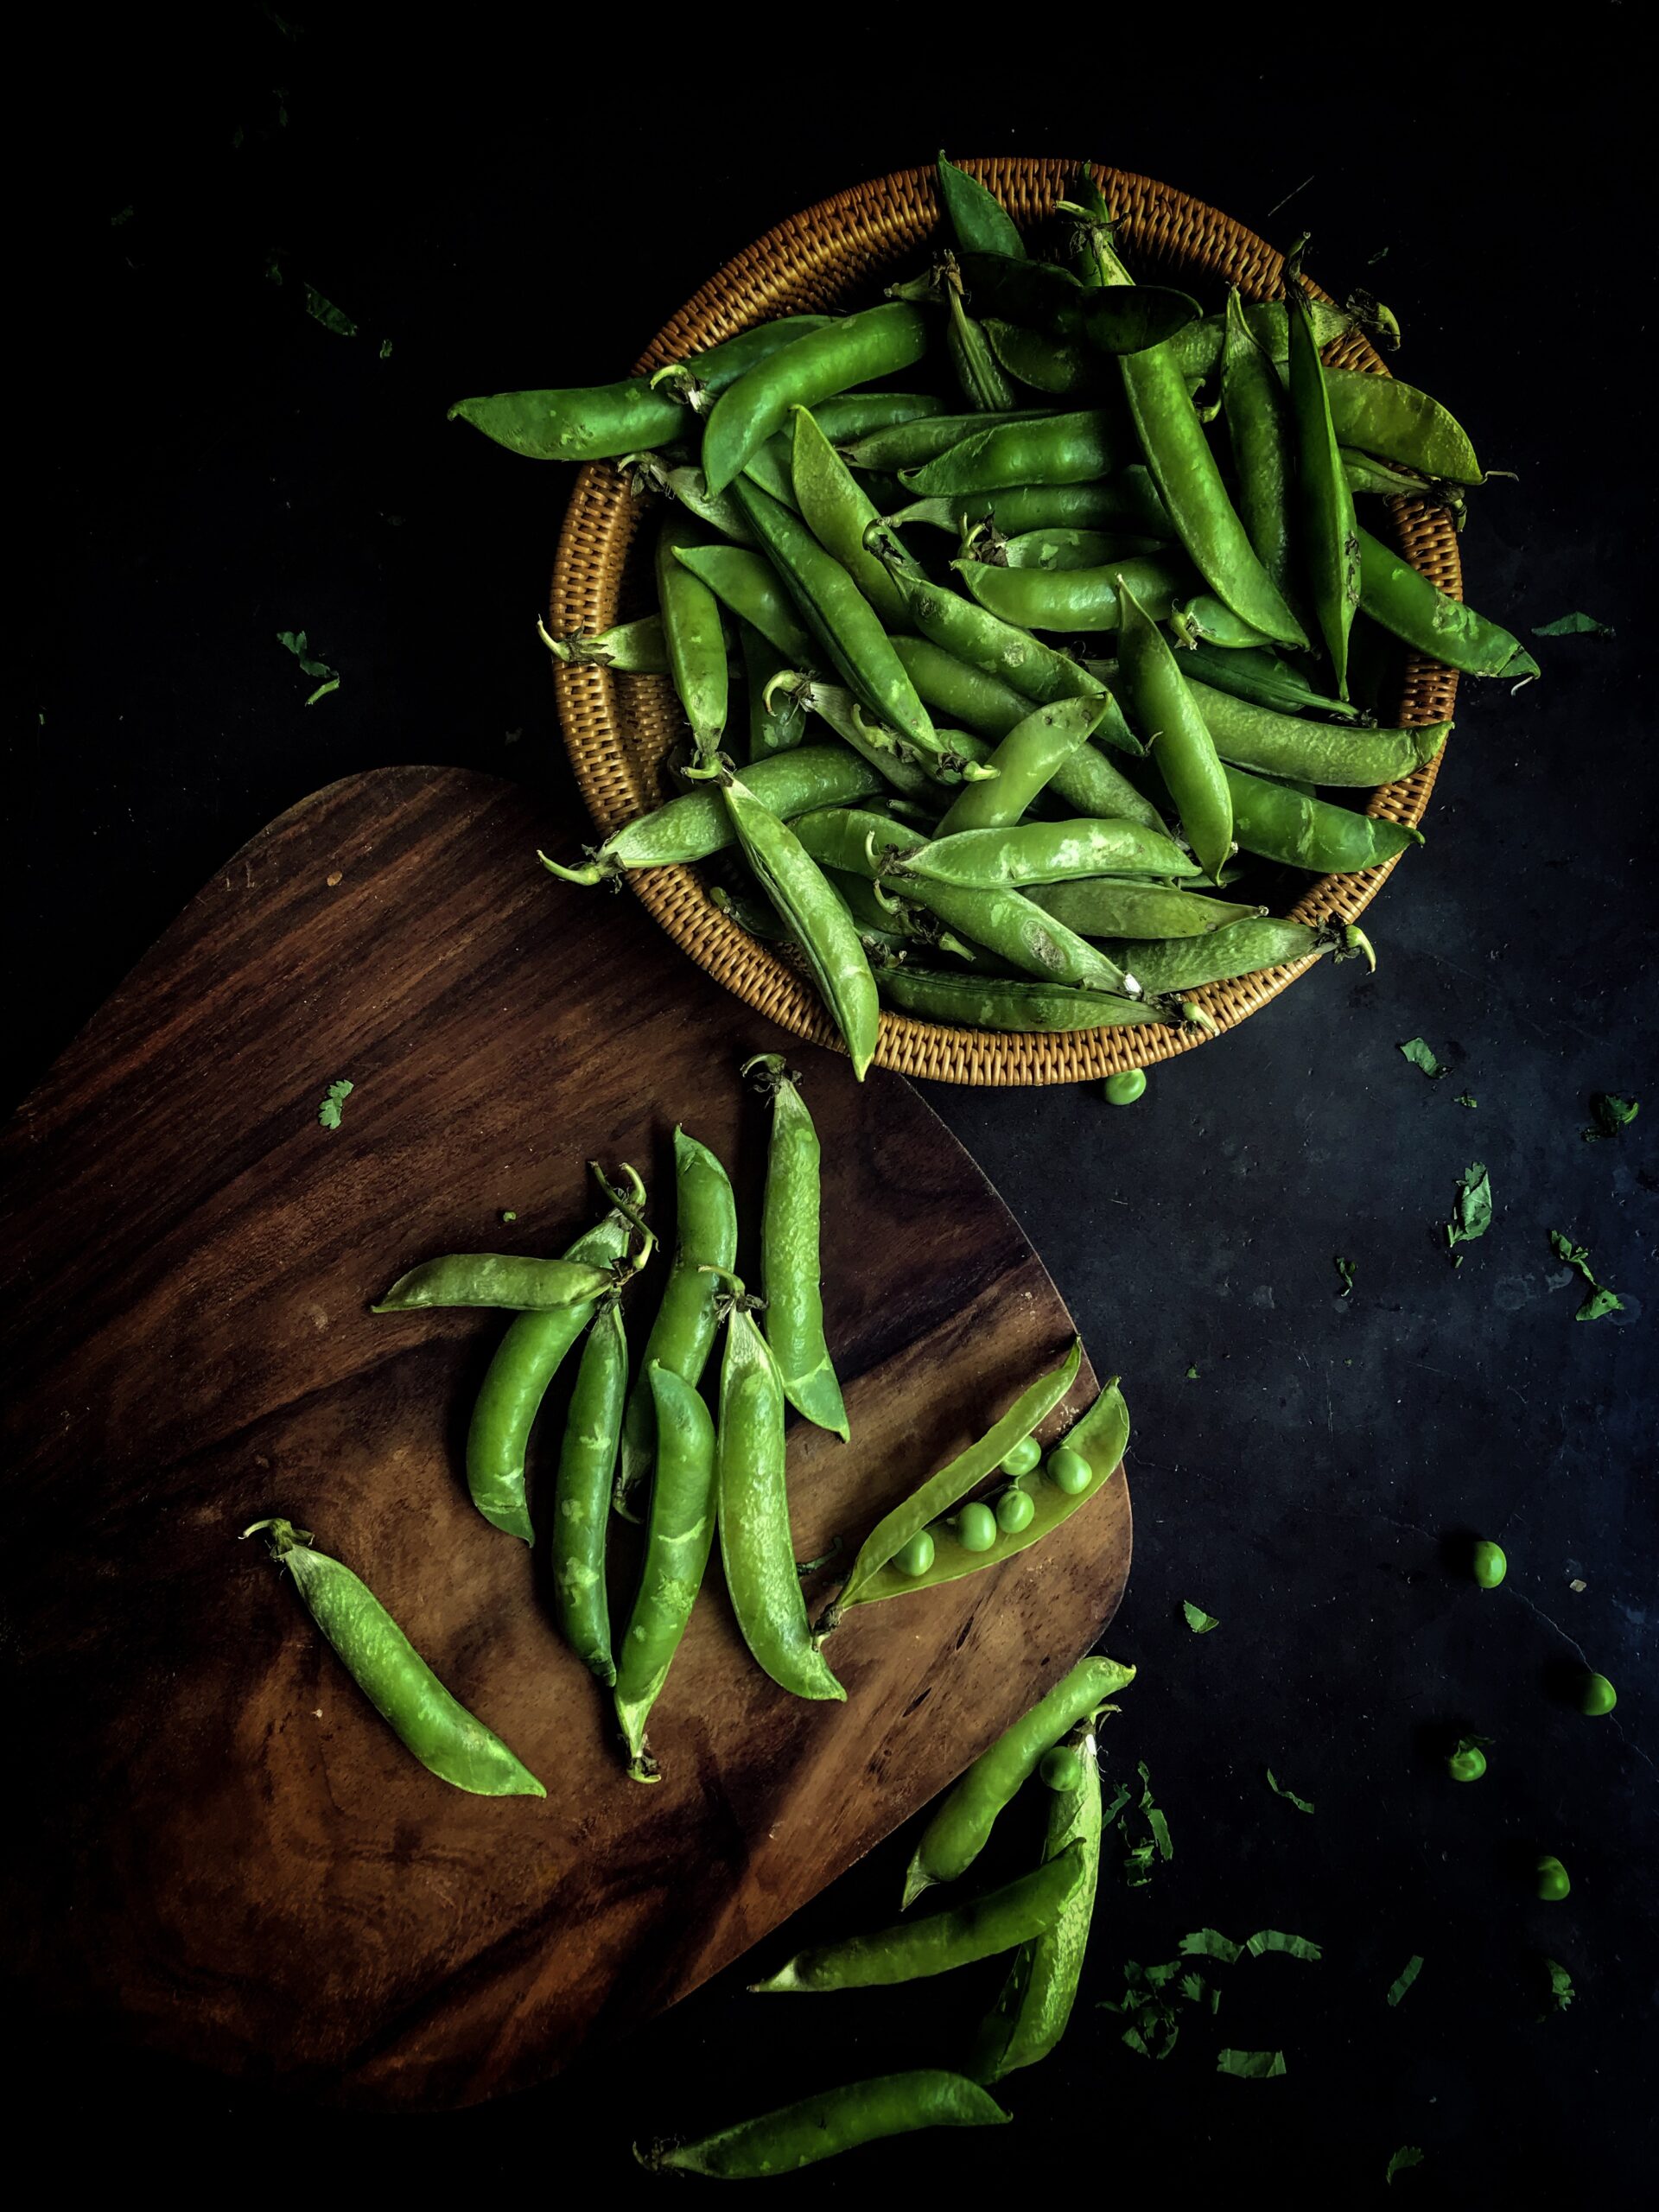
As we came closer to our destination, not only would the air and the temperature become more and more pleasing, but the curling streets and by-lanes winding up to Ooty would be lined with the stalls of farmers, selling fresh produce like carrots and green peas, and a variety of fruits and other vegetables which grow well in that climate. Green peas would be sold by the name “English vegetable”. Even today, if you go to the local produce markets in Chennai and other places, “English vegetable” is the term that is used. Strangely, there is evidence that suggests it could be found in India some two thousand years ago, but no doubt it was the British who cultivated it properly. And who introduced it from their own cuisine into ours.

Green peas are not actually vegetables, but legumes. They are rich in antioxidants and fibre, have a high protein content (four times that of carrots) and also contain vitamins, manganese, folate and other beneficial elements. Like most green things that farmers grow, they are good for you.

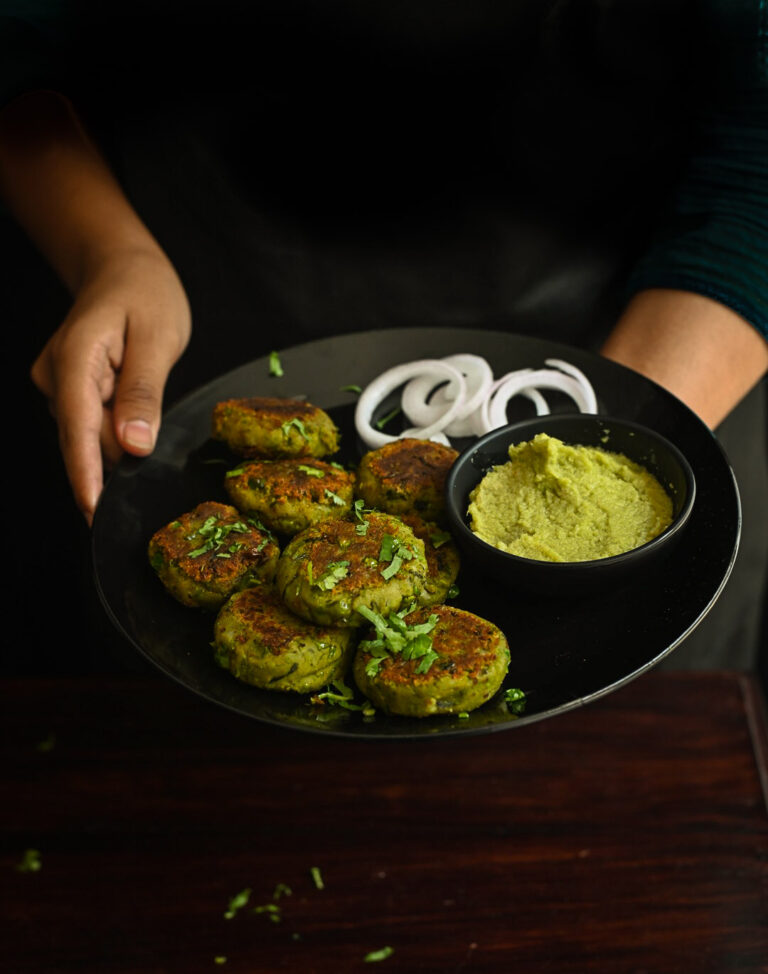
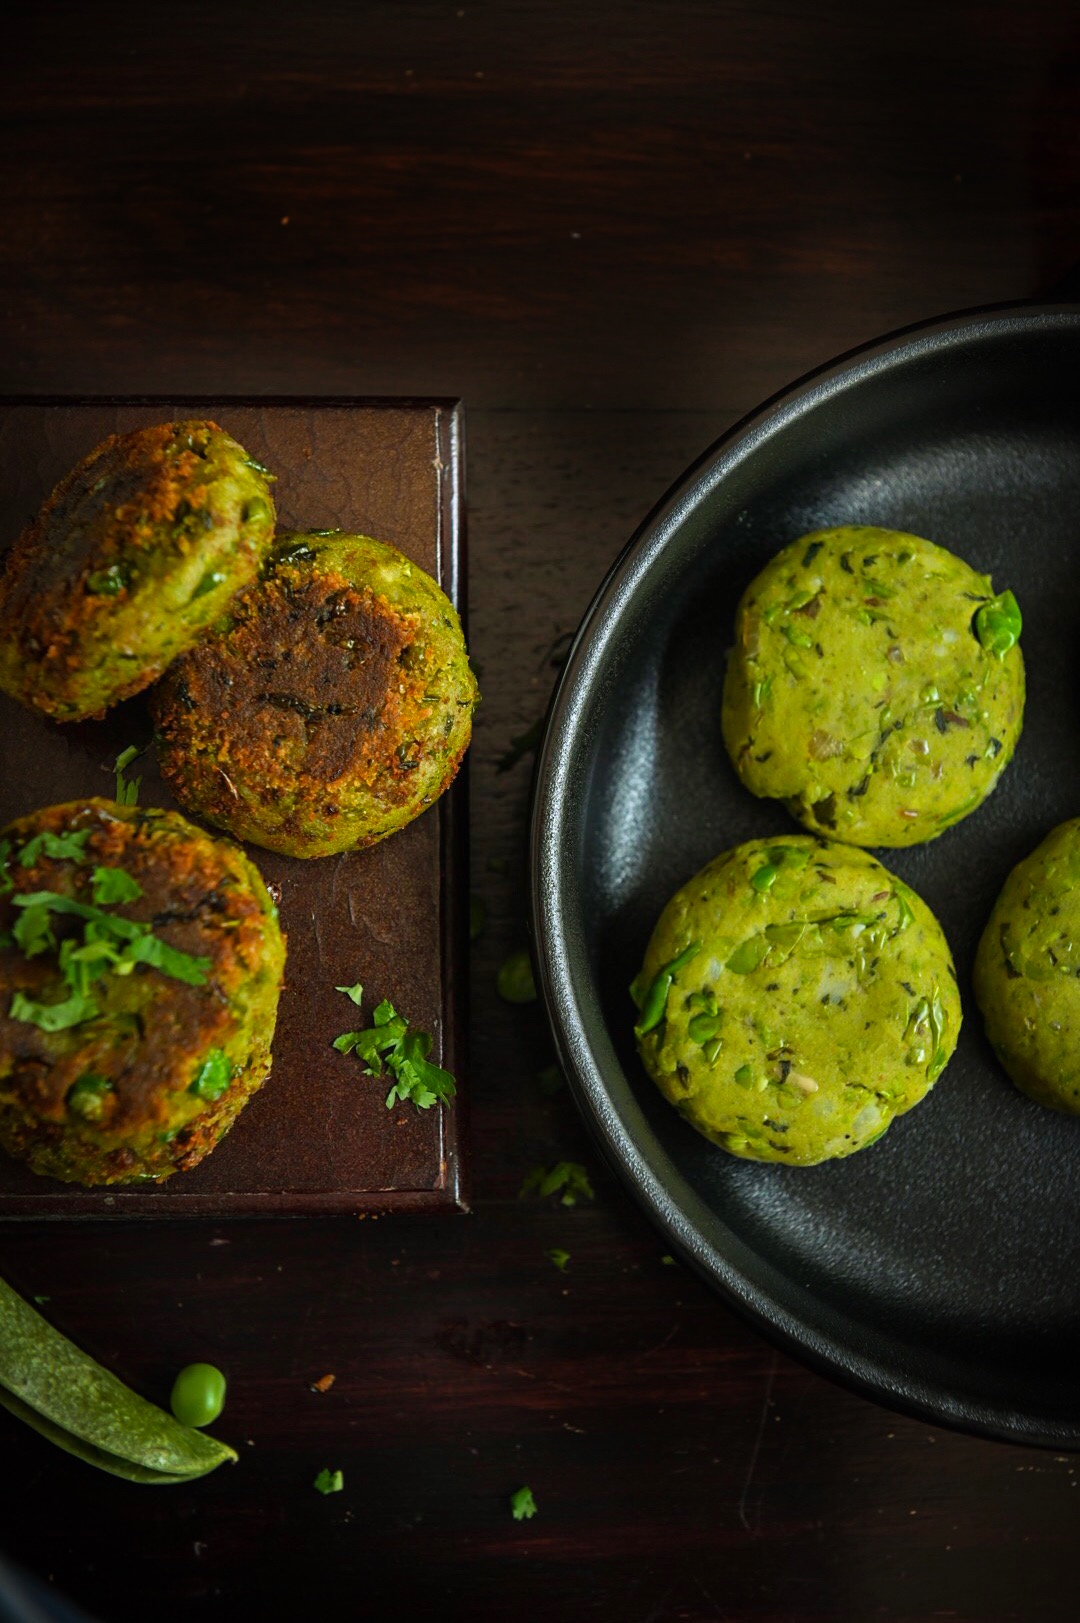
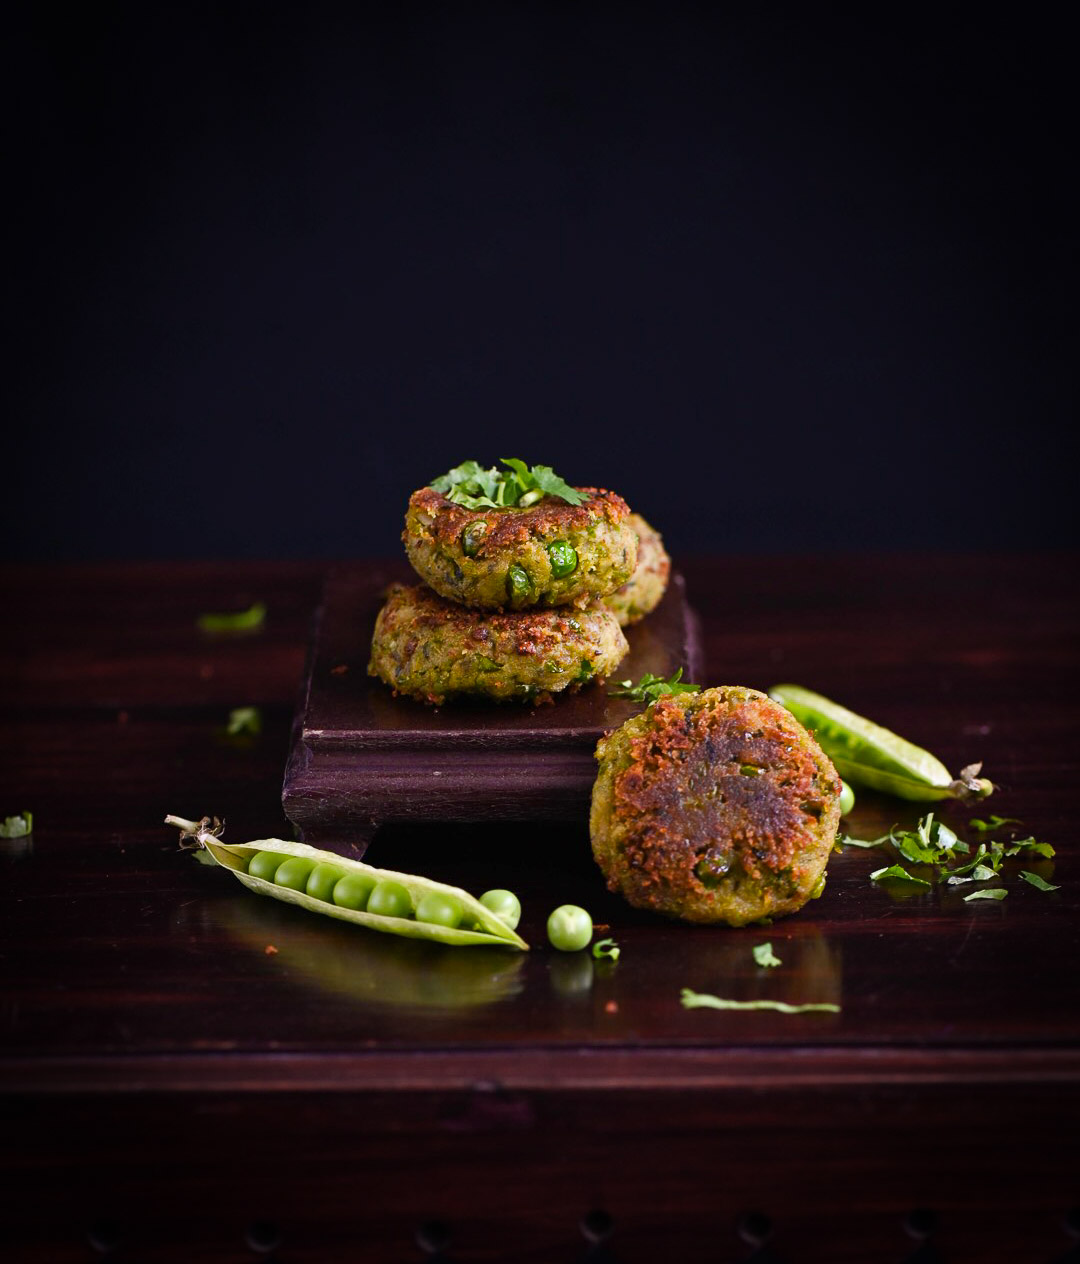
Indians are very innovative when it comes to the kitchen. So all over India, the “English vegetable” was quickly welcomed into the family like they would a good daughter-in-law. Indianised and masalafied recipes featuring the ingredient became popular. We are big foodies in this country, and always find intelligent ways to incorporate new culinary elements into our own styles. Green peas are versatile, so you can make everything from a rice dish like a green peas pulao to so much more. The most bizarre dish I’ve heard of was a green pea halwa, a kind of sticky sweet – any chance you’ve tasted it? From this end to that, once it became popularised by the British, people made interesting dishes using this exotic “English vegetable”. Somewhere in the North, the availability of the green pea gave rise to a dish known as harra bhara kebab.

Kebabs in India originated from Mughal cuisine, from the palace kitchens of the Sultans. Although traditionally made of meat, today we make kebabs out of everything, even quinoa or paneer. The closest English equivalent, since we are using the “English vegetable” today after all, would be a patty or cutlet. Kebabs are sometimes cooked on a skewer, though not always served on one.  The harra bhara kebab is a great hit at parties because it’s a fabulous vegetarian snack, especially for those who’d like to try a kebab but want to avoid the meat ones. The word harra bhara itself is a Hindi term – “harra” meaning “green” and “bhara” meaning “stuffed”.

While cooking this dish, the challenge is to add spices in such a way that the green peas and vegetables retain their colour. This is because the way it looks adds to your experience of eating it, and most cooks want to convey the freshness of the ingredients visually. Some add baking soda or other condiments to keep this so, but I always prefer to keep things natural.

There’s an abundance of green peas in the markets right now, so I decided to make harra bhara kebabs. And as the weather is slowly turning hotter, memories of those summer vacations and those calls of “English vegetable” in the street markets have come flooding back…


Harra Bhara Kebab

(Yield: 8-10 kebabs)

1 ½ cups green peas

¼ teaspoon cumin seeds

3 tablespoons oil

1 finely chopped green chili

½ cup finely chopped onions

½ teaspoon ginger garlic paste

½ teaspoon garam masala

½ teaspoon aamchur powder

¼ teaspoon sugar

½ cup coriander leaves

½ cup mashed potatoes

Salt to taste

In a pan, add 1 tablespoon oil and the cumin seeds. Once the cumin seeds turn golden, add the onions. Sauté for 2 minutes and then add the ginger garlic paste. Sauté some more till the colour turns.

Now, add the green peas and green chili. On a medium flame, stir well, making sure it doesn’t stick to the bottom. Then, cover the pan with a lid so the peas soften a little bit.

Once the green pea mixture has softened slightly, add the salt, aamchur powder, garam masala, sugar and coriander leaves. Mix well and allow to cool completely.

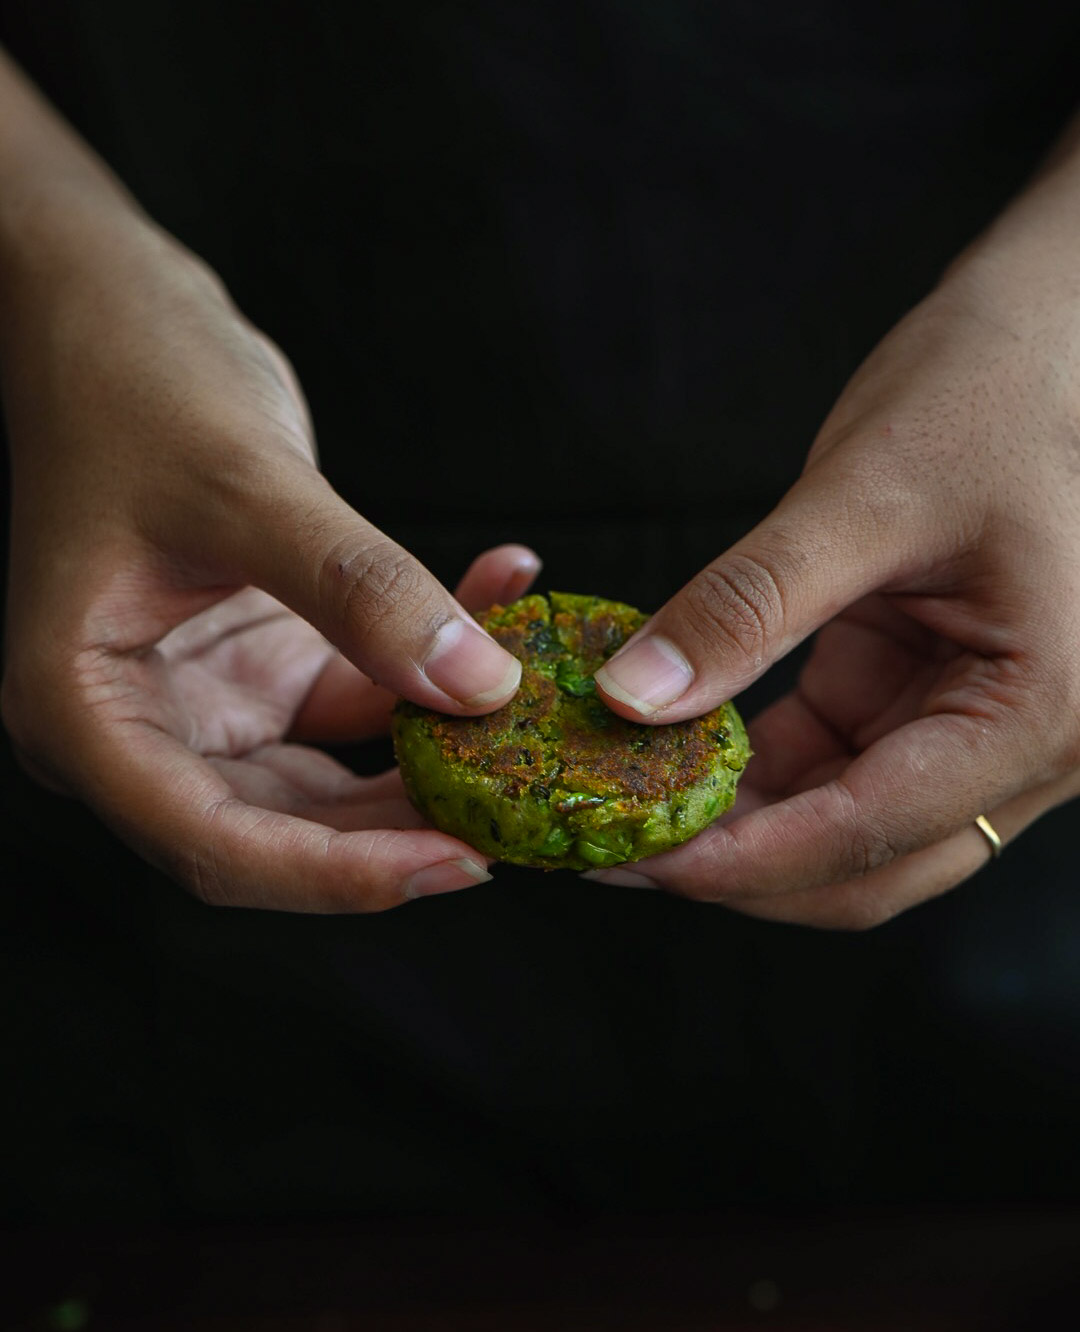
Grind the peas mixture coarsely. Blend this with the mashed potatoes, using your fingers. Then, make small patties with your palms.

In a flat pan, add the remaining oil. Once the pan is heated, place the kebabs gently on the oil. Keep the flame between low to medium and turn them over gently. Make sure they’re done well on both sides. Remove from the pan.

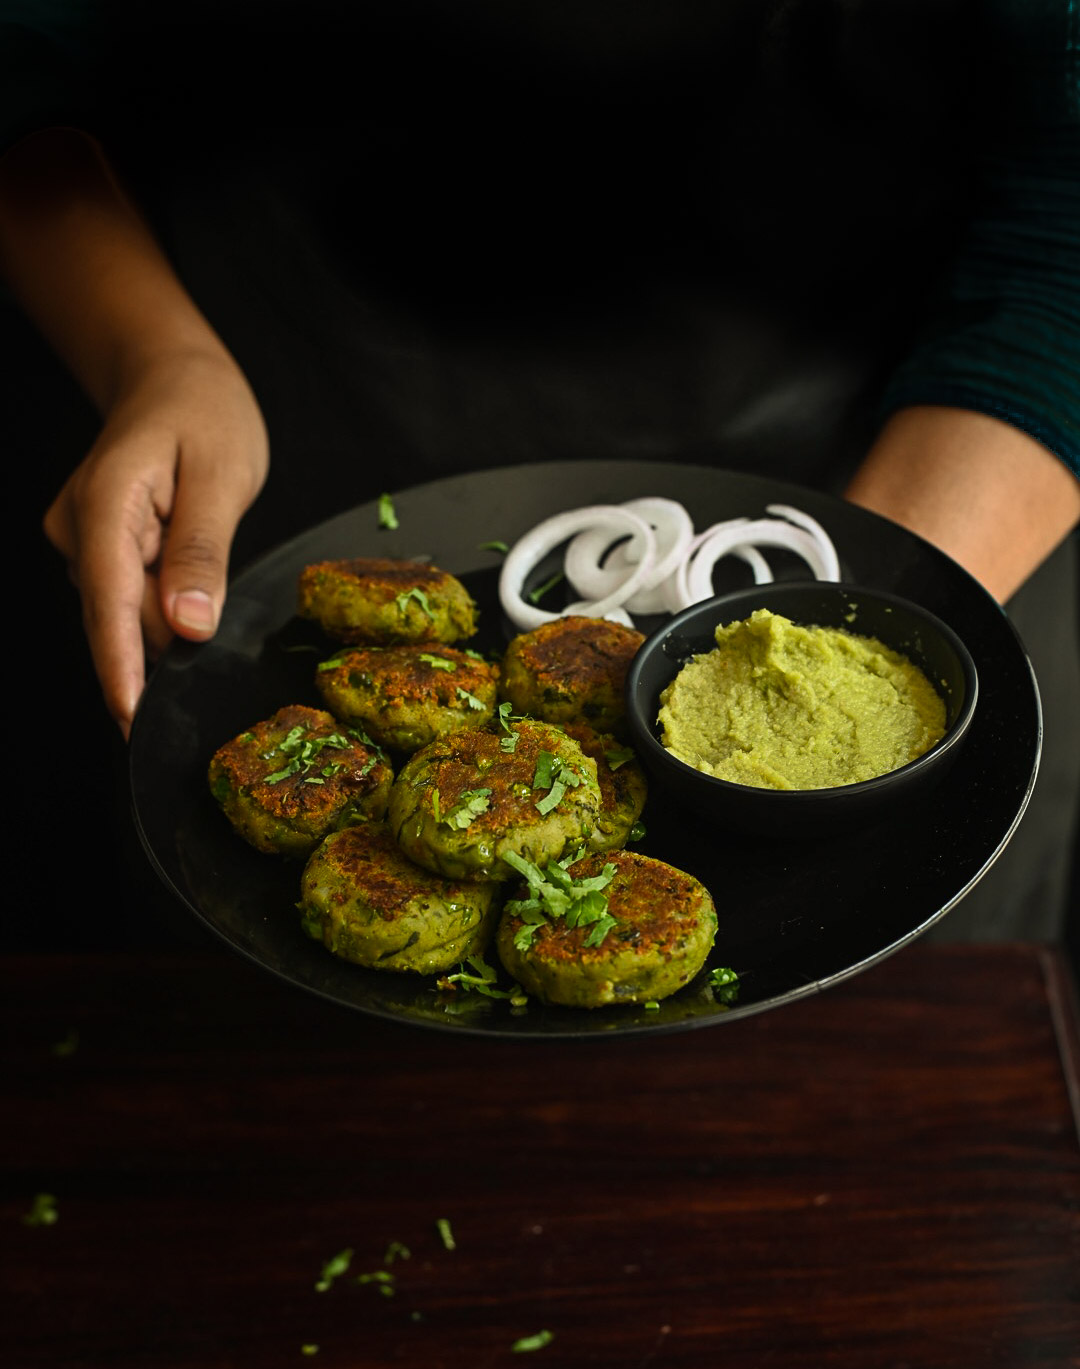
These harra bhara kebabs are ideal for sharing and are a perfect finger food, especially for parties where you want to add a few exciting vegetarian options to the menu. Serve them with a dip of your choice. I like them with a green coriander chutney, which you may remember from this earlier snack recipe for banana methi fritters. A tamarind chutney will also go very well. I’d love to know what dip accompaniment you like best for these harra bhara kebabs when you try them out. Looking forward to your comments!

If you’ve been following my blog for a while, you may not be surprised to hear me say that green moong is my favourite among lentils (you may know it as mung bean, green gram or pachai payiru). As you’d have seen, I’m so in love with its versatility that it’s found a place in recipes as diverse as this crunchy teatime snack and in this deeply filling meal-in-a-bowl. With Republic Day this weekend, honouring the Indian constitution, I thought of how to best honour a different kind of Indian constitution – and once again, the humble yet power-packed mung bean was what came to mind.

Green is one of the three stripes of the tricolour and greenness is something that I think we need and must celebrate in this country. It’s a colour that evokes fecundity, growth and serenity. In my previous post, I talked about the harvest festival Sankranti. As a farm-owner, and someone very invested in using the goods of my garden in my kitchen, “green” is a way of life for me. I hope that this year will be good for farms and farmers everywhere, for political calmness, and for harmony and oneness with nature.

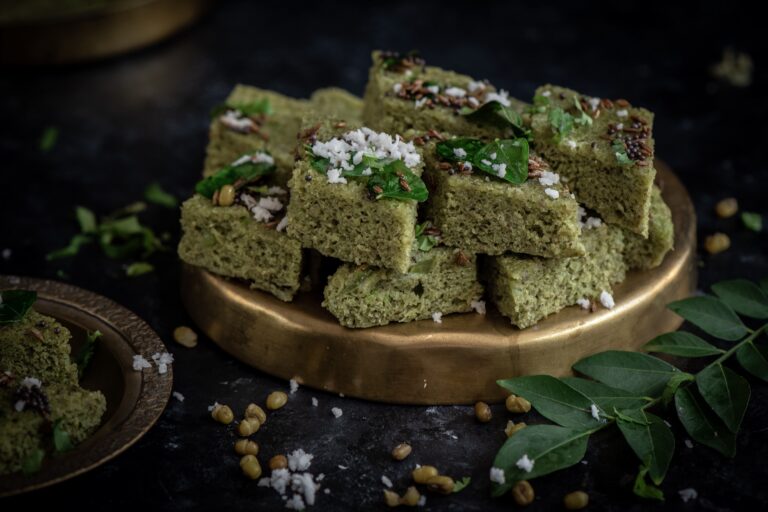
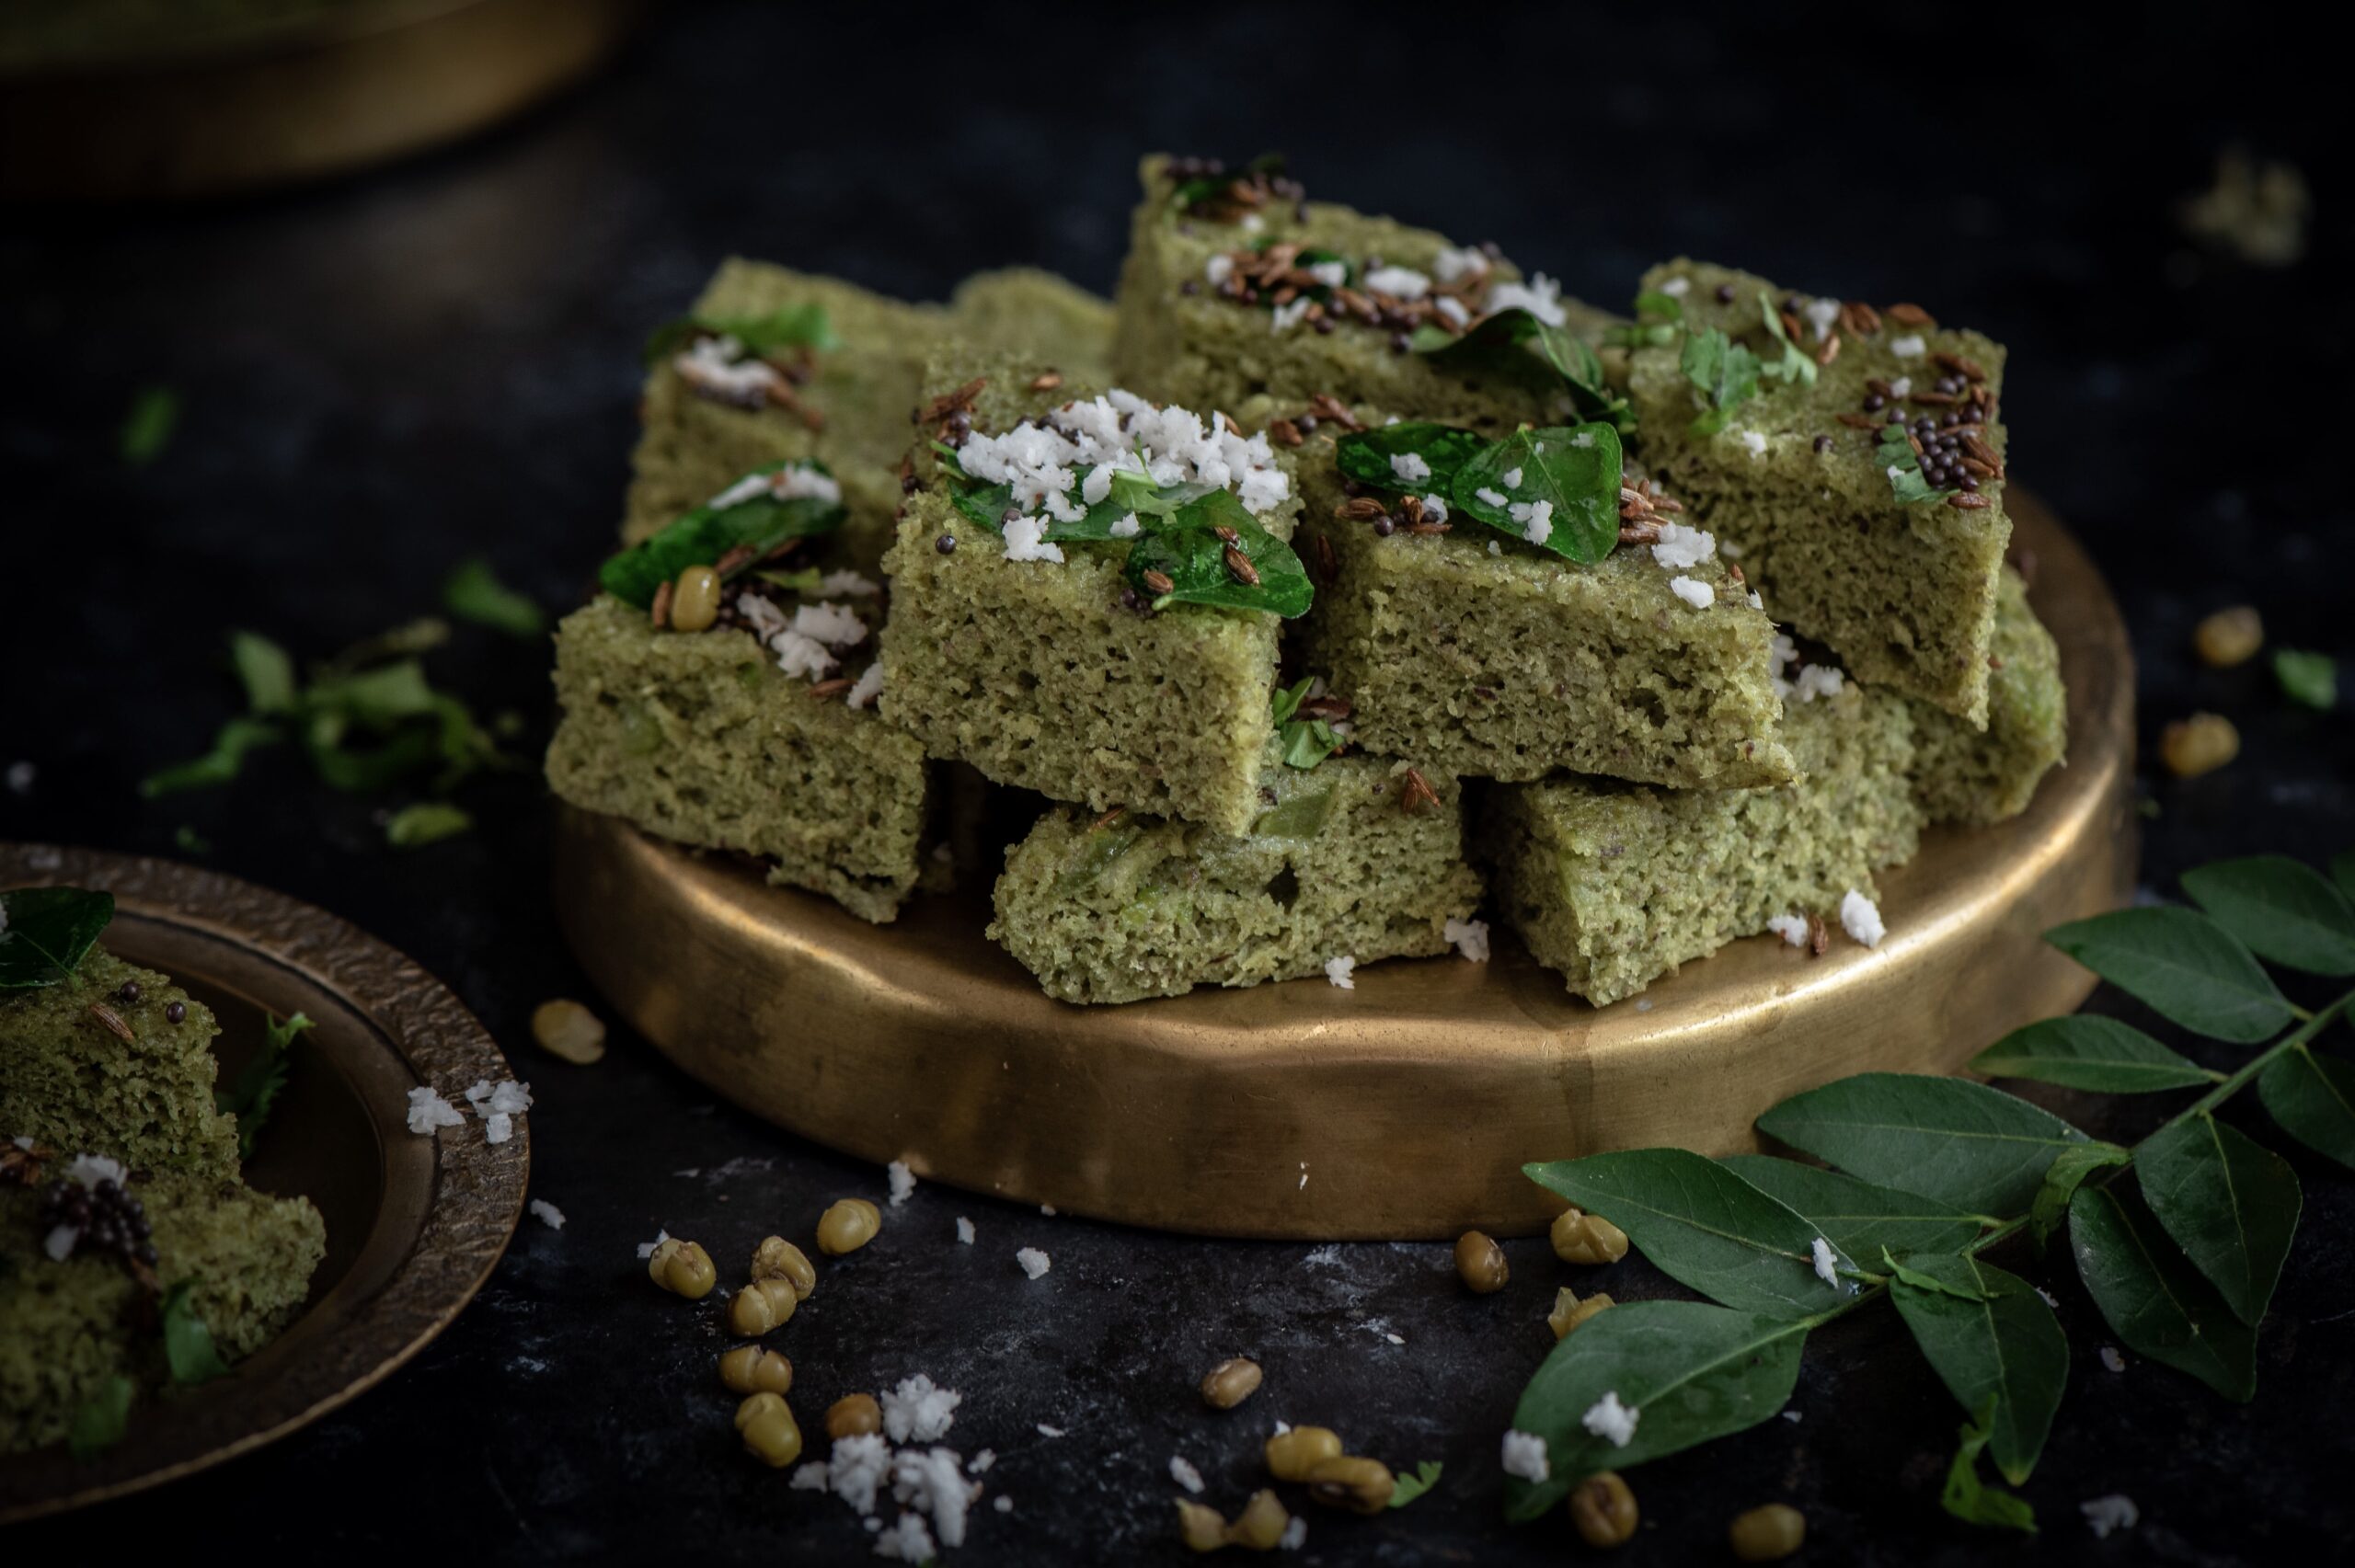
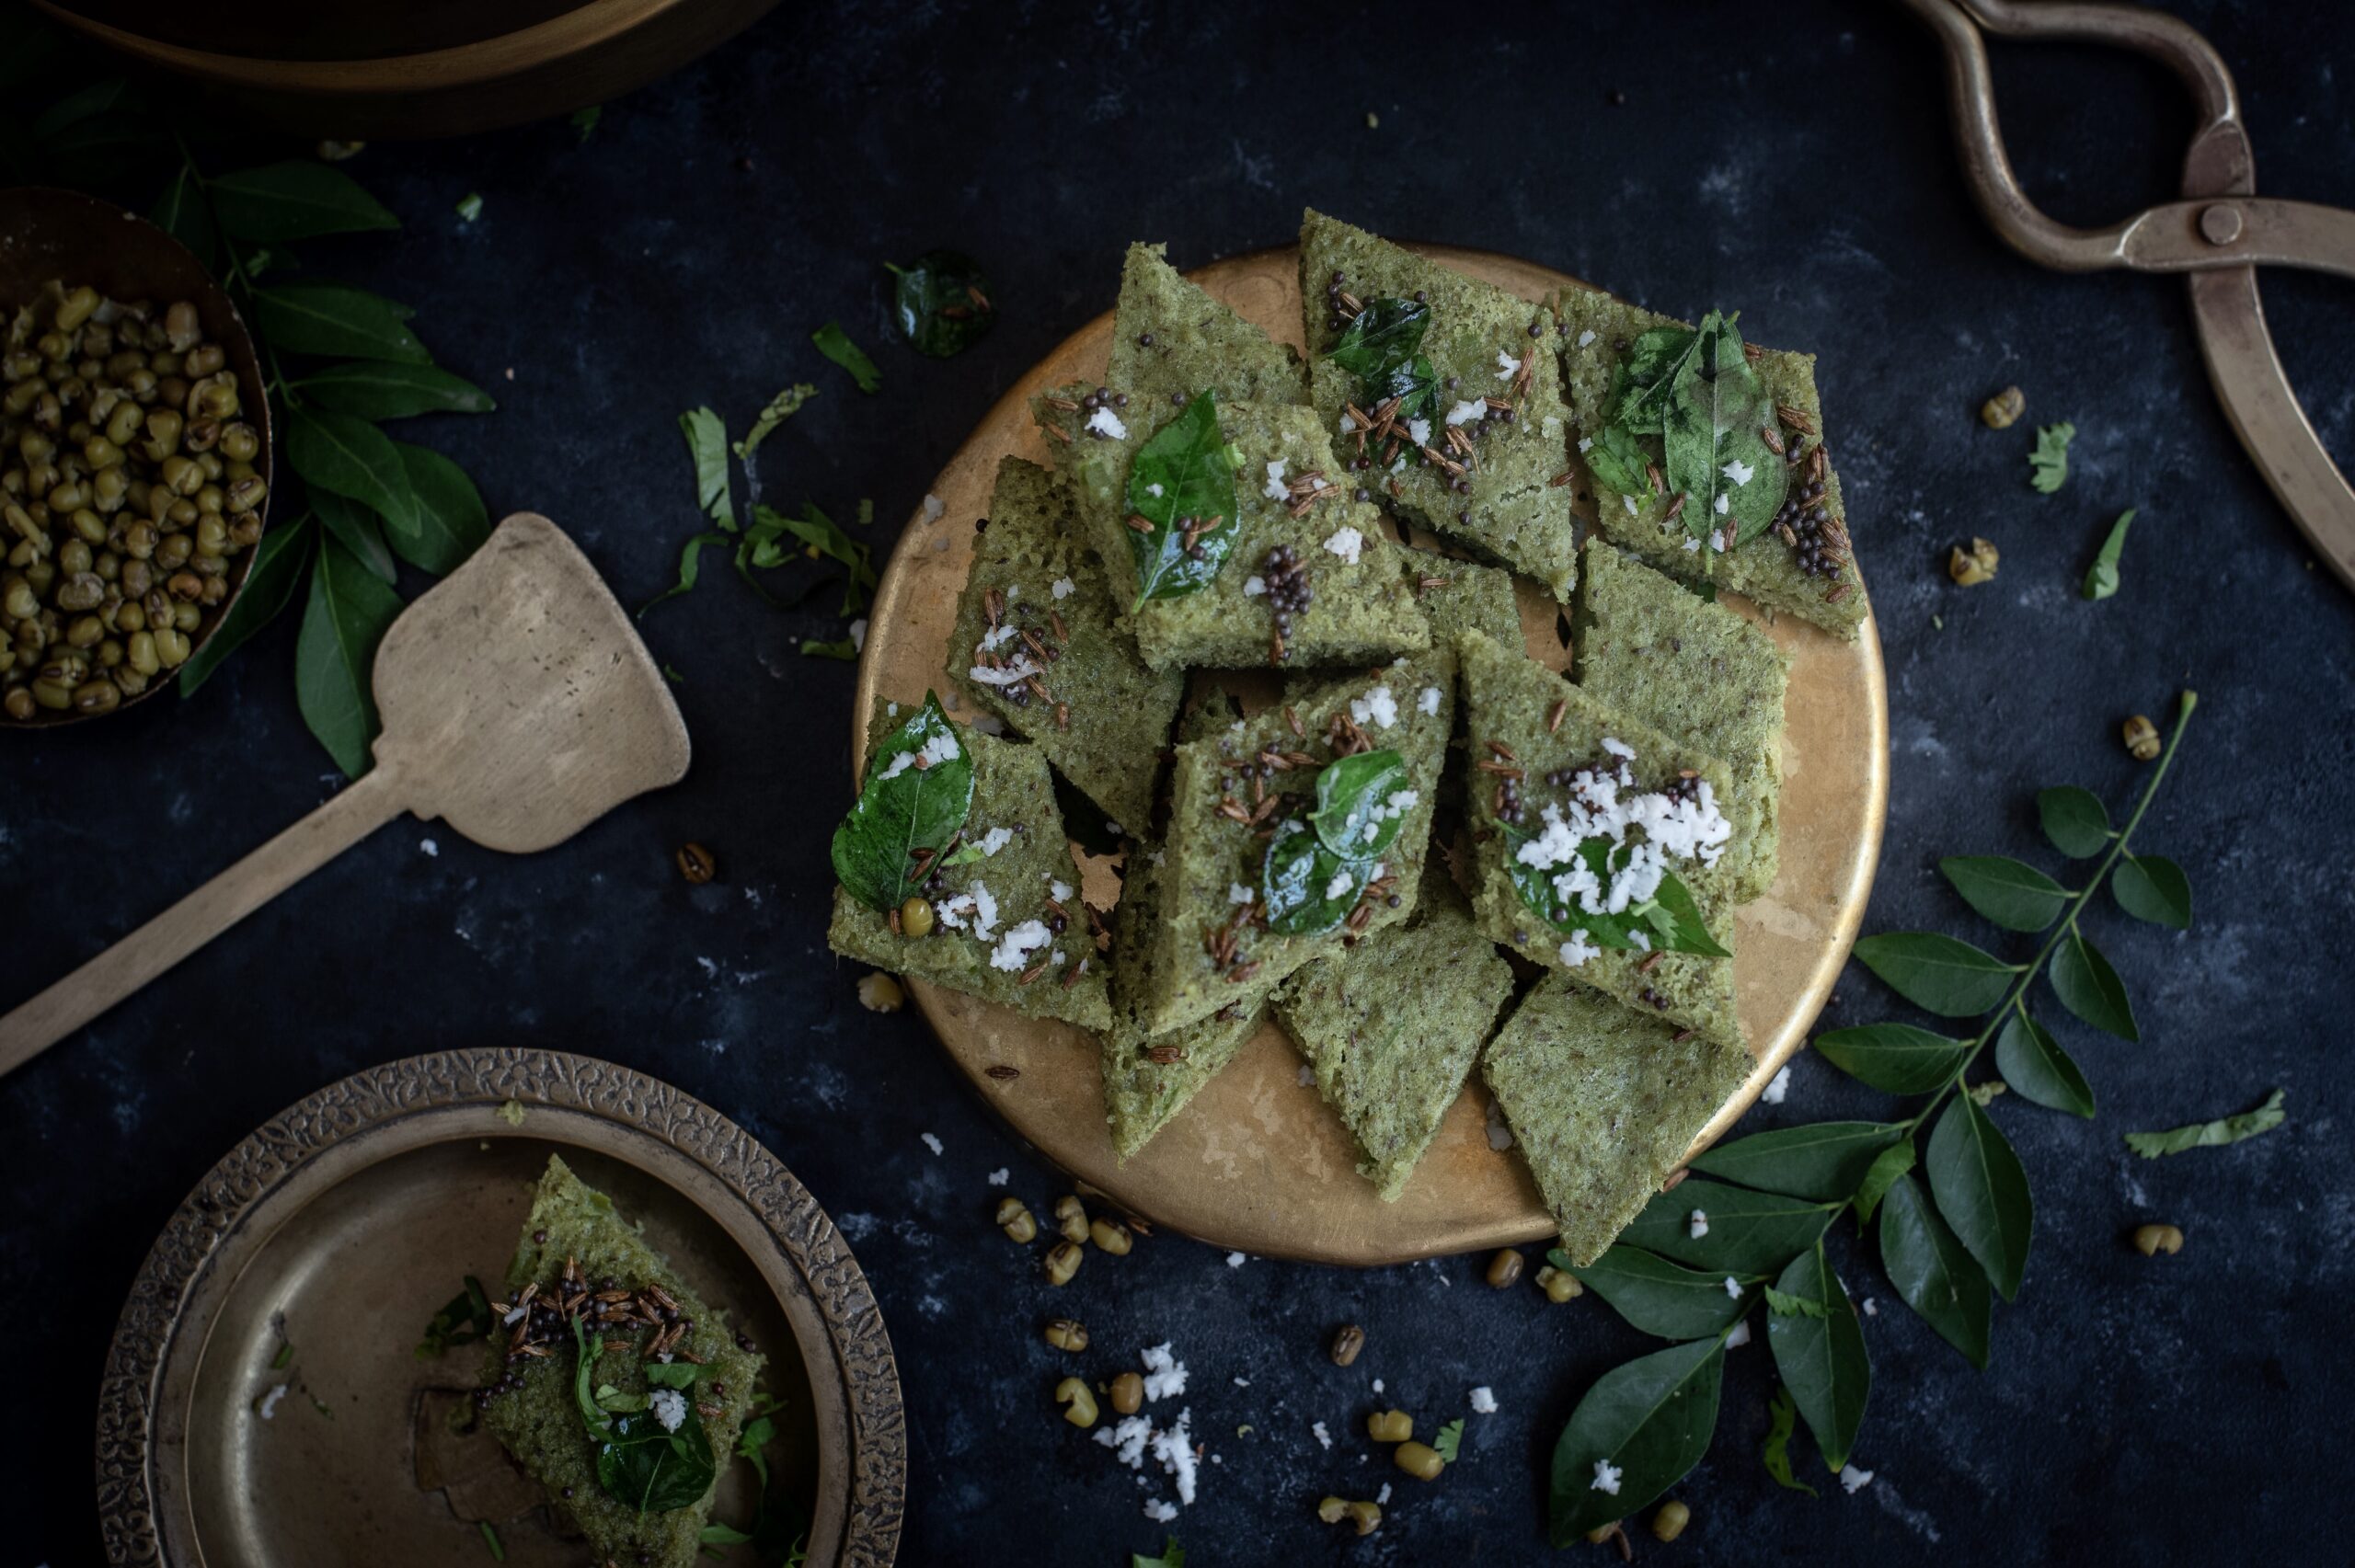
The recipe I am sharing today is for green moong dhokla – a healthy, fermented, steamed dish that can be eaten as a main course, a snack or an accompaniment. Soft and flavourful, a dhokla is so ubiquitously Gujarati that it’s a stereotype. I’ve literally heard people say “Dhokla!” when they hear what my ethnicity is. We have so many varieties, and my personal favourite is actually the buckwheat kind which is eaten on Agyaras, the eleventh day of each month which is traditionally observed by Gujarati Vaishnavites as a relaxed fast during which no grains or salt are consumed, but buckwheat, fruits, yams, potatoes and the like are allowed. I’m not one for fasting, but I always look forward to having some dhokla when I’m around someone who is!

Once again, it was my sister who taught me how to make this – one more classic item from the Gujarati cuisine that she learnt after getting married, just like this til-ka-chikki. She has a knack for making it in practically a snap of the fingers – often, I’d ask for a plate of green moong dhokla, go downstairs for a bit, and come up to see it was already prepared.

This green moong dhokla is eye-catching thanks to its colour, which is always a great way to get kids to eat something that’s good for them. As you may remember from earlier posts, moong is extremely nutritious. It is a great source of fibre, potassium, manganese, folate and various vitamins and minerals. They are also an excellent source of protein, and I would say crucial to a vegetarian or vegan diet. They are known to lower blood pressure and sugar levels, prevent heat stroke, aid digestion, reduce the risk of cardiac disease, and possibly assist in weight loss.

A dhokla could be described as a kind of savoury sponge cake, steamed rather than baked. Every kind of dhokla is delicious, in my opinion. But as a Gujarati, I’m biased. Why don’t you try this version and tell me what you think?

Green Moong Dhokla

(Yield: 15-20 pieces)

1 cup green moong (mung beans)

½ teaspoon ground green chilli paste

1 teaspoon ginger paste

2+2 tablespoons oil

1 teaspoon lemon juice

1 cup coriander leaves

½ cup capsicum

½ teaspoon sugar

½ teaspoon eno powder

½ teaspoon mustard seeds

½ teaspoon cumin seeds

A few curry leaves

Salt to taste

Grated coconut (optional)


Soak the green moong overnight. In the morning, rinse the moong, remove the water and put the beans in a blender along with salt, coriander leaves, ginger paste and green chilli paste. You may need to add approximately a ½ cup of water to allow it to grind well. The The consistency of the batter needs to be a little thicker than that of pancake, or in other words, like idly batter.

Now, add 2 tablespoons of oil, and the lemon juice and finely cut capsicum to the batter.

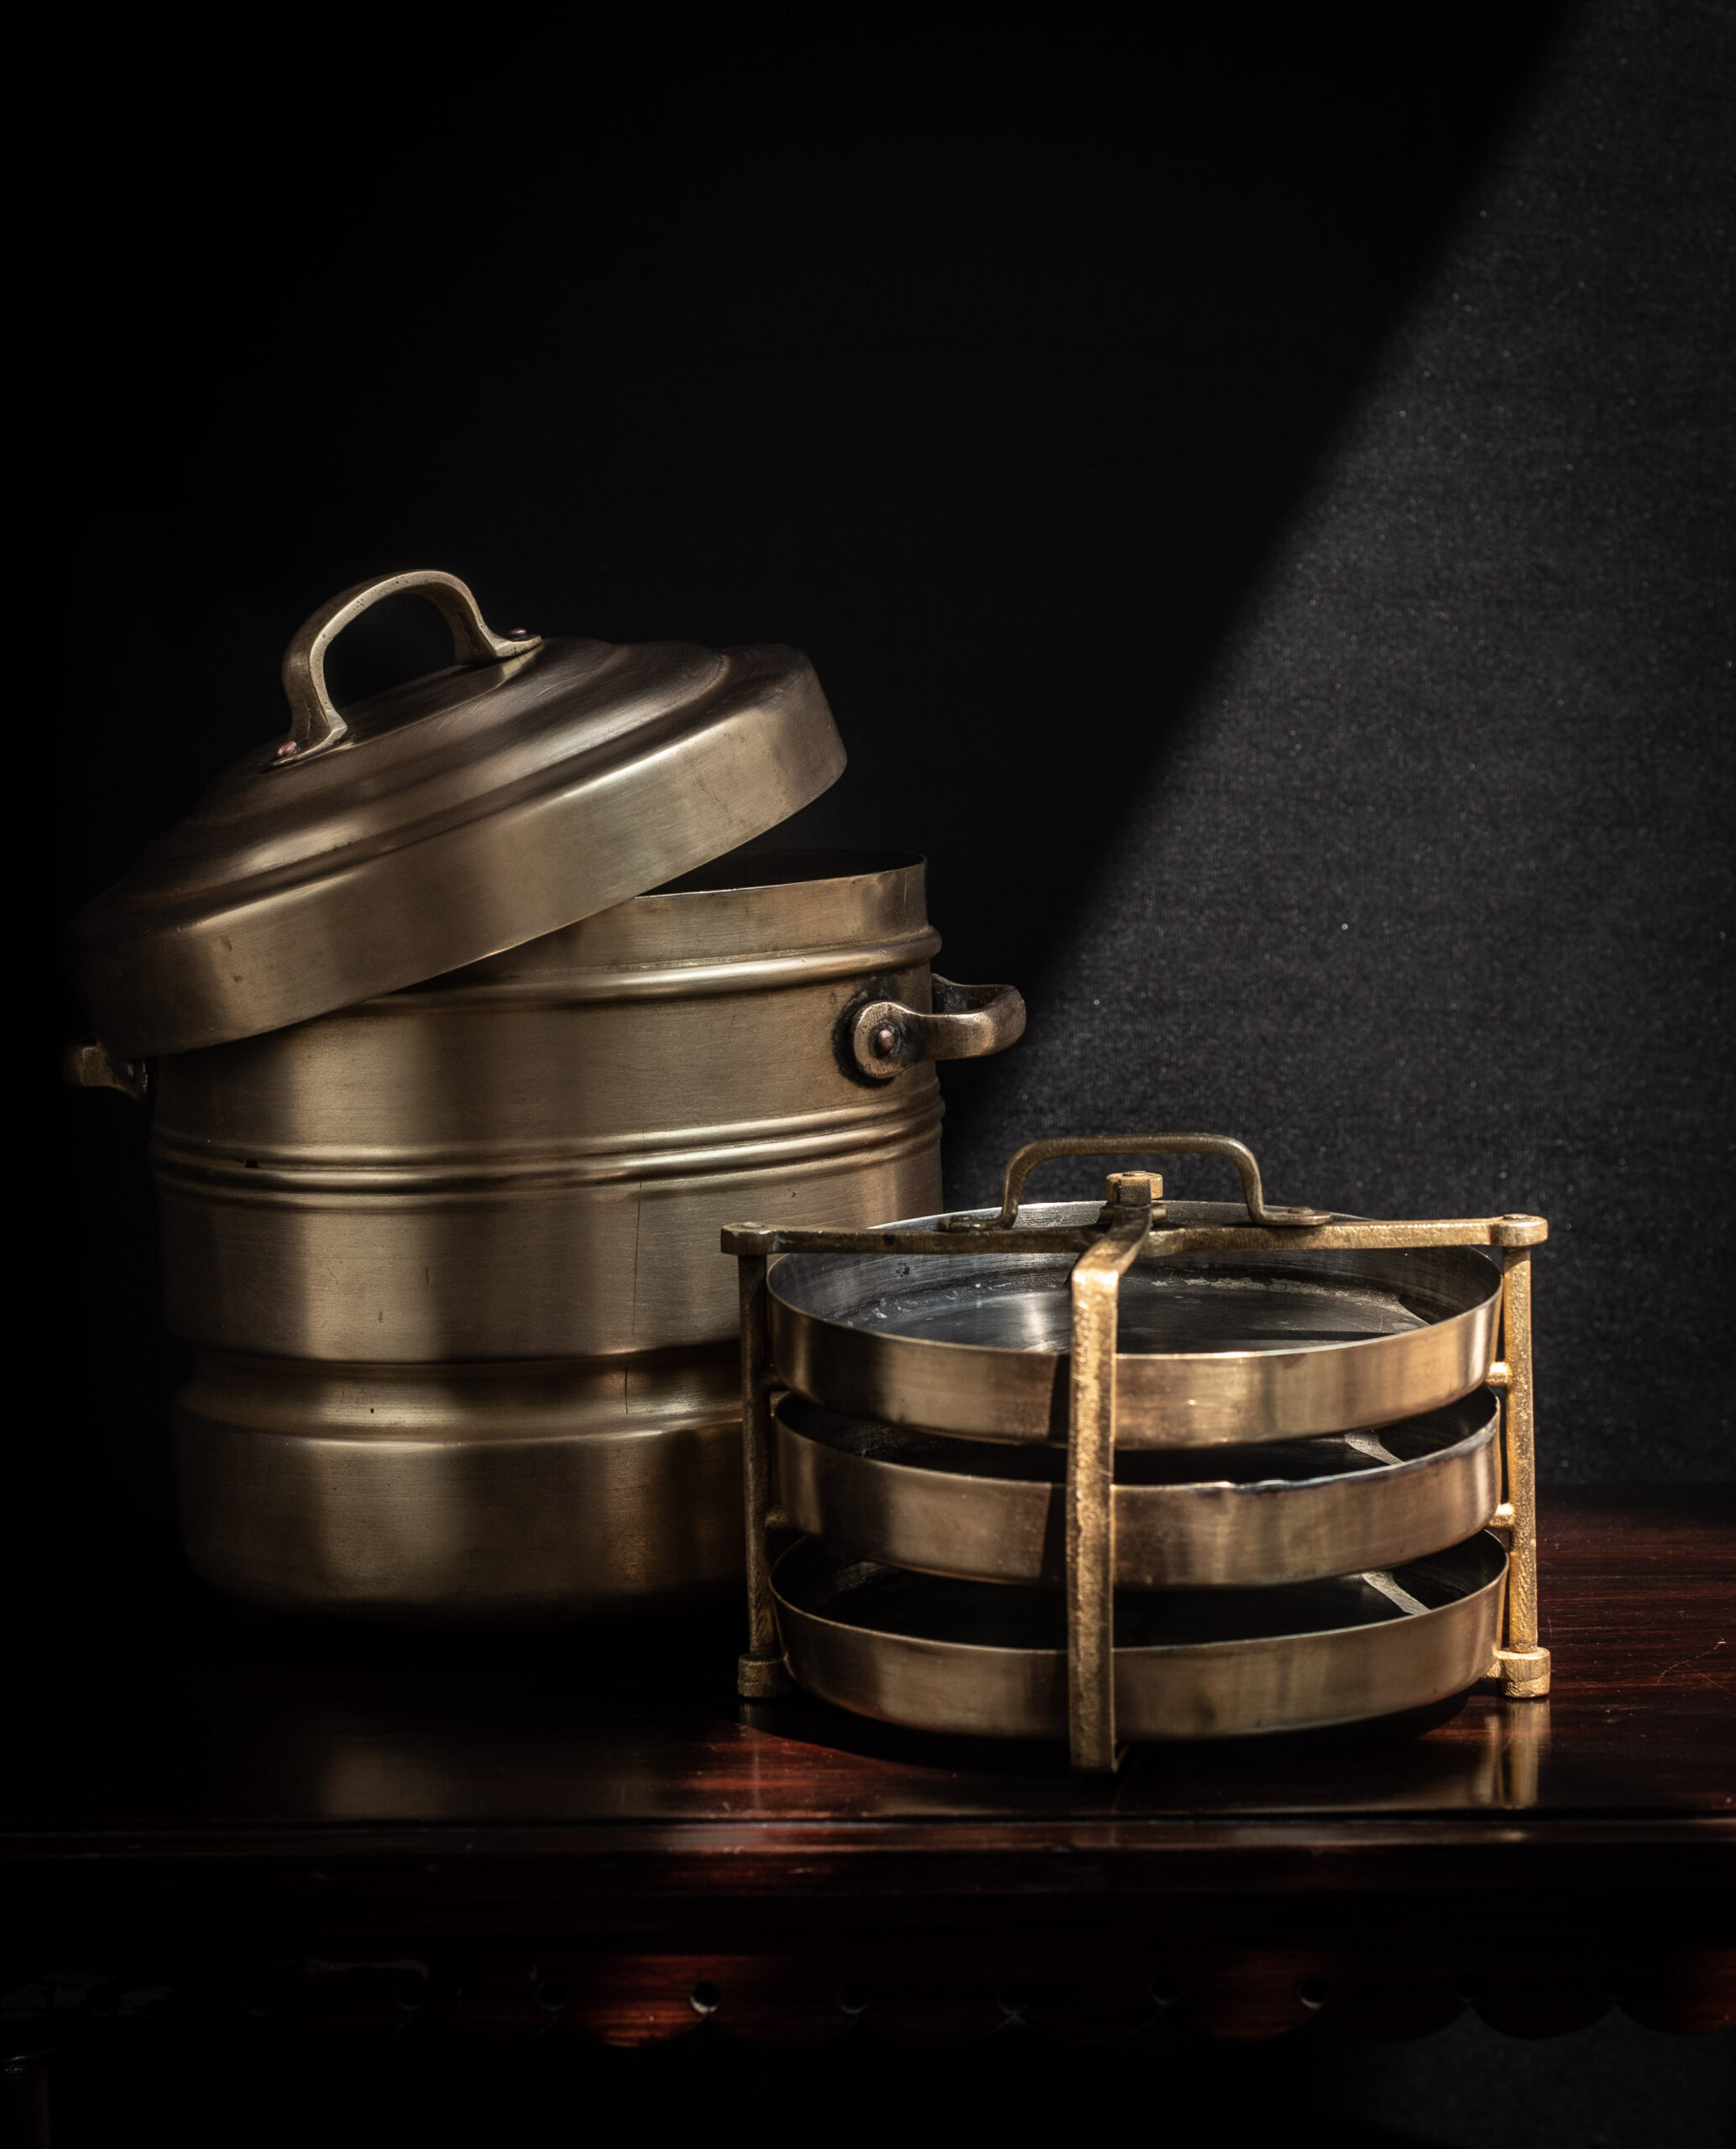
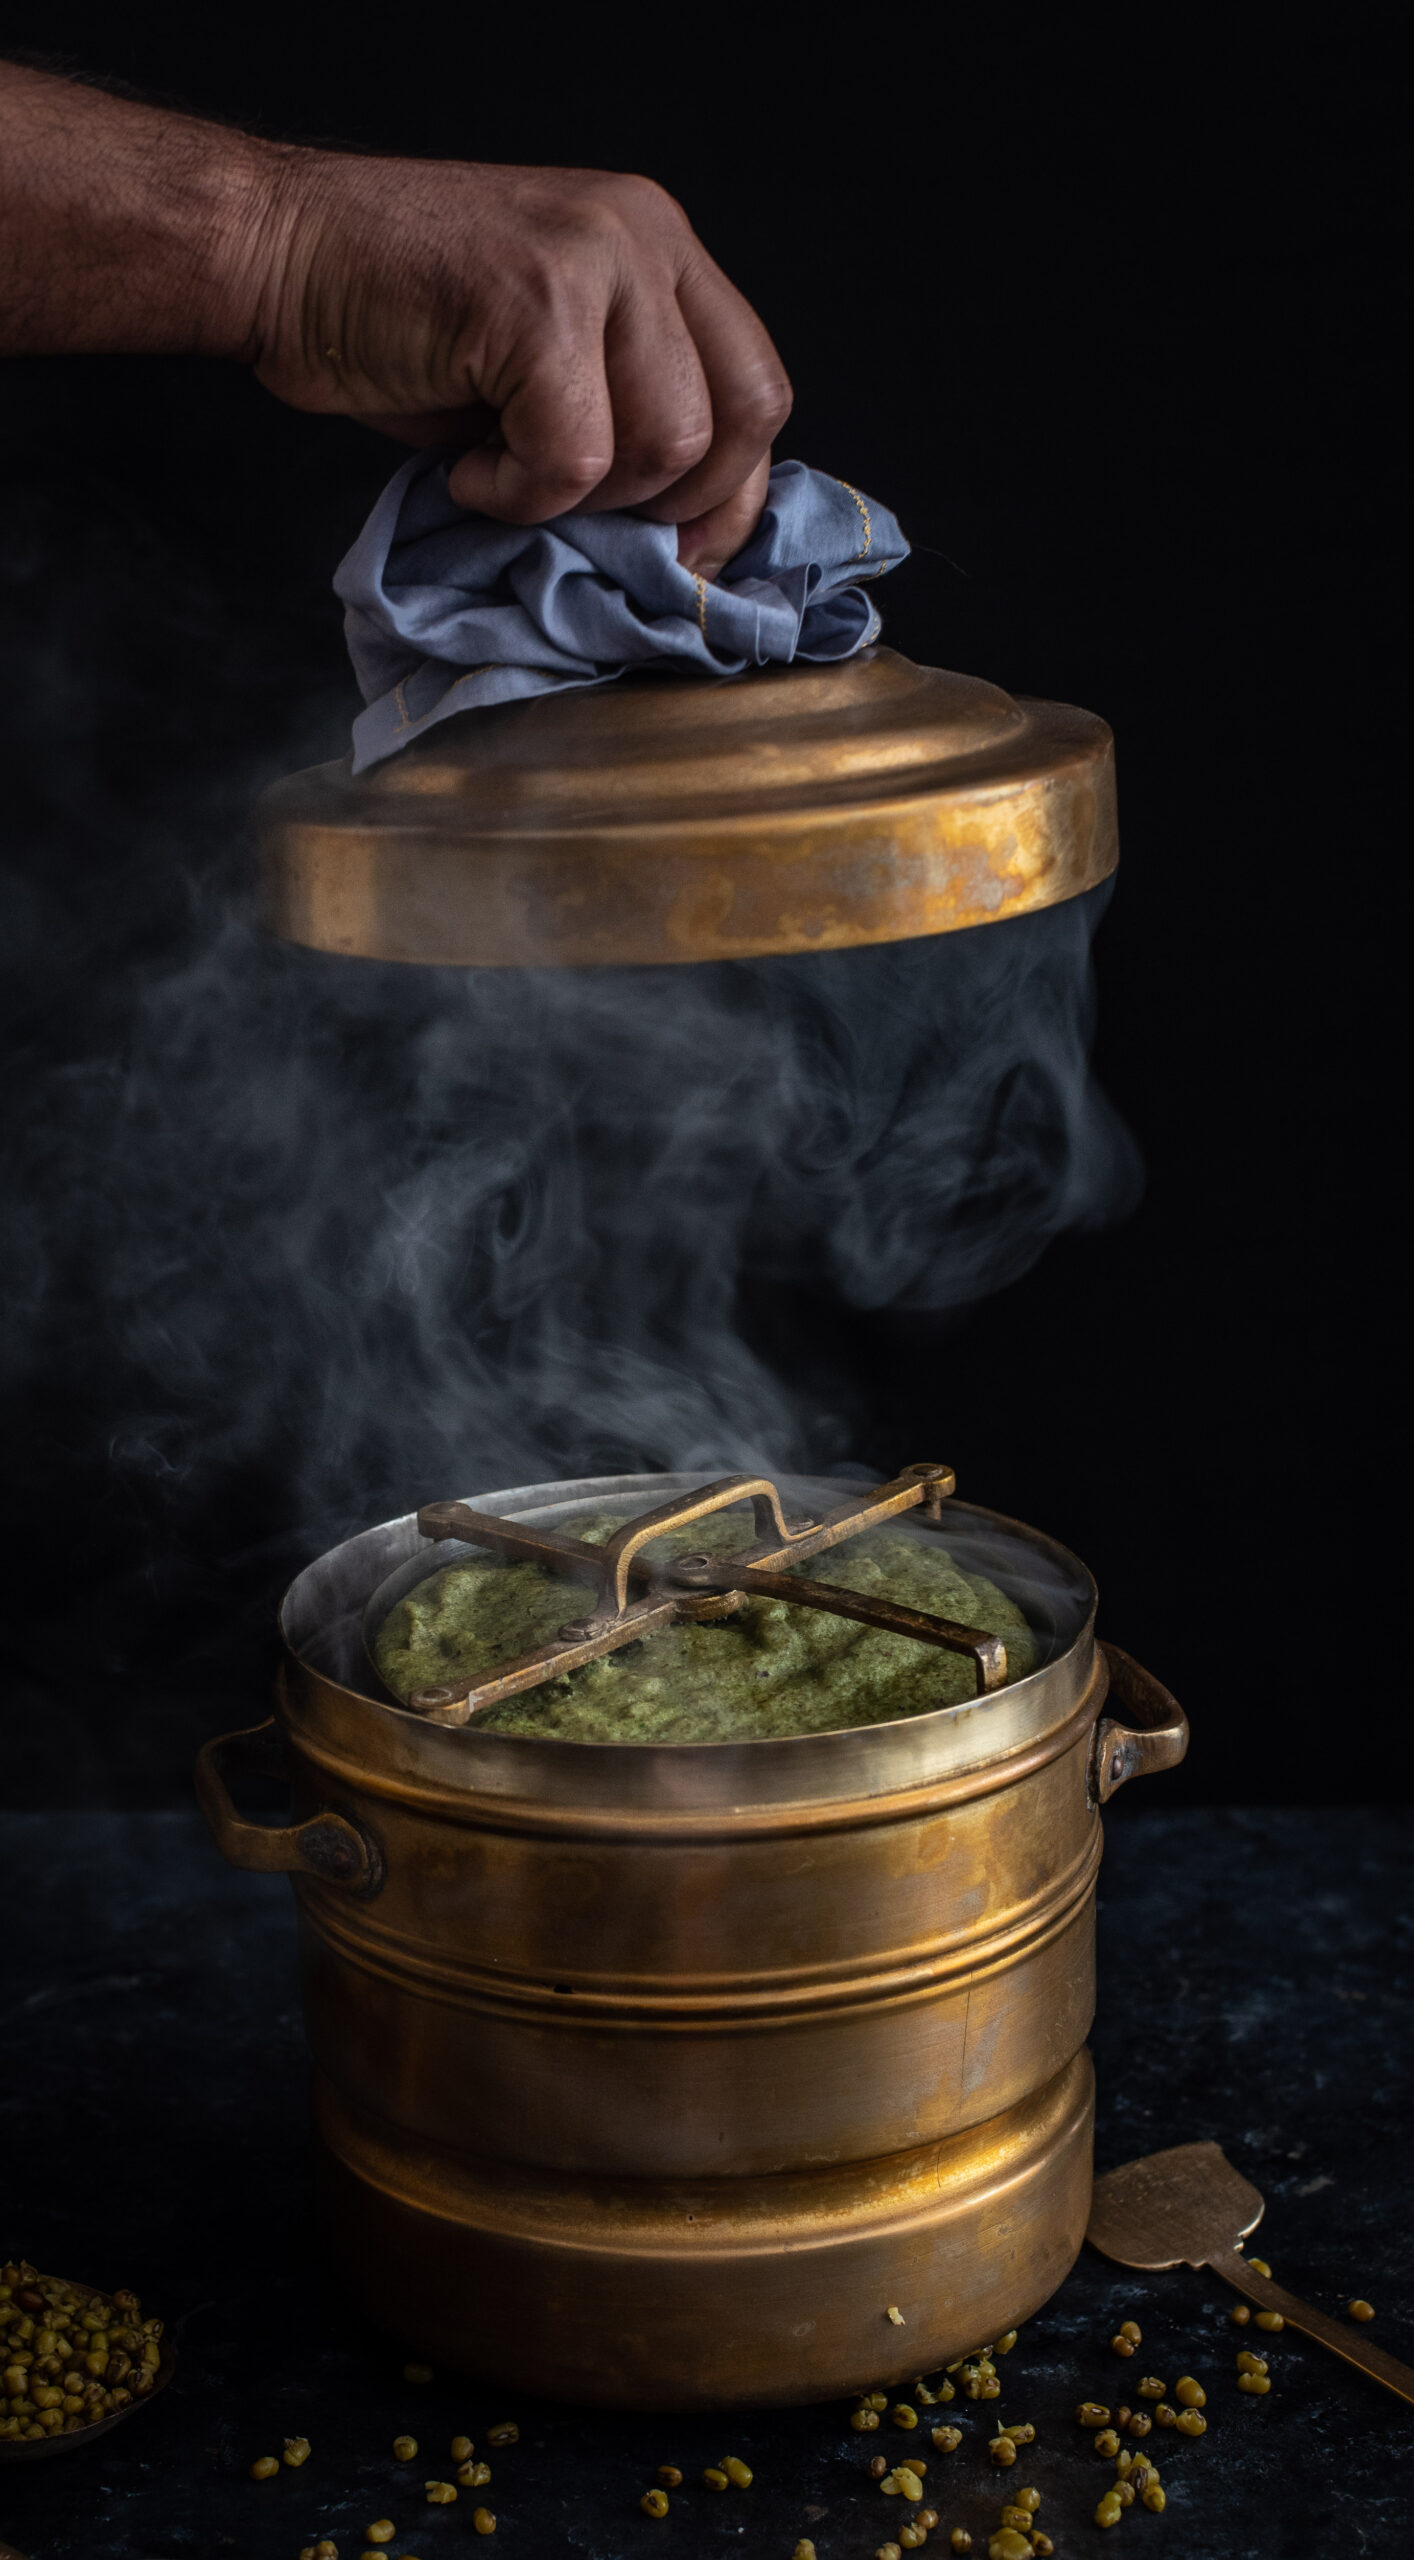
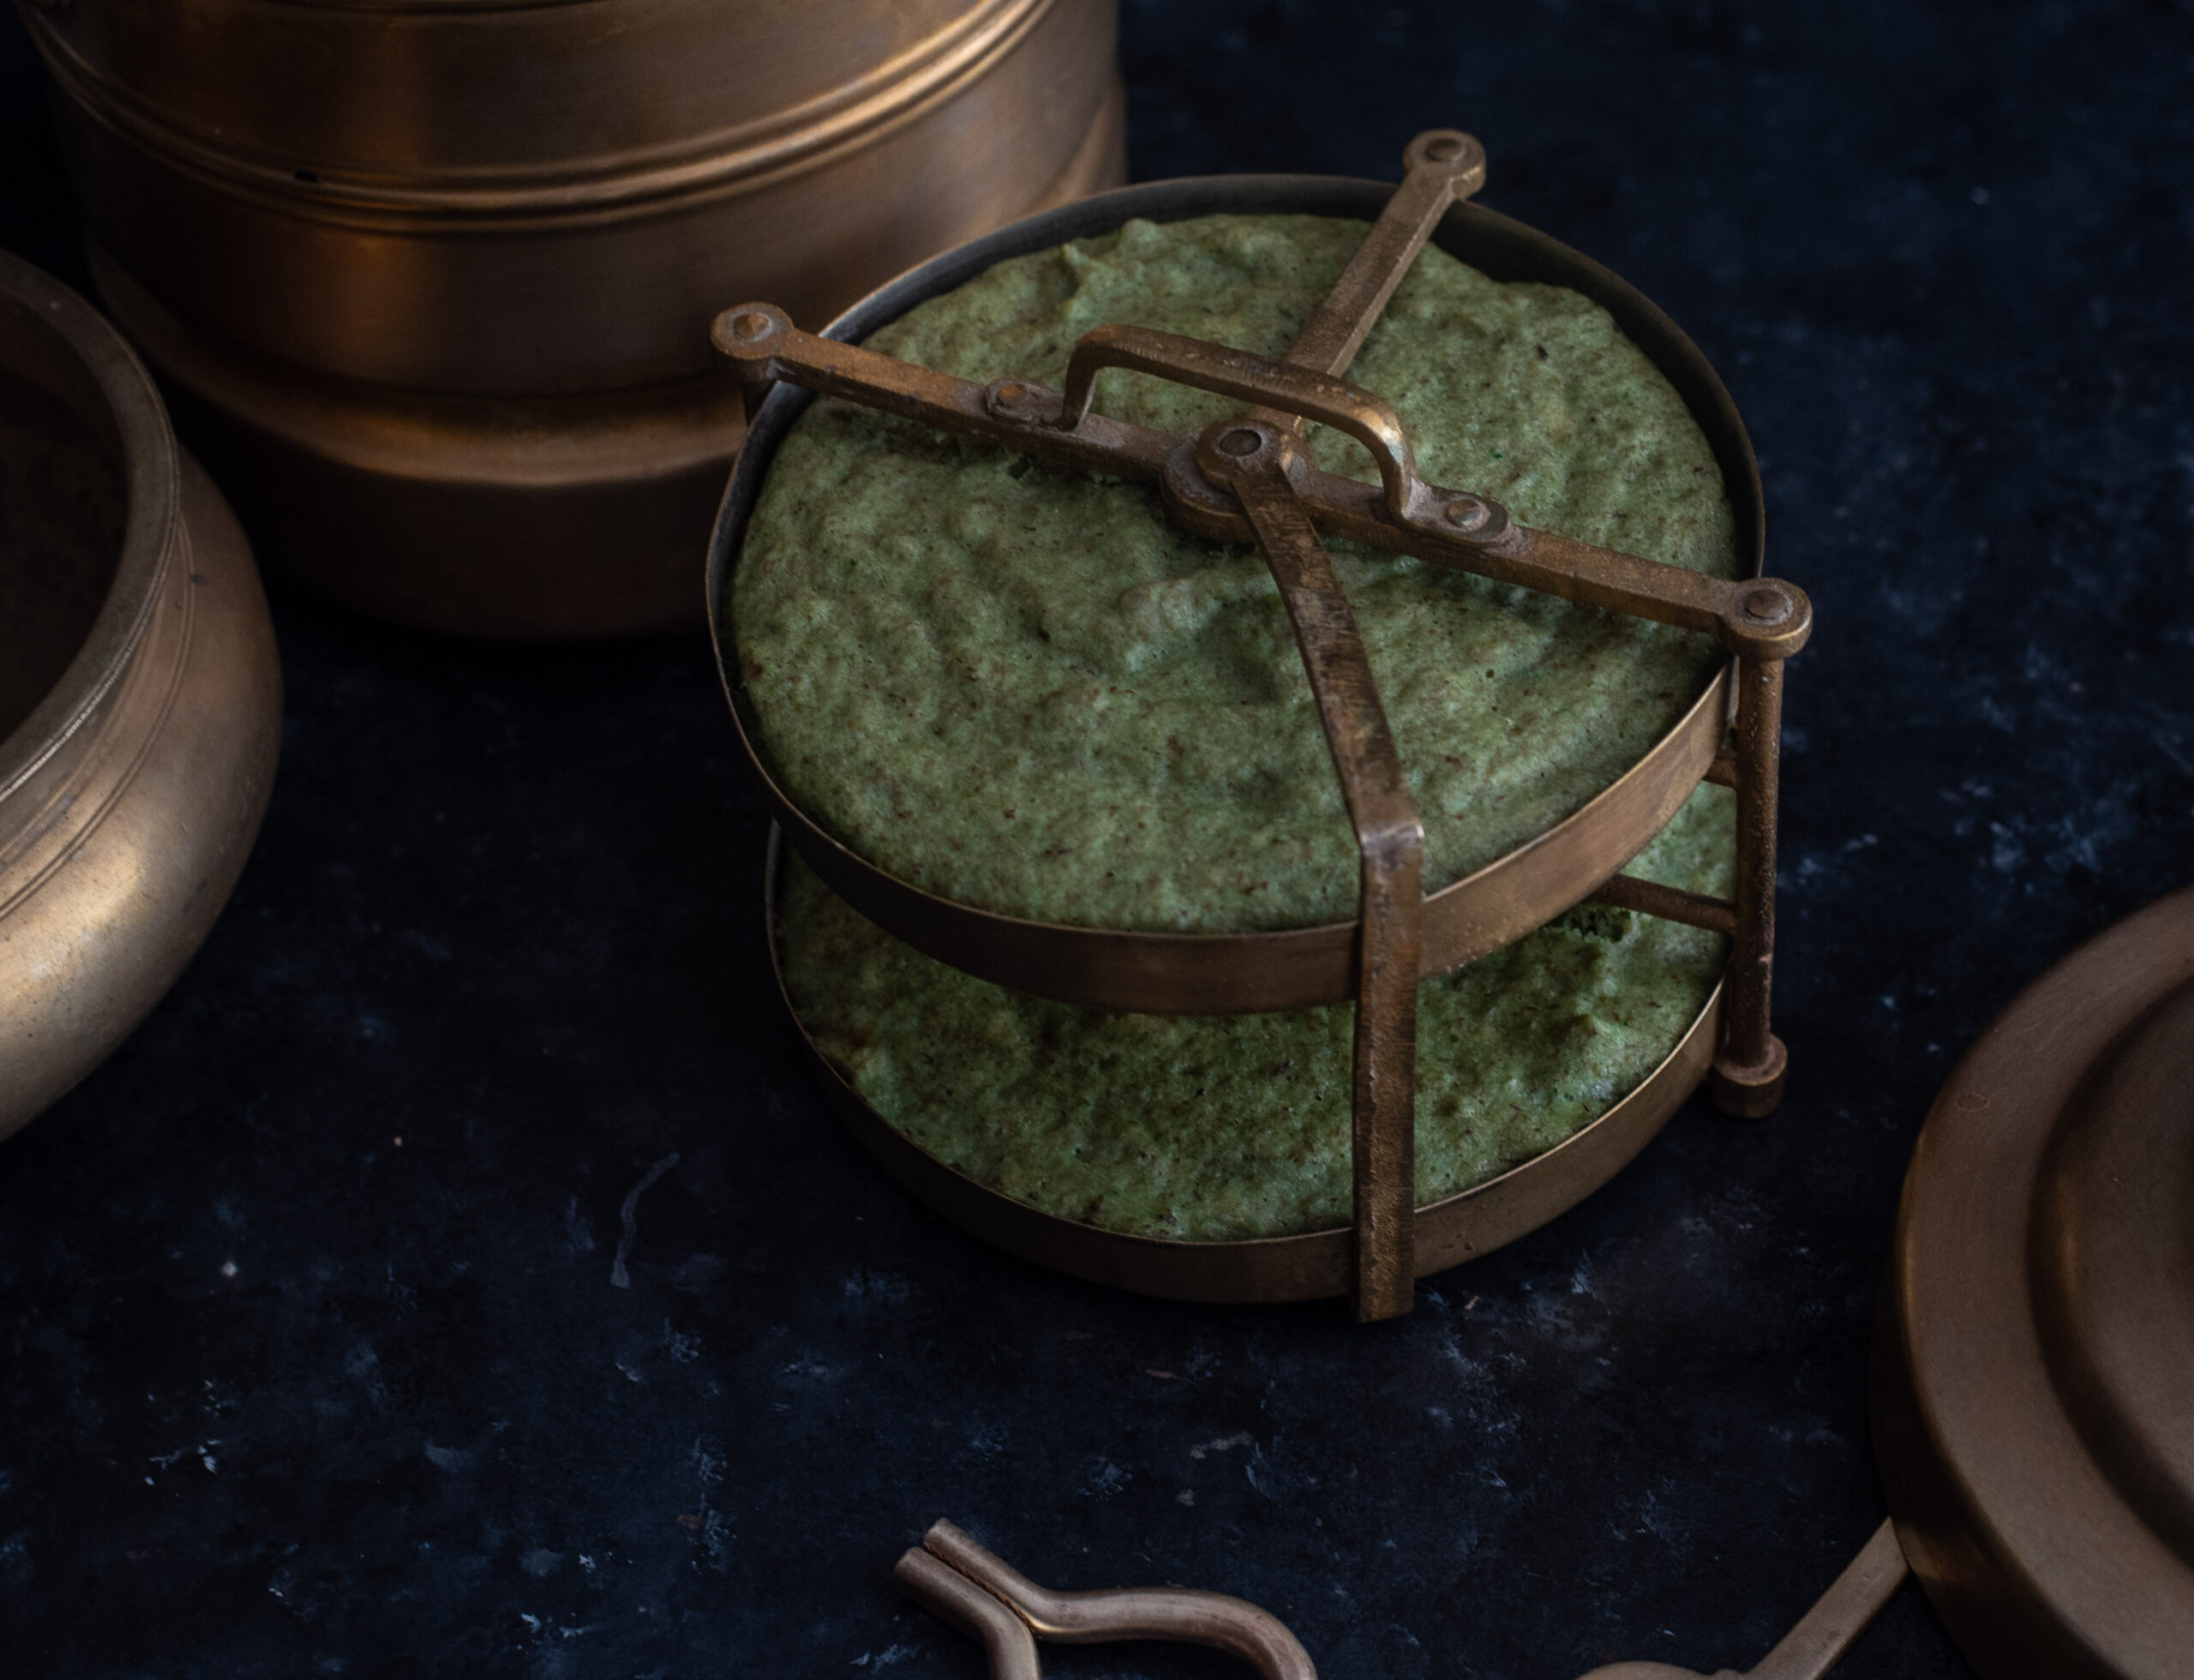
Grease a plate and keep ready. Now, add eno fruit salt to the batter and mix gently. Pour the batter onto the greased plate, cover it and steam for 15 minutes. Below, you can see a traditional Gujarati dhokla cooker which my mom gave to me. I believed it was a part of her own wedding gifts. I’d forgotten that I’d had it and could use it. It’s still in perfect condition, and so compact and ideal. You can also see how it allows for cooking in layers.

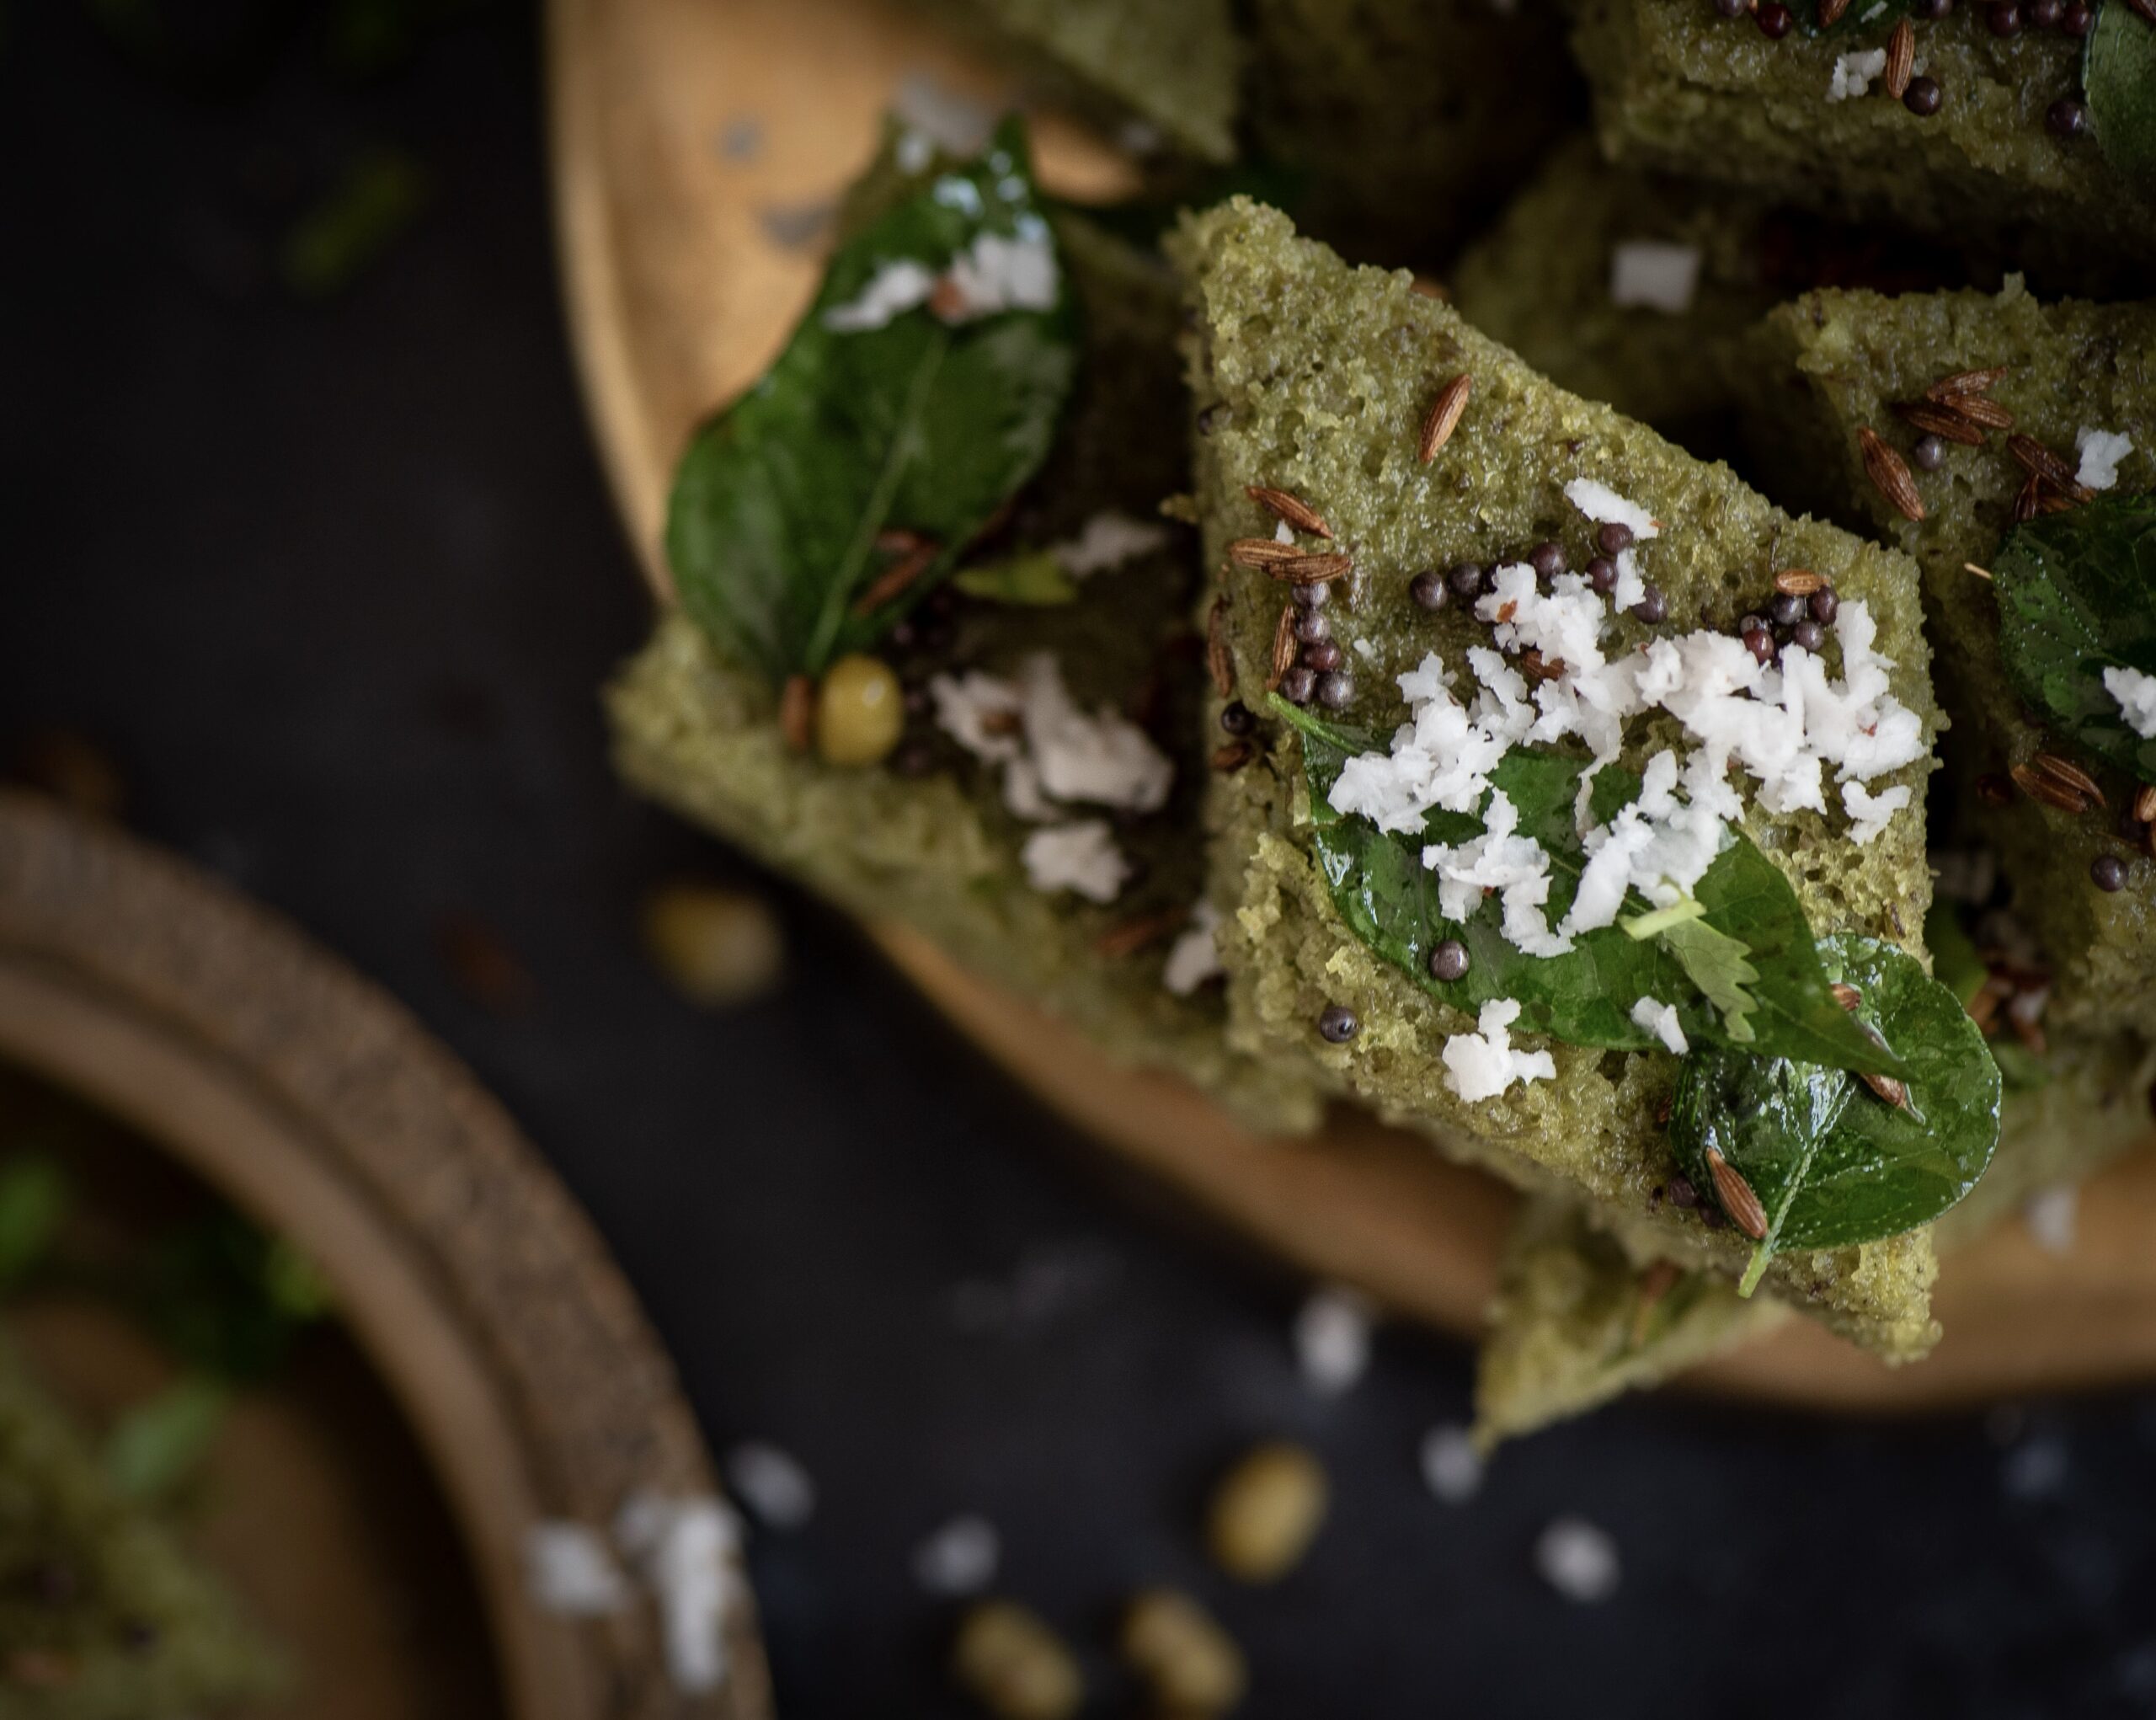
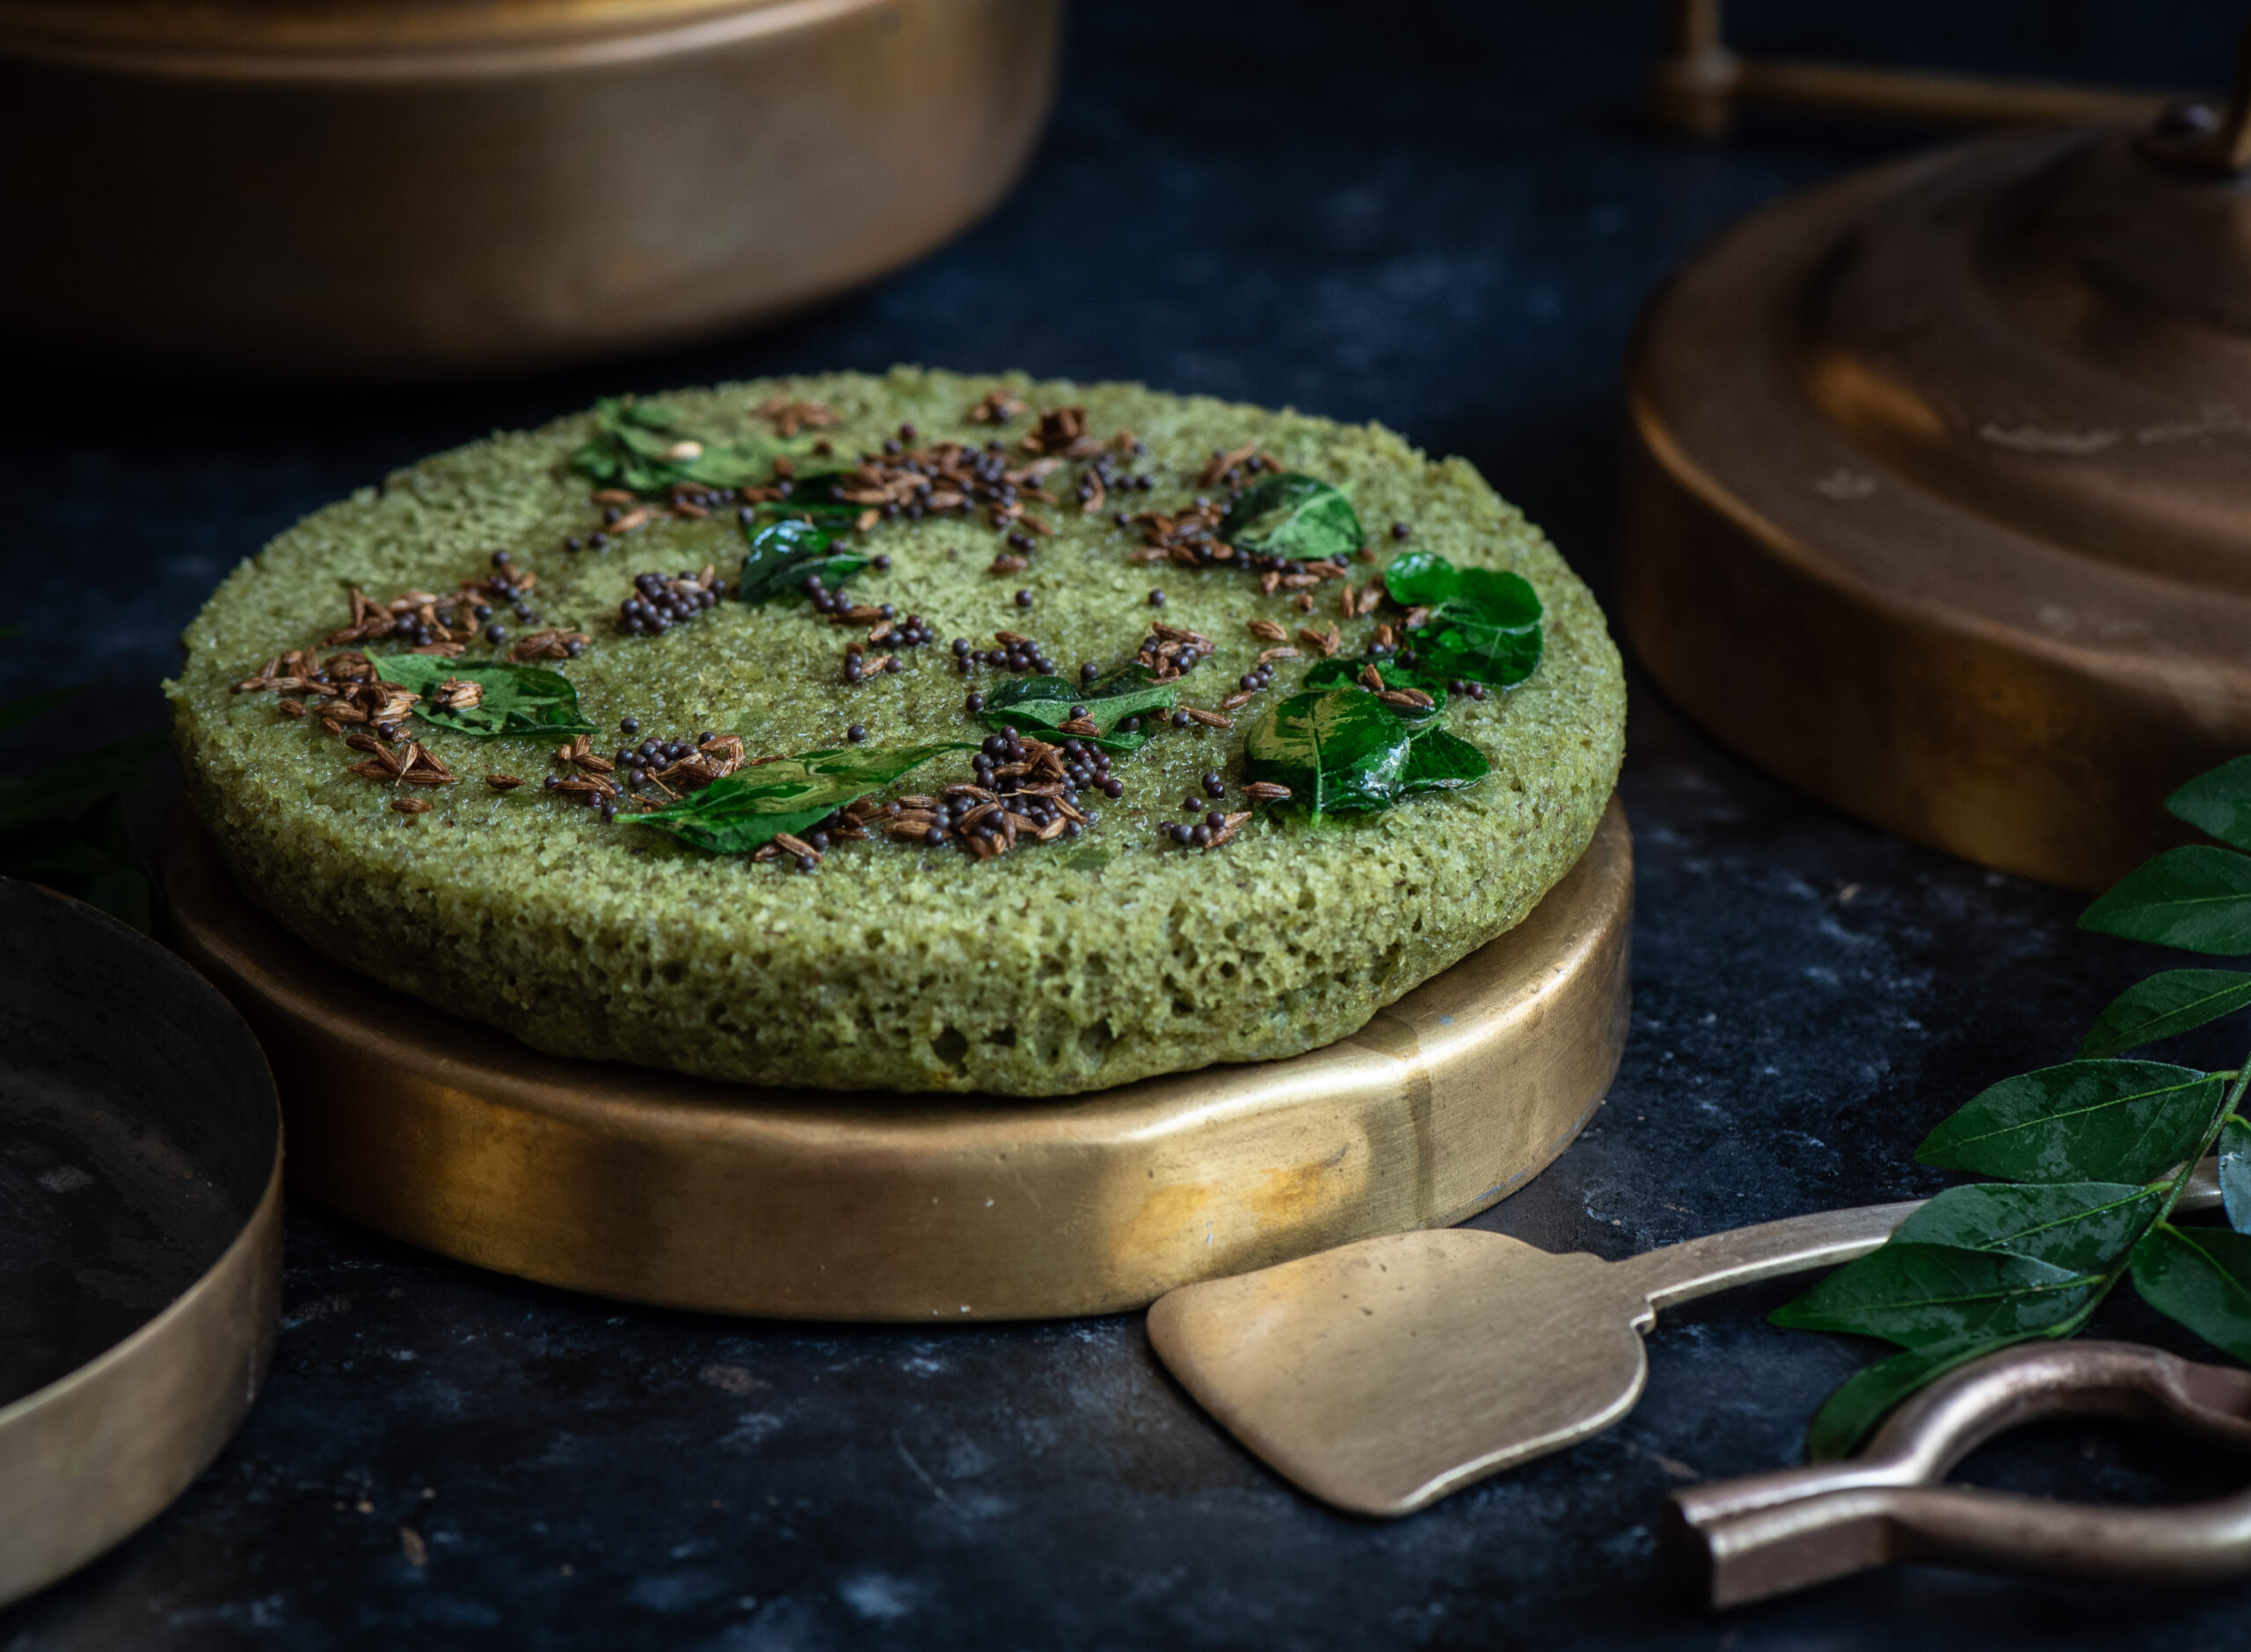
Once steamed, remove the plate and allow the dhokla to cool. Cut into a desired shape. Square or rectangular pieces are the standard. I’ve done diamonds here.

In a small pan, add the remaining oil and the cumin and mustard seeds and wait for them to splutter. Once they start to splutter, add the curry leaves. Then, pour these over the cut dhokla. Garnish with coriander leaves and some grated coconut.

The green moong dhokla is now ready to serve. Spongy, spicy, and so very nice on the eyes with that gorgeous matcha cake colour. Like I said: have a piece as a snack, a couple as a side dish, or polish off the plate and call it a full meal. But honestly, I’d be surprised if you can stop at just one. These light, fluffy but very flavourful dhoklas demand to be devoured!

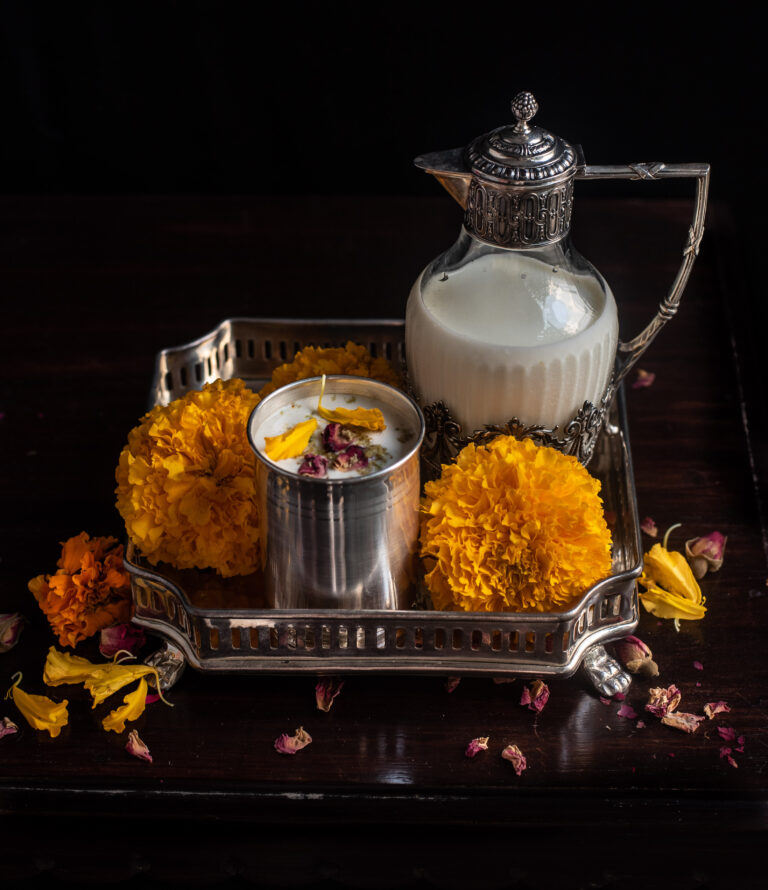
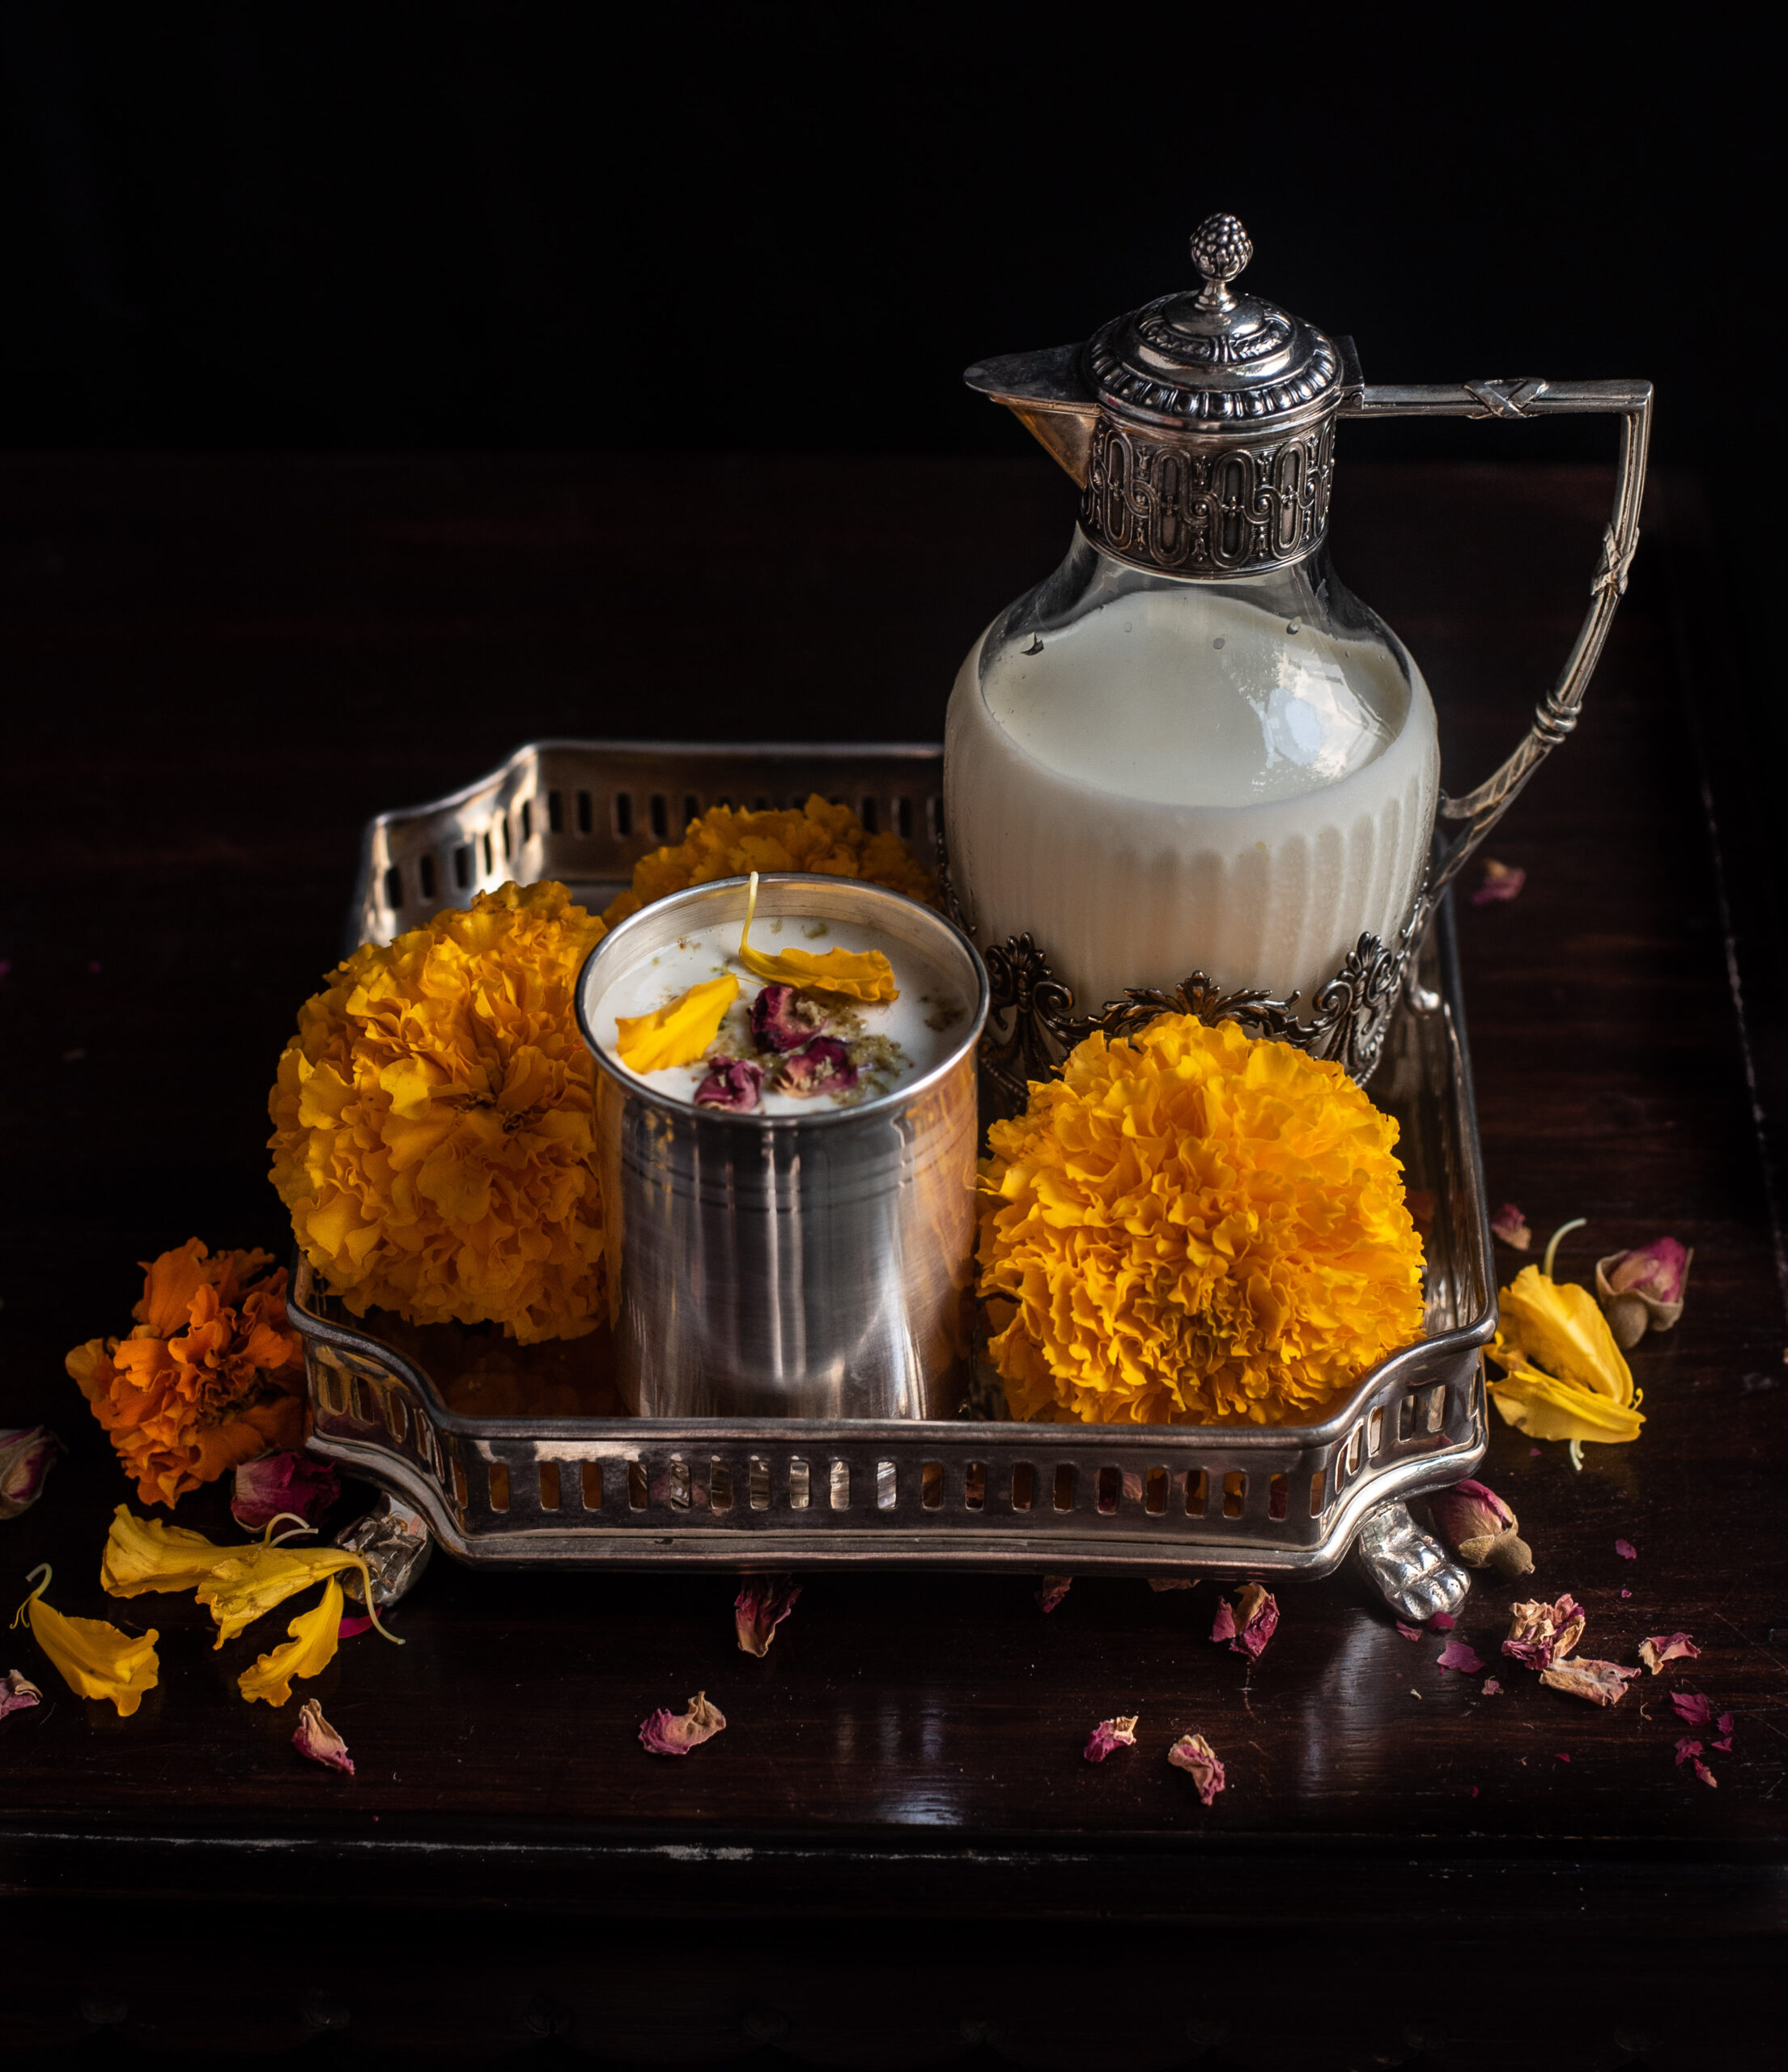
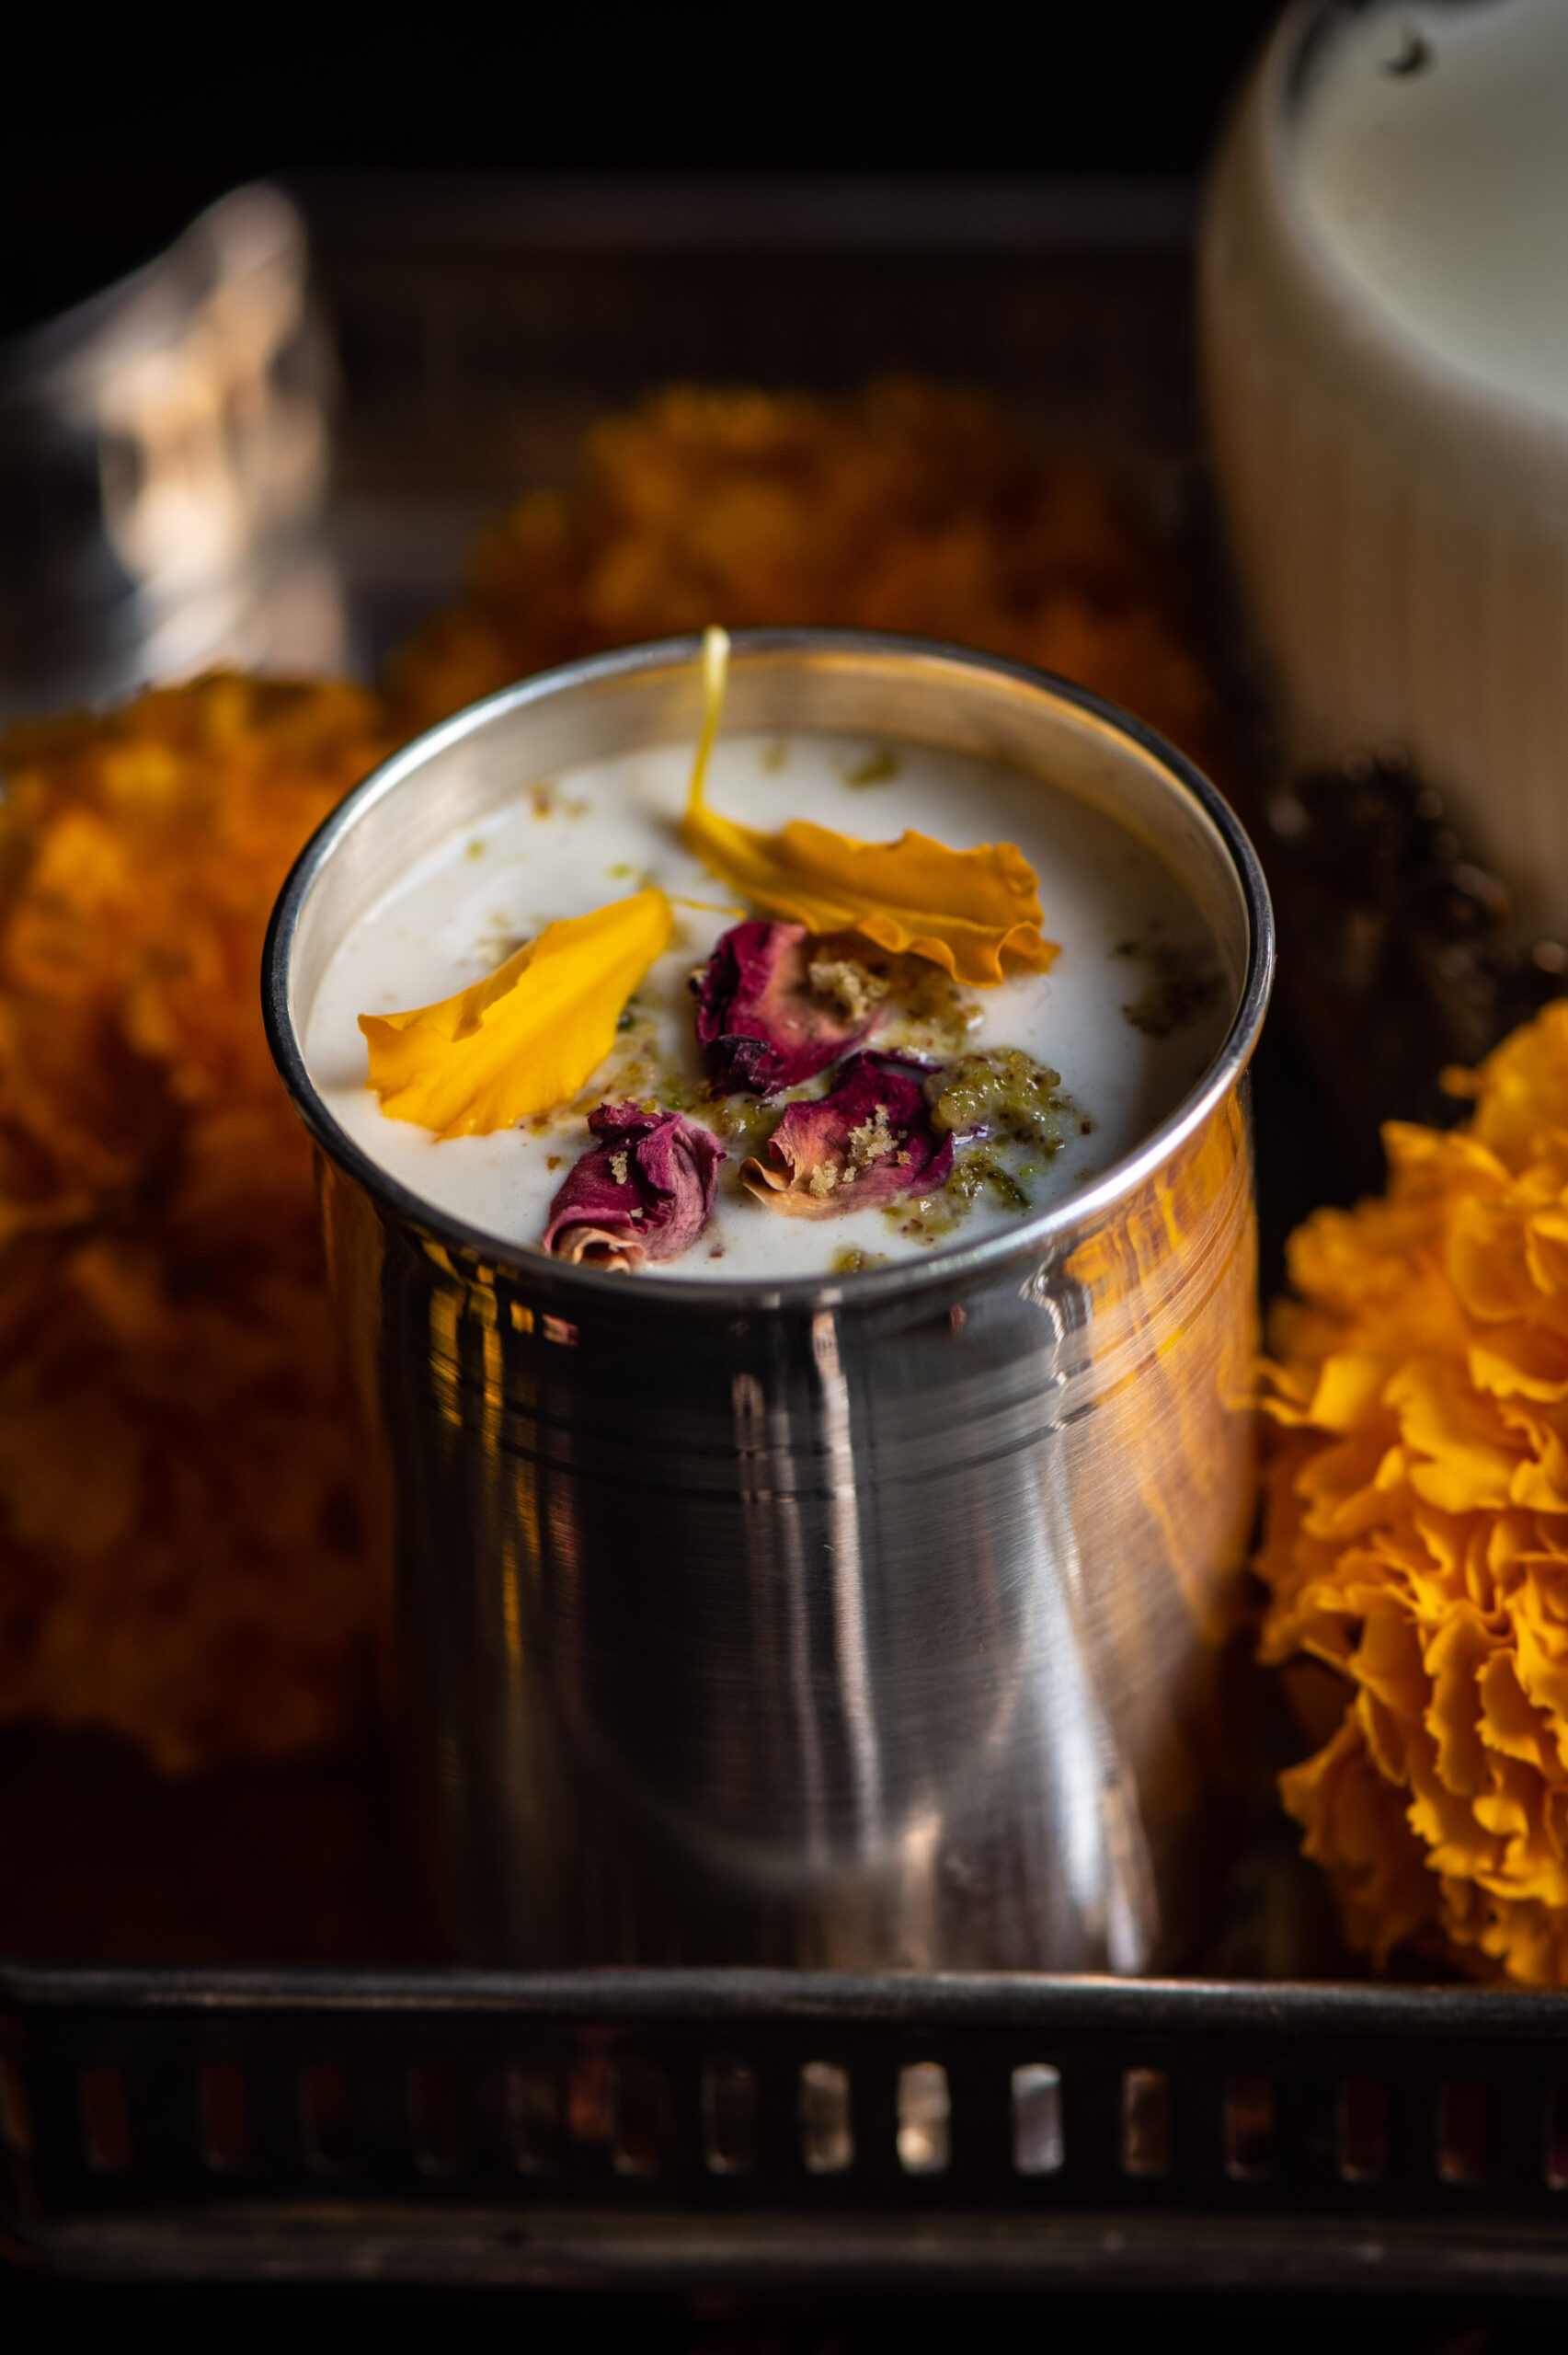
When I was growing up, it was believed in every Indian home that milk provided everything that a child’s developing body needed. Proteins, minerals, the works. This was true to an extent, of course, as milk contains an impressive range of nutrients that the human body needs. There were no fancy gyms back then, but I have fond memories of my siblings and friends and I going to the club and rowing. You needed to have strength to row, and being a vegetarian family, my mum made dairy a big priority so that our fitness and wellness needs were met. We consumed milk fresh and on its own, but also with Bournvita or Complan at different times to keep us going through the day or before going to bed. Coffee and tea were seldom given to children, and in Gujarati households were practically taboo to the point that I did not drink tea until after I was married. But milk was had aplenty. And when winters came around, my mother would prepare a special masala milk loaded with nutty goodness. With almonds, pistachios and good old milk, we had what would be called the perfect protein shake today.
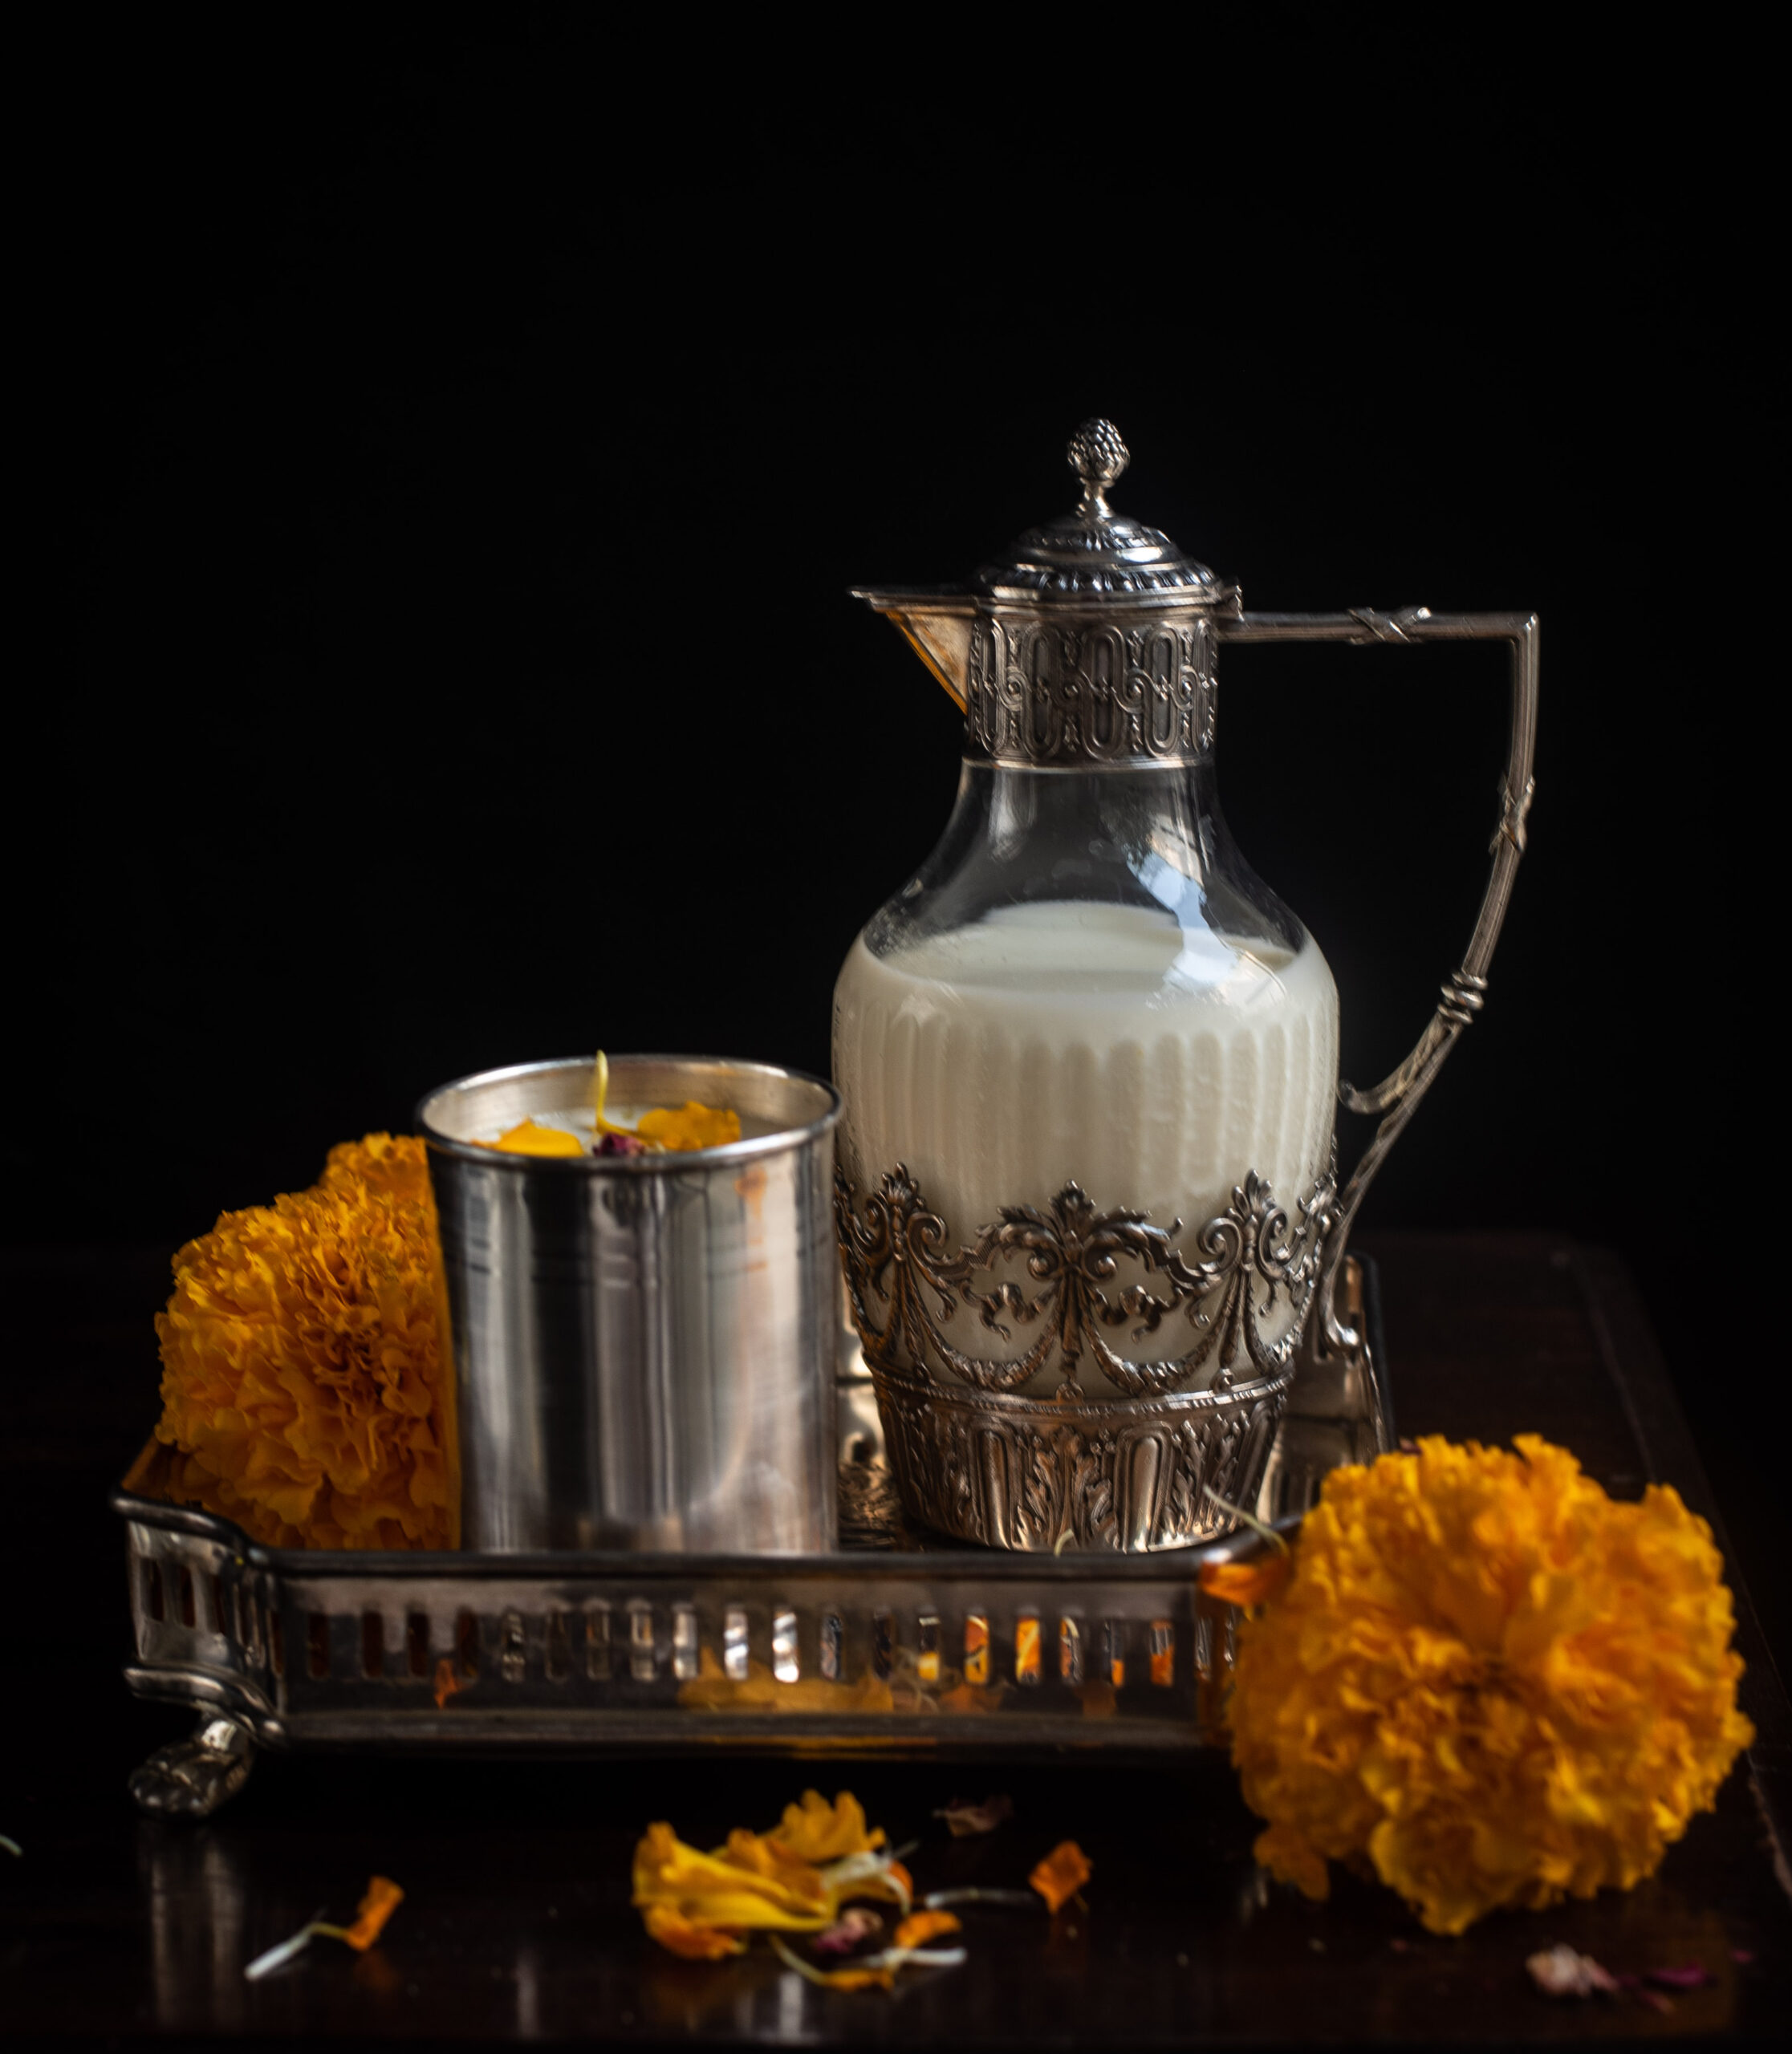
Although I’m now a proponent of this protein-rich pudding that I devour each morning after my workout, I felt sentimental about this simple, nutty masala milk from my childhood days. I then remembered that my mother used to be particularly keen on us having this instead of regular milk during winters, so that we were more fortified. Although Chennai doesn’t experience winter like you may know it, it does rain a lot and kids certainly fall ill during this time. But for us, the Indian “ishtyle” masala milk was just a treat. In some ways, this beverage was our version of a hot chocolate, which is why I share the recipe with you as a Christmas drink.

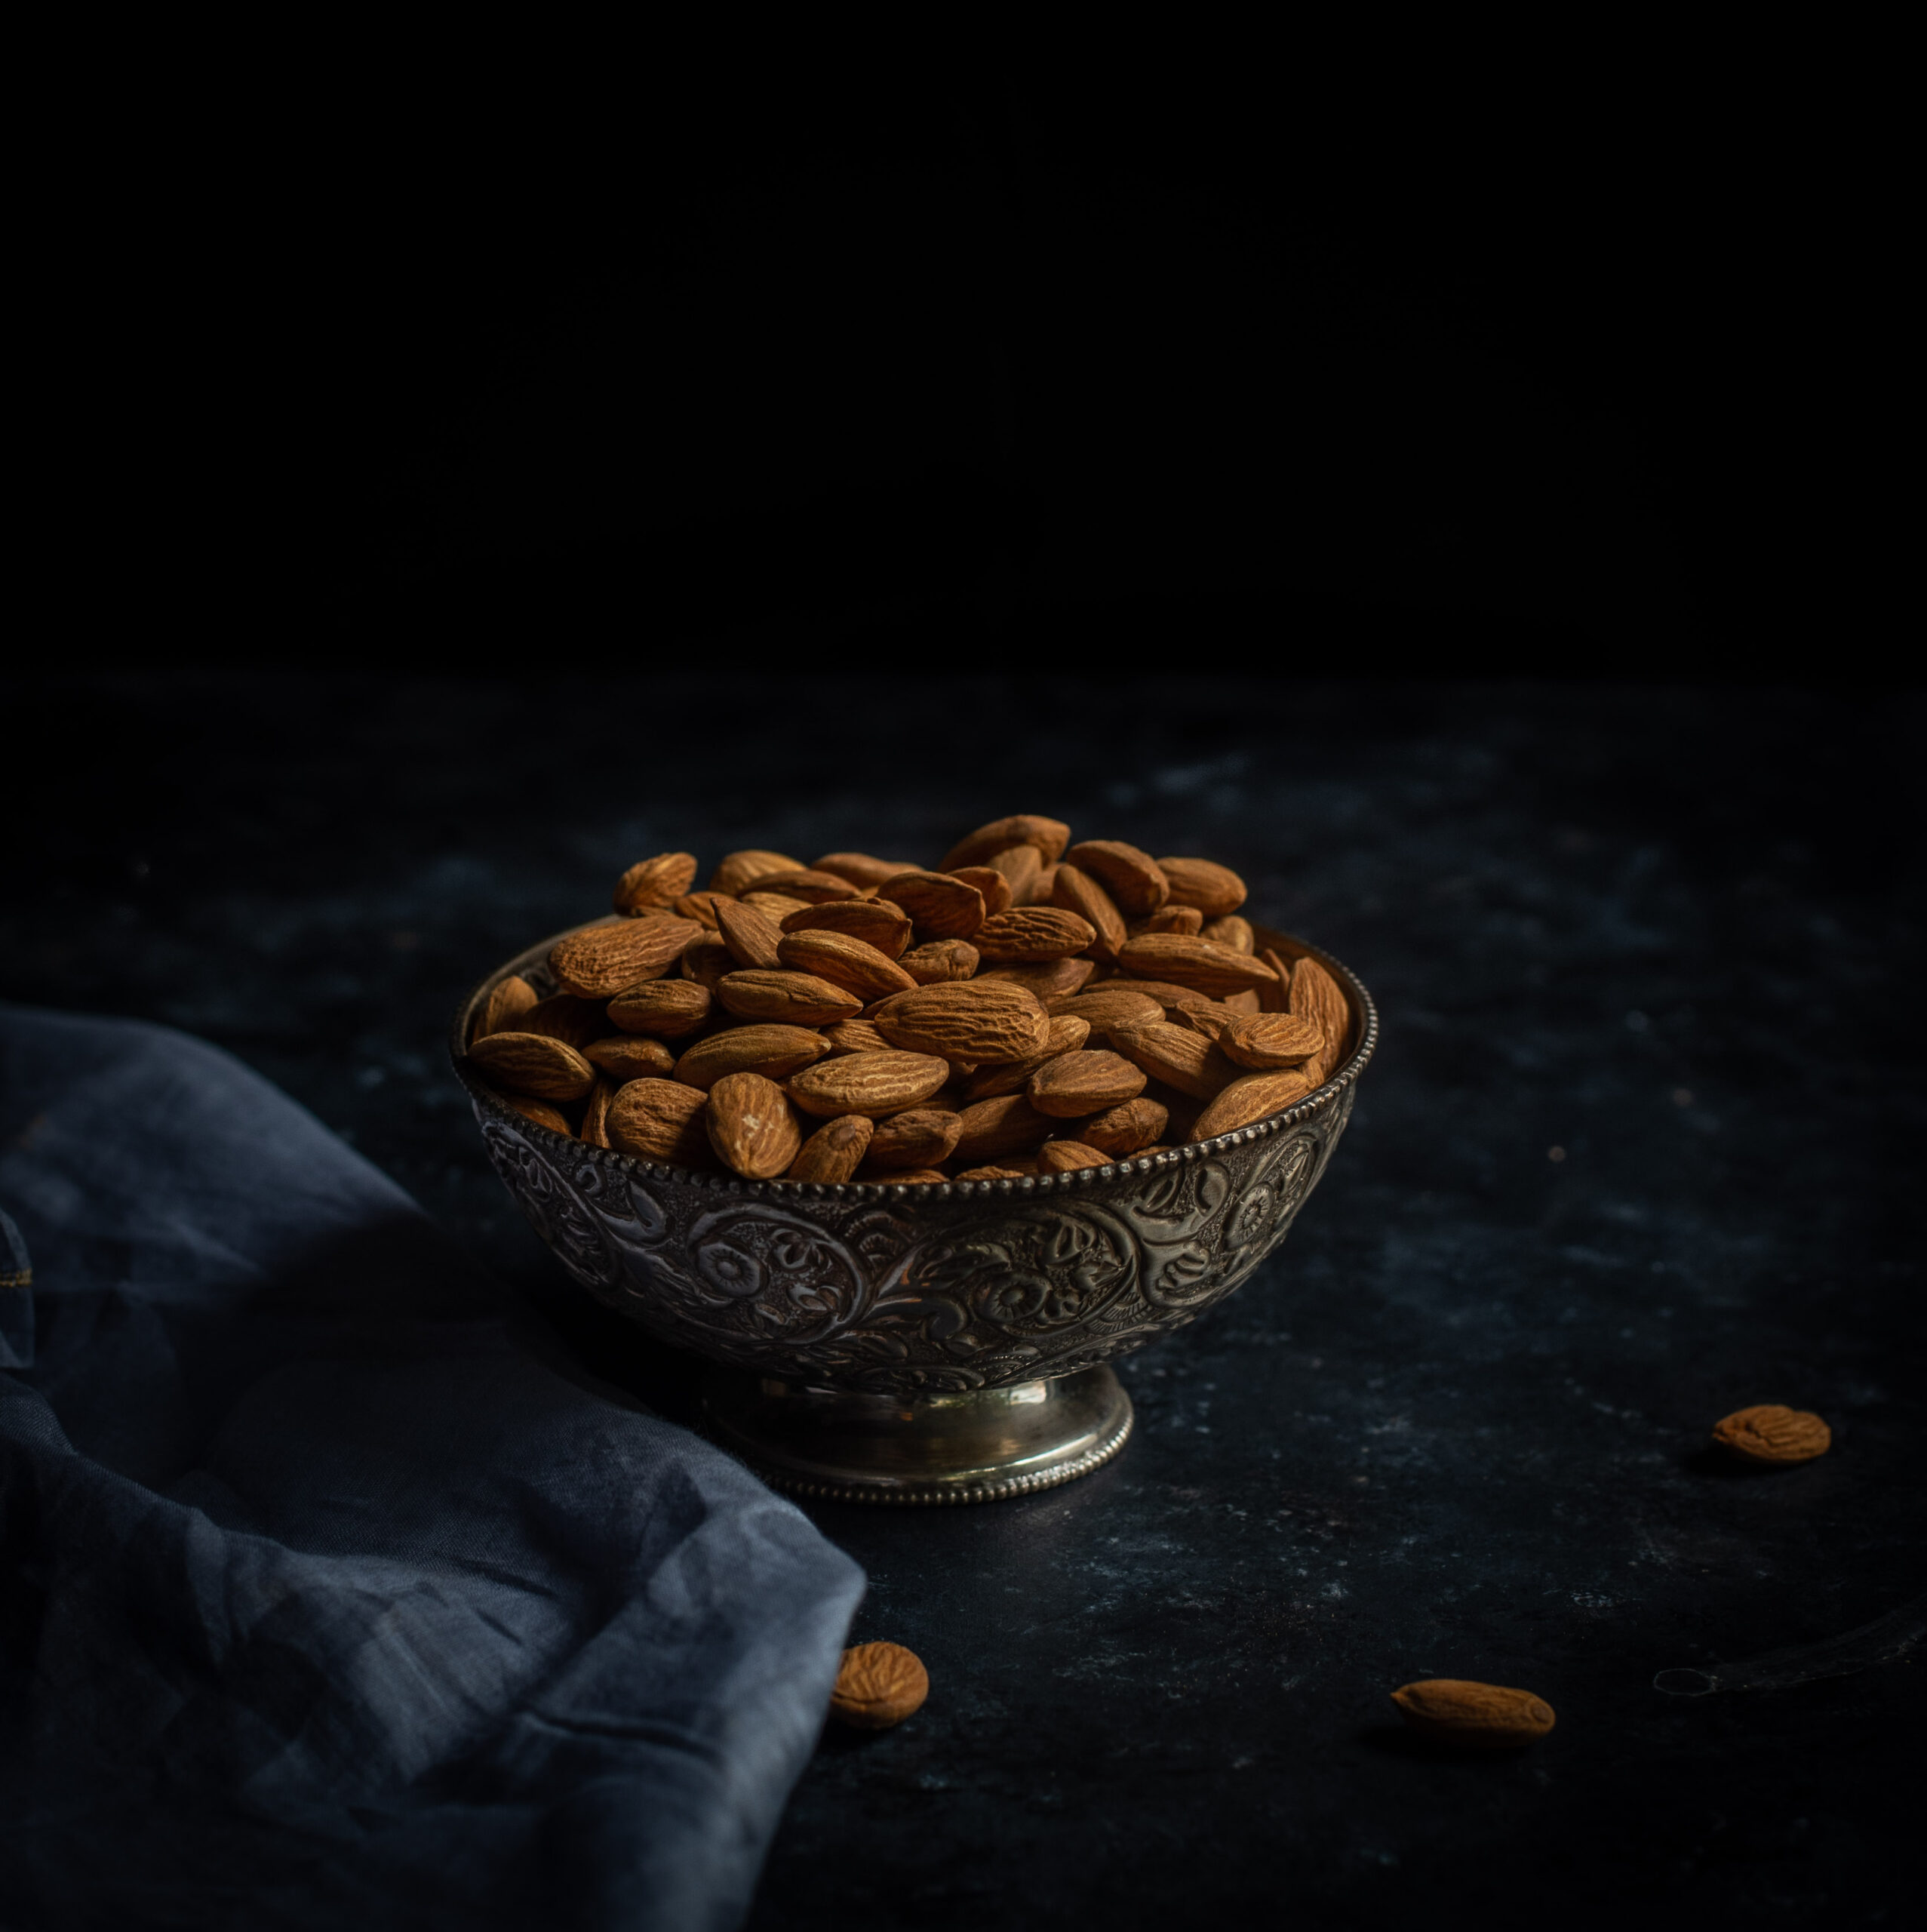
Second to milk, most Indians still believe that dried fruits and nuts are the best source of protein. Obviously, our ancestors already knew the nutrient values that others are only discovering now. Nowadays, thanks to a growing health consciousness, instead of the customary mithai exchange during festive occasions, we have taken to exchanging pretty parcels of fruits and nuts with well-wishers. As you may know, I use both generously in my muesli, one of re:store’s bestsellers. My mother used nuts to make this masala, but I’ve taken it a step further…

I also feel that the milk we had when we were younger was much less adulterated. Cows were treated better, and most of all, we had the sense that we could trust what we were buying. But milk has nothing to do with the recipe I am sharing with you today, despite its status as a crucial part of my childhood version of this beverage. As you know, I often experiment with vegan ingredients as many of re:store’s clientele enjoy them. So here’s my own twist to my mother’s trusted recipe. Not only is this masala milk vegan, but I also share how to make vegan milk rather than rely on a store-bought product. This way, you can ensure that what you and your family consume is of the best quality.

Vegan Masala Milk

(Yield: 2-3 cups)

Ingredients

Nutty Milk Masala

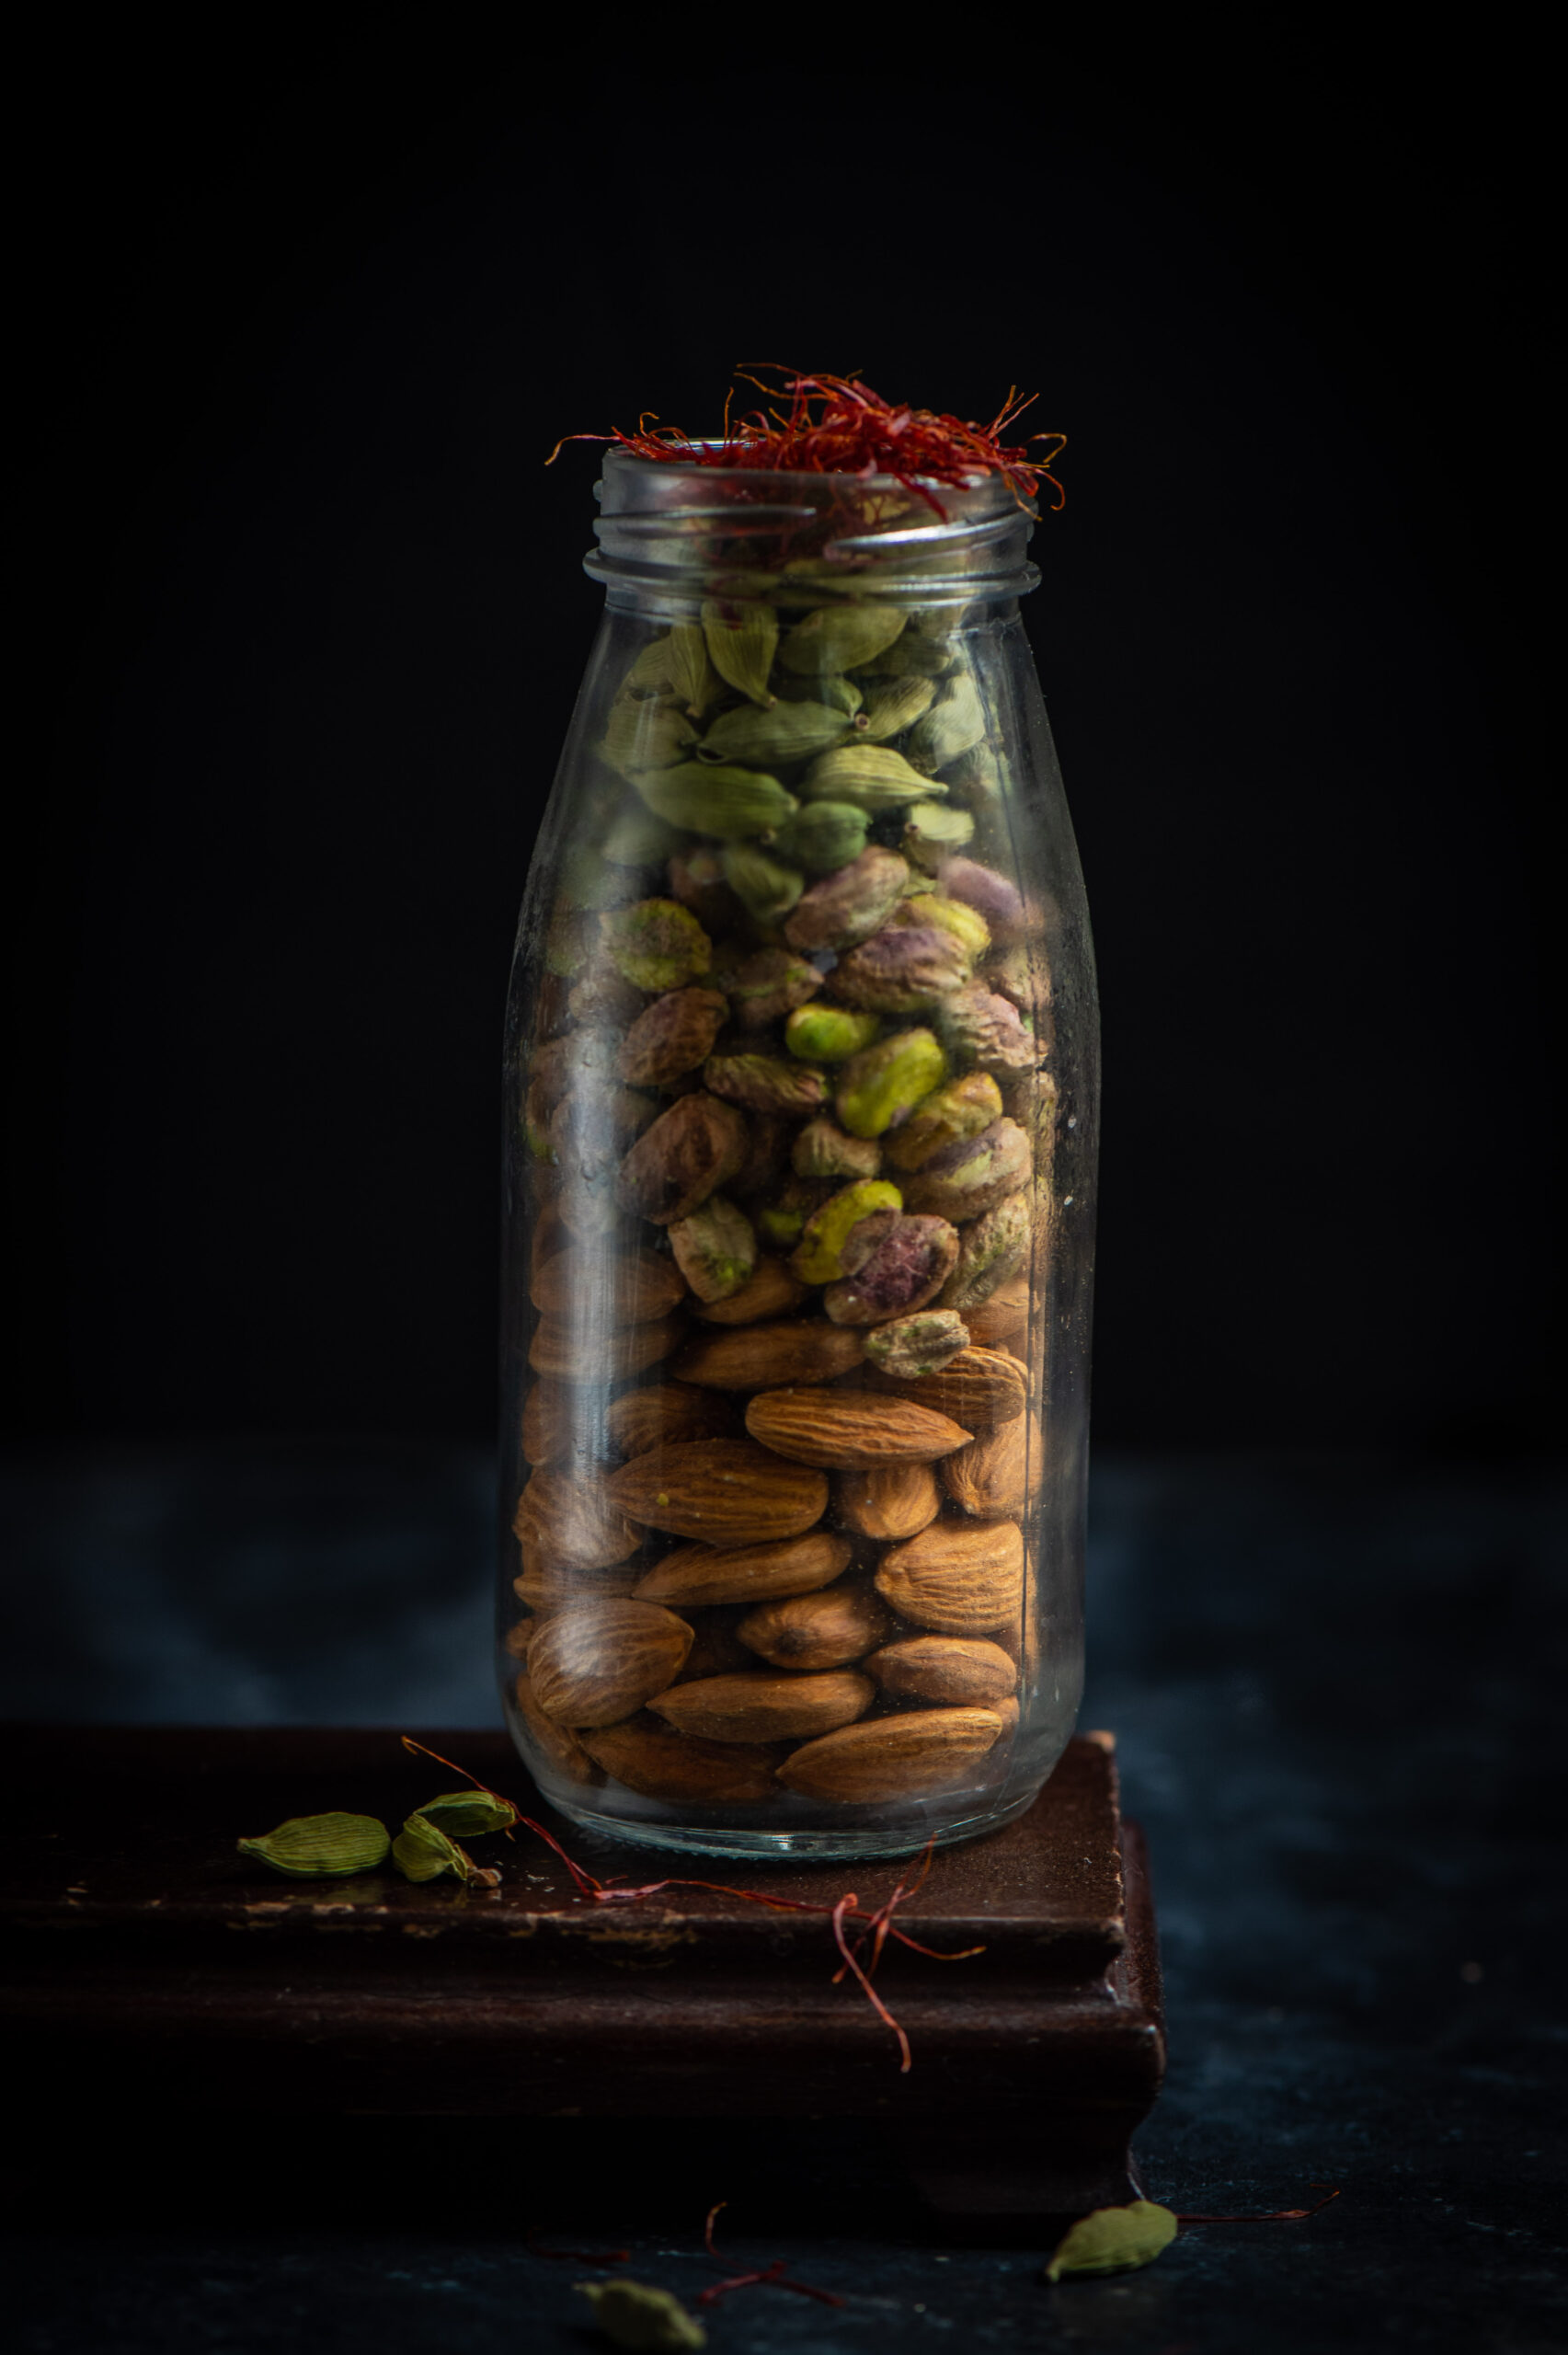
1 cup whole almonds

1 cup shelled unsalted pistachios

2 pinches saffron

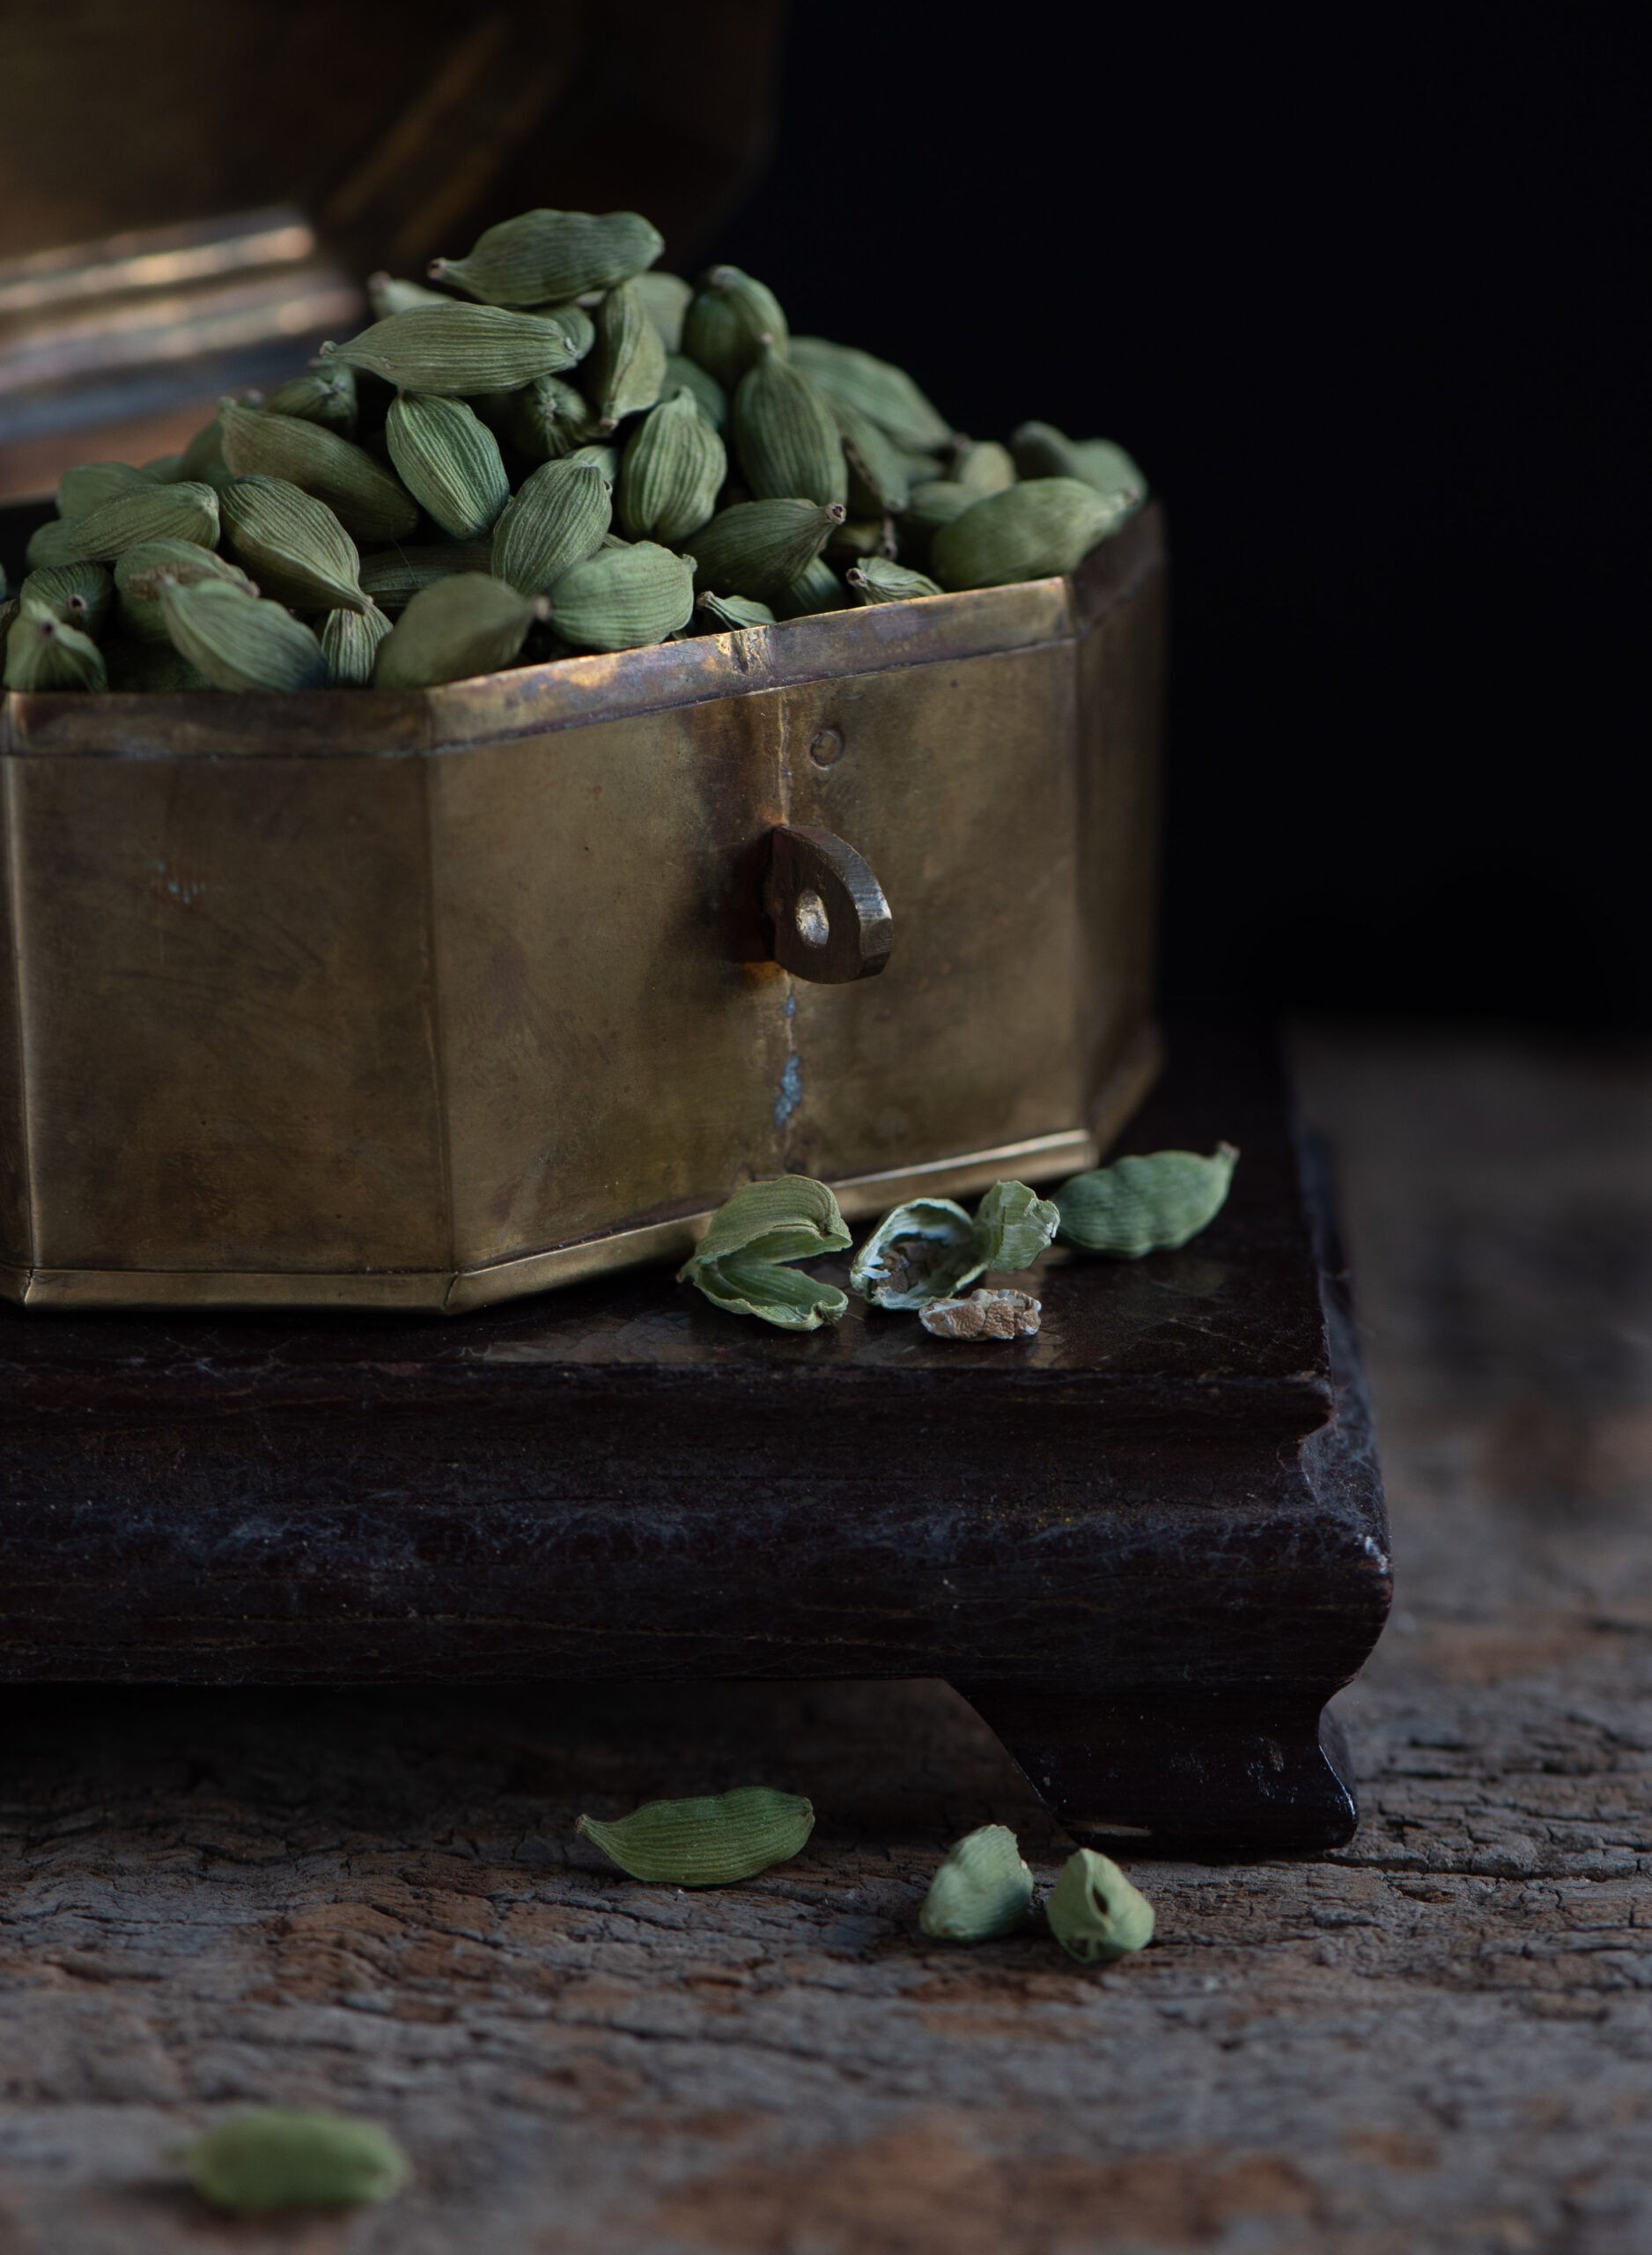
10 pods cardamom

Vegan Milk

¾ cup cashew nuts

1 cup hot water

1 teaspoon milk masala (or more)

2 teaspoons honey (or sweetener of your choice – dates, maple syrup or sugar)

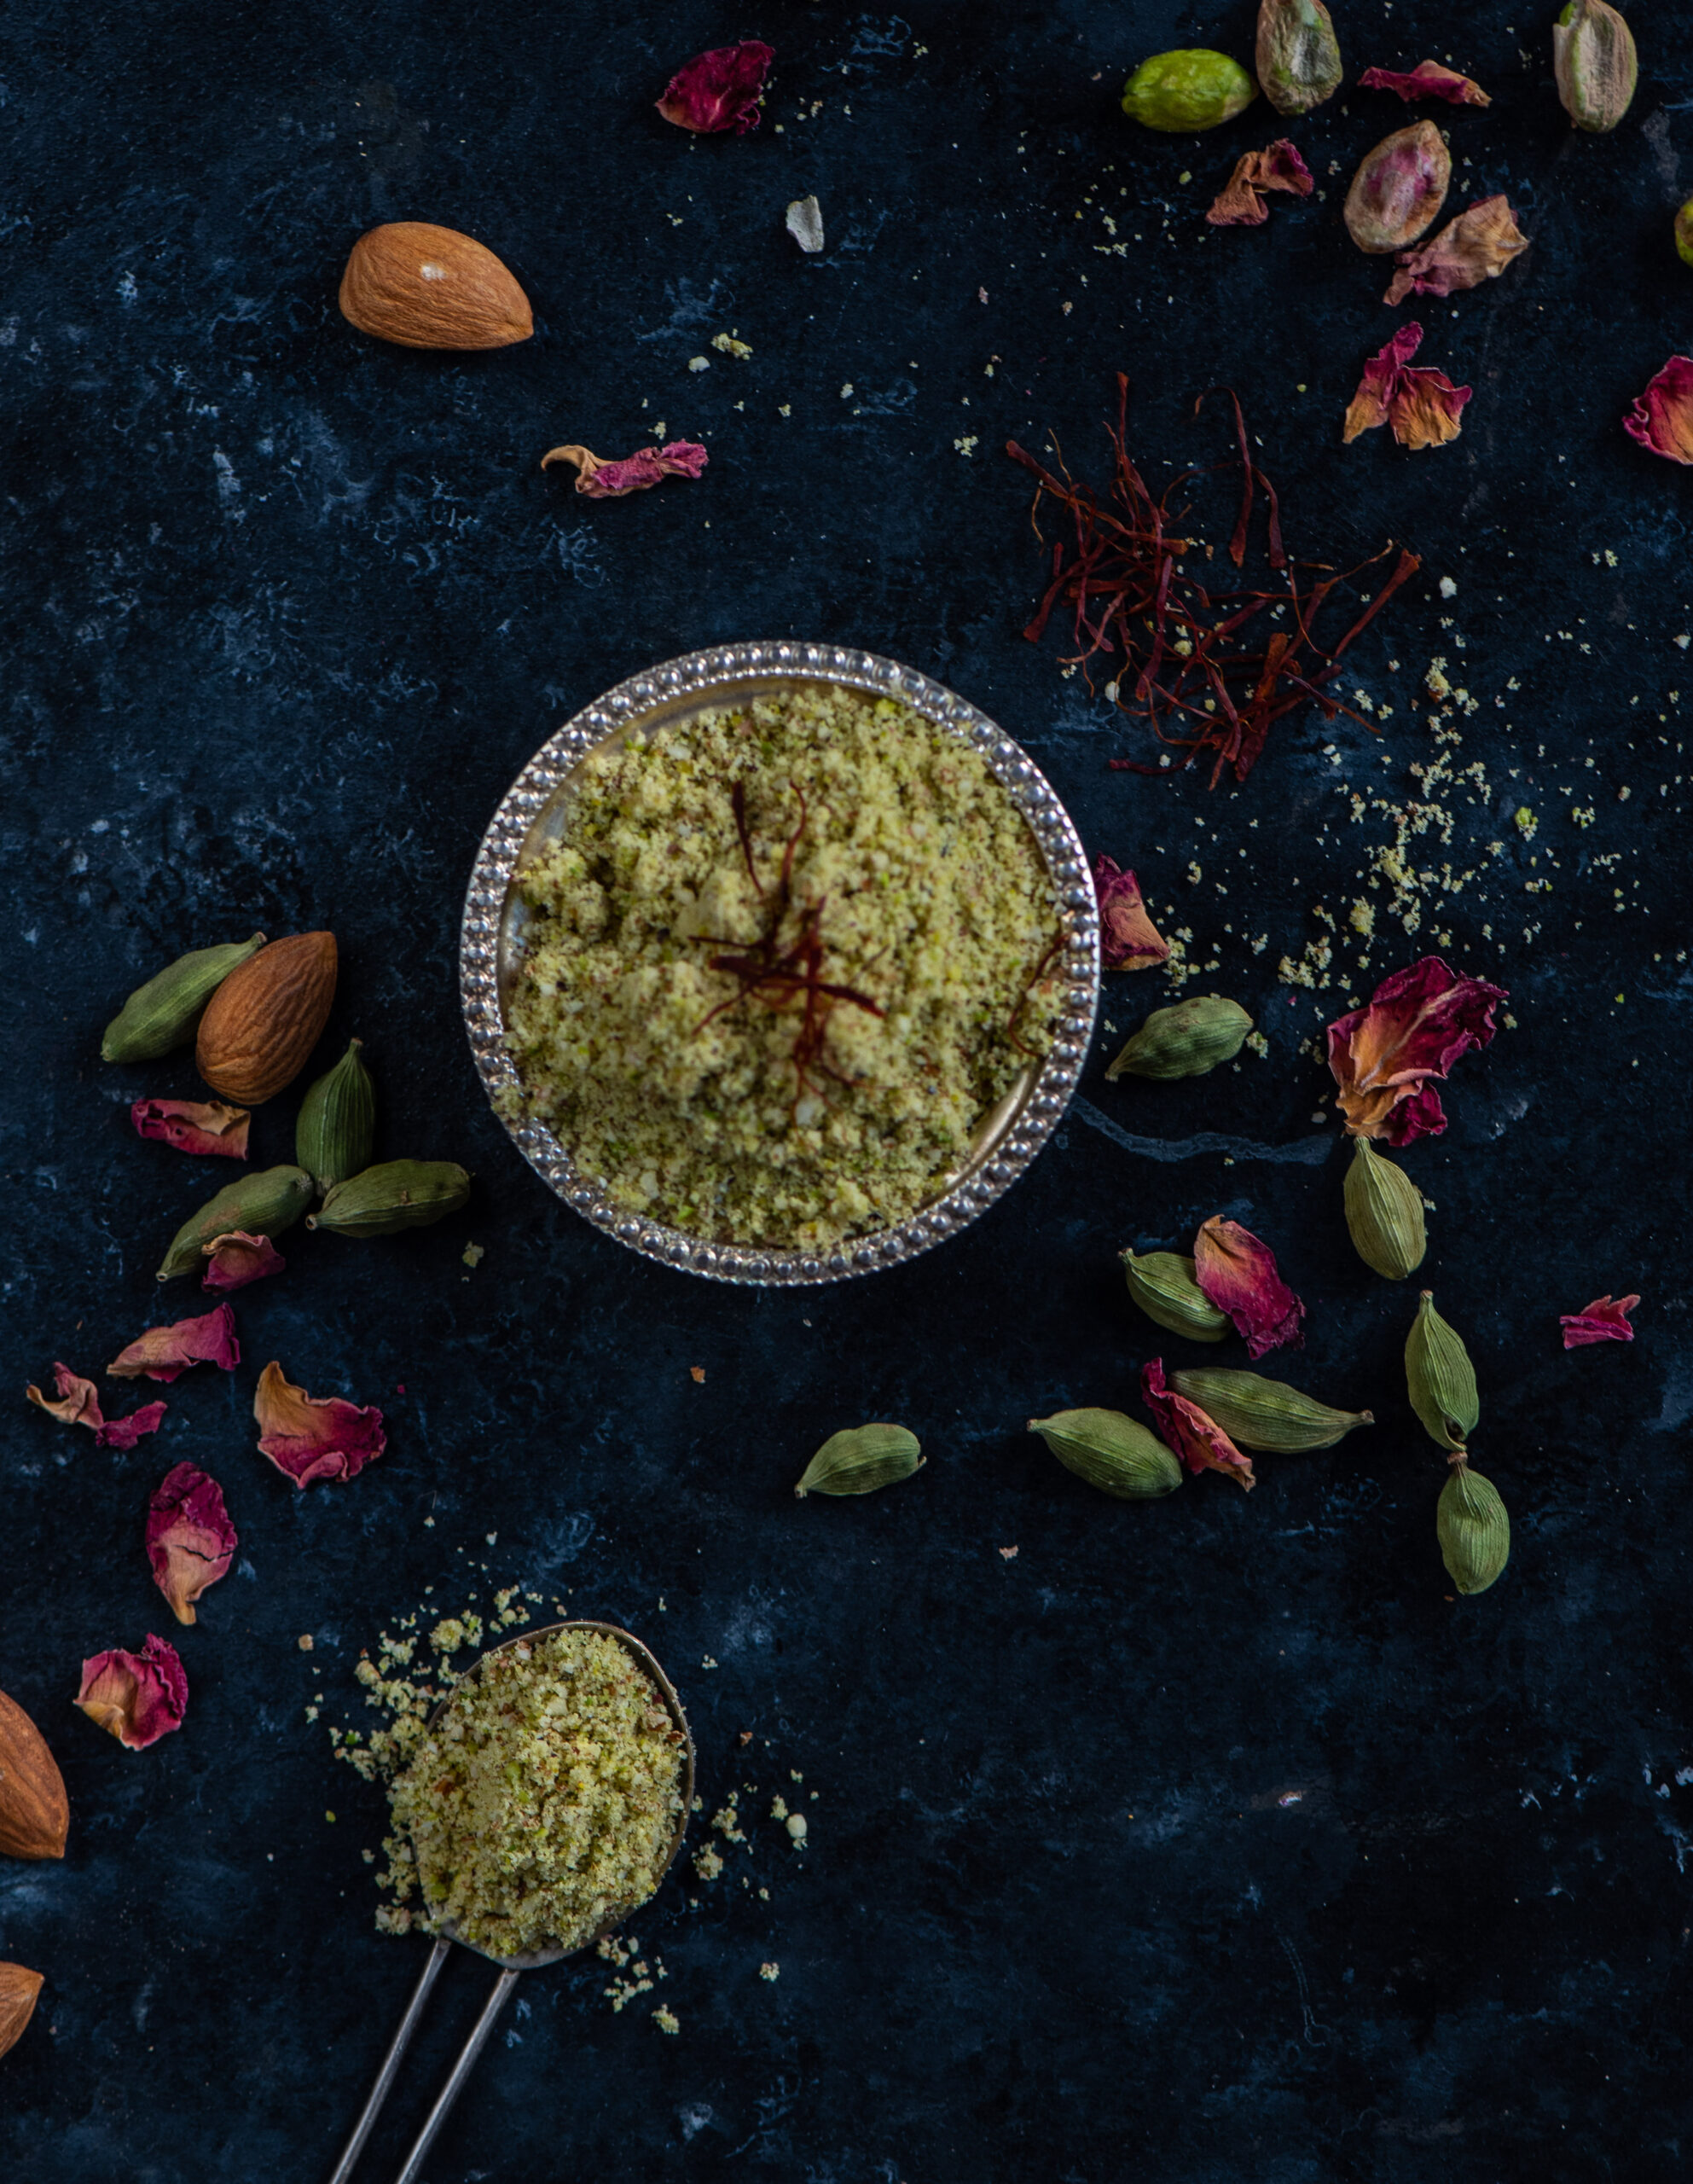
Begin by preparing the nut-based masala, and set it aside. All these ingredients should remain dry until they are added to the milk. You can prepare a larger quantity so you can store and use it later. My mother would make a batch at a time and just blend it into (regular) milk when it was serving time.

Peel the cardamom and add to the remaining ingredients: saffron, pistachios and almonds. Blend. You can make this powder as coarse or as fine as you prefer. If you would like a crunchy taste to your masala milk – which also tastes amazing – you can hand-pound the ingredients instead of using a blender. Store in a clean glass jar and use as required.

Then, make the vegan milk itself. As those of you familiar with vegan diets know, soy, seeds, or almonds or other nuts are the usual source. In this case, I have used cashew nuts. Soak the cashew nuts in water for about 3 hours. Then, remove the water that was used for soaking. Add the hot water, and blend the nuts until they are thick and creamy. If you prefer the consistency to be thinner, add more hot water. Voila – vegan milk! If you’ve ever wondered what it is, you now know how easy it is to make.

Once the vegan milk has been well blended, add the masala prepared earlier and stir. Serve in small cups. I find this vegan milk masala to be very filling and heavy, so I prefer small portions. Sweeten as per your liking.

What I love about this recipe is that it has a bit of novelty to it, as well as a bit of nostalgia. Just perfect for Christmas time, especially if you’re watching your diet this year – don’t you think?

As I may have said a few times before: I’m very, very fond of yoghurt! Ever since childhood, it’s been an absolute requirement for me that every meal must contain yoghurt in some form. As I most often consume traditional Indian (particularly my native Gujarati) cuisines, this doesn’t require me to stretch my imagination or change my palate in any way. You may also recall that my yoghurt is homemade. It is made from a small amount of curd culture saved from the previous pot-full, allowed to set overnight, and consumed delicious and fresh every day.

I find that yoghurt enhances and adds flavour, and depending on how it is made can also add textures and tastes that go beyond what you imagine curd can do. Because it is such a staple in Indian homes, you will find that there are unique systems of making it that depend entirely on the people there. Even a religious view plays a role. For example, my mom’s home is Vaishnav and my in-laws are Jain. So the latter use onions and garlic very sparingly, whereas these were not restricted while I was growing up. The recipes I learnt in both homes were different. So although yoghurt is a vital part of the diet in both my homes, this particular dish is something I learnt after getting married.

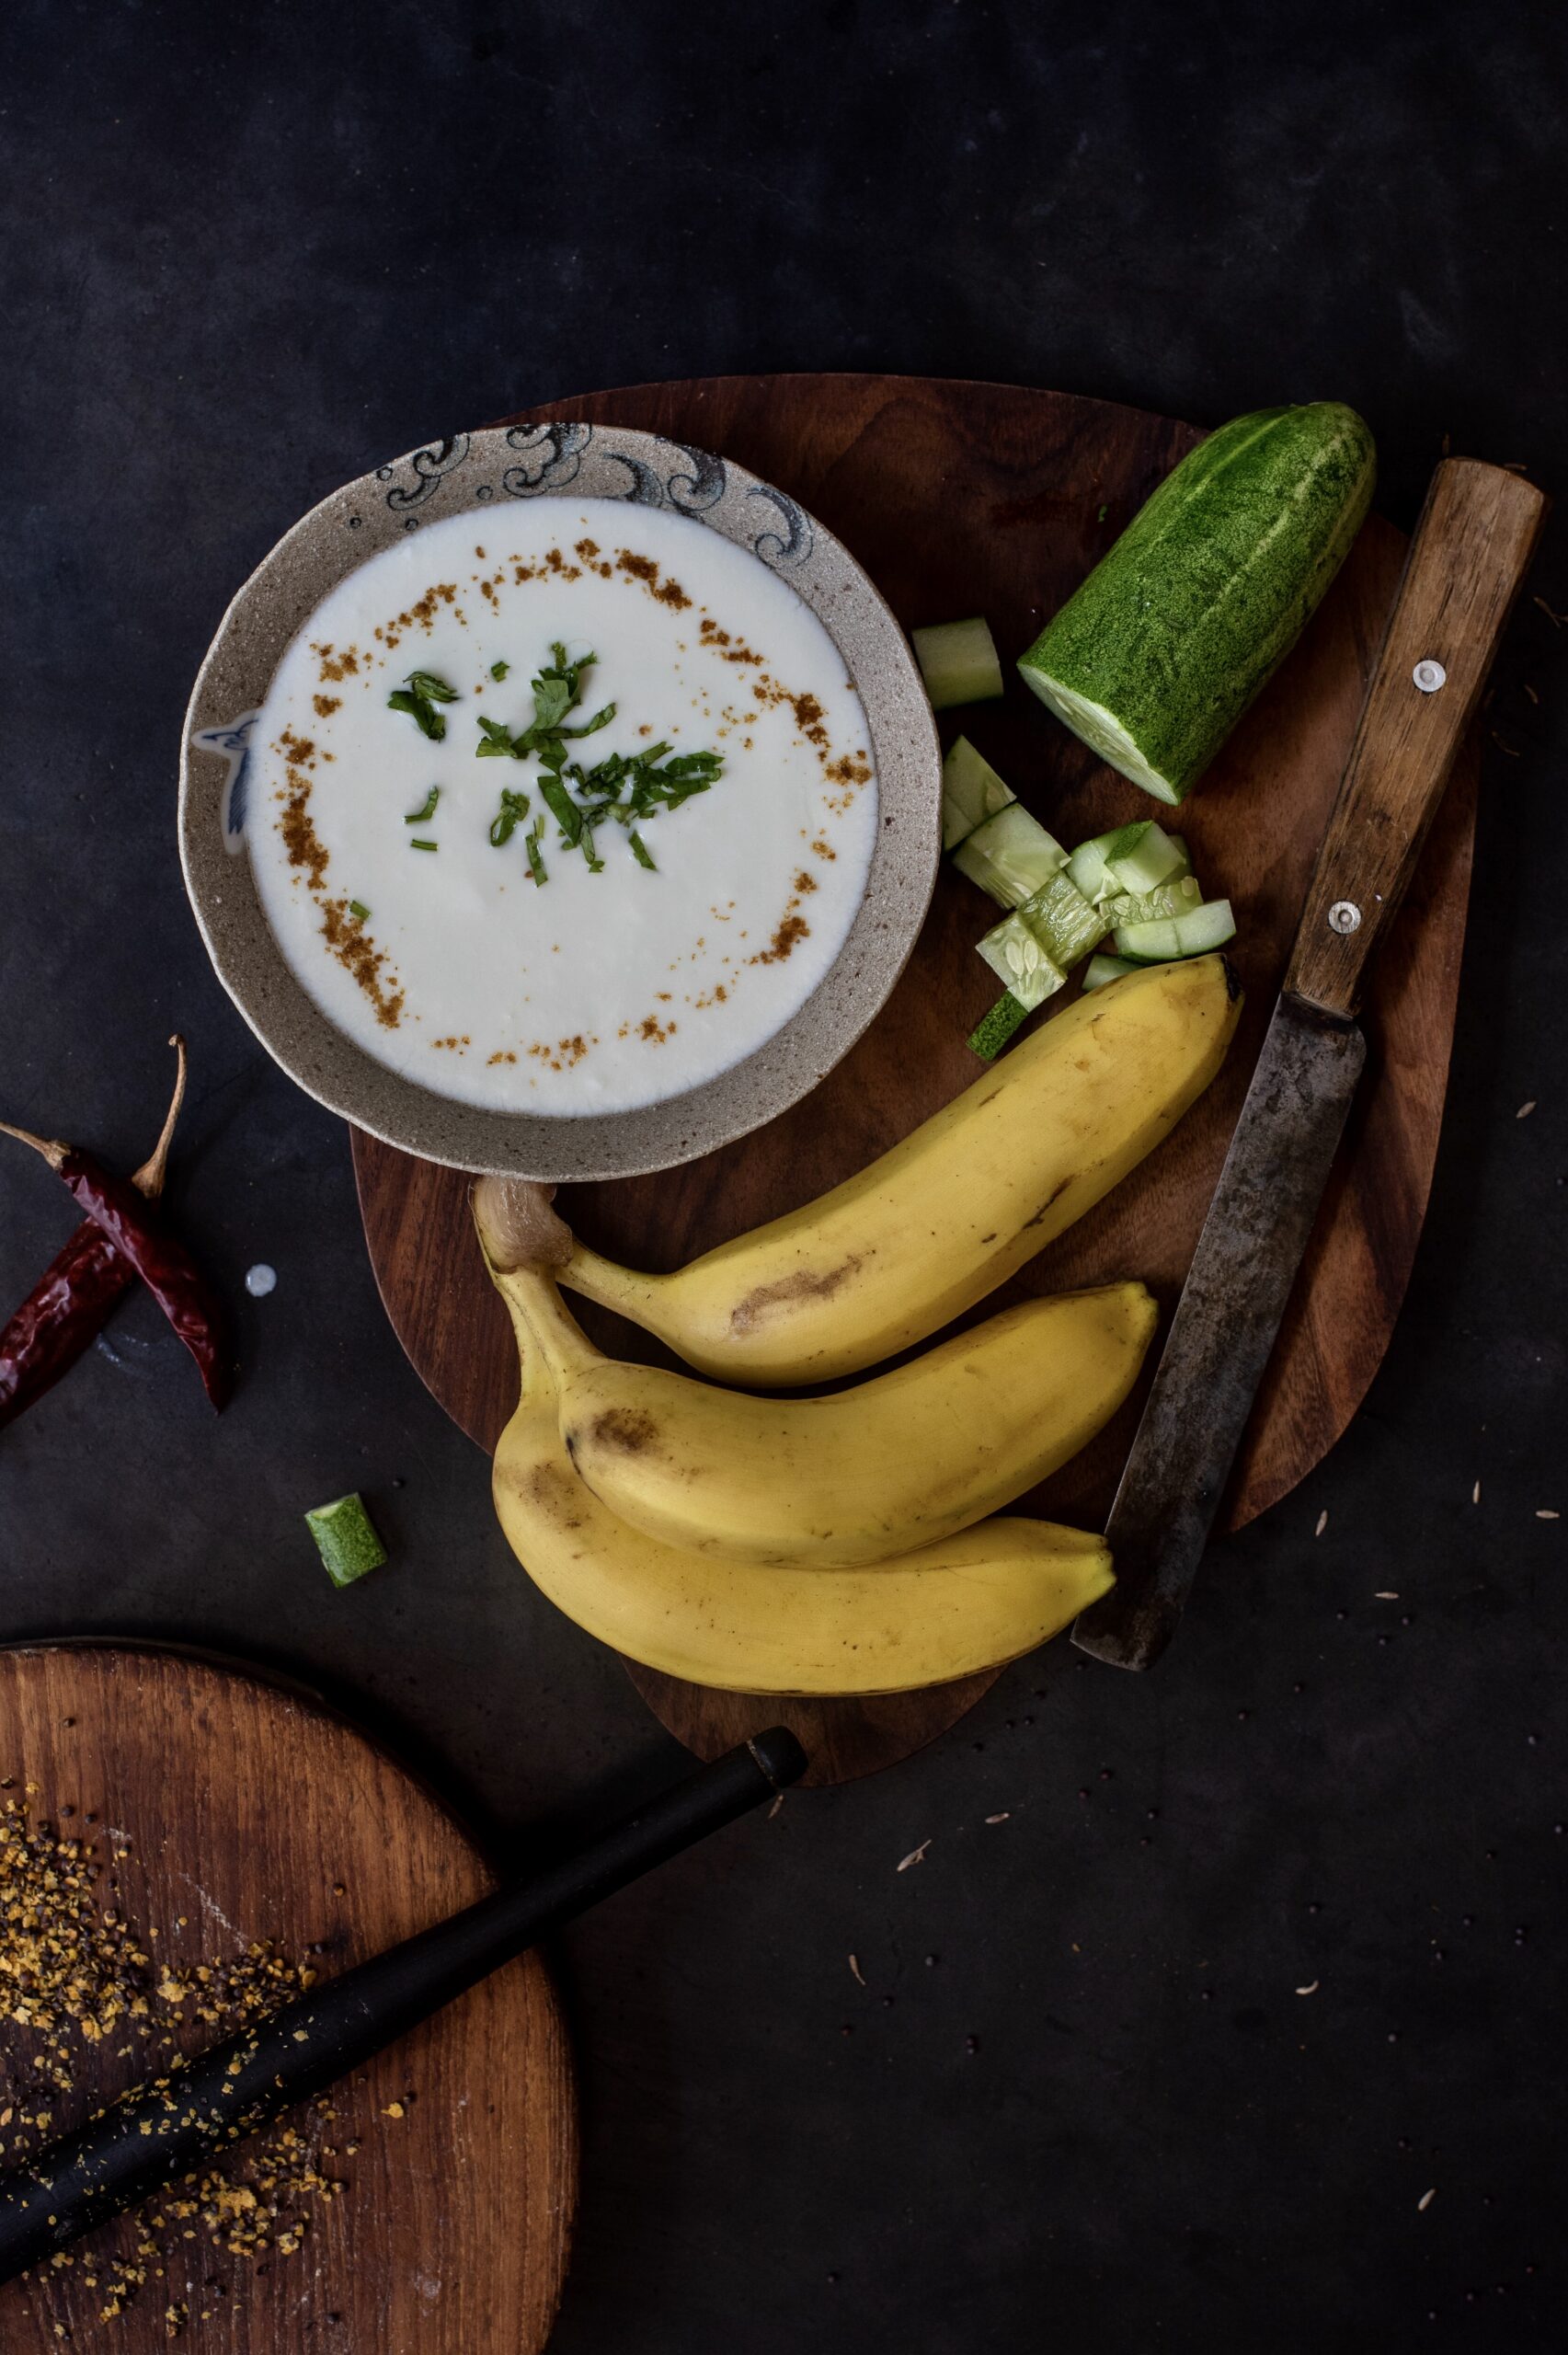
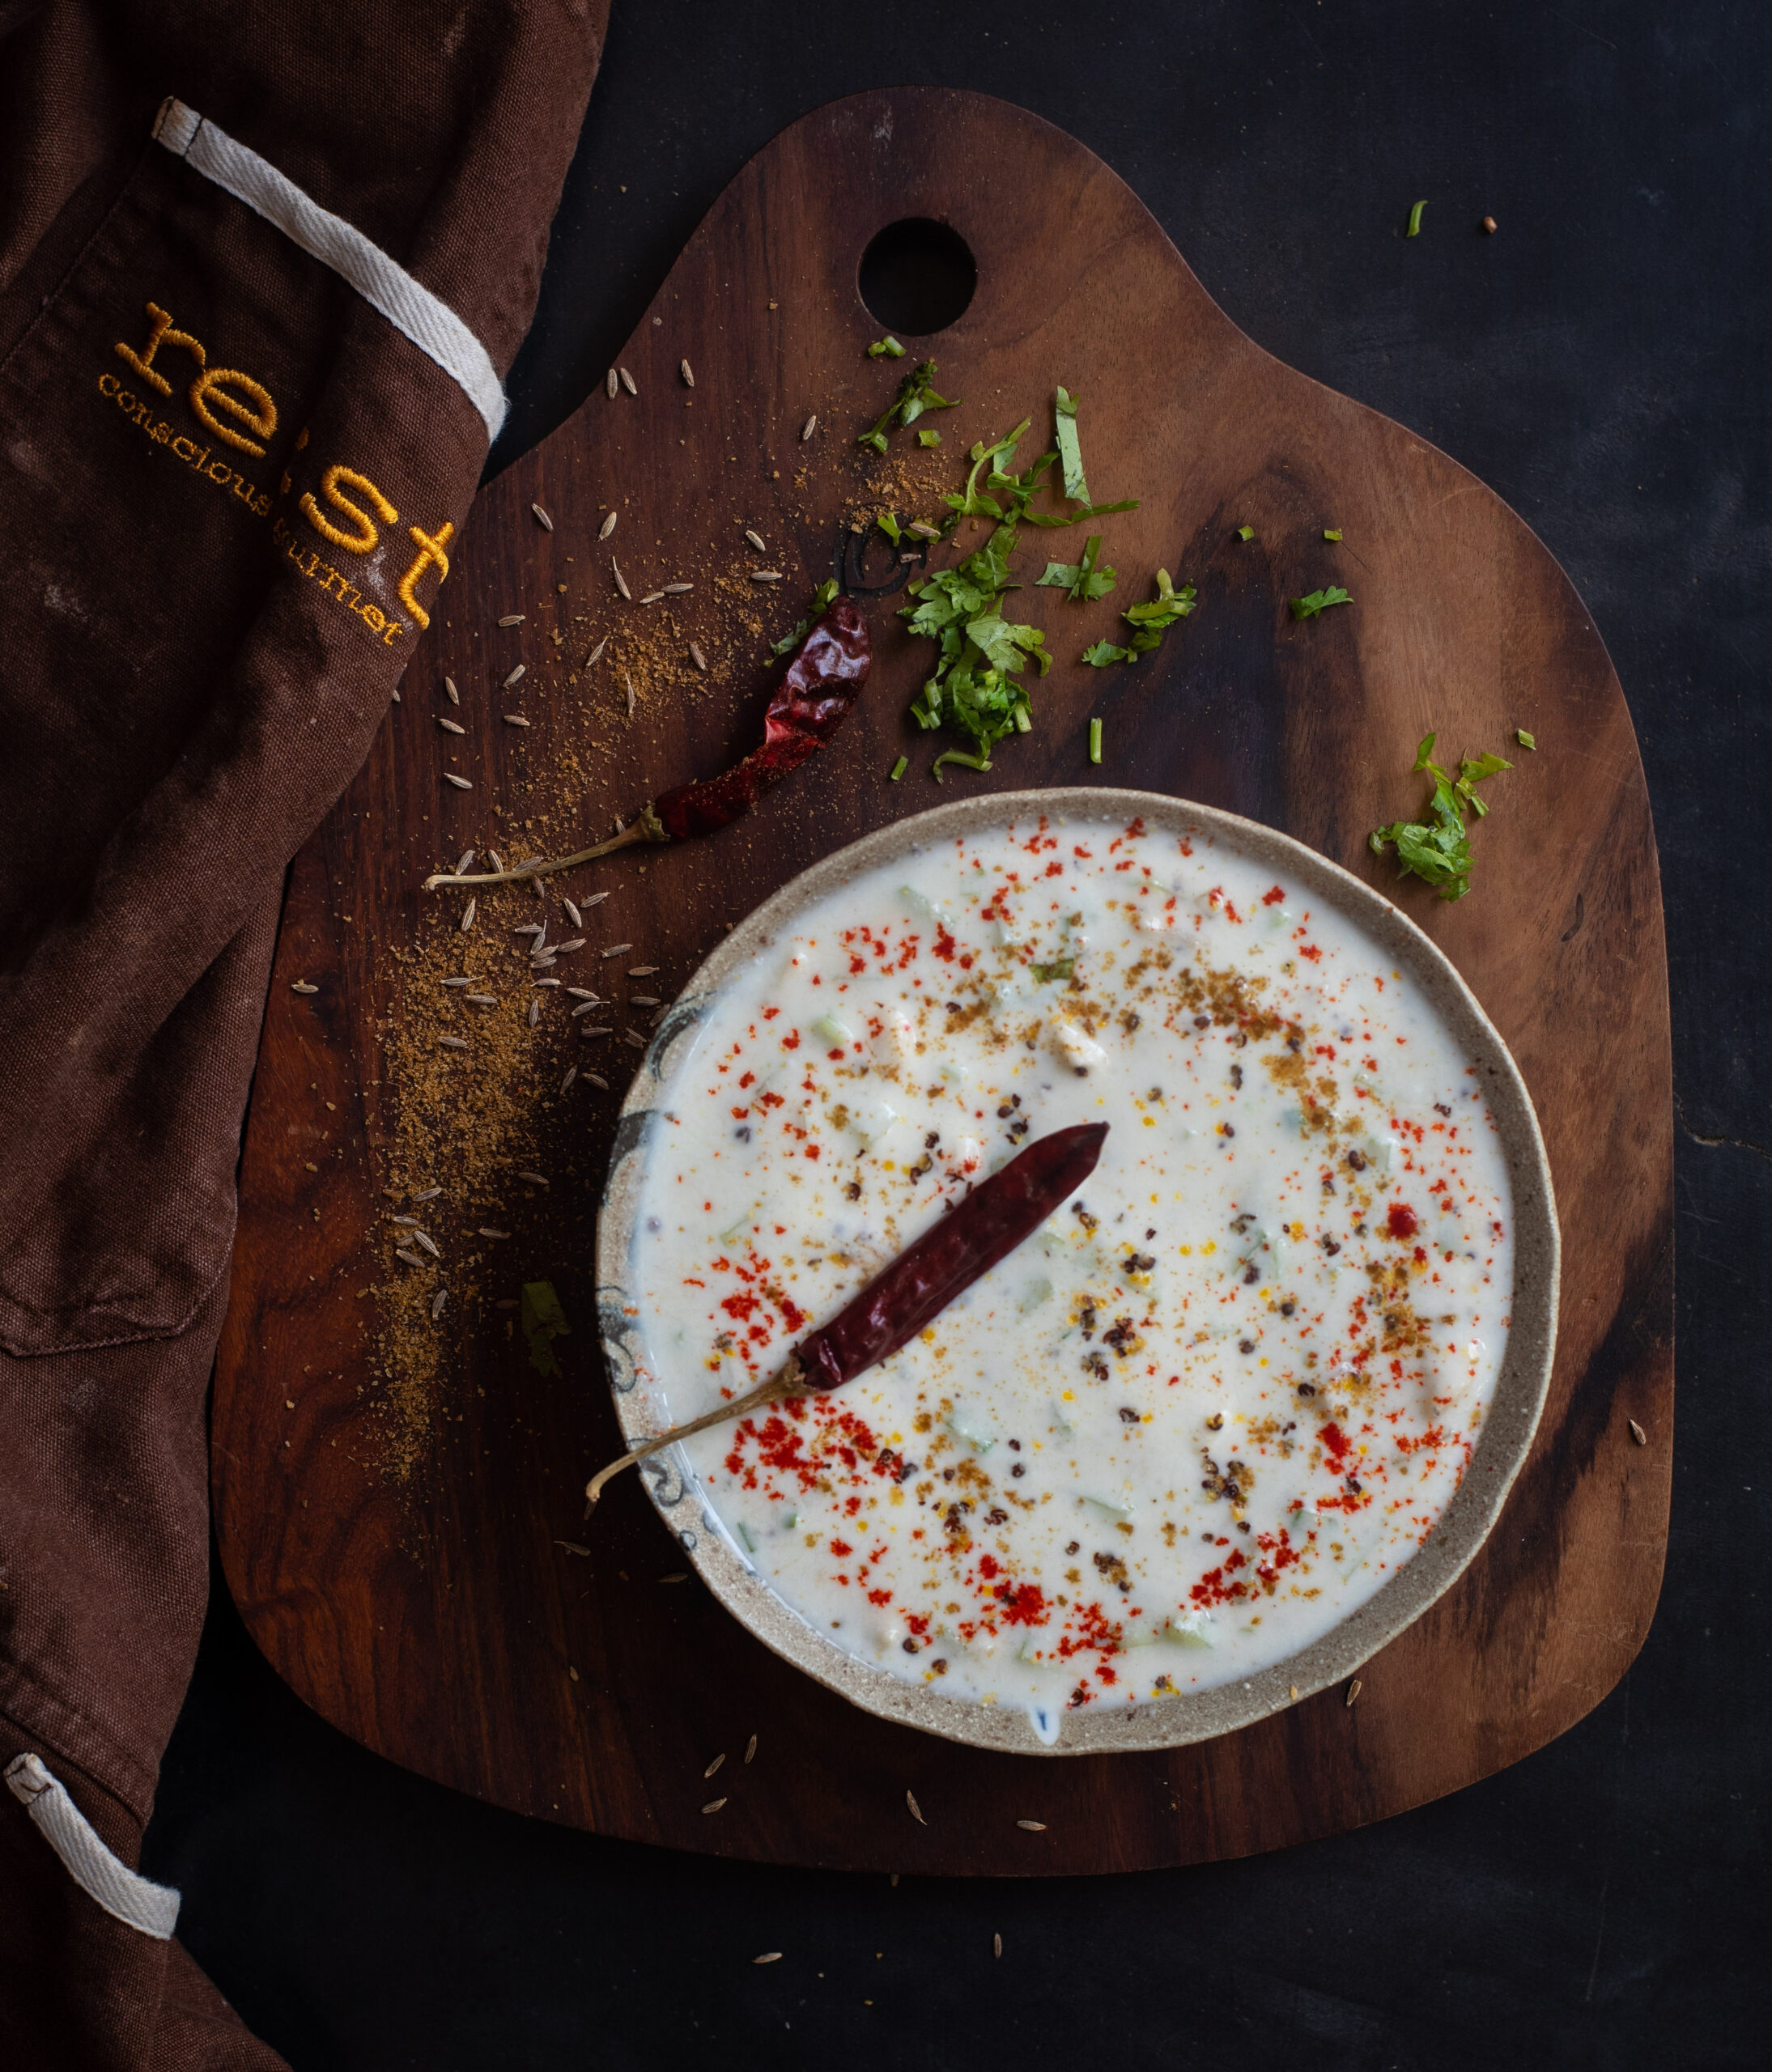
From various previous posts, you would know about the Gujarati thaali, the set meal that contains a little bit of every flavour and texture. So you’d be familiar with raita, the thin yoghurt condiment that adds a bit of coolness of the meal, and helps with digestion. Raita is eaten throughout the subcontinent, in dozens of variants. For instance, an onion or kara boondi raita goes perfectly paired with a biryani, adding crunch as well. I have fond memories of long, lazy Sunday lunches during which I’d reach for more helpings of my mother-in-law’s banana-mustard-cucumber raita. I’m delighted to share the recipe for this simple but complexly flavoured dip today.
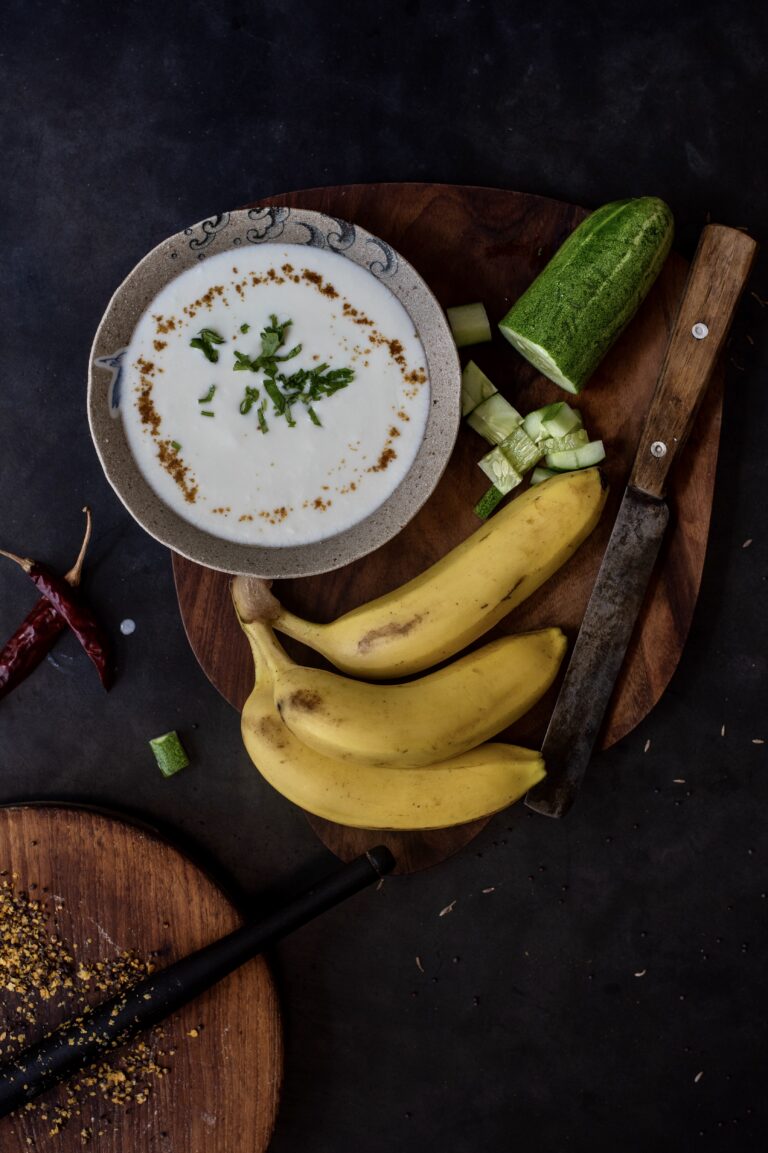
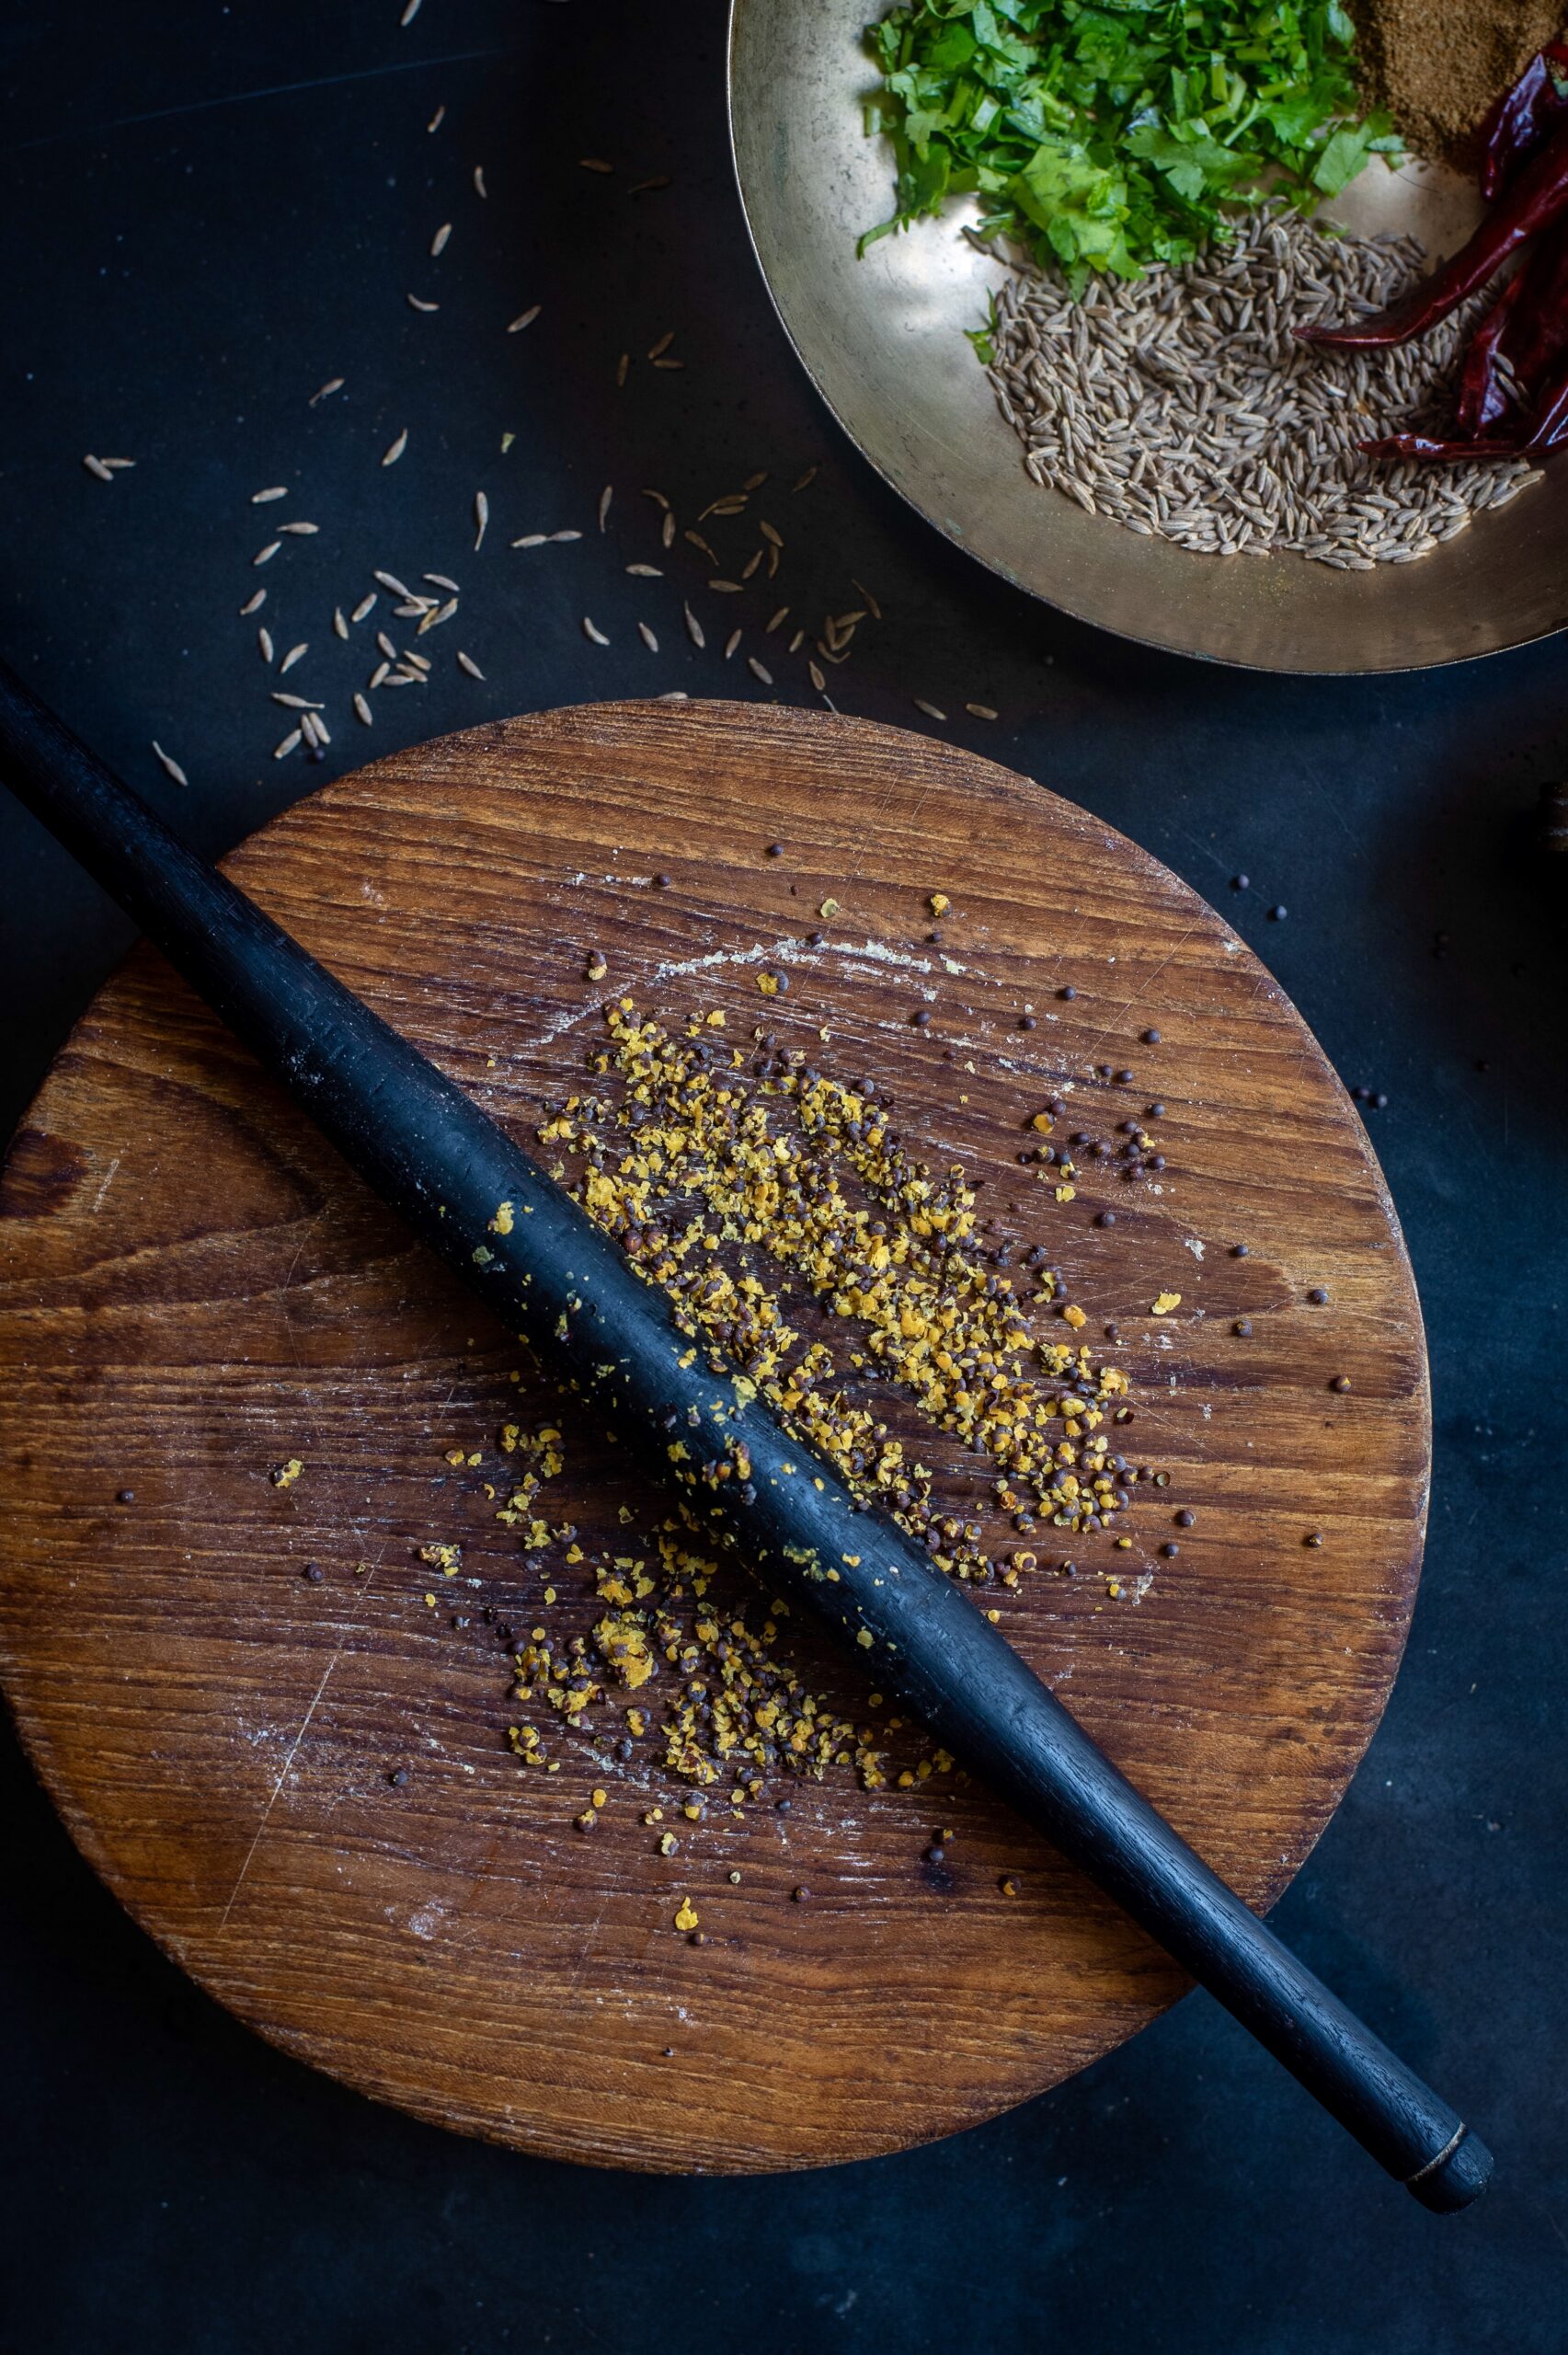
Banana, as you may remember from this banana-methi fritters recipe is a powerhouse of a fruit, packed with nutrients. It’s also a natural sweetener, and you know how Gujaratis love our sweets. In every kind of dish, you’ll find either jaggery or banana, or both! The sweetness of the banana in this raita naturally offsets the bitterness of the cucumber, which is another powerhouse. Cucumbers have a high water content, aiding rehydration, and are rich in potassium, magnesium and fibre. Adding a touch is spice is the mustard, which is a great source of selenium, zinc and calcium and known for its anti-inflammatory properties. Let me let you in on a secret – I never use the grinder to grind mustard as I don’t like the taste. Instead, I use the rolling pin that we use for rotlis. It’s lovely how such simple and clever innovations happen in the kitchen. I love picking up such techniques.

The flavours and textures of the three, as different as they are, blend very well in the yoghurt base: the banana soft and sweet, the mustard sharp, and the cucumber crunchy.


Banana-Mustard-Cucumber Raita

(Yield: 2-3 cups)


Ingredients

Raita:

2 cups plain yoghurt

1 cup finely cut banana

½ cup cut cucumber

1 tablespoon finely cut coriander leaves

1 ½ teaspoons mustard seeds

1 teaspoon roasted cumin powder

Salt to taste


Seasoning:

½ teaspoon sunflower oil

¼ teaspoon whole mustard seeds

¼ teaspoon cumin seeds


Take the mustard seeds and crush them using any simple method that you use at home. As I said above, I use a rolling pin and board, the same as I use to make rotlis. This crushes the seeds just the way I like it – not too fine, but uneven and broken. You can use the hand pounder too, if you prefer. Crush and set aside.

Place the yoghurt in a bowl and beat well until there are no lumps and the yoghurt is smooth. Now add the salt, cumin powder and crushed mustard powder. The fresh flavour is the key element to this raita.

Now, add the banana, cucumber and coriander leaves. Mix well.

Then, prepare the seasoning. Pour the oil into a small pan. Once hot, add the mustard seeds and cumin seeds. Wait till the seeds splutter, then pour over the raita. Decorate by sprinkling some chili powder for colour, along with some roasted cumin powder and some finely cut coriander leaves.

As I said earlier, there are numerous other kinds of raita, enjoyed all over India. And while I’m nostalgic for my mother-in-law’s Sunday lunch raita, this banana-mustard-cucumber combination I’ve shared above, the current favourite in my home is in fact the sweet and crunchy pomegranate raita. Do you have a variant that you make often? I’d love to know what you think of mine in the comments.

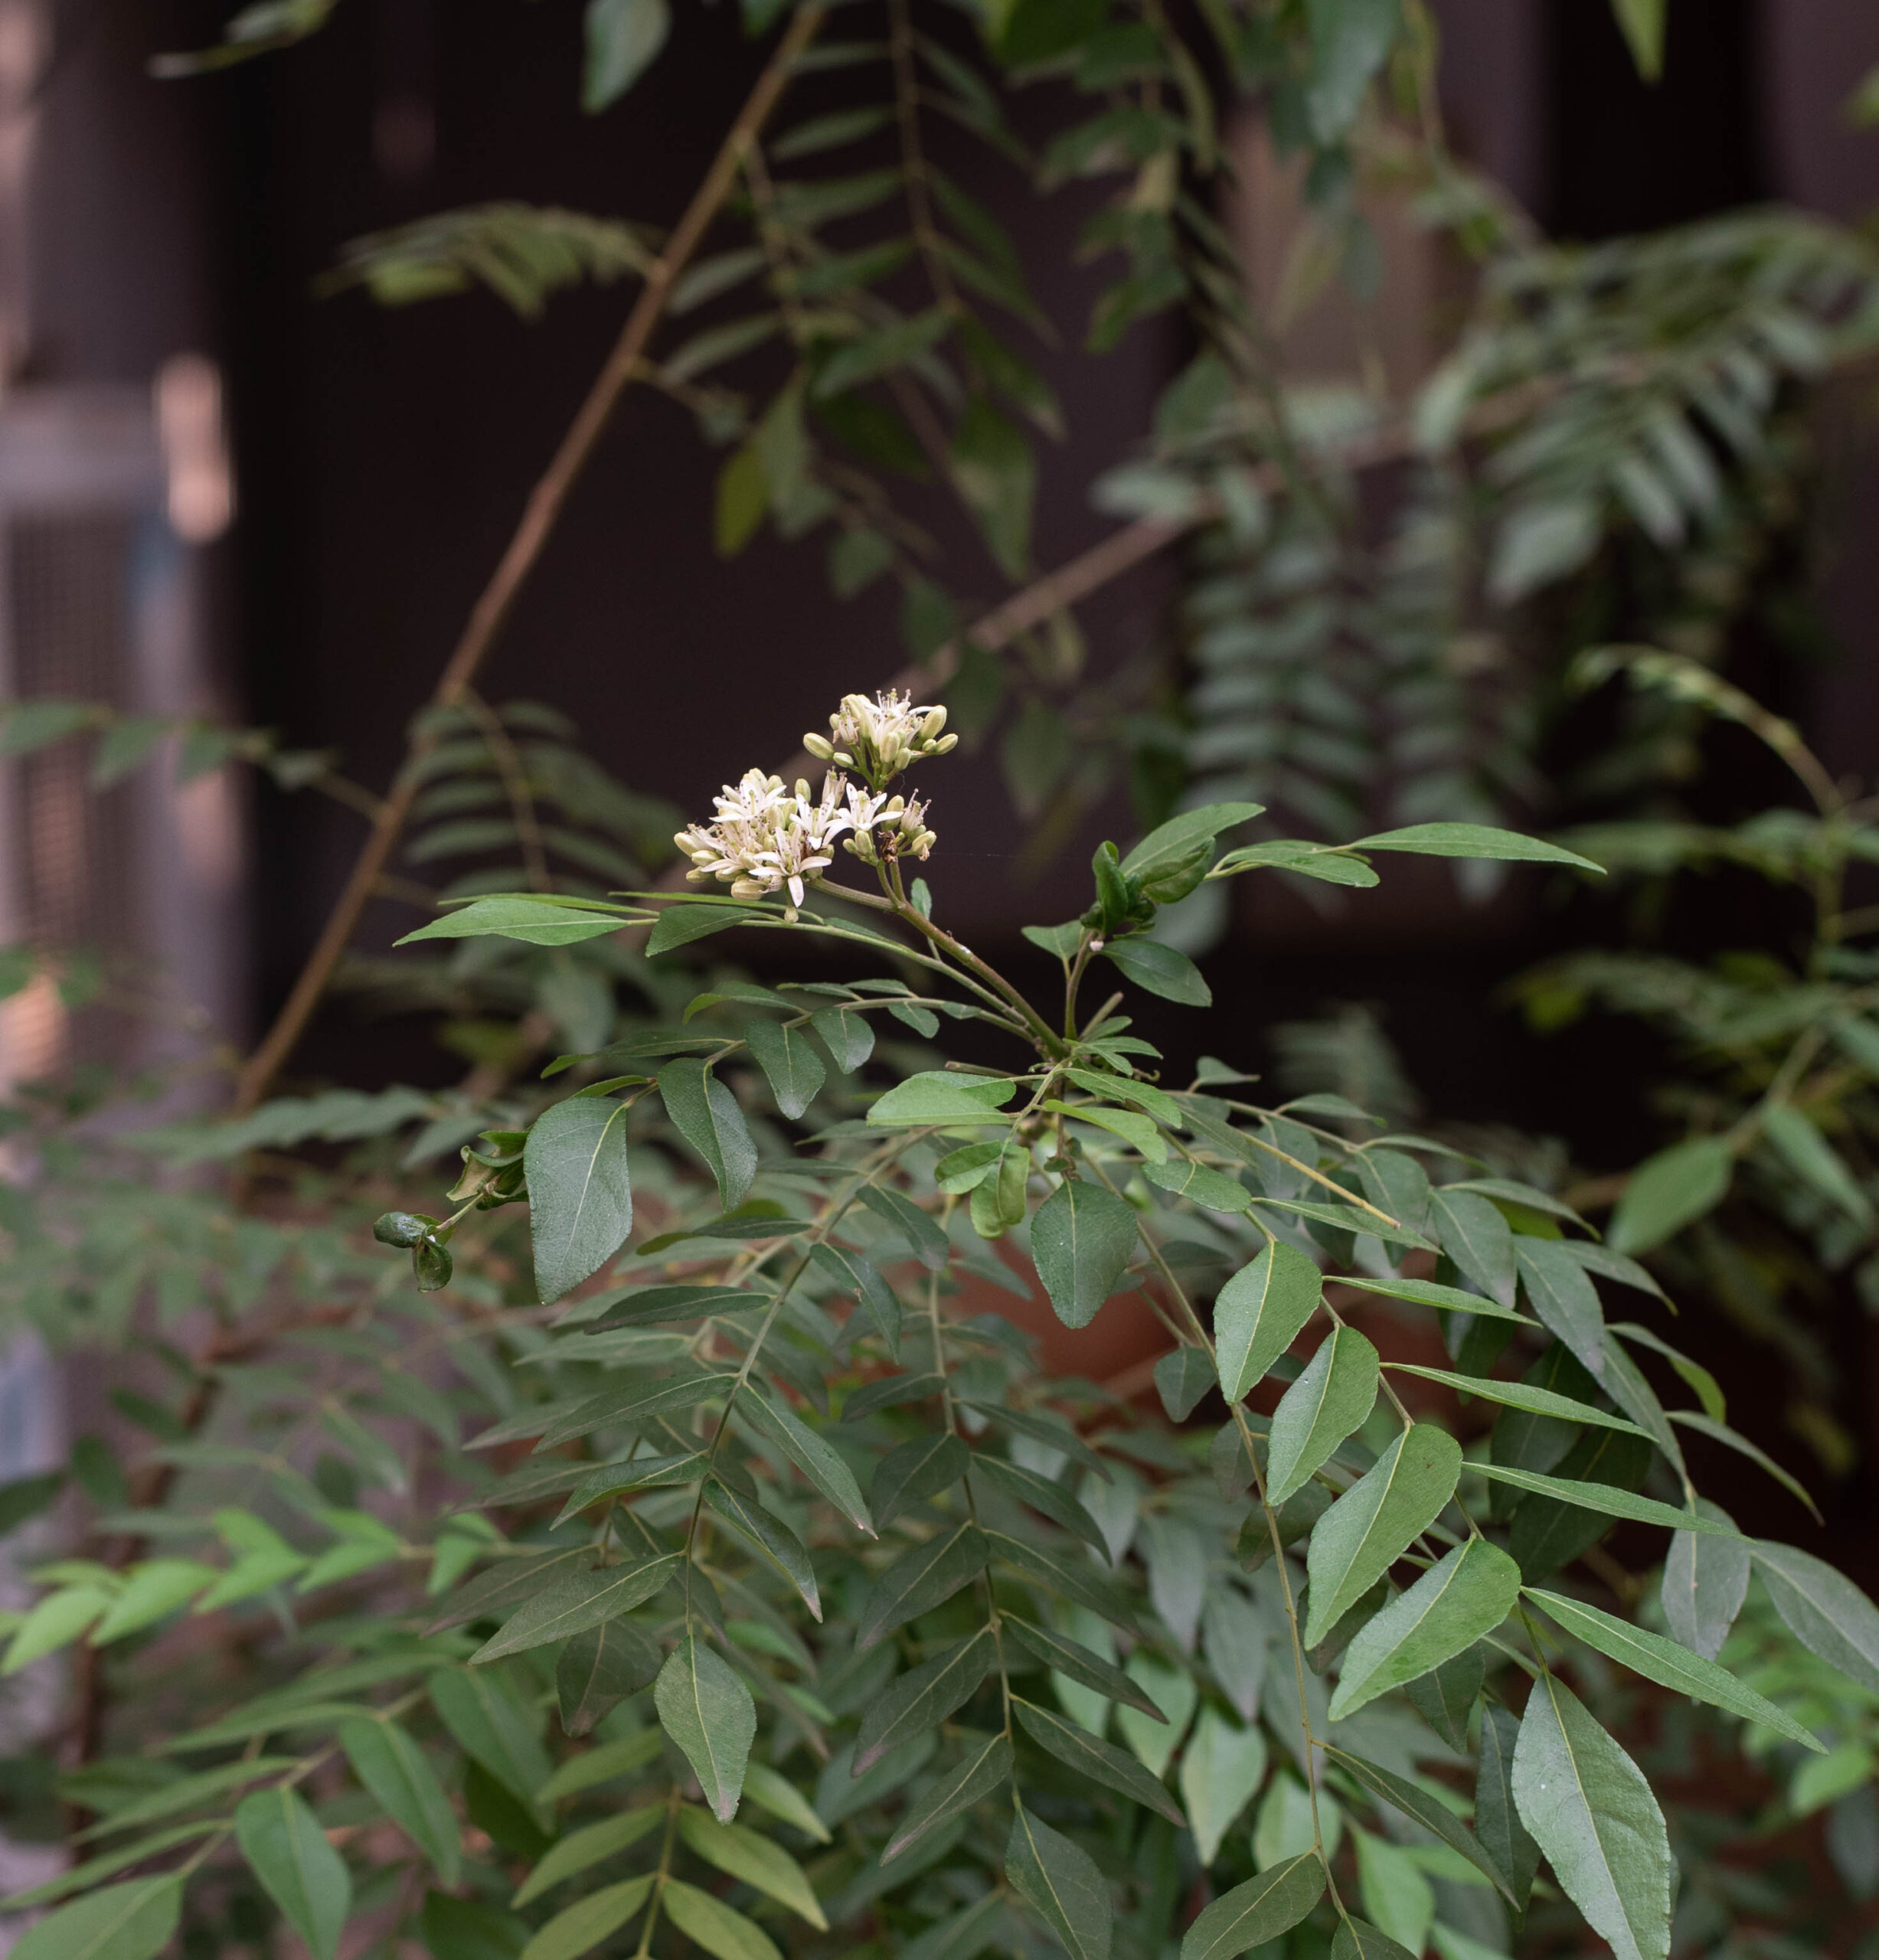
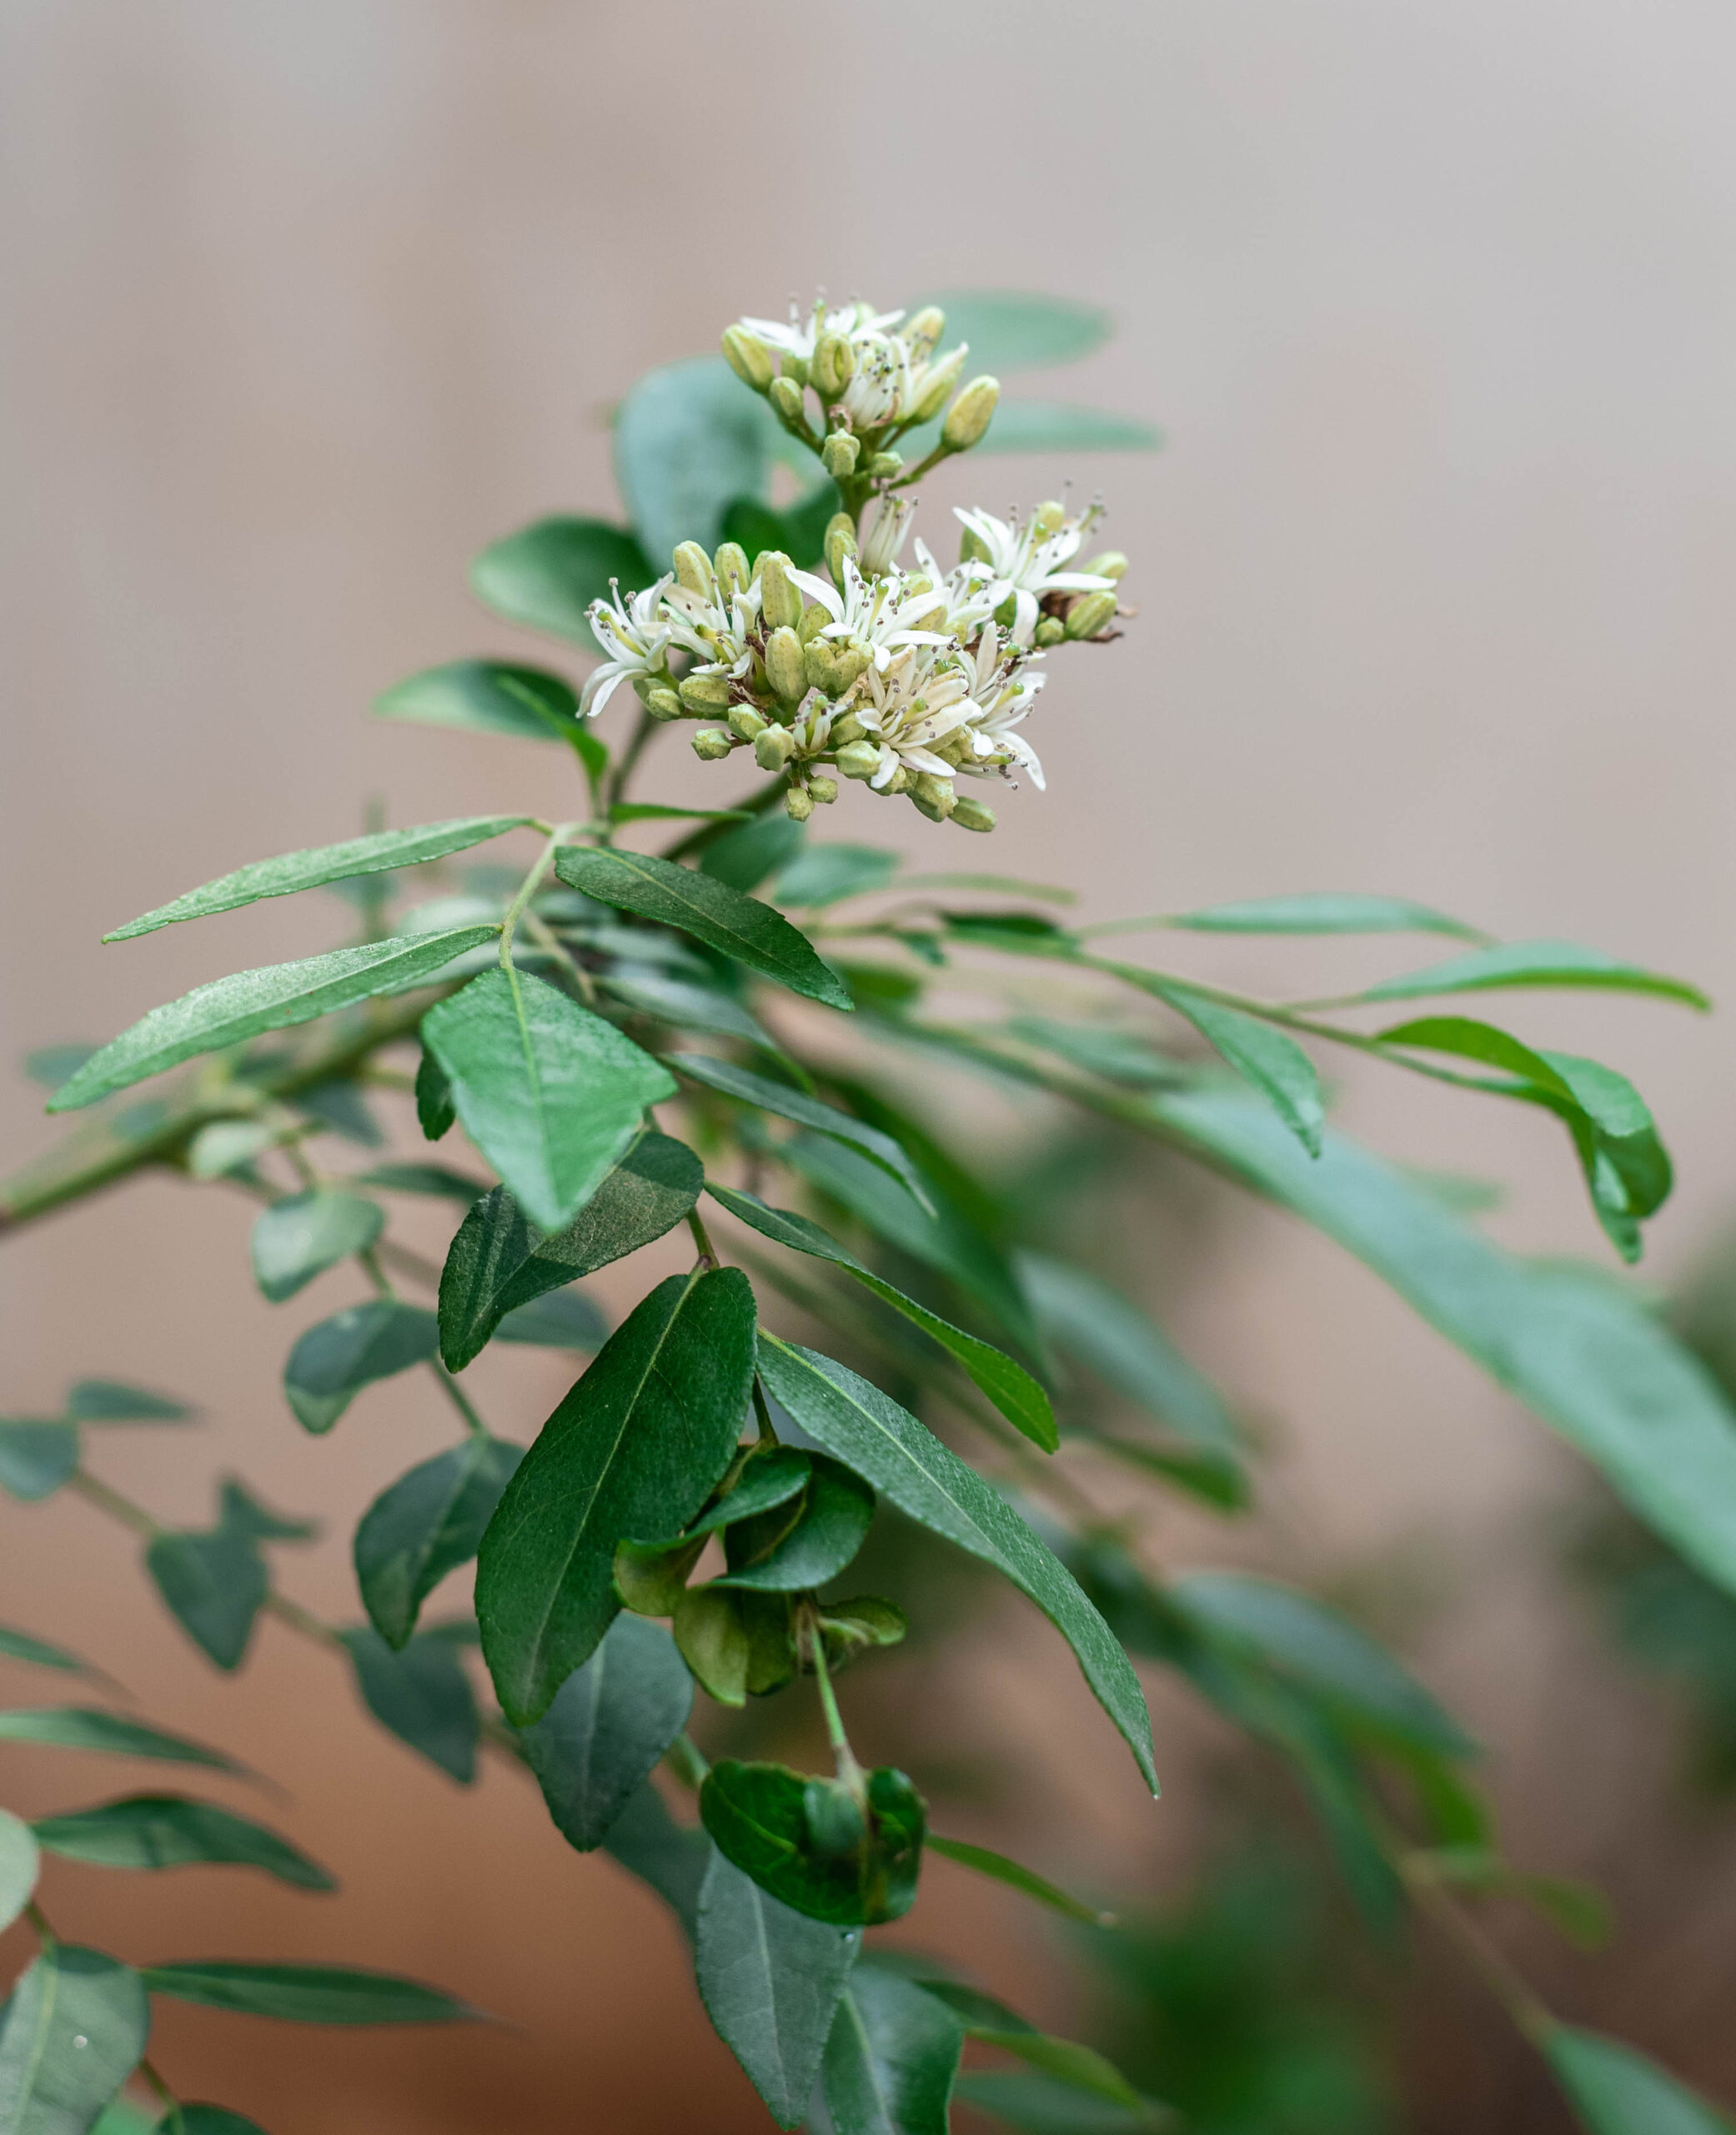
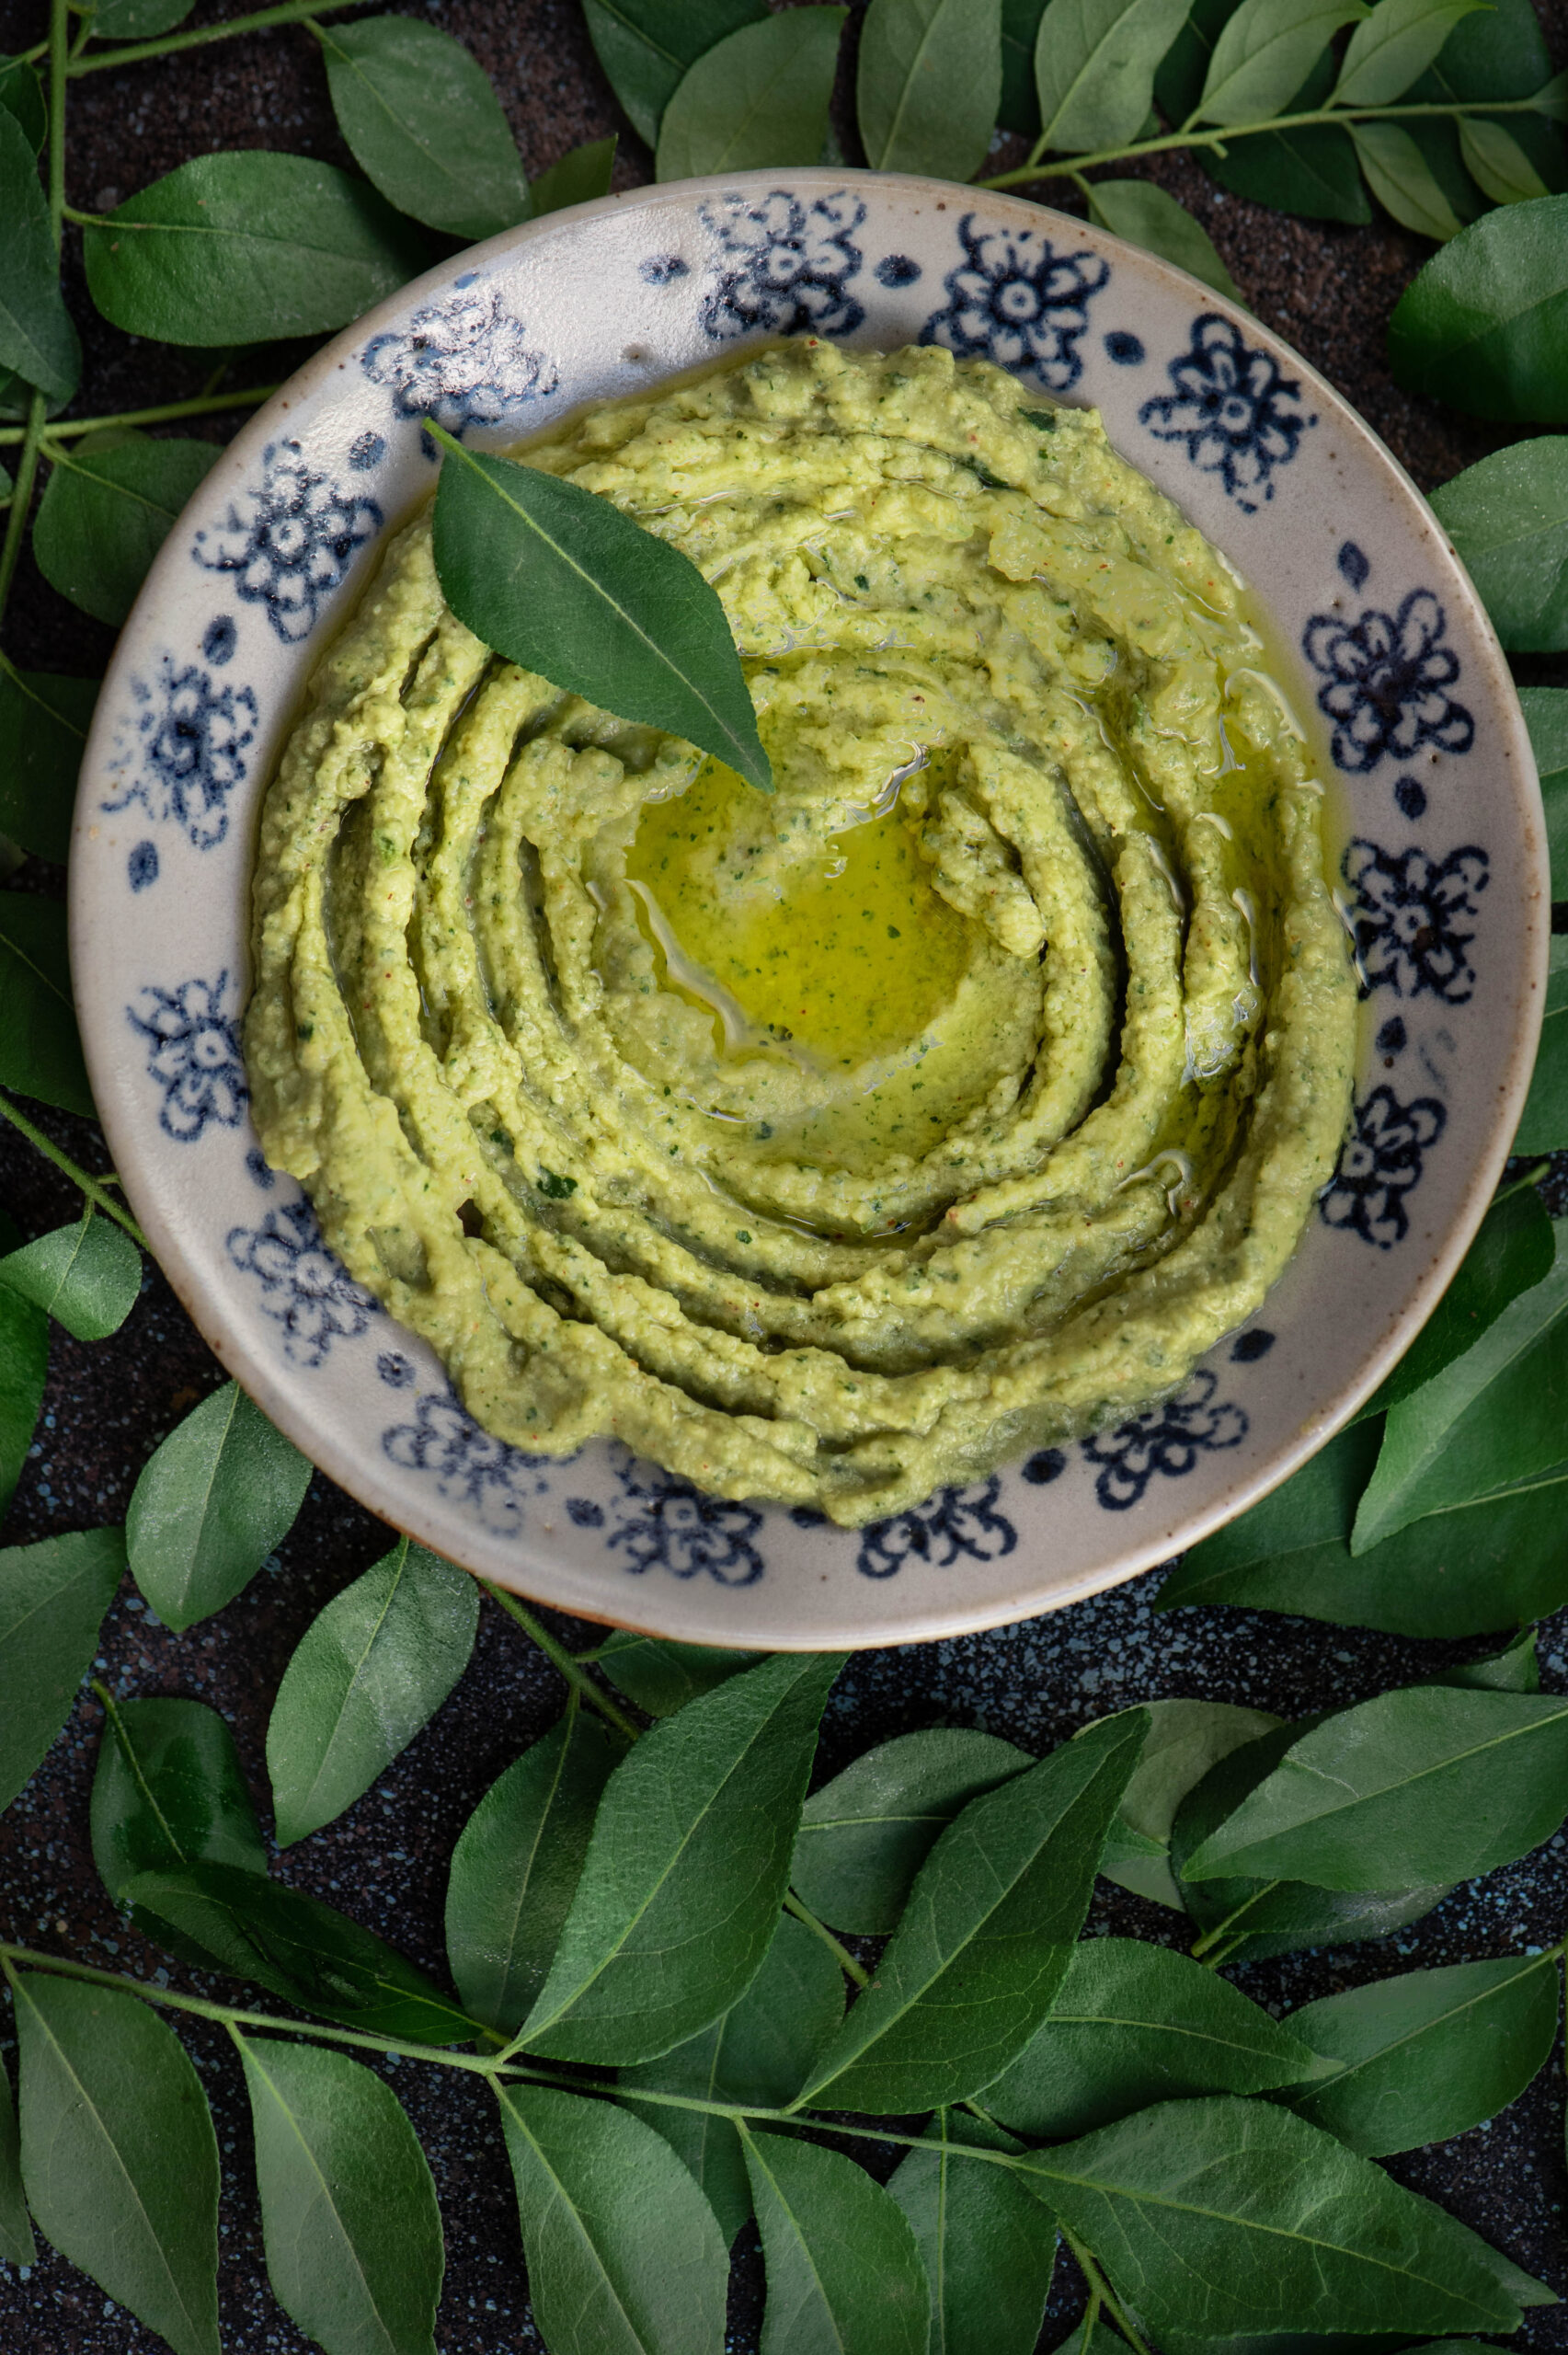
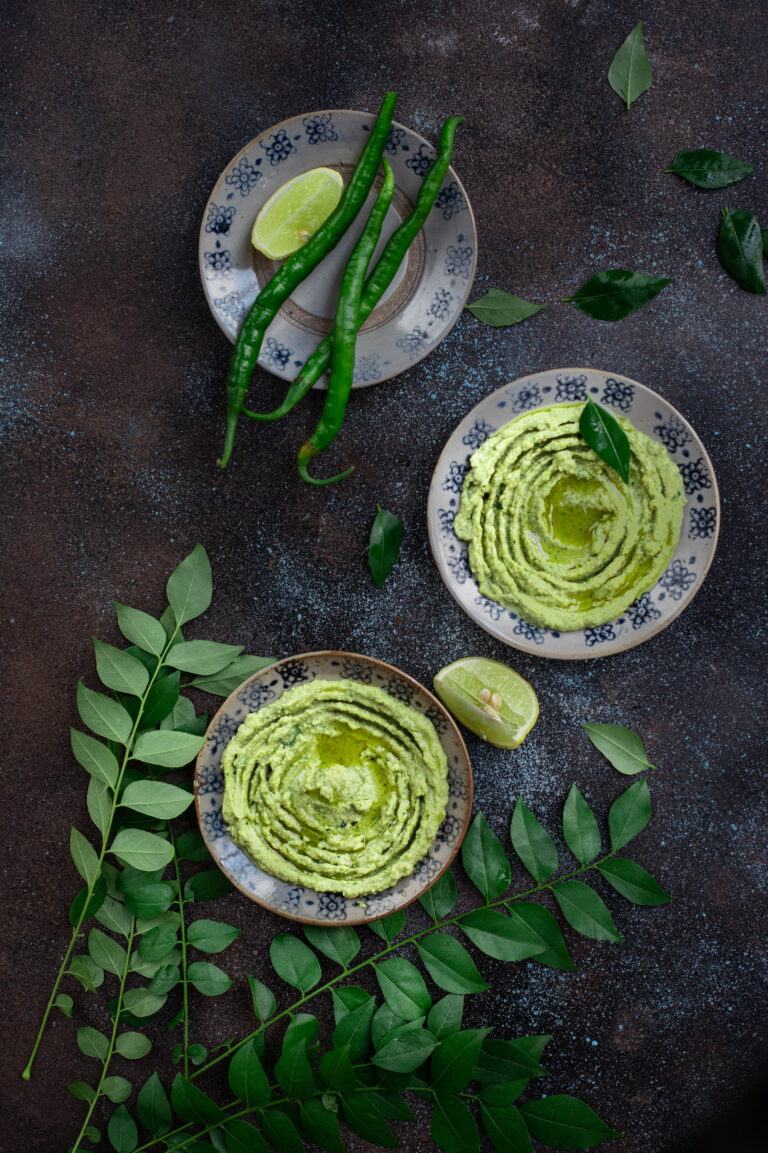
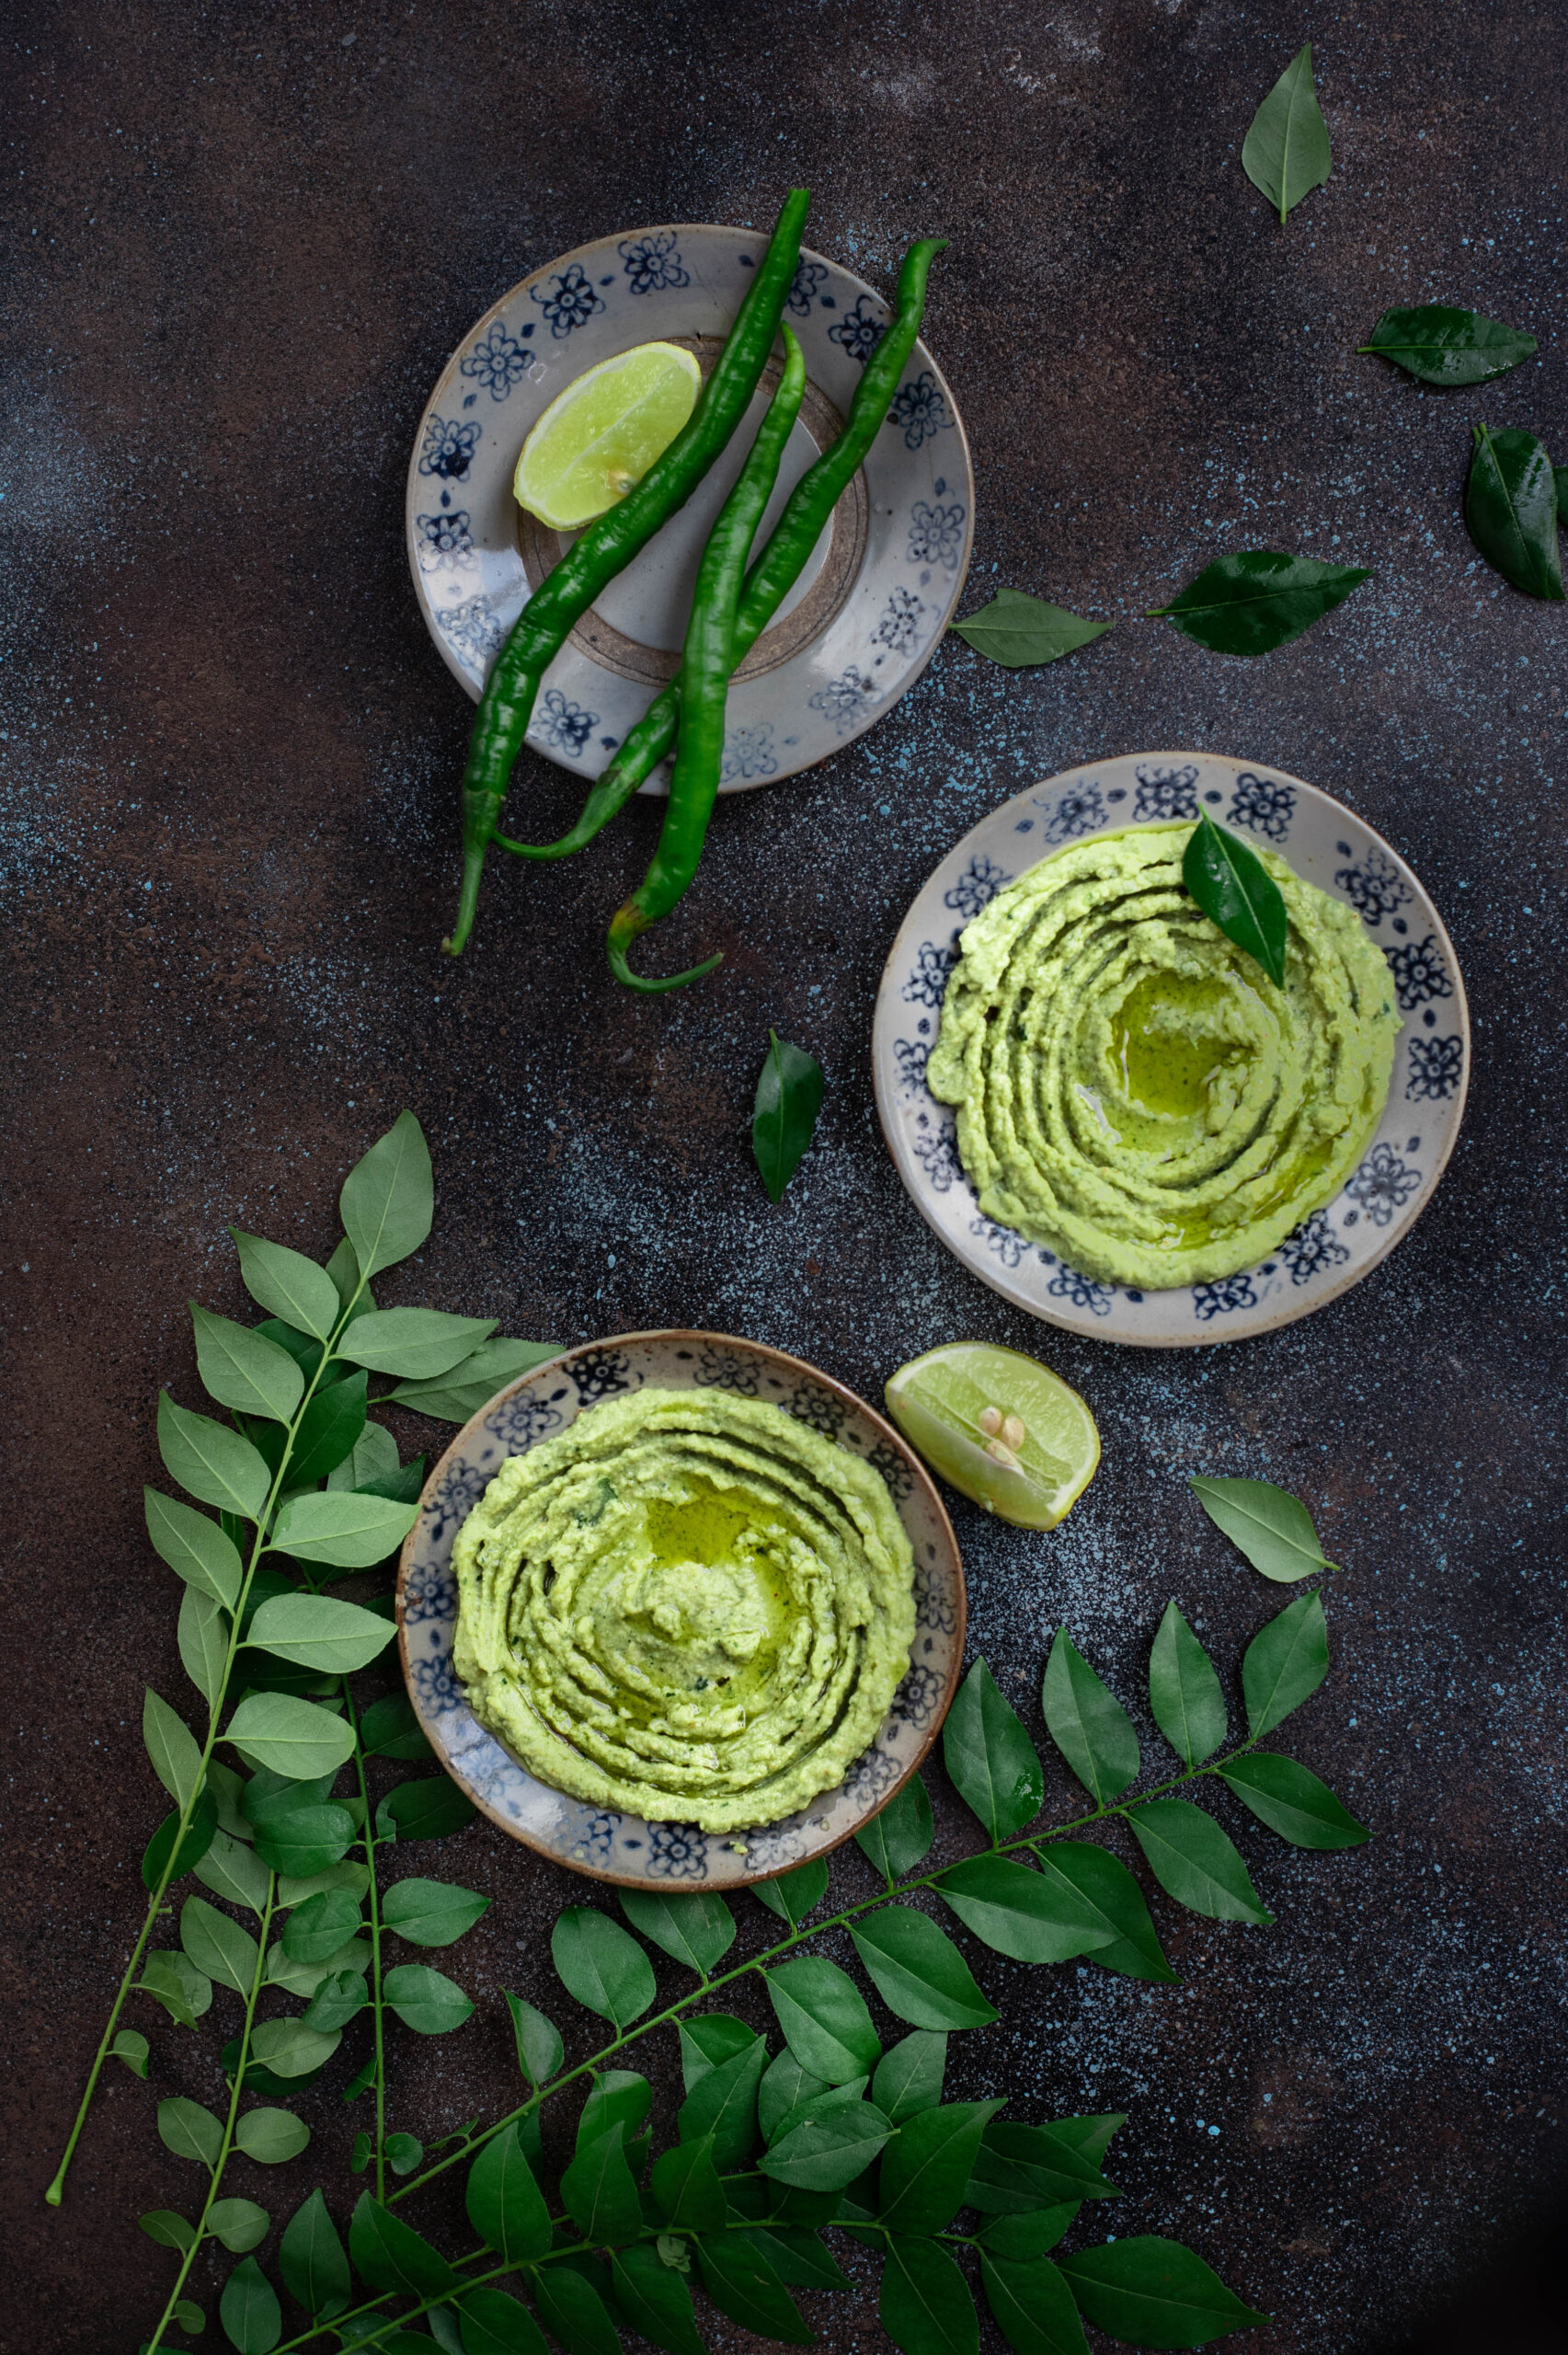
With the festival of Navaratri coming up, when chickpeas are served to guests in many homes in a simple dish called sundal, I had the humble legume on my mind once again. Only this time, I felt inspired to pair it with another ingredient that’s an essential in every South Indian home: the curry leaf. With the occasional rains we are enjoying in Chennai at the moment, my curry leaf bush has been in full bloom. And when I have so much in my garden or farm, you know that it usually tends to go straight into my kitchen. I took these two local ingredients and put them together in a fusion dish: curry leaf and green chilli hummus.

Hummus is a Middle Eastern dish that is a part of daily cuisines in that part of the world, and is usually eaten with breads. It’s also popular everywhere as a party snack, a perfect dip for everything from sliced vegetables to skewered meat. I’ve tasted a lot of beetroot hummus, so I knew that the basic puree lends itself well to flavourings. That’s when my curry leaves caught my eye.

Also known as “sweet neem”, curry leaf is an ingredient that we almost take for granted in our Indian kitchens. Tempered or fresh sprigs are thrown into curries, the powder is eaten with rice, and so on. It adds flavour to so many dishes that it’s just a ubiquitous part of our cooking. With a range of health benefits, including antioxidant and anti-diabetic properties, it’s no wonder that our ancestors incorporated it into as many meals as they could.  Now that I grow curry leaves in my own home, I have been learning a little about the plant too. Did you know that the tiny berries, which are not used in cooking, are actually high in Vitamin C – but that their seeds are poisonous?

Long ago, my hummus attempts would be so mediocre that a good friend would send me tubs as I so enjoyed the dish. Over time, I learned how to make it and stopped depending on those shipments, just as I stopped depending on store-bought cakes and even began to experiement with homegrown ingredients. Trial and error is the key to learning, and by studying different recipes and adding my own touches, I finally arrived on a version I loved.

The main ingredient in hummus is the humble chickpea, which is a staple not only in the Middle East but all over India in its many forms. It’s eaten boiled for a healthy snack, powdered and roasted and used as a binder, and known by so many names – puttukadalai, chana dal, kabuli (did this come to us by way of Kabul, I wonder?), chole and so on. Abroad, you may know this legume as garbanzo beans. The darker variants have a higher iron content, while the chana dal I use for thus hummus is rich in protein and fibre, thus filling you quickly and also aiding weight loss. It is known to lower cholesterol and diabetic risk, and also has high zinc and folate content.

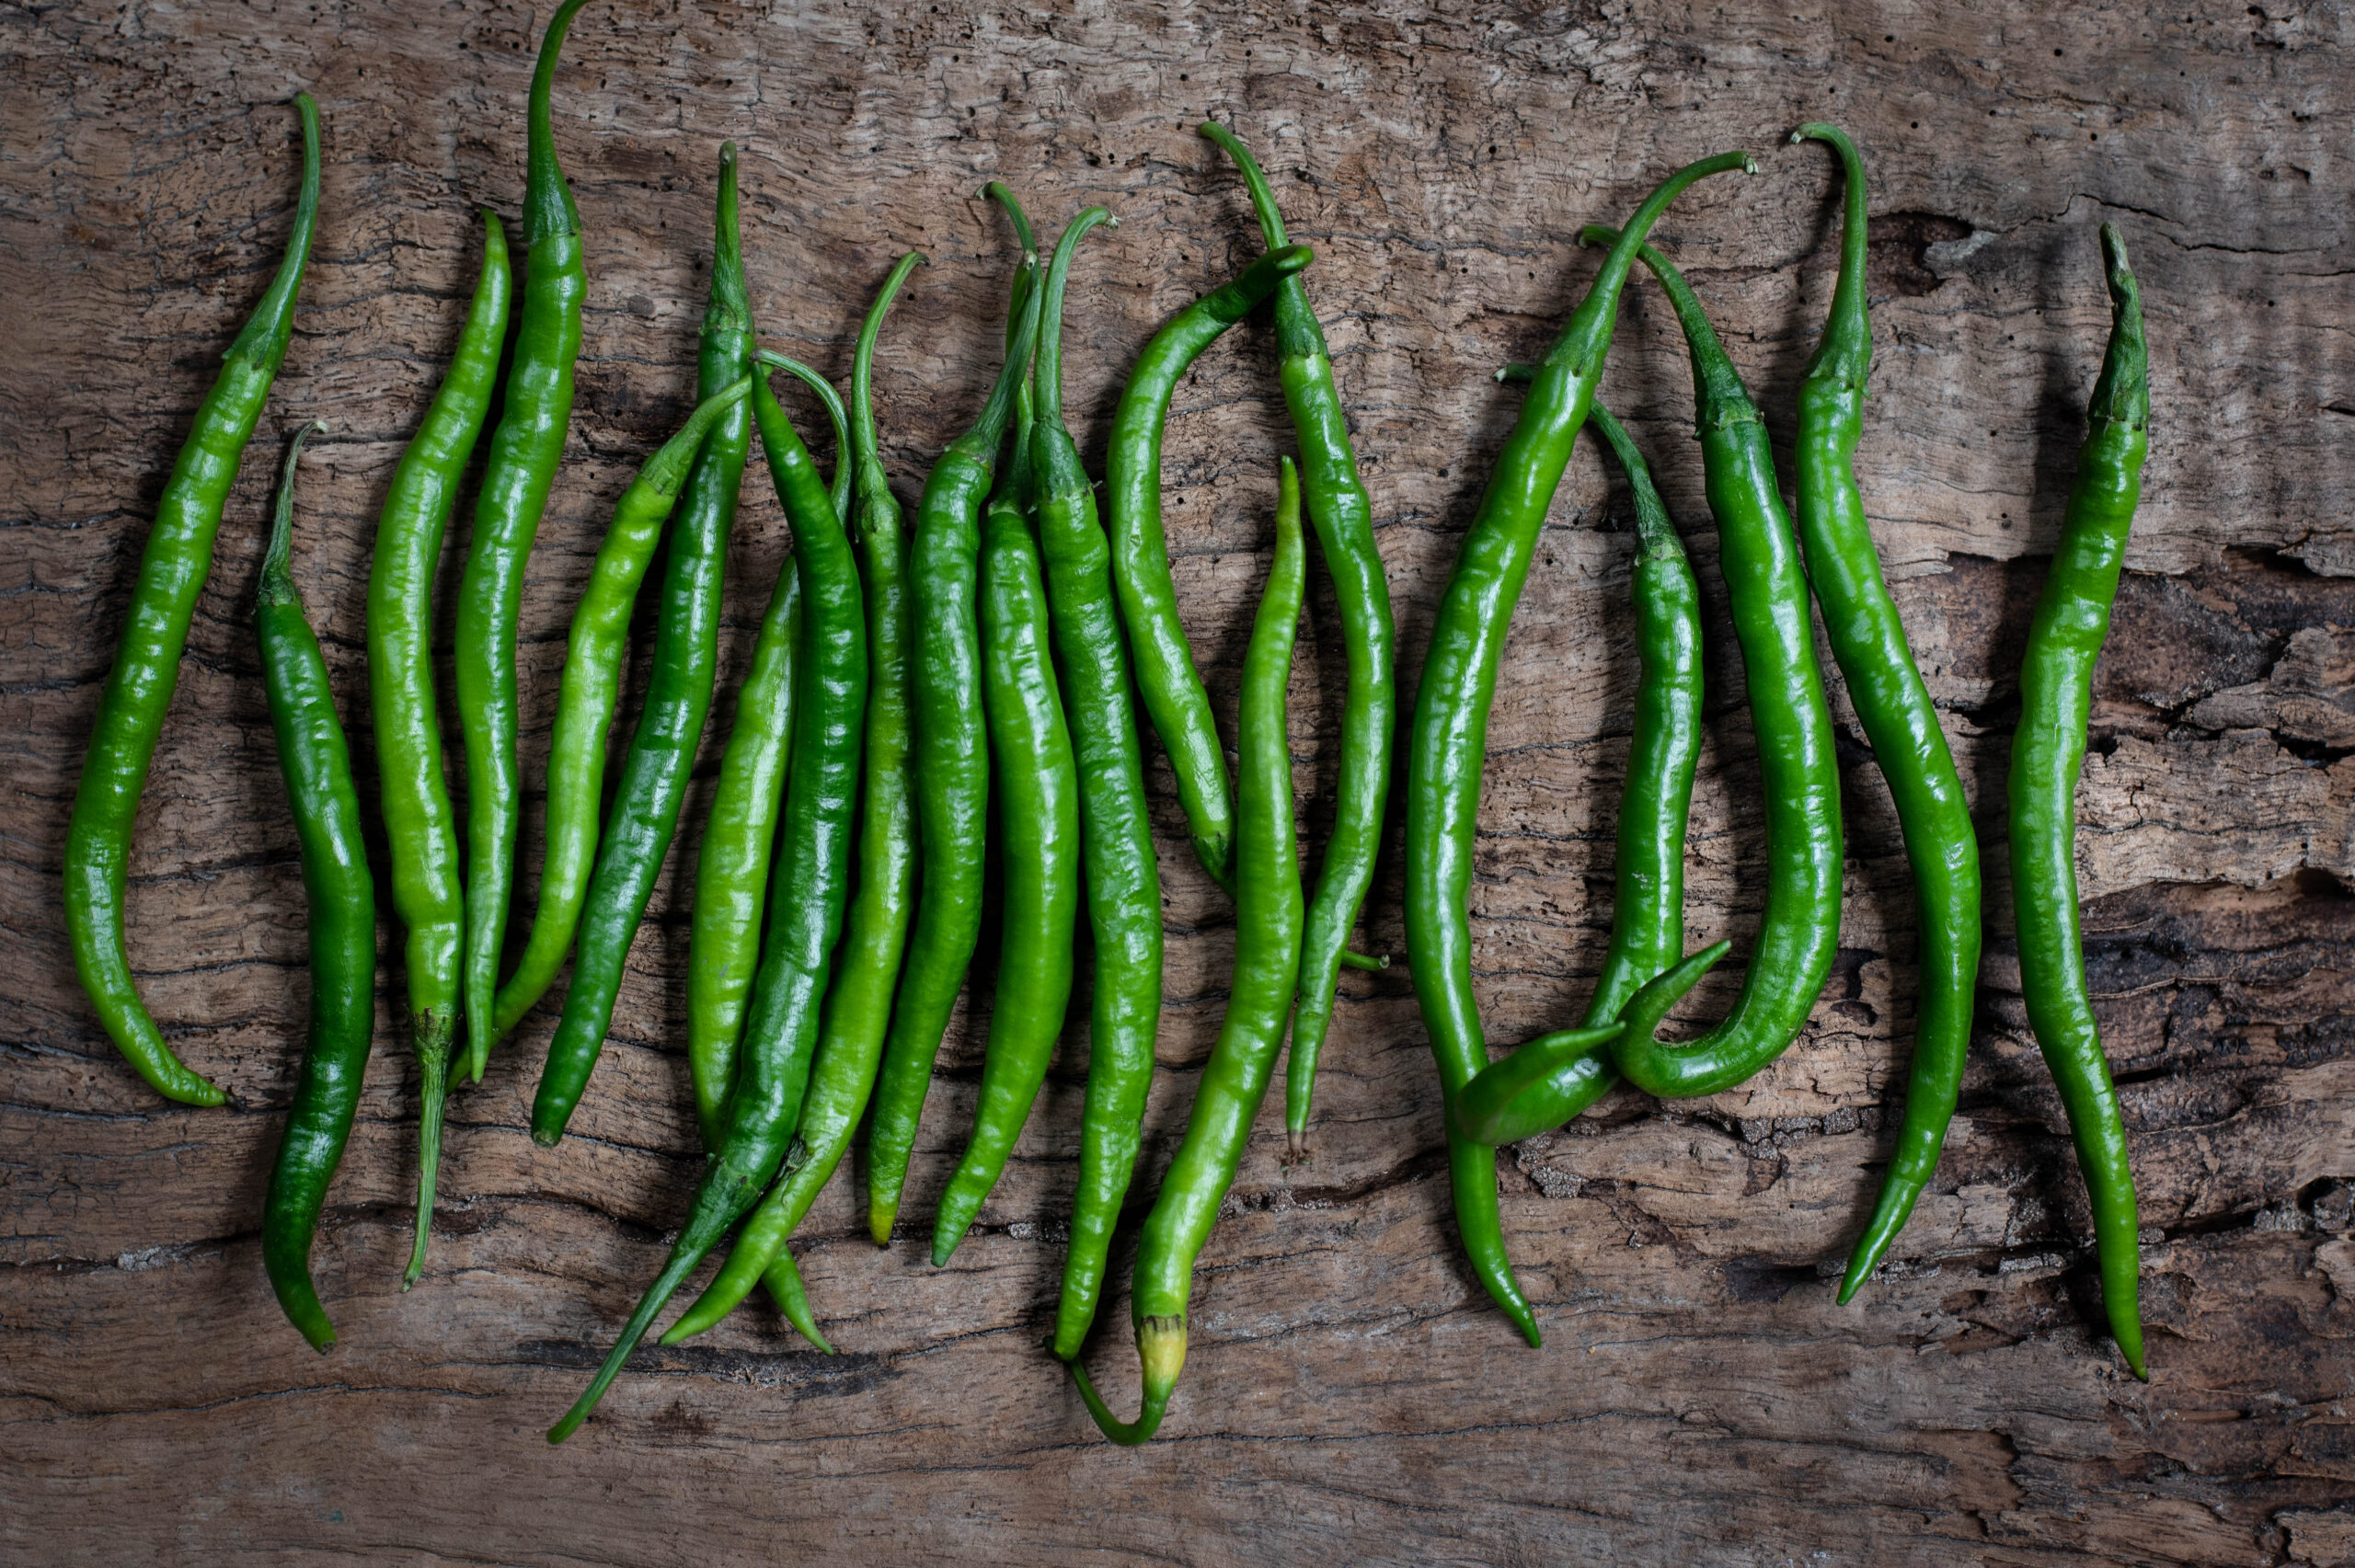
The traditional hummus has a bland, though satisfying, taste. I thought of how I could kick it up a notch. That’s when I decided to add the equally ubiquitous green chilli, which is rich in Vitamin C, great for digestion – and very piquant!

Tahini, which is made of ground white sesame, and olive oil round out the Middle Eastern flavours. Fortunately, these are widely available at good supermarkets in India and other countries. I used some wonderful olive oil I picked up in Portugal recently, which will be featuring in my blog soon.

The day after I made this curry leaf and green chilli hummus at home, I went to Goa and to my delight, my good friend the designer Wendell Rodricks served the very same dish in his home! I squealed! The coincidence was just too thrilling, and I wanted to share my recipe immediately, so you too can serve it soon.

Curry Leaf & Green Chilli Hummus

(Yield: 1 bowl)


Ingredients

1¼ cups cooked/boiled chickpeas

3-4 garlic cloves

1 tablespoon tahini

2 tablespoons lemon juice

½ teaspoon salt

¼ cup olive oil

1 cup washed curry leaves

1 green chilli

Water


In a blender, add the curry leaves and green chilli with 2 tablespoons of water. Blend until you get a smooth paste. Keep aside.

Next, blend the soft cooked chickpeas along with garlic, tahini, salt, half the olive oil and lemon juice.  Blend well until the paste is smooth and looks creamy.

Now, add the blended curry leaf paste to the creamy chickpeas and whir once again until it all mixes well. Adjust the salt and lemon quantities to suit your taste.

If you feel it needs to be creamier, add more water or olive oil to the blend, until it achieves a dip-like consistency.

The curry leaf hummus is now ready to serve. You can have it the traditional way, with flatbreads, whether that’s the Middle Eastern pita or the North Indian naan. Or some healthy quinoa chips, for a wholesome snack. Crunchy vegetables like carrot or celery sticks, toasties, or rice crisps (to keep that South Indian sensibility) are also excellent accompaniments. With a mildly yet surprisingly flavourful curry leaf hummus like this – it’s the dip that’s the main dish, not the accompaniment!

And if you just can’t get enough of that flavour, why not try my curry leaf and raw mango cooler as well?

I enjoy the creative challenges of coming up with innovative dishes, and salads are a category I worked on happily during the earlier stages of re:store’s journey. Before turning my focus more intently towards baking and photography, I used to take orders for salads. The orders generally came from people who were fitness-focused or preferred to eat smaller meals at work. But that was no reason to eat the same thing every day. So I planned menus of 10-15 salads, rotating them every 3 months.
The salads were inspired by so many cuisines, and people I met, and using a schedule was also something new for me. Before going into business, I’d usually just throw whatever was on hand into a salad. Another thing I learnt was that keeping veggies fresh in India was not easy when they weren’t consumed immediately. Especially when the salad travelled from the re:store kitchen to another’s home, and then commuted with them to their office. So if I put in a fancy leafy vegetable, by the time the customer opened the container at their desk at lunchtime, it would have started to look and taste different. Through trial and error, I figured out ways to use only local and seasonal produce in my salad experiments.

Another thing I don’t believe in is using store-bought dressings, so I made them all from scratch, matching each one to the ingredients used. Naturally, I am also very particular about the hygienic handling of raw vegetables, so I always prepared salads only on the day of delivery.

We often think of salads as a part of Western cuisine, but they are often found in Indian cuisines as well. Whether it’s a home-cooked Gujarati meal or a South Indian one, some kind of raw, cut veggies will be served. While a vegetable smoothie may be a great way to substitute an unhealthy beverage, there are benefits to salads that go beyond taste. God made vegetables crunchy because they are meant to be eaten that way – it all begins by using the teeth and jaw muscles!

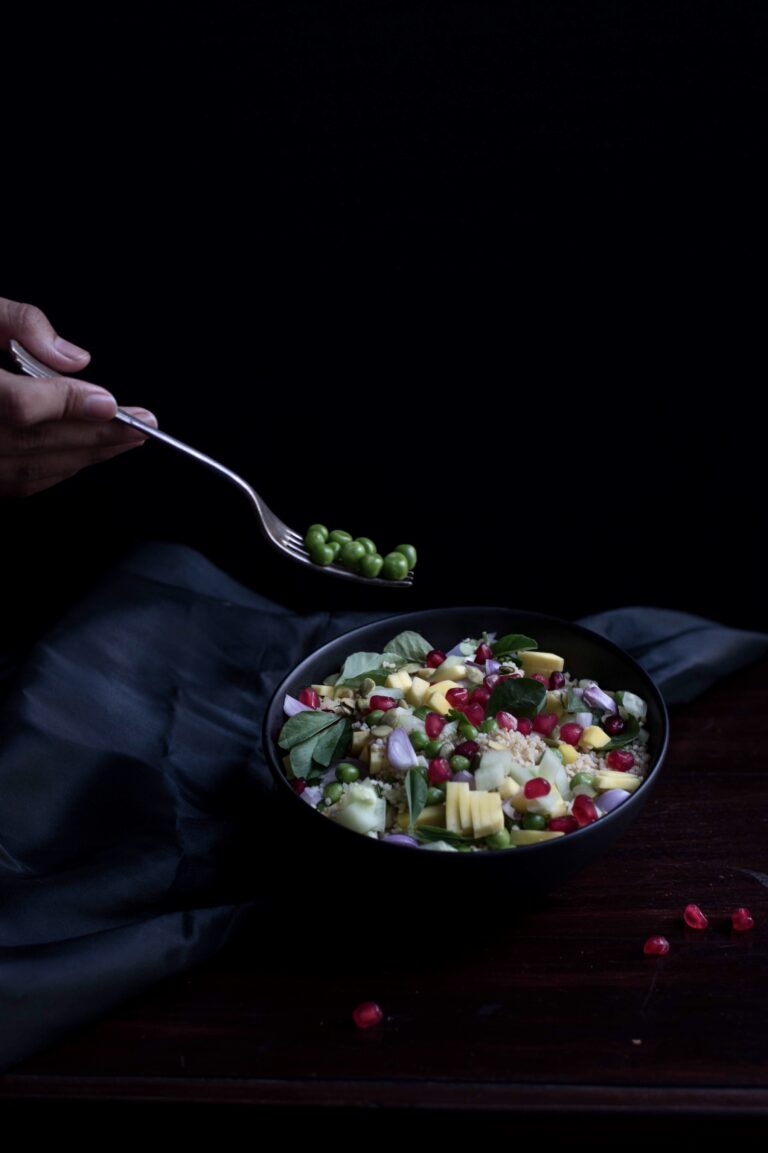
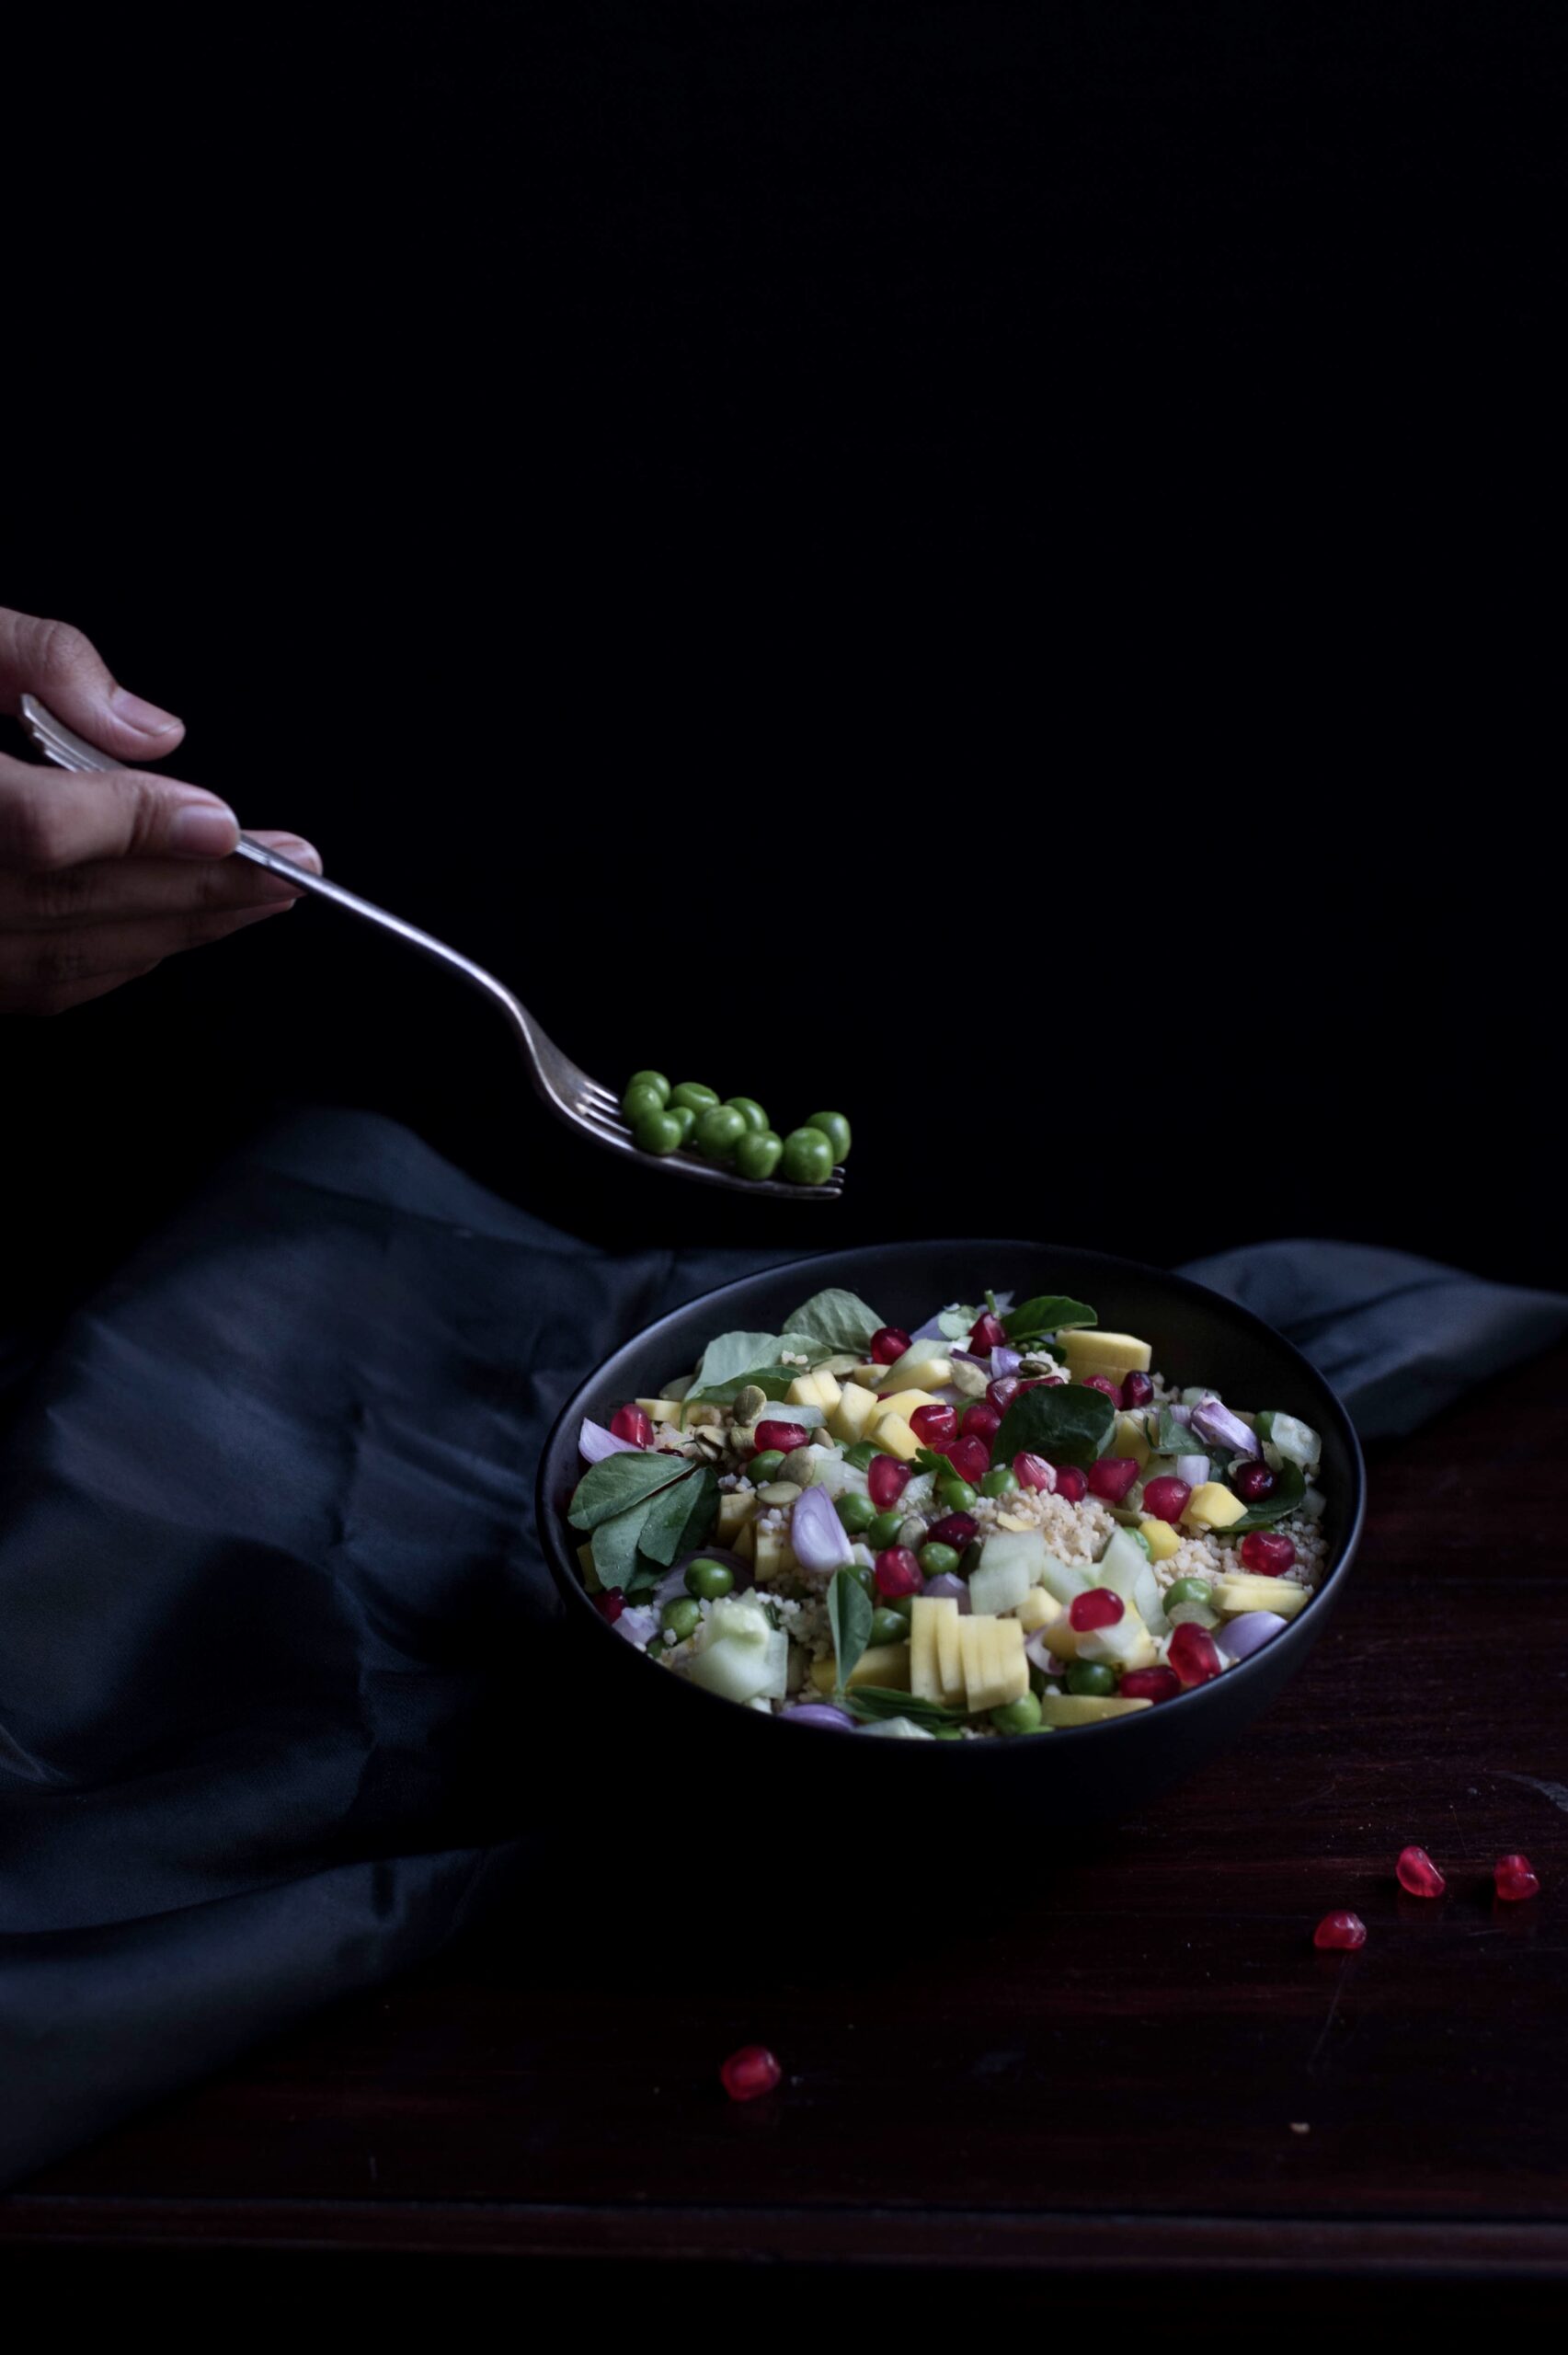
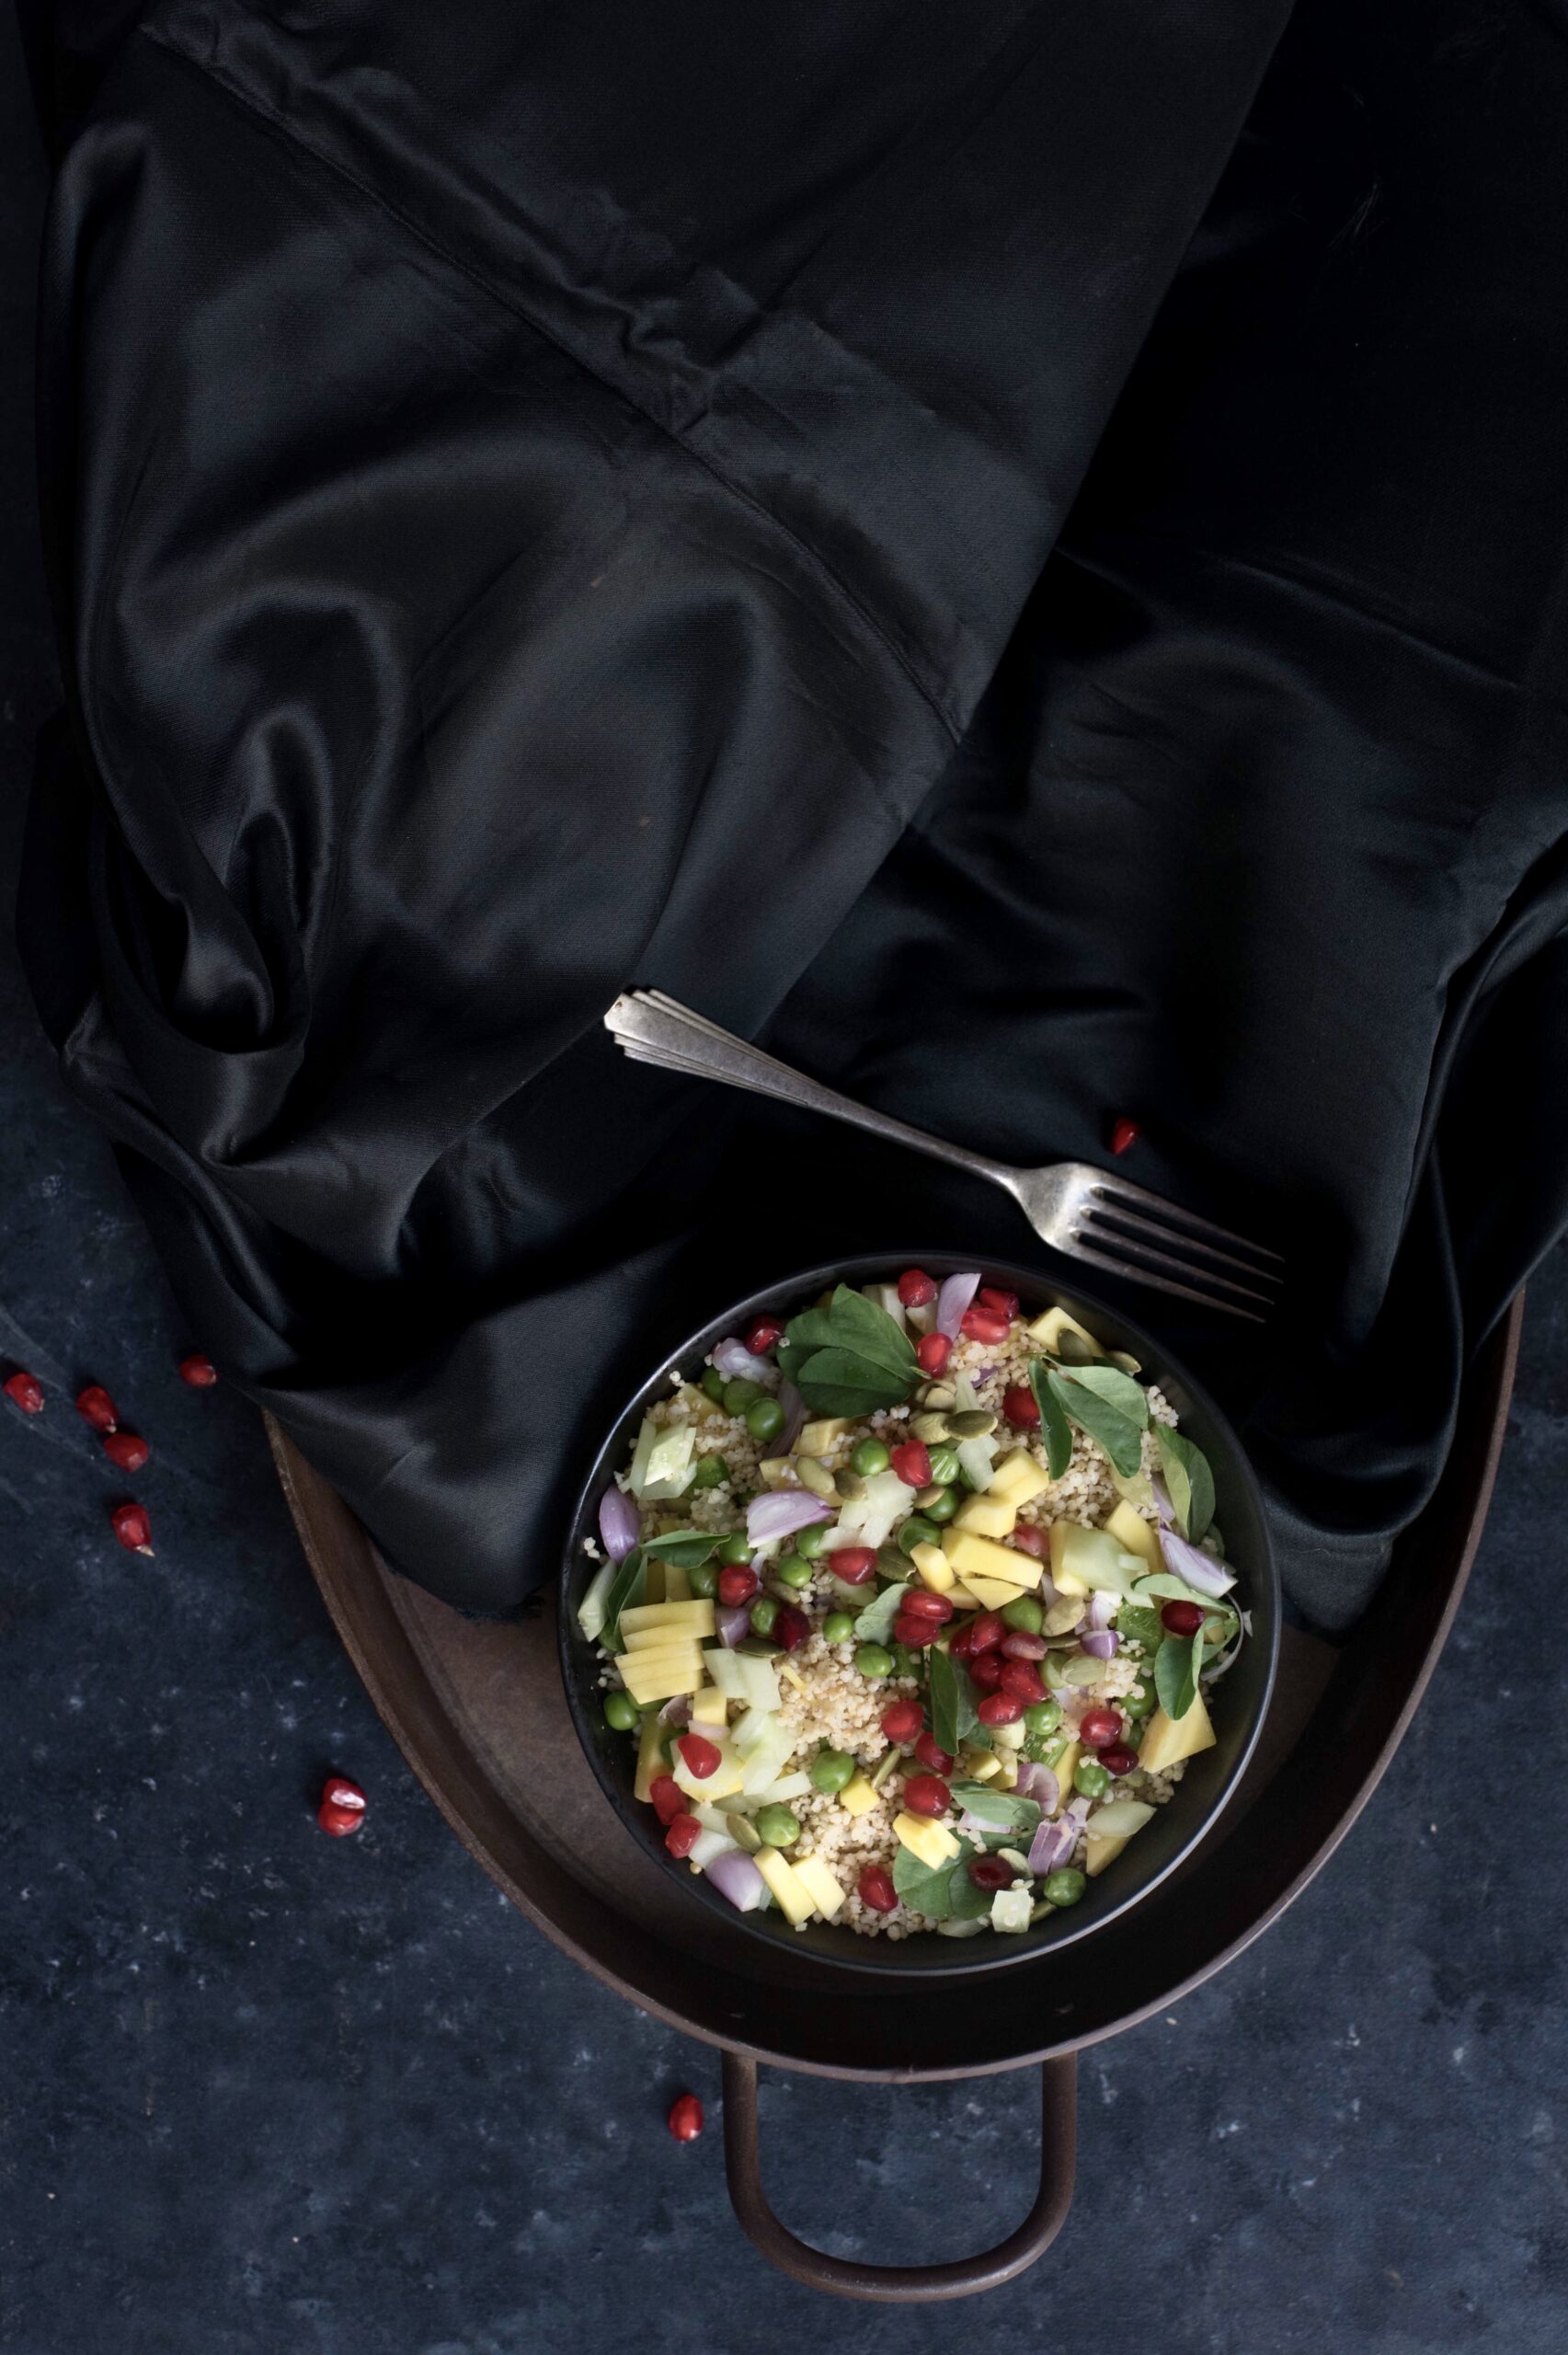
The Gujarati word for salad is “kachumber”, and while my recipe contains very diverse ingredients, at its core you could consider it an update on the traditional one. You know how much I love millets, and this salad uses foxtail millet as a base, for substance as much as for its many superfood properties. All the ingredients are available locally and inexpensively. I sometimes use sunflower seeds instead of pumpkin, but the latter are more authentically Macrobiotic here. Even the green peas come from Ooty, not so far away from me at all.

I’d love to share with you some nostalgia about salads and childhood, but let me be honest. Like many people, I often refused to eat vegetables growing up – but now look me, advocating for them!


Indian Veg Millet Salad

(Yield: 1 bowl)

Ingredients

Salad

120 grams cooked foxtail millet

½ cup steamed green peas

1 tablespoon pumpkin seeds

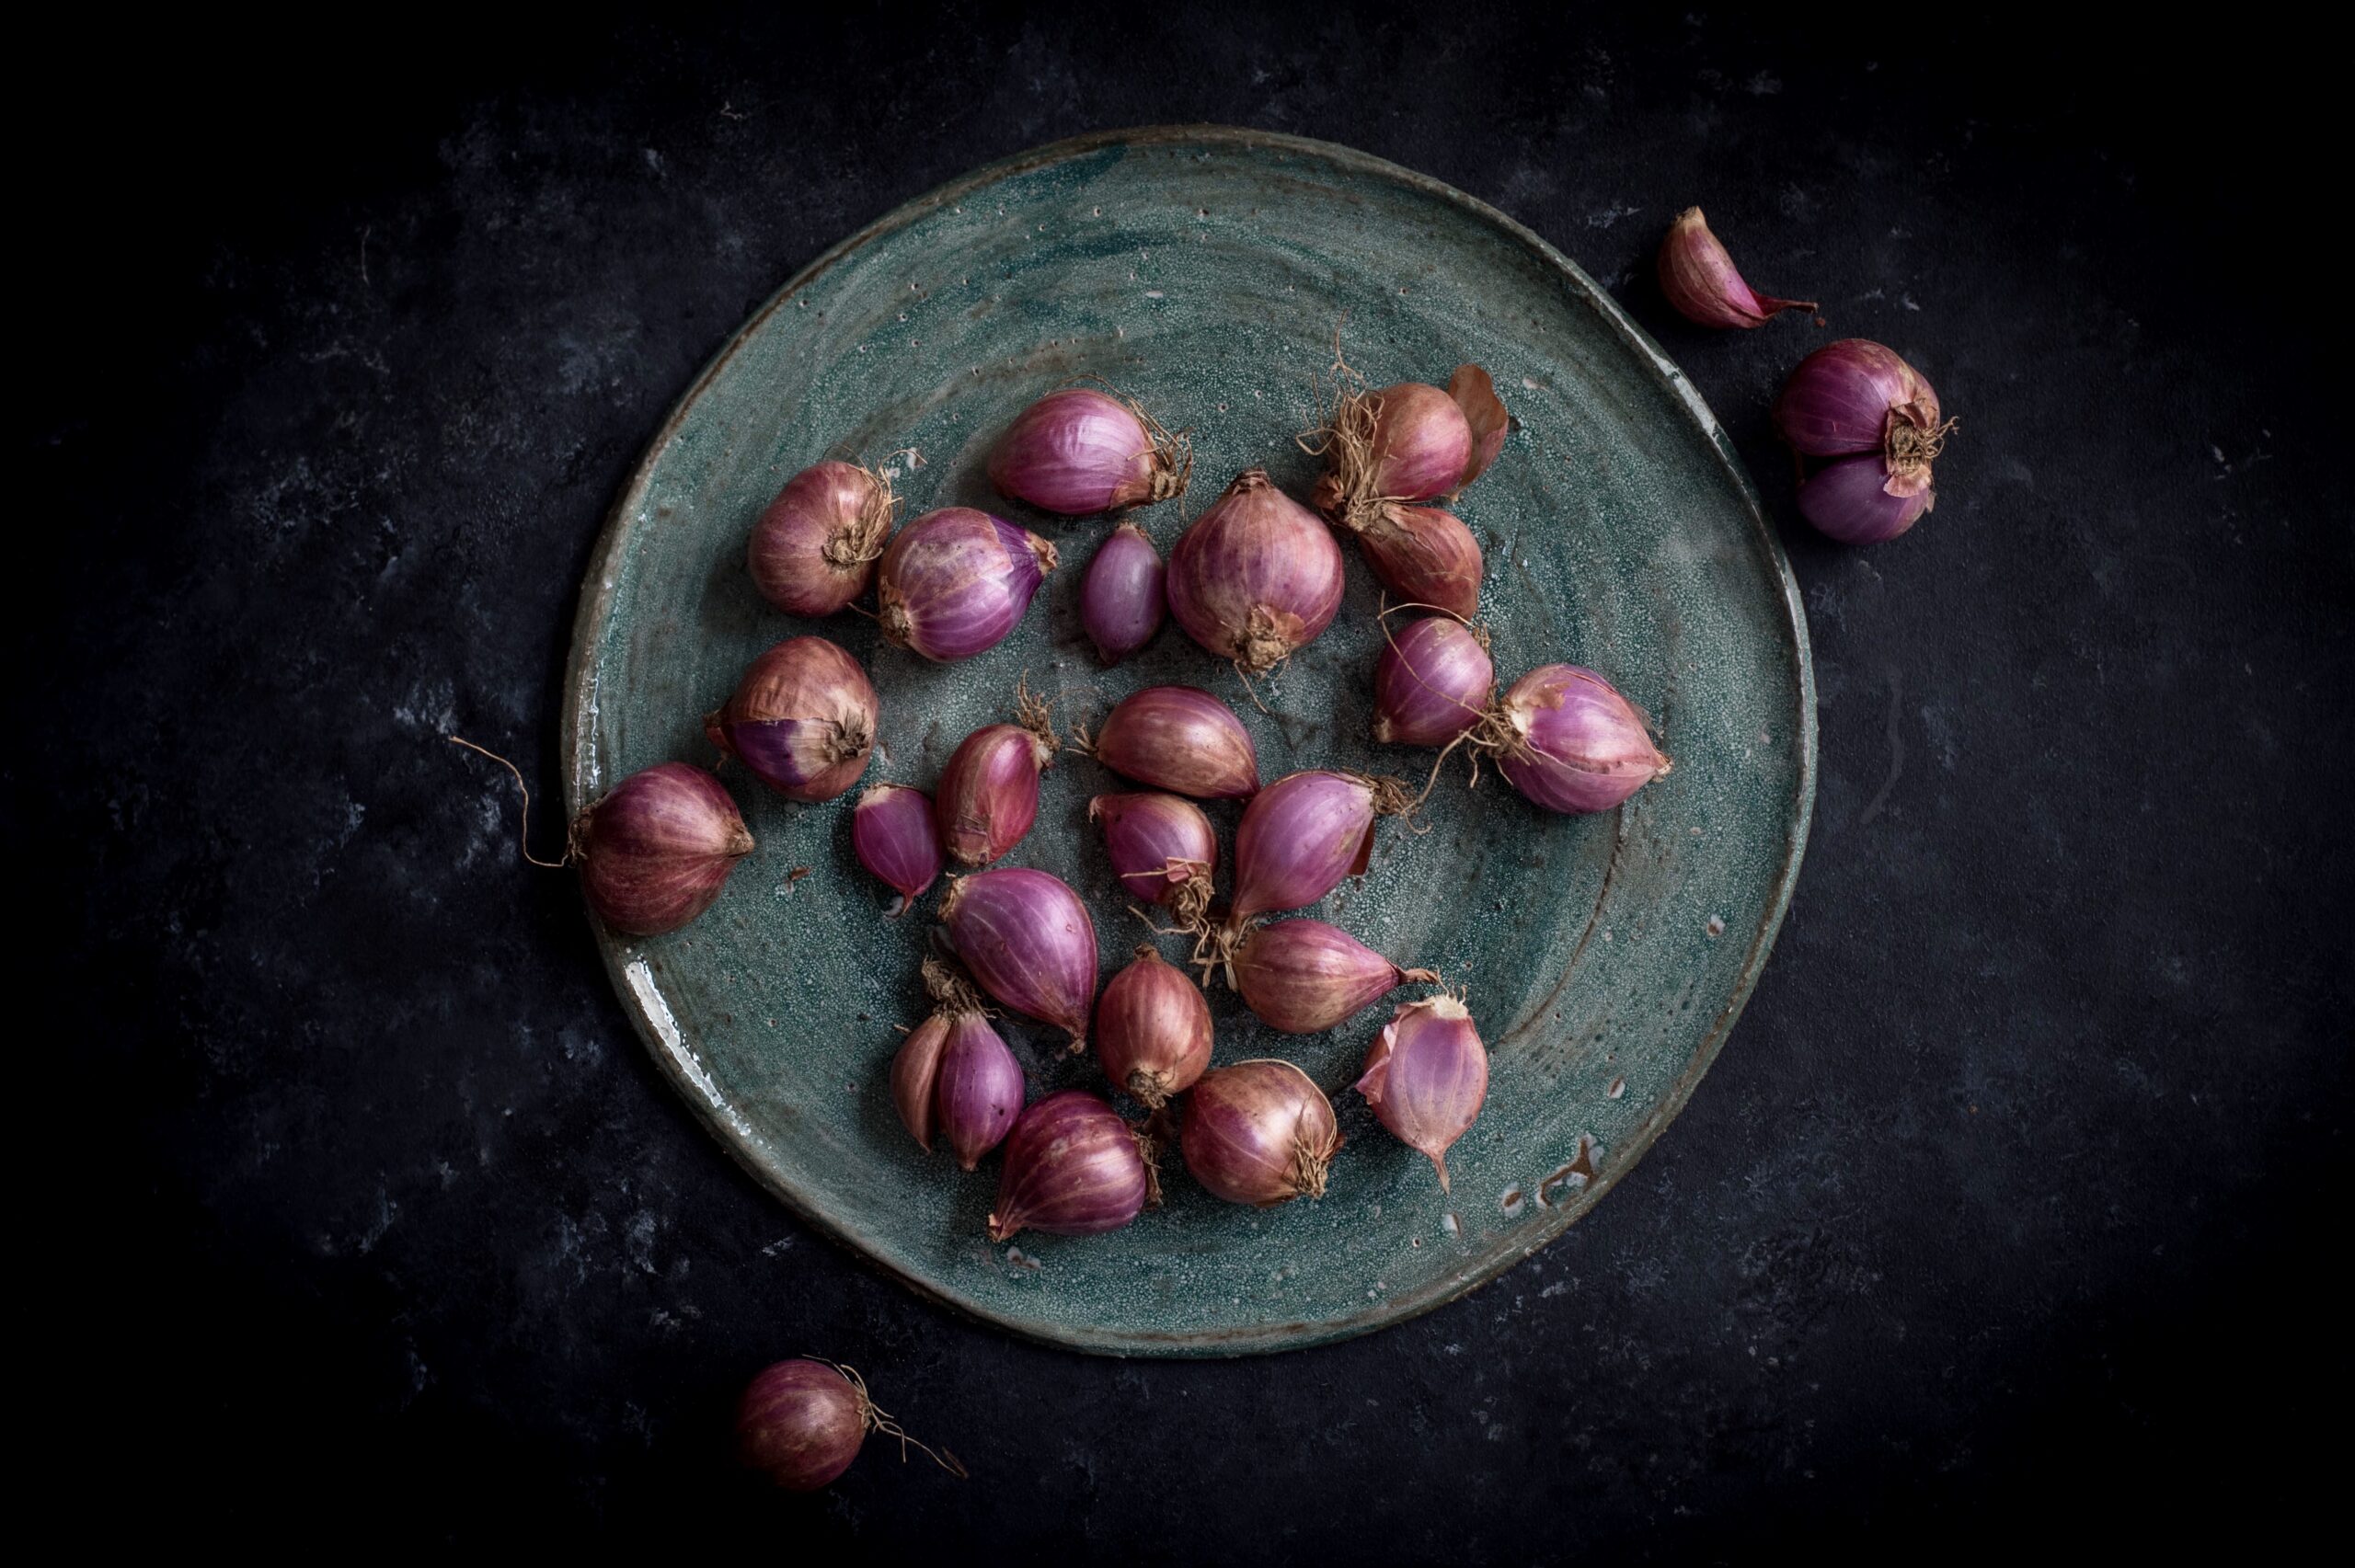
1 tablespoon finely chopped shallots

¼ cup cucumber

¼ cup finely cut raw mango

A handful of pomegranate arils

A few sprigs of fresh methi (fenugreek) leaves


Dressing

2 tablespoons sweet lime juice

1½ tablespoons lemon juice

1 tablespoon honey

1 tablespoon olive oil

A pinch of pepper

Salt to taste

Place all the fresh ingredients in a beautiful bowl. I have mentioned the quantity of the vegetables – however, you can eyeball the amount and decide for yourself how much you want to use. And of course, innovate. Add or delete ingredients depending on your fridge stock. You could even use any other millet if that suits you.

In a small jar, add all the ingredients for the dressing. Shake vigorously. Pour on the salad before serving and mix together till the dressing coats all the vegetables.

That’s all there is to it. A citrusy, profoundly simple dressing lifts the flavours of an unusual but deeply Indian salad. You have the sweetness of pomegranate, the tartiness of raw mango, the crunchiness of seeds and more. A medley of textures. Just mix it all up! I hope you’ll enjoy this easy recipe from the “salad days” of re:store, excuse the pun!

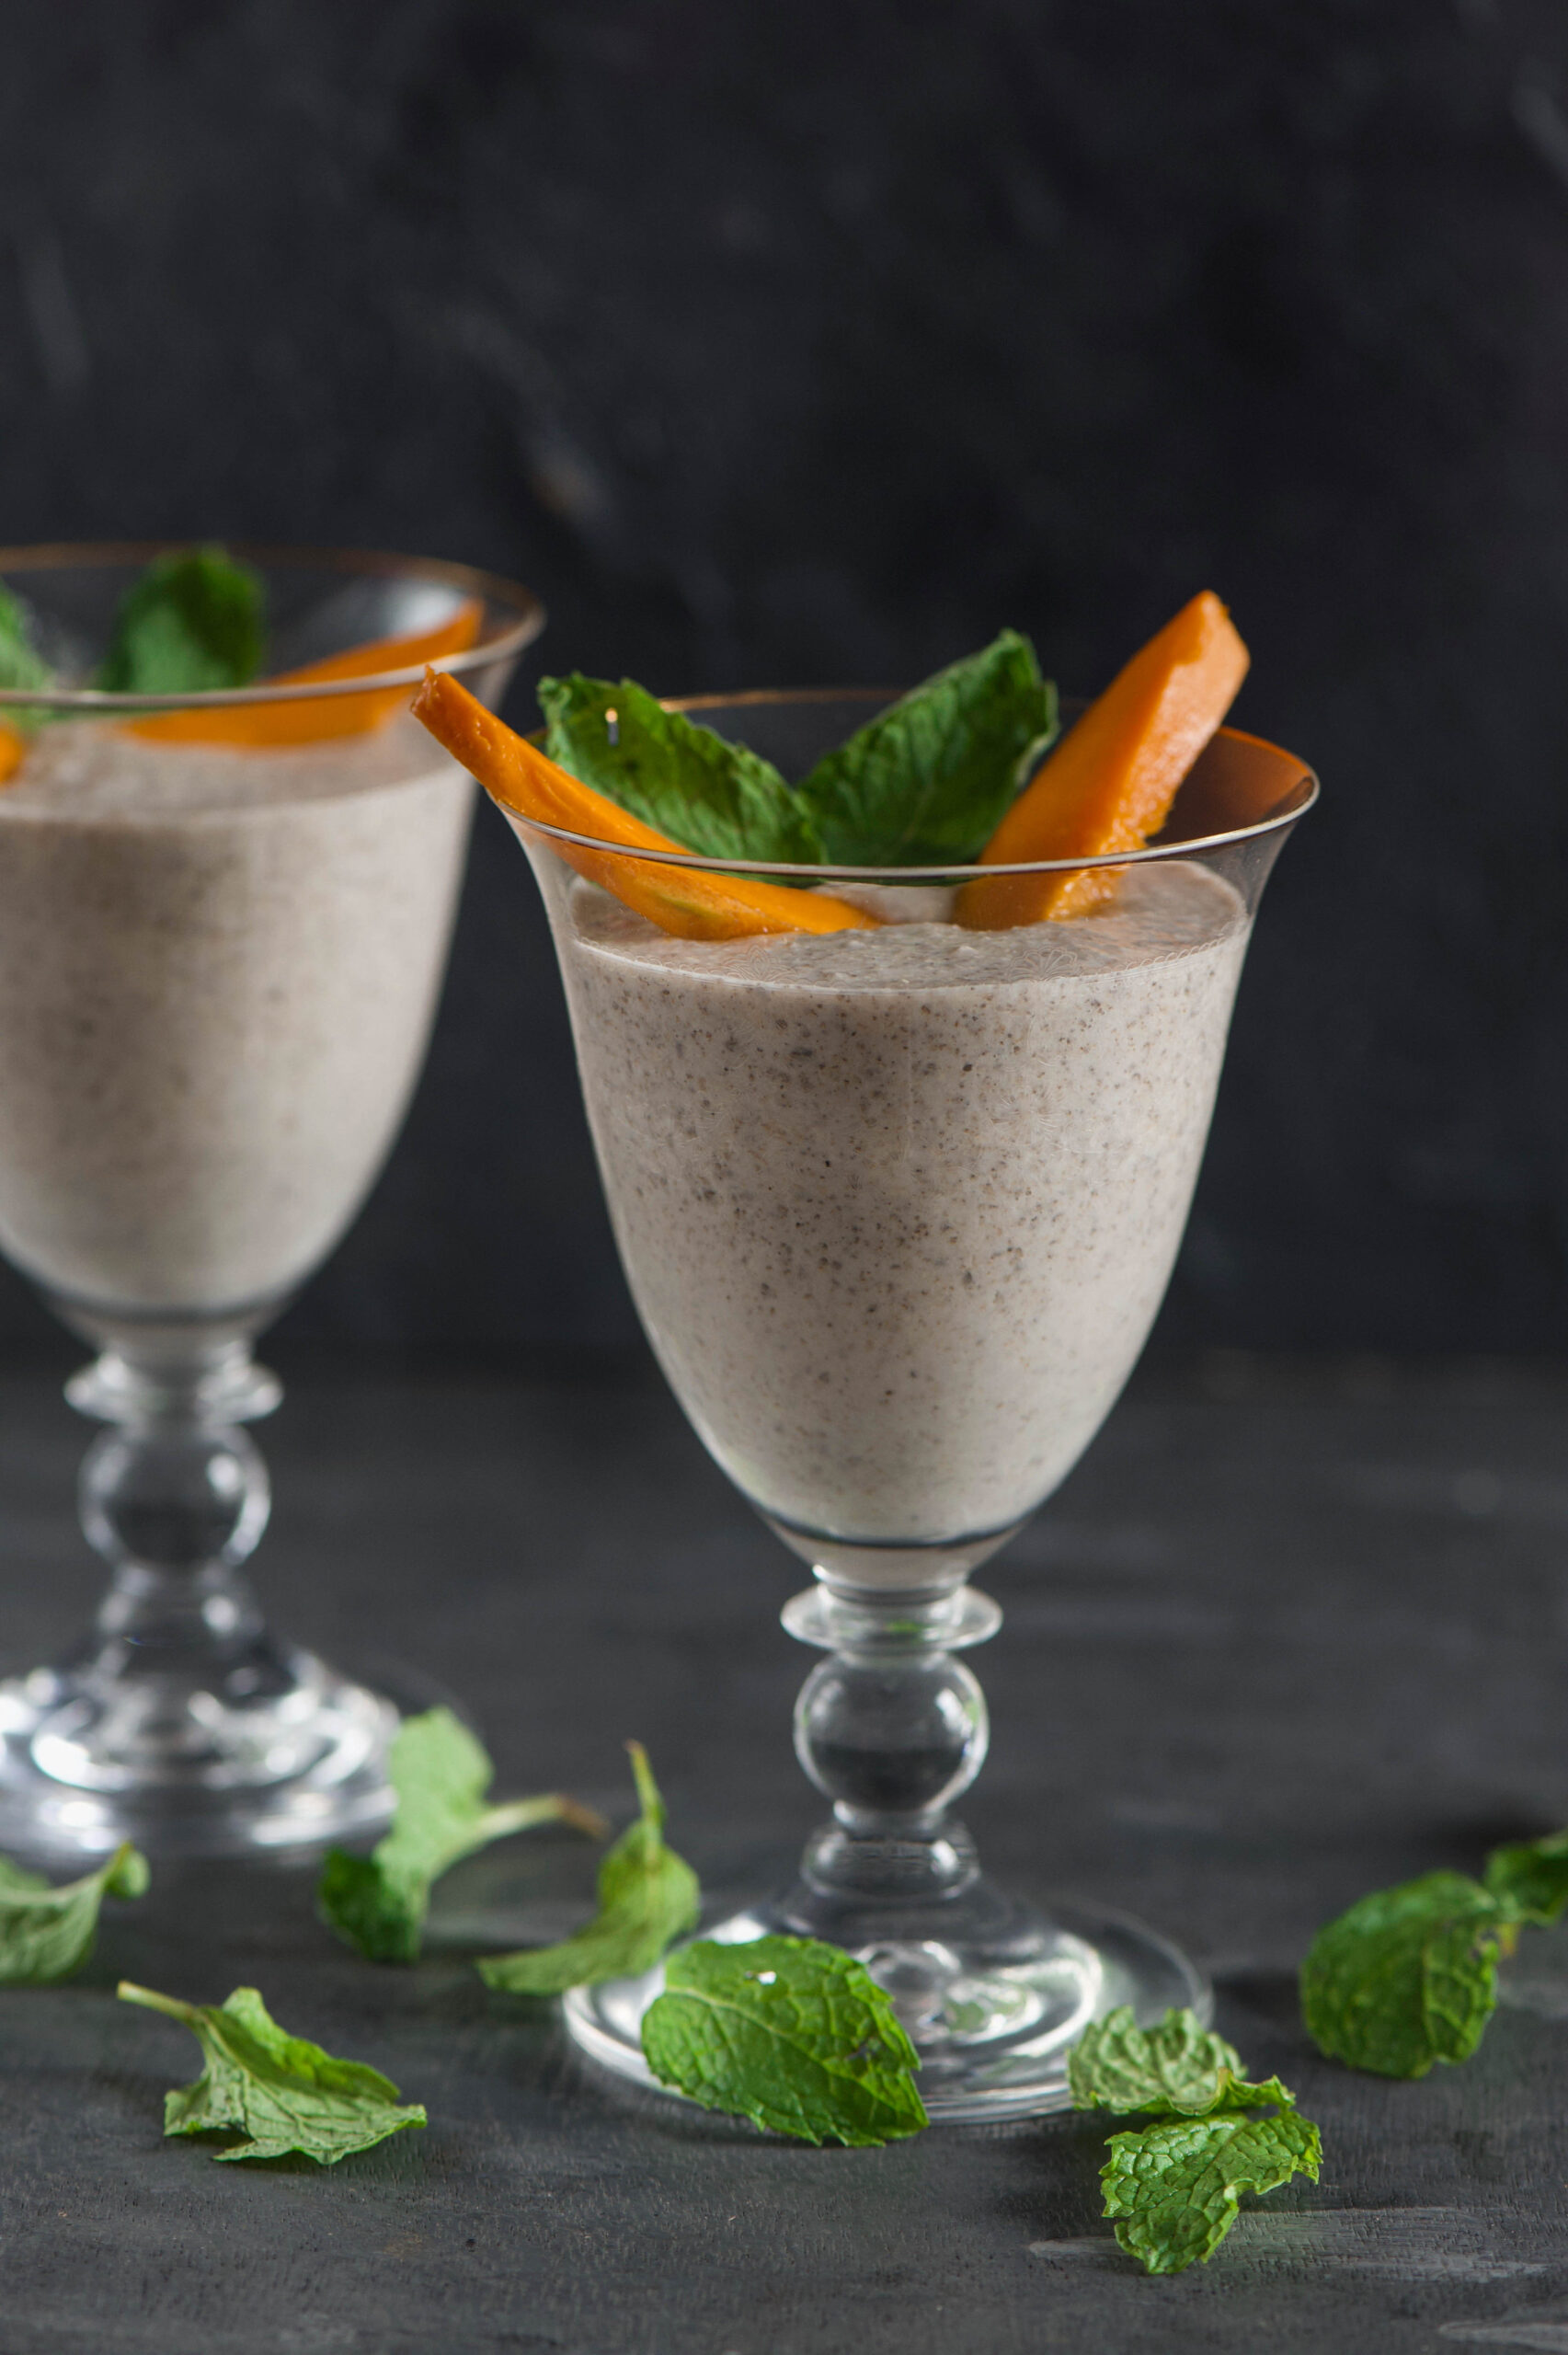
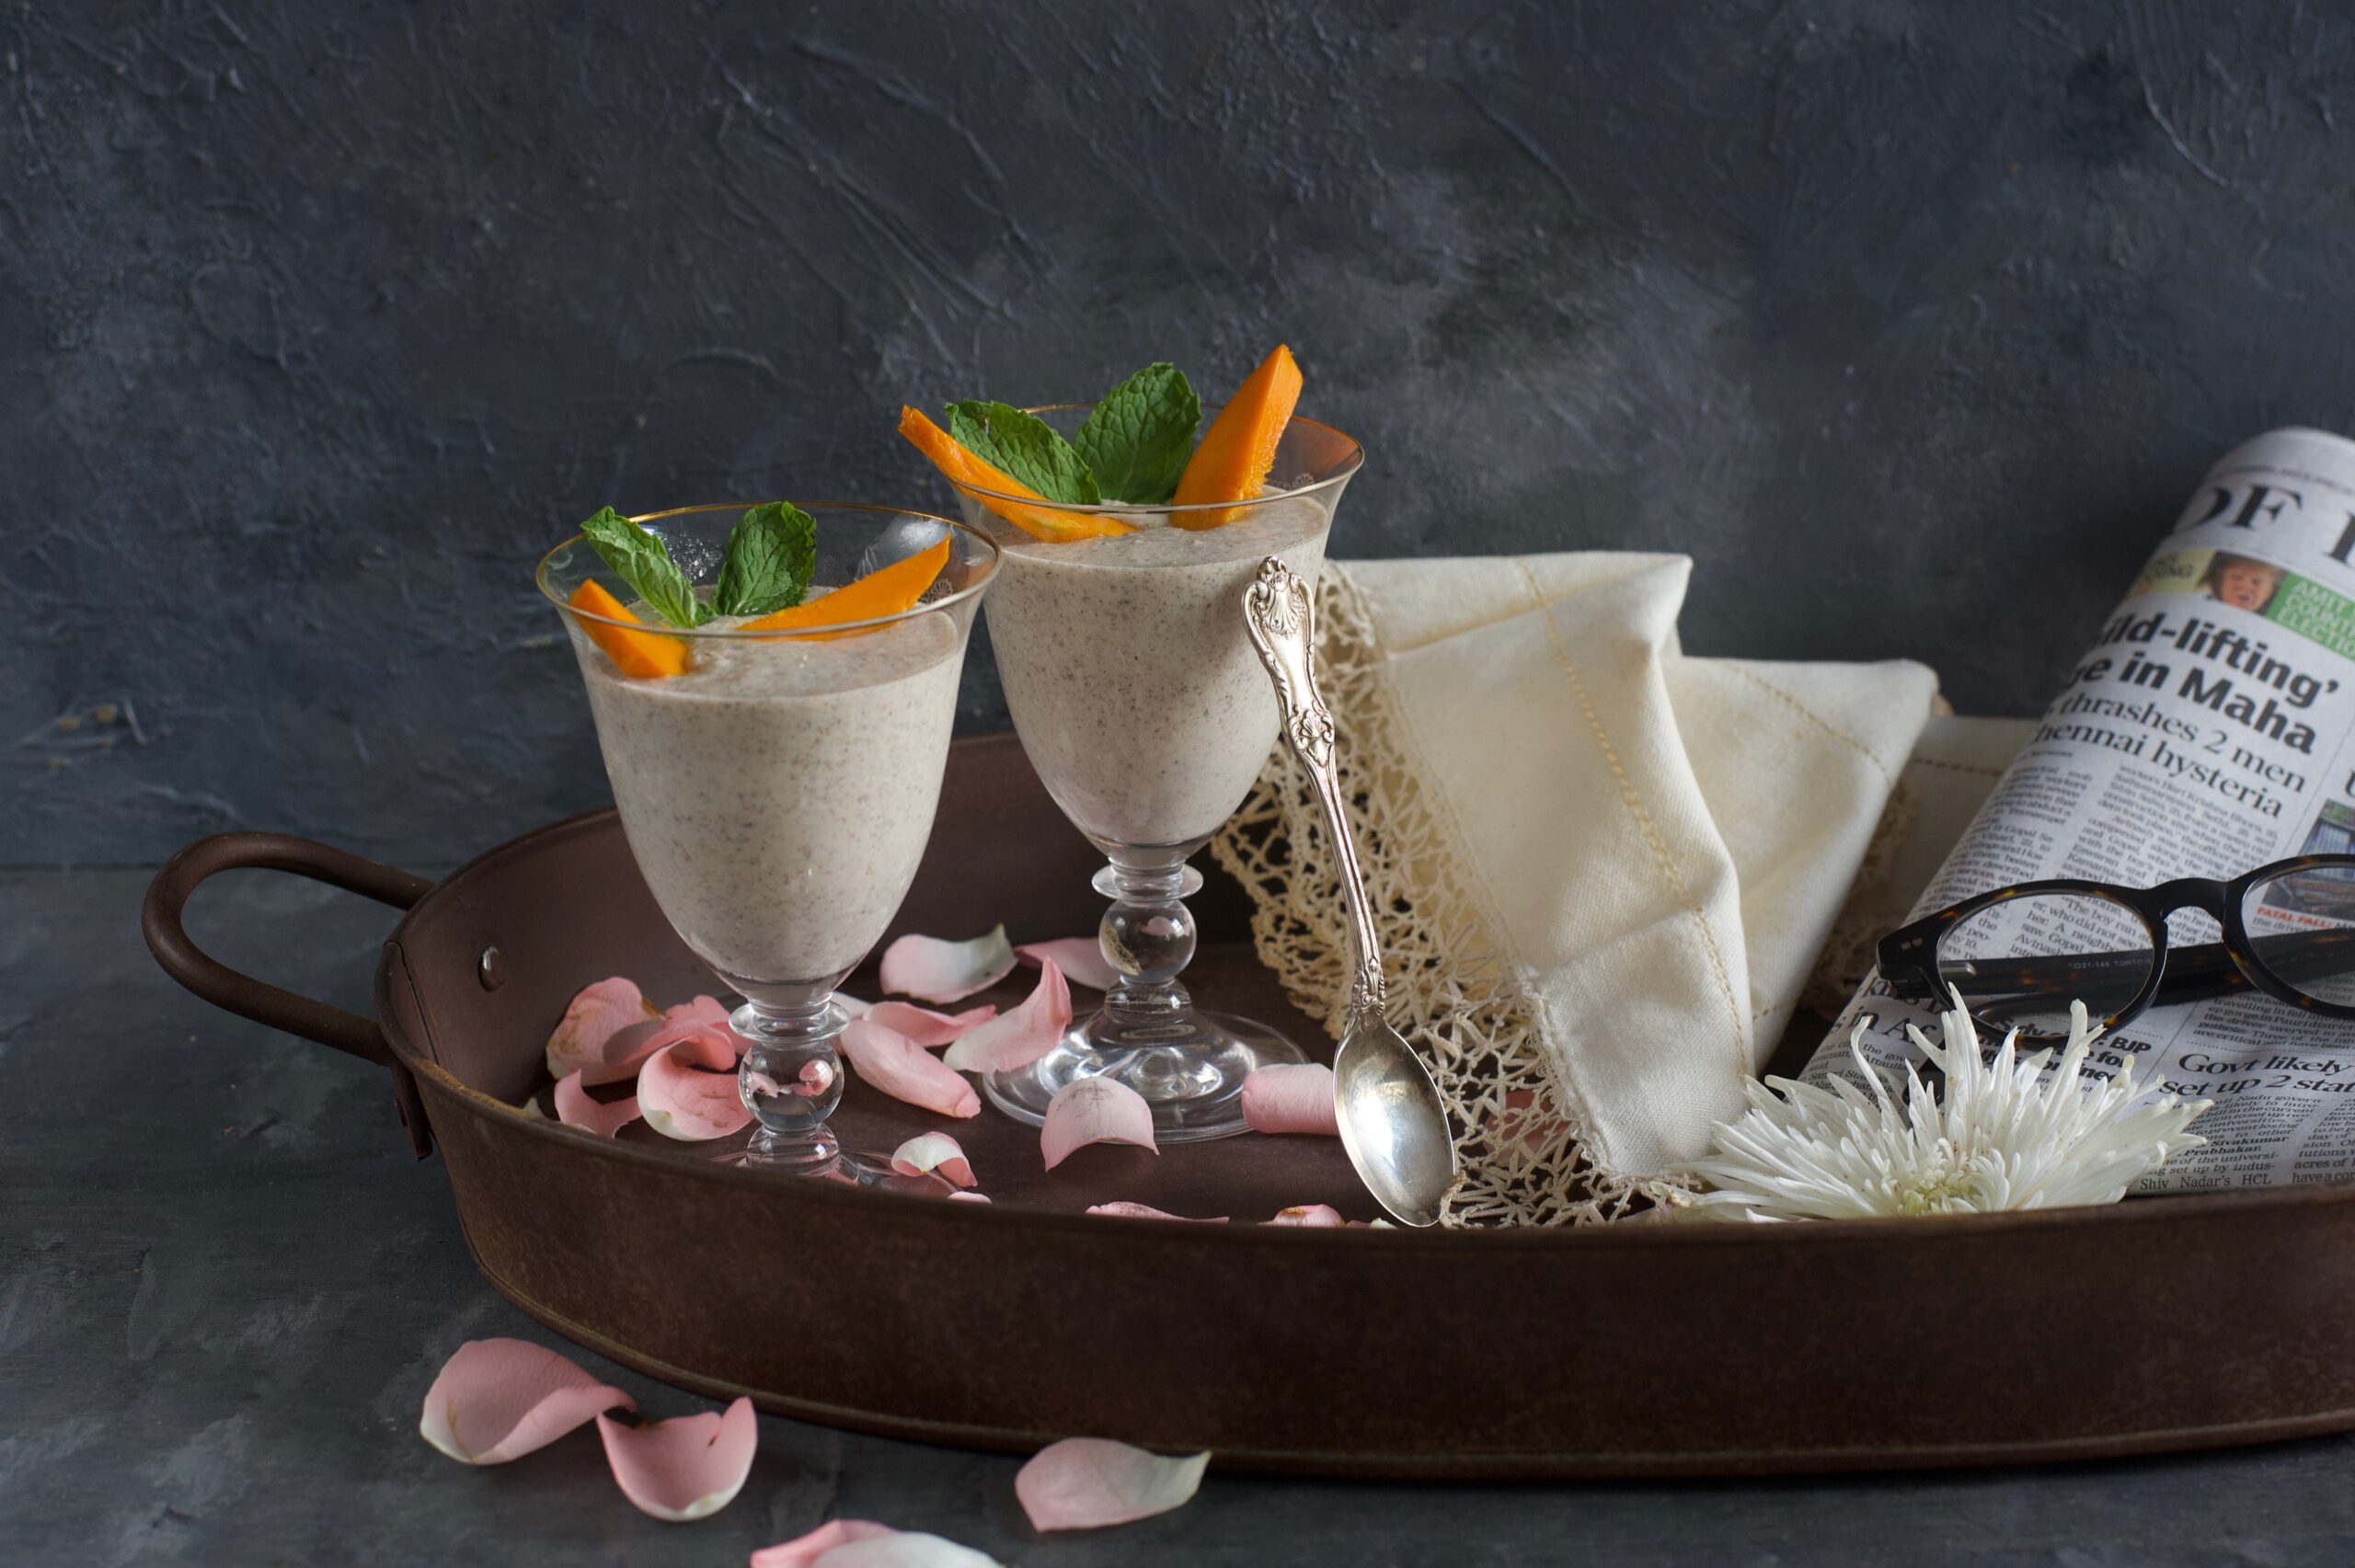
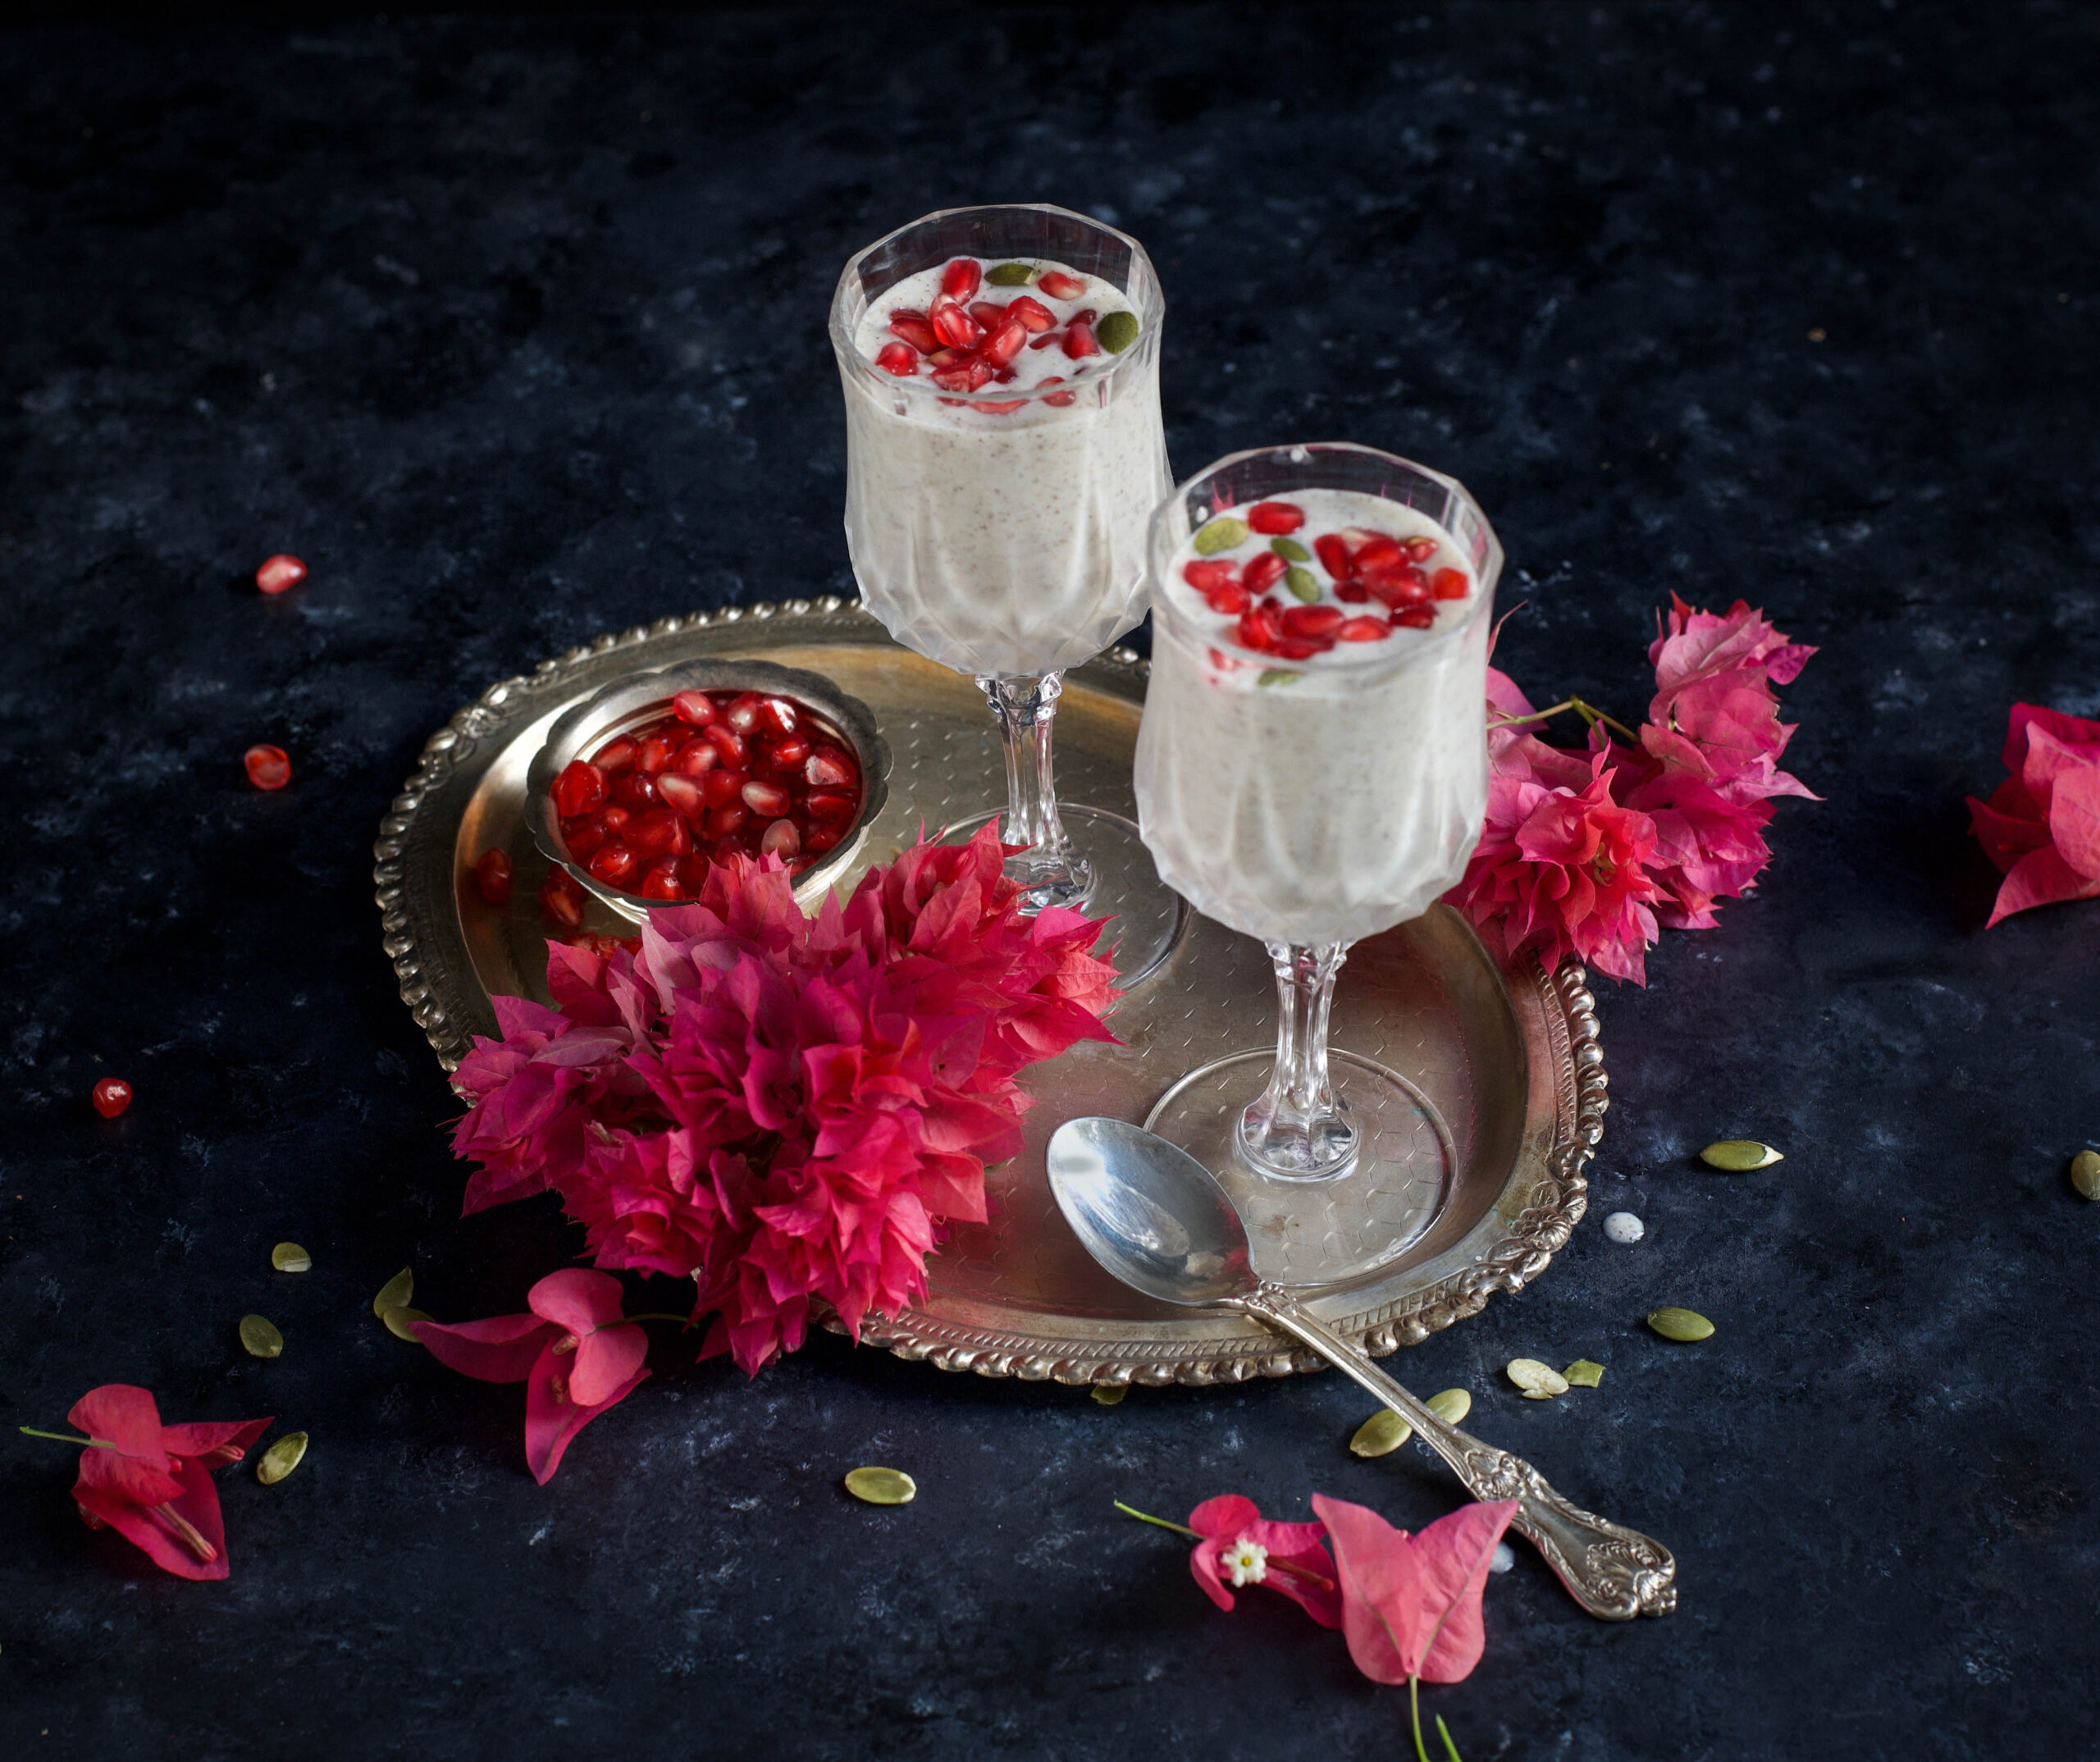
At 8am every morning, I make a beeline from my trainer to my kitchen, open the fridge and devour a big bowl of my 3+1 overnight oats. This post-workout, protein-rich pudding replenishes my body and keeps me from taking a bite out of anything that gets in my way, including the Dark Prince’s head! Fortunately for him and for me both, this wonderful pudding is always waiting for me in the morning. Chilled, nutritious and oh so filling. My starvation ebbs away. And I am prepared for my day.
I’ve been exercising ever since my firstborn, and I am obsessed with staying fit and healthy both emotionally and physically. Over the years, I have developed a clockwork diligence with regards to my fitness regime. I supplement this by eating good, home-cooked food, as you know from this blog. I find that a strict diet is not necessary, as long as you eat fresh food, made cleanly and with nutritious ingredients.
I also listen to my body. For instance, when I feel lazy or lethargic, I know I have overeaten. All of us have this capacity. We just have to stay aware, especially as we get older, and listen to what our bodies tell us about how they feel, what they need, and how to address it. Some of this is also a part of my Macrobiotics training, and there are easy ways to incorporate some of those methods into daily life.

Whether you have an intense exercise regime or not, what you have for breakfast has a huge effect on your productivity for the rest of the day. This brings us back to the power pudding that I eat every day. Replenishing protein is my key need, as a gym enthusiast, and I always look for innovative and creative ways to bring more of it into my diet. I hit the jackpot with this delicious – and indeed, decadent! – 3+1 overnight oats.

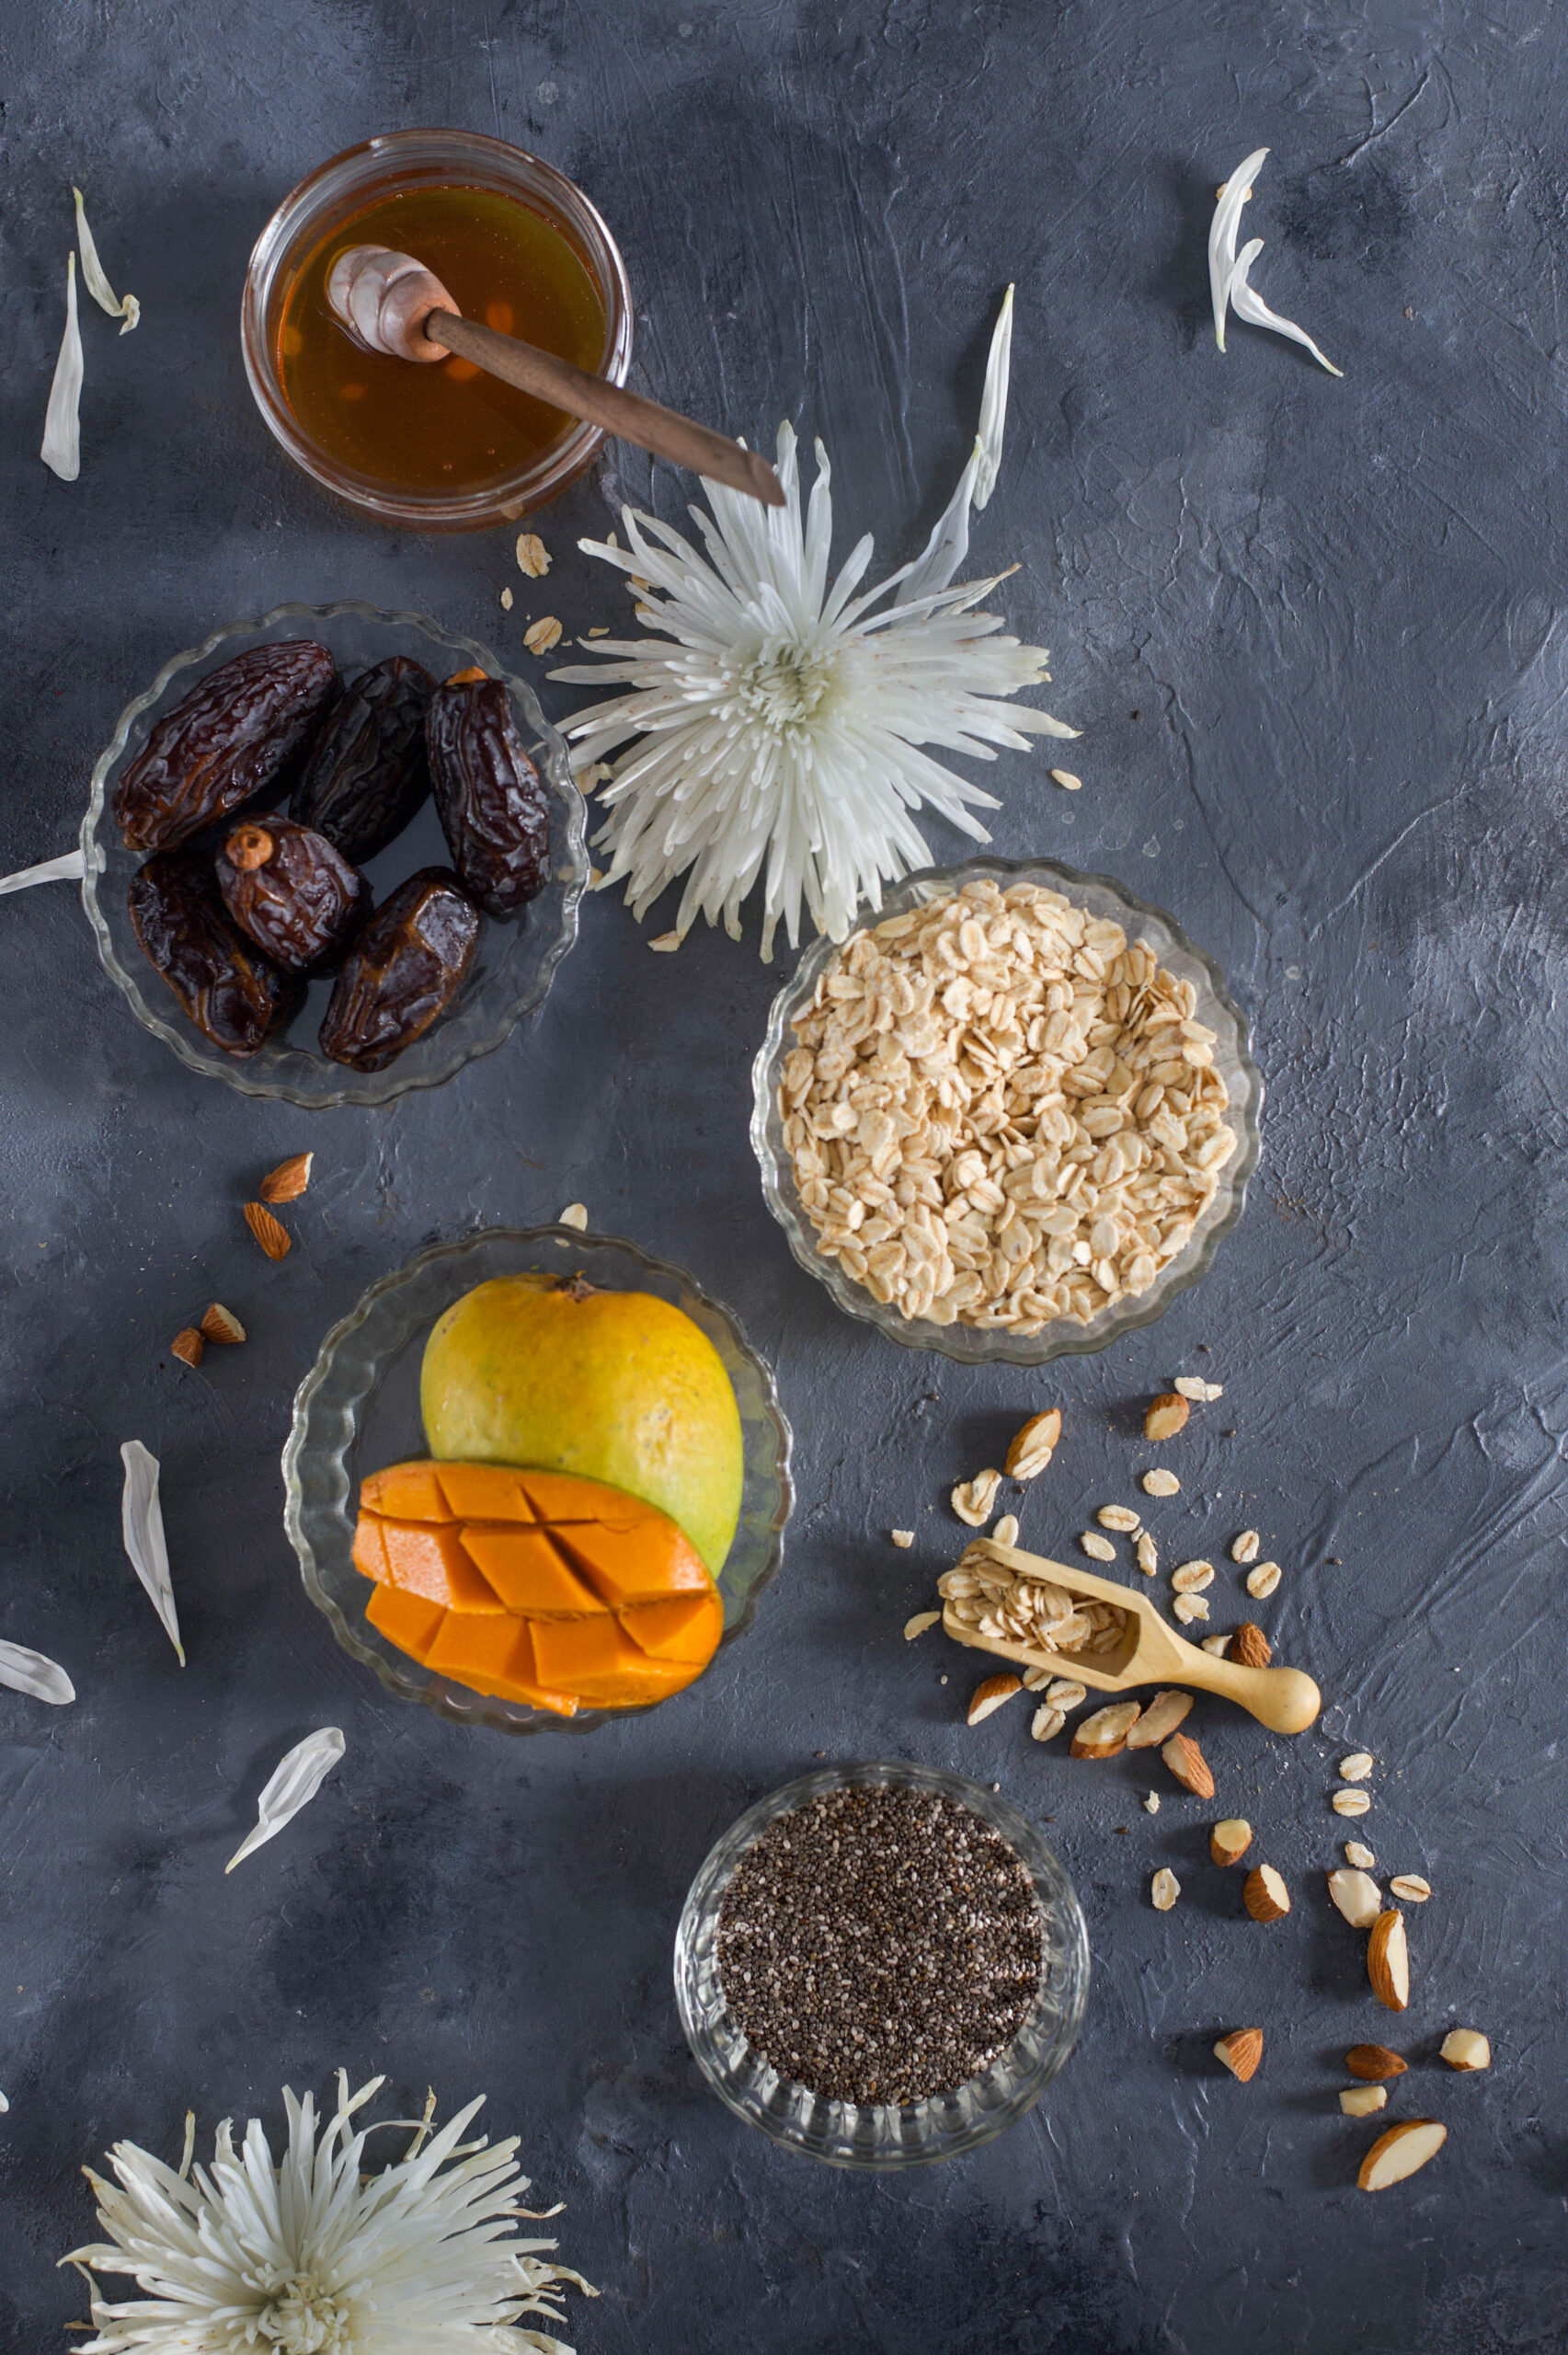
This pudding is built on just three basic ingredients, which need to be refrigerated overnight. All you need are oats, milk and chia seeds. These are the key elements. Beyond this, you tweak the recipe based on your own tastes, seasonal availability and so on. You can use any type of milk you choose, be it vegan almond or soy milk, skimmed milk, slim milk, coconut milk or good old regular milk.

The +1 for me is usually a fruit. I reach for dates, bananas and berries through the year, and when I have them on hand, any lovely summer fruit. As you can imagine, based on the proliferation of mango recipes on this blog every summer, they were a frequent recent addition to my morning pudding this year. Every fruit has its own range of benefits, as well as sweetening or adding texture to the pudding. You could also add honey or maple syrup if you want to sweeten it. And for an extra boost, mix in protein powder, spirulina powder or açaí powder.

Whatever you choose to add to the base of three ingredients, it becomes a full and wholesome breakfast. With carbs, protein, fruit sugars and the additional goodness of an extra handful of nuts or other ingredient of your preference, a serving of this pudding is perfect to get you through the entire morning. And it’s so creamy and tasty that it’s like having dessert for breakfast!

3+1 Overnight Oats

(Yield: 2 cups)

Ingredients

3 tablespoons oats

1½ teaspoons chia seeds

1 cup milk of your choice

½ cup fruit of your choice

It’s very important that you make this pudding the night before you plan to consume it, as it needs time to set. Simply blend all the ingredients and pour into 2 cups. Garnish with nuts, if desired, and refrigerate. Don’t forget to add the protein, açaí, spirulina or other healthy powder if you wish to.

Enjoy it the following morning, right after your workout or before your busy day starts. If you have a very sweet tooth, like I do, you may add 1 teaspoon of honey or maple syrup before you eat it.

This 3+1 overnight oats pudding is one of the healthiest breakfasts you can have, regardless of how demanding your schedule is. It is also, hands-down, one of the tastiest. Give it a try as a replacement for your current breakfast dish, and tell me how it works for you!

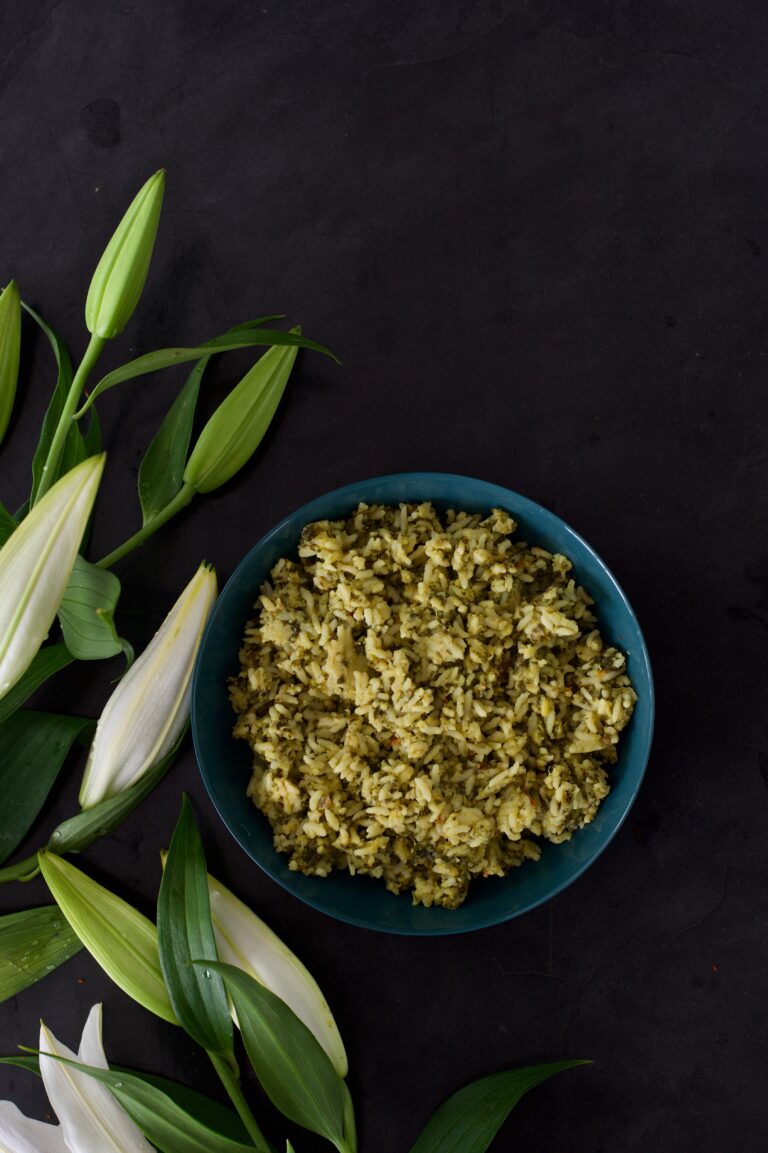
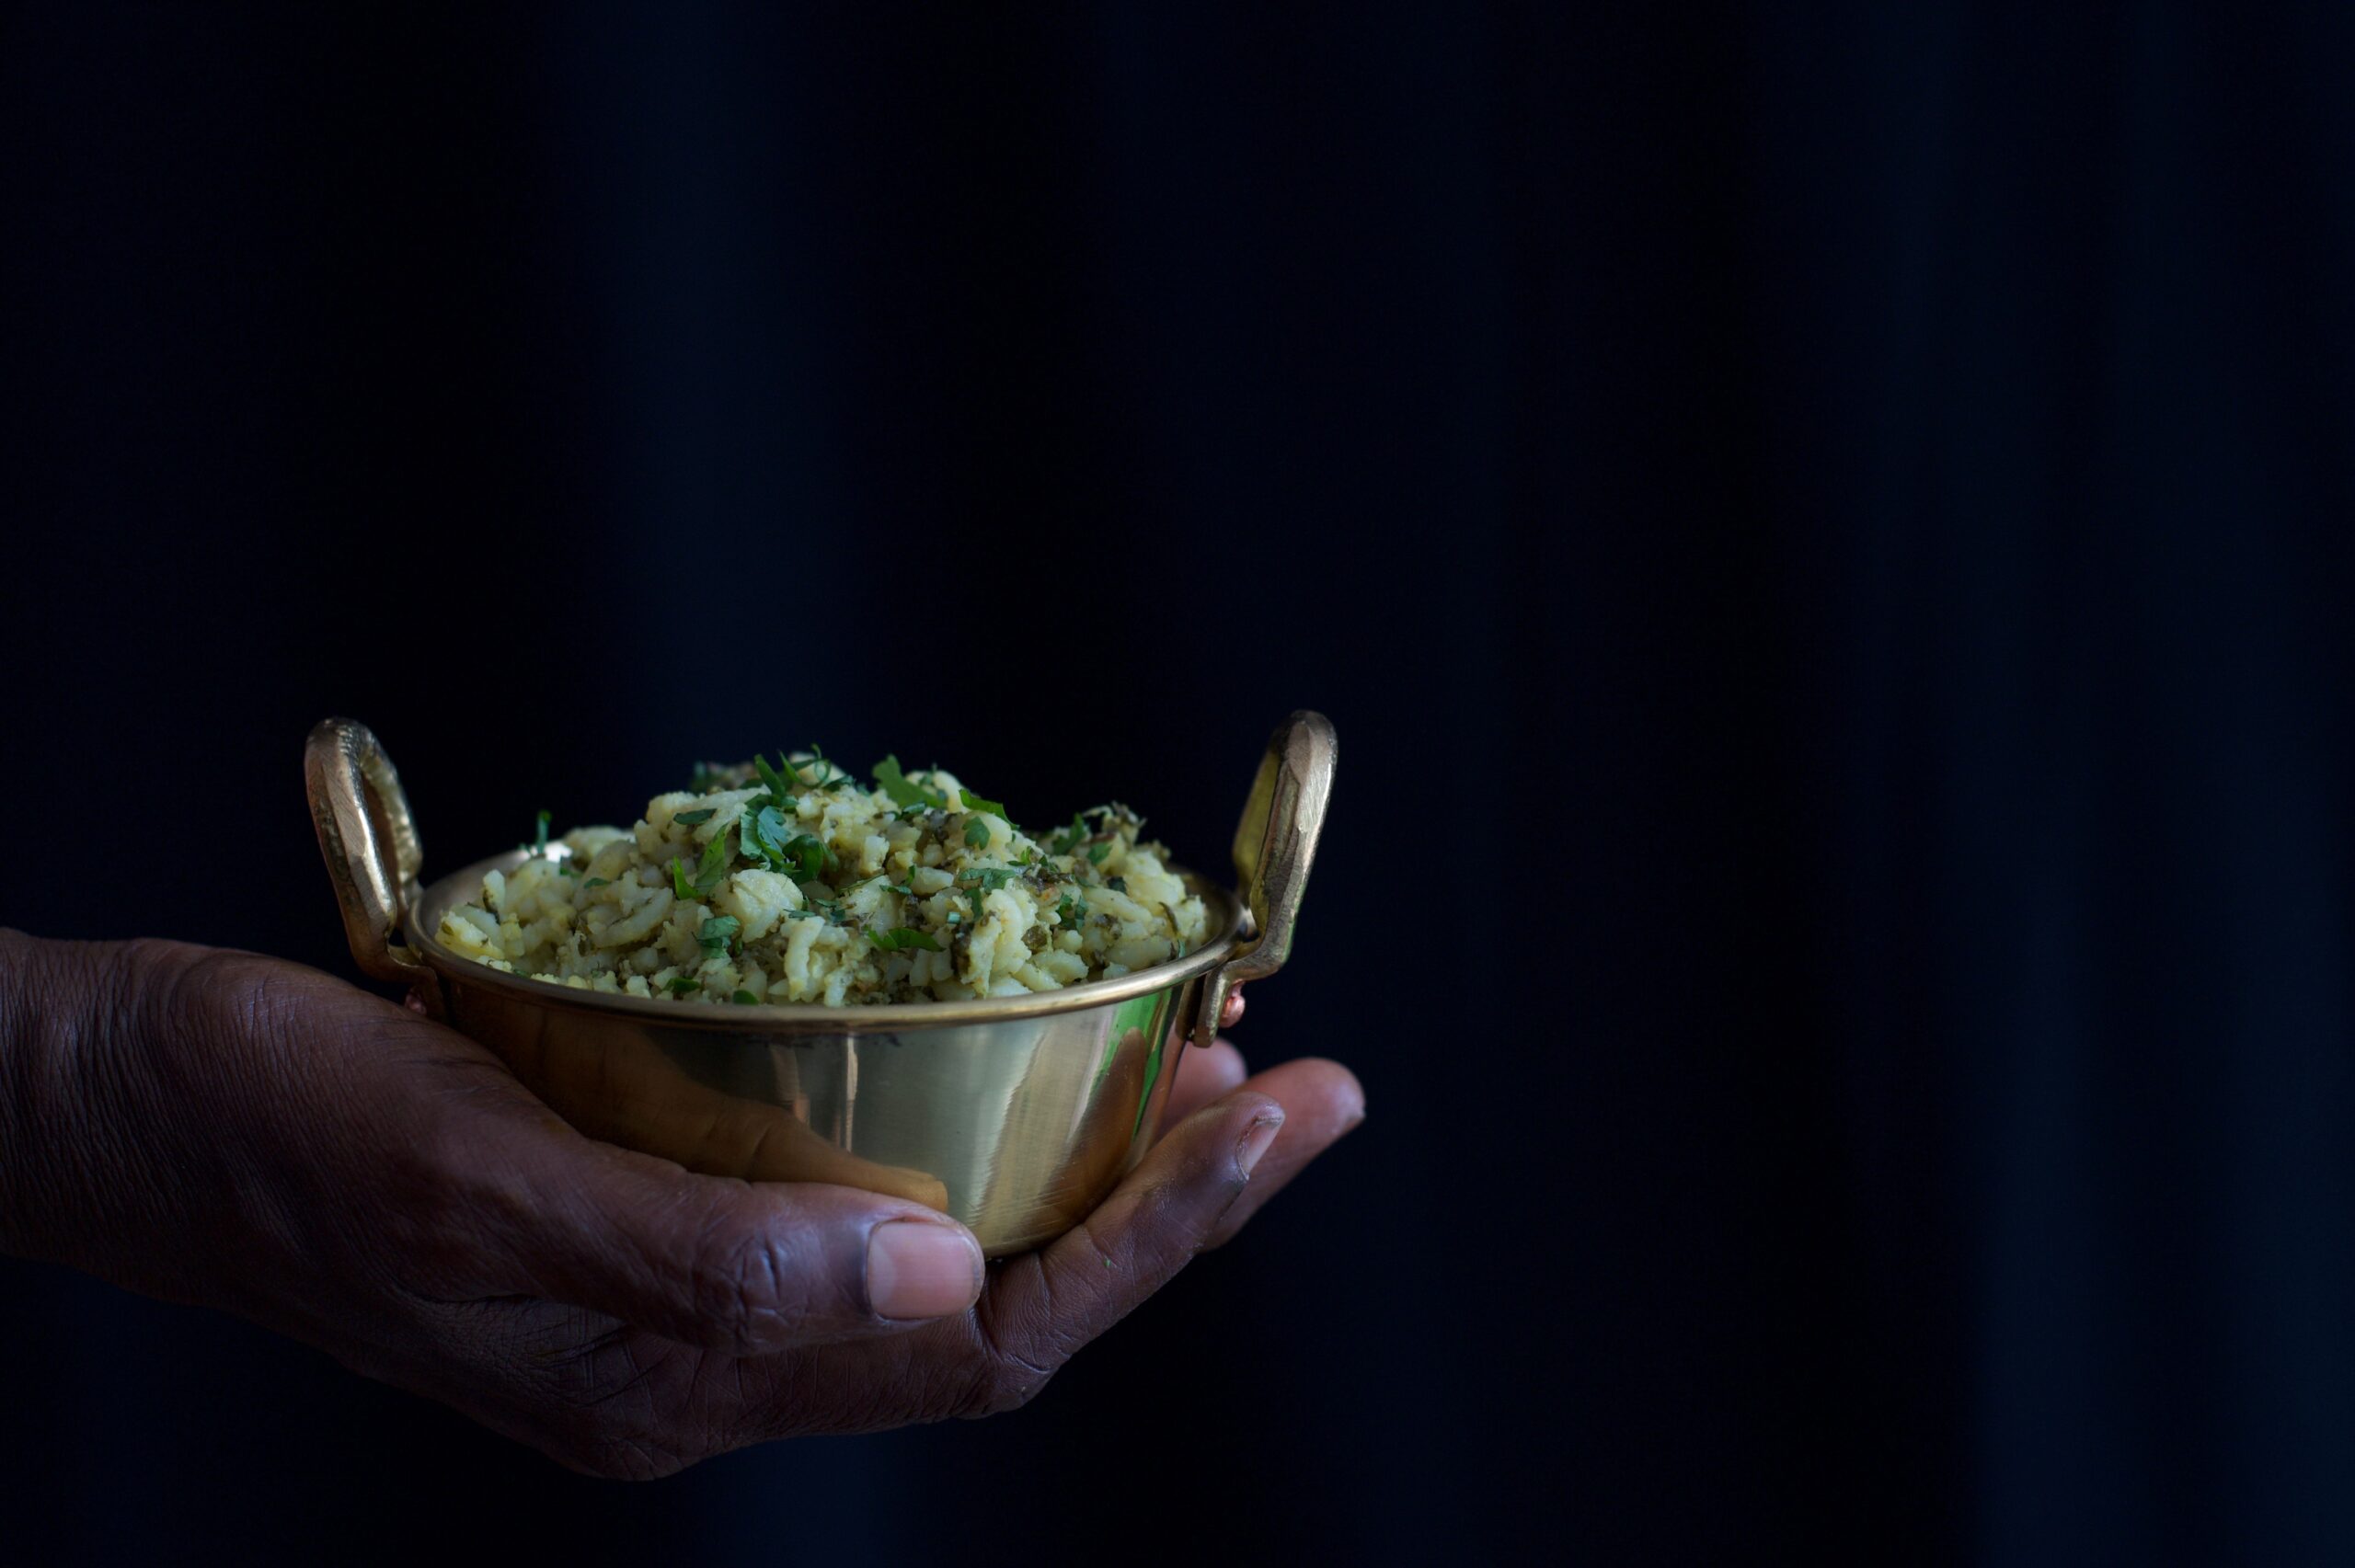
When my daughter was in school, I would send her off every day with a lunchbox that contained as much variety as possible. Whether it was noodles, pizza or something else, I always made her something delicious – but with a healthy twist. Her best friend, a girl from Andhra Pradesh, brought her mother’s spinach rice in her own lunchbox every day. And the girls would exchange lunchboxes. My daughter loved that traditional spinach rice, and her best friend couldn’t get enough of my cooking experiments! When I discovered what was going on, I simply started packing extra of whatever I sent her, so both girls could eat more of our homemade meals.

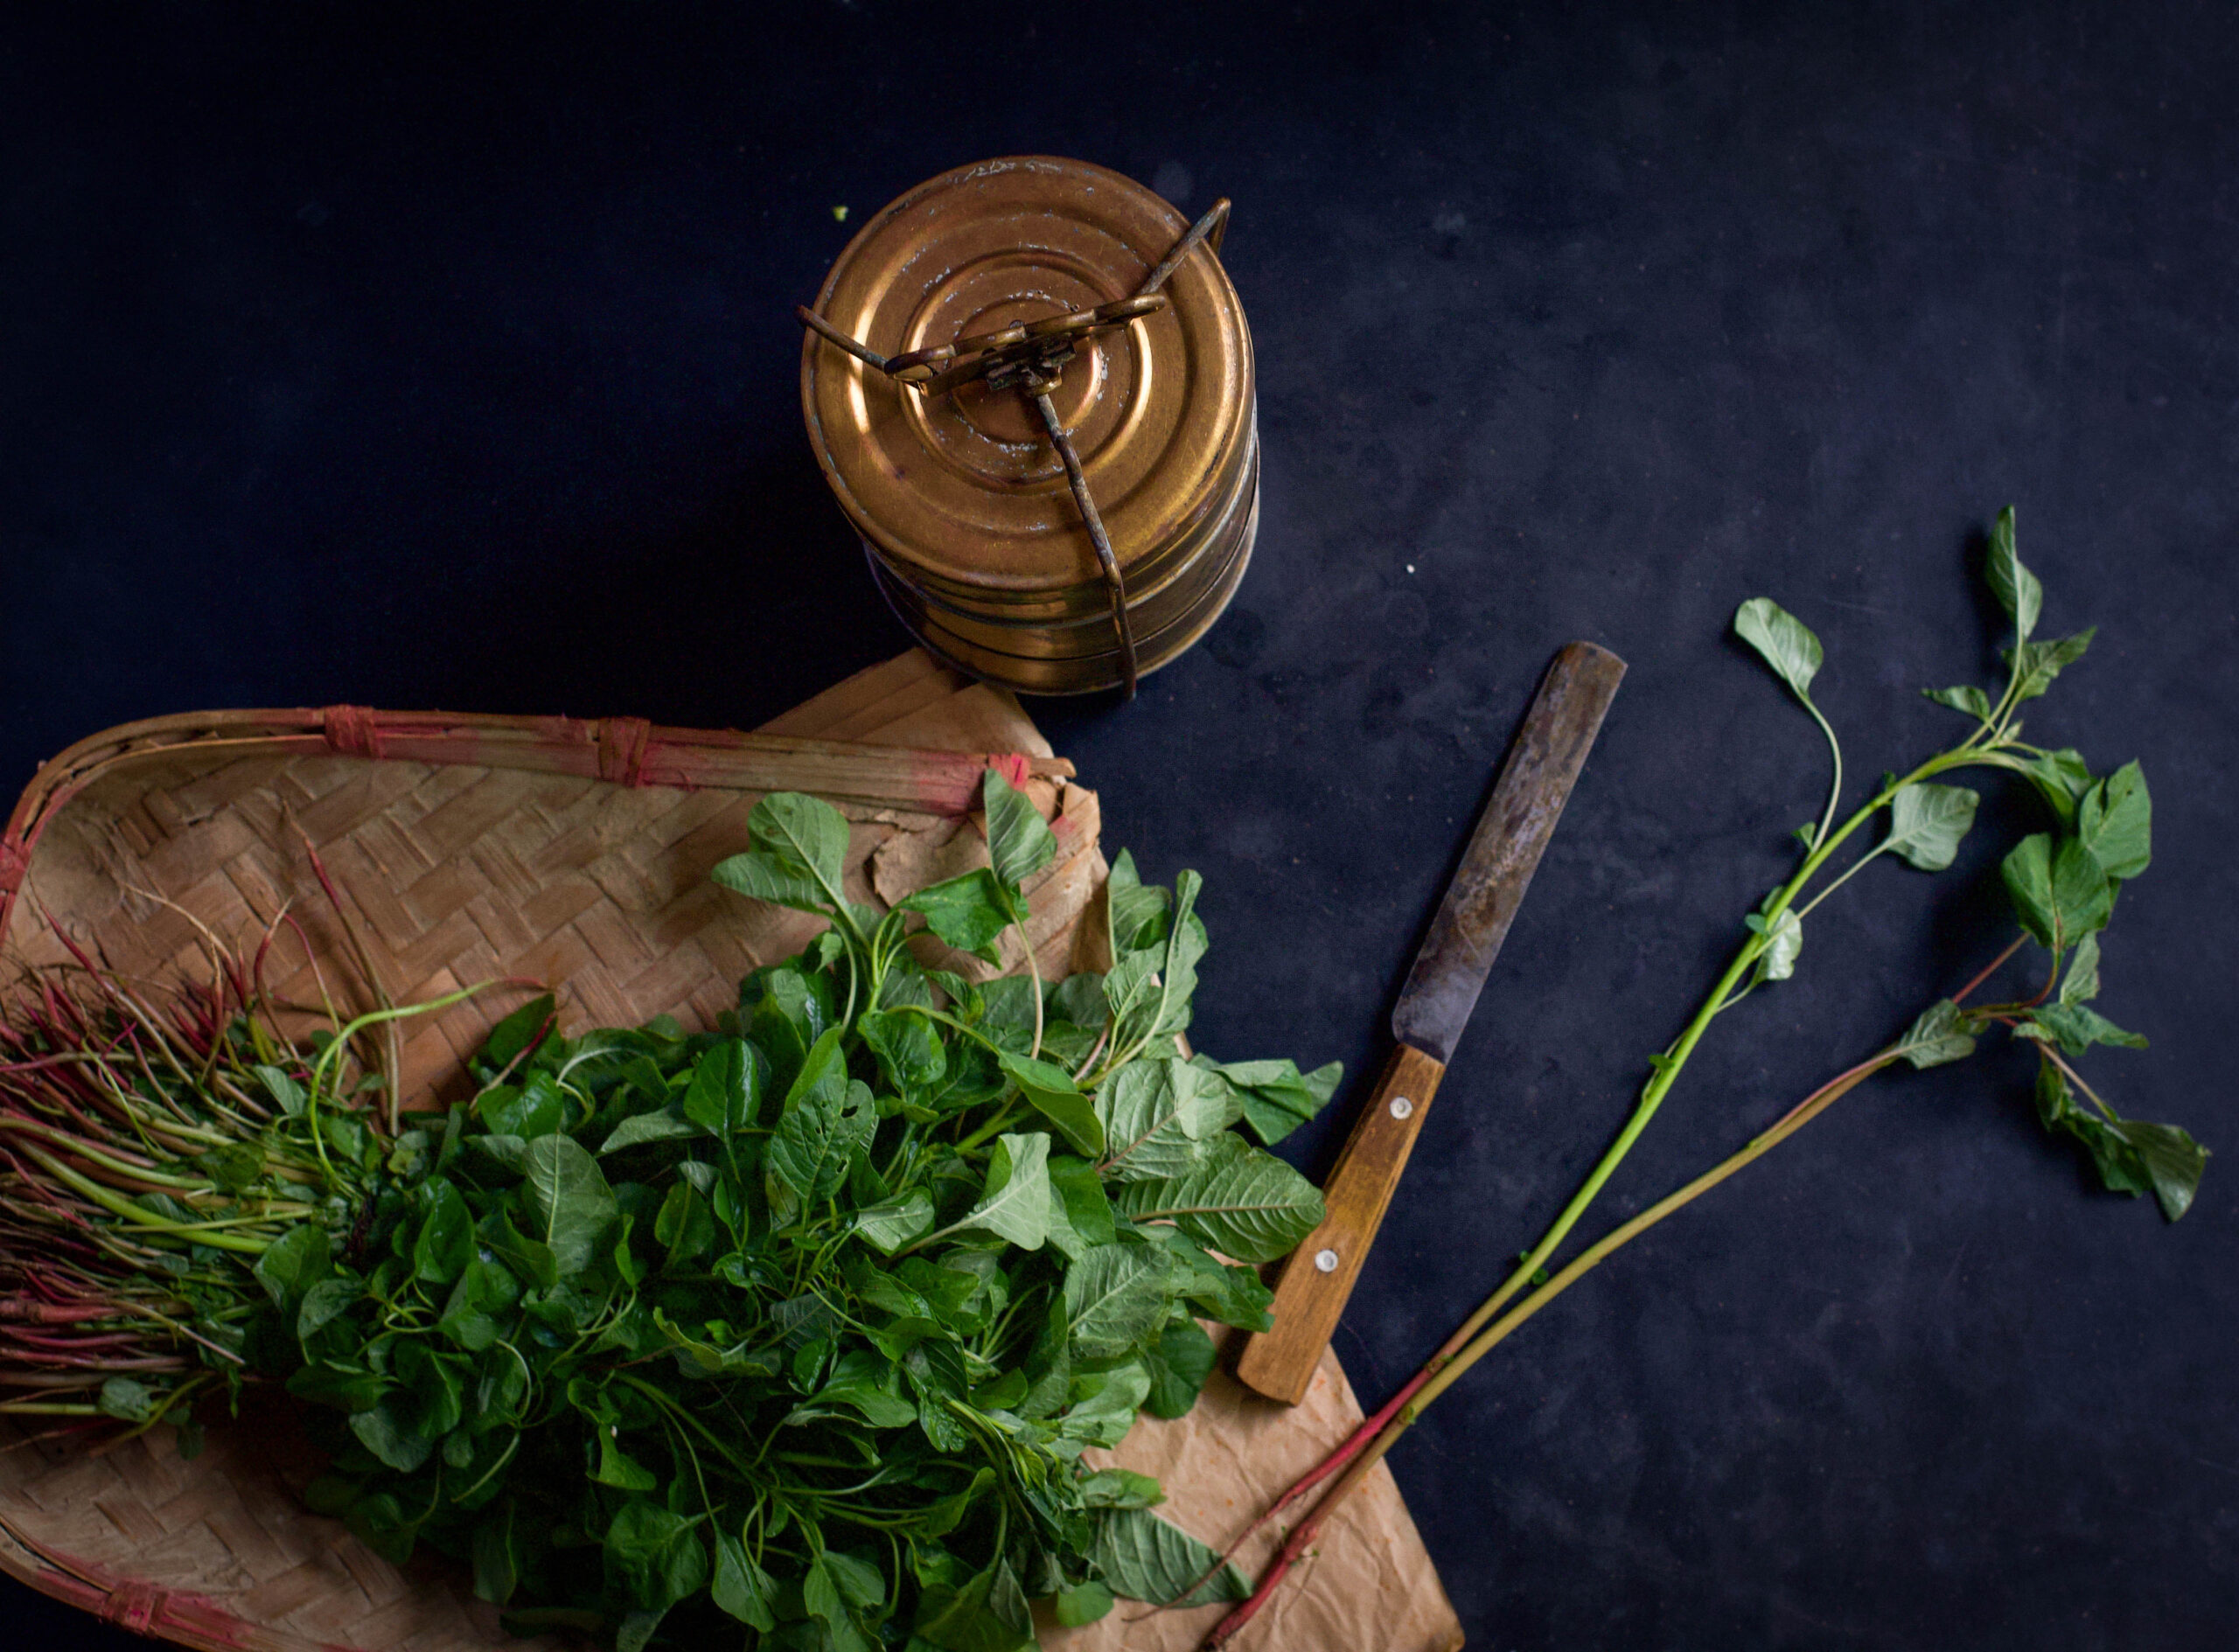
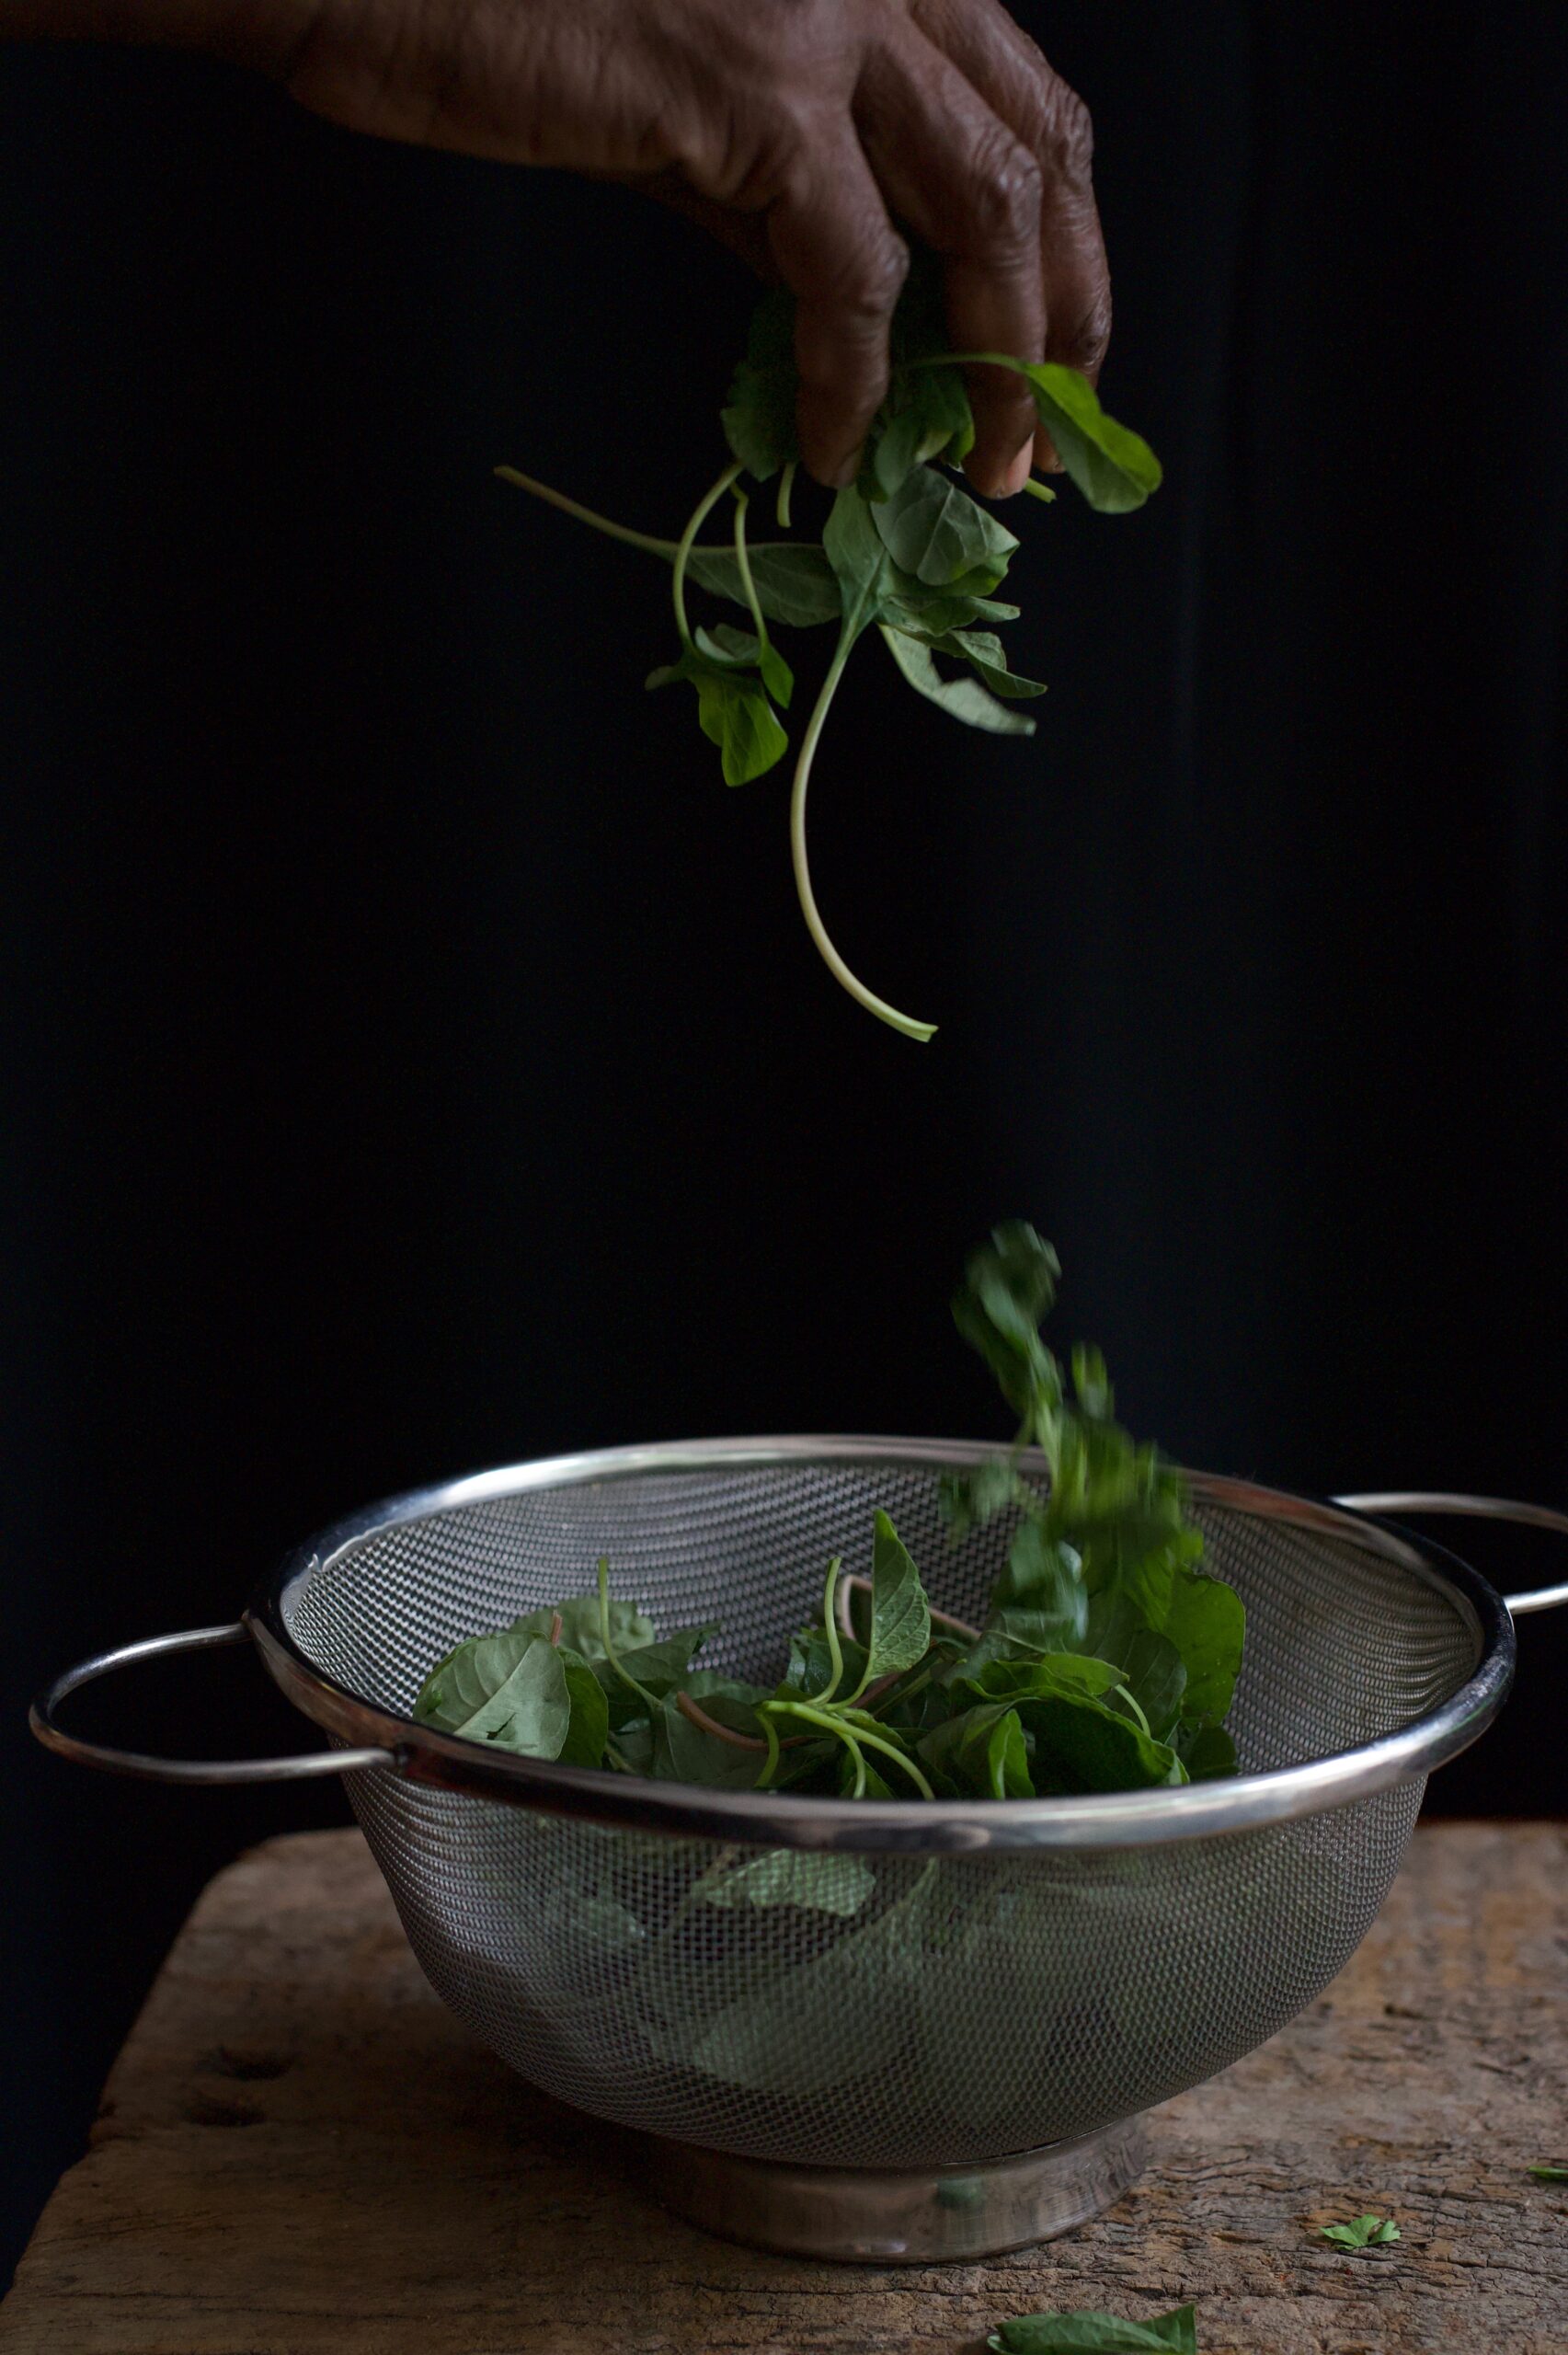
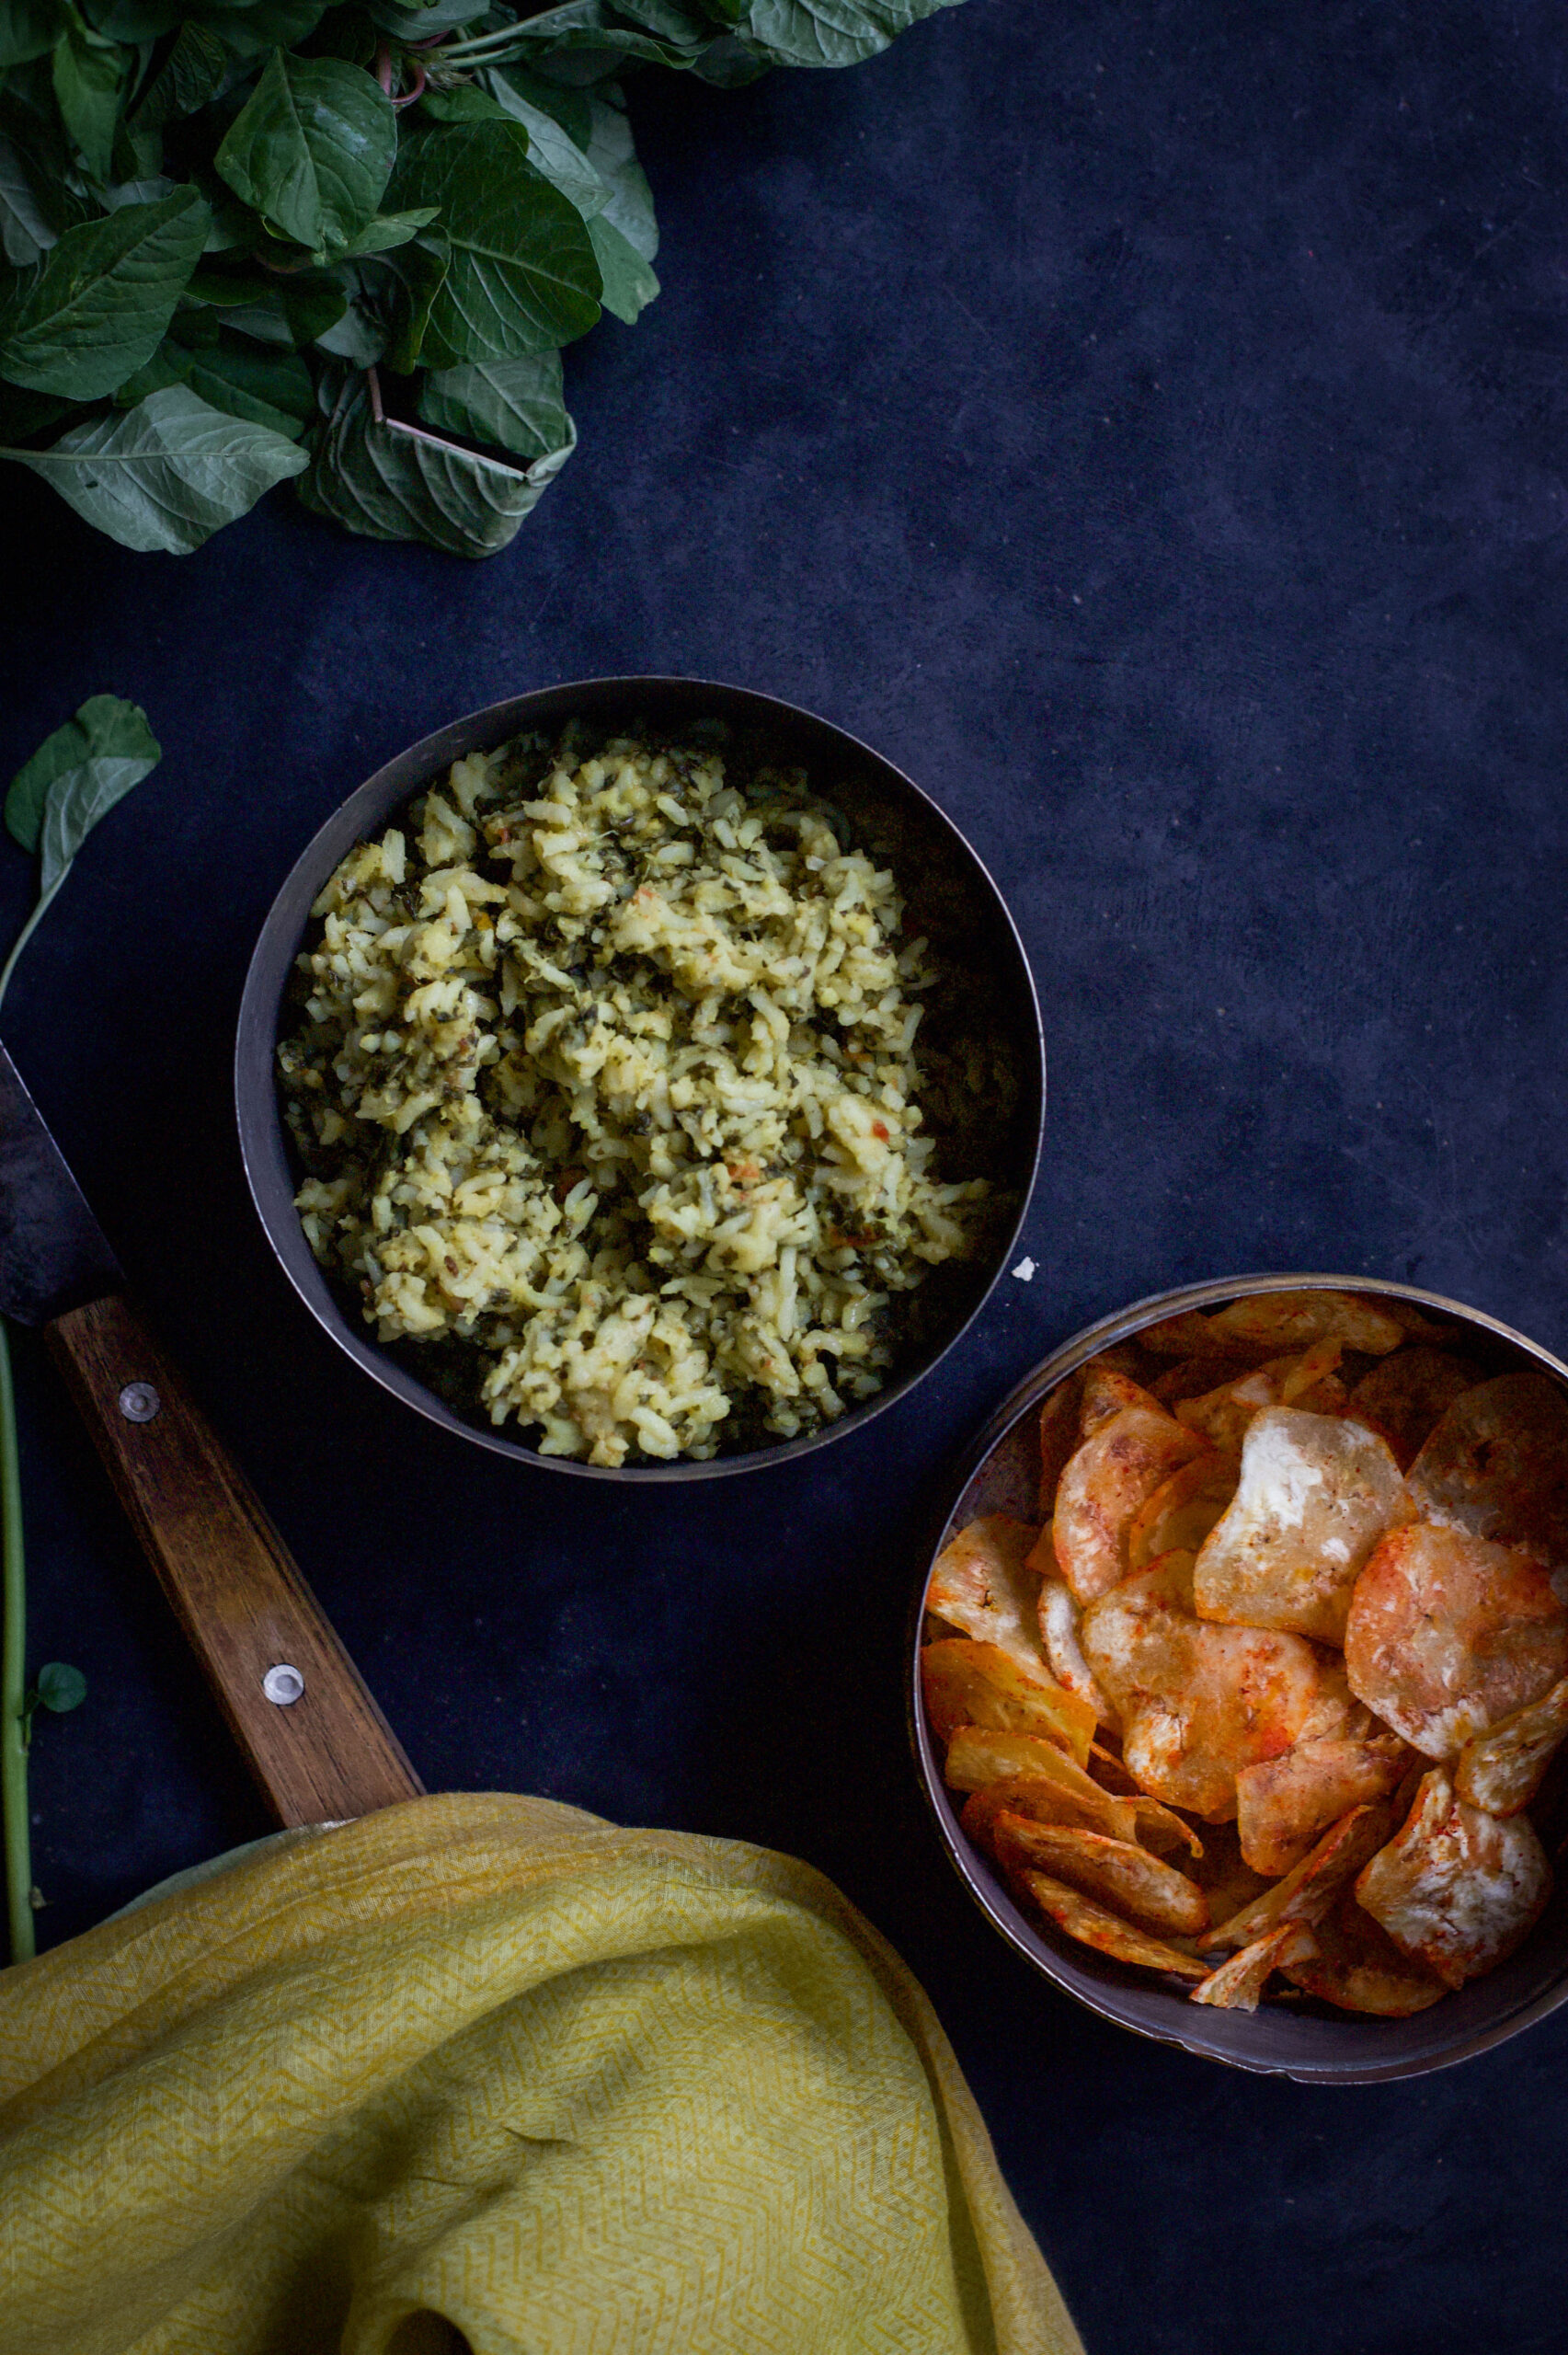
Recently, this friend visited us, and the girls sat with me and reminisced about the good old days of their childhoods. Soon, they got to talking about the lunchbox swaps, and my daughter was nostalgic, saying how much she missed that spinach rice. As it is made of affordable and readily available ingredients, some variation of spinach rice is a staple in households all over the country. “Spinach” is an entire category of leafy greens. In South India, there are so many kinds available that certain dishes are matched according to the tastes of each. For instance, in Tamil Nadu, the thick small leaves of paruppu keerai (literally “dhal spinach”) go with dhal, the smaller leaves of siri keerai (“little spinach”) taste good with garlic, and are usually stir-fried with the same, and so on. What is known as dill rice in the West is also a kind of spinach rice here.

Spinach, as the cartoon character Popeye popularised, is great for developing a strong and healthy body. It is a muscle-builder, and packed with vitamins, calcium, antioxidants and other nourishing elements. It’s also collagen-rich, which means your skin and hair benefit from it. It is typically the kind of leafy green that kids resist eating, as some kinds are bitter, which is why I was so happy to find out about my daughter’s lunchbox exchanges long ago!

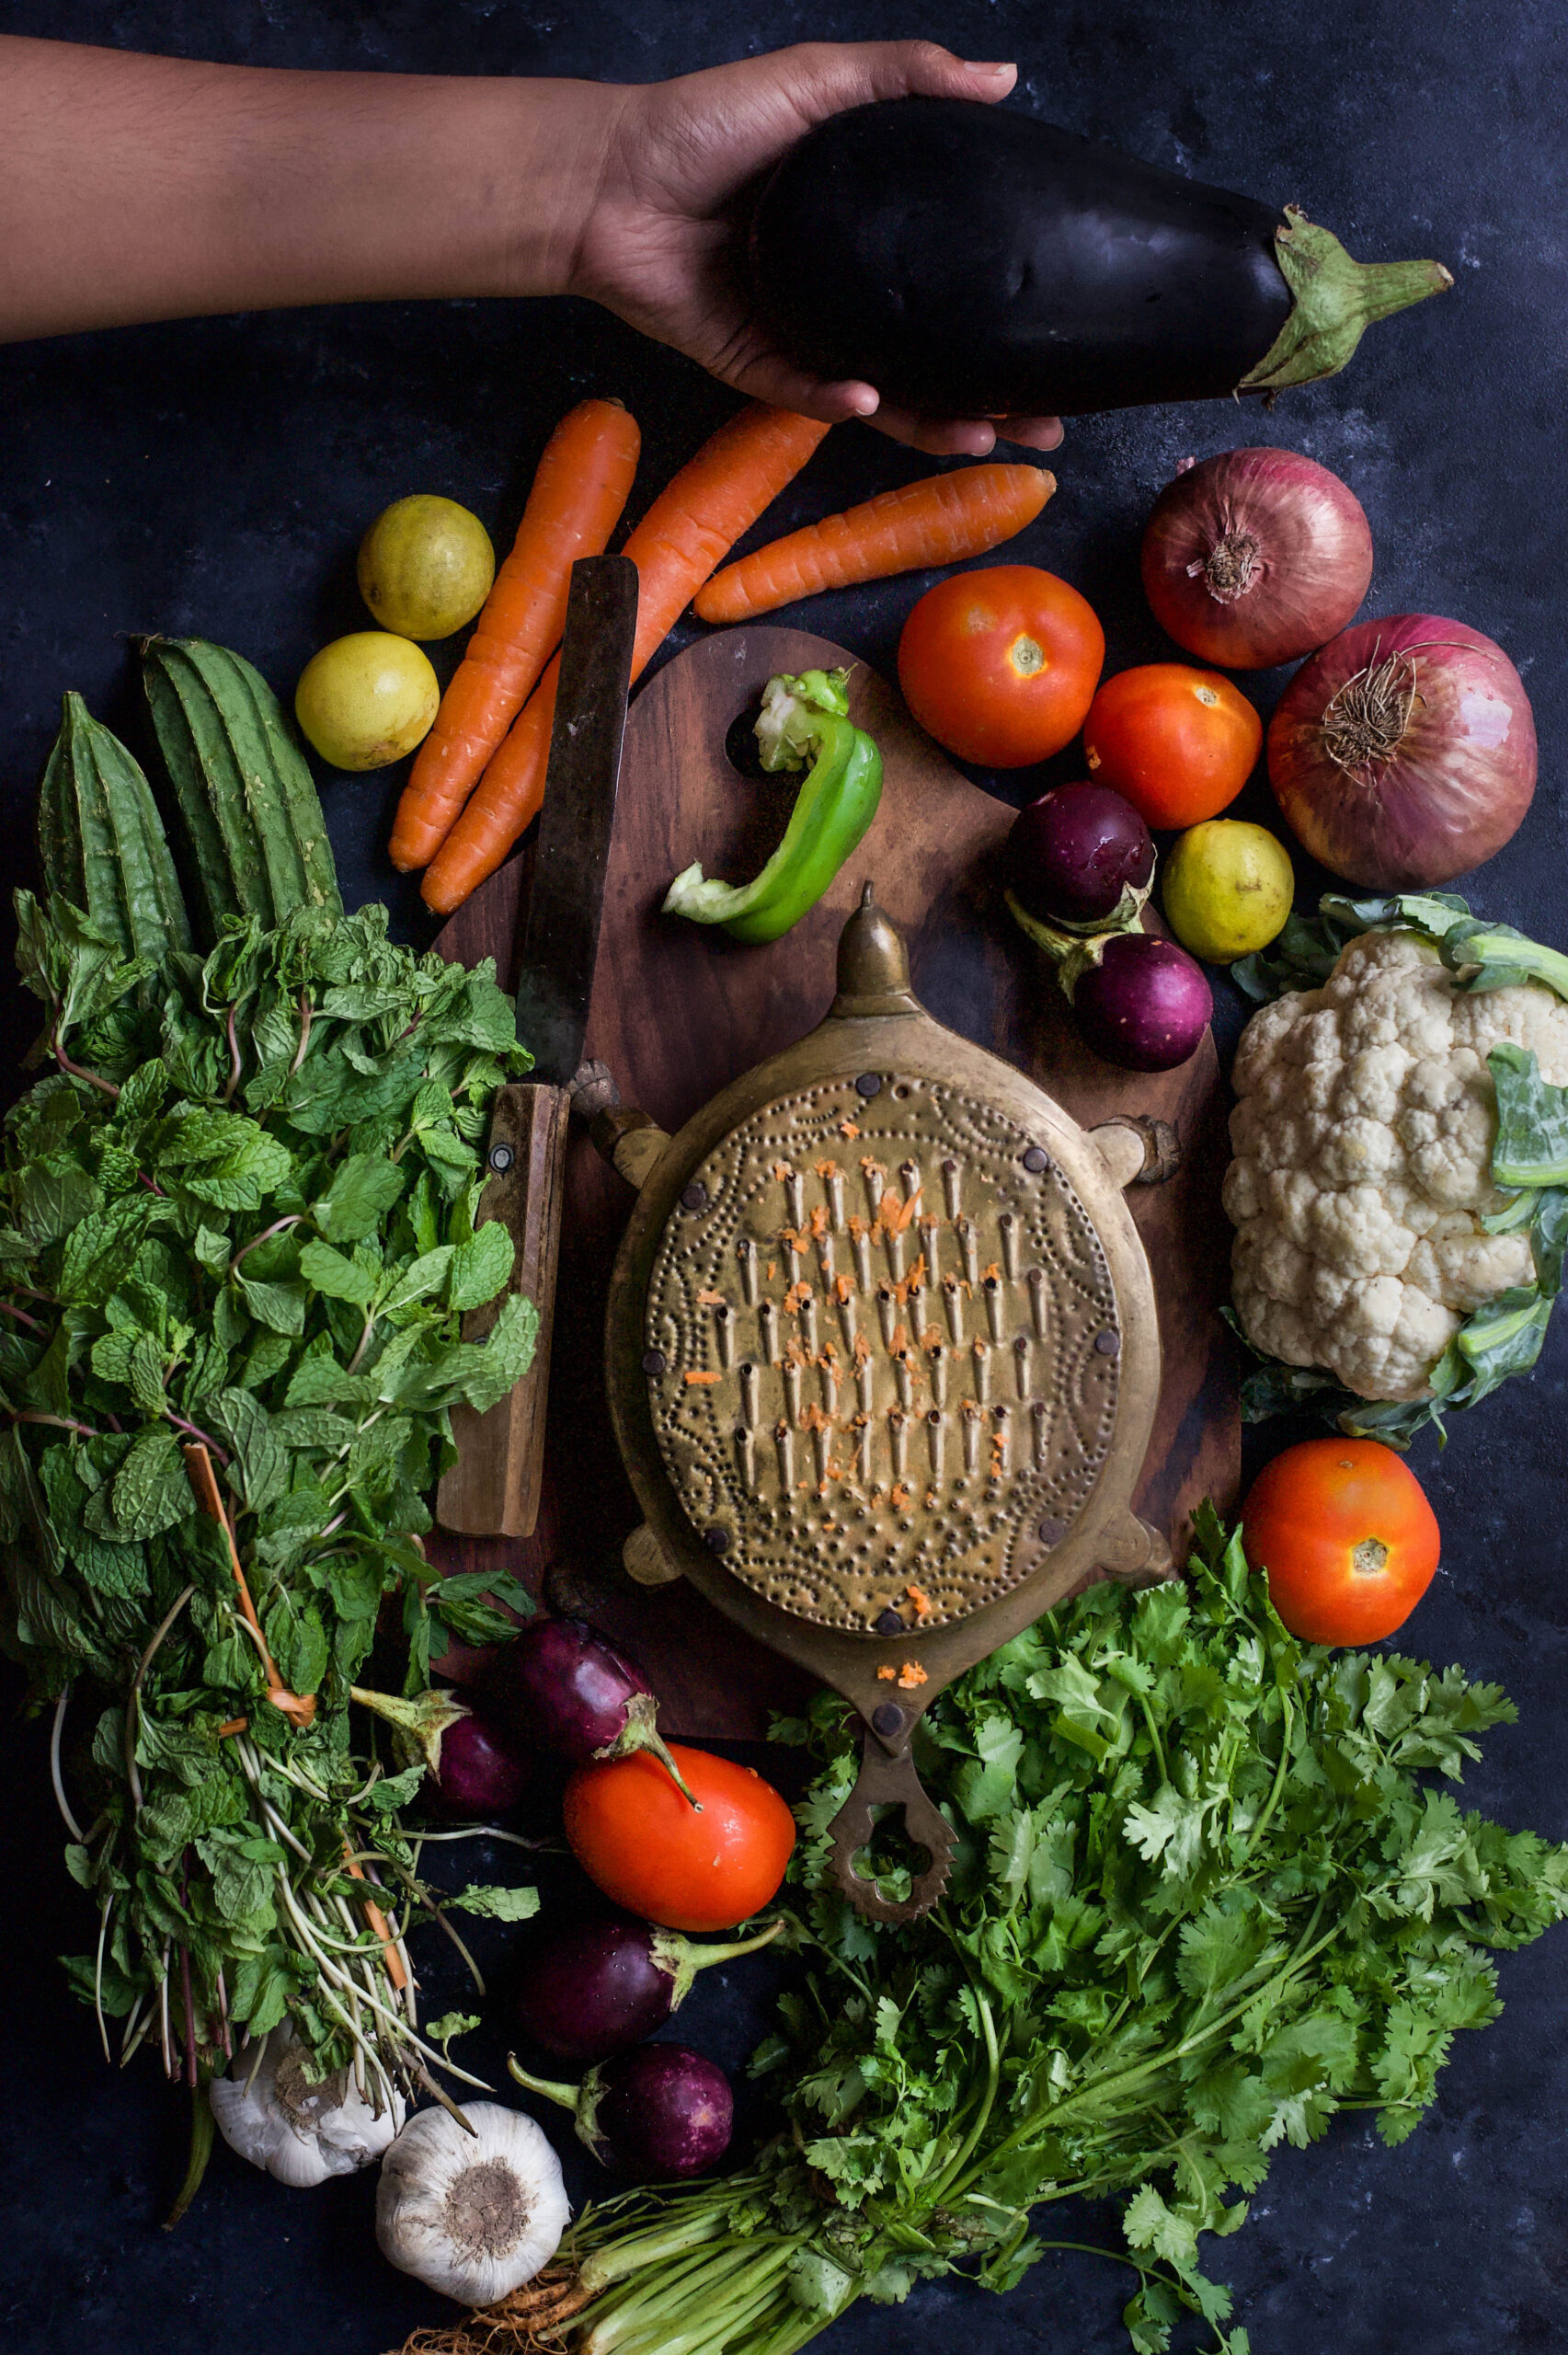
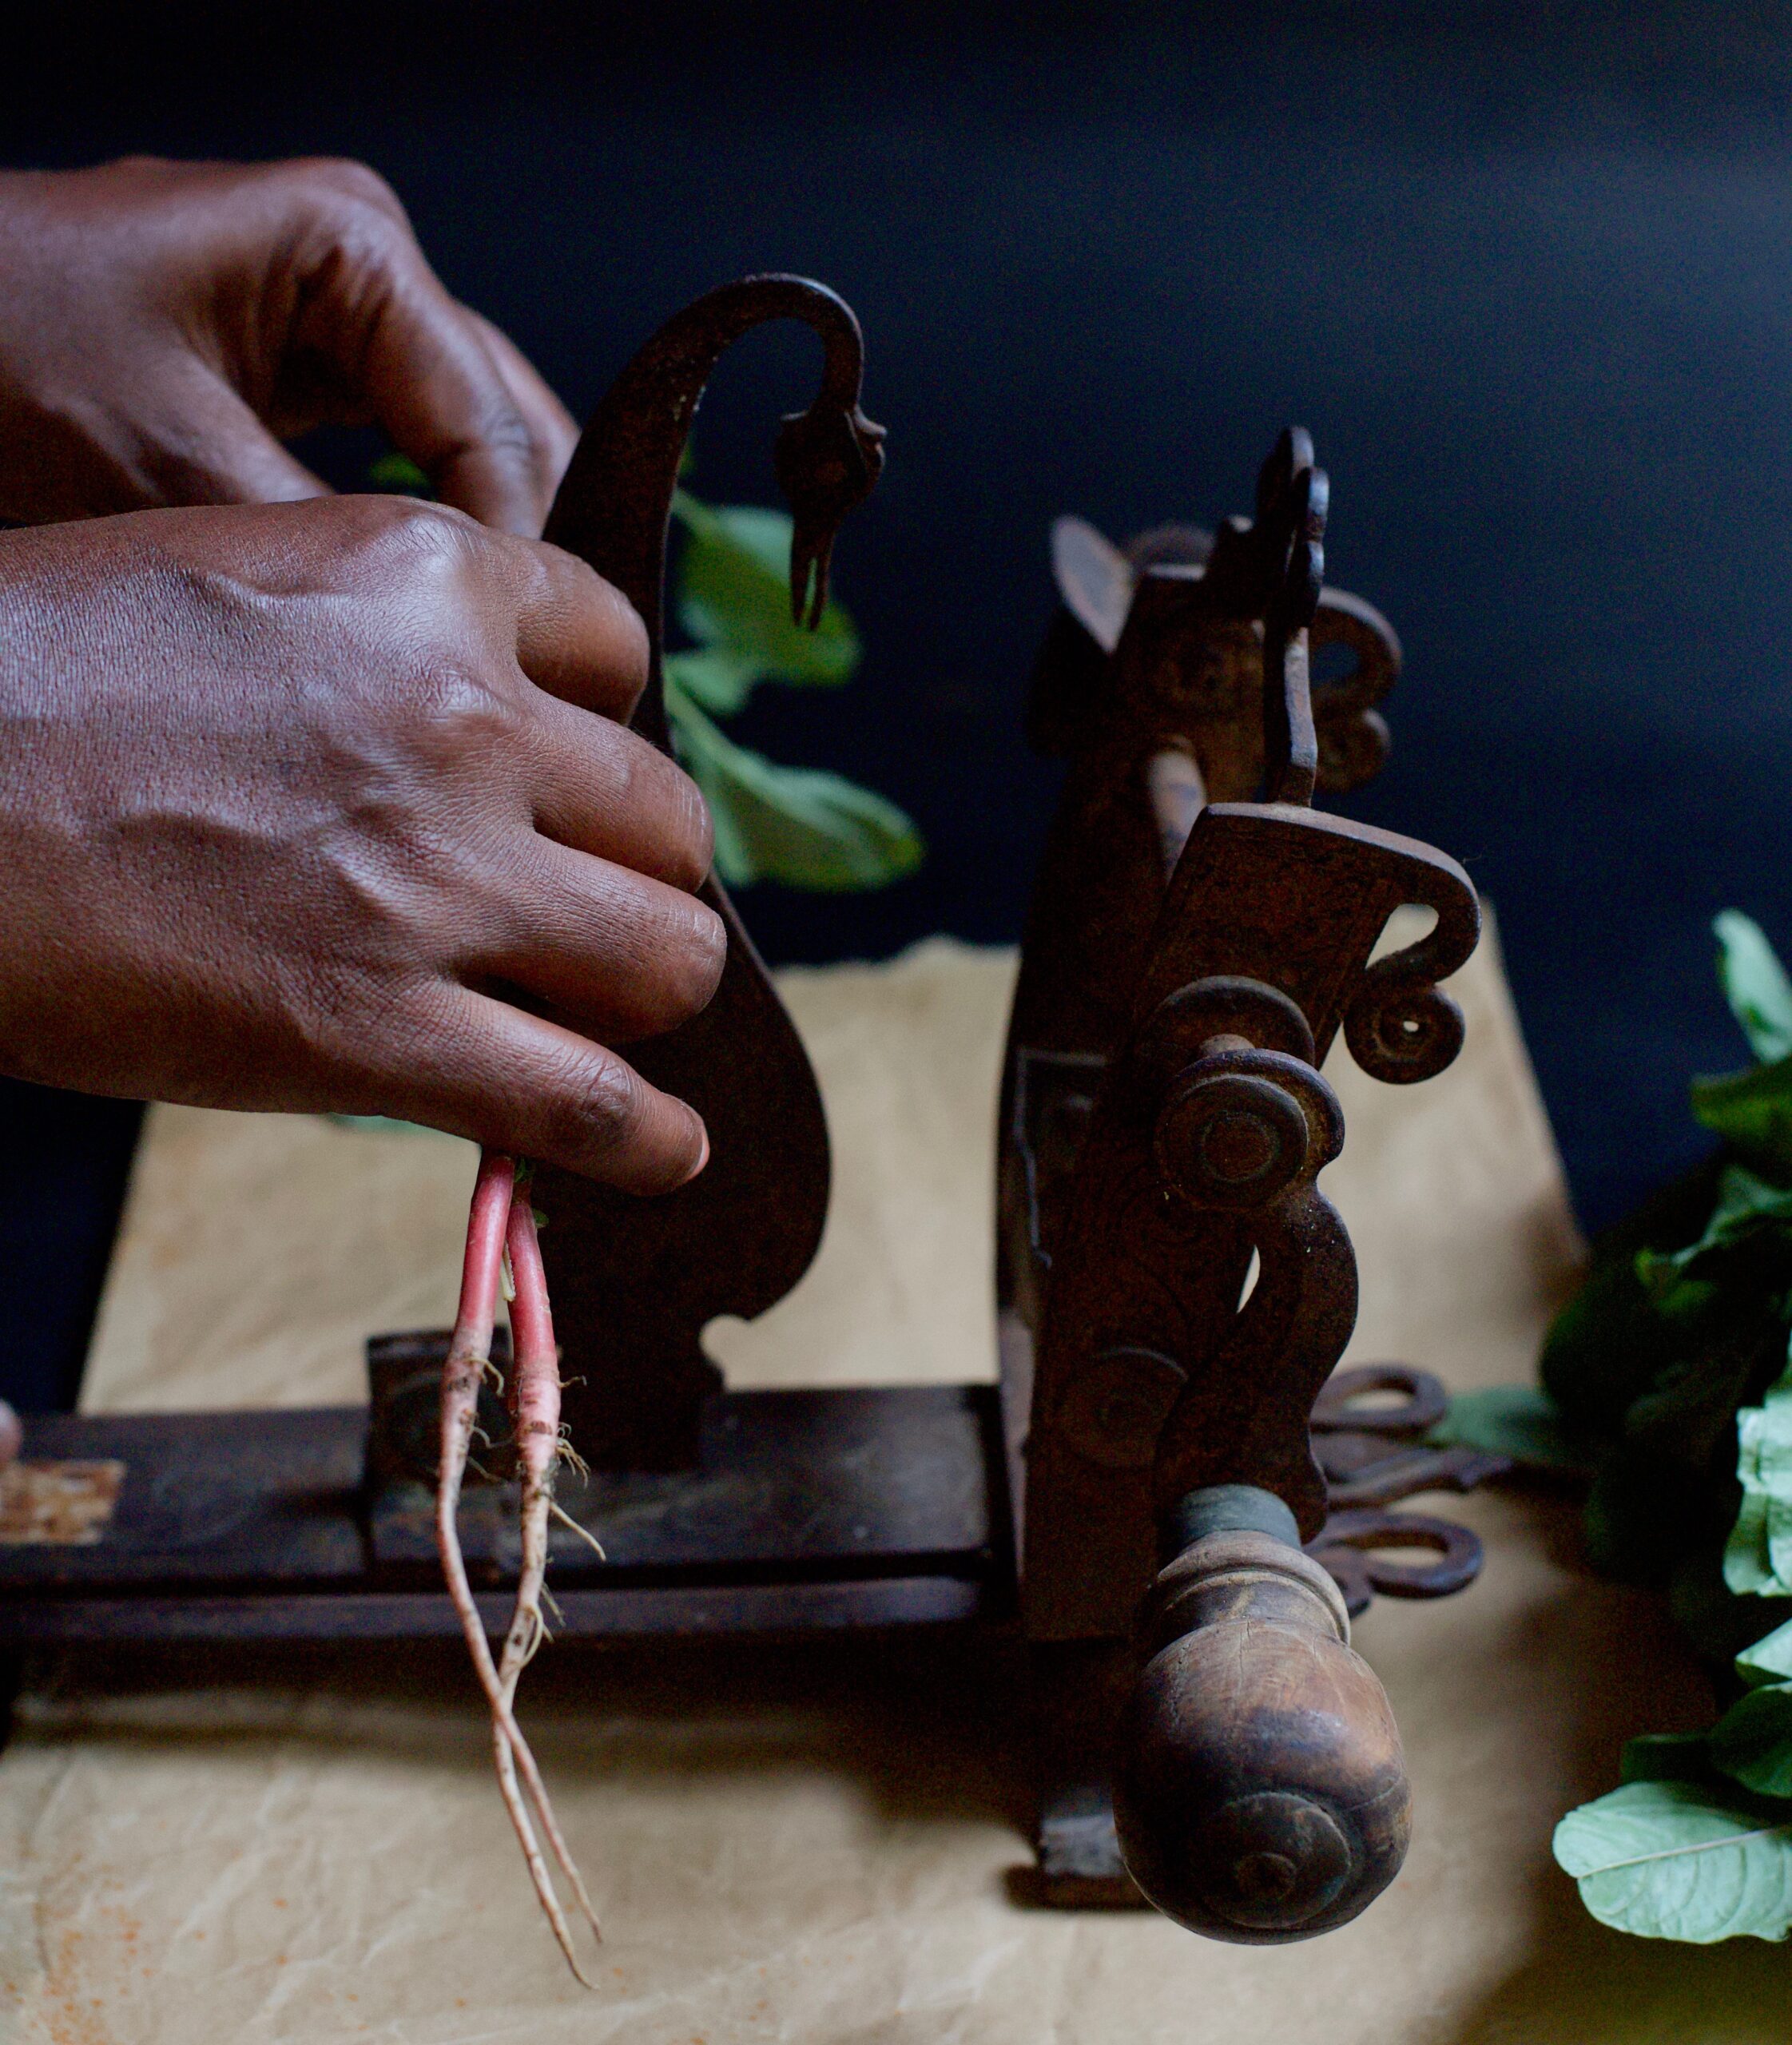
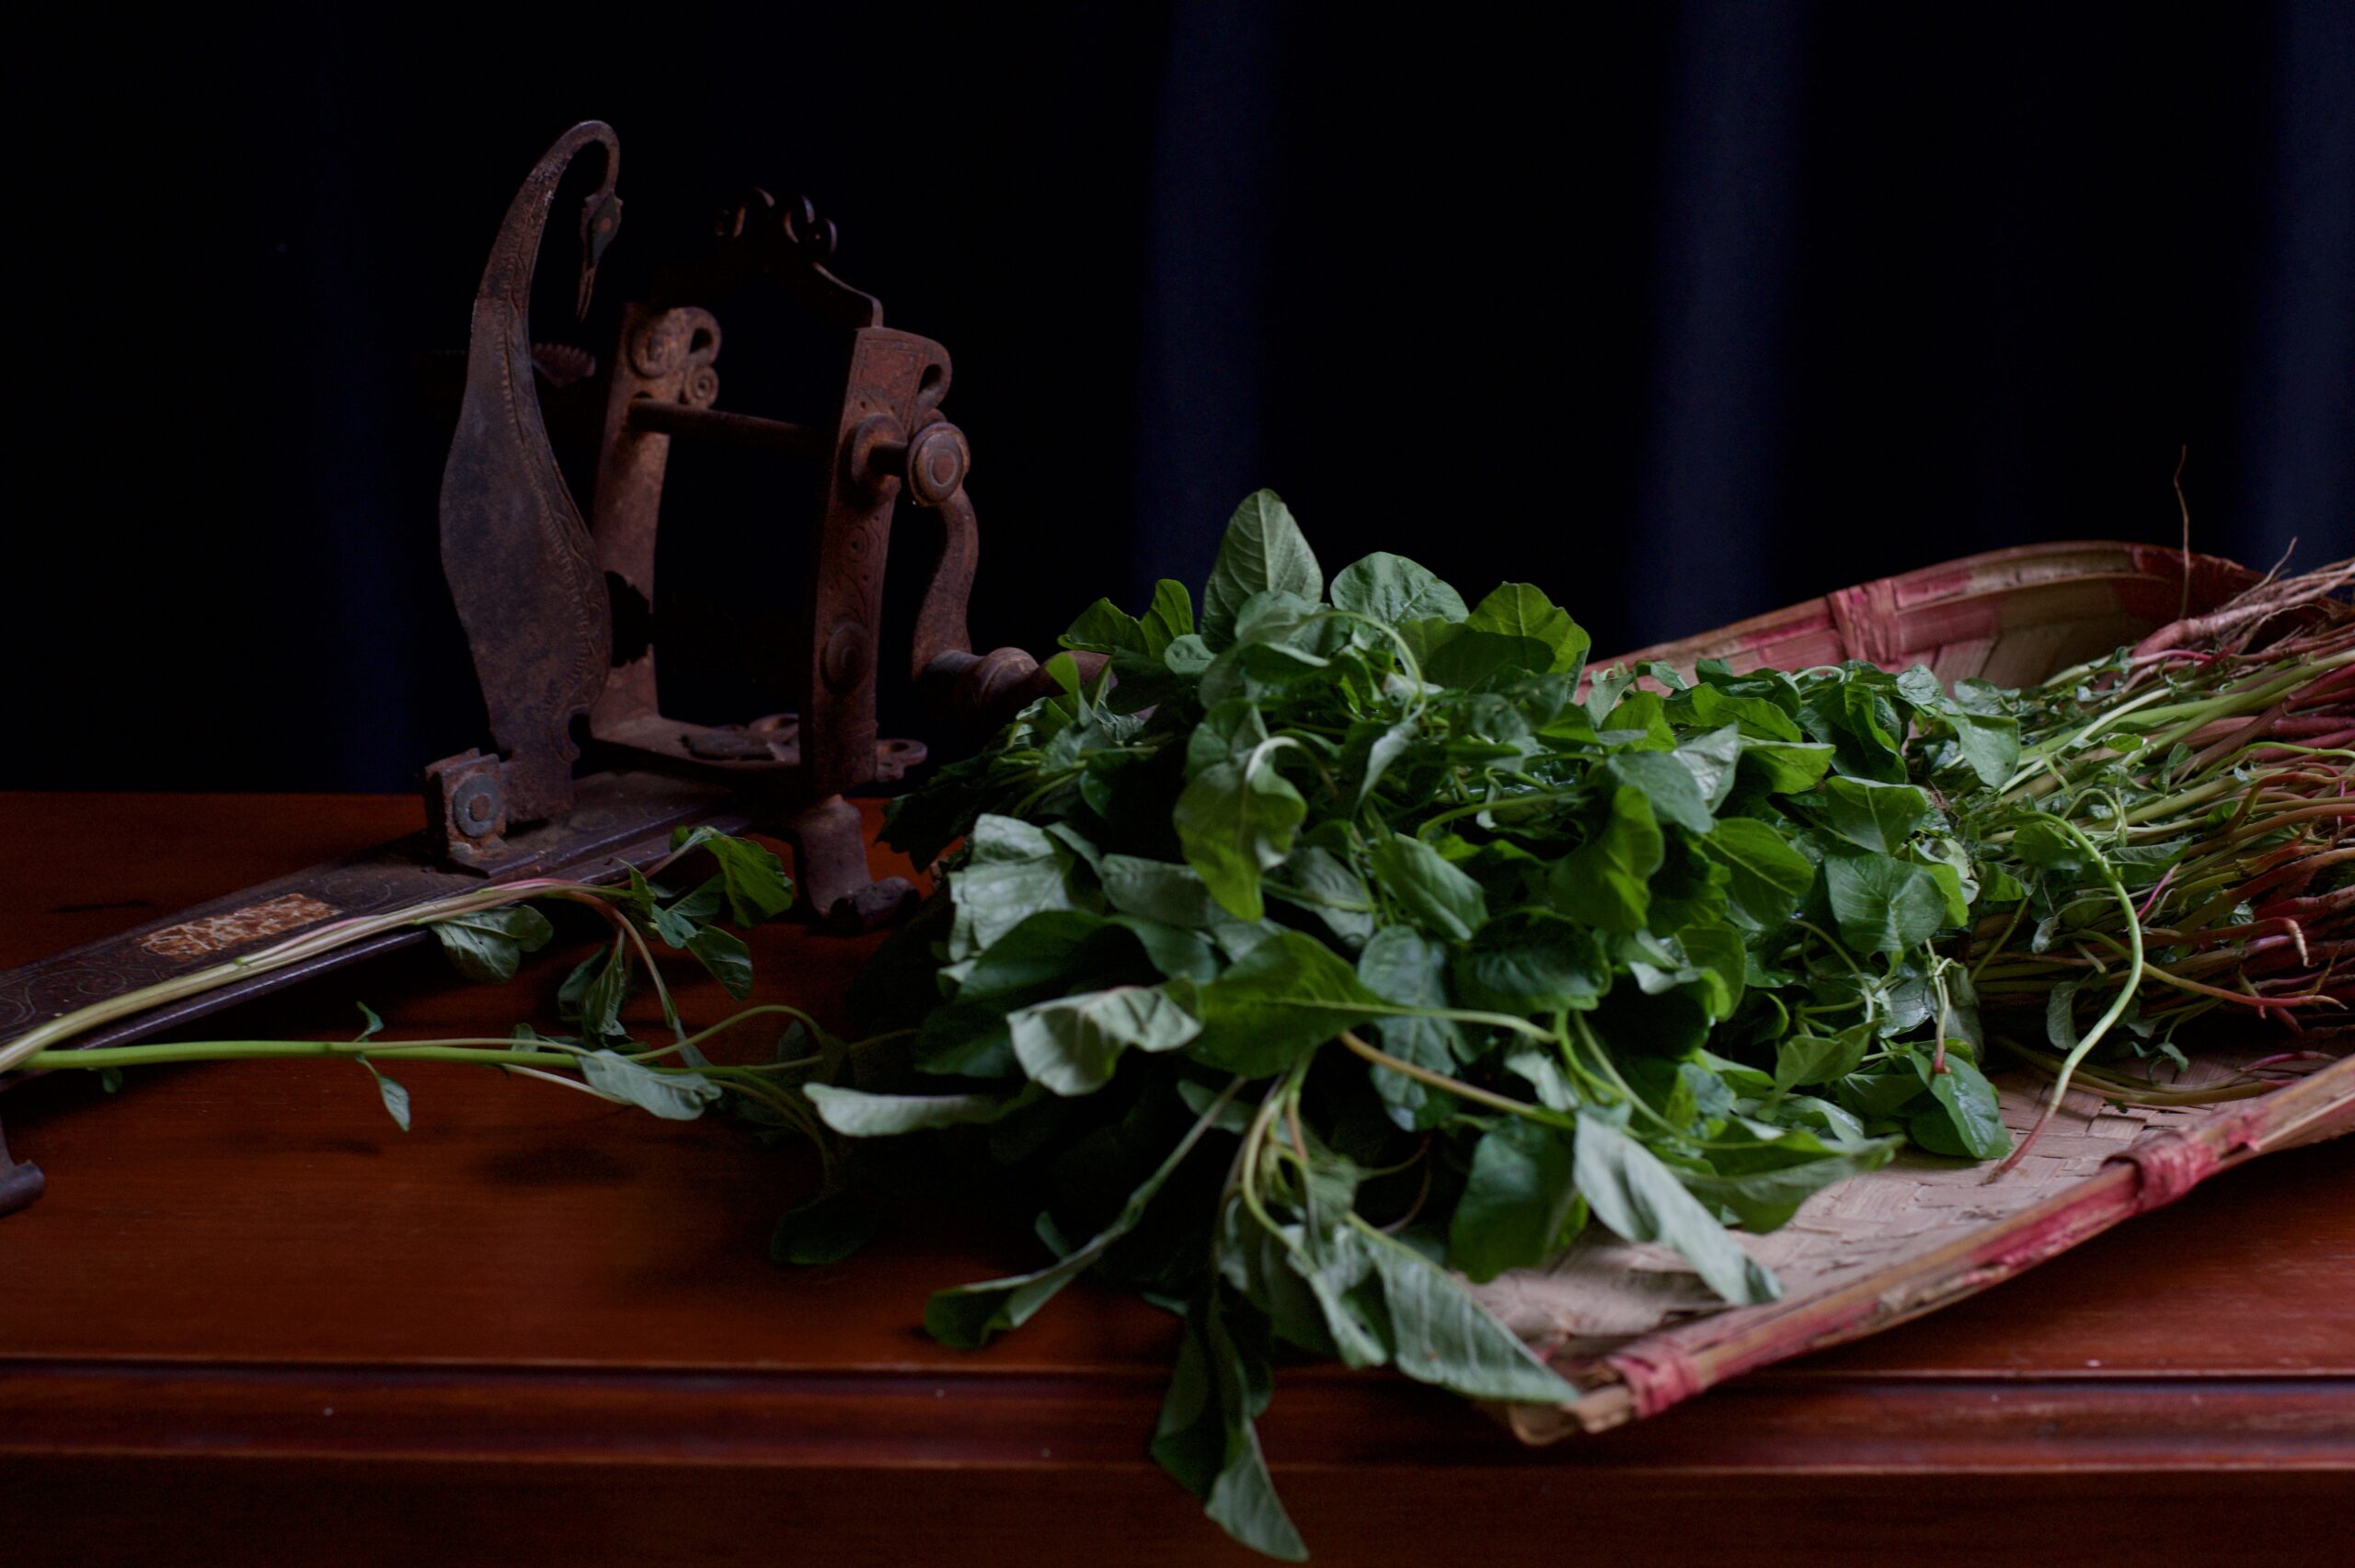
In my previous post, I mentioned a nifty slicer I picked up on my travels, and while these modern conveniences are much enjoyed, I still trust and hold on to our time-honoured appliances. For instance, I have the traditional Tamil aruvamanai, a hooked grater meant to be used while seated on the floor. The lovely thing about such devices is that they are durable in a way that modern devices, especially plastic ones, just aren’t. While this is mostly part of the décor, I’m not averse to using it when I want to. What better way to recreate a nostalgic dish than by using an antique appliance? I pulled out the old aruvamanai and sliced the spinach leaves for this recipe with it…


Spinach Rice

(Yield: 4-5 cups)

Ingredients
1 tomato
1 onion
2 cups spinach leaves
¾ cups raw rice
2 tablespoon mung dal
1 tooth garlic
1 green chilli
¼ teaspoon turmeric
¼ teaspoon cumin seeds
¼ teaspoon mustard seeds
1 tablespoon oil
Salt to taste

In a pressure cooker, add the spinach leaves, mung dal, onion, tomato, turmeric, chili, garlic, salt and 3 cups of water. Allow to cook for 2 whistles. In case you do not want to use a pressure cooker, you may cook the same ingredients covered with a lid on a medium flame, until well-cooked and soft to the touch.

Meanwhile, wash and soak the rice in water.

In a pan, add oil, then the cumin seeds and mustard seeds. Once they splutter, add the washed raw rice.

Now, open the cooled pressure cooker. Add the washed and soaked rice to the spinach and allow them all to cook for two more whistles. The spinach rice is now ready.

Serve hot – or in a lunchbox, for your growing children, who may surprise you with their tastes!

The Telugu cuisine of Andhra Pradesh and Telangana is known for being spicy, and the spinach rice recipe above, generously shared by my daughter’s friend’s mother, is no different. My daughter says that it tastes just like she remembered it from school. It’s in the original style, of course, but I must take credit for the most special ingredient – her mother’s love!