Being resourceful in the kitchen comes naturally to many of us, and I’m someone who has long included homemade flours and powders and organic produce as parts of my everyday cooking. To me, preparing big batches of dishes that keep well and can be reheated is just the smart thing to do. I’ve noticed that canning is a culinary and DIY trend that has really been catching on on social media. I admire the trend as it takes a lot of hard work, and requires being inventive and patient. I think it’s similar in some ways to the Indian art of pickling. I don’t seem to have the talent for canning, but I do the next best thing and make a delicious tomato purée that can be kept for several days, and used in several ways. The wonderful part of it is that it’s a very versatile item. This all-purpose tomato purée works in myriad cuisines effortlessly.
It suits kids’ cravings, adults’ larger appetites, and everything from Continental meals for those with a wide palate and traditional Indian dishes for those seeking comfort food. That it can be stored for a while is a big plus. My daughter who lives in Mumbai insists that I bring her a batch whenever I visit her, or packs a big jar into her luggage each time she returns there from home, and uses it for over the course of a whole week.
When I’m in a hurry for a curry, I just take the jar or pot out of the fridge and have a readymade base on which to build the dish. The same goes for when there’s a request for a homemade pizza, or more likely a pasta – my son is notorious for changing his mind, and my menu, last minute! So it’s great that I have something that works both ways. Sometimes, I’ll scoop a dollop of this tomato purée into minestrone soup as well (the recipe for it will follow sometime soon).
That’s why having an all-purpose key product helps me so much. It cuts down on the prep time regardless of what I’m making that day. My tomato purée imitates the famous pasta sauce called ragú, except it is vegetarian whereas the traditional Italian recipe is meat-heavy.
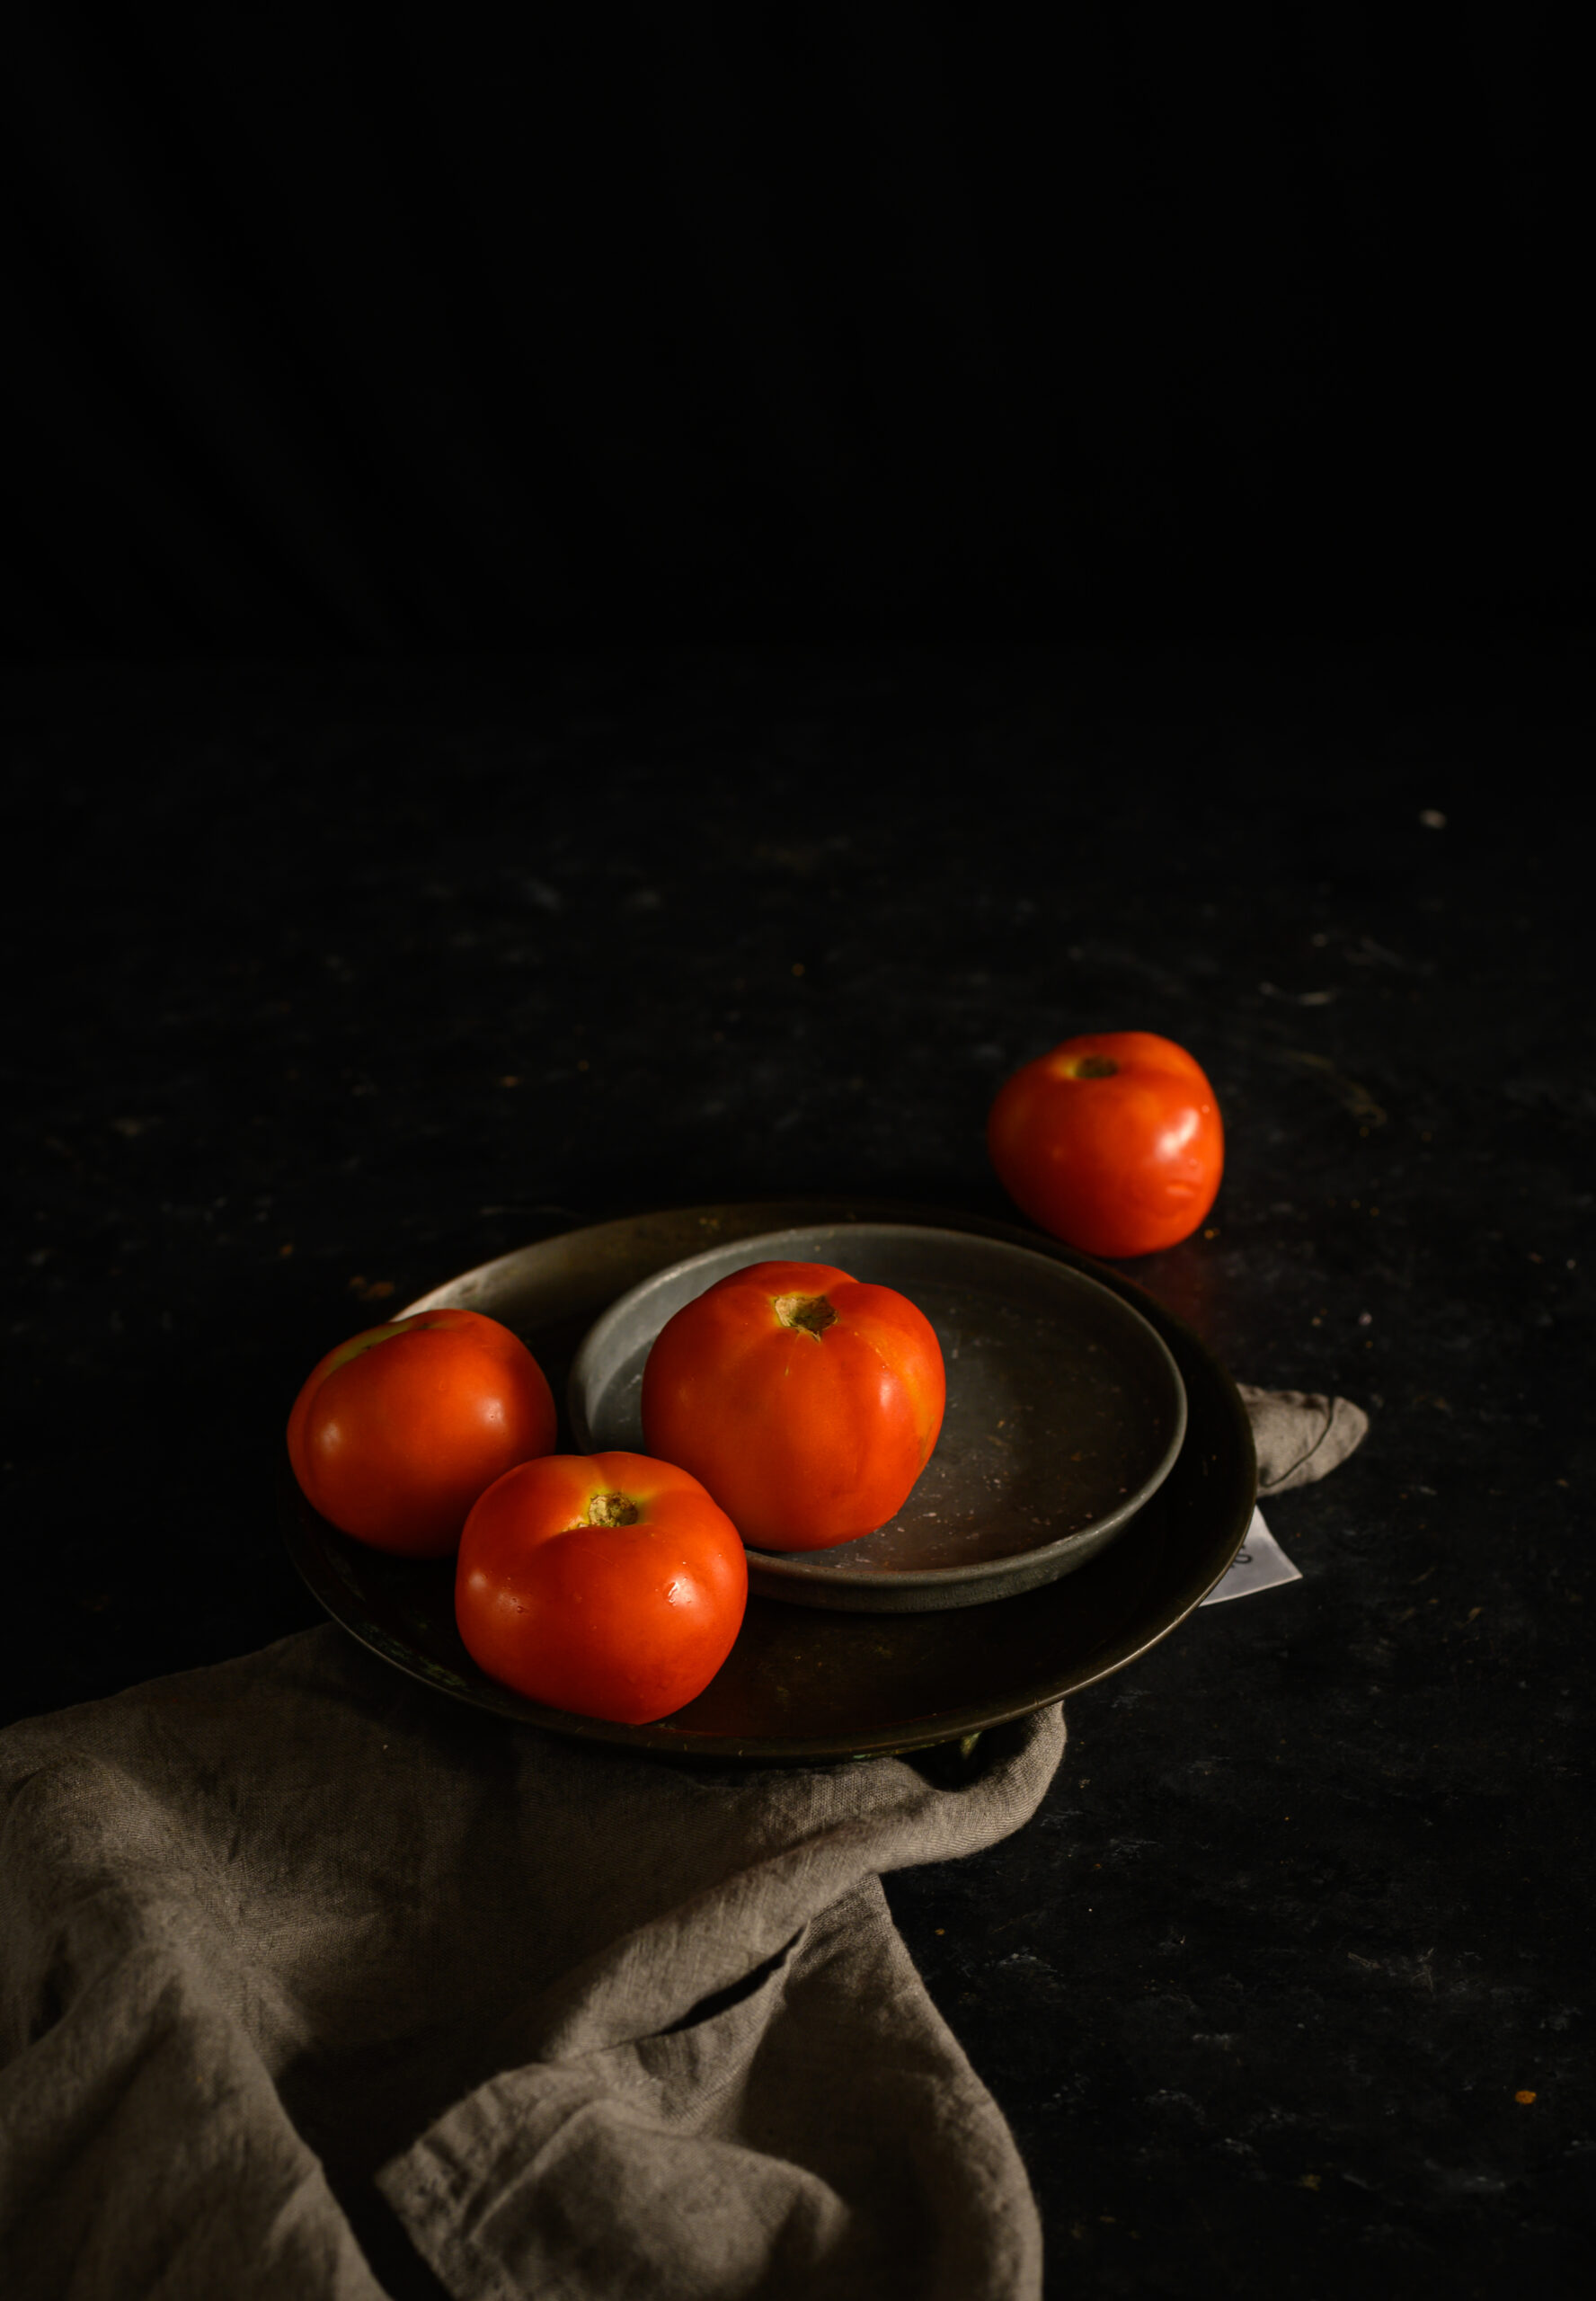
What makes this tomato purée extra special is that we’ve been growing the tomatoes ourselves on our terrace. I often talk about our farm and the varieties of produce and plants we grow there, and it’s really special to me that I get to bring some of that spirit back home too. Once you get a knack for gardening, you realise just how easy is it to cultivate some of the staples we reach for in our kitchens often. Many people I know grow herbs, vegetables and even fruit trees, which go directly into their diets. We are currently enjoying an abundant harvest of tomatoes, and are putting these lovely vegetables (or more accurately, fruits) to good use in a wide variety of dishes.
I guess you could say that while I haven’t yet found the talent for canning the way the Instagrammers do it, I’ve definitely had the patience to develop other culinary skills. Tending to homegrown produce is one, and making sourdough is another. Those of you who have followed my own IG stories for a while now would have noticed my eventual success in making that complicated bread! Whenever it’s pasta night at home, I put some into the oven and bake it an hour before dinnertime. A fresh, warm loaf accompanied by this tomato purée as a dip is served alongside delicious plates of pasta, which themselves are rich with this purée in the sauce. Now, I have my sights on mastering a sourdough base for pizza. My homemade pizza has been a hit in my household ever since my kids were little, and my daughter would often take some to school (to promptly exchange for spinach rice!). Her friends still ask me for some when they all visit together, and I’d love to surprise them with a sourdough twist to their childhood favourite soon. Made, of course, with this all-purpose tomato purée as a pizza sauce. Wish me luck, and be sure to follow my journey of trials, errors and triumphs on social media!
All-Purpose Tomato Purée
(Yield: 1 jar)
½ kilogram tomatoes
150 grams onions
4-5 garlic cloves
Salt to taste
1 teaspoon sugar (optional)
¼ teaspoon basil powder
2 tablespoons olive oil
1 teaspoon paprika
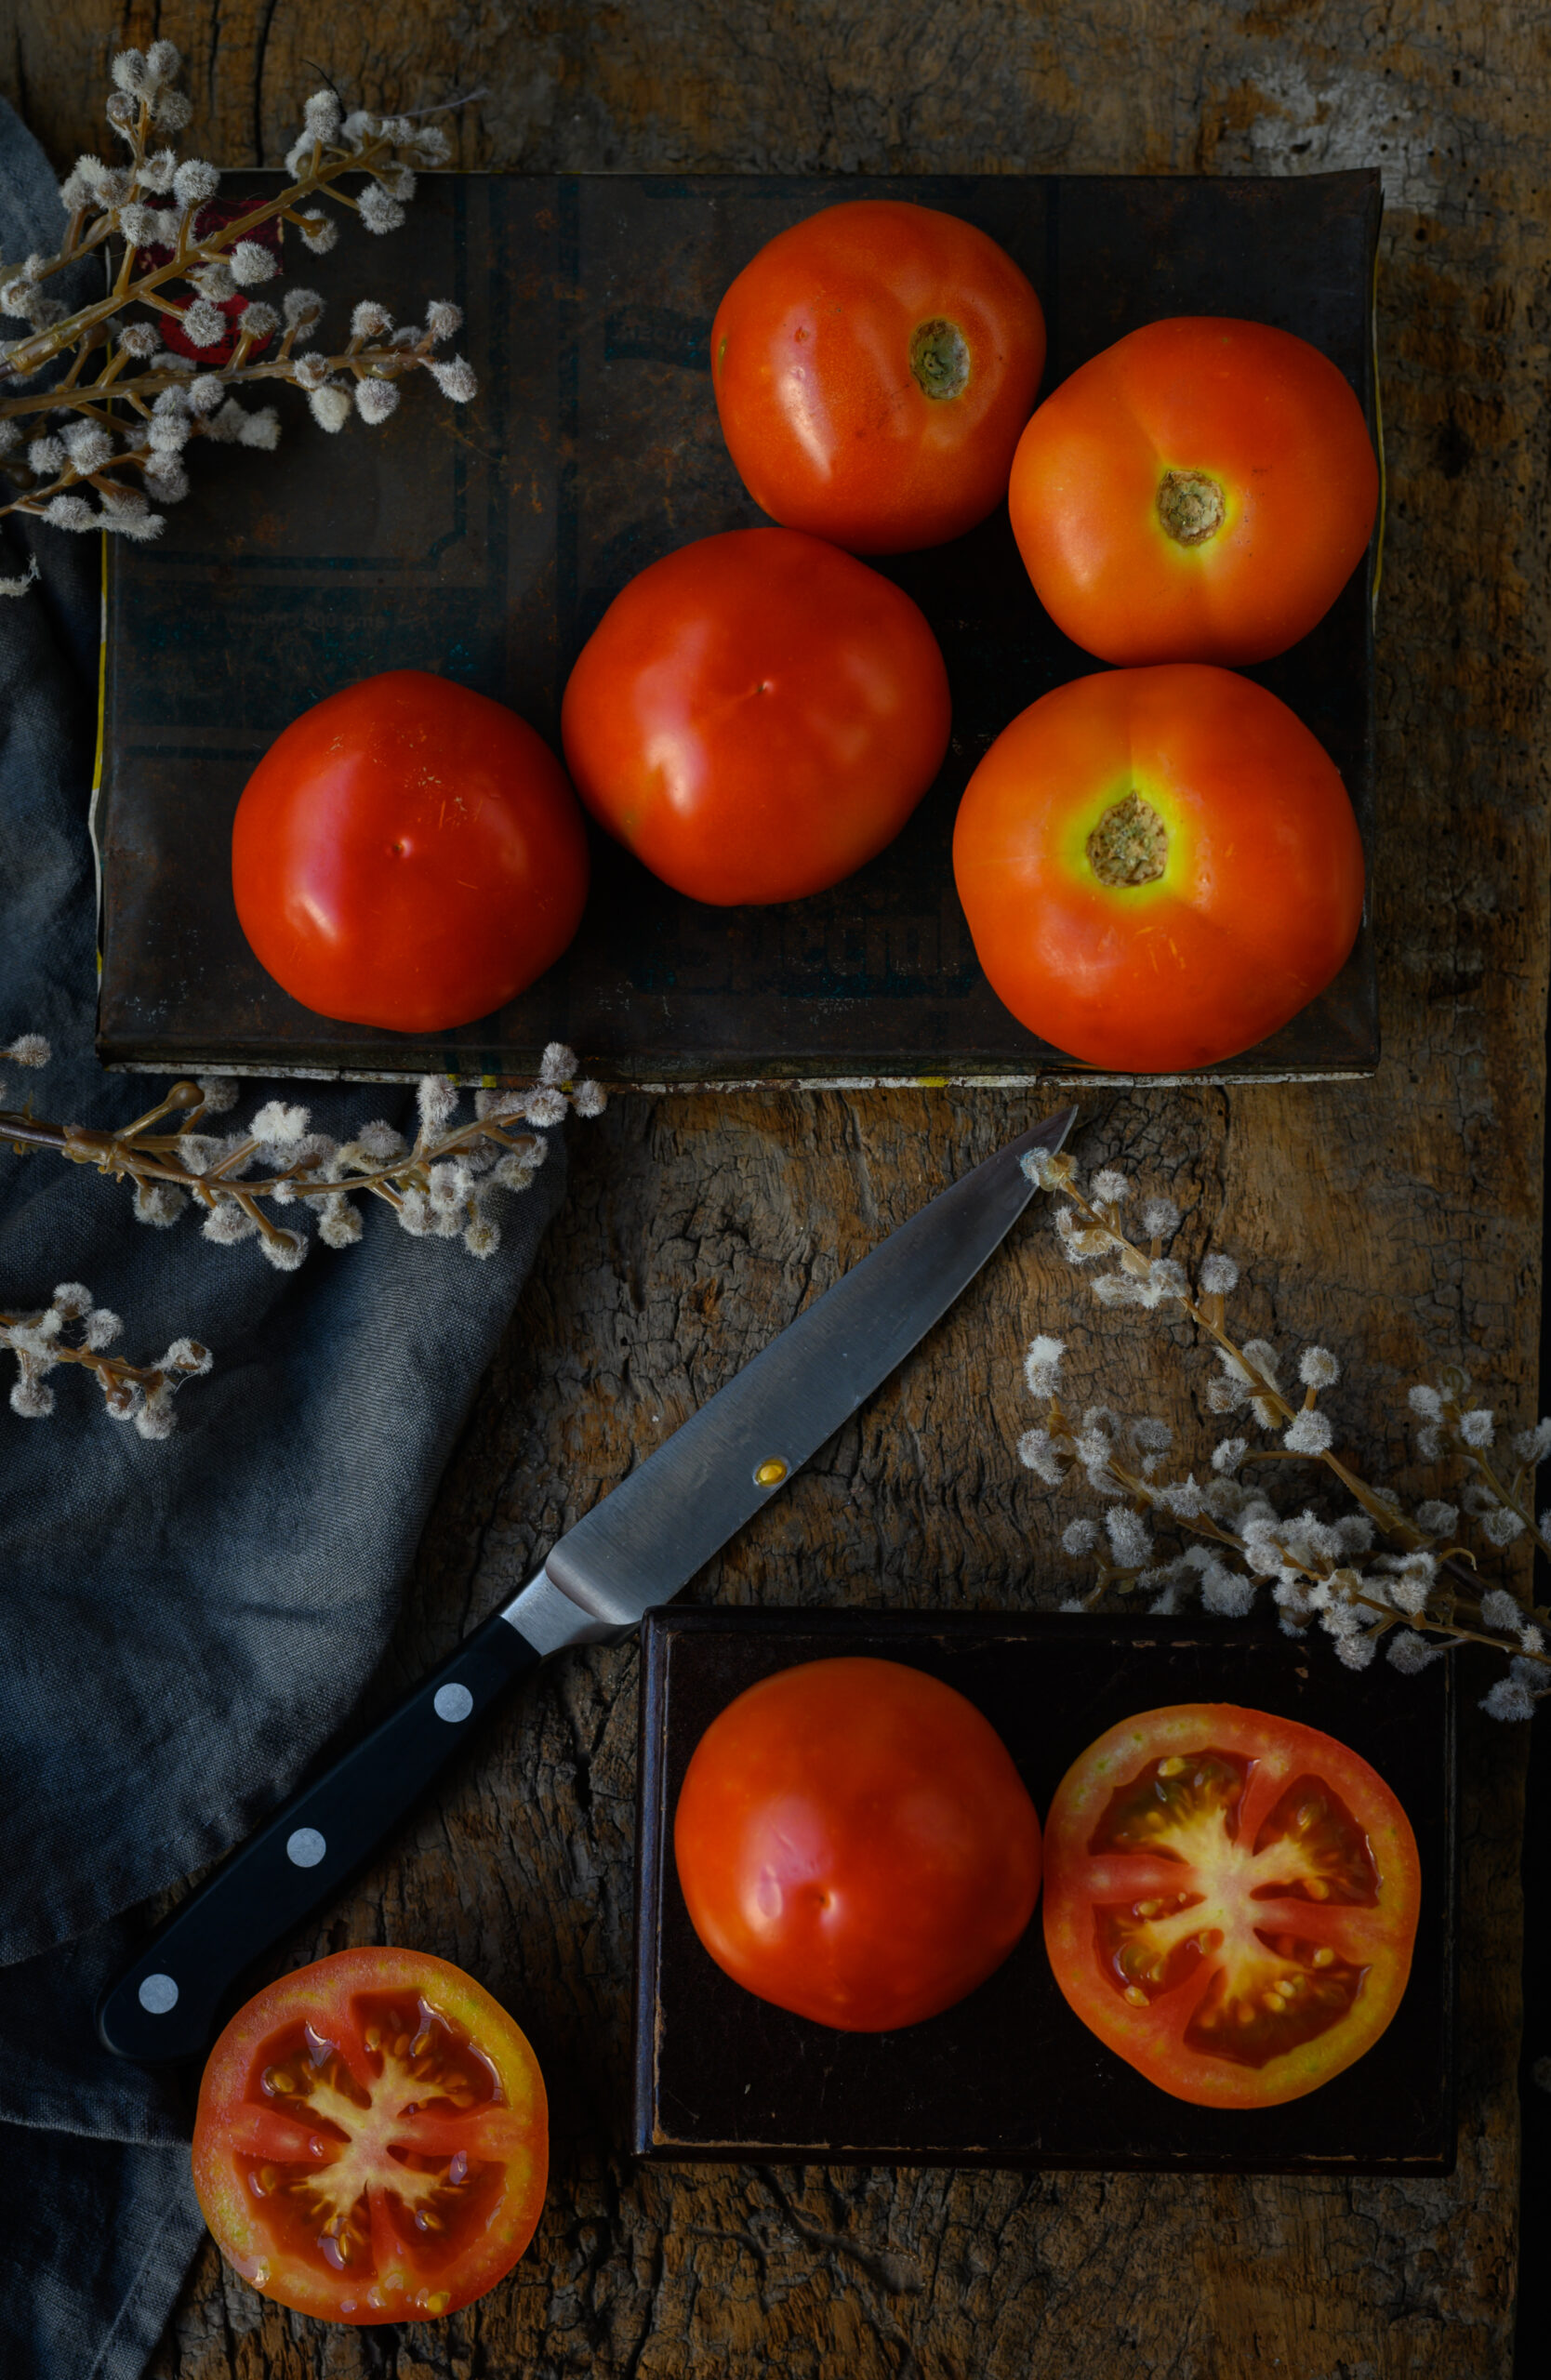
Roast the tomatoes over a flame until the skin is charred. Discard the skin and purée the tomatoes in a blender. Set aside.
Purée the onion in a blender along with the garlic cloves.
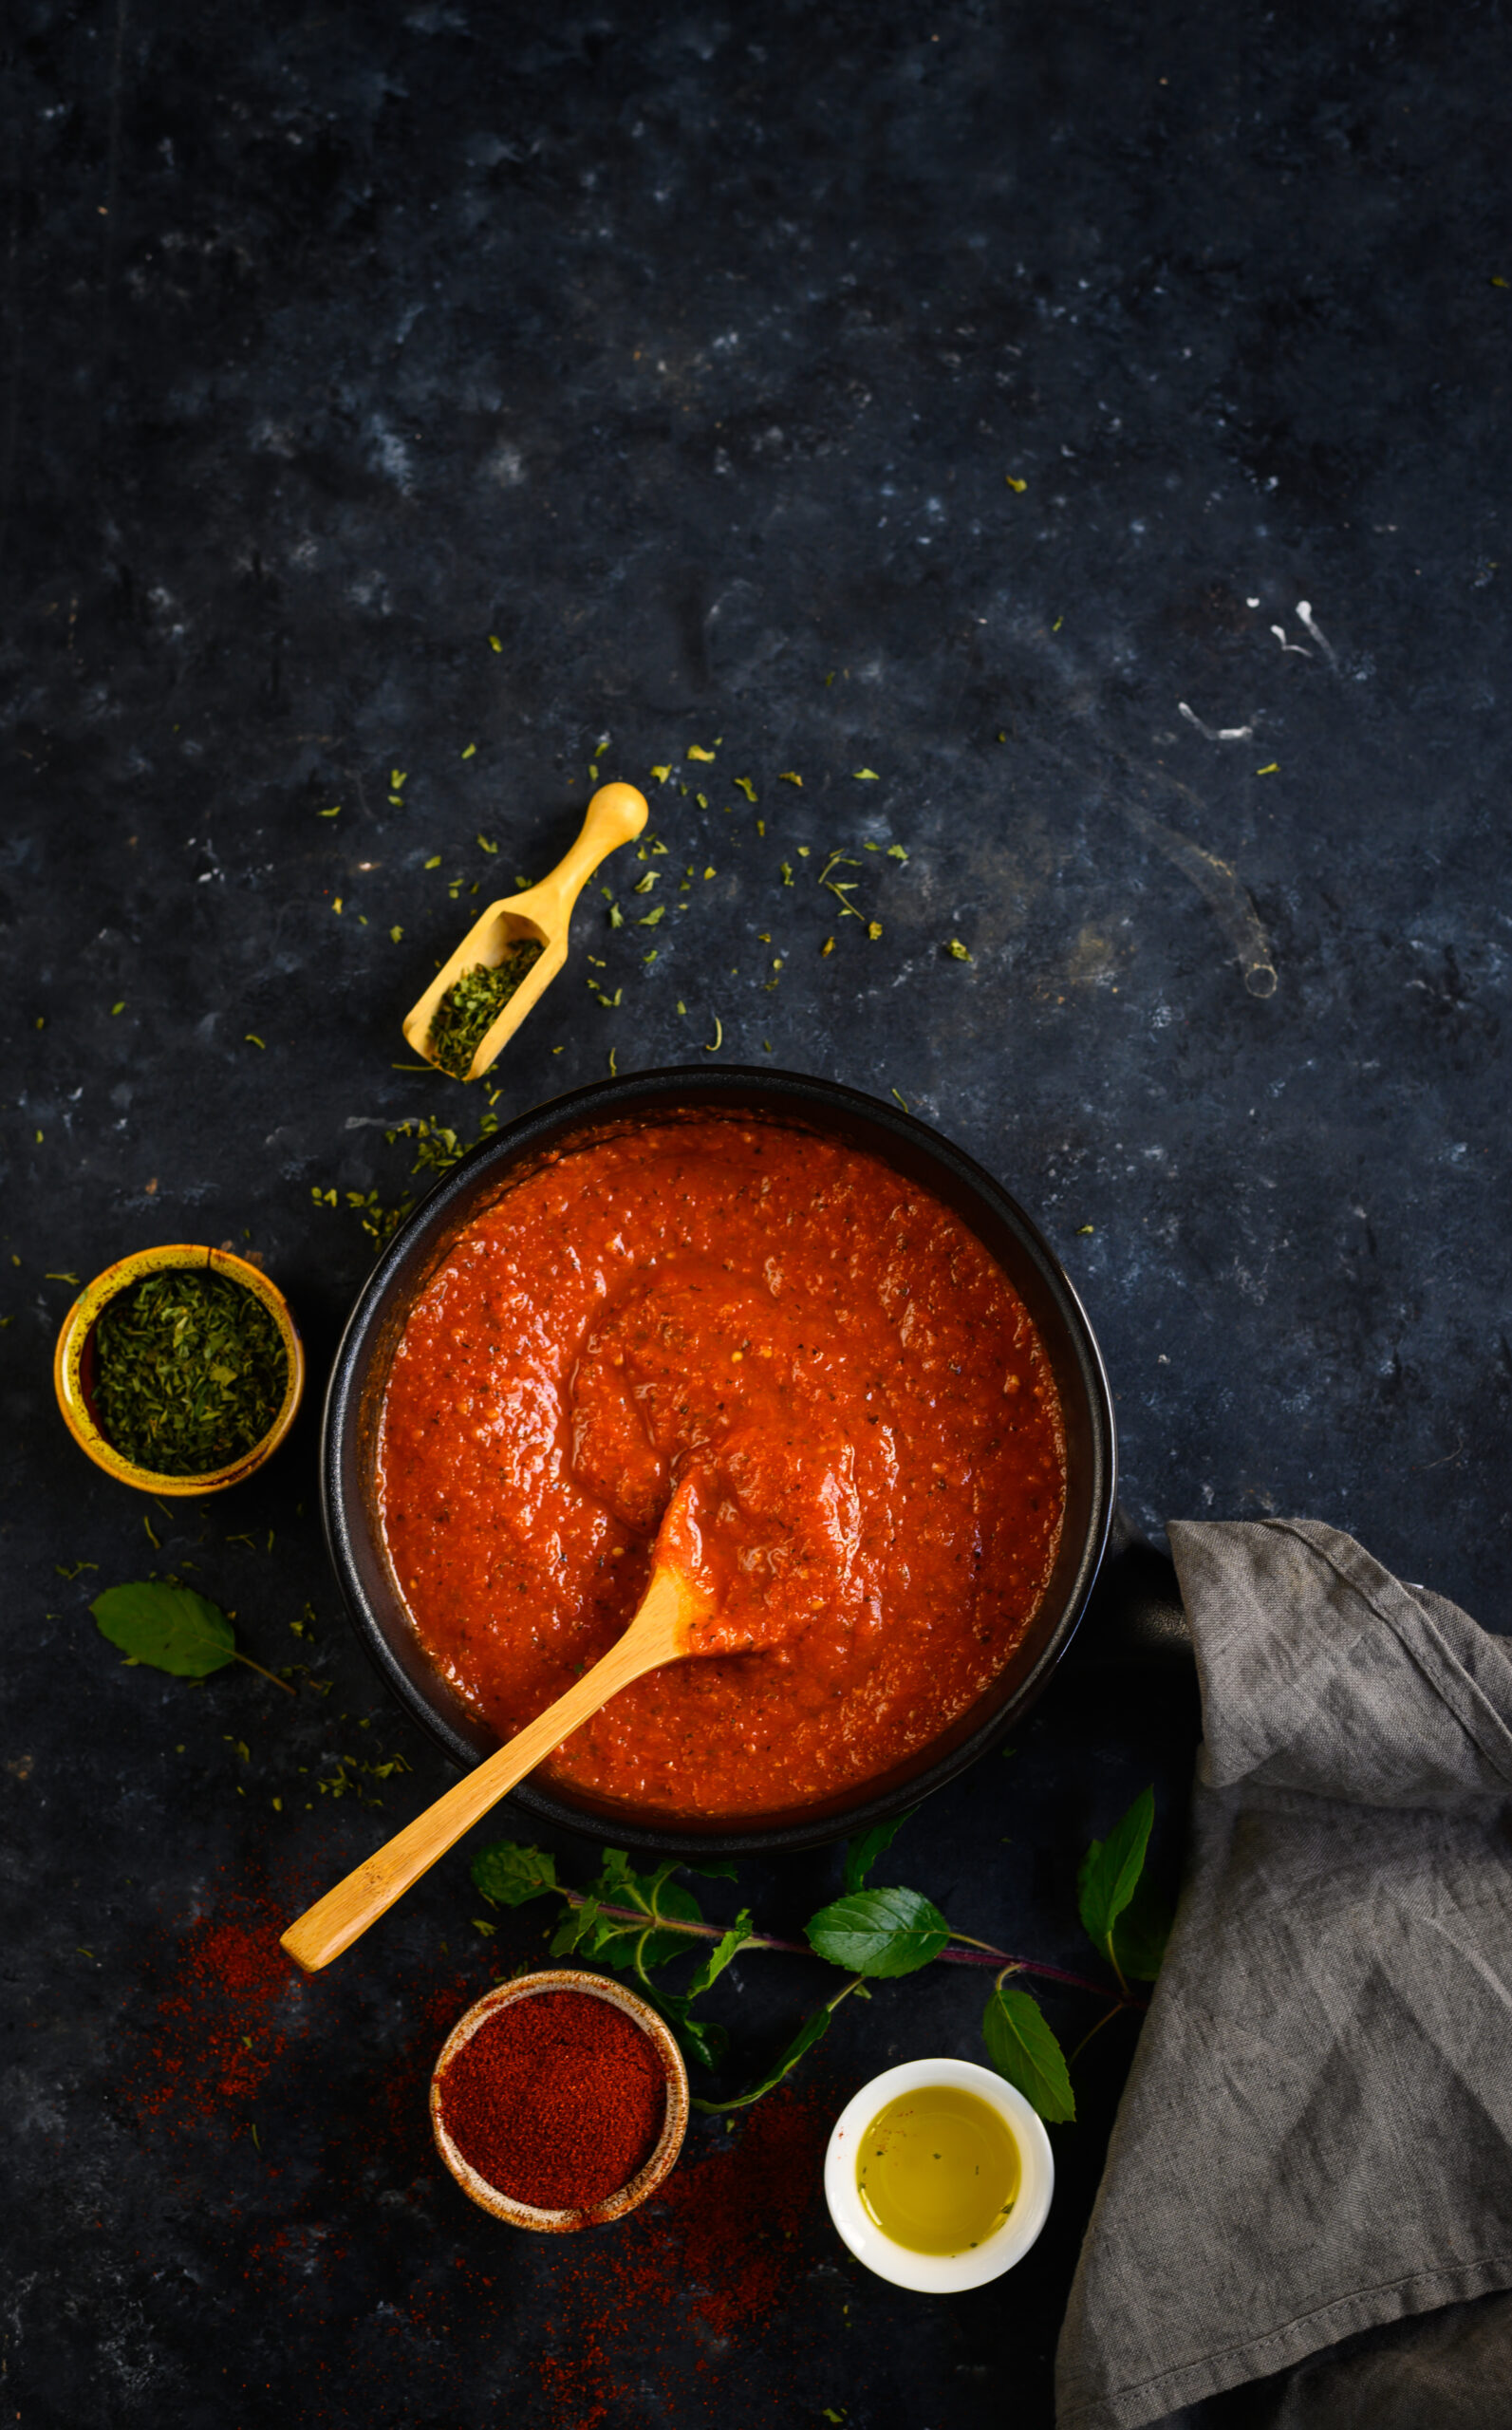
Heat a pan and add the olive oil. Then, add the puréed onion mixture and sauté till it turns golden. Next, add the tomato purée and mix well. Keep the flame to a medium heat and stir occasionally, making sure that the mixture does not stick to the bottom and sides. Be careful as the purée will soon start to bubble. Reduce the flame intermittently. When the purée begins to reduce, add the remaining ingredients and stir well.
Some notes on adjusting the ingredients to suit your taste: change the proportion of onions or garlic depending on how you like them, substitute chili powder for paprika if that’s your preference, and adding a sprinkling of fresh basil towards the end of the reduction adds a nice flavour, if you have that ingredient on hand.
Reduce the purée until it is thick and spreadable, or to the consistency you desire.
Allow to cool and store in a glass jar in the fridge. This all-purpose tomato purée lasts for approximately a week, and up to ten days with good storage. As it keeps well, you can also adjust all the proportions to make a batch in a size that’s ideal for all the ways you may use it over the course of a week.
Whether it’s a pasta, a pizza, a sandwich, or even an Indian curry with a hint of Mediterranean flavours, this all-purpose tomato purée just adds so much convenience to my regular cooking. I’d love to know if you try it out, and I’d especially love to hear about the creative ways in which you add it to your own menu!


 Syrup")