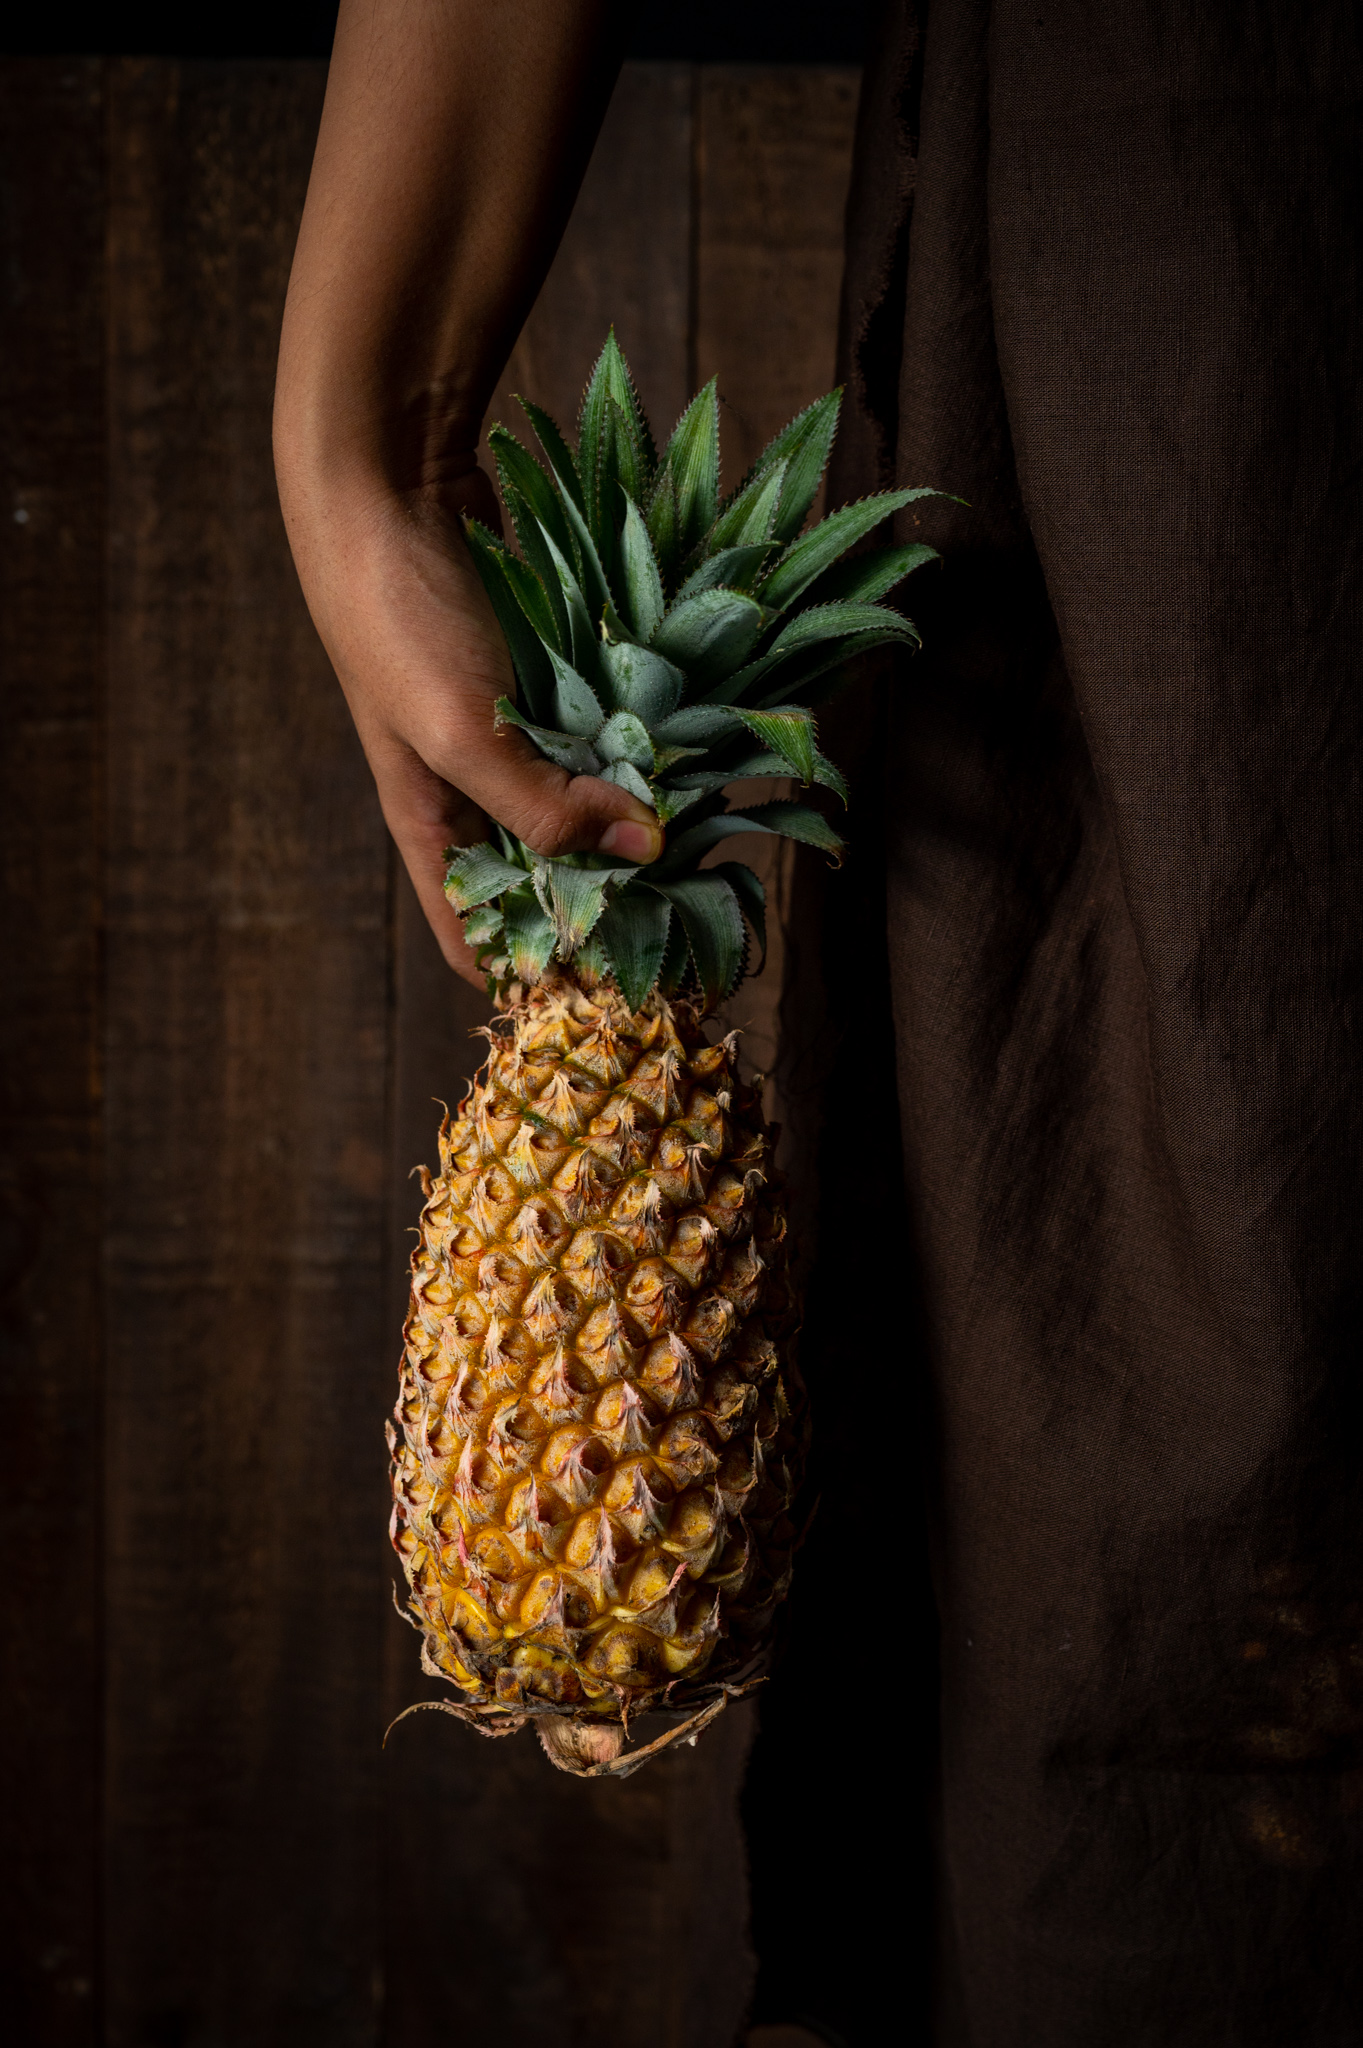
On a trial basis, my son has been cultivating organic pineapples in Bangalore. They are mini-pineapples, about half the regular size. I had never seen this variant until I visited him shortly after a successful harvest. I found them incredibly sweet, and adorable to look at too. Back home in Chennai, pineapples stayed on my mind, which was perfect timing as they happen to be in season. Considering the possibilities of how to consume the fruit, aside from eating it just as it is, I decided to give making a pineapple rice a shot. As far as I know, this dish is of Thai origin. However, I feel it fits in well with Indian and especially with Gujarati cuisine, given our enjoyment of a bit of sweetness in every preparation. I think the Indian palate in general also likes to have something sweet, something tangy and something spicy at every meal, and this pineapple rice covers all three requirements.
Aside from pineapple rice being my preferred dish at local Thai restaurants, the memory of the one time that I had authentic Thai pineapple rice in Bangkok still lingers in my mind. Those flavours are the ones I am trying to recreate here in this recipe. Bringing culinary experiences from our travels into our own kitchens is a beautiful, and of course delicious, way to preserve those good times.
This dish is only one of the many ways that I use pineapple, one of my favourite fruits, in my cooking. It also makes a frequent appearance at my dining table in my pineapple salsa (you may want to try out my peach salsa, the recipe for which is here). It is my topping of choice when it comes to my homemade pizza, which I make on a sourdough base. Pineapple is a healthy way to satisfy my terrible sweet tooth, so what I do is to add a little jaggery, and then put the slices on a non-stick pan or stick them in the oven. This makes for a completely natural dessert that hits the spot, without any artificial or processed ingredients.
One recipe that I’ve not yet attempted, but hope to have the courage to give a shot one of these days, is my mother’s pineapple upside down cake. She often made it when I was growing up, and it was utterly delicious. I am quite tempted to try… Wish me luck! I’ll certainly keep you posted about my endeavours (most likely on Instagram).
As I said, I love pineapple, and while it would seem from my sharing above that I eat it all the time, this is sadly not true. This wonderful fruit is a pain to peel and slice up, and this often becomes a deterrent to consuming it as much as I’d like to. Yet, it really is worth it every time. Perhaps it is just as it is with everything else in life: whatever is most difficult often has a juicy reward at the end of it. Hard work does pay off. As for how incredibly sweet the pineapple is once you get past the tough exterior – ah, I suppose that’s the case with a lot of people as well. Wouldn’t you agree?

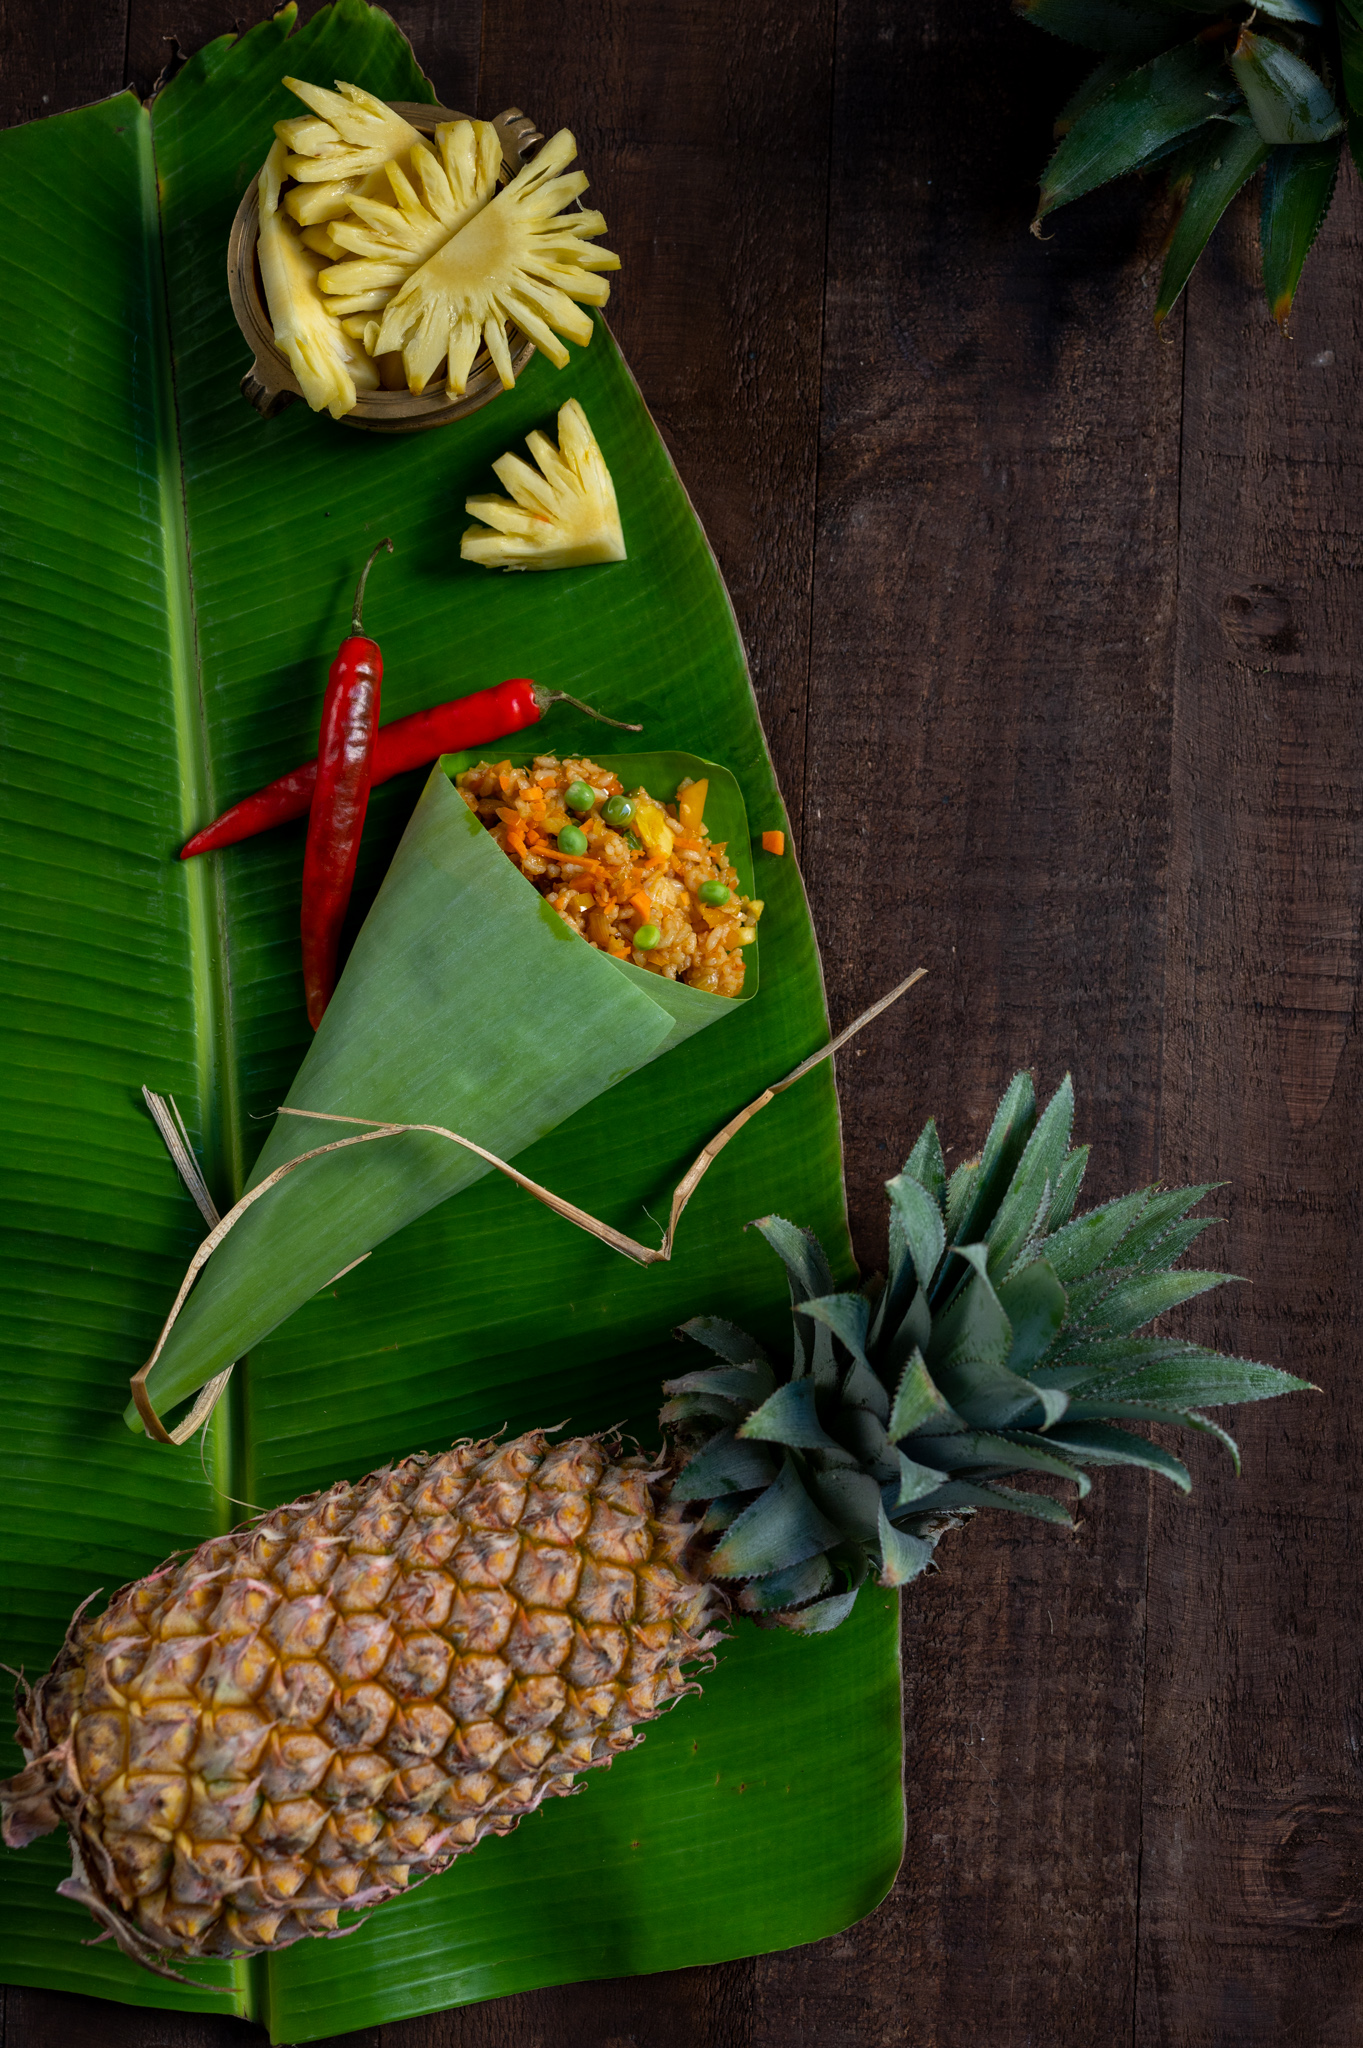
Pineapple Rice
(Serves 2)
2 tablespoons sesame oil
2 cups cut vegetables (I used carrots, onions, yellow bell peppers and green peas)
½ teaspoon garlic paste
½ teaspoon ginger (grated)
1 red chilli (finely sliced)
1 teaspoon chilli sauce of your choice
2 cups cooked rice
¼ cup water (if required)
2 teaspoons tamari or light soya sauce
1½ teaspoons coconut vinegar
½ teaspoon brown sugar
Salt to taste
1 cup finely chopped pineapple
Finely sliced green onions (to garnish)
In a pan, add the oil. Once it has heated, add the cut vegetables. You may use the ones you prefer; as listed above, I have used carrots, onions, yellow bell peppers and green peas. Sauté on a high flame for a few minutes or until al dente. Add the sliced red chilli. Stir well until fragrant. Sprinkle some water if required.
Now, add the cooked rice. Partially cooked rice is best, and this is also a great way to use up any leftover rice that you may have.
Then, add the tamari, salt, chilli sauce, vinegar, brown sugar and another sprinkling of water. Stir well on a high flame. Finally, add the pineapple and mix well again. Garnish with the finely sliced green onions and serve.
Trust me – the moment that you take a bite, you’ll forget the effort it took to peel that pineapple! What the fruit adds to this fried rice is well worth it. It brings together all the elements that make up this dish. Flavours of sweetness and spiciness play harmoniously here. This pineapple rice is perfectly satisfying, evoking the flavours of Thailand while fulfilling Indian tastebuds. I hope you’ll try it out, and that you’ll enjoy it just as much as I do!