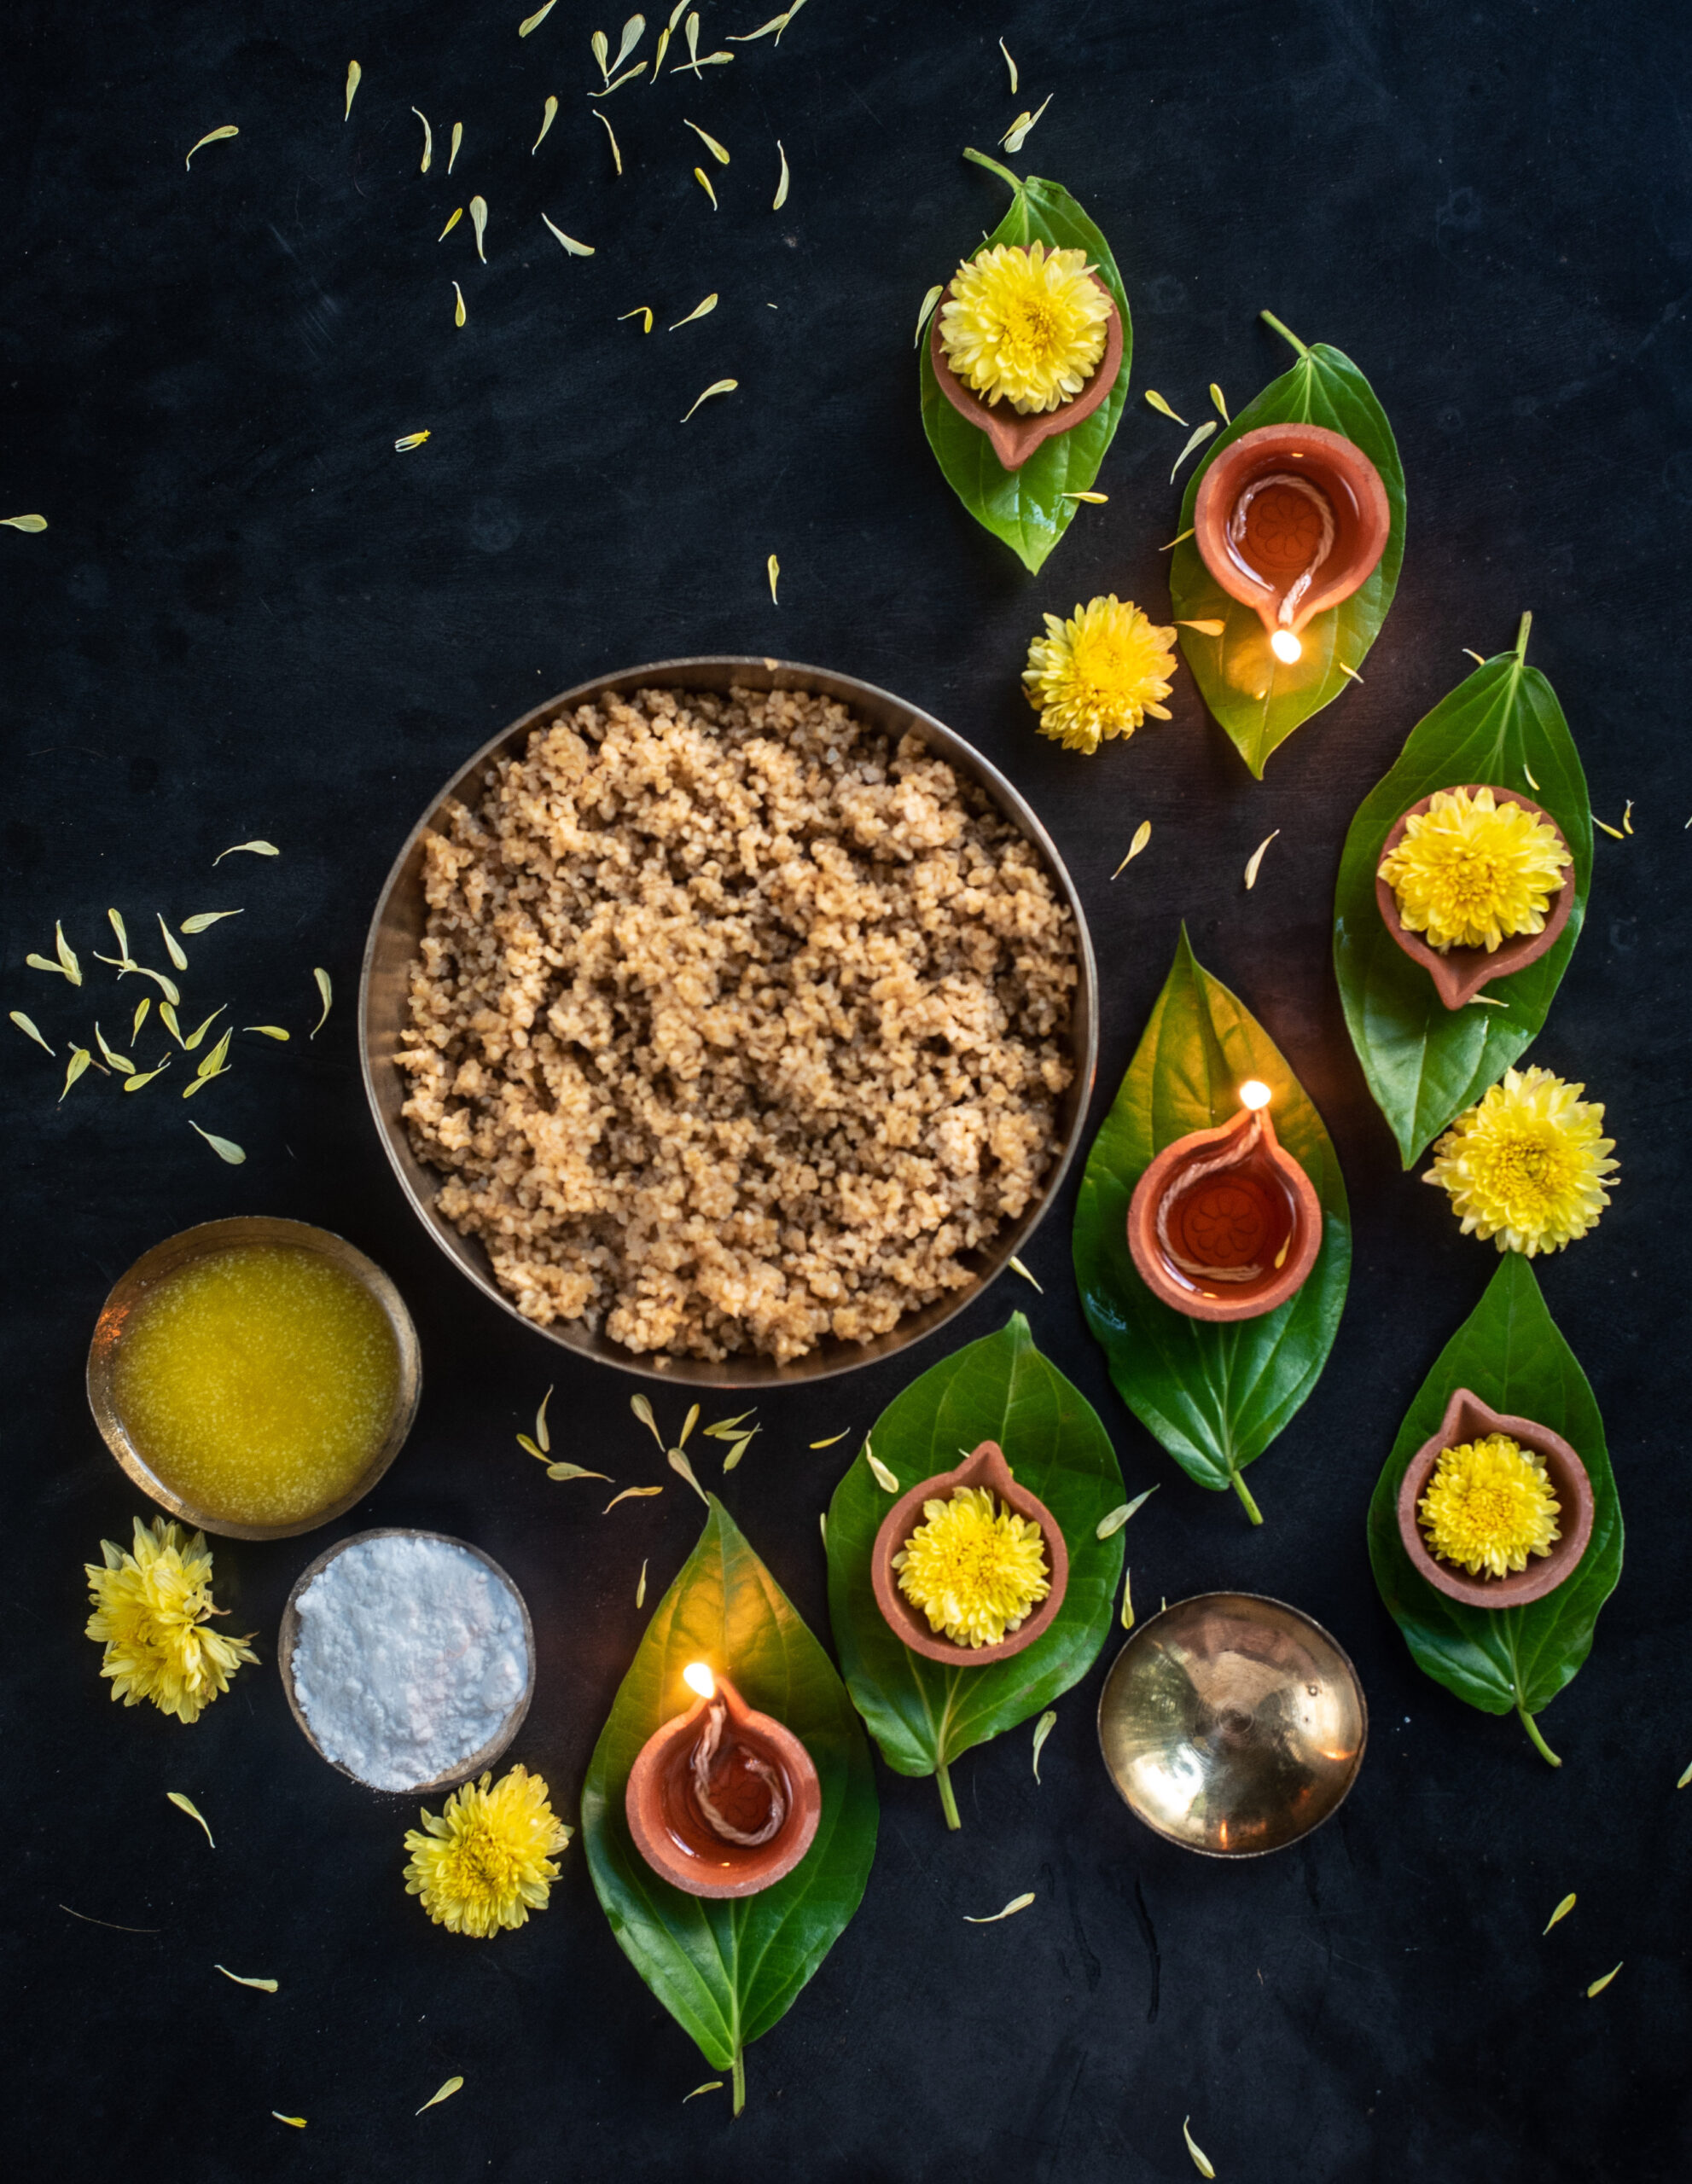
Sankranti, the harvest festival, is here and as we celebrate by giving thanks for the crops we eat daily, it’s til-ka-chikki that strikes me as a perfect dish for the occasion. The chief ingredient of this crunchy sweet is sesame, which is believed to have been cultivated in India for over 5500 years. As a form of produce that can grow with relatively little supervision, and in less than ideal conditions, there is no doubt to me that many of our ancestors would have considered it a perfect if not vital part of their Sankranti. Sankranti is known by various names throughout the country – it is also observed as Pongal, Bihu, Maghi and by other names depending on region. No matter where, it falls in mid-January and is a time when the sun is worshipped for its life-giving properties.
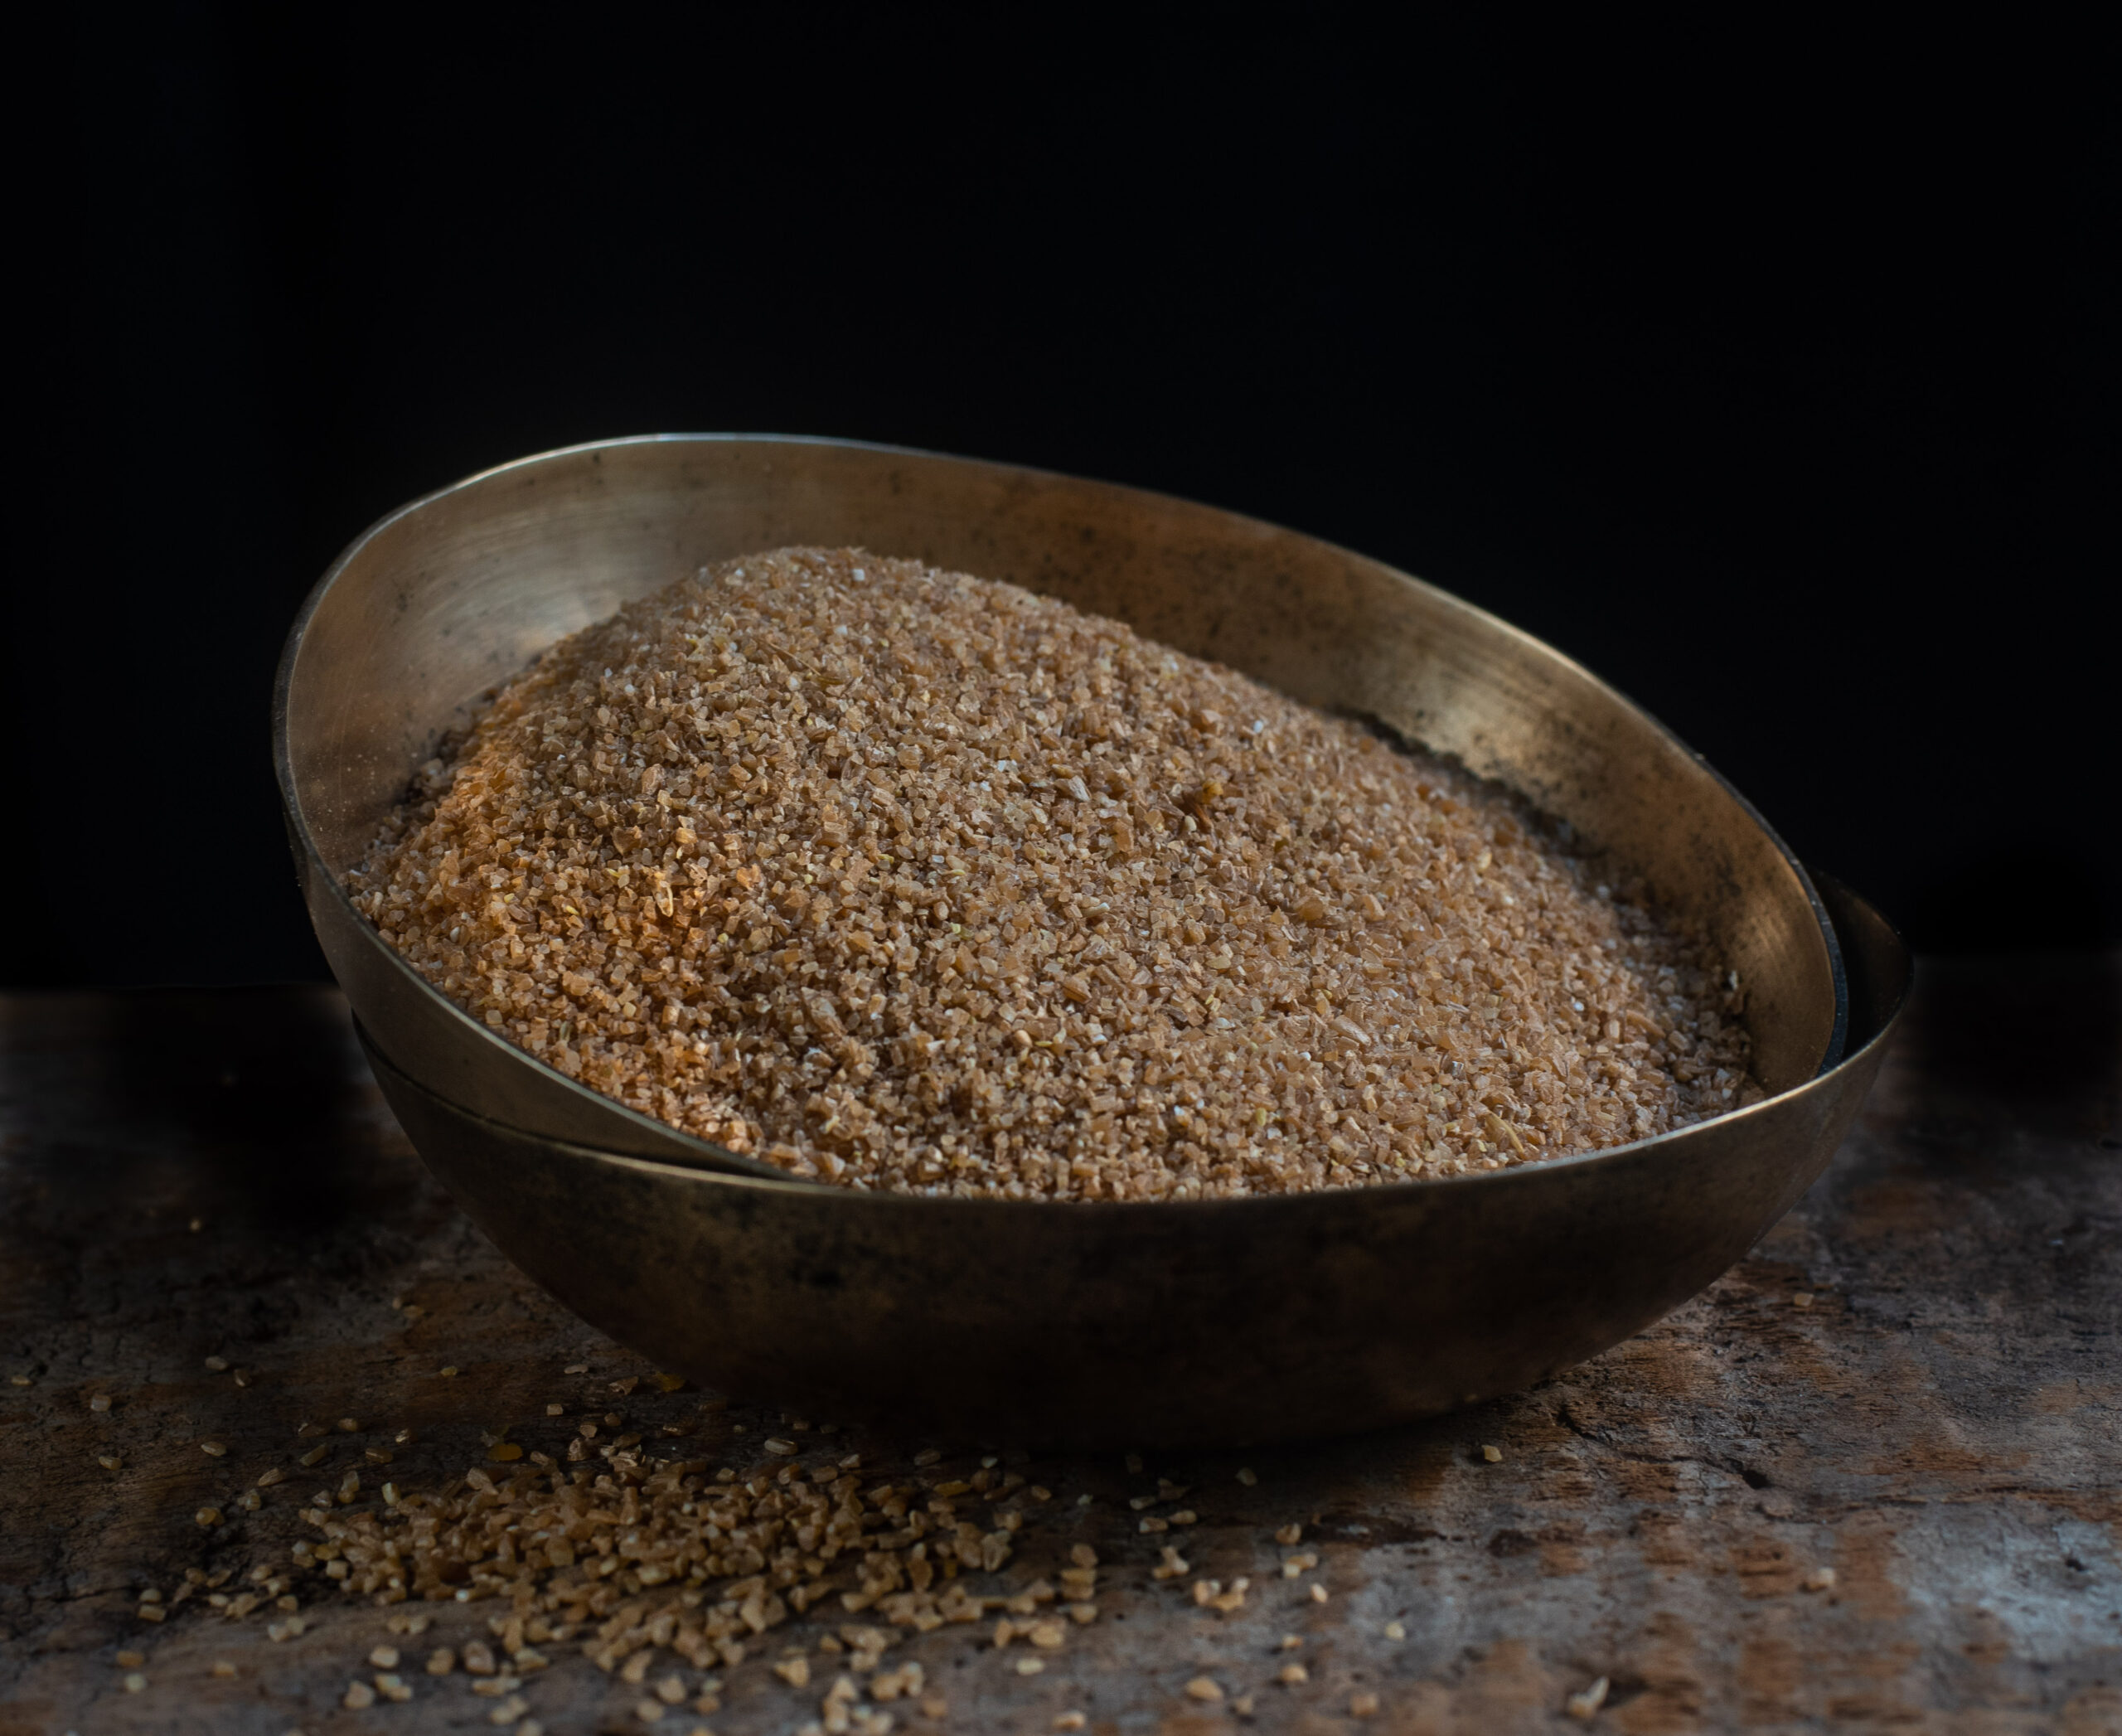
“Til” is the Gujarati word for sesame, as well as in other languages including Hindi and Punjabi. The English word “sesame” is from the Arabic “semsem”, indicating oil or liquid fat. This is because it is an oilseed produce. It’s an excellent digestive aid as it’s full of fiber, and also has high copper, manganese and calcium content, in addition to other vitamins and minerals.
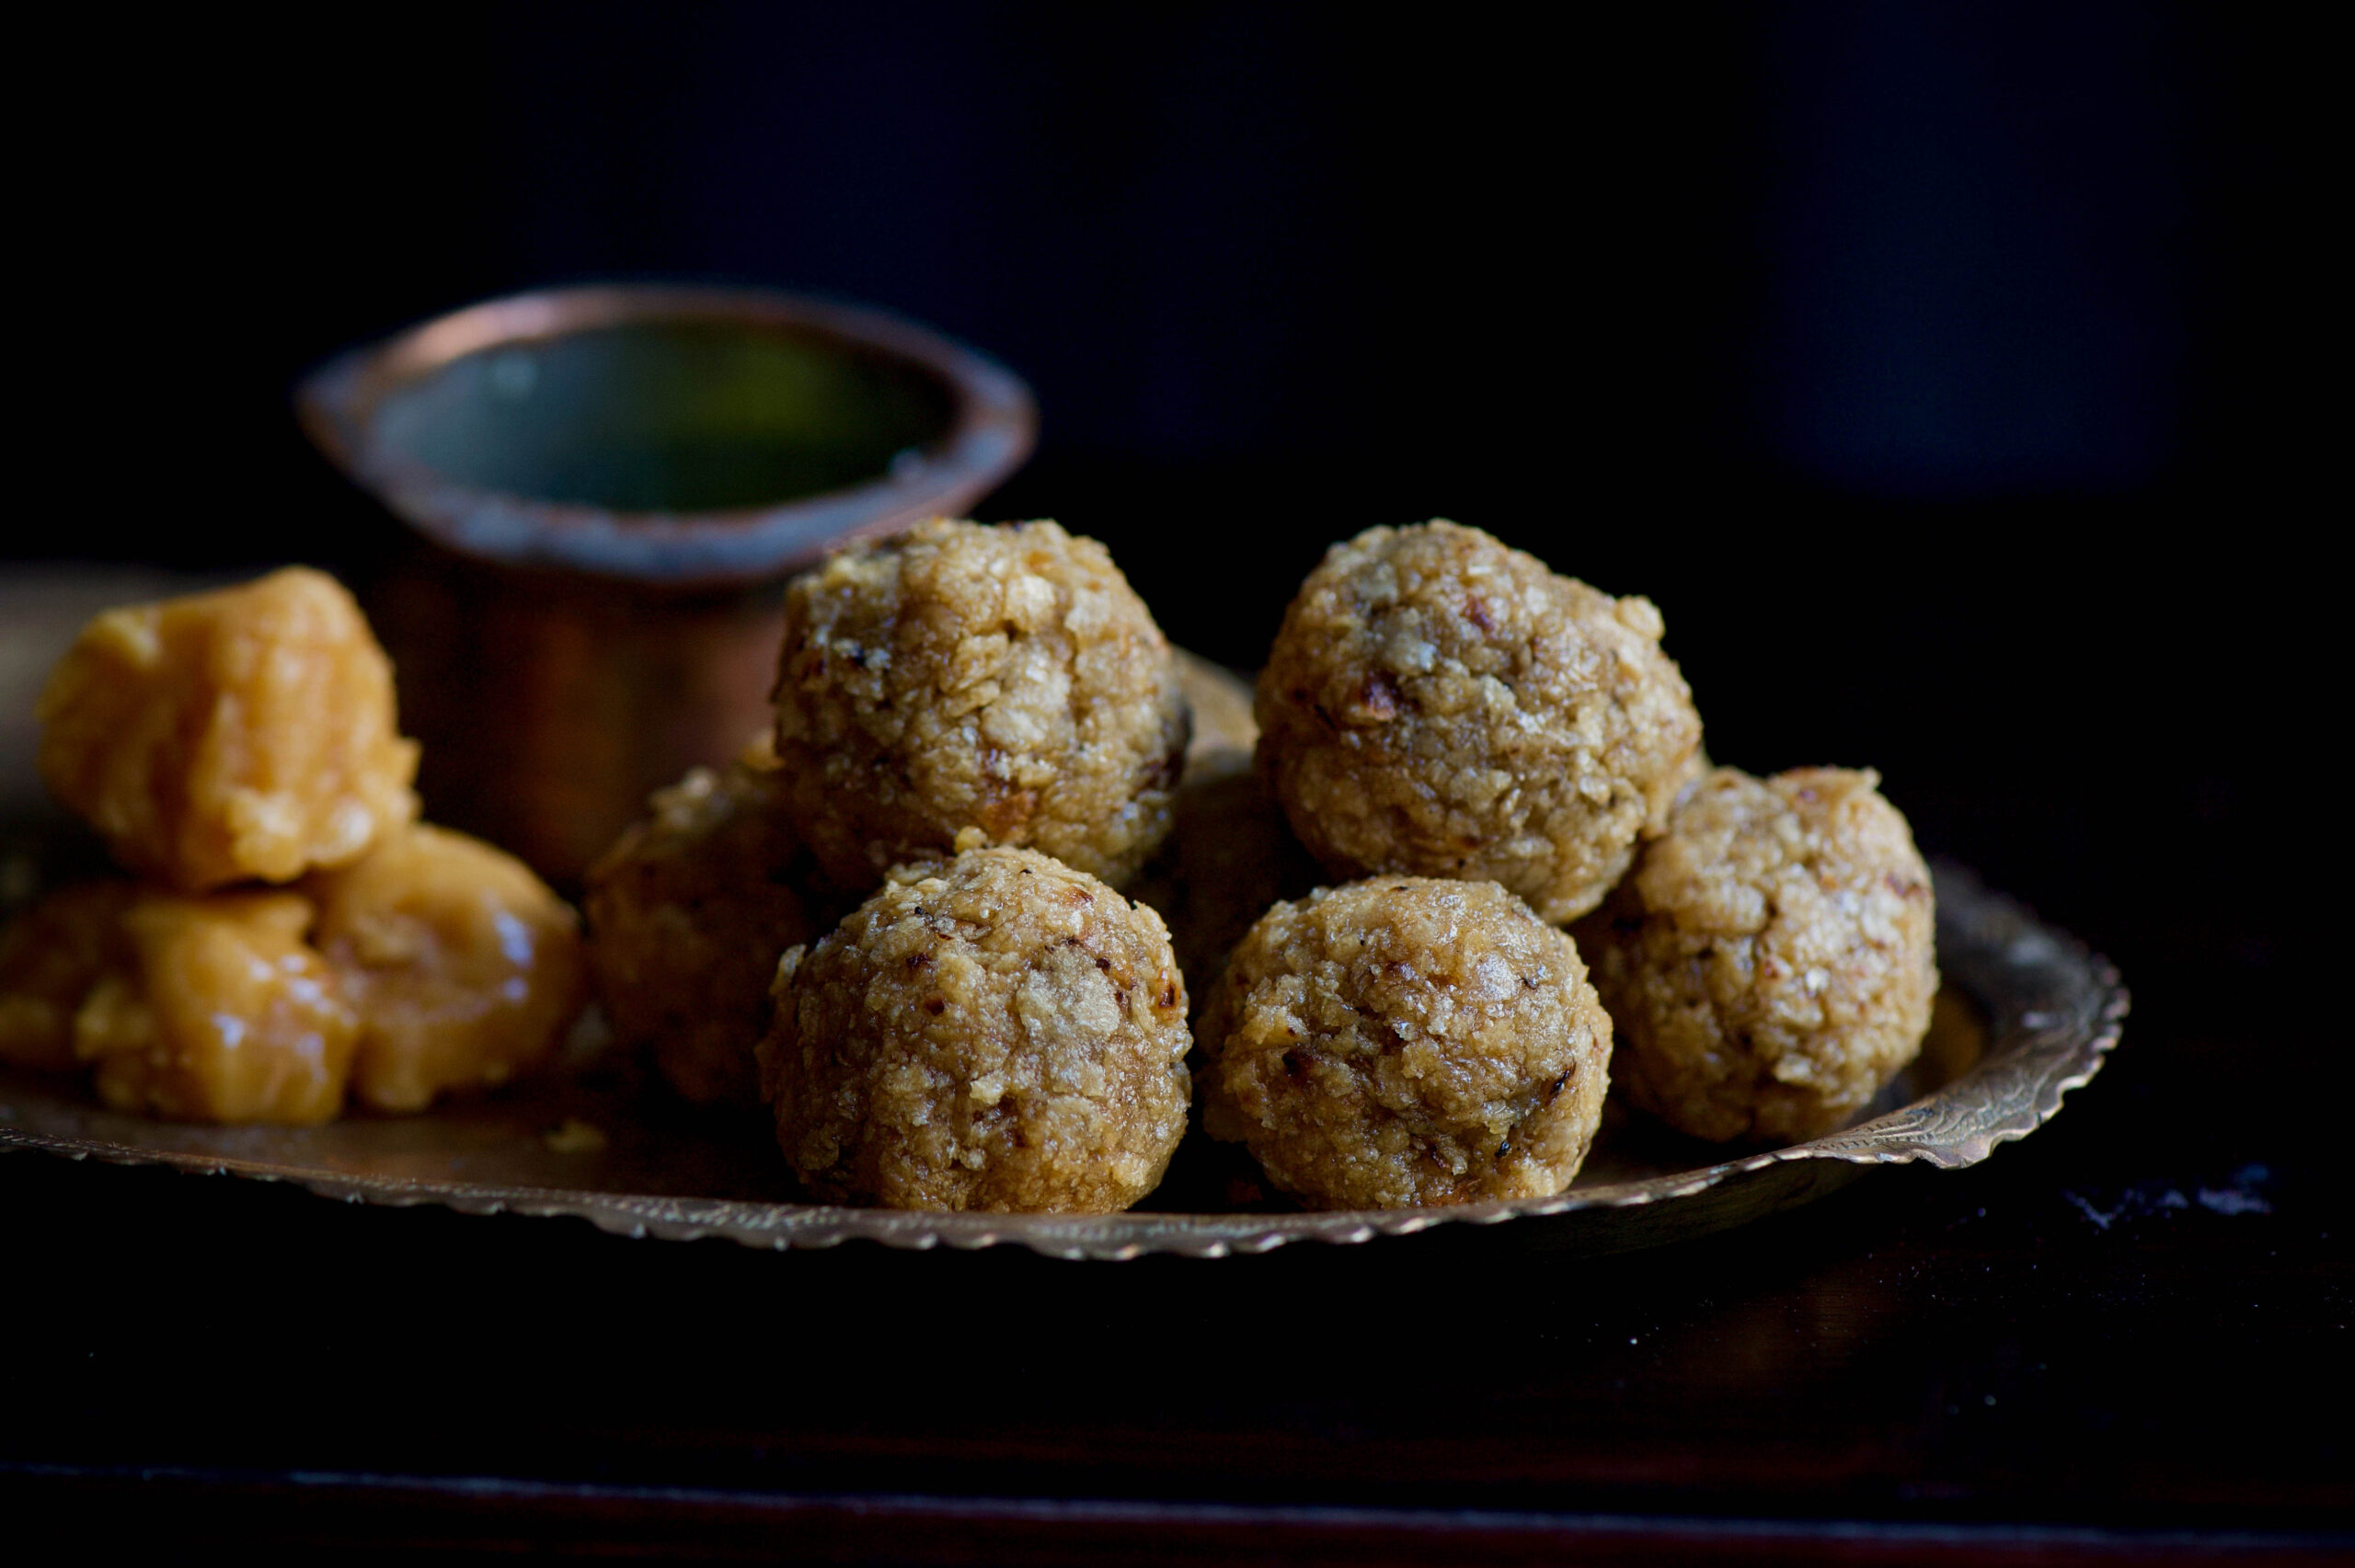
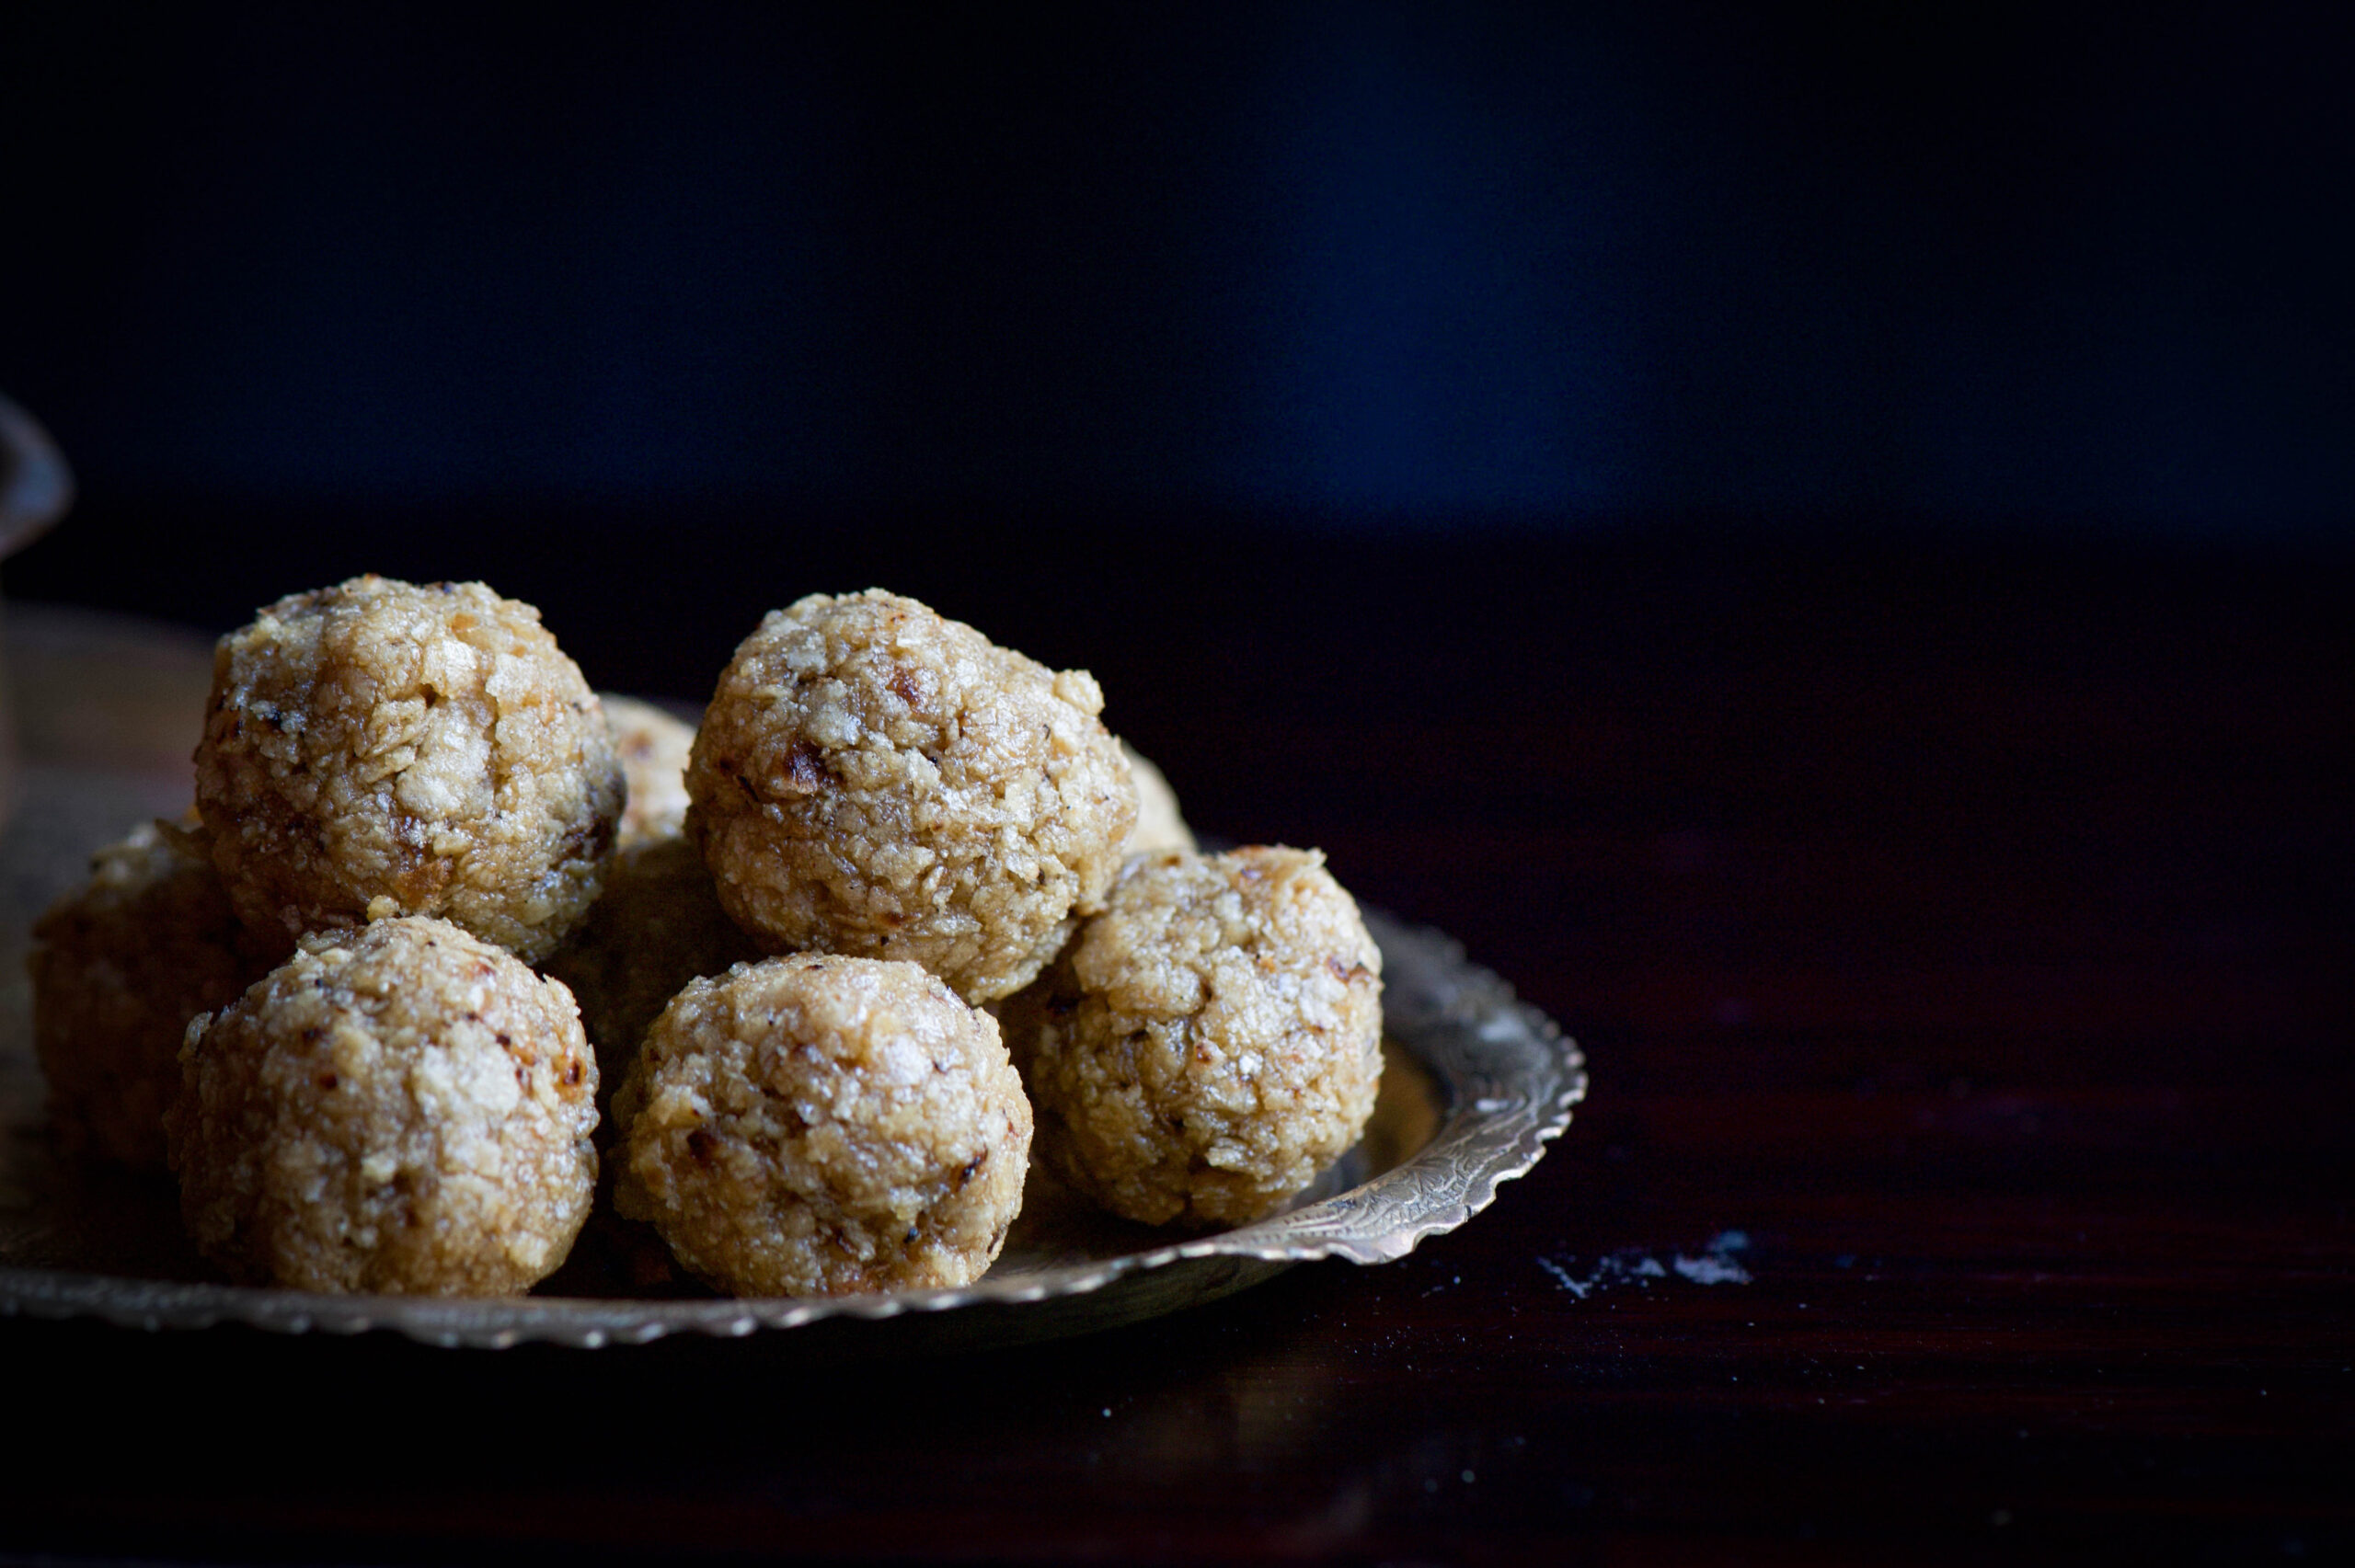
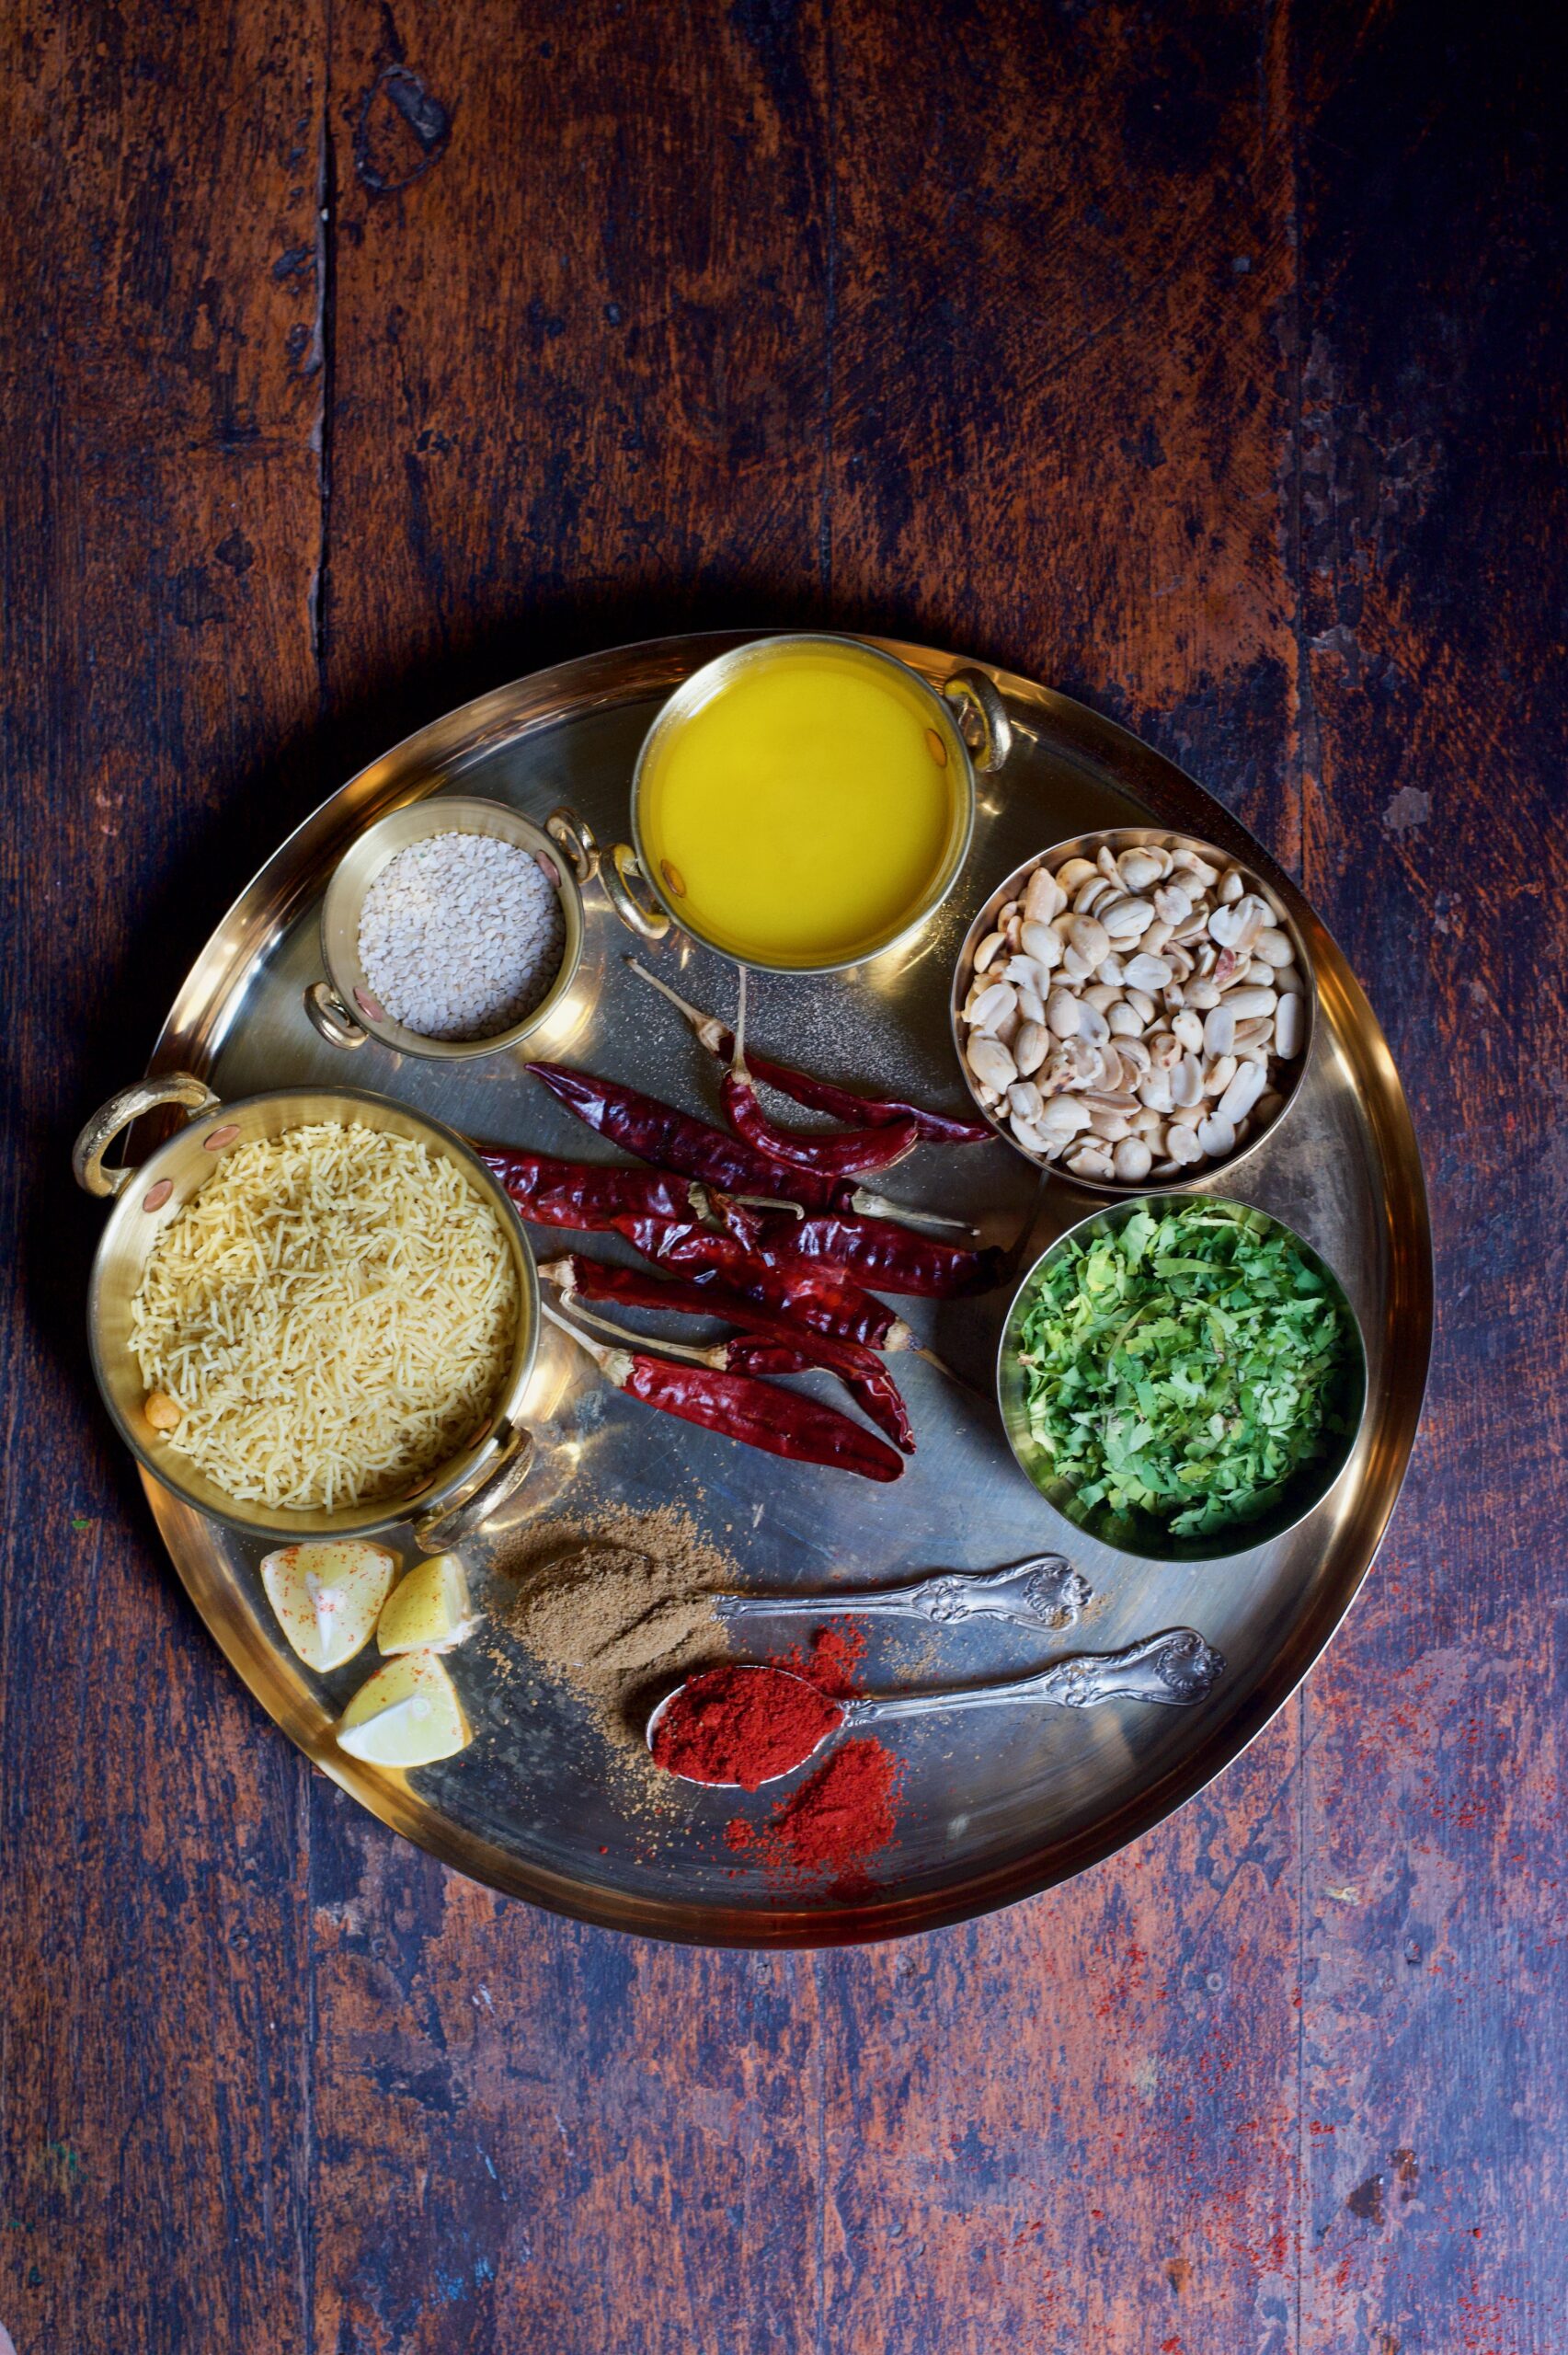
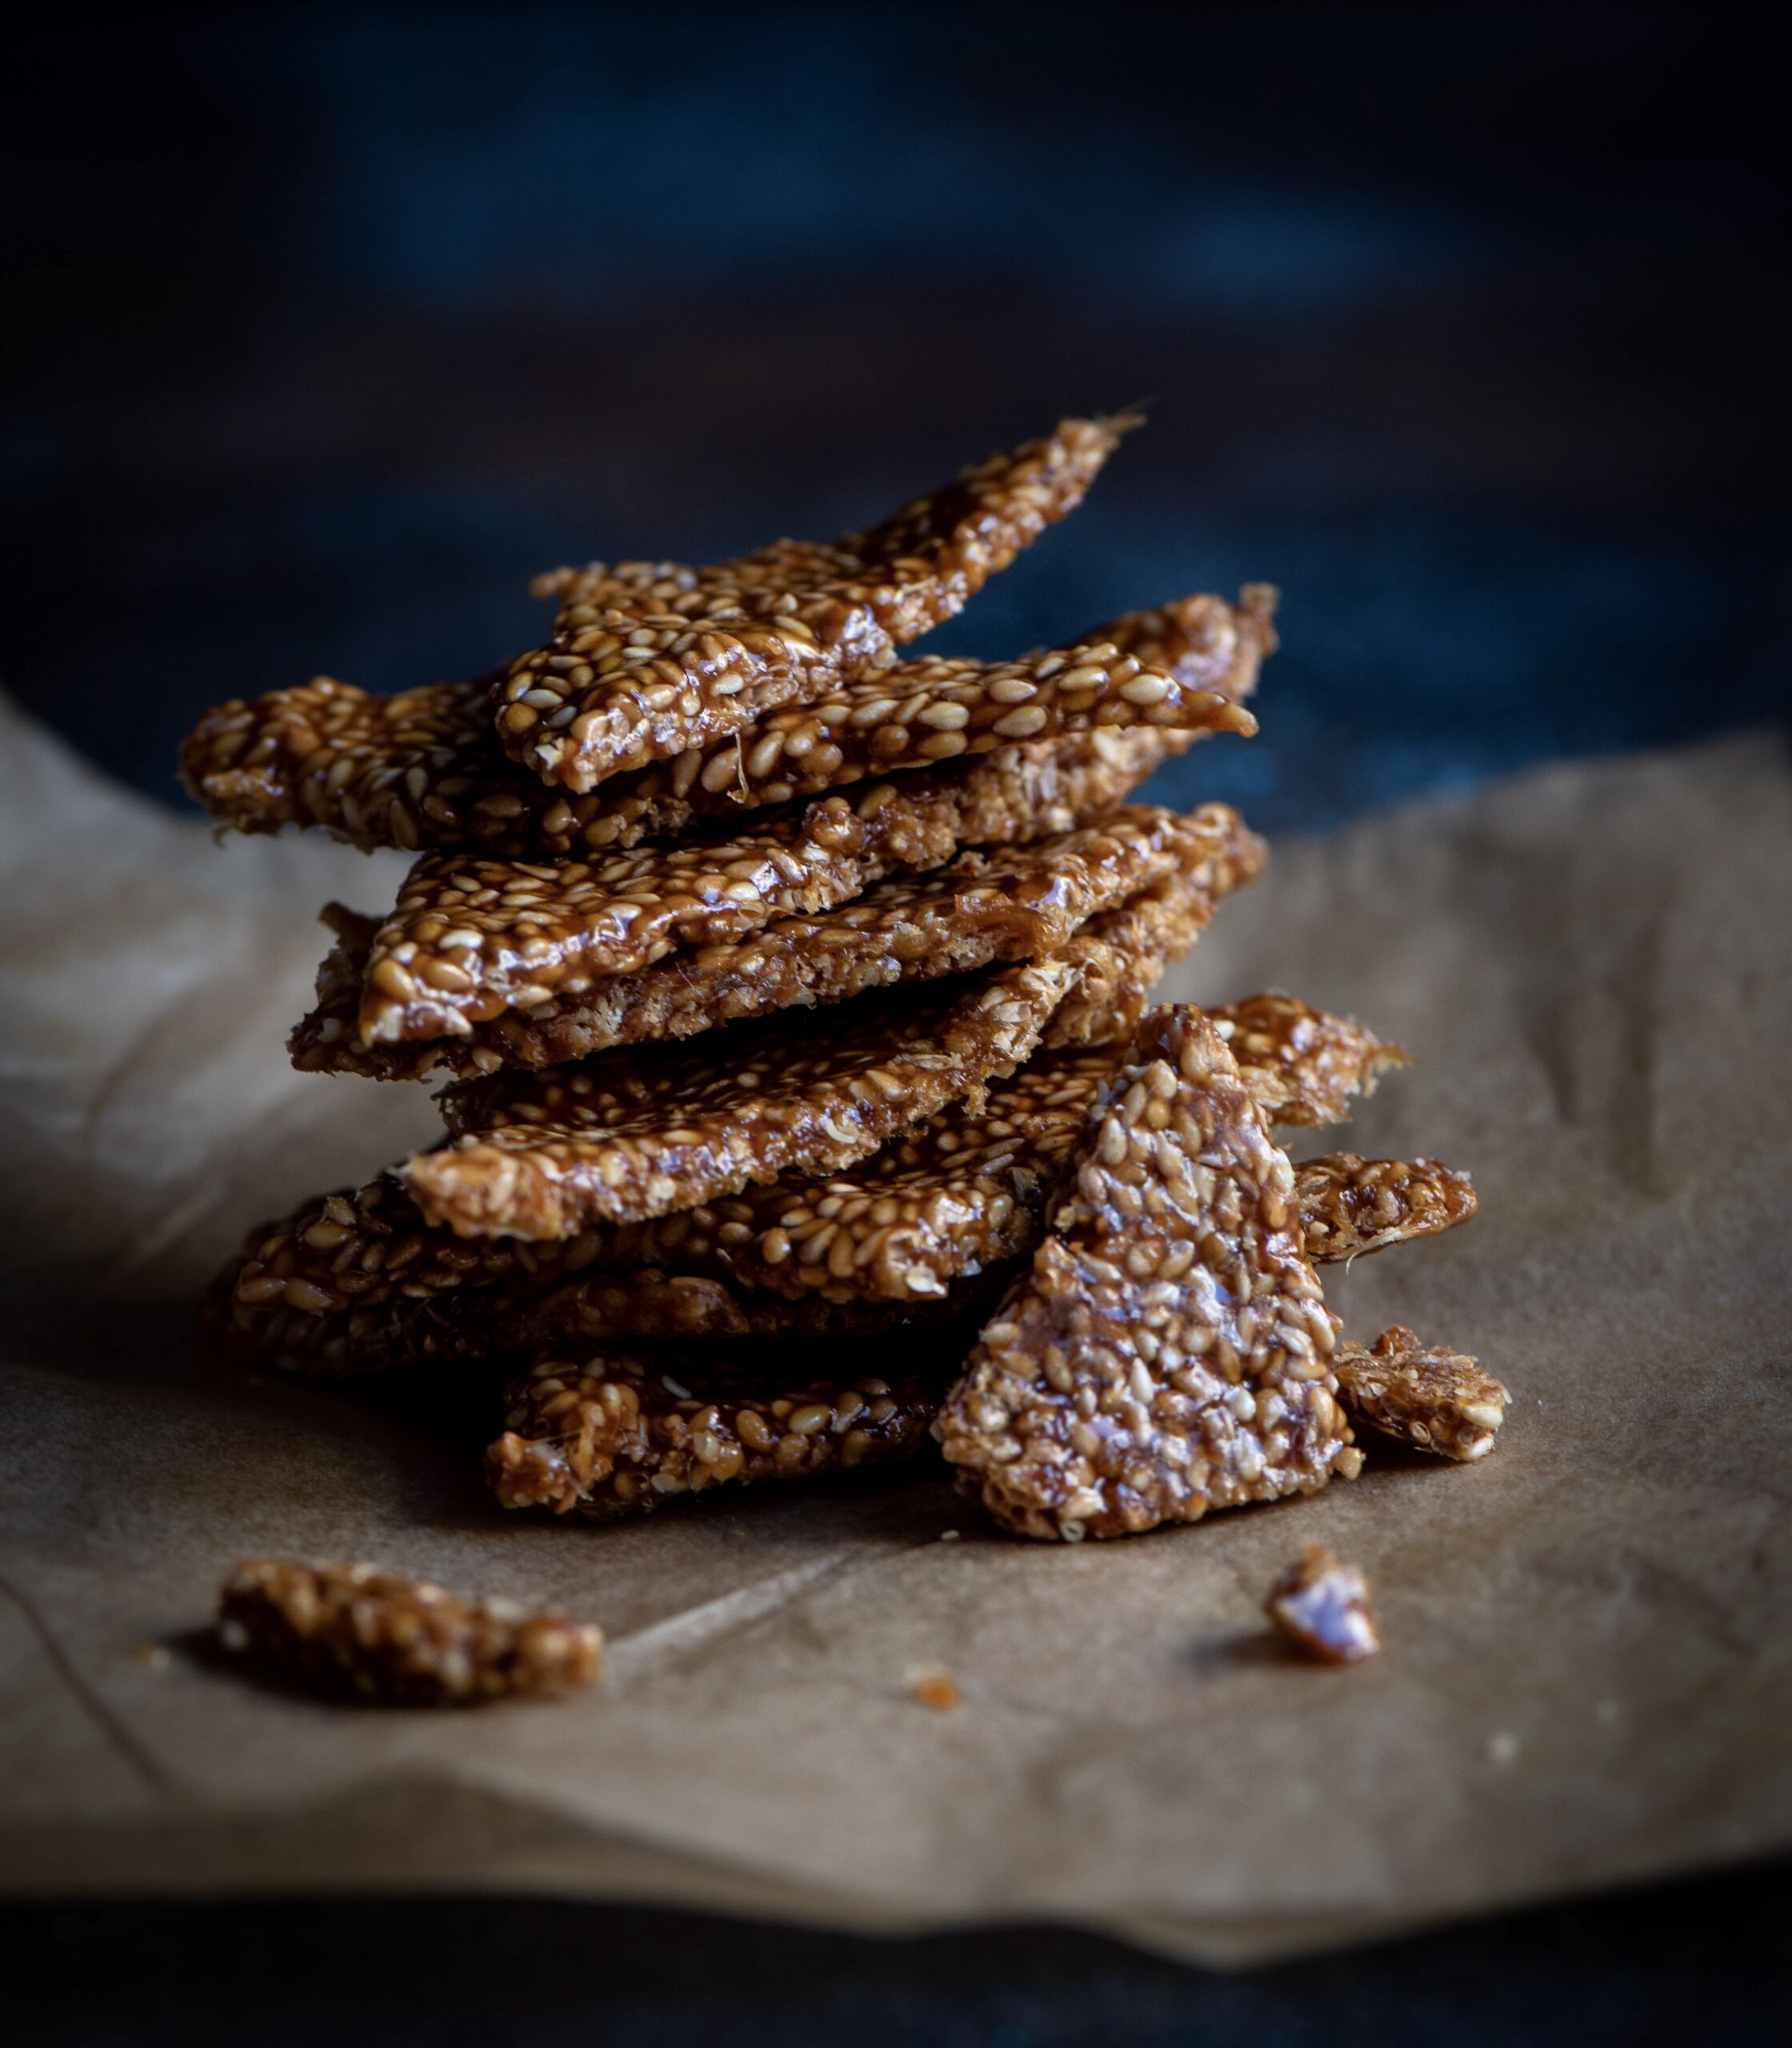
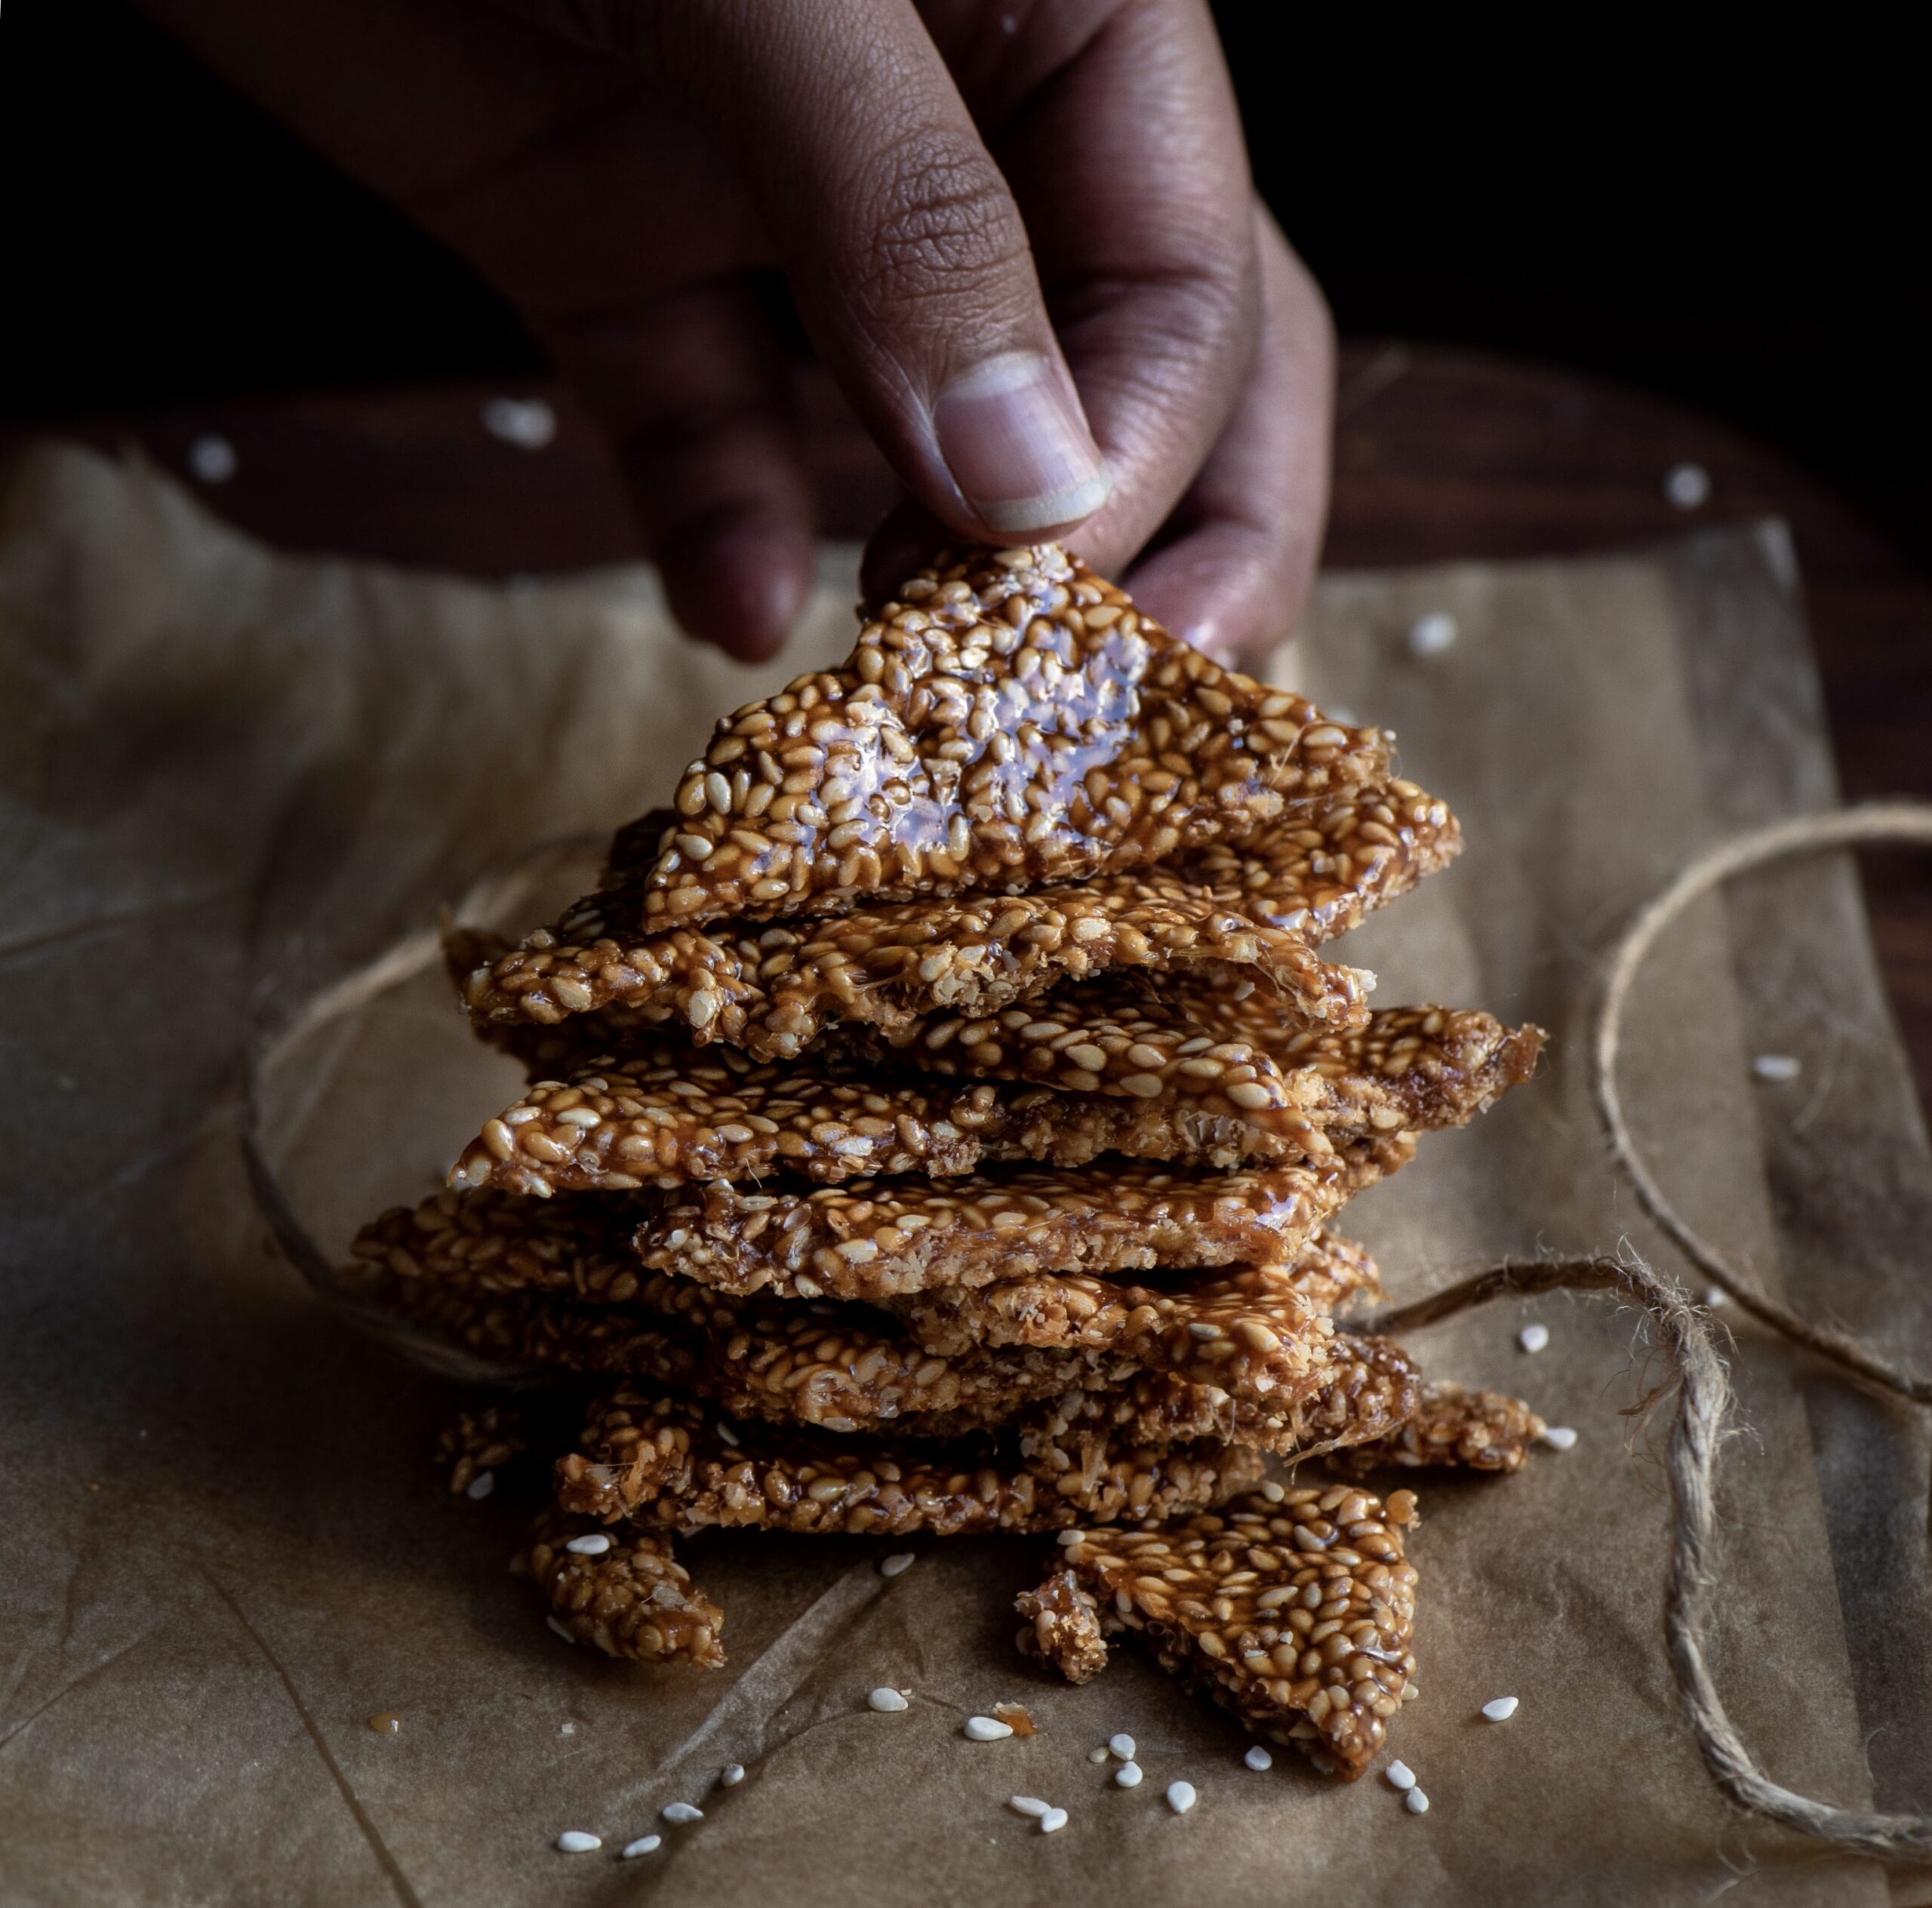
Chikkis are a whole category of snacks, usually sweet thanks to the sticky jaggery that holds them together. We also make them with groundnuts, puffed rice (mora mora) and other variations, depending on the season. You can make them either in bars or in balls, and they also make a great ice cream topping when crushed. Til-ka-chikki is basically a sesame brittle, and today I’ll share the method to make them into bars.
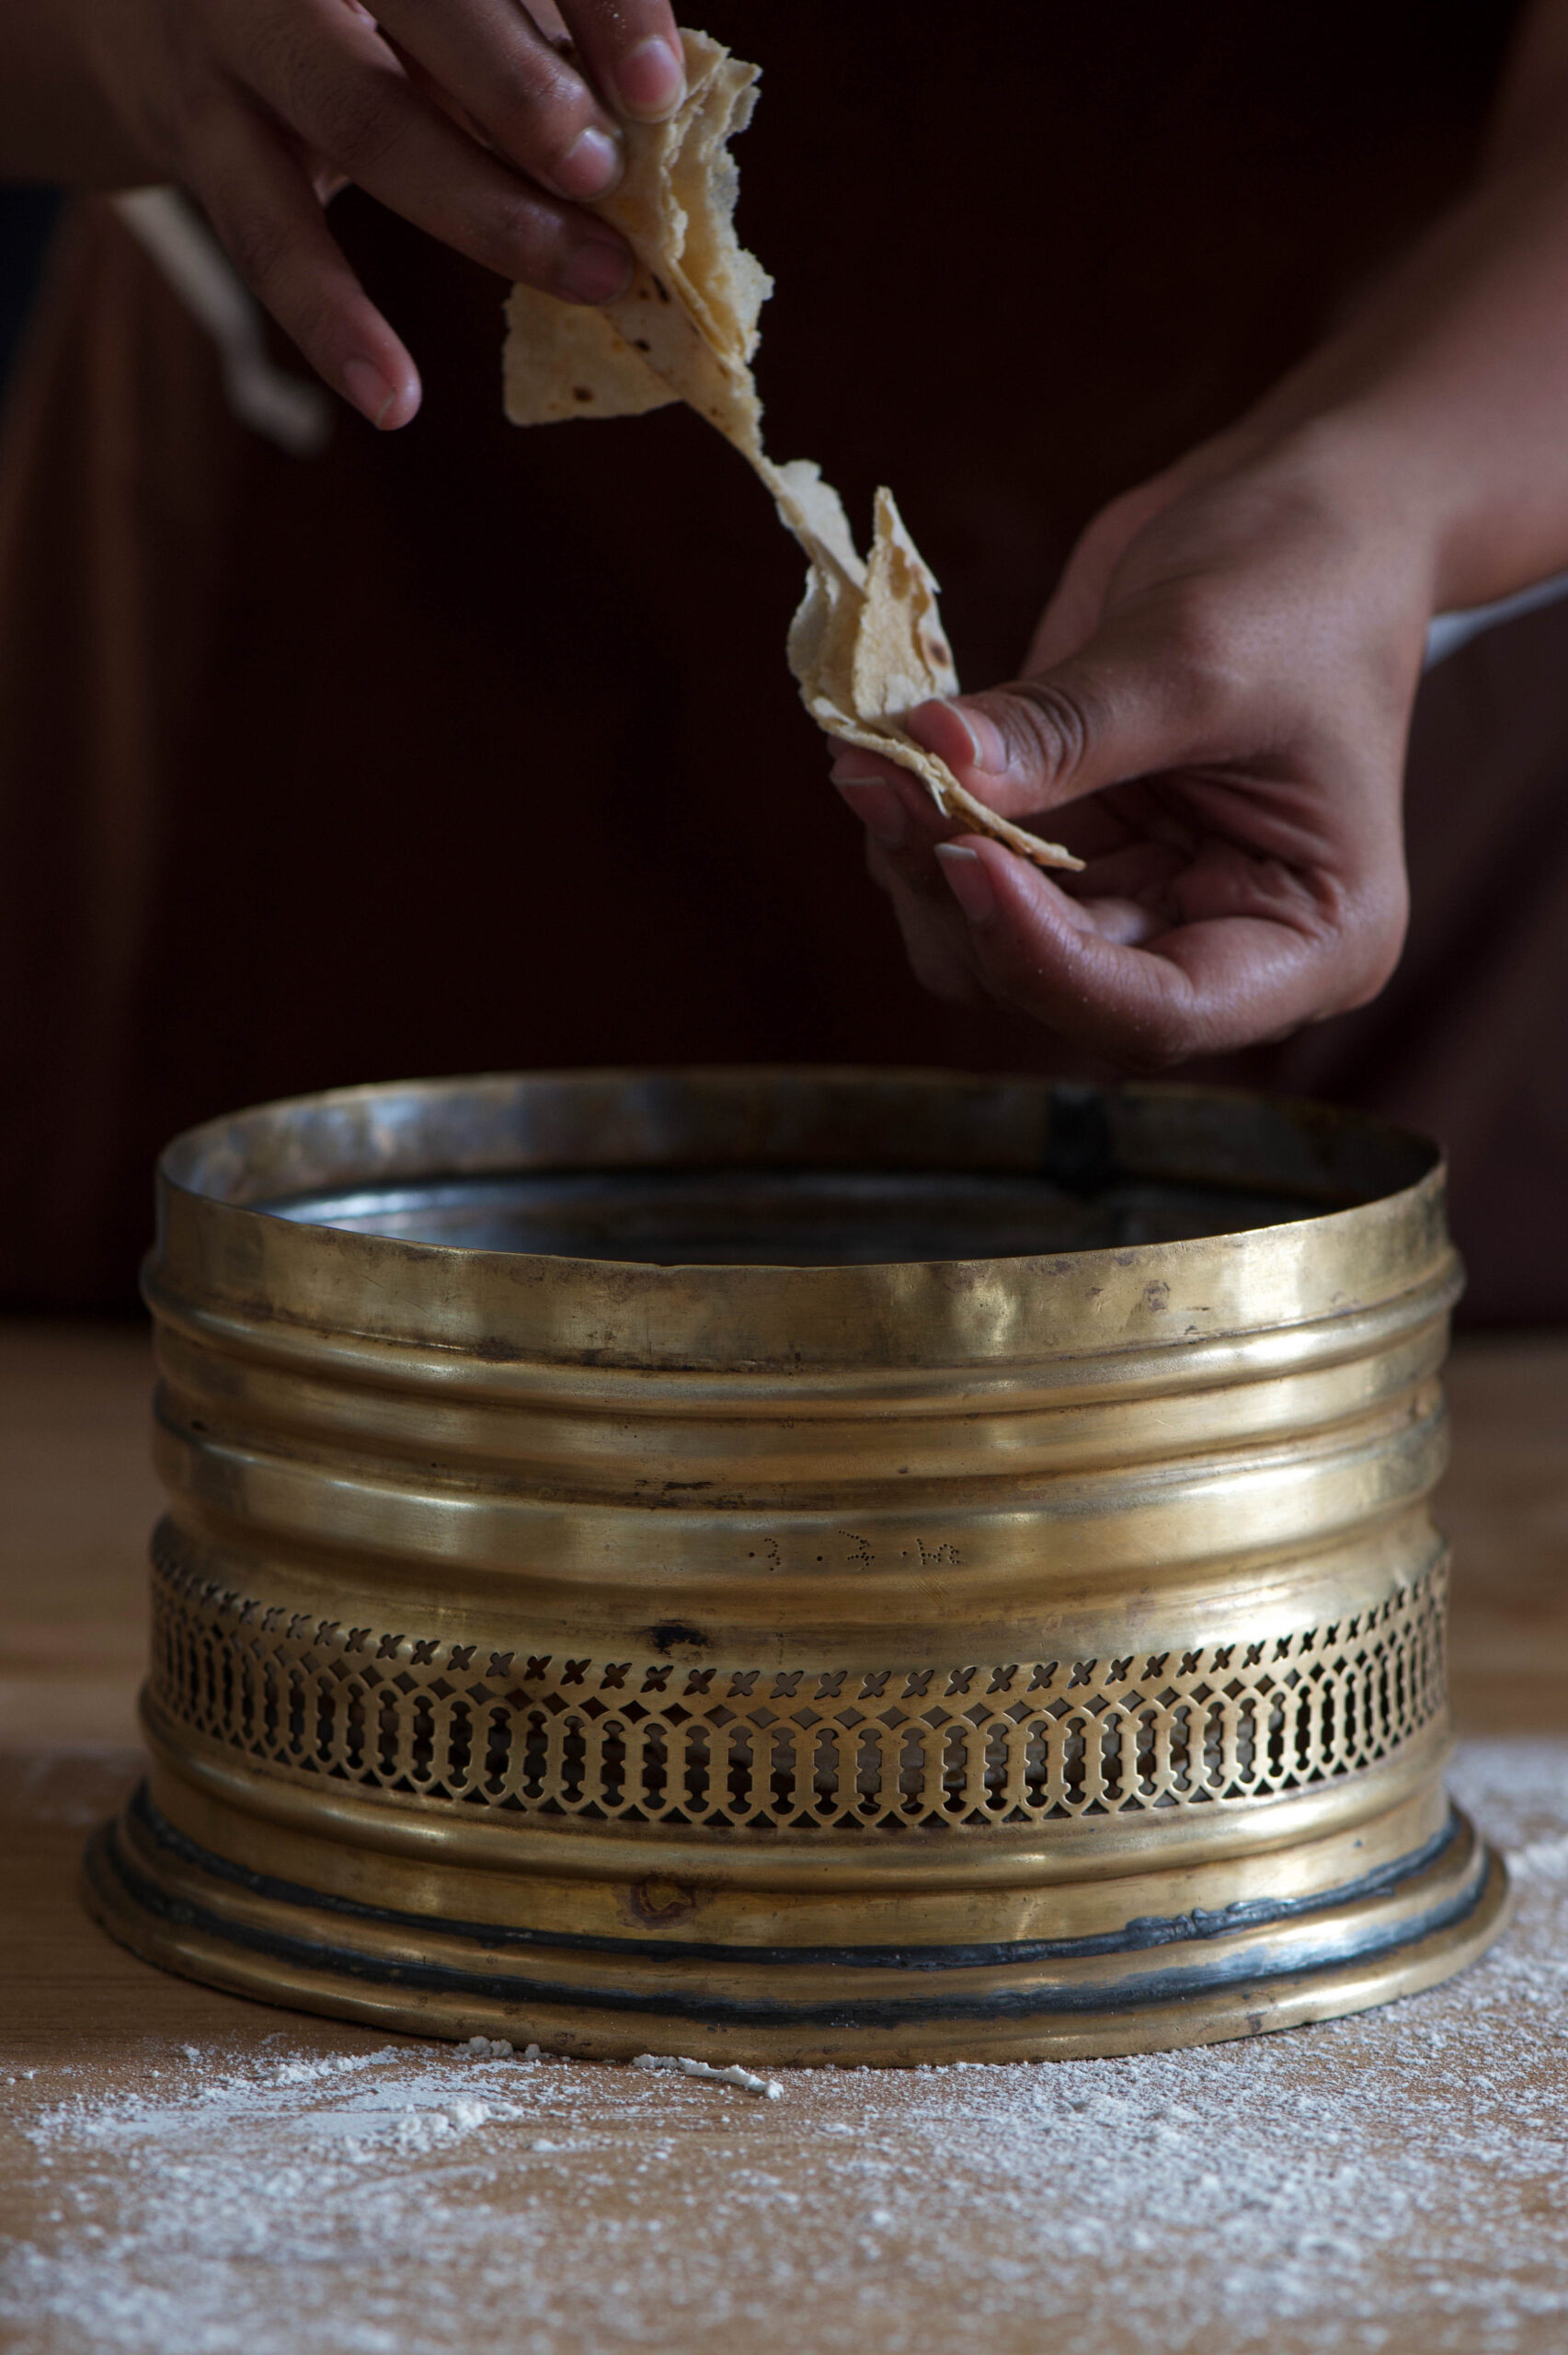
I used to have a huge mental block about til-ka-chikki as I simply hadn’t known how to make it. My sister got married when she was just out of college, and she hadn’t learned how to cook yet. She went to her mother-in-law’s house, where she learned how to make the most beautiful traditional Gujarati dishes. I was still in high school at the time, and am still envious to this day about the culinary skills she picked up back then. Meanwhile, in my mother’s house, I was still studying but also began to slowly pick up recipes and techniques in the kitchen. I was probably inspired by my sister’s newfound talents, and our mother started me off on the basics, like rotli. Over time, I began to regard not only my mother and my own mother-in-law as my culinary teachers, but my older sister as well. My sister’s repertoire is vast. Even to this day, each time I visit her, I insist that she teaches me an entirely new dish every time.
I overcame my mental block when I finally learned how to make this til-ka-chikki a couple of years ago, with her guidance. And I’ll admit that I am still learning. I don’t quite have the confidence to make it on my own yet, but every experiment has ended in happy mouths and sticky fingers. It would be great if you could learn it together alongside me. We could master it together, just as my sister has.
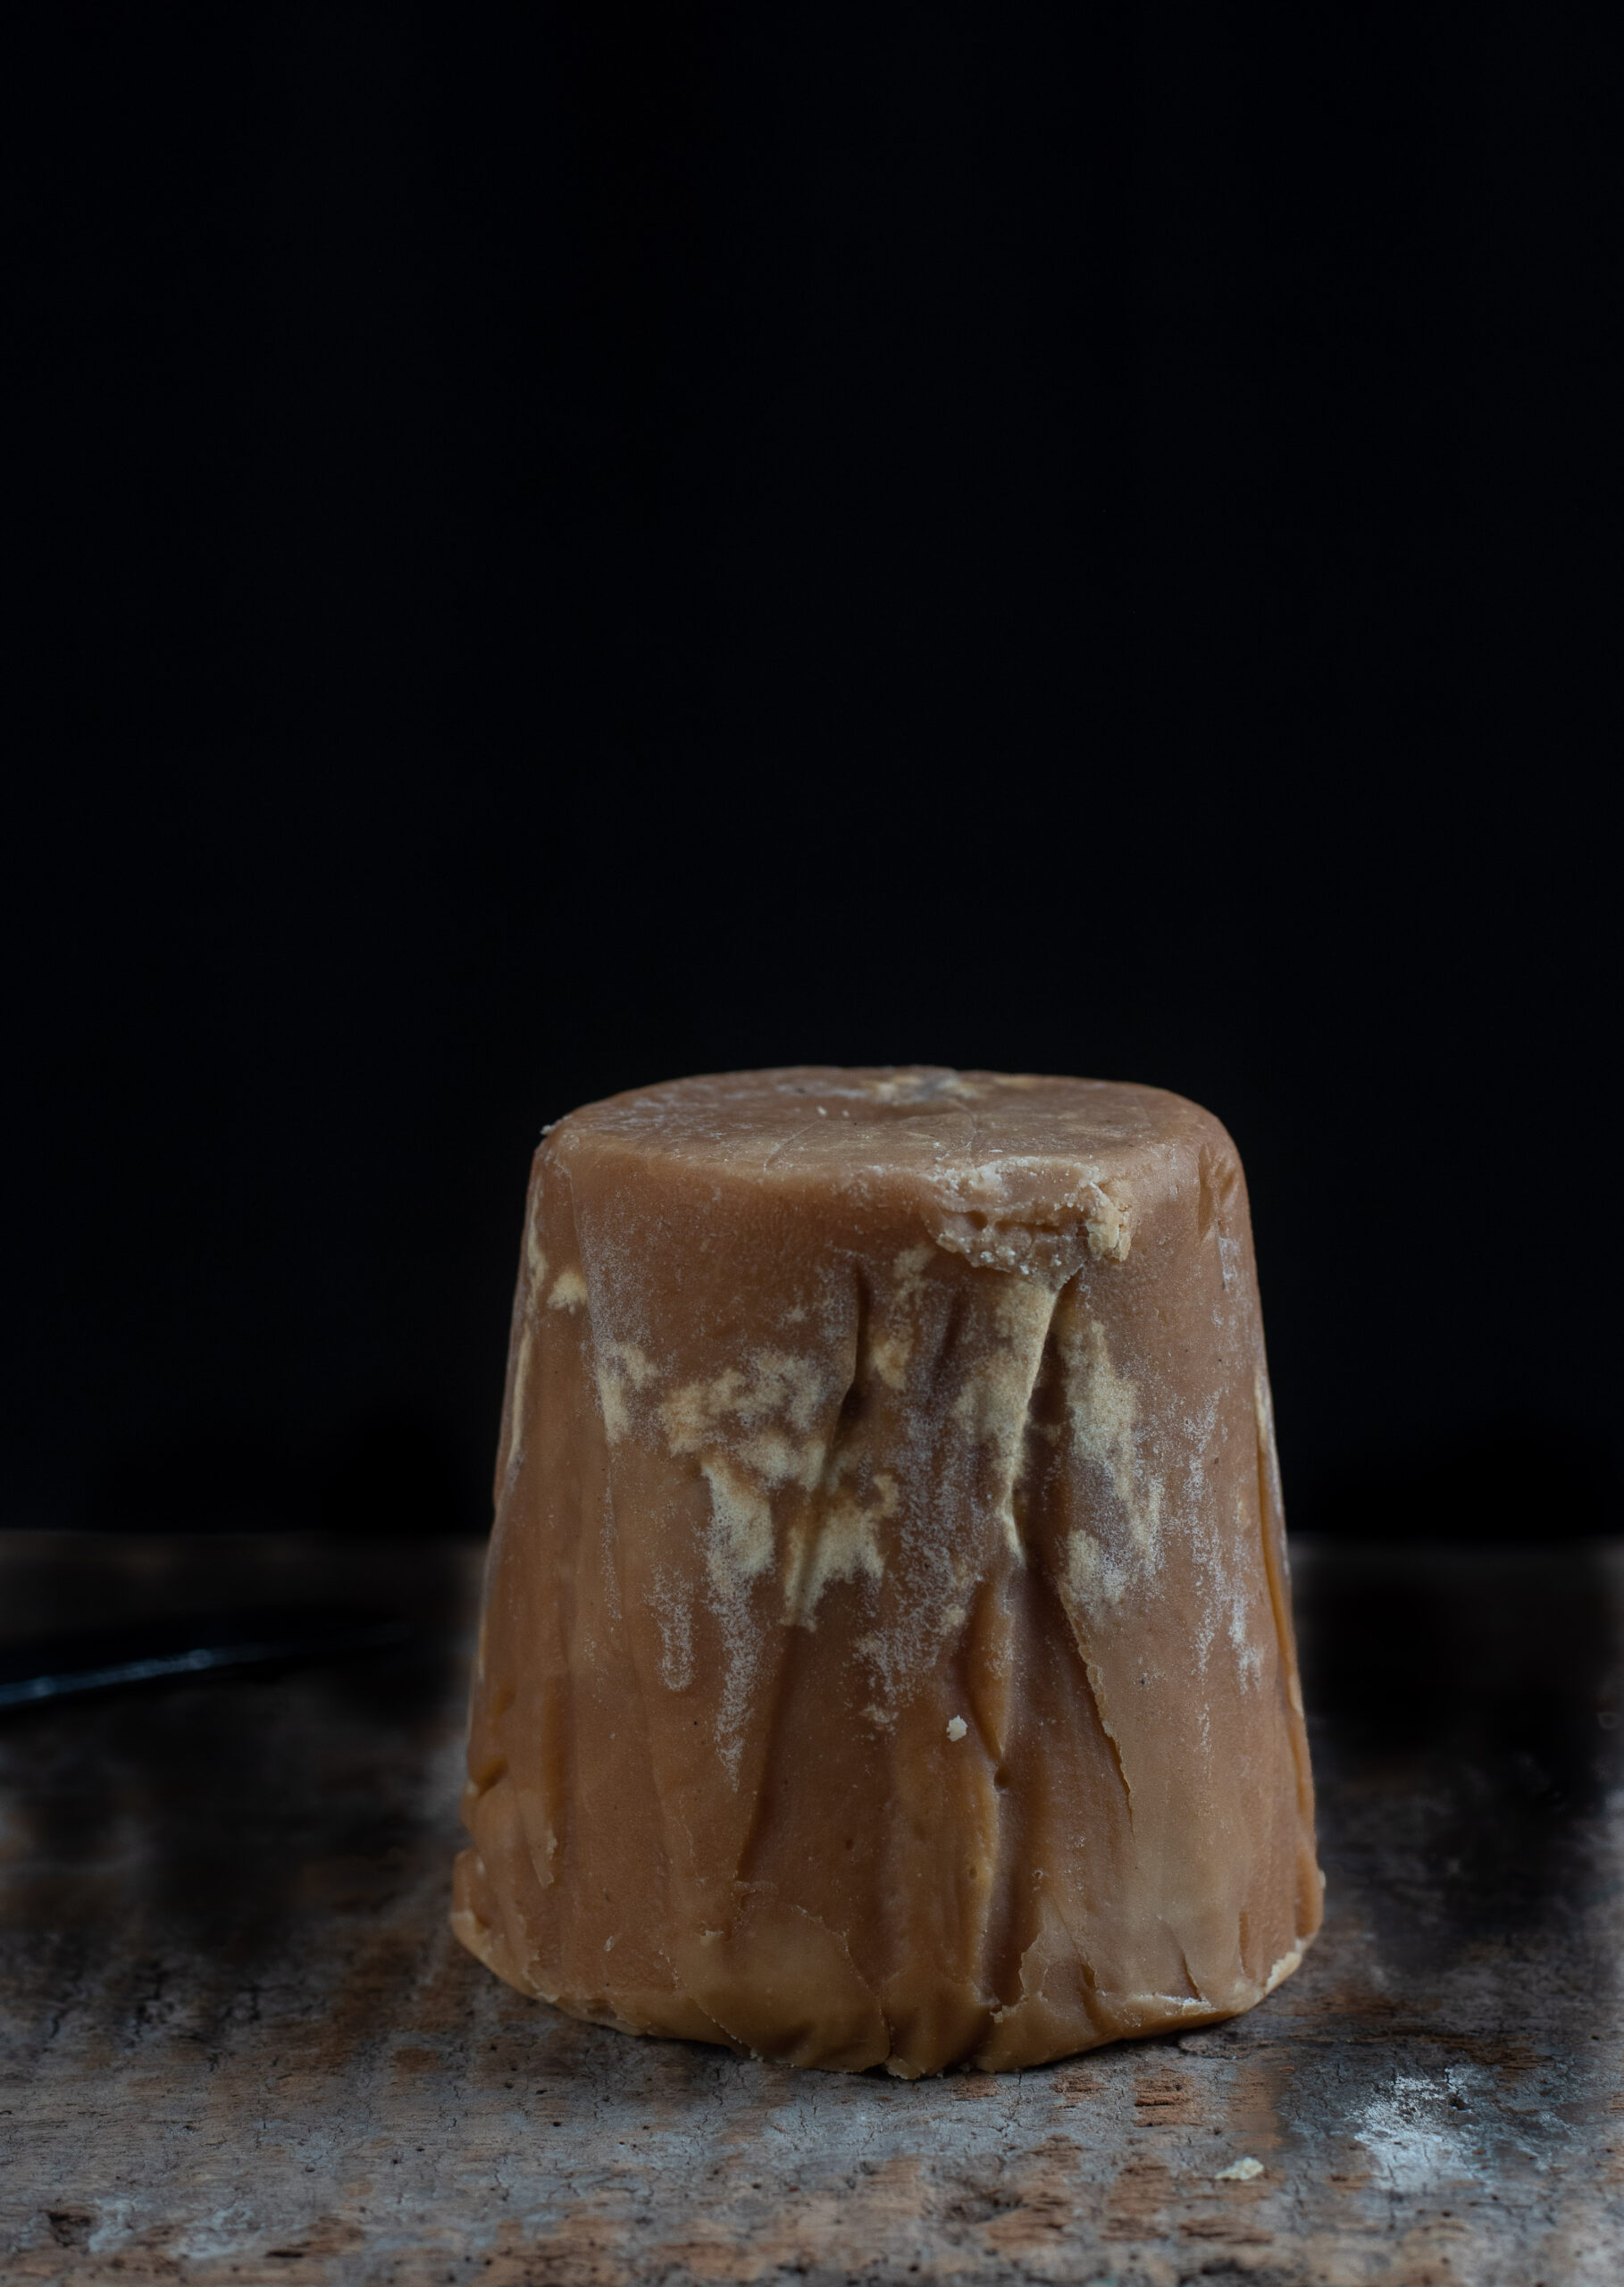
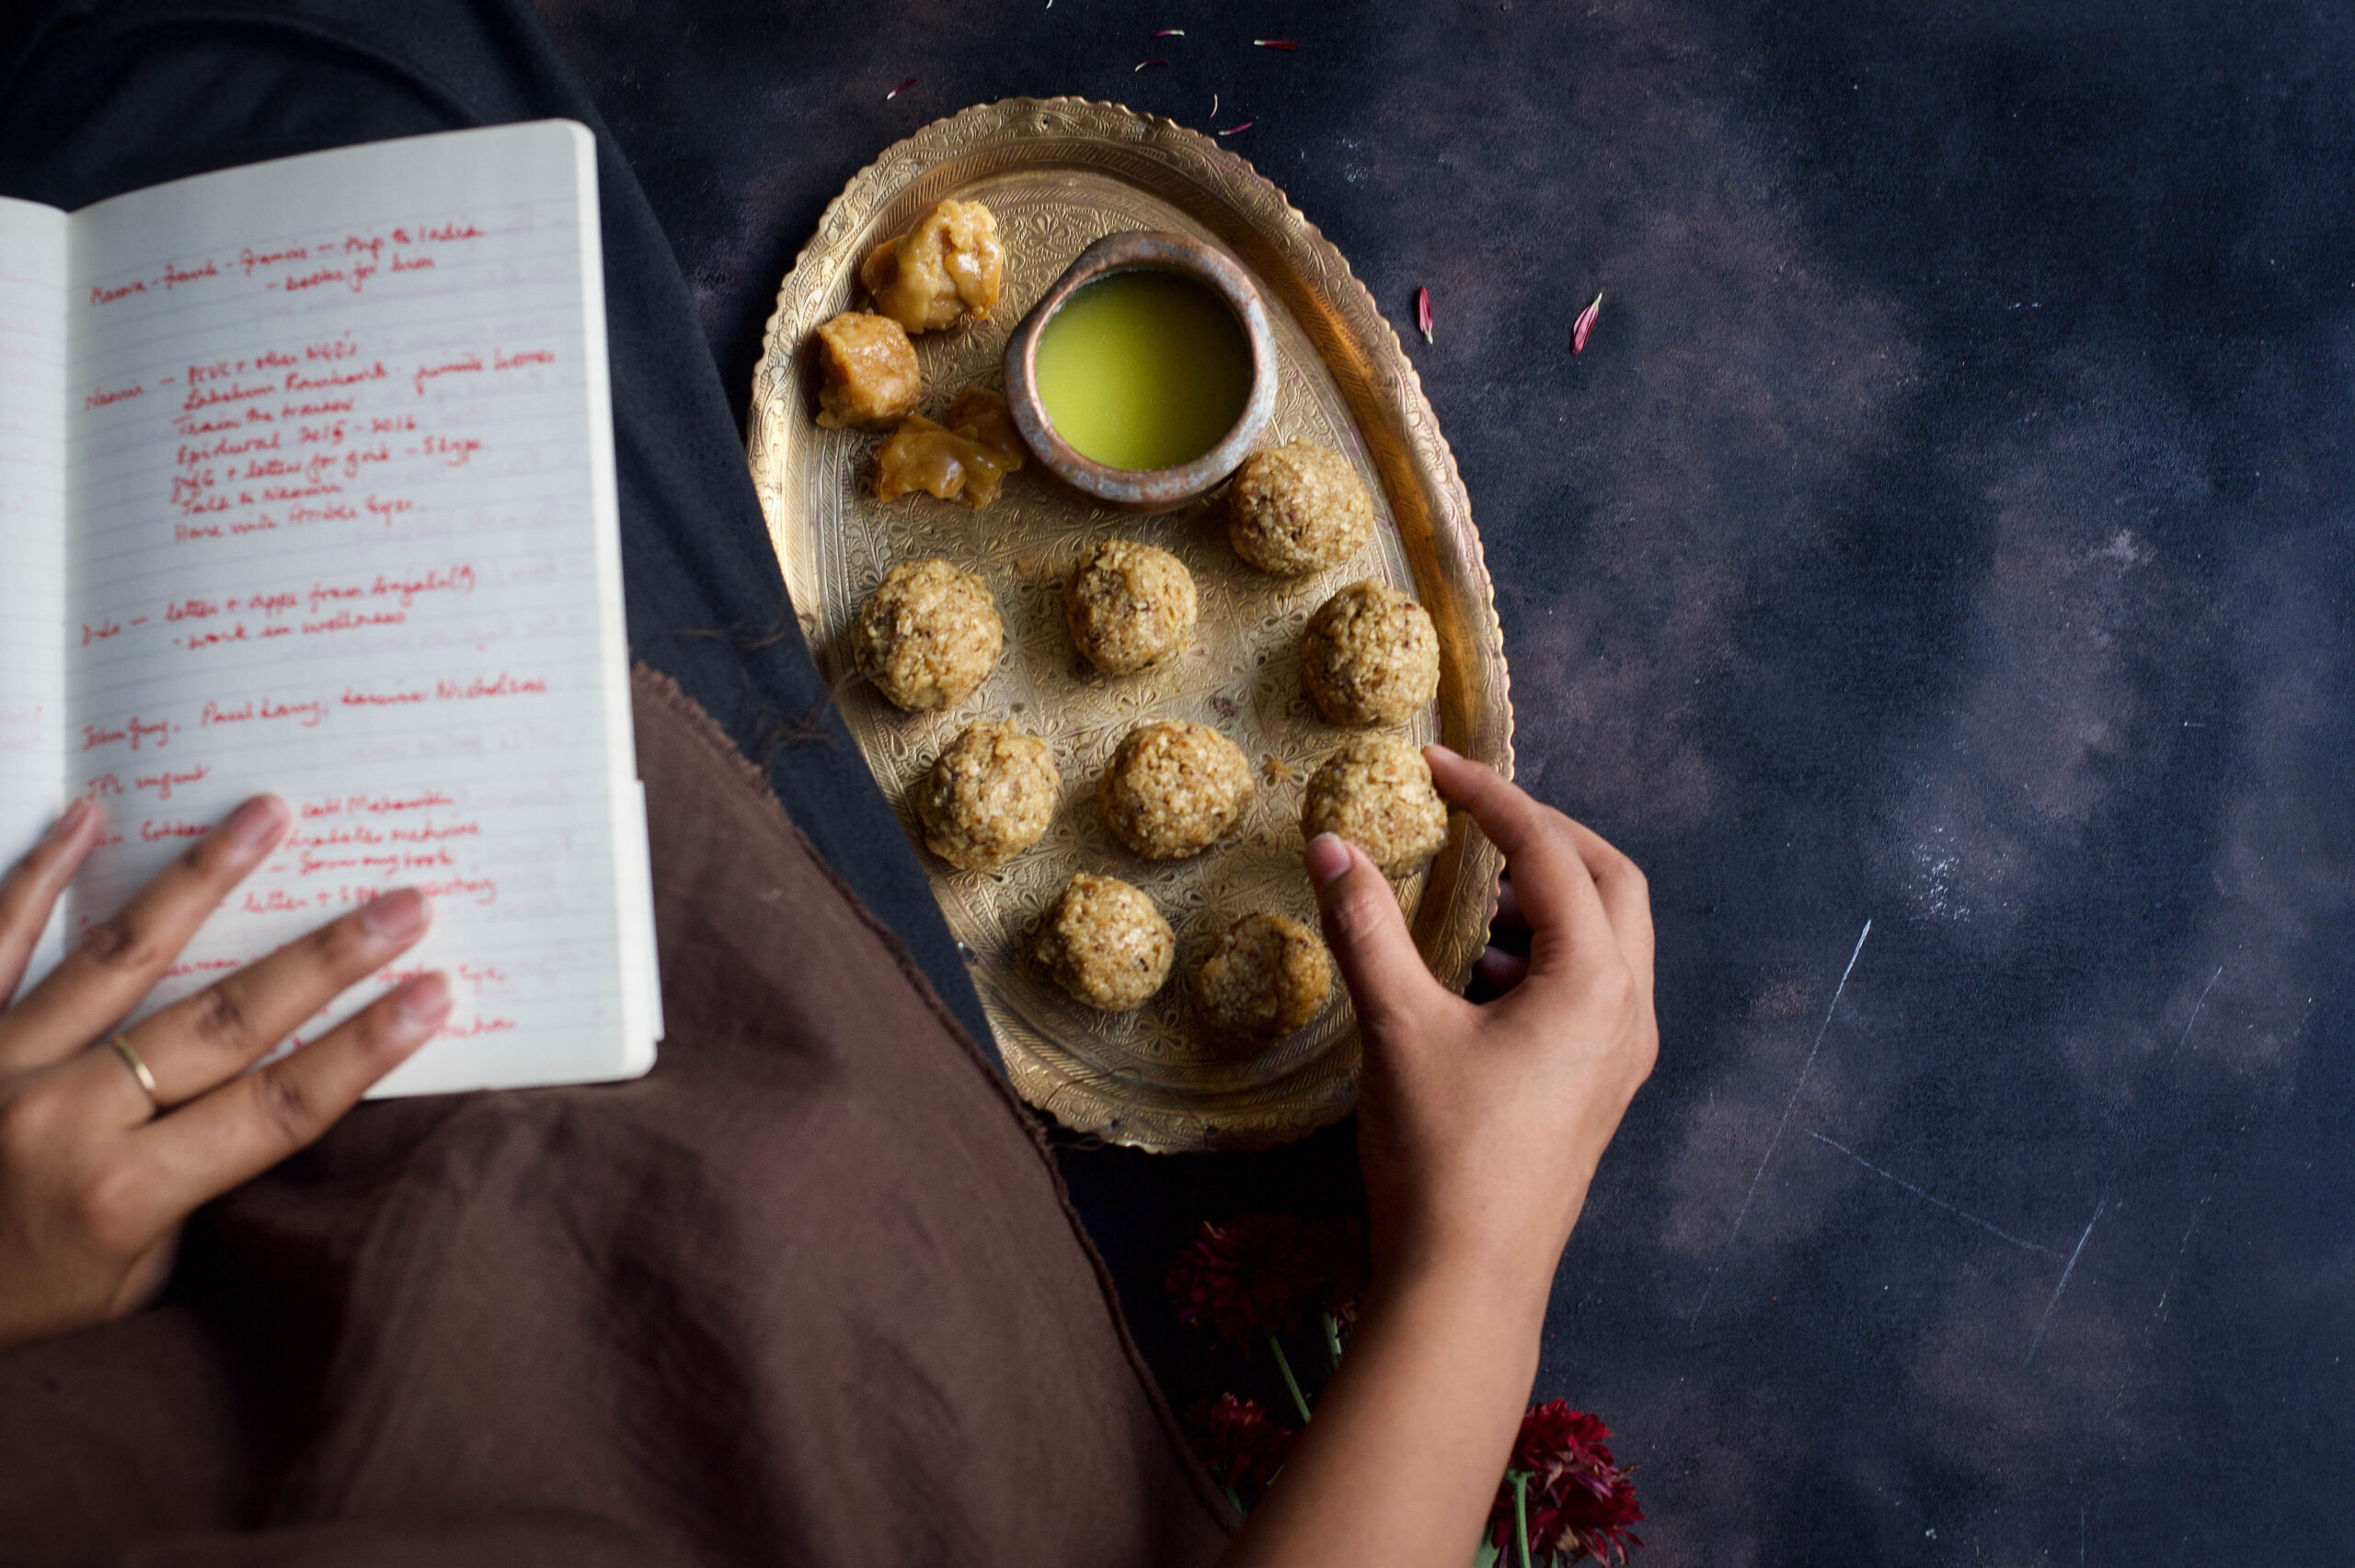
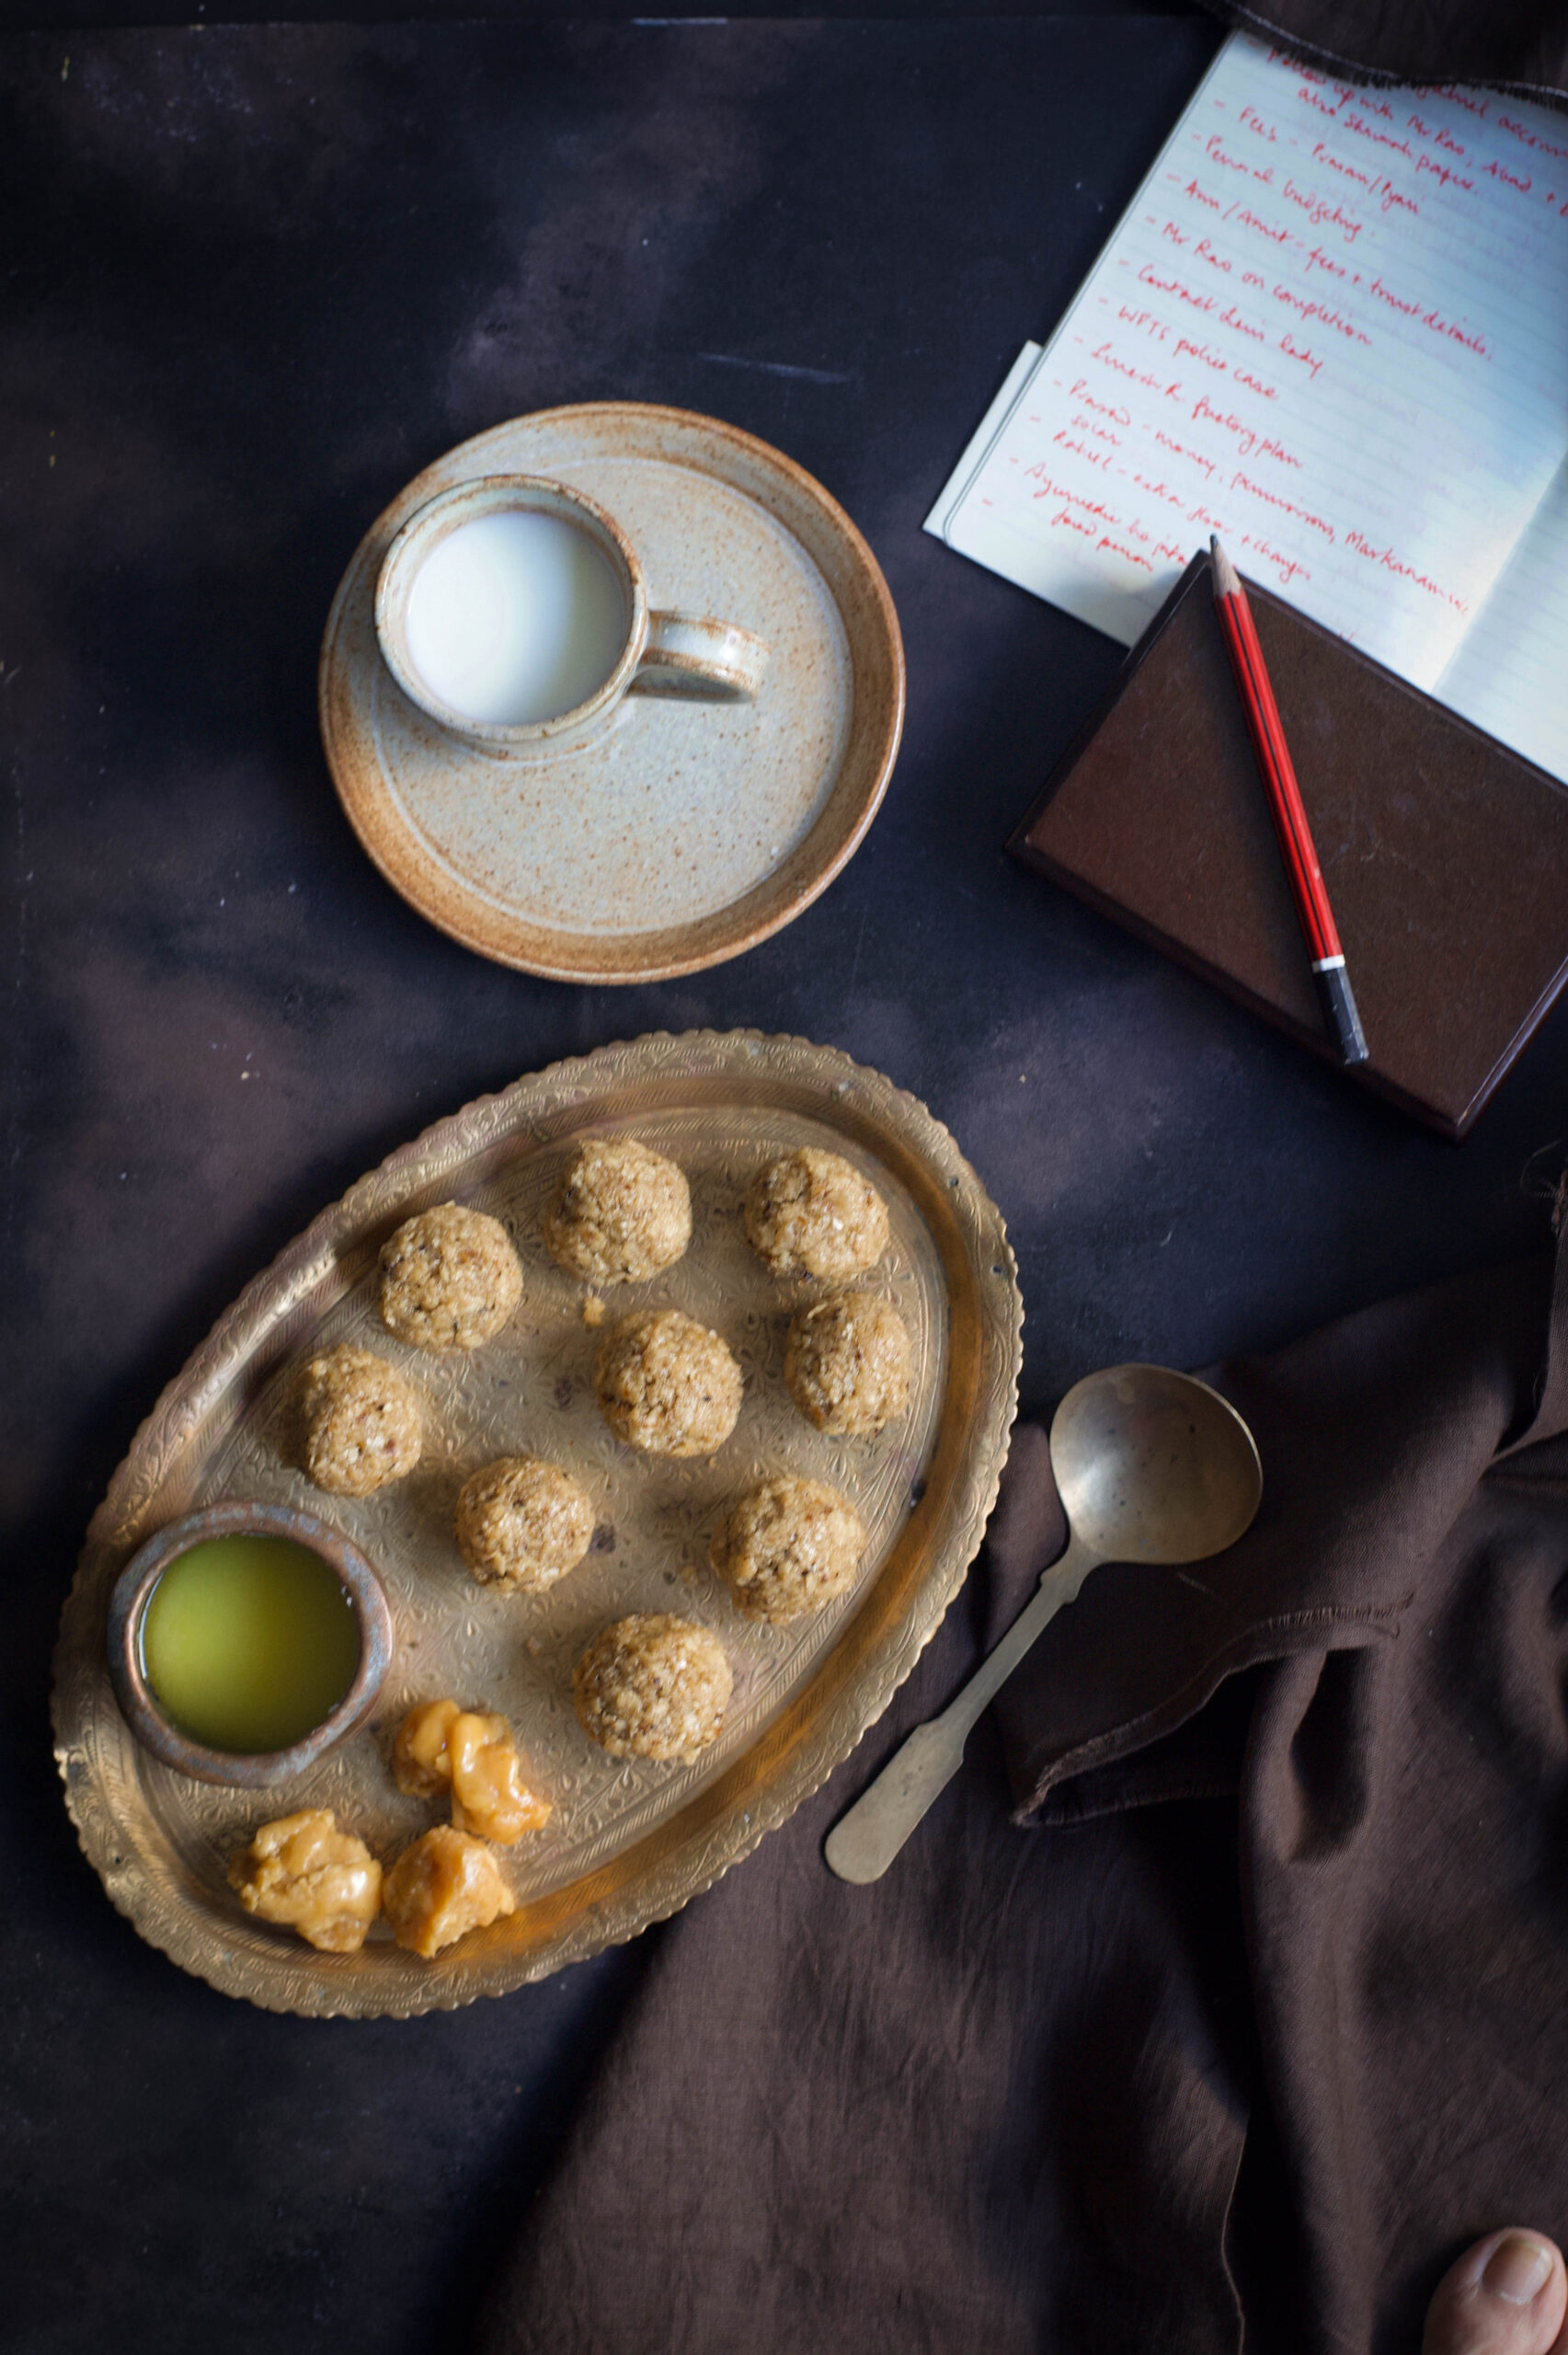
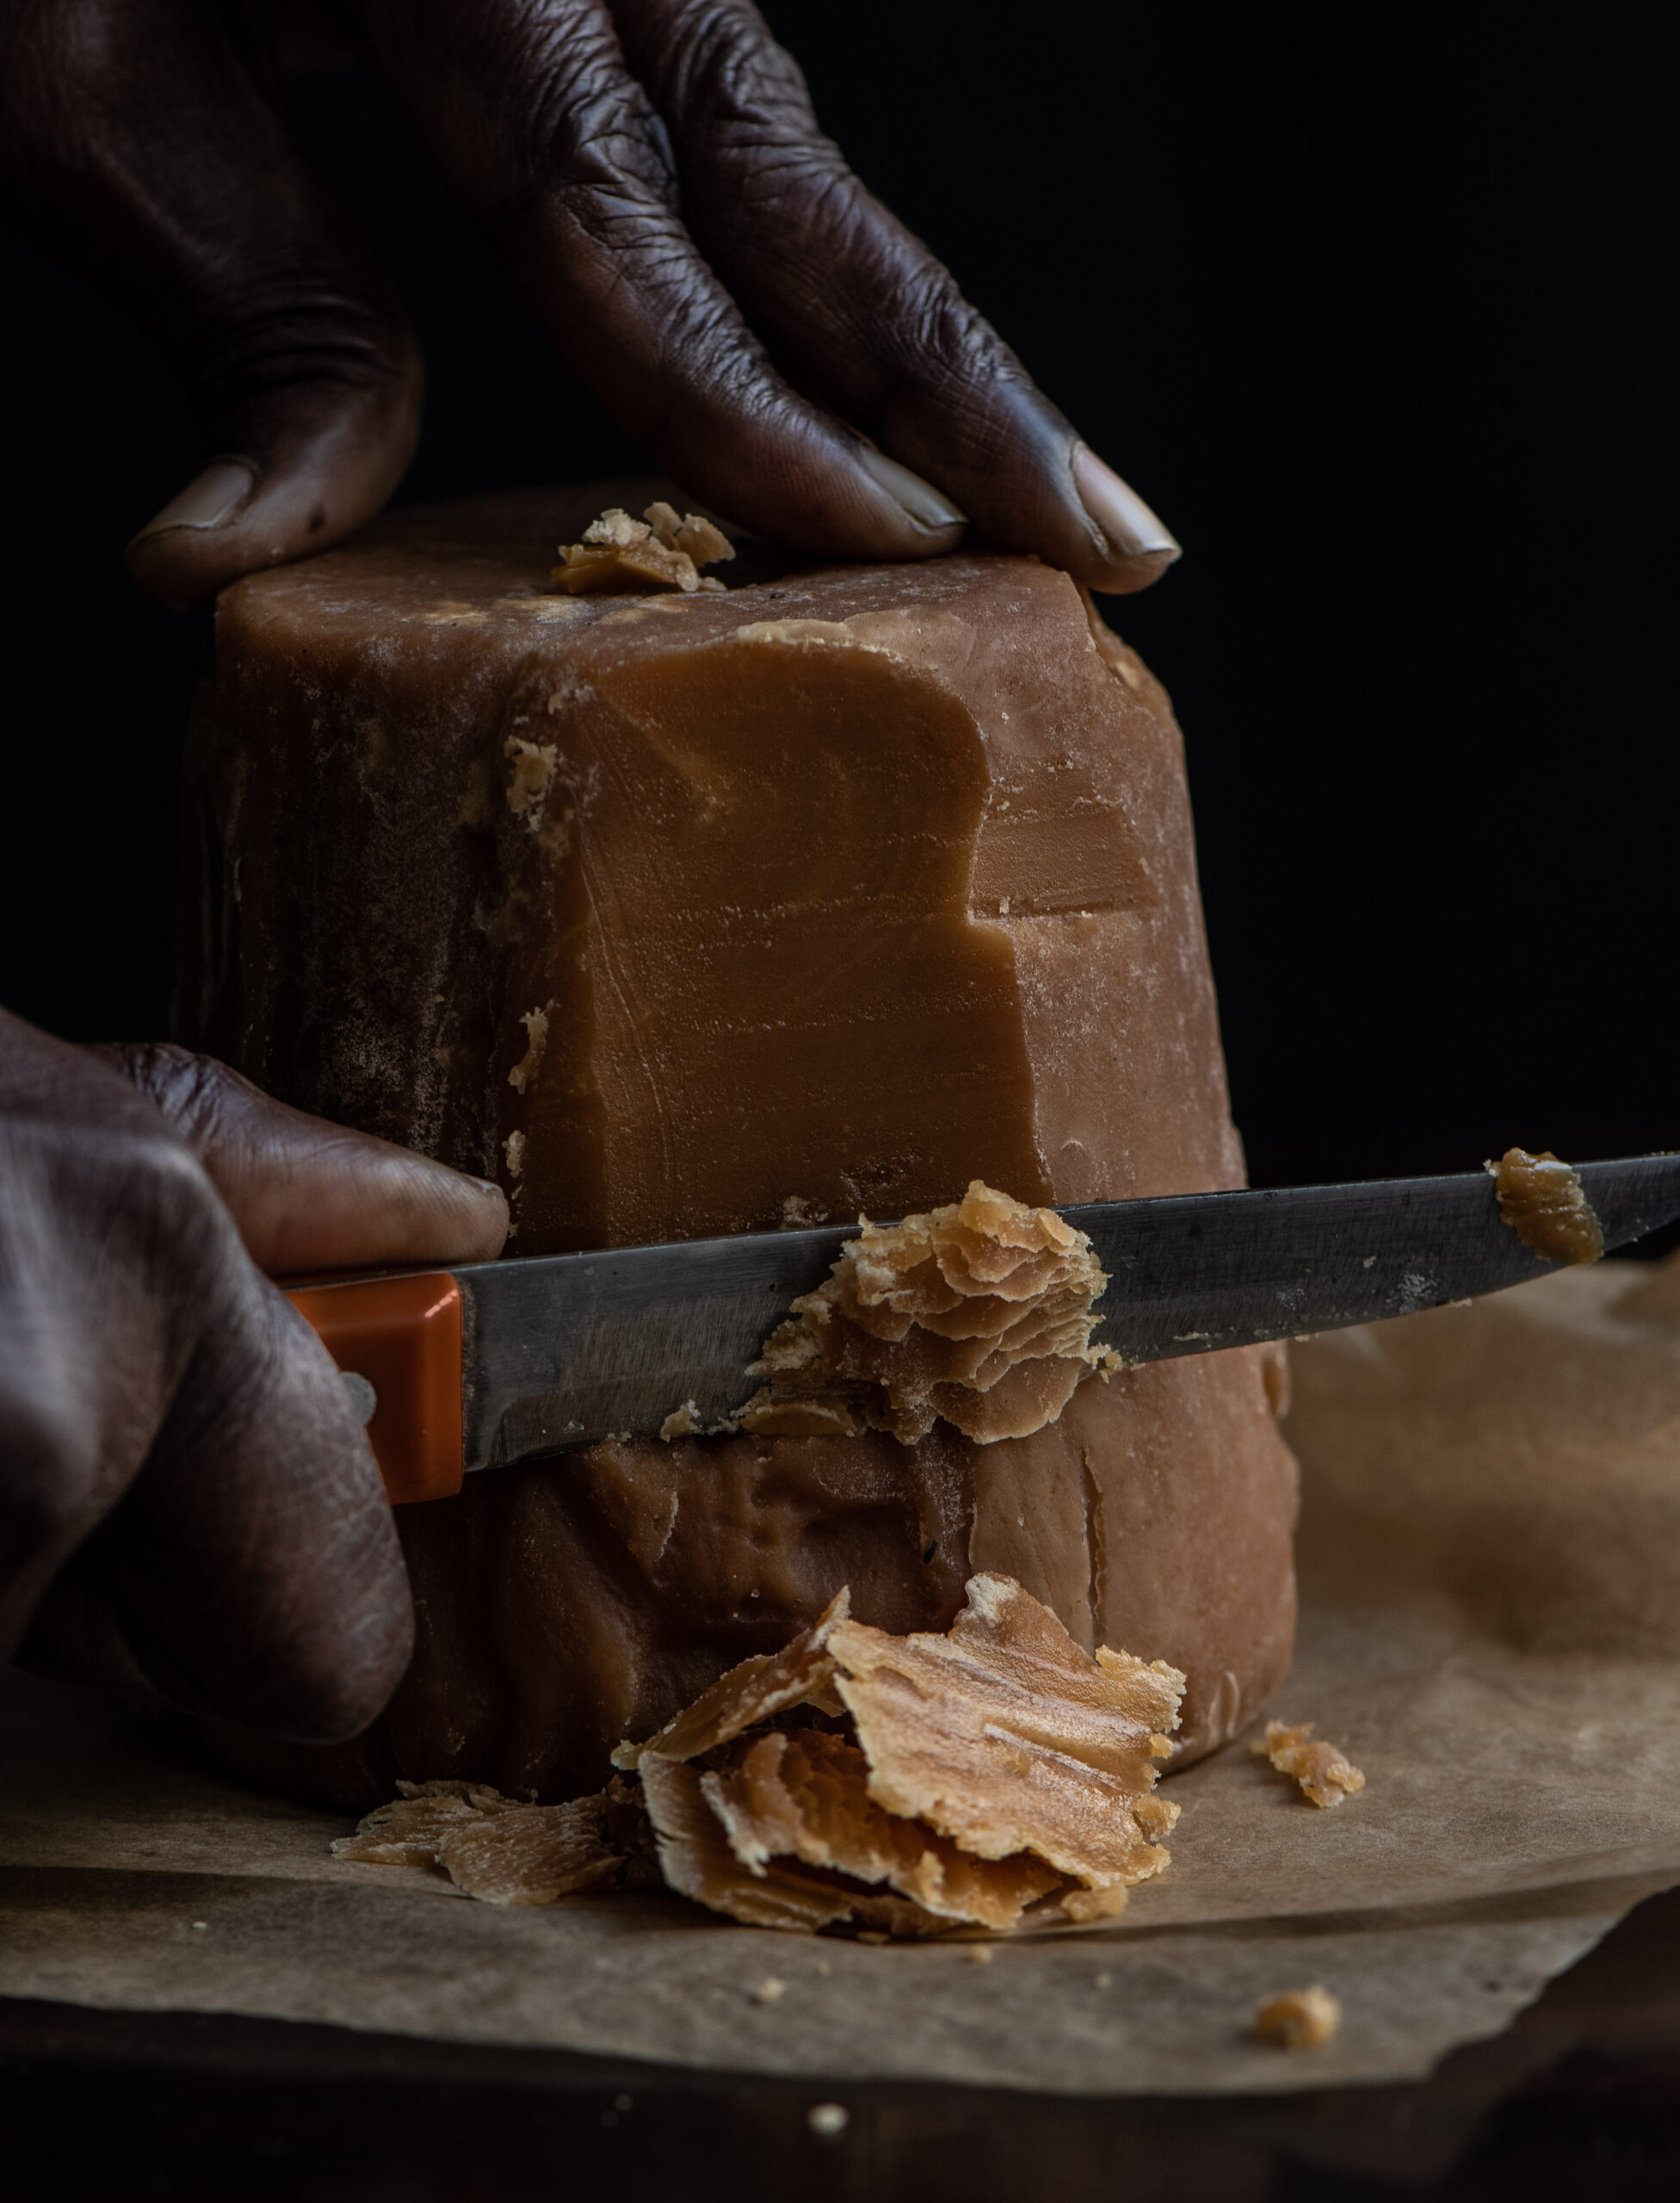
As with most traditional Gujarati sweets and snacks, this too requires only three ingredients. In this case, they are jaggery, sesame and ghee. If you’d like a vegan version, replace the ghee with a flavourless oil of your choice. Til-ka-chikki is also offered as a prasad, so while it is a simple dish it can also be a part of prayers for festive and special occasions. For Sankranti, of course, it’s a beautiful way to honour the sun that gave us this ancient and nutritious crop.
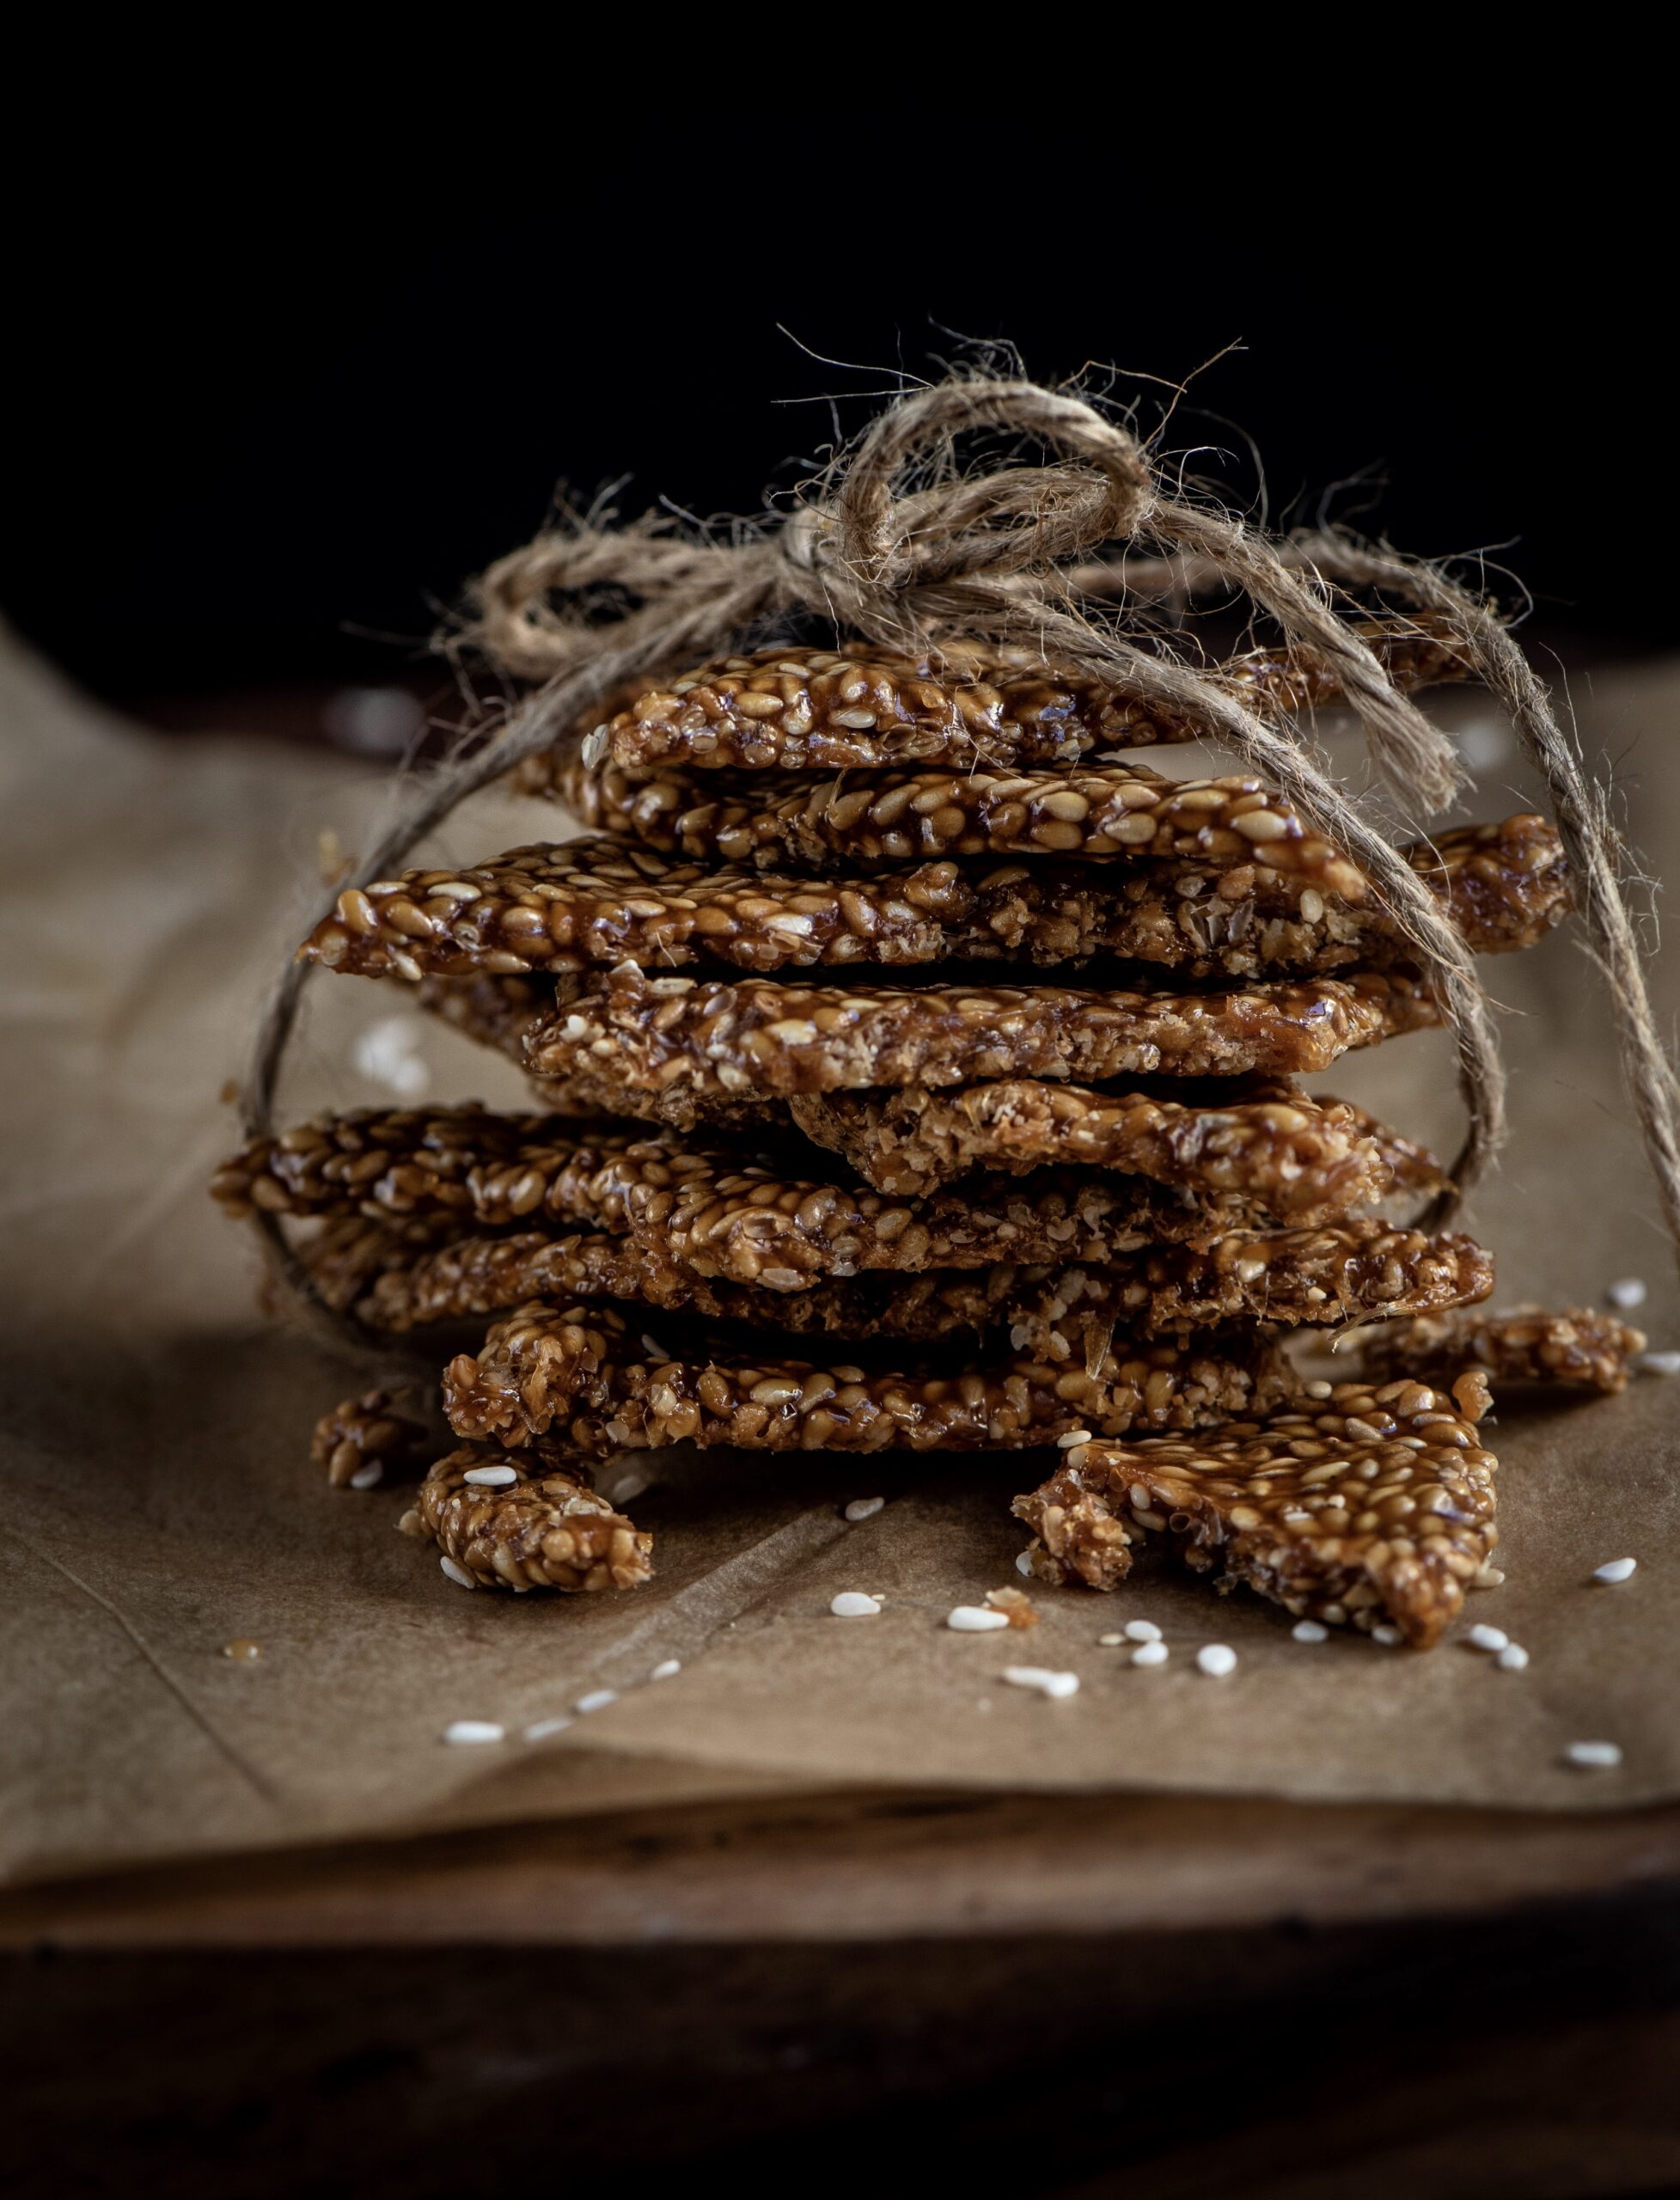
Til-Ka-Chikki (Sesame Brittle)
(Yield: 10-15 pieces)
Ingredients
½ cup sesame seeds
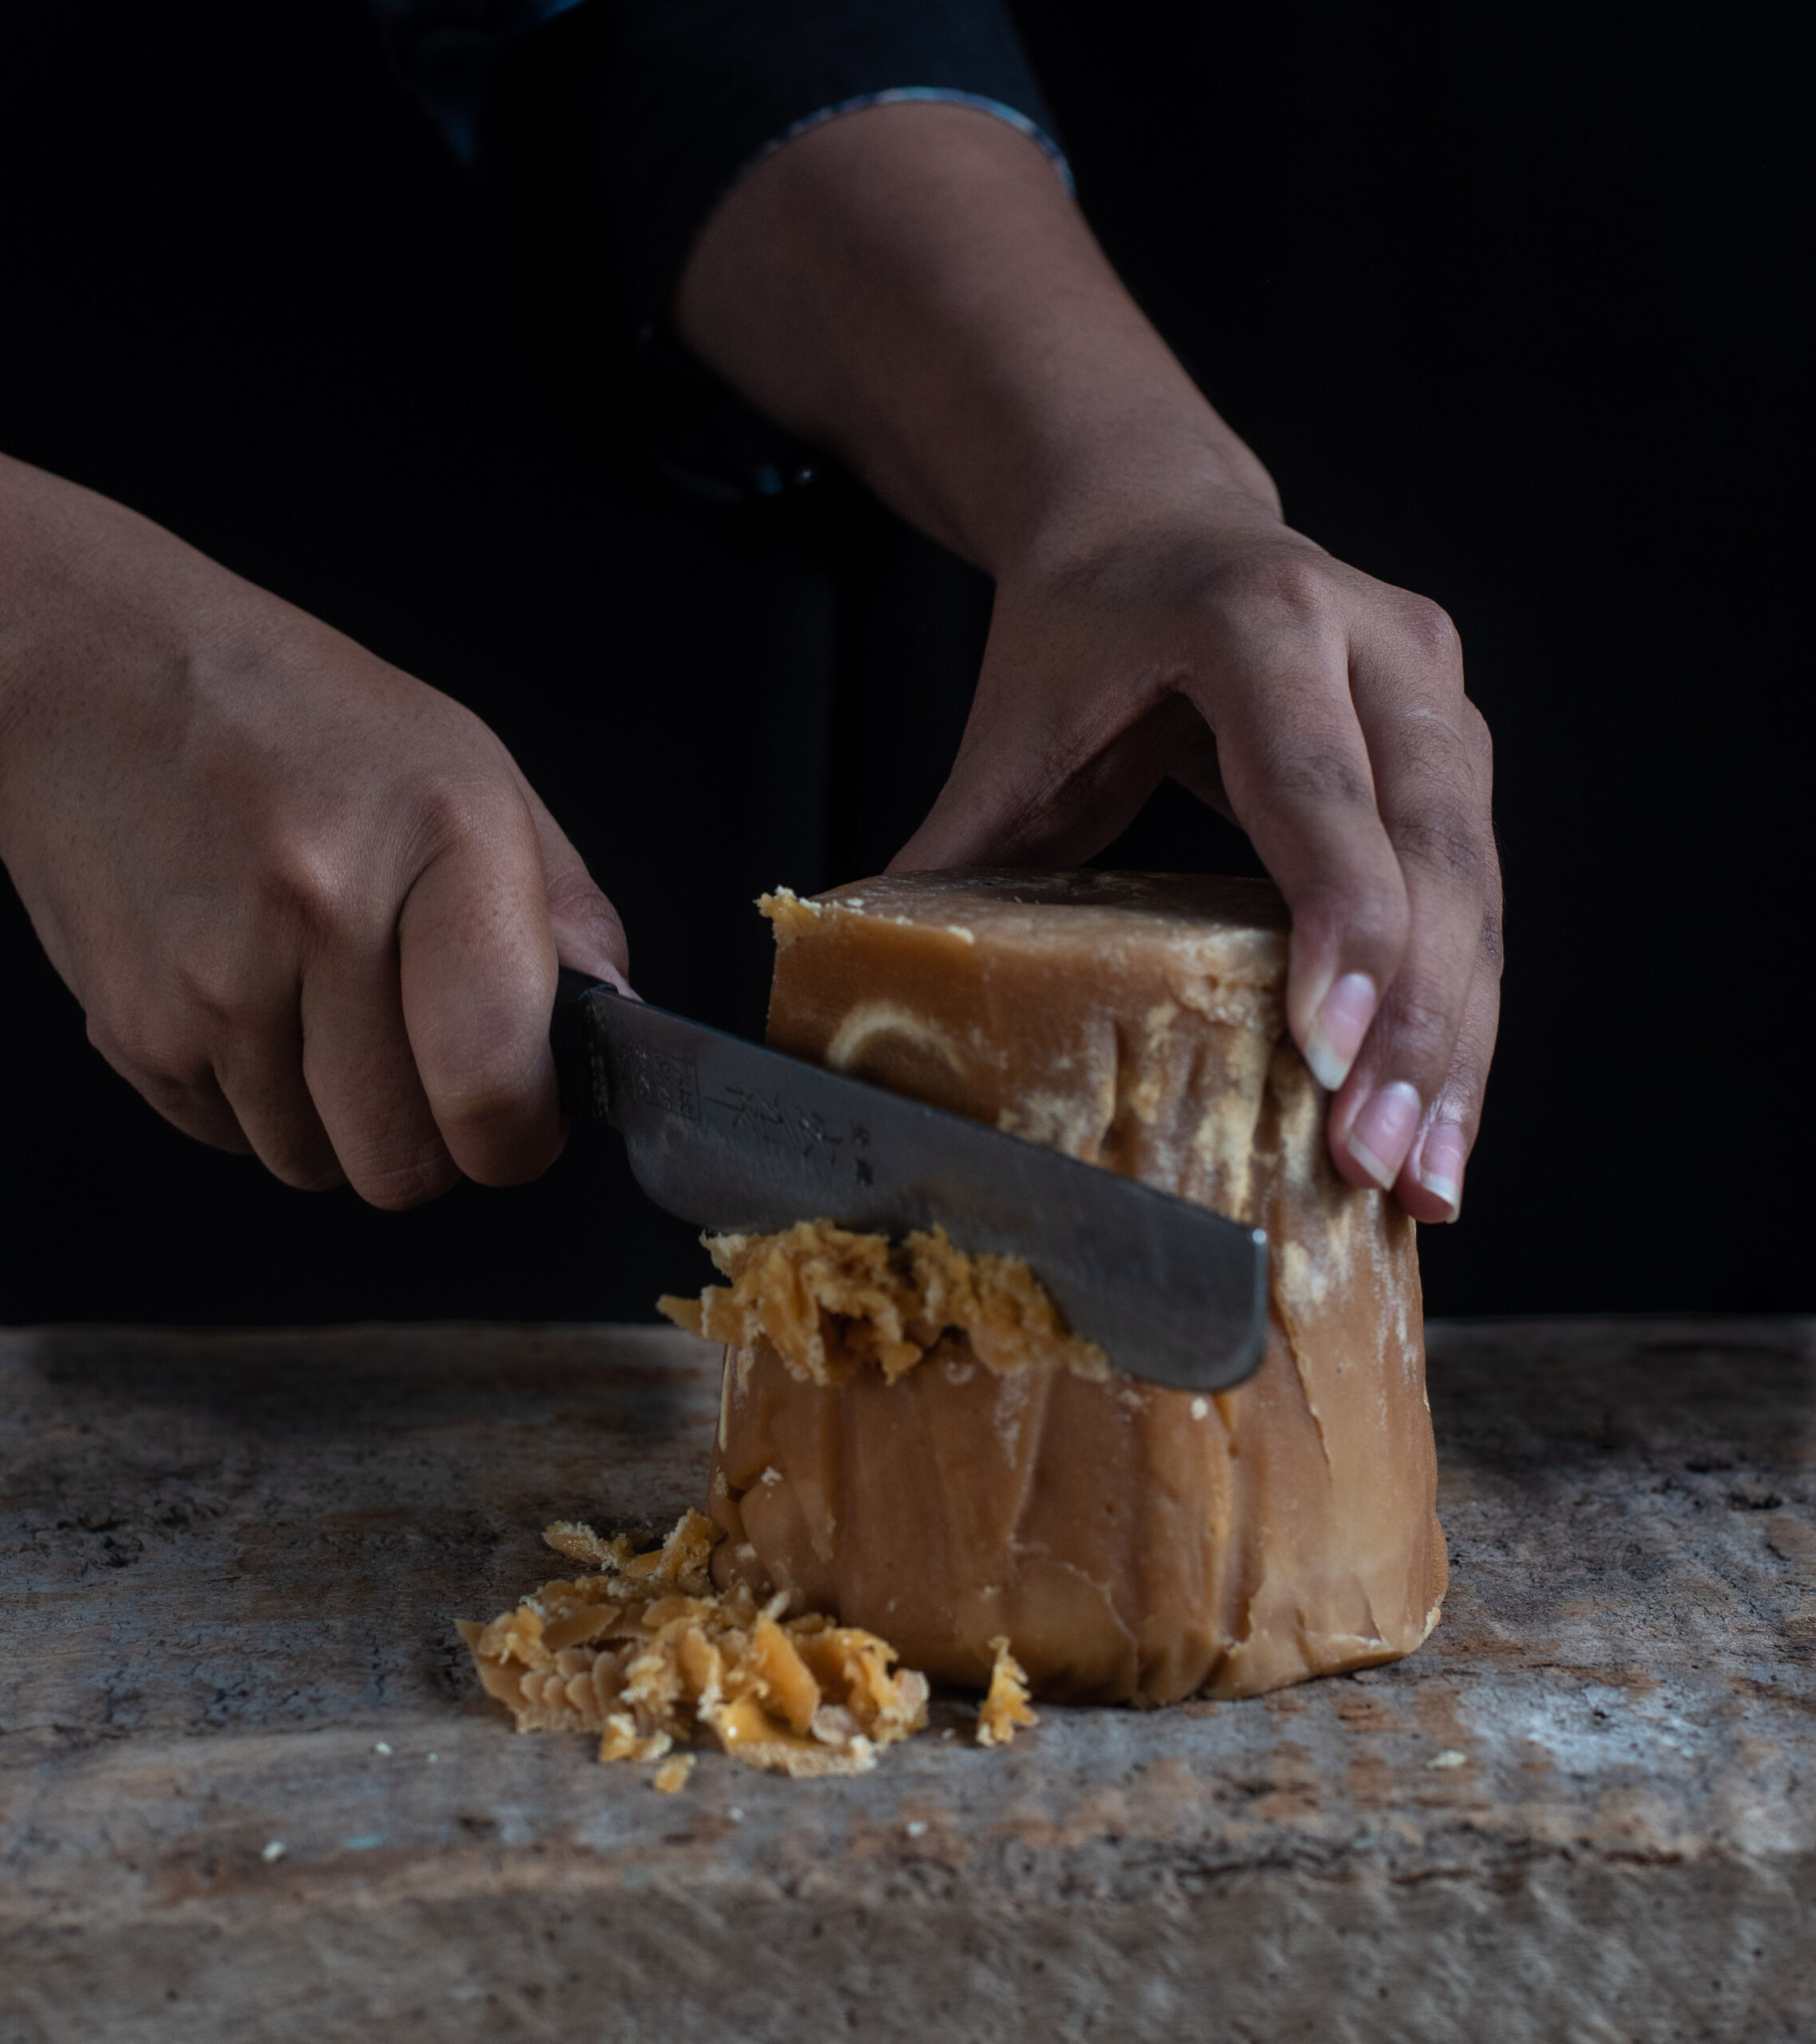
½ cup jaggery
1 tablespoon ghee
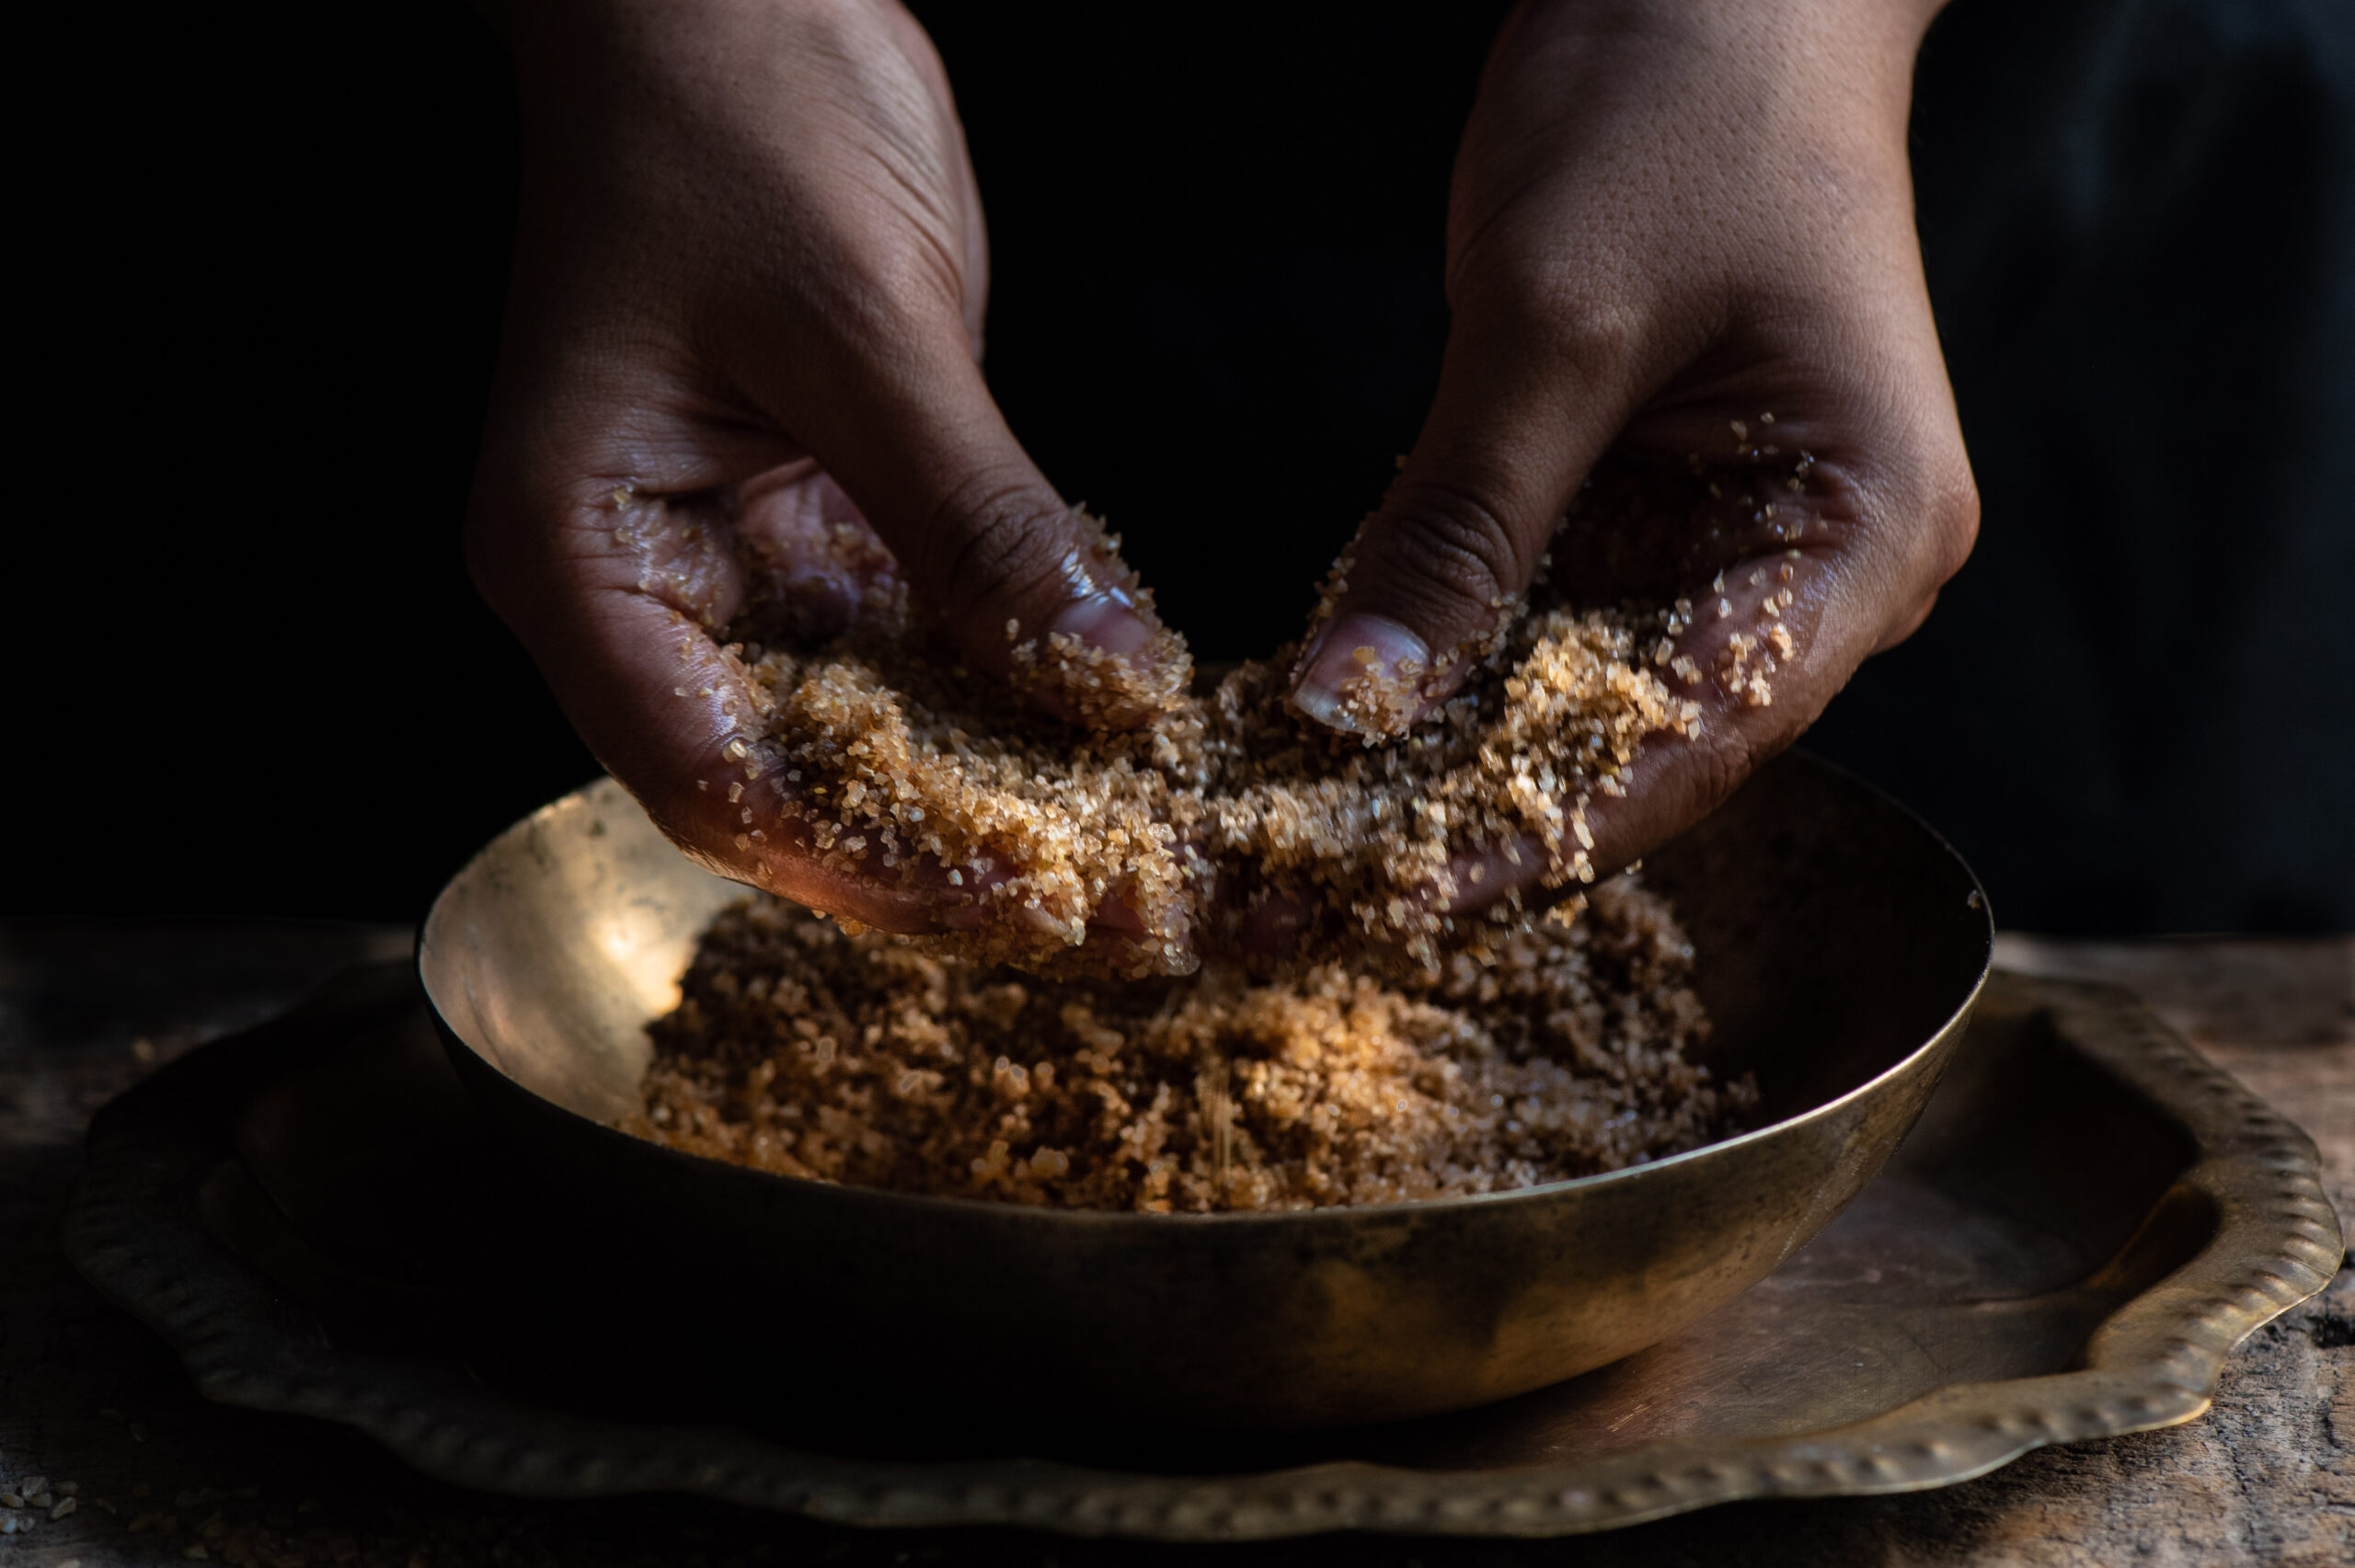
Grease an overturned steel plate and a rolling pin and keep these ready. Next, in a wok or kadai, roast the sesame seeds on a low flame. Occasionally increase to a medium flame for short spans. The sesame will take about 7 minutes to roast. Keep stirring until the colour changes.
Once roasted, transfer to a plate and allow to cool. Once cooled, taste a few seeds to check if they have a crunch to it. This means they are ready.
In the same wok or kadai, add the ghee. Then, add the jaggery and stir constantly on a low flame. As with the roasting of the sesame seeds, you may occasionally increase the flame to a medium for short spans, then immediately reduce it to a low again. Take care that the jaggery does not burn. Do see this video for reference: re:store sesame brittle video – 1
Mine took approximately 9 minutes to turn into a reddish colour. Once this happens, turn off the flame. Add the sesame seeds and stir well.
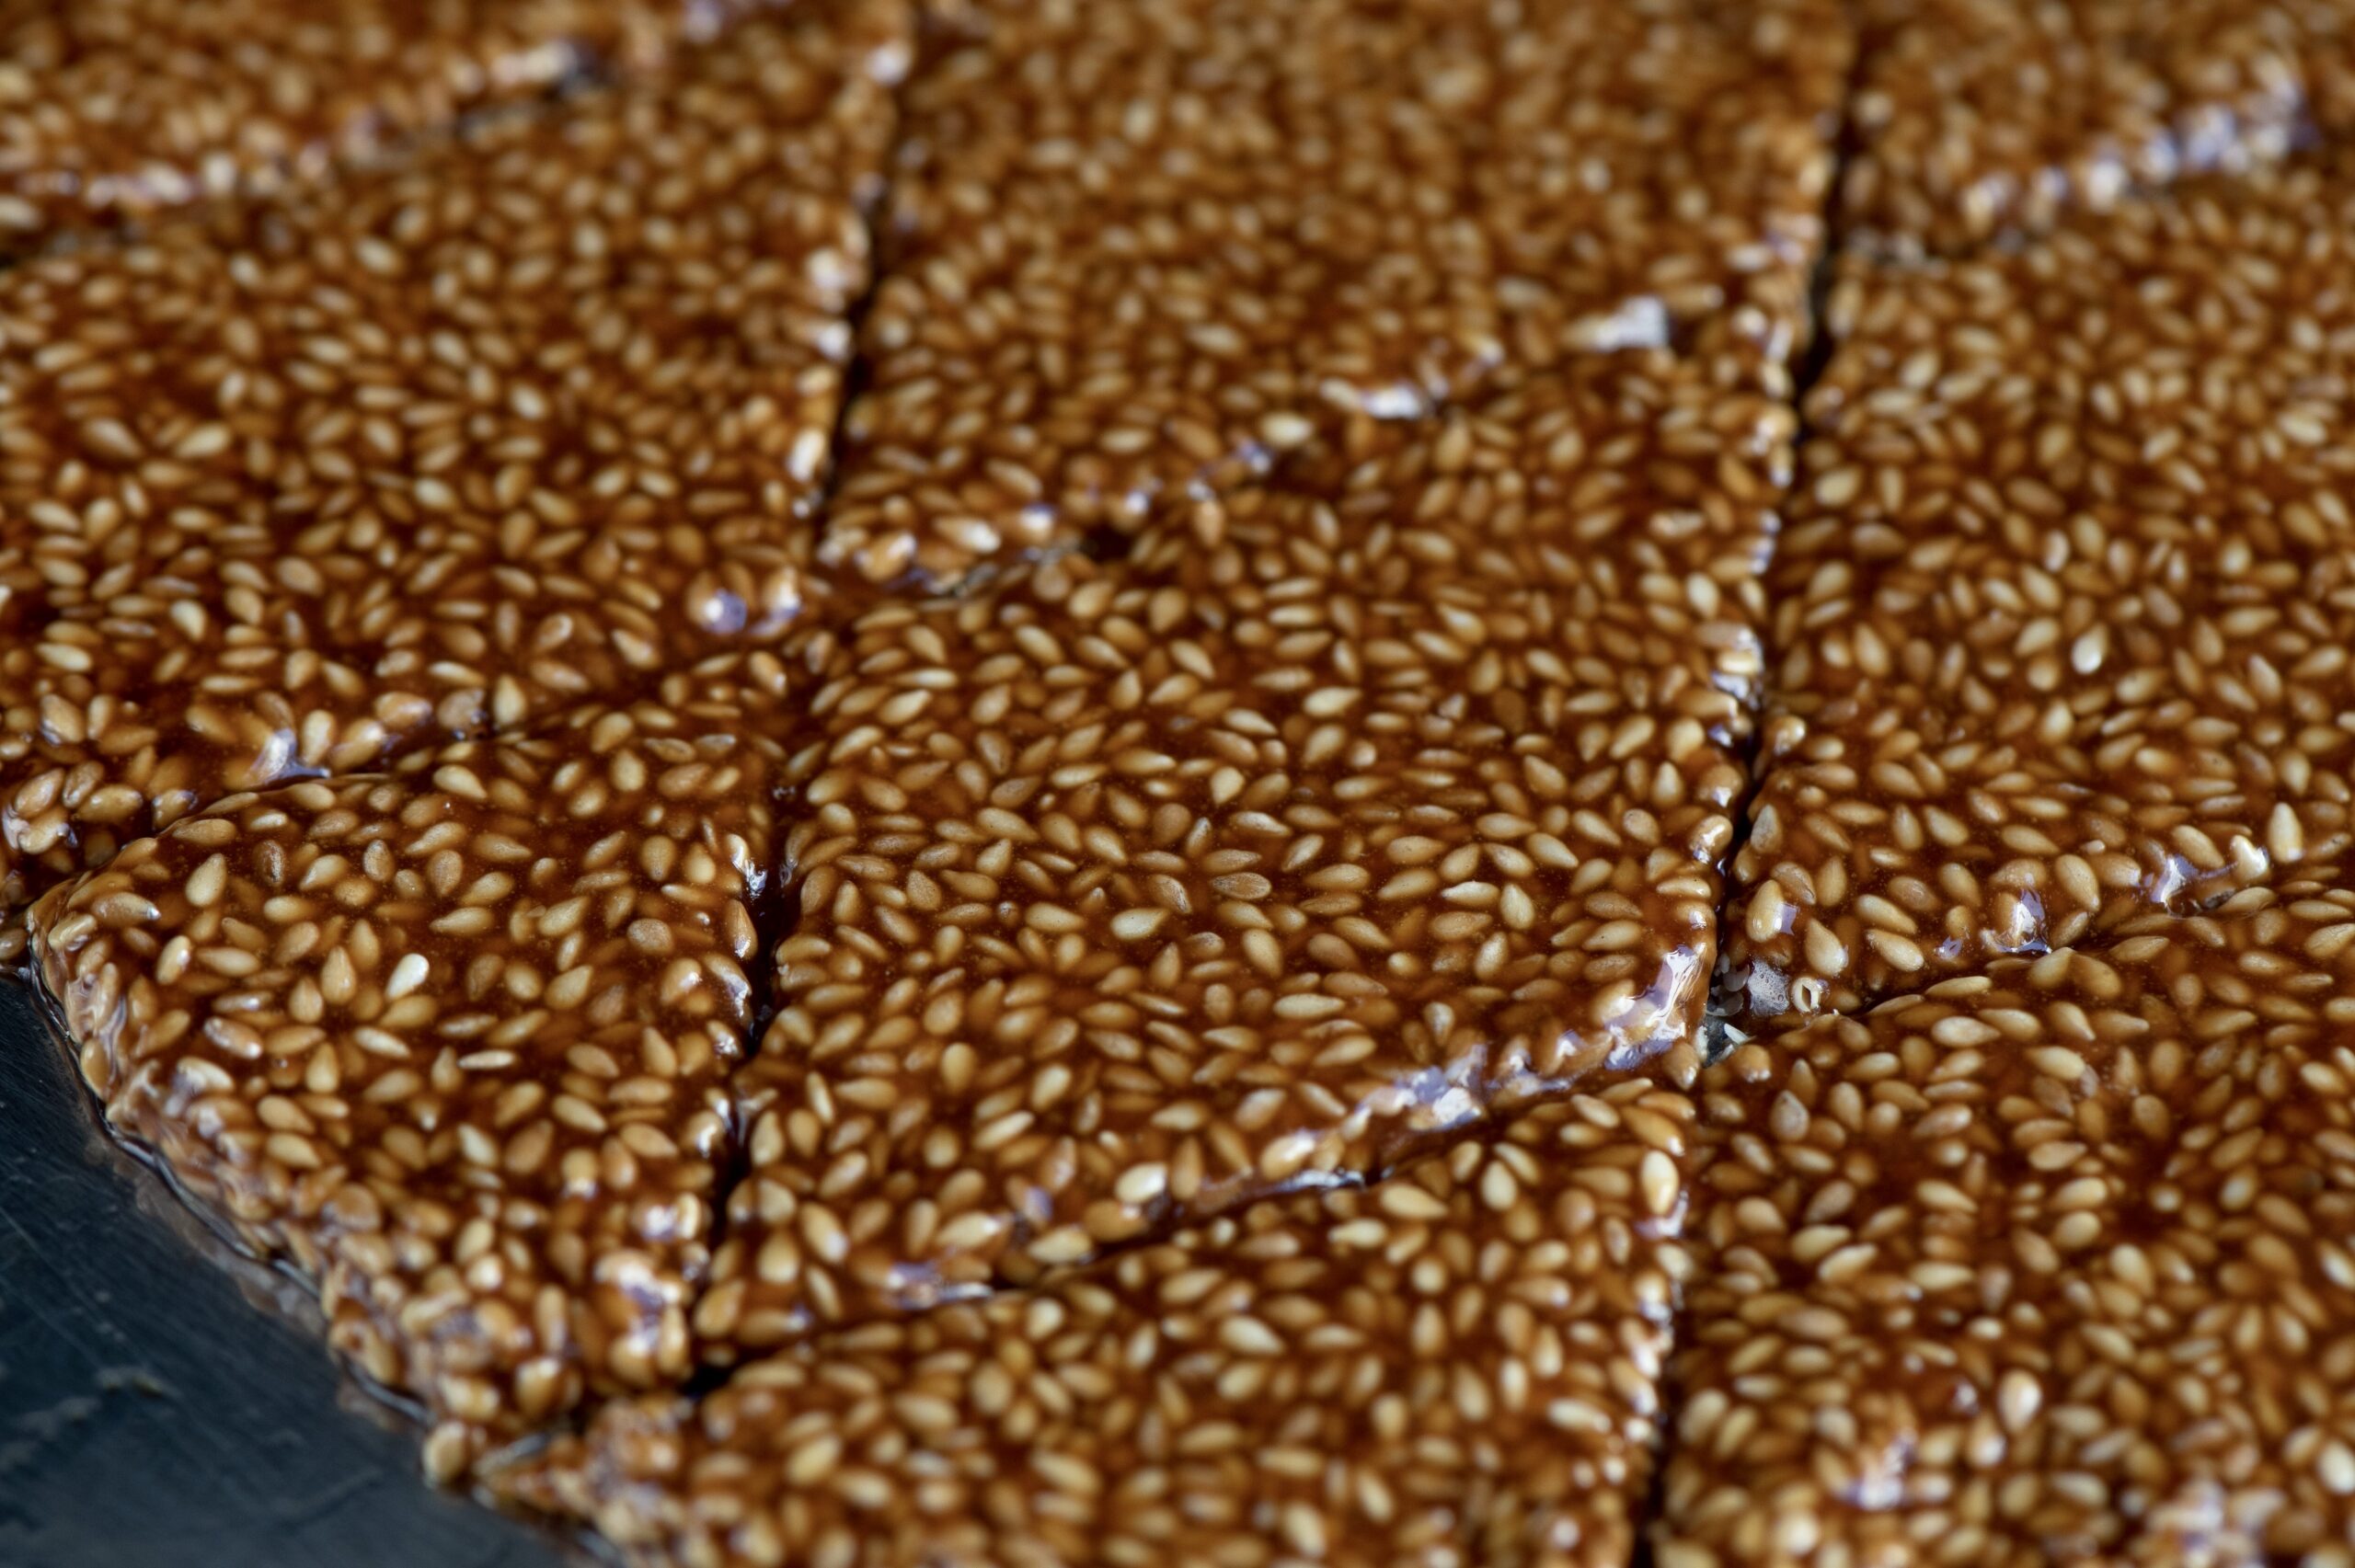
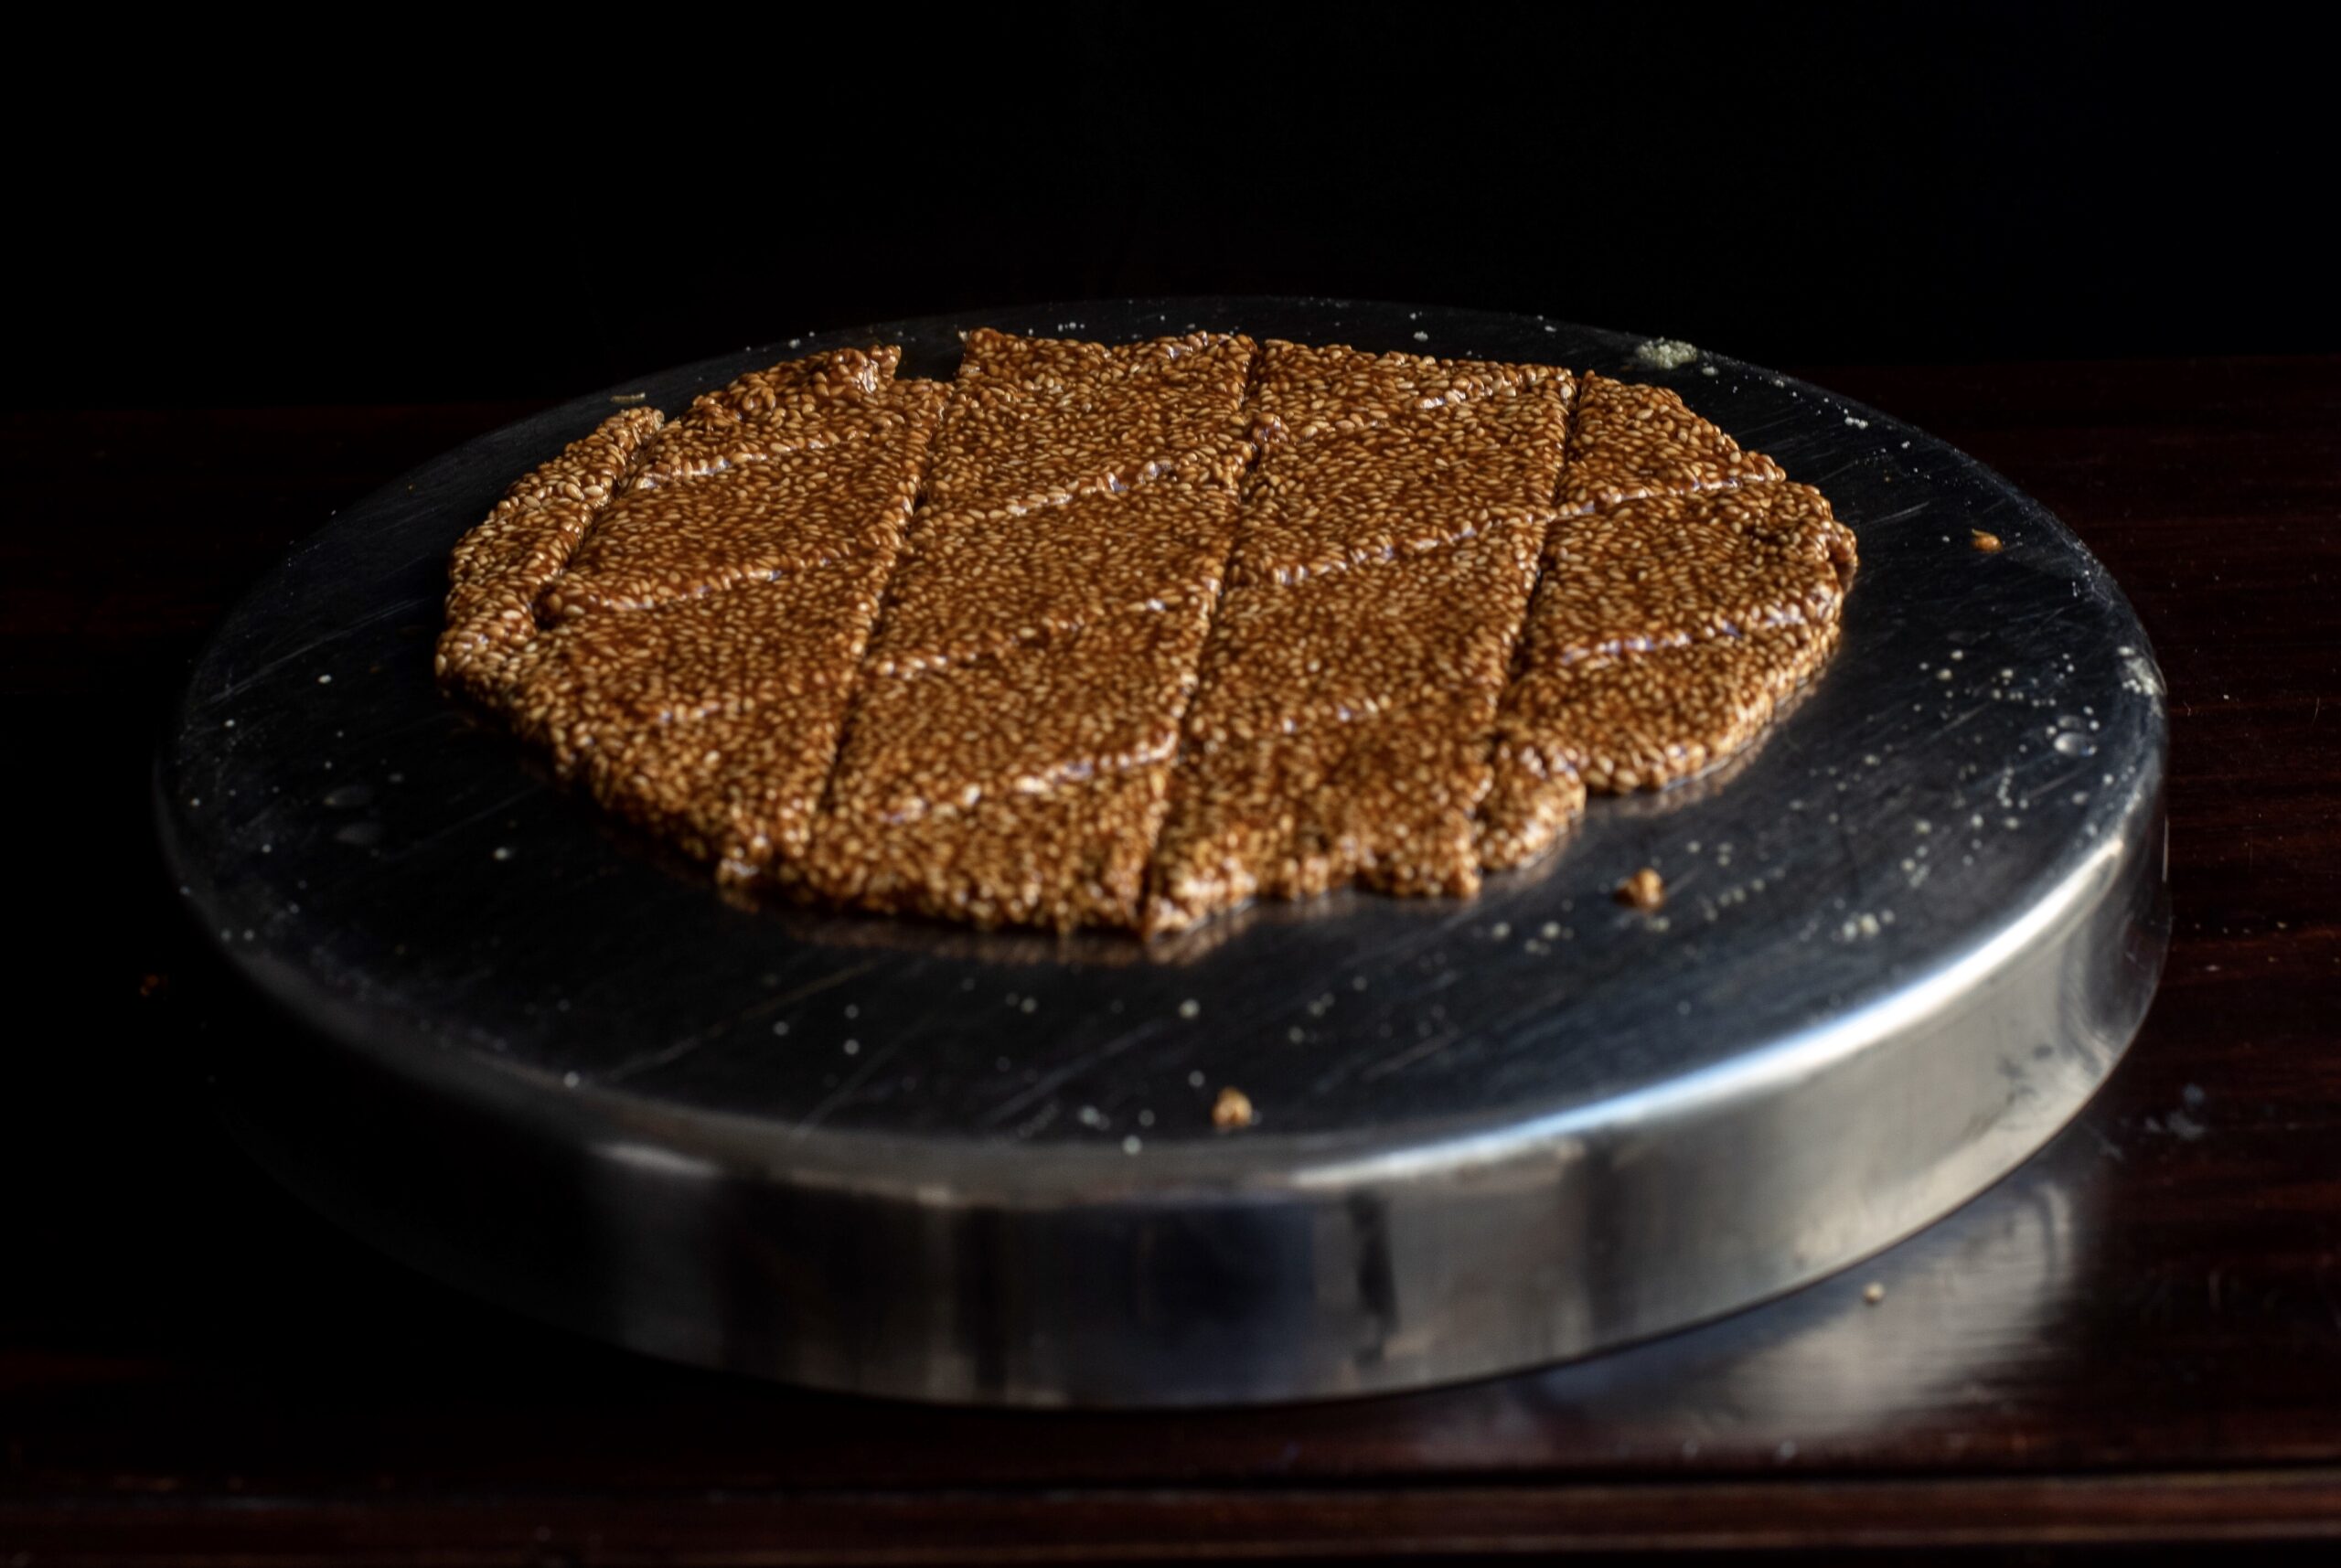
Drop the mixture onto the greased, overturned plate and immediately start to spread it out as thin as possible. You may need to use your fingers (dipped in water), while the rolling pin is coated with ghee. With this combination, try and spread it out in such a way that you mark lines for the pieces later.
Allow the spread mixture, striped with lines to form bars, to cool. Once it has completely cooled, place the plate on the stove and warm from below. The entire piece will come out as a whole. Break it along the marked lines. Store in an airtight container.
Here’s another process video: re:store sesame brittle video – 2
I want to say that this til-ka-chikki is easy to make, but I’ve already told you honestly that it’s not. But I love a challenge in the kitchen, and try again and again to better then perfect my dishes. Even with my photoshoots, it’s the same. When the end result comes out well, it’s all the more delicious when I know the effort that’s gone into it! Tell me how it goes when you try your hand at this dish. Wishing you and your loved ones a happy Sankranti!


")