")
What did you think of the raw mango thovayal that I shared in my previous post? I hope it added a tangy kick to your meals, and if you used it in any offbeat ways (such as as a marinade, or in a fusion dish), I’d love to know. The next dish I’m sharing in this dip series is another recipe that could lend itself to versatile use too. It also has an interesting dry-to-wet storage solution built into its preparation, which you’ll learn about below. This lasun ki chutney (dry garlic chutney) is a Gujarati condiment, one that always existed in my childhood food experiences, and I know it is also made Maharashtra, which borders Gujarat.
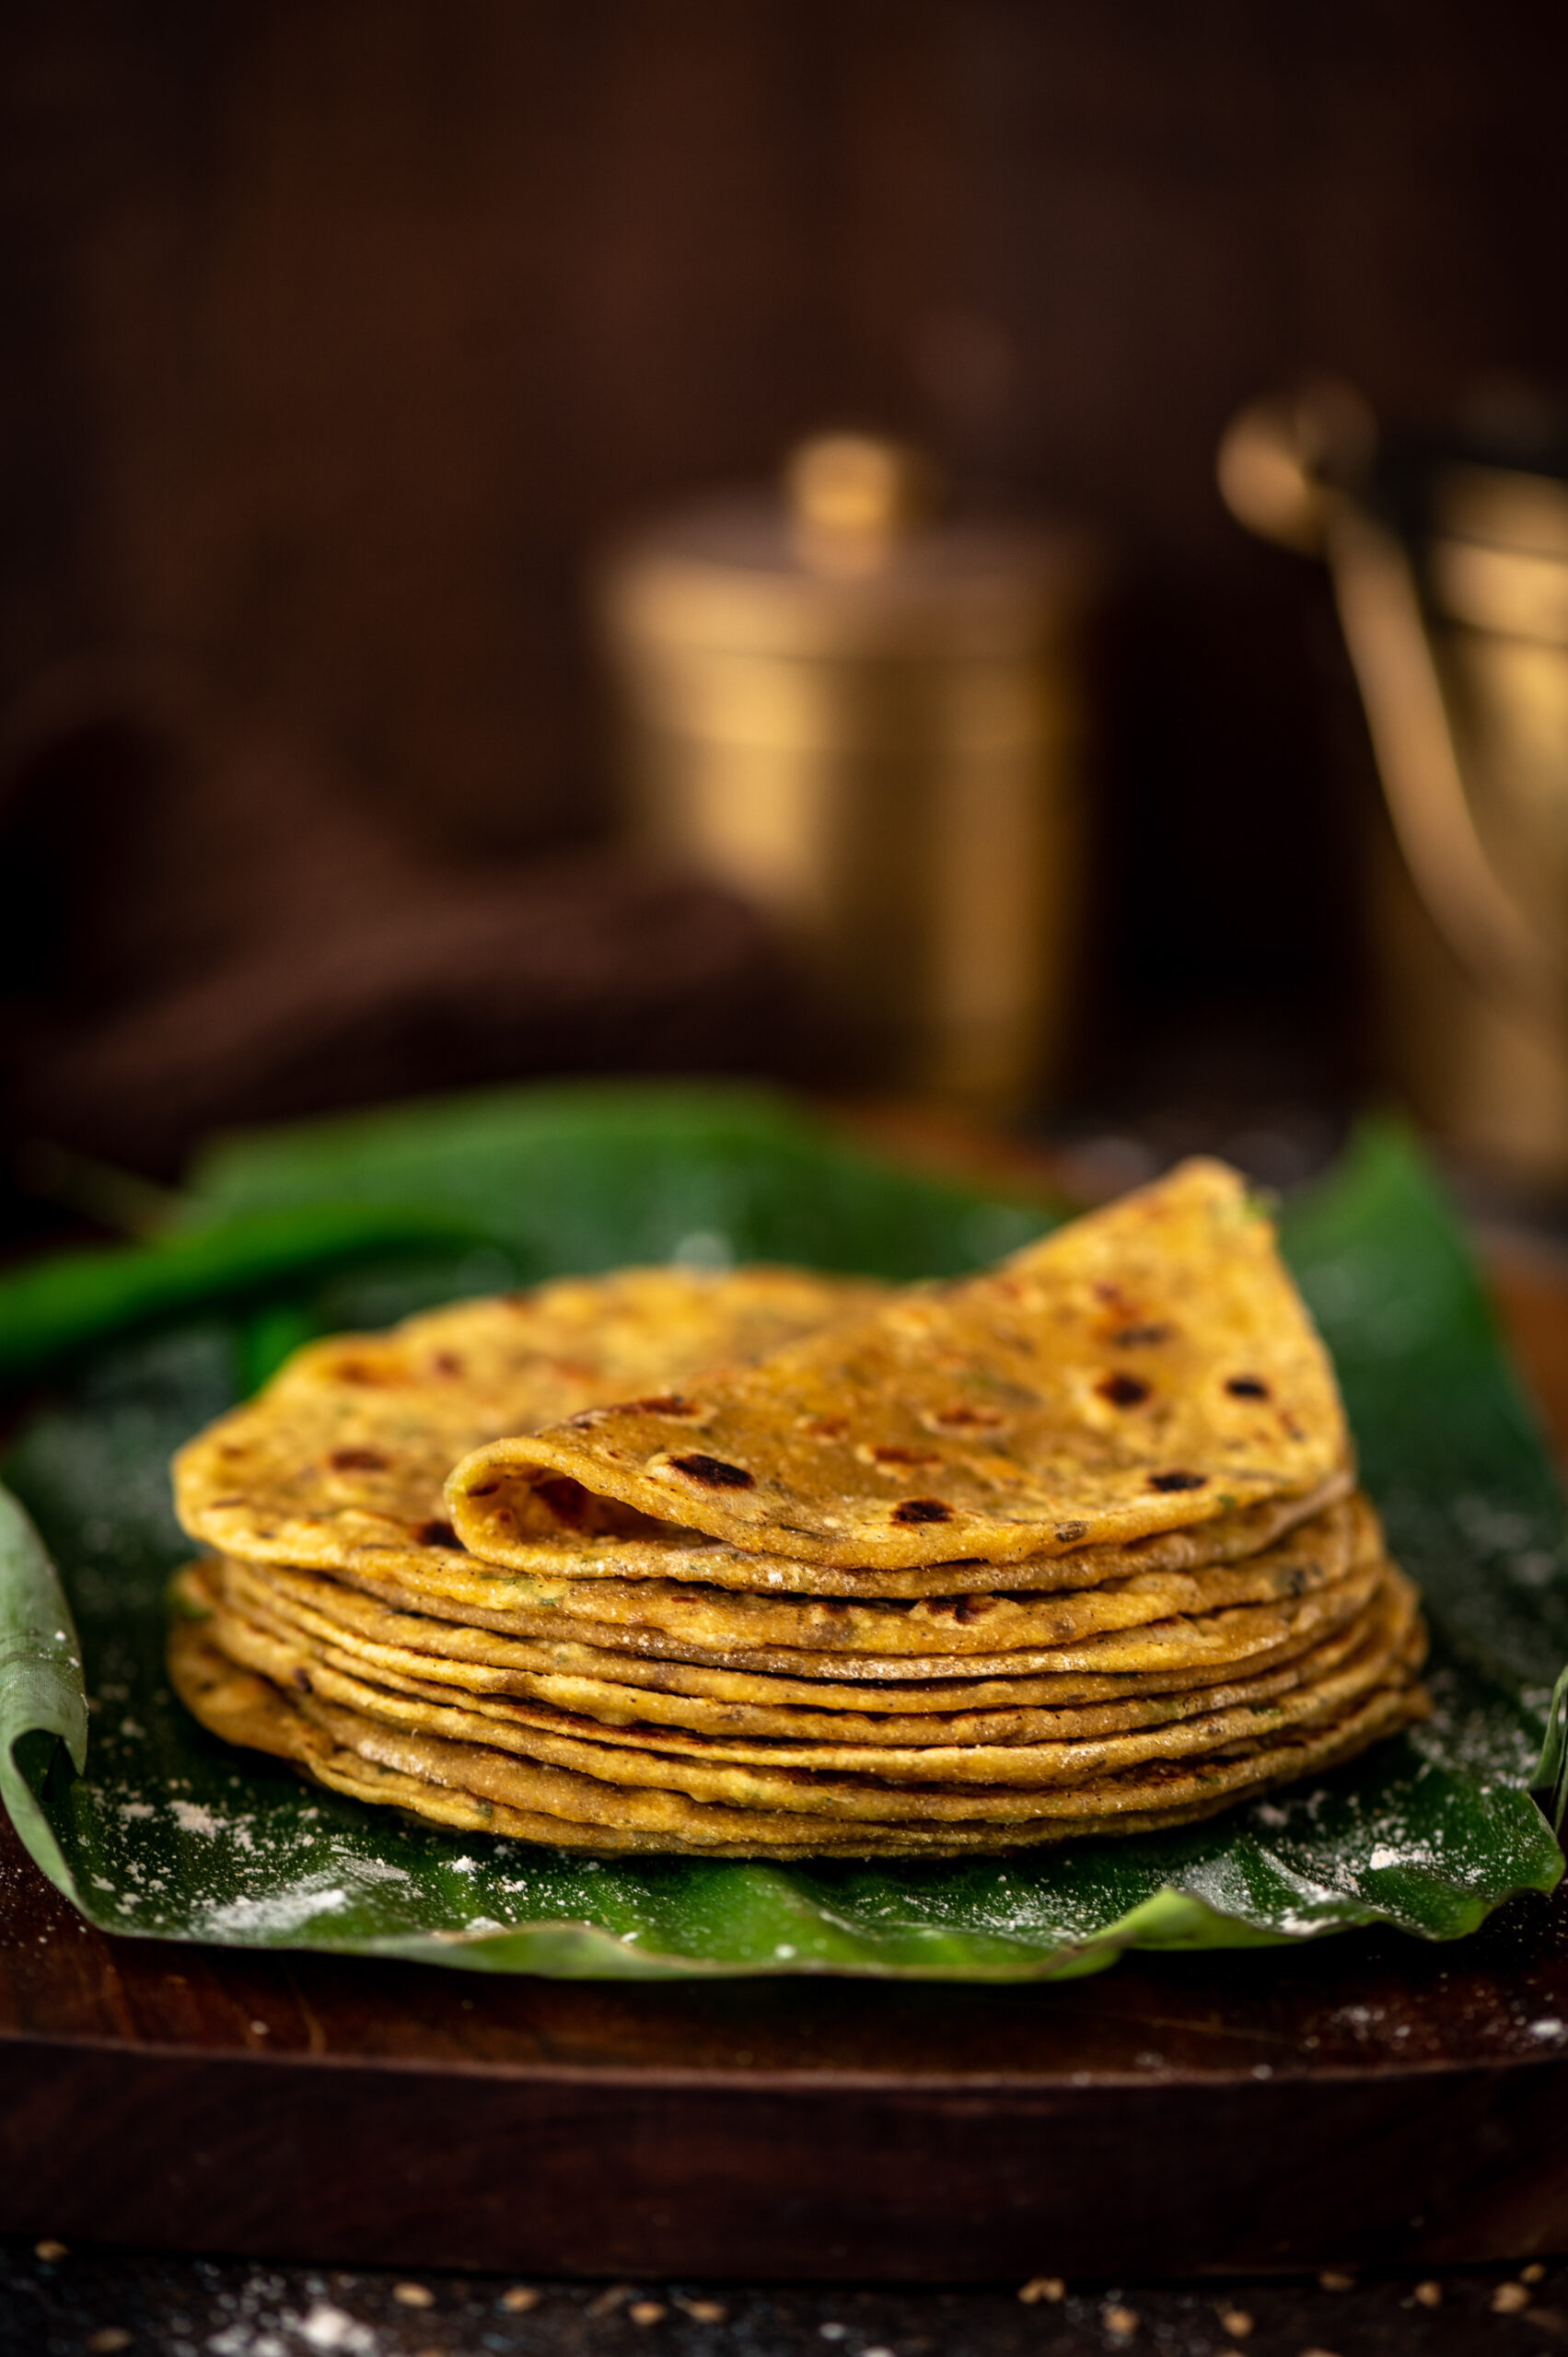
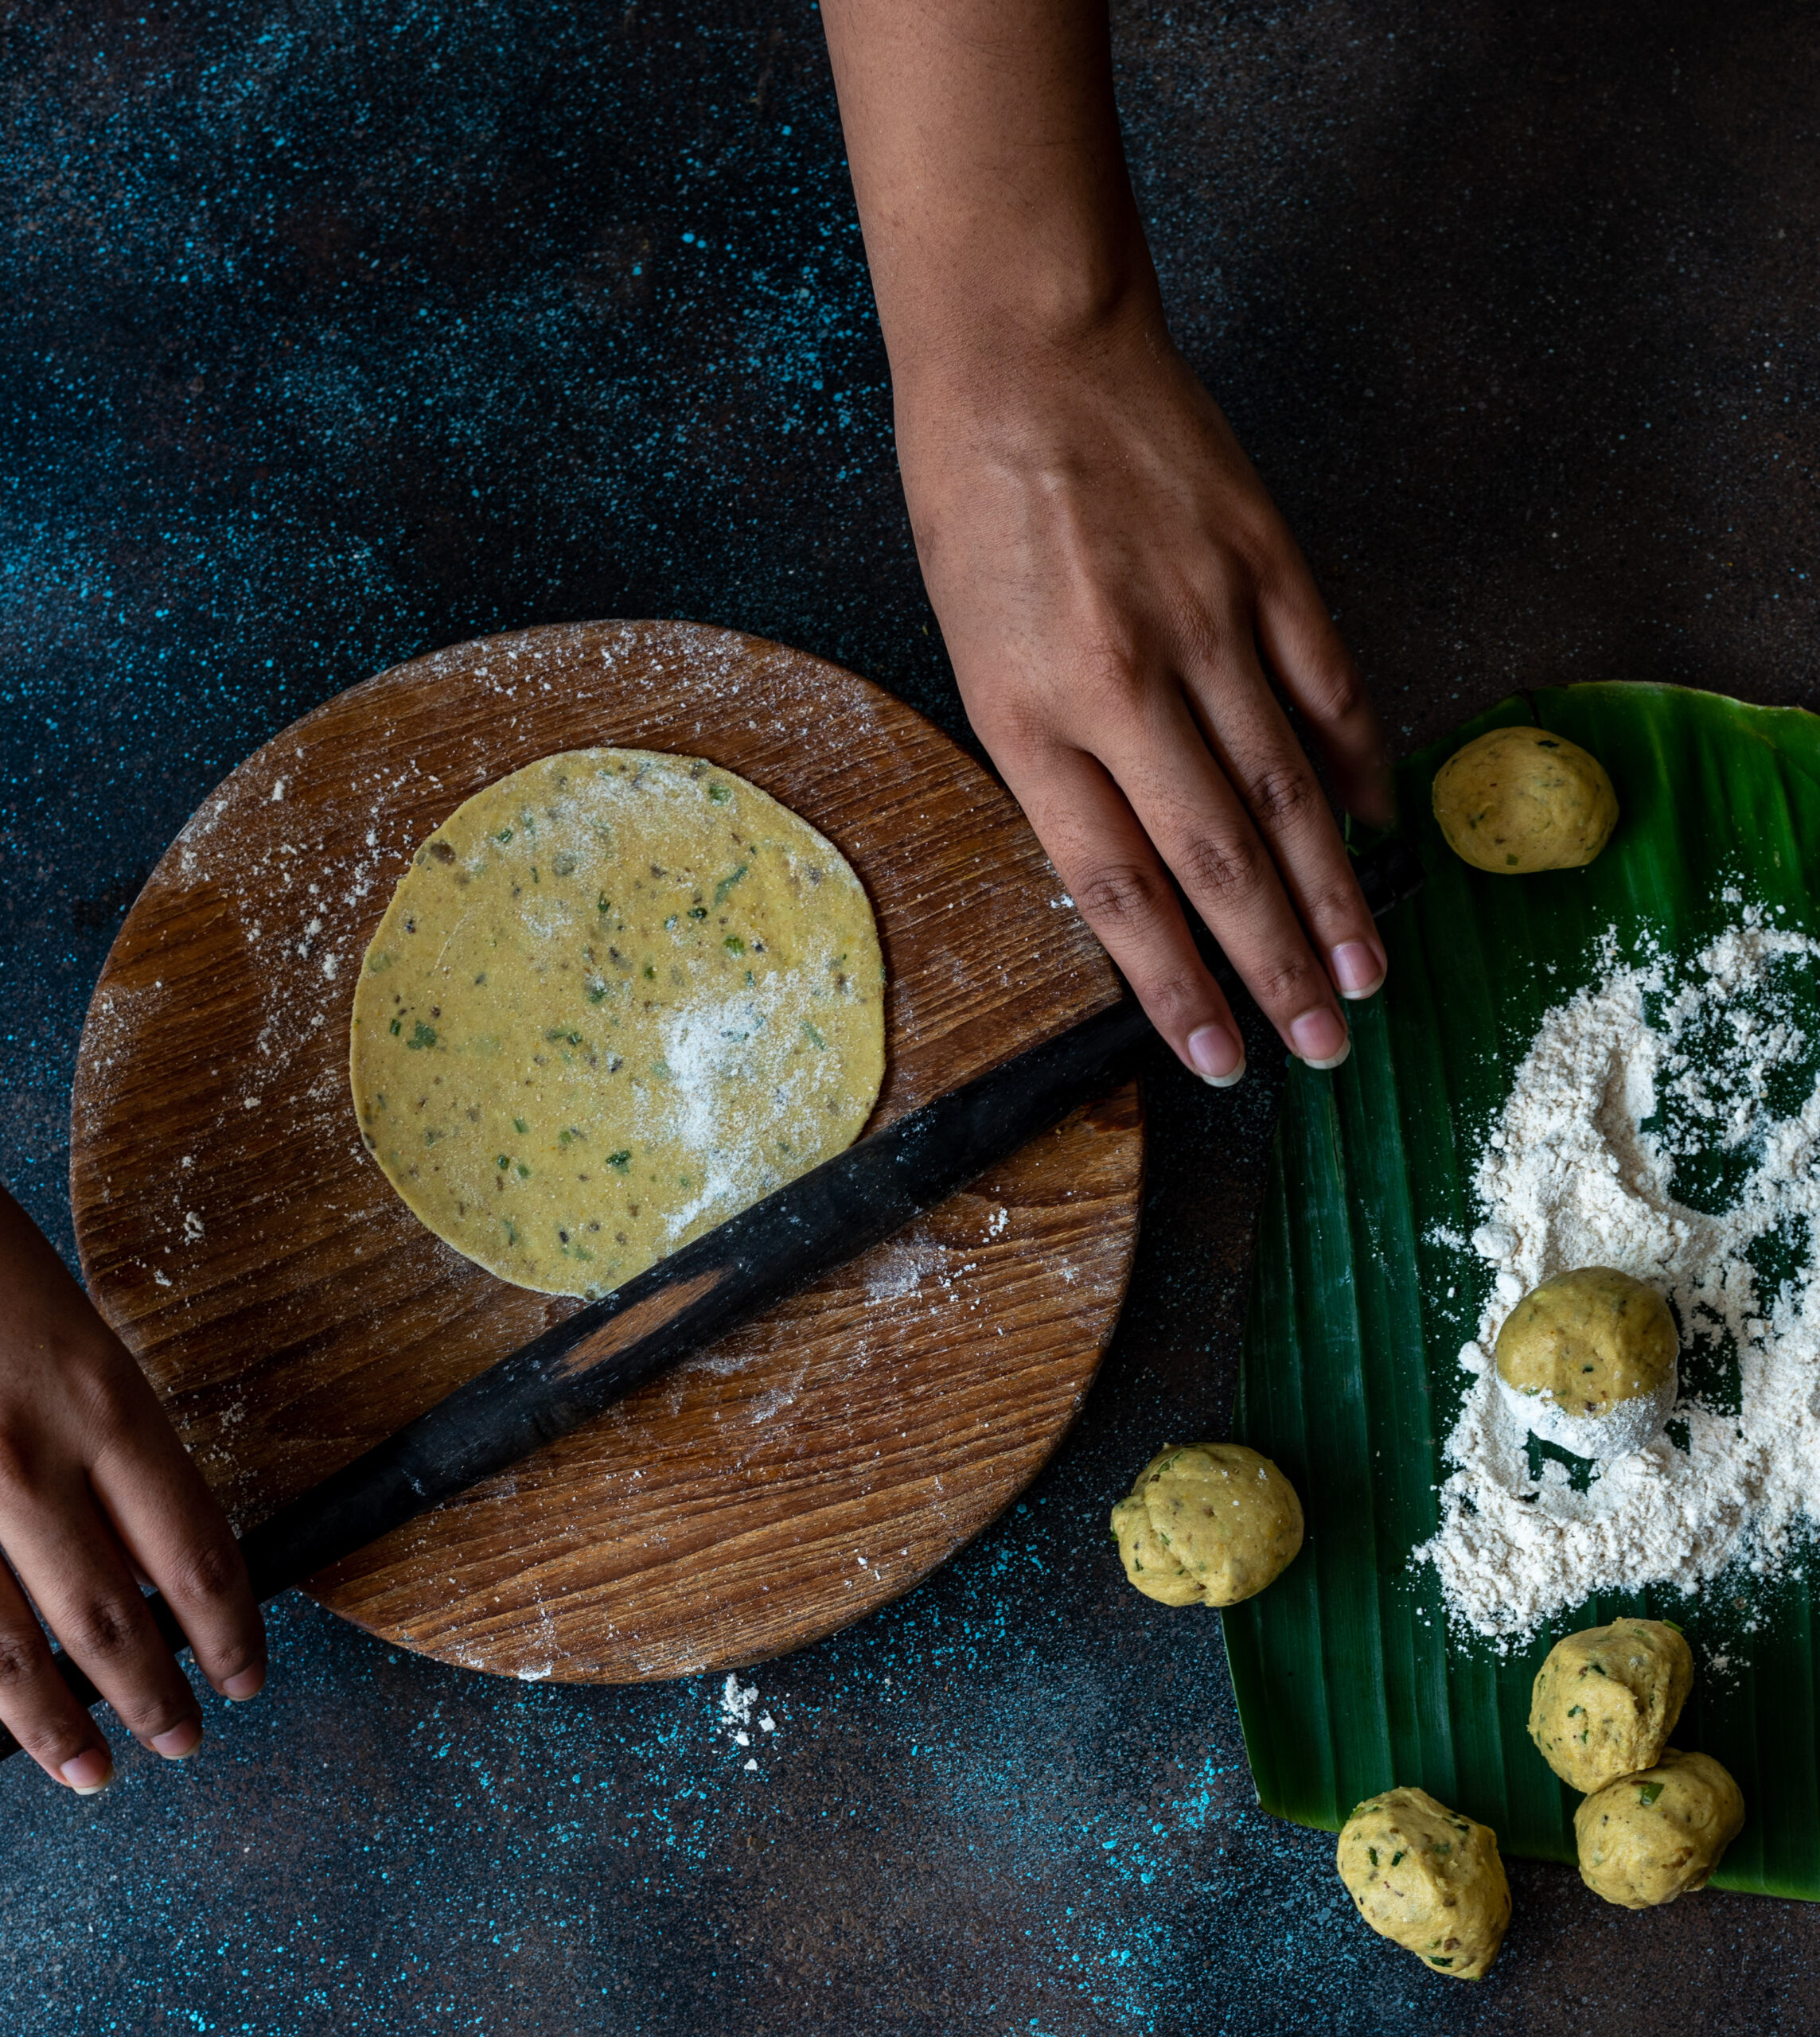
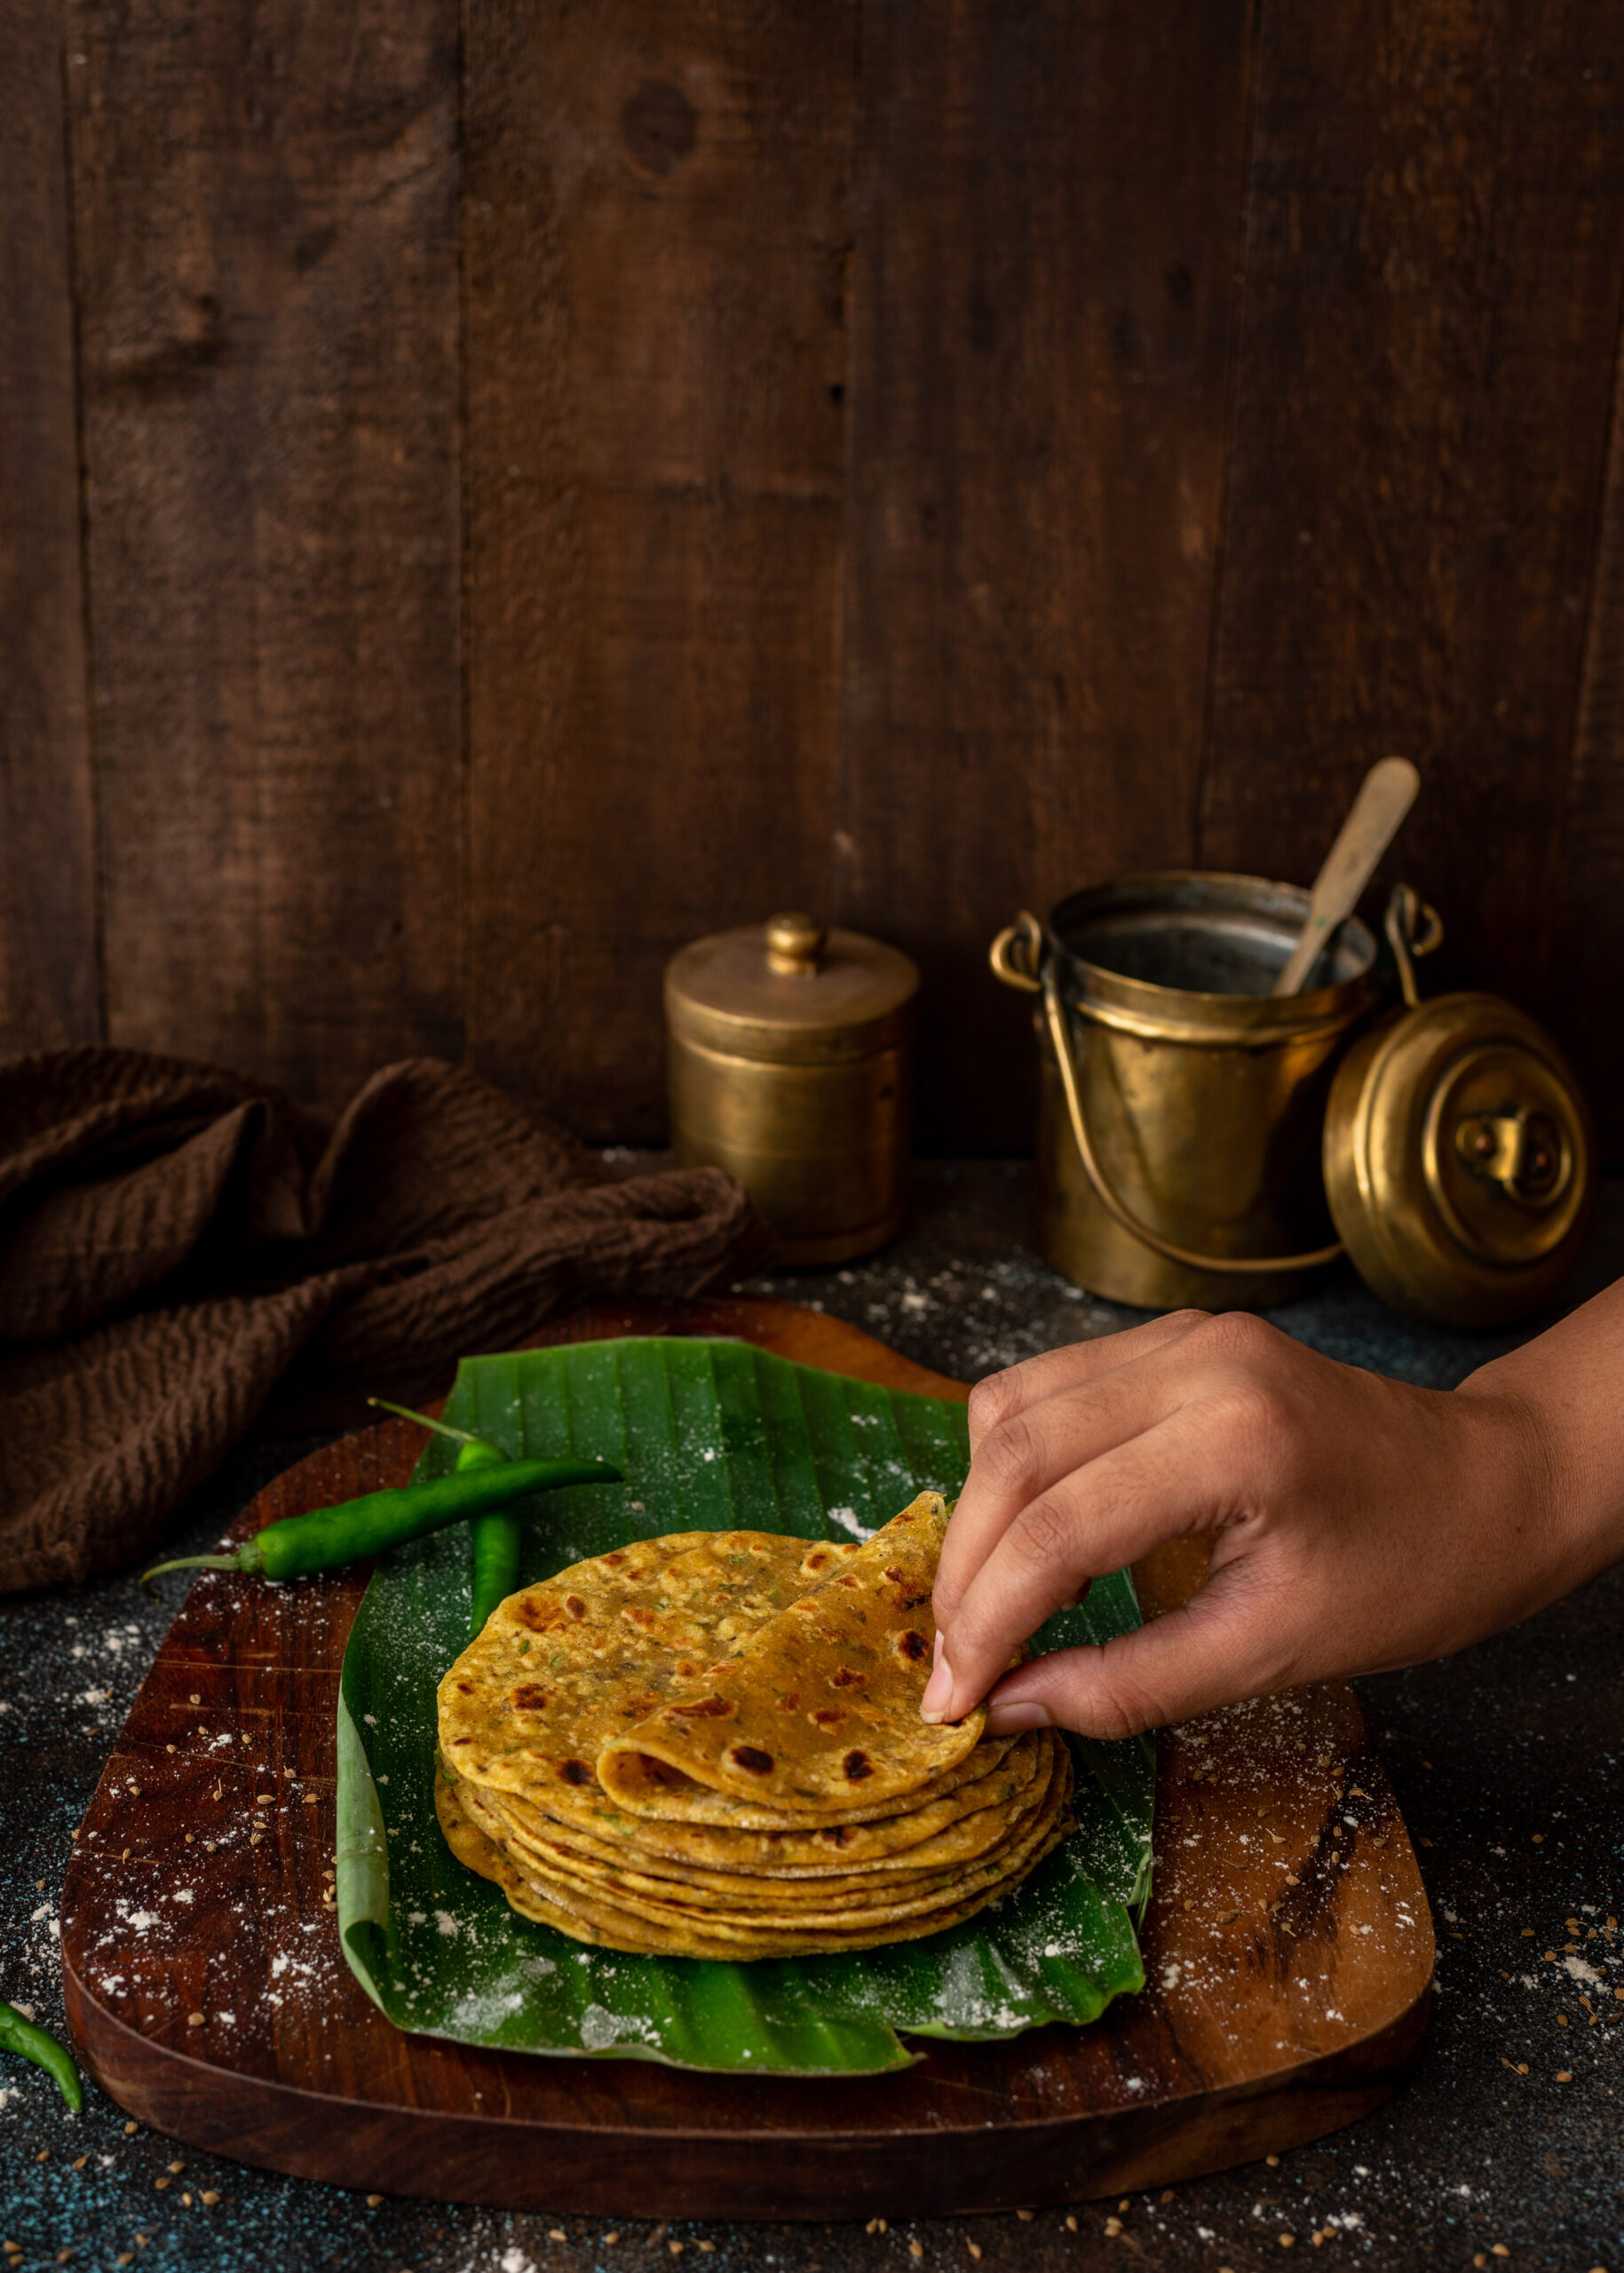
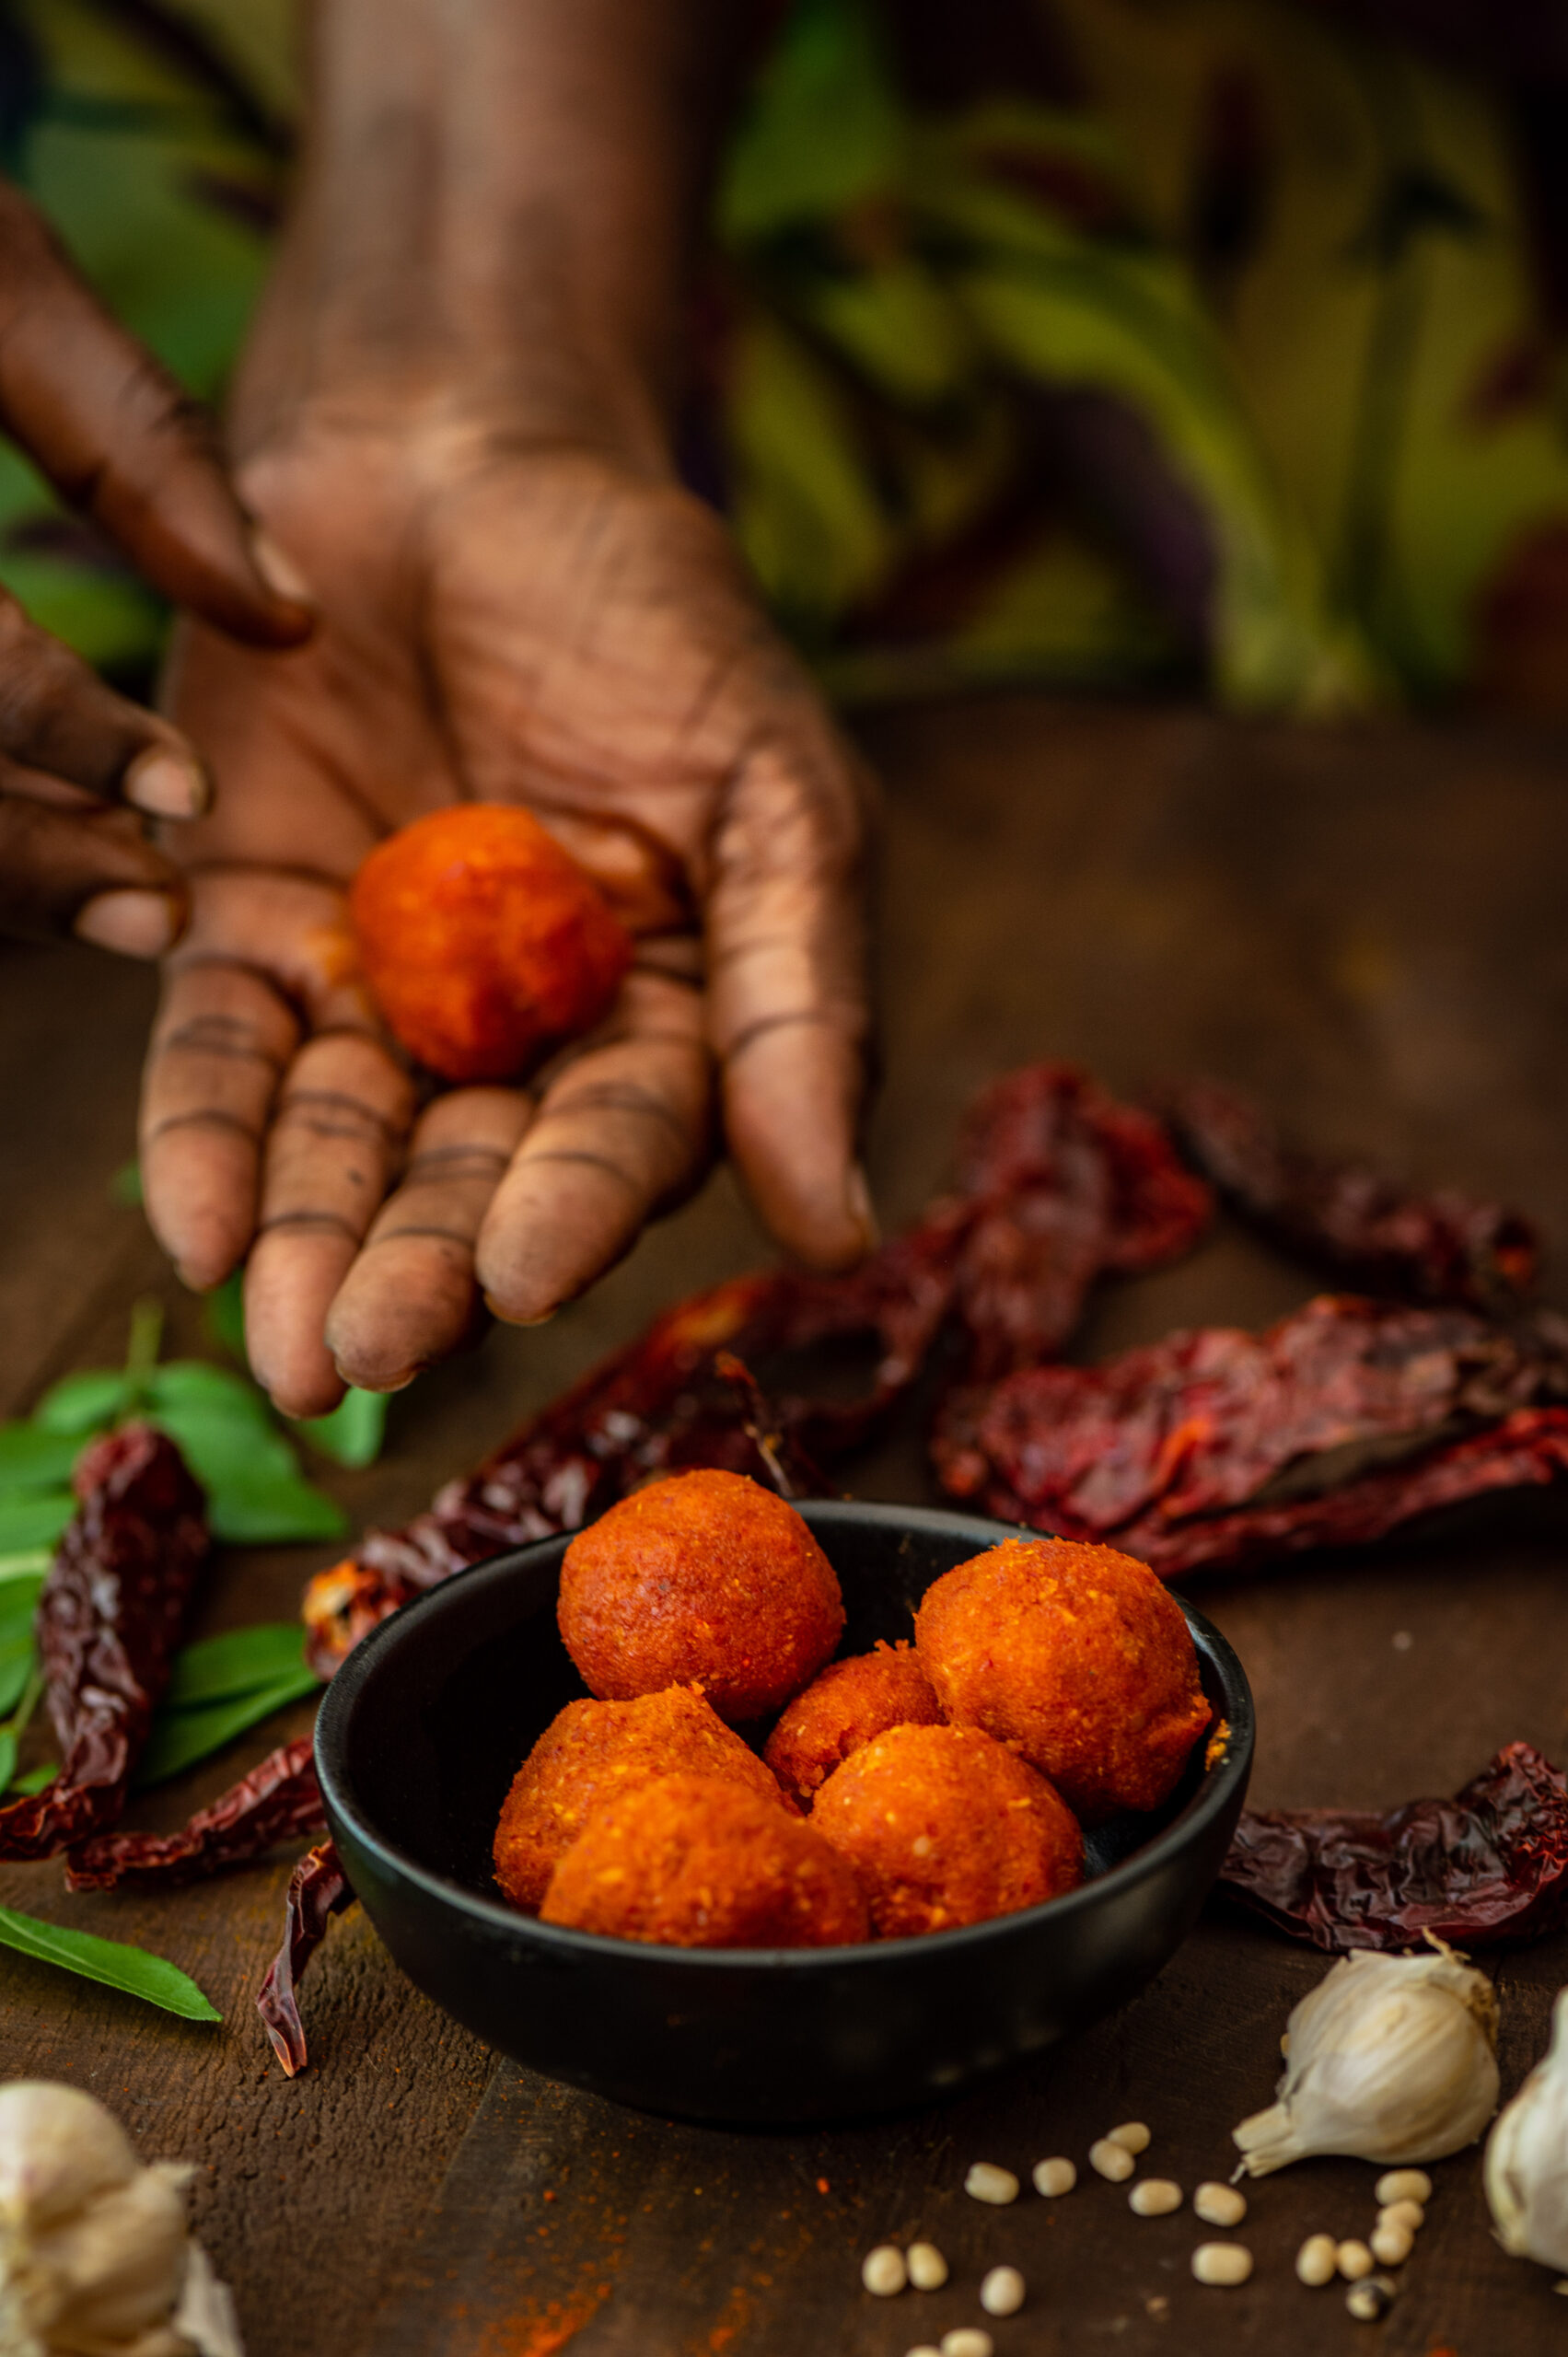
It is a dry garlic chutney with a fiery colour, and is made in a ball form that is supposed to last two or three days without refrigeration. This means it travels well, so it is often paired with the equally durable thepla on train journeys and so on. While I was growing up, my mother kept her lasun ki chutney in the fridge, which extended its shelf life a little further too. The concept is like this: it’s a dry chutney, made with minimal water, that is rolled into a ball and stored. Whenever one wants to consume it, one simply pinches some off, adds warm water, makes a paste and enjoys it as an accompaniment. Once water is added, it needs to be consumed immediately.
Aside from theplas, it is typically an accompaniment for bajra ki rotla, dhokla or handvo. Although we now enjoy it year-round, in concept it is the ideal winter condiment for more frugal meals. I am told that farmers in Gujarat typically consume it with bajra ka rotla, a flatbread made with pearl millet flour, in winters. Being very flavourful, it uplifts the thepla or other main staple without the need for other side dishes, especially when the harvest is scarce.
When I first started making lasun ki chutney, I began by making the soft version directly rather than the storable dry balls. I learnt the recipe for my grandfather, who came to live with us when he was 93 and absolutely had to have some of this lovely condiment at every meal. And at every meal, without fail, he would always say, “Garlic is very good for you.” He would sit on the floor and have a full Gujarati main course served to him, and he relished dipping his chapati into a bowl of ghee and eating it with lasun ki chutney. Perhaps because he reminded us every day that this is a nutritious dish, it grew on the rest of us too, and soon we began to have a side of spicy garlic chutney with most of our meals as well.
Garlic is indeed very good for us, and is well-known as an immune system booster, and as an ingredient that keeps blood pressure and cholesterol under control. It’s rich in antioxidants, manganese and fibre, among other nutritious elements. Plus – it’s delicious. Aromatic and pungent, it’s a pleasure for the senses.
That said, I would be remiss not to mention that there are communities that avoid garlic entirely as some believe that it affects the hormones in such a way as to charge us up and make us express our anger. If you do not eat garlic for this reason or any other, I’m afraid this recipe won’t suit you – and I hope you’ll explore the archives and find another one that does.
Lasun Ki Chutney
(Yield: 1 small cup)
10-12 cloves garlic
1 tablespoon toasted sesame seeds
4 Kashmiri red chillies (fried)
½ cup shredded coconut
1 tablespoon sesame oil
Salt to taste
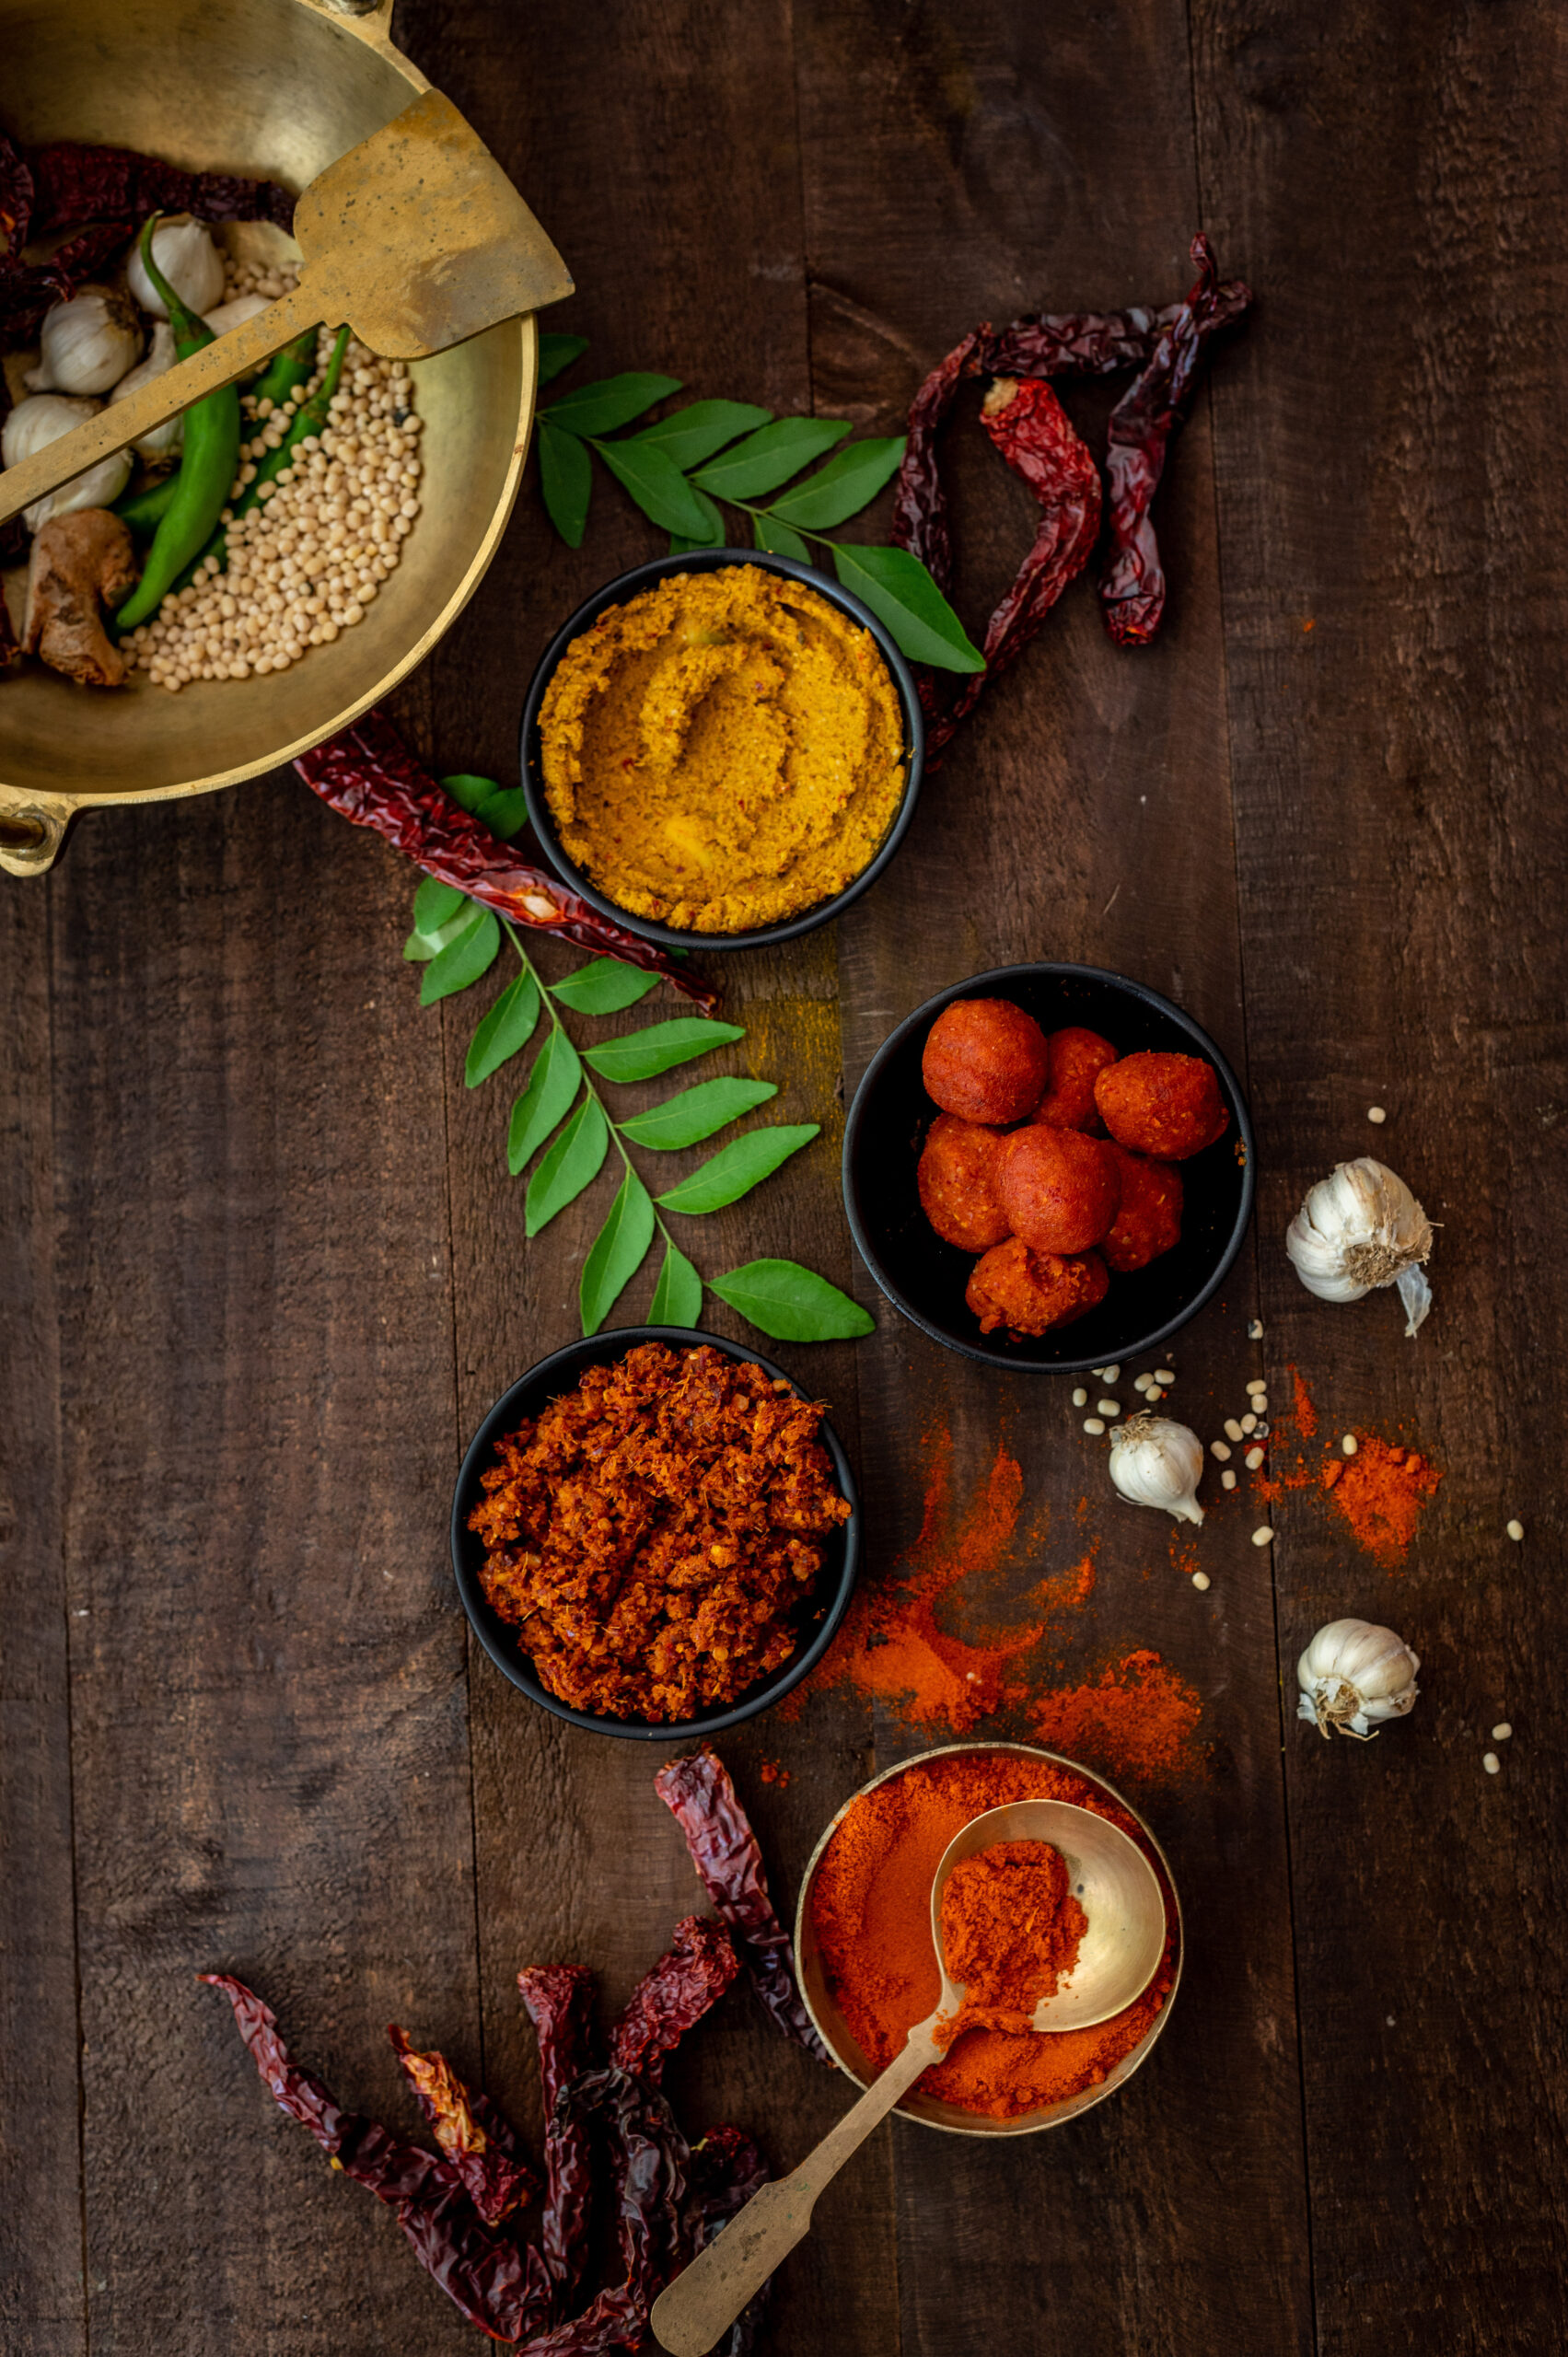
Set aside all the ingredients, except the oil, in a food processor. In a flat pan, add the oil and once it has heated, pour the oil into the food processor along with the other ingredients. Make sure that you grind the mixture well. Your dry, coarse garlic chutney is now ready.
Now, make small balls and store them in the refrigerator. When you’re sitting down to a meal over the next few days, pinch off as much as you need, add warm water to make a paste, and enjoy. Have it with dhoklas or theplas, or even add it to Asian stir fries to spice them up, like I do. I’d love to know how you use it!
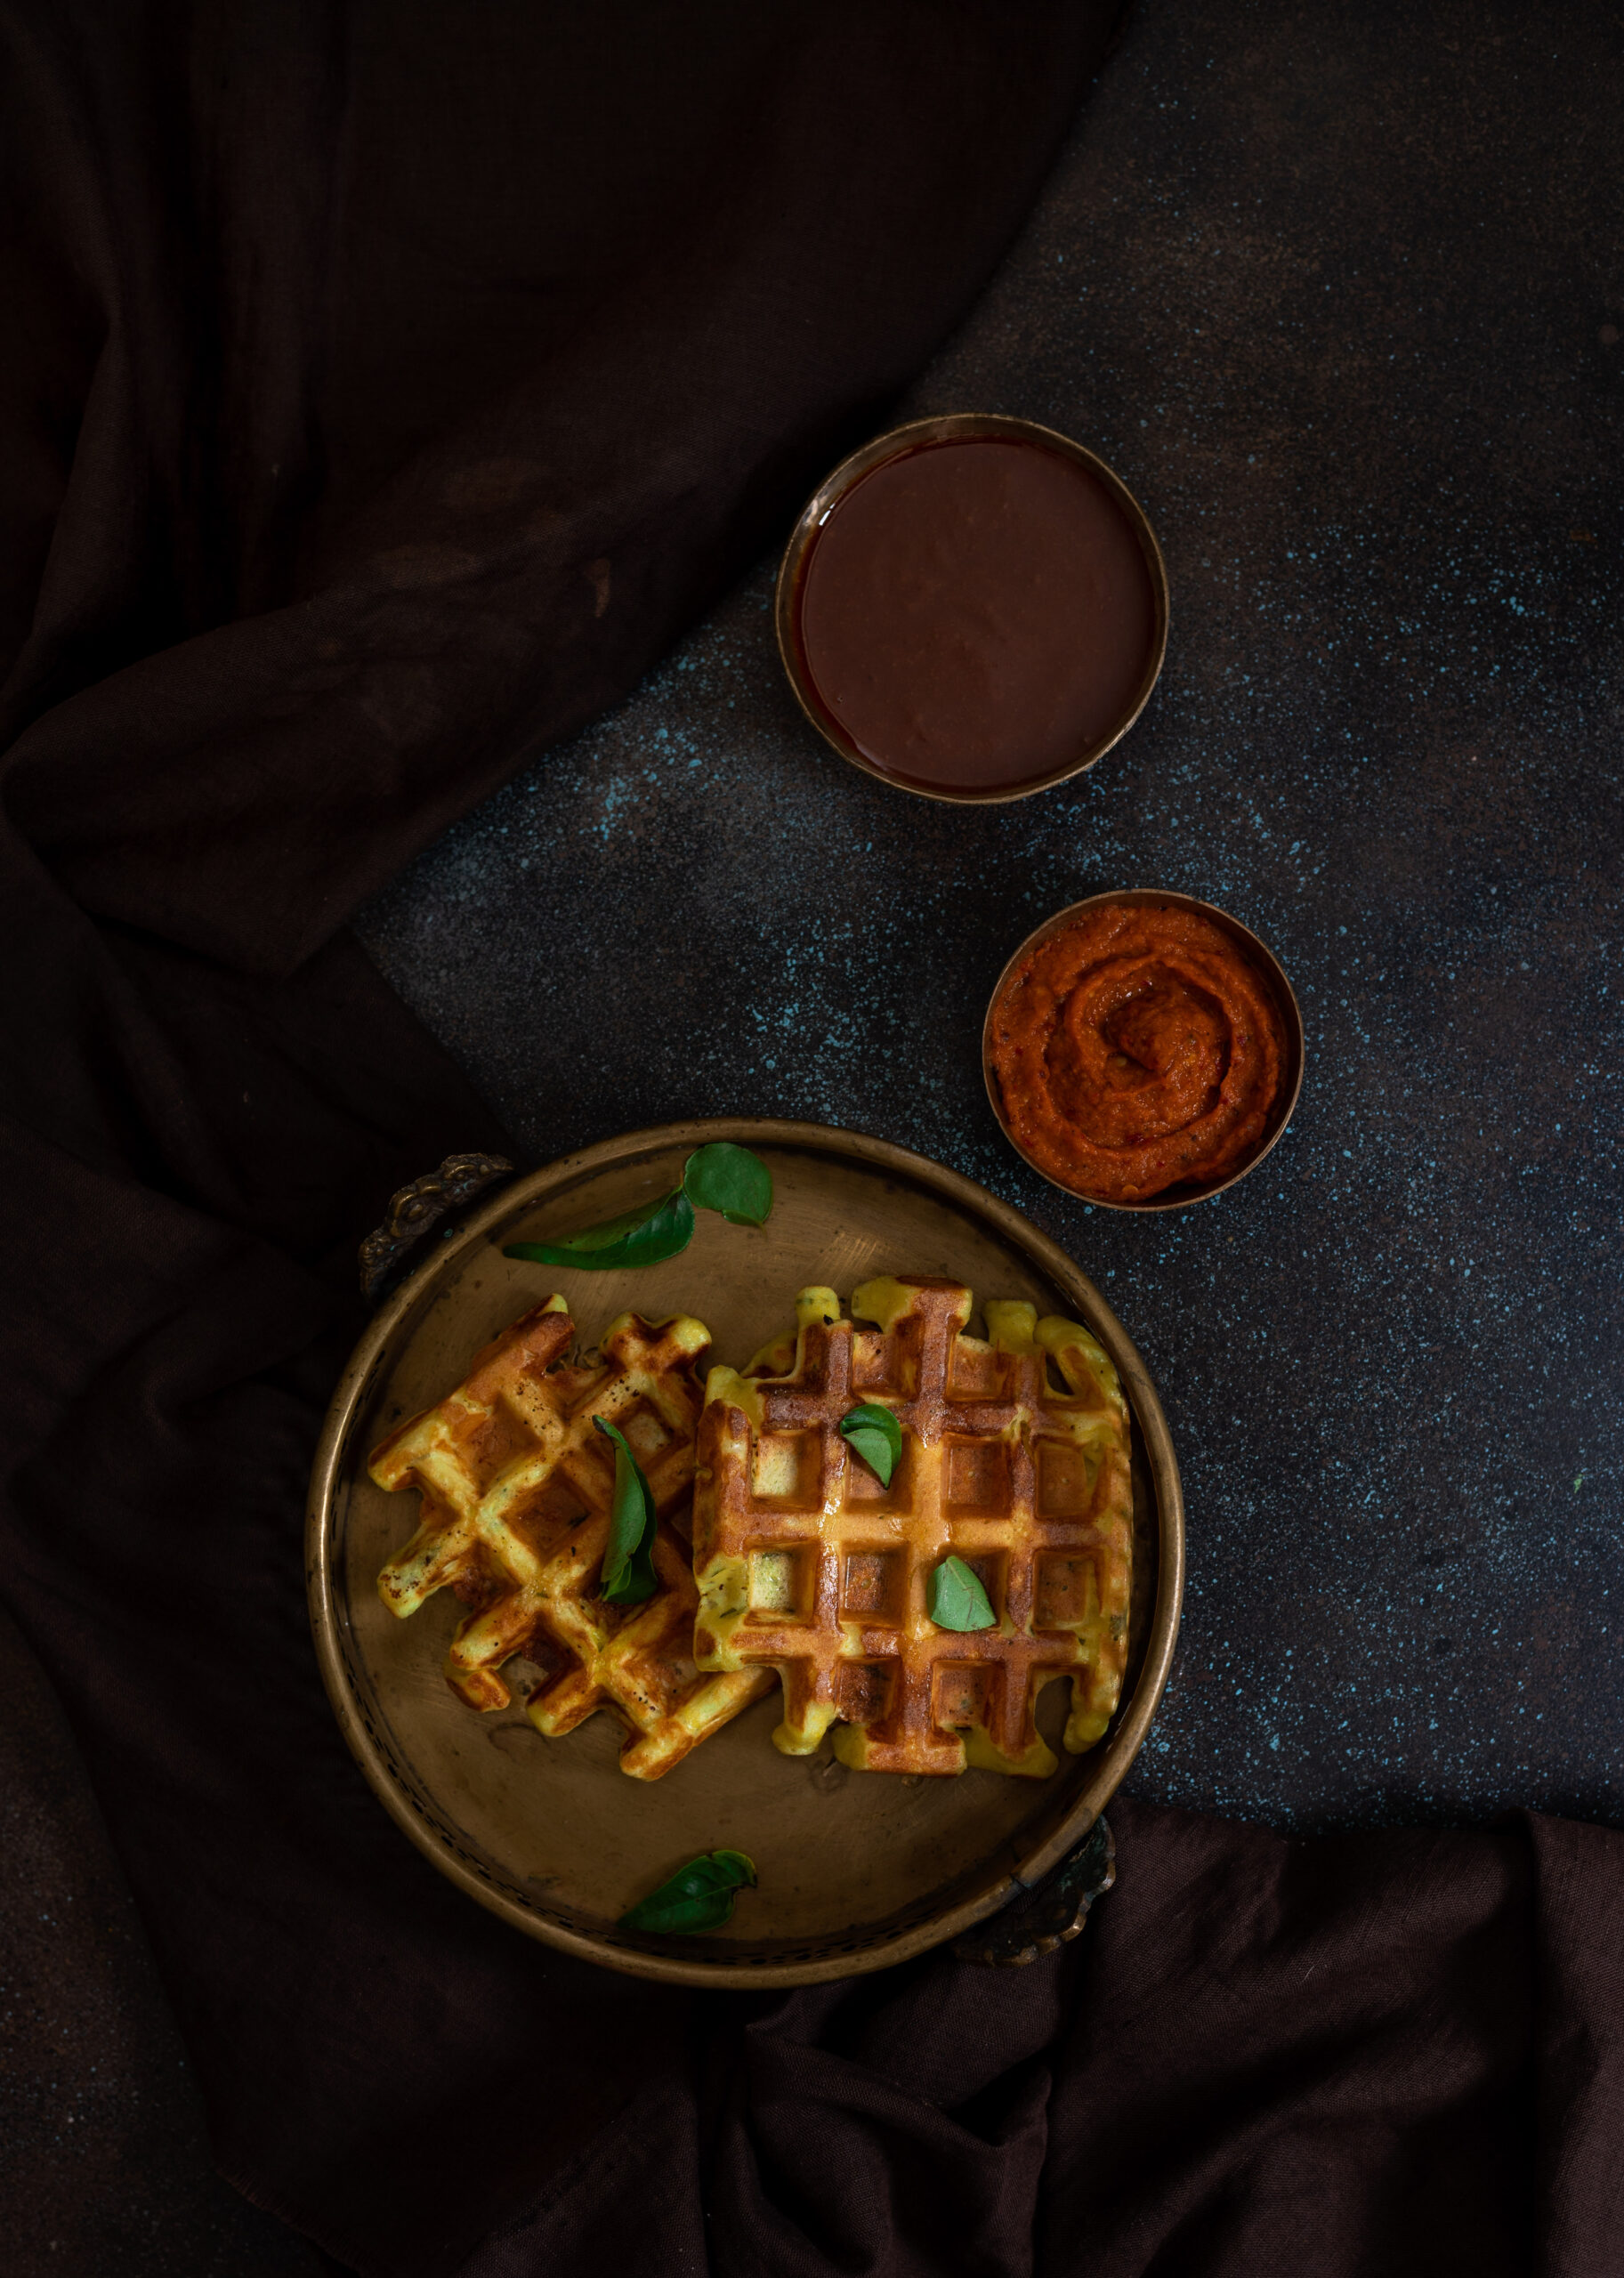
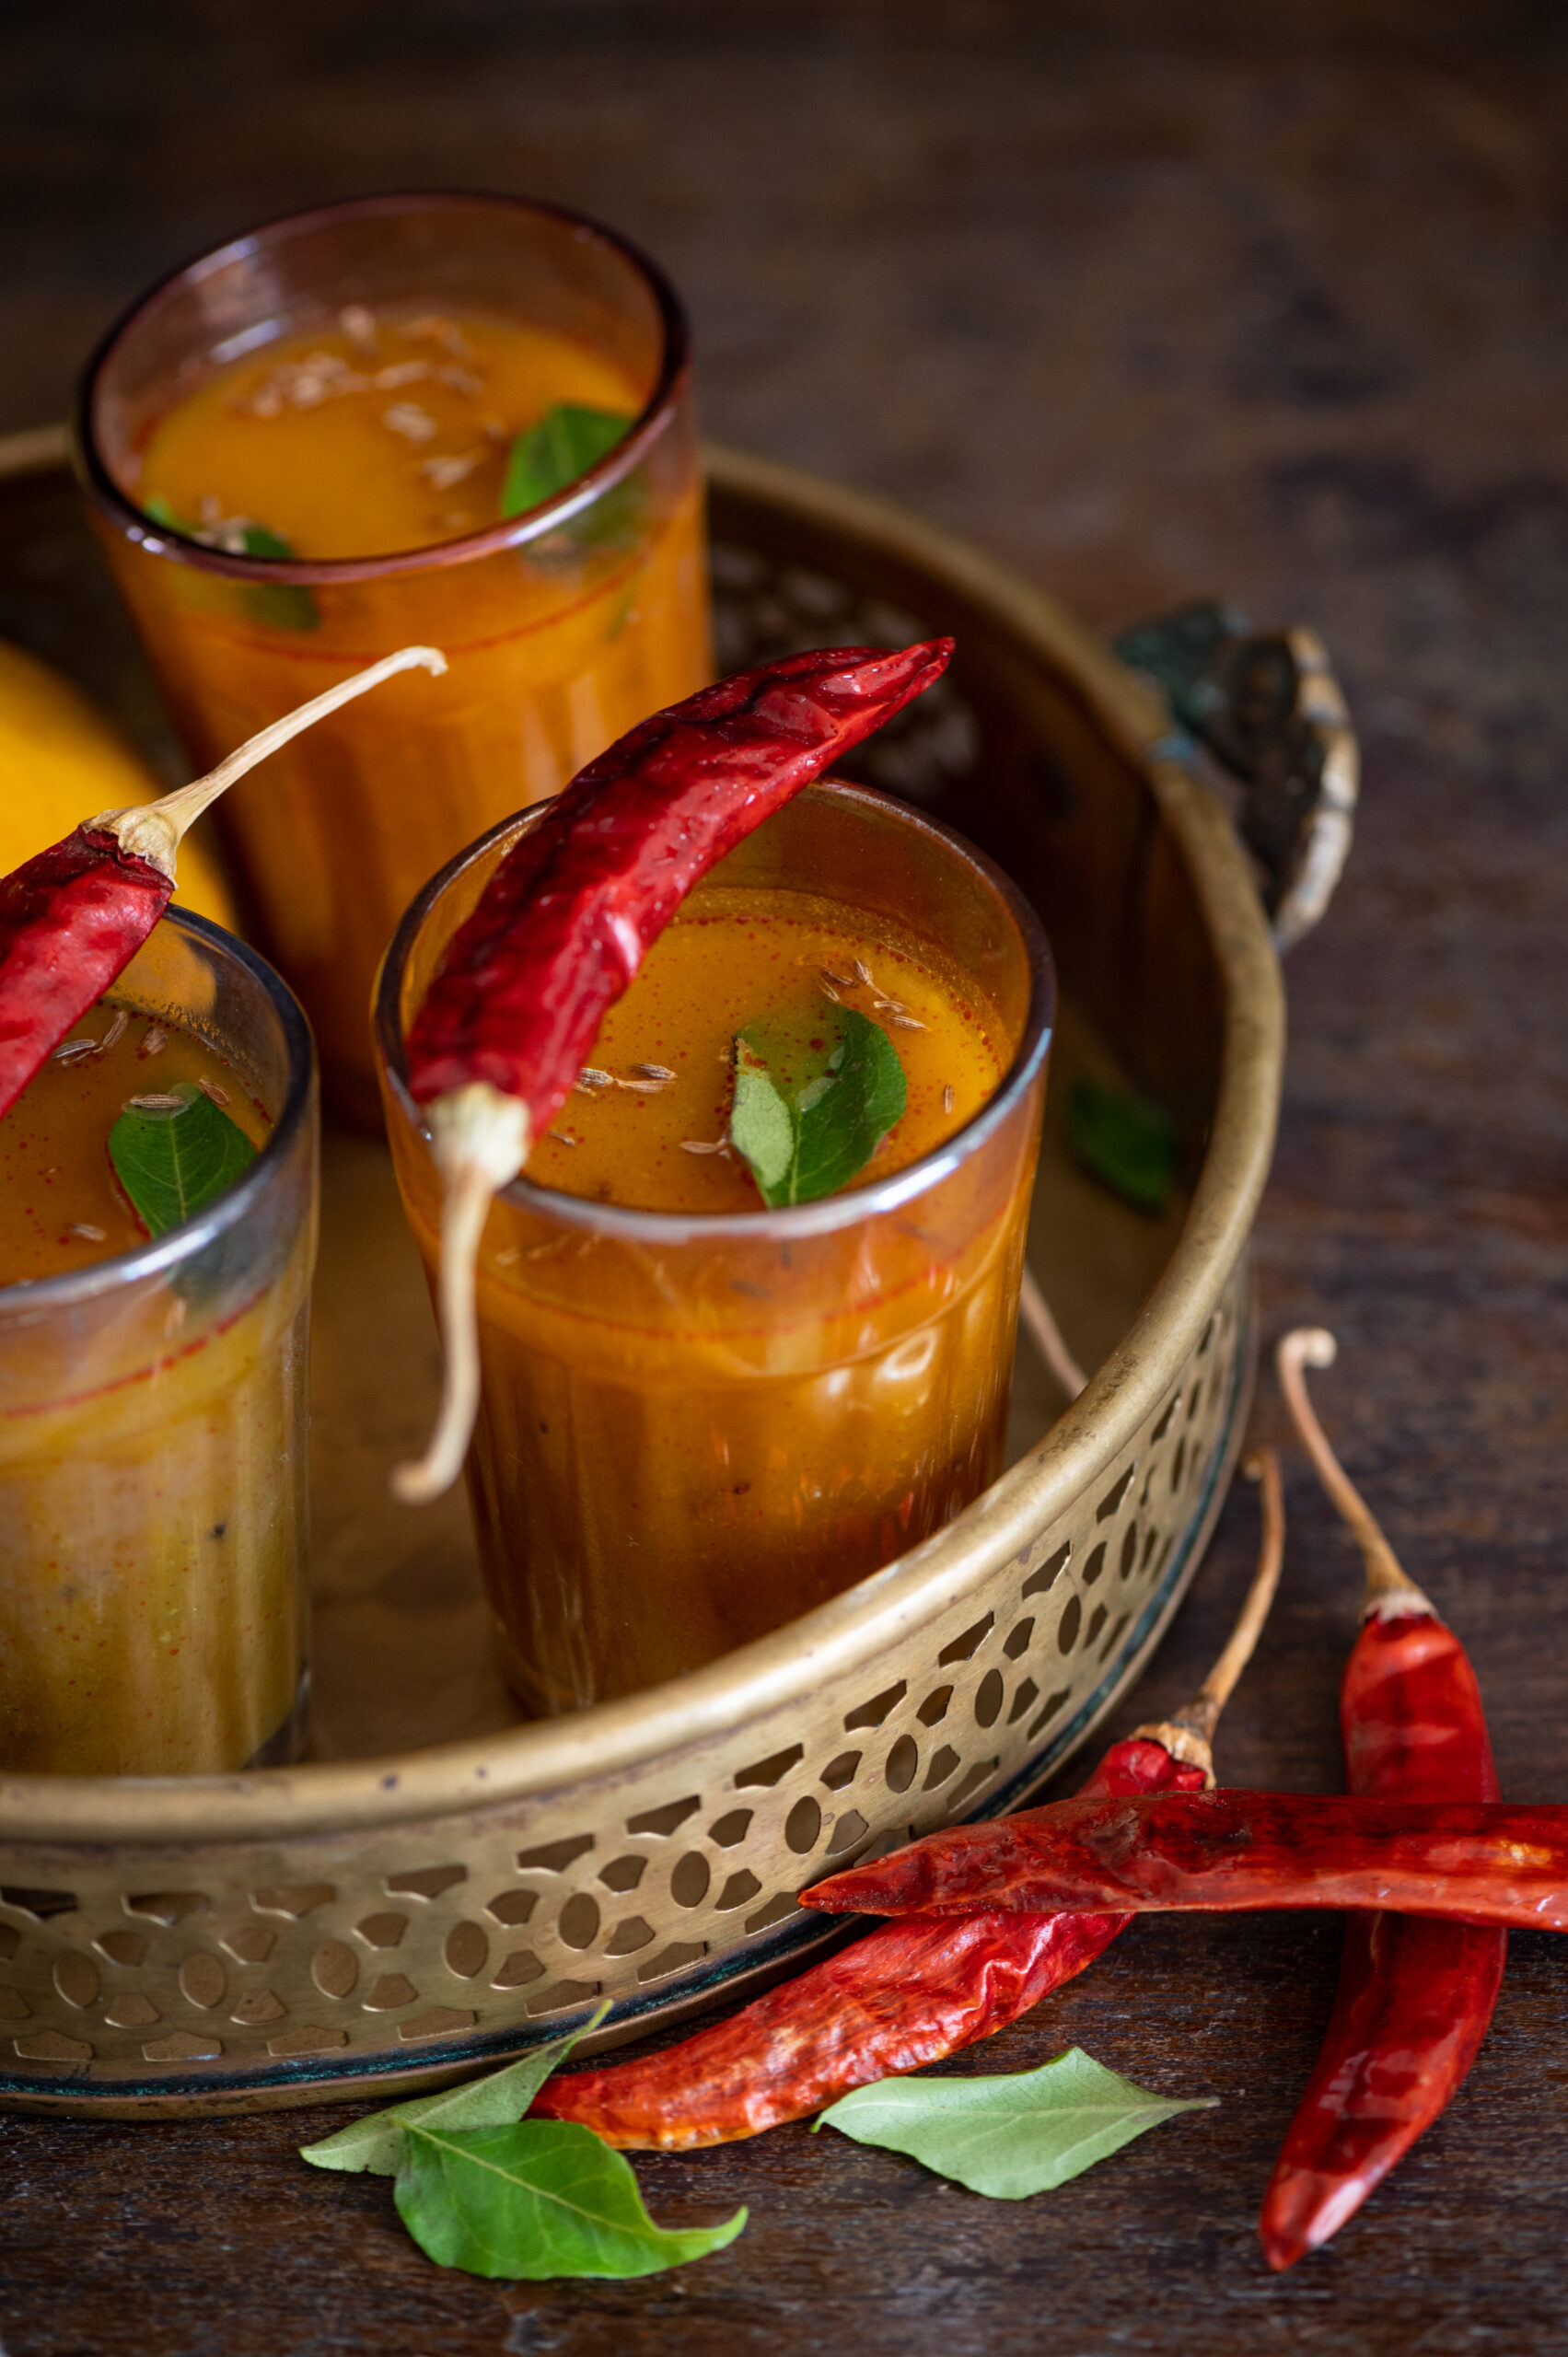
I’ll end this post by giving you a visual glimpse of the recipe that will round out this dip trilogy. In the photo below, you can see the raw mango thovayal and the lasun ki chutney – along with the forthcoming dish. Any guesses about what it is, or what its chief ingredient is?