Even within a larger community, sub-communities often have their own methods of culinary preparation. I was born into a Vaishnav Gujarati family, and married into a Jain Gujarati one. When I came into my marital home, I began learning the nuances between the sub-cuisines from my mother-in-law. She also introduced me to recipes which I had not been familiar with earlier, including one for some cherished sweet-savoury pea-pomegranate kachoris, shared on this blog close to a decade ago. I am glad to share another one today: methi na dhebra, which is a kind of flatbread, and is in this iteration infused with nutritious fenugreek leaves.
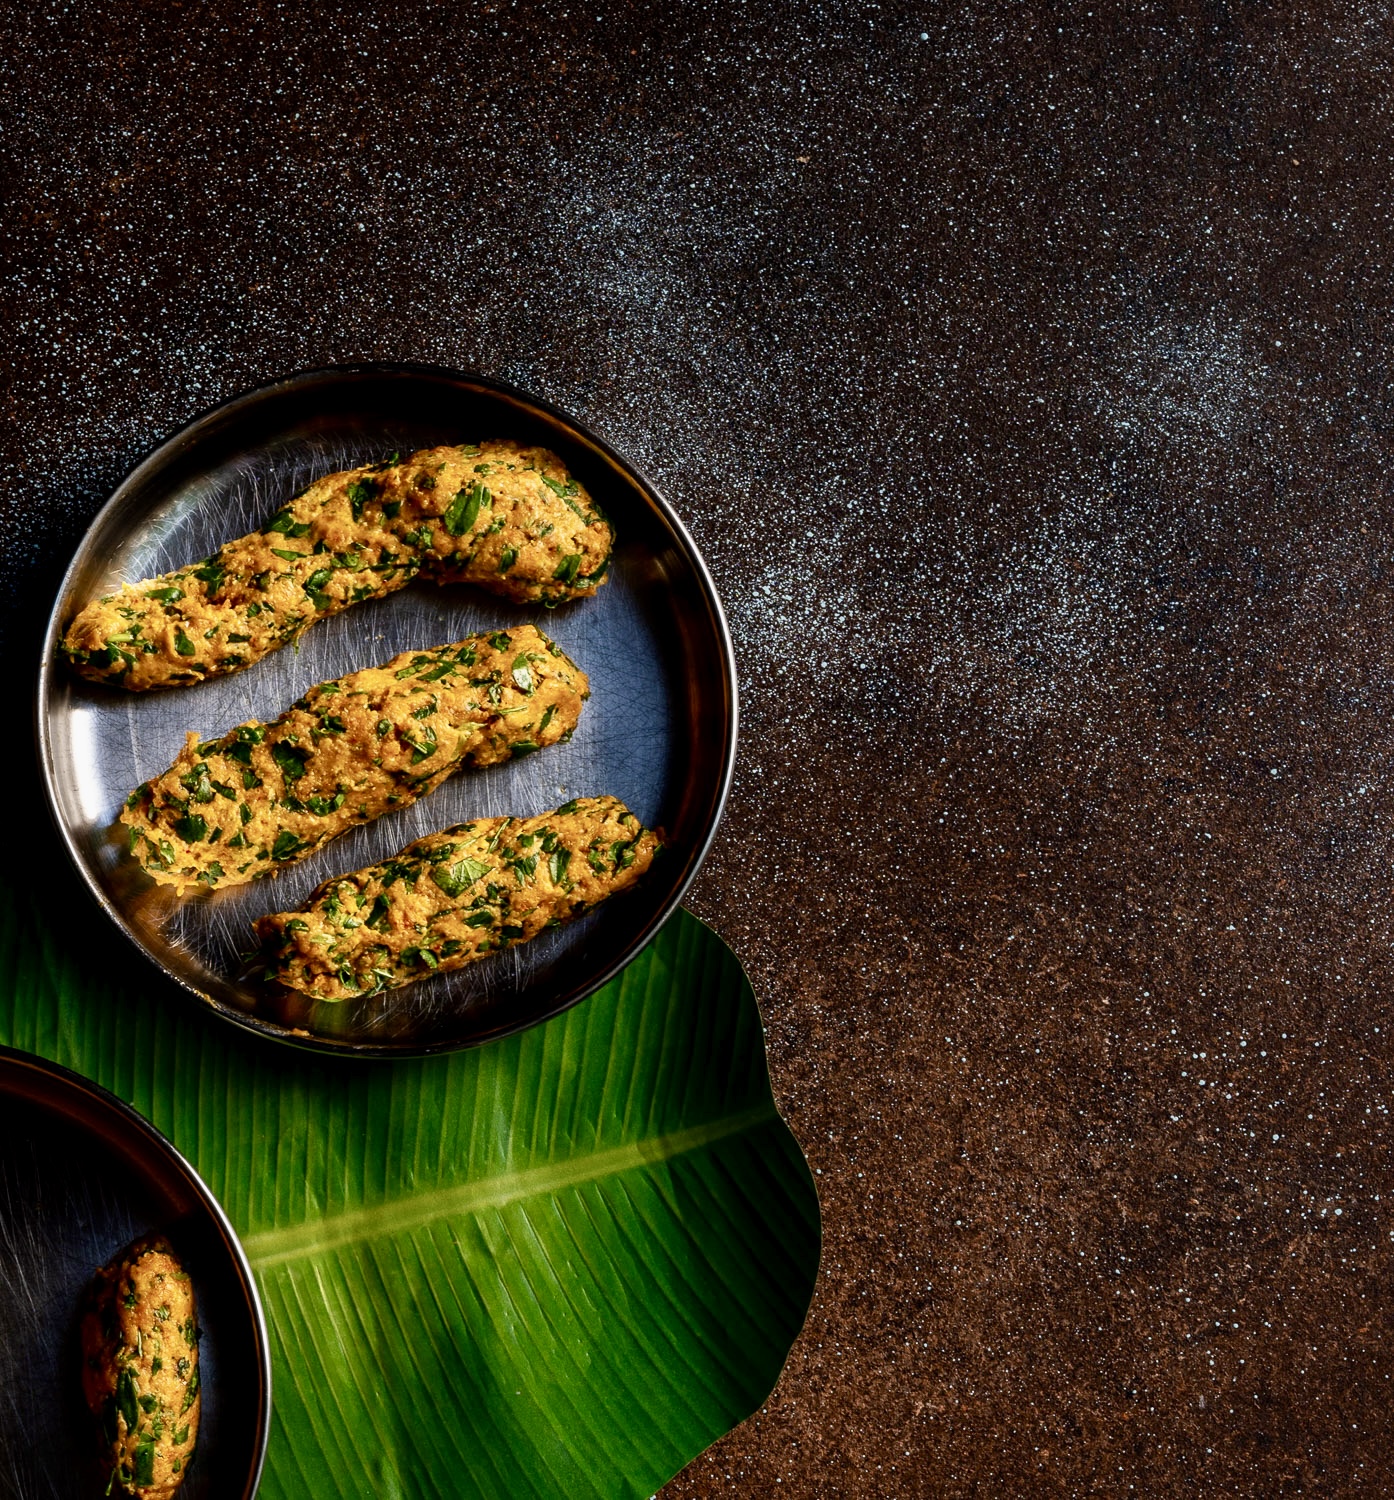
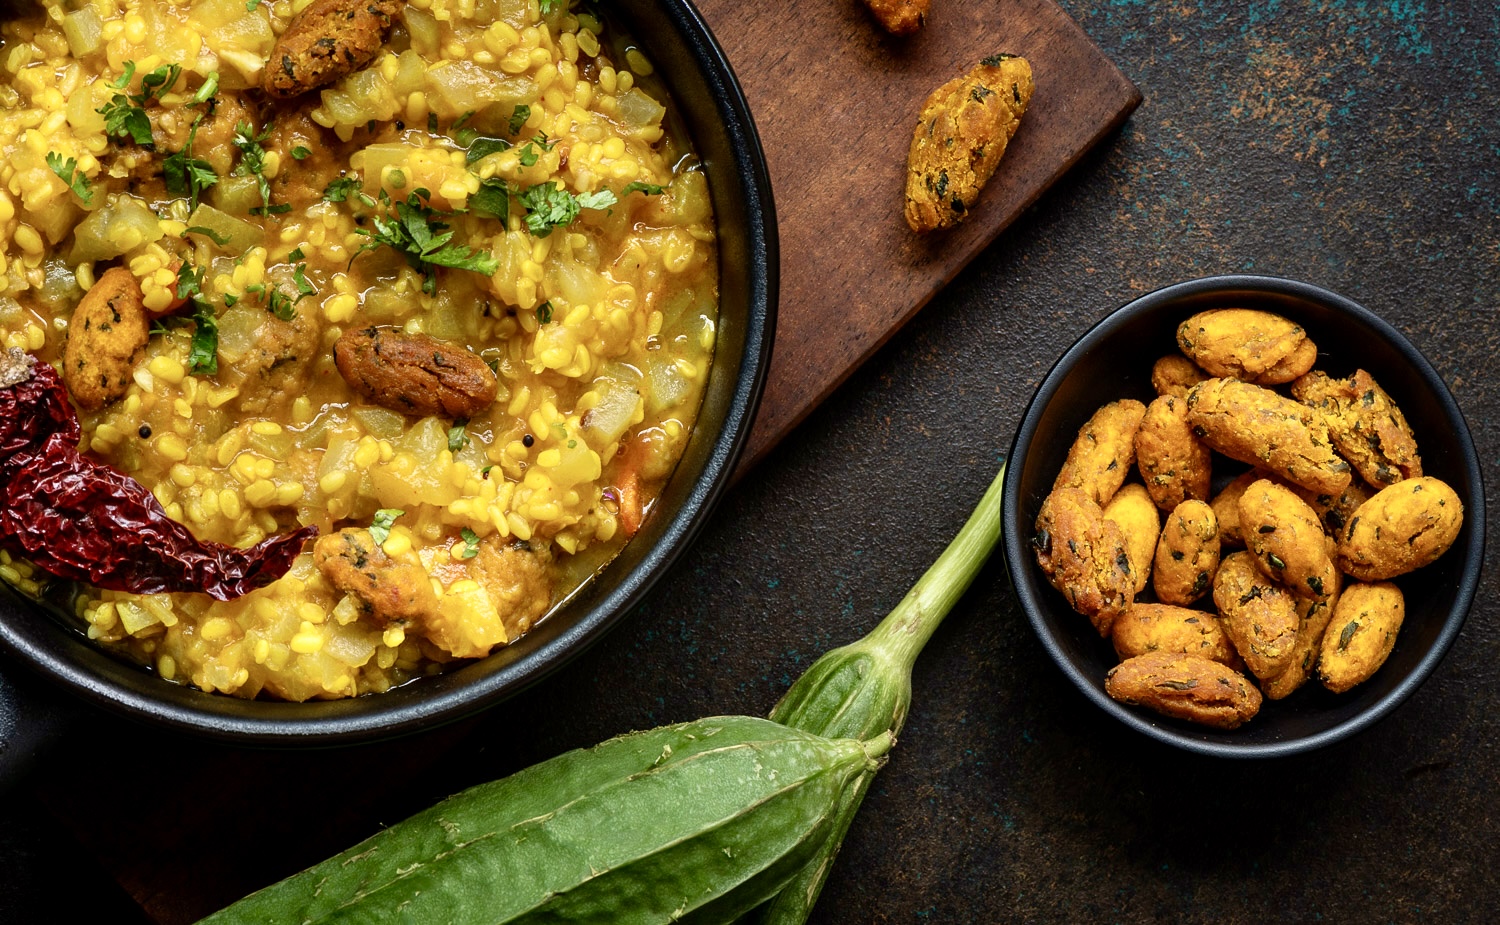
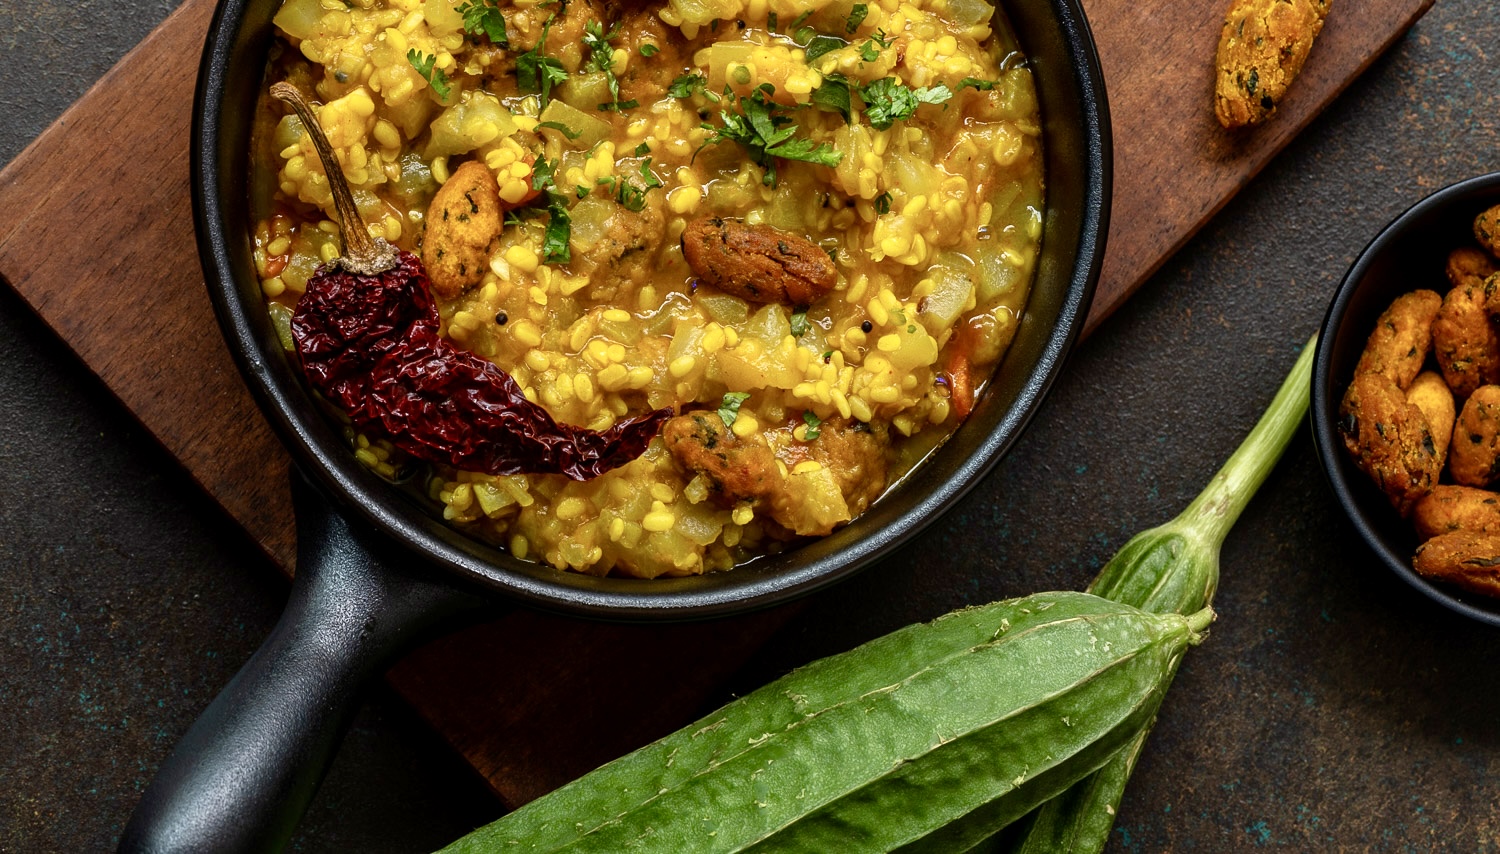
My mother-in-law had an interesting way of making dhebras: rather than prepare them as flatbreads, she would hand-make them in a dumpling fashion, which would be cooked in a yogurt-based gravy that had to be eaten fresh off the stove. Her dhebras were made by repurposing leftovers, specifically theplas and rice. This is a skill I have always admired, one that is common across India, and which inspired my “Second Helpings” recipe series. Traditionally, however, the dhebra is a flatbread made of pearl millet, or bajra, which like most flatbreads keeps for a little while and thus travels well too. That is what I am sharing today.
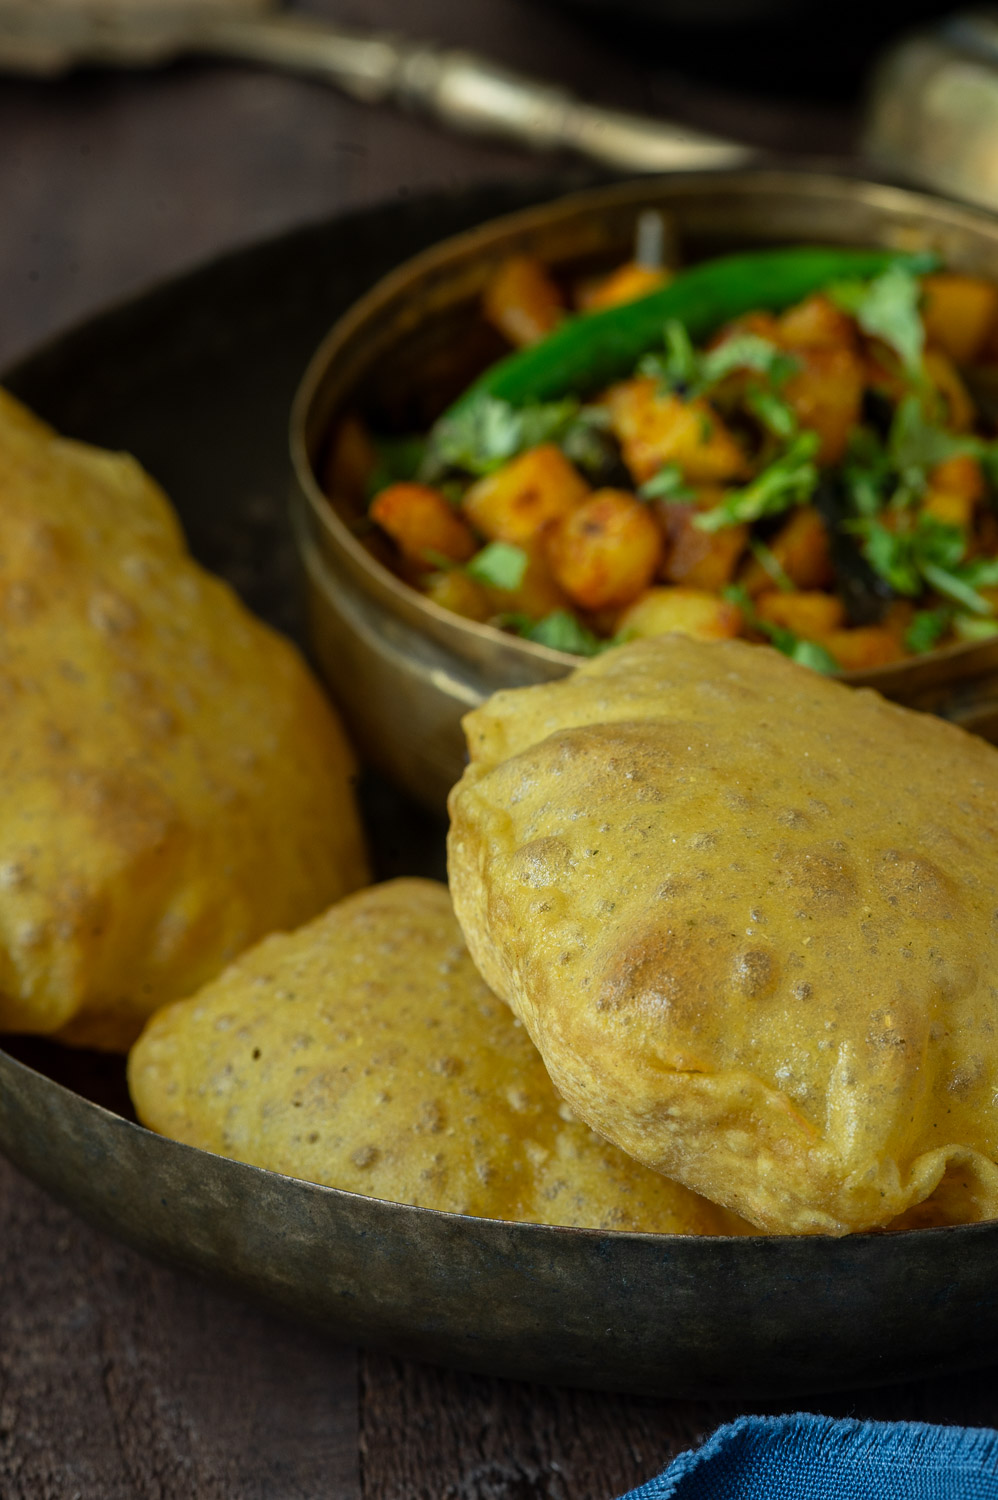
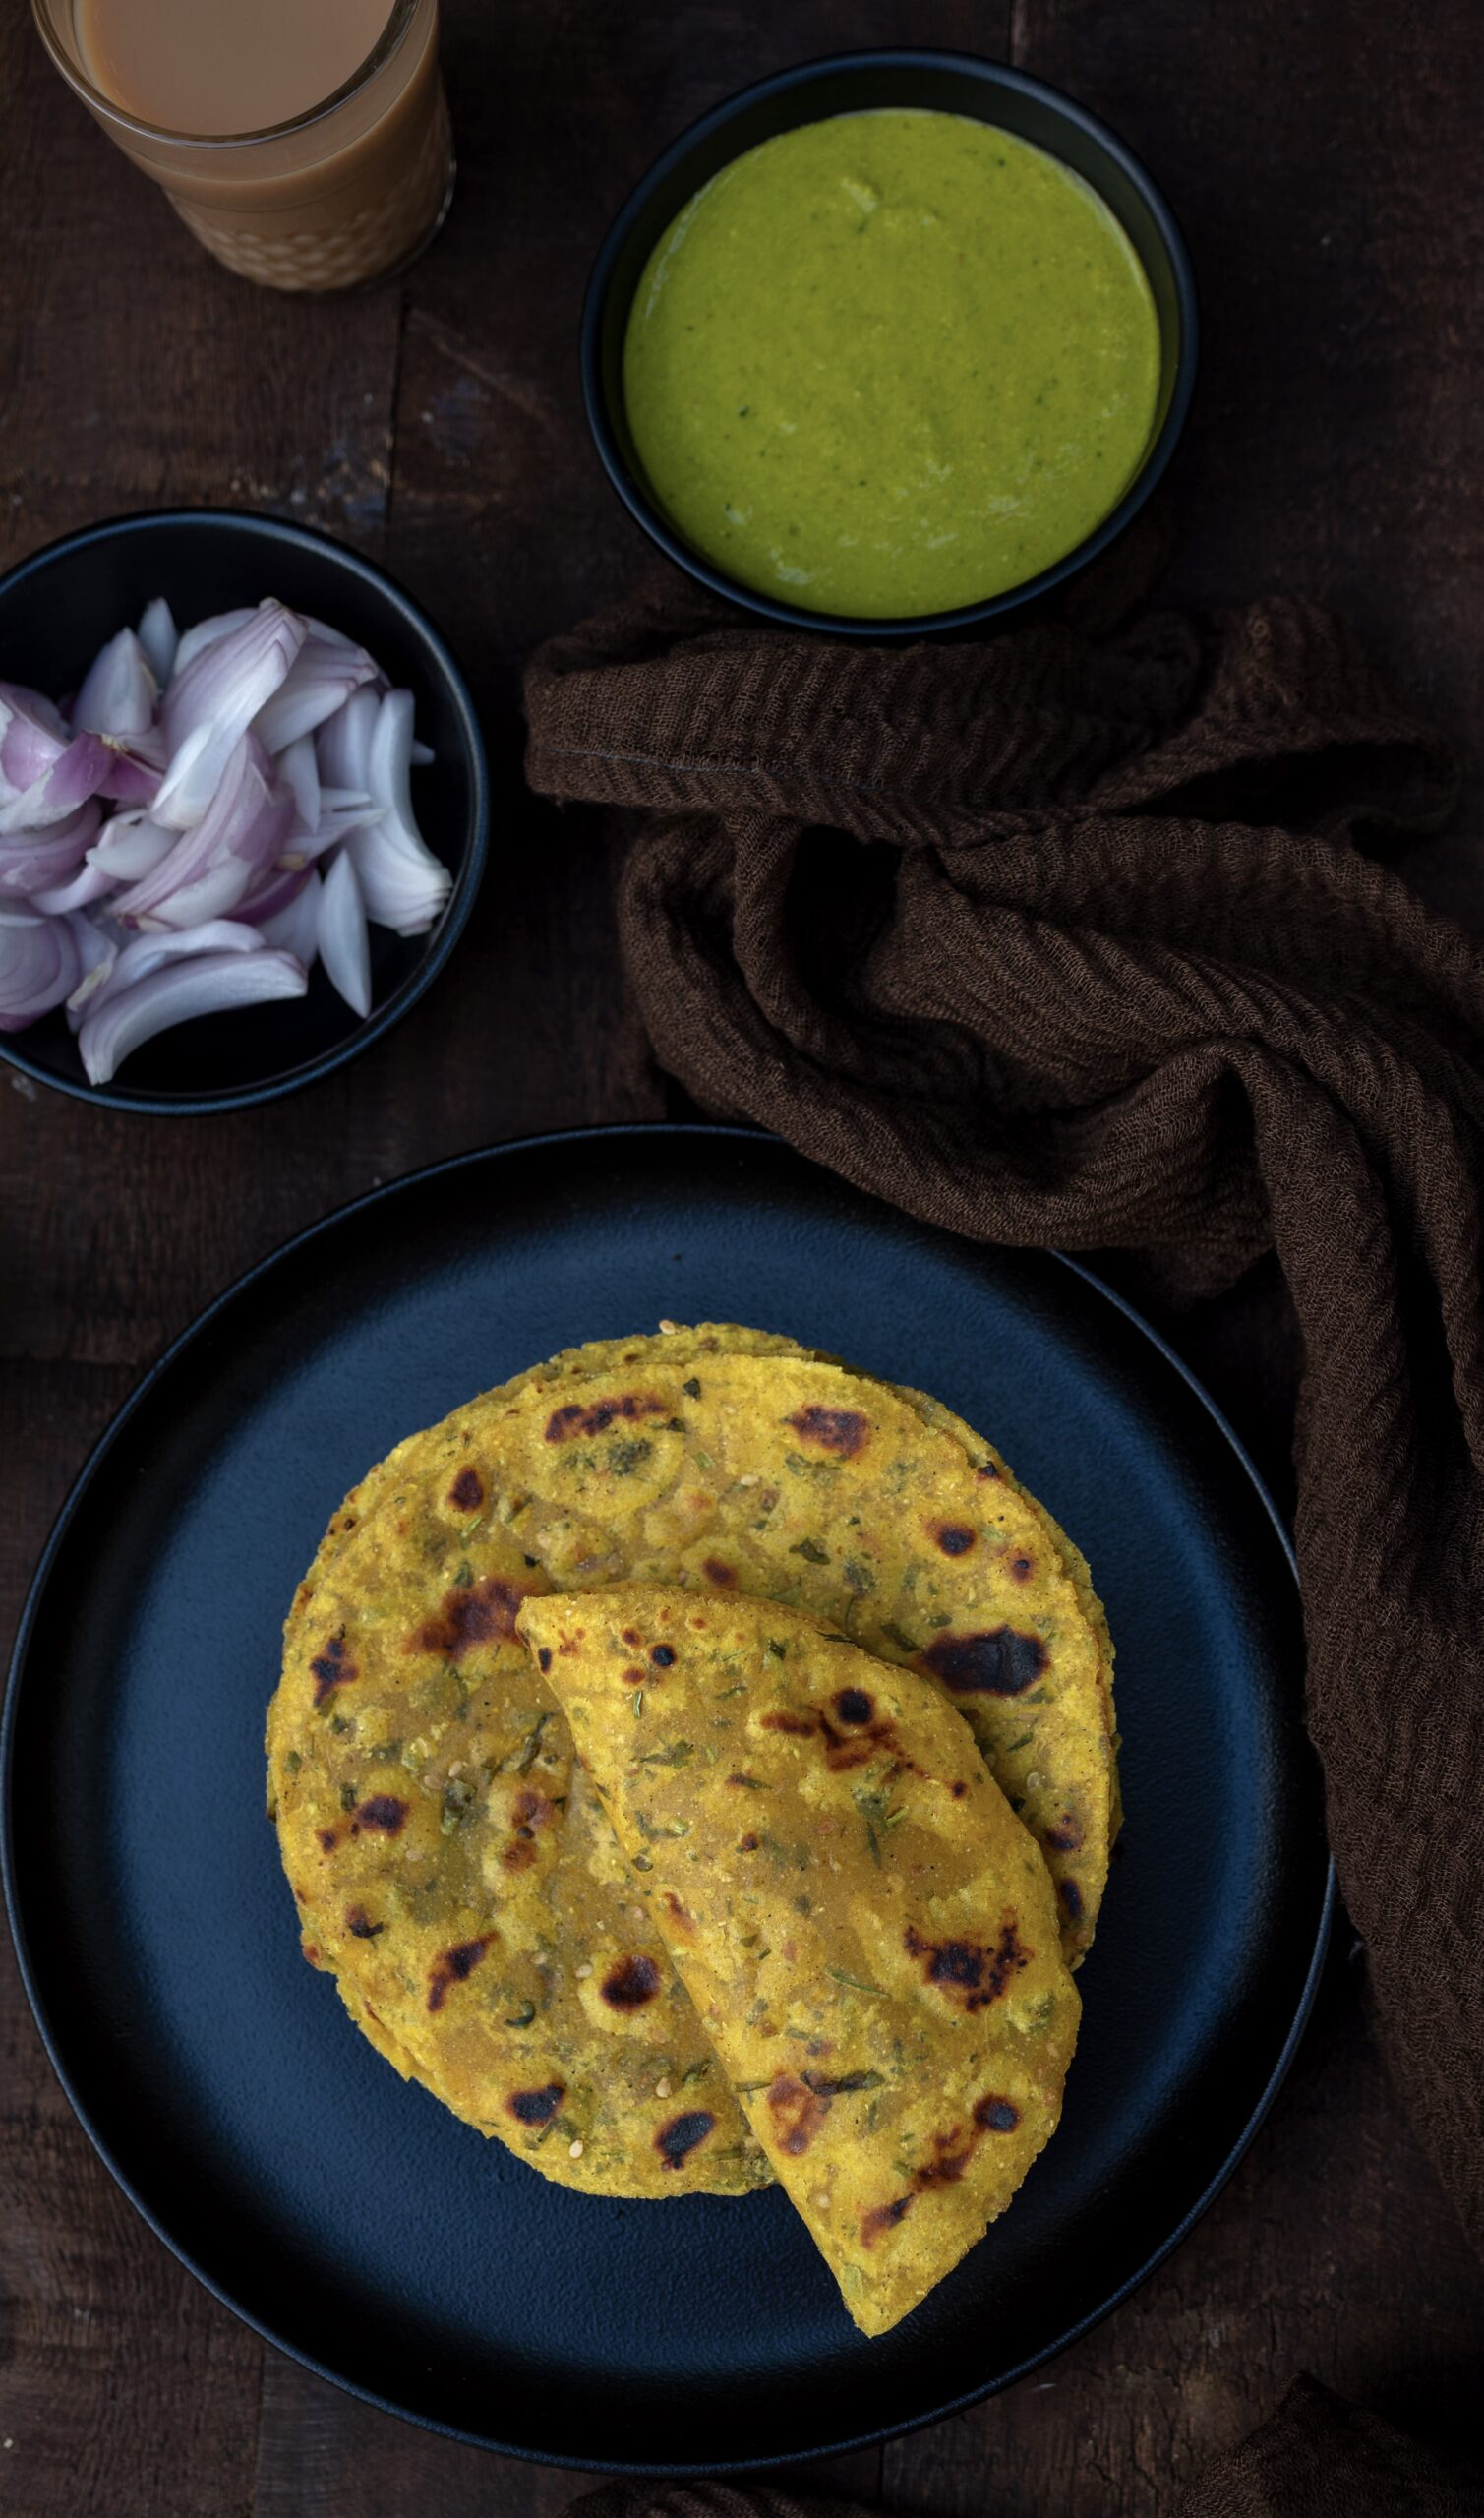
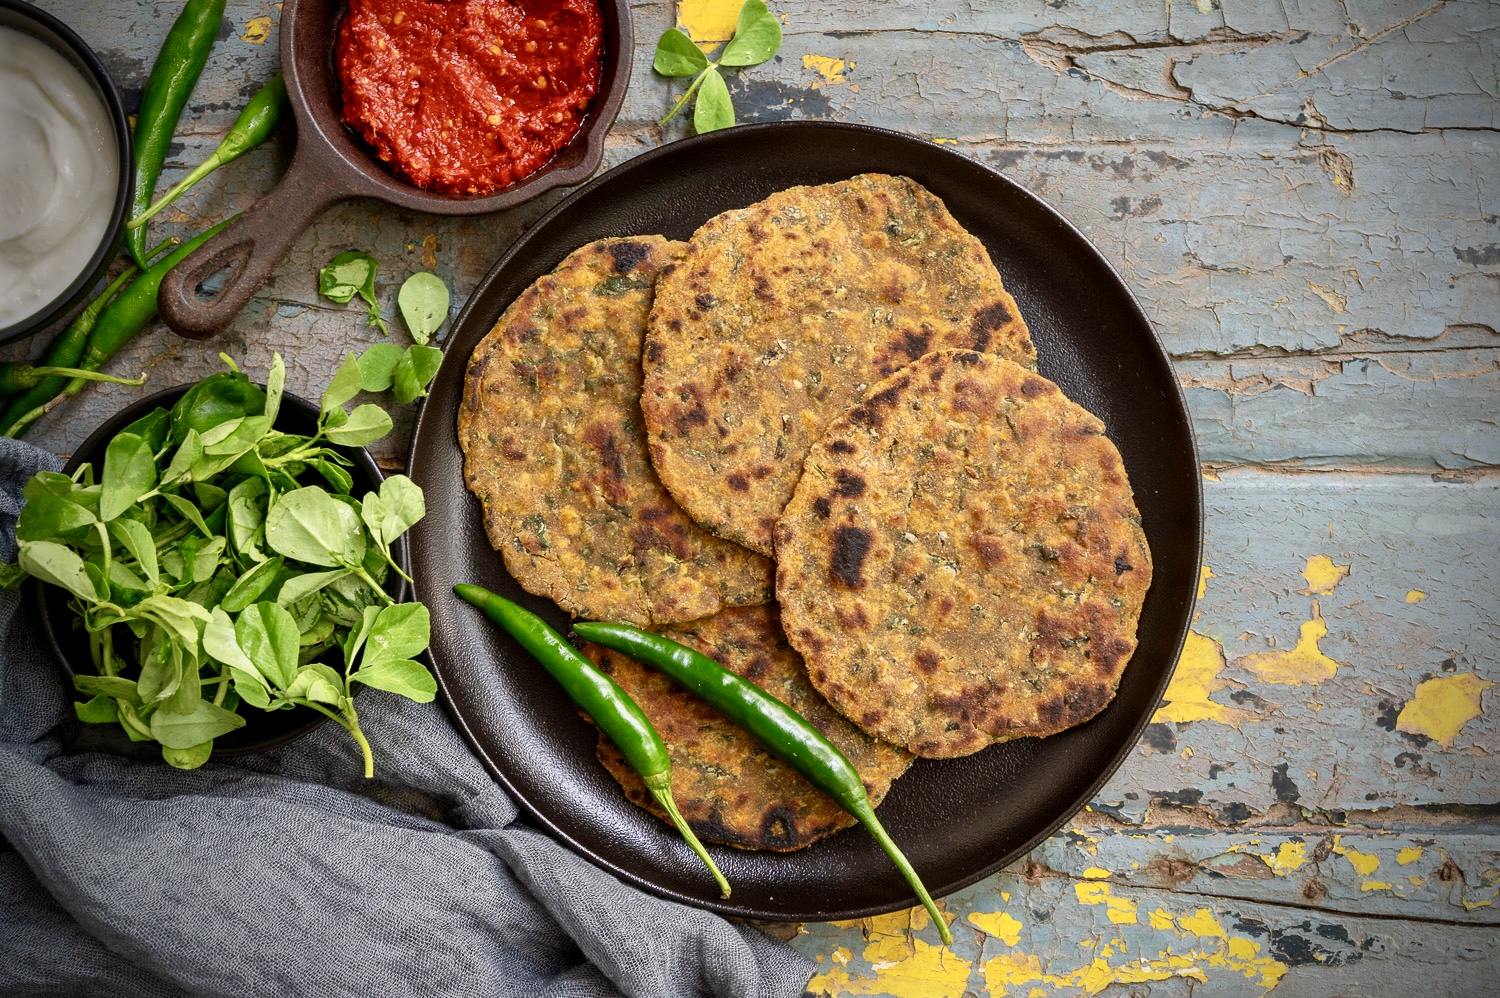
You will notice that it is distinct from thepla: thicker, more coarse and slightly crispy. It is made of easily available and affordable ingredients, and is very filling. It requires just some curd or pickle on the side.
Although my mother-in-law’s unique twist on dhebra was something new to me, I had eaten the traditional version numerous times while growing up. My mother would prepare it as a one-dish dinner, especially when she was having busier days. My siblings and I would pull a long face whenever we saw it, not realizing at the time that it was pure, wholesome goodness. There were no gimmicks of protein, fibre or other important elements being had separately. It was an all-in-one wonder, like some of our simplest Indian dishes can be. I am going back to those old recipes now, and I hope they’ll never go out of style again.
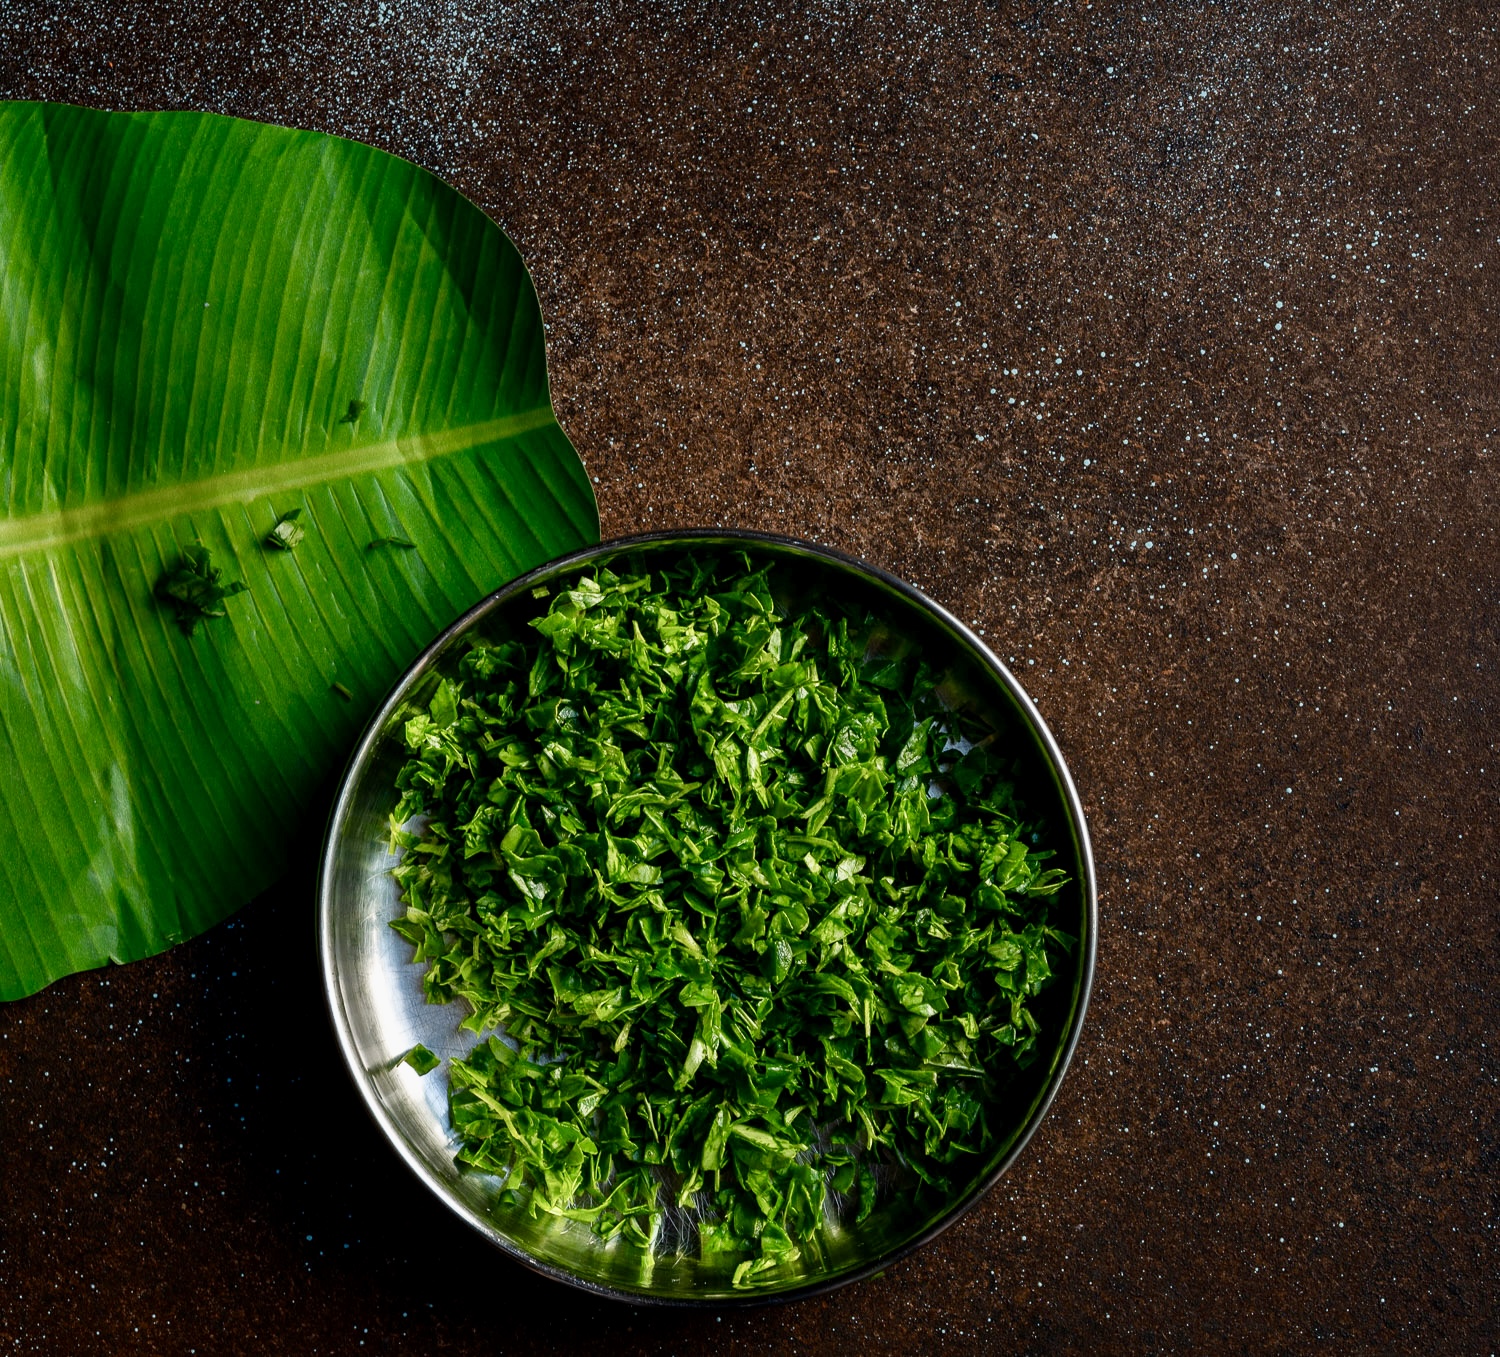
What makes this particular dhebra extra nourishing is that I use fenugreek leaves in it, also known as methi. This crop is seasonal, so when you can’t get fresh leaves, dry leaves work just fine. You can also substitute it altogether with bottle gourd. You may also wish to incorporate garlic, which is eliminated altogether in many Jain households. All in all, you will get a flavourful flatbread that you can enjoy immediately, or pack into a lunchbox for later.
Methi Na Dhebra
(Yield: 6-8 pieces)
1 cup bajra (pearl millet) flour
¼ cup whole wheat flour
1 tablespoon yoghurt
1 teaspoon ginger-green chili paste
Salt to taste
¼ teaspoon turmeric powder
½ teaspoon cumin powder
½ teaspoon coriander powder
2 teaspoons oil
3 tablespoons water (or as required)
½ cup methi (fenugreek) leaves
Oil for roasting
In a bowl, add the bajra flour and wheat flour. To this, add the yoghurt, salt, turmeric, cumin powder, coriander powder, ginger-green chili paste, oil and fenugreek leaves. Add water and make a smooth soft dough. Cover and allow to rest for half hour.
Now, make lime-sized balls. Dust with some wheat flour and roll them out gently. Do not use pressure. As you are rolling, pinch the edges to help make them round. Roll them out to ½ inch thickness.
Heat a griddle and place a rolled-out dhebra onto the hot pan.
Allow to cook both sides. Then, add few drops of oil. Cook until golden and spots appear on both sides. Repeat with the remaining dhebras.
Serve with curd or pickle.
Methi na dhebra is one of many flatbreads that I have shared over the years, and it is yet another recipe for lovers of Gujarati food, which has long been at the heart of this blog. I hope you’ll explore more of both, as well as of so much else from India and everywhere, in the archives.