32 Results

farm

Search

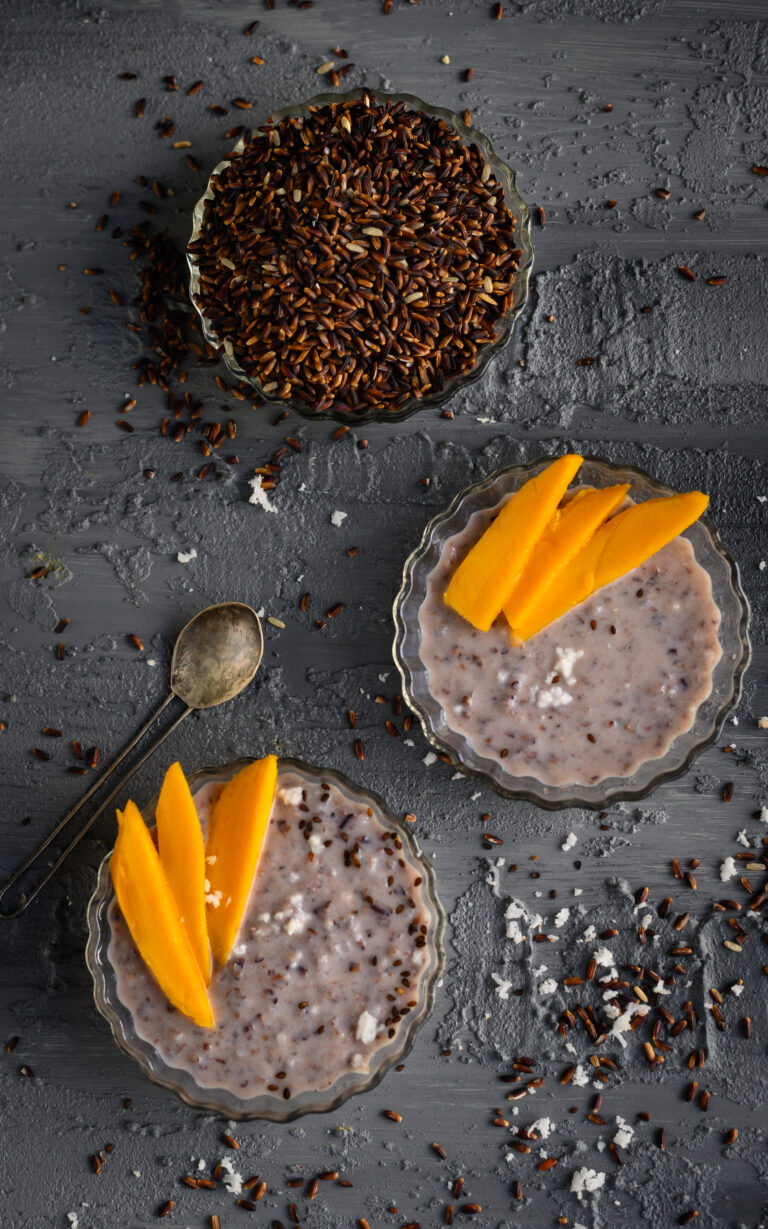
We all know that the best sticky rice comes from South East Asia, as Thai cuisine attests. No visit to Thailand is complete without my daily share of sticky rice pudding, topped with either lychees or mangoes. I love the mix of flavours – sticky, juicy, sweet. A dessert made out of main course material! So imagine my excitement when I discovered a South Indian variety of black rice, grown right here in Tamil Nadu.

Sheela Balaji’s shop Spirit of the Earth in Alwarpet, Chennai, is a gem of a find for those who want to switch to organic rice varieties from all over India. Sheela has been responsible for revitalising the cultivation of 30 indigenous rice varieties, a journey which began when she saw a farmer spraying pesticides on paddy crops. He explained to her that hybrid rice cannot grow well otherwise, and this inspired her to try to find a solution that would benefit farmers, the crop, and everyone who eats it. The answer lay in indigenous rice variants, and Spirit of the Earth works closely with farmers to bring back ancient grains.

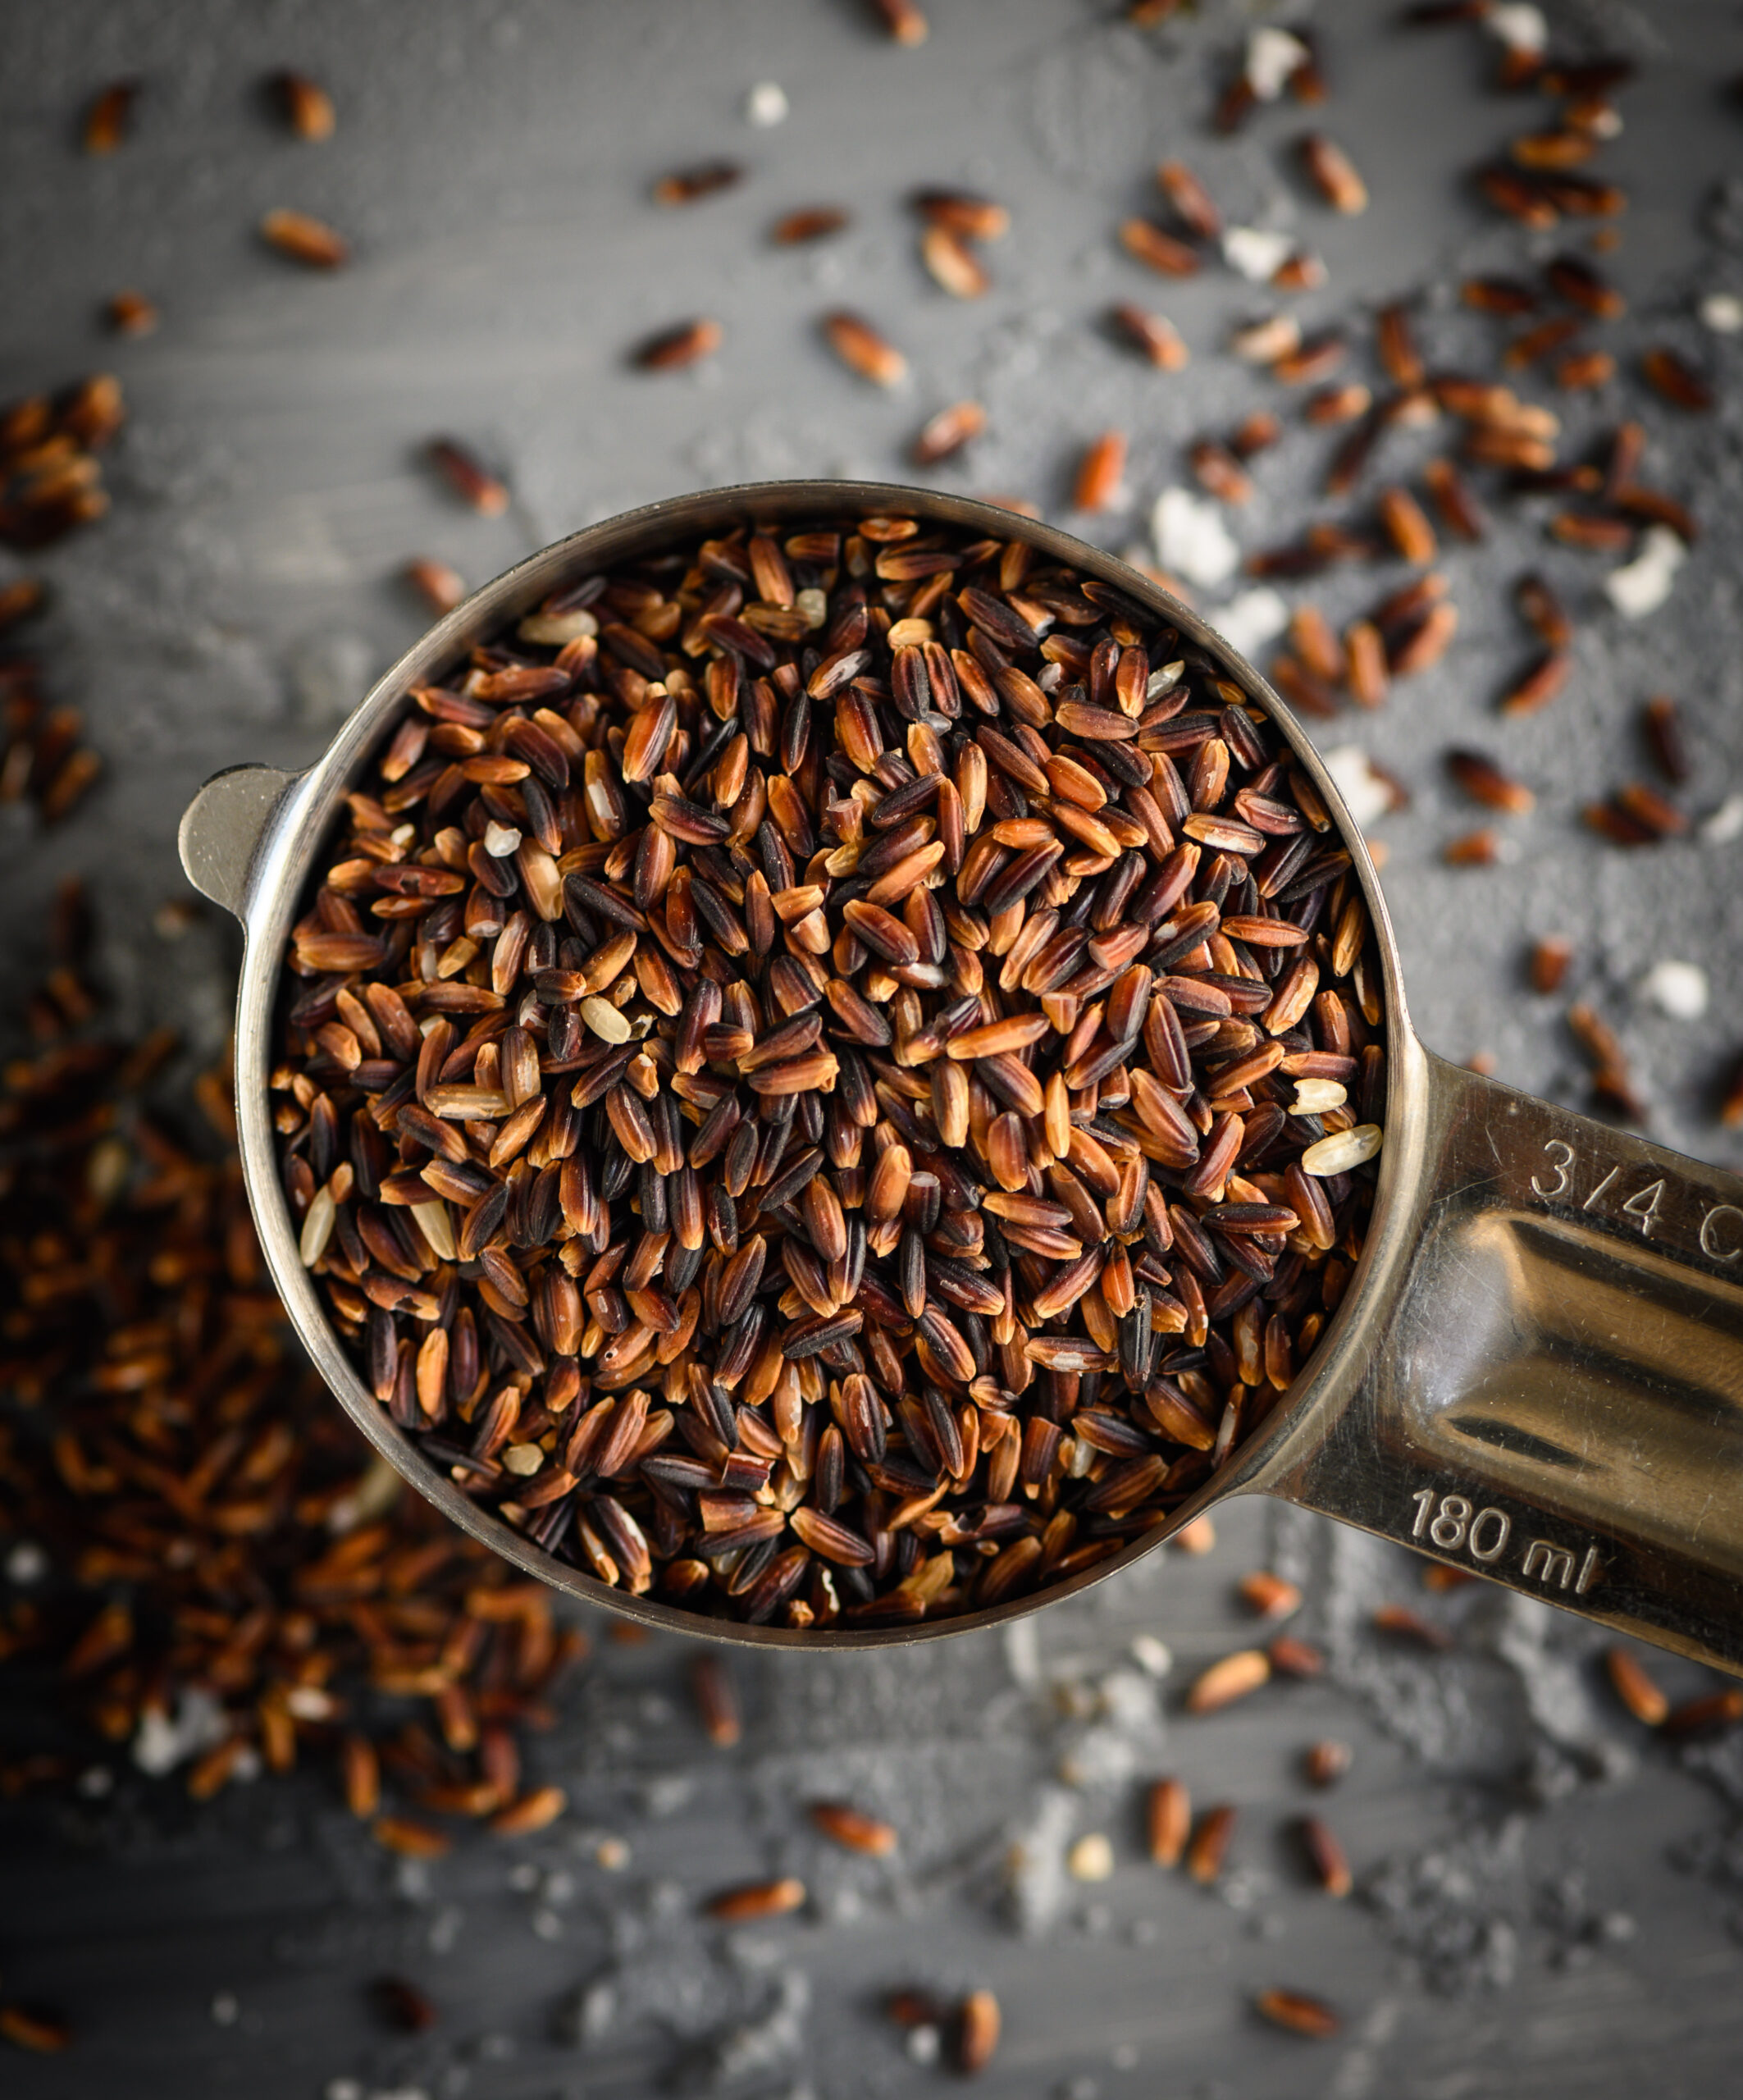
The grains have interesting names like illupai poo champa and mapillai champa, varied nutritional values, and are all healthier than hybrid rice variants that have undergone chemical treatments and processing. Among these is the karuppu kavuni or kavuni arusi, a black sticky rice which is believed to have been grown in Tamil Nadu from the period of the Chola dynasty. Not only is it an attractive colour that will draw the eye to the dish you serve, but it’s also very healthy, with anti-inflammatory properties, antioxidants and dietary fibre. Black rice itself has many varieties, and is grown in Assam, Sri Lanka and other places as well. Its cultivation depends on the soil, and it usually has a slightly nutty taste.
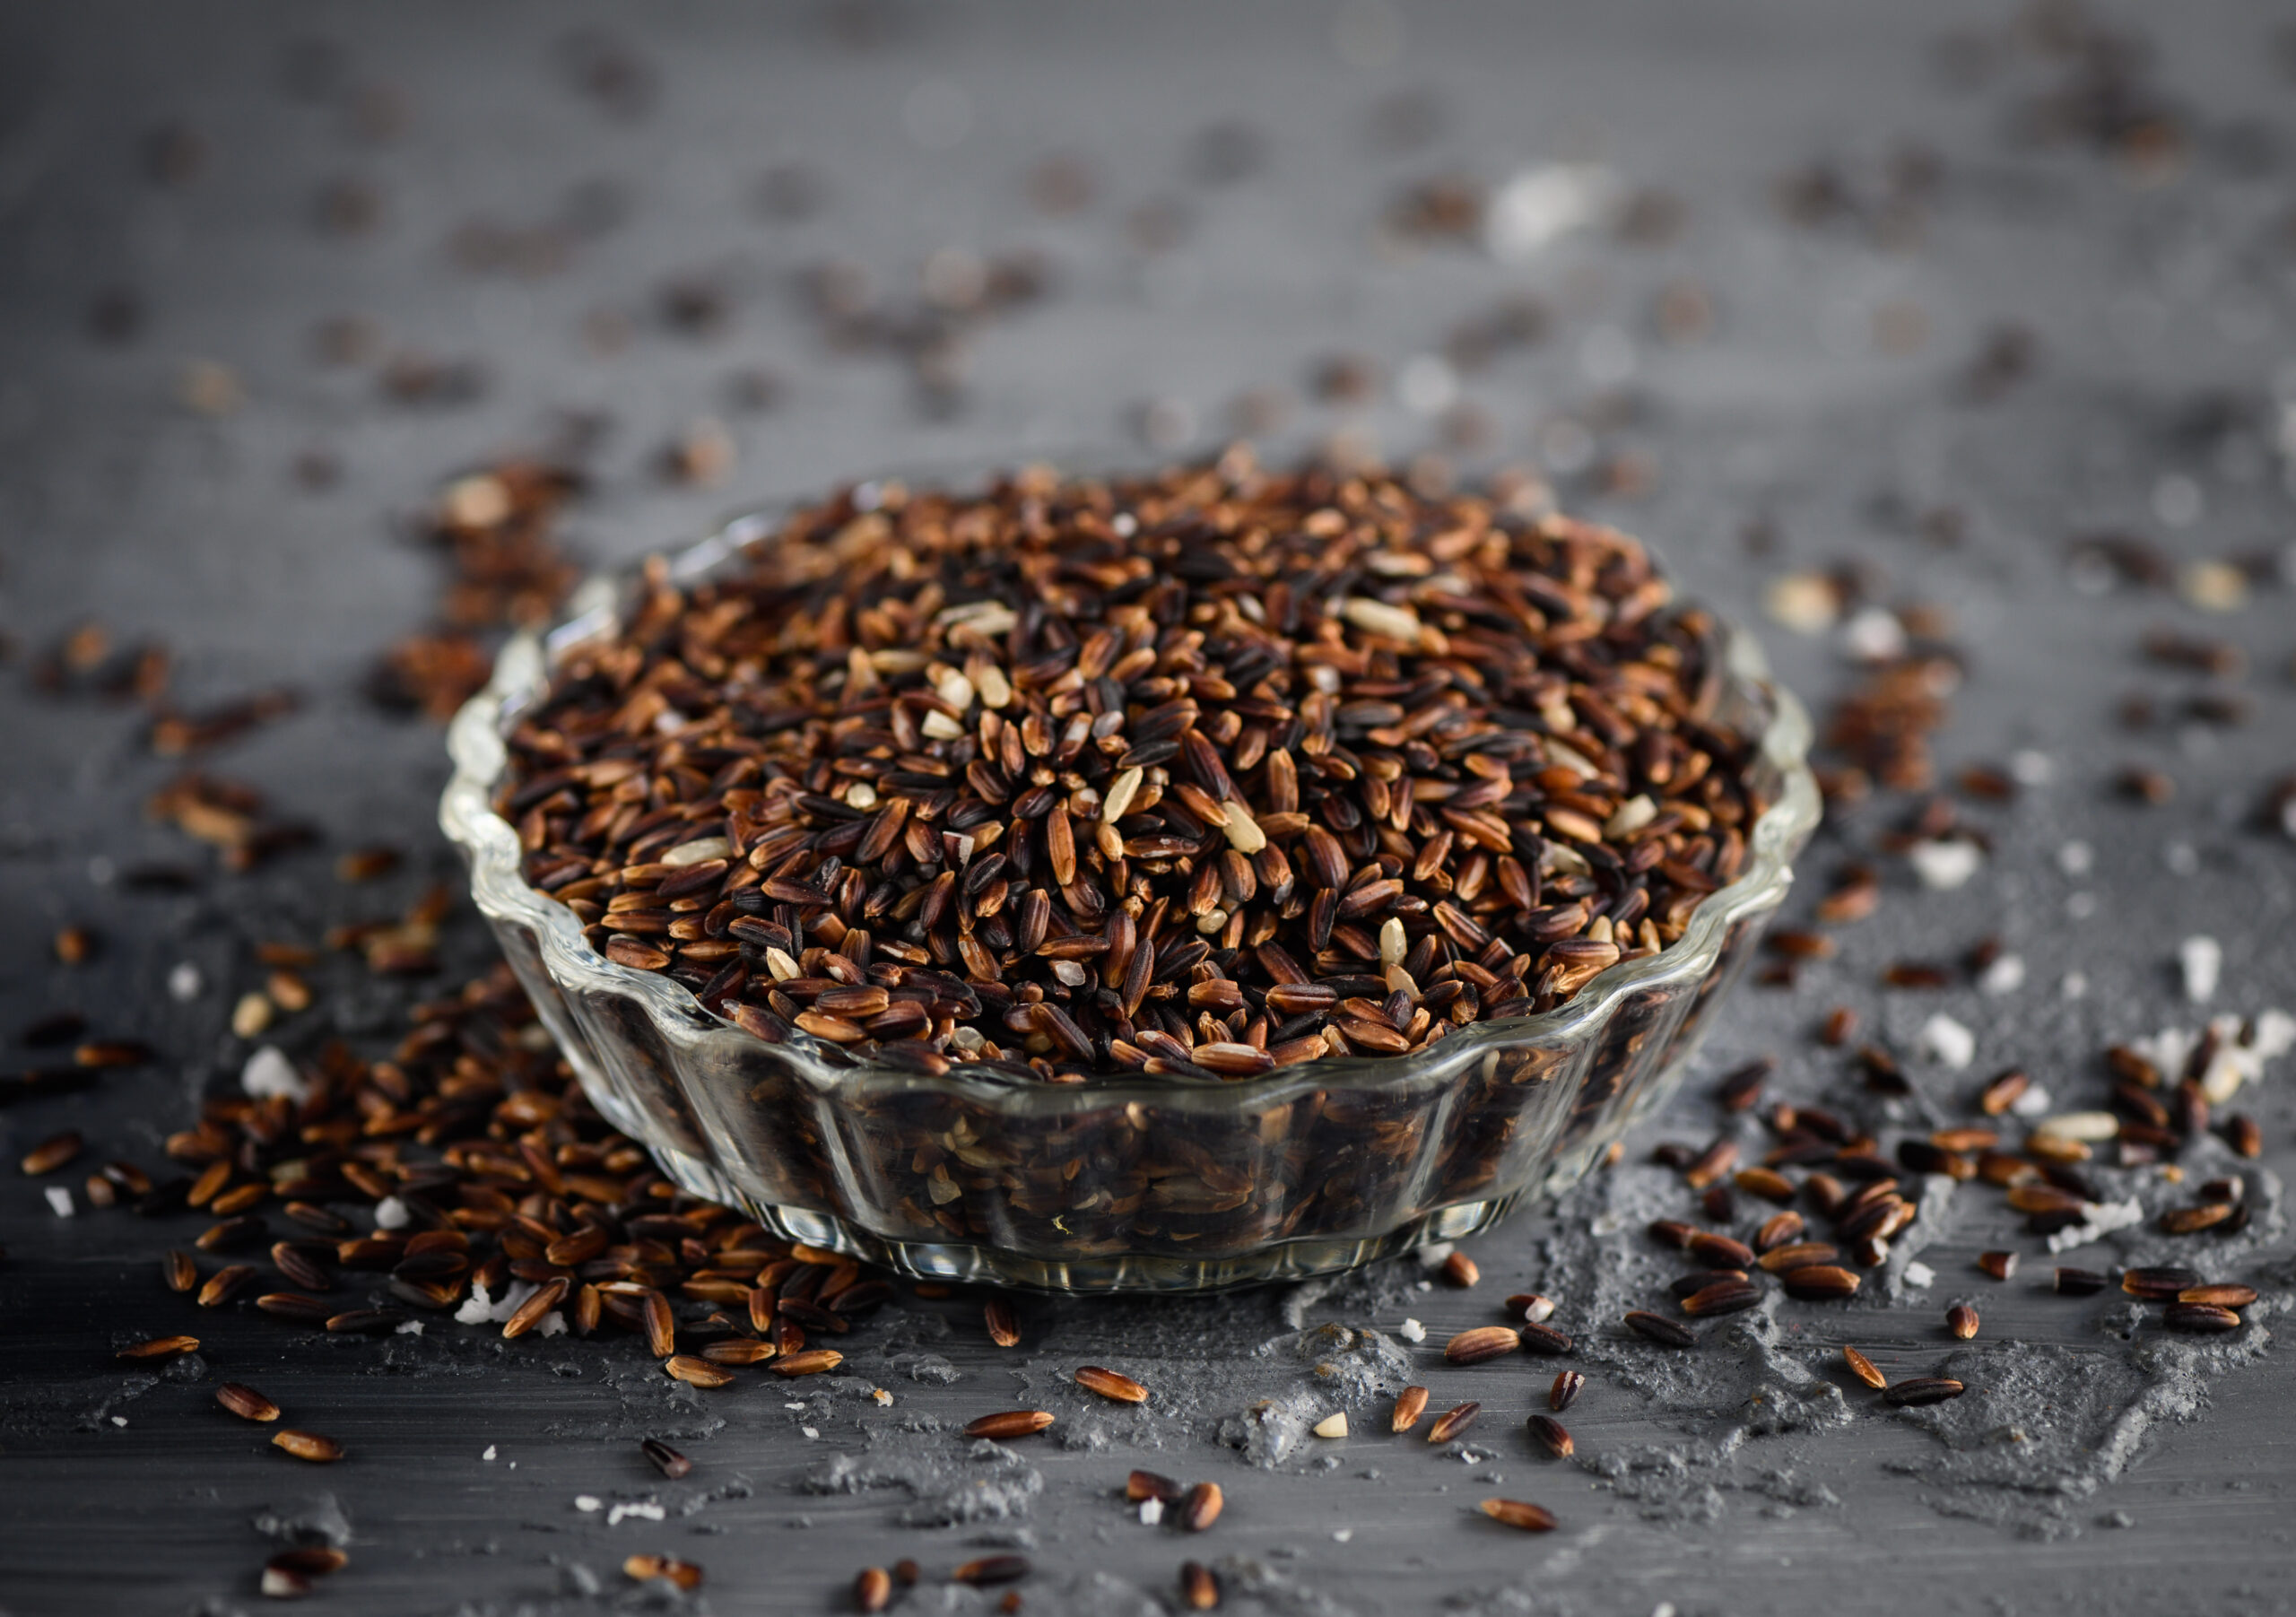
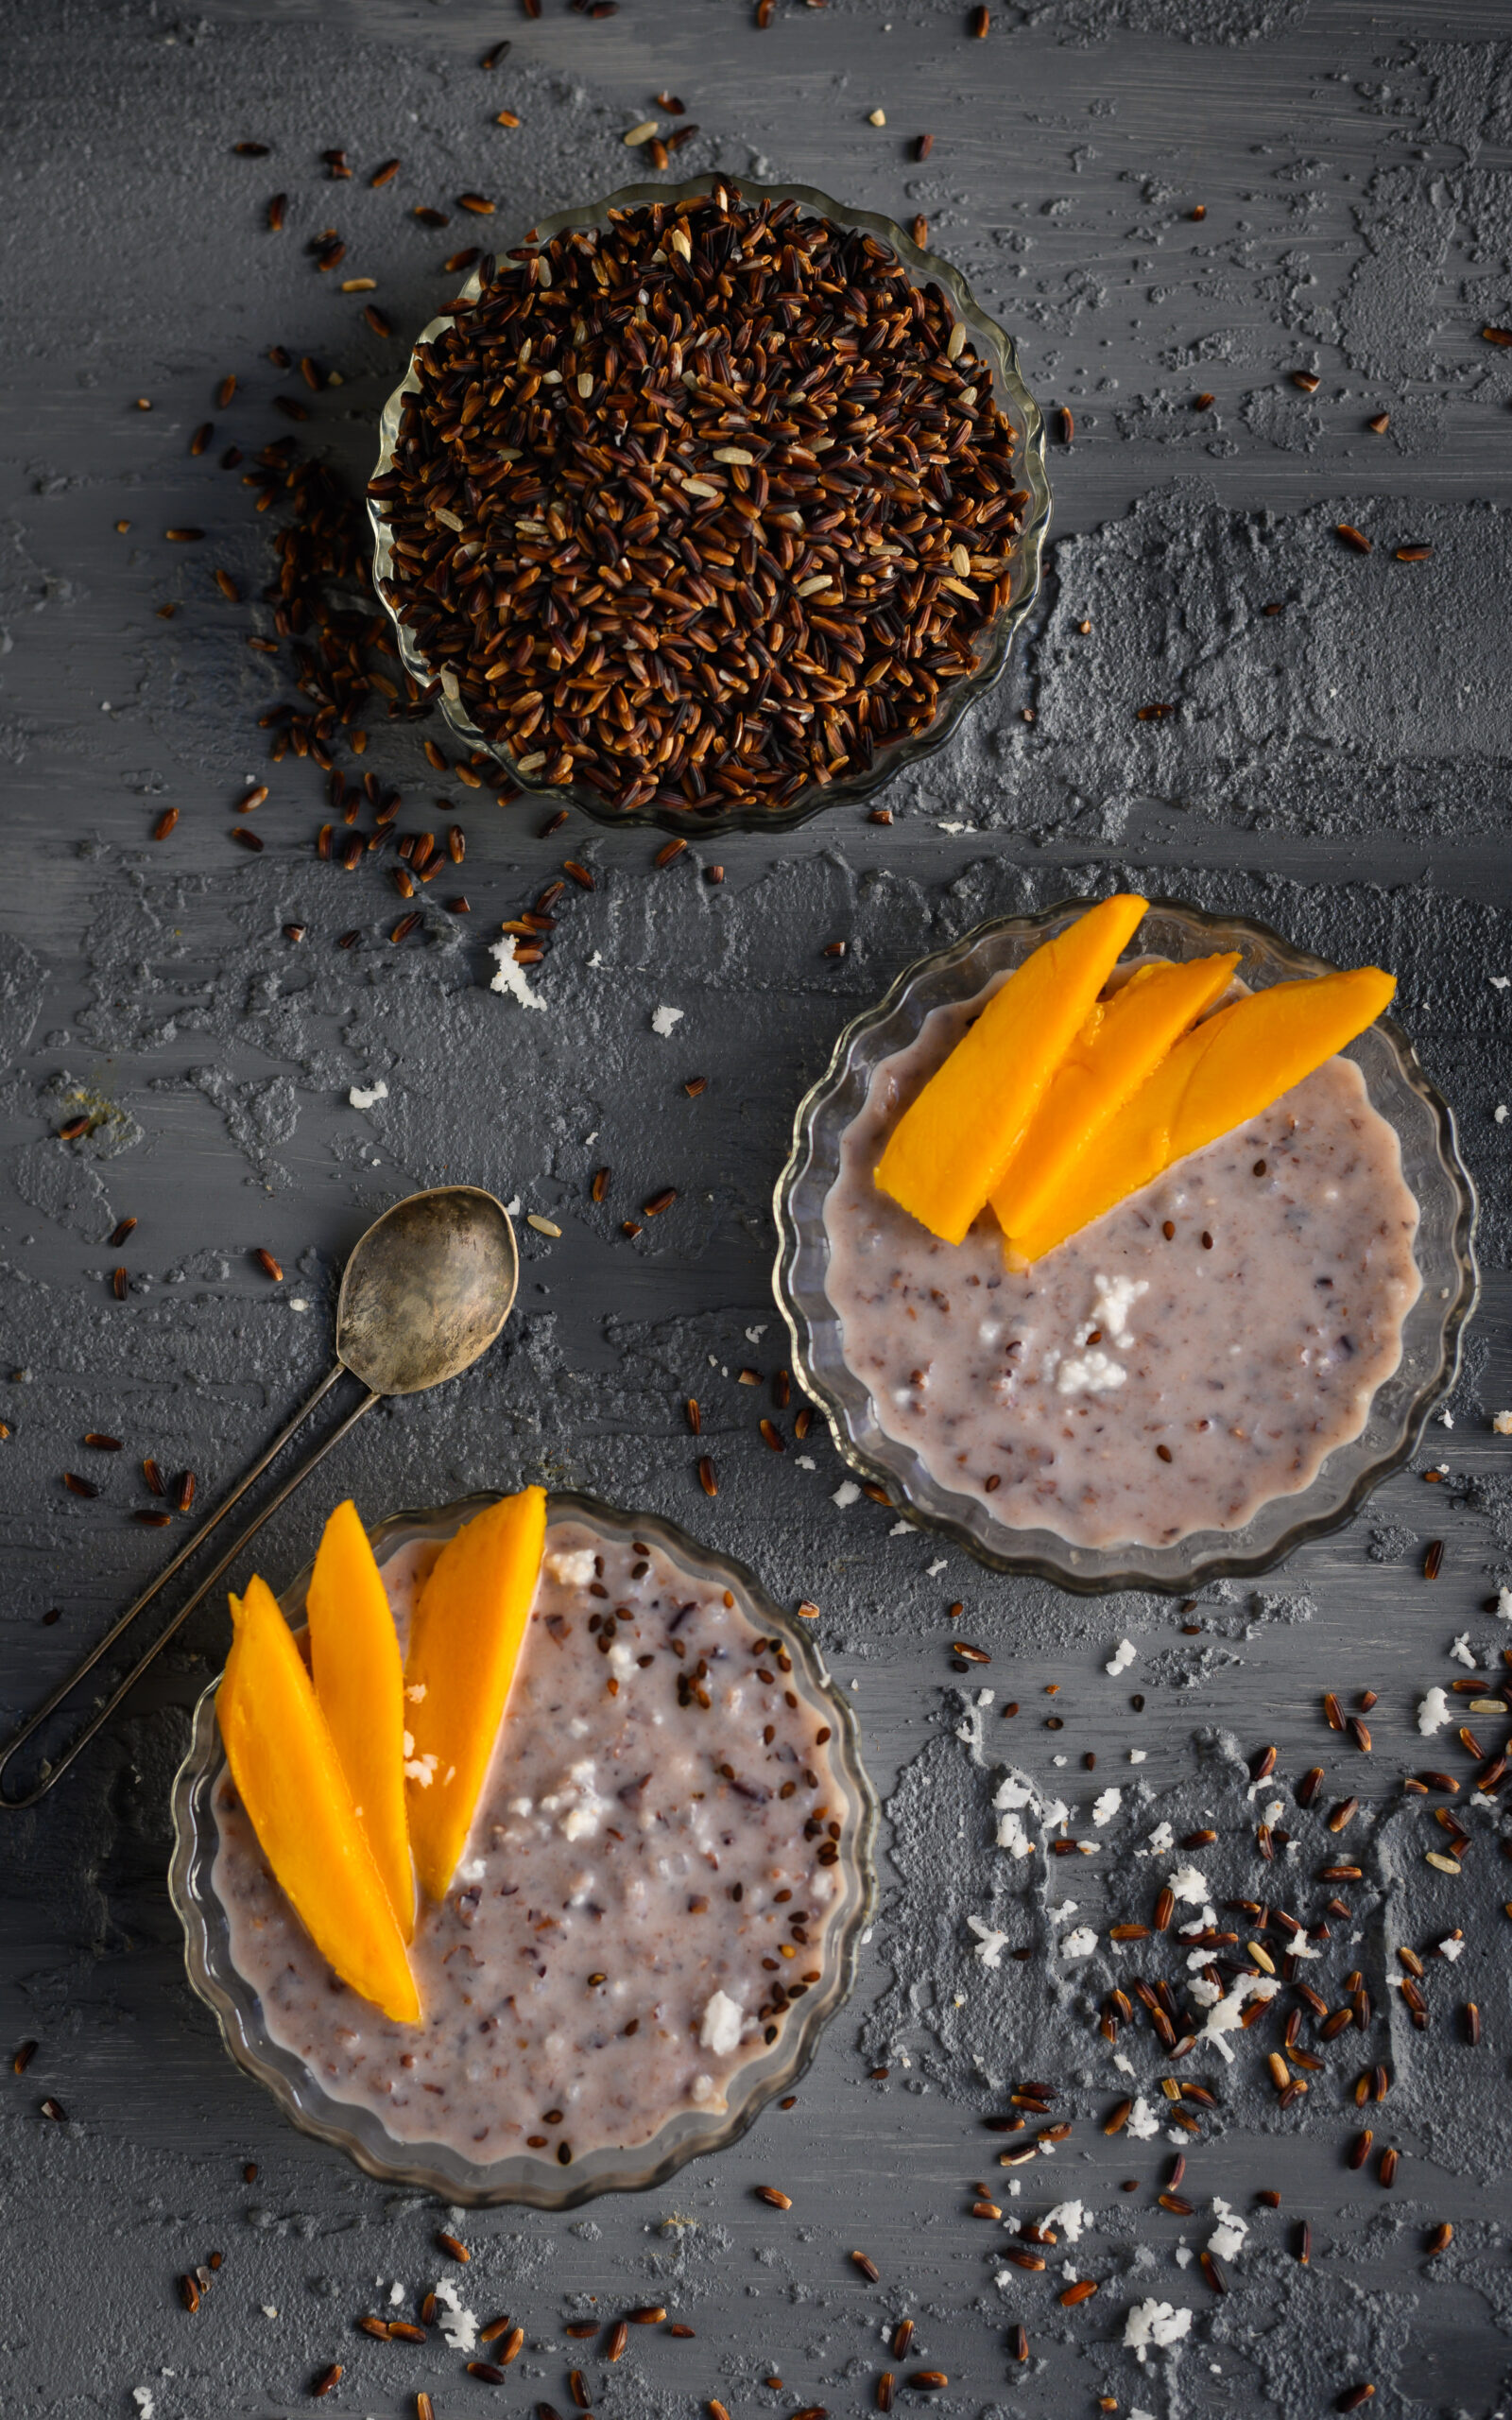
If you’re a long-term reader of my blog, you’ll know that I’ve always loved to advocate traditional varieties of food. As a Macrobiotics specialist, I am always interested in seasonal, local cooking, and everything from millets to vegetables and fruits and more which fit into this cycle. So I was very excited to learn about organic, indigenous rice which our ancestors used to eat too. For those who have just not been able to make the switch to millets, this will come as a boon. And now that I’ve discovered this kavuni arusi, and with mangoes in season, I simply had to have my favourite black sticky rice pudding.

While I’ve talked about “English” vegetables and foreign-inspired desserts often on this blog, what I’ve really been trying to achieve on this platform is  diversity. We are so lucky to be able to access so many wonderful ingredients both from home and abroad. This traditional rice, kavuni arusi, is going to become one of my staples. It has to be, because I can’t get enough of black sticky rice pudding, after all!
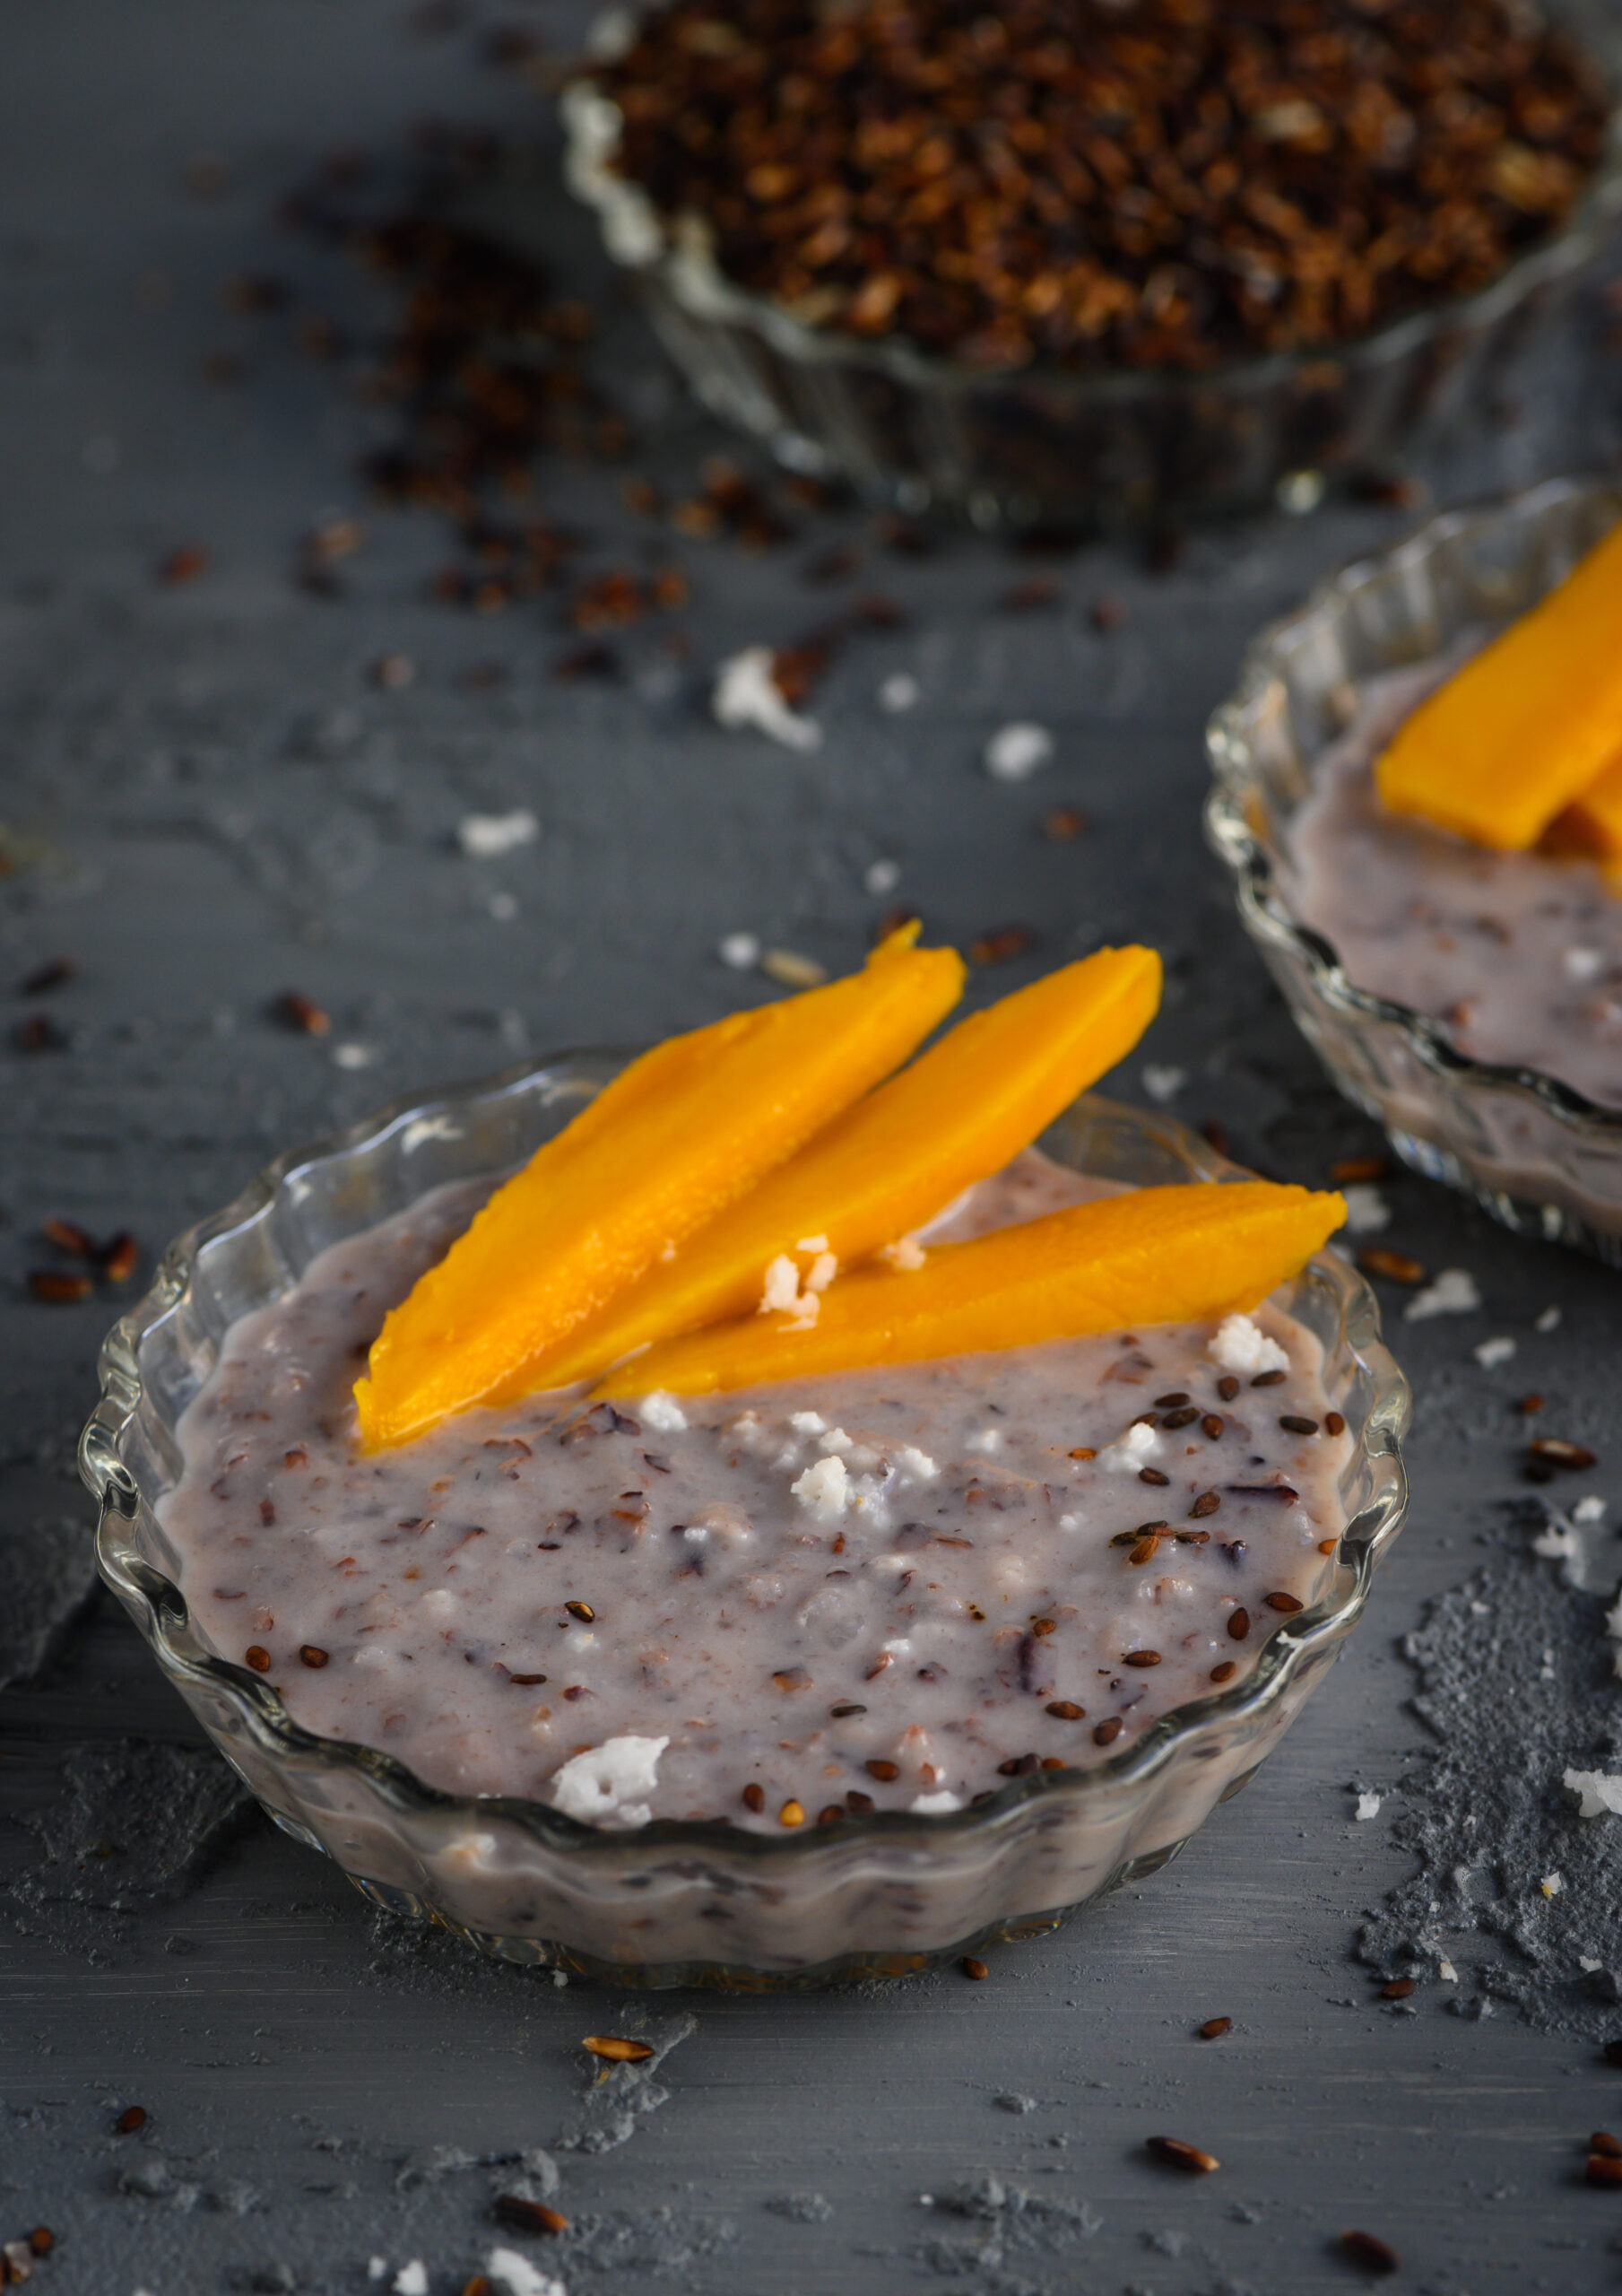
 

Black Sticky Rice Pudding

(Yield: 3-5 cups)

4 cups water

½ cup raw black rice

½ cup milk

½ cup coconut milk

1 cup sugar

2 tablespoons fresh shaved coconut

½ teaspoon toasted sesame seeds

Pick and rinse the rice, then soak it overnight. The rice quantity would have increased marginally due to the soaking. Now, cook the soaked rice in 4 cups of water. While I used kavuni arusi grown in Tamil Nadu, you’ll be using the black rice that is most easily available to you, so keep in mind that the water quantity may vary. Adjust accordingly. The idea is to make sure the rice is soft to the touch and tender. I also lightly blended the rice with a hand blender so the grains became smaller.

Place the rice pot on a medium flame and add the milk and sugar. If you prefer not to use sugar, replace it with maple syrup, honey or any sweetener. I often substitute sugar with brown rice syrup myself. For vegans, coconut milk tastes superb in this dish as a dairy replacement.

This time, I debated but decided to not add the twist of rose that is so often the re:store signature, wanting to achieve something as close to the Thai dish as possible, but I might do so when I next make this pudding. If you want that floral aroma, just include a little rose essence or rosewater.

Stir constantly, making sure the mixture does not stick to the bottom. The mixture will remain thick.

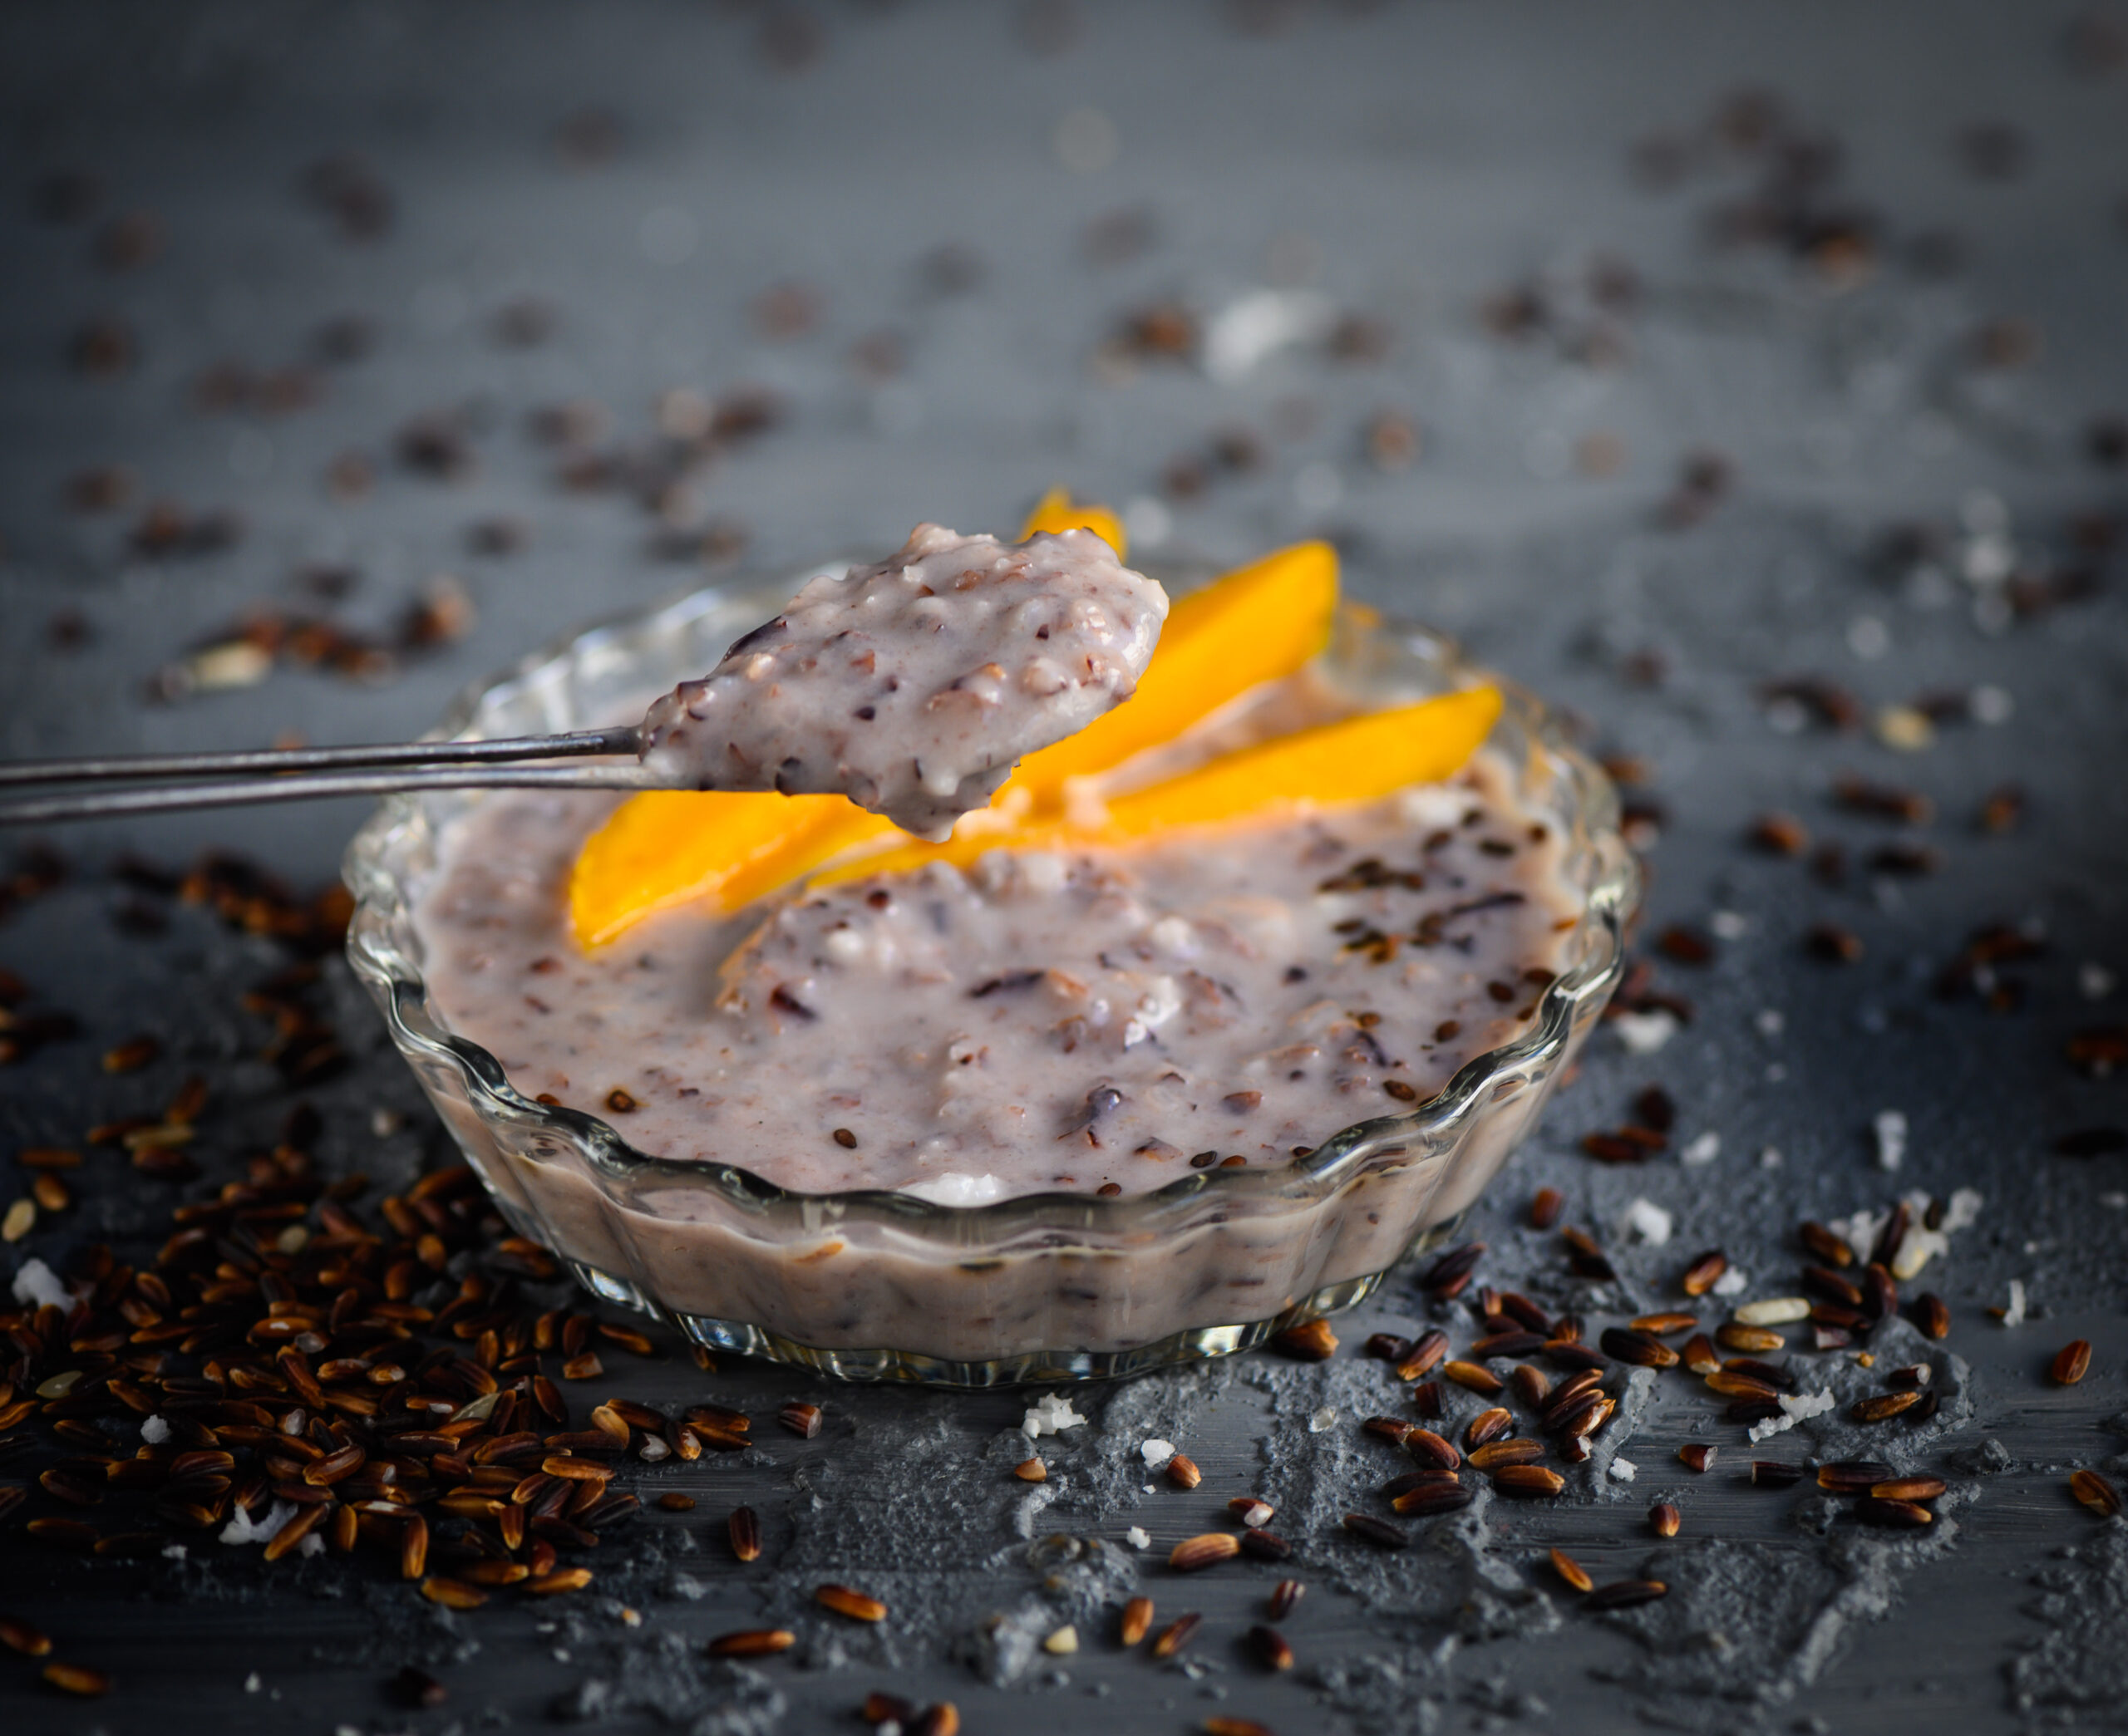
Next, lower the flame and add the coconut milk. Stir. Just before the mixture begins to bubble, turn off the flame. Add the coconut shavings and blend well, then allow to cool. Once cooled, scoop into small serving bowls.

I was so excited to discover this black rice grown in Tamil Nadu, and wanted to complement it with other flavours native to my state, like coconut and mango. Sticky rice as a dessert is traditionally served with fruit, and my fruit of choice was mangoes, because the season has just begun here in India. But lychees work equally well, as will many other fruits of your own choice. Together, the mix of sweetness and stickiness is just sublime. I hope you’ll enjoy this wonderful sweet treat which shows you just how versatile rice can be!
Every summer during my childhood, my family would drive up to Ooty to get away from the heat in Chennai. There we’d be, little children in our little Fiat car, excited to reach the hills. The drive would take anywhere between 8 and 12 hours, and since our car didn’t have an AC, it would be sweltering for most of the ride. So we’d stick our heads out of the windows and enjoy the drive. There were no eateries along the way, so we’d pack picnics for the journey. This was a ritual for many families we knew, who would escape the summer weather during the school vacations, in favour of the refreshingly cool climate of the hills.

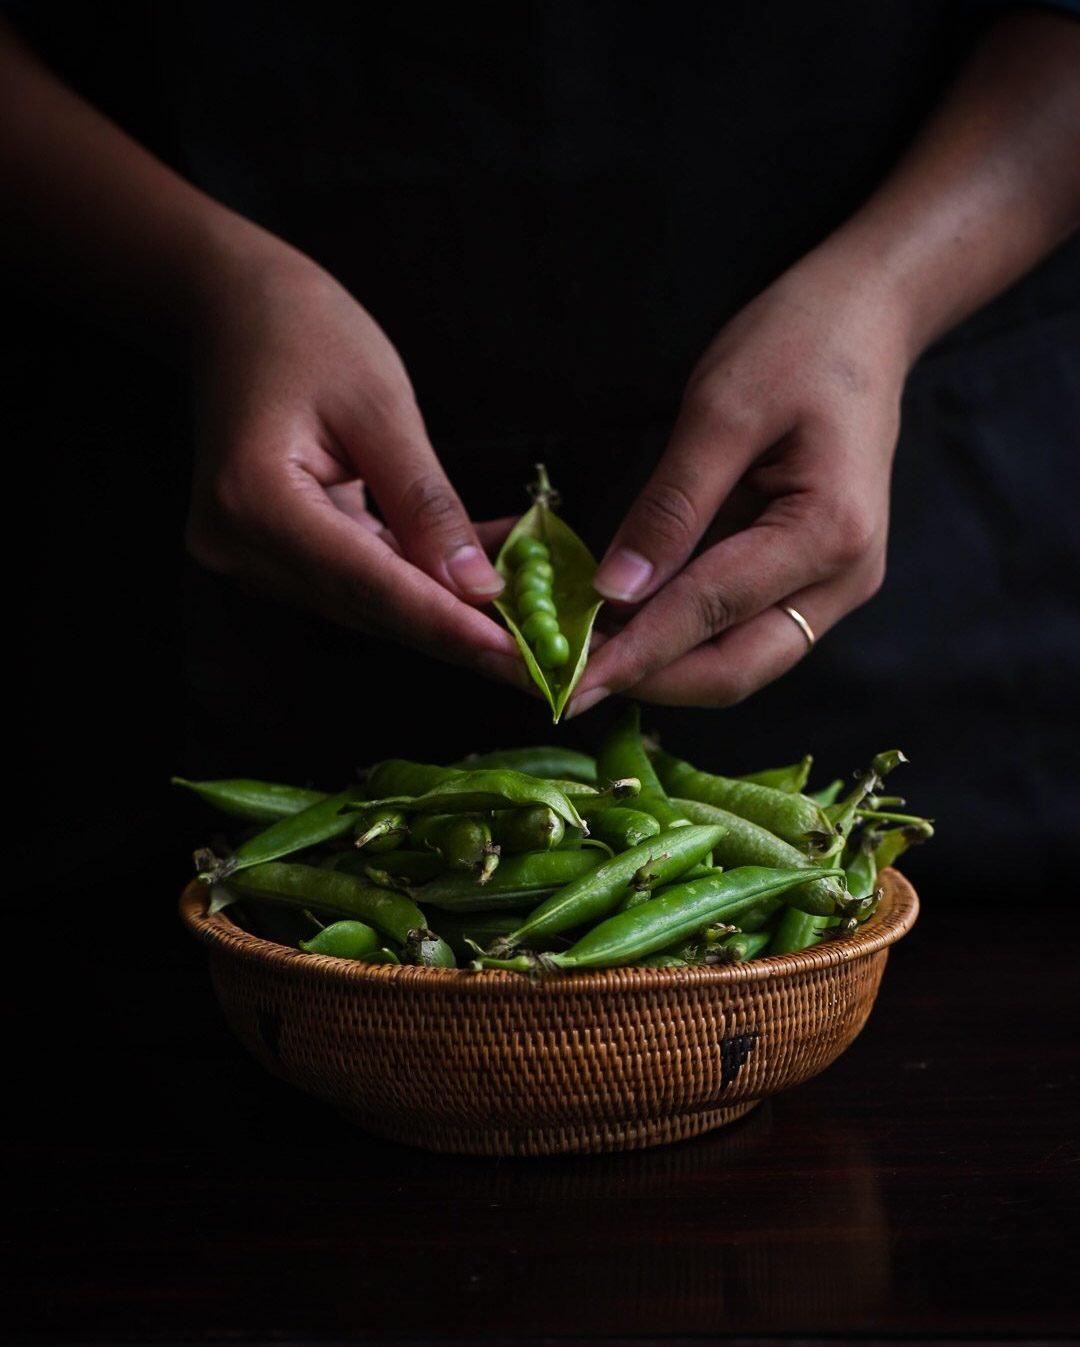
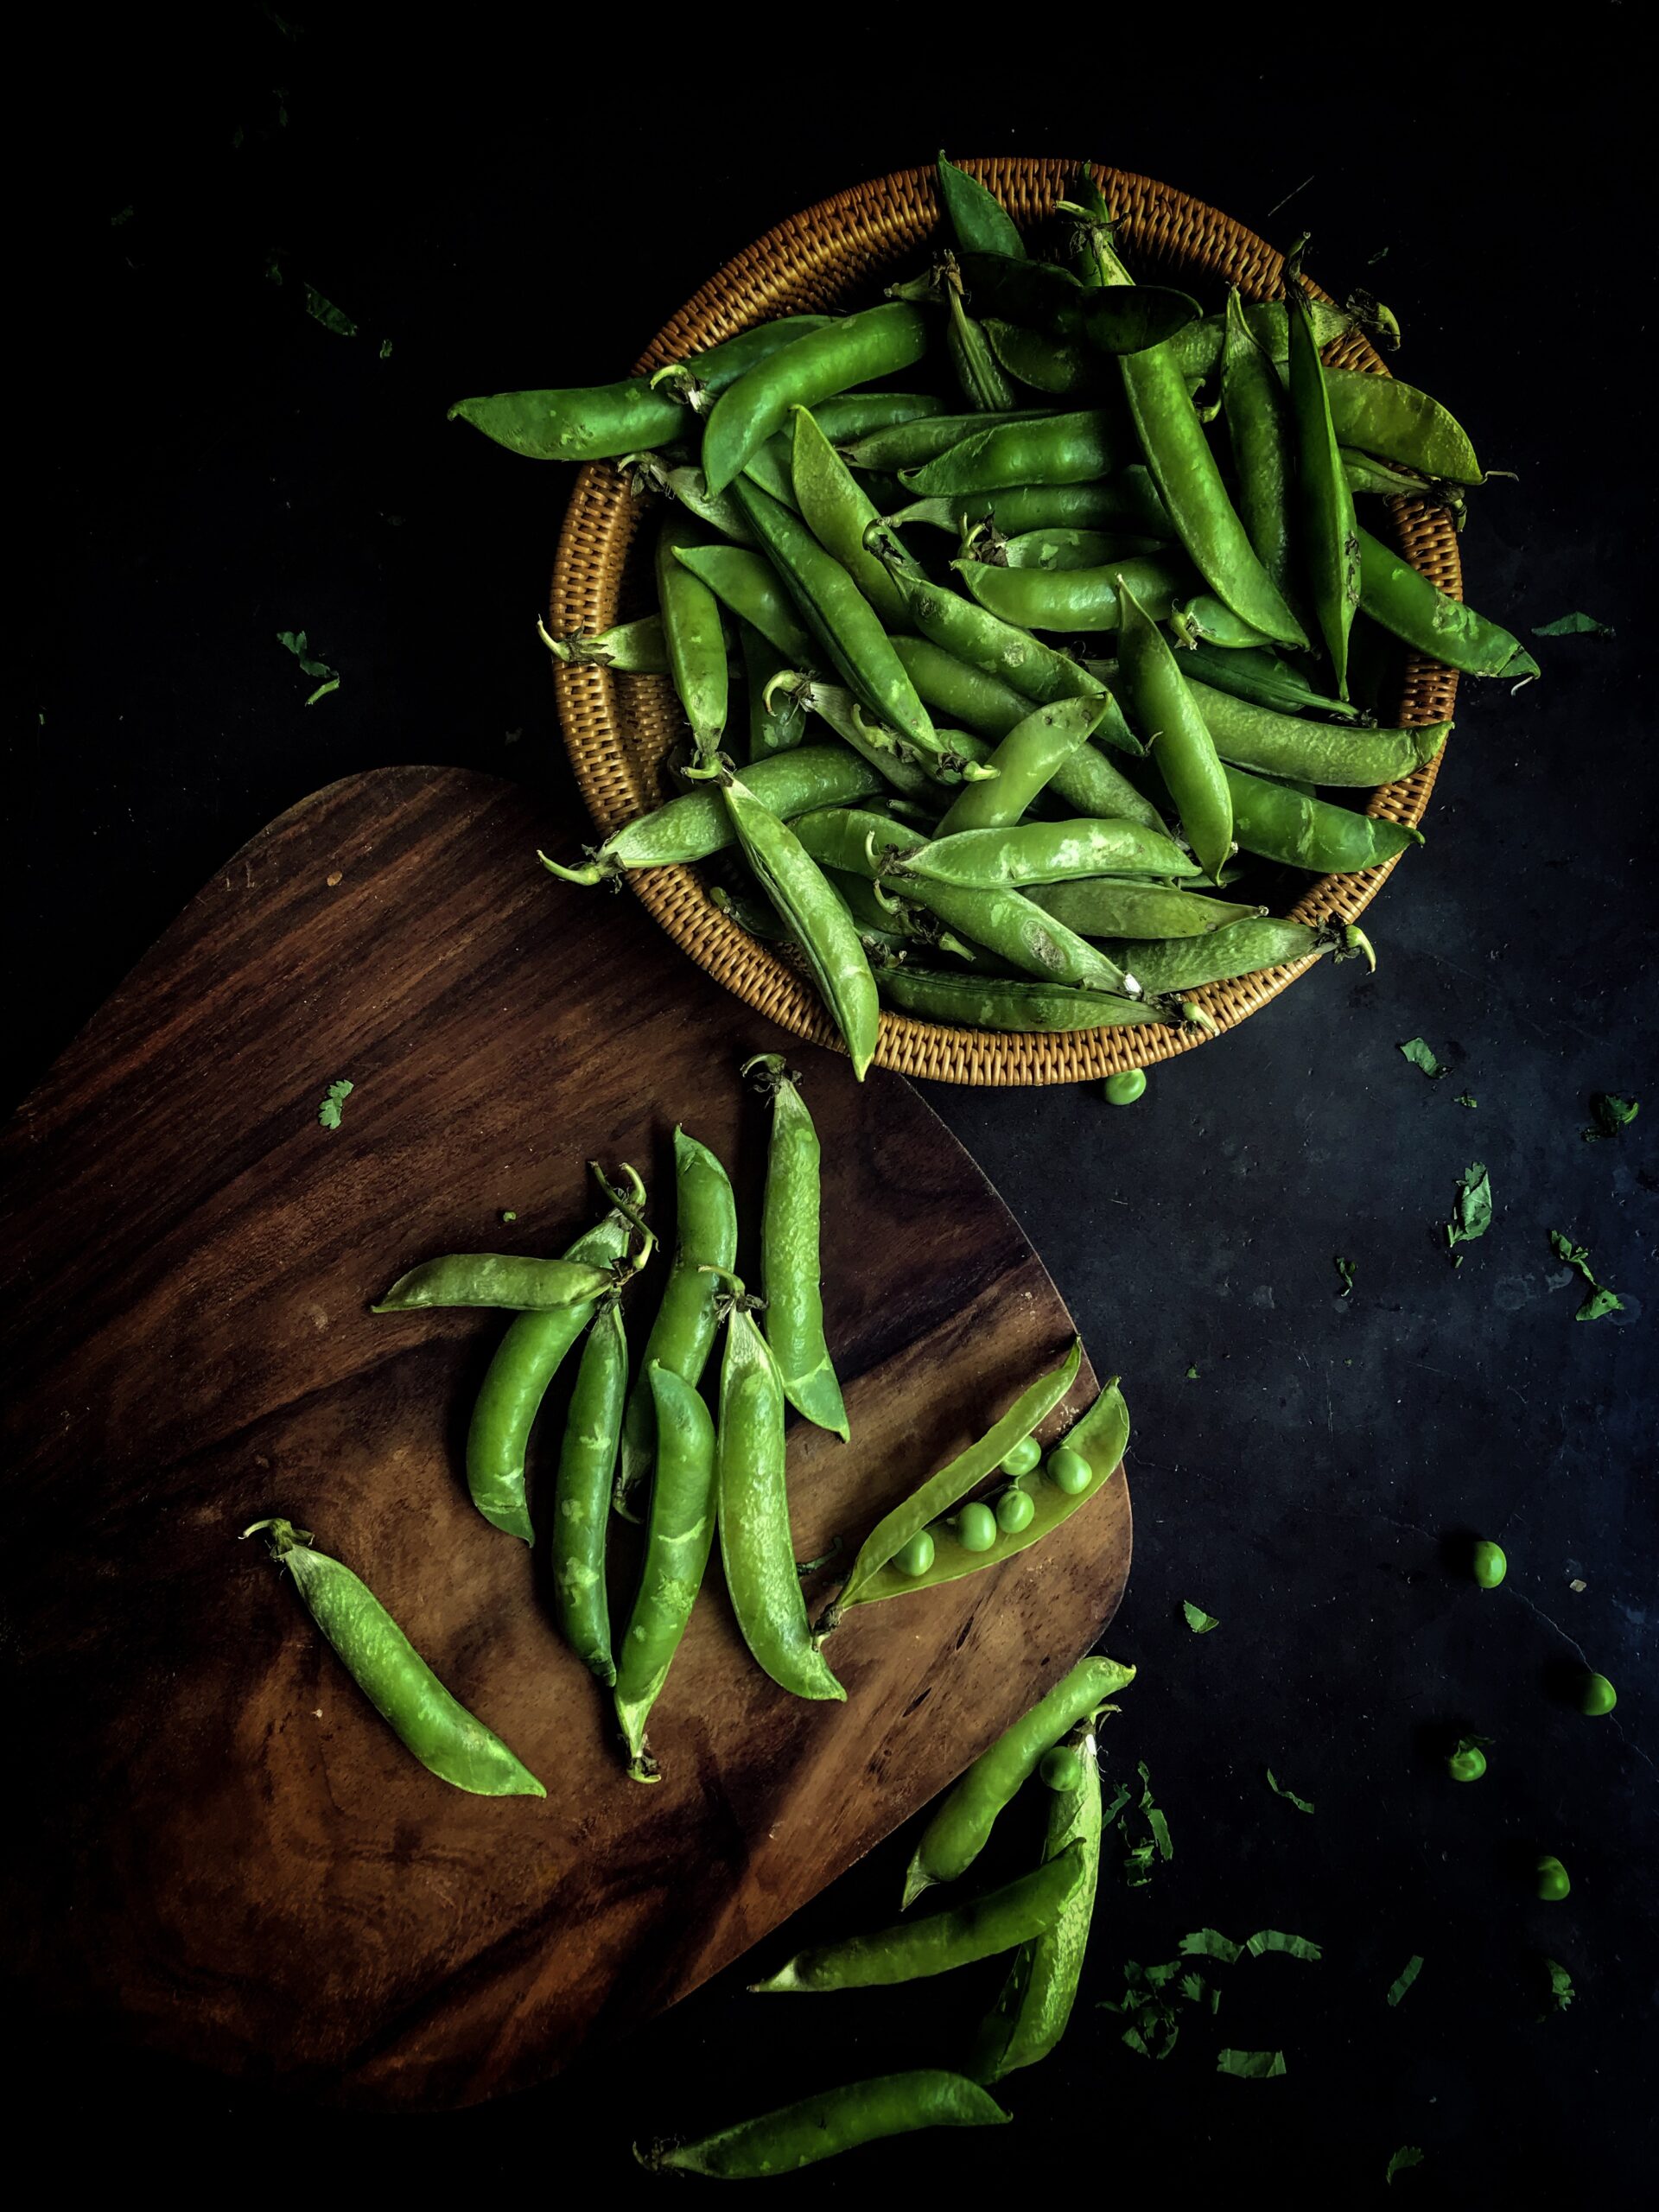
As we came closer to our destination, not only would the air and the temperature become more and more pleasing, but the curling streets and by-lanes winding up to Ooty would be lined with the stalls of farmers, selling fresh produce like carrots and green peas, and a variety of fruits and other vegetables which grow well in that climate. Green peas would be sold by the name “English vegetable”. Even today, if you go to the local produce markets in Chennai and other places, “English vegetable” is the term that is used. Strangely, there is evidence that suggests it could be found in India some two thousand years ago, but no doubt it was the British who cultivated it properly. And who introduced it from their own cuisine into ours.

Green peas are not actually vegetables, but legumes. They are rich in antioxidants and fibre, have a high protein content (four times that of carrots) and also contain vitamins, manganese, folate and other beneficial elements. Like most green things that farmers grow, they are good for you.

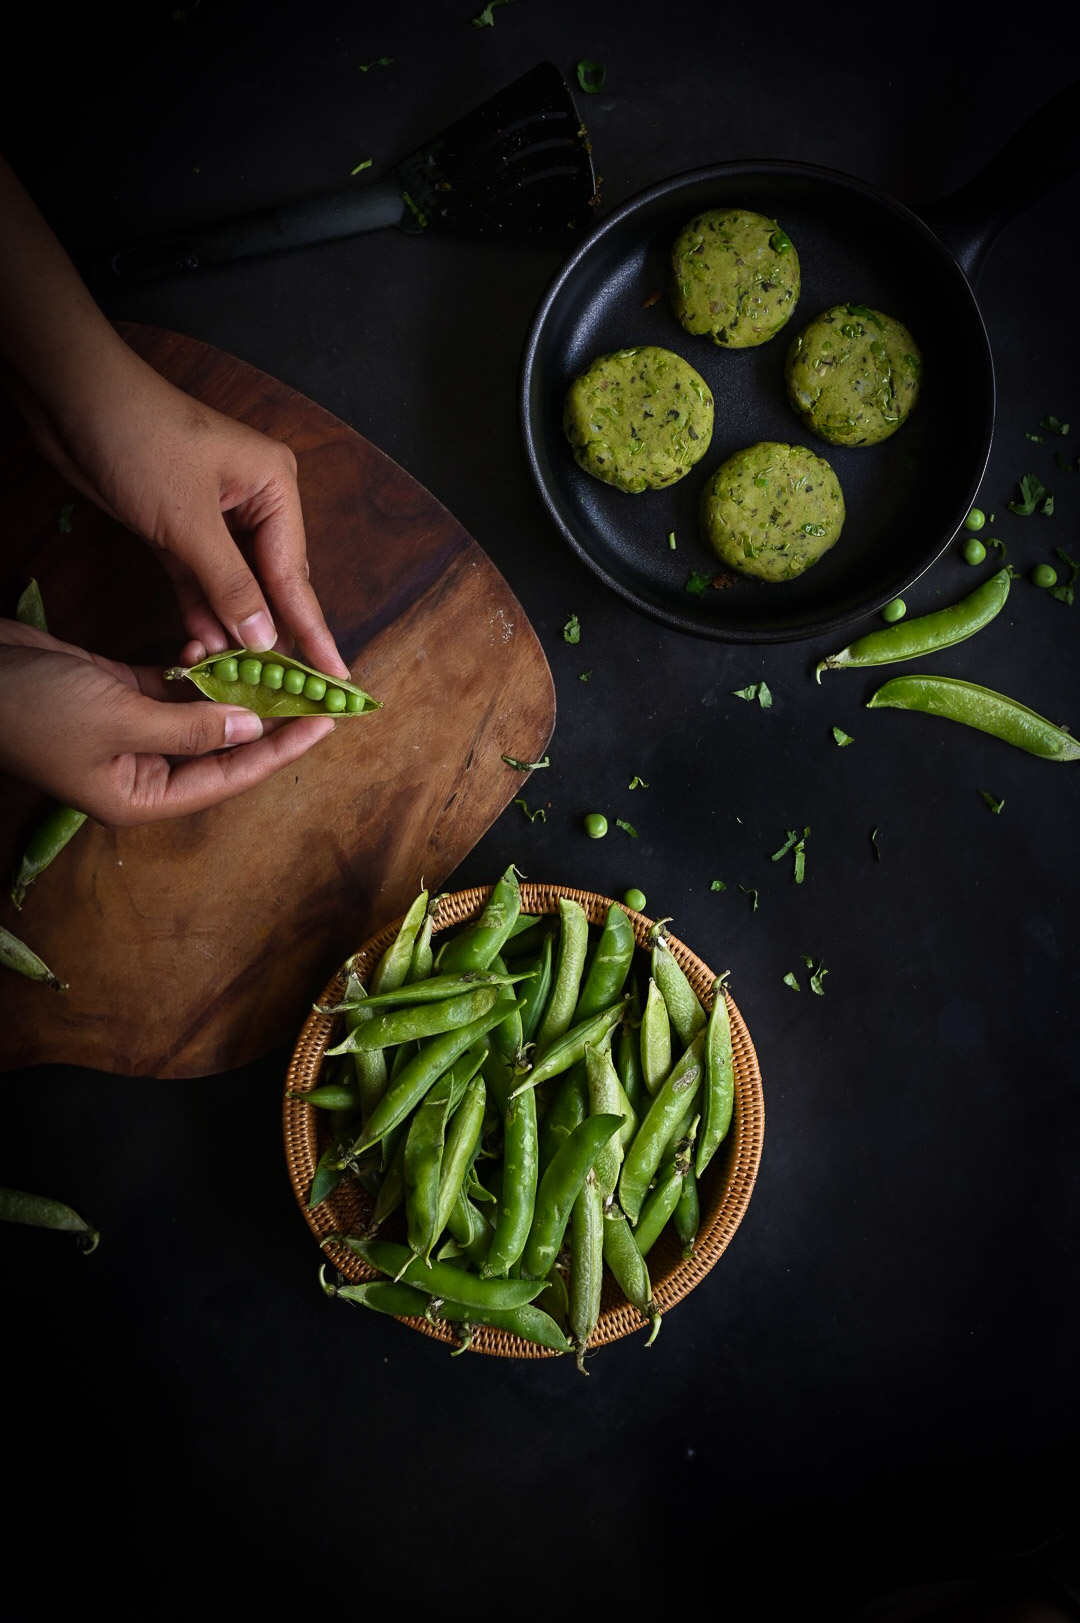
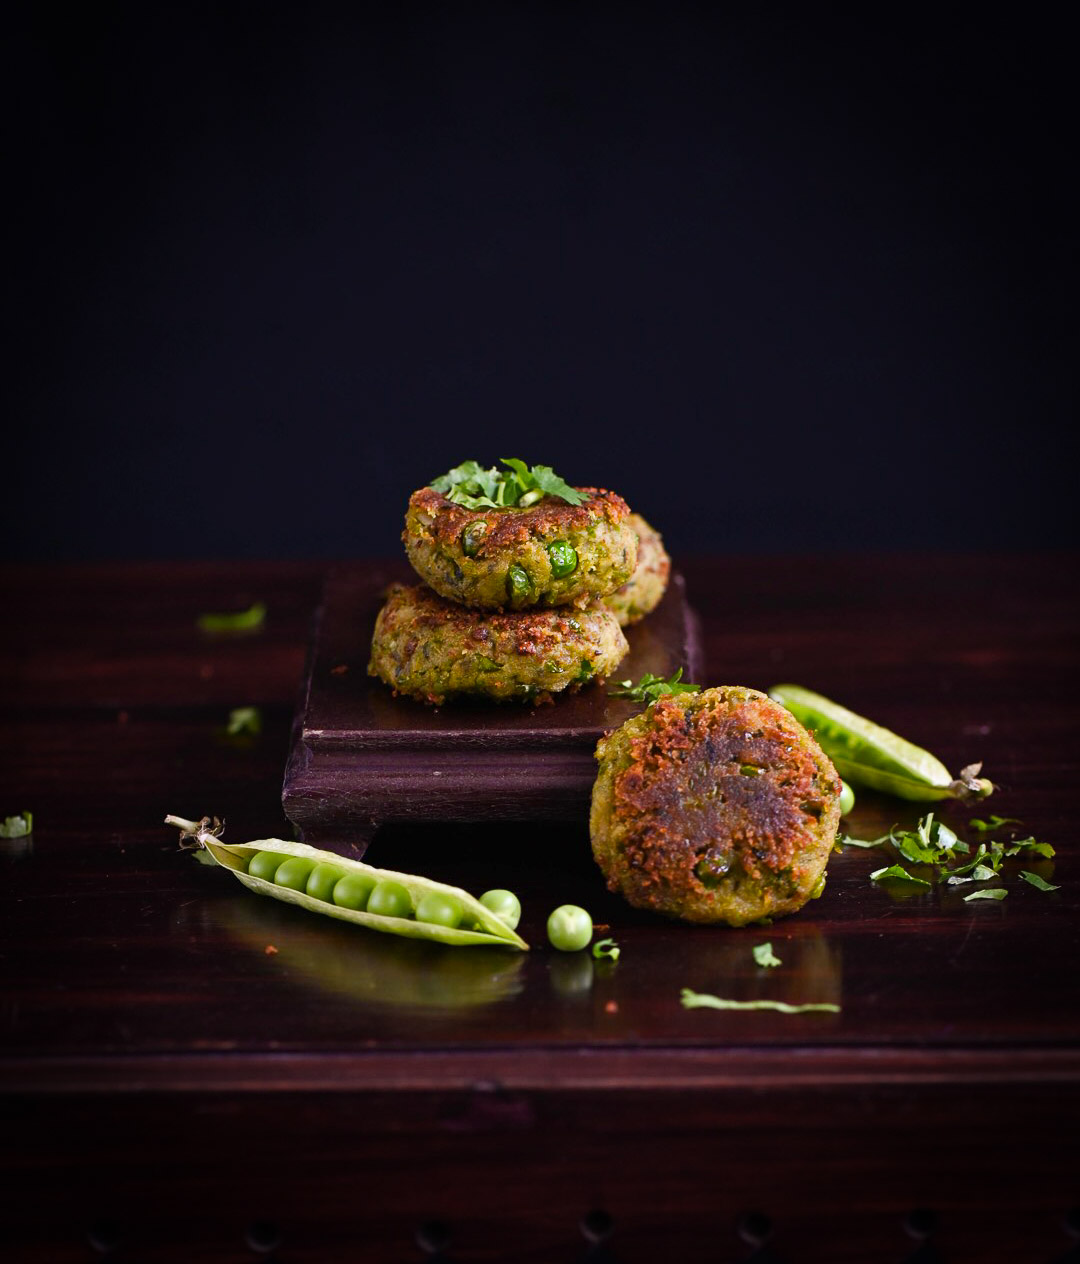
Indians are very innovative when it comes to the kitchen. So all over India, the “English vegetable” was quickly welcomed into the family like they would a good daughter-in-law. Indianised and masalafied recipes featuring the ingredient became popular. We are big foodies in this country, and always find intelligent ways to incorporate new culinary elements into our own styles. Green peas are versatile, so you can make everything from a rice dish like a green peas pulao to so much more. The most bizarre dish I’ve heard of was a green pea halwa, a kind of sticky sweet – any chance you’ve tasted it? From this end to that, once it became popularised by the British, people made interesting dishes using this exotic “English vegetable”. Somewhere in the North, the availability of the green pea gave rise to a dish known as harra bhara kebab.

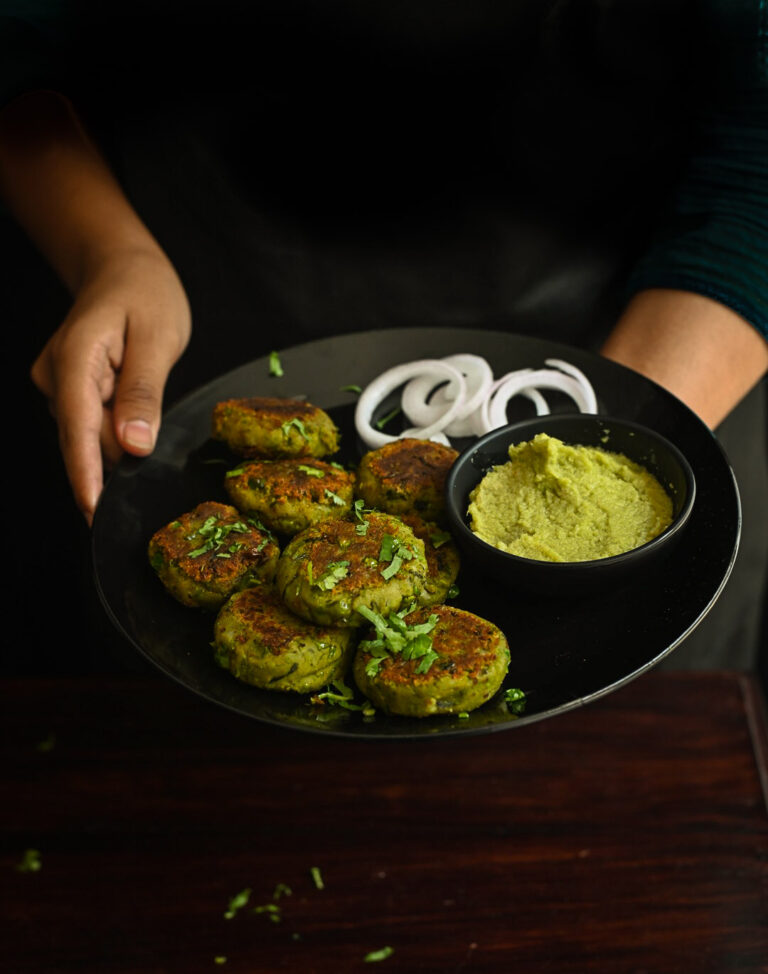
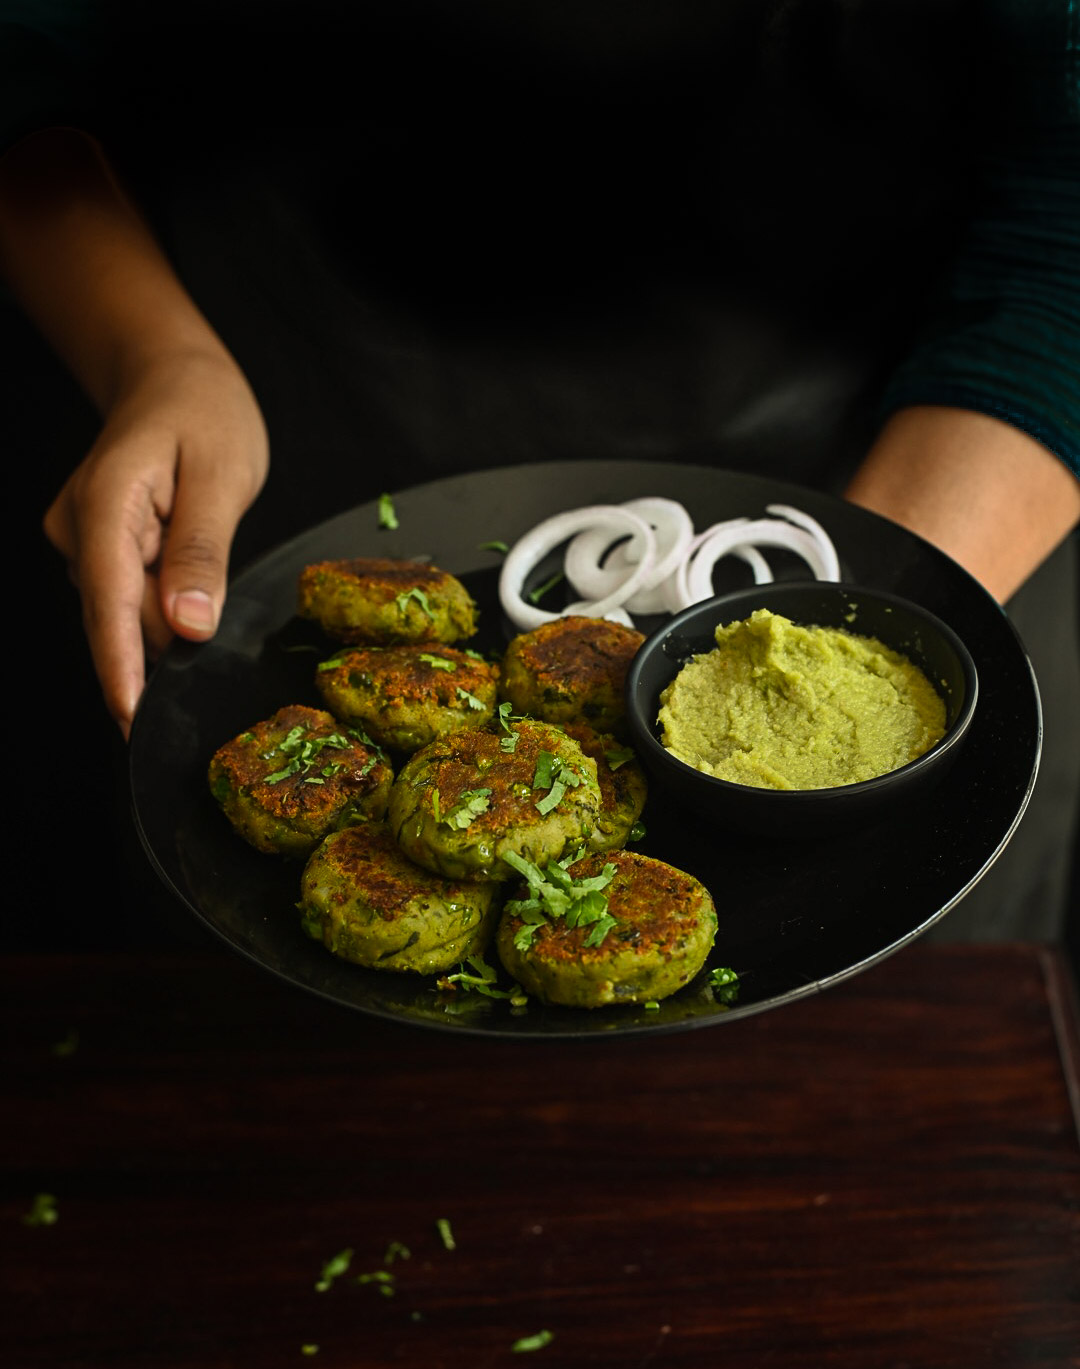
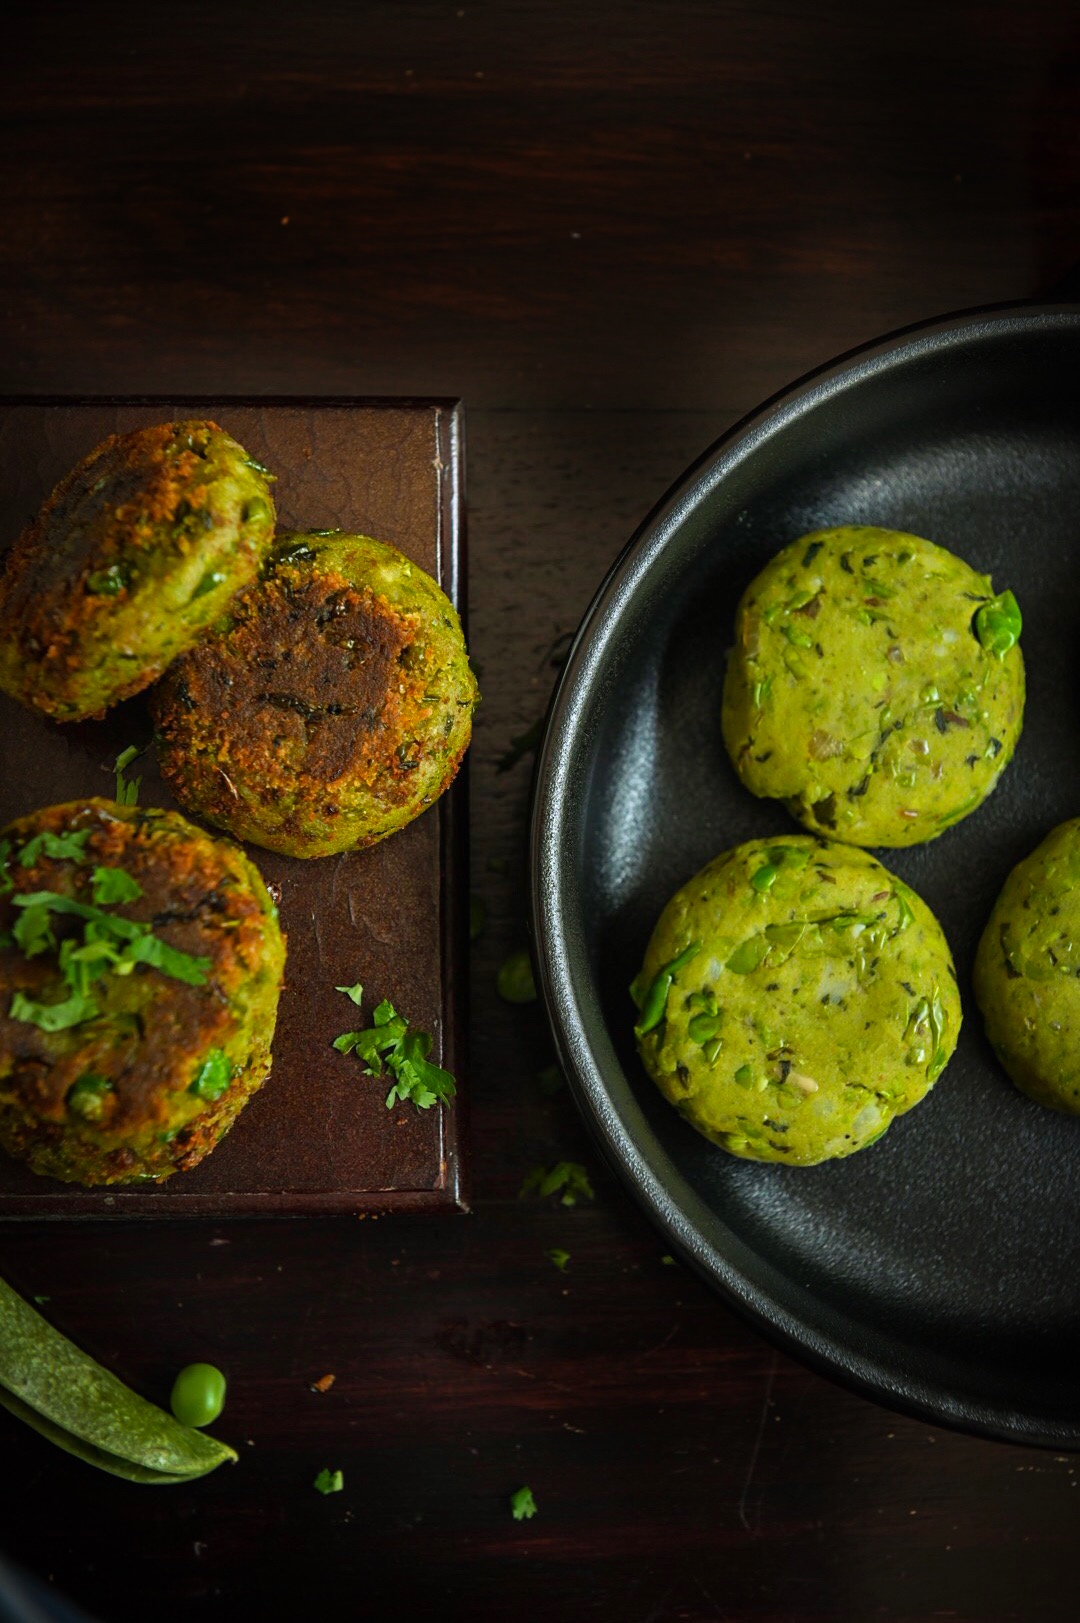
Kebabs in India originated from Mughal cuisine, from the palace kitchens of the Sultans. Although traditionally made of meat, today we make kebabs out of everything, even quinoa or paneer. The closest English equivalent, since we are using the “English vegetable” today after all, would be a patty or cutlet. Kebabs are sometimes cooked on a skewer, though not always served on one.  The harra bhara kebab is a great hit at parties because it’s a fabulous vegetarian snack, especially for those who’d like to try a kebab but want to avoid the meat ones. The word harra bhara itself is a Hindi term – “harra” meaning “green” and “bhara” meaning “stuffed”.

While cooking this dish, the challenge is to add spices in such a way that the green peas and vegetables retain their colour. This is because the way it looks adds to your experience of eating it, and most cooks want to convey the freshness of the ingredients visually. Some add baking soda or other condiments to keep this so, but I always prefer to keep things natural.

There’s an abundance of green peas in the markets right now, so I decided to make harra bhara kebabs. And as the weather is slowly turning hotter, memories of those summer vacations and those calls of “English vegetable” in the street markets have come flooding back…


Harra Bhara Kebab

(Yield: 8-10 kebabs)

1 ½ cups green peas

¼ teaspoon cumin seeds

3 tablespoons oil

1 finely chopped green chili

½ cup finely chopped onions

½ teaspoon ginger garlic paste

½ teaspoon garam masala

½ teaspoon aamchur powder

¼ teaspoon sugar

½ cup coriander leaves

½ cup mashed potatoes

Salt to taste

In a pan, add 1 tablespoon oil and the cumin seeds. Once the cumin seeds turn golden, add the onions. Sauté for 2 minutes and then add the ginger garlic paste. Sauté some more till the colour turns.

Now, add the green peas and green chili. On a medium flame, stir well, making sure it doesn’t stick to the bottom. Then, cover the pan with a lid so the peas soften a little bit.

Once the green pea mixture has softened slightly, add the salt, aamchur powder, garam masala, sugar and coriander leaves. Mix well and allow to cool completely.

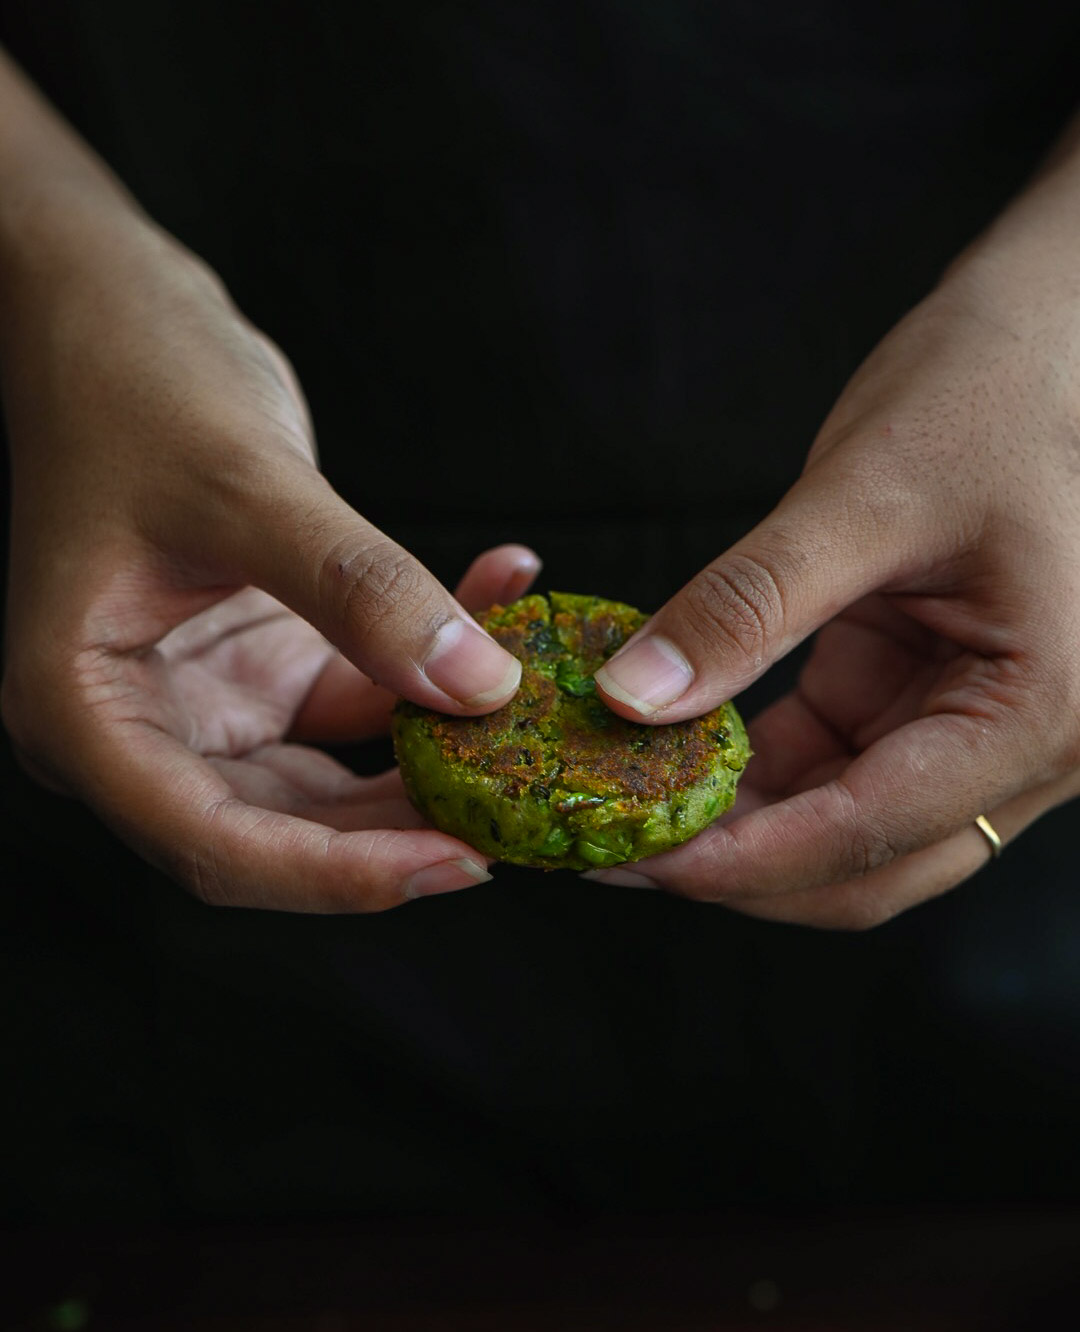
Grind the peas mixture coarsely. Blend this with the mashed potatoes, using your fingers. Then, make small patties with your palms.

In a flat pan, add the remaining oil. Once the pan is heated, place the kebabs gently on the oil. Keep the flame between low to medium and turn them over gently. Make sure they’re done well on both sides. Remove from the pan.

These harra bhara kebabs are ideal for sharing and are a perfect finger food, especially for parties where you want to add a few exciting vegetarian options to the menu. Serve them with a dip of your choice. I like them with a green coriander chutney, which you may remember from this earlier snack recipe for banana methi fritters. A tamarind chutney will also go very well. I’d love to know what dip accompaniment you like best for these harra bhara kebabs when you try them out. Looking forward to your comments!

If you’ve been following my blog for a while, you may not be surprised to hear me say that green moong is my favourite among lentils (you may know it as mung bean, green gram or pachai payiru). As you’d have seen, I’m so in love with its versatility that it’s found a place in recipes as diverse as this crunchy teatime snack and in this deeply filling meal-in-a-bowl. With Republic Day this weekend, honouring the Indian constitution, I thought of how to best honour a different kind of Indian constitution – and once again, the humble yet power-packed mung bean was what came to mind.

Green is one of the three stripes of the tricolour and greenness is something that I think we need and must celebrate in this country. It’s a colour that evokes fecundity, growth and serenity. In my previous post, I talked about the harvest festival Sankranti. As a farm-owner, and someone very invested in using the goods of my garden in my kitchen, “green” is a way of life for me. I hope that this year will be good for farms and farmers everywhere, for political calmness, and for harmony and oneness with nature.

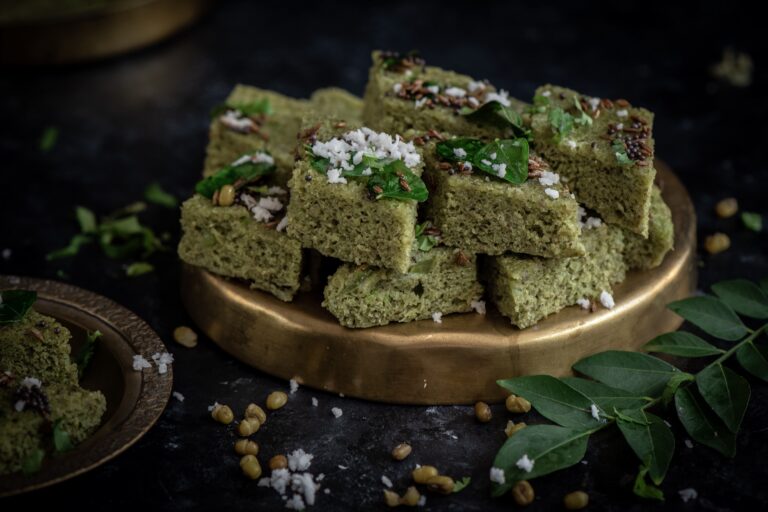
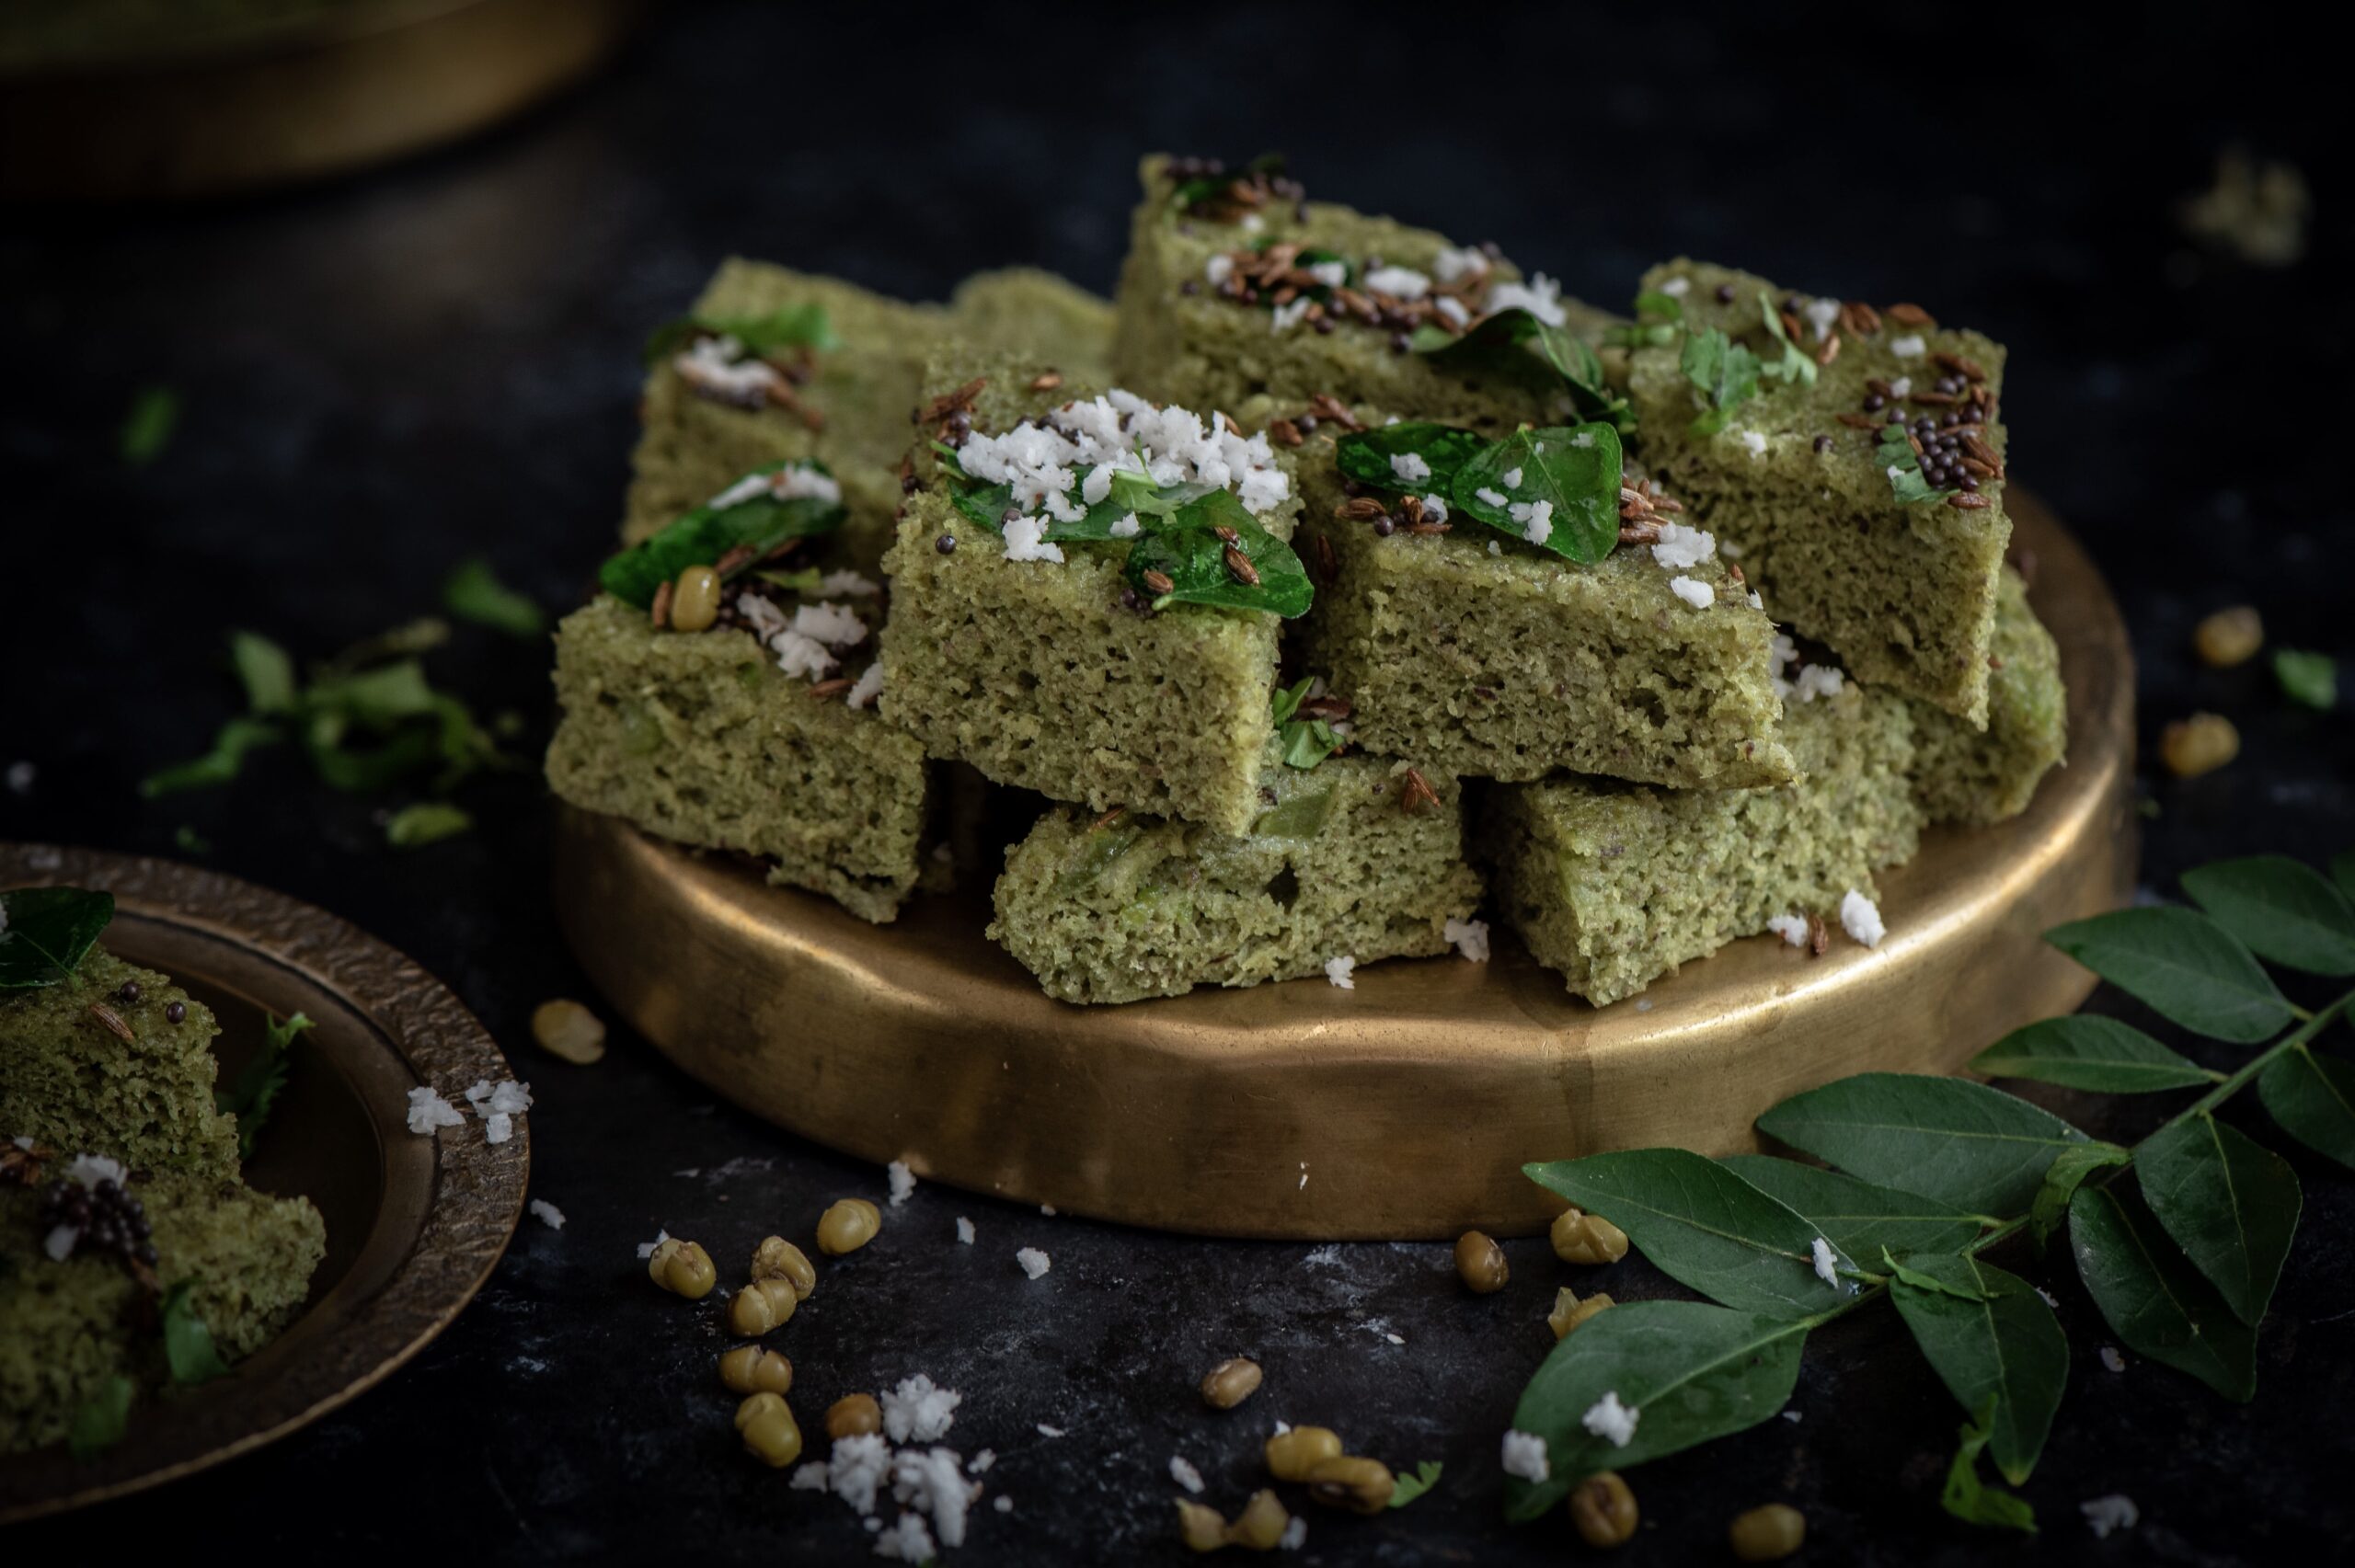
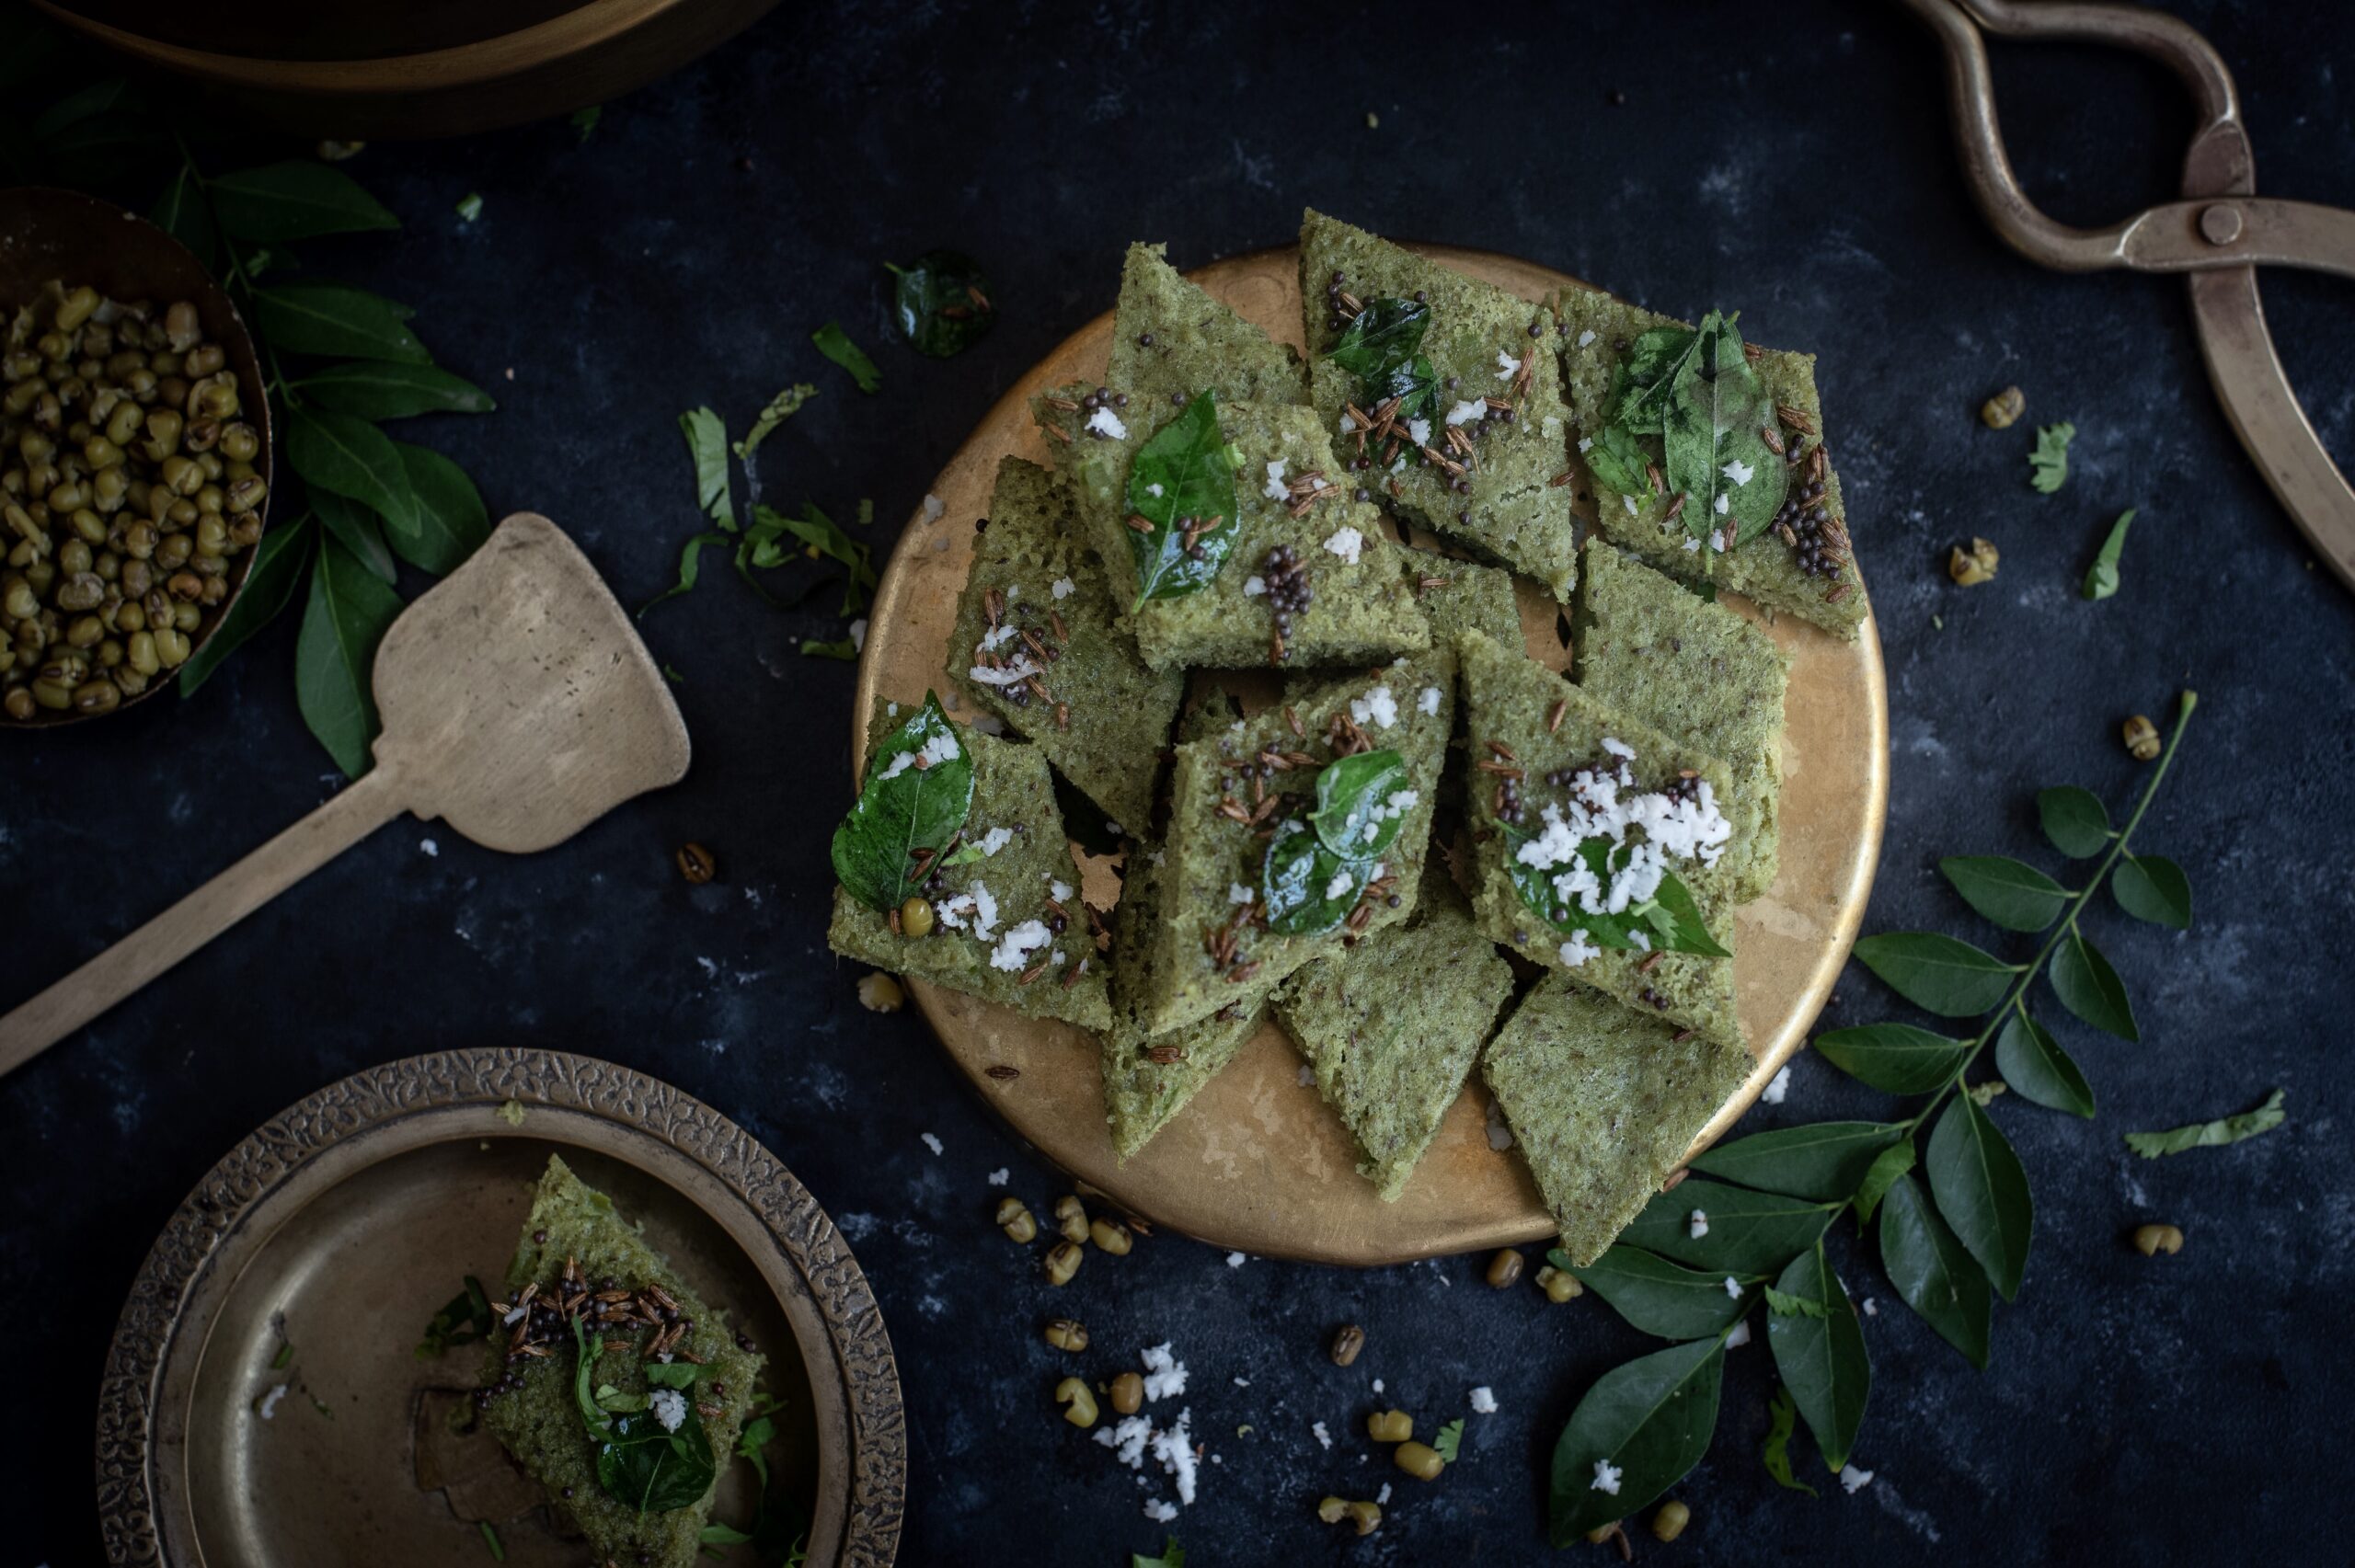
The recipe I am sharing today is for green moong dhokla – a healthy, fermented, steamed dish that can be eaten as a main course, a snack or an accompaniment. Soft and flavourful, a dhokla is so ubiquitously Gujarati that it’s a stereotype. I’ve literally heard people say “Dhokla!” when they hear what my ethnicity is. We have so many varieties, and my personal favourite is actually the buckwheat kind which is eaten on Agyaras, the eleventh day of each month which is traditionally observed by Gujarati Vaishnavites as a relaxed fast during which no grains or salt are consumed, but buckwheat, fruits, yams, potatoes and the like are allowed. I’m not one for fasting, but I always look forward to having some dhokla when I’m around someone who is!

Once again, it was my sister who taught me how to make this – one more classic item from the Gujarati cuisine that she learnt after getting married, just like this til-ka-chikki. She has a knack for making it in practically a snap of the fingers – often, I’d ask for a plate of green moong dhokla, go downstairs for a bit, and come up to see it was already prepared.

This green moong dhokla is eye-catching thanks to its colour, which is always a great way to get kids to eat something that’s good for them. As you may remember from earlier posts, moong is extremely nutritious. It is a great source of fibre, potassium, manganese, folate and various vitamins and minerals. They are also an excellent source of protein, and I would say crucial to a vegetarian or vegan diet. They are known to lower blood pressure and sugar levels, prevent heat stroke, aid digestion, reduce the risk of cardiac disease, and possibly assist in weight loss.

A dhokla could be described as a kind of savoury sponge cake, steamed rather than baked. Every kind of dhokla is delicious, in my opinion. But as a Gujarati, I’m biased. Why don’t you try this version and tell me what you think?

Green Moong Dhokla

(Yield: 15-20 pieces)

1 cup green moong (mung beans)

½ teaspoon ground green chilli paste

1 teaspoon ginger paste

2+2 tablespoons oil

1 teaspoon lemon juice

1 cup coriander leaves

½ cup capsicum

½ teaspoon sugar

½ teaspoon eno powder

½ teaspoon mustard seeds

½ teaspoon cumin seeds

A few curry leaves

Salt to taste

Grated coconut (optional)


Soak the green moong overnight. In the morning, rinse the moong, remove the water and put the beans in a blender along with salt, coriander leaves, ginger paste and green chilli paste. You may need to add approximately a ½ cup of water to allow it to grind well. The The consistency of the batter needs to be a little thicker than that of pancake, or in other words, like idly batter.

Now, add 2 tablespoons of oil, and the lemon juice and finely cut capsicum to the batter.

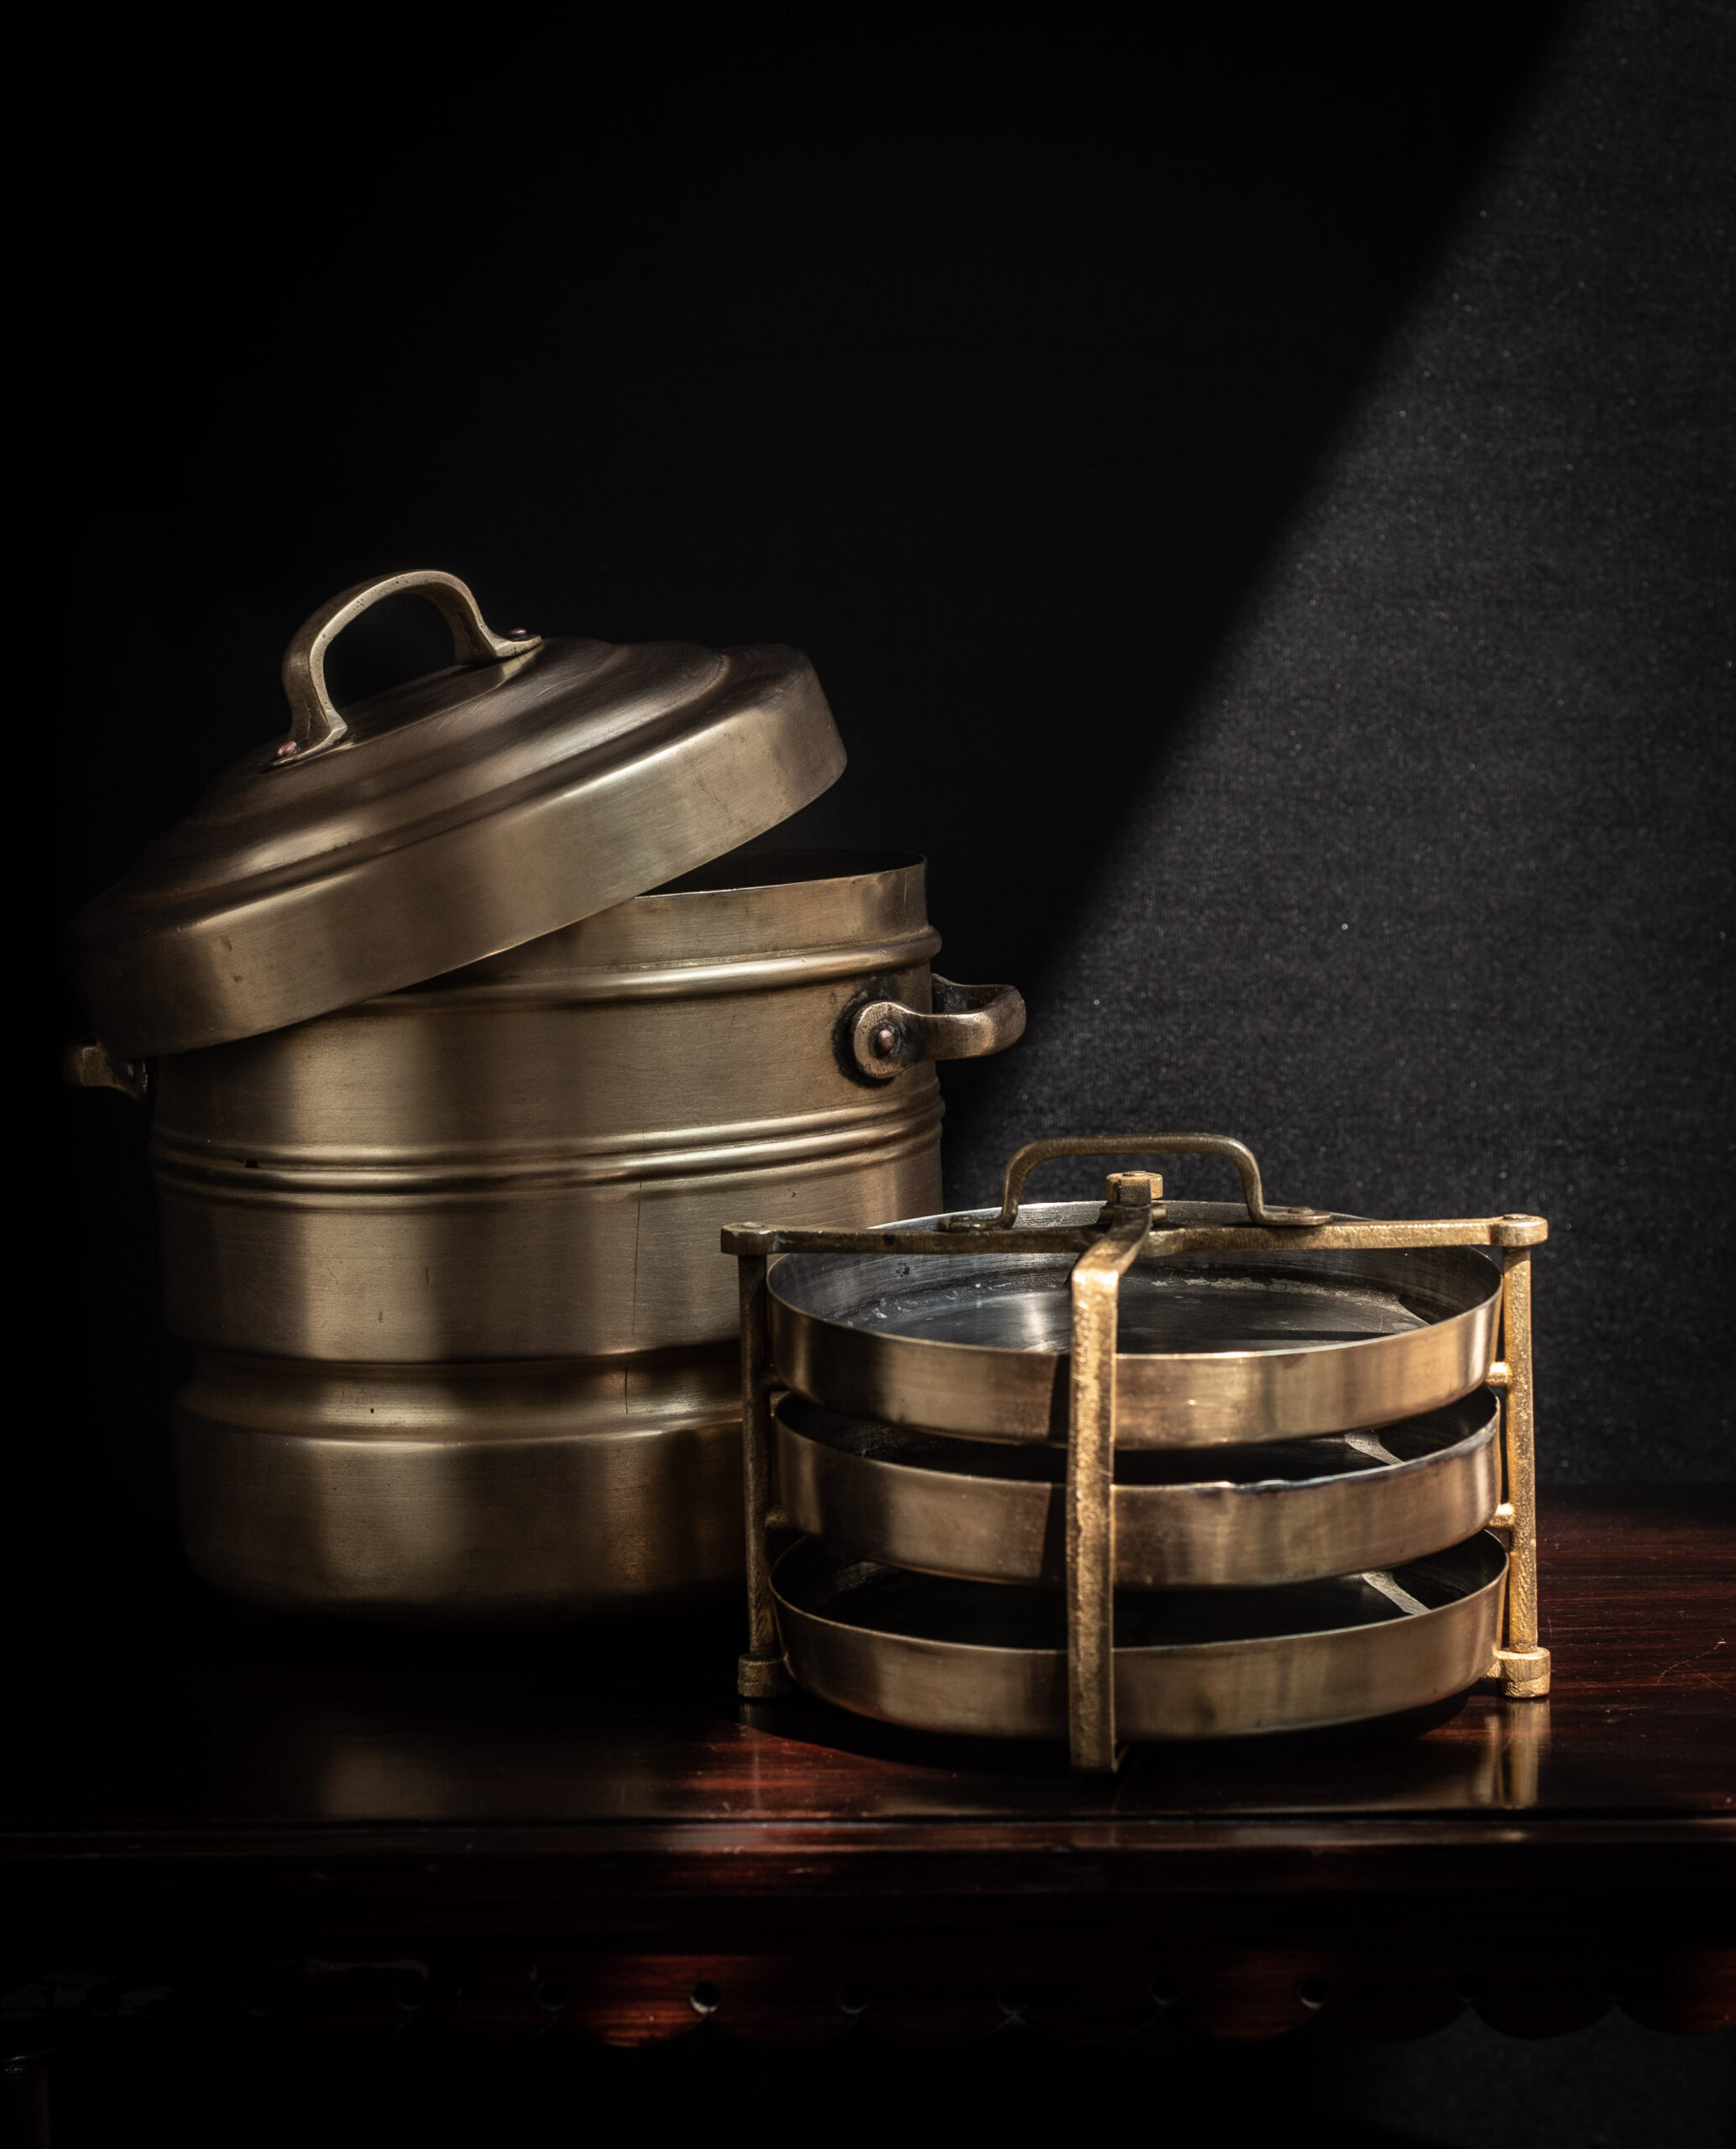
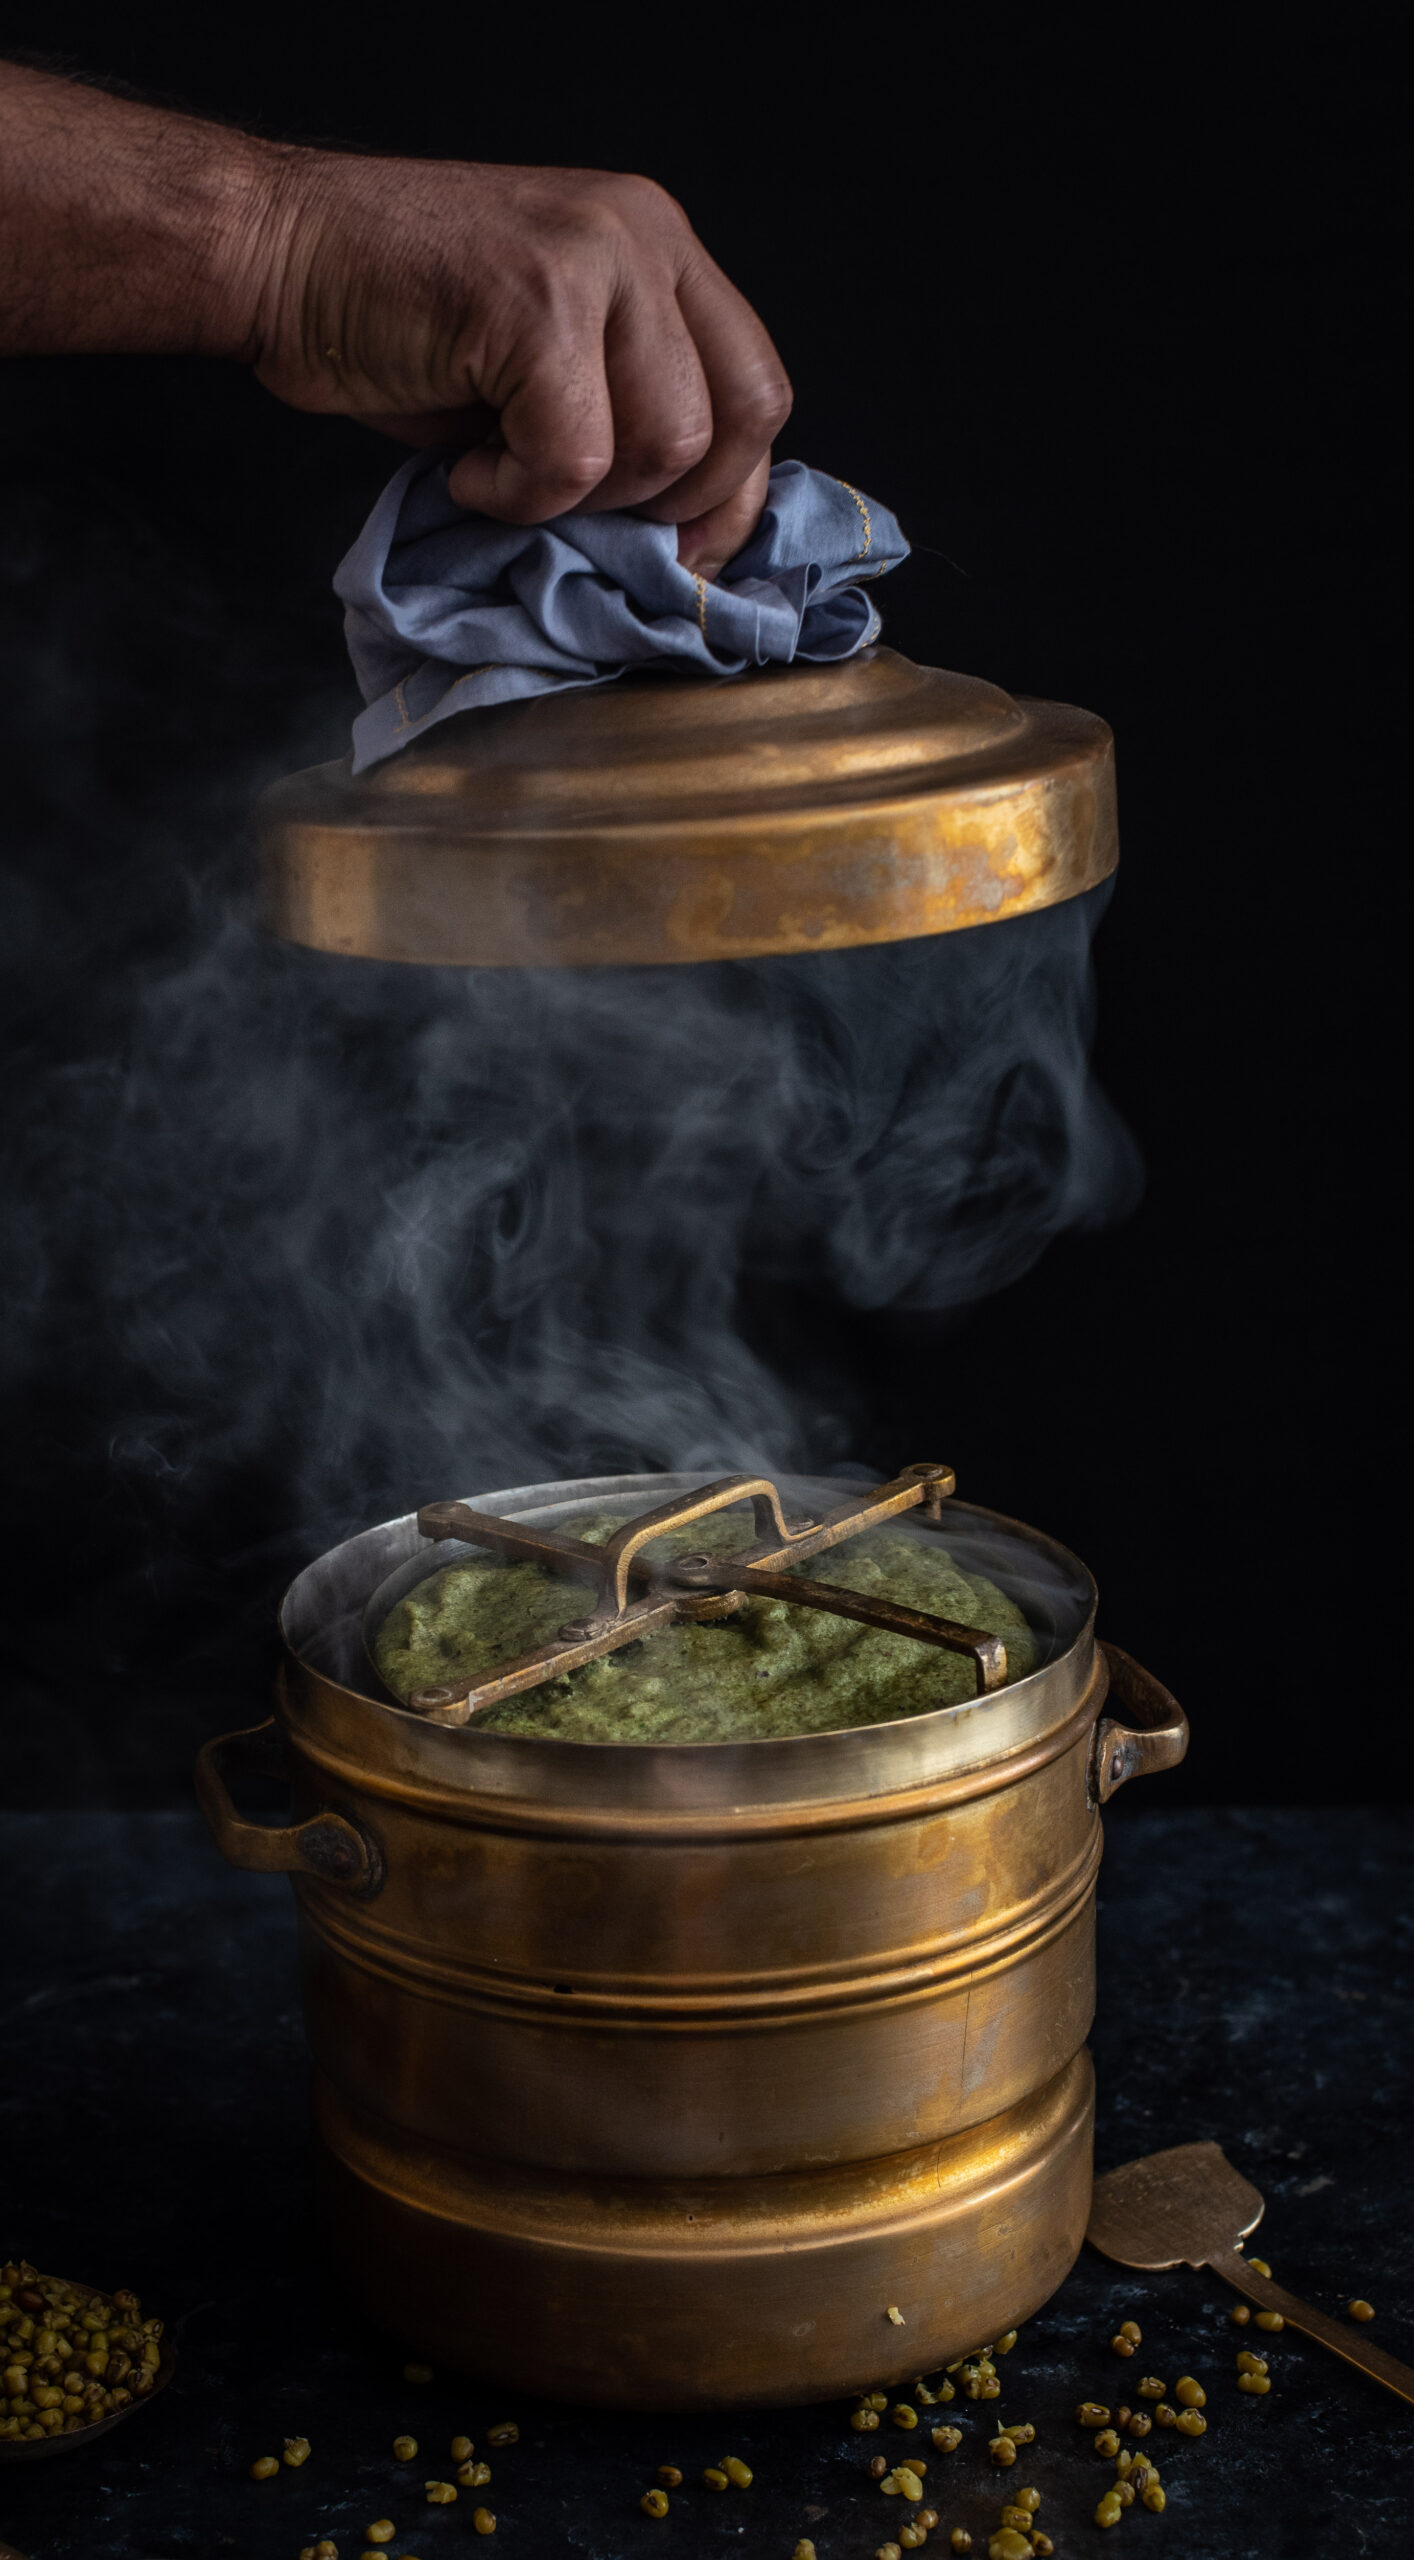
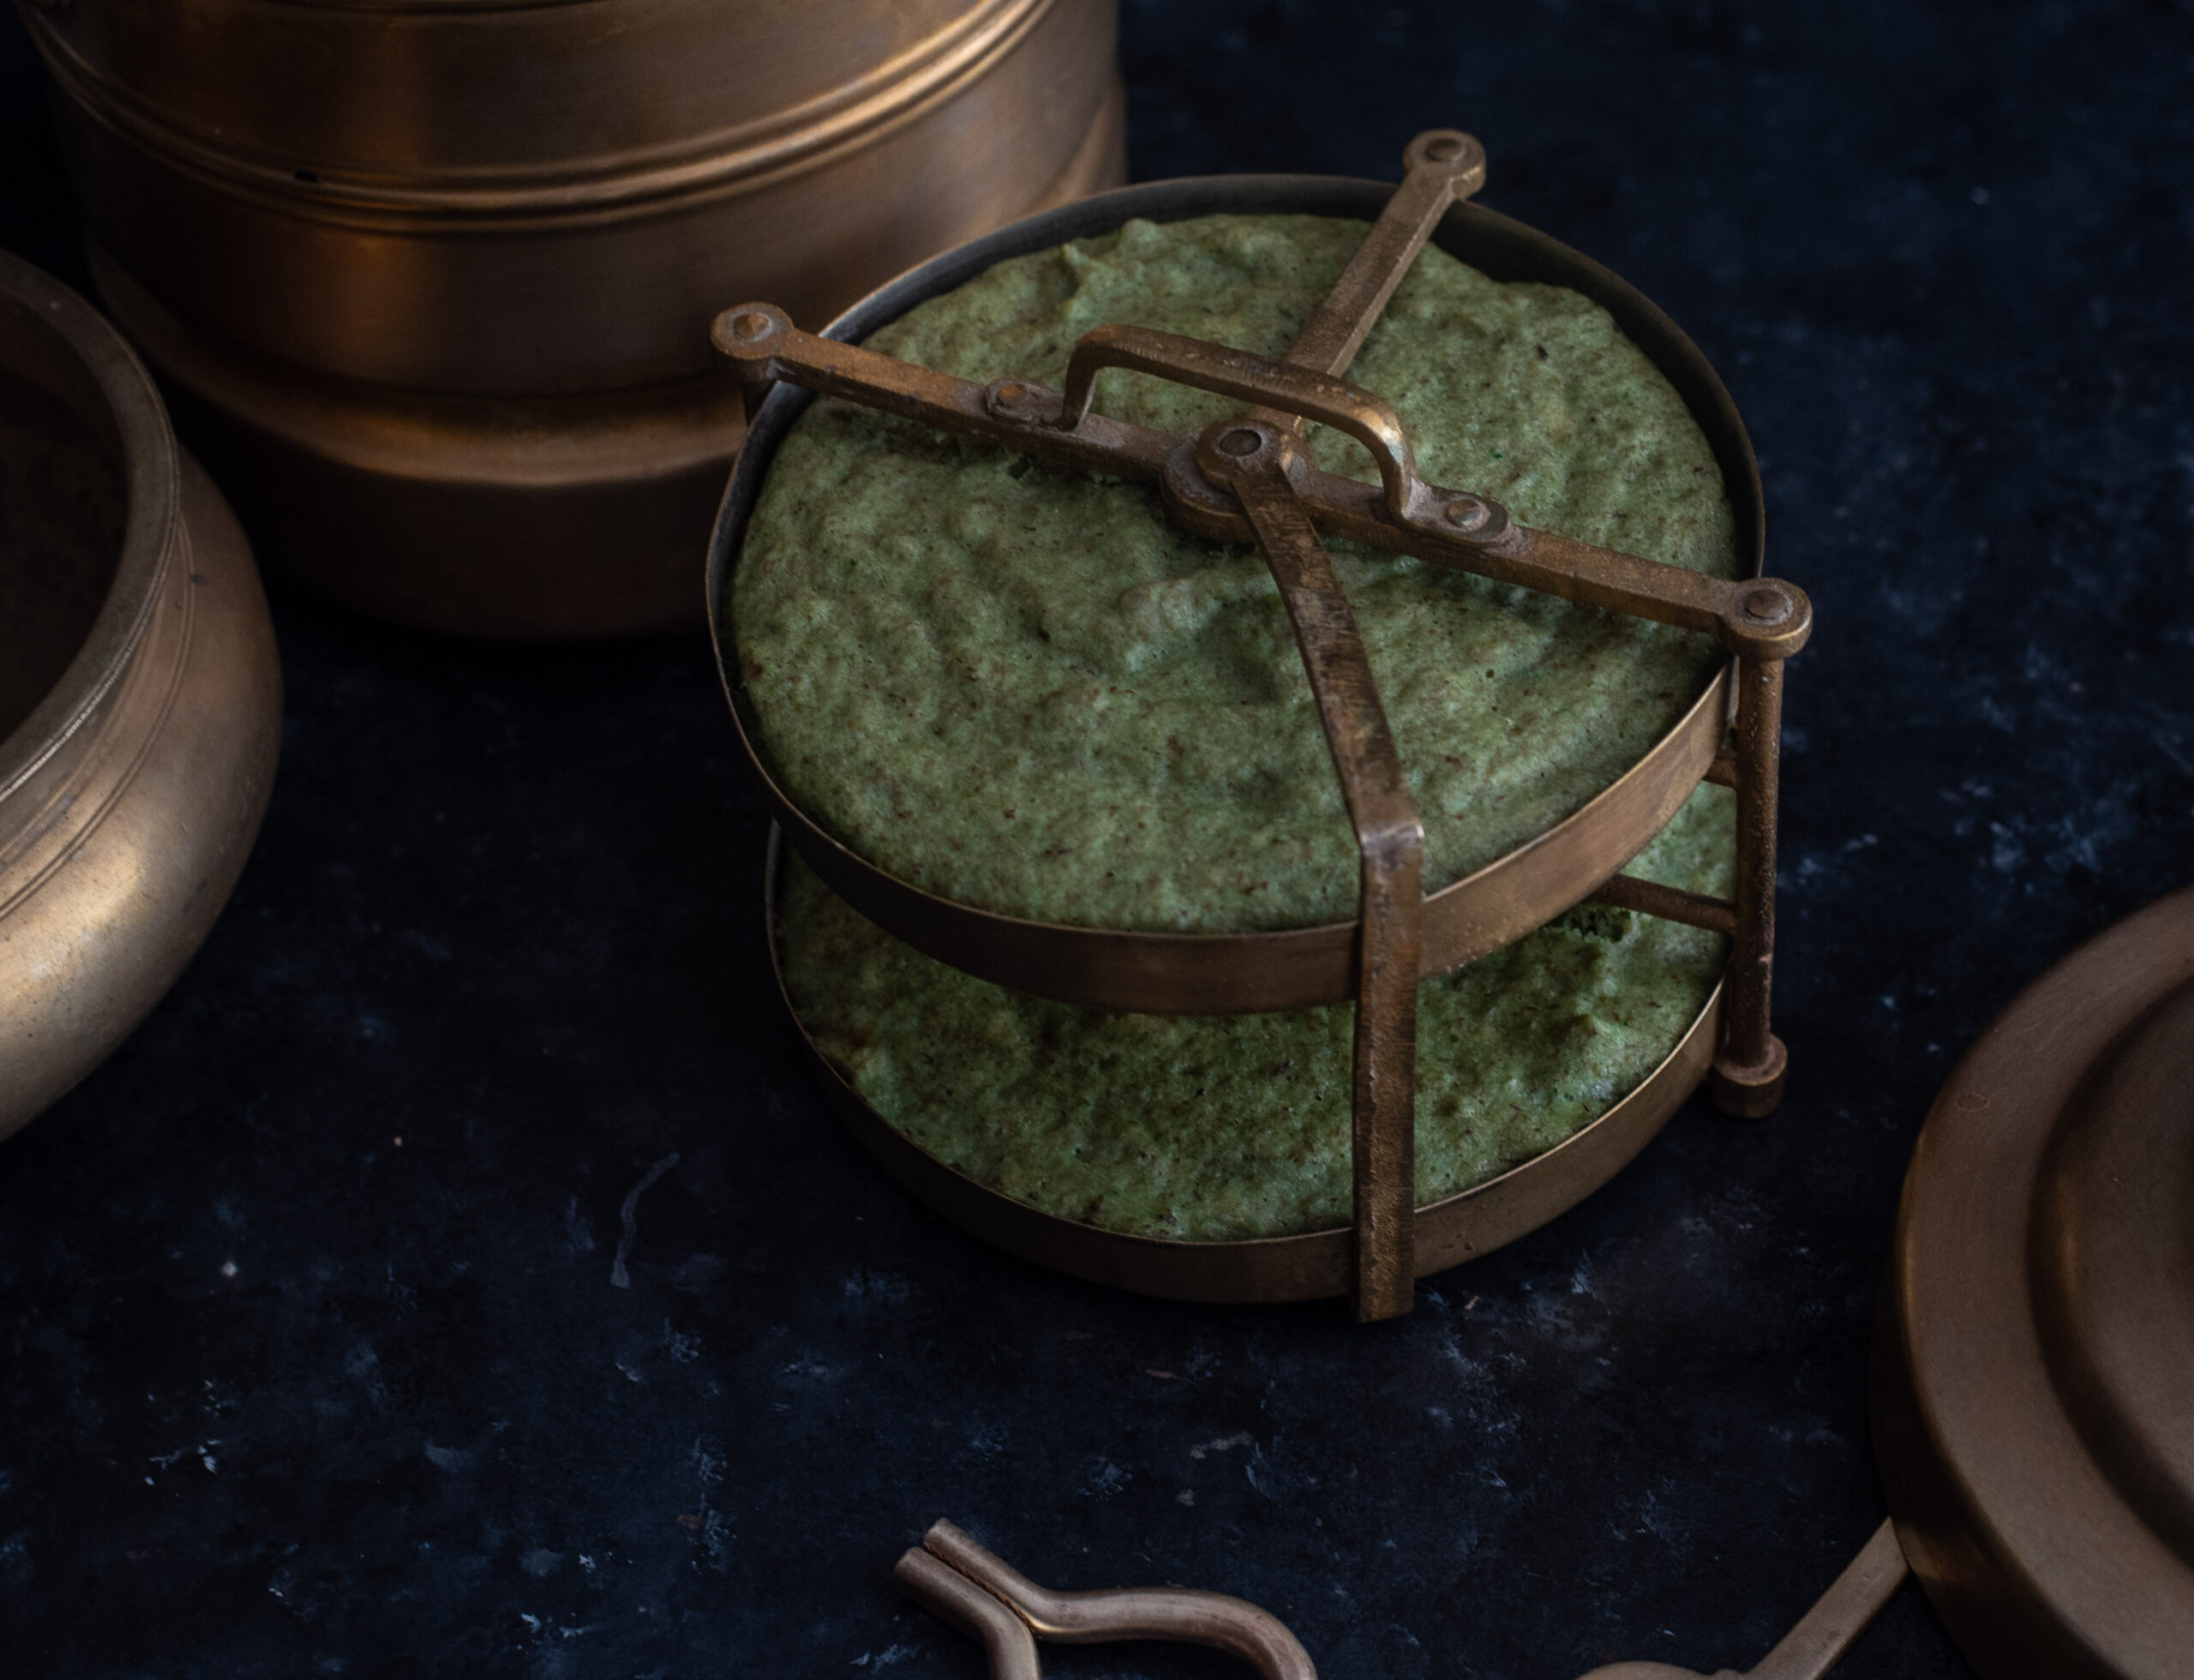
Grease a plate and keep ready. Now, add eno fruit salt to the batter and mix gently. Pour the batter onto the greased plate, cover it and steam for 15 minutes. Below, you can see a traditional Gujarati dhokla cooker which my mom gave to me. I believed it was a part of her own wedding gifts. I’d forgotten that I’d had it and could use it. It’s still in perfect condition, and so compact and ideal. You can also see how it allows for cooking in layers.

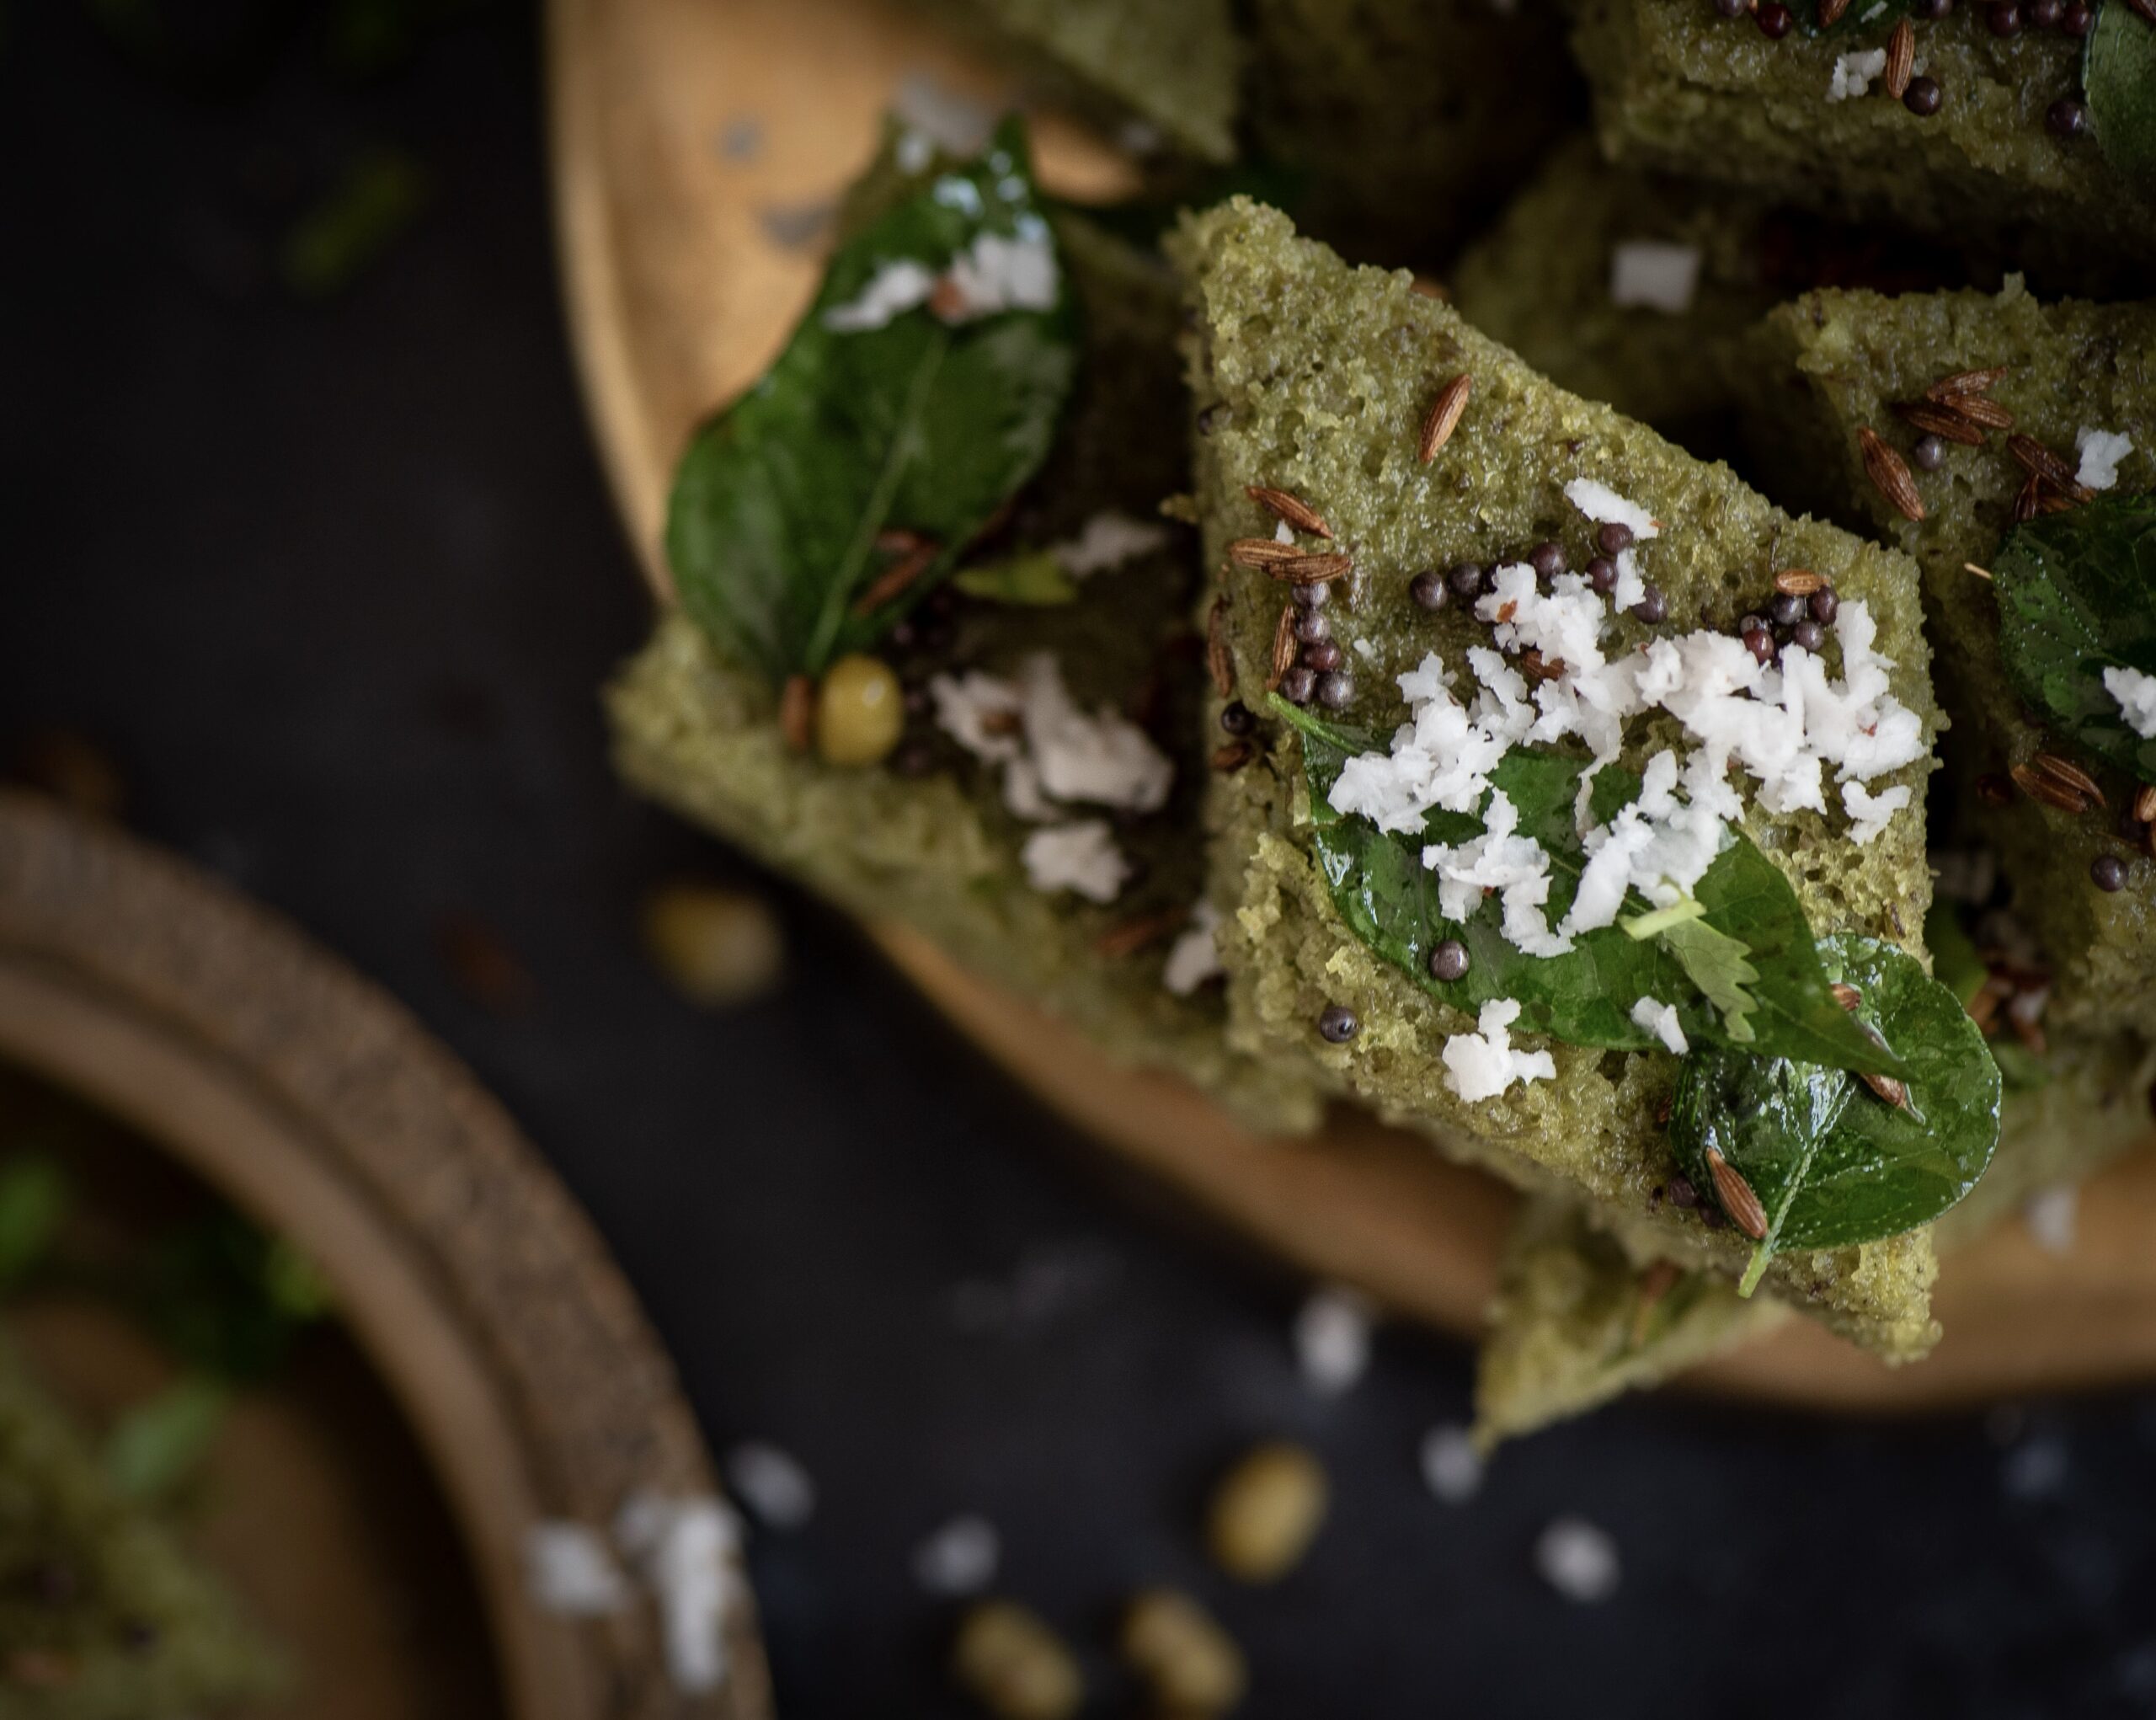
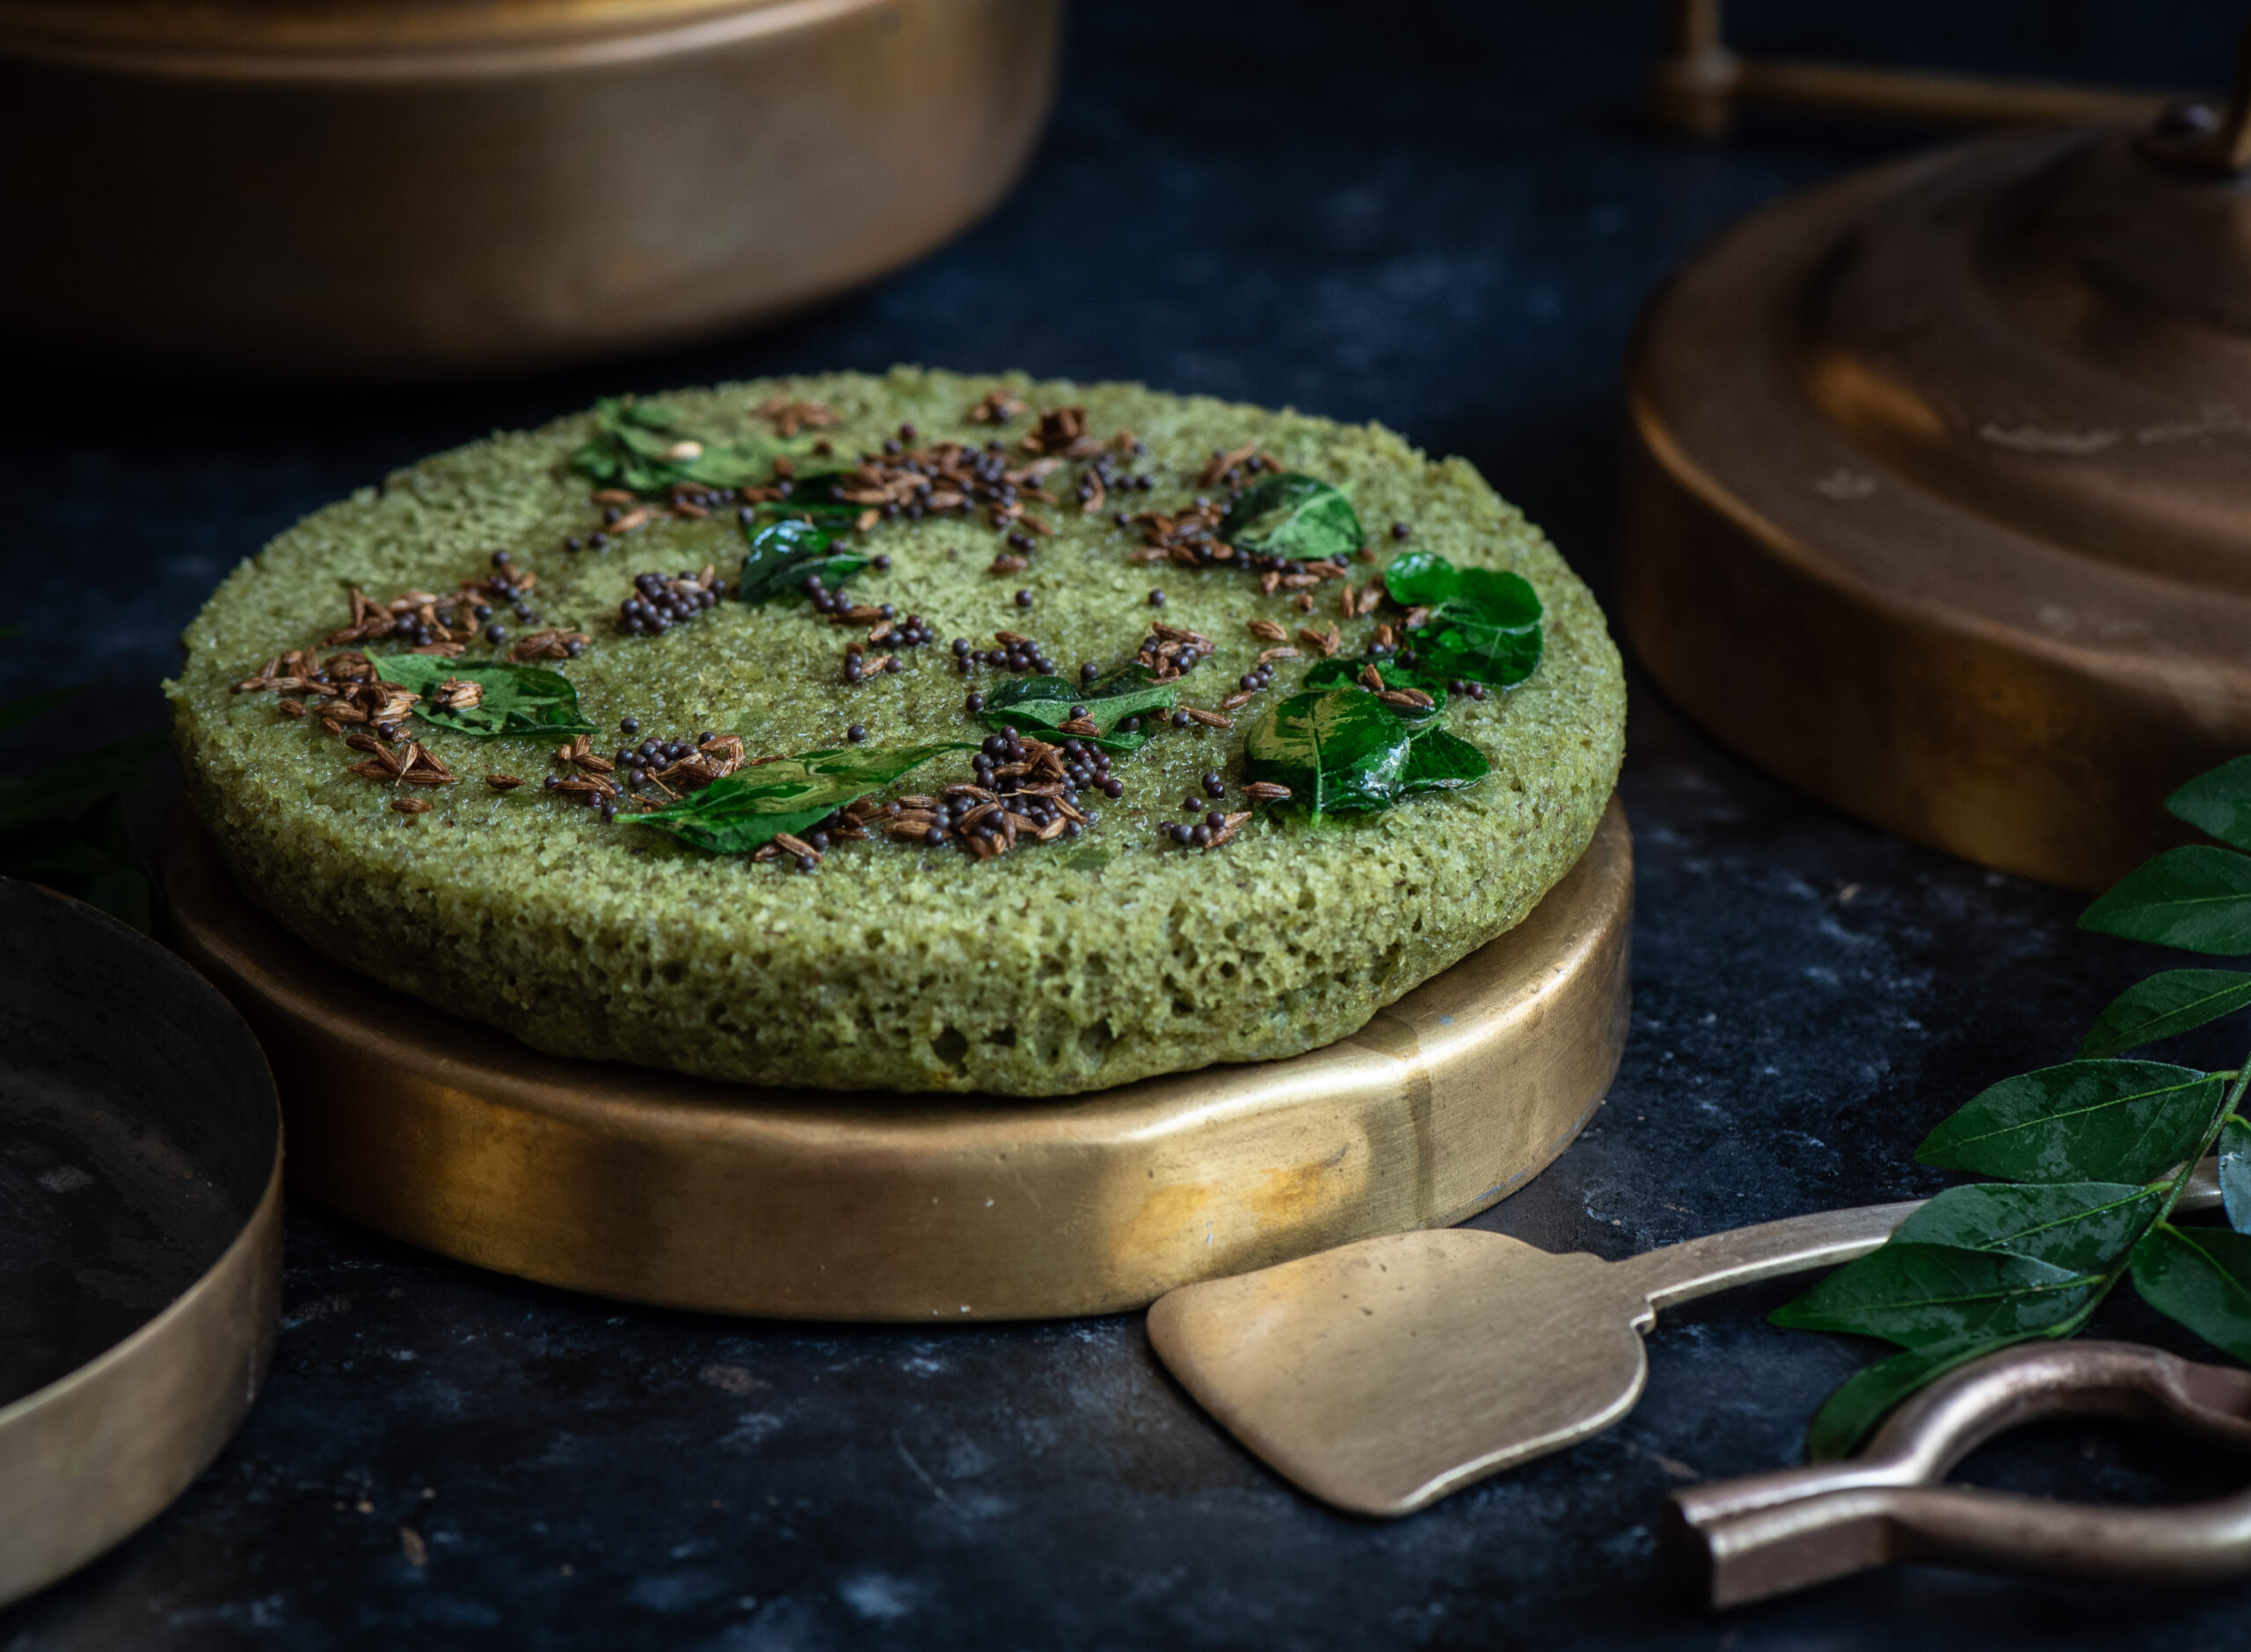
Once steamed, remove the plate and allow the dhokla to cool. Cut into a desired shape. Square or rectangular pieces are the standard. I’ve done diamonds here.

In a small pan, add the remaining oil and the cumin and mustard seeds and wait for them to splutter. Once they start to splutter, add the curry leaves. Then, pour these over the cut dhokla. Garnish with coriander leaves and some grated coconut.

The green moong dhokla is now ready to serve. Spongy, spicy, and so very nice on the eyes with that gorgeous matcha cake colour. Like I said: have a piece as a snack, a couple as a side dish, or polish off the plate and call it a full meal. But honestly, I’d be surprised if you can stop at just one. These light, fluffy but very flavourful dhoklas demand to be devoured!

A panna cotta is a classic Italian dessert that is among my favourites – mostly because it is not too sweet. Some say it is quite like baked yoghurt, which I also enjoy. A traditional panna cotta is just dairy, sugar and gelatin, which are then topped with a fruity sauce. But you can also infuse the mixture itself with a flavour of your choice. Perhaps you remember my lavender shrikand from some time ago. That recipe came about thanks to a gift of lavender from my friend Siddharth’s farm in Australia. If you click on the link in the previous line, you’ll find lots of information about the cultivar of culinary lavender known as Miss Donnington. Siddharth sent me a batch from the most recent harvest, and its wonderful scent gives me much calm and joy at the moment. As I held those beautifully dried buds in my hands, I was inspired once more. I was already in the mood for some panna cotta. A lavender infusion would kick it up a notch. And to make it vegan? Perfection.

I’m on a vegan wave at the moment, as you saw from my vegan masala milk post earlier this month. Making a vegan panna cotta is quite simple, just requiring you to replace regular milk with almond or coconut milk. I used coconut cream here for a more luscious texture. If you already have a panna cotta recipe and are trying to wean yourself off dairy, just try it with a milk or cream substitute, using the measurements below. This recipe calls for half the guilt: even thought coconut cream has a high fat content, you can enjoy it without cheating on your dietary preferences. Of course, if you’d rather not try the vegan version, or have milk in your fridge you want to use up, just replace the coconut cream with regular milk or cream.

In my masala milk recipe, I suggested honey as a sweetener, which strict vegans don’t touch. In this one, my preferred sweetener is maple syrup. You can substitute this with another of your choice too. But what I like about maple syrup is that like all the other key flavours here, it is subtle. Coconut, lavender, fig and maple syrup – combined, they are subtly sweet as well. This makes for a perfect dessert after a heavy meal, when anything too rich might be too much.

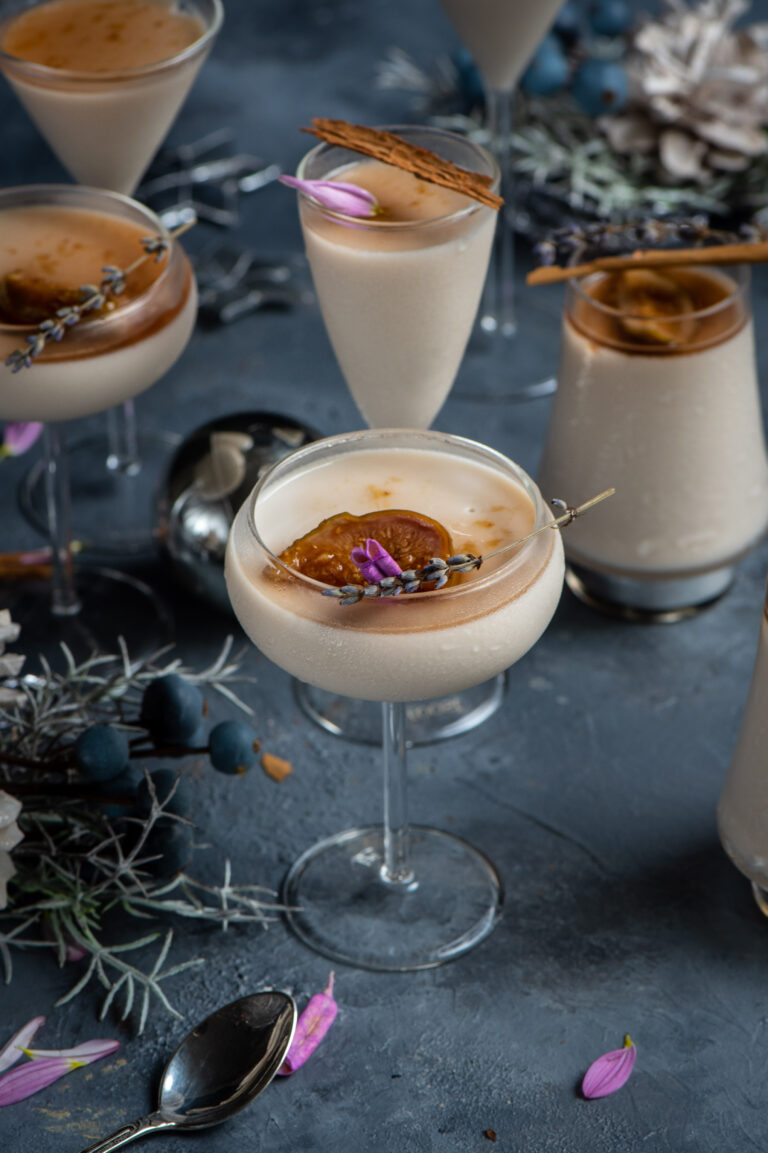
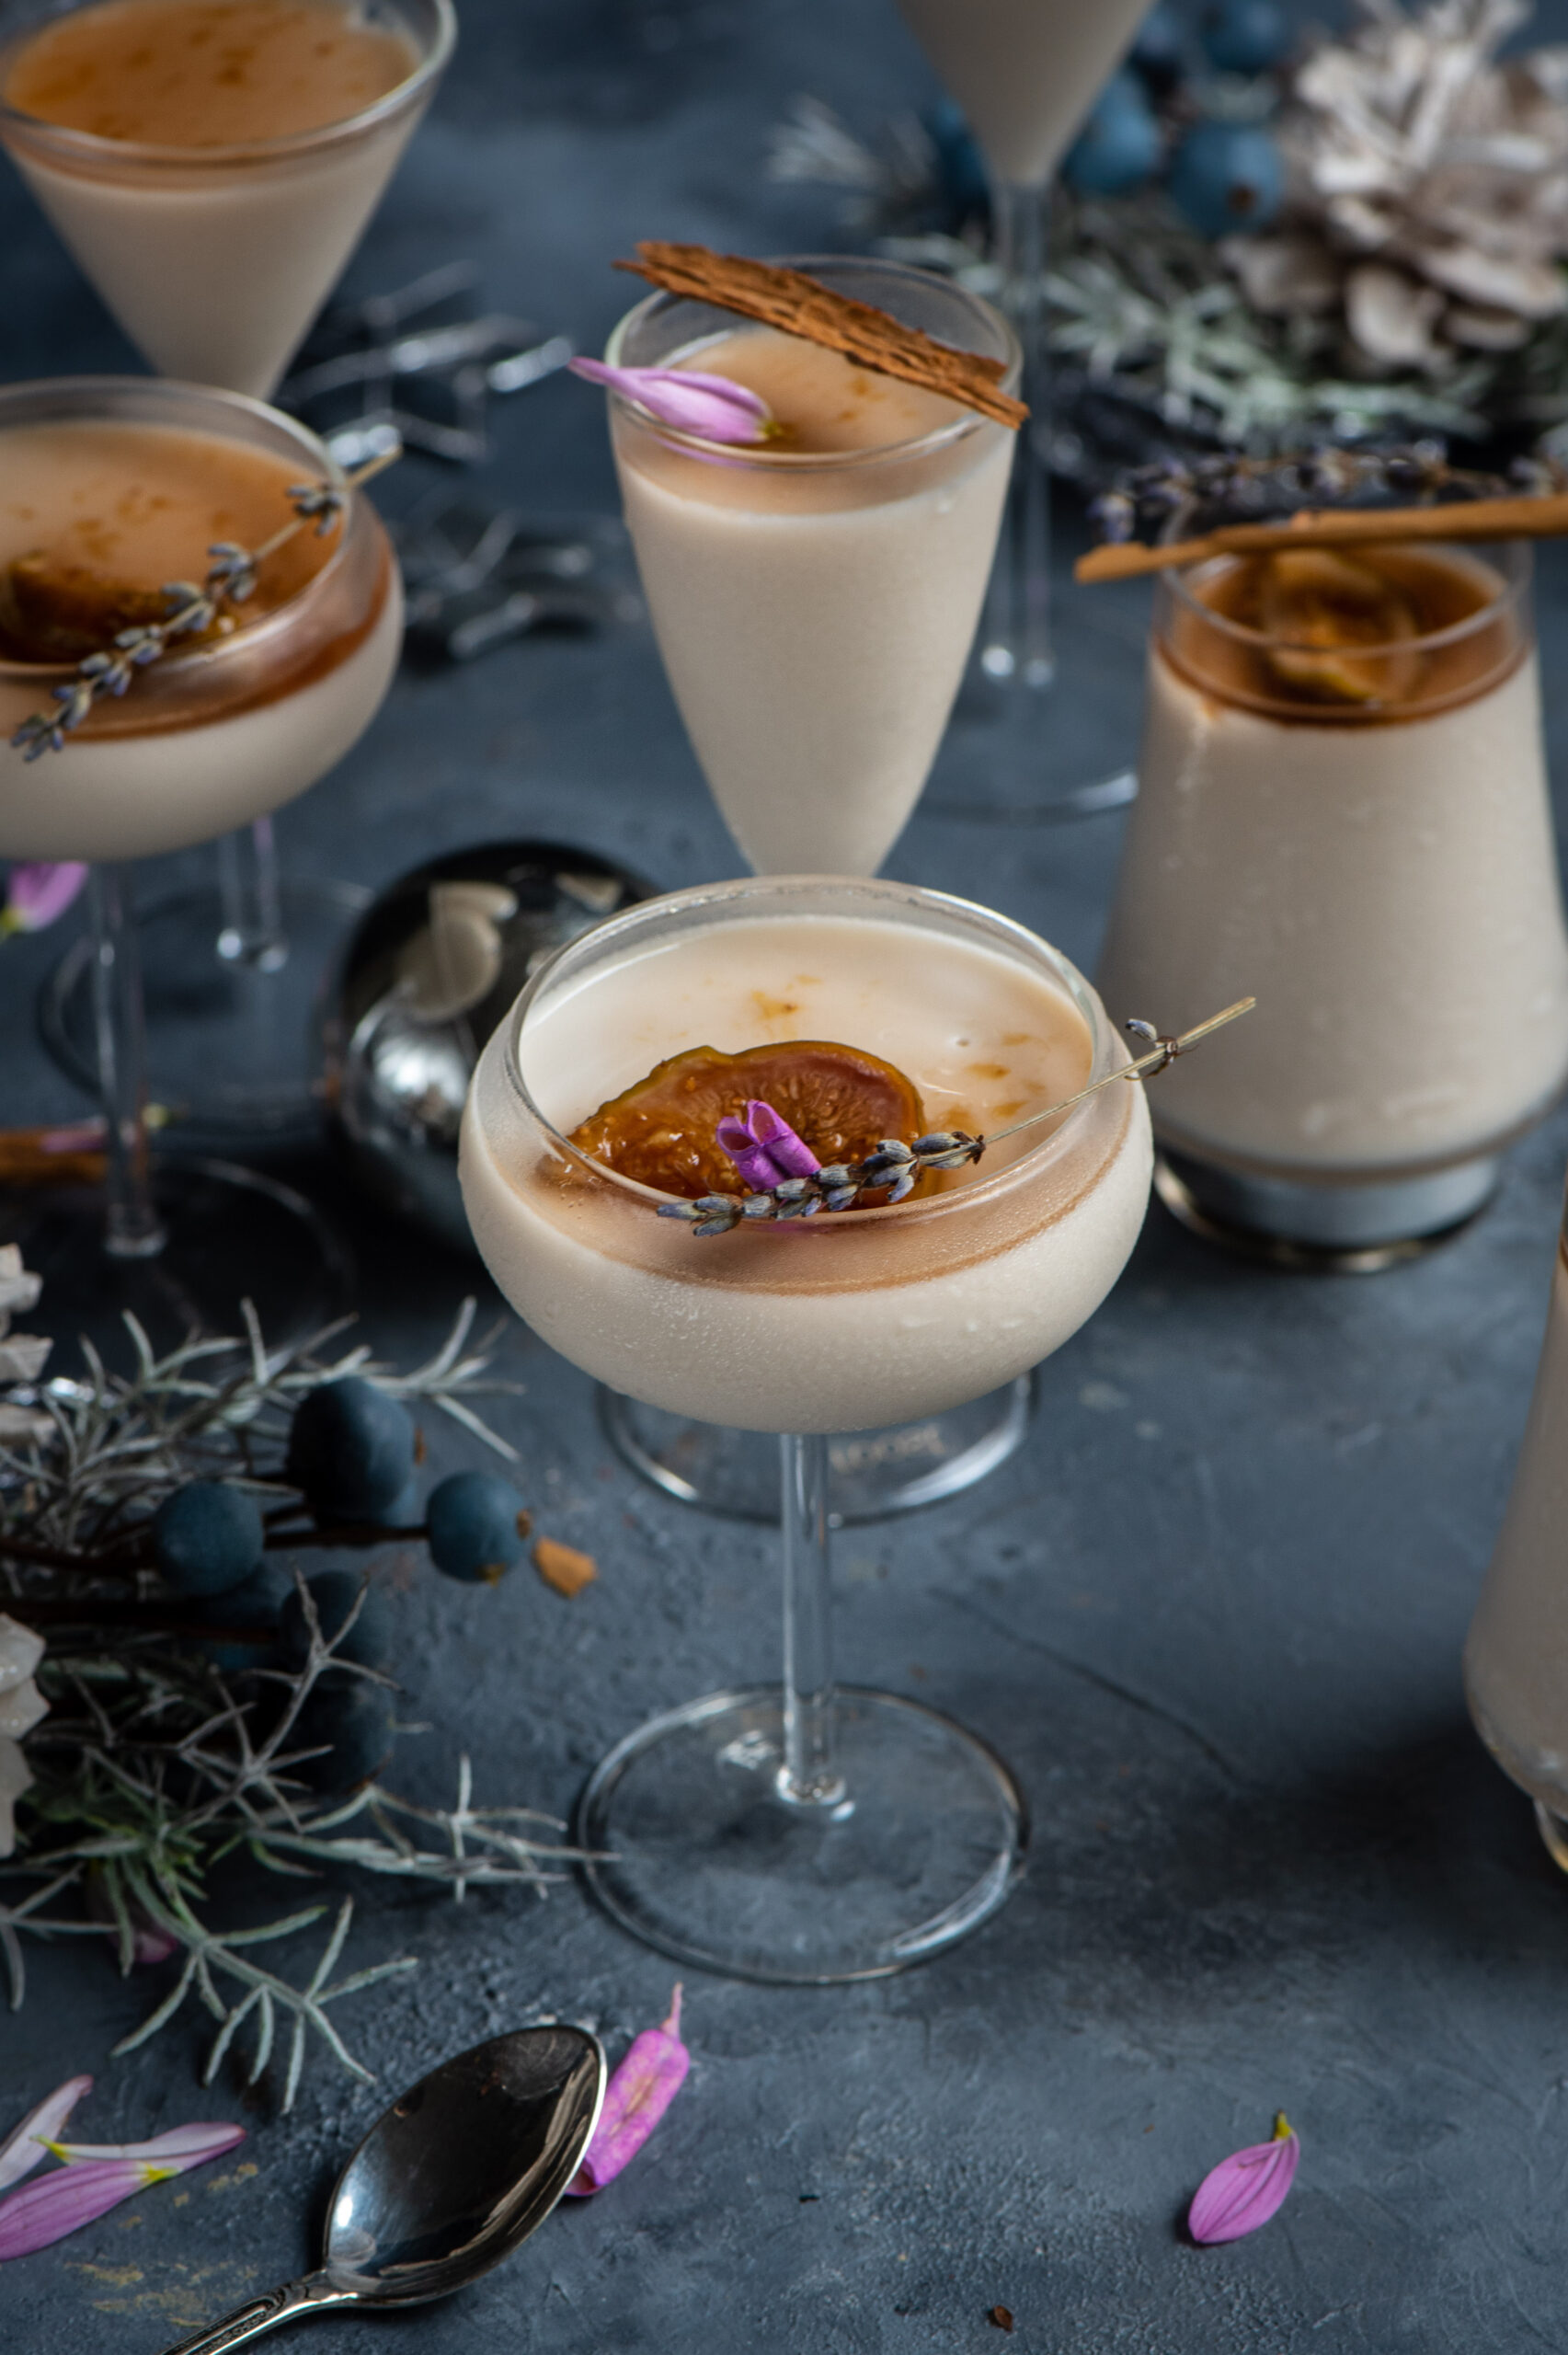
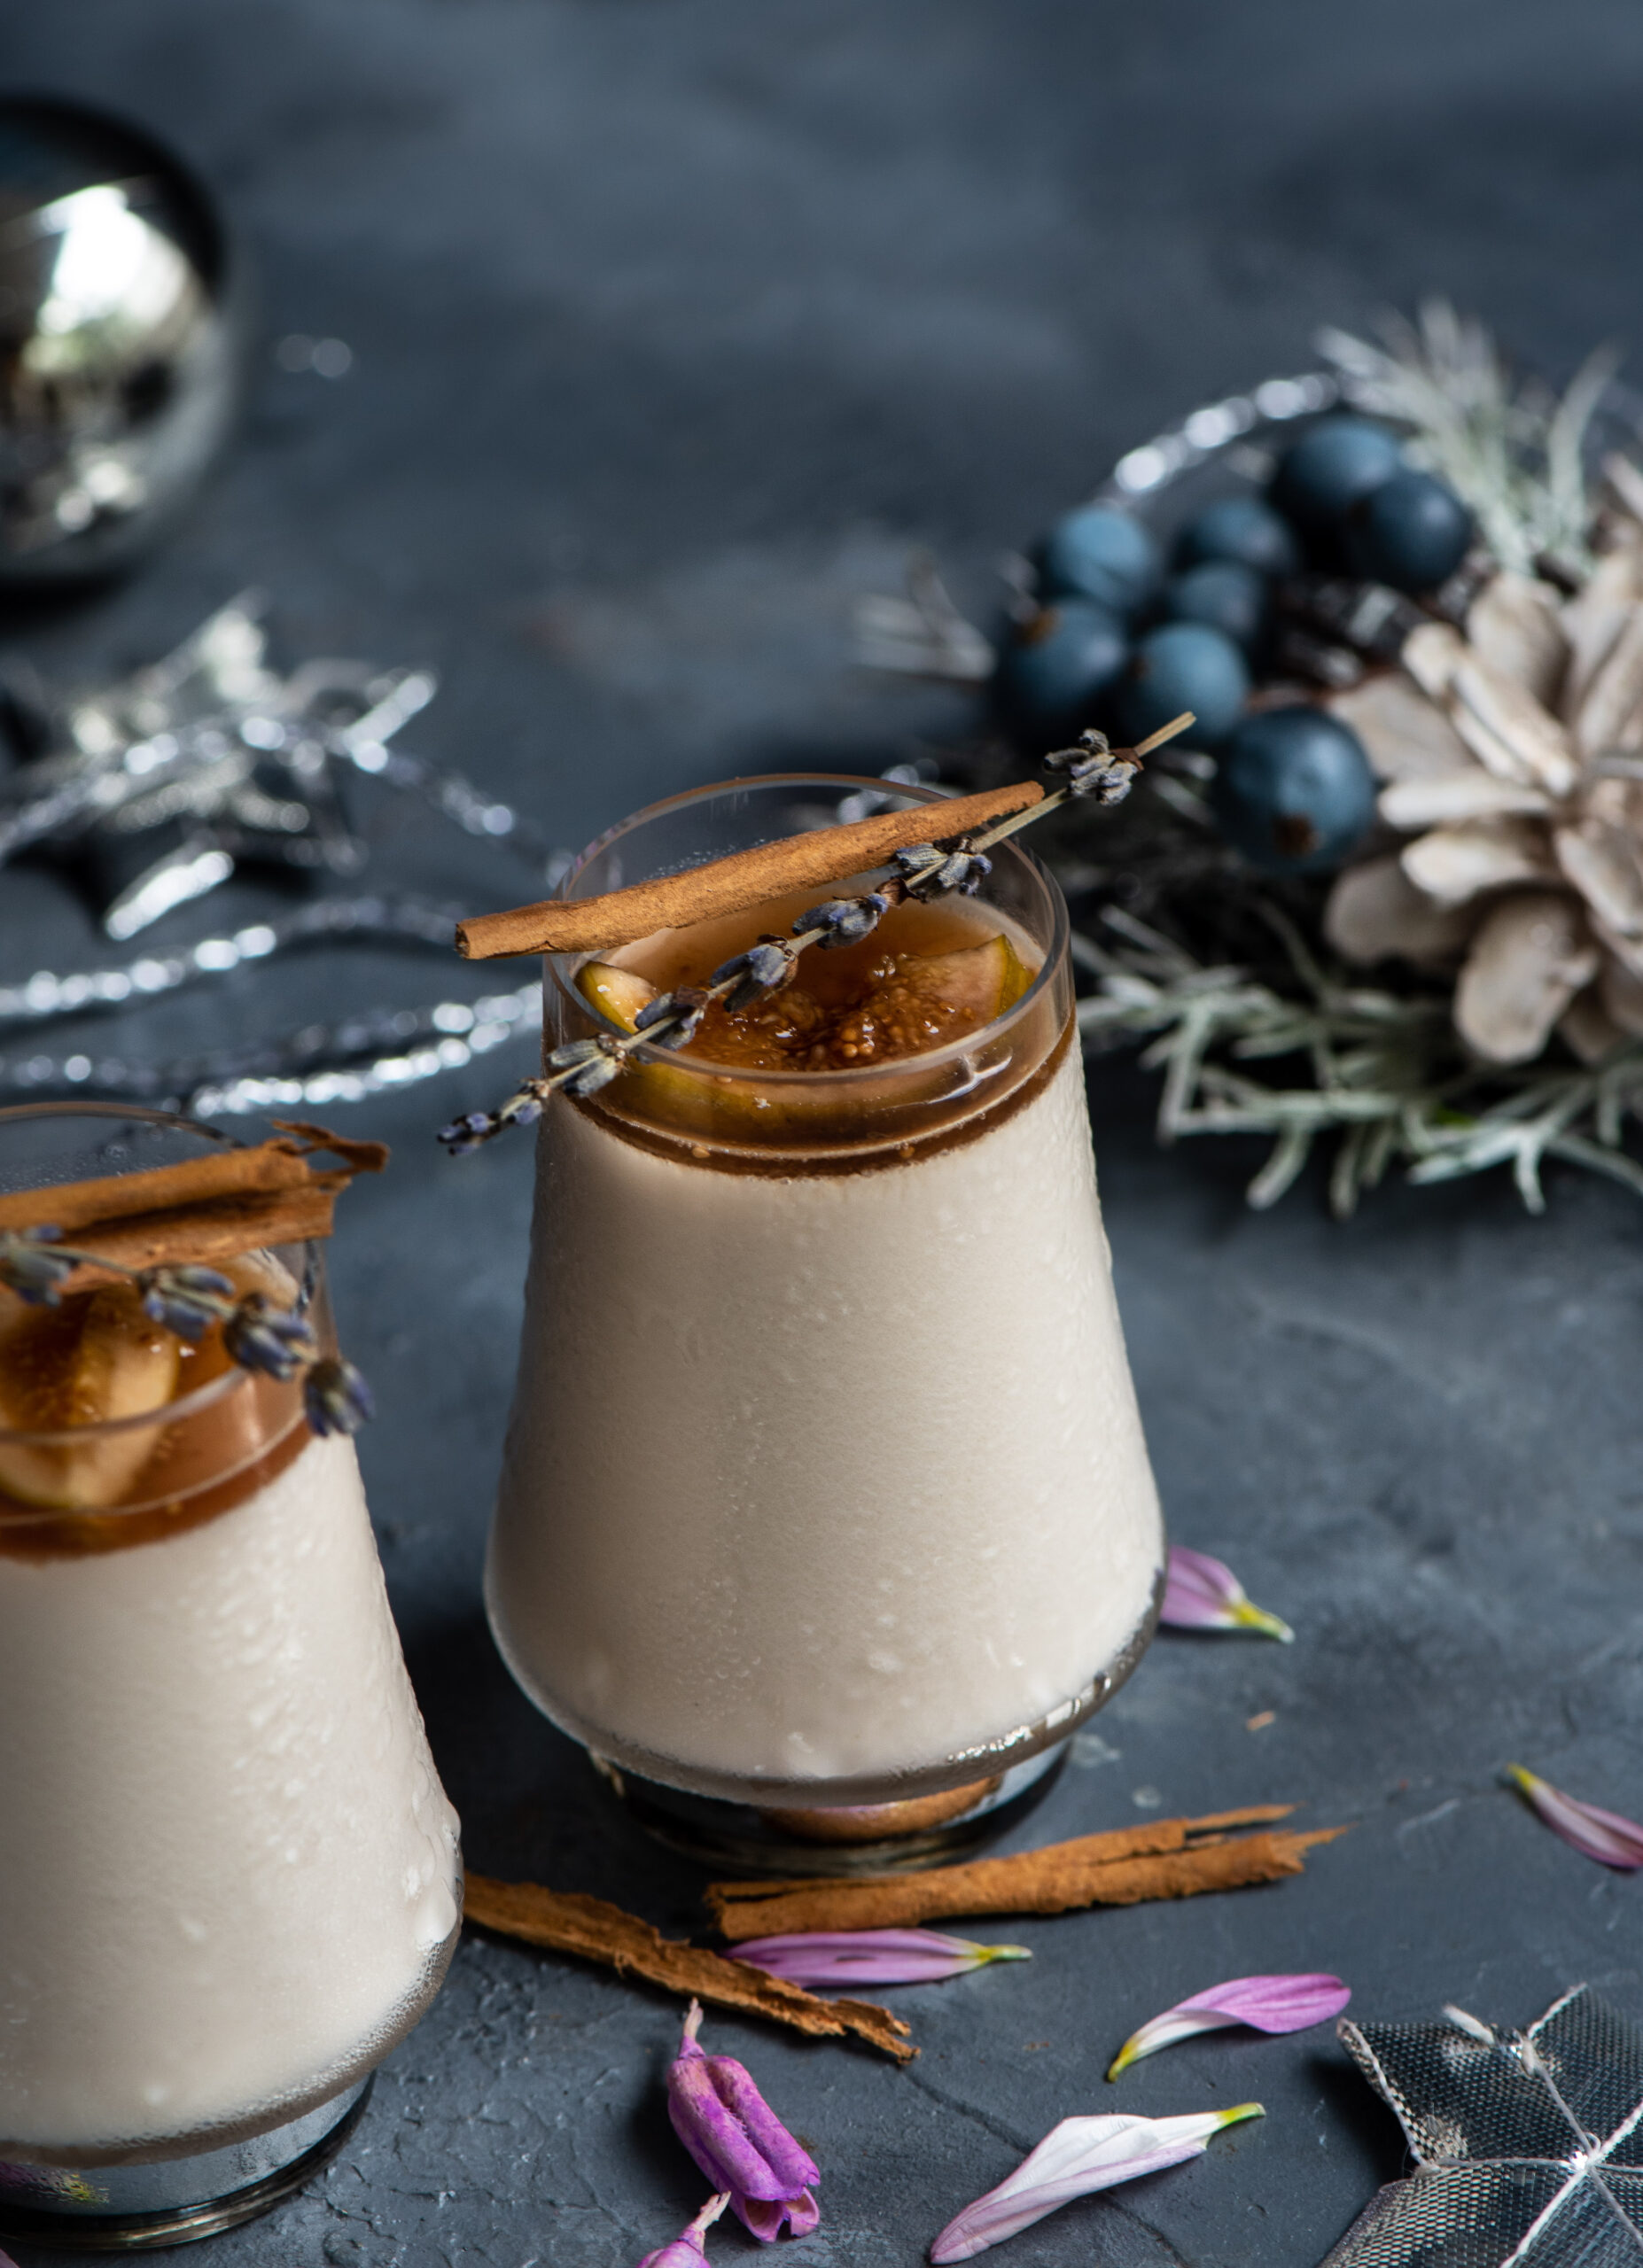
To top this panna cotta, I used a fig sauce as I found the flavours to be complementary, but you can experiment with everything from blueberries to lilac sauce, depending on your tastes and availability. I’ve refrained from using other additives, keeping the ingredients simple. I want to add here that panna cotta, despite having the ring of a fancy dessert, is actually quite easy to make. It’s perfect for youngsters who are entertaining guests more formally for the first time. And the decorative potential also gives you creative scope.

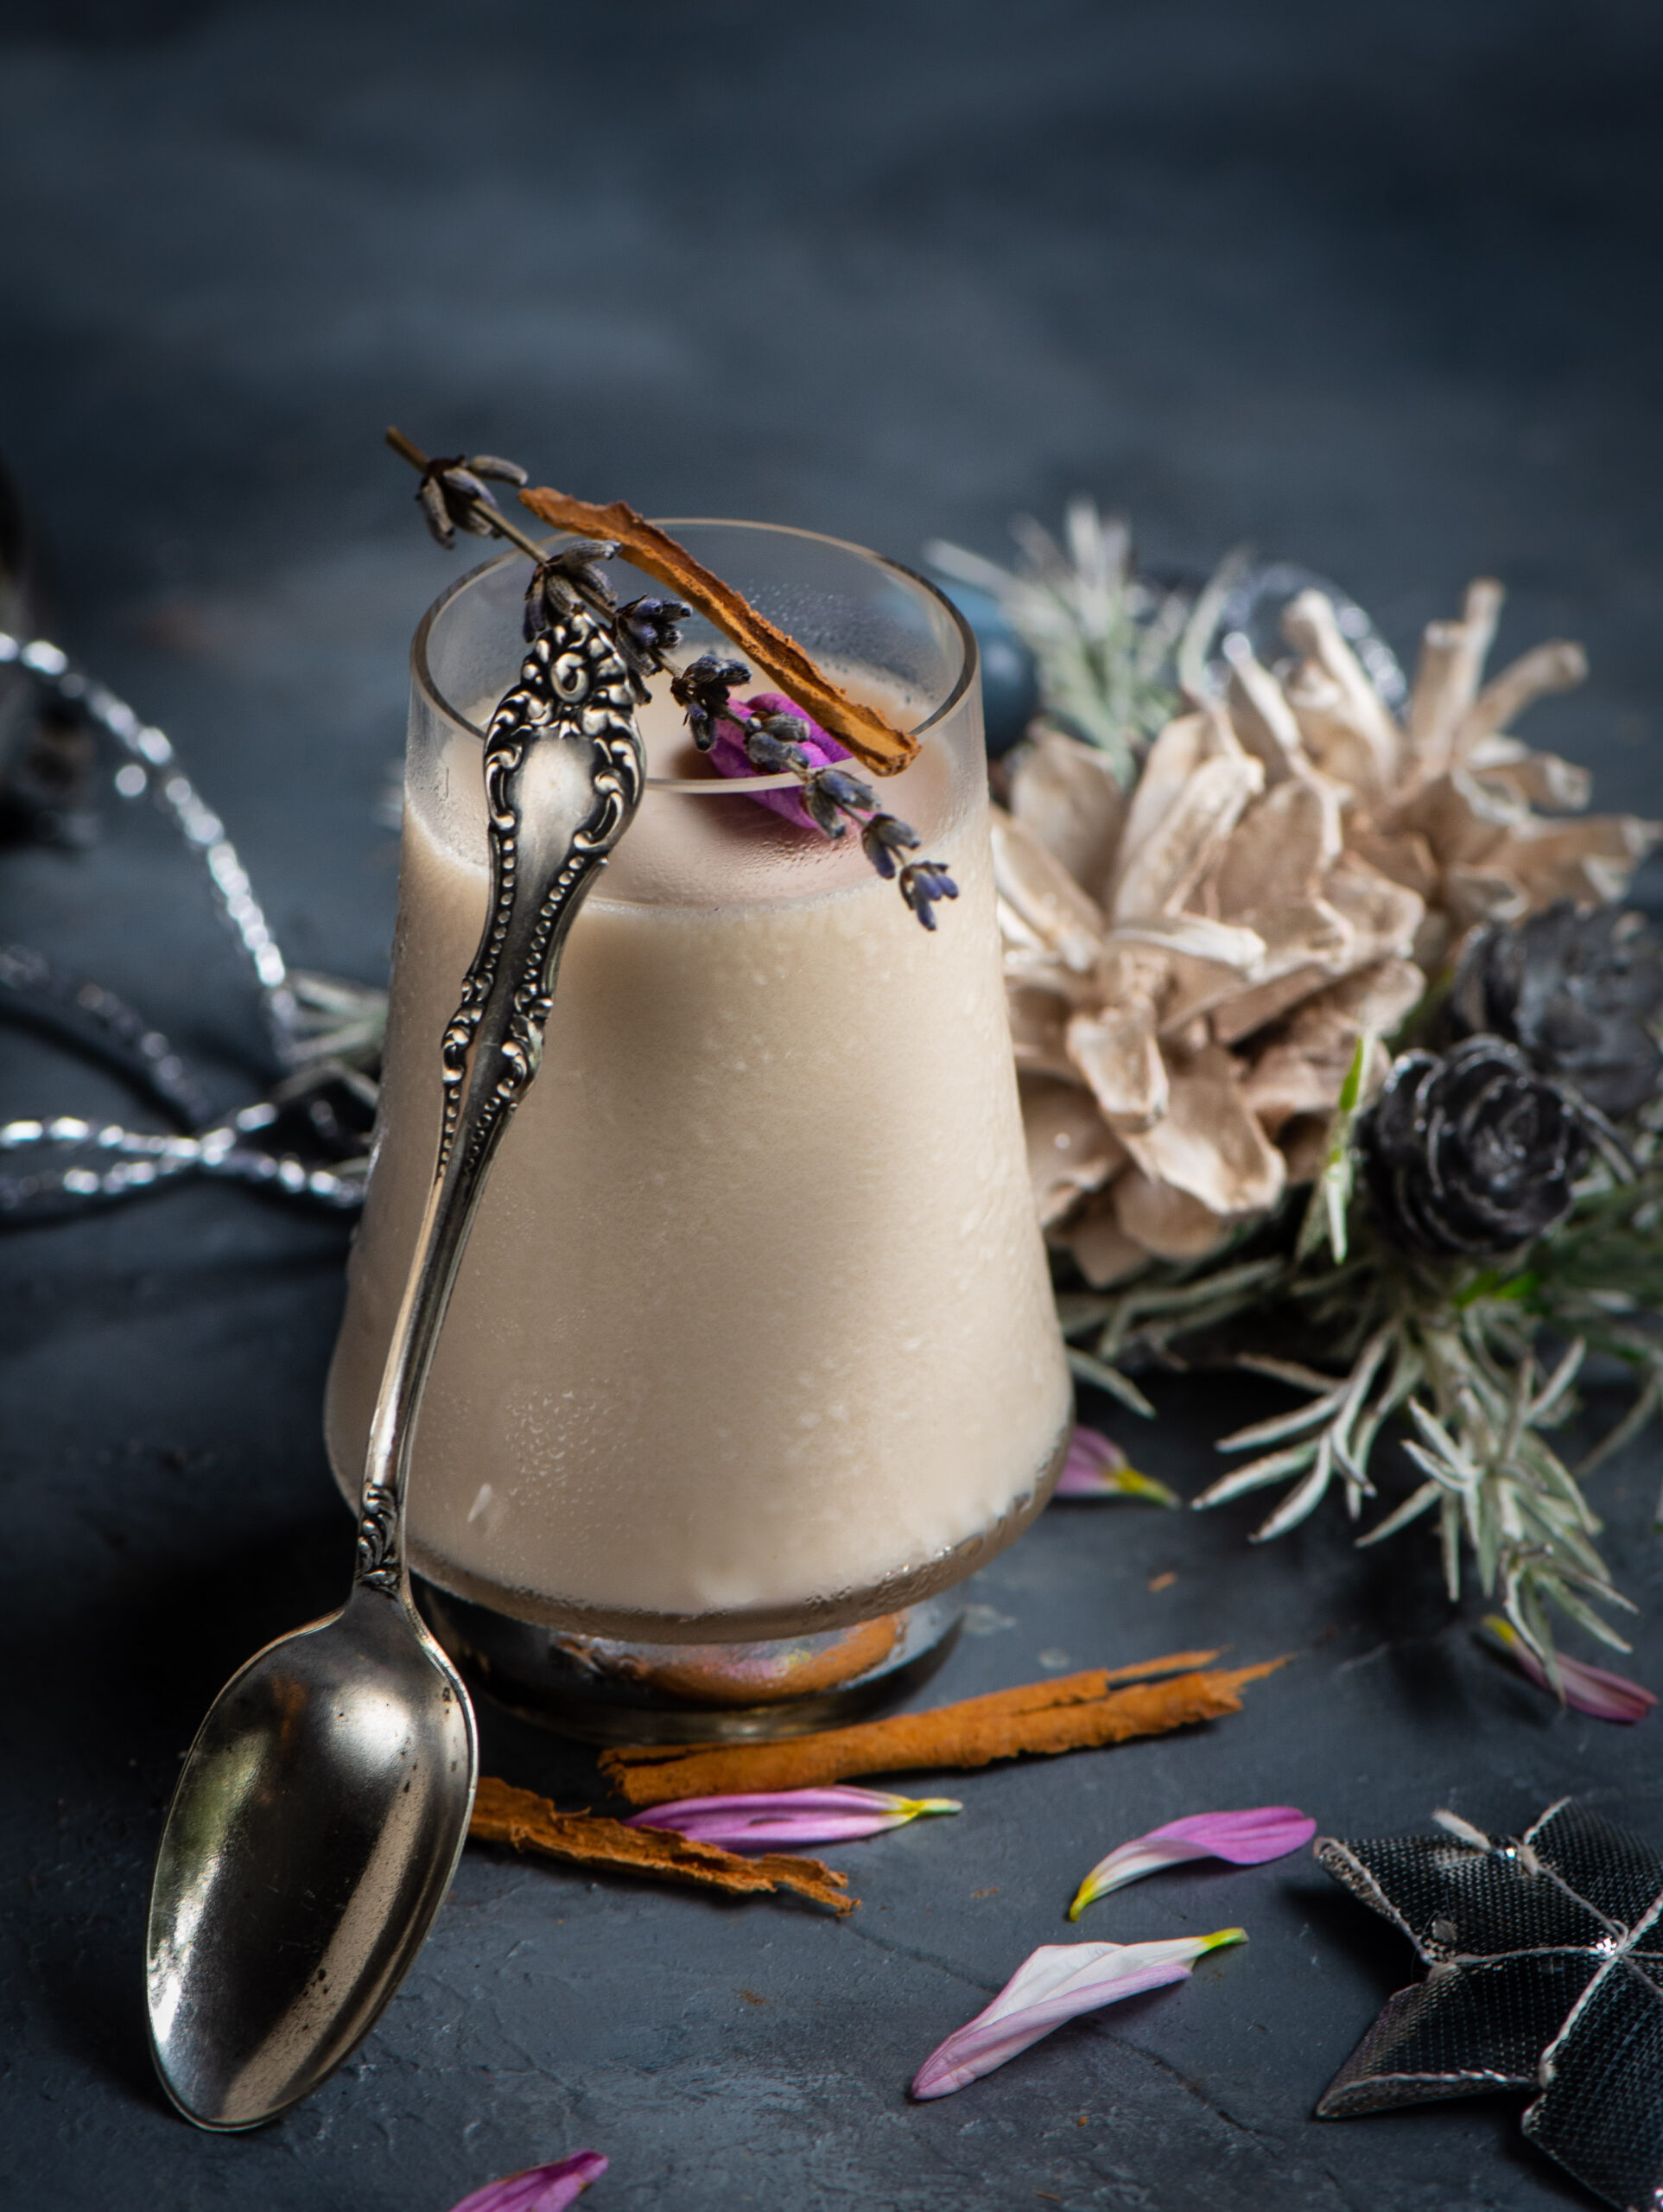
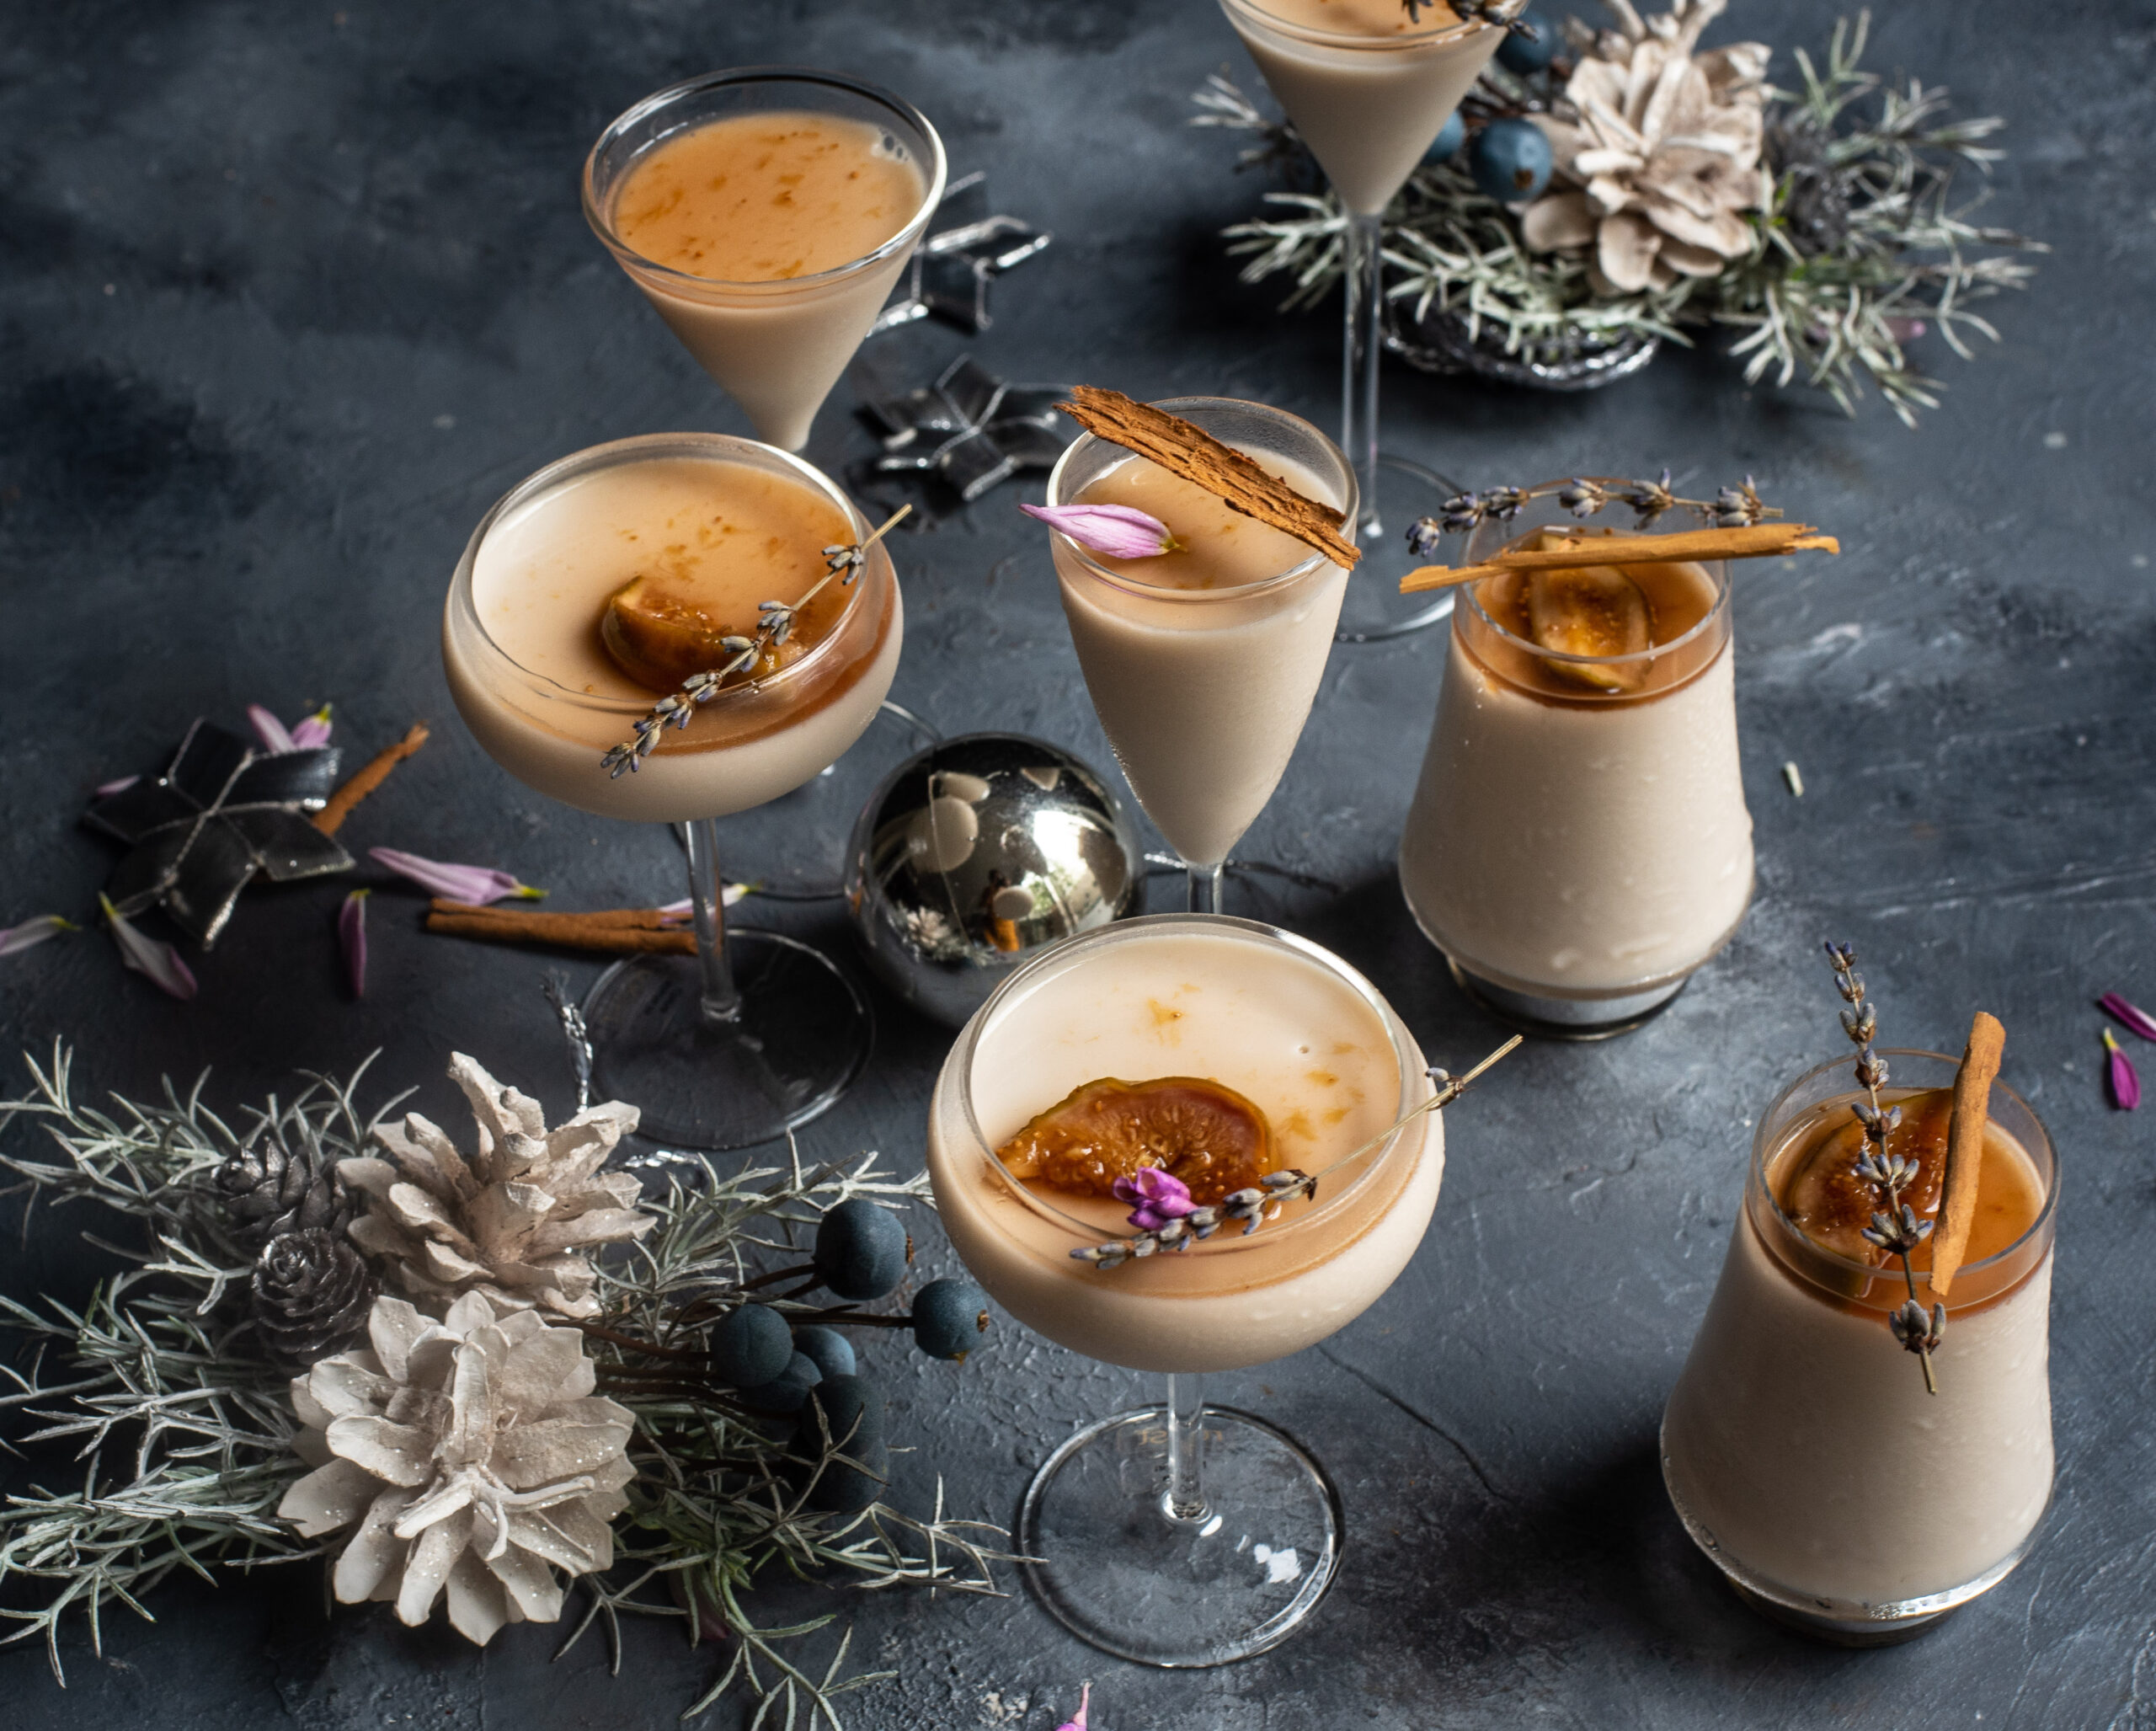
Plating is essential for a dish like this, otherwise it runs the risk of looking too plain. When it comes to something like panna cotta, you have to find a way to lift the dish so that the person who is going to eat it finds it fascinating even before they place that first spoonful into their mouth. So the visual presentation is crucial. How do you want to impress someone? Do you want to add flower petals, or cut figs and cinnamon sticks, or find another way to bring colour into the display?

Developing my style as a photographer helped me innovate with plating as well. I love setting up my photoshoots, and I feel like I have found a distinct look now – I like dark and moody pictures in 100% natural light, and very little editing. For this shoot, to play up the dish, I decided to bring a bit more brightness in. Yes, brightness – what better quality for a New Year dish (and a New Year wish) to have?


Lavender Panna Cotta

(Yield: 3-4 small cups)


Ingredients

Panna cotta

2 cups coconut cream

¼ cup maple syrup

½ teaspoon lavender buds

1¾ teaspoons kanten (agar agar)

Fig sauce

4 figs (cut to small pieces)

¼ cup maple syrup

1 long cinnamon stick


In a pan, add all the ingredients for the panna cotta. Allow to heat on a medium flame, stirring constantly. Once the mixture begins to boil, you will notice the edges bubbling. Give it a few more minutes (remember to keep stirring), and then turn off the flame. The contents will start to thicken at this point. Close with a lid, allowing the lavender to steep well for about 10-15 minutes. The quality of lavender that my friend sent me was so good, and so fragrant, that I barely had to steep it for the recommended time for the flavours to become well-infused, but this will vary.

Then, strain the liquid into cups of your choice and allow them to set in the refrigerator. Panna cotta is always served chilled.

For the fig sauce, simply add all the ingredients to a pan and allow to boil until the liquid thickens. Keep aside.

When you are ready to serve this dessert, add a spoonful of the fig sauce onto each cup of panna cotta. Decorate as desired. As I said earlier, plating is quite important for panna cotta of any kind as the dish by itself looks quite bland. You can do this easily, and keep it all edible too, with nuts, fruits and so on.

Lavender is used in alternative healing such as aromatherapy as it is believed to be a calming influence. As I prepared this dessert in my kitchen, inhaling that evocative fragrance, this is what I pondered. I know that the past year has had a lot of volatility for many of us. As we move into this new year, this lavender panna cotta is a heartfelt metaphor for what I hope for us all. Let us wish that 2019 is just as subtle, calming, peaceful – and simply delicious.

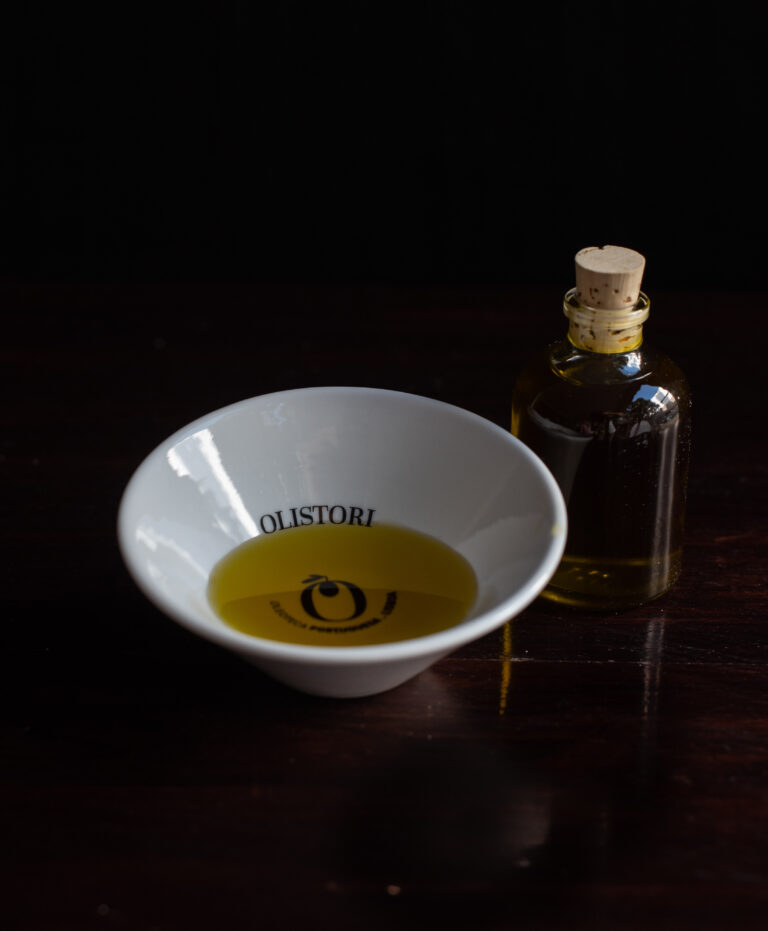
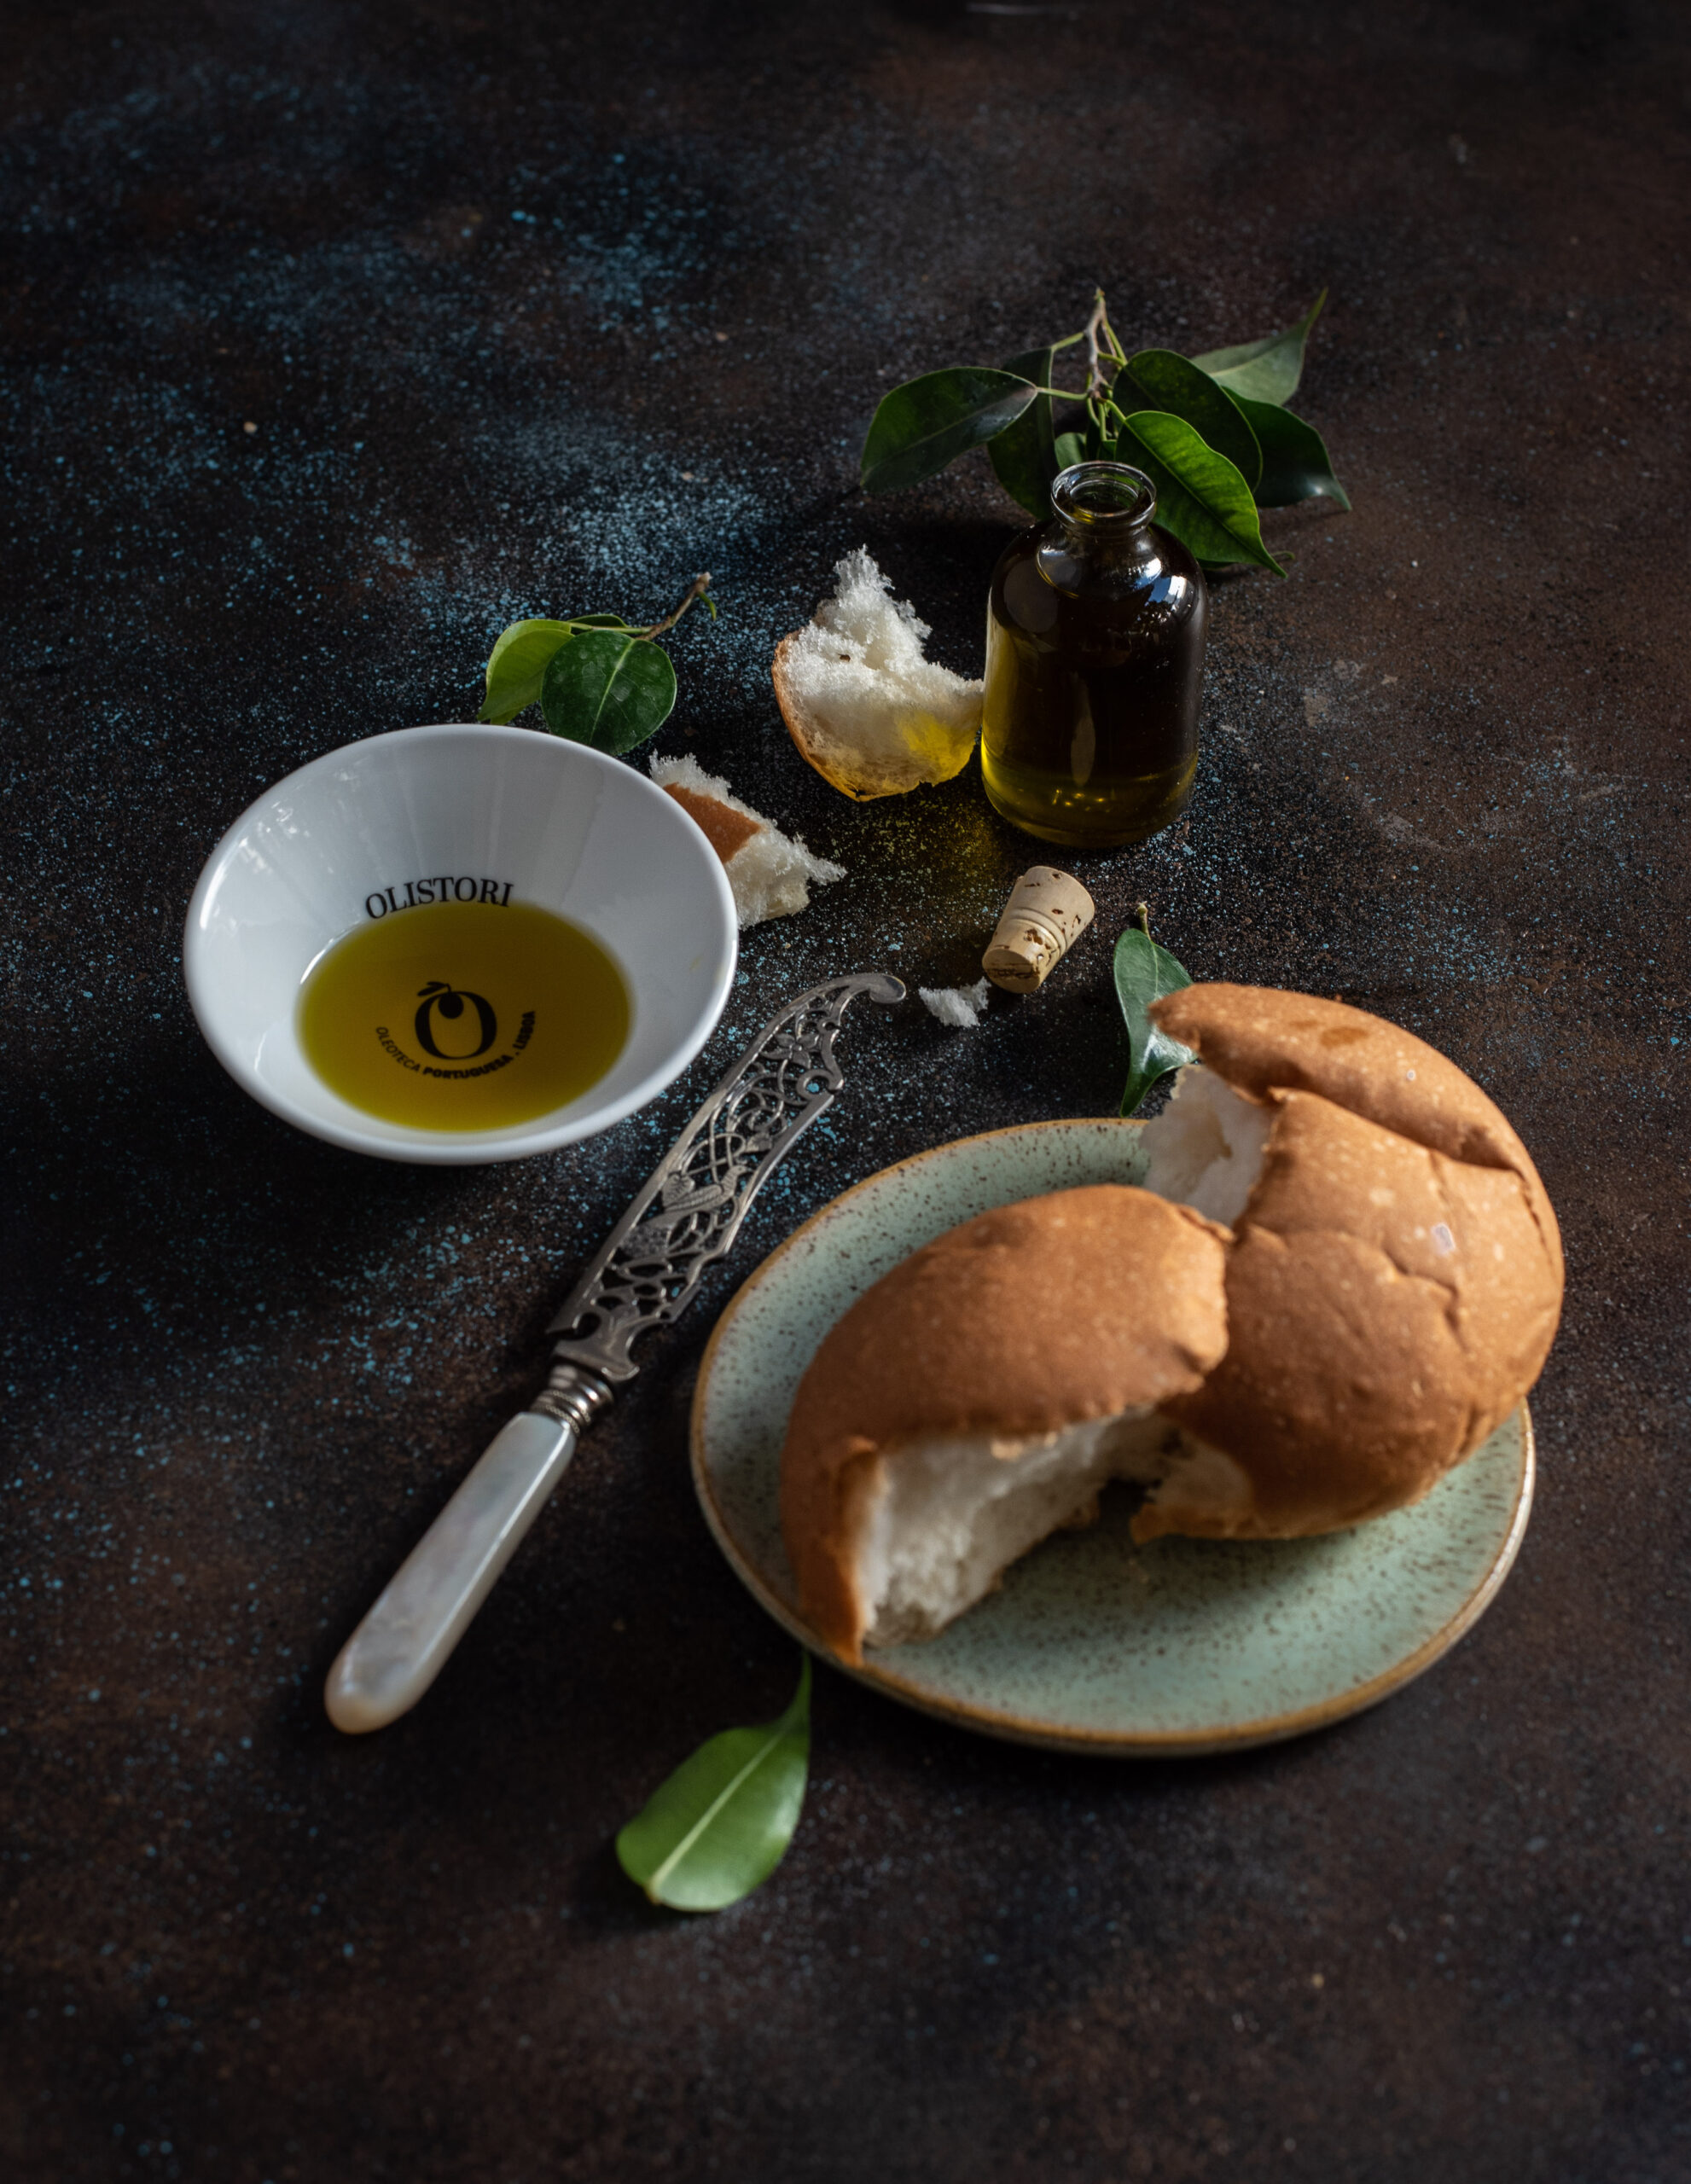
When a very dear friend invited us to Portugal to attend a wedding, I was thrilled to learn that the incredible hosts of the young bride had proud family connections to the landscape of olive trees. On the very first evening of the celebration, a meet-and-greet was held at an olive orchard. As the long summer day grew to dusk and sunset fell over the grove criss-crossed by fairy lights, we dipped wonderful country bread into olive oil and feasted. That was my first experience of the importance of olive oil in Portugal. I was determined to learn more about it, and I got my chance when we returned to Lisbon and I encountered a lovely little store named Oli-Stori.

Do you remember my adventure in Italian coffee some time ago? In the same way that a little curiosity had sparked a beautiful long conversation, this European trip too gave me memories and knowledge to cherish. This was our second trip to Portugal, and we had been keen to do offbeat things and make a holiday of it after the wedding. Tourist guides and books mentioned only a little about olive oil, but I wanted to learn more. Back in Lisbon, it was a hotel concierge who told us about OliStori. We had an itinerary for the day ahead, but I insisted that we begin at that store. “I just want to pop in quickly and pick up a bottle,” I said. That’s exactly what would have happened if the co-owner, Isabelle Carreira, hadn’t been so sweet and gracious. We wound up spending almost the entire day in her lovely space.

As we walked up to the store, we saw that the door was only partially open. “Can we come in?” we enquired. Isabelle wasn’t ready for customers yet, but she asked us to sit down and be comfortable. She just wanted to head to the nearby bakery to buy some bread so we could enjoy a tasting. I was really taken by this – imagine leaving your entire store open to a couple of strangers! Charmed, I got excited and decided on the spot that I had to feature her on my blog.

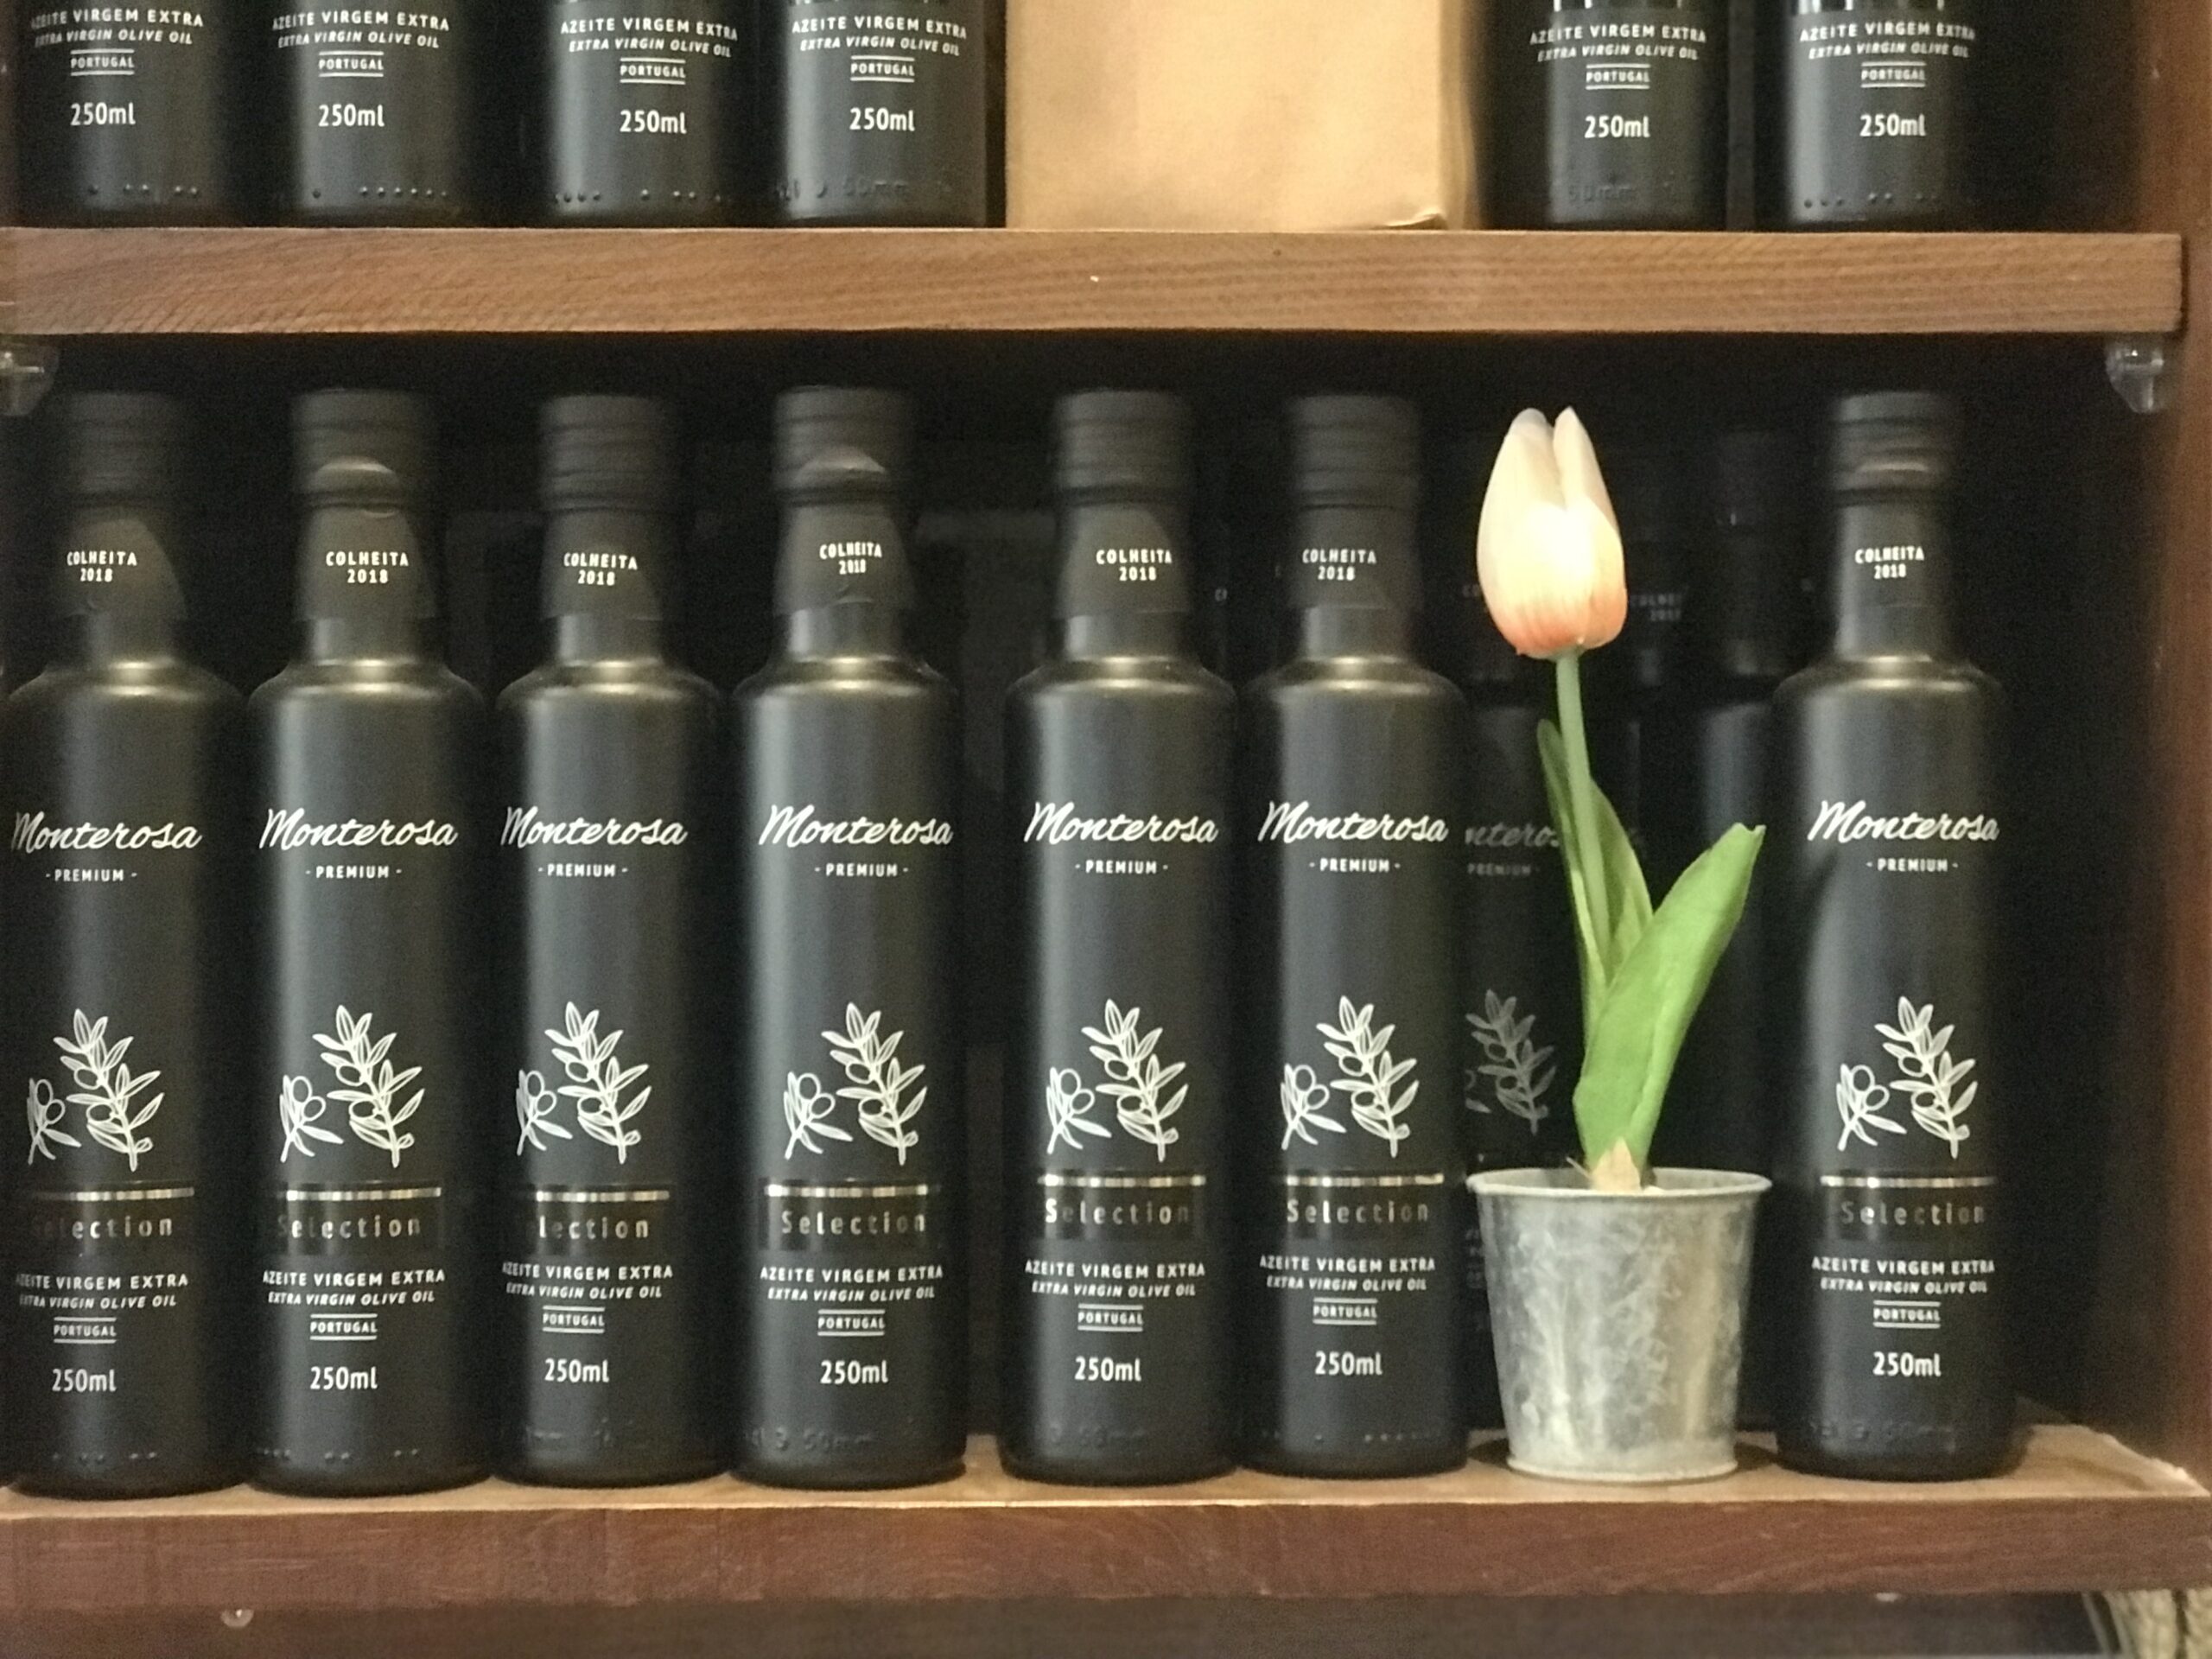
Isabelle was born in France to Portuguese parents, and opened Oli-Stori together with her Portuguese-speaking French partner Thierry after 30 years in the restaurant business, when they realised that Lisbon did not have any shop that was specifically for olive oil. Theirs is a treasure trove of different varieties and brands sourced from all over the country. Portugal is not as famous for olive oil as Italy because they do not focus on the export market at all. However, the quality of their produce is just as spectacular.

OliStori is a smallish but beautifully done up space. I looked around cheerfully as we waited for her to open the store. The décor touches, I later learnt, tried to replicate elements from different farms that the oils are sourced from. There were horses and sheep, or a little doll, in every corner. These added to the warmth of the ambience. I took some impromptu photos as I looked around.


When Isabel returned with the bread, what began was part tasting, part storytelling and part educational session. She was so generous with her knowledge, and eager to share with us her wide experience.

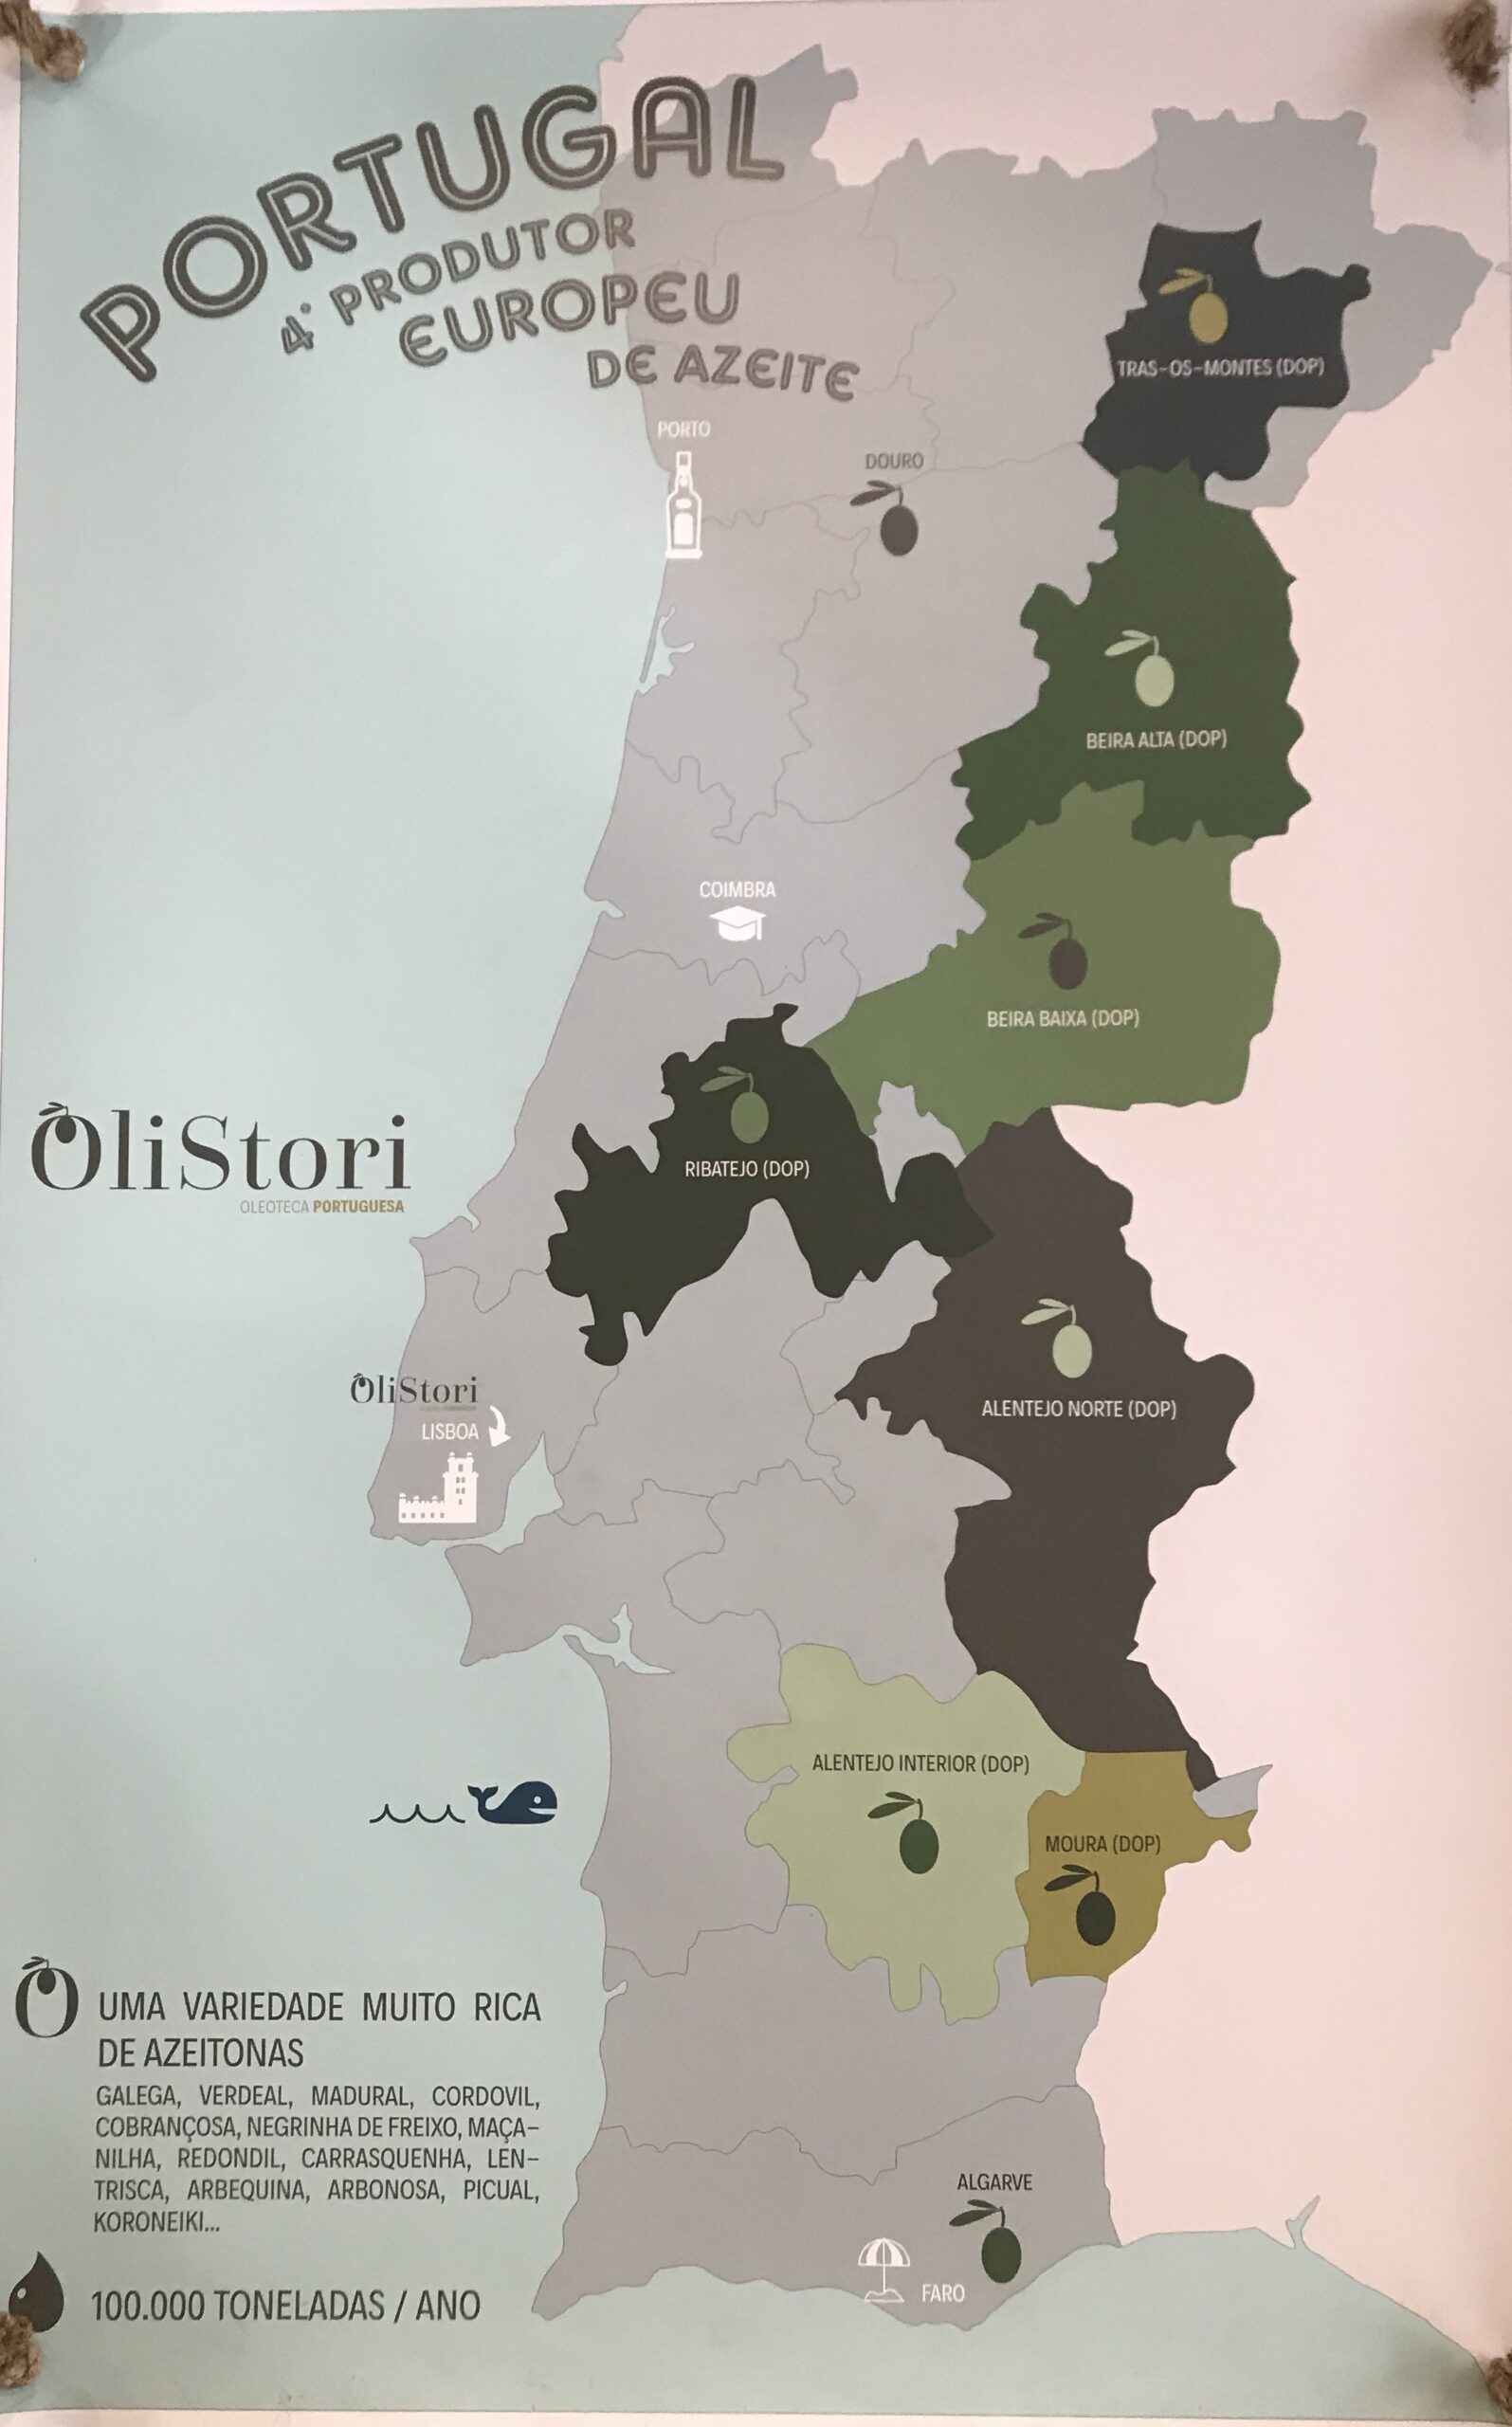
Portugal is a small country, but has a diverse landscape, with different regions producing varying kinds of olive oil. Every oil sold in Isabelle and Thierry’s shop was sourced through their travels around the country, visiting olive farms, understanding the process of growing and what effects the weather conditions and soil types have on the produce. As she spoke, she had us sample a diverse range – it was almost like a wine tasting. And it’s true, the flavours differ!

Olive trees take 3-5 years of growth to be ready for the first harvest, and have a lifespan of up to 200 years. The fruits are sensitive to the soil and to climactic conditions. The Trás-os-Montes province in the North is especially famous. This province’s name means “behind the mountains”, and the olive trees here grow on terraced land. It is cold in winter, and hot in summer. The soil here is rich, and there doesn’t need to be much watering. These conditions are very interesting for the tree, and the olive oil here is intense and green, and has a fresh fragrance. It smells a little like tomatoes, in fact!

An olive oil I particularly enjoyed was from the brand Terras Dazibo, from the region Tras-o-Montes. It had a long flavour, starting sweet, then turning bitter behind the tongue and spicy as it goes down the throat. This extra virgin olive oil is created by a blend of different olives.

In Noura in the South, the trees are spaced far apart on the farm so that the roots can be more widespread. They don’t require much water, and produce black olives with a complex and light flavour. These black olives don’t grow in the north, where it is too cold. All kinds of geographic elements have an impact on the agriculture. In the Rio Maior region, for instance, the olives are saltier due to the river water that irrigates the crops. Verdeal olive oil is green and fresh, Cobrançosa is fruity and spicy, Picual is piquant (as per its name!), Madura is smooth,  These are but a few examples. We were spoilt for choice at OliStori!

The Portuguese government, despite having no interest in the export market, takes this produce seriously and offers a certification known as DOP (Denominação de Origem Protegida) to mark the best quality olive oils. Despite not having DOP certification, the regions of Duoro and Algarve also produce excellent ones. Duoro is better known for its porto wine, whereas Algarve is believed to focus more on about their production than on seeking certification.

If you’ve ever wondered what the differences are between virgin olive oil, extra virgin olive oil and cold-pressed olive oil… I finally learned them in Portugal, thanks to Isabelle. Extra virgin olive oil is from the very first fruit that is sent to the press, and has the lowest acidity (0%-0.8%). Virgin olive oil is pressed later, and cold-pressed olive oil is treated at a temperature under 25°C and is best for flavour fusions and guarantees the preservation of aromas. The brand Olival de Risca from the Alentejo region in the South is known for these. The additional fruit or vegetable is cut and added alongside the olives during the cold-pressing procedure. Some of these fusions include classic Mediterranean herbs, mandarin, garlic, basil, lemon and chili. Alentejo is very hot, which makes it suitable for black olives, which give oils with a complex and light taste. The trees here are spaced far apart, so the roots can be more extensive, and dry farming is the usual method so as to produce more concentrated oils.

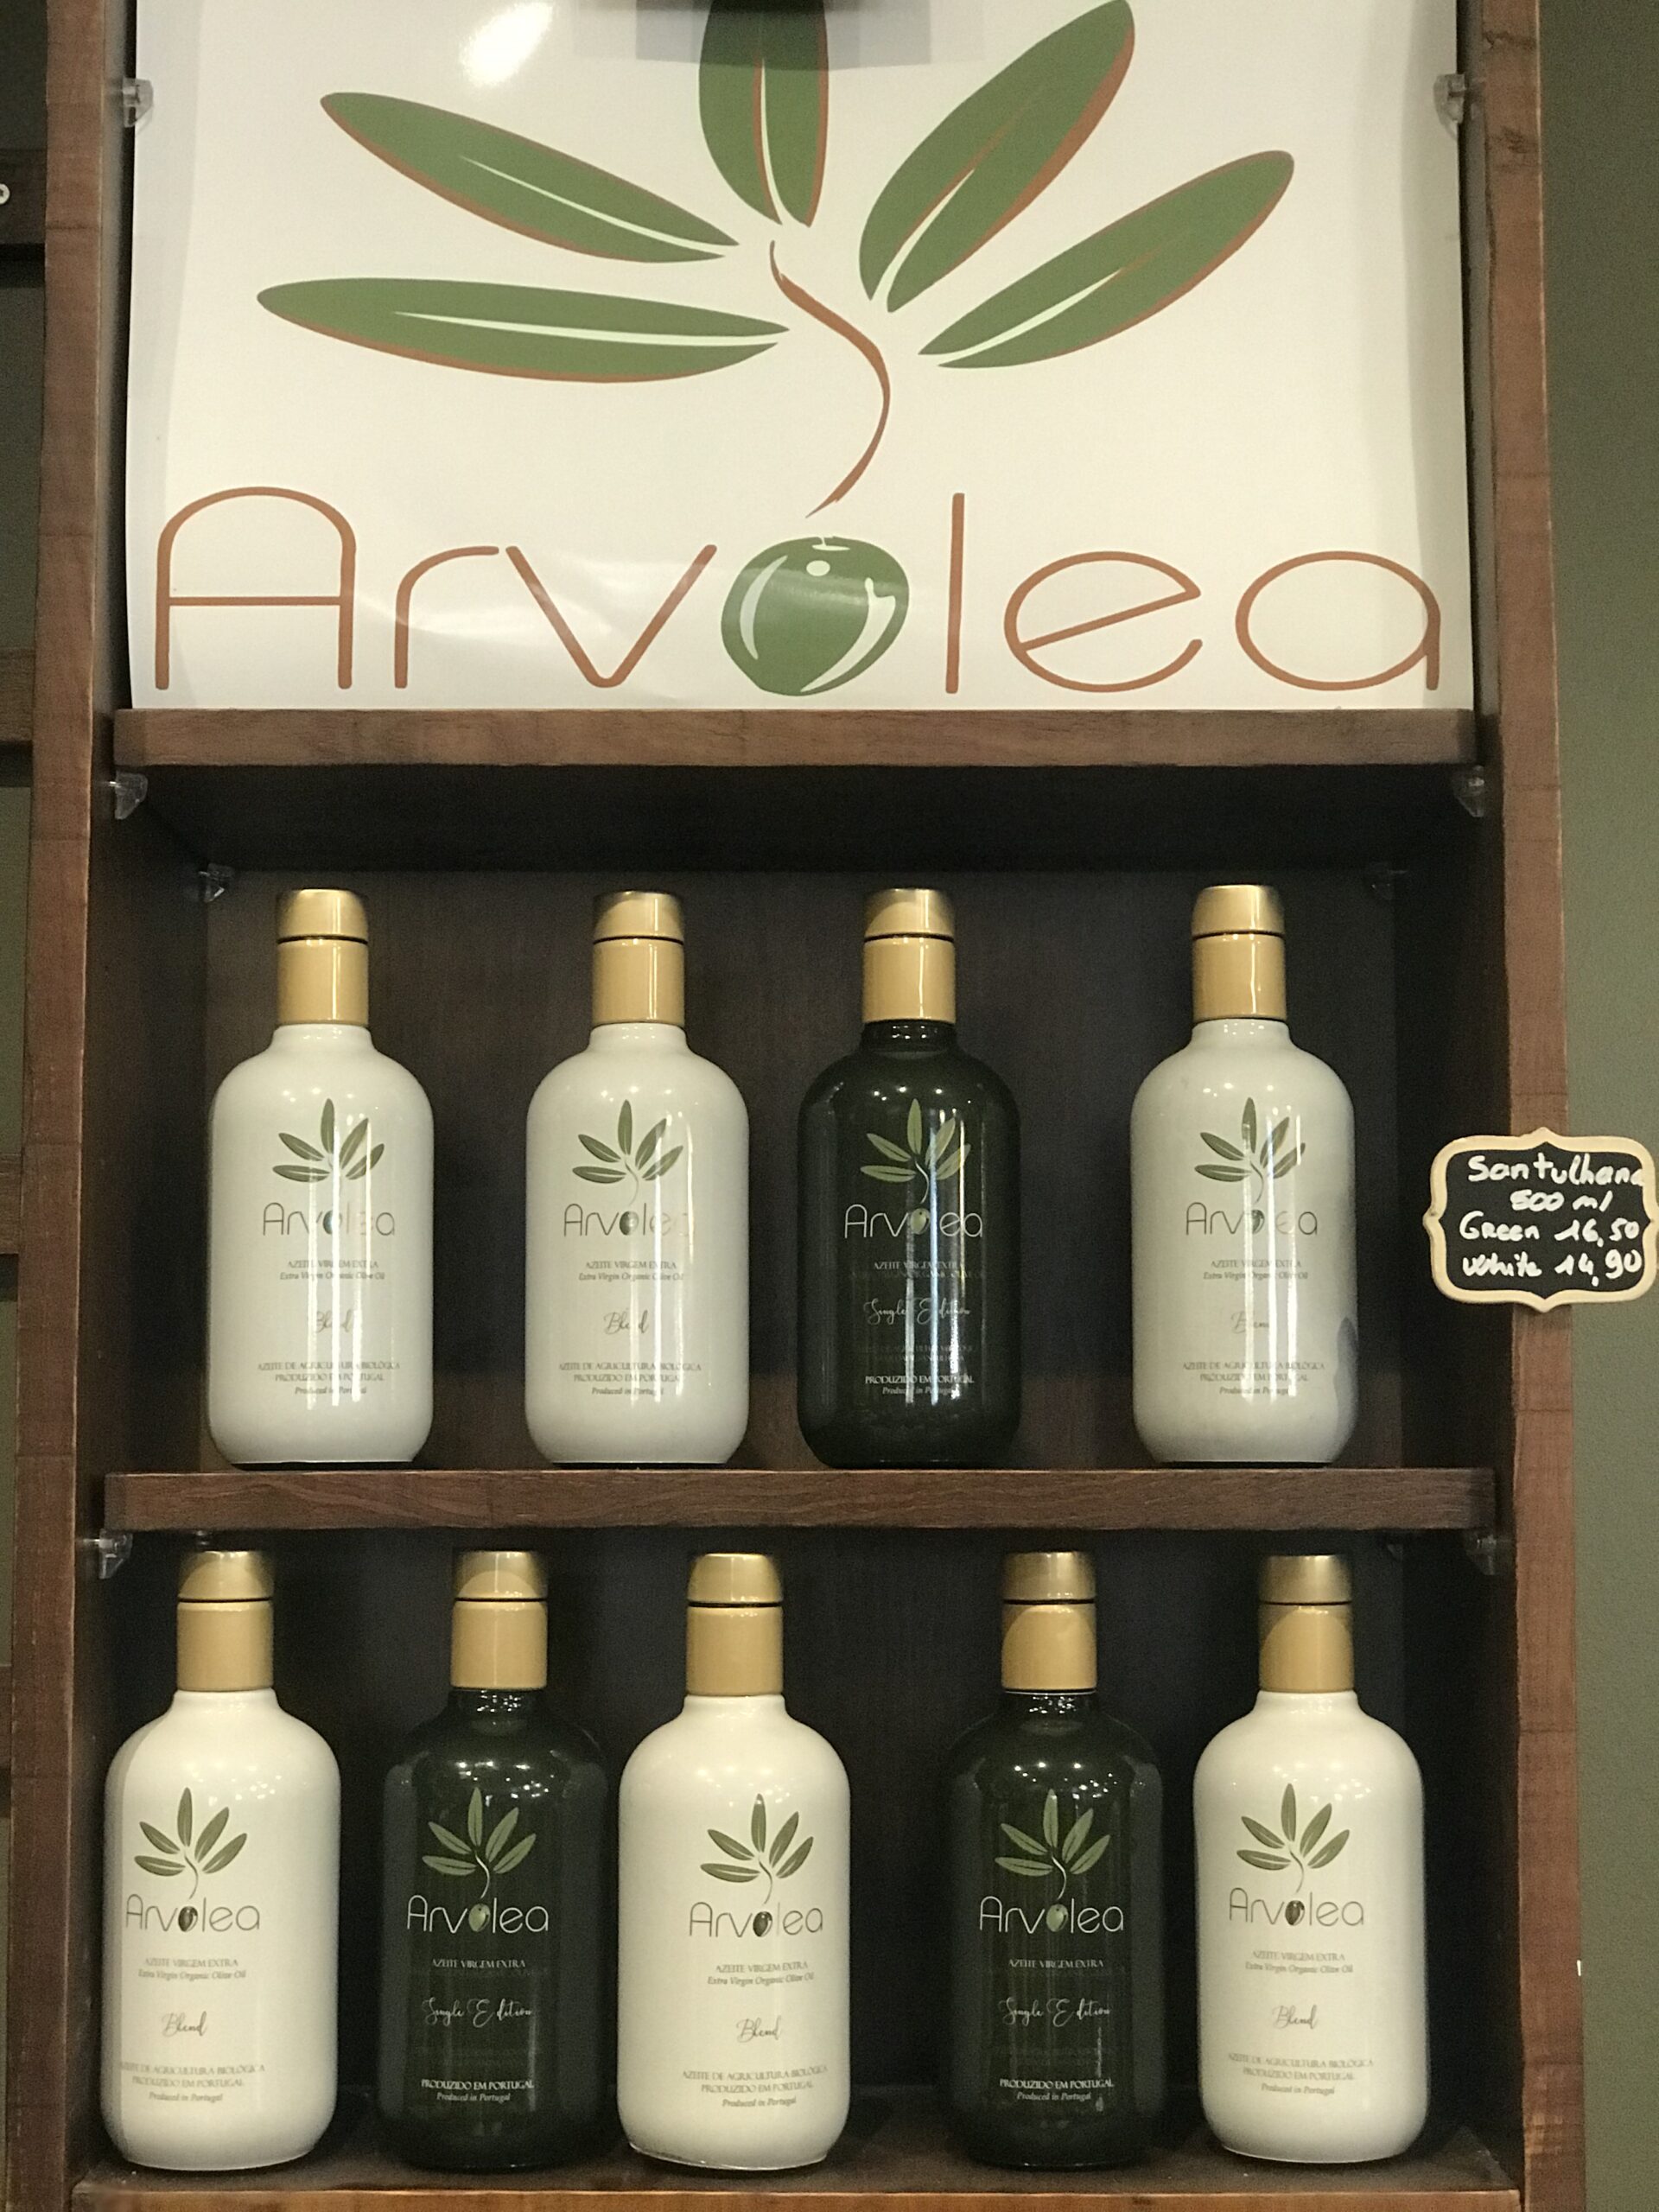
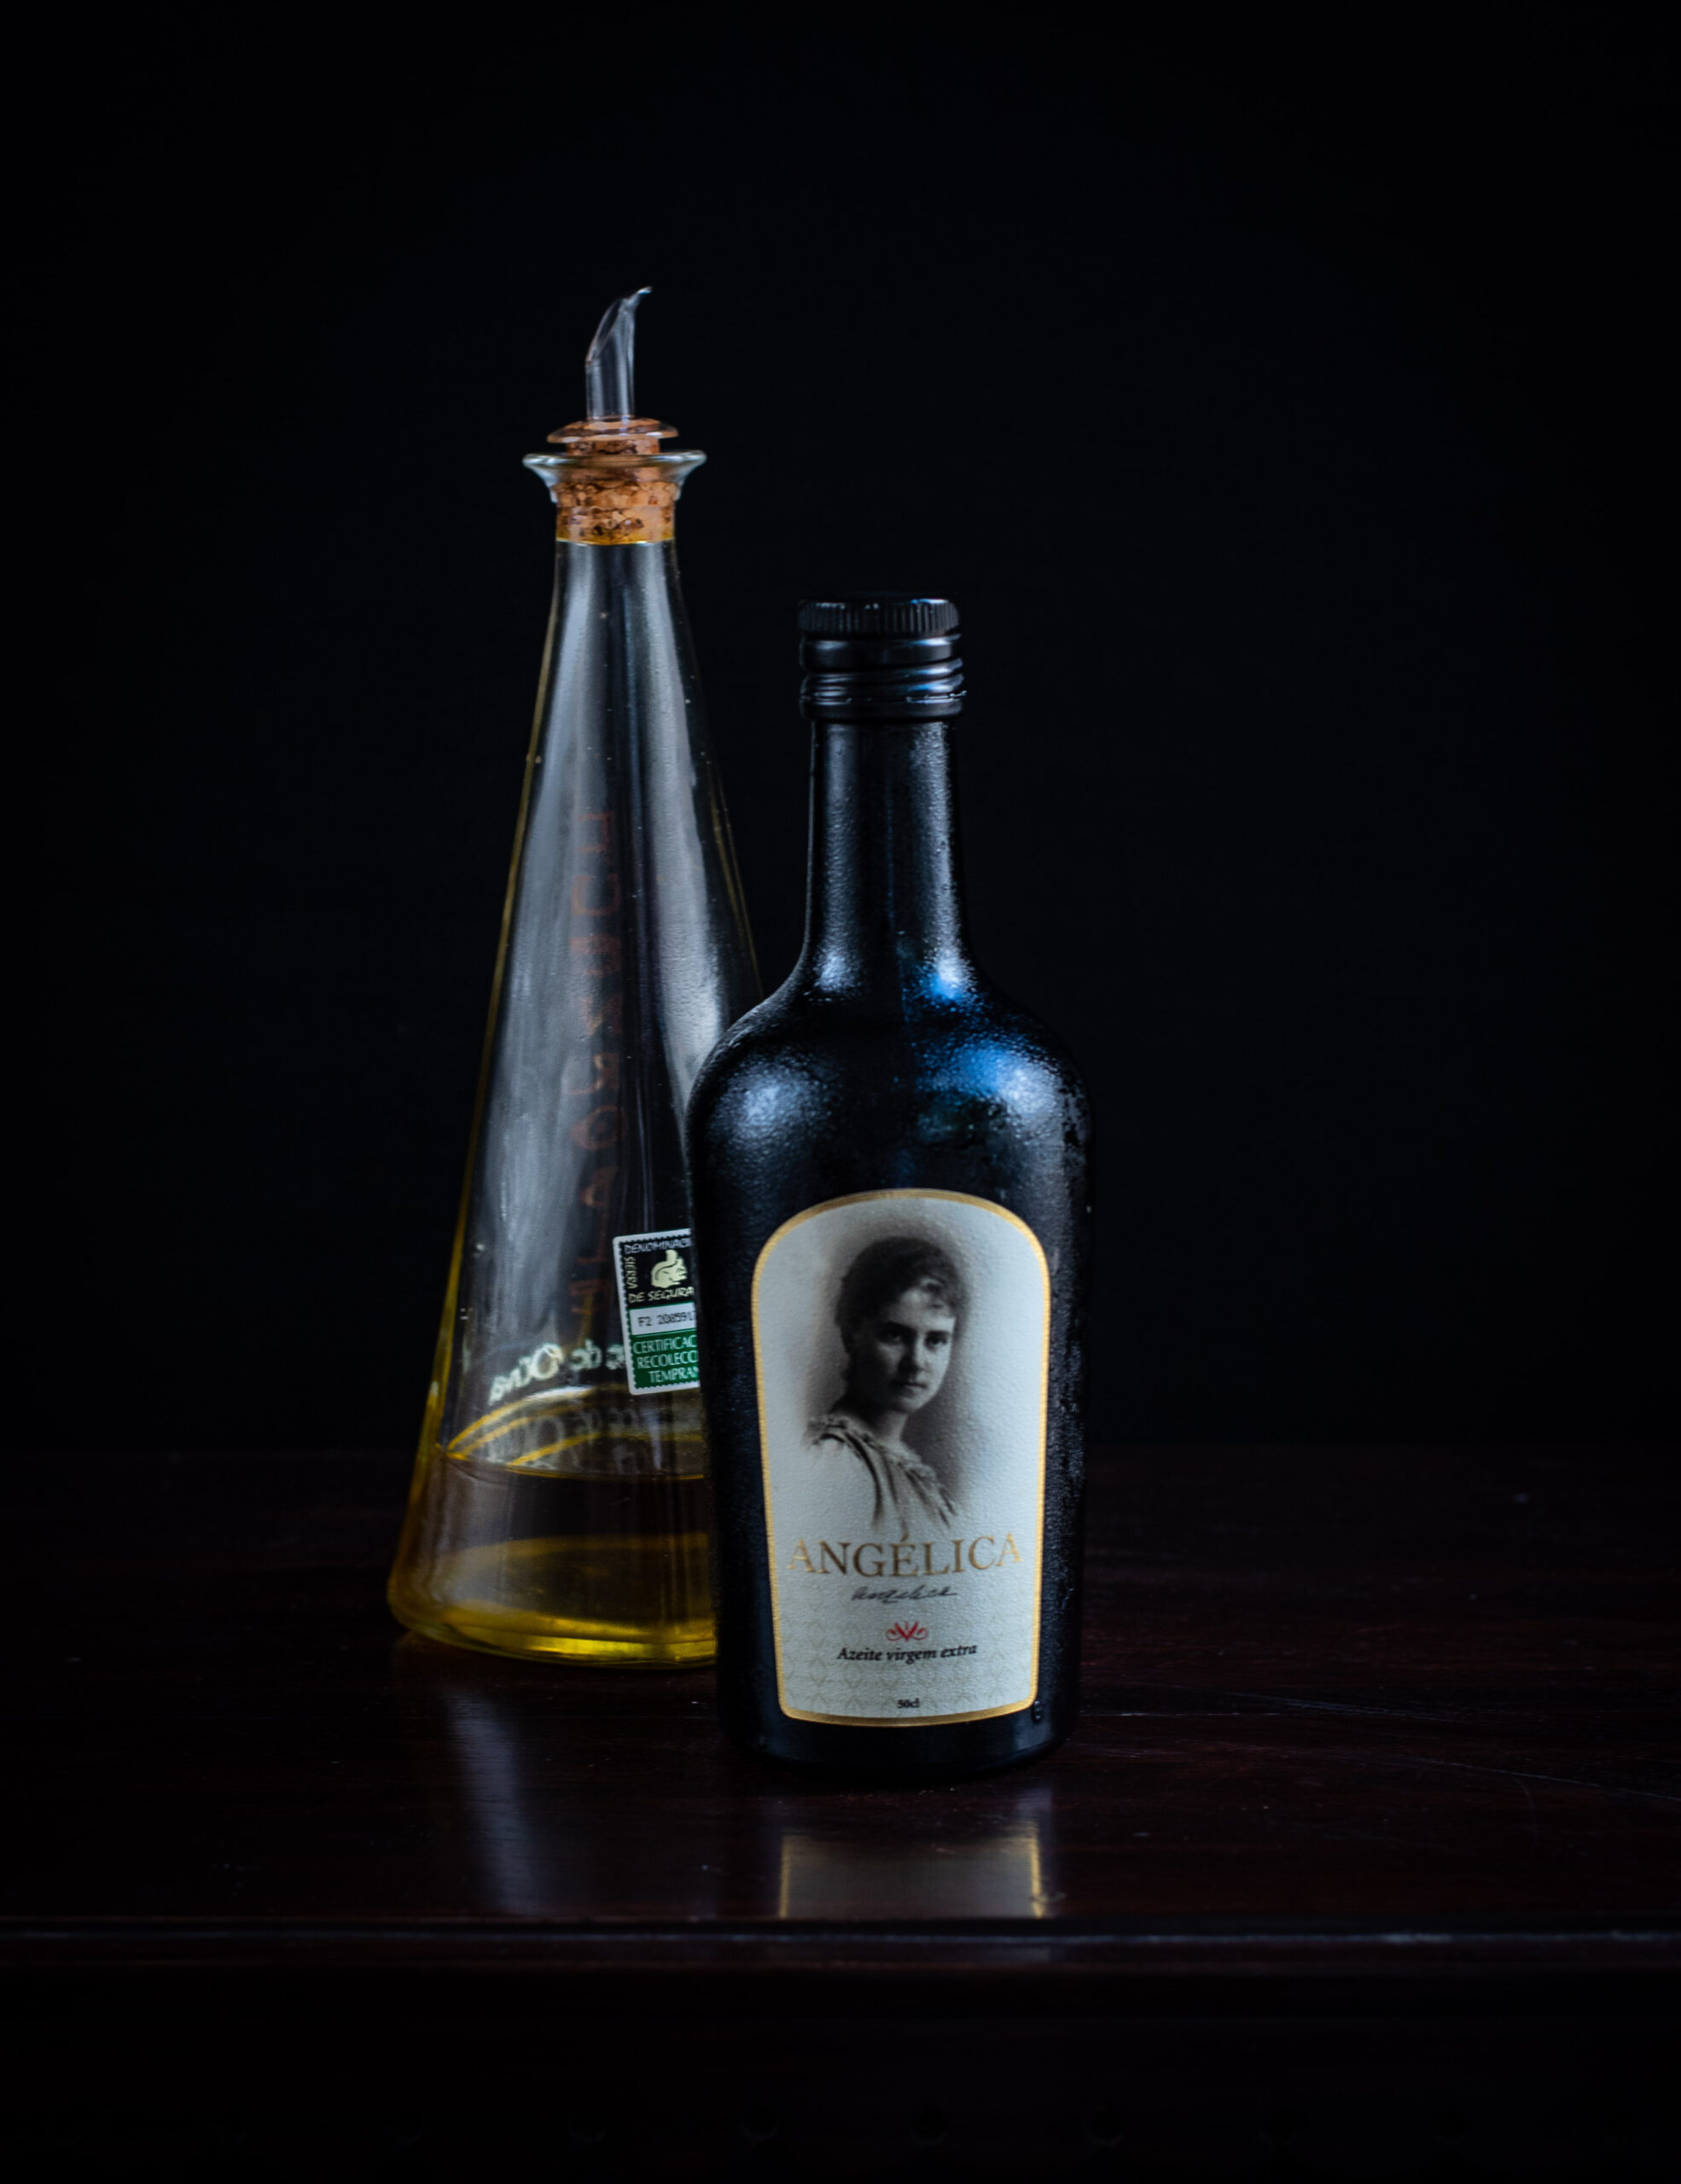
Despite spending hours at OliStori, there was no way in which to taste every single kind of olive oil they had to offer. But I loved learning a little bit about several, and the packaging often told a story by itself. For instance, the Angelica brand features a picture of the current owner’s grandmother when she was young. I carefully selected a small number of beautiful bottles to bring back home. These can be stored for up to 20 months, provided the bottle is kept closed (I plan to refrigerate, thanks to my climate). Open bottles create oxidization, which breaks down the flavour and affects the quality of the oil.

As you probably know, olive oil is quite versatile and can be used to top fish, light foods like salads and as a dip for bread. I used some of my Portuguese stock recently in this South Indian fusion hummus recipe.

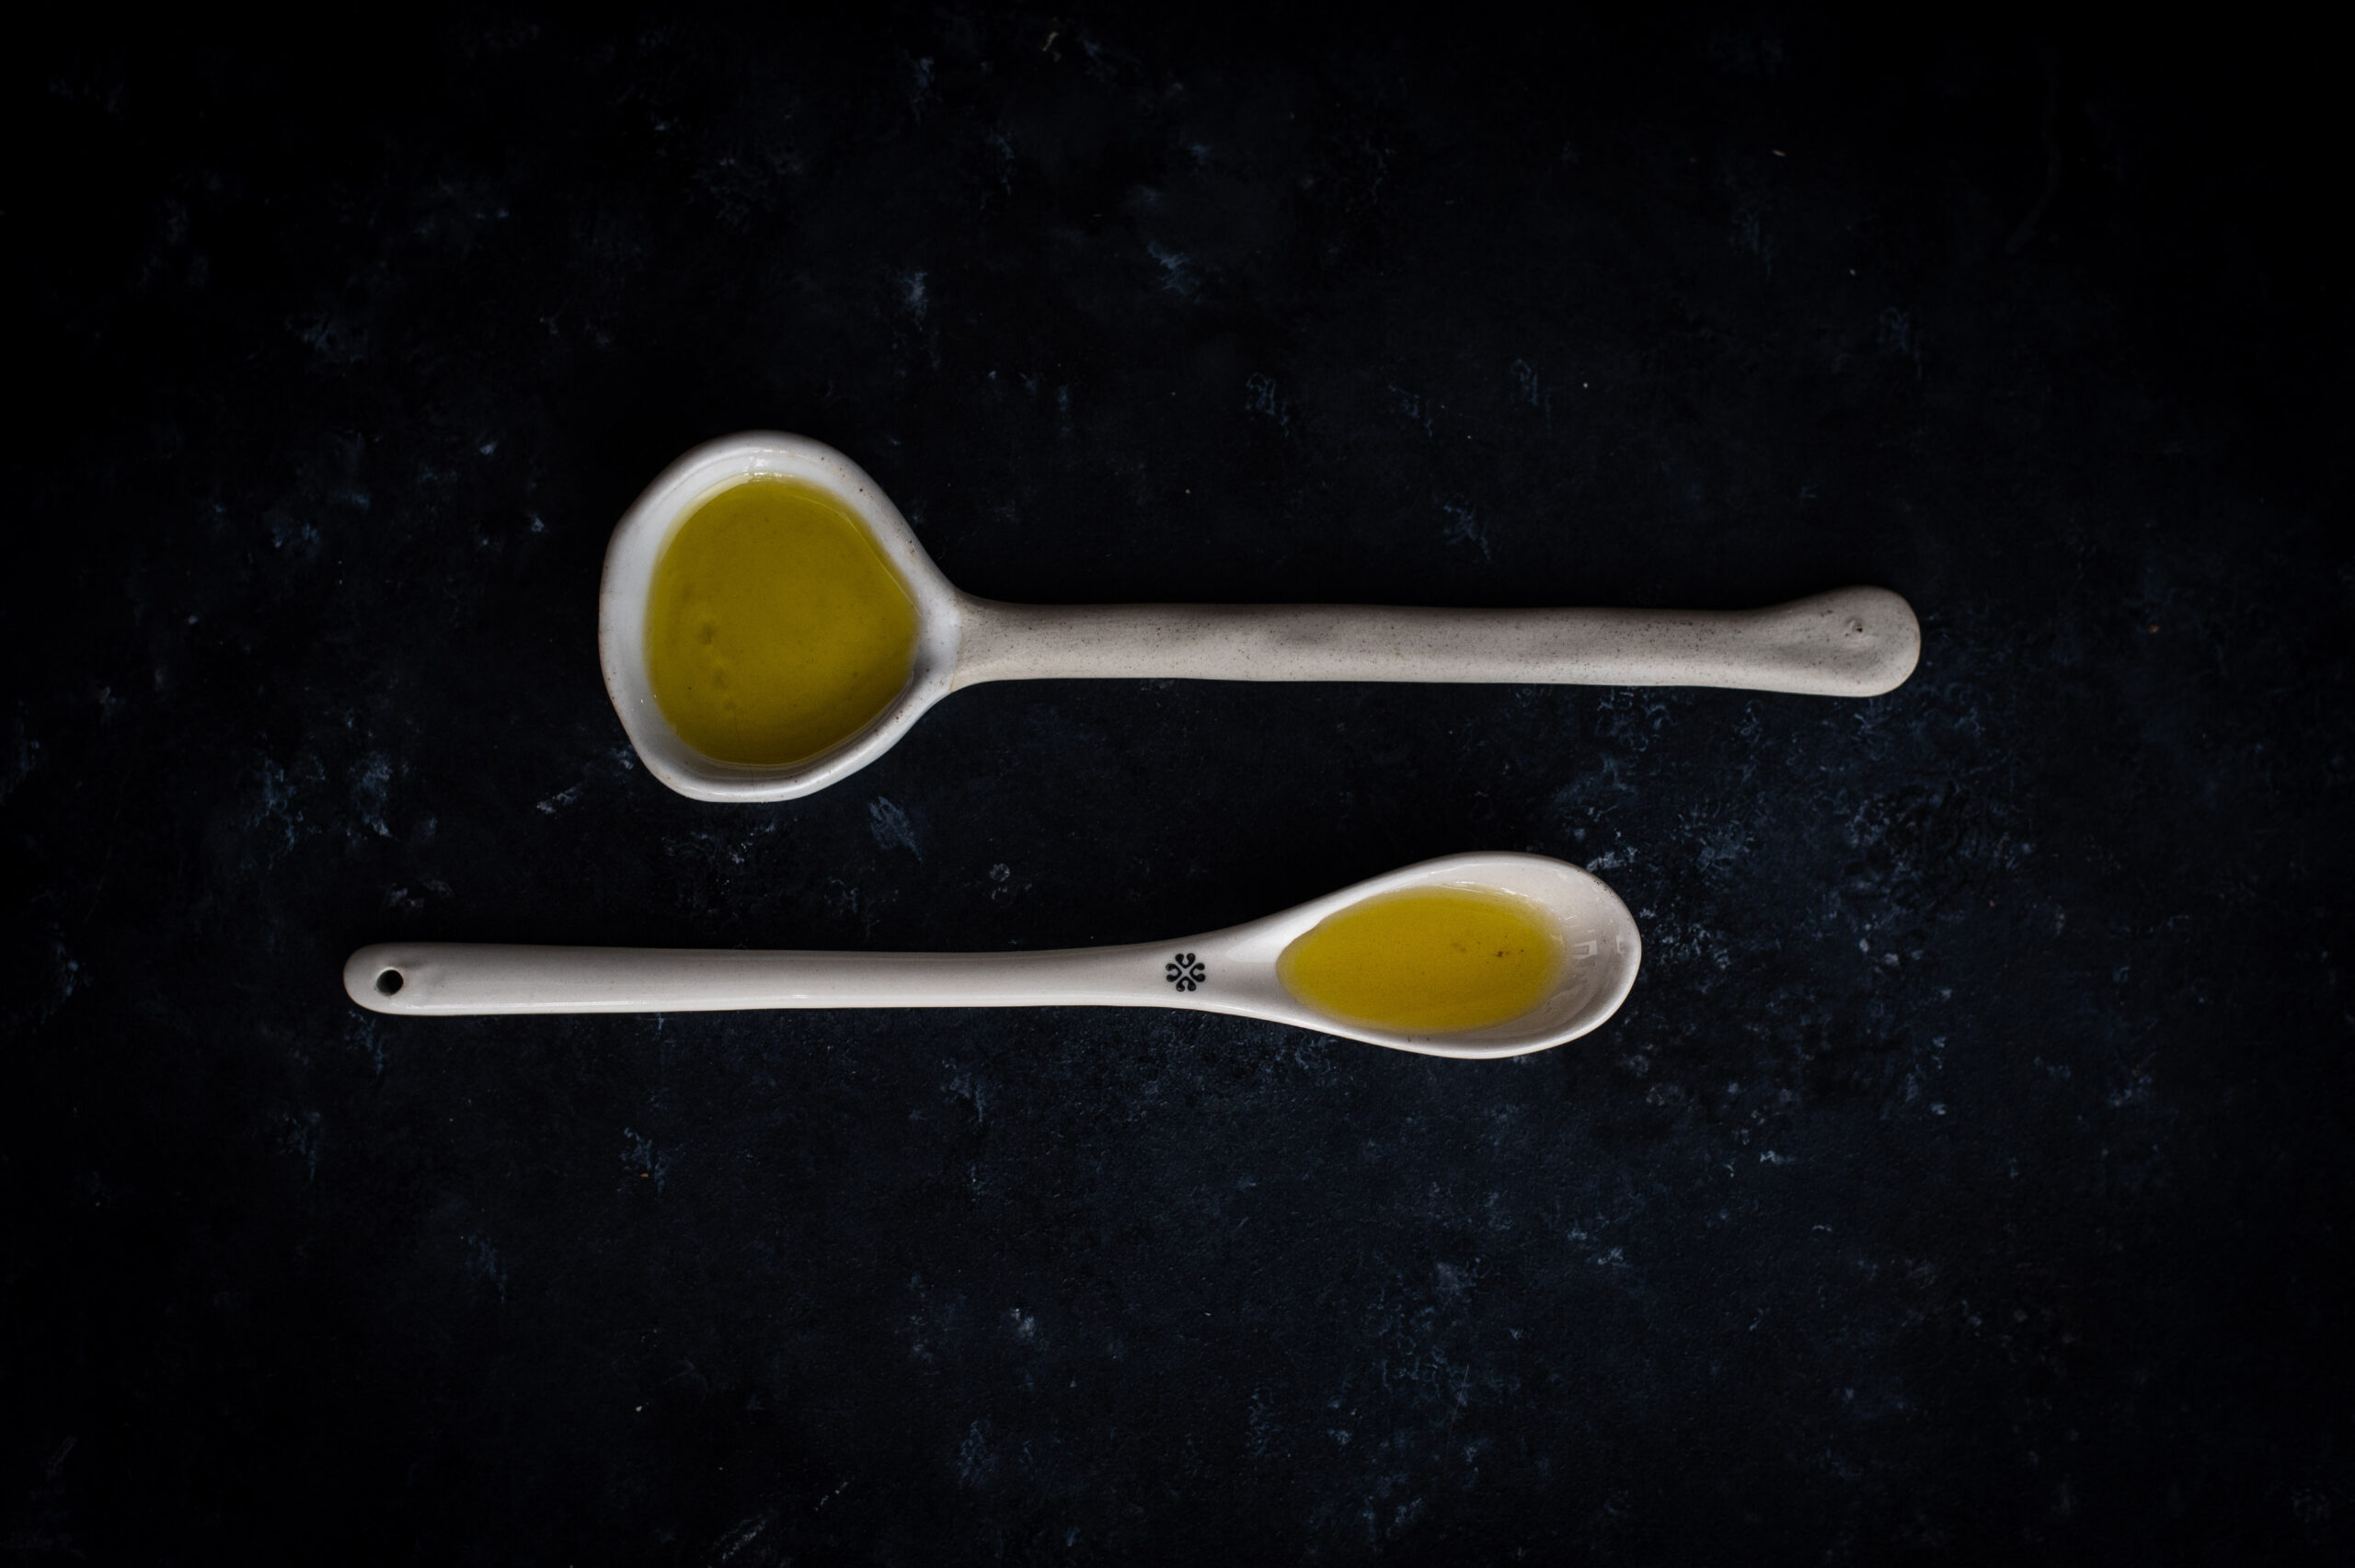
Bitter tastes, very spicy tastes, complex long tastes, short and sharp tastes, fruity tastes, herbal tastes – for the first time, I understood olive oil to be as varied as wine. There were just so many to try. I’m so grateful to Isabelle for her generosity with her knowledge, time and stock of olive oils. And those hours spent in the charming OliStori are among my loveliest recent memories of Europe. If you’re ever in Lisbon, be sure to take a little walk up a slope on the cobbled street of Rua de Madelena and send Isabel my love. Oh, and OliStori also sells balsamic vinegars – but that would need another day, another trip and another post!

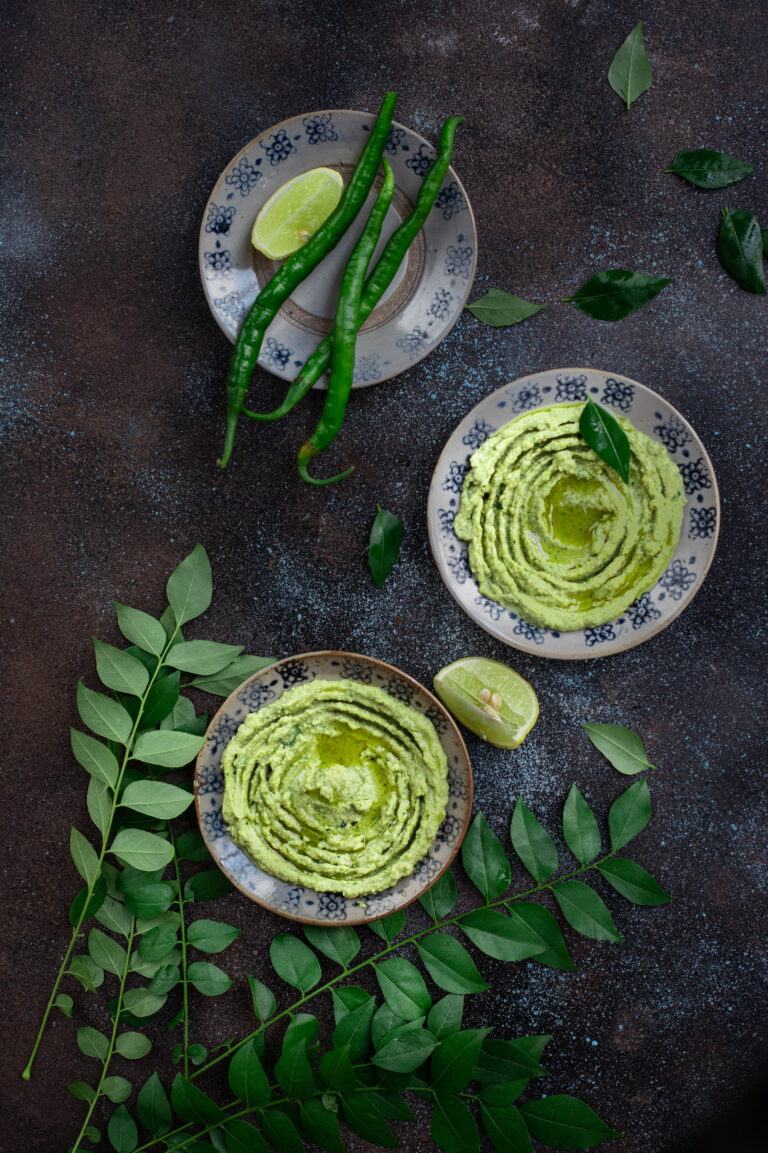
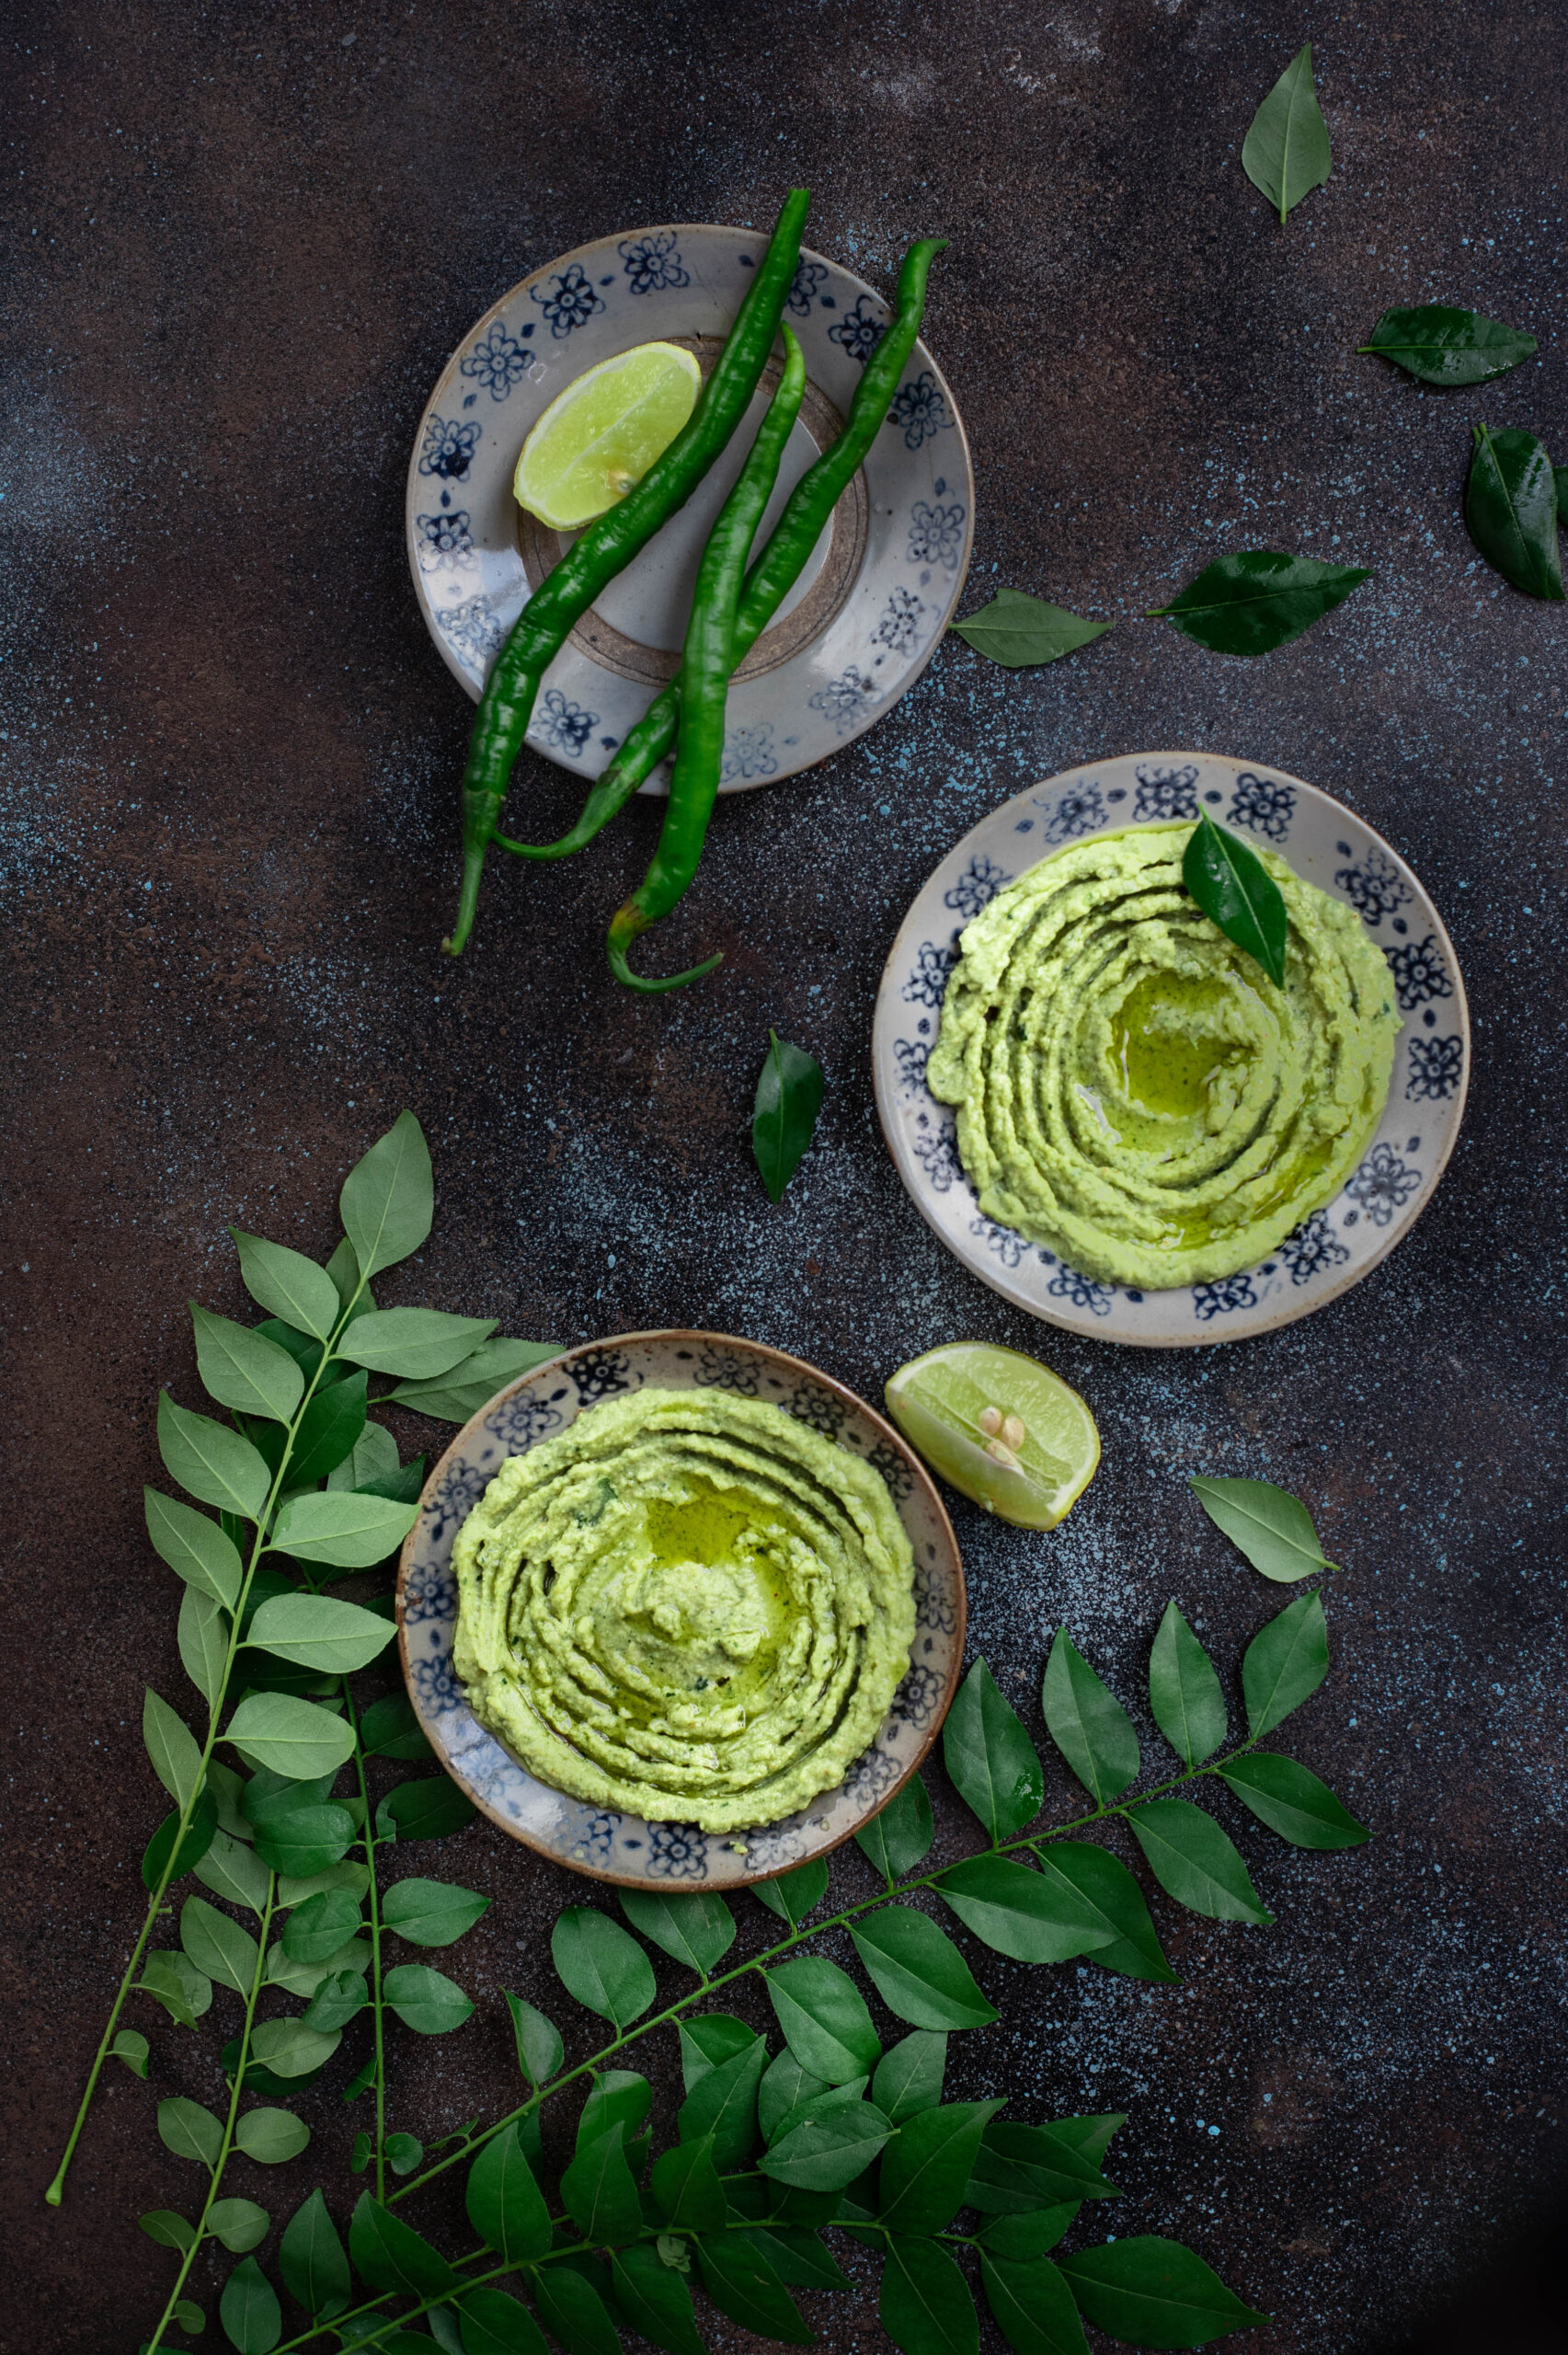
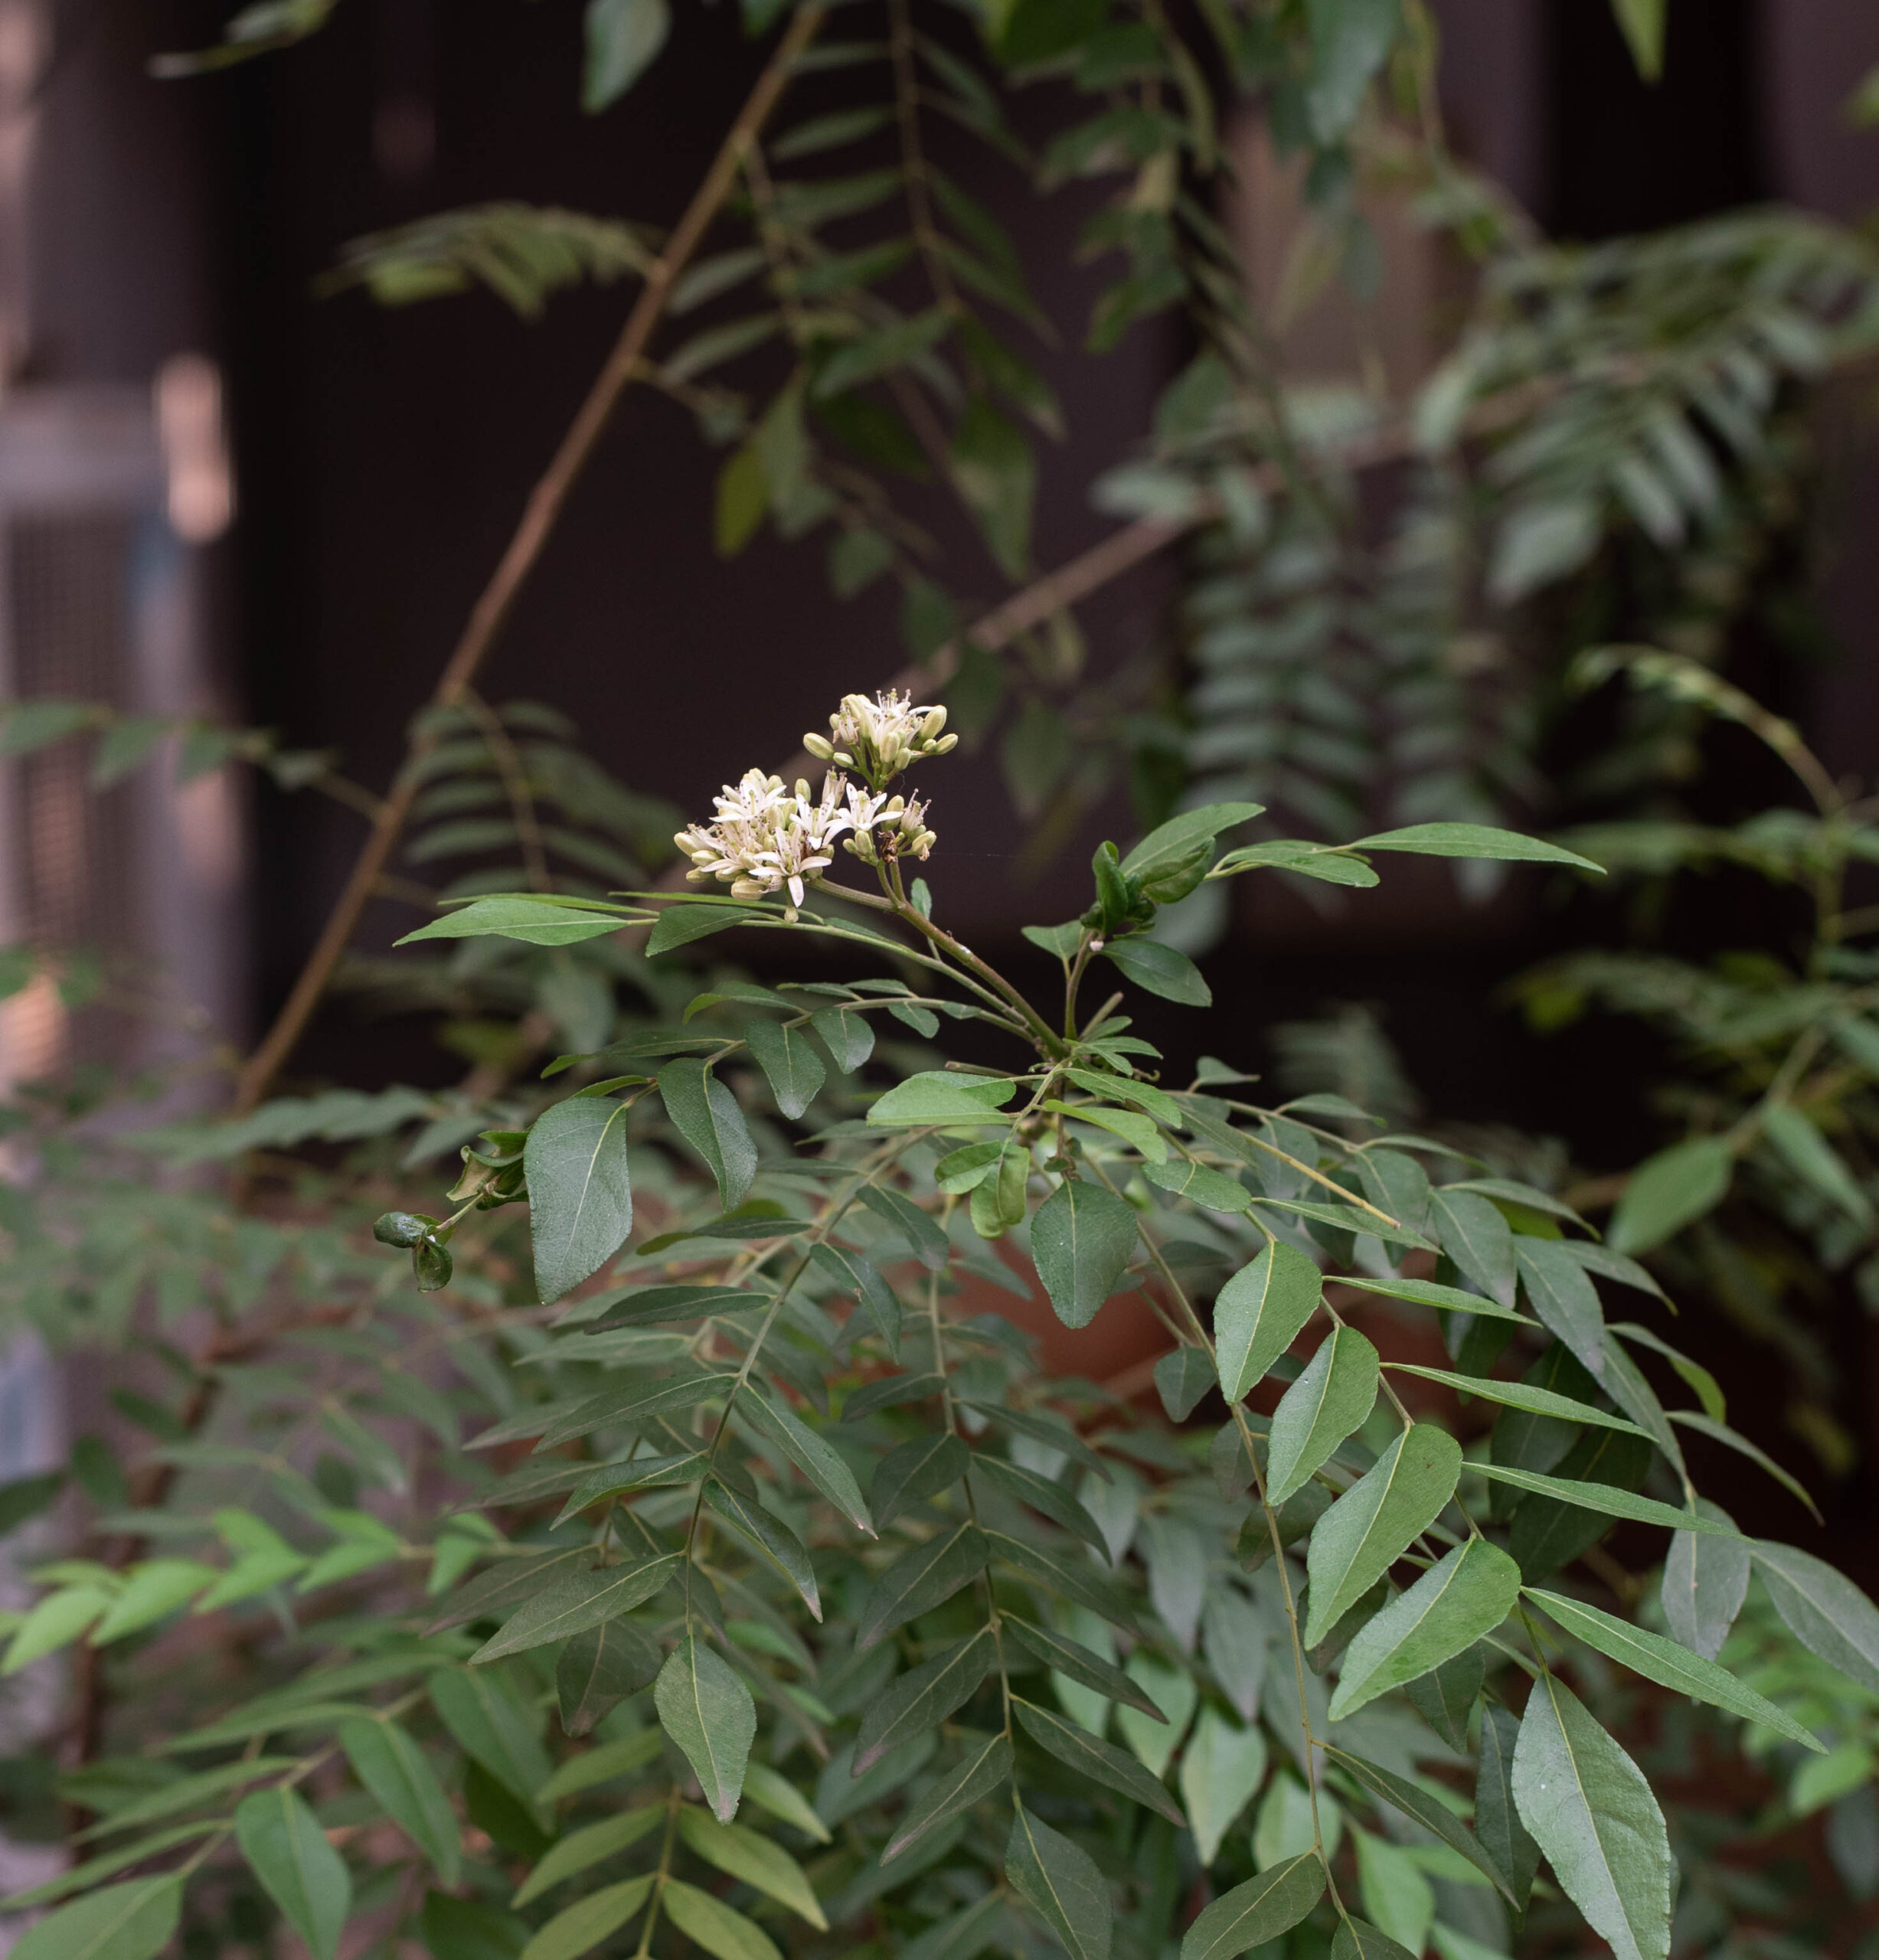
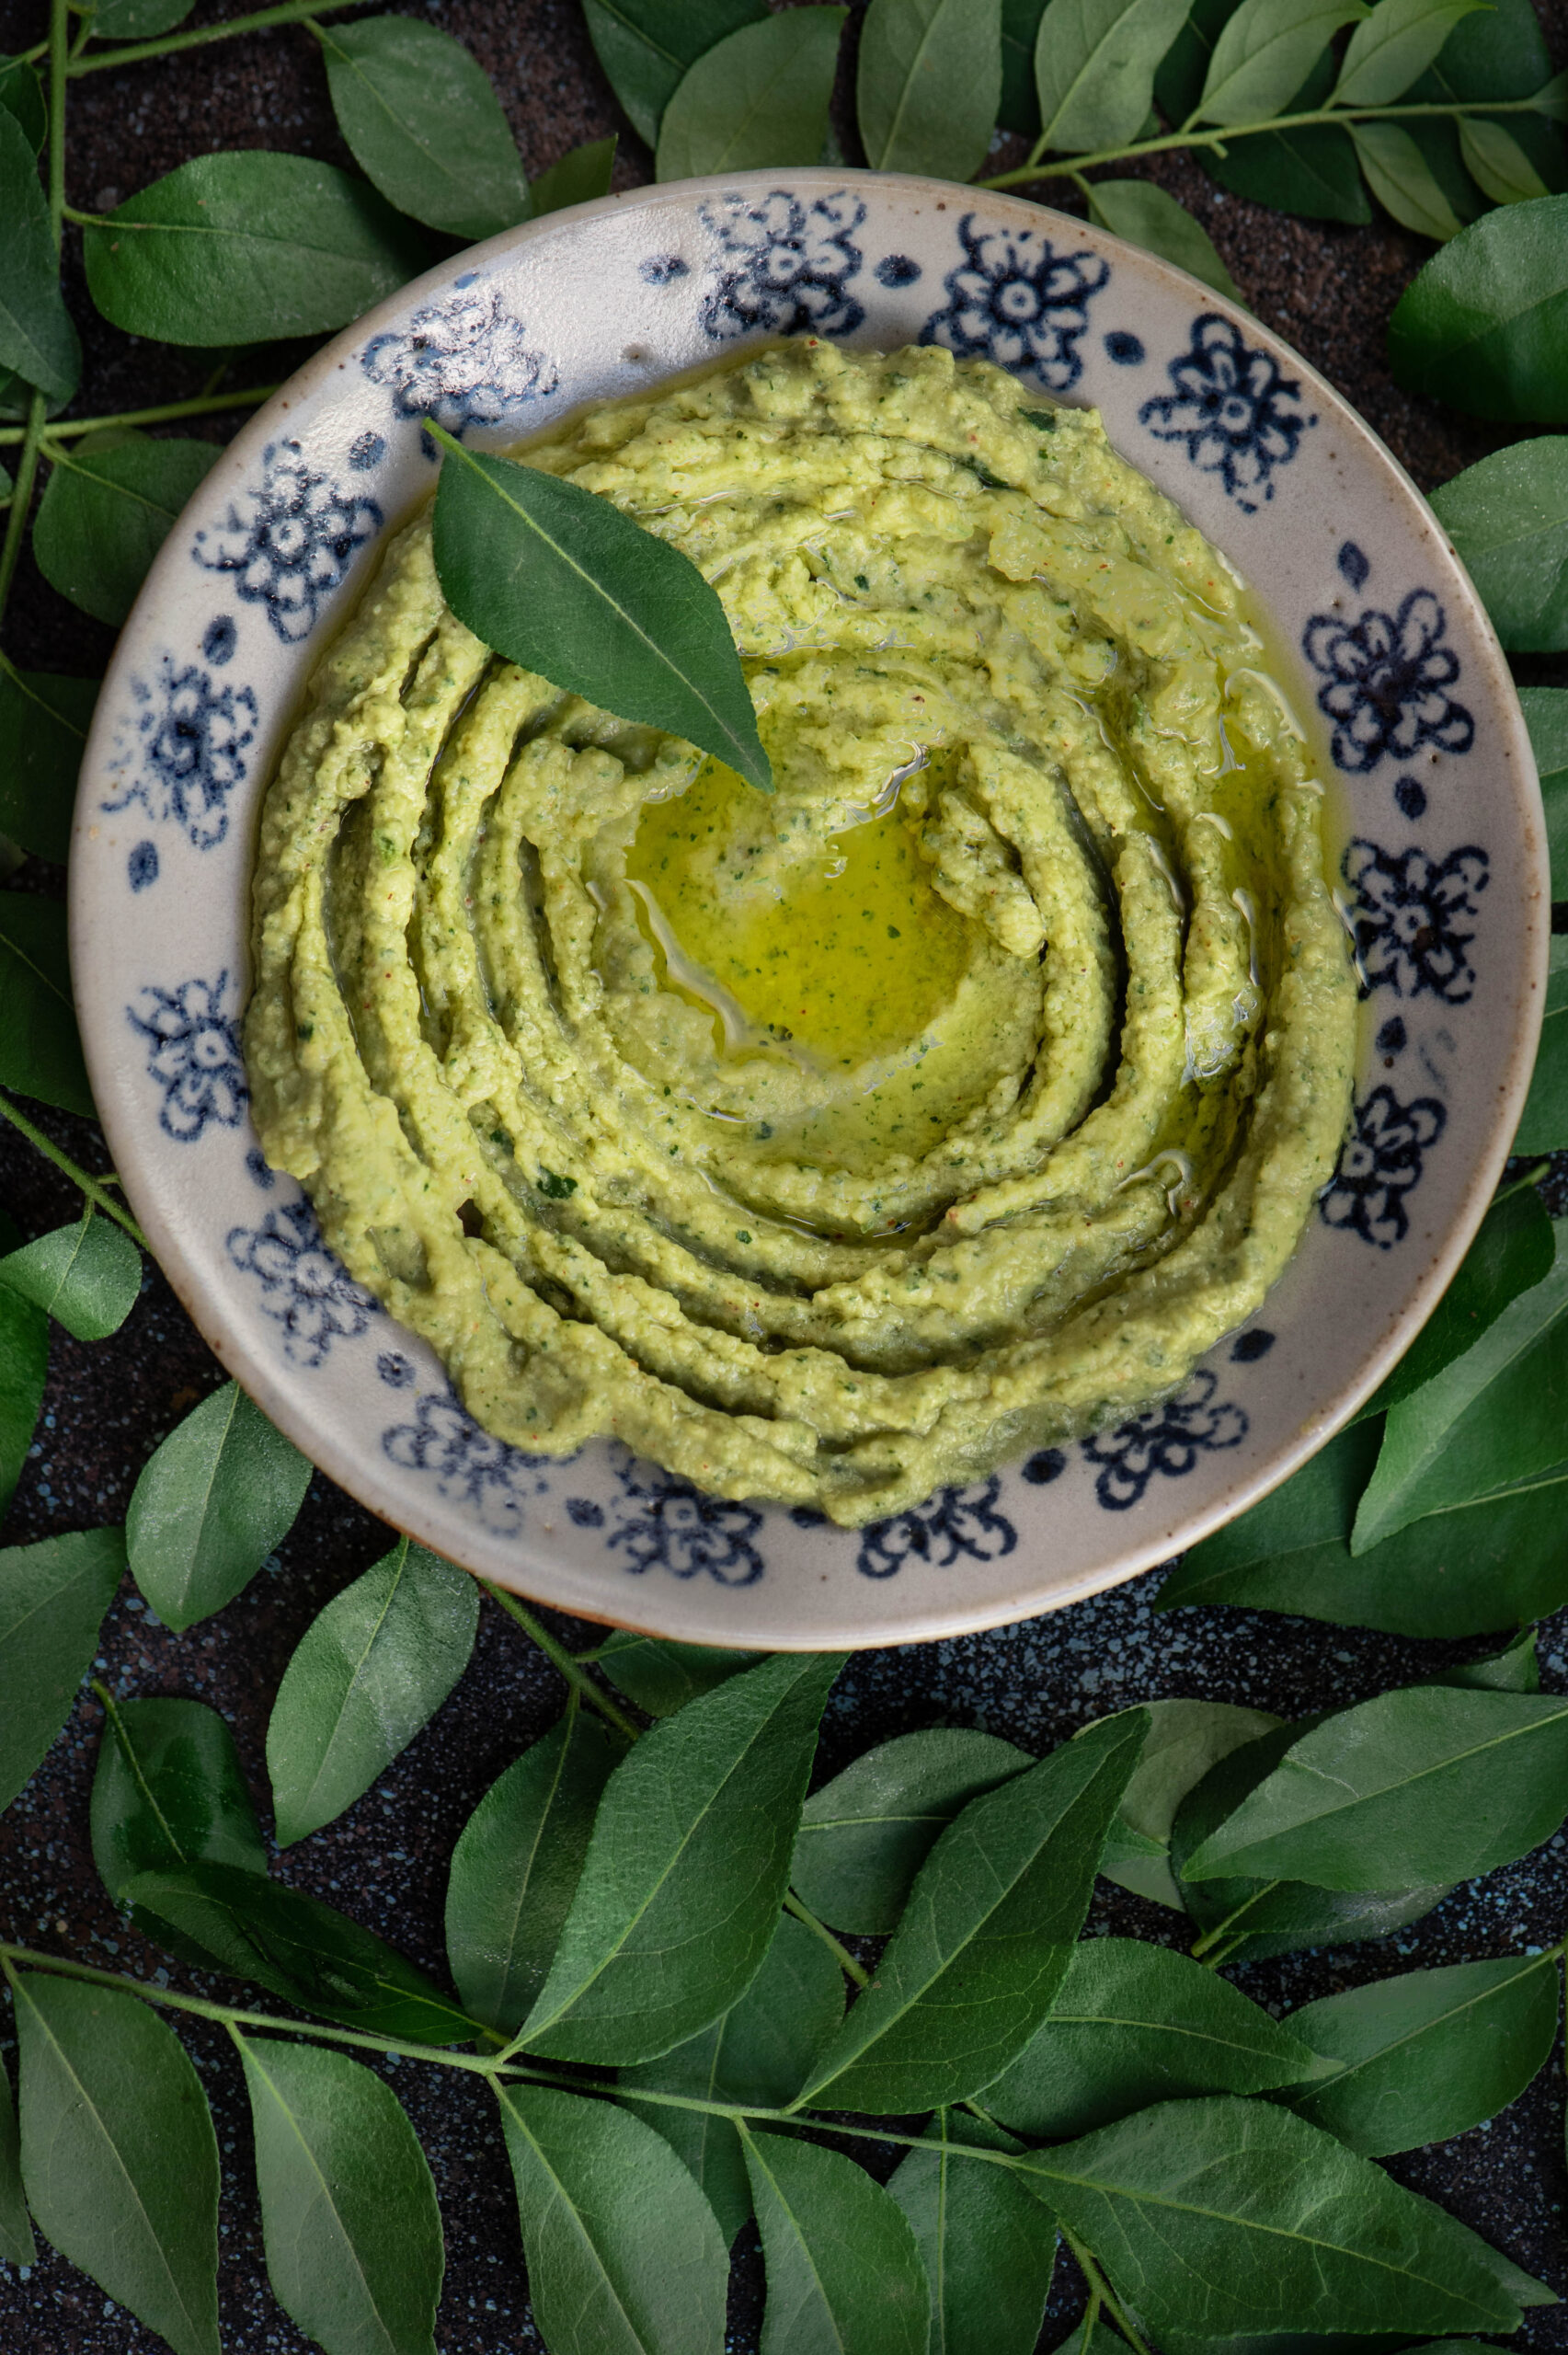
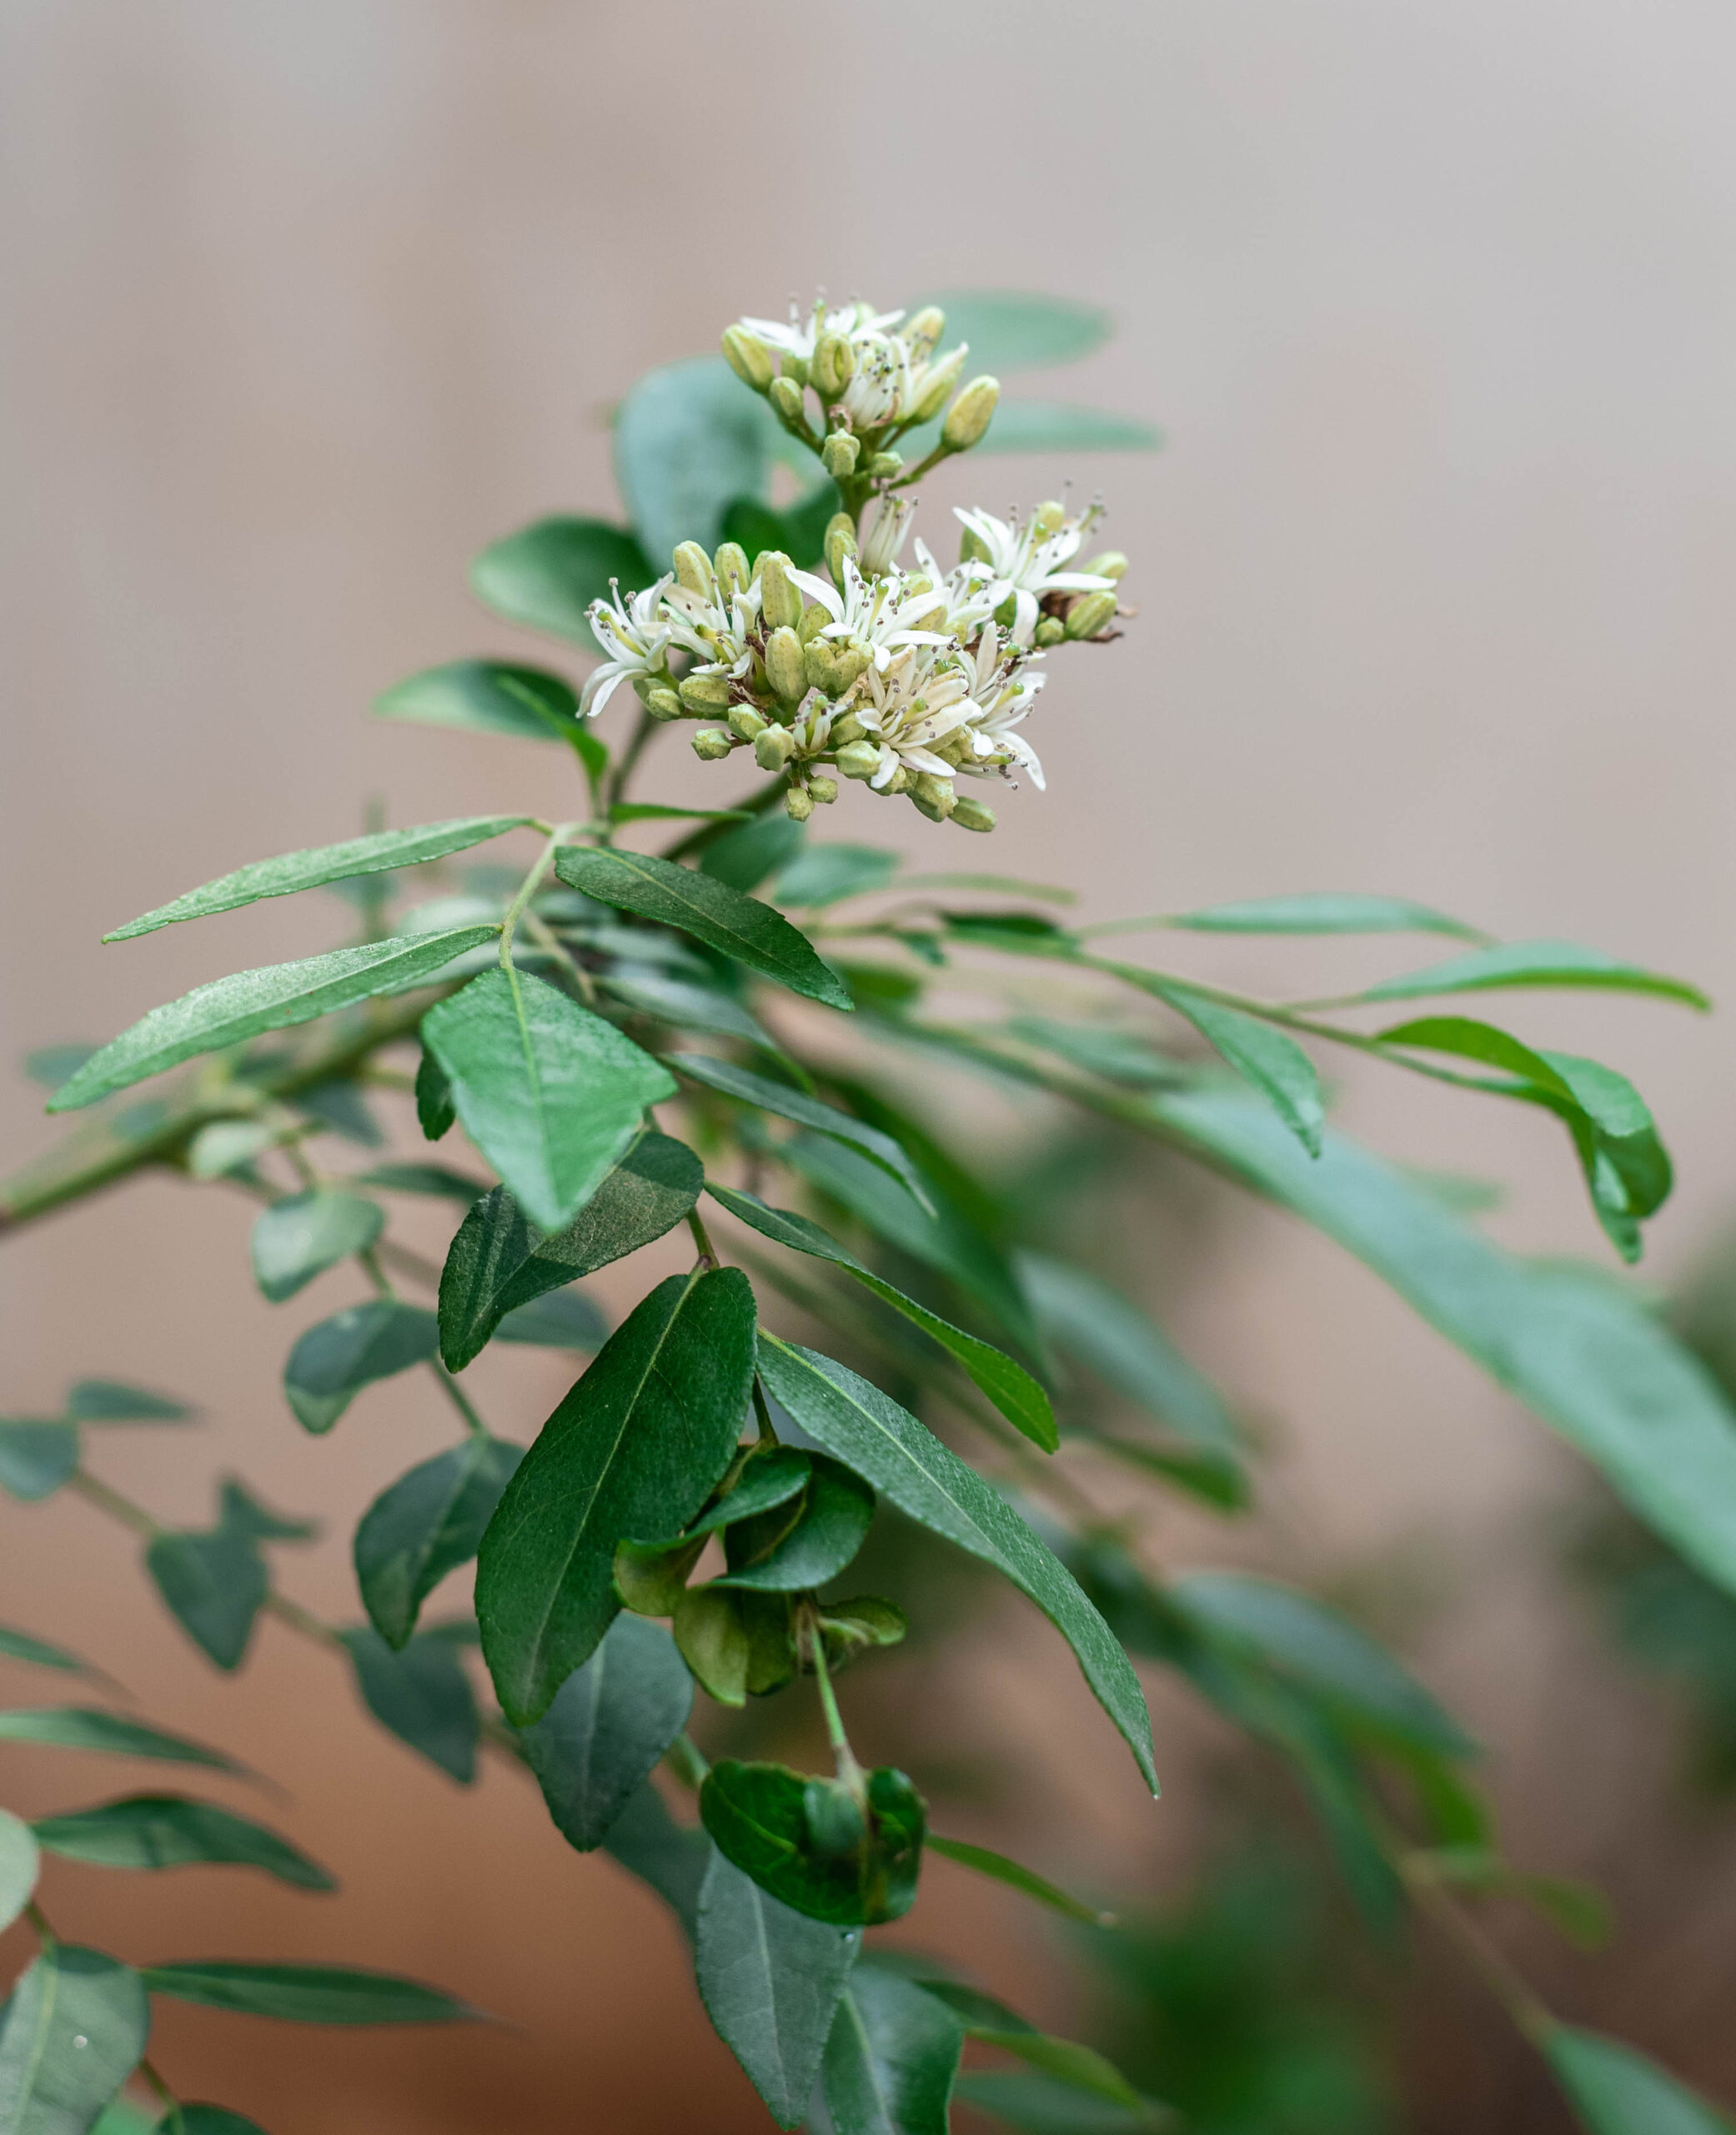
With the festival of Navaratri coming up, when chickpeas are served to guests in many homes in a simple dish called sundal, I had the humble legume on my mind once again. Only this time, I felt inspired to pair it with another ingredient that’s an essential in every South Indian home: the curry leaf. With the occasional rains we are enjoying in Chennai at the moment, my curry leaf bush has been in full bloom. And when I have so much in my garden or farm, you know that it usually tends to go straight into my kitchen. I took these two local ingredients and put them together in a fusion dish: curry leaf and green chilli hummus.

Hummus is a Middle Eastern dish that is a part of daily cuisines in that part of the world, and is usually eaten with breads. It’s also popular everywhere as a party snack, a perfect dip for everything from sliced vegetables to skewered meat. I’ve tasted a lot of beetroot hummus, so I knew that the basic puree lends itself well to flavourings. That’s when my curry leaves caught my eye.

Also known as “sweet neem”, curry leaf is an ingredient that we almost take for granted in our Indian kitchens. Tempered or fresh sprigs are thrown into curries, the powder is eaten with rice, and so on. It adds flavour to so many dishes that it’s just a ubiquitous part of our cooking. With a range of health benefits, including antioxidant and anti-diabetic properties, it’s no wonder that our ancestors incorporated it into as many meals as they could.  Now that I grow curry leaves in my own home, I have been learning a little about the plant too. Did you know that the tiny berries, which are not used in cooking, are actually high in Vitamin C – but that their seeds are poisonous?

Long ago, my hummus attempts would be so mediocre that a good friend would send me tubs as I so enjoyed the dish. Over time, I learned how to make it and stopped depending on those shipments, just as I stopped depending on store-bought cakes and even began to experiement with homegrown ingredients. Trial and error is the key to learning, and by studying different recipes and adding my own touches, I finally arrived on a version I loved.

The main ingredient in hummus is the humble chickpea, which is a staple not only in the Middle East but all over India in its many forms. It’s eaten boiled for a healthy snack, powdered and roasted and used as a binder, and known by so many names – puttukadalai, chana dal, kabuli (did this come to us by way of Kabul, I wonder?), chole and so on. Abroad, you may know this legume as garbanzo beans. The darker variants have a higher iron content, while the chana dal I use for thus hummus is rich in protein and fibre, thus filling you quickly and also aiding weight loss. It is known to lower cholesterol and diabetic risk, and also has high zinc and folate content.

The traditional hummus has a bland, though satisfying, taste. I thought of how I could kick it up a notch. That’s when I decided to add the equally ubiquitous green chilli, which is rich in Vitamin C, great for digestion – and very piquant!

Tahini, which is made of ground white sesame, and olive oil round out the Middle Eastern flavours. Fortunately, these are widely available at good supermarkets in India and other countries. I used some wonderful olive oil I picked up in Portugal recently, which will be featuring in my blog soon.

The day after I made this curry leaf and green chilli hummus at home, I went to Goa and to my delight, my good friend the designer Wendell Rodricks served the very same dish in his home! I squealed! The coincidence was just too thrilling, and I wanted to share my recipe immediately, so you too can serve it soon.
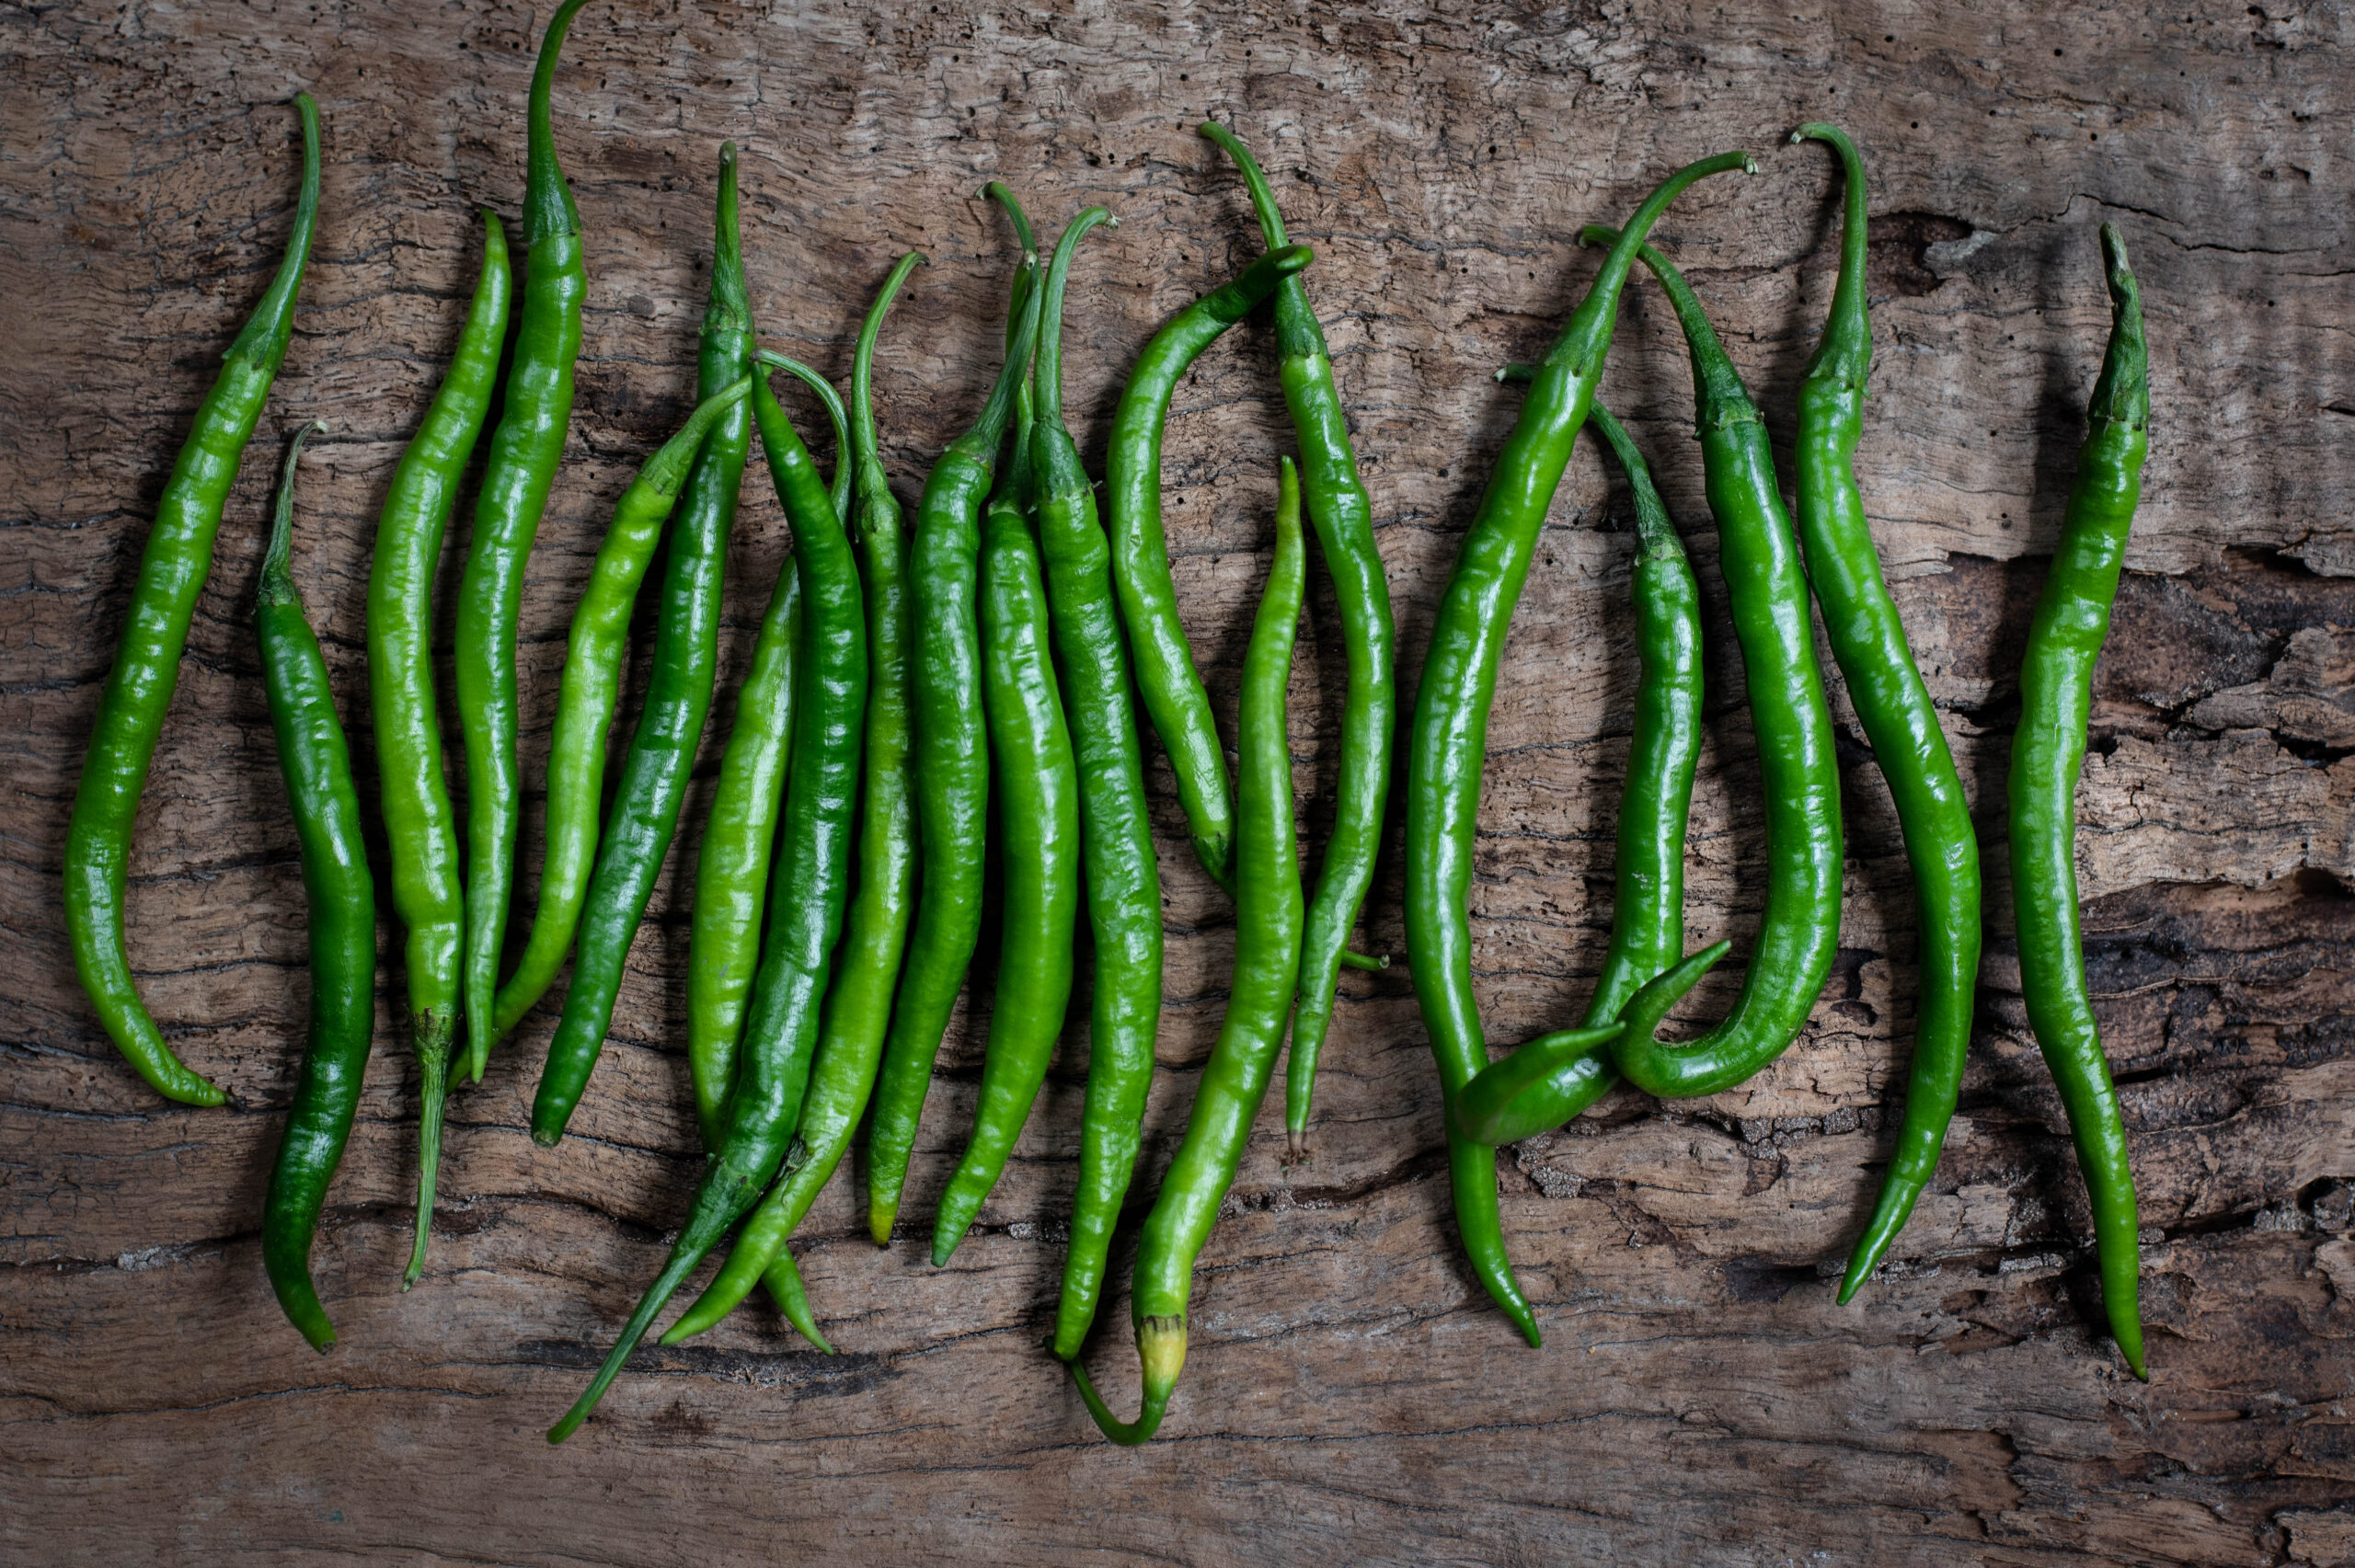
Curry Leaf & Green Chilli Hummus

(Yield: 1 bowl)


Ingredients

1¼ cups cooked/boiled chickpeas

3-4 garlic cloves

1 tablespoon tahini

2 tablespoons lemon juice

½ teaspoon salt

¼ cup olive oil

1 cup washed curry leaves

1 green chilli

Water


In a blender, add the curry leaves and green chilli with 2 tablespoons of water. Blend until you get a smooth paste. Keep aside.

Next, blend the soft cooked chickpeas along with garlic, tahini, salt, half the olive oil and lemon juice.  Blend well until the paste is smooth and looks creamy.

Now, add the blended curry leaf paste to the creamy chickpeas and whir once again until it all mixes well. Adjust the salt and lemon quantities to suit your taste.

If you feel it needs to be creamier, add more water or olive oil to the blend, until it achieves a dip-like consistency.

The curry leaf hummus is now ready to serve. You can have it the traditional way, with flatbreads, whether that’s the Middle Eastern pita or the North Indian naan. Or some healthy quinoa chips, for a wholesome snack. Crunchy vegetables like carrot or celery sticks, toasties, or rice crisps (to keep that South Indian sensibility) are also excellent accompaniments. With a mildly yet surprisingly flavourful curry leaf hummus like this – it’s the dip that’s the main dish, not the accompaniment!

And if you just can’t get enough of that flavour, why not try my curry leaf and raw mango cooler as well?

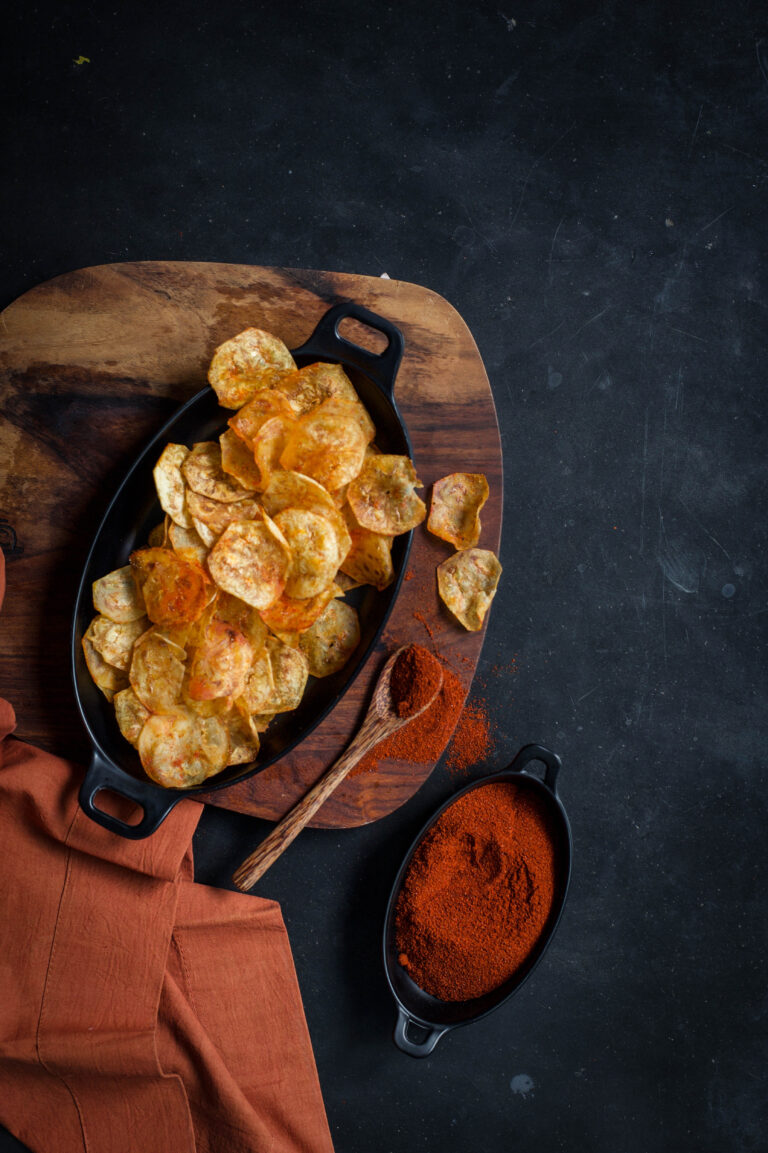
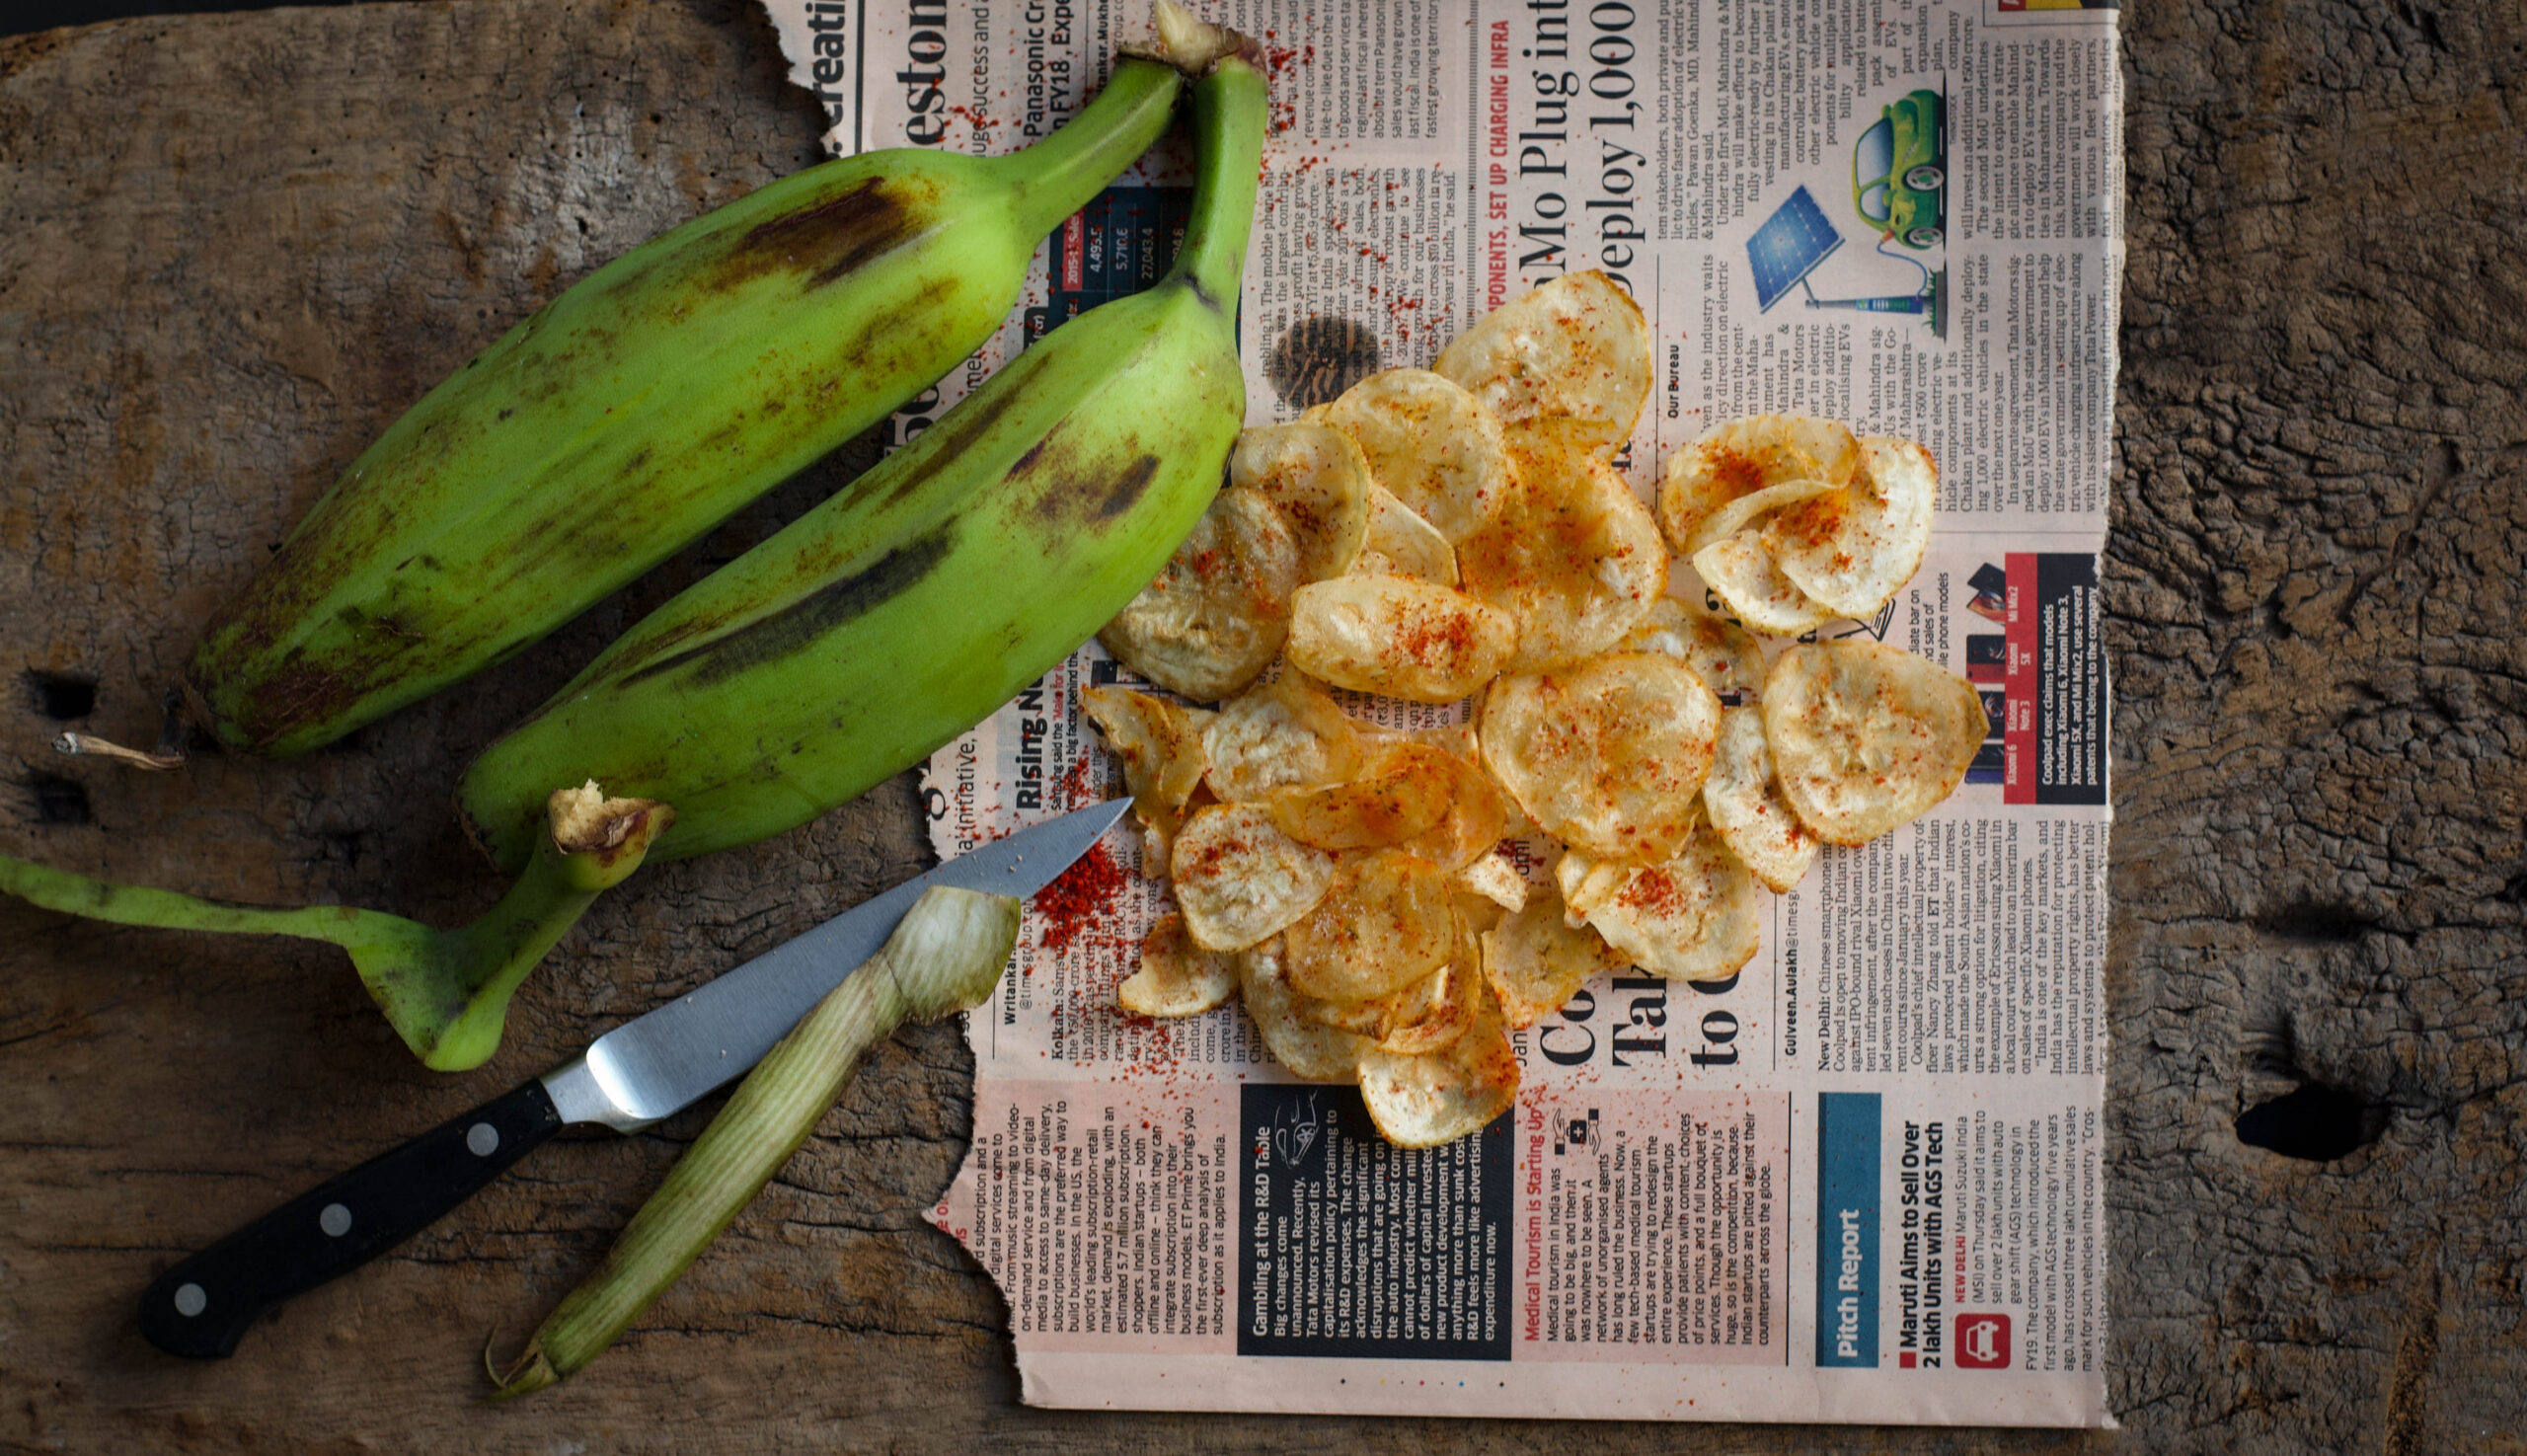
For someone who grew up disliking bananas, I’ve simply not been able to get enough of them this month! I hope you enjoyed my previous recipe for banana bread. There’s been a windfall of plantains on my farm, and so the fruit has found its way into several more dishes I’ve made lately. The recipe I’m sharing today adds a bit of crispiness to my traditional lunch thaalis. It’s so easy to make, and so difficult to resist. I really have gone bananas for these banana chips!

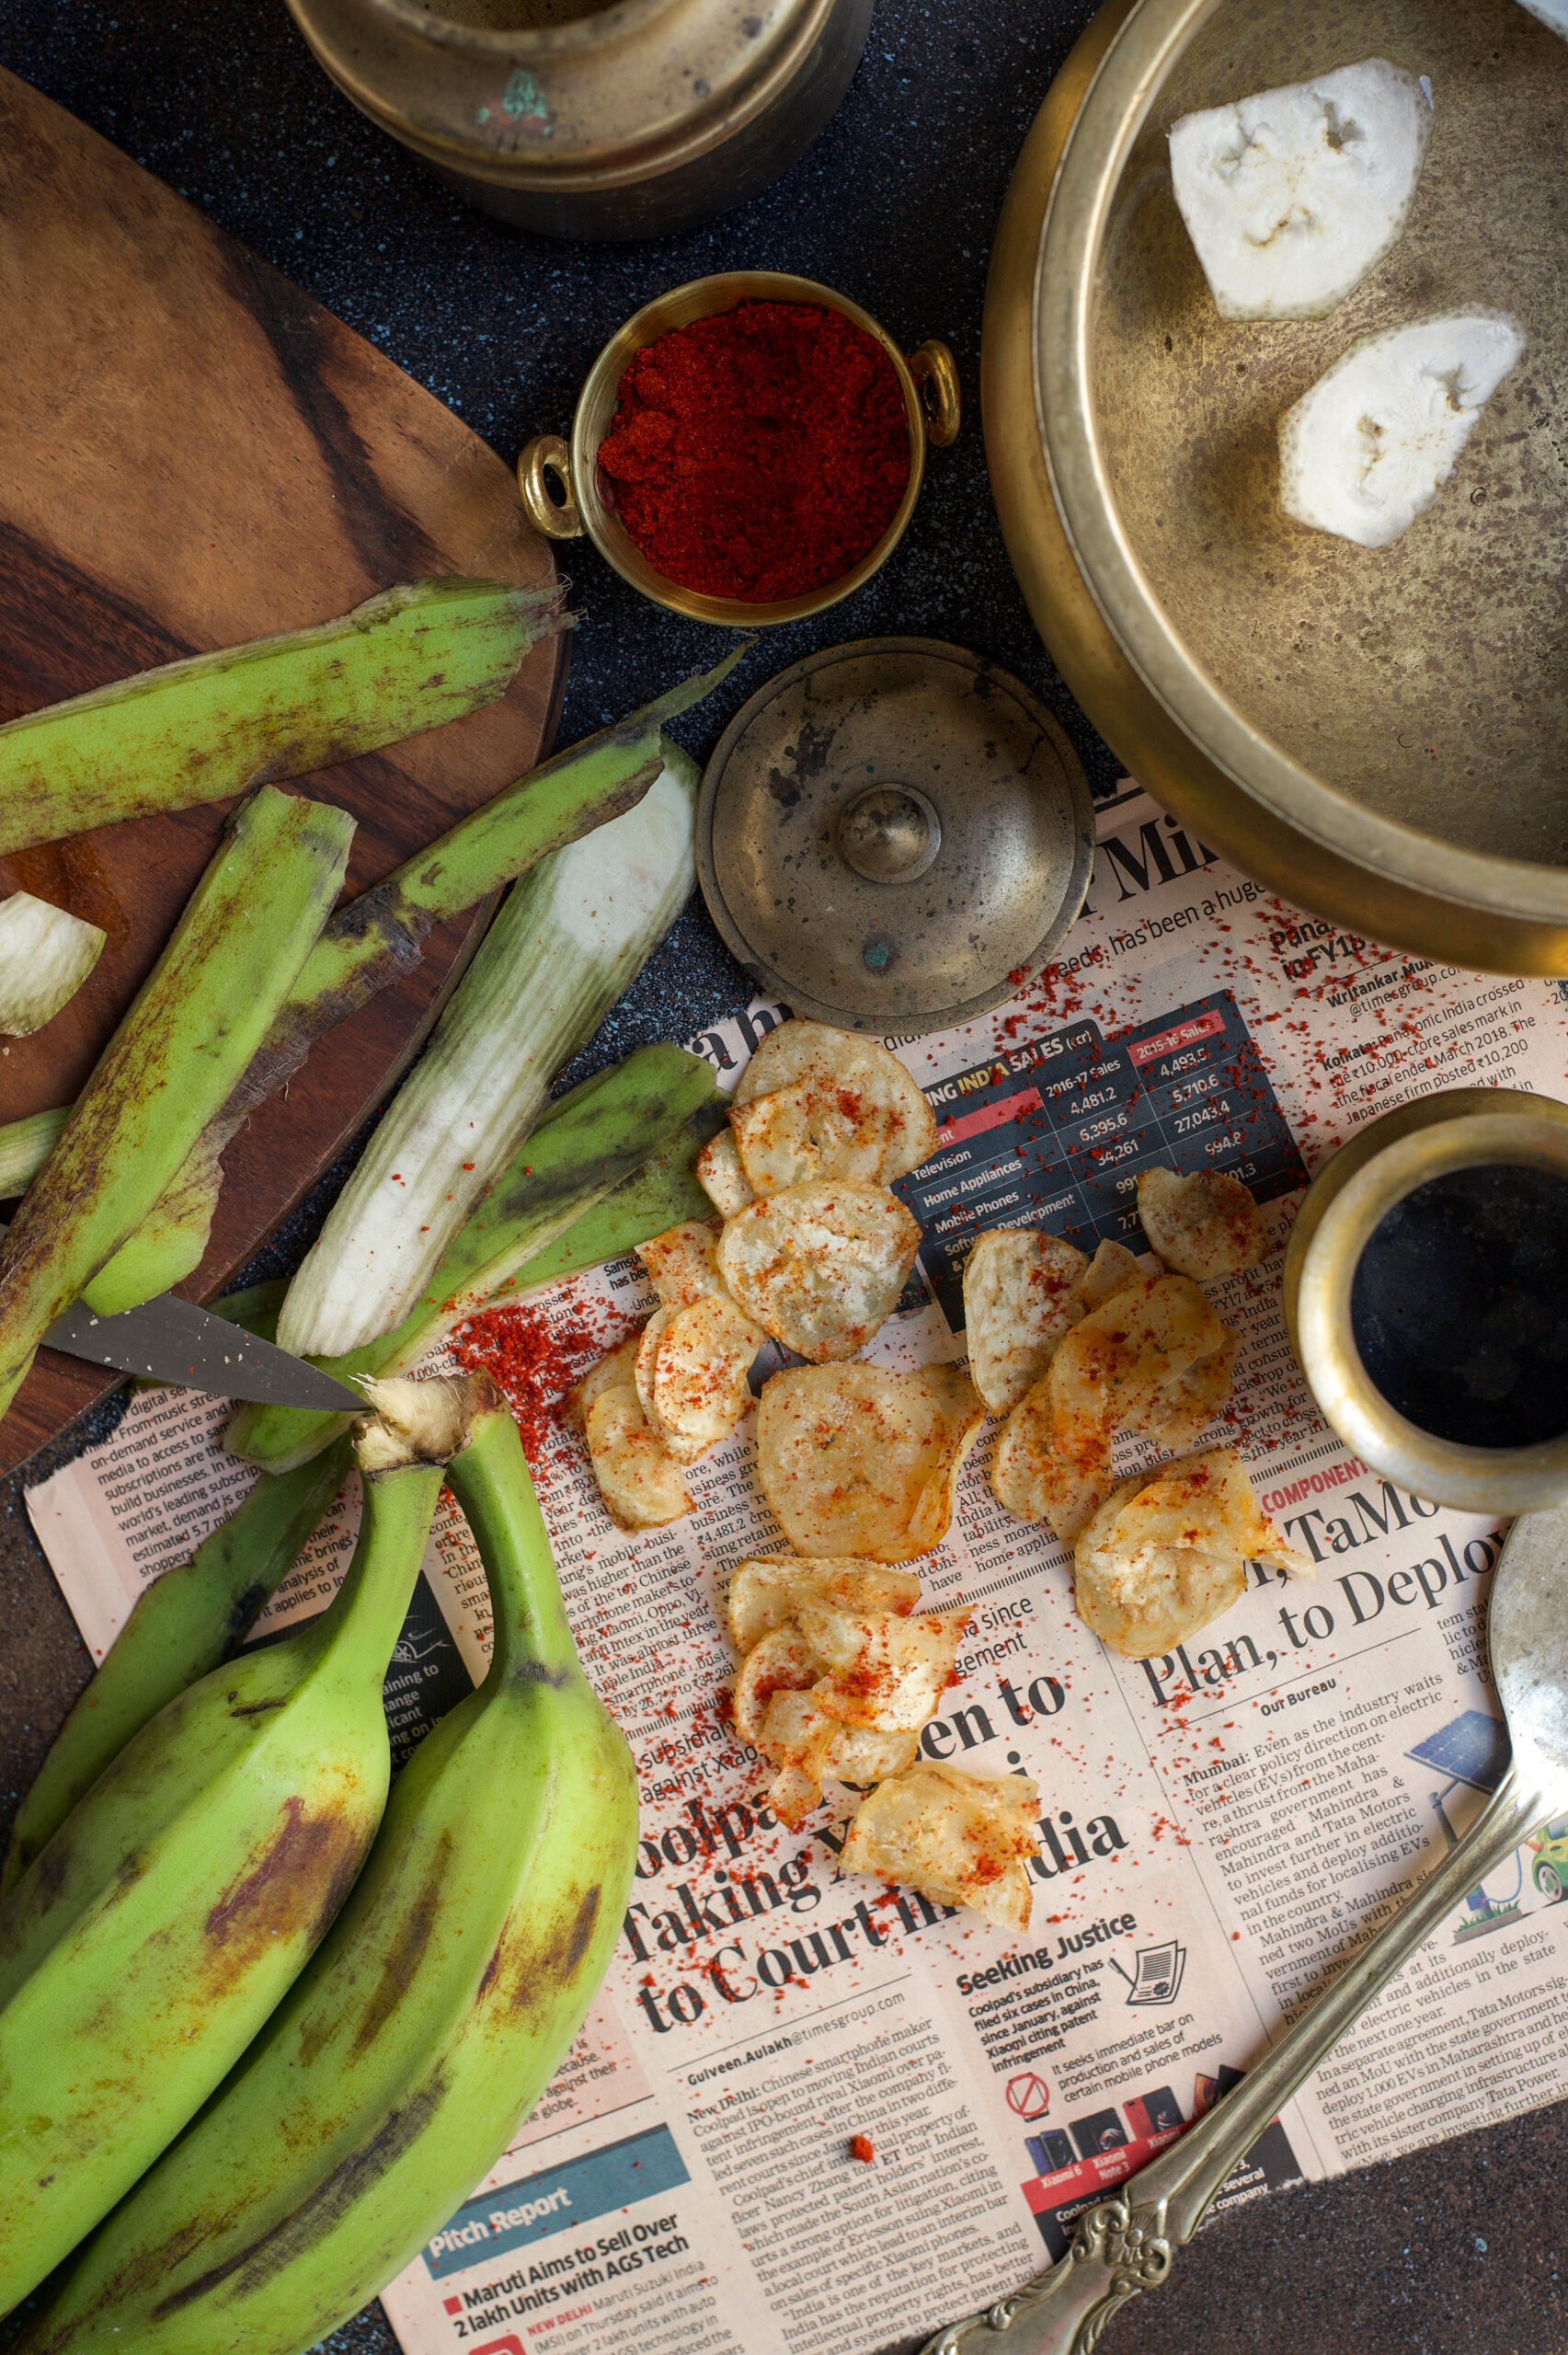
These chips don’t use the ripe bananas that we peel and eat when in need of a portable snack. Instead, they use unripe green plantains of the Monthan variety, which fruit in the 8th or 9th month after planting. They are not sweet, unlike ripe ones, but are edible both raw and cooked. Rich in potassium, iron and several vitamins, they are used in cuisines in Polynesia, Jamaica, and here in India of course. The banana tree itself is considered sacred in Hinduism, and is worshipped in some sects and used in wedding ceremonies. Not only the fruit but the flower too can be consumed, and food is traditionally eaten on a banana leaf itself.

I have a new gadget in my kitchen that I picked up on one of my travels – a nifty slicer that lets me quickly slice the banana directly over hot oil, so I was quite excited to use it when my sister taught me how easy these chips are to make.

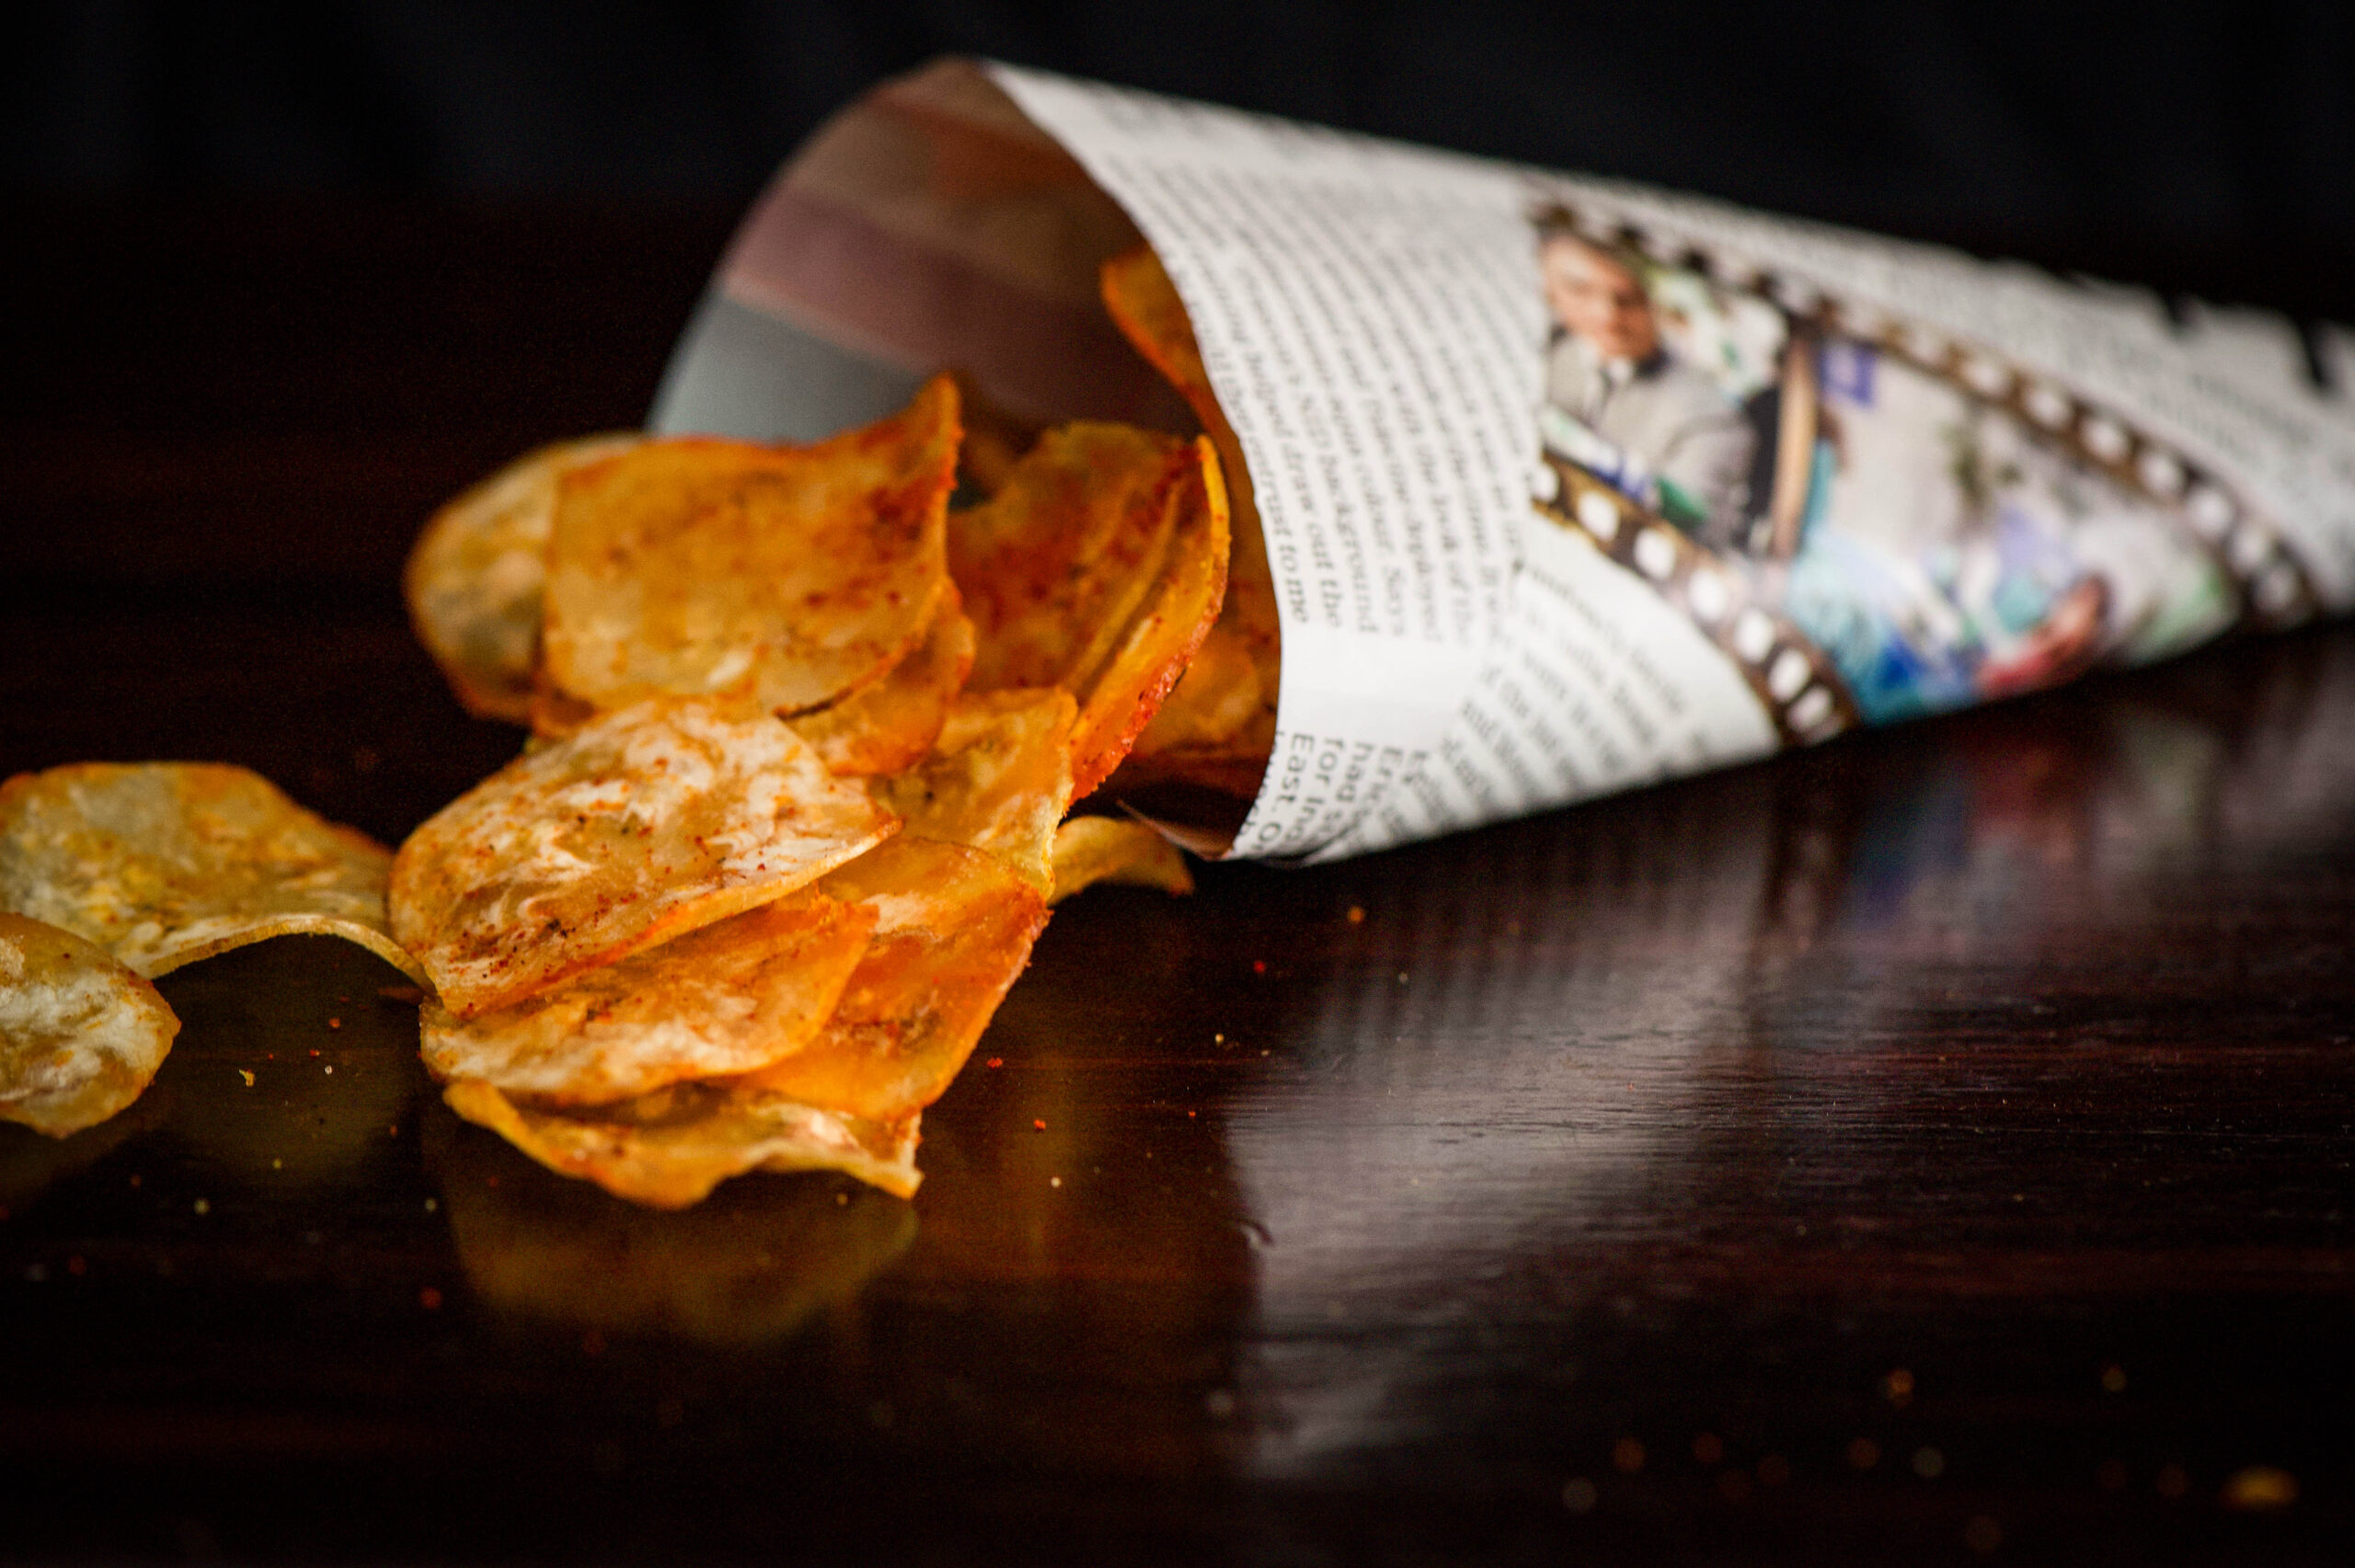
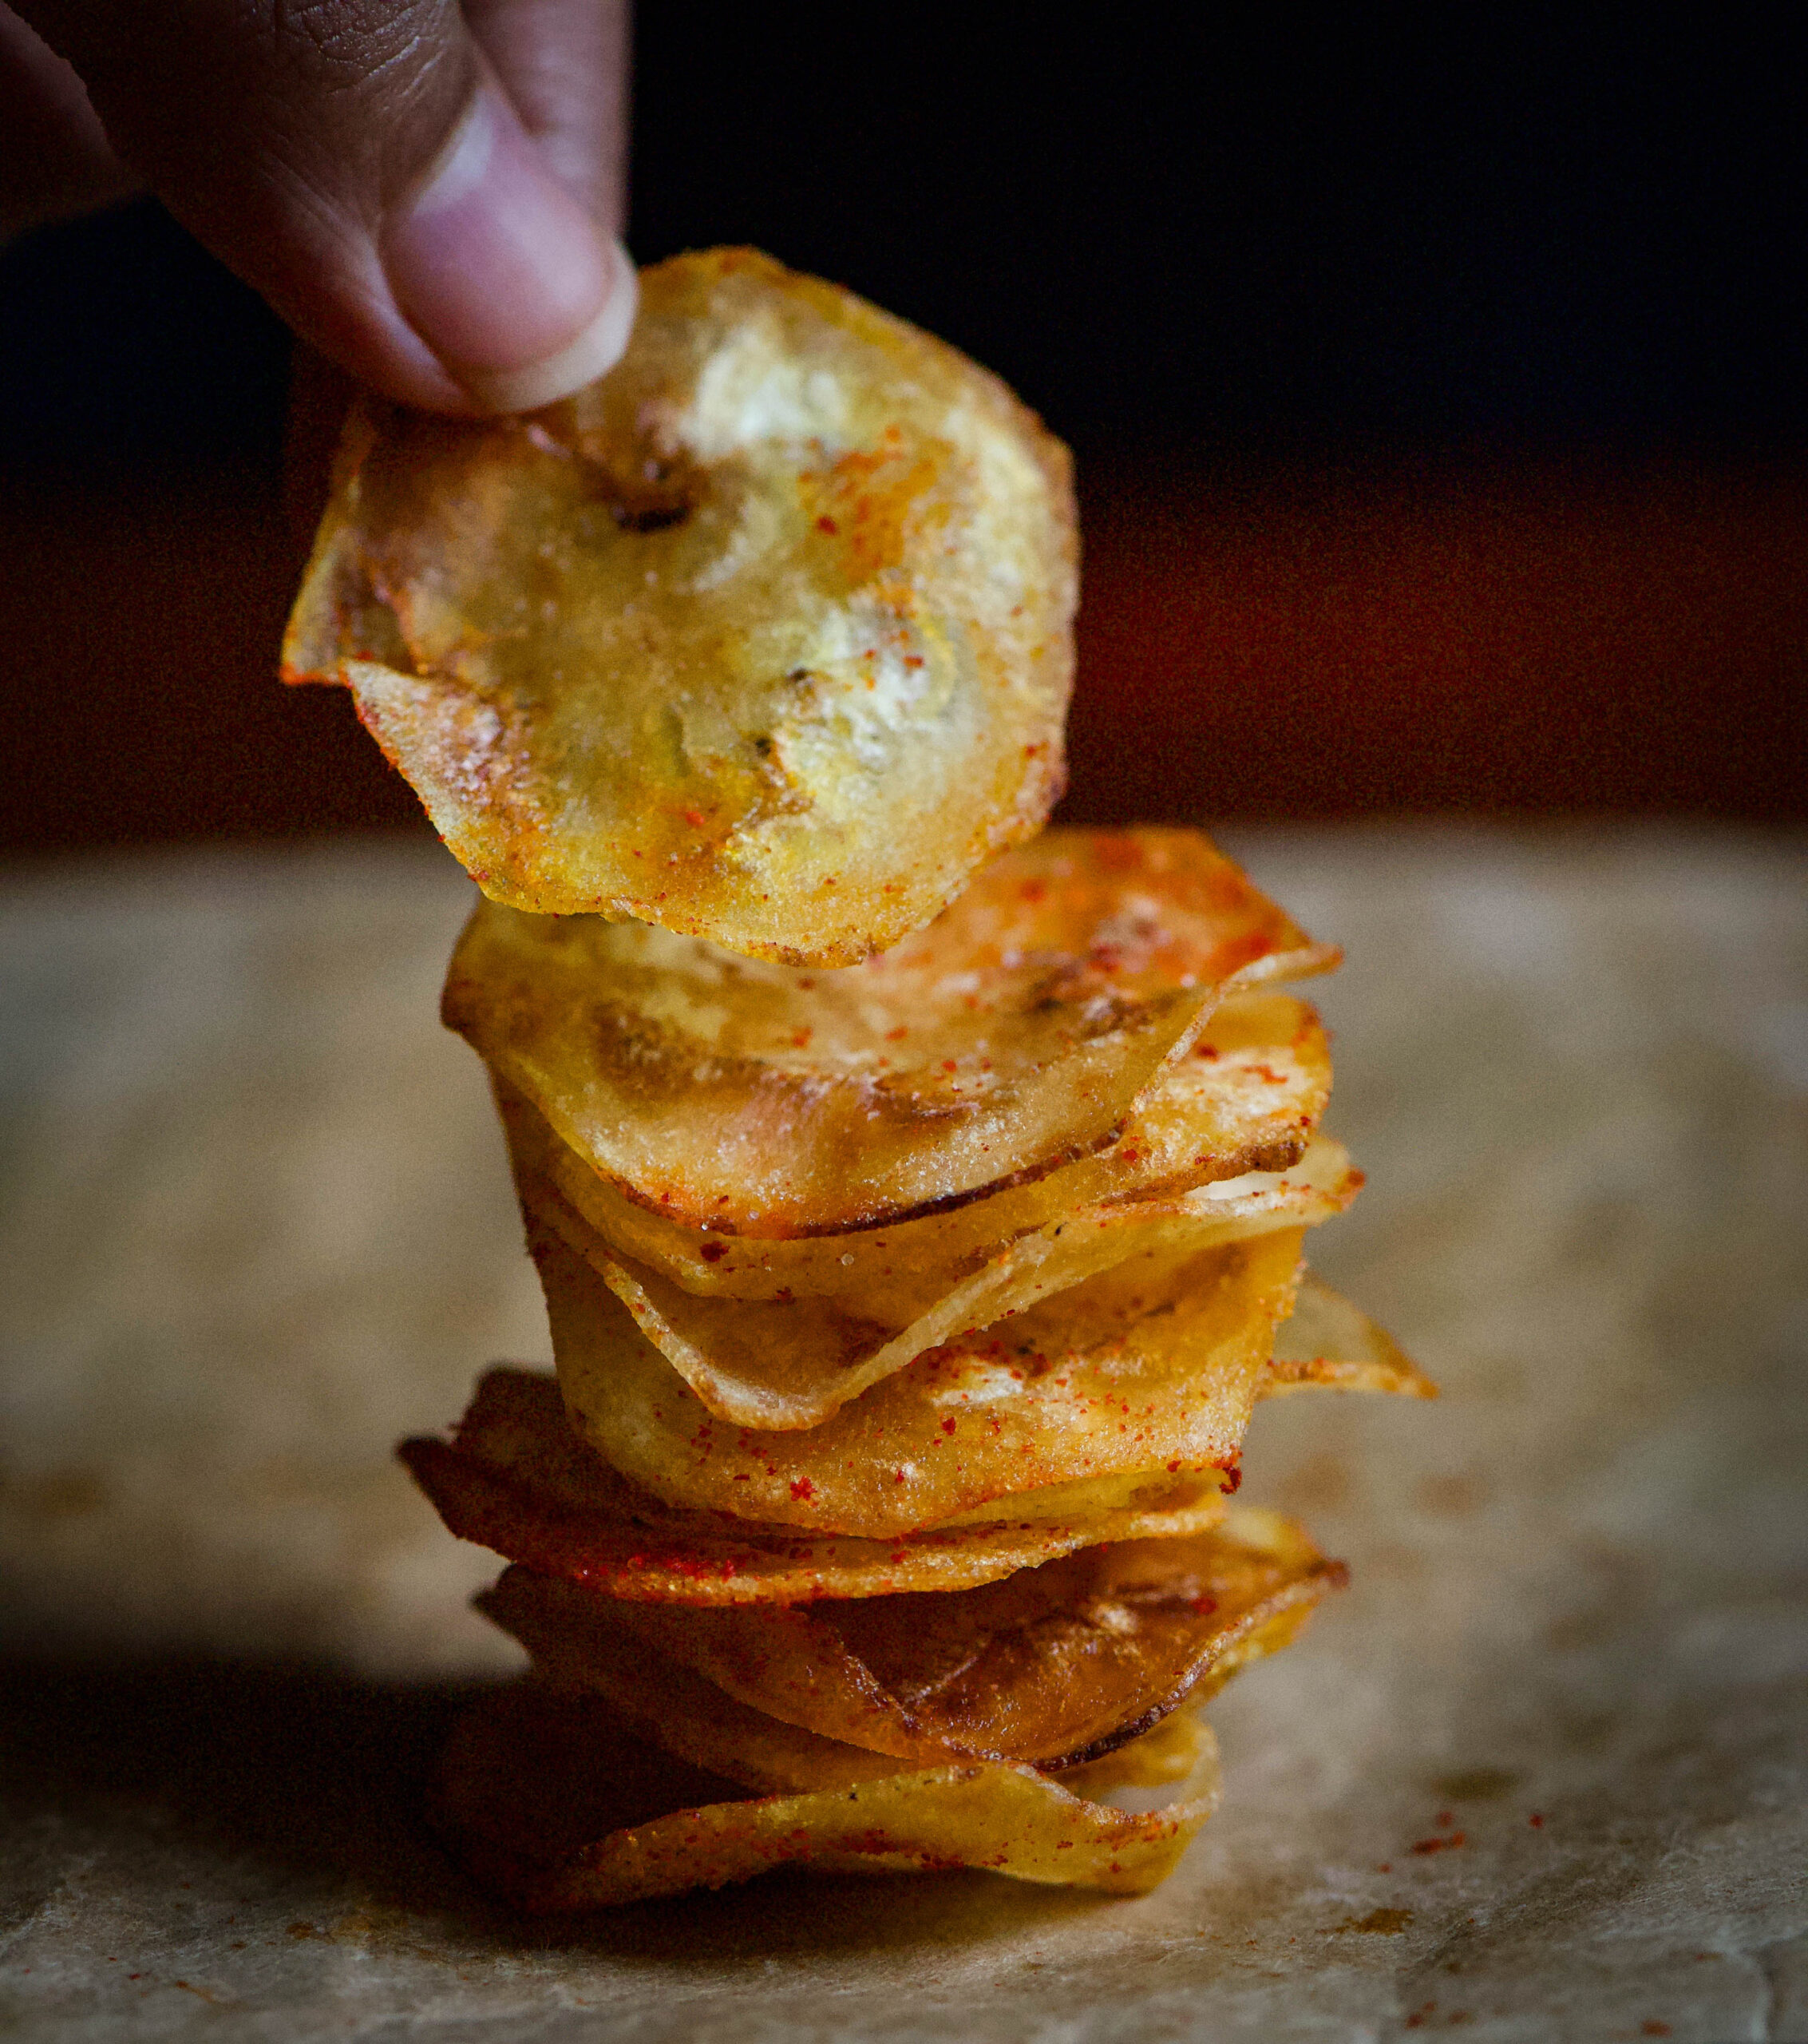
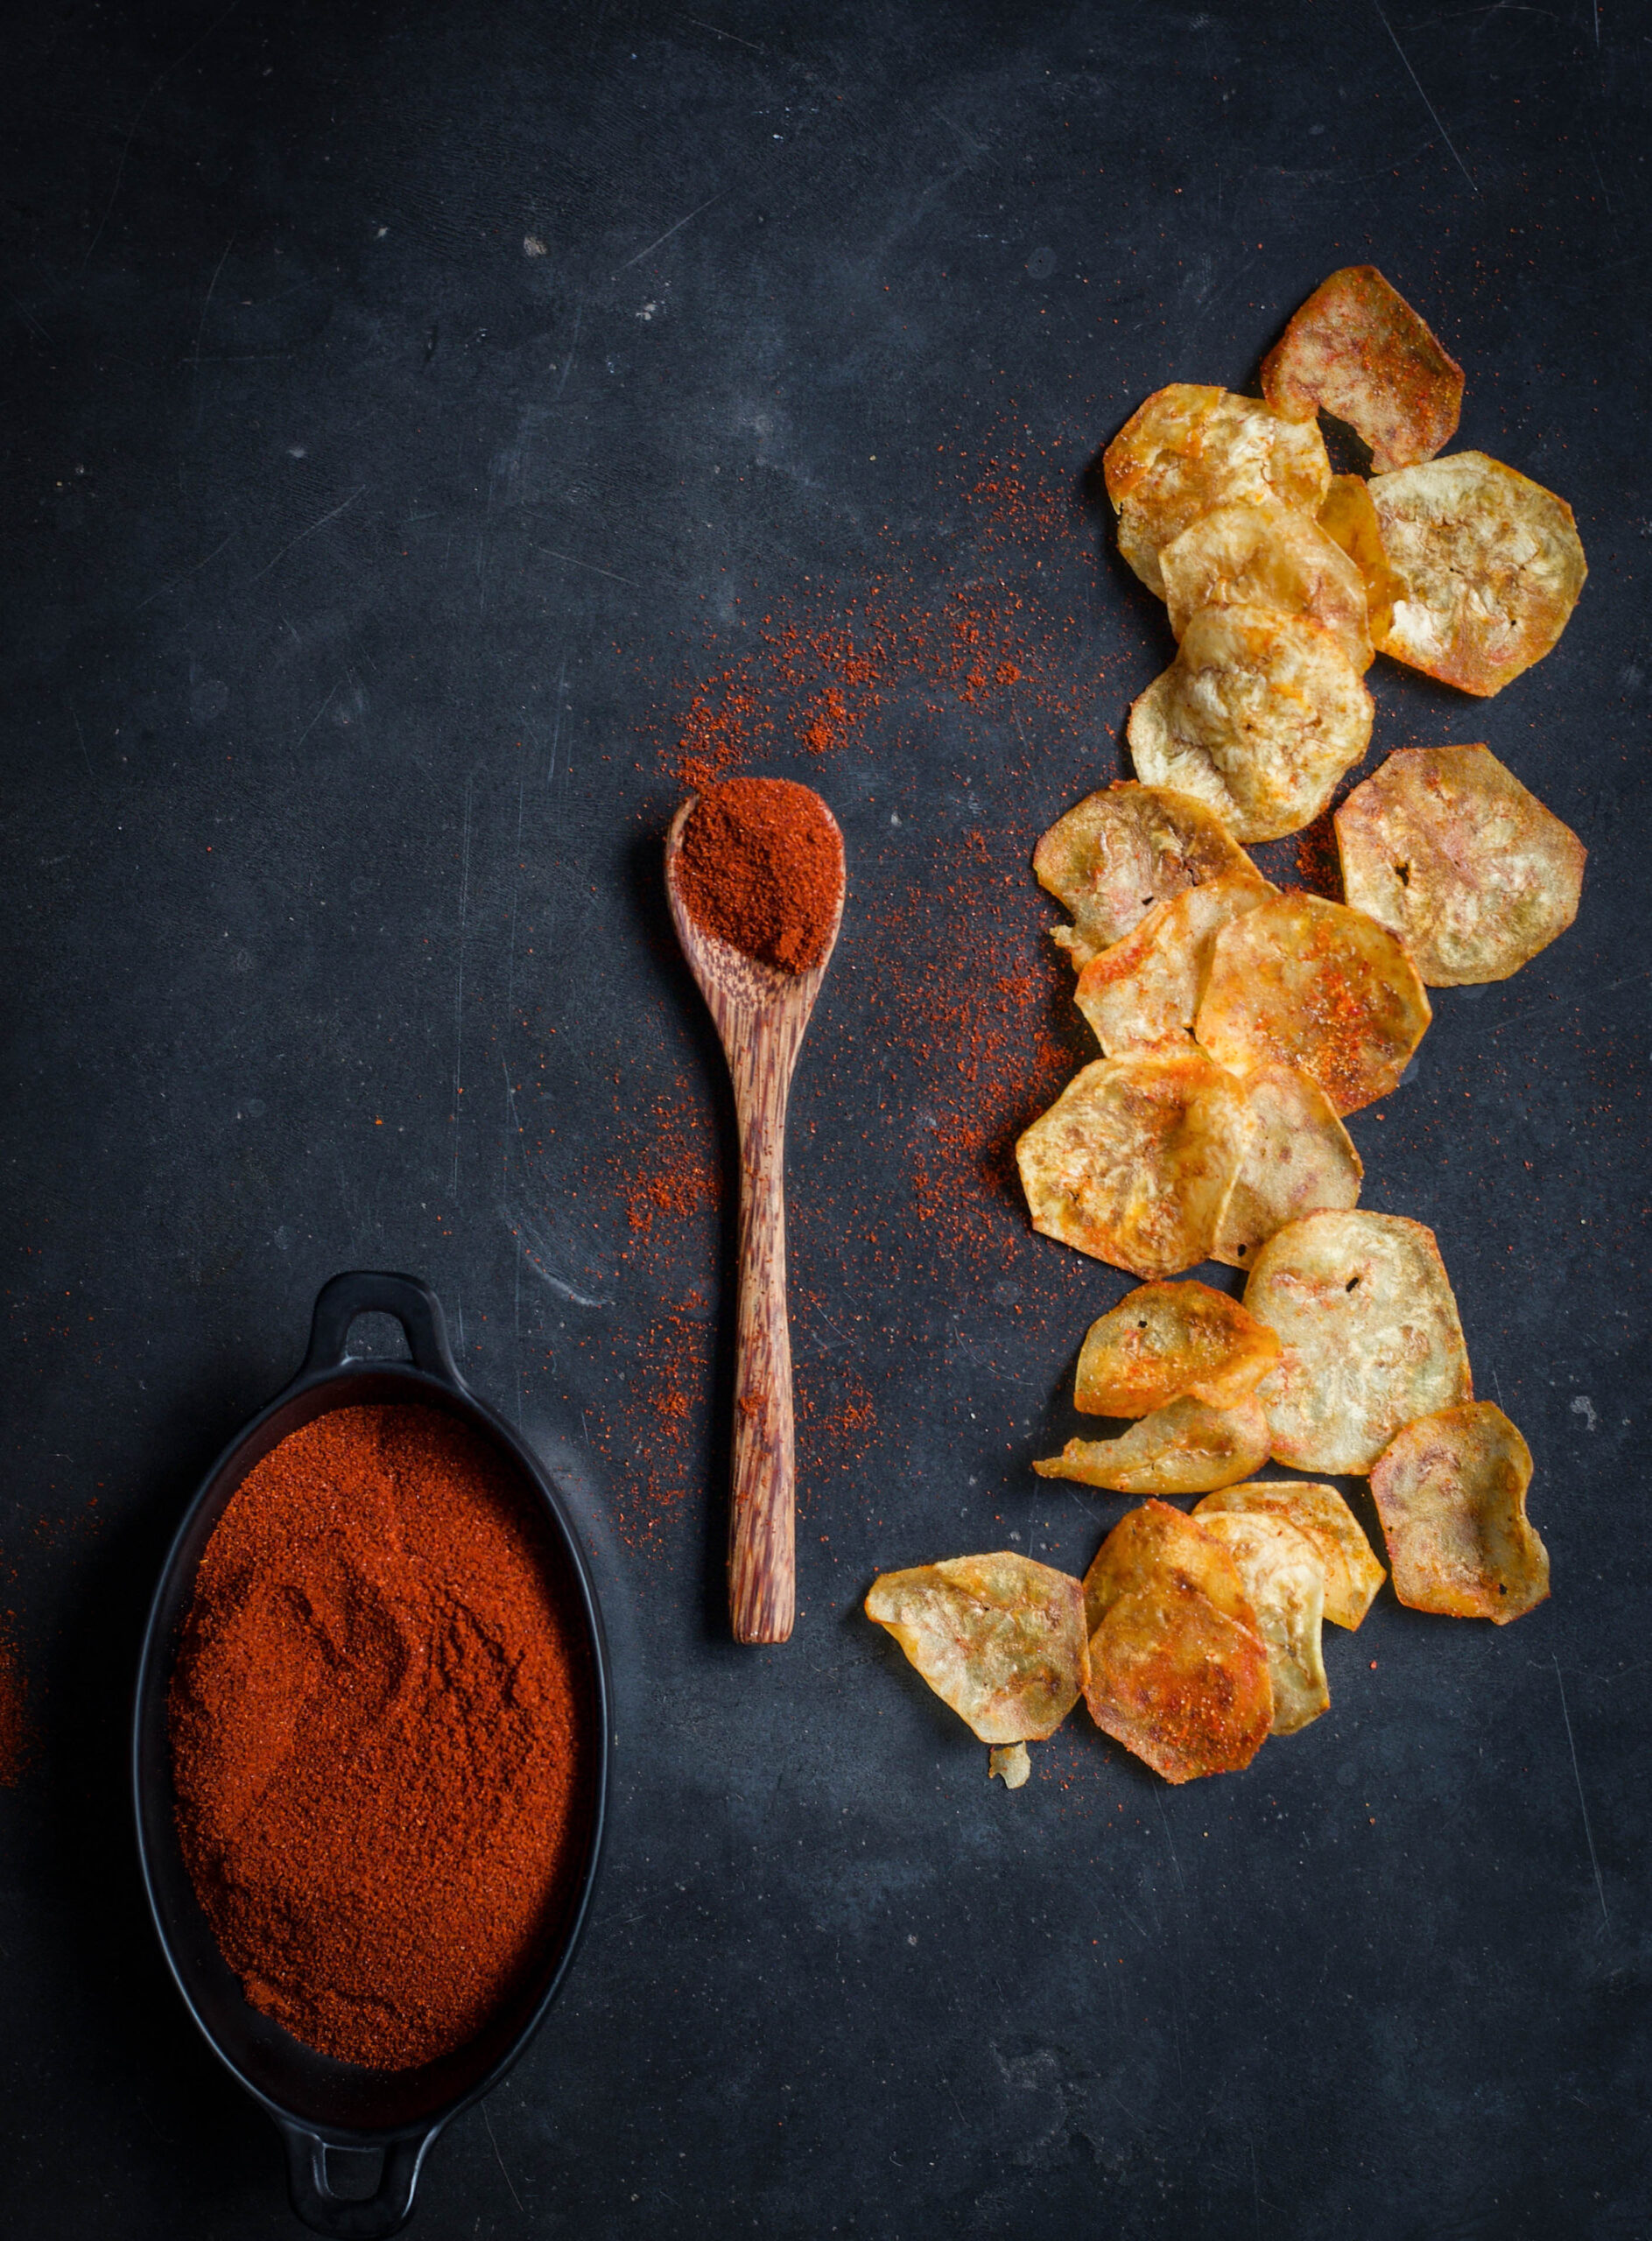
Banana chips are made all over India, but they differ from state to state. The famous Kerala ones, for instance, are cut thicker and are bright yellow. These Gujarati-style ones are thin and reddish-coloured because of the spices used. They are called “kudkudiyas” – a bit of onomatopoeia, because of the “kud kud” crunch sound. They remind me of all my visits to Ahmedabad, and in fact my husband (aka The Dark Prince!) is so partial to them that I order them for him all the way from that city. Fortunately, everyone at home loves my banana chips too, so they can now have them fresh and not imported!

Gujarati-Style Banana Chips

(Yield: Approximately 1 bowl)

Ingredients

1 large raw plantain

Salt to taste

¼ teaspoon chili powder (or to taste)

¼ teaspoon powdered sugar

2 cups oil (for deep frying)

Heat the oil in a frying pan. Peel the plantain and wash it. Be watchful as it may be a bit sticky to the touch.

Slice the plantain and immediately drop the slices into the hot oil. If you use a gadget like I do, you can slice them directly over the pan.

Now reduce the flame to medium. Turn the slices around a few times until they turn golden.

Remove them from the oil, placing them onto an absorbent paper. Immediately sprinkle the salt, chili powder and sugar. Make them your way by adding spices of your choice, such as pepper or chaat masala. The trick is to add the spices as soon as they’re off the oil because this is the only way the spices will stick to the chips. Also remember that the thinner the slice, the crispier and tastier they’ll be. Store in an air tight jar. Enjoy the crunch!


This exact same recipe can also be used for sweet potato chips, if you prefer them to green bananas or find them more readily available.

I prefer using these homemade banana chips instead of any store-bought snack to add crispiness to our lunch thaalis at home. They are cleaner and healthier, and I know exactly what’s going into our mouths, so I don’t mind that they are deep fried.

Even though these banana chips are made in a popular and easy style, you will surely agree that every dish tastes different depending on the cook. Each home and each hand has its own flavour, despite the recipe being exactly the same. Even something as simple as banana chips will have a unique taste. When you try this recipe, be sure to let me know how yours tastes!

Come summer, every family in India uses the mango in their daily cooking. It can be found in literally every dish: dals, sabzis (cooked with vegetables), pickles, curries, desserts and more. Everybody wants to get creative with the mango, and why not? With 1,500 varieties said to grow in the country, each one sweeter than the other, we are rightly proud of the fruit and look forward to the season eagerly. The different varieties have such beautiful names too: the neelam in Gujarat, the alphonso in Maharashtra and the nectar-sweet imam pasand of South India are but some. While we are unfortunate to not have the pleasure of berries here, the mango more than makes up for it.

Mangoes are popular globally, though they originated in the Indian subcontinent, and are cultivated everywhere from Andalusia to the Caribbean. They are the national fruit of three countries (India, Pakistan and the Philippines) and the national tree of Bangladesh. I have yet to meet a single person who doesn’t like mangoes!

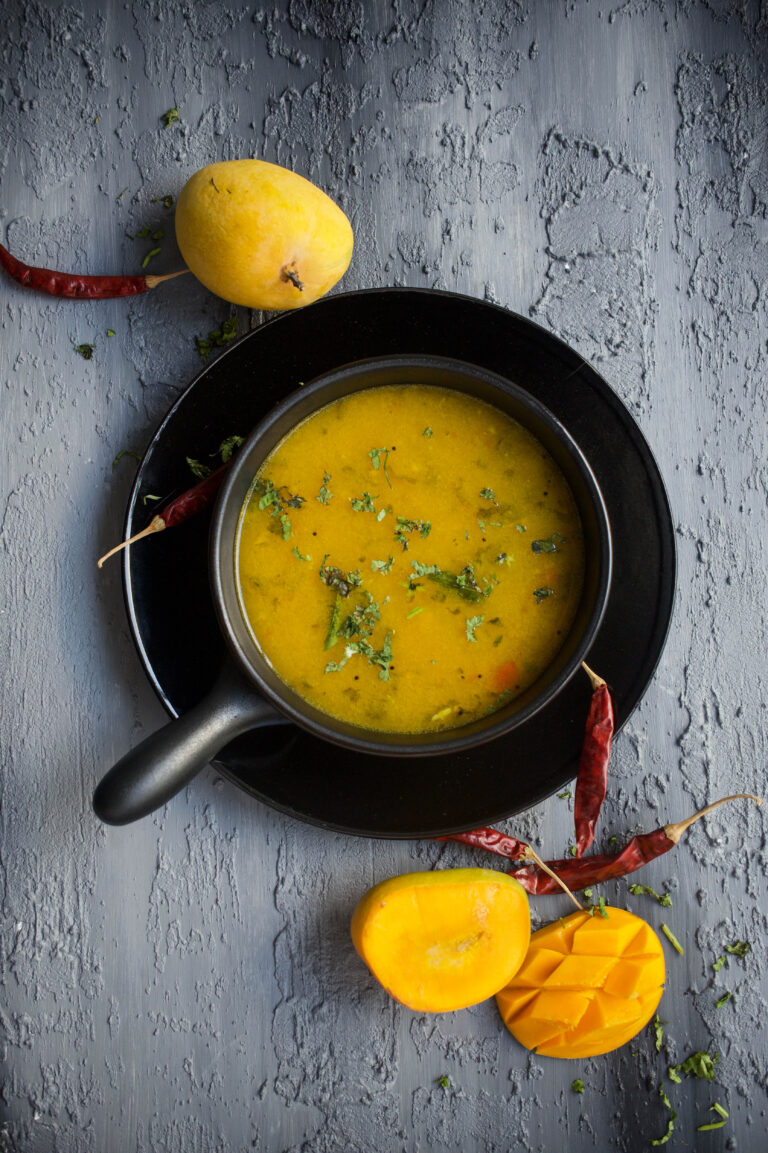
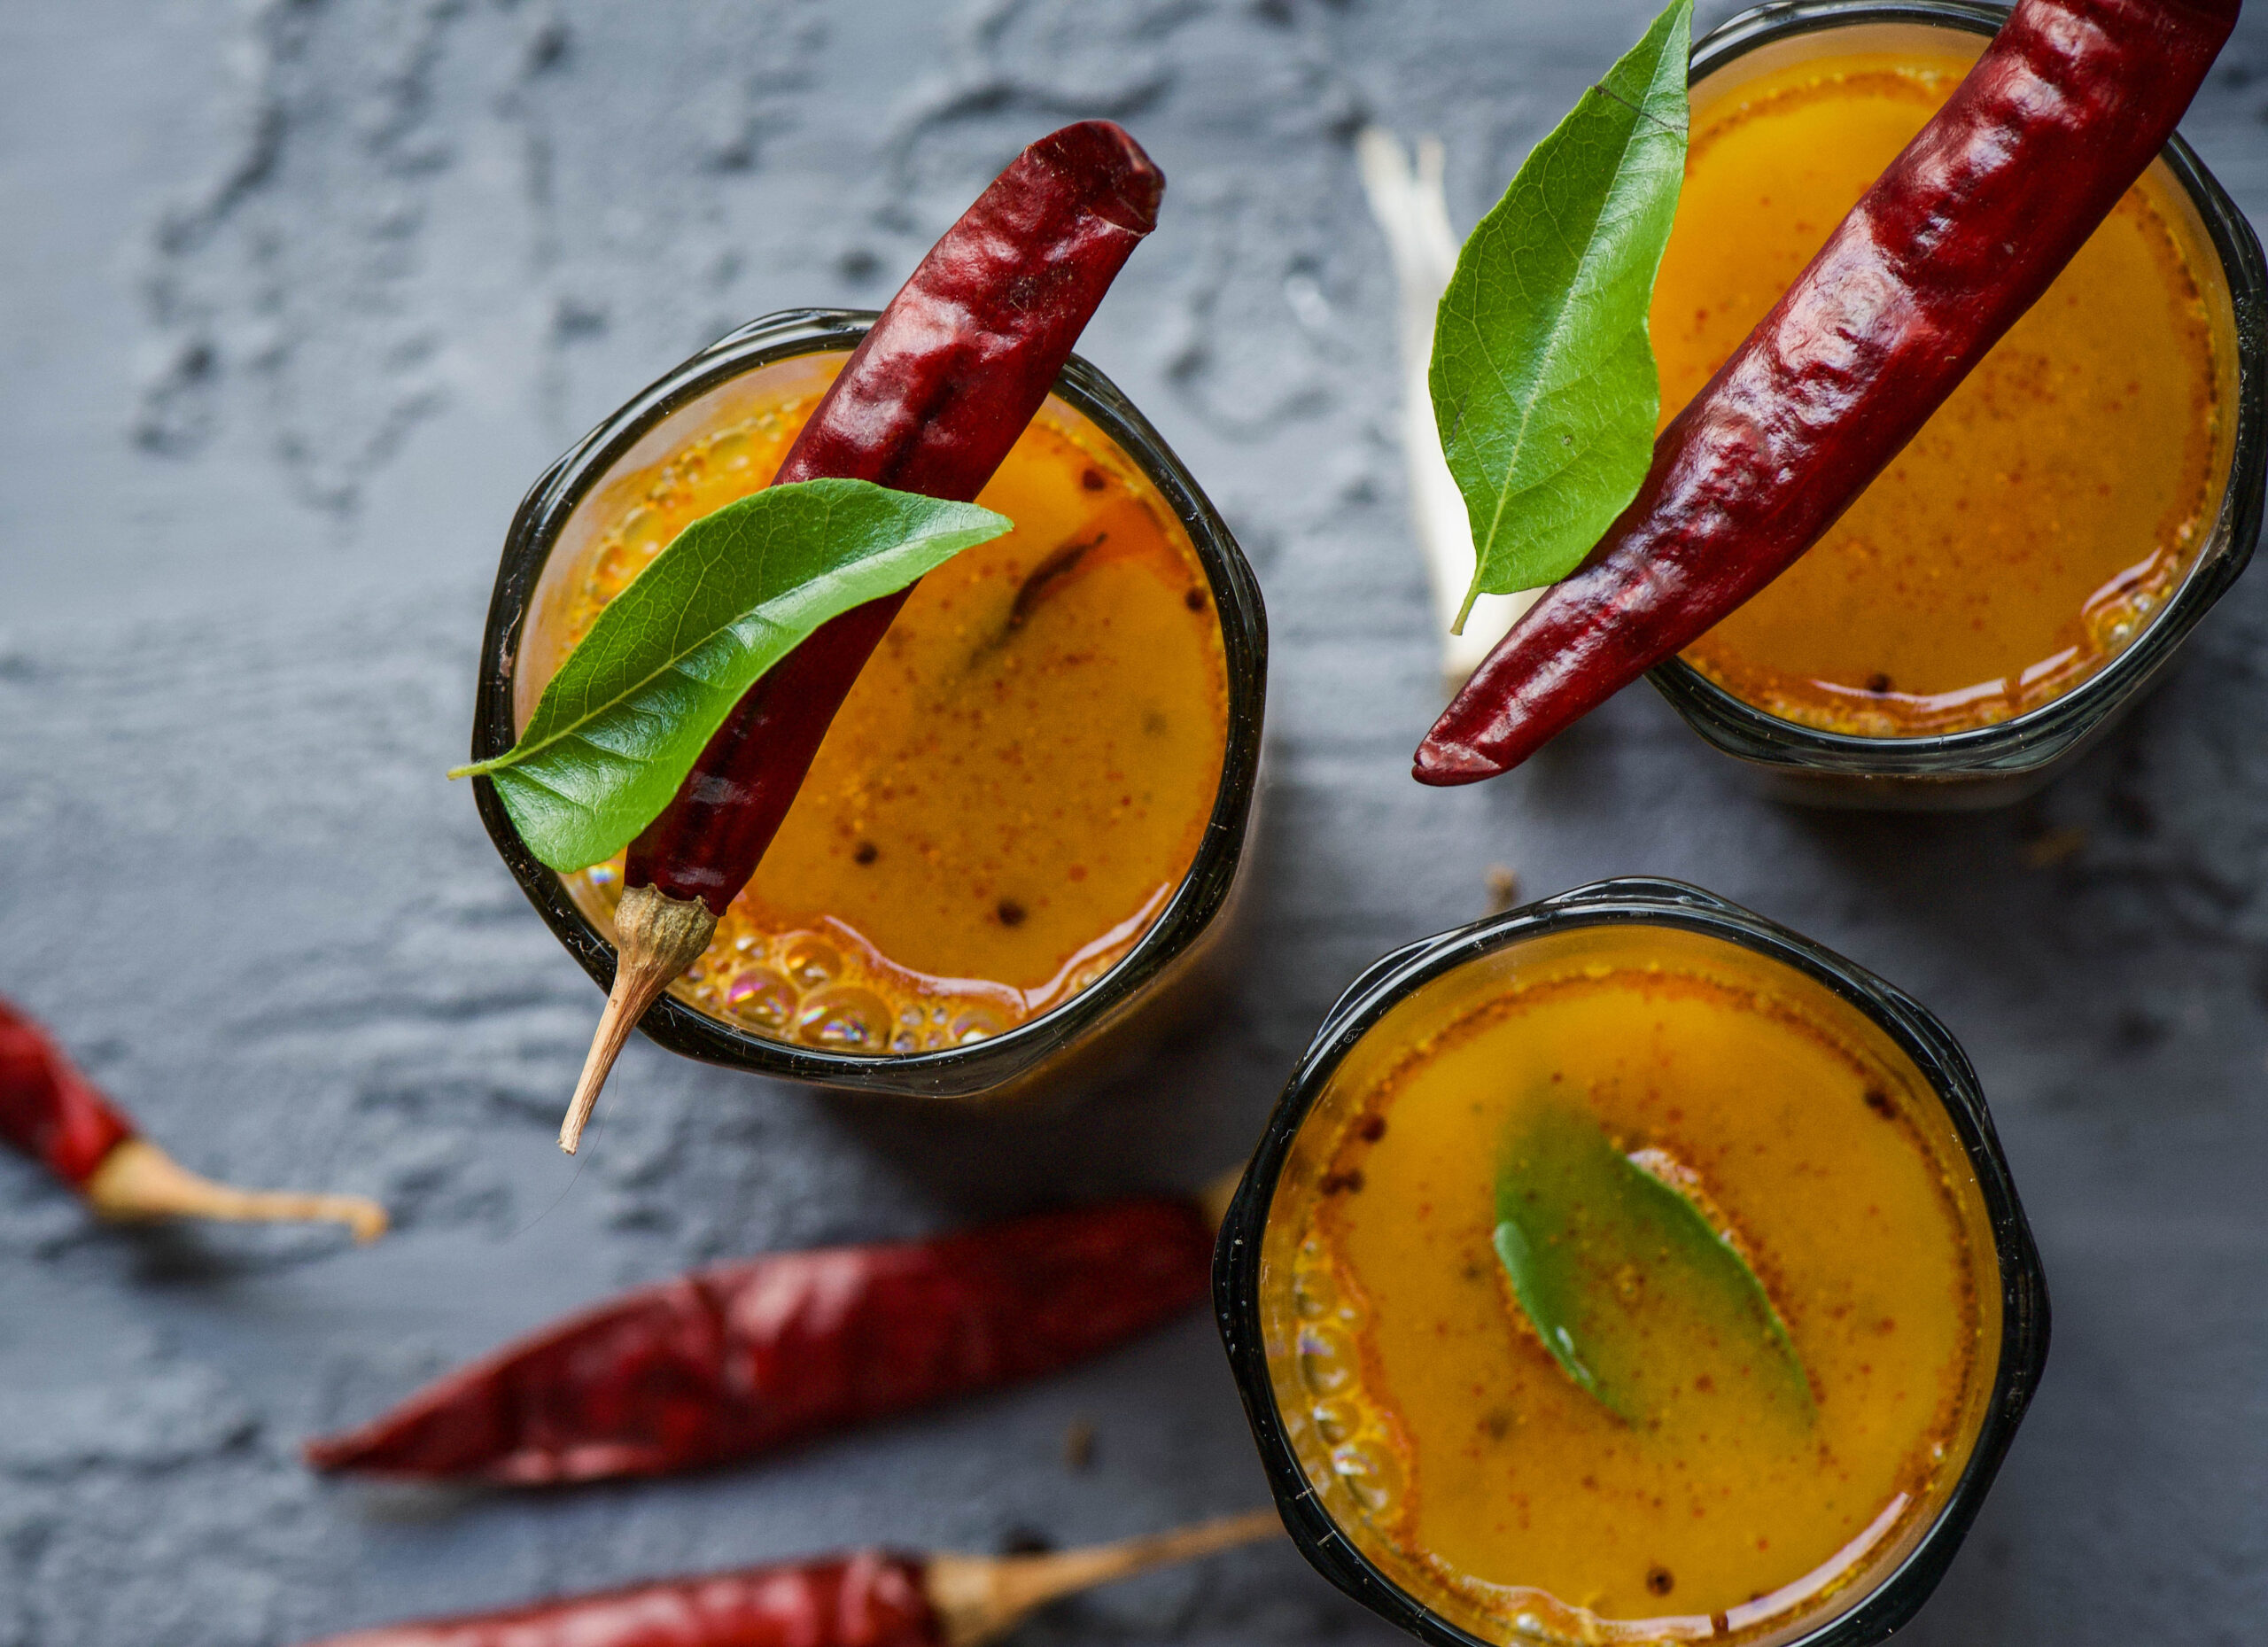
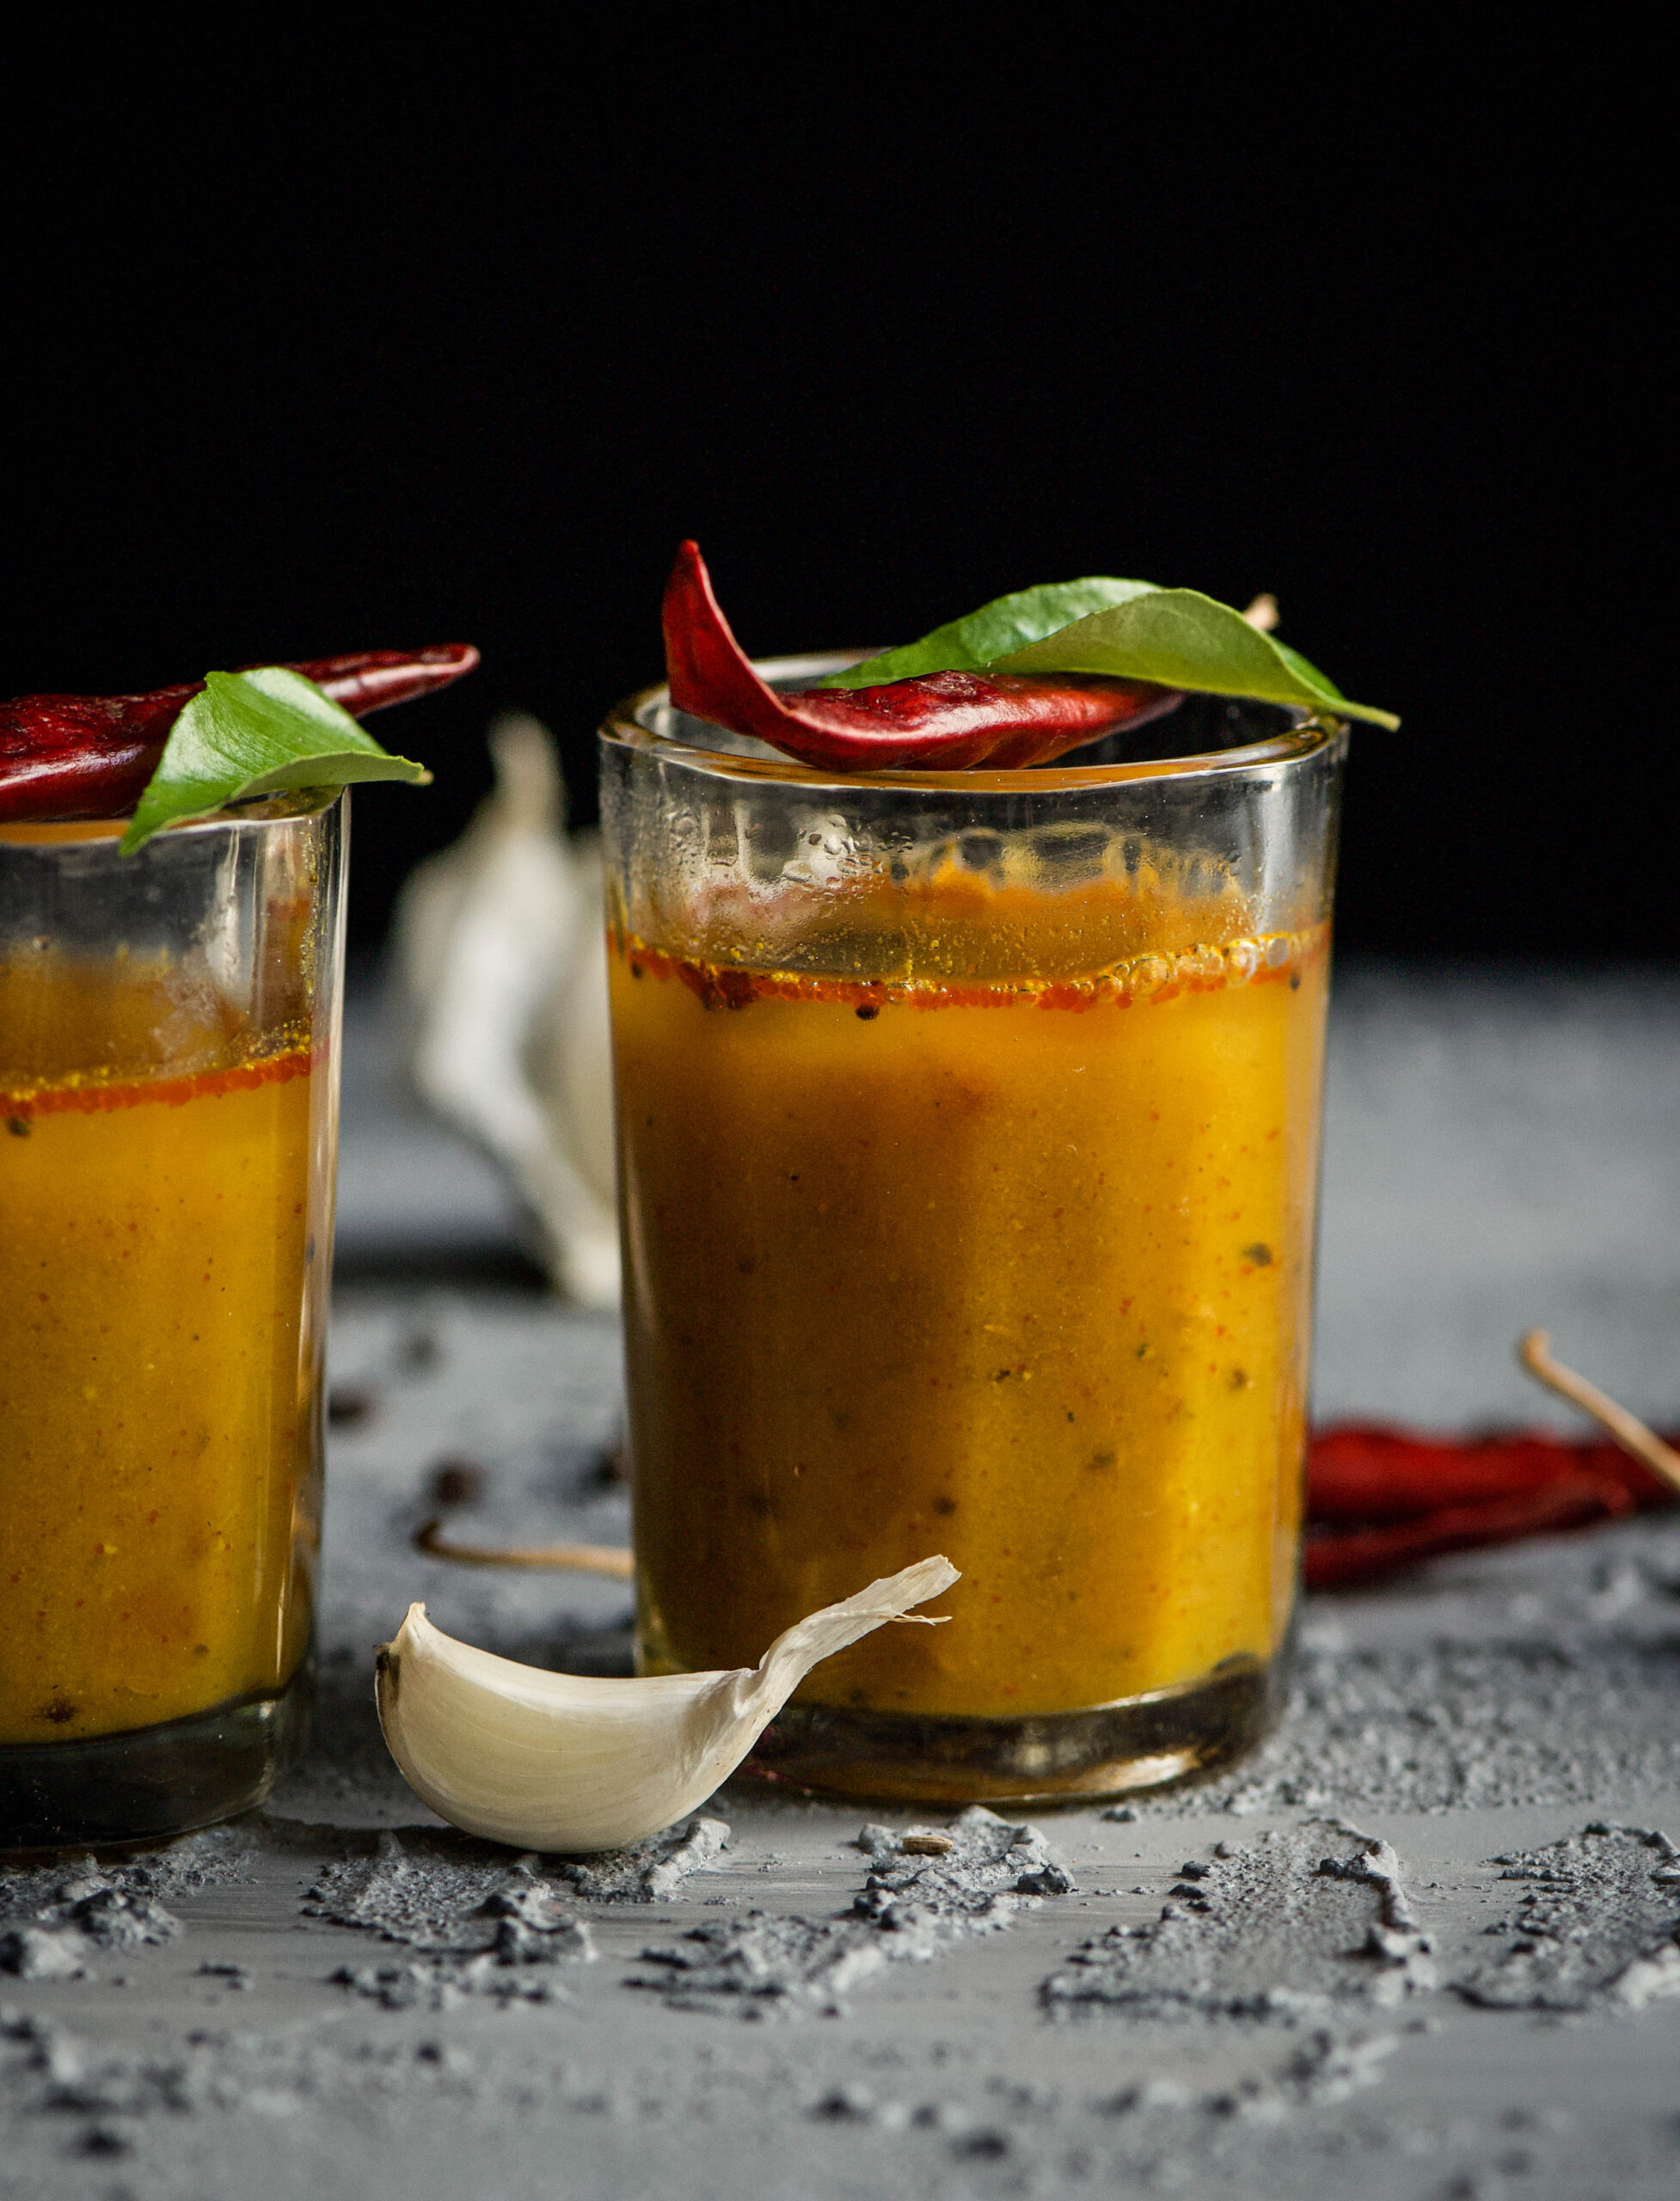
Even if it wasn’t my national fruit, I would consider it a star among fruits. And it’s the star of a recipe my family has been simply loving this summer: mango rasam. Rasam is a thin, spicy South Indian soup which is usually eaten with rice or consumed as a beverage. This mango rasam is a seasonal staple, and is similar to the fajeto, which is also a staple in the typical Gujarati thaali in summers. A summer thaali comprises of layered rotli, a vegetable, dal, buttermilk, aamras or mango pulp in a bowl, raw mango pickle and fajeto. You’ll notice that half the plate is filled with mango in some form! After such a big fat meal, a siesta is also a part of the traditional lunch!

As you may know, I am all about growing my own produce, and this season I am happy to say I’ve been plucking mangoes in my own backyard. You really have to nurture your garden with love and care, and I am a big believer in spending time there, talking to the plants. They do respond, as I have seen for myself. I have learned how to tend to two variants, the killimooku, so named because it is shaped like a parrot’s beak, and the sindura, which is so sweet it is also known as the honey mango. Looking after these trees is an ongoing process. A few months ago, I used a neem spray to prep them for the harvest season, and learned from an organic farmer how to dig a pit a few feet away from the main trunk and fill it with mulch. Dried leaves, coconut husk, a little soil and other compost ingredients decay into fertiliser, giving the tree nourishment. These methods have really worked, as the bounty of fruit from my garden have proved. I knew a couple of months ago when I saw the young, tender leaves come out that the harvest this year would be good. And so it is.

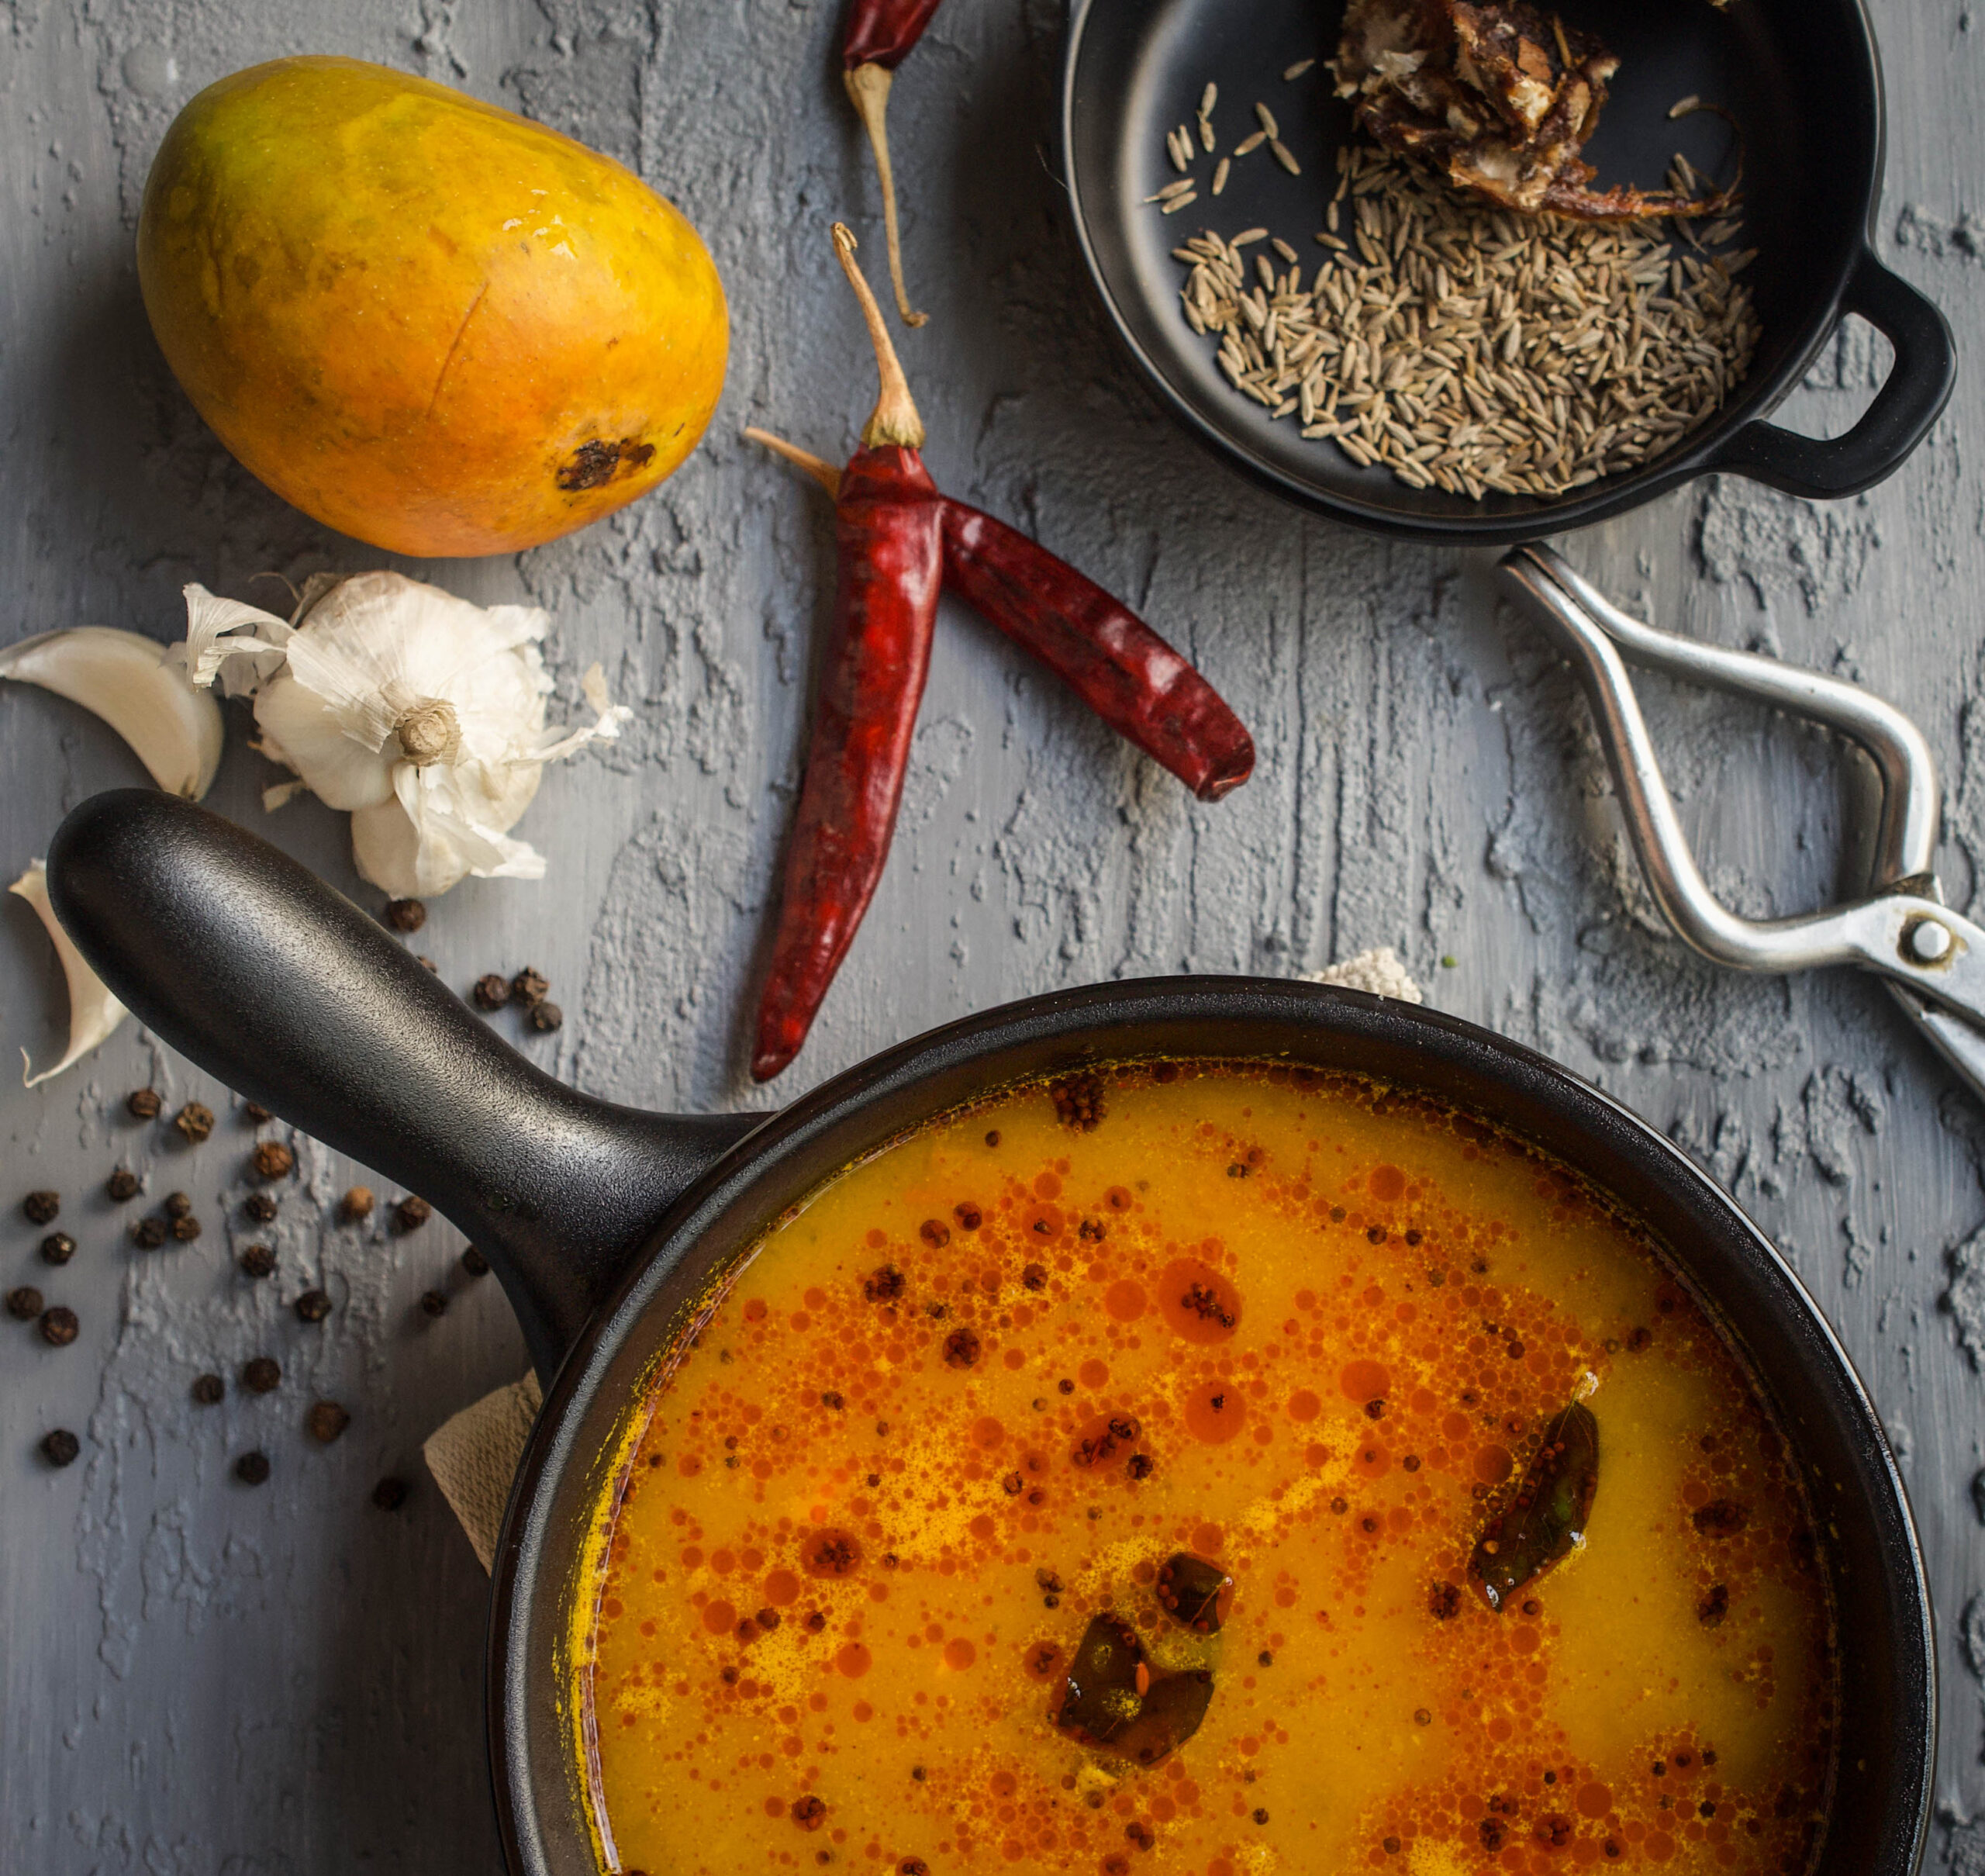
I was making aamras when the idea for mango rasam came to me. As I squeezed the mango pulp and put the seeds in water, I recalled how my mother – who taught me how to never waste food – uses this water to make fajeto. I decided to make it the South Indian way, with garlic and curry leaves. These are not used in the Gujarati version, which utilises yoghurt.


Ripe Mango Rasam

(Yield: 3-4 cups)

Ingredients
Rasam

½ cup ripe mango pulp

½ cup cooked, boiled and mashed toor dal

2 cups water

1 crushed tomato

2 teaspoons cumin seeds

1 teaspoon black pepper

2 dried red chilies

4 cloves garlic

¼ inch piece of ginger

1 tablespoon tamarind pulp

Salt to taste

Sauté
1 teaspoon oil

¼ teaspoon mustard seeds

A few curry leaves

A pinch of asafoetida


In a pot, mix and stir the mango pulp and dal. I have used the alphonso variant, but you can use any ripe mango. Add the water.  Now add the salt, turmeric, asafoetida, crushed tomato and tamarind pulp.

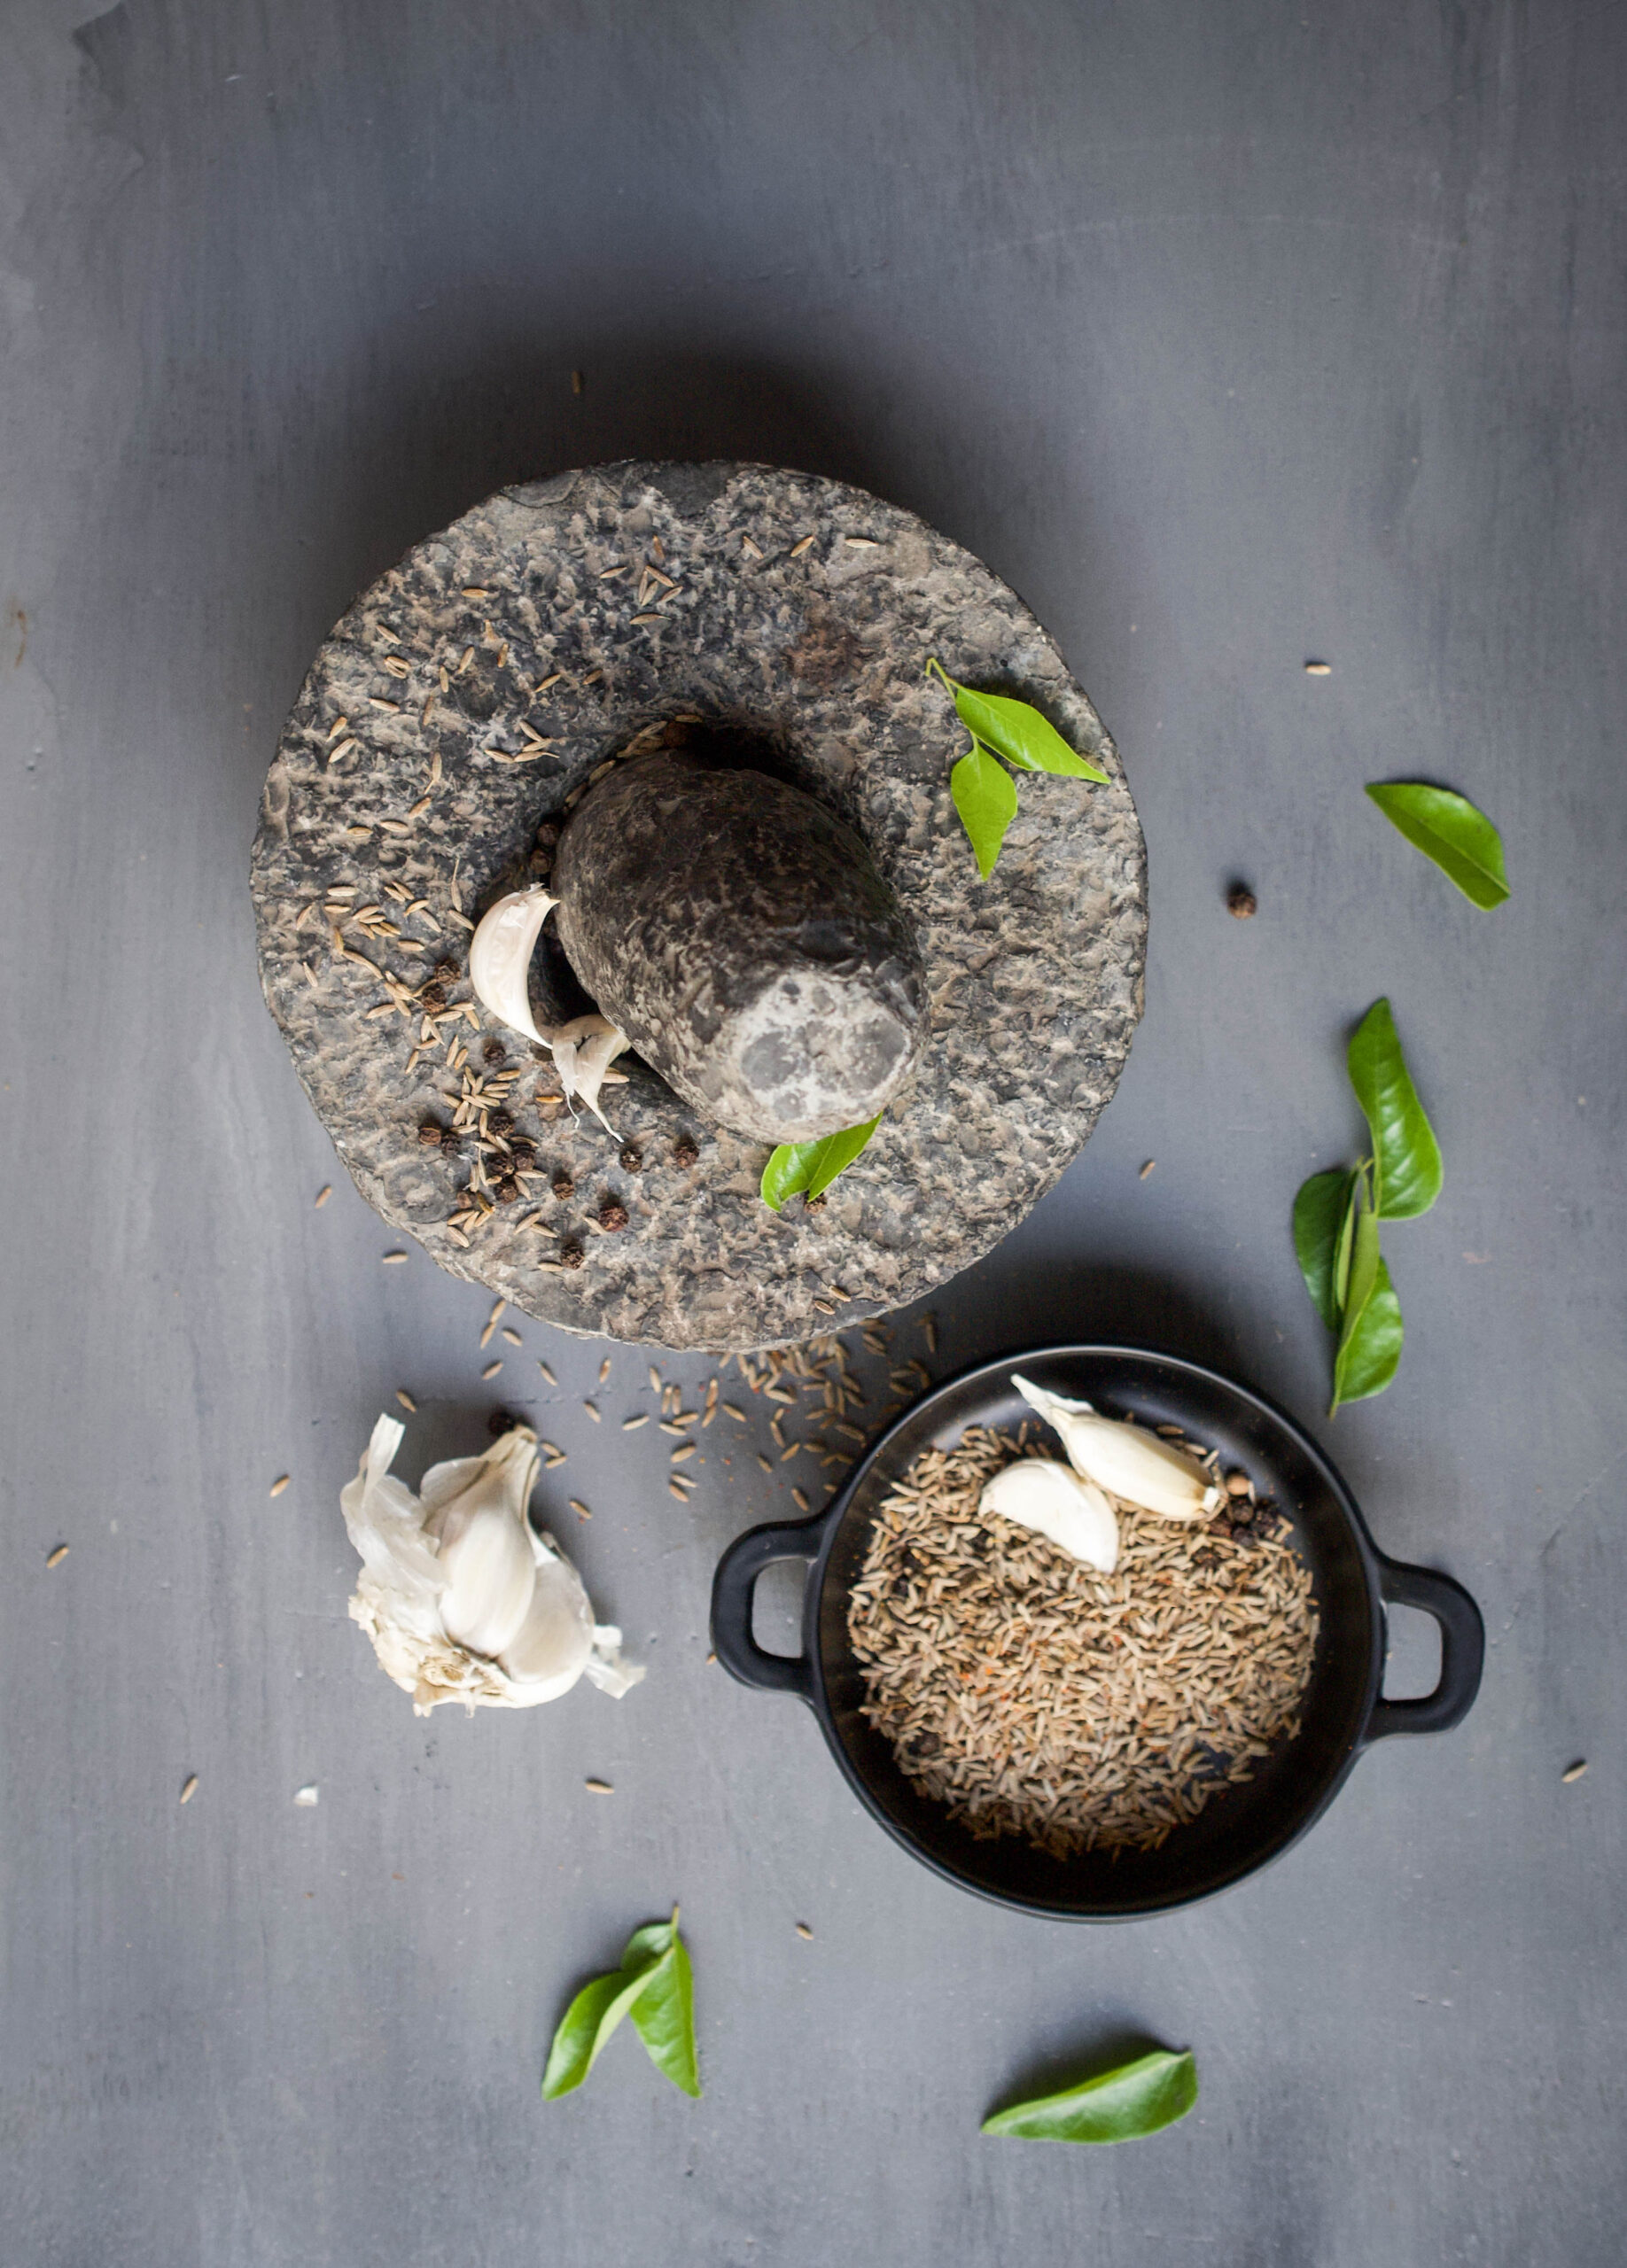
Crush the cumin, ginger, garlic and black pepper coarsely together. Now add this to the mango pulp mix. Place on the stove and allow to boil for approximately 10 minutes. Do not allow it to over-boil – take it off the stove a minute after it starts to bubble.

Separately, heat the oil. Once it’s hot, add the mustard seeds. When they splutter, add the curry leaves. Finally, pour this sauté into the pot of boiled rasam. Serve hot with rotlis or rice.

Look at that colour – simply irresistible. Every time I set up a photoshoot, I am dying to finish it so that I can eat whatever I’ve been shooting! All the more so when it’s something that should be eaten hot, like this rasam. There’s a particular joy in the question of whether to eat a little, then shoot, or shoot first and eat later. As I was pouring this vibrant, fragrant rasam into the vessel and styling it for my shoot, I decided I would wait. This time, anyway!


I’m always trying to do something new with millets and bring them into everyday dining because they are healthy, seasonal and affordable. In South India, they were actually the ancient traditional staple, not rice or wheat as it is today, and so they can be said to be perfect for Macrobiotic diets here. Different varieties of local millets have featured on this blog in recipes past (I’ve linked to a few at the end of this post). Today, the star is ragi, which you may also know as finger millet, teff or kezhvaragu.

Ragi is rich in calcium, iron and antioxidants, as well as high in fibre. This means that its benefits include everything from weight control to skin rejuvenation to curing anaemia. A dry-season crop that tolerates many different kinds of soil, it is easy to cultivate. It features in a large variety of South Indian dishes, from Kerala puttu to Karnataka ragi mudde to the koozh that is offered to the Goddess in Tamil Nadu. It is also eaten everywhere from Vietnam to numerous countries in Africa, where it originated.

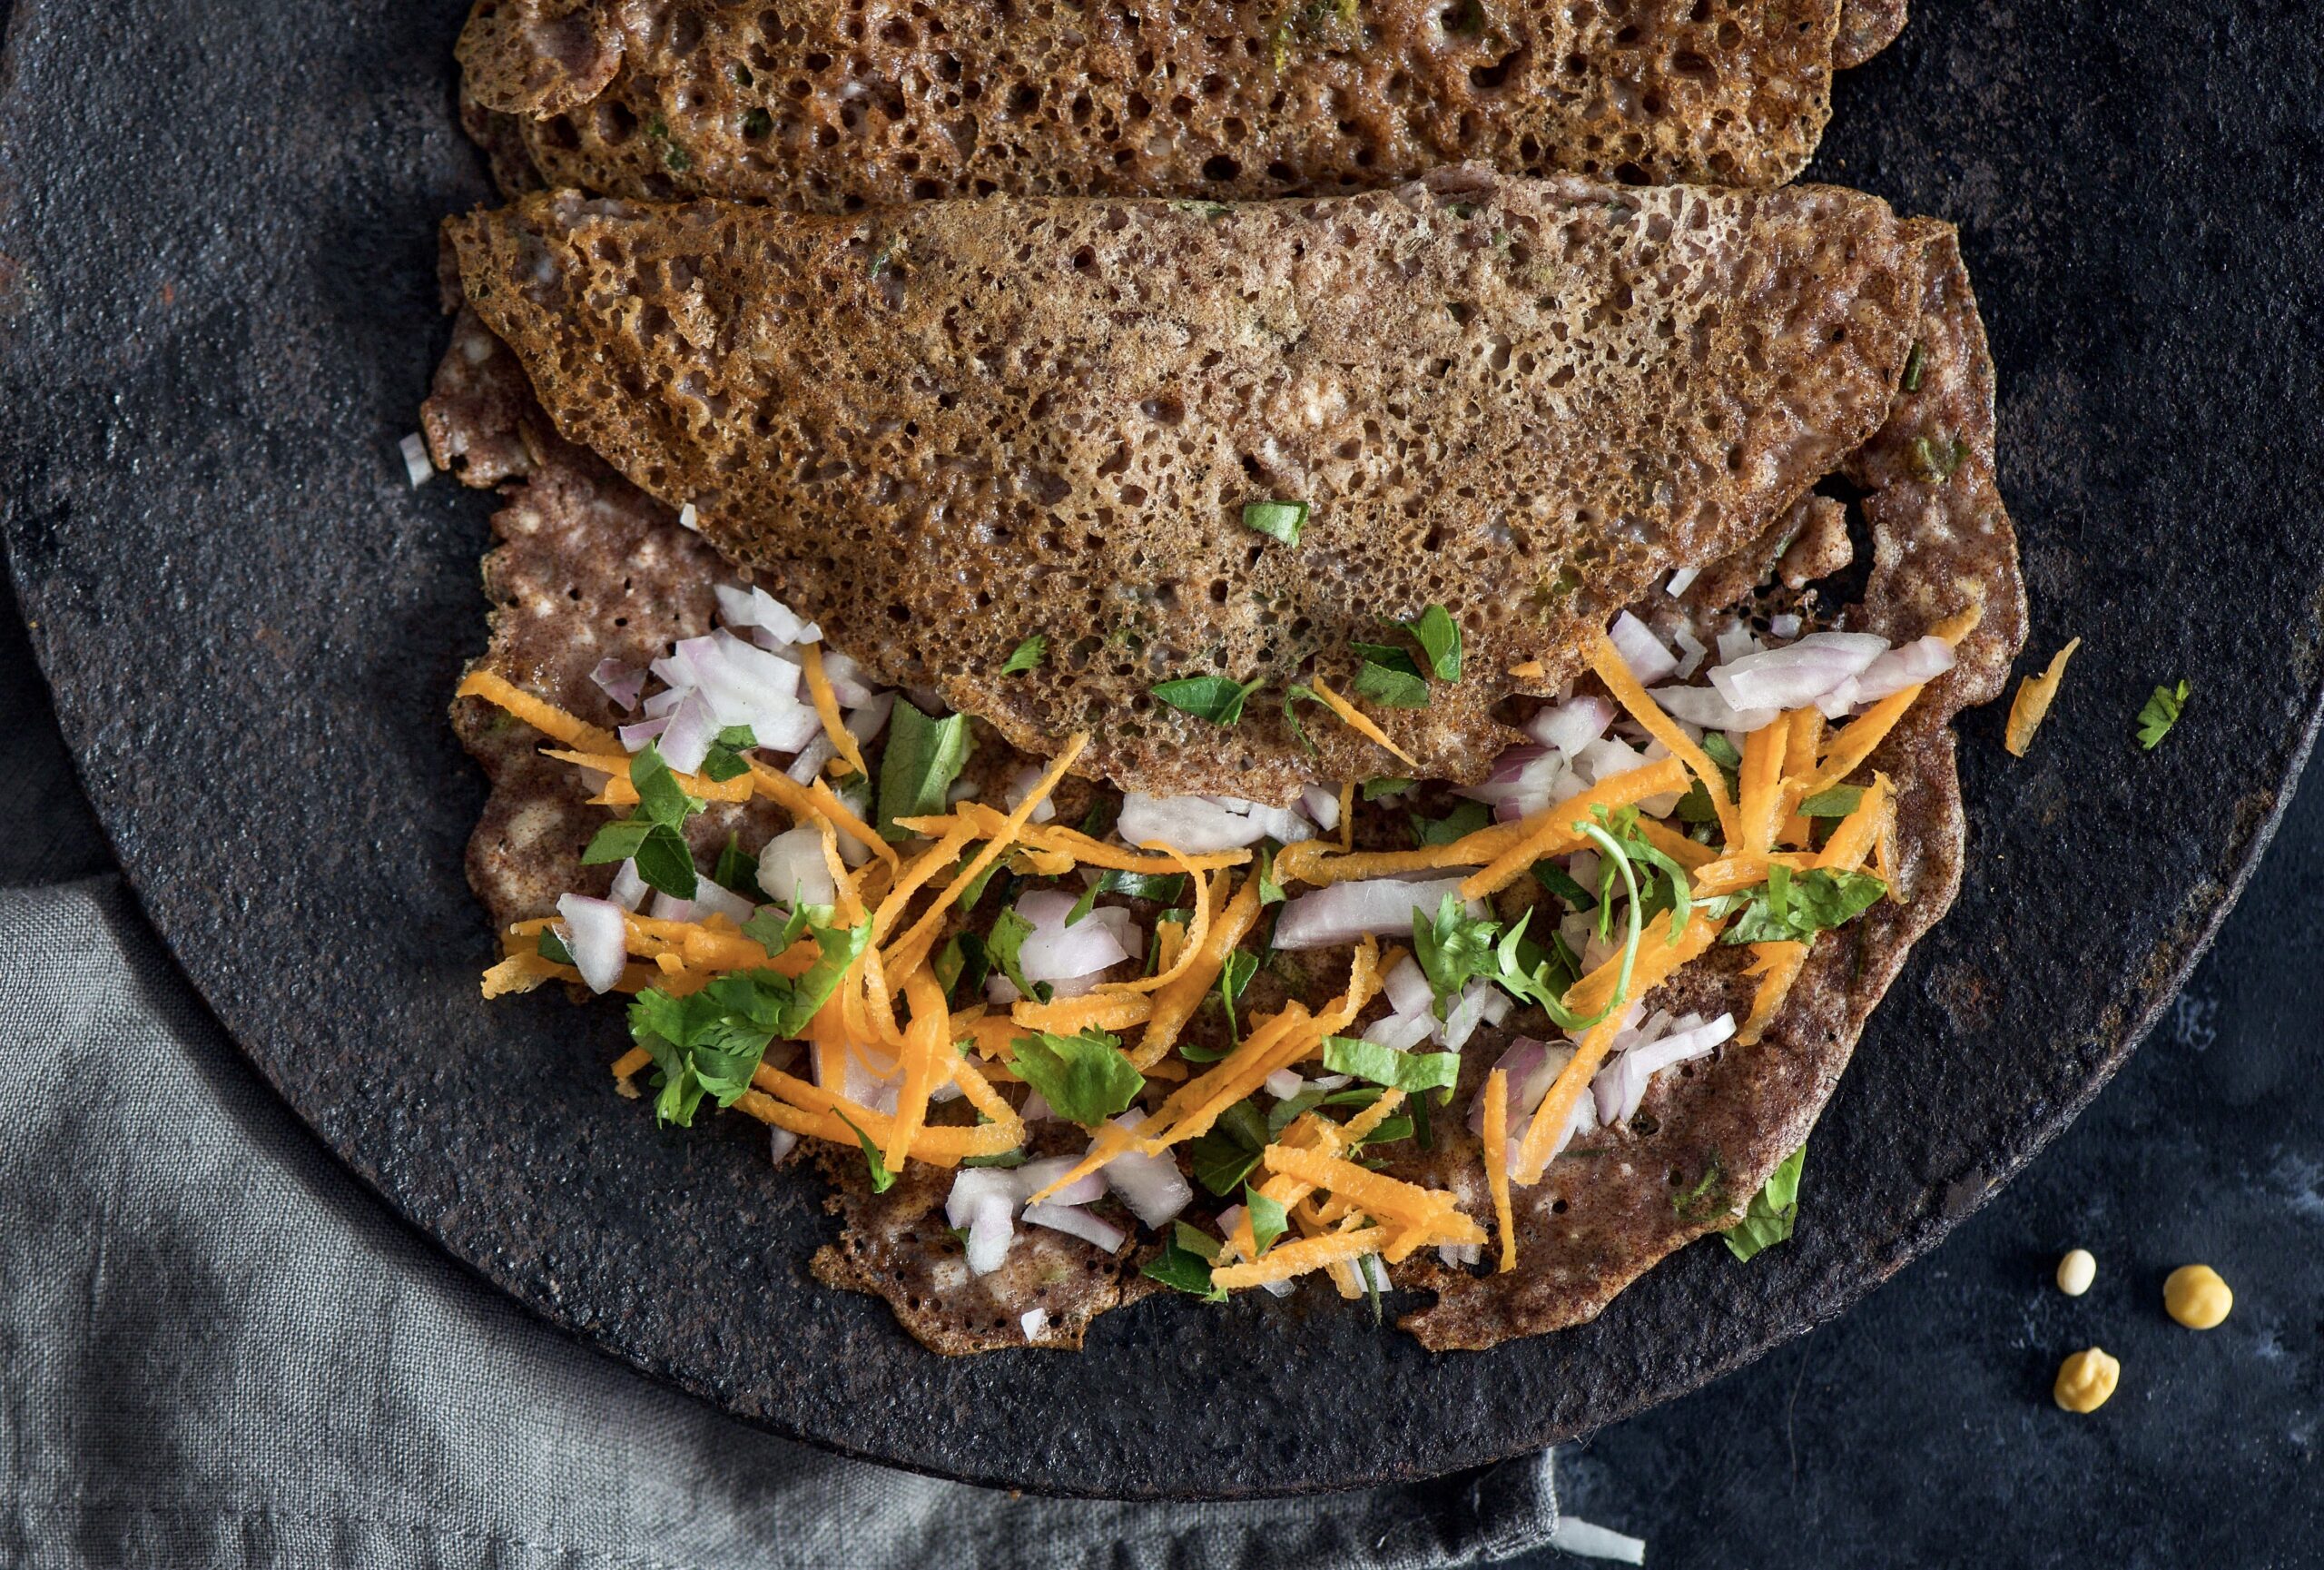
I want to share with you the recipe for ragi millet dosa. Dosa is a South Indian crepe, similar to chilla. It is popularly made with rice flour, which I substitute almost entirely with ragi millet. It’s always exciting to add your own twist to something traditional. That’s the challenge of cooking as well – you can’t just throw in something and hope it sticks. How do you combine flavours so they work well and complement one another? It may seem simple and obvious to take two South Indian staples – ragi millets and dosas – and put them together. But this is not so, because in the case of any millet dosa, it is not only a matter of ingredients. The main question is: will the crepe peel off beautifully? Ragi has a sticky consistency, which can make this tricky. As those of us who make dosas regularly know, certain ingredients are added or removed to facilitate this peeling. This is why I still use a little bit of rice flour in the batter. Rice flour both adds crispiness to the dosa, as well as enables it to peel off properly.

As I’ve mentioned in the past, I ensure that all my powders and flours are homemade, ground by a trusted small mill.  We grow both rice and ragi on our farm, so I know for sure that the ingredients in this dish, and any rice-based dishes eaten at home, are organic.

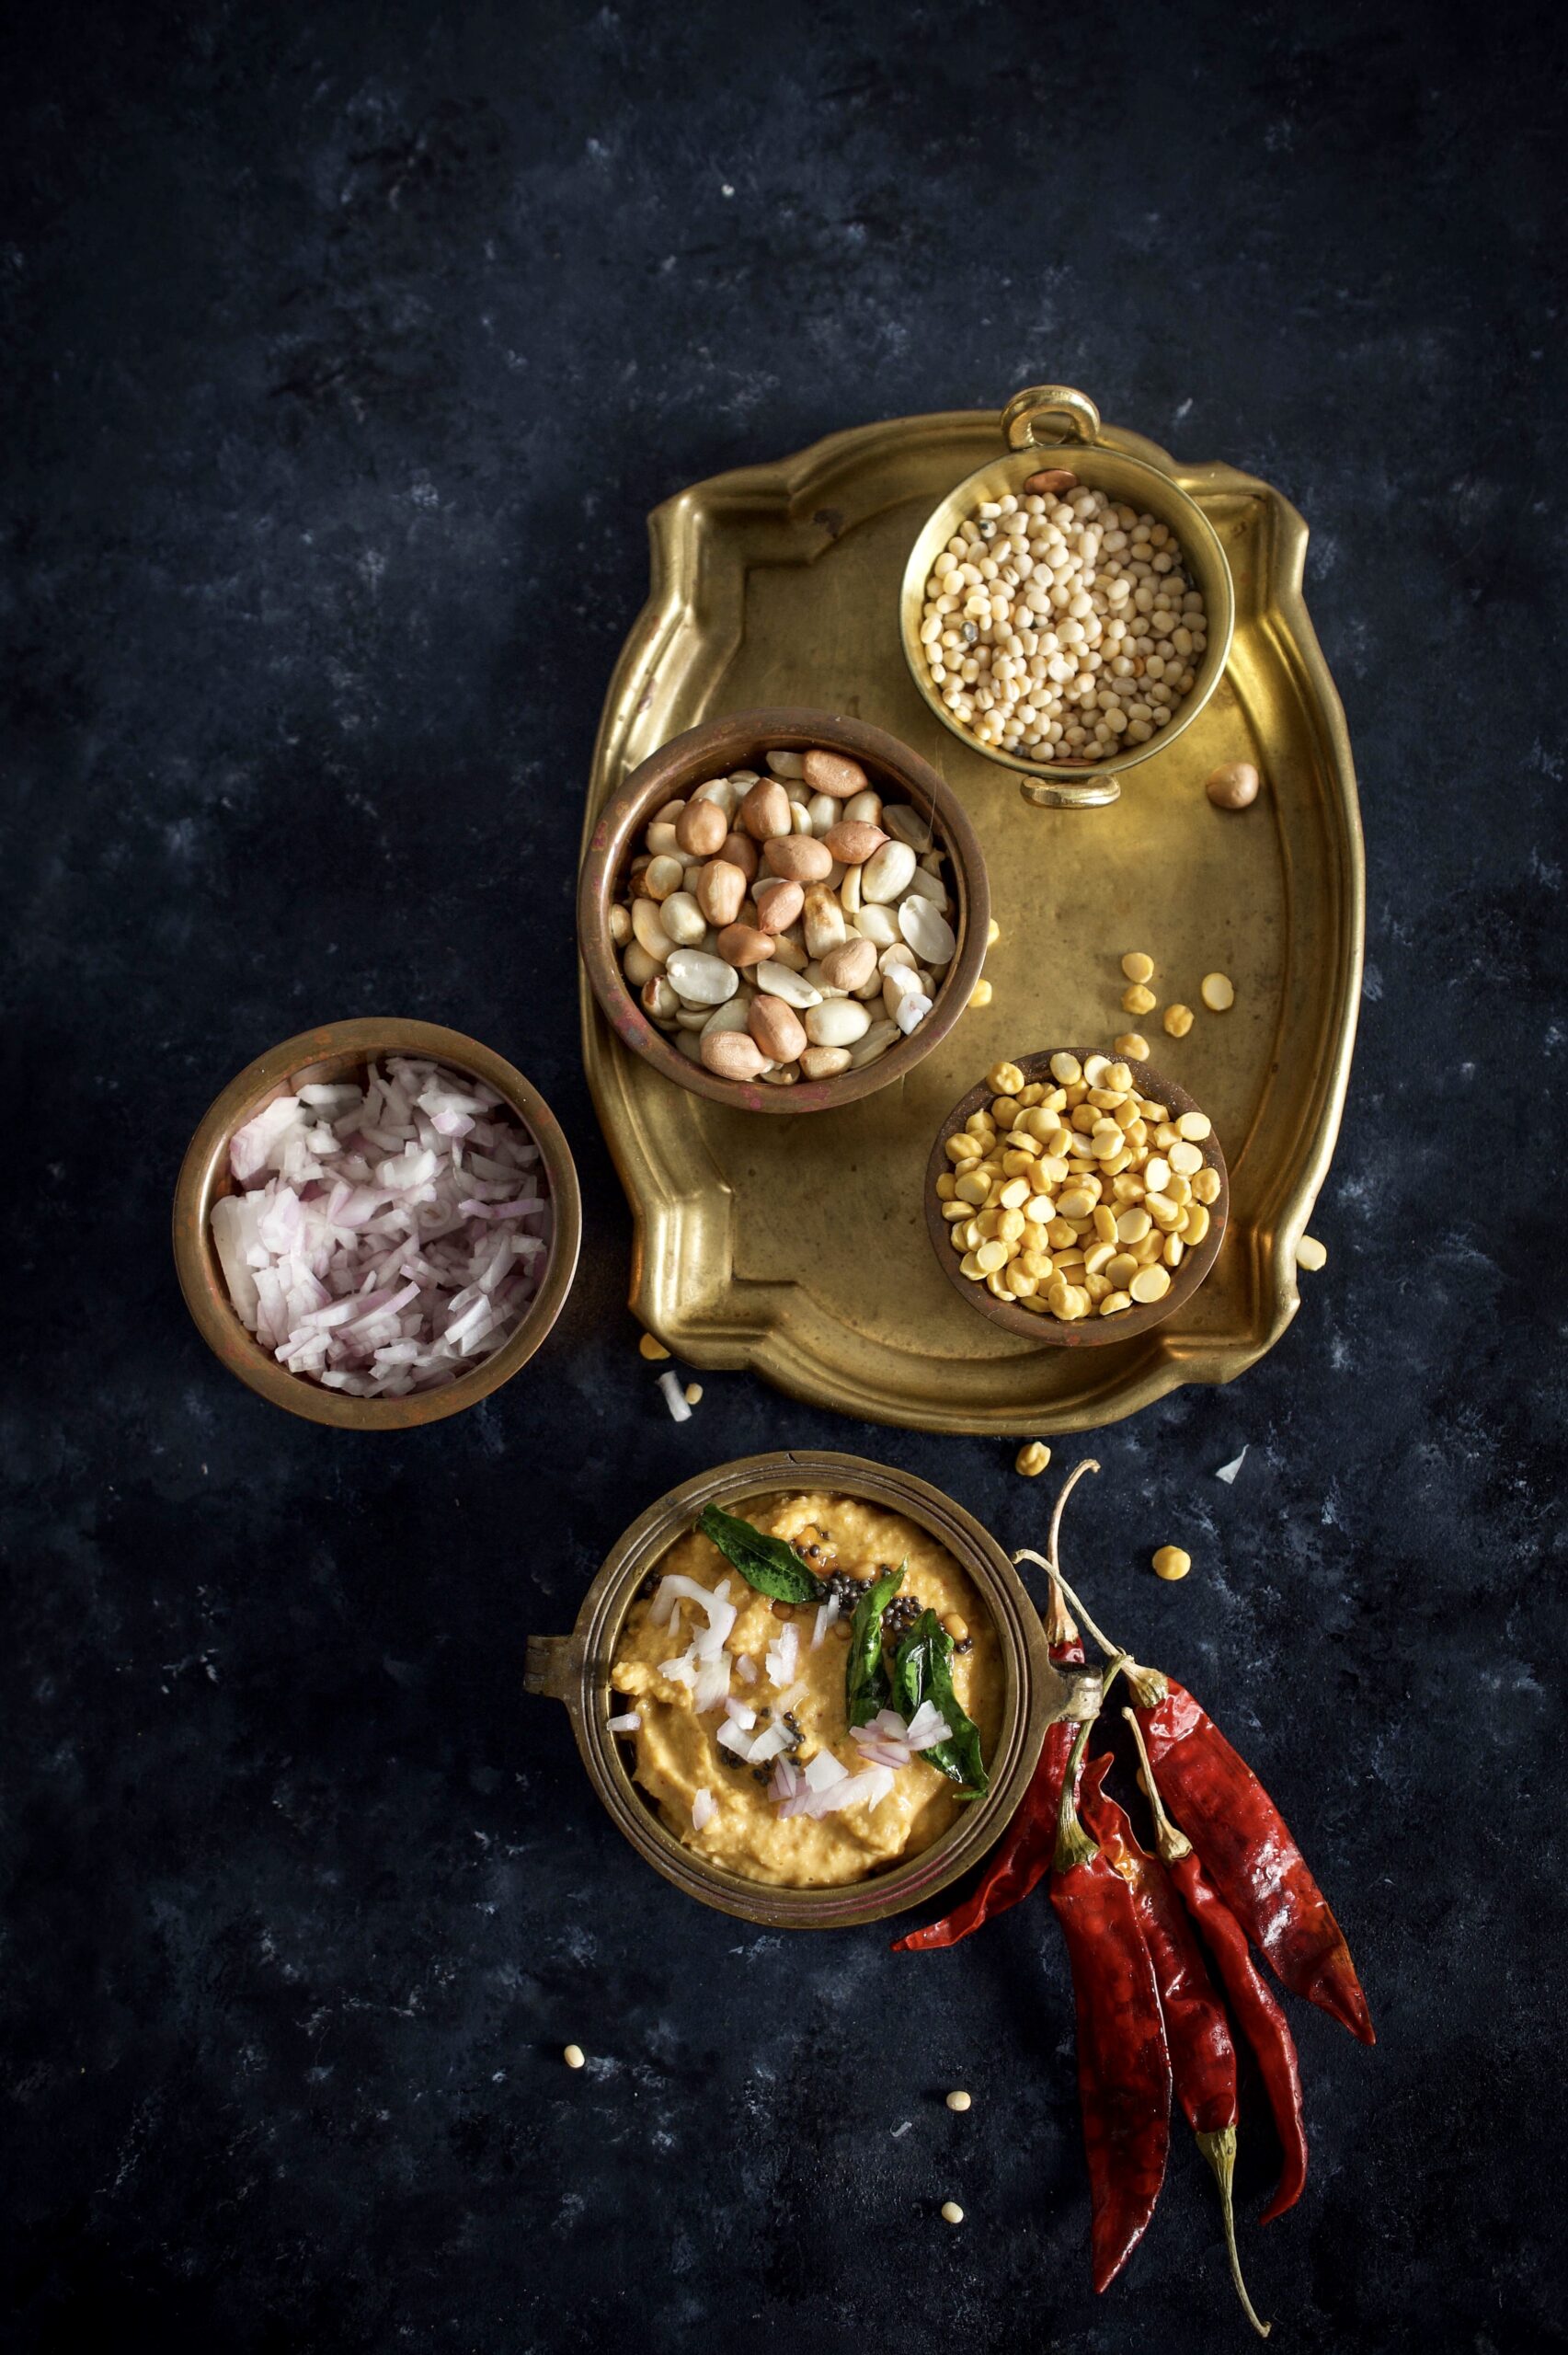
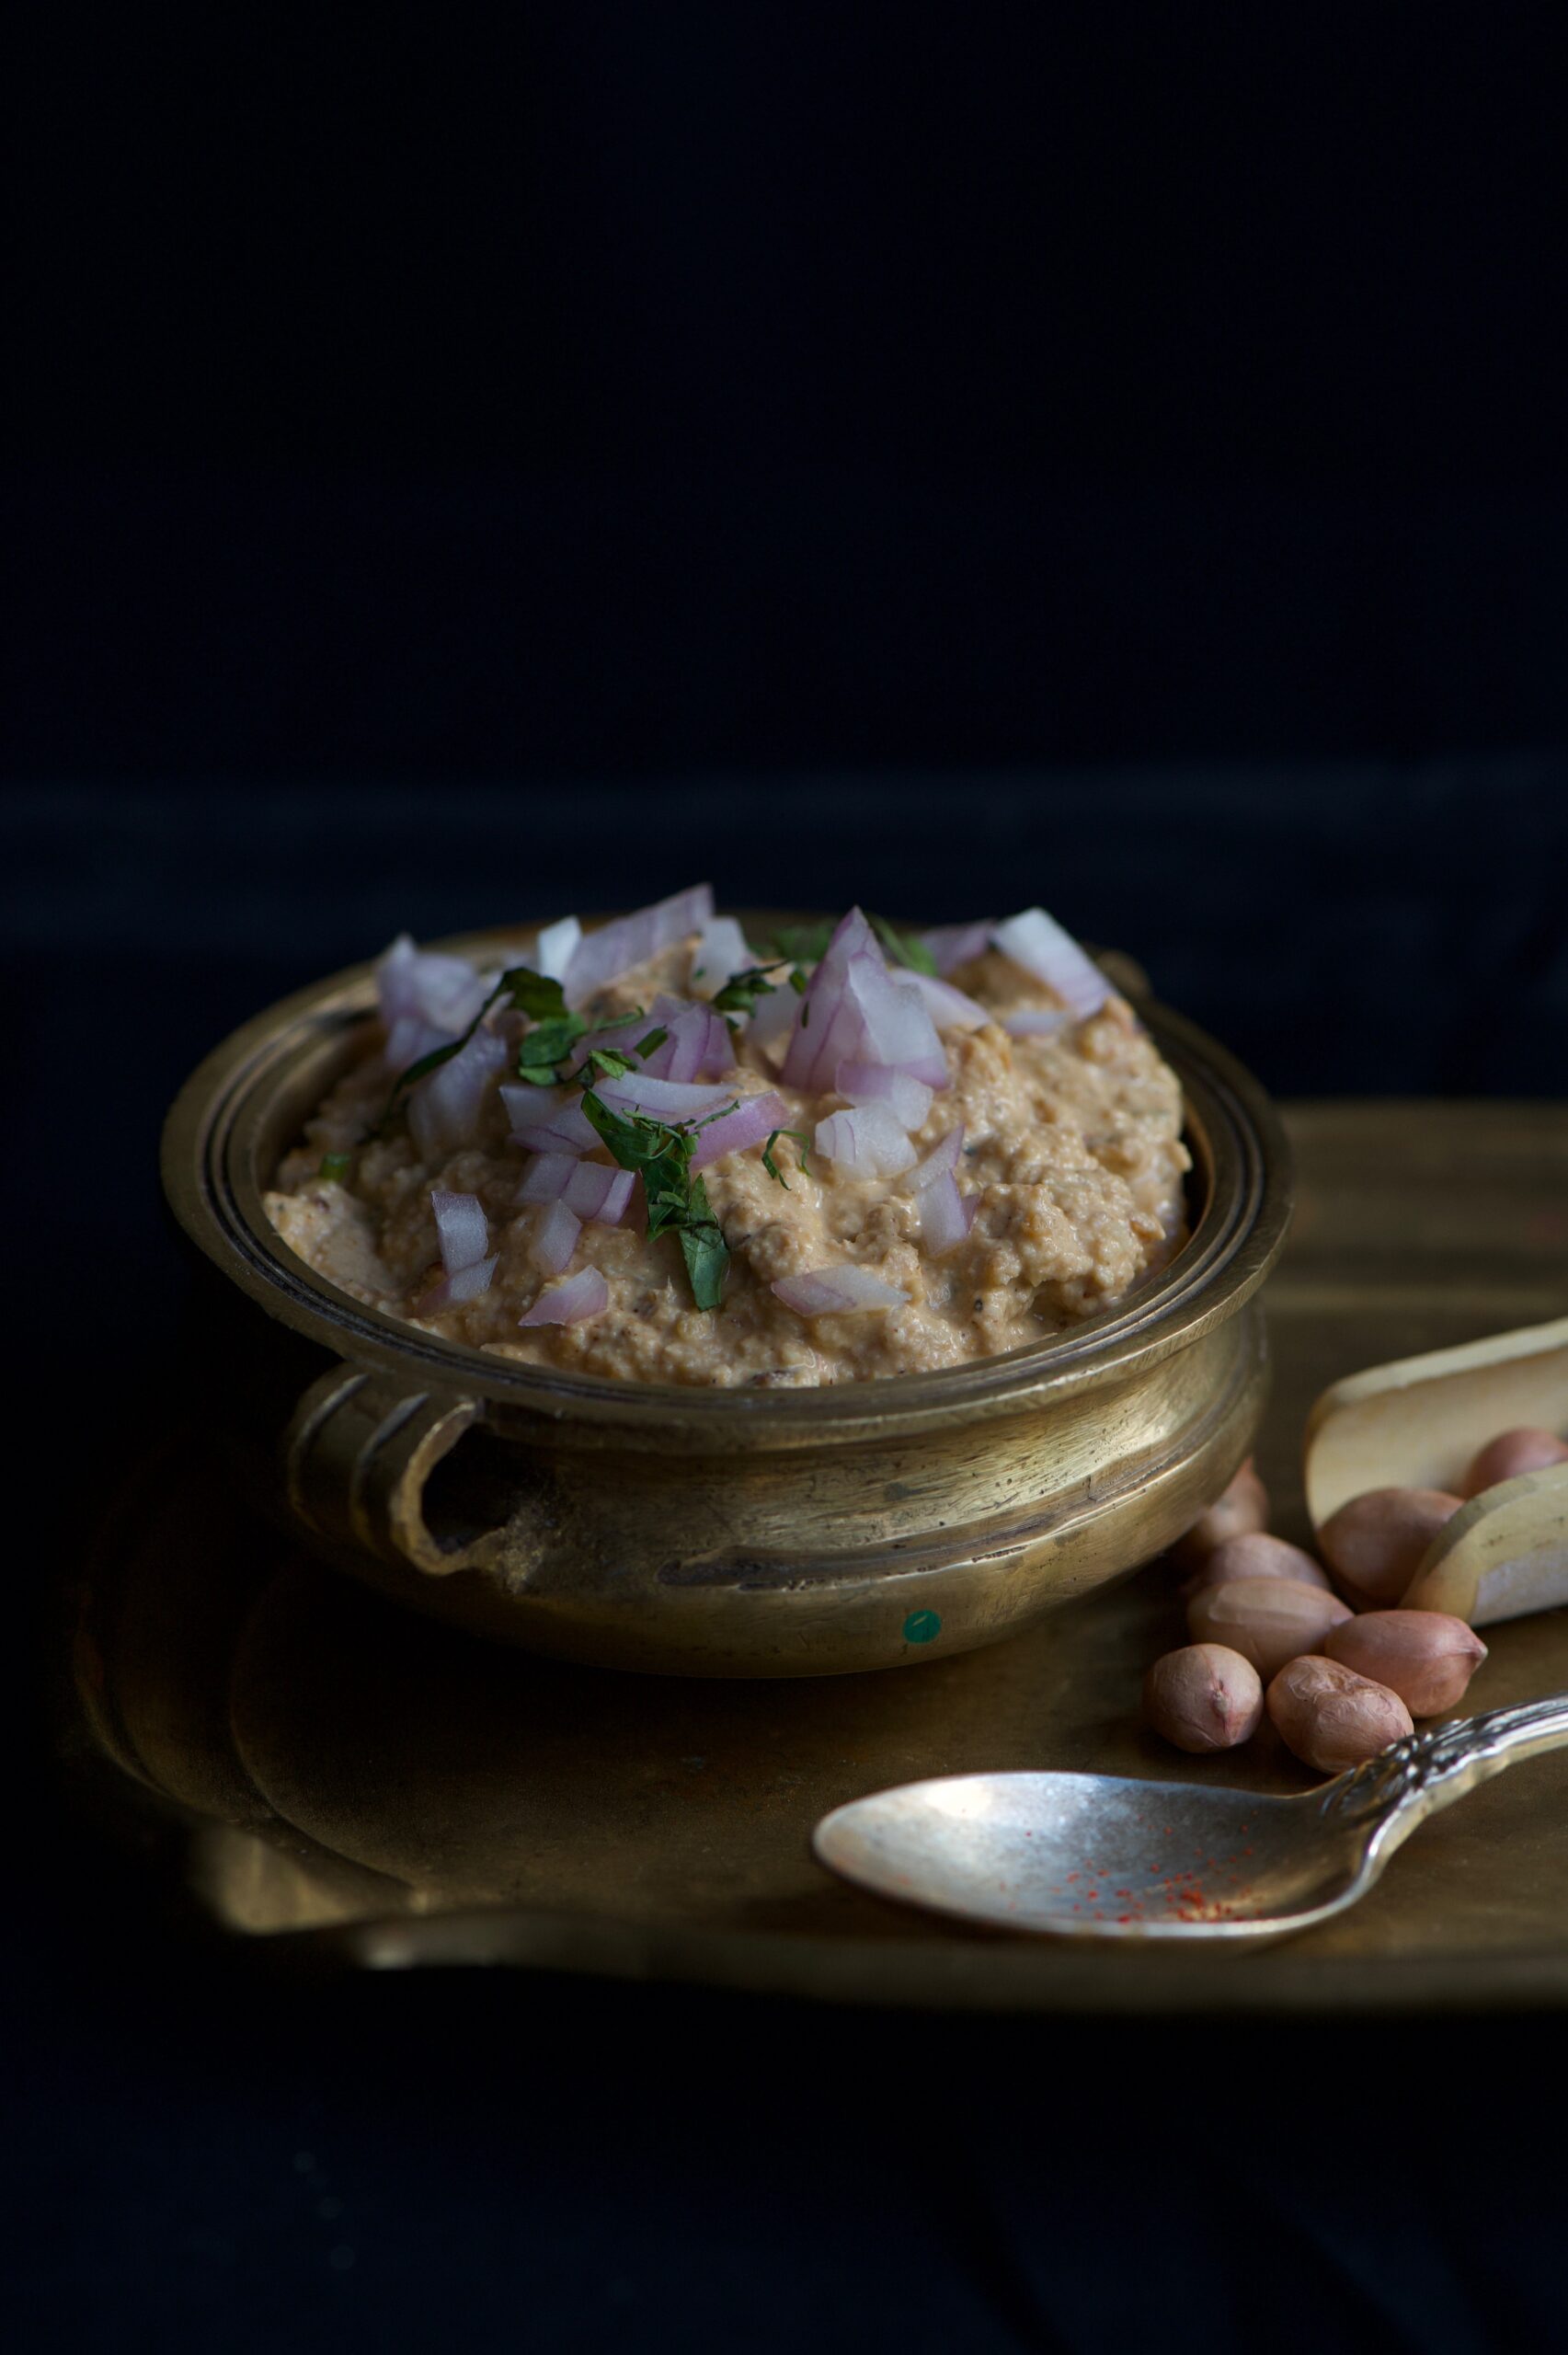
To come back to dosas and twists on the same – you can make your own variations of the dish below by adding vegetables to the crepe after it has been folded, or serving it with an assortment of chutneys. Here, I give you the recipe for a simple peanut chutney, which is a current favourite (peanuts are also grown on my farm). Ragi millet dosa is something I reach for often when I try to stay fit, and it’s always a satisfying meal.

Living in South India, dosa (or dosai) is something I’ve taken for granted. It really is a universally loved dish, as this story about my dog Coco will tell you. When she was pregnant years ago, she absolutely craved dosas! I would have one made especially for her every day, and she would simply refuse to eat it if it did not contain salt! My Coco is now sixteen years old and going strong, and the healthiest in my house since she eats fresh food every day. Now, her son Max also craves dosas, probably influenced by his mother’s taste during her pregnancy with him, and I always share mine with them both.


Ragi Millet Dosa

(Yield: 6 dosas)

Ingredients
½ cup ragi flour

1 tablespoon rice flour

1 teaspoon cumin

1 teaspoon paste of green chilli and ginger

1 tablespoon grated coconut

¾ cup water

1 tablespoon yoghurt

Finely chopped curry leaves

Finely chopped onions

Salt to taste

In a bowl, mix the ragi and rice flours in water until there are no lumps. Then add all the remaining ingredients. Stir until they all blend well together and become a smooth batter. Do not add too much water as this will make the batter too thin.

These dosas can either be prepared immediately, or the batter can be left to sit for about half an hour, letting the flavours blend more.

To fry a dosa is like frying any crepe. Add a few drops of oil on a heated iron griddle. Now lower the flame and pour 1 small cup of the batter onto the griddle, and spread it out in a circular motion until it is spread thin. Dot the edges with oil and increase the flame to high. Allow the dosa to turn dark on the edges, then flip over and allow to fry for a few minutes. Flip again once before you take it off the stove. Fold and serve with the peanut chutney, or a condiment of your choice.


Peanut Chutney

(Yield: 1 cup)

Ingredients

½ cup roasted peanuts

1 teaspoon channa dal

1 teaspoon udad dal

1½  teaspoons tamarind paste

1 teaspoon grated ginger

¼ cup water

2 red chilies

A sprig of curry leaves

A few drops of oil

Salt to taste


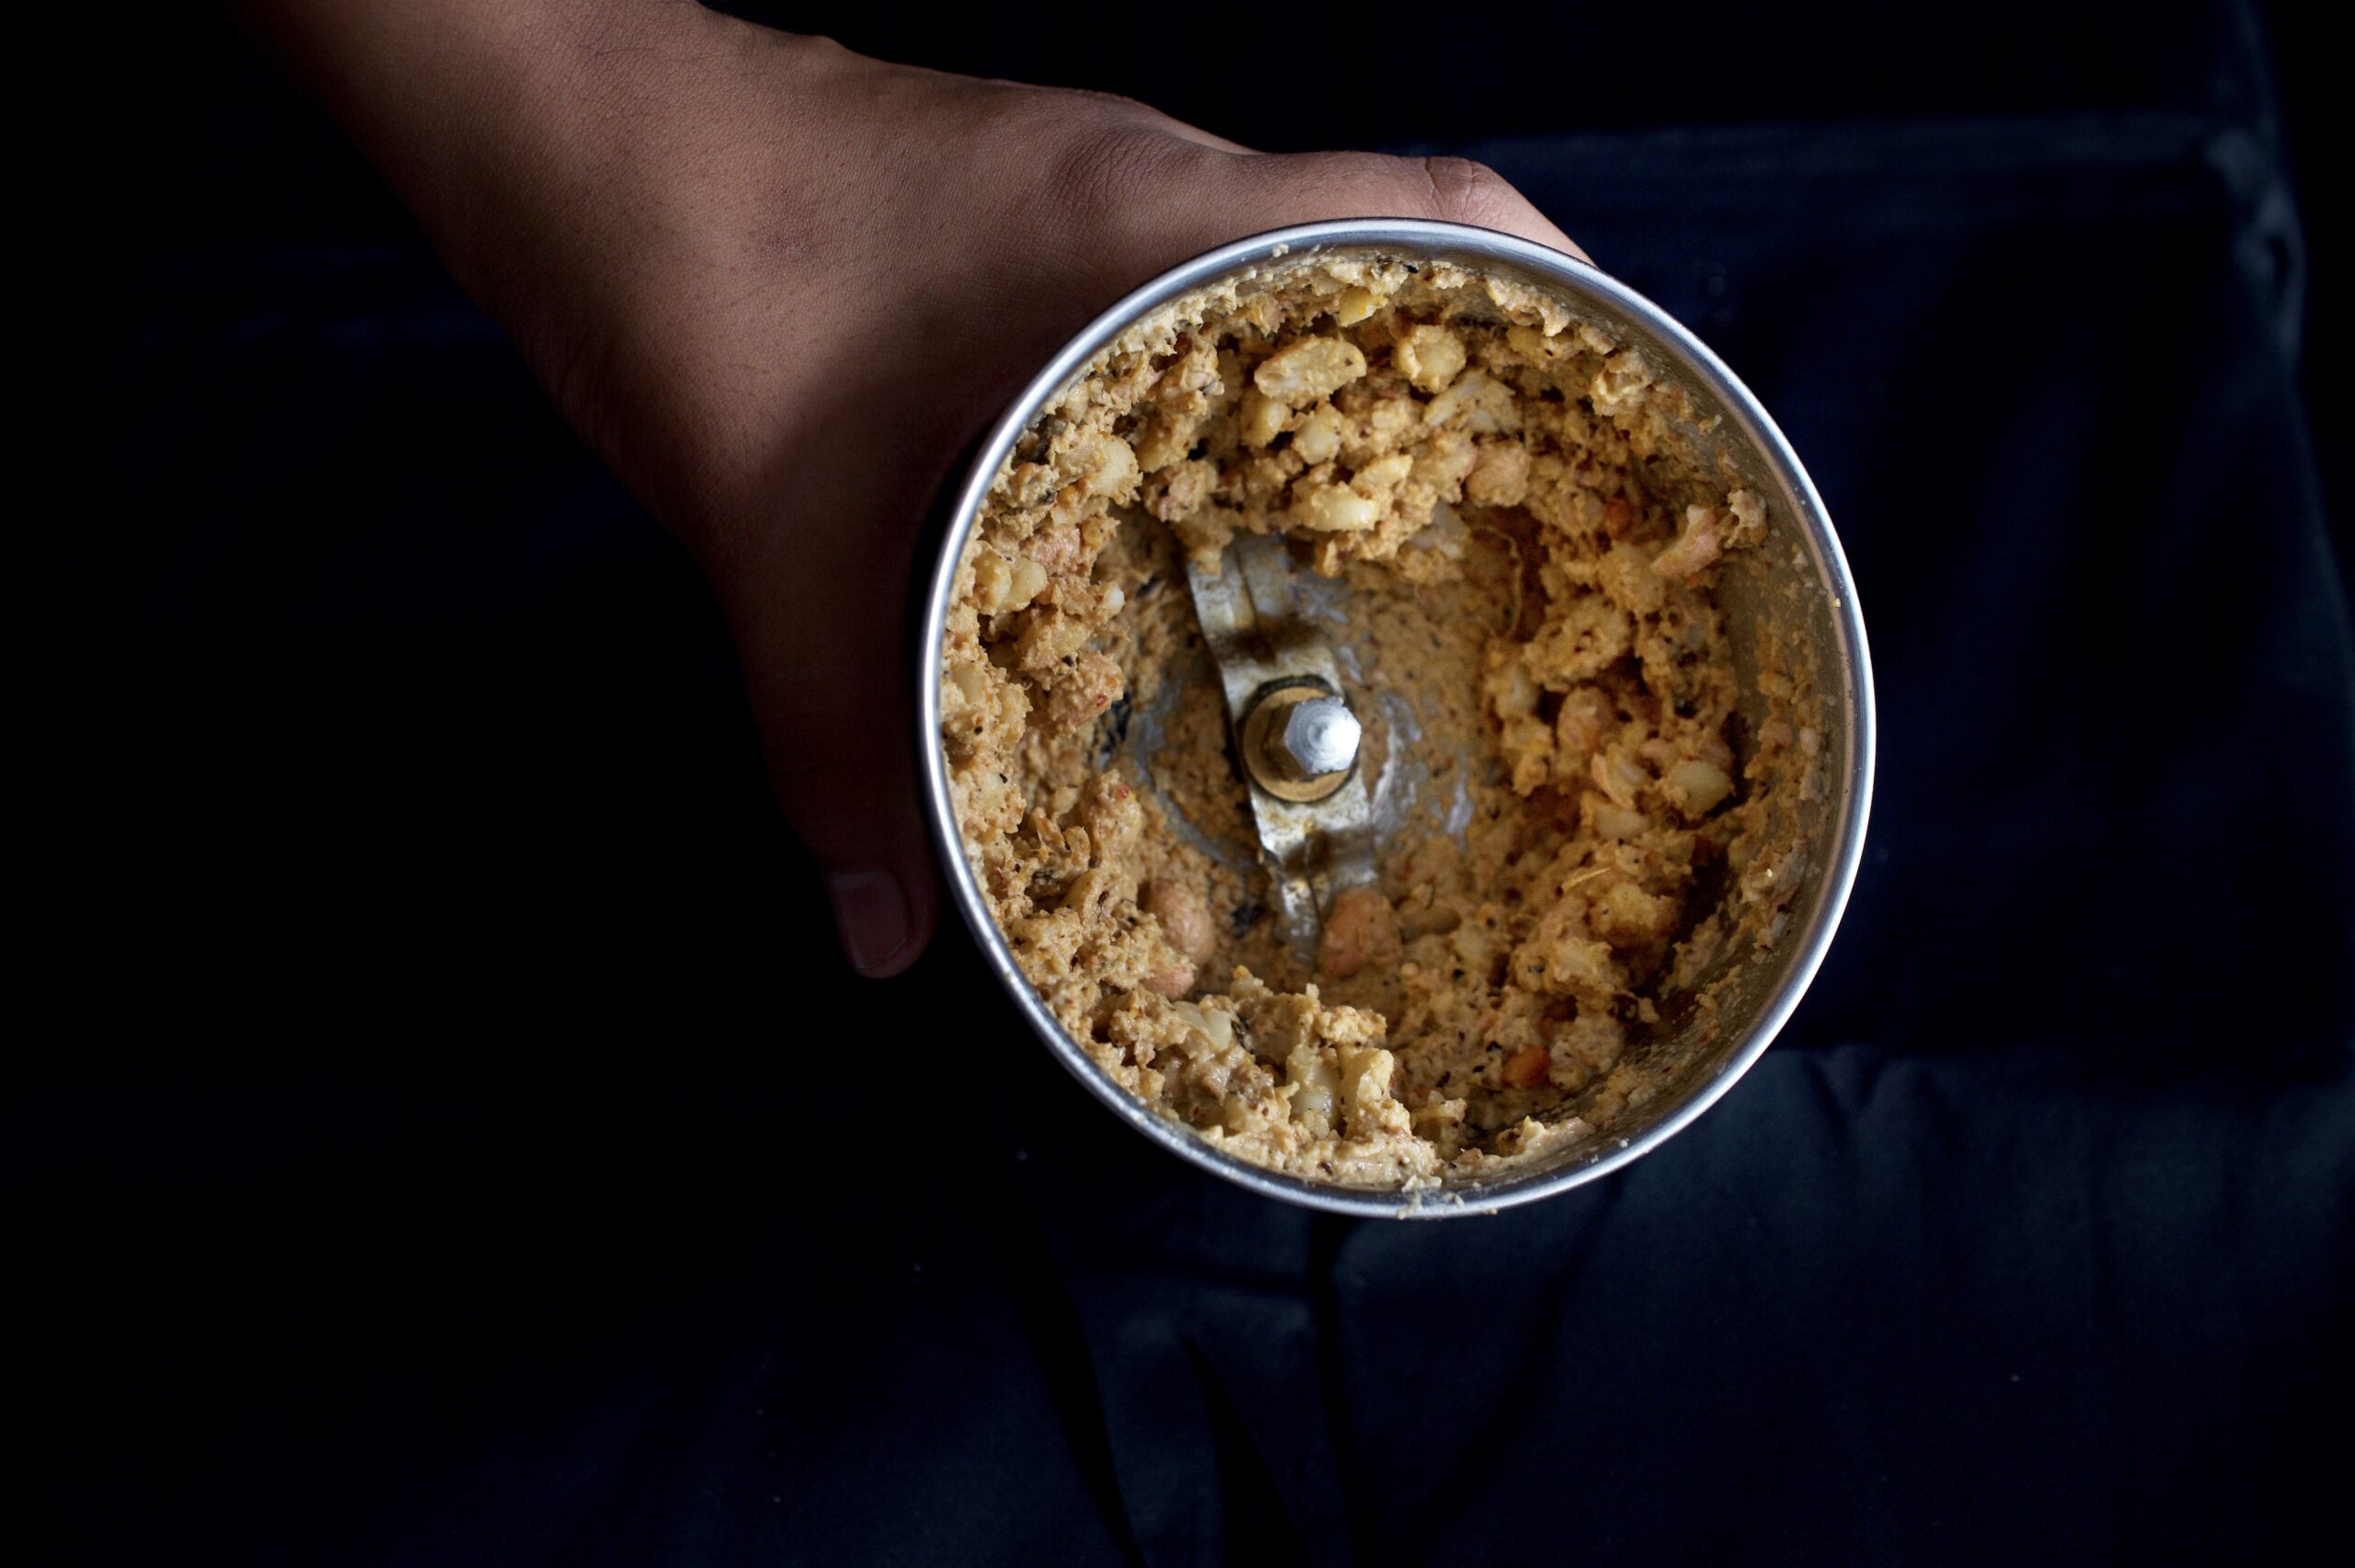
Sauté the dals in a few drops of oil. Once they turn golden, add the dals along with the peanuts and ginger in a blender. Blend until coarse.

Now, to temper the chutney. Put a few drops of oil in a pan and add the mustard seeds and cumin seeds. Wait till they splutter and then add the red chillies and curry leaves. When they have been coated in the hot oil, immediately pour the tempering over the chutney. It is now ready to be eaten as a dip with the crispy hot dosas.

I’m an evangelist when it comes to millets and truly believe in their ability to transform our unhealthy modern diets. This is why they have featured so many times on this blog. If you’re curious about more dishes that incorporate these simple and satisfying ingredients, do check out this tag and spend some time exploring my past recipes. Here are a few of my favourite selections from the same: little millet rice with beans poriyal, chakkara pongal and vegan chili.

I hope you’ve been enjoying this series on traditional dishes made from leftovers (please see Part 1 and Part 2, if you haven’t already). To recap: in the absence of refrigeration, and because of the need to conserve resources, many cuisines in India and elsewhere developed sub-genres. These culinary sub-genres make use of extras either prepared during the initial cooking, or kept aside after the meal. Using these leftovers, a new dish is prepared. Fridges are really quite new for most of India. I remember visiting my grandparents’ home in Vijayawada one summer when they had purchased a huge fridge. It was such a novelty that neighbours would visit just to see the machine. Besides, not wasting food has long been considered a cultural virtue.

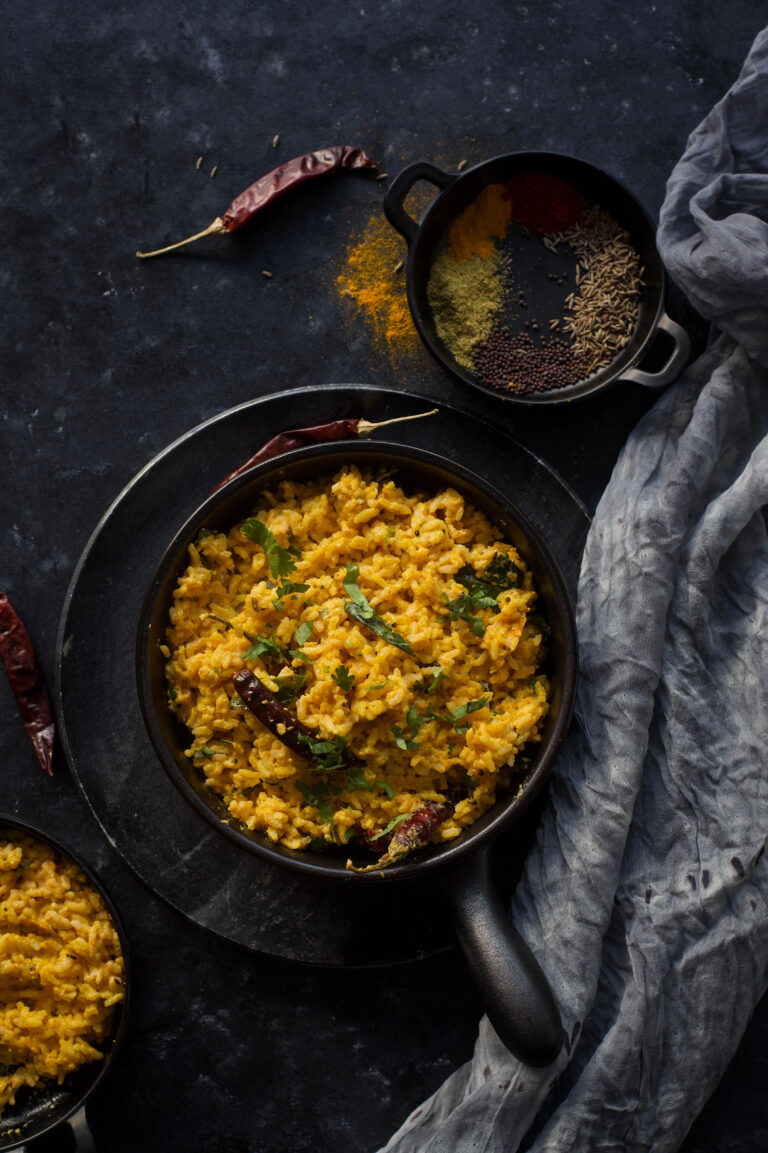
Today, the recipe I want to share with you is a classic go-to dish: masala curd rice, made in my mother’s Gujarati style. It was a staple in my house for Sunday dinner while I was growing up. This was because we had school the next day, and our mother would be busy helping us with our homework. In those days, we had no help at home, so our dad taught us how to iron our own uniforms and polish our own shoes. These tasks would keep us occupied on Sundays as we prepared for the school week ahead. By the time dinner came, we were usually too tired to think much. So we never minded the unfussiness of the meal. And mom, of course, was always relieved to make this easy dish.

Leftover rice is something that lends itself easily to a variety of dishes. For instance, there are theplas, which you may remember from this post on Indian breads. There are also muthias, which are made by adding flour and spices to the rice, rolling them and steaming them.

South Indians have their own methods too, including their own curd rice (known as thayirsadam), as well as pazhayachoru, in which rice is fermented overnight with a green chilli in it. This was originally a staple among farmers, who started their days early and needed to have a meal ready in the morning. You may be surprised to know that it is very healthy. The American Nutrition Association in fact recommends rice soaked the previous day as the best breakfast, with a host of benefits for the health including increased energy, decreased hypertension and good digestion.

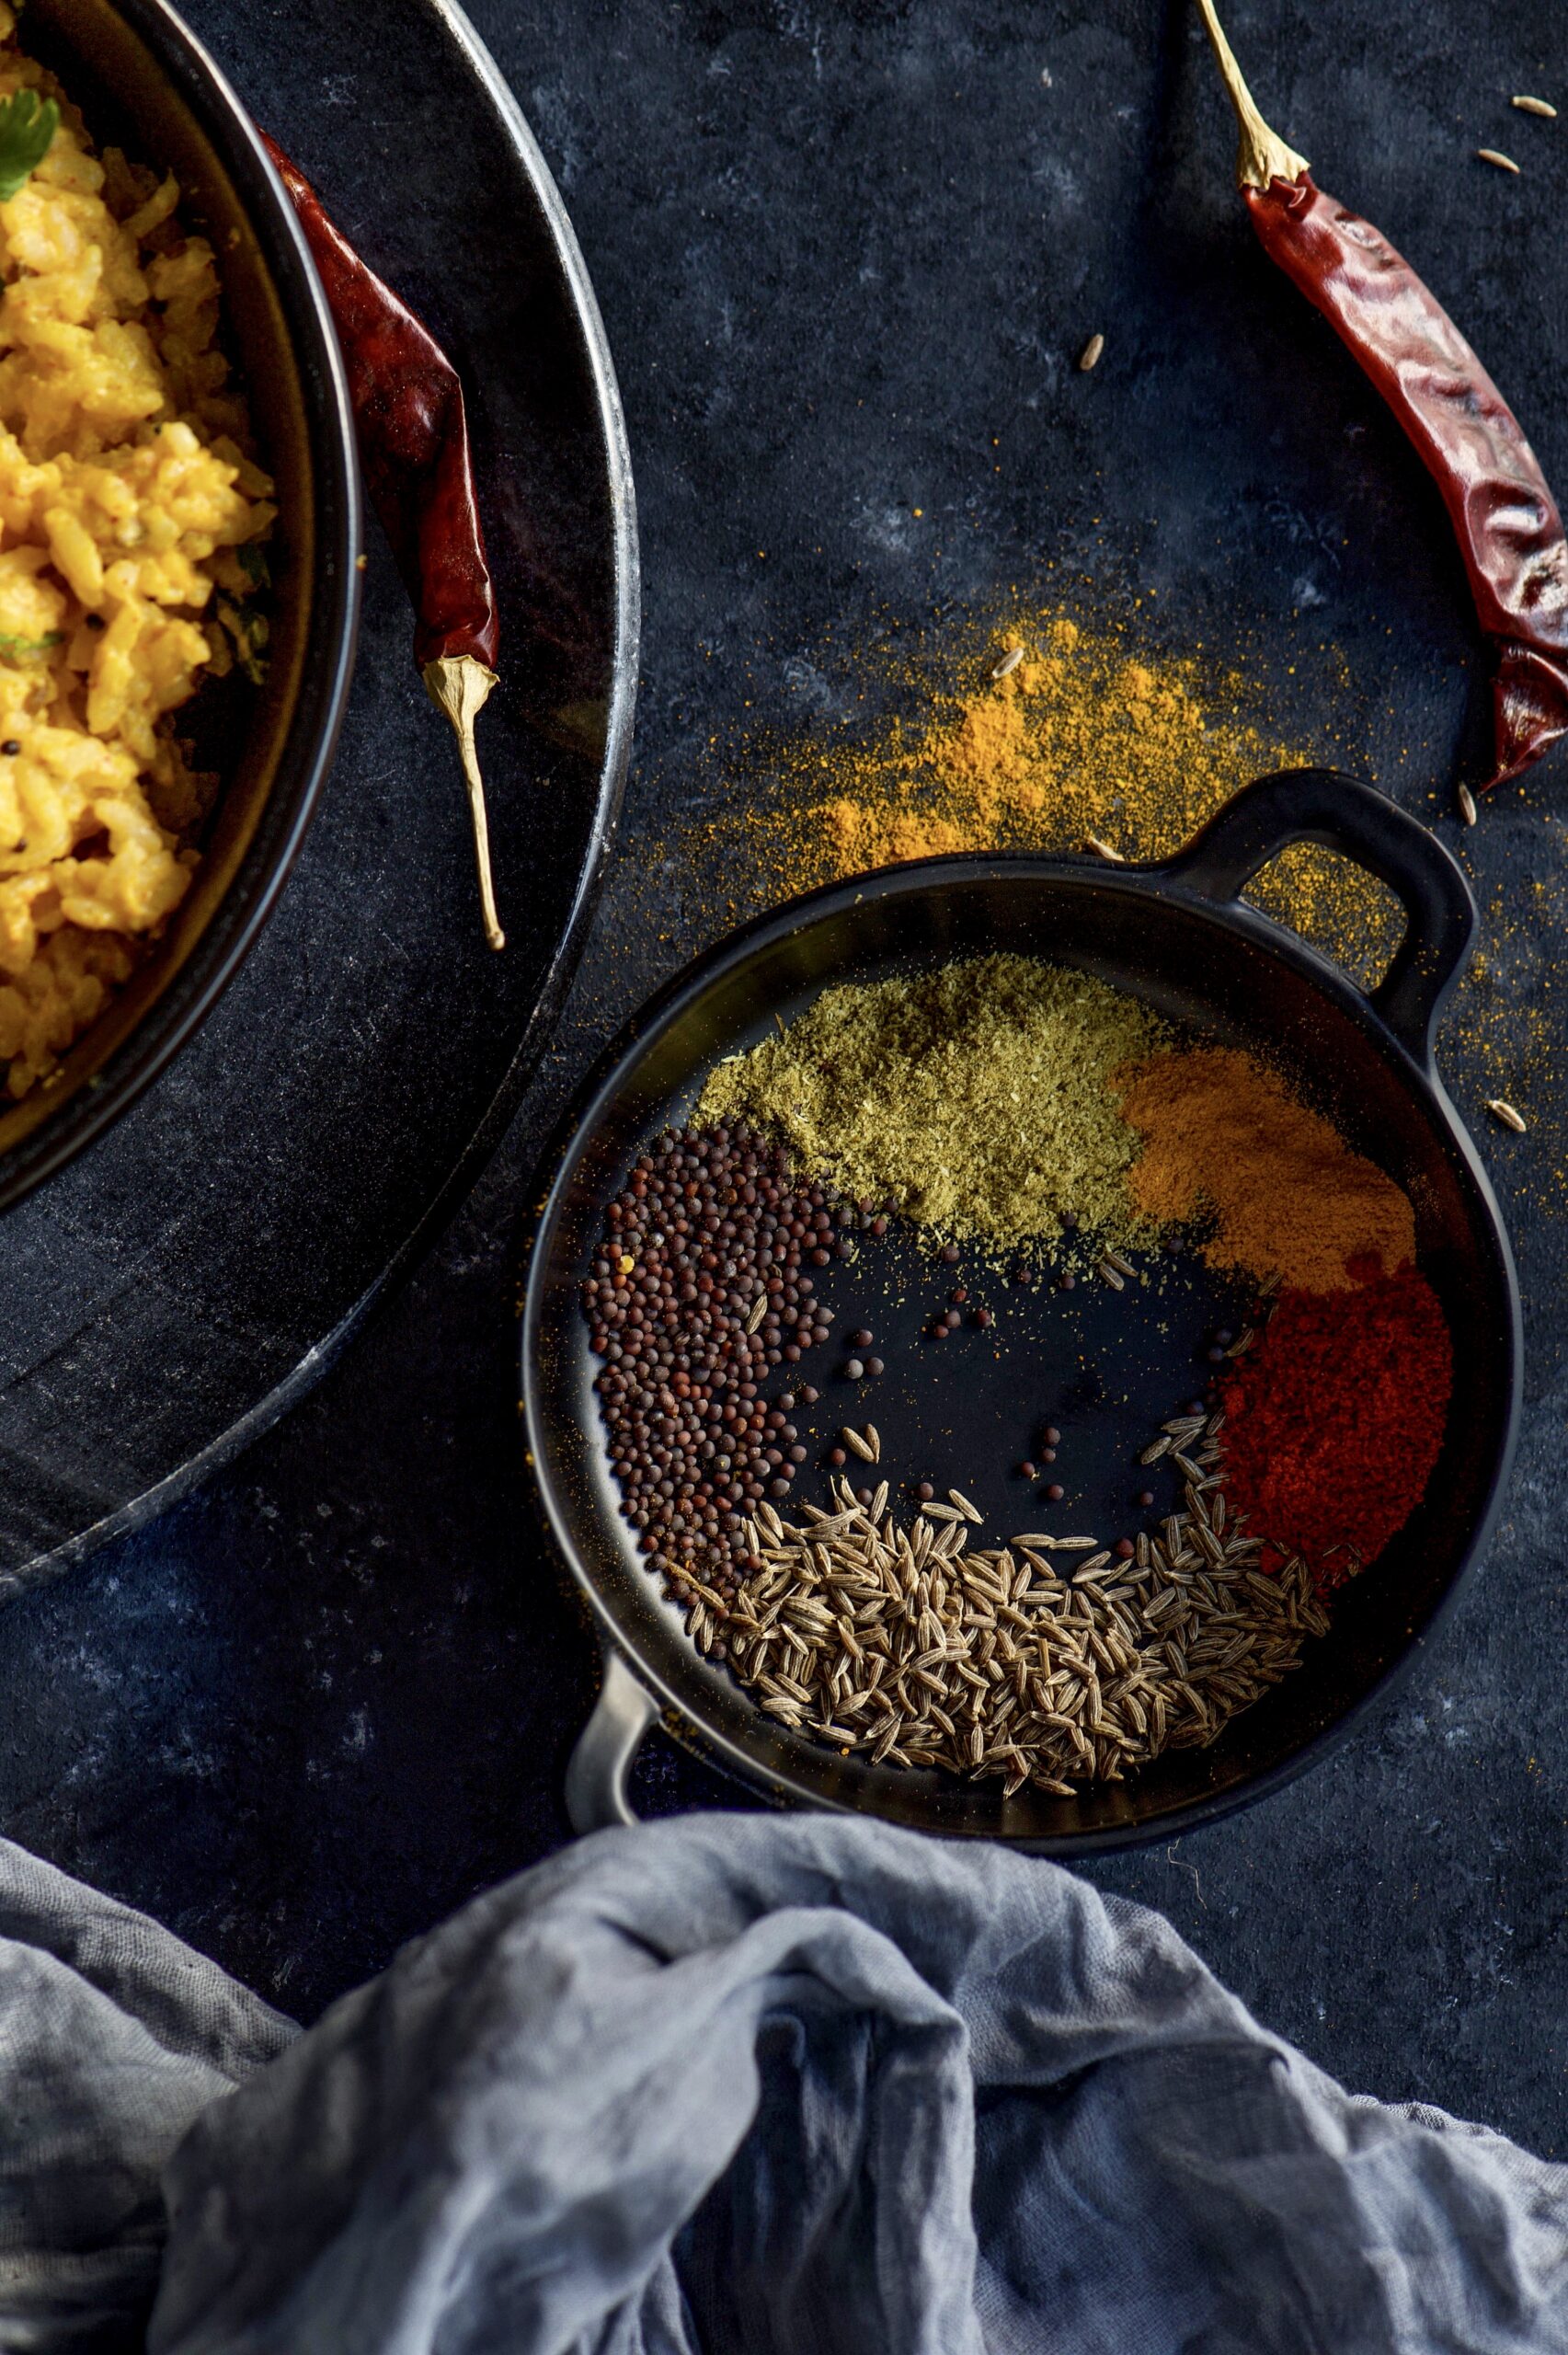
This Gujarati Masala Curd Rice is yoghurt-based, which means that it is of course rich in probiotics and excellent for digestion. The spices used are available in literally every kitchen cabinet in India.


Gujarati Masala Curd Rice

(Yield: 1 ½ cups)

Ingredients

1 cup cooked rice

½ cup yoghurt

1 tsp chickpea flour

Salt to taste

1 dried red chilli (not too spicy)

A few curry leaves

¼ teaspoon turmeric powder

½ teaspoon coriander/cumin powder

Asafoetida (optional)

2 teaspoon oil

¼ teaspoon cumin seeds

¼ teaspoon mustard seeds

Remember: the key to the dishes in this Second Helpings series is their simplicity. This one in particular is so simple, yet so filling.

In a pot, add the oil and once it’s hot, add the cumin and mustard seeds. Wait till they splutter, and then add the red chilli and curry leaves. Immediately after, add the yoghurt and flour and stir so that the yoghurt does not split. Now, add all the remaining ingredients and stir.

Garnish with coriander leaves and serve hot. Gujarati Masala Curd Rice is a meal in itself, and is both flavourful and cooling. Ideal for summers, for light evening meals following afternoon feasts and as comfort food in general.

I hope you’ve enjoyed this Second Helpings series. I’d love to hear from you in the comments below about the dishes you make, or remember eating as you grew up, that fall into the resourceful, innovative category of “leftovers”. I’m sure your parents were so excellent at whipping up what seemed like a whole new dish that you didn’t always know that that’s actually what they were!