20 Results

sourdough

Search

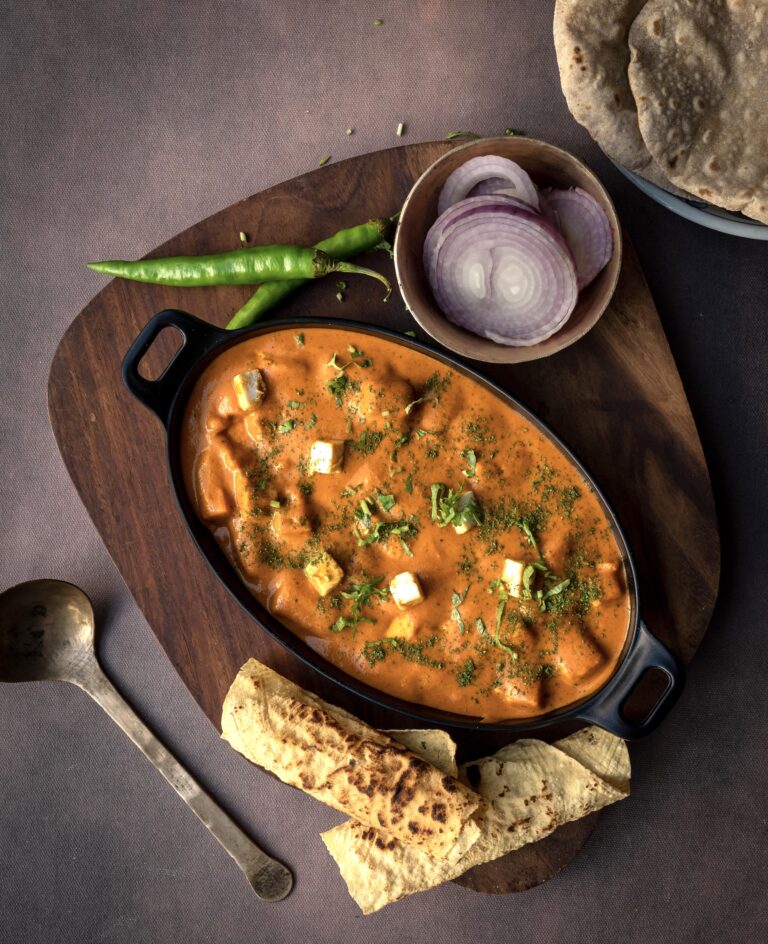
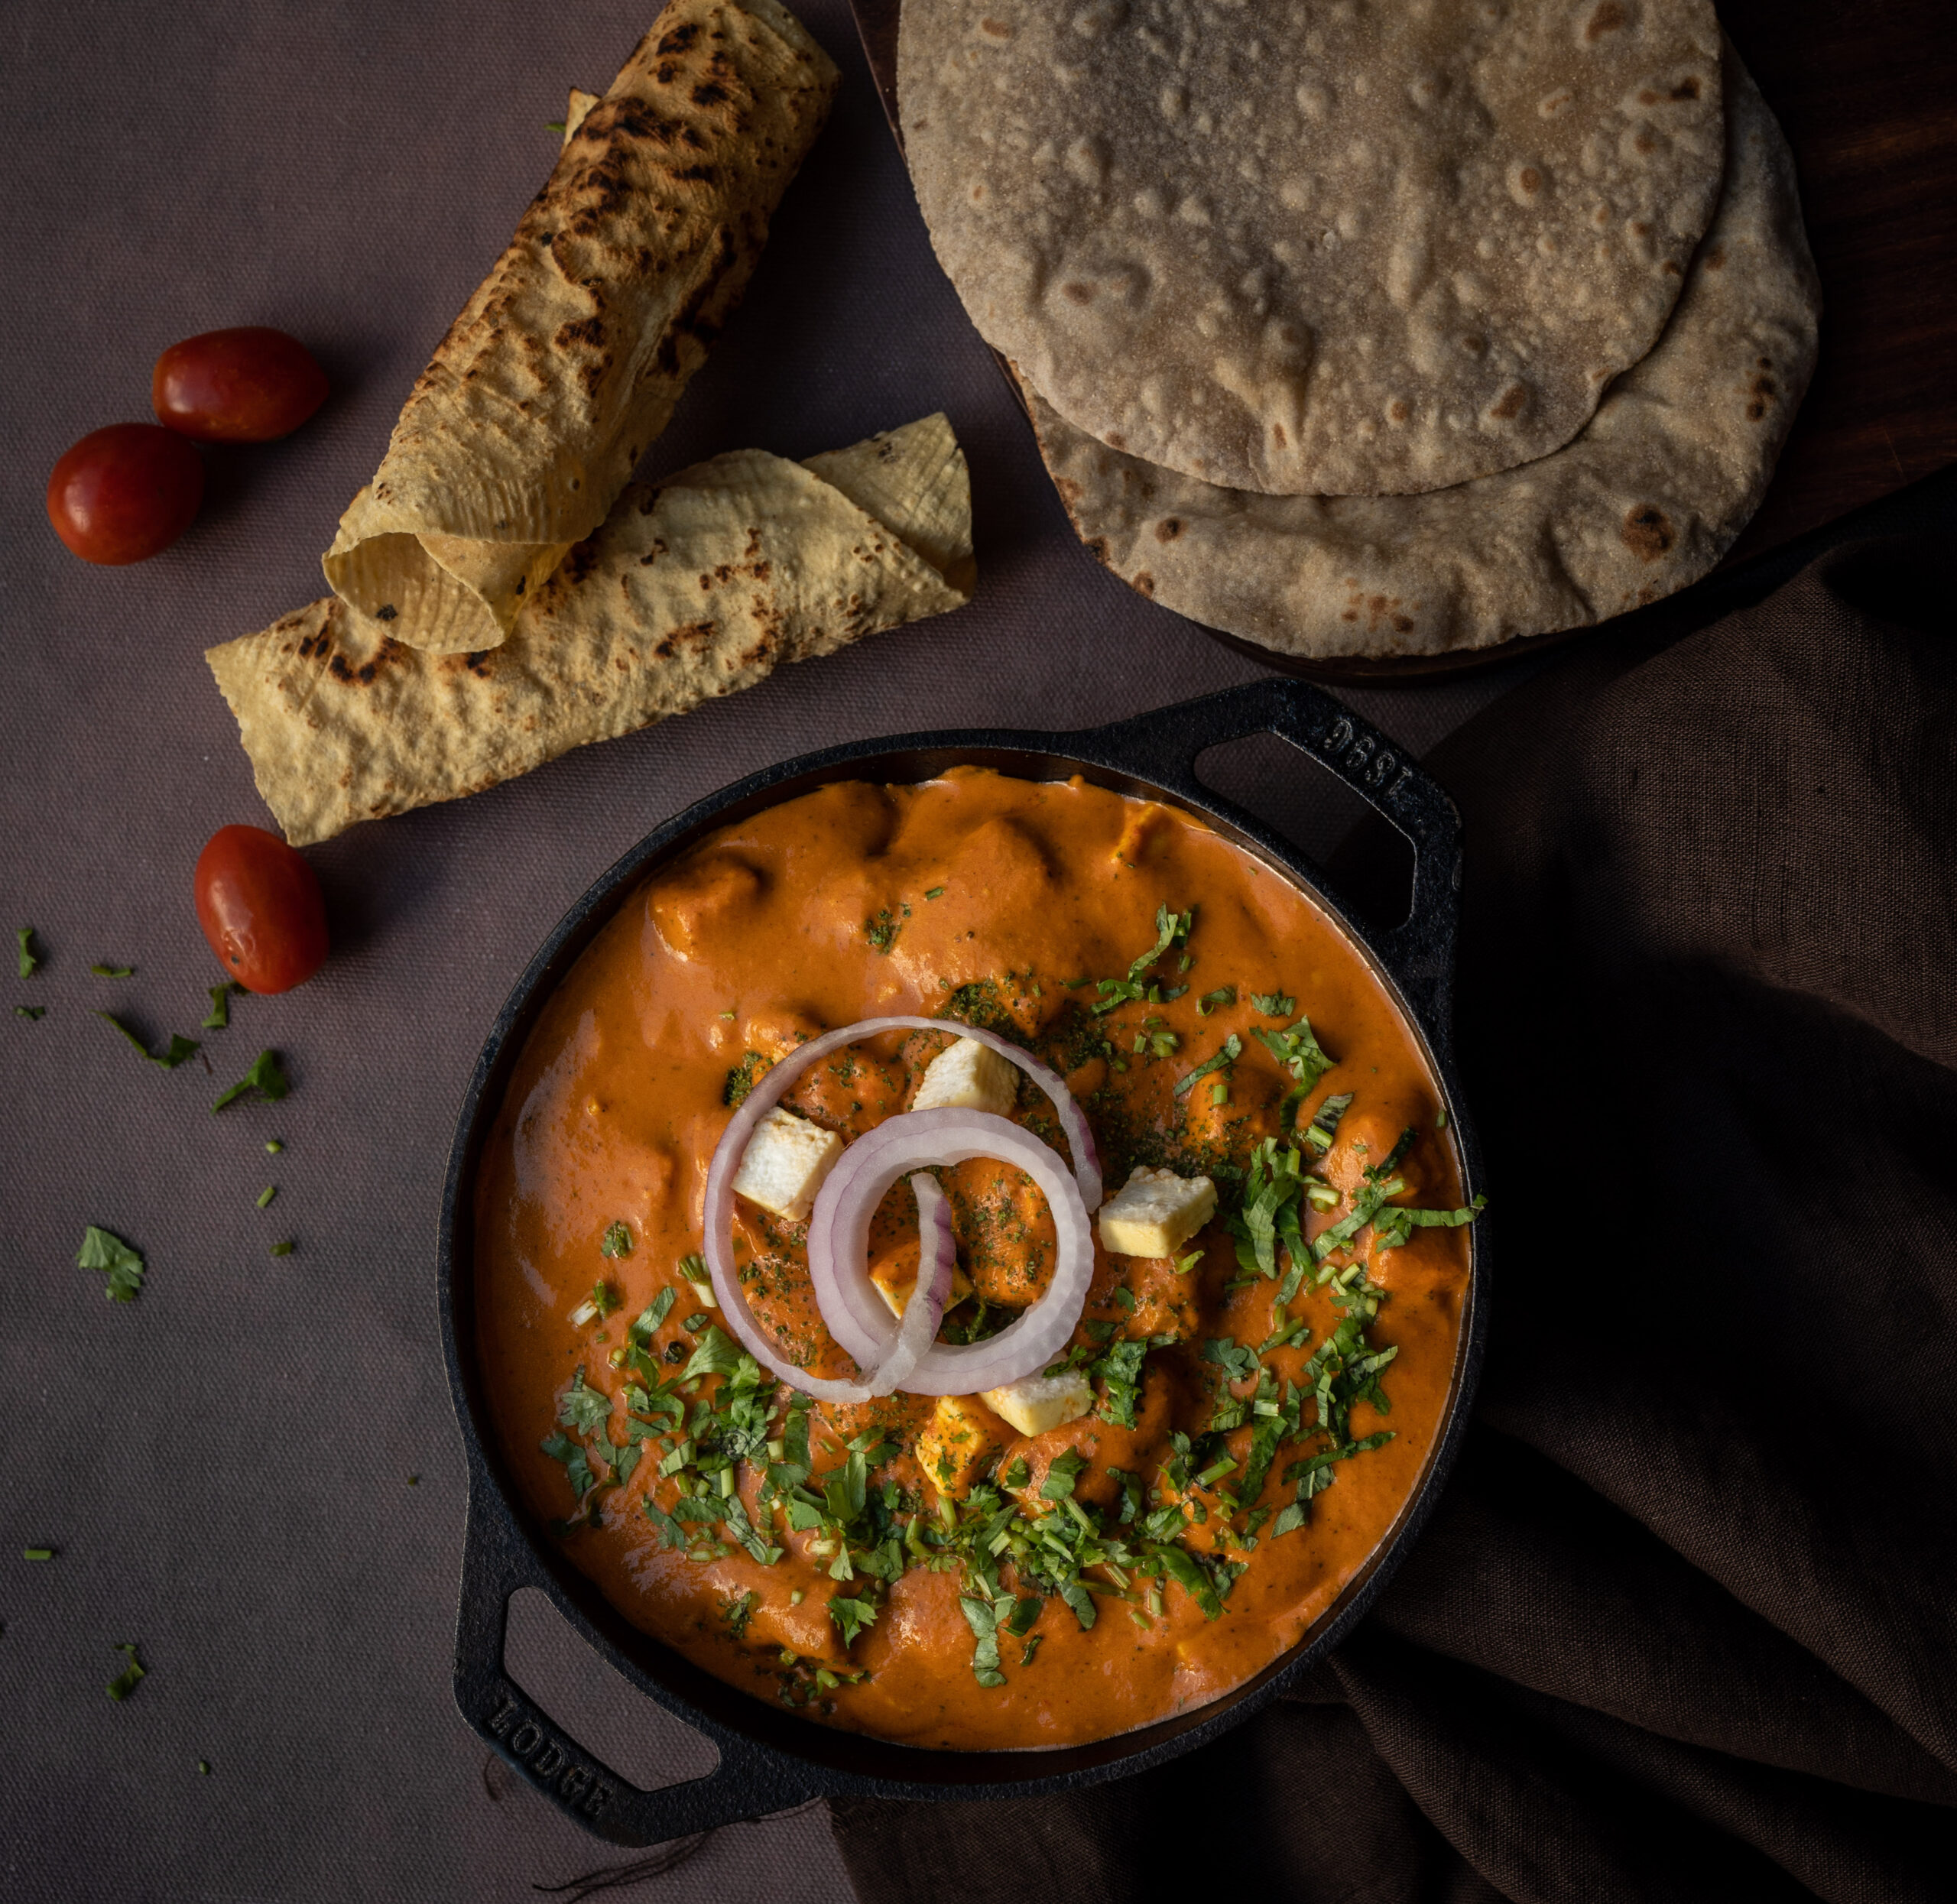
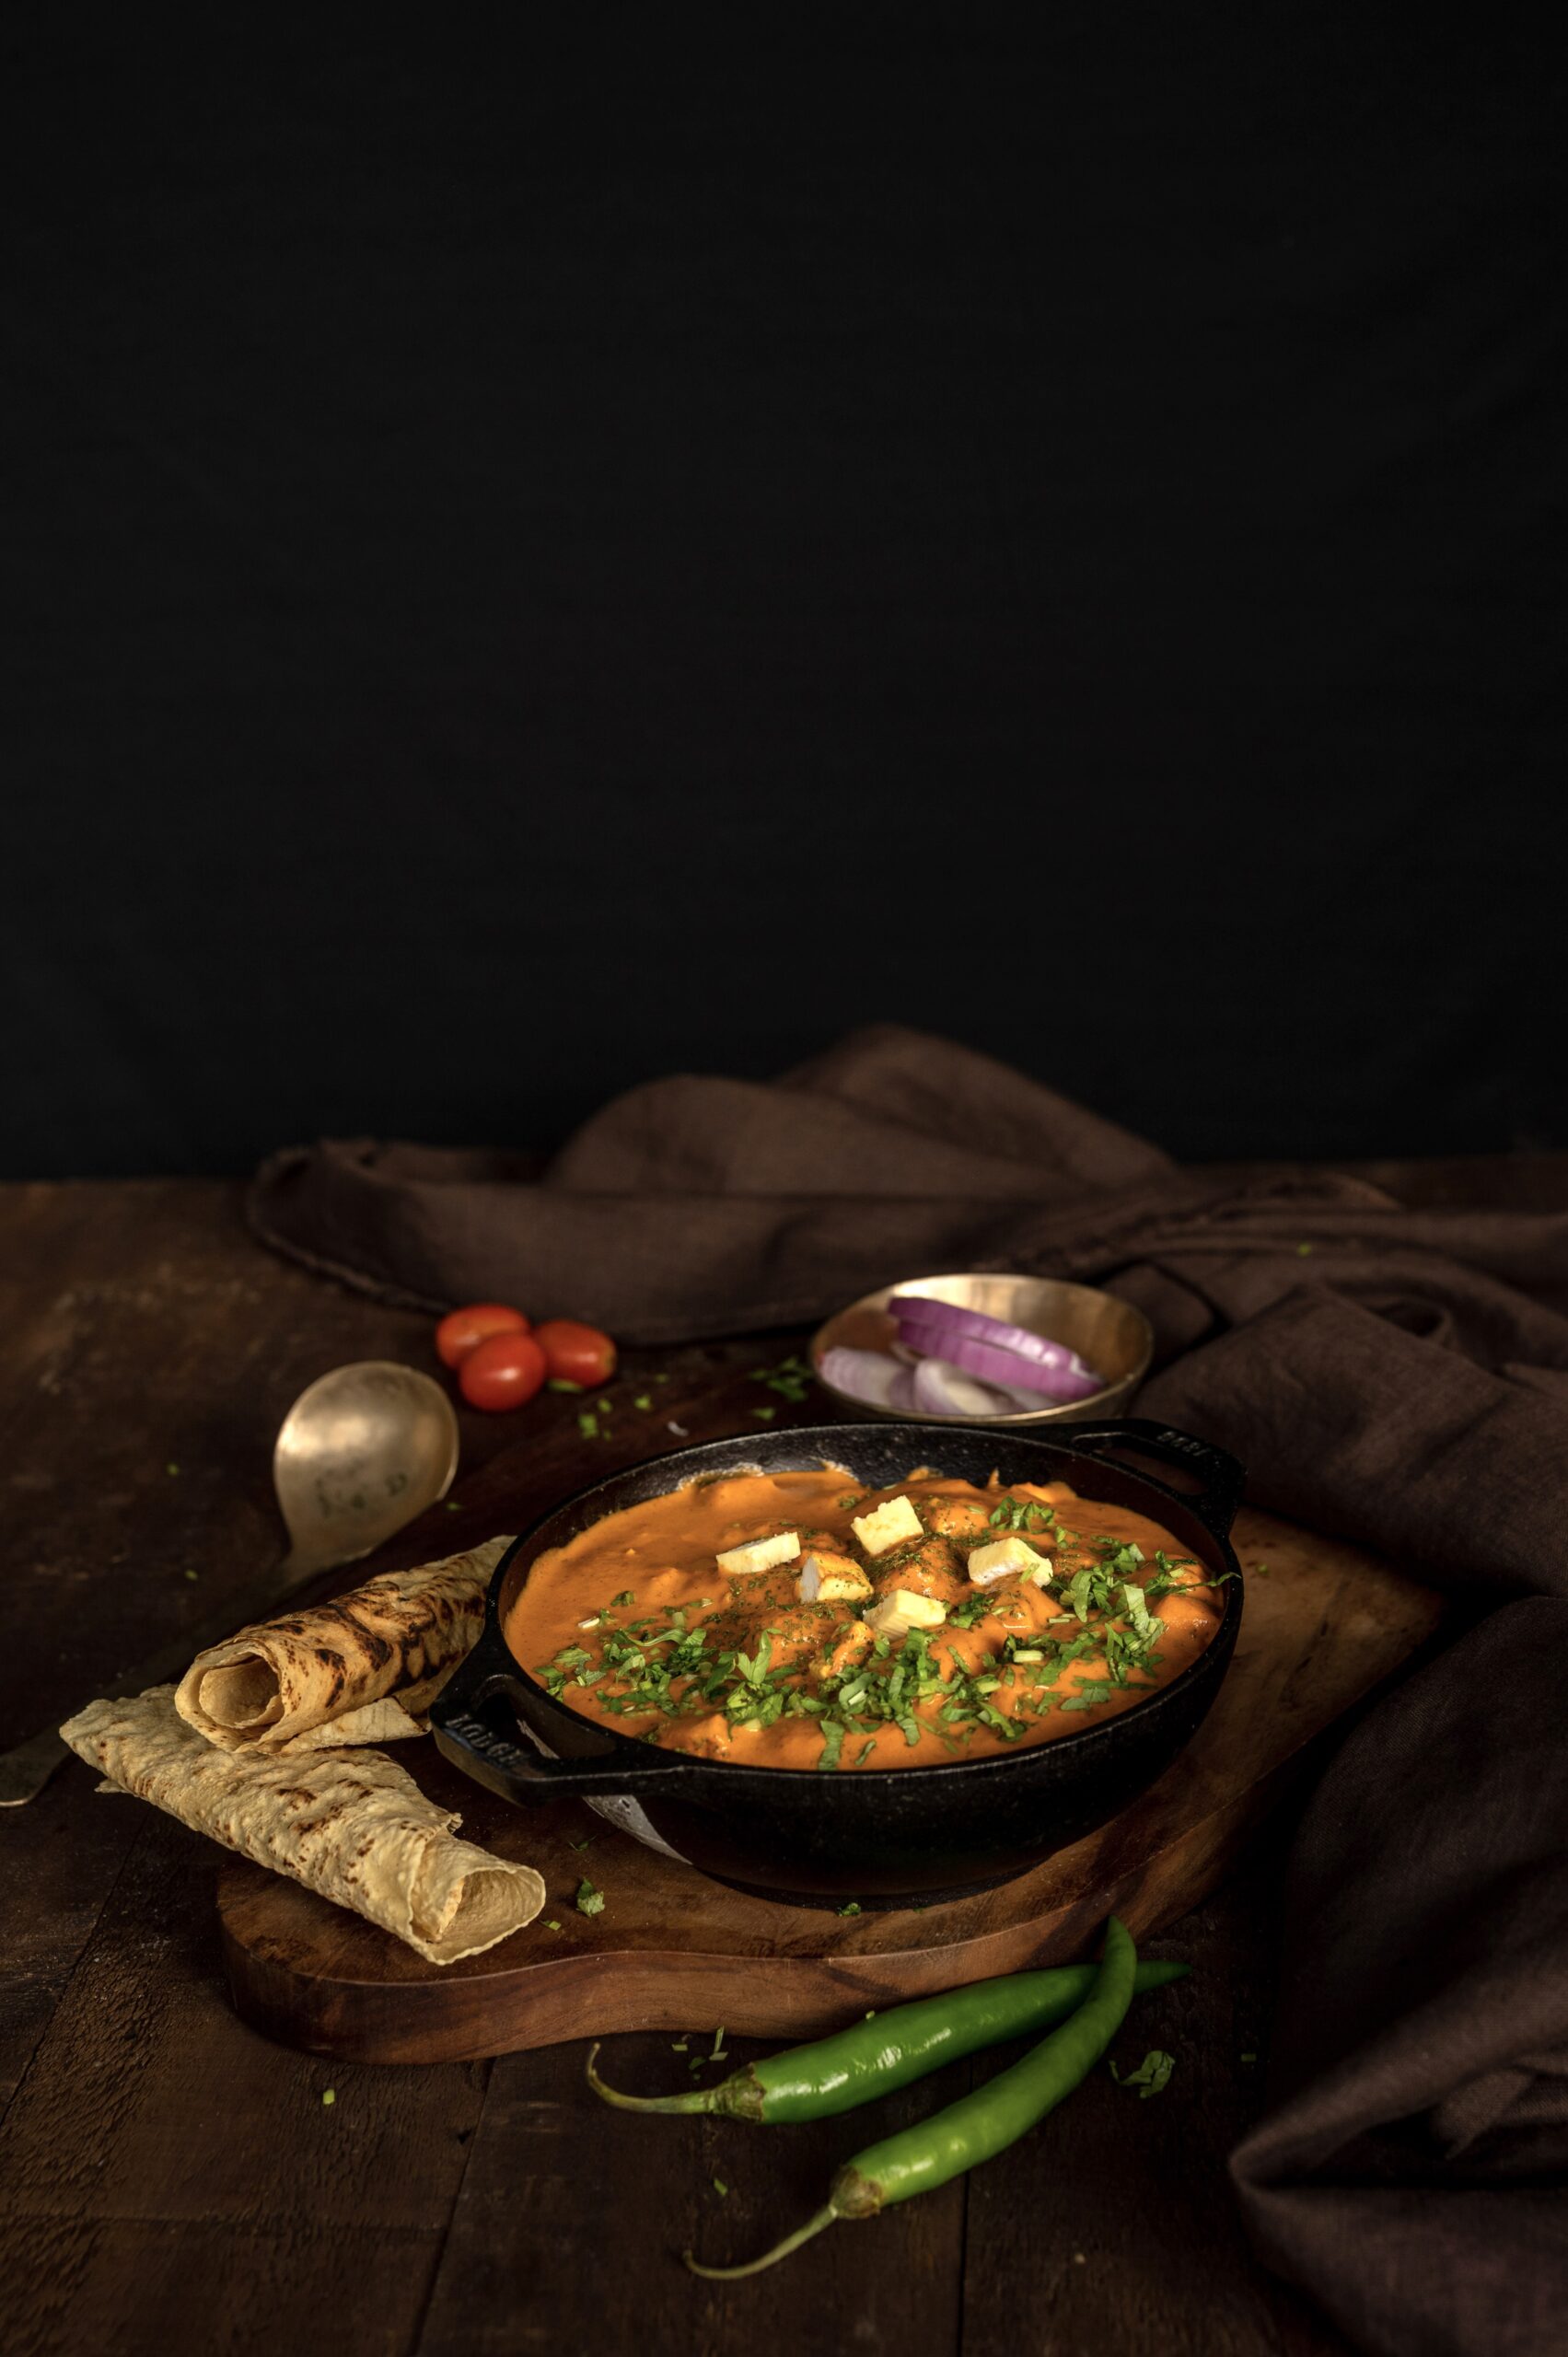
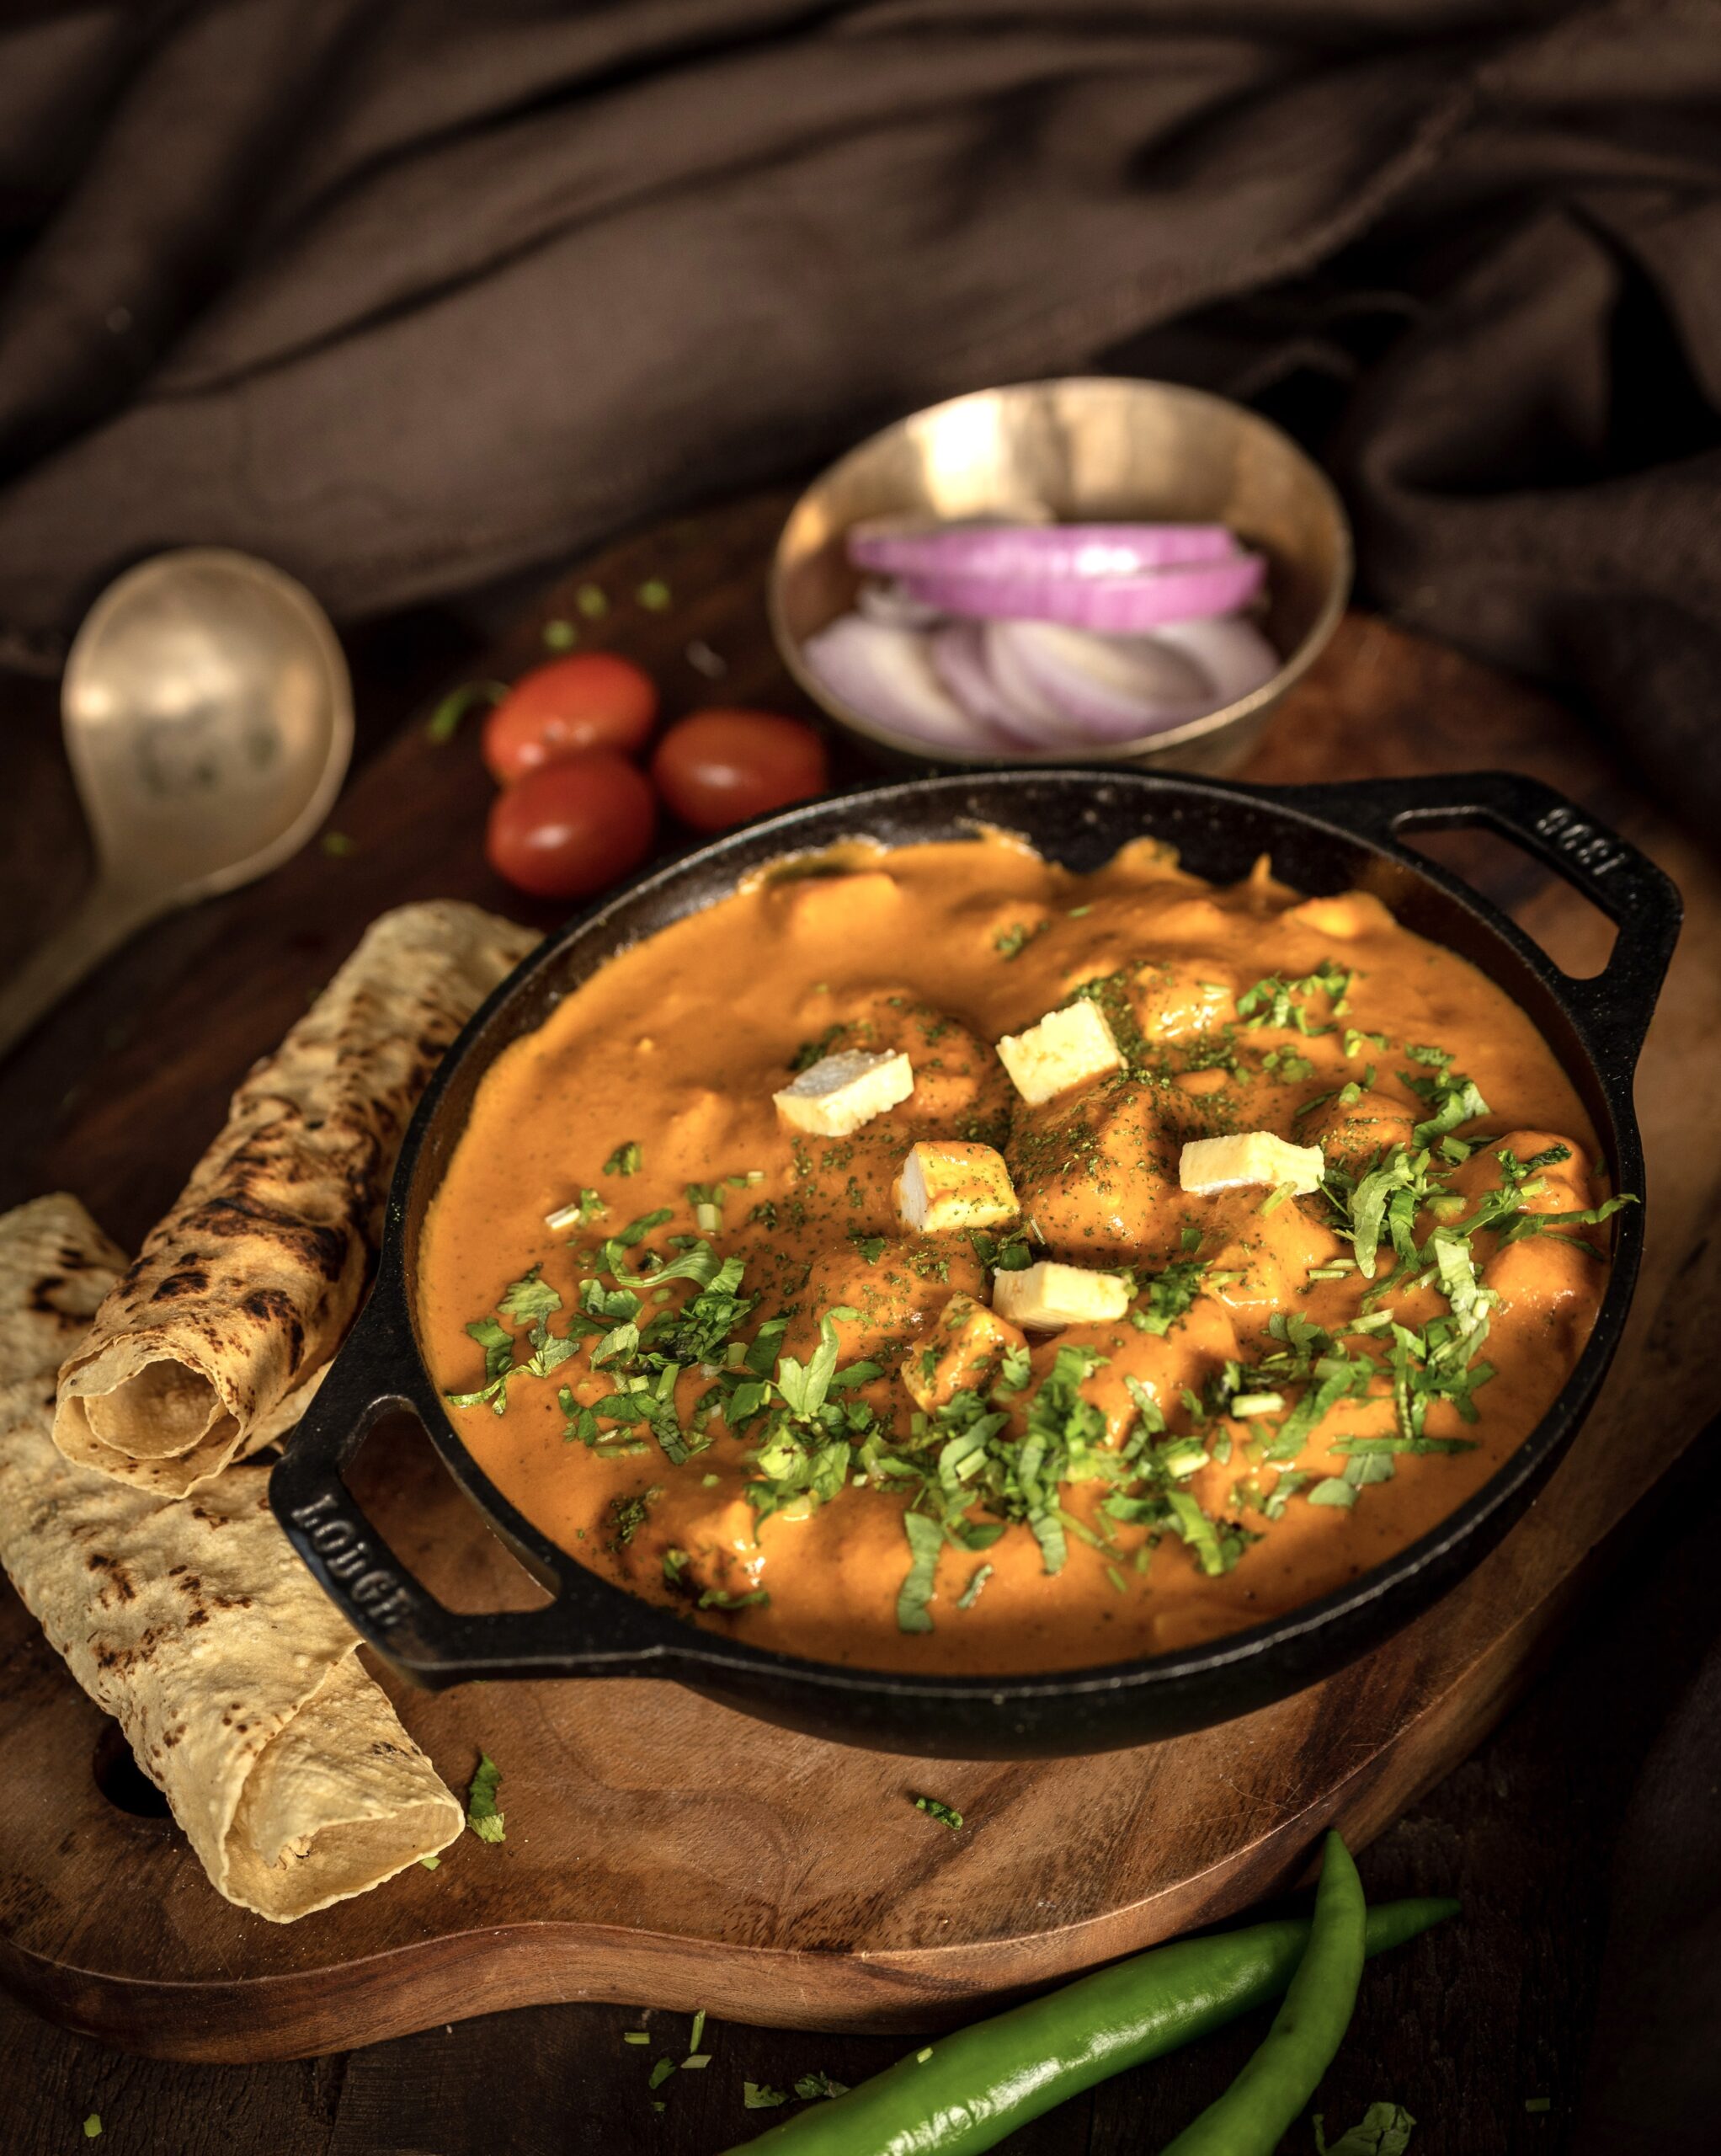
Paneer makhani is a staple in North Indian cuisine, and is loved by people across the country, but not many know that it is a far cry from the original preparation that it is based on. From my understanding, the authentic Mughlai dish did not use tomatoes, which were not available or at least not widely cultivated in India till the last couple of centuries. Tomatoes are a major part of the recipe as it is widely made today. Another element is that the cooks who invented the dish did not use fat such as oil, butter or ghee. Instead, they splashed yoghurt, which would release natural fat. This is what the meats and the gravies of the Mughlai kitchen would be cooked in. Having a sense of the evolution of paneer makhani – a curry using paneer, or Indian cottage cheese – has made me quite happy to share the version that is made in my own kitchen.

While my version caters to my family’s likes and dislikes, it is really focused on one member in particular. Everyone who knows us knows how much my son Prasan loves his paneer makhani. If I talk about this love in detail, he will be furious with me for putting it out in public, so I’ll try not to divulge too much. Suffice to say: he has adored it since childhood. When he visits our relatives, like my aunt or my sister, they usually ring me up and ask me exactly how to make it in the way he prefers. They know that he will only be satisfied with their meal if there’s a serving of his favourite dish. If they’re unable to prepare it that day, they organise for it to be at the table anyway. So this recipe is for them also – next time, they can just find it right here on this blog, as can you.

When we get together as an extended family, a good paneer makhani is a mainstay at most meals. I’ve noticed this to be true at all sorts of gatherings and feasts across communities in India as well. It is also a dish that pleases people of all ages. Children seem to appreciate it as much as the elderly. Whether it was one of my kids when they were little or my mother-in-law as a senior citizen today, I’m never surprised to see anyone at all reach out for another helping.
Paneer Makhani

(Yield: Approximately 2 servings)


50 grams onion

180 grams tomato (roughly chopped)

2 cardamom pods

½ teaspoon cumin

2 cloves

1 piece cinnamon stick

1 bay leaf

1 teaspoon garlic-ginger paste

4-5 pieces broken cashewnut

1 tablespoon oil (to sauté)


1 teaspoon Kashmiri chilli powder

Salt to taste

½ teaspoon turmeric

¼ teaspoon dhaniya-jeera (coriander-cumin) powder


1 tablespoon ghee

½ teaspoon sugar

¼ teaspoon garam masala

100 grams paneer

½ teaspoon kasoori methi (dried fenugreek leaves)

Add the oil to a kadai. Allow to heat, then add the cumin seeds. Immediately after, add the onions, cloves, cinnamon, cardamom, cashew nuts, garlic-ginger paste and the bay leaf. Sauté for about 1 minute. Then, add the roughly chopped tomatoes.

Now, add the salt, turmeric, chilli powder and dhaniya-jeera powder. Stir, cover and allow to cook until the tomatoes are tender.

Allow to cool and blend well. Strain and set aside.

Heat a kadai, and add the ghee. Once it has melted, add the blended purée that had been set aside. If required, add a little water to make the gravy in the consistency you prefer. Other options are to add butter or 2 tablespoons of fresh cream. I have added neither. I sometimes do, but rarely, as Prasan and the rest of us prefer it with less of the same. If you choose to, remember to add the milk or cream finally, else it will split.

Now, add the sugar and allow the gravy to cook well. Finally, add the paneer pieces. I occasionally sneak in some green peas, but my kids don’t like them in this dish. But they do go well with paneer in general, so you may want to try them out. Garnish with a sprinkle of kasoori methi. The gravy can be used as a base for other dishes, such as chicken or vegetable curries, and I’d love to know how you decide to use it.

Serve with flatbread, such as naan or rotis, or rice. Now that I have the hang of sourdough naan, that’s what I tend to serve my Prasan-style paneer makhani with.

There you have it: one of the top dishes at my dining table, made with love every single time. On that note… I’ve mentioned my son quite a number of times in this post, which means I may just have to head to the kitchen and whip up a fresh bowl of paneer makhani. You see, it’s become a bit of a running joke that whenever he is annoyed or upset, a little bit of his beloved gravy will calm him down! Having said this, I’d better get to making it right away, I suspect!
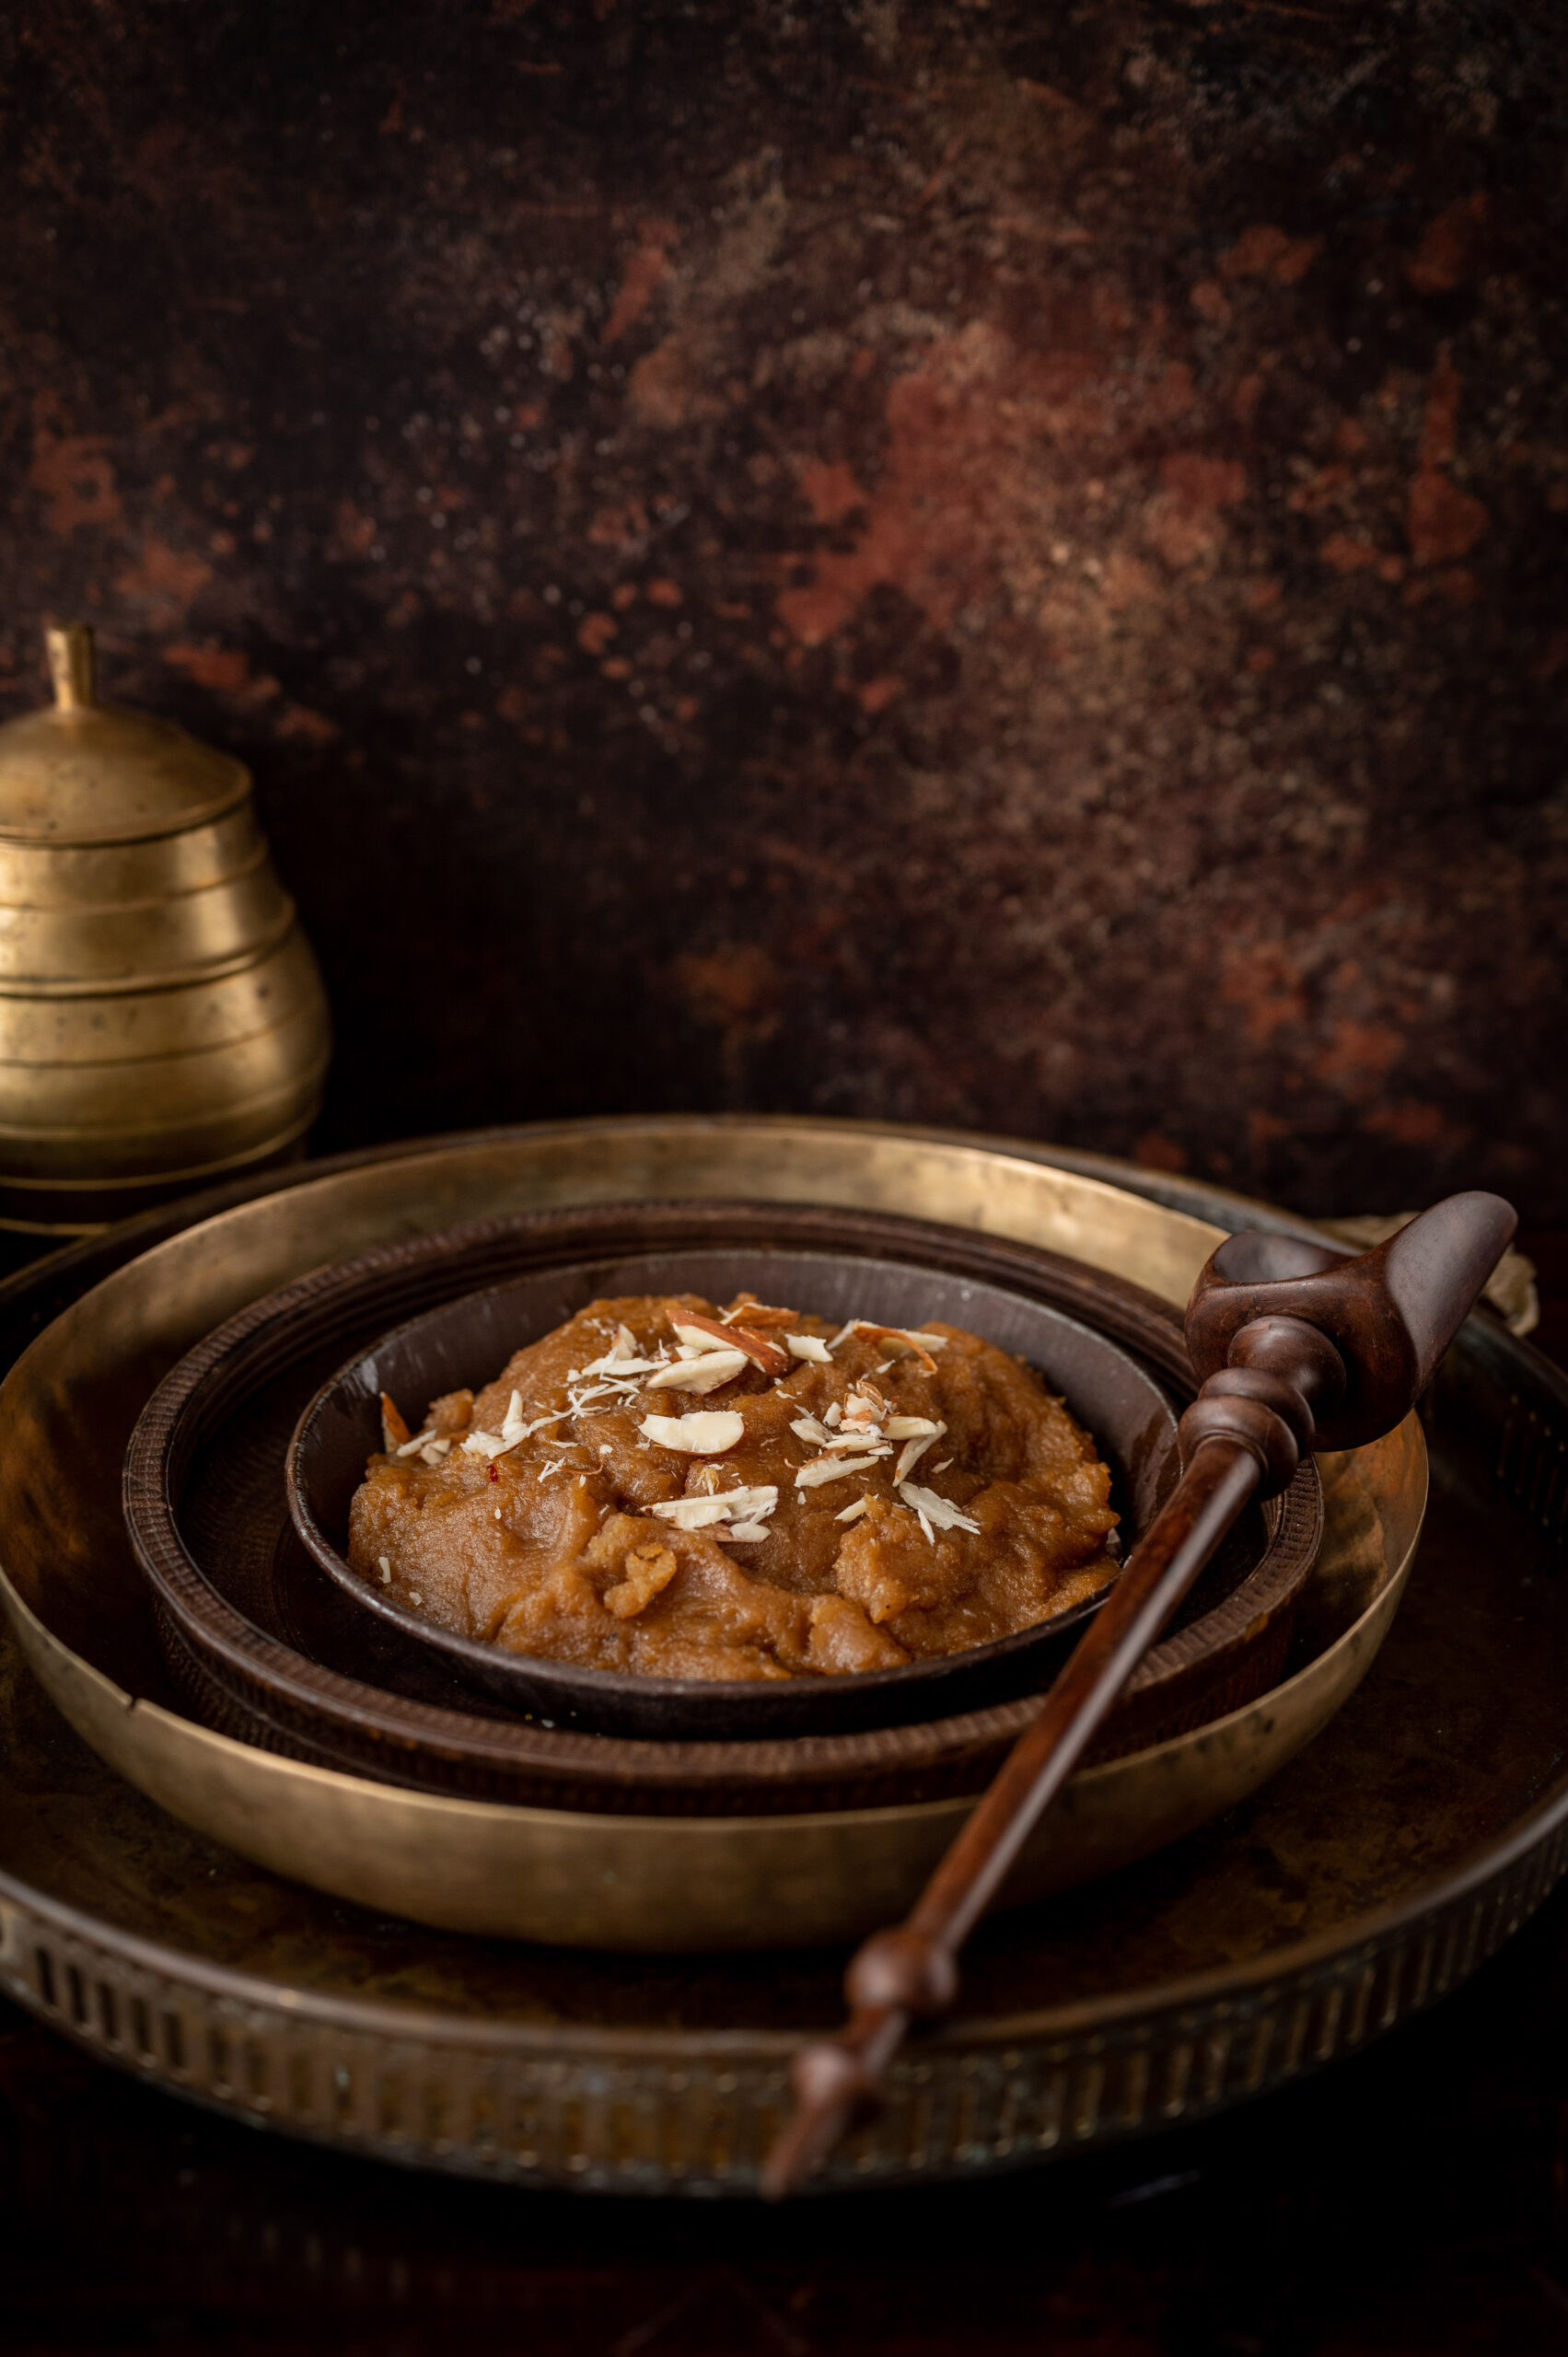
Every time that I had whole wheat halwa while I was growing up, it was mostly made in a jiffy. This was because whenever unexpected guests landed up at home and my mother had to make something sweet to serve them, this was her go-to recipe. Most people of that generation who cooked were extremely versatile. They knew what would work quickly, based on the ingredients they had on hand. It was also a time when those of my generation literally grew up in each others’ homes. So unexpected guests were always aplenty, and the Indian courtesy of feeding them was never forgotten, no matter how much of a surprise they may have been!

The base of this recipe is wheat, jaggery and ghee – items which would invariably be in any Indian kitchen. The additions like saffron and cardamom may not always be available, but the essential ingredient list is one that was quite reliably in every home while I was growing up, and most likely still is today. These are inexpensive ingredients. Not many could afford refined sugar back then, so the accessible and healthier jaggery was used, along with affordable staples like wheat and ghee.

Wheat-ghee-jaggery is an age-old combo, as can be seen in the auspicious sukhudi, which uses the same base. Sweets that utilise this combo are offered to the gods in many Indian homes, and it’s easy to see how the accessibility of the ingredients make them a logical choice for many.

The simplicity of such offerings is part of their beauty. In fact, aside from them being offered in worship, they were also the key feature of birthdays. Back when I was a kid, a birthday cake was not always guaranteed. What we would offer to the gods on that day, and then consume for ourselves, was the big question. “Birthday? Big deal. Get up and go to school!” was a refrain many of us heard! Still, our mothers would usually prepare our favourite Indian sweets that day. My brother liked rava kesari, so that’s what he would receive. As for me, it was this whole wheat halwa that was usually my birthday treat.

I loved birthday parties, and had been to a few of my friends’. There was one year when I decided to throw myself a surprise party – meaning, it was a surprise for my mum! I went back home after school with my whole class, with absolutely no advance notice, and announced that they had all come to celebrate with me. I knew that if I had asked her earlier, she would just have said No. But with all my friends already there, she obliged so very sweetly. Looking back, it could not possibly have been easy to muster up a party immediately. But the feast contained this whole wheat halwa, some standards like toasted sandwiches – and even some McRennett’s cake which she somehow managed to organise last minute. You may recall that I’ve never quite been a fan of what I call that smelly vanilla cake, but it is cherished by my generation. It was a hit at my party too, of course. But that whole wheat halwa was what shone in my mind, and still does, all these years later.

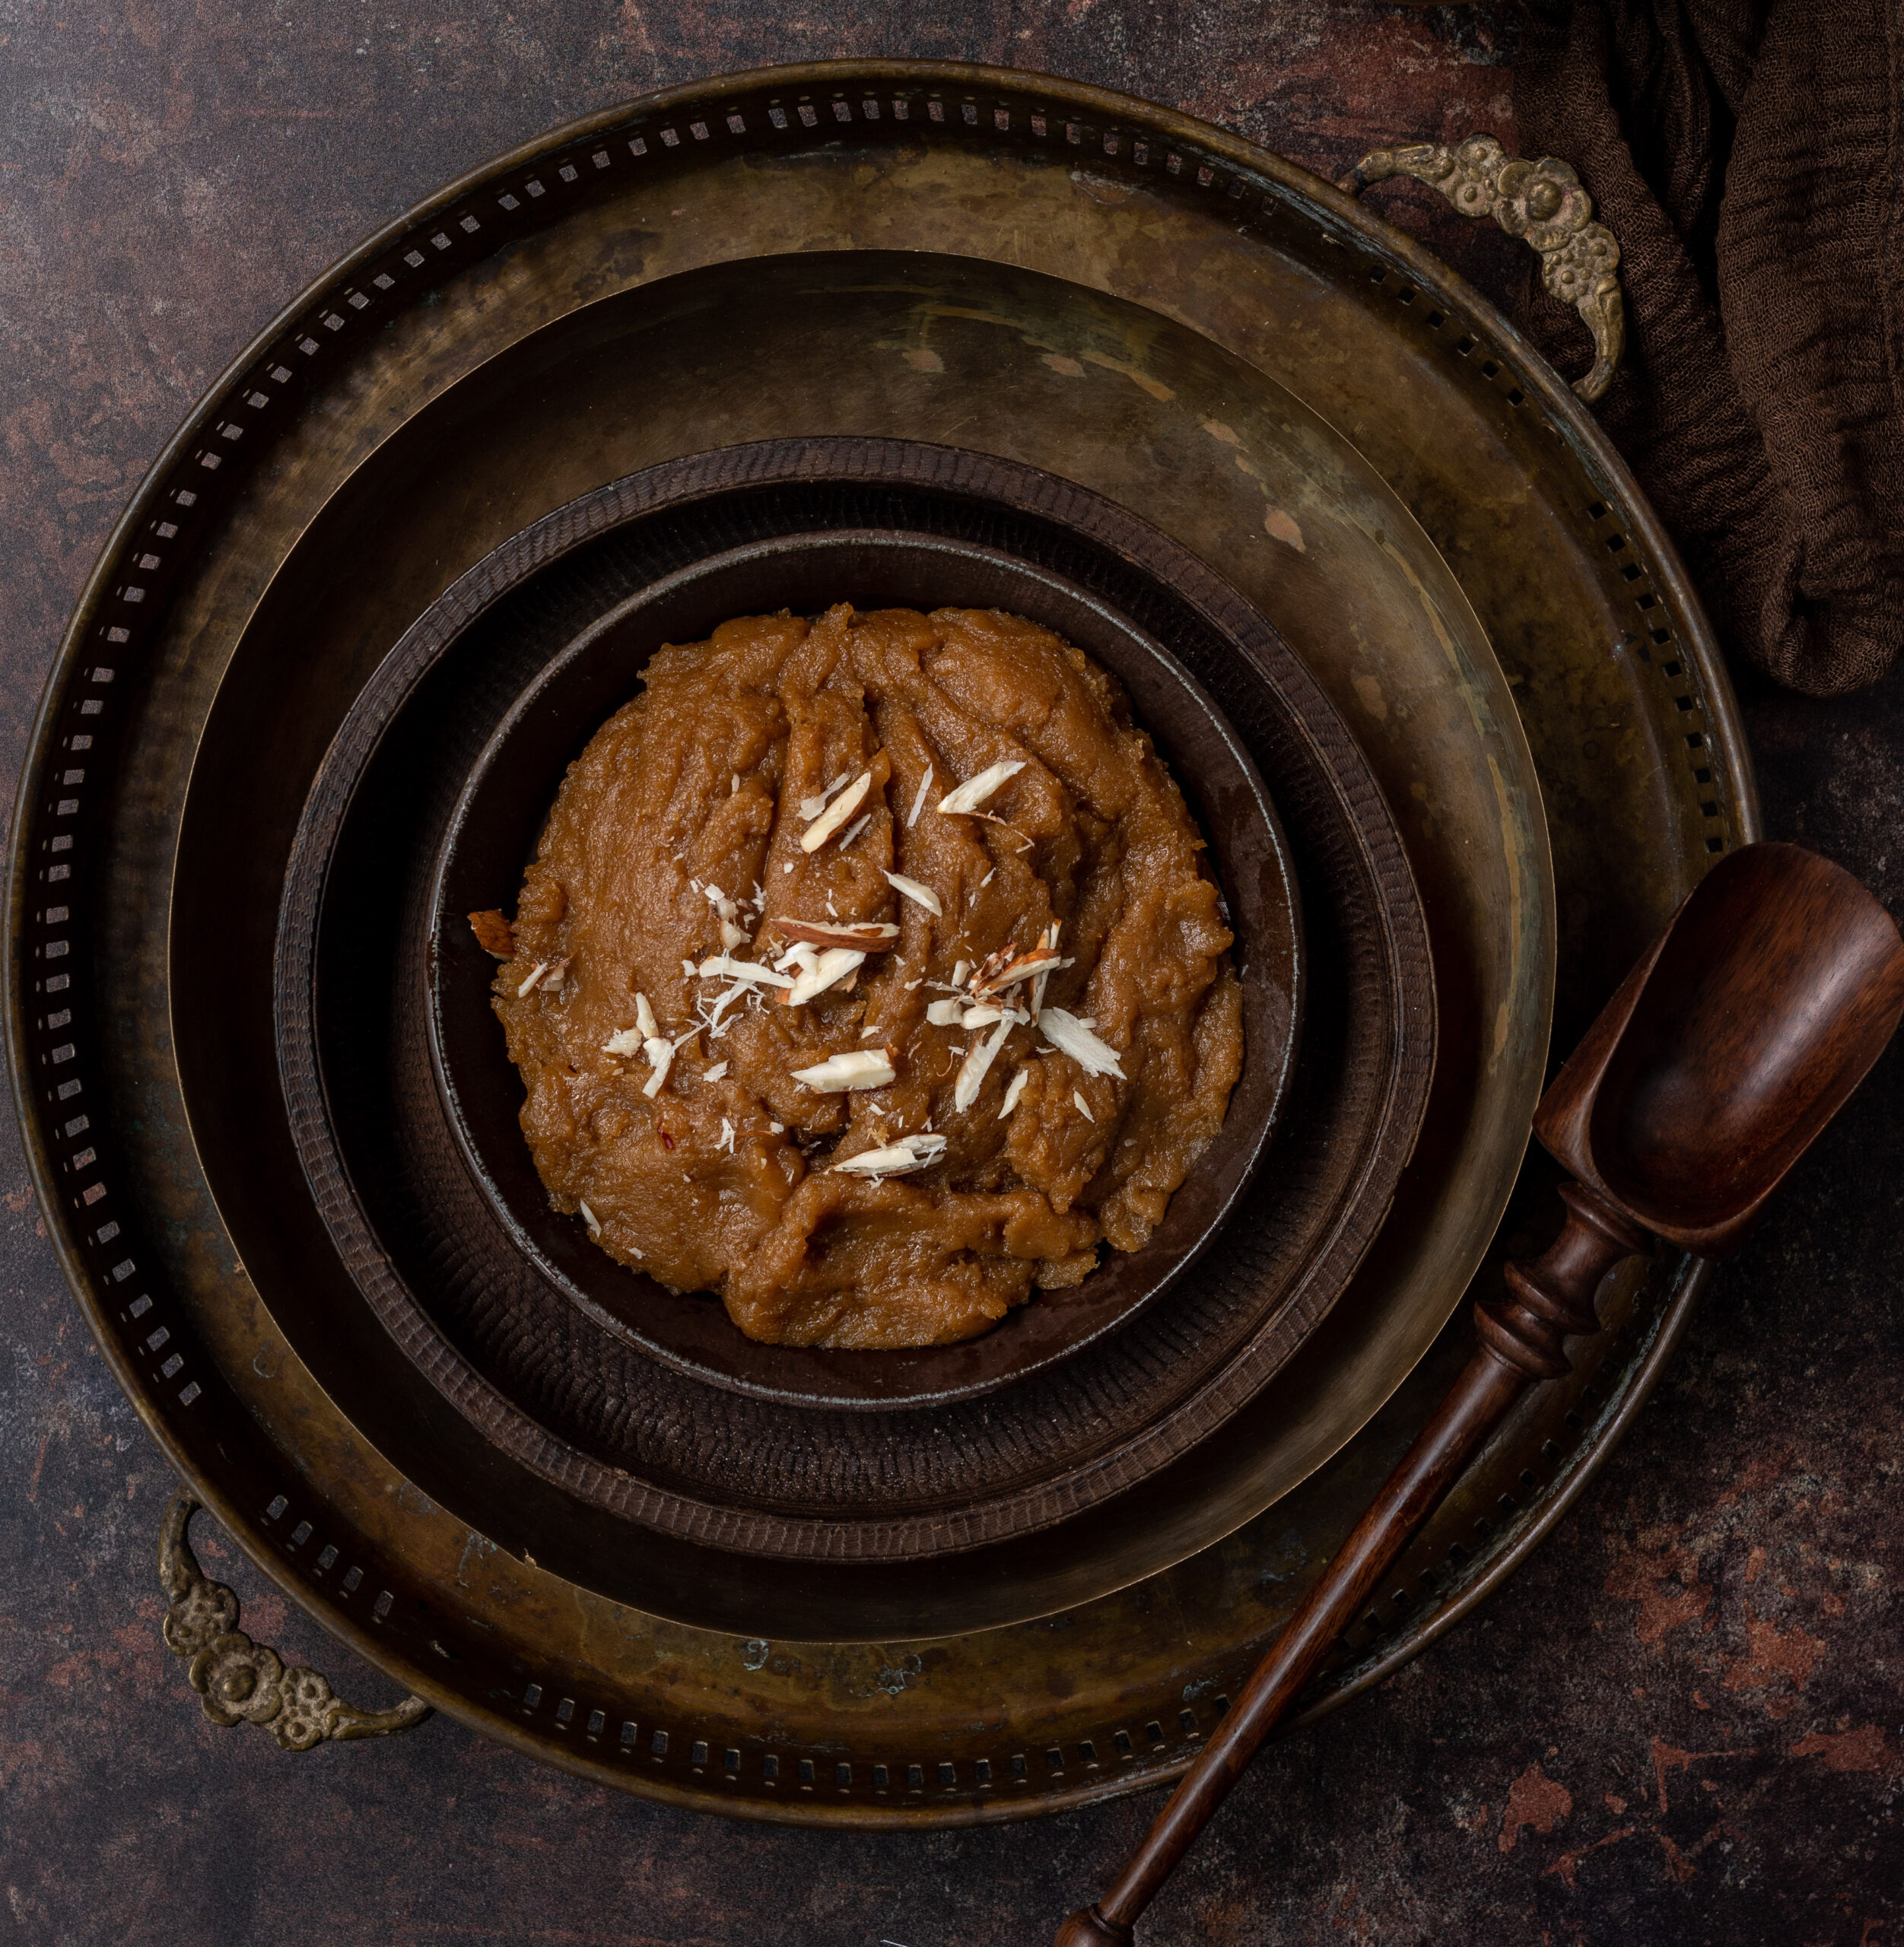
Whole Wheat Halwa

(Yield: 5)

¾ cup whole wheat flour

¼ cup jowar flour

½ cup ghee

½ cup jaggery

A pinch of saffron

1 tablespoon milk

A pinch of cardamom powder

1½ cups hot water

½ cup jaggery


Soak the saffron in the milk and set aside.

Heat a kadai and add the ghee. Once it has melted, add the flours. You will notice that I use jowar, or sorghum. This is my addition to the recipe, and another way for me to bring healthy millets into my desserts.

Stir on a medium flame. Stir continuously, else the flour will stick to the bottom. This will take approximately 12-15 minutes.  Stir until the mixture turns a dark golden colour. You never want a dull-looking halwa! Even if you skip the saffron or cardamom, you absolutely cannot skip the continuous stirring when it comes to this dish. The secret to it rests entirely in doing that well.

Then, add the jaggery and keep stirring until the jaggery melts.

Lower the flame and add the hot water slowly, continuing to stir continuously. Be careful as the mixture will splutter. Stand away from the kadai at this point. Once the water mixes well with the flour, then bring it back back to a medium flame – while mixing non-stop.

The mixture will thicken and the ghee will separate. Add the cardamom powder and saffron. Mix well again. Serve.

When I think back about my mother stirring constantly over the stove while a gaggle of hungry schoolgirls waited, I am filled with love. That love continues to be passed on in this recipe. I hope you’ll enjoy it too, and please do check out the various Indian sweets I’ve shared earlier on this blog as well.

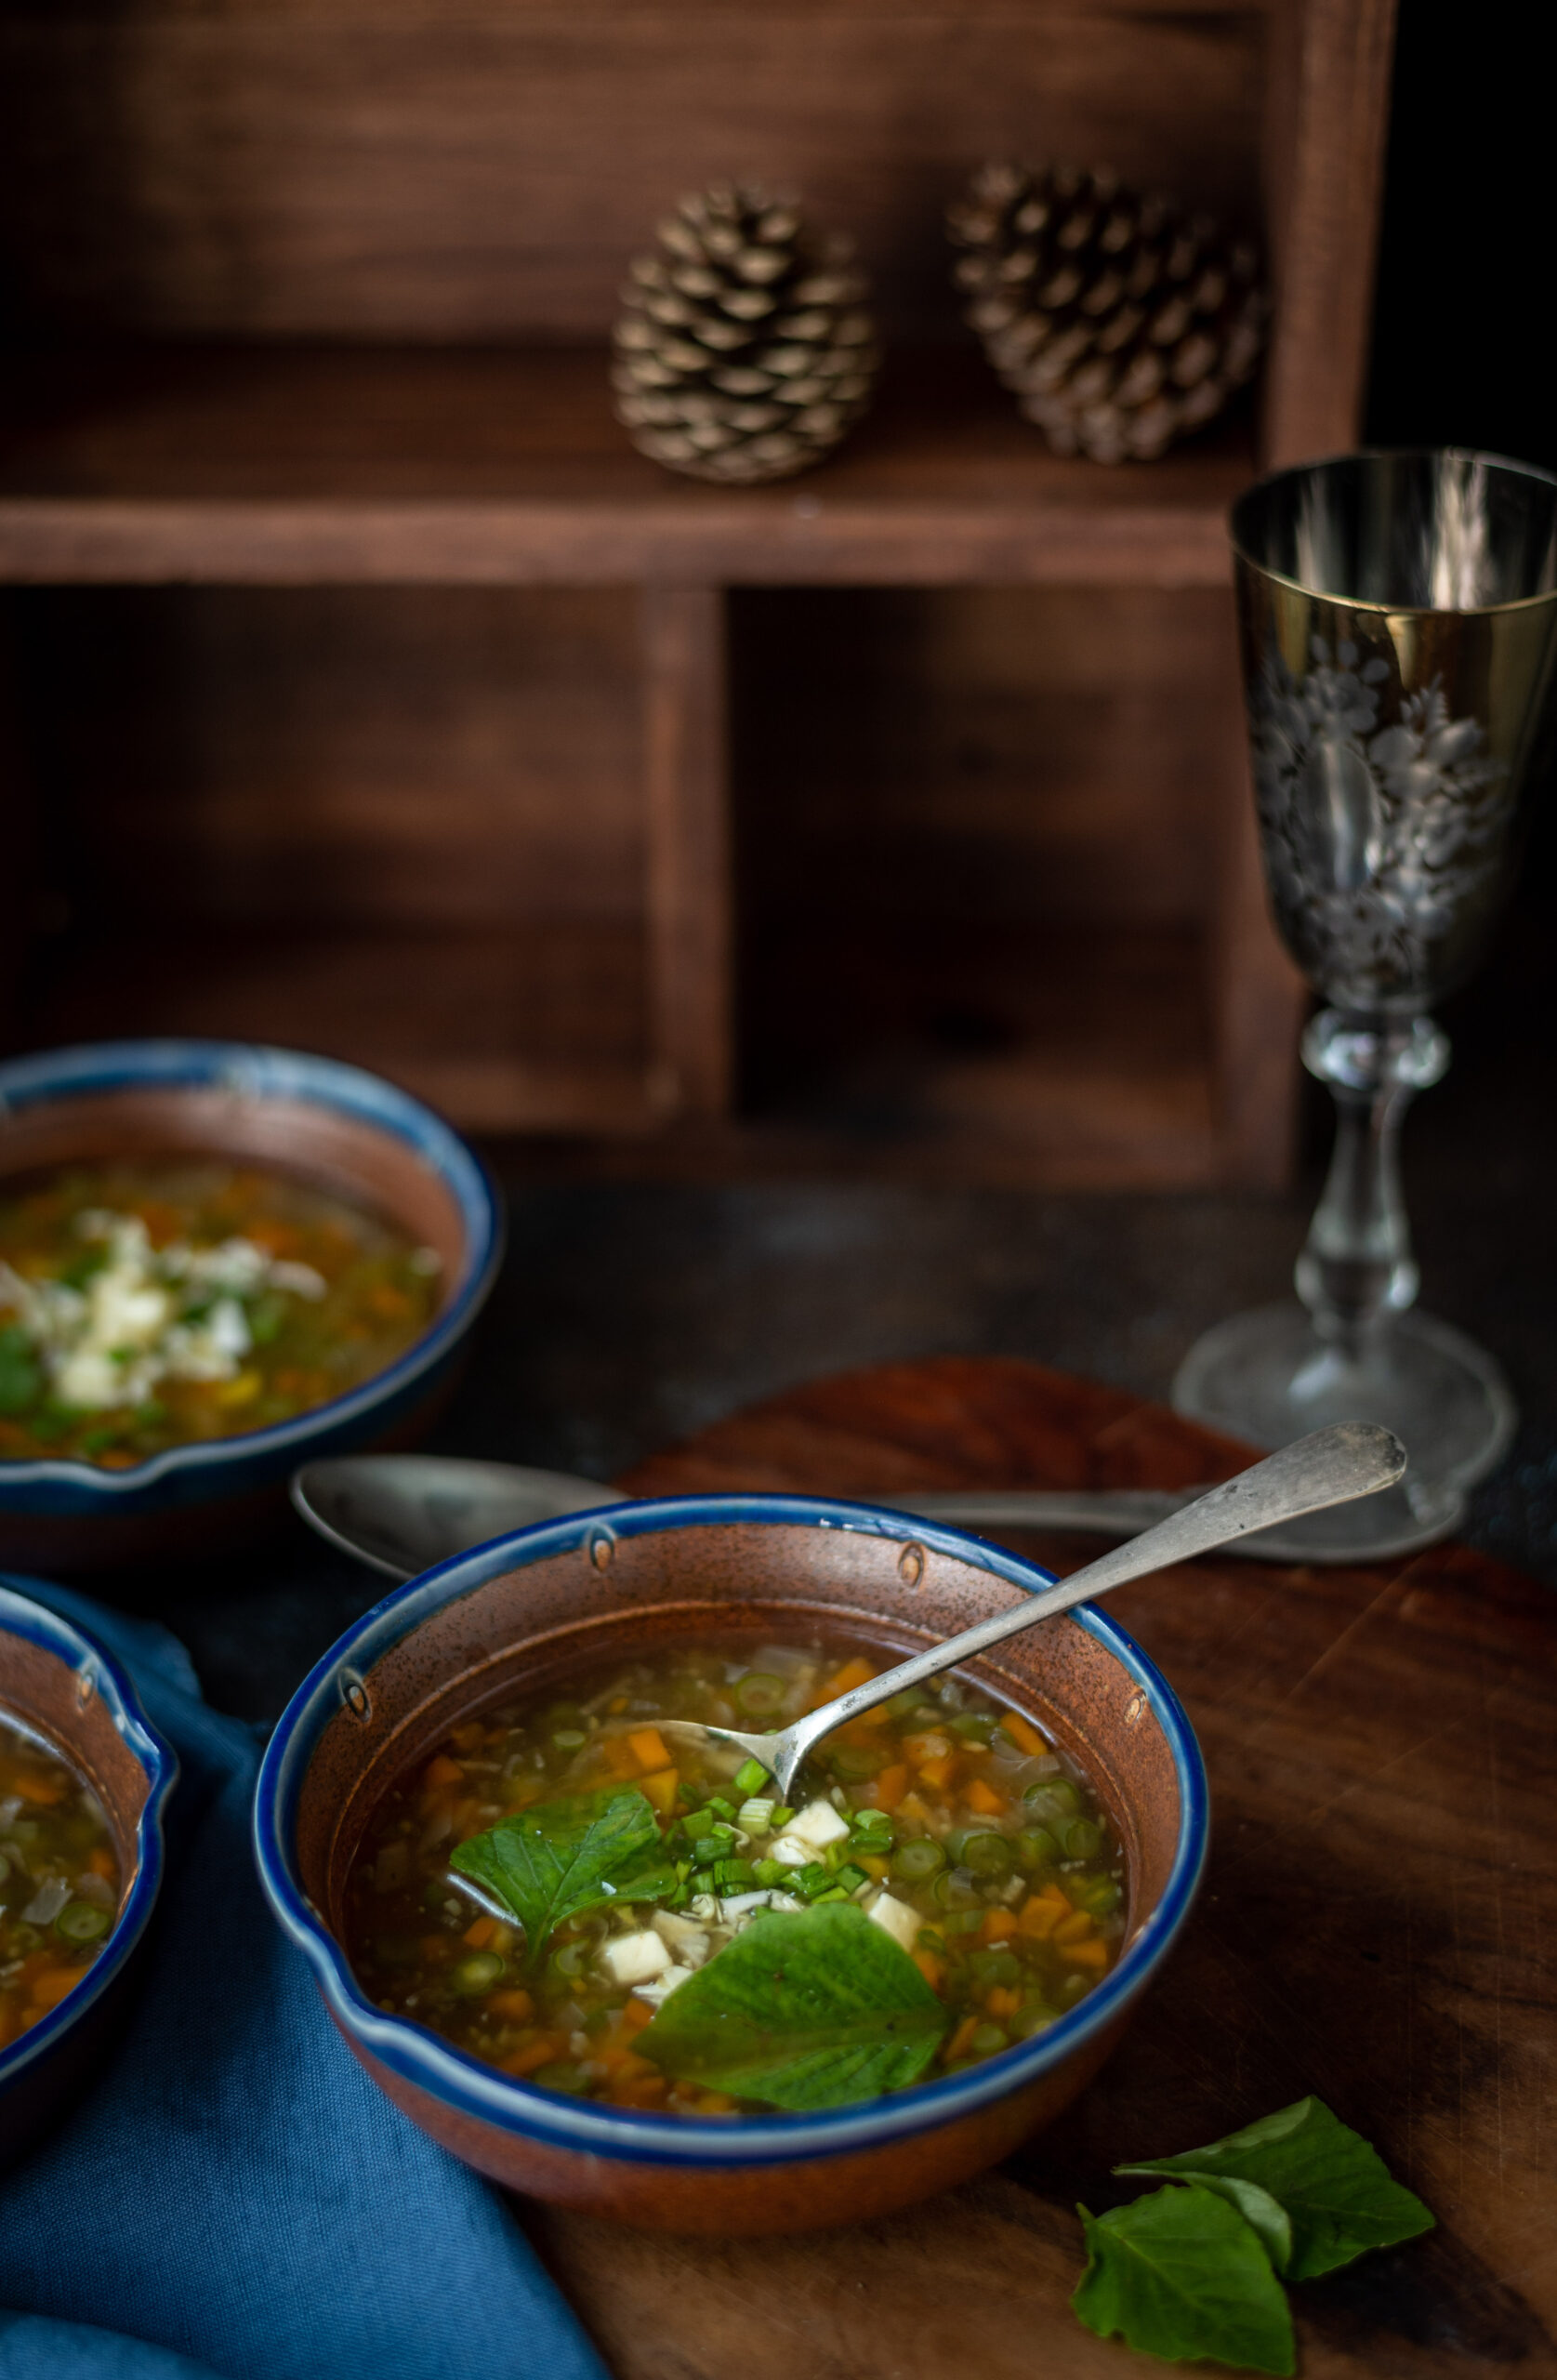
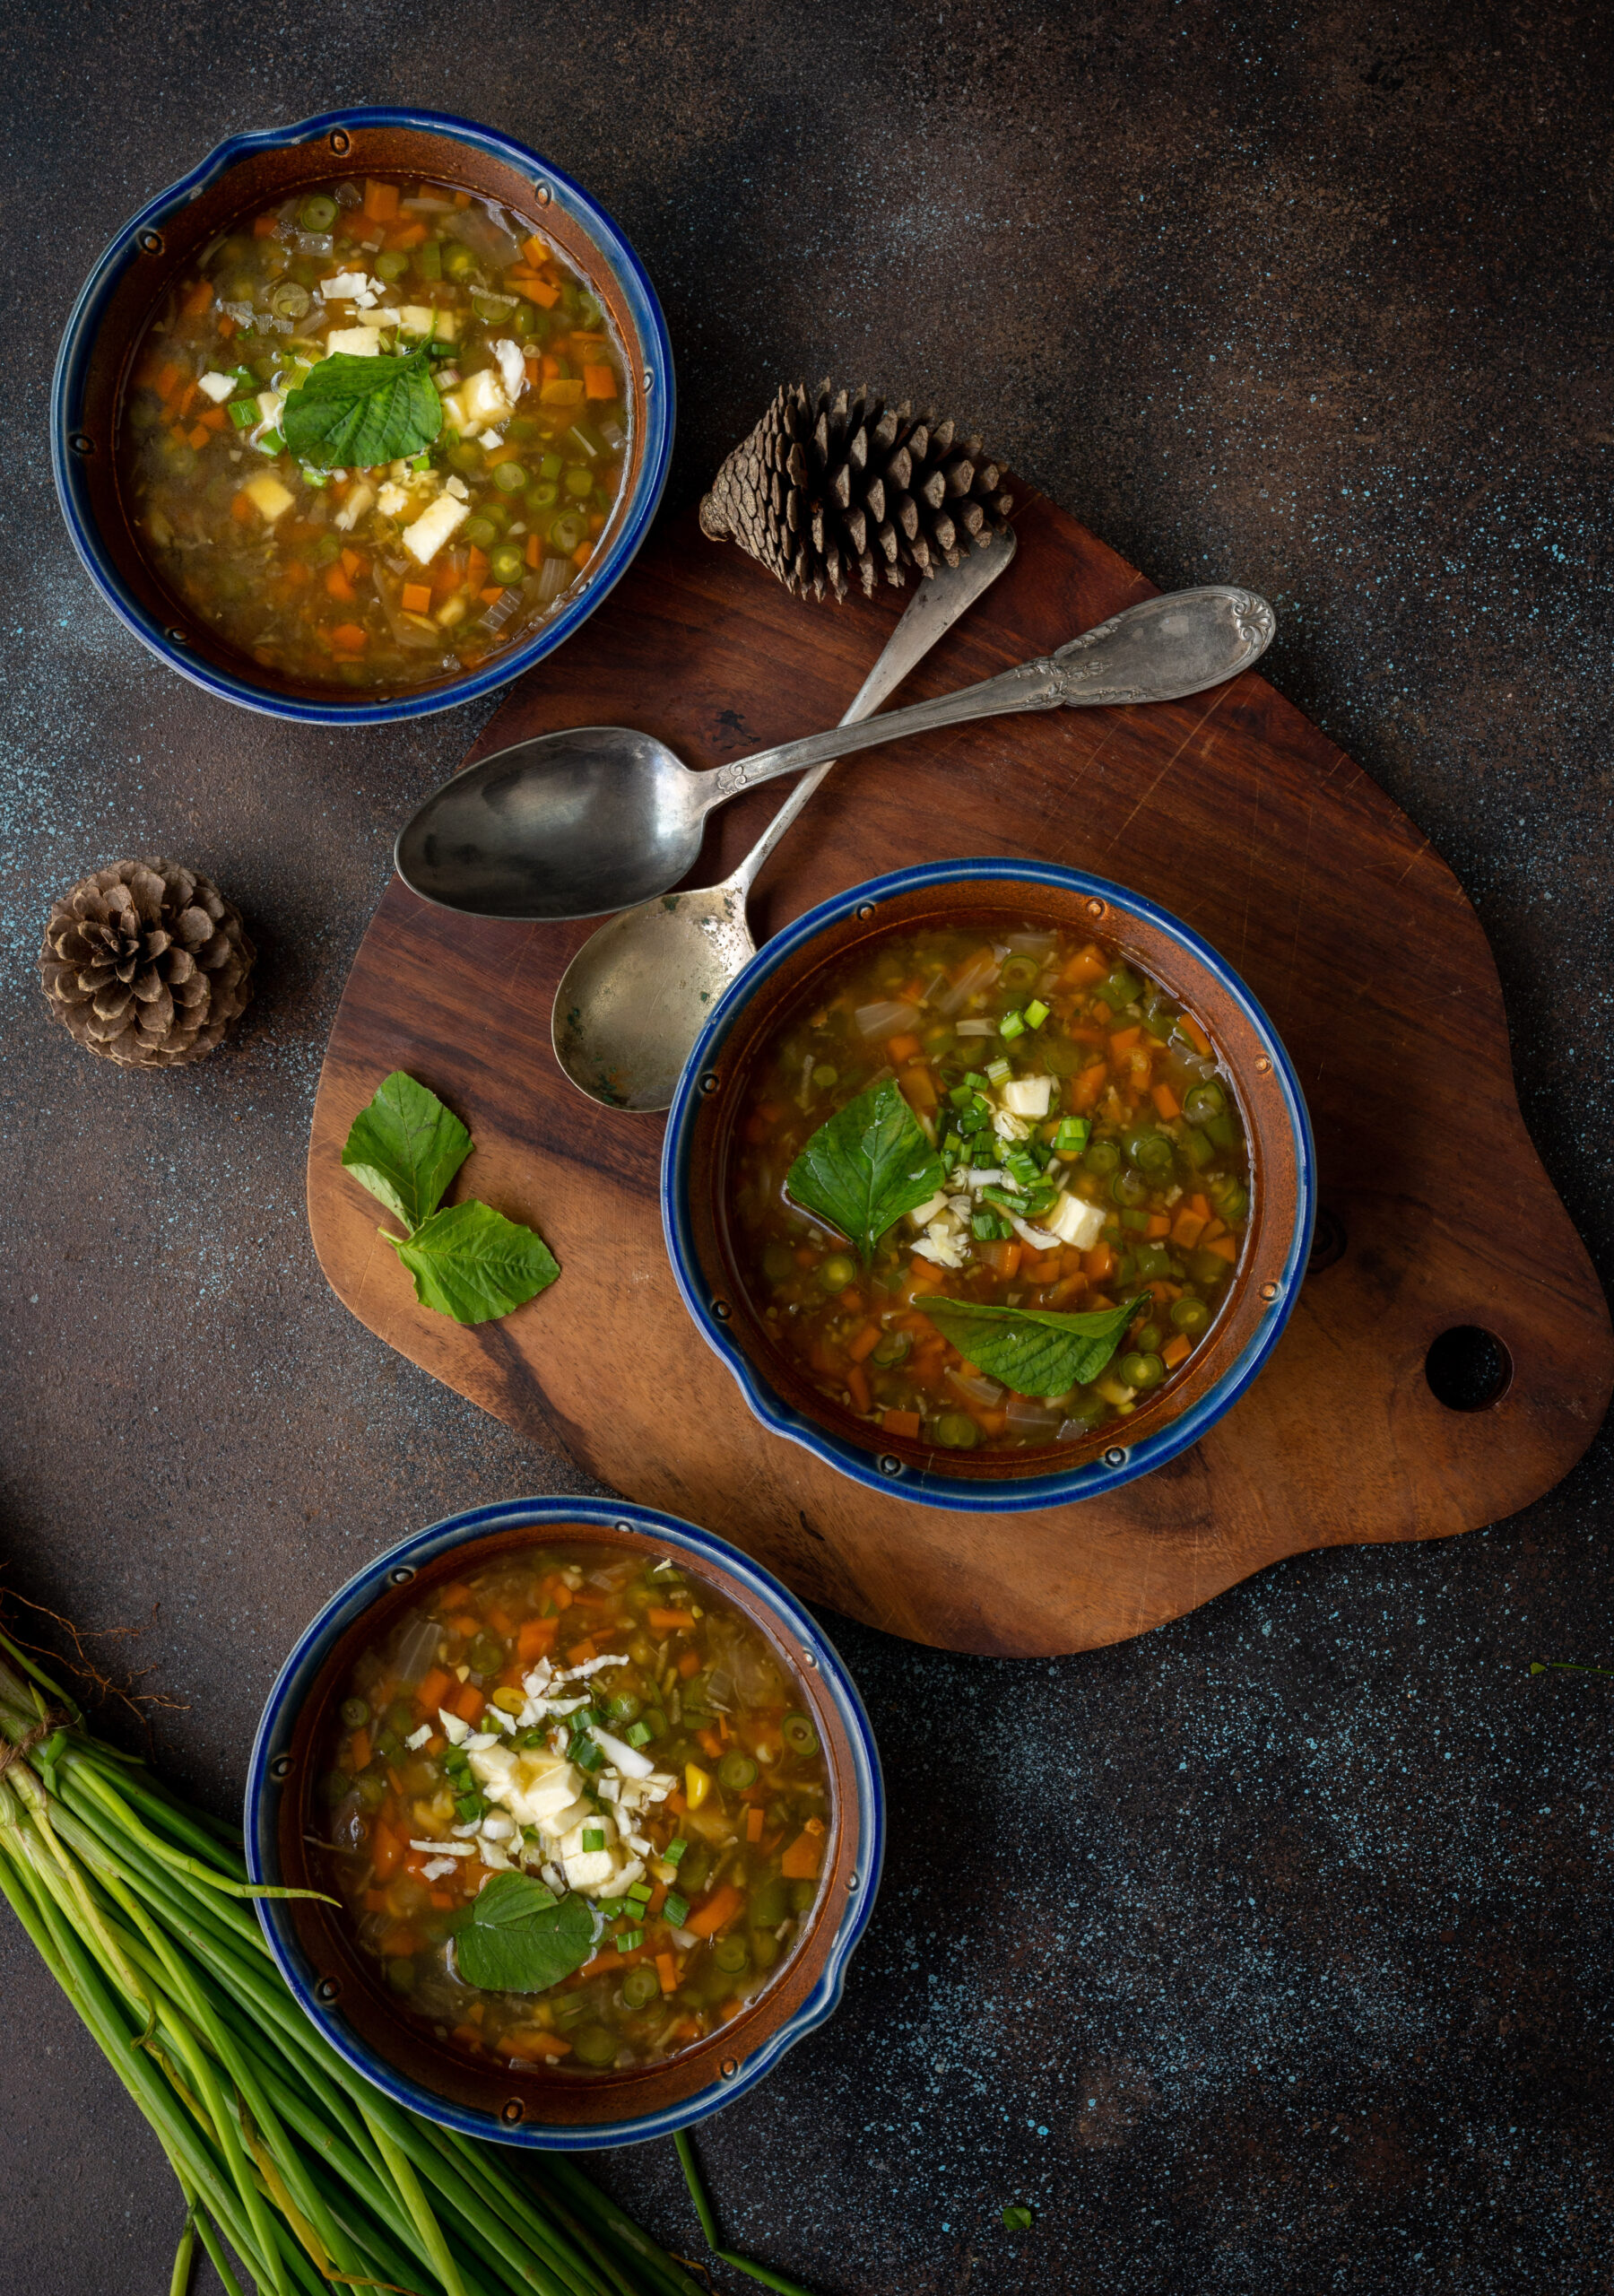
Given the heavy rain in Chennai, along with the fact that I recently recovered from a bad flu, I’ve been feeling like having more immunity-boosting foods of late. The turmeric tea that I have before bed is one among these – have you given it a try too? Another new item among my frequent meals is this simple, seasonal vegetable soup. It contains almost no processed ingredients and is a very healthy, can’t-go-wrong dish that really makes you feel well-nourished and warm.

This kind of weather also makes me feel like going into the kitchen less, so what makes this dish all the more convenient is that I can just make a large pot of it in one go, and then help myself to it whenever I feel hungry throughout the day.

The interesting part about how it’s made is that it’s really a “bits and bobs” kind of soup. You can prepare the soup stock by adding whatever you have around. For instance, I had some leftover ridge gourd, half an onion and other assorted vegetables, and all these went into it. The stock itself is a versatile item, and you can use it in dals and so on as well. As I’m a vegetarian, I’ve stuck to vegetables, but if you’re not, it’s a good idea to include some chicken while boiling the stock, and make it more protein-rich.

Making soup stock, and soup itself, with whatever is on hand came about because of necessity. All of you who are also in Chennai have faced a similar situation in recent weeks, with vegetables either unavailable or available only at skyrocketing prices. I believe that farmers have also had trouble being able to distribute the produce to the cities, in addition to flooding impacting the fields themselves. A combination of factors has led to this scarcity. The way I see it, and the way I choose to respond to it, is that it’s not so much about affordability as it is about accessibility. As a believer in Macrobiotics and someone who feels that seasonal and local ingredients are always best, I prefer to reach out for that which is most easily available at all times. That means that sturdier vegetables like potatoes, gourds, beans and carrots that still make it to our markets relatively smoothly and in good shape are what I’ve used in this dish, as well as in most of the dishes being prepared at home at the moment.

I tend to eat salads and raw vegetables at lunch, so cooked and steamed vegetables, which this soup is rich in, are my go-to for dinner. I prefer a light meal at night as it’s easier on the digestion. Also, while you’ve definitely heard quite a bit on other posts on this blog about how I’ve been cutting down on carbs, I’m in a new phase now where I let myself have some carbs at night. So sometimes I have a dosa or two, which is certainly a lighter dinner than the regular Gujarati thaali we eat at lunch. It’s all about listening to your body and adapting to the circumstances, including the weather and the vegetable supply chain!

Vegetable Soup

(Yield: Serves 3-4)

Stock

Thick peel of a potato

Cabbage leaves

Peel and parts of a ridge gourd

1 onion

Soup

1 tablespoon oil

2 cups finely cut vegetables (carrots, beans, onion, broccoli, corn)

A piece of ginger (grated)

3 cloves garlic (grated)

3-4 cups vegetable stock (above)

Salt to taste

½ cup rice starch (use corn flour if you prefer)

1 tablespoon soya sauce

1 teaspoon homemade chili sauce

A squeeze of lemon

Optional

Grated tofu

Sprouts

Leafy greens

Coriander garnishing


Prepare the stock by adding all the vegetables to about six cups of water. Allow this to boil until it reduces to ¾th the earlier quantity. Strain and cool. Set aside.

Then, begin preparing the soup.

Add the oil to a pot. Then, add the ginger and garlic and sauté for a few minutes.

Next, add all the vegetables and stir fry for a few minutes.

Then, warm and add the vegetable stock prepared earlier. Next, add the starch. Cover and allow to boil. I have opted to use rice starch from rice cooked earlier in the day, but you can use the usual corn flour, tapioca flour or any other thickening or gelling agent that you prefer.

Once it starts boiling, add the salt, soya sauce and chilli sauce. Cook for a little while and once it starts to thicken slightly, squeeze in the lemon.

The soup is ready now, but to make it go an extra mile, garnish with coriander and add some grated tofu or moong sprouts for a nice boost of protein. I added all these as well as some leafy greens I had on hand that day. Serve hot.

This vegetable soup works beautifully as a meal-in-a-bowl, or you can have it as an appetiser or complement it with a range of sides. Something like this cheesy, garlicky sourdough toast may make a lovely accompaniment. You can also check out some of the other delicious soups that I’ve shared over the years: minestrone, simple zucchini soup, broccoli and almond soup and vegan whole corn and lemongrass soup. Stay warm, and enjoy!

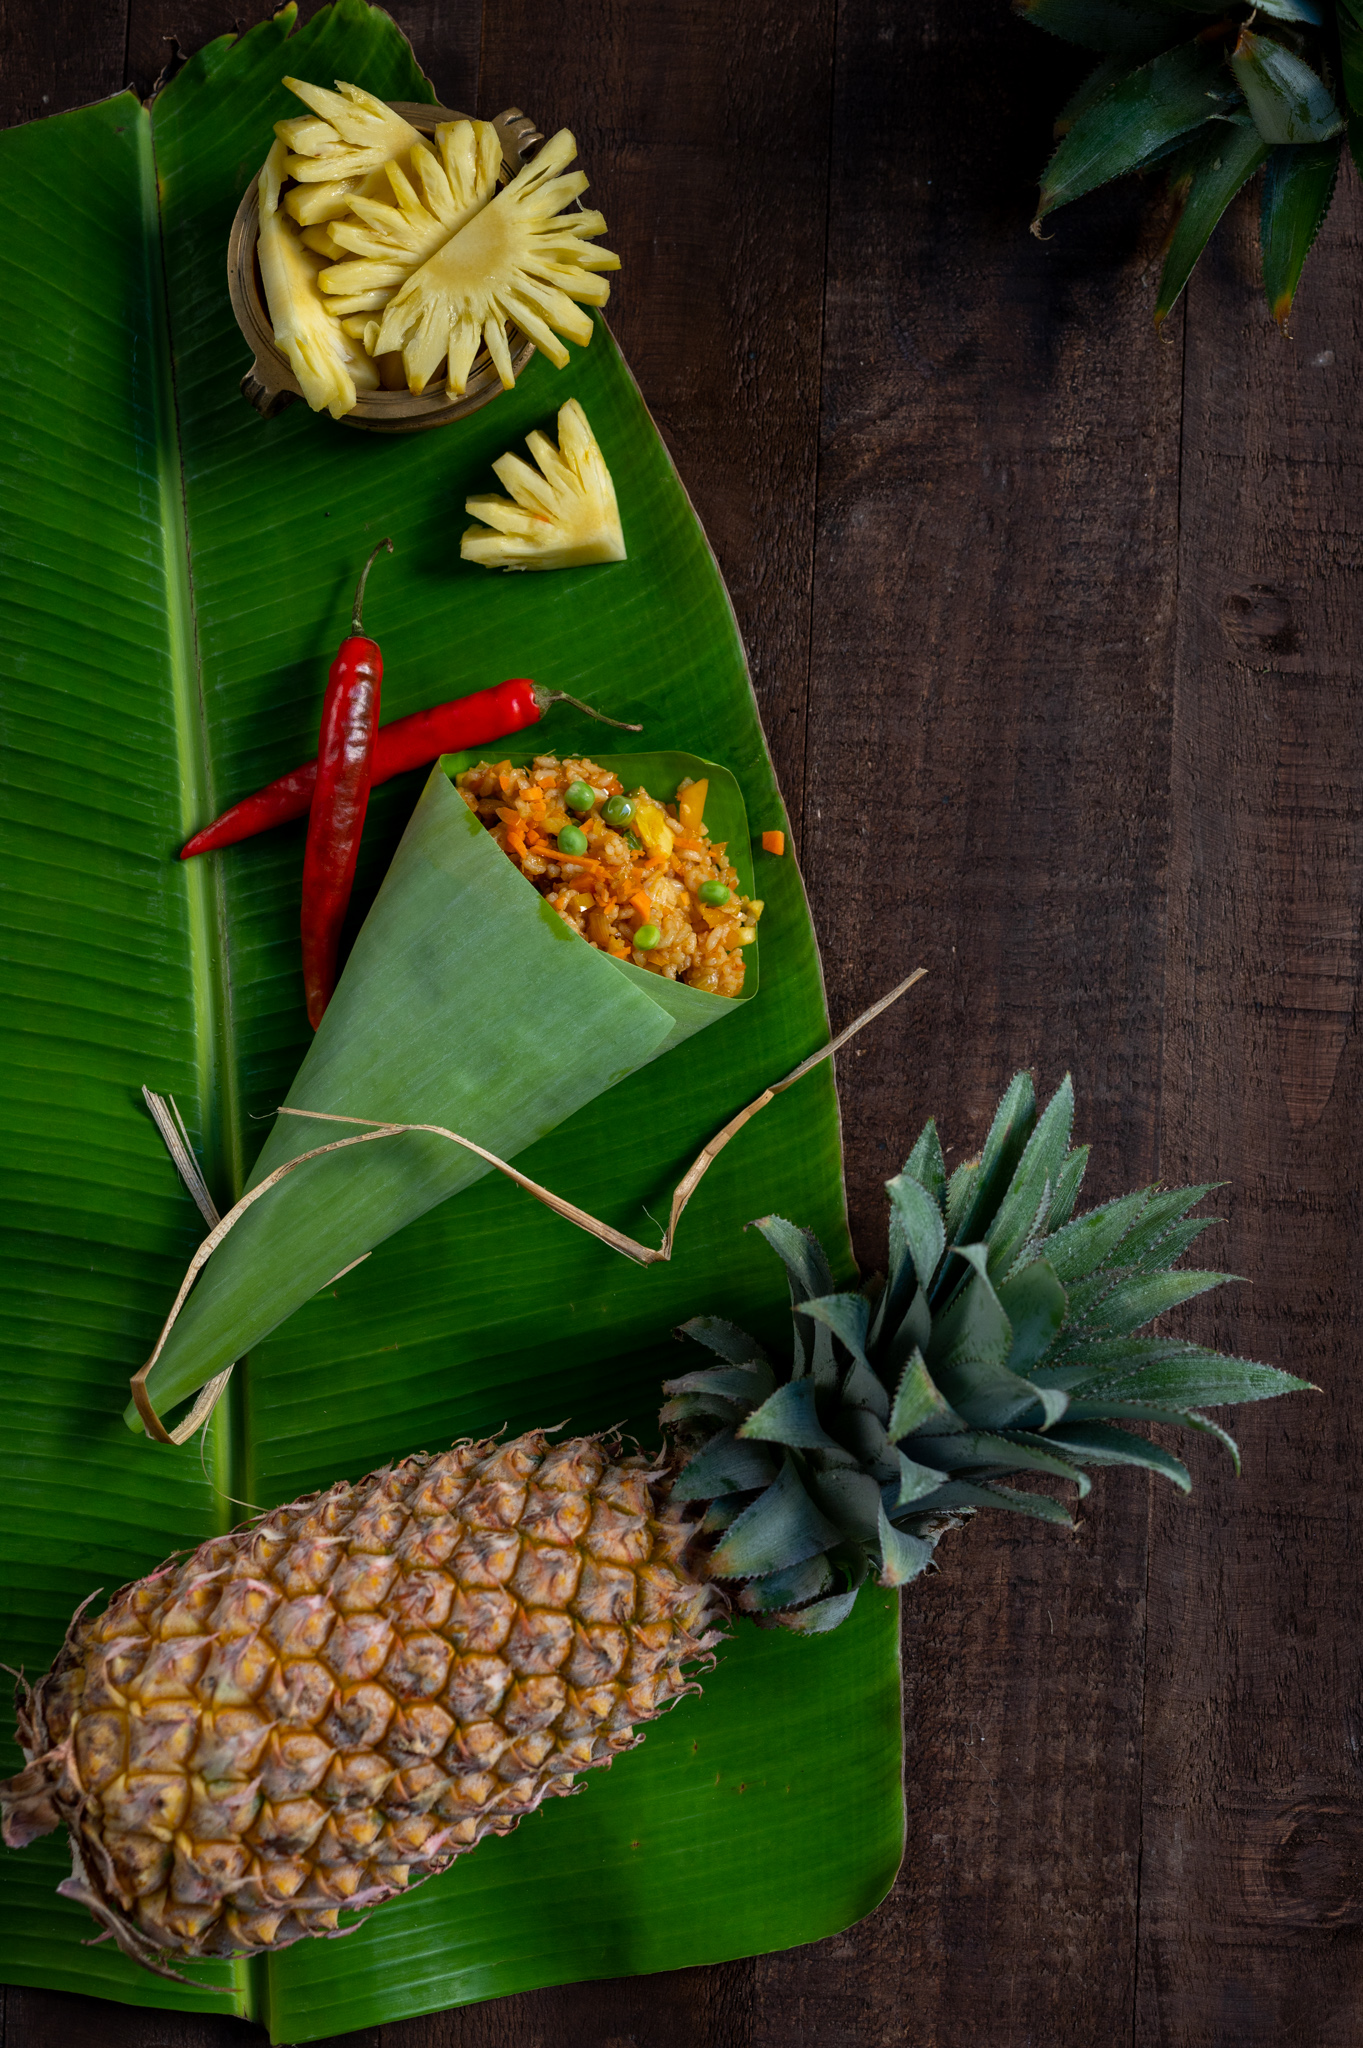
On a trial basis, my son has been cultivating organic pineapples in Bangalore. They are mini-pineapples, about half the regular size. I had never seen this variant until I visited him shortly after a successful harvest. I found them incredibly sweet, and adorable to look at too. Back home in Chennai, pineapples stayed on my mind, which was perfect timing as they happen to be in season. Considering the possibilities of how to consume the fruit, aside from eating it just as it is, I decided to give making a pineapple rice a shot. As far as I know, this dish is of Thai origin. However, I feel it fits in well with Indian and especially with Gujarati cuisine, given our enjoyment of a bit of sweetness in every preparation. I think the Indian palate in general also likes to have something sweet, something tangy and something spicy at every meal, and this pineapple rice covers all three requirements.

Aside from pineapple rice being my preferred dish at local Thai restaurants, the memory of the one time that I had authentic Thai pineapple rice in Bangkok still lingers in my mind. Those flavours are the ones I am trying to recreate here in this recipe. Bringing culinary experiences from our travels into our own kitchens is a beautiful, and of course delicious, way to preserve those good times.

This dish is only one of the many ways that I use pineapple, one of my favourite fruits, in my cooking. It also makes a frequent appearance at my dining table in my pineapple salsa (you may want to try out my peach salsa, the recipe for which is here). It is my topping of choice when it comes to my homemade pizza, which I make on a sourdough base. Pineapple is a healthy way to satisfy my terrible sweet tooth, so what I do is to add a little jaggery, and then put the slices on a non-stick pan or stick them in the oven. This makes for a completely natural dessert that hits the spot, without any artificial or processed ingredients.

One recipe that I’ve not yet attempted, but hope to have the courage to give a shot one of these days, is my mother’s pineapple upside down cake. She often made it when I was growing up, and it was utterly delicious. I am quite tempted to try… Wish me luck! I’ll certainly keep you posted about my endeavours (most likely on Instagram).

As I said, I love pineapple, and while it would seem from my sharing above that I eat it all the time, this is sadly not true. This wonderful fruit is a pain to peel and slice up, and this often becomes a deterrent to consuming it as much as I’d like to. Yet, it really is worth it every time. Perhaps it is just as it is with everything else in life: whatever is most difficult often has a juicy reward at the end of it. Hard work does pay off. As for how incredibly sweet the pineapple is once you get past the tough exterior – ah, I suppose that’s the case with a lot of people as well. Wouldn’t you agree?

Pineapple Rice

(Serves 2)


2 tablespoons sesame oil

2 cups cut vegetables (I used carrots, onions, yellow bell peppers and green peas)

½ teaspoon garlic paste

½ teaspoon ginger (grated)

1 red chilli (finely sliced)

1 teaspoon chilli sauce of your choice

2 cups cooked rice

¼ cup water (if required)

2 teaspoons tamari or light soya sauce

1½ teaspoons coconut vinegar

½ teaspoon brown sugar

Salt to taste

1 cup finely chopped pineapple

Finely sliced green onions (to garnish)


In a pan, add the oil. Once it has heated, add the cut vegetables. You may use the ones you prefer; as listed above, I have used carrots, onions, yellow bell peppers and green peas. Sauté on a high flame for a few minutes or until al dente. Add the sliced red chilli. Stir well until fragrant. Sprinkle some water if required.

Now, add the cooked rice. Partially cooked rice is best, and this is also a great way to use up any leftover rice that you may have.

Then, add the tamari, salt, chilli sauce, vinegar, brown sugar and another sprinkling of water. Stir well on a high flame. Finally, add the pineapple and mix well again. Garnish with the finely sliced green onions and serve.

Trust me – the moment that you take a bite, you’ll forget the effort it took to peel that pineapple! What the fruit adds to this fried rice is well worth it. It brings together all the elements that make up this dish. Flavours of sweetness and spiciness play harmoniously here. This pineapple rice is perfectly satisfying, evoking the flavours of Thailand while fulfilling Indian tastebuds. I hope you’ll try it out, and that you’ll enjoy it just as much as I do!

Minestrone is one of my favourite soups of all time, and the recipe was promised to you not once but twice, when I shared this sourdough toast post and this all-purpose tomato purée post some months ago. I think this is the perfect time to give you this one too, as the weather has turned cold even here in Chennai and we could all use a little more warmth.

This simple and nourishing soup is an Italian dish, but one which has changed through the centuries. It is believed that it has ancient origins, from before the Roman empire came into being, and that various trade influences led to more ingredients being incorporated to the base. Knowing that there is no one version of a strictly traditional minestrone makes me confident about sharing my version. It was a dish that I used to enjoy when I travelled abroad, but later started making at home too – a combination of wanting to be more self-sufficient, missing my travel experiences during lockdown, and a little bit of culinary FOMO. I now make it once or twice a week at home. Not only is it a very healthy dish, but it also helps to clear out excess vegetables in the fridge. This means it’s a great way to get the family to eat better. A big bowl of veggie-rich minestrone with some freshly-baked bread is a complete meal in itself. You can make it even more filling by adding quinoa, brown rice or pasta too.

Most minestrones that you may eat in Europe will contain borlotti beans (also known as cranberry beans) as their base, but these were in fact first cultivated in South America. This tells you that they must have been a later addition to the popular recipe, brought in during colonial times. This being the case, I am personally very happy to use any bean I have on hand. Here in India, we have a great variety. At home, we eat a different kind of bean daily – moong, channa and so on – as it suits our mostly vegetarian diets. For this recipe, I’ve chosen to use kidney beans as they are widely available everywhere. You can substitute them for your preferred local bean.

The secret to a great minestrone is in allowing a bit of the rind from Parmesan cheese to simmer in the soup as it cooks, which gives it a nice, nutty flavour. This plus the measured use of white wine retain the European-ness of the dish. Another ingredient that elevates it for me is my homemade tomato purée. A dollop of it makes a huge difference.

I’ve shared this recipe with various friends before, all of whom seem to love it just as much as we do at home. I hope that you will too. It’s very healthy, very tasty, and while it’s no ordinary vegetable soup, it’s just as easy to make.

Minestrone

(Yield: 2 large bowls/2 persons)


20 grams leek

25 grams celery

25 grams spring onions

100 grams zucchini, carrot, mushroom

4 cloves garlic

2 tablespoons olive oil

3 tablespoons fresh chopped parsley

2 tablespoons fresh chopped basil

2 tablespoons tomato purée

75 grams boiled kidney beans

1 cube/2 cups vegetable stock (i.e. 2 cups of boiling hot water added to one organic cube)

2-3 tablespoons white wine

1 or 2-inch Parmesan rind

Pasta/brown rice/quinoa (optional)


Sauté the garlic cloves, leek, celery, spring onions, zucchini, carrot and mushroom for a few minutes.

Add the tomato purée to this and stir well.

Next, if you are using pasta or brown rice in this soup, add that as well.

Add the kidney beans and the freshly chopped herbs. Then, pour in the vegetable stock. Freshly-made stock is always best, but cubes will work well too. After this, add the Parmesan rind to the pot and let it impart its flavour to the soup.

Add the white wine and salt to taste. Be careful with the quantities of both. Just a little more wine than you need, and the whole soup is spoiled. The tomato purée already contains salt so you will need less of it than you think.

Finally, add some chilli flakes, and garnish with chopped parsley and spring onions, and a squeeze of lemon. Remove the Parmesan rind before serving.

Serve warm. This soup works beautifully as a side, and if you have added brown rice or pasta, it can become its own meal-in-a-bowl too. I often bake a garlic pull-apart roll to go with this. My kids are tempted as soon as they see that soft, fluffy pastry, straight from the oven and tantalizing them on the table, and it draws them to sit down with a freshly-made bowl of soup too.

I hope this lovely minestrone brings you much deliciousness this December, as this year winds down and we take stock (no pun intended) of all it has contained. I wouldn’t be surprised if it becomes prepared as often in your home as it is in mine. Try it, and tell me if that’s the case! As always, I love hearing from you.

Ever since the lockdown began several months ago, I have been coming up with different ways to keep our meals at home interesting, since we cannot dine out. This has meant celebrations in our own garden, as well as creating new trends to look forward to. This Sunday breakfast bowl is one of them.

Our Sunday brunches contain lots of variety to suit everyone’s tastes – my son always wants waffles or pancakes, others have a craving for avocado toast, and so on. I found that the best way to get everyone to try out different components of the spread I wind up serving is to make a brunch bowl, with a little of everything. I strike a deal with my kids: not only do they eat the sweet waffles, but they also get some protein from eggs, plus a boost of avocado.

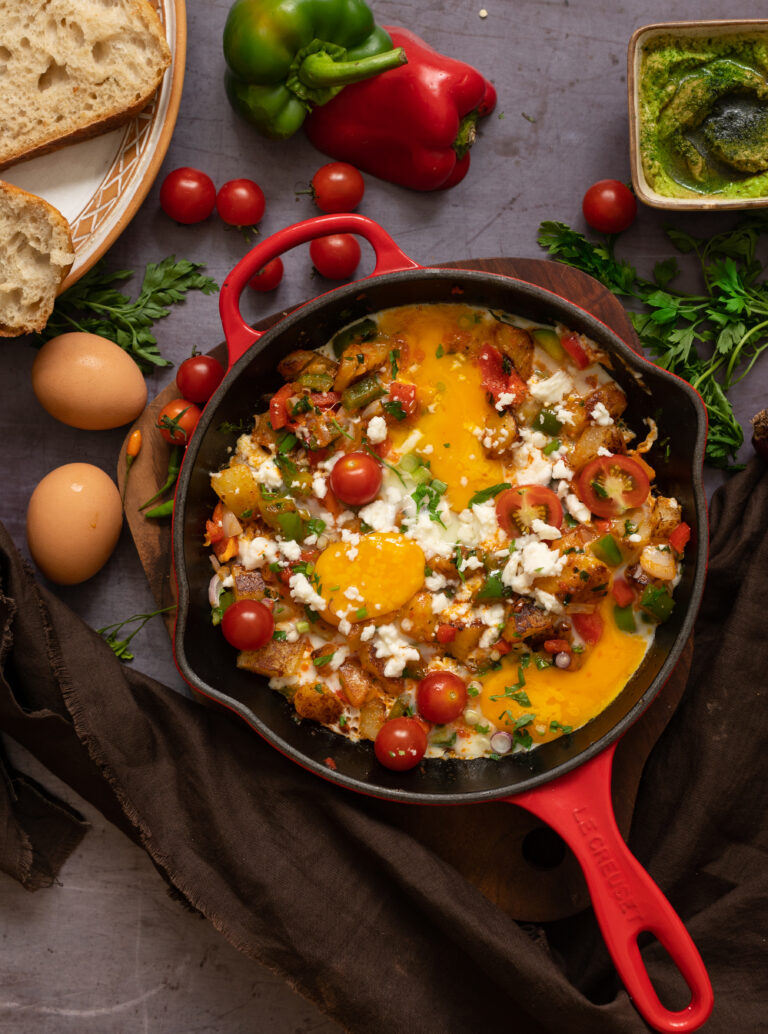
The star of our meal is the shakshouka, an egg-based dish from the Middle East and North Africa, which I personally encountered in Turkey first. Continuing the Buddha bowl series (previous instalments here and here, and more to come), it’s one of the items from our Sunday spread that everyone in the family agrees on, and wants second helpings of. It’s so popular at home that we call it the “Shah-shouka”.

As I always say with fusion food, we can only make interpretations. My “Shah-shouka” is truly my own, rich with the flavours and style that are unique to my kitchen, just as yours will be your own too. The best part of this for me is that it’s one of the many dishes that gets a dollop of my homemade all-purpose tomato puree, which I also use in my Mexican-influenced Buddha bowl. It’s amazing how versatile it is and how it goes into everything. My version of this dish is Indianised, of course, along with certain ingredients like olive oil that I just have a preference for. You could use rosemary or thyme instead of cumin, if that’s your taste, and make your own interpretation.

If you don’t eat eggs, you can turn this dish into one that is not just vegetarian but vegan, simply by substituting them for tofu slices. They will give you the same protein quotient that eggs do. There’s always a simple solution to everything when it comes to improvising in the kitchen.

“Shah”-shouka

(Serves 2)

2 tablespoons olive oil

2 cups seeded and diced colourful bell peppers

2-3 spring onions

3-4 cloves garlic

2 tablespoons cilantro

2 tablespoons parsley

1 cup boiled potatoes

½ teaspoon roasted cumin powder

½ teaspoon paprika (adjust to your taste)

2 tablespoons re:store tomato purée

4 eggs

1 tablespoon feta cheese

Salt to taste

Slices of sourdough and avocados while serving

Heat the oil over a cast iron skillet. Add the onions, garlic, bell peppers and potatoes. Stir on a high flame until they are brown. This will take about 5 minutes.

Reduce the heat and add the spices. Once they have come together, add the tomato purée.

Make sure that all the vegetables are well-coated with the purée and the spices.

Once the mixture is hot, make 4 indentations and pour the eggs into each of them. Allow the eggs to cook to your liking, and season them with salt and pepper. Sprinkle the cilantro and crumble the feta cheese over everything. You may add some cherry tomatoes if you’d like the dish to look dramatic.

Here at home, we serve our “Shah-shouka” with the works: sourdough slices, waffles and lots of fresh avocados. Adding these sides to our individual servings indeed turns this egg dish into a Buddha bowl. This hearty and filling dish is a great way to relax over a meal as a family. I hope you’ll make this a part of your brunch this weekend, too. The portions above serve two, but a larger pan and doubled ingredients will let you serve four. However you choose to have it, tell me how you like your shakshouka. Do stay tuned for another meal-in-a-bowl soon, from yet another part of the world.

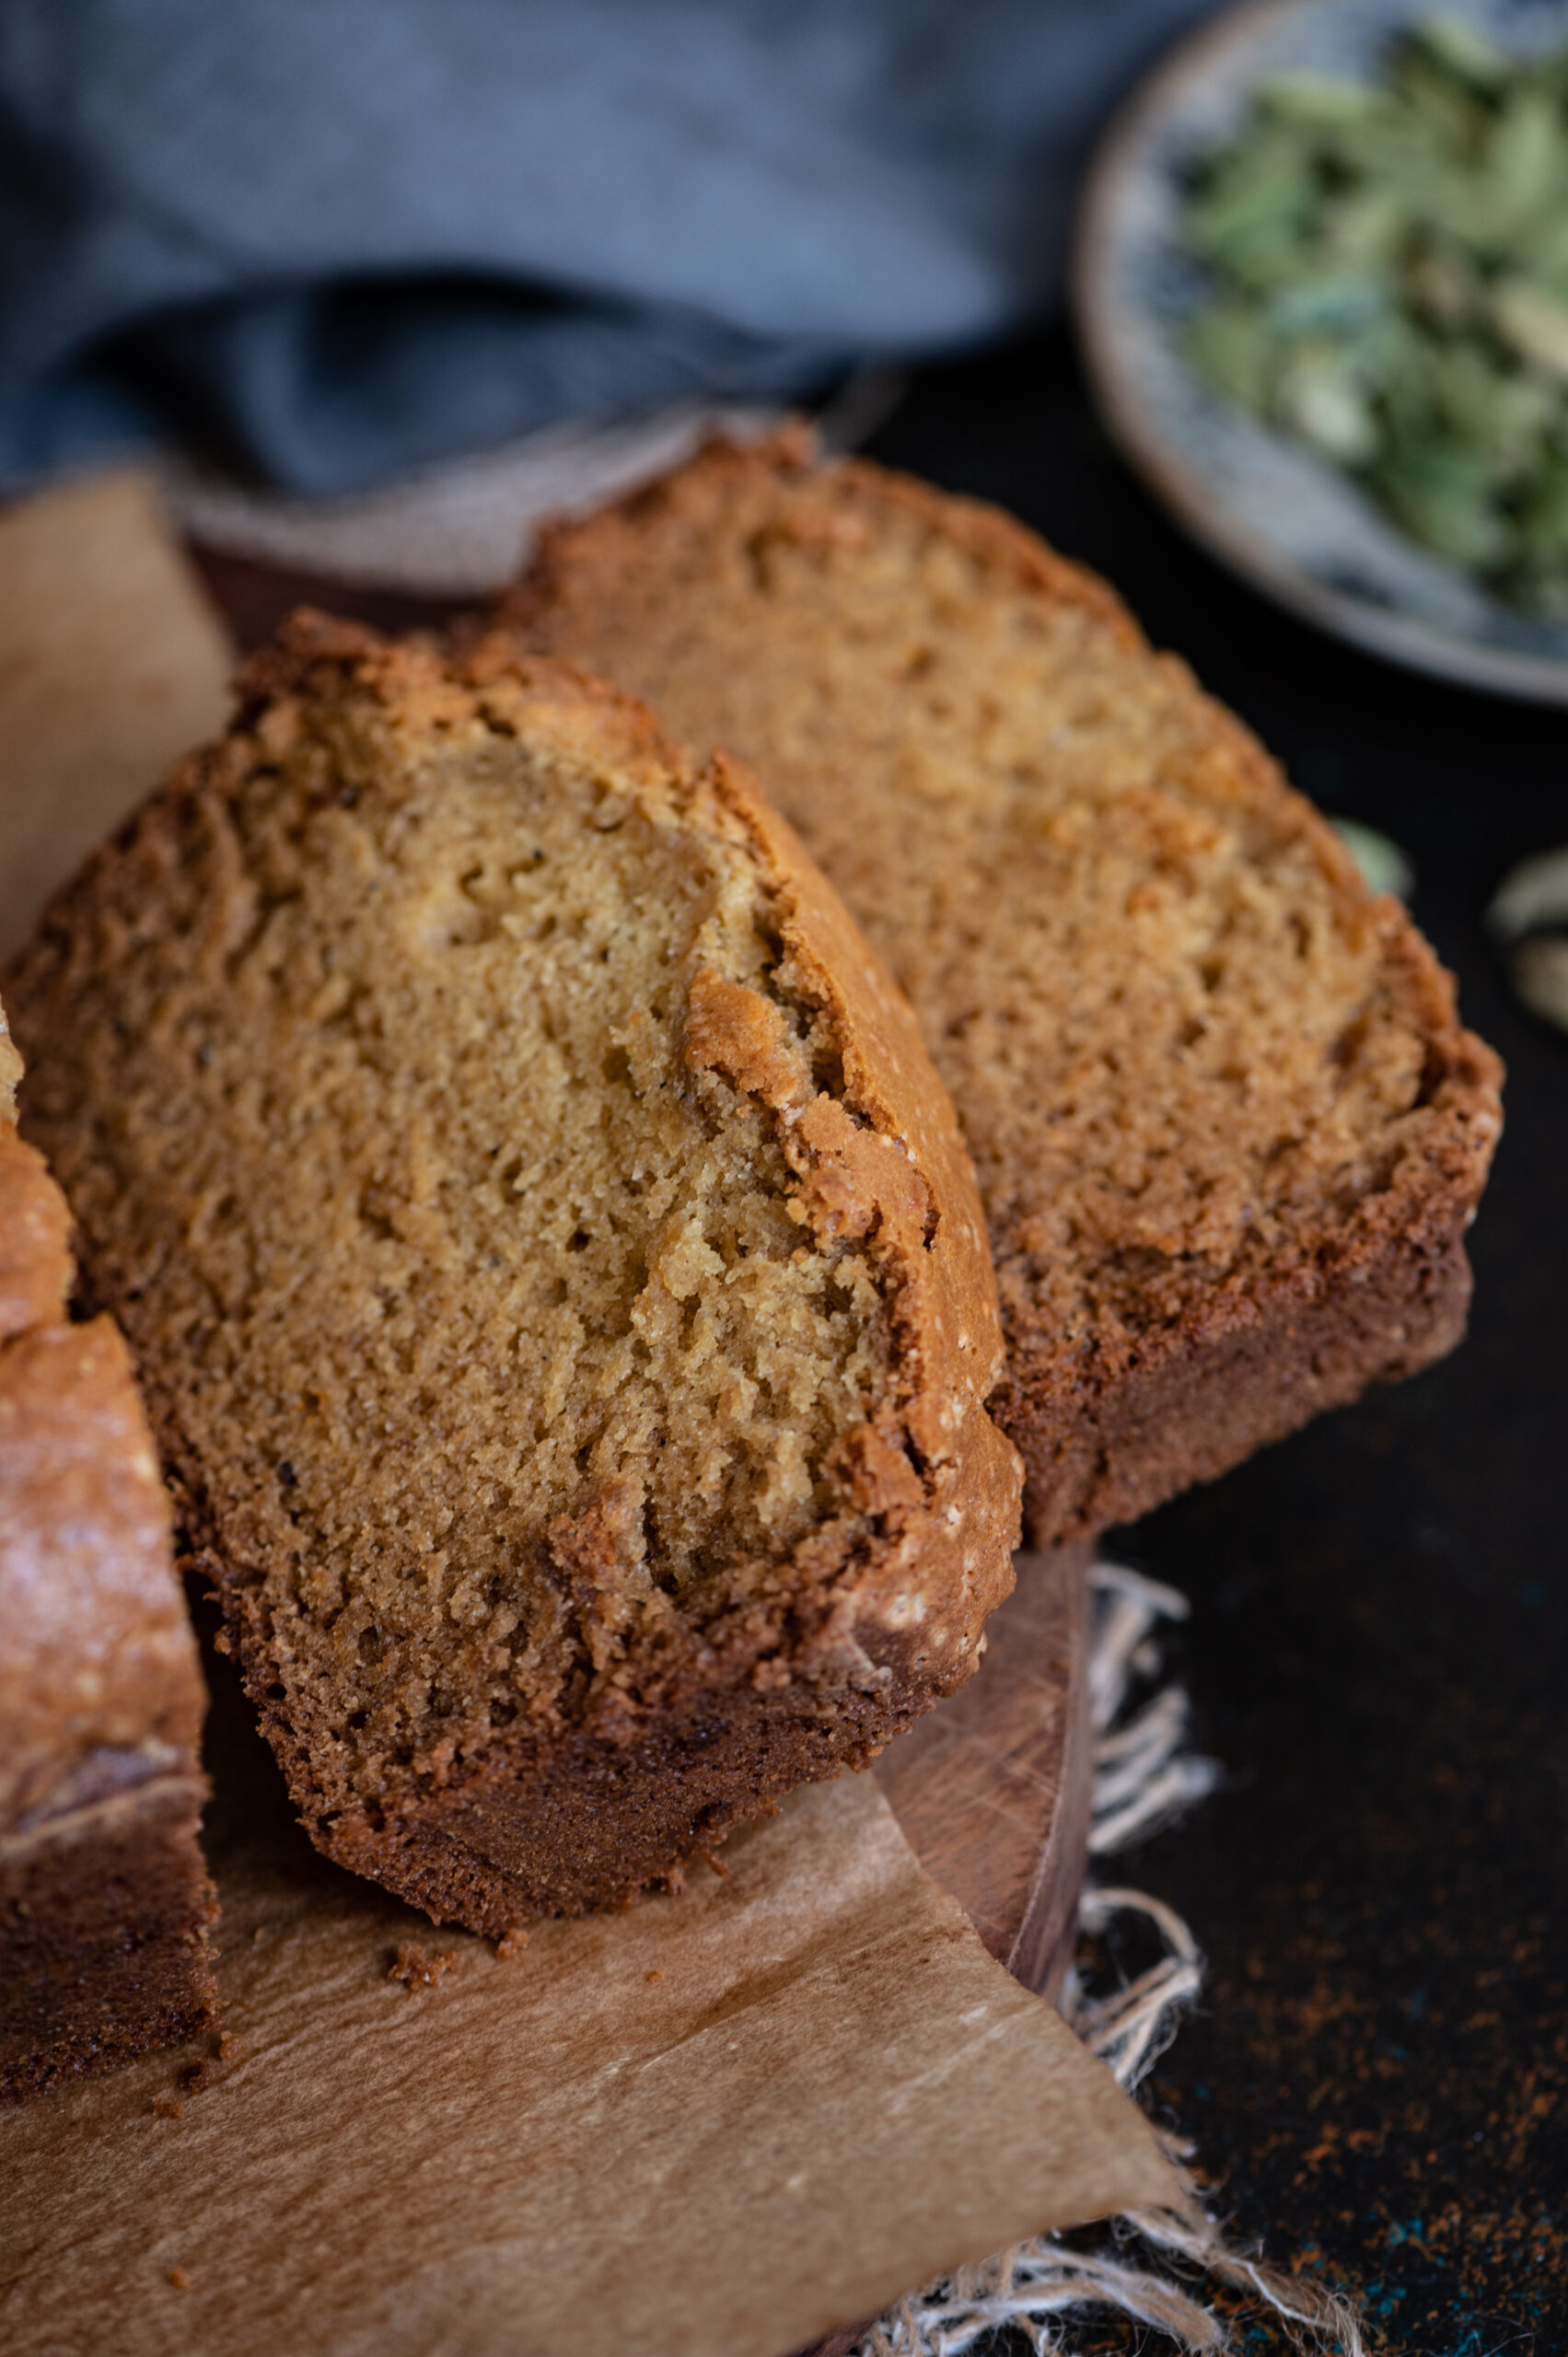
For as long as I’ve been cooking, I have woken up every morning wondering what new dish I might try in my kitchen. This hasn’t changed at all during this lockdown. I’m still starting each day by planning what I can prepare. Of course, as all of you are no doubt experiencing too, there’s an extra step of having to be especially creative so as to maximise available ingredients since grocery shopping is more infrequent now. Still, I believe that we must always eat well, as much as we can. Desserts are still on my mind – sometimes the thought I start my day with is: a sourdough-based dish, or a cake? The other day, I picked baking a cake – a whole-wheat saffron and cardamom cake to be precise – and I’m glad to share the recipe with you today.

Teatimes at home now have a whole new vibe. I usually have my tea alone, but with everyone at home all day at the moment, they have become a special bonding experience. This is why a cake made all the more sense to me, as an accompaniment to our cuppas and conversations. With the re:store kitchen on hiatus along with so many other food and beverage enterprises in the city, I also missed baking on a daily basis. Going through my blog, I realised that in these three and a half years, I have shared no more than four cake recipes with you. Given that they are my signature product, I felt that there’s no time like the present to give you another one.

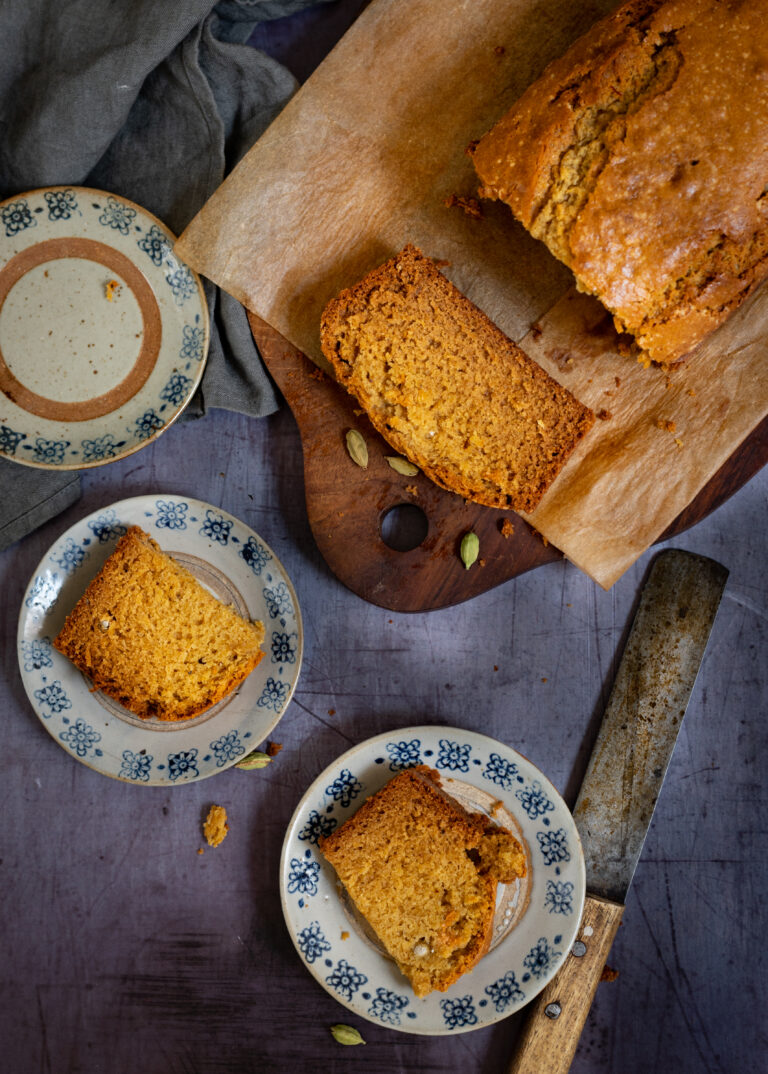
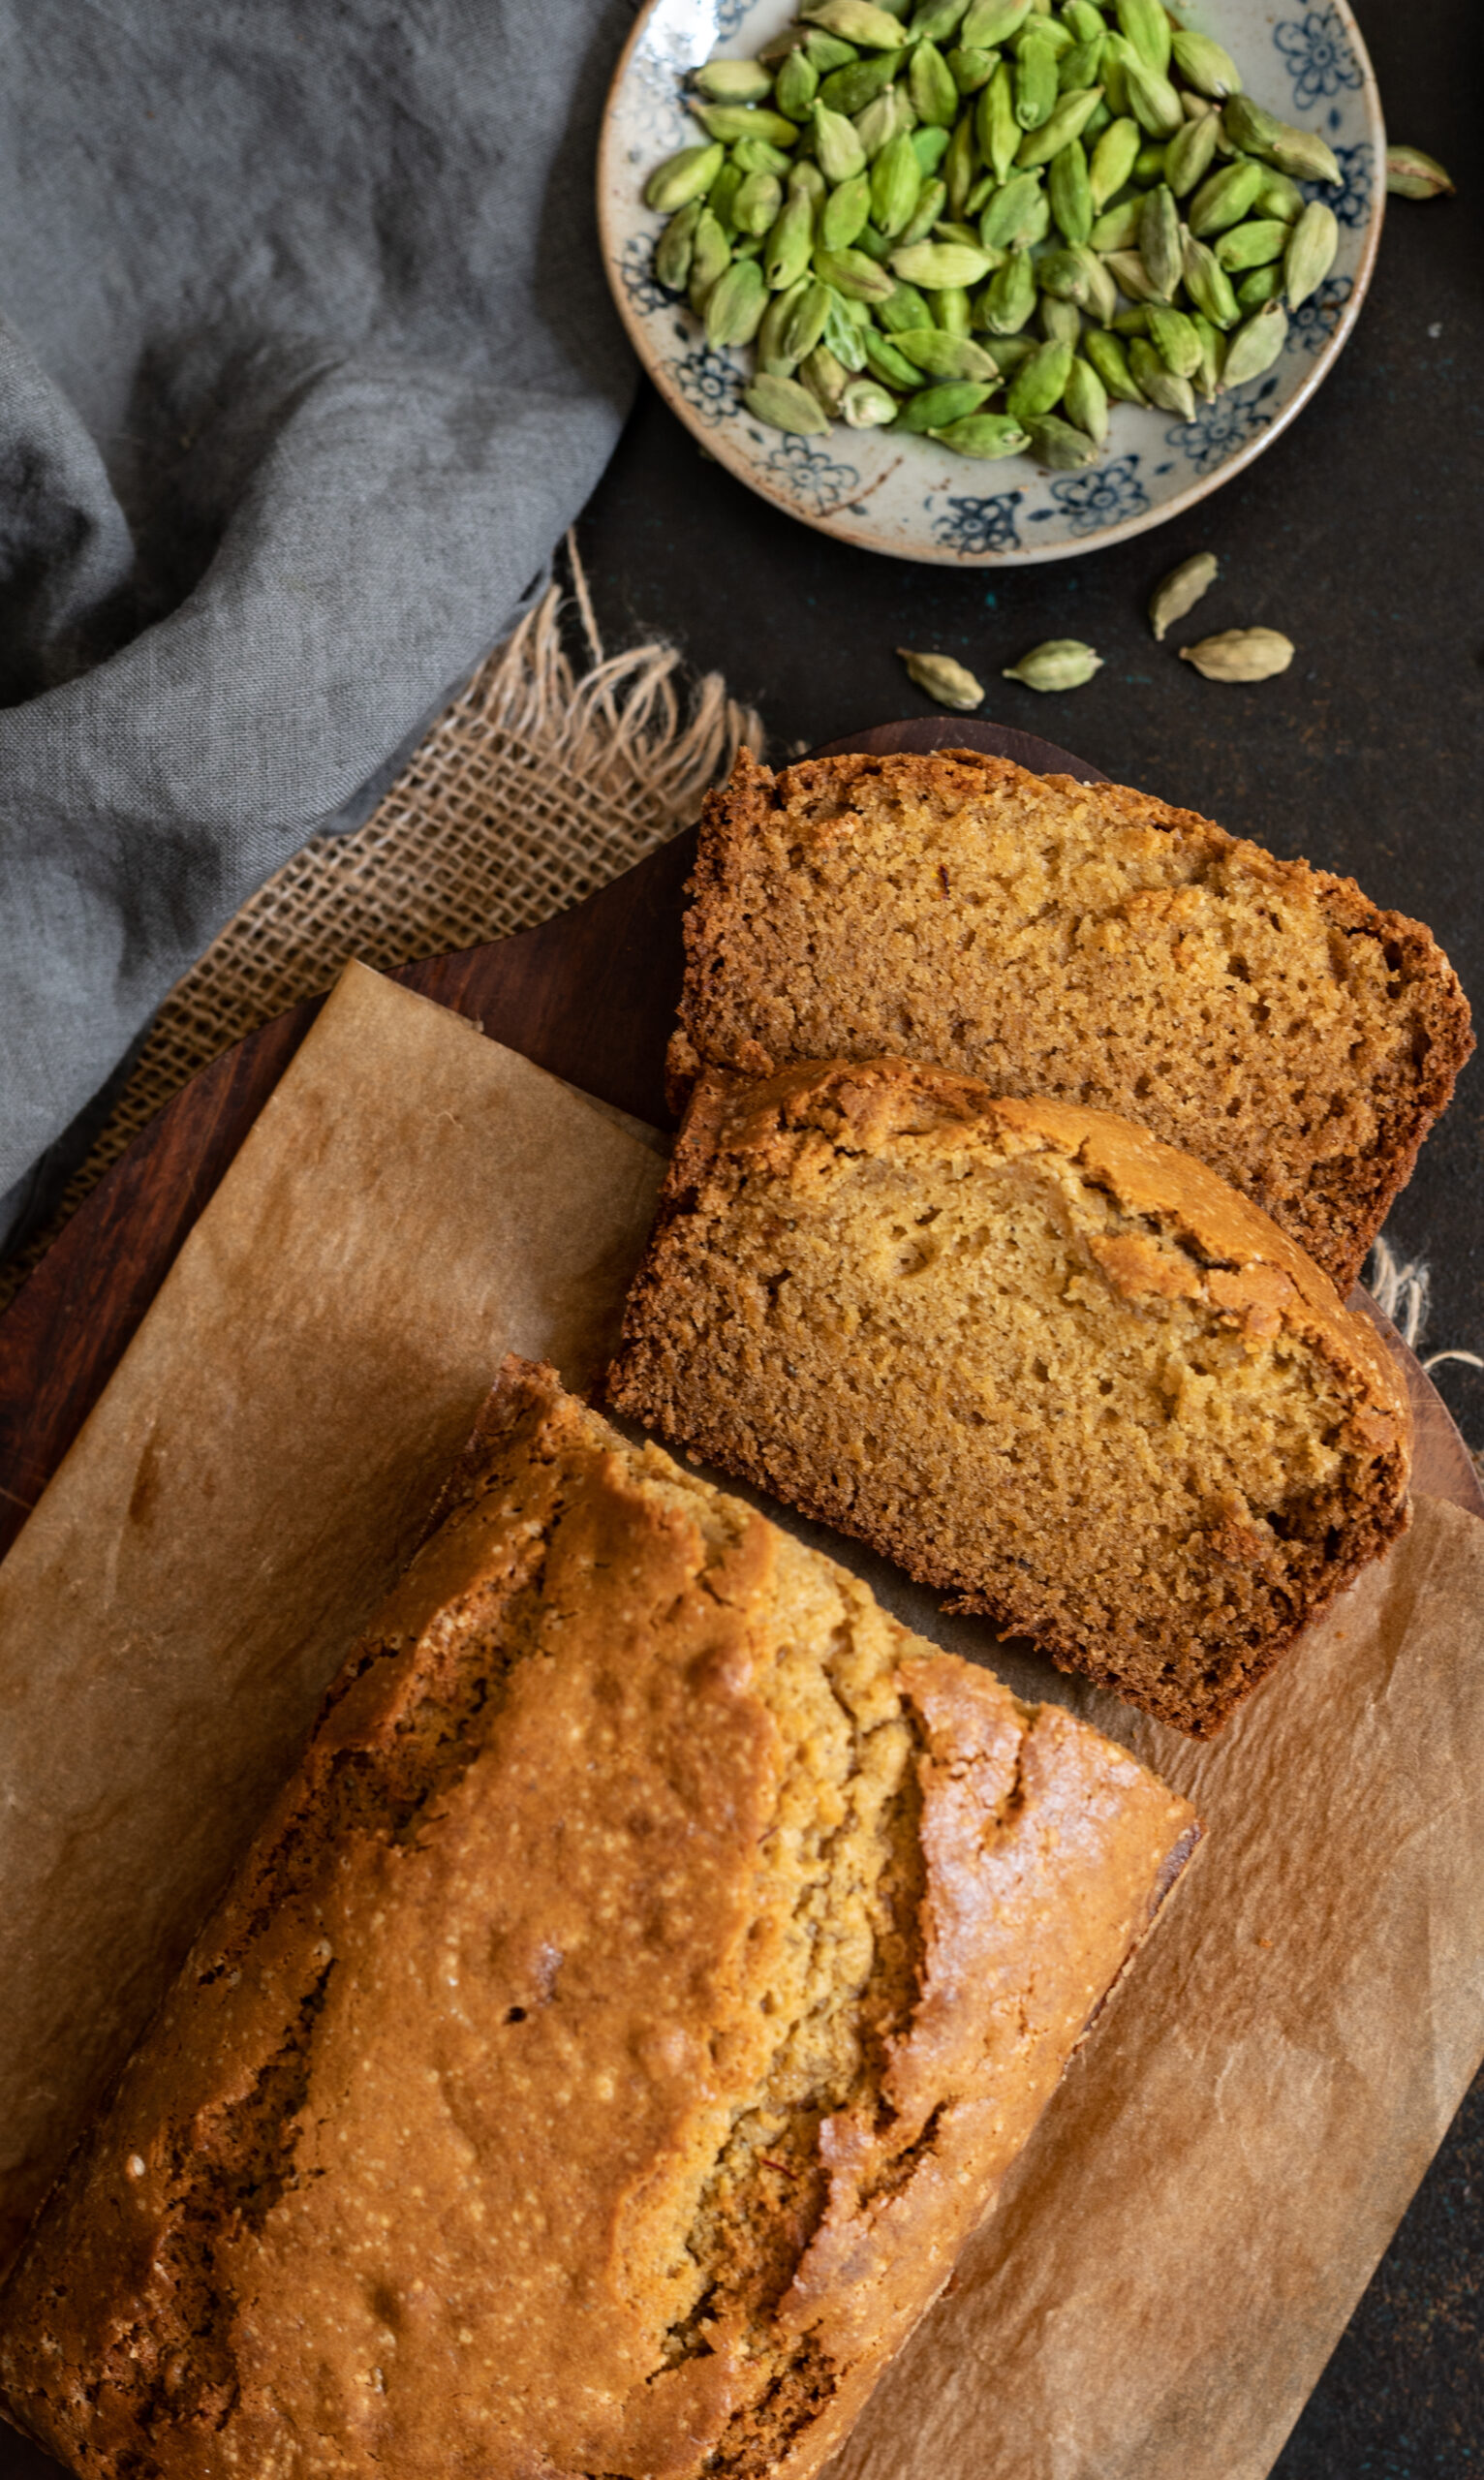
Like most of re:store’s baked goods, this whole-wheat cake is mildly sweet, with no icing. The cardamom and saffron add a faint but wonderful whiff of Indian-ness to it. An added benefit is that it’s eggless – perfect for vegetarians, and in case you’re running out of eggs at the moment. It’s a very easy cake to prepare, as well. Baking cakes always involves a simple formula, as I reminded my niece when she attempted one of the recipes I shared earlier. If you follow the basic principles carefully, they reliably turn out perfect. This one, I can assure you, is not only easy to make but also very tasty.

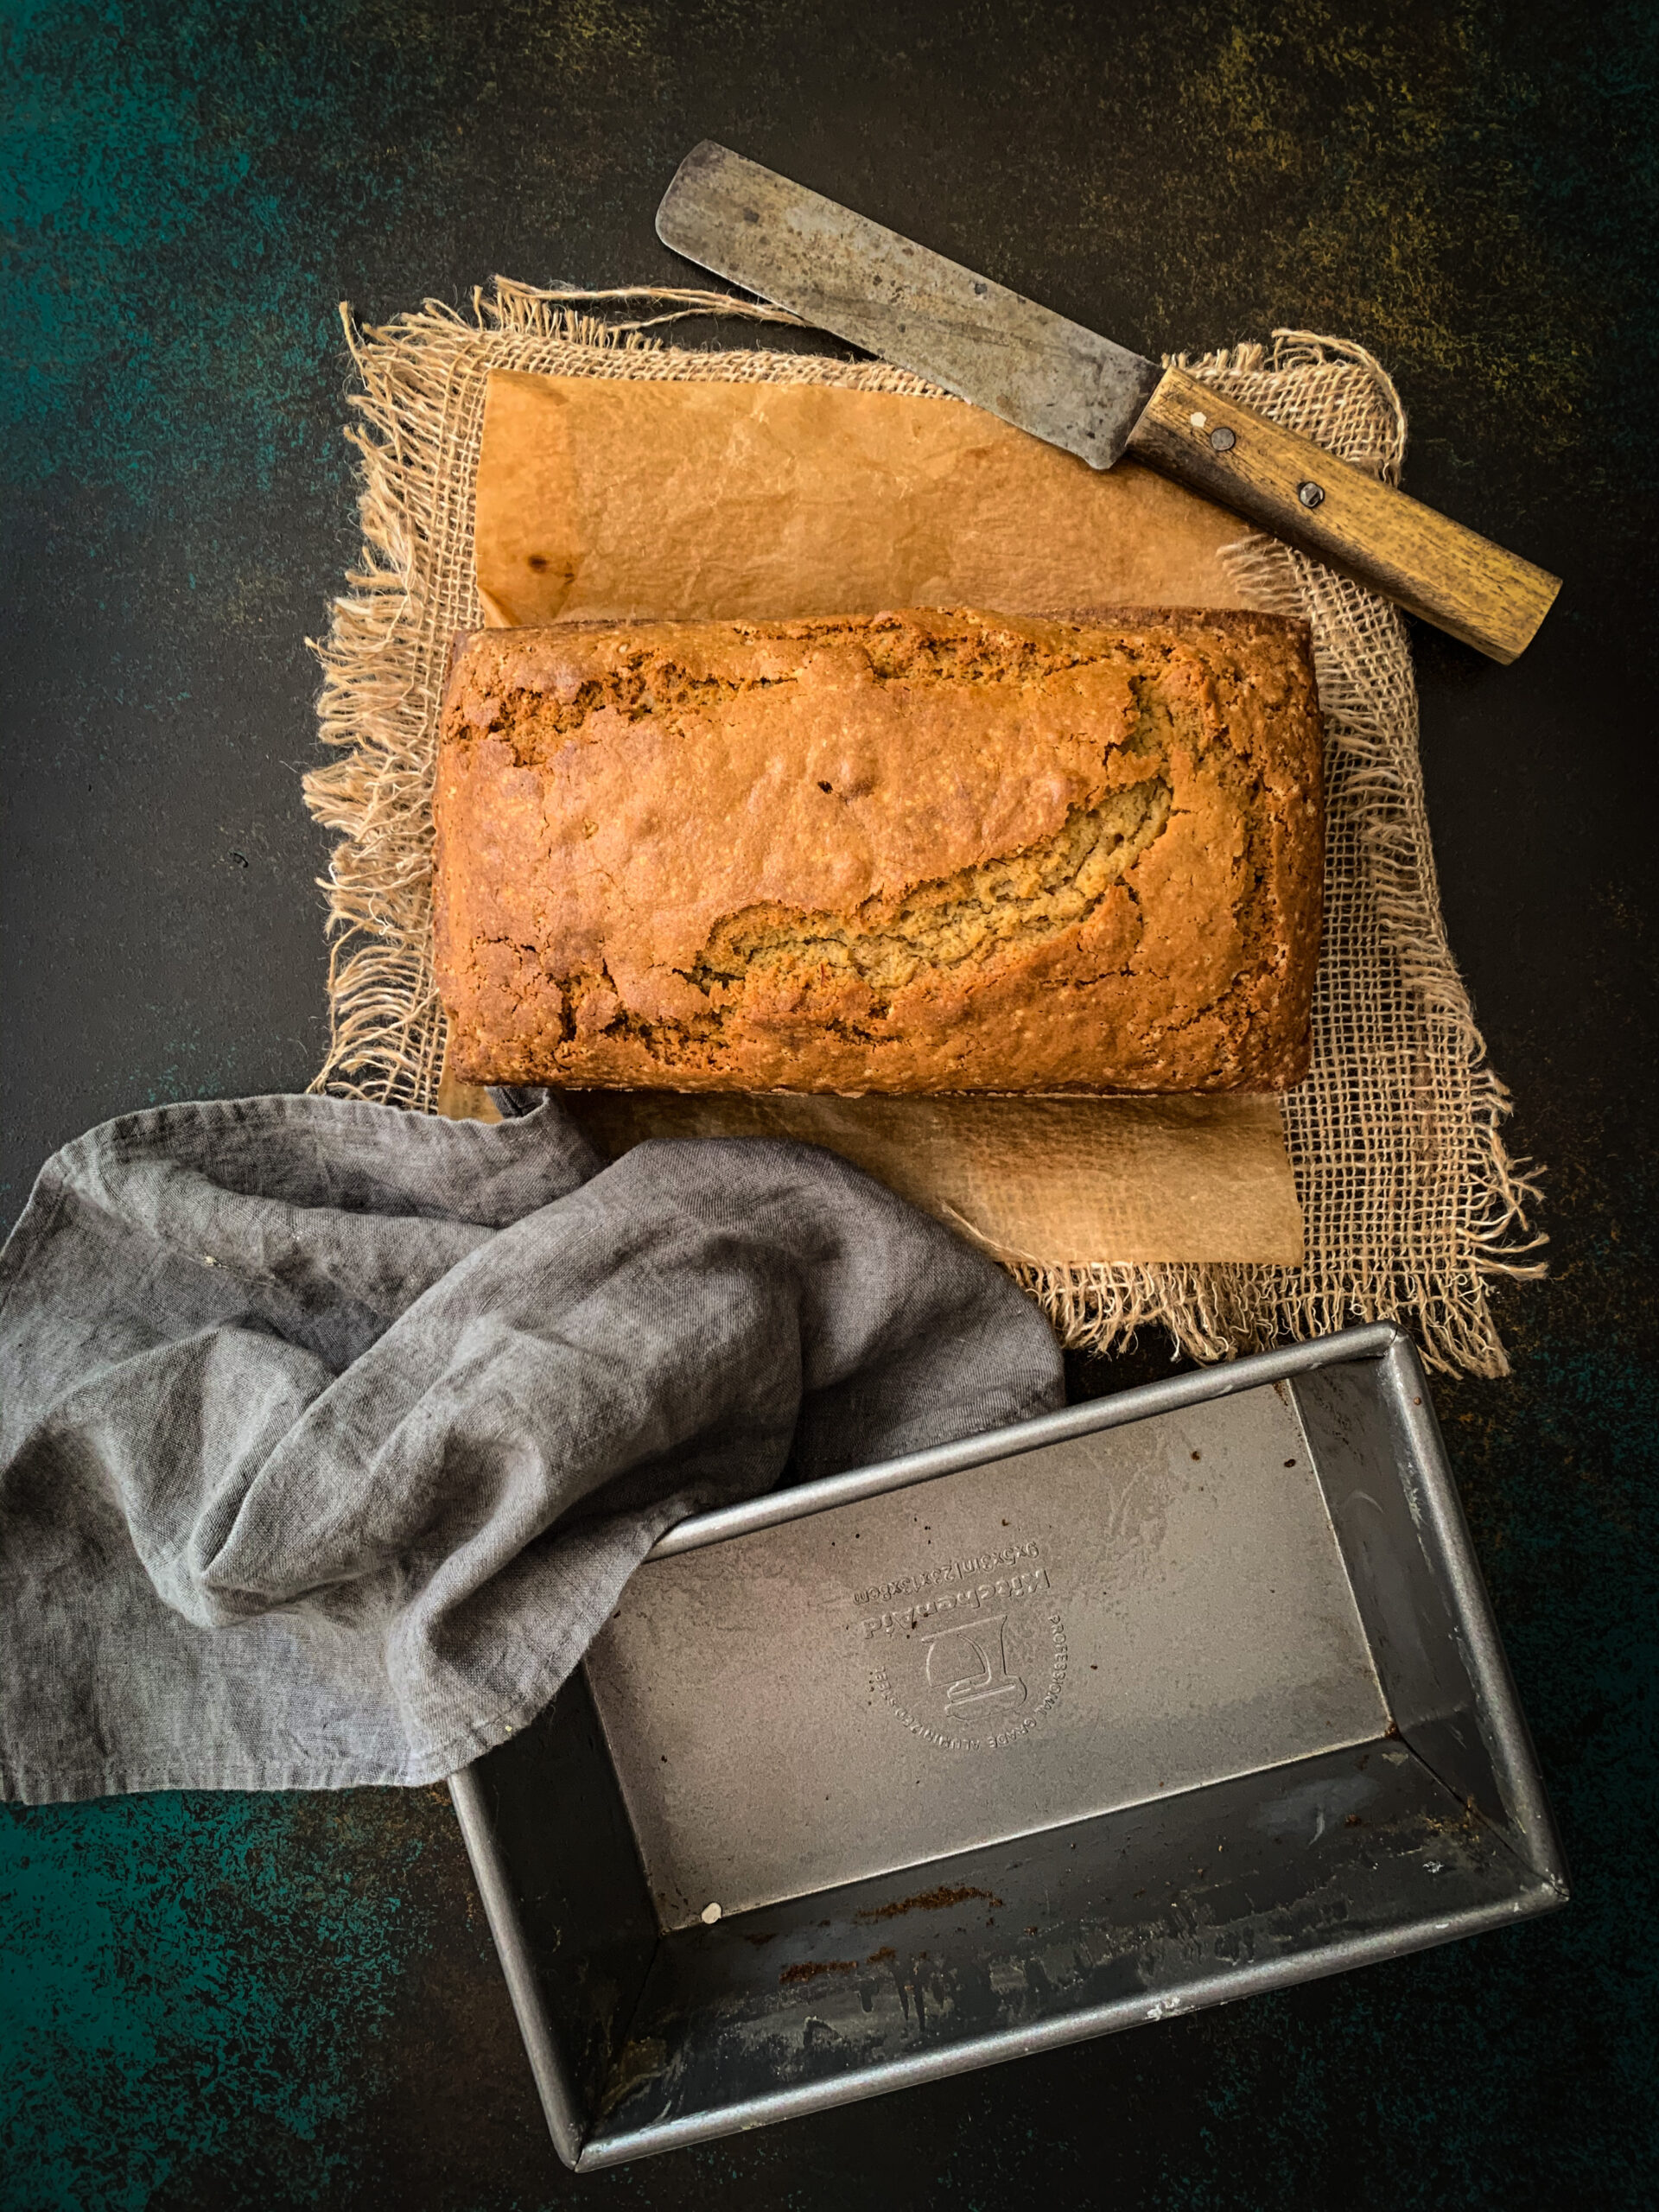
Earlier, I enjoyed making this cake using mini loaf tins. For a change, this time I baked the cake in a regular-sized loaf tin, selecting it from the pans which I have collected over time. This tin shape makes the cake especially cute, and it comes out in the perfect size to slice up. The portions are ideal for a family of five at teatime. Ours is 5+1 at the moment, including my dog Max – who always reminds us that we better eat up our share quickly, before he gobbles it up!

If cardamom and saffron aren’t available in your kitchen right now, this recipe will work equally well with lavender or even some mild lemon zest. The choice is yours. Feel free to experiment with flavours (and be sure to let me know in the comments later what you decided to do). Happy baking!

Whole-Wheat Saffron/Cardamom Cake

(Serves 5)

180 grams whole-wheat flour

185 grams white powdered sugar

2 tablespoons brown sugar

½ teaspoon cardamom powder

5-10 strands saffron

65 grams soft butter

1 teaspoon baking soda

¼ teaspoon salt

240ml whole milk

Preheat the oven to 180°C.

Prepare a loaf tin by greasing the tin and lining it with parchment paper.

Remove a ¼  cup of milk from the 240ml, keeping the rest aside. Soak the saffron strands in this for half an hour or until colour rises.

In another bowl, add all the dry ingredients and mix them together well. Then, add the wet ingredients one by one and mix again.

Pour the batter into the loaf tin and place it in the oven. Allow to bake for 30 – 40 minutes or until a skewer comes out clean.

Toward the end of the baking process, you may notice that the cake acquires a darker colour on top. This is due to the brown sugar. If you prefer, you may cover the cake loosely with parchment paper while it bakes, to avoid excess browning.

Let it cool slightly, then remove the still-warm loaf and slice it up for serving. The lovely thing about this cake is that it needs no icing or any kind of topping, and responds well to a variety of flavourings. It has a nice rustic look, and tastes perfectly moist and delicious all on its own. The perfect accompaniment is a cup of tea – along with a pleasant conversation…

I hope you’ll enjoy this recipe, and that it adds a hint of sweetness and sparkle to this challenging time!

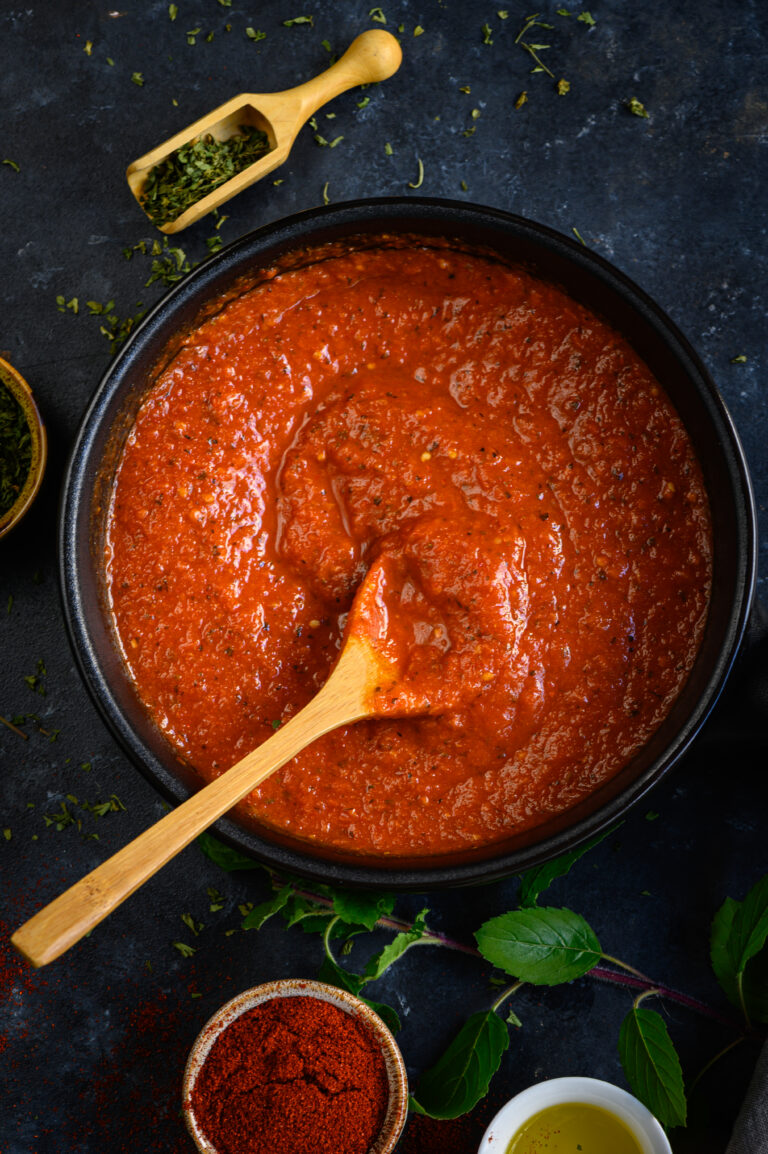
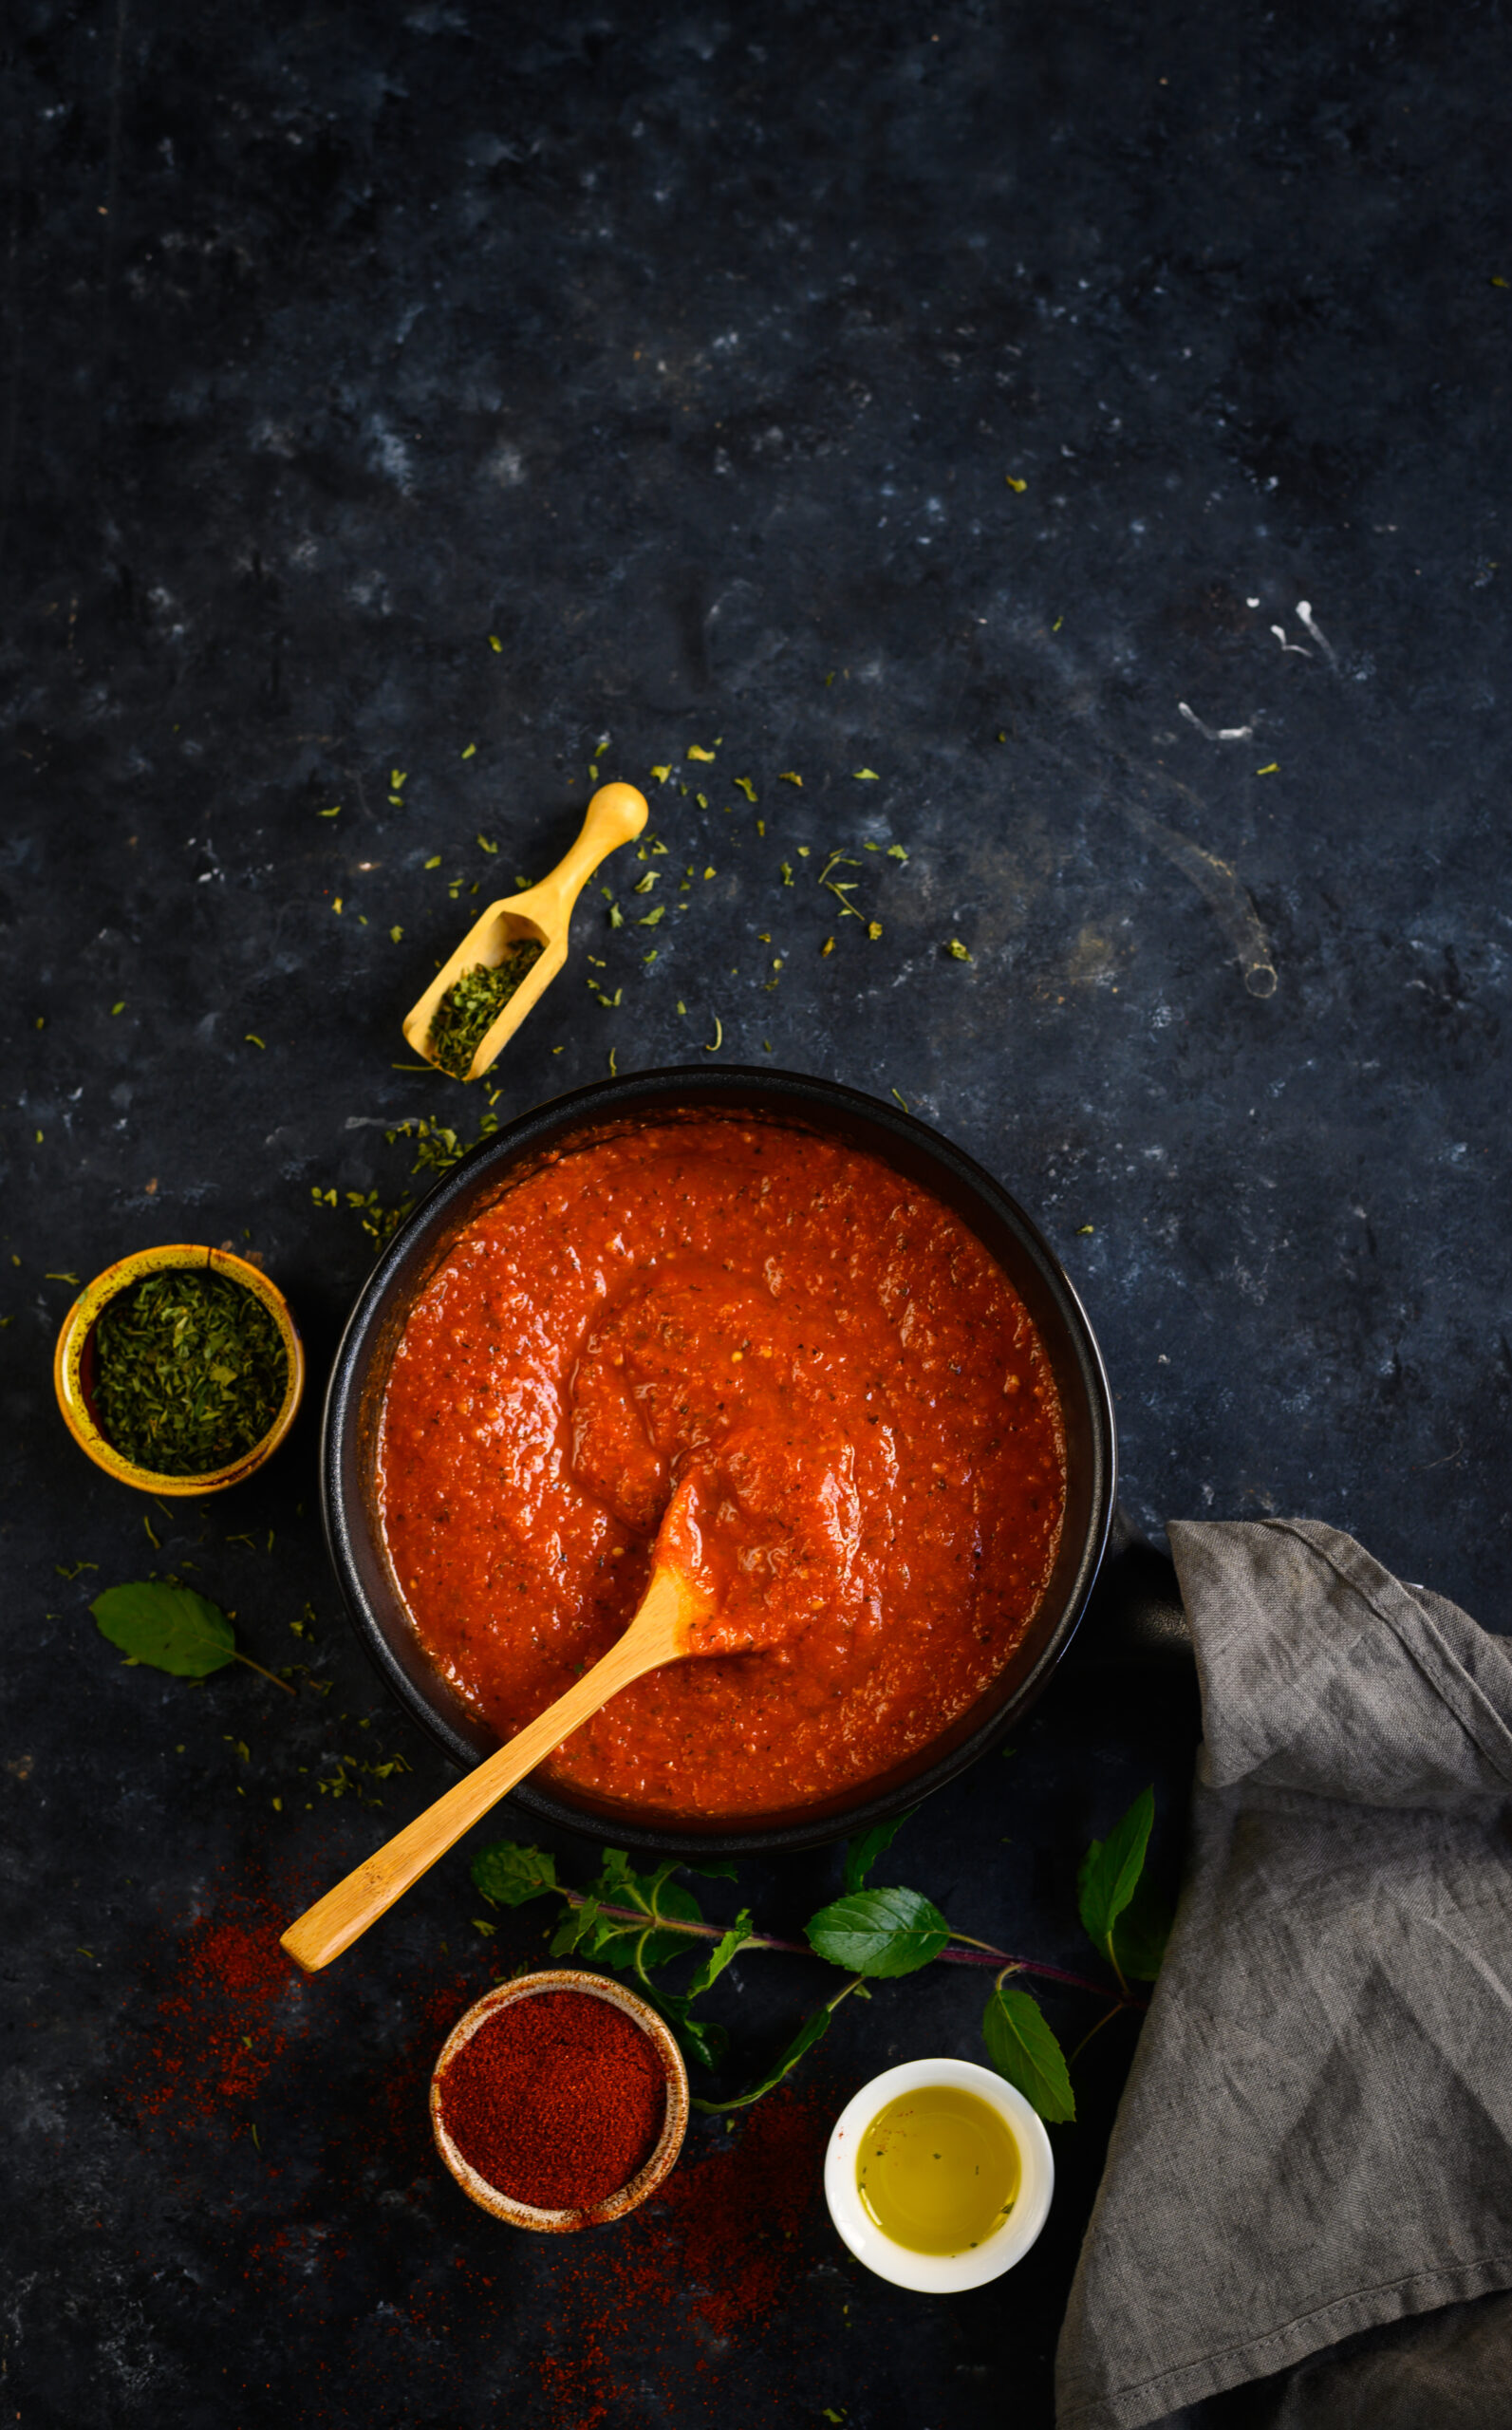
Being resourceful in the kitchen comes naturally to many of us, and I’m someone who has long included homemade flours and powders and organic produce as parts of my everyday cooking. To me, preparing big batches of dishes that keep well and can be reheated is just the smart thing to do. I’ve noticed that canning is a culinary and DIY trend that has really been catching on on social media. I admire the trend as it takes a lot of hard work, and requires being inventive and patient. I think it’s similar in some ways to the Indian art of pickling. I don’t seem to have the talent for canning, but I do the next best thing and make a delicious tomato purée that can be kept for several days, and used in several ways. The wonderful part of it is that it’s a very versatile item. This all-purpose tomato purée works in myriad cuisines effortlessly.

It suits kids’ cravings, adults’ larger appetites, and everything from Continental meals for those with a wide palate and traditional Indian dishes for those seeking comfort food. That it can be stored for a while is a big plus. My daughter who lives in Mumbai insists that I bring her a batch whenever I visit her, or packs a big jar into her luggage each time she returns there from home, and uses it for over the course of a whole week.

When I’m in a hurry for a curry, I just take the jar or pot out of the fridge and have a readymade base on which to build the dish. The same goes for when there’s a request for a homemade pizza, or more likely a pasta – my son is notorious for changing his mind, and my menu, last minute! So it’s great that I have something that works both ways.  Sometimes, I’ll scoop a dollop of this tomato purée into minestrone soup as well (the recipe for it will follow sometime soon).

That’s why having an all-purpose key product helps me so much. It cuts down on the prep time regardless of what I’m making that day. My tomato purée imitates the famous pasta sauce called ragú, except it is vegetarian whereas the traditional Italian recipe is meat-heavy.

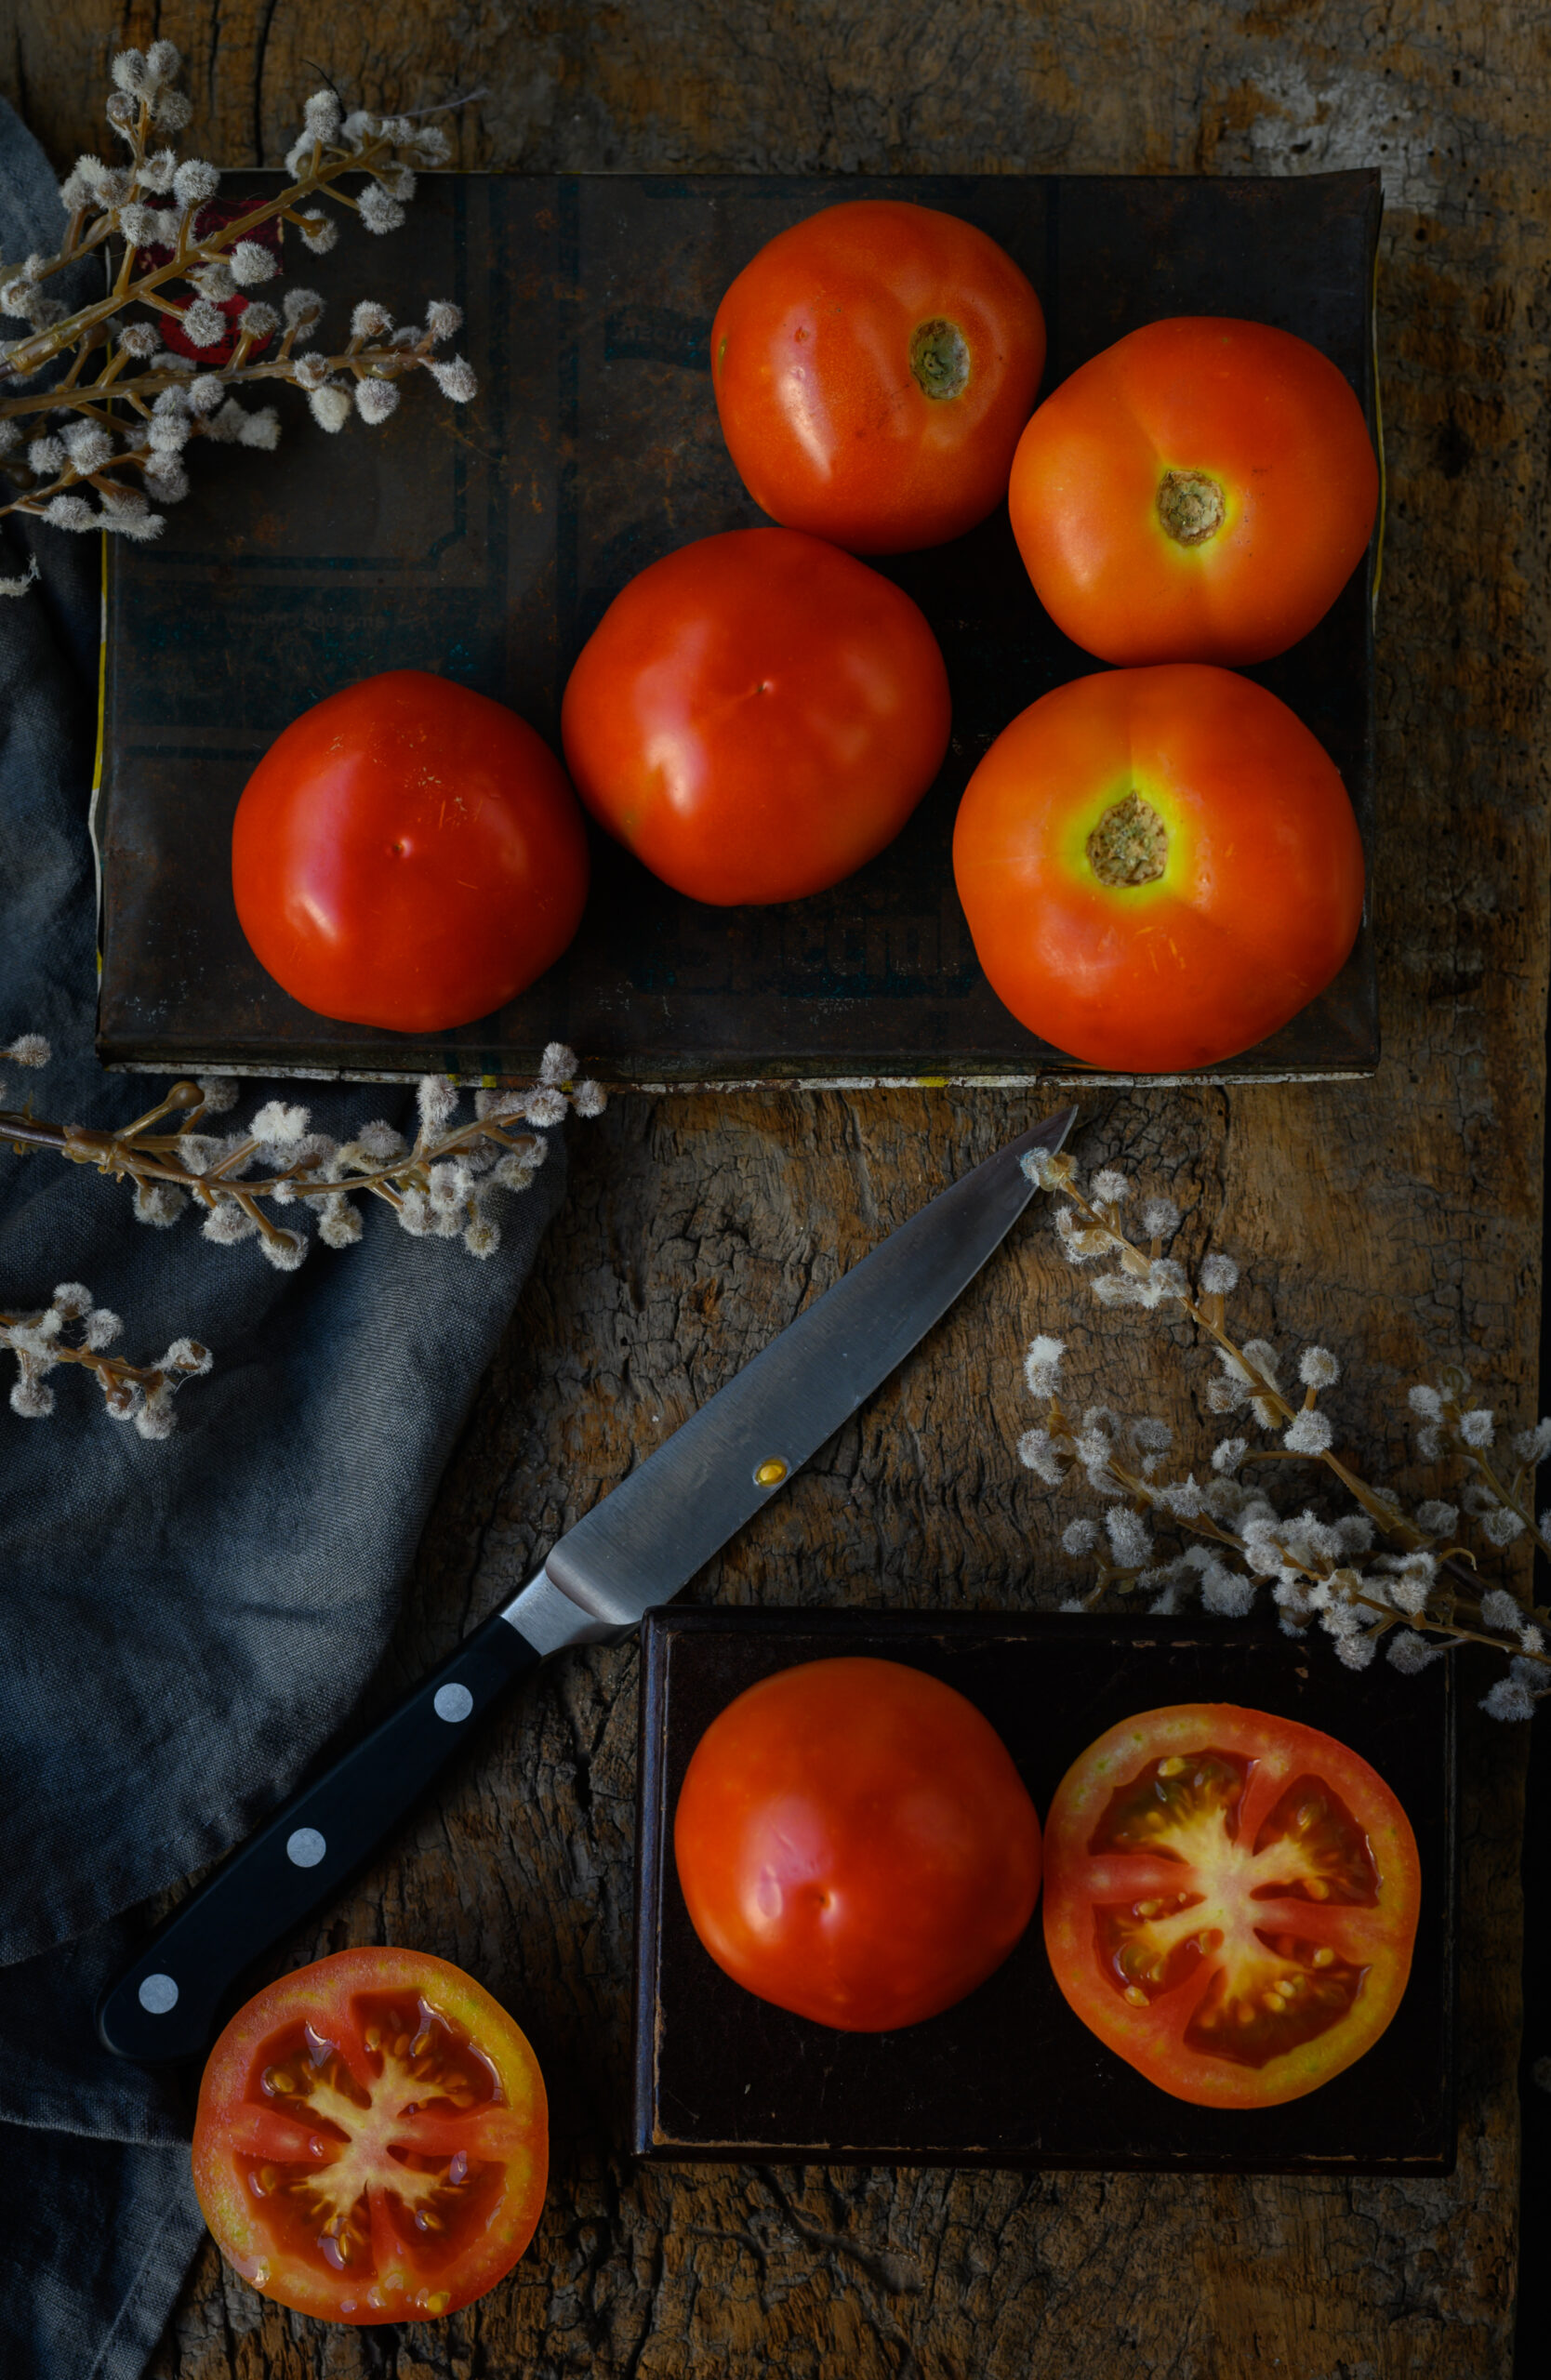
What makes this tomato purée extra special is that we’ve been growing the tomatoes ourselves on our terrace. I often talk about our farm and the varieties of produce and plants we grow there, and it’s really special to me that I get to bring some of that spirit back home too. Once you get a knack for gardening, you realise just how easy is it to cultivate some of the staples we reach for in our kitchens often. Many people I know grow herbs, vegetables and even fruit trees, which go directly into their diets. We are currently enjoying an abundant harvest of tomatoes, and are putting these lovely vegetables (or more accurately, fruits) to good use in a wide variety of dishes.

I guess you could say that while I haven’t yet found the talent for canning the way the Instagrammers do it, I’ve definitely had the patience to develop other culinary skills. Tending to homegrown produce is one, and making sourdough is another. Those of you who have followed my own IG stories for a while now would have noticed my eventual success in making that complicated bread! Whenever it’s pasta night at home, I put some into the oven and bake it an hour before dinnertime. A fresh, warm loaf accompanied by this tomato purée as a dip is served alongside delicious plates of pasta, which themselves are rich with this purée in the sauce. Now, I have my sights on mastering a sourdough base for pizza. My homemade pizza has been a hit in my household ever since my kids were little, and my daughter would often take some to school (to promptly exchange for spinach rice!). Her friends still ask me for some when they all visit together, and I’d love to surprise them with a sourdough twist to their childhood favourite soon. Made, of course, with this all-purpose tomato purée as a pizza sauce. Wish me luck, and be sure to follow my journey of trials, errors and triumphs on social media!


All-Purpose Tomato Purée

(Yield: 1 jar)

½ kilogram tomatoes

150 grams onions

4-5 garlic cloves

Salt to taste

1 teaspoon sugar (optional)

¼ teaspoon basil powder

2 tablespoons olive oil

1 teaspoon paprika

Roast the tomatoes over a flame until the skin is charred. Discard the skin and purée the tomatoes in a blender. Set aside.

Purée the onion in a blender along with the garlic cloves.

Heat a pan and add the olive oil. Then, add the puréed onion mixture and sauté till it turns golden. Next, add the tomato purée and mix well. Keep the flame to a medium heat and stir occasionally, making sure that the mixture does not stick to the bottom and sides. Be careful as the purée will soon start to bubble. Reduce the flame intermittently. When the purée begins to reduce, add the remaining ingredients and stir well.

Some notes on adjusting the ingredients to suit your taste: change the proportion of onions or garlic depending on how you like them, substitute chili powder for paprika if that’s your preference, and adding a sprinkling of fresh basil towards the end of the reduction adds a nice flavour, if you have that ingredient on hand.

Reduce the purée until it is thick and spreadable, or to the consistency you desire.

Allow to cool and store in a glass jar in the fridge. This all-purpose tomato purée lasts for approximately a week, and up to ten days with good storage. As it keeps well, you can also adjust all the proportions to make a batch in a size that’s ideal for all the ways you may use it over the course of a week.

Whether it’s a pasta, a pizza, a sandwich, or even an Indian curry with a hint of Mediterranean flavours, this all-purpose tomato purée just adds so much convenience to my regular cooking. I’d love to know if you try it out, and I’d especially love to hear about the creative ways in which you add it to your own menu!

Perhaps the combination of the sweltering Chennai summer and the memories evoked by my last post, on travels through Spain, were what made me crave this Andalusian dish. Gazpacho is a kind of cold soup, not soup gone cold but rather soup which has never been heated. Tomato is often the base, but I took the element of cooling a step further and used a fruit that is a staple for us during this time of year: juicy, ripe, sweet watermelon.

Chennai being hot through most of the year, gazpacho is always welcomed in my home. But the summer demands extra cooling, so first I tried my hand at a yoghurt-based soup with mint. But it ended up tasting a bit like raita and was quickly dismissed from my dining table. That’s when the burst of seasonal fruit at Namma Suvai  – a place I like both for their honest and open policy of having back end (farmers) and front end operations meet, as well as for their superb organic range – gave me a brainwave. I picked up the watermelons, which grow best in warm climates and provide a much needed hydrating and cooling effect to the body. I had not eaten watermelon gazpacho before, even though I knew it existed, and so was all the more excited to try it.

Gazpacho is exceedingly easy to make, just a simple puree, and as I prepared it, I recalled how I used to try to get the kids to eat healthy when they were younger. It’s quite a task, as all moms know, and most of you will be familiar with the technique of disguising (or as the kids say “disgust-ing!”) soups with all kinds of vegetables. I would add locally grown, water-based vegetables like bottle gourd or ridge gourd along with carrots and onions to the basic tomato – all while making sure the red colour of the tomato, the vegetable most popular to their palate, remained. Needless to say, I’d feed it to them quickly, before they noticed their red soup was full of green goodness! As they grew older, they caught on to the trick and refused to eat soup unless it was made to their taste and preferred proportions. Sometimes, they would eat it just to please me, but then say “Ma, did you think we didn’t know?” Fortunately, their tastes became refined once they saw their own friends beginning to enjoy soups socially. Of course, no matter what age the kids are, a parent is still a parent, and those of us who are parents never stop trying to ensure that they are eating well.

Even though I no longer needed to disguise this soup so it looked like tomato, maybe a little of that old desire to make my dishes as attractive for my kids as possible was still in me, so I wanted this gazpacho to be not just tasty but also vibrant both visually and on the tastebuds. So I added garlic, some colourful bell peppers and a hint of tomato to it. Raw chopped mango brought some tangy Indian-ness too, and a hint of chaat masala added familiar spice. The garnishing was meant to catch the eye, and so it did. Not only did the kids reach for it, but we had a surprise guest for dinner, and she thoroughly enjoyed my watermelon gazpacho along with my homemade sourdough.

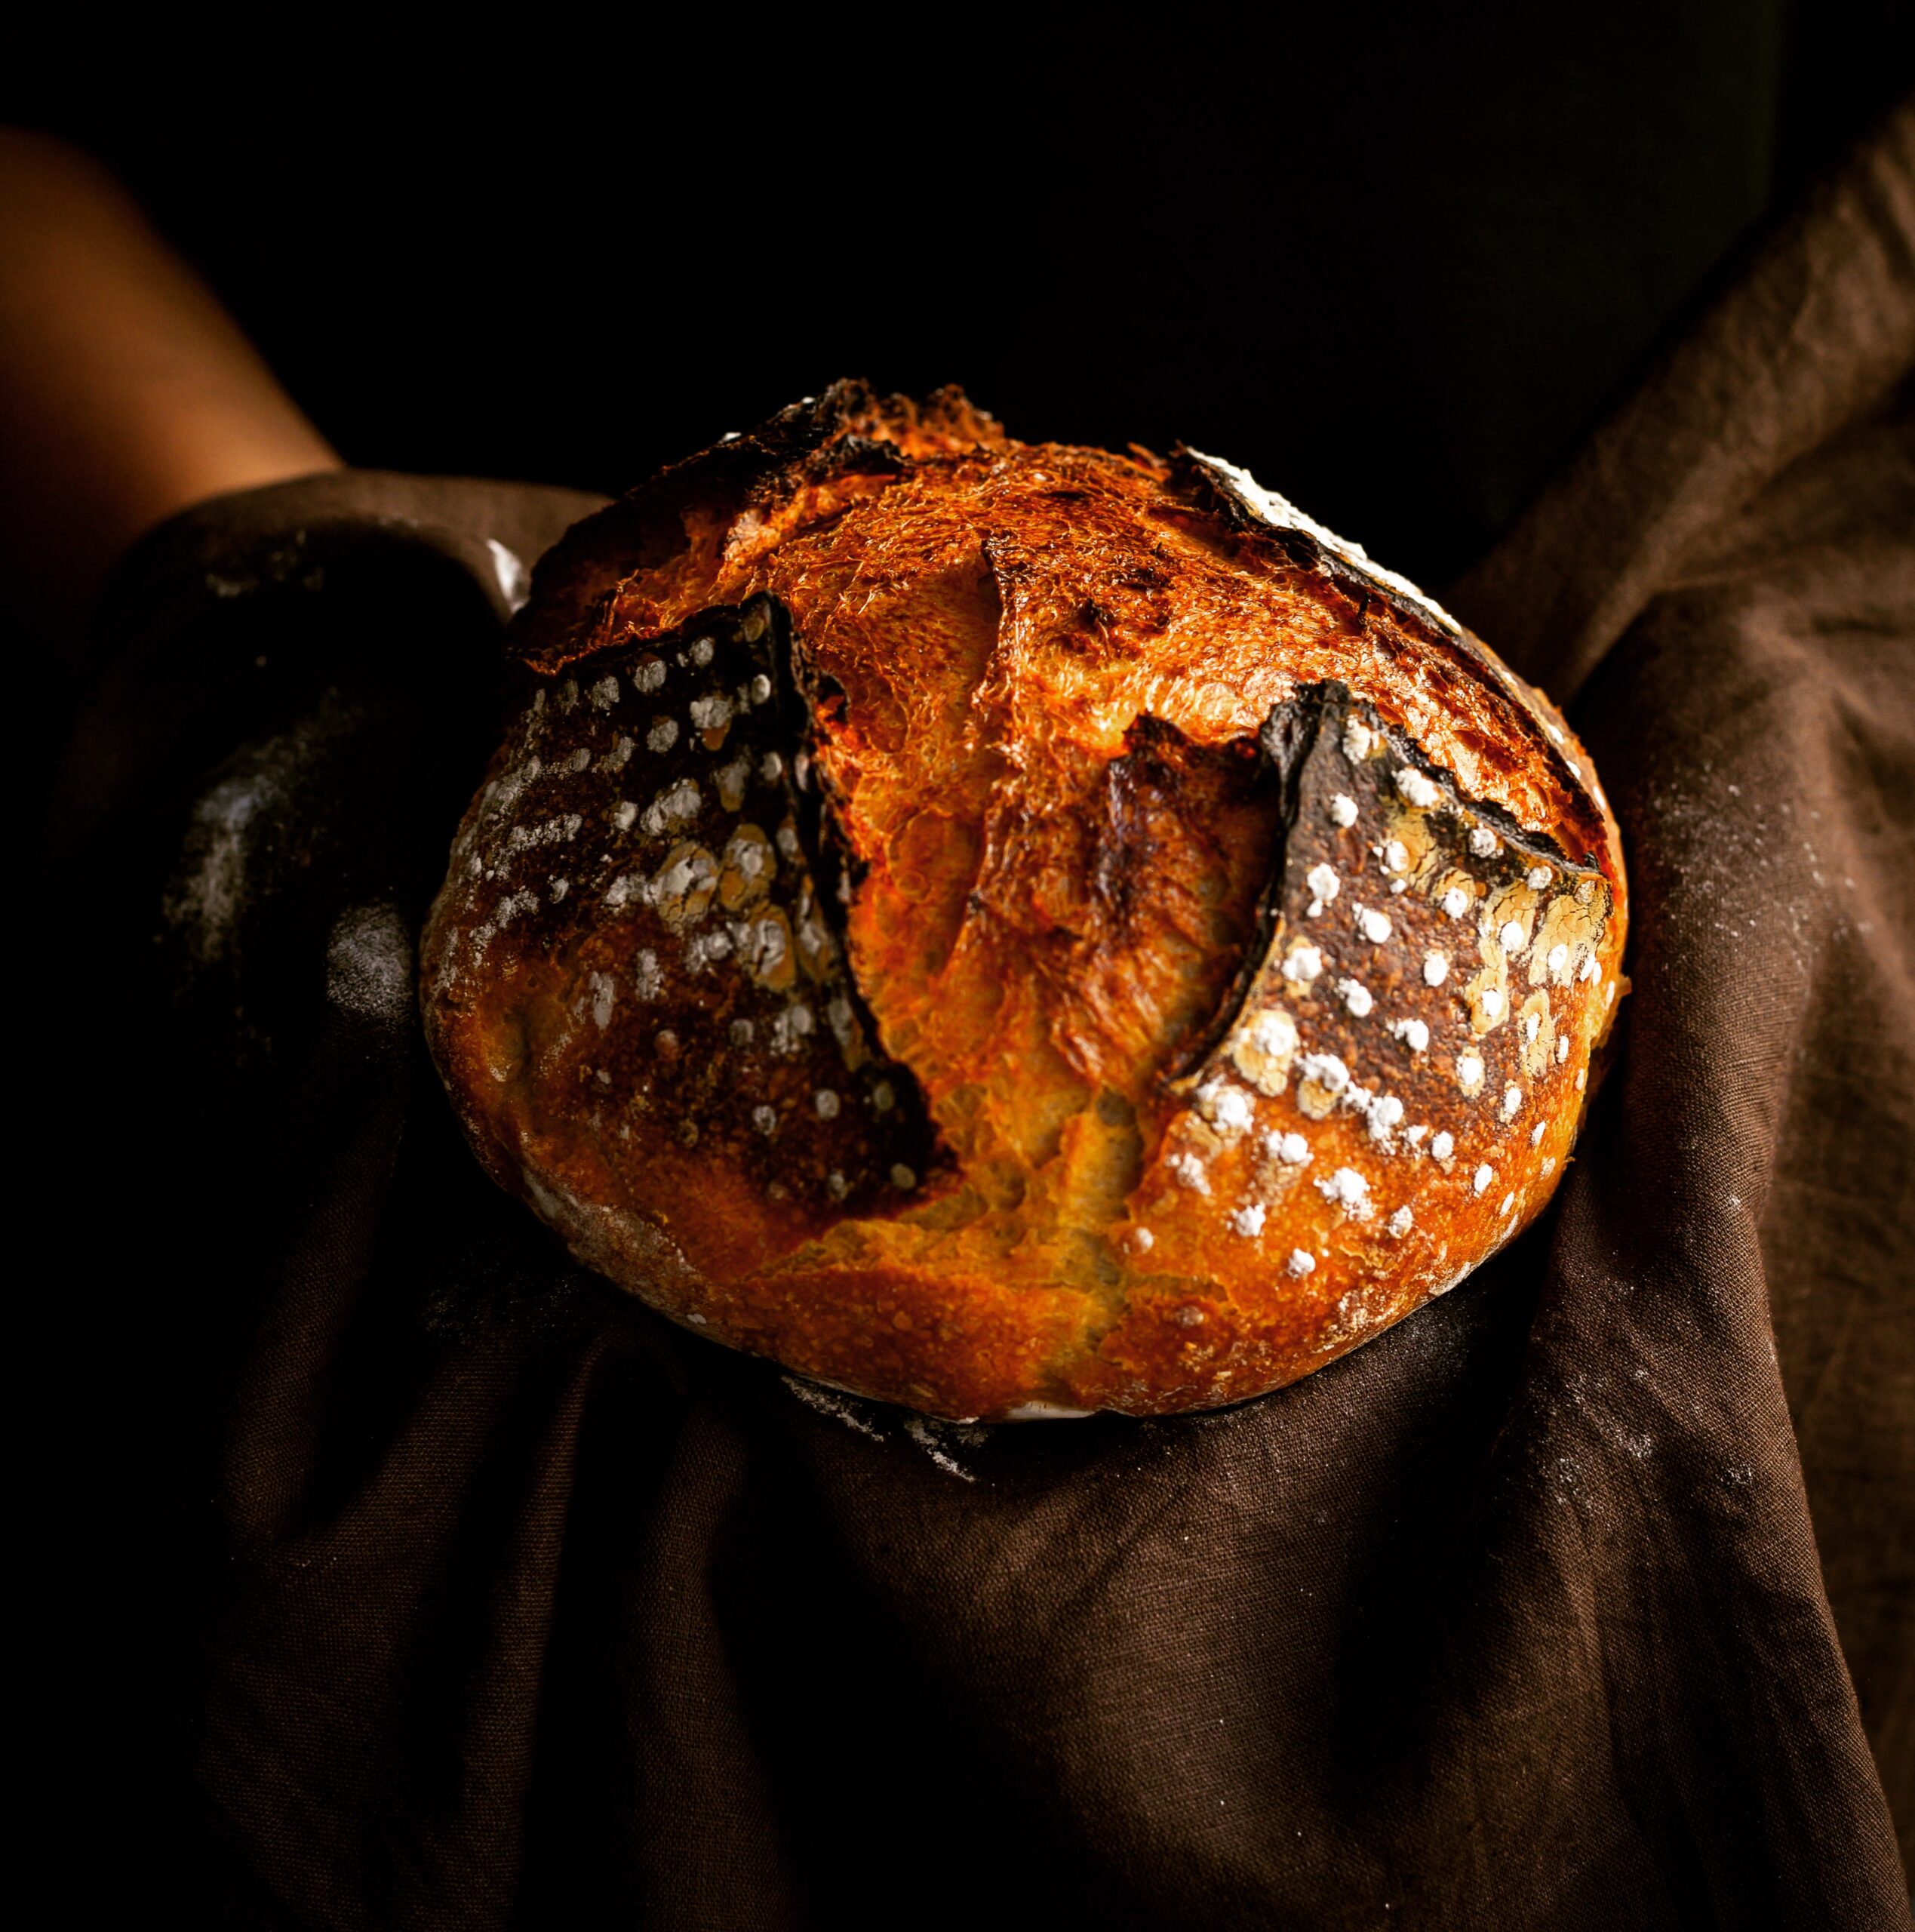
As those of you who have followed my Instagram Stories for a while know, sourdough was something I worked at every day, entirely convinced I would eventually get the hang of it, and I did. It’s a very long and cumbersome process, but one every baker should experiment with. Sourdough is a way to make bread without yeast, allowing the natural bacteria to ferment in the air. I now make it so often that I have so much bread that I end up making accompaniments to it instead of the other way round.

One such accompaniment, of course, is this bright and flavour-rich watermelon gazpacho, which brings together sweetness, spice and some much-needed summer cooling.

Watermelon Gazpacho

(Yield: 5-6 cups)

2 ½ cups watermelon – deseeded

¼ cup tomato

¼ cup chopped red capsicum

¼ cup spring onions

3-4 cloves garlic

2 tablespoon olive oil

5 basil leaves

2 teaspoons any good vinegar/red wine/sherry or a big squeeze of lemon

3 small slices jalapeño

2 tablespoons finely chopped raw mango

¼ teaspoon chaat masala

Salt to taste (I used Himalayan pink)

Toppings:

Finely sliced avocado

¼ cup finely sliced red capsicum

2 tablespoons finely sliced spring onion

2 tablespoons olive oil

The method to make this watermelon gazpacho is extremely simple. Just keep the toppings aside and put all the other ingredients into a blender. Blend, but let the mixture remain coarse.

Pour into pretty serving glasses or bowls and garnish with the toppings. Gazpacho is meant to be served cold, and whether your guests will enjoy it as a soup or as a crunchy beverage is up to how you serve it!

This watermelon gazpacho is truly a mélange of flavours: from spicy chaat masala to sweet watermelon, and the textures of soft avocado and crisp raw mango in between. You may think so many ingredients wouldn’t go well together, but believe me – they do. I so enjoyed having this gazpacho with sourdough slices, a light and healthy combination that formed a perfectly filling (and very satisfying!) dinner. Do give it a try while watermelons are in season, and let me know what you think!
I must have yoghurt with every single meal – a meal is never complete without it, and I am never full! I have tried over the years to go vegan and all that jazz but my love for yoghurt makes this impossible. I can give up milk, but yoghurt? Never. In fact, I loved it so much as a child that my mother had to ration it – she restricted me to a single cup per meal. But how I loved that one cup!

In South India, we take our yoghurt seriously. It has to be perfect – it should not be too sour, it should not have a thin film on top, and it should be smooth not broken. This is how it must be served at the table – and you can be assured that it is served at every table.

I have a friend in Barcelona who visits me each year and takes back a little bit of the yoghurt culture as a starter to make her own. The temperature, quantity of culture and the quality of the milk are very important. Yet, somehow, yoghurt is also very simple to make, which is why it is made in households every single day without fail. I wish sourdough was as easy to make. If you follow me on Instagram, you’d have seen my attempts and adventures at sourdough on my Instastories!

Traditionally, in my home, we set the yoghurt in an earthenware or stoneware pot. I set it both in the mornings and in the evenings, so that we have it fresh at both lunch and dinner. Yoghurt usually sours within a day, so it is one of the ingredients that is often used in leftover-based dishes. Refrigeration can prolong this slightly.

It sets faster in the summers, within 5 to 6 hours. In cooler months, if you set it just before bed, you will certainly be able to have it first thing in the morning. But be warned that these standards are for my climate, here in India. When I visited my son in New York last winter, he had a craving for homemade yoghurt. In the depths of icy November, it took two whole days to set!

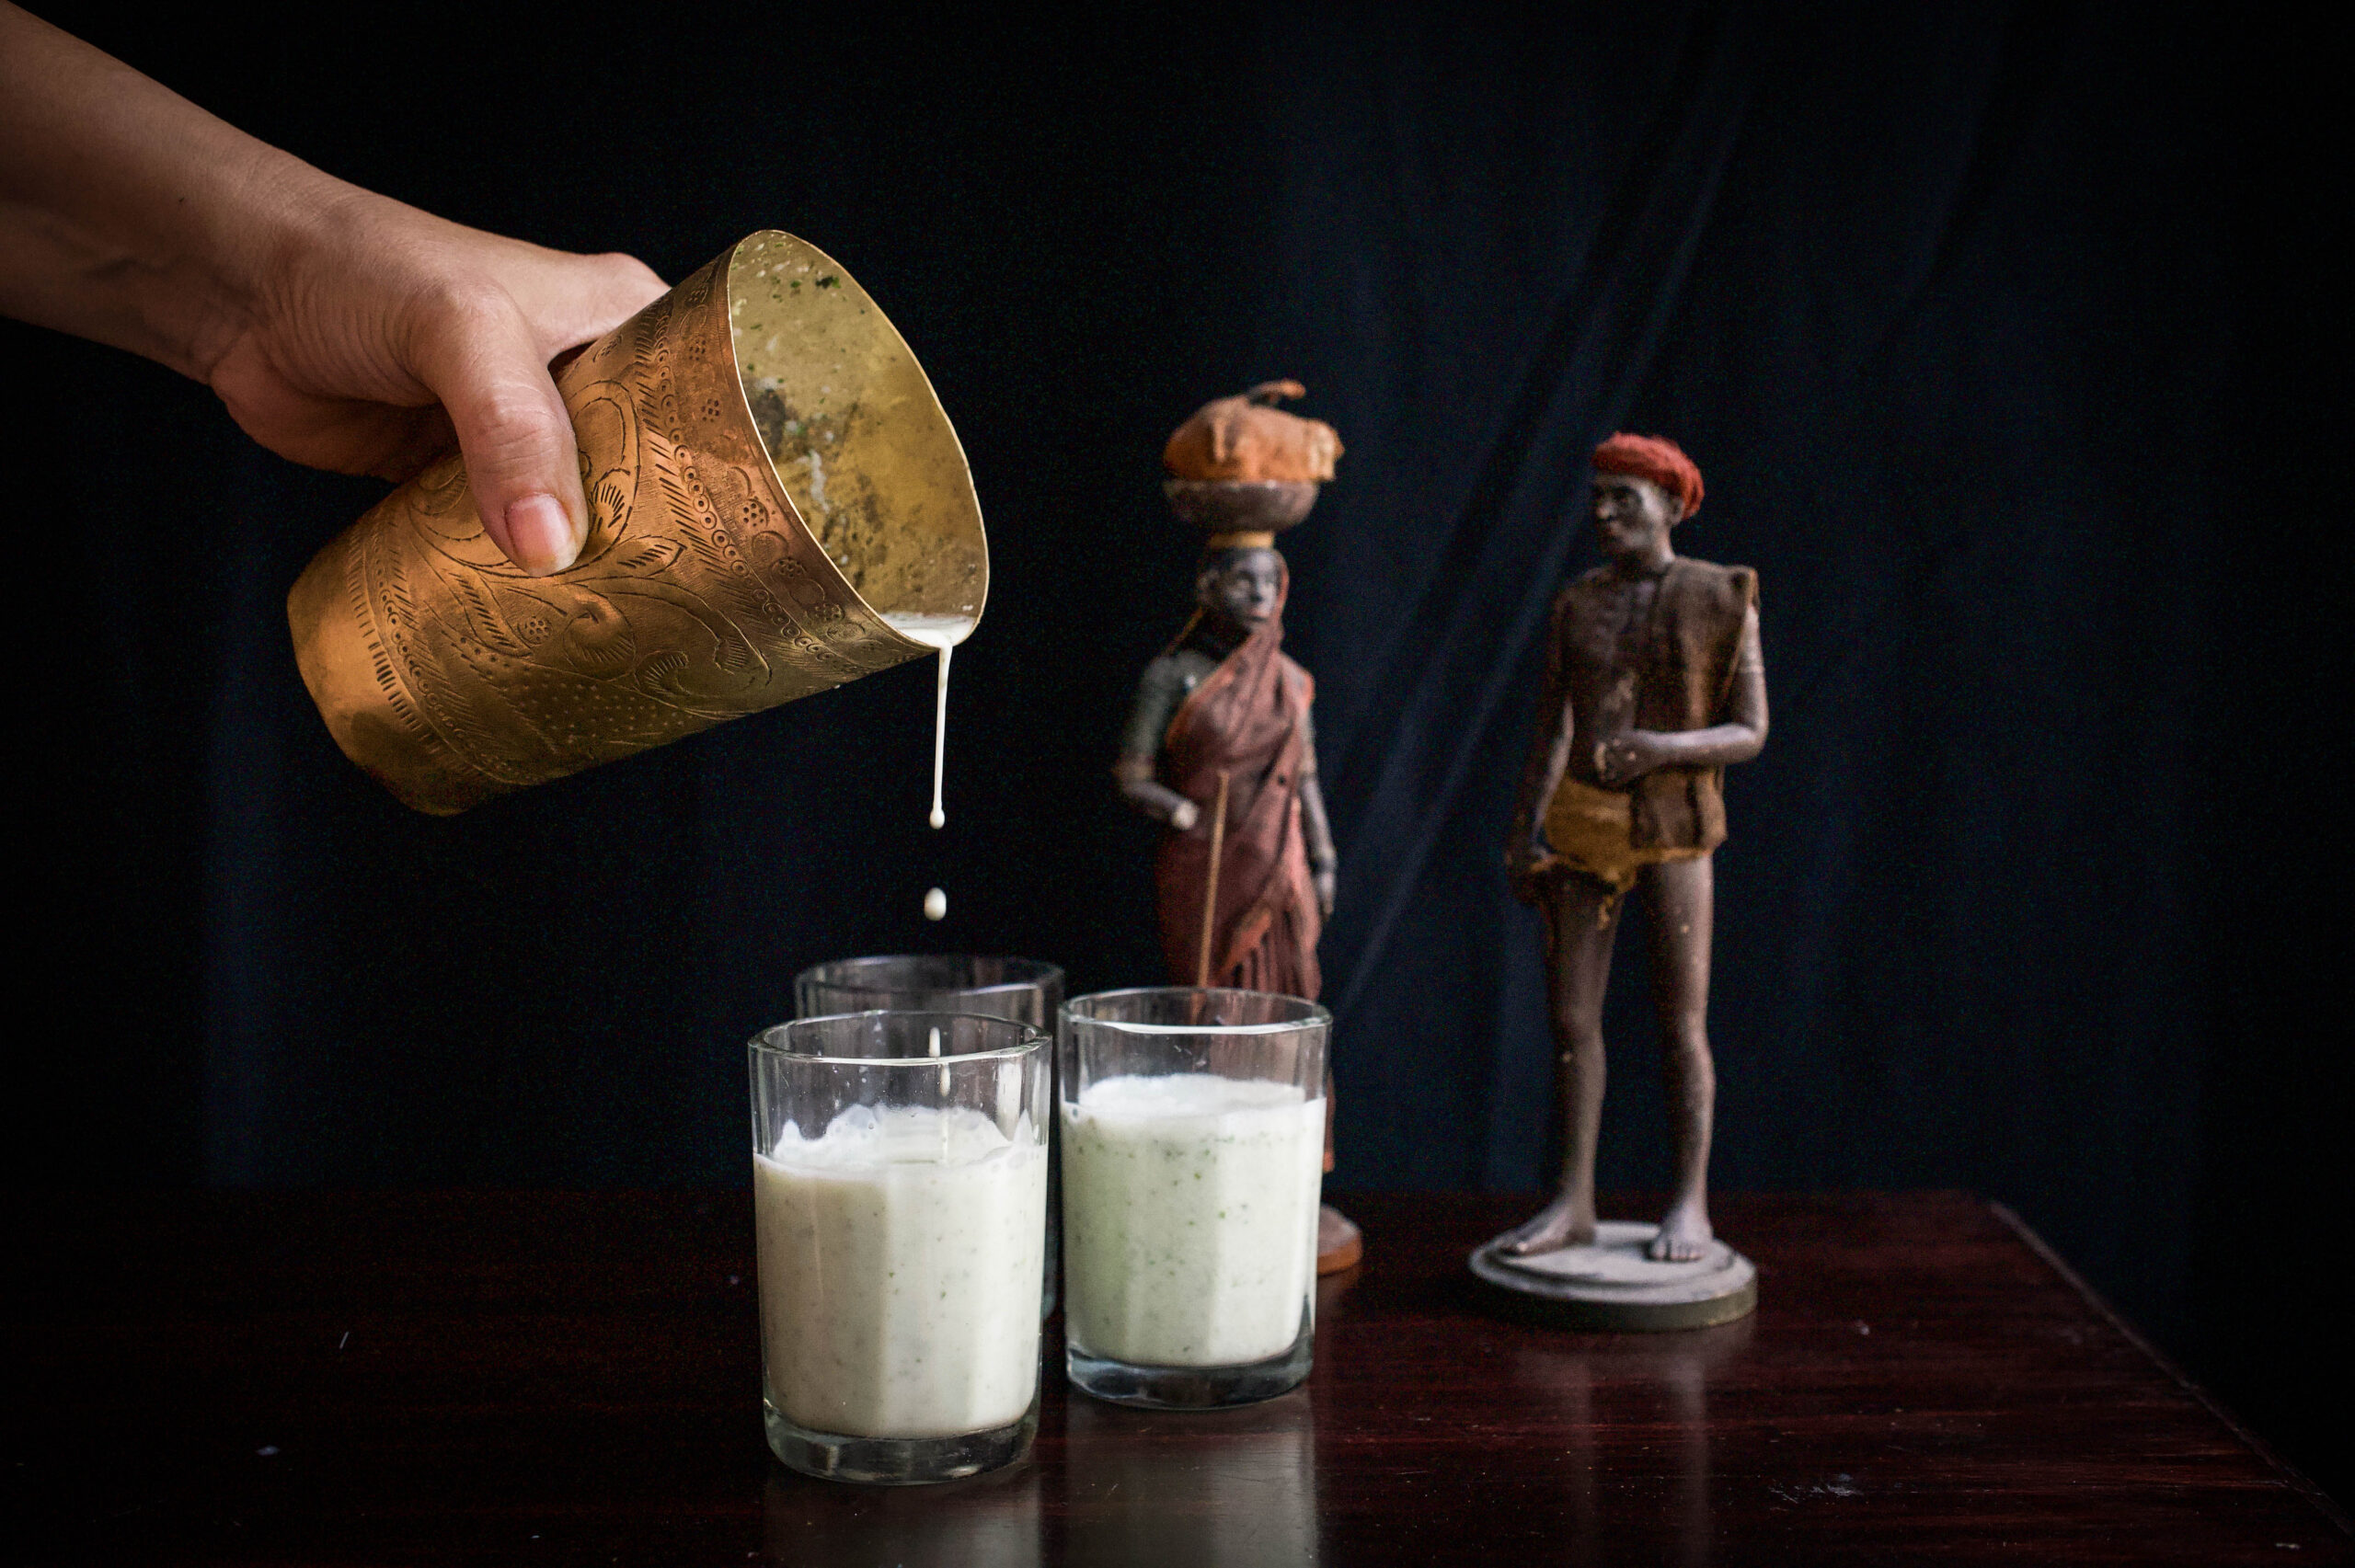
So many of my summer stories revolve around my grandparents’ home in Vijayawada. If you went down memory lane with me and my aunt’s rose sherbet or their vetiver-scented curtains which inspired my chia pudding, here is one more from my childhood memories to enjoy: spiced buttermilk. It is a flavour I remember from those summers with my cousins, when we would each be given 25 paisa to go buy ourselves a treat. Someone would get soda, someone would get raw mango slices… My favourite was guava, but buttermilk was what we were always encouraged to have, for its health benefits. What I’ll share with you today is my friend Anandhi’s recipe, made with her guidance. Its core ingredient is homemade yoghurt.

Both yoghurt and buttermilk are great for digestion, and have a cooling effect on the body, which is why they are summer essentials. If you love your dairy like I do – with apologies to my vegan and lactose-intolerant friends! – you’ll absolutely love being able to switch from store-bought yoghurt. After a while, setting it becomes a habit, and it’s always so delicious when it’s fresh.


Spiced Buttermilk

(Yield: Approximately 5 glasses)


Ingredients

1 cup yoghurt

1 teaspoon roasted cumin powder

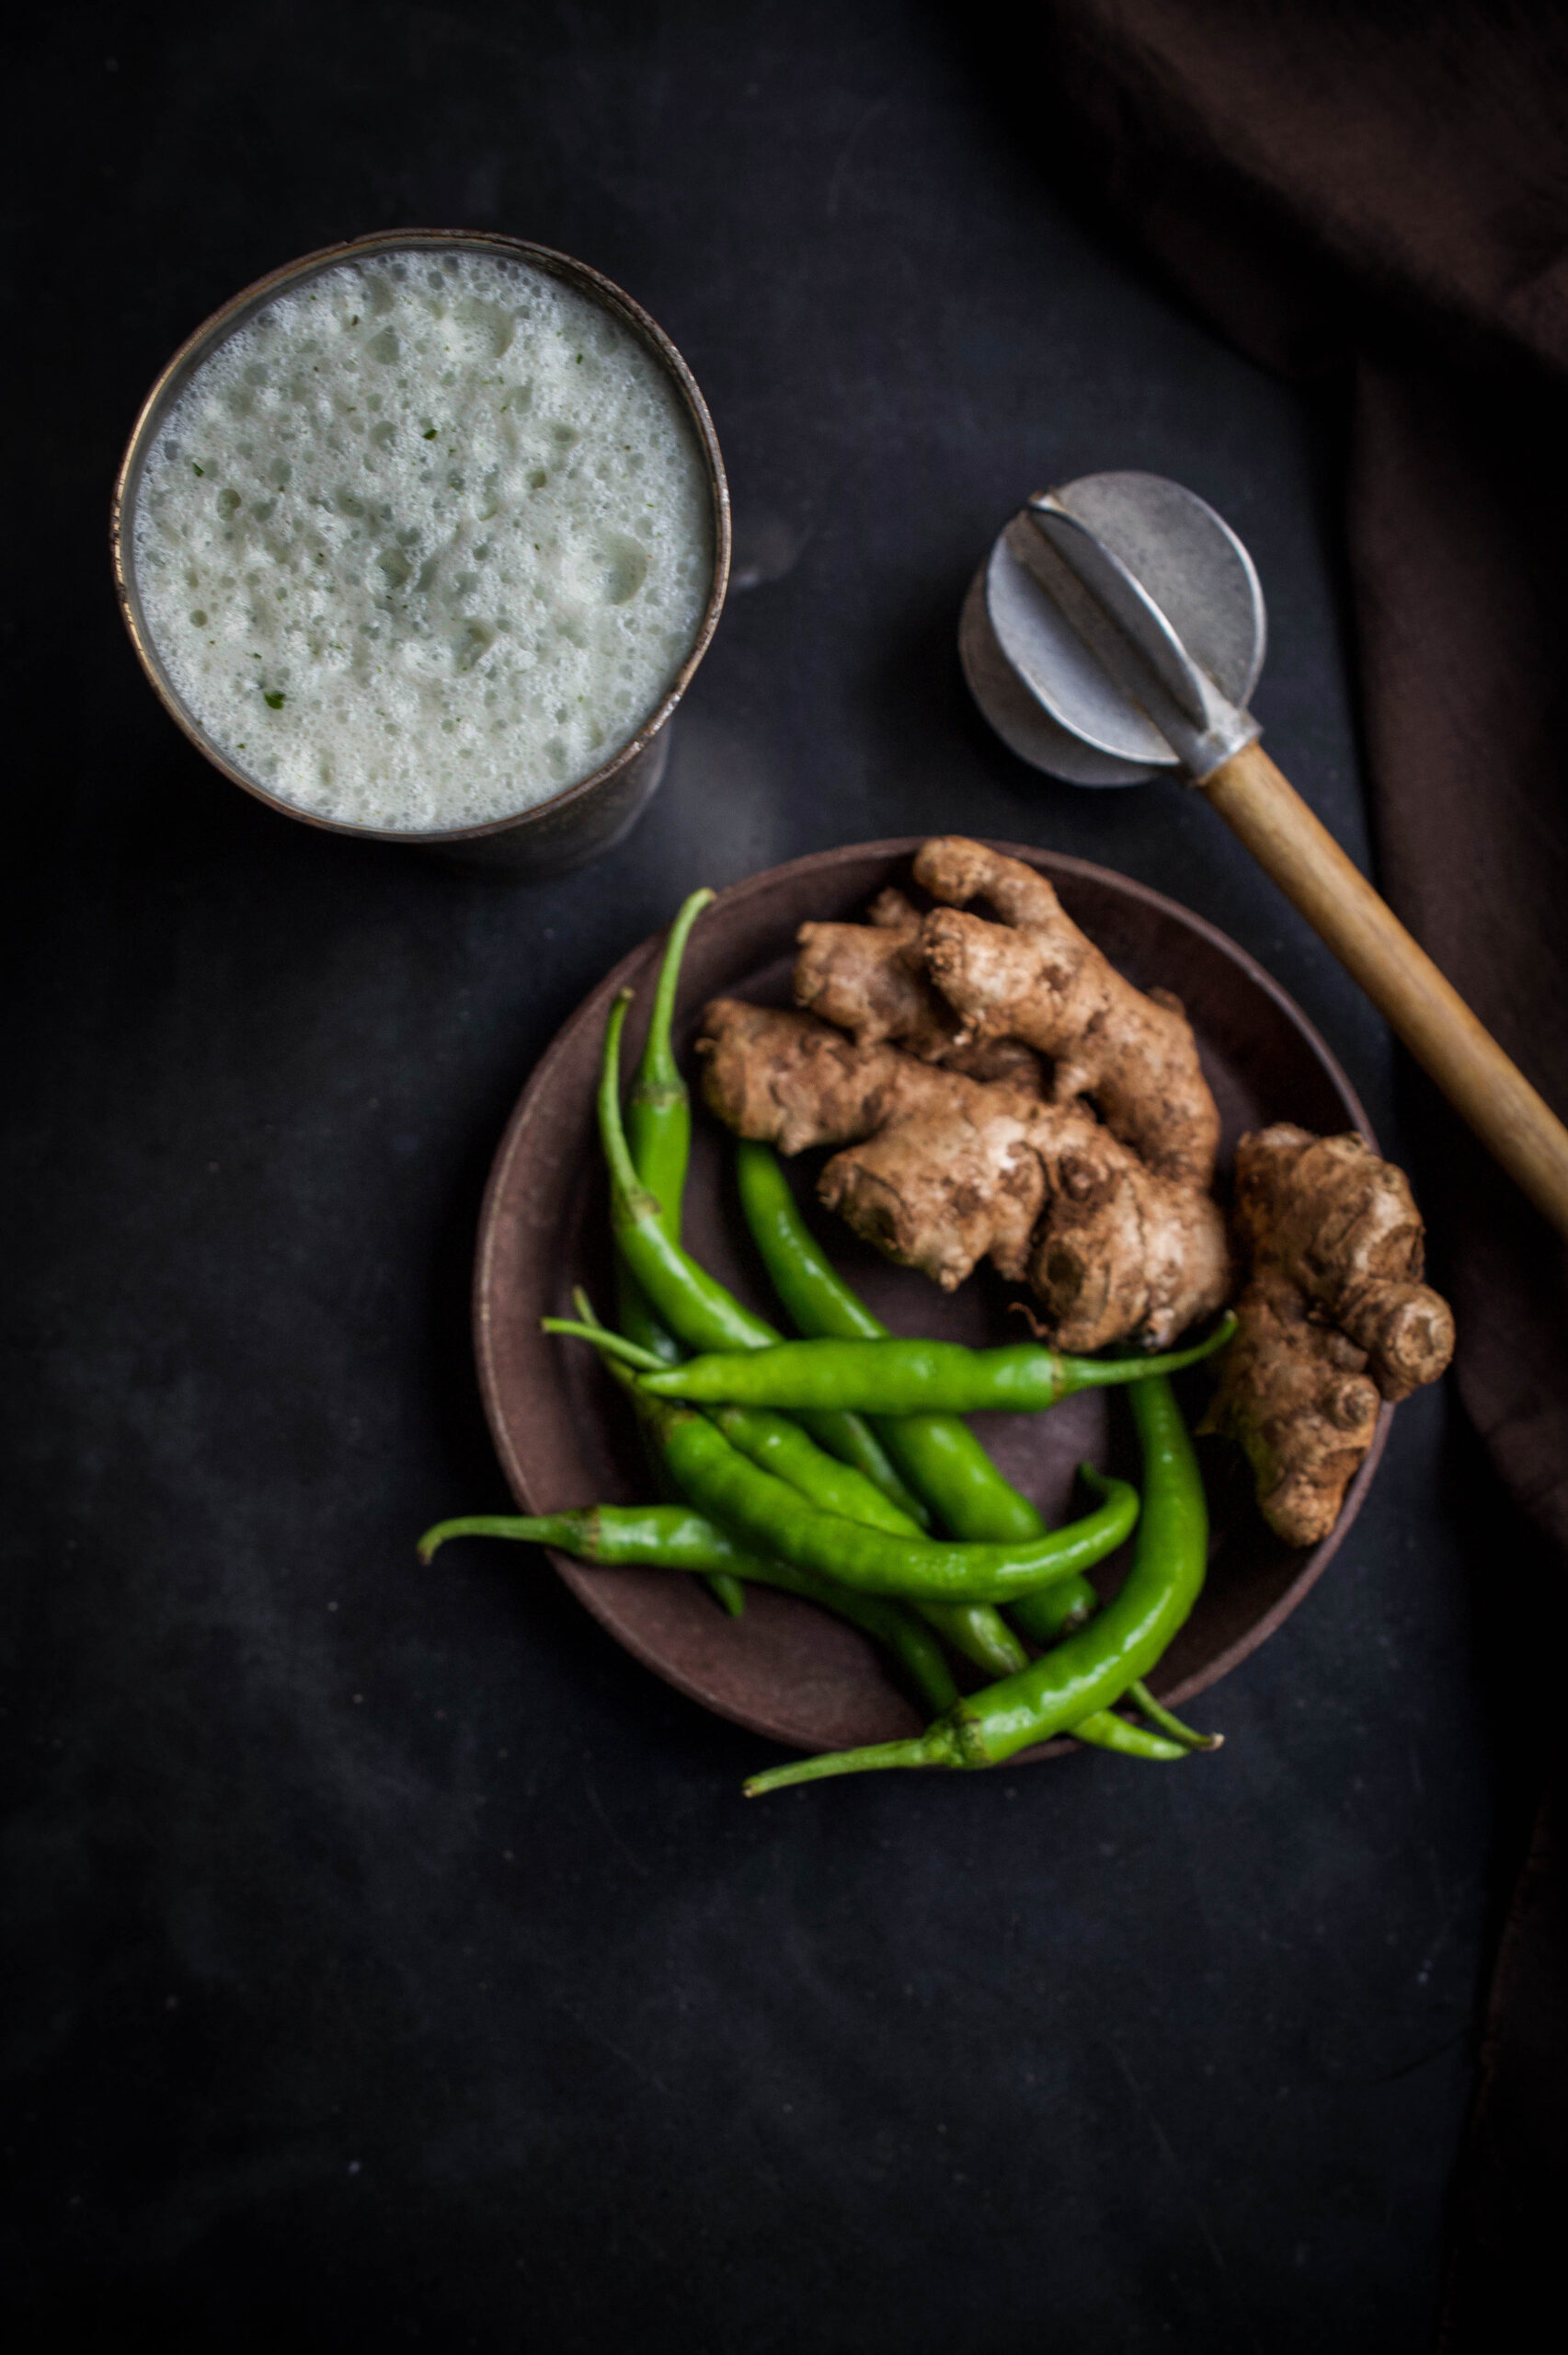
1 teaspoon grated ginger

1 tablespoon finely chopped coriander leaves

1 finely chopped green chilli

Salt to taste

3 cups water

A dash of lemon

1 pinch asafoetida (optional)

In a blender, add all the ingredients, except the water, and whir until everything is well blended. Now add the 3 cups of water. You can adjust the consistency by increasing or reducing the quantity of water to your preference. The dash of lemon gives you a little spring of energy, and the spices add such delicious flavours to the drink. Serve immediately.

Known for its probiotic properties, buttermilk acts as a coolant in the summer months, especially when eating heat-inducing mangoes is a full time pleasure!


Homemade Yoghurt

As I said earlier, setting yoghurt is both very delicate and very easy. To set the yoghurt, the temperature of the room, the temperature of the milk and the quantity of the starter are all very important in order for the yoghurt to be plain and not sour.

In India, where summers are very hot, I add a ¼ teaspoon of starter yoghurt to a bowl and pour room temperature milk into it. I then cover it with a lid and set it aside for 5-6 hours. Do the same if you are working in a similar climate. After the stated time, open the lid and see that the milk is set and rather tight when moved a little. Now refrigerate. Serve whenever you please.

During the winters, warm the milk and increase the quantity of the starter to ½ or even 1 teaspoon. Cover, and keep in a warm place for 10-12 hours or until set.

I am not a fan of sour yoghurt so refrigerating it once set is key, so it stays fresh for longer.

I’d much rather make my own yoghurt at home, where I know what exactly goes into it, as I’m always cautious about my food as far as possible.

This is the yoghurt I use when making buttermilk, as well as my regular accompaniment to my major meals. Yoghurt with rice, yoghurt with rotli, and of course, yoghurt with re:store’s bestselling muesli. It goes so well with everything, in my opinion!

I’d love to hear in the comments about how you’re keeping cool this summer!