22 Results

sourdough

Search

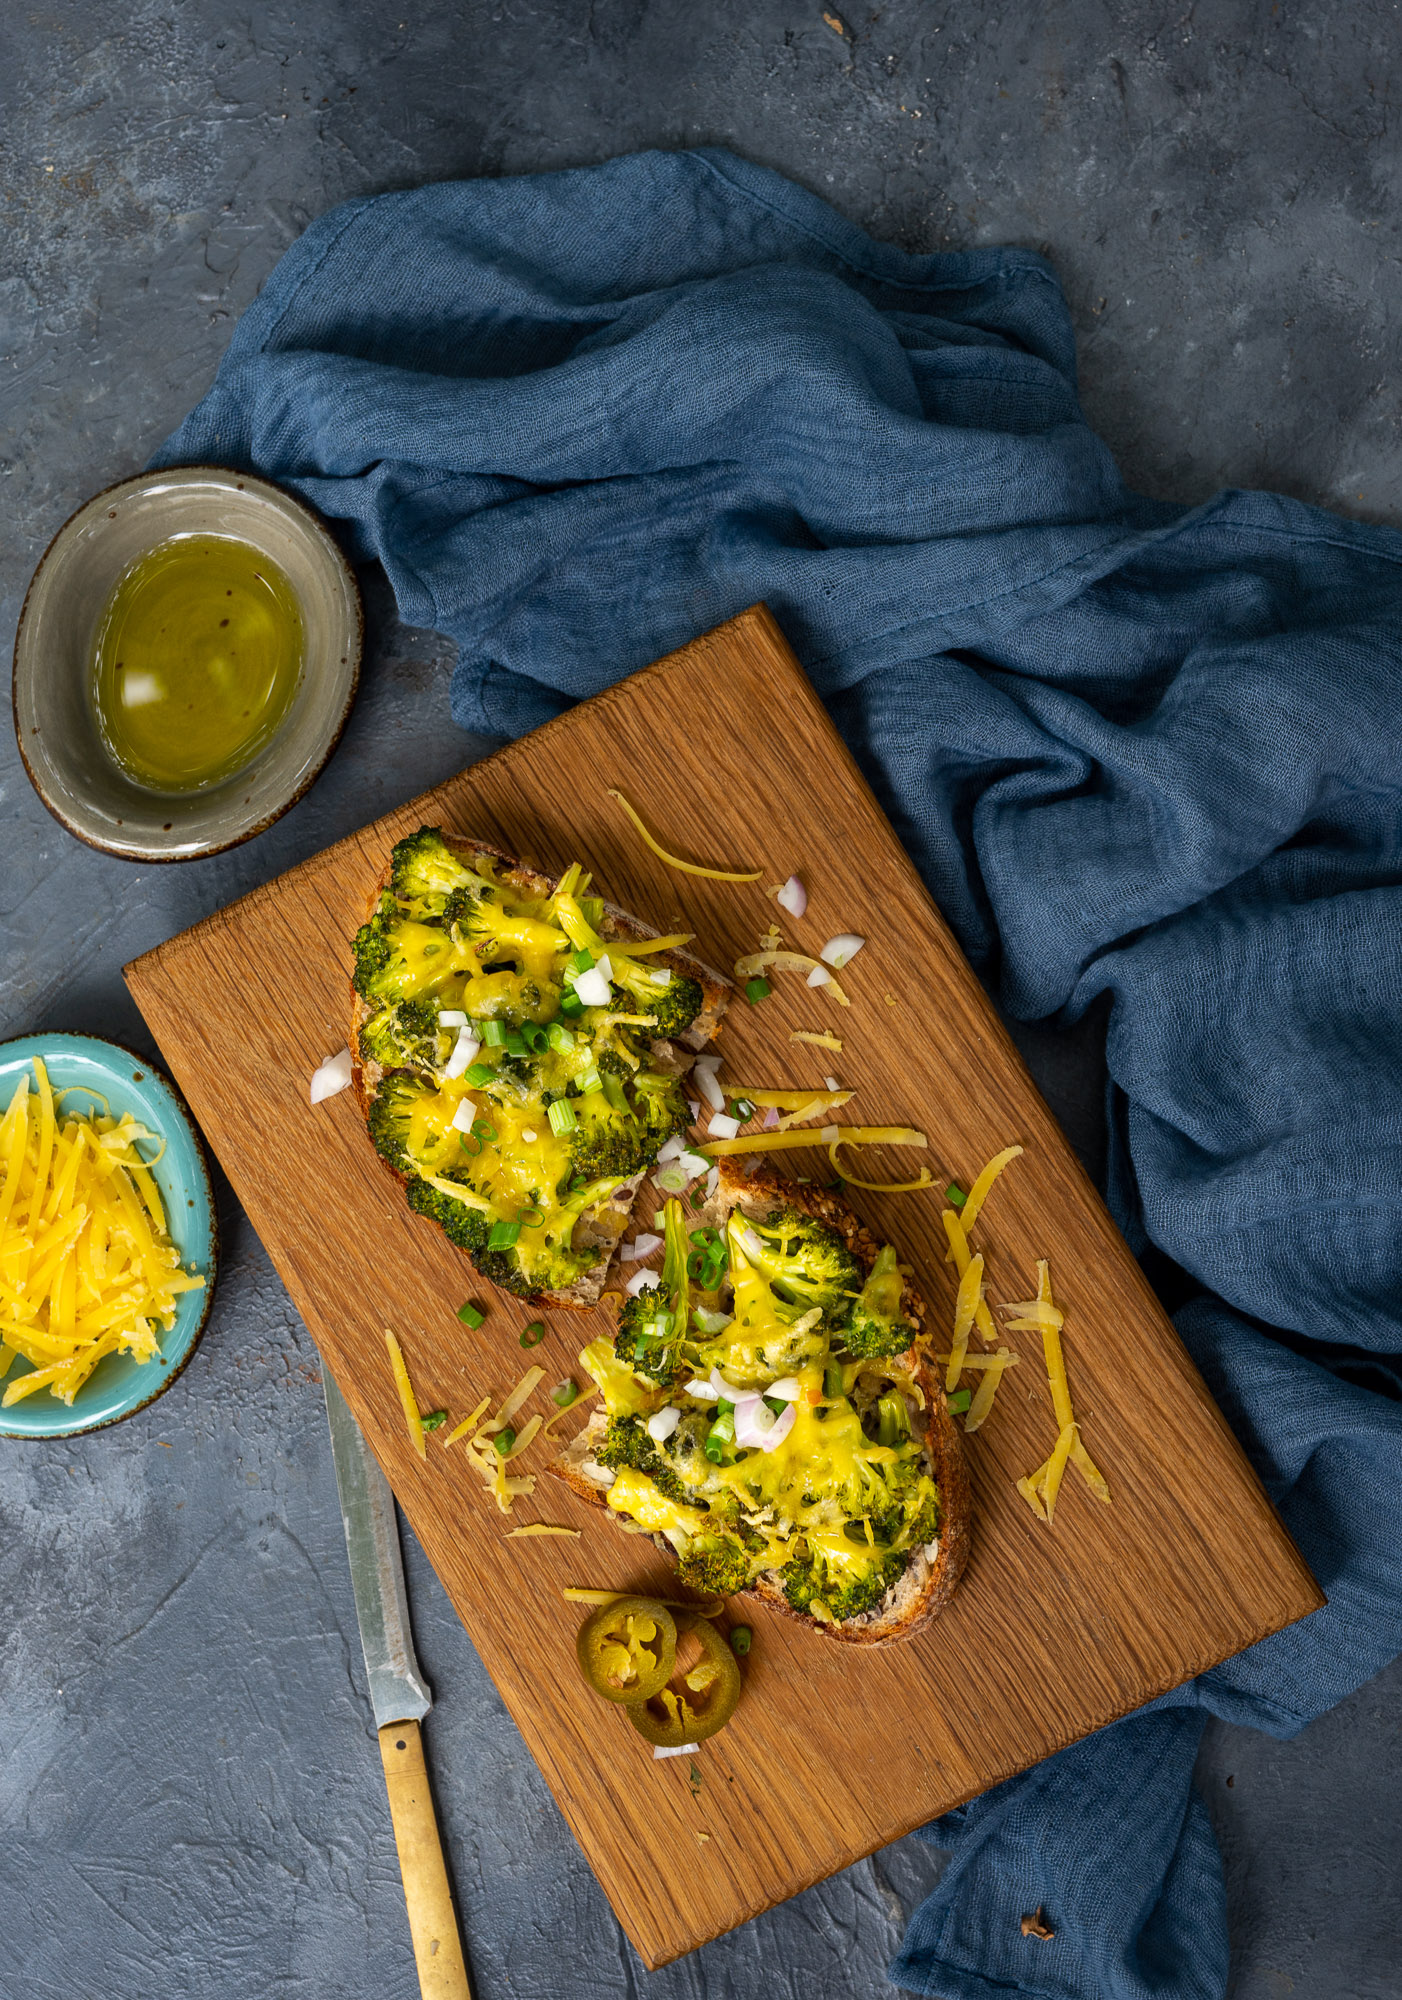
I believe that there is nothing like a homemade bread, and this especially true if it’s a sourdough. I happen to bake sourdough at home, as you may know either from my Instagram or from previous sharings on this blog. When the sourdough is fresh, I have it either plain or dipped in olive oil as a meal accompaniment. When it’s a day or two old, I like to have it toasted, with different toppings. This broccoli toast is one of them.

As I always say and often repeat, you can make your own version of a dish like this. You may have enjoyed some of my earlier variations, such as: cheesy garlic toast and pesto-parmesan toastie. You can play around with the individual ingredients that go over the toast base too. I have used a local cheddar cheese, for instance. If you want to go even more local, and you’re in India like me, you can add crumbled paneer on top. If you are vegan, crumbled tofu works well instead.

It’s good to have some protein with your carbs and your veggies, so even a simple toast can become a fully nourishing dish. You may have noticed that after a long battle with carbs, I don’t like to diss them anymore. I now think that they are best had in controlled portions, alongside proteins and vegetables. That’s the trick not just to a healthy meal, but to fulfilling your cravings too!

I like to have this broccoli toast as an in-between snack, a filler when I know my dinner is going to be late. At times, it is my dinner itself, along with a bowl of soup. I occasionally even have it as a breakfast. Like any toast, it’s for any time.

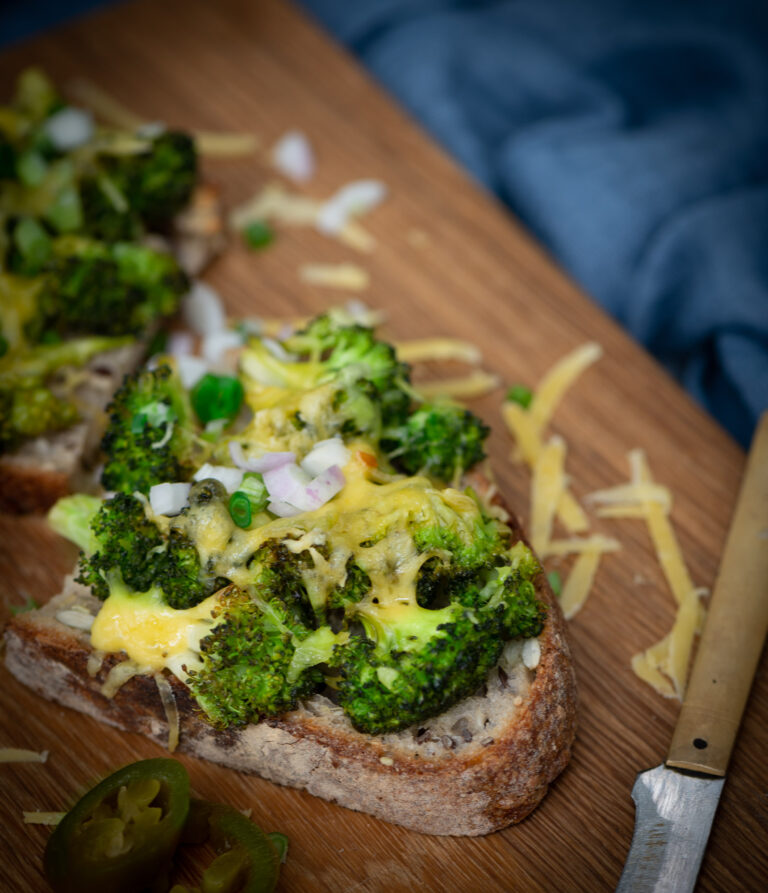
Broccoli Sourdough Toast

(Serves 2)

1 big sourdough slice

2 cups broccoli (cut into small florets)

Salt to taste

1 teaspoon chili flakes

½ cup grated cheese

1 teaspoon olive oil

2 tablespoons finely chopped spring onions


Preheat the oven to 180°C.

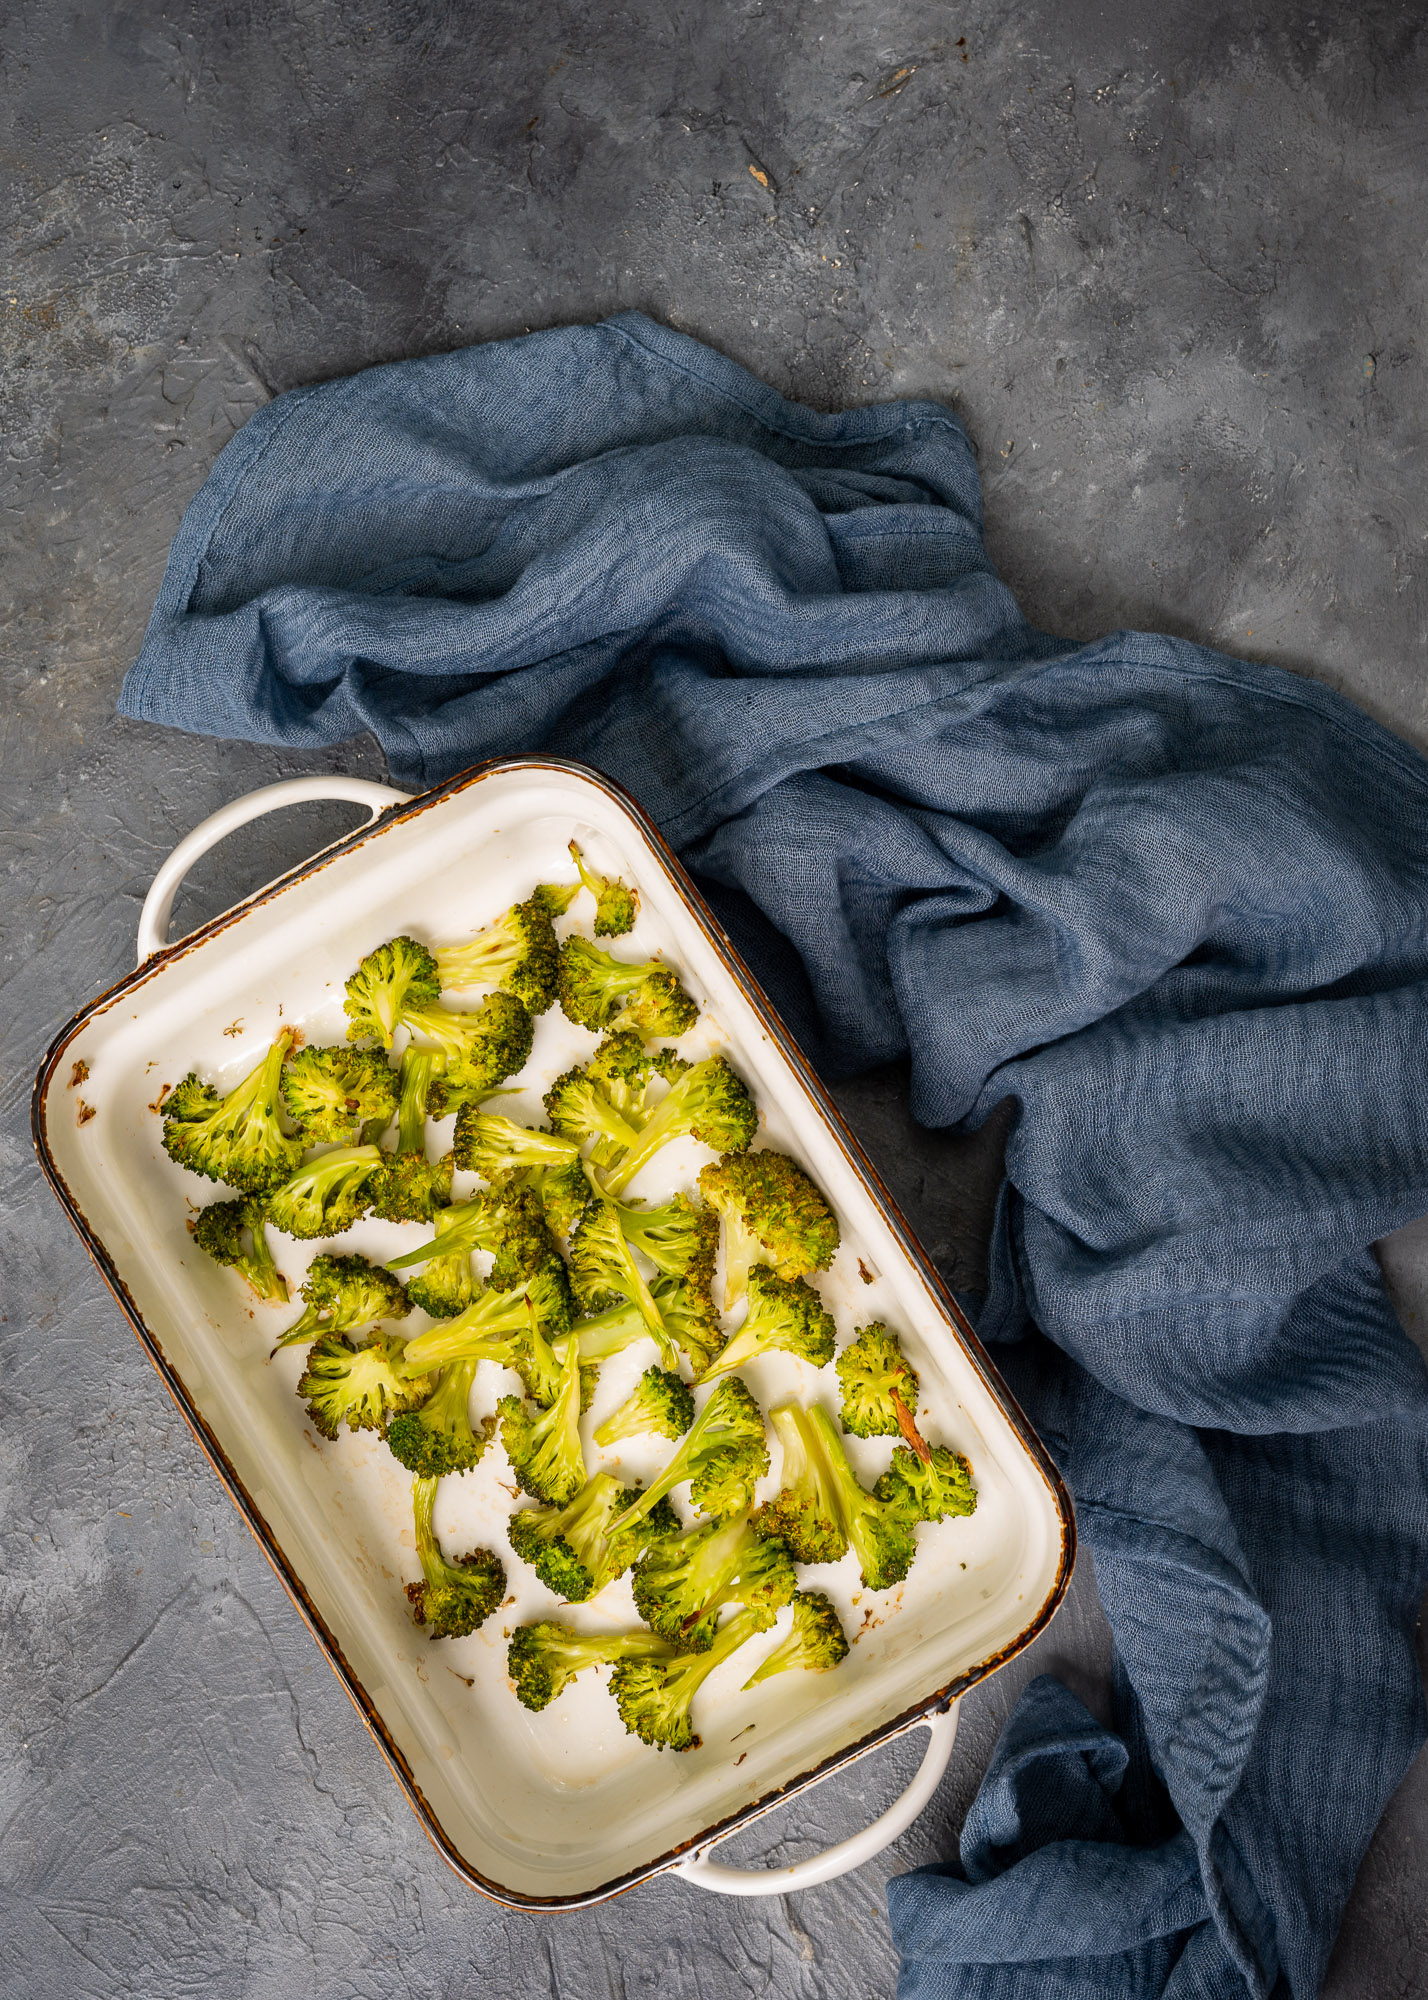
Roast the broccoli in the oven along with a sprinkle of salt and a drizzle of olive oil. If you want to take it up a notch, you can caramelise it with a pinch or two of sugar. This really elevates the flavour. Once slightly charred, set aside.

Take a slice of sourdough and spread the roasted broccoli over it. If you like, you can lay the roasted broccoli on a bed of Greek yoghurt over the toast (if yoghurt on toast is something you’re interested in, do check out this cherry tomato yoghurt toast recipe).

Drizzle a little olive oil on top. Now, sprinkle some cheese and toast in the oven until the base of the bread slice is browned.

Remove from the oven and sprinkle some of the spring onions for garnishing. Cut the toast into 2 pieces. Serve hot.

I hope you’ll enjoy this broccoli sourdough toast. It’s one of the many ways in which I enjoy my literal “daily bread”!

When it comes to any dish that I’m a novice at, I love making it as often as possible so that I can learn from each attempt. Novelty is part of the motivation, but improving my success rate is the real goal. The more you use your hands, the better you get at anything. For you, this may be true for one of your own creative passions, and for me this is all about baking and photography. This was certainly the case for me with sourdough. Those of you who’ve followed my sourdough journey through my Instagram Stories over the past couple of years will know how enthusiastically I’ve pursued working on it. Sourdough is all the rage everywhere at the moment, since the pandemic has made so many people  explorers in the kitchen, so it’s especially exciting for me to share this sourdough toast recipe today.

I bake sourdough every other day, and ever since I began doing this, my family doesn’t eat any other kind of bread. They prefer this natural variety to yeast-filled commercially-produced bread, and we use it in many ways. I make pizza bases, loaves and more all the time, and use them in main courses, sides (such as with a lovely minestrone soup, the recipe for which I promised you recently and will share soon) and snacks. At home, we are all very into daily exercise and healthy eating, so we have lots of one pot meals, and a slice of sourdough on the side is always nice. I find that this sourdough toast especially makes for a filling lunch, and that helps us reduce the number of heavy meals we have at supper time.
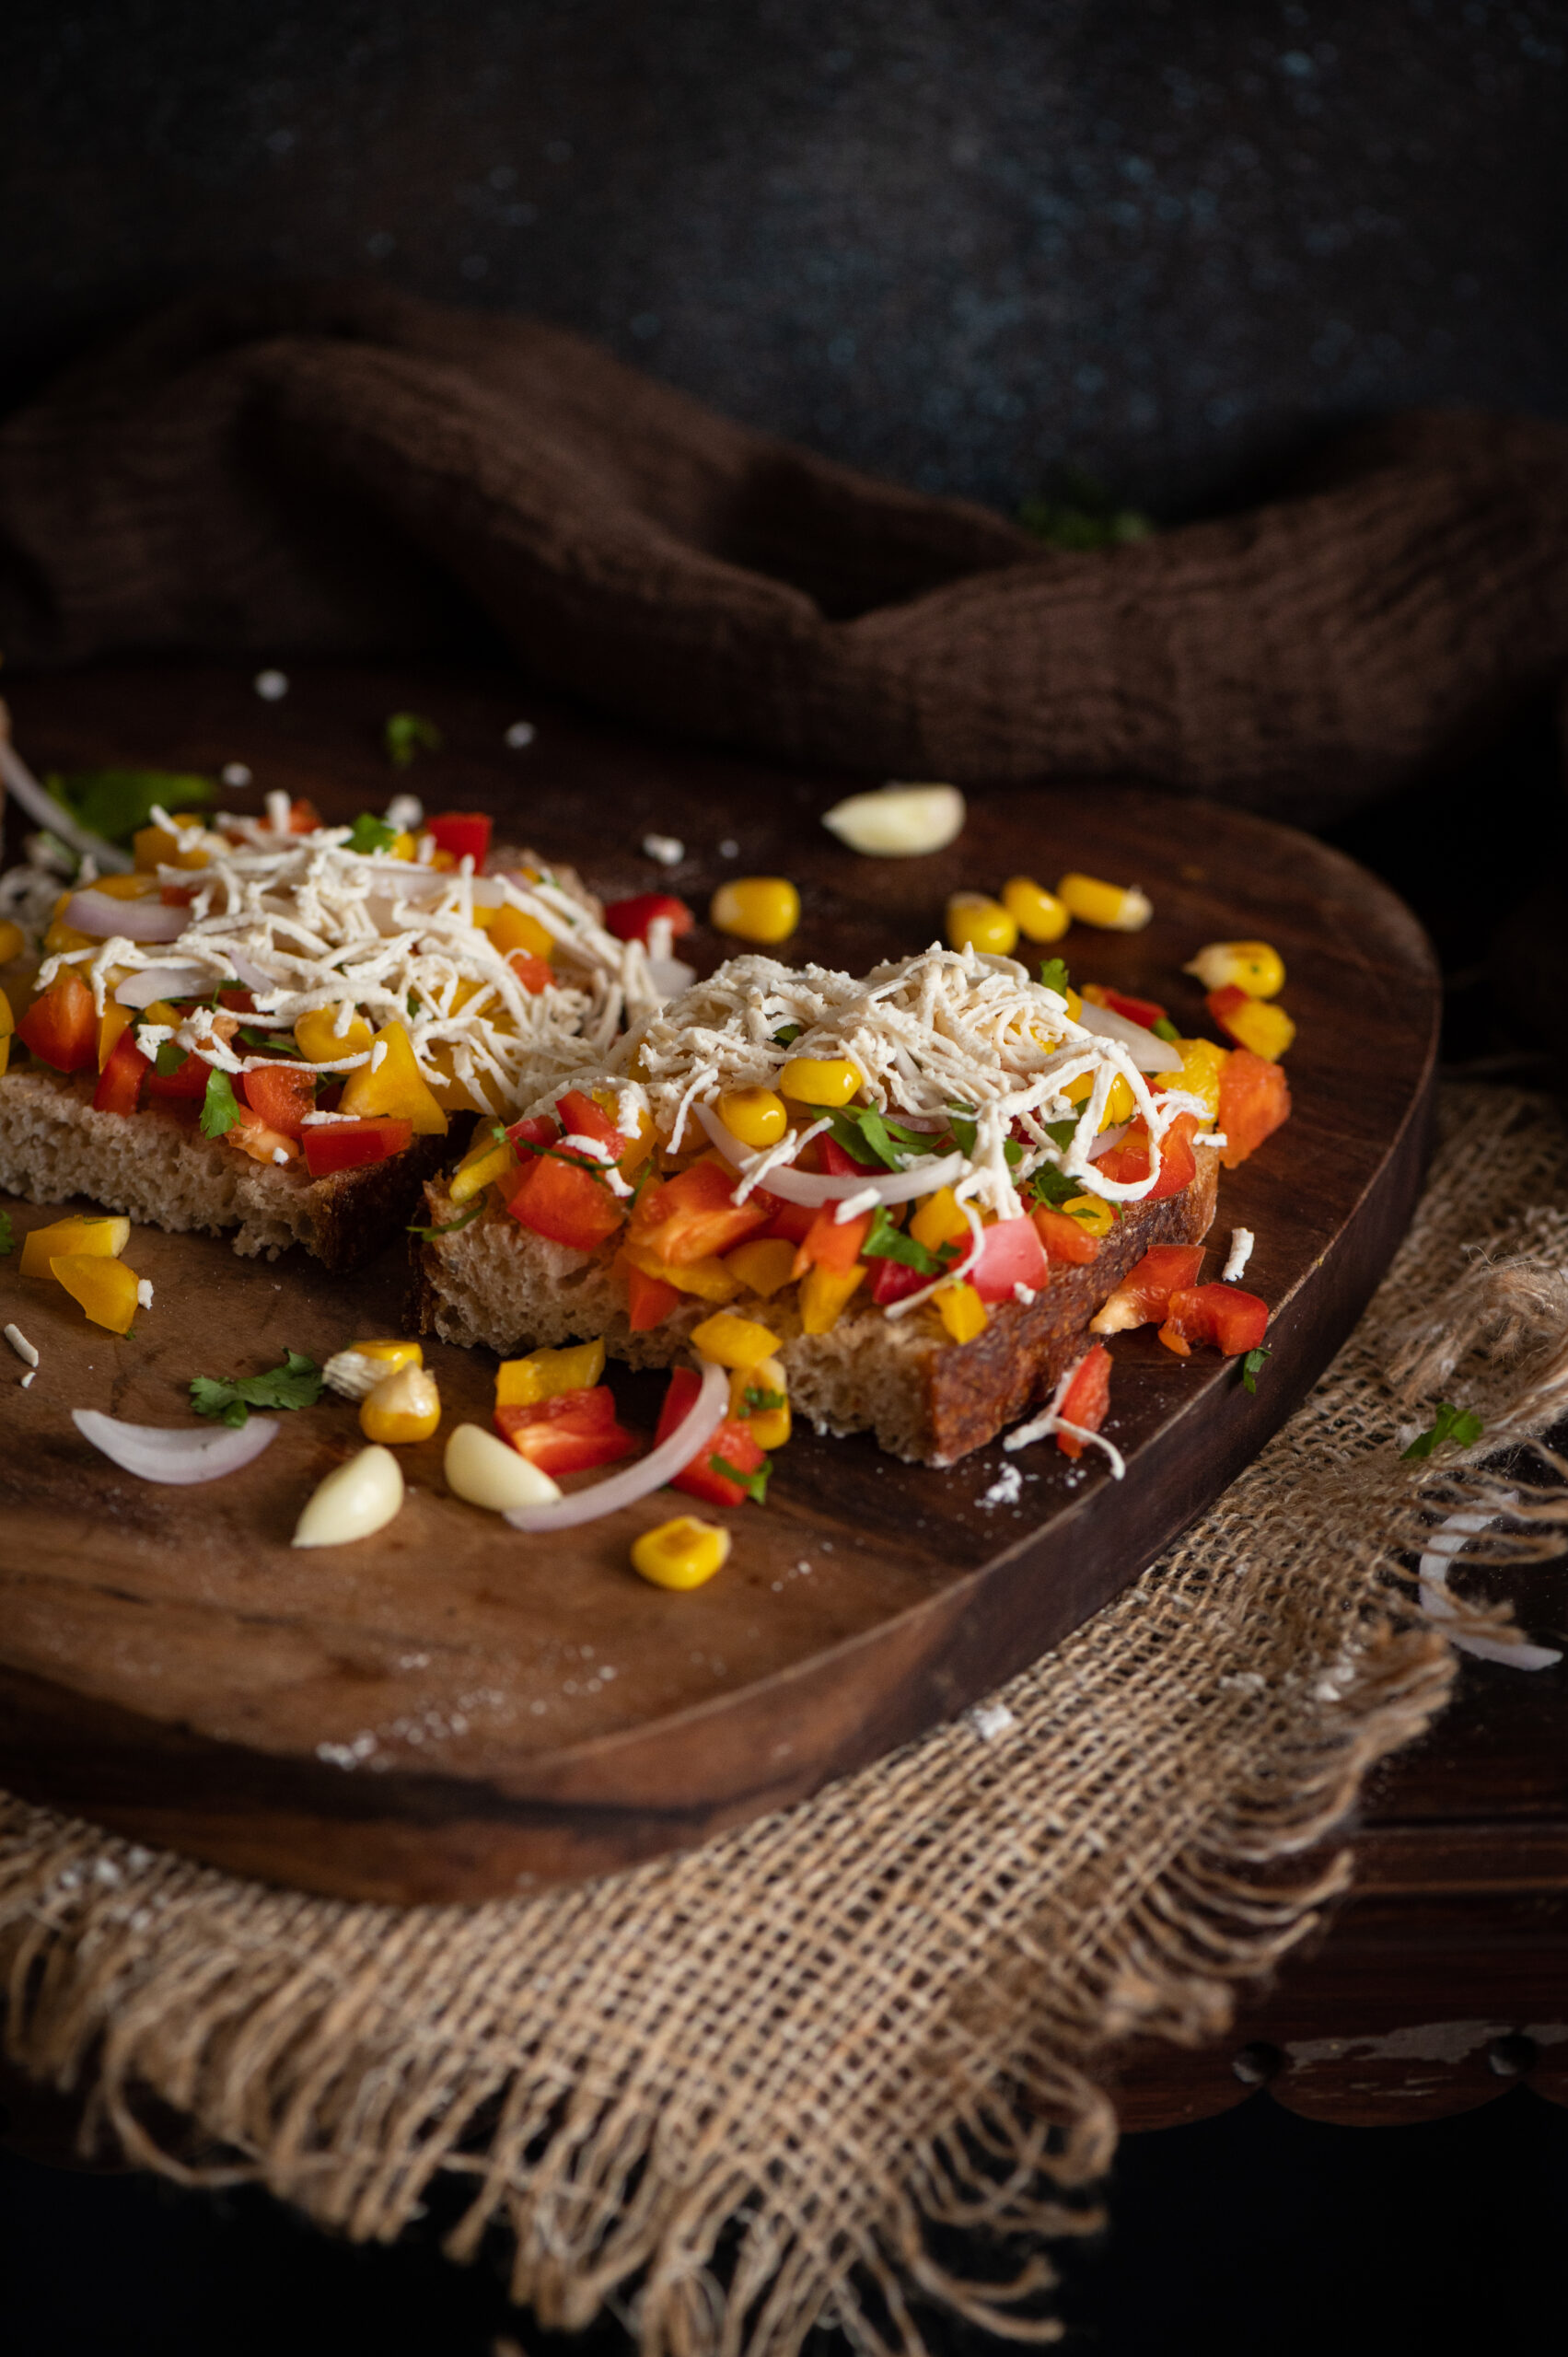
The idea of making a simple, yet fabulously delicious, sourdough toast came up during our planning for my husband’s birthday recently. This is not an innovative recipe as such, yet it’s one that suits the occasion of a celebration during lockdown. It’s a lovely appetizer using wholesome and easily available ingredients for a small celebration. We decided to have a picnic in our own garden, and I was thinking about which healthy dishes I could make to balance out the indulgence of the white cake I’d be baking when I came up with this idea.

Now, the white cake itself has a funny story behind it. You see, my husband adores the tea cake from the McRennett bakery, which many of us who grew up in Chennai will associate with childhood memories. As it happens, I can’t stand that cake, as it has a very strong vanilla essence smell. We have a running joke in the house that no matter what fabulous thing I have baking in the oven, my husband will say, “I’m going to get a McRennett cake!”, knowing it will tick me off. This year, I turned the joke on him by saying that I’d order him that tea cake for his birthday and not bake any of my own specialties. Secretly, I had a plan to prepare a cake that was inspired by his lifelong favourite, but which I would elevate with my own twists to a level that would make him forget the original. He must have gotten a whiff of my plan, because he said to me that if I could achieve the softness of the original, he wouldn’t mind trying mine. Well, I baked a lovely tea cake with real vanilla and pretty white icing (I rarely ice my cakes at re:store, so you know this was a special treat!) which he enjoyed very much… but it didn’t quite unseat the McRennett as his favourite!

Oh well! At least I can safely say that this cheesy, spicy, garlicky sourdough toast was the hit of the picnic! I’ll always associate it with the memories of the fun we had that day, spending time together as a family in our garden. That’s the thing about food prep: when something is made to suit a particular need or occasion, the dish also gains meaning. Is it for a daily meal, is it for a special person, is it for an event? By thoughtfully planning the lockdown birthday picnic menu to feature a healthy but delicious snack like this, and making sure I prepared it in a way that was also special, the dish became impressed upon my memory and in my culinary repertoire.
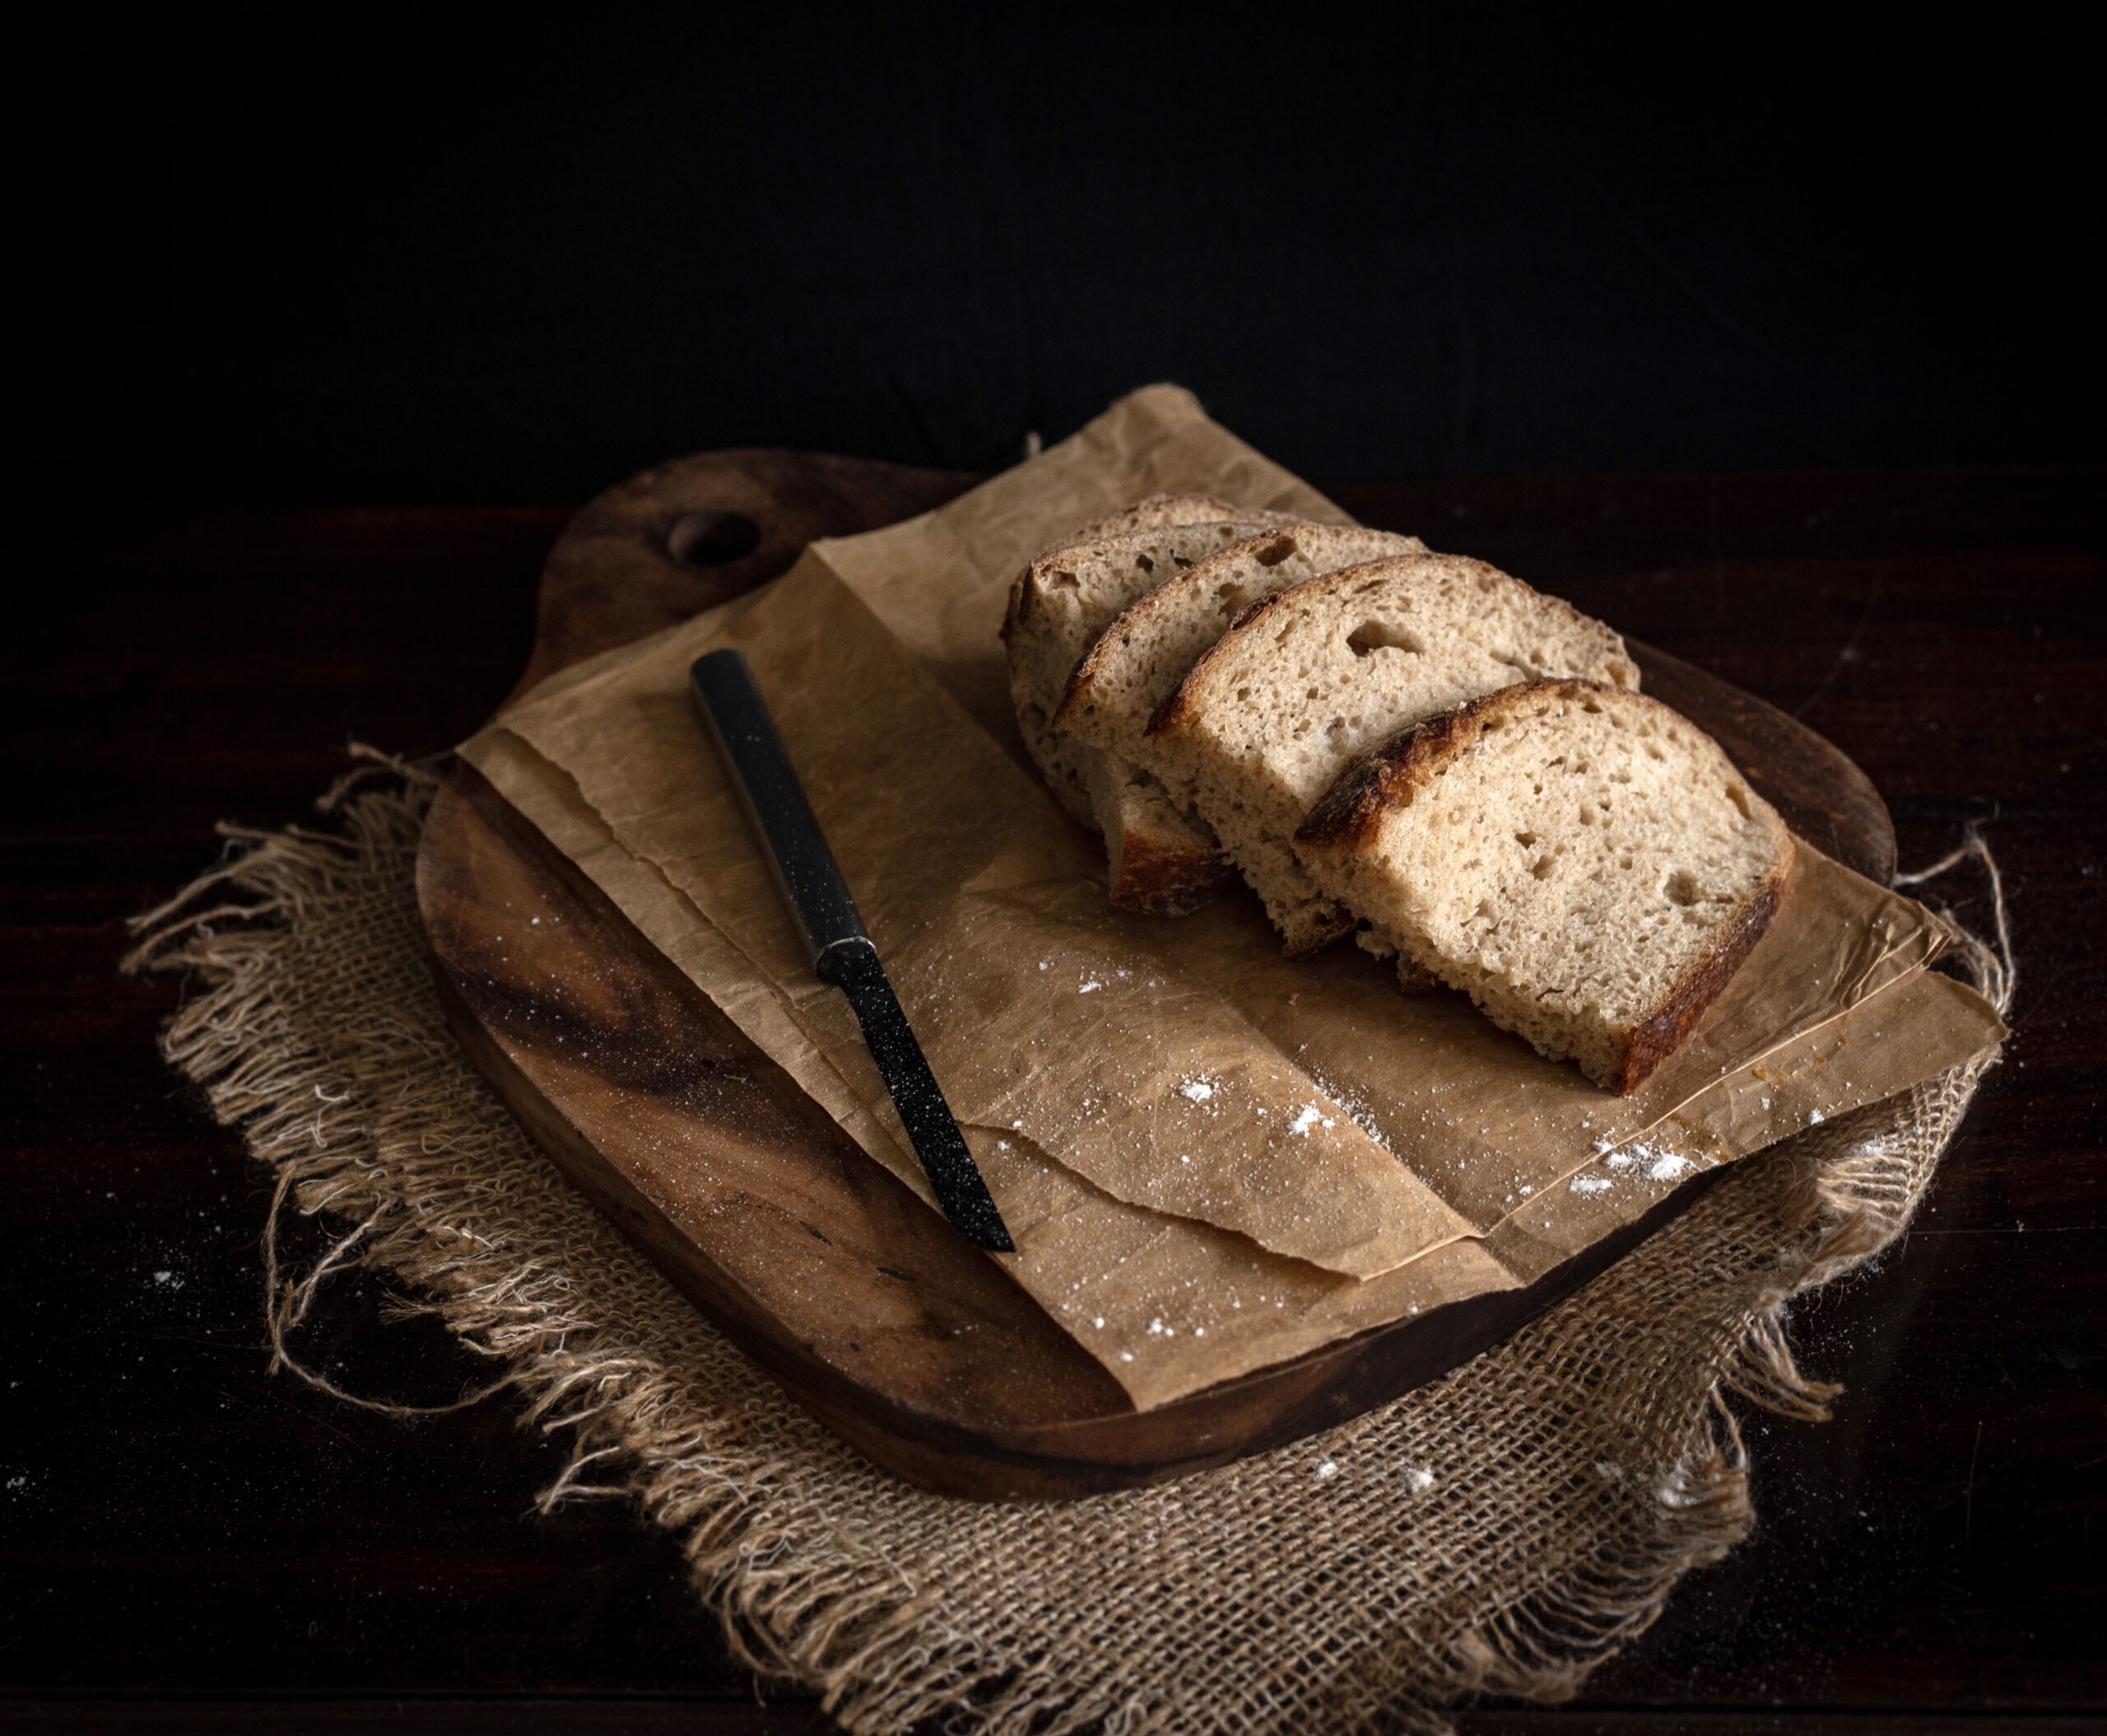
Before I share the recipe, here’s a quick note on sourdough itself, just in case you’re curious about what it is. It’s the traditional, ancient way of making bread, which people around the world used for millennia before baker’s yeast was invented. It’s based on natural fermentation, with air pockets created by the same, and it rises beautifully. You can keep the starter going for ages, just like yoghurt. For me, it took a few miserable failures before I managed to get mine going. Before that, friends generously shared their own starters with me, which I fed and nurtured, but there’s a different kind of challenge and a sense of achievement when you’ve made your own. The learning is continuous, especially when you have to take into account variables like weather conditions. Sourdough maintenance is like plant maintenance.  Making sourdough in Chennai weather is a struggle, as the natural temperature is not really conducive, while air-conditioning dries out the starter. I’ve managed to make a few chips and freeze them just in case my sourdough dies on me, and I’ll need to start it all over again. In the meanwhile, we are truly enjoying the bounty of the current batch.

I am almost sure that foodies following this blog have either been making their own sourdough, or have access to a store-bought loaf, so I’ll jump right ahead to what you can do with it, rather than spend time on how to grow it. In case you don’t have it on hand, you can use white bread or any bread you like.
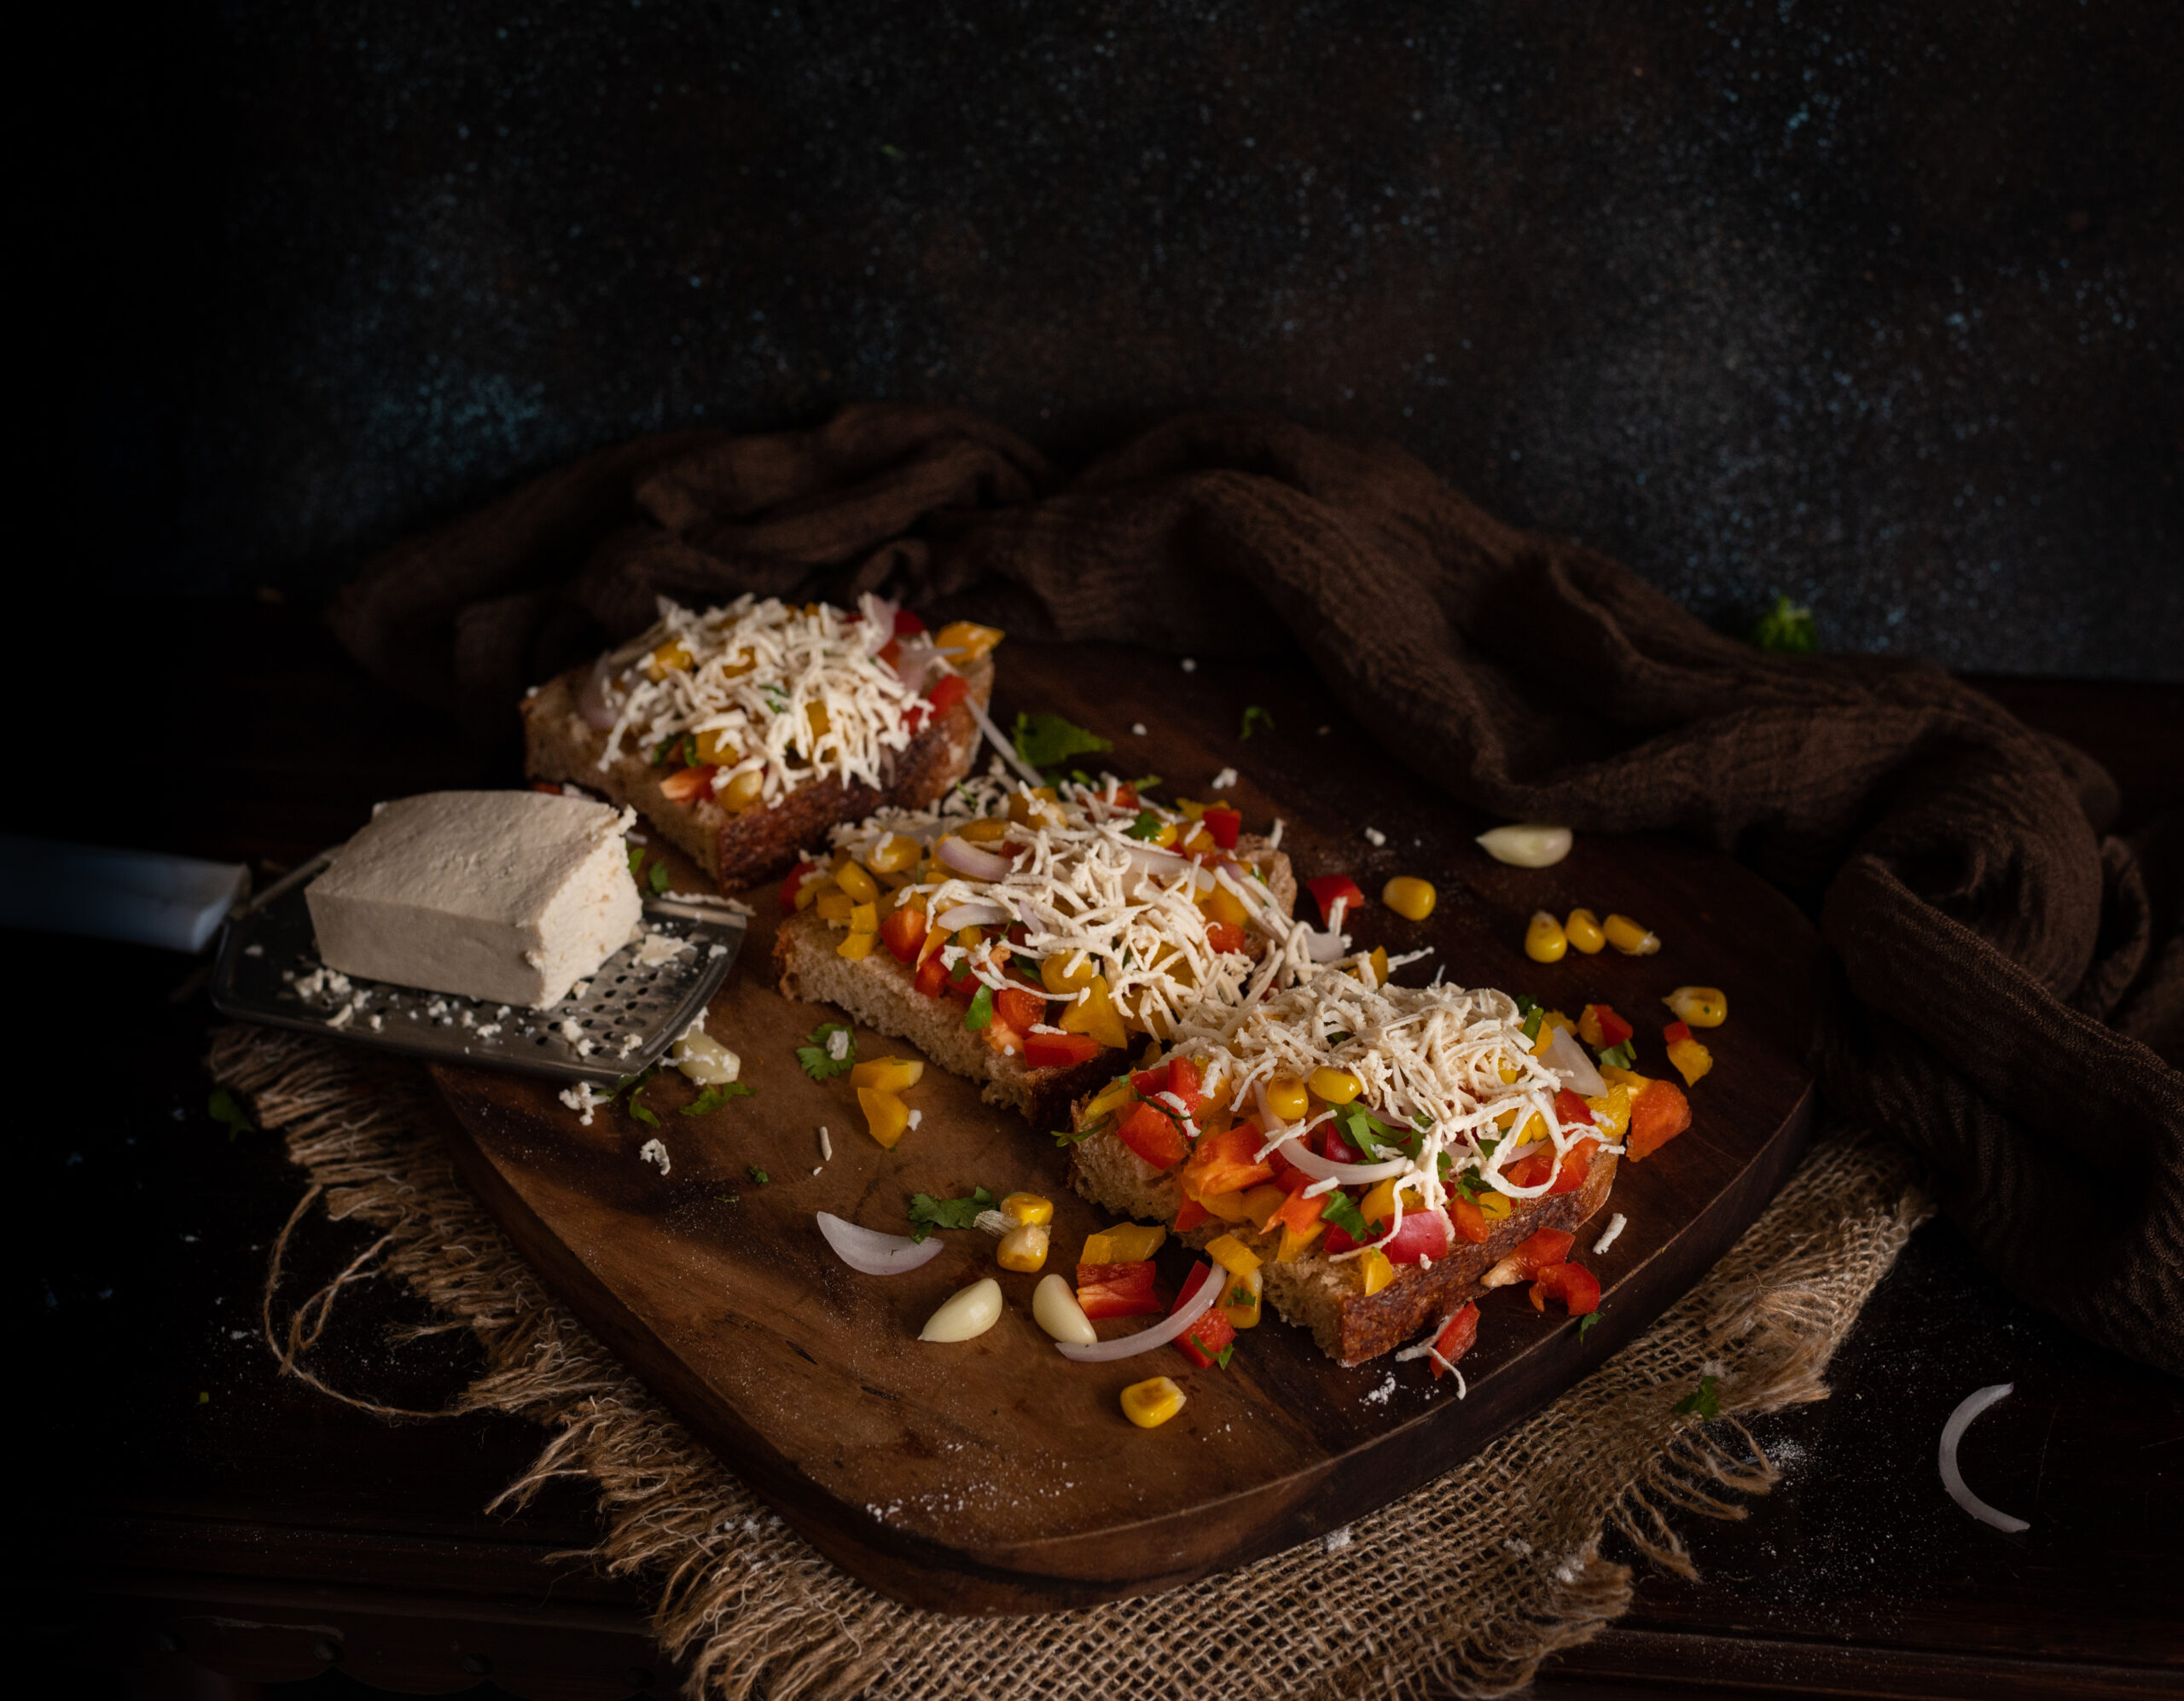
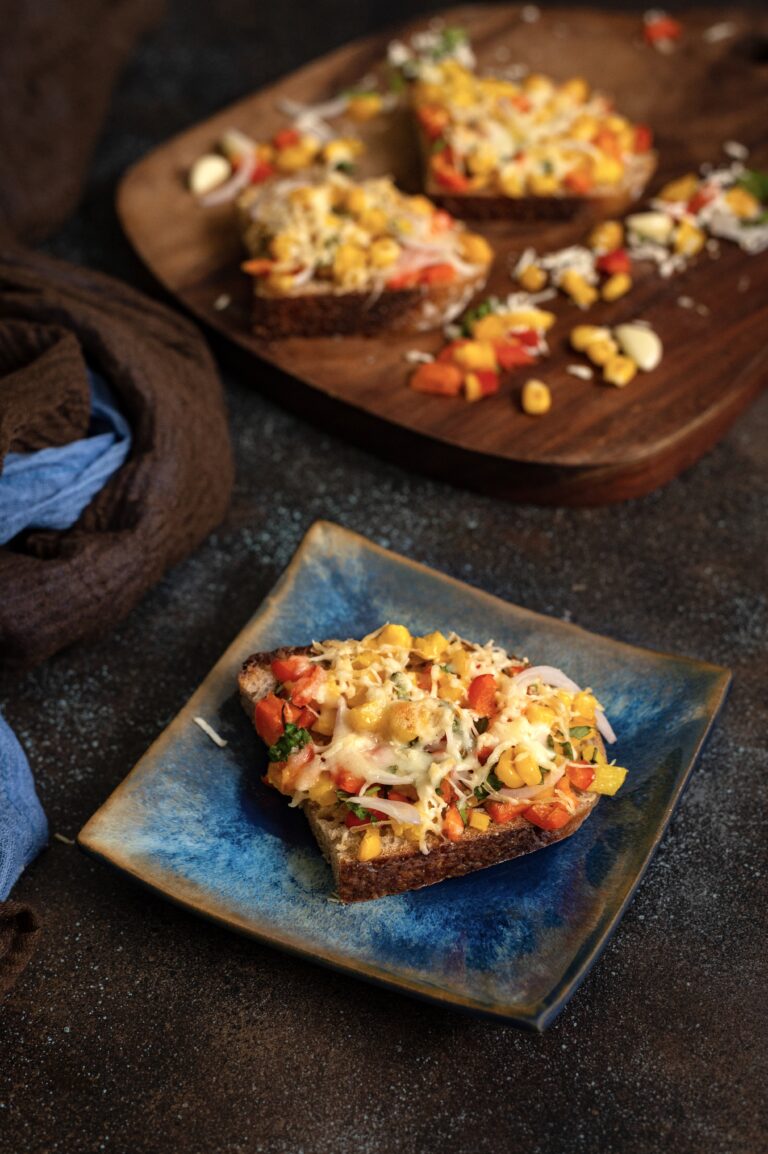
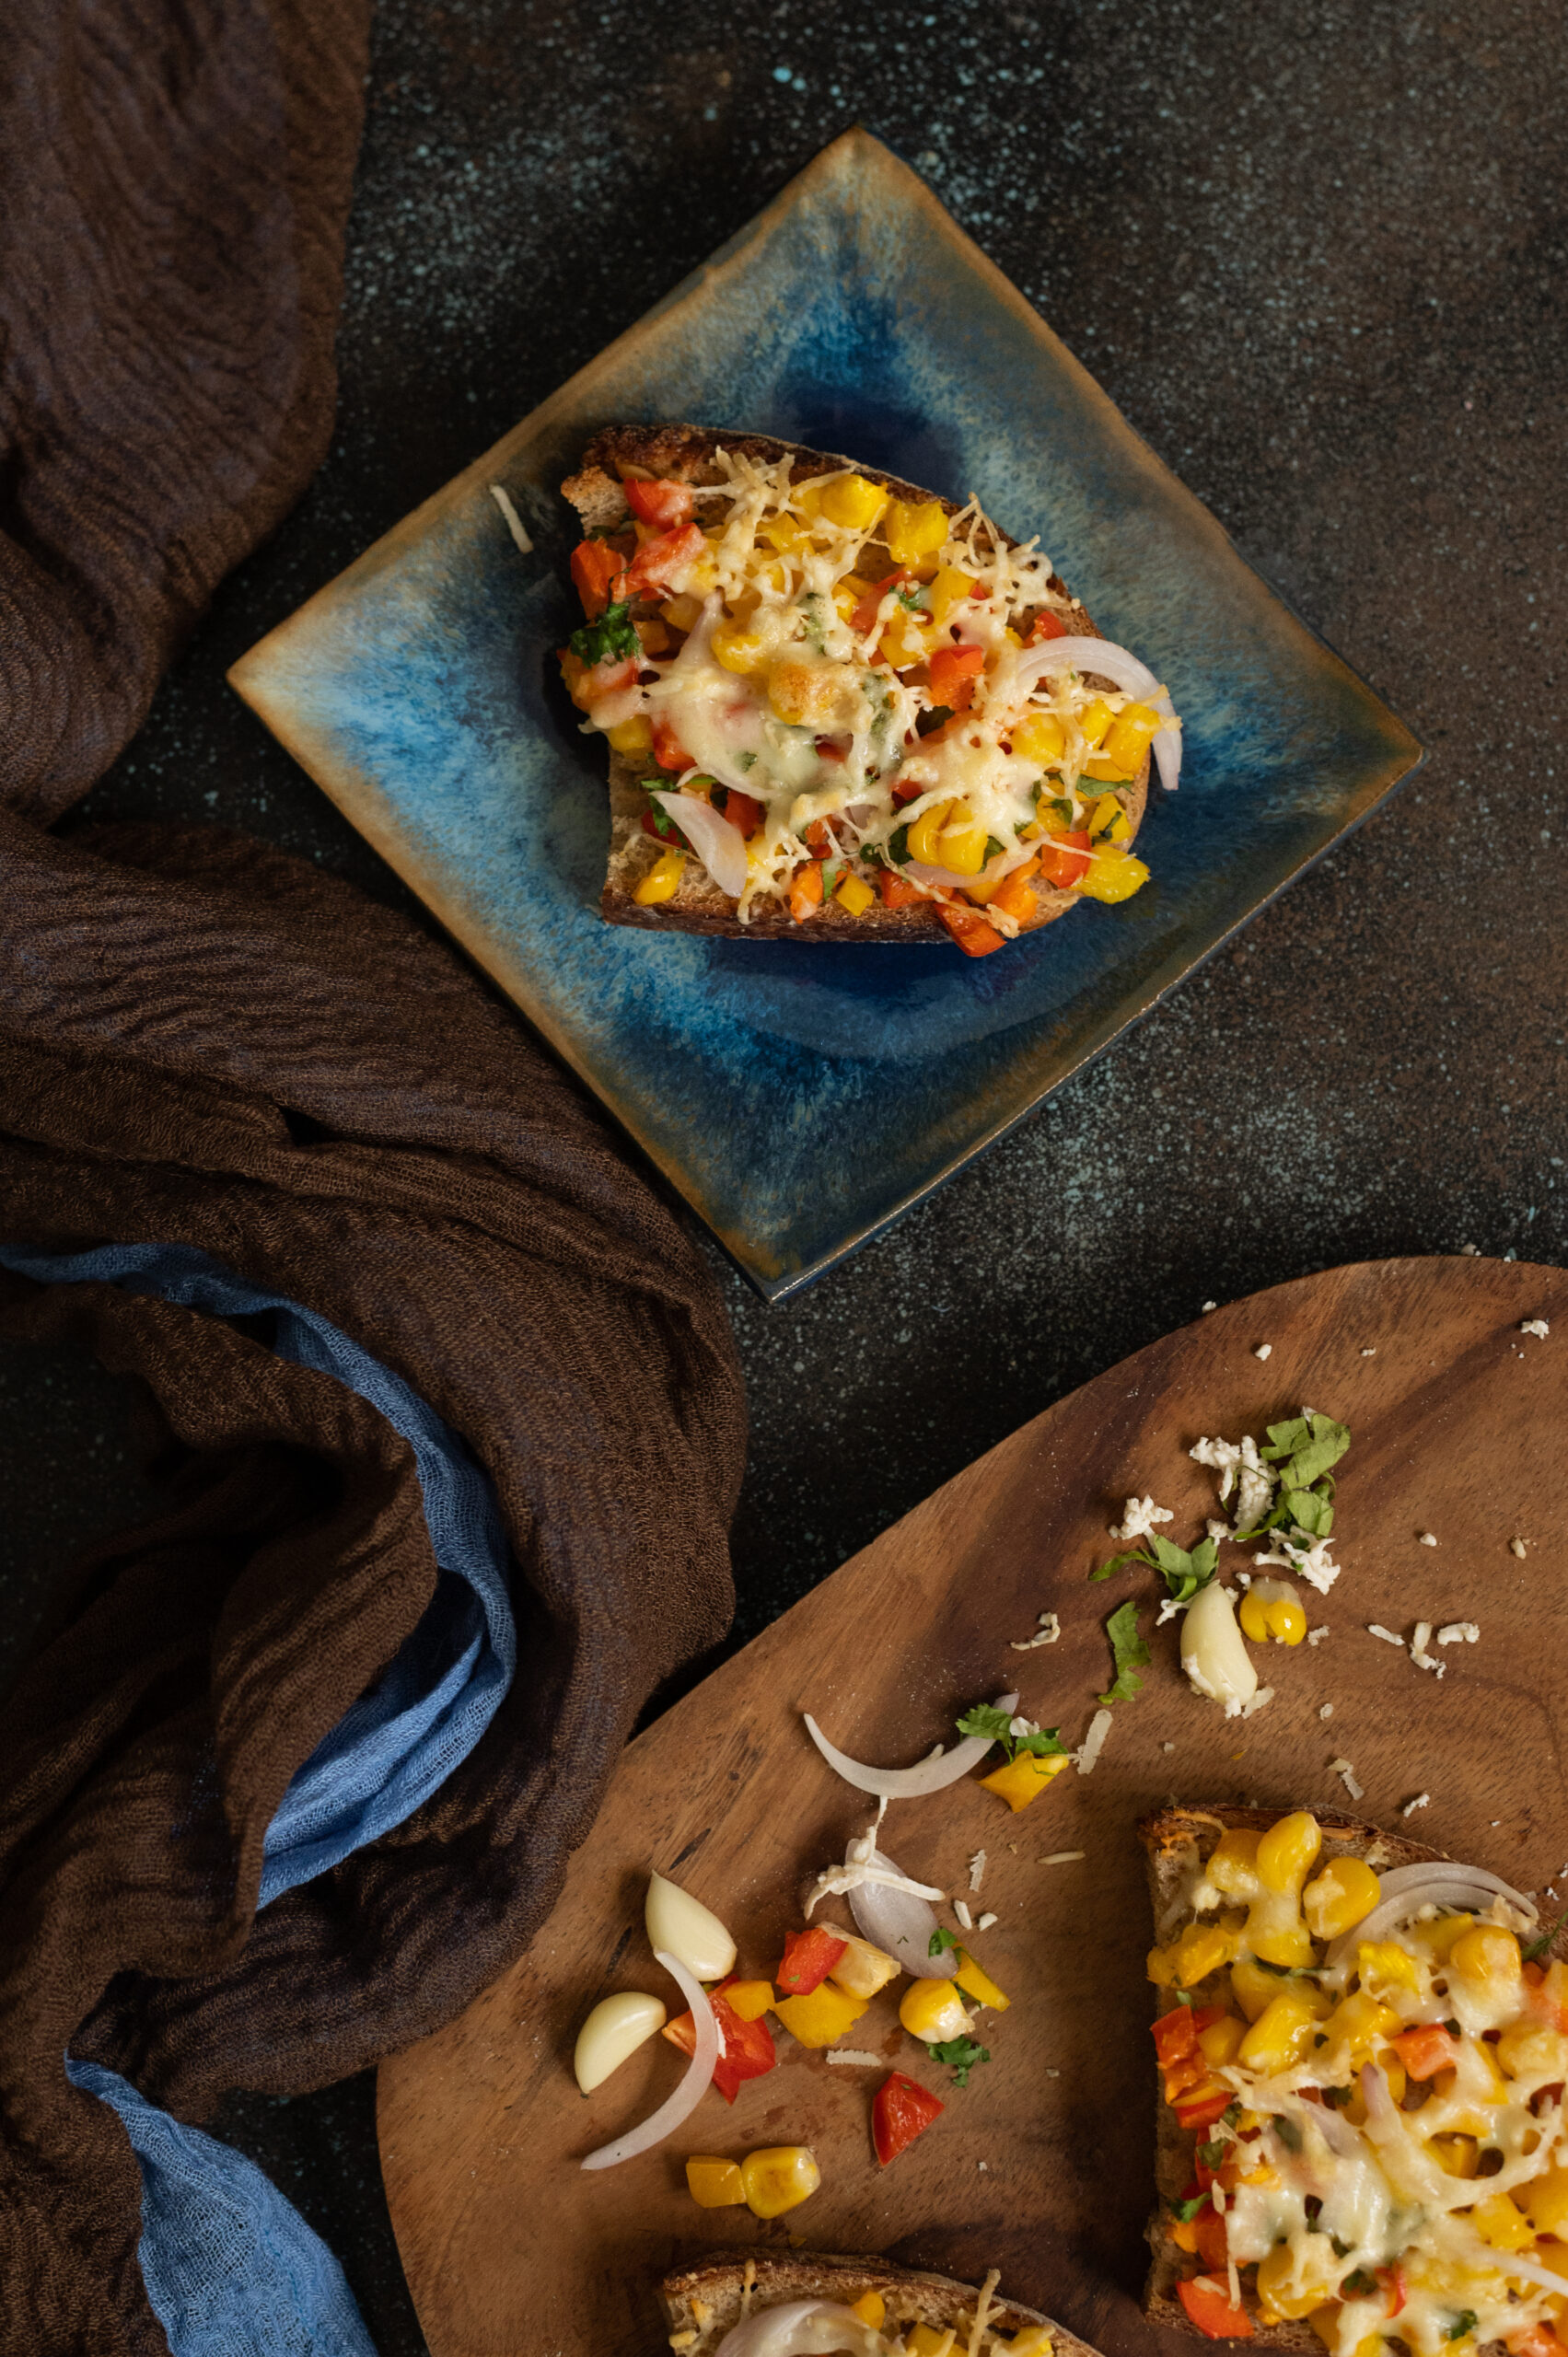
Cheesy, Spicy, Garlicky Sourdough Toast

(Yield: 4 slices)


4 slices toast

1 teaspoon oil

2 cups chopped vegetables (bell peppers, onions, garlic, coriander or parsley, cooked corn)

1 tablespoon chopped jalapeño peppers

¼ teaspoon grated ginger

Coriander chutney (alternative: pesto)

Salt to taste

Chili flakes

Butter as required

1 cup grated cheese (alternative: tofu/paneer)
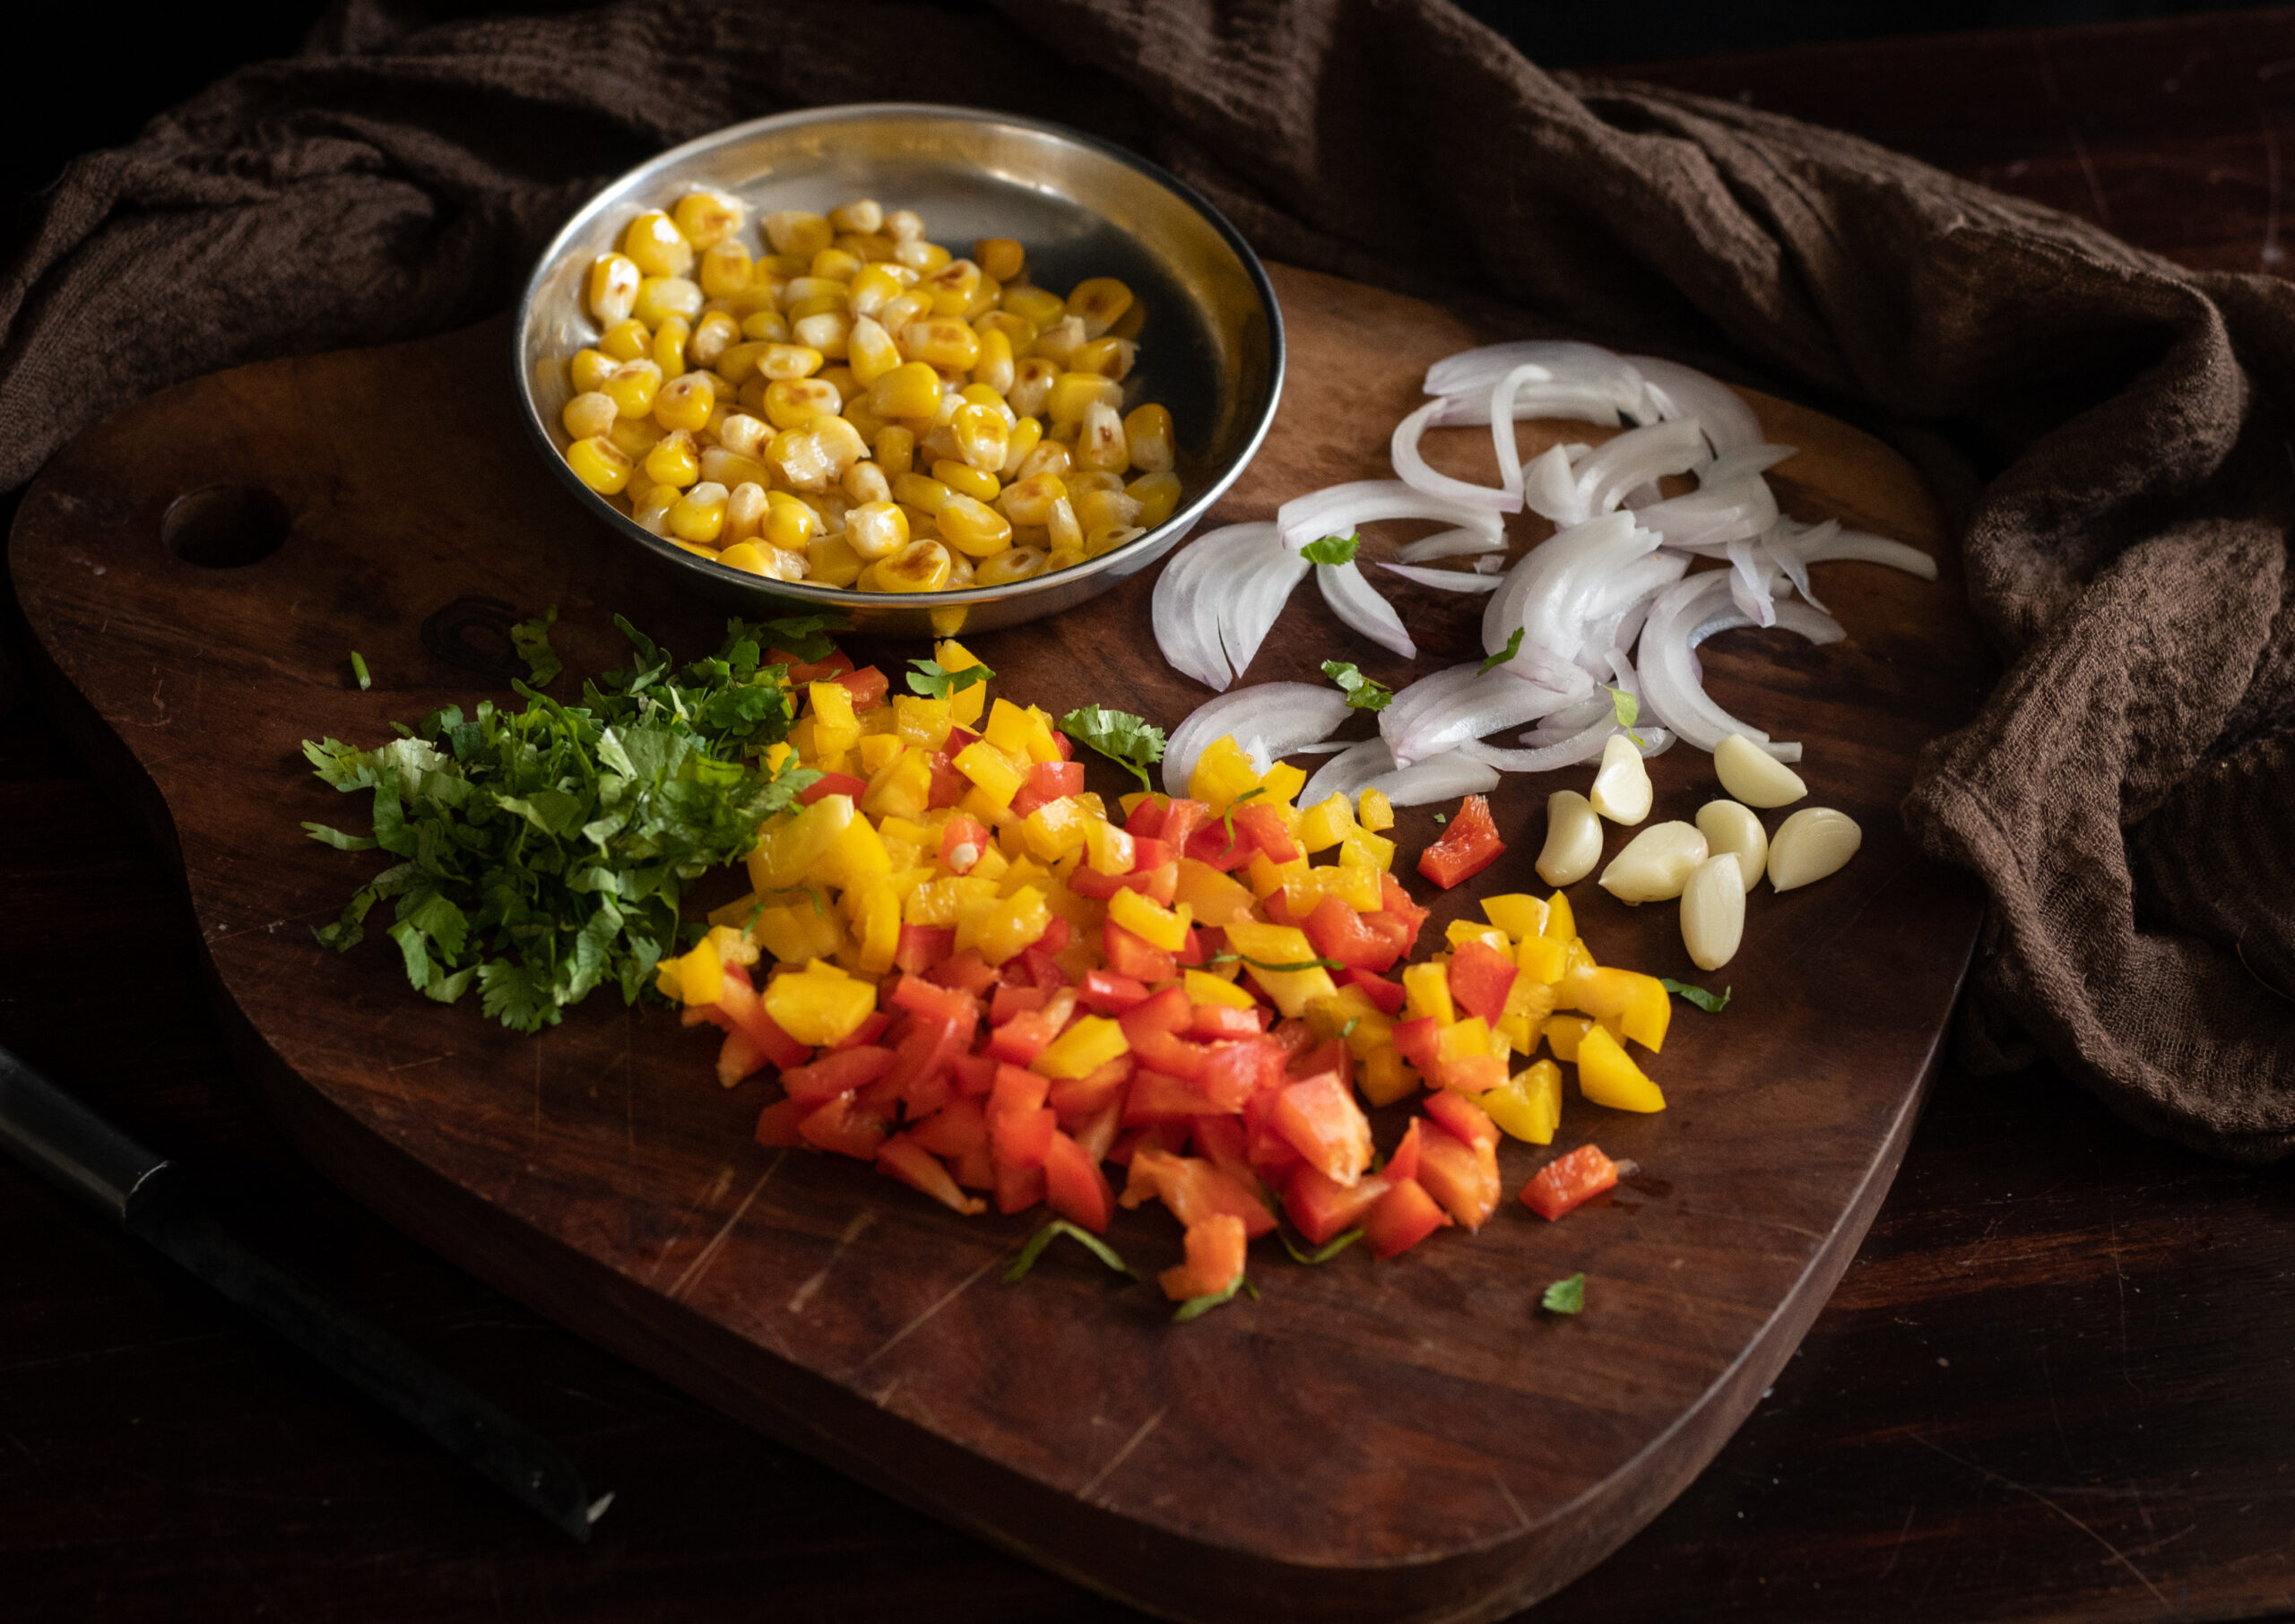
Heat a pan and add the oil. Add the garlic and ginger, and then add the chopped vegetables. Stir-fry on a high flame. This mixture doesn’t take more than 5 minutes to sauté. Add the salt. Set aside. Allow to cool.

Prepare the slices of sourdough by buttering them lightly. Next, spread the coriander chutney (or pesto, if you prefer) over the butter.

Now, add a heaped spoonful of vegetables over the chutney/pesto. Top this with grated cheese or tofu.

Place the bread in the oven and allow to toast/bake for about 10 minutes or until the cheese melts and the slice of sourdough turns golden underneath.

Remove the slices from the oven and sprinkle with the chili flakes. Serve warm.

This cheesy, spicy, garlicky sourdough toast called to mind a variety of toasts my family has enjoyed over the years. When I was growing up, my mum used to make a version of masala and mashed potatoes with toasted bread. My husband is an ardent fan of  Bombay toast, as you may remember. In lieu of either, my sourdough toast – rich in fresh vegetables – is healthier, without skimping on taste.

Feel free to substitute the vegetables or even the spices as per availability and preference. You may want to increase the quantity of some based on your taste as well (I’m personally a big fan of corn and bell peppers too). If you prefer to go vegan, just replace the butter with olive oil, and either tofu or paneer are tasty and healthy alternatives to cheese.

This version has become my go-to every time I feel like having a snack. When I’m done with my workout and feel peckish, I whip up a slice or two. I sometimes also have it drizzled with olive oil and a sprinkling of salt without adding the spices. Given the lockdown and the limited vegetables that are on hand on some days, I improvise the ingredients. No matter how I make it, it’s unbelievably tasty!
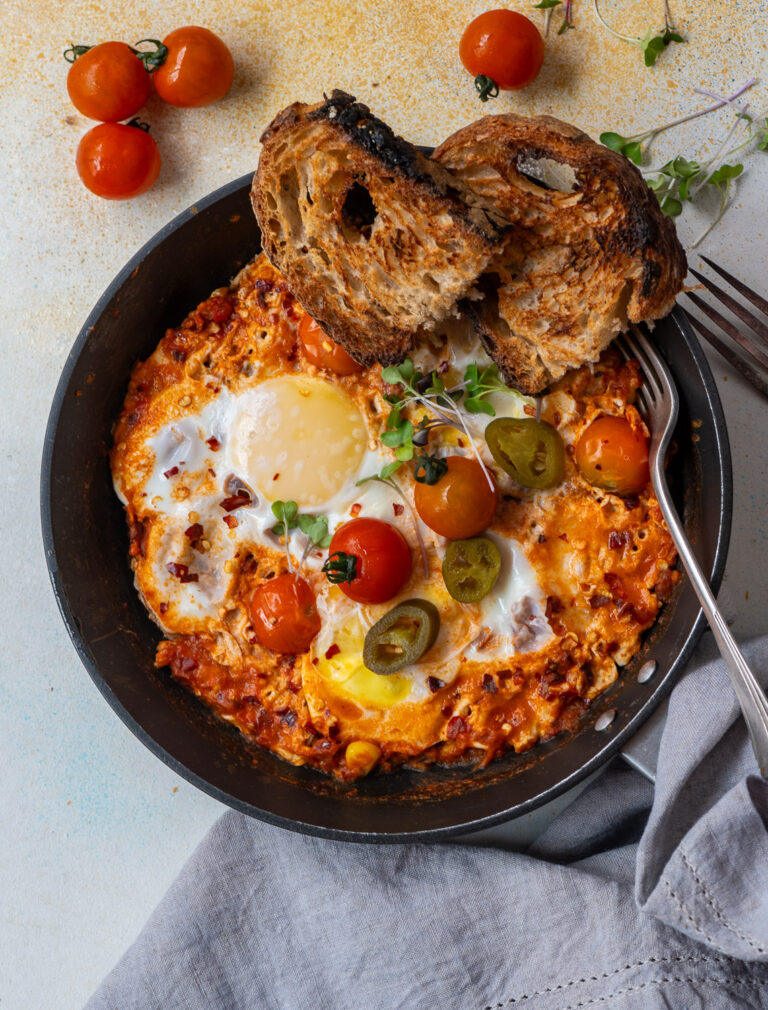
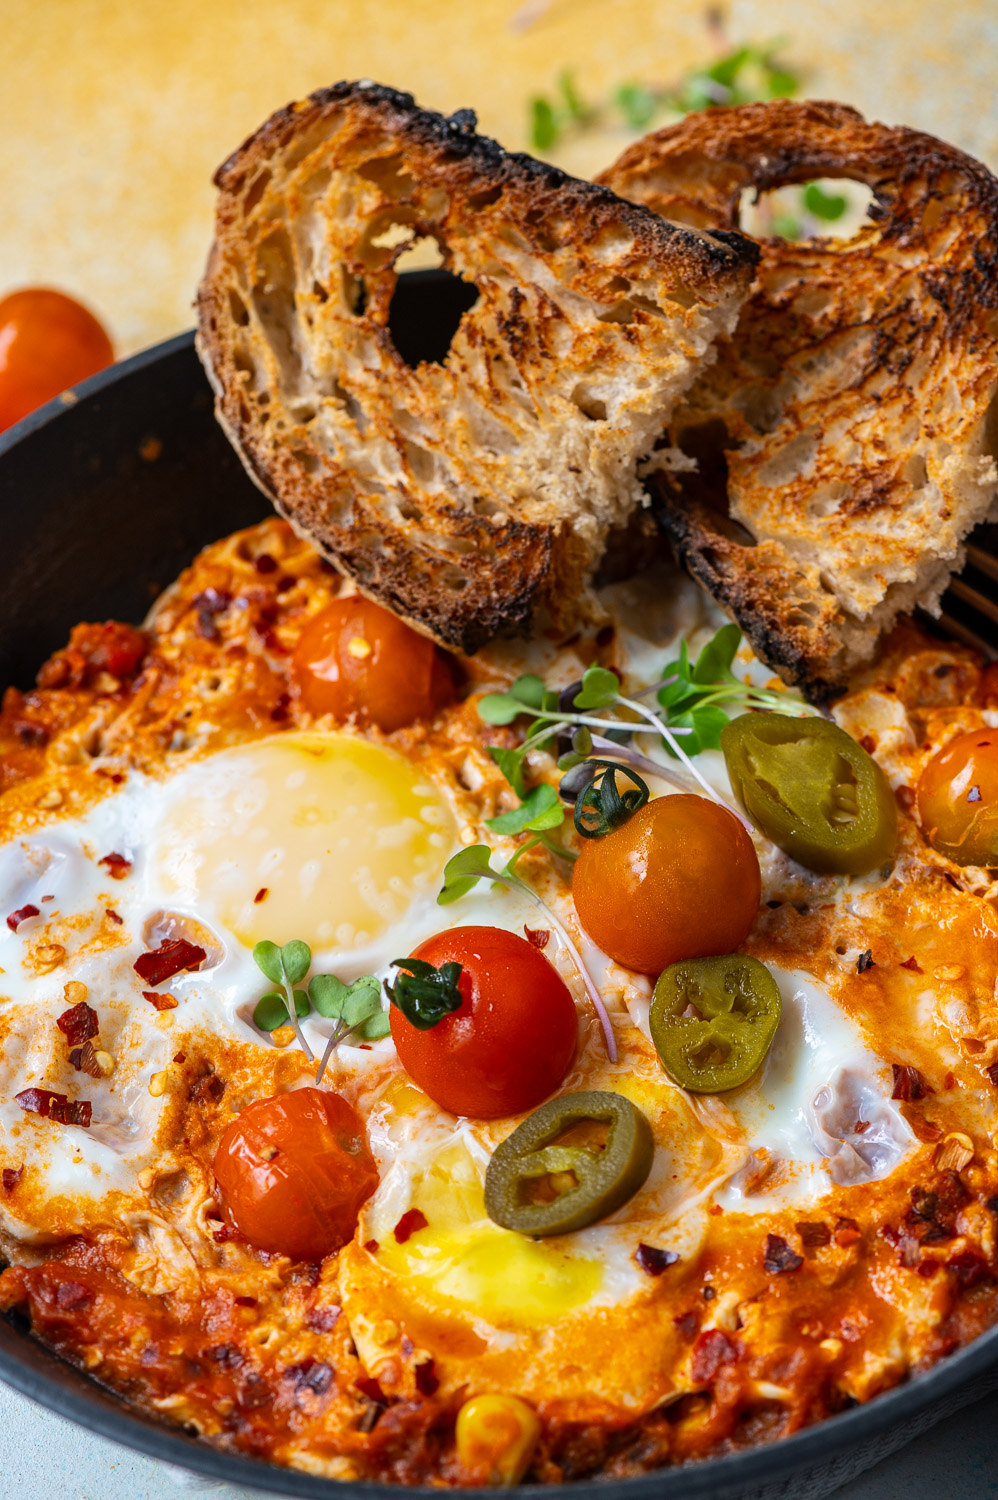
You may already know, if you’ve been a reader of this blog for some time, of my love of Mexican cuisine. I enjoy the authentic dishes so very much, and make my own fusion or Indianized versions, some recipes for which you’ll find at that link. My Mexican friends do tease me about my tweaks and substitutes, but we still sit together in my home when they visit and enjoy what I’ve prepared, even while laughing over it. Also, no matter what: when my older son visits, he insists on tacos, made by me, made my way. Over time, I have let go of any inhibitions I have had about inauthentic cooking and have learned to focus on the fun of it. That’s how these Mexican-style eggs came into being.

I really do feel that eggs make for brilliant breakfasts. I have shared some of these recipes in the past too, for instance: my version of the West Asian shakshouka and the protein-powerhouse moringa leaf omelette.

Shakshouka had been our customary Sunday brunch at home for quite a while, but it has become a bit boring for us lately. Our family is such that if we like one dish, we have it on repeat until we tire of it and need a break. That’s what happened with the shakshouka. I wanted to pep things up again, while retaining the protein quotient that the eggs bring. I also wanted to bring in flavours from a different part of the world and deepen them. That’s when I decided to experiment with Mexican seasonings. This recipe is kind of my own invention, and I make no claims about it being like any actual counterparts that may exist in Mexico! I know about a famous dish called huevos rancheros, of course, but I have not even tasted this – so far, that is. I look forward to doing so some day, and hope to visit that amazing country again.

There is a kind of chilli that imparts the particular flavours in this dish, as well as others in many of my experiments with this cuisine. It is the jalapeño, which appears here in three forms. One is the whole chili itself, chopped up. The other two are in the form of a seasoning that uses both chipotle, which is essentially a jalapeño that has been smoked and dried, as well as adobo pepper, which is when the smoked chipotle has been preserved in a spiced tomato-garlic purée. You can find all these online and in big supermarkets in India, where Mexican and Mexican-ish food is enjoyed by many. You may use canned kidney beans if that is your preference, but I like to soak our good old rajma. These are what go into what I call my Mexican eggs. They’re not quite Mexican, I know, but they come from a deep appreciation for the cuisine and its ingredients.

Coming to the eggs themselves, there’s something interesting about them too. We have a little plot of land adjoining my husband’s factory, and the women who work there have made it a special place on which a few vegetables are grown and some hens are raised too. These cluck around and make a nuisance, but they do produce great eggs. The credit is really to the workers who decided to utilize this space thoughtfully. They get to take the veggies and the eggs home for very nominal prices, and we do the same. I absolutely dislike store-bought eggs, more so since their initiative took off. I treat those eggs like gold, and knowing that they are fully organic, farm-to-table ones makes me really happy about feeding them to my family too.

We love having loud, noisy brunches on Sundays. During very pleasant weather such as what we have right now, we sit out in the garden and enjoy our food and our conversation, and these Mexican eggs make for a perfect meal. I like to make individual servings as the presentation is lovely, but you can also make a large amount on a big plate and share it.

Mexican Eggs
(Yield: Serves 1)

50 grams red kidney beans (cooked, with water)
2 teaspoons + 2 tablespoons olive oil
250 grams tomatoes (crushed, with 1 cup water)
1 teaspoon taco seasoning
1 tablespoon adobo-chipotle seasoning
2 eggs
Salt to taste
1 tablespoon jalapeños (finely chopped)
¼ cup onions (chopped)
¼ cup bell peppers (chopped)
¼ cup corn

Crush the kidney beans and set aside.

Heat a kadai. Add the olive oil and then add the crushed tomatoes with water. Stir and add salt, taco seasoning and adobo-chipotle seasoning. Stir well. Once it starts to cook, add the kidney beans and the water. Cook well and set aside.

In a flat pan, add 2 tablespoons of olive oil. Heat, then add the onions, bell peppers and corn. Stir well. Next add the seasoned kidney beans and tomatoes mixture. Mix and allow to cook without stirring for about 2 minutes.

Make a shallow well in the mixture and break the eggs directly into them. Sprinkle the eggs lightly with salt. Cover and allow to cook.

If you wish to, you could grate some cheese on top. I find that Manchego complements the flavours beautifully. With or without that garnishing, serve immediately. These delicious Mexican-inspired eggs are quite filling and sufficient for a full breakfast when paired with toast, and sourdough is especially recommended.

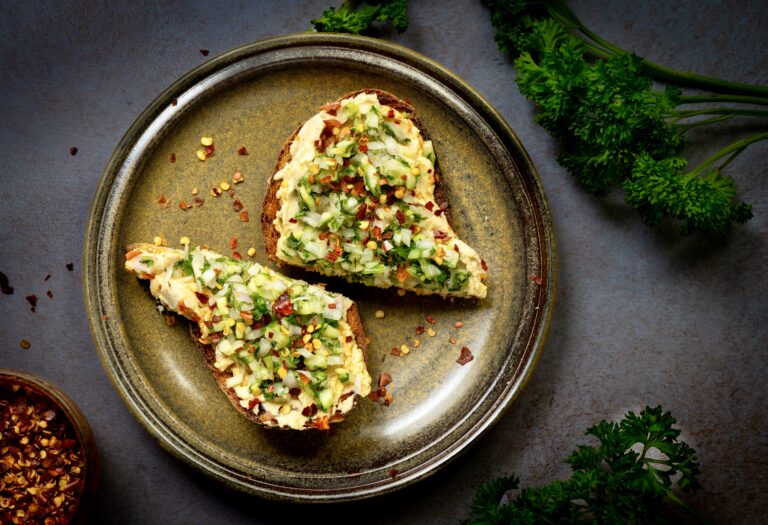
Trying to incorporate a lot of protein into my meals is how this hummus toast loaded with veggies came into being. It’s just perfect for right after my workout, when I’m most hungry. Putting it together is easy on mornings when there has been hummus and pita bread at home for dinner the previous evening. The leftover hummus is put to good use with this lovely toast, or else eaten as a snack with fruit later in the day.

Hummus originated in West Asia and is a versatile dish which utilises protein-rich chickpeas. I have shared two very appetizing hummus recipes on this blog so far. If you would like to make the hummus rather than buy it, you could choose from this coriander hummus or this curry leaf and green chilli hummus. For a plain and basic hummus, just eliminate the flavouring ingredients from the recipe.

The boost of protein aside, another reason why I enjoy this hummus toast with veggies as my morning meal is probably because of the novelty factor. It is so different from the kind of breakfasts that I grew up with, and I often find myself dreaming about travels past and future when I prepare something from another cuisine. Instagram also inspires me, and I love learning about dishes from everywhere, and figuring out how to fit them into my repertoire at home.

While authentic Indian breakfasts are absolutely wonderful, and traditionally wove the logic of seasonality into them, they also tend to be carb-heavy. I am not trying to find fault with them at all, for I understand that they were primarily designed for people from historical periods when everyone needed to labour a lot more, and usually had much less to consume or choose from. But as we move with the times, we need to adjust these diets to suit our contemporary needs. Now, for our present lifestyles, we need fewer carbohydrates and much more protein. I still remain an advocate of Indian cuisine, but I am equally a believer in adapting, evolving and exploring!

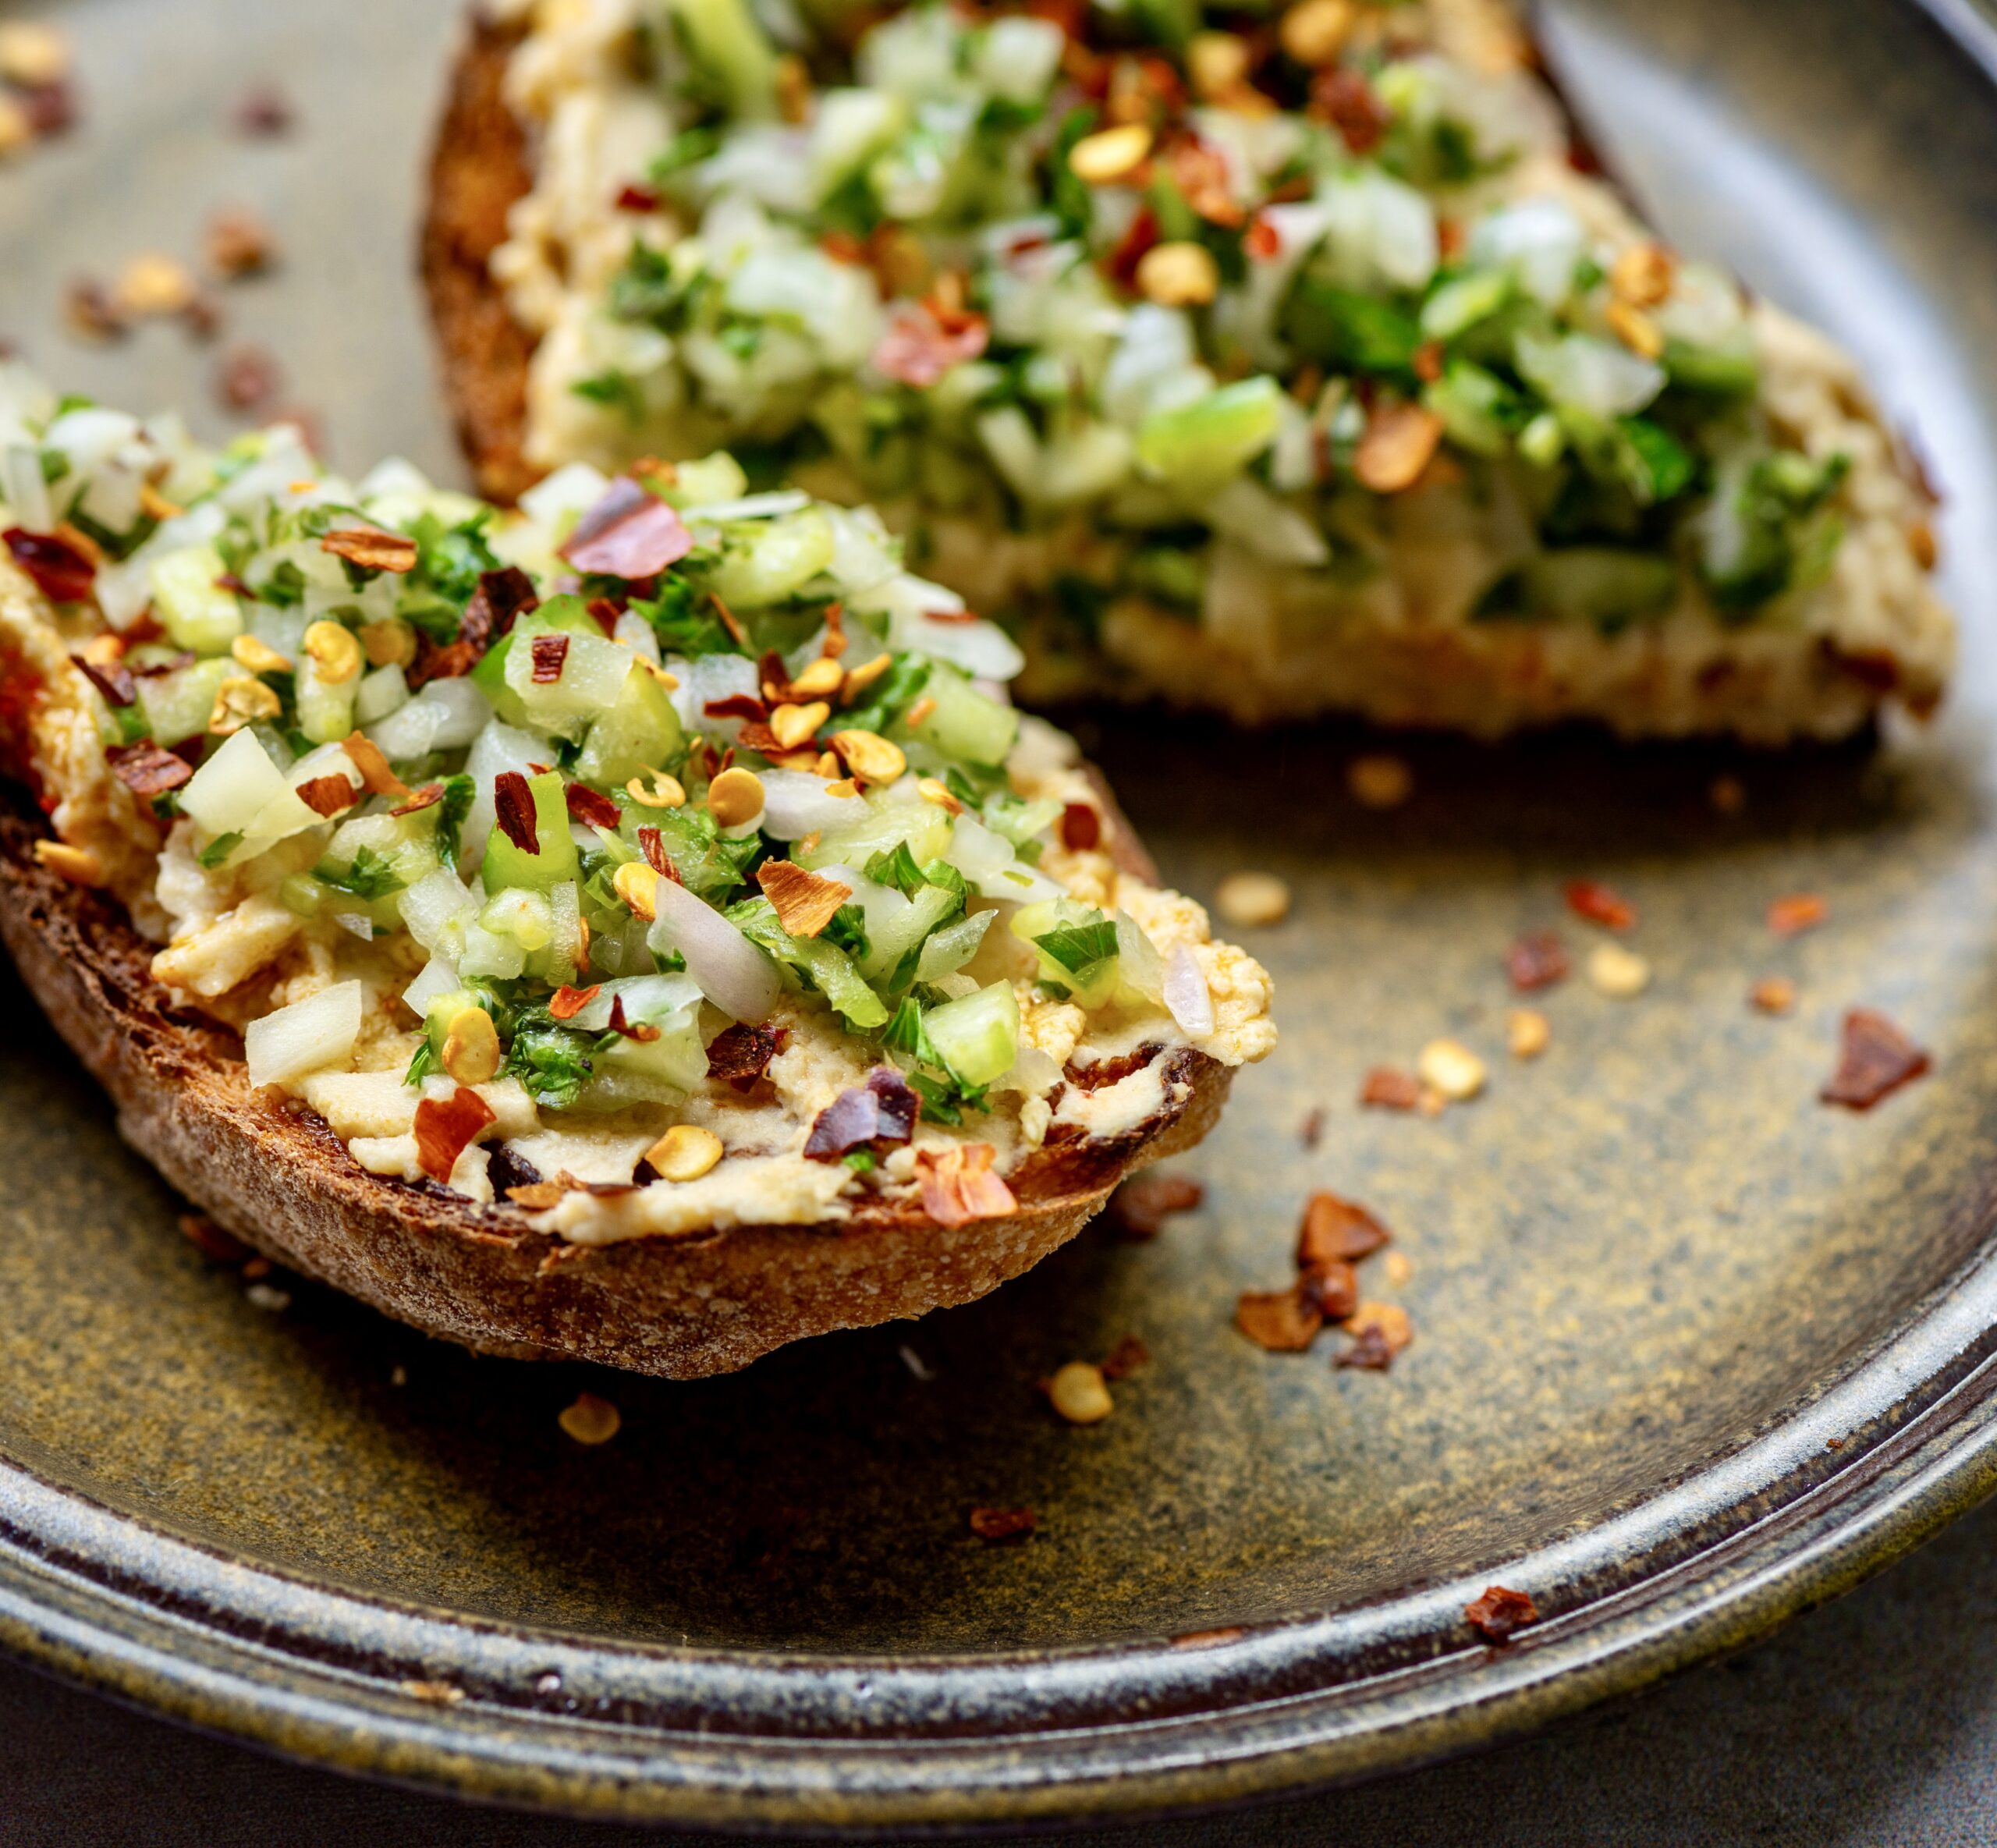
You can use any chopped salad as a topping for this toast, although I’ve suggested my preferred ingredients below. I’d also like to share a tip about cutting vegetables. In the morning, I make sure that my vegetables are finely chopped because I have a tendency to gobble breakfast up as quickly as possible post-workout. Knowing this about myself means that I not only cut my vegetables in a certain way at that time, but also that I cut them differently for my lunch preparations. When cooking for the afternoon meal, the vegetable slices are always larger in size, so that I take my time to chew them properly and digest them better. Small changes like these make us more mindful about both cooking and eating. It’s all about calibrating our choices so that they suit us well.

Hummus Toast With Veggies

1 slice sourdough bread
2 tablespoons hummus
Salad (as per recipe below, or make your own)
1 tablespoon olive oil

Veggies
¼ cup parsley (finely chopped)
¼ cup coriander leaves (finely chopped)
¼ cup cucumber (finely chopped)
2 tablespoons onions (finely chopped)
Salt to taste

Toast a slice of sourdough bread. Add the dollop of hummus and spread it over the toast.

Put all the finely chopped salad ingredients in a bowl and mix.

Sprinkle the salad over the hummus on toast. Finally, drizzle some olive oil. Your hummus toast with veggies is now ready to be enjoyed.

I have shared many toasties here on this blog. You probably know that I am a big fan of sourdough, based on how often I have used it in recipes here. It tastes fantastic on the day it is baked but turns hard by the following day, which is when it becomes ideal for toasties. So this hummus on toast with veggies joins that list too, bringing more pep – and of course, more protein – into my mornings, and hopefully yours too!

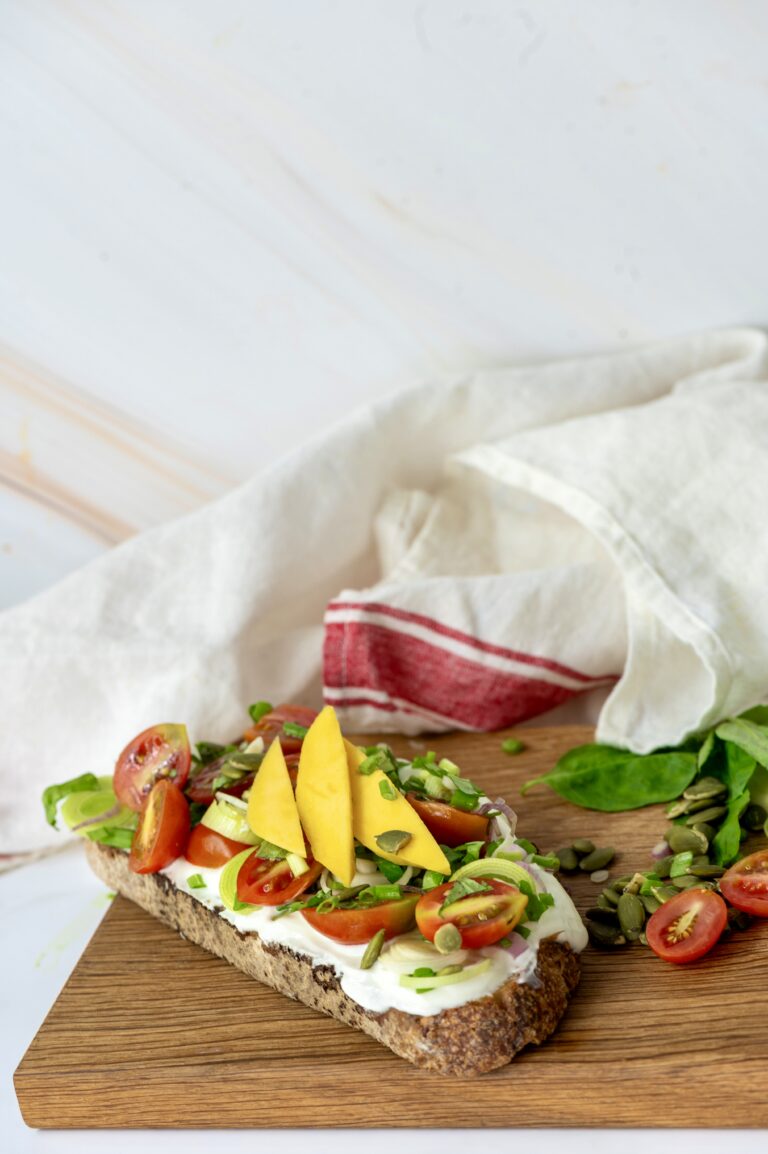
I went through a phase of being obsessed with open toasts, made using homemade sourdough bread. I shared some recipes during that time, including cherry tomato yoghurt toast and pesto Parmesan toastie. With mangoes being in season right now (and like many if not most Indians, my love for mangoes is well-established!), I thought: why not mango toast? I decided to make mine healthy and loaded with nourishing ingredients, with the fruit adding a touch of sweetness and fun. So here’s a recipe for a healthy veggie toast with mango, one that brings the best thing about the summer into your breakfast!

During my open toast era, I also tried to make reels for Instagram. I was quick to realize where my forte lies: in photography, and not in videomaking. To be more accurate: my interest lies there as well, not just my forte. I began to focus – pun intended – then on what I enjoy most, and incidentally do better, and decided to keeping trying to do even better. I wrote about this recently too, and I continue to muse about the role of photography in my life. It is an artform that has given me so much, and I continue to learn and to grow within it. To aspiring artists of any kind, including the culinary forms, I want to say that the key to longevity is in figuring out and forging your strengths. For instance, I had various short-lived attempts at using the ever-popular Photoshop, but found that Lightroom suited me much better as a photo editing software. I would love to master Photoshop, for it has some excellent features and tools, but I use what I am most comfortable with for the majority of the time, and it yields good results.

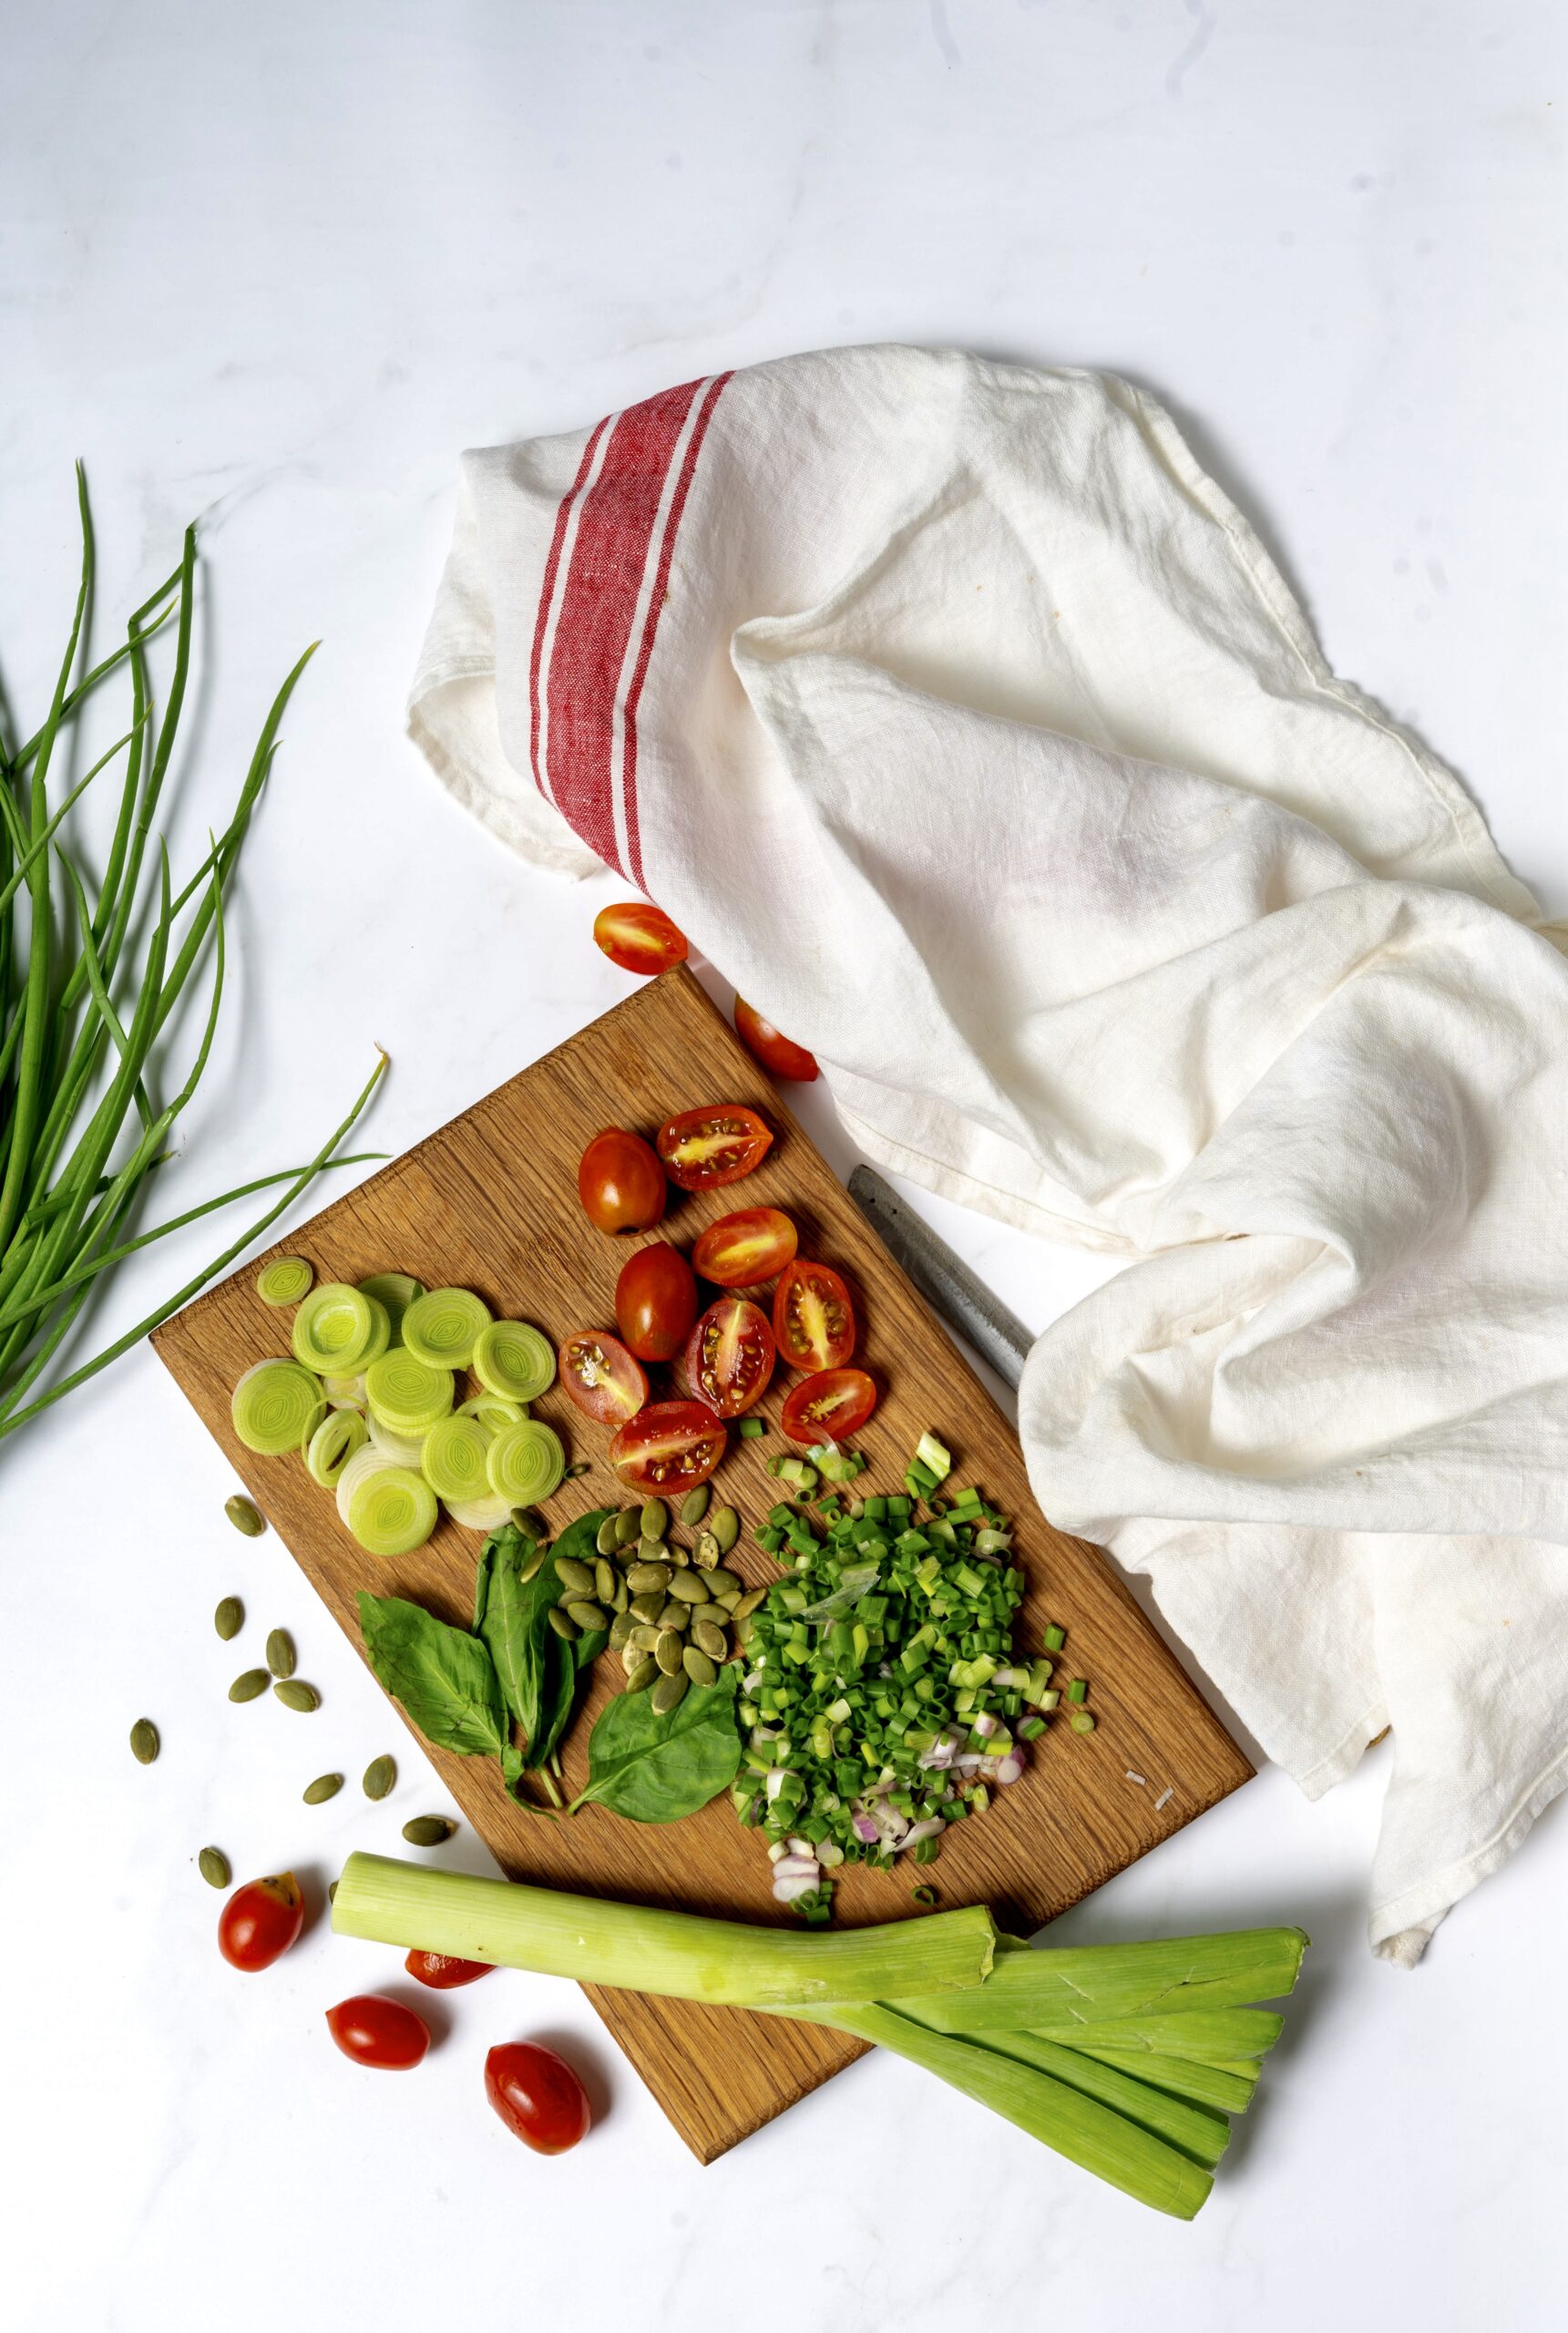
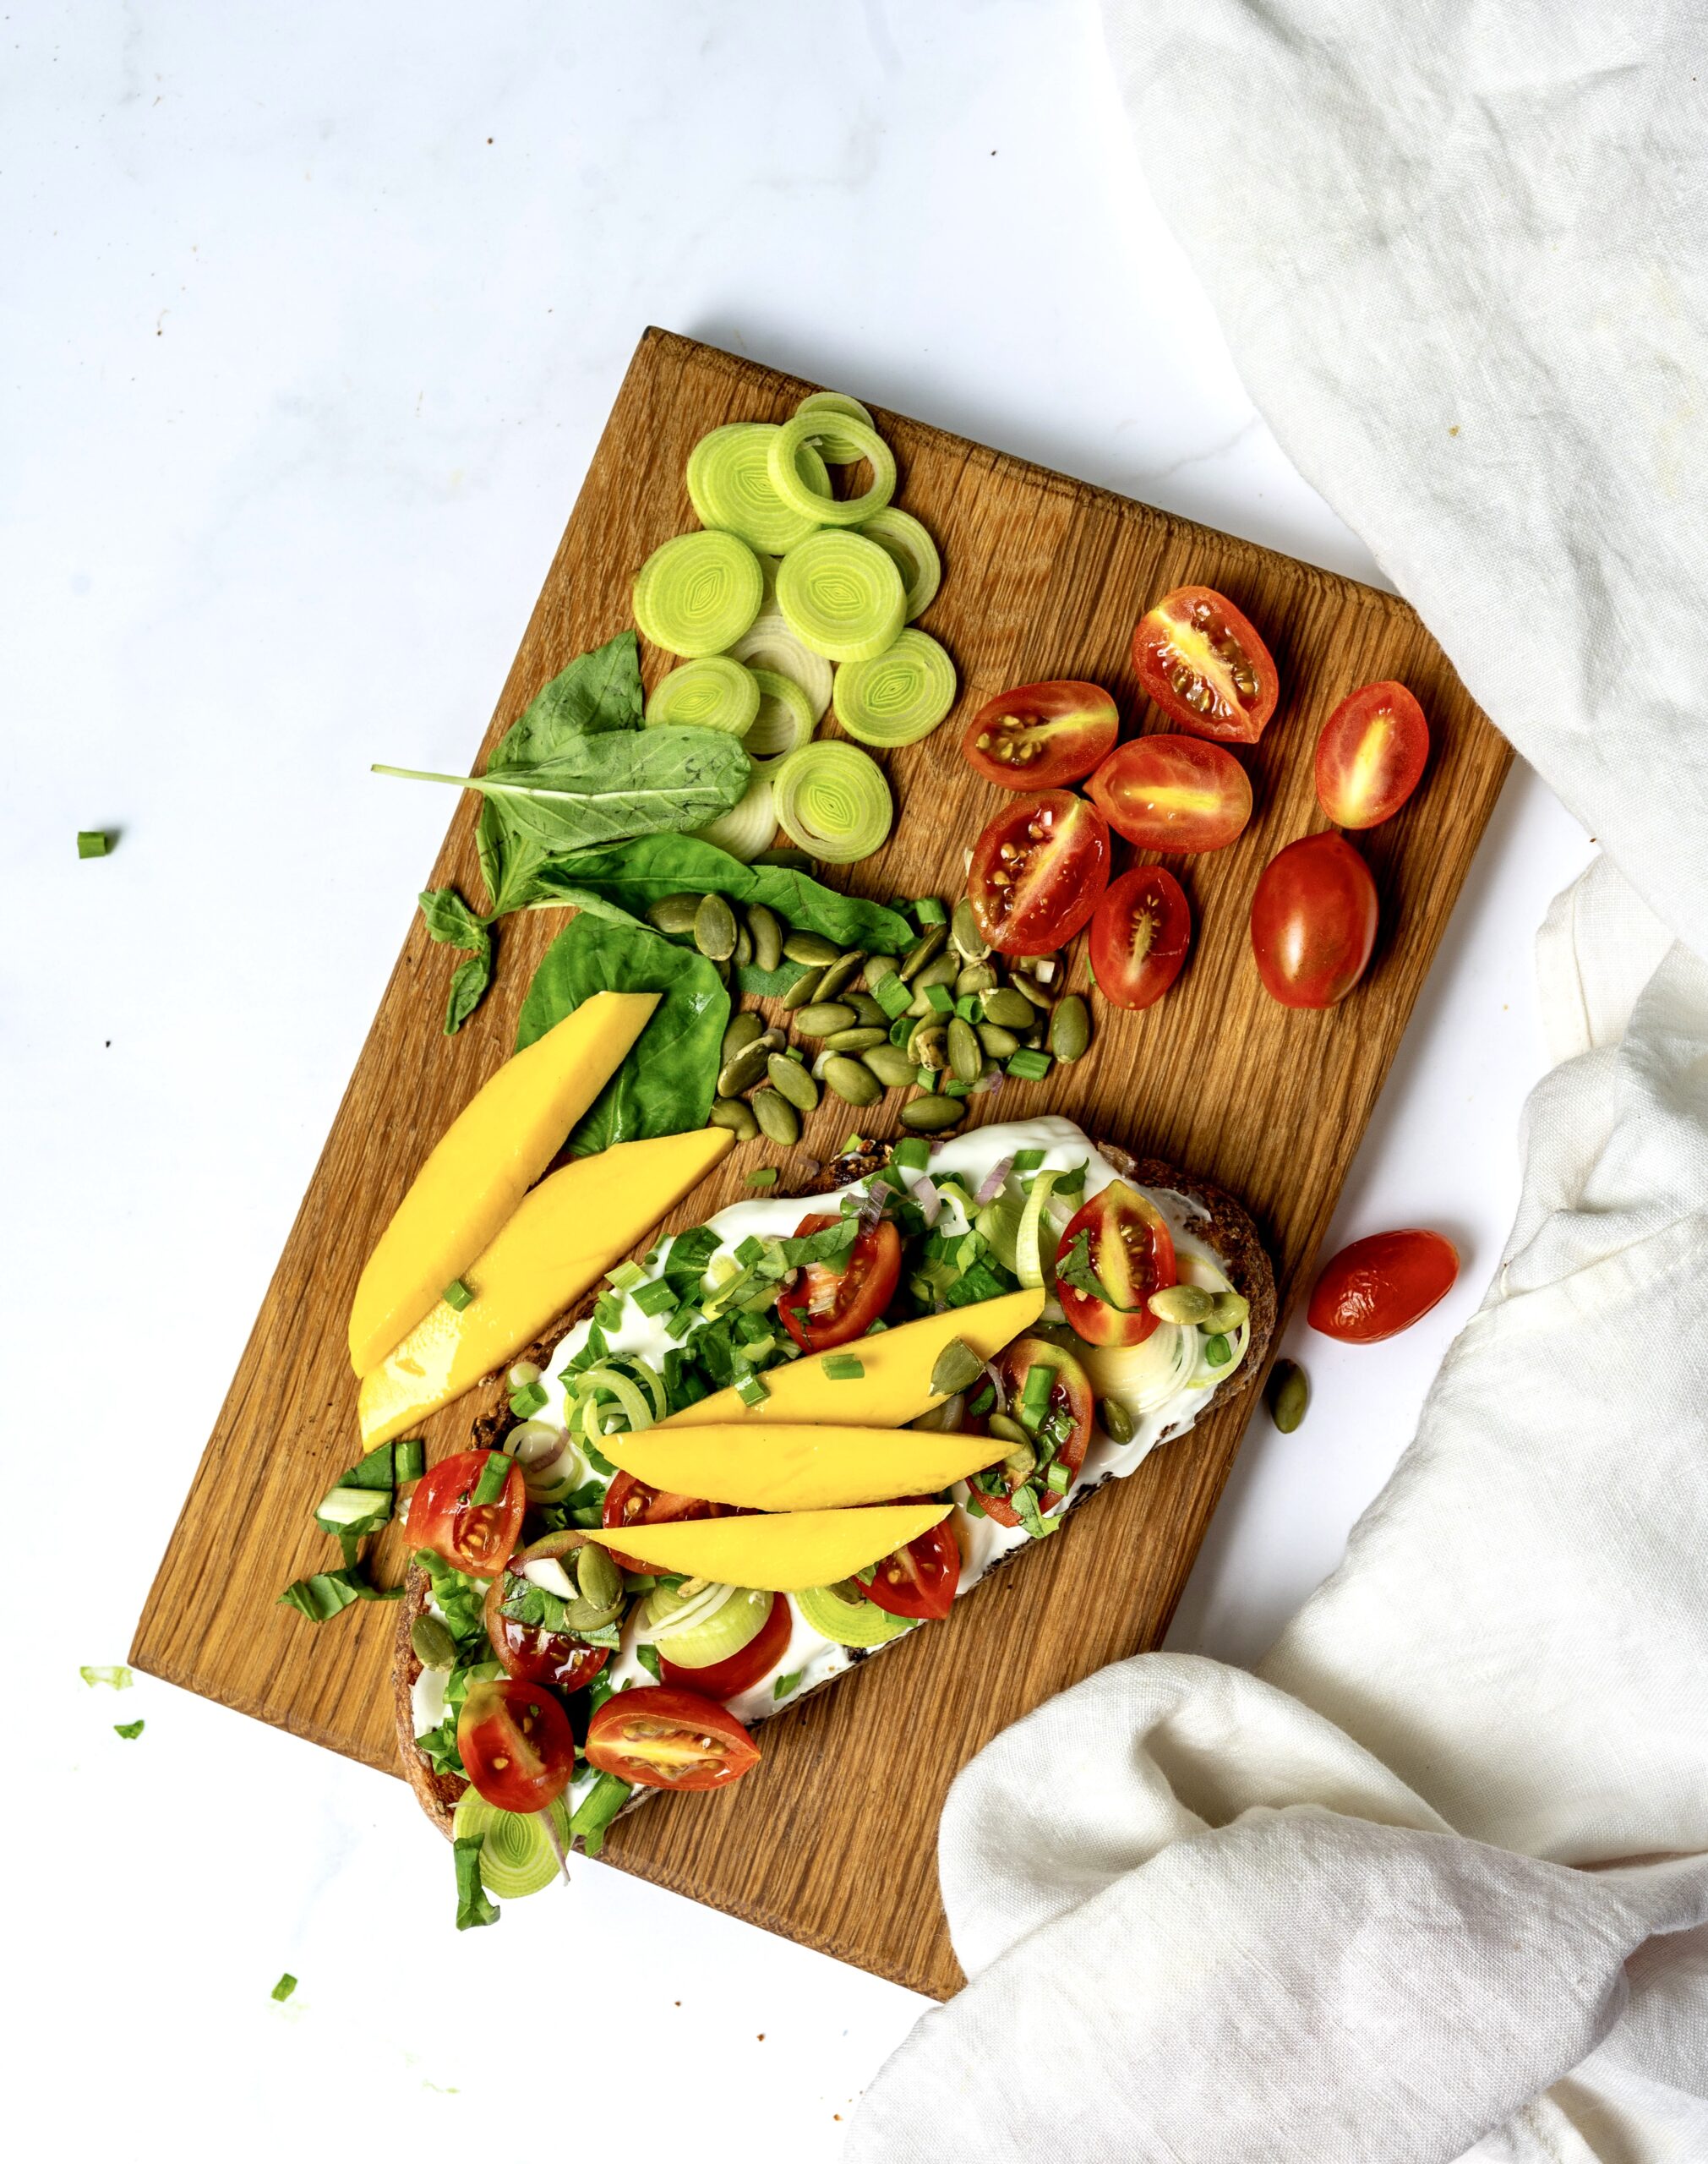
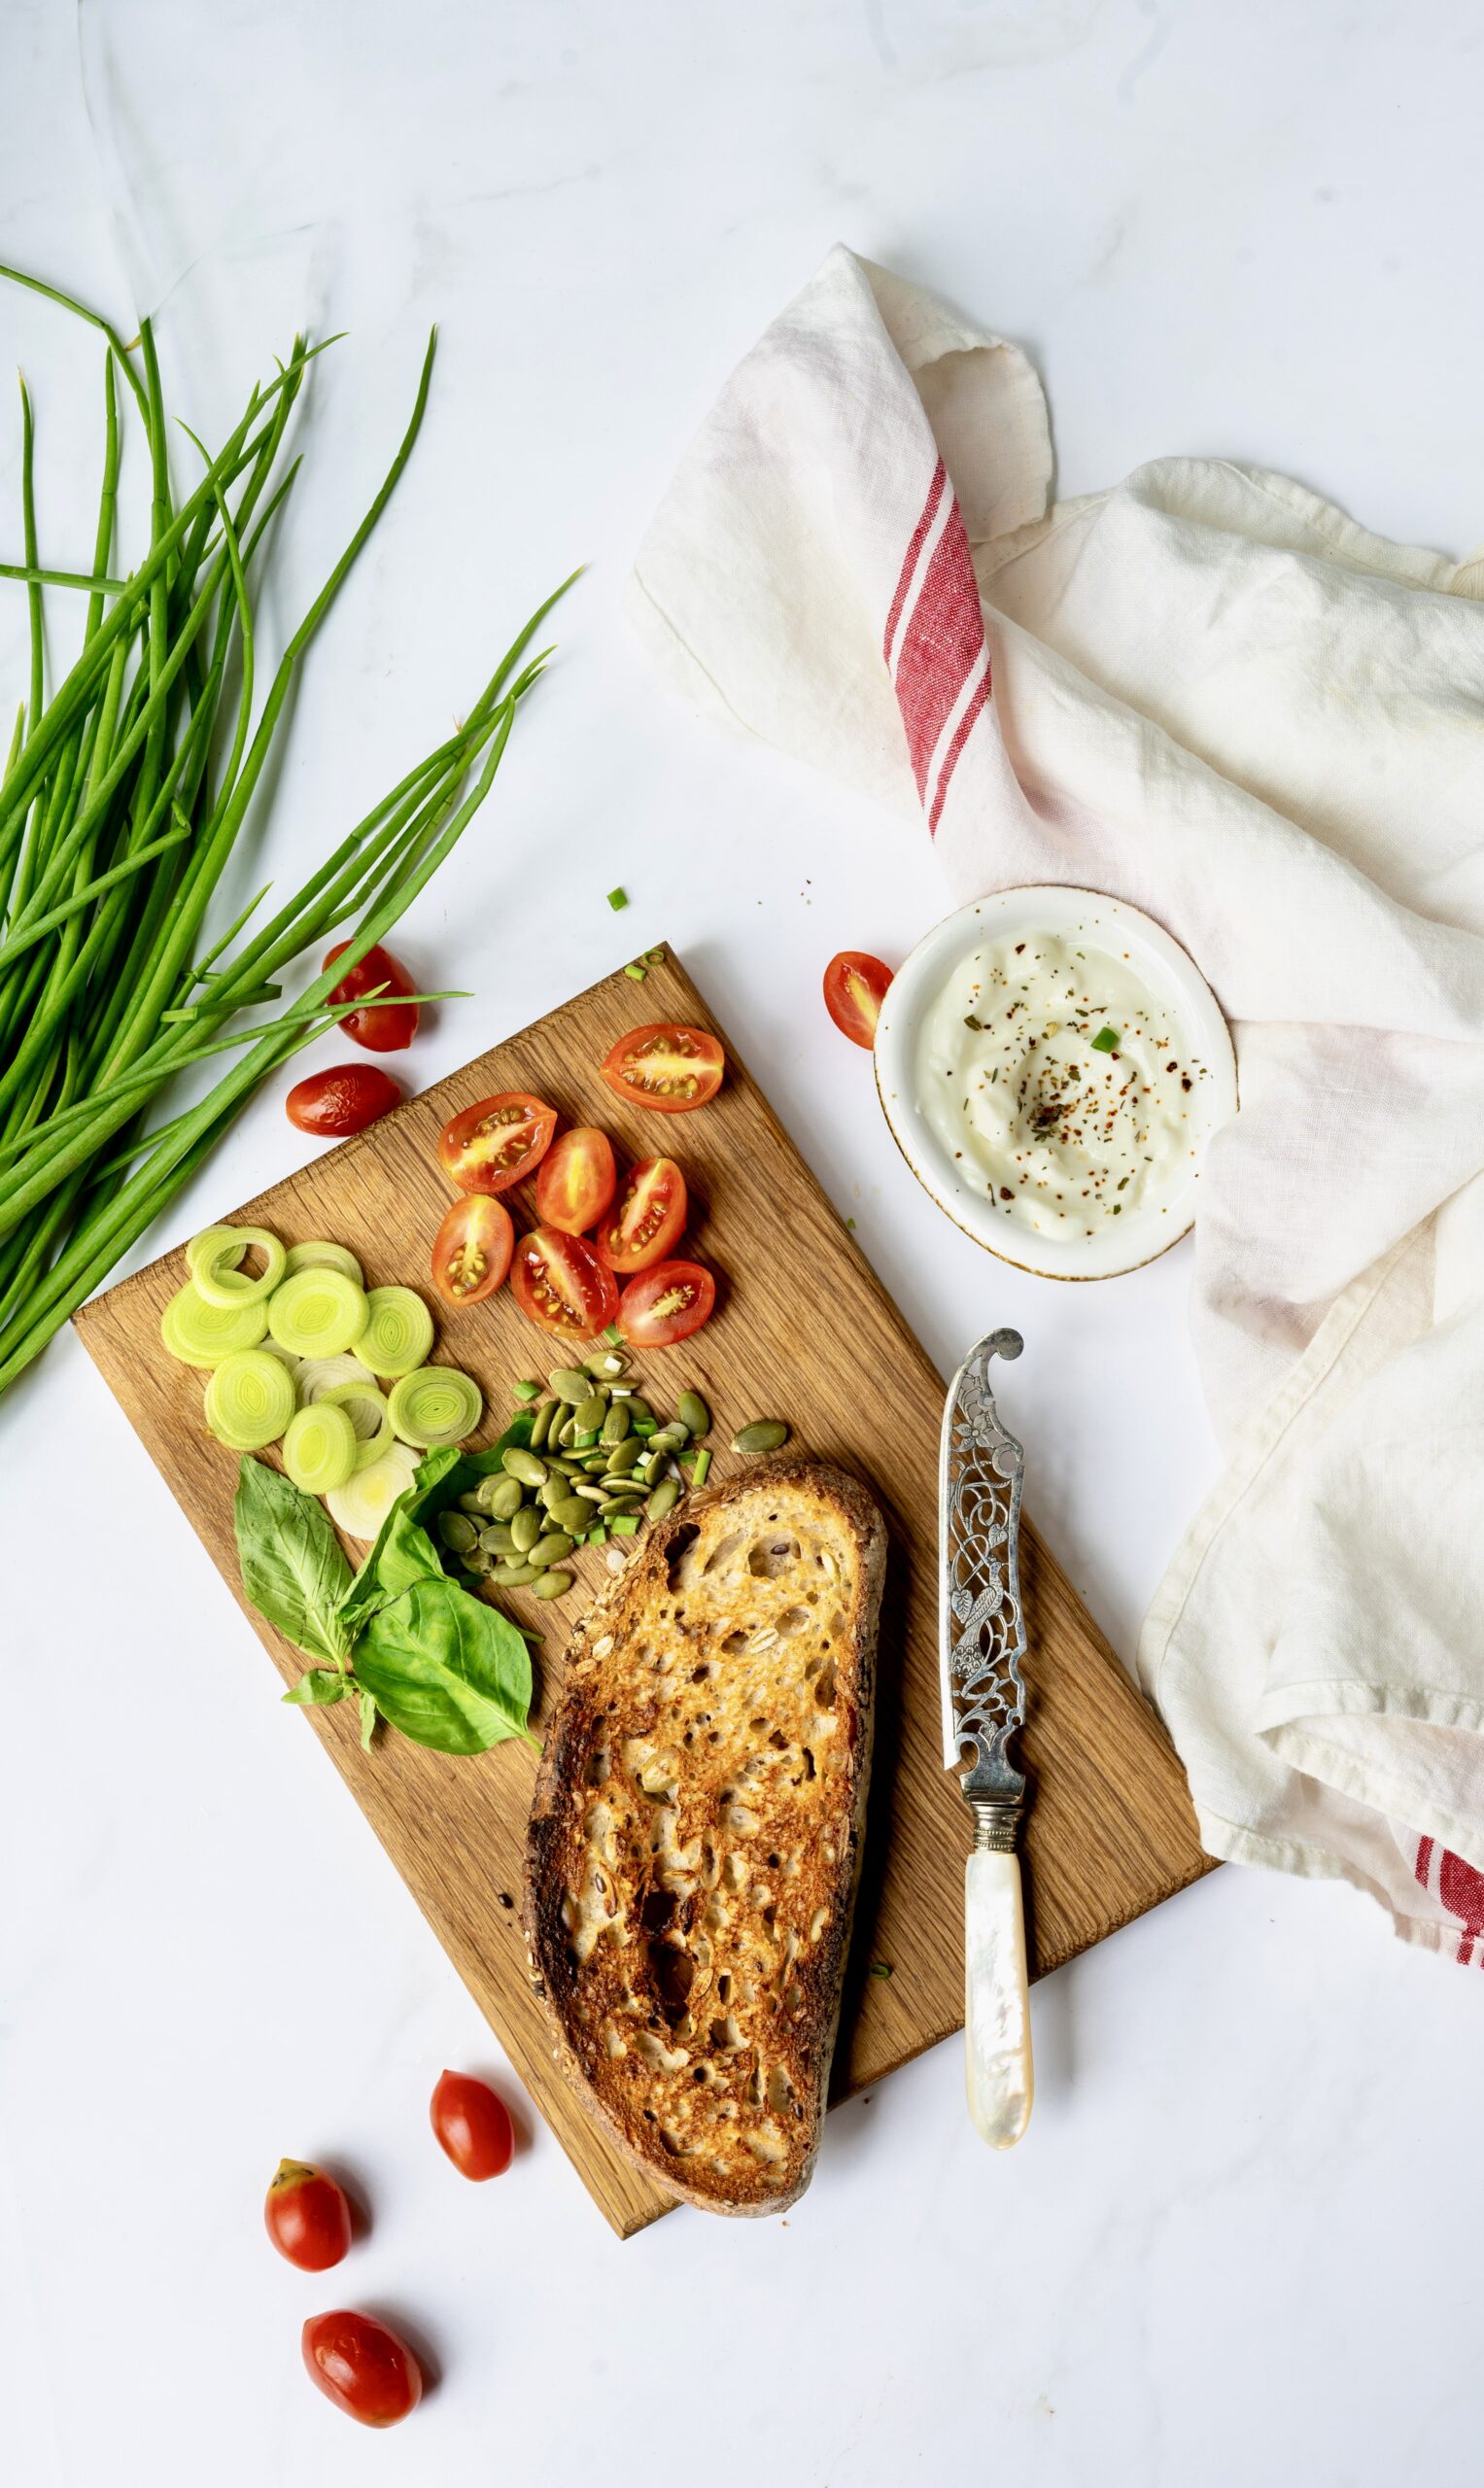
Coming back to this healthy veggie toast with mango, the ingredients used were also selected based on what feels right. I am going through a pumpkin seed phase right now, so of course there is a generous sprinkling of those. There’s some yoghurt, so that there’s a protein boost right in the morning (I have used Greek yoghurt). Then, an assortment of leaves and staples found in my fridge. You can replace any of these with something more to your liking, or depending on what you have on hand. As for the mango itself: Alphonso is probably the best cultivar for this dish, but I have a particular South Indian favourite called Banganapalli which is also very sweet, and that’s what I’ve gone with.

This year, climate-related changes did impact the quality of some of the fruits on the market. Here in Chennai, I was a bit saddened by the effect of recent rains on my own mango trees, which were at peak flourishing. During the very hot days, however, I had been quick to make all my sun-dried spices – including amchur or raw mango powder, which is used as a souring agent in place of lime in many Indian dishes.

Speaking of seasons and phases, and as I mentioned earlier too, our menu at home also goes through these. Sometimes, as a family we develop a fancy for one item and simply must have it every single day for months. For a little while at one point, we started every morning with poha. At the moment, every morning begins with mango for us – specifically, this healthy veggie toast with mango. It’s a nutritious and delicious all-rounder, which makes it perfect for breakfast. How lucky that the fruiting season and our own foodie phase have coincided!

Healthy Veggie Toast With Mango

(Serves 1)

1 large slice sourdough

1 tablespoon yoghurt

A handful of cherry tomatoes

Lettuce leaves of your choice

Spring onions

Leeks (sliced)

1 tablespoon pumpkin seeds

2-3 basil leaves

3-6 slices ripe mango

Olive oil (for drizzling)

Salt and pepper to taste

Toast the sourdough slice and set aside.

Prepare all the veggies. Use what you like, in the amount that you wish to use. This is why I have been vague about the quantities in the ingredients list, and just given you the gist of what goes into mine.

Now, top the toast with the yoghurt, followed by the prepared veggies. Layer the mango slices at the end, then drizzle with olive oil. You may also want to add a sprinkling of salt and black pepper.

Your healthy veggie toast with mango is now ready. Savour the mix of flavours and textures, from the sweetness of the fruit to the crunchiness of the seeds and everything else in the mix!

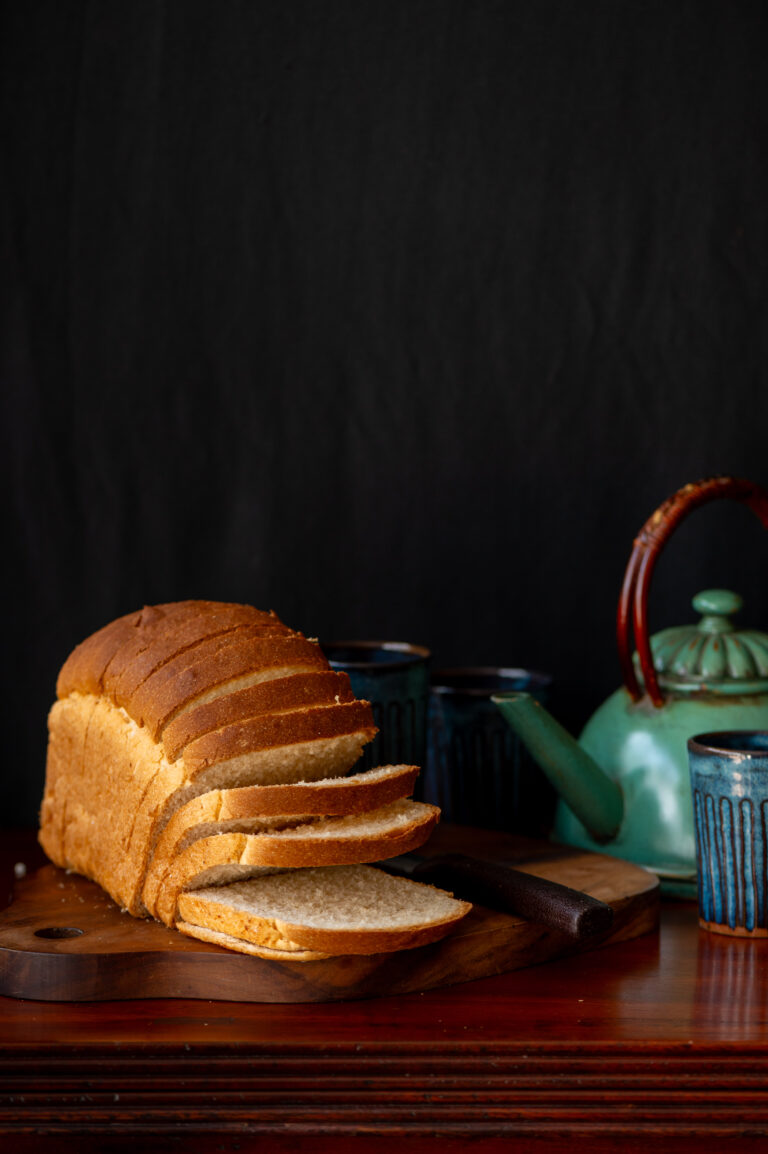
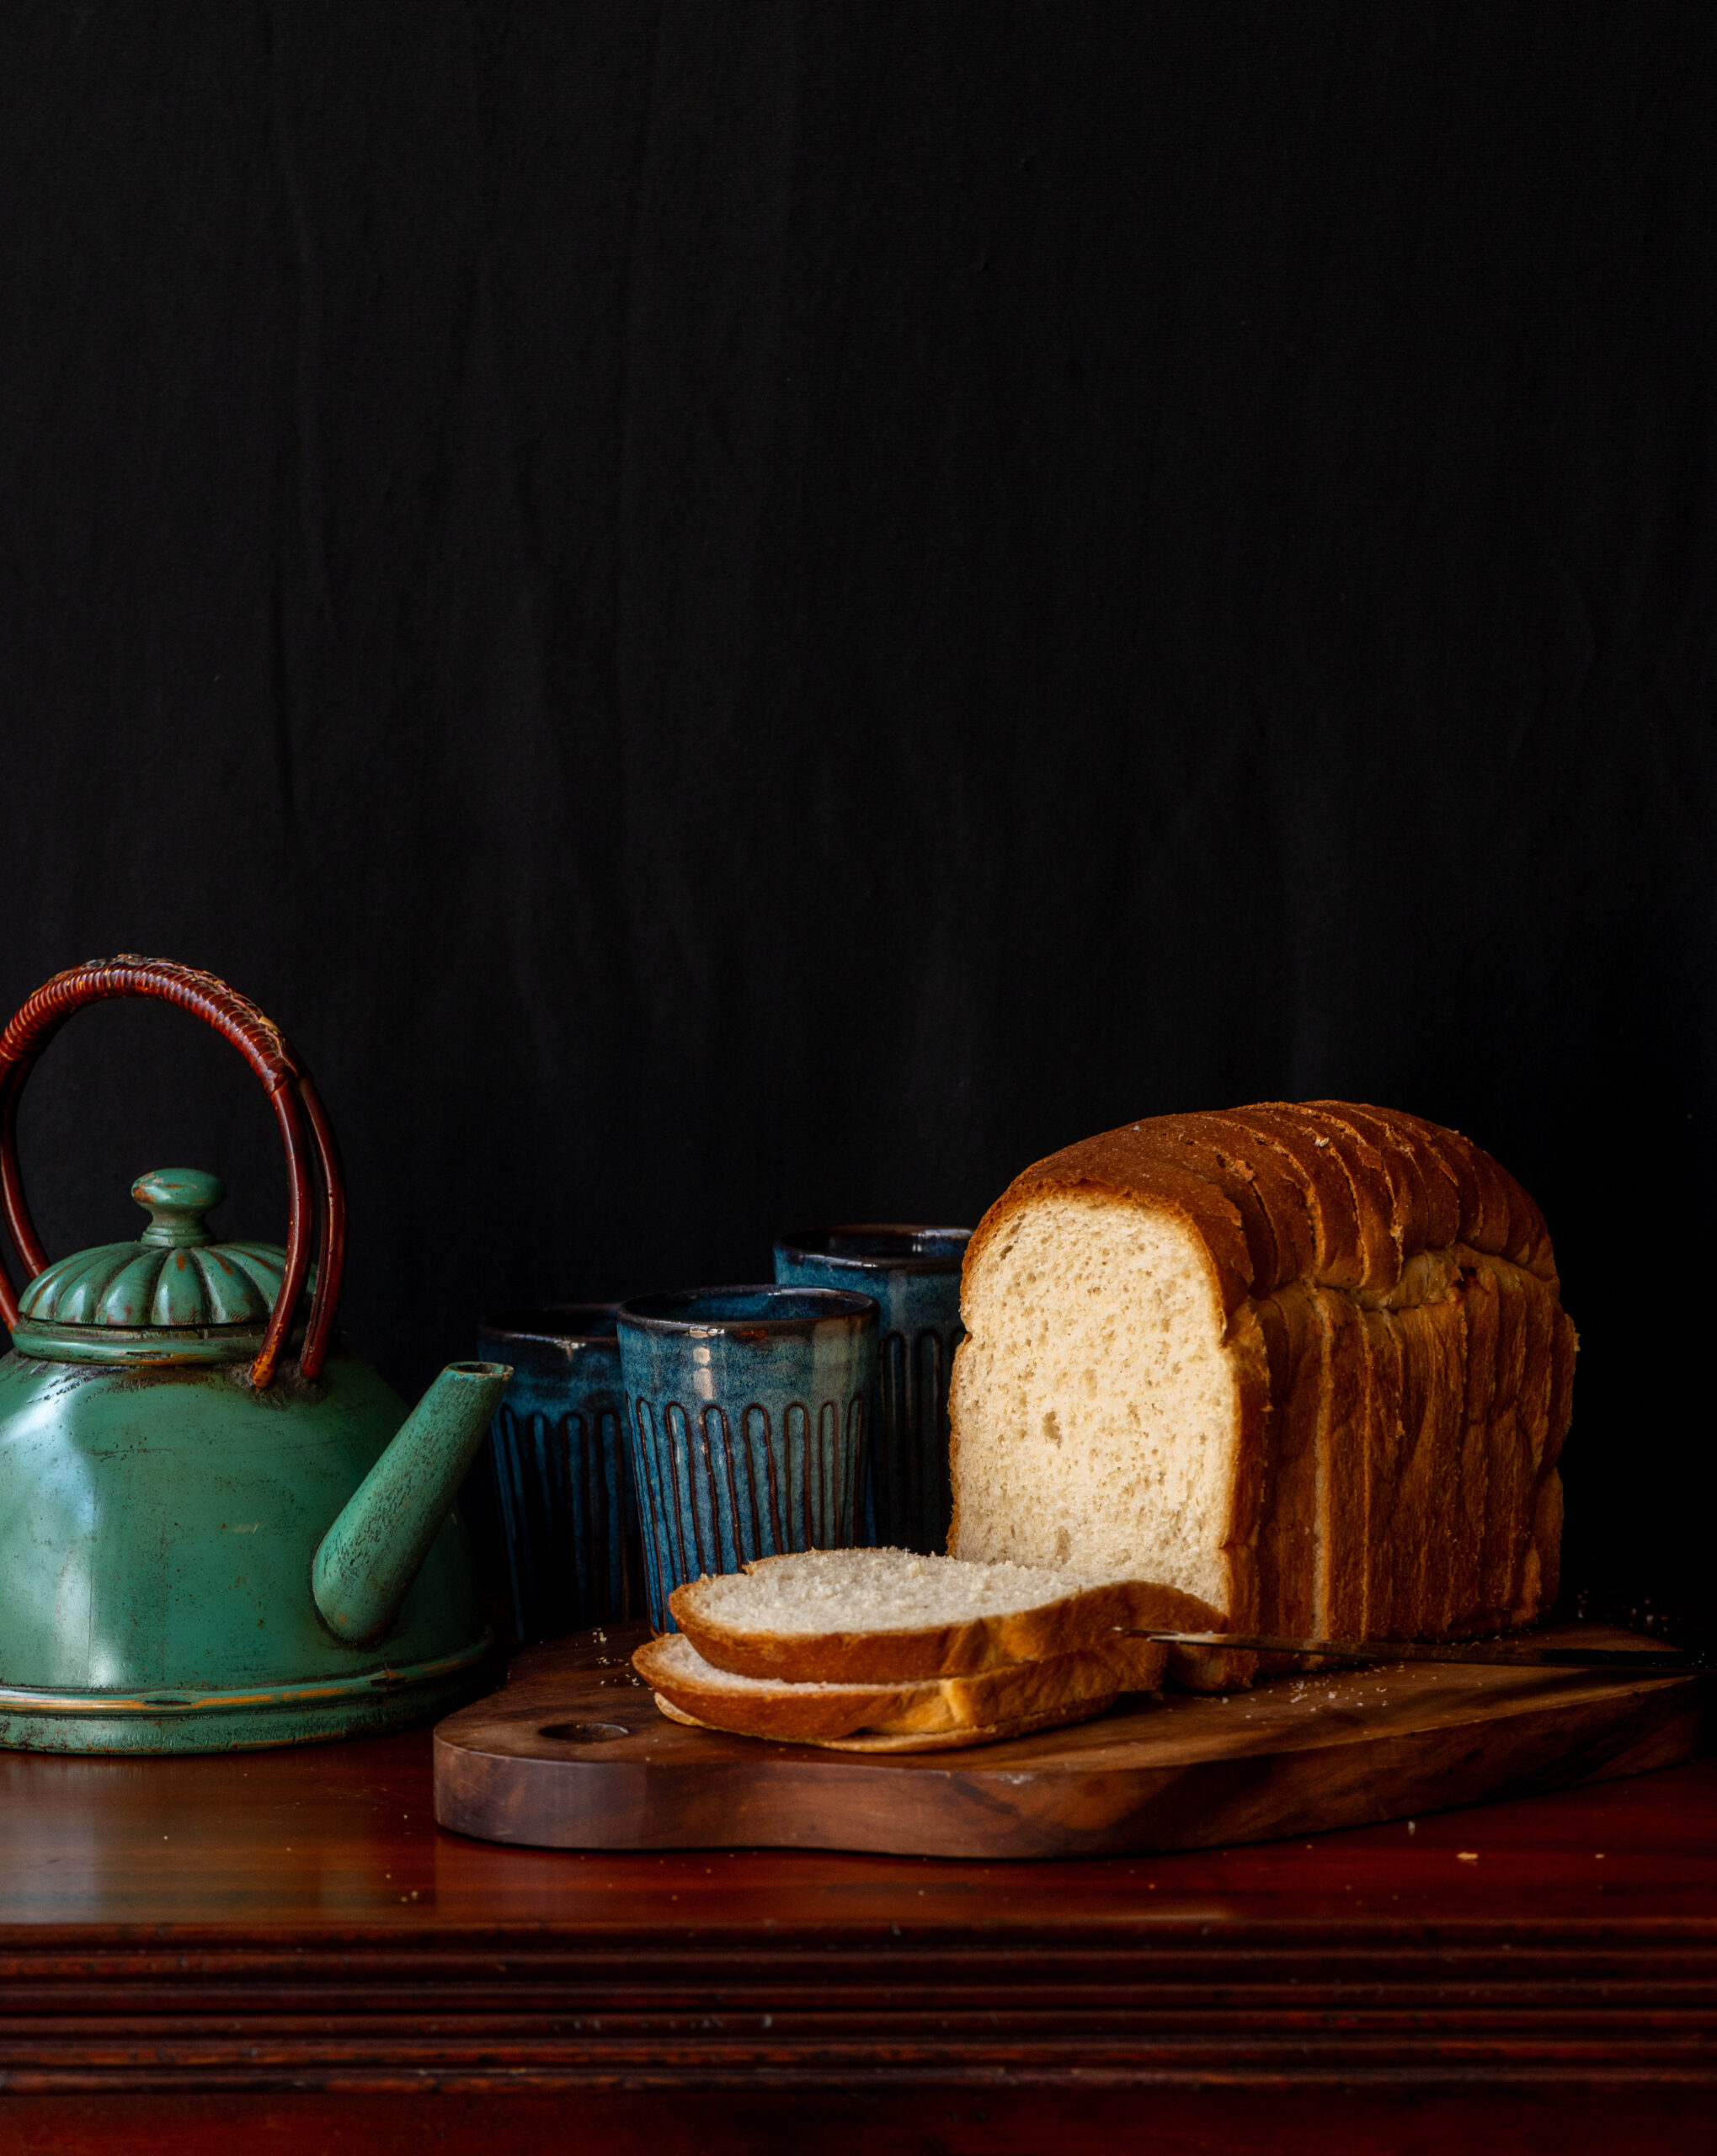
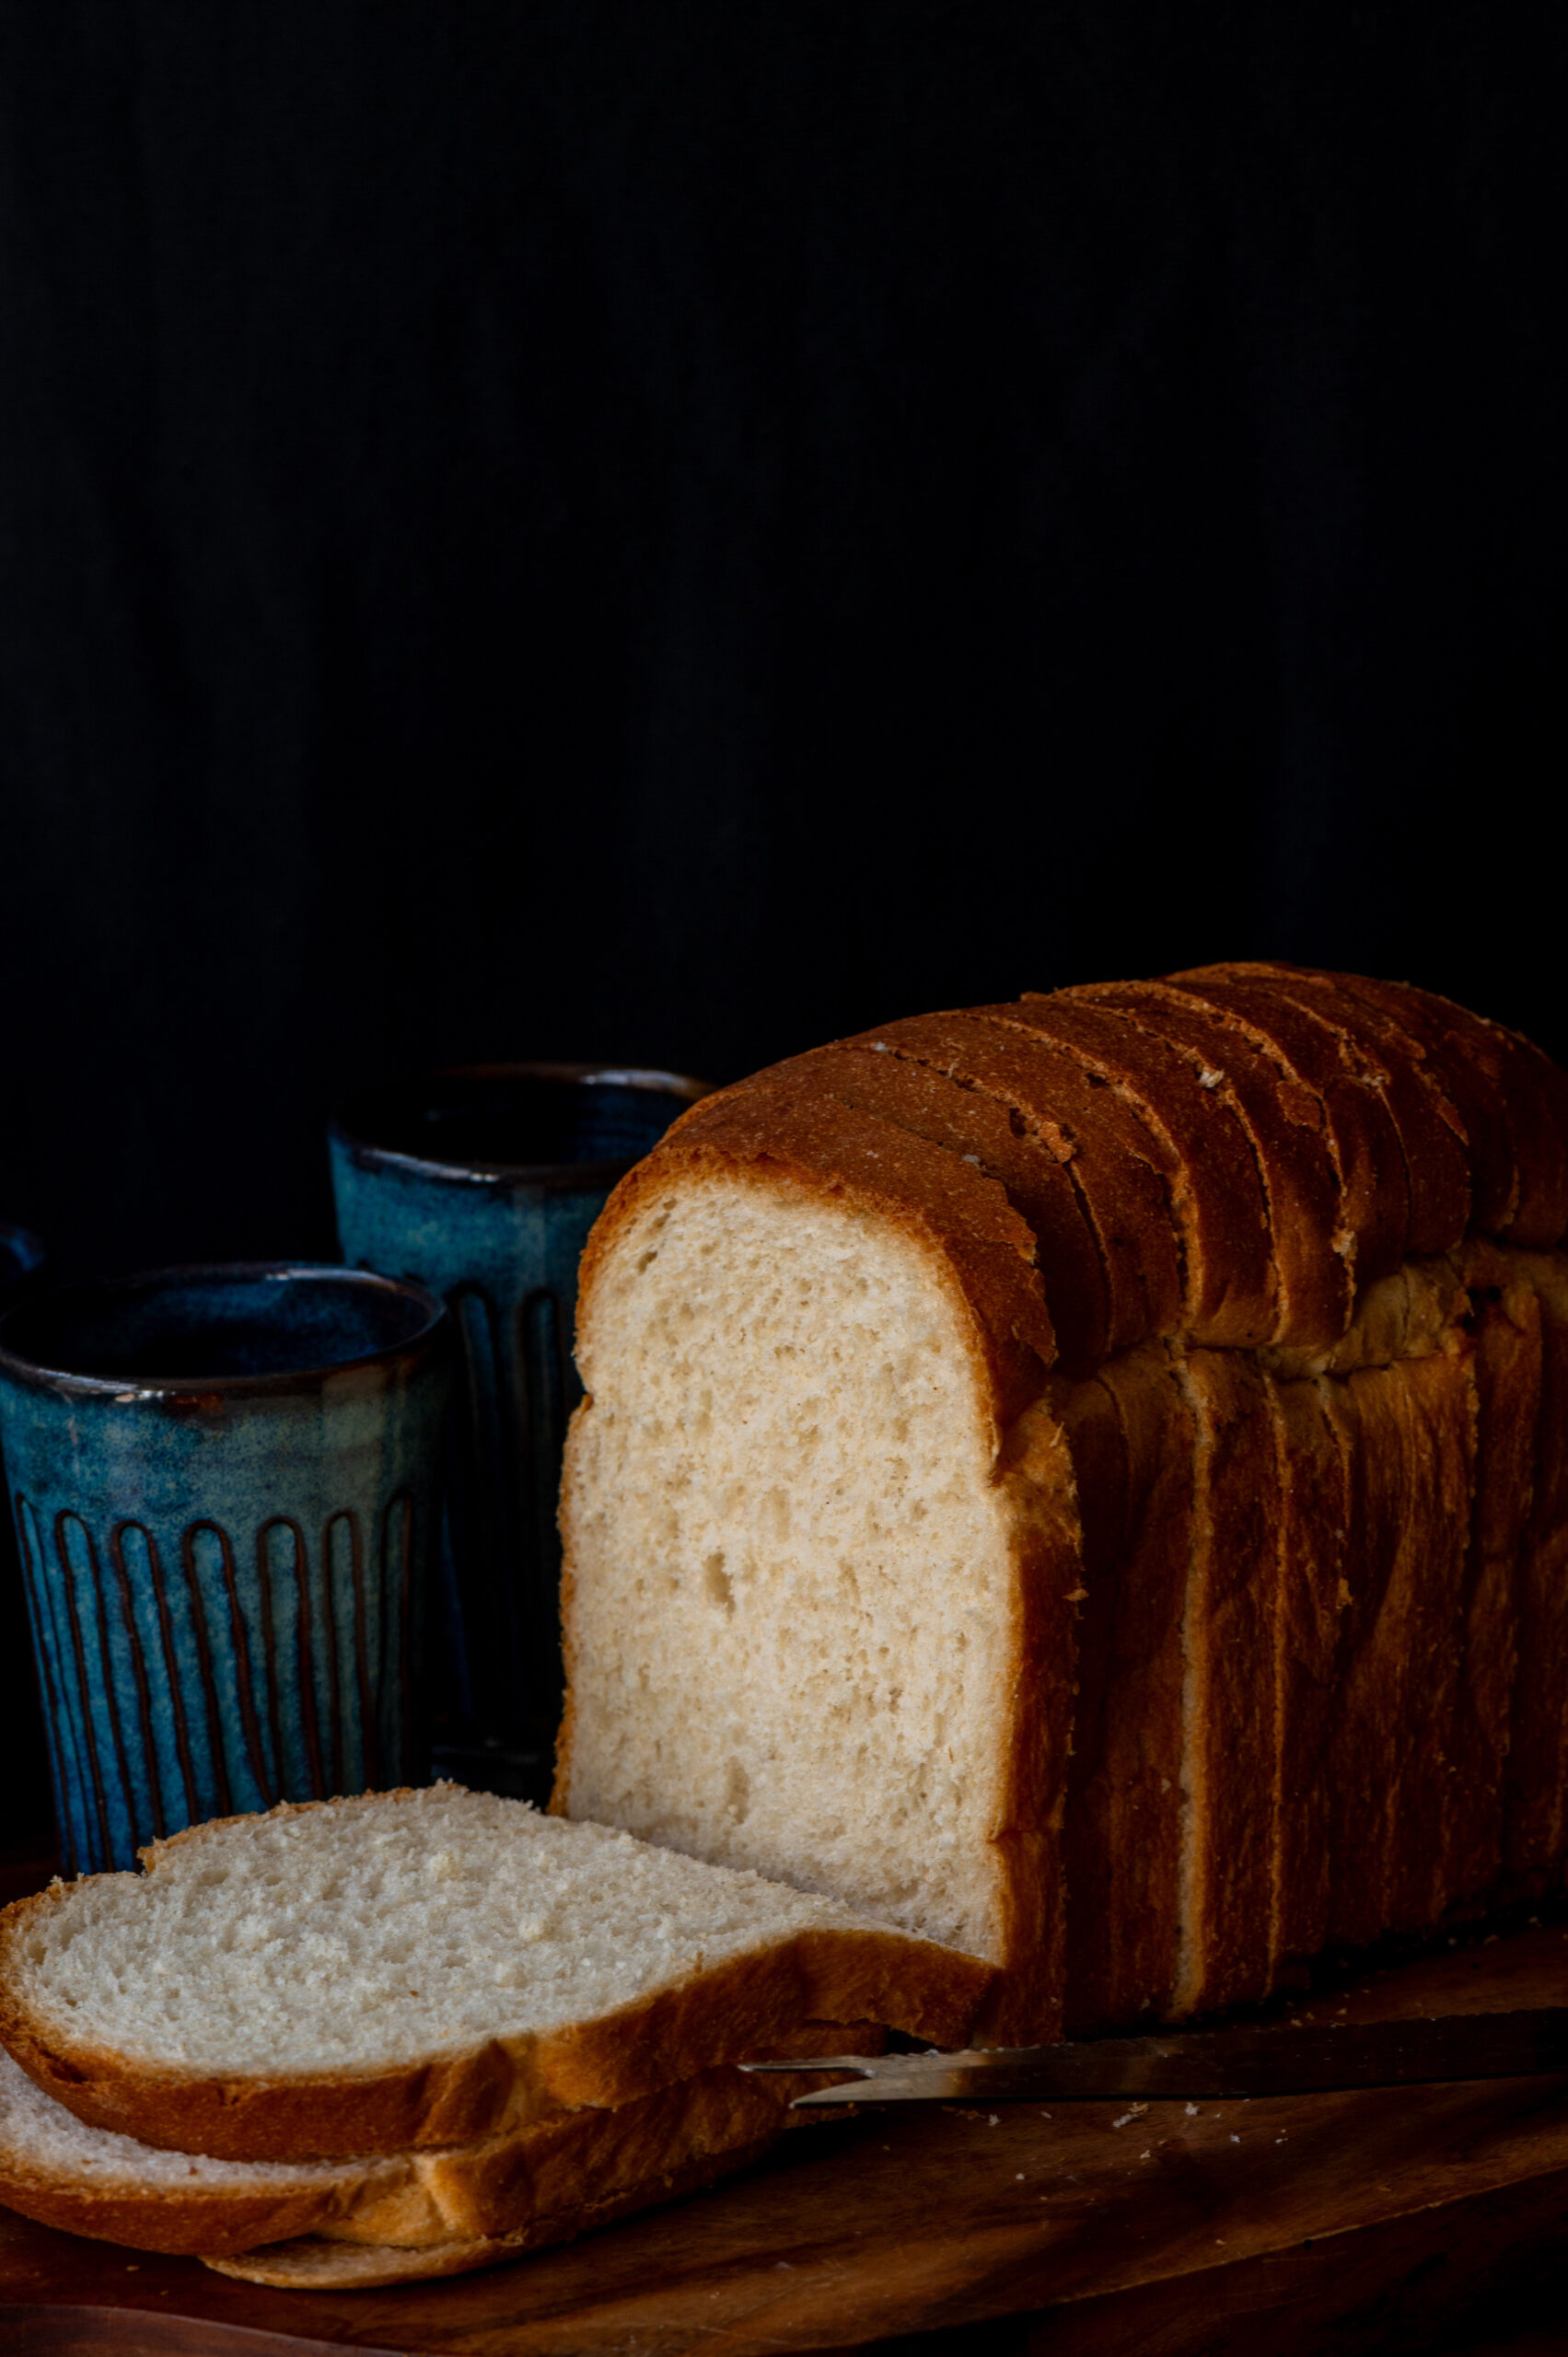
If you’ve been following my work for a while now, you may know all about my love of sourdough, and perhaps even came along for the journey on my Instagram Stories as I practiced and practiced making that wonderful bread. By now, I’ve been baking sourdough for years, and it was especially a fixture in my home during the COVID-19 lockdowns when I wanted to ensure my family was eating extra clean and healthy food. Still, that doesn’t mean that it is the only type of bread that I bake regularly. In fact, when my kids come home to visit, they tend to be a bit fussy about wanting regular, plain white bread for their breakfasts. Being me, rather than just pick some up at a store, I decided to start baking good old basic bread at home too, using refined white flour. The last time I put a loaf in the oven, I thought – why shouldn’t you too?

Believe me when I say that baking your own basic bread is easy. I know there are plenty of bread-making devices out there, and I do have one too. My brother had gifted me one when the gadget was still very new on the Indian market. I recall that the instructions were pretty easy: throw all the ingredients in at night, set the timer, and come down in the morning to fresh bread, ready to eat. I used to do that, until I learned how to bake a loaf without the device. I still keep it for its nostalgic value, as it was a gift from my beloved brother.

That said, the device I still love to use, and which adds more fun to my bread-making, is a small bread slicer. I do enjoy culinary gadgets of all kinds and this one ensures that the loaf is evenly cut. One of the great things about making your own bread is that you get to decide the thickness of each slice. A regular slice is great for sandwiches and toasties, and a thick one is ideal for French toast. I’ll share the recipe for the latter in the future (please remind me, if you’d like it!), and as for the former category, there is a whole variety of recipes to explore on this blog through the links above.

However you slice it, I can say this for sure: it will fly off the table. Made from scratch, the loaf will be warm, moist, soft and fresh. As with all totally homemade food, you will know exactly what went into it and be assured that it is healthy and free of preservatives and so on. This is also an eggless recipe.

While I was baking this loaf for my kids recently, another memory popped up – from back when they really were kids. Each year during their summer holidays, we would go up to the hills, where there was a bakery just down the road from our home there. When I say it was “just down the road”, I mean on hill terms – which is to say that it was quite a bit of a walk, that too a sloping one. So every morning, to get our exercise, we would go for that long walk, and it would always culminate at the bakery.

I knew the exact time when hot buns and bread would be fresh out of the oven there, so I always made sure that we embarked on our walk at a precise time, on an empty stomach, so that we would reach at the perfect moment – and pretty hungrily, too! The bread would be so hot that it couldn’t even be sliced, and we would greedily pluck at it with our fingers, enjoying our delicious breakfast. I still smile to myself remembering those mornings.

That bakery continues to exist, and when we travel to the hills we still go there for old times’ sake. My grown children, now discerning eaters, claim that my homemade bread is tastier than what we buy there. I don’t know if they just say that to make me happy, but one thing’s for sure: baking for my loved ones warms my heart. I am sure you will feel the same way too, when you give this basic bread a shot.

Basic Bread

(Yield: 1 loaf)

3 cups flour

1½ tablespoons granulated sugar

1 teaspoon salt

¼ cup milk

1 cup water

1 tablespoon butter/oil

2 teaspoons dry yeast

In a bowl, combine 1 cup flour, sugar, salt, yeast and mix thoroughly. Make sure the yeast is not expired – this is an easy mistake to make.

In another bowl, mix the water, butter and milk. Warm gently, to a little over room temperature. Do not let it get hot. Add this to the flour mixture.

Blend for a minute and then add the remaining flour. Continue blending for approximately 2 minutes or until the mixture all comes together, scraping down the edges until it forms a ball.

Remove from the mixer stand onto a clean and lightly floured surface and knead for about 5 minutes at least. Kneading is key. Make sure you knead as much as possible until the dough looks smooth.

Now, cover with a cloth and allow the dough to rest.

Roll the dough into a rectangle using a rolling pin, very gently.

Start by folding from the short end of the rectangle and pinch the edges.

Oil a 12×8 inch bread tin and gently place the dough in the centre.

Cover with a cloth and allow to rise for about 30 minutes.

Bake in a preheated oven for 20 minutes at 180-200°C or until golden brown.

After you remove the loaf from the oven, use a knife to edge out the loaf. Cool before slicing.

There is just something about fresh, hot bread coming out of the oven. The entire home takes on that fragrance. It’s irresistible!

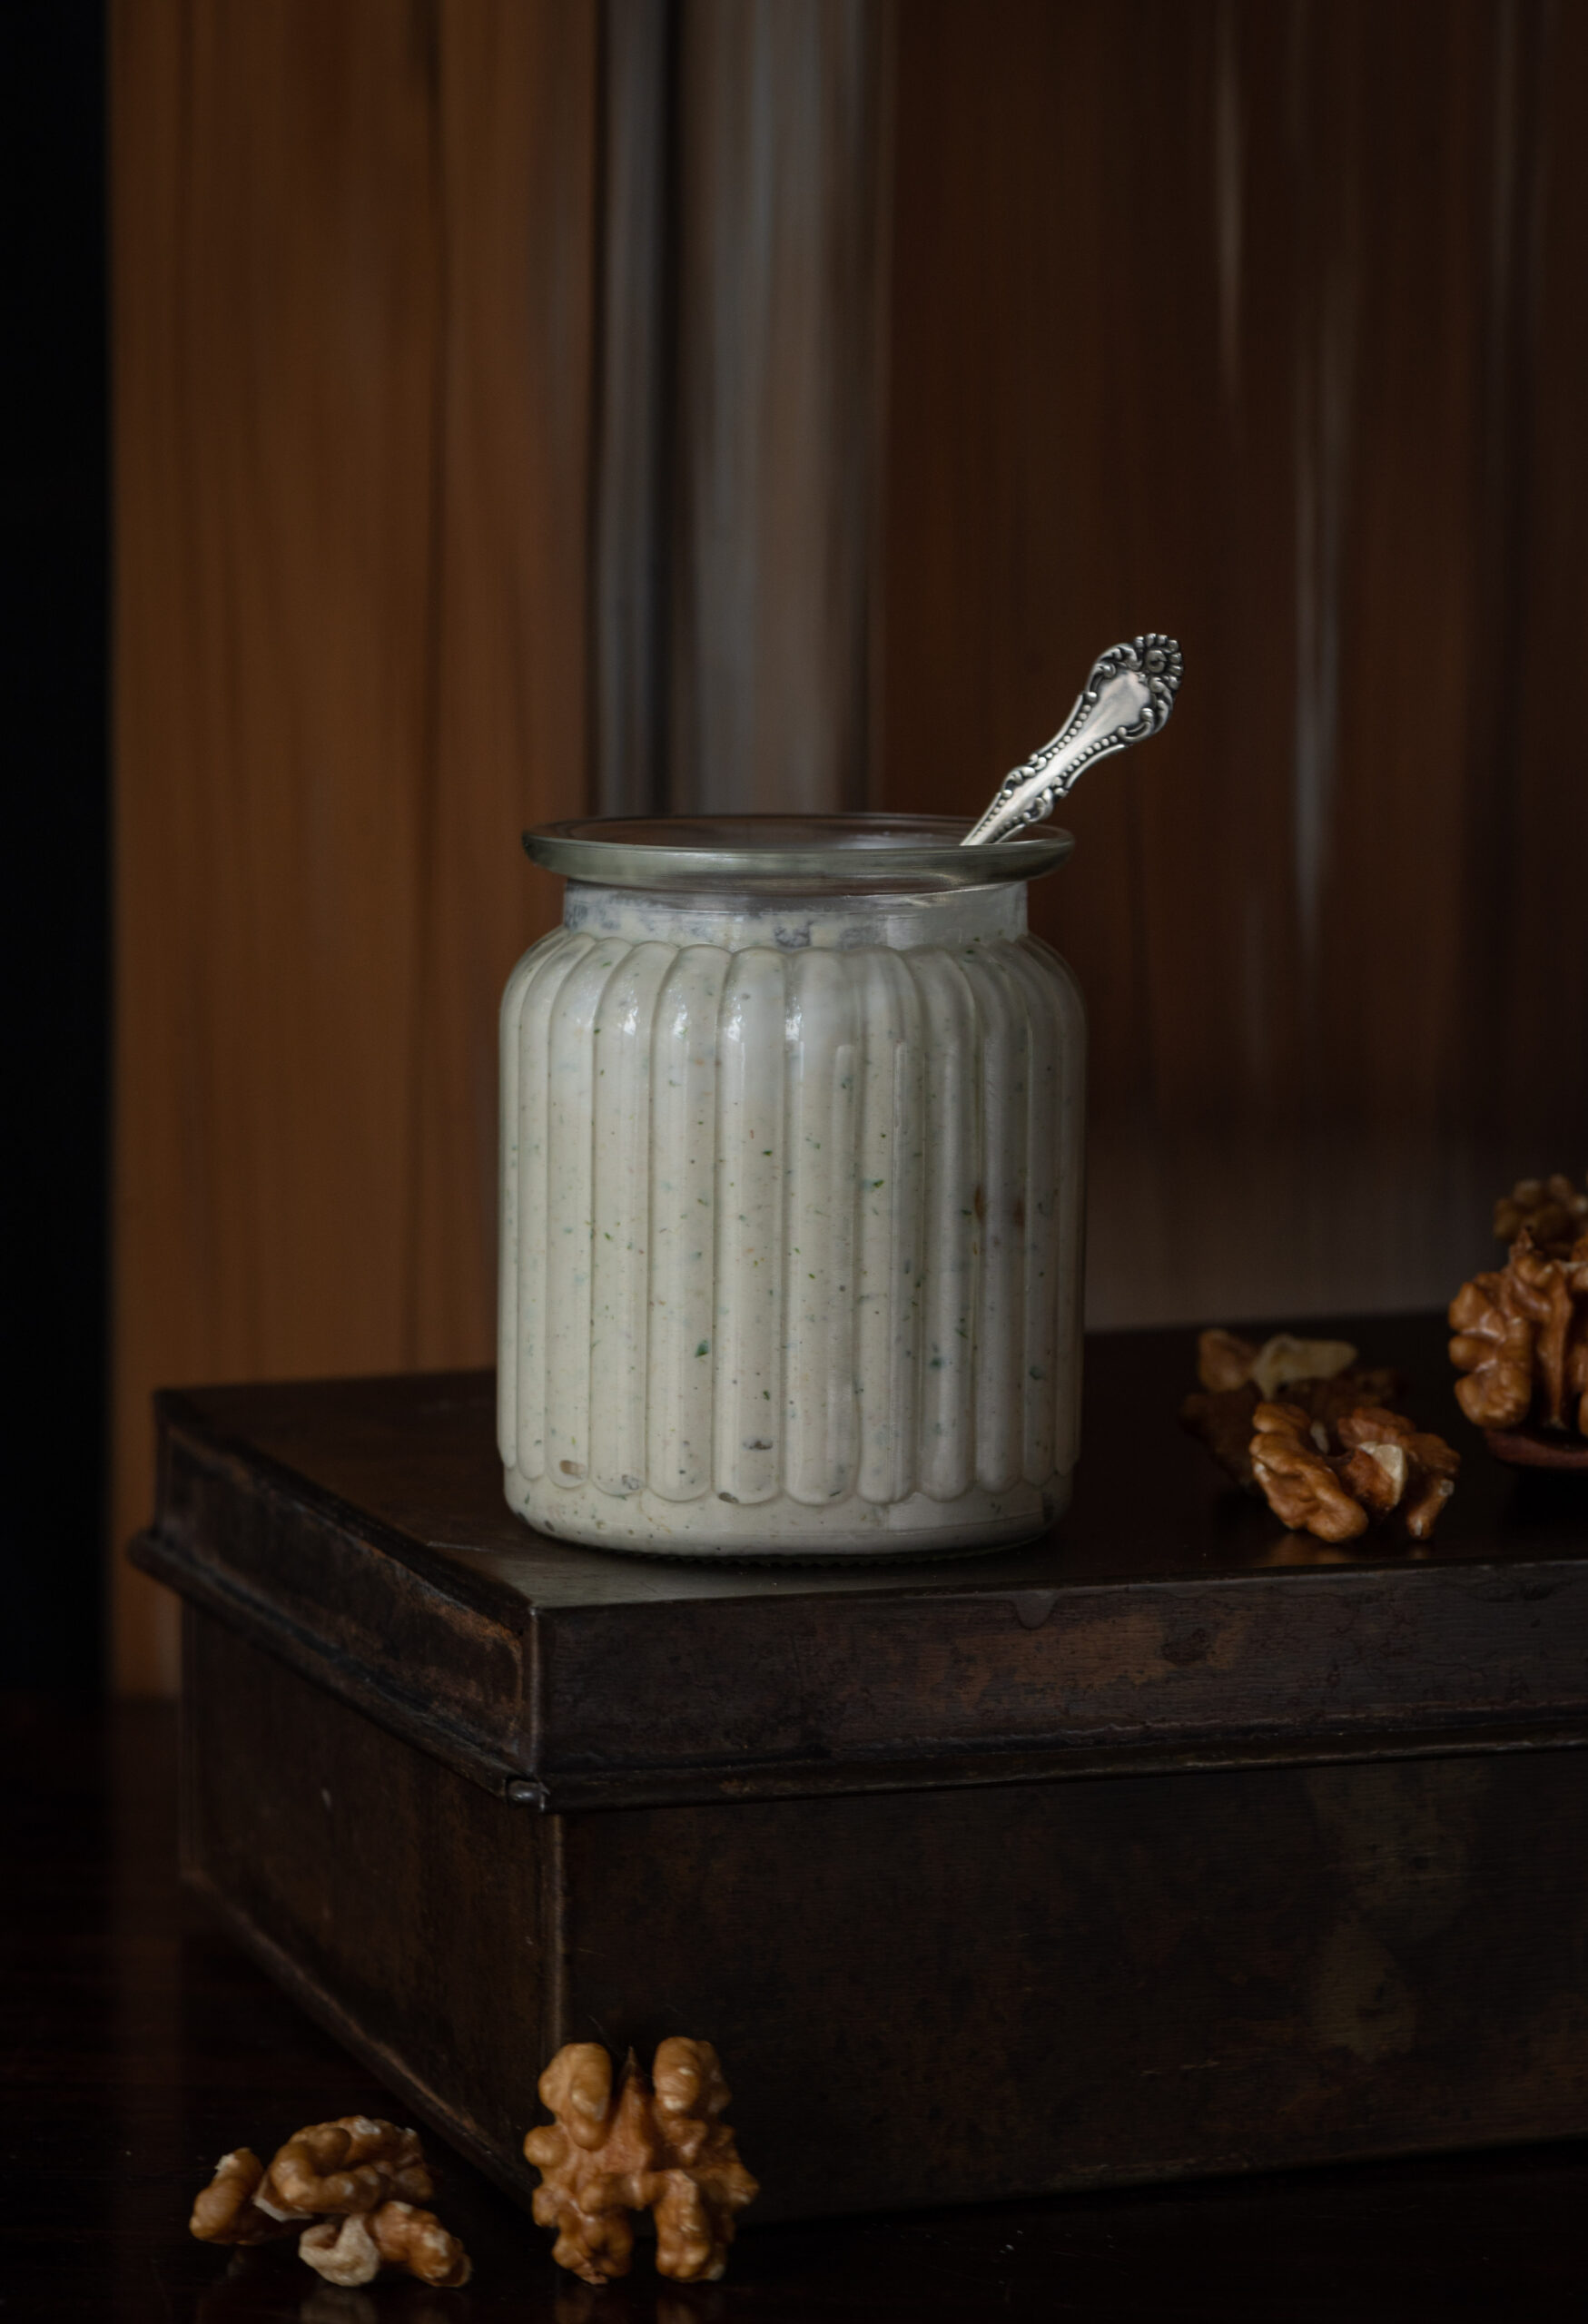
A recent visit to Kashmir reiterated for me how rich my country, India, is. Perhaps for that reason, we have been plundered many times, yet have held strong despite it. I have travelled the world, but to me there is nothing like home. In Kashmir, I experienced the beauty of nature and the hospitality of people in a way that reminded me of this fact. Returning to Chennai, I wanted to recreate something that would remind me of that holiday, and this wonderful walnut dip fulfilled that wish.

While travelling there, I was most thrilled when I saw walnut and almond trees, among many others, including nuts that I may not even be able to name. There was such a variety of fruit trees as well: apricots, peaches, plums and apples among them. Amidst the bounty of nature, there was also a sense of kinship and love. The experience of sitting beneath an almond tree and enjoying a live musical performance in someone’s home that they graciously opened up to us was more than just a treat or a pleasure, but really touched me.

That same welcoming gesture was also experienced when I visited a friend’s home, where she laid out an entire traditional Kashmiri feast for us. I got very excited even just seeing it. Needless to say, tasting it was sheer joy. There was one thing that wasn’t on the menu that day, but which she brought up in conversation: a walnut dip. This made me very curious, so I asked for her authentic recipe and also spent some time looking up other versions later. As I’ve shared often before on this blog, I think cooking is about adapting and innovating, and I wanted to create a version that would work well for me back home. The recipe I am sharing today is exactly that.

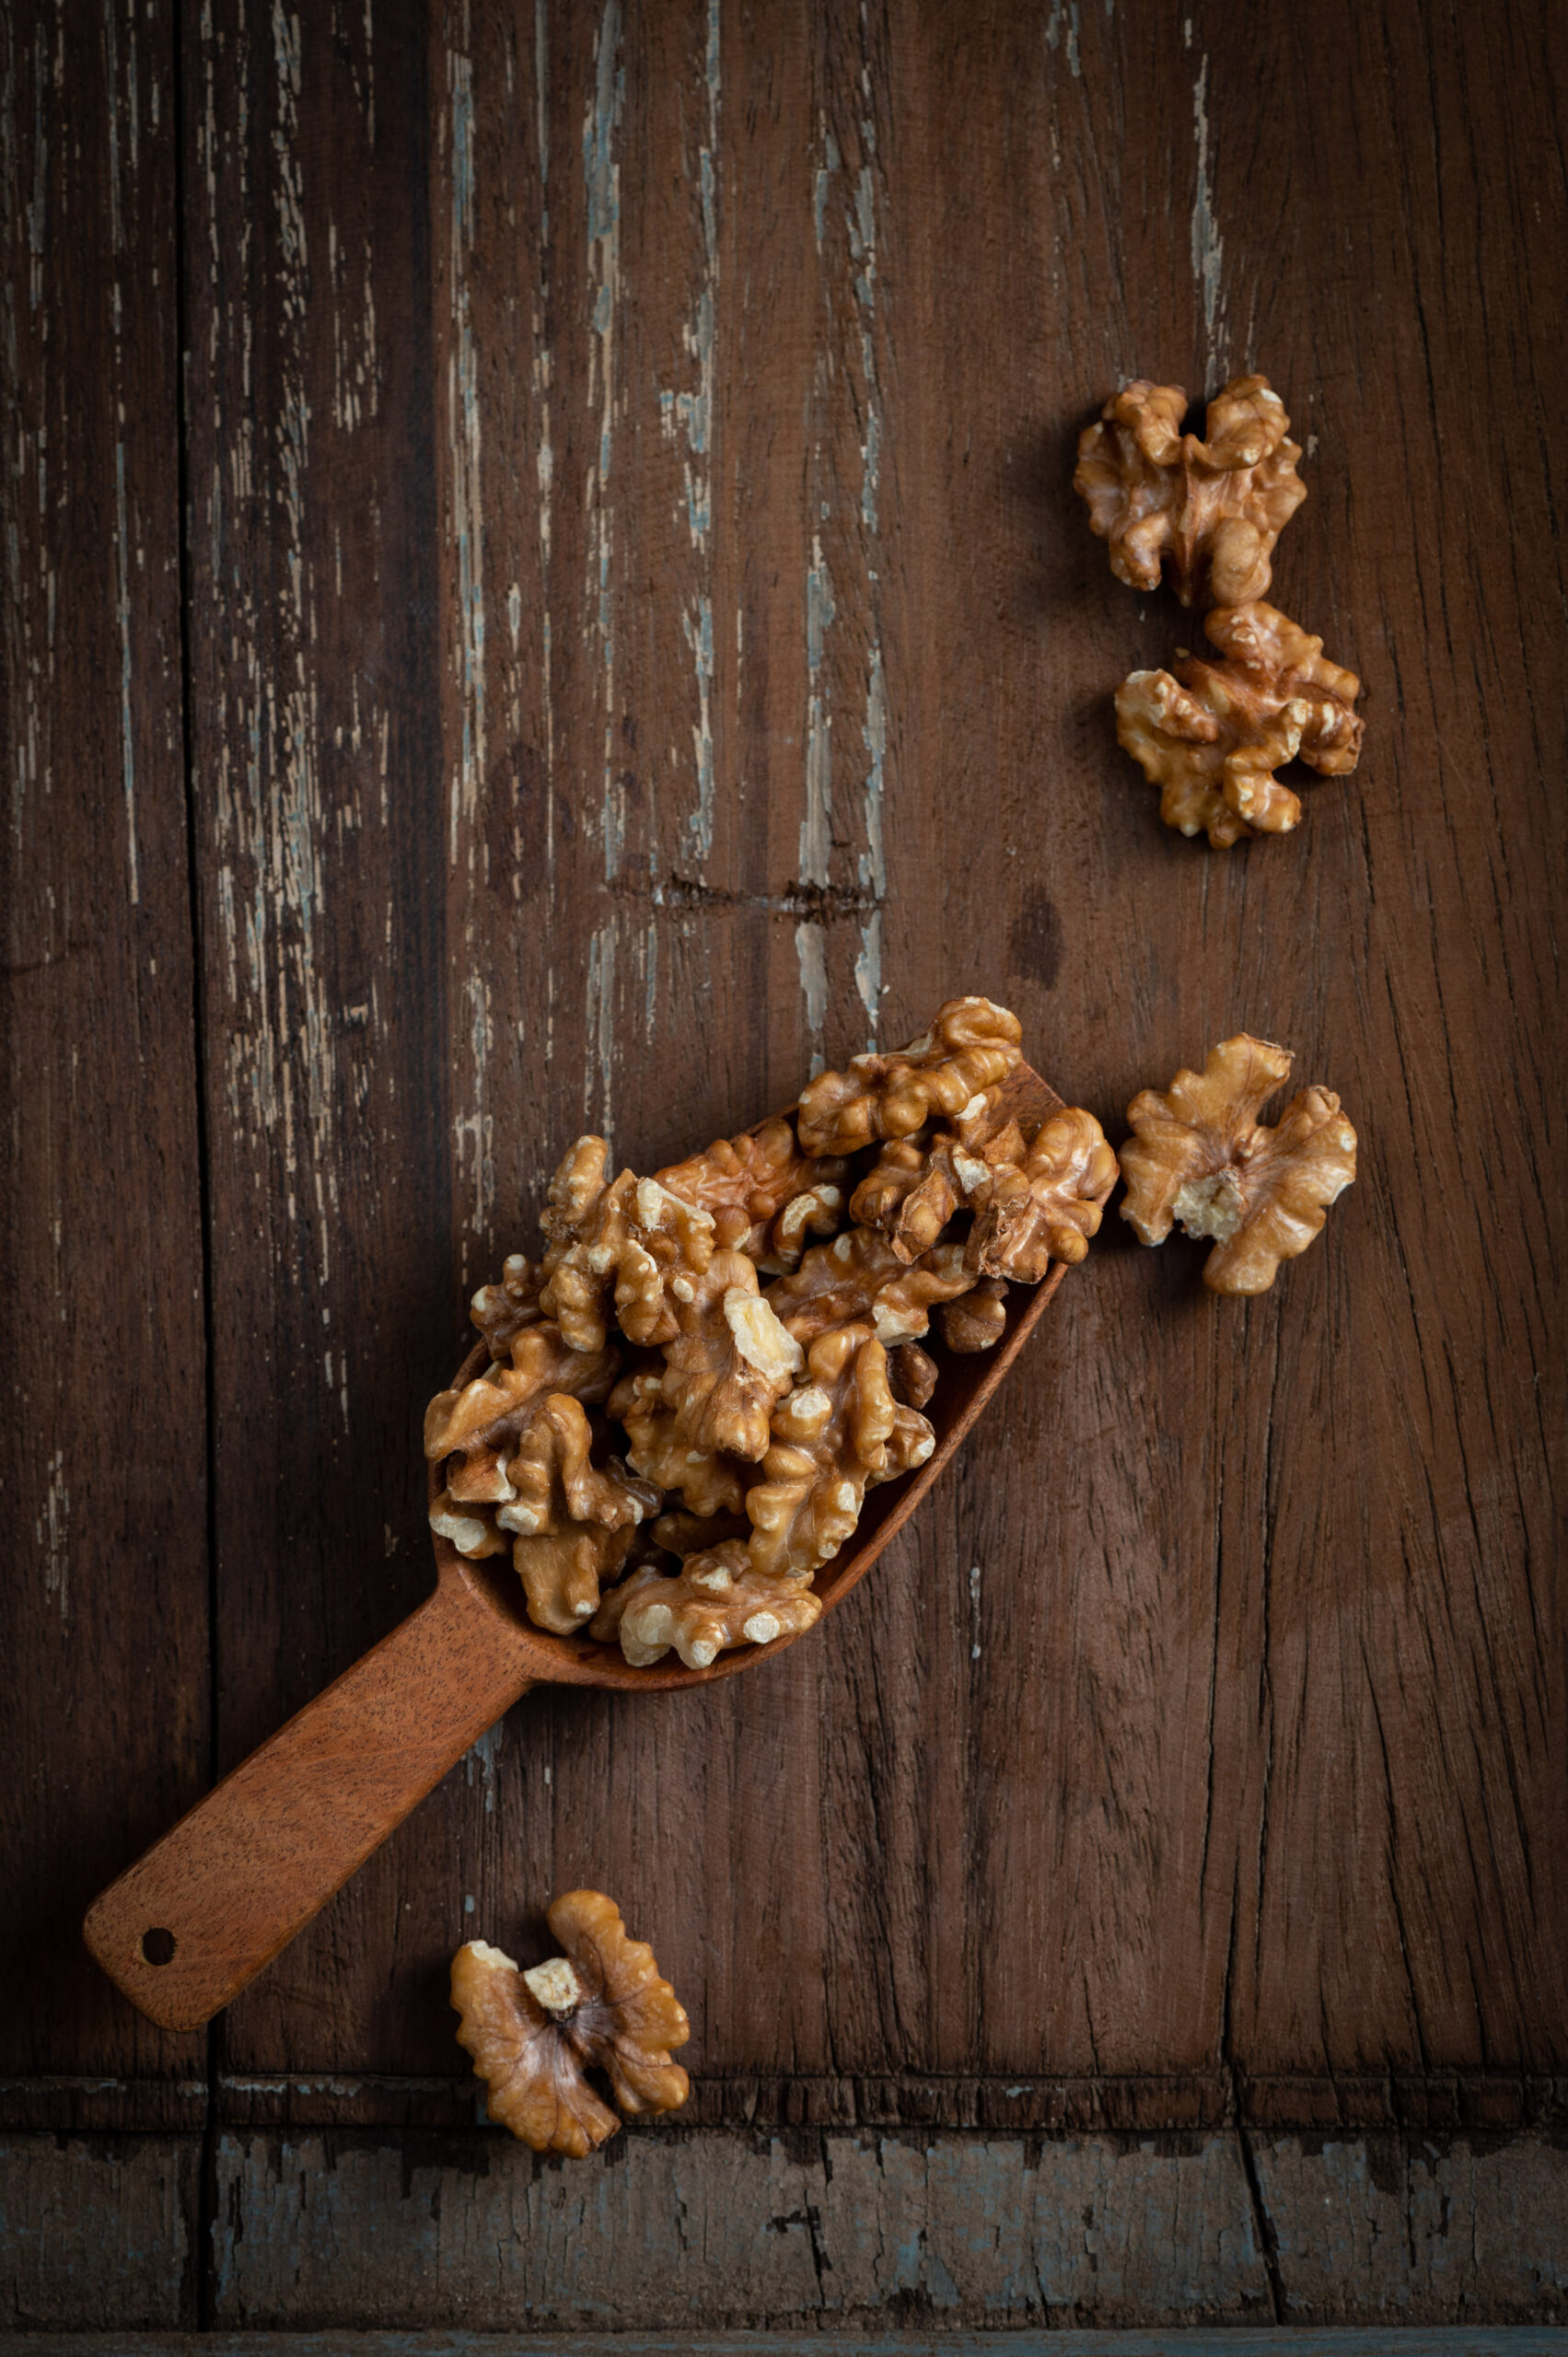
I was able to source the walnuts easily, and I think you should be able to as well. For some reason, while walnuts may be the healthiest option, I find that many seem to favour almonds or pistachios. I enjoy them all. I prefer buying whole walnuts, cracking them open myself, as I think the chances of them getting rancid sooner reduce by doing so.

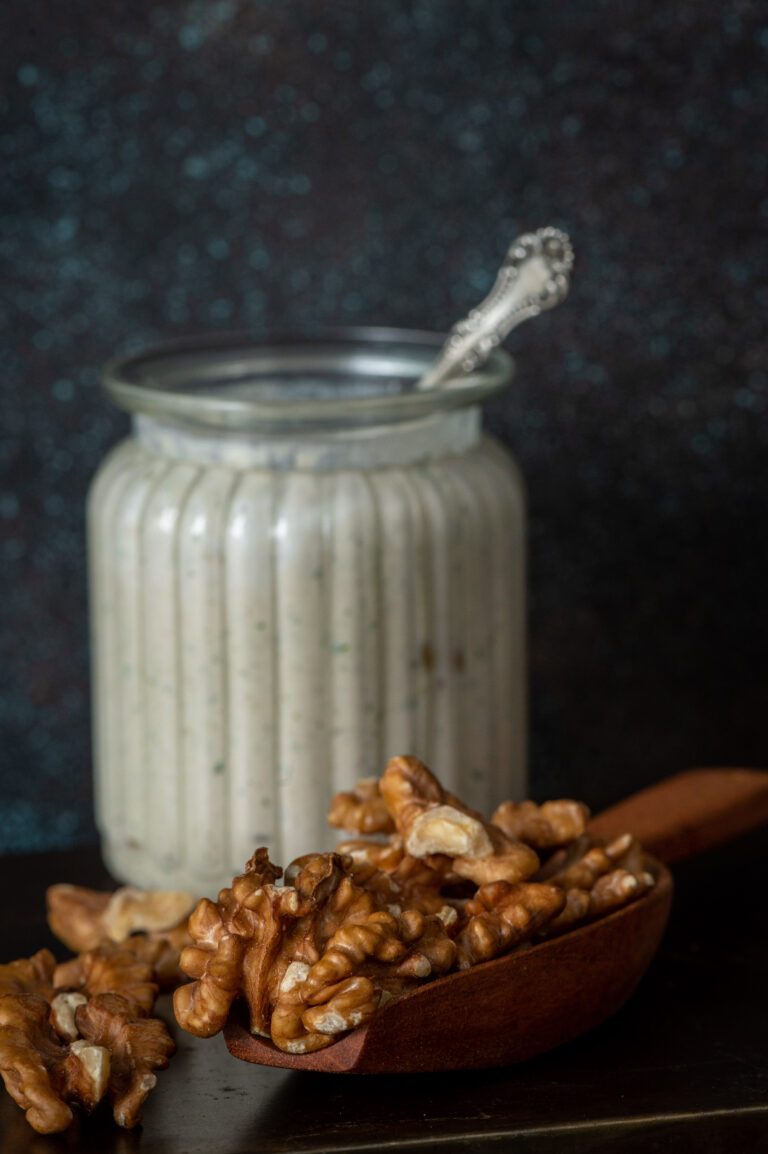
I use this walnut dip as a spread on sourdough bread, and I think it will go nicely on a cheese platter too. Or else with sliced fruits, such as peaches, or rice or other kinds of crisps. I think it could also work as a meal condiment. I’m excited about trying out these variations. How will you use it? I’d love to know.


Walnut Dip

(Yield: 1 cup)

1 cup soaked walnuts

1 green chili

1 tablespoon grated red radish (optional)

Salt to taste

A pinch of pepper

2 tablespoons yoghurt

In a blender, add the soaked walnuts along with the green chilli. If you prefer, add some grated radish, along with salt and pepper to taste.

Blend well into a paste. Finally, add the yoghurt and whir gently.

Your walnut dip is now ready. You may wish to garnish it with a tablespoon of olive oil. Enjoy it as you please.

I certainly have been enjoying it, along with my memories of a special trip. If you can, I encourage you to visit Kashmir to explore its beauty and diversity. In the meanwhile, I hope this walnut dip gets you dreaming too, as I do of my own next visit!

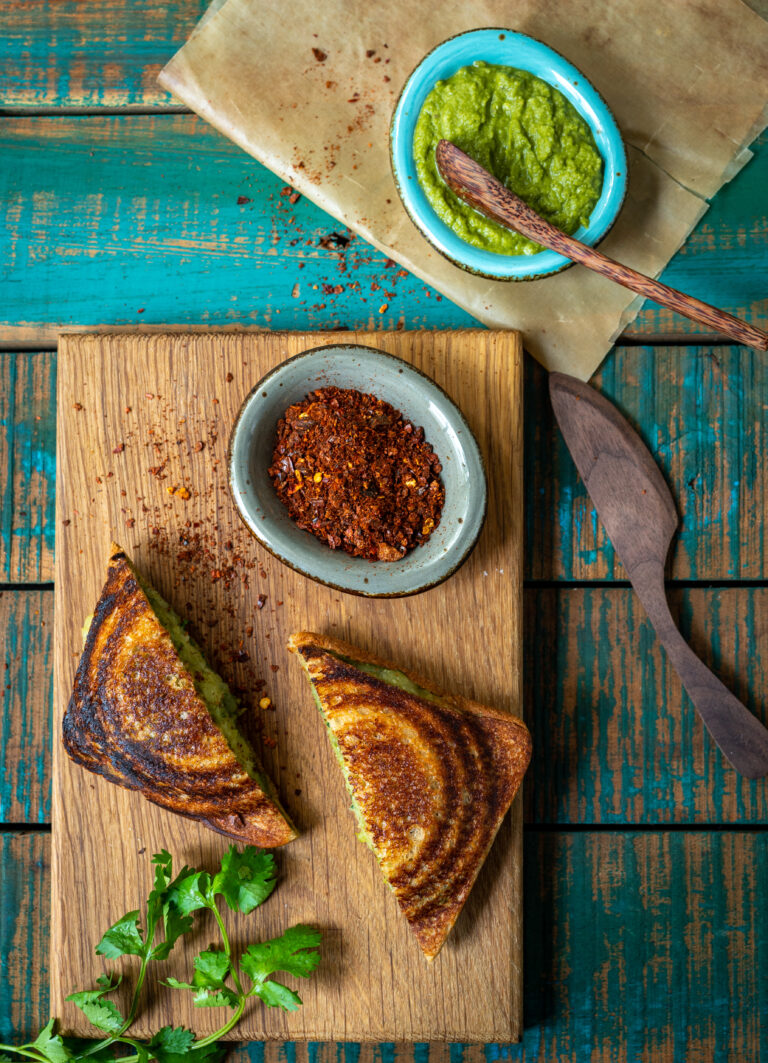
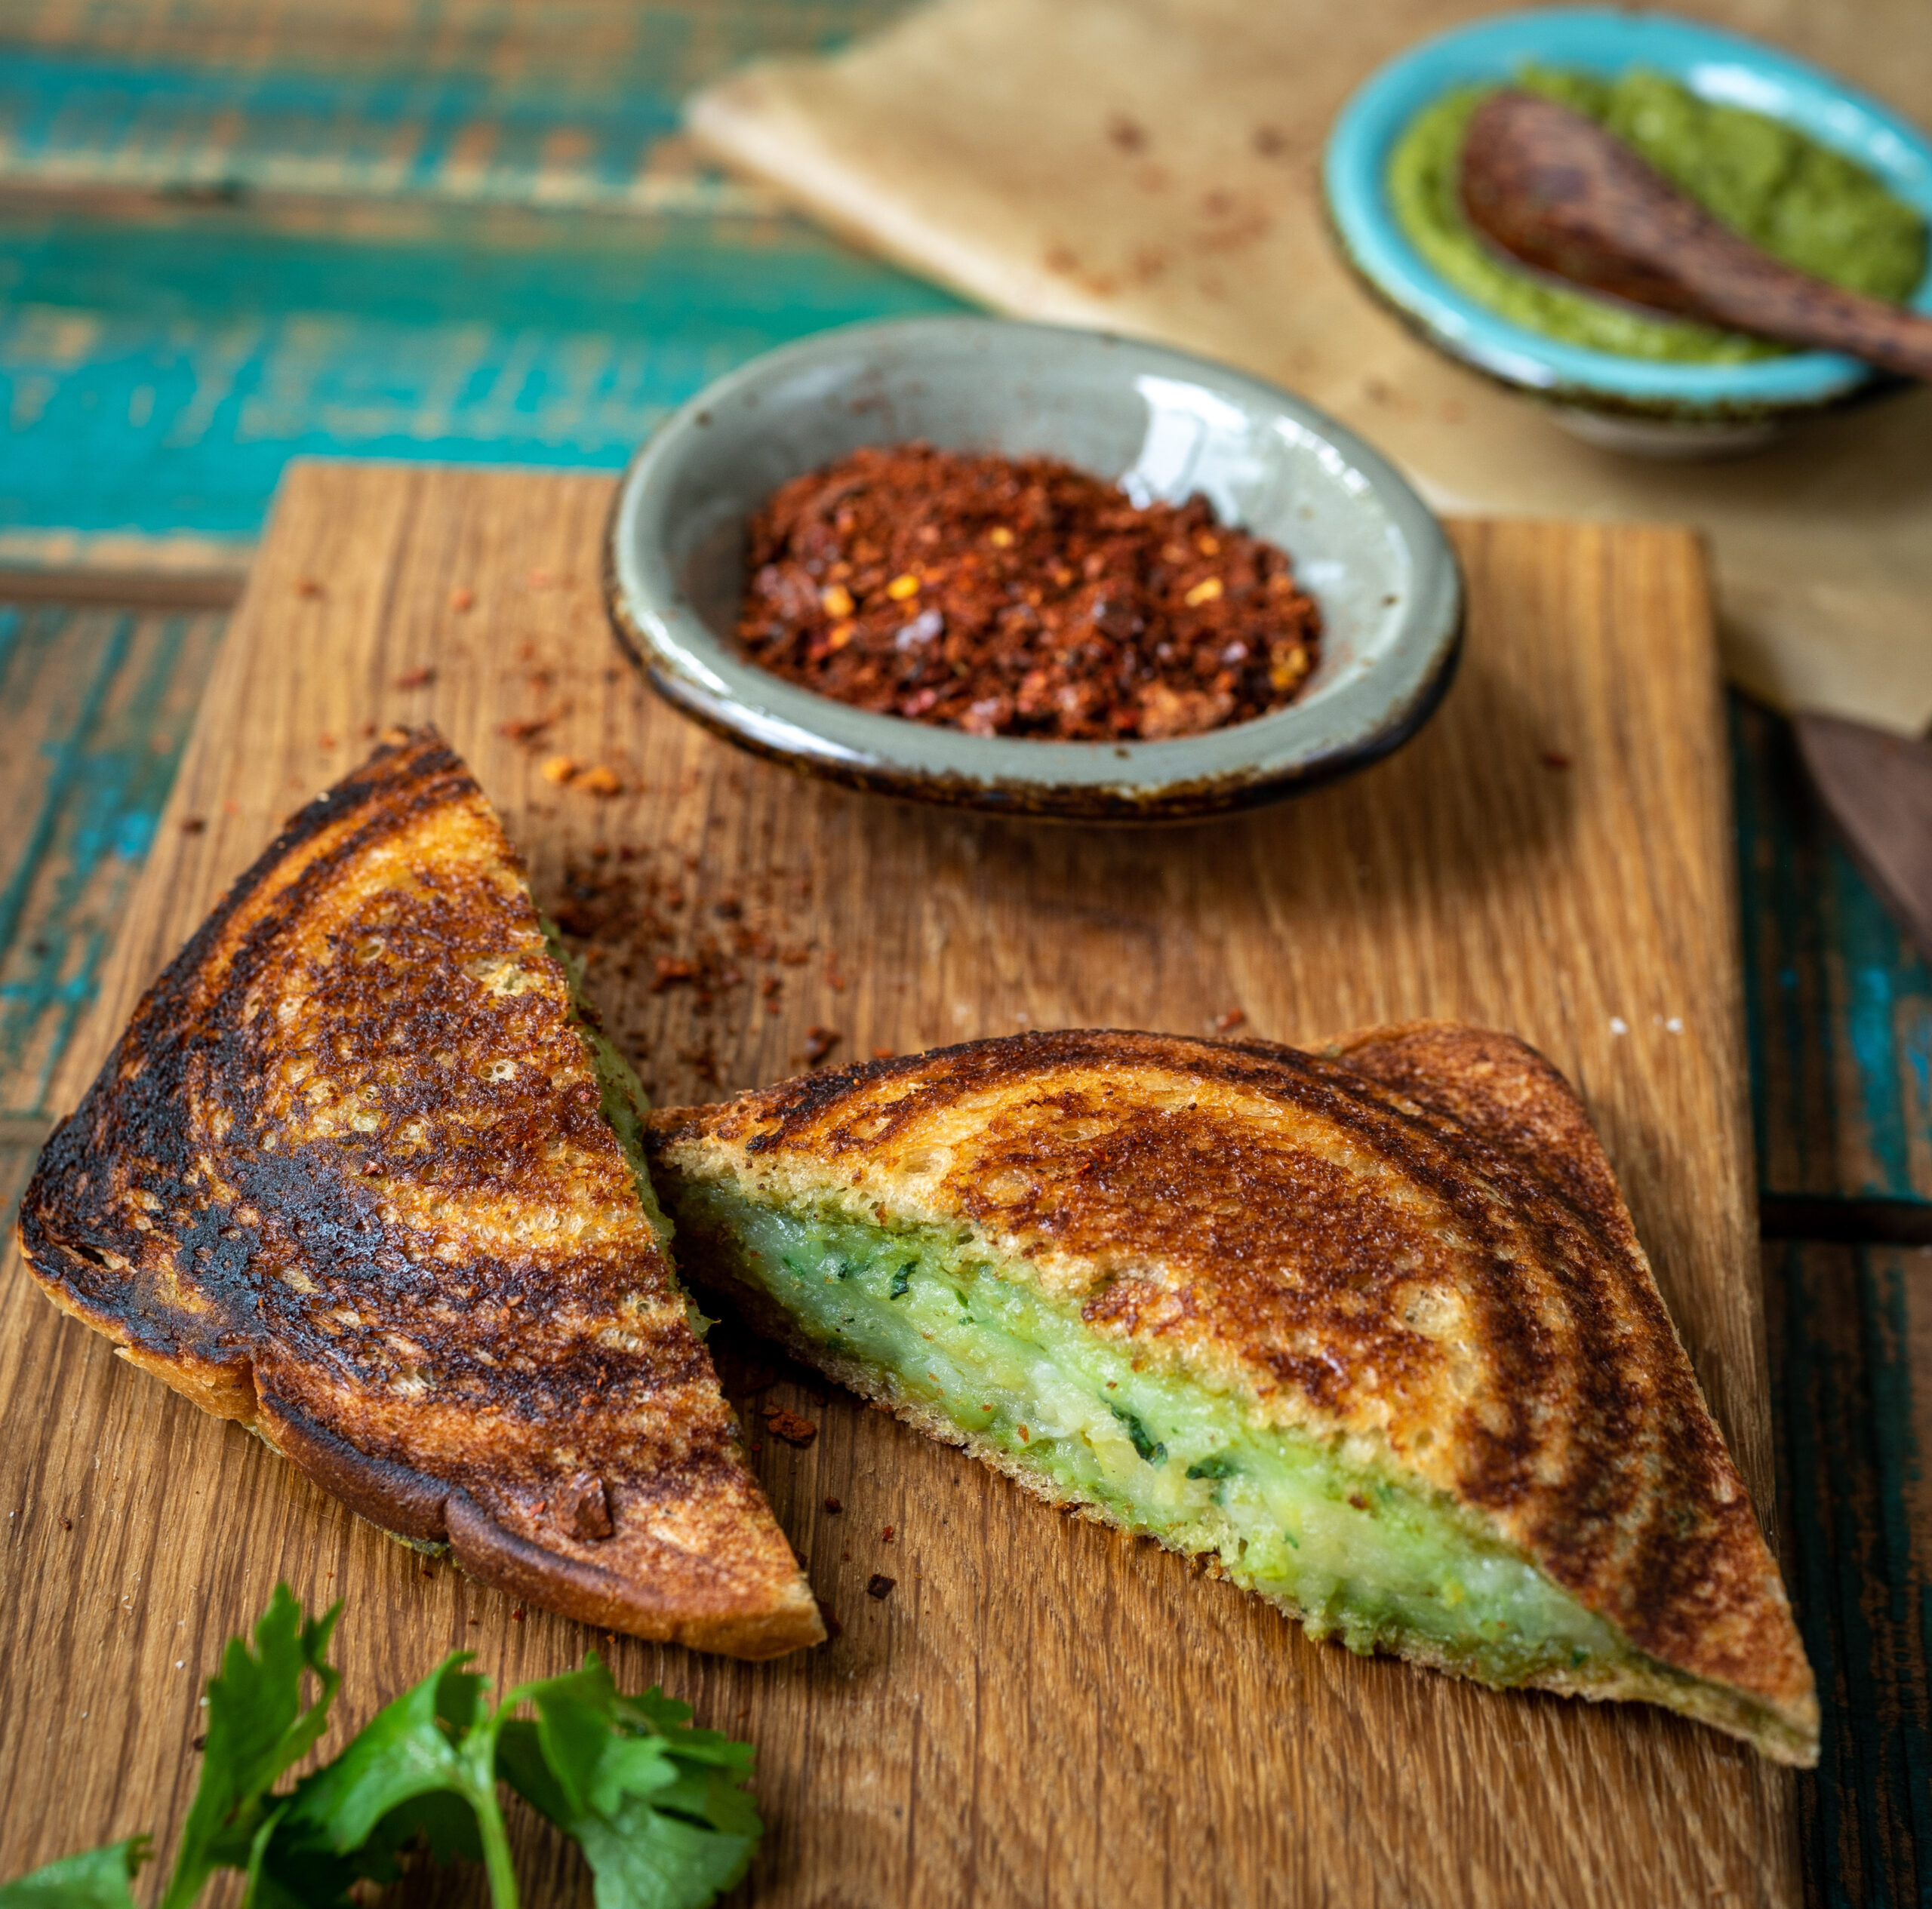
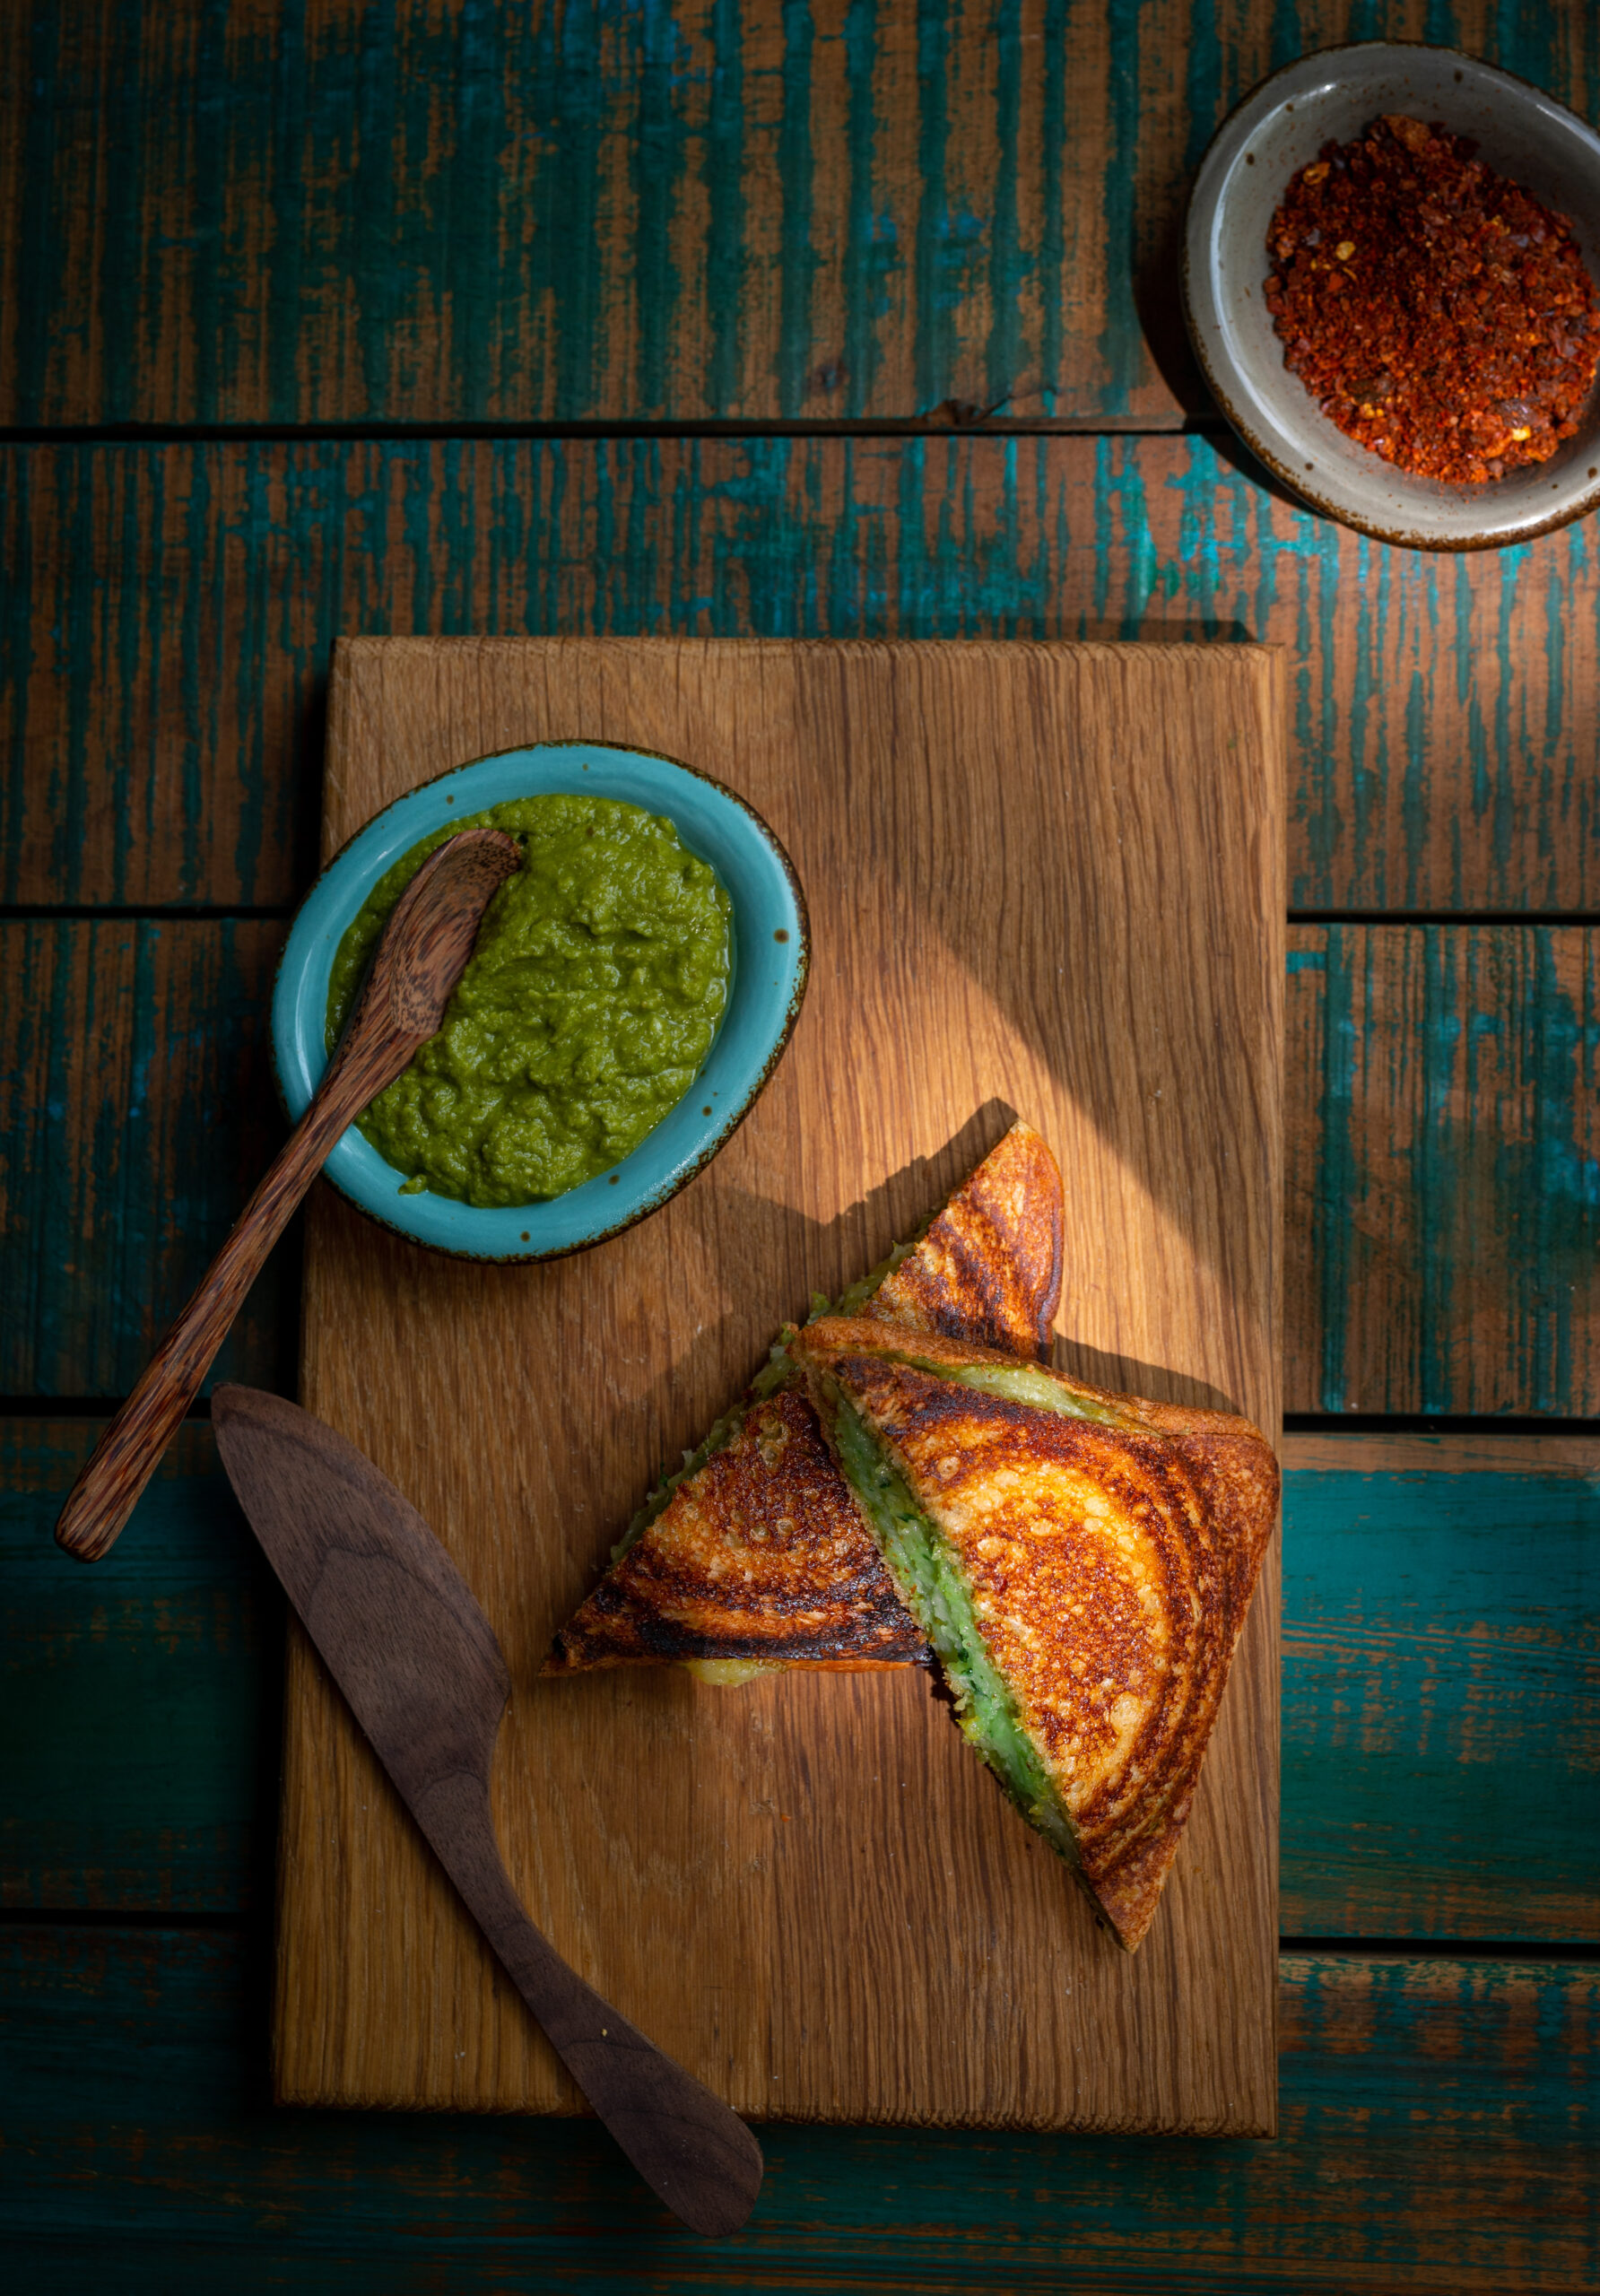
I believe that my passion for creativity comes from my mother. In my case, these pursuits include photography and food, both of which this blog is all about. The latter is certainly inherited from her. She was very innovative in the kitchen at a time when resources were not as abundantly available today as market options were more limited. We didn’t have the big fancy supermarkets that we do in India today, and the kirana shop down the road with its fluctuating stock was where we got our groceries. My mom had an incredible knack for preparing dishes with whatever was on hand, and this toasted aloo (potato) sandwich is another one from her repertoire.

Another aspect of life back then was that there were no cellphones or constant connectivity, which meant that guests often dropped by unannounced, usually around tea time. So there was always a need to know just what to whip up in case company arrived suddenly. The criteria: the snacks had to be easy to prepare and only use basic ingredients that would reliably be on hand. The great thing about this toasted aloo sandwich is that it didn’t just meet those requirements, but also looked quite glamourous. As I’ve mentioned before, I think sandwiches are a part of Indian cuisine thanks to the club culture the British brought, so bringing them out at tea meant that charm came into the home setting too.

My mother would use the traditional hand-held toaster over the gas stove, which I have mentioned in the past. For me, there is quite a lot of nostalgia associated with simple dishes like this one. I like regular white bread, toasted and warm, for this one as it’s a part of my childhood. The dish has a very Indian feel to it overall, similar to a Westernized aloo paratha both in taste and comfort level.

Nostalgia, paired with novelty, is one of the reasons why I sometimes host sandwich parties in my home. I have my friends over to enjoy a delectable spread of bread options, fillings, toppings and so on. They get to choose how they want to have their sandwiches, similar to having a personal pizza made on the spot. They can go with a quick fix, perhaps untoasted, if they arrive hungry. Or they can enjoy a more elaborate sandwich. For instance, they may want to have a really basic one decked up nicely with thinly sliced paneer, beetroot chutney, sweet potato or pea mash or other choices. Everyone has a favourite, and it is always fun to explore more.

On that note, here are some of the sandwiches and toasts that have made previous appearances on this blog, and I hope you’ll explore these recipes at leisure: tofu masala toast, pesto parmesan toastie, masala baked beans on toast, cheesy garlic sourdough toast, Bombay toast and cherry tomato yoghurt toast.

First, though, do try out this particular potato-based favourite of mine!

Toasted Aloo Sandwich

(Serves: 2)


4 slices bread

1¼ cups mashed potatoes

Salt to taste

1 teaspoon green chilli-ginger paste

2 teaspoons coriander chutney

Butter as required


Mash the salt as well as the green chilli-ginger paste into the potatoes. Mix well together.

Lay the slices of bread flat. Apply the coriander chutney on all of them.

Divide the potato mixture equally and spread it over 2 slices of bread. Then, place the other slices over these. Apply butter on the outside of the sandwiches.

Toast until golden. That’s all there is to it – a very simple, but totally tasty sandwich. Enjoy!

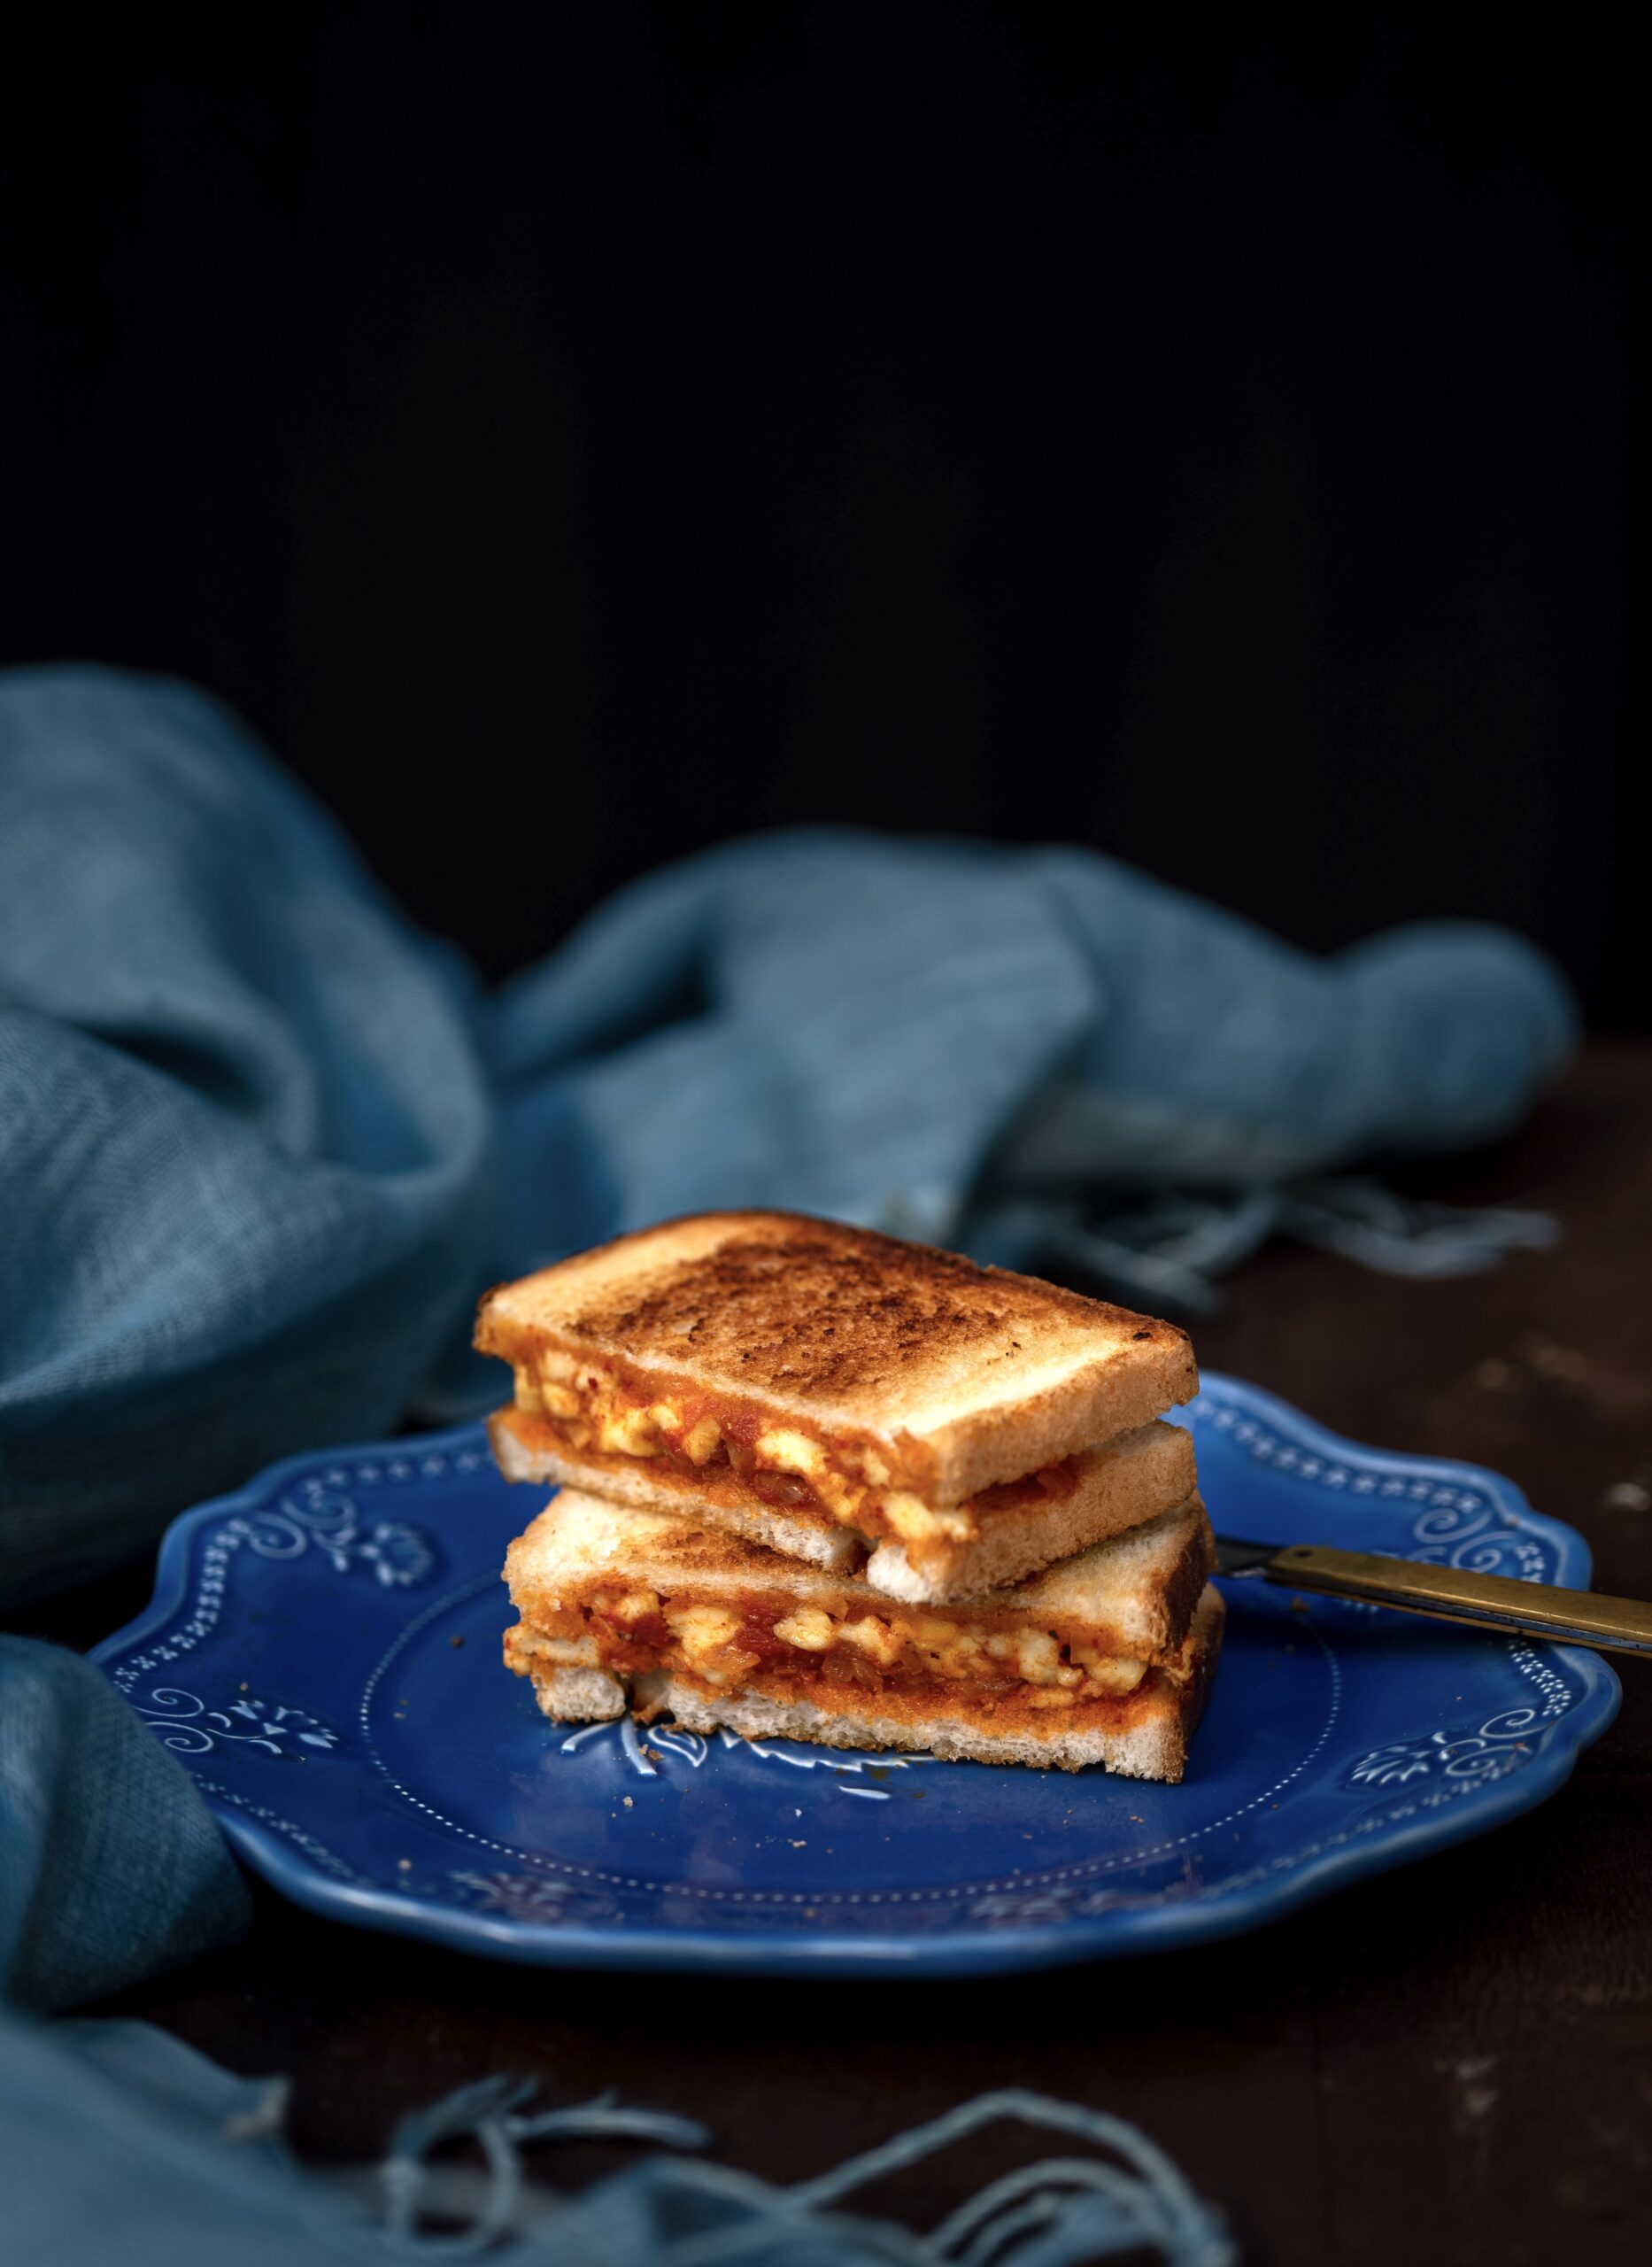
I think Indians are very innovative when it comes to toast making. It’s funny because bread isn’t actually a staple here, and neither is it local. But I have learned that we will put anything between two slices of bread. Remember the recipe of the iconic Bombay toast that I shared a couple of years back? And then there was a whole slew of my own tasty toast-related experiments: cheese-garlic sourdough toast, pesto-parmesan toast, cherry tomato-yogurt toast and masala baked beans on toast. The last one on that list is similar in concept to the recipe I’ll share today, which is an Indian-style tofu masala toast, a variation on a paneer toast. With bread borrowed from Continental cuisine and tofu from Asian cuisine, and spicy lashings of masala from India, this becomes a wonderfully international fusion sandwich.

There was a point when I ate paneer quite a lot as it is high in protein. But I was aware that the dairy quotient was also high, and slowly started tapering it off. I’ve been trying to avoid dairy, as you may have noticed from various vegan-friendly posts, and decided to use tofu instead.

I should say that I’m not averse to paneer at all. It’s a classic ingredient of Indian cuisine, and it’s a big feature in everything from this soft Bengali sweet to my son’s favourite dish of all time. It’s just that I found myself switching my paneer out for tofu in this recipe, and it worked beautifully. If you are neither vegan nor vegetarian and want to notch up your protein consumption, you could use a boiled egg as the main protein too.

Here, I have used regular sliced white bread, not the sourdough that I make very often. If I use sourdough, I tend to make open-faced sandwiches. Sourdough has a rustic feel and the slices are necessarily thicker, so one slice is sufficient for any toastie made with it. When it comes to sandwiches, the toppings or fillings you use are also what help you decide about how to prepare the toast itself. For instance, the Bombay toast is best on a hand-held toaster that is kept hovering over a flame, and that remains my favourite way of making closed sandwiches. I sometimes use a waffle maker too. For this recipe, I feel it works well as a grilled toast. See what your own preference is, and toast it your way.

I tend to enjoy sandwiches most on days when I find myself really hungry at around 5 in the evening, after having had an early lunch. This tofu toast is very filling, and I make it at that time. I can usually skip dinner after that.

Sandwiches work great for kids and for kids’ lunchboxes too, which reminds me of how there were plenty of them consumed during my own growing years. As I’ve shared many times, I got some of my cooking skills from my mother, and she was quite creative in the kitchen. Bombay toast was by far the most popular in her repertoire of sandwich making, but she made so many varieties for us when we came home from school. Potato masala was another favourite. Sometimes, she would just layer thin slices of different veggies with cheese – the cheese would melt and hold it all together, and this particular sandwich was a great attractor for us. It was called a club sandwich.

In fact, I think that the popularity of clubs is the reason why toasts are so popular among Indians. Club culture in India is a remnant of the British era, and the menus always featured items from that cuisine – sandwiches among them. The club culture of my childhood was a family vibe, and not remotely like today’s nightlife clubbing. In those days, the club was a place we went to together, a safe and happy environment in which the kids could hang out, the dads could have a drink together, and the moms could catch up with their friends. I’m sure this must have popularised toasts in general among my generation. I must admit that those sandwiches somehow did always taste better at the club, even though such care was taken at home to ensure the vegetables were clean and the chutney was wholesome, but somehow… Of course, this is true of street food too. But that doesn’t mean that we can’t make almost-as-delicious dishes ourselves, too!

Indian-Style Tofu Masala Toast

(Yield: Serves 2)


1 dollop butter

1 tablespoon oil

1 cup onions (finely chopped)

½ tomato (finely chopped)

2 tablespoons tomato paste or purée

1 teaspoon green chilli (finely chopped)

1 cup cut tofu

Salt to taste

1 teaspoon chili powder

½ teaspoon cumin powder

½ teaspoon coriander powder

½ teaspoon sugar

4 slices of bread


Toast the bread slices lightly. Set aside.

In a pan, add the oil and the butter. Next, add the onions and green chilli. Sauté until tender.

Now, add the tomato and all the spices. Stir and then add the tomato paste or purée. Stir until it all comes together and is nicely sautéed.

Then, add the tofu. Stir gently. Make sure that all the masala and veggies come together with the tofu. Your filling is now ready.

Divide the filling into 2 portions. Fill one side of a toasted slice with the filling and close with another toasted slice. Butter both sides and place on a clean pan. Allow to turn crispy and golden on both sides. Repeat with the second sandwich.

Your Indian-style tofu masala toast is now ready. If you prefer, serve with a sauce or chutney of your choice. Let me know what you decide to accompany it with; I’d love to try that out myself!

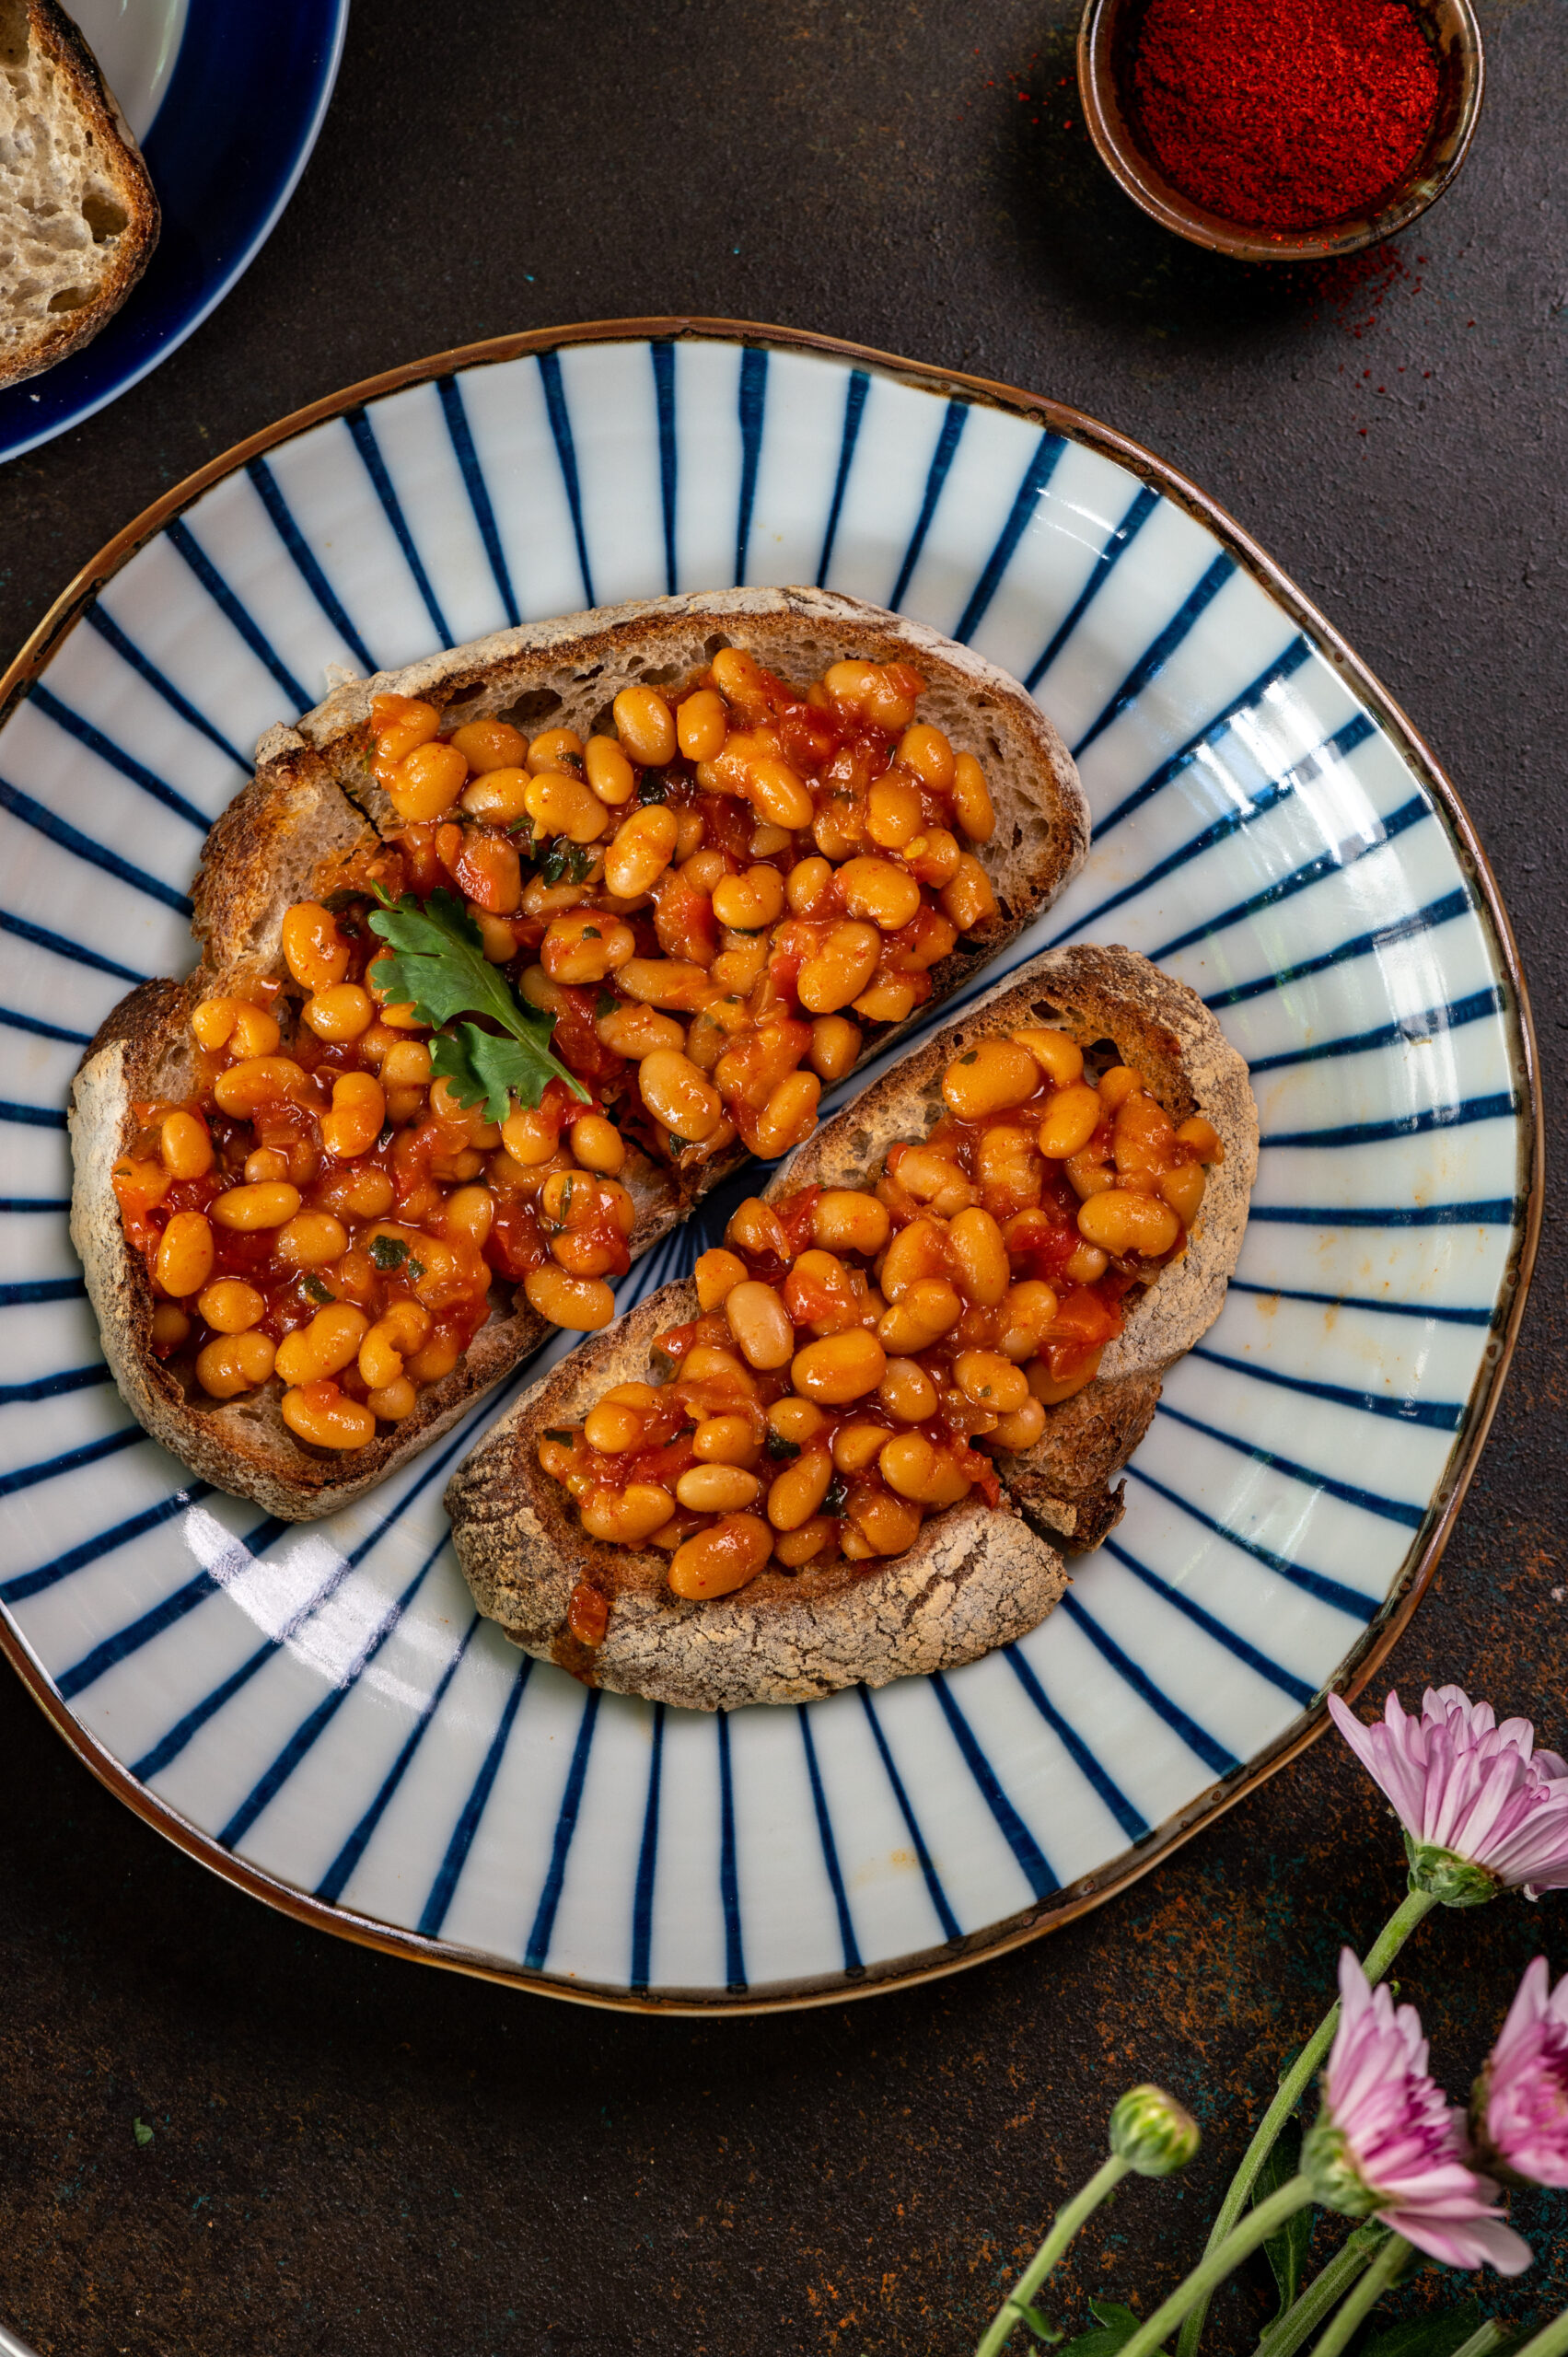
Growing up in India, baked beans and eggs were one of the few non-traditional breakfasts that we ate at home. While eggs were easy to come by, and provided a necessary source of protein for us as kids (we were otherwise vegetarian), cans of baked beans were not as readily available. Whenever our parents managed to find them in stock while purchasing our groceries, my siblings and I would know that there would be a very special breakfast the following day, and would eagerly anticipate it. All three of us craved those delicious canned beans. There would never be any for our parents as we would finish them off between us, often fighting over them too! Memories of those childhood mornings inspired me to create homemade, Indian-style masala baked beans – served, of course, on my beloved sourdough toast.

My brother was a rower at a national and then a professional level, and I looked at him in awe for this and many reasons. His diet was naturally that of an athlete’s, and when those precious cans came our way he would make a claim on how he deserved the biggest share for this reason. There would be arguments over the baked beans at the breakfast table, but in the end, we all got a good portion. His was quite a large one, of course. Watching my brother wolf down six whole eggs and a bowl full of baked beans is still a sight I can conjure up before me!

Fast forward to the present day and canned baked beans are everywhere at any supermarket. They were off my menu at home for a long time as I tend to avoid food that is overly processed or contains too many preservatives. At one point, I even tried to soak the beans and make them myself, but never got around to doing it regularly. More recently, I’ve found that when I stay at hotels and head down to the buffets in the morning, the baked beans that are always a part of the spread often look so bland compared to the other items.

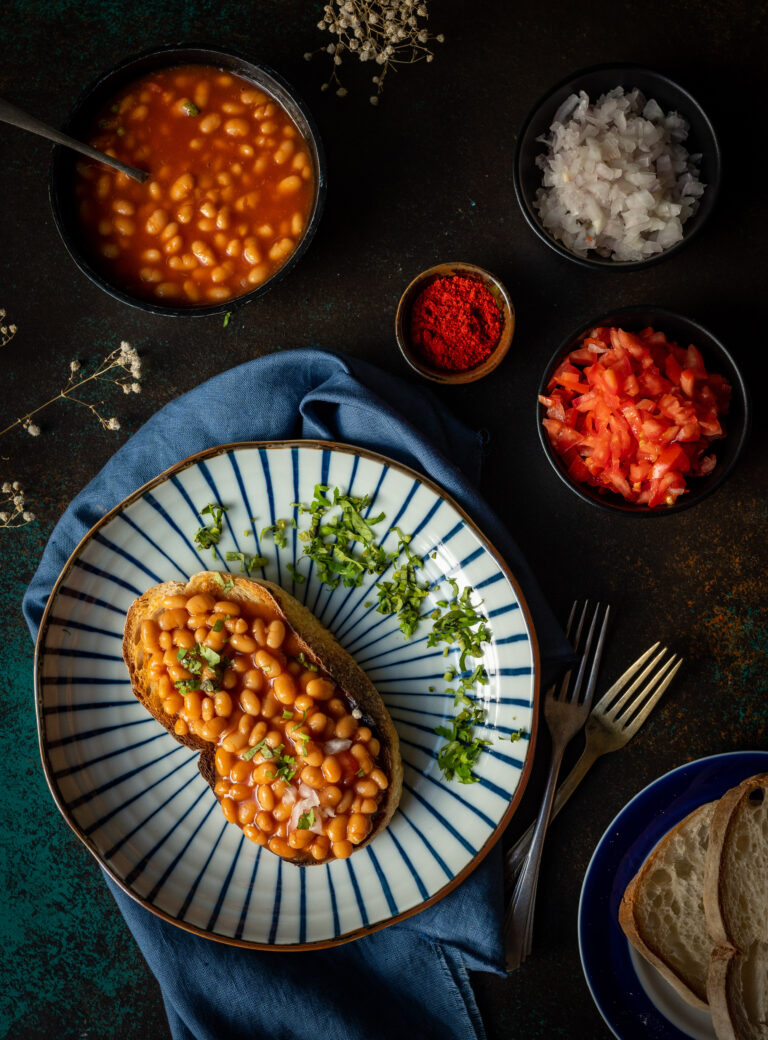
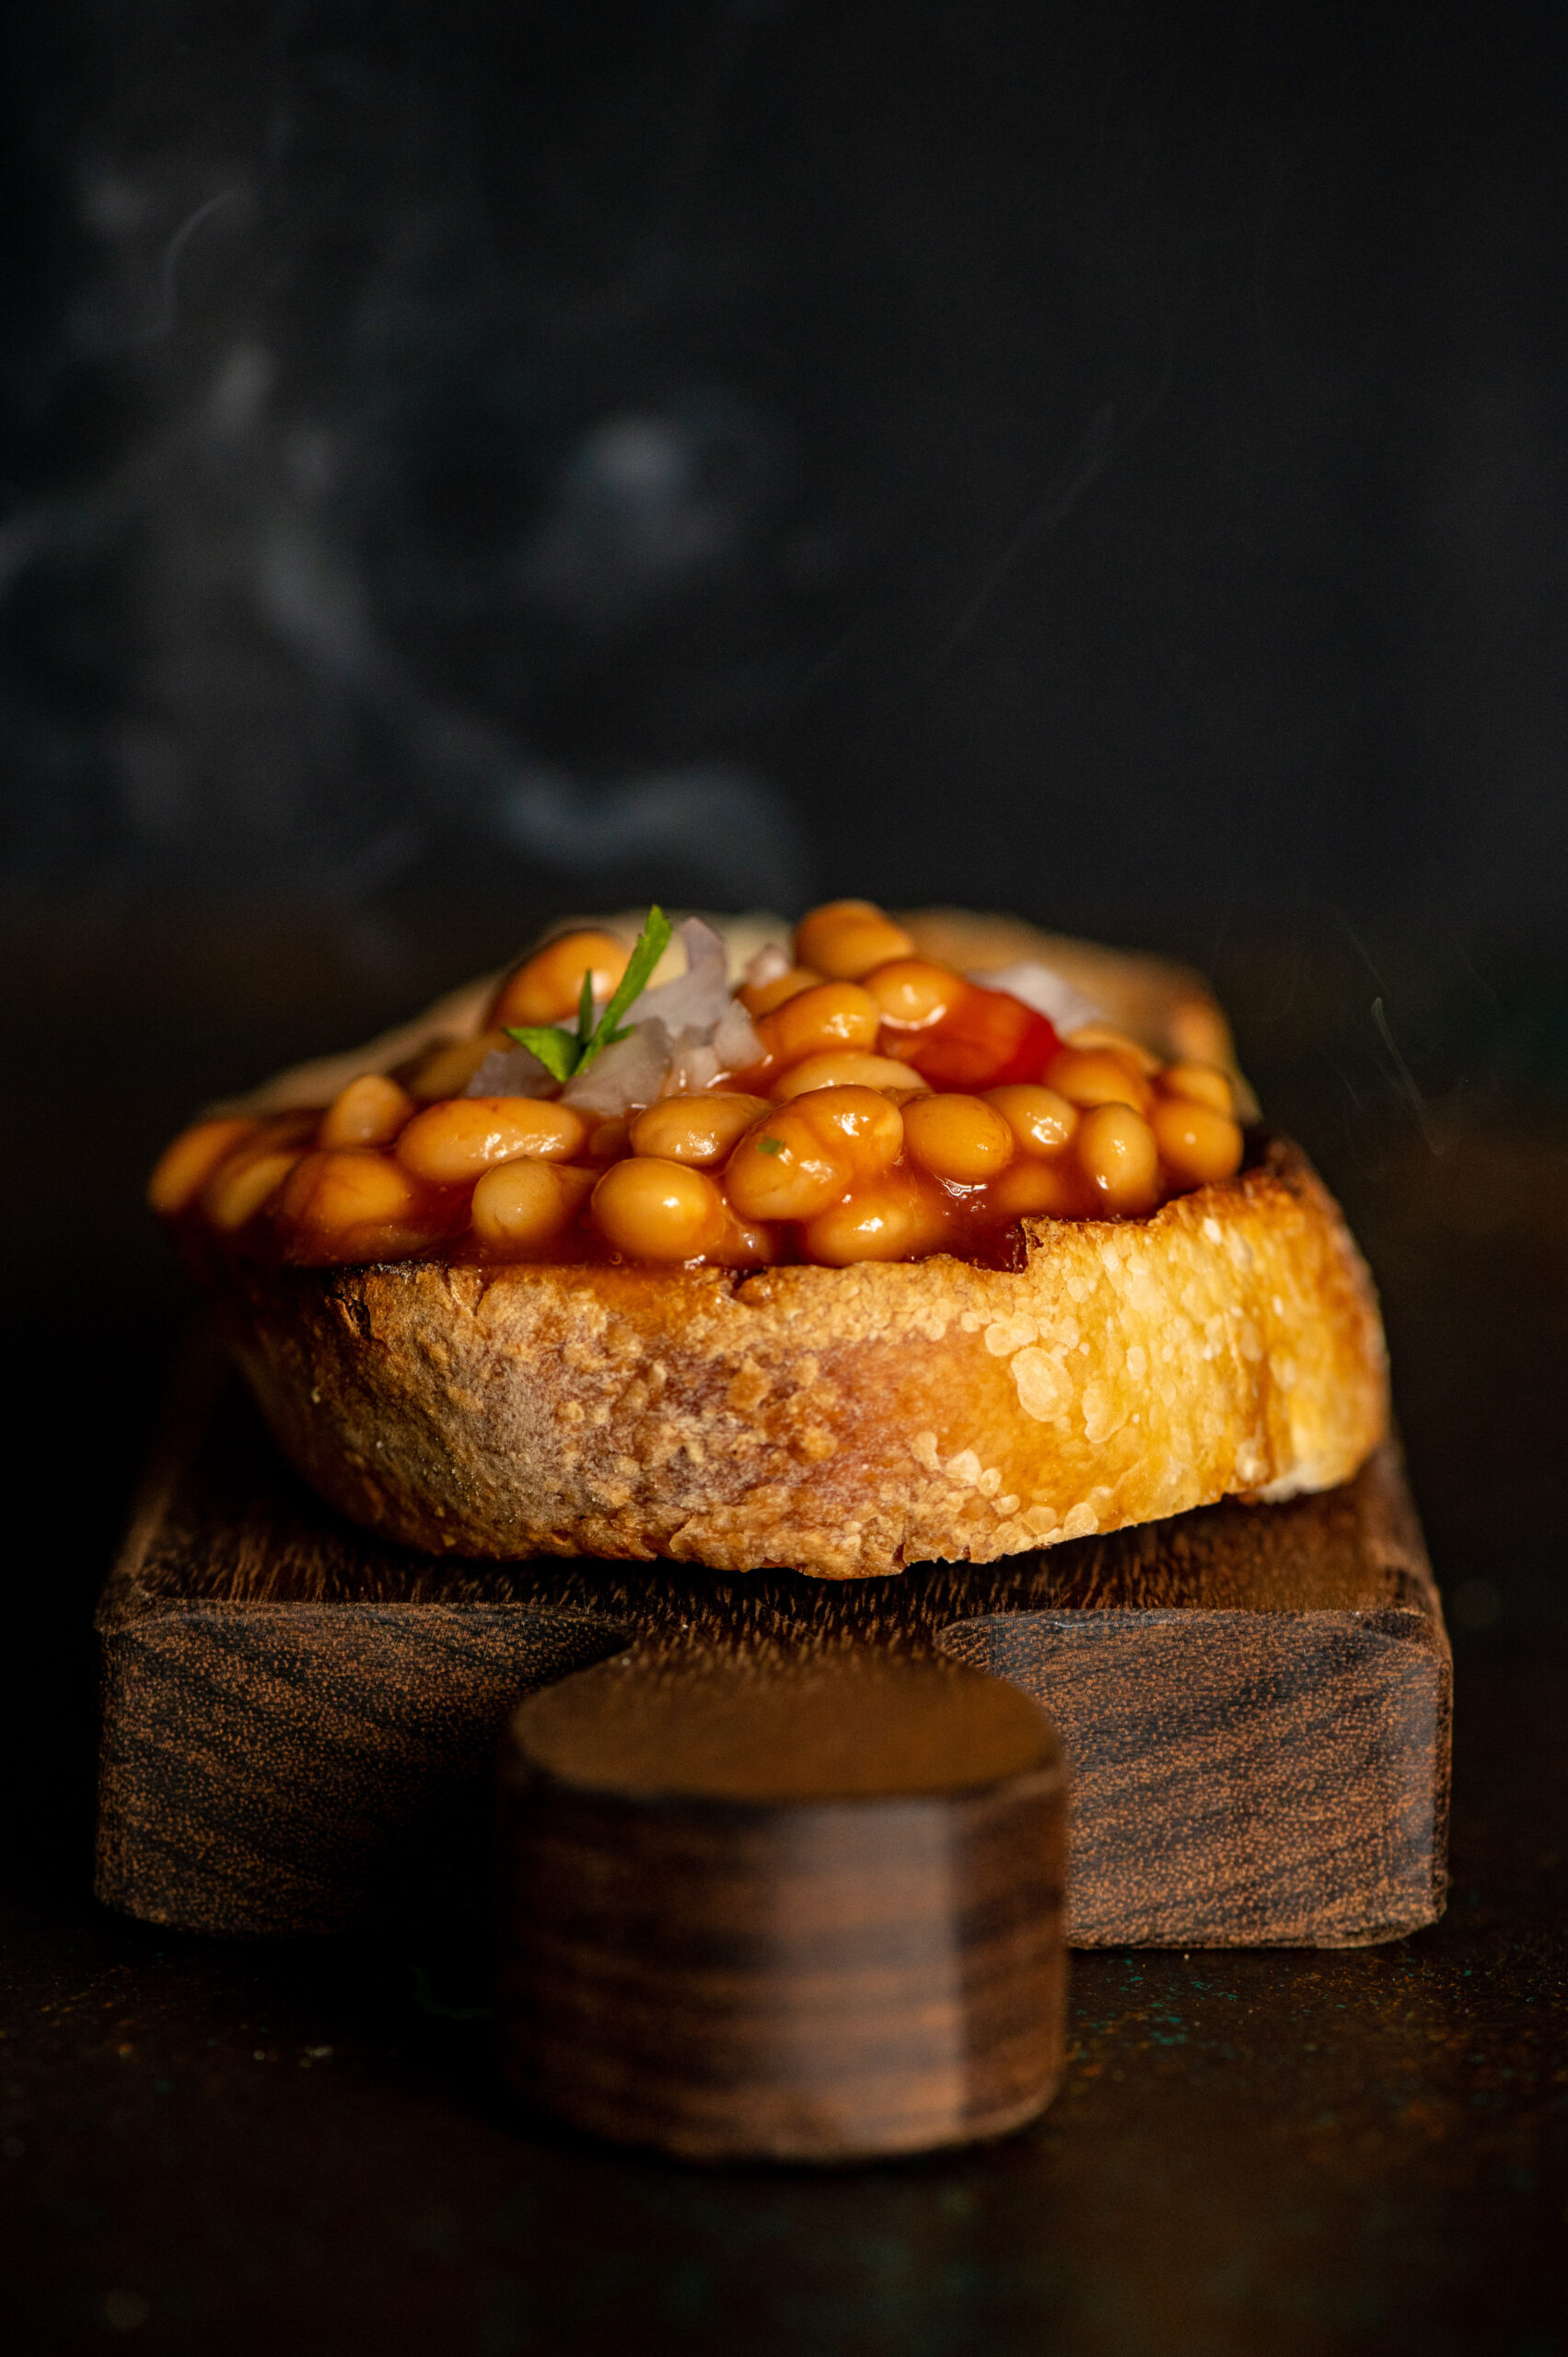
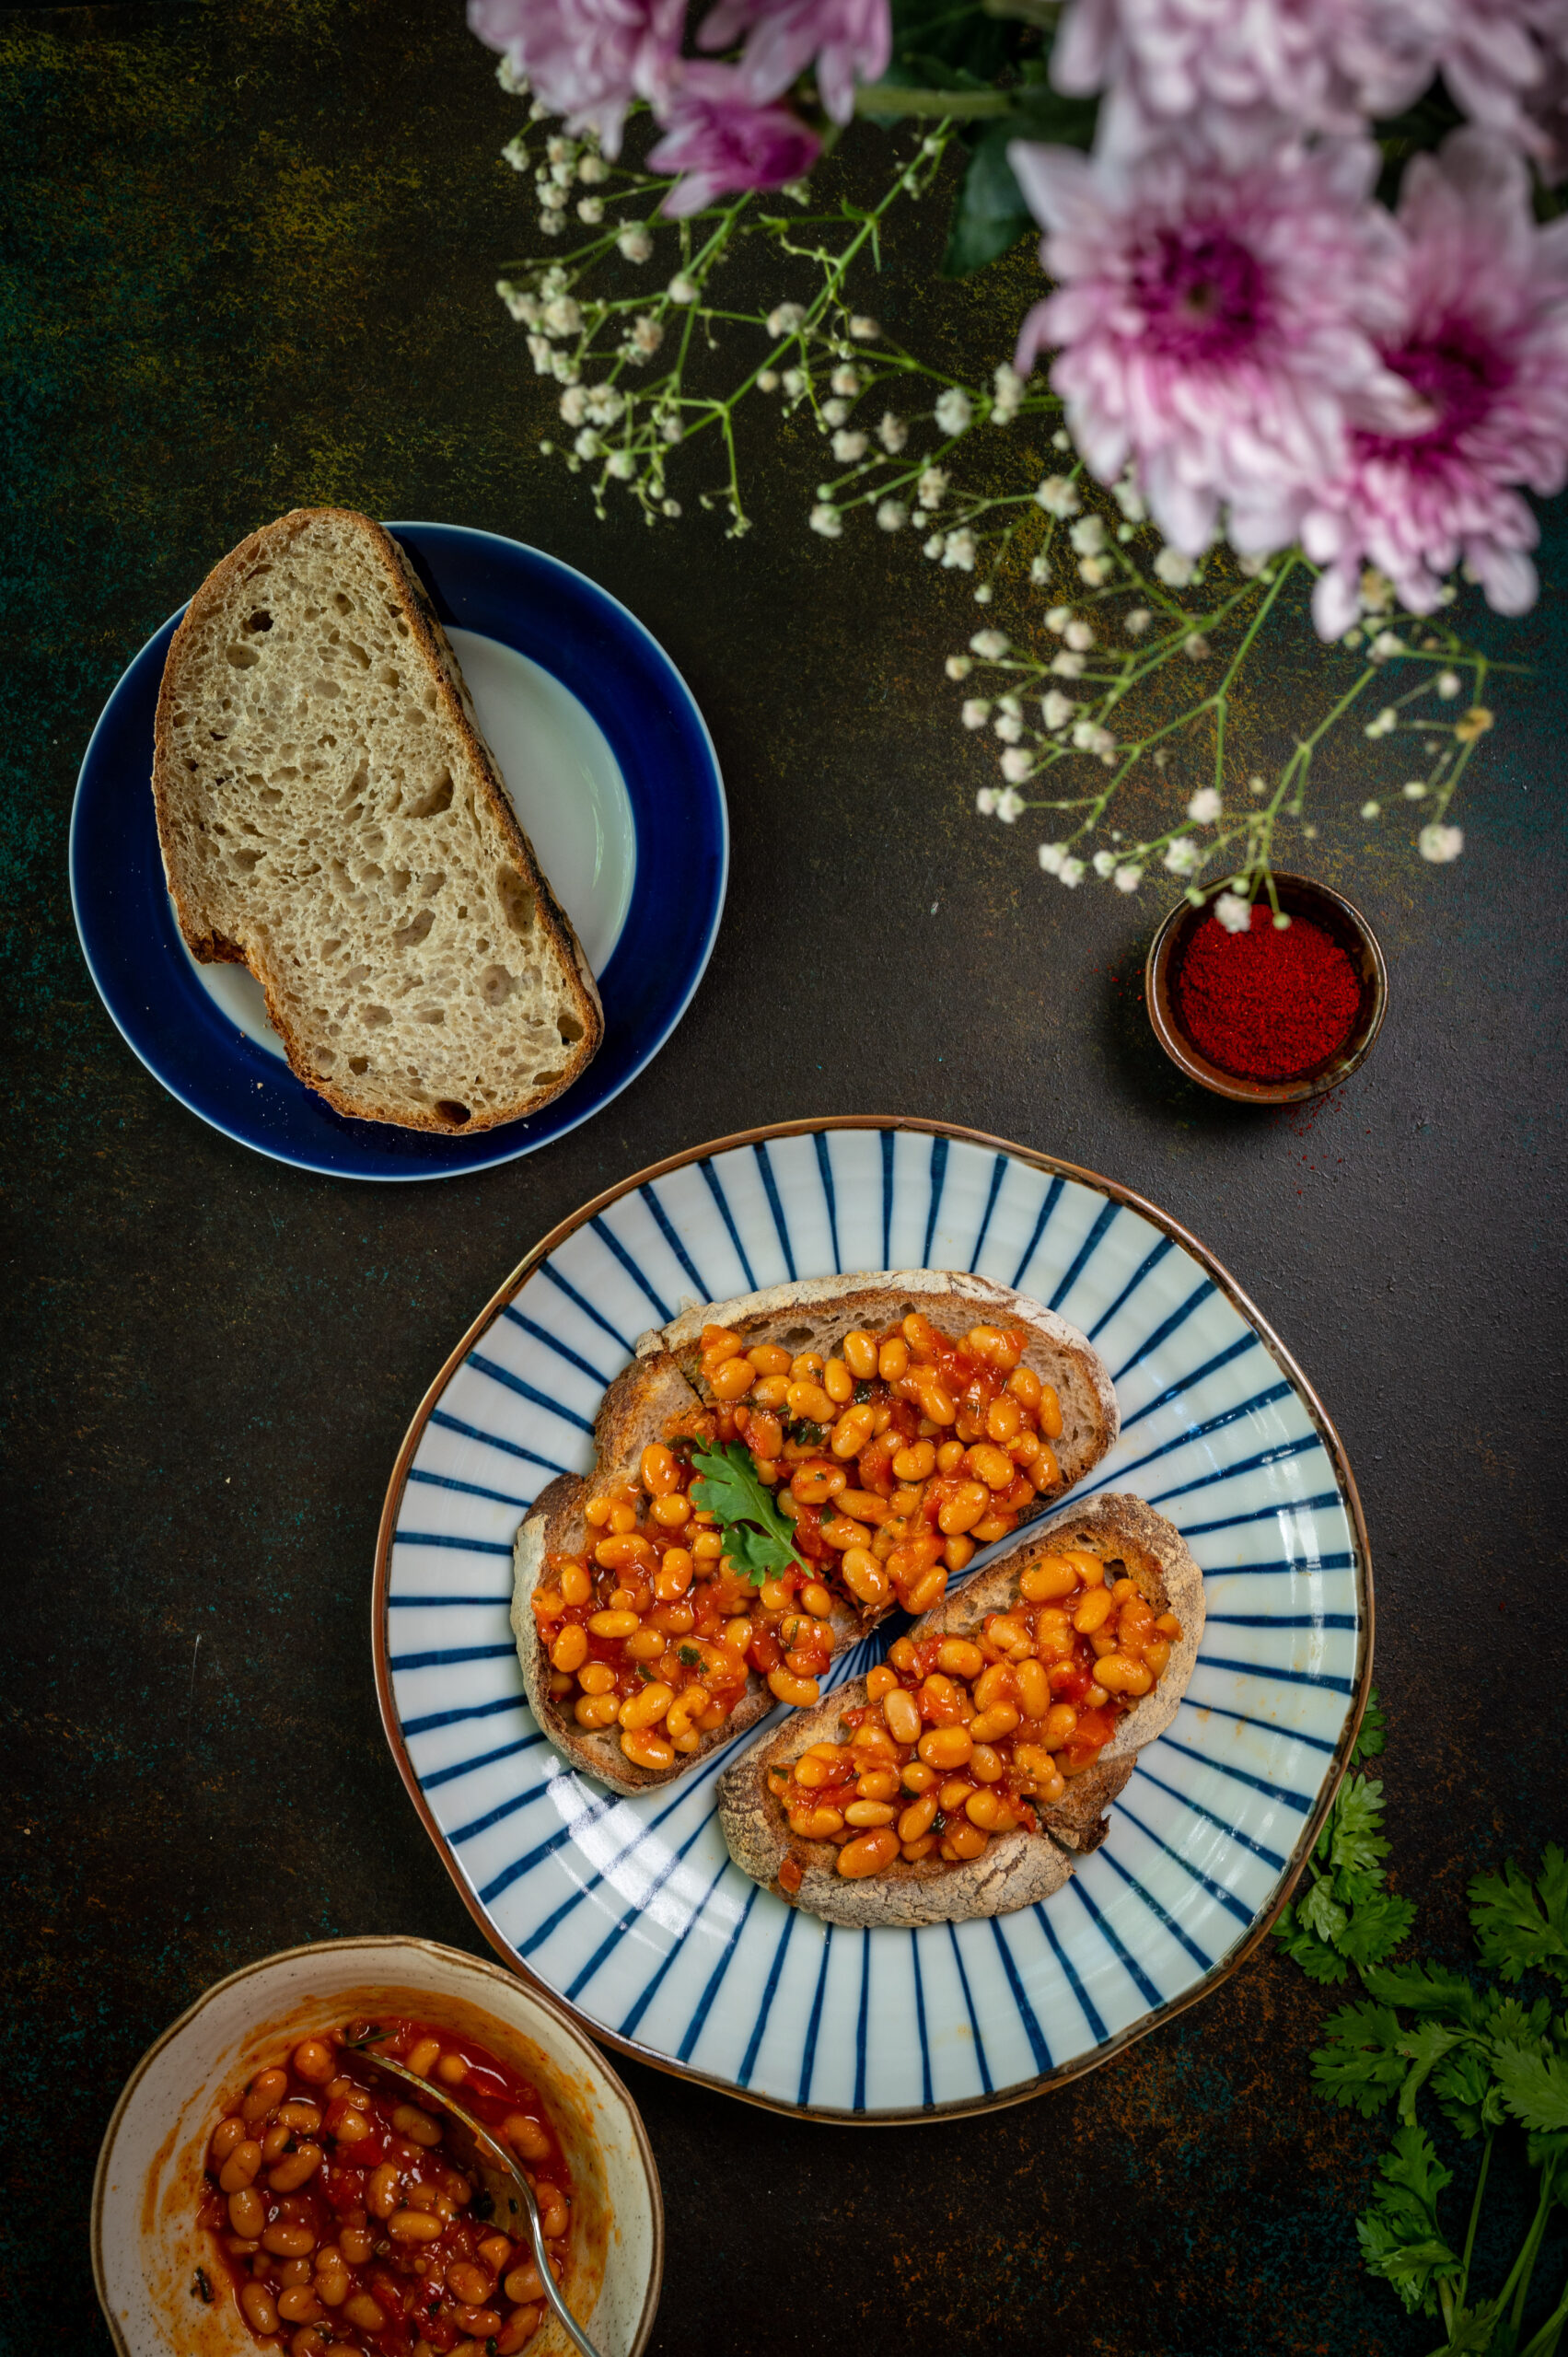
However, I’ve found a beautiful middle ground between my childhood memories of coveting baked beans to how they seemed to have lost their charm for me as an adult. That is by spicing them up a bit, making an Indian-style version that suits our palates. Using these masala baked beans as a topping for sourdough toast, which I bake regularly as you may know, turned out to be a great idea.

While my morning protein intake in terms of legumes had long been replaced by homemade moong sprouts, which are non-sweet and healthy, it was fun to bring this nostalgic dish back to my dining table. While pondering my own history with the dish, I also wondered when baked beans had come to India, and whether the British brought them here. To my surprise, I learned that the dish was originally Native American, transforming over time due to colonization, and later on through mass production in the 20th century. Would you know when they first came to India? Do you also have childhood memories of occasional days when an elusive can had been attained?

Masala Baked Beans On Toast

(Yield: 1 slice)


1 slice sourdough

1½ cups baked beans

½ cup finely chopped onions

1 tablespoon olive oil or butter

Salt to taste

1 teaspoon chilli powder

½ cup chopped tomatoes

¼ cup finely chopped coriander leaves


Heat the oil in a pan. Add the onions and sauté. Then, add the tomatoes and all the masalas (spices and condiments) one by one. Allow the mixture to bubble up.

Toast the sourdough bread slice and spread the masala baked beans over it. Be generous. Then, simply enjoy!

In case you missed it, my previous recipe was also a toast – a rather more exotic cherry tomato and Greek yoghurt toast to be precise! I hope you’ll check that out too. There will probably be a few more interesting toast toppings coming up on this blog soon, so I hope you’re in the mood for some fun breakfasts!