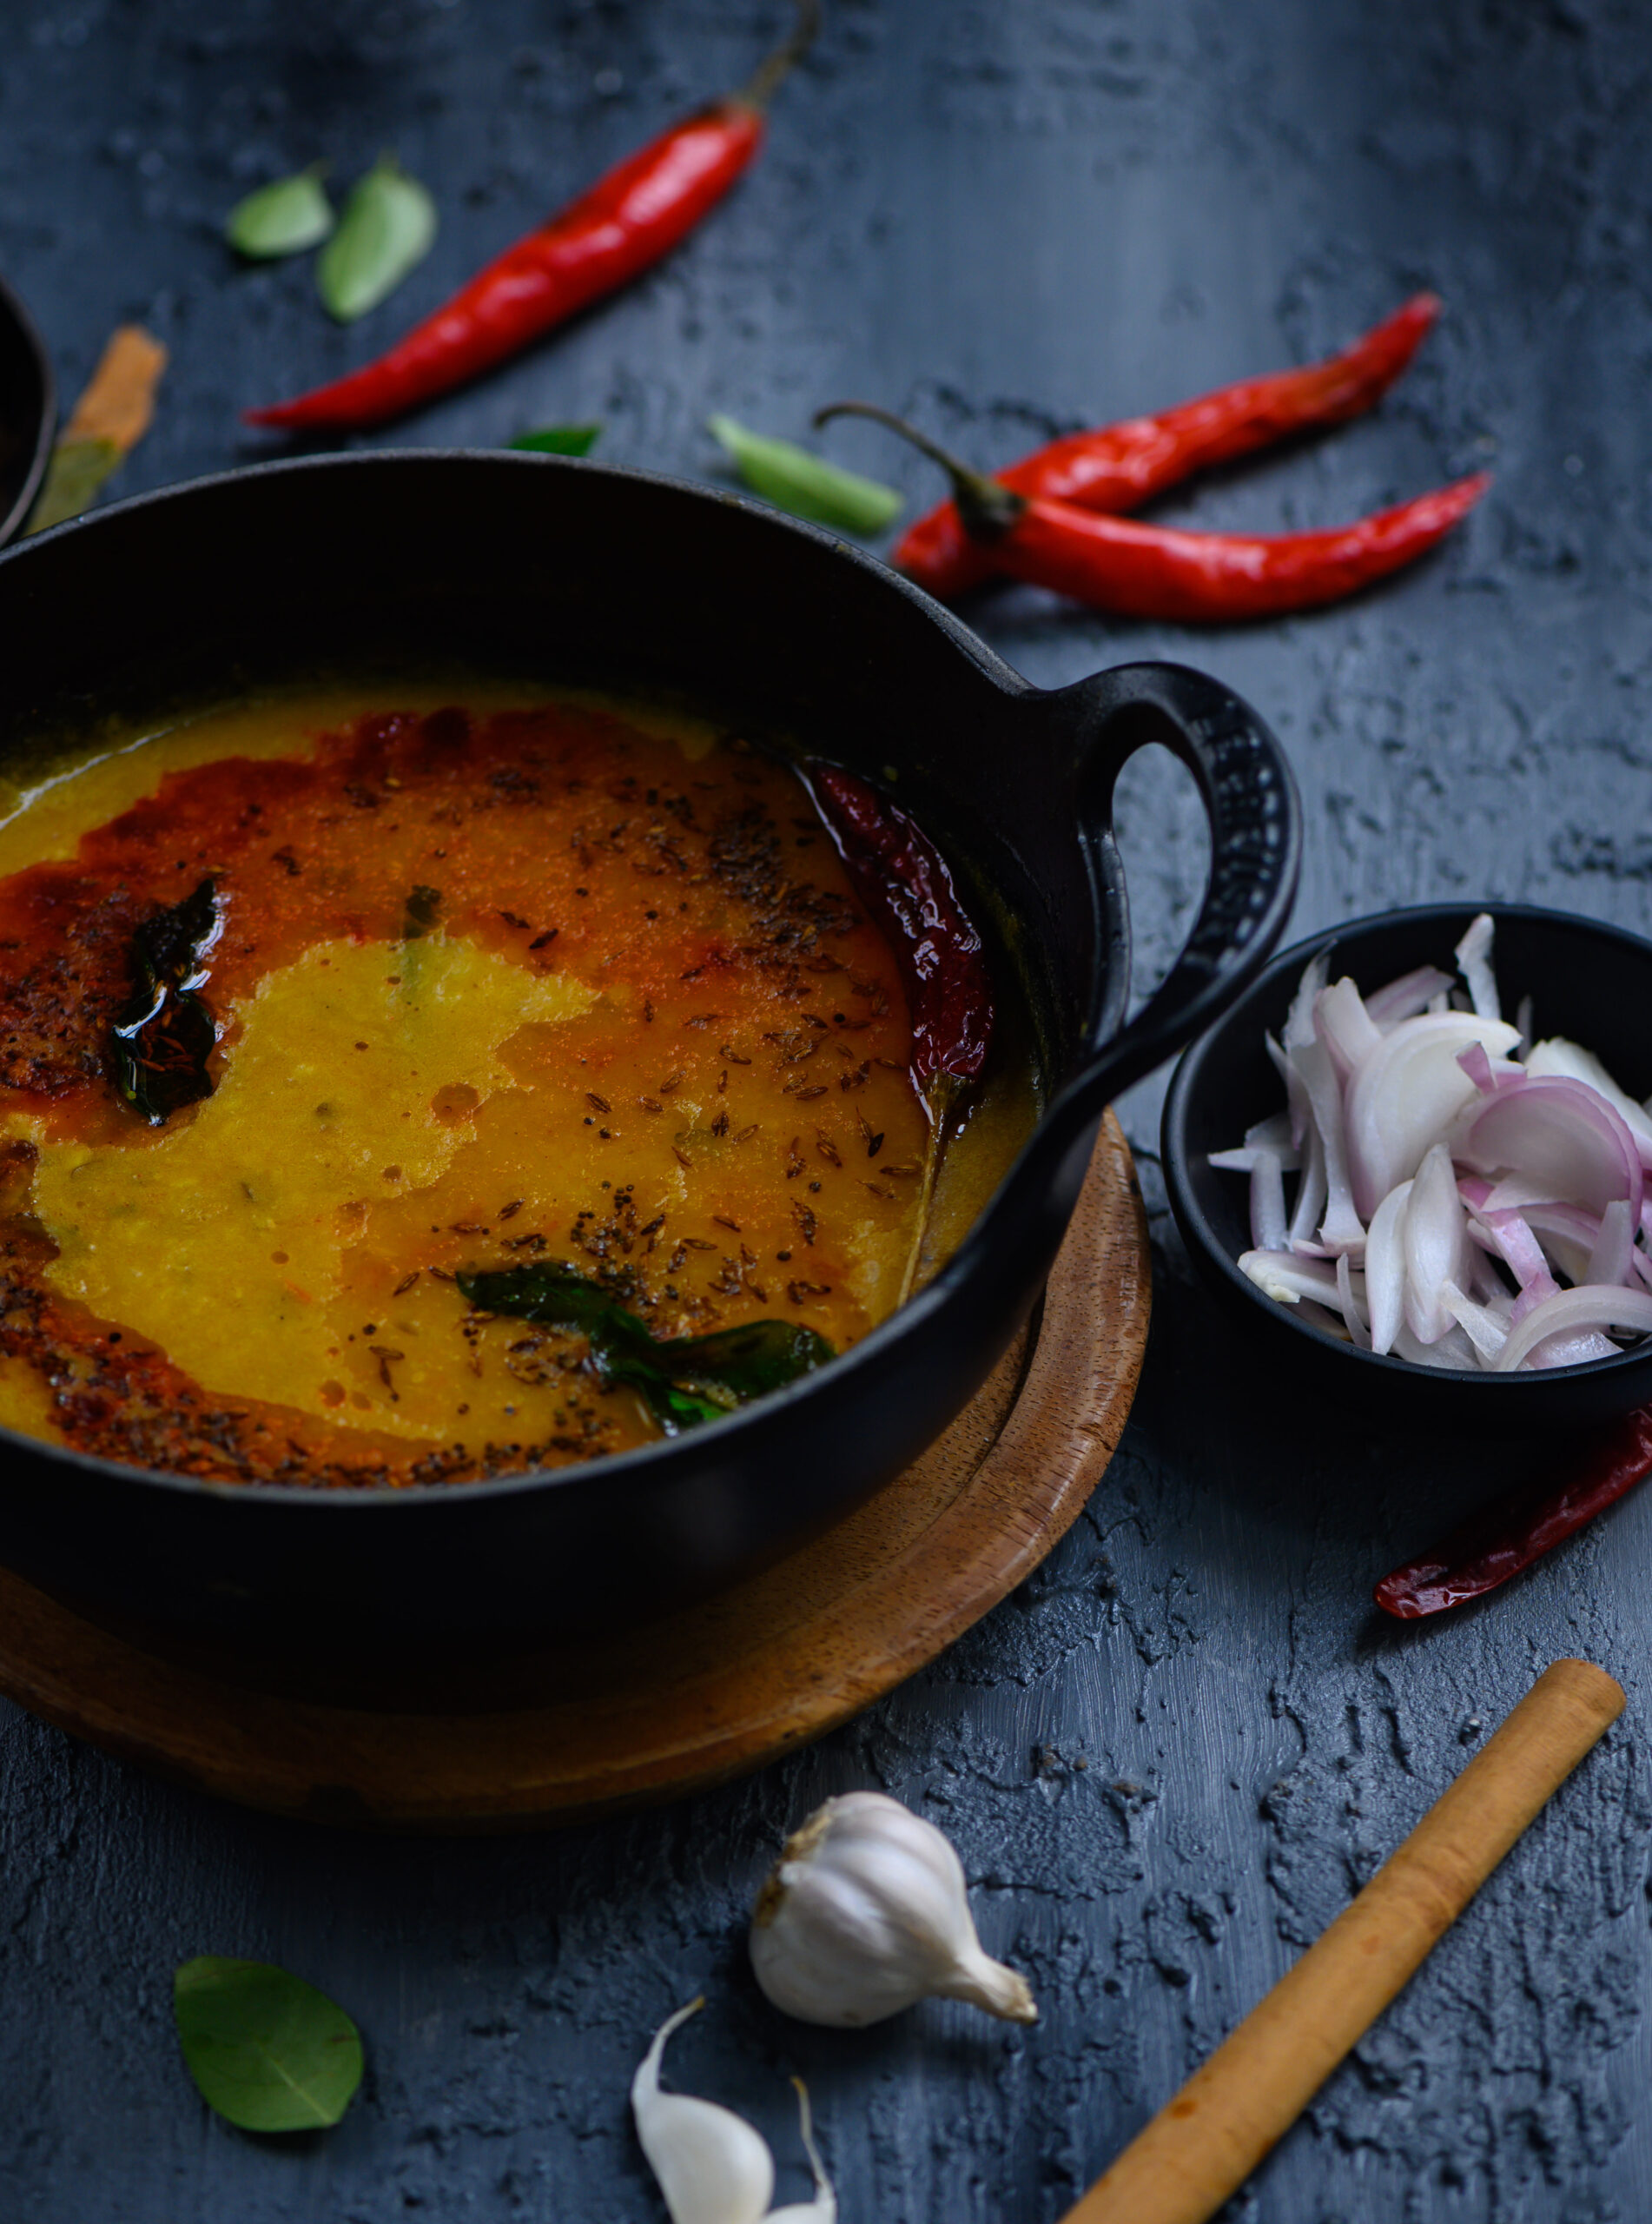
The seasons are changing and the usual respiratory illnesses are going around as we adjust to the weather, worsened of course by pollution and the busy modern lifestyle. A few years ago, I shared this remedy from my childhood, and many of you told me that you found it effective and refreshing. Now, I’ll share a complementary dish, a warm and nourishing porridge that I absolutely loved while growing up. This raab is like chicken broth for the Gujarati soul, and is one of my most favourite comfort foods of all.
Raab was my mother’s go-to fixer for colds, sore throats, coughs and so on. It coats the throat well, alleviating any itchiness there. New mothers are often fed raab, due to its fortifying properties. I think of it as a dish to simply warm the soul, when you’re feeling down and need a hug. It’s a light meal for whenever you’re feeling under the weather.
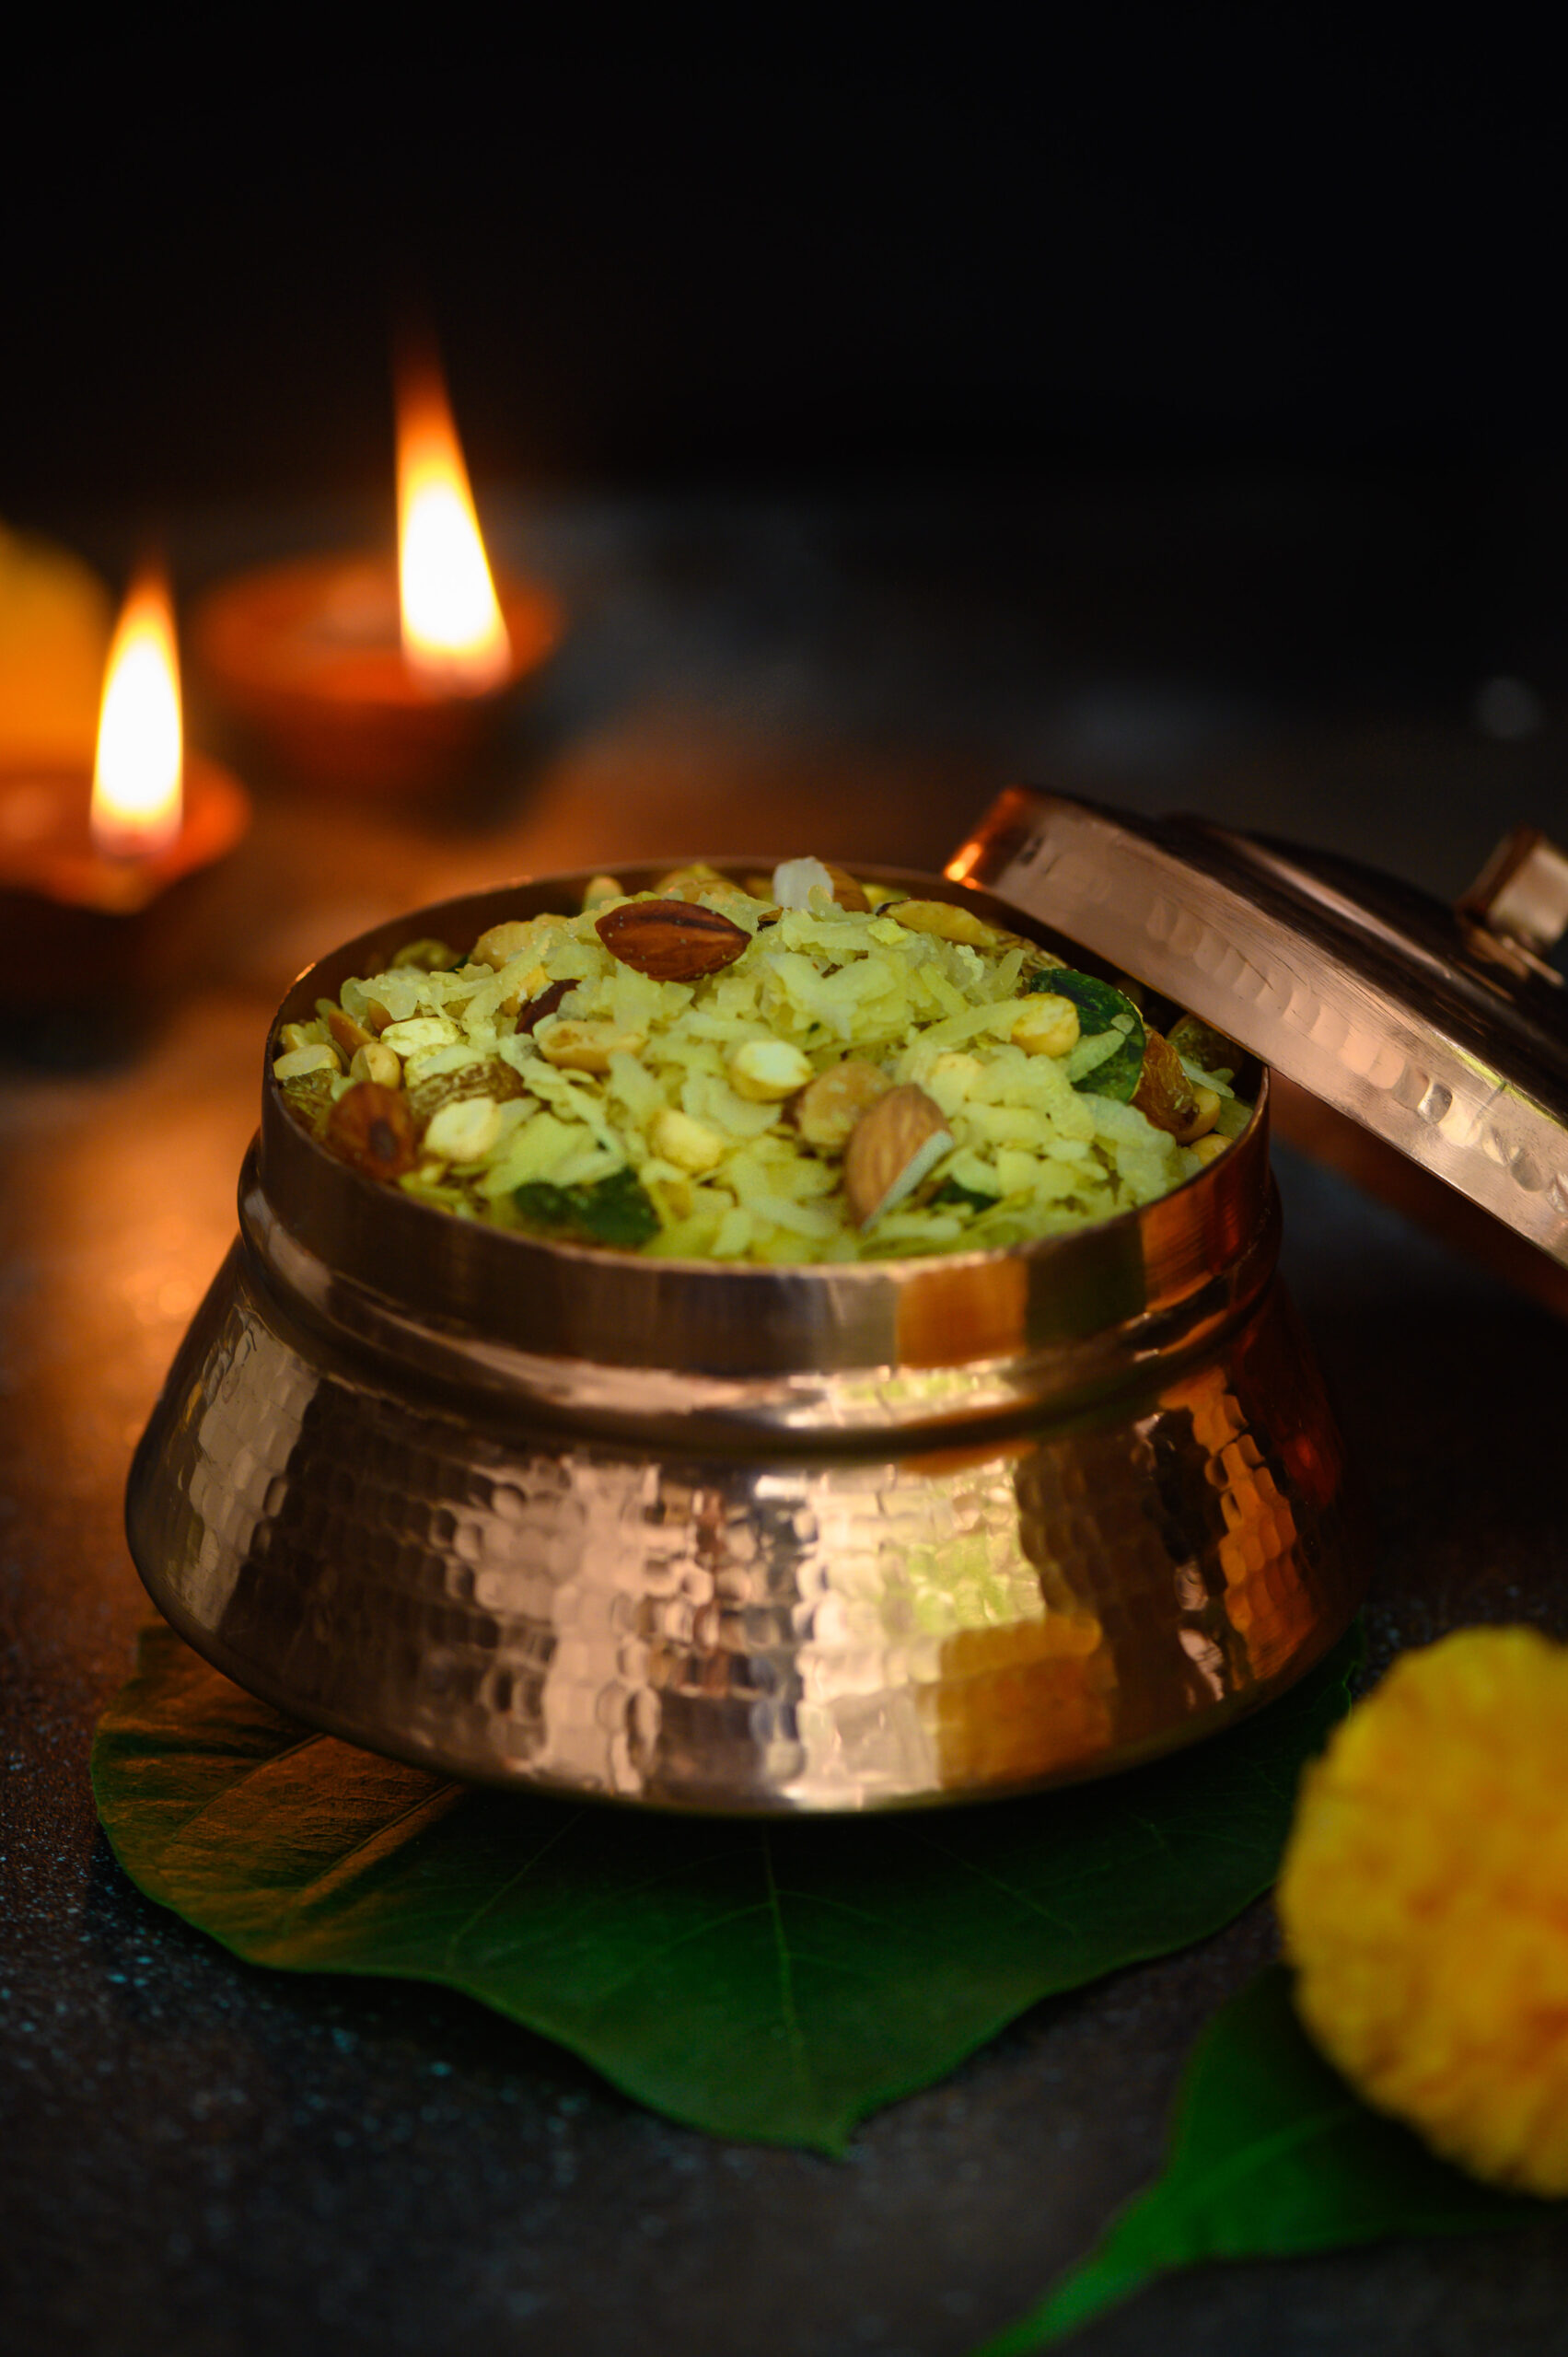
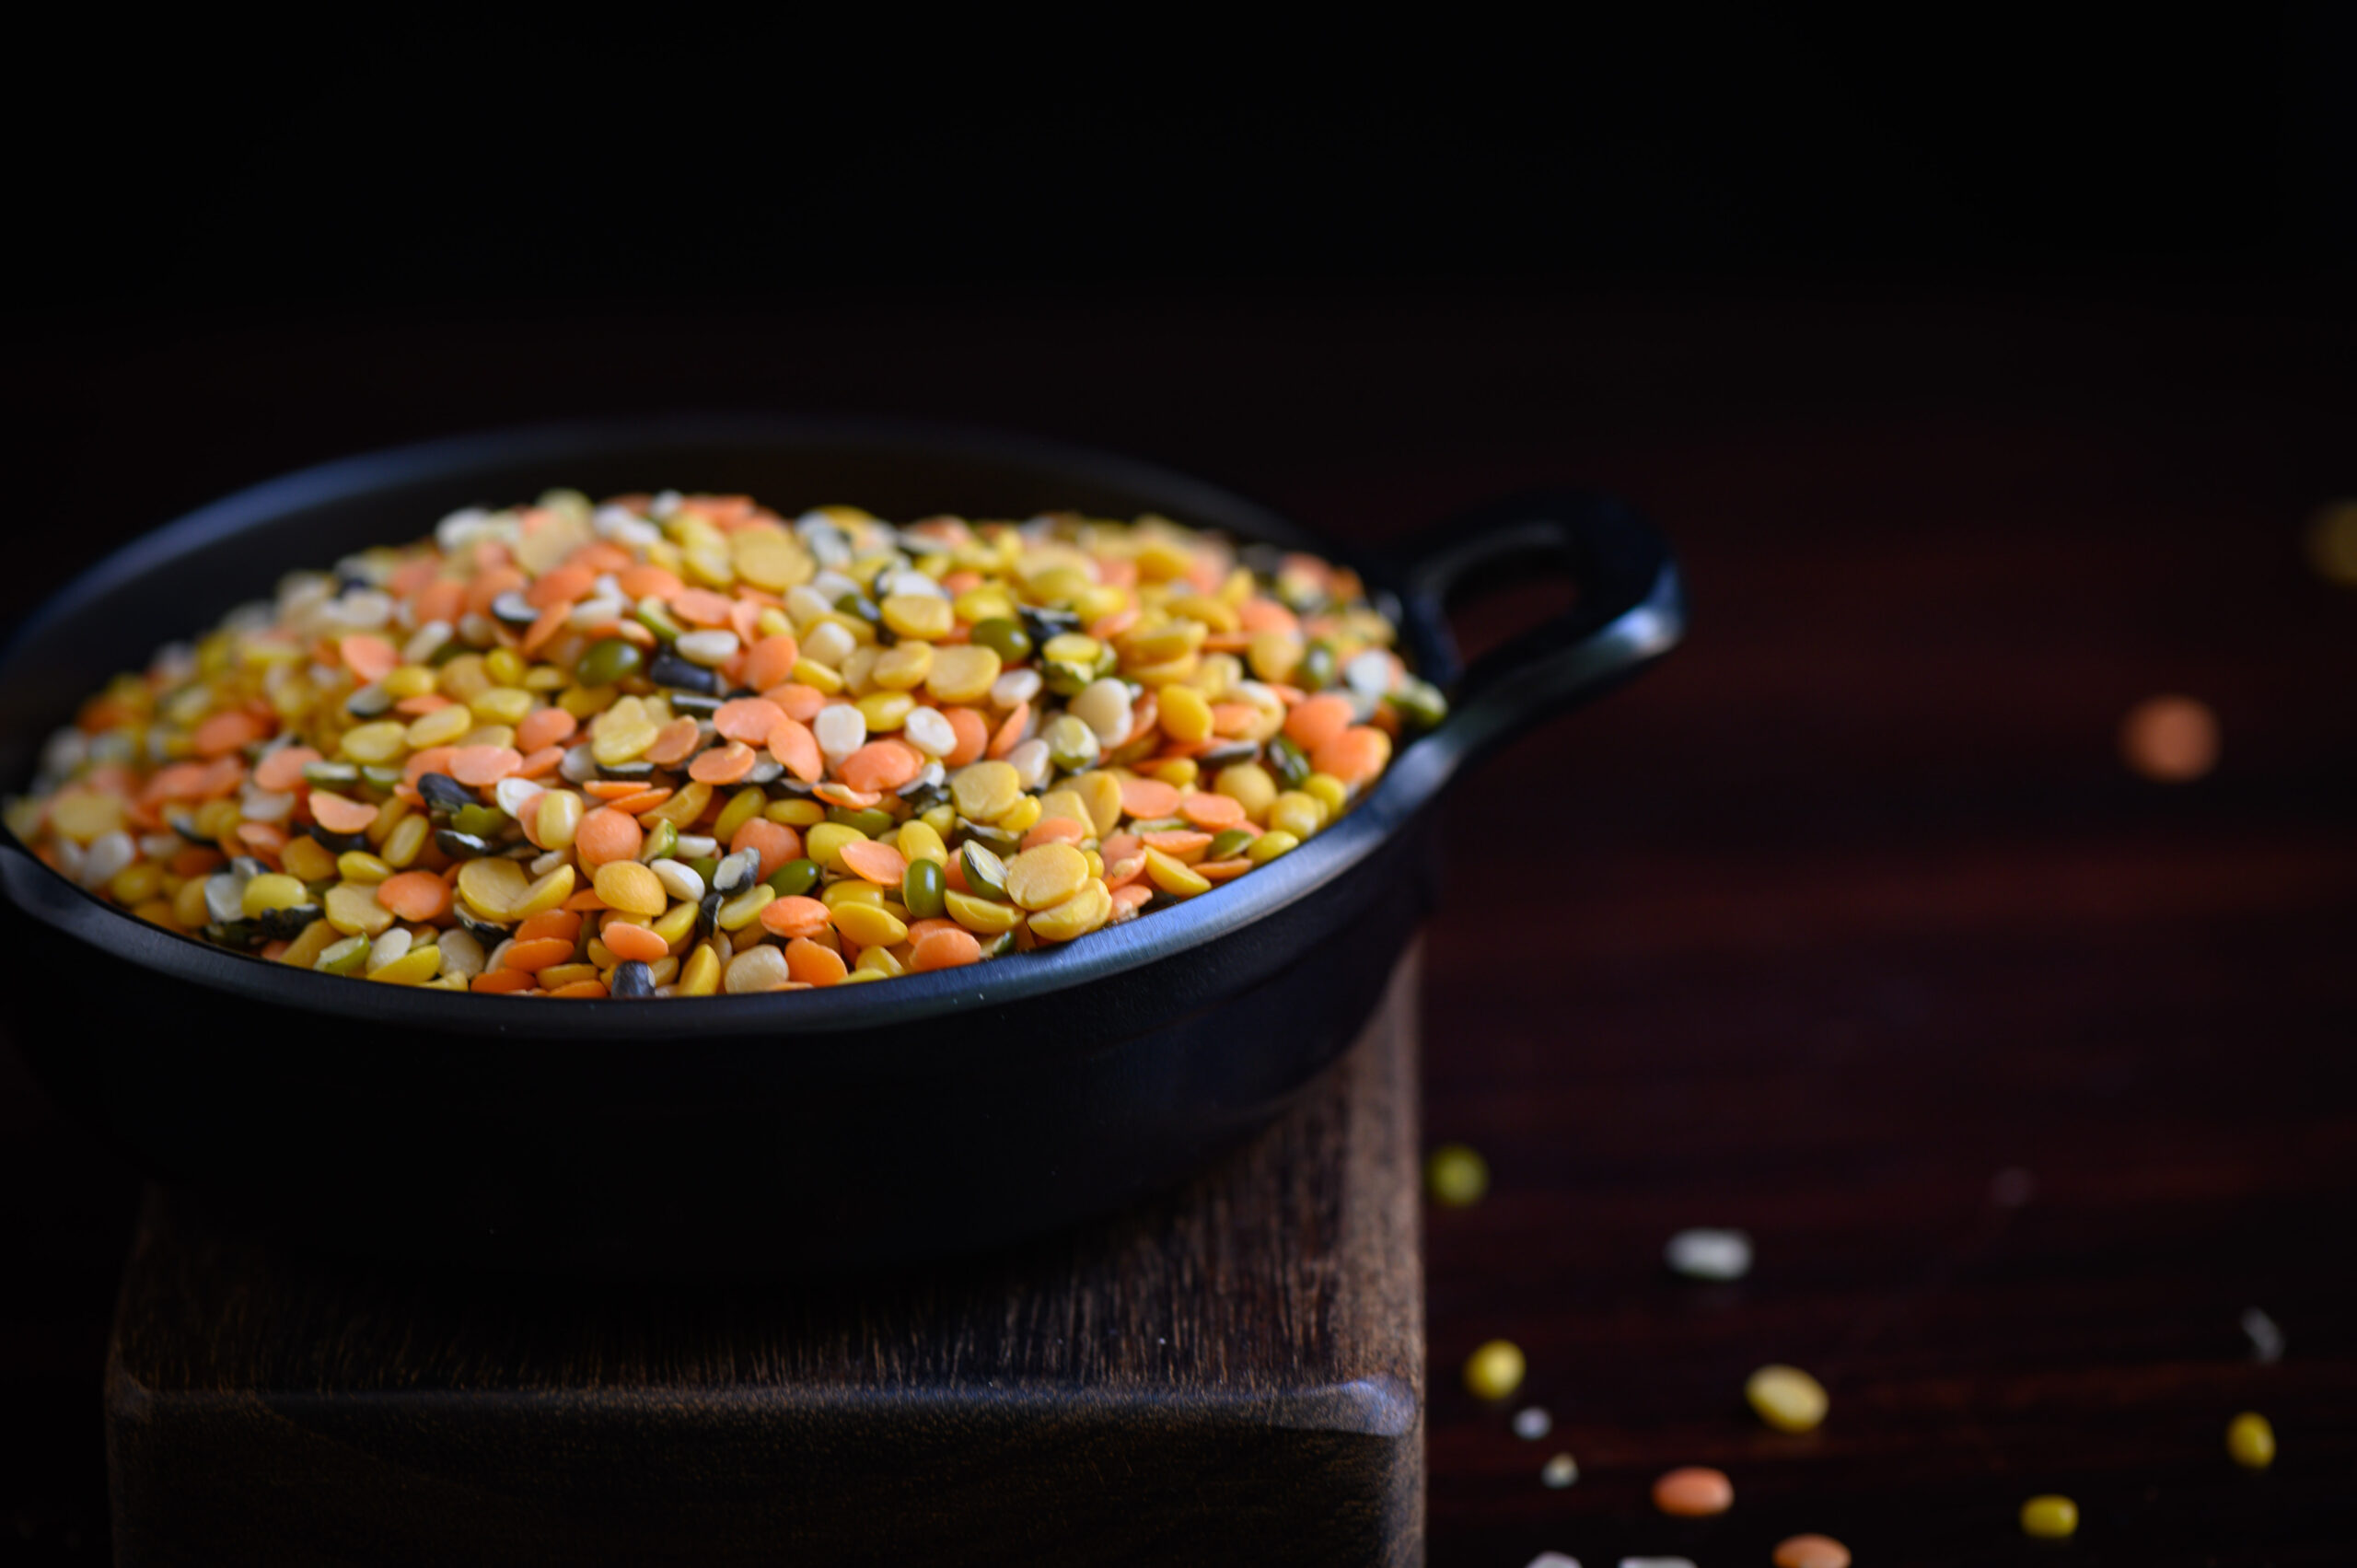
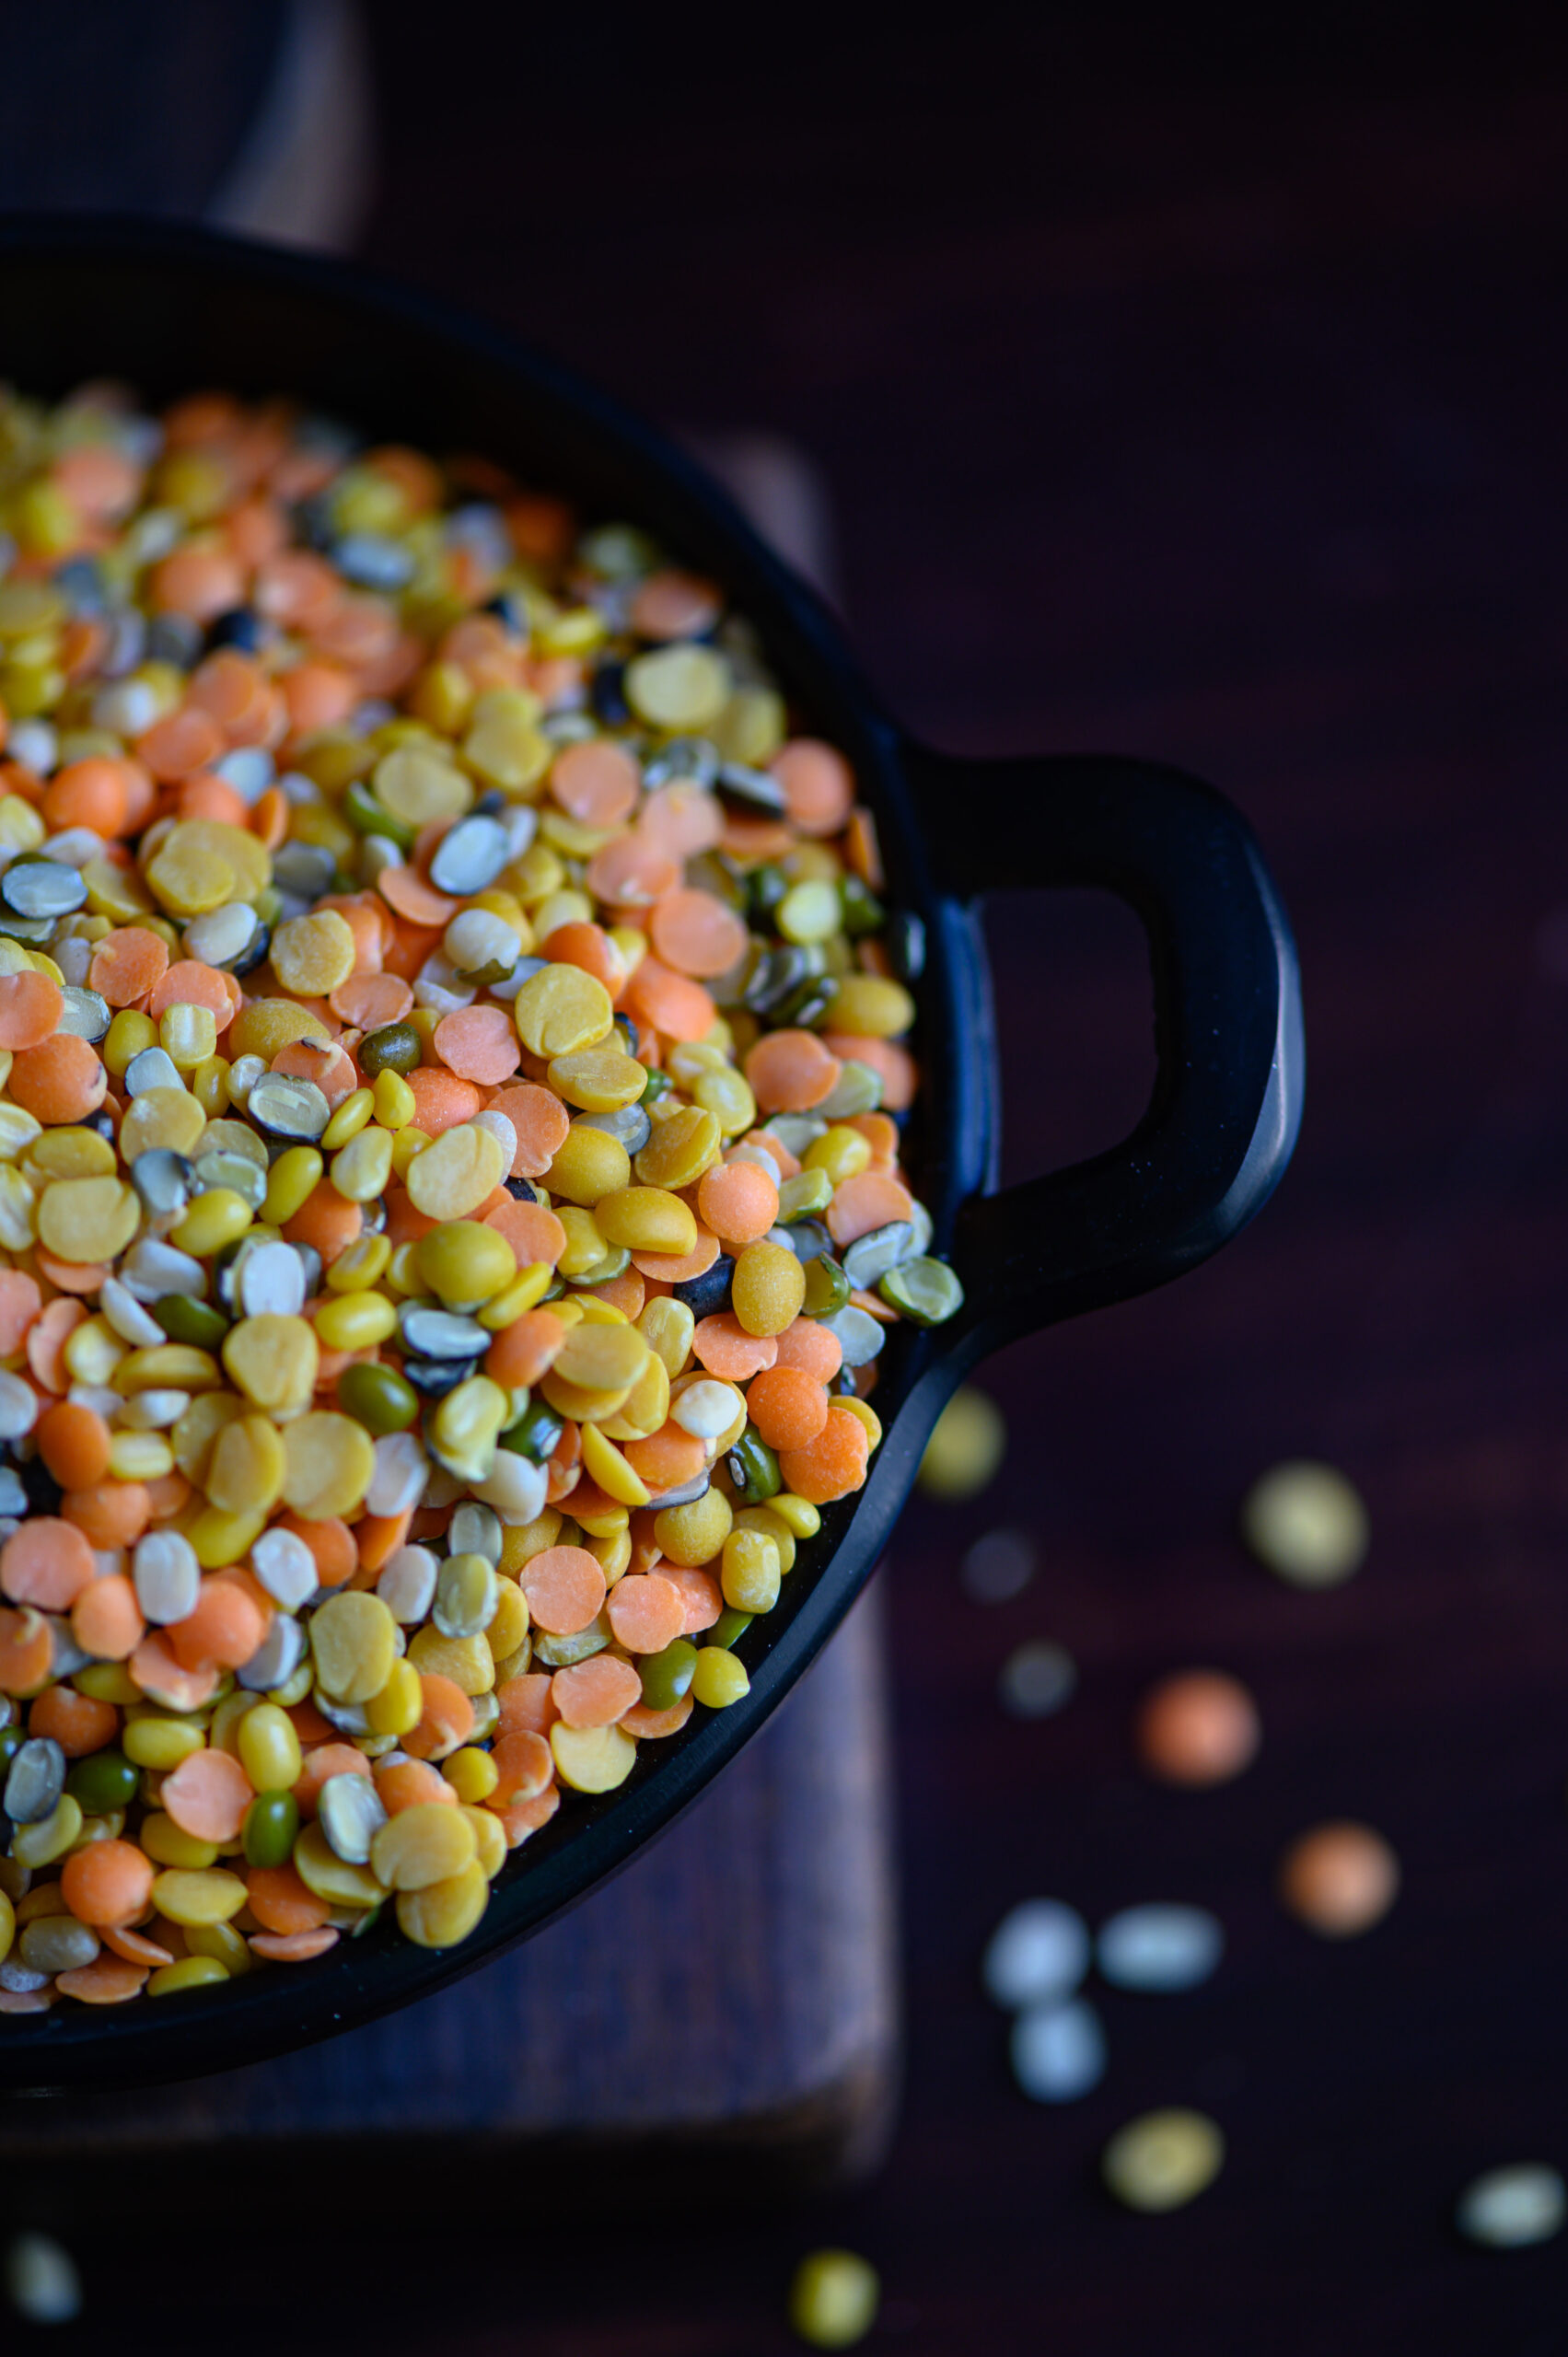
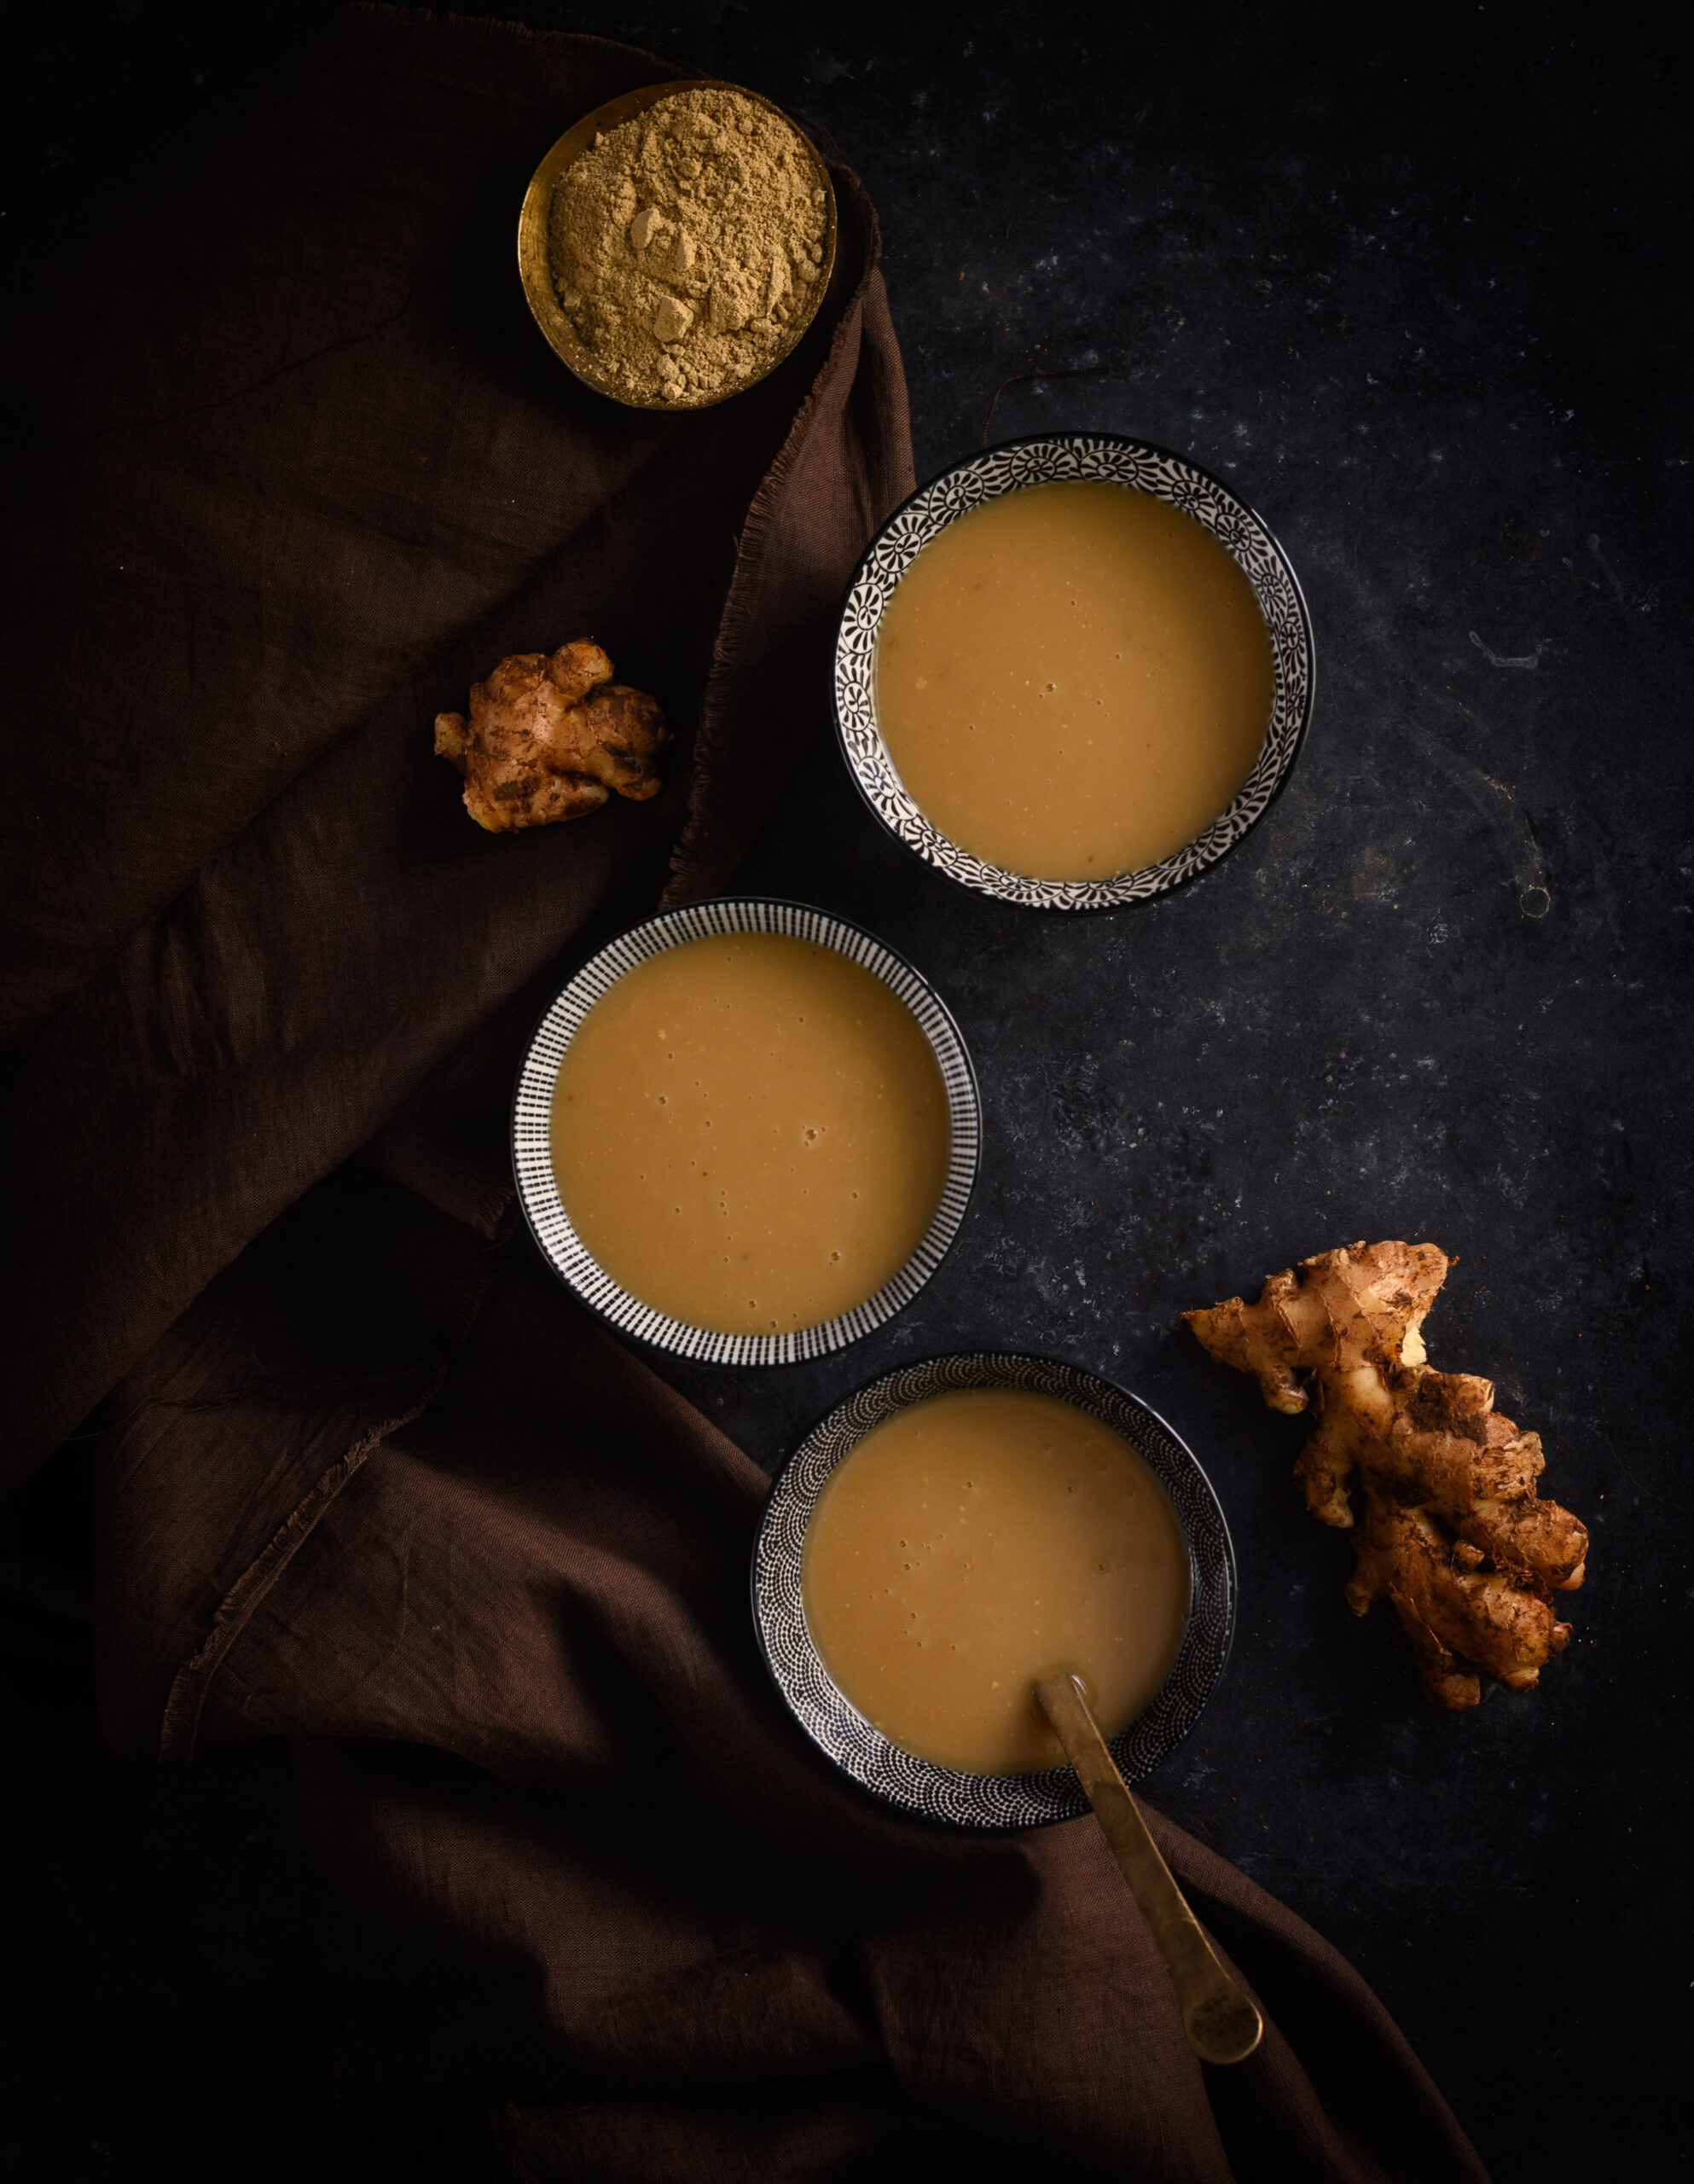
Raab falls into the category of “accessible medicine”, something which anyone can make, especially when a pharmacy is out of reach. It is comprised of very basic and affordable ingredients that can be found in any Gujarati kitchen: ghee, bajra (pearl millet) or wheat flour, ginger powder (soont) and edible gum resin (gond). Most communities will have some version of such a dish, made of elements which are at hand for all members of society.
Bajra or pearl millet is usually had during the winter months or during the wet, cold seasons. My aunt, an expert in Gujarati cooking, and from whom I learnt a lot during my many summer holidays with her, explained that bajra and ajwain (carom seeds) are used during winters as they warm the body. In the summers, wheat flour is substituted for the millet. The ginger powder also has a warming effect, in addition to adding taste. I’m still trying to find out exactly why dry ginger powder is used rather than freshly grated ginger, and have arrived at my own conclusion. My theory is this: dry ginger is a ‘yang’ ingredient, hence positively affects the deeper organs in the body like our bones. It is also stronger than hydrated fresh ginger.
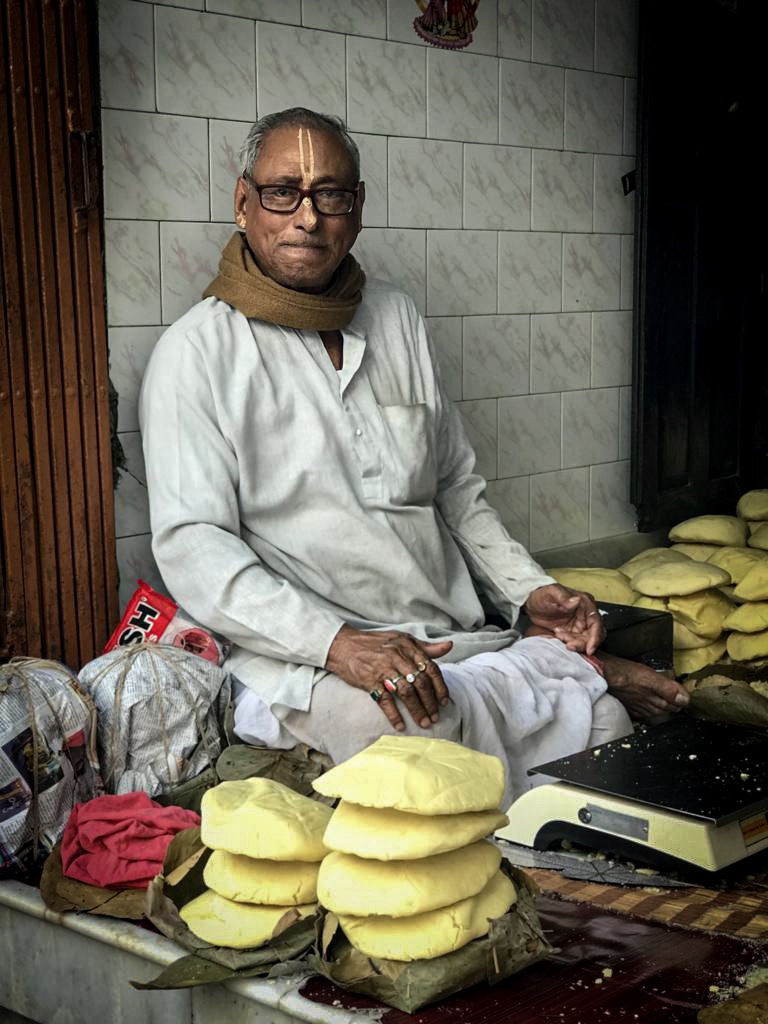
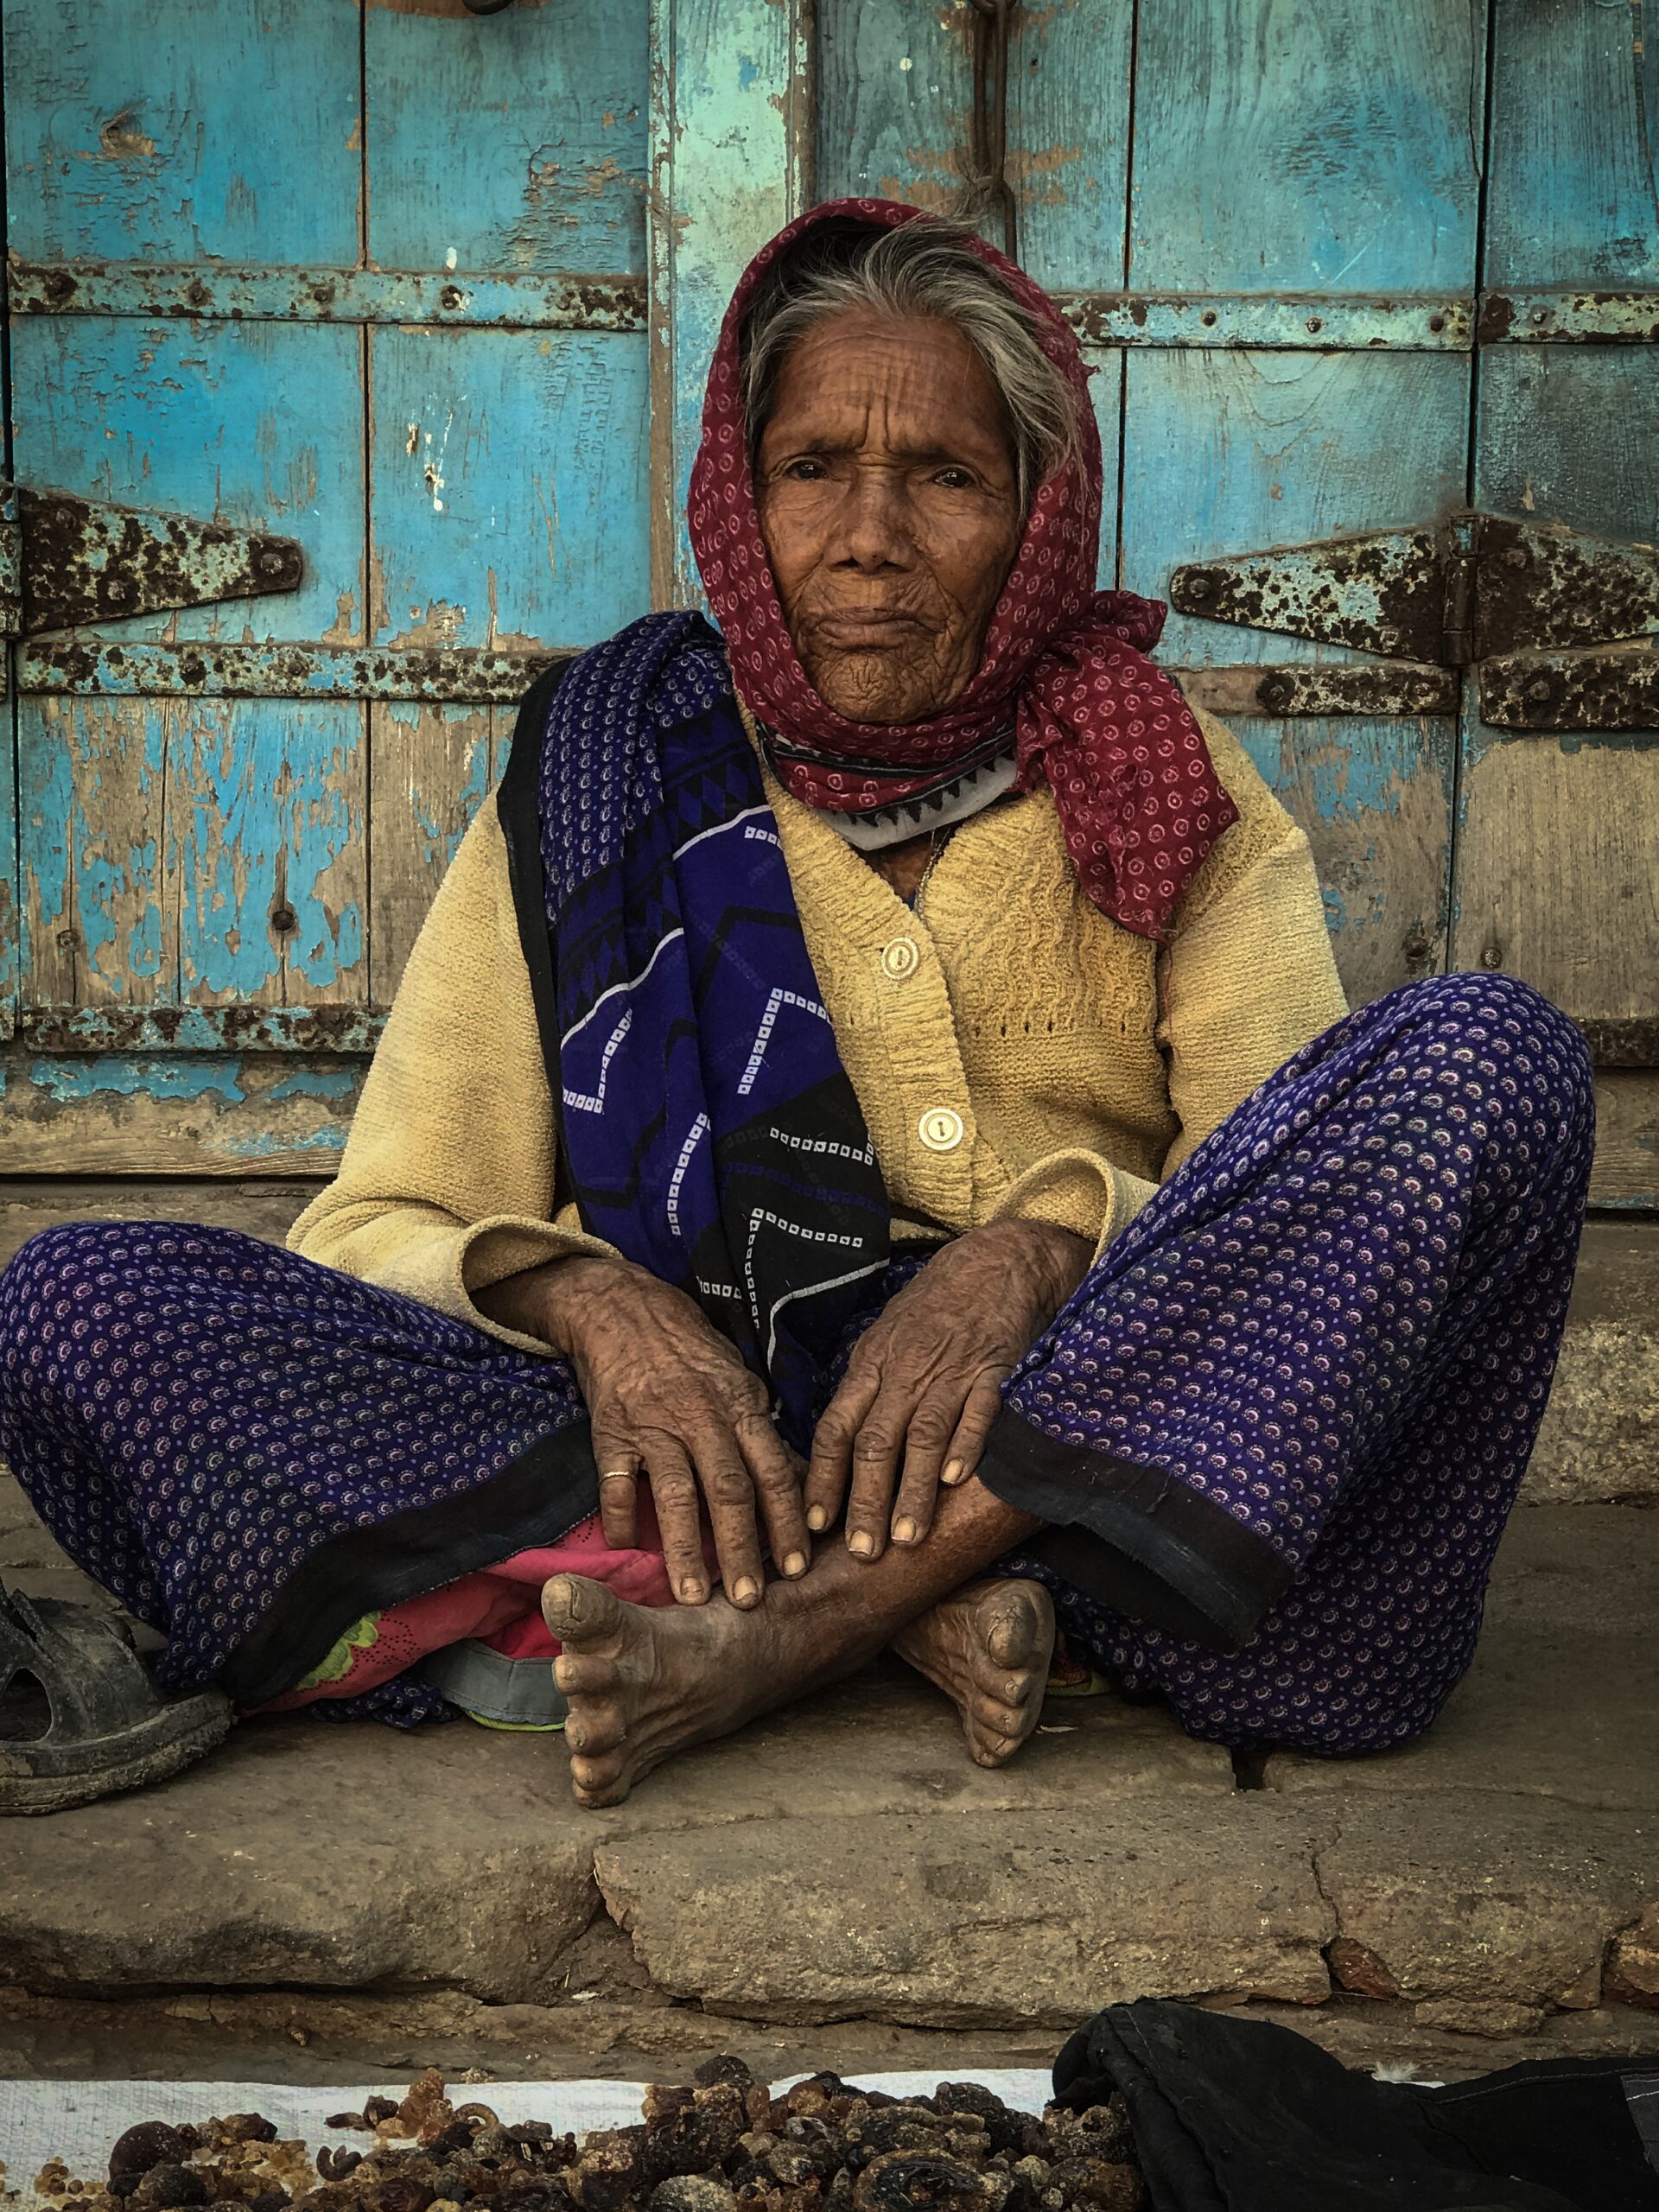
My aunt would also also say, “Don’t forget to add the gond.” It has numerous health benefits, including aiding the digestion. I saw this lady in Patdi, Gujarat, selling the resin, which she told me she collected herself from the bark of trees in her village. I couldn’t resist buying some from her.
With so many healthy ingredients, you would imagine that children would need a lot of convincing before they ate this porridge, but that’s not true. Whenever my siblings or I fell ill when we were growing up, I would ask for a bowl of raab as I absolutely loved it. The reason for this is that this remedy is… sweet! This is thanks to the jaggery, of course, which has its own host of benefits, as regular readers of this blog will be familiar with. Raab tastes so delicious that you’d never believe it was good for the body, but the proof is in how healed and nourished you feel after you’ve had some.
If I wasn’t unwell, my mother always said No to my request, and this has created a powerful memory link for me. She never treated raab as an anytime dish, as a result of which I too refrain from doing the same. There is also something to the charm of having it when under the weather, and feeling soothed by it in those times, and I feel this would disappear if I began to enjoy it as an ordinary meal. Today of course, my dearest mother is gone and when I make it for myself, I associate it with being soothing both to my throat and to my heart because it was she who would make it for me…
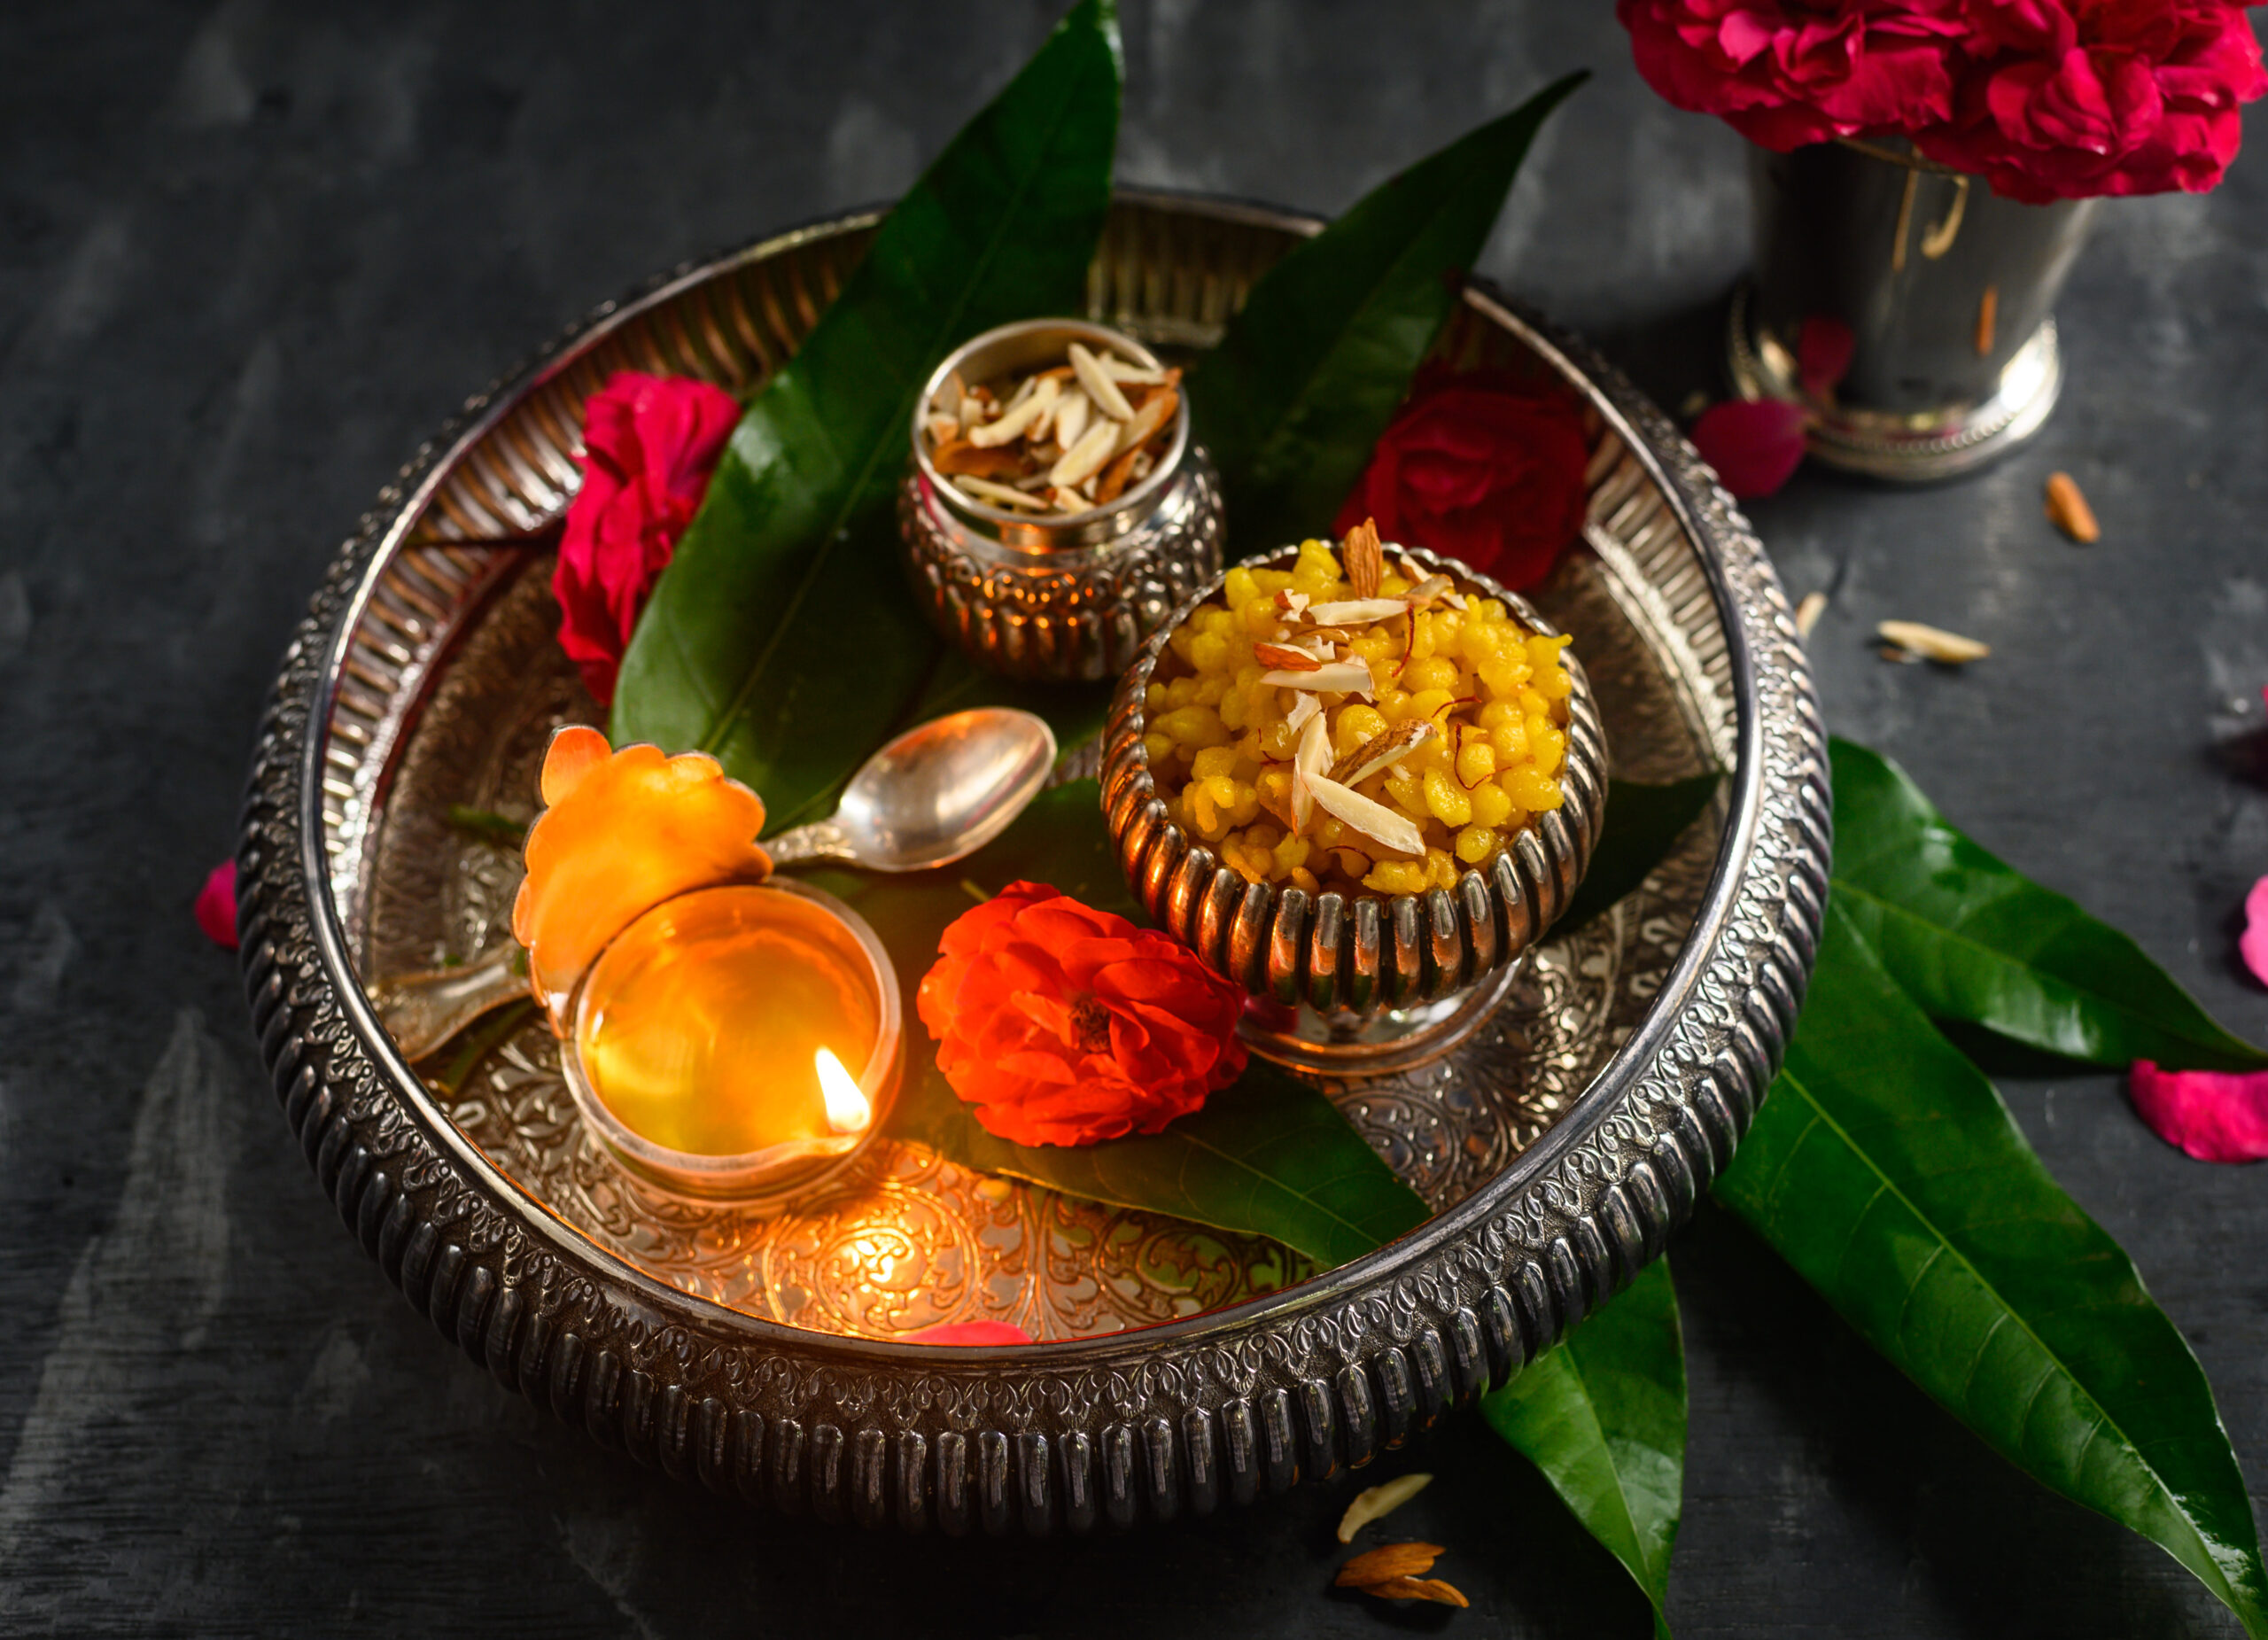
In that sense, raab is sentimental for me in the same way that laapsi, a sweet I only ever make on Diwali, is. No one is going to stop me from making it at some other time of the year, but I consider it sacred in some way, just as I do the raab.
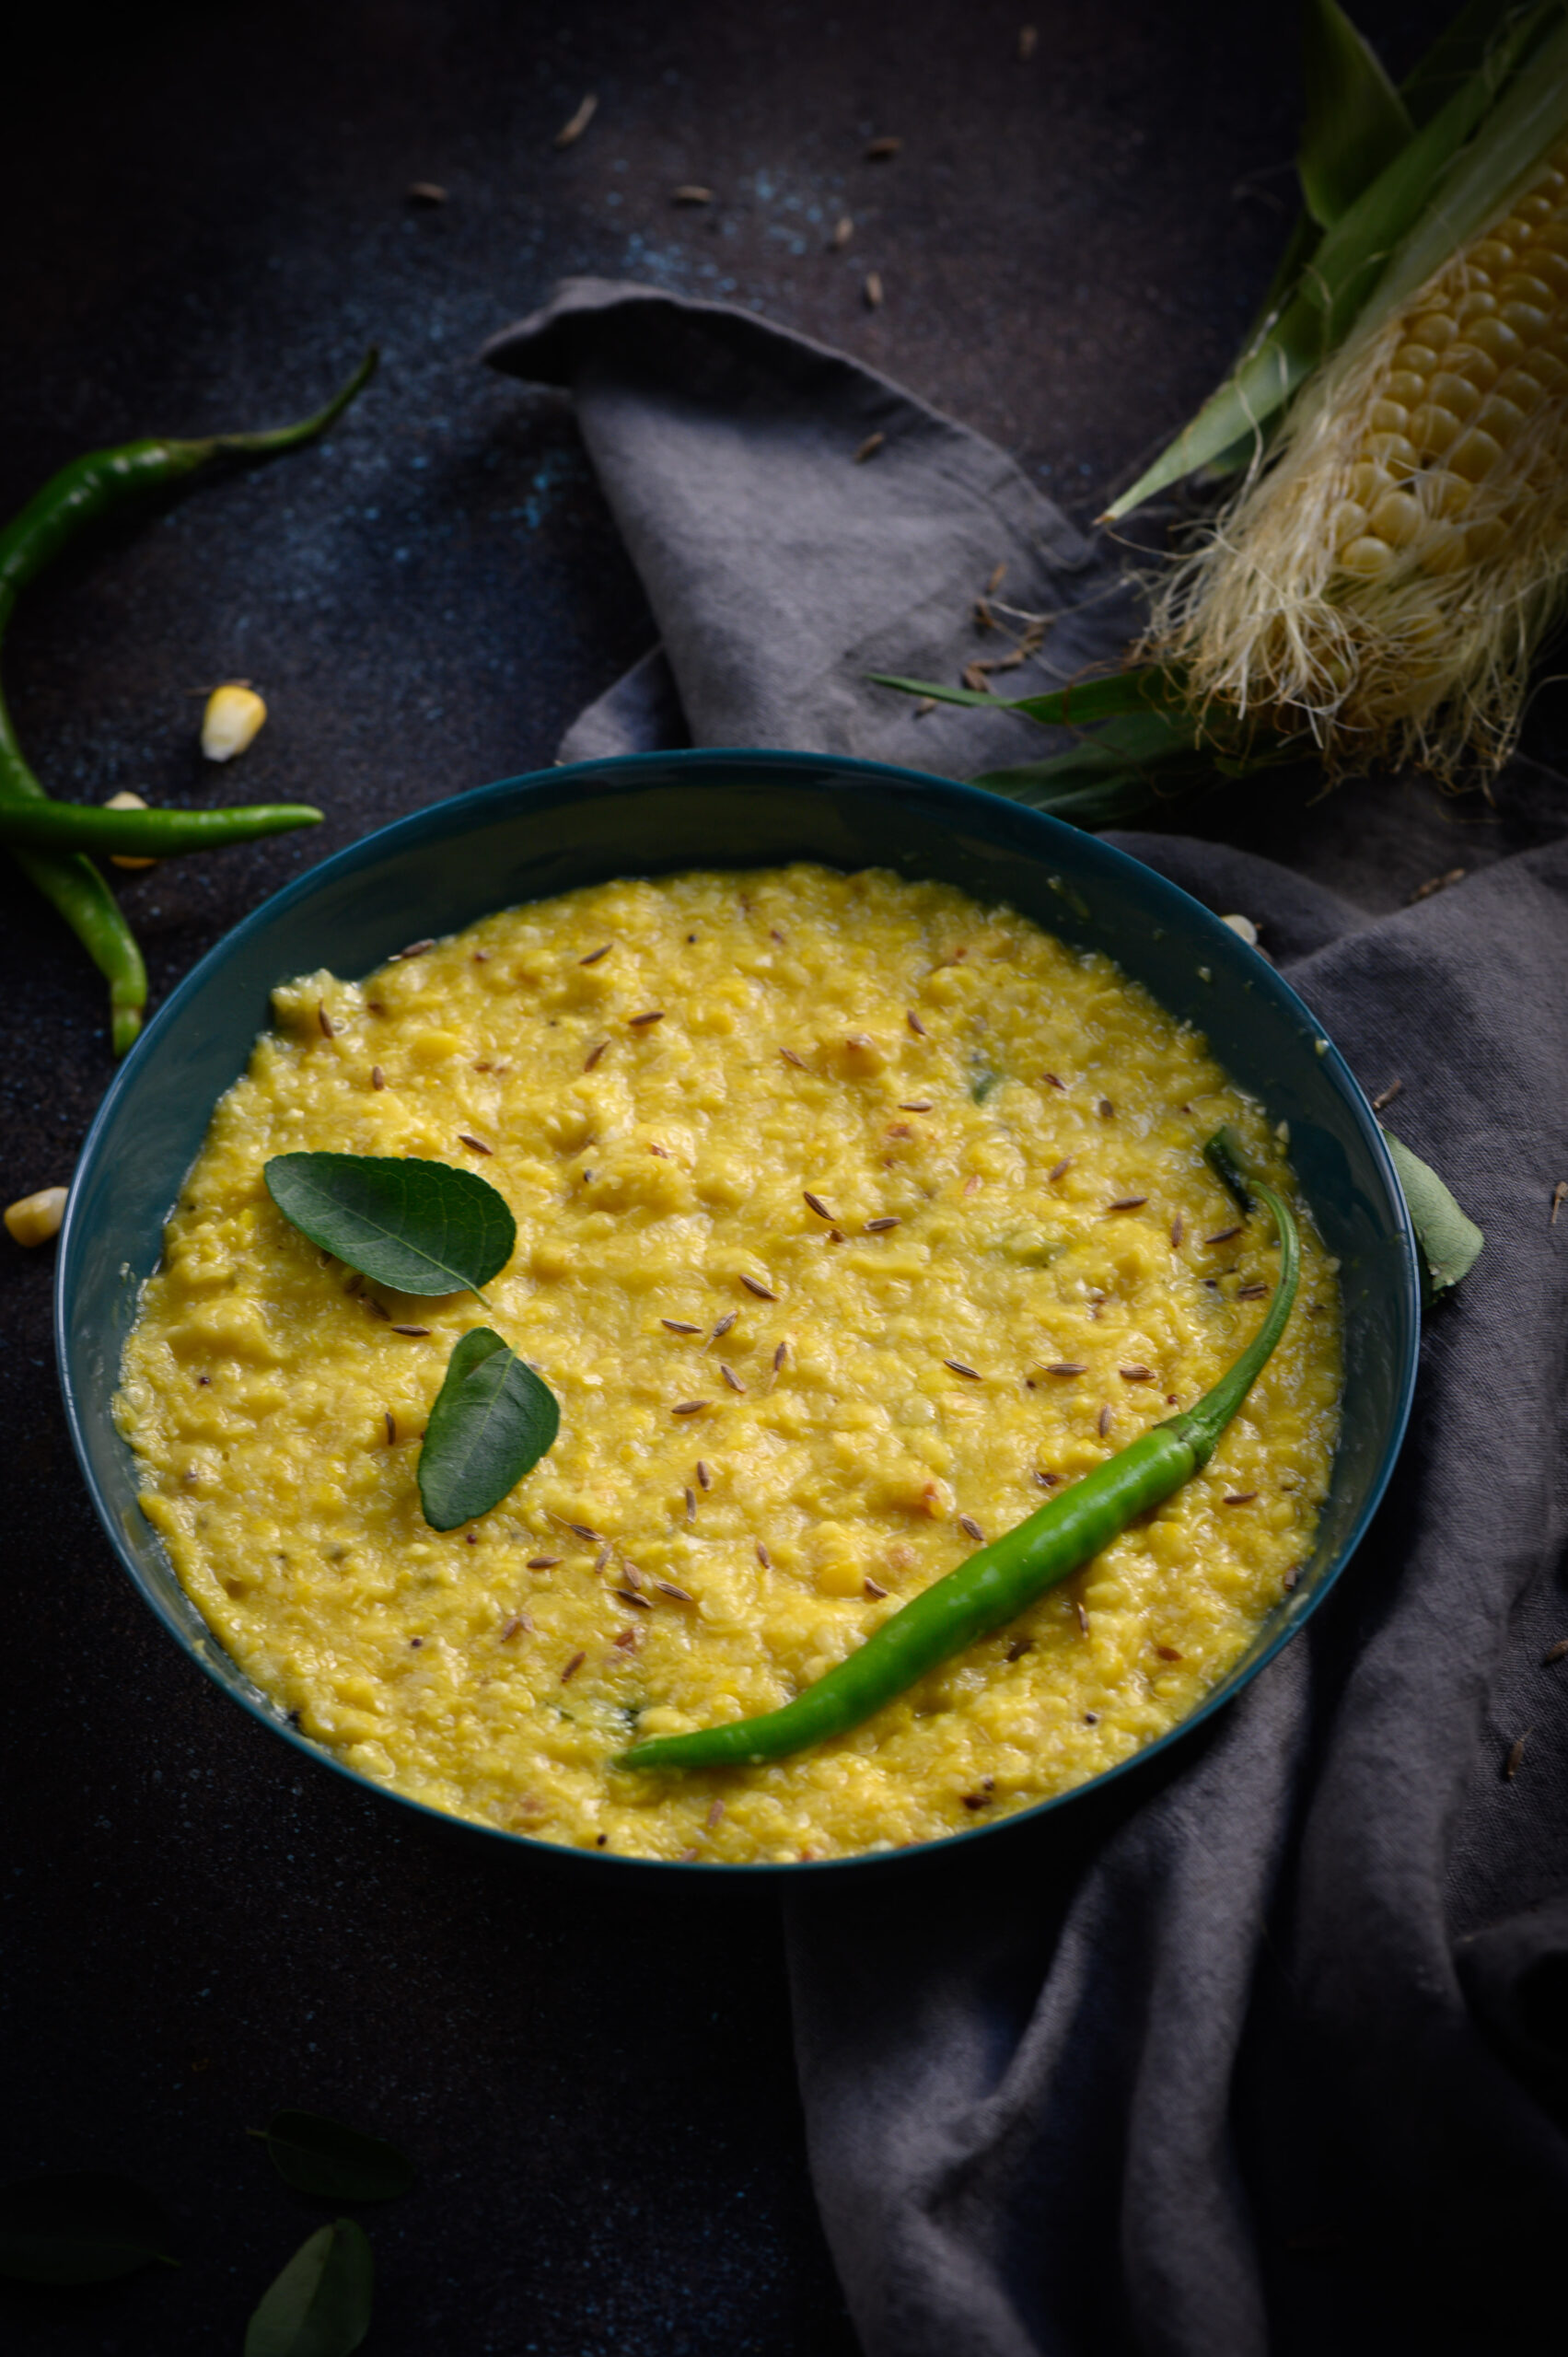
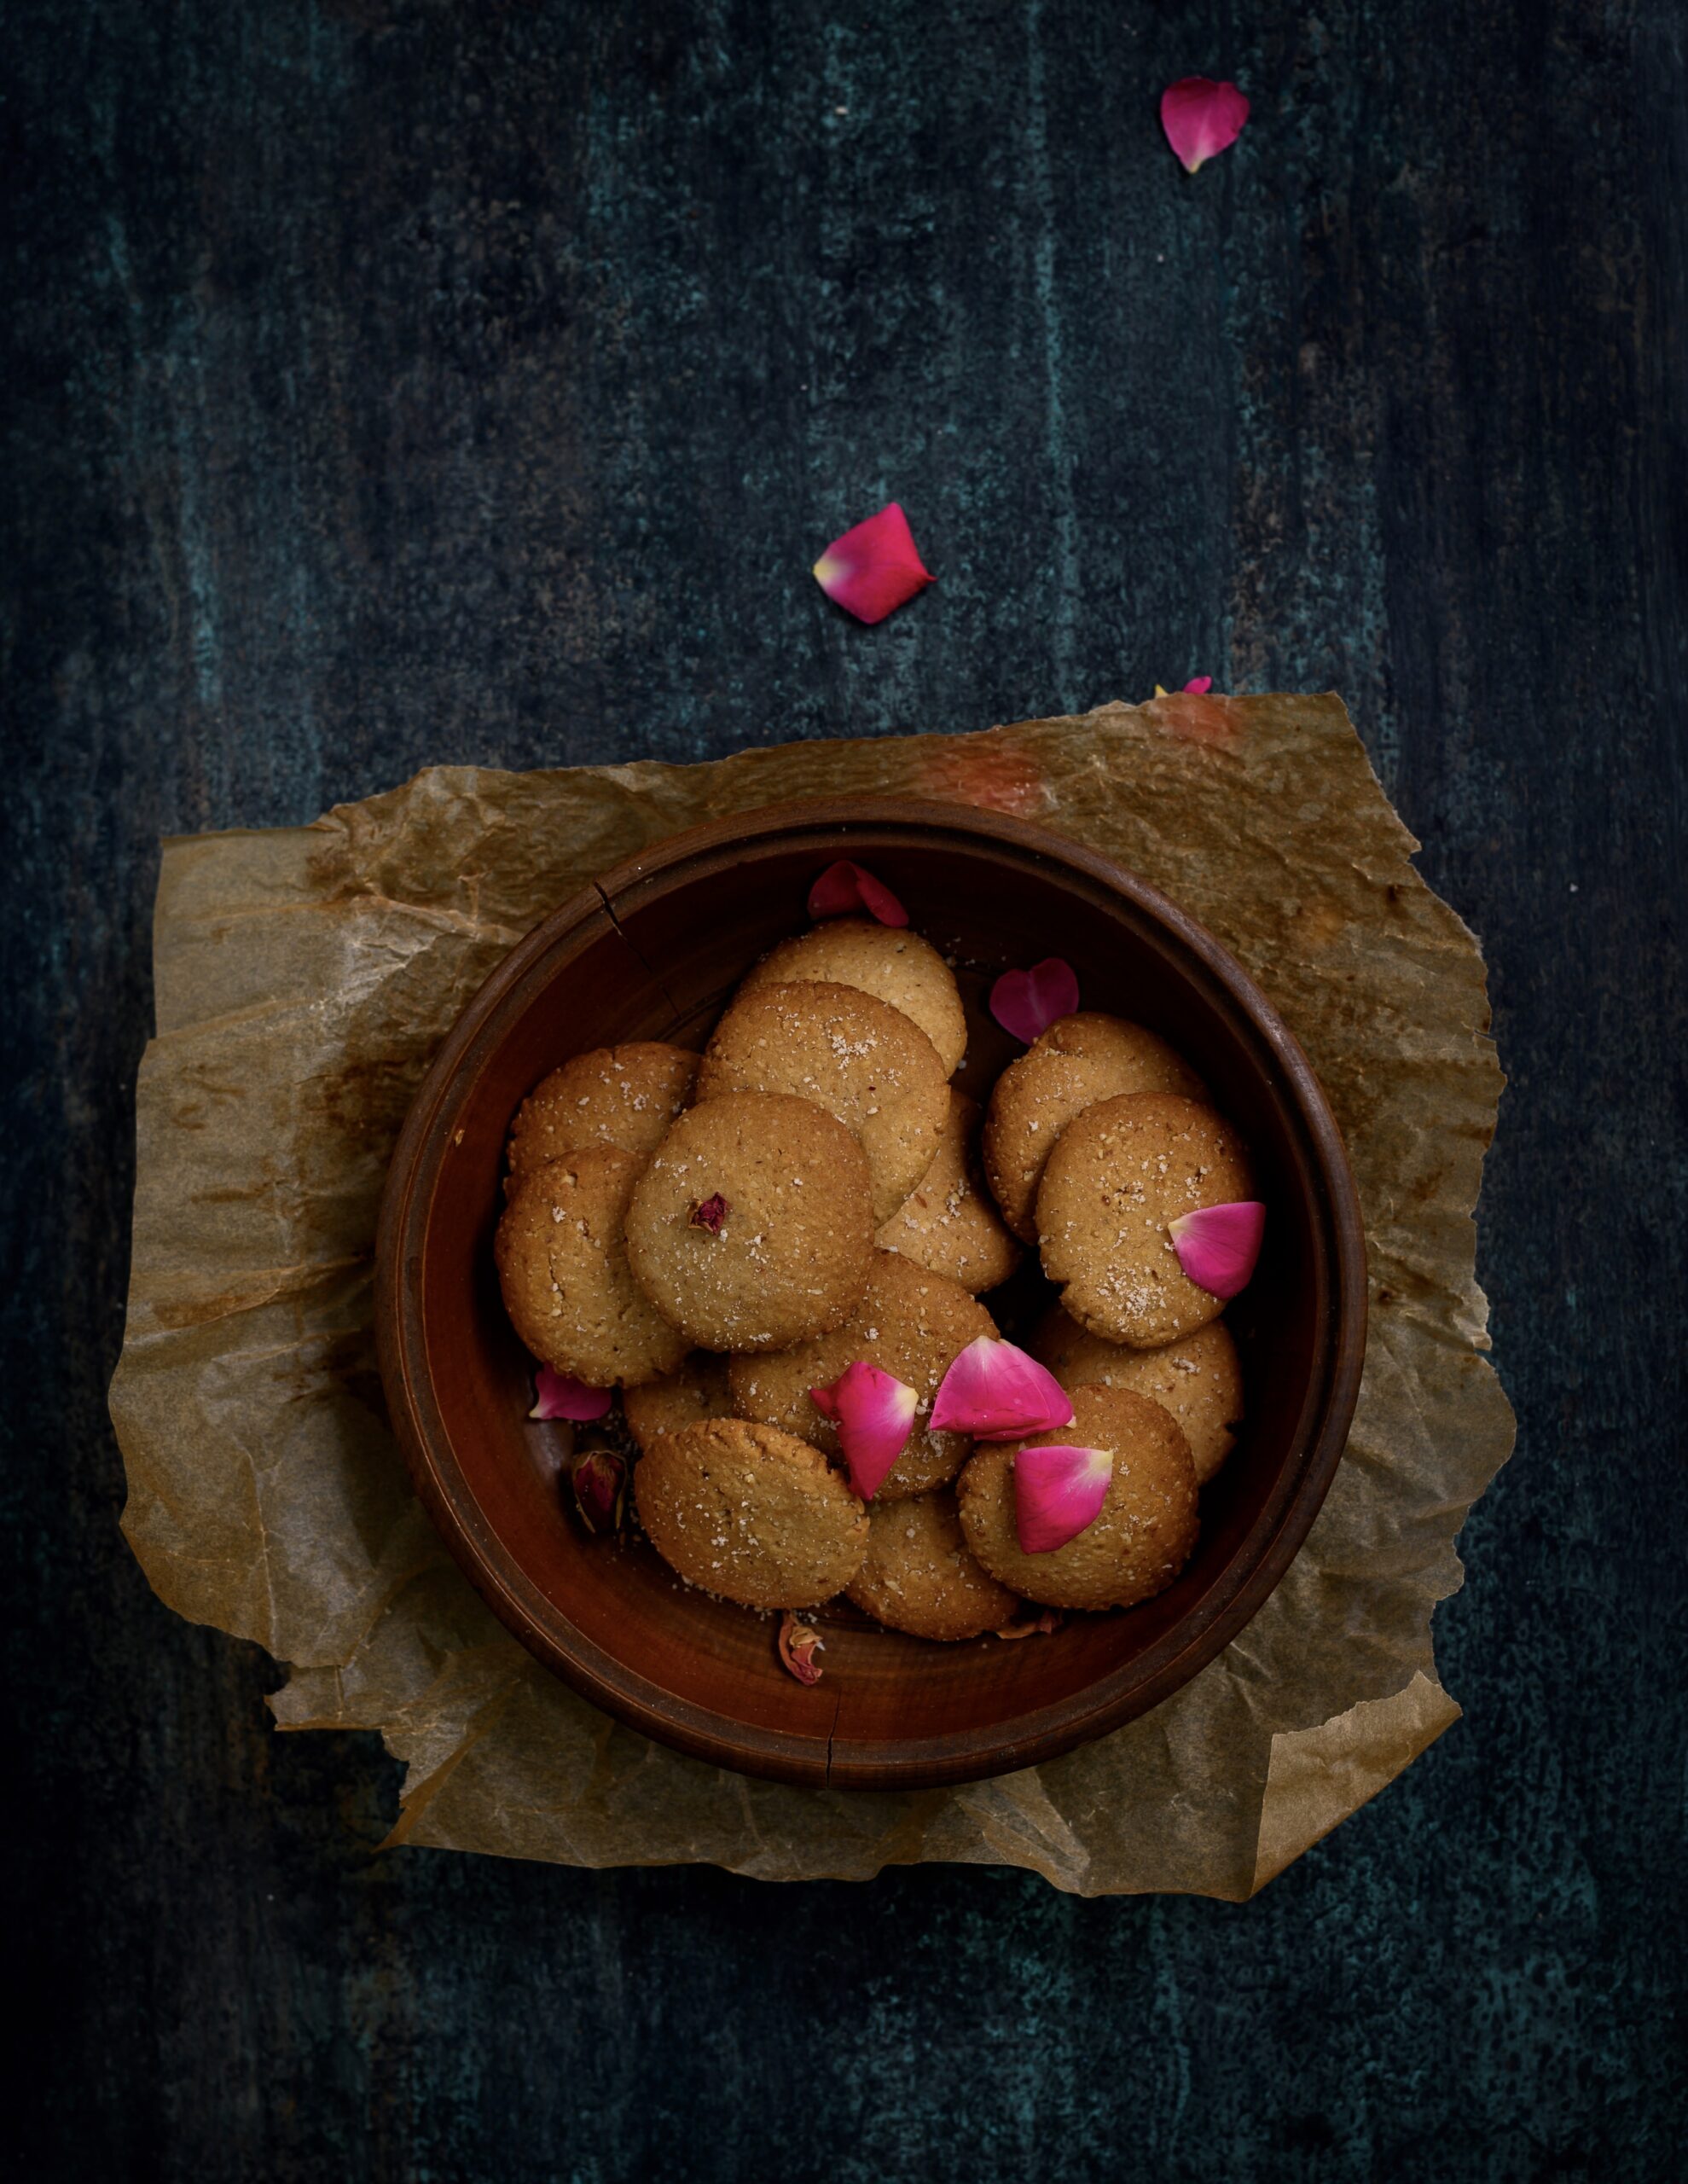
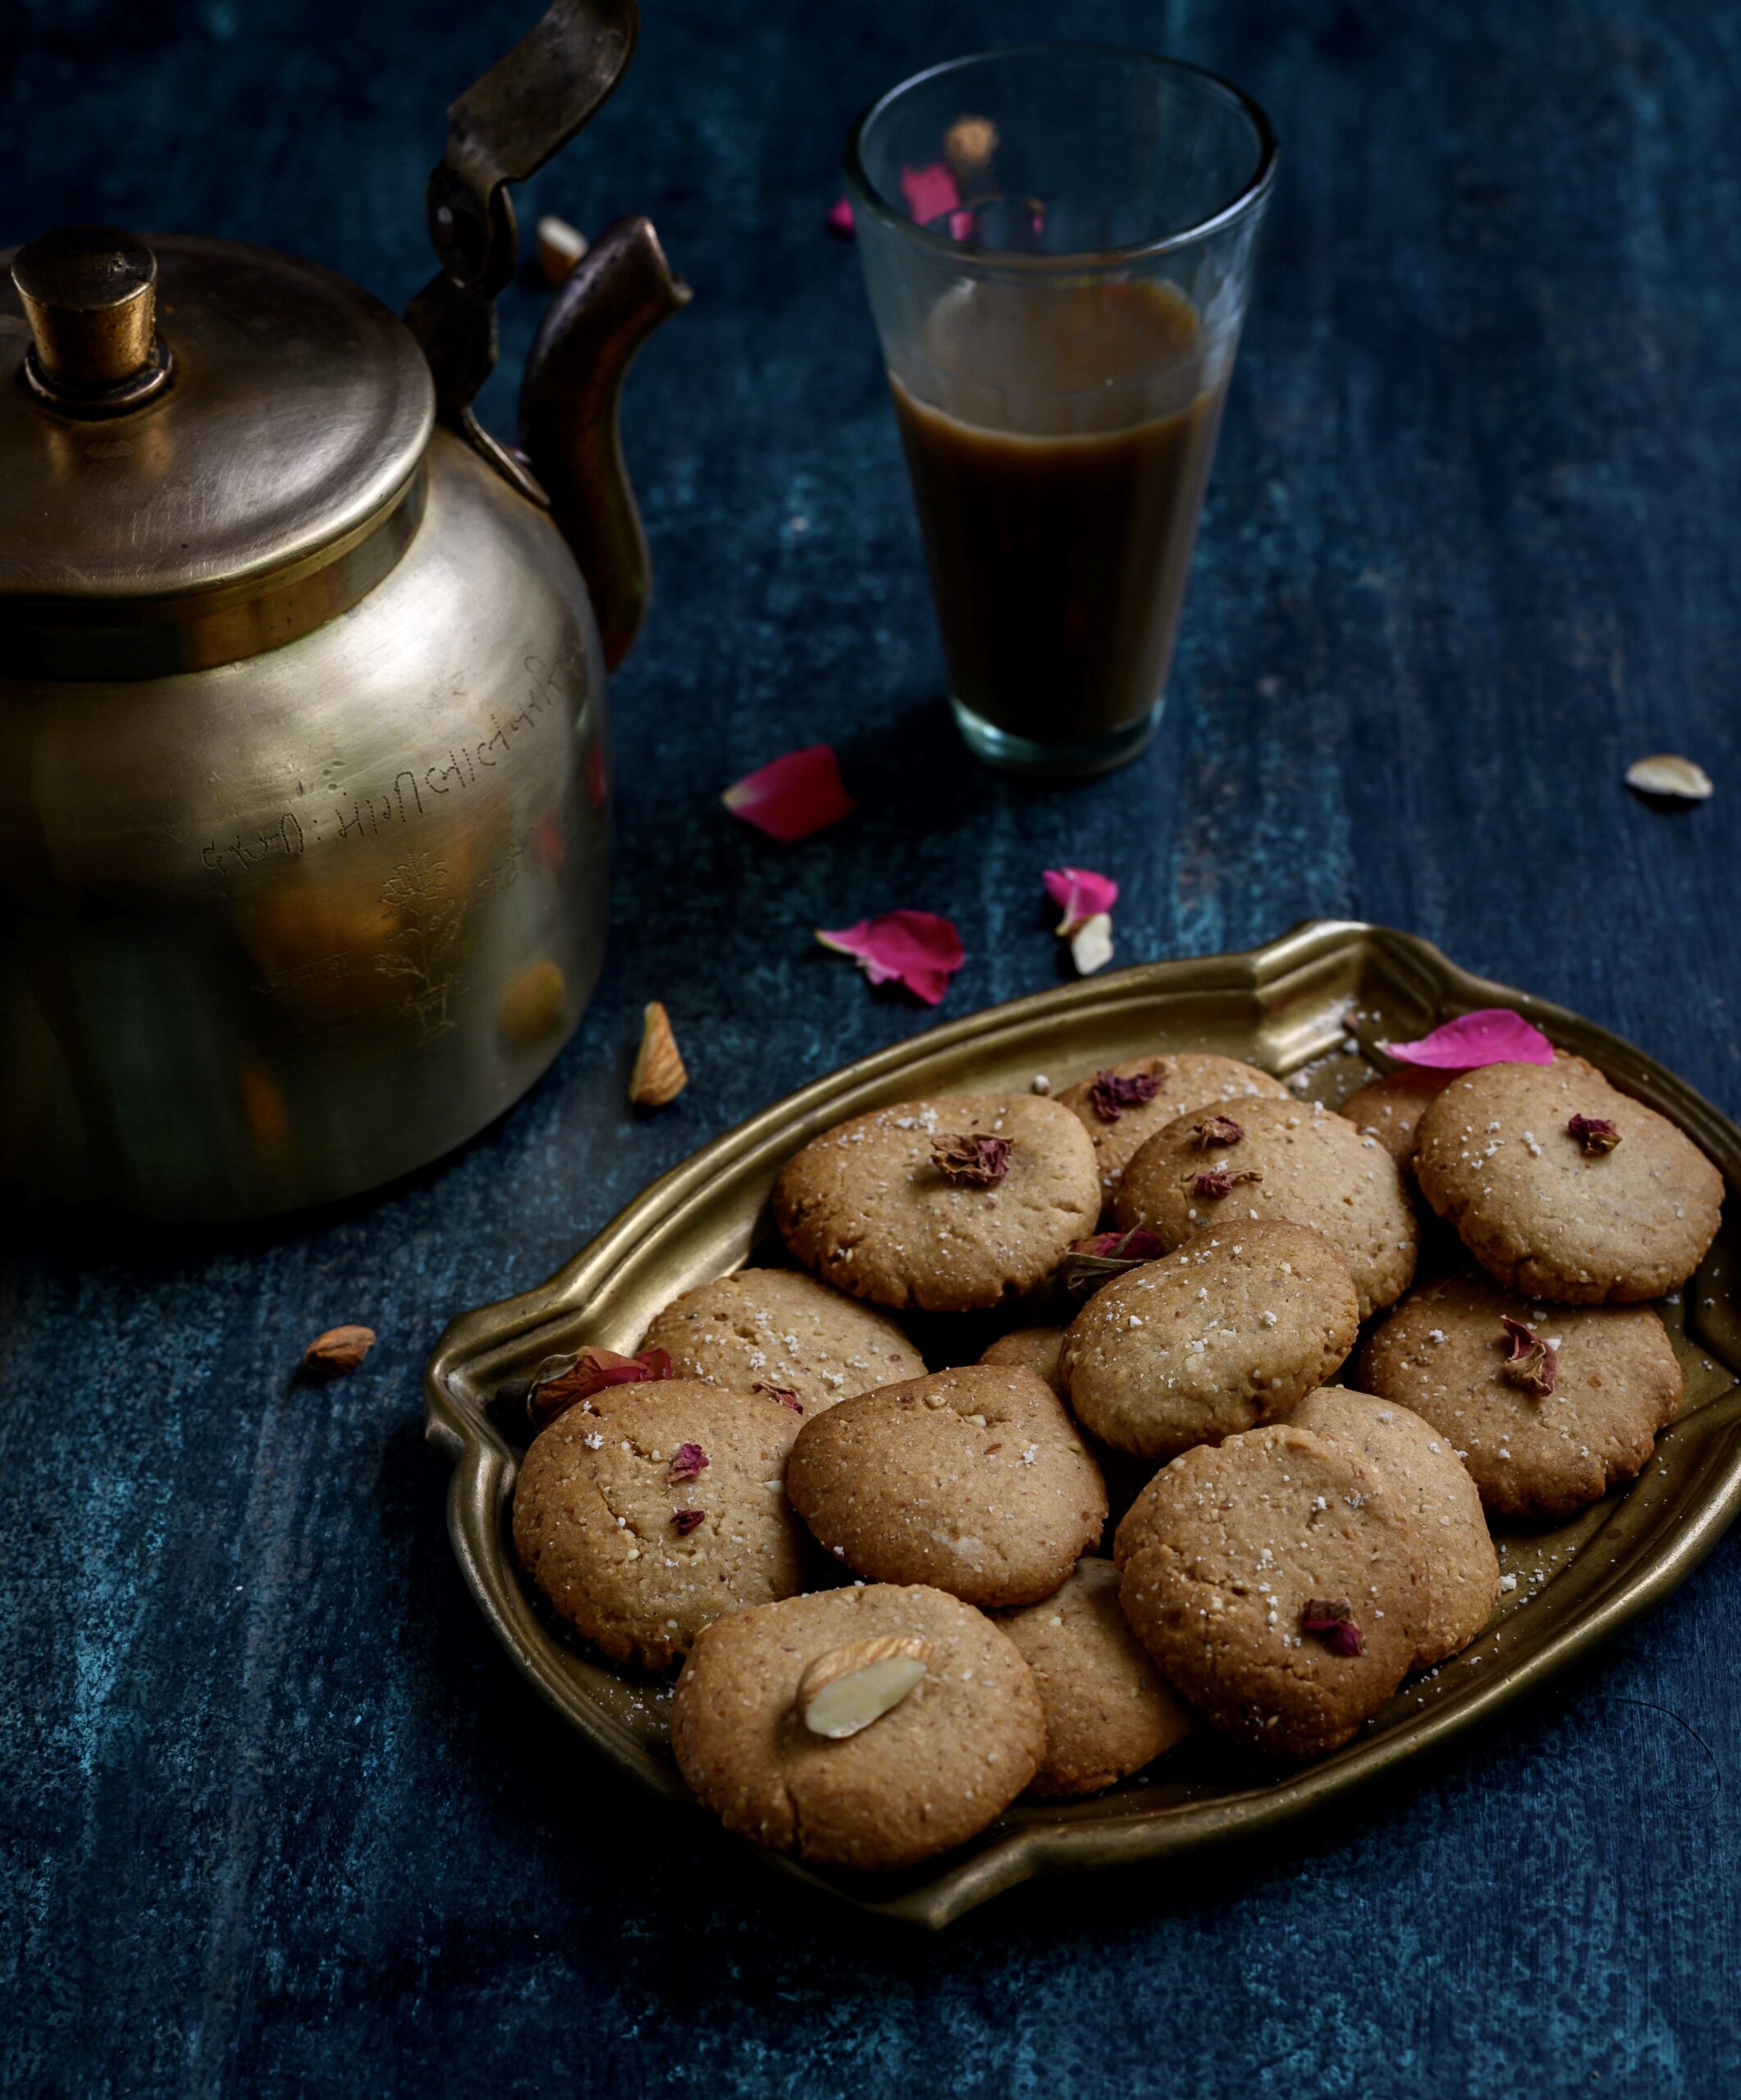
Raab
(Yield: 1 bowl)
⅛ cup bajra (pearl millet) flour
⅛ cup jaggery
1½ tablespoons ghee
2 cups water
1 teaspoon dry ginger powder
½ teaspoon ajwain
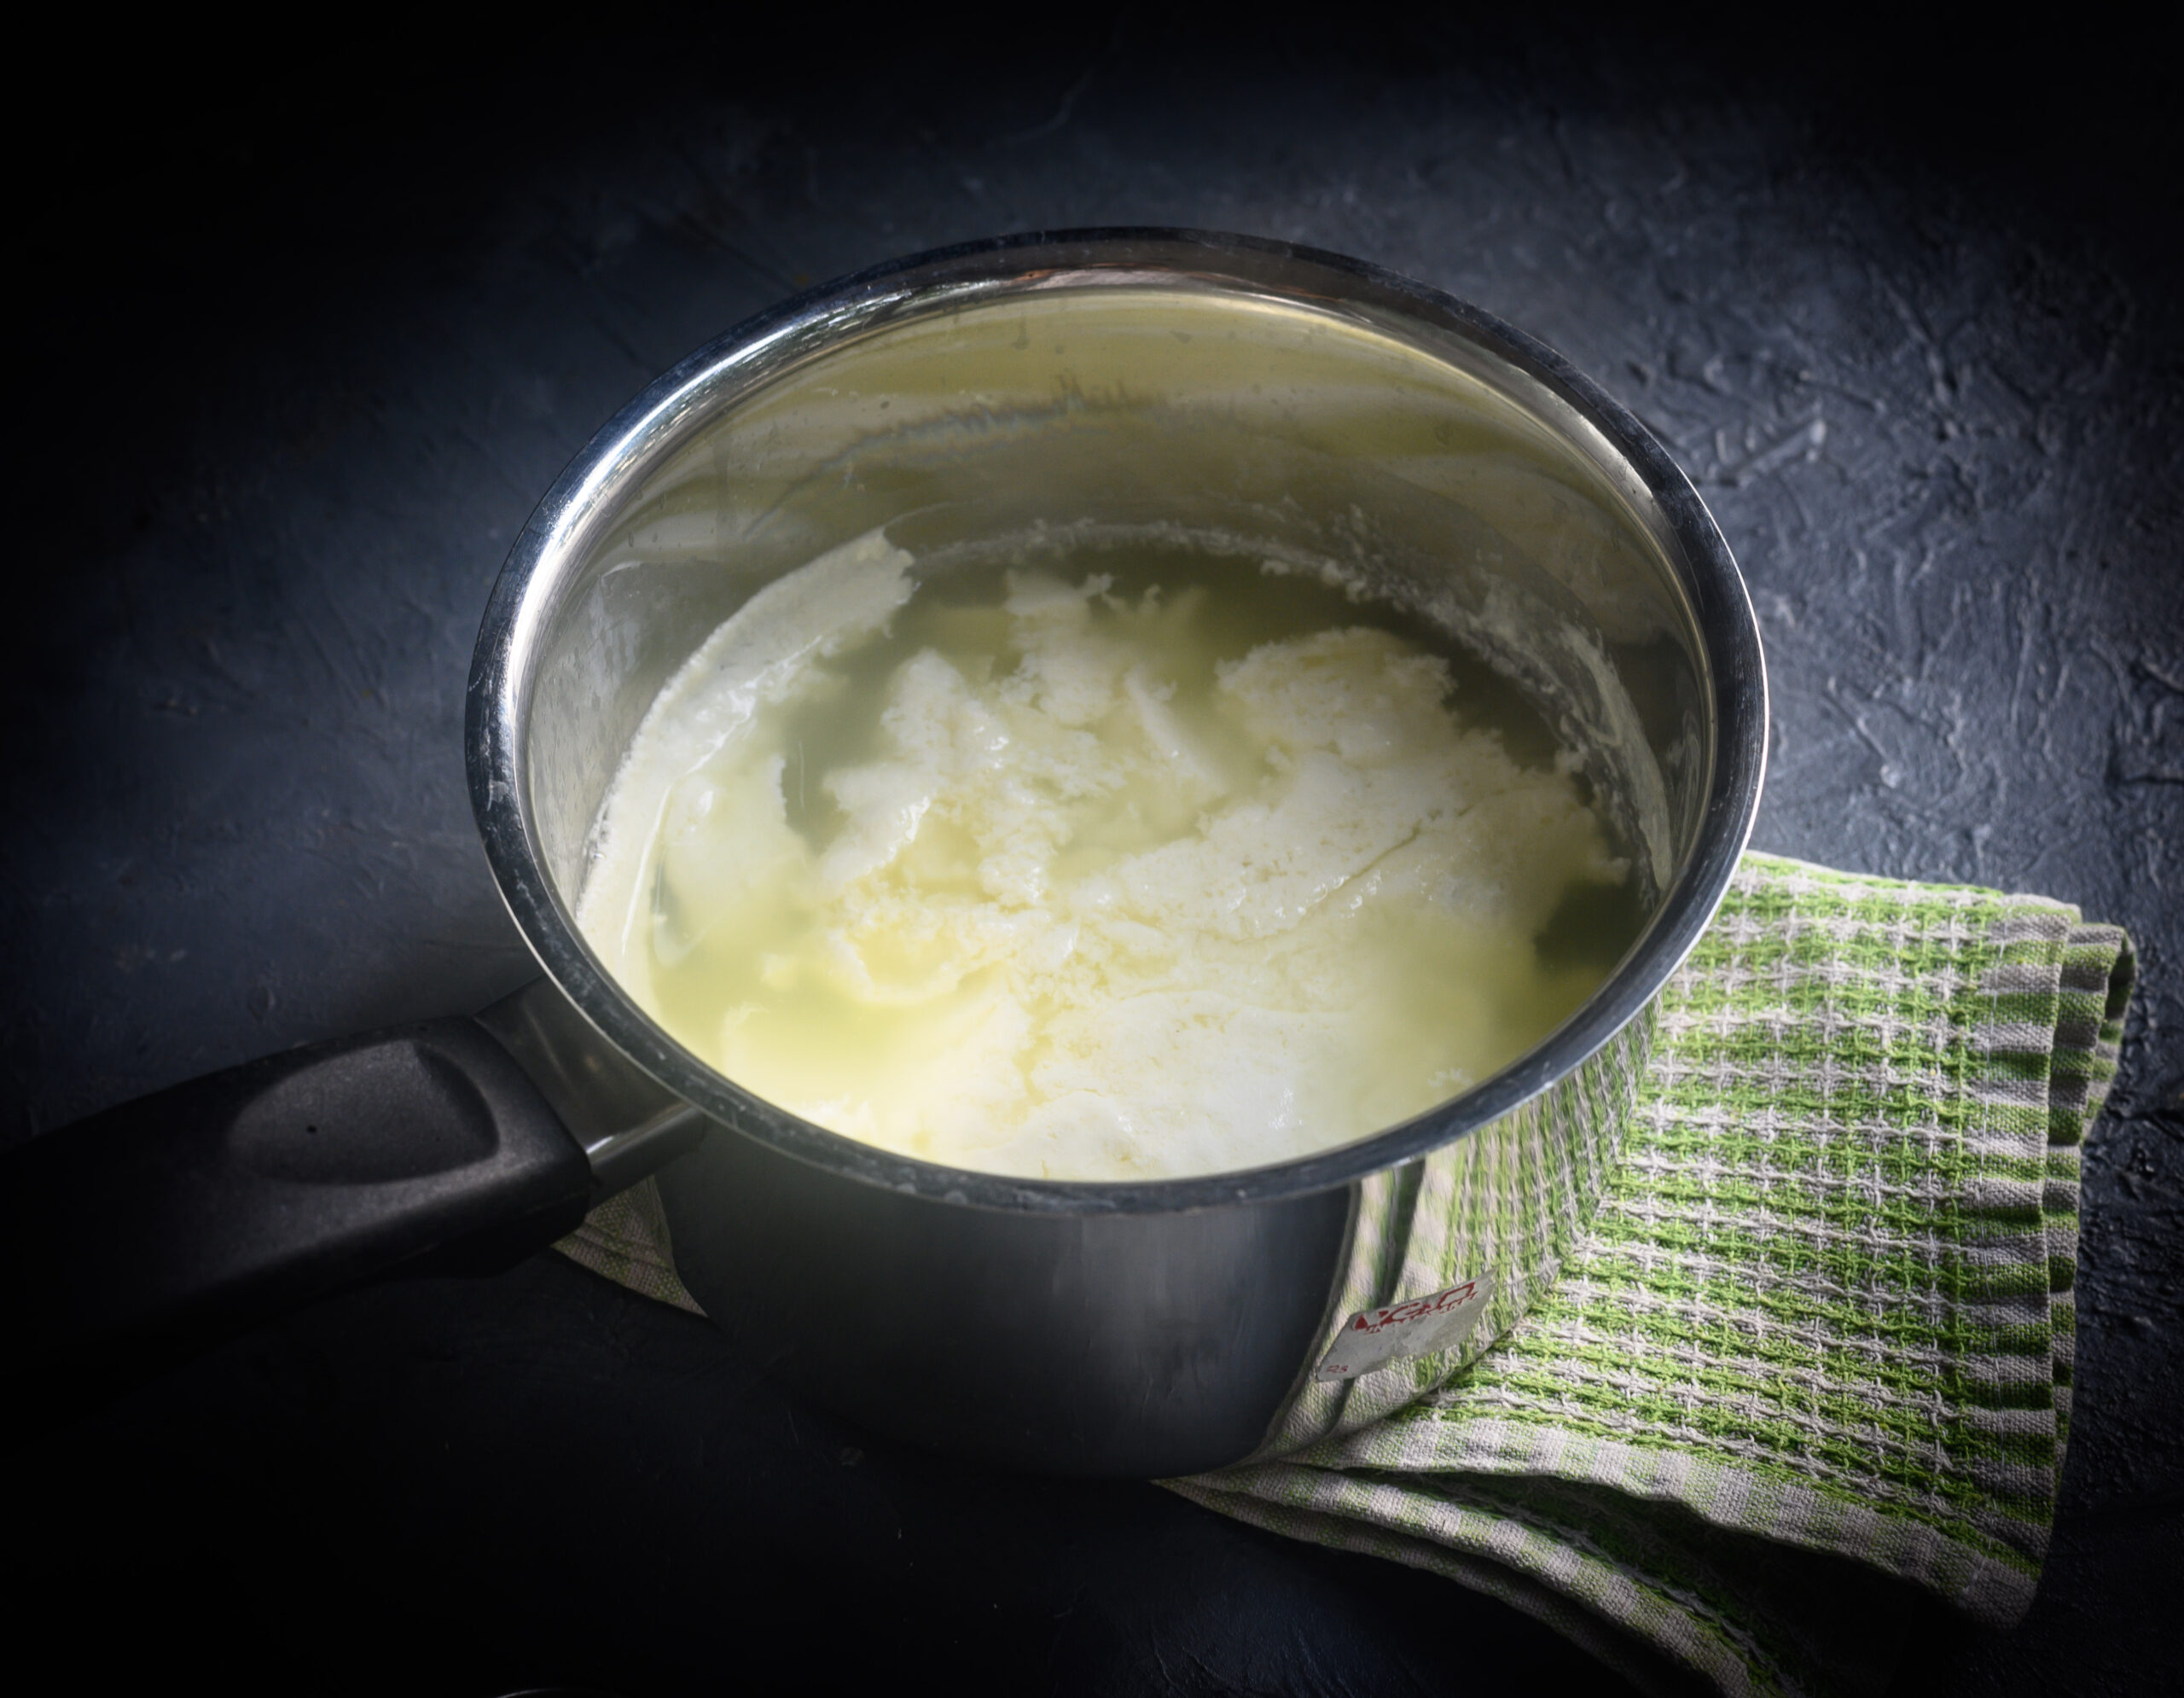
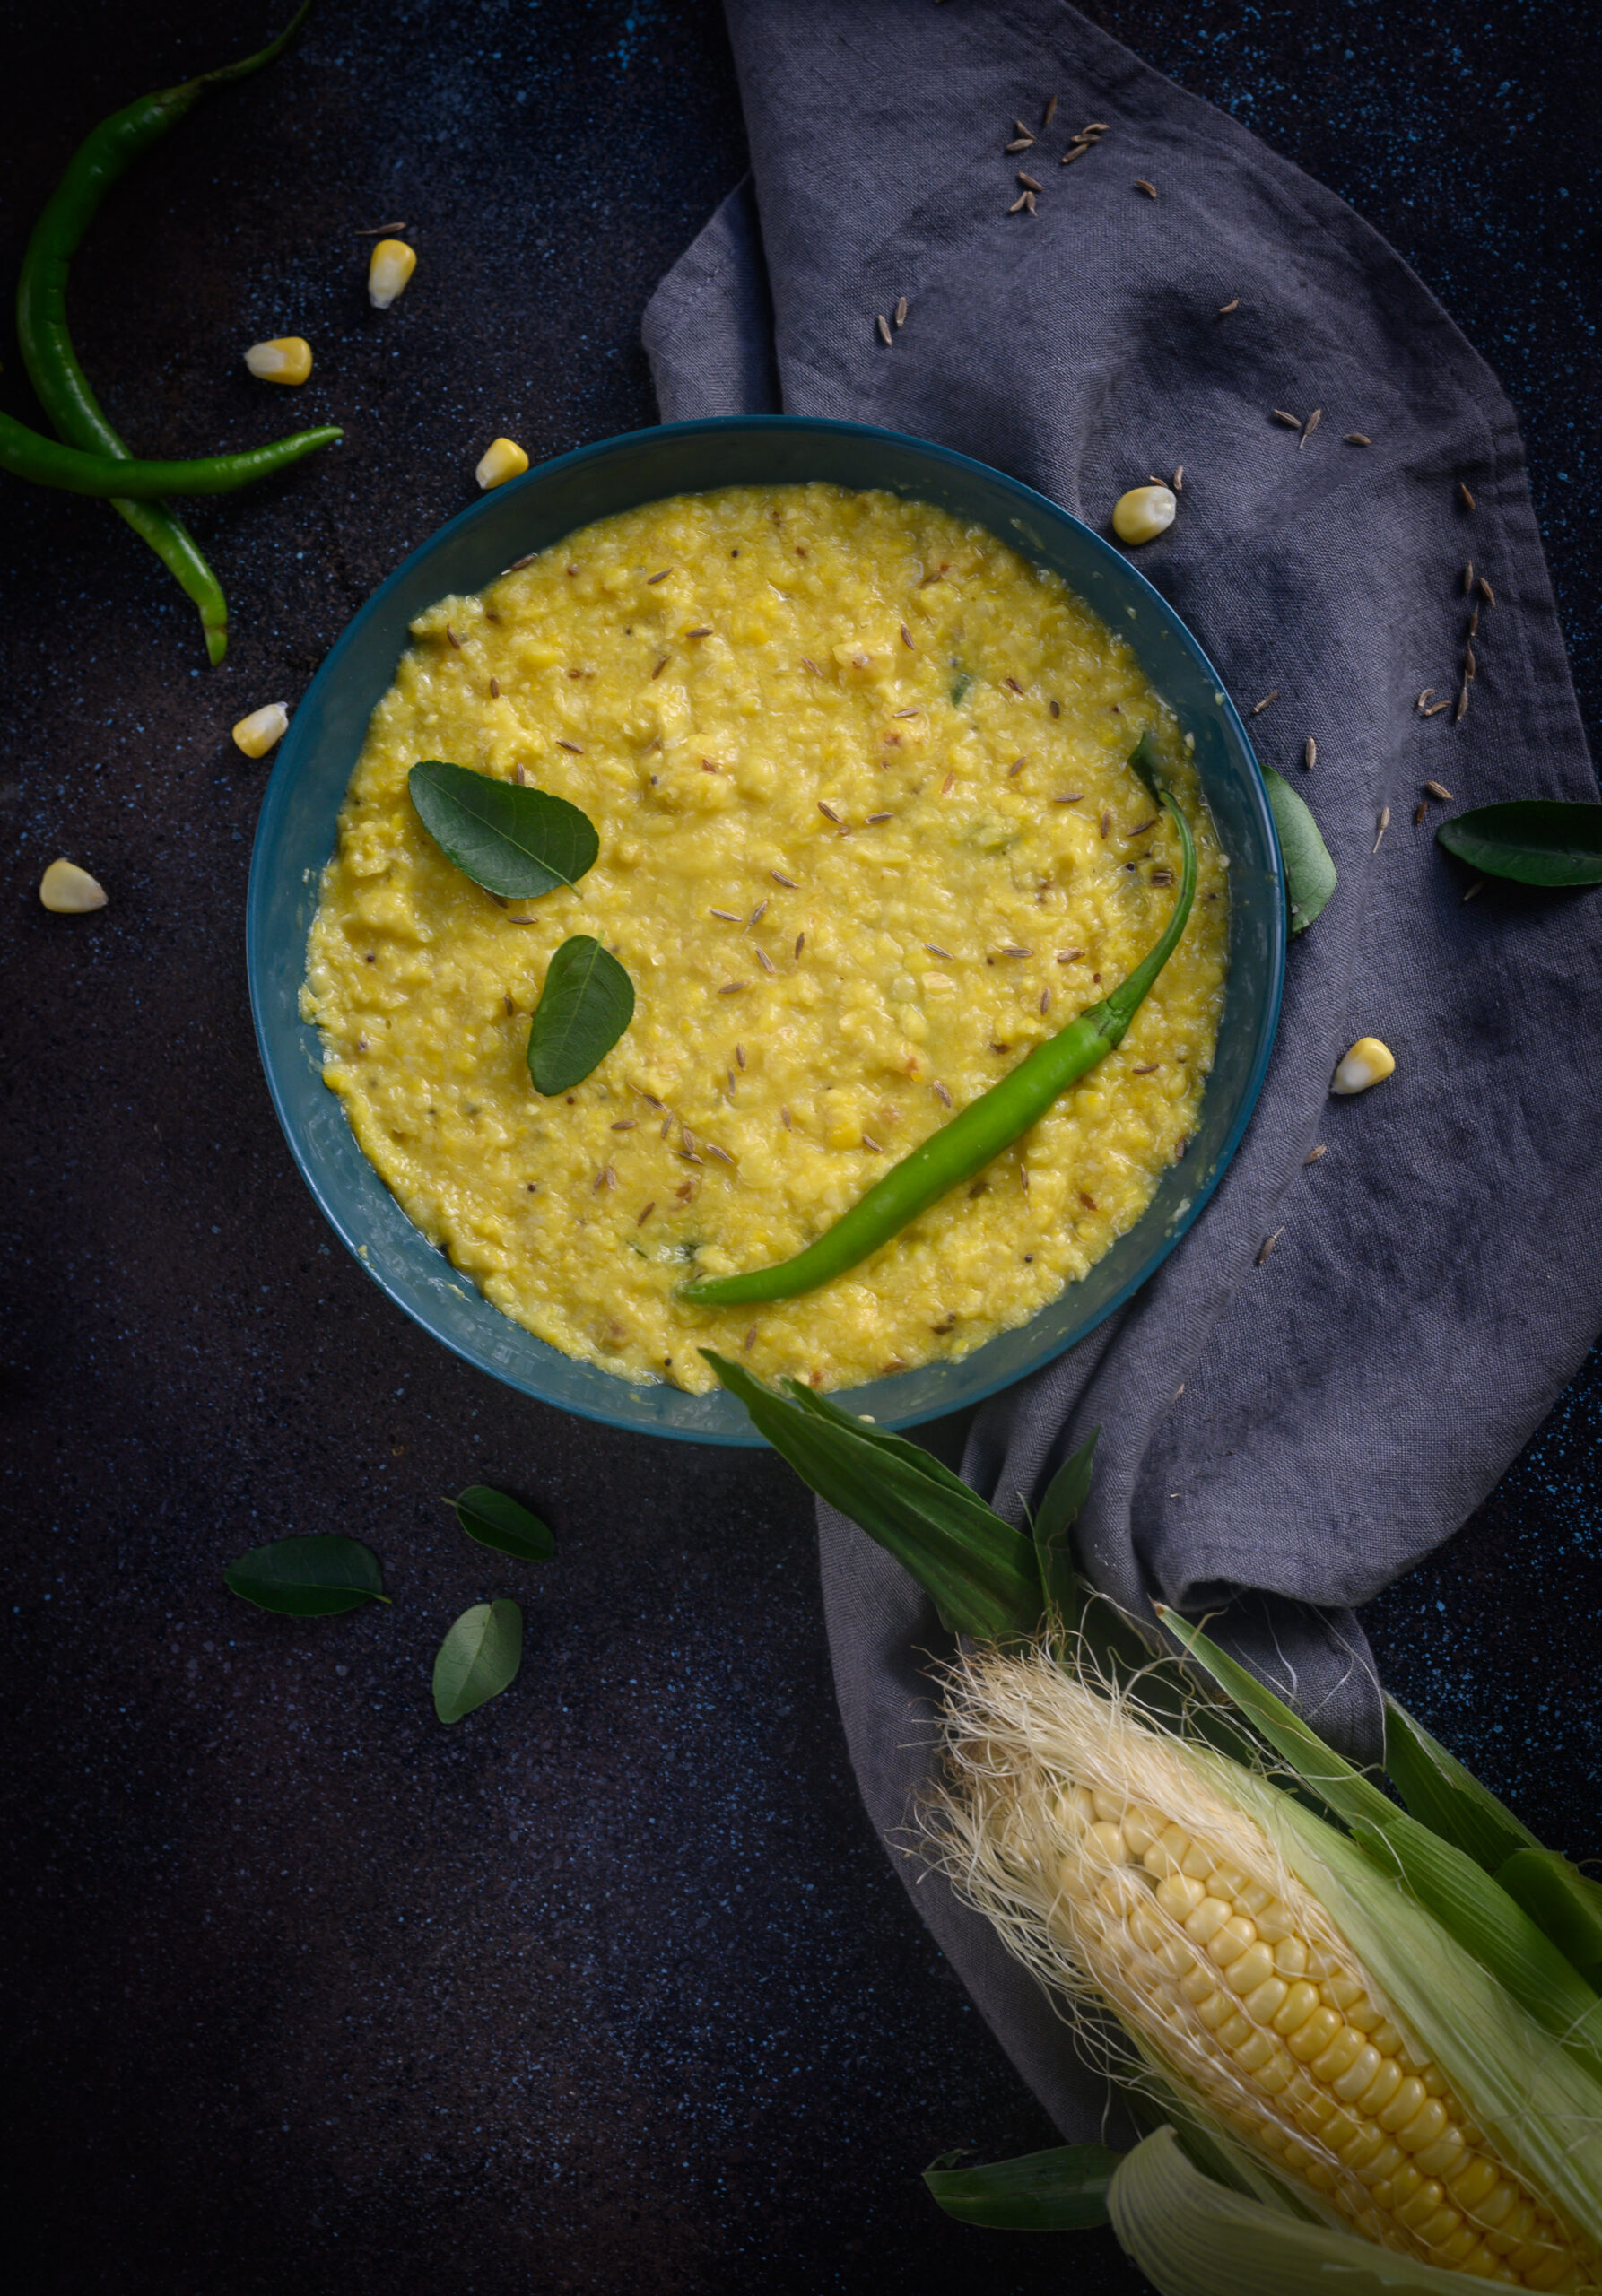
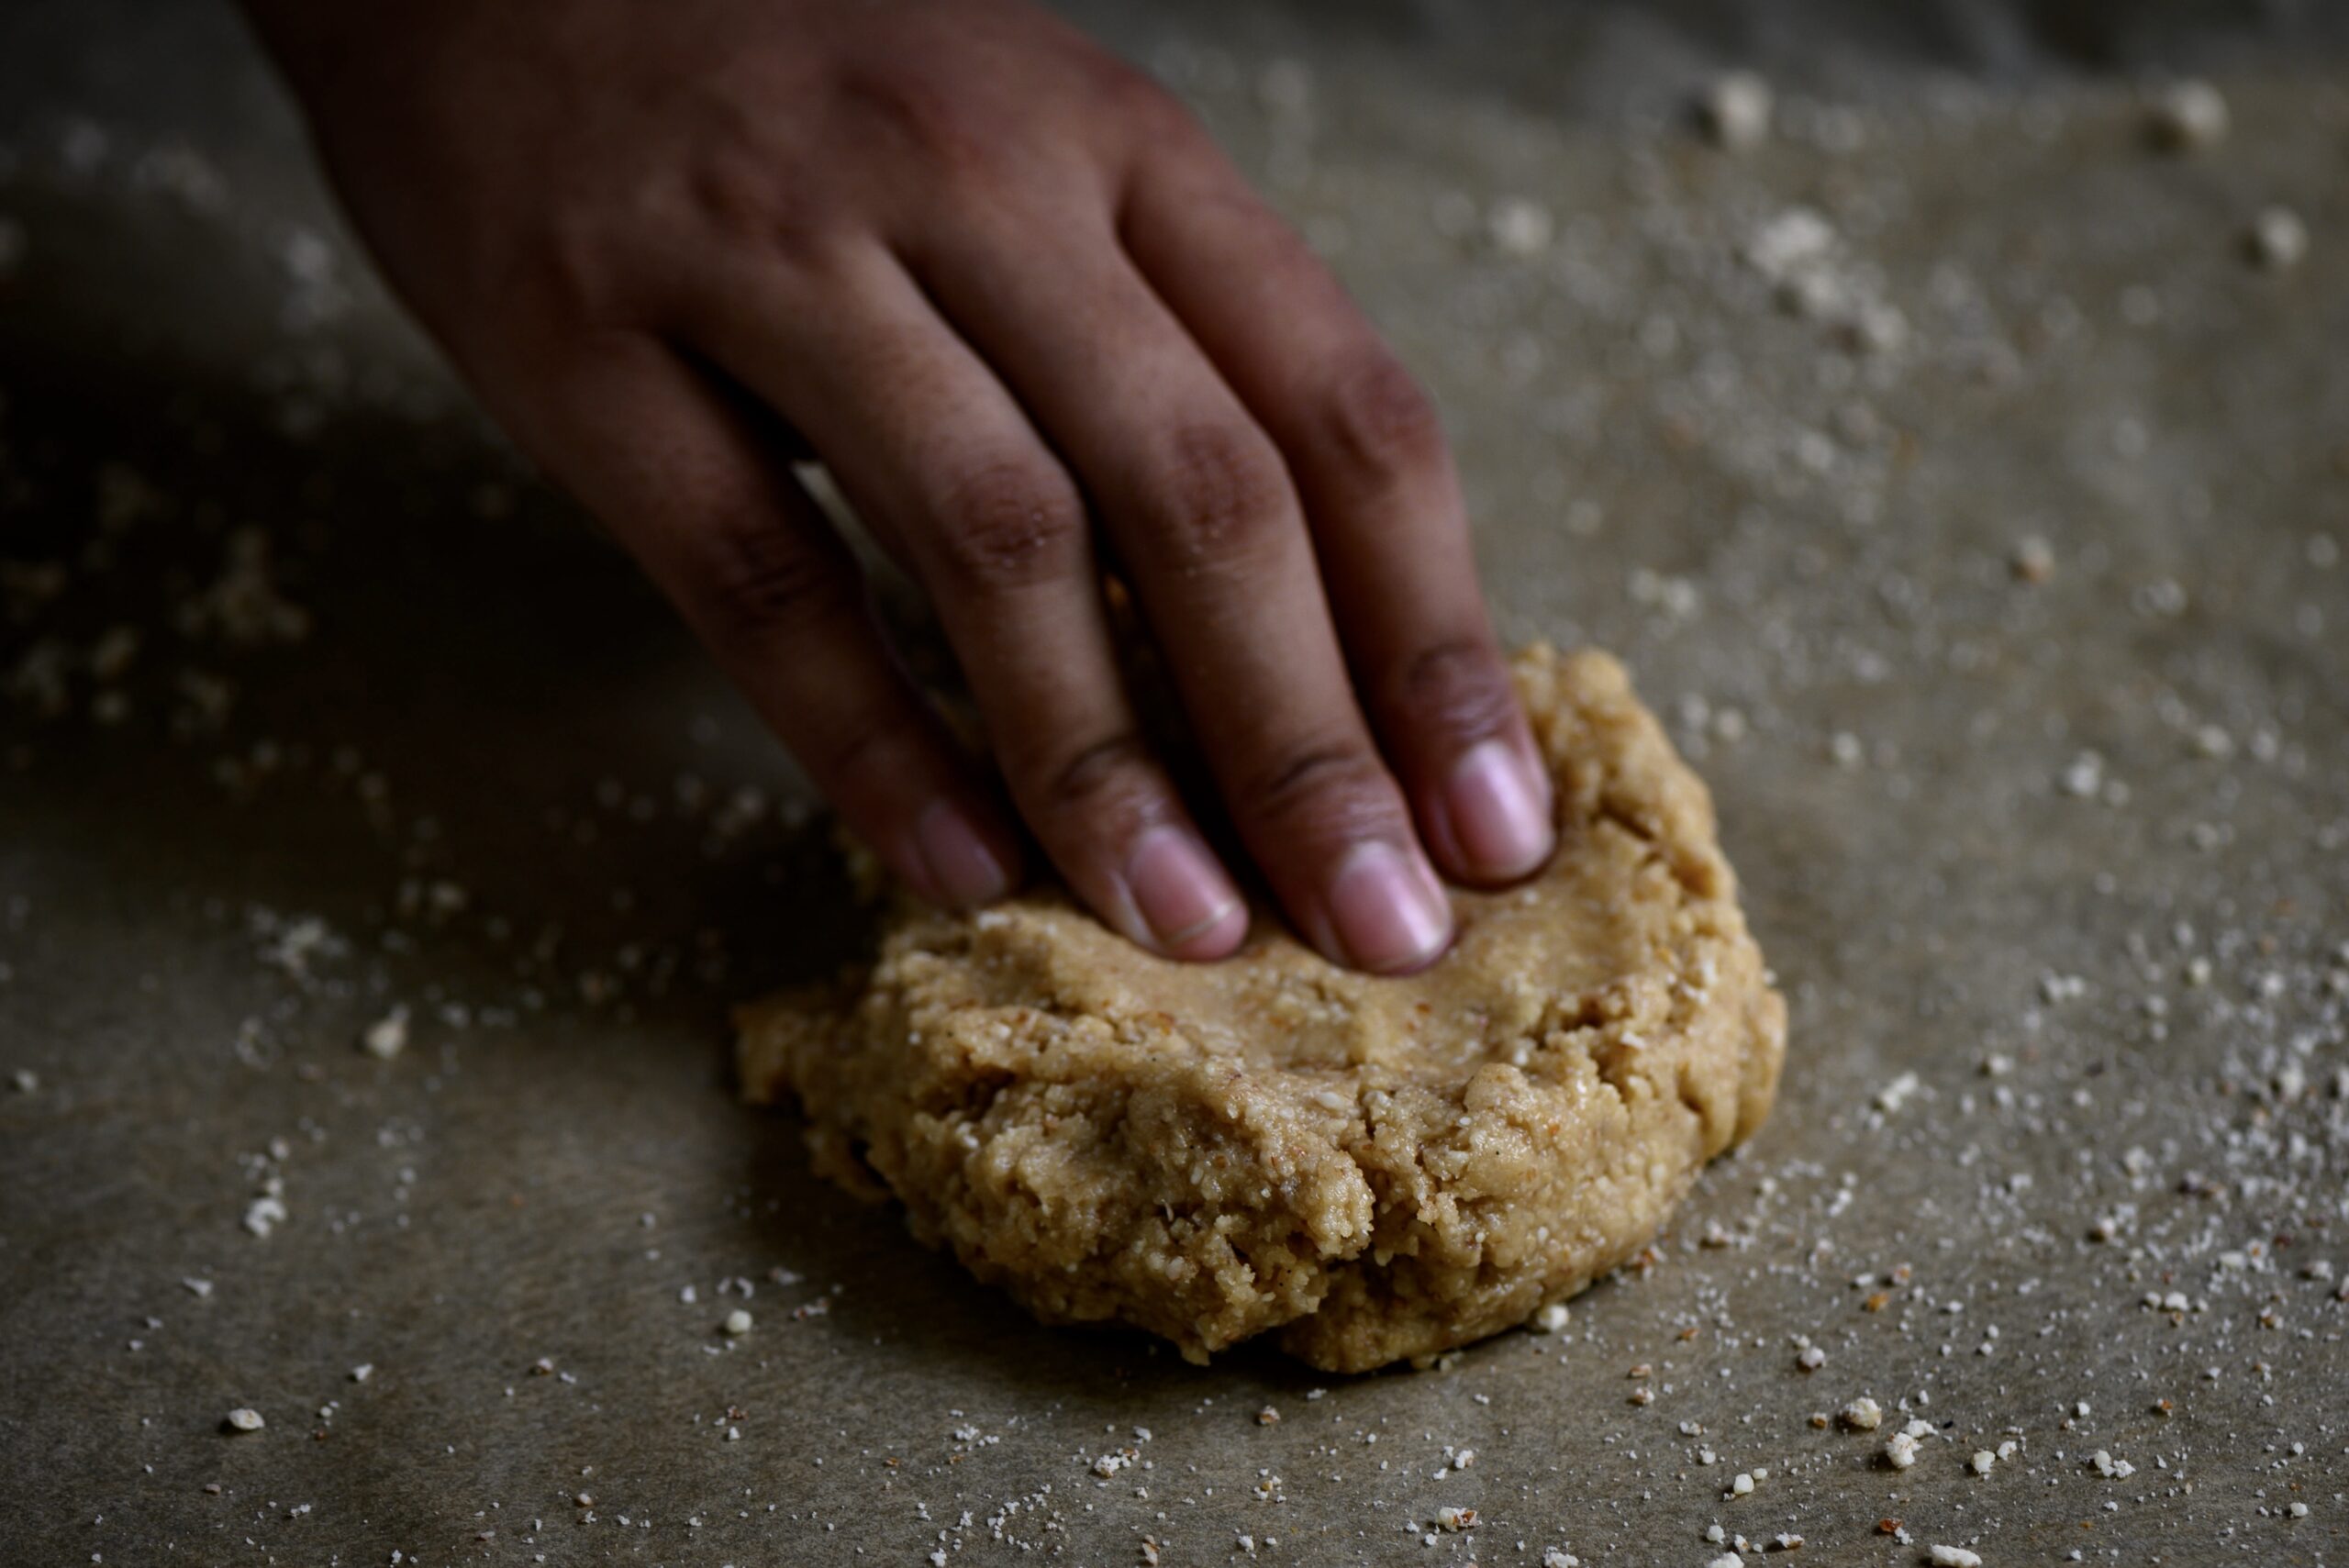
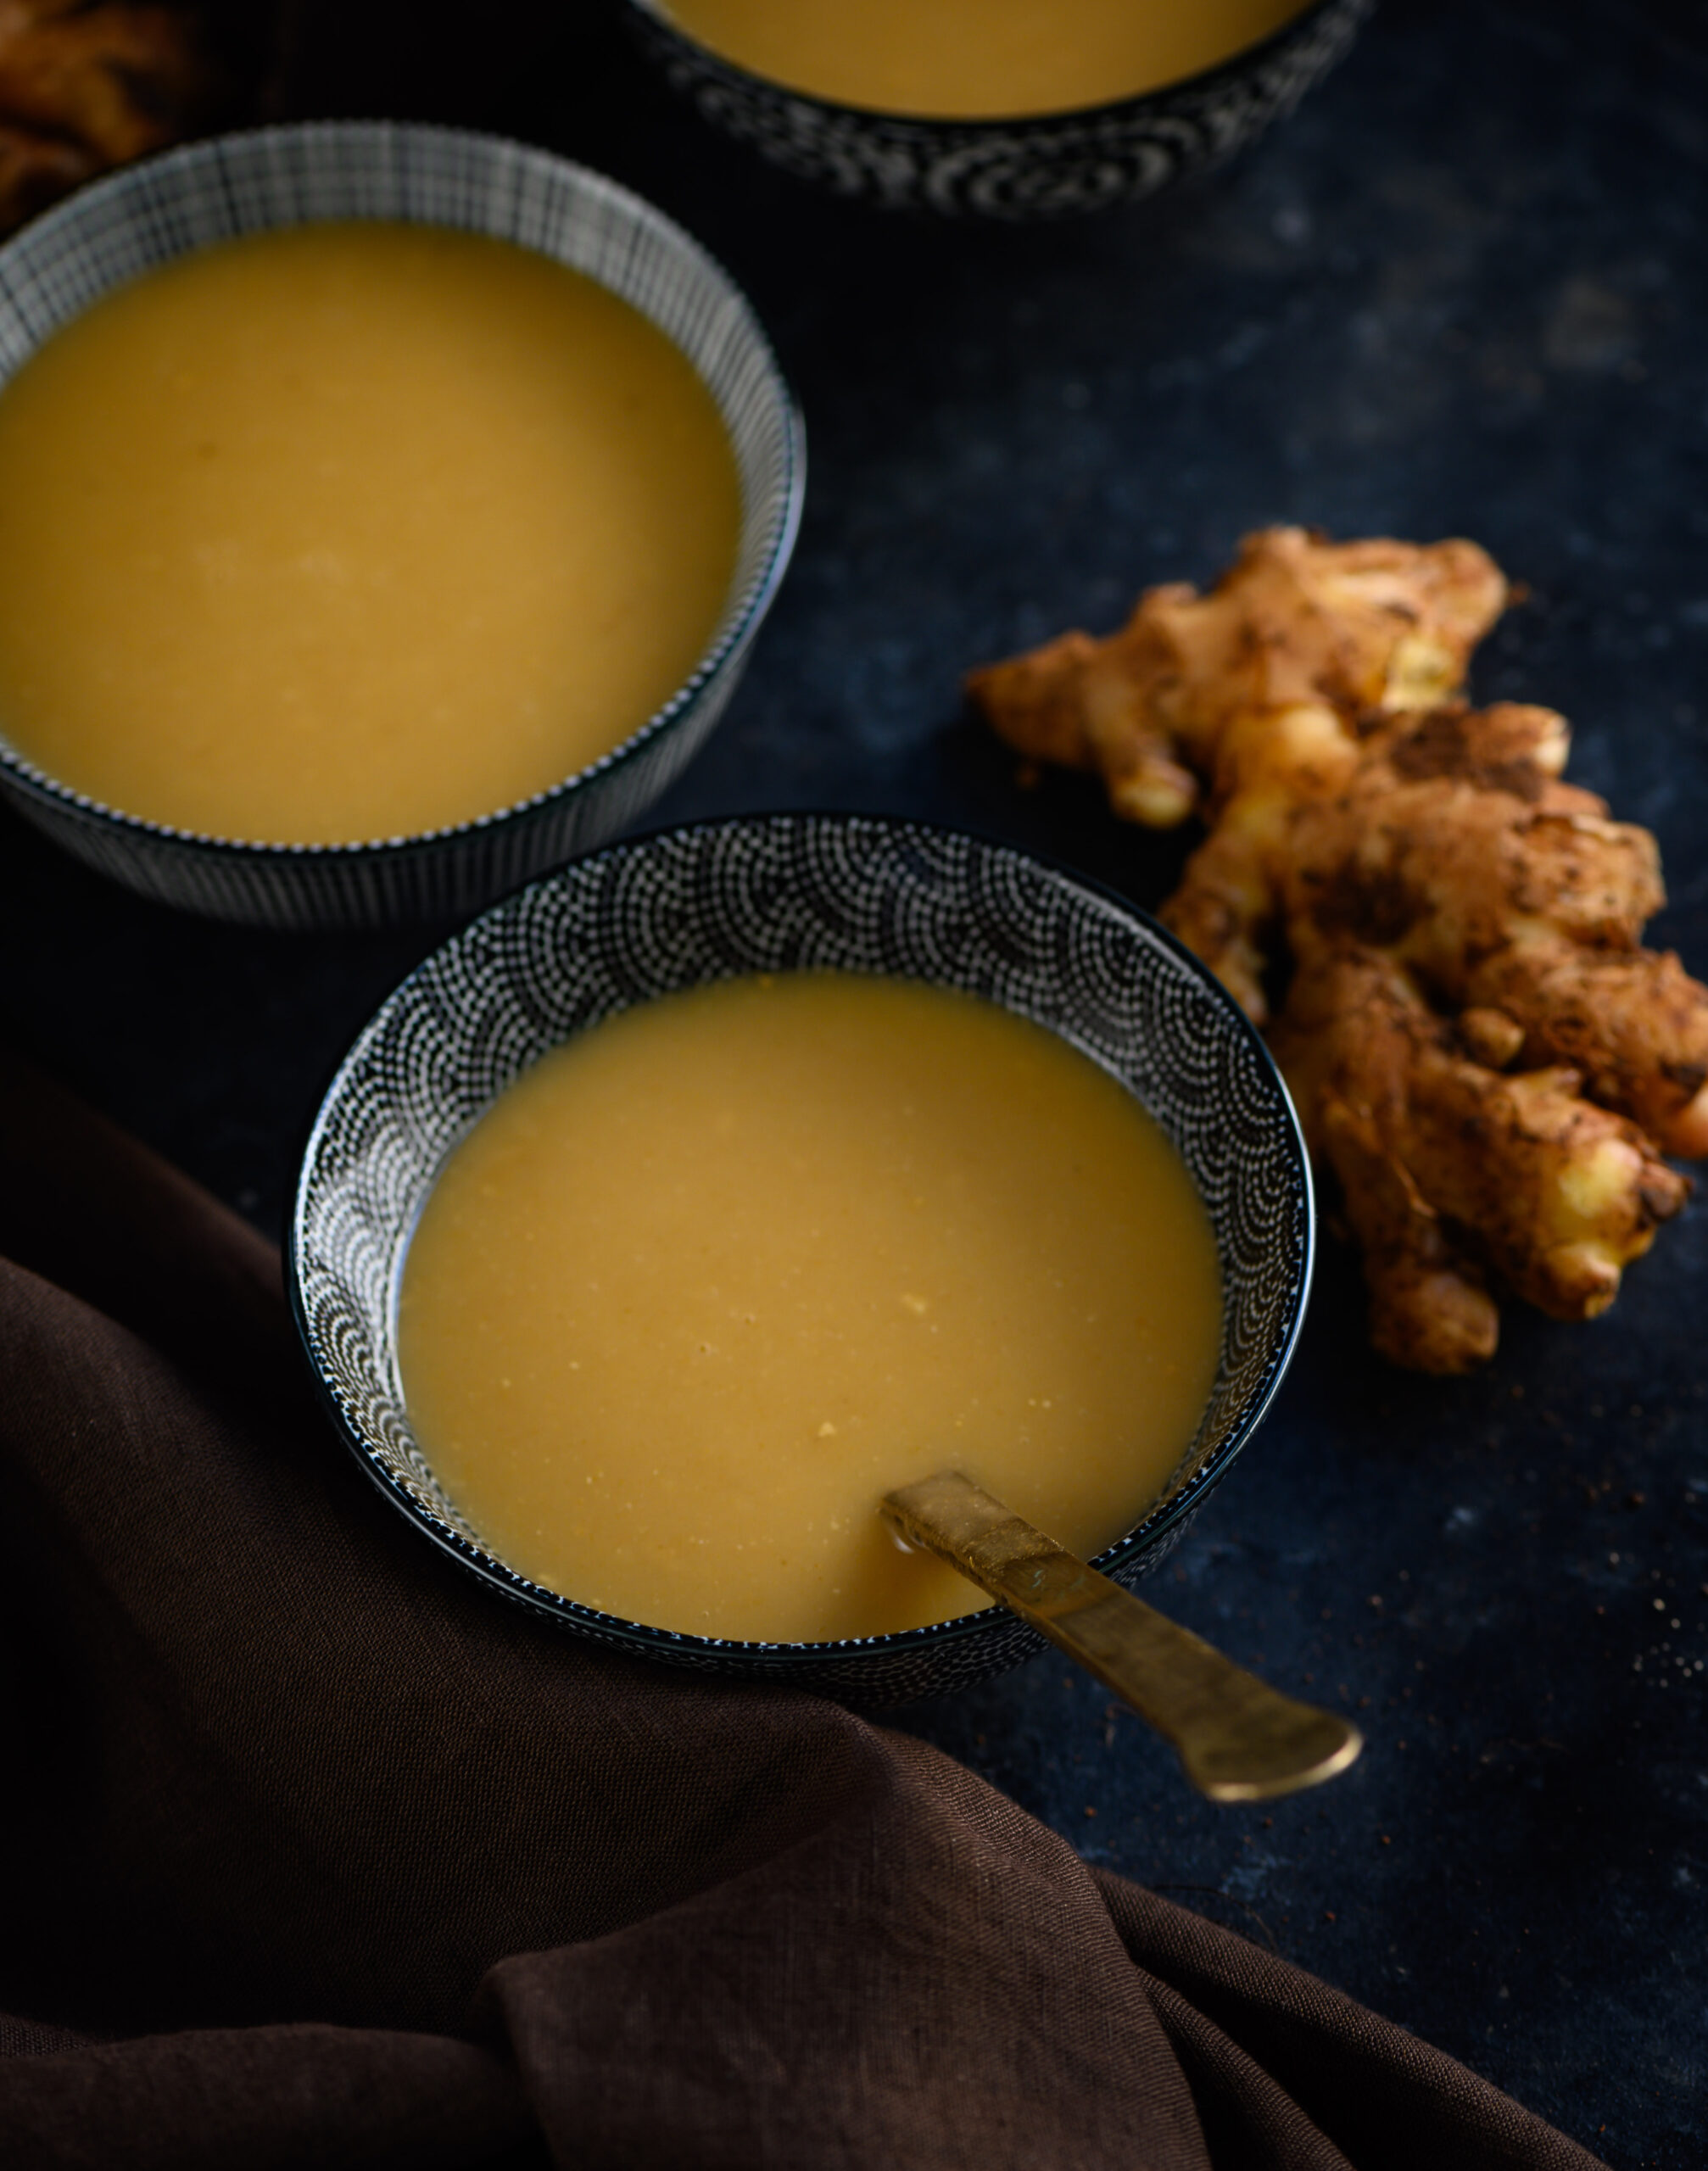
In a pan, add the ghee and the flour. Stir them together on a low-medium flame until the mixture looks like a roux. Keep stirring, making sure it does not stick to the bottom of the pan, until it turns a golden colour.
At the same time, in another pot, add the jaggery and the water. Heat until the jaggery melts, stirring occasionally.
Once the roux is golden, add the ginger powder, the ajwain and the powdered gond resin. The gond will make the mixture bubble and fluff up at this point. Finally, add the warm jaggery water. Stir well and carefully, so the mixture does not start to coagulate and get lumpy.
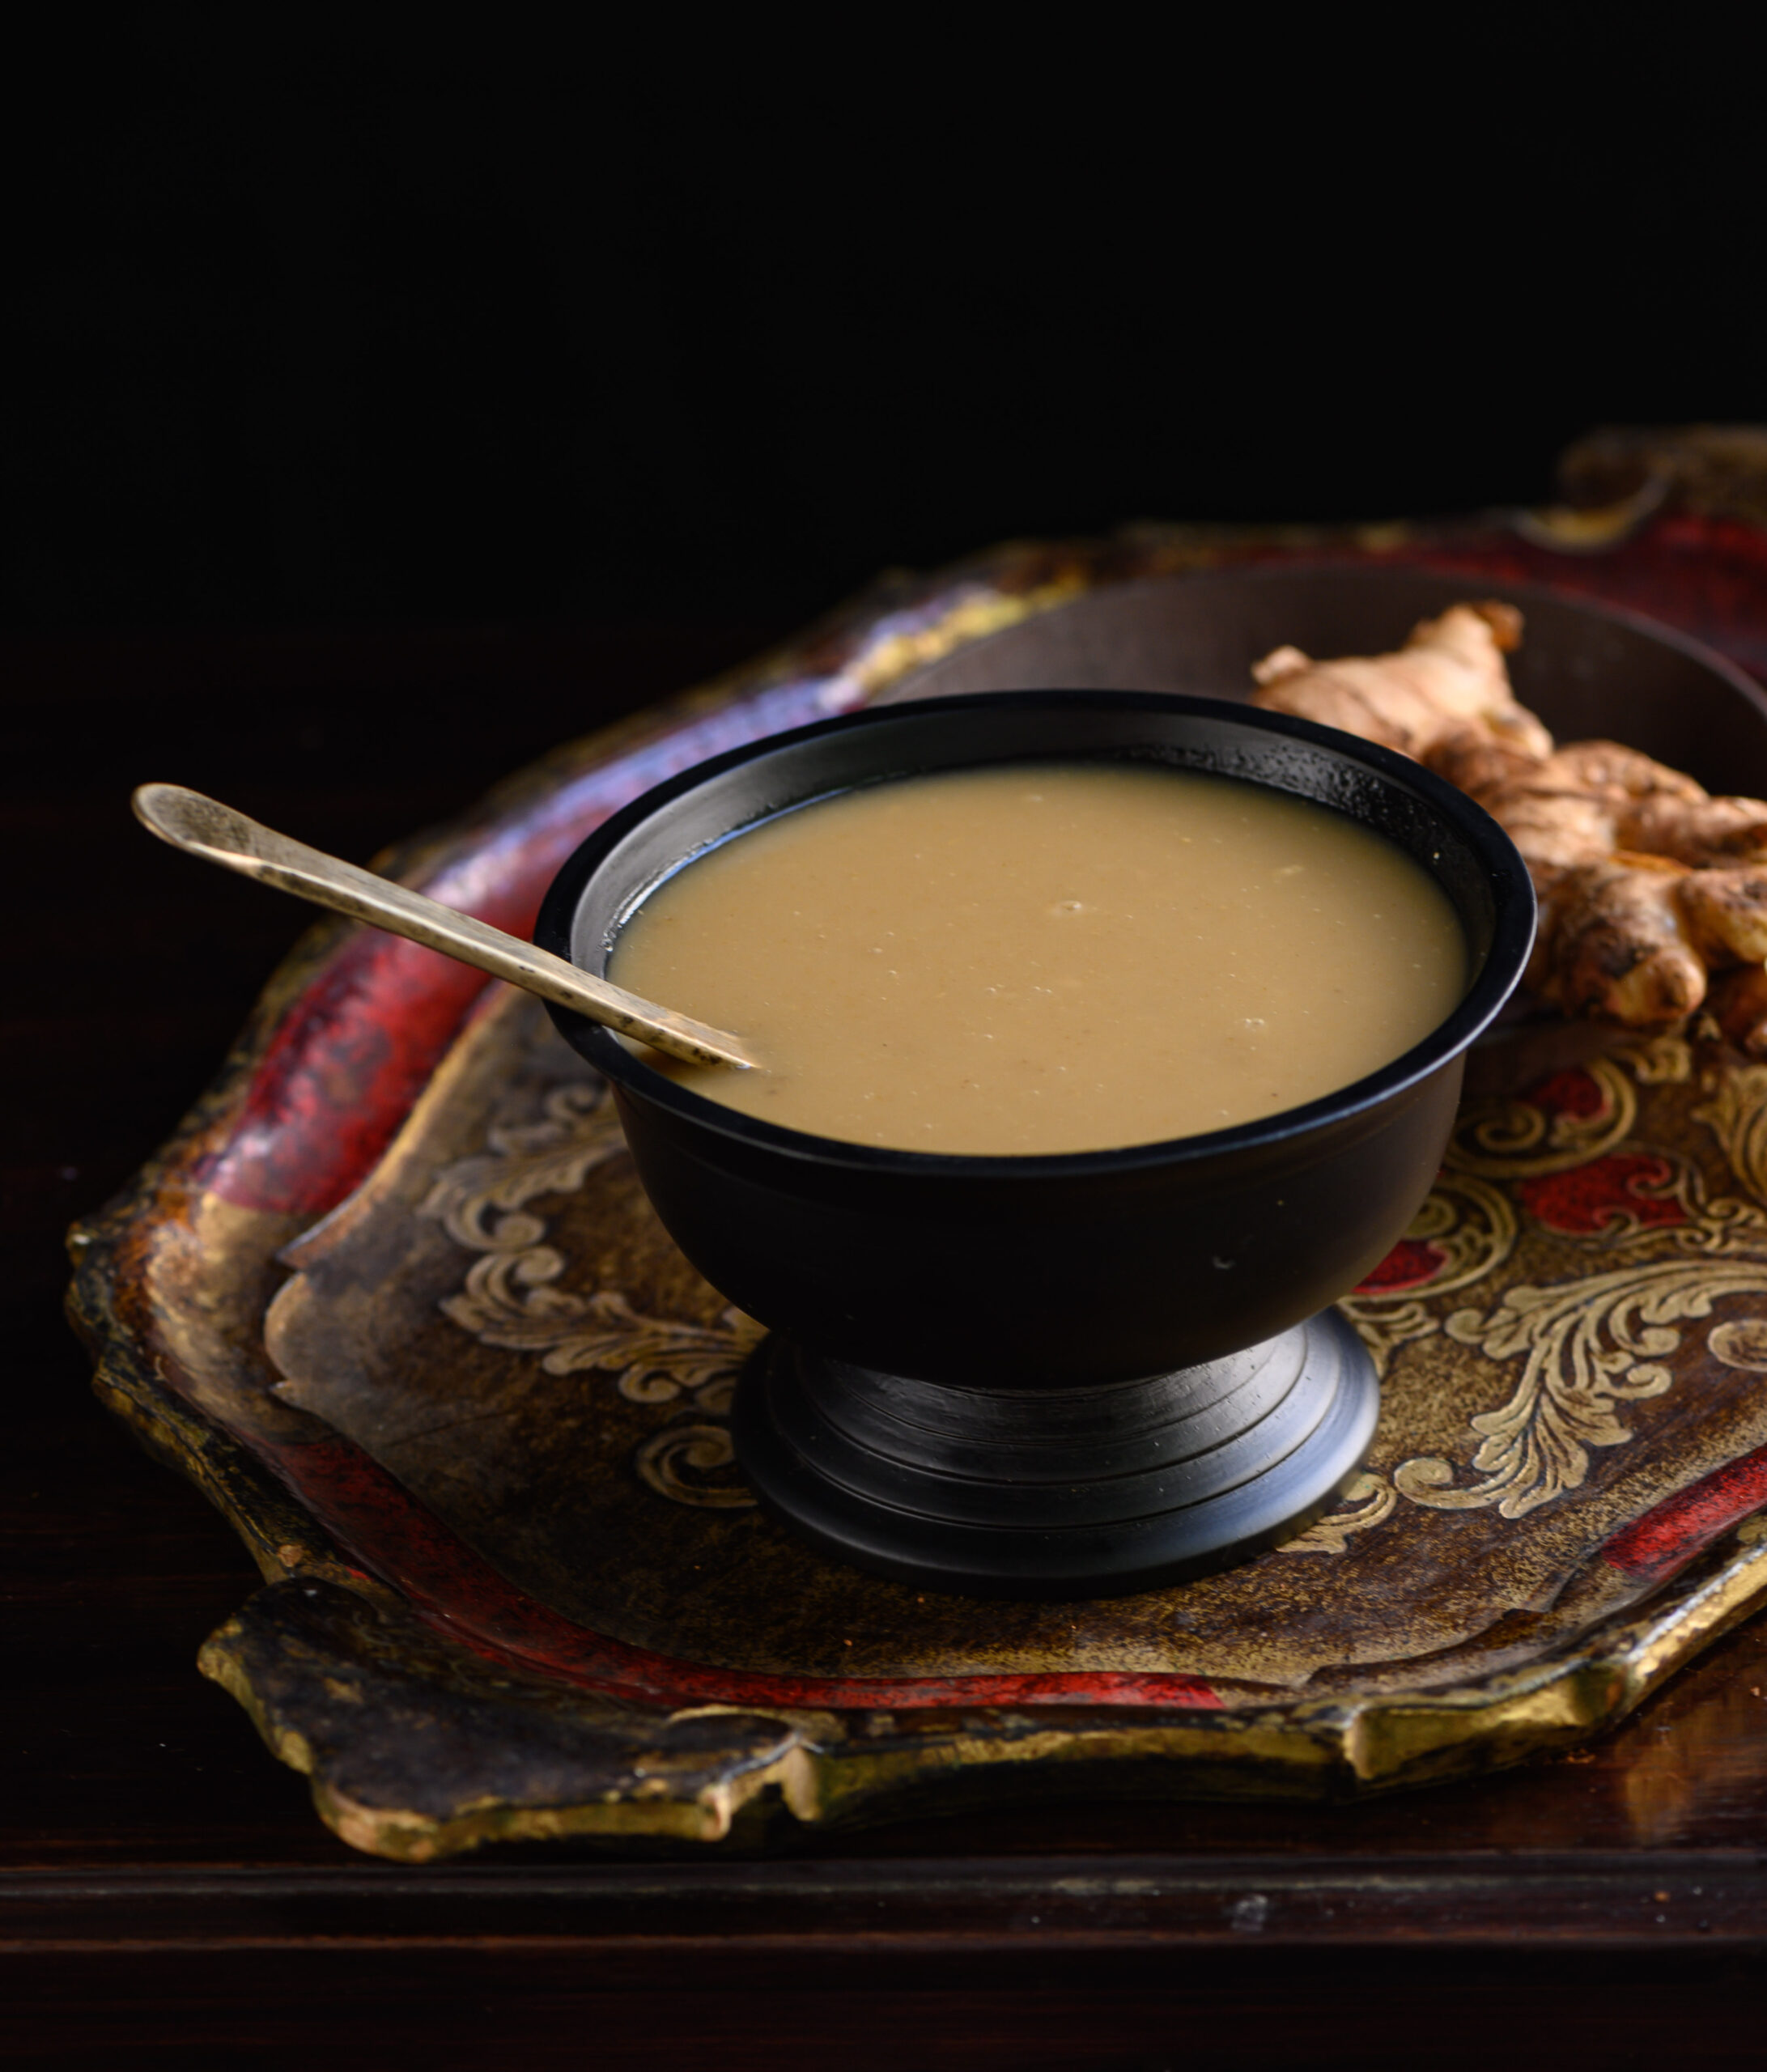
Once it is completely smooth, it is ready to be served. Raab is best enjoyed hot.
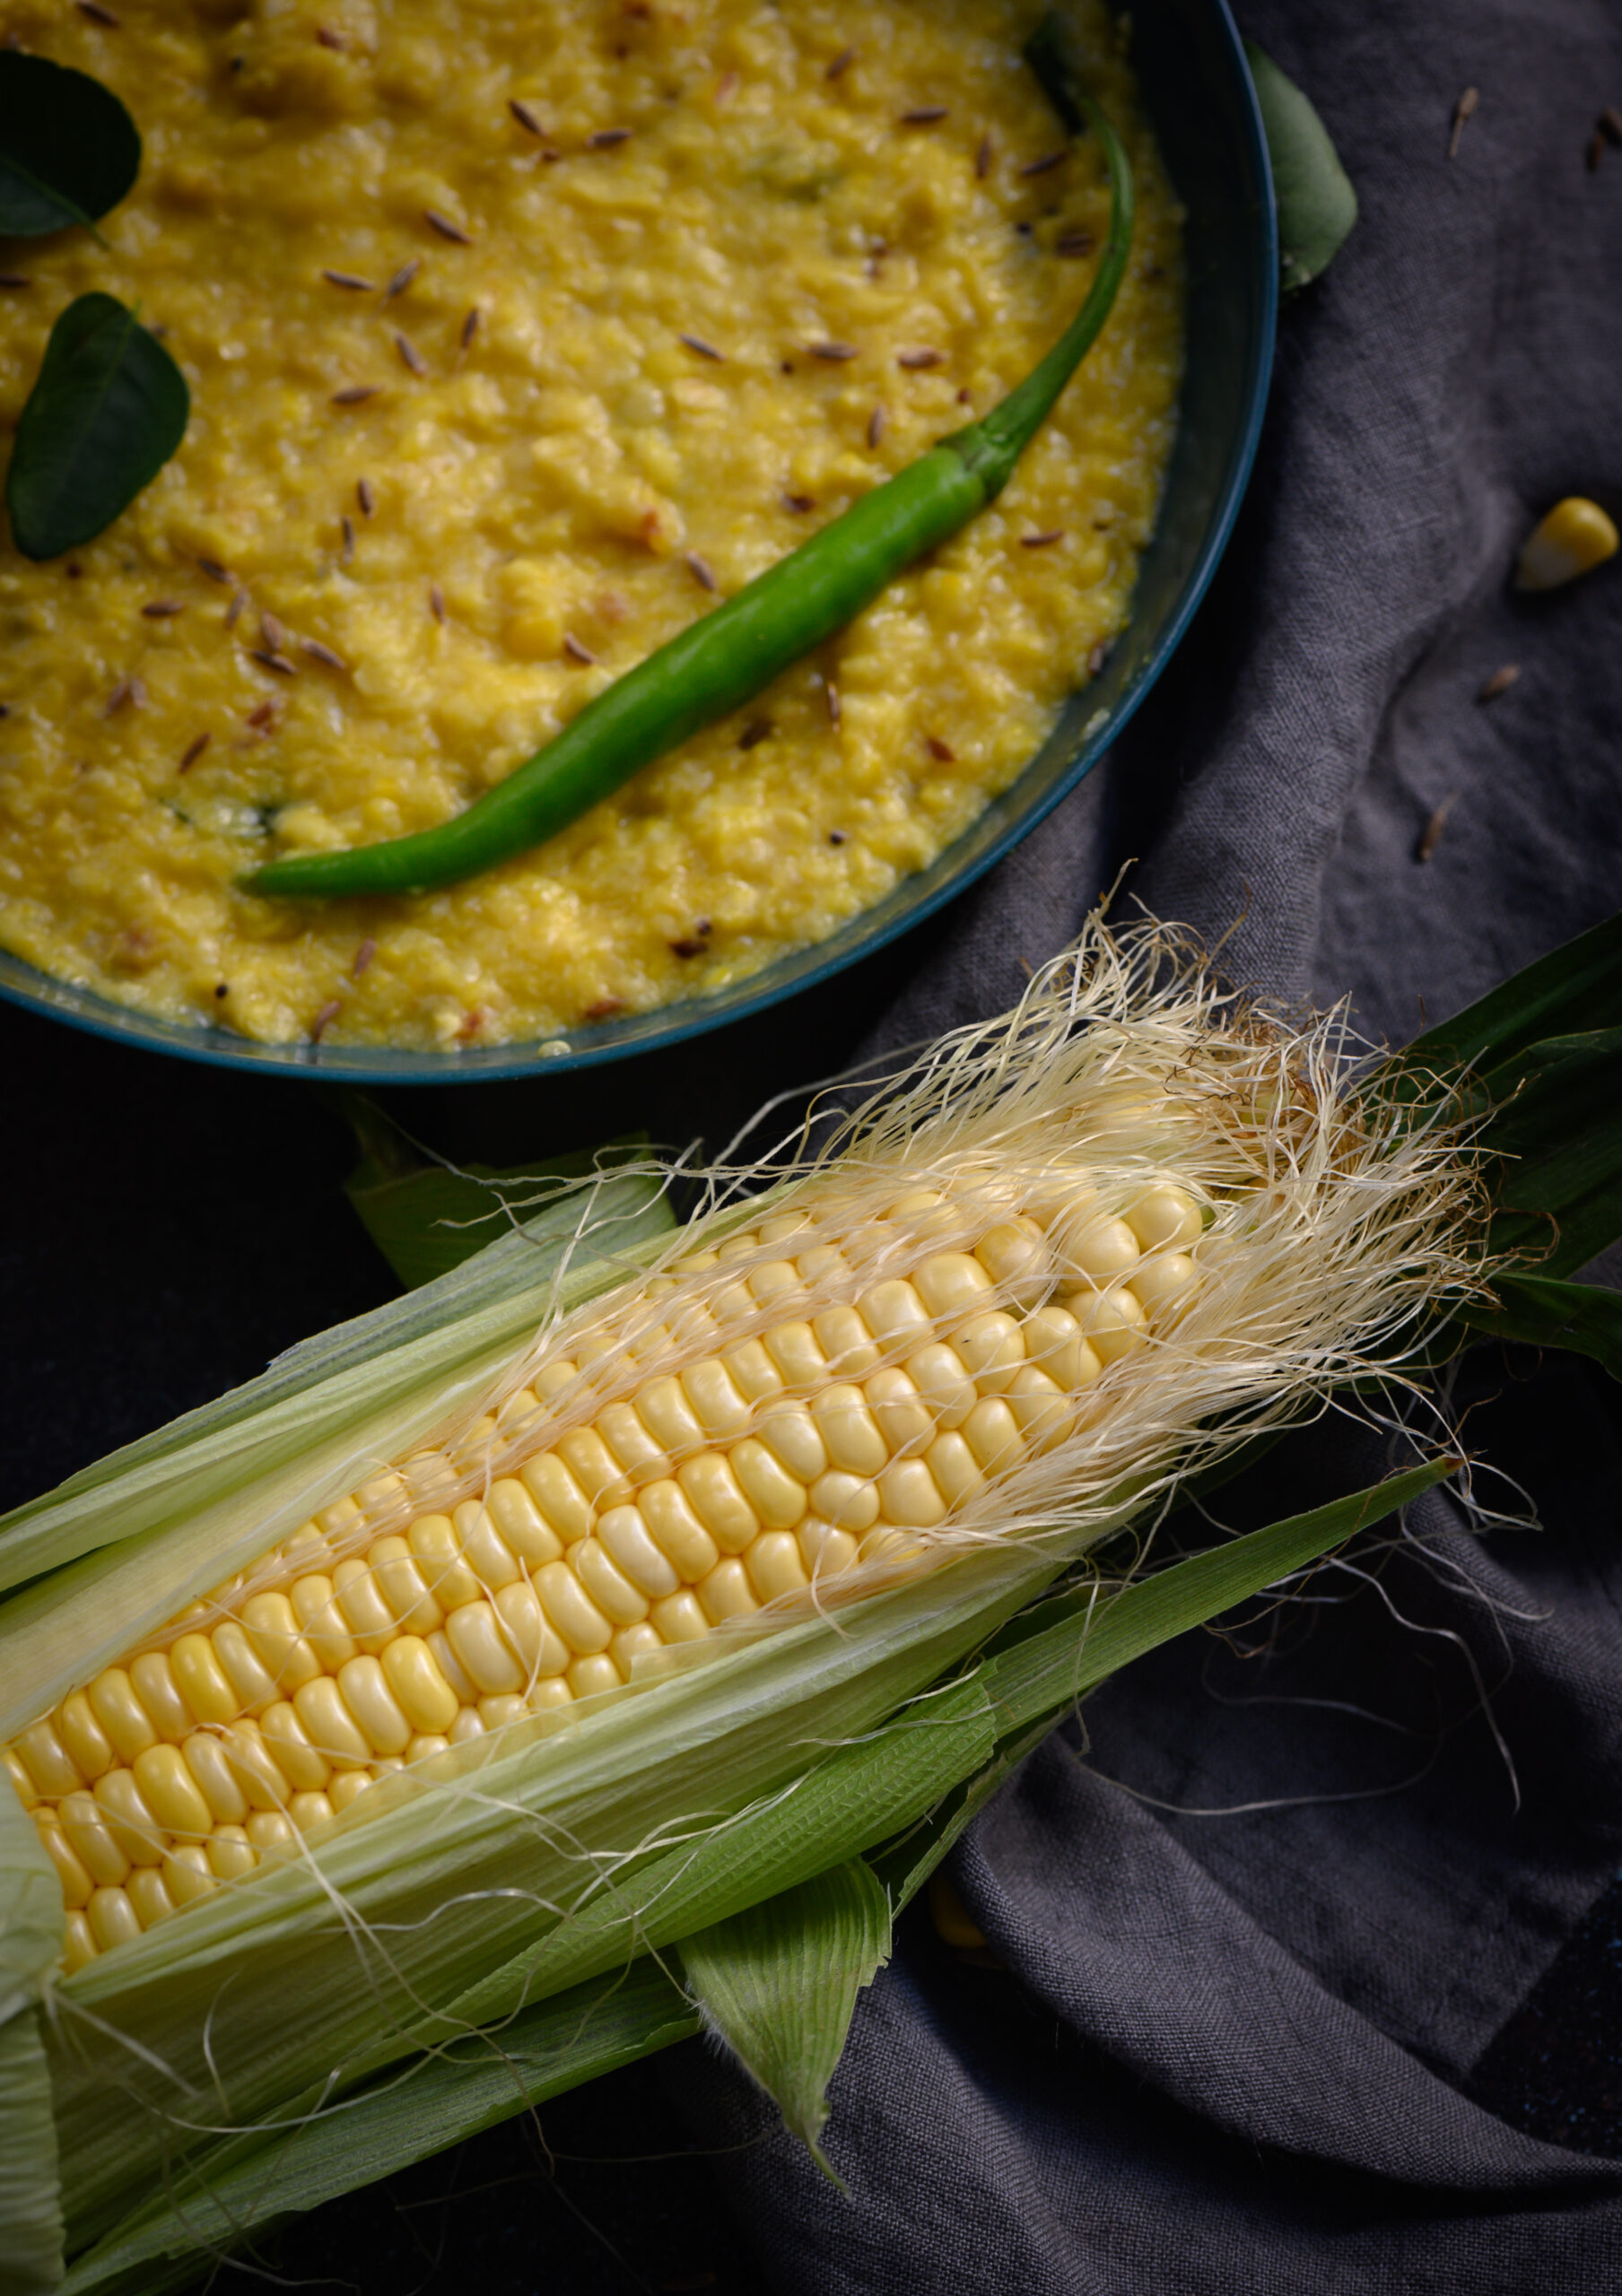
As explained above, bajra is especially good for the winters and monsoons, as is ragi. In the summer months, you can replace it with whole wheat flour or any seasonal flour of your choice. If you don’t have much of a sweet tooth, you can also reduce the quantity of jaggery in this dish.
I wish you and your family good health as the season changes, and I am glad to share this simple and satisfying dish that will help with the sniffles and fatigue that are customary at this time. Such recipes have been treasured for generations, and it’s up to us to keep these healing traditions going in the time to come. Here are a few more home remedies: soothing syrup, raisin kalkand syrup and turmeric shot. Each of them boosts the health – and, as I personally find, the mood too! They take me on a trip down memory lane that always reminds me that food is a form of love.

")