Sometimes, you just don’t have the energy to do much in the kitchen at all, but that’s no reason to skimp on having a dessert that can make you feel better. Whether the heat has enervated you, or the ongoing pandemic has dragged your cheerful spirits down, the key to preparing a pick-me-up is in one aspect only: the simplicity quotient. I’ve been making this mango twist nearly every day, and you can too.
What I love about it is that ticks all the boxes: it satisfies my sweet tooth without the use of refined sugar, allows me to have well-rounded meals while I am off carbs, makes the most of the earth’s seasonal bounty, and is practically effortless to prepare.
Really, it’s so easy that anyone can make it. Which brings me to another reason that I thought this fruity dessert would be perfect to share right now. It’s that making it is just the kind of activity to keep your younger kids happy, and that’s something I can imagine many of you doing with the little ones being at home all the time now. Putting this dessert together is a simple way to get them to explore the vast world of cooking. The sense of achievement they’ll enjoy will taste almost as good as the dish itself. This is a beautiful way impart the value of a home-made treat or meal, and it shouldn’t surprise you if they graduate to wanting to try out more culinary experiments too. As I’ve said before on this blog, I consider my recipes my heirlooms. There’s no reason to wait till they are older to share an elaborate traditional method when you can instill the love of cooking in them from a very young age through simple dishes like this one.
Here’s yet another amazing tick on that check-list: this mango twist is vegan! Of late, I have noticed that cutting down on my dairy consumption really does make me feel better overall. While I am not a hardcore vegan, as much as I would like to be, I do love the coconut milk I use in this dish and enjoy consuming it in this delicious way. You can use dairy, if that’s what you have on hand. Or you can substitute the coconut milk with almond milk, which will result in a thinner dessert that you can plump up with nutritious chia seeds.
Variety is certainly one of the elements that keeps a dish like this interesting. When mango season ends, simply use any other fruit that you have on hand.

I think of this Mango Twist as one of those recipes that is so common that it hardly warrants a recipe. Surely, everyone already knows it, I pondered to myself when the idea of this post occurred to me. Then, I realised how in any hectic time, we often get so carried away that we neglect to notice what is right before our eyes. So this recipe is really more of a reminder, something that tells you to open your fridge and see for yourself – you probably already have everything you need to whip up something wonderful right away.
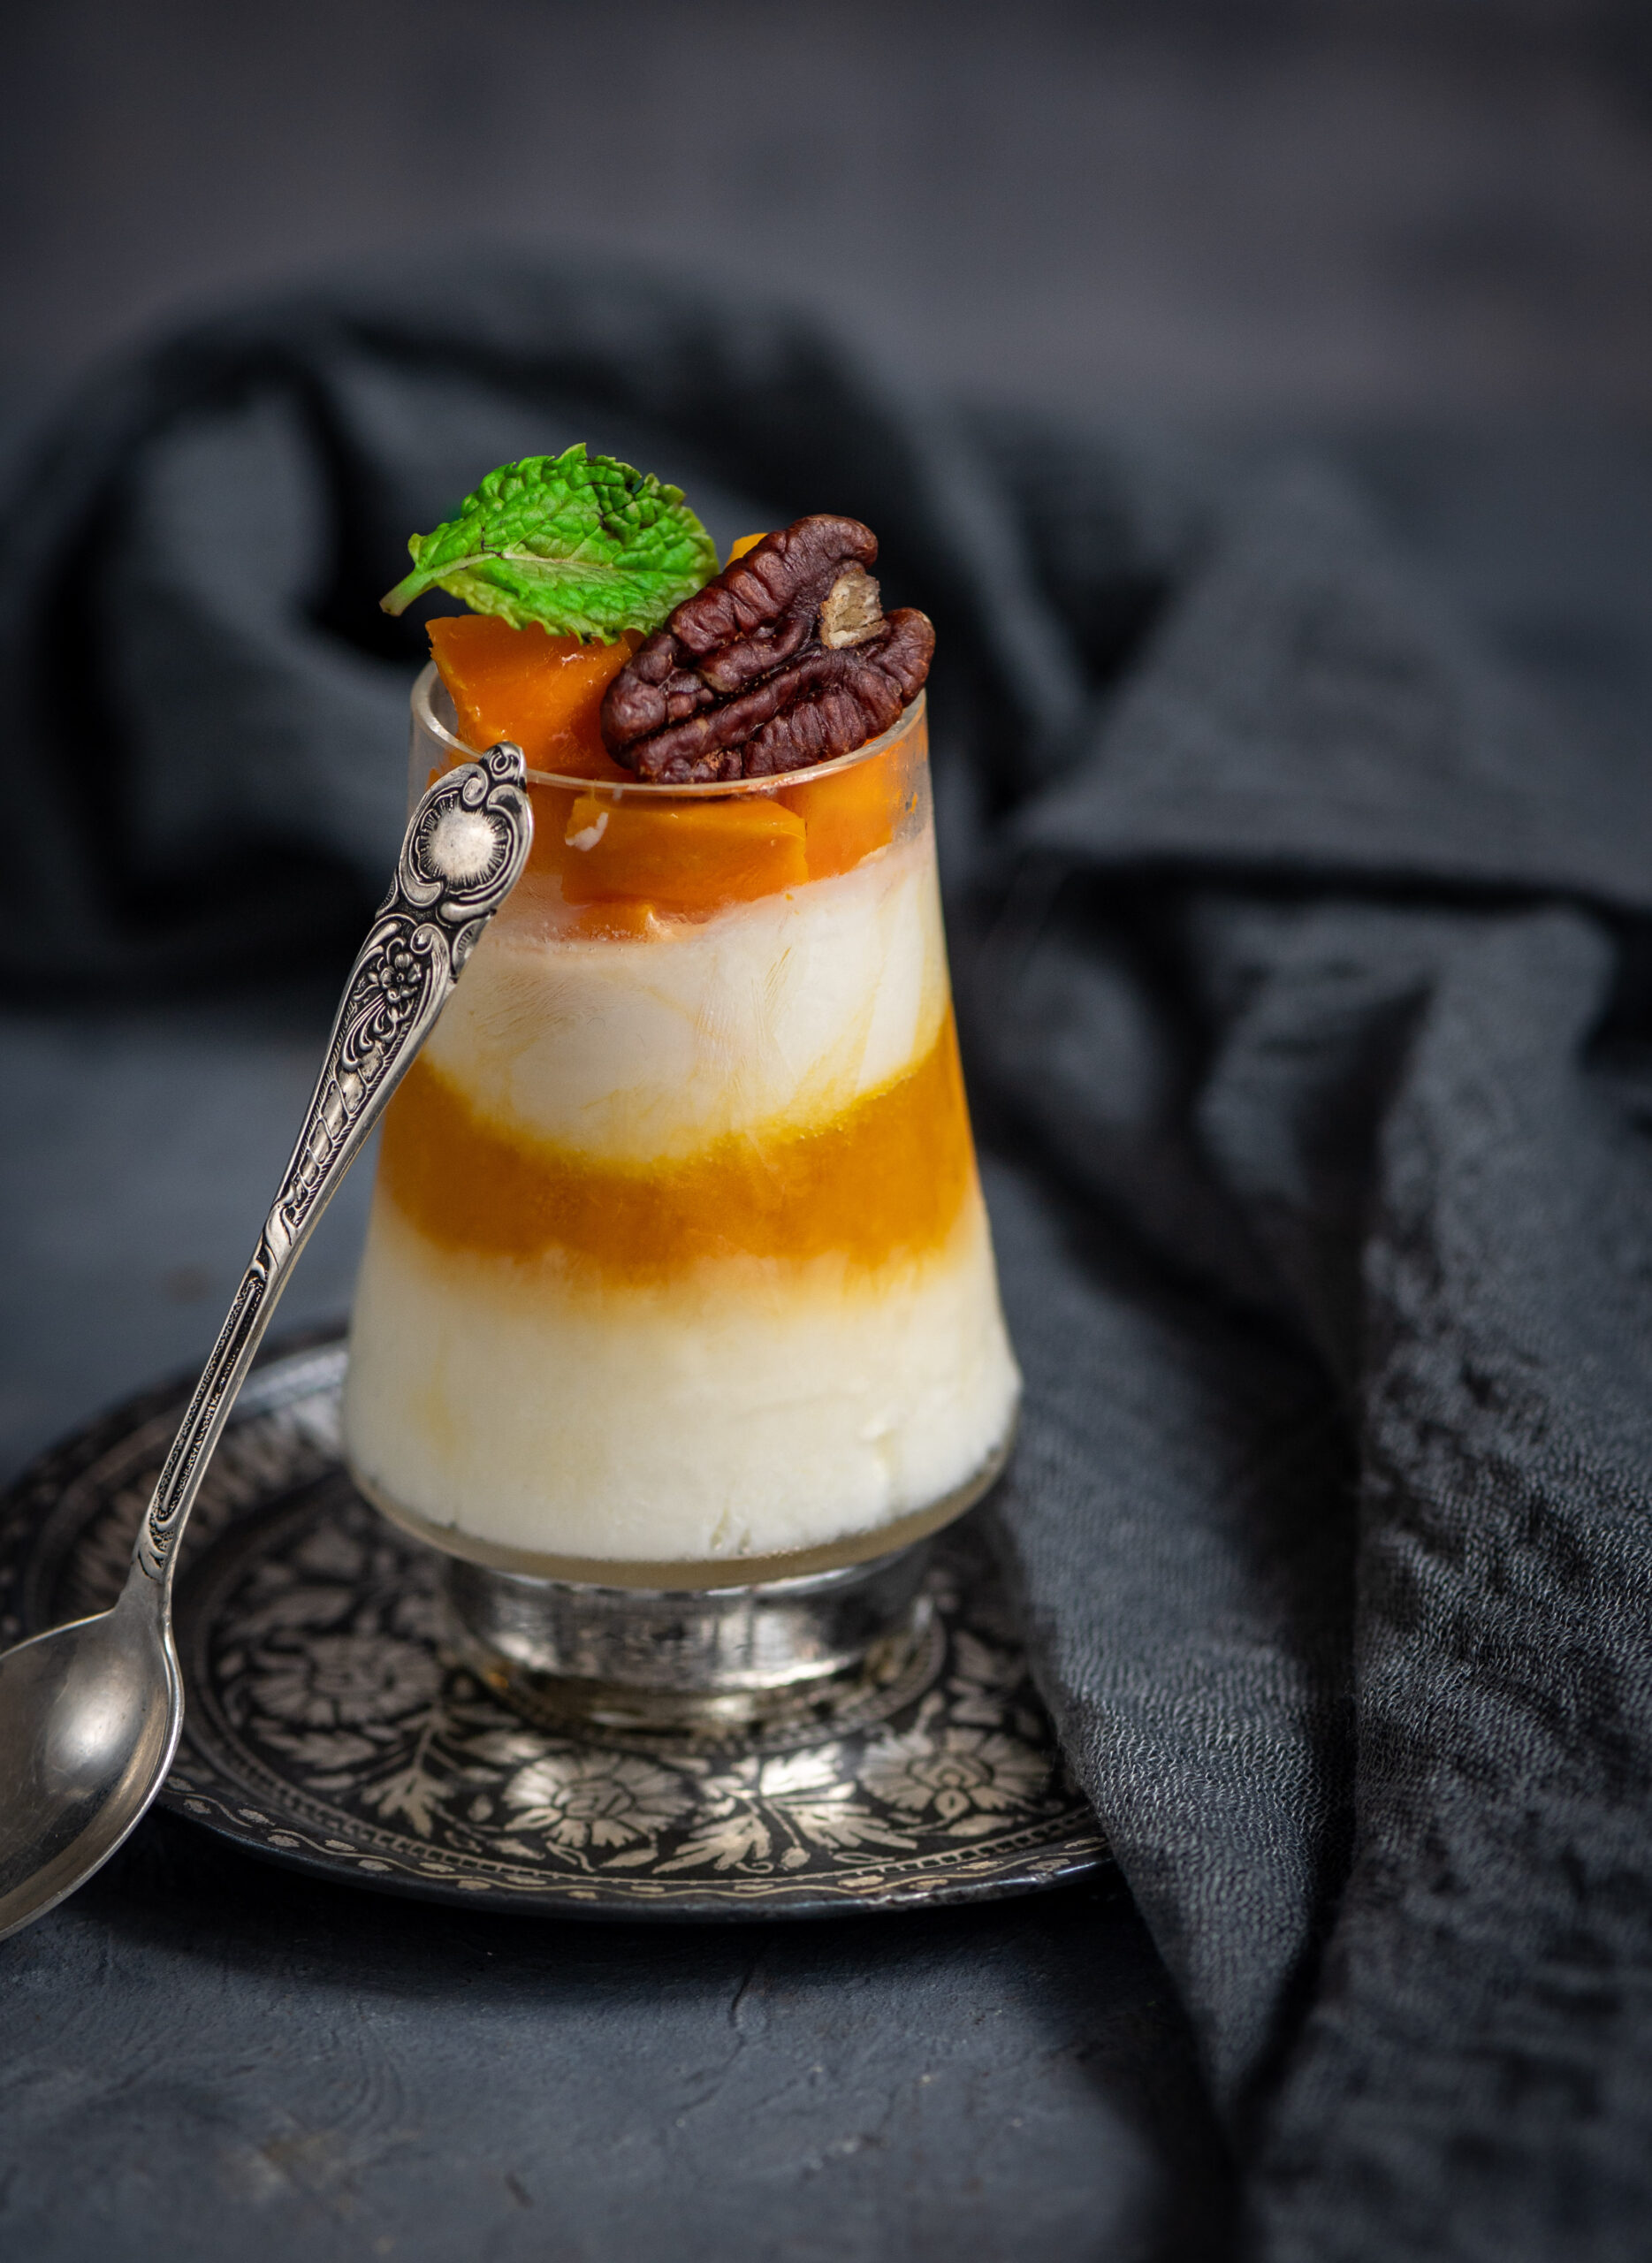
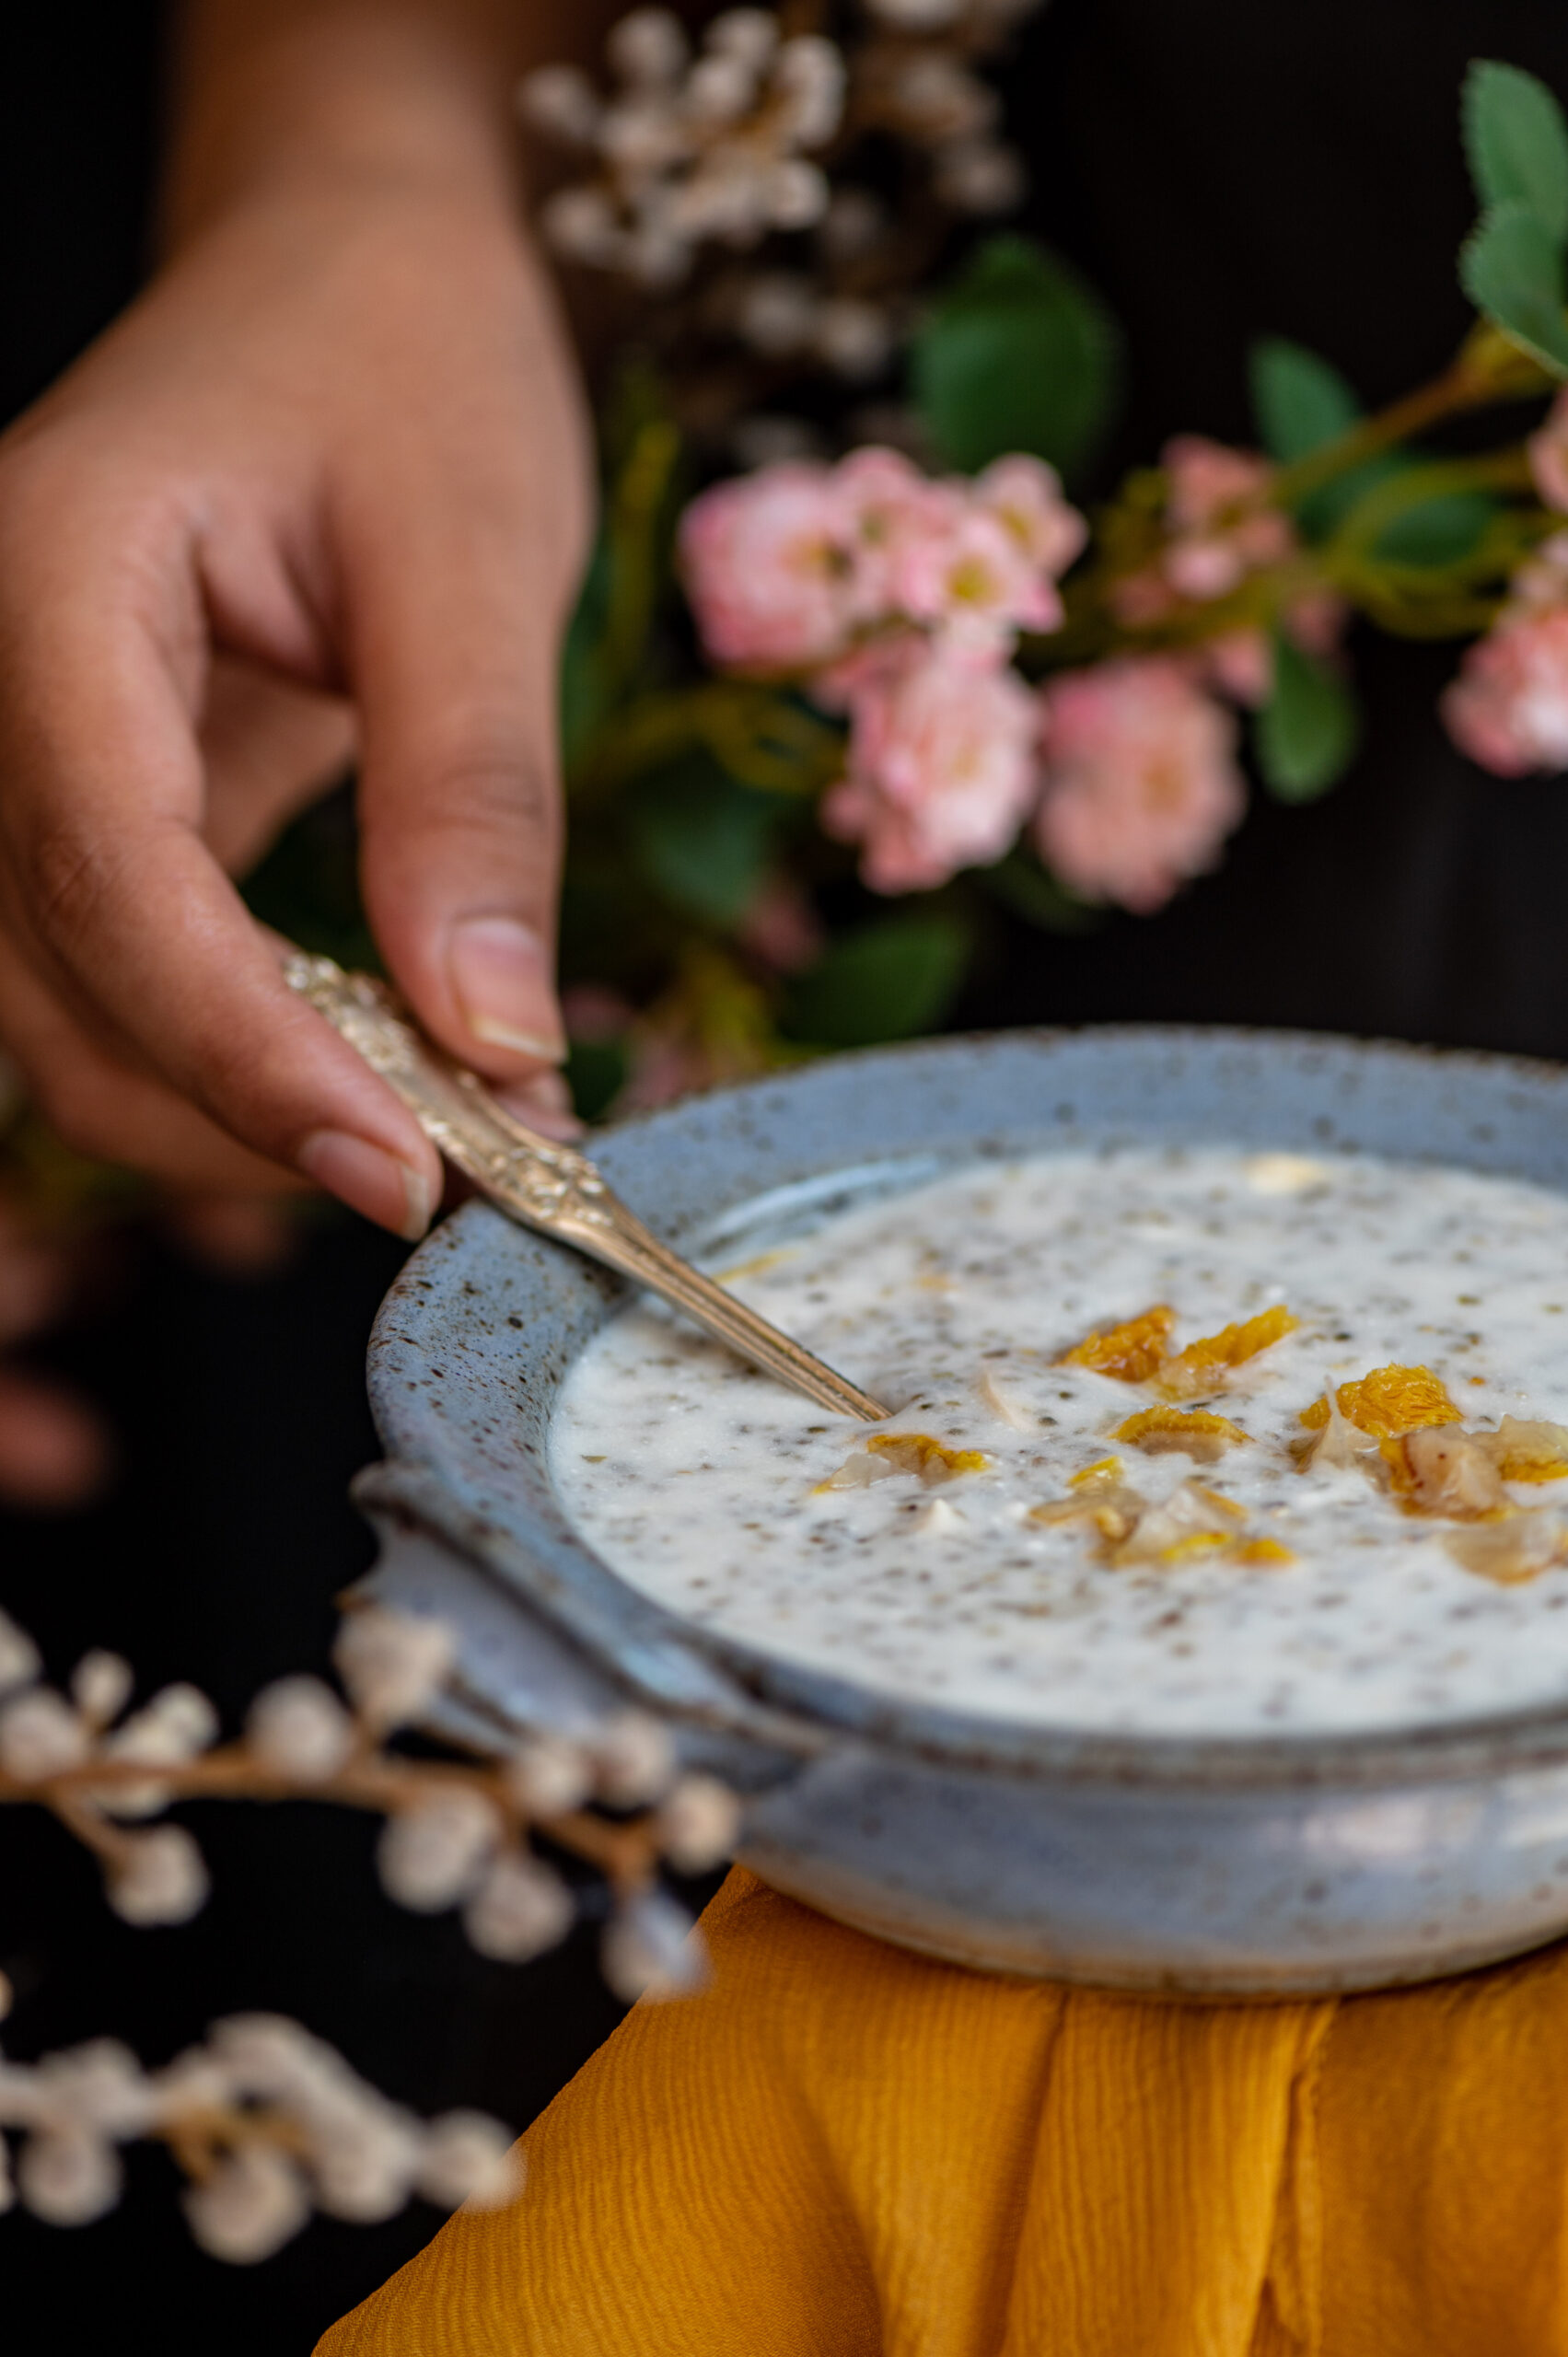
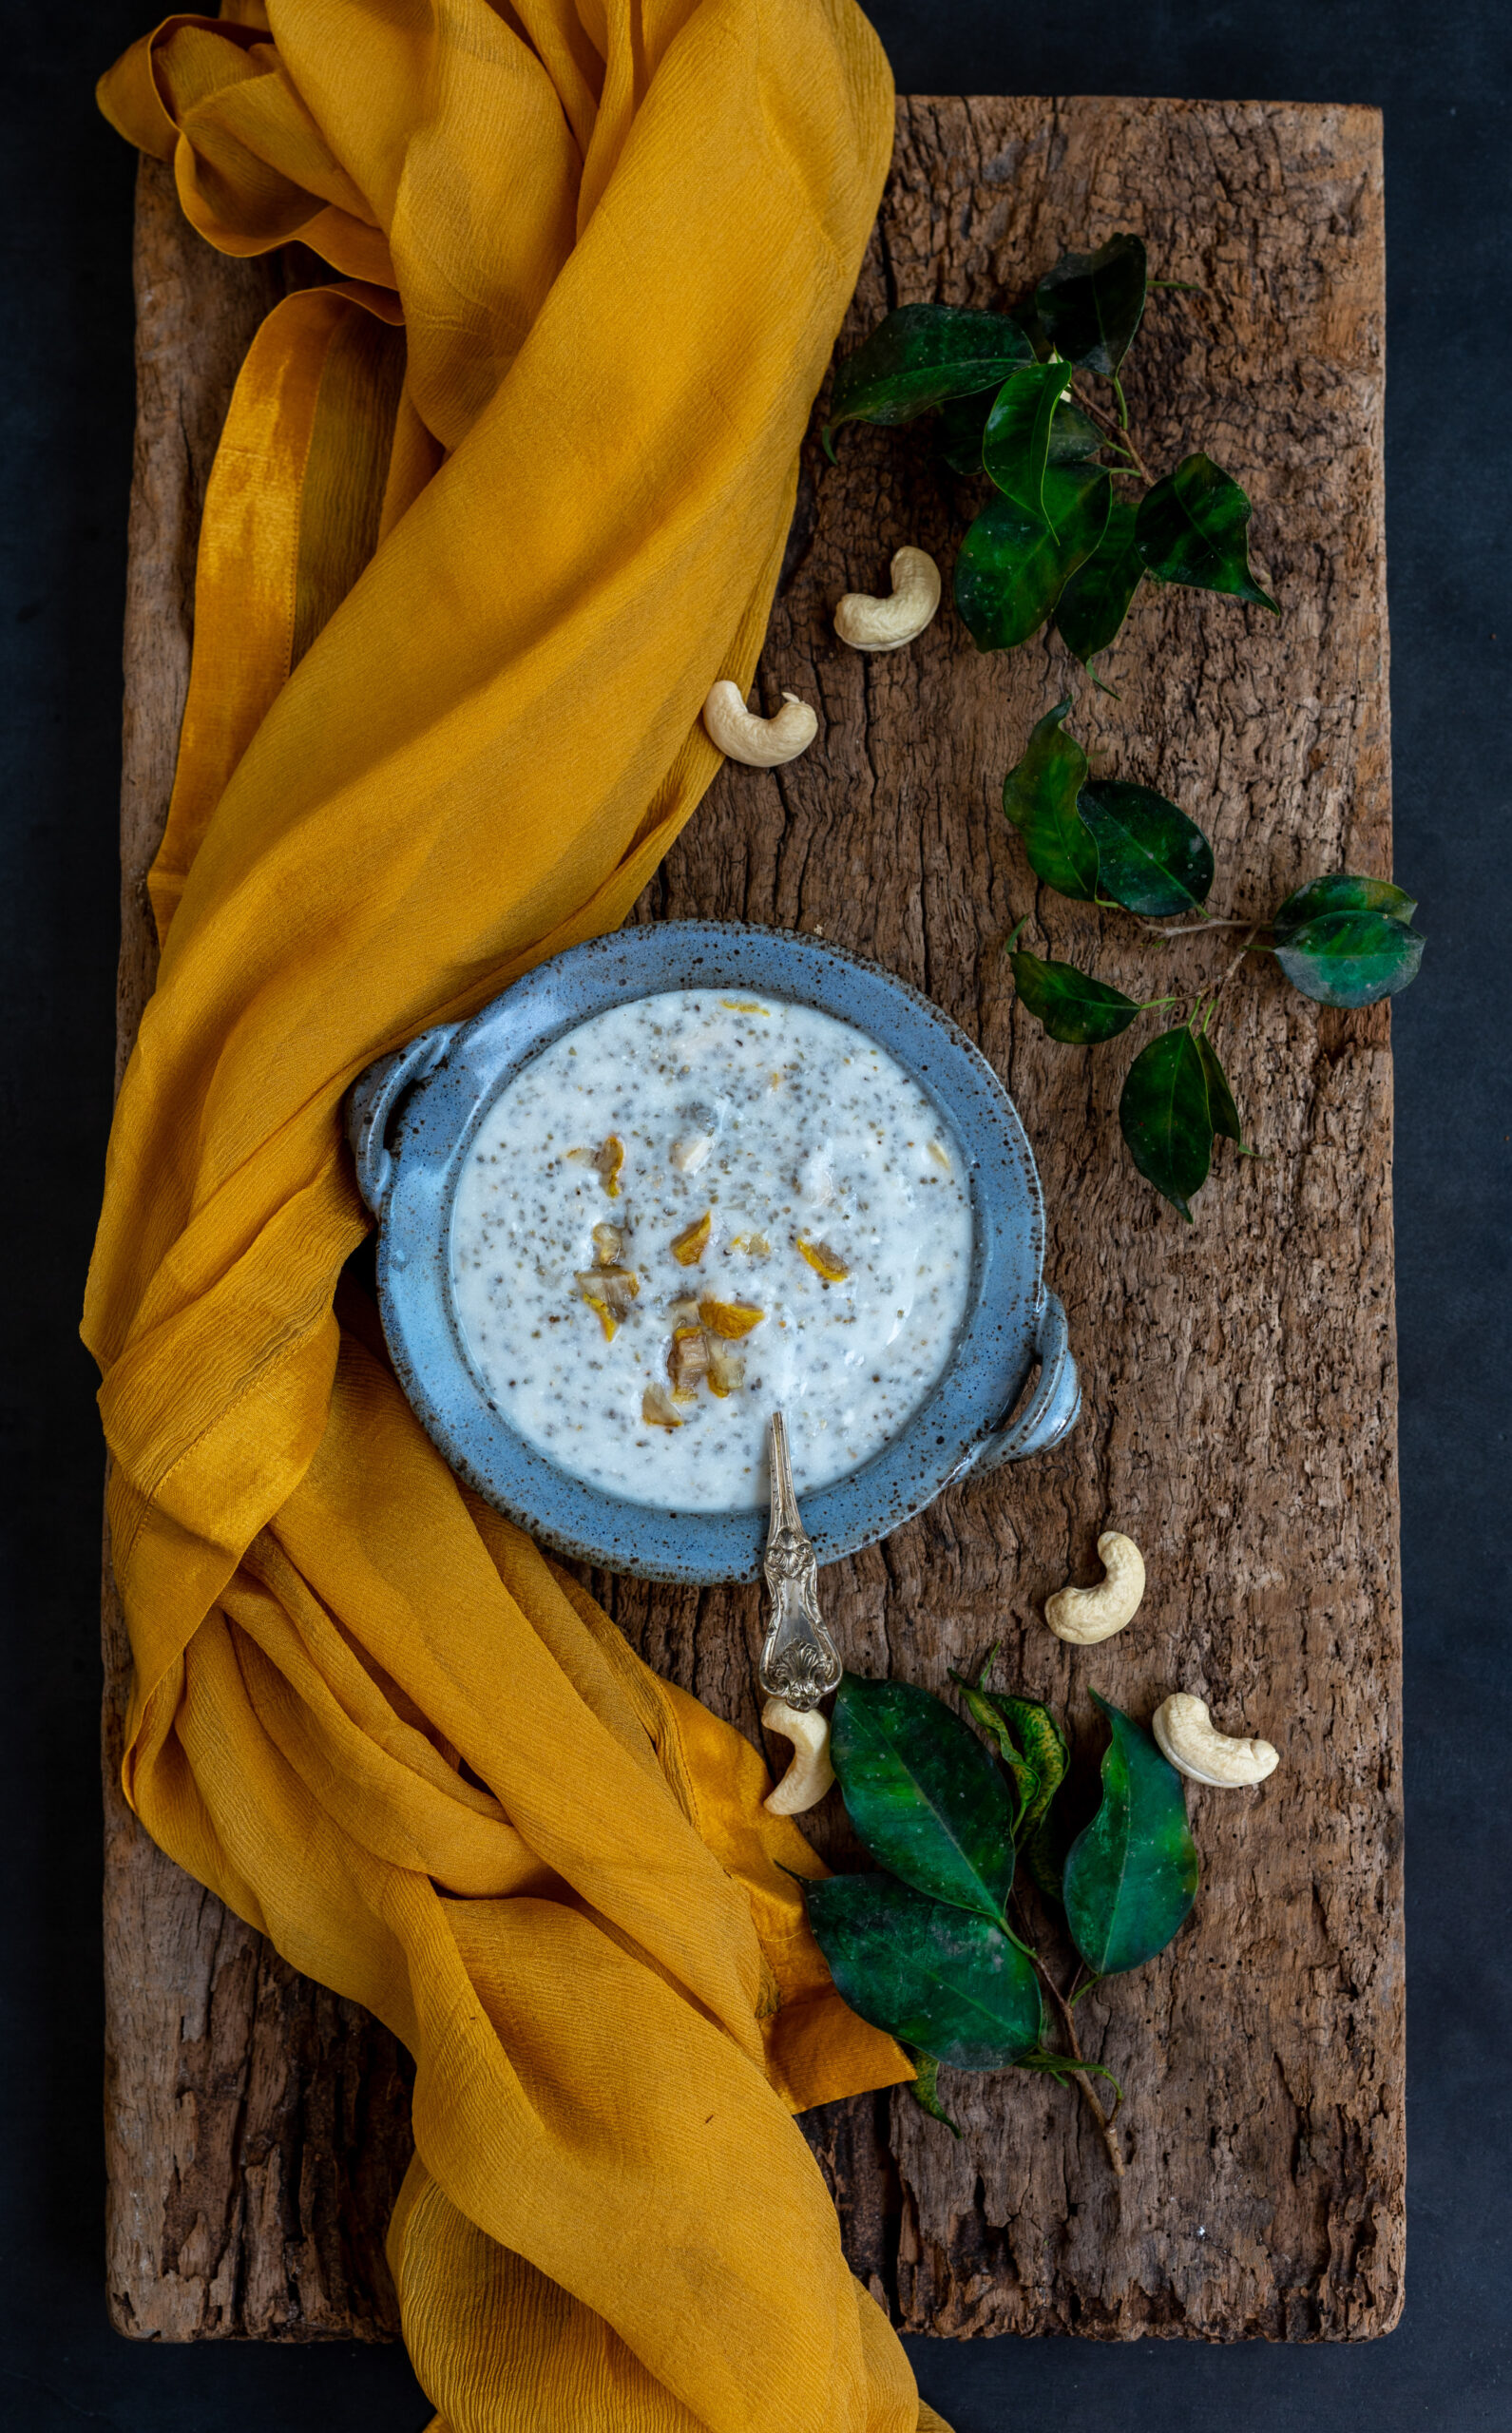
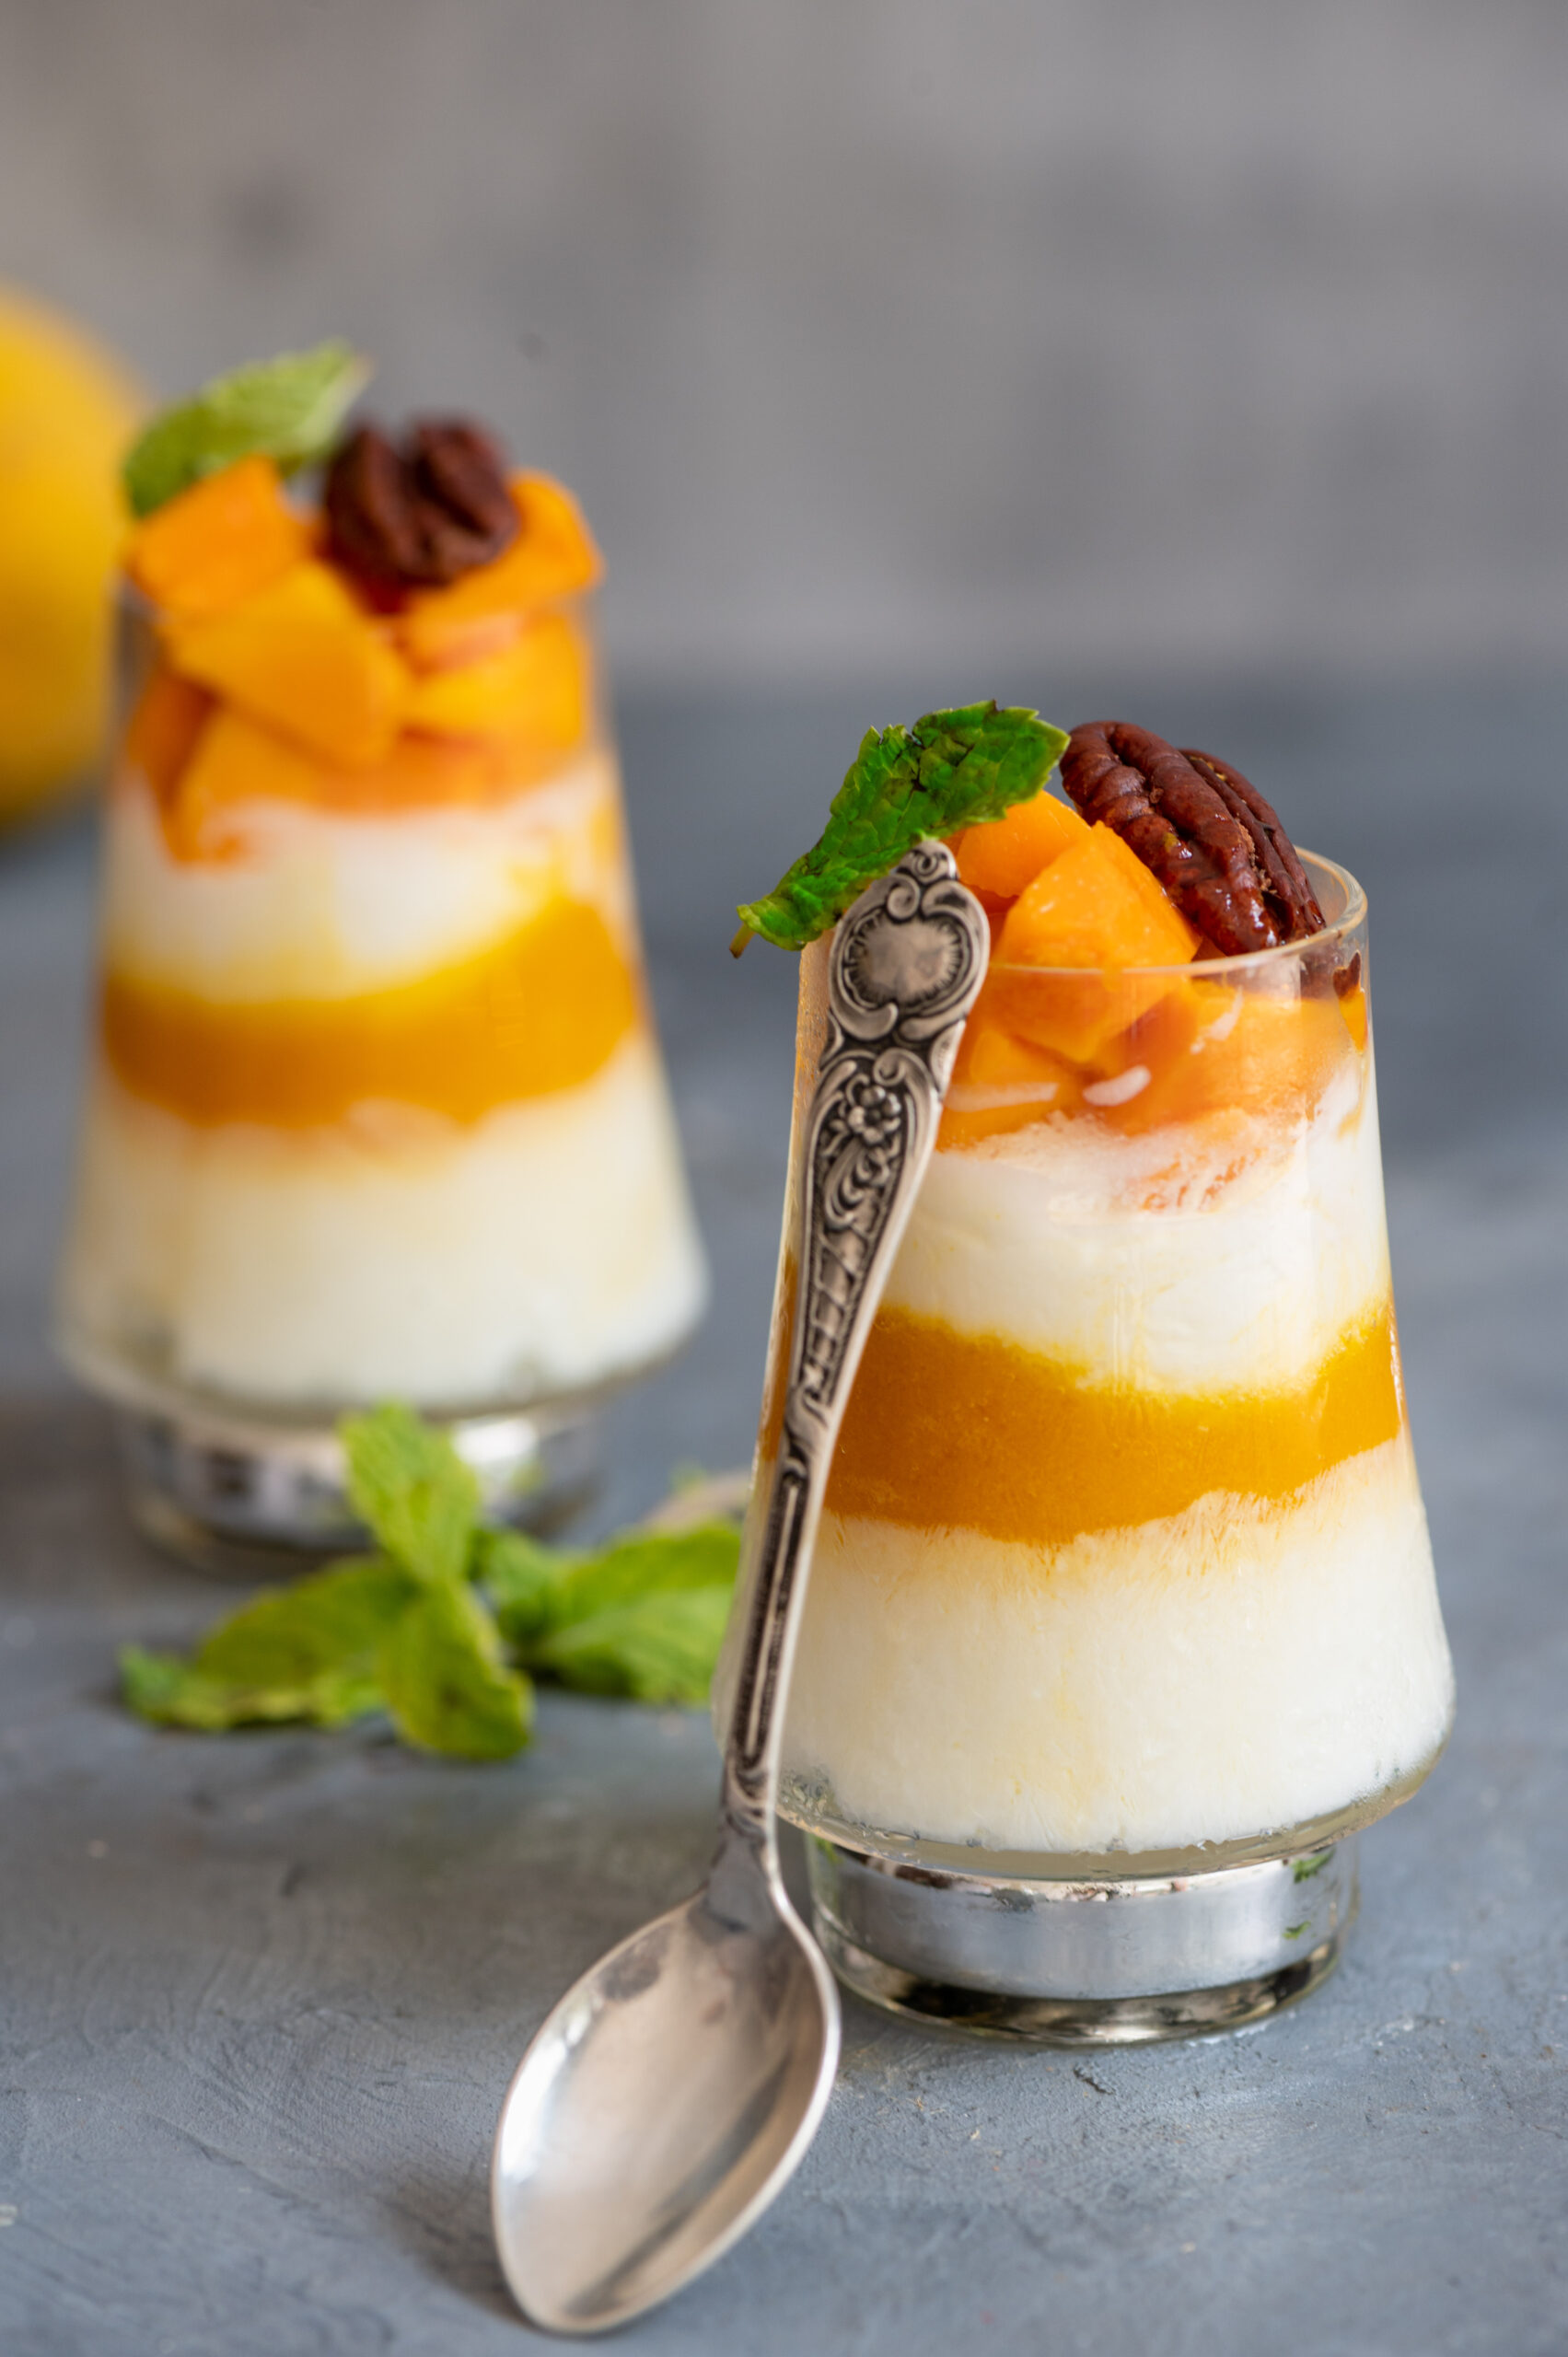
As a refrigerated dessert, you can also make it in advance so that it’s right there and ready for you when you desperately need something to cool off in this sweltering heat, or could use a pick-me-up. Some time in the hopefully not-far future, when we are back to entertaining guests as always, it’s also an ideal dessert to prepare earlier in the day so that you won’t have to take time putting a snack together after they arrive. Just take it out of the fridge and it’s ready to be served on a tray. It’s a visually attractive dessert, so presentation is key – what colours do you want to have pop inside the glass, and how will you layer the ingredients? You can go decadent, or you can keep it nutritious but still appealing by using fruits of different colours to create a tempting look.
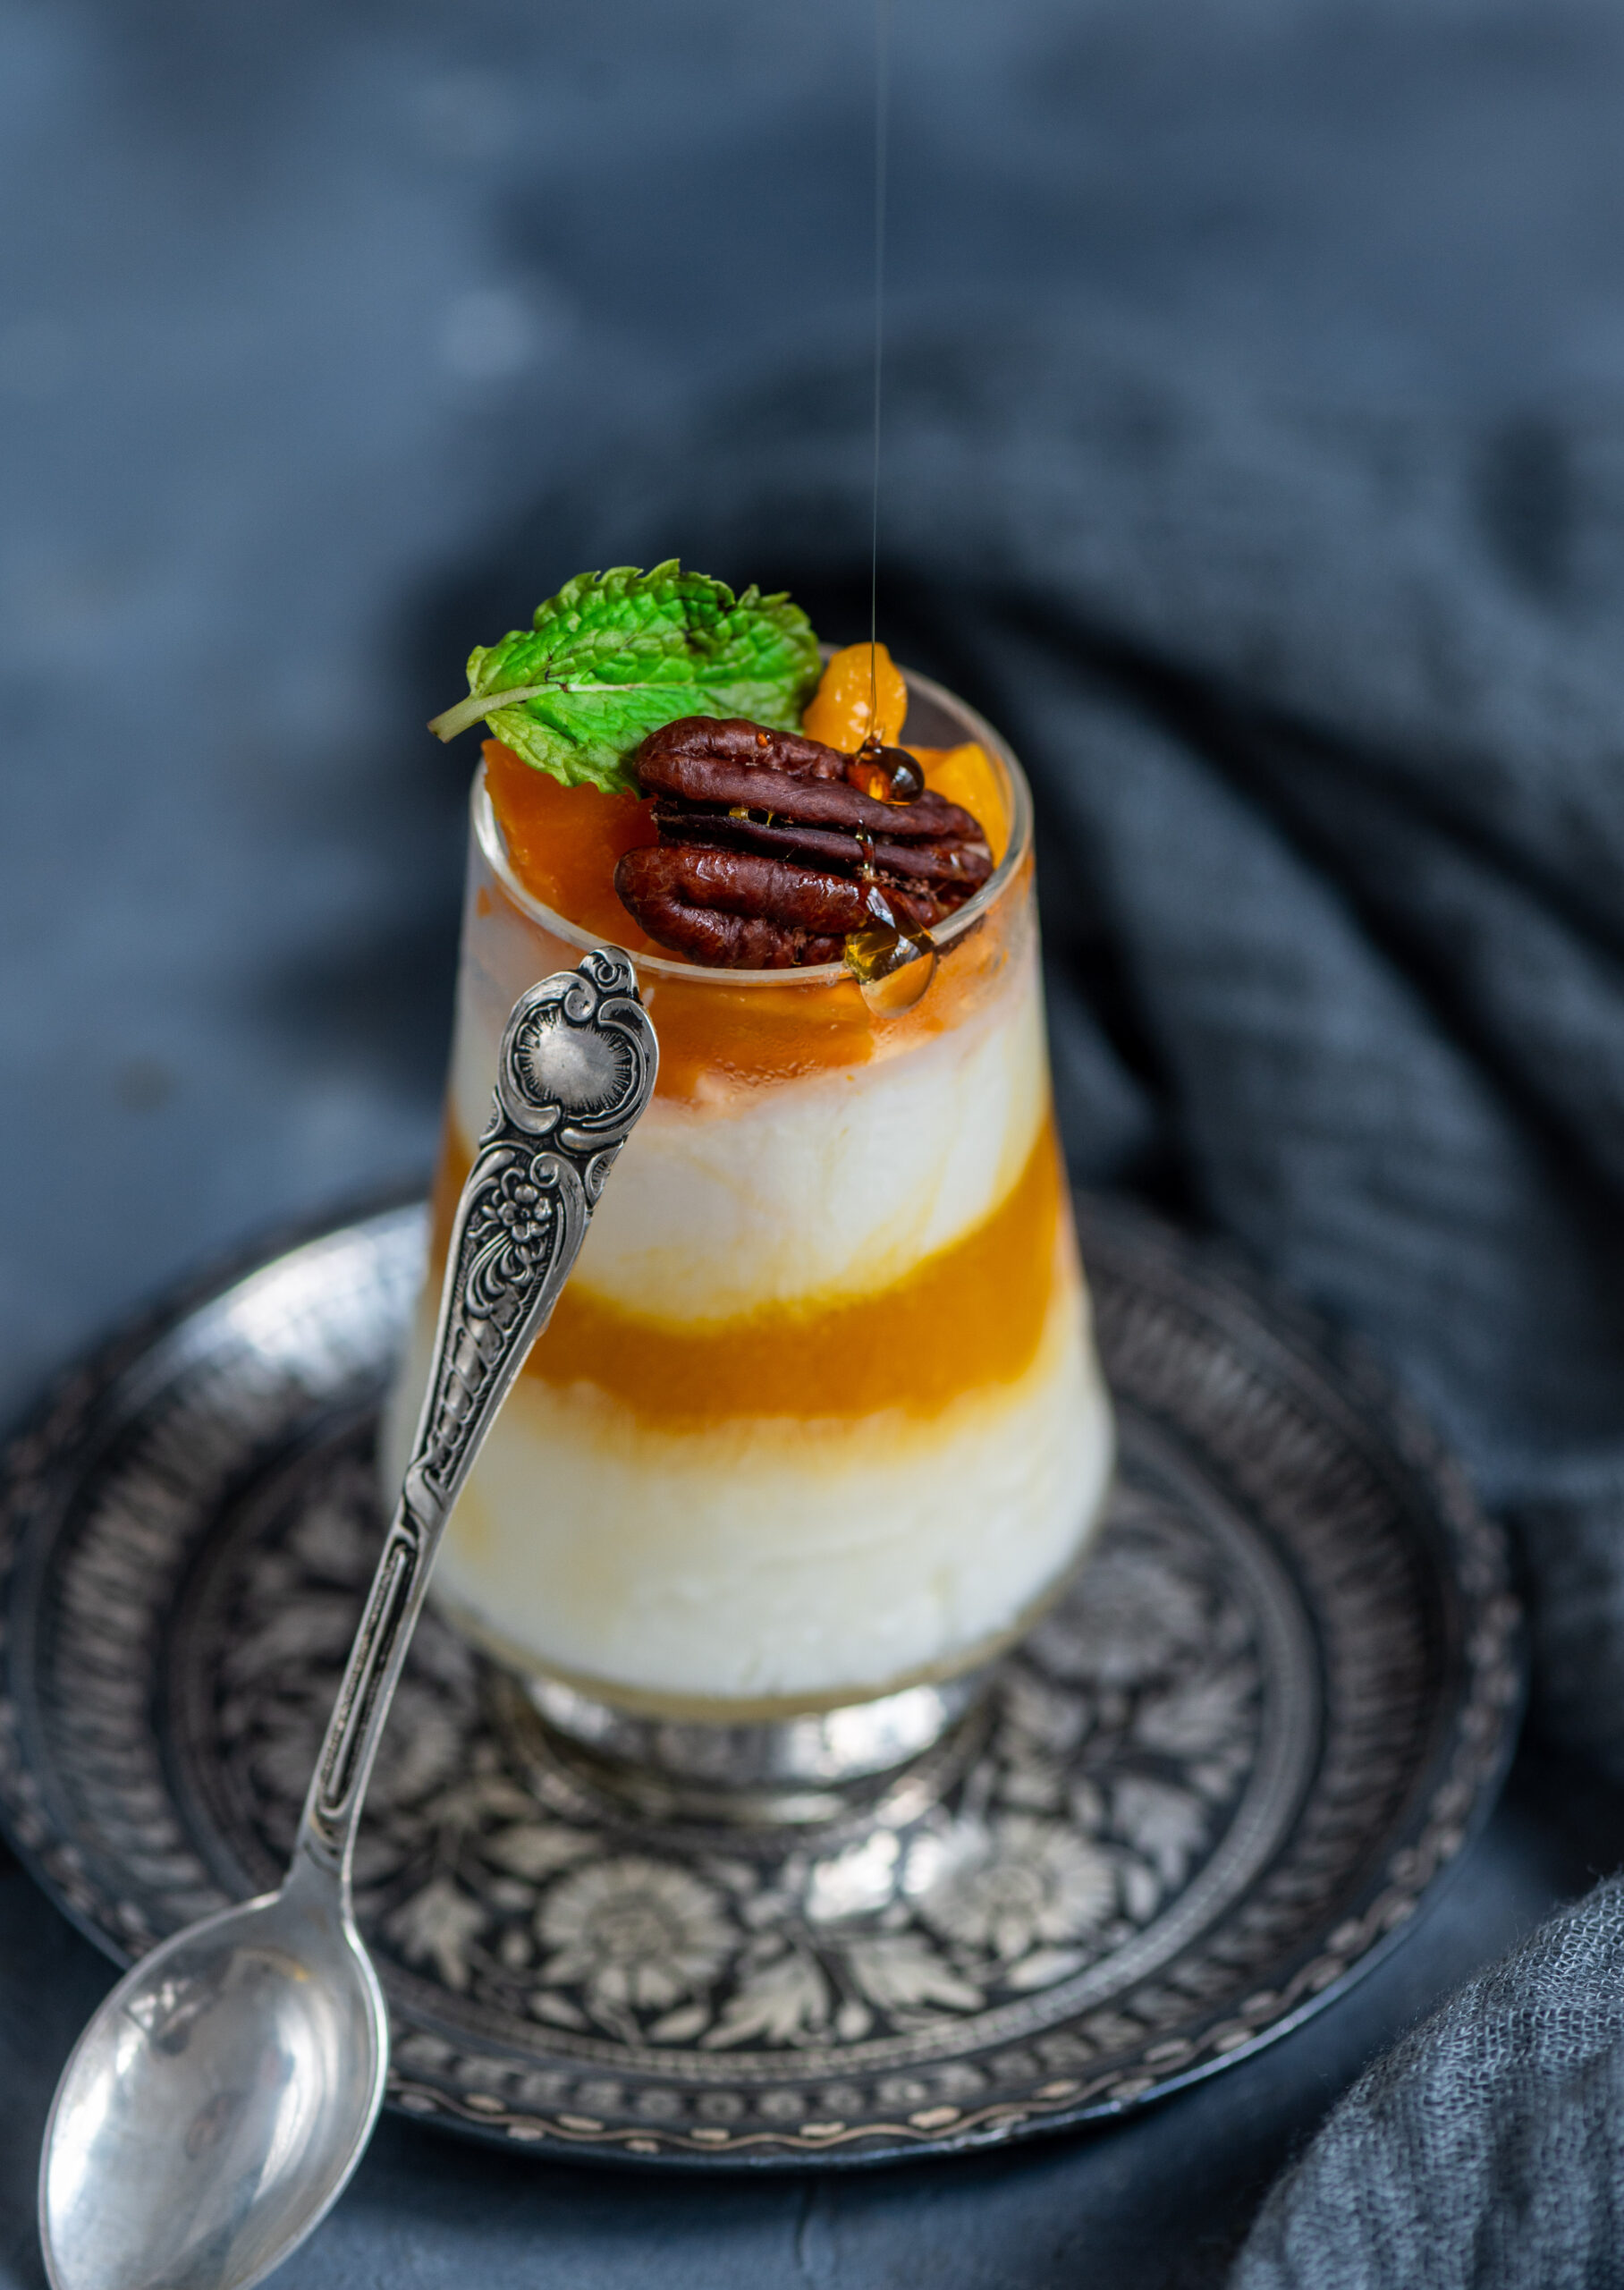
Mango Twist
(Yield: 2 glasses)
1 cup coconut cream
½ cup mango pulp
Pecans or any topping of your choice
½ teaspoon maple syrup or honey (optional)
In each glass, add 2 teaspoons of coconut cream. I like to use small eatery glasses as they look very pretty. Layer this with the mango pulp. Freeze for sometime, then remove from the freezer. Now, top the pulp again with the coconut cream gently. Finally, add the pecans or any other toppings of your choice, and drizzle with some maple syrup or honey, as healthier sweetening substitutes. I only use these if I find the mango a little tart. Otherwise, the dessert doesn’t need it.
In lieu of coconut cream, you can also use pudding, fresh cream or other substitutes. Some other great toppings include caramelised nuts, maple syrup, honey, orange rind and seeds. Any kind of brittle, crumbled cake or re:store’s popular muesli will also add more taste and texture. Don’t forget that no matter what time of year you make this, you can use any seasonal fruit of your choice. When preparing it with your kids, indulge them with colourful jellies or cute chocolates that will make the smiles on their faces even bigger.
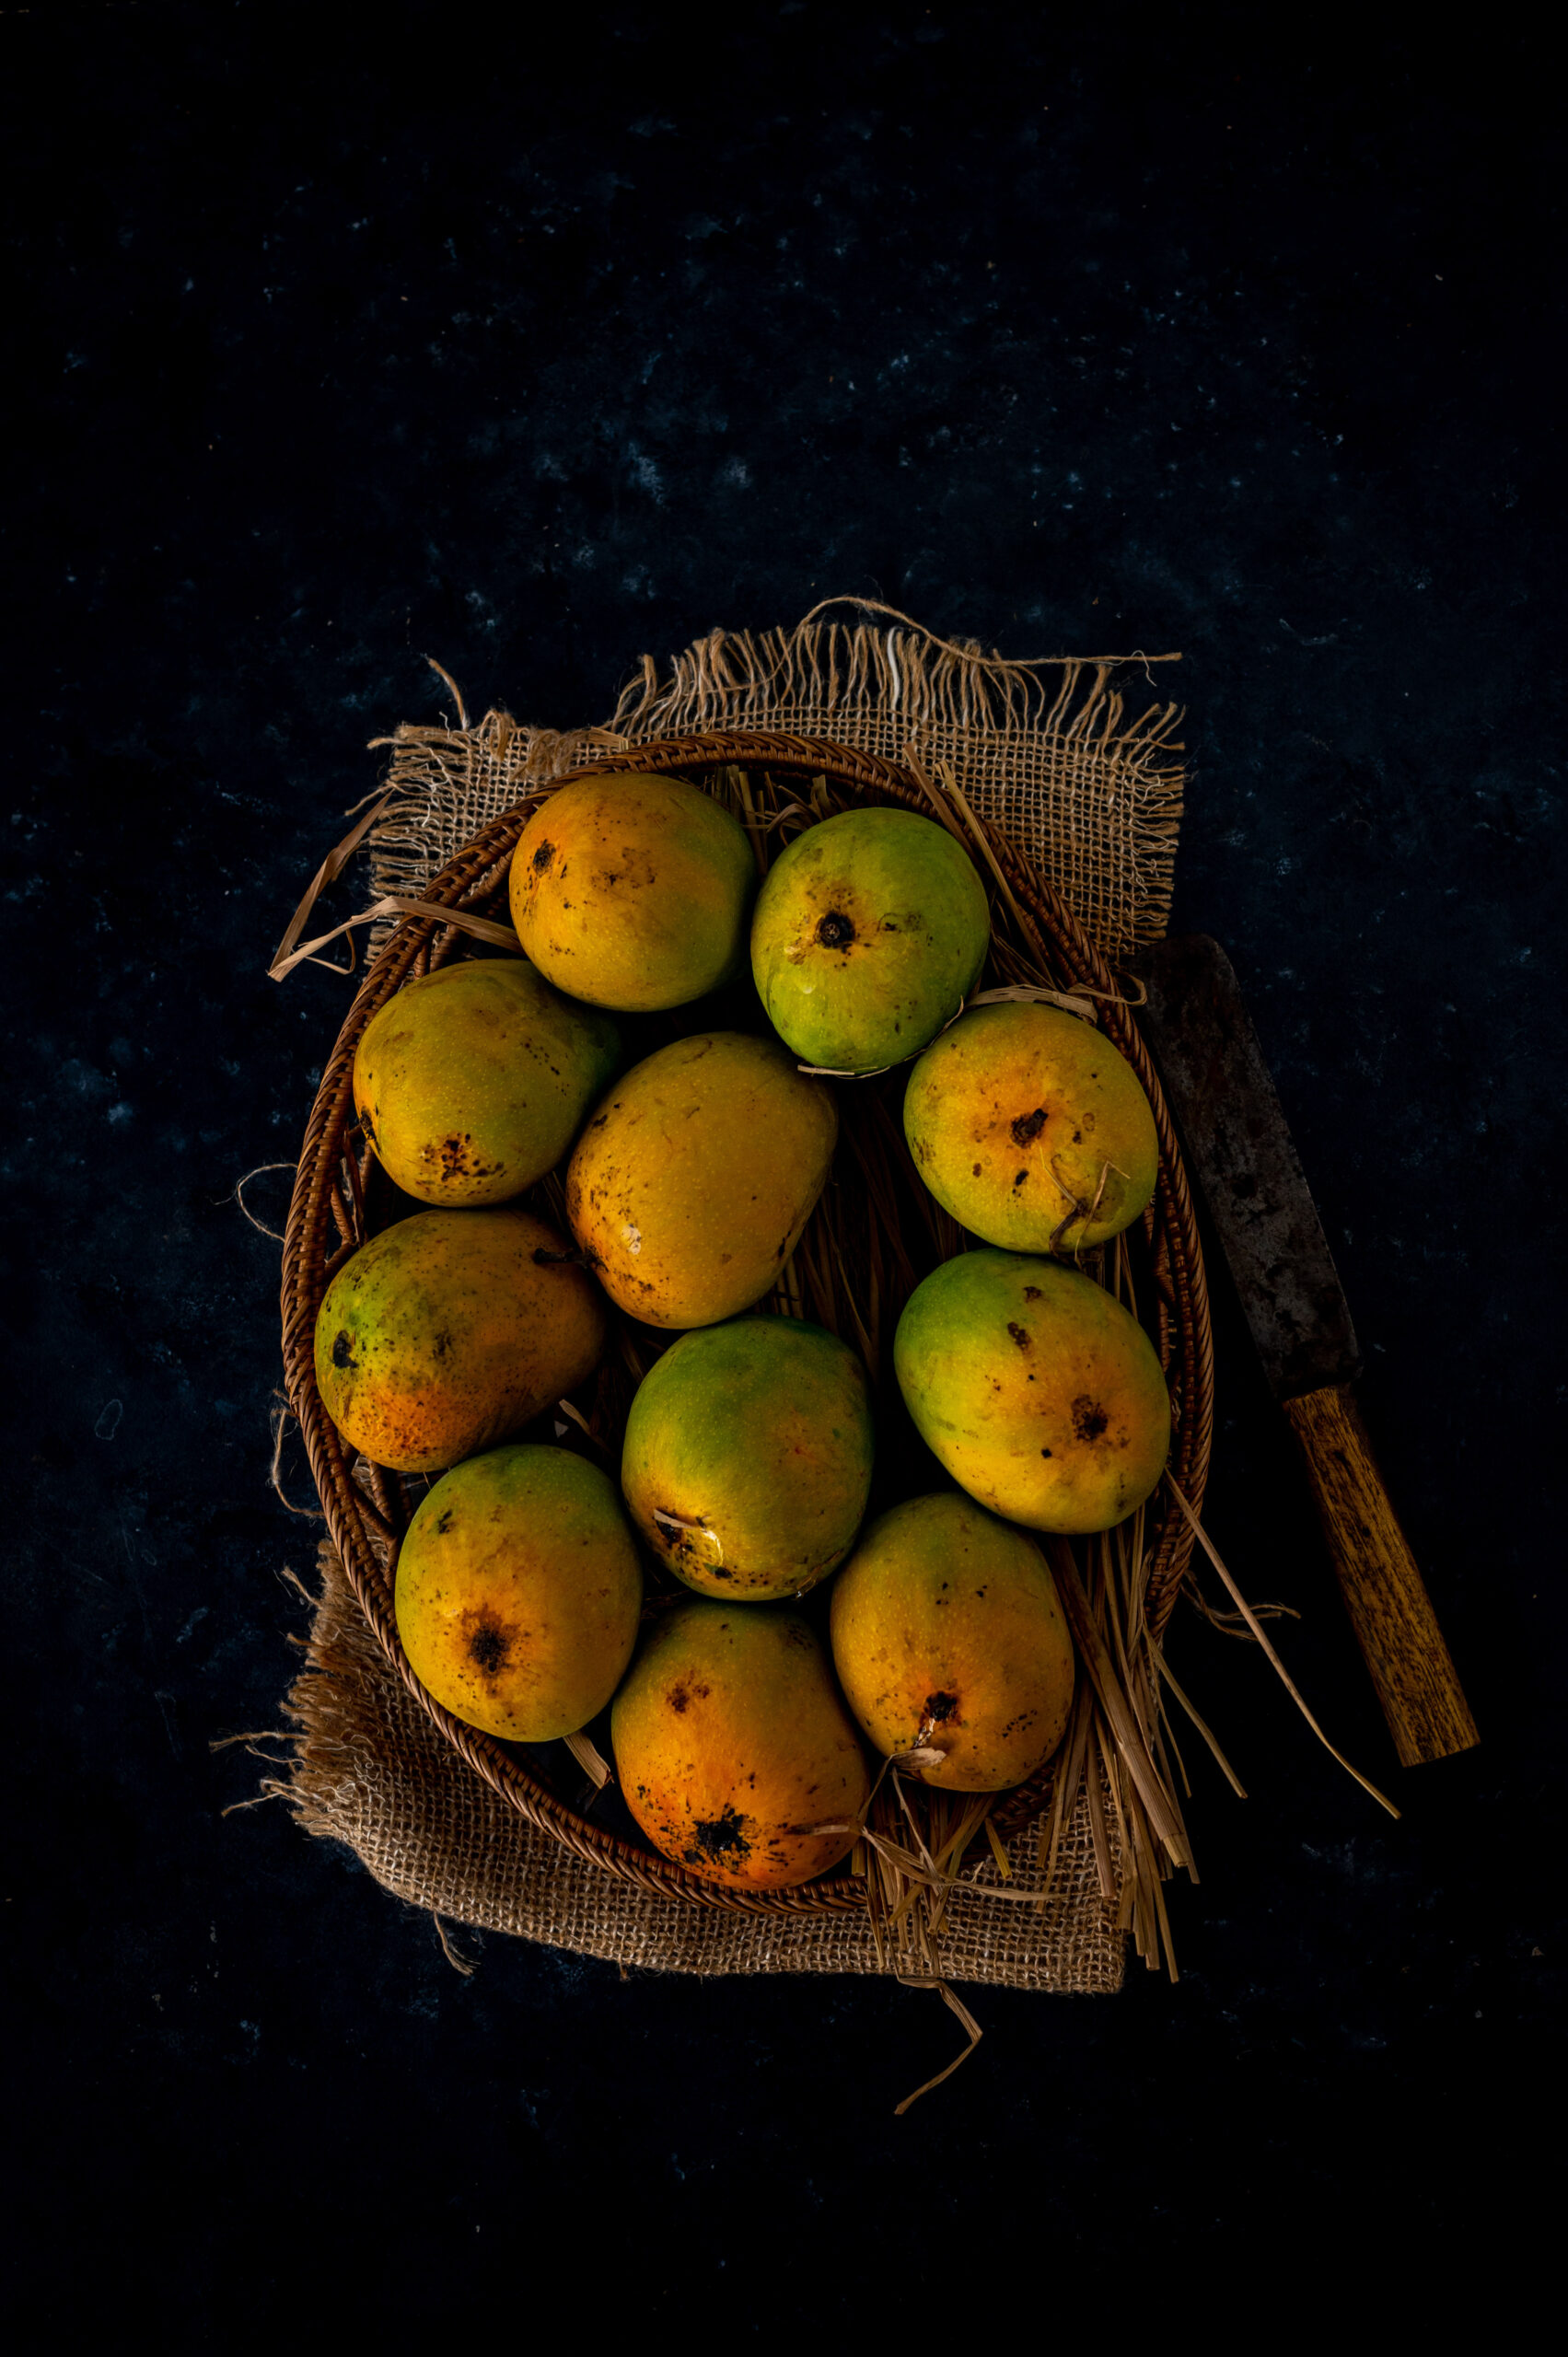
Given that this is a summer during which the simple pleasures are more important than ever, as we continue to collectively fight the pandemic, I intend to fully take all the joy I can get from the mango season. Do subscribe or connect over Instagram so that you’ll know as soon as my next few recipes go up – dishes that range from sweet to sour to savoury are coming, all thanks to this wonderful fruit!
As I said earlier, I think of this mango twist as a “reminder recipe” – is there anything similar that you’d like to share in the comments? I am sure we would all love to know more about each others’ summer go-to dishes and desserts!