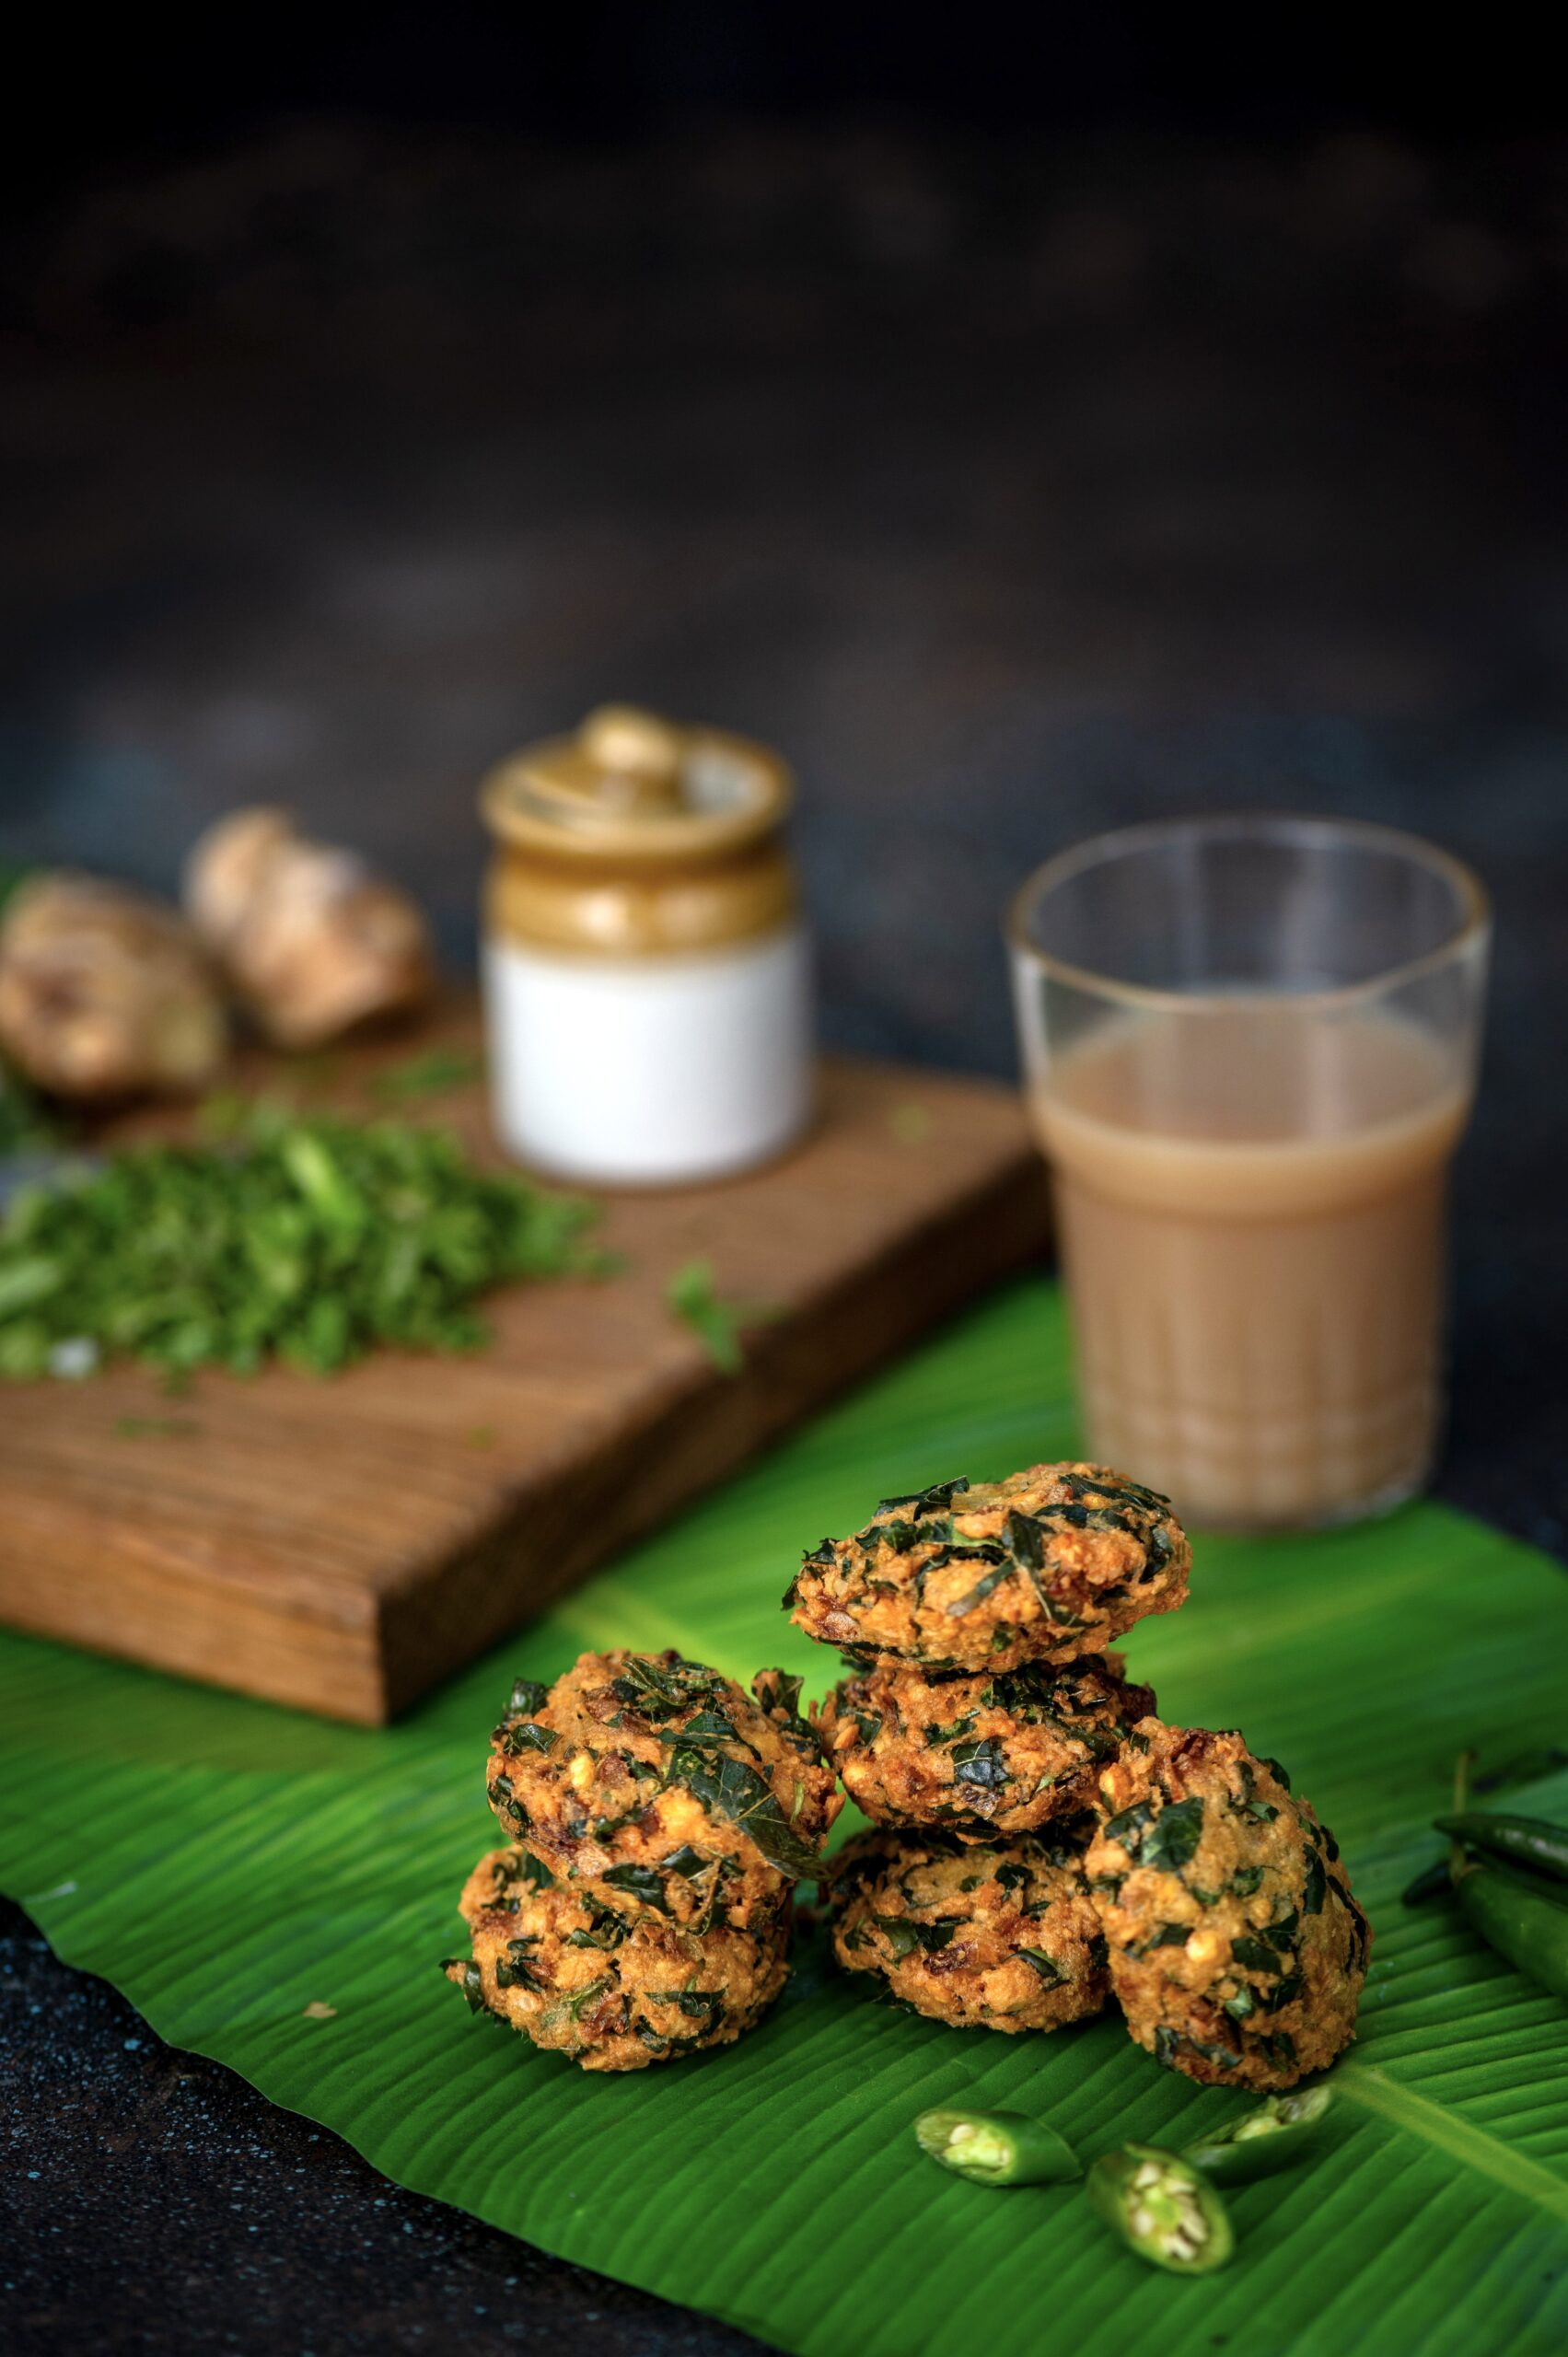
Growing up in Chennai, idly and dosa and other South Indian dishes were home food for us, comfort food alongside Gujarati dal and dhokla. Of course, home food – usually made from scratch – was the norm as there weren’t as many restaurants back then and going out to eat was a luxury. This applied even for staples and simple fare, which are now just as easily available as fine dining. While you can now buy dosa and idly batter at a drop of a hat, and the convenience is great, I still prefer to make it myself. This recipe is for those who, like me, would like the reassurance of knowing exactly what goes into every plate you serve yourself and your loved ones.
Dosa and idly batter is much easier to make than many think. It uses rice which has been boiled and processed in a mill after harvesting, which is sold as idly rice. It requires fermentation, and the humid temperatures in this region are conducive to that. You can use the same batter for kuzhi paniyaram, a kind of dumpling, too. In fact, when I was growing up, this is usually the order in which we consumed each batch: the first day was for idlys, the second for dosas and the last leftover batter was used up in kuzhi paniyarams.
To this day, I find a special joy in waking up in the mornings and seeing that this batter has risen overnight, sometimes so high that it knocks the lid off the pot! That’s the sign of a great breakfast to come, although the delicious things you can prepare with this can be eaten at any time.
You can get fluffy, soft idlys and crispy dosas from the same batter. It’s all about the preparation method. In the recipe below, I share the method for making dosa, which is pretty straightforward and which pairs well with chutneys and sambars too. As for idlys, they are steamed; some people do this in a microwave, but I’m not a fan of that gadget and I love hot idlys from a traditional steamer with my preferred chutney or a sambar. The trick to them is to not beat the batter, as one does for a dosa, but to be gentle both while mixing and while dropping the batter into the tray. In the next post, I have a bit of a surprise, using the same batter. First, however, this is how you make the batter, and how you make a dosa!
Dosa & Idly Batter
(Serves: 6)
3 cups boiled rice
1 cup urad dal
2 teaspoon methi (fenugreek) seeds
2 + 2 cups water
Salt to taste
Wash and soak the rice, urad dal and the methi seeds separately for at least 6 hours or overnight. I recommend around 10 hours.
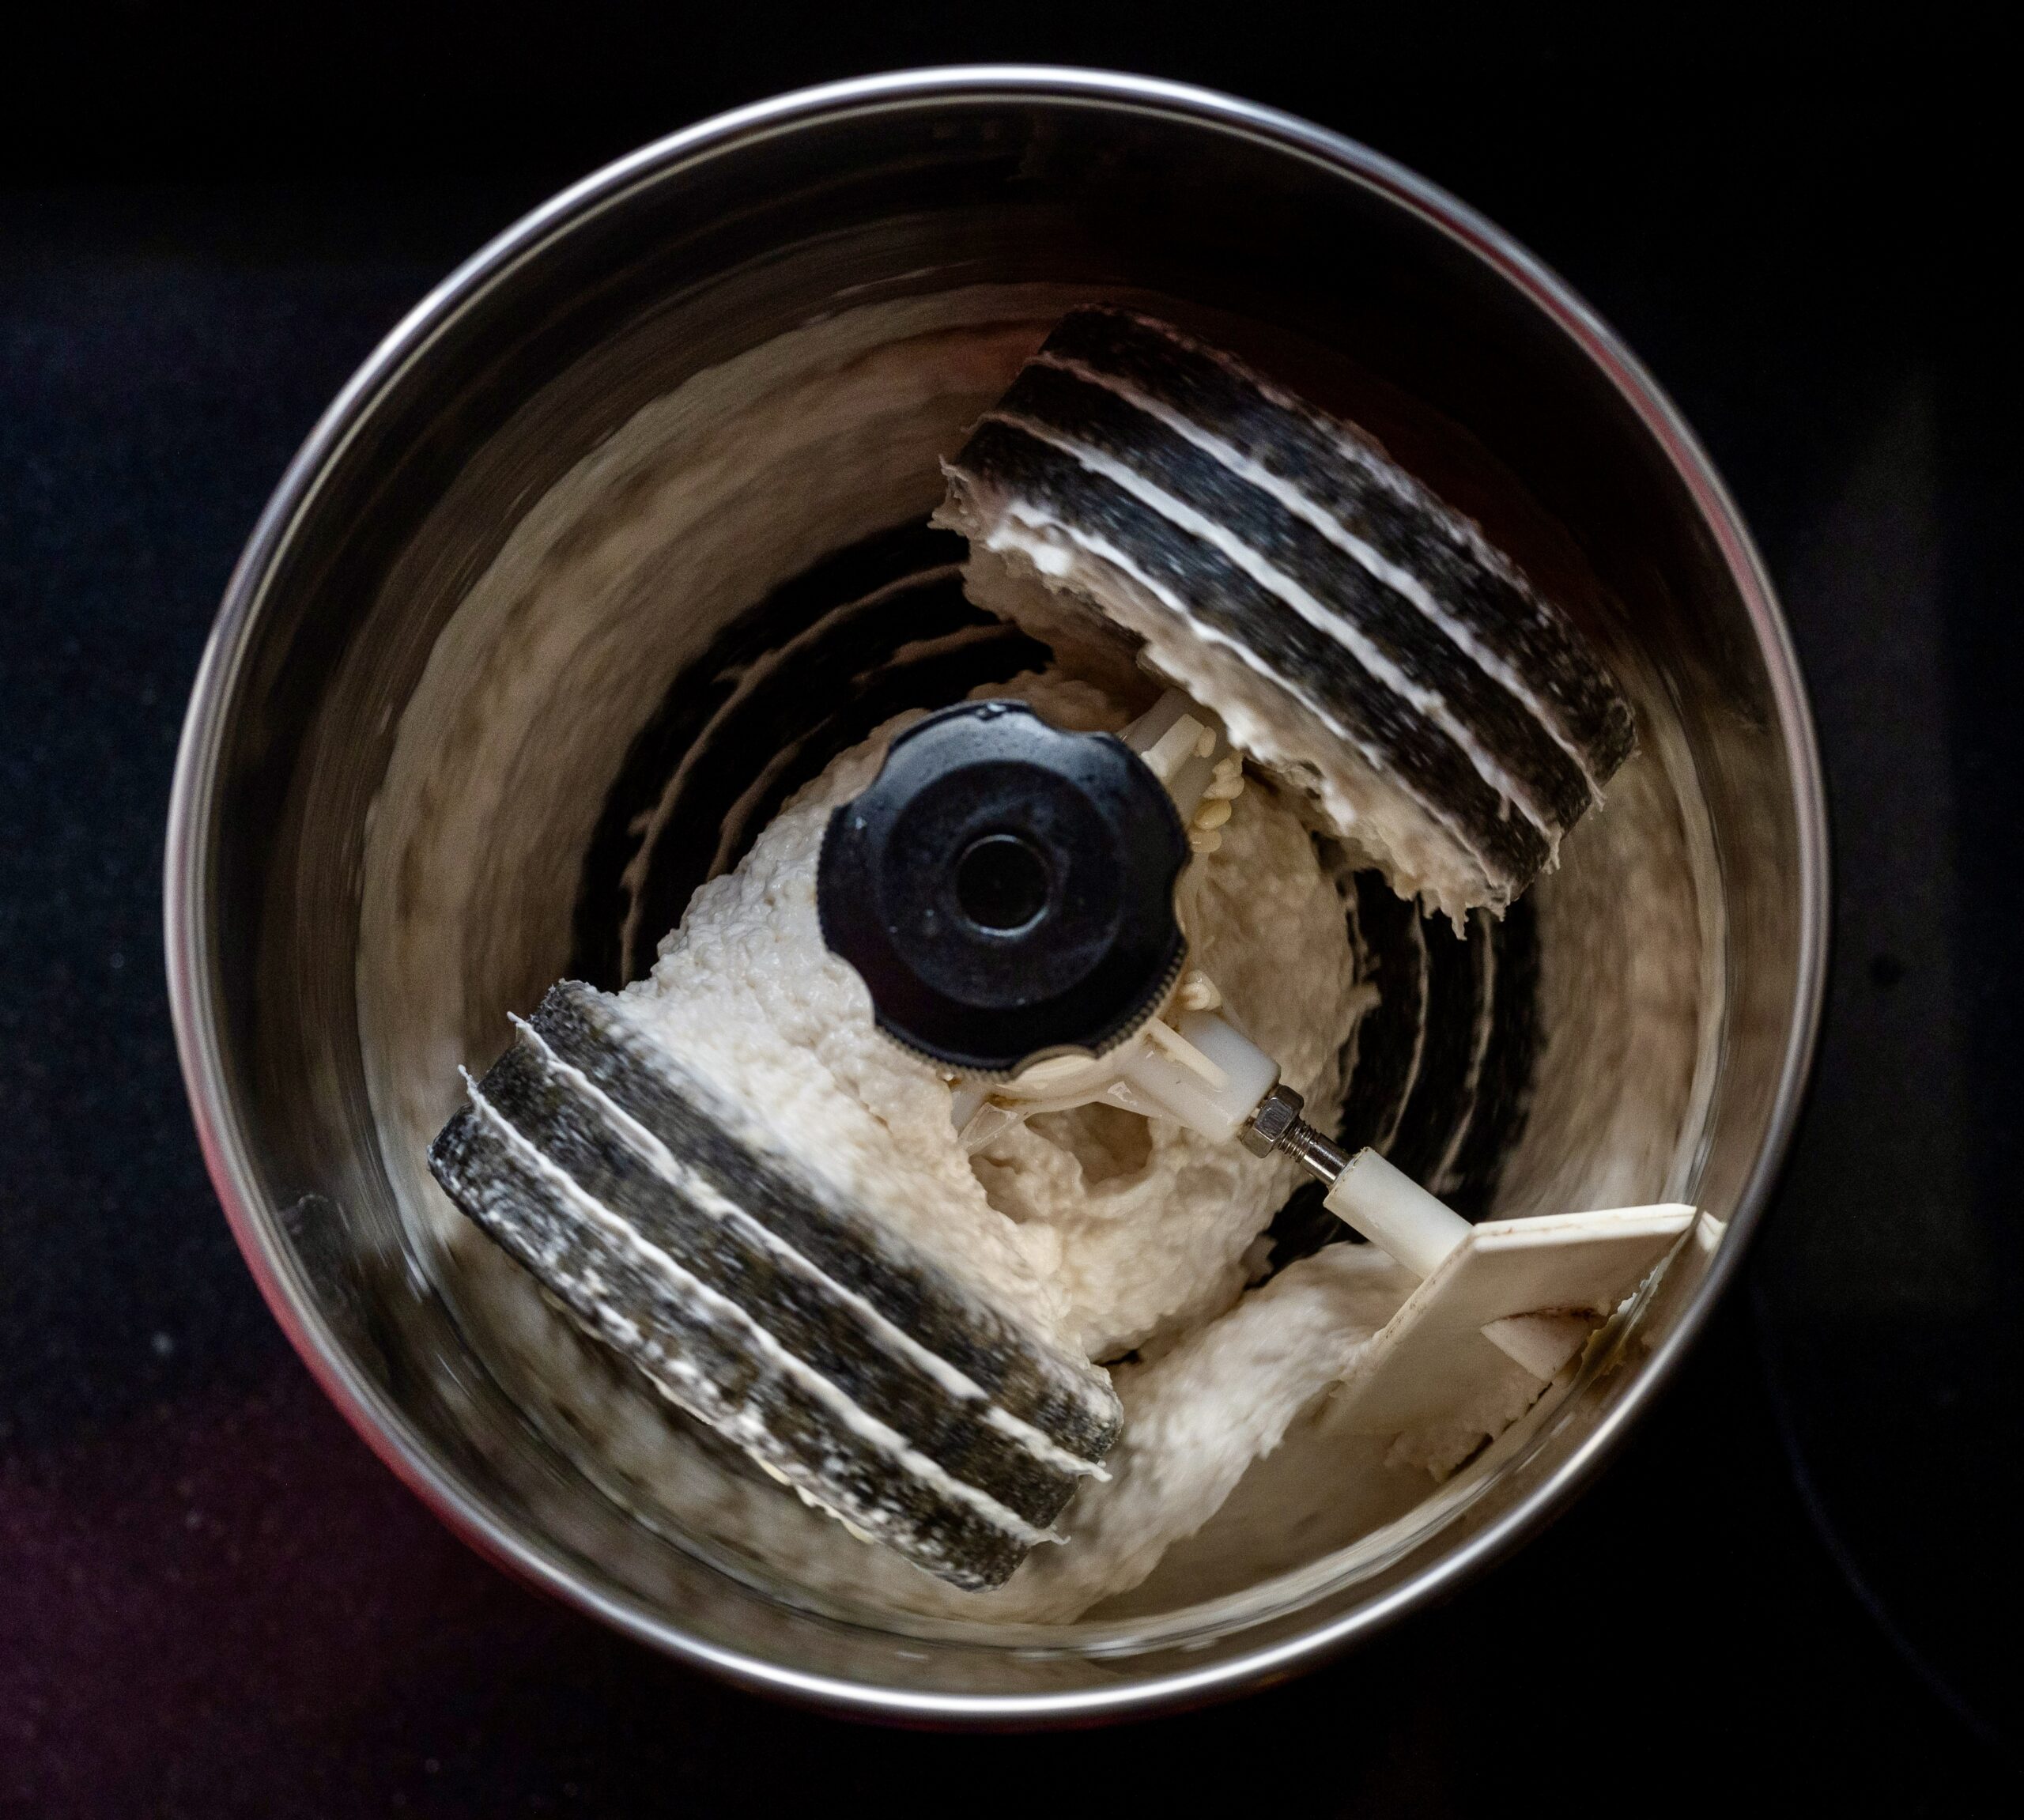
Dispose the soaking water. Add 2 cups of fresh water and grind the urad dal and methi seeds finely, using a wet grinder or blender. Set aside.
Now, grind the rice with 2 cups of fresh water until you get a fine consistency.
Pour the rice batter over the dal batter. Add salt and mix gently using your hands.
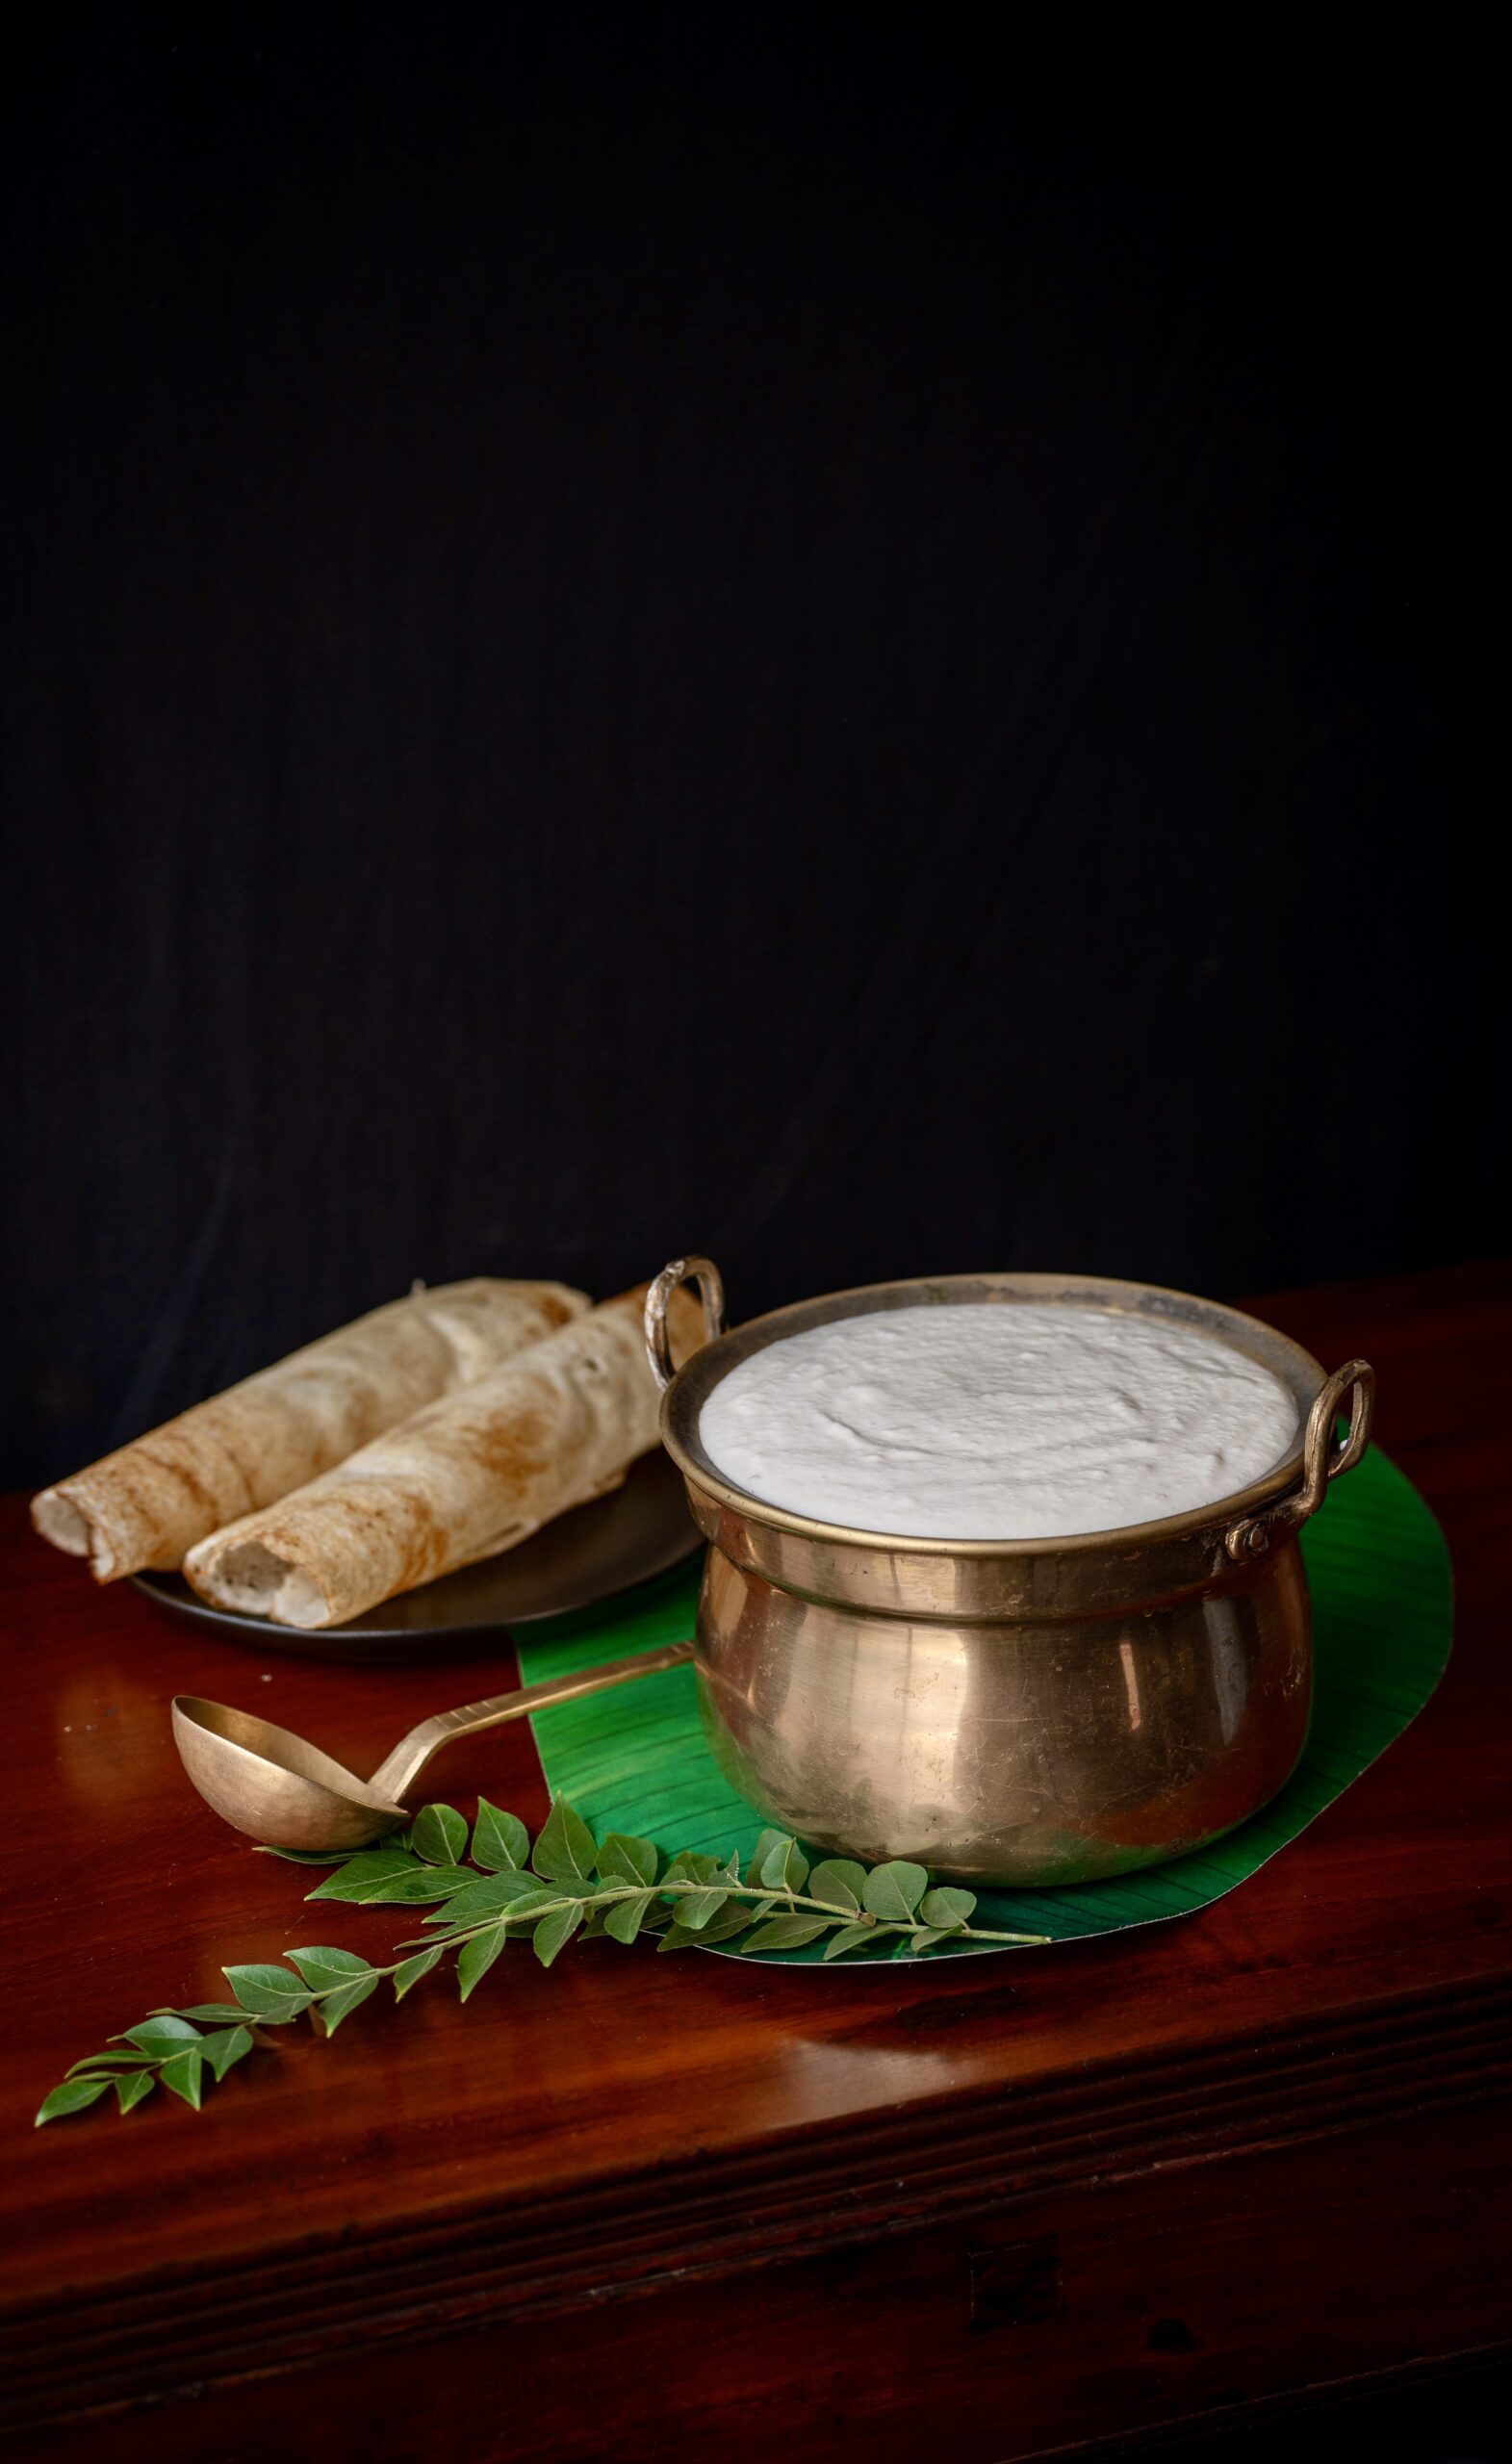
Cover in a big pot and allow to ferment. The size of the pot matters so that the batter has space to rise. Well-fermented batter doubles in quantity and is sour. When stored in the fridge between uses, it will remain fresh for 3-4 days.
Here are a few more tips: the trick behind making a batter that can yield both a crisp brown dosa and a soft white idly is the proportion of rice to lentils. To make dosas even crisper, add some poha or rice flakes to the batter while grinding. Some people also add rava. However, I personally feel that the use of a heavy iron pan and adequate ghee or oil contribute more to crispness than these other techniques. Use only parboiled or boiled rice to make dosas, and only husked urad dal. Adding fenugreek increases the fermentation and makes for a tastier dosa.
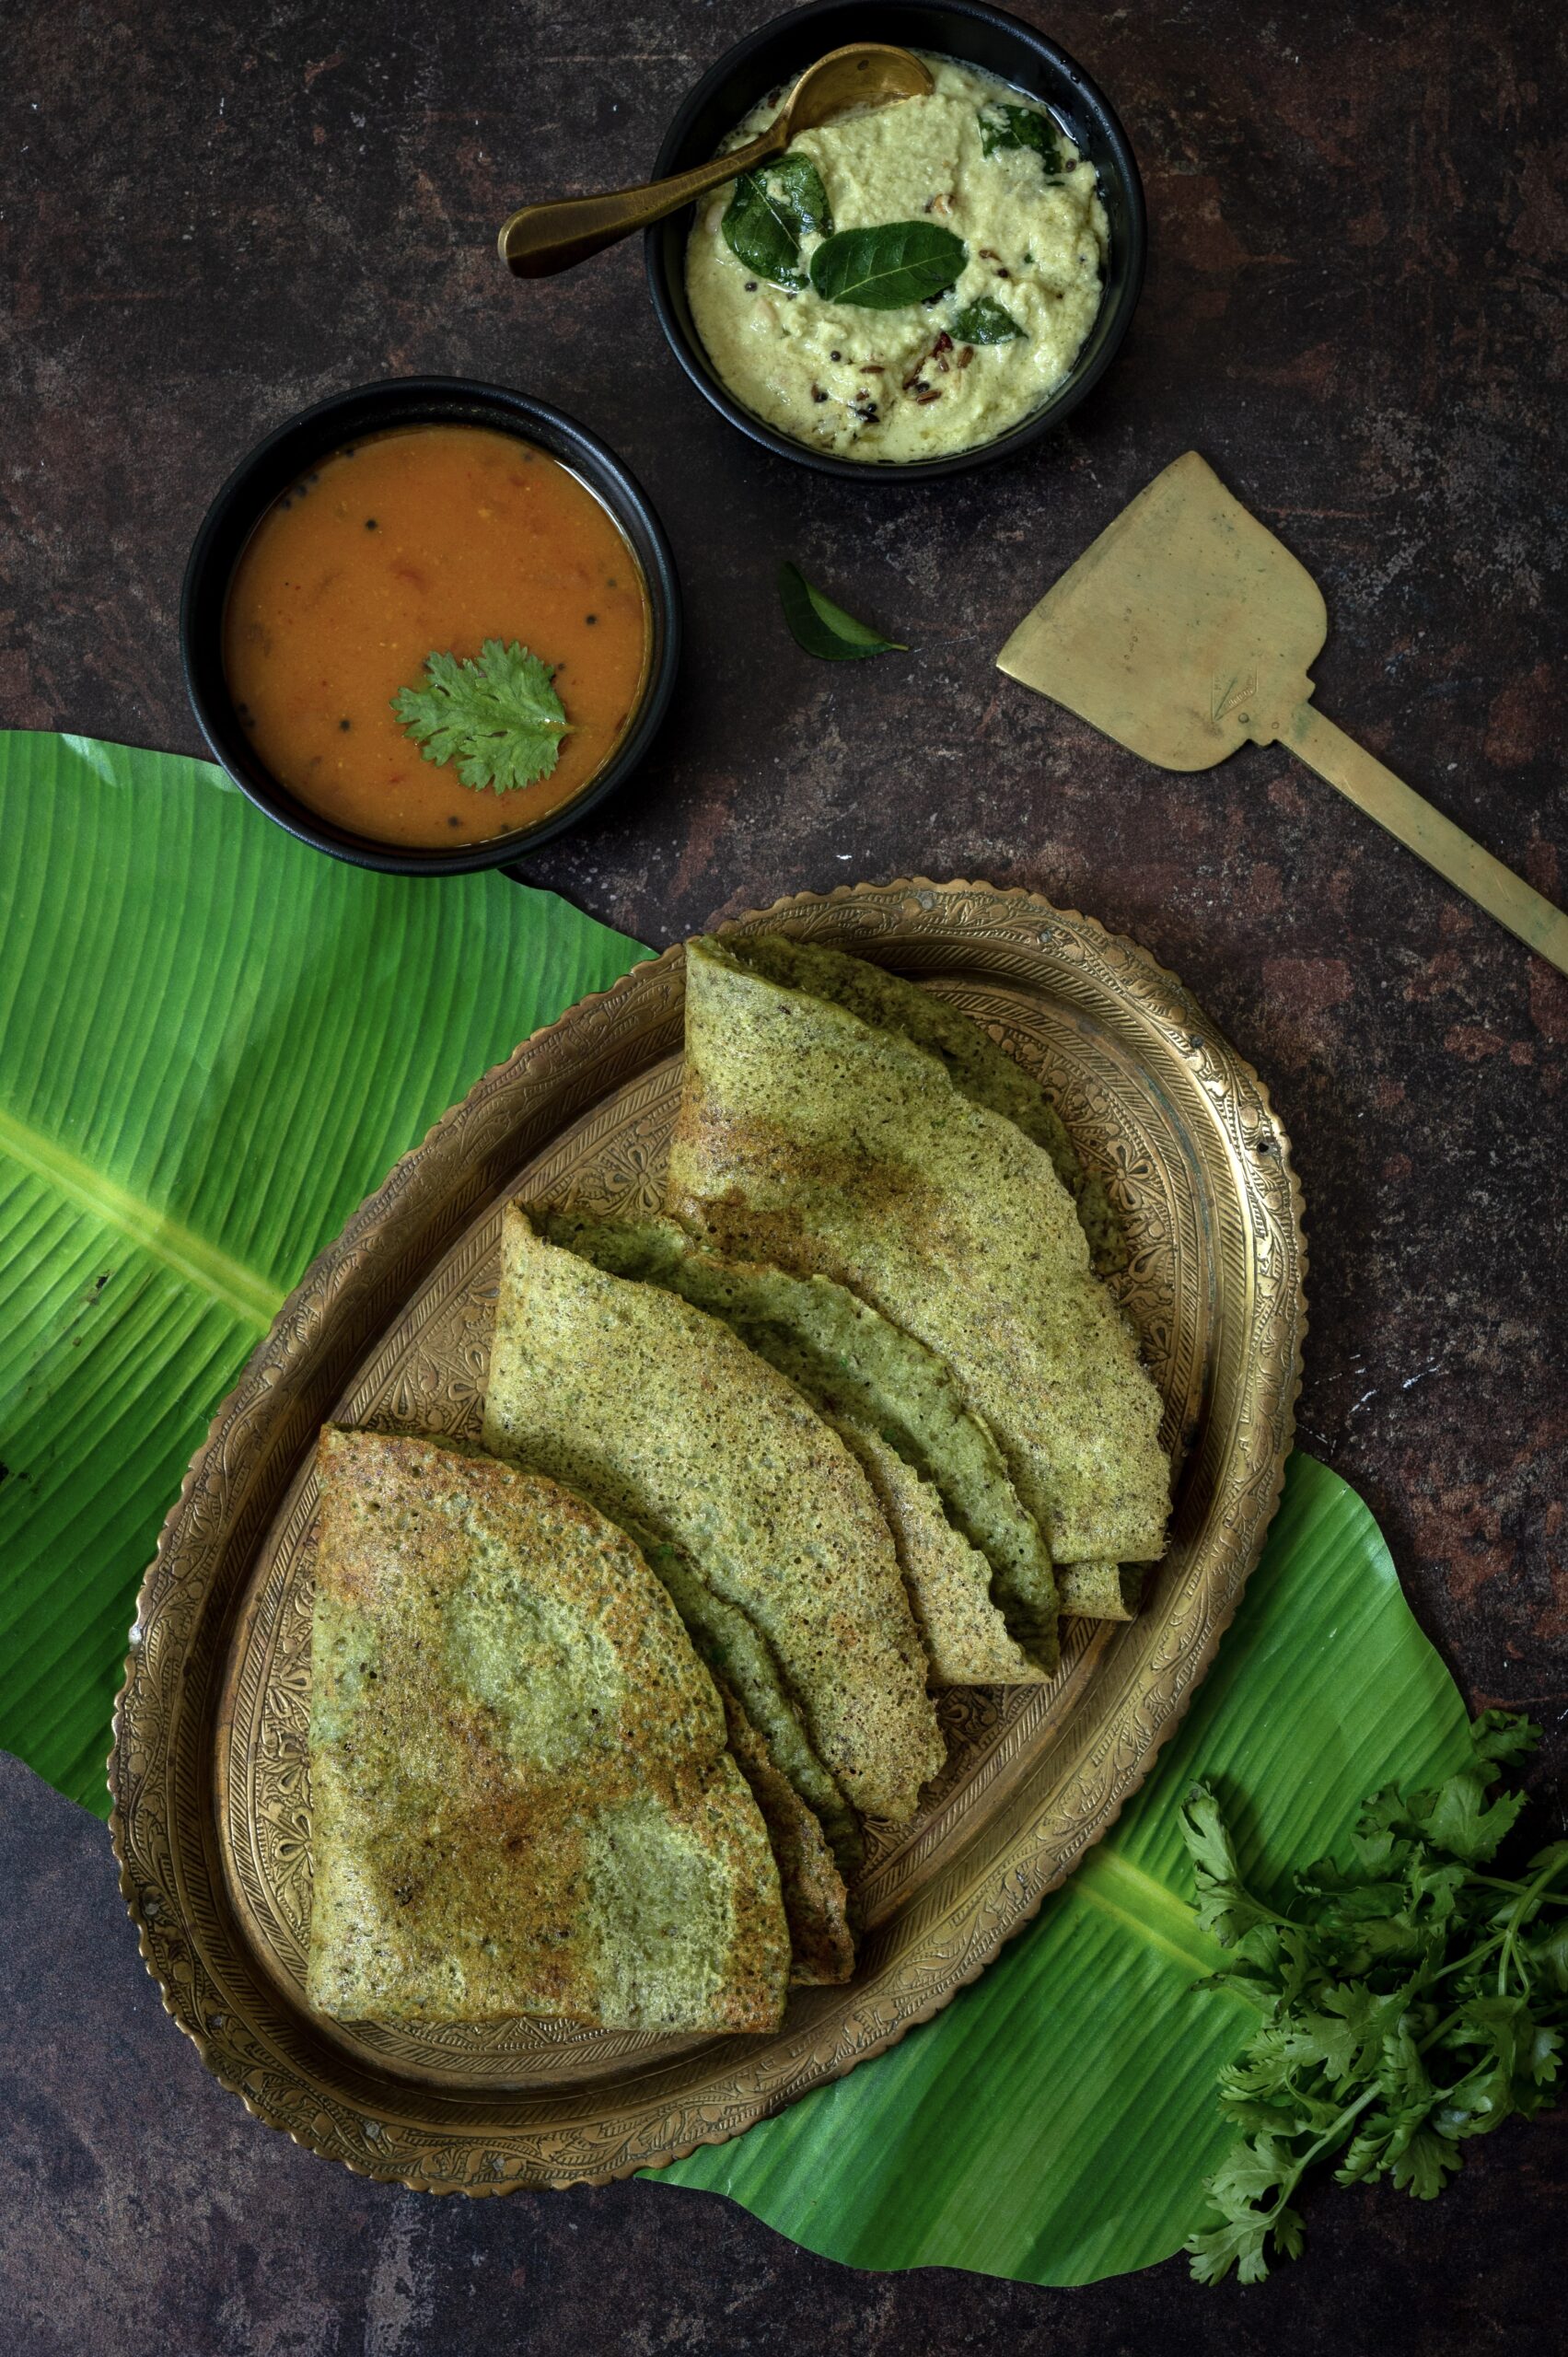
As I said earlier, you can use this for dosas, idlys and kuzhi paniyarams. Here is the method to prepare dosa, a South Indian crepe that is staple in this part of the world.
Remove the required quantity, and gently mix the batter with a steel spoon. Heat a cast iron pan or tava.
Once it is hot, sprinkle some water on the pan. When it sizzles, you know that it’s the right temperature. Take a ladle full of the batter and pour it into the centre of the pan. Gently, using a circular motion, spread the batter on the griddle, similar to making a crepe. Use a teaspoon of ghee or oil and spread drops of it onto the dosa.
Allow it to cook on high heat, until you see it turn golden at the bottom. Gently, with the help of a spatula, lift from the edges and flip for no more than a few seconds. Now fold the dosa and serve hot. Accompany it with sambar, chutney, curry or podi – the choice is yours.
I hope you’ll begin making your idly and dosa batter from scratch too. It’s an easy process, and I am sure you’ll enjoy both the preparation method as well as consuming the results!