Tag

thepla

Browsing

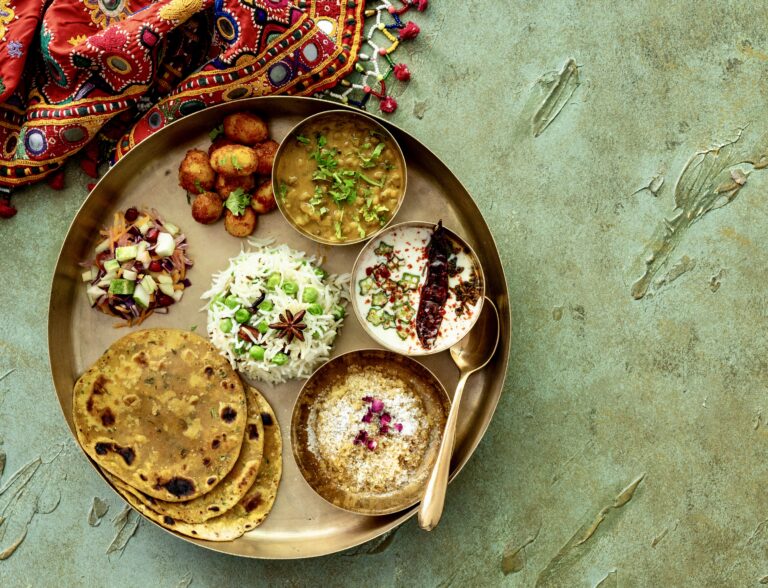
The thaali as a concept is very common across Indian households. It is basically a meal with a variety of components, and the composition of each thaali varies depending on the region. It used to be a daily affair in many households, but in contemporary times more and more people have opted for lighter or more quickly prepared meals with fewer dishes involved. There is still a Gujarati thaali served in my home for lunch every day, but as my adult children set up their homes, I don’t see this happening. The thaali then becomes much more occasional and deliberate, and perhaps even festive. For that reason, I felt it would be ideal to share what goes into a Gujarati thaali with Diwali just a few days away.

A Gujarati thaali essentially contains roti, rice, a grain, a kachumber (which is a kind of salad), one or two vegetable dishes and a sweet. These are the basic elements. In my home, I do a rather non-traditional thing and eliminate the sweet dish more often than not. However, on special occasions like my mother-in-law’s birthday, a shrikhand will be included in the thaali. If I am doing trials ahead of sharing dessert recipes for this blog, those will show up there too. There’s an exception to this no-sweet tweak: when it’s mango season, aamras (sweet mango pulp), will be present on a daily basis. Of late, I am offering seva to Shrinathji at home, which means that there is prasadam once a week, and this goes into our thaalis too.

This brings in novelty now and then. The regular thaali can also be made more exciting with the addition of something like sabudana vada, paniyaram or yam chips, which can be prepared ahead of time and served again at tea-time as snacks. I tend to avoid fried goodies in my thaali, but these little things can make lunch more worth looking forward to now and then.

The regular thaali itself can be something really important. It is said that eating together itself holds families together, and I am a believer in this adage too. When it comes to something like a thaali, or any meal that is put together on a daily basis, it therefore becomes a part of the bonds that a family shares. My husband works nearby, so it is convenient for him to pop home for lunch on most days. My children are all far away, but when they come home, there is always a hot thaali available at lunch, and while they may have something else prepared if they prefer, the traditional option is always available.

I am so glad that my kids still honour a request we made when they first moved away, which is that they all return home for certain special occasions. They are made all the more special because of the effort taken. After all, that’s what family is about – taking that extra step to bond and to build love that holds for generations to come.

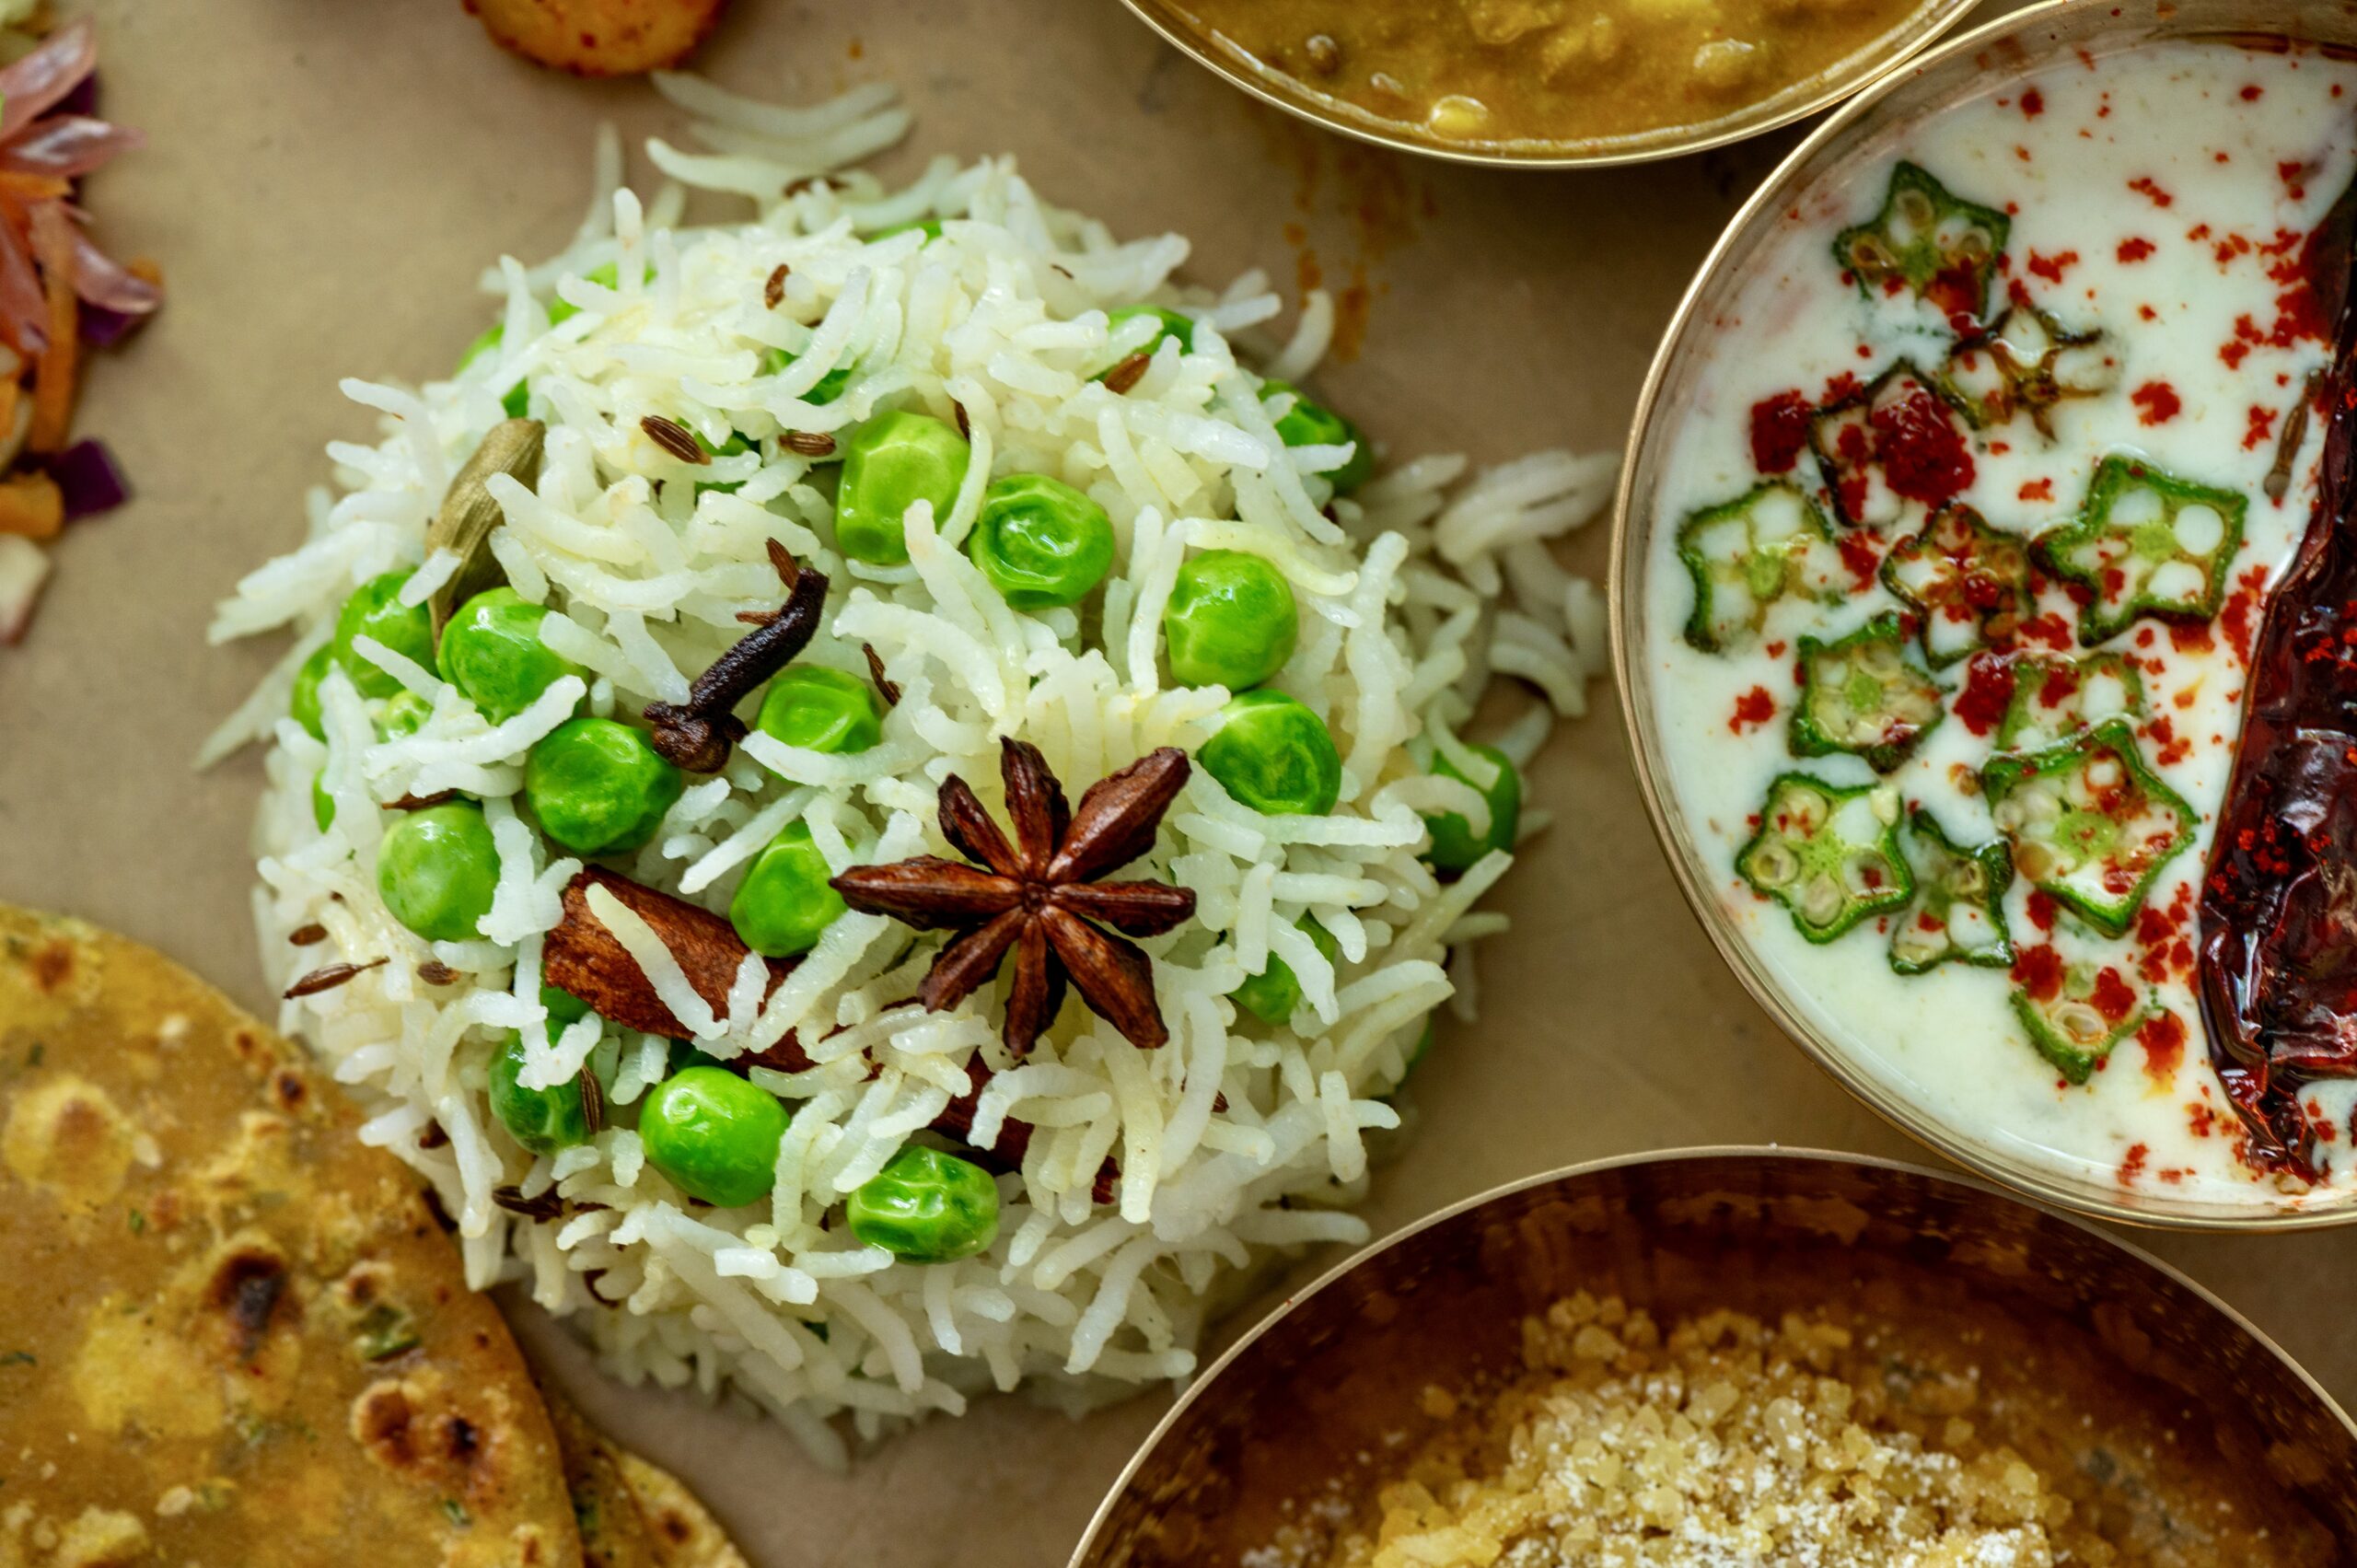
That brings us back to the festivities. Diwali happens to be one of those celebrations that we all gather together for, which is one of many reasons why it is one of my favourite festivals. I’m eagerly anticipating how in just a few days, over the dining table, there is going to be so much camaraderie, noise, chatter, shouting, fighting and affection – each in the right portions, exactly like a thaali should be presented too. Our Diwali lunches are one of the highlights of the year, and an elaborate thaali is always served. Having this experience, year after year, is something I wouldn’t trade for the world. This is the spread in the thaali this year: peas pulao, bottle gourd thepla, raita bhindi, mixed dal, simple salad, potato roast and of course the once-annual laapsi for dessert. I am happy to share this year’s thaali with you too. Most of these recipes have already been shared over the years, and are linked below along with two new ones for your enjoyment.

I would also like to take this auspicious moment to share something that I’ve been working on for a while. This year, this blog turned 8 years old, and it has really been a journey of growth, discovery and enjoyment. Over time, I have grown in my conviction about my own work, encouraged by well-wishers like you. I am happy to share that I will soon release a cookbook, featuring selected recipes from this blog along with an array of new ones. I want it to be a keepsake that can be passed from hand to hand and from kitchen to kitchen. First and foremost, it is so that my children will have something solid through which to reminisce about their growing years and their family, and to replicate some of their comfort foods and festive favourites. Beyond that, my book will also be for you – and for everyone who loves the experience of preparing a meal. I’ll share more about this project in the coming months. In the meanwhile, I wish you and yours a wonderful Diwali!
Gujarati Thaali

Bottle Gourd Thepla

Mixed Dal

Salad [make a simple one of your choice; for more elaborate ones, see the archive]

Roast Potatoes

Laapsi

Peas Pulao

1 cup cooked basmati rice
1-inch stick cinnamon
2 cloves
1 cardamom
1 star anise
Salt to taste
½ cup cooked/tender green peas
½ teaspoon cumin seeds
1 tablespoon ghee

Heat a pan. Add the ghee and once it is hot, add cumin seeds. Once they splutter, add the cinnamon, star anise, cloves and cardamom.

Sauté and then add cooked green peas, cooked basmati rice and salt. Mix well and gently until it all comes together. Your peas pulao is ready.

Bhindi Raita

1 cup curd
¼ cup finely sliced bhindi (okra/lady’s finger)
Salt to taste
2 tablespoons coconut pieces
1 green chilli
½ teaspoon cumin seeds
½ teaspoon + ¼ teaspoon oil
¼ teaspoon mustard seeds
2-3 dry red chillies

In a blender jar, grind together the coconut, green chilli and cumin seeds until coarse. Set aside.

Heat a pan and add ½ teaspoon oil. To this, add the finely sliced bhindi. Allow to cook on a low flame until the vegetable is golden and slightly tender on both sides.

In another bowl, add the curd with the ground coconut-green chilli-cumin mixture, along with salt. Mix well. Add the sautéed okra and mix gently. Refrigerate until serving.

In a heated pan, add the remaining oil, mustard seeds and red chilli. Temper and pour on top of the raita before serving.

Whether you make all the dishes at once and serve them on a thaali, or try them out one by one, I hope that you’ll find much delight in this year’s Gujarati-style Diwali thaali!

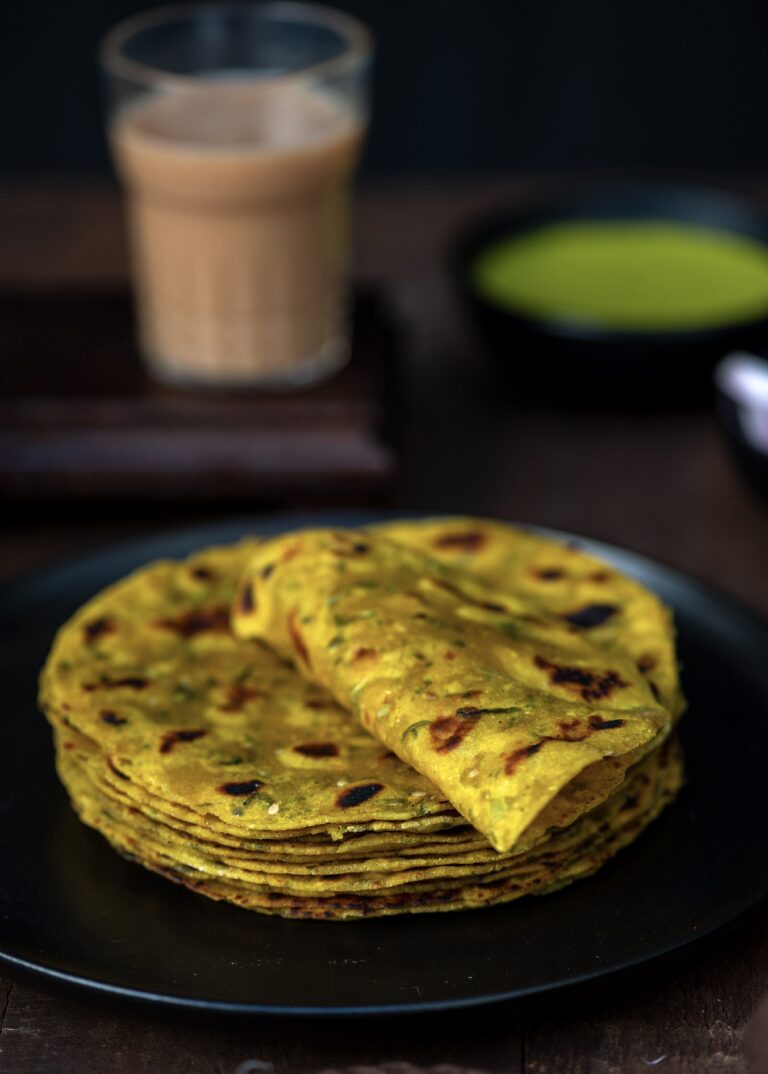
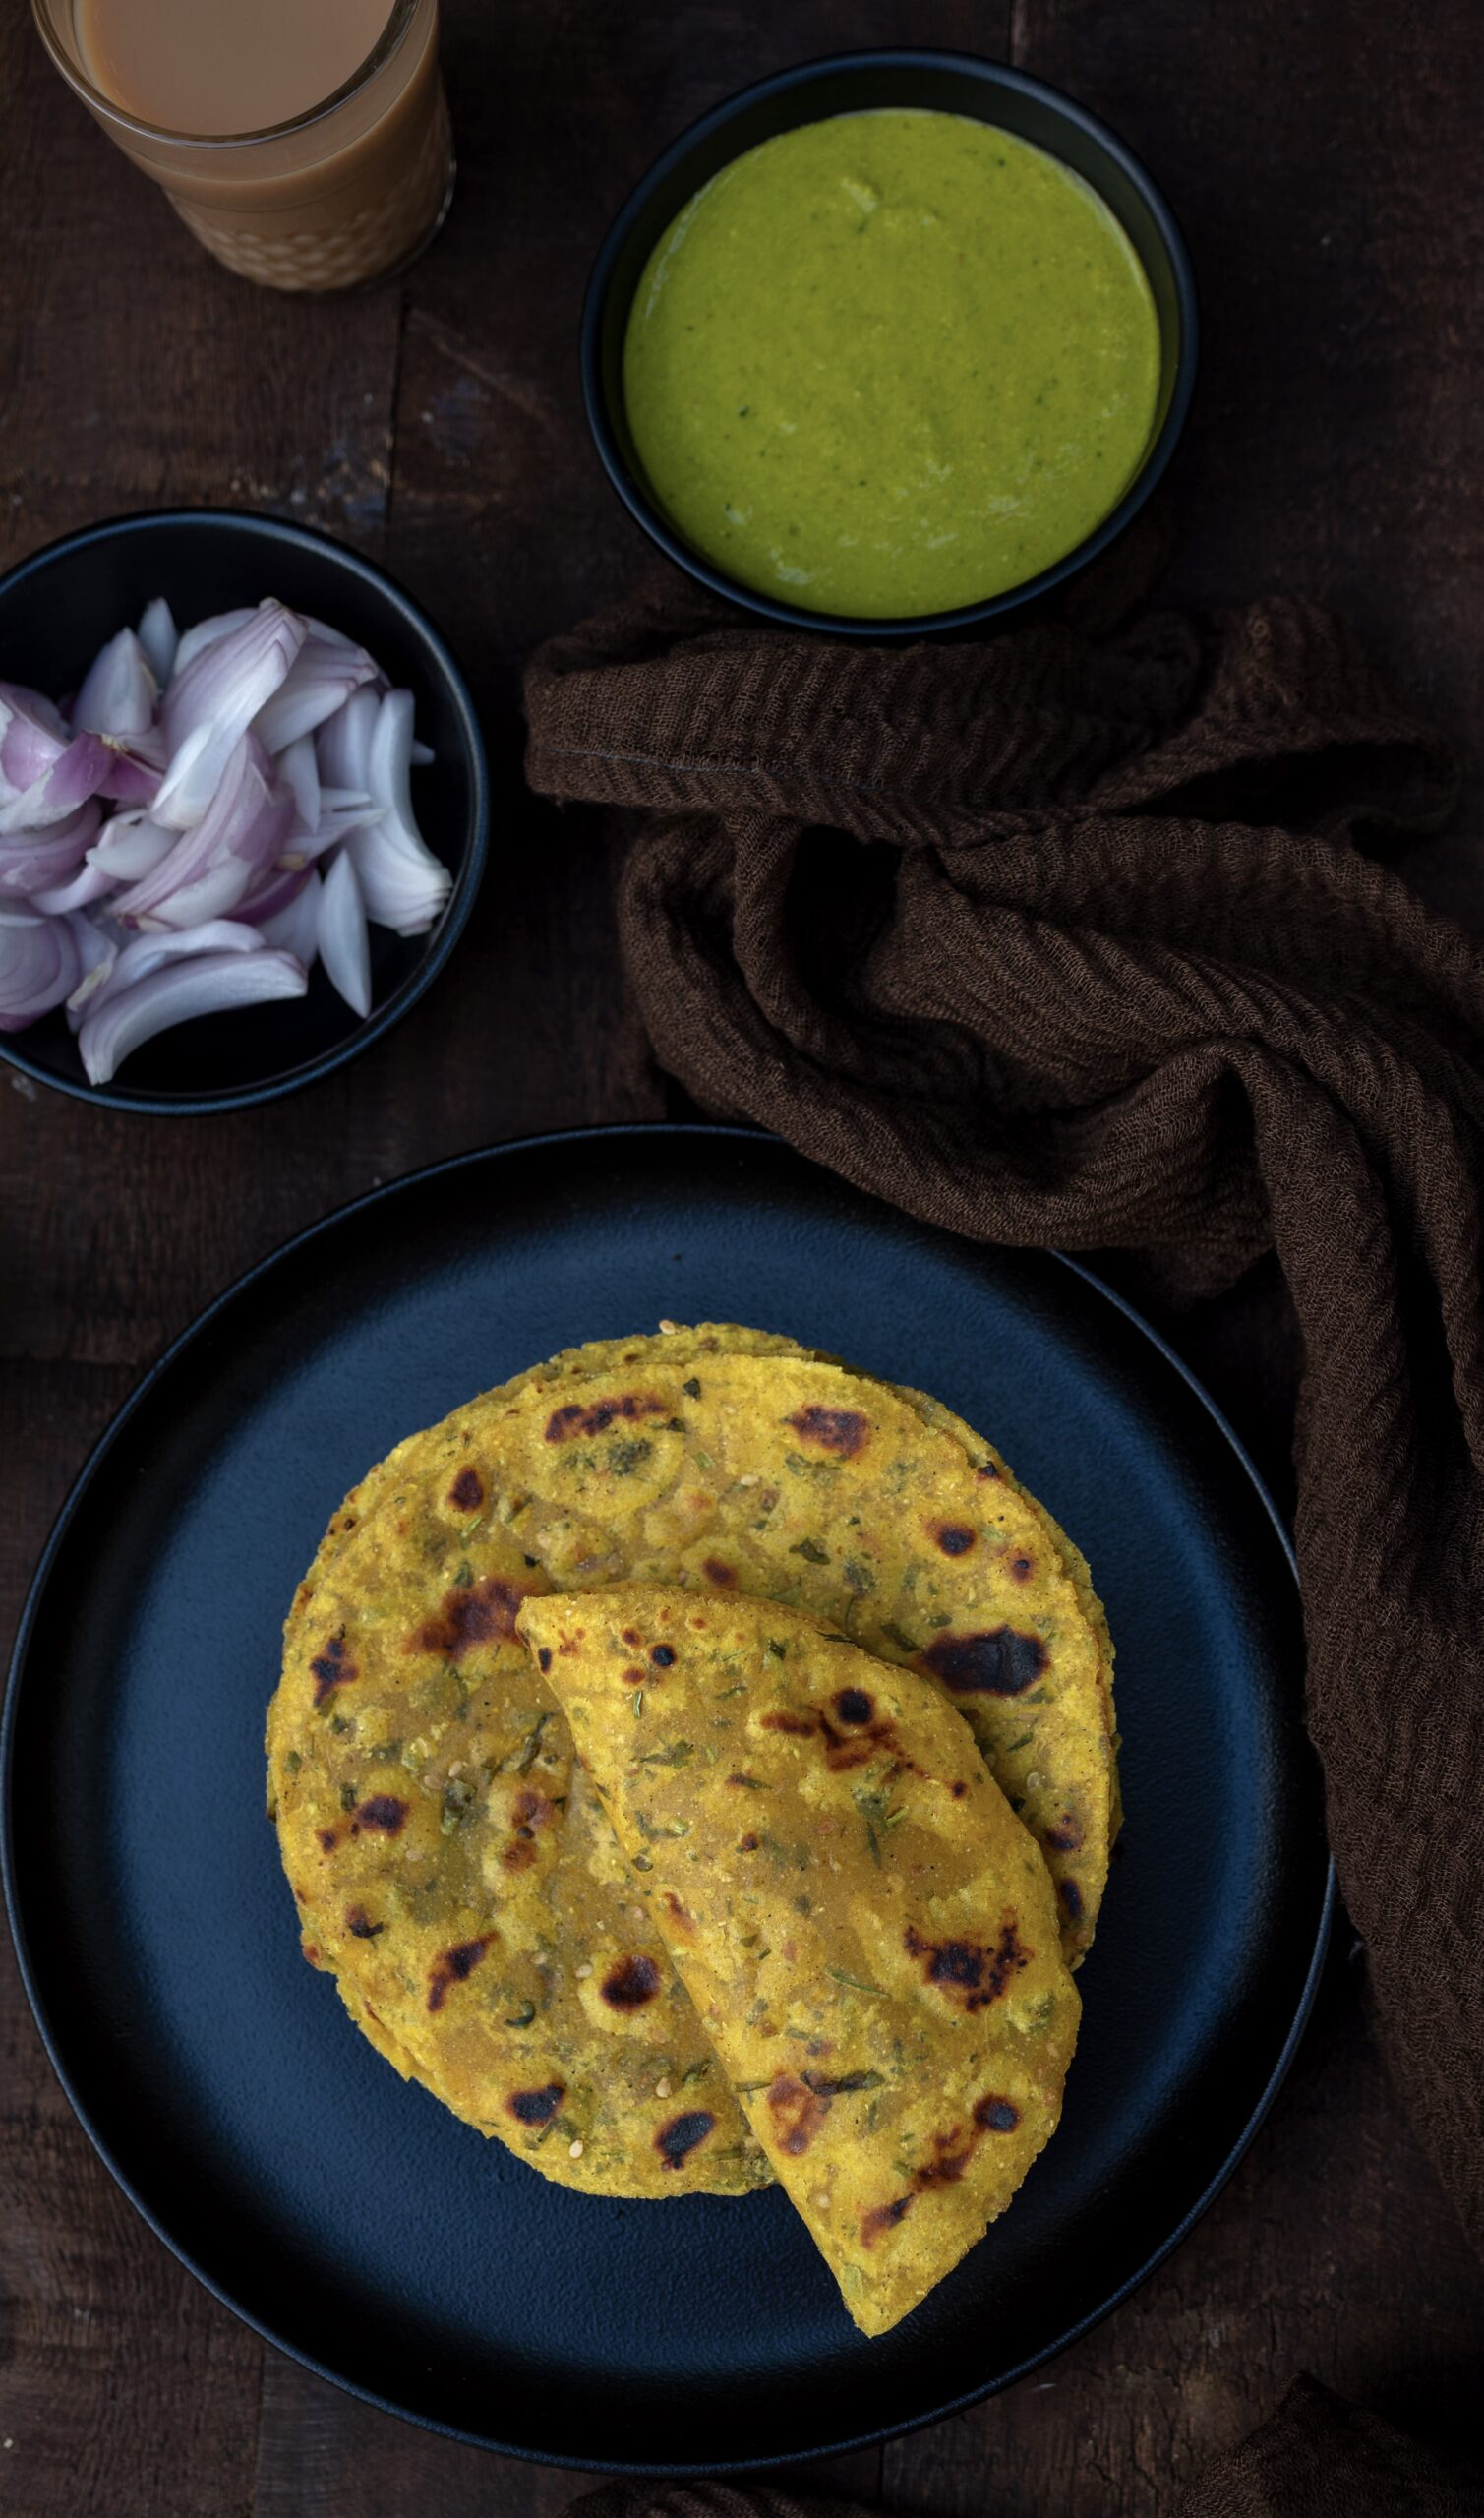
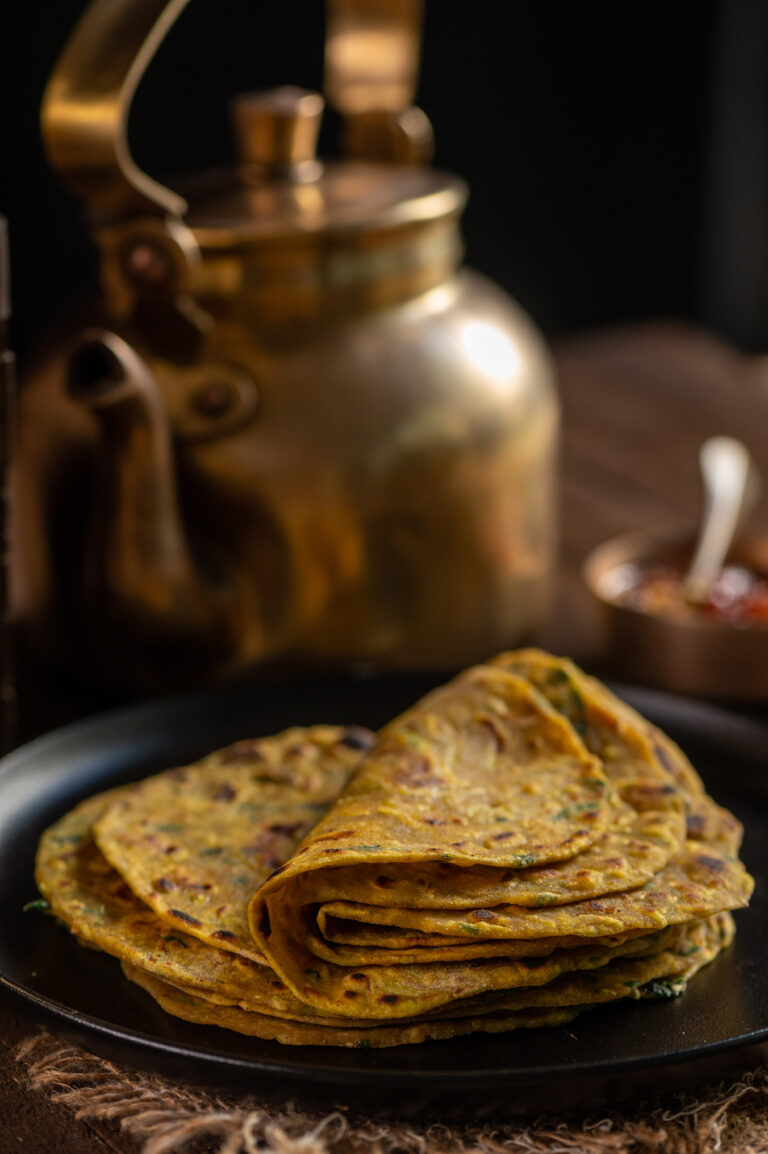
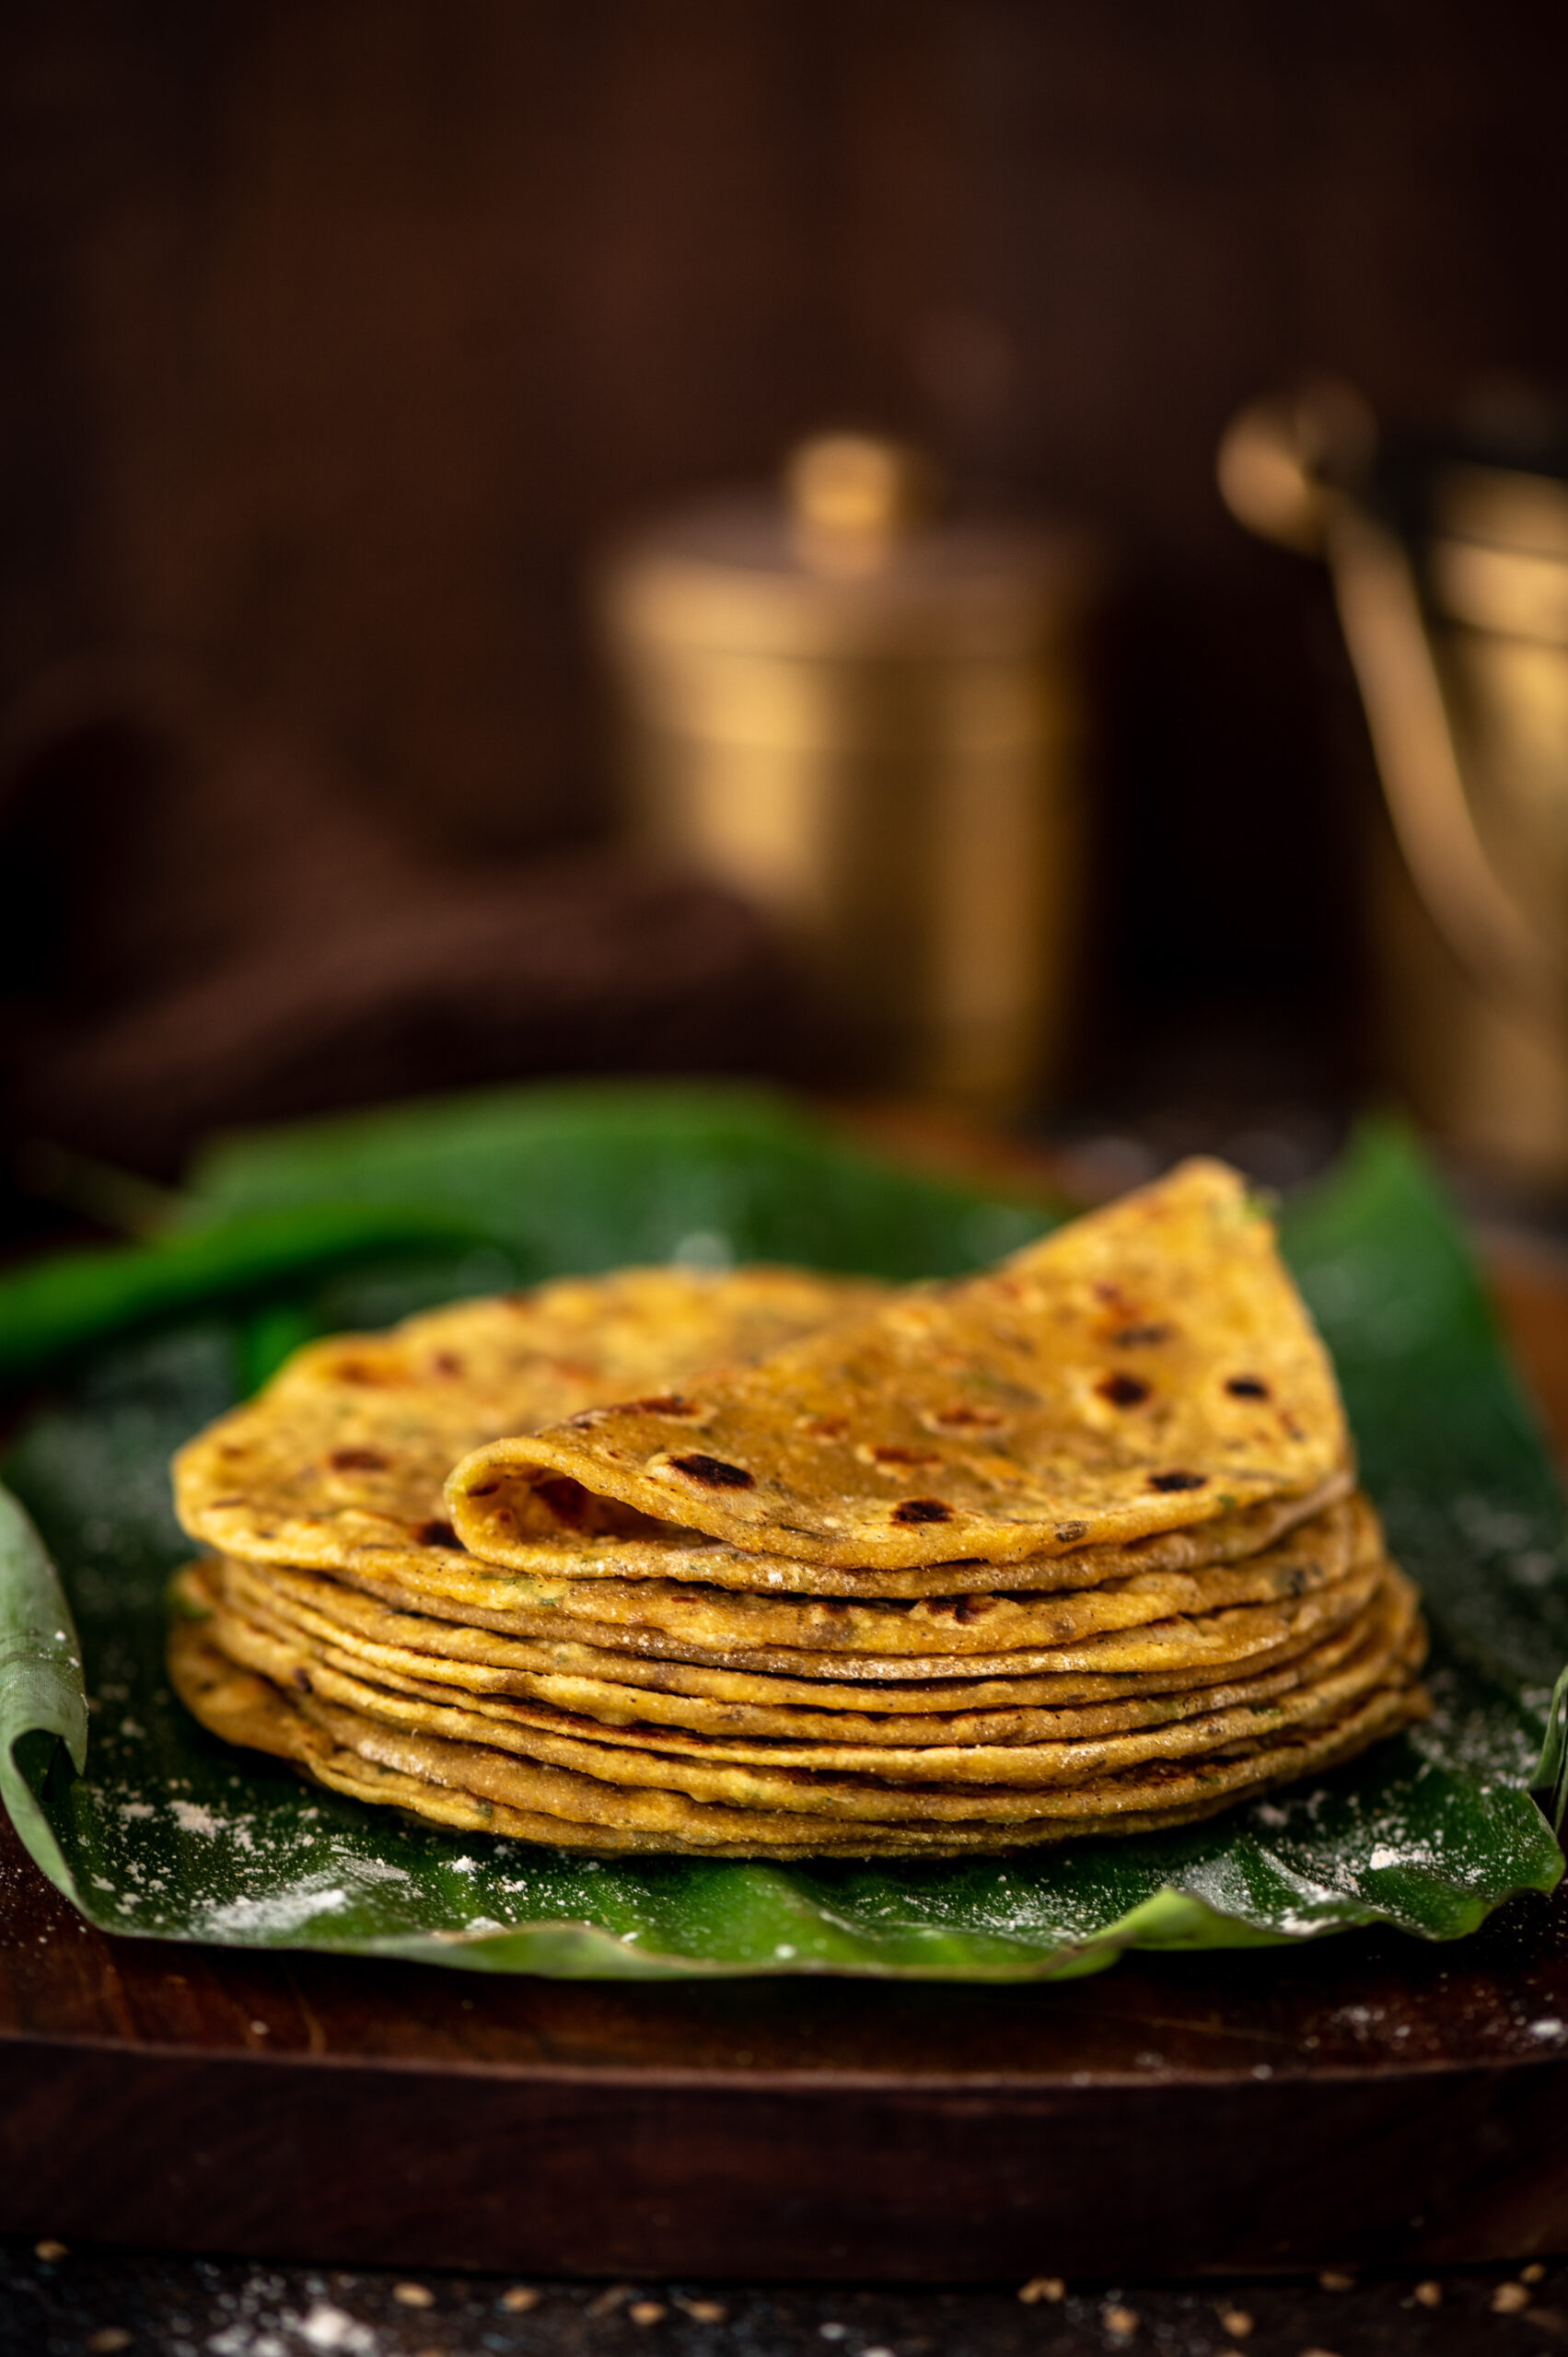
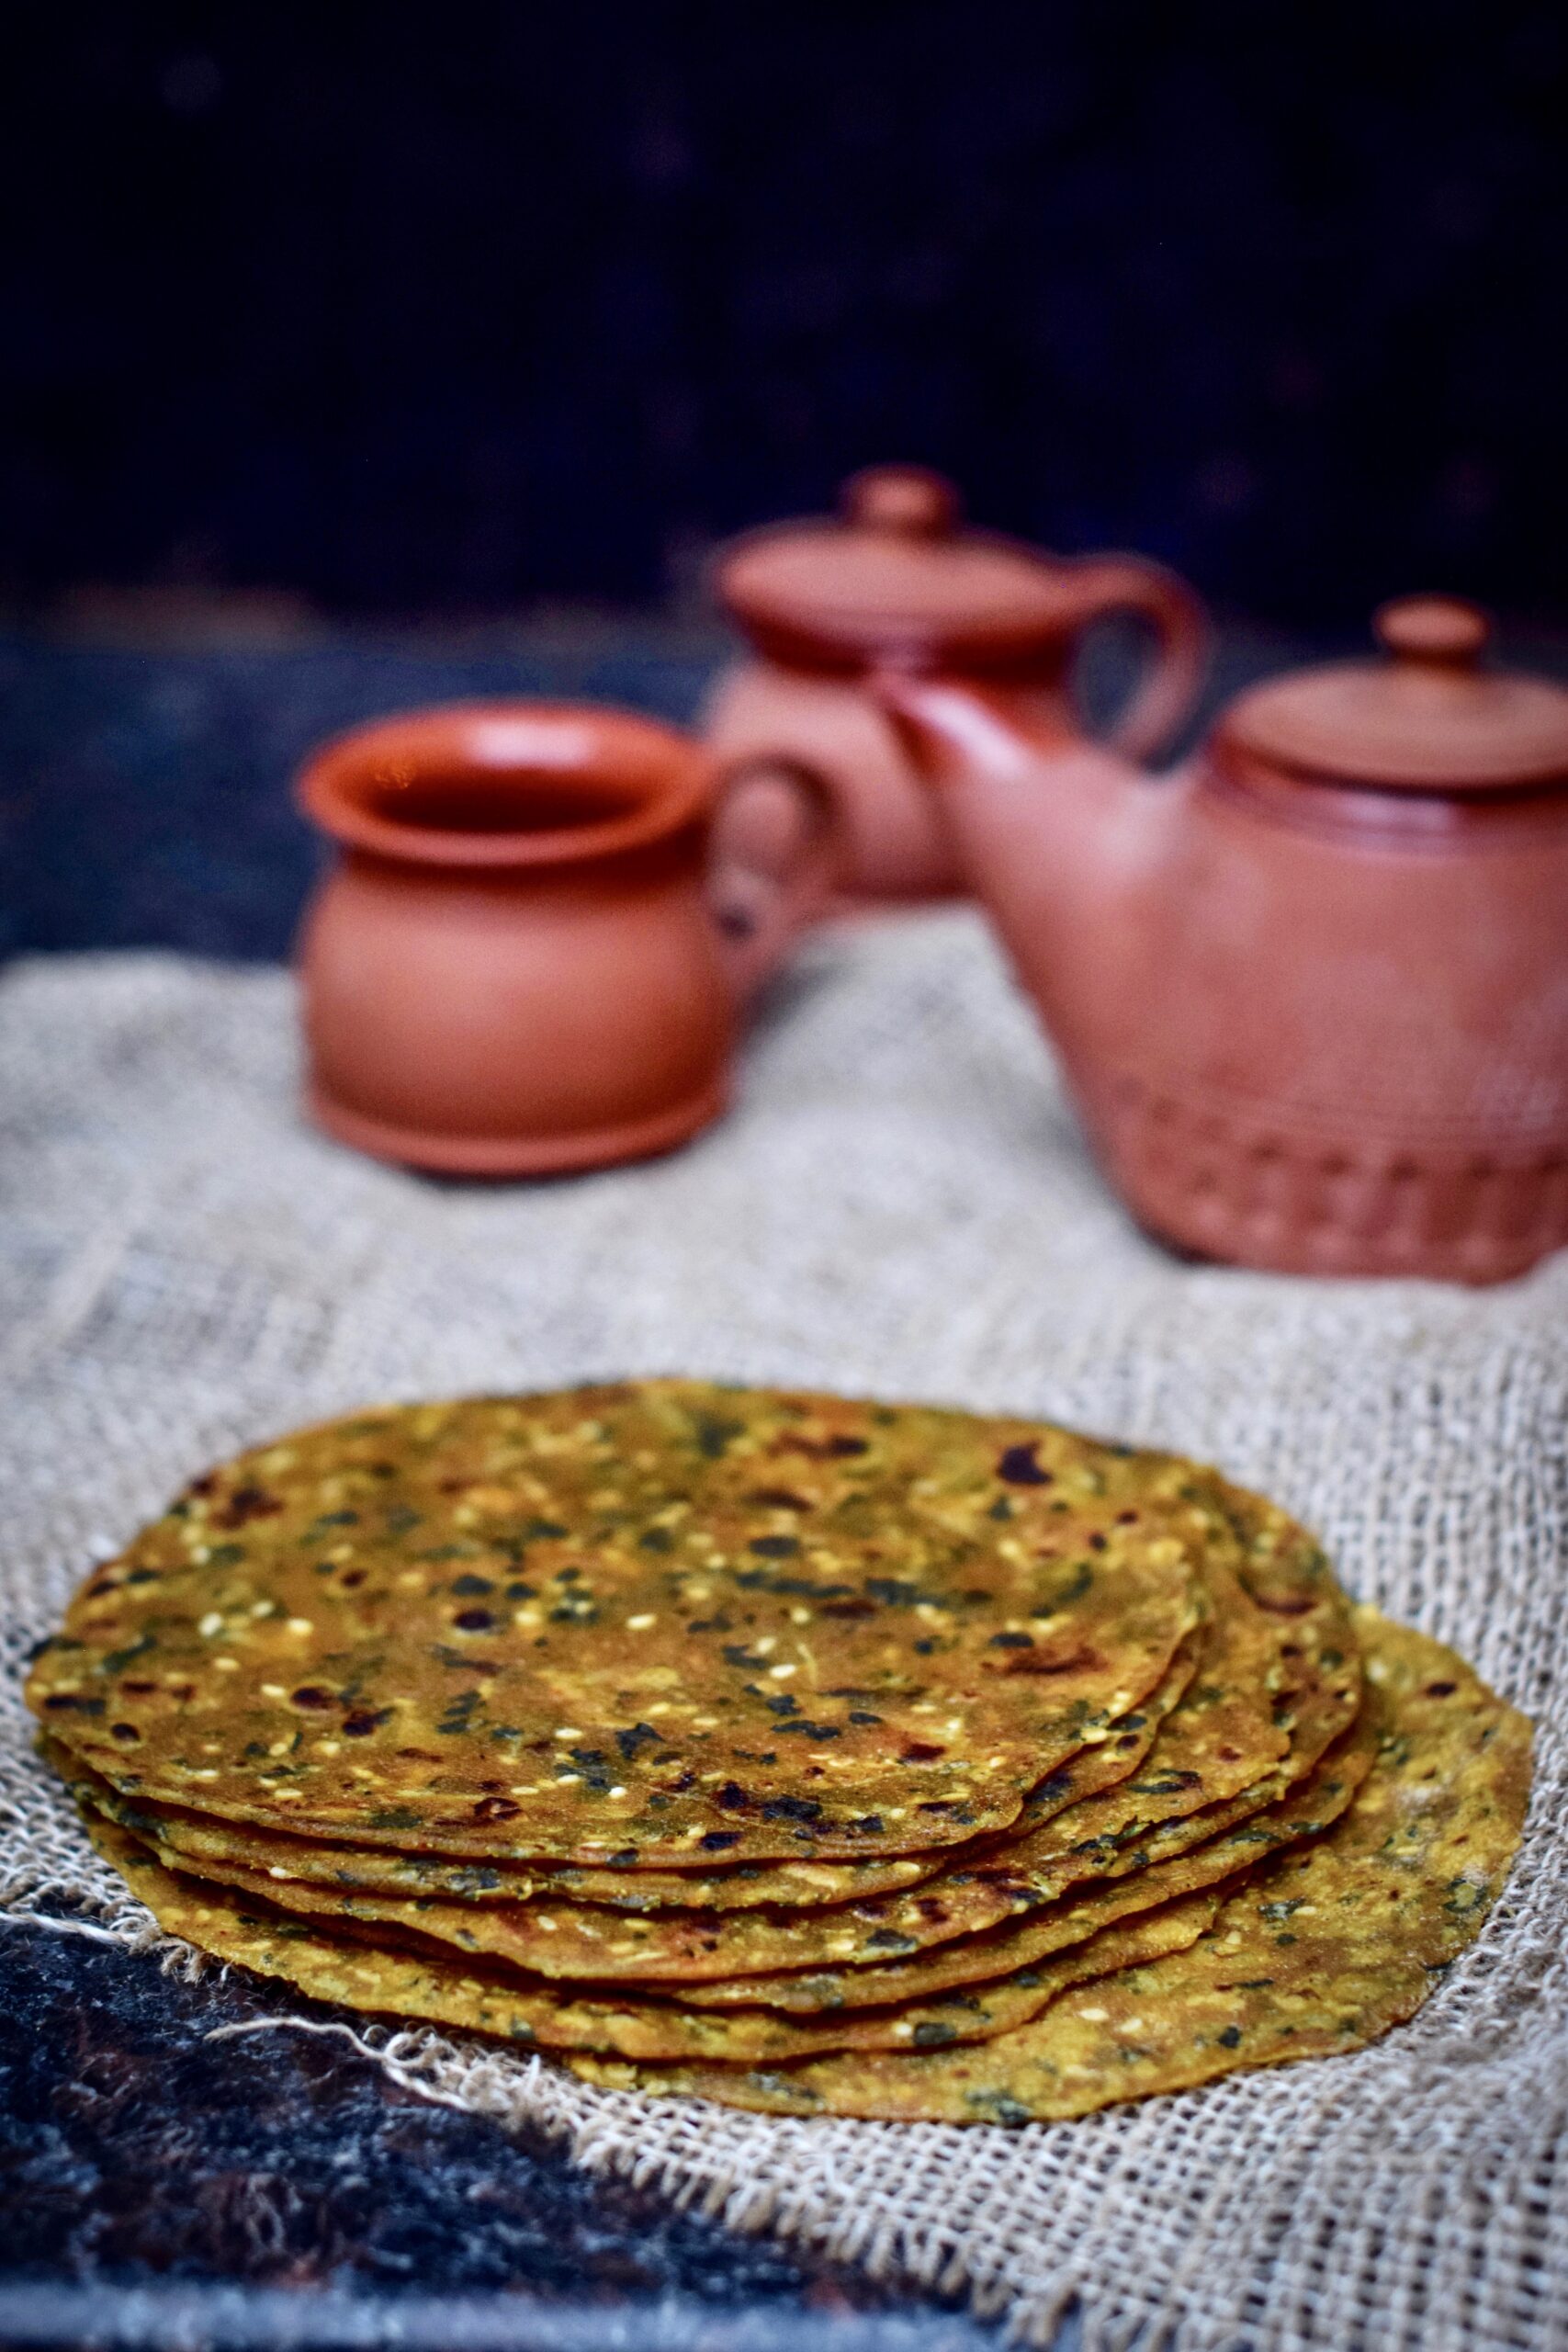
Several years ago, close to when I began this blog, I had shared a post on a variety of Gujarati flatbreads. The ones featured therein were just a small selection. There are hundreds of kinds of flatbreads in India, and even within different communities or regions, each family will have its own version. The thepla in particular has many types. It is basically a masala flatbread, and may have additions of grated vegetables or flavourings. Bottle gourds and leafy greens, of all different sorts, are often used. Here, I share with you a recipe for jowar methi thepla. It uses fenugreek leaves (methi) and sorghum millet (jowar) alongside the standard wheat, which makes it richly nutritional.

I prefer to use fresh methi, but dried kasoori methi will also work. If you’d like to totally substitute the methi, you can do so with any spinach. In my version of this flatbread, I make it with green chilli paste. My sister likes to use red chilli powder instead, which gives it a darker colour. Traditionally, jowar (sorghum) is replaced by bajri (pearl millet) in winters, as the latter is more warming. You can use the same method below to make bajri methi thepla.

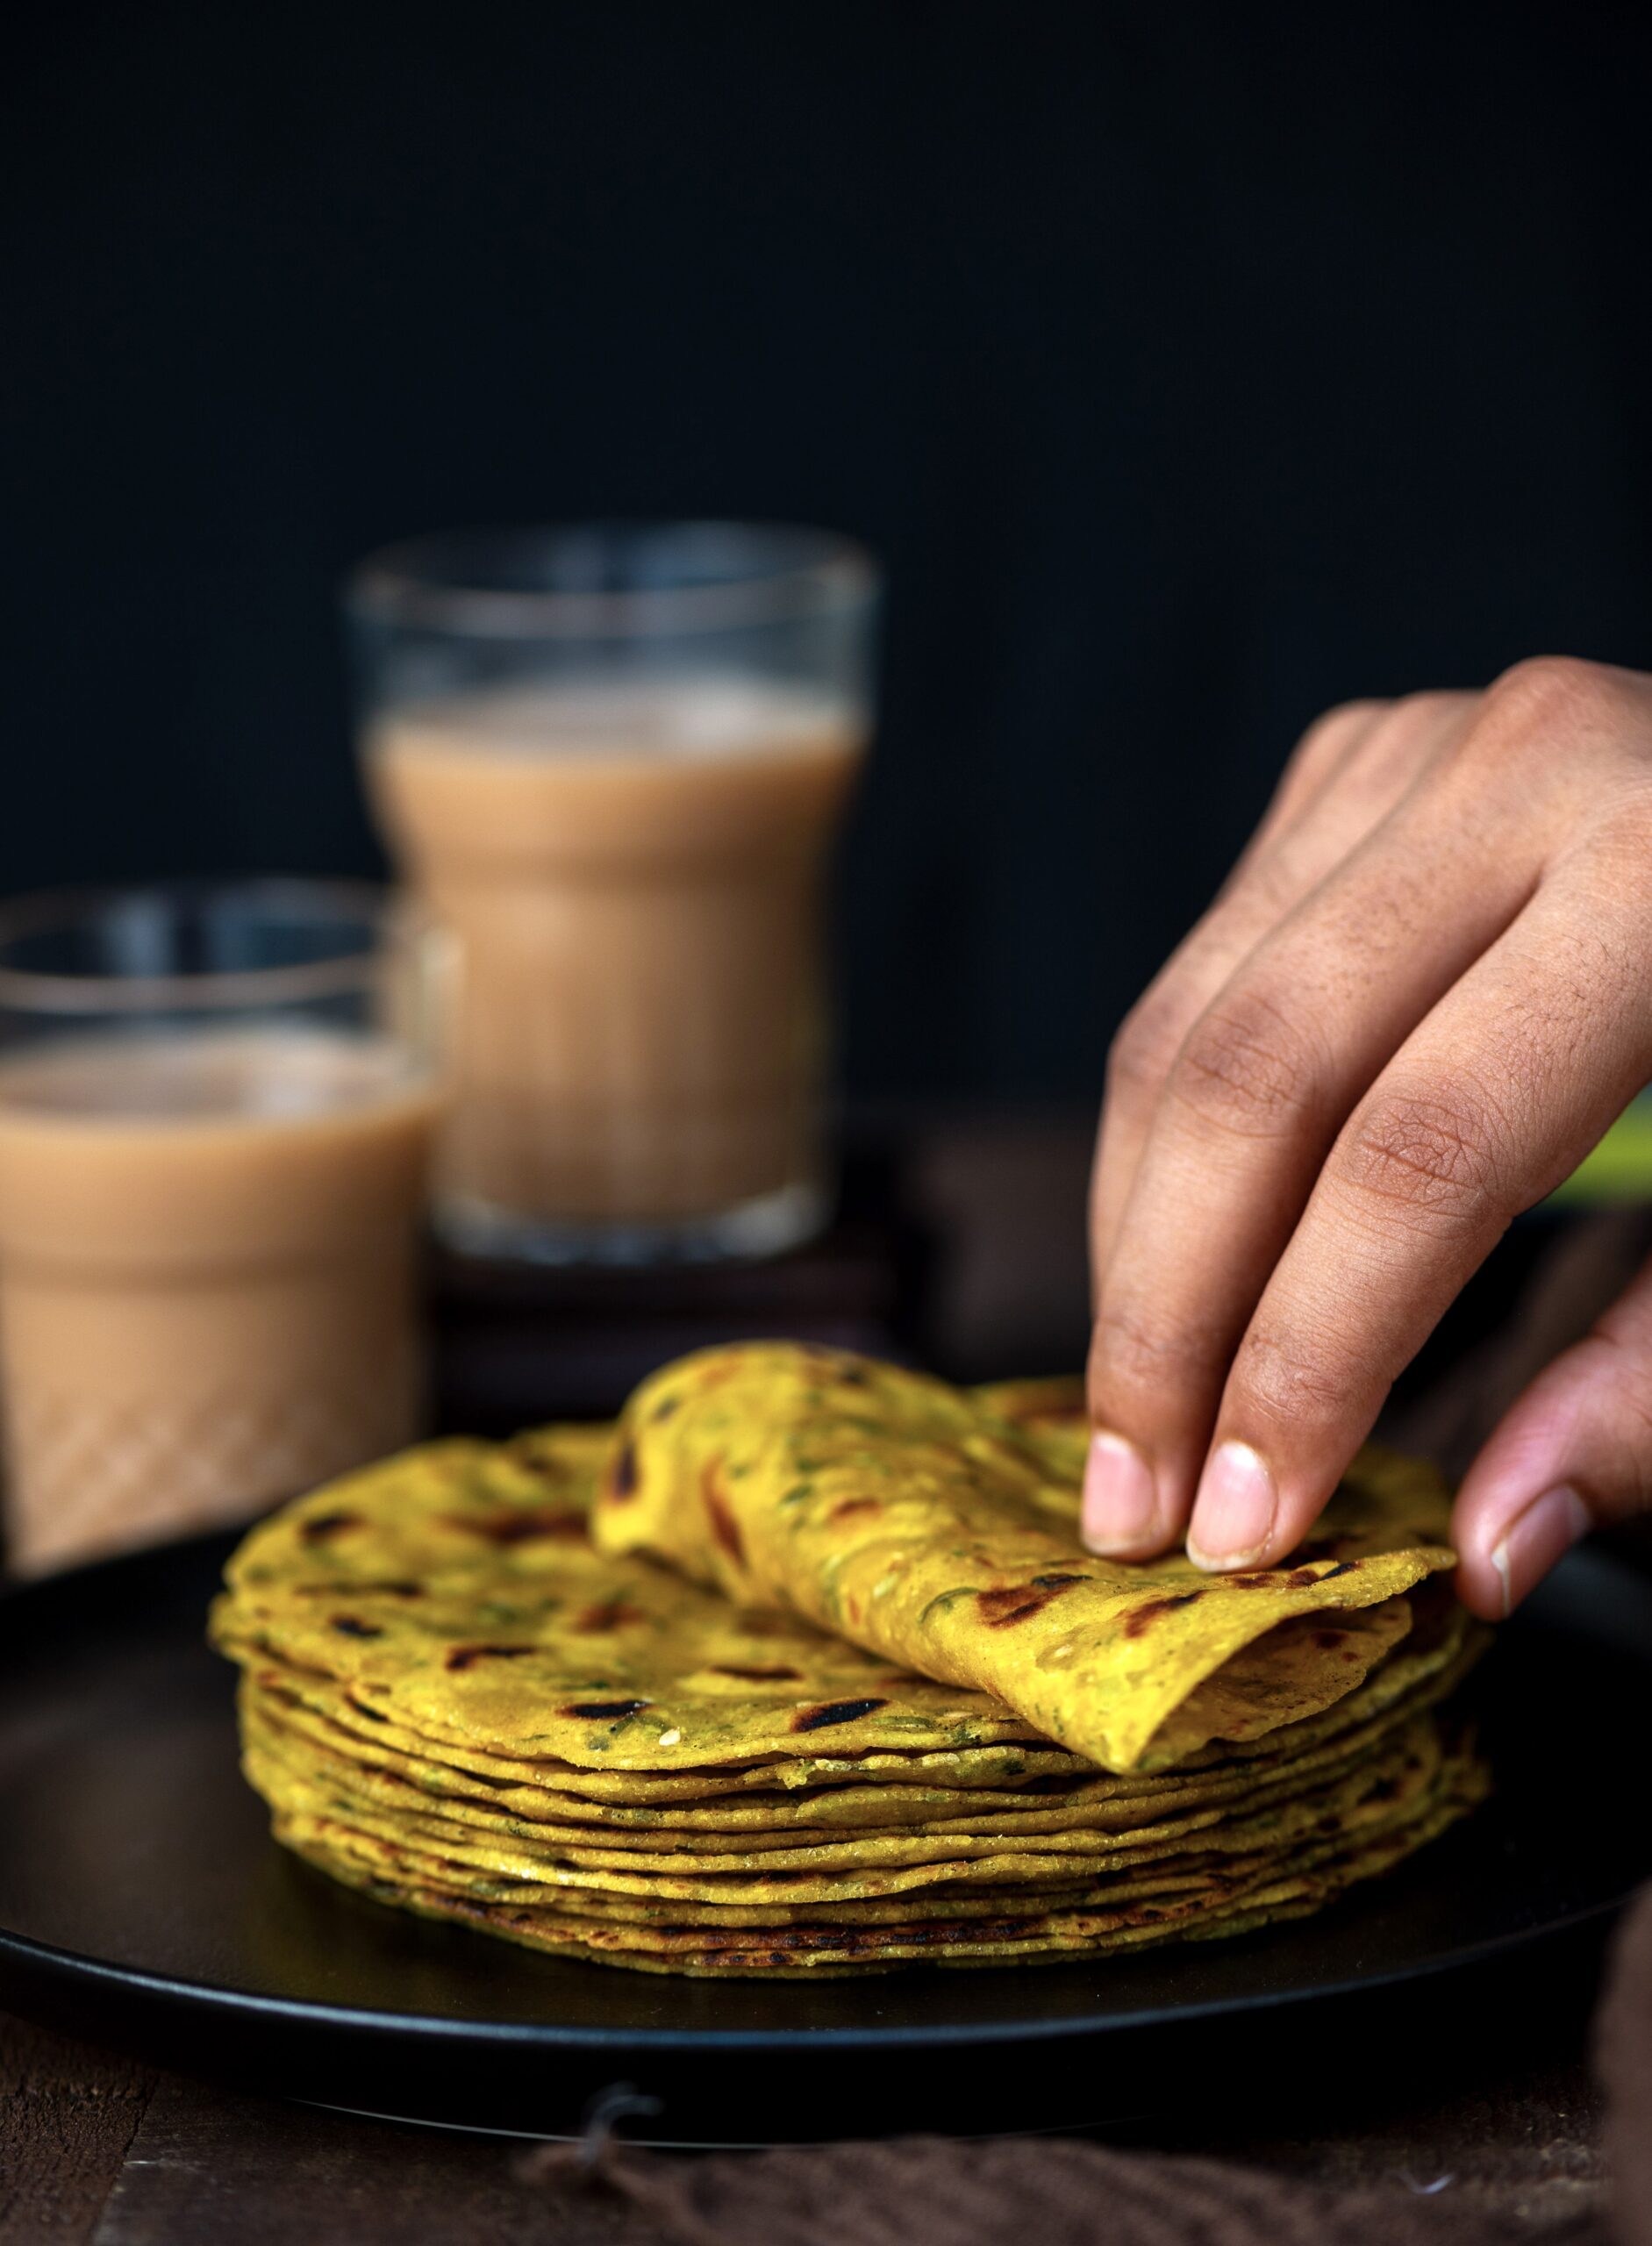
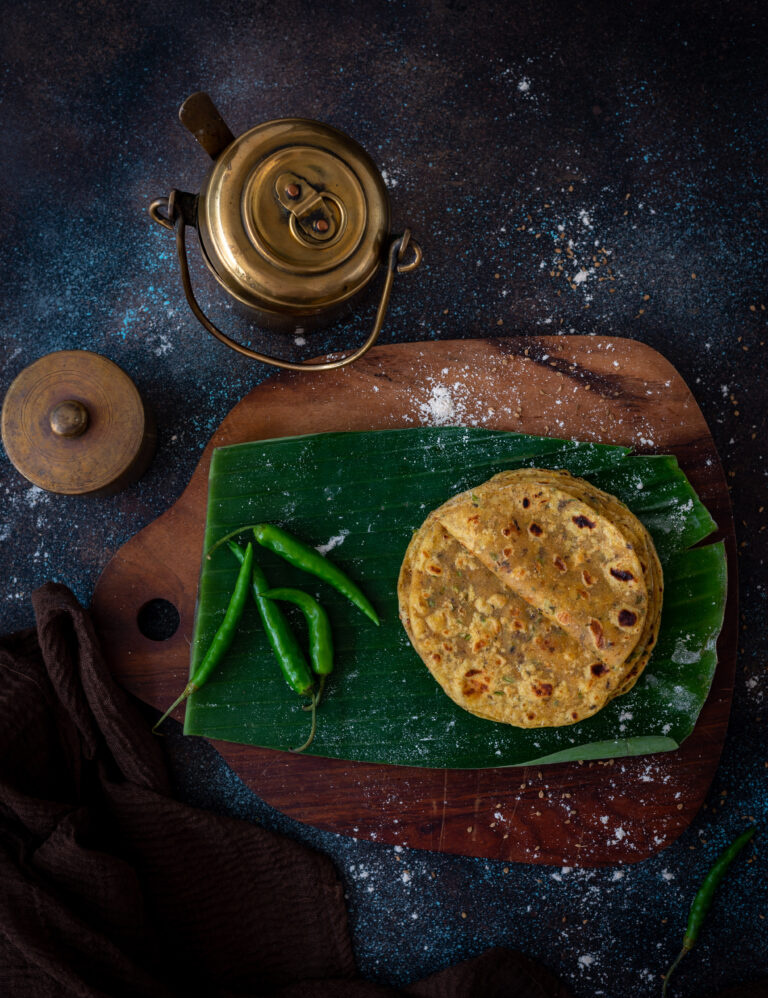
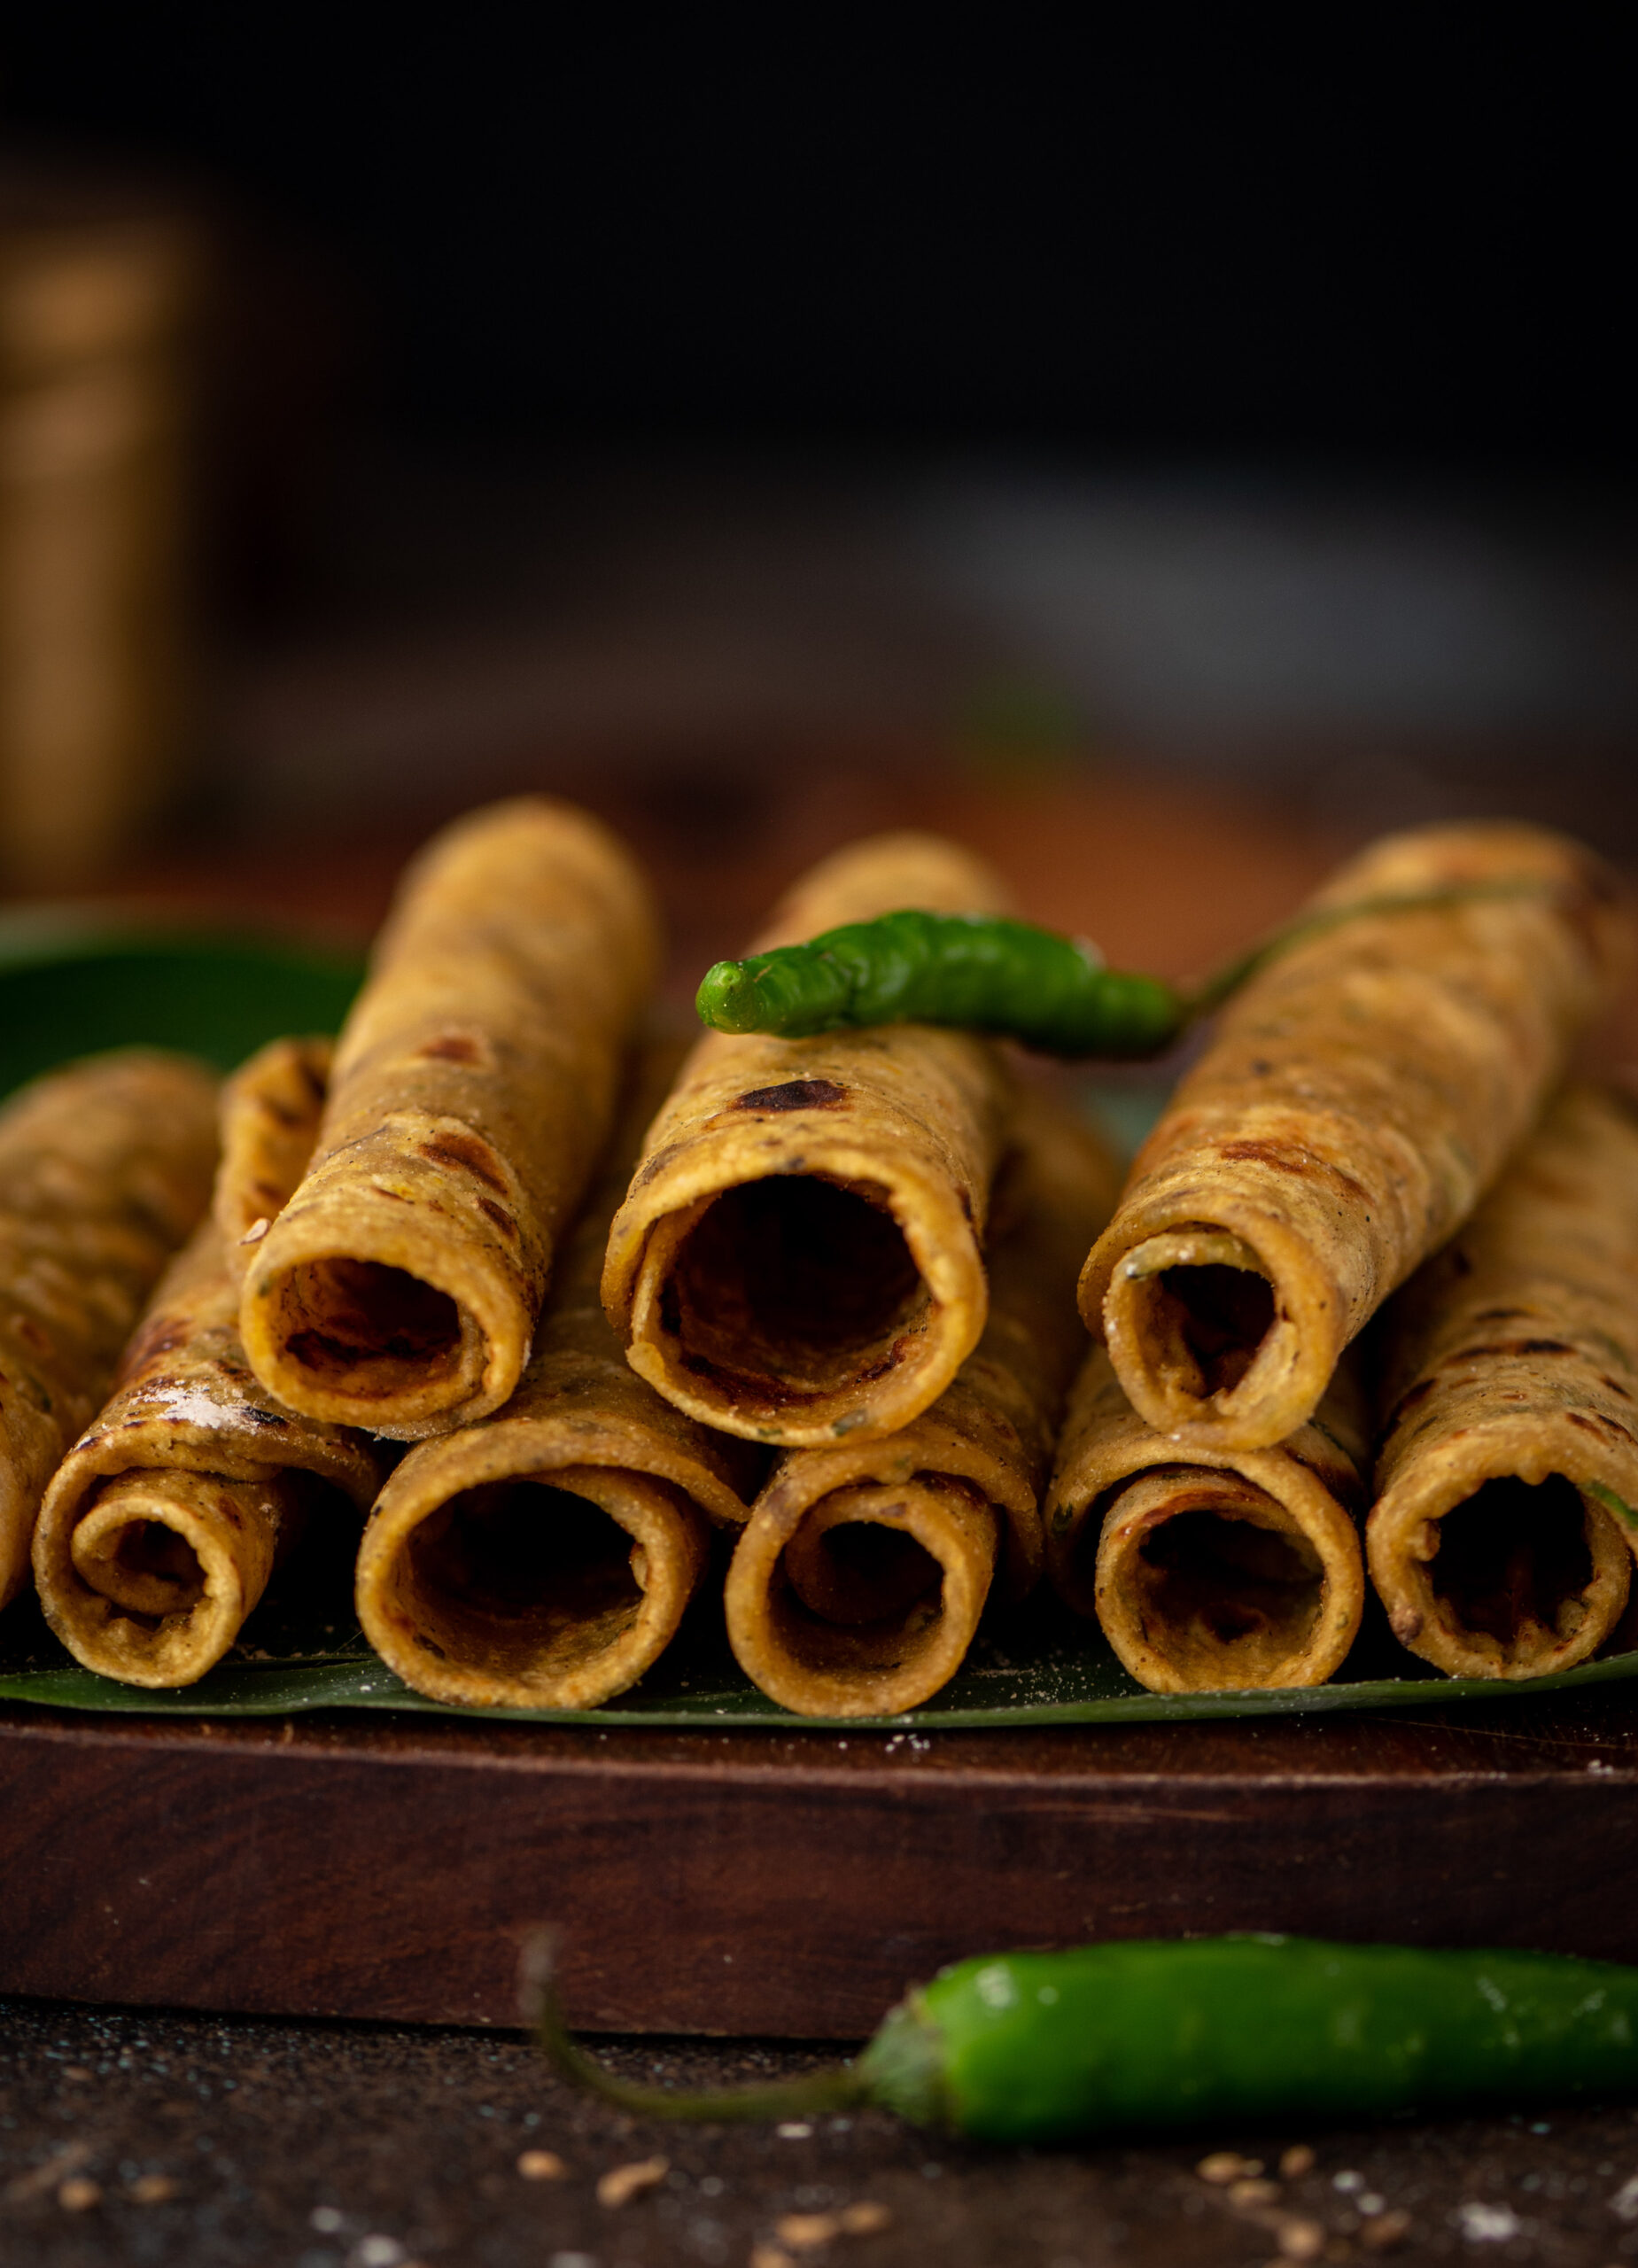
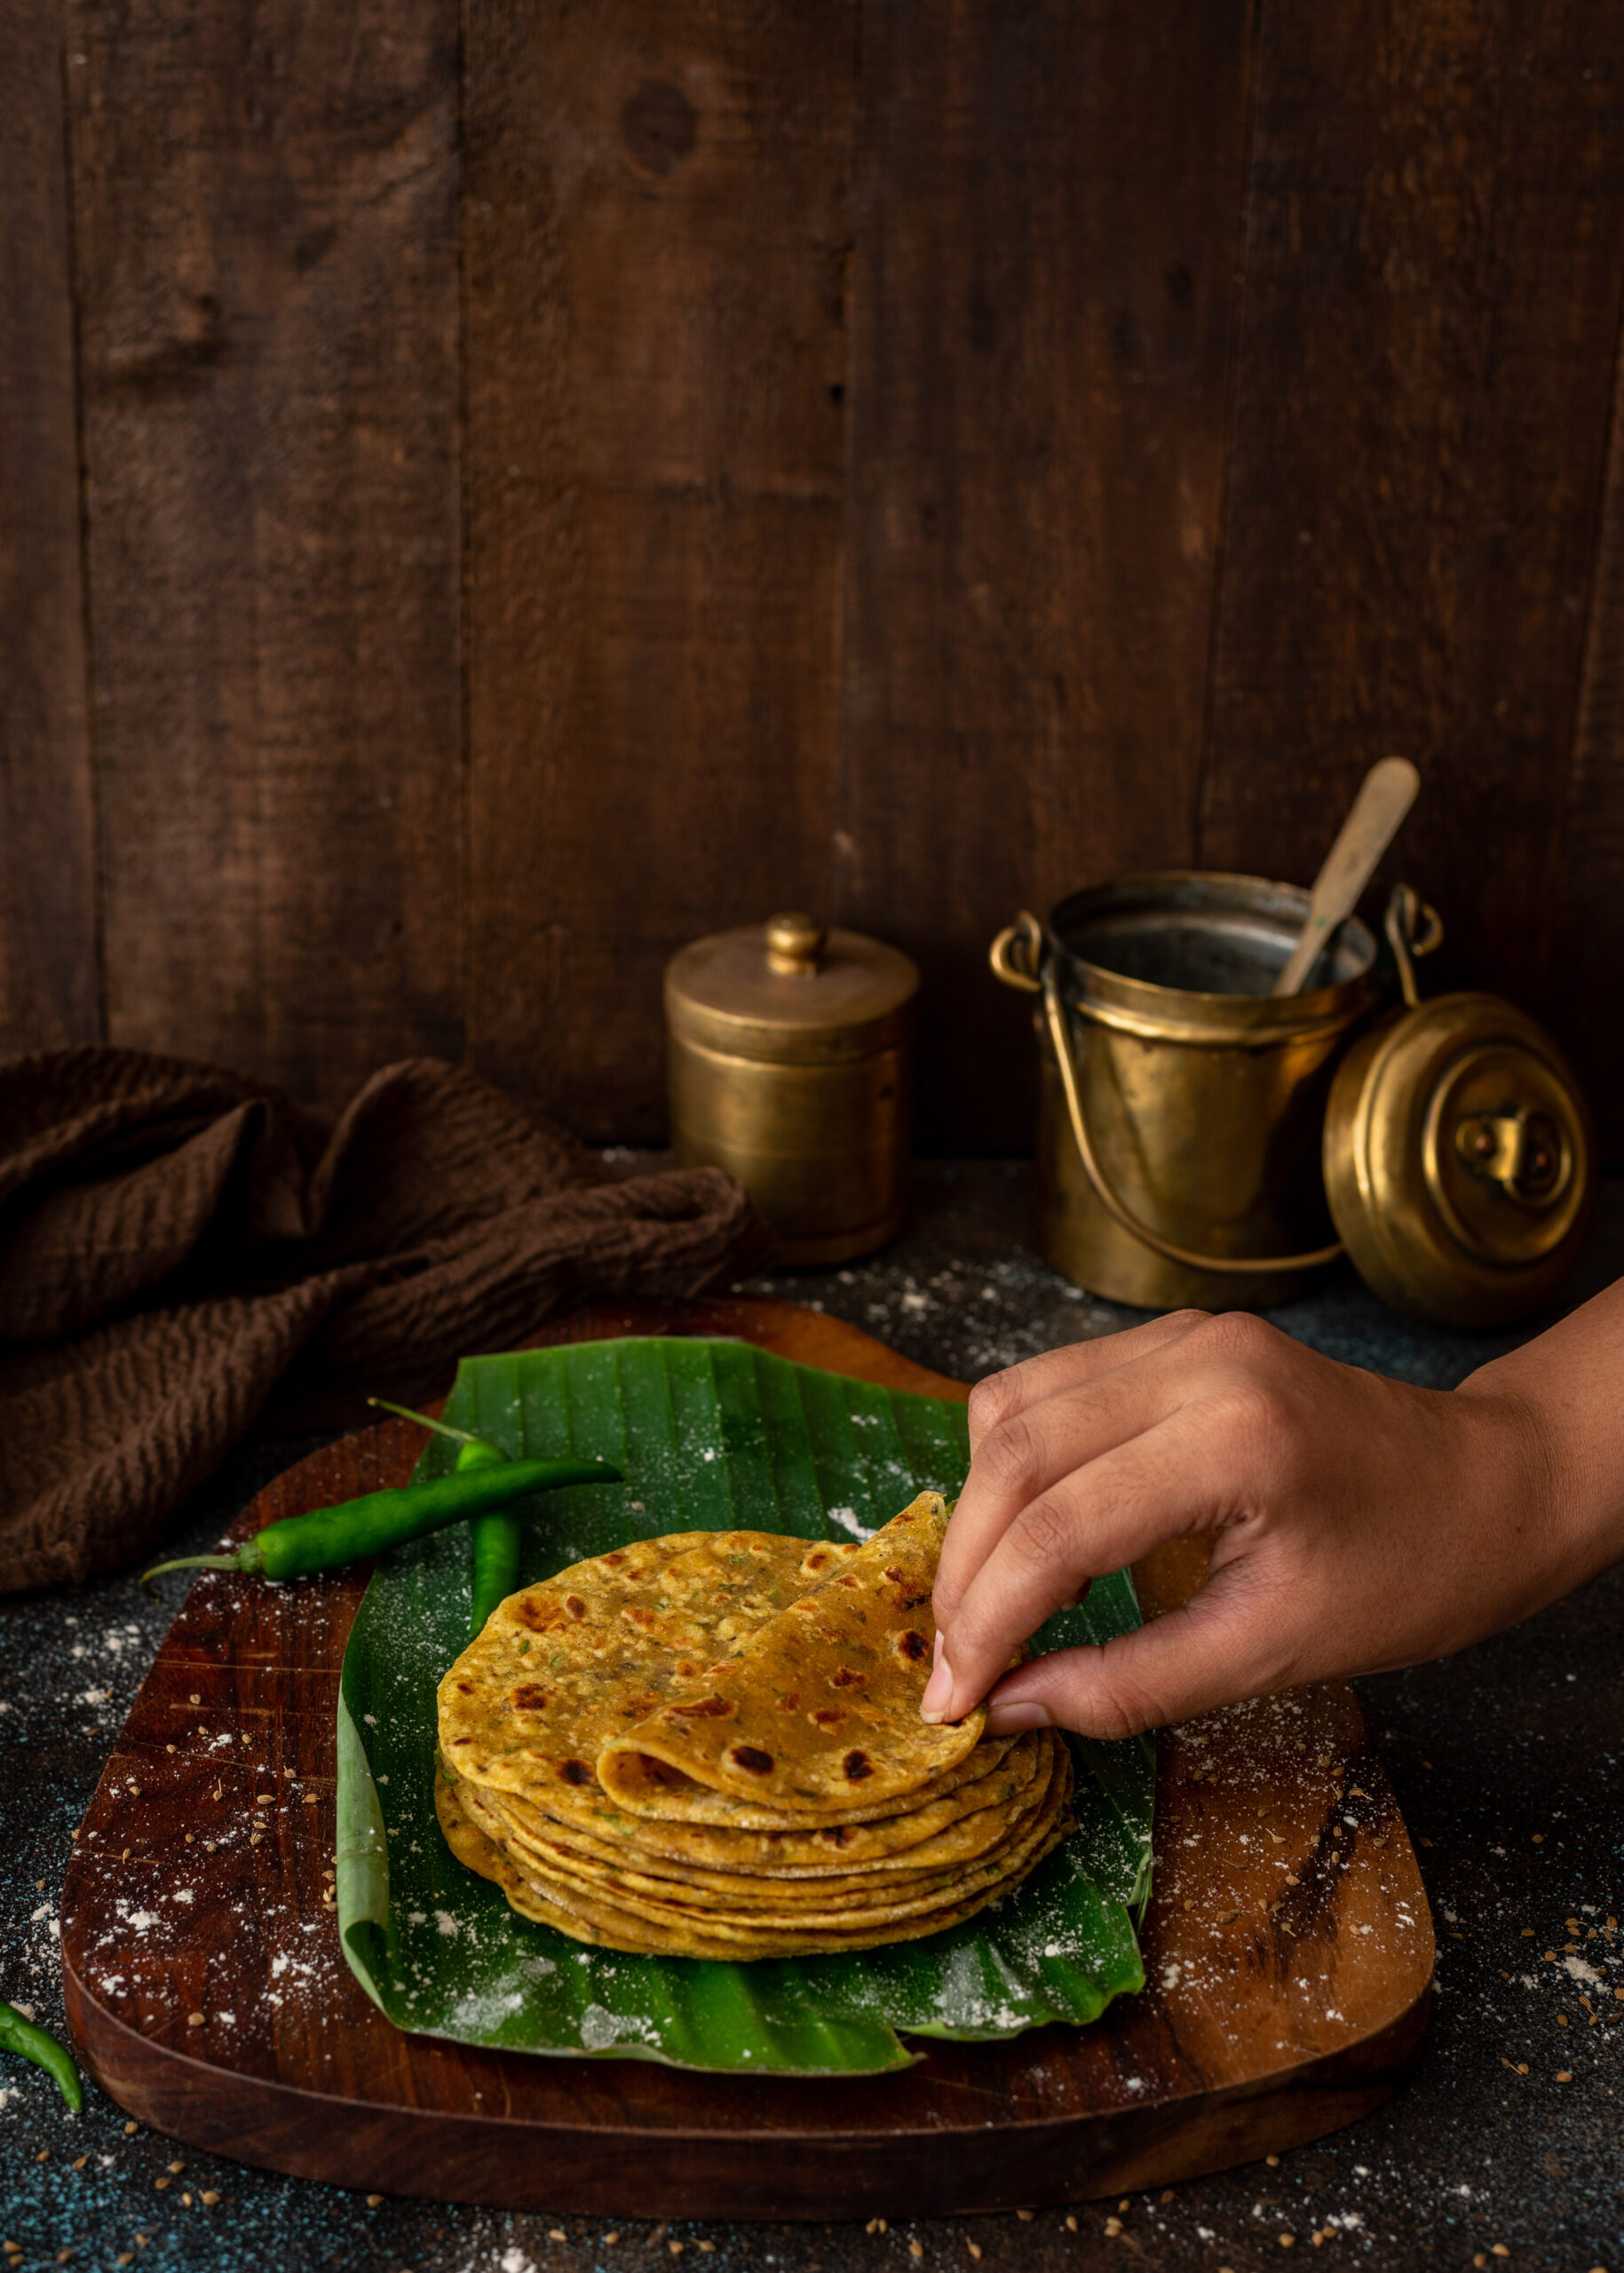
Theplas go well with pickles, vegetables, curries and gravies (a potato and tomato gravy pairs nicely, for instance). They are also great by themselves, or as an accompaniment to a cup of chai. They are perfect for school and office tiffin boxes – applying some chhundo on one, rolling it up and packing it makes for an easy lunch. However, they are more traditionally eaten at dinner time, and I think this is because they don’t go well with dals, which are usually served in the afternoon. There are no hard and fast rules about theplas because convenience is the key to their popularity. They keep for a few days, and travel well. I often make a pile of theplas and carry them with me during short trips, so that I can avoid eating outside food.

As for jowar methi thepla specifically, I’ve had it all my life and so I take it for granted. Only if I sat down to think about it would I really be able to list the memories associated with it. It was frequently served at home for dinner, eaten as leftovers for breakfast, or carried to school for lunch. It was just a part of everyday life, and it still is. I hope it finds a regular place in your meals too.

Jowar Methi Thepla

(Yield: 12 pieces)

1 cup whole wheat flour

½ cup jowar flour

Salt to taste

1 tablespoon oil

½ teaspoon turmeric

½ teaspoon sesame seeds

1 teaspoon cumin and coriander powder

1 teaspoon green chilli paste

1 tablespoon yoghurt

½ cup chopped methi leaves (or any spinach)

Water to bind dough (approximately 1 cup)

Oil for pan frying


Add all the ingredients to a mixing bowl. Knead and bind the dough with water, pouring it a little at a time. Ensure the dough is neither too soft nor too hard.

Leave the dough covered for at least 30 minutes. Then, make even-sized balls from it. You will get roughly 12.

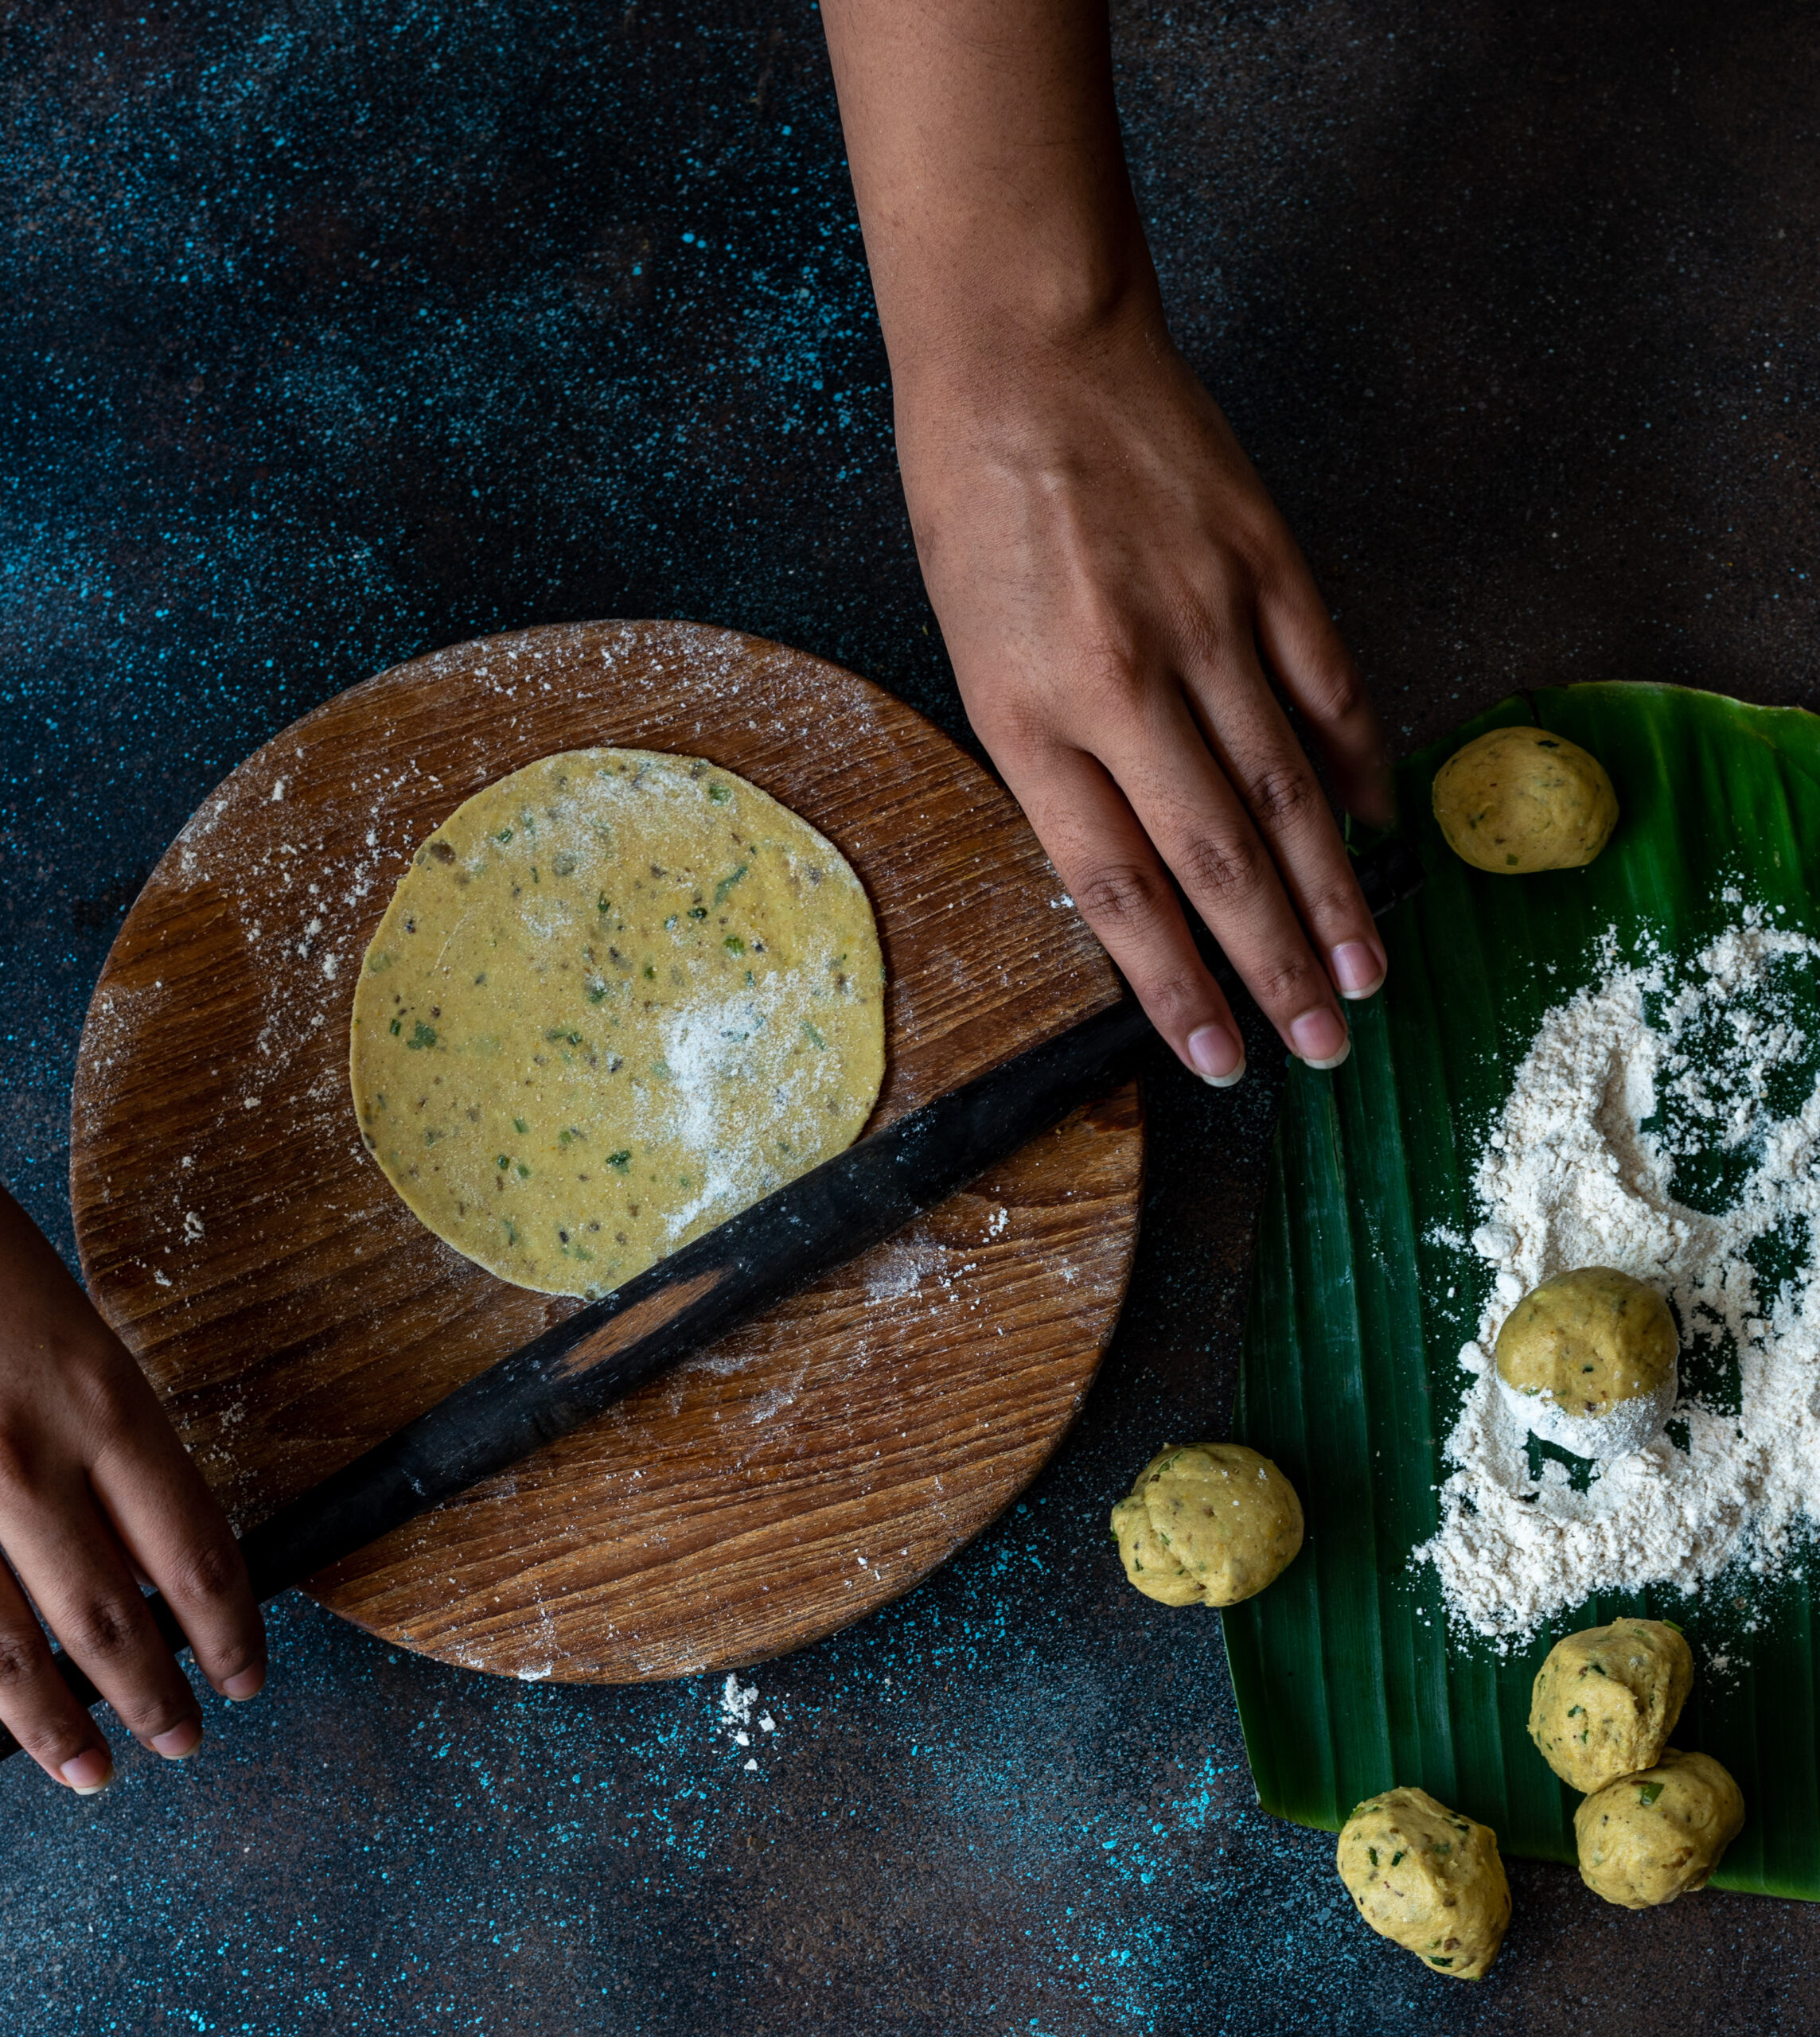
Roll each ball out with the help of flour into flat round discs.

Shallow fry them on a hot griddle with the help of some oil. Make sure the oil is added to the edges, as this way the thepla will not dry out.

Store the theplas in a covered box and consume within three days.

While there are endless variations on theplas themselves, all Gujarati homes will invariably have theplas available on a more or less daily basis. I hope you will explore more of my thepla recipes on this blog, and I’d especially suggest that you take a look at the taco theplas, if you’re feeling in the mood for some fusion fun, and this khichdi thepla that makes great use of leftovers.

Being Gujarati, I think it’s only fair that I give you another detailed description of and a special blog post for theplas, even though the standard recipe for them has already made an appearance in my comprehensive post on rotis of many kinds. After all, Gujaratiness goes hand-in-hand with theplas and dhoklas, as stereotypical jokes go – in which there is a kernel of truth, for these really are essential parts of our cuisine. The thepla is particular, in fact. You may also recall a khichdi thepla shared earlier, which is a nifty way to turn what’s left of lunch into dinner. This time, I’m sharing with you a particular recipe that I happened to mentioned in that post – dudhi thepla, which adds the goodness of bottle gourd to the basic bread.

We make all kinds of flatbreads and rotis in India. Each state and each community will have distinct versions. For instance, farmers and people who labour outdoors will tend towards breads that use bajra or pearl millets, or other kinds of seasonal millets. As millets are slower to digest than wheat, this ensures that the body has energy for longer. The roti itself will usually be thicker, larger and drier. A garlic chutney is often the preferred condiment for this dish.

Within the thepla category itself there is great variation. In terms of adding vegetables and herbs, methi or fenugreek leaves are commonly used, and spinach may also be used. Those are among my favourites too, and I’ve put some methi into this recipe as well. If you thought the khichdi thepla was innovative, how about a thepla taco? It’s a fun way to dress up a staple and make it even more appealing to a variety of palates.

My children, despite their greater exposure to other cuisines, still consider as a cherished comfort food a roti or a thepla made at home. It’s the same for my husband. Whenever any of them return for a visit or after a long journey, some delicious theplas are always waiting for them, and I’ve watched time and again as their exhaustion becomes happiness quickly as they tuck in to the meal.

As I have mentioned before, the plain theplas travel very well and last long. They are a very popular work and school lunchbox item, as you may have seen if you’ve had Gujarati colleagues or classmates. My mother would carry them whenever we took trips, and many years later, I do this myself too. Do note that the bottle gourd thepla does not keep for as long as the plain ones, because of the vegetable used. However, it is much softer, and this is once again attributed to the vegetable. Bottle gourd has a very high water content, so much so that I do not add water at all when making the dough. When you are preparing it, if you feel that you’ve added a bit more flour, a few sprinklings of water will help. Otherwise, with practice, the flour, spices and grated bottle gourd will come together easily in a dough.

Whenever I entertain at home, if I’m planning an Indian menu, you can be assured that thepla is the chosen bread. It’s comforting, delicious, versatile and funnily enough, both light and filling. I’ve noticed this: when you’re eating theplas, you feel kind of full, but you seldom feel bloated or heavy afterwards. Have you observed the same too?

Bottle Gourd Thepla

(Yield: 9-10 theplas)


2 cups flour

2 teaspoons yoghurt

A handful of methi (fenugreek) leaves

Salt to taste

1 cup bottle gourd (to grate)

½ teaspoon turmeric

1 teaspoon cumin powder

1 teaspoon coriander powder

1 tablespoon ginger green chilli paste

1 tablespoon oil

2-3 tablespoons water (if required)

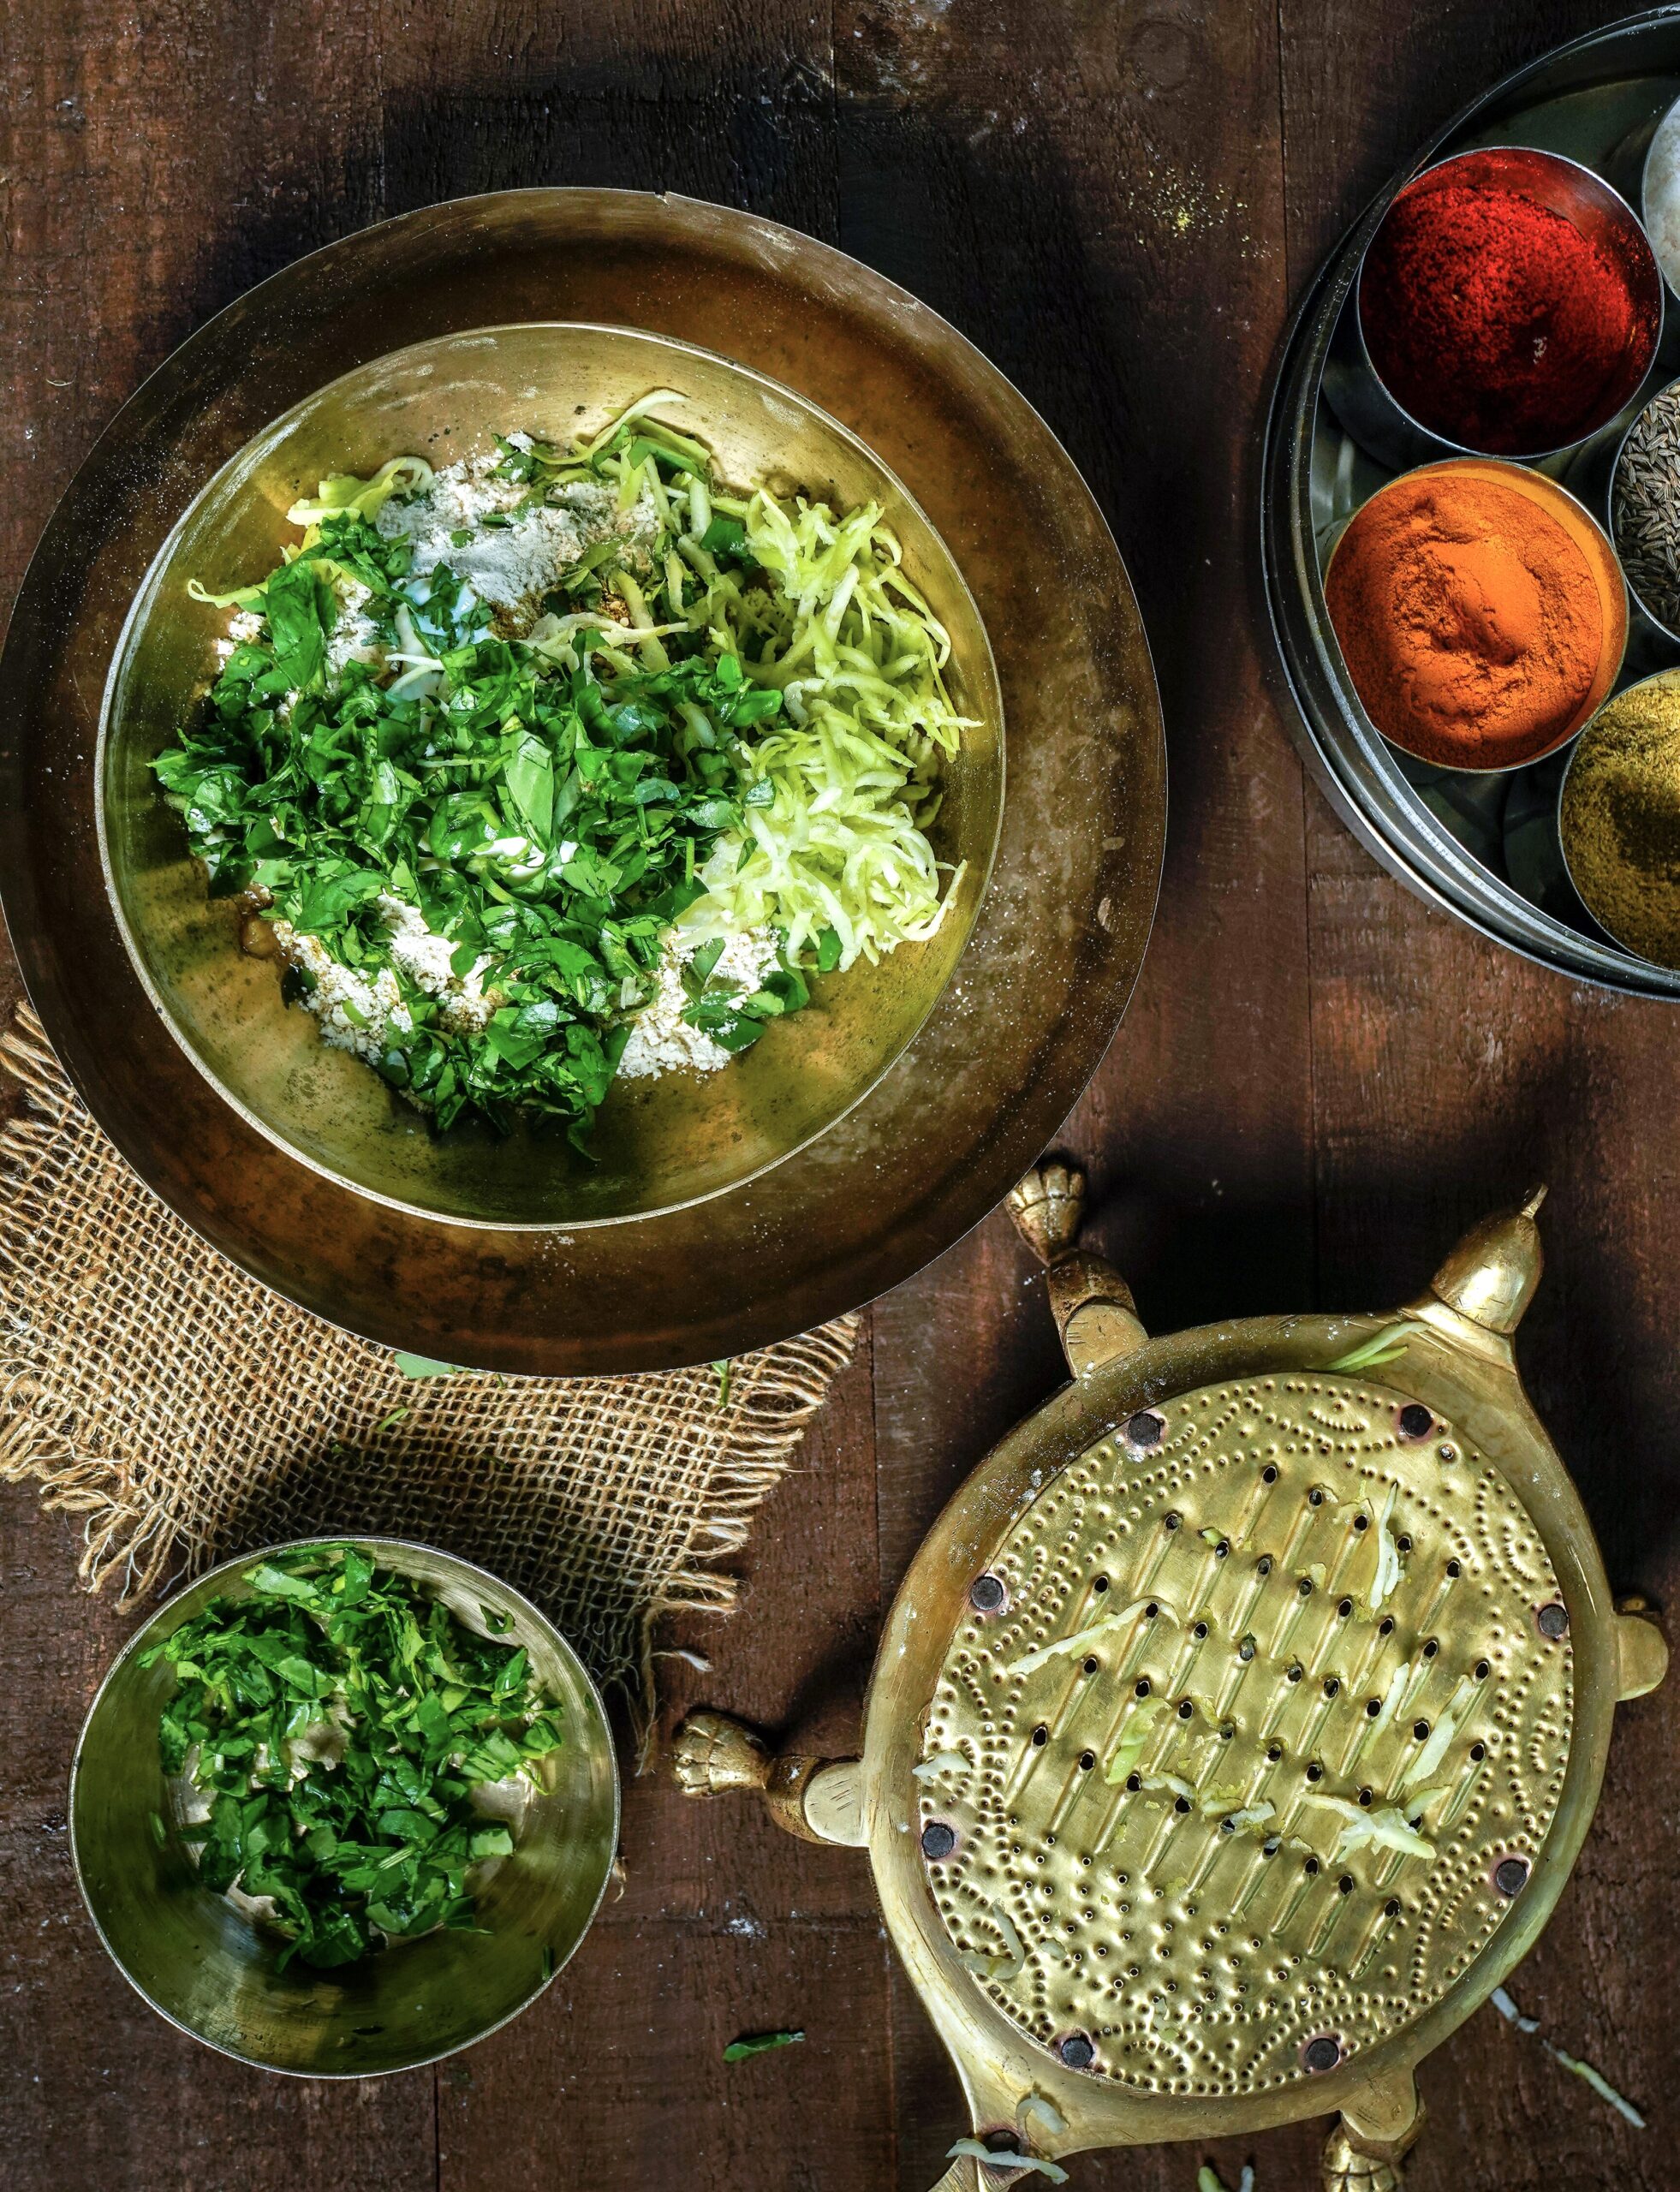
Clean and chop the methi leaves. Wash and set aside. Peel the bottle gourd and grate the flesh. Keep aside, but not for too long.

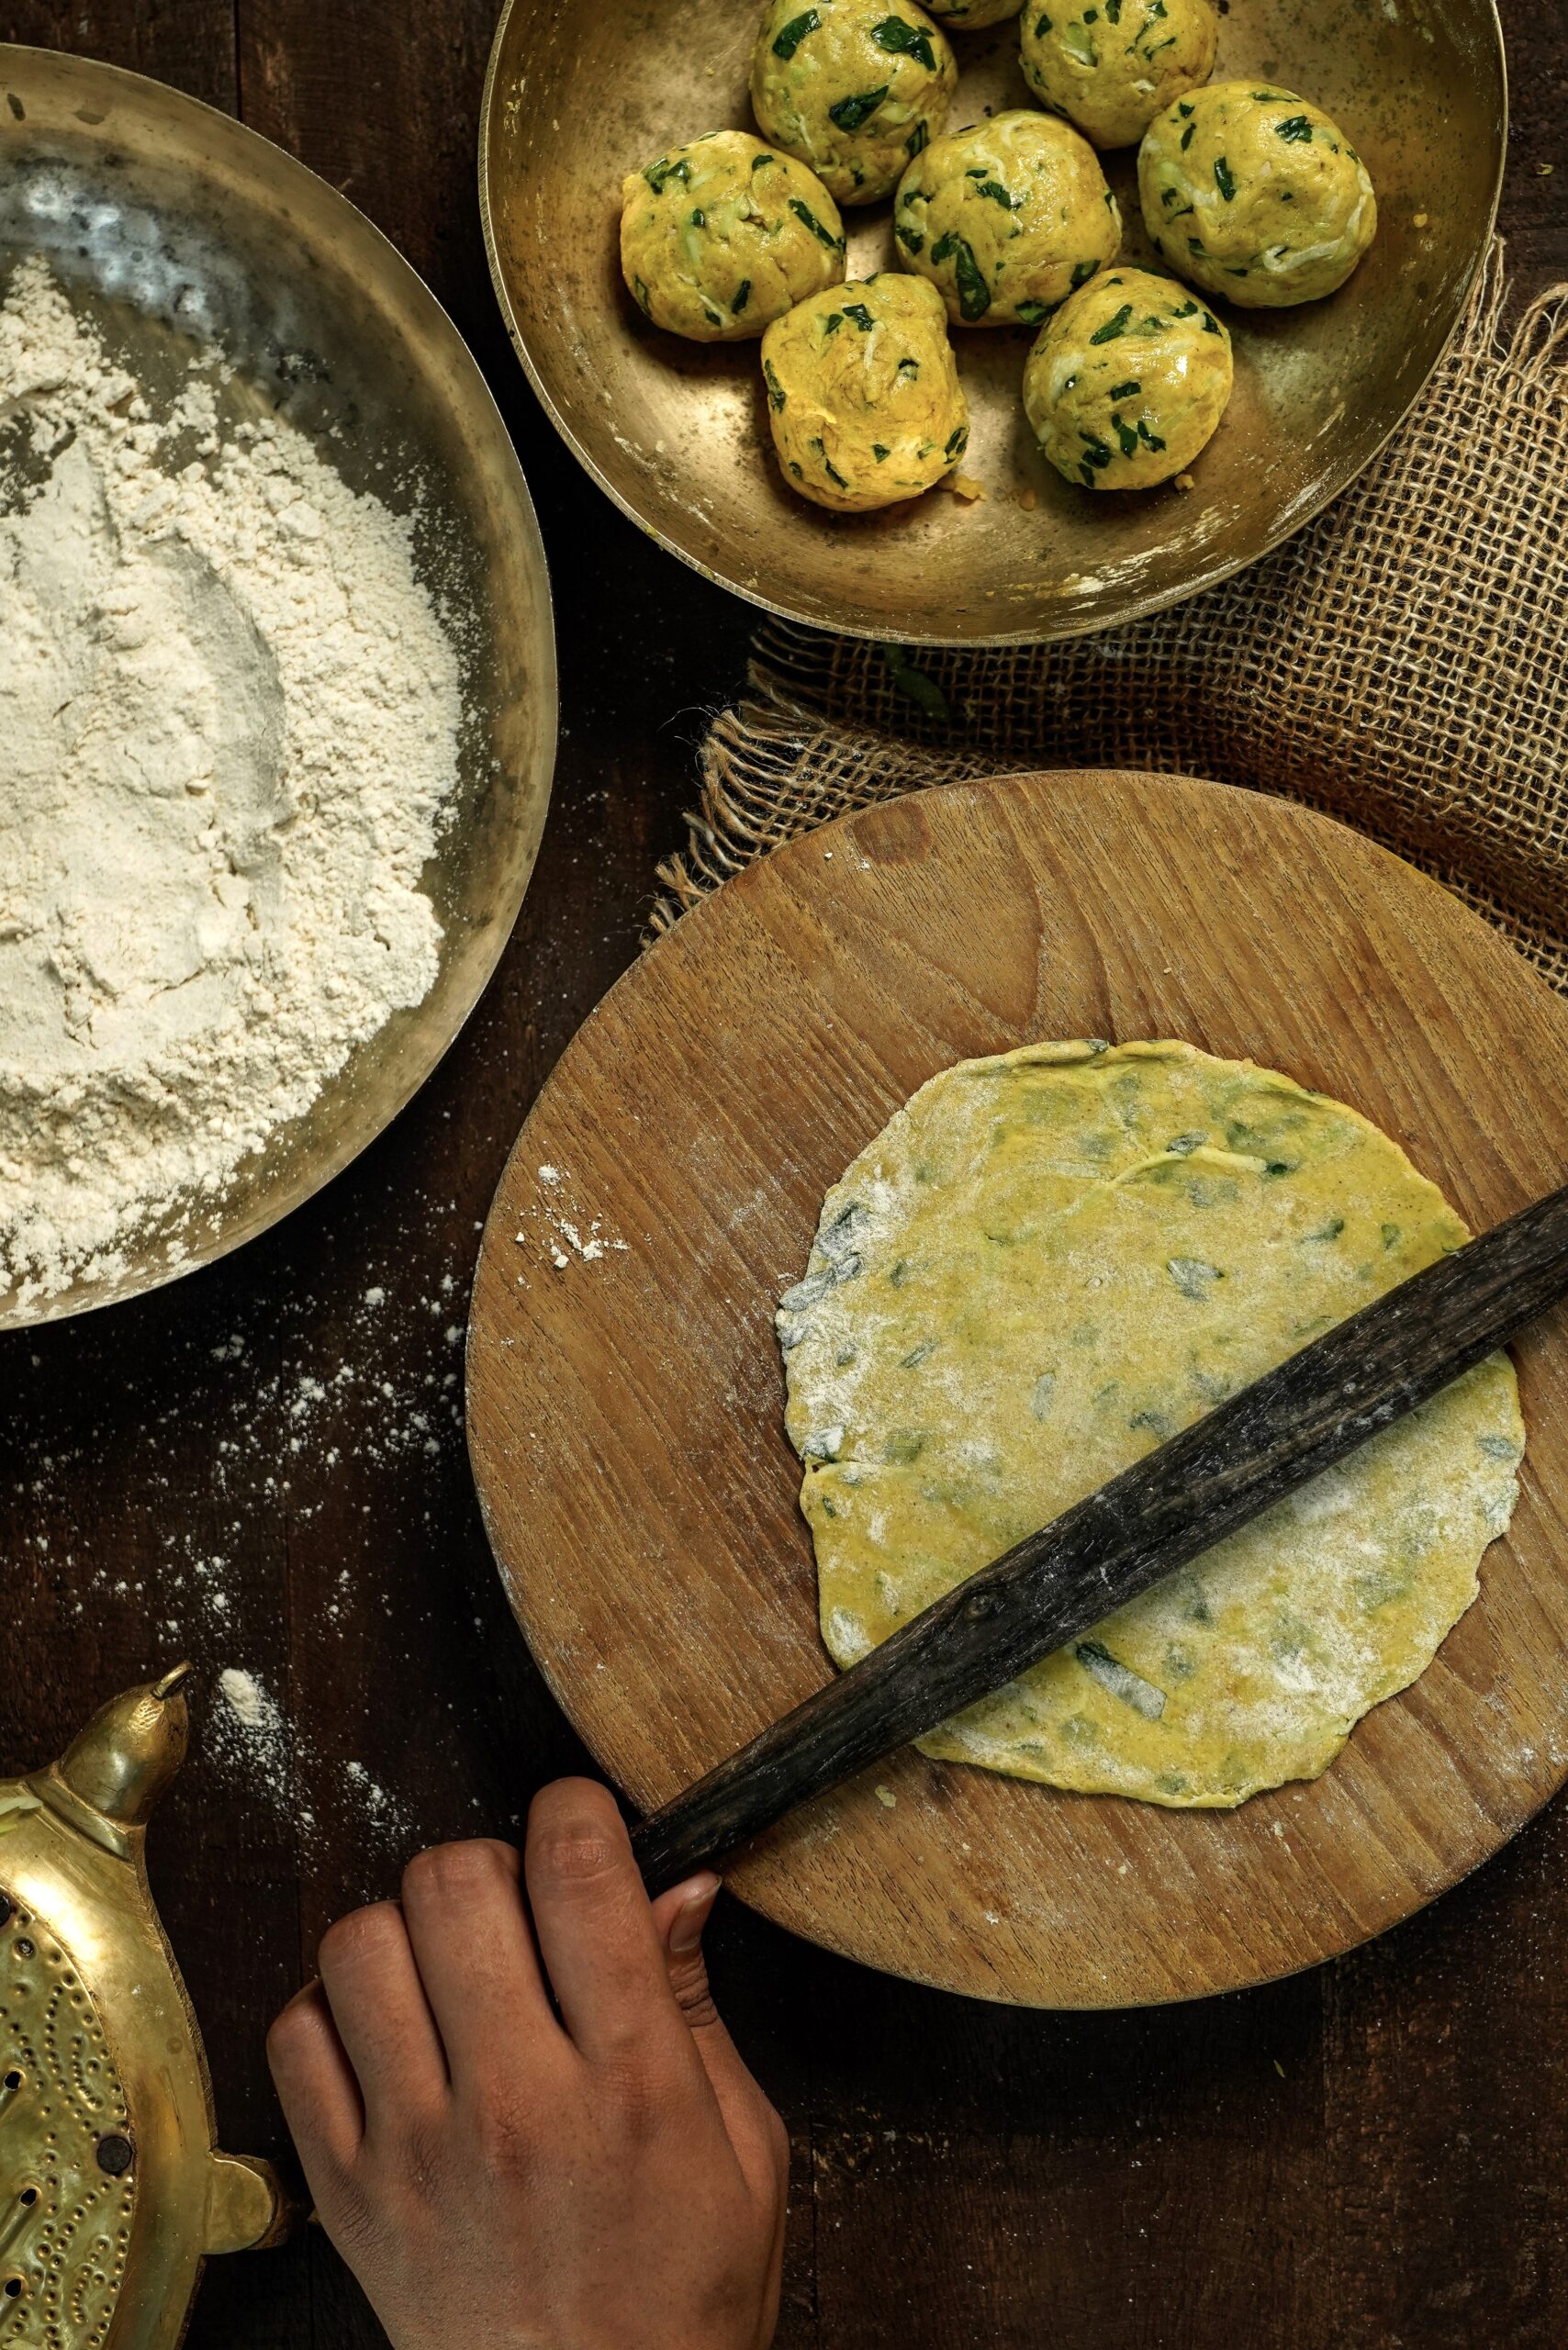
In a bowl, add the flour and then add all ingredients, except water. The grated bottle gourd releases water, as explained earlier. Hence, add water at the end, and only if required. Knead well and make a stiff yet smooth dough.

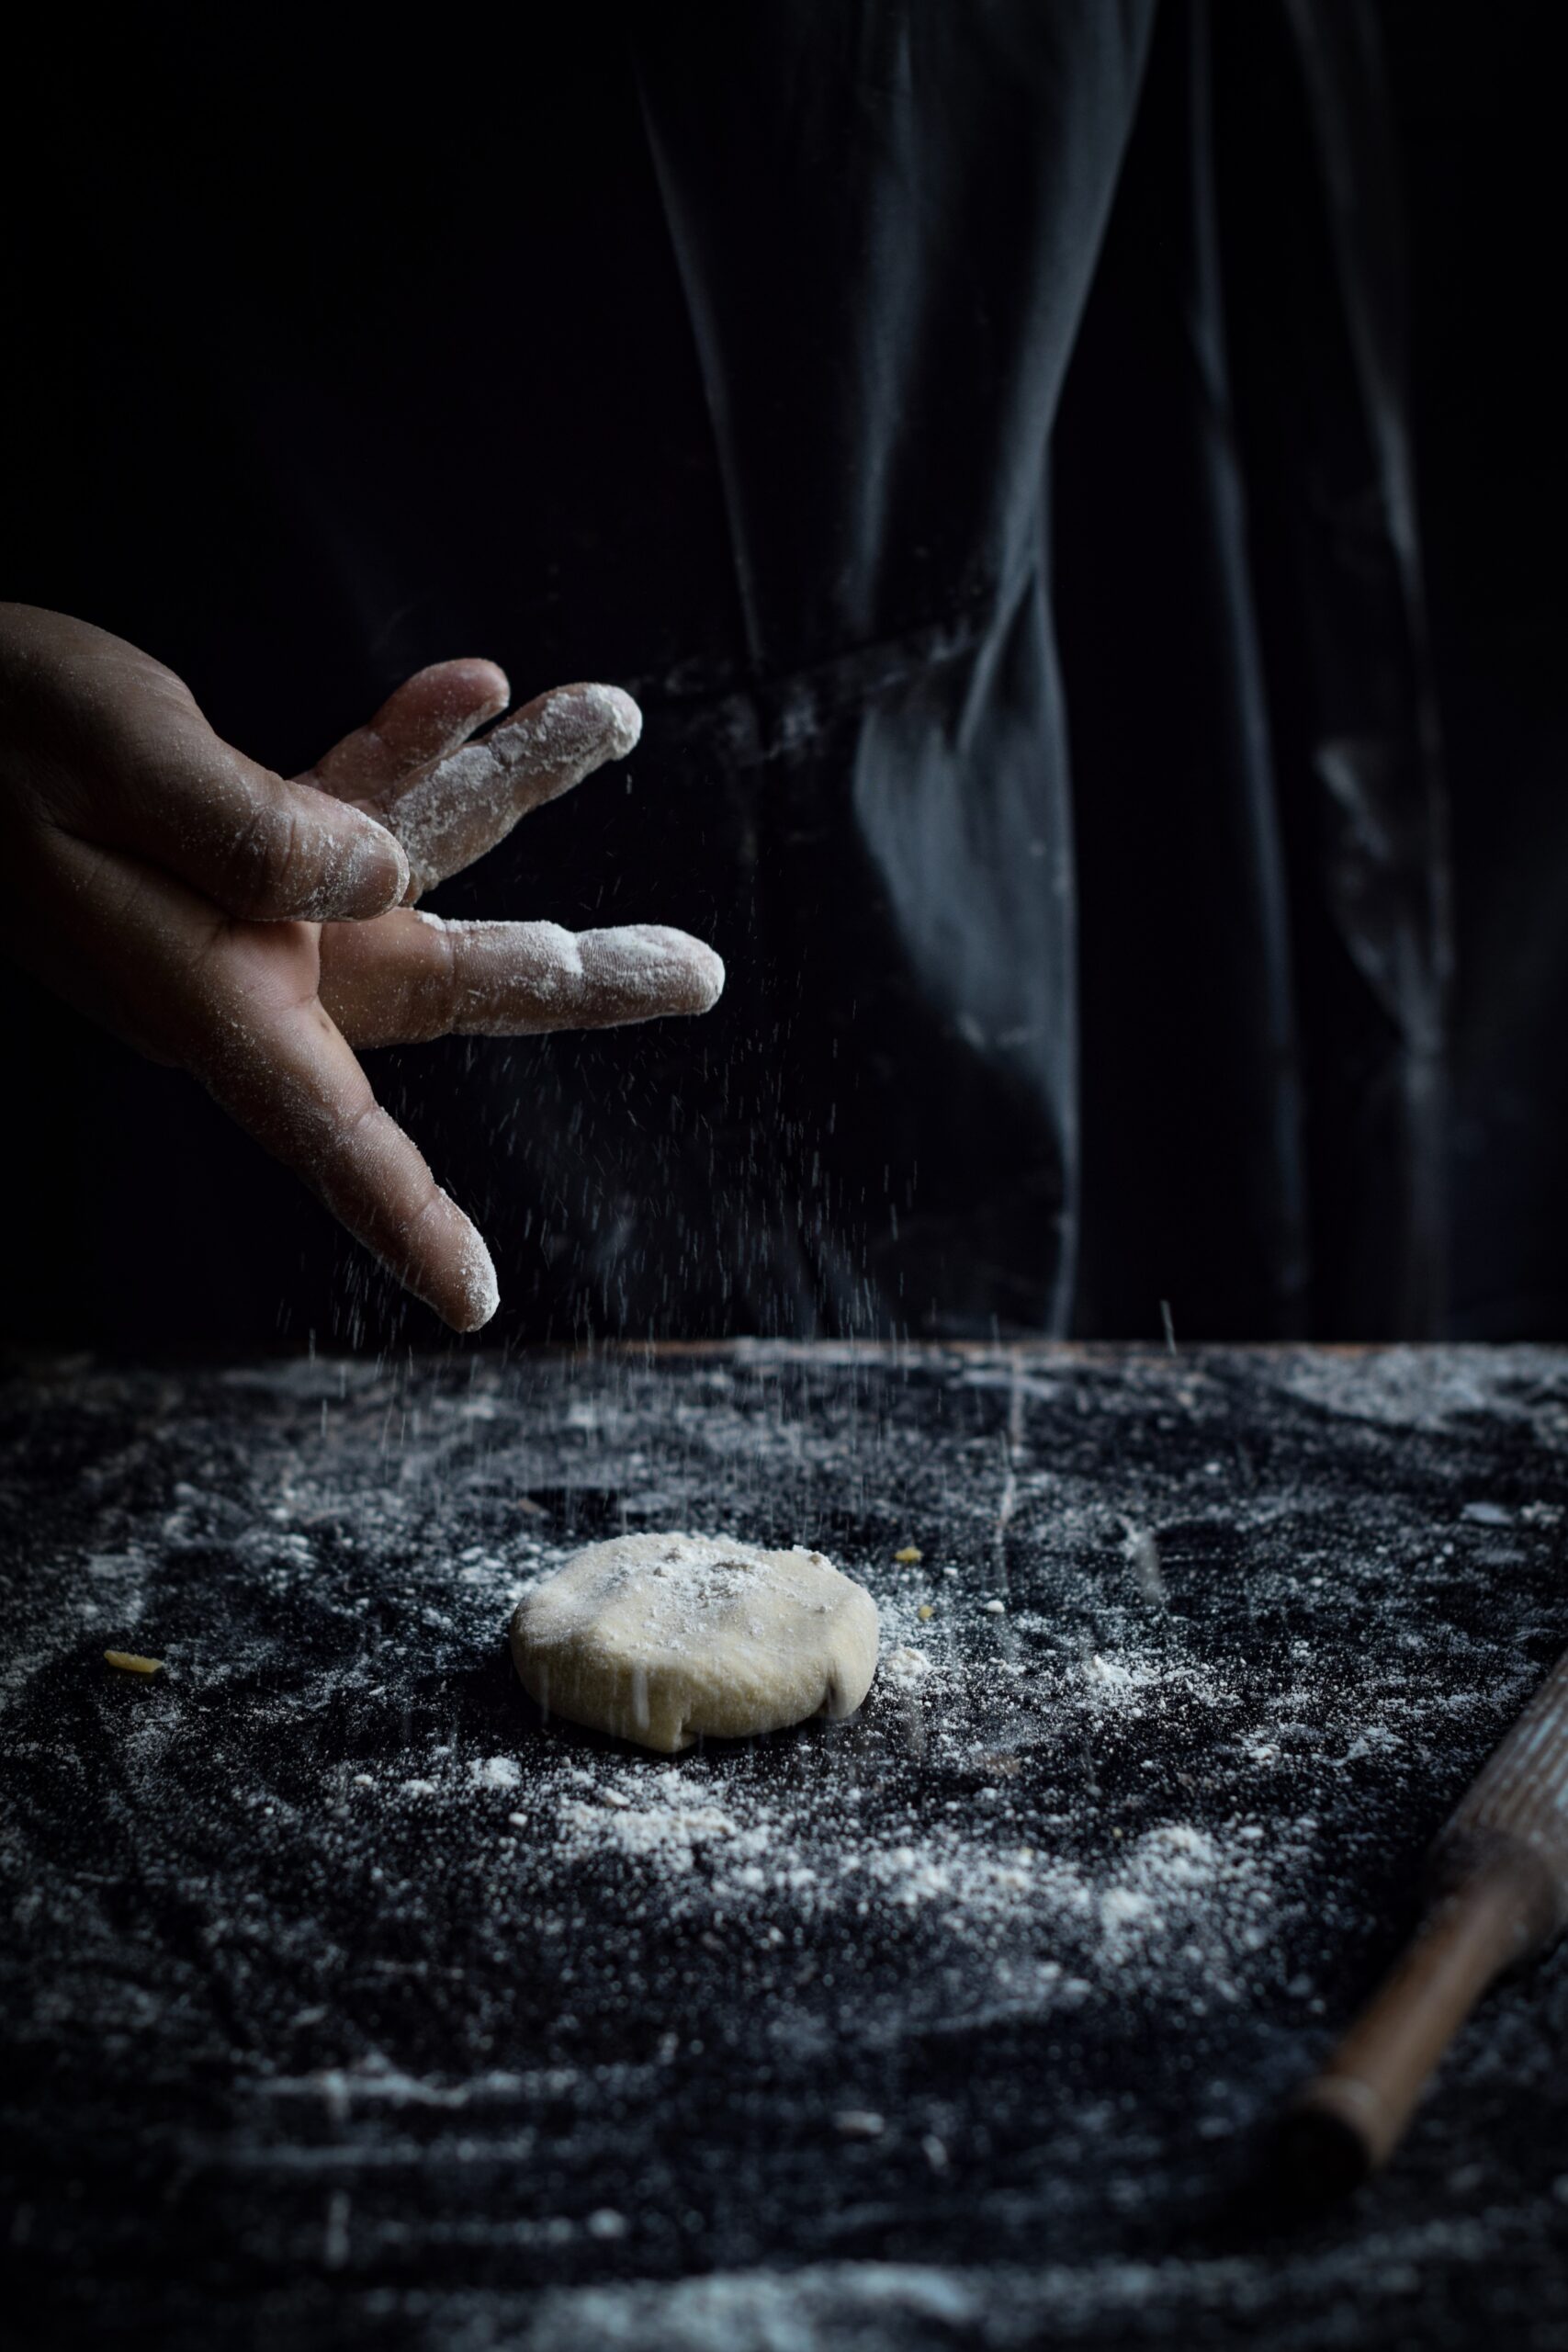
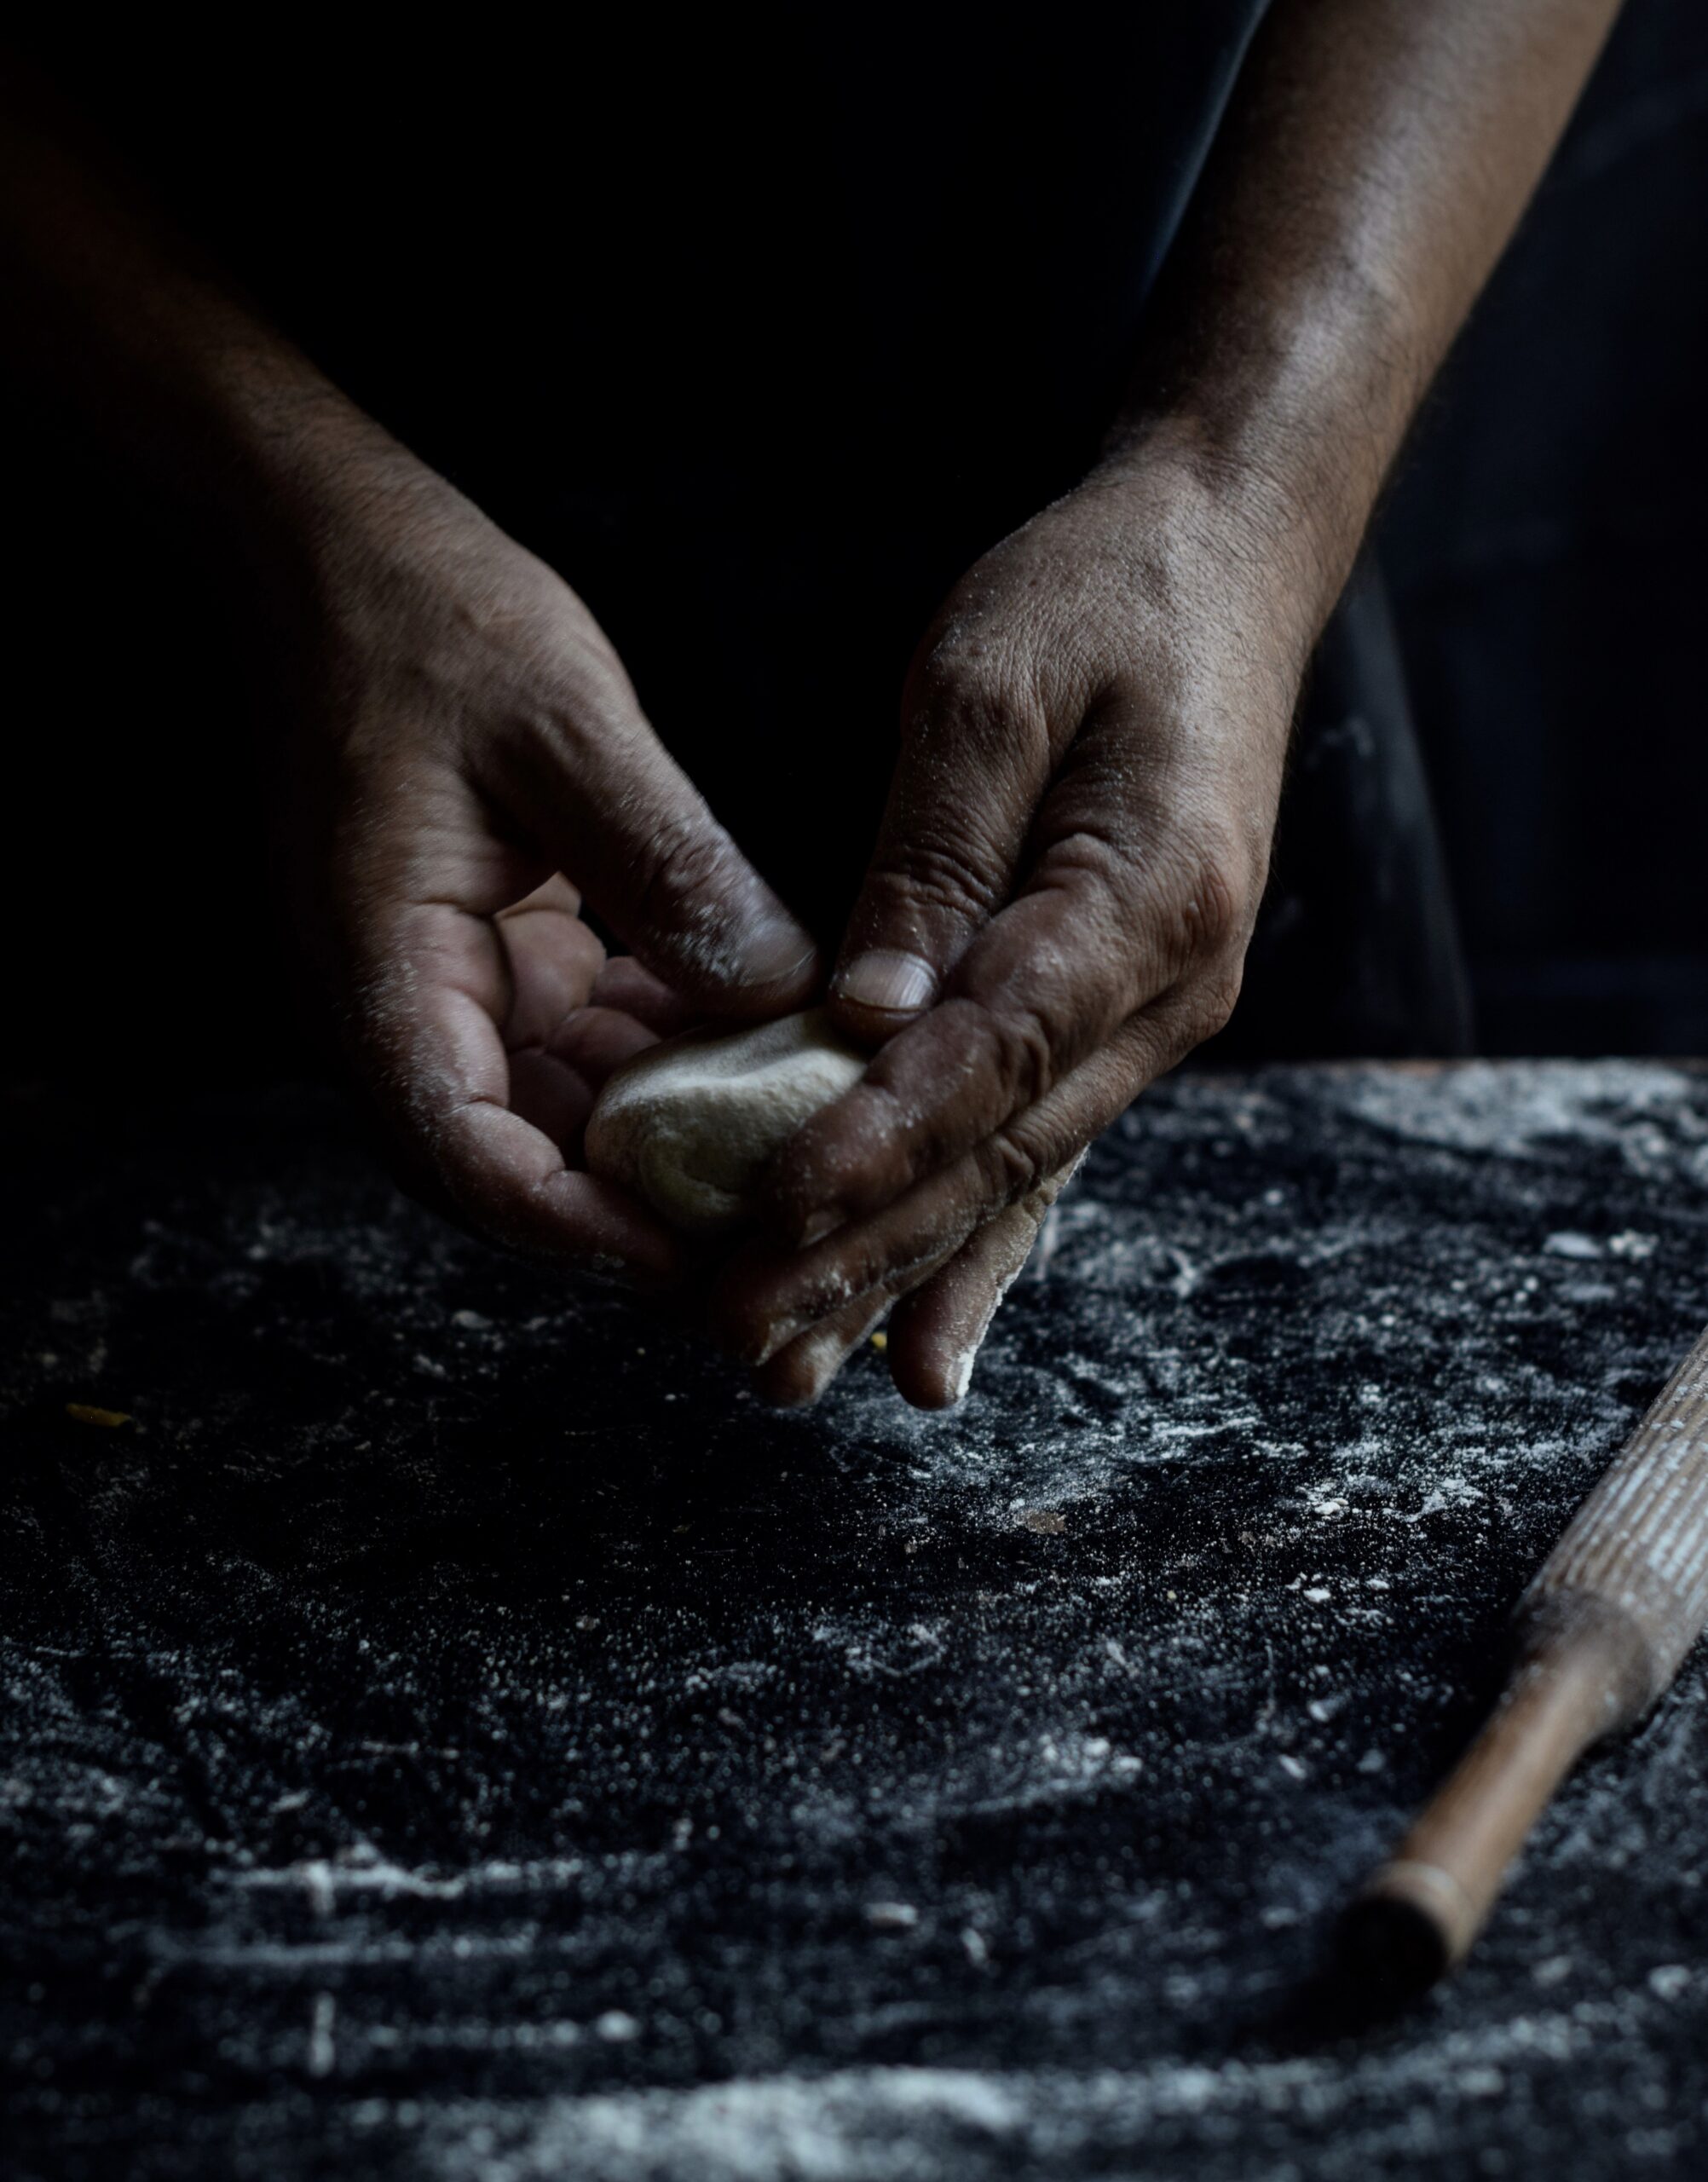
Now, make small balls with the dough. Dust a ball with flour. Using a rolling pin, roll it out into a circular shape.

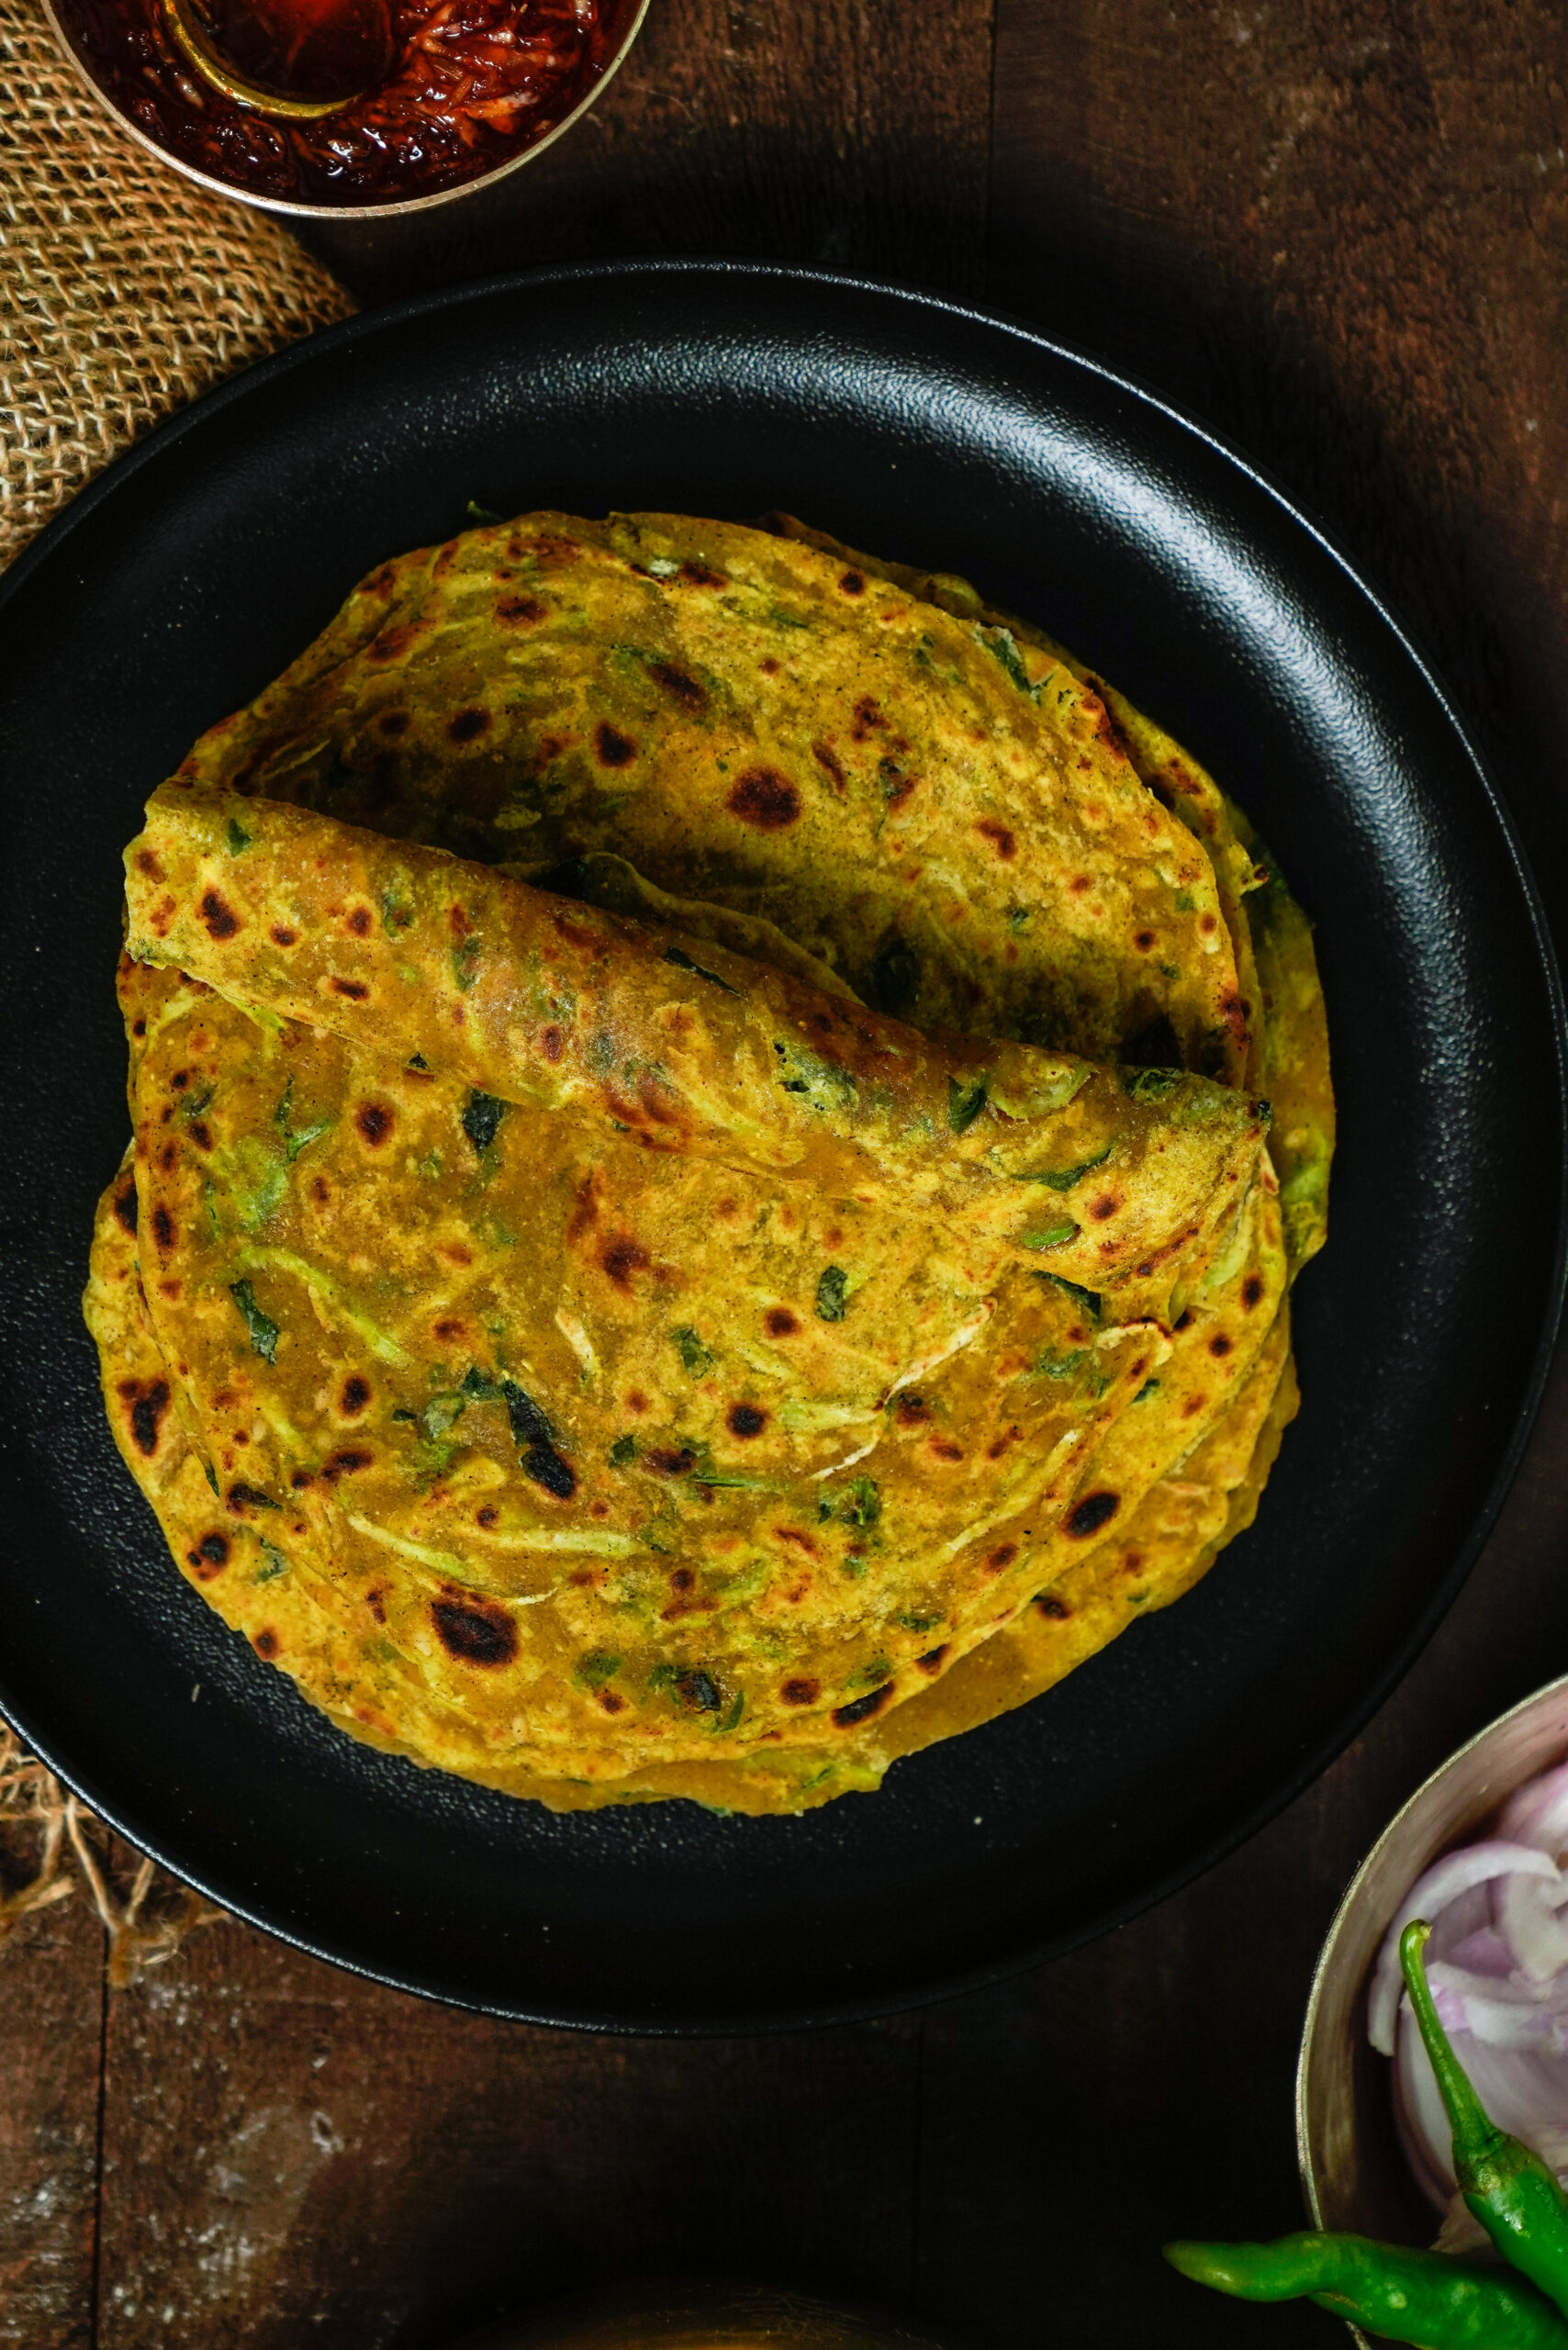
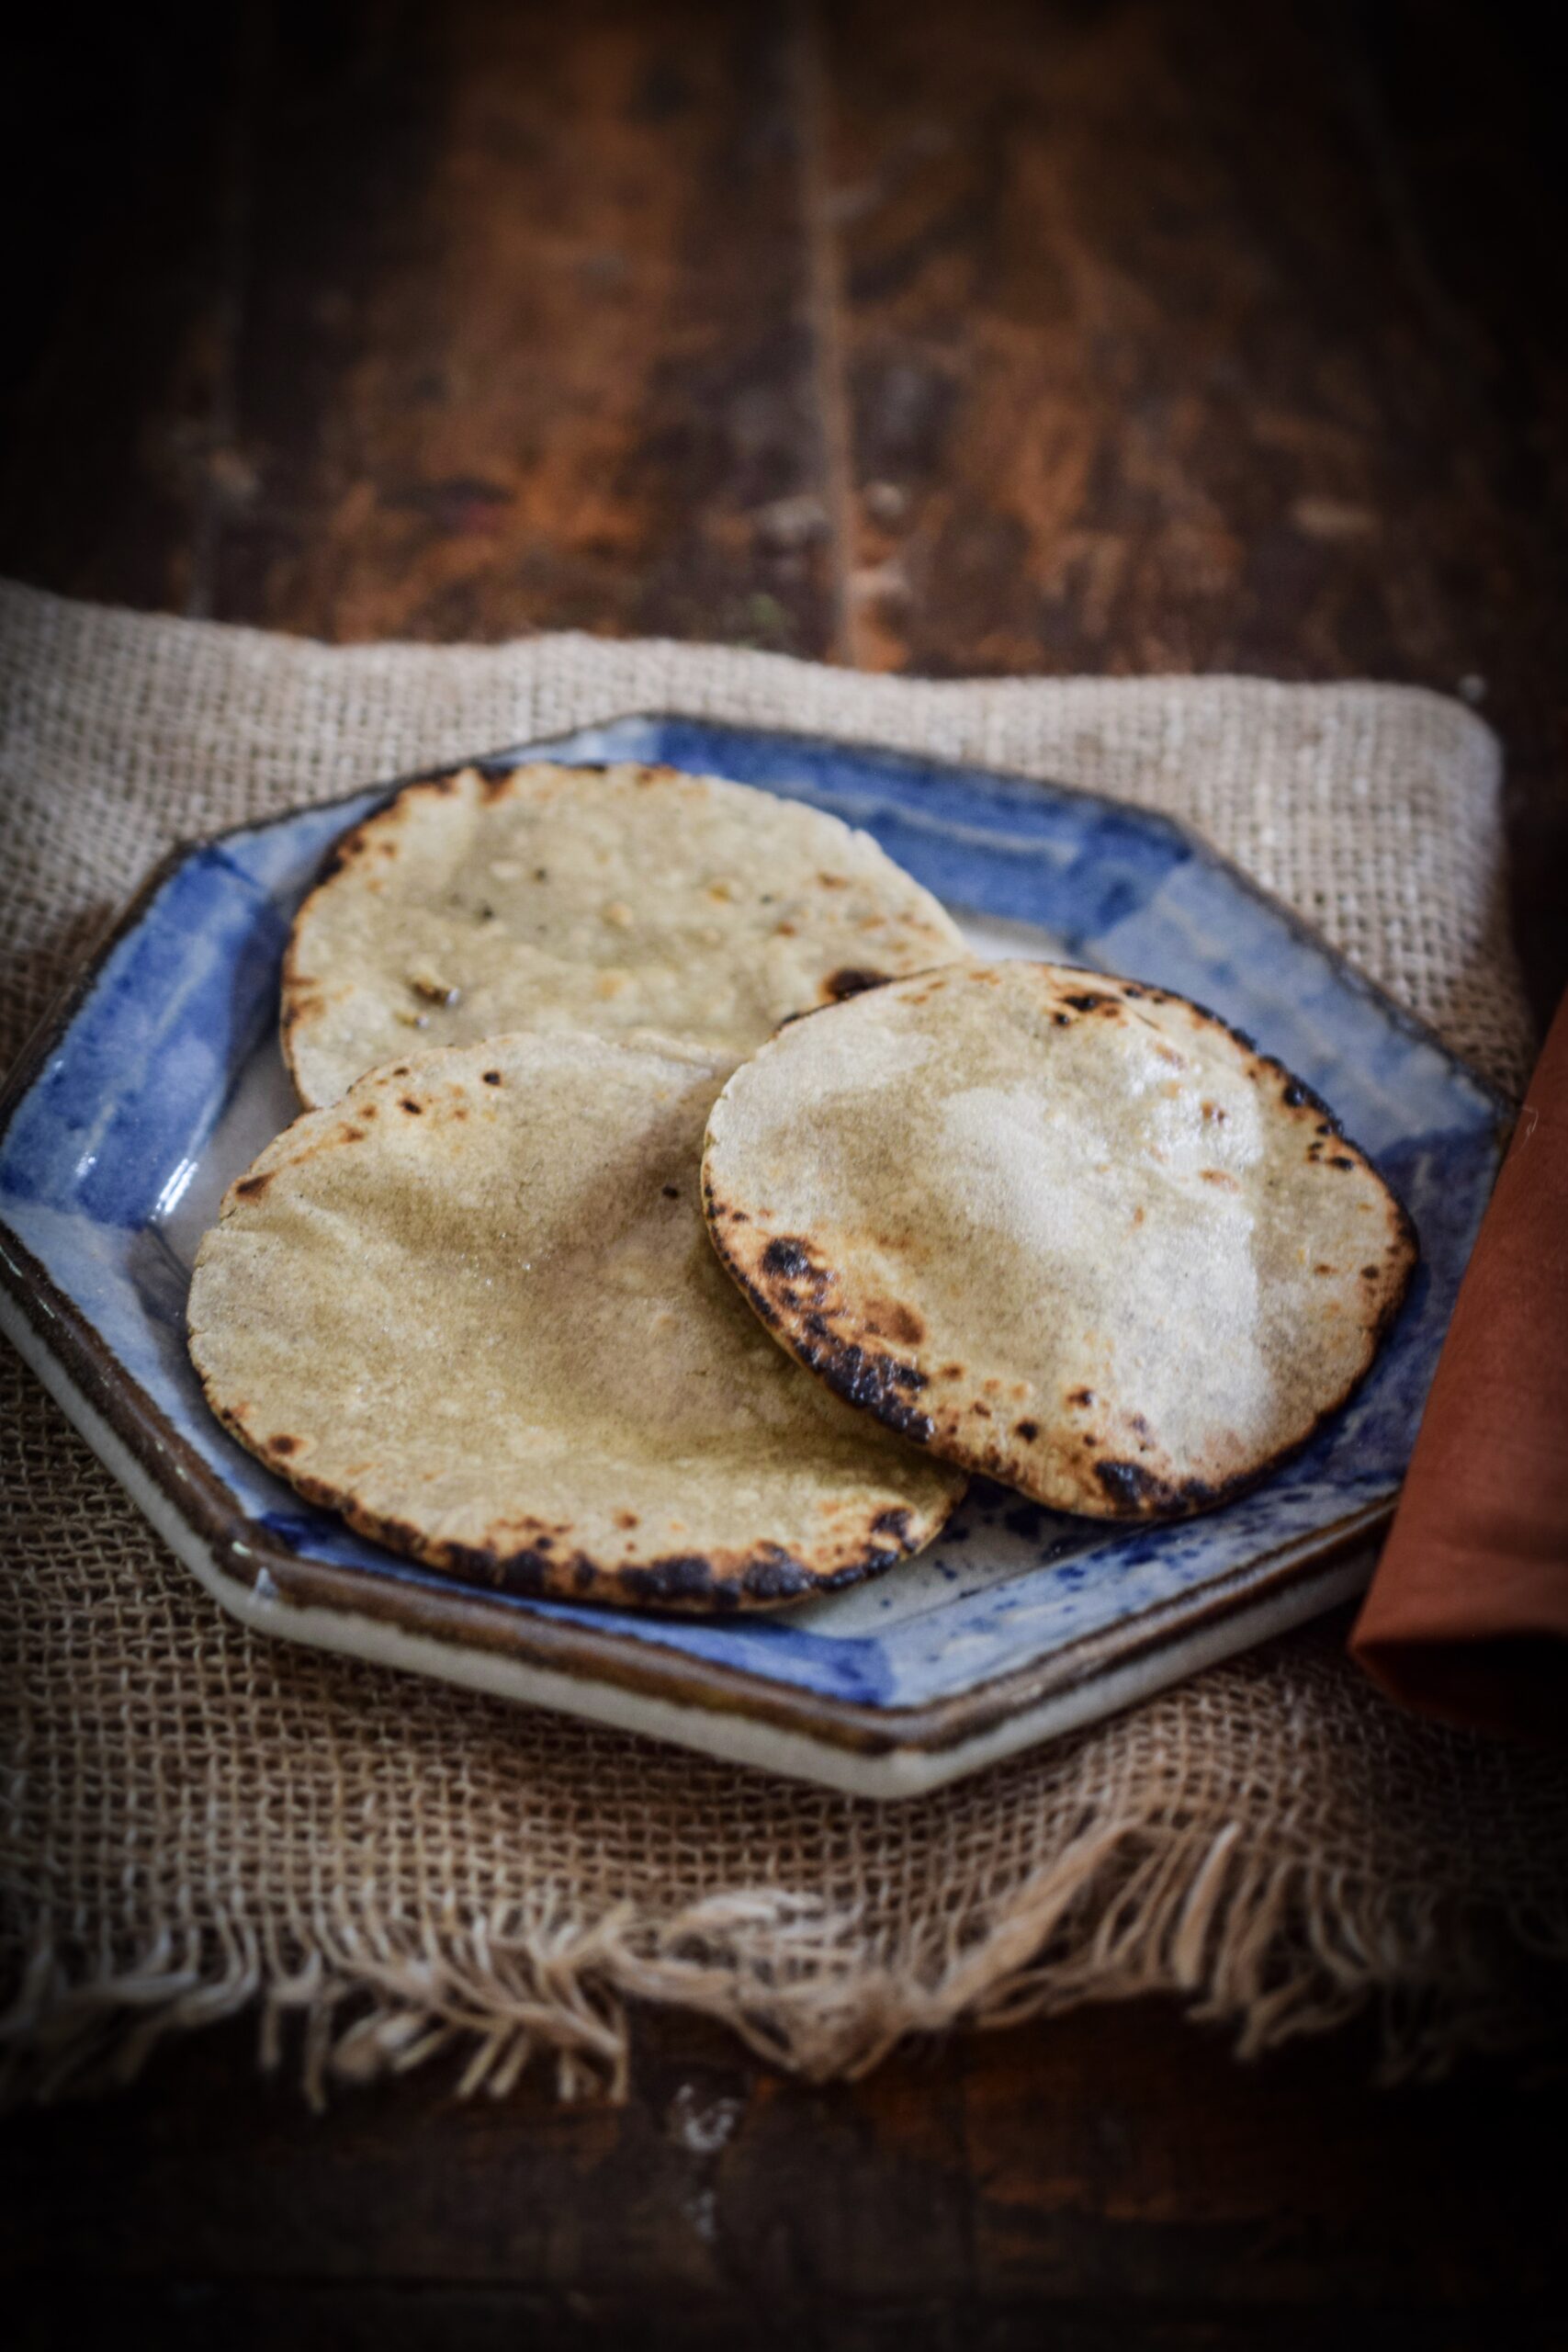
Heat a pan, and place the rolled disc onto it. Allow to roast on one side and then flip the thepla. Allow a few seconds to roast again and then add a few drops of oil onto both sides. Allow to cook until golden.

Repeat the process for all the rolled dough balls. Collect each as it’s done in a box so that they remain soft.

Theplas go well with pickles or potato roast (i.e. aloo sabzi). I’ll be sharing the recipe for the latter in my next post, so do stay tuned!

When the grain-based series concluded last weekend (you can catch up here, here and here, I promised a recipe that would make use of leftover khichdi in a unique way that transforms it into an entirely new dish. Years ago, I had mentioned in this post on rotis that khichdi is sometimes used to make theplas. That’s exactly what we’re going to do today.

Theplas are really a category, not a dish. They are a flatbread staple in Gujarati cuisine, and the diverse range includes methi thepla (made with fenugreek leaves), dudhi thepla (made with bottlegourd), bajra ke thepla (made with pearl millet) and more. The main ingredients change, but the seasonings and masalas tend to remain the same. The simplest form of theplas are the plain ones, made without any vegetables or other ingredients that spoil quickly. They are often made especially for travel, as they store well. I believe I’ve mentioned in previous posts how theplas were a part of all our train journeys, to Bombay and to other places. As kids, we ate every two hours, and so our mother would pack a large quantity of plain theplas, which would keep us well-fed for the two or three days that it took us to arrive at our destination. They were healthy, clean and home-made, and we would enjoy them with mango pickles as our train criss-crossed the country.

Mango pickles, specifically chhundo, which I’ve shared the recipe for before, are the chief accompaniment to most theplas. A dollop of yoghurt is also enjoyed alongside, and a dry vegetable like roasted potatoes can round out the meal. Theplas can be a light meal of just the flatbread and a pinch of pickle, or a full meal with the works. They are often a taken-for-granted dish too – “chalo (‘come/okay’), let’s have thepla” is a standard refrain when planning dinner in many a Gujarati household.

This style of thepla, which incorporates leftover khichdi into the dough and which is deliciously flavoured with ginger and green chilli (you may add garlic too, if you wish), is a perfect dinner dish to prepare with the unused portion of a simple khichdi made for lunch. Every family that uses this resourceful technique will have their version of what goes into the recipe.

Growing up, I was always impressed by the way my mother had a knack for turning over leftovers. It is a skill I’ve observed time and again in so many intelligent homemakers, who innovate ways to make a large meal go further, while appeasing picky children who demand fresh and interesting food. So this is especially for those of you who have fussy mouths to feed. Unless they are right there in the kitchen with you as you transform old khichdi into new theplas, they’ll never guess your little magic trick!

Khichdi Thepla

(Yield: 10 theplas)

½ cup khichdi

¾ cup + 2 tablespoons wheat flour

½ cup wheat flour (for rolling the theplas)

Salt to taste

¼ teaspoon turmeric

½ teaspoon dhania-jeera (coriander-cumin) powder

1 tablespoon + 1 teaspoon oil

¼ teaspoon ajwain (carom seeds)

1 teaspoon green chilli and ginger paste

1 teaspoon oil + 3 tablespoons to cook


Keep aside the oil.

Assemble all the remaining ingredients in a wide bowl. Make a dough by mixing them together with your hands, until the mixture is smooth. Towards the end, once it begins to turn sticky, add 1 teaspoon of oil and spread it around the bowl. Knead the dough completely.

I have used a soft and wet khichdi, and thus did not need to add any water. If your khichdi is dry, then you may need to add water too.

Once the dough is prepared, either make the theplas right away or refrigerate the dough as it will release water and turn soft again. Remember that as you are already working with leftover khichdi, it is best to make and consume these theplas on the same day. If you’ve kept the dough in the fridge for a while, do not wait for it to thaw. You can roll out your theplas right away.

Heat a roti pan. Make small discs of the dough, and dip them in the wheat flour. Roll out each thepla into a thin disc.

Place each thepla on the pan. Allow it to cook on one side, then flip over after 5 seconds. Once it has slightly cooked on the second side, add a few drops of oil and spread them. Flip the thepla and repeat until large dark spots appear on both sides. This indicates that it has been cooked well.

Set aside. Fry all the discs the same way. I usually intermittently lower the flame so that they are cooked evenly, but also do not end up dry and crisp.

Here are a few more tips that will help ensure that your theplas are soft, which is their ideal texture:

  • The dough needs to be pliable and smooth.
  • When adding the oil as you cook each thepla, make sure that the edges are oiled. They tend to dry up otherwise.
  • Once done, take each thepla off the pan immediately and pile it on top of the other ones. Somehow, this results in them all staying soft without becoming moist.

If you’ve enjoyed this, I hope you’ll take a look back at my original Second Helpings series, which featured Gujarati masala curd rice, dal dhokli and rotli na ladoo for a sweet finish. Do let me know in the comments about how you innovate new dishes using your leftovers too! As always, I love to learn more about recipes and the stories behind them.

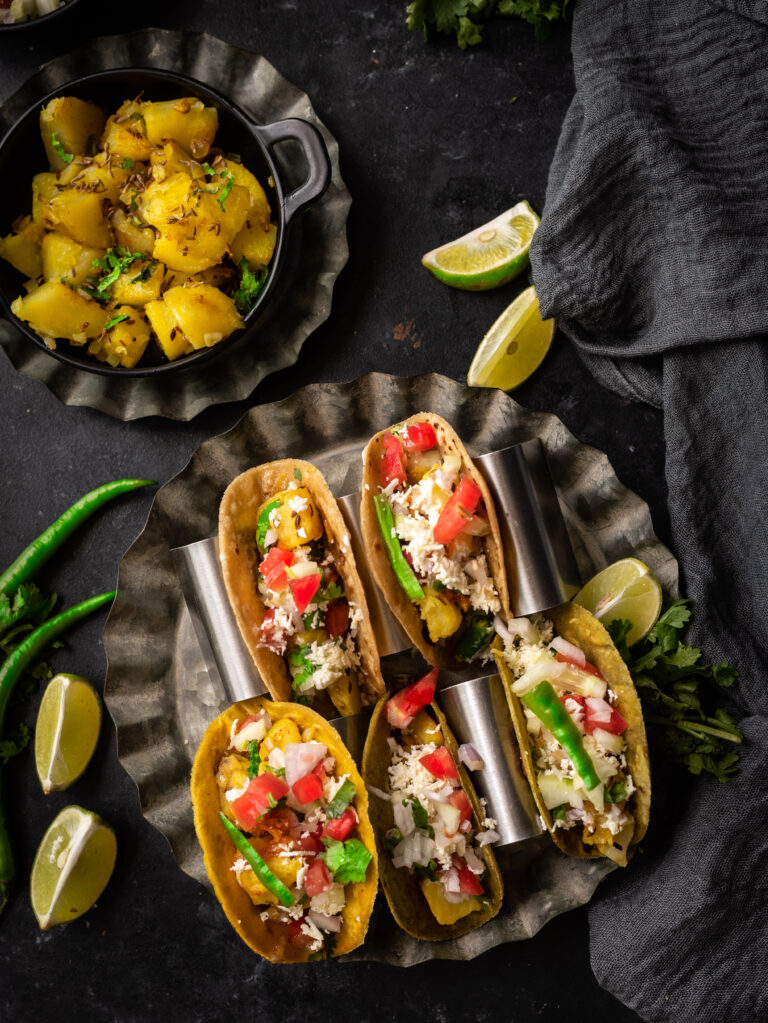
If you’ve been following this blog even for a short while, you’ll know that we are huge fans of Mexican cuisine in my home – both authentic and Indianised, or should I say re:store-ised, versions. This Mexican-inspired Buddha bowl is one example of how these flavours are enjoyed by my family. I’m very happy in my own world of fusion tastes, and am always on the lookout for how to make simple meals more enticing. I happened to come across a photo of Indian-style tacos, but without a recipe, and this inspired me to come up with my own. One day, I had some leftover roti dough, and had the brainwave of putting them to use in this way. The soft taco shells were therefore made by hand, and the entire recipe was made from scratch.

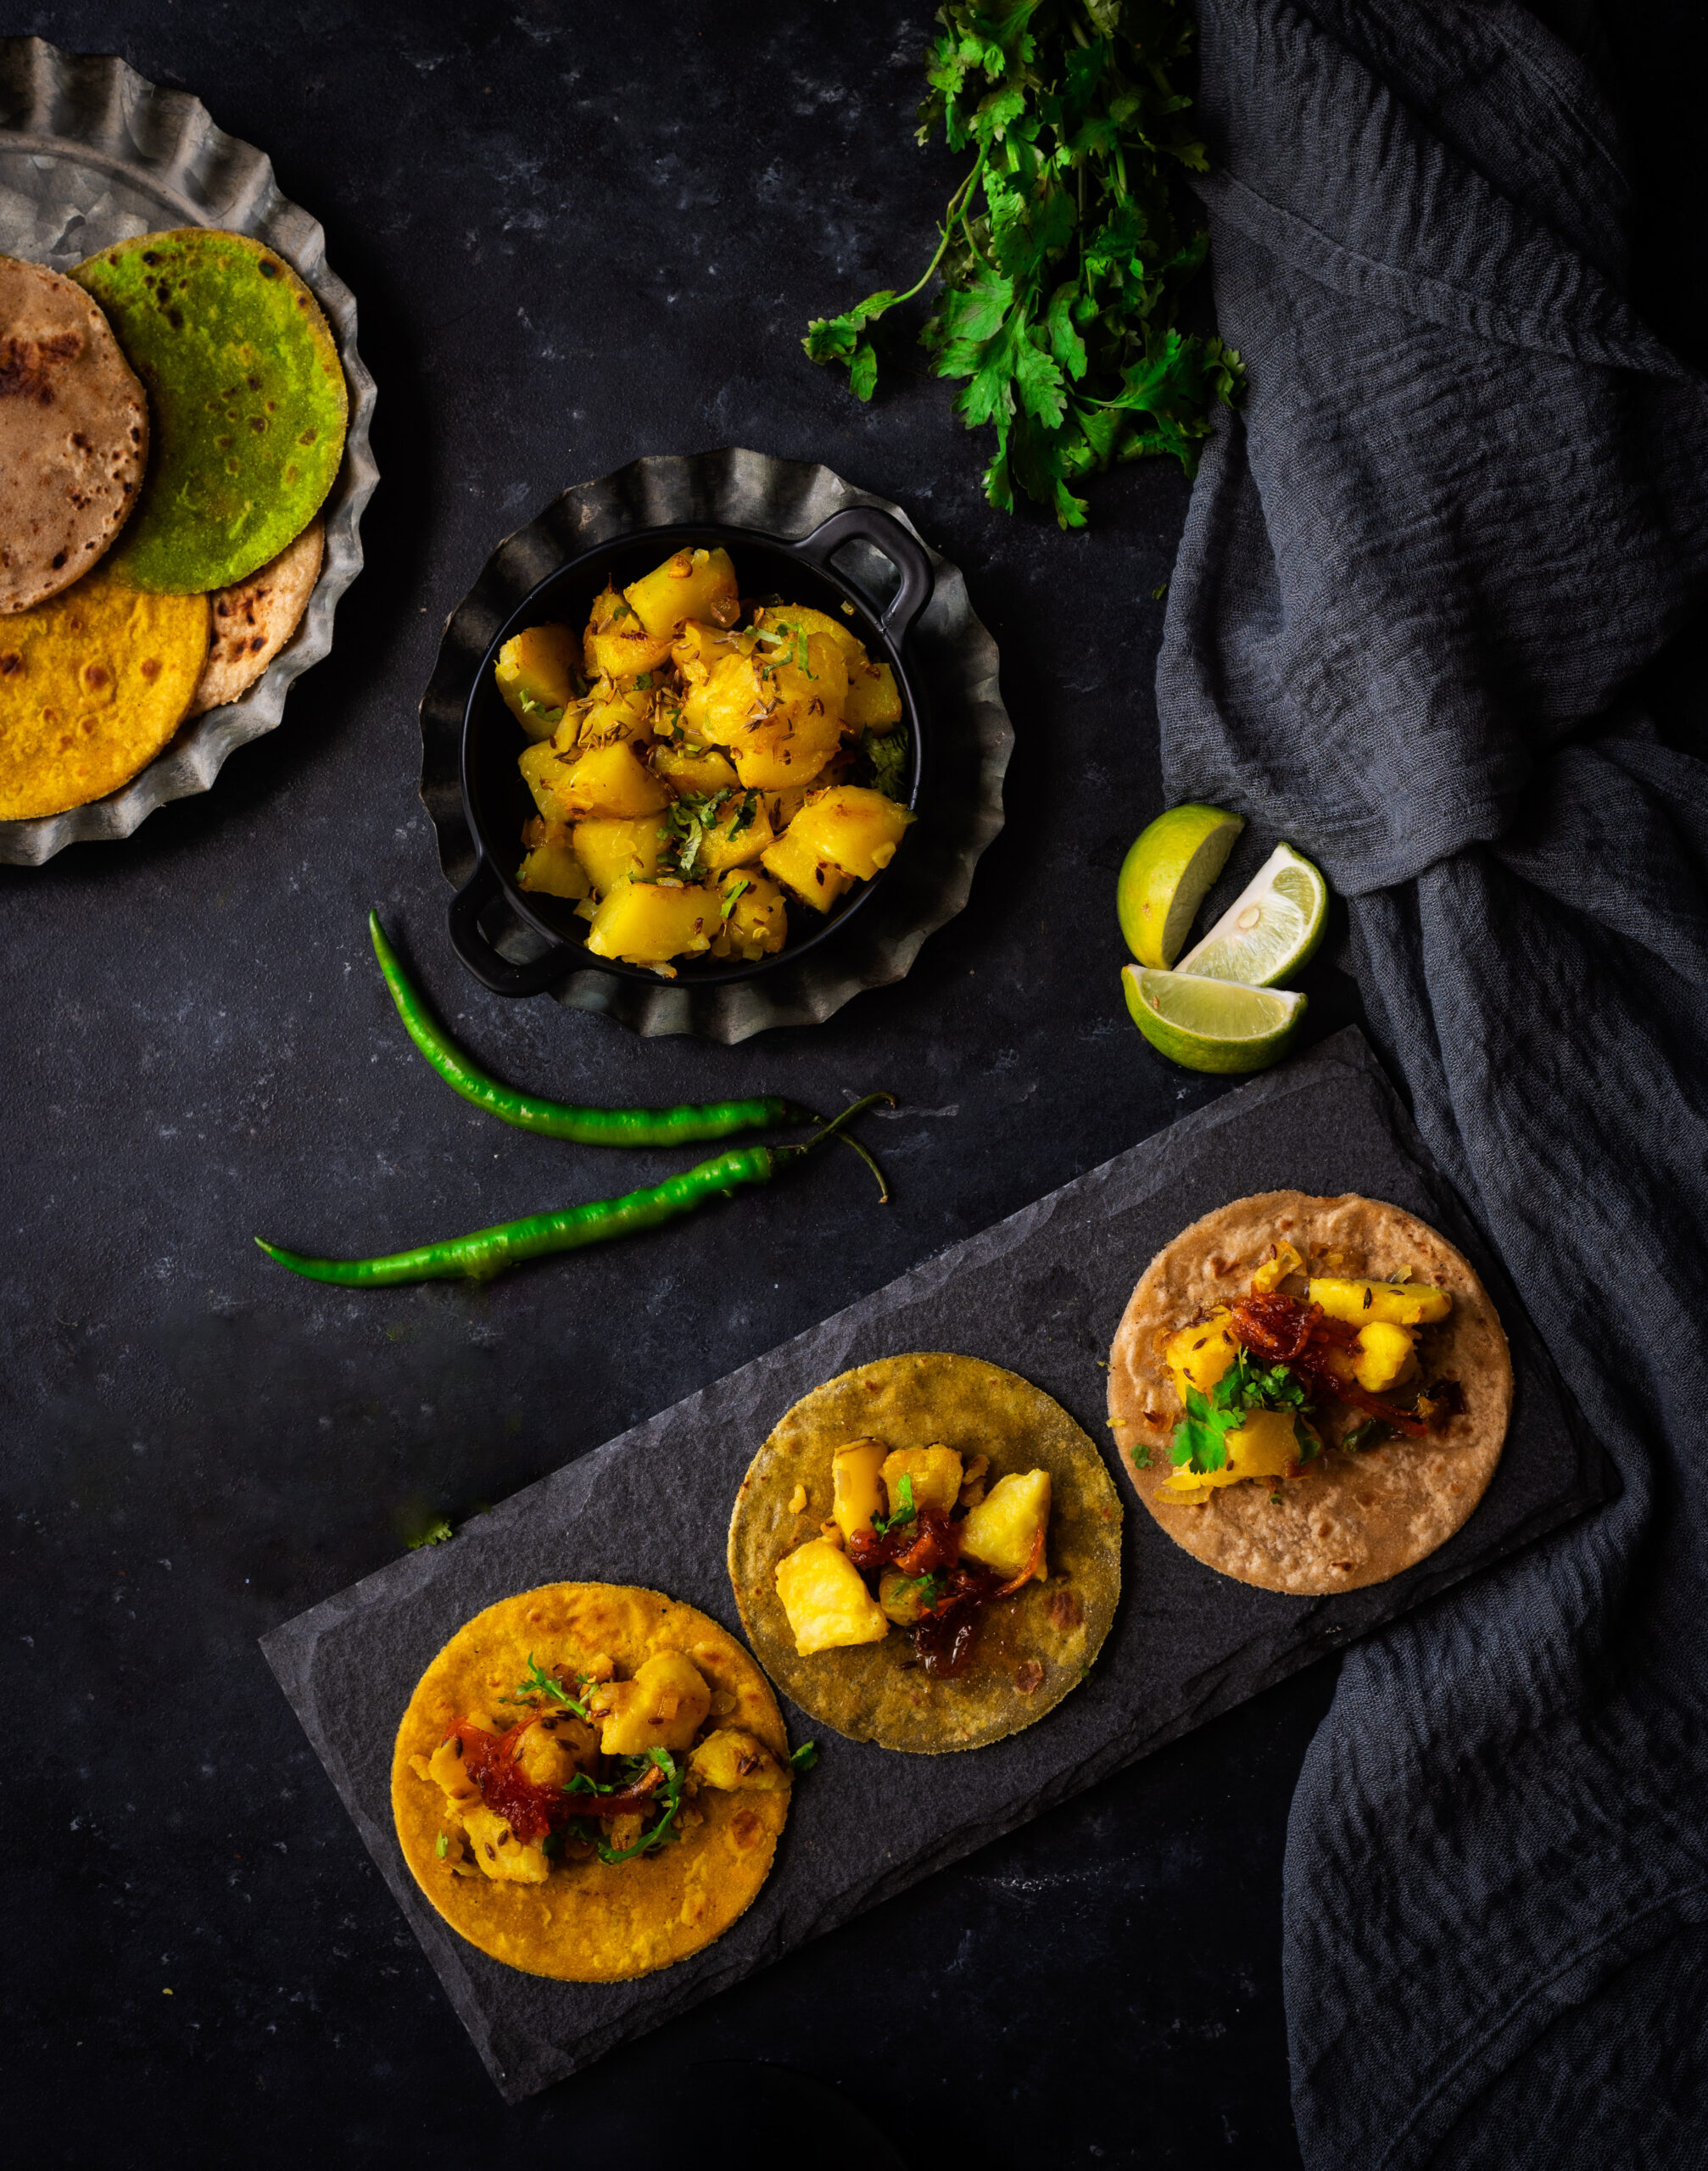
If you think about it, there are already plenty of versions of Indian tacos out there. The kati rolls that are a very popular form of street food fit the bill. They’re perfect for eating on the go, and fit easily into office and school lunch packs. While those are rolled, these tacos are open-faced. I’ve chosen to fill them with two Gujarati staples: potato sabzi, and a salad called kachumber. Where Mexican tacos use red bean paste, I’ve opted for a sweet mango pickle. The overall effect is a fun, international twist on simple Indian cooking.

This is a recipe that lends itself to variety. Replace the pickle with another that you prefer. You may want a spicy or tangy one, if you don’t have a sweet tooth. Substitute the potatoes for a different filling of your choice. Make a Jain version without potatoes or onions. Eliminate the Greek yoghurt dressing and make it vegan. Simply consider the recipe below as a base for your own versatile experiments.

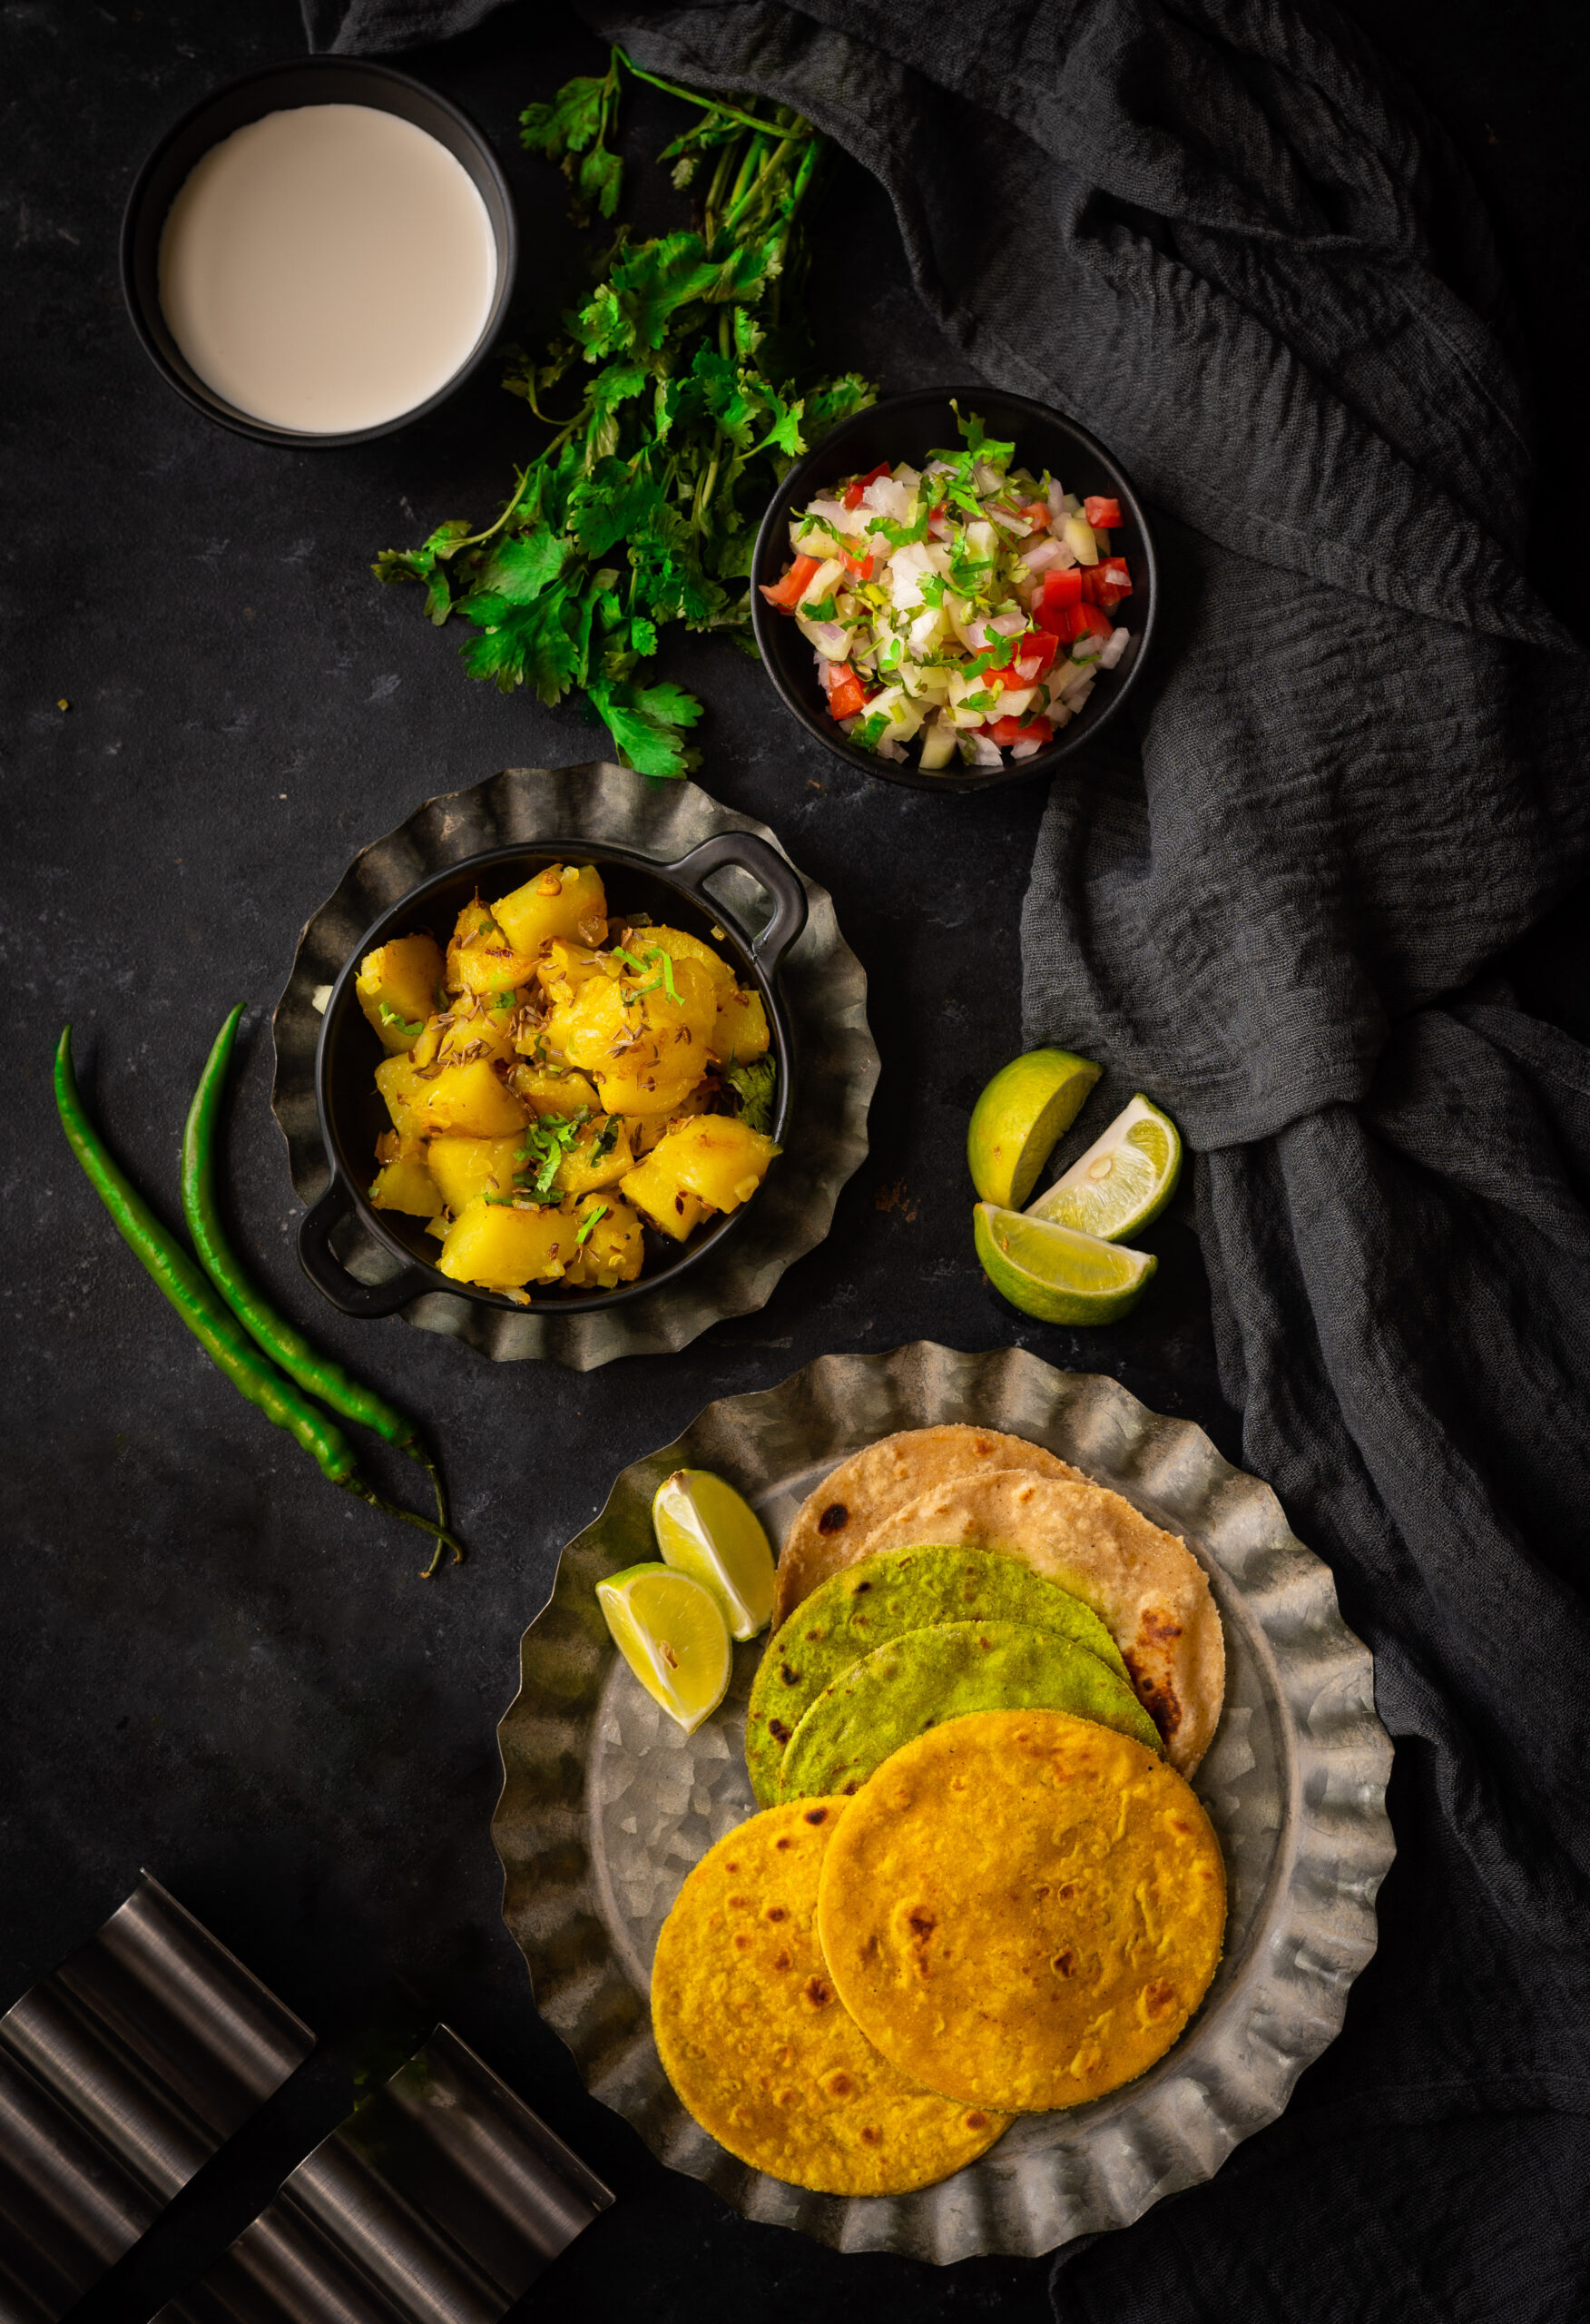
I’ll let you in on a secret… We have a Mexican dinner night every week at home, with crispy tacos and other dishes that veer towards the slightly more authentic (although, as I explained in my Buddha bowl series, authenticity isn’t what I aspire to as much as sheer enjoyment is). I thought that this soft shell version would be a great way to serve a traditional Gujarati meal without anyone thinking that it’s boring. It’s so very delicious no matter if you eat it in a taco or a thali, but the appeal of food so often comes down to presentation. This is why, in addition to the plain rotis and the yellow theplas, I also tried out a roti made with spinach purée for an attractive green appearance. We all need a burst of colour now and then to get us going, and for me, cooking has always been something that fulfills this need – beautifully!

Indian Tacos

(Yield: 6-8 tacos)


Taco Shell

Theplas or rotis (recipes here)

Pickle of your choice (I like to use a sweet grated mango pickle), or a sauce of your choice


Potato filling

200 grams boiled potatoes

3 tablespoons oil

3-4 cloves of garlic

2 tablespoons finely chopped onions

½ teaspoon cumin seeds

¼ teaspoon turmeric powder

1 teaspoon cumin powder

1 finely chopped green chilli

Salt to taste


Kachumber

¾ cup finely chopped onions

1 cup finely chopped tomatoes

1 cup finely chopped cucumber

2 tablespoons finely cut coriander leaves

1 teaspoon roasted cumin powder

2 tablespoons lemon juice

1 finely chopped green chilli

Salt to taste


Greek yoghurt

1 cup yoghurt

2 cloves finely crushed garlic

6-8 finely cut mint leaves

Salt to taste


Paneer

½ cup grated paneer


Mash the boiled potatoes coarsely with your hand while they are still warm.

Heat a pan and add the oil. Once the oil is heated, add the cumin seeds. Allow them to splutter. Then, add the garlic and the potatoes. Allow the potatoes to become crisp, then add the onions. Add the remaining spices and stir well. Allow to sauté and turn golden slightly. Remove from the flame and set aside.

As for the kachumber, simply put the ingredients together in a bowl and set them aside.

Then, whisk the ingredients of the Greek yogurt together until they are blended well.

To assemble the Indian tacos, place each soft roti or thepla in a taco holder. Use the recipes here, and just add some puréed spinach to the dough if you’d like to make the green ones in my photographs.

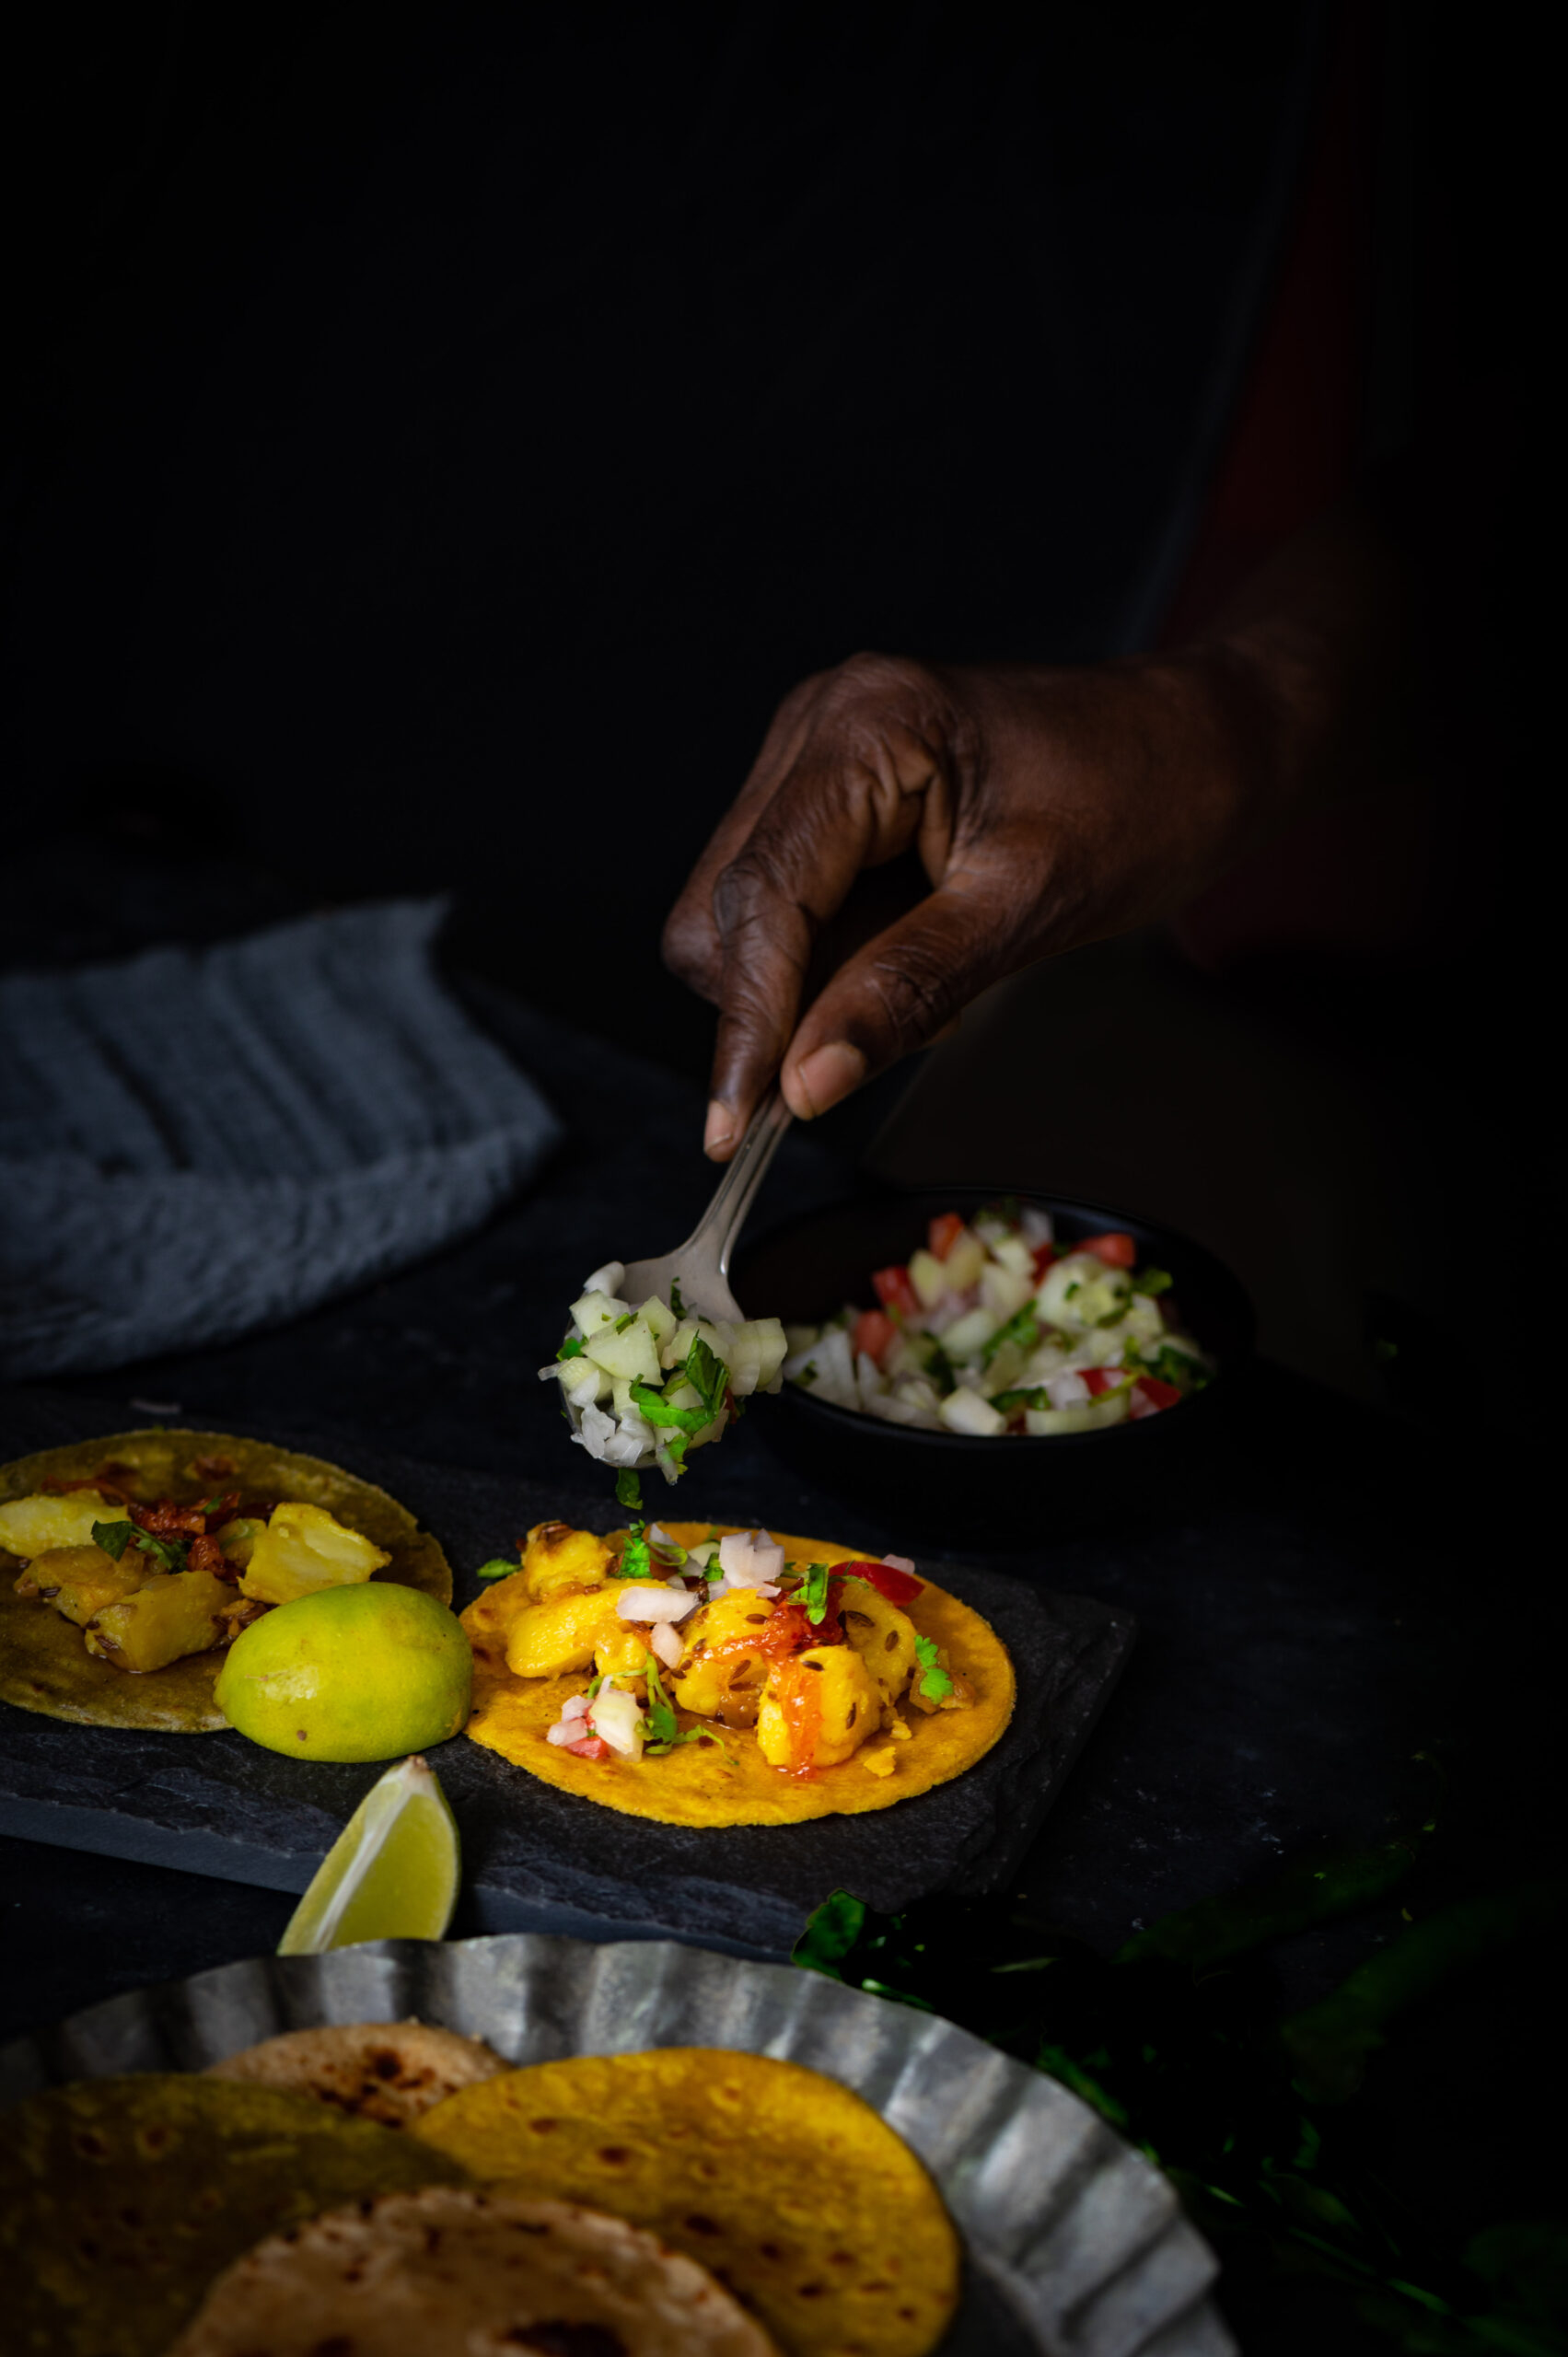
Spread a layer of the pickle or sauce of your choice onto the Indian taco shell. Then add a tablespoon or so of potatoes. Top this with the kachumber and the Greek yoghurt dressing. Add a squeeze of lime if you like, then sprinkle the grated paneer on top. Finally, a garnish of coriander leaves will finish the dish off perfectly.

These Indian tacos are a great way to pep things up a bit and get the family to eat more, even though each of the individual components is part of a fairly typical and simple Gujarati meal! It’s all about the presentation, and the taco style makes everything all the more attractive and adds a sense of novelty to the meal. I particularly like to make them in smaller sizes because there’s an irresistibility quotient to them, just like with cupcakes, and no one can stop at just one or two!

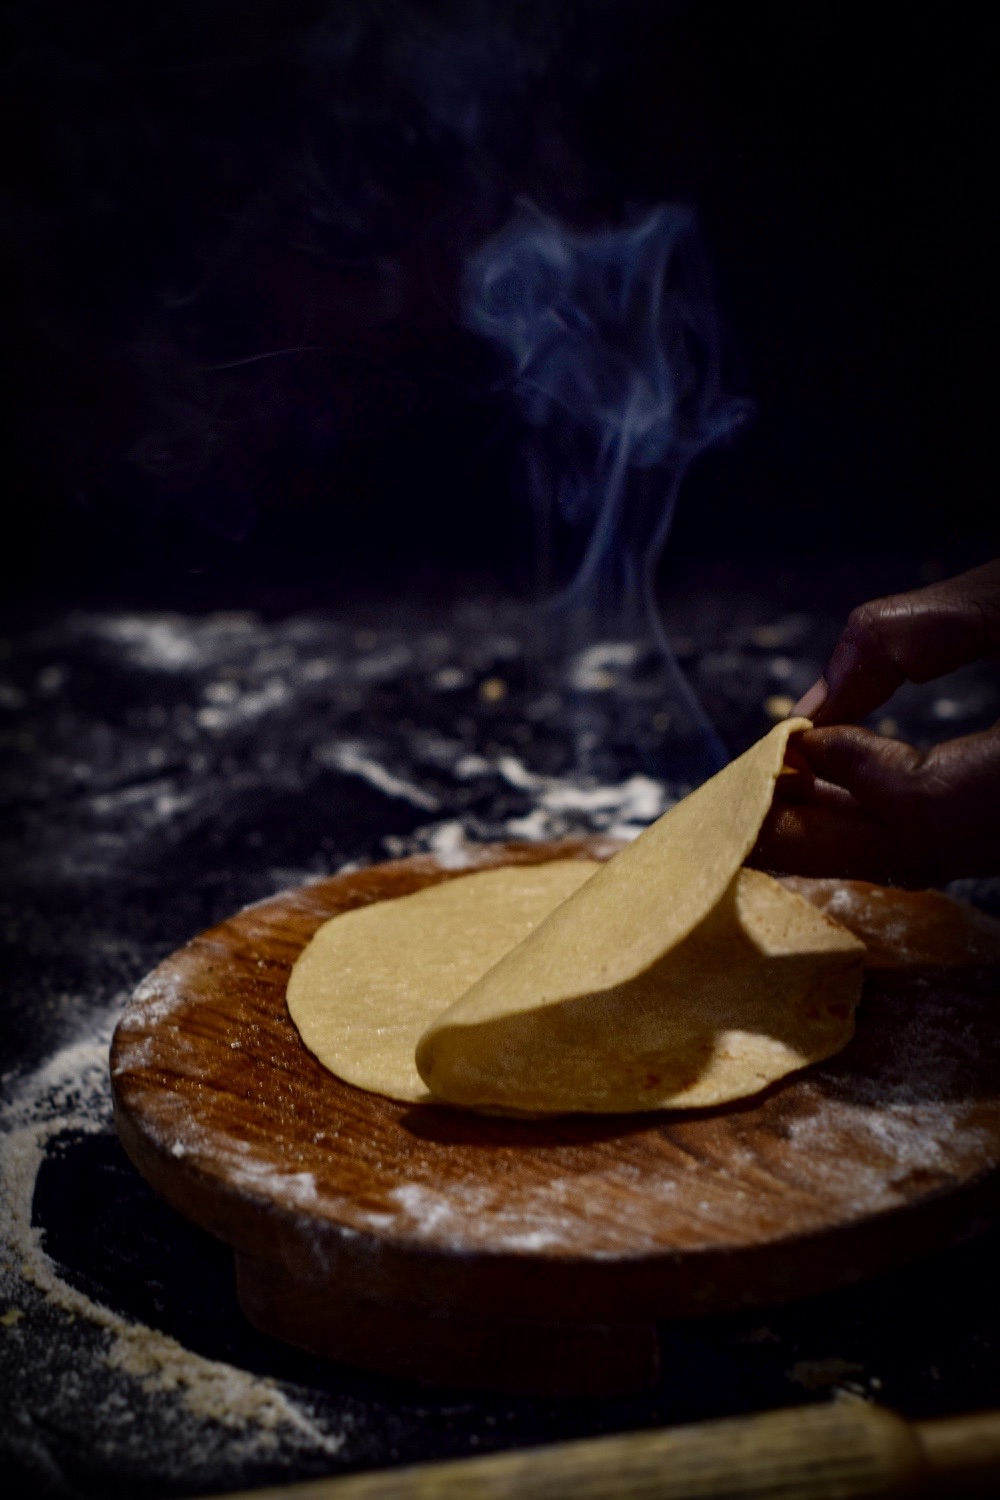
The very first recipe I learnt from my mother was the foundation of all Gujarati meals: the humble yet hard-to-perfect roti. Or as we call it, rotli. The ideal Gujarati rotli has to be as thin as muslin, and it took me years of practice to expertly knead the dough and roll it into perfect circles. My mother insisted that a good Gujarati girl’s rotis had to be dainty and delicate. My early ones often turned out like Punjabi parathas, large and thick – and by the norms of the Gujarati kitchen, totally wrong! Curious about this cultural difference, I asked a Punjabi neighbour why their standard for the perfect flatbread was so unlike ours, and she gave me a beautiful answer: the big Punjabi paratha reflects generosity, large-heartedness and the desire to share what you eat with the world!

Rotis, known by many names and variations, originated in the Indus Valley civilisation, where grain grinding is said to have been invented. Indian breads are different from other loaves in that they do not contain yeast. This soft form of unleavened bread comes in various forms, shapes, sizes and flavours typical of the region it is prepared, with flour made of millets, wheat, rice and other grains.

All over India, the basics of a good roti are flour, fat and flavour. The fat comes from oil, butter, cream or ghee. There are so many kinds of flavourings and stuffings – from green chilli paste to potato to cauliflower to the quintessentially Bengali renditions made with fish.

I’d like to tell you more about a few Gujarati variants: the herbed thepla, the crispy bhakri, the sweet puran poli, the seasonal juwar and bajri, and the simple rotli. Of these, I’ll share two recipes – both are meant to be eaten hot, and bear in mind that an average person can easily eat several at a time! Some notes for kitchens outside India: while binding the dough, I work with my hands. However, if you’re used to the food processor, please do utilise it. You can use a standard rolling pin.


Rotli

Lunch during our summer holidays as children was a competitive affair: who could eat the most rotlis? These rotlis were the simple, everyday variety, washed down with aam raas, a seasonal mango purée. A blissful siesta would ensue, the heavy lunch and the heat lulling us to sleep to the sound of old Hindi songs on the radio…

The rotlis we had then were made from balls of dough joined together, then roasted and peeled from each other. They were as fine as skin. We also ate a sweetened “children’s” version, made with jaggery water. Another way to sweeten a rotli, if you want to, is to eat it with a strained yoghurt dessert known as shrikand. I’ll be sharing a recipe for that soon, and if you subscribe to this blog, you’ll be the first to know.


Thepla


(Yields: 12)


1 cup methi (fenugreek) leaves, picked and washed

1 cup whole wheat flour

1 teaspoon salt

¼ teaspoon turmeric powder

2 teaspoons cumin powder

1 teaspoon white sesame seeds

1 teaspoon crushed green chili (adjust to your taste)

½ teaspoon ginger paste

1 tablespoon yoghurt

1 tablespoon sunflower oil + oil for sautéing

100 ml water or less


Traditionally, theplas are often made with leftover rice or khichdi, so as not to waste food, but you can make them fresh too. In a mixing bowl, add all the dry ingredients and blend them gently. Now add the 1 tablespoon of oil and the yoghurt. Slowly add water and continue mixing, until you feel the mixture is slightly tougher to the touch than bread dough. You do not need to use the entire 100ml.

Dust both sides of the ball with flour. Make small lemon sized balls and allow them to sit for at least half hour. Now, dusting more flour as you do, roll out the dough into discs. Make them as thin as you can.

On a heated iron pan, place the thepla on a medium flame for 30-40 seconds. Then turn it to the other side. In another 30-40 seconds, add a few drops of oil. Make sure the oil is spread to the edges too, as the thepla may dry out. Press down with a spatula to help it cook. Flip the thepla a couple of times until it is golden on both sides. Remove from the pan and fry the next disc, and so on.

As you make each thepla, either store it in a hot case, so it remains soft and warm, or pile them up on a plate. Serve hot, with a curry of your choice or a sweet mango or kumquat pickle, or simply enjoy them as some Gujaratis do – with a lovely cup of chai.


Bhakri


(Yields: 15)


2 cups whole wheat flour

¼ cup semolina

¼ cup oil

100 ml warm water

¼ teaspoon salt


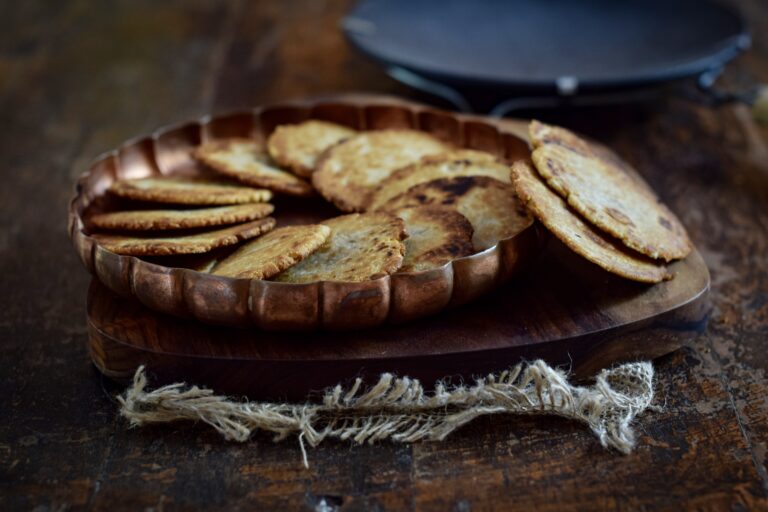
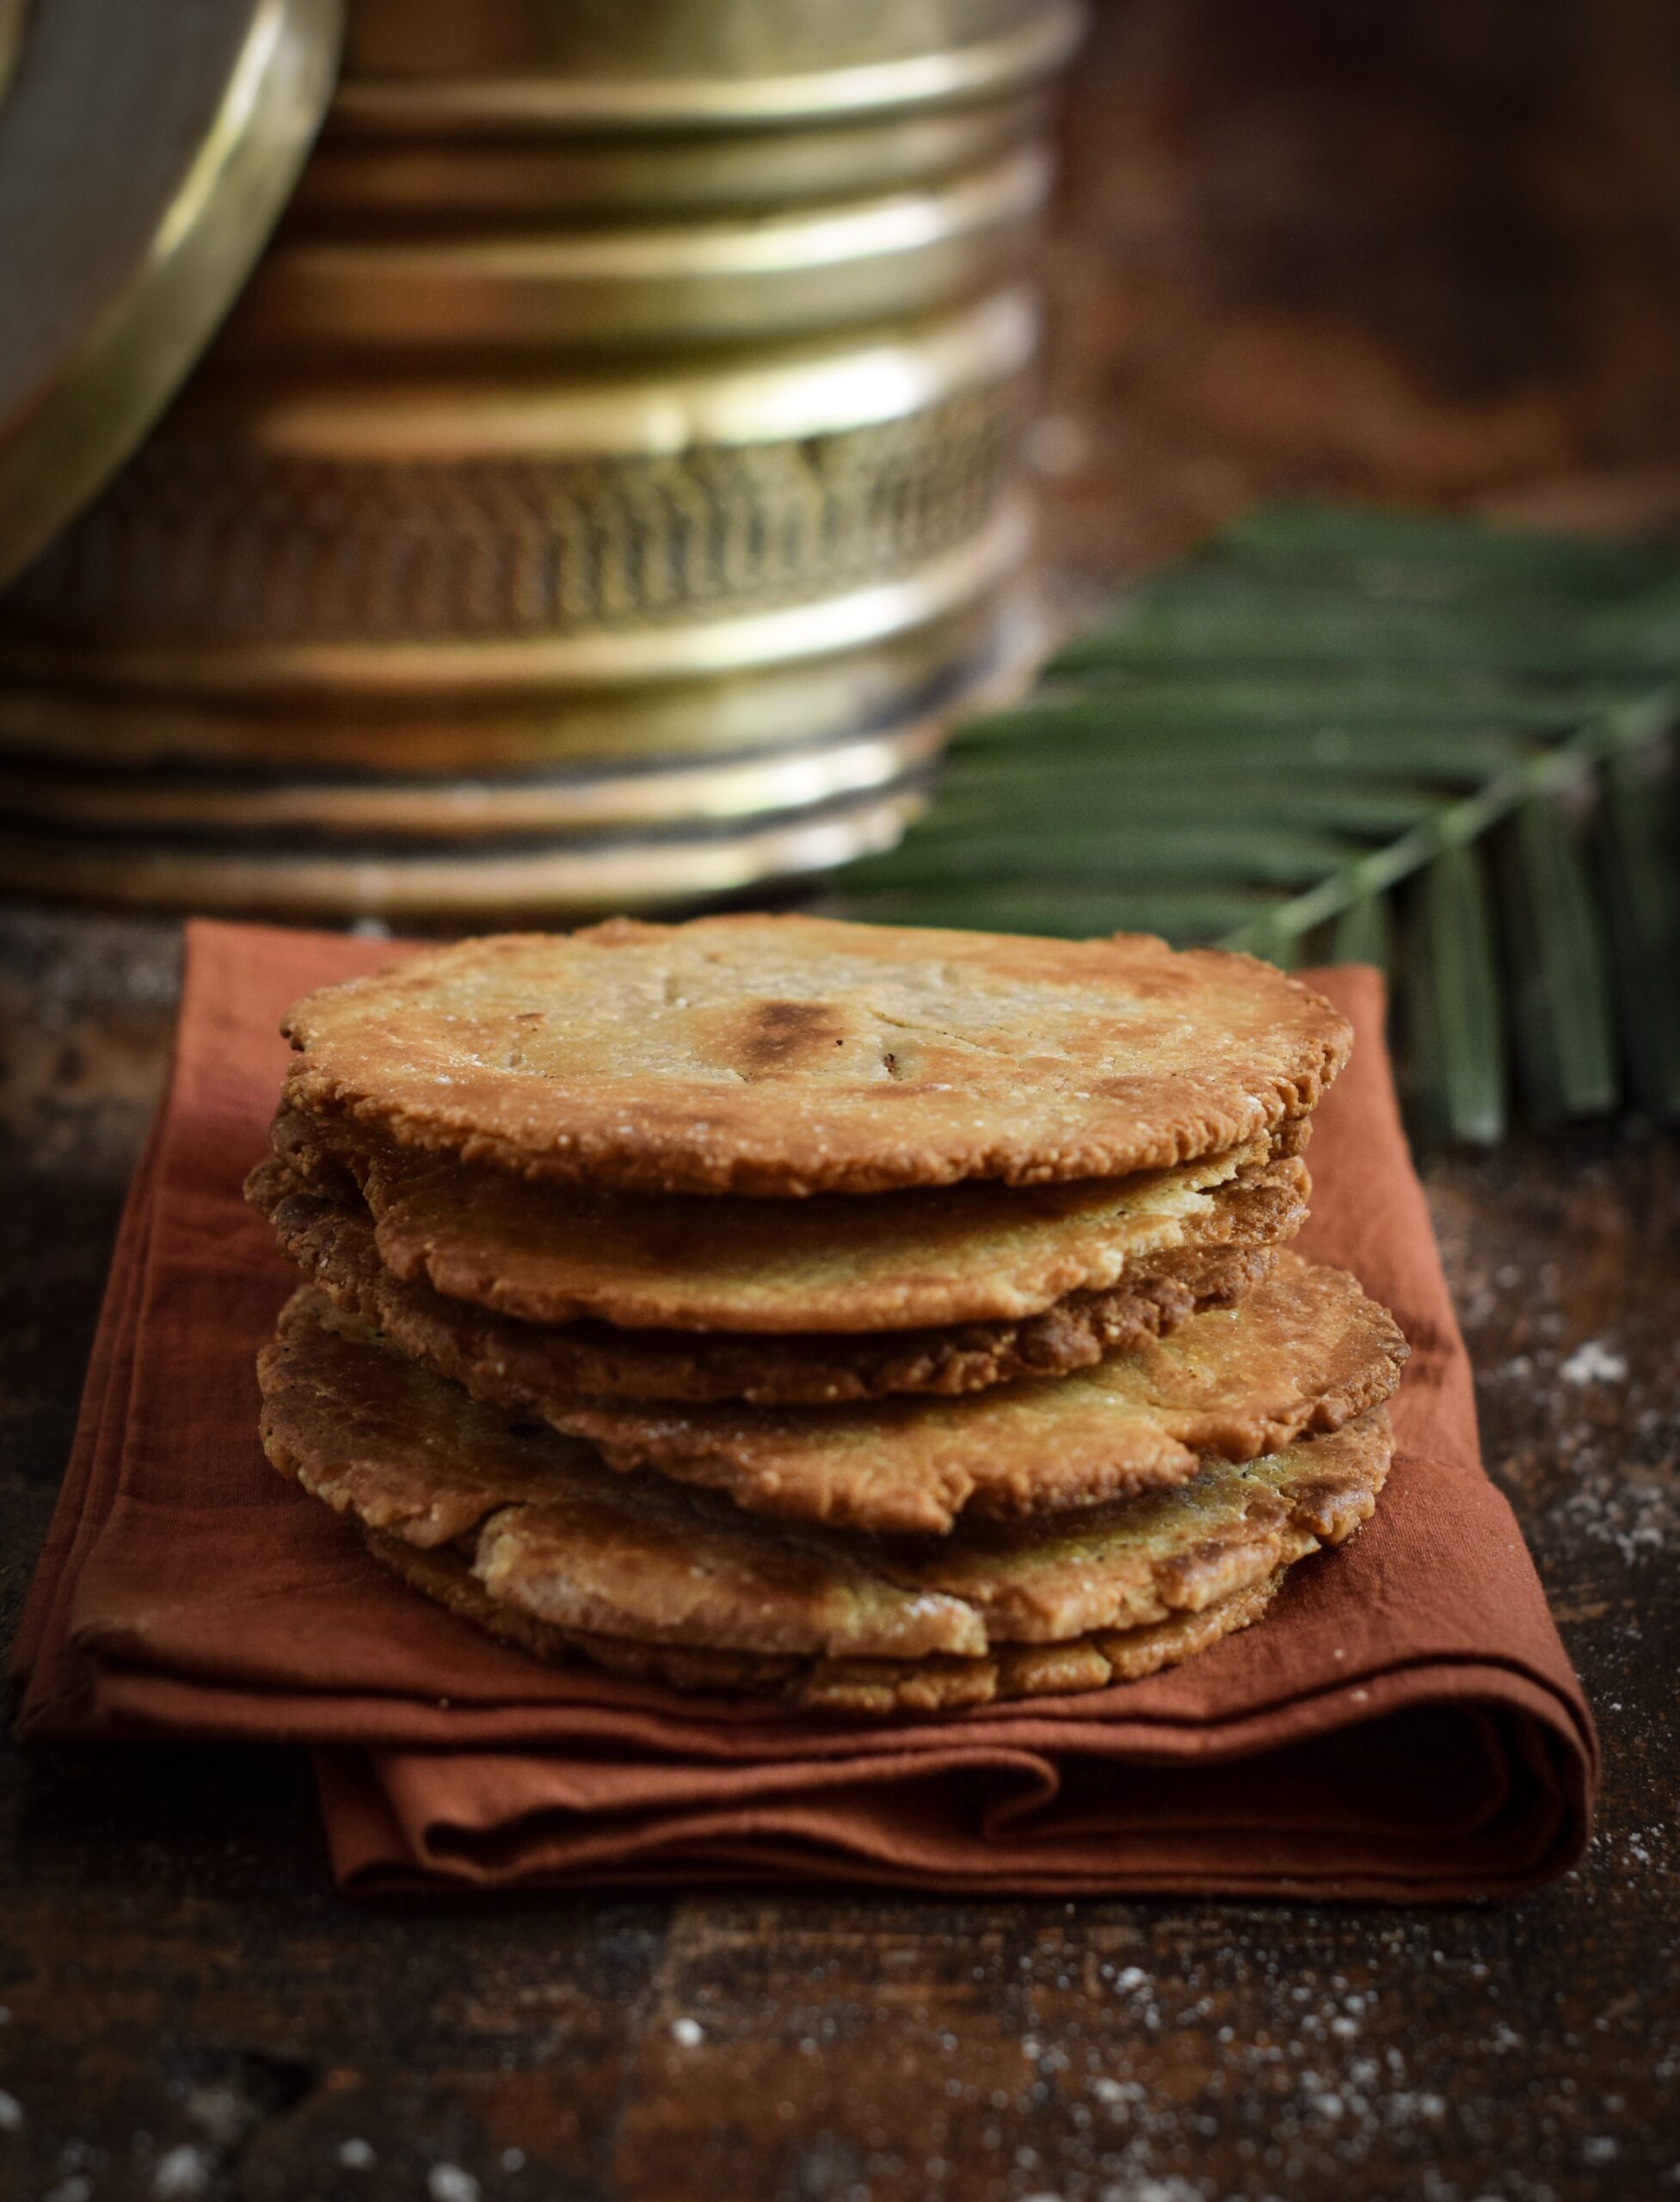
A bhakri is really a type of biscuit, made with a greater quantity of oil than water. A version with jaggery water was my standard after-school snack while growing up. You can make this in the sweetened (what I call “children’s”) version too, by substituting plain water for jaggery water.

Assemble all the ingredients in a large bowl. Add water slowly as required and bind the dough together. Continue pressing firmly, until it all comes together and does not stick to the bowl or your fingers. The dough should appear as a smooth, firm ball. There’s no need to dust this ball of dough with flour, as it is quite tough and will not stick while rolling. If it does stick, you have probably added more water than required, and only in this case should you dust a little flour. Now, divide the dough into 15 smaller balls and keep aside.

Heat an iron pan. Roll out the dough into discs of about 1 cm thickness – this is where the thin-as-muslin standard doesn’t apply! Place the discs onto the hot pan and reduce the flame. Since bhakris are thicker they need to cook on the inside too, so it will take longer to cook. The flame needs to be maintained between medium and slow. Flip over each bhakri a couple of times until golden. If you’d like to, use a pair of tongs and roast the bhakri directly over the flame towards the end of its cooking time. This is the traditional way – dough to flame, directly, just like in this video!

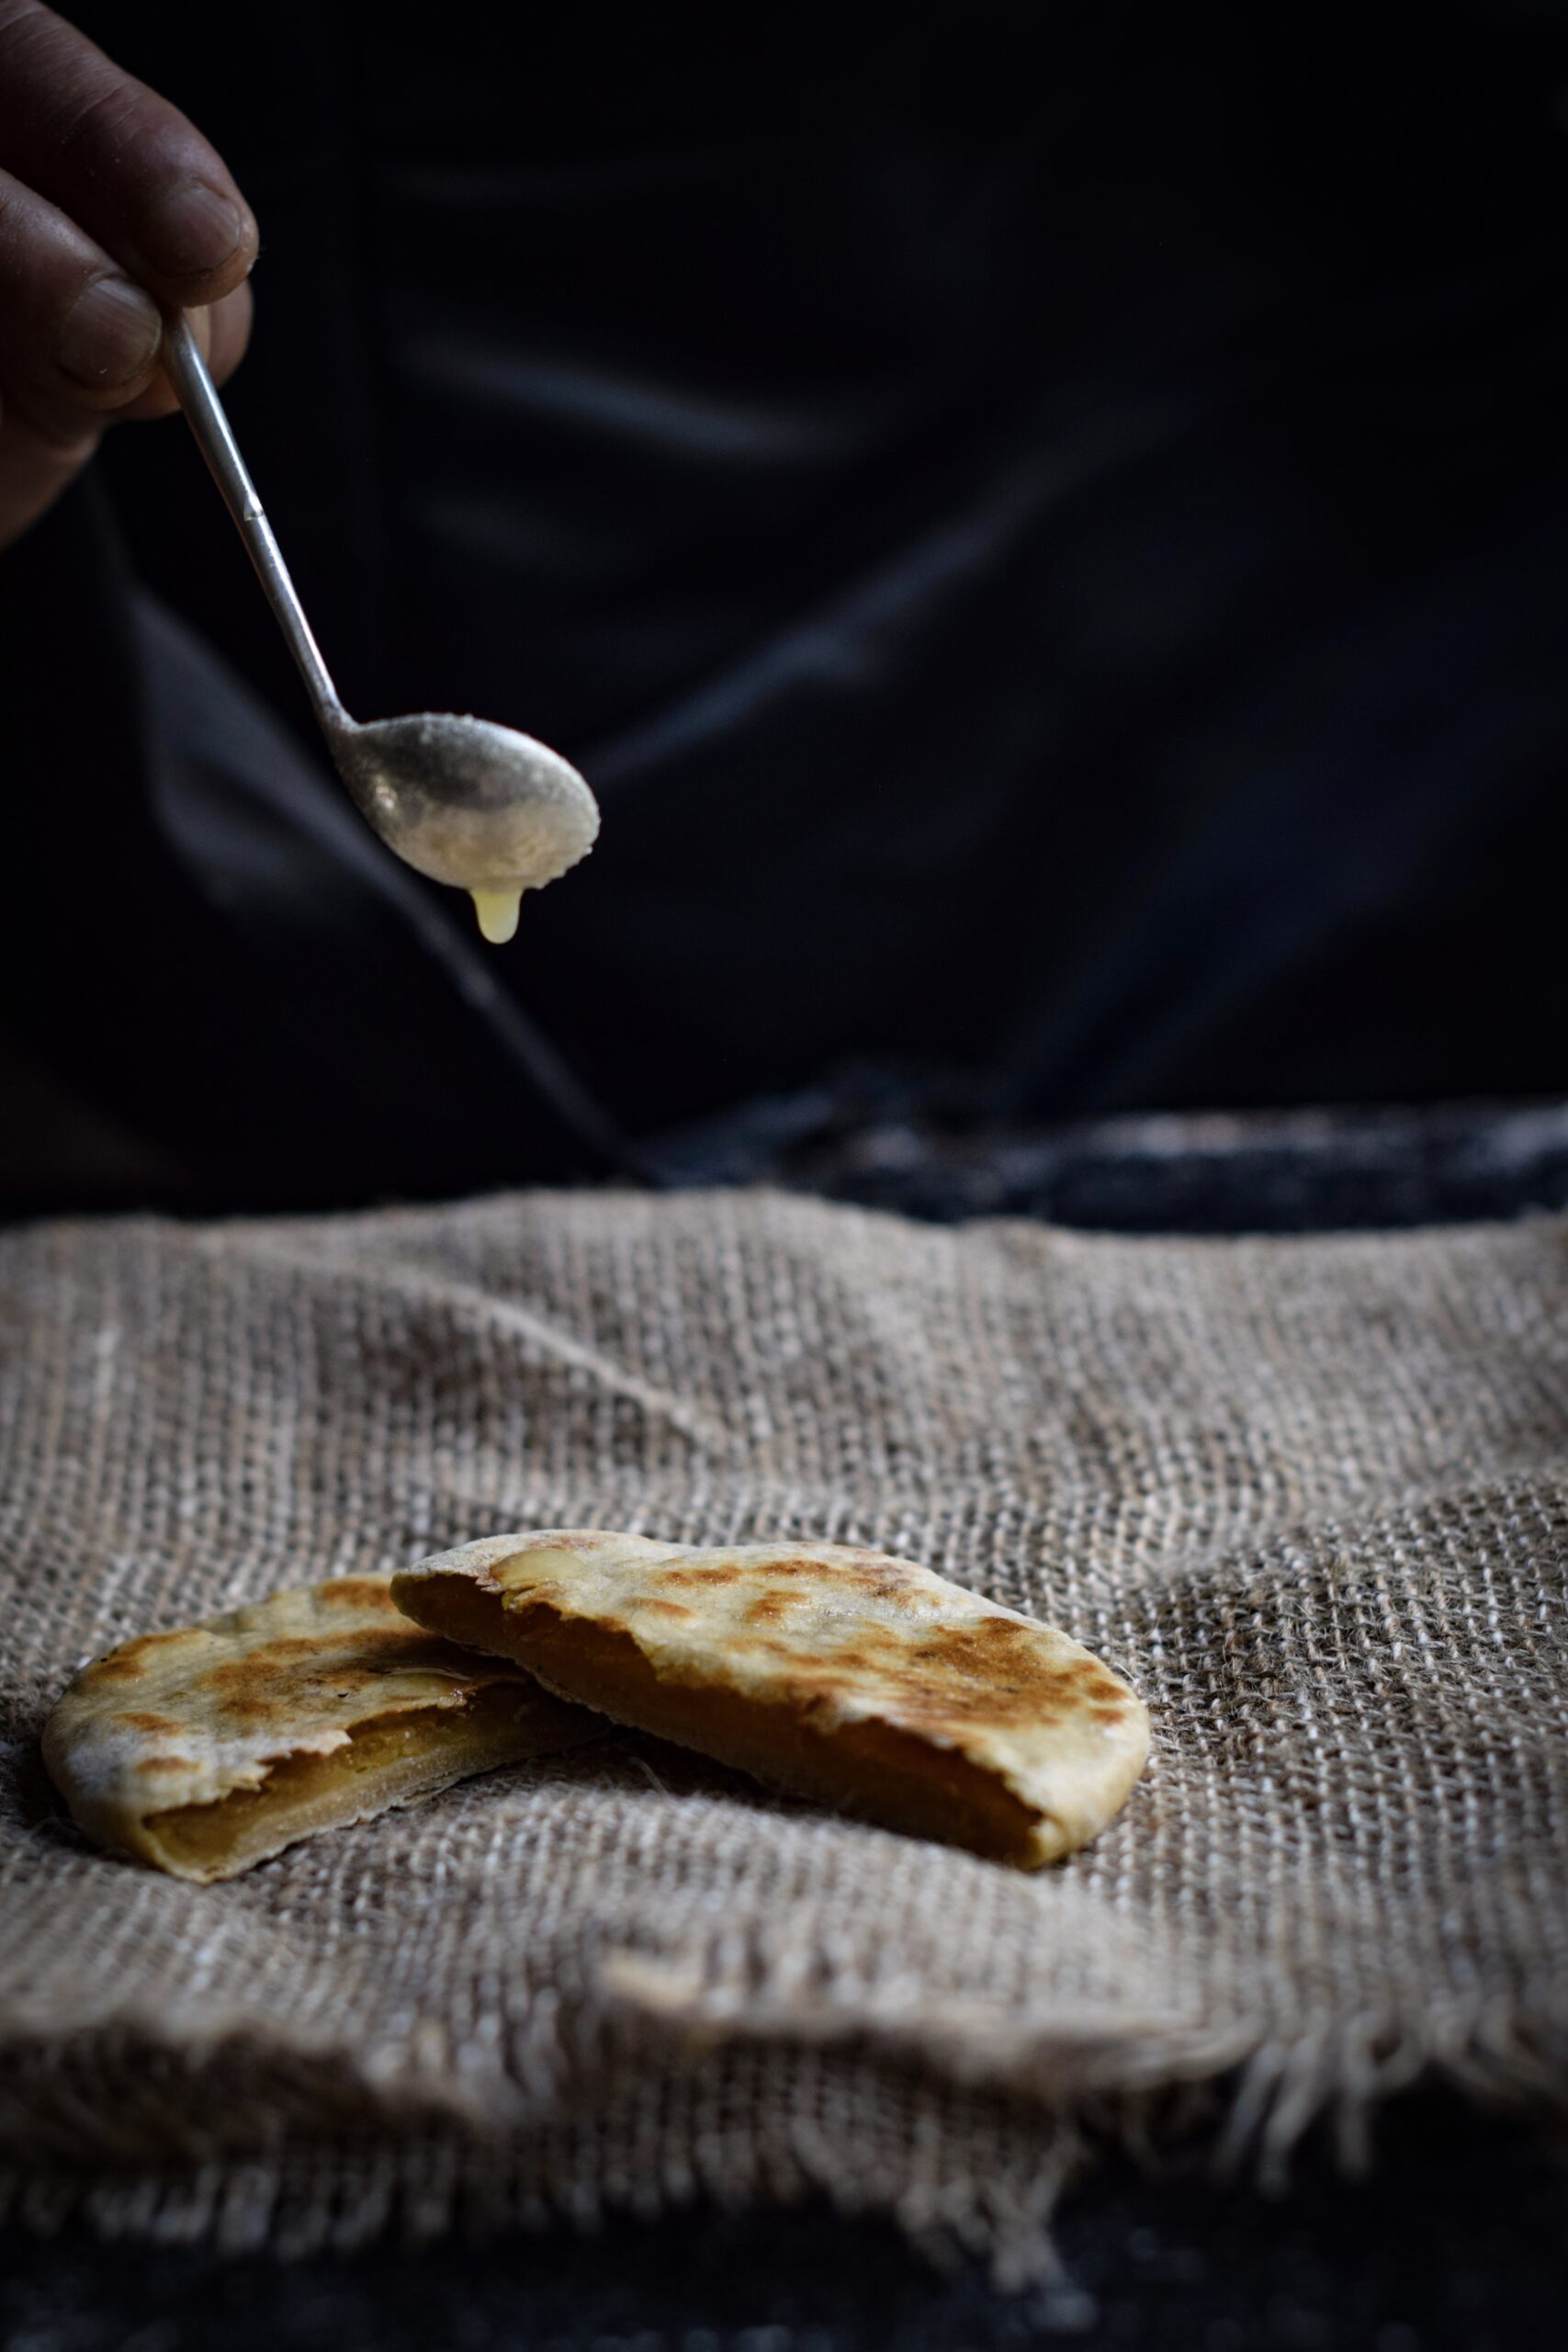
Once they are crisp and golden, remove from the pan and let a trickle of ghee melt onto the bhakri. Serve with tea. They also travel well, so consider packing them for journeys. As my mum would say, a well-made bhakri will be like an easily chewable cookie – it can be eaten comfortably both by the elderly and by children alike.

Puran Poli

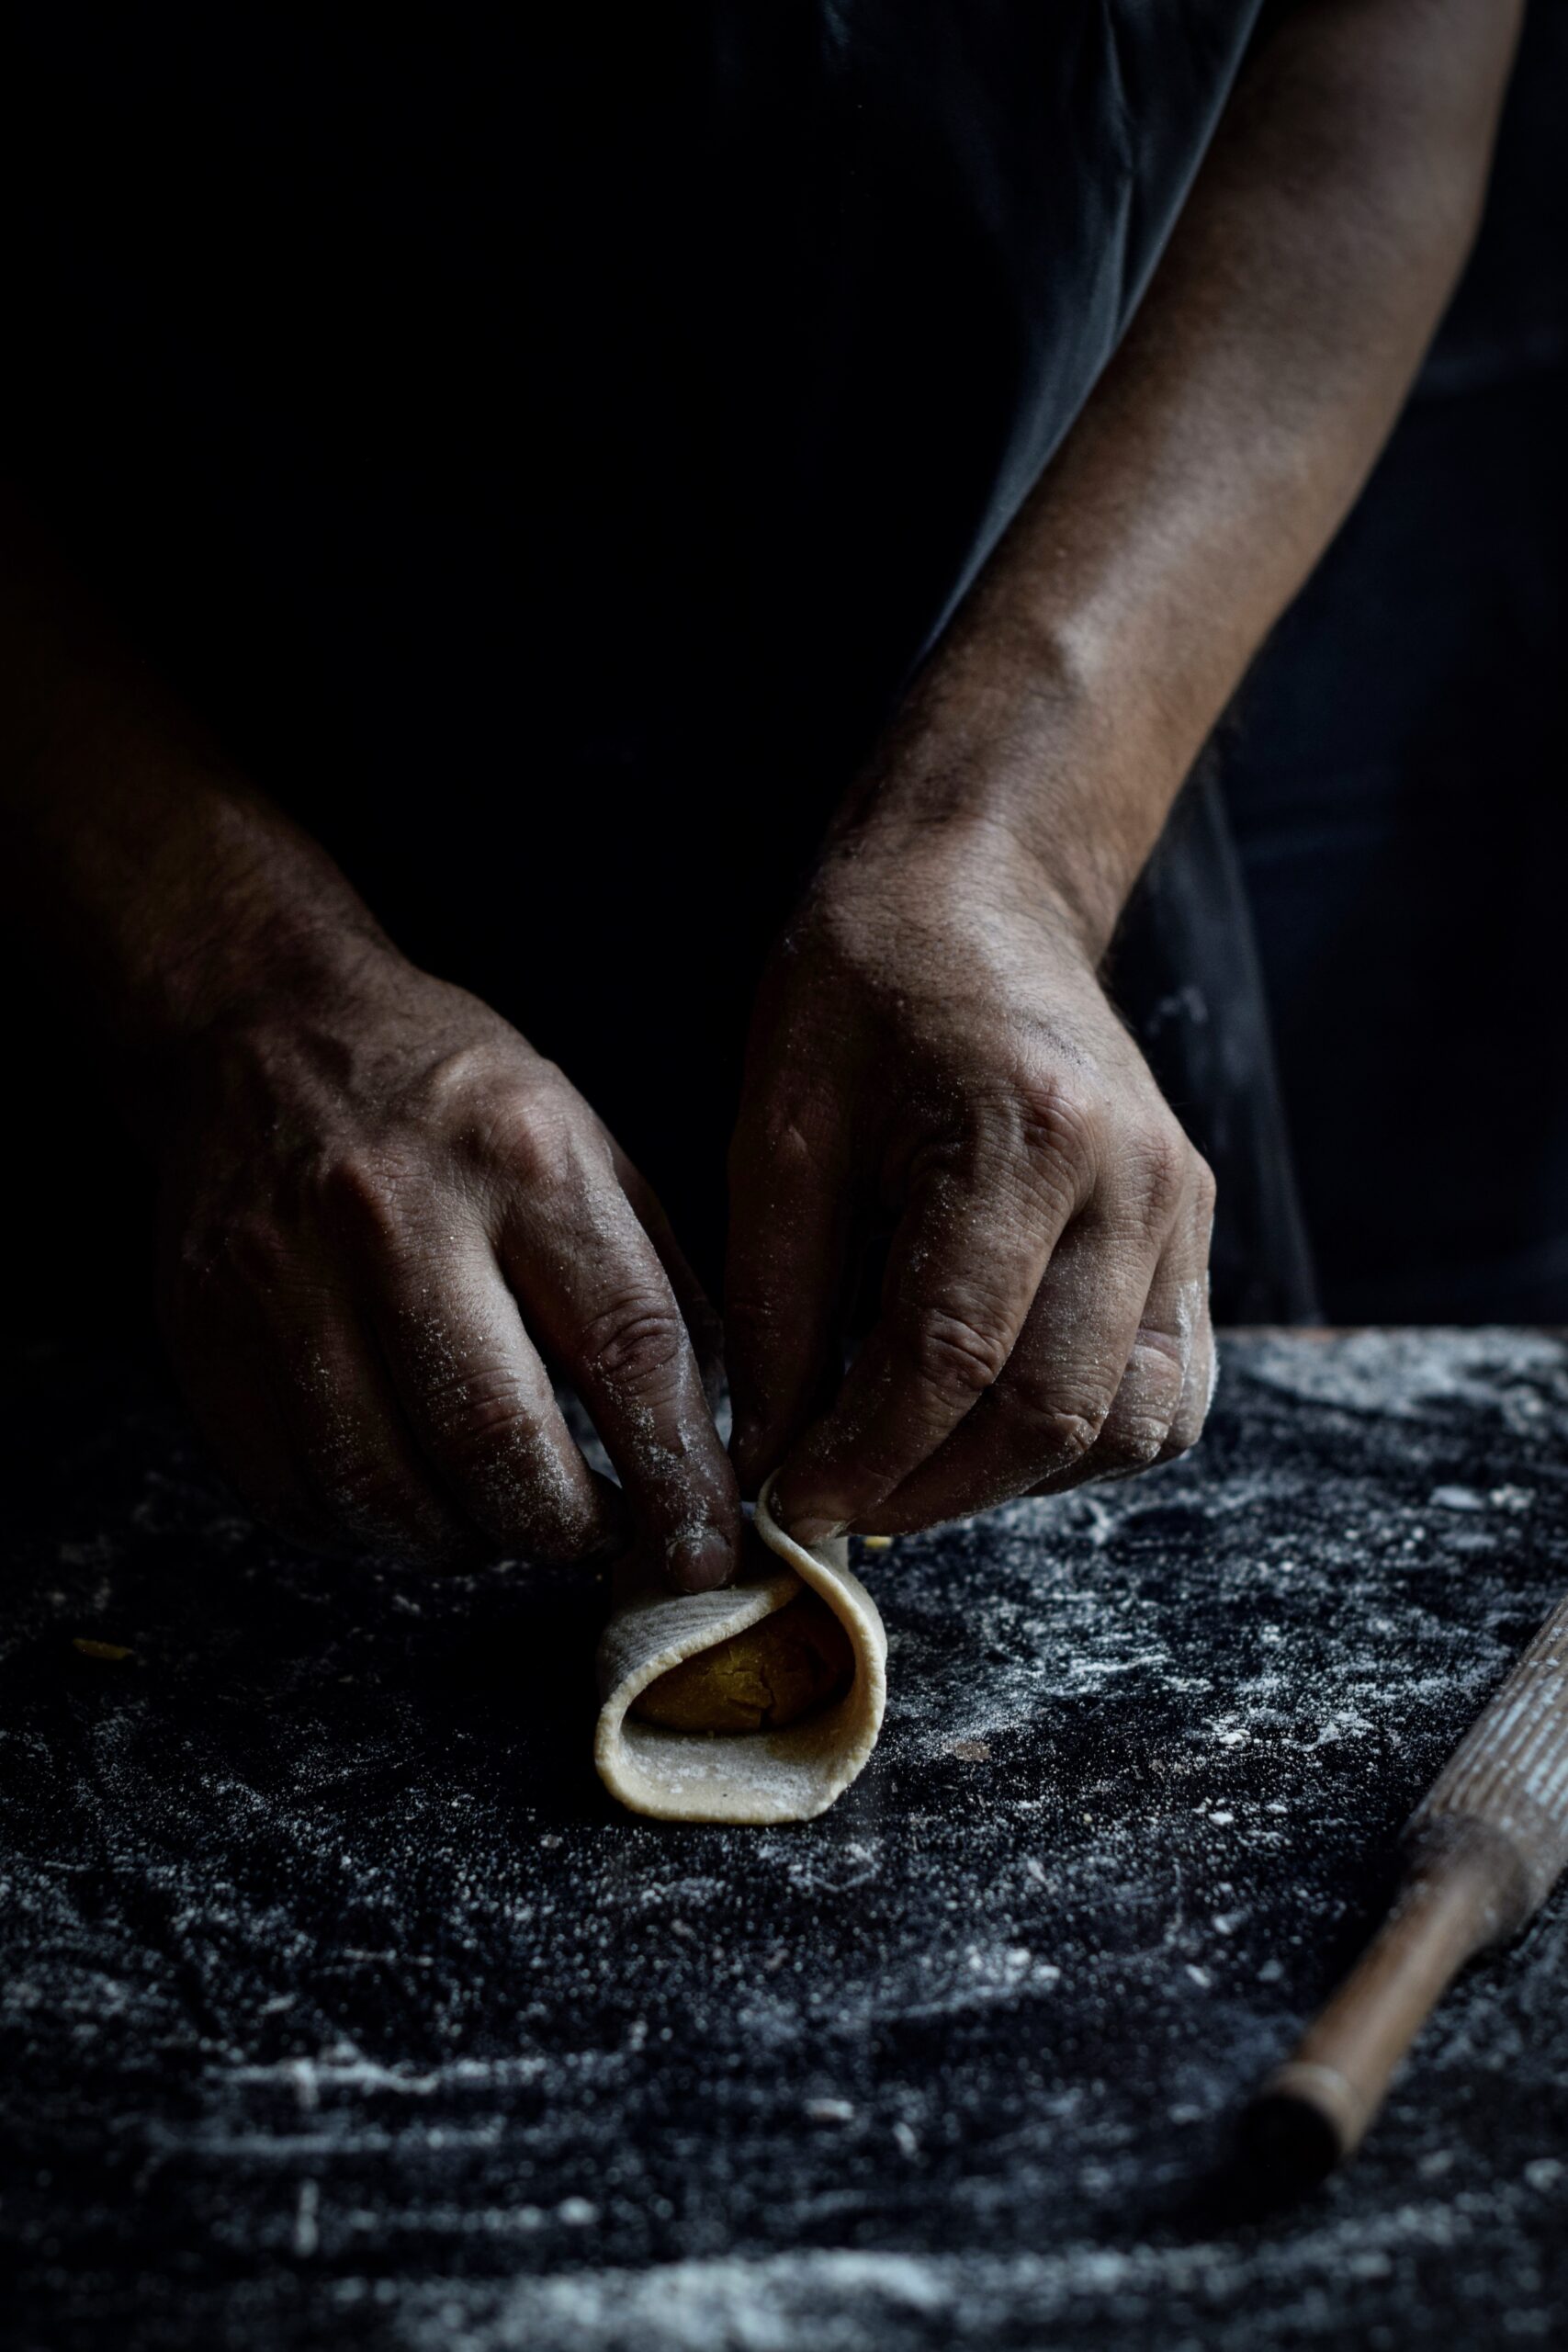
Sweet, stuffed and festive, the puran poli is enjoyed not just in Gujarati cuisine but throughout India. Made of toor dal (pigeon pea) and jaggery, it is a stuffed and folded variant that is half-roti, half-dessert.

Juwar & Bajra

It’s only after years of practice with the other rotis that one comes to seasonal variants like juwar and bajra, which are even more difficult to make, let alone master. Gluten-free, the juwar roti is made of sorghum flour while the bajra roti is made of pearl millet. These thick flatbreads were traditionally eaten during winters, roasted on a charcoal flame and thus imbued with a different flavour. They were most often relished with a thick layer of white home-churned butter and sugar or jaggery. Leftover juwar and bajra make delightful, healthy cereal when crushed and eaten with milk.

*

Many Gujarati rotis were created to satisfy two specific purposes: to suit the extremely dry summers and cold winters, or to be travel-friendly, a fact proven all the way from the traders of yore to families like mine who took cross-country train rides. Whether unpacked during a picnic or a road trip, or eaten fresh and piping hot from the stove, the roti satisfies.

Throughout the subcontinent, we eat with our hands. According to Indian philosophy, the 5 senses are at our fingertips, and the act of eating activates all of them. Eating is truly a multi-sensory experience: presentation, ambience, mood and texture (even the texture of the thaali or plate – is it silver, terracotta, bell-metal or steel?), who serves us, who we eat with, the memories we recall or create through the meal – all of these matter as much as the taste itself.