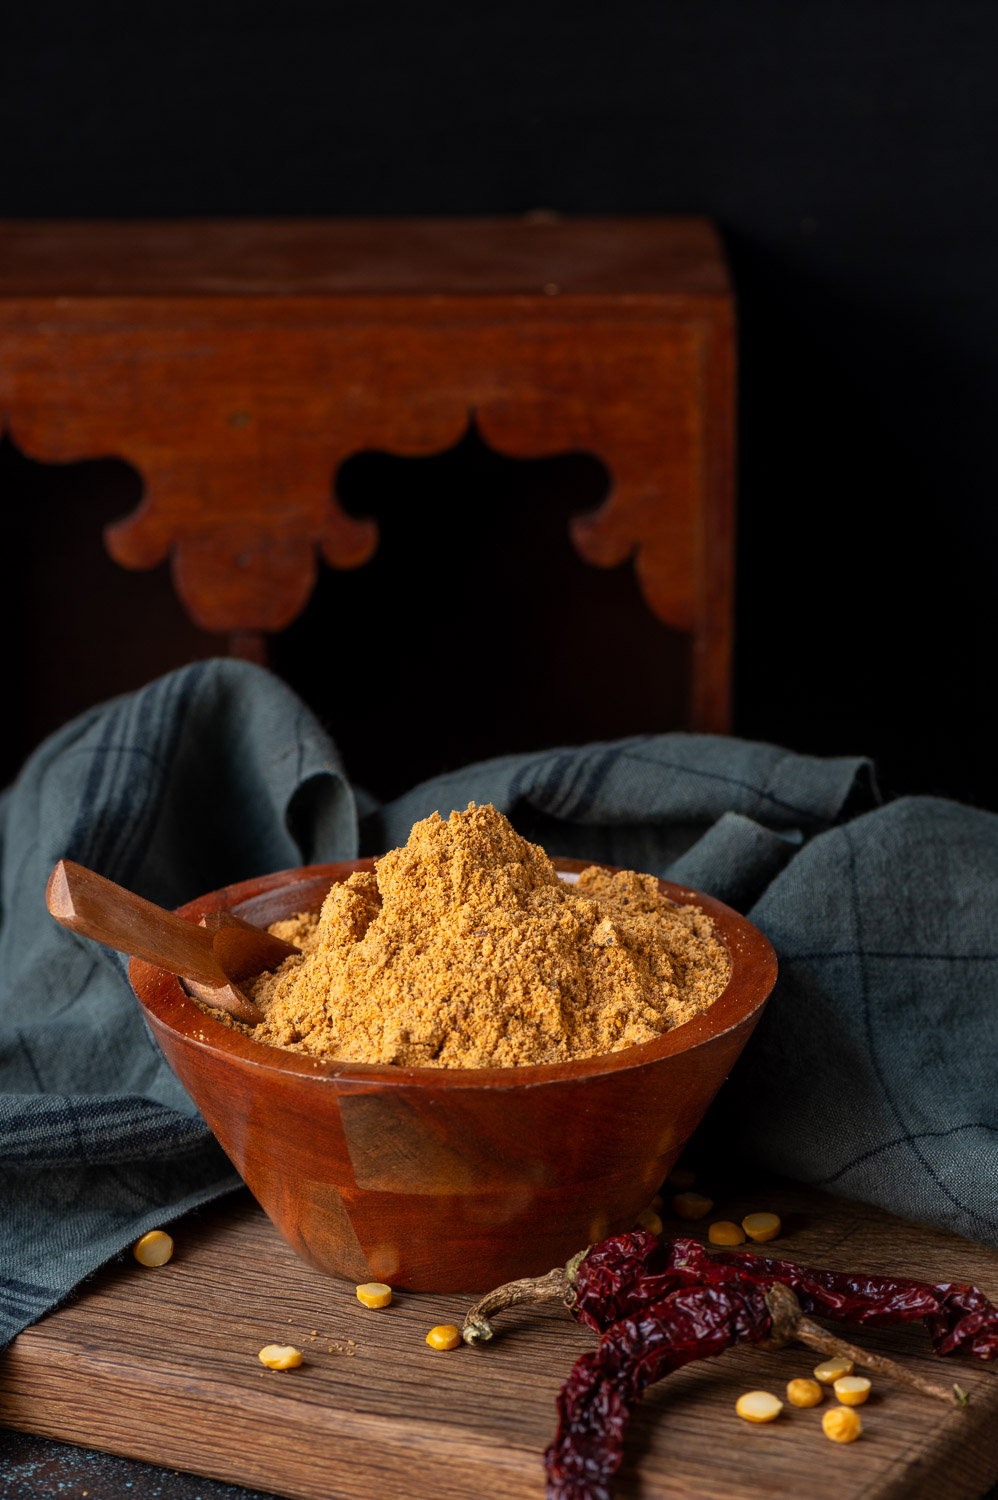
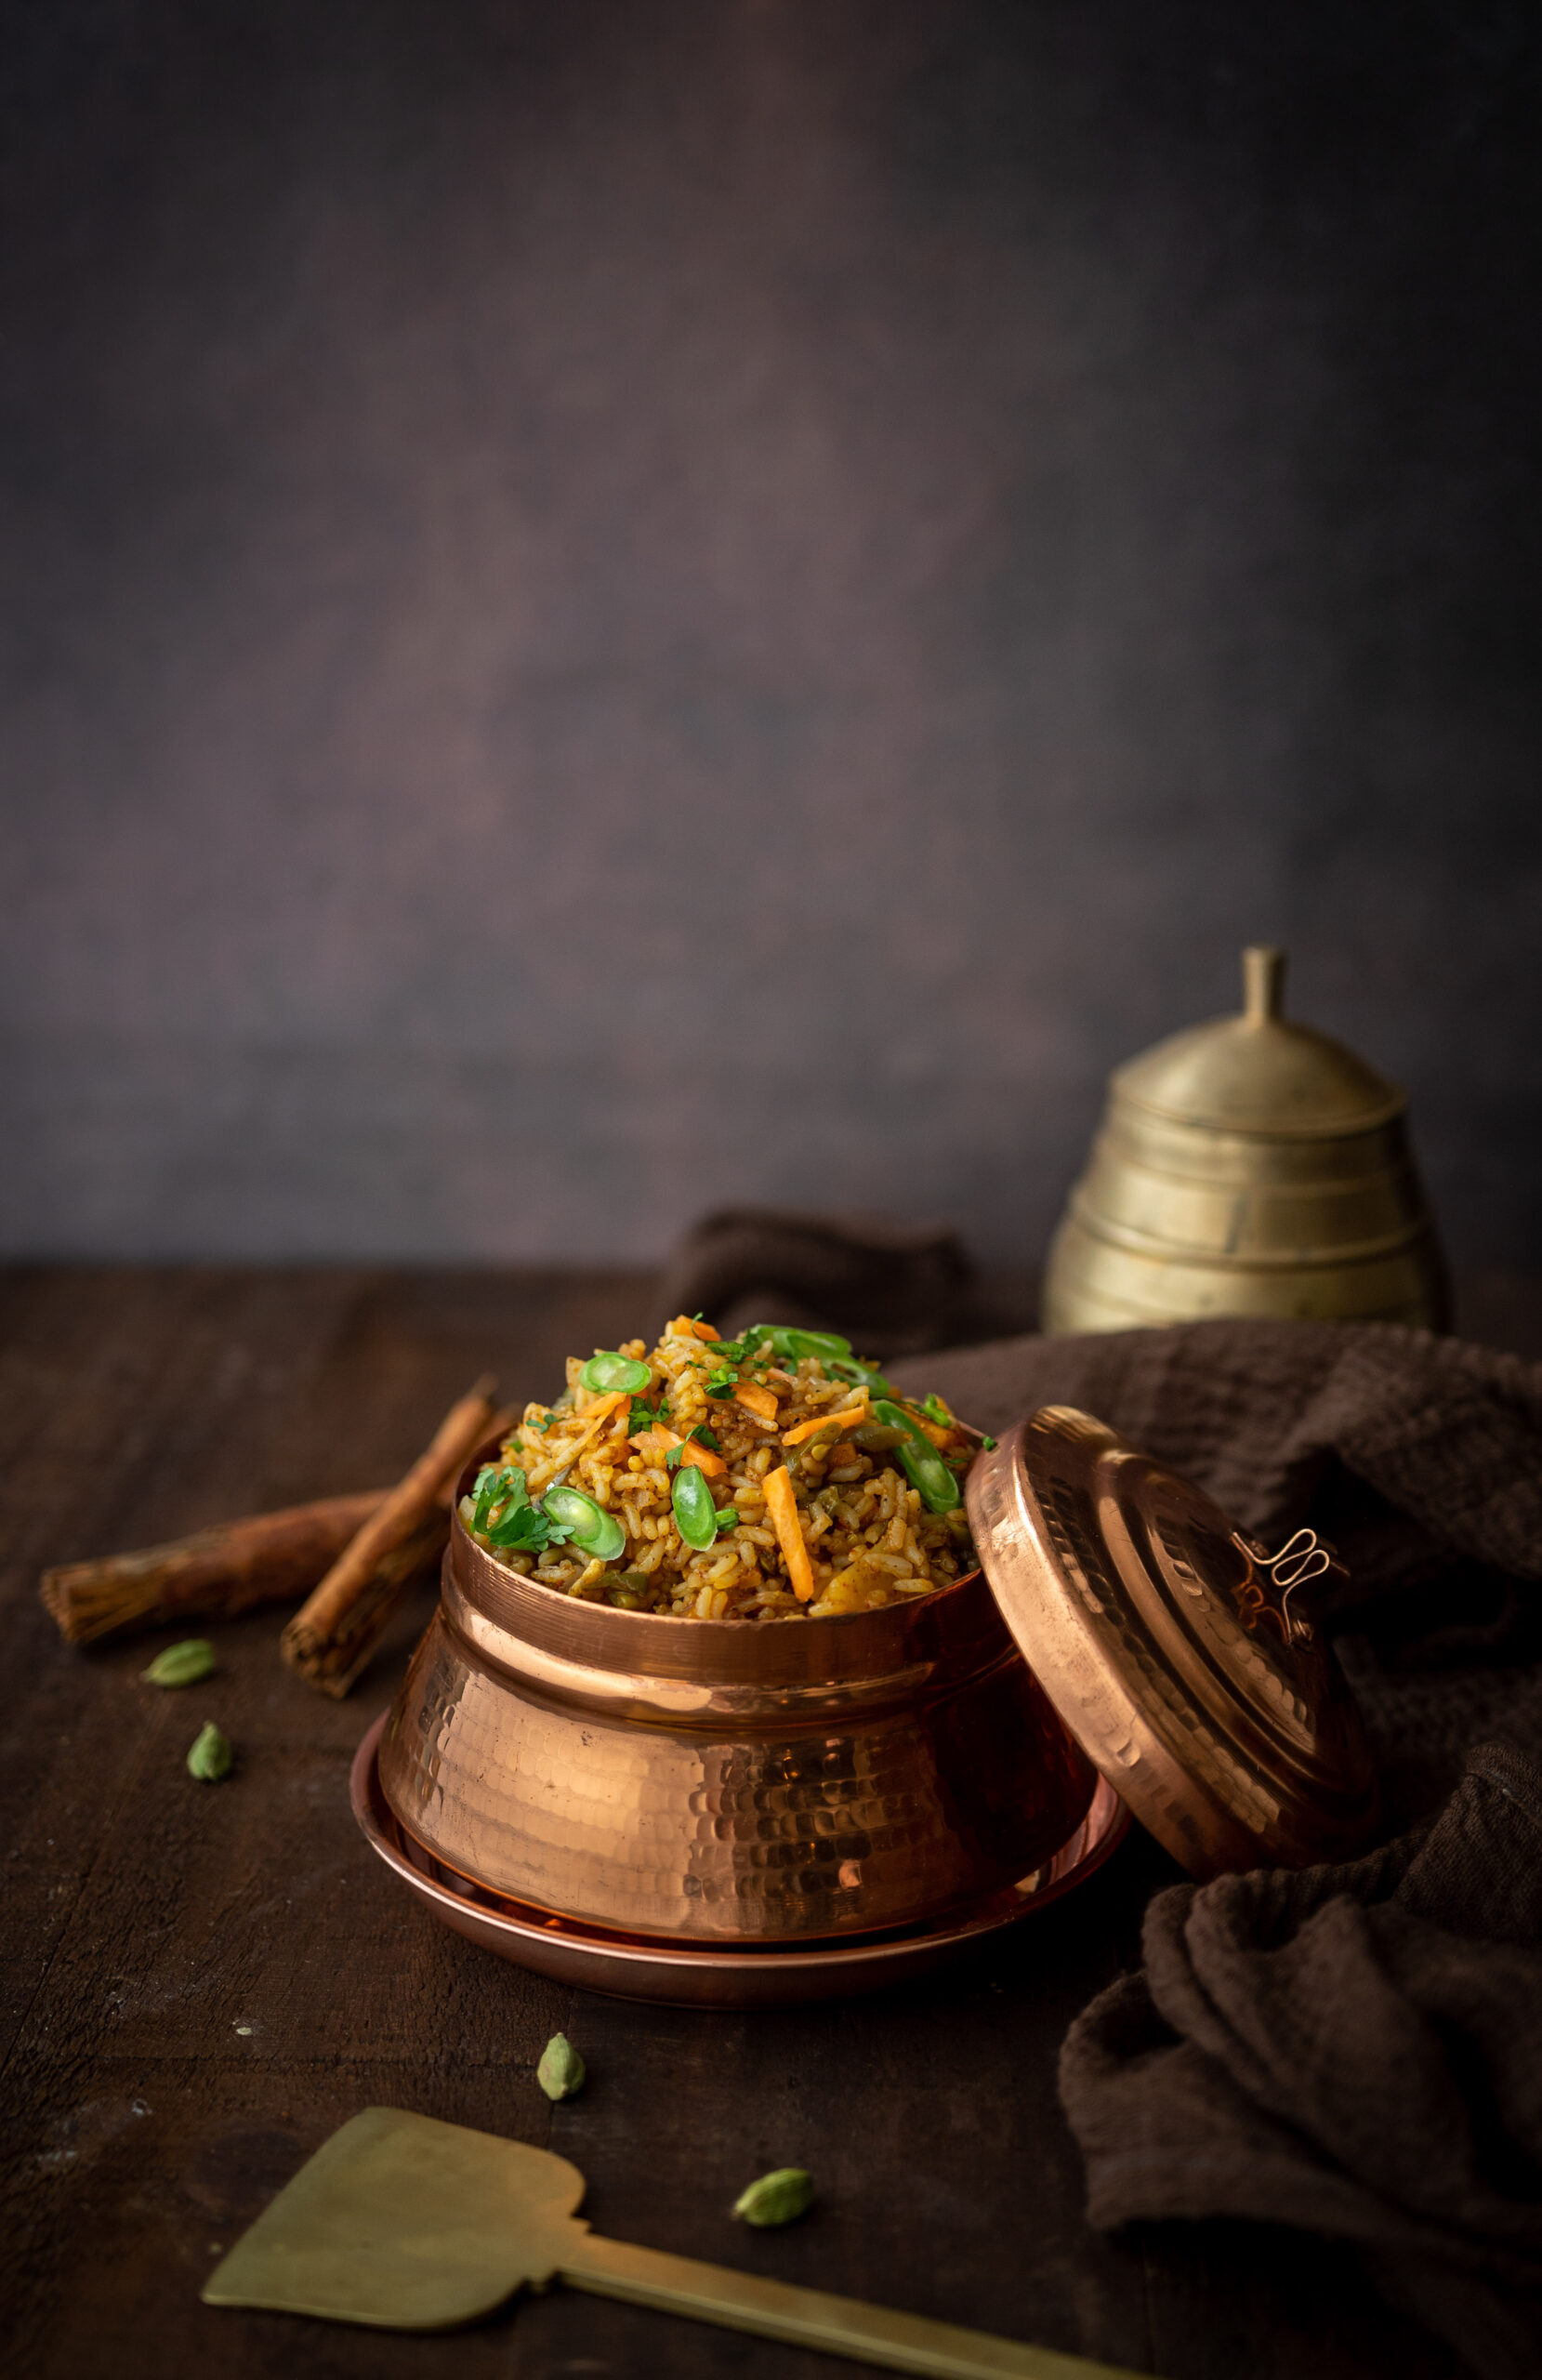
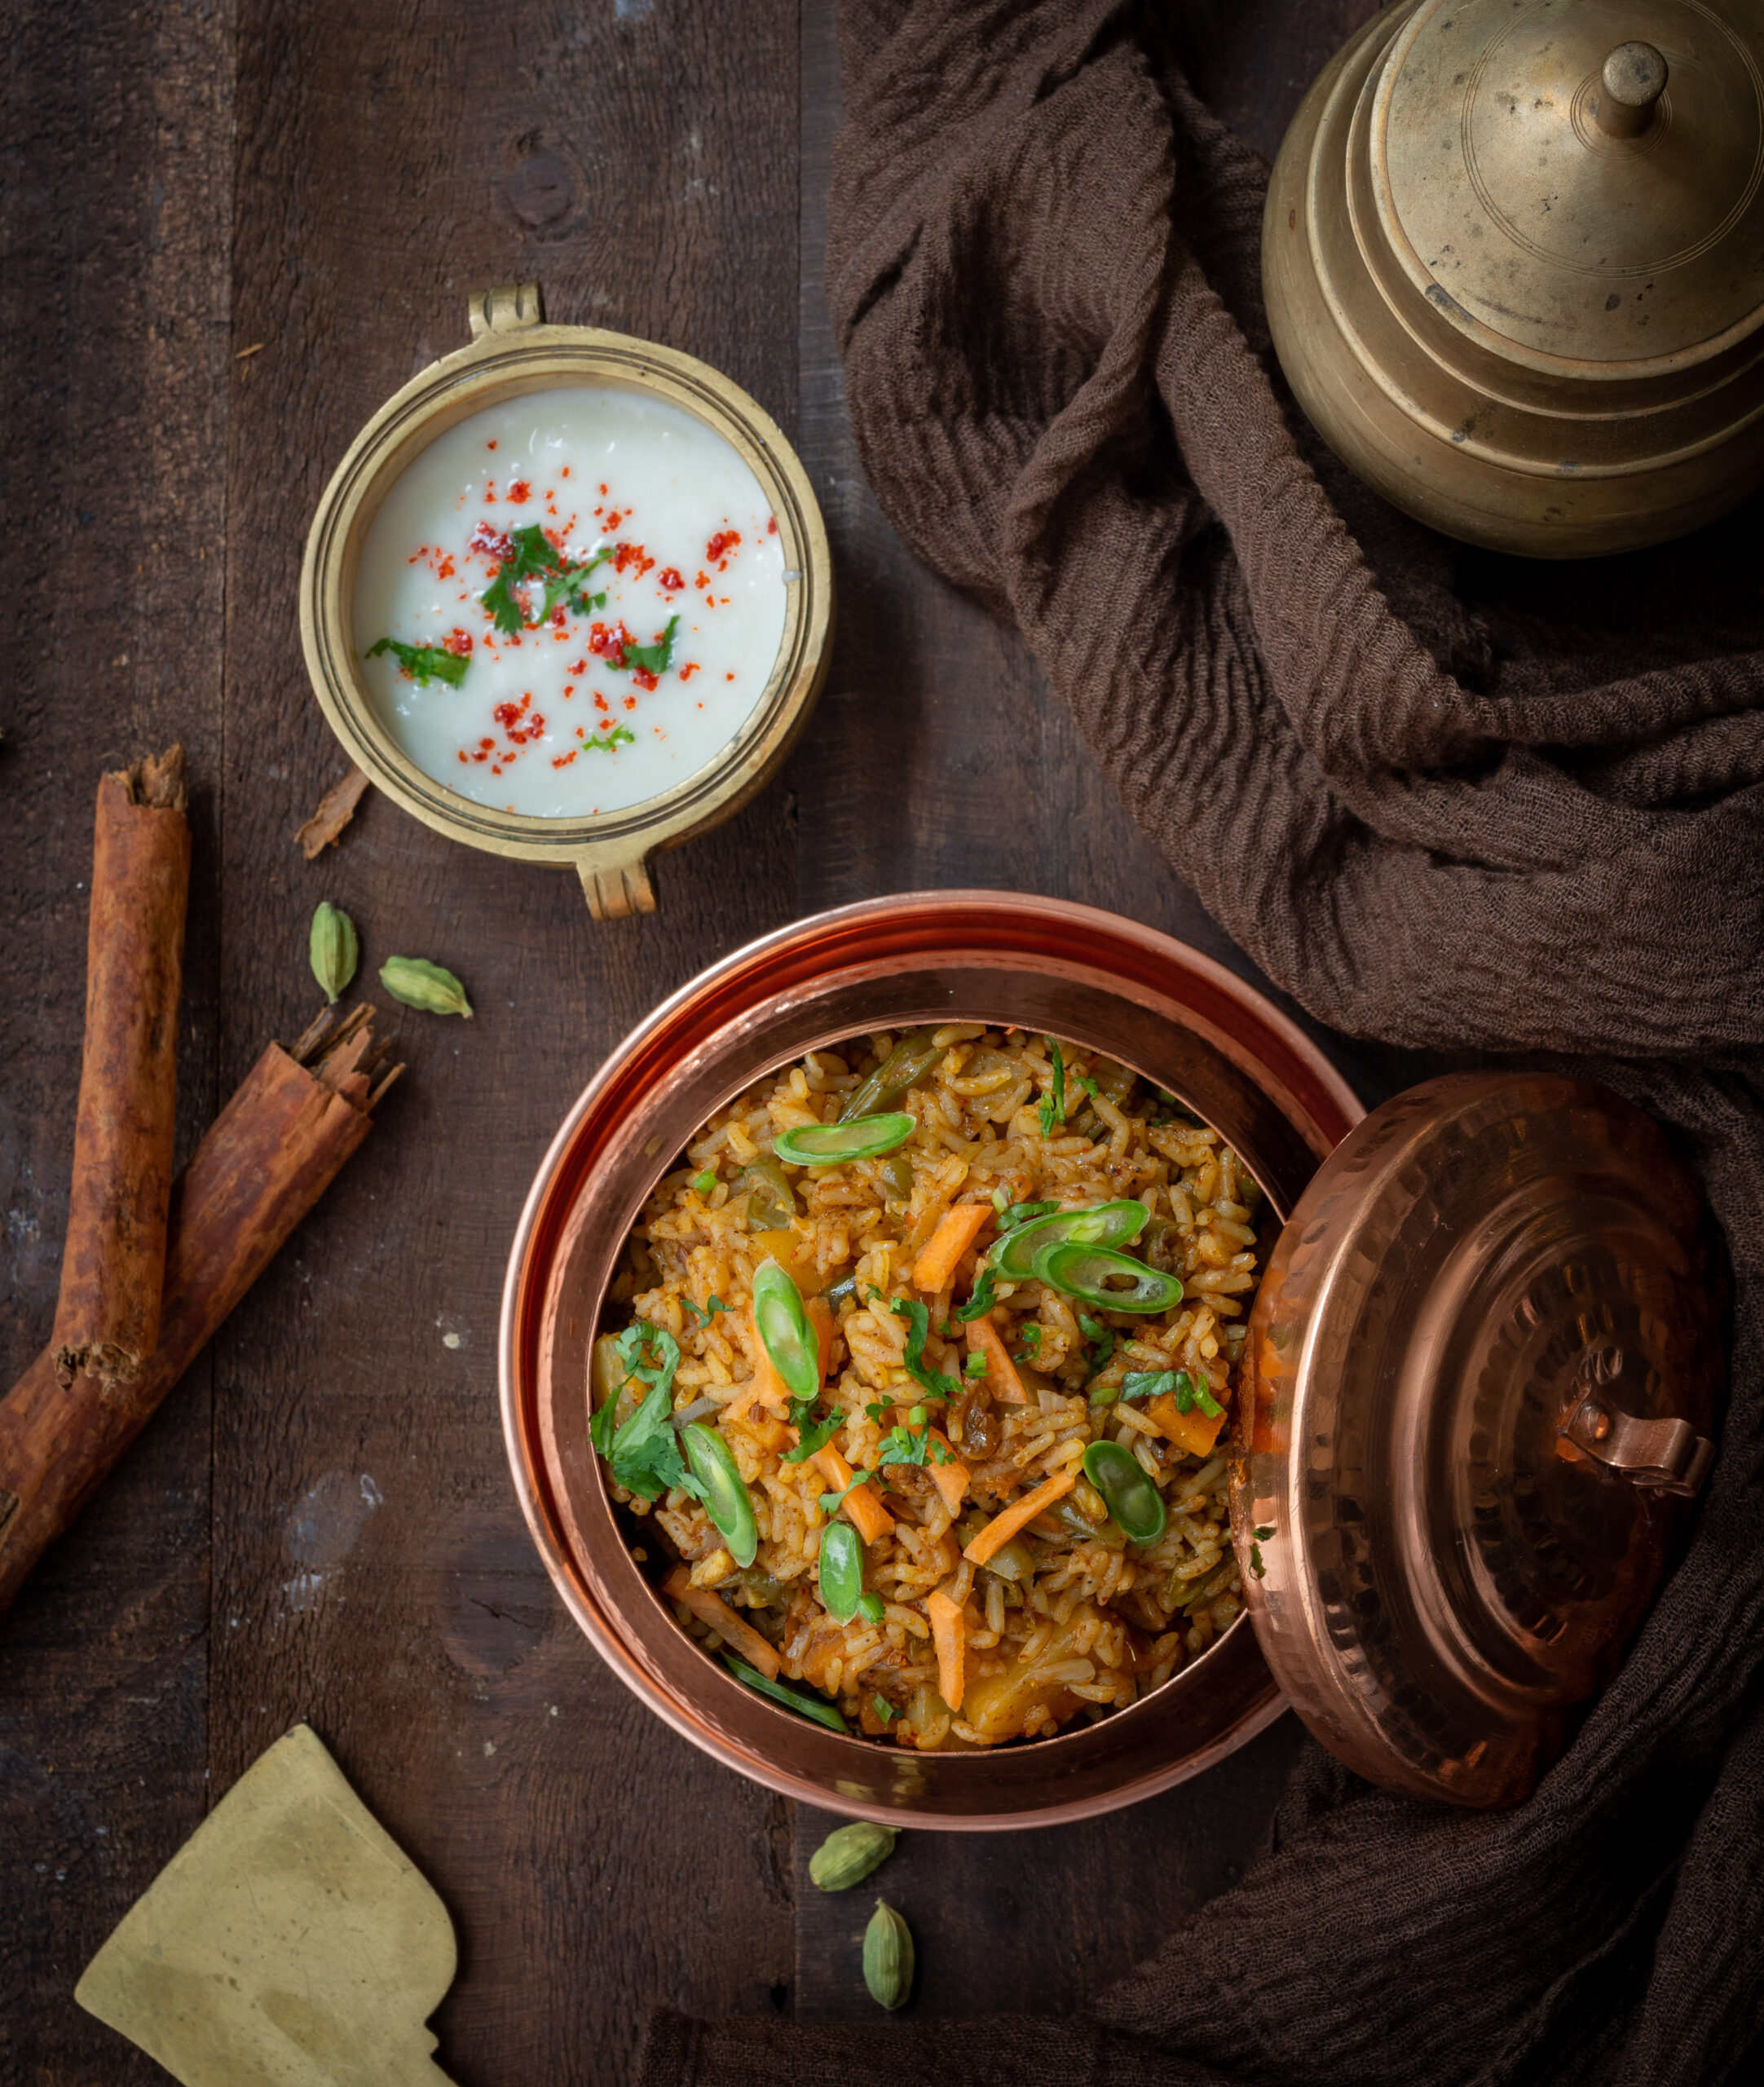
My son who lives abroad often tells me how much he craves home food, or Indian food in general. As I do for all my children, there are certain special dishes that are prepared without fail during their visits, depending on their individual preferences. This son’s favourite is biryani, which means that I make it very often – and very happily, I might add. So much so that I began to roast and store the masala, or the spice powder, myself too. This biryani masala powder is versatile, and can be used with a wide range of biryani styles.
Biryani is a pan-Indian rice dish invented by the kitchens of the Mughal empire. In its original form, it is basically highly flavourful rice cooked with meat. Across the country, versions and variations of this basic concept – with and without meat, and utilizing different rice grains, particularly short and stout ones like samba or long ones like basmati – have pride of place. I continue to encounter biryanis that are new to me, such as a fish biryani that I had at a friend’s place not long ago, which I had never been aware of as a dish prior to that meal.
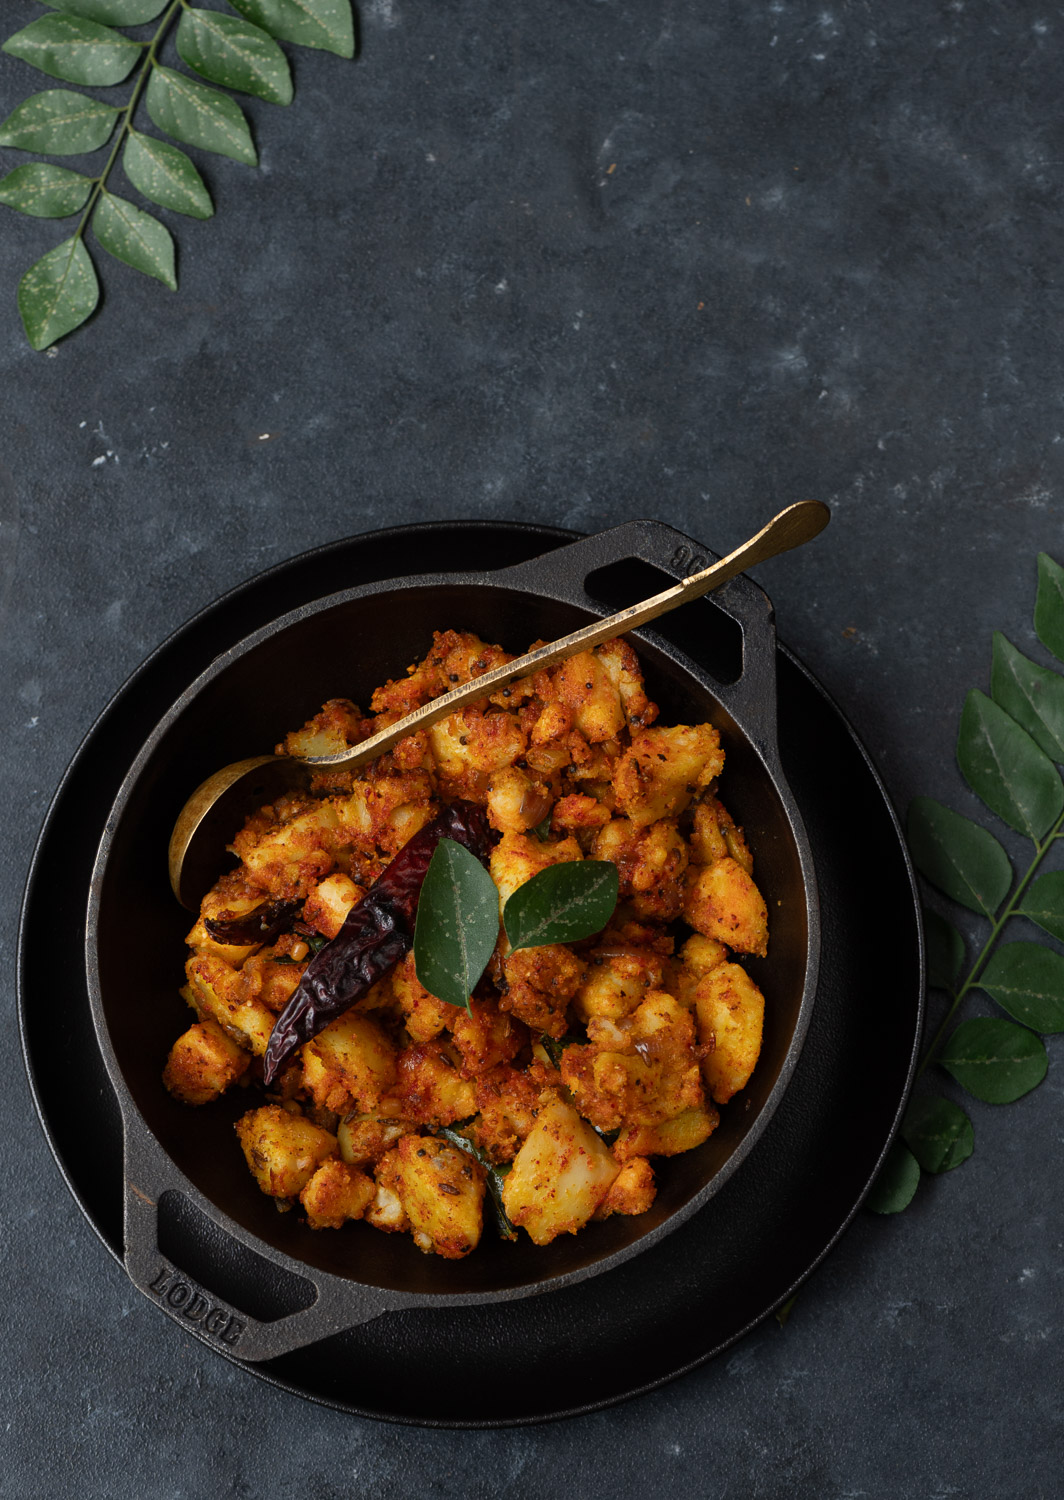
My son prefers chicken biryani, and given that our household is primarily vegetarian, I can attest to how this masala can be used in more than one biryani rendition – to equal success. I have shared a vegetable biryani recipe in the past, which happens to be my own favourite. You can certainly use the biryani masala recipe below for either or both, as well as with other core ingredients.

I realise that these days biryani, once a royal enjoyment, has become a much more accessible and affordable dish. In fact, it is now a widely available form of street food. All around Chennai, I notice tiny little counters and kiosks, if not full-fledged shops, serving biryani. I must confess that I am wary of these. While the food is tasty, I love heaping vegetables to my biryanis and making them as wholesome as possible. This is true even when I am preparing meat versions for my son. Biryani itself is quite a rich, heavy dish, and balancing out the nutrition content is important to me. This is why I choose to make it at home whenever possible, despite the temptation of store-bought meals.
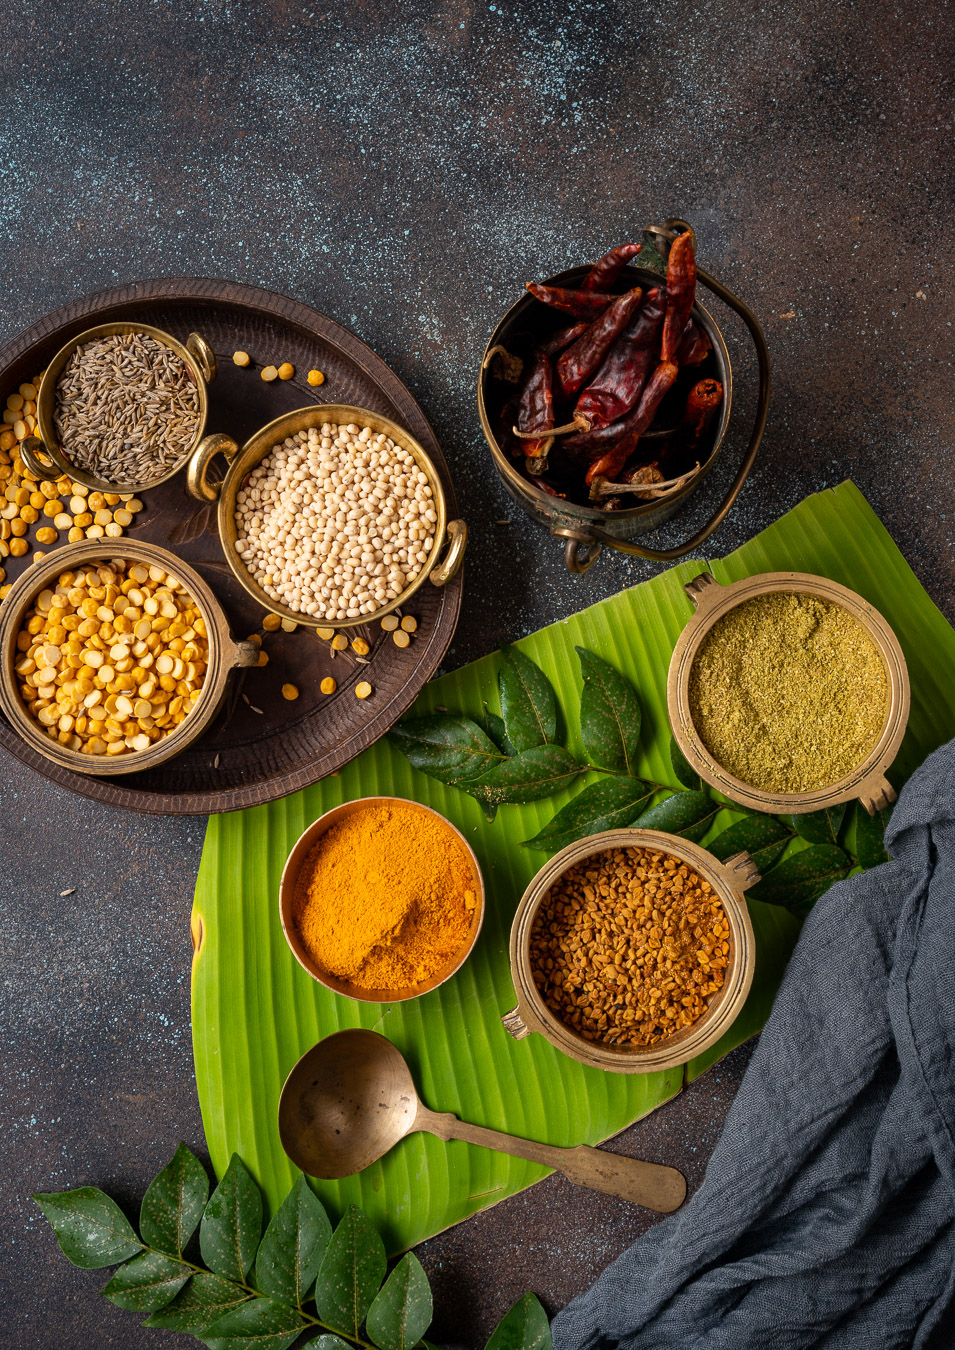
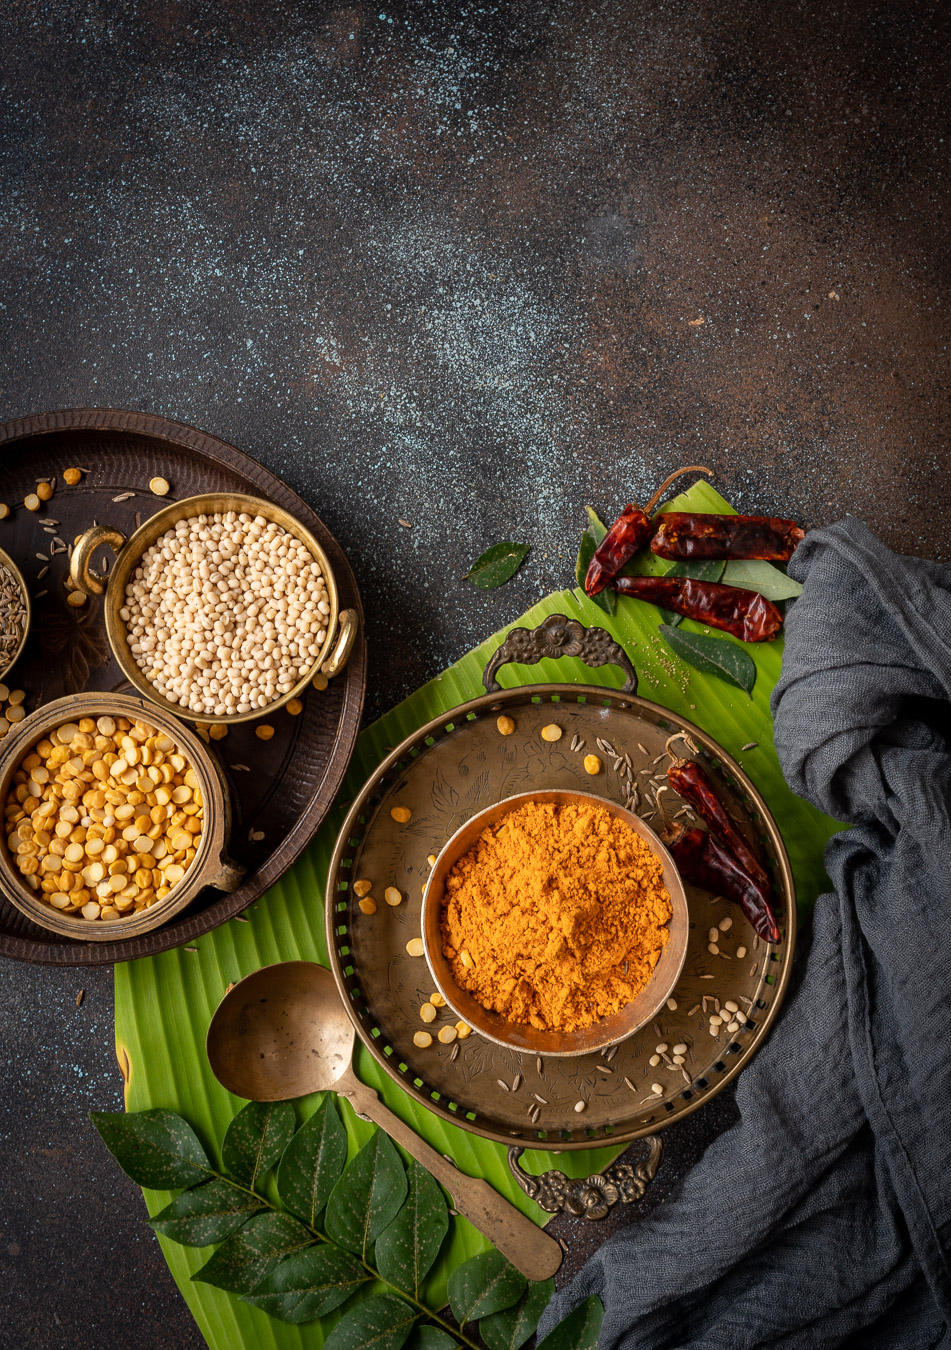
Similarly, making my own spices is something I really enjoy doing. There is nothing like the aroma that rises when they are freshly ground. Those used in biryani masala are either intrinsic, or have at least become traditional, to this part of the world. There is a sense of doing as generations have done for centuries past: putting together a beautiful medley of flavours to add depth and taste to a dish.
There is, for me, also a sense of following in my mother’s footsteps. She told me about how Gujaratis customarily had some kind of basement or pantry for the safe storing of dry provisions, including spices, so that these could be utilized through the year. We didn’t have a basement per se, but she retained this sensibility. Grains and spices were always stored, with the latter prepared during the summer months when roasting them under the blazing sun would be most efficient. Our blender was always busy during that season. It is a practice I have made my own, and despite the conveniences of today, I hope to share the beauty of this practice with as many people as possible too.
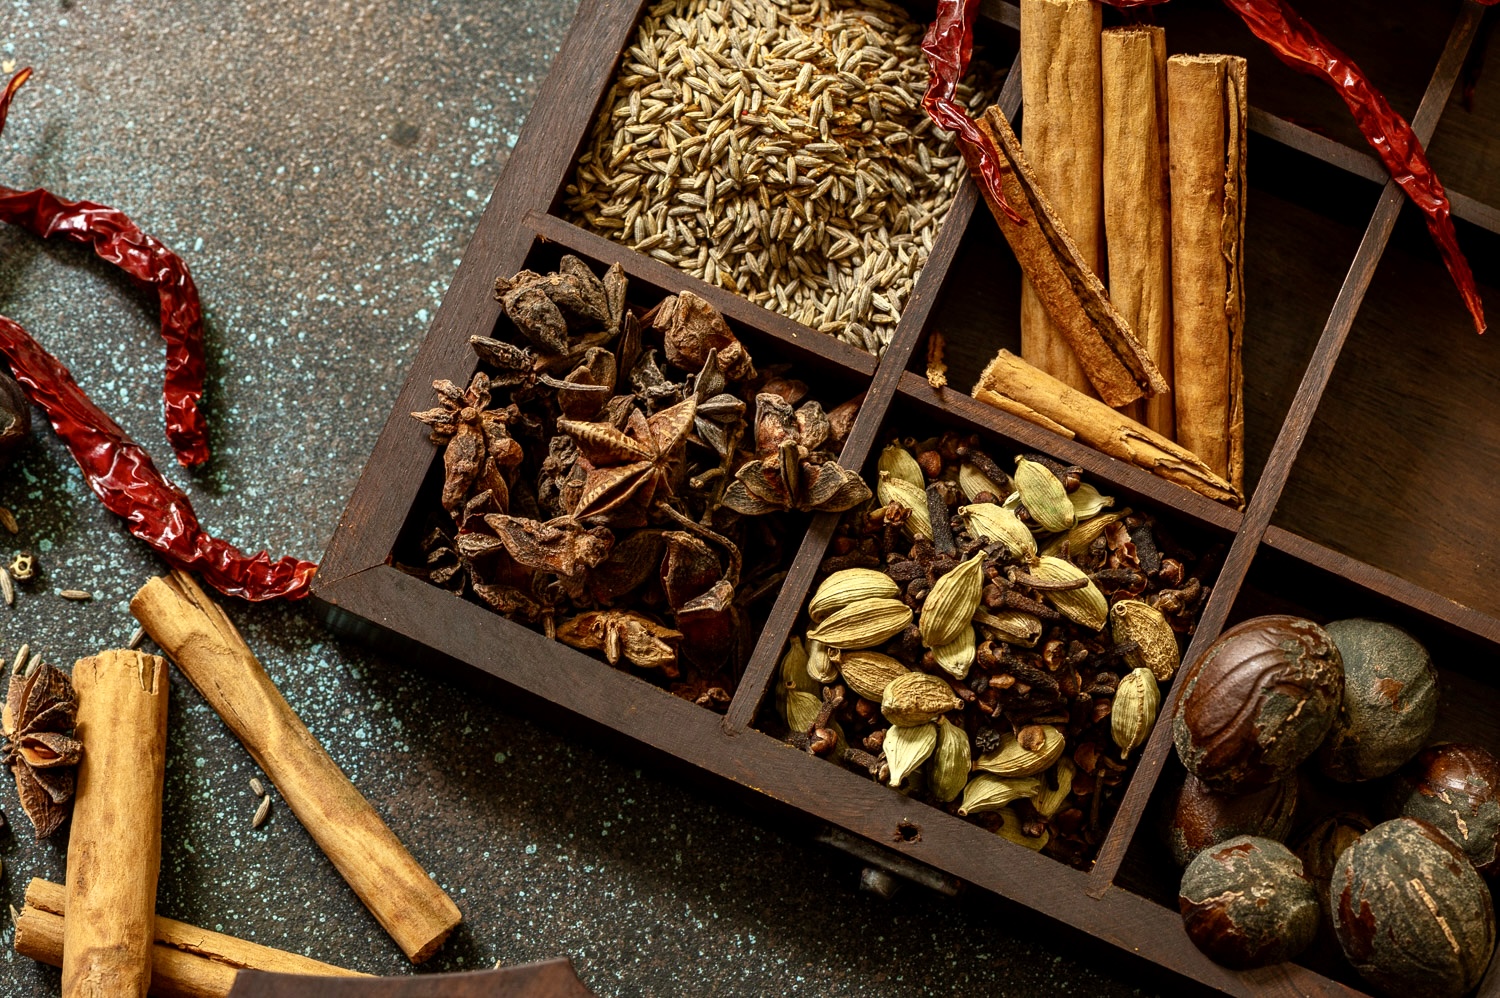
Biryani Masala Powder
(Yield: Approximately 1 cup)
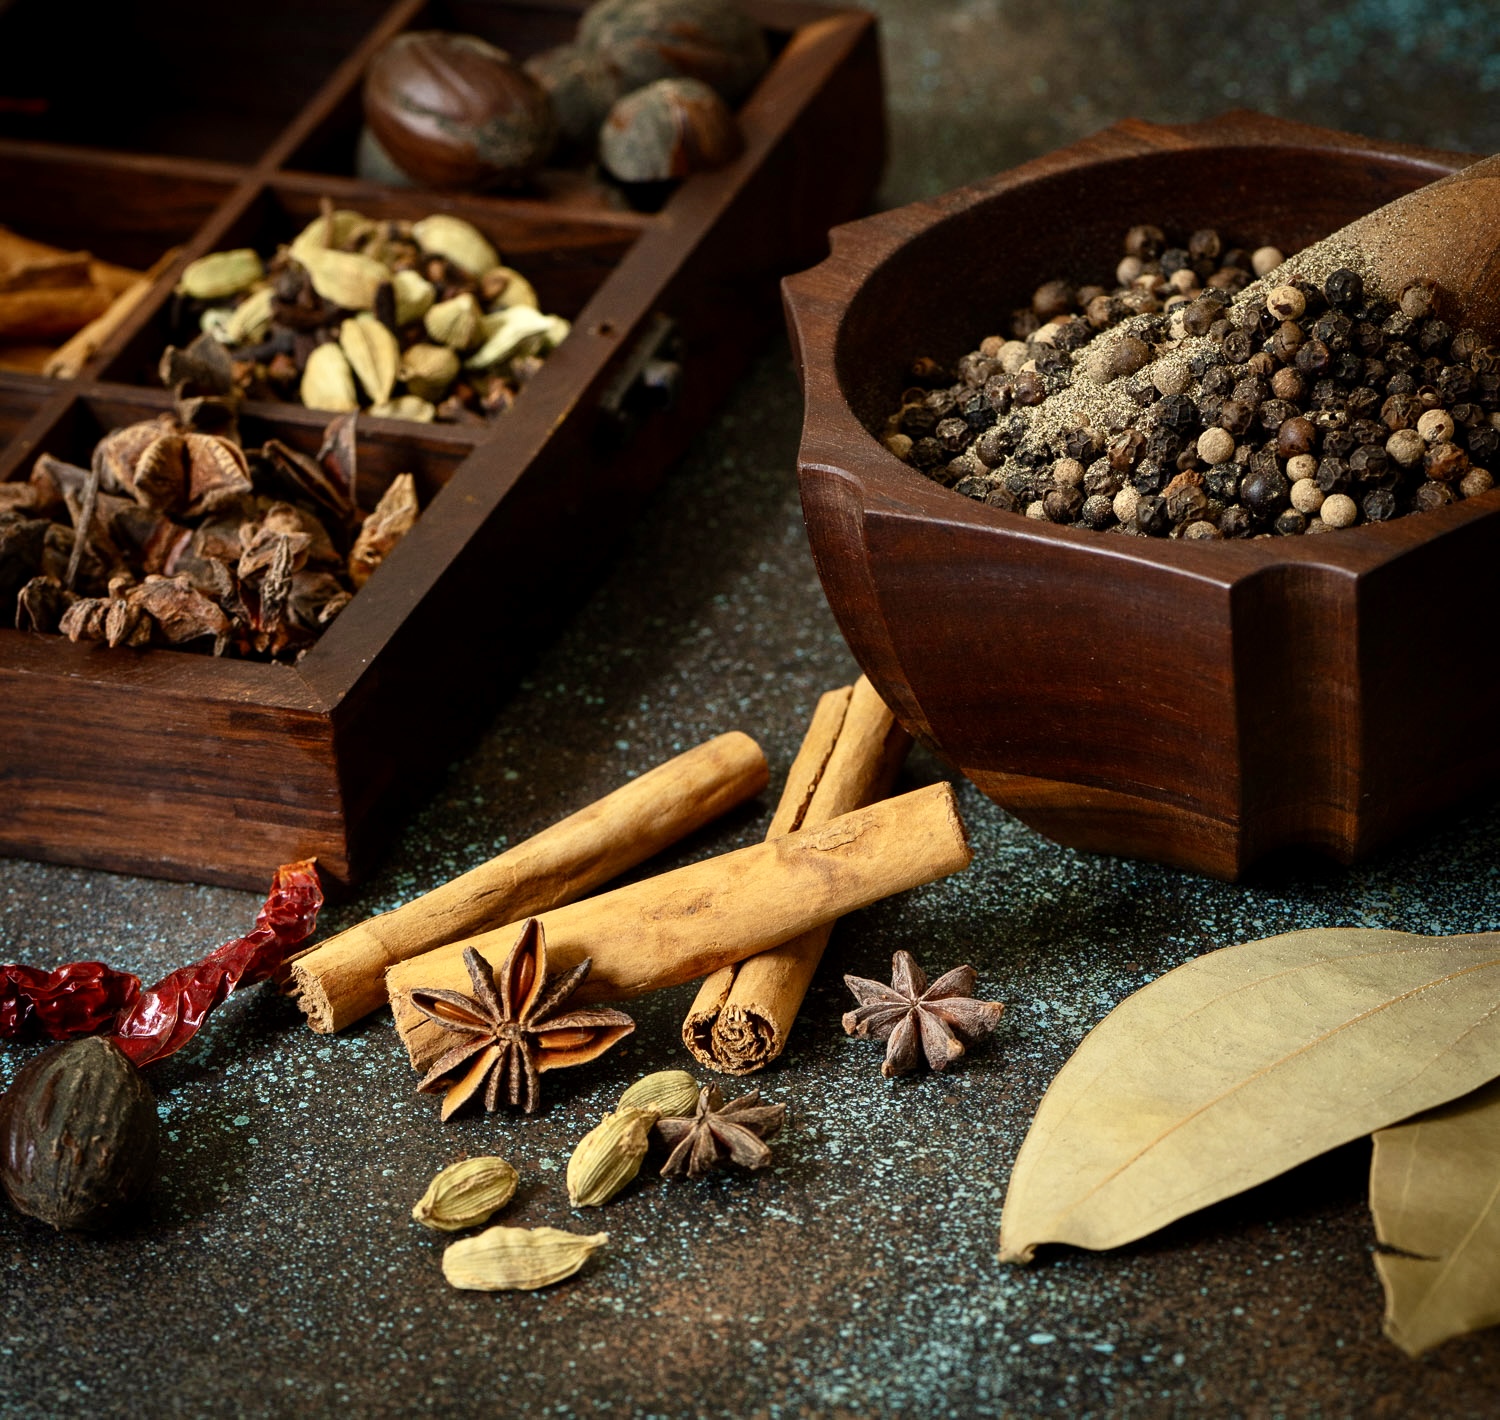
2 2-inch cinnamon sticks
10-12 cloves
10-12 green cardamom
3 black cardamom
3 star anise
1 teaspoon black peppercorns
1 tablespoon fennel seeds
8 bay leaves
15 Kashmiri red chilies
1 tablespoon cumin seeds
¼ cup coriander seeds
½ nutmeg
2 mace
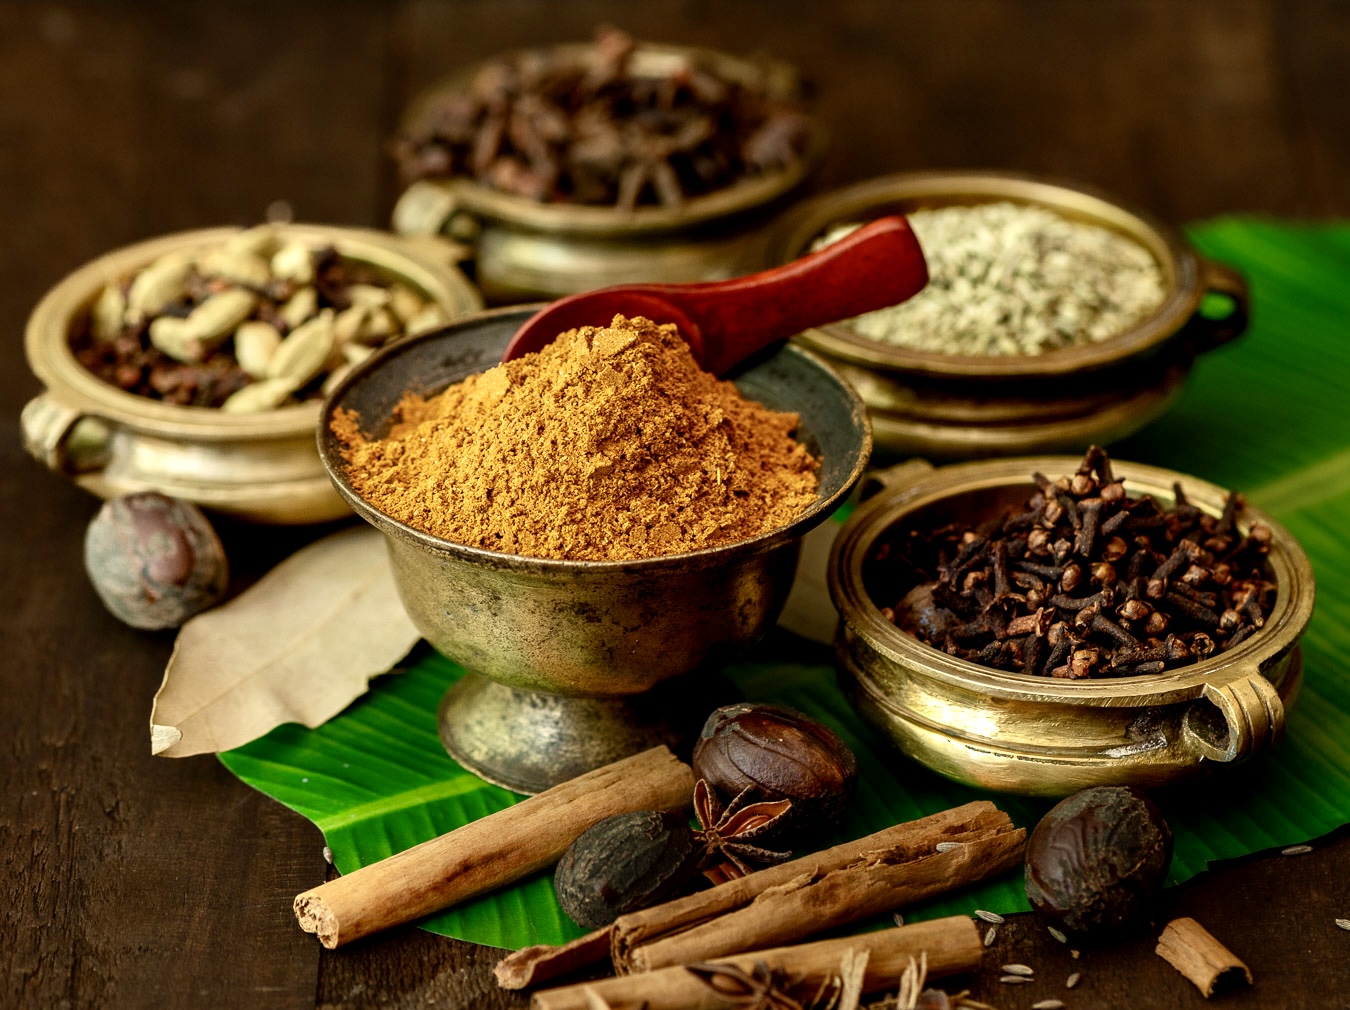
Dry roast the cloves, pepper, green cardamom and black cardamom on a slow flame. Once they release an aroma, remove onto a plate.
Next, dry roast the coriander seeds, fennel seeds, cumin seeds, nutmeg and mace. Once they release an aroma, remove onto a plate.
Finally, roast the bay leaves, cinnamon, red chillis, and star anise. Keep stirring on a low flame.
Allow all the ingredients to cool, then transfer to a blender. Powder and store in airtight jar at room temperature.
I like to always fill just a small jar, so that whatever spice or spice mix powder is contained within is consumed while the aromas are still quite fresh. I would recommend using up each batch within a month.
I hope this biryani masala powder becomes a part of many feasts in your life. You may also wish to explore other spice powders and blends I have shared earlier, including sambar podi, garam masala, curry leaf podi and coconut podi.