Tag

snacks

Browsing

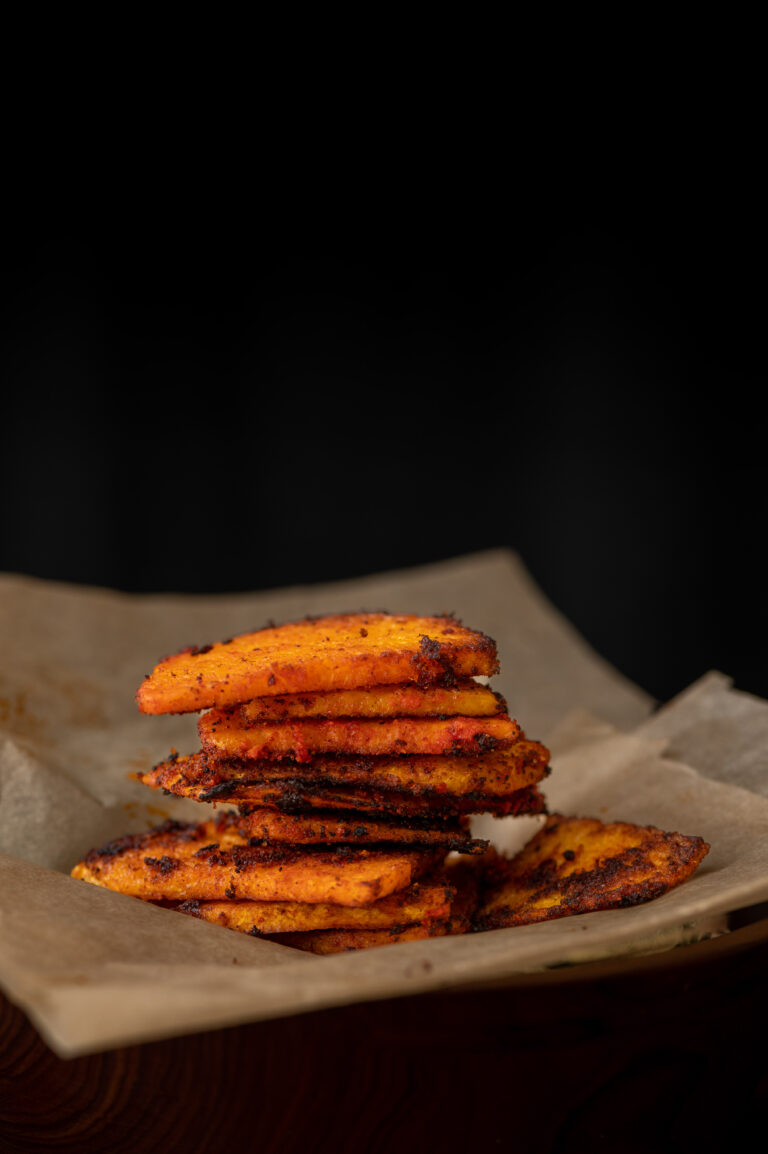
When I shared the recipe for sabudana wada last week, I also remembered the other delights that my mother would prepare when she observed Farali fasts, in which grains were not permitted. The food was the only part of those fasts that I enjoyed as a child, but how much I enjoyed it! Sweet potatoes, fruits, a variety of tubers (and really, who doesn’t love tubers?) filled our plates and our tummies during those days. I presume the diet was carb-heavy to compensate for the lack of energy-boosting nutrients in the forbidden grains. My mother would often prepare sliced yam, which was boiled then deep-fried or pan-fried. Years later, I encountered yam chips in the home of a dear friend, and these came back to mind. So this newfound recipe contains elements of my childhood memories too.
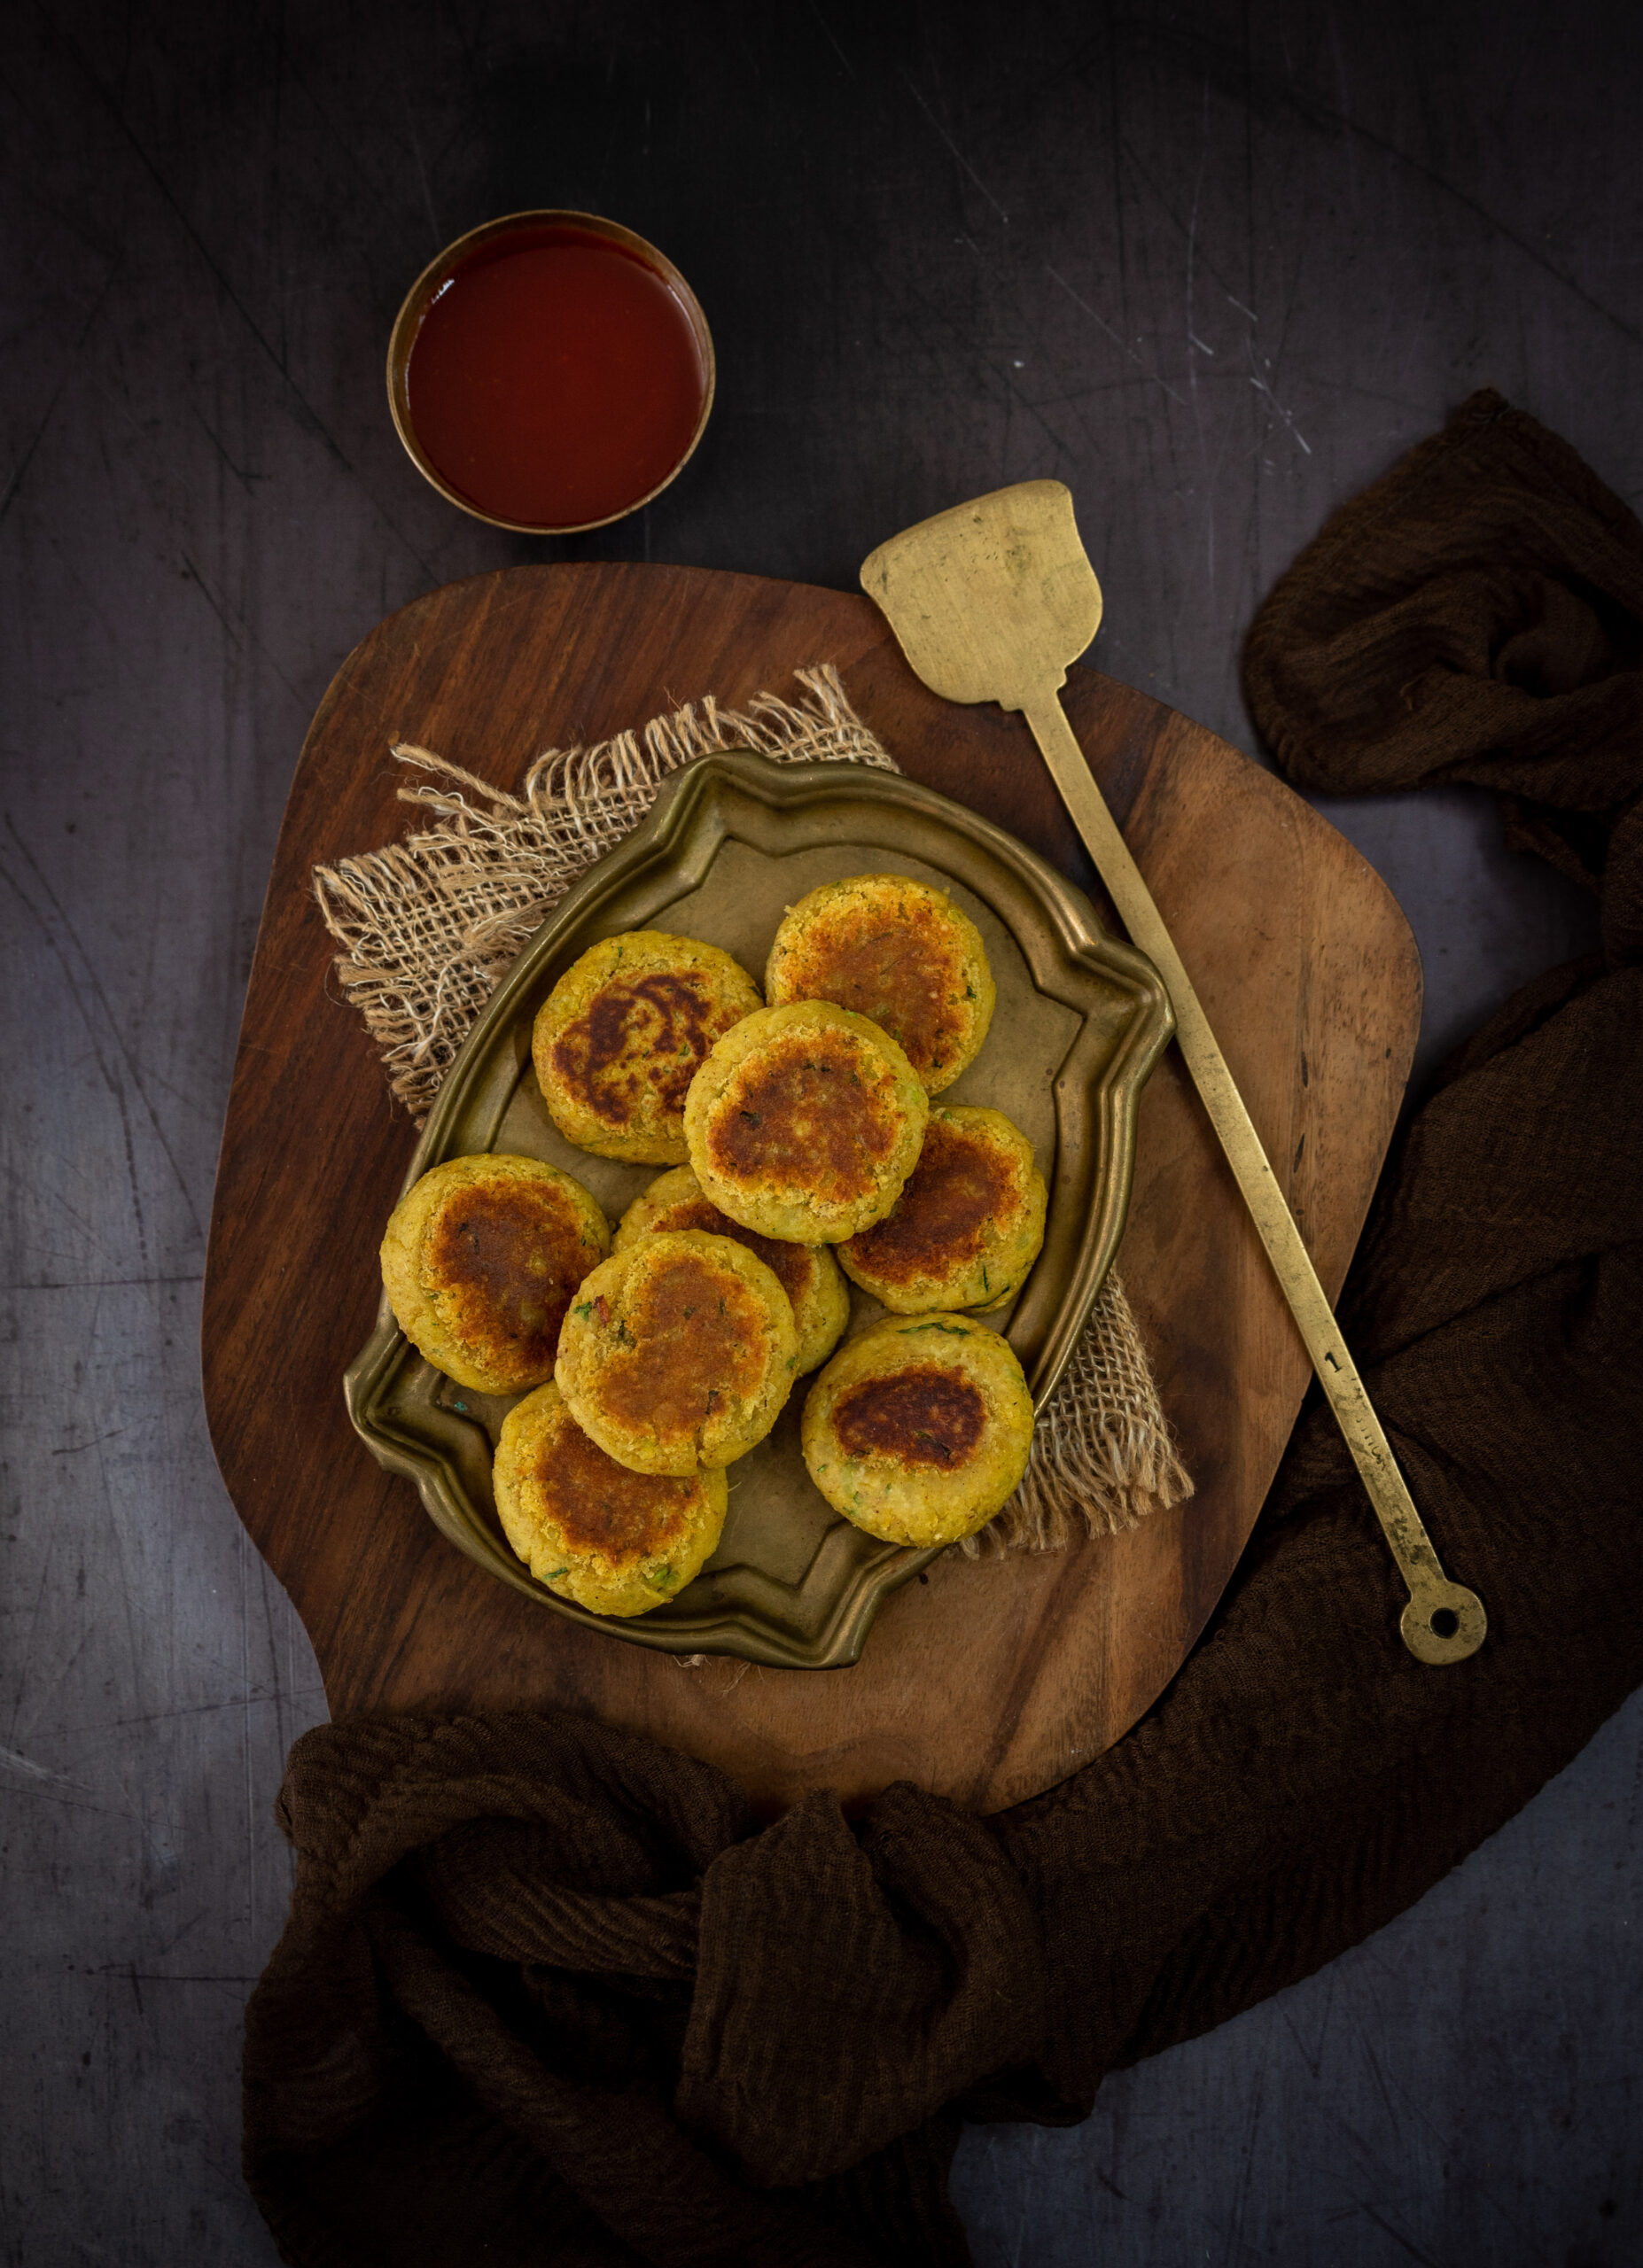
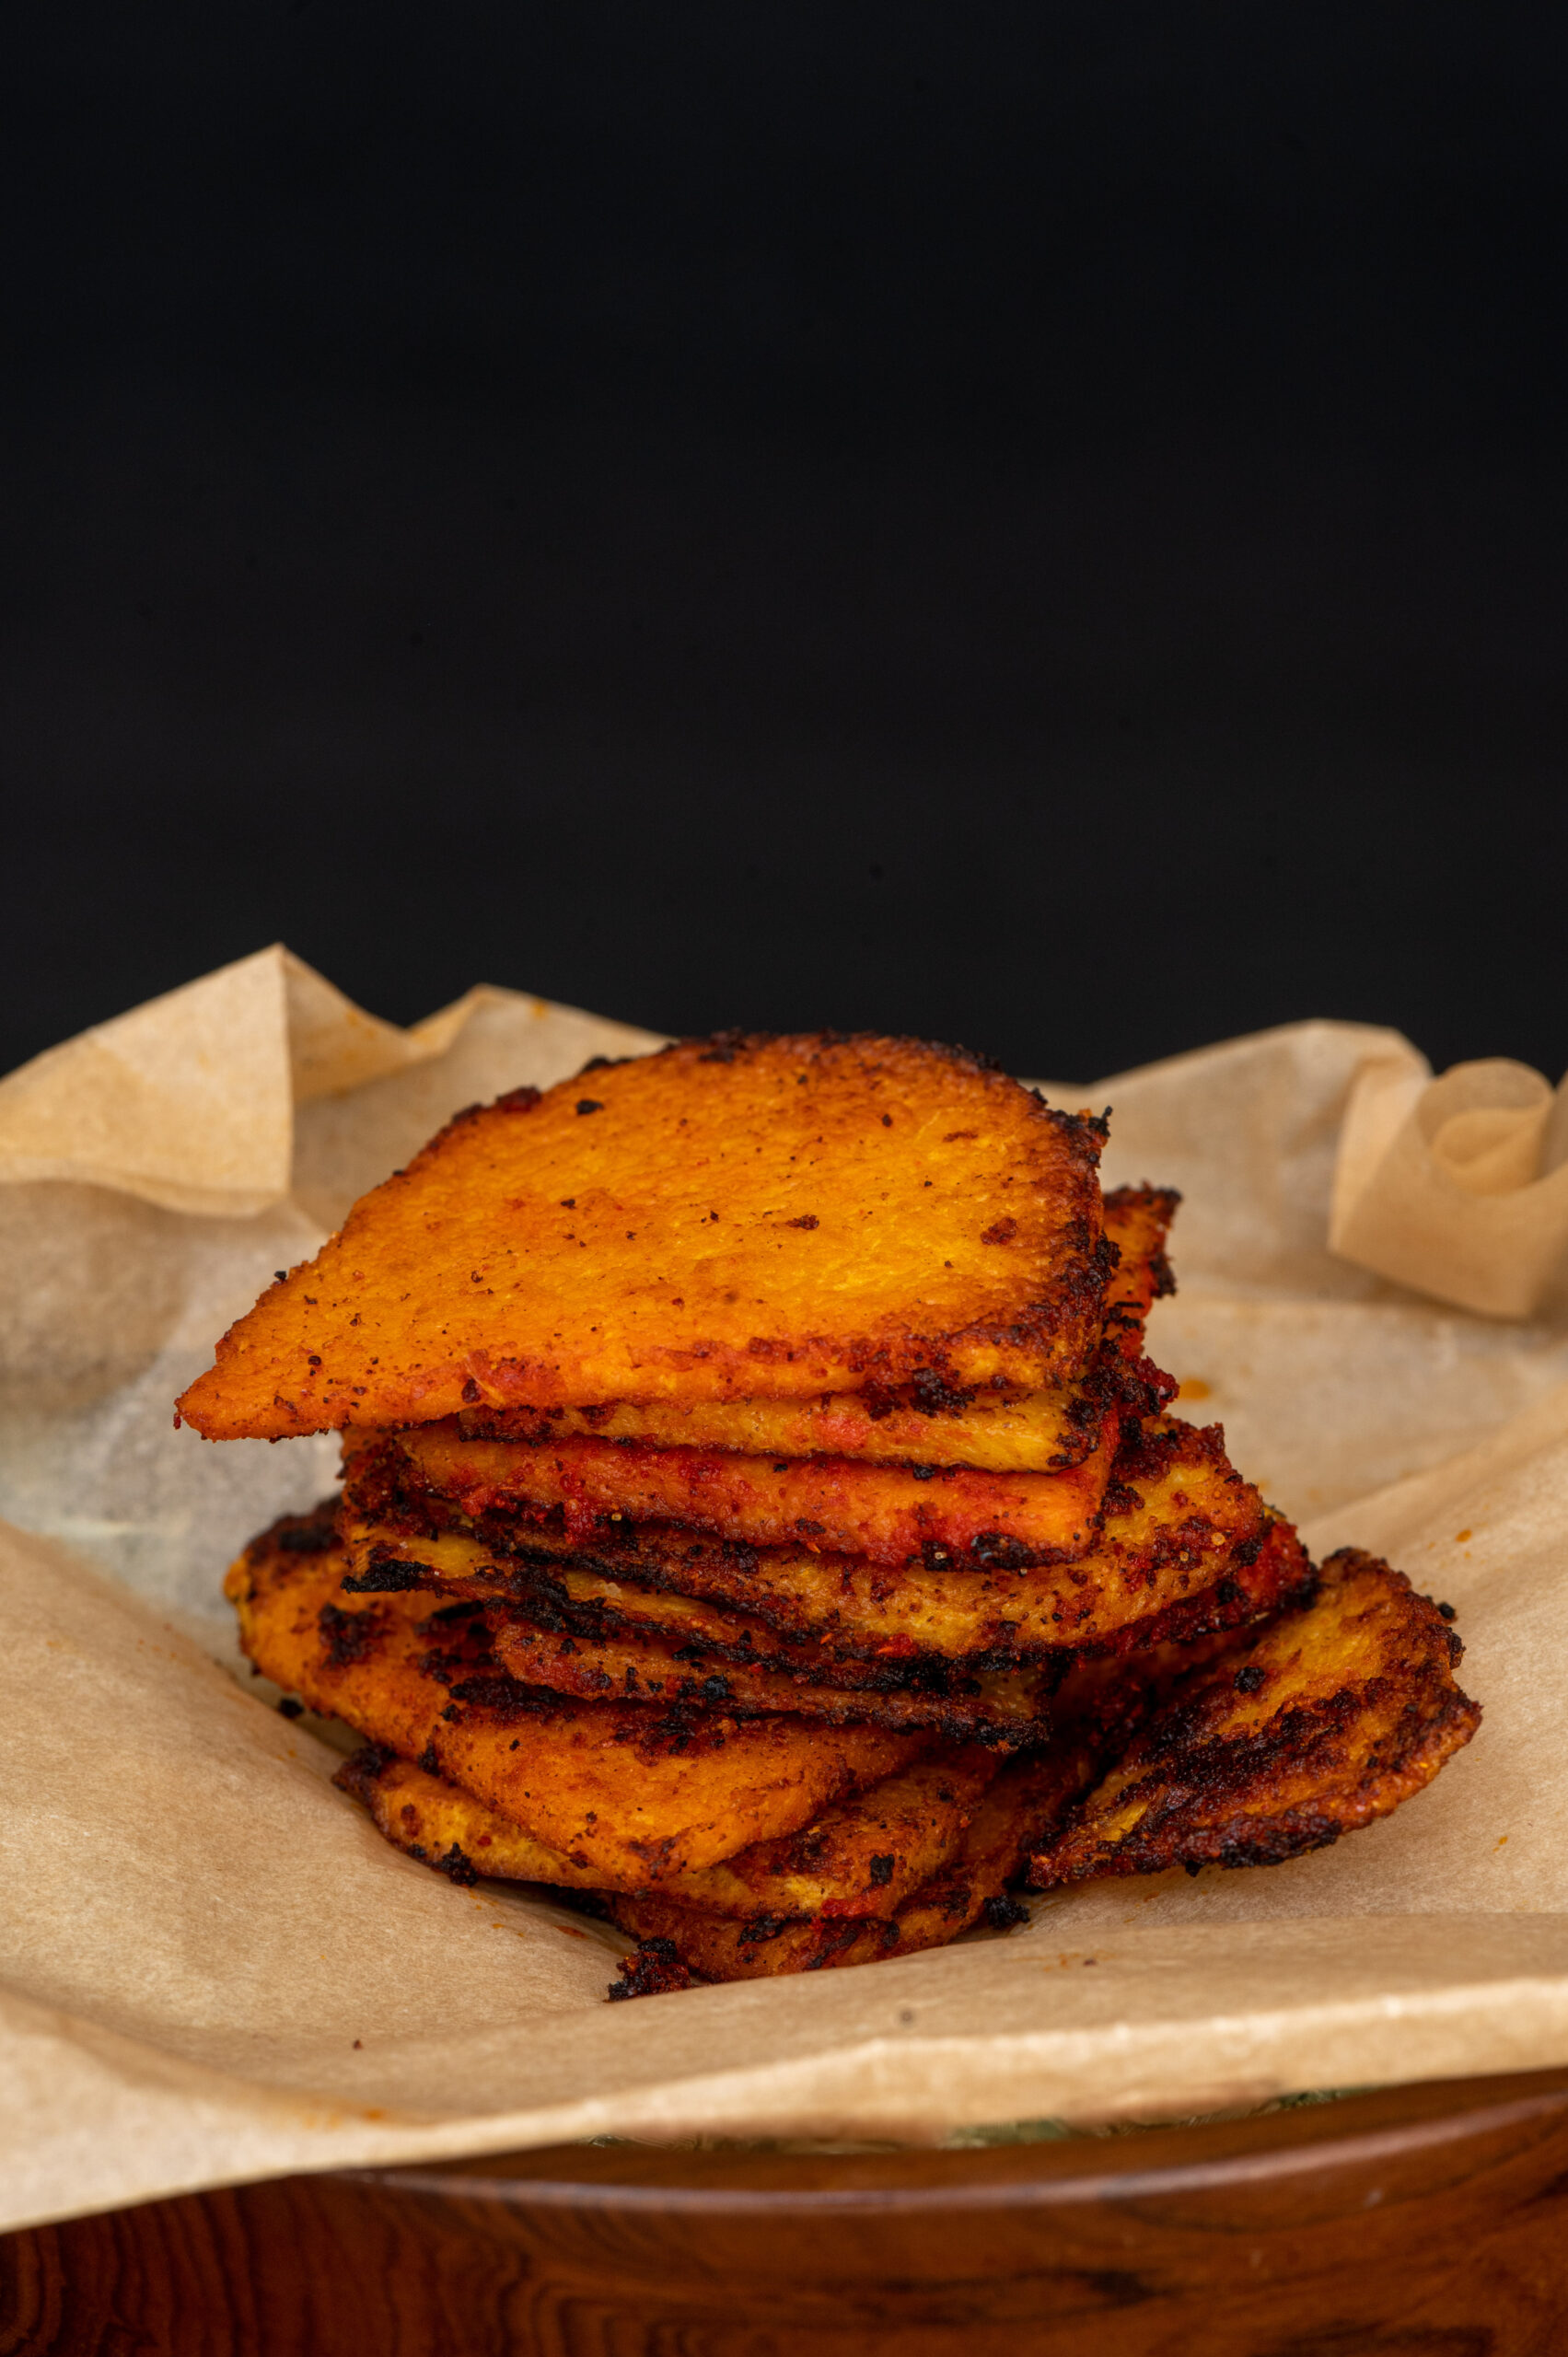
As with most recipes that I learnt from my mother, and that I continue to share here on this blog, the masala or spices she used were very simple – salt, pepper and an optional dash of lime was all she used in her fried or sautéed yam dish. This ensured that the flavour of the actual vegetable or produce being used came through. This version, however, plays with more spice. One day, when I was visiting my dear friend Sujata Pelletier, her cook Annapurna spontaneously put together a crispy yam snack that reminded me of my mother’s fried yams, but was also distinct. In Annapurna’s version, the slices were thinner and the spices more pronounced. This was the one I wanted to prepare, so I called them up for the recipe and to double check that my ingredient guesses were correct. They were elated to hear that it was going to be written about, and I’m excited for them to see the photographs in this post.

Annapurna really is such an appropriate name for a person who cooks. “Annam” means “food”, and “purna” means “filled to the brim, overflowing”. Annapurna is also the name of the Hindu goddess of nourishment. That little bit of trivia makes recreating this dish in my home all the more delightful for me.

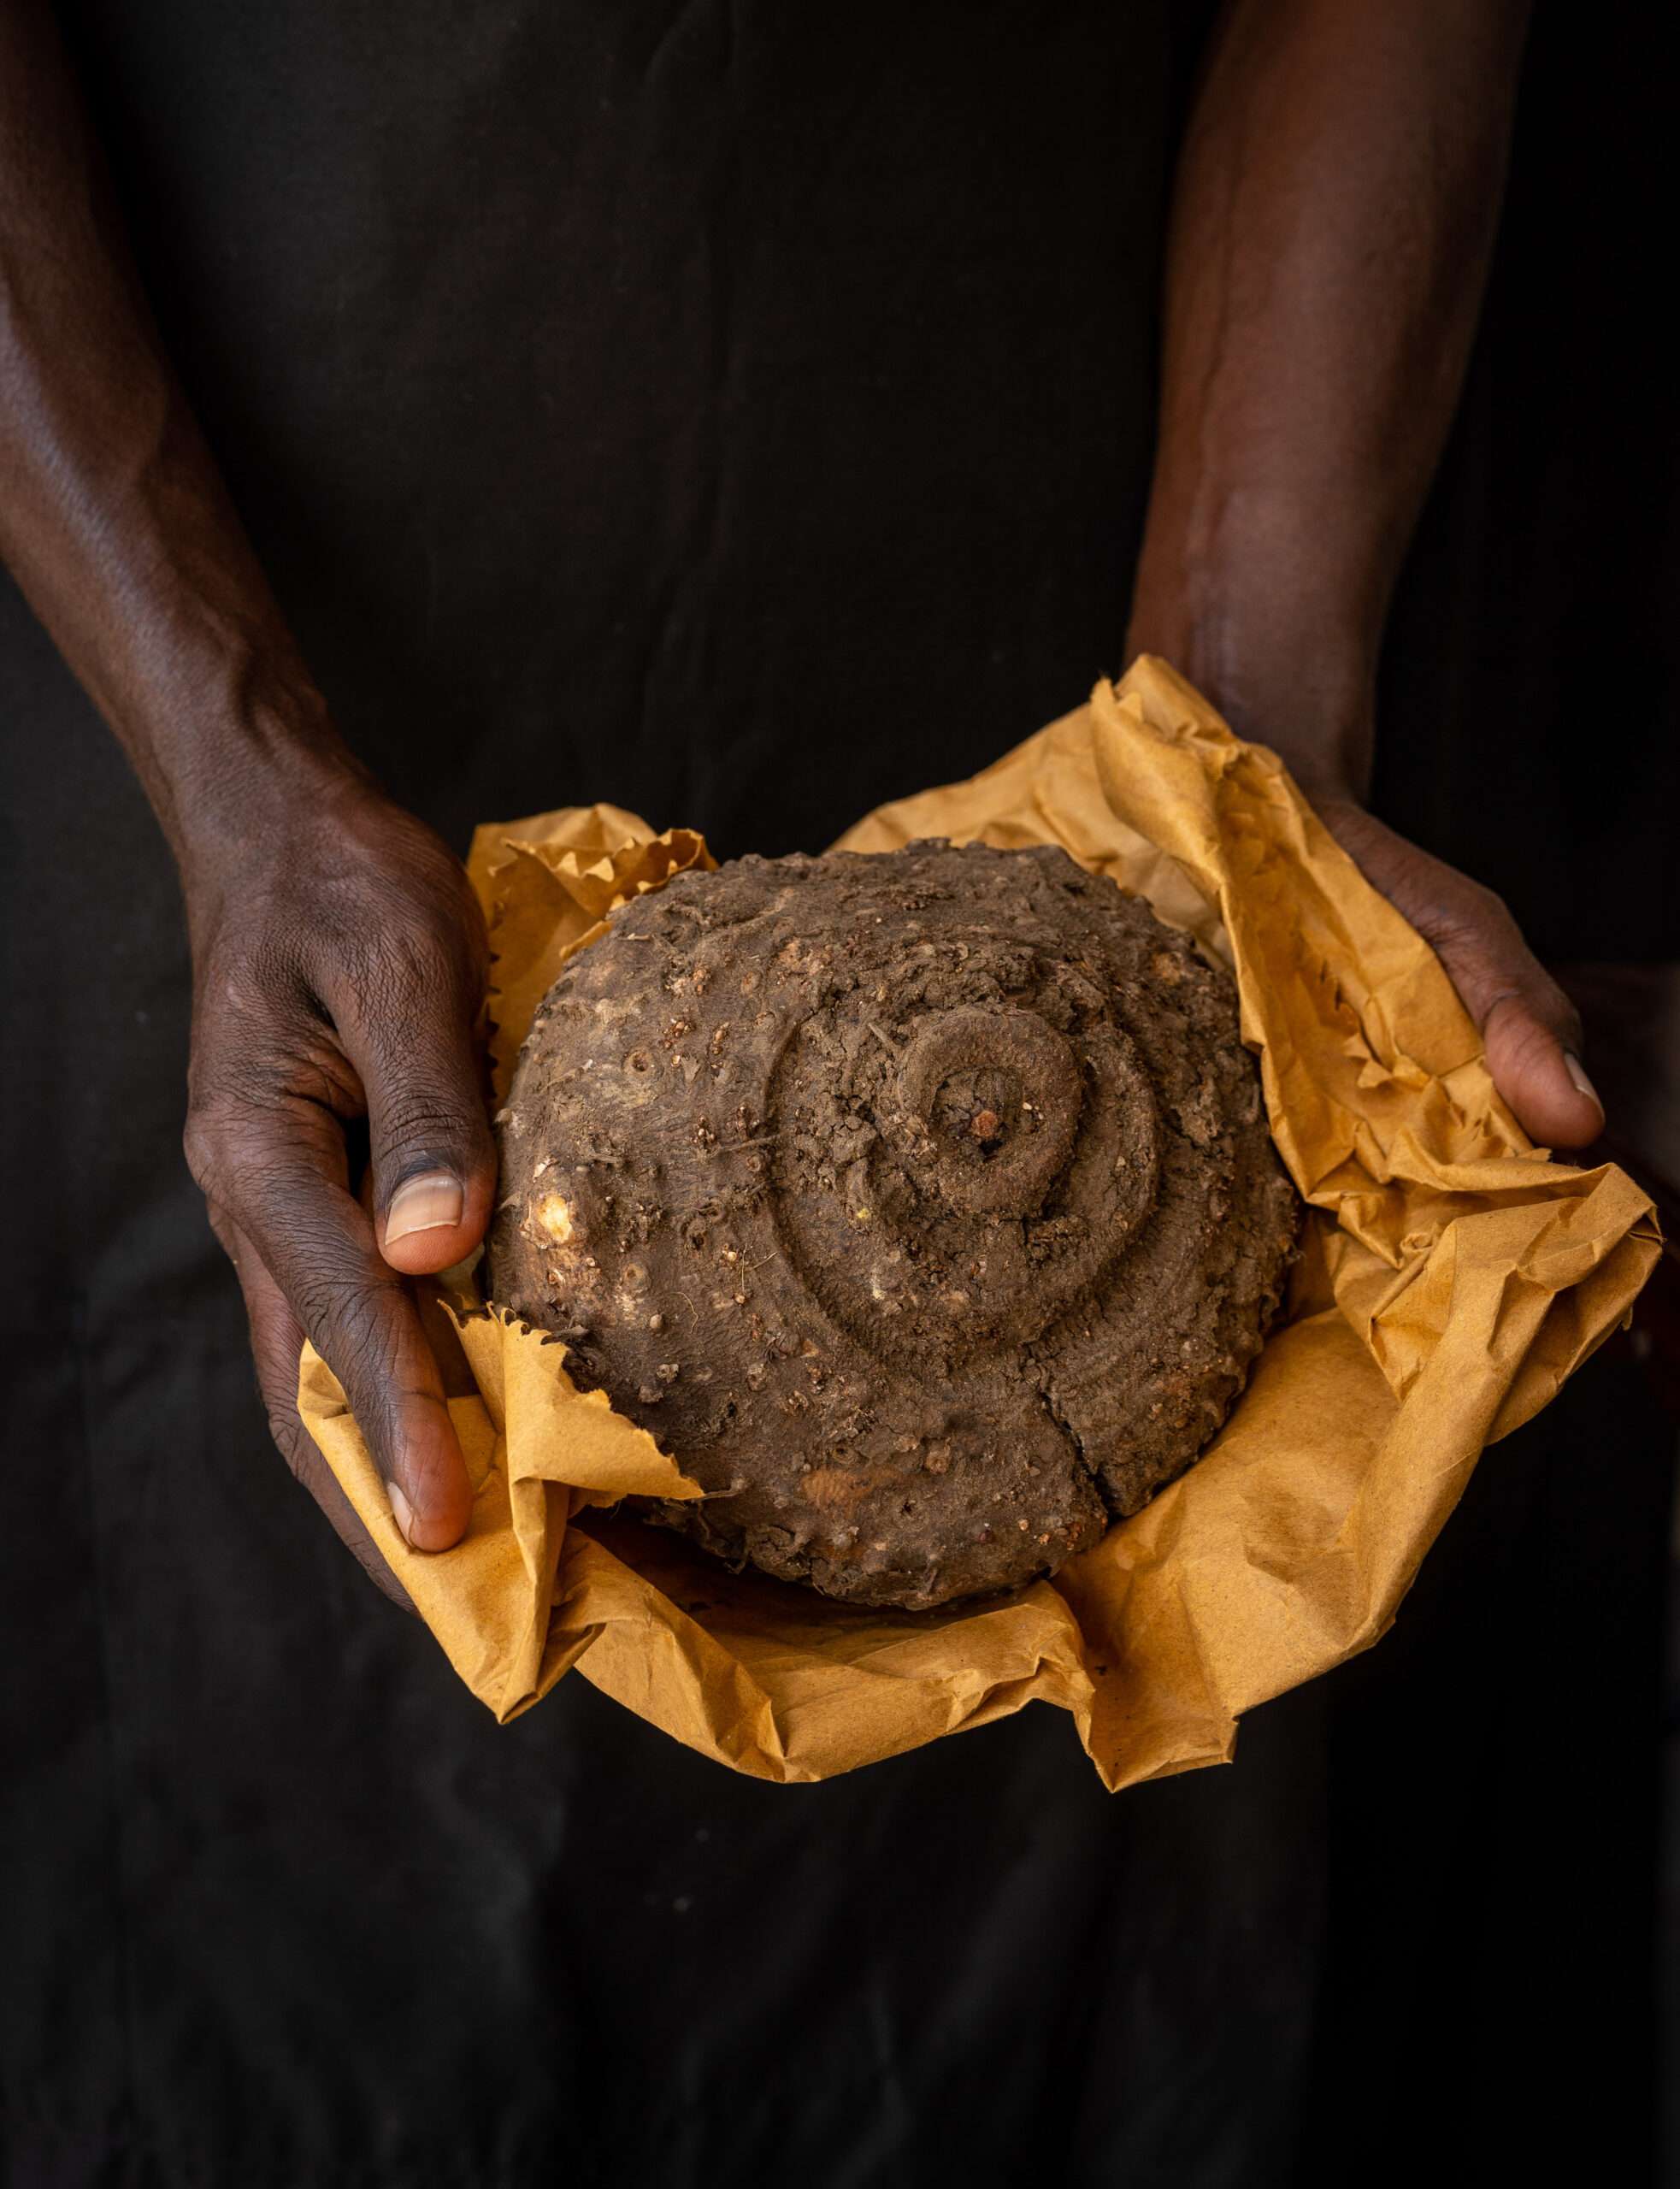
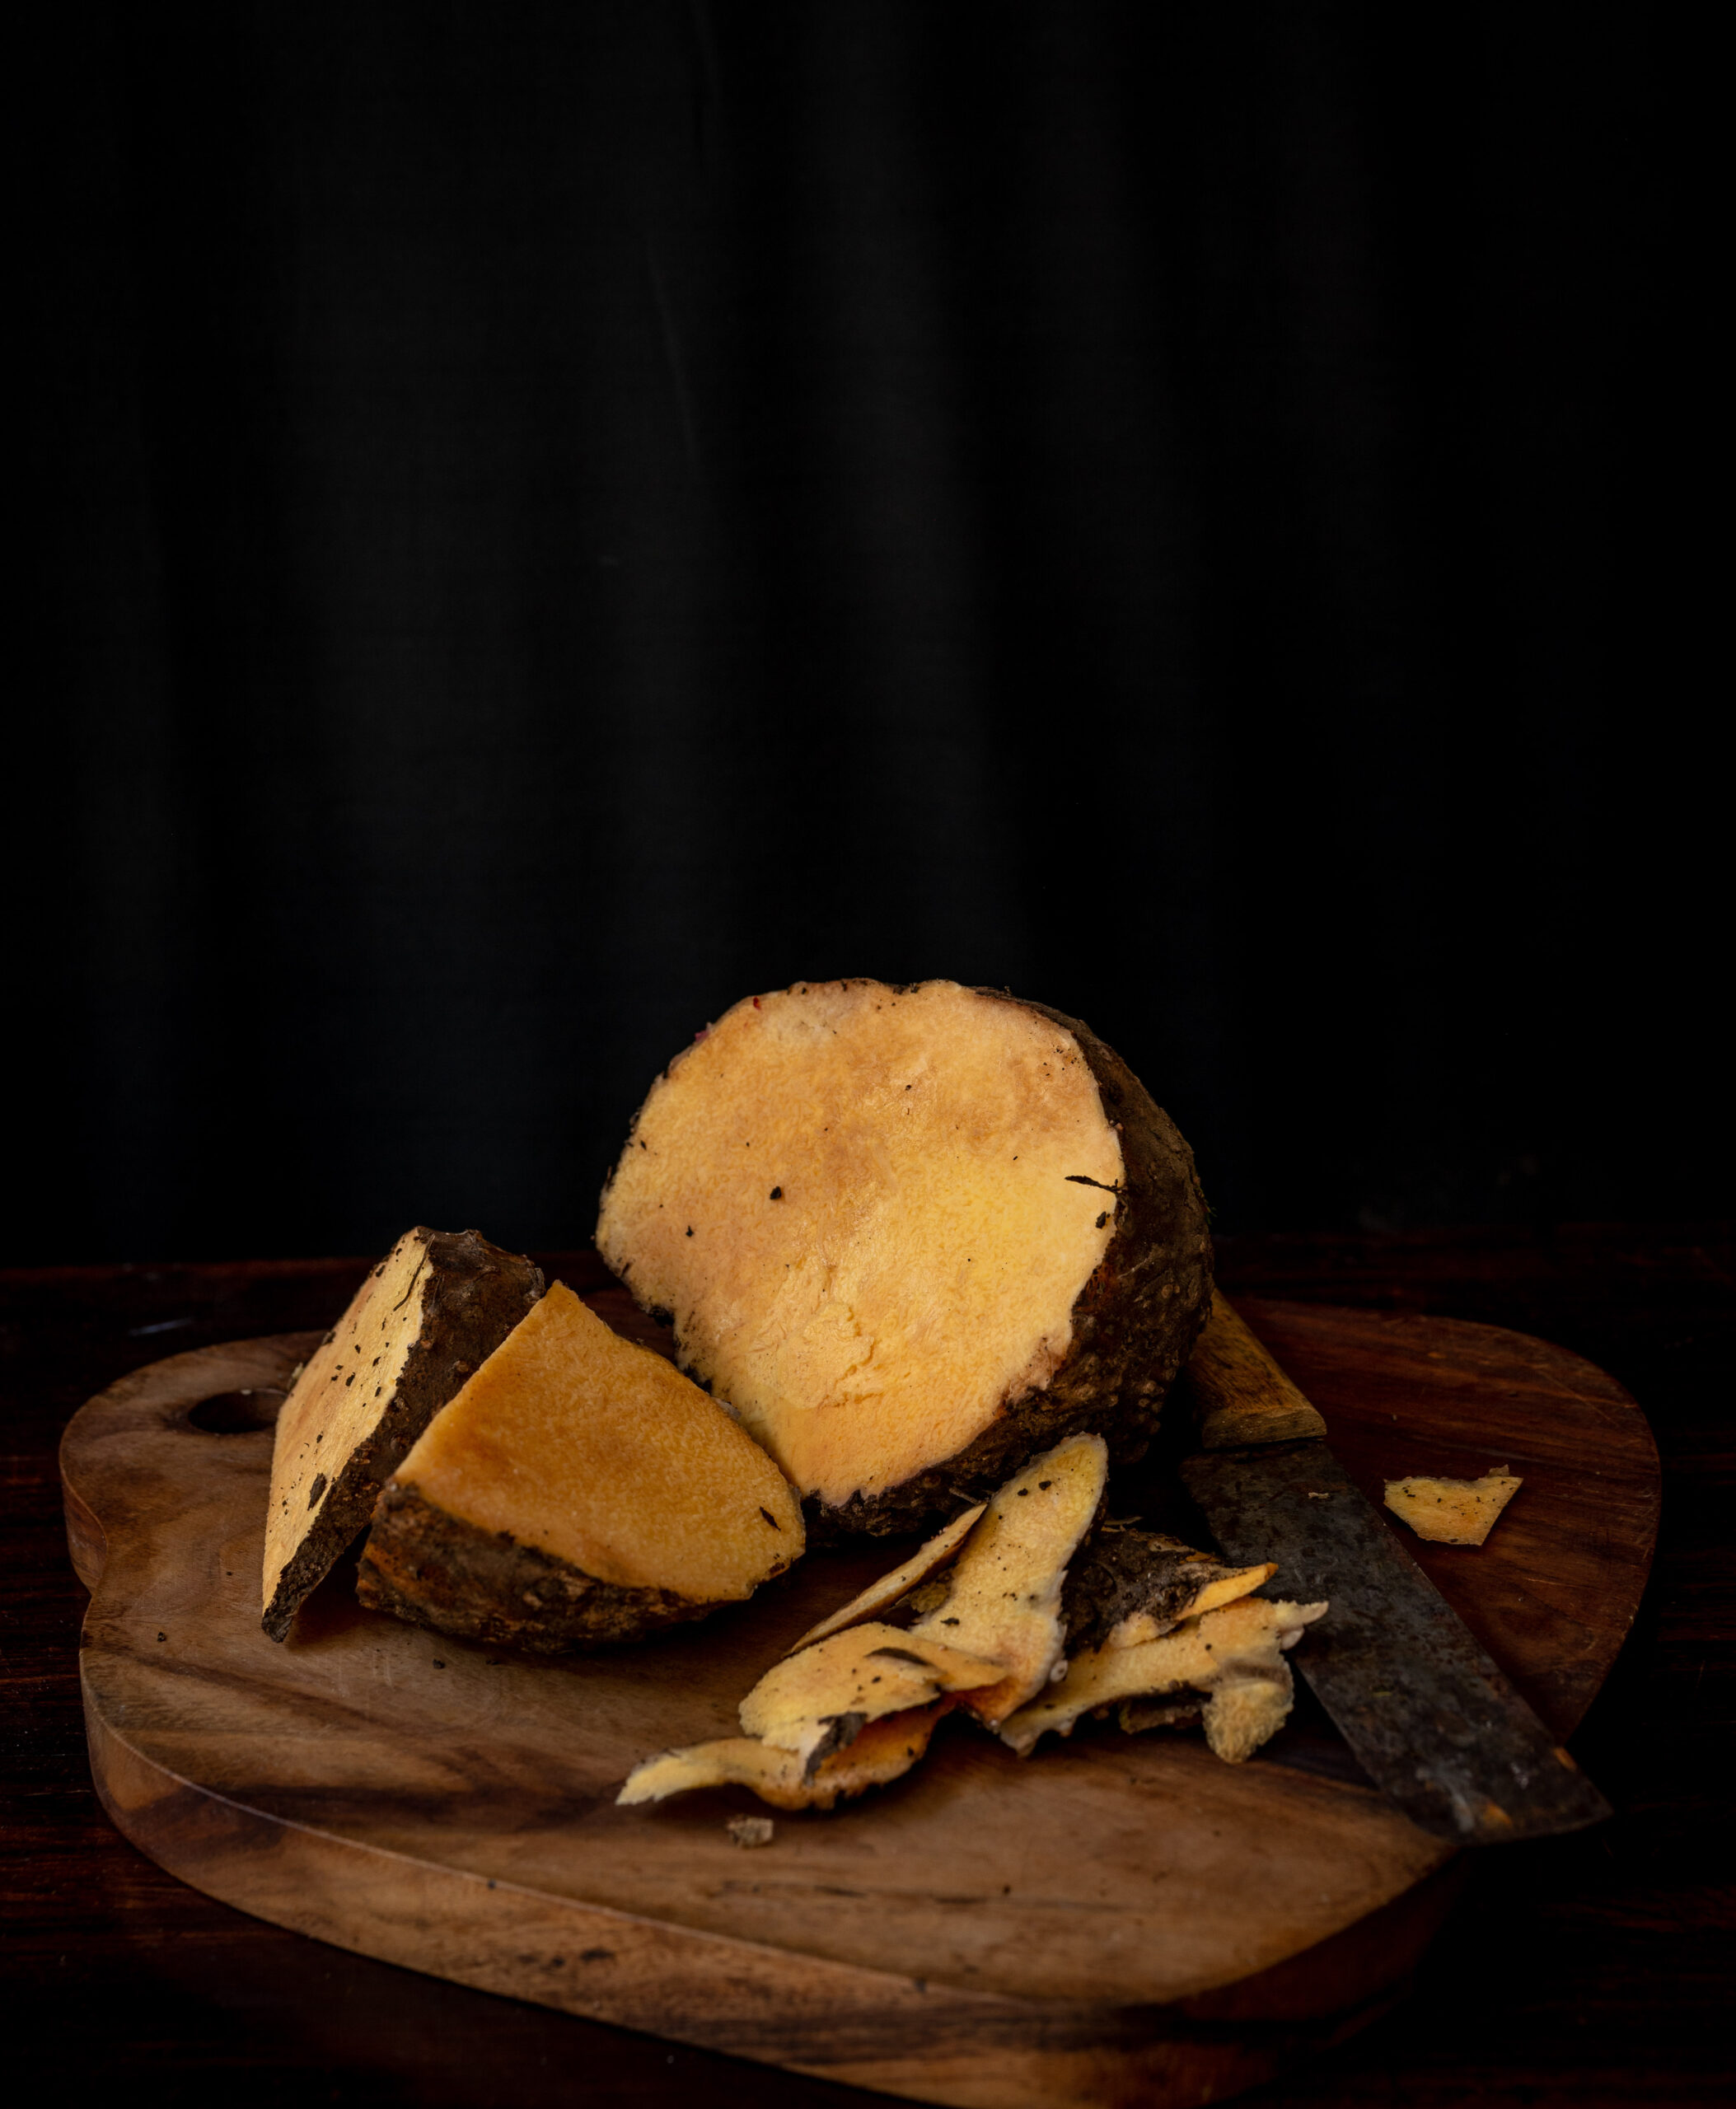
Yam is a very nutritious ingredient, absolutely packed with Vitamin A, C and B5. It helps with the absorption of other nutrients as well, and has a positive effect on cognitive function, menopausal symptoms, your metabolic and respiratory systems and more. I sometimes feel it is under-rated, and to this I say: never judge a book by its cover. While it’s rustic and not particularly attractive to the eye, it’s a vegetable with a fabulous taste. If you’re fairly new to this ingredient, a word of caution: be sure to oil your hands before you cut into it. Raw yam contains calcium oxalate, which makes the fingers itch!

But once they’re nicely fried, your fingers will itch in a different way – you won’t be able to stop at just one!

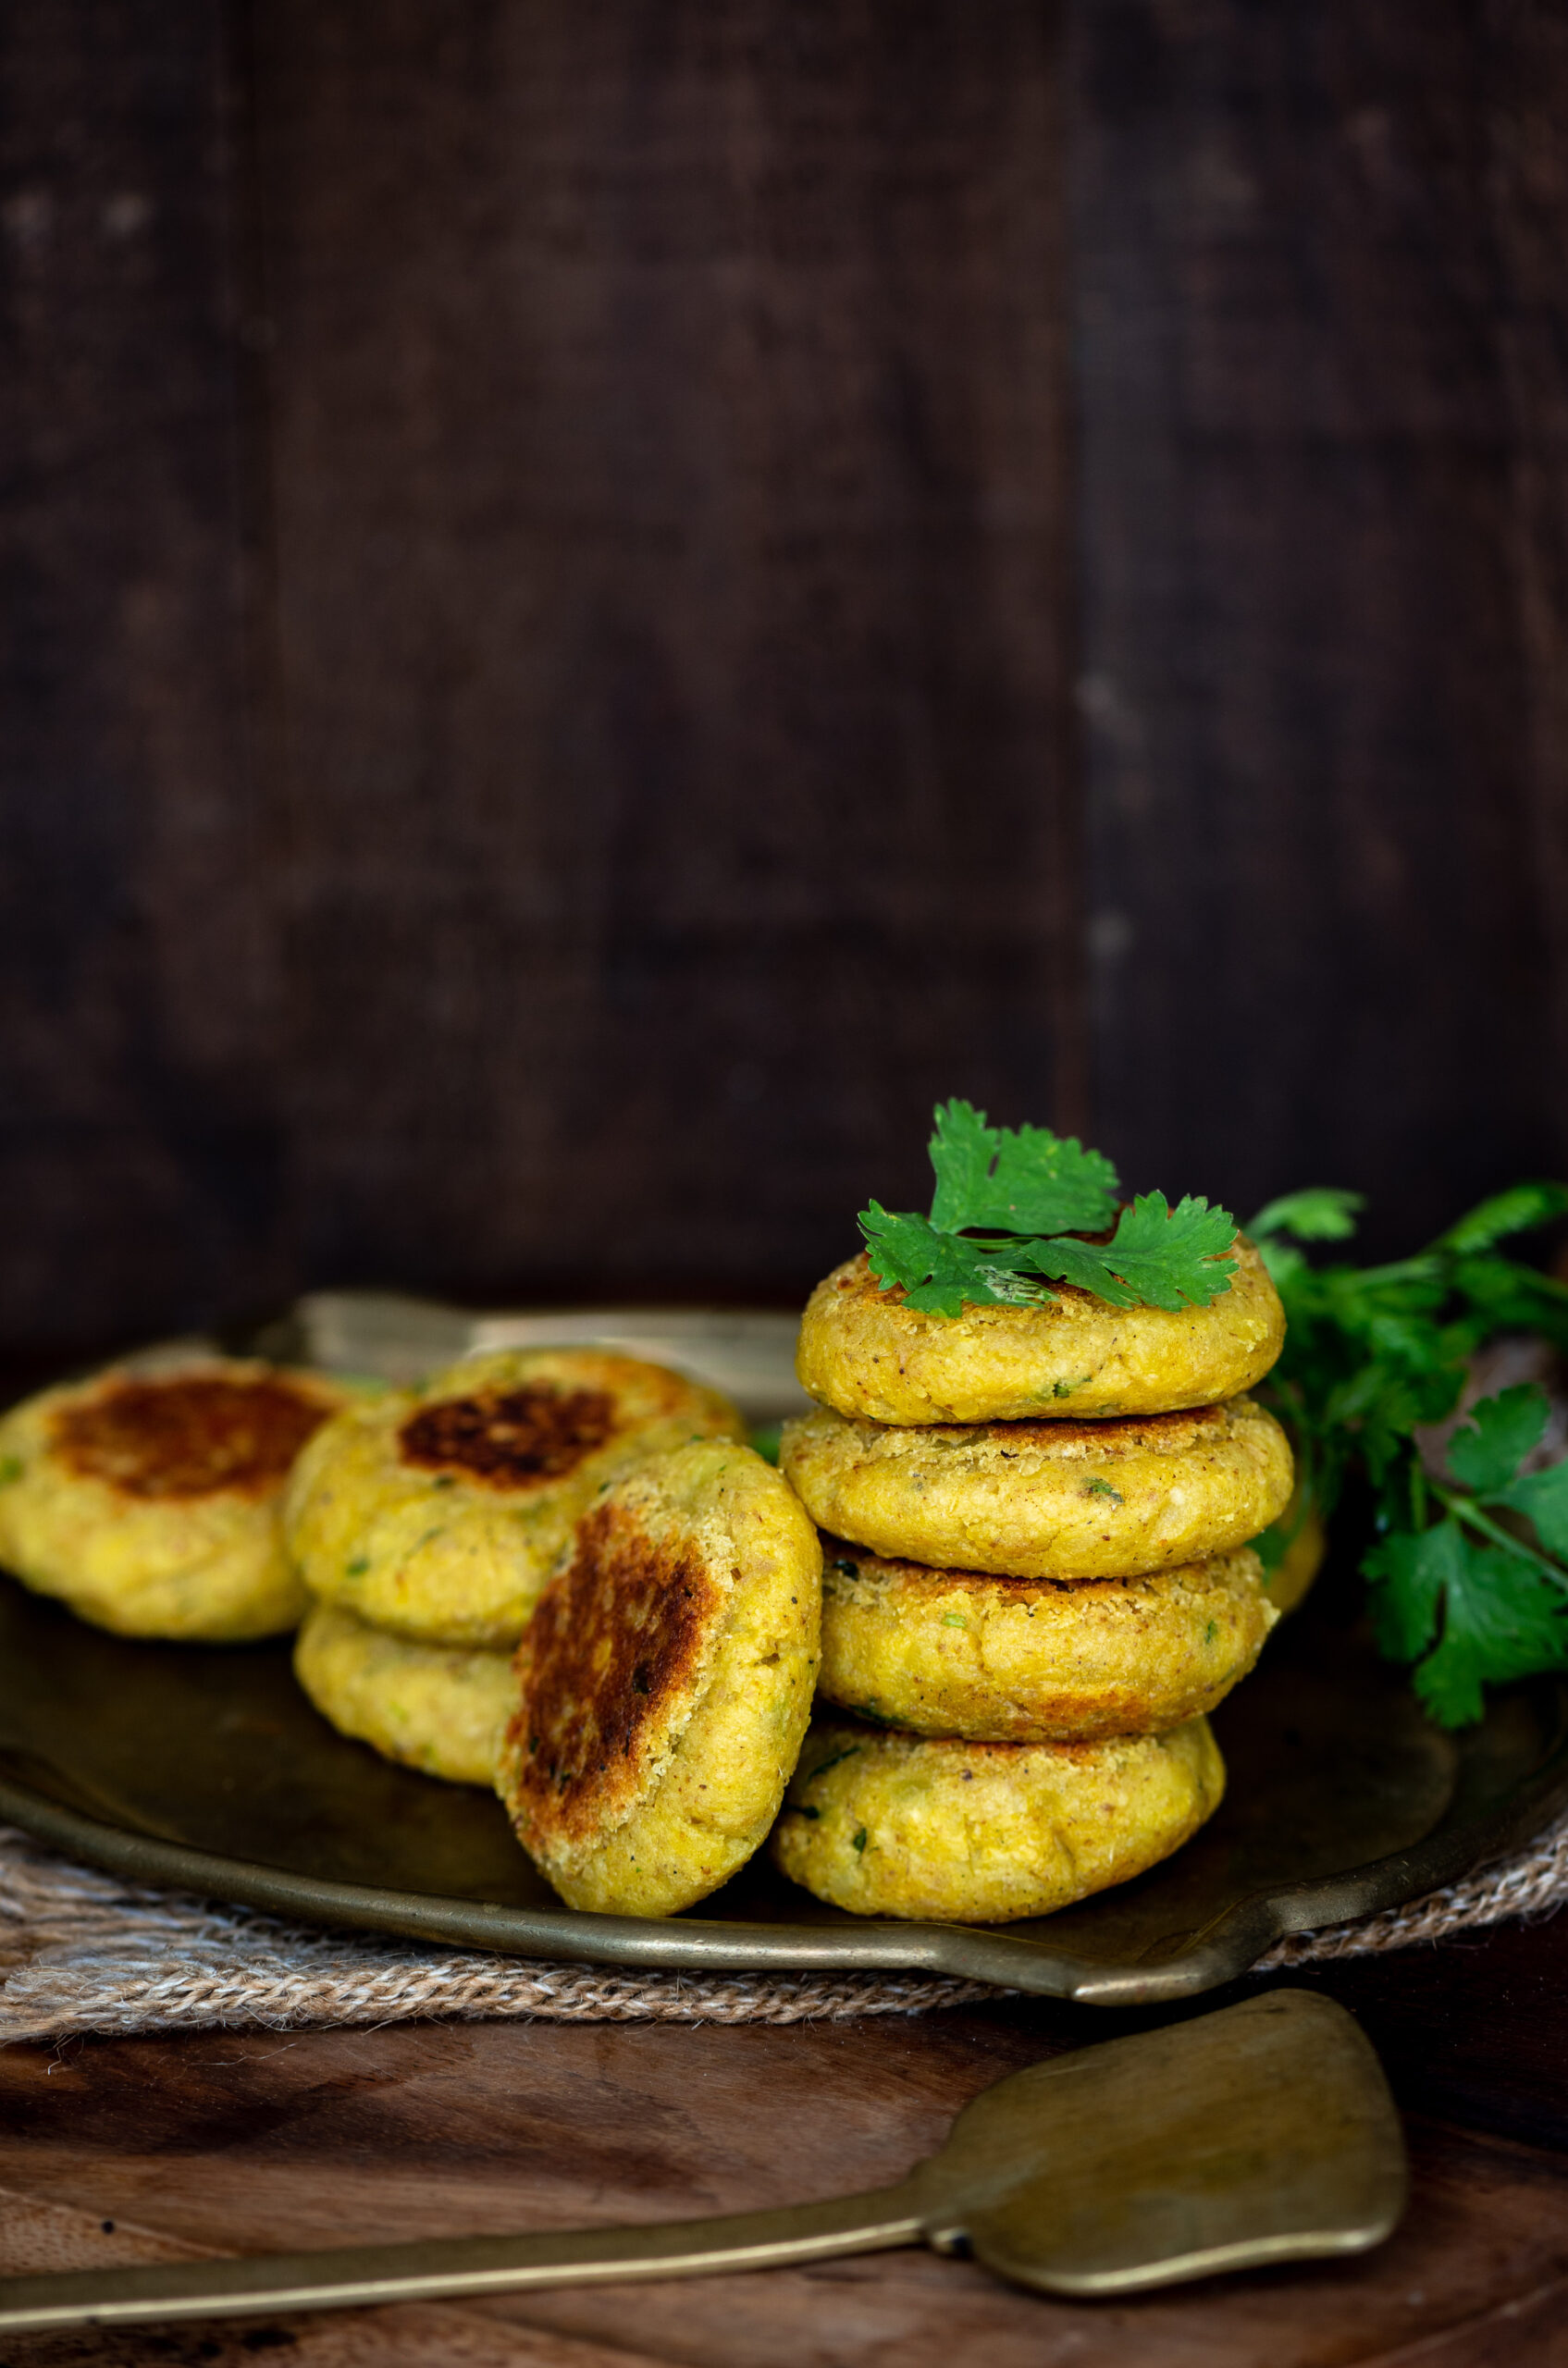
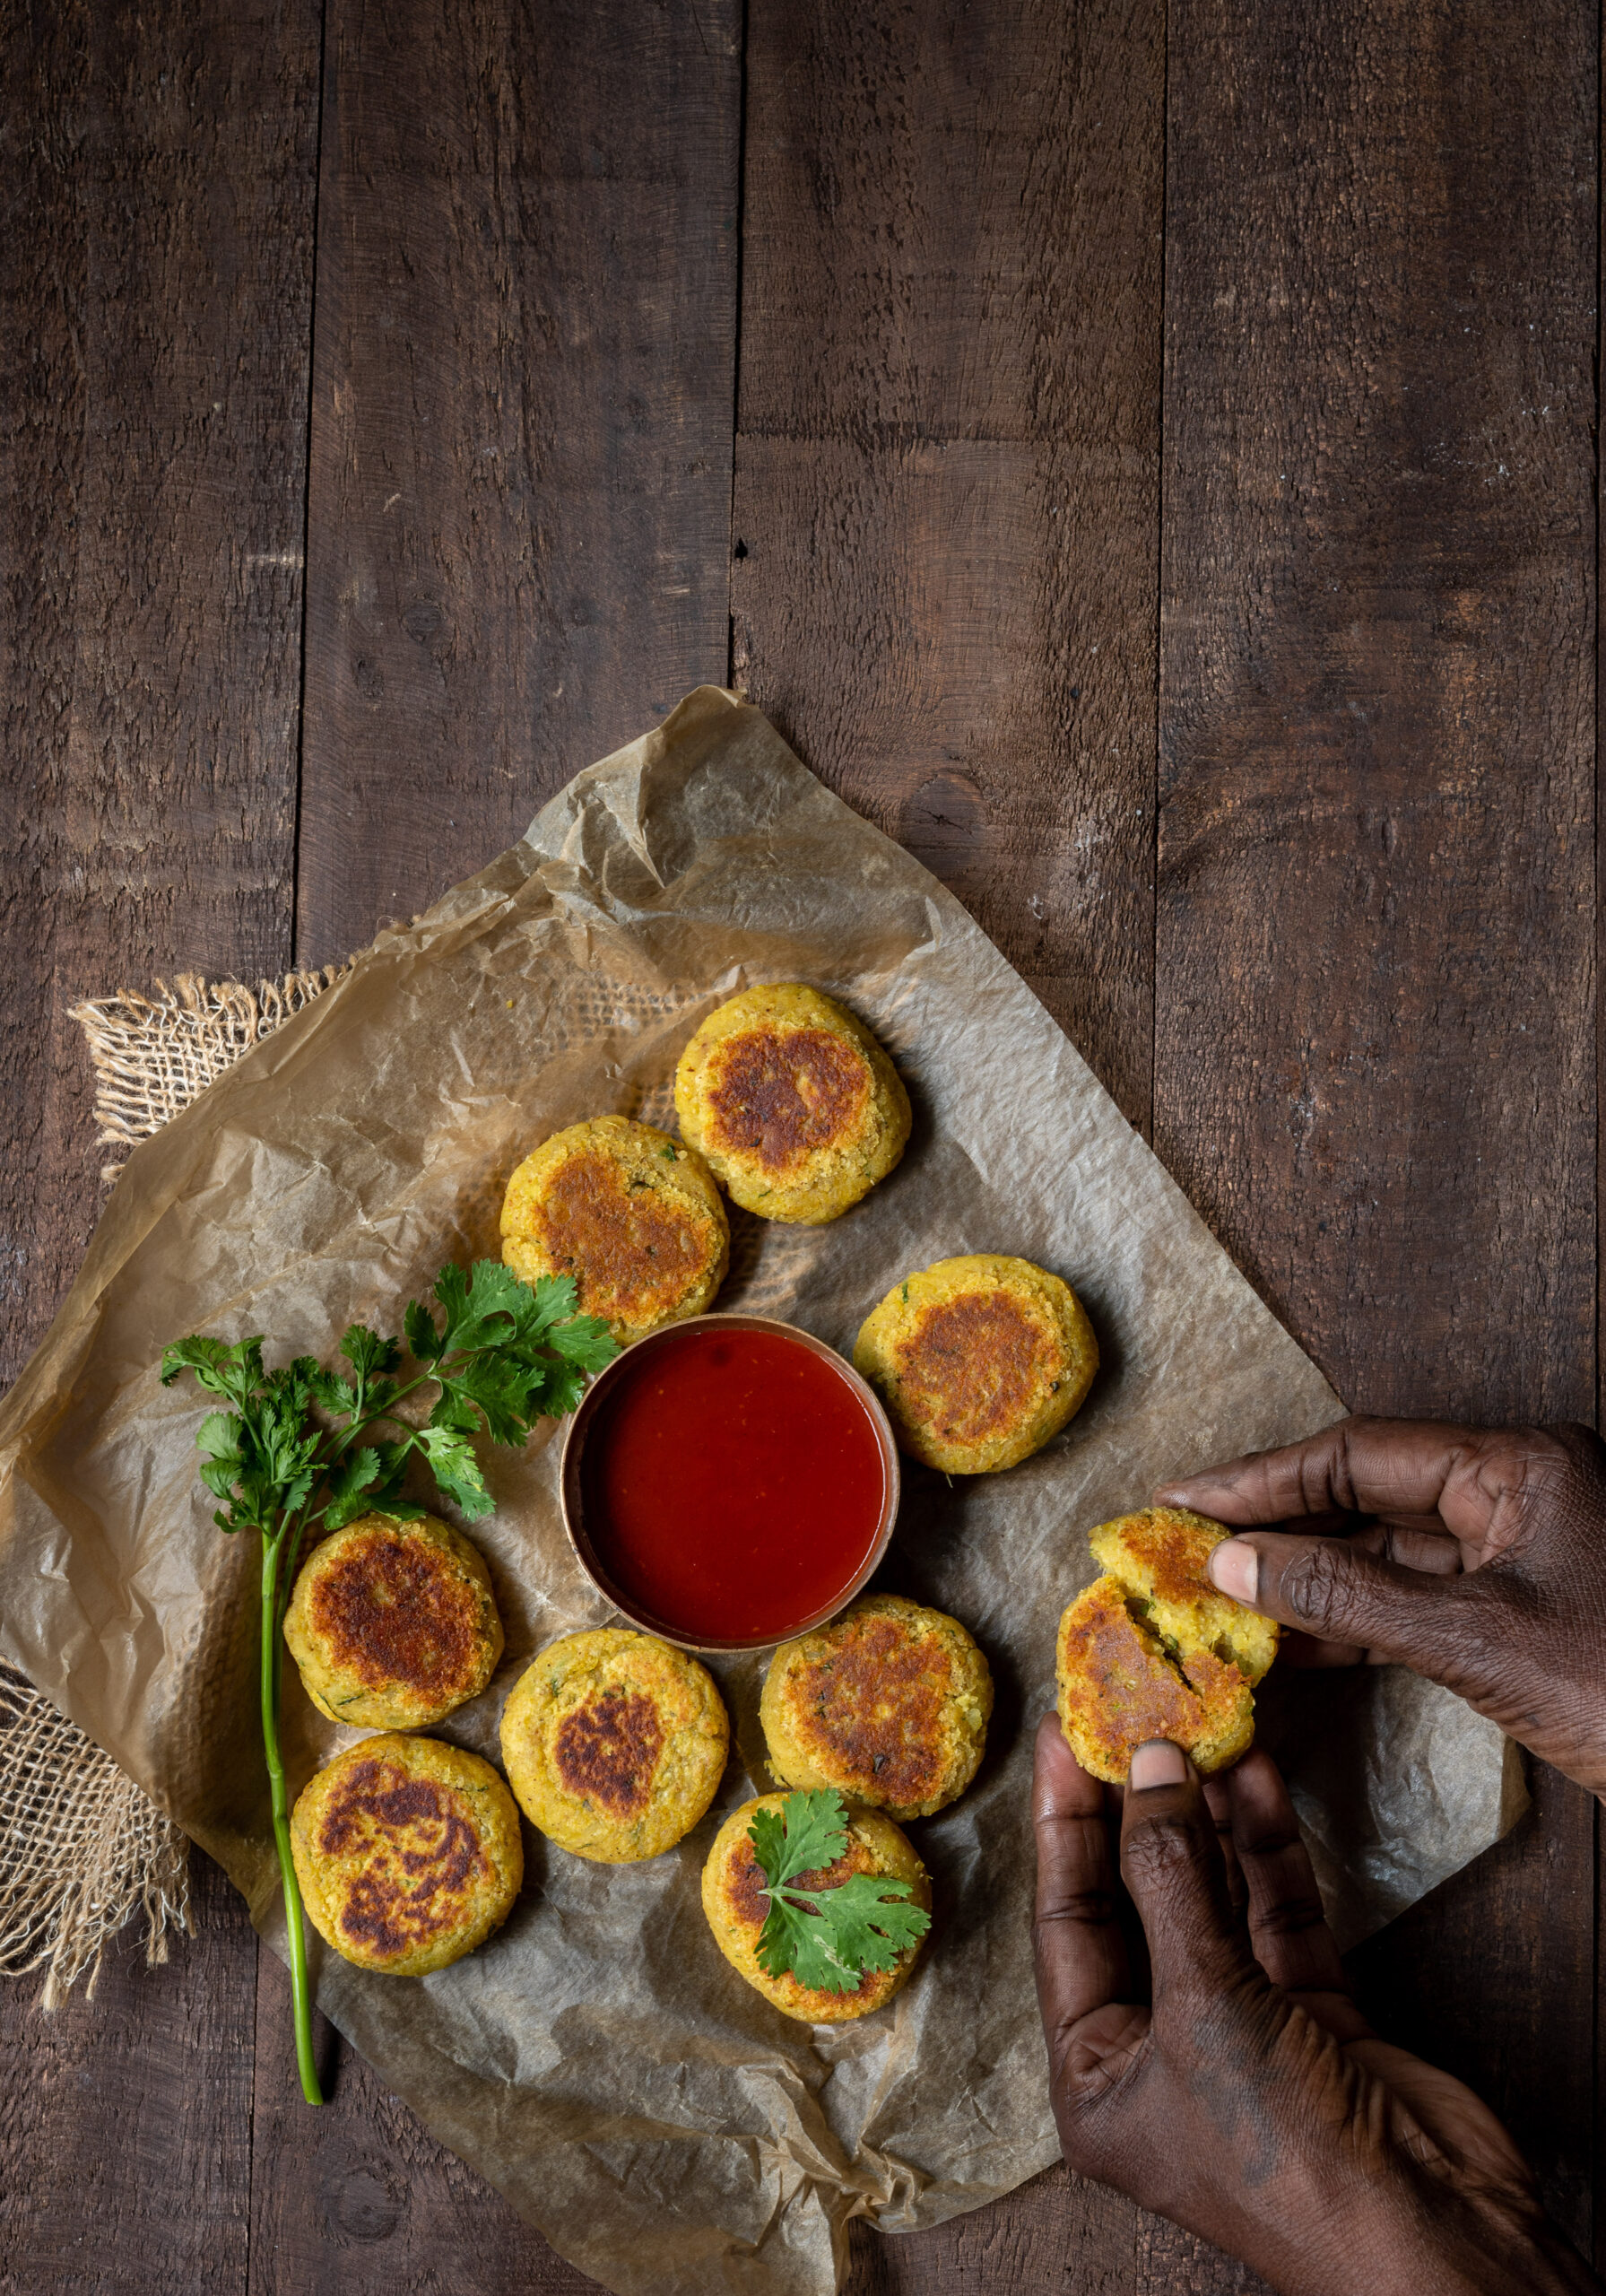
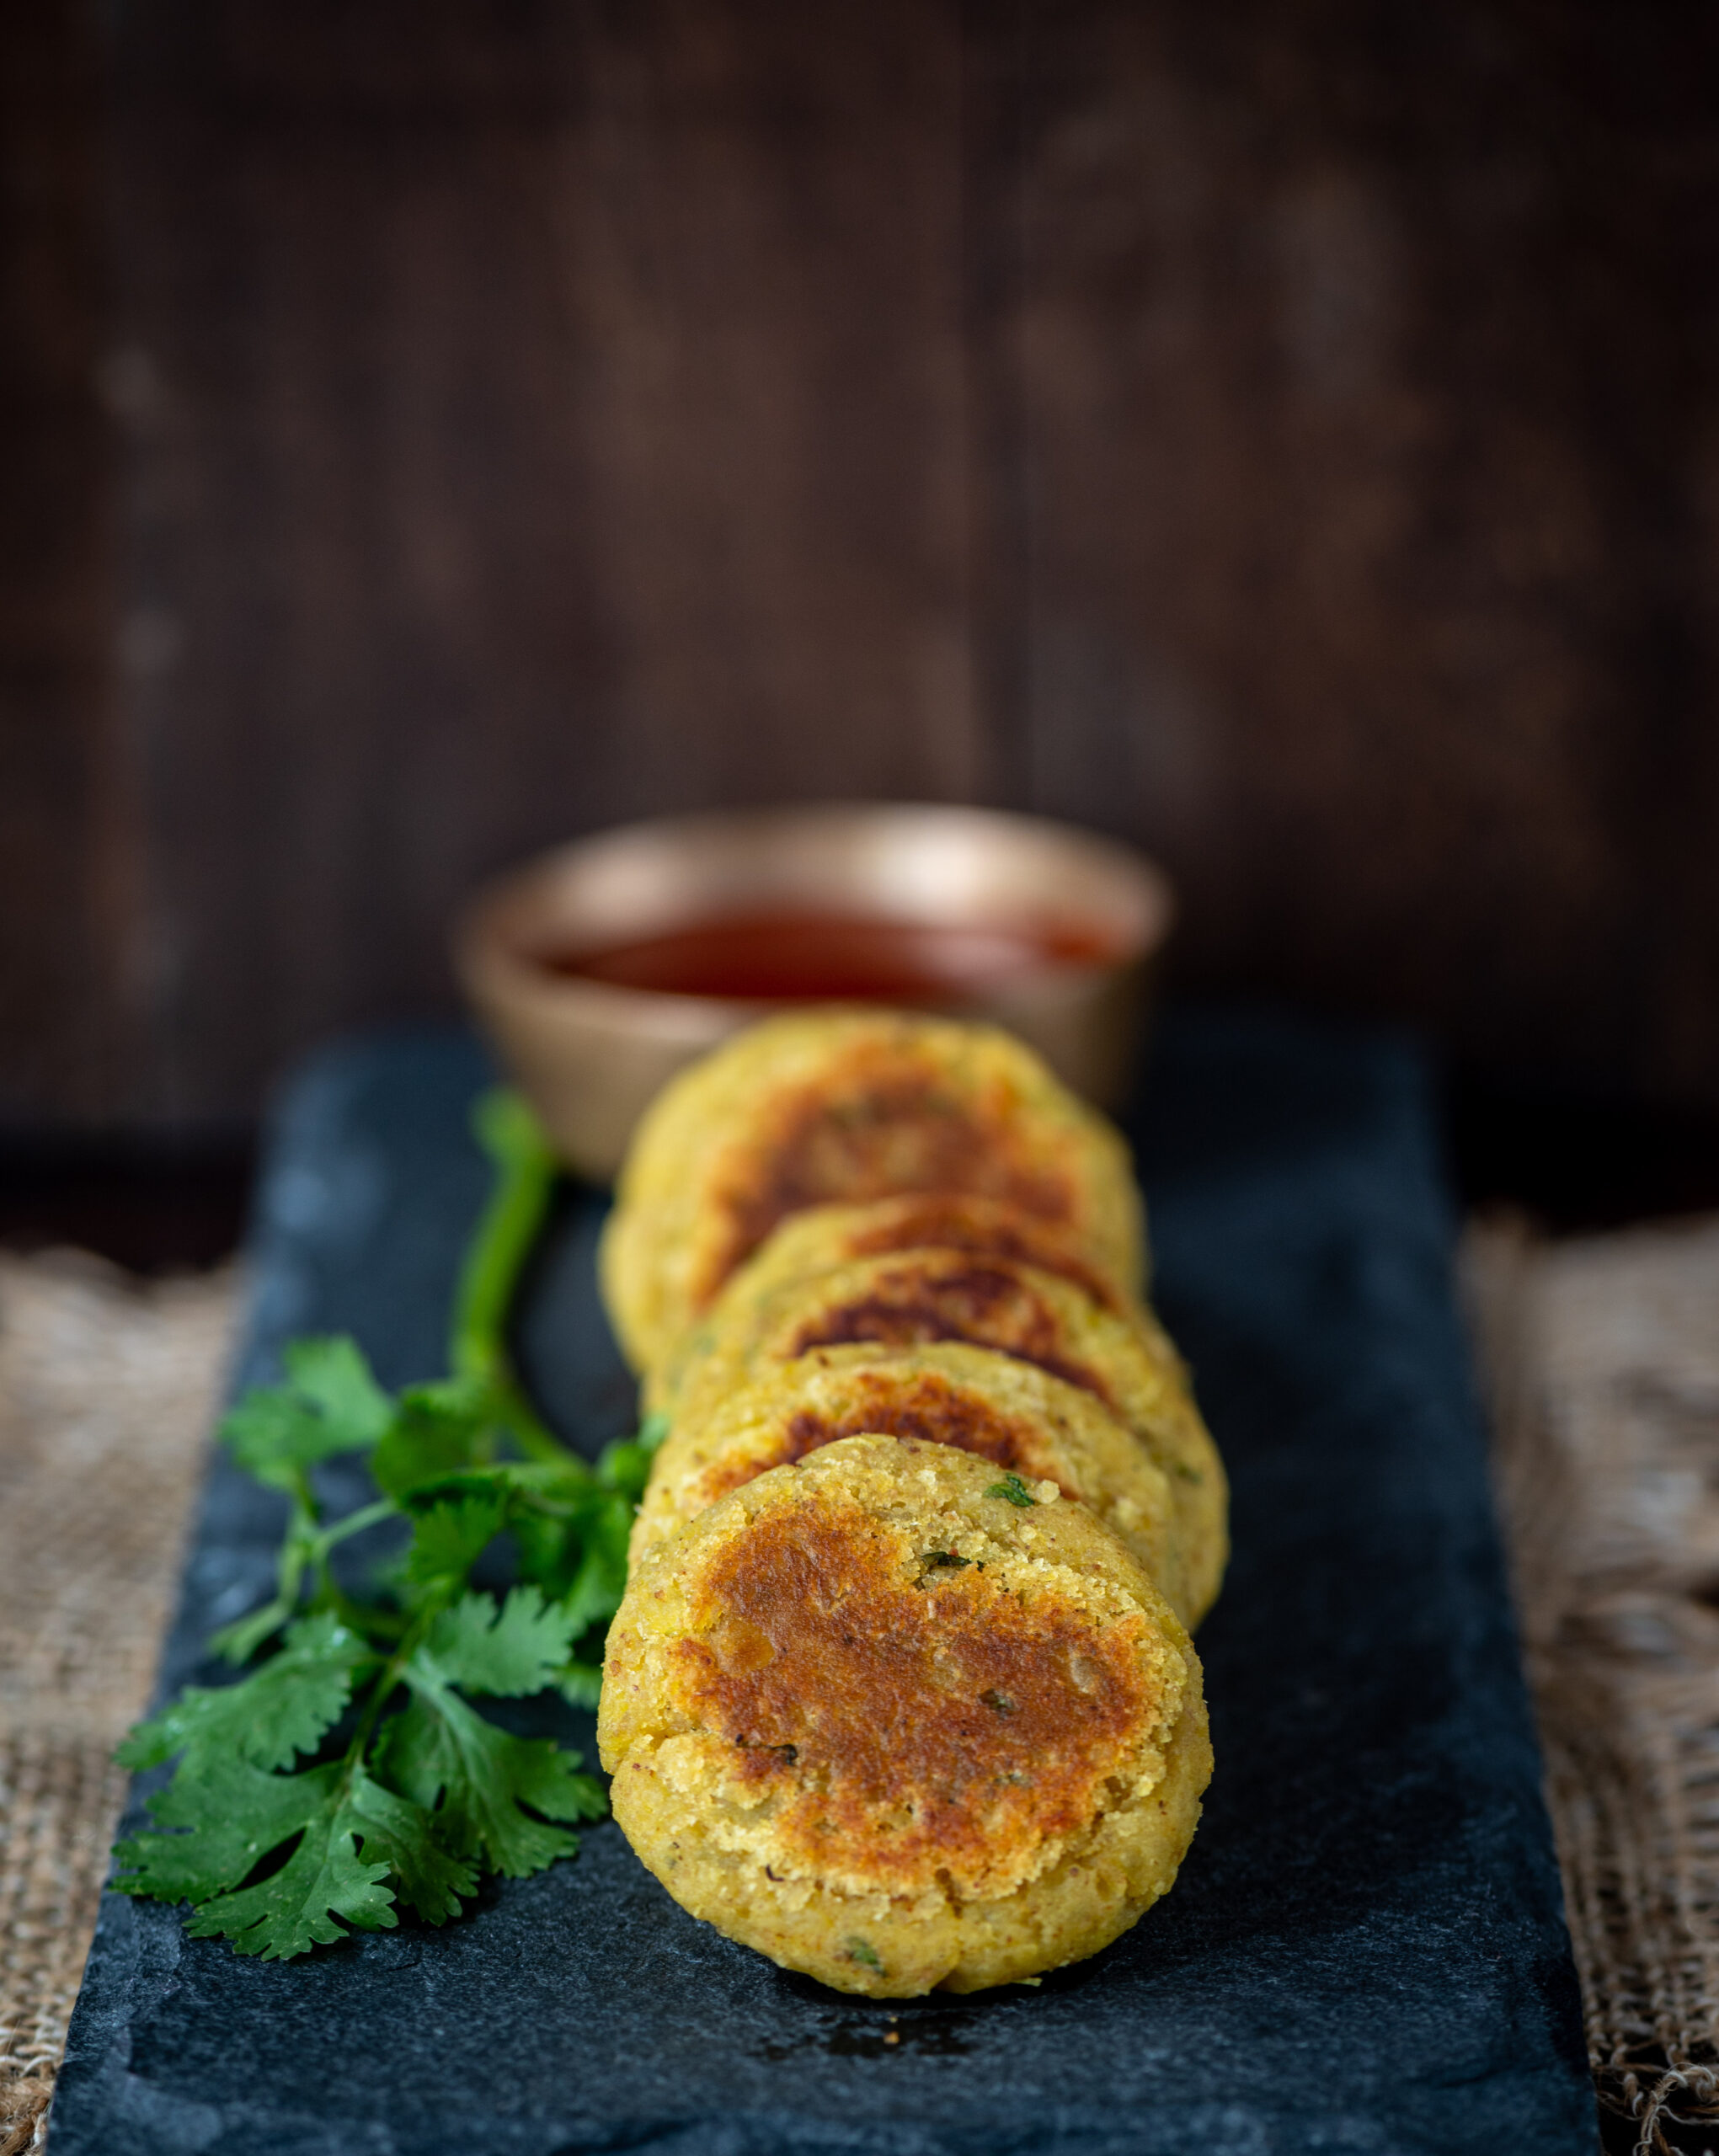
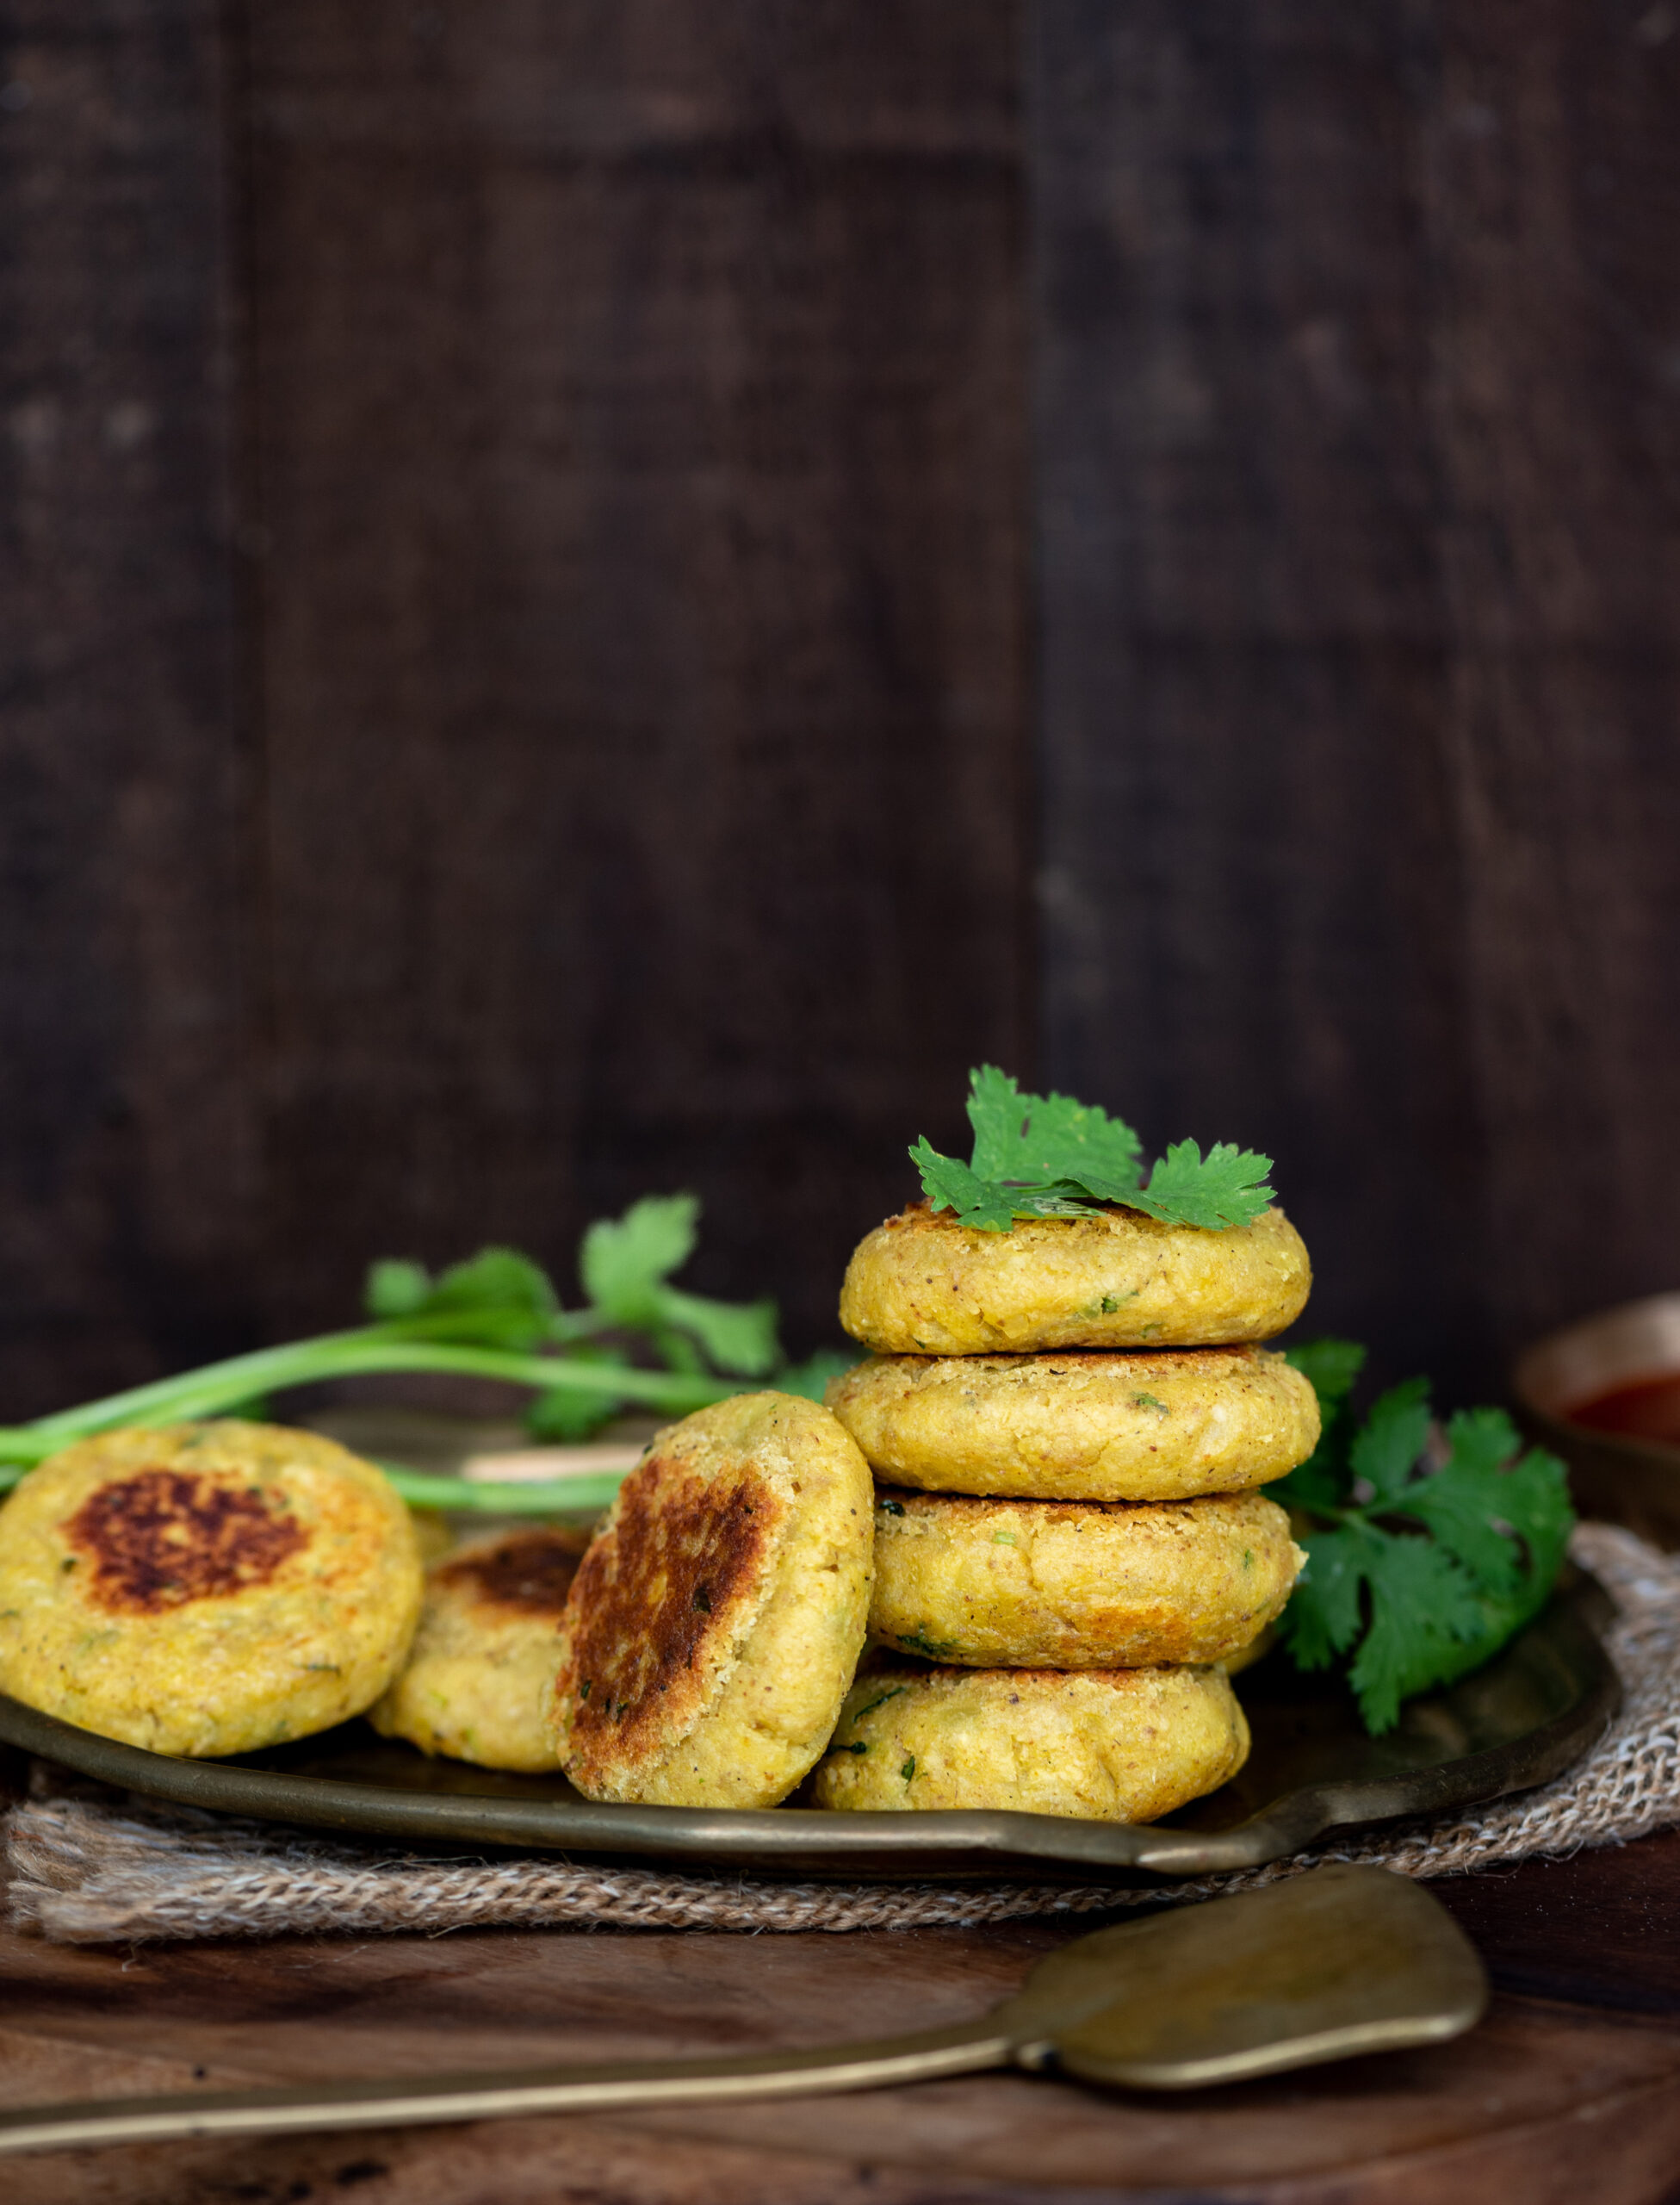
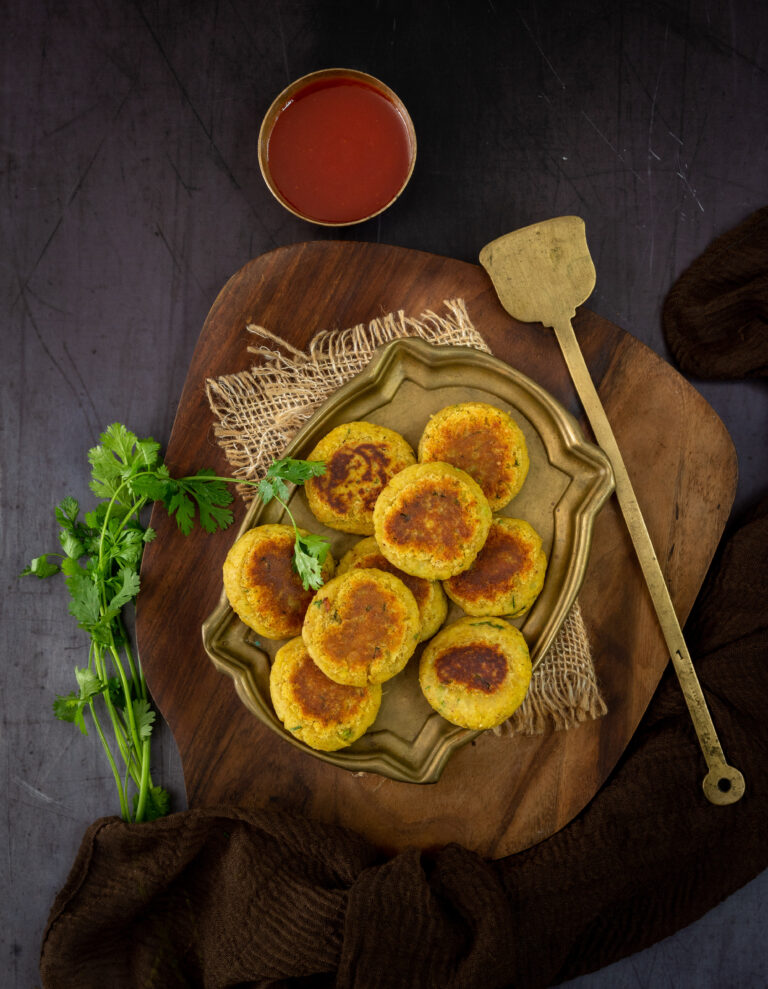
Yam Chips

(Yield: 2-4 servings)


14 kilogram yam

Salt to taste

3 tablespoons oil

1 teaspoon chilli powder

1 tomato (only pulp)

¼ teaspoon turmeric


Slice the yam and boil in water, along with the turmeric, until slightly tender. Drain well and keep aside.

On a plate, place the yam slices and add the chilli powder, salt and tomato pulp. Mix well until well coated. Let sit for half an hour.

In a pan, add the oil and once it has heated, place the slices gently on the hot oil. Allow them to turn golden and crisp on both sides. You may prefer to air-fry them as well (you can do the same for the sabudana wadas, by the way) They are now ready to serve.

You can enjoy your crispy yam chips just as they are, as a delicious snack, or have them along with hot rice and dal to add more texture and flavour to your meal.

Looking back, I can now see how a wide variety of other dishes from around the world would be suitable for Farali fasting too. These Spanish-style patatas bravas come to mind immediately. Do you observe similar fasts, and how do you plan your menus for the fast-breaking, or within the parameters of what is permitted?

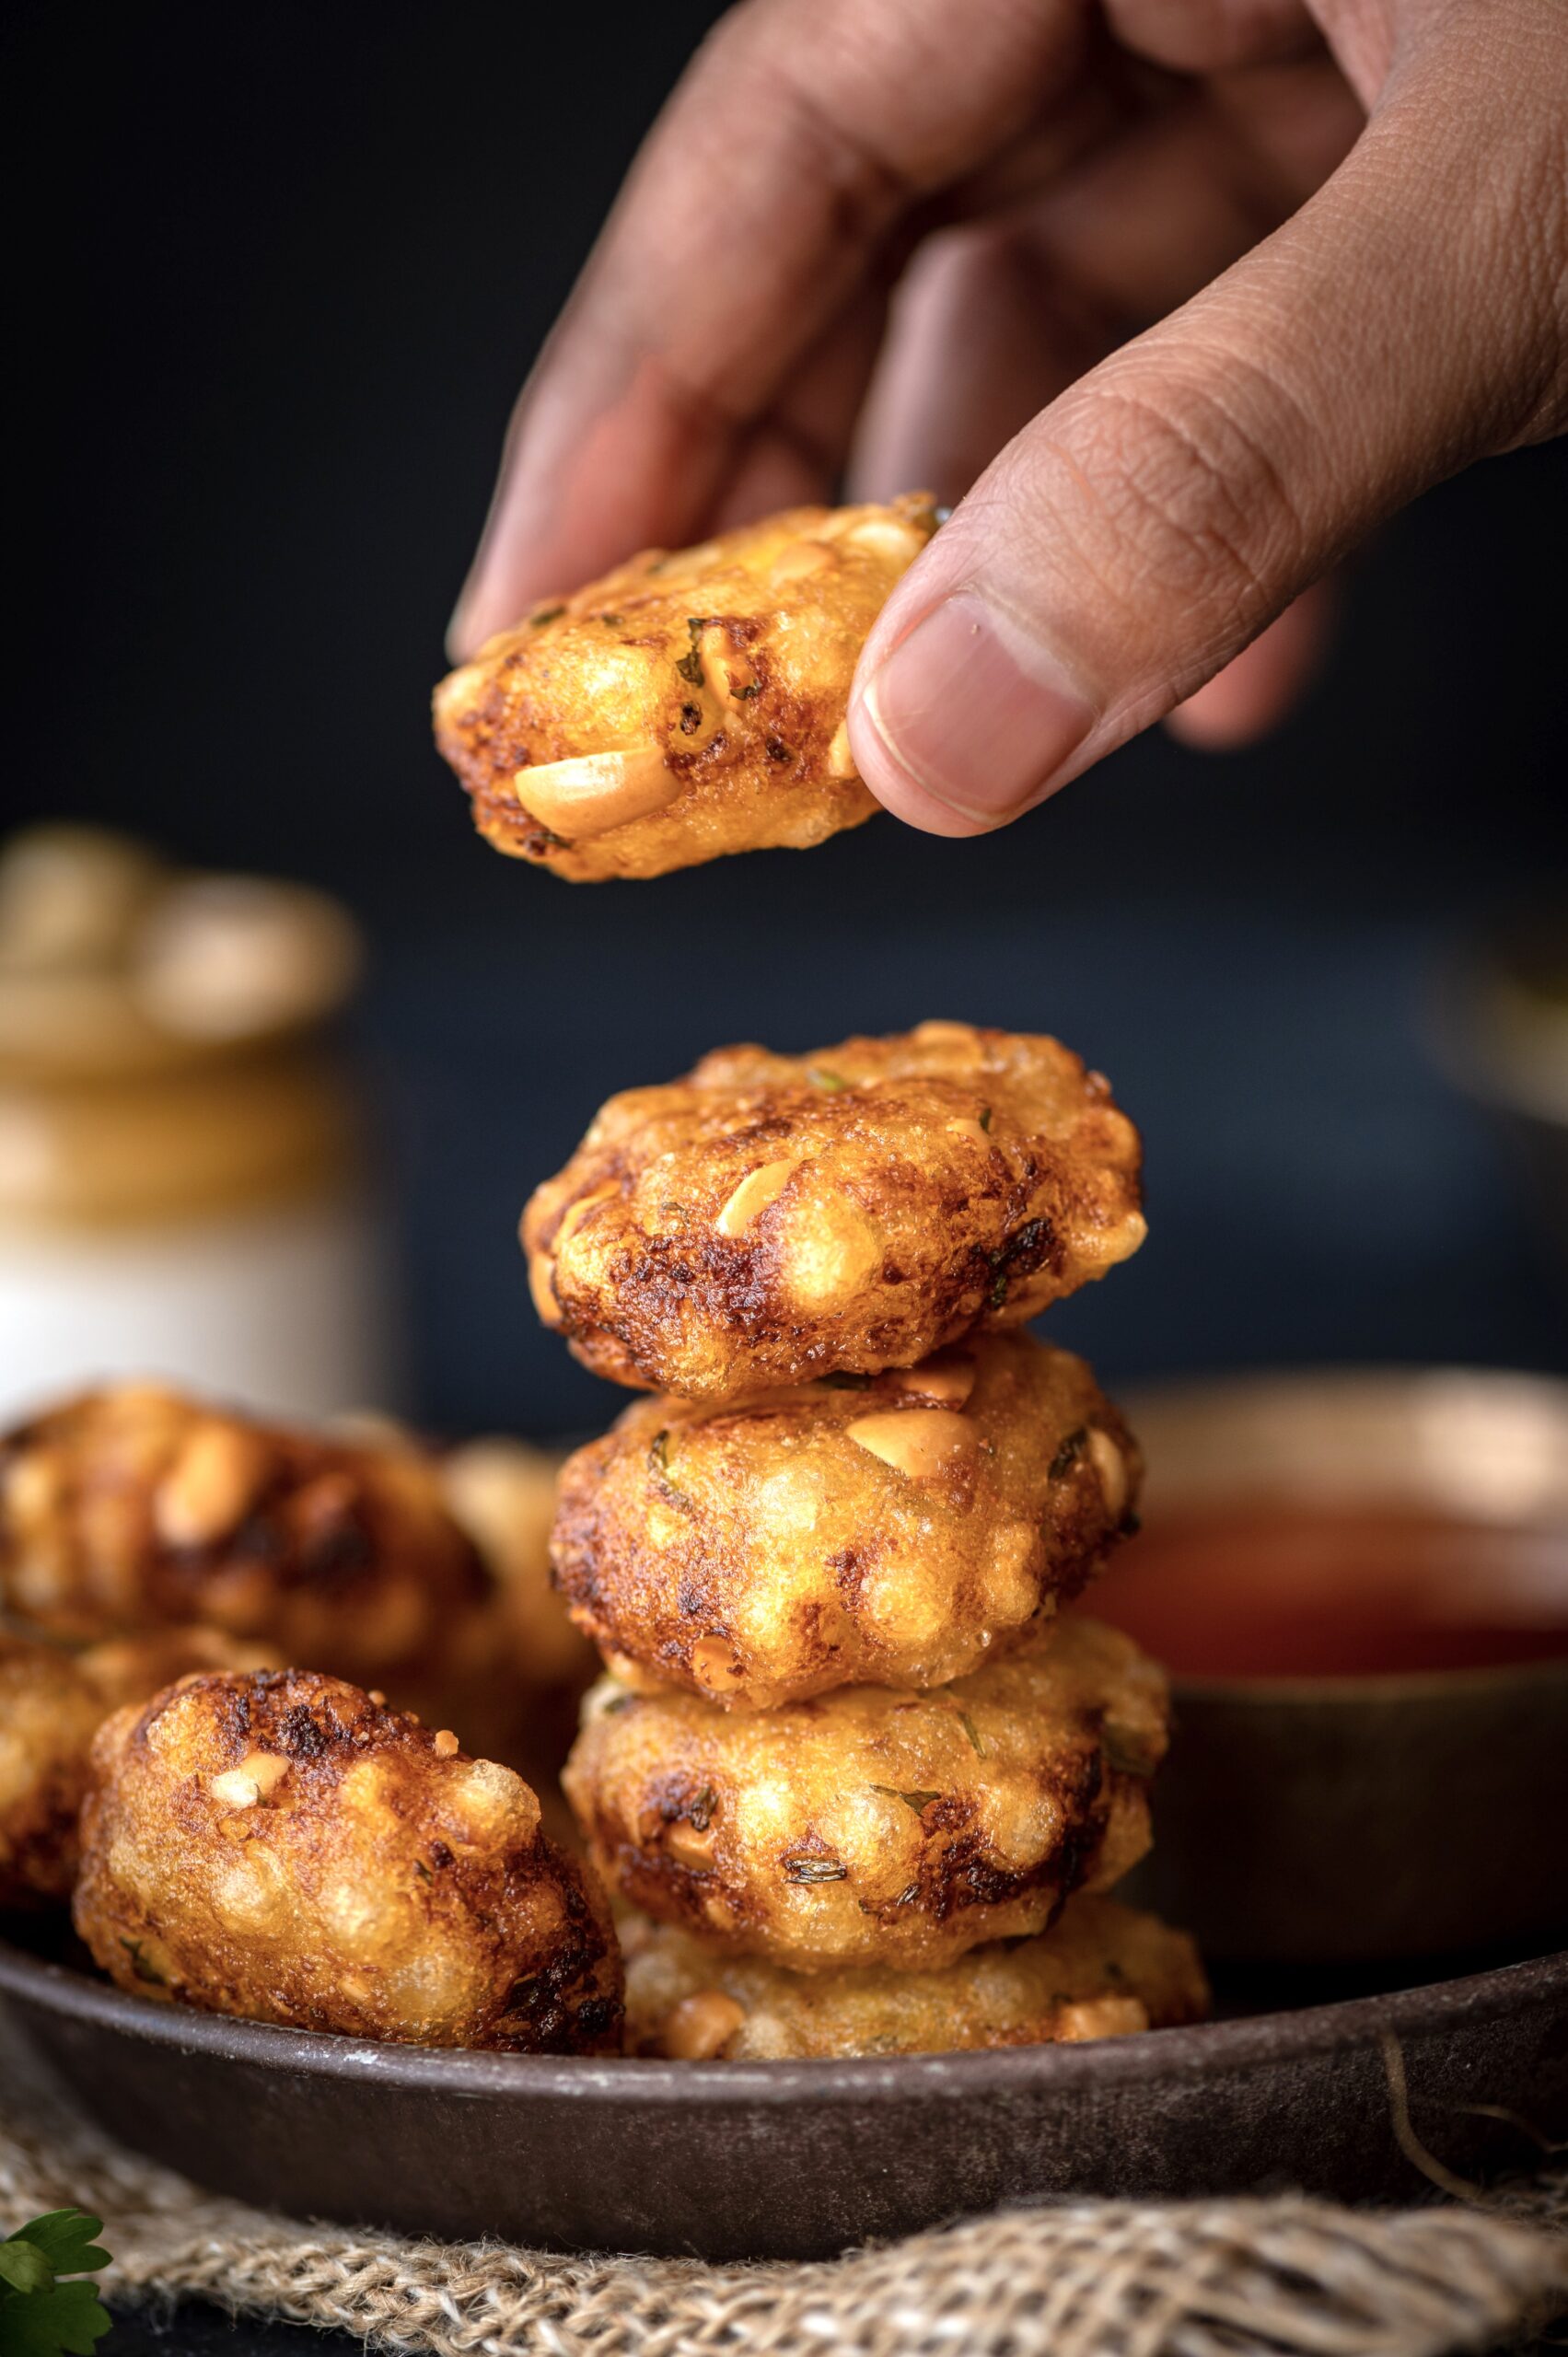
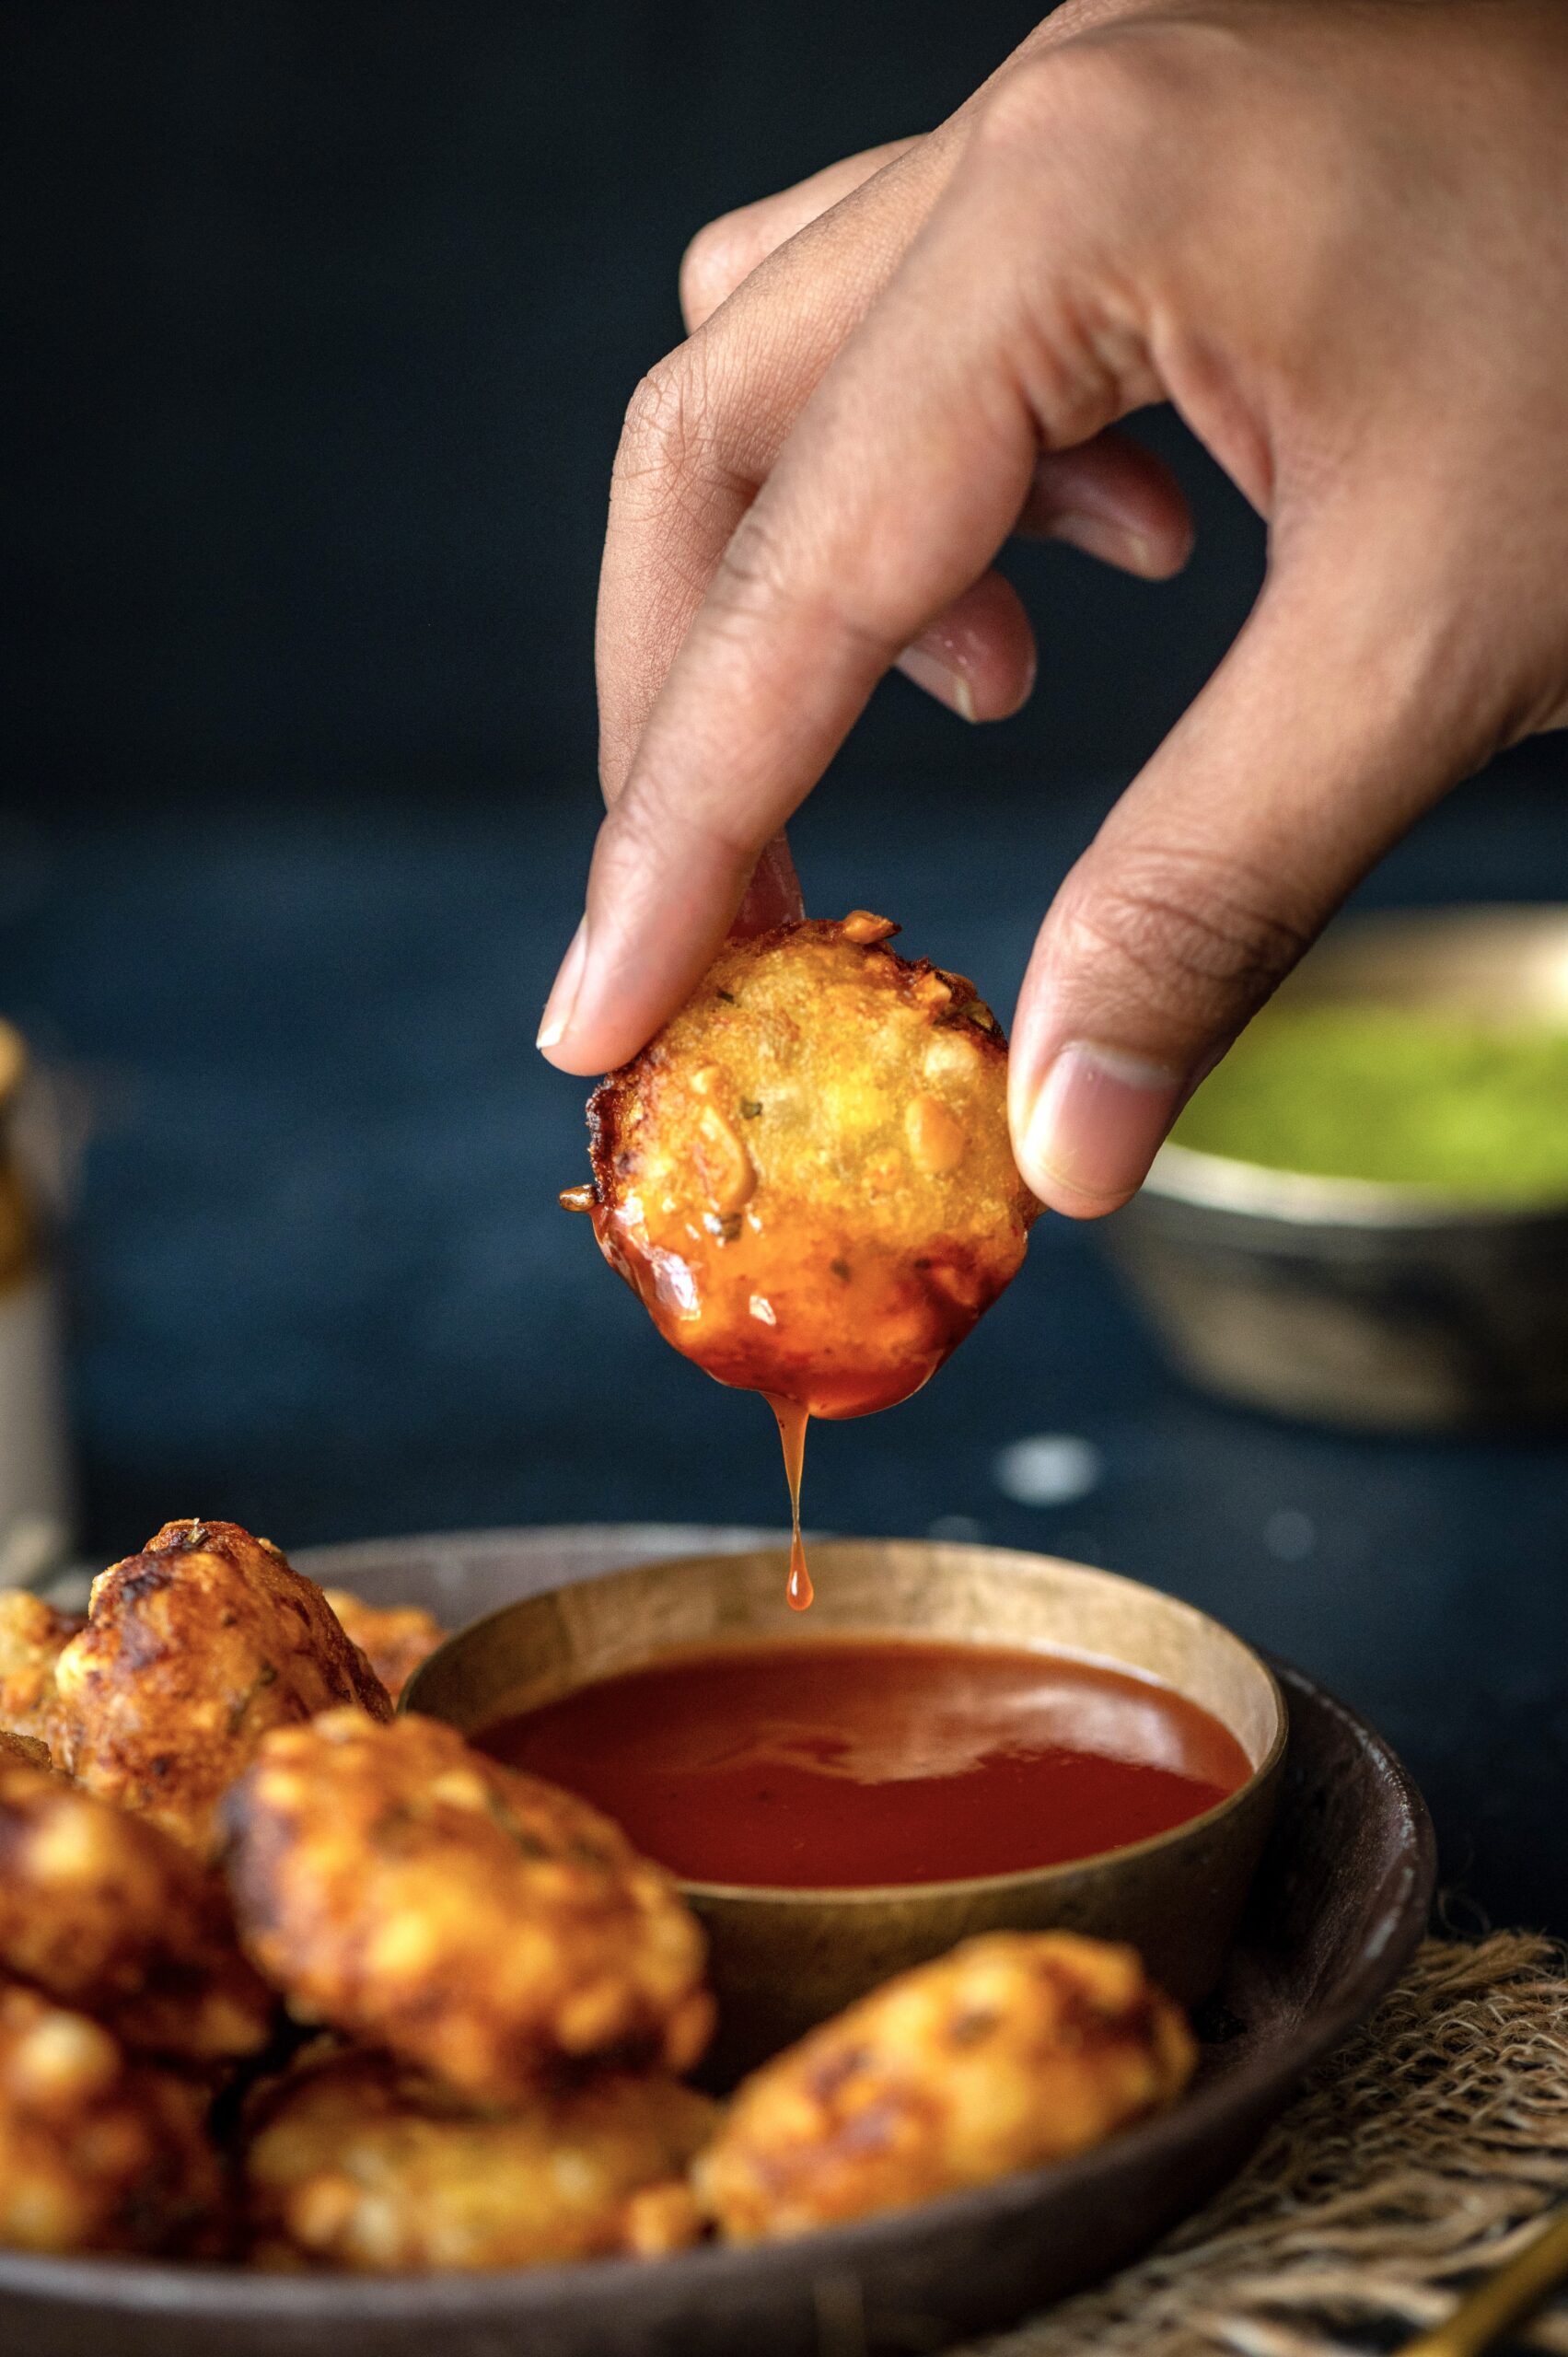
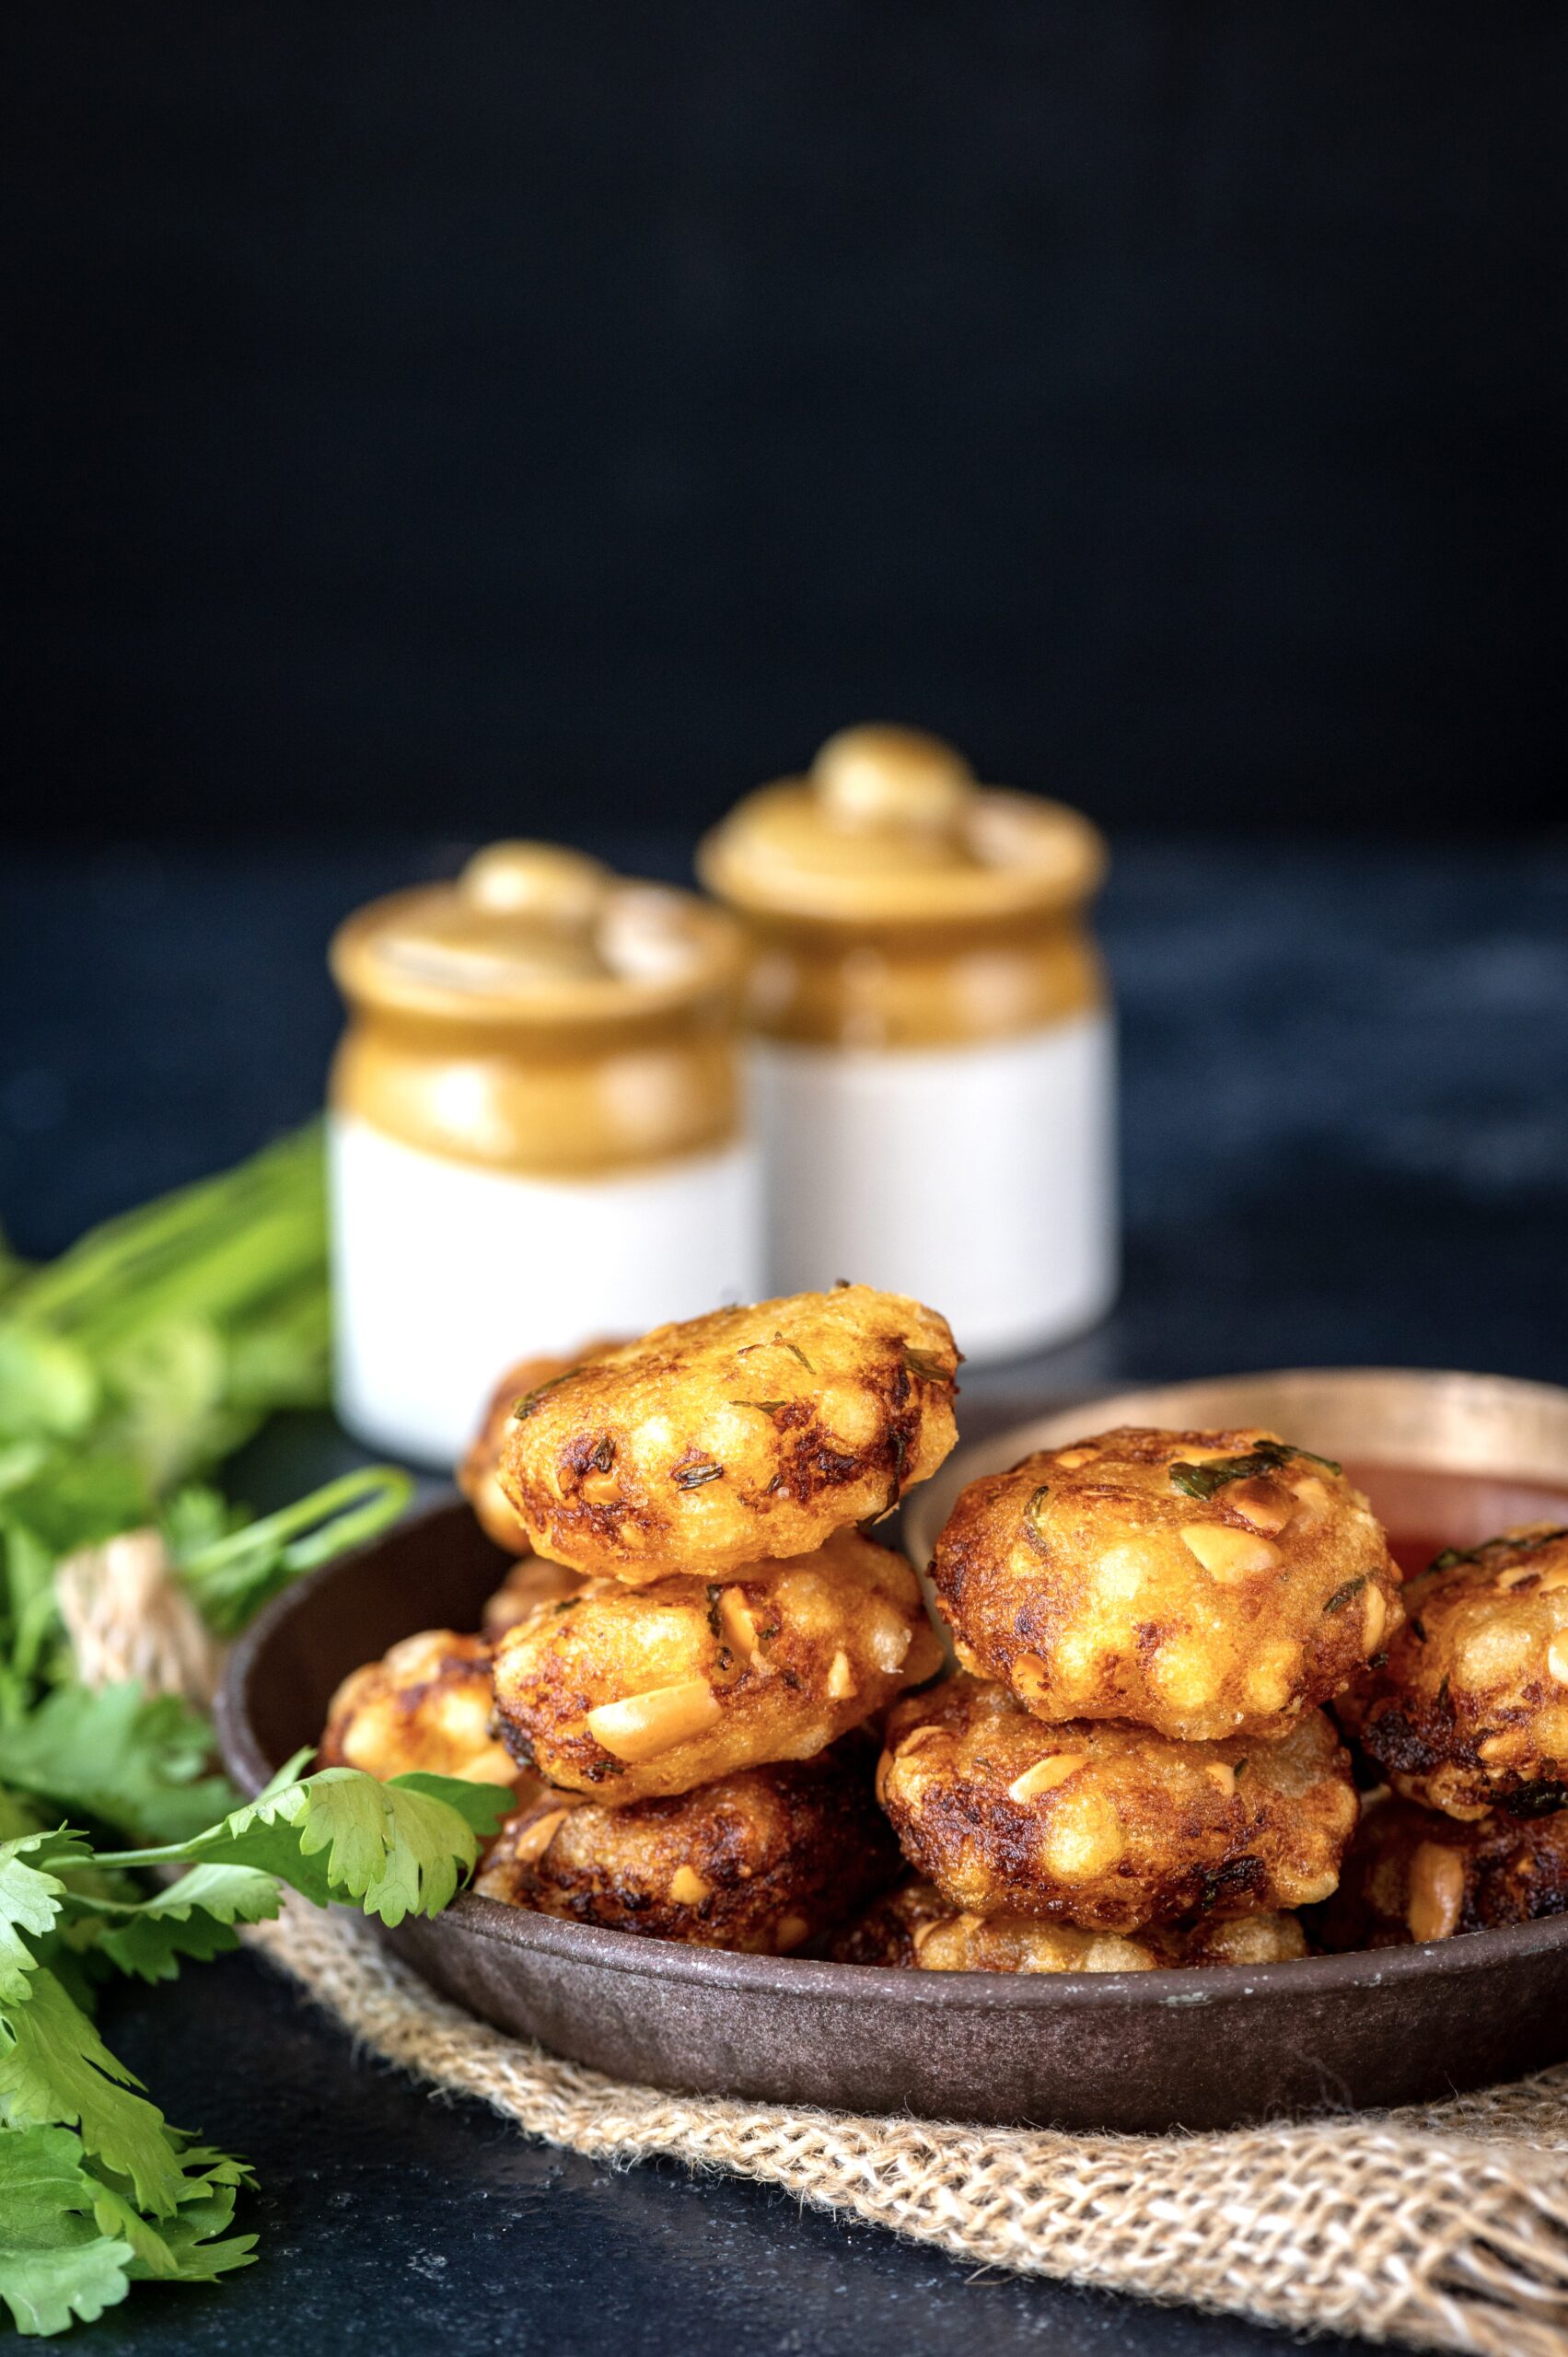
I don’t know whether sabudana wada, a savoury snack made of mashed potatoes with a coating of tapioca pearls, is a typically Maharashtrian dish or a typically Gujarati dish – but that to me is the beauty of India. Cultures blend and co-exist, respectfully. That is who we as a country really are, and we should not forget this.

I grew up in that kind of India, and while I was growing up I knew sabudana wada as not just a Gujarati dish but one specific to the Vaishnav community. This was because it was among the items that my mother, who observed fasts called Farali in which grains were not permitted, prepared during those times. What to my mother was a religious observance was an opportunity for tasty delights to me, as a child. As a fried dish, sabudana wada was logically delicious.  Other things that we ate during Farali were yam, potato and sweet potato preparations, some of which I will share with you soon.

While the dishes themselves were something I always appreciated and looked forward to, it is only with maturity and hindsight that I am able to see just how important those traditions were to my mother culturally. But more than that, I am able to appreciate how broad-minded she was in the way she raised us. She had come from a conservative family, and we lived in a joint family with our grandfather (who was with us up to the age of 89). He fasted devoutly, and so did she – but never did she impose the various fasts they both kept through the calendar on my siblings and I. Despite not having a formal education, she understood intrinsically that it was wrong to force her beliefs on us.

Interestingly, her leniency meant that by seeing and admiring her example, the traditions she held dear actually became imbued in us. I can see them live on in my daily life now, in the rituals I observe and the food I consume. The next generation, my children, who were raised quite liberally, similarly learn about culture from my example. They see how it is a part of who I am, and it becomes a part of them too.

When I think about my upbringing and that of my peer group, I feel as though we were all raised in a much more harmonious and open way, even though what was common in our generation was that parents and families tended to make all the big choices on their children’s behalf. From education to career to marriage and more, these decisions were not usually in our own hands (I rebelled on a few counts to chart my own path, but the norm was always to respect one’s parents’ wishes). But our so-called conservative parents had such a natural affinity for cross-cultural exchange.

My sister and I were sent to a convent school as it had the best curriculum in the city, and I remember well how I would pray at the chapel with all my heart – and then go home to eat authentic Vaishnav Gujarati meals and pray in my family’s altar too. I had a burqa-wearing friend at that same convent school too, and she is but one example of the mix of communities, languages and backgrounds that we grew up with. At school, it didn’t matter to anyone at all whether you wore a bindi or a hijab, as long as your shoes were polished and your uniform was pressed and your nails were tidily cut.

We had so many perspectives to open our minds. We played together, studied together and broke bread together without thinking of the differences between us – because where it really mattered, there were none.

That was the India I grew up in, one in which diversity was celebrated and not considered unusual in the least. If you are of my generation, I have little doubt that that was the India you grew up in too. Let’s not forget where we came from. Personally, I see food as going a long way in restoring that harmony.

On that note, let us return to the topic of sabudana wada – a lovely Indian snack for everyone to enjoy, background no bar. Just bring your appetite and a warm, open heart.

Sabudana Wada

(Yield: Approximately 10)


½ cup raw tapioca pearls (will become 1 cup)

2 tablespoons crushed peanuts

1 cup boiled and mashed potato

1 teaspoon ginger green chilli paste

Salt to taste

2 tablespoons coriander leaves (finely chopped)

1 teaspoon sugar

3-5 drops lemon juice

Oil for frying

Clean and wash the tapioca pearls and then soak them for 4-5 hours. Strain the water. Make sure it is strained well. The pearls need to be dry to the touch. If needed, you can spread them over a thin cloth and allow them to dry a little.

Next, boil the potatoes until tender. Peel and mash the potatoes well while they are hot and set aside.

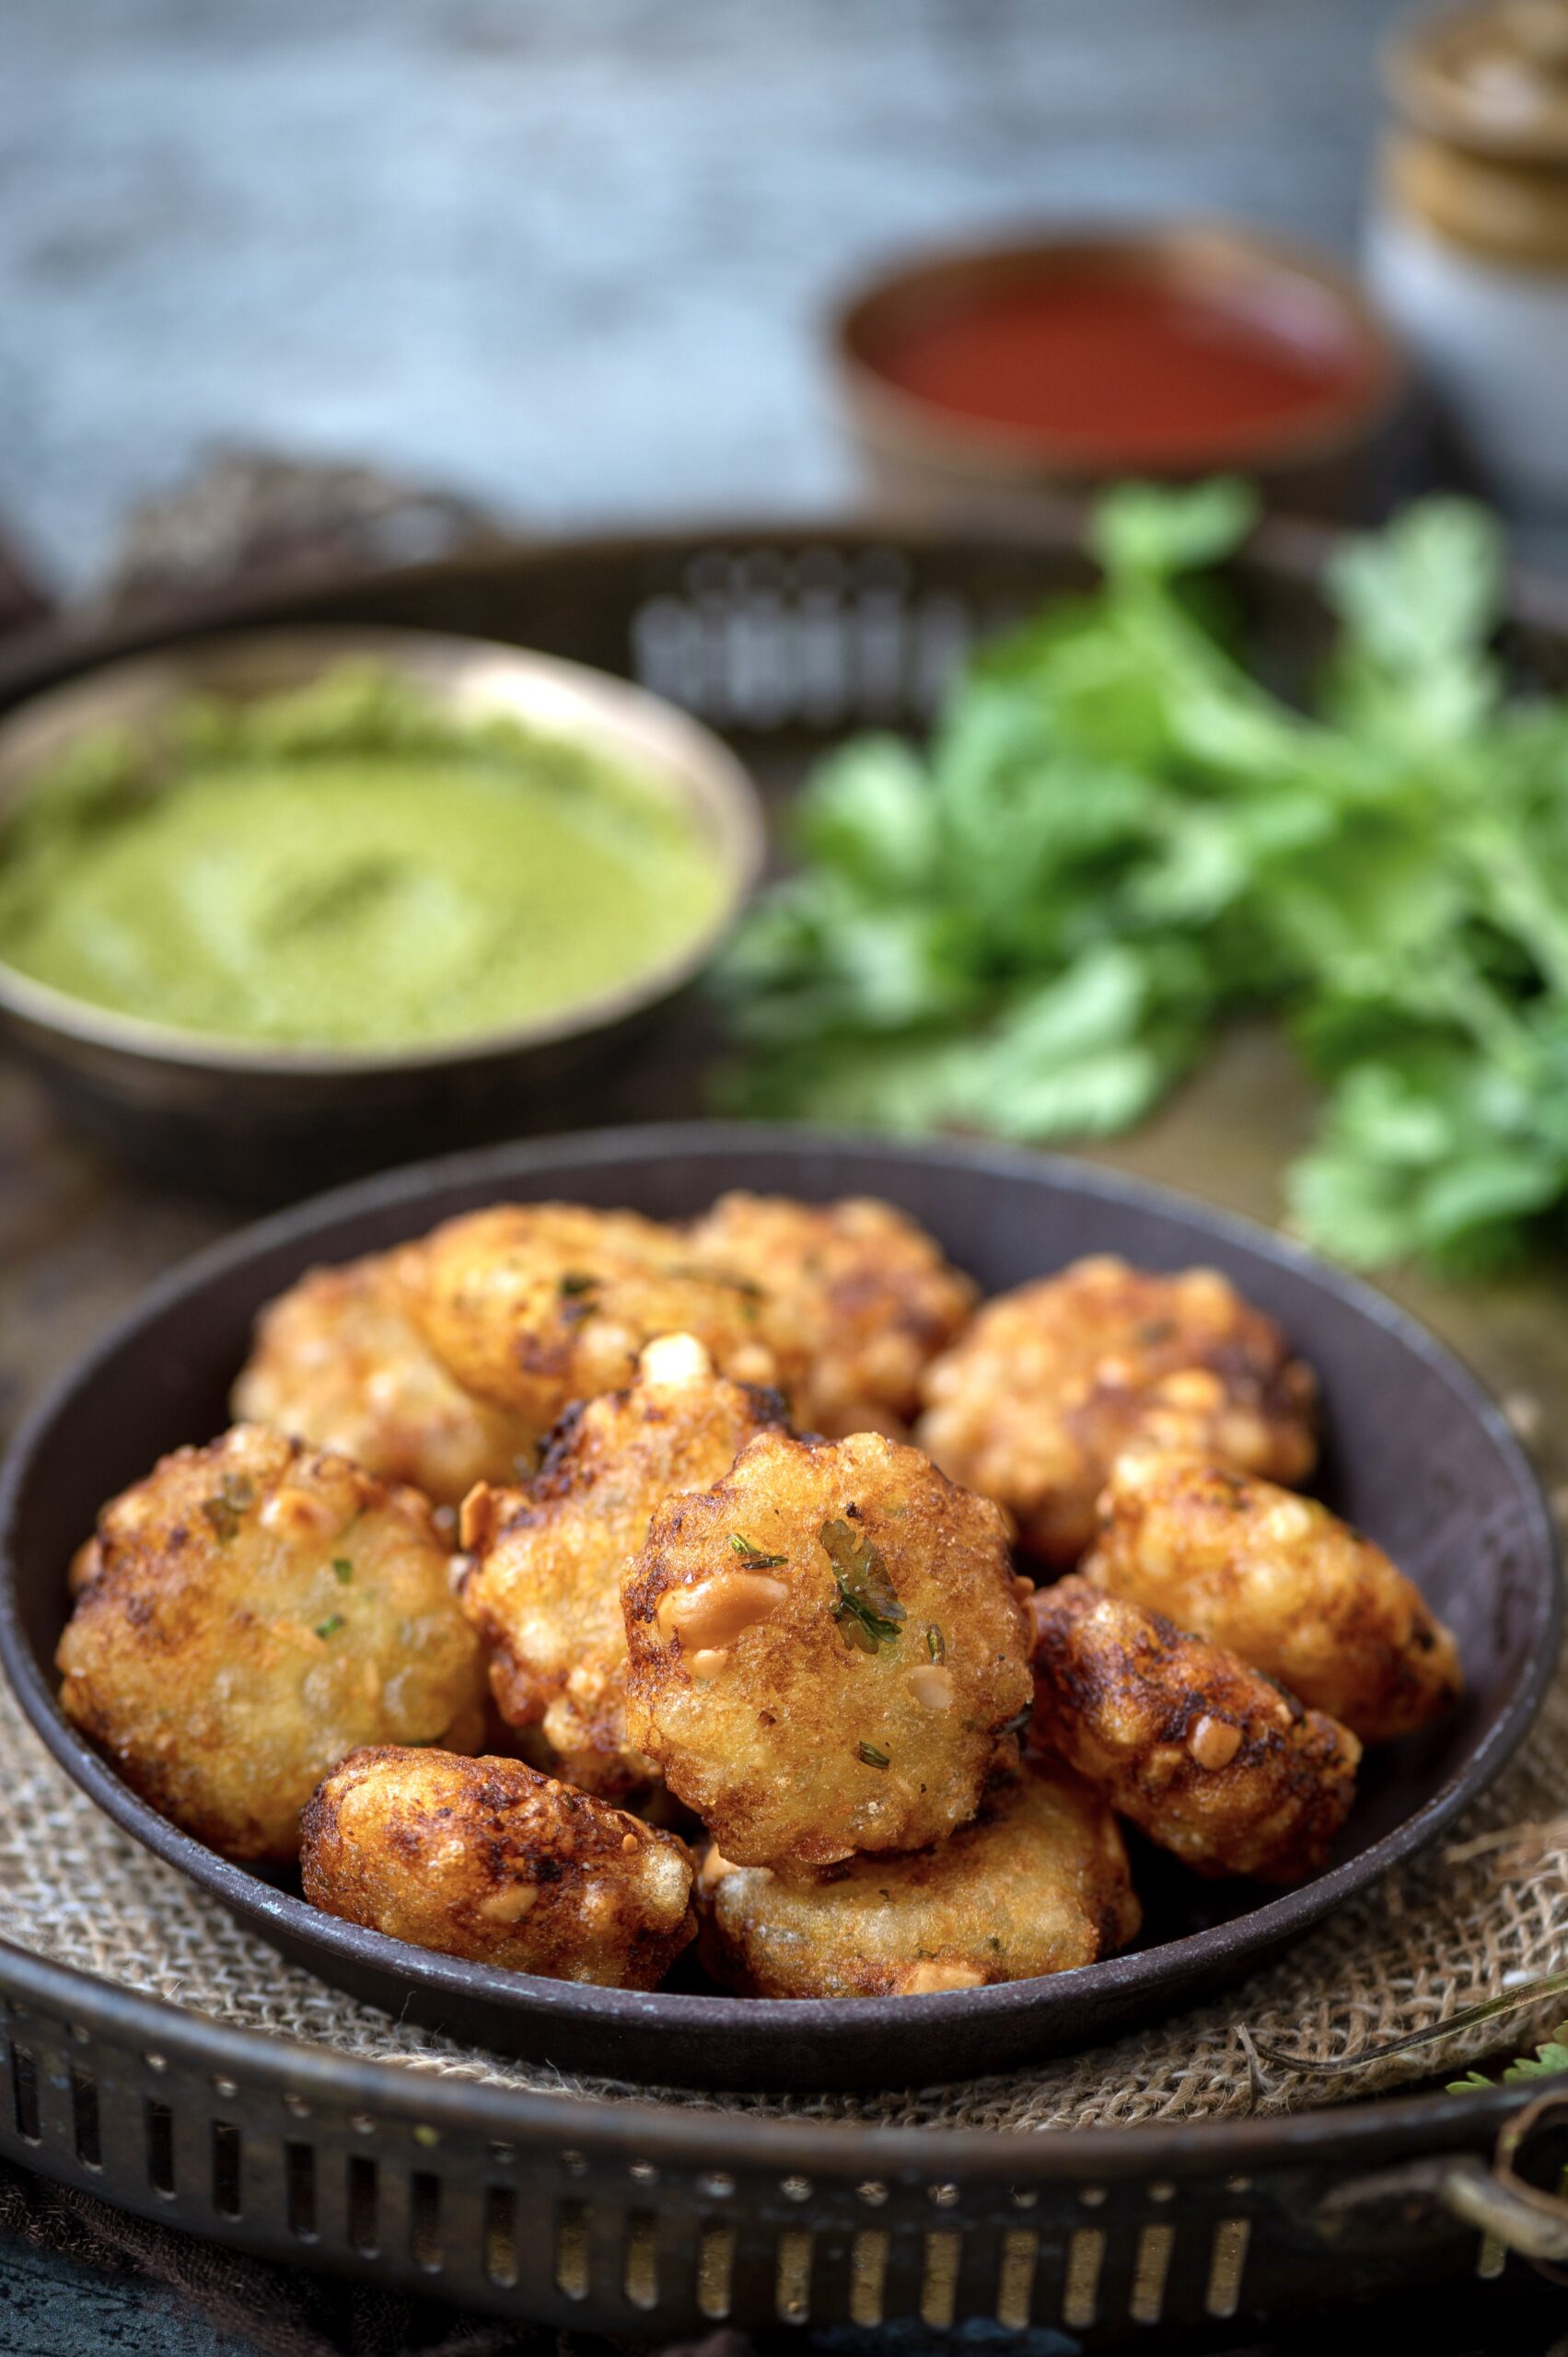
Now, add all the remaining ingredients together and mix well. Massage with the palms of your hands until you form a dough. Divide the dough into small discs. Sabudana wadas are ideally dainty, small and pretty, although you are welcome to make bigger-sized ones if you prefer.

In a pan on a medium flame, add oil. Heat the oil and drop the wadas and fry until they are golden and crisp on both sides.

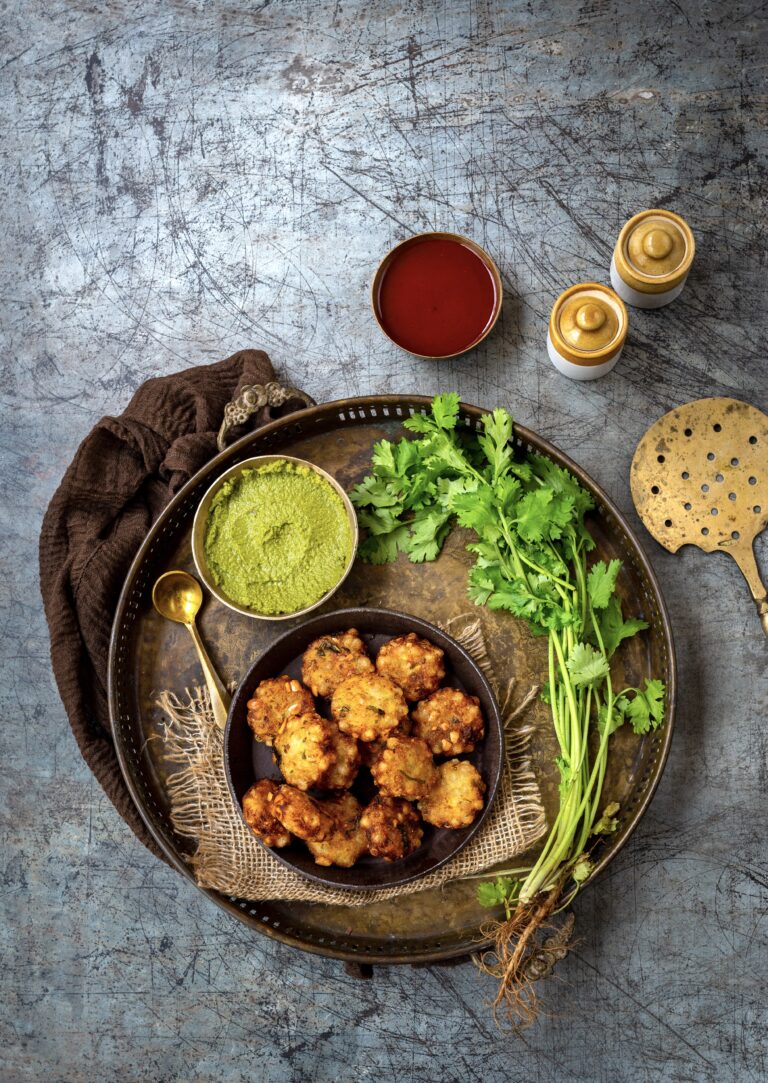
They are now ready to be served. Enjoy with green chutney or ketchup.

Sabudana wada goes perfectly with a cup of chai. These lovely little snacks are ideal for a rainy day evening. We enjoy them very much at home, and I hope you will too.


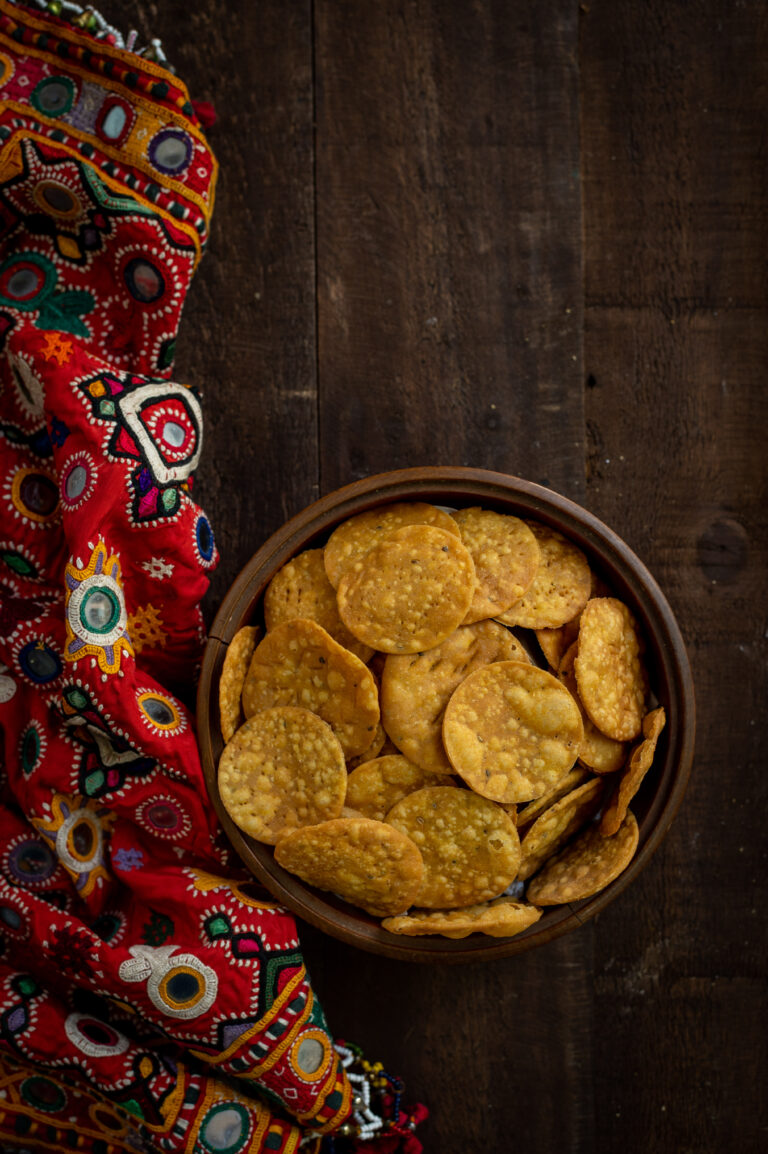
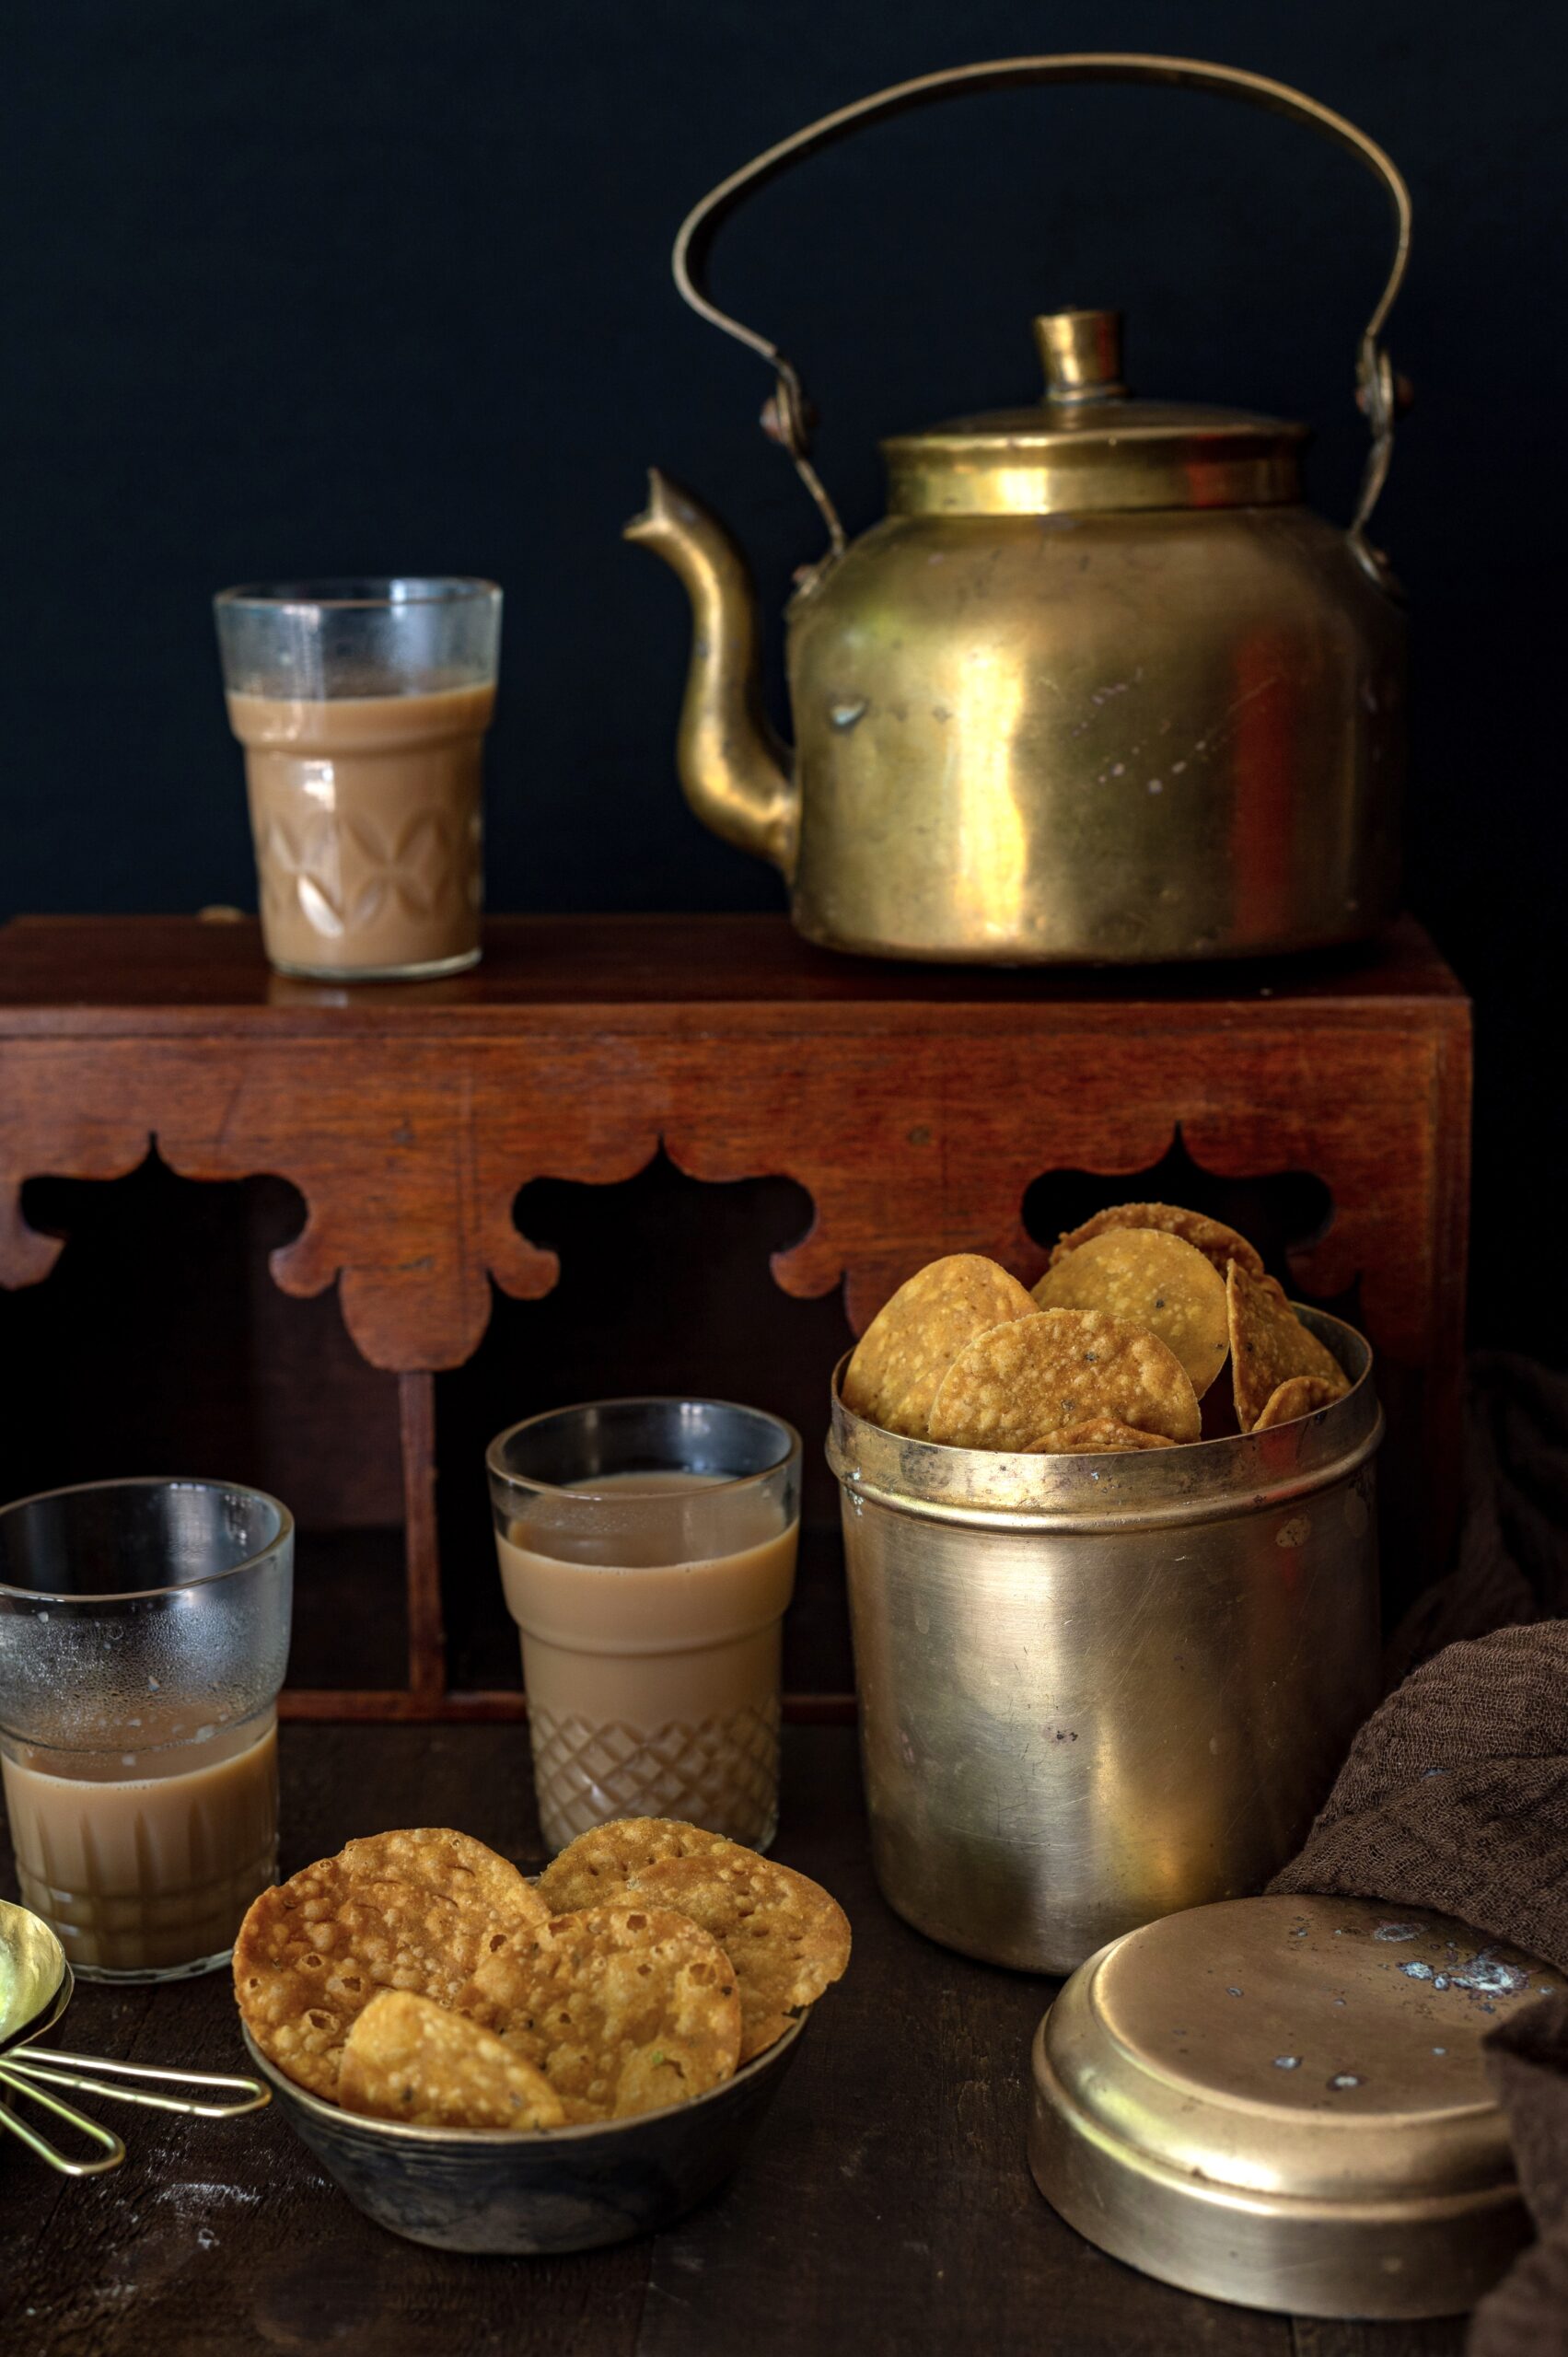
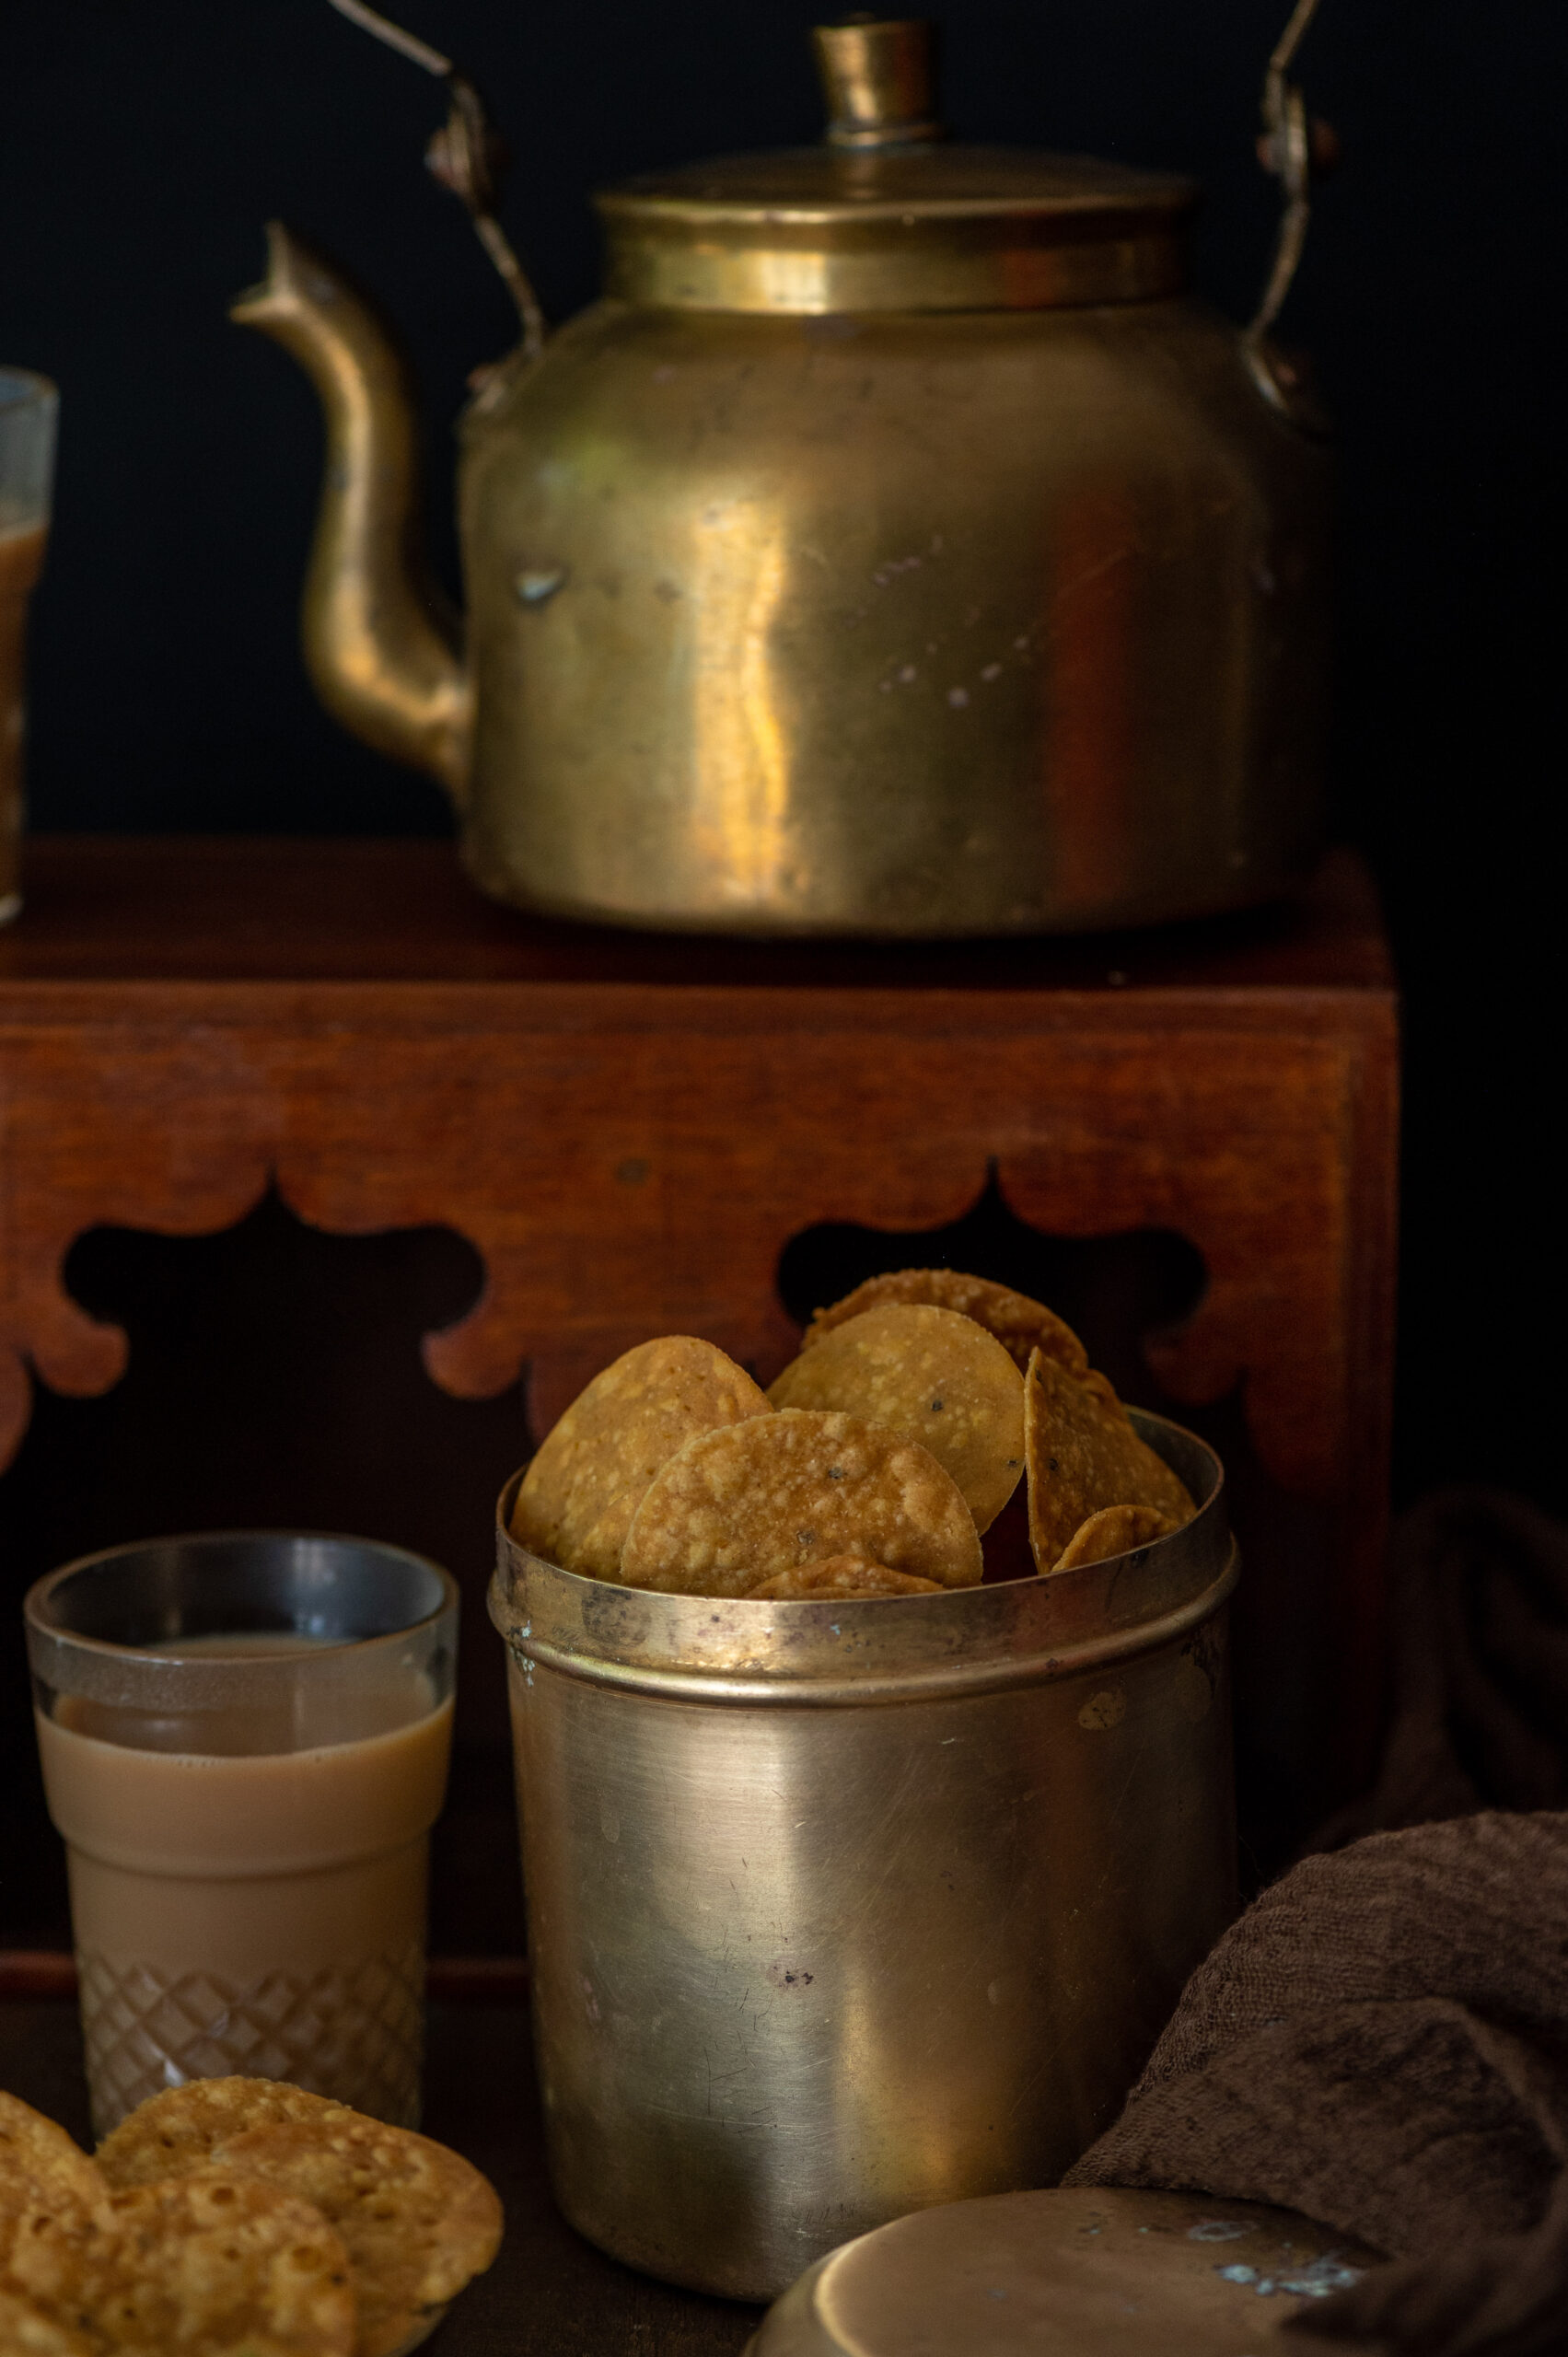
Masala khari poori is a staple in Gujarati households, not just during the festive season but often as a daily pleasure. A morning snack comprised of chai and ghantia (tea and a fried savoury) is how many families traditionally begin their days. This combination is then repeated at tea-time as well. The pairing has a nostalgic quality even for the younger generation of today. I know this because whenever my daughter, who works in Mumbai, comes back for a visit, one of the first things she asks for is sweet chai with an accompaniment of spicy, fried khari poori. Gujaratis do love our savoury fried snacks, and we love them every day, even though my family tends to veer towards more health-conscious items. But with the festive season in full swing and everyone enjoying their indulgences more than usual, there’s no better time than now to share the recipe for this very satisfying masala khari poori.

My mother would fry up big batches of this treat during Diwali in particular, so they are also a part of celebratory memories of mine. She would make small discs, rolled out individually. What I’ve done instead is to roll out a big chunk of dough and then use a cookie cutter to make the small individual discs. When my kids were little, I would use fancy shapes, like flowers and so on, to make the dish all the more interesting to them. They are tiny bites. Pop one into your mouth and eight or ten are gone before you realise it.

The amazing thing about khari poori is that it travels very well, and can easily last for up to four weeks (hypothetically speaking, of course – there’s no chance a jar of such deliciousness will go unfinished that long in most households). This means that whenever we take long car journeys, I fill up a nice flask of hot chai and pack some khari poori for the road. I send my kids off with a parcel of it whenever they head back after a visit. My daughter tells me that she loves to munch on it when she gets a breather from her busy days in the courtroom, so it’s a nice snack to carry into a workplace too. Most of all, it works as the perfect charm when you’re away and are a week or ten days into being somewhere else, and you suddenly crave the taste of home. I remember being in Paris once and munching some homemade khari poori, safely conveyed in my luggage all the way from India, while admiring the beauty of the Eiffel Tower. This delicious little snack has travelled all over the world, literally!

Khari poori is also perfect for when you come home, as I mentioned earlier, but even if you haven’t been travelling or living away, it rounds out a tiring day. When you return late from work or are still hungry after a lousy dinner outside, reaching out for some khari poori and a glass of milk just settles something in the belly and the mind and lets one fall asleep. It’s an all-rounder kind of snack that way: ideal for festive feasts, holiday treats and as a comfort food.

Masala Khari Poori

(Yield: 30+ pieces)

1 cup whole wheat flour

¼ teaspoon turmeric powder

1 teaspoon ginger green chilli paste

½ teaspoon cumin powder

½ teaspoon coriander powder

2 tablespoons oil + for frying

½ teaspoon ajwain seeds (carom seeds)

A pinch of sugar (optional)

⅓ cup water (depends upon the flour)


Make a tight dough with all the ingredients. A lot of kneading helps it become smooth, which will make for crispy pooris.

Heat the oil for frying in a kadai. Meanwhile, make small balls of the dough and set aside.

Now start rolling them out into small discs, or else use my cookie cutter method.

Once the oil is ready, start deep frying the individual pooris.

Drop a few at a time or as many as will fit into the oil. Now, lower the flame as a high heat will burn them and make them turn brown while also being undercooked.

Flip them at intervals and patiently allow them to cook until golden. At intervals you may increase the heat, depending on how they appear.

Remove onto paper and allow to cool. Fry all your discs and allow to cool before storing them in an airtight tin.

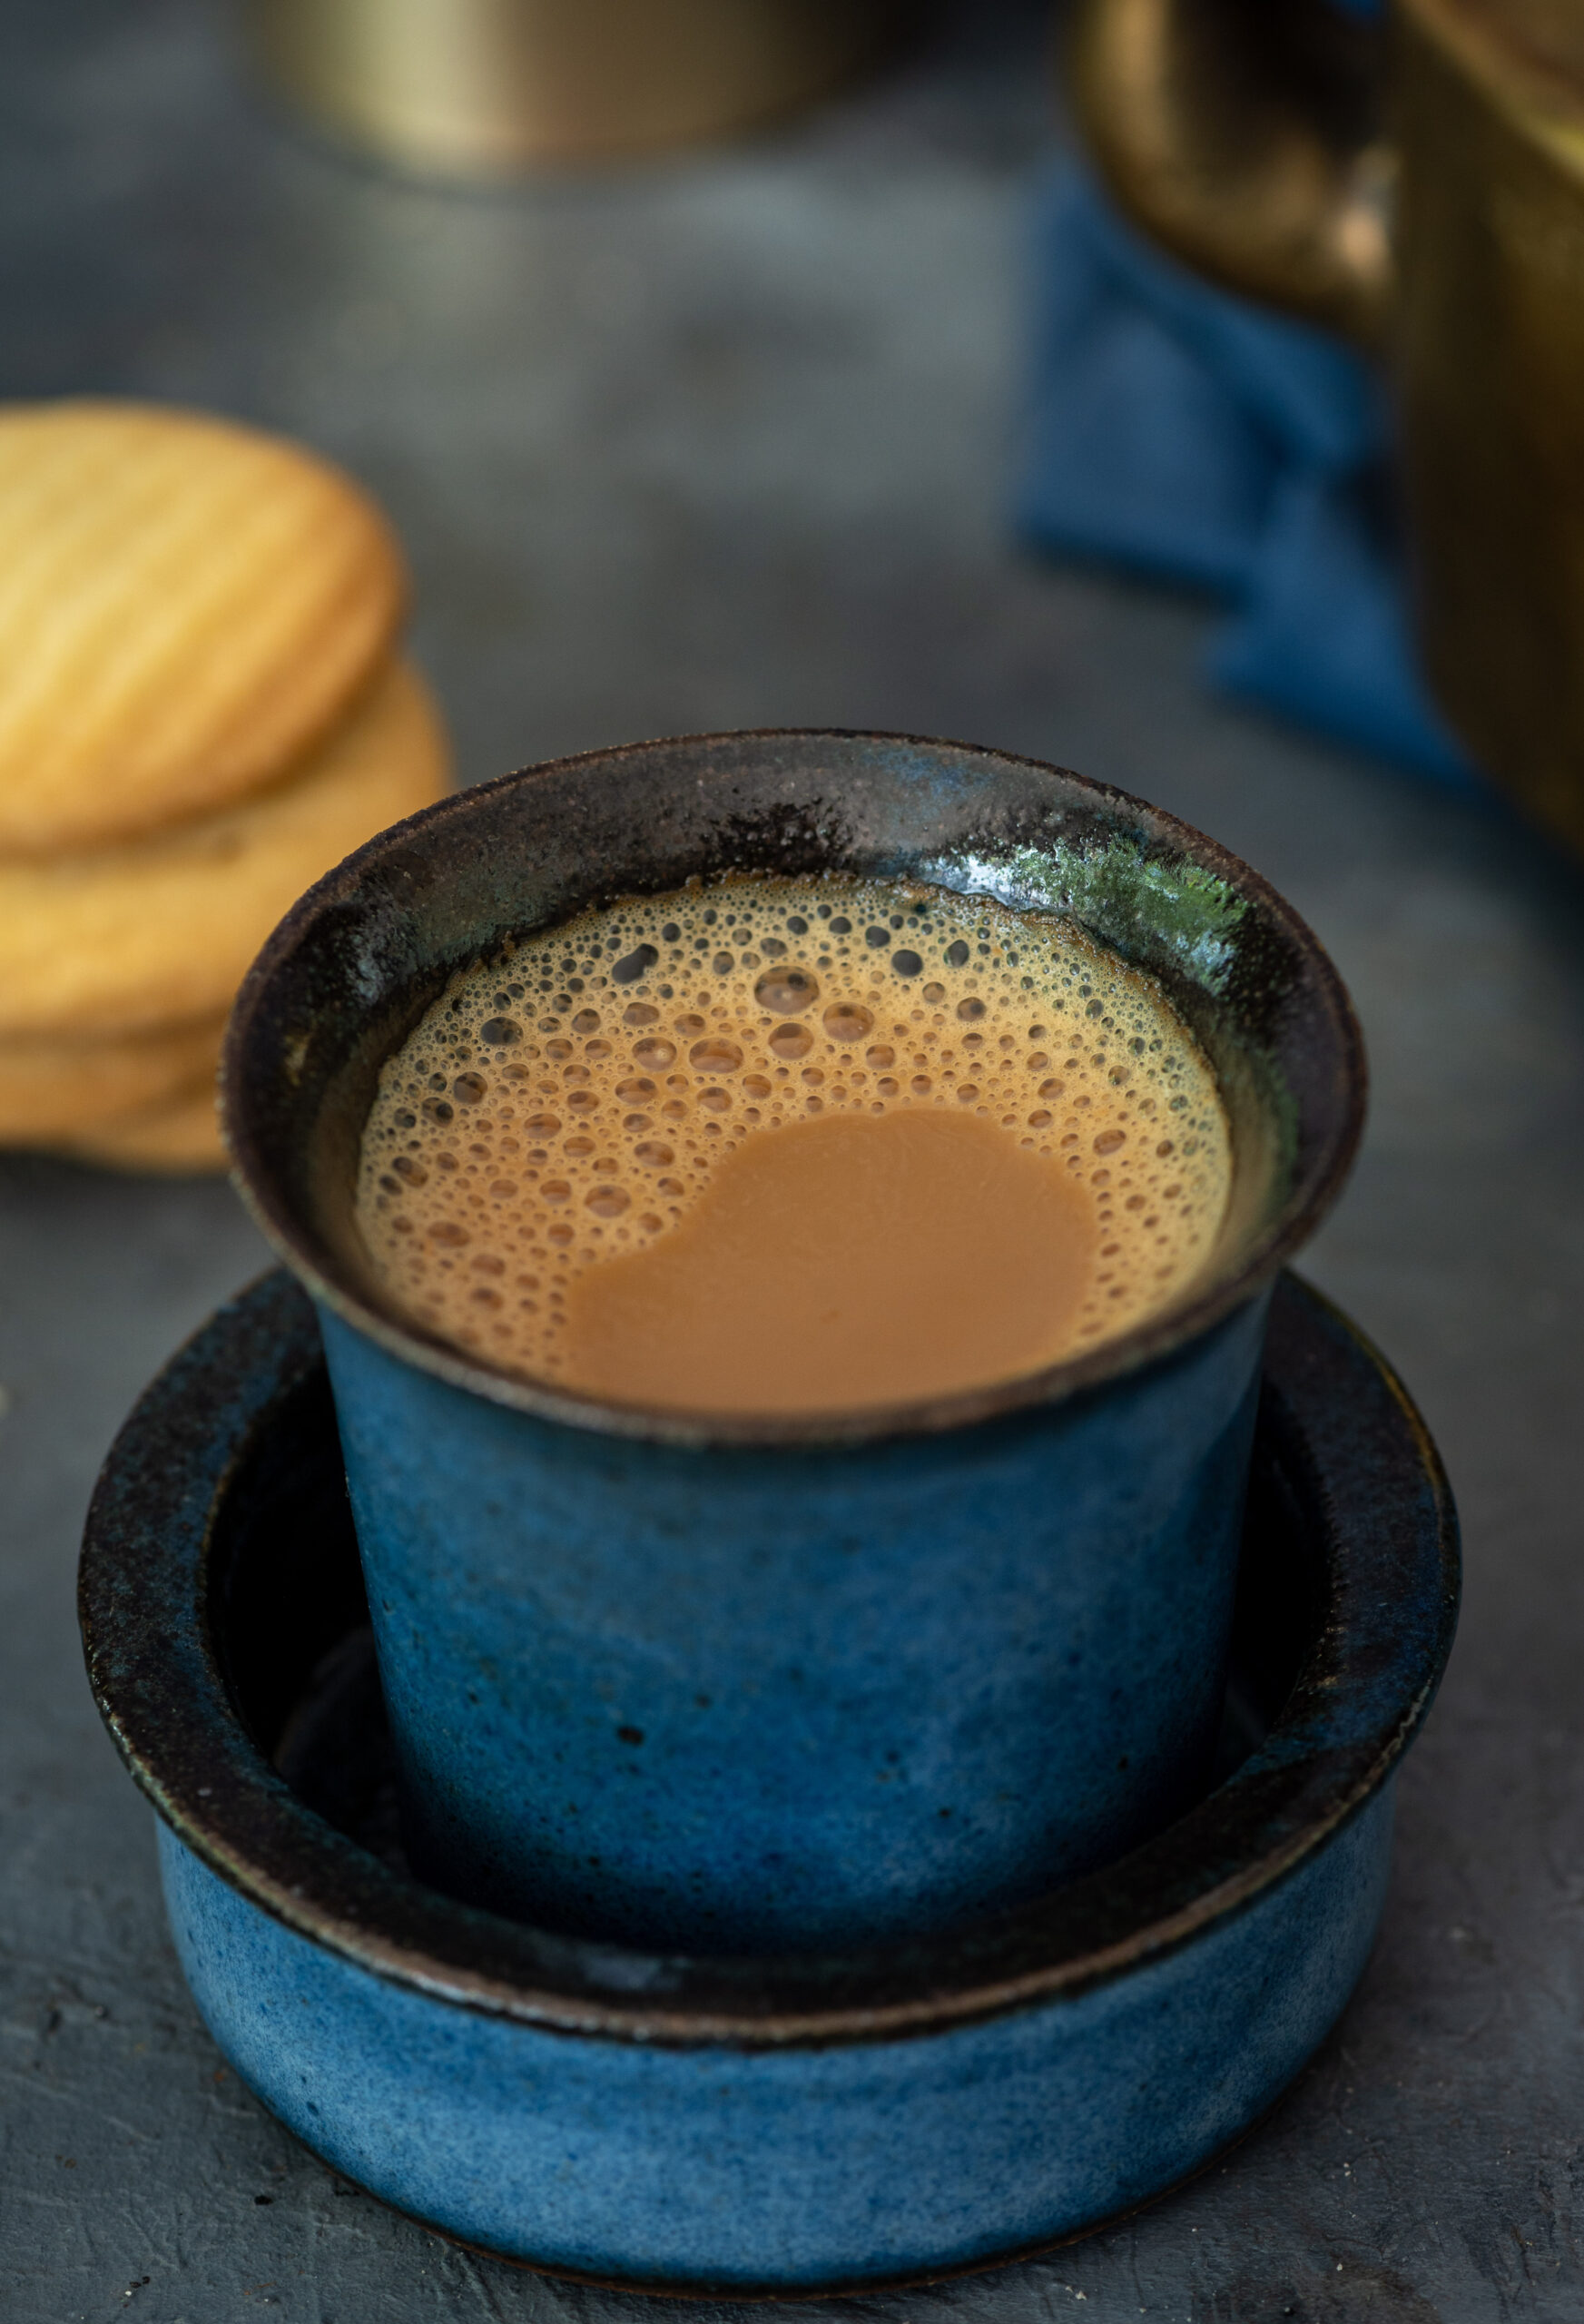
Crispy, festive, spicy – these masala khari pooris will add a boost of delight to your day, whether that’s a special day or simply an ordinary day on which to enjoy the simple good things in life. In my home, we tend to not purchase snacks since I make quite an array of them: this khari poori, obviously, but also butter biscuits, pistachio-rose nan khatai, sukha bhel, banana-methi fritters and much more. We enjoy one or the other on any given day, always with a piping hot kettle full of this delicious masala chai. Try them out and let me know: what’s your own favourite combo?

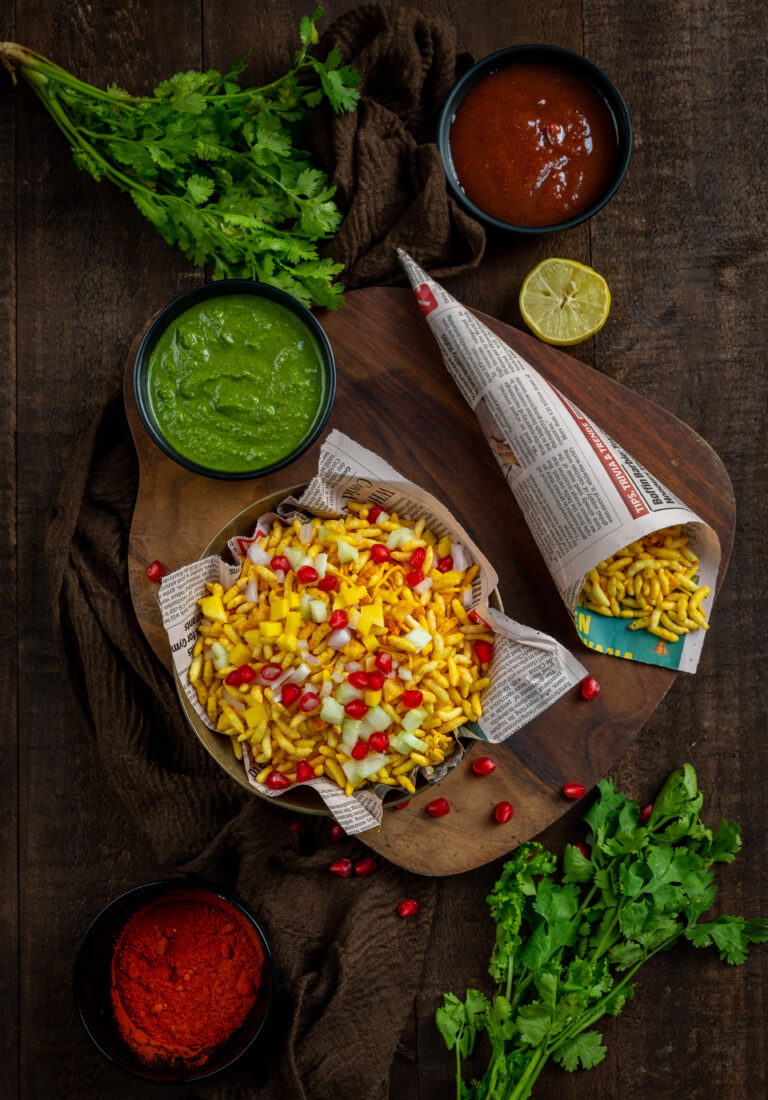
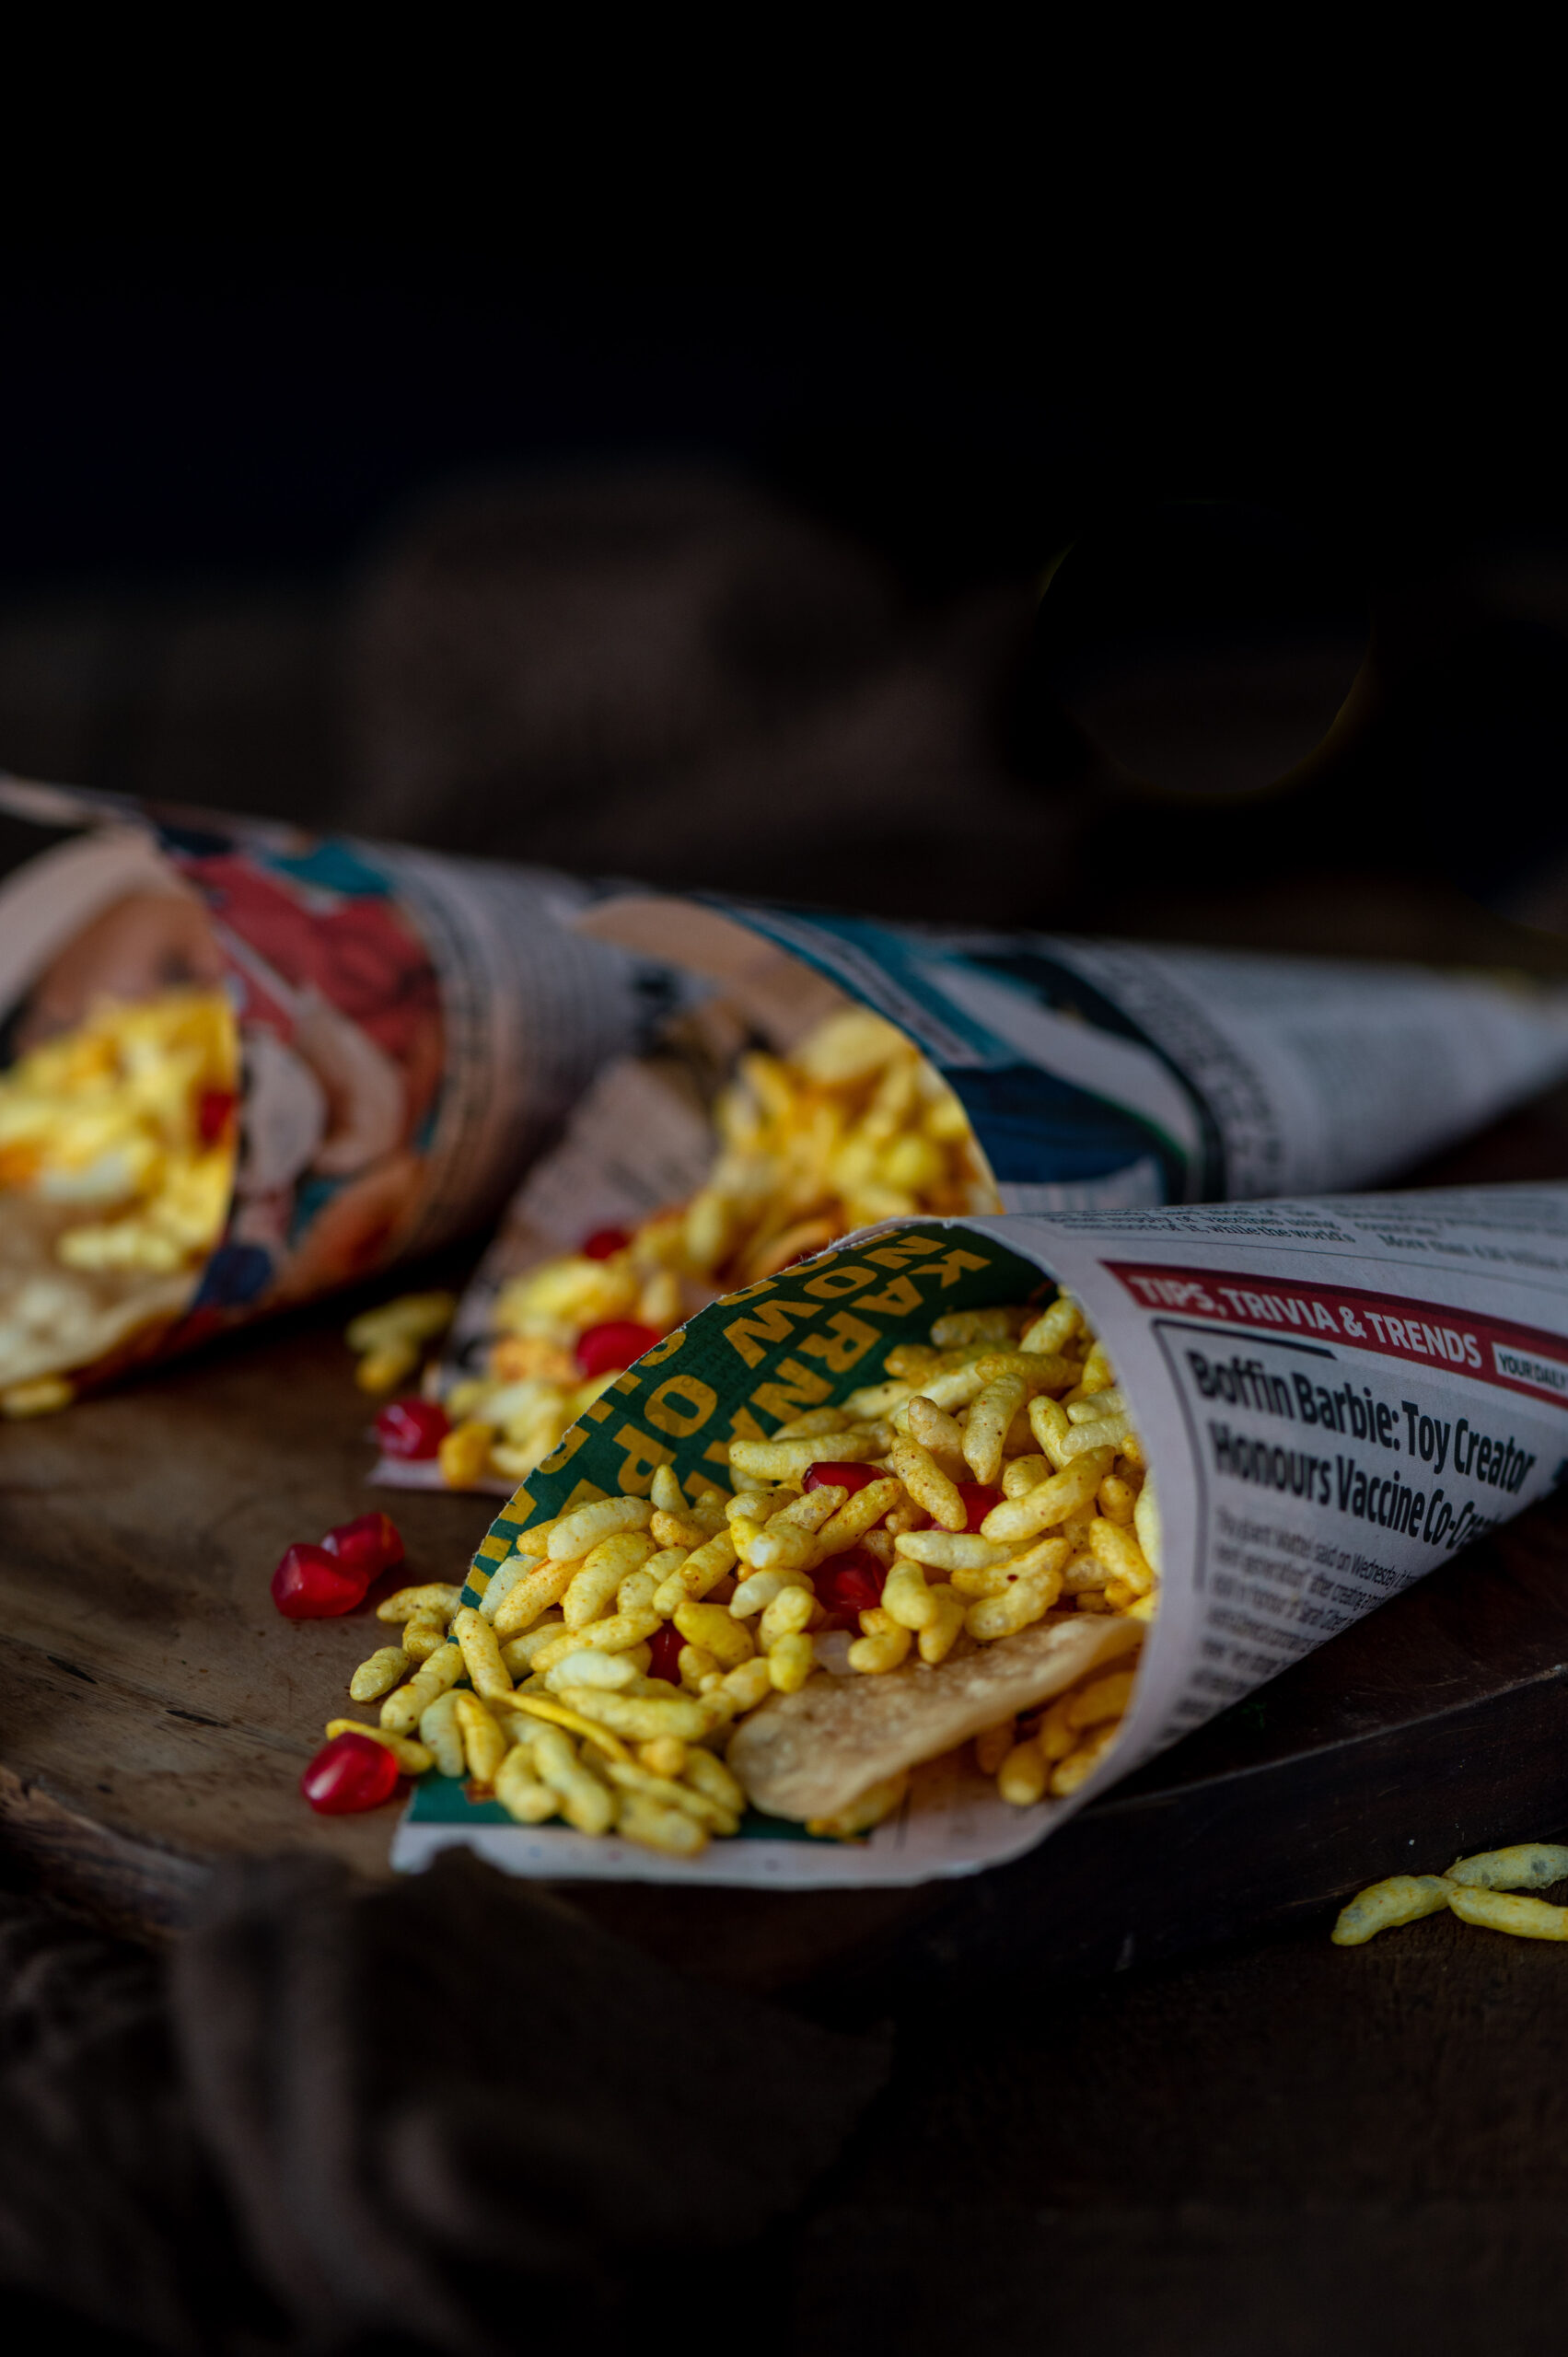
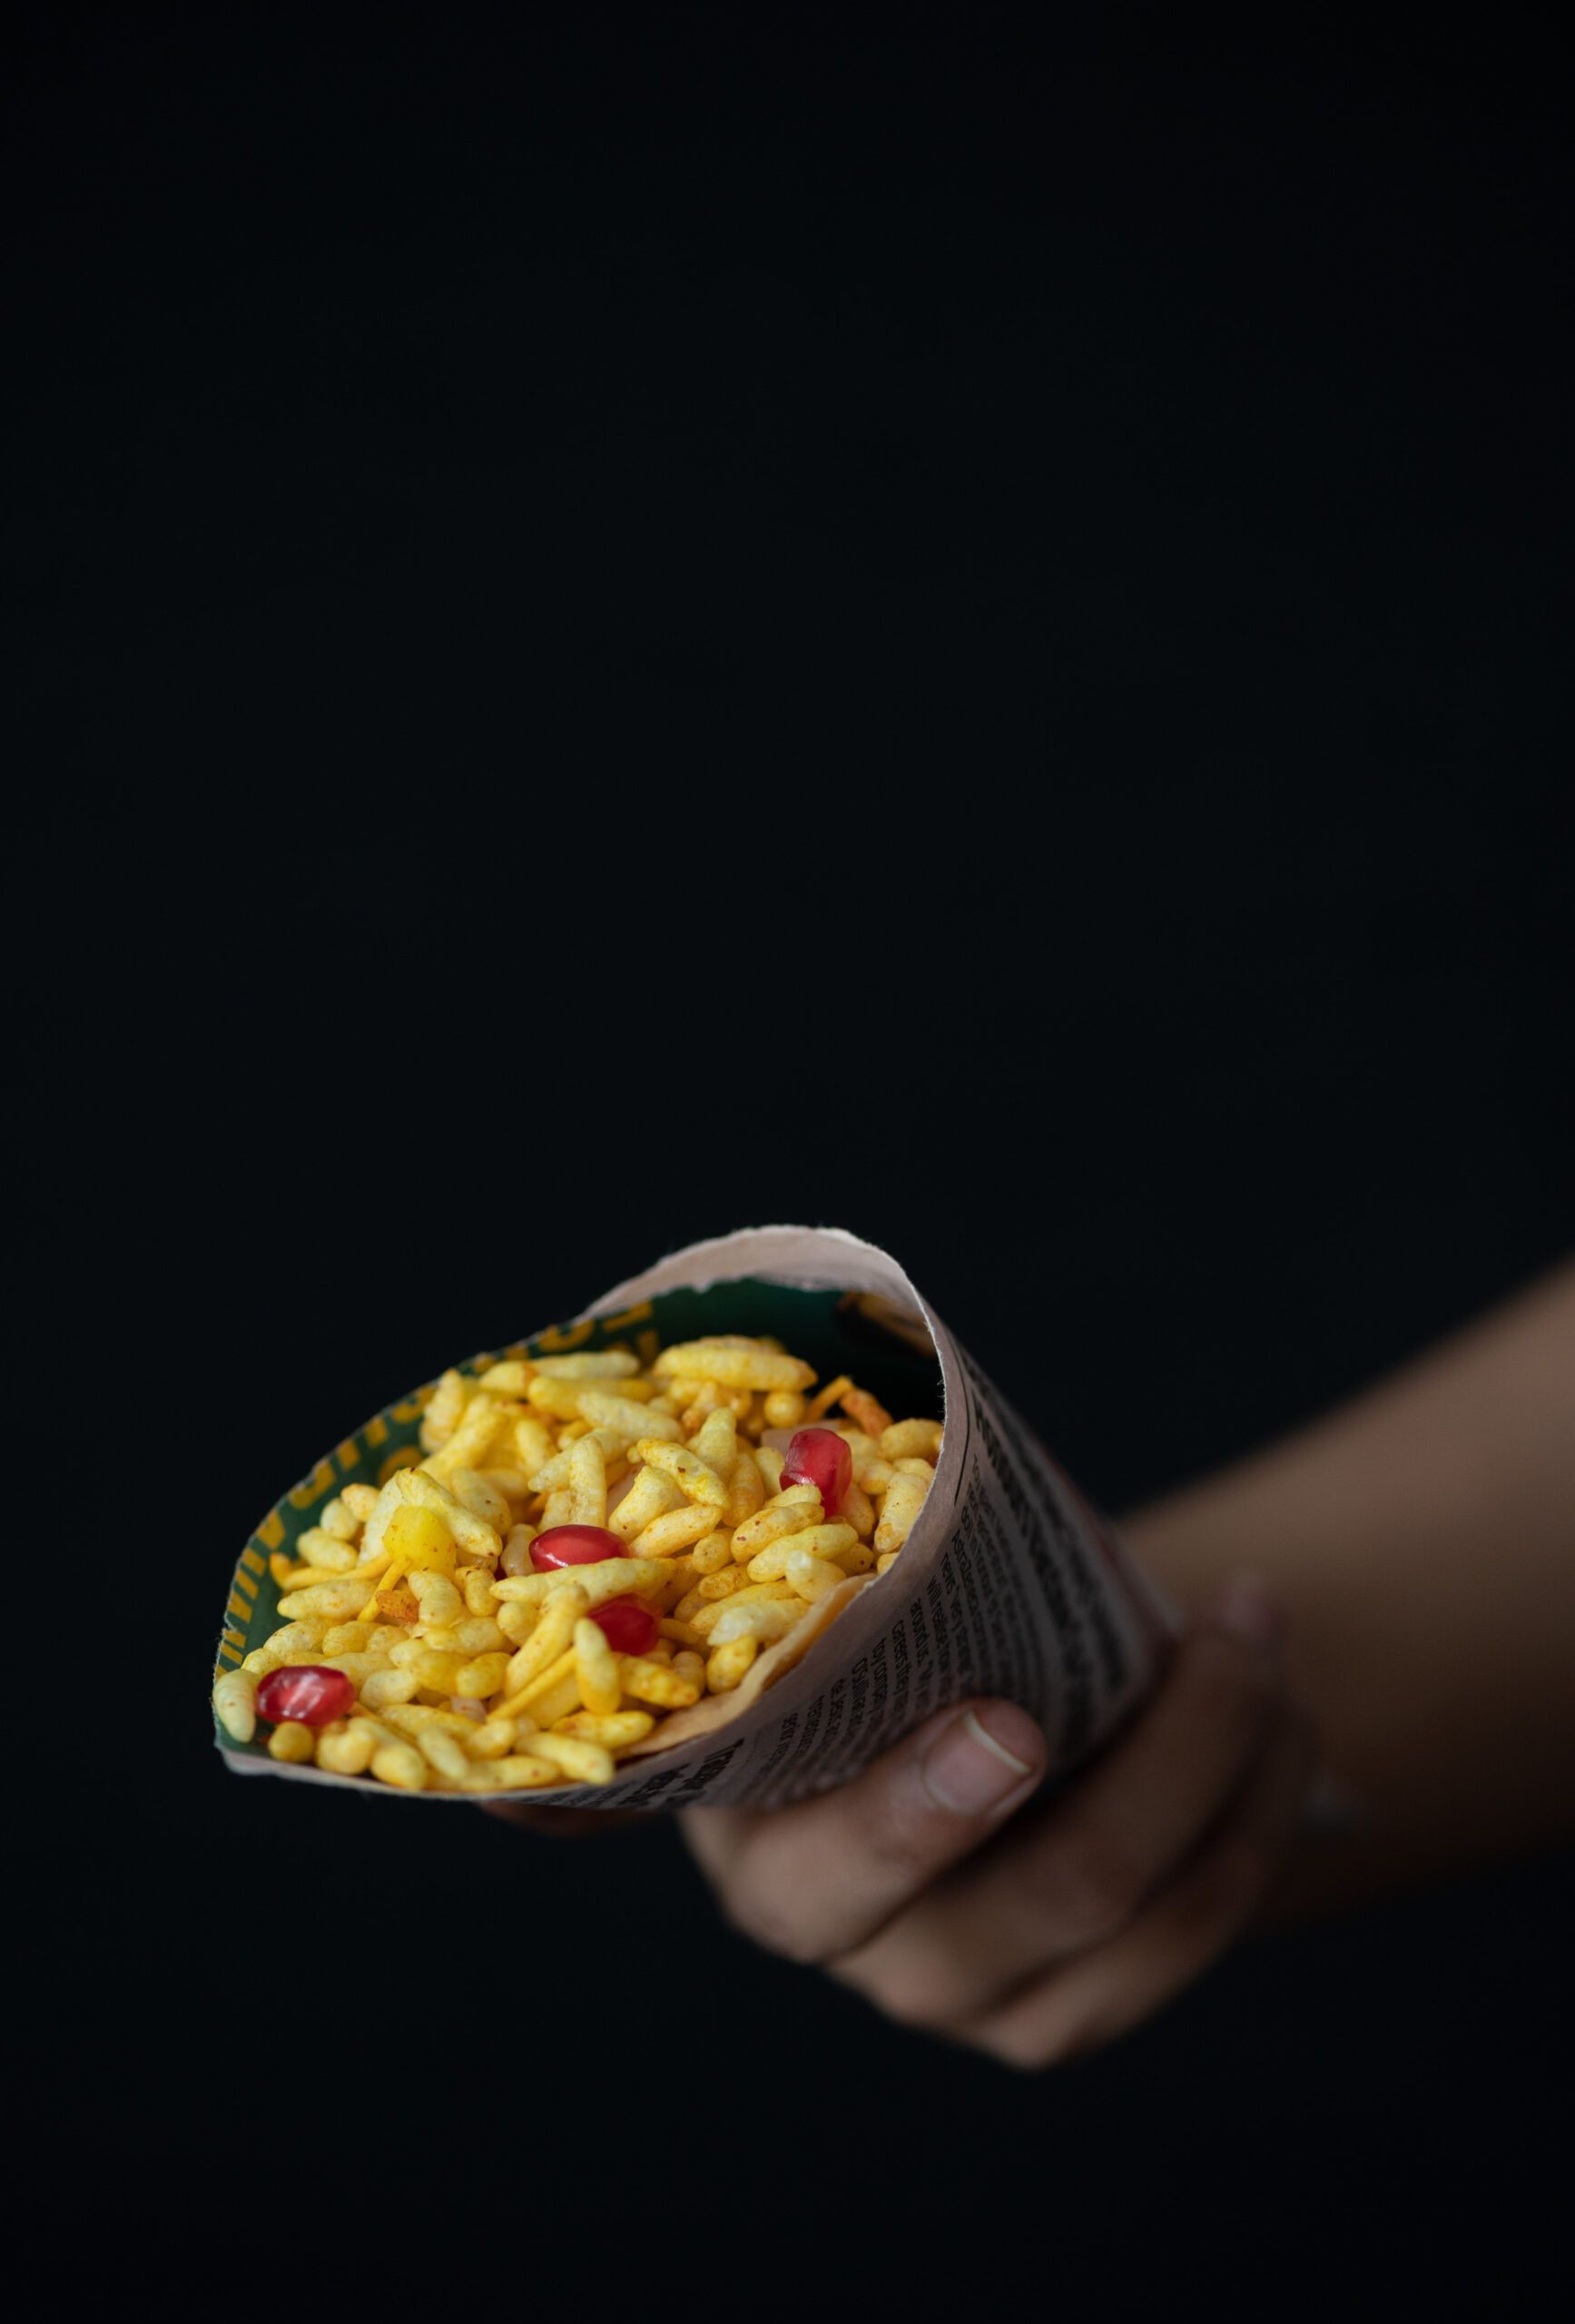
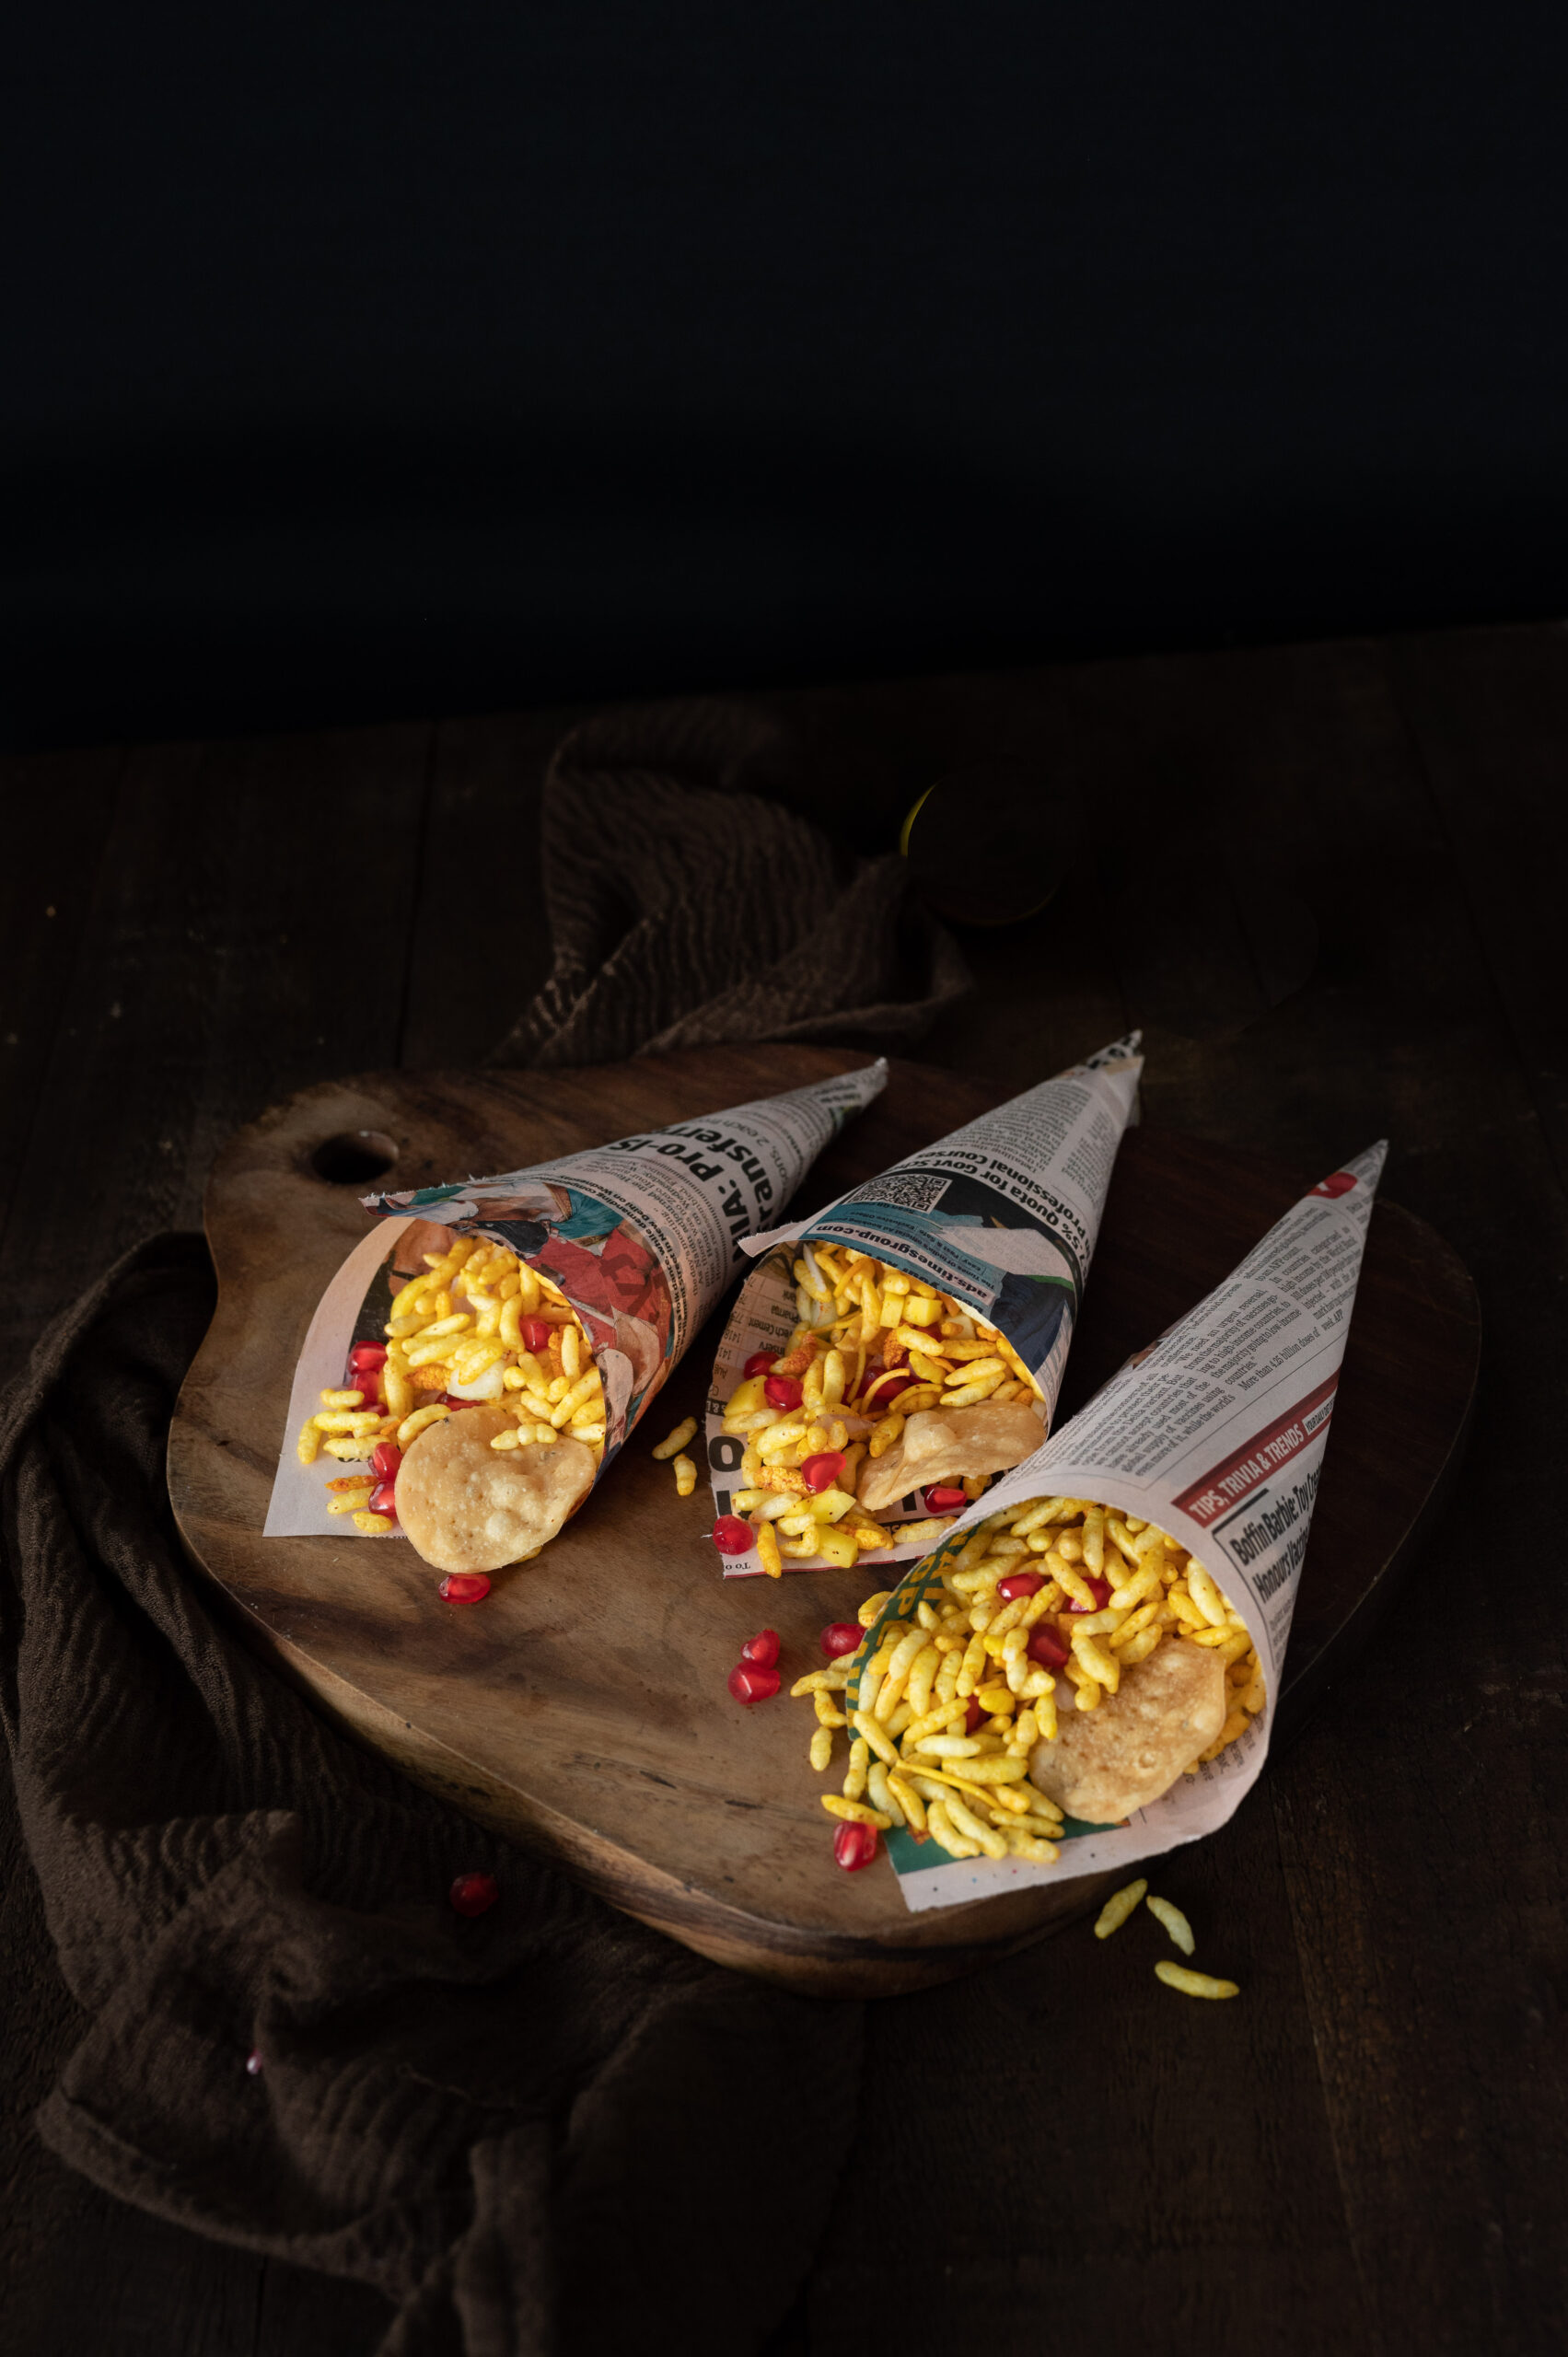
Bhel is a popular Indian savoury snack, from the chaat or street food category, that is served dressed up in a number of ways. Sukha bhel, or dry bhel, is a simple way to have it. With a puffed rice base and some flavourings, it makes for a filling dish between meals. Many who enjoy this snack will have their own versions. So this is a sukha bhel, Nandi style. Lately, we have been having it at home with tea daily, so of course I wanted to share the same with you!

My husband has a habit of getting into one dish and becoming obsessed with it for about a year or so, during which he needs to eat it every single day (and then, eventually tiring of it, having had his fill and then some!). His current penchant is for this sukha bhel, and since it’s now a regular at our table, I try to make it as healthy as possible. You can take the nutritious route even with items that are conventionally regarded as unhealthy, such as most street foods. In fact, I have shared a green moong bhel in the past that was even healthier than this one, and I hope you’ll try that out too.

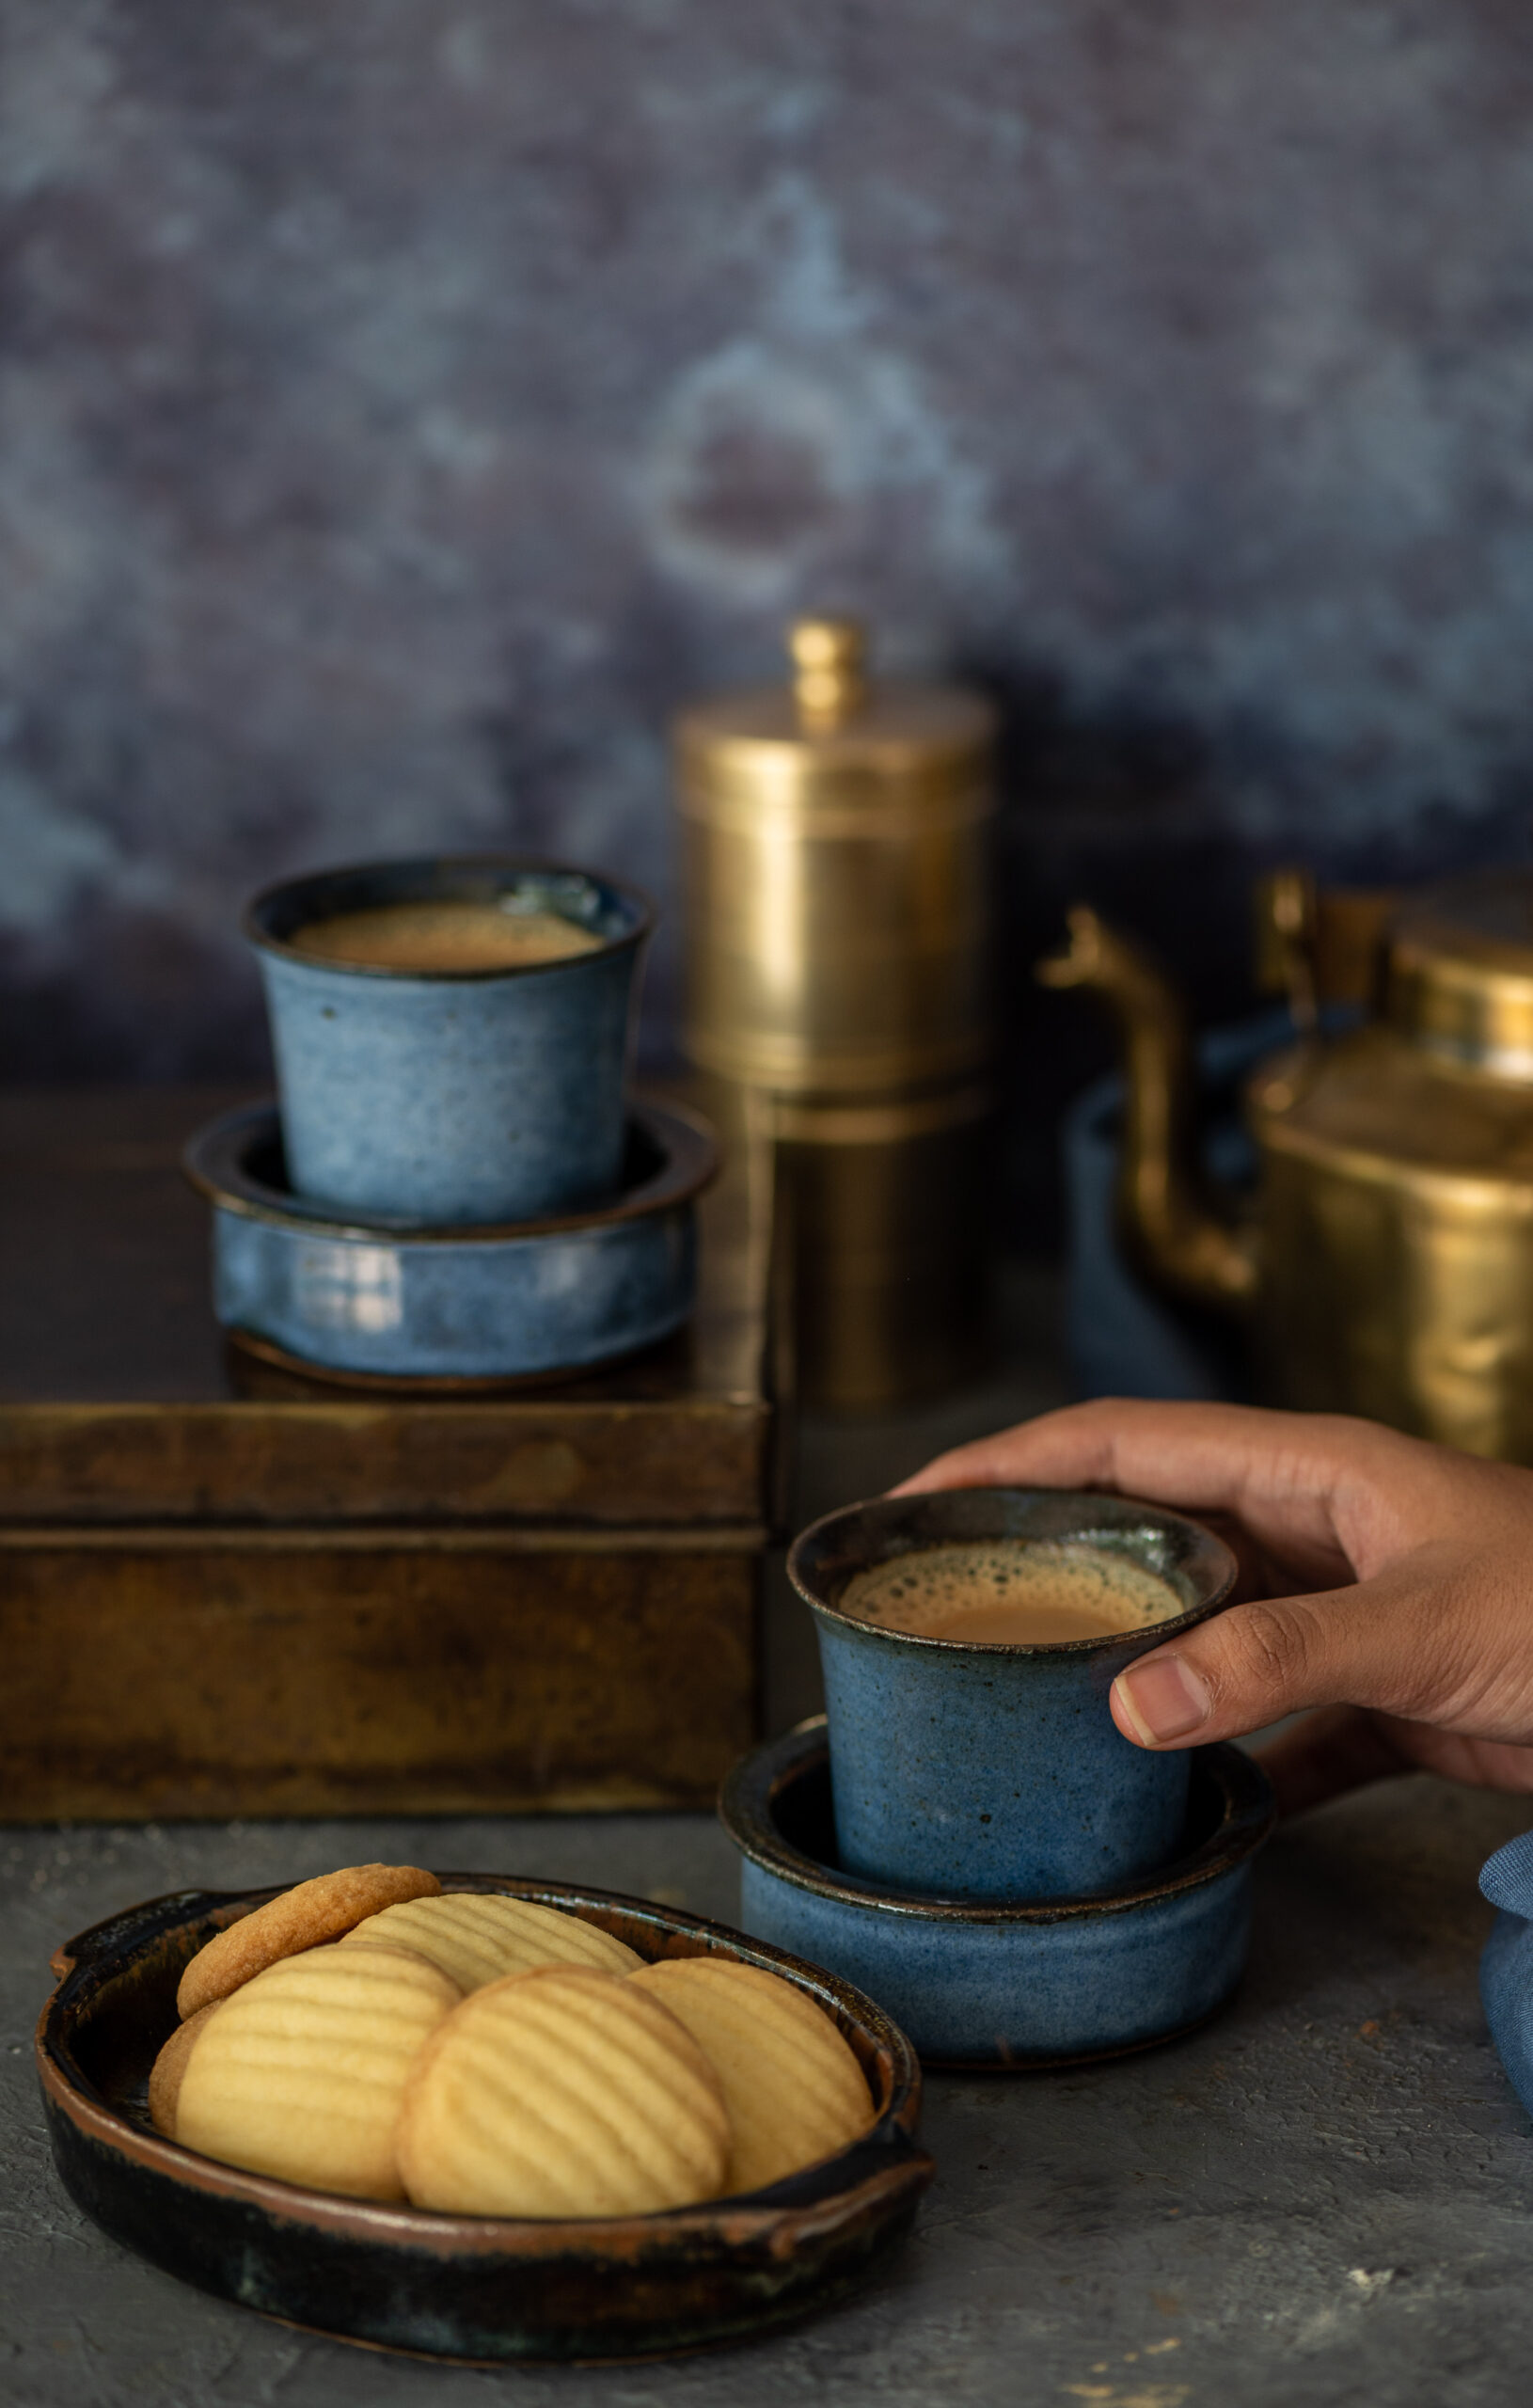
So if by chance you land up at my home between 5pm and 6pm on any given day, you’ll be served a nice helping of this sukha bhel. There will invariably be a tea cake from the re:store kitchen to accompany it, and maybe even the crispy butter cookies you read about last weekend. Of course, this special masala chai will waft its lovely aromas over the table too. Tempting, no? The best part is, whether you can drop by or not, you can prepare the entire tea time feast from scratch yourself. Every recipe I’ve mentioned is right here on this blog, for your own enjoyment.

There have been times when I watched what I eat like a hawk and felt guilty about every little thing that went into my mouth. Slowly, I recognised how unhealthy this habit was, and how it negated the supposed healthiness of trying to stick to any particular diet. So now and then, I say, “To hell with it!” and have a slice of cake with my bhel too. I know it won’t do me any harm, especially if I make adjustments at dinner time with portions and dish choices. Do you do anything similar, to ensure that you don’t miss out on the good stuff but also don’t compromise on sensible dietary choices?

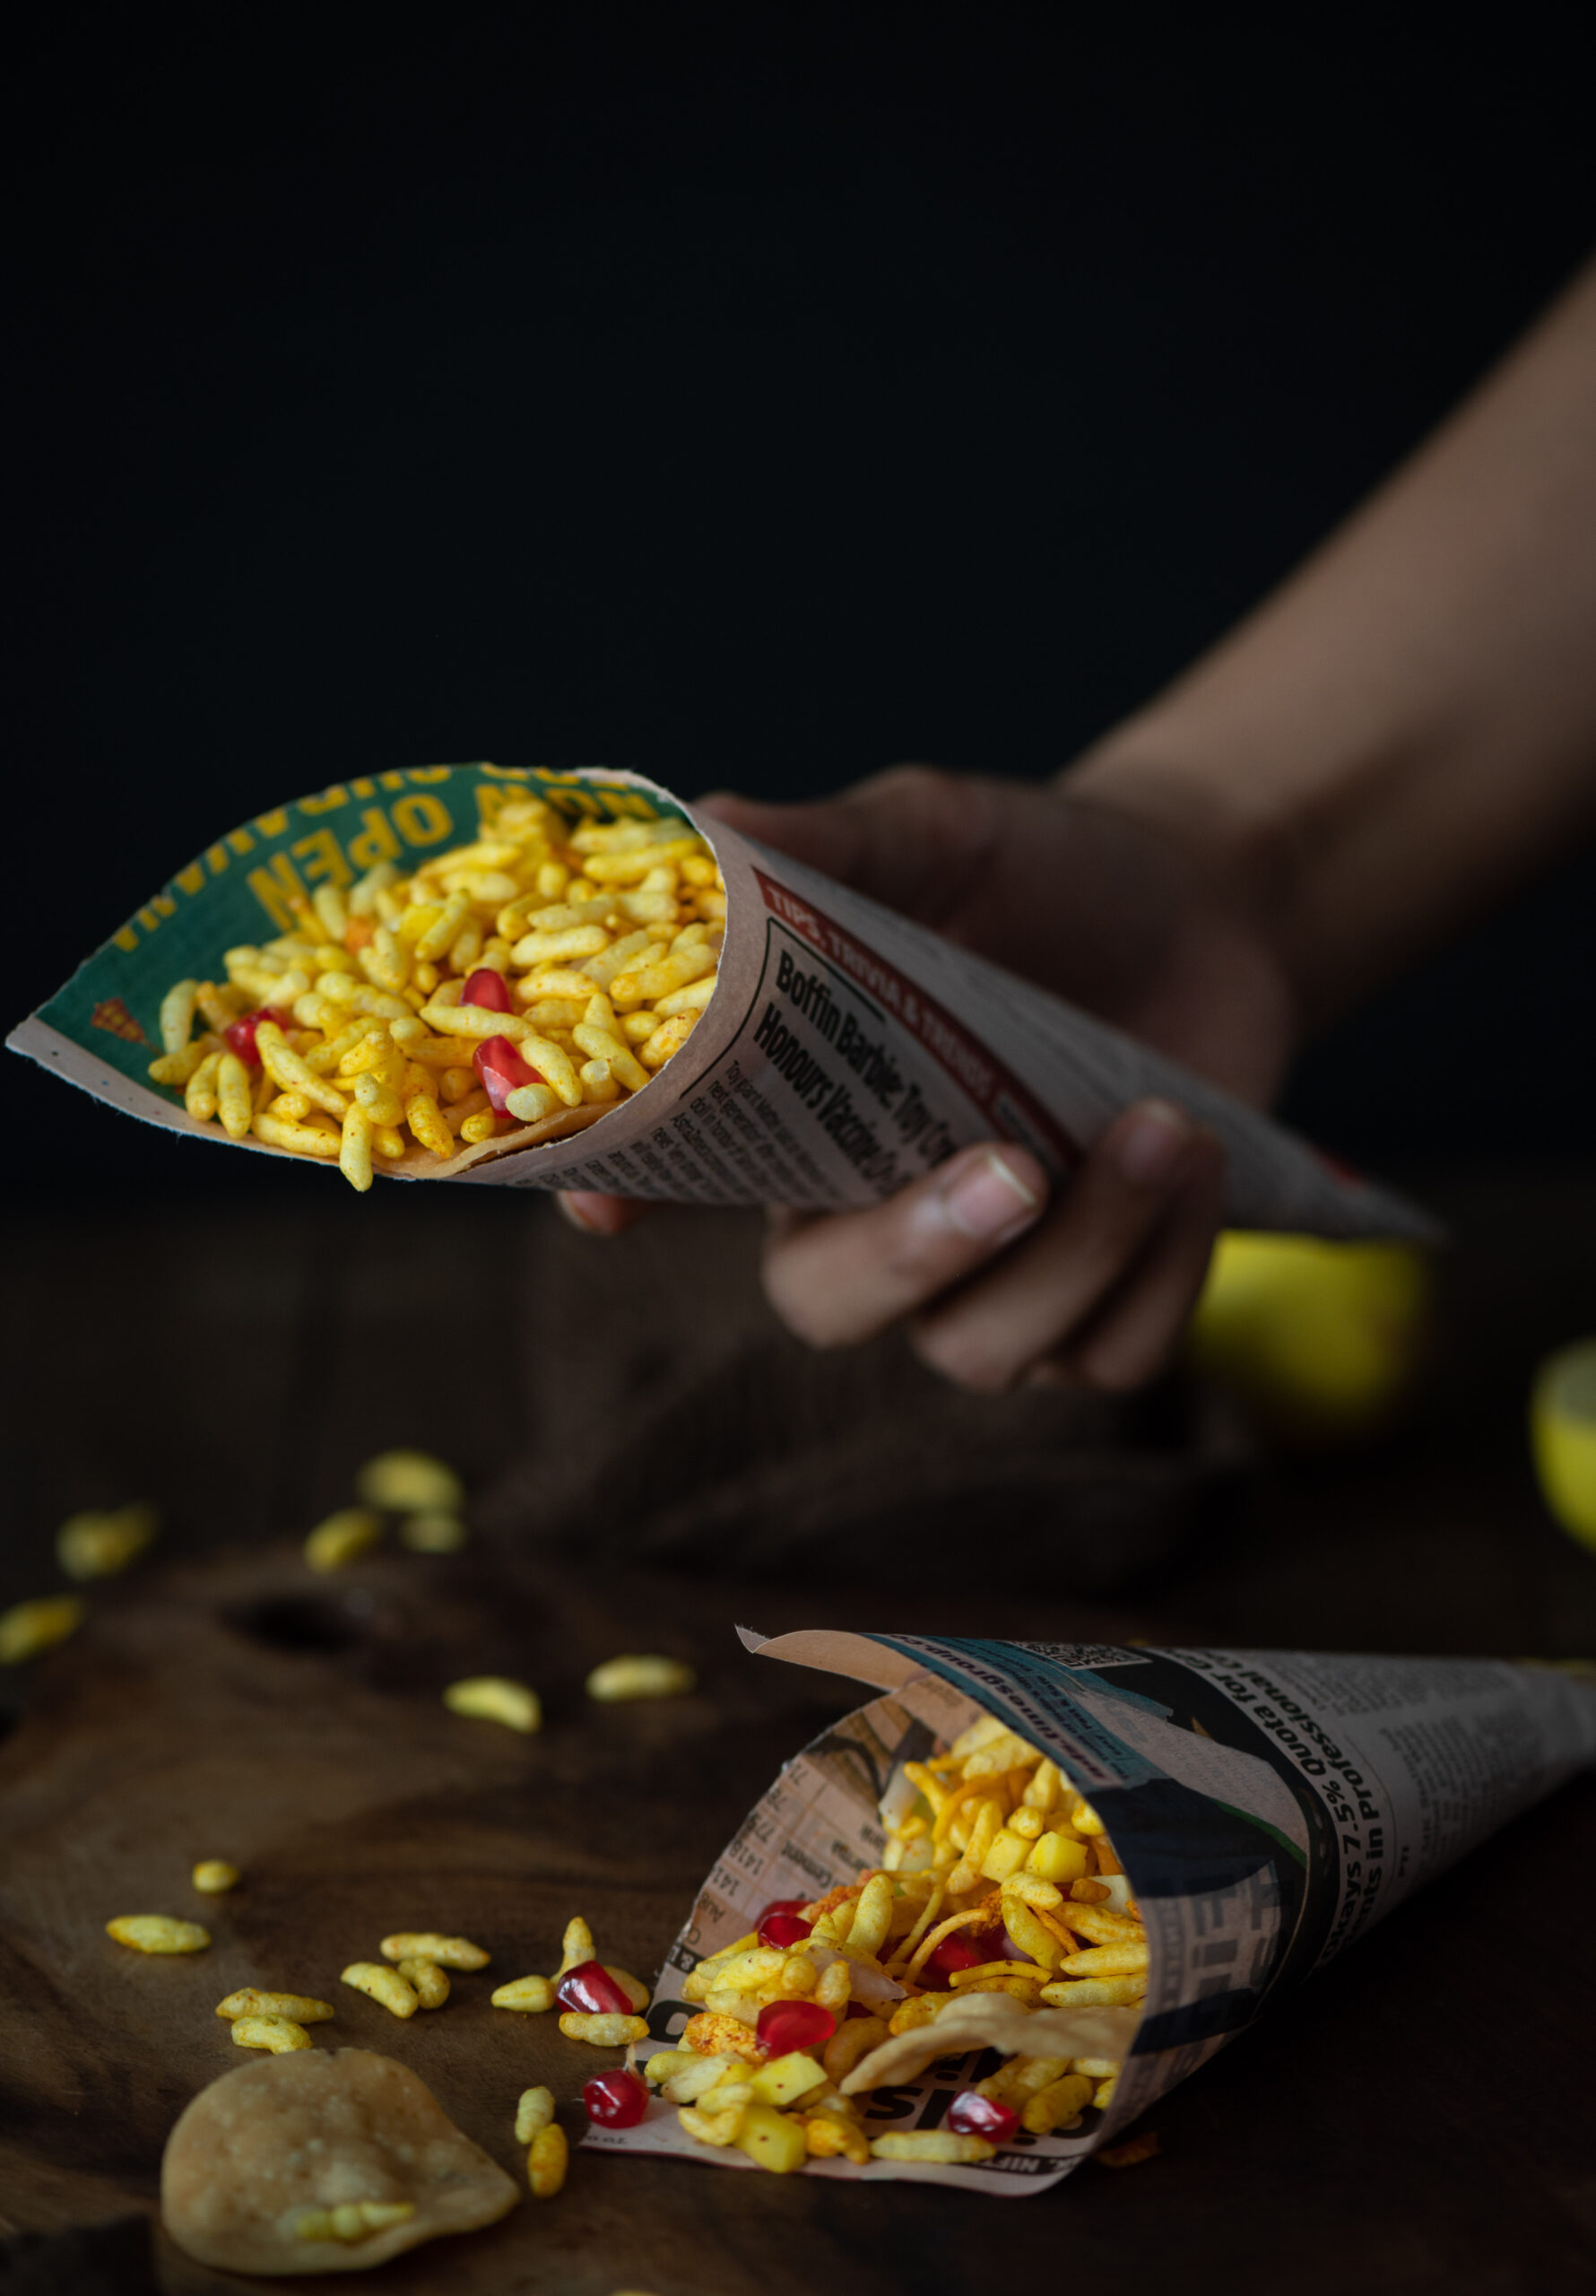
Now, even though my husband craves this sukha bhel daily, I must admit that it is only in the second-best standing for him. The very best is the street-side bhel you find in Bombay, and I will concede that it tops mine. It’s my own favourite too. When I visit the city and am on my way to my sister’s home from the airport, I always stop and pick up an order along the way, and will have finished eating it before I’ve even arrived at her door! Simply wrapped in a piece of newspaper, with a puri in place of a spoon to scoop up the bhel, it really is unbeatable. I relish the very last bite, when I get to eat the “spoon” as well. That’s the best part, and this tantalizing mix of flavours is how every trip to Bombay begins for me.

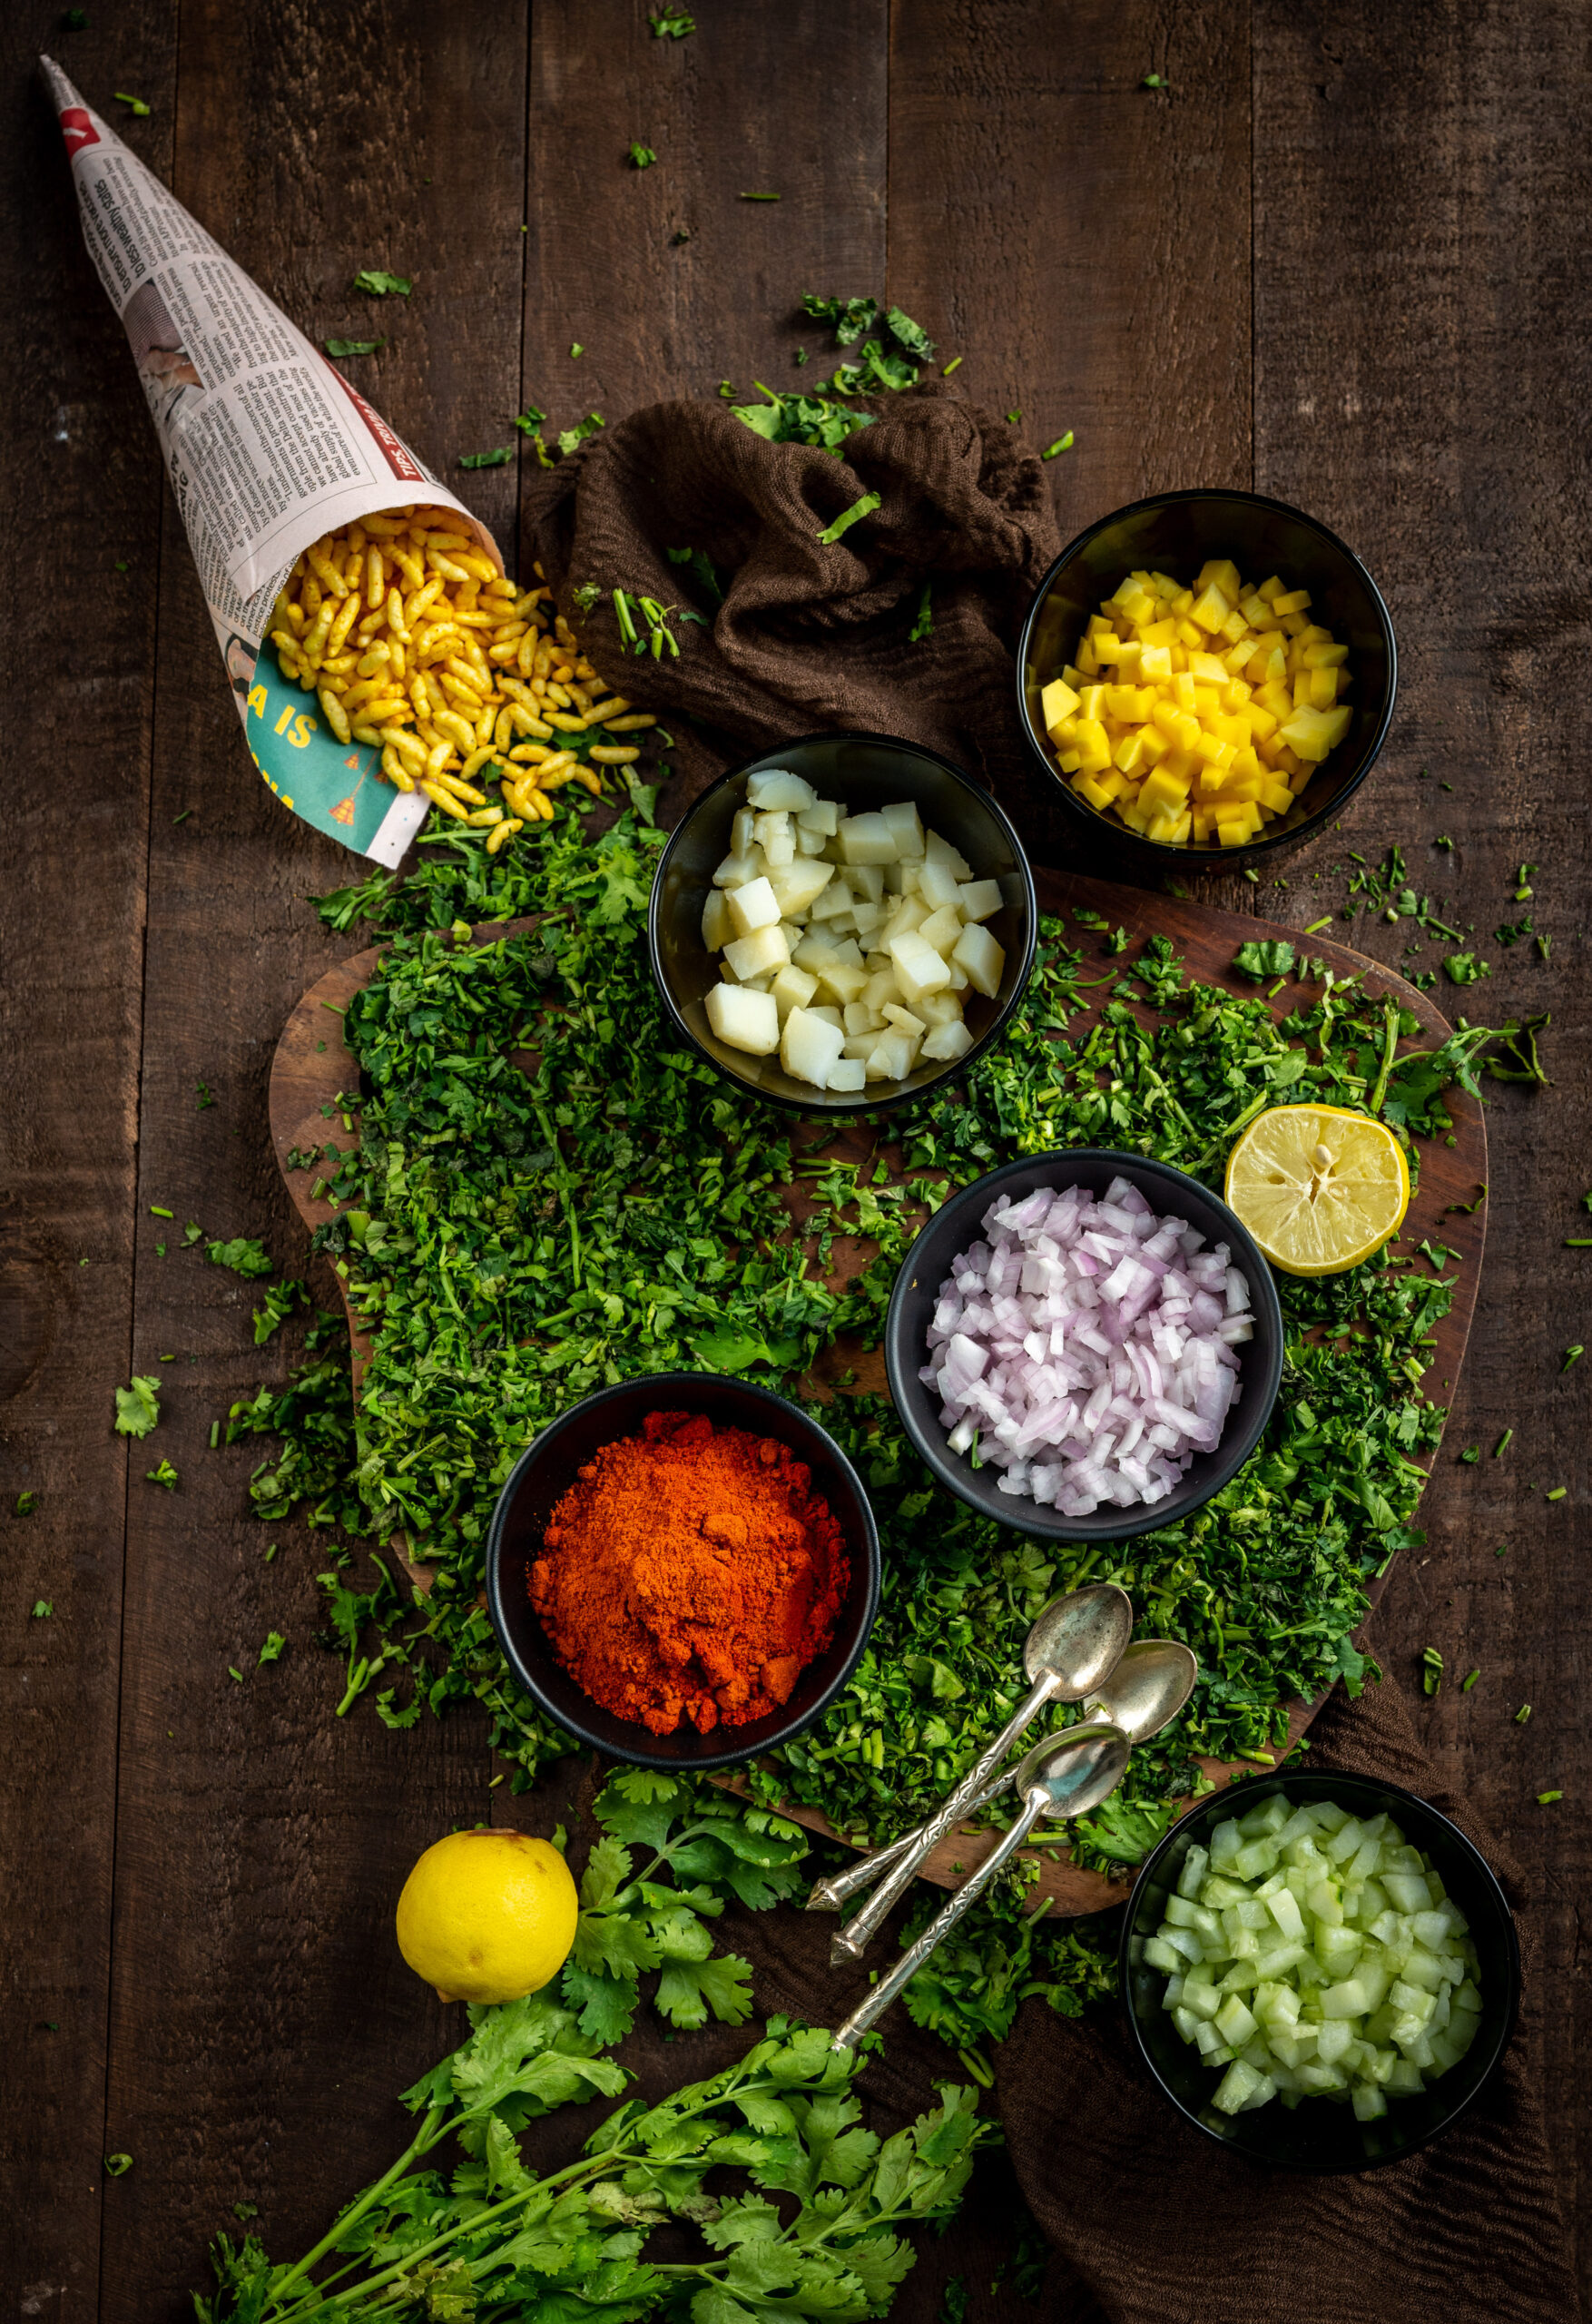
Since this is a homemade sukha bhel, I load it up with vegetables. I also make a drier version than what you get outside, although the chutneys that give it its deliciousness are still key elements. A sweet chutney, a spicy one and a dash of lemon bring together all the ingredients that are detailed in the recipe below. The chutneys are staples in my refrigerator, and I’ve shared the recipes for both in prior posts as well, as you can see in the links below.

Sukha Bhel

(Serves 2-3)


½ cup chopped cucumber

½ cup chopped boiled potatoes

¼ cup finely chopped onions

¼ cup chopped mango

A squeeze of lemon

1½ cups bhel mix or roasted puffed rice

Black salt to taste

½ teaspoon roasted cumin powder

1 tablespoon tamarind/date chutney

½ teaspoon garlic chutney (optional)

Pomegranate arils for garnishing

Coriander leaves for garnishing

Small crispy puris


In a bowl, add all the cut vegetables. To this, add cumin powder, black salt, the chutneys and the lemon juice. Mix well.

Finally, add the bhel or puffed rice. Mix again. Garnish and serve immediately, else the bhel will get soggy.

I love to use finely cut raw mango in this sukha bhel for a tang, and this is an ingredient that we get pretty much all year round. I also use boiled potatoes, and decorate the dish with pomegranate arils for a hint of sweetness. Use the same if you wish to, or substitute as preferred. Similarly for the use of onions if you prefer. In lieu of regular salt, I use either black or pink salt, which gives the dish a distinct flavour. Add more bhel or puris for more of a crunch, if you like that. The fun in the preparation is really all about increasing or decreasing quantities, or adding or removing ingredients, based on your personal taste. The bhel and the chutneys are the base – the rest is up to you.

As for my personal taste, as well as my husband’s, this particular recipe is the one that hits the spot. The second-best sukha bhel – and the best outside of Bombay! I hope you’ll find it just as satisfying, and that it will be your own favourite after the Bombay chaatwallas’ too!

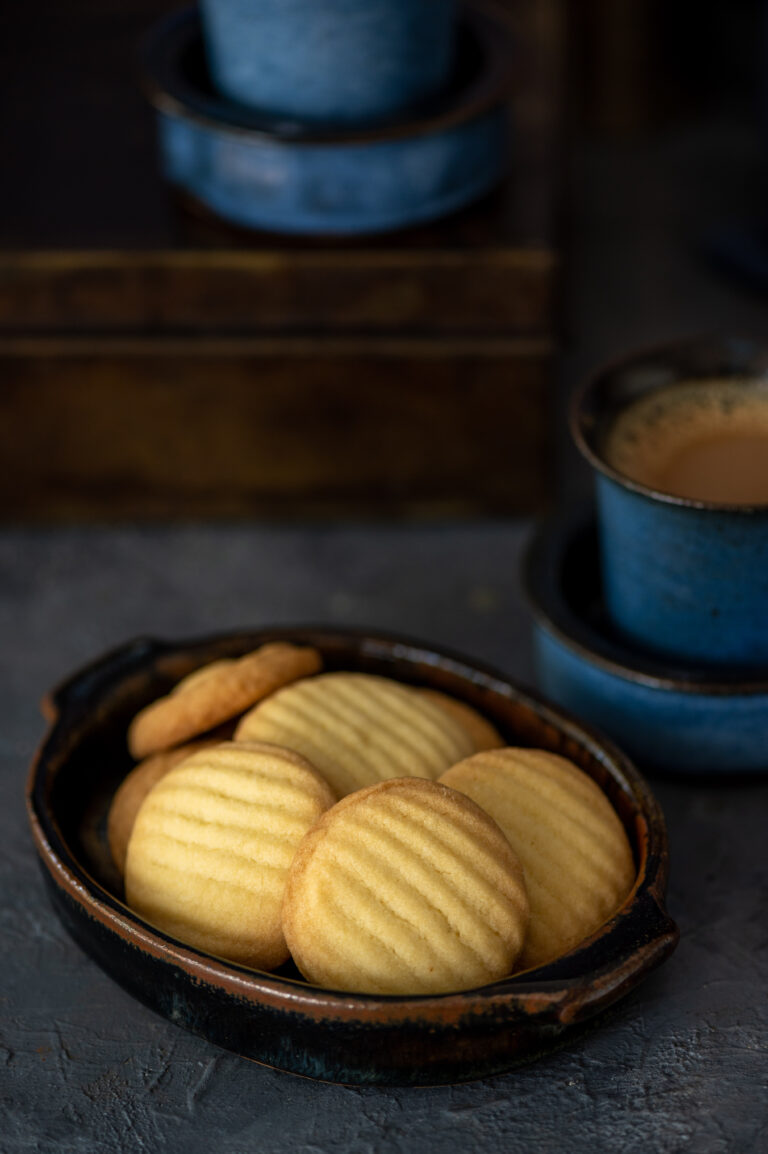
Butter biscuits were a bakery-made phenomenon for most families I knew when I was growing up. At that time, there were very few commercial brands on the market (with the exception of Parle-G and Marie) and even then, our little down-the-road bakers were the only ones most of us got our non-homemade confectionery and snacks from. No fancy names or special ingredients: just straightforward, reliably good biscuits that all of us school-going kids enjoyed. When my mother took a baking class, which was considered an unusual hobby at the time, she learned how to make butter biscuits too. I loved the way she made them – crispy, with a distinct flavour and taste. She taught me how to bake them the same way, and that recipe is the very same one I am sharing with you today.

My mother’s biscuits were just a little different from my neighbourhood bakery’s biscuits, and these in turn were just a little different from my college canteen’s biscuits too, as I’ll tell you about in a moment. Even when the recipe is the same, the hands that knead the dough always impart something unique. Every person who tries this recipe out will create their own version, imbued with some distinct signature. It’s just something that happens when it comes to baking, or indeed cooking of any kind.

Now, about those butter biscuits that were available at my college canteen: they were a mainstay of my undergraduate experience. Classes began at 7.30am and went on till 2pm, which meant that all of us students were much in need of a snack by the time our break came. We would rush down to the canteen and devour the butter biscuits they sold. These would be kept in a glass jar, from which they would be retrieved without gloves, and were usually split and shared. School and college feel like a simpler world, in which there was a sense of unity somehow. We all opened each others’ tiffin boxes, no one ever went hungry no matter how little she may have brought or have been able to afford, and we all seemed to have robust constitutions despite the lack of hygiene protocols we insist on now.

Those butter biscuits were among the many daily enjoyments we shared. We were mostly coffee drinkers by then, having reached young adulthood, and we’d enjoy our break times with coffee, butter biscuits, whatever was in our home-brought containers and lots of camaraderie before running back to class. Our coffee back then was plain South Indian filter coffee, too. There were no fancy variations available then, but just like this classic butter biscuit that we still return to even today, that traditional and common beverage is still the perfect pick-me-up for many of us.


I was a Fine Arts student and as soon as I graduated, I found a job at an advertising agency. In those days, nothing was computerized as yet, and we did all the work by hand. I was a designer, and I recall long hours of poring over my table, painstakingly creating ads for different companies. Break times were as much-awaited as they had been during college, and my colleagues and I would send one of the office assistants down the road to a local shop that had some fabulous butter biscuits. We would enjoy these with our coffee or tea before putting our thinking caps back on and getting back to our clients’ briefs. Like many young women of my generation, I left that job when I got engaged. In fact, my family had been against me going to work at all, but I had not wanted to stay at home and just wait to get married. I had enjoyed putting the skills I gained in college to good use, even if I was compensated only with a stipend of just Rs350 a month, which just about covered my bus fare! When I told my boss that I was quitting, he must have realised my value as an employee, for he offered to raise my stipend to a salary of Rs3000 a month. This was a princely sum in those days, but life had other plans for me, and while I left my designing career behind back then, my experience in the visual arts has certainly influenced my career as a photographer. Sometimes, when I shoot for a client, I recall that very first job as a fresh graduate with a smile.

In the present day, it’s my own butter biscuits that are my go-to whenever I take a break. I prepare them for my family all the time, and we relish them over tea. They’ve followed me through all these stages of my life, baked by various people along the way – each just a little different, with some slight change in the technique or the ingredients or simply the baker’s touch reflecting in the final taste. This one has a little hint of salt, and that’s one of the elements that I think makes it distinct for me.

This recipe I am sharing today may seem very familiar to you too. It’s a basic one with basic ingredients, and this is what I like about it. It’s the kind of snack that almost everyone would have had at some point in their life. Perhaps your own fond memories of butter biscuits and bakeries past will be evoked when you whip a batch up in your own kitchen! I’d love to hear about your reminiscences in the comments, and I hope you’ll share them.

Butter Biscuits

(Yield: Approximately 15 small biscuits)


100 grams unsalted butter

60 grams finely powdered sugar

120 grams maida

¼ teaspoon salt

½ teaspoon vanilla extract

Beat the butter and the sugar together until light and fluffy. Aerating the mixture makes for softer biscuits.

Once the mixture is fluffy, add the remaining ingredients and mix well with your hands.

Cover in cling film and refrigerate for 20-30 minutes.

Make rolls with the dough. Flatten slightly. I used a mound to press the individual dough rolls in, to give them a pretty look.

Bake in the oven for 12-15 minutes or until the biscuits turn slightly golden at the edges. They may appear partly white, but don’t worry. They will not be under done.

Transfer onto a wire mesh and allow to cool before you enjoy them.

How will you have them: as an accompaniment to tea or coffee, or on their own? I’d love to know. No matter how many snack companies line the supermarket shelves today, there’s nothing like a simple butter biscuit, freshly made. I wouldn’t be surprised if the delicious aroma of these butter biscuits fills your own kitchen on a regular basis soon!

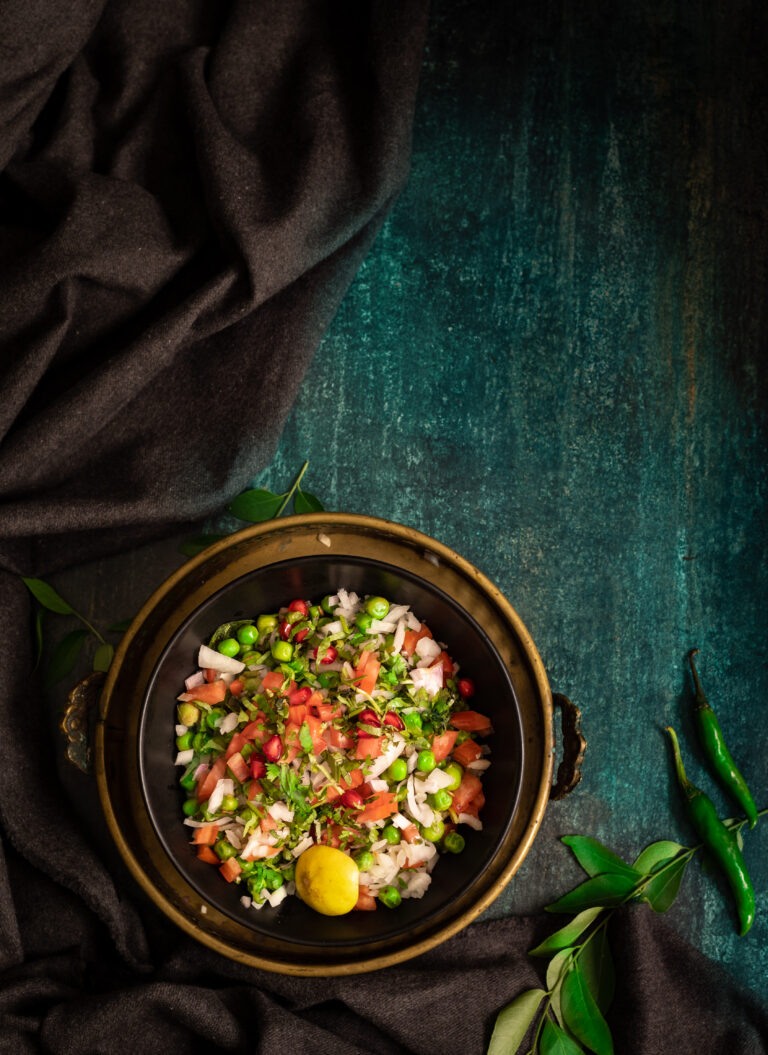
The lovely thing about India is that on the levels of states, communities and right down to homes, the very same dish or category of dishes will be prepared with a unique twist. Whether they are delectable main courses or fun snacks or refreshing beverages, we have so much variety across our cuisines here, even when it comes to staples. They are also eaten in different ways, at different times of day. So it was a pleasant surprise when I encountered this tasty green peas dish, known as chura matar (literally – “poha and peas”), at the home of my very dear friend Vrinda in Jaipur one morning. Poha in and of itself is often a breakfast item, and the inclusion of peas (something I was not used to encountering in the morning meal) elevated it to a new high. What a great start to the day it was!

All breakfasts across India are healthy. I know some of you will disagree by bringing up something like the aloo parathas of Punjab, but there’s a simple reason why a heavy meal is eaten in the mornings. Days tend to be busy, and getting a proper boost of nutrition to tide a person through many hours is important. When you think about how this is especially true for those engaged in labour work, who may not be able to sit down for three square meals, the logic is evident. So whether that’s fried pooris or idlis made of rice flour, that first meal of the day is designed to go a long way. In Maharashtra and Gujarat, people often begin the day with poha, or flattened rice. It’s also an ingredient in special dishes like Diwali chevdo or the sweet dudh-poha made on Sharad Purnima. It’s eaten across the subcontinent, and is known here in Tamil Nadu as aval. I recall also having it steamed and topped with jaggery, as served by a friend I was visiting in Assam once.

Chura matar is a traditional dish from Uttar Pradesh, where the poha is deep-fried. Our version here is a healthier one, sautéing and steaming the poha rather than frying it. People from Uttar Pradesh may find this strange, but as a Gujarati raised in Tamil Nadu, my cultural influences are diverse and have an effect on my culinary choices too. Gujaratis also have a version of this dish, mixing the peas and poha – but when the vegetable is in season, you get so much of it that you may as well make it the star of its own dish and serve it separately too.  Green pea season in India usually takes place in November, and the markets are simply abundant with the vegetable then. However, they grow year-round, as you may remember from one of my recipes that fondly recalled the Ooty summers of my childhood, where peas were known as “English vegetable”. My memories of the Nilgiris aren’t the only ones that this ingredient rekindles. In fact, especially in this time of no travel, they make me miss the north of India in a big way. All my trips to Gujarat while I was growing up, and my later journeys to Rajasthan (such as when I visited the friend who shared this recipe with me) come back to me vividly when I eat this dish. I miss the exposure to a wide range of delicacies, and discovering so many new treats. It’s a pleasure to be able to evoke those experiences in my own kitchen.

Even though we are technically off-season at the moment, I am writing this now because I am missing Vrinda and craving her chura matar. It’s funny how food is sometimes connected to a person. A roti or puran poli always reminds me of my mother, who taught me how to make those dishes and enjoyed them too. A stir-fry always makes me think of my daughter, who loves them. We absolutely connect recipes to people.

I learned through Vrinda that the younger the pod, the more beautiful the flavour of the peas within it. There in Jaipur, these are called colloquially as “zero number” in the local markets, to indicate the smallness of their size. The best peas are harvested right at the beginning of the season, before they are fully grown.

We are fortunate in India to have easy access to fresh and affordable green peas, and in years past I’ve often frozen batches while the season is in full swing to use later. Even before peas became widely cultivated in India during the colonial era, we have always had our own lentils and legumes. You could think of them as being native versions of peas. Green toor dal or split pigeon peas, red rajma or kidney beans, green channa or chickpeas, and so many more make up this list. Steamed, salted, eaten plain or dressed up with different flavours, they make great pea substitutes too and work especially well in salads. The South Indian sundal is a favourite of mine.

Another food item that I freeze often are chutneys. I make large batches, then freeze them in small single use portions. I do this with my sweet, tangy date chutney and my green chutney, among other variants.  This chura matar is chutney-free, because it doesn’t need it, since the green peas add a soft texture to the medley of basic elements. But you may enjoy using it, so feel free to add some if you would like to.

Without further ado, here is the chura matar recipe that I’m sharing today. I would love to know what your own take on it is too. I keep saying the same thing over and over on this blog, but it’s true: every cook makes their own version. My kitchen has its flavours, as do yours. My hands have their own type of love, as do yours. There’s what I’ve been taught, and what I’ve been exposed to, and the same goes for you and your own experiences. But the one thing we all have in common? A passion for all things delicious!


Chura Matar

(Serves 2-3)


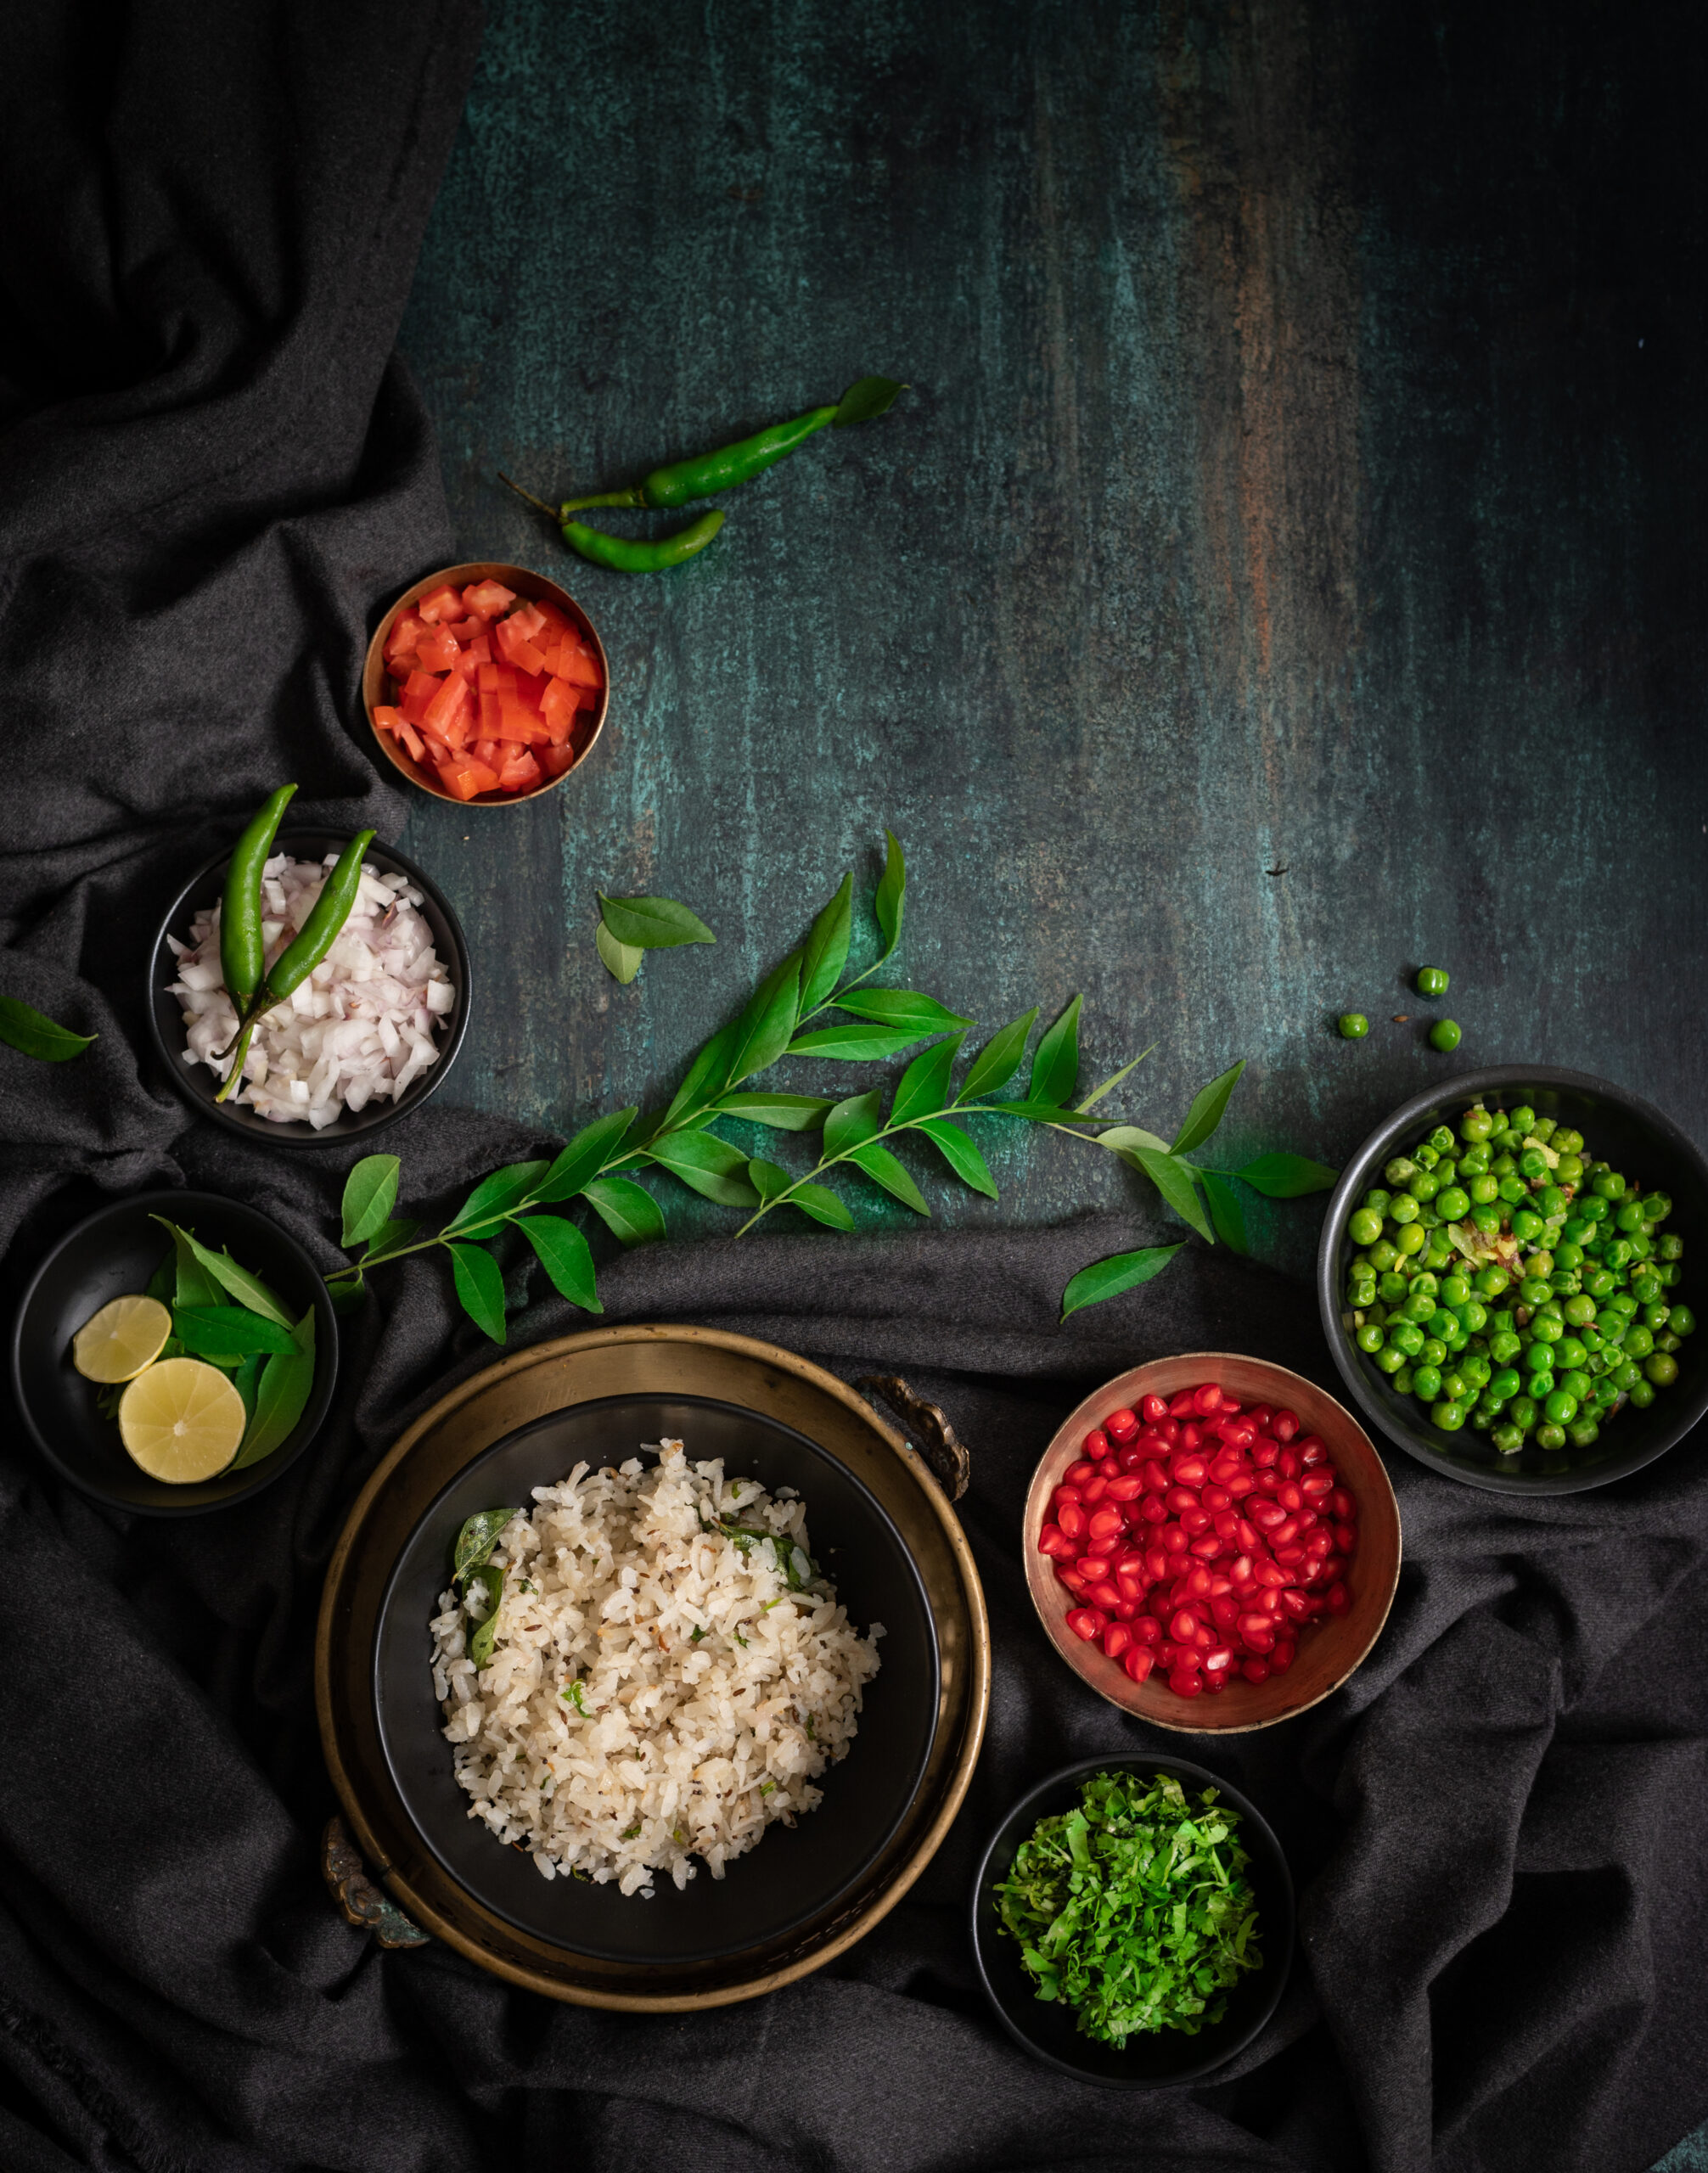
For the poha

70 grams / 1 cup raw poha (it will become 170 grams or 1½ cups after soaking)

50 grams / ½ cup finely chopped onions

¼ teaspoon mustard seeds

2 tablespoons oil

A few curry leaves

1 green chilli

Salt to taste

Juice of ½ lemon

1 teaspoon sugar (optional)


Peas

1 cup frozen peas

1 teaspoon oil

¼ teaspoon cumin seeds

½ teaspoon ginger paste

Salt to taste


Topping

Onions (finely chopped)

Tomatoes (finely chopped)

Coriander leaves (finely chopped)

A squeeze of lemon


First, rinse the poha under water and allow it to drain. If the poha is of the thin variety, draining alone will do. Otherwise, soak it for half an hour.

In a pan, add the oil. Once it has heated, add the mustard seeds and wait until they splutter.

Then, add the green chili and onions. Once they are golden, add the soft, soaked poha. Next, add the salt and sugar (if you are using it). Stir well on a slow flame, gently. Set aside.

Now, prepare the peas. Add the oil in a pan and add the cumin seeds. Wait until they turn aromatic. Now add the ginger paste. Stir, and finally add the peas. If you are using frozen peas, make sure you allow them to cook long enough to turn soft. Set aside.

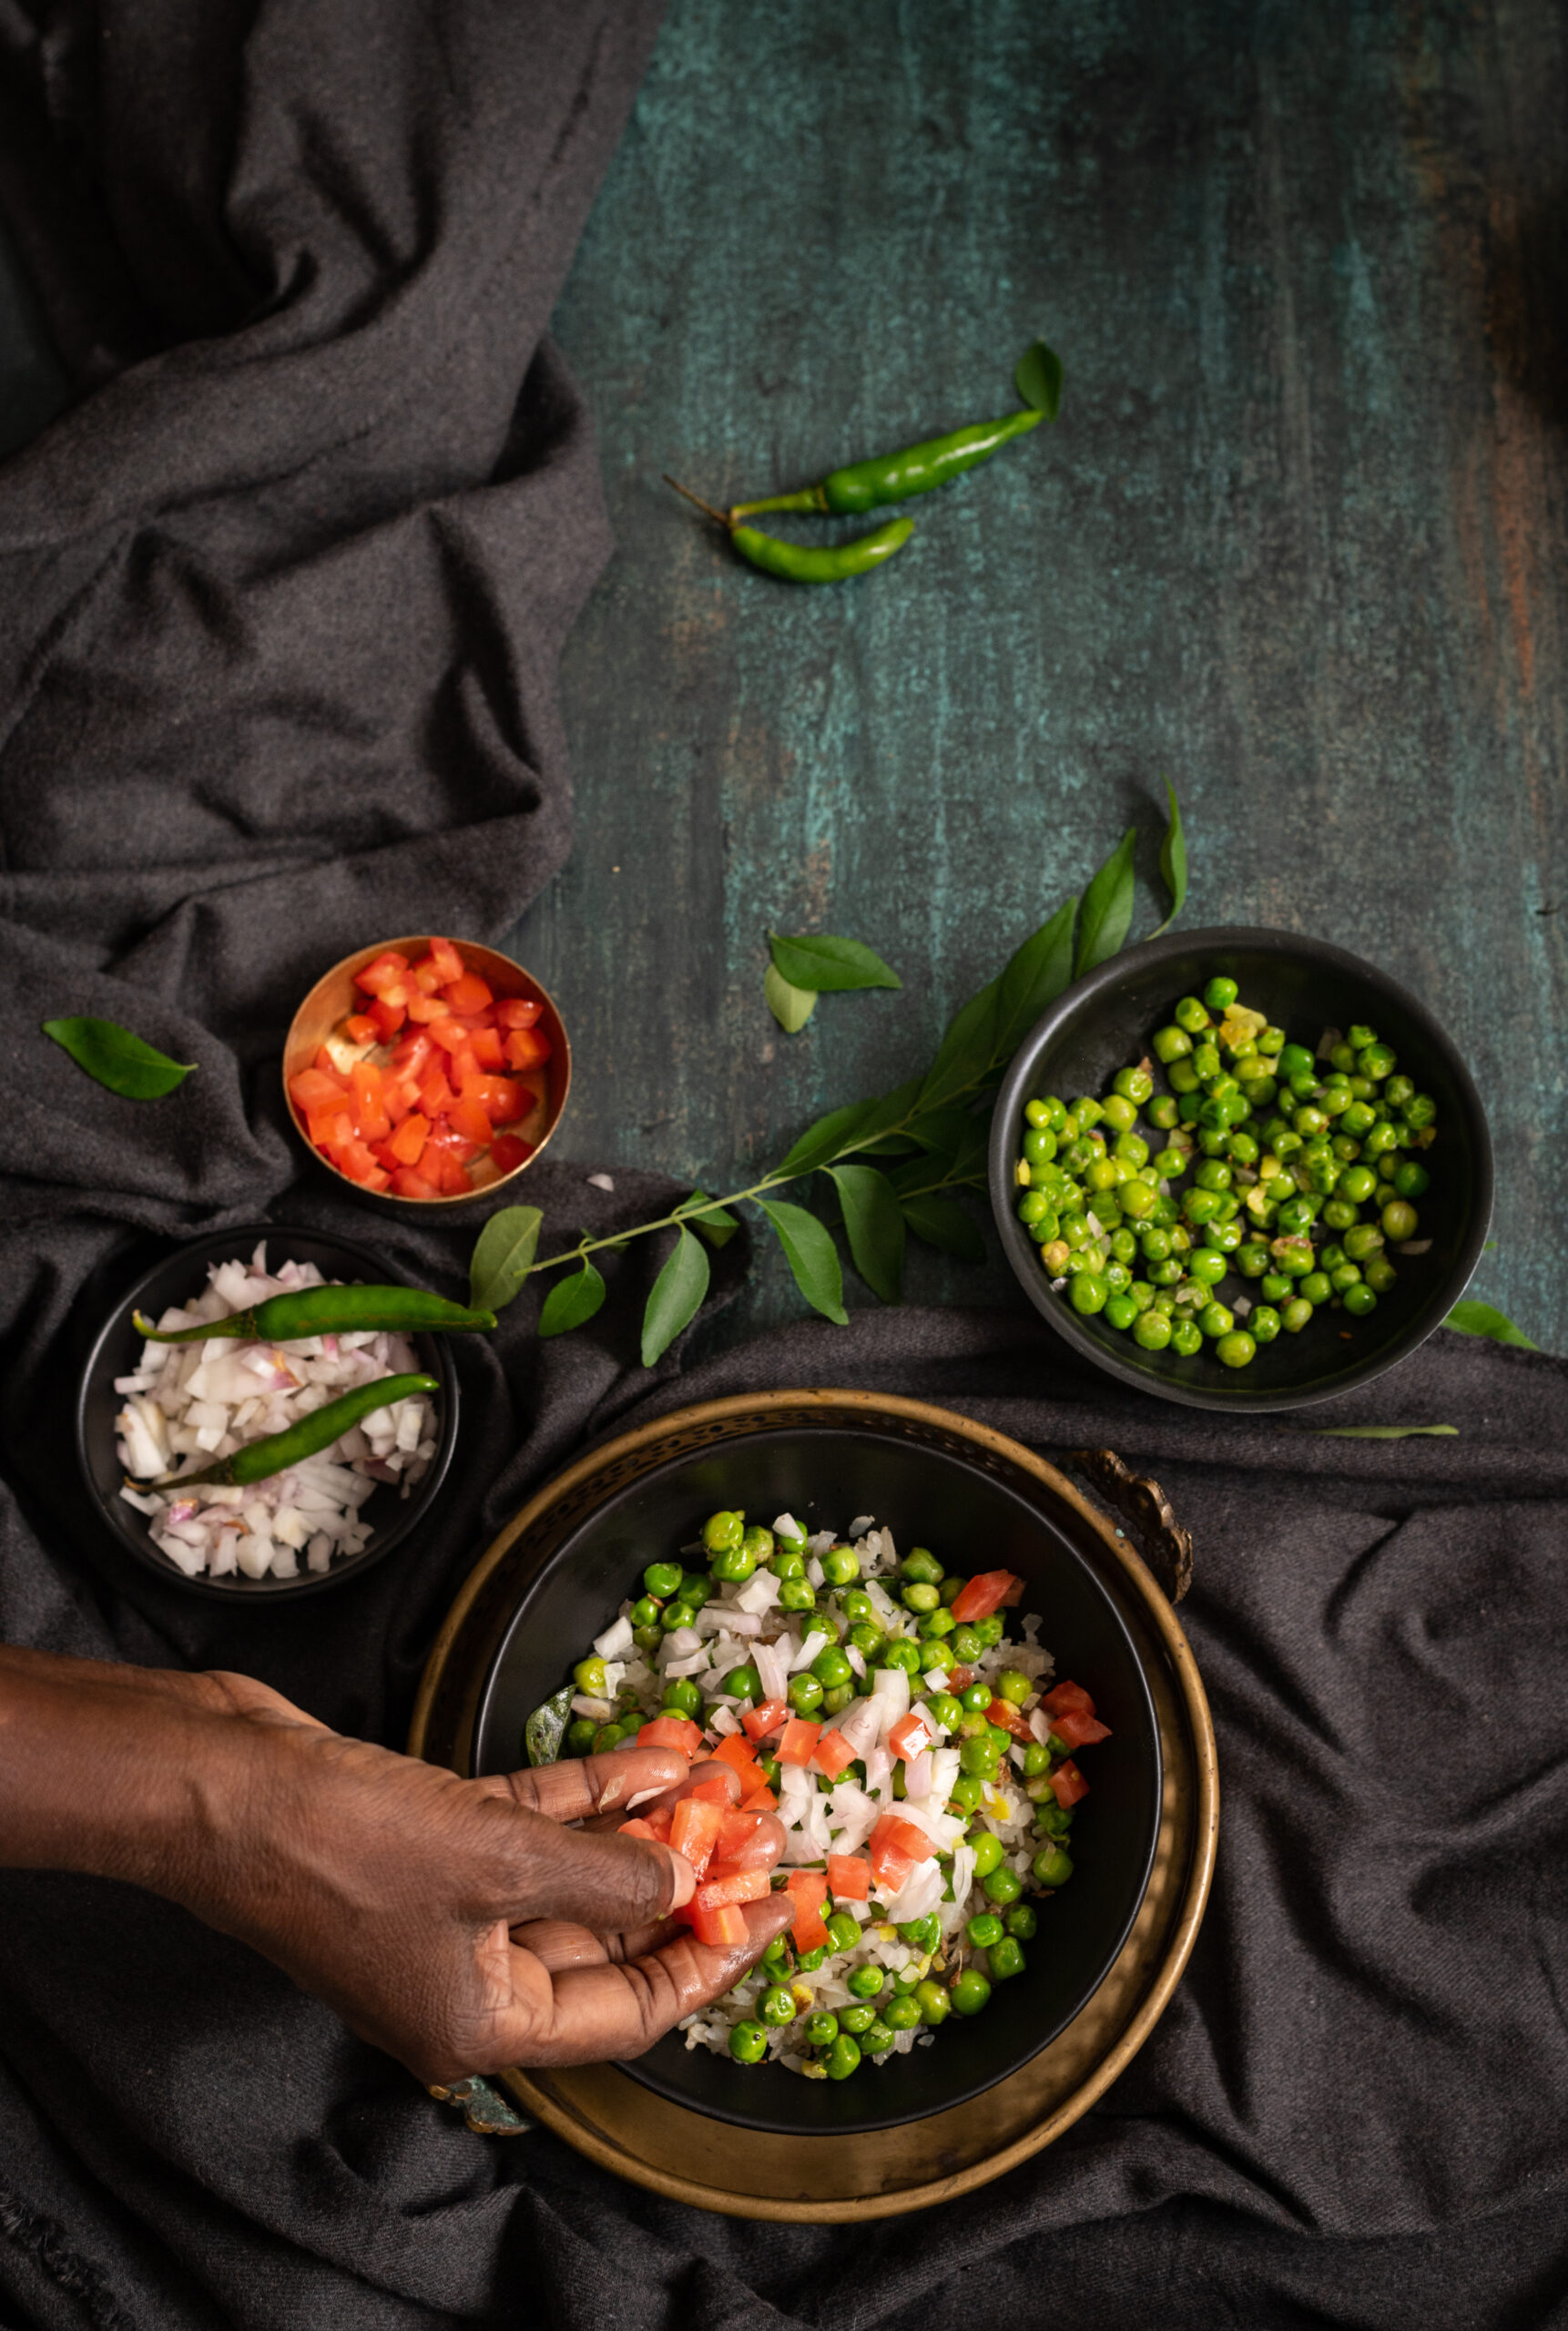
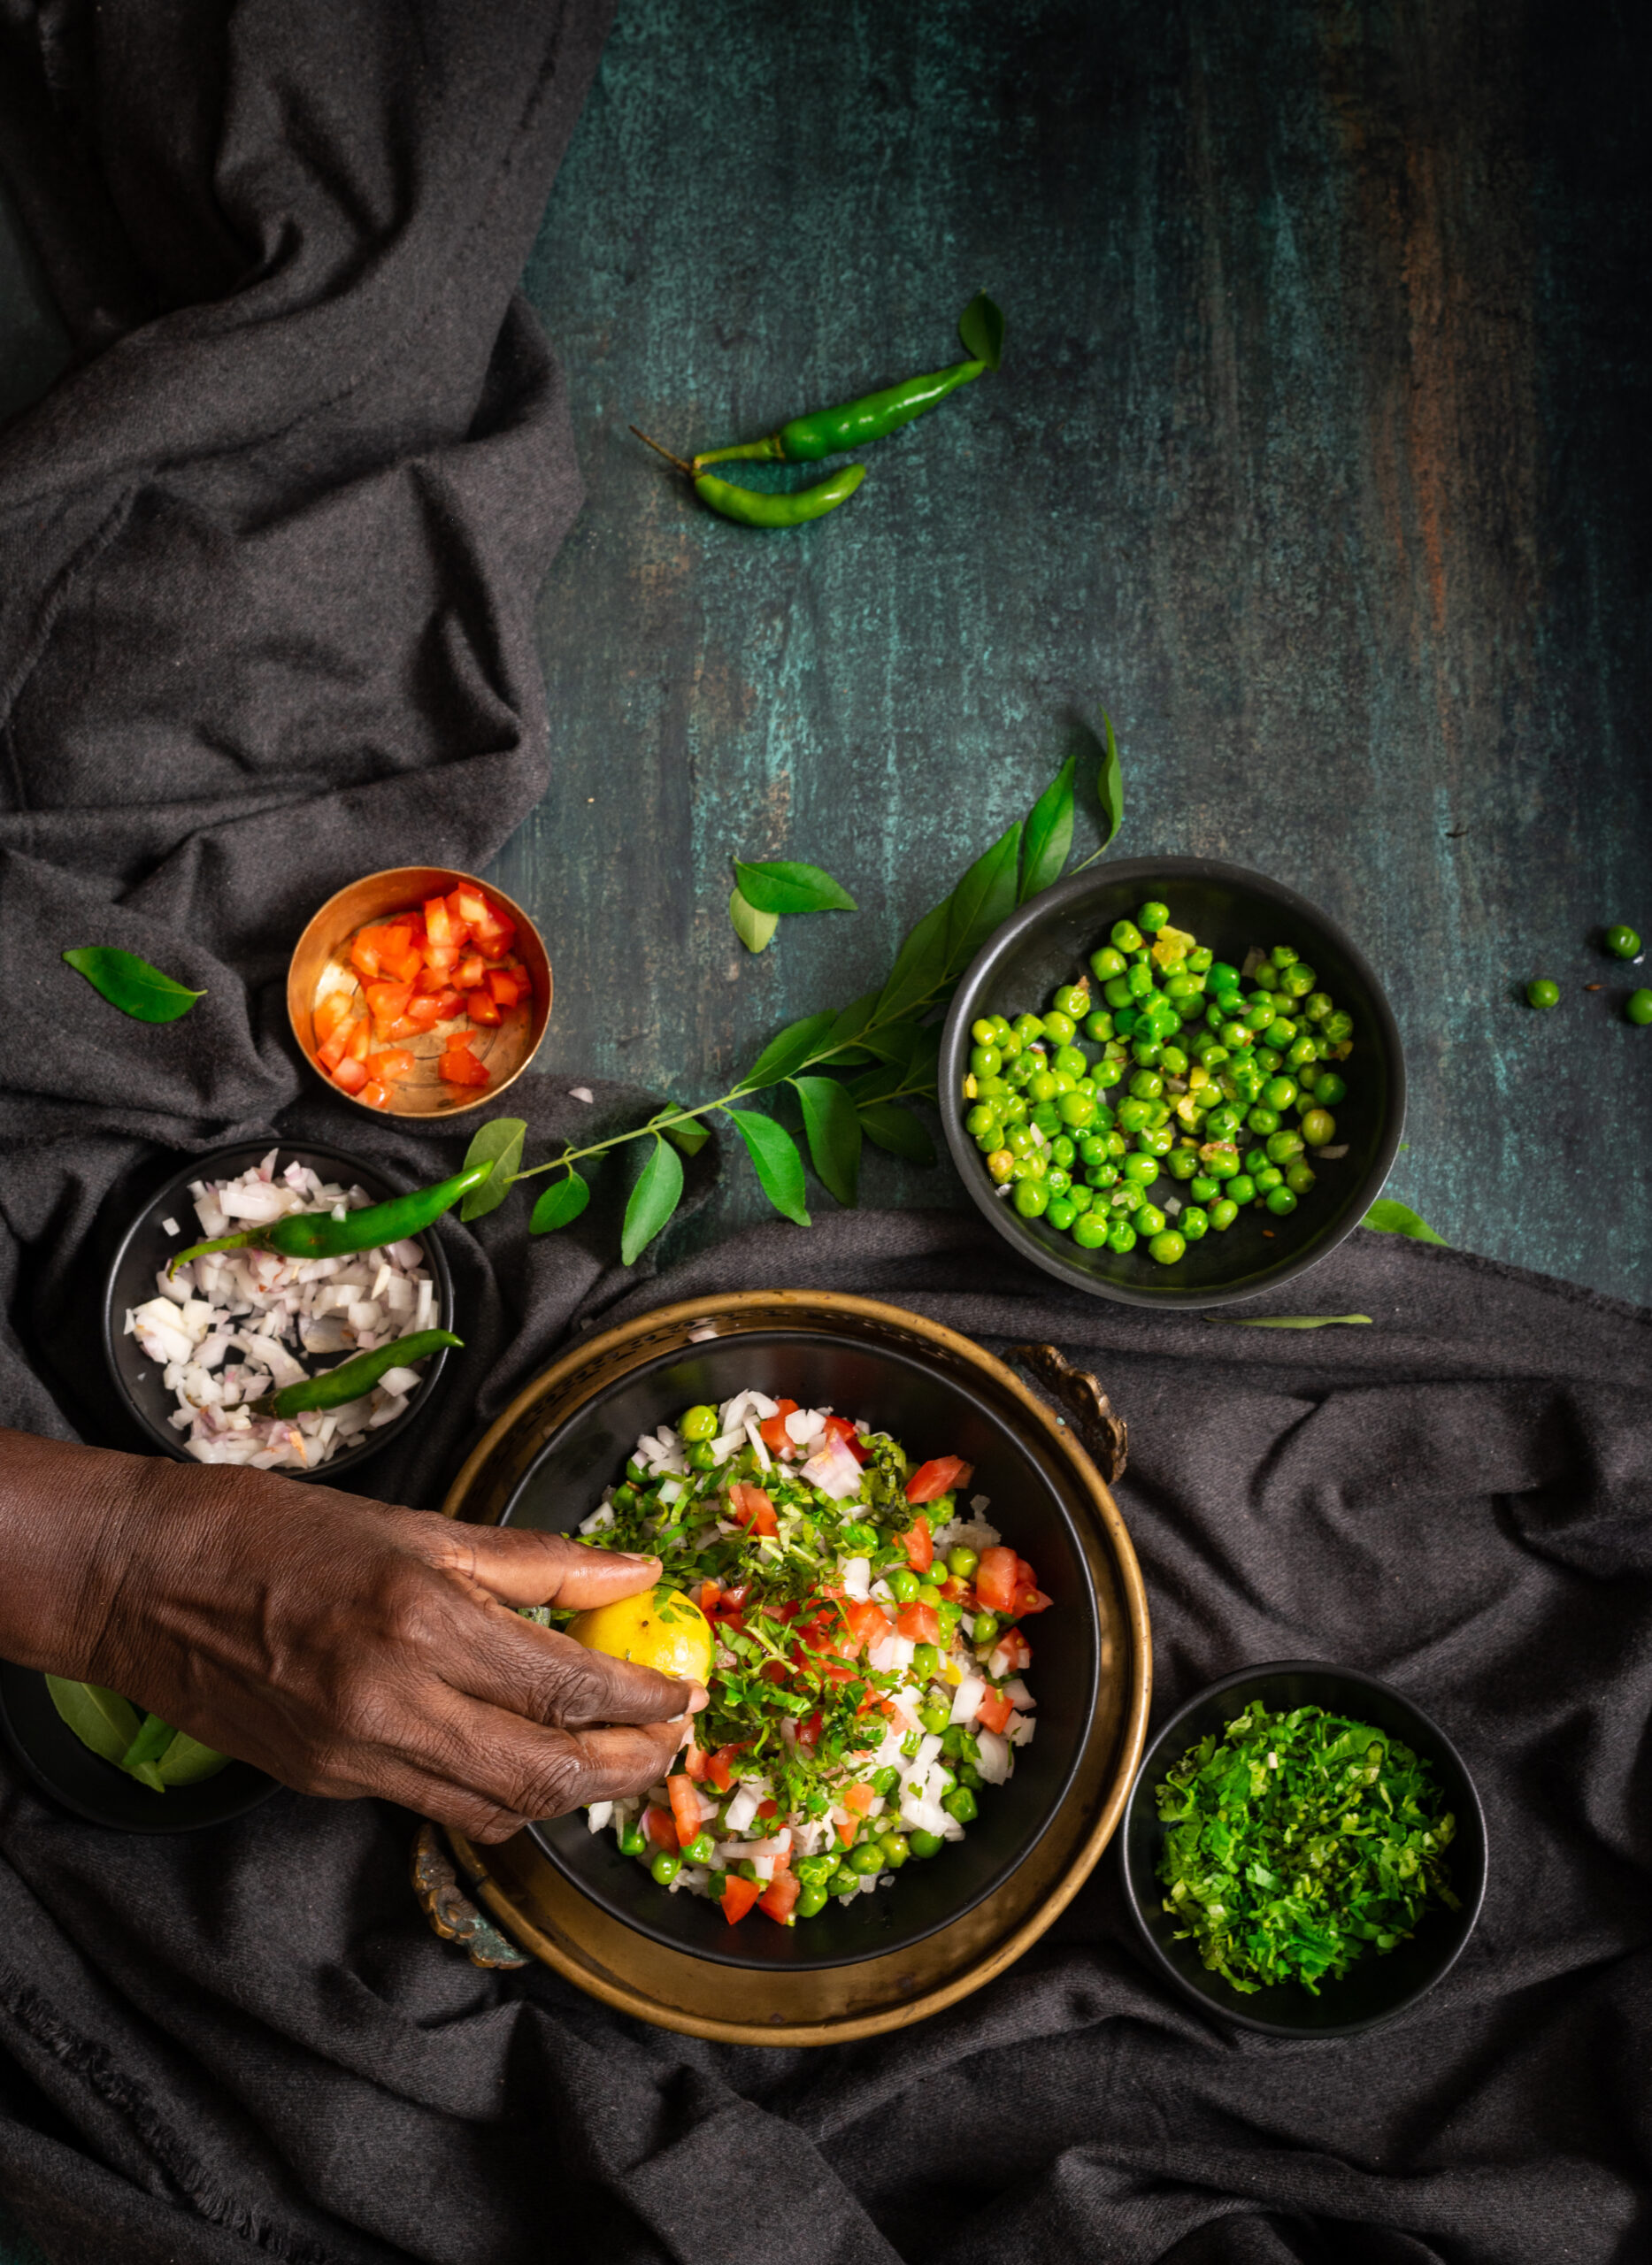
Use a shallow serving platter to assemble the dish. First, place the cooked poha as a layer. Over this, add the peas as a layer. Top this with the healthy garnish of freshly chopped onions, tomatoes and coriander leaves. Finish with a dash of lemon juice. Serve.

Now that remembering this fabulous chura matar has brought it into my repertoire, I envision making it for evening treats, as a filler between meals, and even as full meals (such as breakfast!). Do try this one out, and let me know what you think in the comments.

When it comes to any dish that I’m a novice at, I love making it as often as possible so that I can learn from each attempt. Novelty is part of the motivation, but improving my success rate is the real goal. The more you use your hands, the better you get at anything. For you, this may be true for one of your own creative passions, and for me this is all about baking and photography. This was certainly the case for me with sourdough. Those of you who’ve followed my sourdough journey through my Instagram Stories over the past couple of years will know how enthusiastically I’ve pursued working on it. Sourdough is all the rage everywhere at the moment, since the pandemic has made so many people  explorers in the kitchen, so it’s especially exciting for me to share this sourdough toast recipe today.

I bake sourdough every other day, and ever since I began doing this, my family doesn’t eat any other kind of bread. They prefer this natural variety to yeast-filled commercially-produced bread, and we use it in many ways. I make pizza bases, loaves and more all the time, and use them in main courses, sides (such as with a lovely minestrone soup, the recipe for which I promised you recently and will share soon) and snacks. At home, we are all very into daily exercise and healthy eating, so we have lots of one pot meals, and a slice of sourdough on the side is always nice. I find that this sourdough toast especially makes for a filling lunch, and that helps us reduce the number of heavy meals we have at supper time.

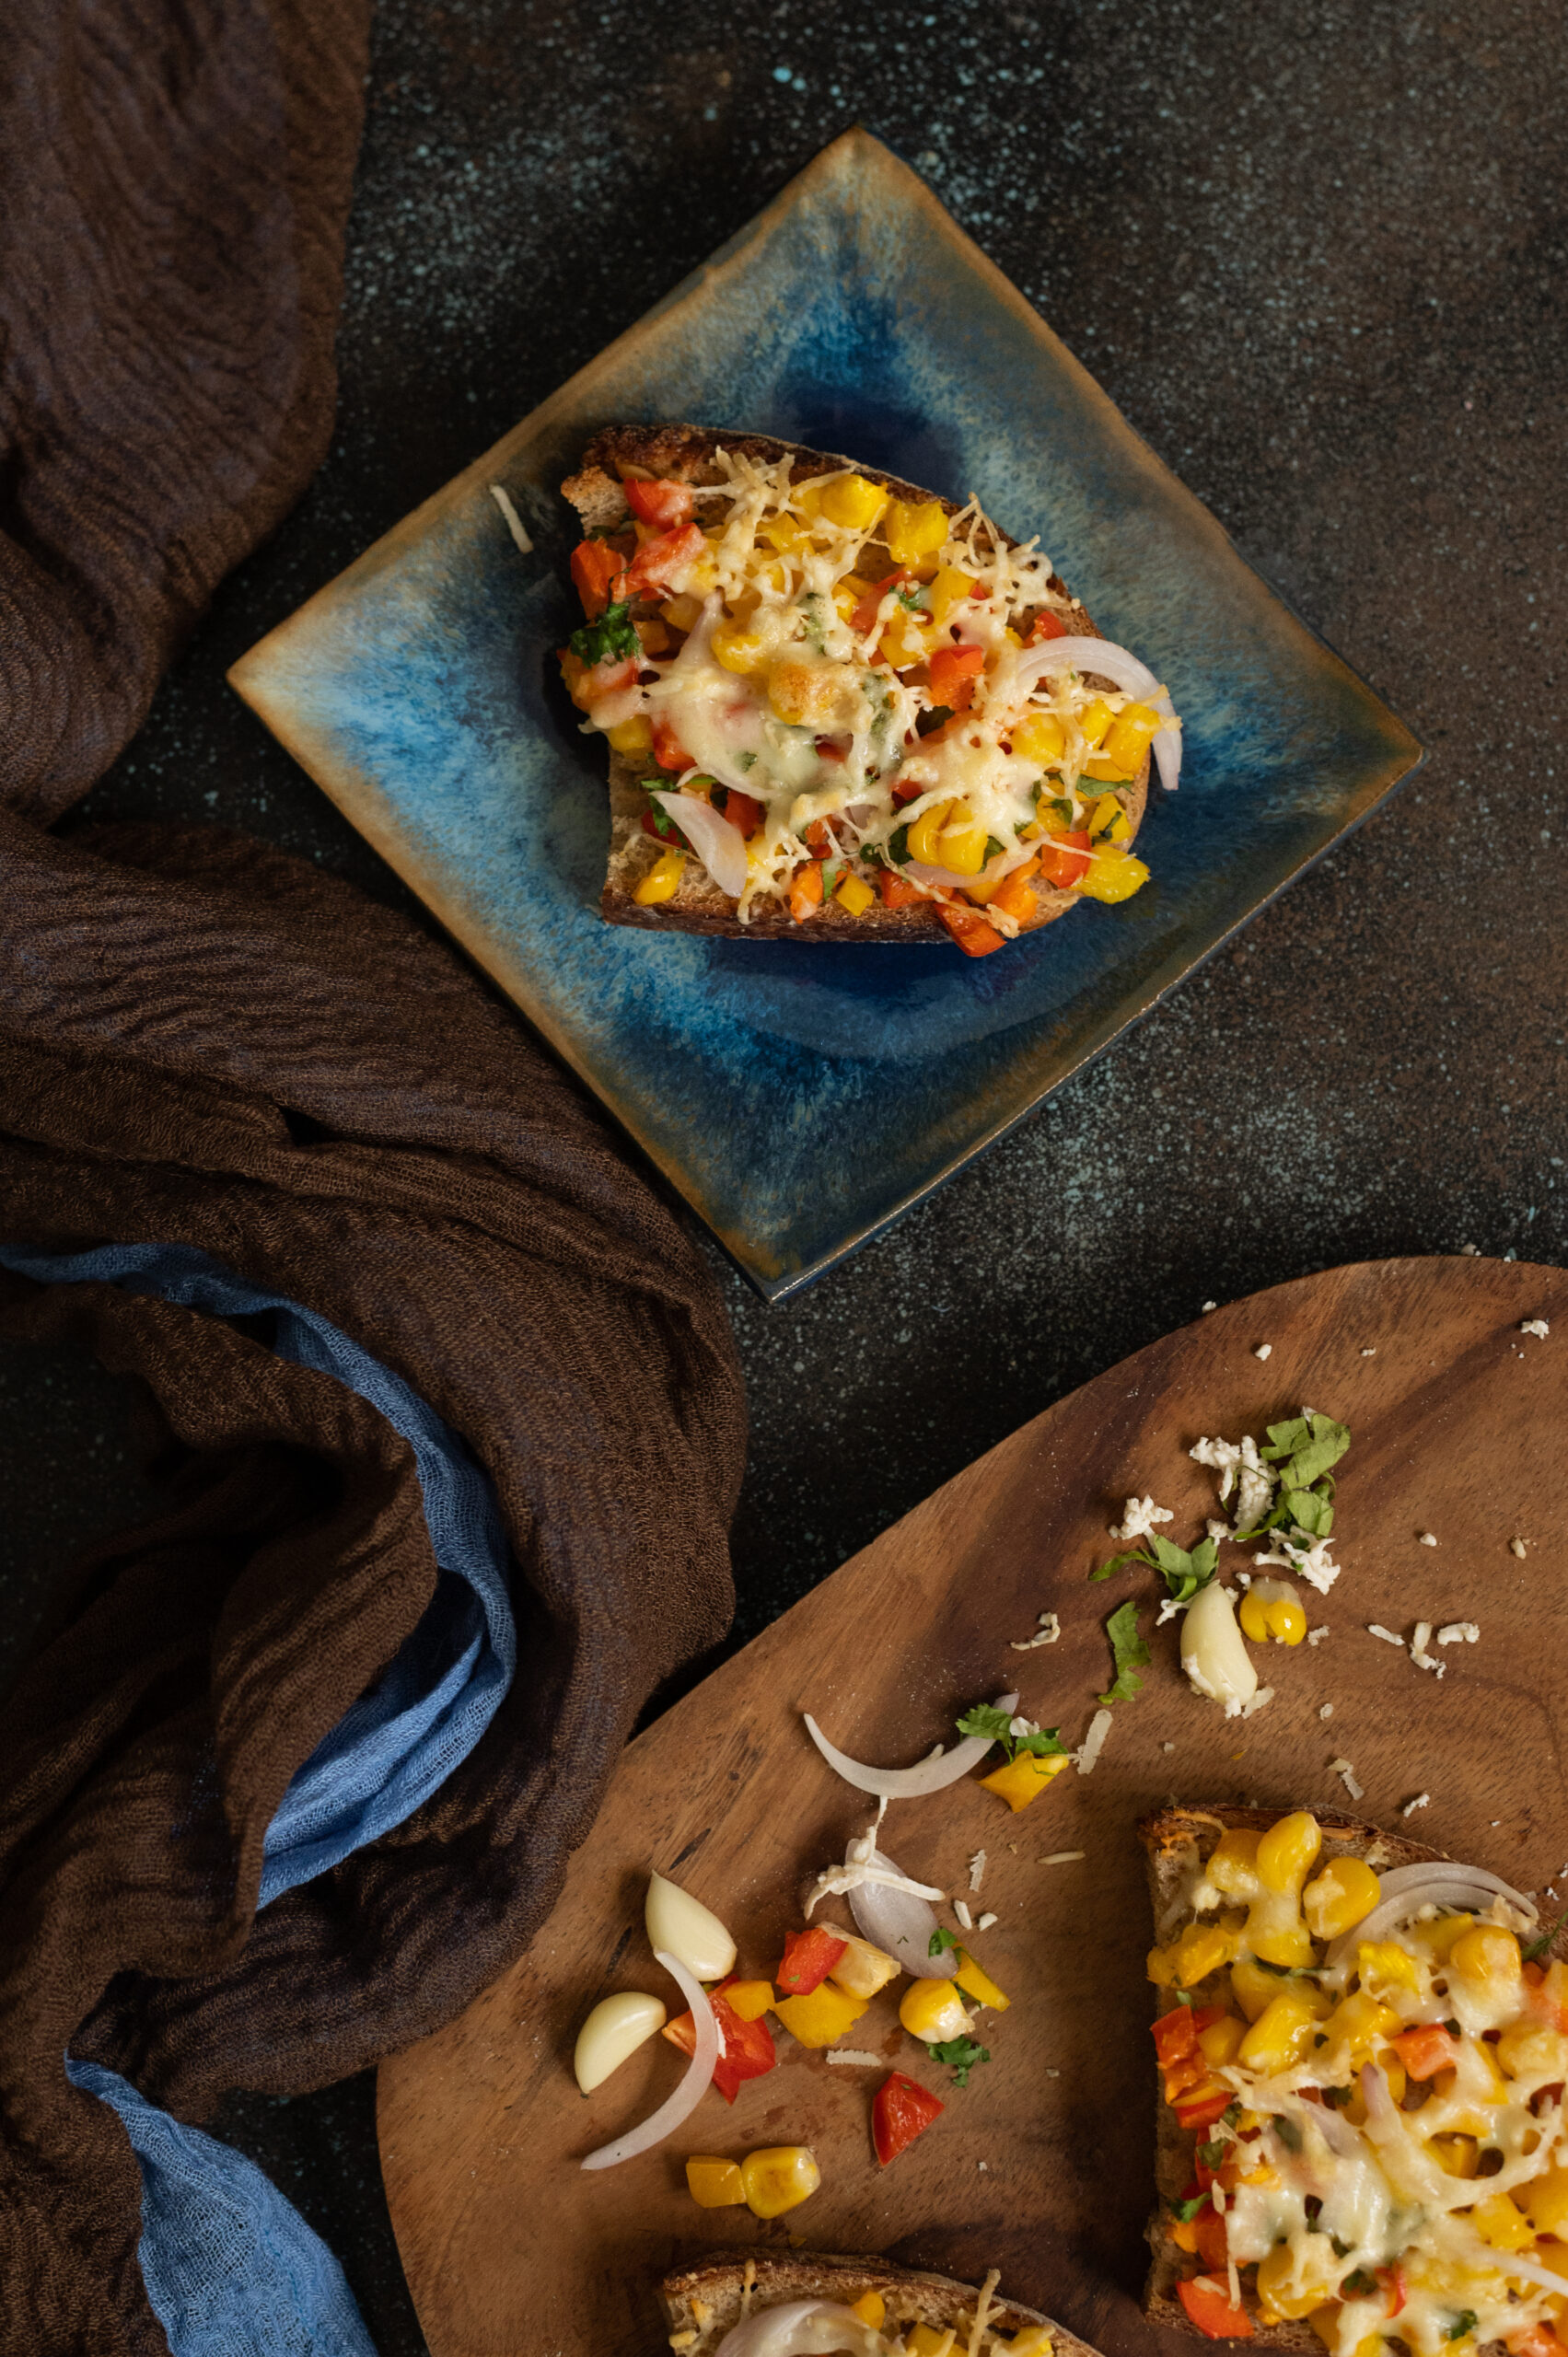
The idea of making a simple, yet fabulously delicious, sourdough toast came up during our planning for my husband’s birthday recently. This is not an innovative recipe as such, yet it’s one that suits the occasion of a celebration during lockdown. It’s a lovely appetizer using wholesome and easily available ingredients for a small celebration. We decided to have a picnic in our own garden, and I was thinking about which healthy dishes I could make to balance out the indulgence of the white cake I’d be baking when I came up with this idea.

Now, the white cake itself has a funny story behind it. You see, my husband adores the tea cake from the McRennett bakery, which many of us who grew up in Chennai will associate with childhood memories. As it happens, I can’t stand that cake, as it has a very strong vanilla essence smell. We have a running joke in the house that no matter what fabulous thing I have baking in the oven, my husband will say, “I’m going to get a McRennett cake!”, knowing it will tick me off. This year, I turned the joke on him by saying that I’d order him that tea cake for his birthday and not bake any of my own specialties. Secretly, I had a plan to prepare a cake that was inspired by his lifelong favourite, but which I would elevate with my own twists to a level that would make him forget the original. He must have gotten a whiff of my plan, because he said to me that if I could achieve the softness of the original, he wouldn’t mind trying mine. Well, I baked a lovely tea cake with real vanilla and pretty white icing (I rarely ice my cakes at re:store, so you know this was a special treat!) which he enjoyed very much… but it didn’t quite unseat the McRennett as his favourite!

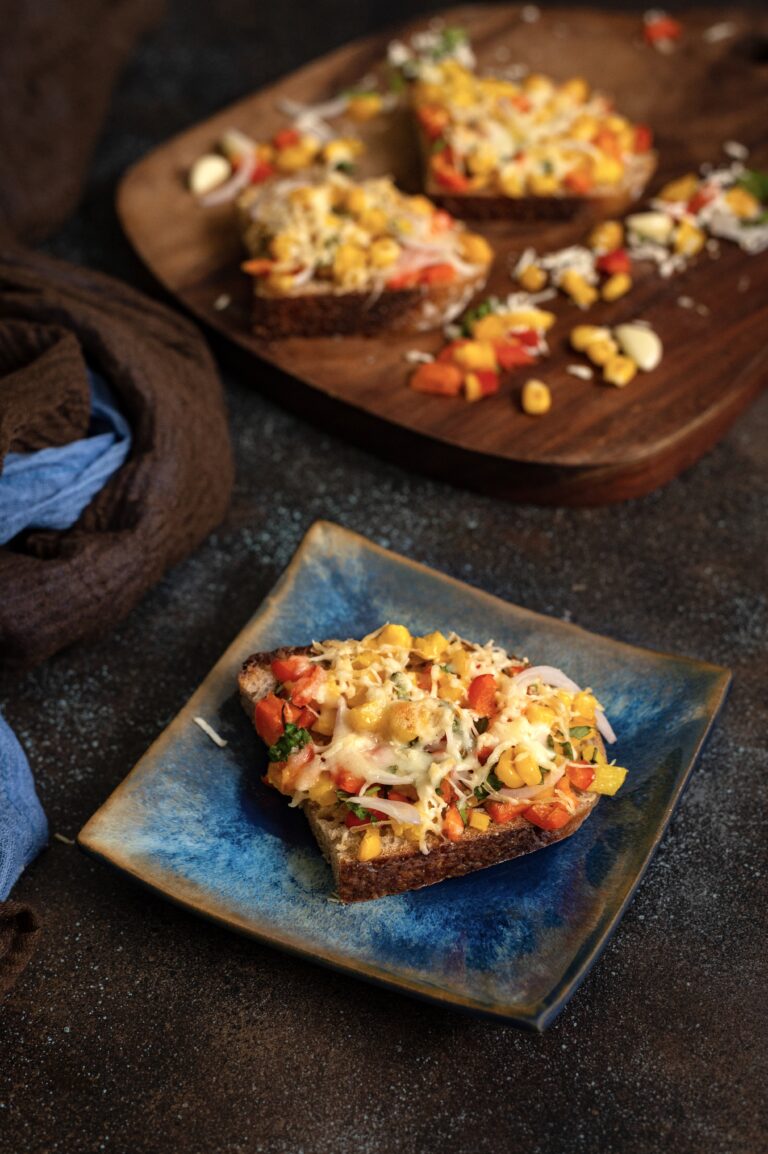
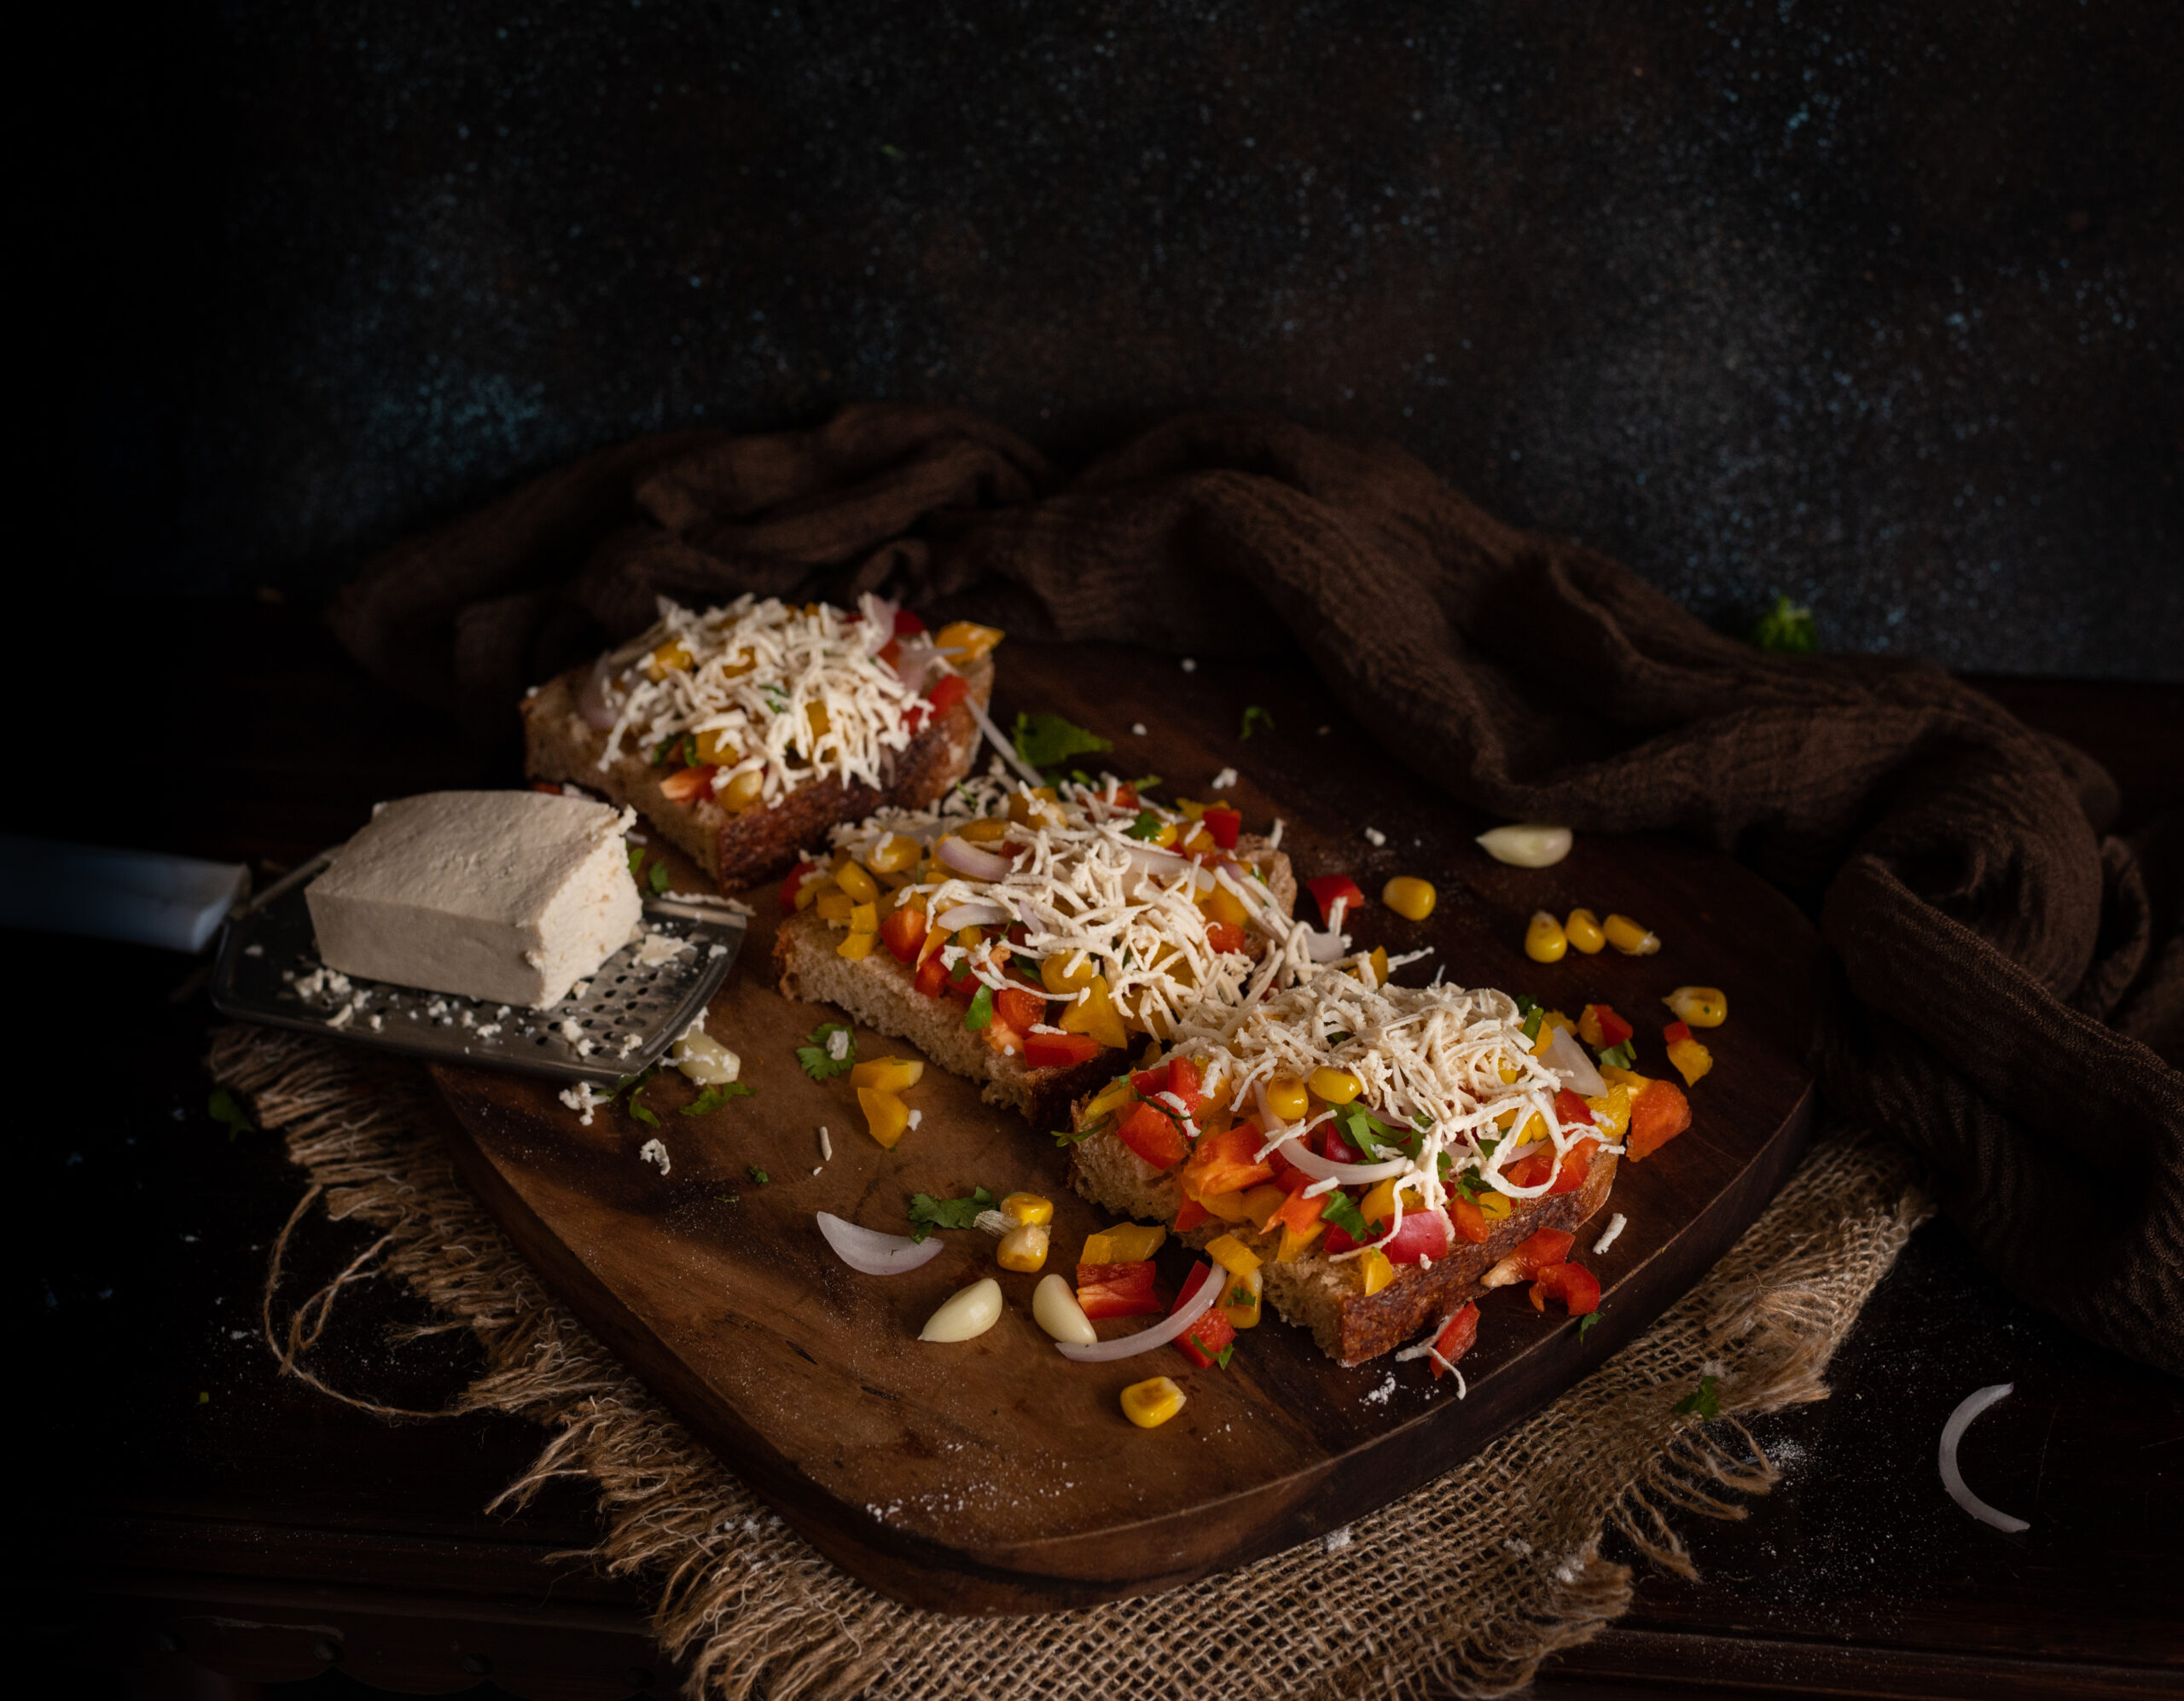
Oh well! At least I can safely say that this cheesy, spicy, garlicky sourdough toast was the hit of the picnic! I’ll always associate it with the memories of the fun we had that day, spending time together as a family in our garden. That’s the thing about food prep: when something is made to suit a particular need or occasion, the dish also gains meaning. Is it for a daily meal, is it for a special person, is it for an event? By thoughtfully planning the lockdown birthday picnic menu to feature a healthy but delicious snack like this, and making sure I prepared it in a way that was also special, the dish became impressed upon my memory and in my culinary repertoire.

Before I share the recipe, here’s a quick note on sourdough itself, just in case you’re curious about what it is. It’s the traditional, ancient way of making bread, which people around the world used for millennia before baker’s yeast was invented. It’s based on natural fermentation, with air pockets created by the same, and it rises beautifully. You can keep the starter going for ages, just like yoghurt. For me, it took a few miserable failures before I managed to get mine going. Before that, friends generously shared their own starters with me, which I fed and nurtured, but there’s a different kind of challenge and a sense of achievement when you’ve made your own. The learning is continuous, especially when you have to take into account variables like weather conditions. Sourdough maintenance is like plant maintenance.  Making sourdough in Chennai weather is a struggle, as the natural temperature is not really conducive, while air-conditioning dries out the starter. I’ve managed to make a few chips and freeze them just in case my sourdough dies on me, and I’ll need to start it all over again. In the meanwhile, we are truly enjoying the bounty of the current batch.

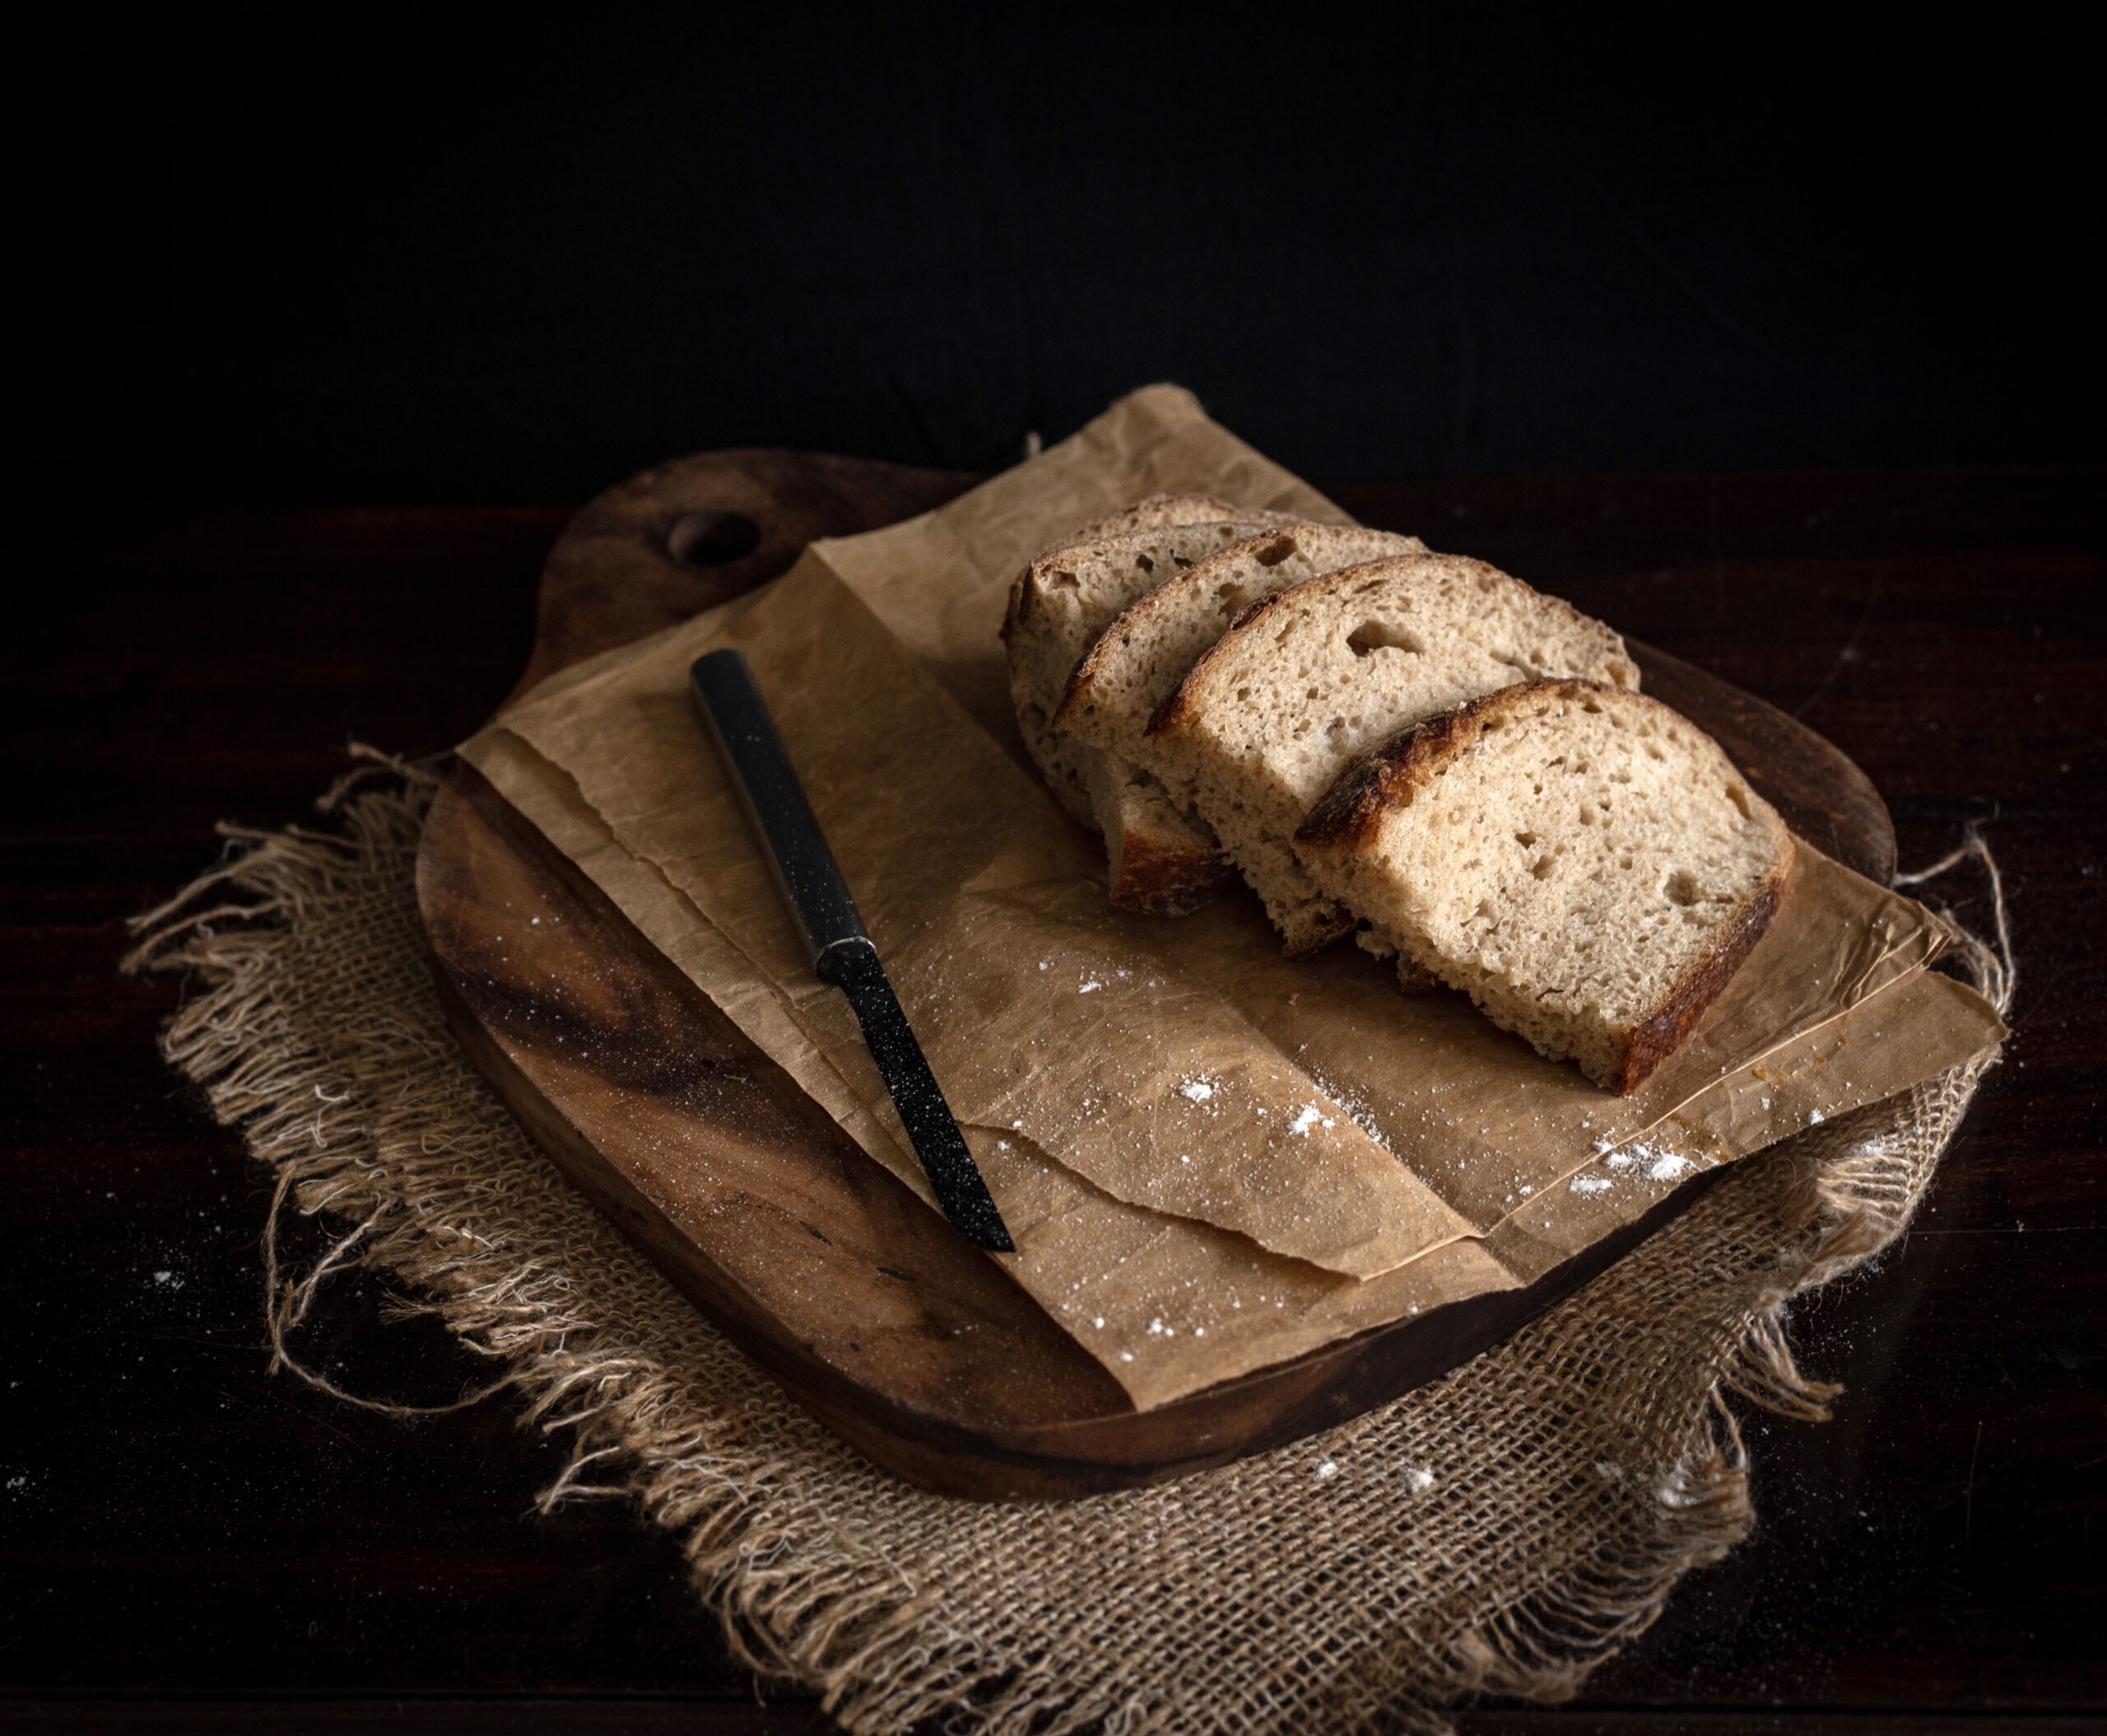
I am almost sure that foodies following this blog have either been making their own sourdough, or have access to a store-bought loaf, so I’ll jump right ahead to what you can do with it, rather than spend time on how to grow it. In case you don’t have it on hand, you can use white bread or any bread you like.

Cheesy, Spicy, Garlicky Sourdough Toast

(Yield: 4 slices)


4 slices toast

1 teaspoon oil

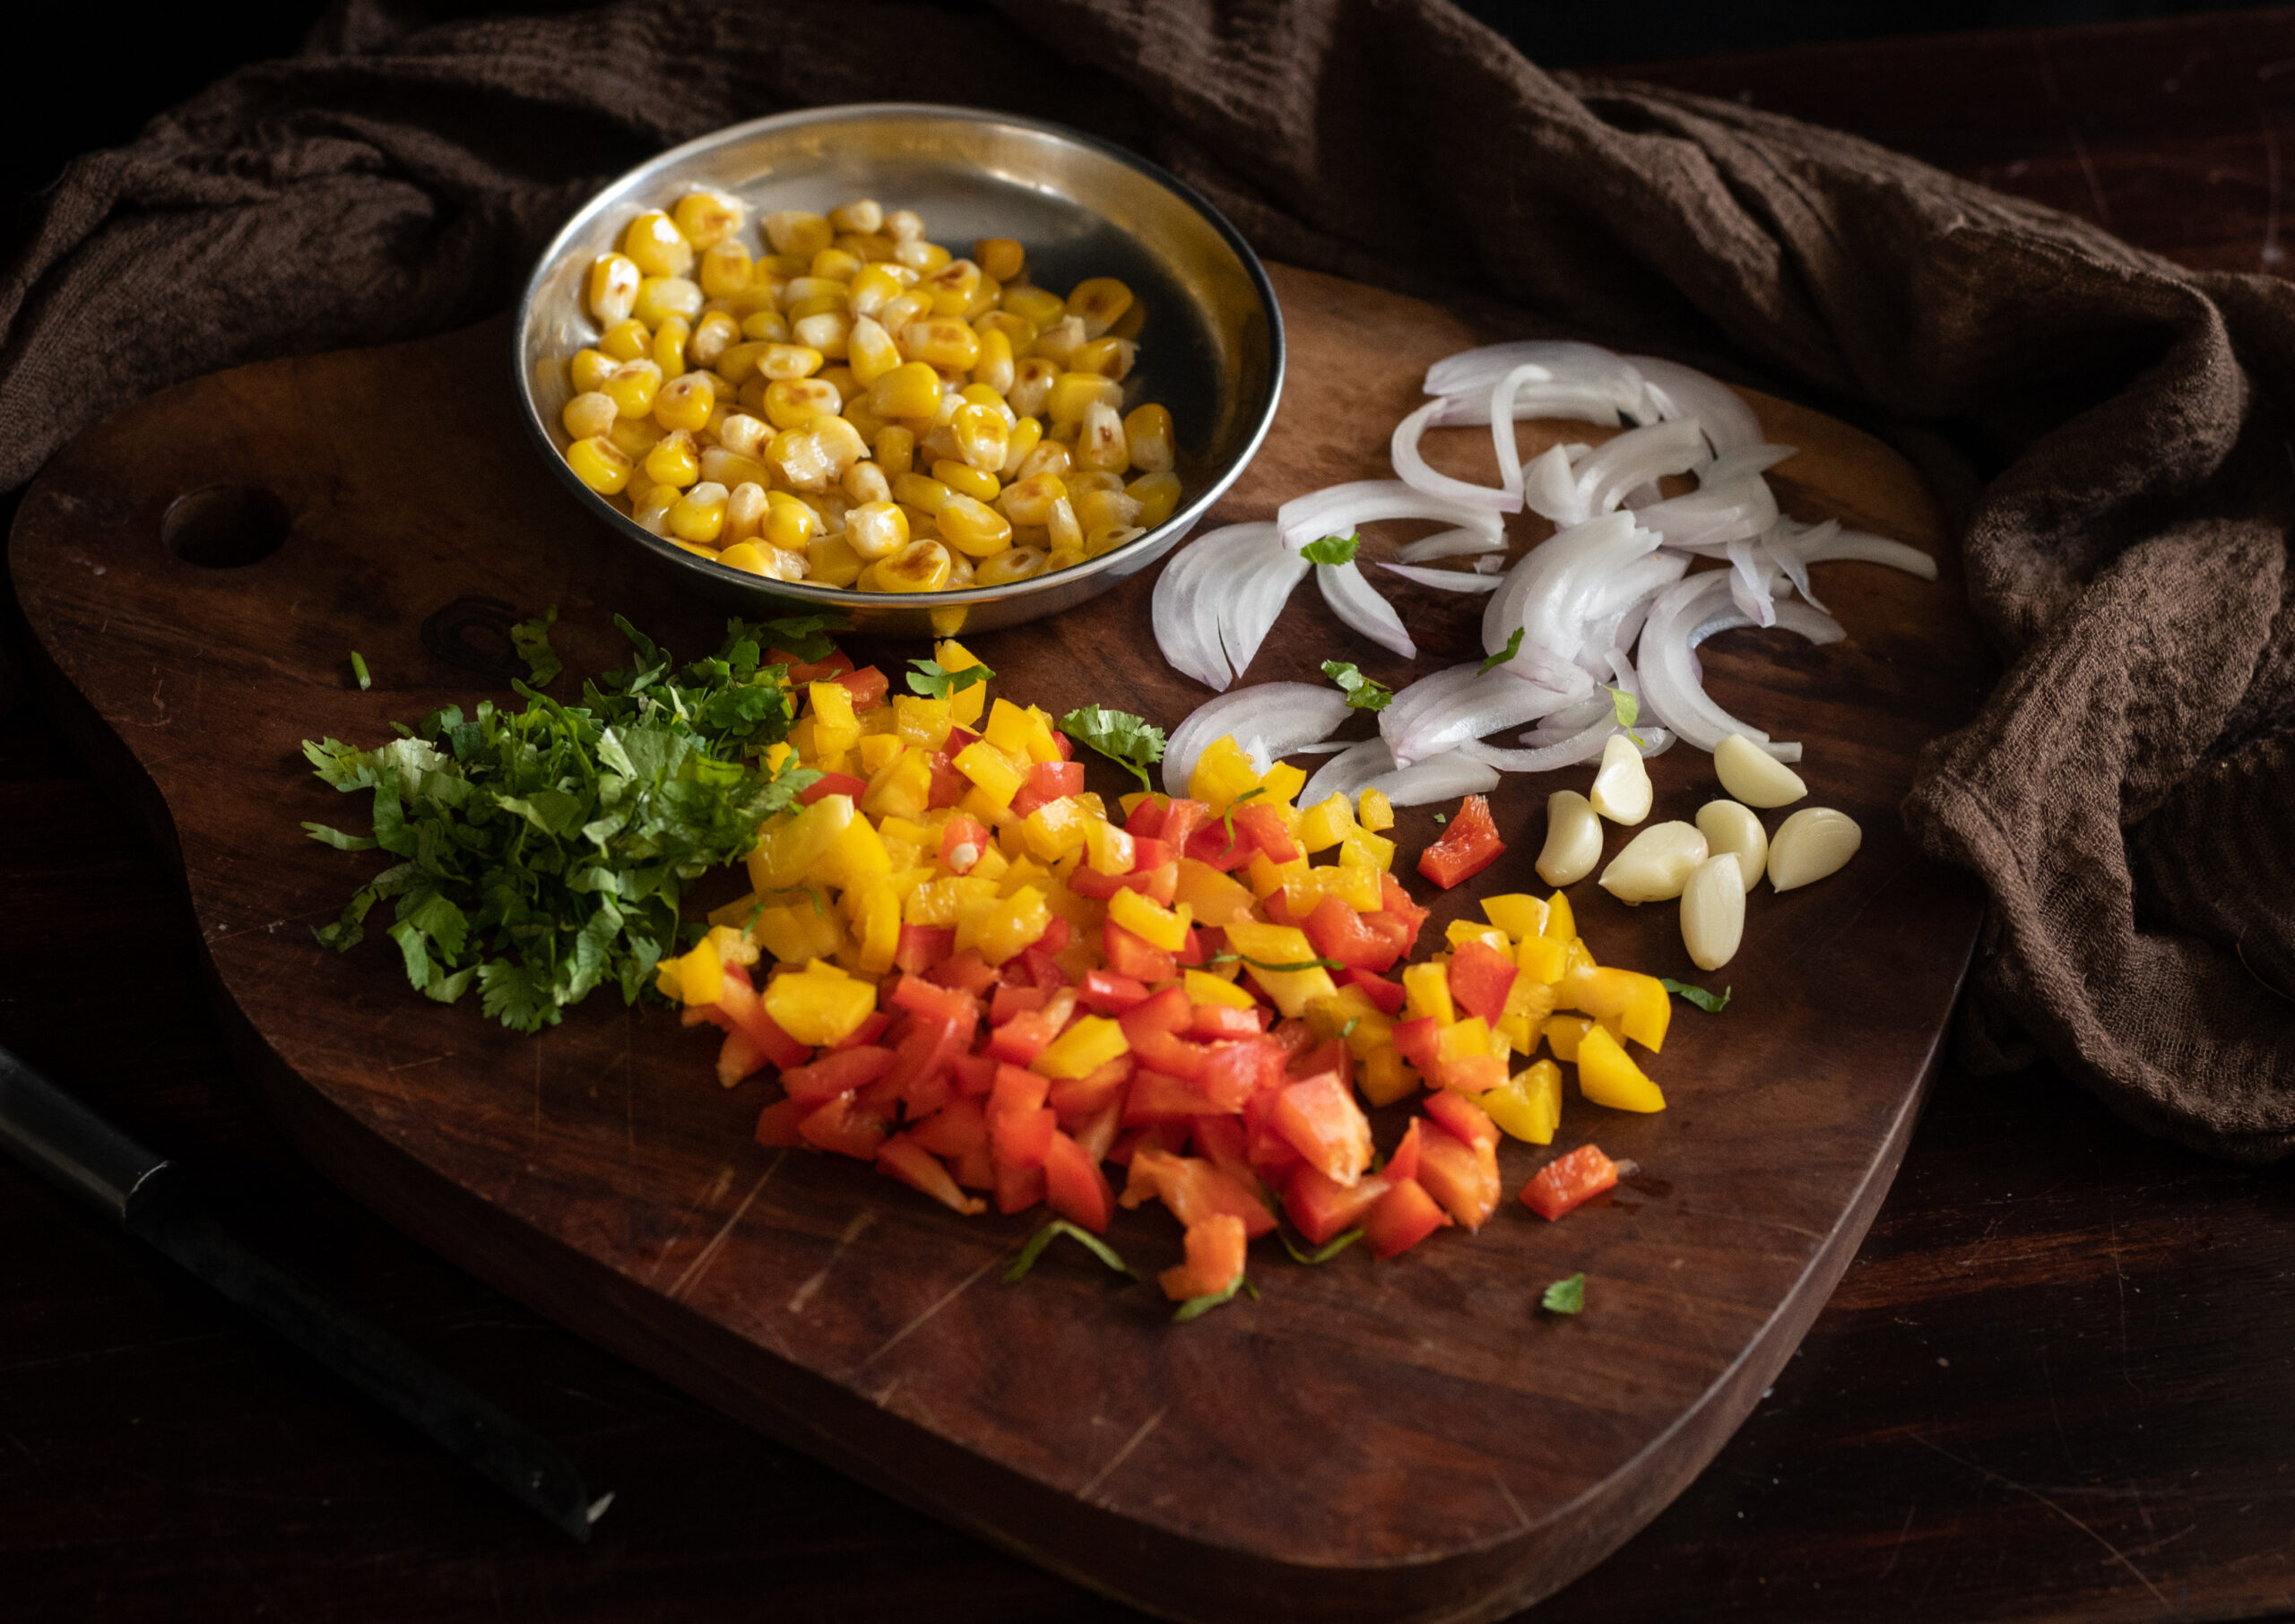
2 cups chopped vegetables (bell peppers, onions, garlic, coriander or parsley, cooked corn)

1 tablespoon chopped jalapeño peppers

¼ teaspoon grated ginger

Coriander chutney (alternative: pesto)

Salt to taste

Chili flakes

Butter as required

1 cup grated cheese (alternative: tofu/paneer)

Heat a pan and add the oil. Add the garlic and ginger, and then add the chopped vegetables. Stir-fry on a high flame. This mixture doesn’t take more than 5 minutes to sauté. Add the salt. Set aside. Allow to cool.

Prepare the slices of sourdough by buttering them lightly. Next, spread the coriander chutney (or pesto, if you prefer) over the butter.

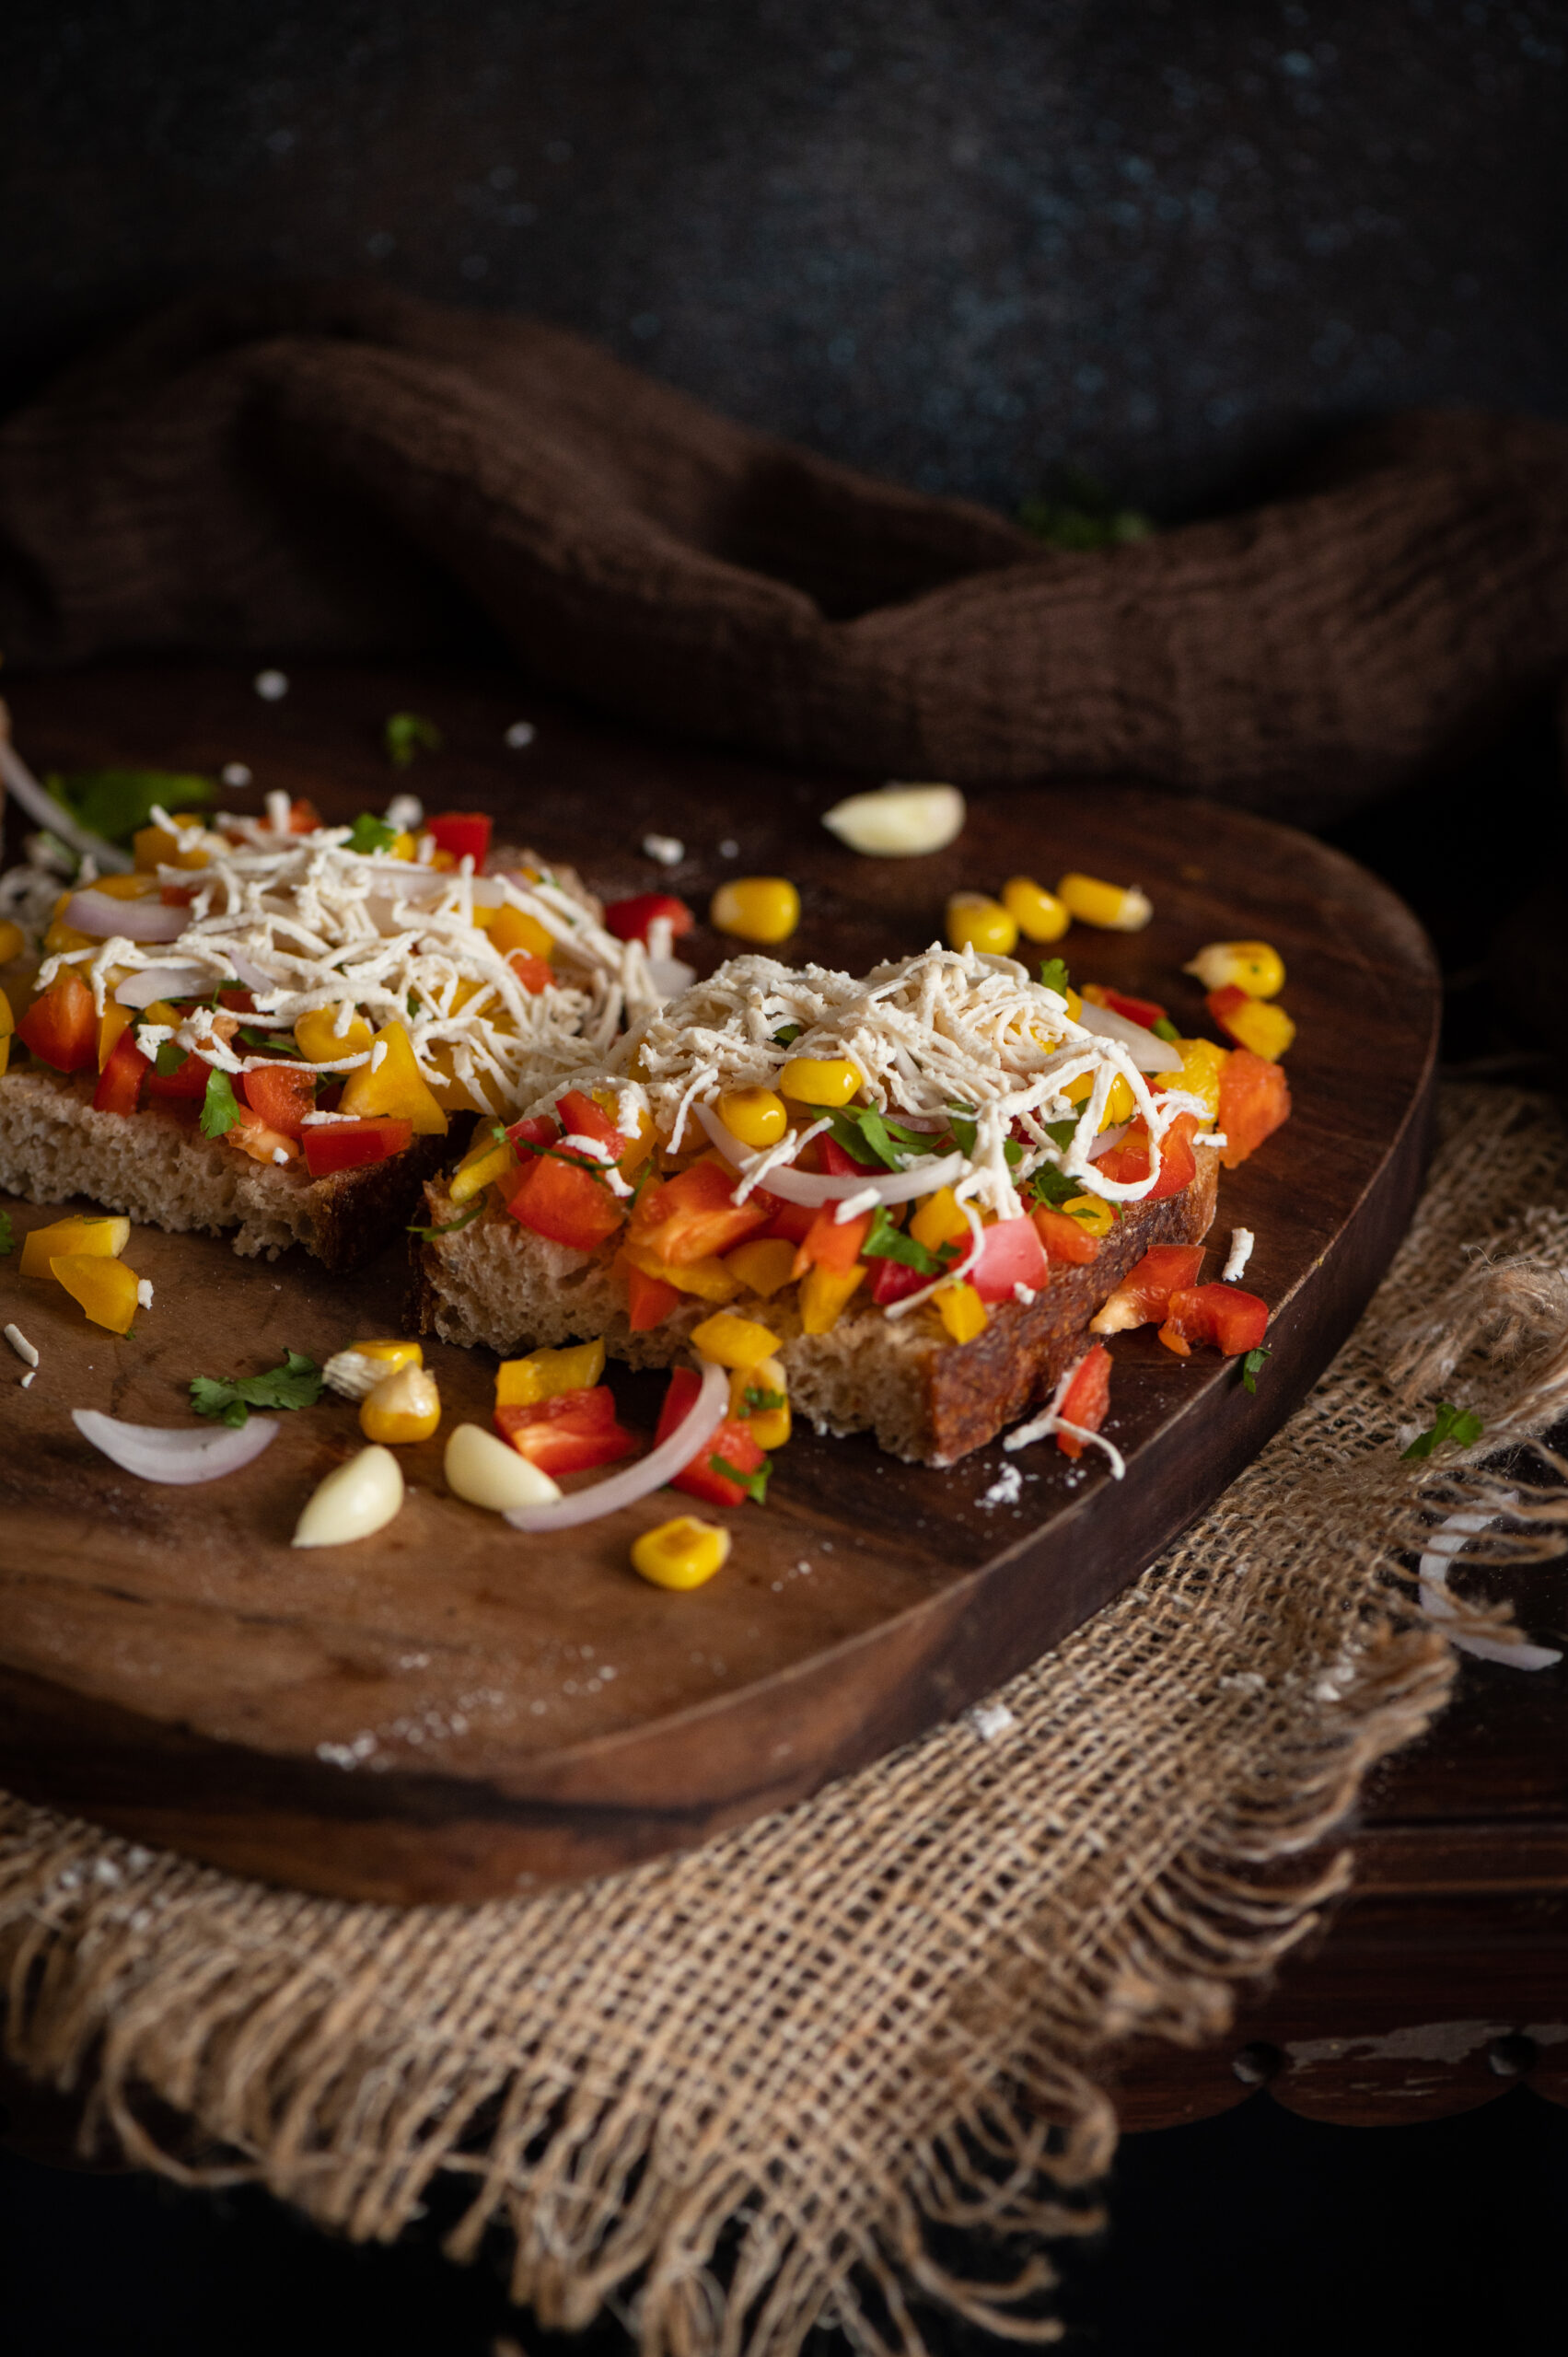
Now, add a heaped spoonful of vegetables over the chutney/pesto. Top this with grated cheese or tofu.

Place the bread in the oven and allow to toast/bake for about 10 minutes or until the cheese melts and the slice of sourdough turns golden underneath.

Remove the slices from the oven and sprinkle with the chili flakes. Serve warm.

This cheesy, spicy, garlicky sourdough toast called to mind a variety of toasts my family has enjoyed over the years. When I was growing up, my mum used to make a version of masala and mashed potatoes with toasted bread. My husband is an ardent fan of  Bombay toast, as you may remember. In lieu of either, my sourdough toast – rich in fresh vegetables – is healthier, without skimping on taste.

Feel free to substitute the vegetables or even the spices as per availability and preference. You may want to increase the quantity of some based on your taste as well (I’m personally a big fan of corn and bell peppers too). If you prefer to go vegan, just replace the butter with olive oil, and either tofu or paneer are tasty and healthy alternatives to cheese.

This version has become my go-to every time I feel like having a snack. When I’m done with my workout and feel peckish, I whip up a slice or two. I sometimes also have it drizzled with olive oil and a sprinkling of salt without adding the spices. Given the lockdown and the limited vegetables that are on hand on some days, I improvise the ingredients. No matter how I make it, it’s unbelievably tasty!

My husband is from Mumbai and if you asked him what the one thing he misses the most about the city is, he would probably say that it’s a type of street food available on practically every corner there. Its presence is so ubiquitous that it is even named the Bombay sandwich. Every visit back will find him at a sandwich stall, buying his favourite food and devouring it immediately by the side of the road. Even back home in Chennai, whenever we frequent neighbourhoods like Sowcarpet and Vepery, which have migrant populations who brought their cuisines with them, he simply has to make a stop for a snack. For myself, however, I’ve always preferred a homemade Bombay toast instead.

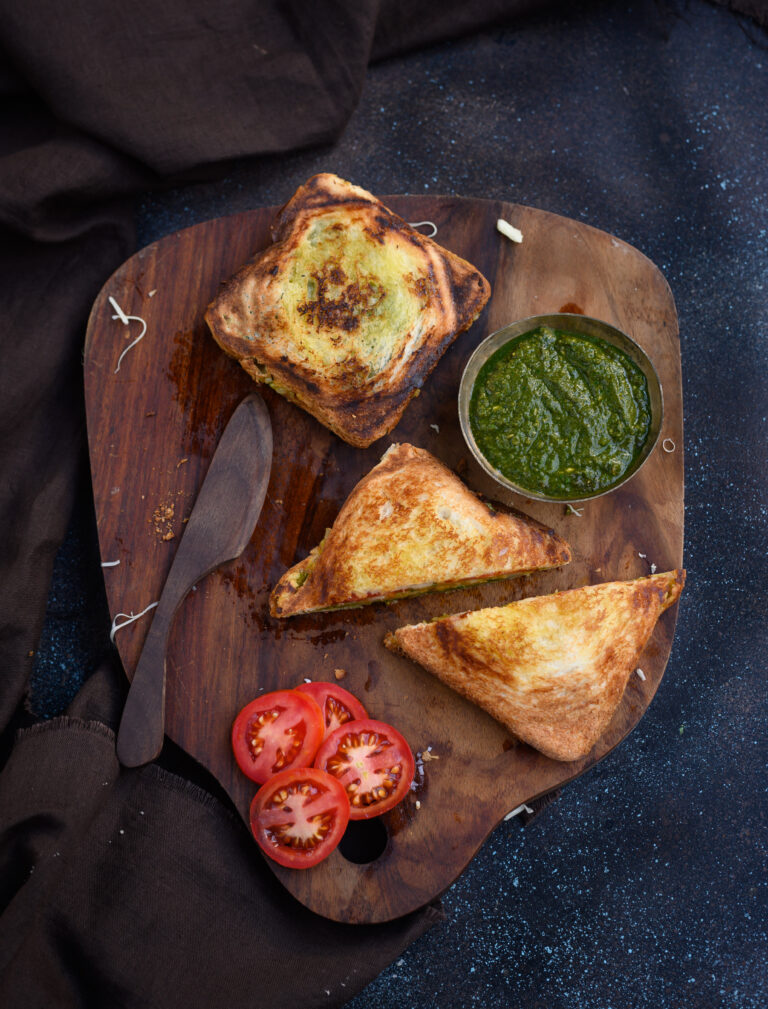
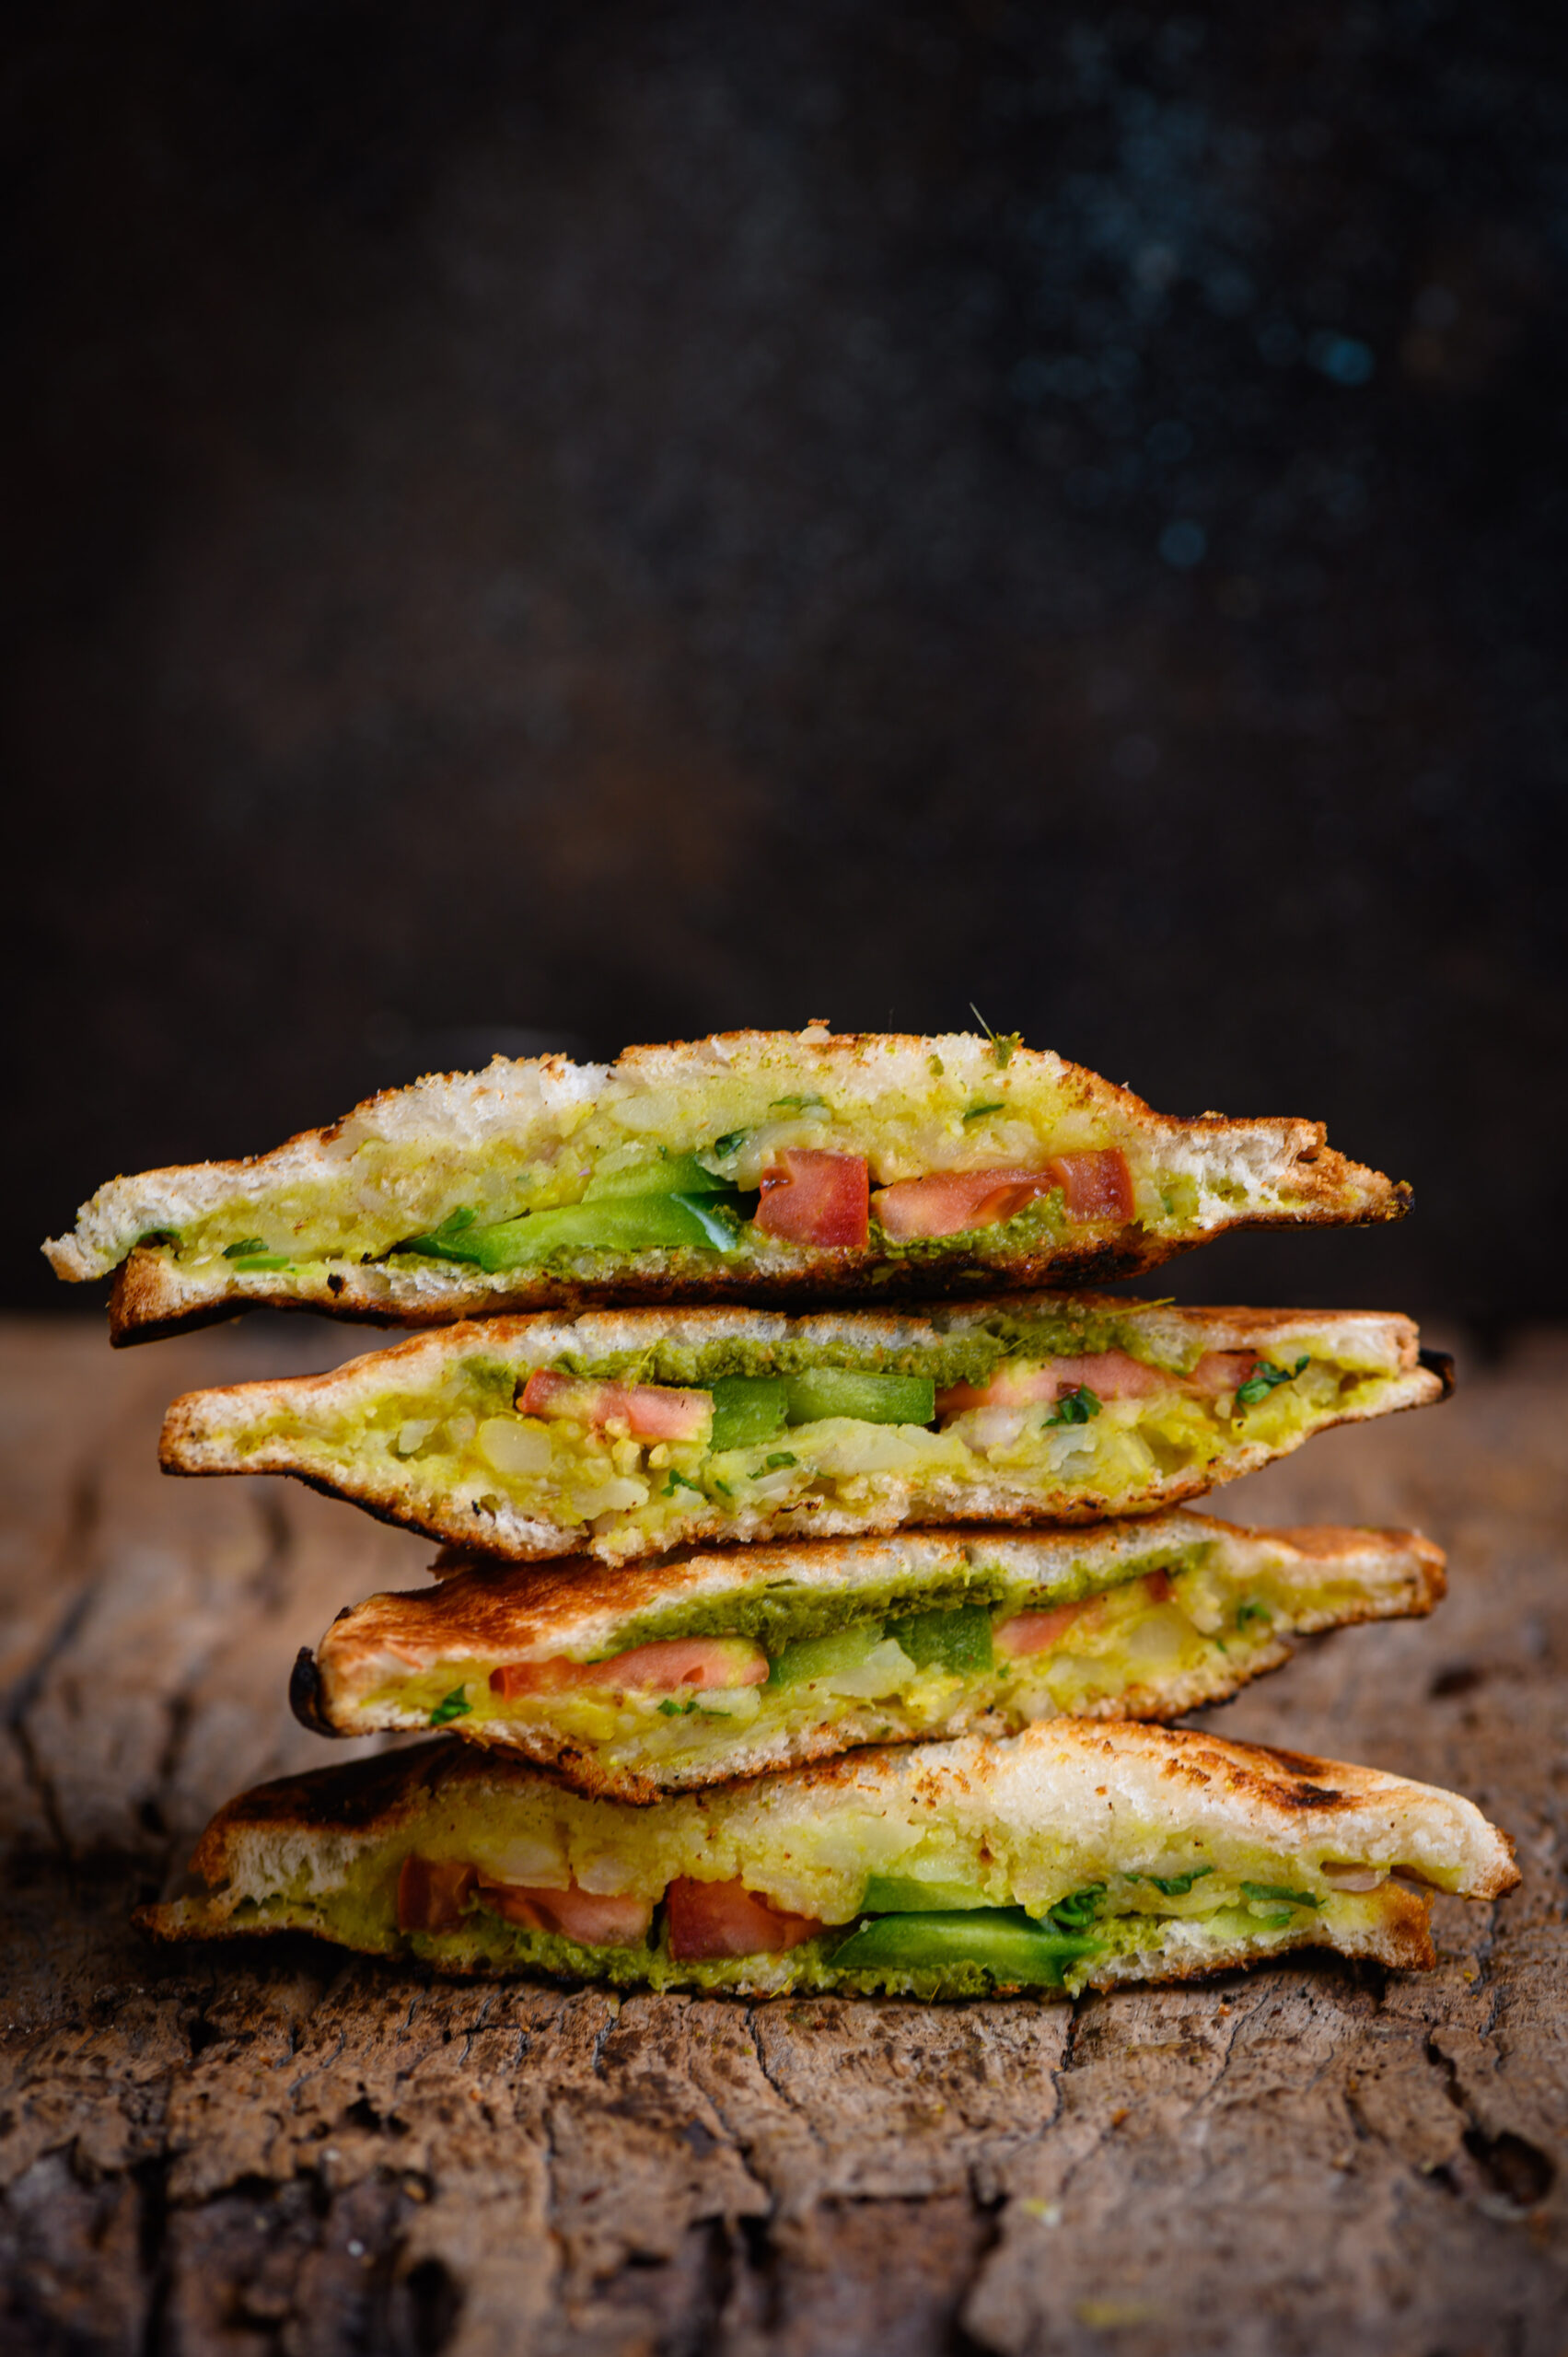
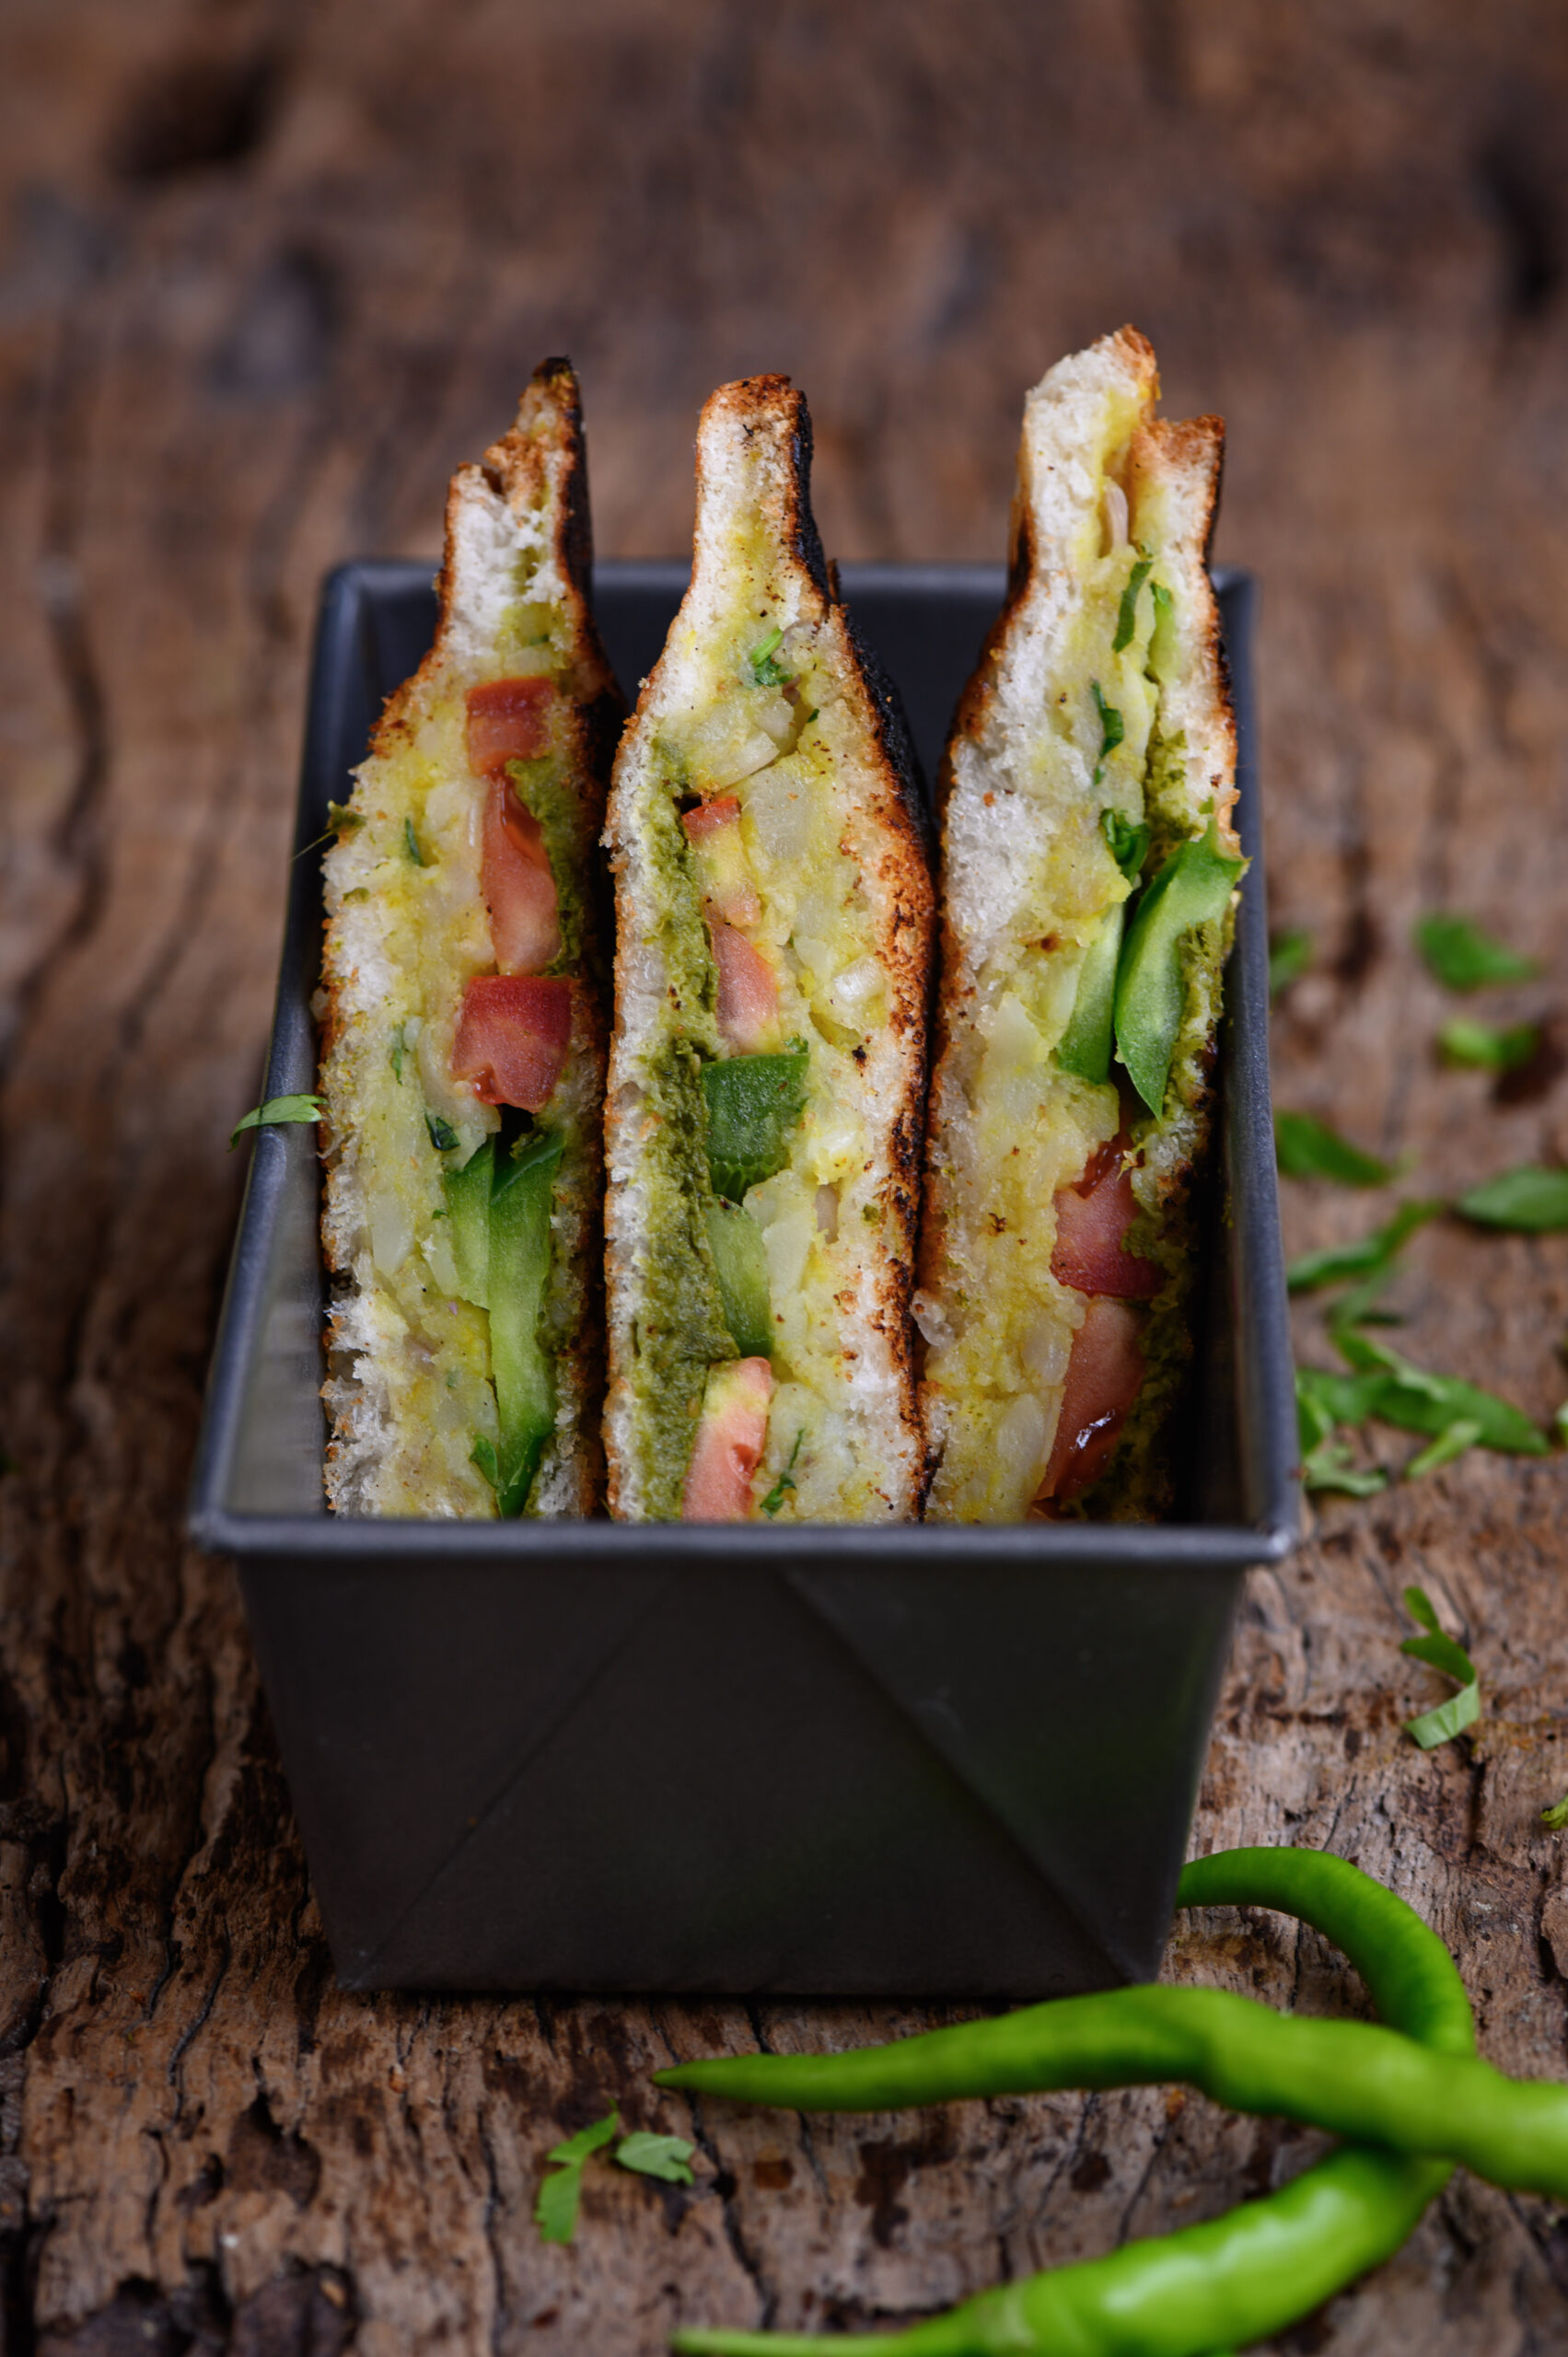
Bombay toast is essentially the toasted version of the Bombay sandwich. Whereas the soft sandwich is flavoured with a spiced chutney, the crispy toast has the spices mixed into the potato filling. Although peas, paneer and other ingredients may be used instead, potato is the most popular as it’s a binding agent. Arguably, it’s also the most delicious filling. Street vendors will ask you whether you want the Bombay sandwich or the Bombay toast, and prepare your order on the spot. Slices of cucumber and tomato are used in both, and they’ll top it all up with a red sauce. While it looks like ketchup, it is in fact a pumpkin-based condiment that’s cheaper to produce or buy.

During my own childhood visits to Mumbai, it was chaat that was always more interesting to me, whereas Bombay toast was something that tasted better when enjoyed at home. It’s said that there’s an attractive quality to street food that makes it seem like no matter what higher quality ingredient you use at home, you just can’t replicate the taste. This just doesn’t hold true for me when it comes to Bombay toast, however. Whether it’s on a street corner in Mumbai or at a stall in Chennai’s Gee Gee Minar, what I’ve tasted has never come close to what my mother would make at home. It was a frequent after-school snack for us because it’s a perfect leftovers-based recipe. Whenever there was some potato remaining from a meal, it could go right into this simple dish. It was as equally relished then as the fresh ones I make today are.

When I was growing up, many homes had a handheld sandwich toaster. You simply placed a slice of bread on one side, added your toppings, covered the first slice with a second thickly-buttered one, and turned the toaster on. It was incredibly easy to prepare these sandwiches quickly, and I loved them eating hot and crispy. I still like to use these old toasters, making sandwiches with a variety of chutneys and cheeses. I like that old world charm of using an appliance that is hardly around anymore. Also, not only is it faster than the new electrical toasters, but you can also control the amount of heat used so that you achieve the precise amount of crispiness you desire.

While customarily a snack, Bombay toast also makes for a good, filling breakfast. I often load a platter these days with an assortment of toppings so that my family can make their own versions of it. Still, nostalgia for this dish as my mother would prepare it makes me want to share her simple, no-frills version, using a spicy potato and peas mash. As it happens, peas are currently in season. And who doesn’t love potatoes, right? Bombay toast fulfills the criteria of providing a carb boost, satisfying a quick craving, and even helping fulfill some of your daily quota of vegetables.

Bombay Toast

(Yield: 3-4 sandwiches)


Mint chutney

1 cup coriander leaves

½ cup mint leaves

2 tablespoons dry roasted chickpeas

1 green chilli

Salt to taste

2 teaspoons lemon juice

2 tablespoons water


Potato filling

1 cup boiled mashed potato

¼ cup finely chopped coriander leaves

2 tablespoons finely sliced onions

Salt to taste

A pinch of turmeric

½ teaspoon chaat masala

½ teaspoon aamchur powder


Slices of tomato

6 slices of bread

Grated cheese

Butter to grease


For the mint chutney, mix all the ingredients together in a blender. Use enough water to make sure the mixture is of a paste-like consistency. Set aside.

In a bowl, add all the ingredients for the potato filling. Mash them all together by hand until all the spices have blended in and you have a coarse mixture. This filling can also be used to make samosas and kachoris.

Following this, you are ready to assemble and then toast the sandwiches.

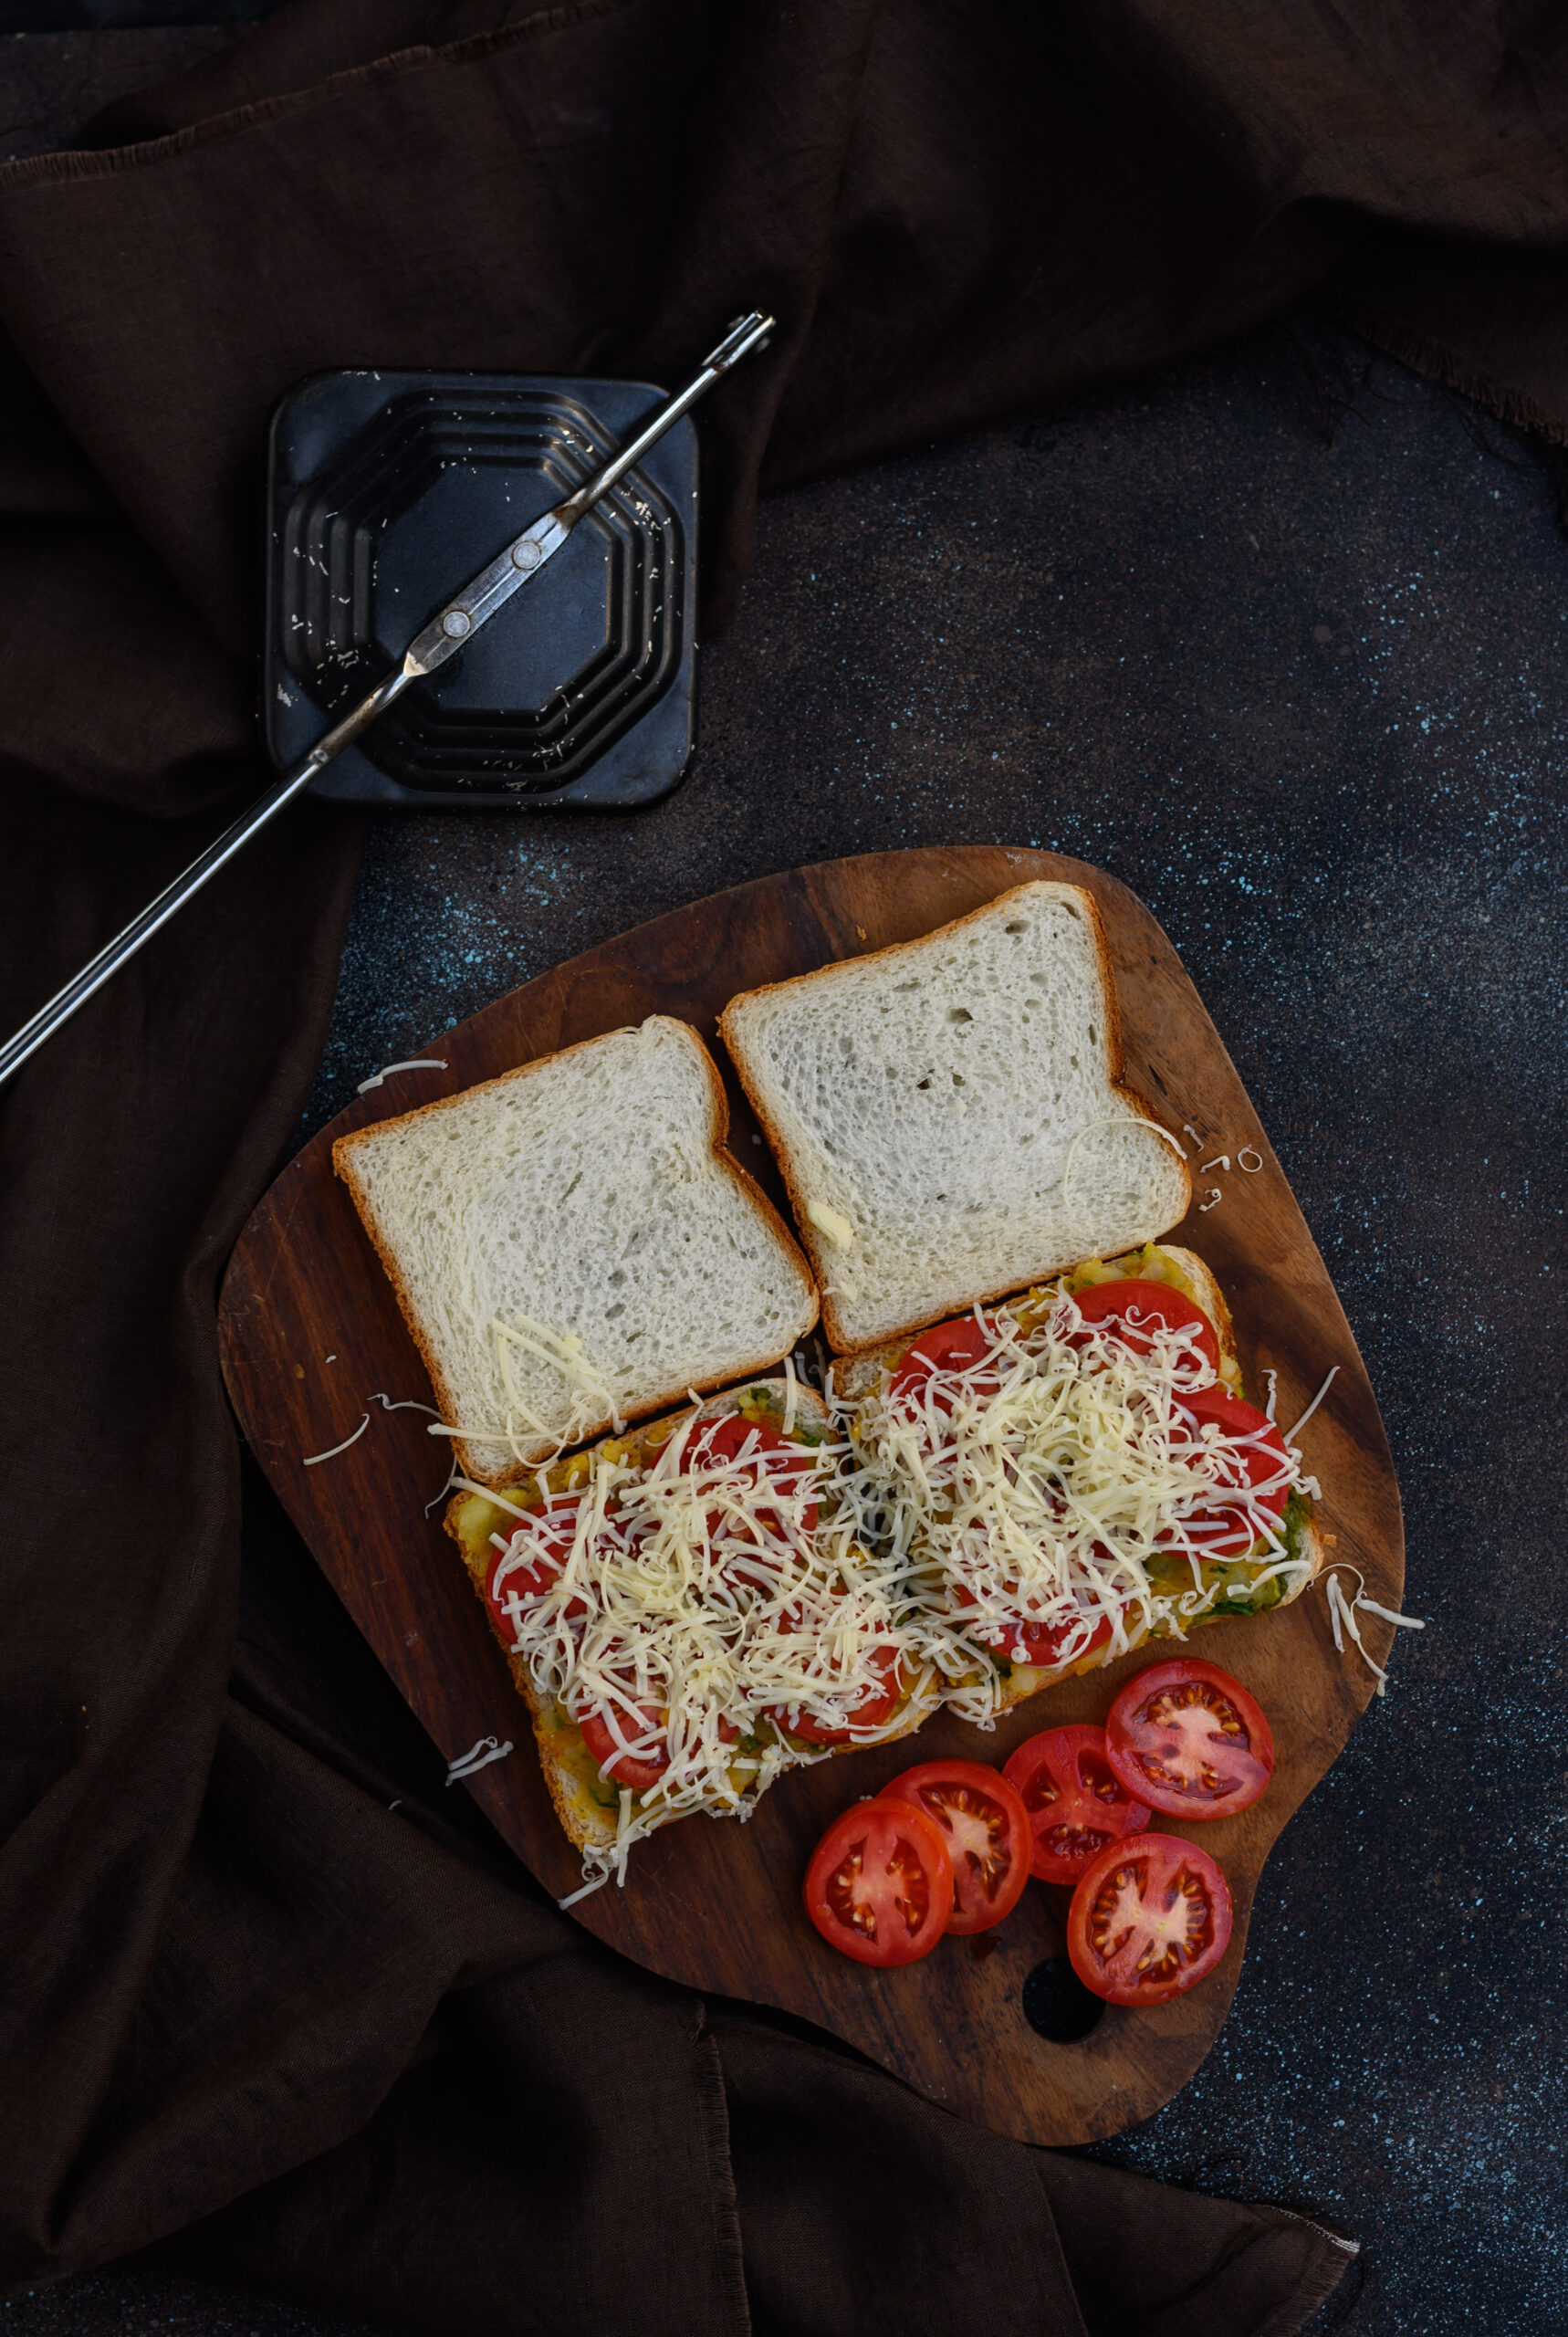
Place the slices of bread on a board. On half of the slices, apply the mint chutney. On the remaining slices, evenly spread the potato mixture, making sure it reaches all the corners. Now, place the tomato slices over the slices containing the potato mixture. Add the grated cheese as desired. This is a straightforward recipe, but you can play with different variants. For example, you may add sliced onions, cucumber or jalapeños onto the toast, depending on your taste. Bell peppers will also add more spice. You may also wish to make it a healthier snack by adding finely chopped broccoli or other green vegetables.

Once you’ve spread out the filling and topped it, cover it with the other slice, which contains only the mint chutney. Grease both outer sides of this covered sandwich.

Place each sandwich separately in the toaster and allow to cook until golden or well done.

Loaded with flavours and textures, your Bombay toast is ready to be served hot, and I’m sure you’ll find that it hits just the spot. If you’re a fan of street food and want to make more of it yourself, you may also enjoy my recipes for green moong bhel and sundal. I’m curious to know: do you find that street food is unbeatable in its natural environment, or are some street food classics even better when made and relished at home? Let me know in the comments!

When we were growing up, our mother once decided to take a Western baking class to expand her repertoire in the kitchen. As children, we adored the pastries, cakes and short eats our mother learned to bake there. In those days, embarking on such a class was considered quite unusual and therefore very progressive in Chennai, and in other parts of India. In the hill stations, there would always be families who had learned recipes from the British chefs, so they knew how to bake. In the cities, Western food was available only at clubs, and made by chefs who themselves would have studied under foreigners. For an average homemaker to go out and educate herself in Western cooking was a rare thing. Now, thinking back on how uncommon it was, I admire her all the more.

Mum was always very curious. She always wanted to know how food had been prepared, and never felt any embarrassment about enquiring on the same. She would just ask nicely, and people were often forthcoming about how a particular dish was made. In this way, she picked up a wide range of recipes, and became a master in the kitchen. I’m sure that this trait is something I’ve inherited from her, and I am always eager to keep learning, just as she did.

Our mother attending this baking course opened up so many snacking and celebration possibilities for us. There, she learned not only Western-style cakes and pastries, but various other types of baked goods as well. Among them was nan khatai, a kind of shortbread biscuit that originated in the Indian subcontinent. Nan khatai has an especially interesting story behind it. It is believed that a Dutch couple ran a bakery in 16th century Surat, a Gujarati seaport which had many traders and expats. This establishment was inherited by a Parsi gentleman when the Dutch left the country, but he found no takers for their cakes and bakes. To his surprise, the locals seemed to enjoy the dried, old bread most of all. The legend is that he decided to simply sell dried bread, which gave rise to this particular recipe. A similar biscuit is eaten in Afghanistan and Iran, where it is known as kulcha-e-khatai.

I remember carrying boxes of nan khatai on the train whenever I visited cousins or relatives, homemade gifts from my mother. I enjoy continuing the tradition of taking homemade dishes as gifts when I visit friends nowadays.

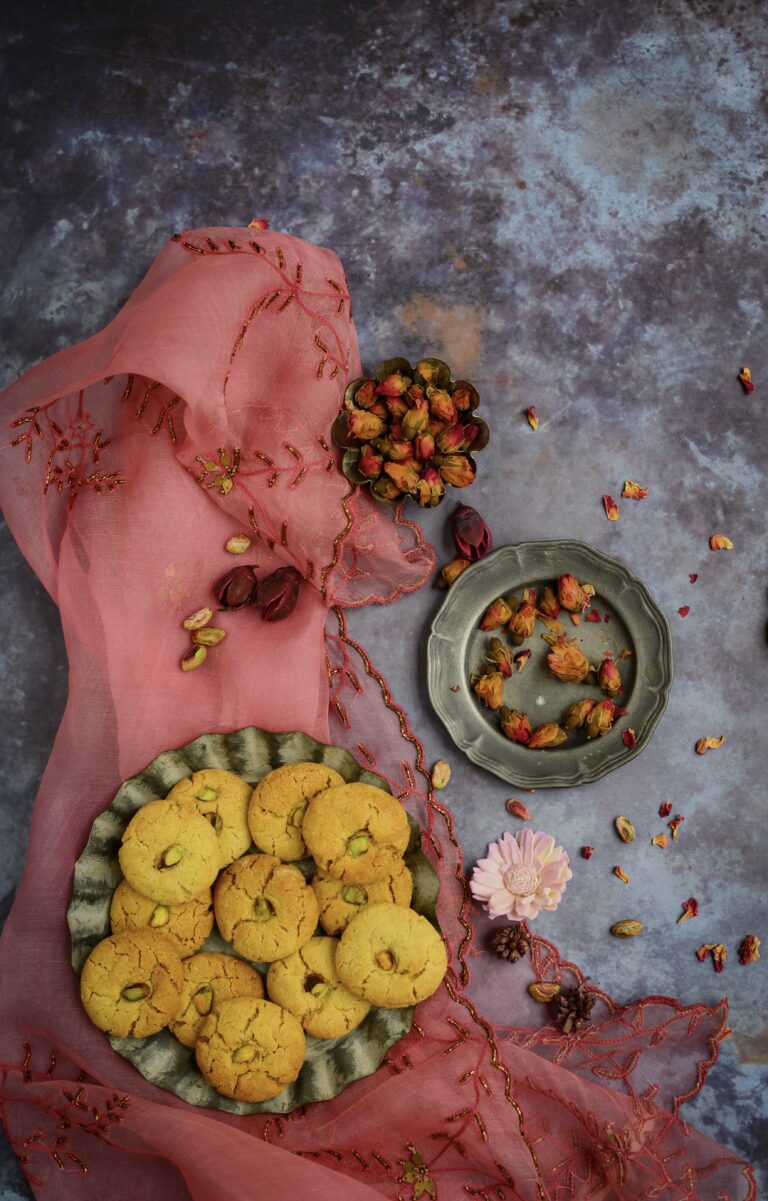
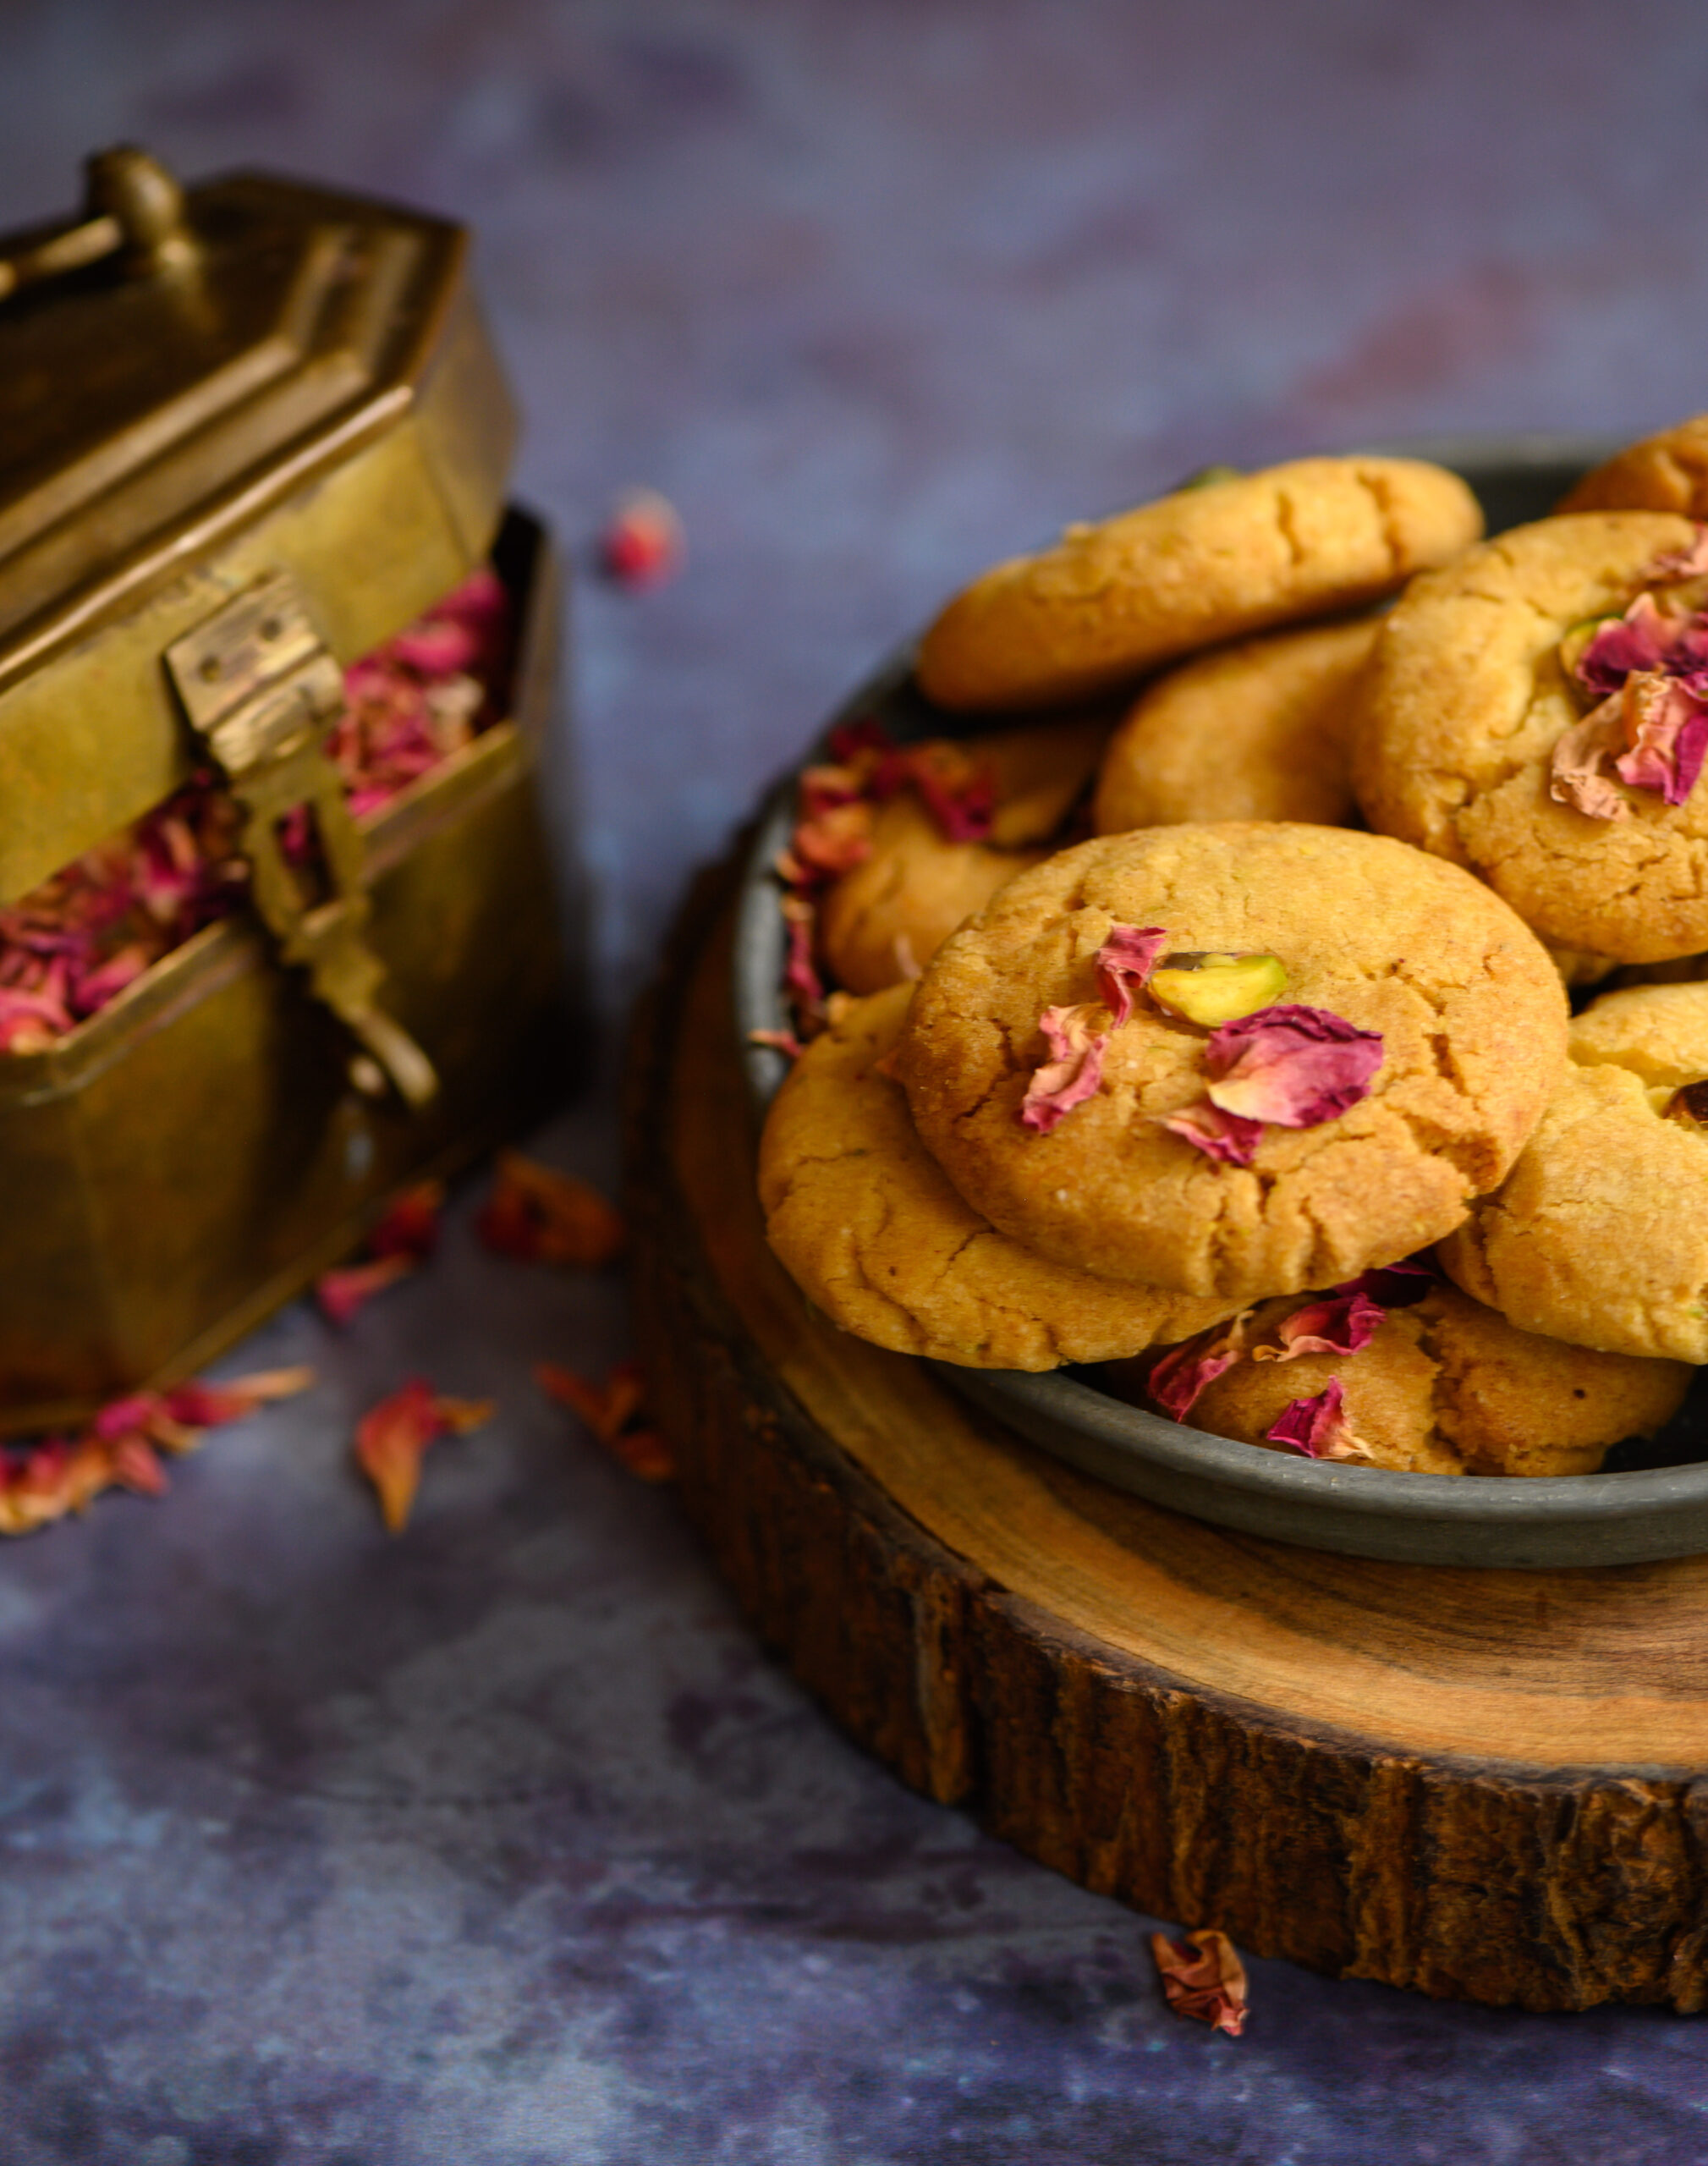
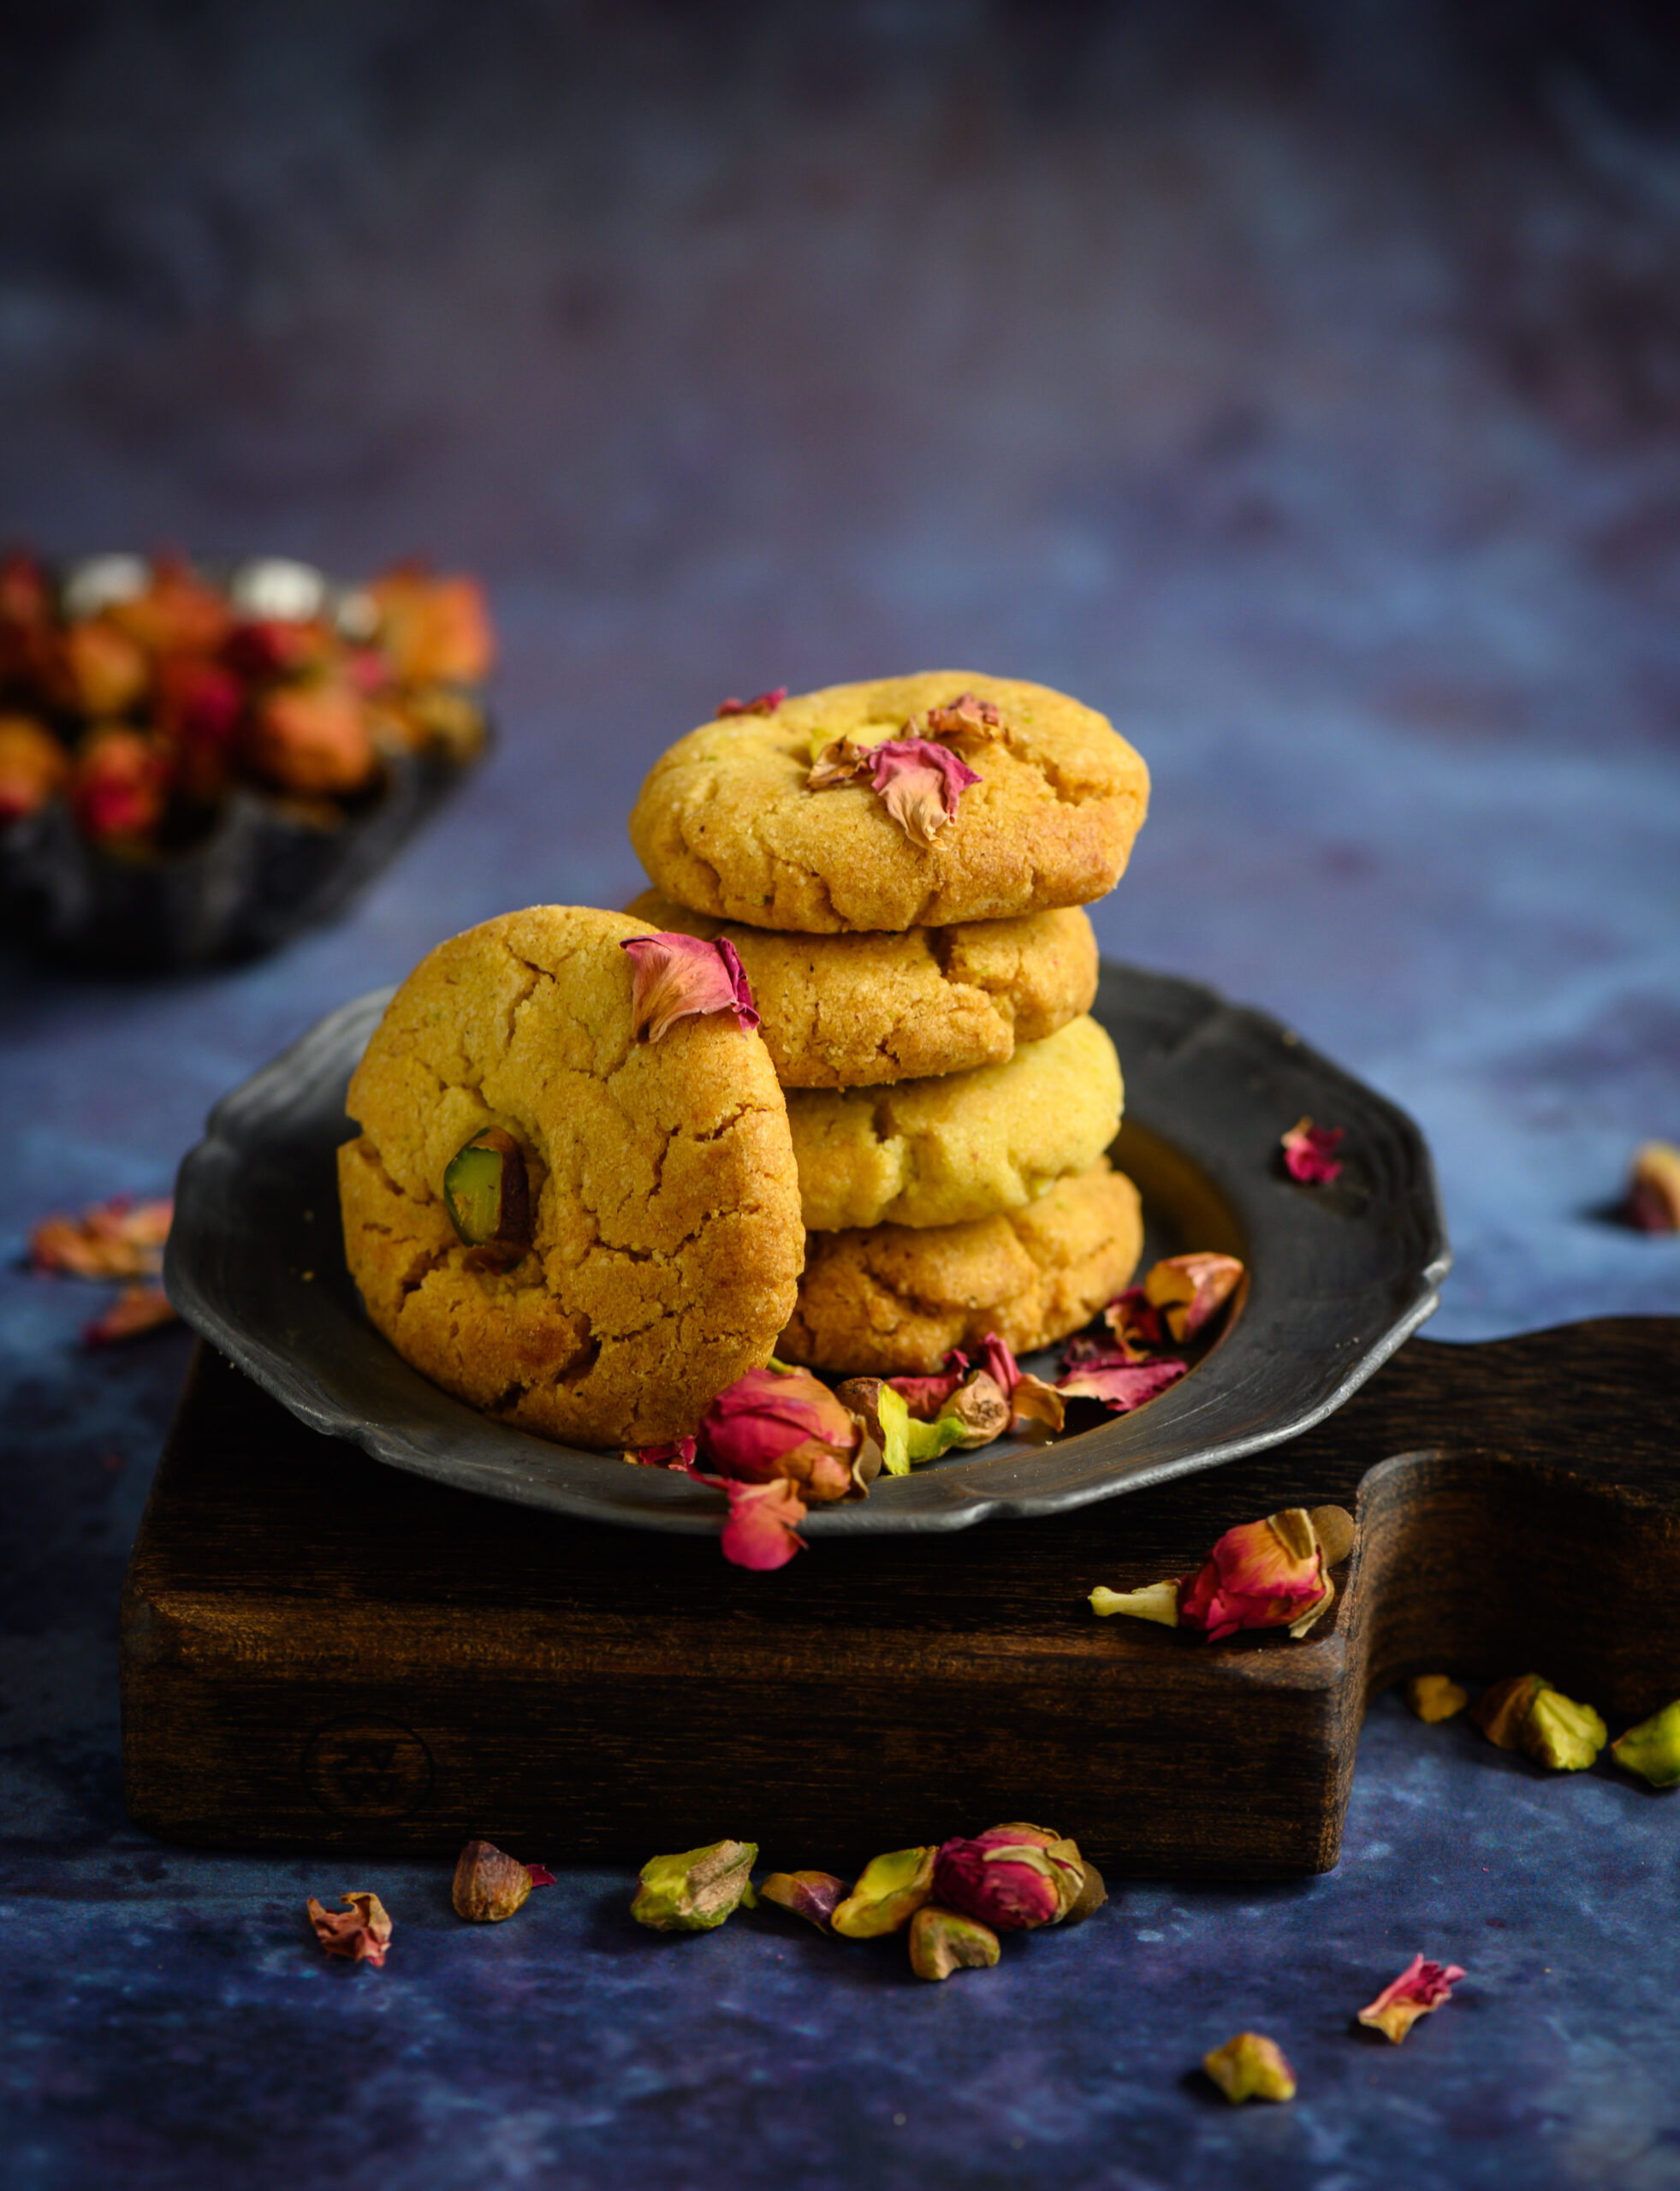
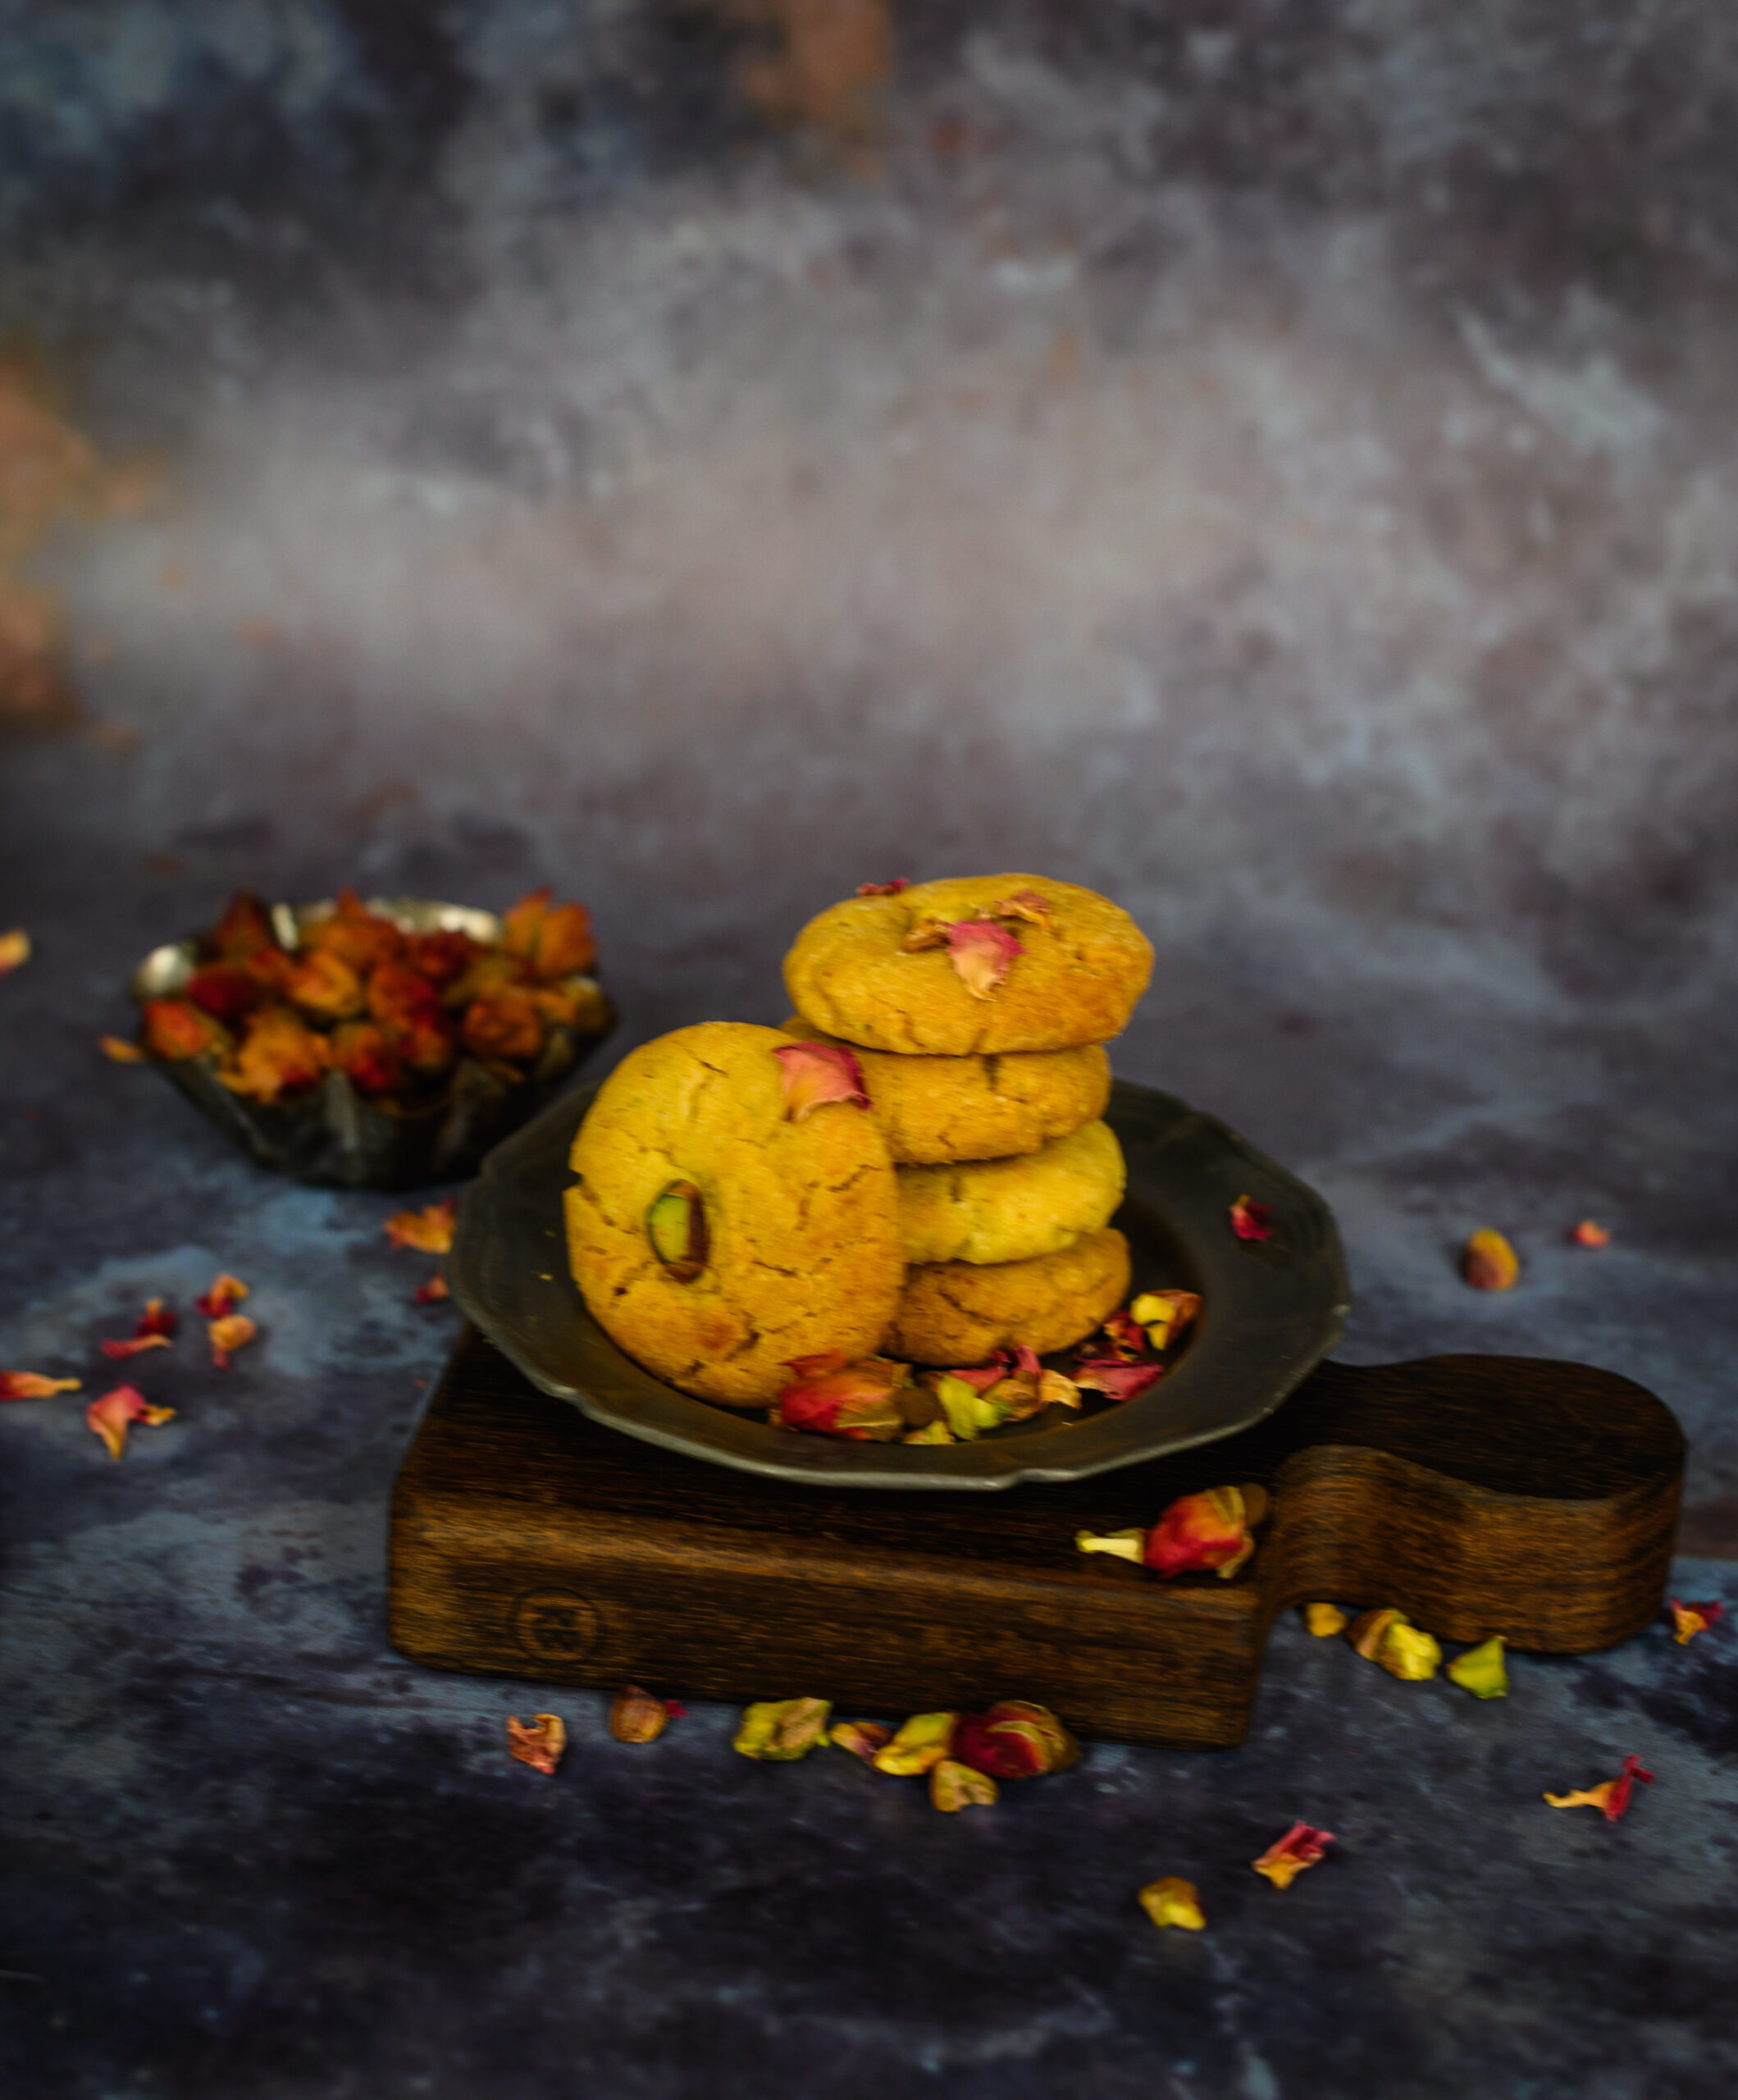
This nan khatai is neither Surat-style, nor what my mother was taught at her baking class, nor her own improvisation (the original uses wheat flour; she added a bit of besan or chickpea to hers). It is, of course, re:store-style – loaded with delicious flavours I love to use in the kitchen. Soft and crisp at the same time, this pistachio and rose nan khatai a real treat. Its fusion of cultures and influences makes me feel it’s ideal for an Indian Christmas. As an eggless baked treat, it’s also perfect for vegetarians.


Pistachio & Rose Nan Khatai

(Yield: 25 pieces)

100 grams powdered sugar

80 grams ghee (clarified butter) at room temperature

100 grams maida

25 grams pistachio meal

½ teaspoon baking soda

1 teaspoon baking powder

2 tablespoons semolina

60 grams chickpea flour (besan)

½ teaspoon cardamom powder

A few strands of saffron, soaked in 1 teaspoon rose water

2 teaspoons yoghurt

½ teaspoon pistachio extract

Rose water (if required)


Pre-heat the oven to 160°C.

Add all the dry ingredients together, sift and set aside.

With a hand blender, beat the ghee and sugar together until the mixture is light and fluffy. Now add the yoghurt, pistachio extract and saffron. Mix gently.

Next, add the dry ingredients to the mixture. Use your hands to bring it all together. It will be a soft dough. If required, add 1 teaspoon of rose water to bind it better.

In a baking tray, lay out small rolls of the dough and top each with a slice of pistachio. Make sure there is space between the rolls to give them room to bloom. Bake for approximately 15 minutes, depending on the oven type.

Remove from the oven and allow to cool.

Your re:store-style nan khatai is ready to serve, just in time for the year-end festivities! This Western-but-Asian biscuit is delightful with tea. Isn’t it amazing how much history and how many cultures one little biscuit can contain? Aromatic thanks to the rose water and extra crunchy thanks to the pistachio, I am sure you’ll find it as addictive as I do. Here’s wishing you and your family a wonderful Christmas. I hope a batch of pistachio and rose nan khatai will be baking in your oven soon – let me know what you think of it!

This Diwali, in so many homes across India (and in Indian homes across the world), sweets are going to be the star of the celebrations. Among several I am preparing is the sweet boondi, which I only learned how to make recently. Much to my surprise, it was an almost effortless process. Originating from Rajasthani cuisine and also popular in Bengal, boondi is essentially fried balls of chickpea batter, submerged in sugar syrup. It is certainly an indulgence, but that’s what festive seasons are for, aren’t they?

My sister has become my culinary teacher of late, and I was staying with her for a few weeks while having my sciatica treated. You may have noticed that I had been lying low on Instagram for awhile, and that was the reason why. I believe that illnesses have a mind-body connect, and my body forced me to destress through this one. The best advice that anyone gave me was that I needed to enjoy my downtime. I spent my recuperation reading, catching up with films, taking it easy, doing mild exercises which were a far cry from my frantic and intensive gym regimen, and just breathing. We have to remind ourselves to slow down and savour the moment. For those of you watching your diet over the holidays, you know exactly how it feels to let yourself enjoy just one sweet. That’s the kind of slowing down and savouring that I am talking about.

Staying with my sister gave me a chance to watch her working in her kitchen daily, and to pick up so many techniques and recipes from her. Among them was this sweet boondi. Like many people, I had consumed it innumerable times without ever attempting to make it myself.

Boondi is made in different sizes. The tiny one is called “motichoor”, for “moti”, meaning pearl. This recipe can be considered medium-sized. I recall enjoying the large, laddoo version of this sweet as a child (“motichoor laddoo”, in which many small balls are rolled together to make one big one). Another way to make this sweet is to flatten out the batter on a dish and cut it into squares, which are then fried and dipped in sugar syrup just like all the variants.

These days, with the proliferation of sweet stores, I find that many people reach out to purchase a whole range of treats without any idea of how easy they are to make. The soft sandesh that I recently shared on this blog was a perfect example of this. Some of my friends told me after reading the post that they had no idea that an item they had always considered fancy and difficult to make was in fact extremely straightforward and required so few ingredients. We often have the impression that just because something is available for purchase in stores and at restaurants, it cannot be prepared at home. This sweet boondi is similar. Let me assure you that as long as you master the consistency of the batter and the syrup syrup, you’ll be able to whip it up in your own kitchen in no time. The process is quick and easy, not as long-drawn and elaborate as you may have imagined.

Unlike perishable milk sweets, this dish will keep for a few more days – but I guarantee you that you won’t have proof of that. It’s far too irresistible. Place it on the table and just watch it disappear!


Sweet Boondi

(Yield: approximately 3 cups)

1 cup chickpea flour

¾ cup water

1 cup sugar + ½ cup water

¼ teaspoon saffron + 1 teaspoon water

½ cup sliced almonds


The trick is to get the consistency of the batter just right, so that it drips into the oil properly as it fries. After this, the next trick is to have perfectly-made sugar syrup is key. I was so tempted to flavour mine with rosewater, given that rose is an ingredient I reach for so frequently that it’s one of re:store’s signature twists. But I refrained, choosing to go for a traditional spice instead. The saffron in this sweet adds a subtle fragrance and flavour to it.

In a bowl, mix the chickpea flour with water. It needs to be almost like an idly batter or pancake batter consistency. Only if you have the consistency right will the boondi drop into beautiful dots.

In another bowl, add the sugar and ½ cup water. In a medium flame, stir the sugar and water slightly for about 10 minutes until it becomes thicker, but not too thick. Allow to cool slightly and add the soaked saffron so the sugar expands in an orange colour.

Heat ghee in a frying pan on a medium flame. Once the ghee is hot, drop the batter through a sieve so that it falls in tiny droplets into the hot ghee. See the video below for the method.

Fry the droplets for a few minutes, making sure it doesn’t turn colour. Now, strain the drops from the hot ghee and add them into the warm sugar syrup. Fry all of the batter this way. As you drop the boondi into the syrup, it will soak up the syrup.

Garnish with sliced almonds or pistachio, or to give it a festive look, decorate with silver leaf/varak. Your sweet boondi is now ready to serve.

If you prefer this boondi in laddoo form, then the sugar syrup needs to be thicker so that you can pick up the boondi and roll it into balls between your palms.

When it comes to snacks, my most favourite combinations are both sweet and savoury. I love having this sweet boondi with the crunchy, spicy poha roast mix. Over Diwali, I feel like I consume endless bowls of the two together, with their medley of textures and tastes.

You may have noticed that the majority of recipes I share are for dishes I have some emotional connect with, especially from my childhood. This sweet boondi is one with which I have no such nostalgic attachment, but for me festivals and food are not just about the past. Each dish, each festivity, is a chance for new experiences. We create new memories this way, which may eventually become sentimental in their own way. As we celebrate this Diwali, I wish for you that the year to come contains all the sweetness of this dish. I hope it will be a part of the precious bonds that you are building over your dining table, too.