Tag

snacks

Browsing

Maharashtra and Gujarat are neighbouring Indian states, so there is a great deal that is shared between them. Many Gujaratis migrated to Bombay in generations prior and adapted to its culture, as a part of my family did too, and certain customs overlap as a result. A similar climate means that certain types of produce are grown in both places, which then of course go into the cuisines. Like poha, the sabudana vada is a dish that originates in Maharashtra but is often thought of as Gujarati because it is a staple for us too.

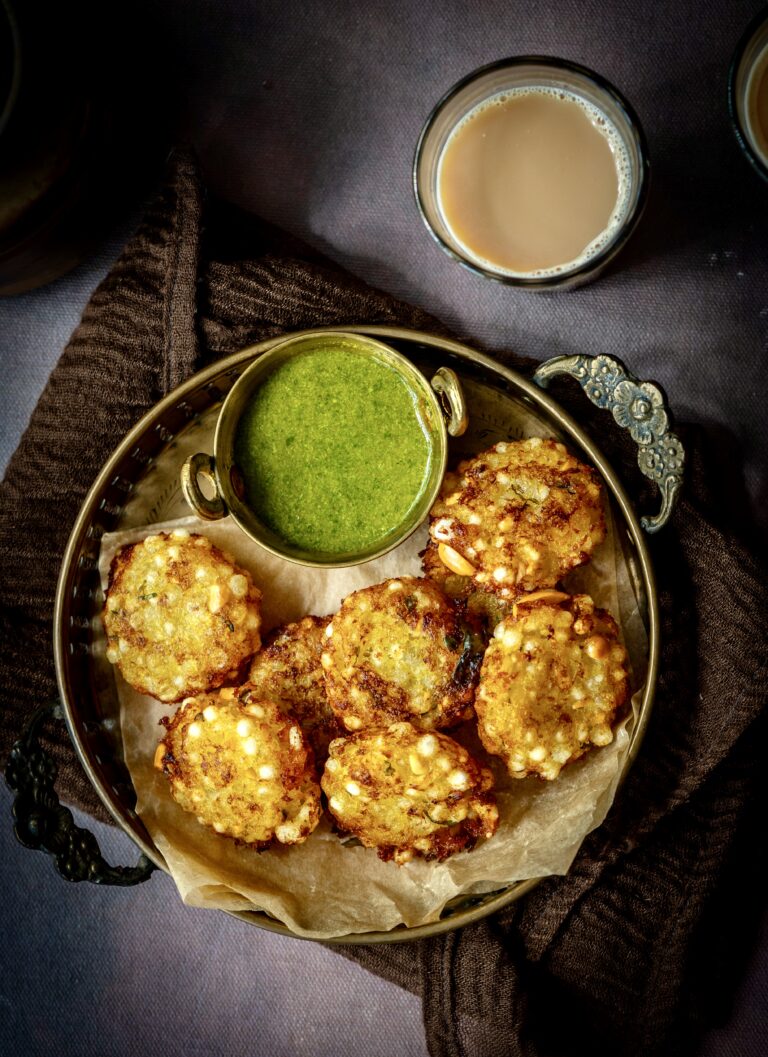
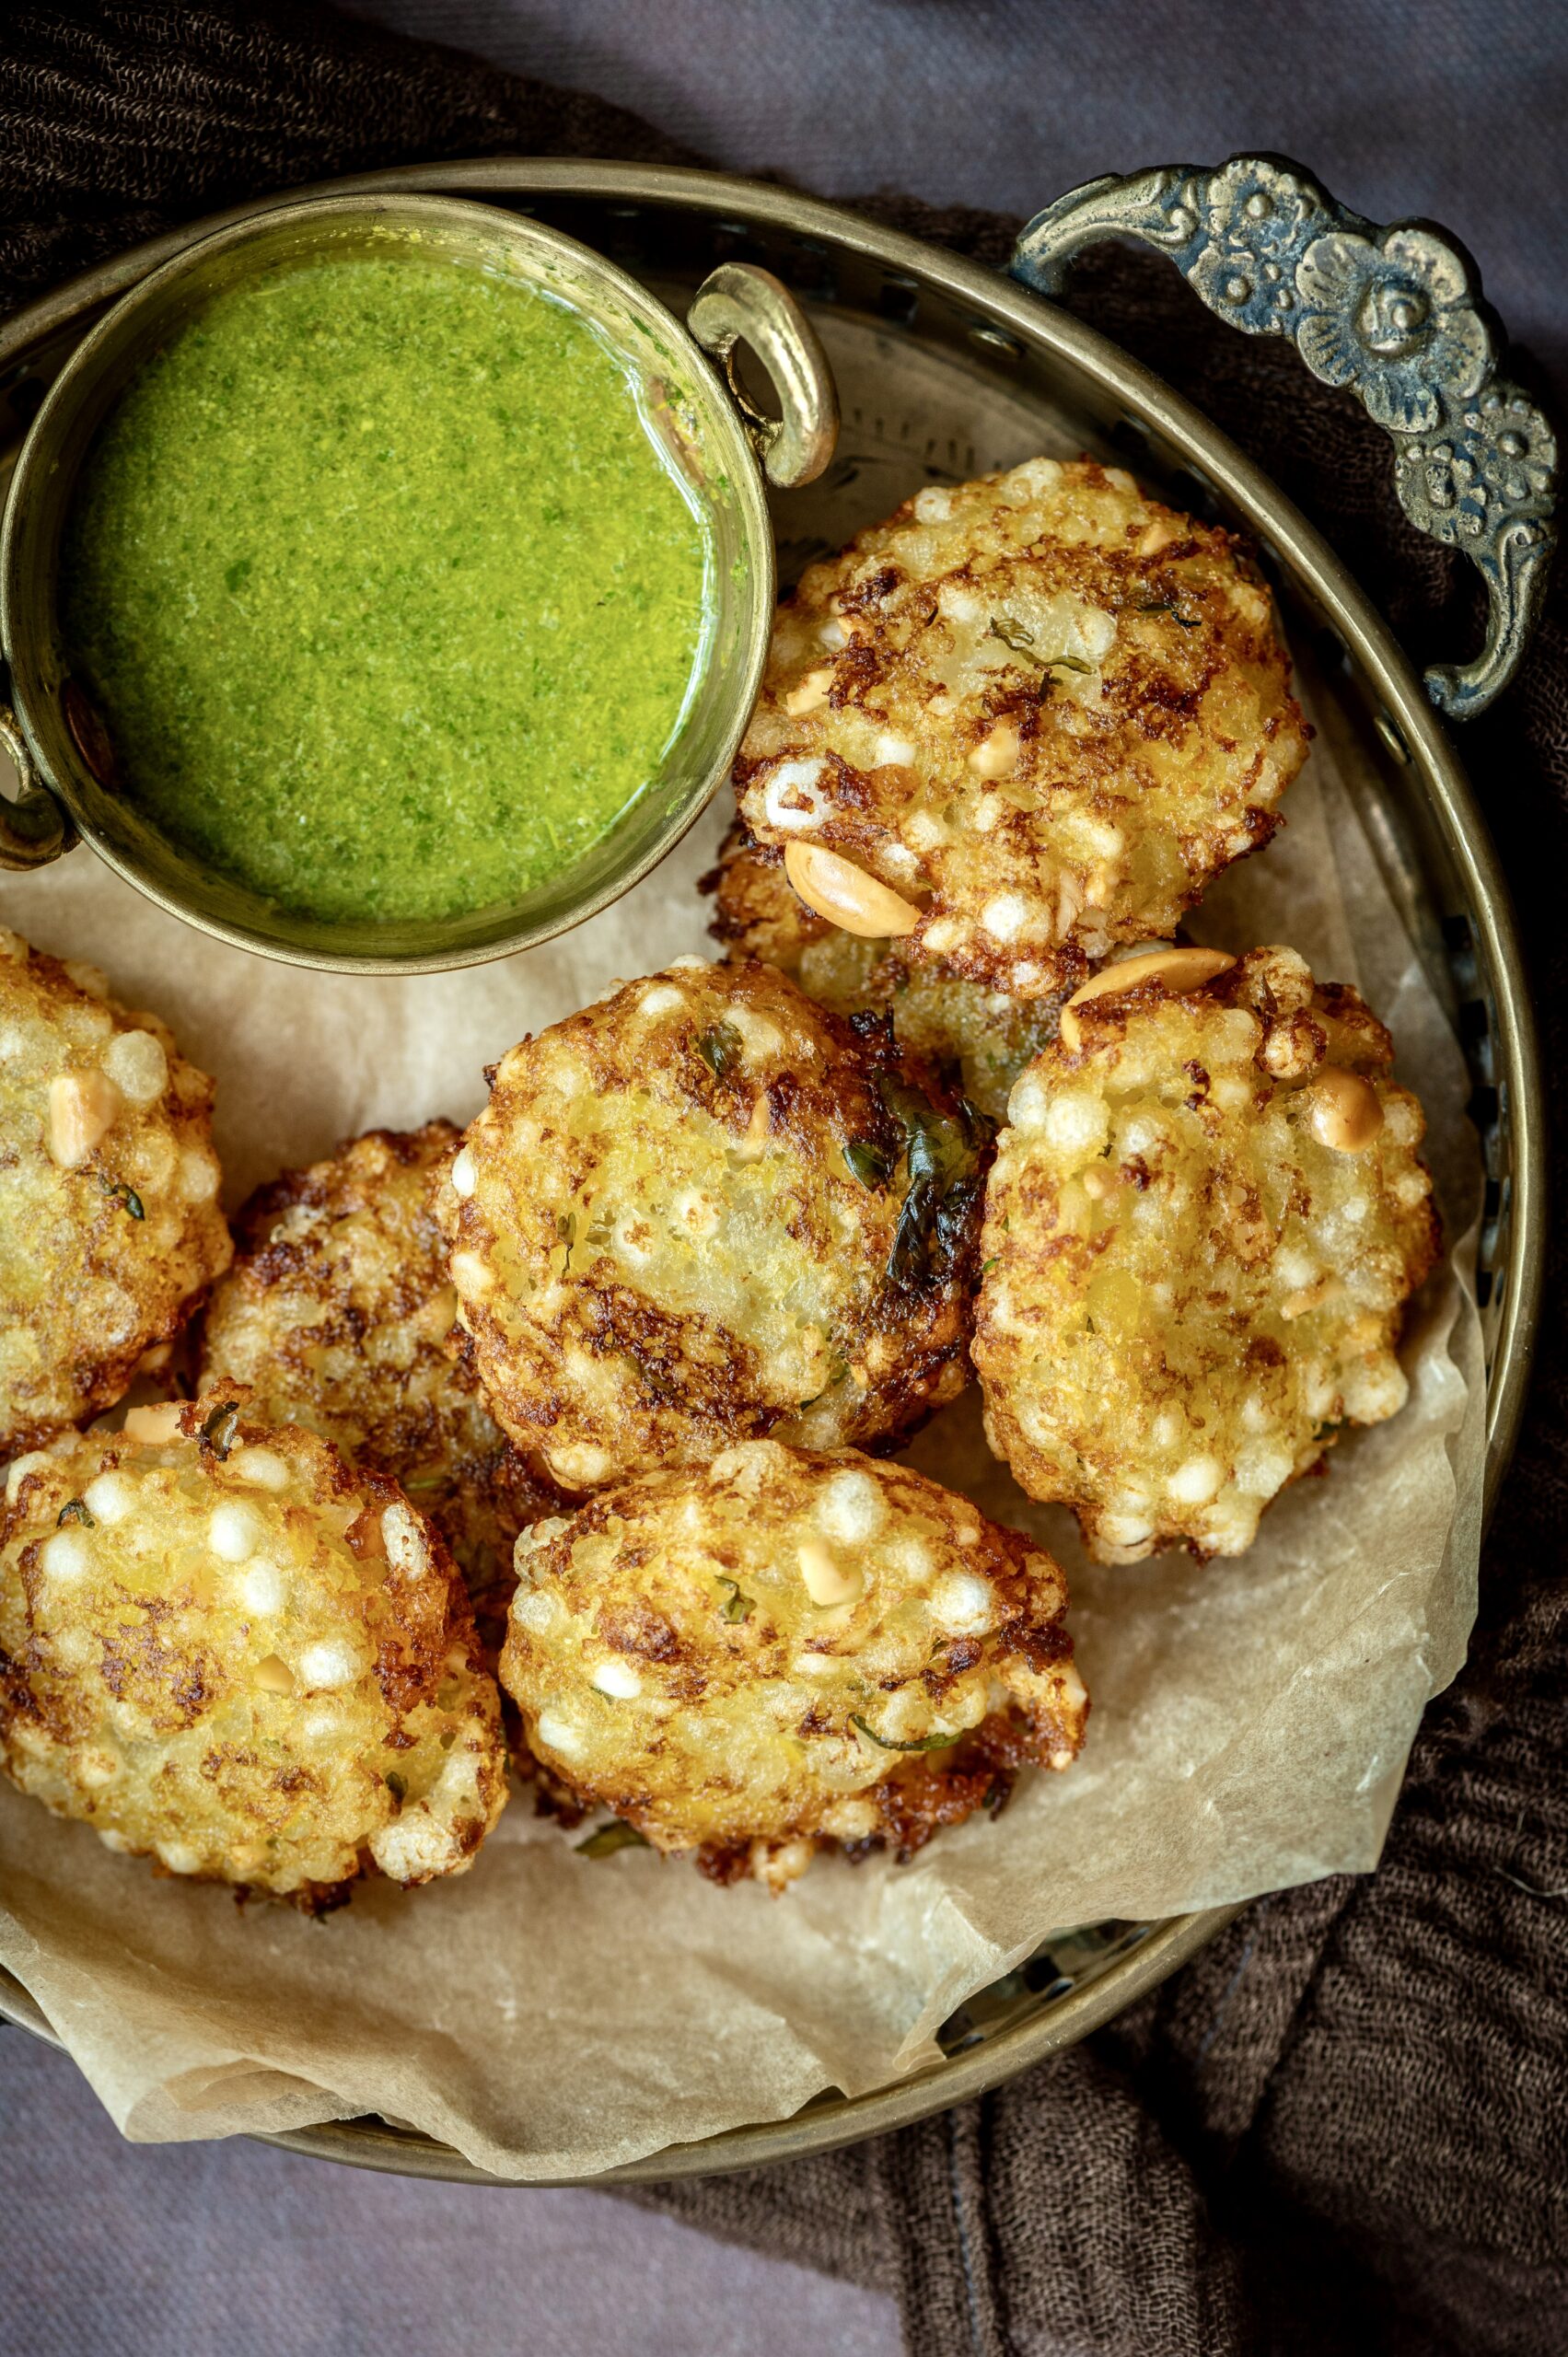
Sabudana vada is a deep-fried delight with a mashed potato base, and with sago pearls (made from taro root) added to it. Something that is unique about it is that it is a dish that is popular during certain kinds of religious fasts, but it is also so tasty that it makes its way into festive arrays as well. With Navaratri just having come to a close this year, and with Diwali not far away, it’s the perfect time to enjoy this crispy snack.

While I definitely encountered sabudana vada during childhood travels to Bombay, to me its most resonant memories from my growing years are from life at home in Chennai, where it was a dish that my mother prepared very often. Specifically, it was one of the few dishes that she consumed during her customary fast on the 11th day of each month, known as “agiyaras”. Other ritual-related specialties would include buckwheat or barnyard millet (“moraiyo”), depending on the event, the season and so on. There were also certain kinds of fasts in which grains were to be avoided, in which case the sabudana vada was perfect.

For any fast in which a single meal could be consumed during the day, such as on agiyaras, the starchiness of sabudana vada would offer energy through the day. It would be had alongside some form of dairy. I would enjoy these meals along with my mother while I was growing up, although I did not myself fast. She was also very connected to the Gujarati community in the city, and I would go with her when she went to the temple.

In this way, she inculcated certain traditions in me that I still have great admiration for. I have tried to pass them on to my children as well, even while I respect that they are free to choose the religious or spiritual paths that call to them – if they choose any at all. I have always felt that it is important for them to be aware of what is there, and what we as a family have believed in for generations. No matter what they decide on when they are older and wiser, a grounding exists that they can return to if they feel it is right for them.

This is because while I have an expansive definition of spirituality, I have found that the grounding that I had because of my own upbringing has given me a great deal. For instance, I take very seriously a ritual that I perform at home, which is the worship of Srinathji. I believe in the value system of family, which is why I accepted Him graciously into my home, and I follow closely all the practical customs. This is a part of my legacy from my parents, and I hope that it will be carried on through future generations. My children have observed these rituals of mine just as I observed my own mother’s devotion all those years ago.

I experience spirituality in other ways too, but this is the practical ritual that happens in my home daily. It is “seva”, or service, and I do it sincerely. The link between food and faith is also something that I contemplate. For instance: fasting and feasting always go hand in hand in communities around the world. There are so many beautiful customs out there in which abstinence and prayer are followed by celebrations – and all the deliciousness that come with these. All festivals have religious origins, even if they are more secular and may have other significance nowadays.

Still, whether you are fasting, feasting or simply having fun, this sabudana vada is a beautiful addition to your repertoire.

Sabudana Vada

(Yield: 15-20 pieces)

1 cup sabudana (sago pearls)
2 medium size potatoes
1 tablespoon green chili-ginger paste
Salt to taste
2 teaspoons sugar
Juice of 1 lime
3 tablespoons peanuts (coarsely ground)
1 tablespoon coriander leaves (finely chopped)
Oil for frying

Soak the sabudana for 4-5 hours. Drain for at least 1 hour. Set aside.

Boil and then mash the potatoes while they are warm. To this, add the drained sabudana.

Then, add the salt, sugar, lemon juice, green chili-ginger paste, coriander leaves and peanuts. Using your hands, blend everything until the mixture comes together.

Now, make discs from this mixture of 3-inch diameter and 1-inch thickness.

Heat the oil in a kadai and drop each vada gently into the hot oil. Allow to cook until golden and turn over. Make sure both sides are well cooked and brown. Drain on a tissue paper.

Serve with a chutney or sauce of your choice. I really wish I knew the recipes of all the incredible Maharastrian chutneys that sabudana vadas are served with in Mumbai. I would love to learn, and am excited about the trial-and-error process. If you happen to know some, drop me an email at indulgeatrestore@gmail.com or a DM on Instagram, won’t you?

Sabudana also features in a khichdi-like stir fry that is another favourite of mine. I have yet to master it in the way my mother had, but once I do, you can be sure that I will share that recipe with you too.

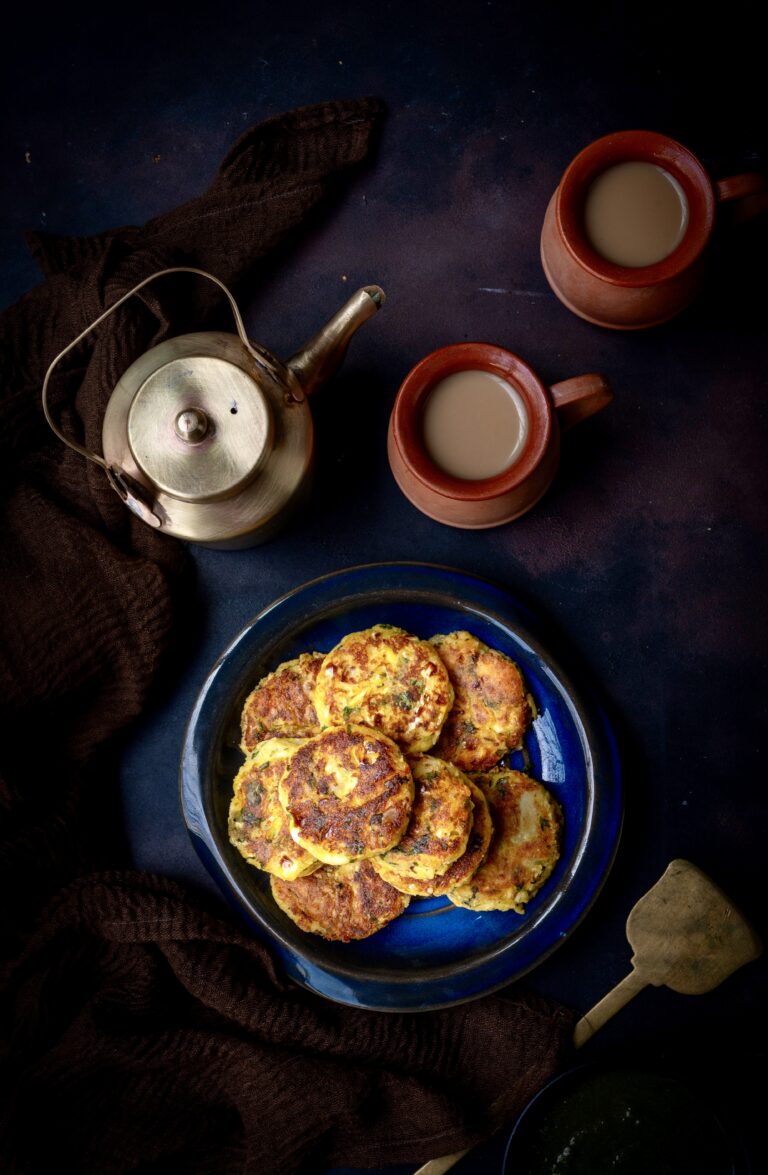
I am among a lovely group of friends who make it a point to carve out time from our respective schedules and meet often. We are always there to entertain one another, to lend an ear during times of trouble, and to celebrate birthdays and other special occasions. At least once a month, we get together just to catch up – sometimes these are wine evenings, and yes, sometimes these are “whine” evenings too, but all said and done we just love to have fun! A part of having fun means taking the pressure off any individual to cater and host, so we usually have potlucks. We come from different backgrounds and have different culinary skills and styles, so we wind up enjoying an eclectic spread. My forte is homemade cakes and desserts, although I’ll occasionally bring a salad along. One particular friend in this group is famous for her paneer and corn cutlets, and in the spirit of creating even more fun, here is the recipe for it.

Whenever she brings her cutlets to our gatherings, we simply swoop down on them as they are amazing. We never tire of eating these, and she was generous with the recipe so that we could all have them more often too. For me, they called to mind my mom’s cutlets, which utilized potatoes rather than paneer. I made some tweaks, as I usually do, and this recipe is a combination of both of theirs.

This is a bit different from the usual cutlets that have only a single main ingredient. You can choose to substitute either the paneer or the corn with a filling of your choice. For some inspiration, you can check out some of my cutlet recipes from earlier too.

I chose to use paneer as I try to avoid using gelling agents like potato, cornflour and breadcrumbs in my cutlets to make them healthier. You can certainly use these if you prefer, especially as you will get a firm and thick cutlet with a proper shape if you do. Mine are softer, and cooking them in a flat pan can be a bit more difficult. I use a non-stick pan with very little oil and cook each cutlet on both sides. I don’t deep-fry them, so that they make for a somewhat more nutritious snack or starter.

Aside from my girly gang, my family also love these corn paneer cutlets, so I try to use them in versatile ways. Aside from being served with a dip or chutney, they also work well as patties. The large ones can even be served as the main part of a meal when you are avoiding grains. To make them bigger, you’ll need to dip them in egg and breadcrumbs, in that order, and pan-fry them. Then, layer them with vegetables and bread and have them as burgers or sandwiches. The mini ones can be turned into sliders too.

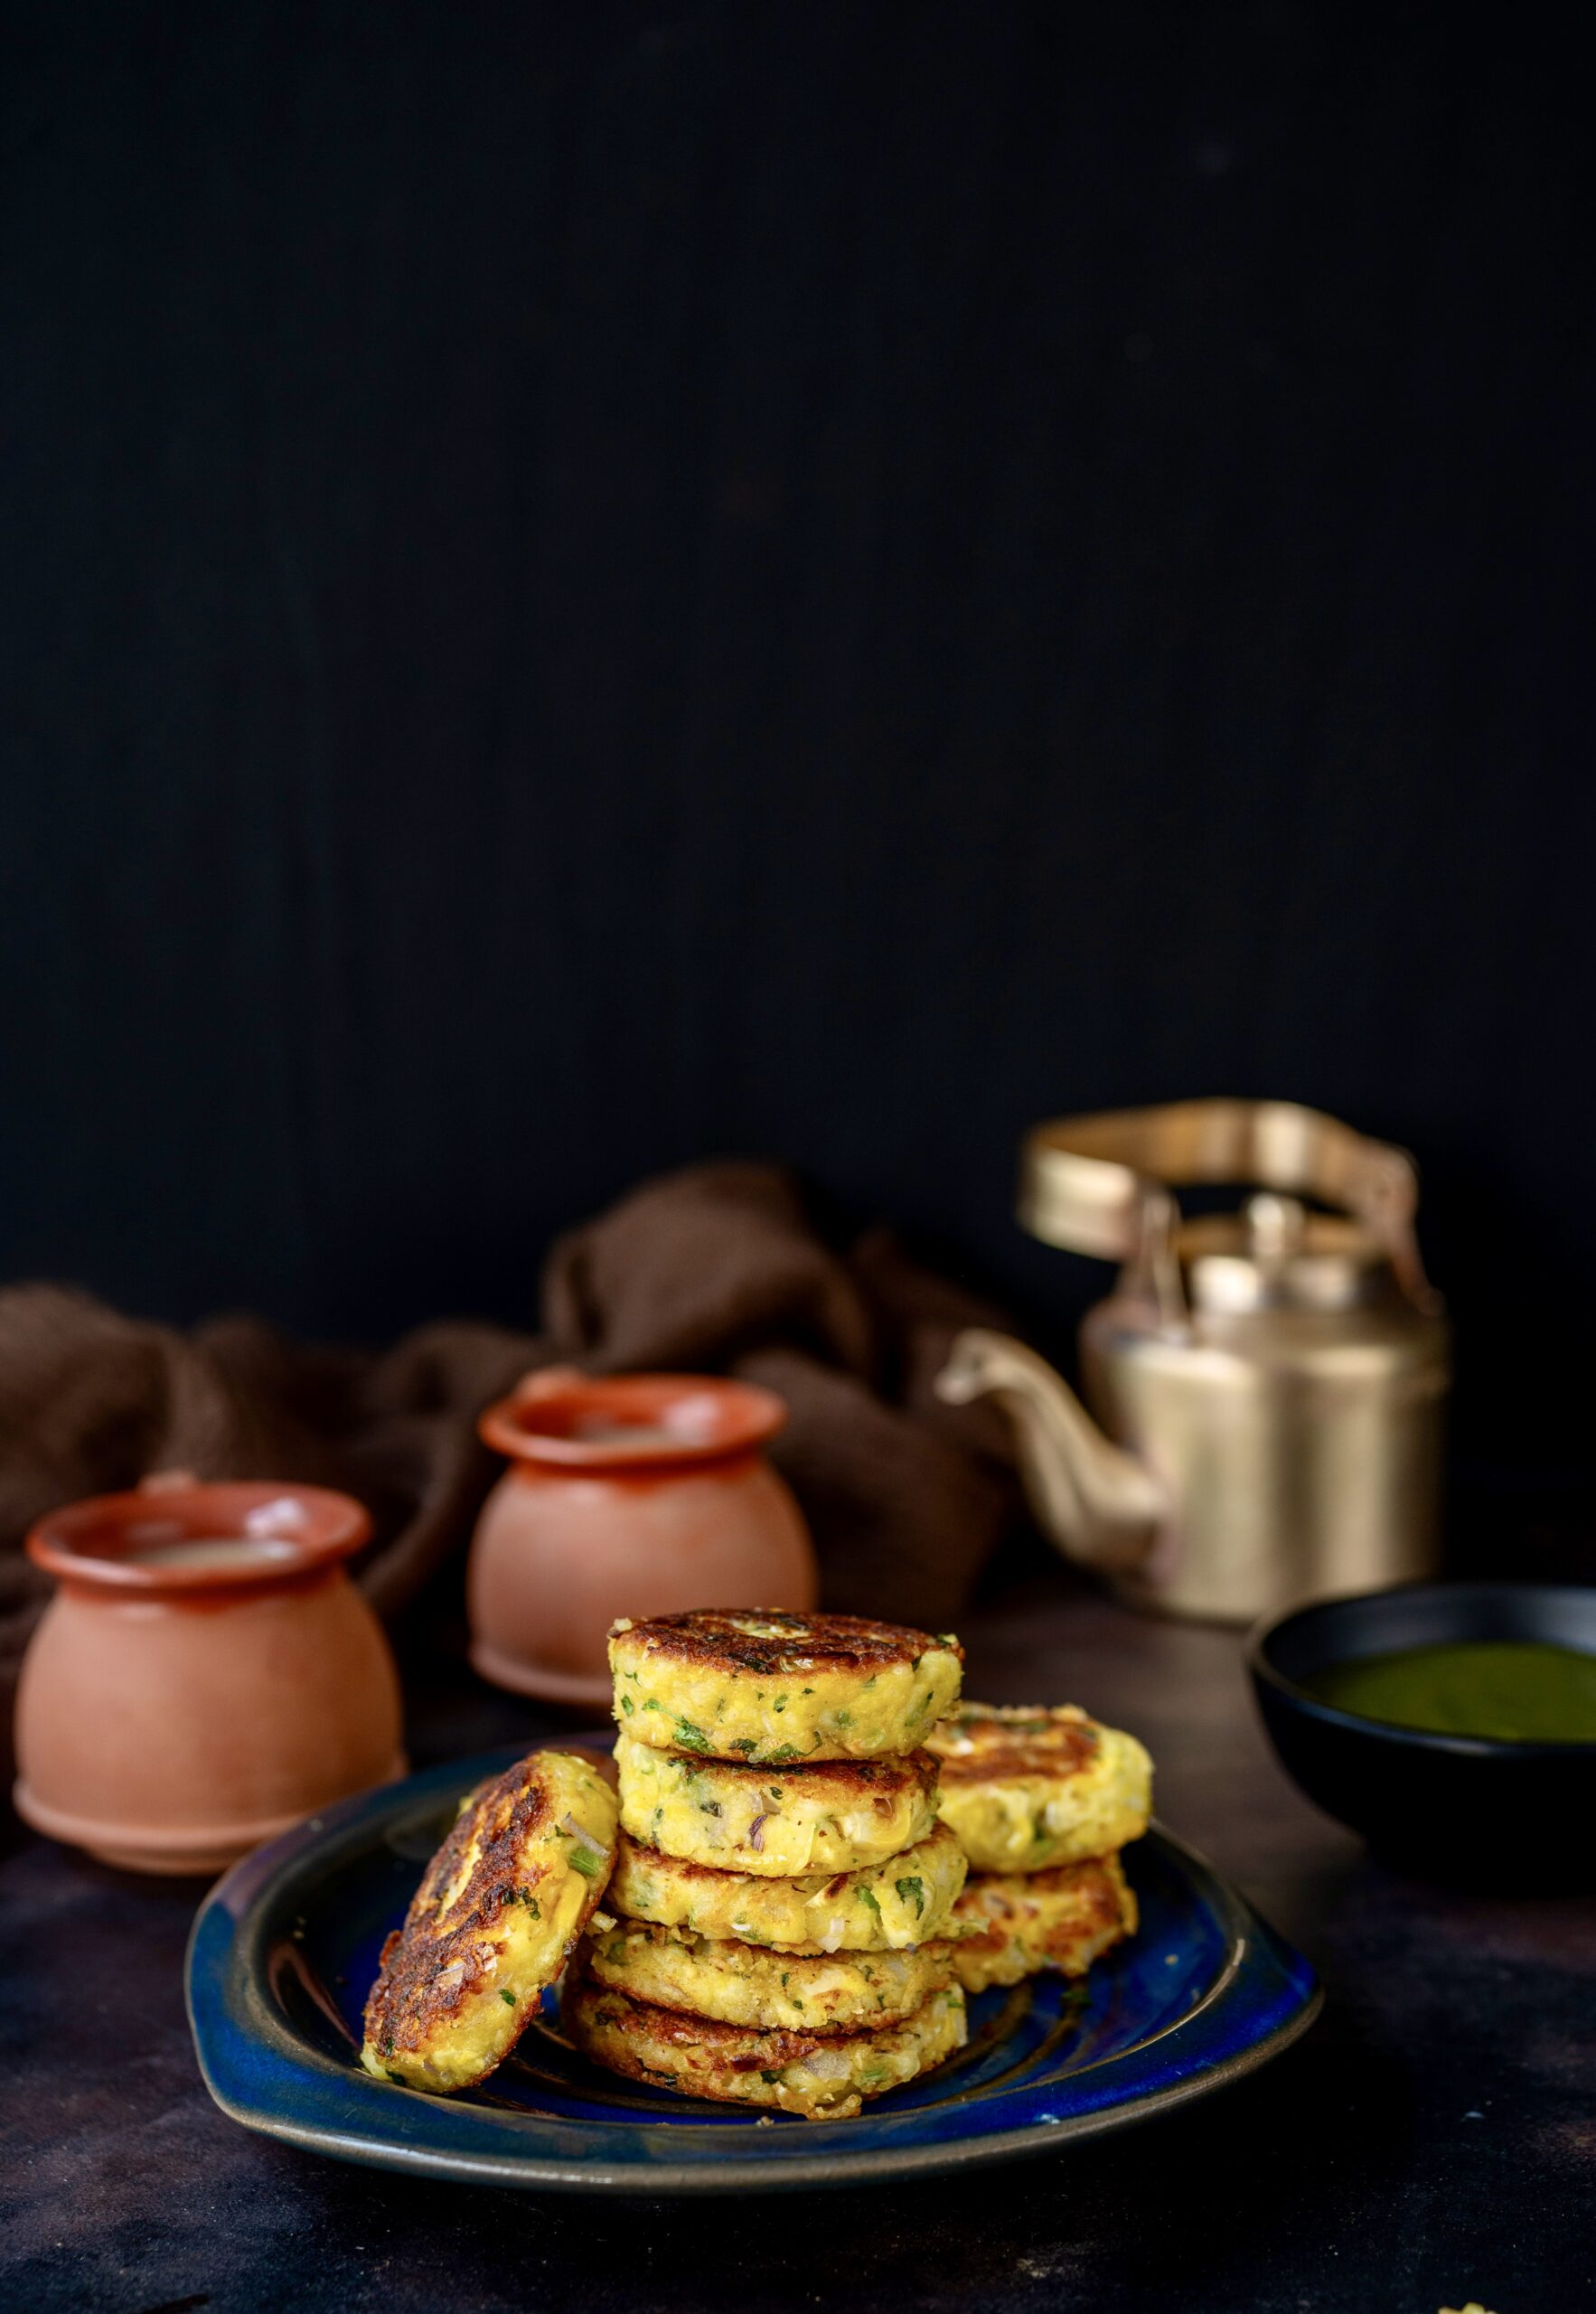
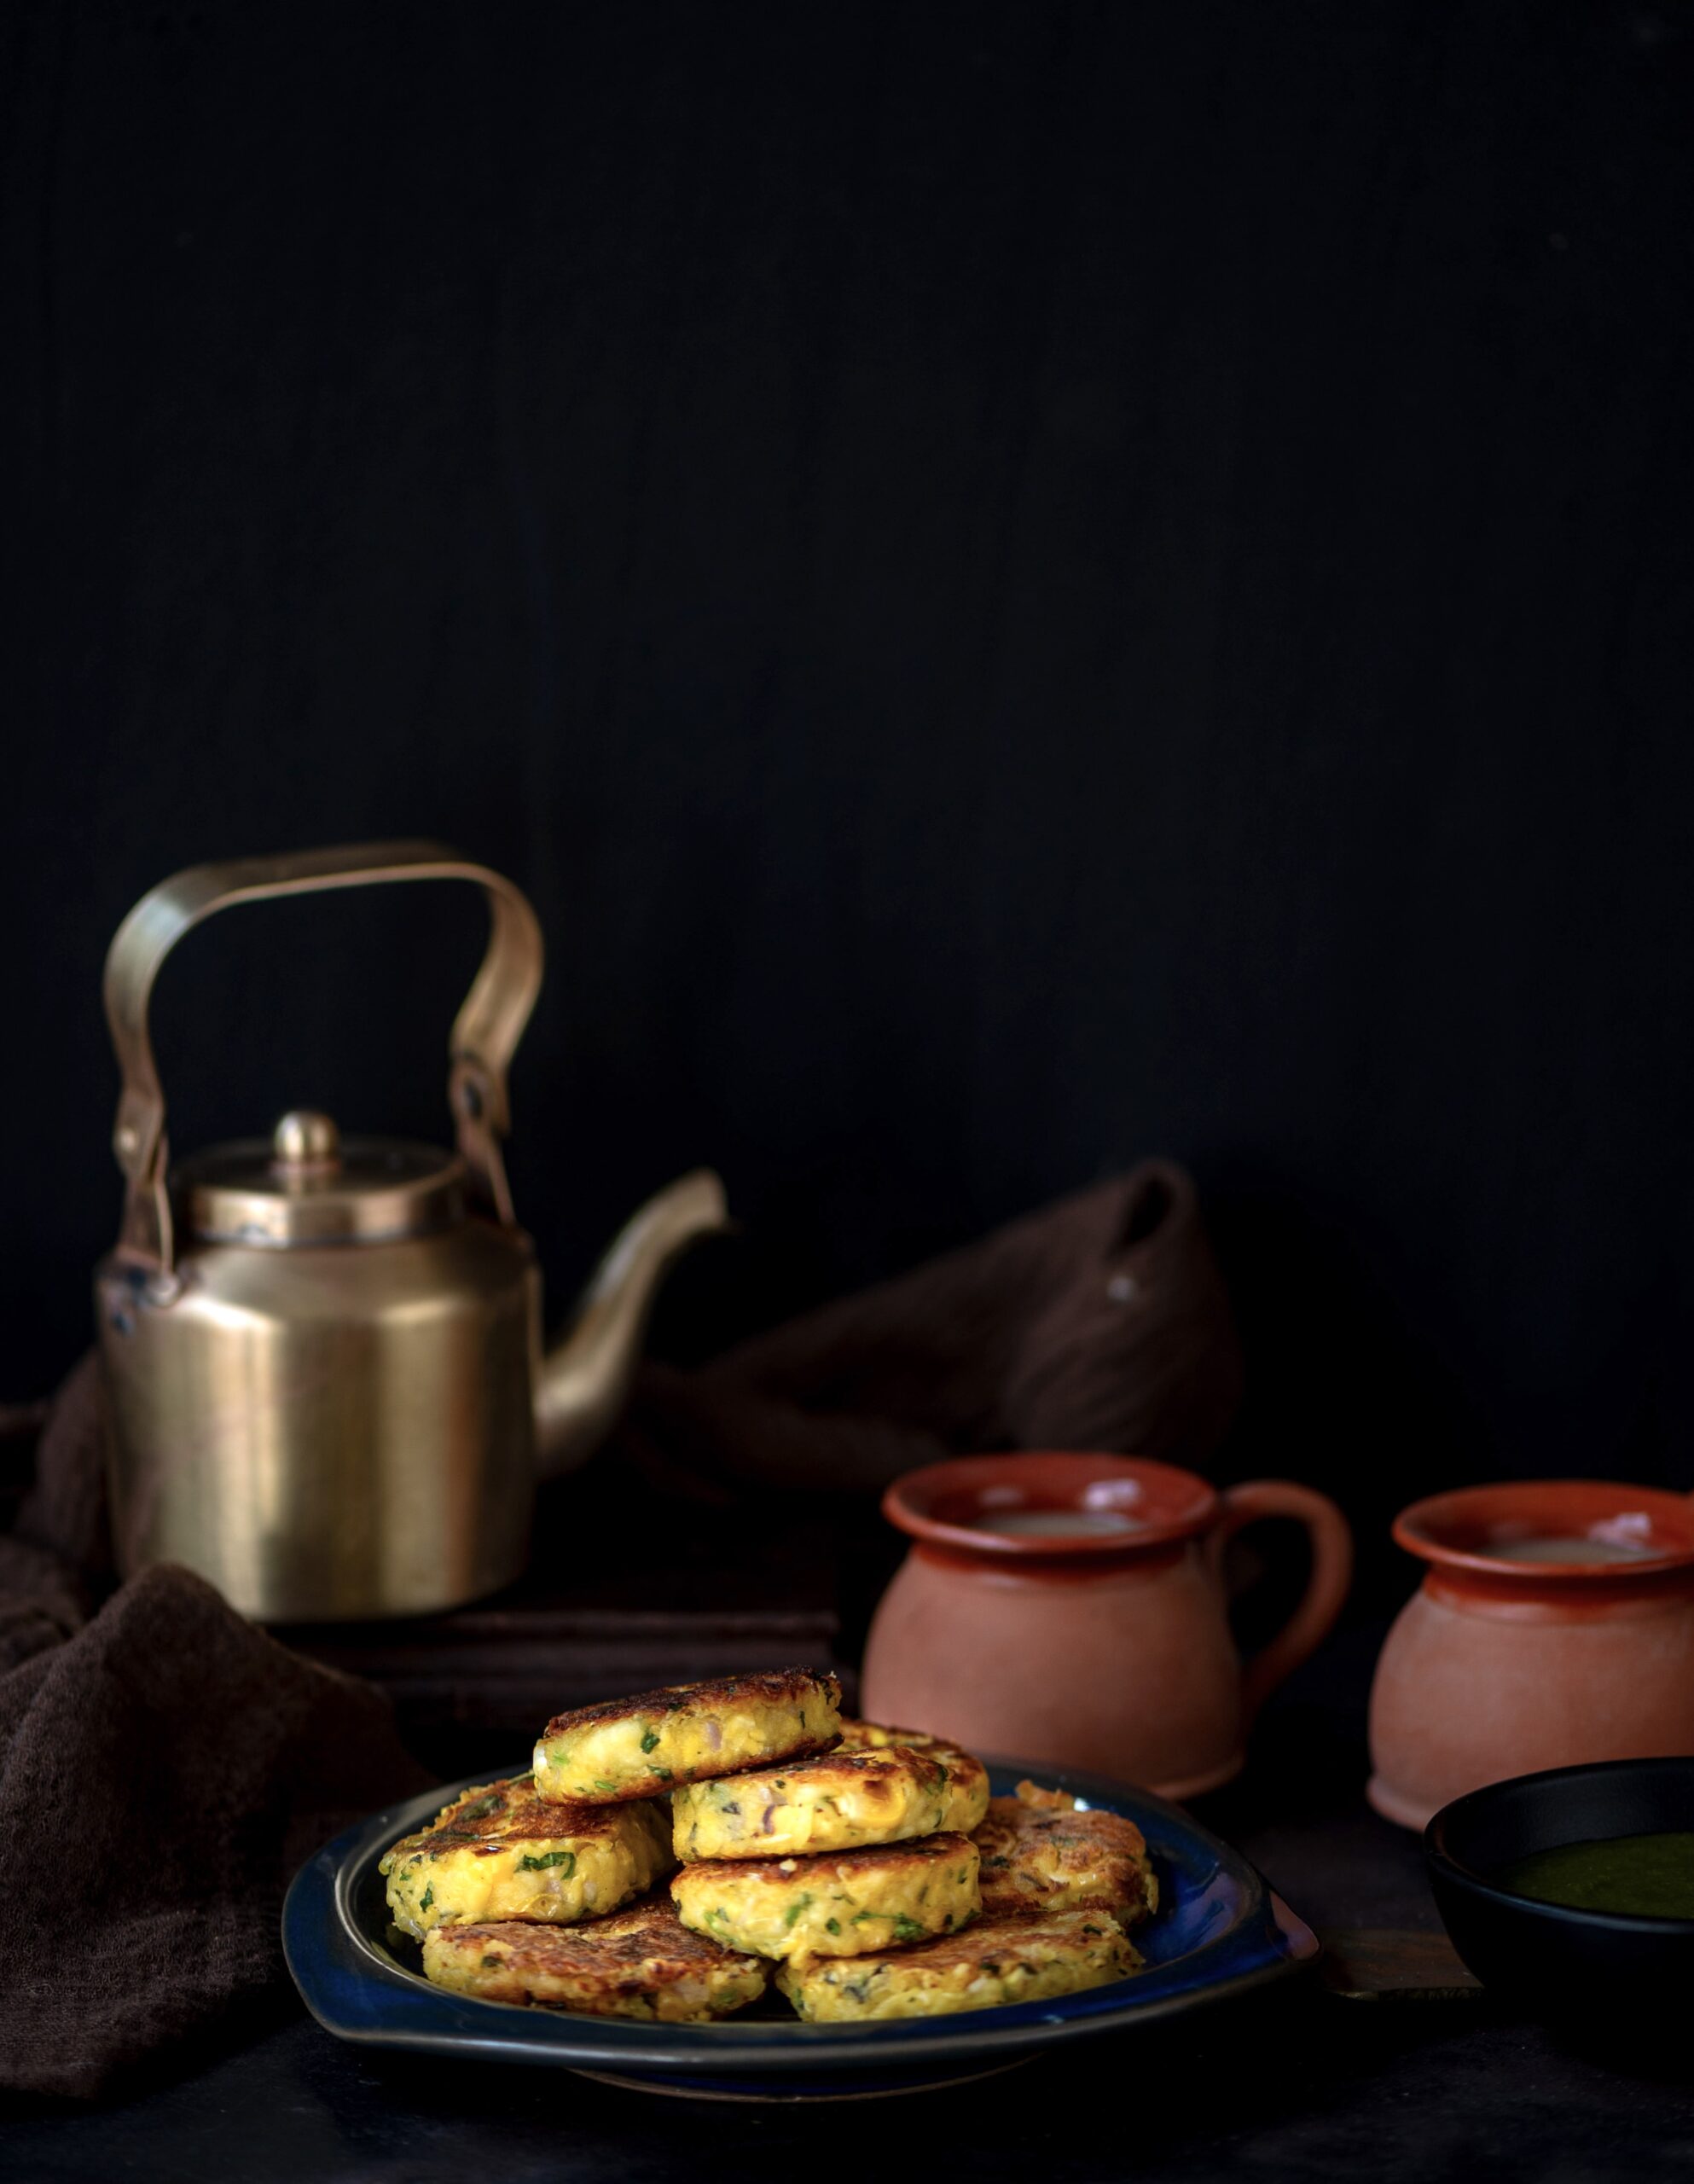
Corn & Paneer Cutlet

(Yield: 6-10 pieces)

1 cup grated paneer

½ cup whole corn (finely chopped)

1 teaspoon ginger green chili paste

1 teaspoon garam masala

1 teaspoon chaat masala

2 tablespoons coriander leaves (finely chopped)

Salt to taste

2 tablespoons oil

In a bowl, mix all the above ingredients using your fingertips.

Now, make small discs. Press them well so that they do not split while cooking and are slightly flat.

Add some oil to a heated pan and place the flattened discs on it.

Do not move them too much or flip them too quickly. Allow to cook on one side and only then gently flip them. Let them turn a golden colour on both sides.

Remove them and serve hot with a chutney of your choice.

Personally, I love making them bite-sized and popping them into my mouth with green chutney. As with many things, these corn and paneer cutlets are even better in the right company! I hope these make their way into your potlucks and parties too.

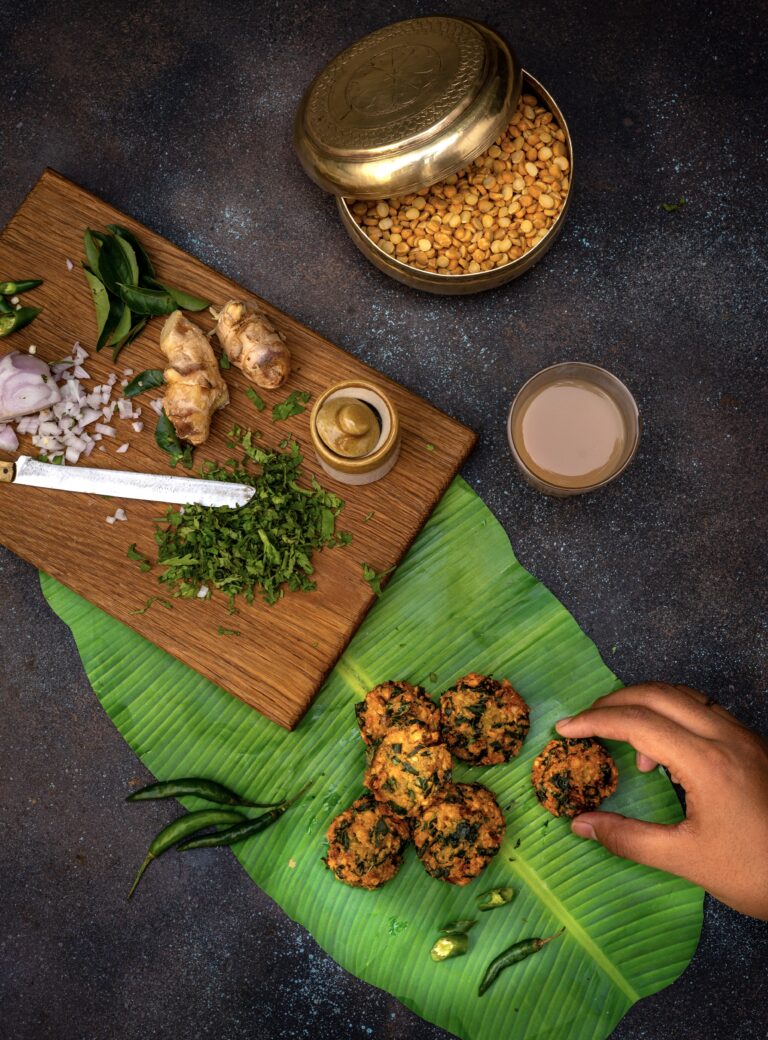
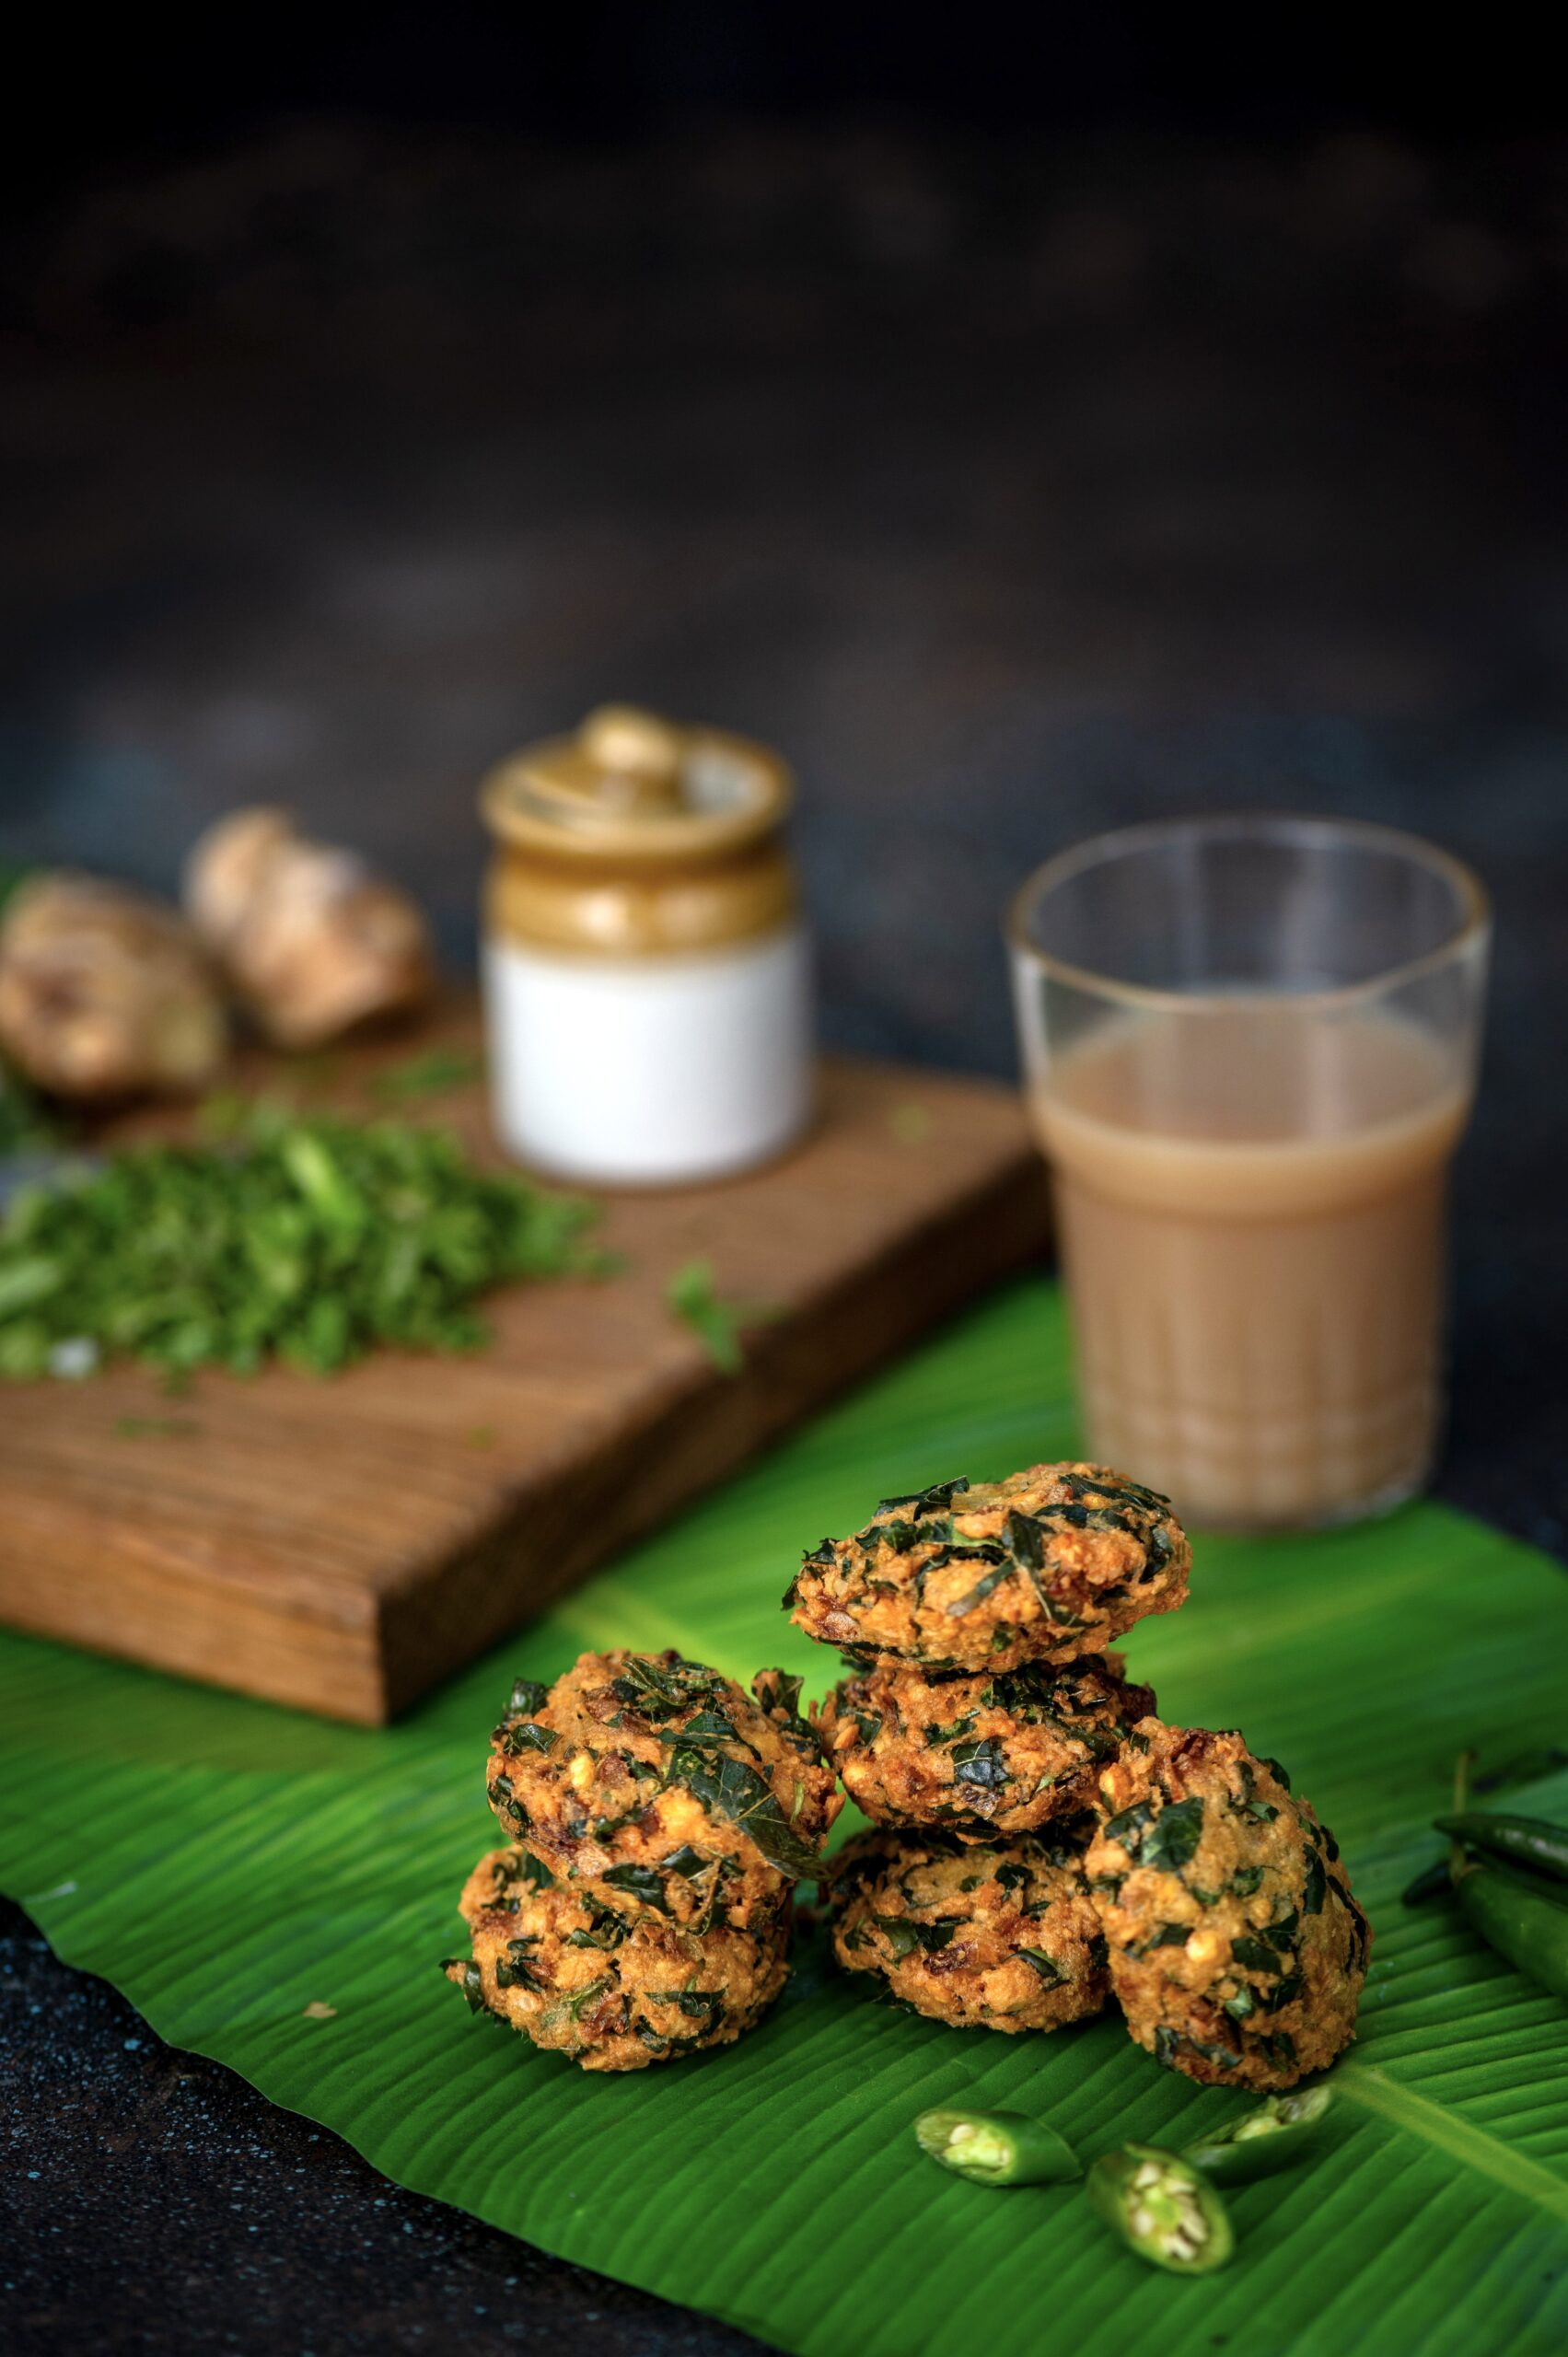
The monsoon returns to South India around Deepavali and the festive season, yet it causes no dampener at all to our spirits of enjoyment and our desire to cook – especially when it comes to snacks. Vadais are deep-fried dumplings that are common in South India, and can be made in a number of ways. To make this type, I reached out for a delicious local green, known in Tamil as araikeerai and in English as spleen amaranthus. Deep-fried it may be, but the use of this regional spinach can give one the sense that this dish is at least remotely healthy! We absolutely love it at home, and eat araikeerai vadai more often than we do traditional Gujarati treats of a similar kind. I’m quite sure that once you try this recipe out, you will feel just as addicted too.

Spinach varieties are aplenty in Tamil Nadu, and araikeerai is currently in season. It is a protein-rich green, and is also great for digestion as it is rich in fibre. Iron, vitamin C and antioxidants are some of the other nutritious elements of this vegetable. I love to add a large amount to my vadai batter. I find it really enhances the taste. Araikeerai has a pleasant flavour, one that isn’t very distinct and doesn’t take away from the crunchy yumminess of the vadai. You may wish to substitute it in this recipe with a local, seasonal green of your choice.

As you may already have guessed, this is the kind of snack that sneakily convinces your children to consume more greens, a bit like the way this roasted tomato soup incorporates gourds and carrots, or perhaps more straightforwardly like this kid-friendly spinach and corn bake. I’m glad to say that it is also pleasing to the elderly, who can be just as fussy in their tastes as little ones. My octogenarian mother-in-law is crazy about araikeerai vadai, and it’s a frequent feature at home these days as she enjoys it so much.

As far as accompaniments go, a coconut chutney is traditional. I recently started making mine with a twist that was learnt at my new daughter-in-law’s home. I will share that recipe soon, to add to the collection of chutneys on this blog.

I said earlier that rainy weather doesn’t get in the way of our desire to cook, but actually, it is a little more than that. I have noticed that Indians have this thing – somehow, rain inspires us to prepare and consume more! All across the country, I have seen families whip up bajjis, vadais and all kinds of fried tastiness at the first sight of a drizzle. To be honest, I’ve never understood the association between the weather and the food made, but to me it feels like an extension of the festive season. Come January of course, everyone seems to run to the gym and talk about calories – but such is the cycle of life! In the meanwhile, during this season, we are free of guilt – and free to gorge on the good stuff.

Araikeerai Vadai

(Yield: Approximately 10 pieces)

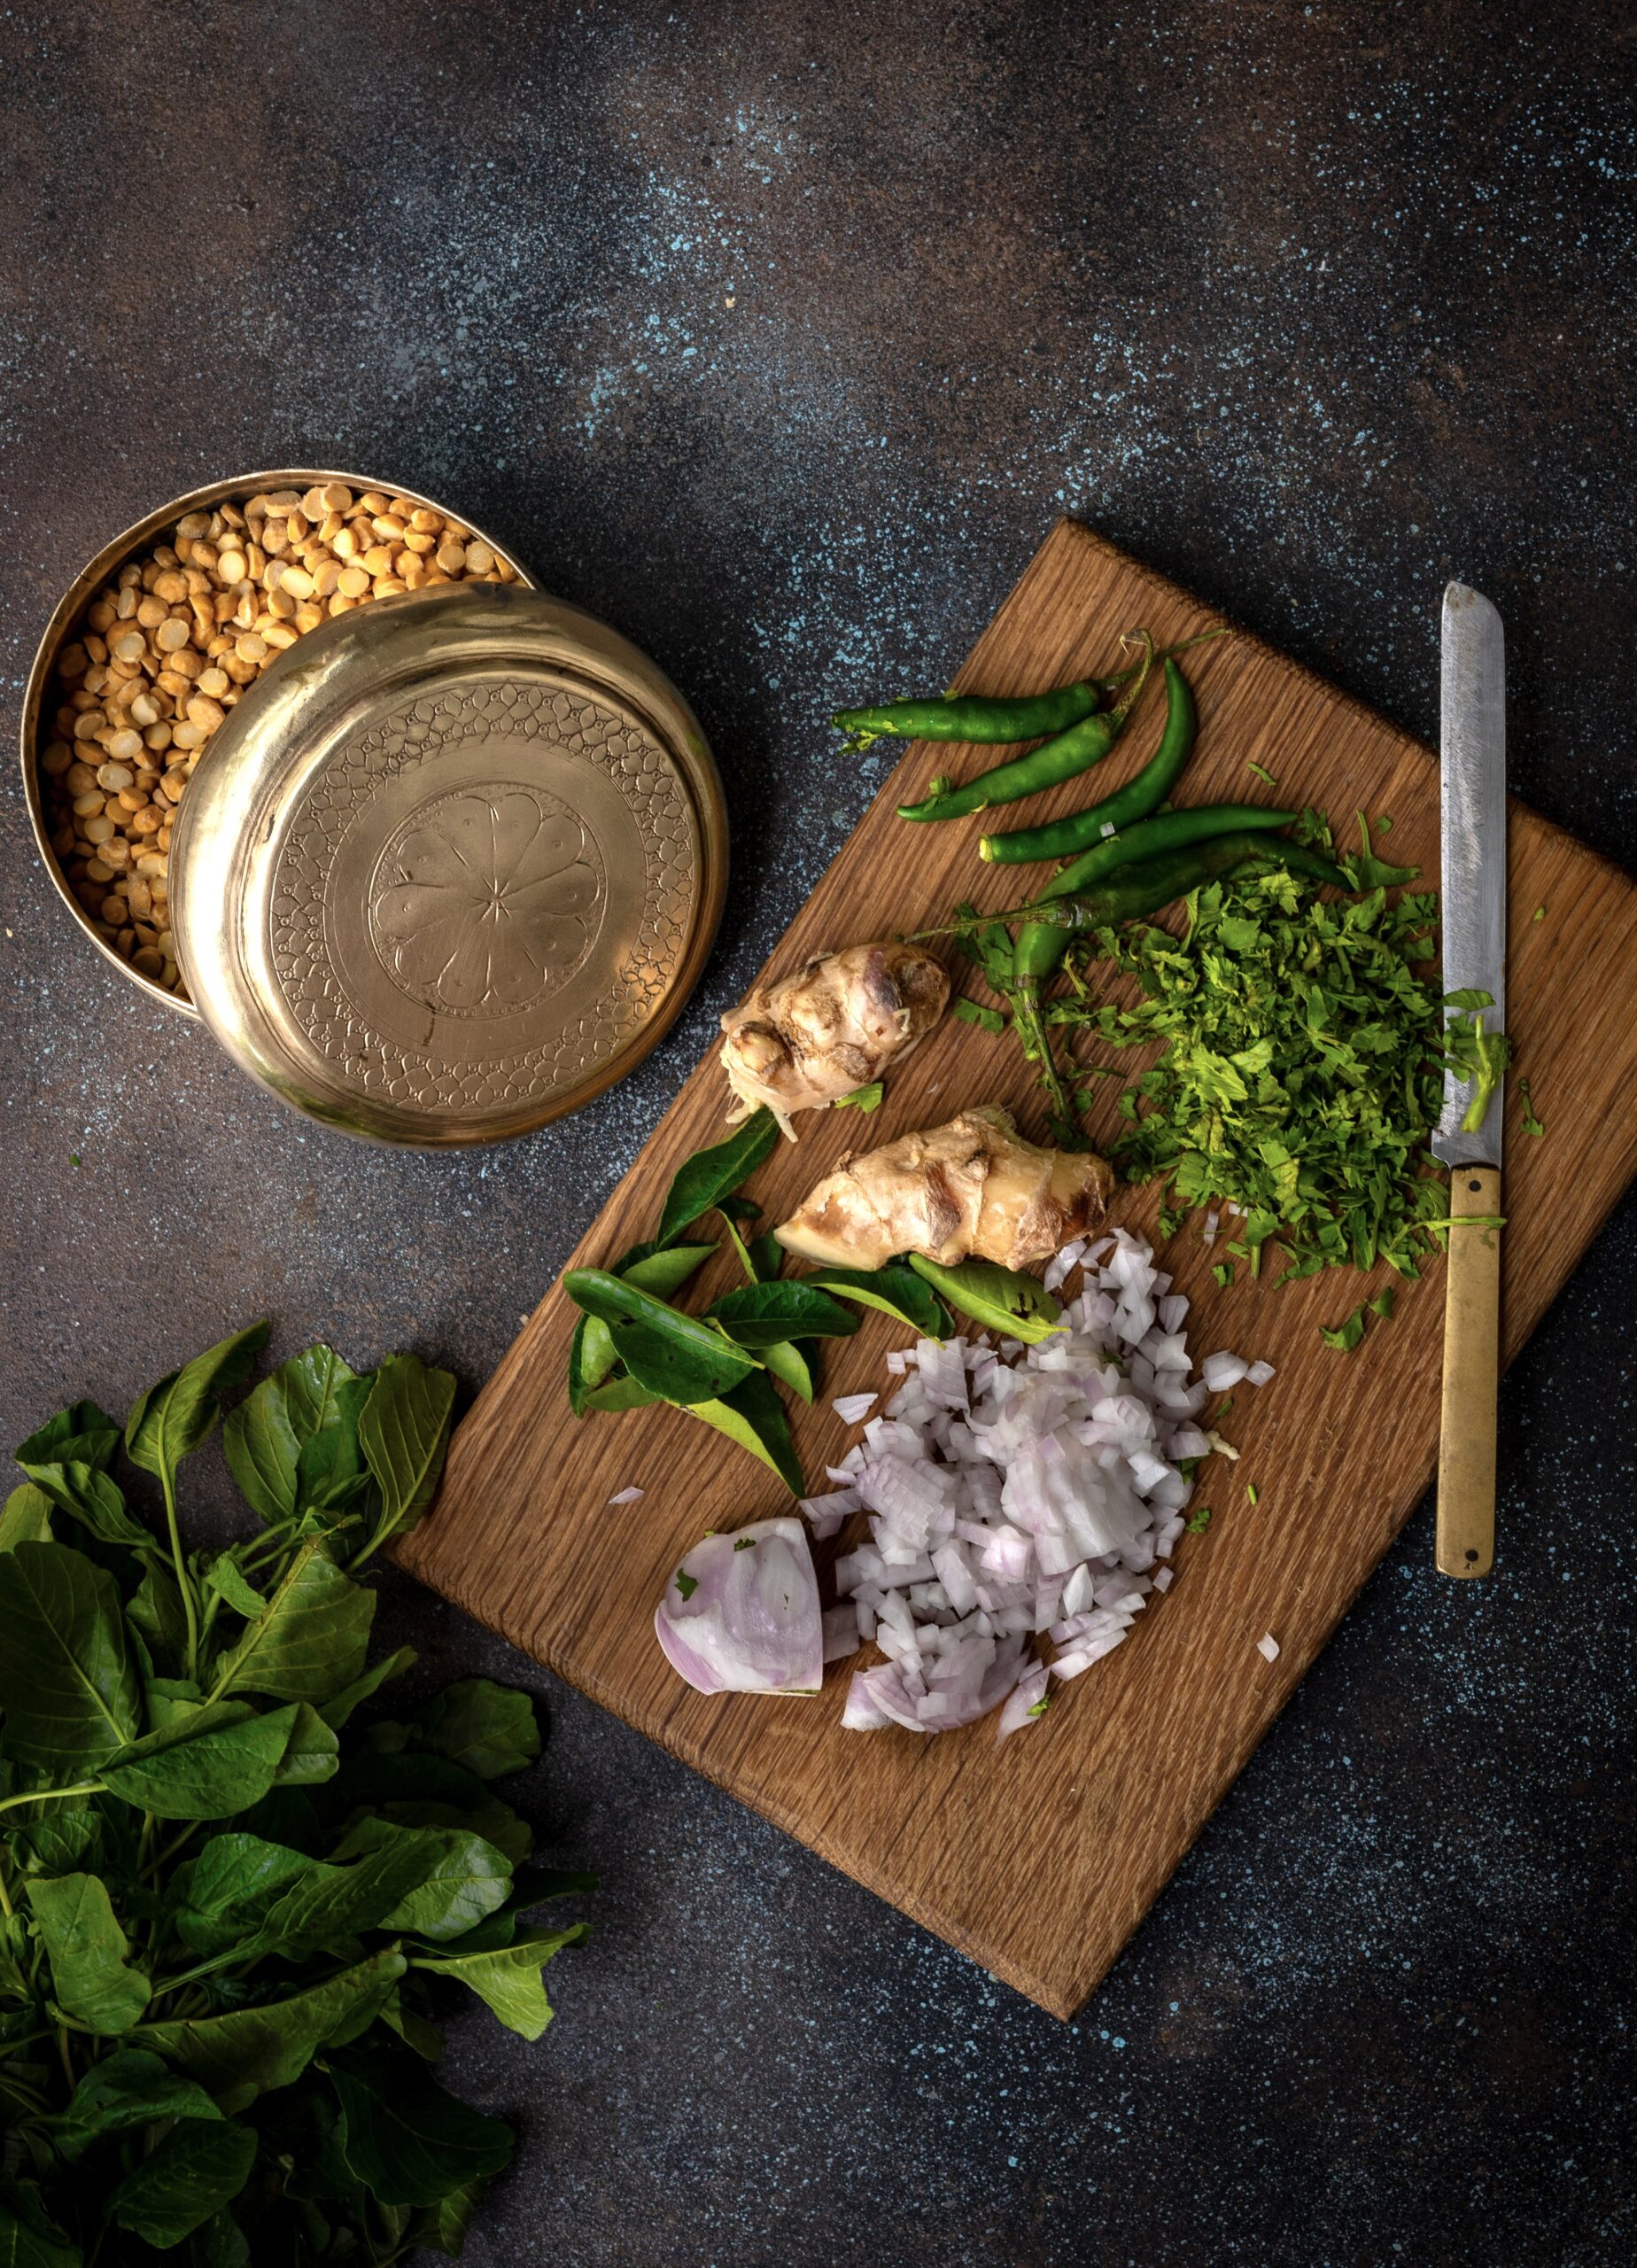
1 cup chana dal (split chickpeas)

1 bunch araikeerai (equal to 2 full cups of spinach)

Salt to taste

1 onion (finely chopped)

1 green chilli (finely chopped)

1 tablespoon ginger and green chili paste

A handful of curry leaves

Oil for deep frying


Soak the chana dal for 4 hours or until tender to the touch. Drain the soaking water. Rinse.

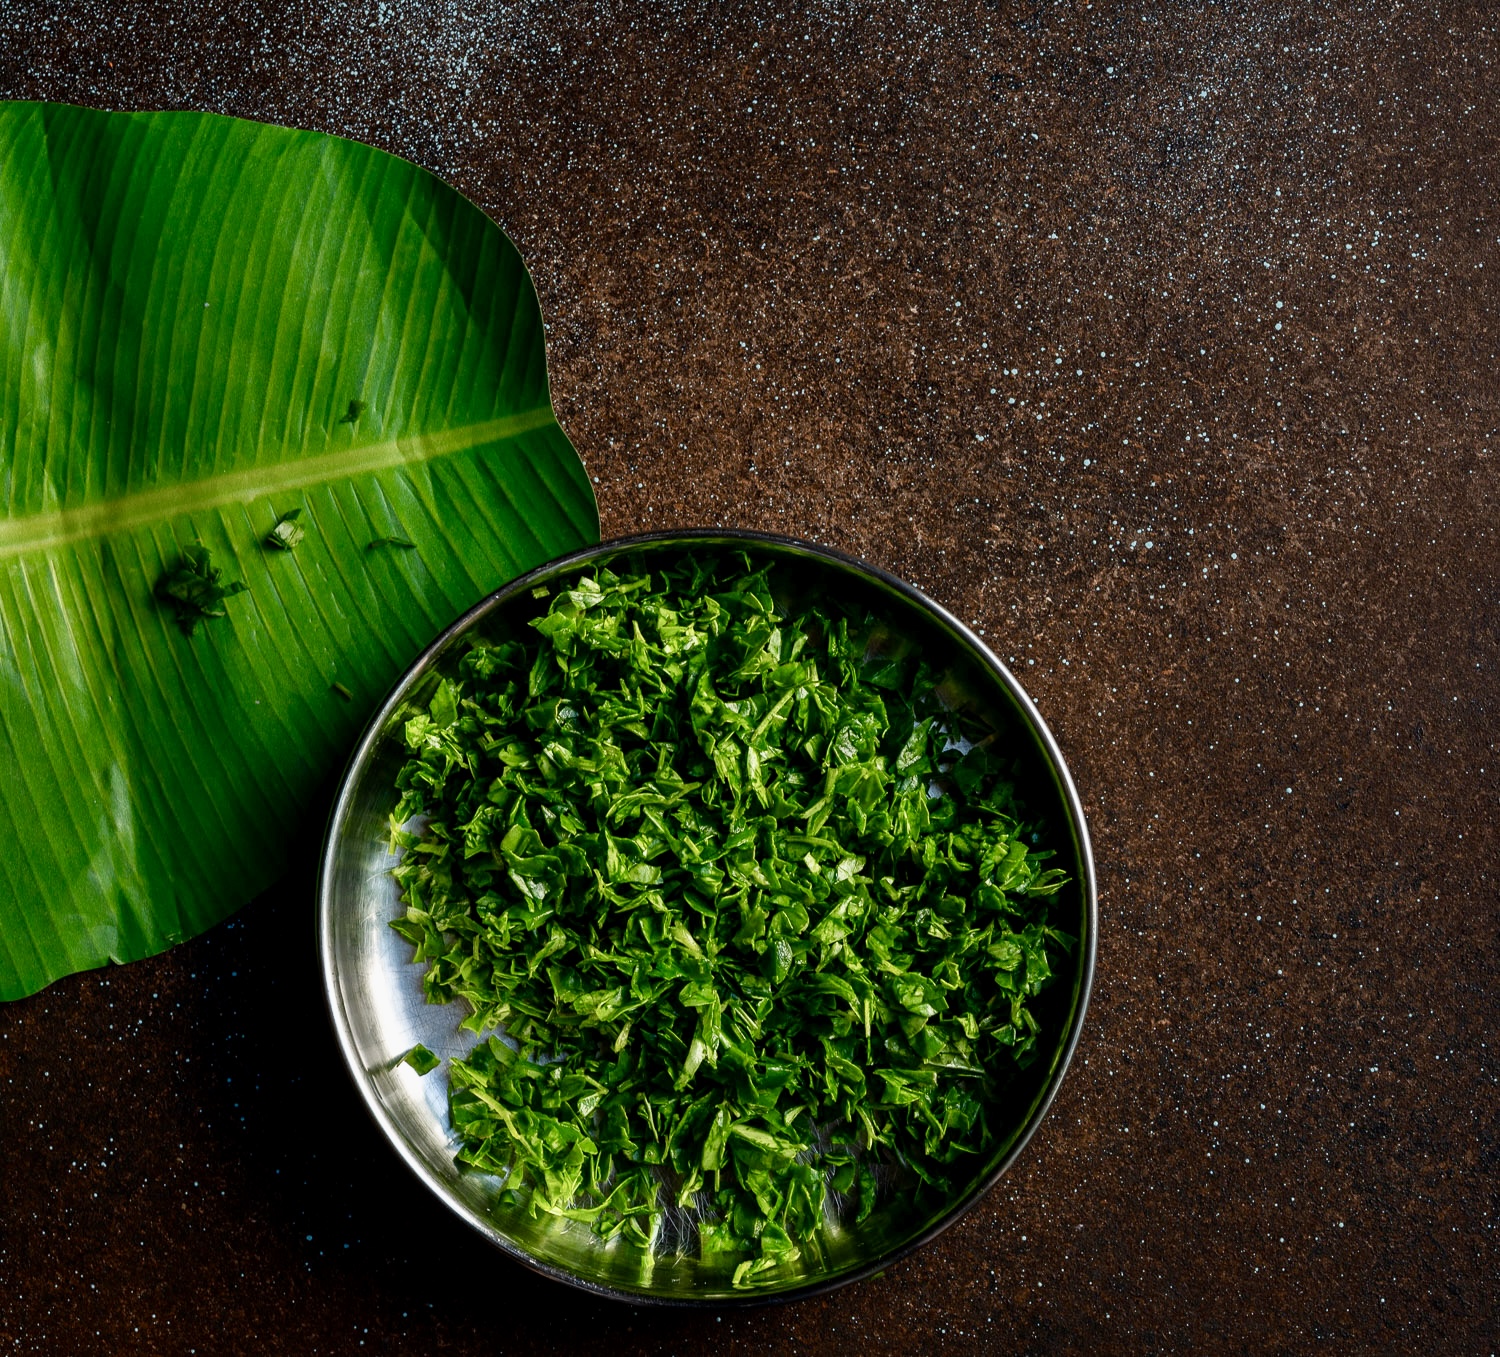
Remove the stalks and chop the araikeerai finely. Rinse in running water.

Add the dal to a blender and grind coarsely. Do not add water. Put the ground dal into a bowl. To prepare the batter, add the salt, green chili, araikeerai, ginger and green chili paste, curry leaves and onions. Mix well. Allow this to sit outside for 1-2 hours, or refrigerate if frying later.

Heat the oil in a kadai. Once it’s hot, make discs the size of a lime and flatten them, using your palms. While making the discs, ensure that the edges are perfectly rounded. Drop each into the hot oil gently. Fry on a medium flame. If you feel the vadais are crumbling as they fry, add a spoonful of rice flour. Allow to cook on both sides, flipping them occasionally, until dark golden. Drain onto a paper.

Serve hot with a chutney or a dip of your choice.

I hope this delicious araikeerai vadai gives you something to look forward to on a rainy day – or any day, really!

Bajra ni puri is a traditional Gujarati snack that is mostly eaten in the monsoons or when the climate is cooler. This is because bajra is heavy to digest, as I have shared in prior recipes that feature it, and also to coincide with the winter harvest of this particular millet. I often talk about how Nature tells us what we should be eating, and how and when; it was a wonderful science indeed that our ancestors followed. However, if consumed in moderation, bajra ni puri can of course be eaten year-round. Since this is the last stage before the summer heat sets in, and hence our last chance for a few months to gorge on this dish as per traditional logic, I thought it was the perfect time to share it.

Bajra, also known as pearl millet, is a millet rich in iron. You can infer this because of its darker colour, as I learned while studying Macrobiotics some years ago. Speaking of seasonal consumption, lighter grains are usually had in the summer. Funnily enough, cravings for heavy food are not often there in the hot season anyway. Our bodies naturally adapt to Nature, and we should become more conscious of these needs and put them first.

There are different methods of making bajra ni puri. I like this one as it has a bit of tanginess, created by the yoghurt that is added to it. It is also spiced up by ginger-green chilli paste.

My mother used to make the puris a bit bigger, and they would be fluffy – soft in the centre and crisp on the edges. My sister makes it this way too, and I love hers perhaps because it reminds me of our mother’s.

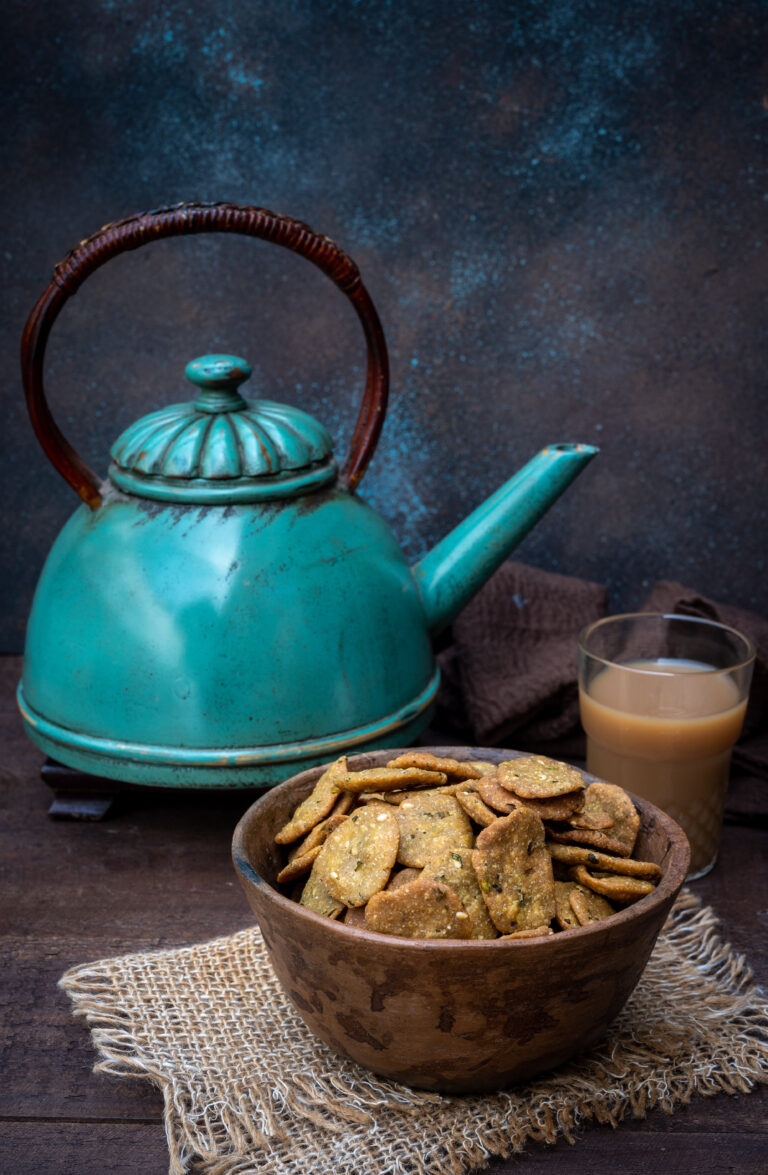
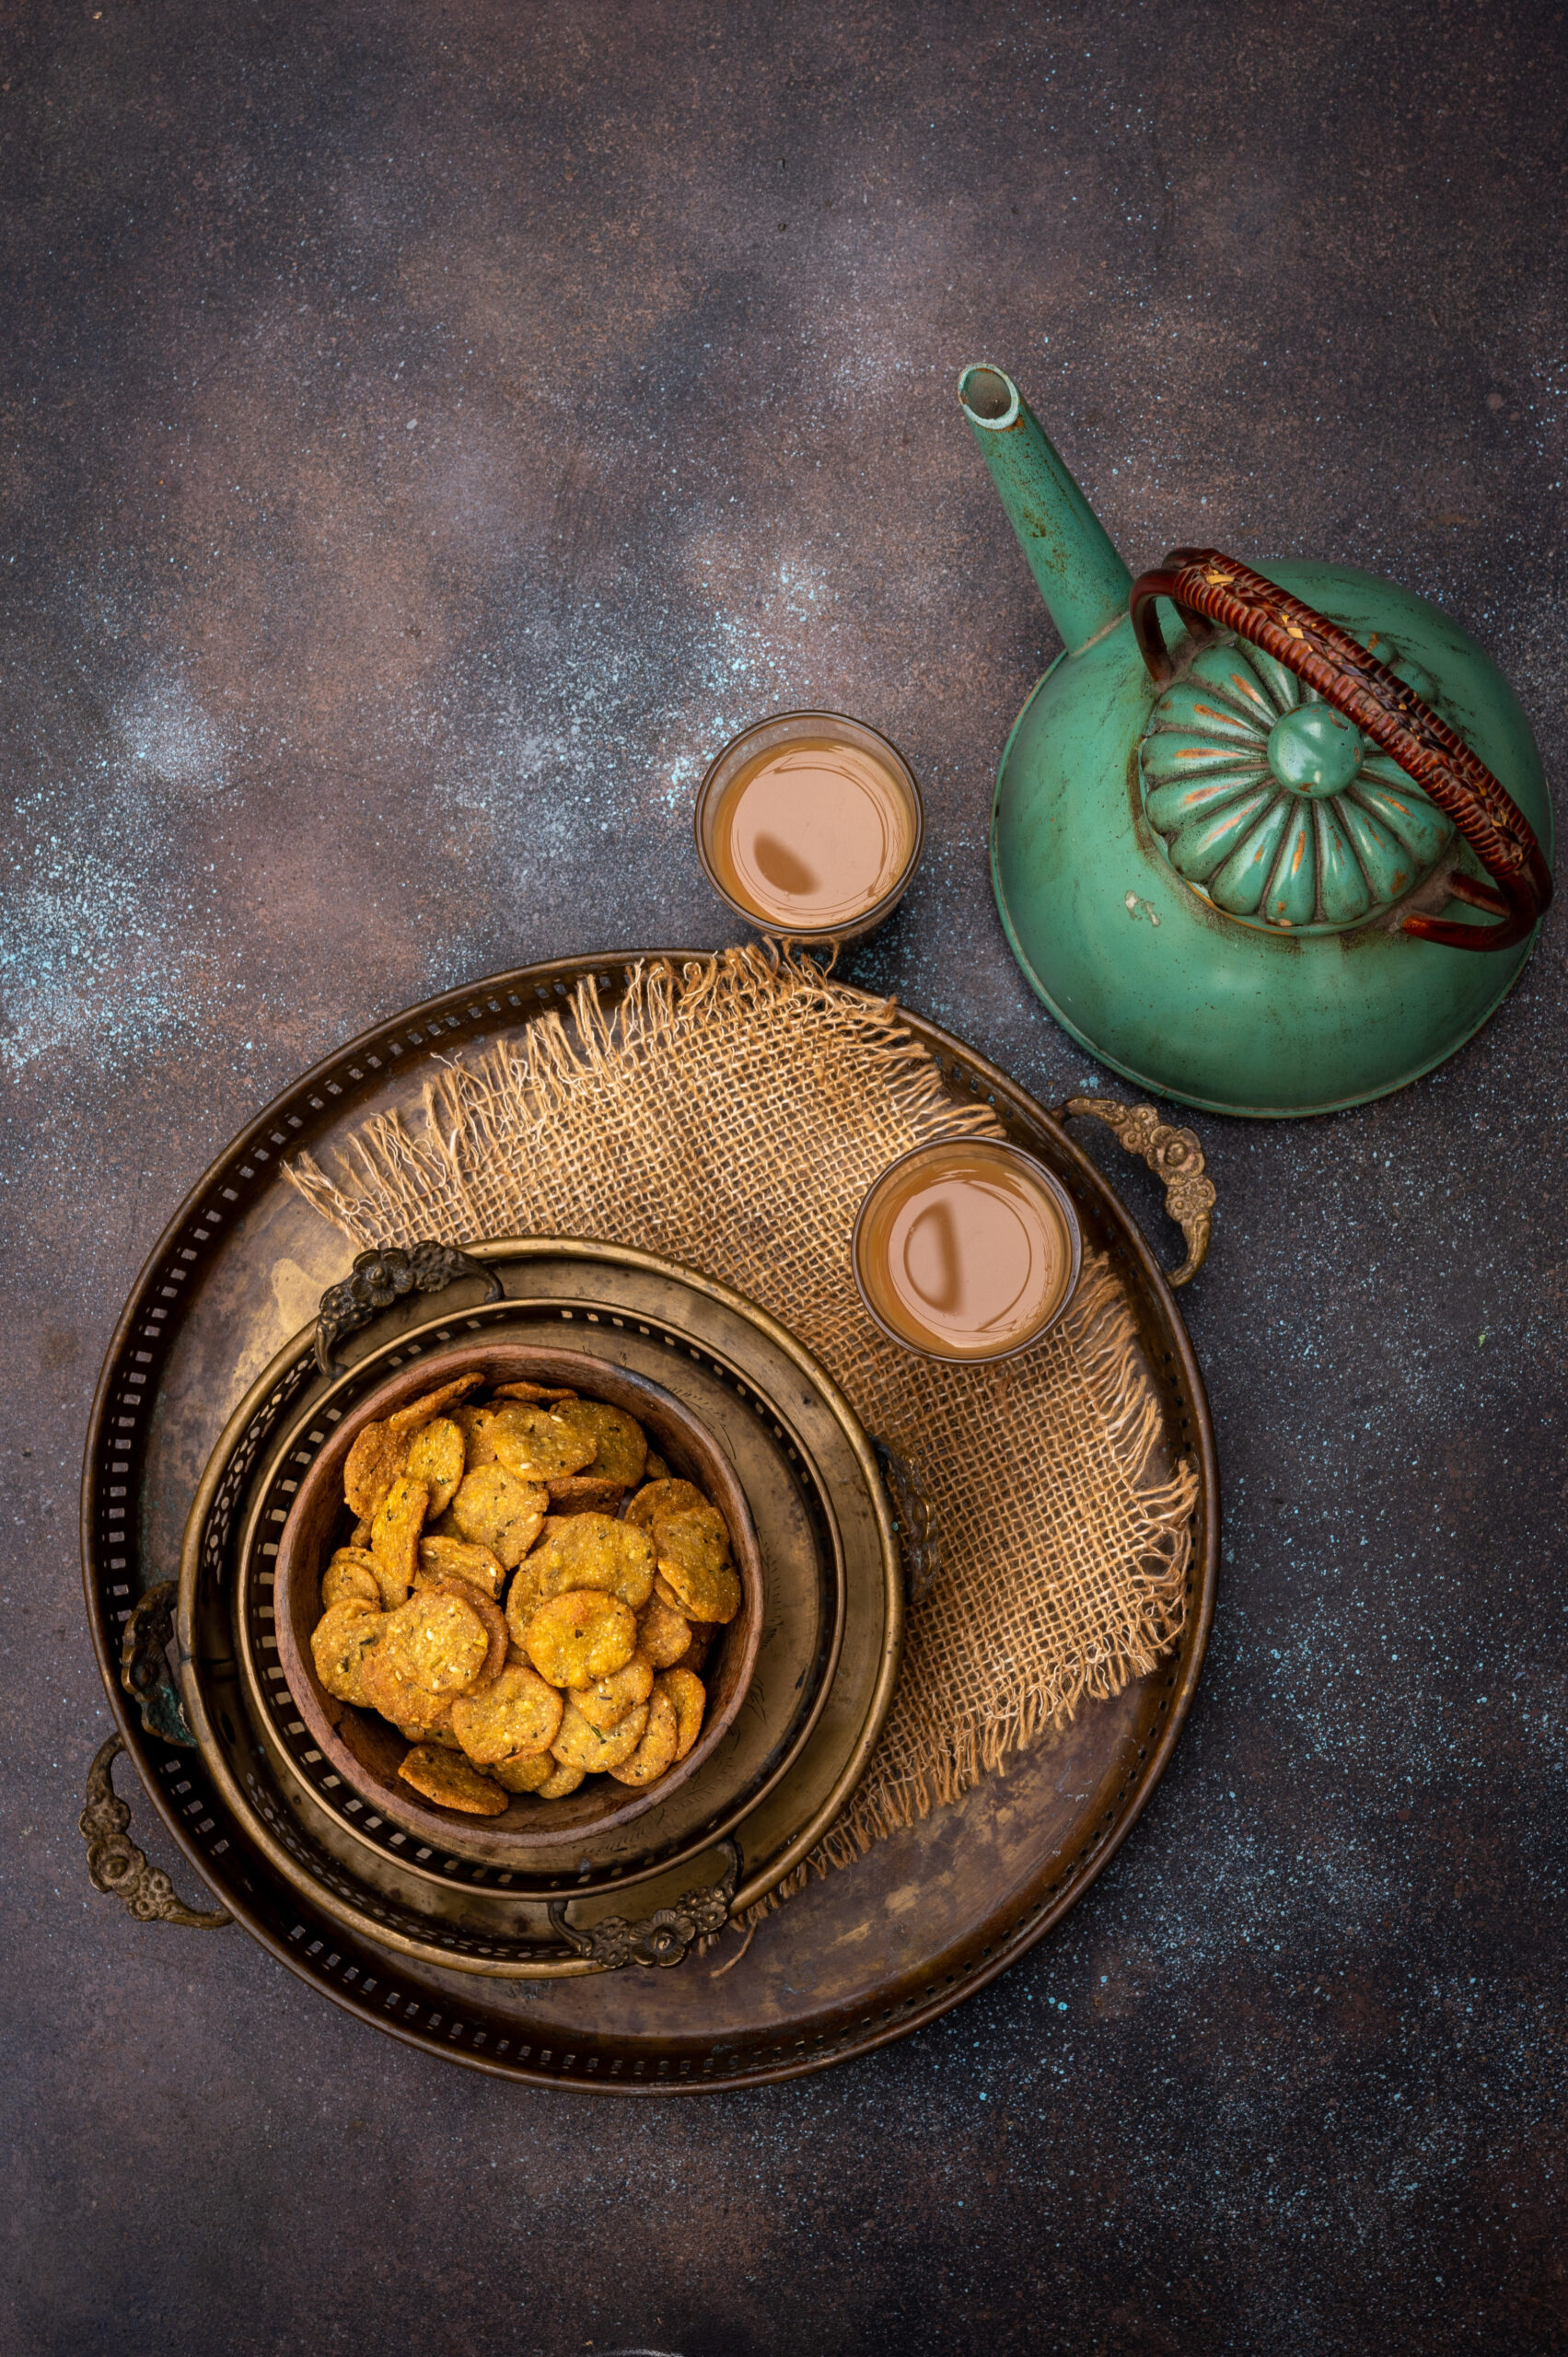
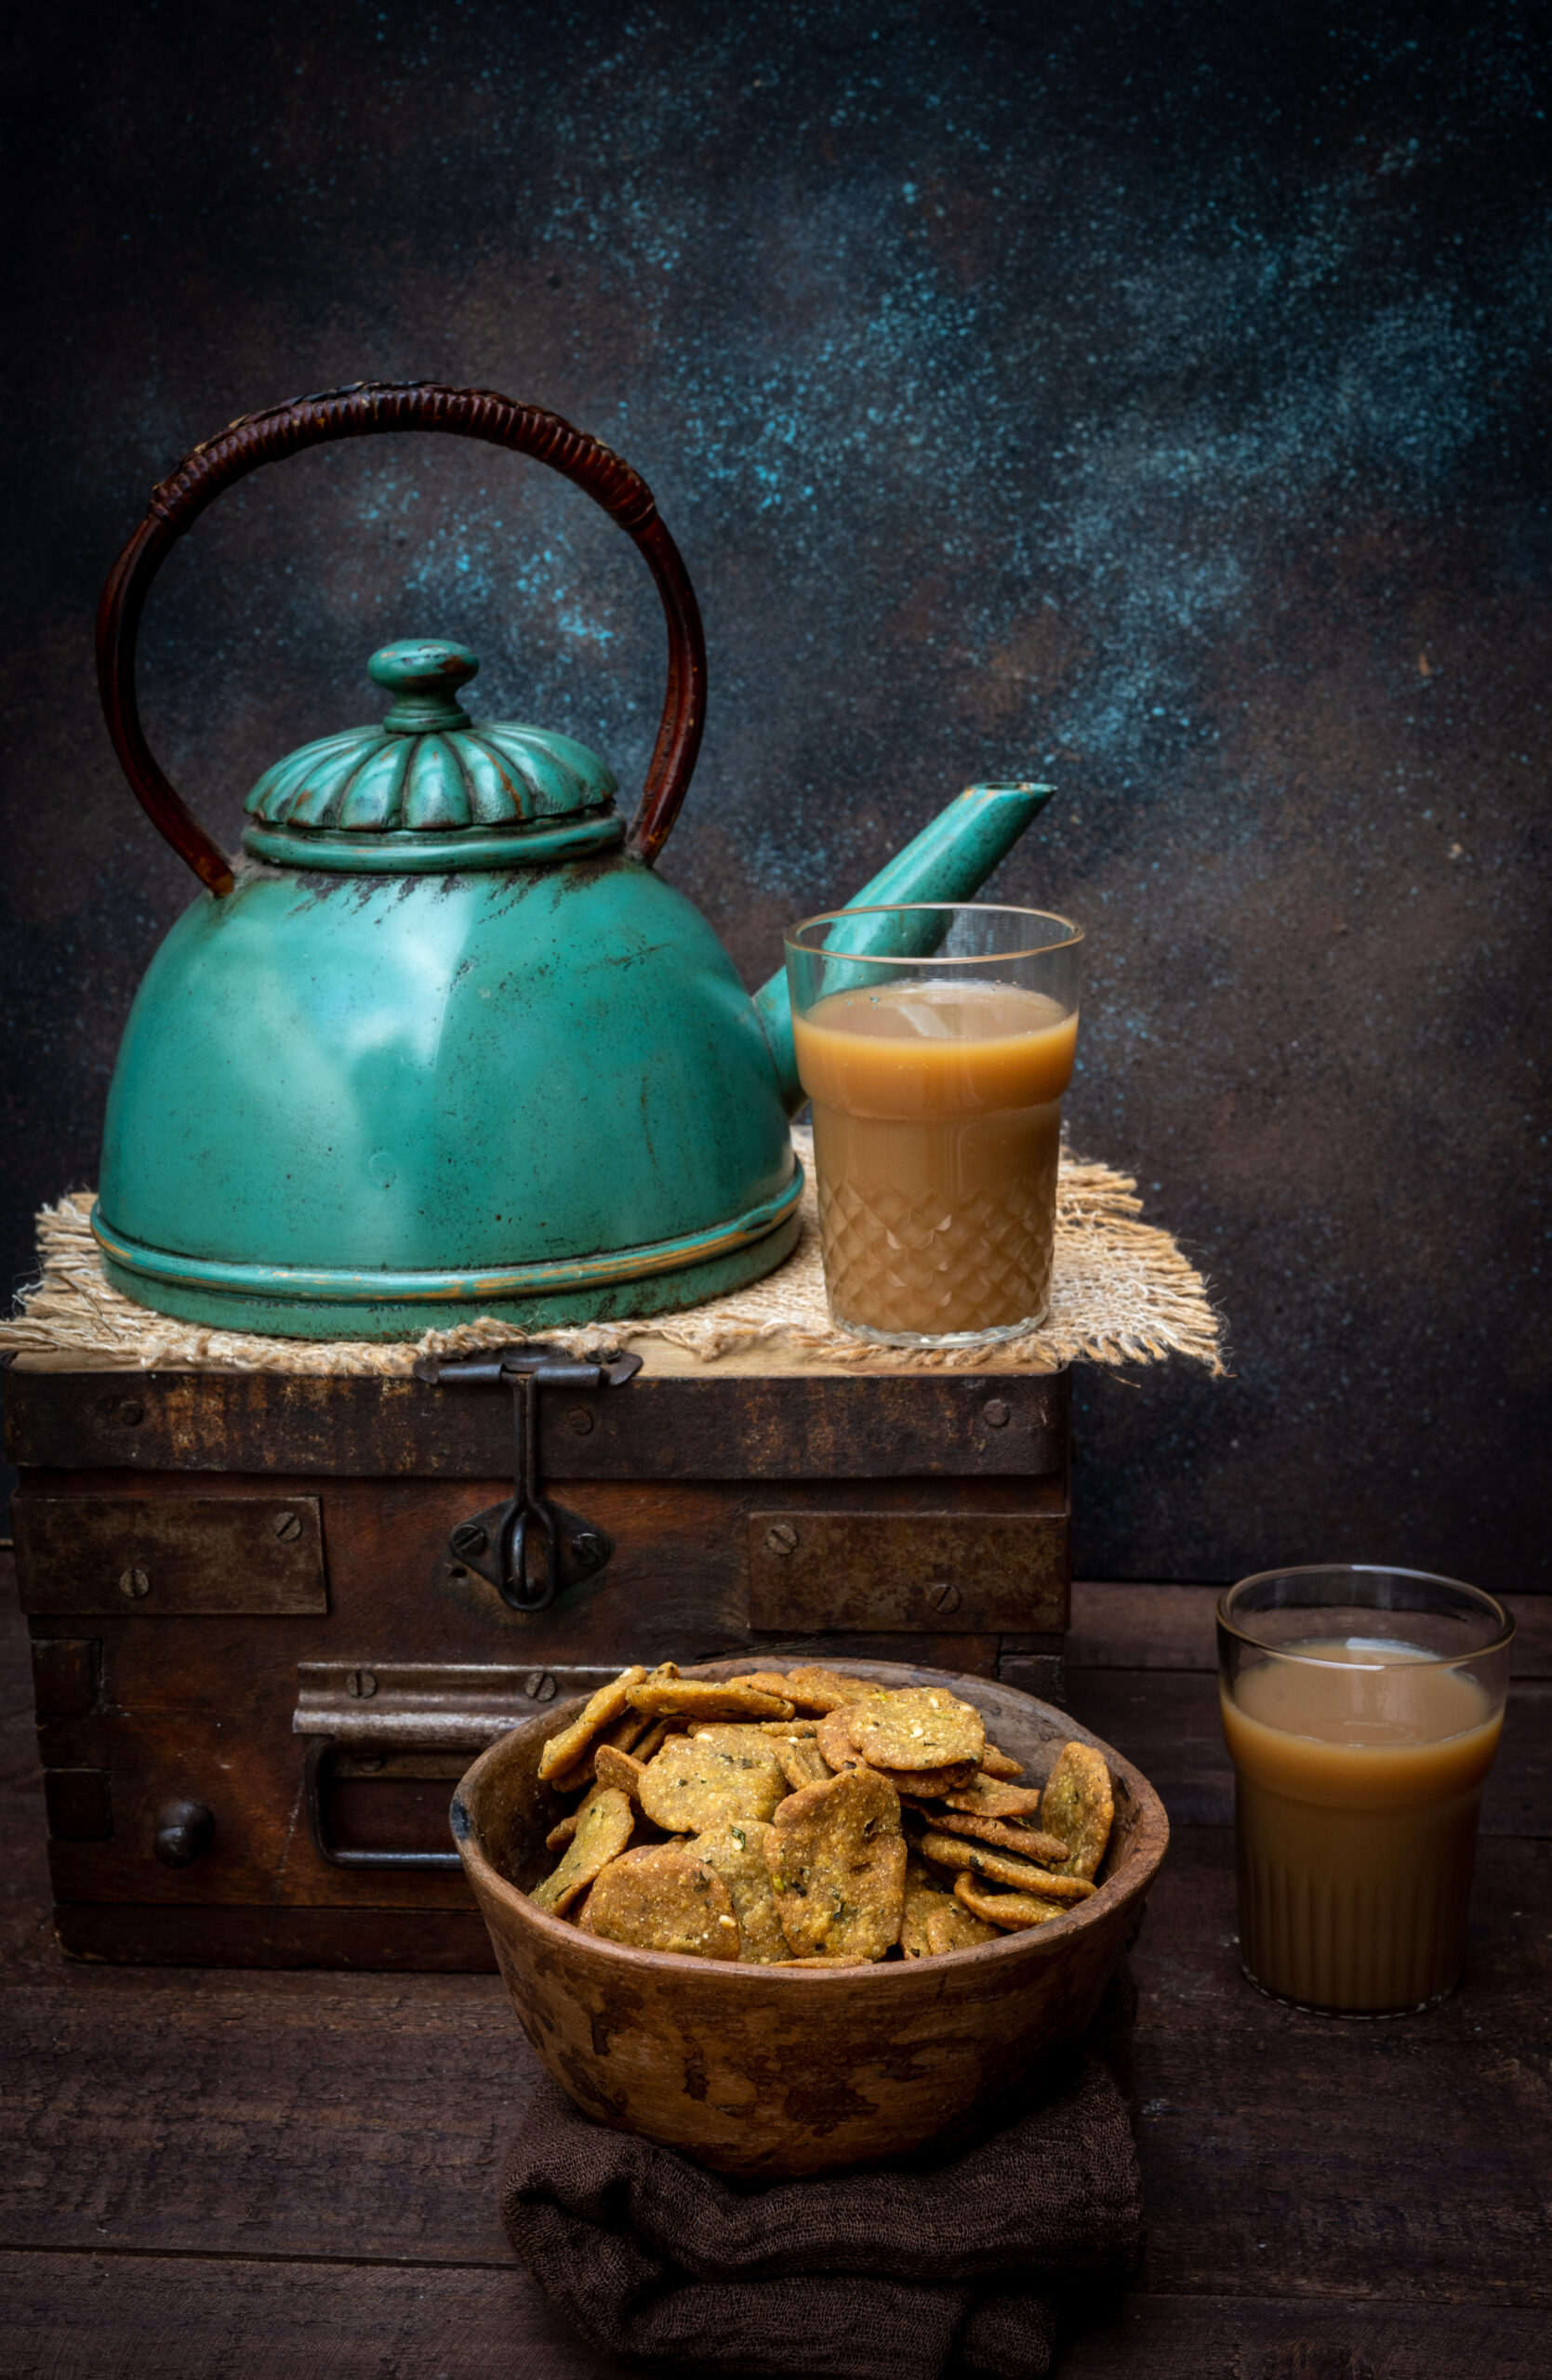
My version is a small and crispy one, which goes well with masala chai. To create this perfect pairing, you can check out my recipes both for the masala and the chai itself.

When my daughter who is away studying came home recently, she took back with her the entire batch of bajra ni puri that I had made then. She loved it that much. So even though my own favourite version is what my sister learned from my mother (which she must have learned from her own mother), my daughter’s is probably mine. I am happy to share with her not just this snack but also the traditions that come with it.

What I am reminded of in some way is of how when a Gujarati bride gets married and leaves her home, she is given a pot full of goodies to take back with her. My understanding is that she would need the sustenance as she left her village and crossed into her new one, be it by road or by train, and items that would provide energy (like millets) would be included. Today, the tradition is continued in the form of fancy silver trays laden with sweets and nuts.

My mother must have brought with her the pot that is now an heirloom of mine when she got married. It was the only thing that I asked from her before she passed on. It is a beautiful round brass pot with a small mouth and a small lid; I imagine this was to ensure that only a little air got in and the items within remained fresh. It adorns my kitchen, and maybe I’ll share a photo of it in future.

Bajra Ni Puri

(Yield: 40 tiny pieces)


¾ cup bajra flour

¼ cup wholewheat flour

2½ tablespoons curd (use lime juice – optional)

2 tablespoons oil

Salt to taste

1 teaspoon sesame seeds

¼ teaspoon asafoetida

½ teaspoon turmeric

2 teaspoons green chilli+ginger paste

½ cup finely chopped fresh methi leaves (optional)

2 tablespoons water (optional)


In a bowl, add the flours, salt, turmeric, asafoetida, curd, oil, sesame and green chili-ginger paste. Mix, then add the methi (fenugreek) leaves if you wish to. Now, gauging the quantity of water required, add it slowly – 1 tablespoon at a time – making sure the dough is thick.

In the mean time, heat the oil for deep frying. Once it has heated, gently add a few puris at a time and lower the flame. Turn them over frequently so that both sides cook well and become a golden colour. Fry on a low to medium flame.

Remove and drain on a paper. Once cooled, store in an airtight container. Enjoy with your chai. You’ll find it tangy, spicy and yummy.

I love how this bajra ni puri contains the significance of my mother’s wedding pot, and also the simplicity of an afternoon snack.

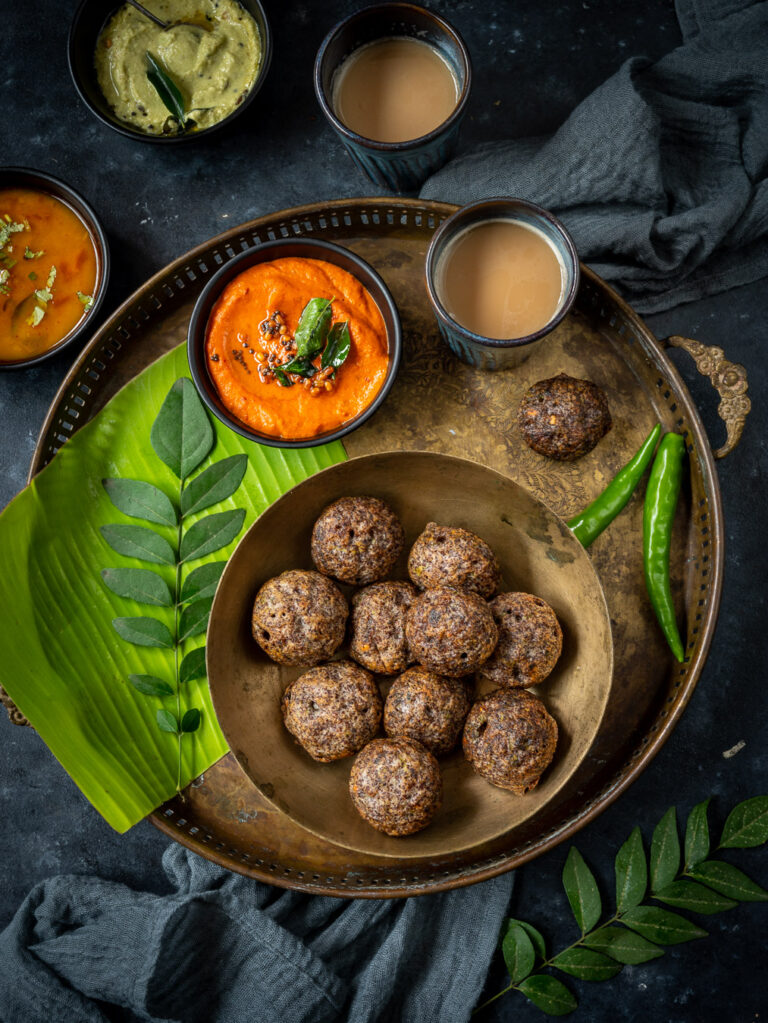
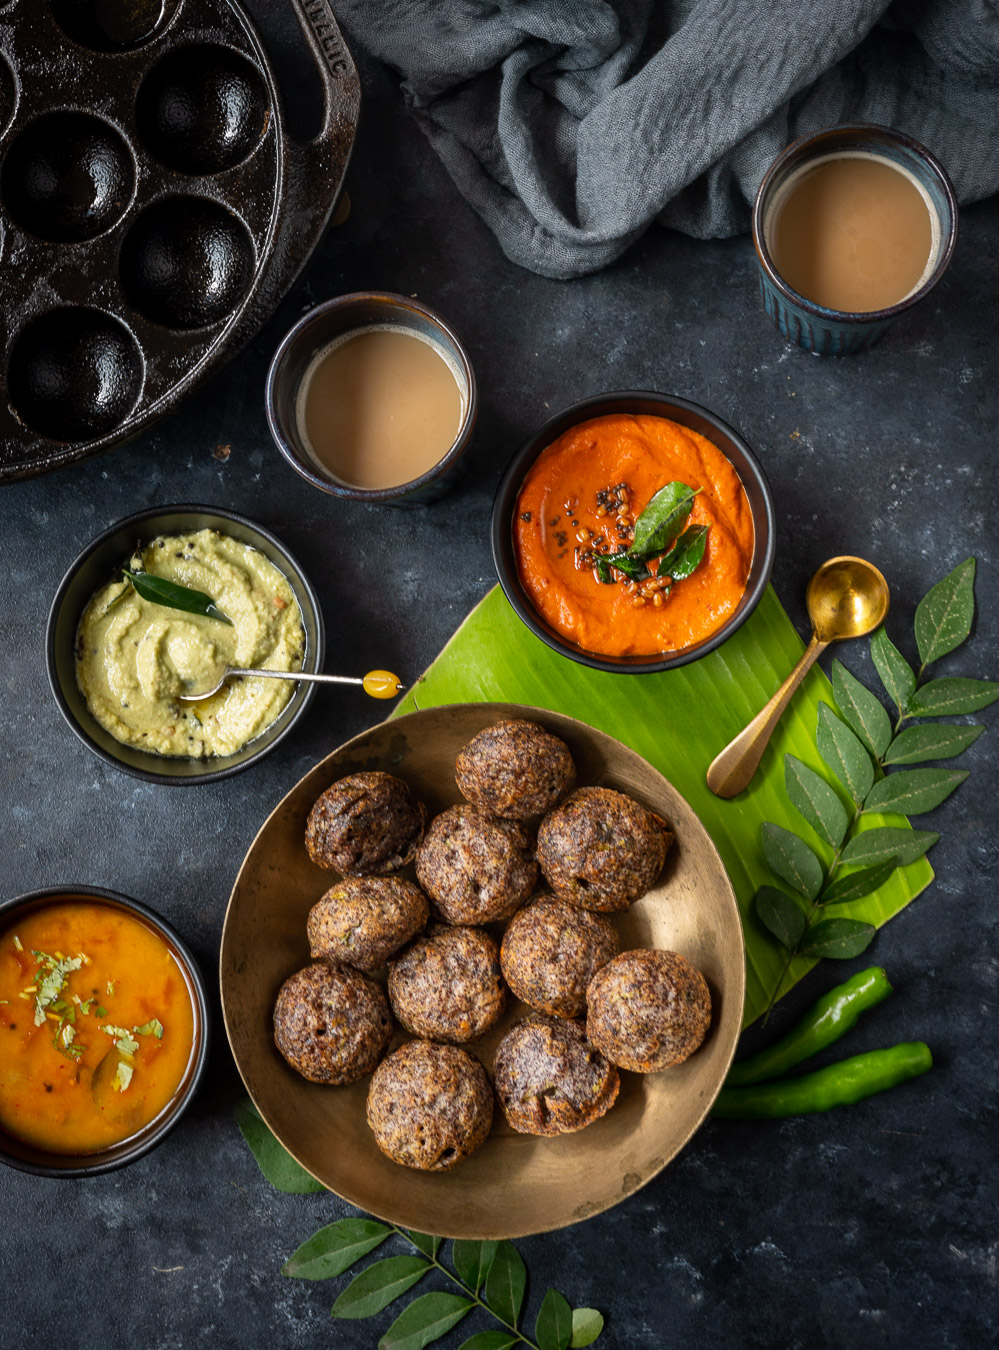
We talk about leftovers in all of our homes. How to store them, how to repurpose them and so on. You may have remembered from my Second Helpings series a while back that certain traditional dishes, like rotli na ladoo, are in fact innovations that deliberately use leftovers. This ragi paniyaram recipe is similar in nature. It basically uses up the leftover batter from ragi idly, and becomes a whole new savoury snack of its own.

You would already have learned the recipe for the batter used here, as linked above, so we can head straight into how to make paniyaram. They are amazing: pillowy soft on the inside and crisp on the outside. Dip one in chutney and it’s heavenly. I really feel like ragi paniyarams are bites of paradise!

The recipe below is my go-to. It is very easy to prepare and uses only readily available ingredients. You can add a flavouring of your choice as well. One special way that I like to make it is by dropping half the required batter in the paniyaram mould, adding a dollop of pickle in the centre, and then layering it with more batter. Mango or lemon pickle work perfectly for this, and add a piquant taste when you bite into the paniyaram. That’s the thing about many traditional staples – they are so flexible that you can add whatever you want within your reach. Be innovative, be creative, do you. Enjoy the process and the taste will come on its own.

I would describe paniyarams as being the South Indian version of Gujarati dhoklas, which are a quick fix for sudden guests. All you have to do is add some chopped veggies and seasoning to your regular idly batter and you have everything you need. They are a great snack at tea time and mid-morning, and I would say they are versatile even as dinner or breakfast items.


Ragi Paniyaram

(Yield: Serves 2-4)


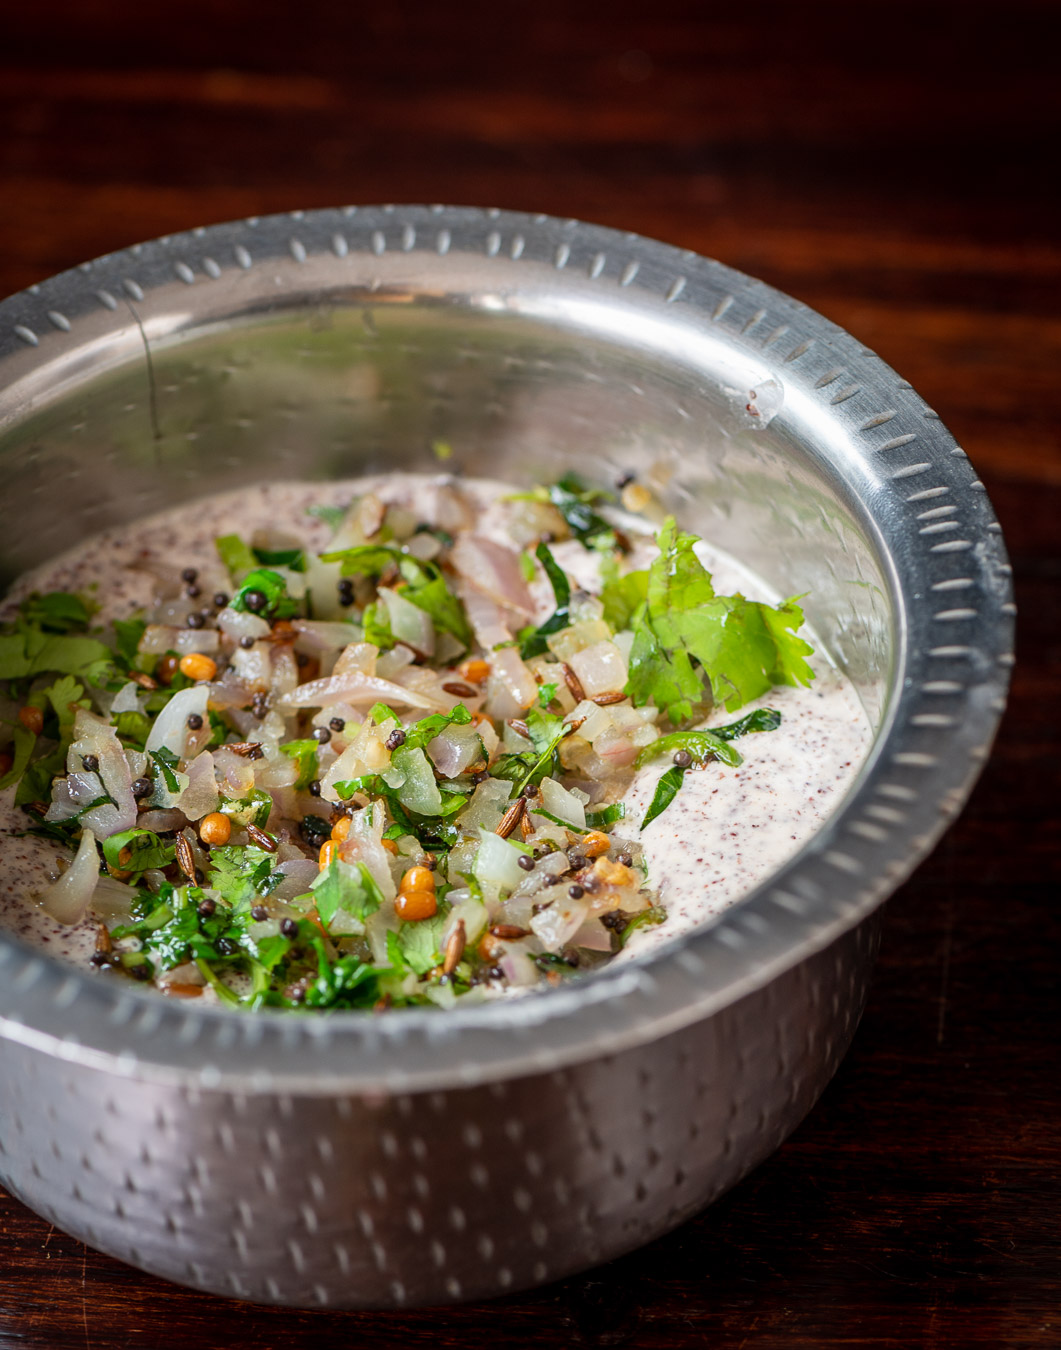
1+½ cups ragi batter

1 small onion (finely chopped)

1 green chili (finely chopped)

1 tablespoon coriander leaves

1 teaspoon urad dal

½ teaspoon mustard seeds

¼ teaspoon cumin seeds

2 teaspoons sesame oil +oil for cooking


Pour the ragi batter into a bowl and set aside.

Heat a pan and add the oil. Once it’s hot, add the mustard seeds. When they splutter, add the cumin seeds. Now, add the urad dal and heat until golden. Next, add the onions, green chili, coriander leaves and curry leaves. Sauté for a minute.

Add all of this to the bowl of ragi batter. Mix well.

Prepare and heat the paniyaram plate (I use a seasoned iron grid for the same; you can use non-stick to be safe or if you’re new to the game). Add a few drops of oil to each mound (I like to use ghee for its flavour; since it’s no longer considered one of the evil fats, I’d suggest trying it out, or use either as you prefer). Once heated, add a tablespoon of batter into each mould. Cover, reduce the flame and allow to cook. In a few minutes, with the help of a sharp knife, turn each paniyaram over and allow to cook on the other side until golden.

Remove and serve. There you have it – ragi-rich bites of paradise! Paniyarams are best paired with chutney. I always have grated coconut at home from my trees in the backyard, and make a fresh chutney with it pretty much every day. I sometimes throw in some coriander leaves to make it green. This aside, there is an amazing tomato chutney that I feel works beautifully with ragi paniyarams, and that will be my next recipe on this blog. Stay tuned!

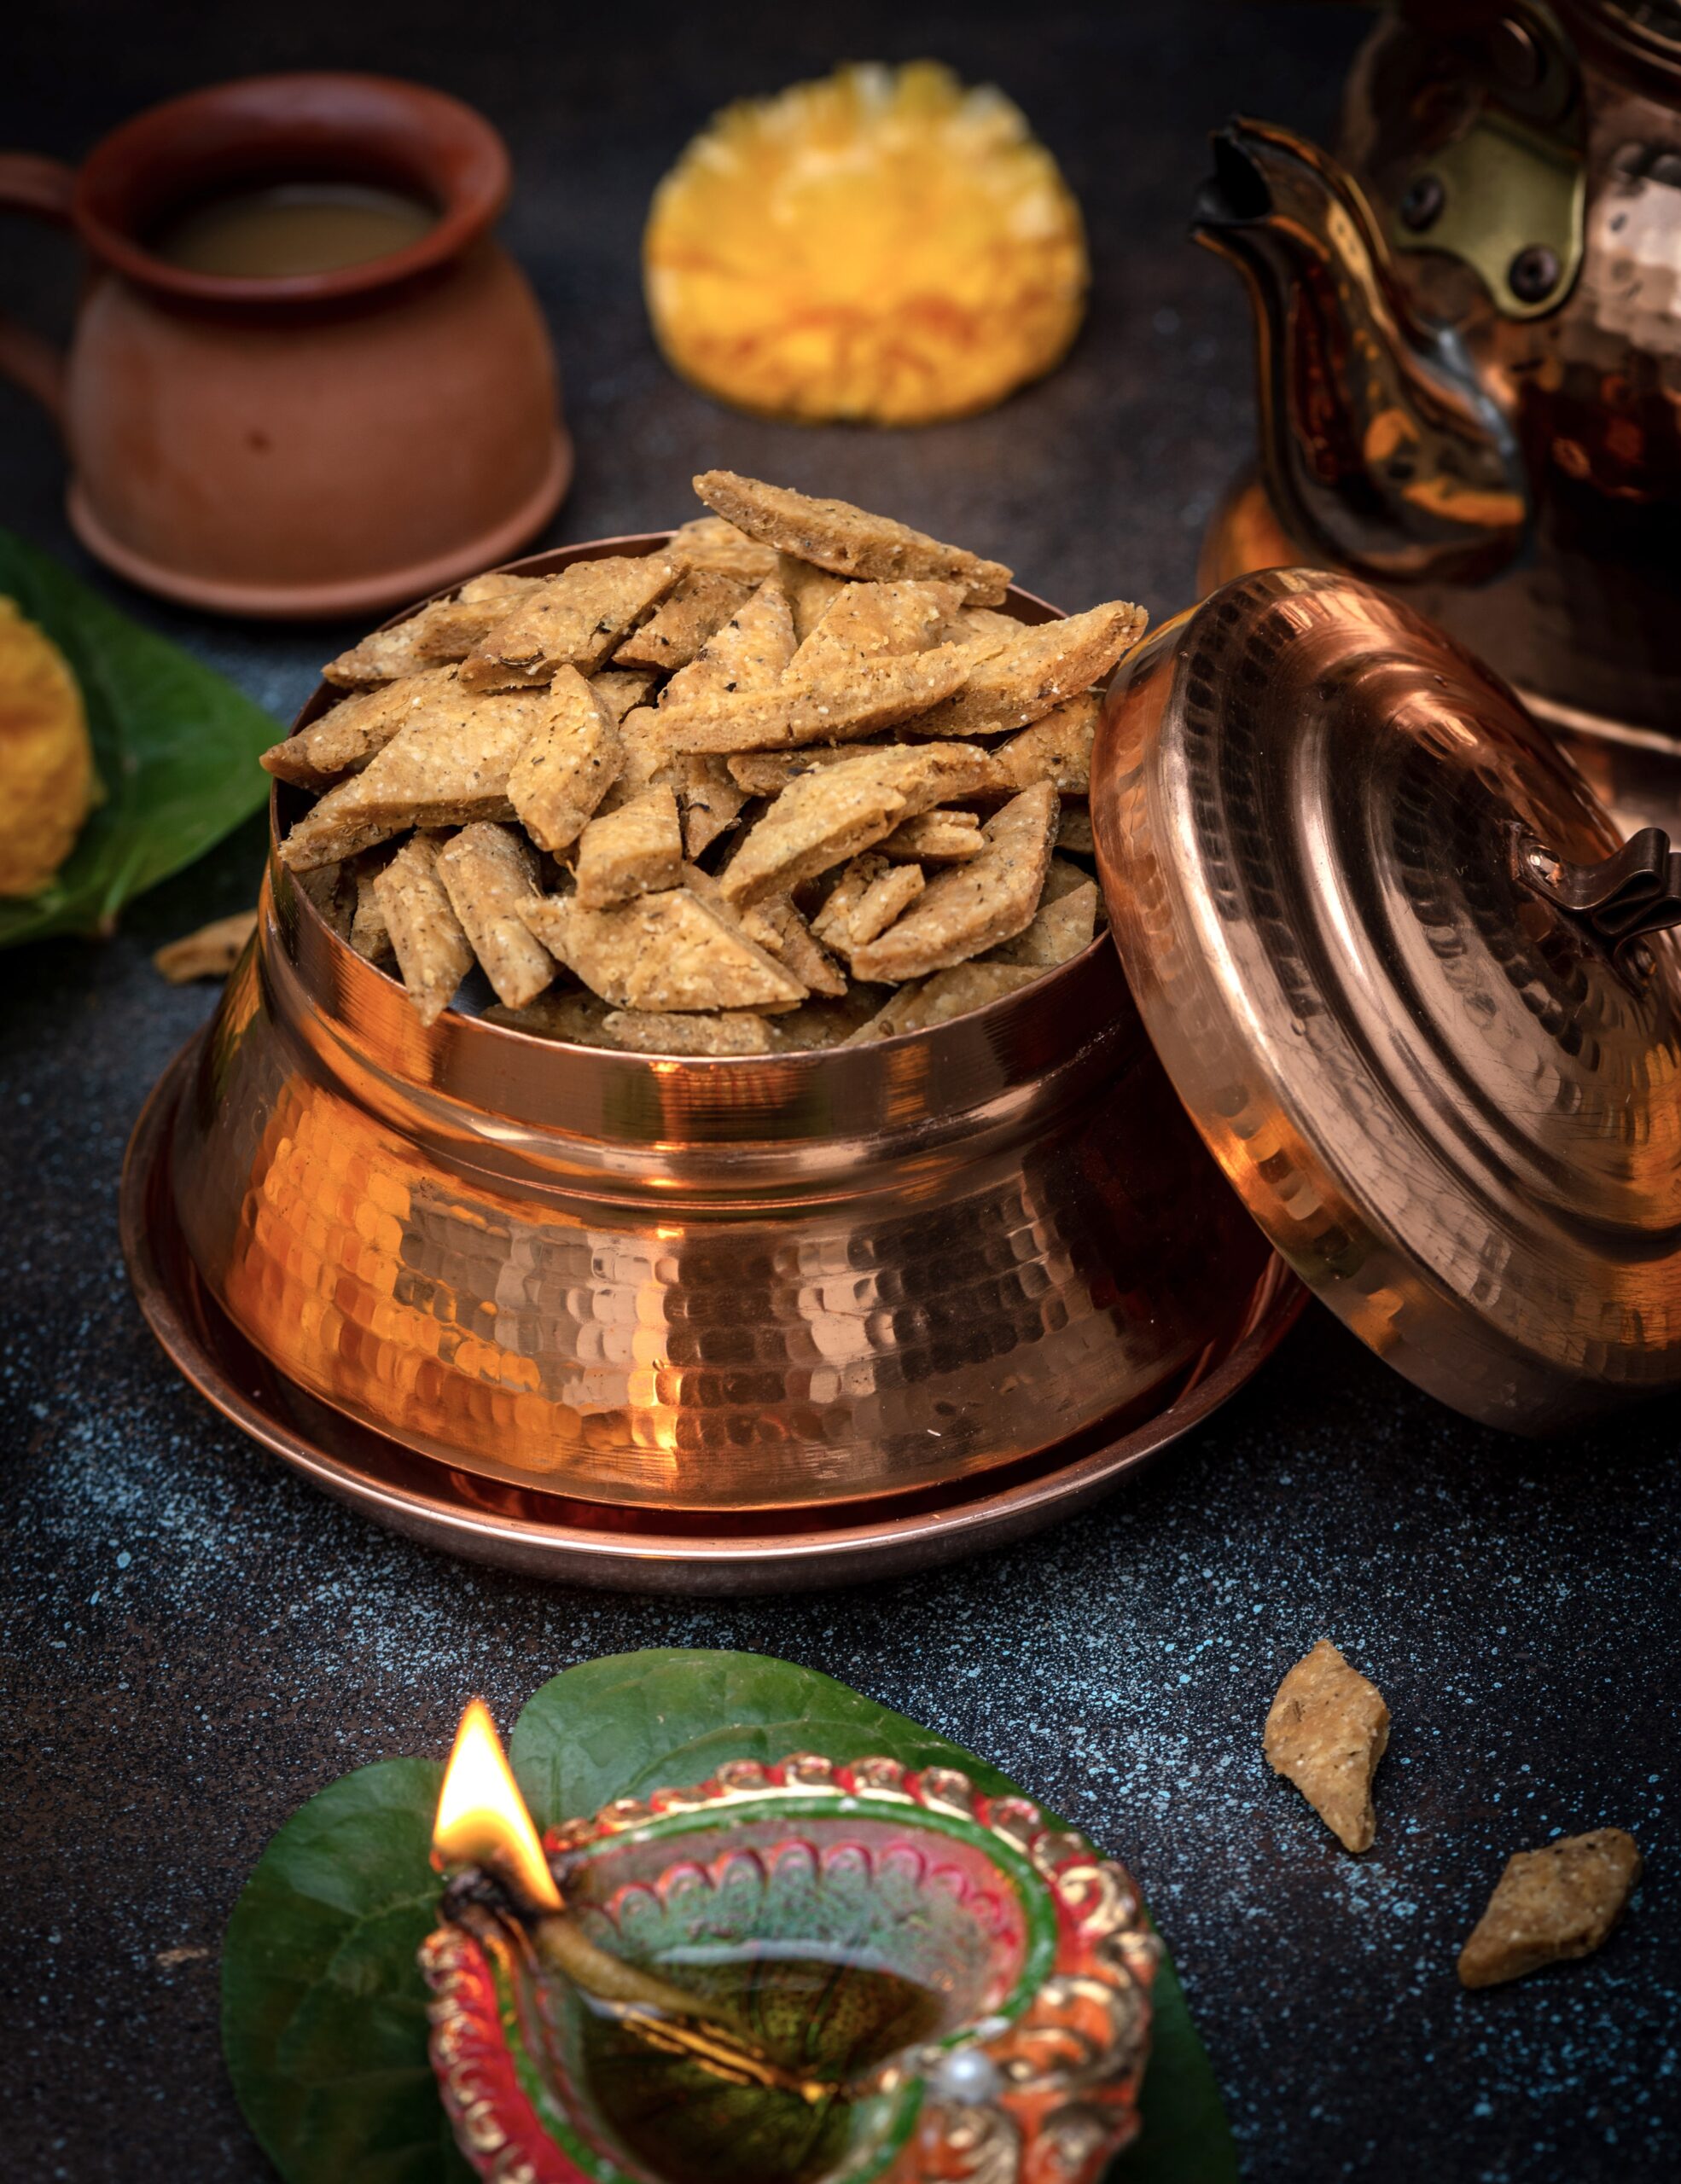
The re:store kitchen has been abuzz with orders this festive season and amidst all the delight of preparing your favourites for you, I’ve been taking some time to make some goodies for my family too. Among these is namakpara, a snack that is a type of Indian biscuit. The sweet version is called shakarpara (“shakar” means “jaggery” and “namak” means “salt”). I thought I would share the savoury version with you as it deliciously counterbalances the taste of the many desserts that you’ll no doubt also be enjoying during this indulgent month!

My absolute fondest memories from childhood have to do with the big festival of Diwali. All of us kids looked forward to it, not only for the special treats and new clothes but also because there was such a cheerful atmosphere around us. For me, the essential memory is all about fragrance: of waking up in the days preceding Diwali and on the day itself to the tantalising smell of the yummy savouries and sweets being fried at home.

Our mother would be busy making them early in the mornings, and the culinary preparations would happen over the course of several sessions. As I have mentioned in earlier festive posts, she and a few friends of hers would get together and cook communally. They would help each other out, making enough for everyone’s families and sharing recipes and techniques. There was a great sense of camaraderie in our homes, as well as mouth-watering anticipation among us kids. Of course, our mother would keep everything she fried in tins up on a high shelf out of our reach!

Each day, we looked forward to her giving us our share of those goodies. It would be a small portion every day. We relished the whole experience so much.

These days there’s such abundance and such accessibility – just make a call, open an app, pay online, have it home-delivered. That didn’t happen back in those days. Everyone had to make their treats on their own. Even gifting consisted of homemade goodies. We would send something made in our kitchen, and they would send something made in theirs. It was all unlike festive celebrations of today, when we can take things for granted.

There was a simplicity to our lives, and I miss it. I don’t know if it’s possible today, but I want my children to experience it too. So I do the next best thing: I continue to make the sweets and savouries I learned to make from my mom. And we observe a rule at home that no matter where they are in the world or how busy they are in their own lives, all of my kids must come home for certain occasions. Diwali, naturally, is one of them. I really believe that we must take a pause sometimes and understand the importance of family, and make time for friends who are like family. This is a great time to do that.

I hope this namakpara will be relished at your gatherings this Diwali too. If you’re looking for more recipes that are perfect for the festive season, I hope you’ll explore my blog archives. There are six years’ worth of wonderful sweets and savouries here, as well as a host of other dishes – from nutritious to decadent. Here’s to many more to come! Thank you for being with me on this journey.

Namakpara


1 cup maida

2 tablespoon ghee

1 teaspoon rawa

Salt to taste

¼ teaspoon turmeric

1 teaspoon ginger green chili paste

1 teaspoon kasuri methi powder (or fresh fenugreek leaves)

Water as required

Oil for deep frying


In a bowl, add the maida, ghee, rawa, kasuri methi powder (or fresh fenugreek leaves, if you have access to them), turmeric and ginger chili paste, along with salt to taste. Mix with your fingertips.

Add water as required, using a tablespoon so that it’s not over saturated. It needs to be sufficient to make a tight dough.

Mix well. Grease your palms and knead the dough until it is smooth.

Now, roll out the dough. Using a knife, cut it into diamond shapes or any shape you desire. The number of pieces in the yield quantity will depend on the size you choose (I have made mine small, as they look pretty). Meanwhile, heat the oil.

Deep fry the cut namakpara on a slow flame, occasionally turning up the heat for a few seconds or so. Fry until golden brown. Drain onto a paper. Once cooled, store in an airtight tin.

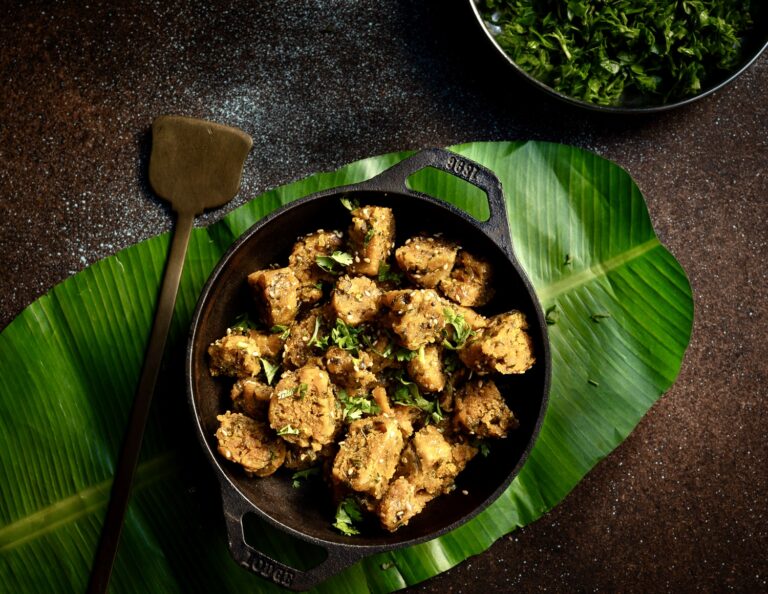
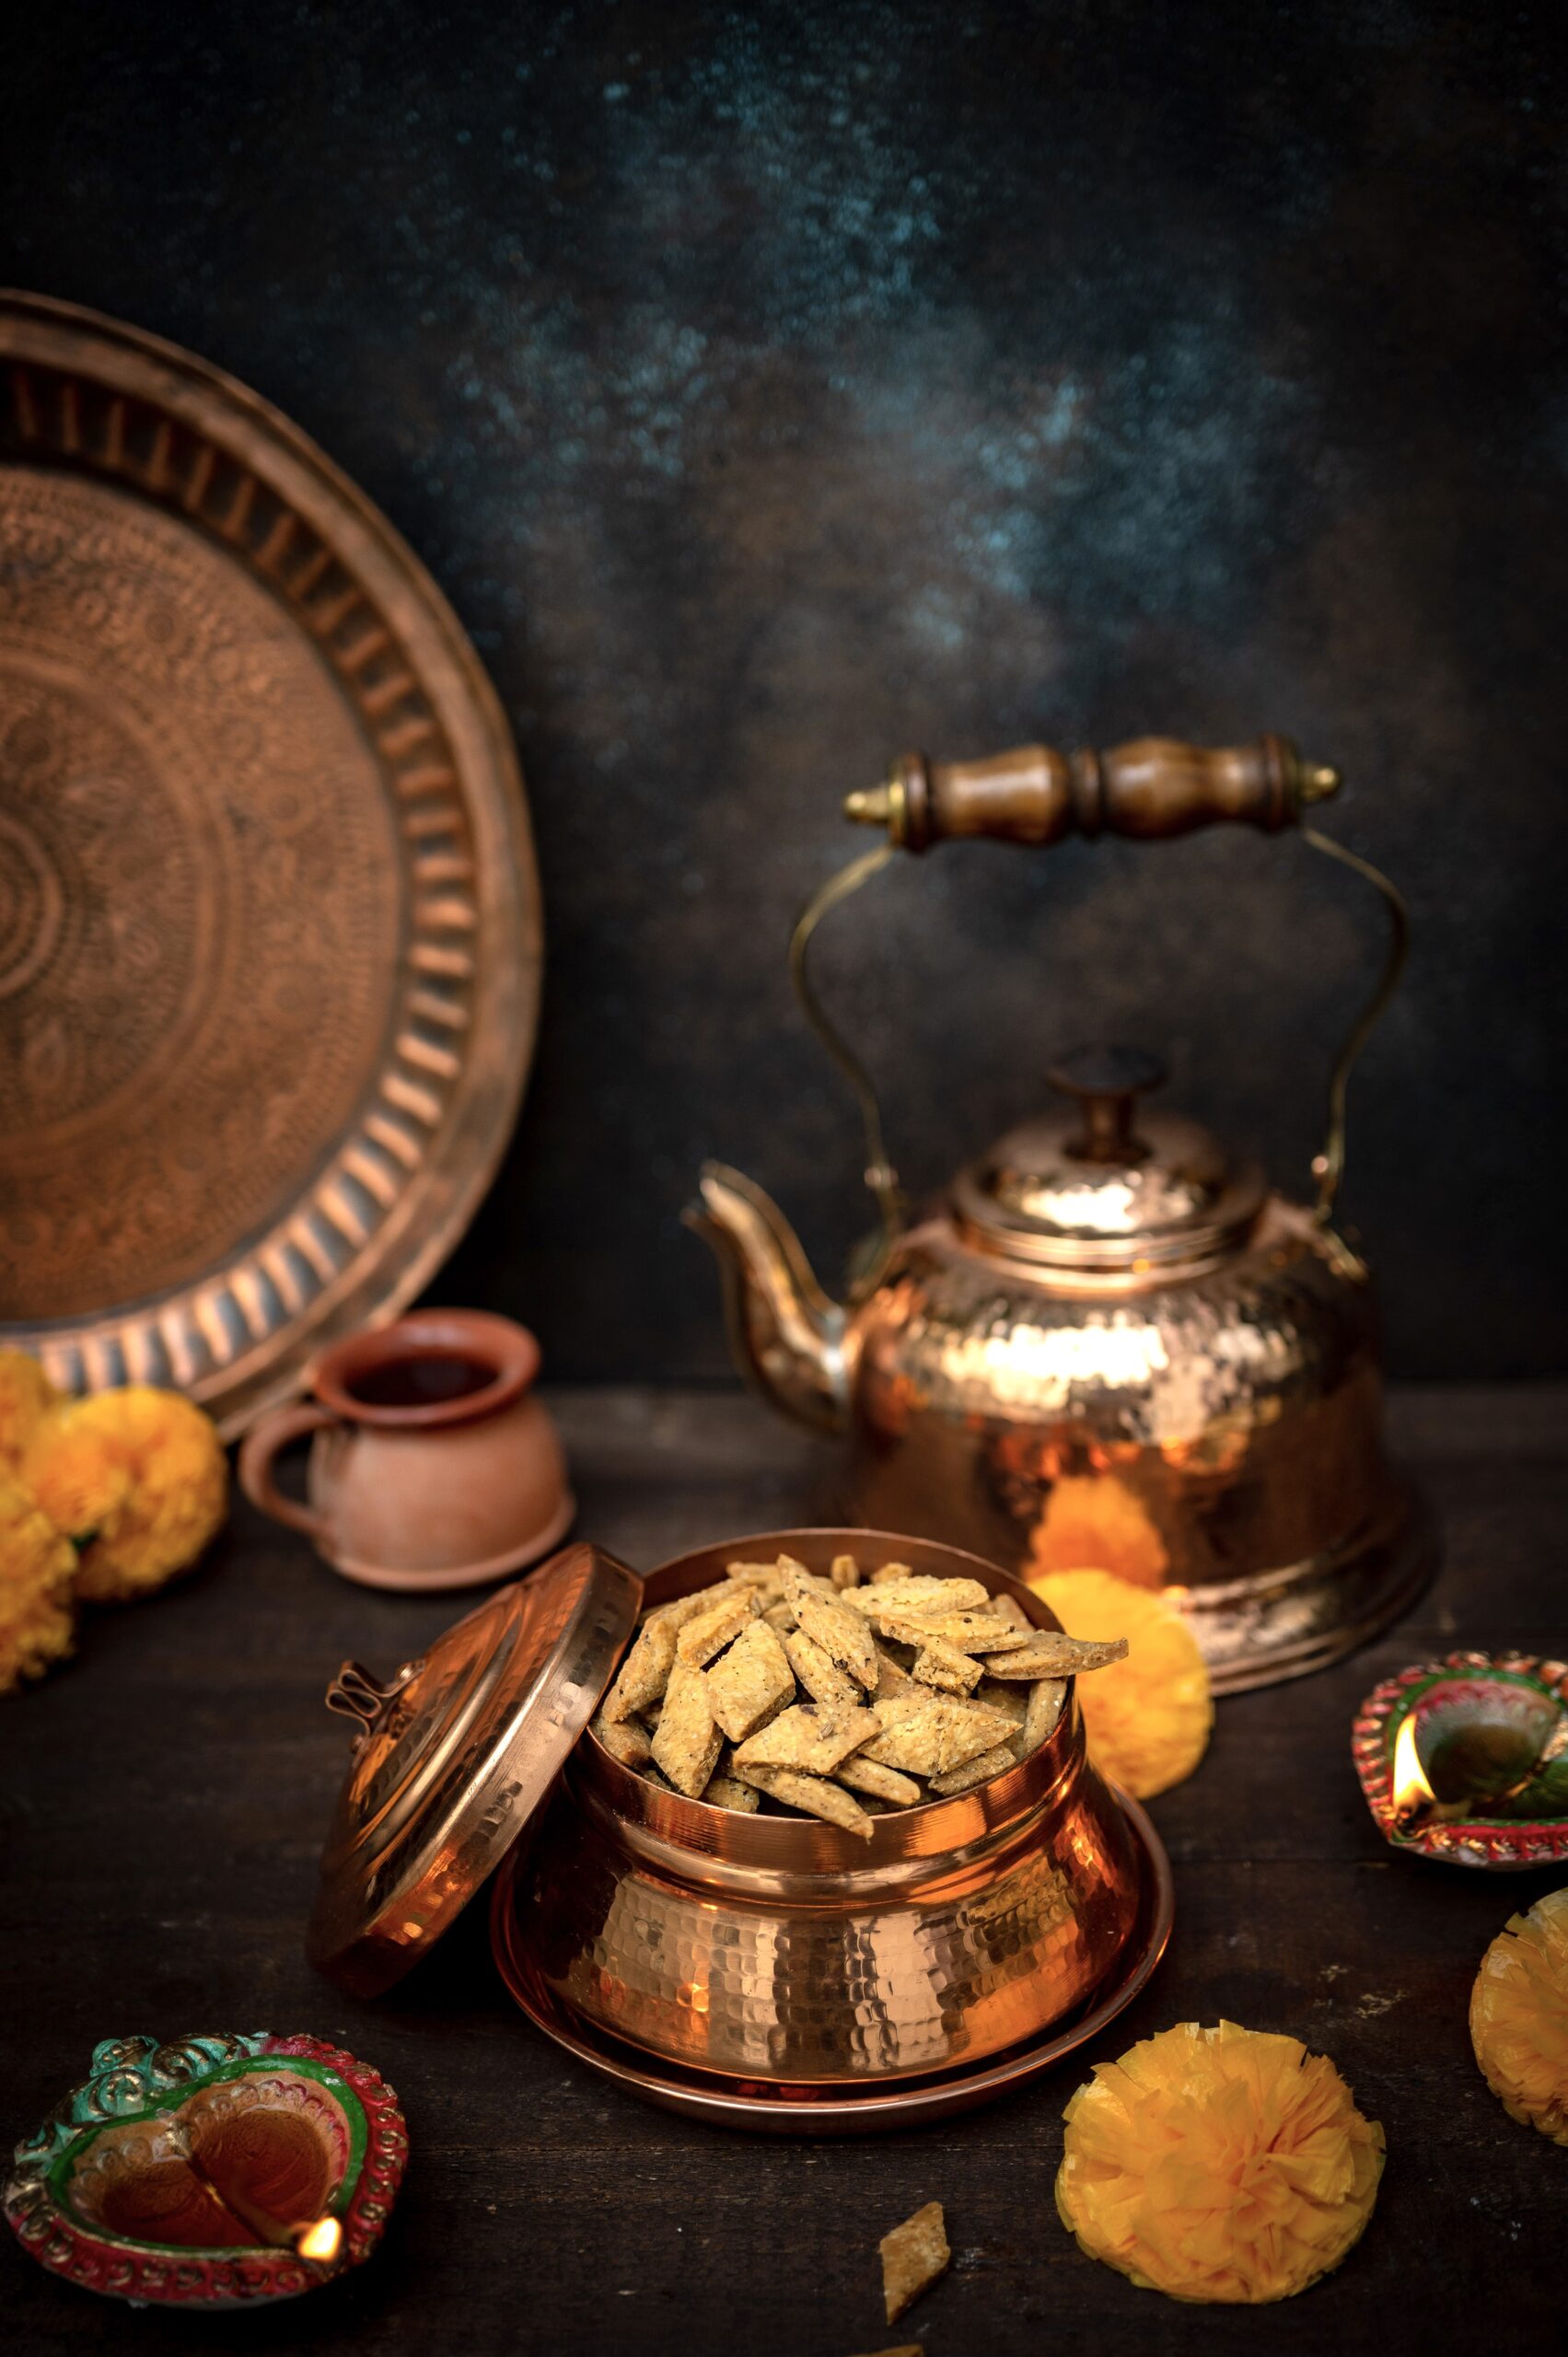
You may have noticed the unusual green tinge of this snack in the photographs. That shade comes from the use of fenugreek (methi). I like to add fresh leaves. They are supposed to be in season now, but the rain has made the supply irregular where I live. So what I do is dry the leaves when I can get them, then powder and use them. You can also purchase this powder, known as kasuri methi.

It will also add a slight hint of bitterness to the flavour of the namakpara, which I personally like as it balances the intense sweetness of festive desserts that may be consumed at the same time. I also sprinkle my fenugreek powder into dough, batter, salads and more, so that I can incorporate its benefits into more meals. I’m a fan, but you can skip it altogether if you prefer.

Isn’t it funny how fenugreek is in season right now – during a time of indulgent feasting? Balance is clearly one of the laws of nature. It’s a good law to observe when it comes to food too.

Enjoy this with anything else sweet, savoury or festive – or just make it as a teatime snack at another time of year, to add some pep to an ordinary day.

Tell me: what are you preparing for the festive season this year? As always, I love hearing from you!

I recently visited my very dear friend Girija, whom I’ve talked about before. Her stew is famous. I hope you’ve experienced why; I shared the recipe a while ago so that its delightfulness could spread even further. Whenever I visit her, it feels like I’m going home. She spoils me, looks after me, cooks everything that I like to eat, and I have to admit that she is a way better cook than I ever can be.

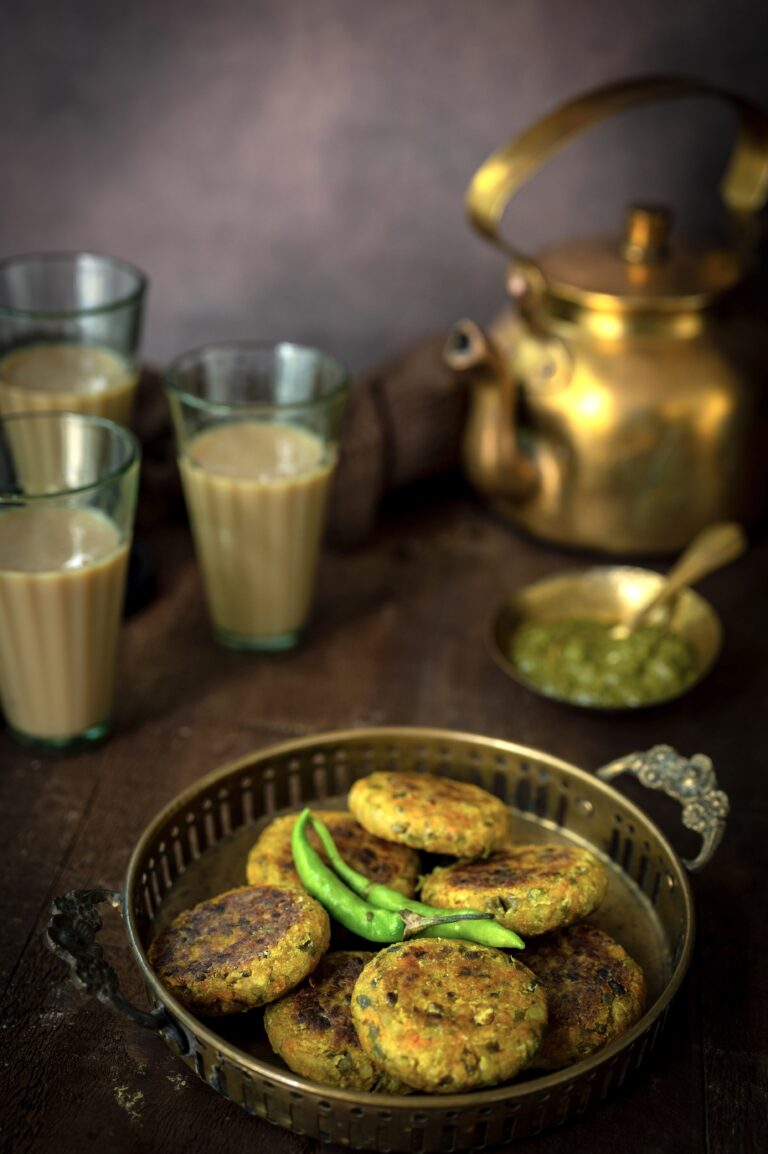
In my previous recipe, for beetroot cutlets, I mentioned that the dish had been popping up in various conversations around the same time. Girija was one of the people I discussed the dish with, and I recall telling her that what I usually make is a mixed vegetable cutlet. I enjoy talking to Girija about culinary innovations because there is a lot I learn from her. Through her, I know about cooking meat dishes that I wouldn’t otherwise have a familiarity with, along with details like spice usages and the reasons behind them. I often say that my mother was my first teacher in the kitchen, and that subsequently studying Macrobiotics at the Kushi Institute enhanced my outlook and the way I see and treat food. I feel Girija is among these teachers of mine too.

I share all this with gratitude, which is connected of course to the Indian belief that food must be treated with respect and should never be wasted, and to the practice of saying grace before meals in some cultures. As I share my mixed vegetable cutlet today, during this festive month and incidentally the month in which this blog of mine turns six years old, I want to say that am so happy to have such lovely people in my life. Between you and me, I am even grateful to have the not so lovely ones as well, for they teach us too. Life is all about learning and growing. Over the last few years, I’ve learned and grown so much in the culinary field and beyond. It all begins with the food we cook, the food we eat, and the food we learn to cook – together.


Mixed Veg Cutlet

(Yield: 6 pieces)


2 cups finely chopped vegetables (beans, carrots, peas)

1 boiled potato

1 slice of bread made into bread crumbs

1 teaspoon oil + oil for shallow frying

Salt to taste

1 teaspoon aamchur (raw mango powder)

1 teaspoon garam masala


In a kadai, add the 1 teaspoon of oil. Once it has heated, add the vegetables. Stir and allow to cook until tender.

Transfer the vegetables onto a shallow dish and add the potato, bread crumbs, salt, aamchur and garam masala. Mash all the ingredients together well until combined. Add the coriander leaves.

Make the mixture into palm sized discs. Set aside.

In a flat pan, add some oil. Once it has heated, gently place the cutlets onto the hot oil. Lower the flame to low-medium. Allow the cutlets to turn golden and then flip. Allow to cook on both sides.

Your mixed veg cutlets are now ready to serve. I hope you’ll try them out, and that you’ll also explore my beetroot cutlet, sweet potato tikki and harra bhara kebab recipes, which are in a similar vein. All go well with an assortment of dips, chutneys and sauces. Let me know what you think, and if there are any other cutlet recipes you’d like me to try out and share with you in future. As I said earlier – we just keep learning, and for me I find that sharing is a way of learning too.


Staying fit and staying healthy have always been important to me, and these are my mantras when it comes to cooking and eating. Especially today, when the importance of being very careful about what we put into our mouths has become widely understood. It all affects our bodies, and our health should always be our top priority. I have many friends who are still recovering from long COVID. It’s not that they were unhealthy to begin with, but this crisis has made us all more conscious about taking steps to boost our immune system. In my case, this has meant choosing to consume less sugar, while consuming more fibre and more protein.

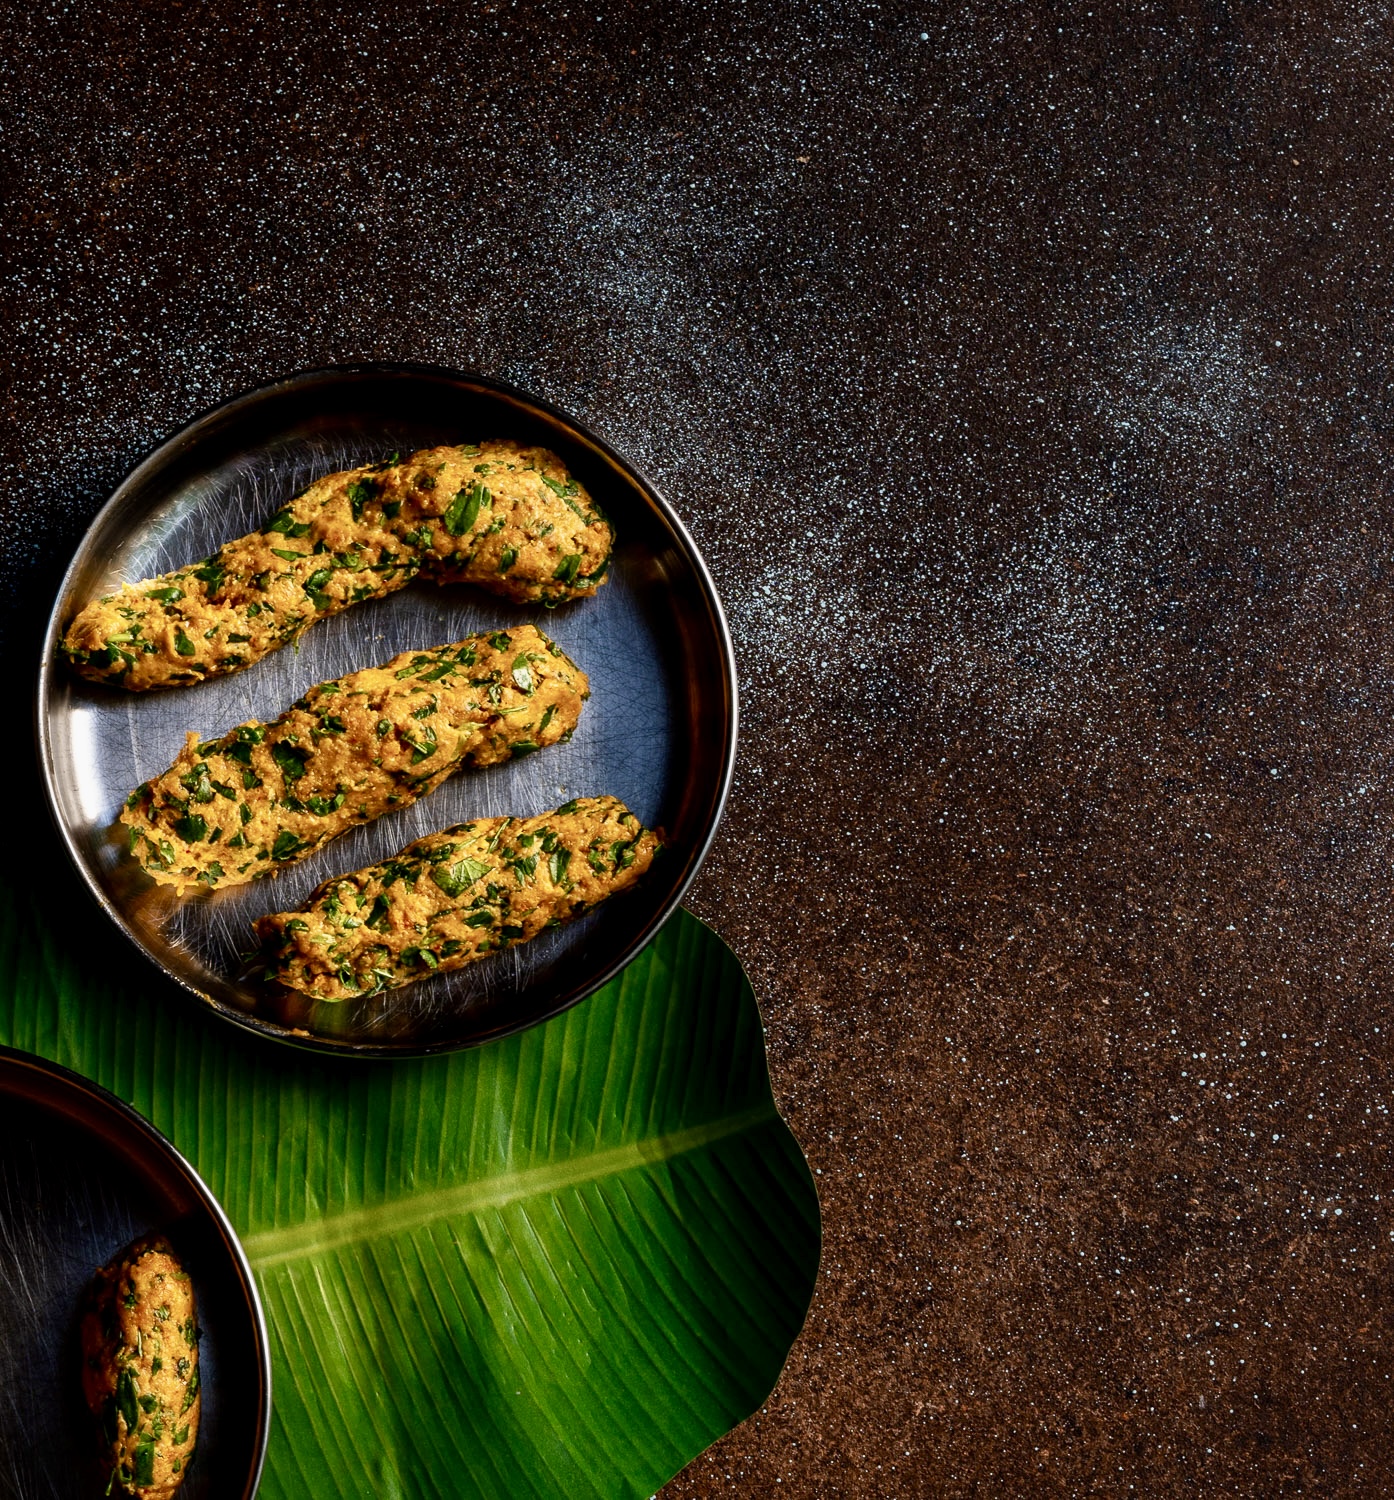
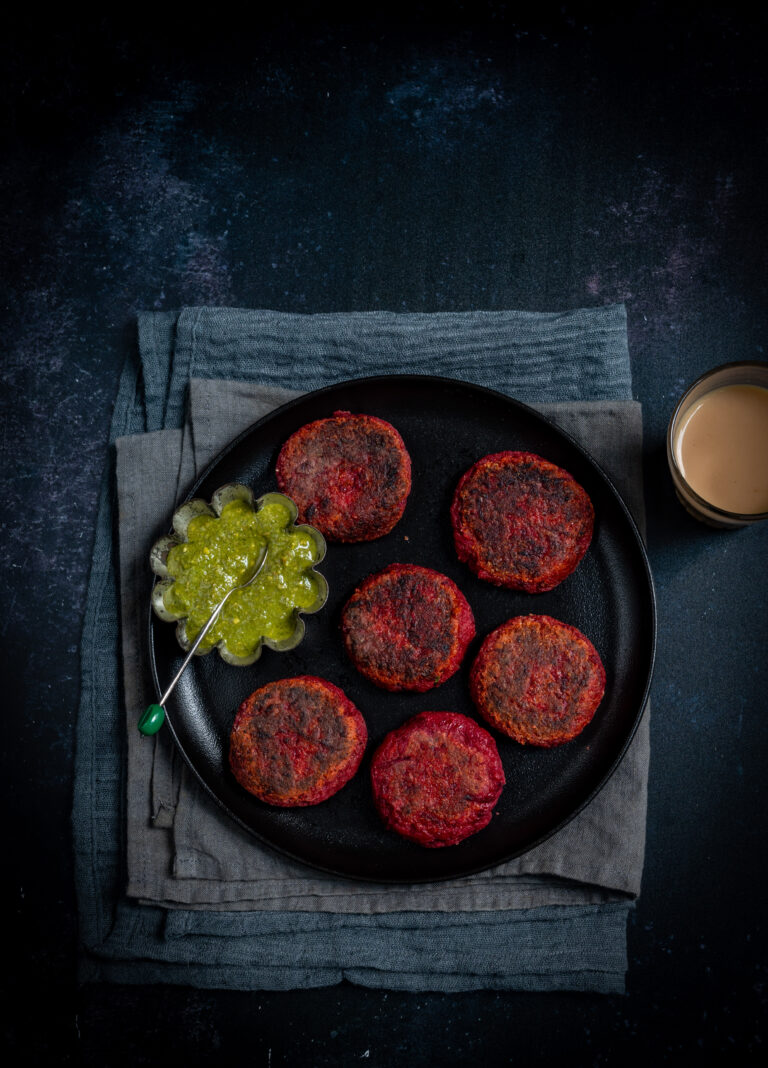
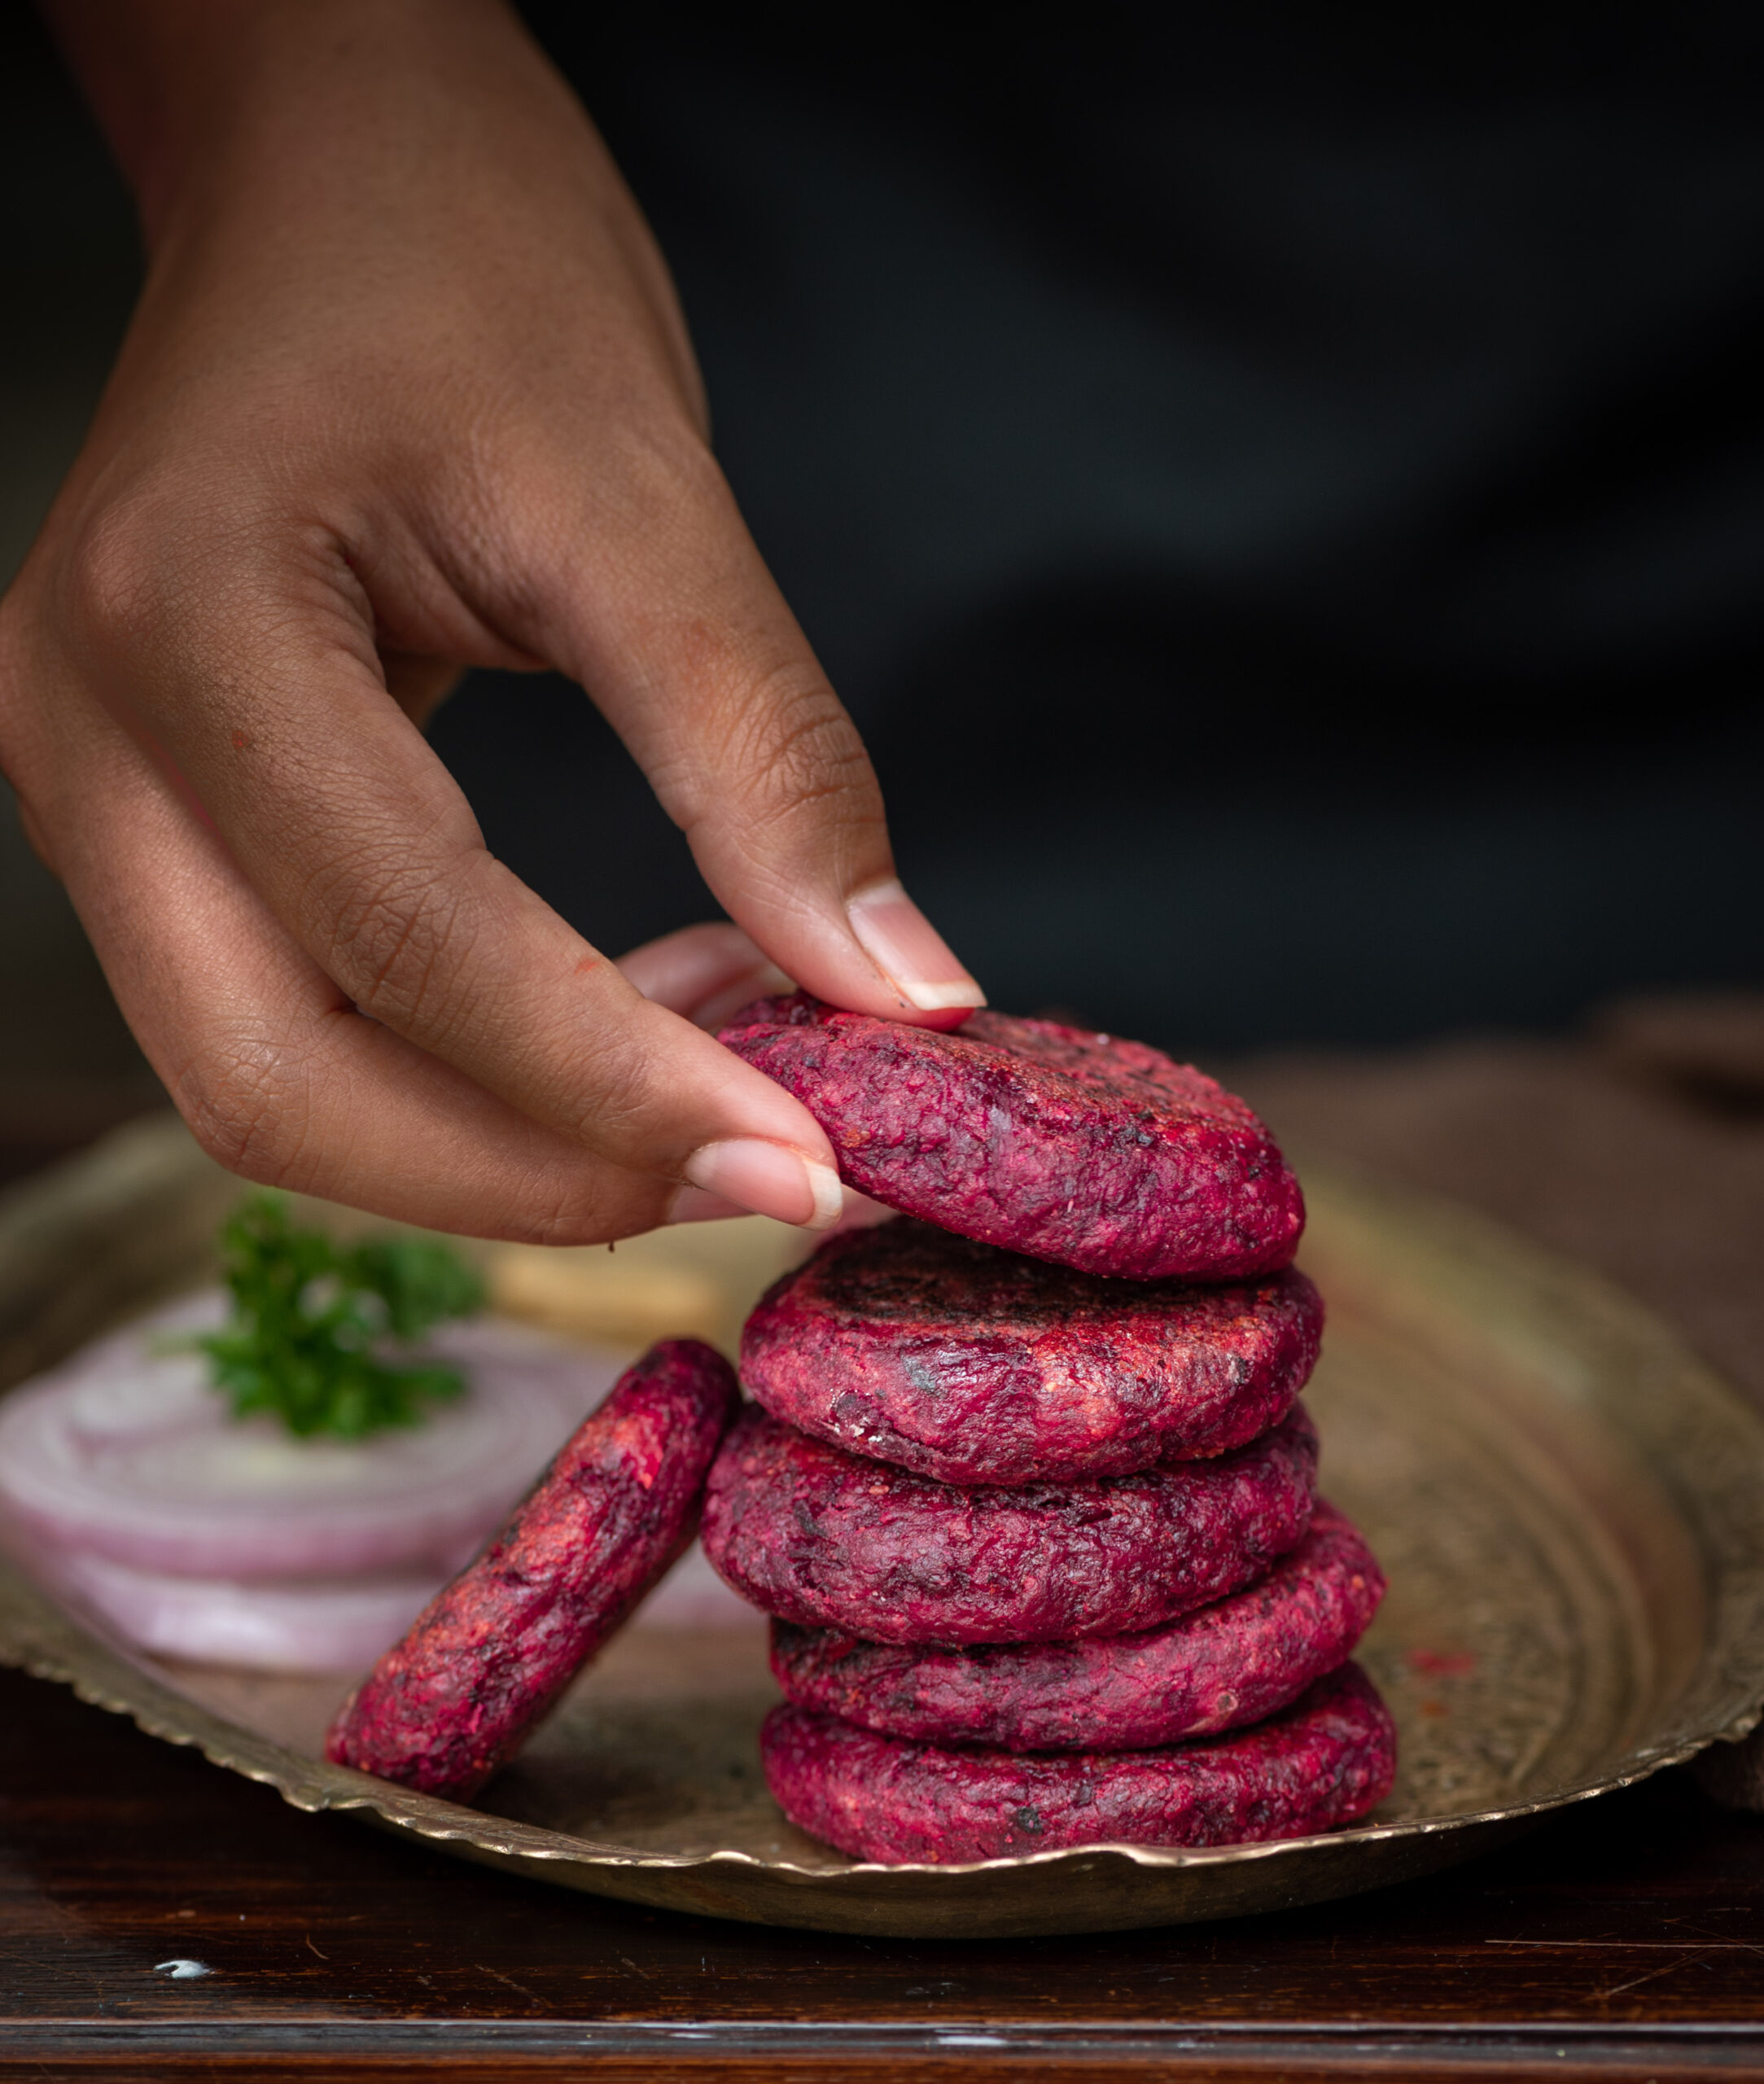
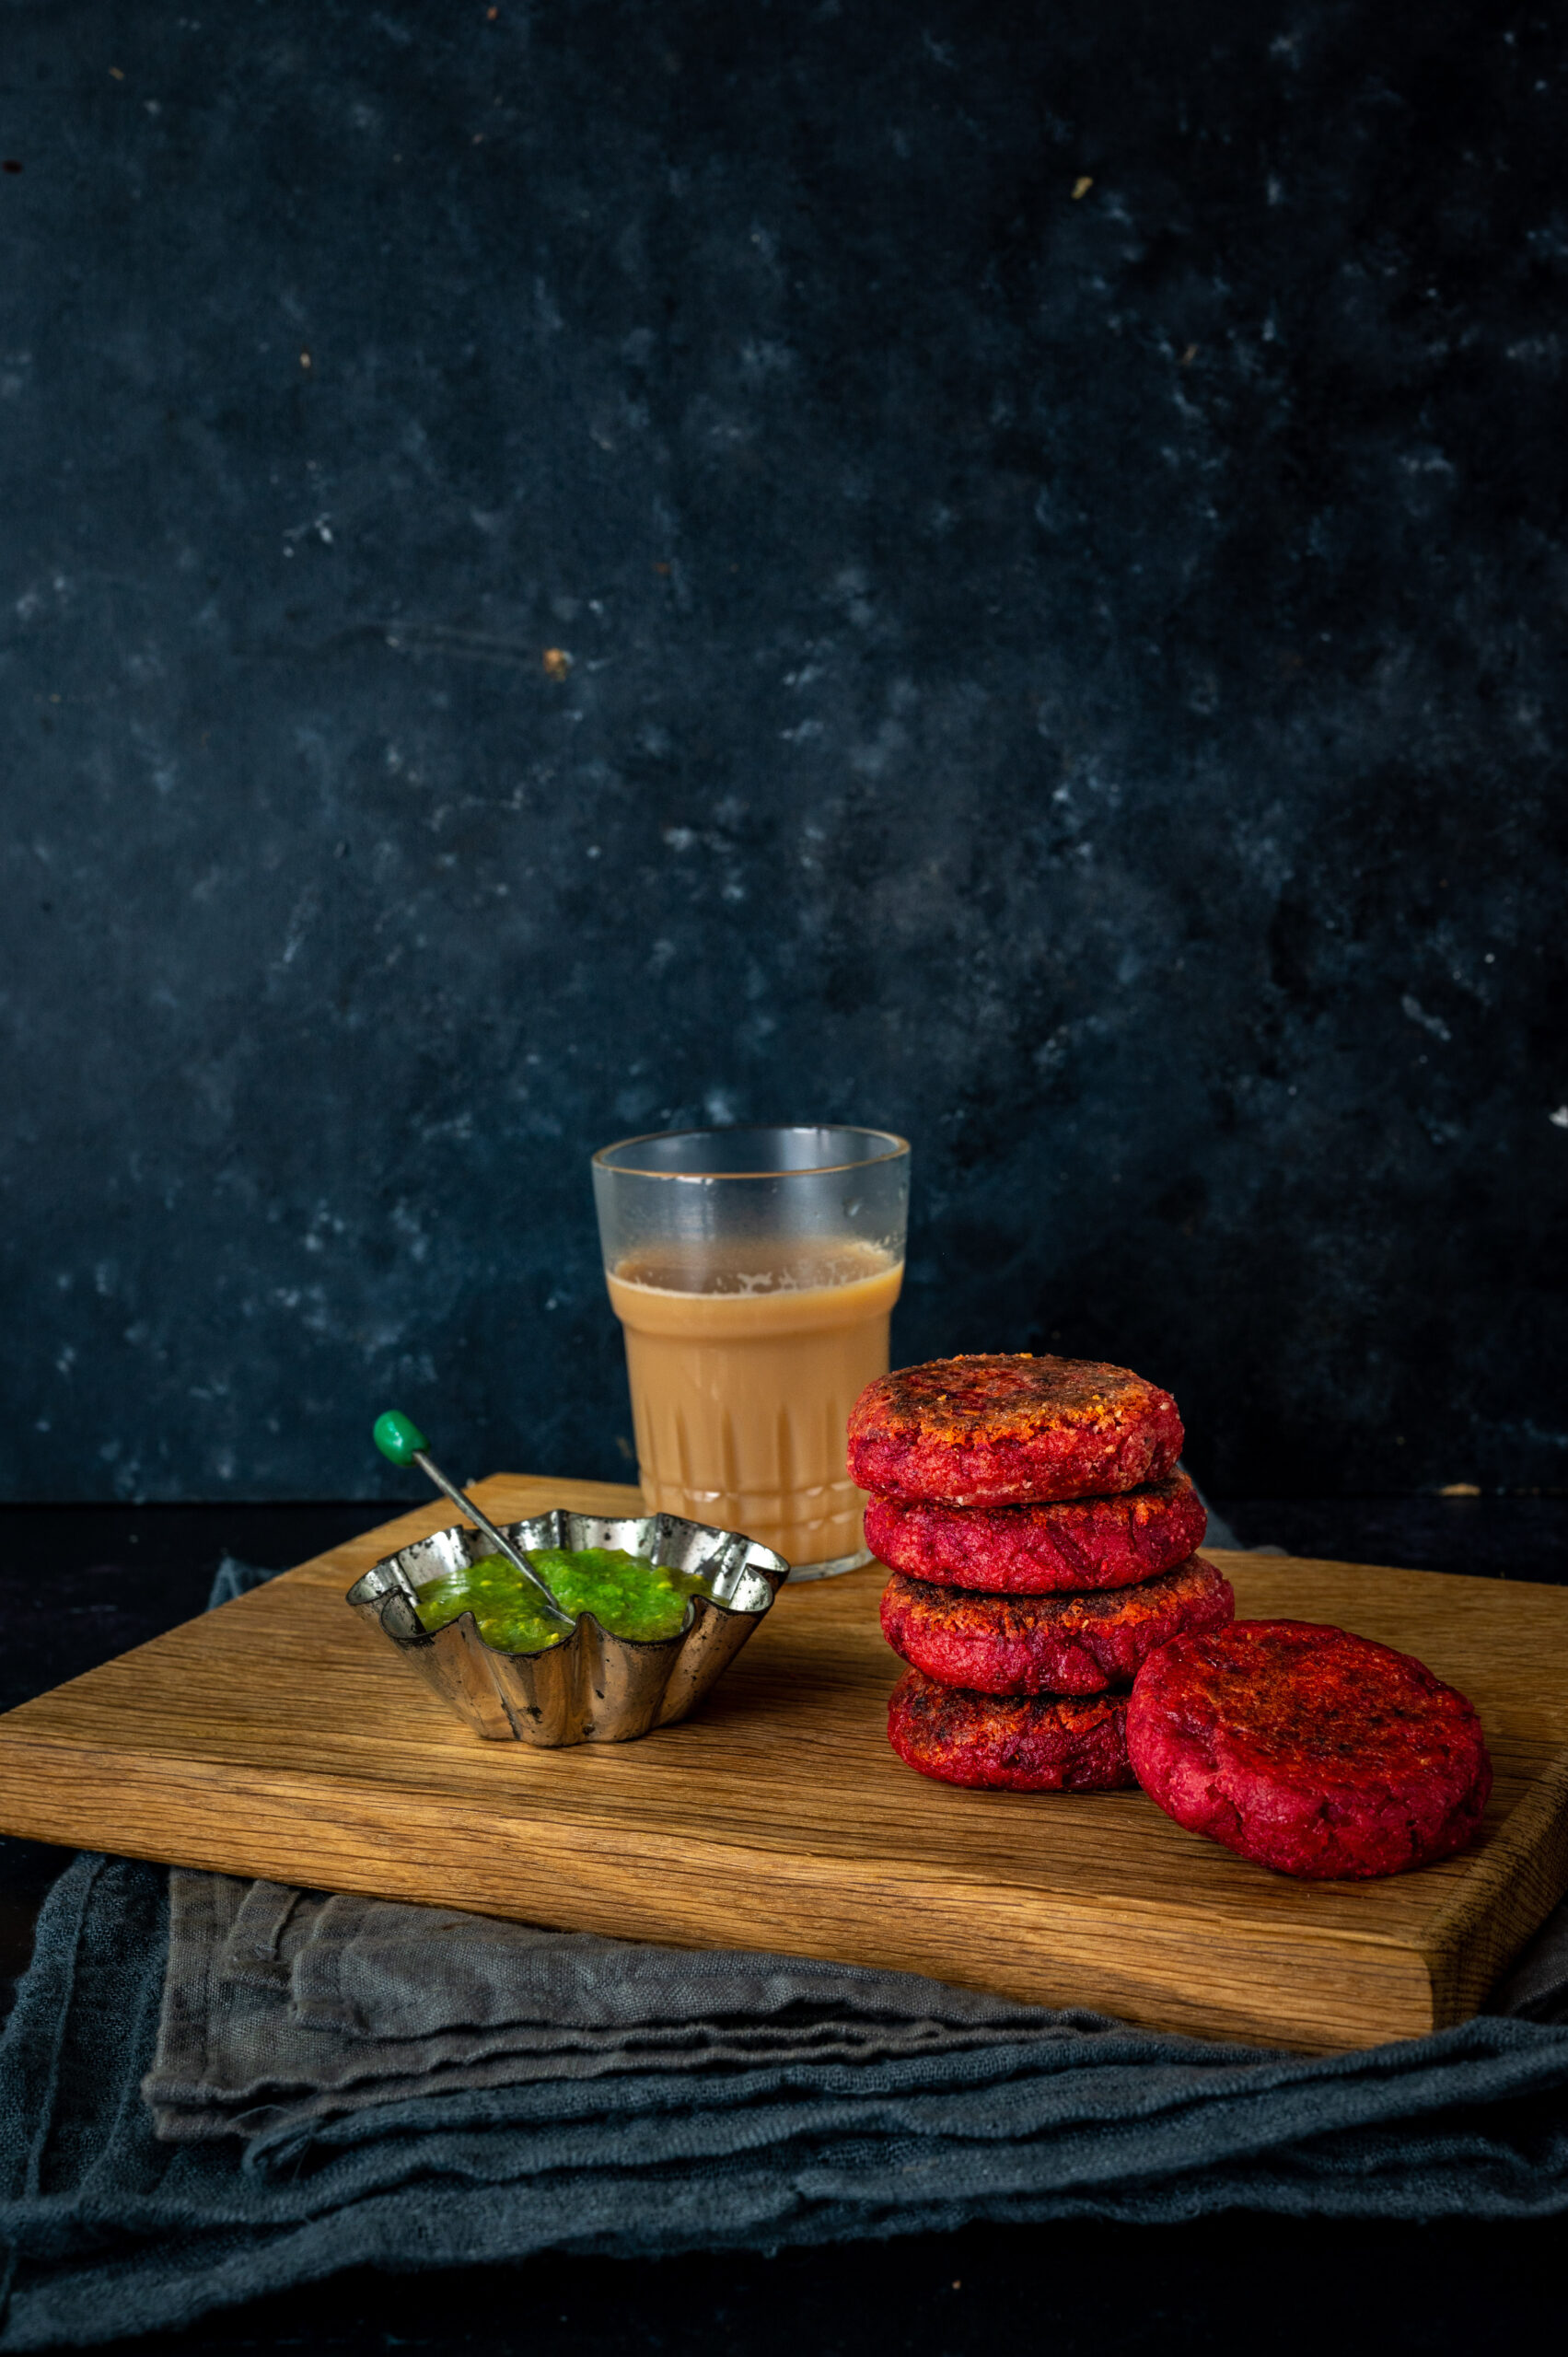
Any dietary website you consult, whether you agree with it or not, will tell you that overdoing anything is the big risk. It is only vegetables that are exempt from this rule, which is why I put as much of them as I can into my cooking. Specifically, for today’s recipe, into my cutlets. I’ll share another variety soon, but to begin with, here are beetroot cutlets, also known as beetroot tikkis.

A tikki is essentially a sort of Indian cutlet. If you make these in a smaller size, they become great starters when accompanied with a green chutney, which always peps things up. In order to make it more filling, some paneer, potato or spinach are great additions. I have used paneer and potato in this version.

There are various ways to prepare the beetroot. You could grate the raw beet, then cook it or deep fry it. Or you could boil or steam it instead. Either way, it’s really delicious. Beets contain a lot of natural sugars, which help fulfil your body’s sugar cravings. This vegetable is also rich in fibre, potassium, folate, manganese and iron.

The idea of making beetroot tikkis came about because the concept kept popping up in different conversations. A few different friends I’d been visiting all talked about it. This was what inspired me to try out and share a recipe for myself. You know how it is sometimes – something keeps coming up repeatedly in one’s life, and once you notice the pattern you are almost compelled to explore it. Whether it’s something small, literally, like a cutlet, or something bigger – a question, a person, a place… There’s always some learning there, if we choose to find it. In this case, adding this recipe into my repertoire has been an enjoyable little learning indeed.

Beetroot Tikki

(Yield: 6 pieces)


1 cup raw grated beetroot

½ cup grated paneer

Salt to taste

½ teaspoon garam masala

½ teaspoon aamchur (mango powder)

½ teaspoon roasted cumin powder

1 teaspoon ginger-green chili paste

1 boiled potato

2 tablespoons bread crumbs

2-4 tablespoons oil for shallow frying

1 tablespoon extra bread crumbs for shallow frying


In a pan, sauté the grated beetroot on a medium to high flame until the water is cooked. Boil and mash the potato.

In a bowl, add sautéed beetroot, boiled and mashed potato, paneer and spices. Add the crumbs too.

Mix these ingredients together well with your hands and shape them into tikkis.

On a flat pan, add sufficient oil. Dip the cutlets into the extra bread crumbs and then place them on the pan. Allow to cook until golden, then flip over to the other side.

Your beetroot cutlets / tikkis are now ready to serve. They are usually eaten as a snack, with any dip of your choice. If you’re a fan of dishes like these, my sweet potato tikki and harra bhara kebab recipes may be fun to try out too. I have another cutlet recipe coming up soon on my blog. Stay tuned, and as always, I love hearing from you!

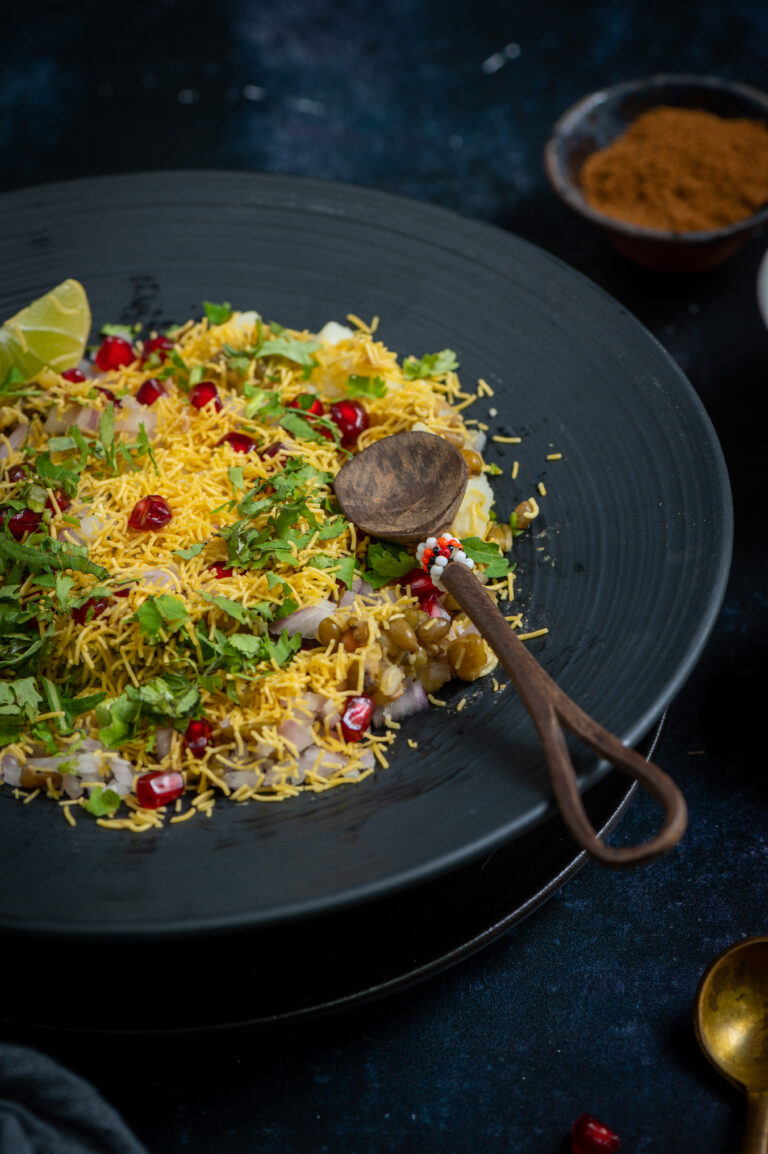
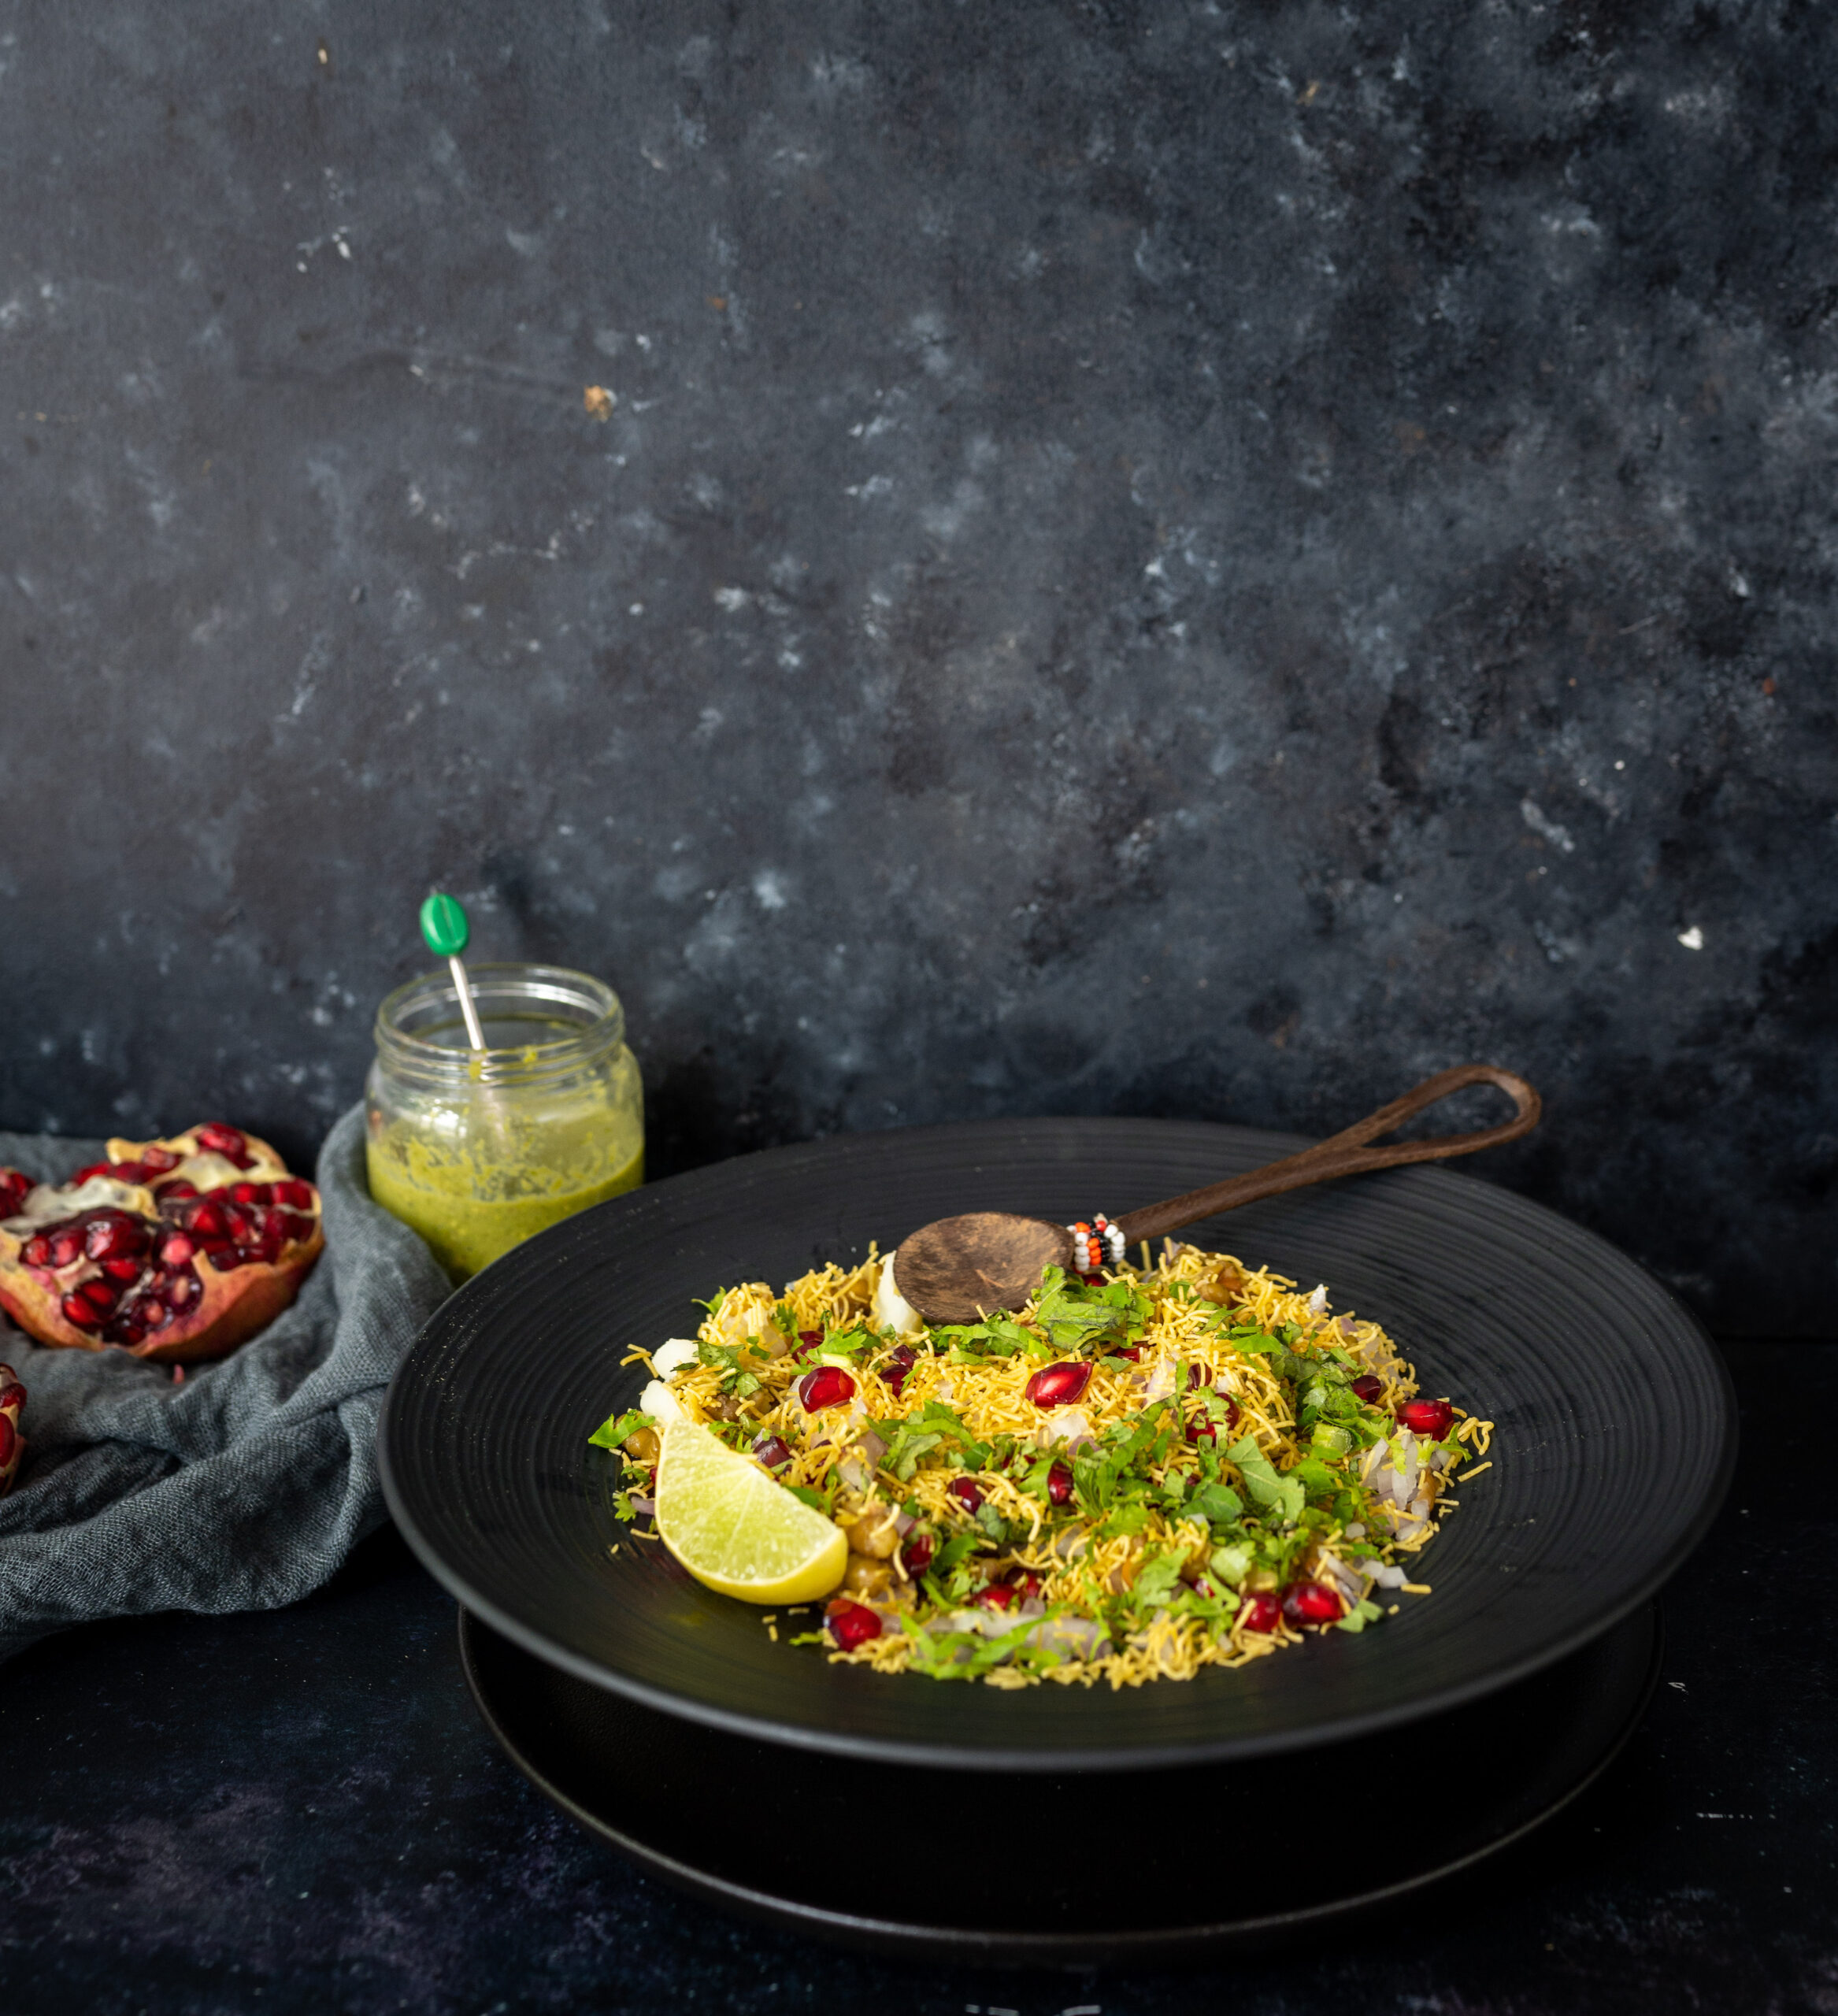
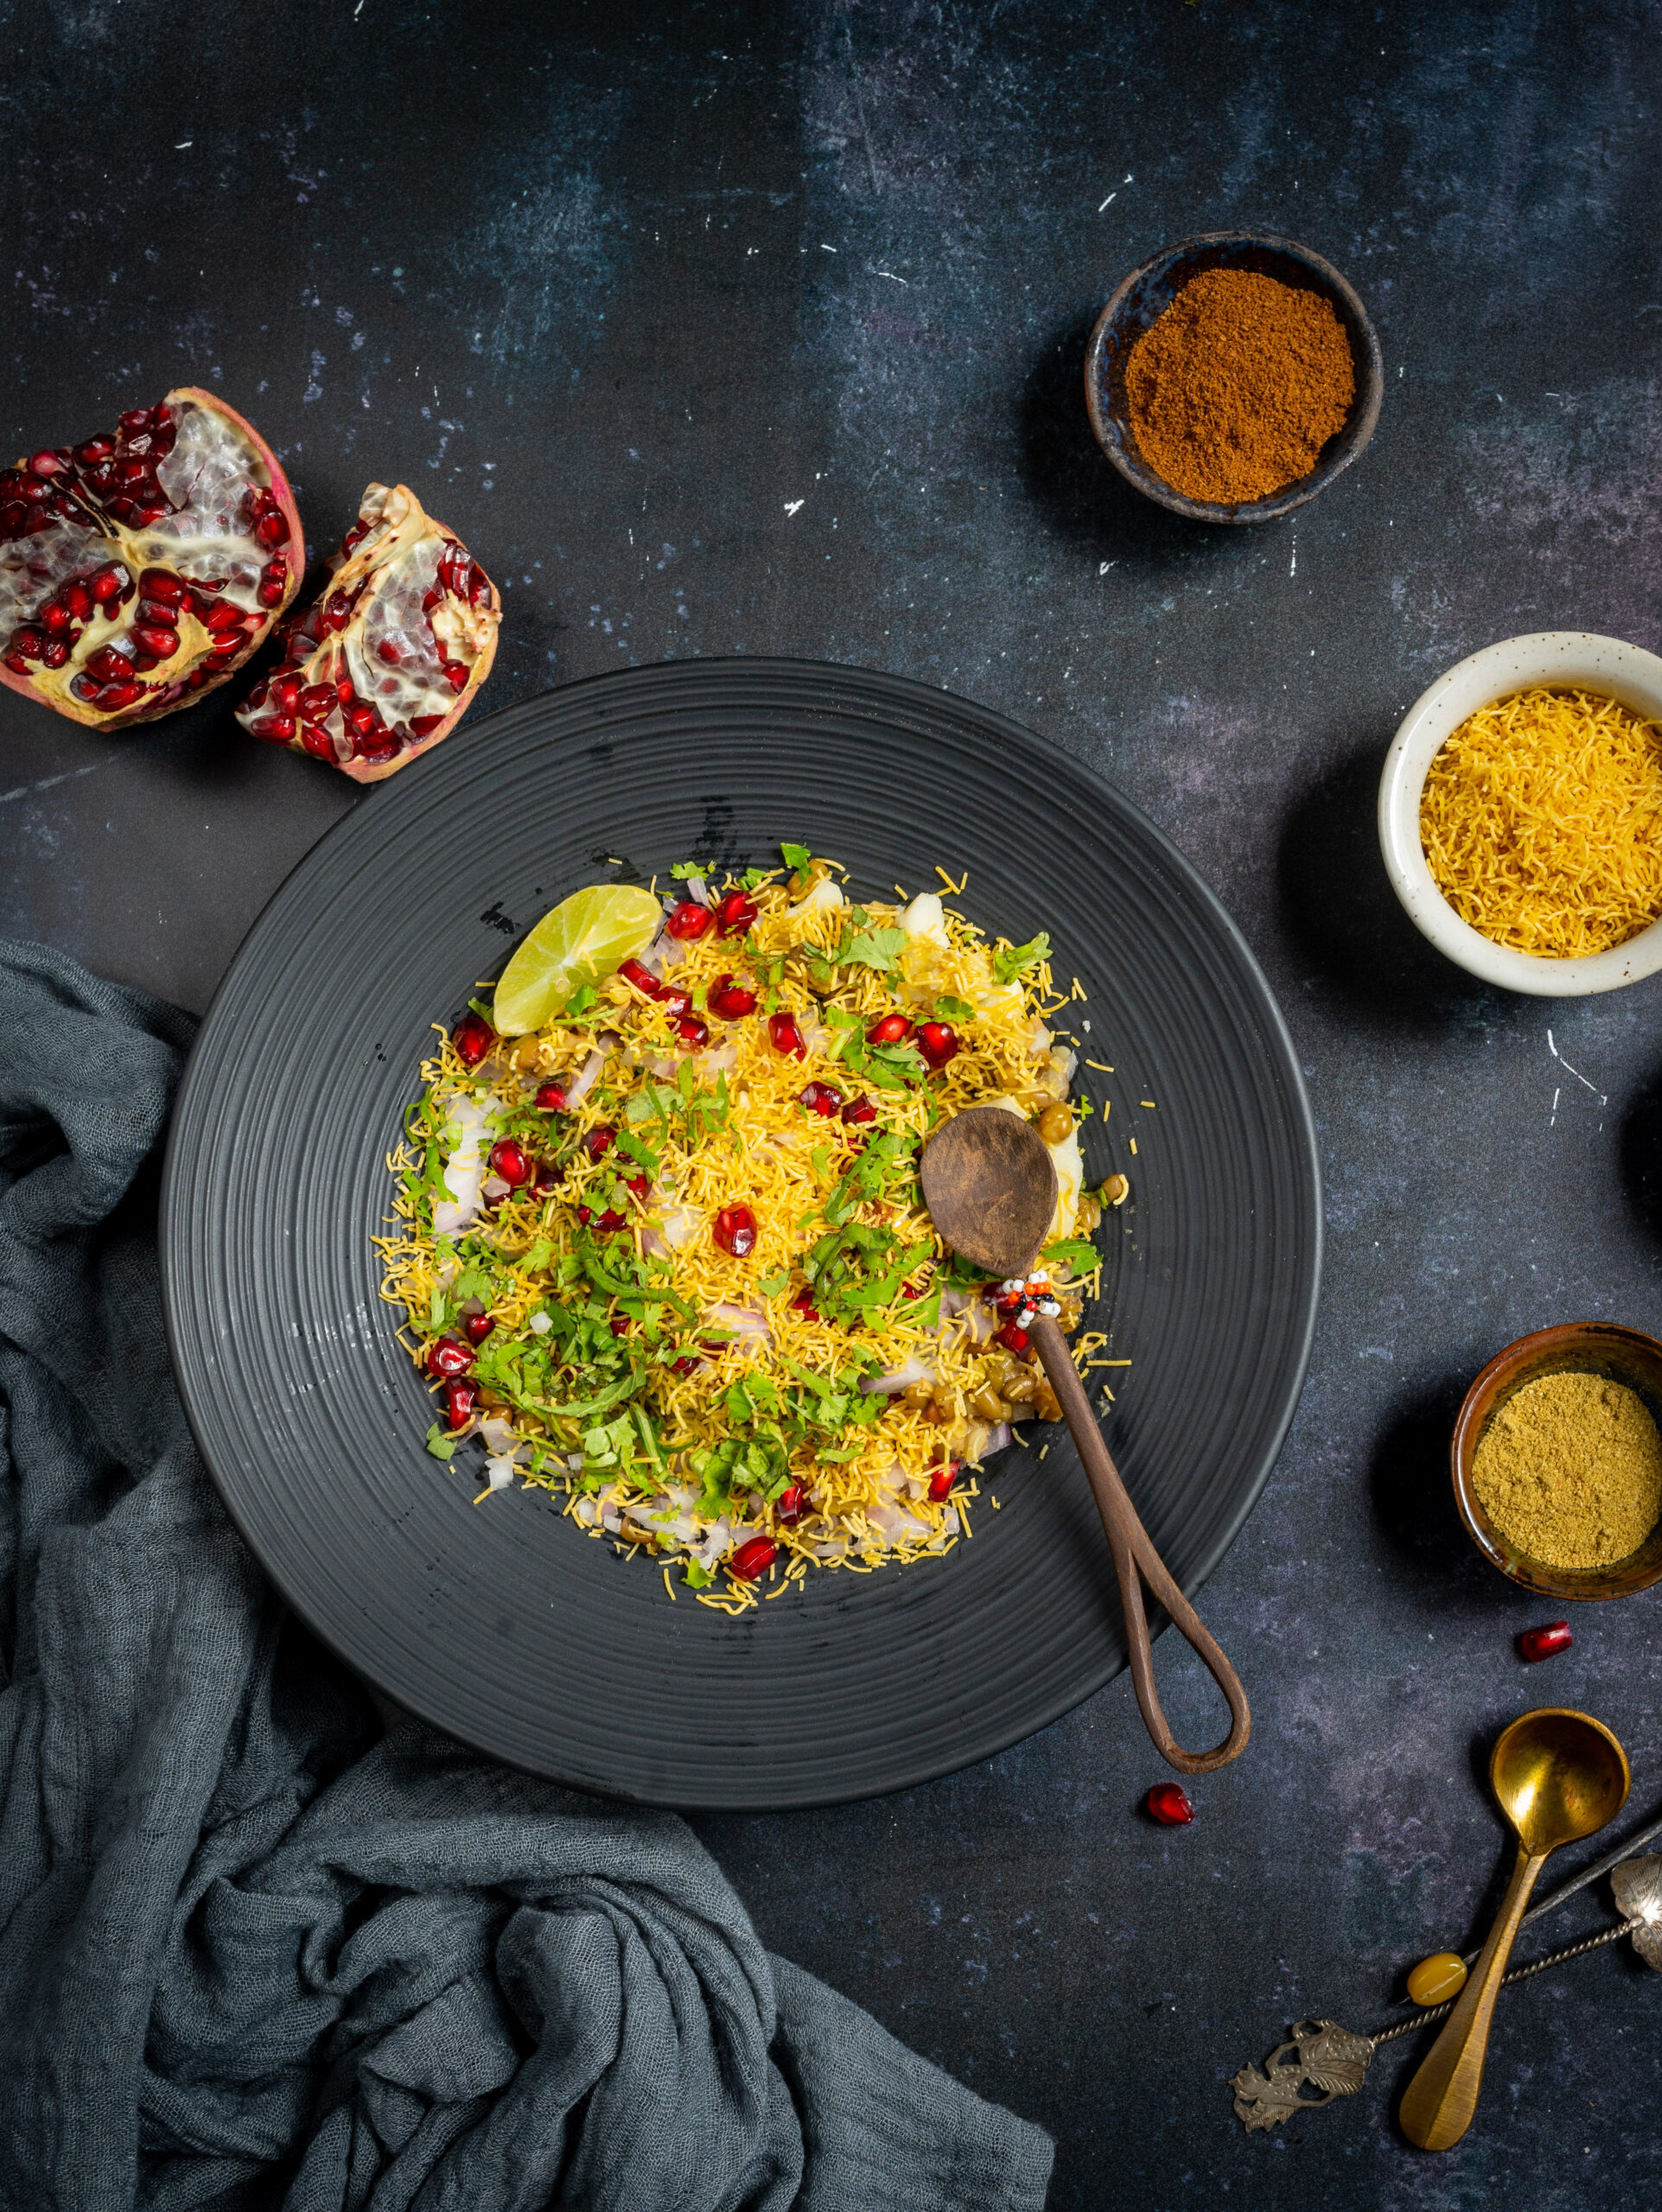
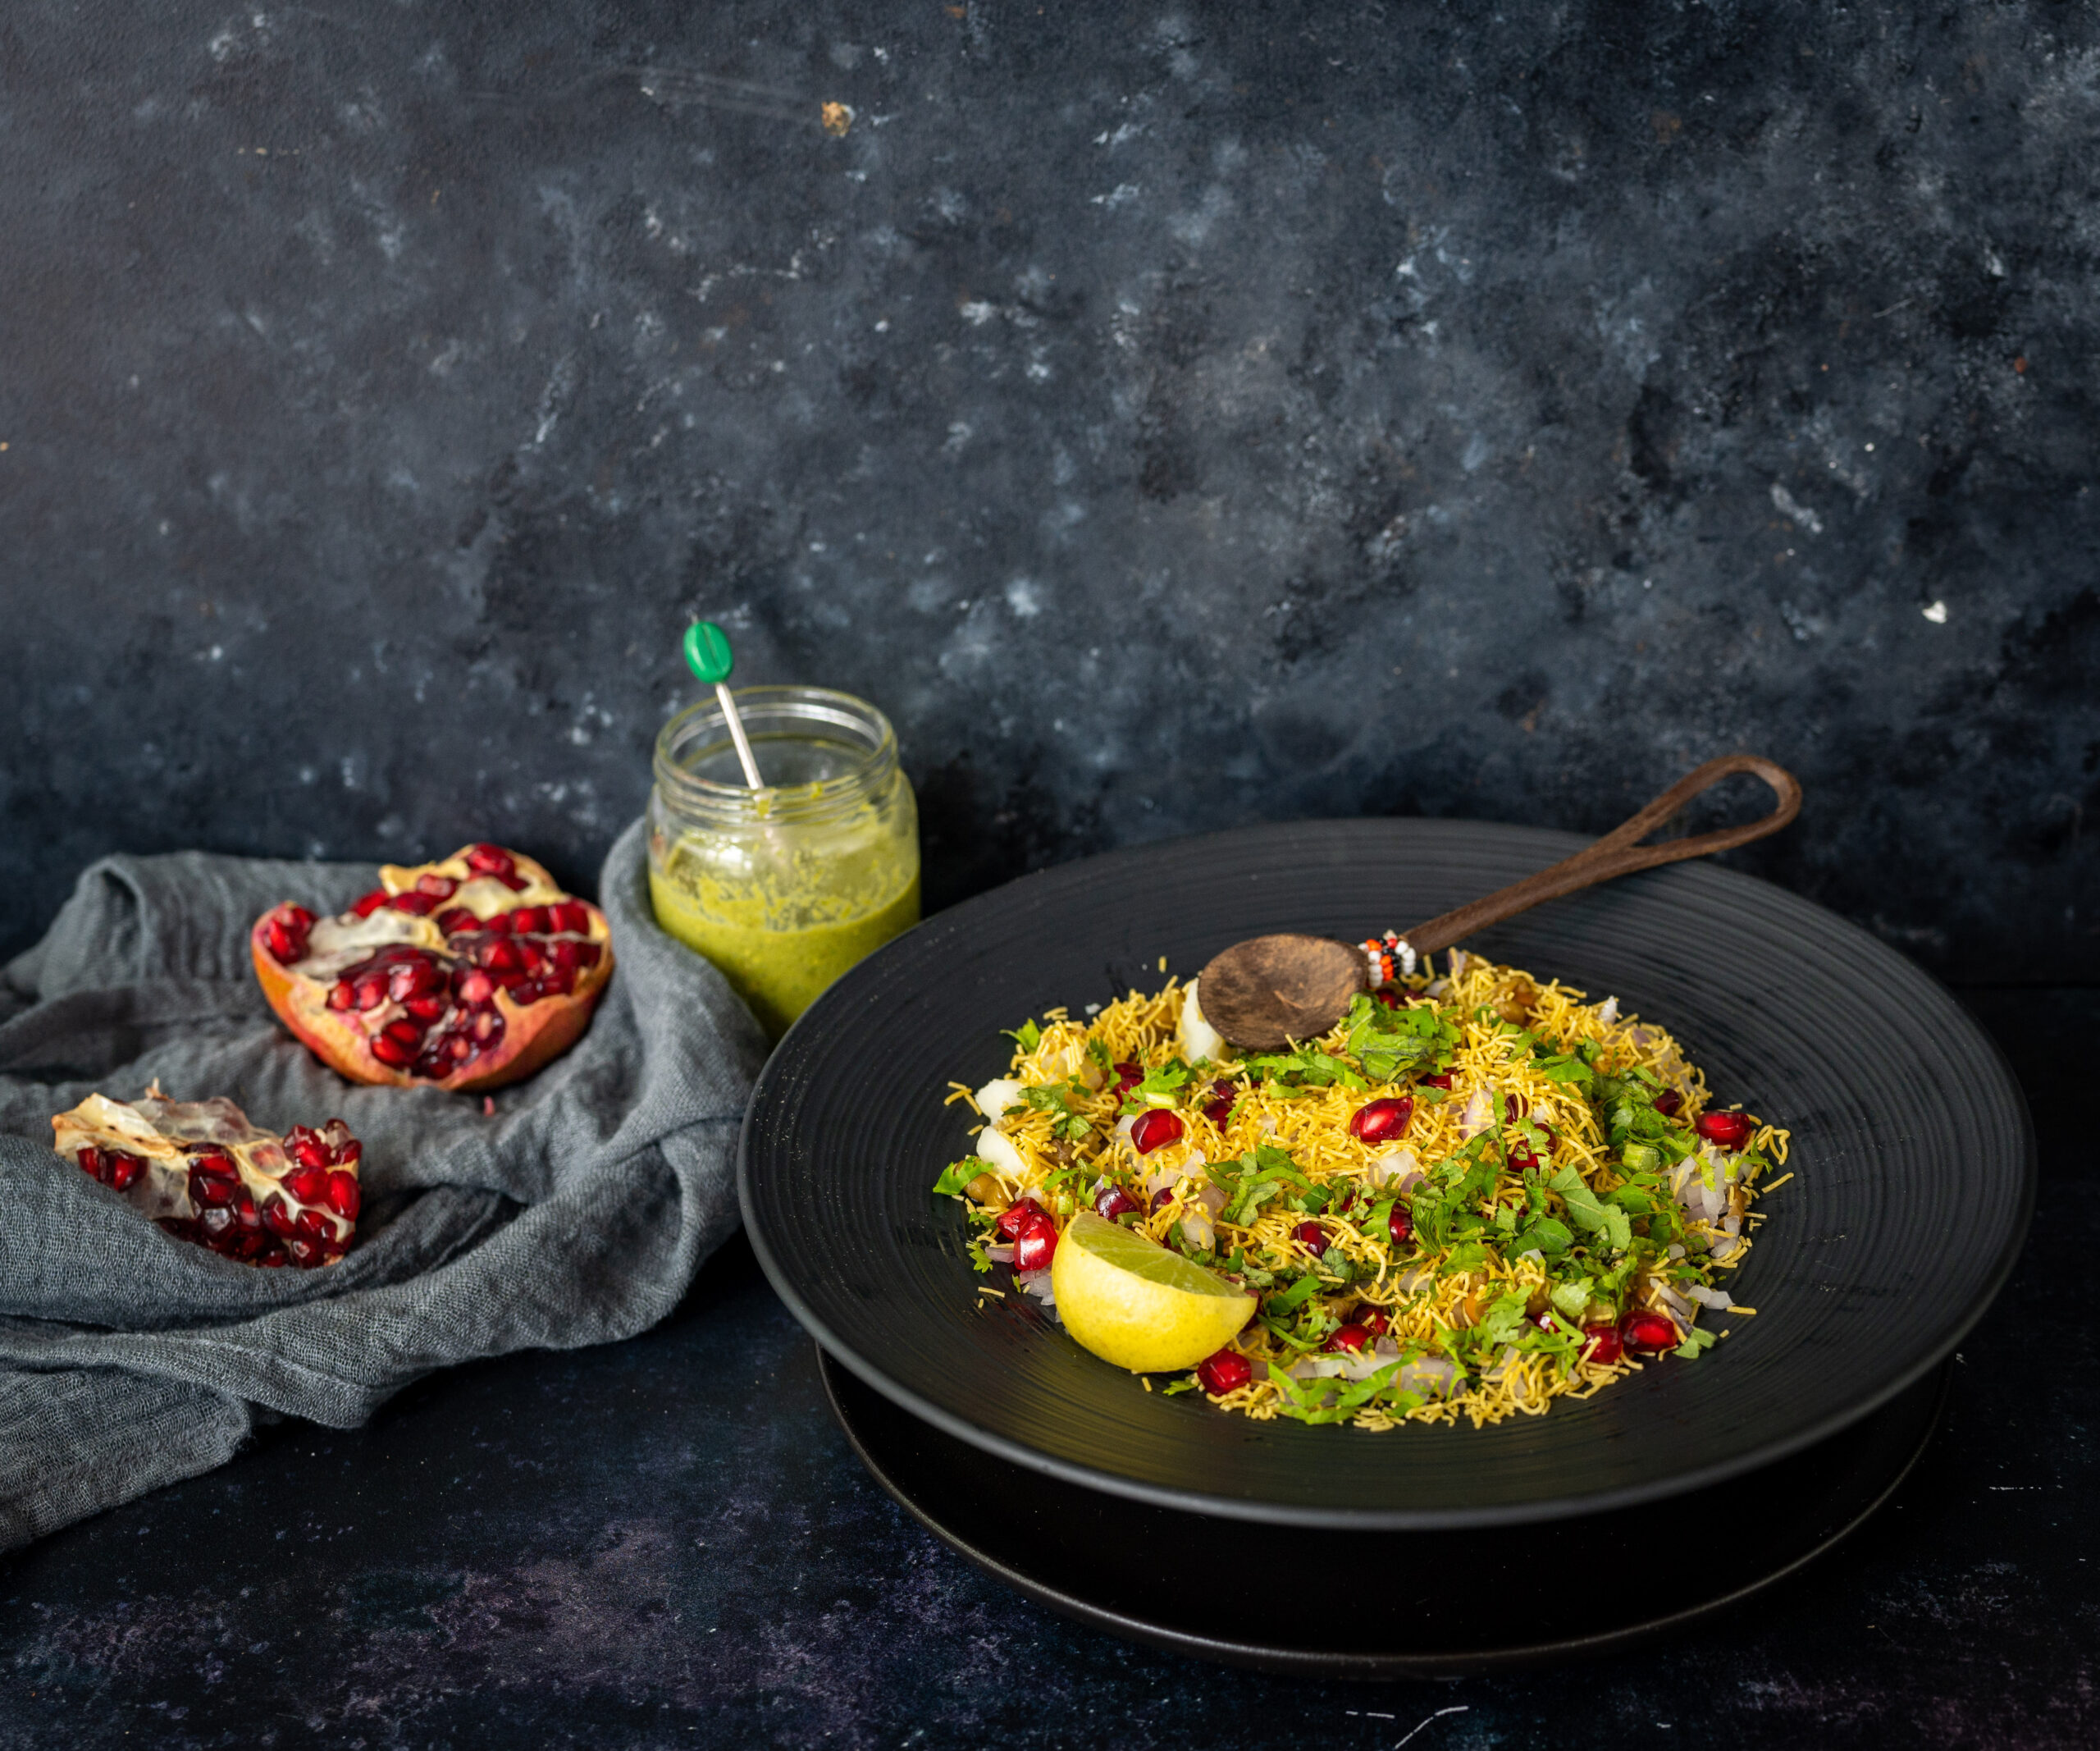
I have mentioned before that I go through phases when I binge on particular dishes, and right now, I can’t get enough of sweet potato chaat. Chaats are a category of Indian street food, and while it may be true that authentic street food is only found at roadside stalls, I love the healthier versions I make at home just as much. This one is especially so because it replaces the standard puri (a kind of crispy, round cracker) that is the base of many chaats with cubes of sweet potato. Sometimes I even pile on some extra roasted vegetables and this really boosts the nutrition quotient of this fun snack.

My version is made so that it is essentially the equivalent of an Indian salad, and I have a full plate’s serving of it. When I have it around 6.30pm, it is so filling that it can become my dinner.  It’s a no-guilt chaat, and is pretty good for you, not just good to eat. The sweet potatoes are boiled then roasted with very little oil, made as crispy as possible. These are layered with mung beans, vegetables, dry masalas and the delicious chutneys that I always have around the house. Date and tamarind and green chutneys are kitchen staples in my home and lift up the flavour of any Indian dish. I use just a little of the date and tamarind chutney – the date contains jaggery and sugar, and the tamarind has a particular tang – but the green chutney is more neutral and works with a wider range of ingredients, so I use a higher quantity of it.

I’m always looking for innovative ways to play with the chaat category, and the idea of using sweet potato in lieu of puri came about one day just because I had excess sweet potato on hand. It was in season, and the thought occurred to me that regular boiled potatoes are often used in chaats, so why not sweet potatoes? That’s when I came up with the idea of using this ingredient as a puri substitute, not just a potato substitute.

When we were kids, I would often have my friends over for chaat at home as my mom was famous for them. Since I grew up right here in Chennai, I am still connected to many of my childhood friends who are also born-and-bred natives who remained. So whenever they come over for a meal today, there is always some chaat served, as a reminiscence from days long ago. It’s a given, and pretty much expected when they dine at mine. I either prepare the chaat as a main course, or else I serve a variety as a starter. This sukha bhel and this green moong bhel may be on the menu too.

This sweet potato chaat has become a favourite in my social group because it hits all the right spots: nourishing, full of vegetable goodness, not unhealthy, and still scrumptious. It’s like the memory of our childhood chaat has been adapted for our adult palates and dietary needs, and the result is a fabulous mix of nostalgia and taste!

Sweet Potato Chaat

(Yield: Serves 2)


1 cup sweet potato (boiled)

½ cup finely chopped onions

¼ cup finely chopped coriander leaves

1 cup boiled mung beans

1 teaspoon oil

Salt to taste

½ teaspoon chaat masala

½ teaspoon roasted cumin powder

2 teaspoons lemon juice

1 tablespoon green chutney

1 tablespoon date and tamarind chutneys

2 tablespoons sev or any crispy topping


Chop the boiled sweet potato into cubes.

In a pan, add the oil and sauté the sweet potato cubes until they are crispy and golden on all sides.

Take two serving plates. Divide the sweet potato into both. Sprinkle the mung beans over the sweet potatoes. Sprinkle the onions. Next, add the two chutneys. Then, sprinkle the coriander leaves, followed by the spices. Finally, add the crispy topping. You can use sev, which is standard in many Indian chaats, or substitute it for something else that adds texture.

Your sweet potato chaat is now ready. As always, you can adjust any of the ingredients to your liking. Don’t forget that a big heaping of vegetables will also work well, and you may want to try some foreign vegetables so that it becomes a kind of fusion dish.

If you’re a big sweet potato fan like I am, sweet potato tikki and sweet potato and mango salad may also interest you. Enjoy!

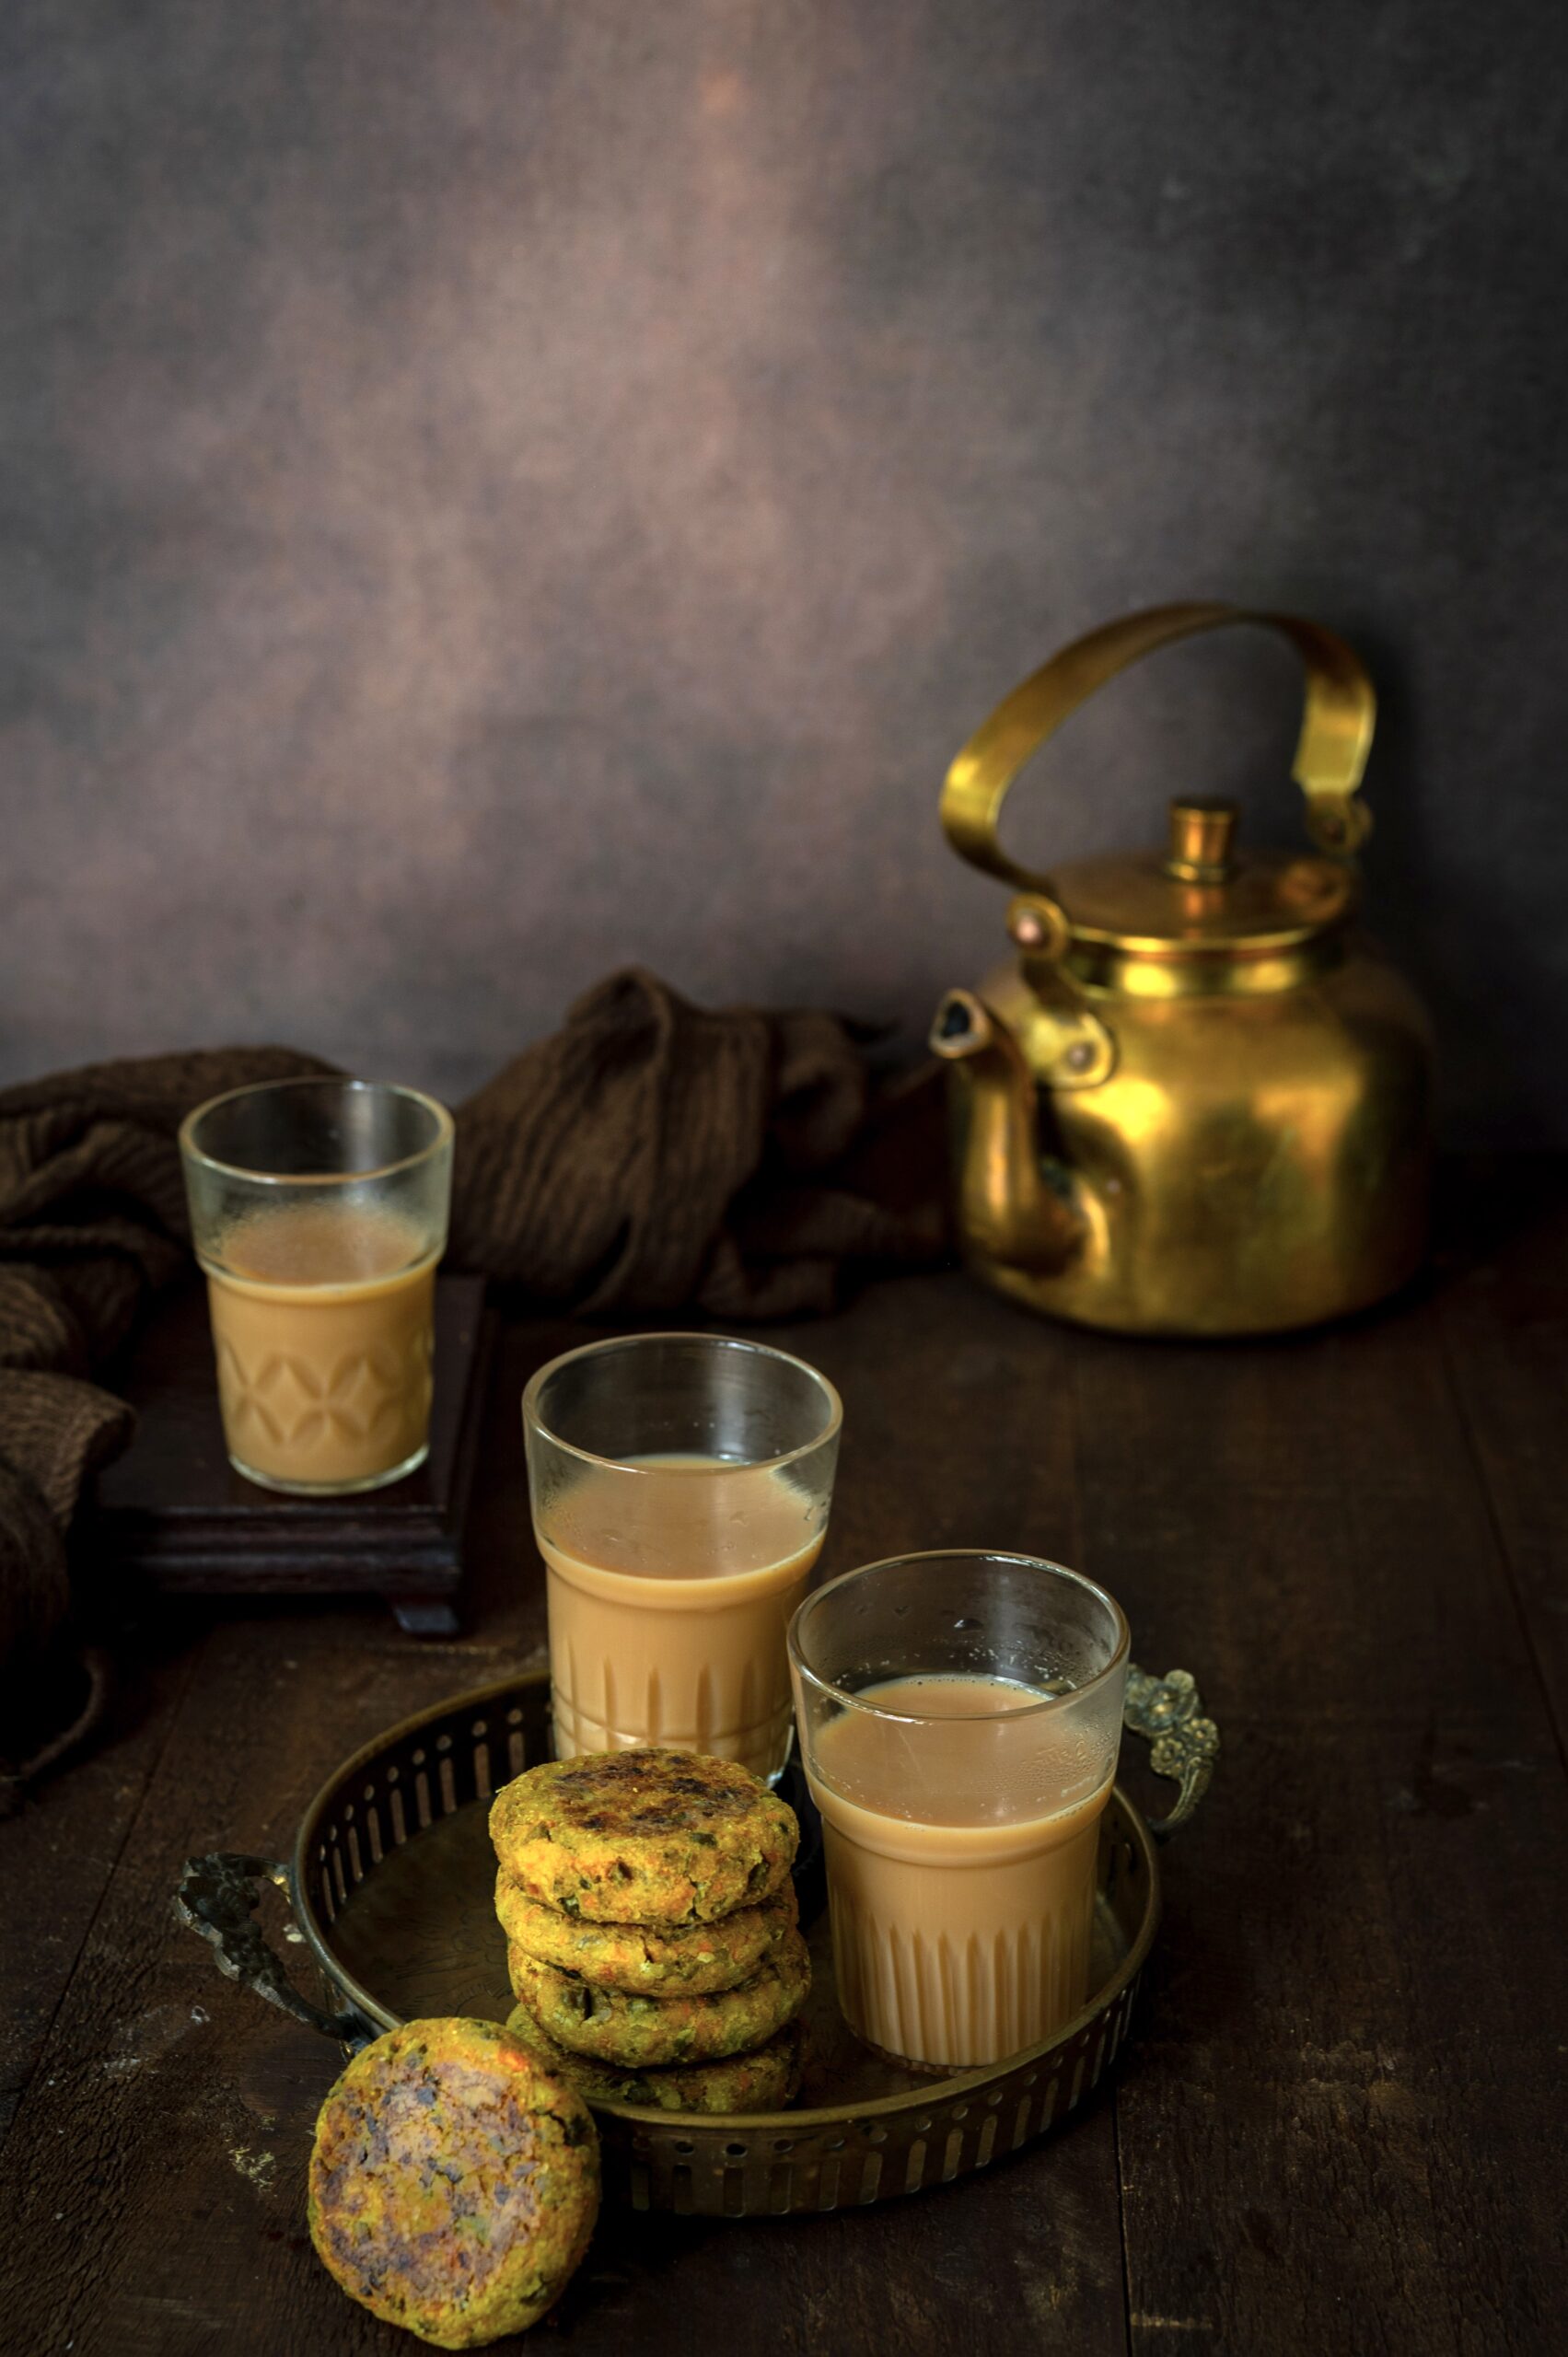
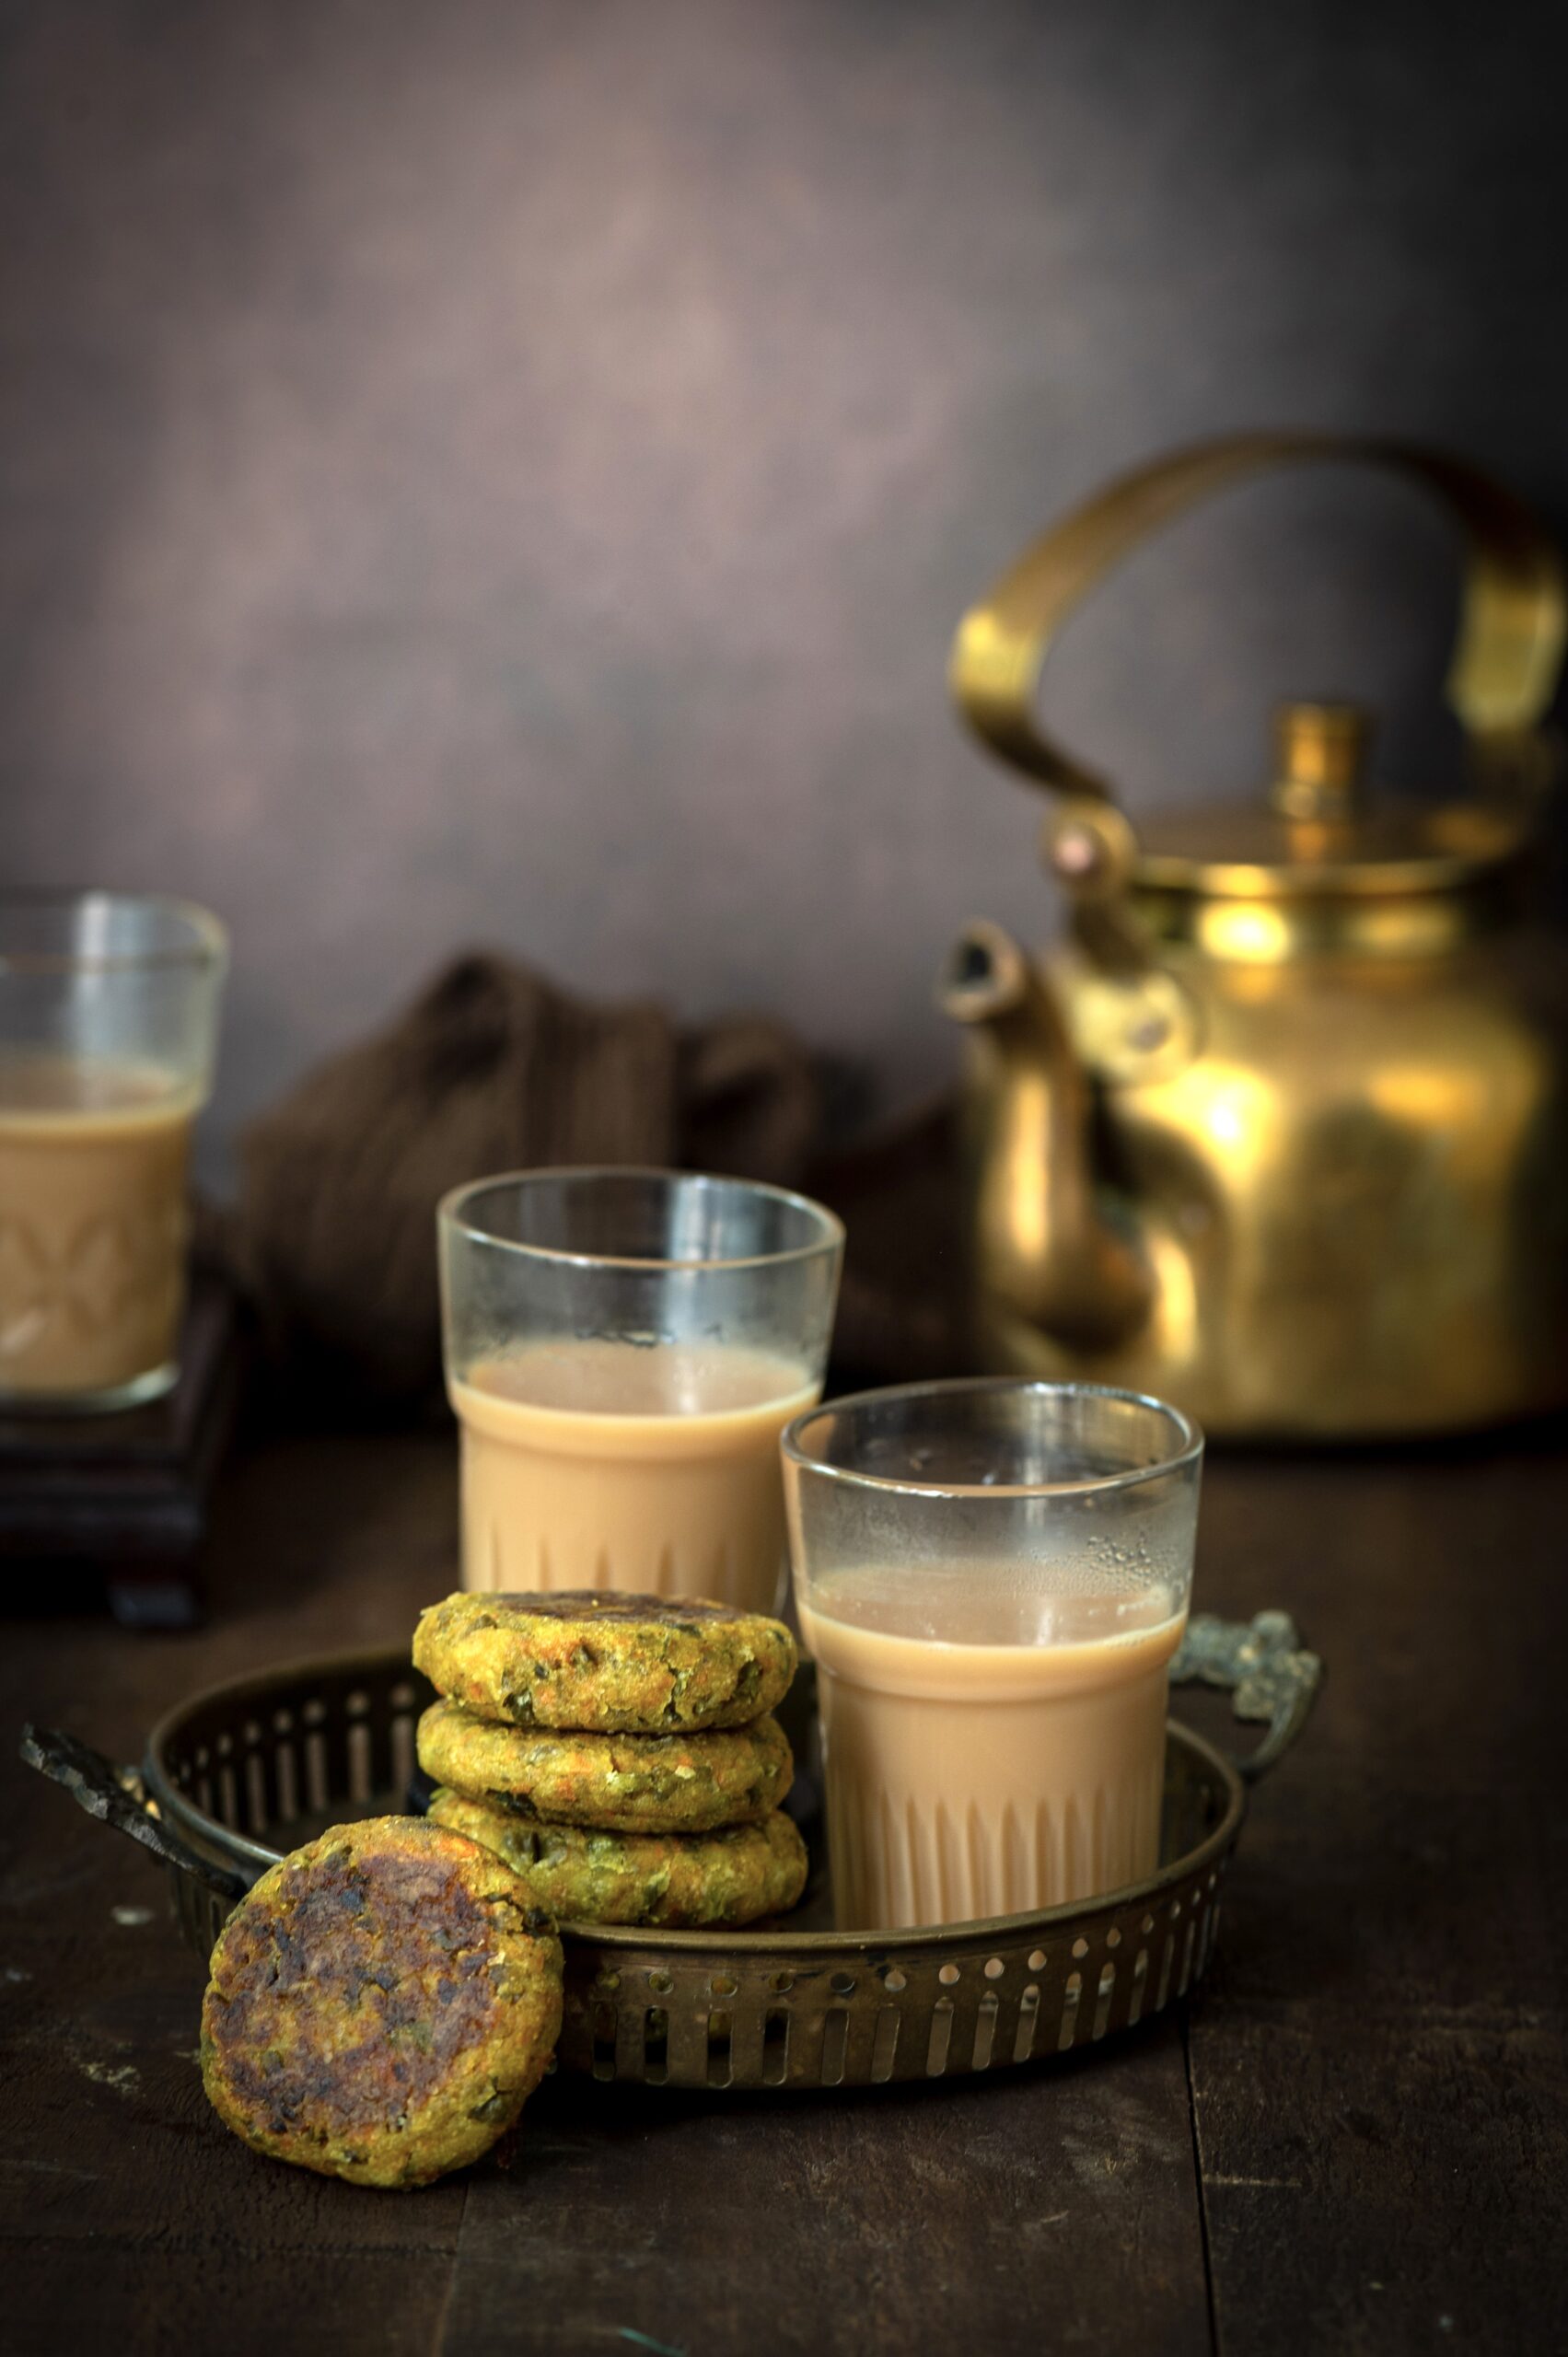
India has a wide variety of snacks that you could call tikkis, kebabs, tikkas and by other names. They are made with different key ingredients, and may be fried, grilled, skewered or served intact. All kinds are delicious, and usually quite filling too. I enjoy a range of vegetable-based tikkis and make them with sweet potatoes, regular potatoes, paneer, kidney beans, green peas and so on. The spices as well as the binding agent remain consistent, while the core vegetable can change. I also occasionally use a mix of vegetables. Among these many options, sweet potato tikkis have been a favourite at snack time in my house of late, so I thought that I’d share the recipe with you.

Do remember that you can use this recipe as a base, as mentioned, for other tikkis as well. While breadcrumbs work well, I have personally gone for either tapioca flour or oat flour as a binding agent when I make these. They are healthier options and taste very good too.

Sweet potato itself is of course the healthier version of the regular potato, though arguably just as delicious. Sweet potato is extremely nutritious, and is rich in antioxidants, beta-carotenes, fibre and vitamins. Did you know that just one sweet potato can boost your system with between 400% and 800% of your recommended daily intake of Vitamin A? True to its name, this is also a delicious vegetable with a hint of sweetness, and one that works in versatile ways. Just talking about it jogs my inspiration, and I think I’ll be using it as the star of some recipes I’ll share in the near future too.

Coming back to today’s recipe, the sweet potato tikki, I would like to add here that the dish itself is quite versatile. It is a healthy choice when you need a fast but satisfying snack, and is great as finger food to serve to guests. How you serve it can also be in a number of ways. You can make it in a chaat or street food-style, serving it plain with a nice dip or sauce. You can make it as part of a meal, accompanied by a salad. You can make it in a longish roll shape, which you then roll within a chapati or roti and tuck away in your tiffin box for a spill-free lunch at the office. One of my favourite methods is to make it as a patty, thus letting you turn a tikki into a vegetable burger. I learned this method while studying Macrobiotics, when a kidney bean patty that I found very similar to our Indian tikkis and kebabs was often used in burgers. In terms of the actual preparation itself, you may choose to deep fry the tikki. I have pan-fried it, to keep it healthier. I have not yet experimented with air-frying, but perhaps you could try that and let me know?

Sweet Potato Tikki

(Yield: Approximately 8 pieces)


2 cups sweet potato (mashed)

2 tablespoons finely chopped coriander leaves

1 heaped teaspoon garam masala

1 heaped teaspoon aamchur powder (or: a dash of lemon juice)

Salt to taste

¼ teaspoon black salt

2 tablespoons finely chopped onion

1 teaspoon ginger/green chili paste

3 tablespoons oats flour (or: tapioca flour)

¼ cup oil

Mash the sweet potato well. Add the coriander leaves and onion. Next, add all the spices and mix well with your fingers until they all come together.

Make small discs with the palm of your hand. Keep the tikkis in the fridge for at least half an hour.

Once they have cooled, heat a pan. Add oil, then place the tikkis on a medium flame. Watch that they don’t singe at the bottom. Lower the flame if necessary. Flip the tikkis gently and allow them to turn golden on both sides.

Your tikkis are now ready. Serve with green chutney or ketchup if they’re going to be a snack, or with a salad for a hearty meal. In fact, that reminds me of another way to kick up the sweet potato quotient in your diet, with this sweet potato and mango salad, especially with the fruit soon to be in season!

If you enjoy this recipe, you may also be a fan of the harra barra kebab, which uses green peas. That one lends itself especially well to being used as a burger patty. As always, I’d love to know what you think after you try these recipes out. Do leave a comment and let me know!