Tag

Second Helpings

Browsing

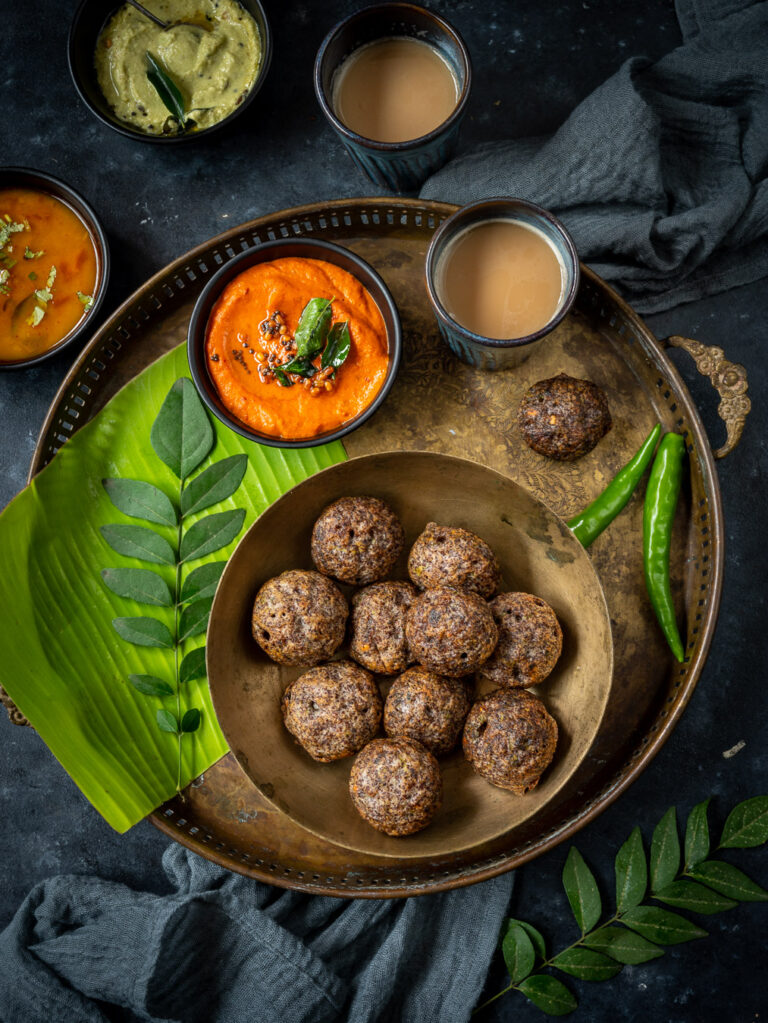
We talk about leftovers in all of our homes. How to store them, how to repurpose them and so on. You may have remembered from my Second Helpings series a while back that certain traditional dishes, like rotli na ladoo, are in fact innovations that deliberately use leftovers. This ragi paniyaram recipe is similar in nature. It basically uses up the leftover batter from ragi idly, and becomes a whole new savoury snack of its own.

You would already have learned the recipe for the batter used here, as linked above, so we can head straight into how to make paniyaram. They are amazing: pillowy soft on the inside and crisp on the outside. Dip one in chutney and it’s heavenly. I really feel like ragi paniyarams are bites of paradise!

The recipe below is my go-to. It is very easy to prepare and uses only readily available ingredients. You can add a flavouring of your choice as well. One special way that I like to make it is by dropping half the required batter in the paniyaram mould, adding a dollop of pickle in the centre, and then layering it with more batter. Mango or lemon pickle work perfectly for this, and add a piquant taste when you bite into the paniyaram. That’s the thing about many traditional staples – they are so flexible that you can add whatever you want within your reach. Be innovative, be creative, do you. Enjoy the process and the taste will come on its own.

I would describe paniyarams as being the South Indian version of Gujarati dhoklas, which are a quick fix for sudden guests. All you have to do is add some chopped veggies and seasoning to your regular idly batter and you have everything you need. They are a great snack at tea time and mid-morning, and I would say they are versatile even as dinner or breakfast items.


Ragi Paniyaram

(Yield: Serves 2-4)


1+½ cups ragi batter

1 small onion (finely chopped)

1 green chili (finely chopped)

1 tablespoon coriander leaves

1 teaspoon urad dal

½ teaspoon mustard seeds

¼ teaspoon cumin seeds

2 teaspoons sesame oil +oil for cooking


Pour the ragi batter into a bowl and set aside.

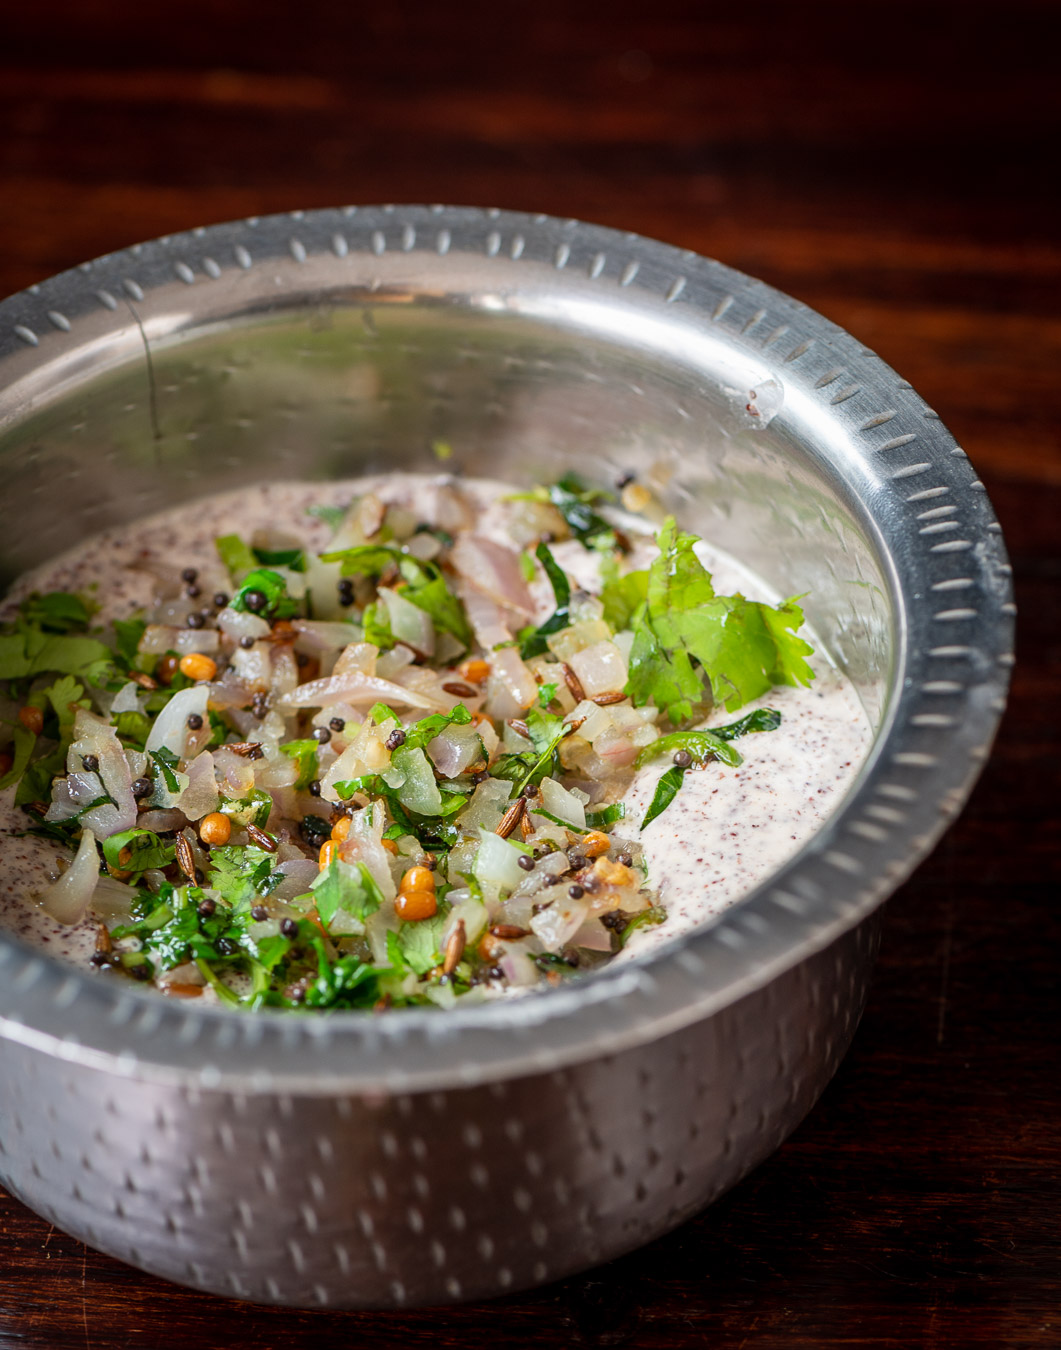
Heat a pan and add the oil. Once it’s hot, add the mustard seeds. When they splutter, add the cumin seeds. Now, add the urad dal and heat until golden. Next, add the onions, green chili, coriander leaves and curry leaves. Sauté for a minute.

Add all of this to the bowl of ragi batter. Mix well.
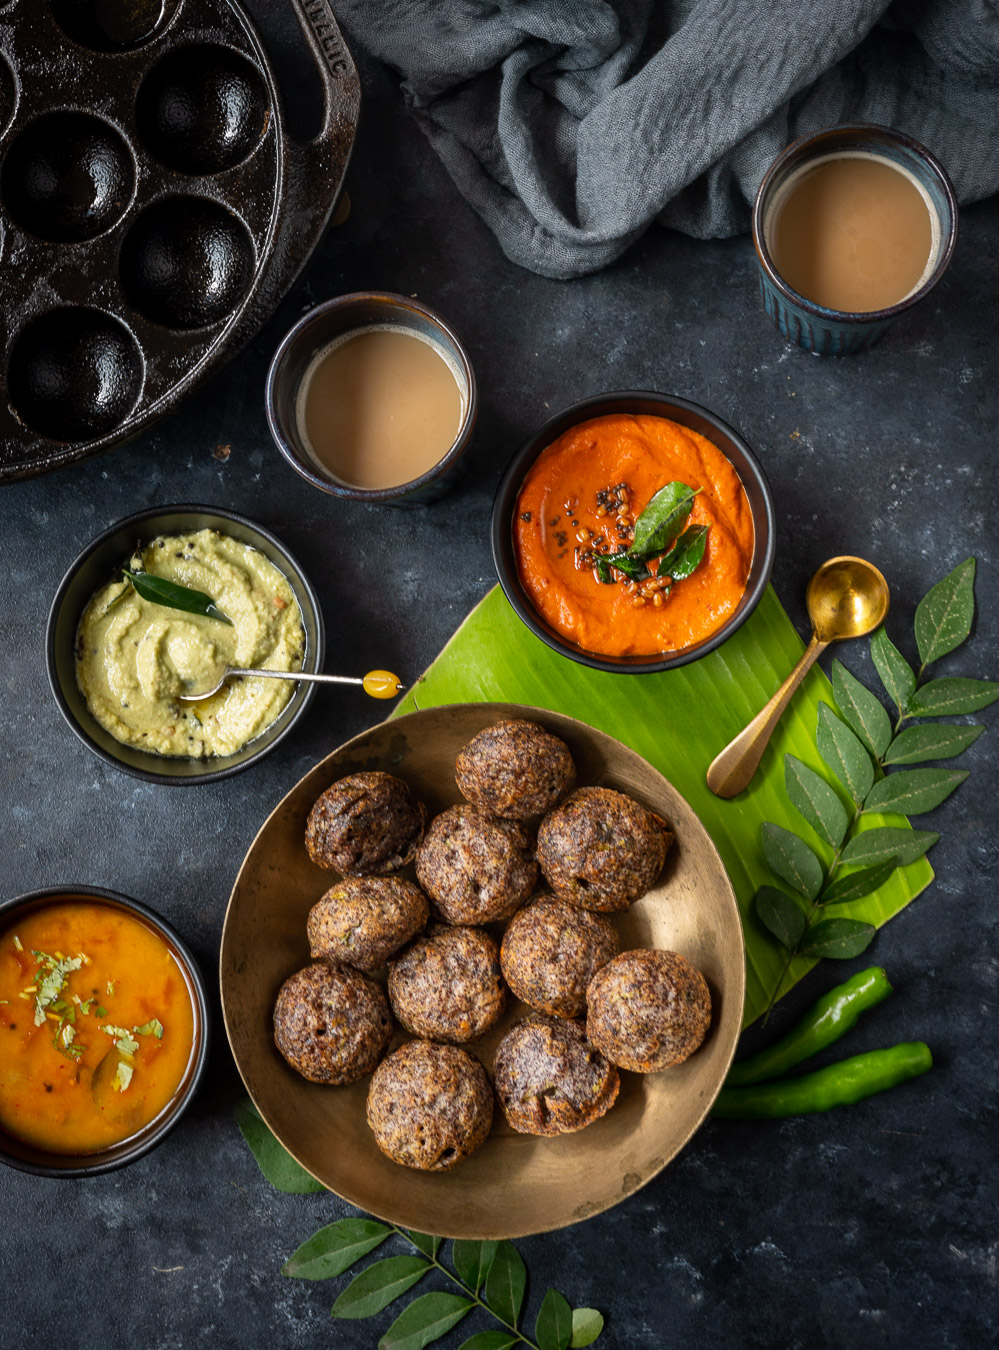
Prepare and heat the paniyaram plate (I use a seasoned iron grid for the same; you can use non-stick to be safe or if you’re new to the game). Add a few drops of oil to each mound (I like to use ghee for its flavour; since it’s no longer considered one of the evil fats, I’d suggest trying it out, or use either as you prefer). Once heated, add a tablespoon of batter into each mould. Cover, reduce the flame and allow to cook. In a few minutes, with the help of a sharp knife, turn each paniyaram over and allow to cook on the other side until golden.

Remove and serve. There you have it – ragi-rich bites of paradise! Paniyarams are best paired with chutney. I always have grated coconut at home from my trees in the backyard, and make a fresh chutney with it pretty much every day. I sometimes throw in some coriander leaves to make it green. This aside, there is an amazing tomato chutney that I feel works beautifully with ragi paniyarams, and that will be my next recipe on this blog. Stay tuned!
When the grain-based series concluded last weekend (you can catch up here, here and here, I promised a recipe that would make use of leftover khichdi in a unique way that transforms it into an entirely new dish. Years ago, I had mentioned in this post on rotis that khichdi is sometimes used to make theplas. That’s exactly what we’re going to do today.

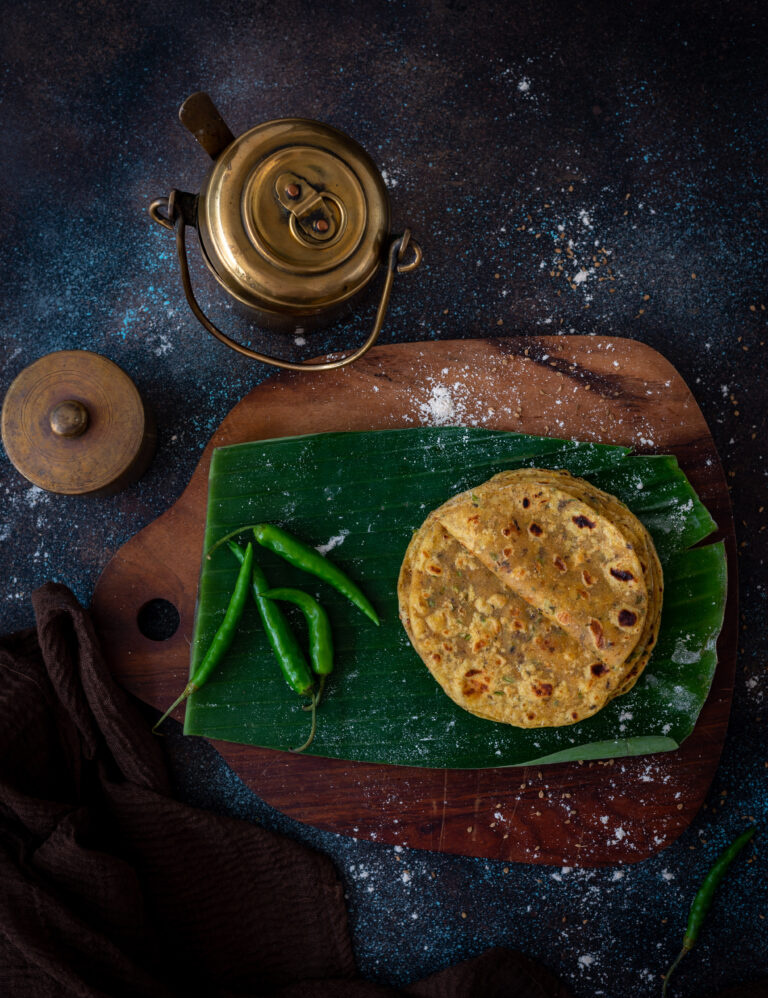
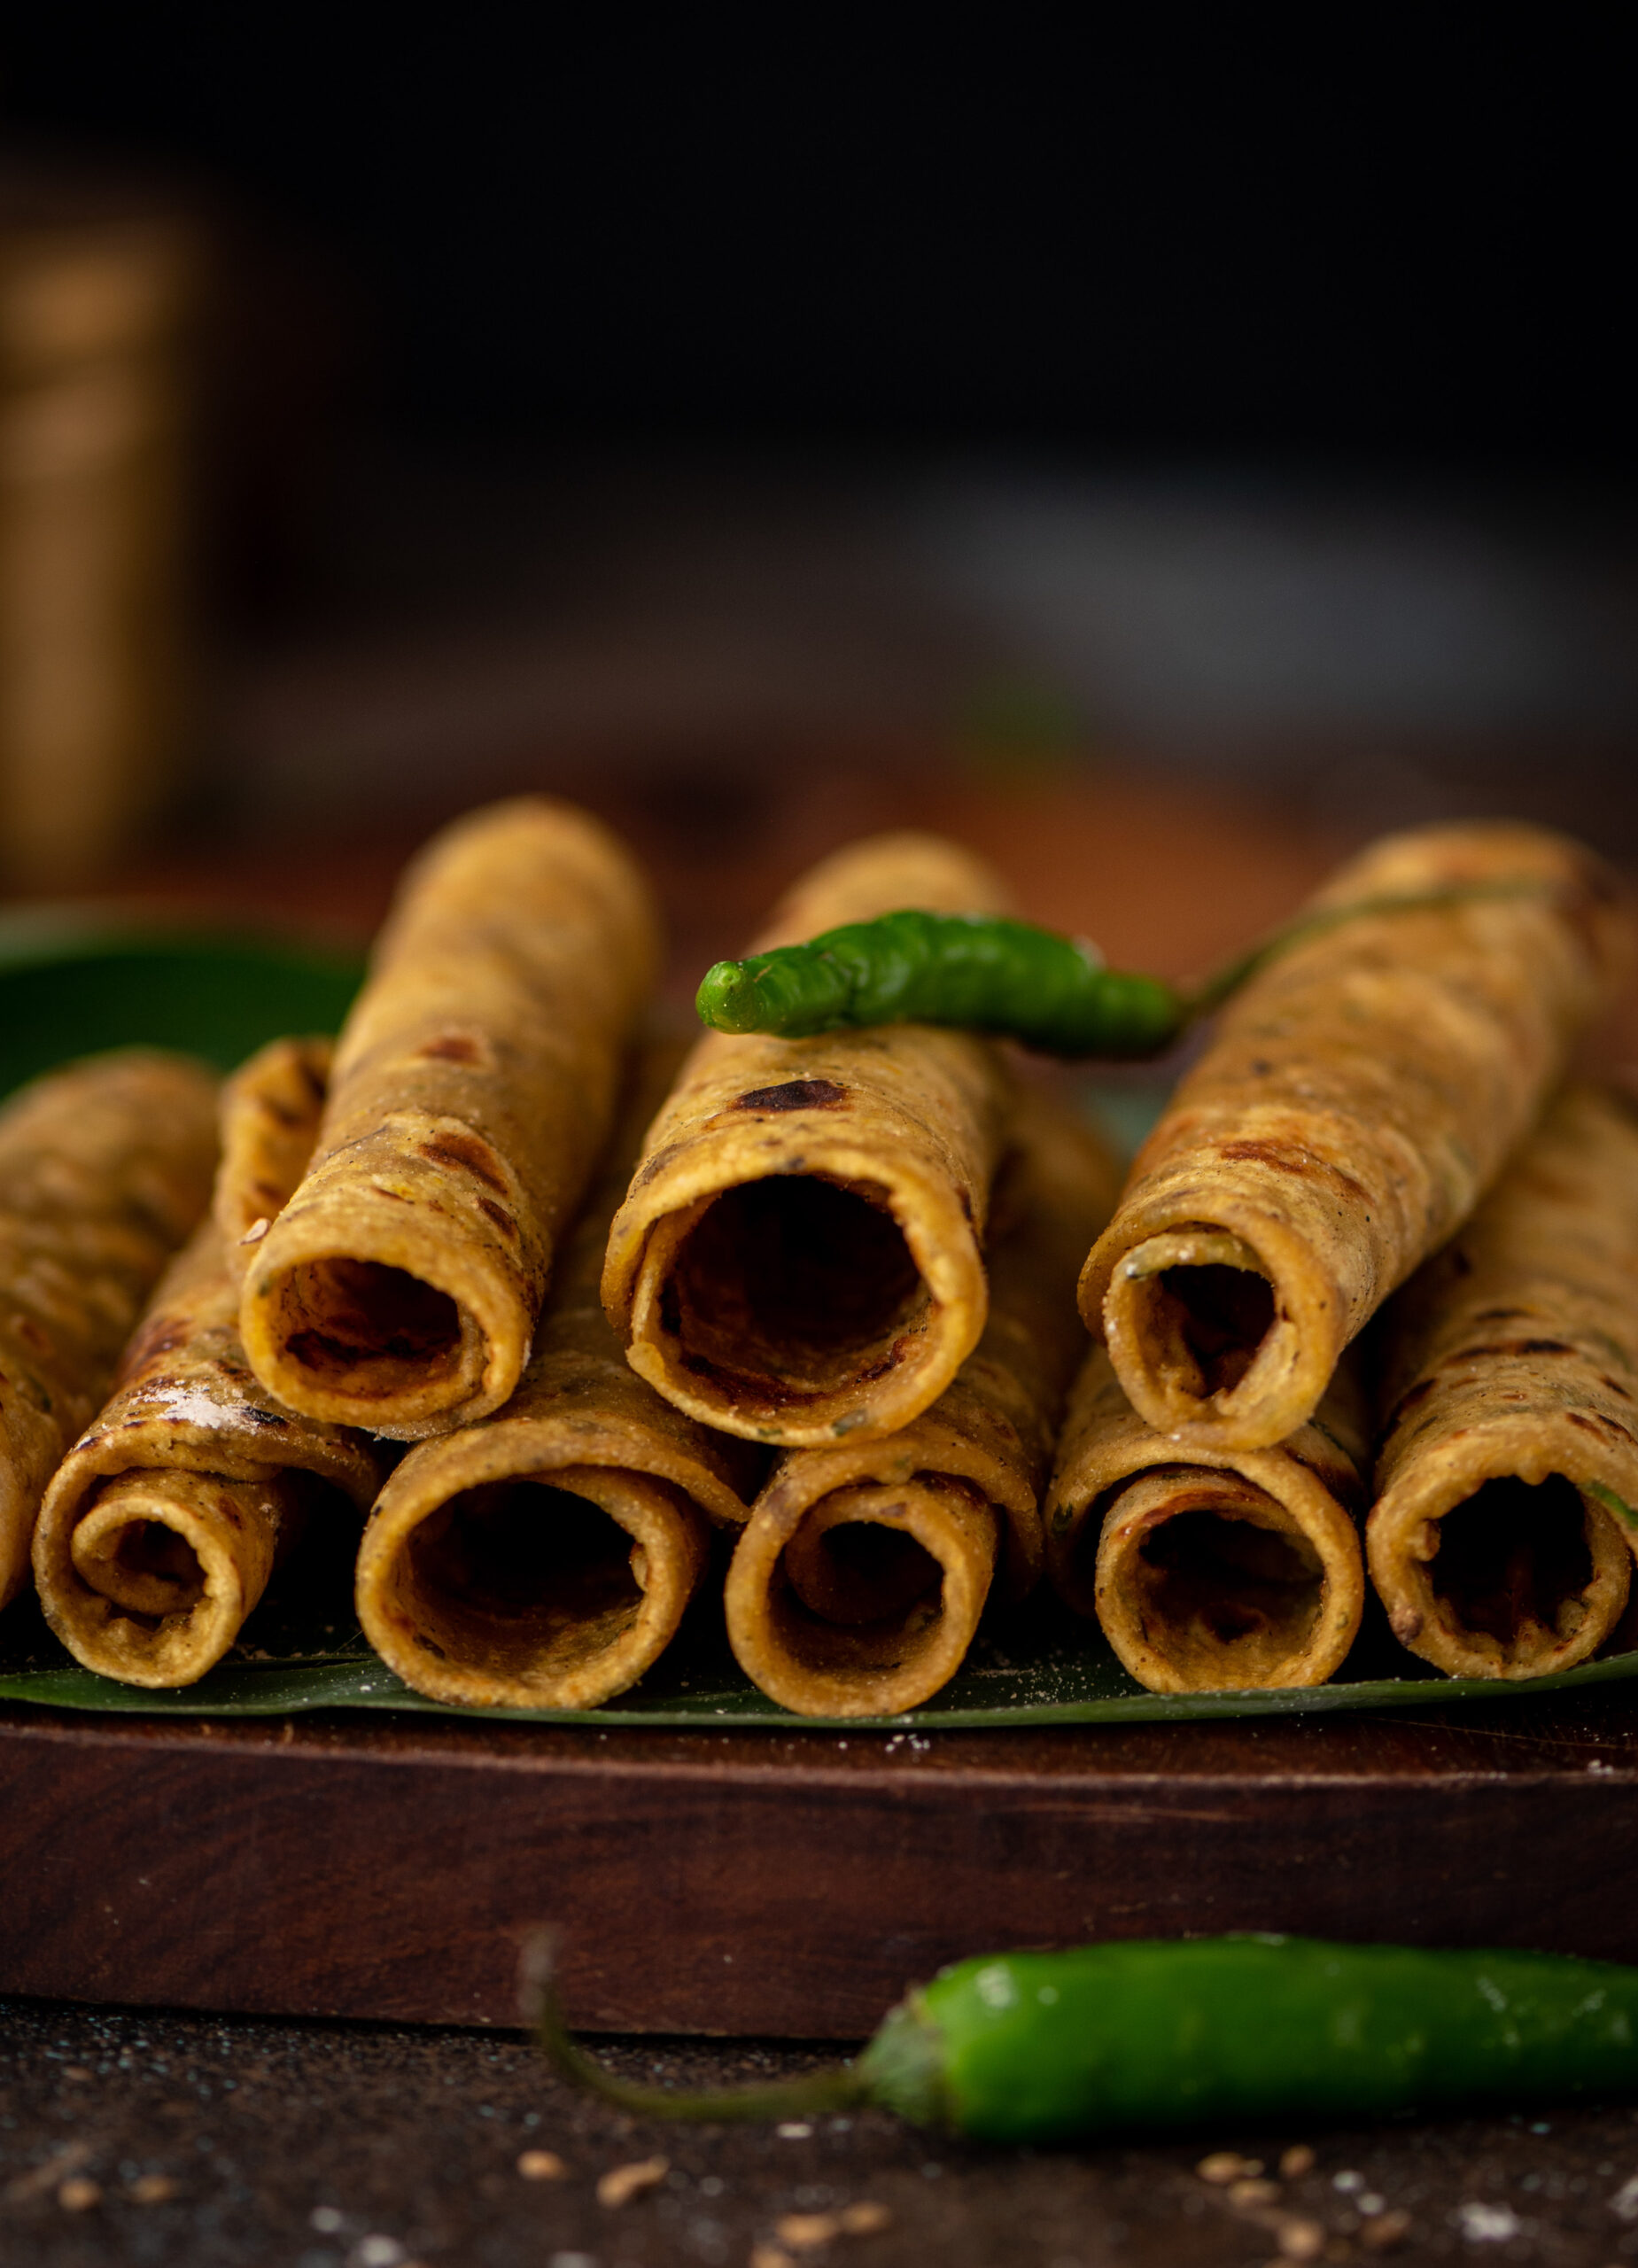
Theplas are really a category, not a dish. They are a flatbread staple in Gujarati cuisine, and the diverse range includes methi thepla (made with fenugreek leaves), dudhi thepla (made with bottlegourd), bajra ke thepla (made with pearl millet) and more. The main ingredients change, but the seasonings and masalas tend to remain the same. The simplest form of theplas are the plain ones, made without any vegetables or other ingredients that spoil quickly. They are often made especially for travel, as they store well. I believe I’ve mentioned in previous posts how theplas were a part of all our train journeys, to Bombay and to other places. As kids, we ate every two hours, and so our mother would pack a large quantity of plain theplas, which would keep us well-fed for the two or three days that it took us to arrive at our destination. They were healthy, clean and home-made, and we would enjoy them with mango pickles as our train criss-crossed the country.

Mango pickles, specifically chhundo, which I’ve shared the recipe for before, are the chief accompaniment to most theplas. A dollop of yoghurt is also enjoyed alongside, and a dry vegetable like roasted potatoes can round out the meal. Theplas can be a light meal of just the flatbread and a pinch of pickle, or a full meal with the works. They are often a taken-for-granted dish too – “chalo (‘come/okay’), let’s have thepla” is a standard refrain when planning dinner in many a Gujarati household.

This style of thepla, which incorporates leftover khichdi into the dough and which is deliciously flavoured with ginger and green chilli (you may add garlic too, if you wish), is a perfect dinner dish to prepare with the unused portion of a simple khichdi made for lunch. Every family that uses this resourceful technique will have their version of what goes into the recipe.

Growing up, I was always impressed by the way my mother had a knack for turning over leftovers. It is a skill I’ve observed time and again in so many intelligent homemakers, who innovate ways to make a large meal go further, while appeasing picky children who demand fresh and interesting food. So this is especially for those of you who have fussy mouths to feed. Unless they are right there in the kitchen with you as you transform old khichdi into new theplas, they’ll never guess your little magic trick!

Khichdi Thepla

(Yield: 10 theplas)

½ cup khichdi

¾ cup + 2 tablespoons wheat flour

½ cup wheat flour (for rolling the theplas)

Salt to taste

¼ teaspoon turmeric

½ teaspoon dhania-jeera (coriander-cumin) powder

1 tablespoon + 1 teaspoon oil

¼ teaspoon ajwain (carom seeds)

1 teaspoon green chilli and ginger paste

1 teaspoon oil + 3 tablespoons to cook


Keep aside the oil.

Assemble all the remaining ingredients in a wide bowl. Make a dough by mixing them together with your hands, until the mixture is smooth. Towards the end, once it begins to turn sticky, add 1 teaspoon of oil and spread it around the bowl. Knead the dough completely.

I have used a soft and wet khichdi, and thus did not need to add any water. If your khichdi is dry, then you may need to add water too.

Once the dough is prepared, either make the theplas right away or refrigerate the dough as it will release water and turn soft again. Remember that as you are already working with leftover khichdi, it is best to make and consume these theplas on the same day. If you’ve kept the dough in the fridge for a while, do not wait for it to thaw. You can roll out your theplas right away.

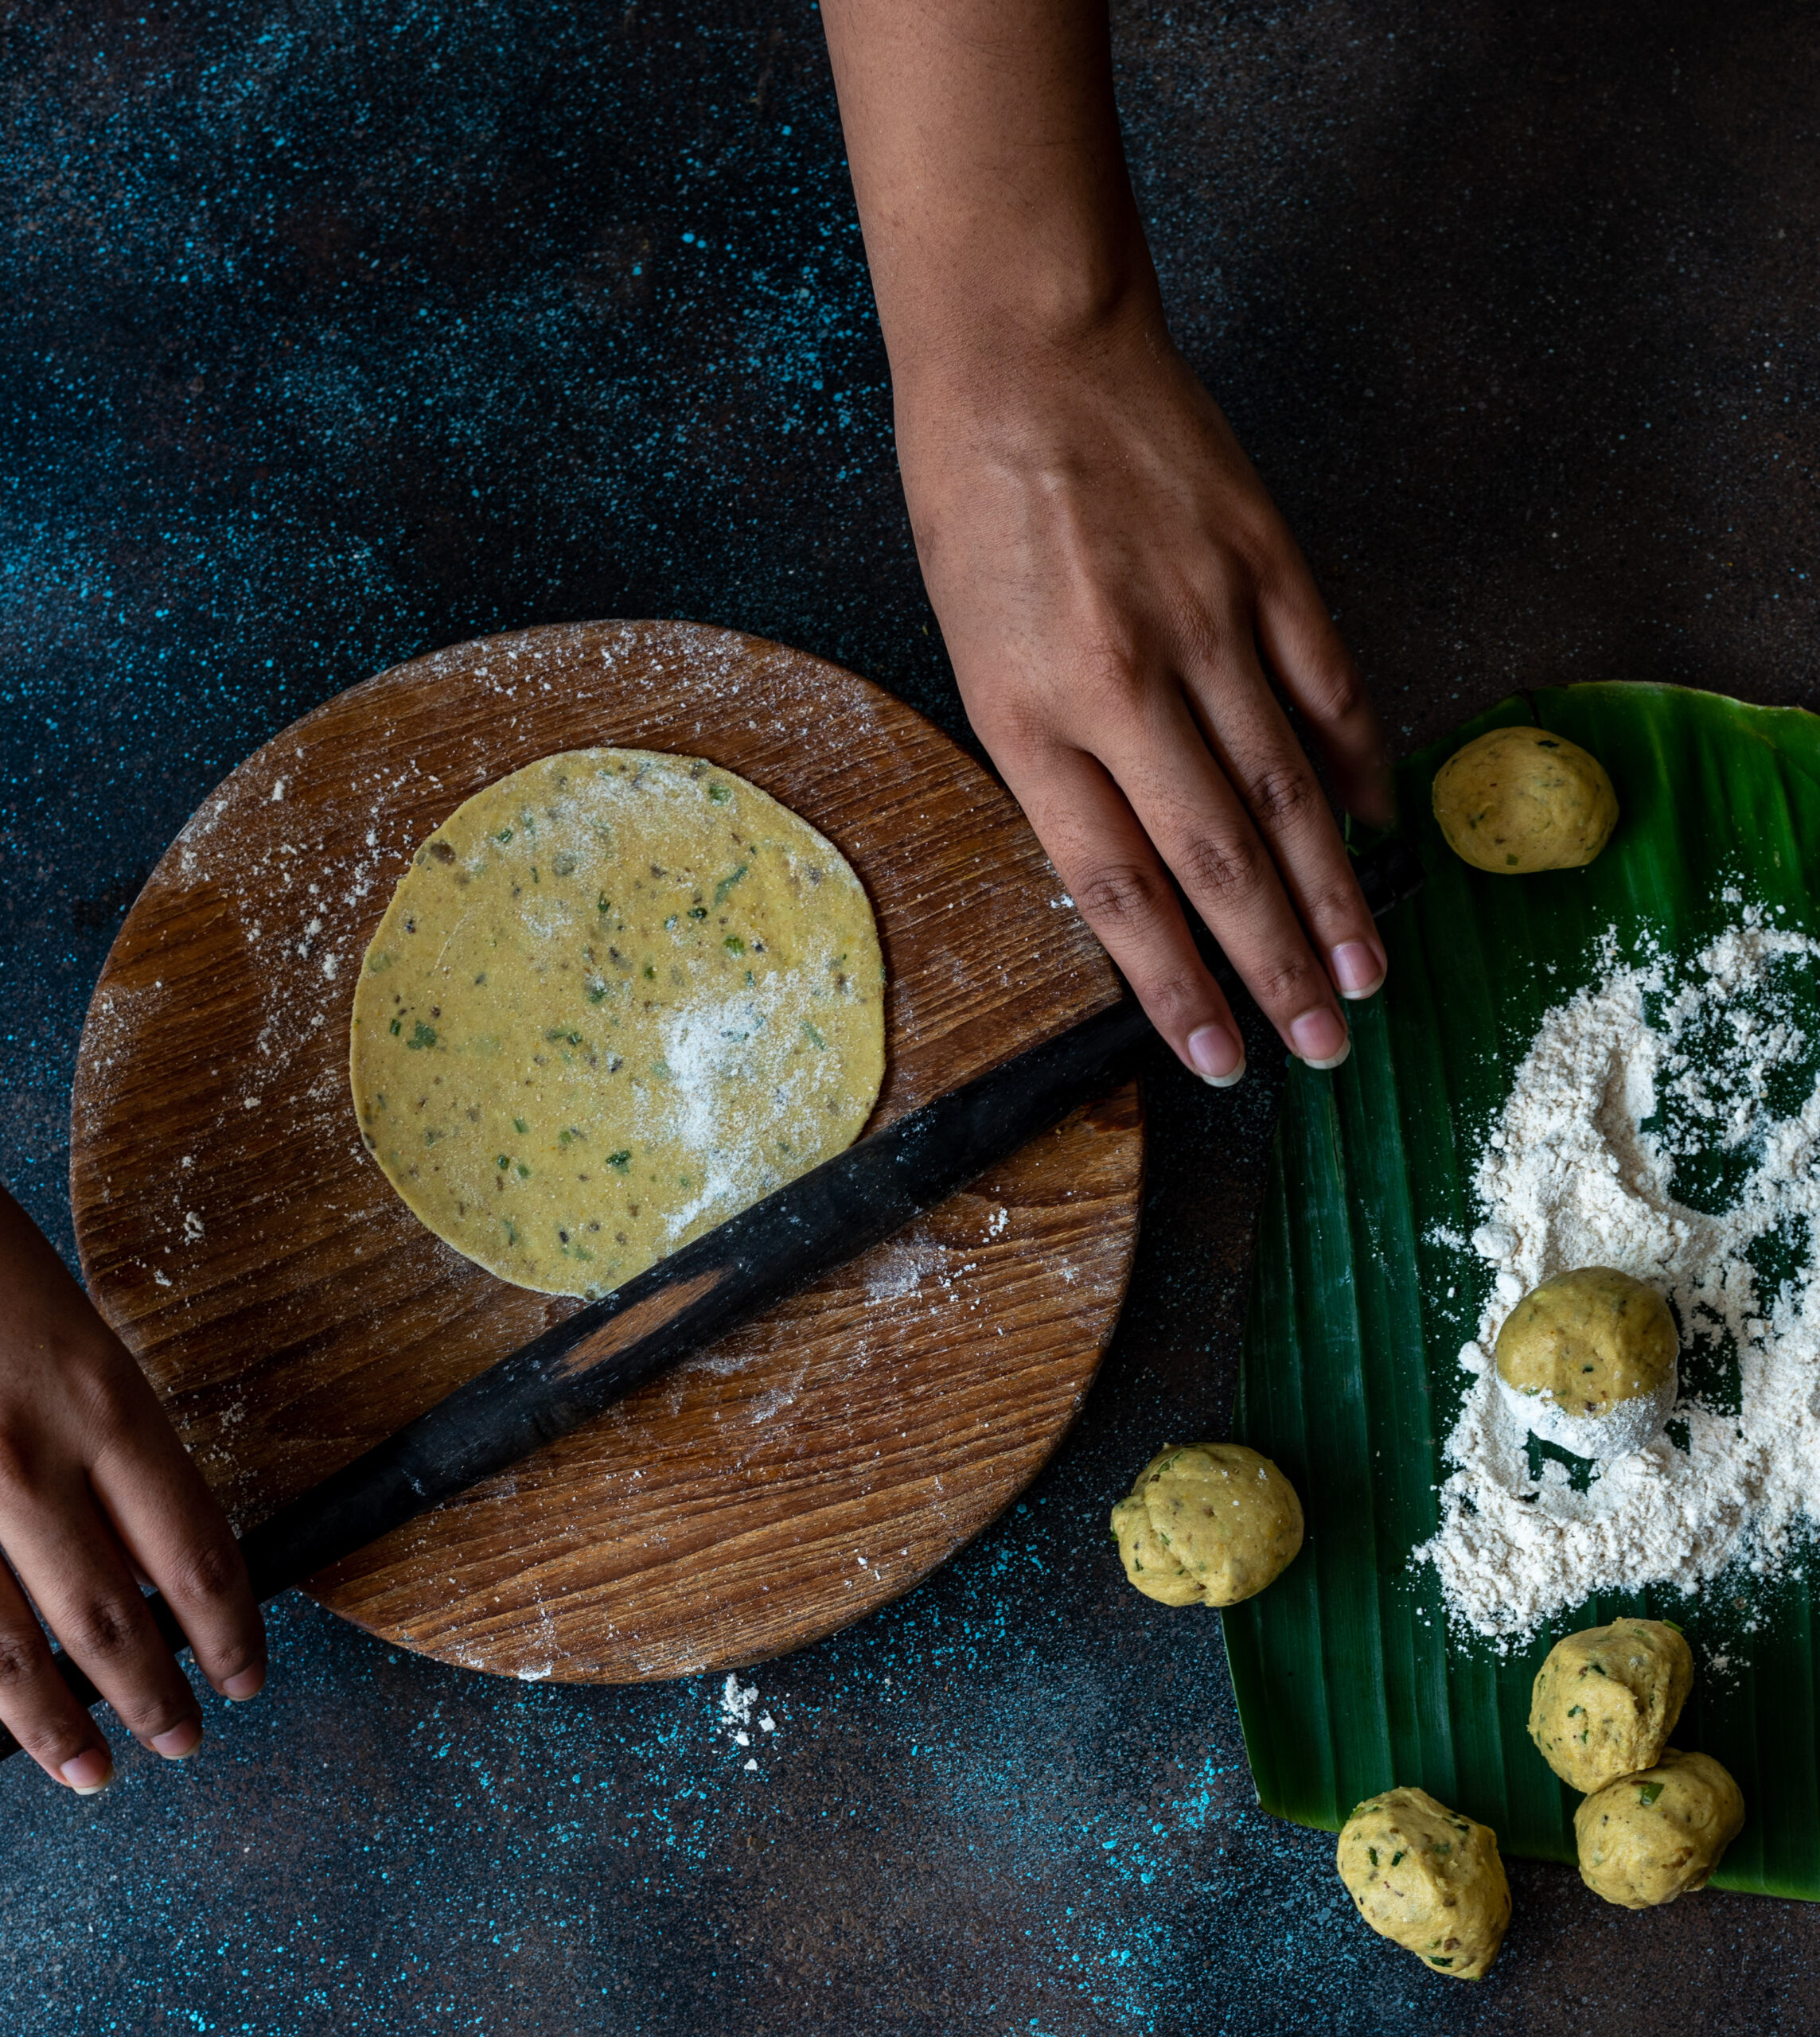
Heat a roti pan. Make small discs of the dough, and dip them in the wheat flour. Roll out each thepla into a thin disc.

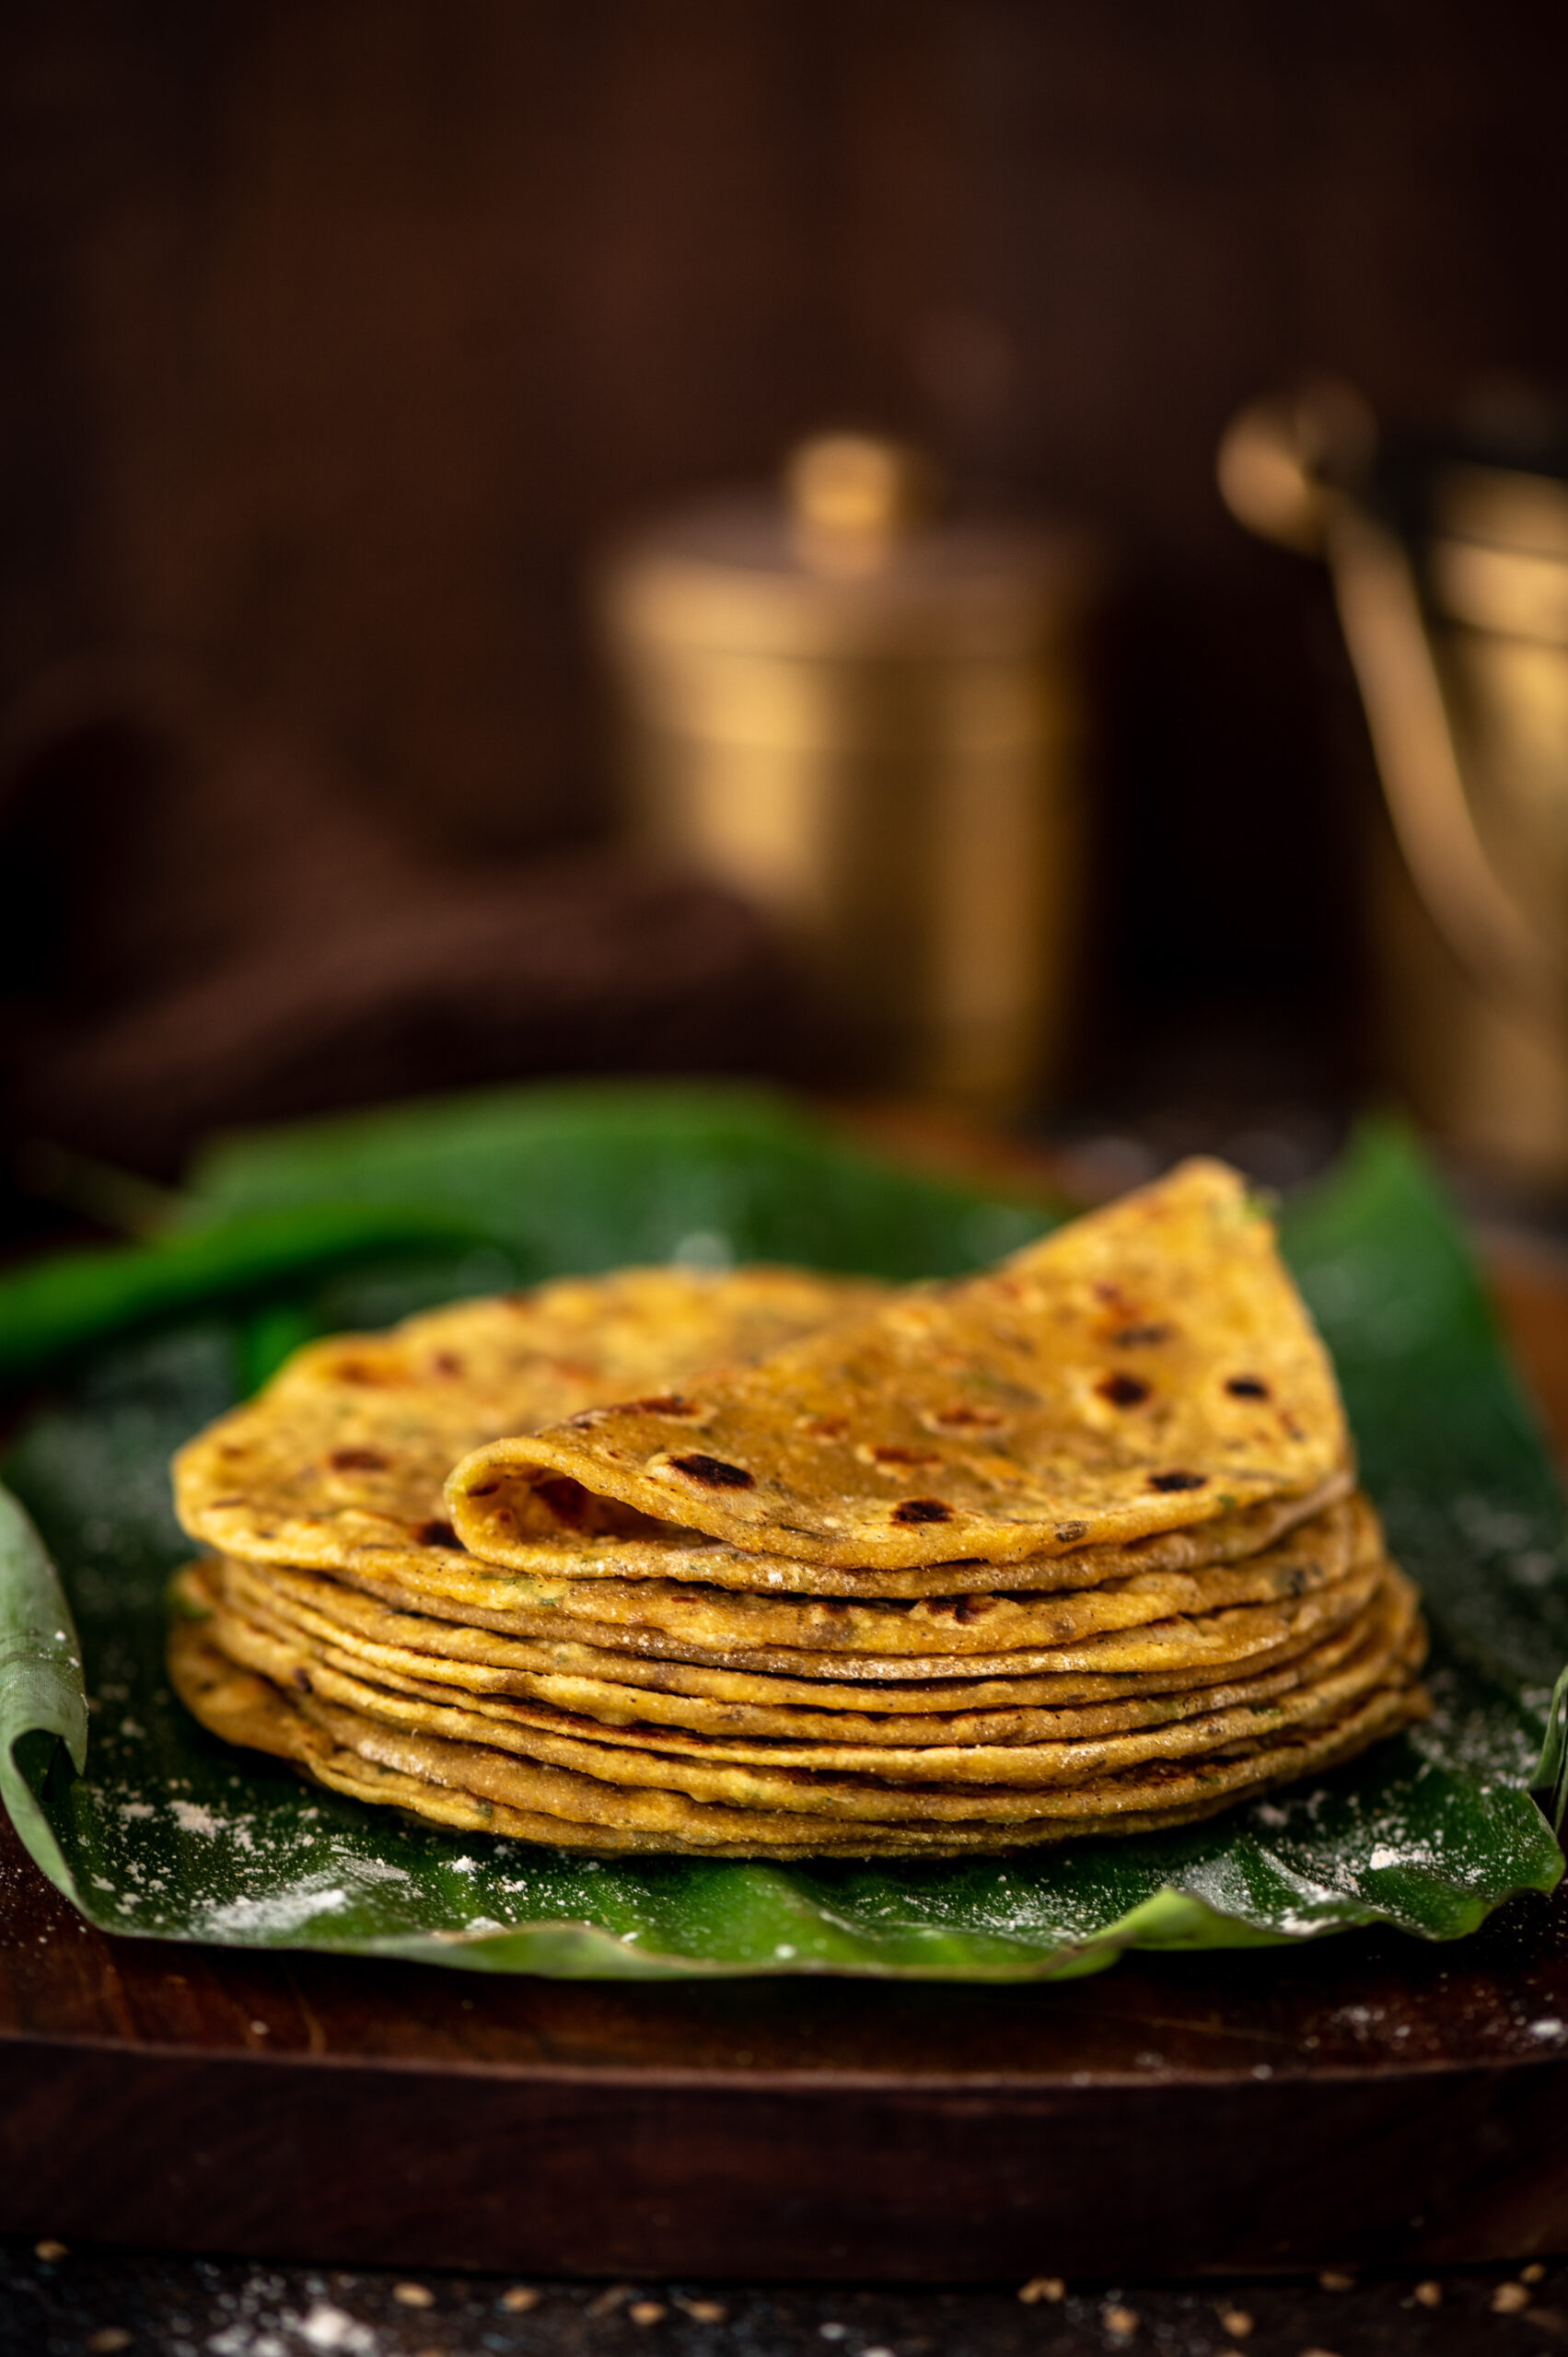
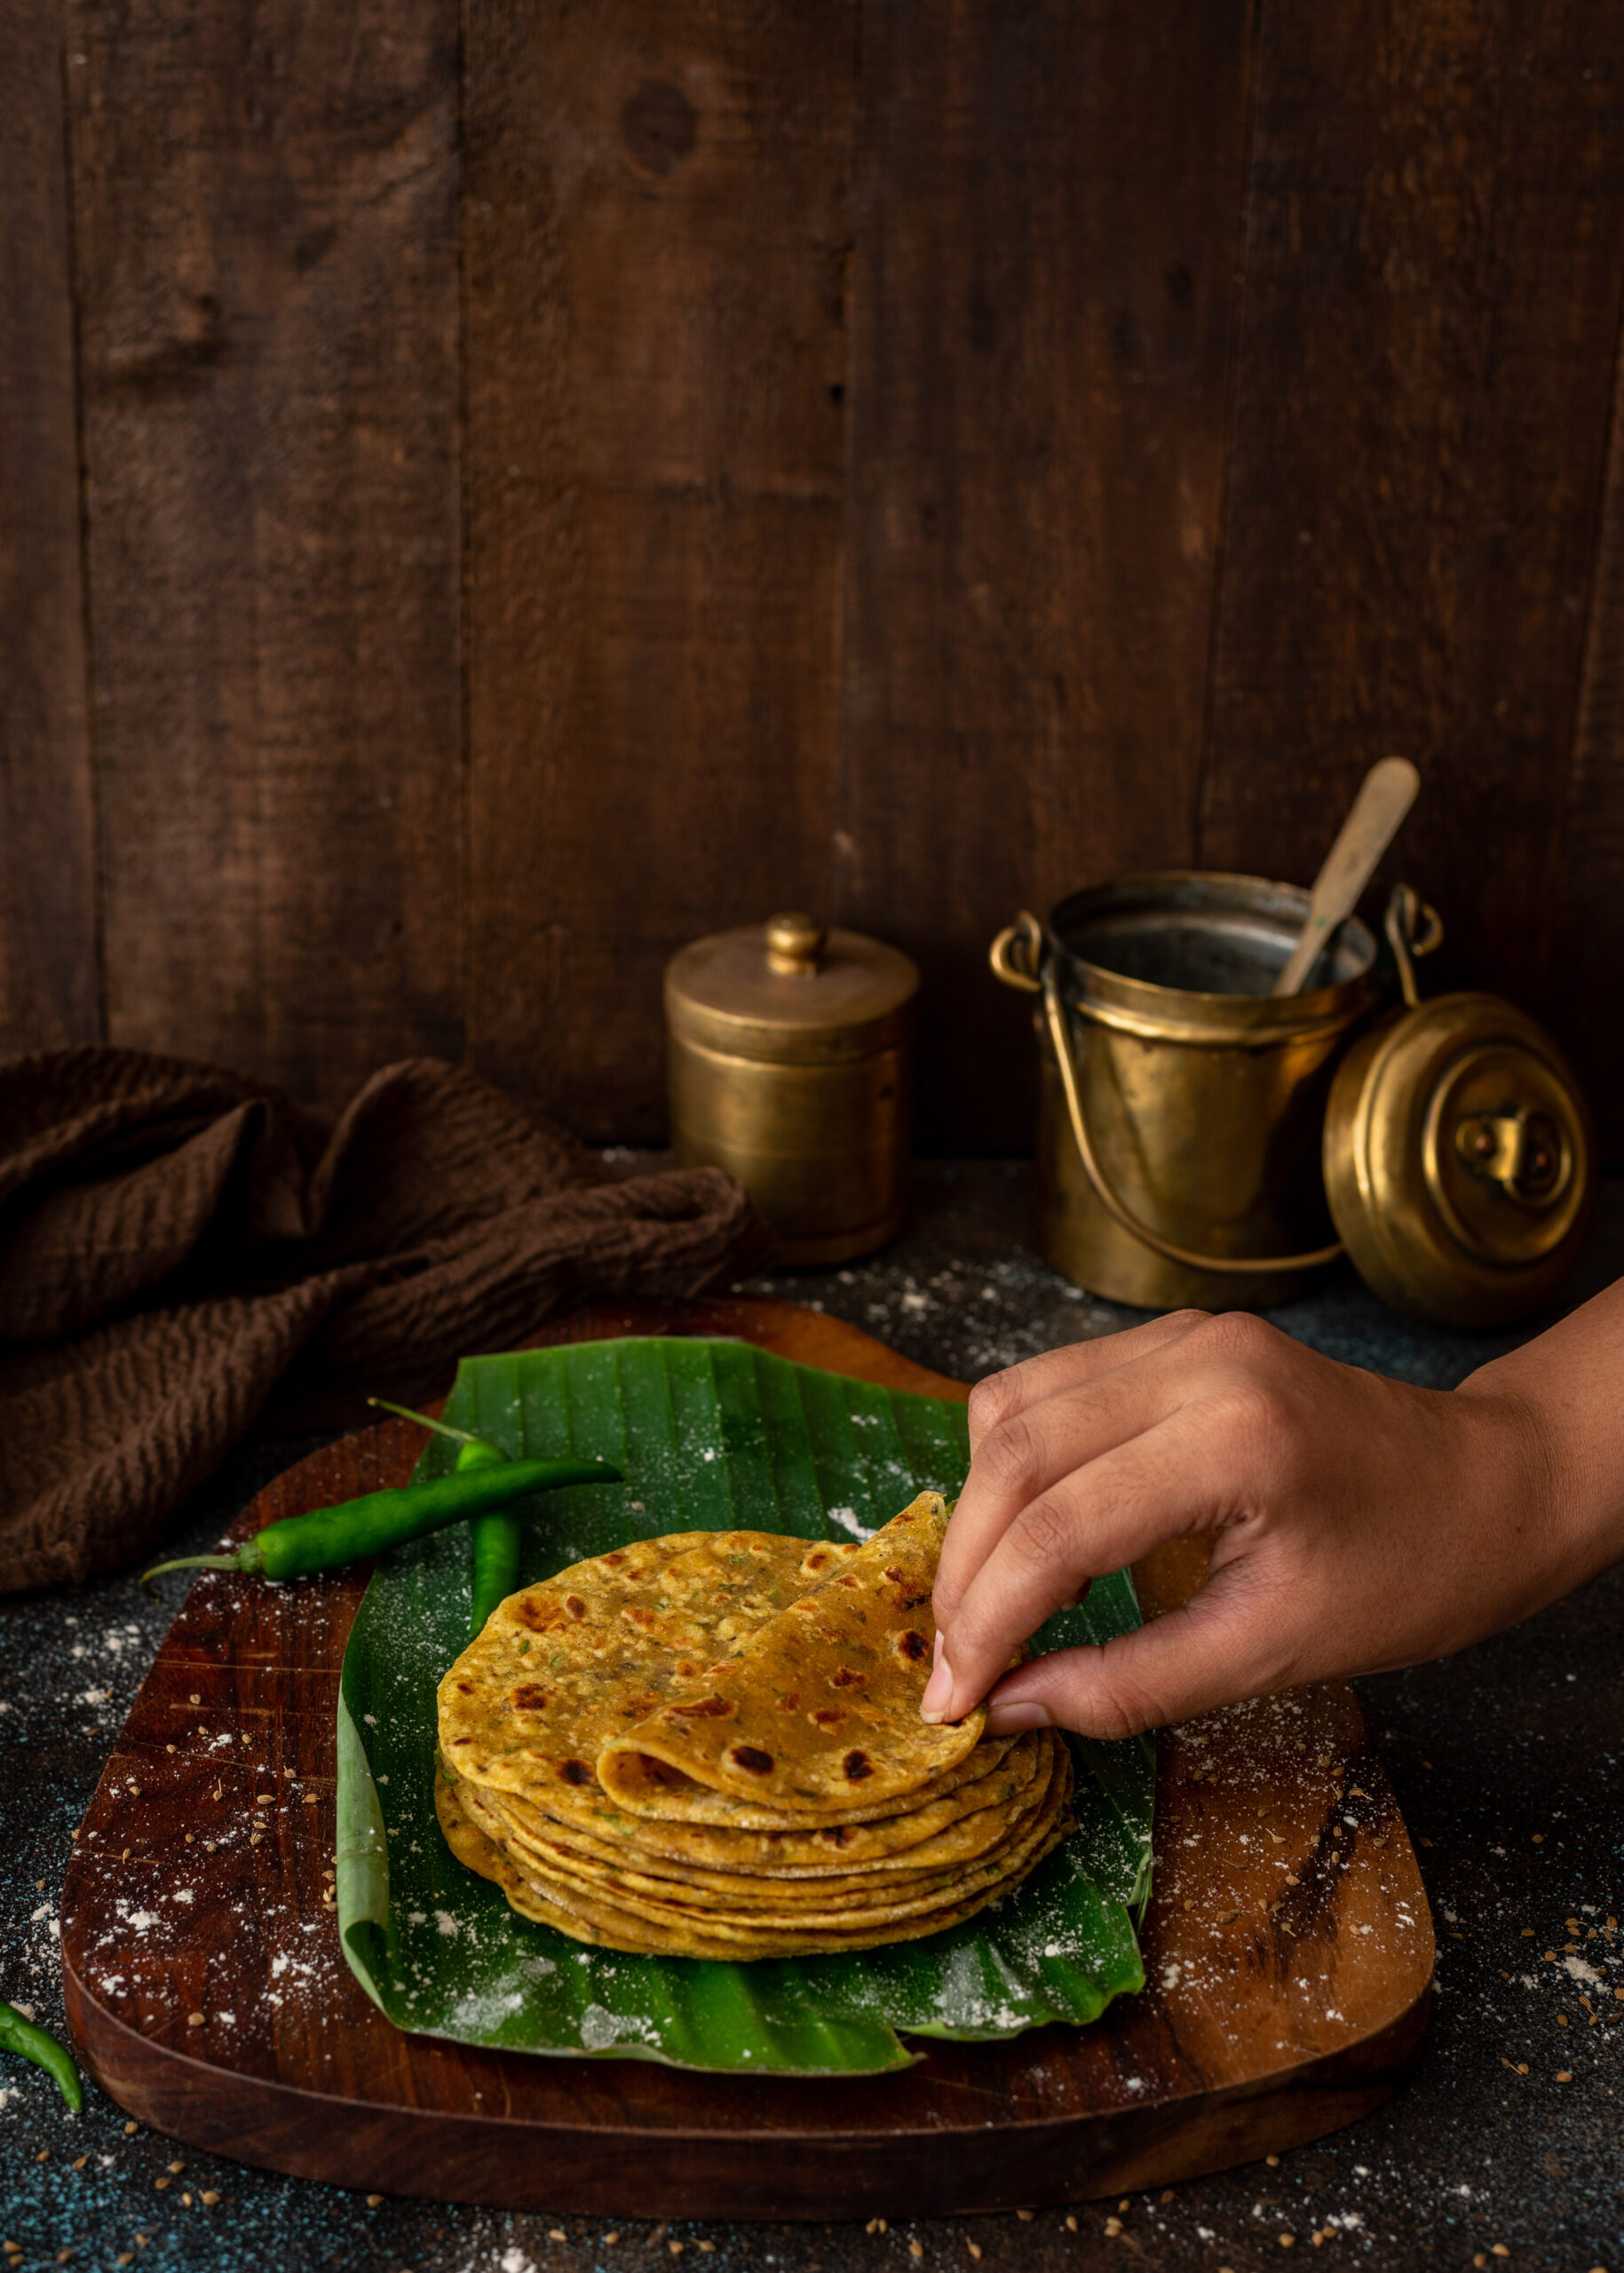
Place each thepla on the pan. Allow it to cook on one side, then flip over after 5 seconds. Once it has slightly cooked on the second side, add a few drops of oil and spread them. Flip the thepla and repeat until large dark spots appear on both sides. This indicates that it has been cooked well.

Set aside. Fry all the discs the same way. I usually intermittently lower the flame so that they are cooked evenly, but also do not end up dry and crisp.

Here are a few more tips that will help ensure that your theplas are soft, which is their ideal texture:

  • The dough needs to be pliable and smooth.
  • When adding the oil as you cook each thepla, make sure that the edges are oiled. They tend to dry up otherwise.
  • Once done, take each thepla off the pan immediately and pile it on top of the other ones. Somehow, this results in them all staying soft without becoming moist.

If you’ve enjoyed this, I hope you’ll take a look back at my original Second Helpings series, which featured Gujarati masala curd rice, dal dhokli and rotli na ladoo for a sweet finish. Do let me know in the comments about how you innovate new dishes using your leftovers too! As always, I love to learn more about recipes and the stories behind them.

I hope you’ve been enjoying this series on traditional dishes made from leftovers (please see Part 1 and Part 2, if you haven’t already). To recap: in the absence of refrigeration, and because of the need to conserve resources, many cuisines in India and elsewhere developed sub-genres. These culinary sub-genres make use of extras either prepared during the initial cooking, or kept aside after the meal. Using these leftovers, a new dish is prepared. Fridges are really quite new for most of India. I remember visiting my grandparents’ home in Vijayawada one summer when they had purchased a huge fridge. It was such a novelty that neighbours would visit just to see the machine. Besides, not wasting food has long been considered a cultural virtue.

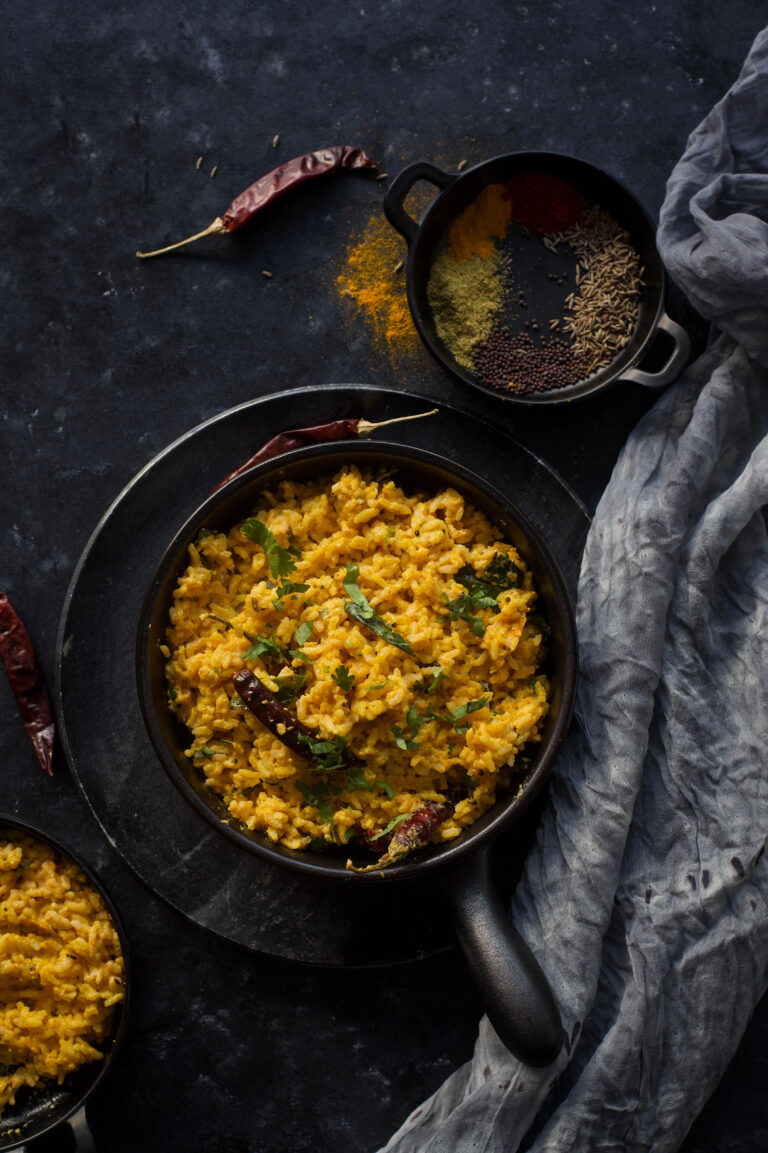
Today, the recipe I want to share with you is a classic go-to dish: masala curd rice, made in my mother’s Gujarati style. It was a staple in my house for Sunday dinner while I was growing up. This was because we had school the next day, and our mother would be busy helping us with our homework. In those days, we had no help at home, so our dad taught us how to iron our own uniforms and polish our own shoes. These tasks would keep us occupied on Sundays as we prepared for the school week ahead. By the time dinner came, we were usually too tired to think much. So we never minded the unfussiness of the meal. And mom, of course, was always relieved to make this easy dish.

Leftover rice is something that lends itself easily to a variety of dishes. For instance, there are theplas, which you may remember from this post on Indian breads. There are also muthias, which are made by adding flour and spices to the rice, rolling them and steaming them.

South Indians have their own methods too, including their own curd rice (known as thayirsadam), as well as pazhayachoru, in which rice is fermented overnight with a green chilli in it. This was originally a staple among farmers, who started their days early and needed to have a meal ready in the morning. You may be surprised to know that it is very healthy. The American Nutrition Association in fact recommends rice soaked the previous day as the best breakfast, with a host of benefits for the health including increased energy, decreased hypertension and good digestion.

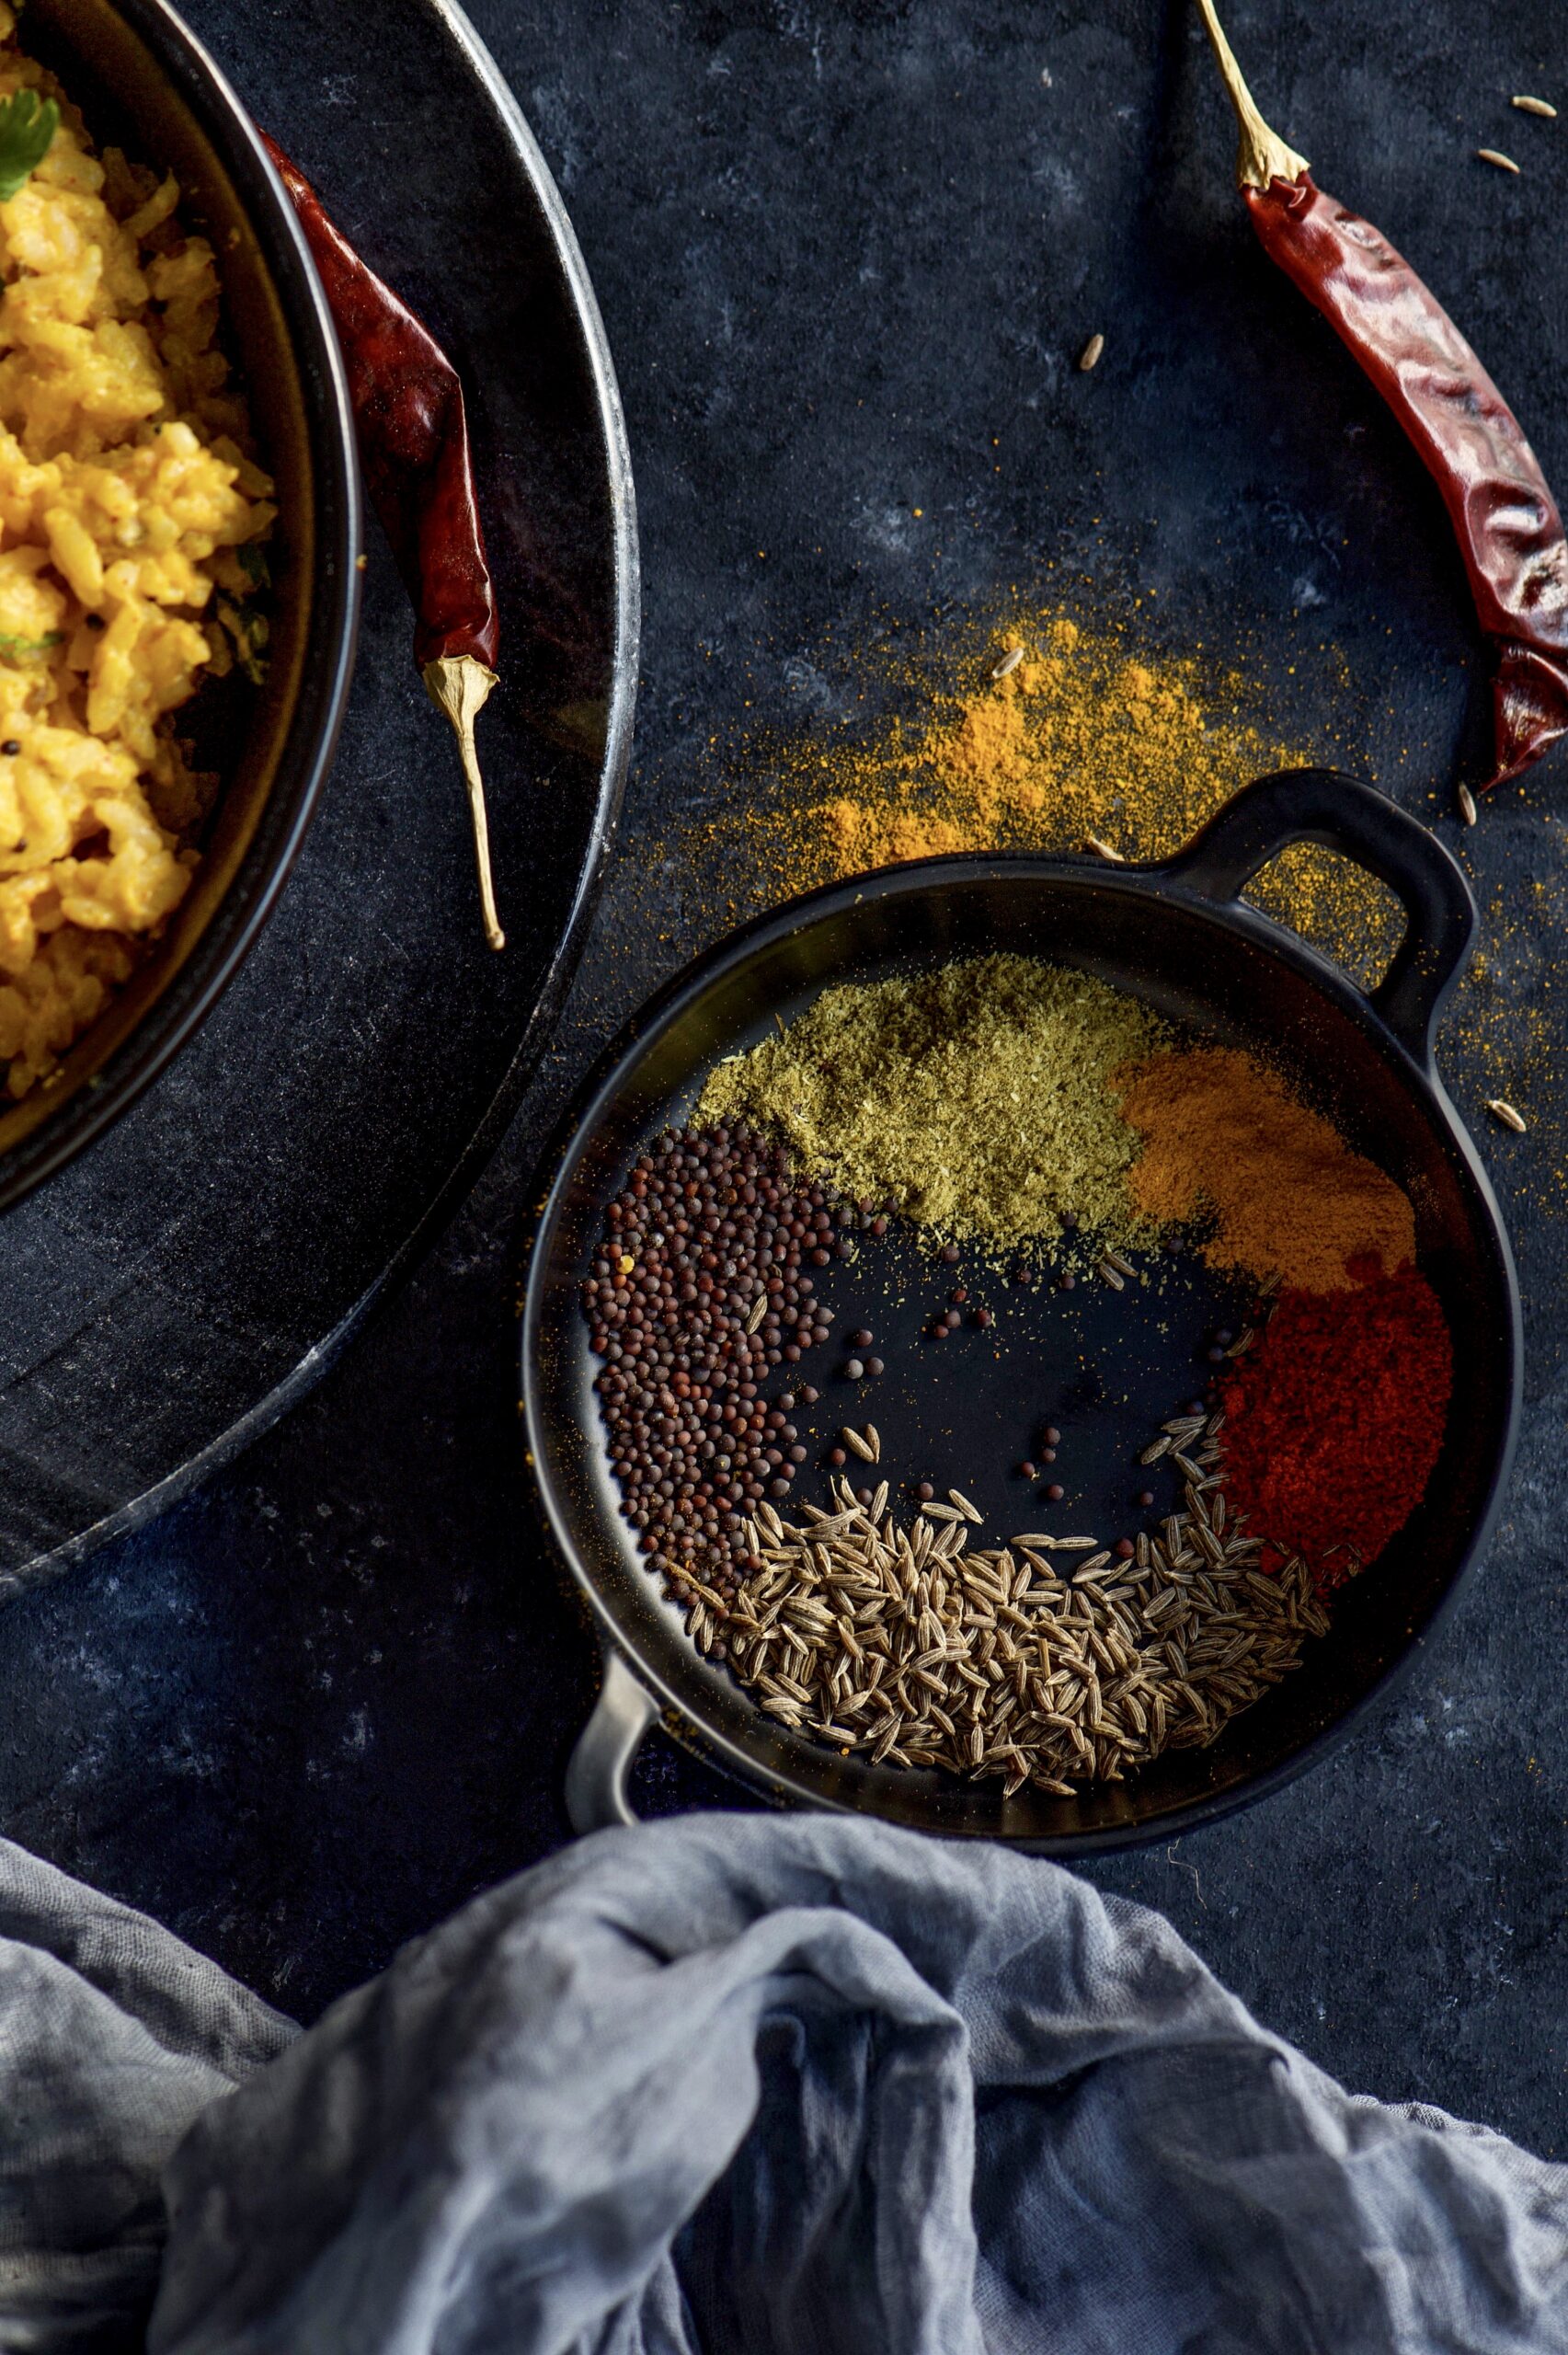
This Gujarati Masala Curd Rice is yoghurt-based, which means that it is of course rich in probiotics and excellent for digestion. The spices used are available in literally every kitchen cabinet in India.


Gujarati Masala Curd Rice

(Yield: 1 ½ cups)

Ingredients

1 cup cooked rice

½ cup yoghurt

1 tsp chickpea flour

Salt to taste

1 dried red chilli (not too spicy)

A few curry leaves

¼ teaspoon turmeric powder

½ teaspoon coriander/cumin powder

Asafoetida (optional)

2 teaspoon oil

¼ teaspoon cumin seeds

¼ teaspoon mustard seeds

Remember: the key to the dishes in this Second Helpings series is their simplicity. This one in particular is so simple, yet so filling.

In a pot, add the oil and once it’s hot, add the cumin and mustard seeds. Wait till they splutter, and then add the red chilli and curry leaves. Immediately after, add the yoghurt and flour and stir so that the yoghurt does not split. Now, add all the remaining ingredients and stir.

Garnish with coriander leaves and serve hot. Gujarati Masala Curd Rice is a meal in itself, and is both flavourful and cooling. Ideal for summers, for light evening meals following afternoon feasts and as comfort food in general.

I hope you’ve enjoyed this Second Helpings series. I’d love to hear from you in the comments below about the dishes you make, or remember eating as you grew up, that fall into the resourceful, innovative category of “leftovers”. I’m sure your parents were so excellent at whipping up what seemed like a whole new dish that you didn’t always know that that’s actually what they were!

In my previous post, I gave you a fresh spin on the classic dal dhokli, a dinner staple made with leftovers from lunch. In fact, the use of leftovers was so well-designed in traditional cuisines that afternoon snacks would be planned in the morning, and dinnertime planned even while making lunch – and each would be built on the other. In India, no meal is complete without a sweet, and resourceful cooks through the generations also found ways to make sweet snacks using the remnants of a previous meal. Which brings me to the second dish of the promised trio in this series.

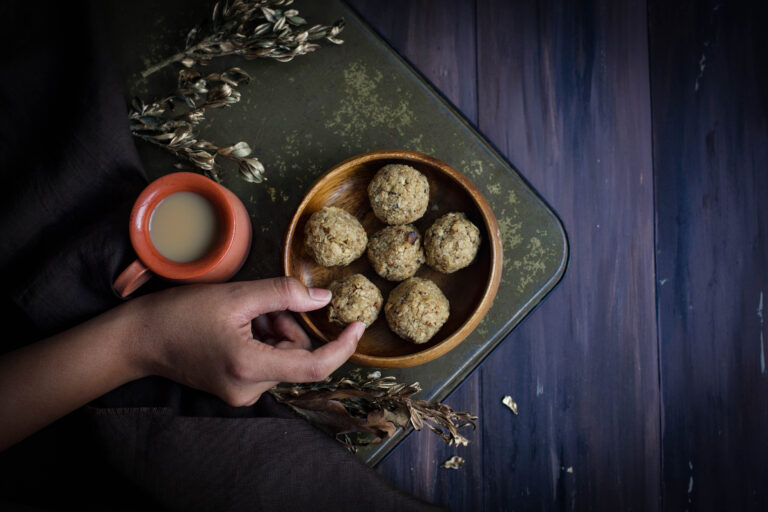
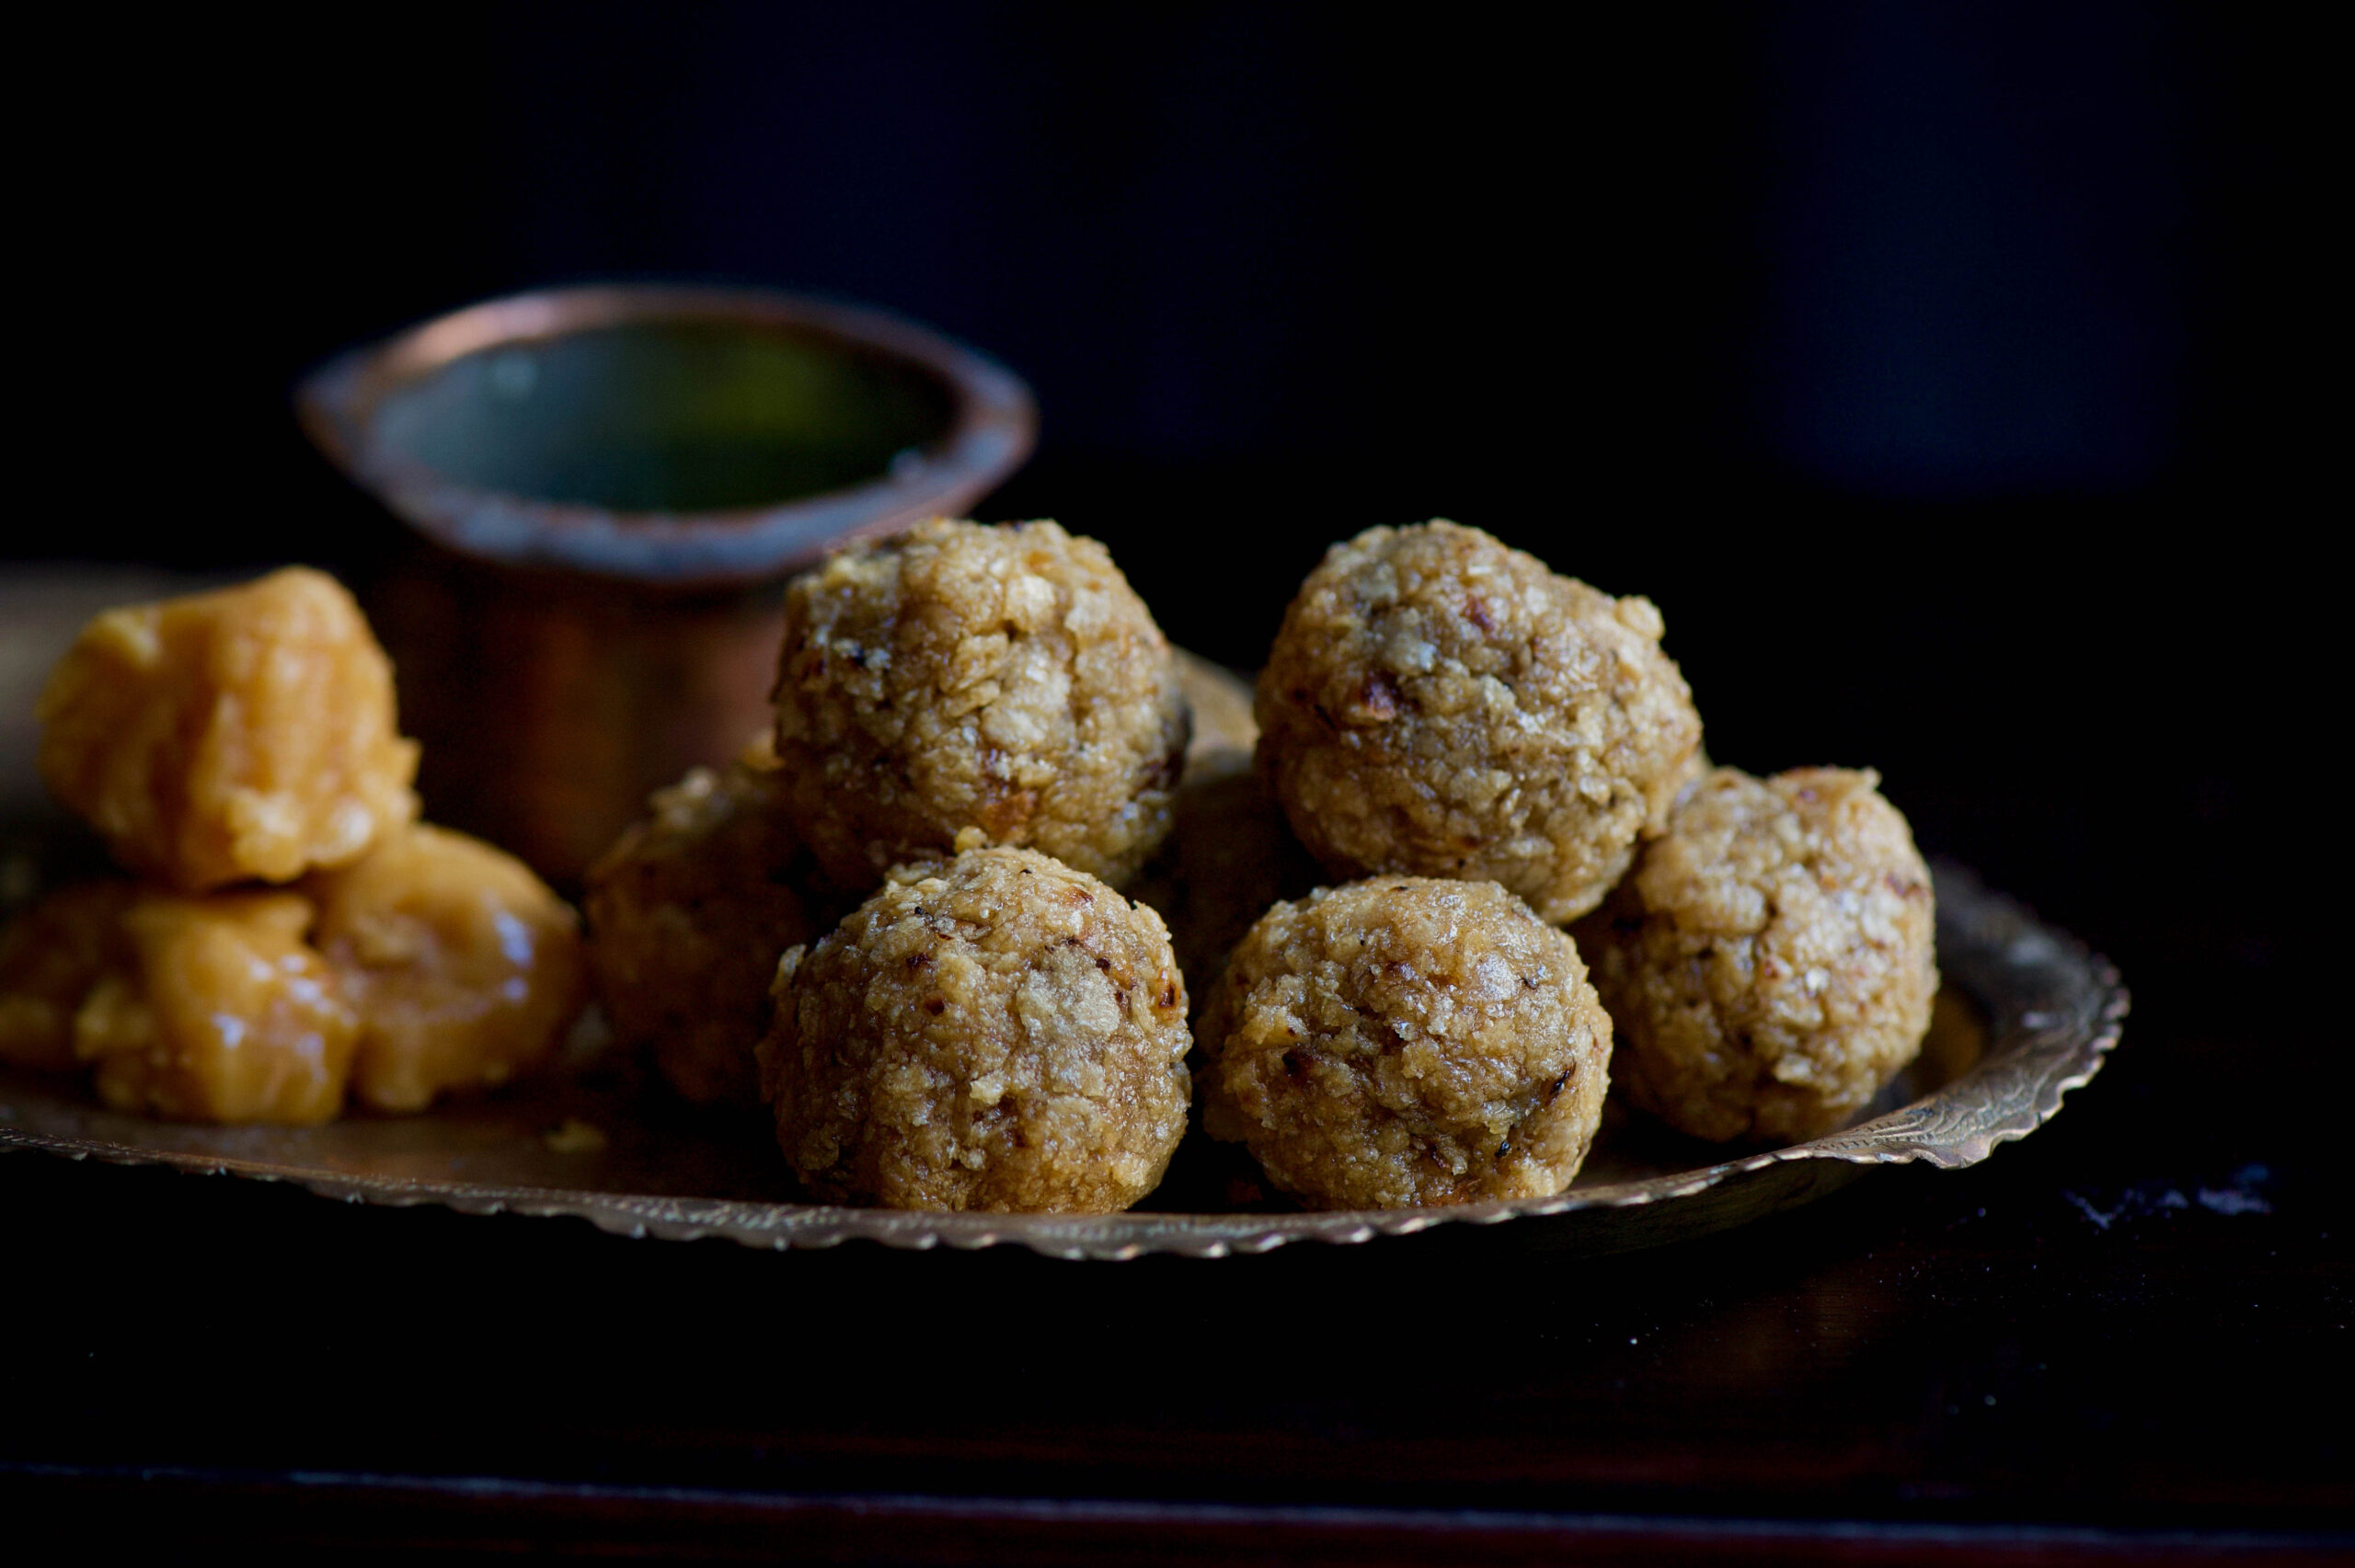
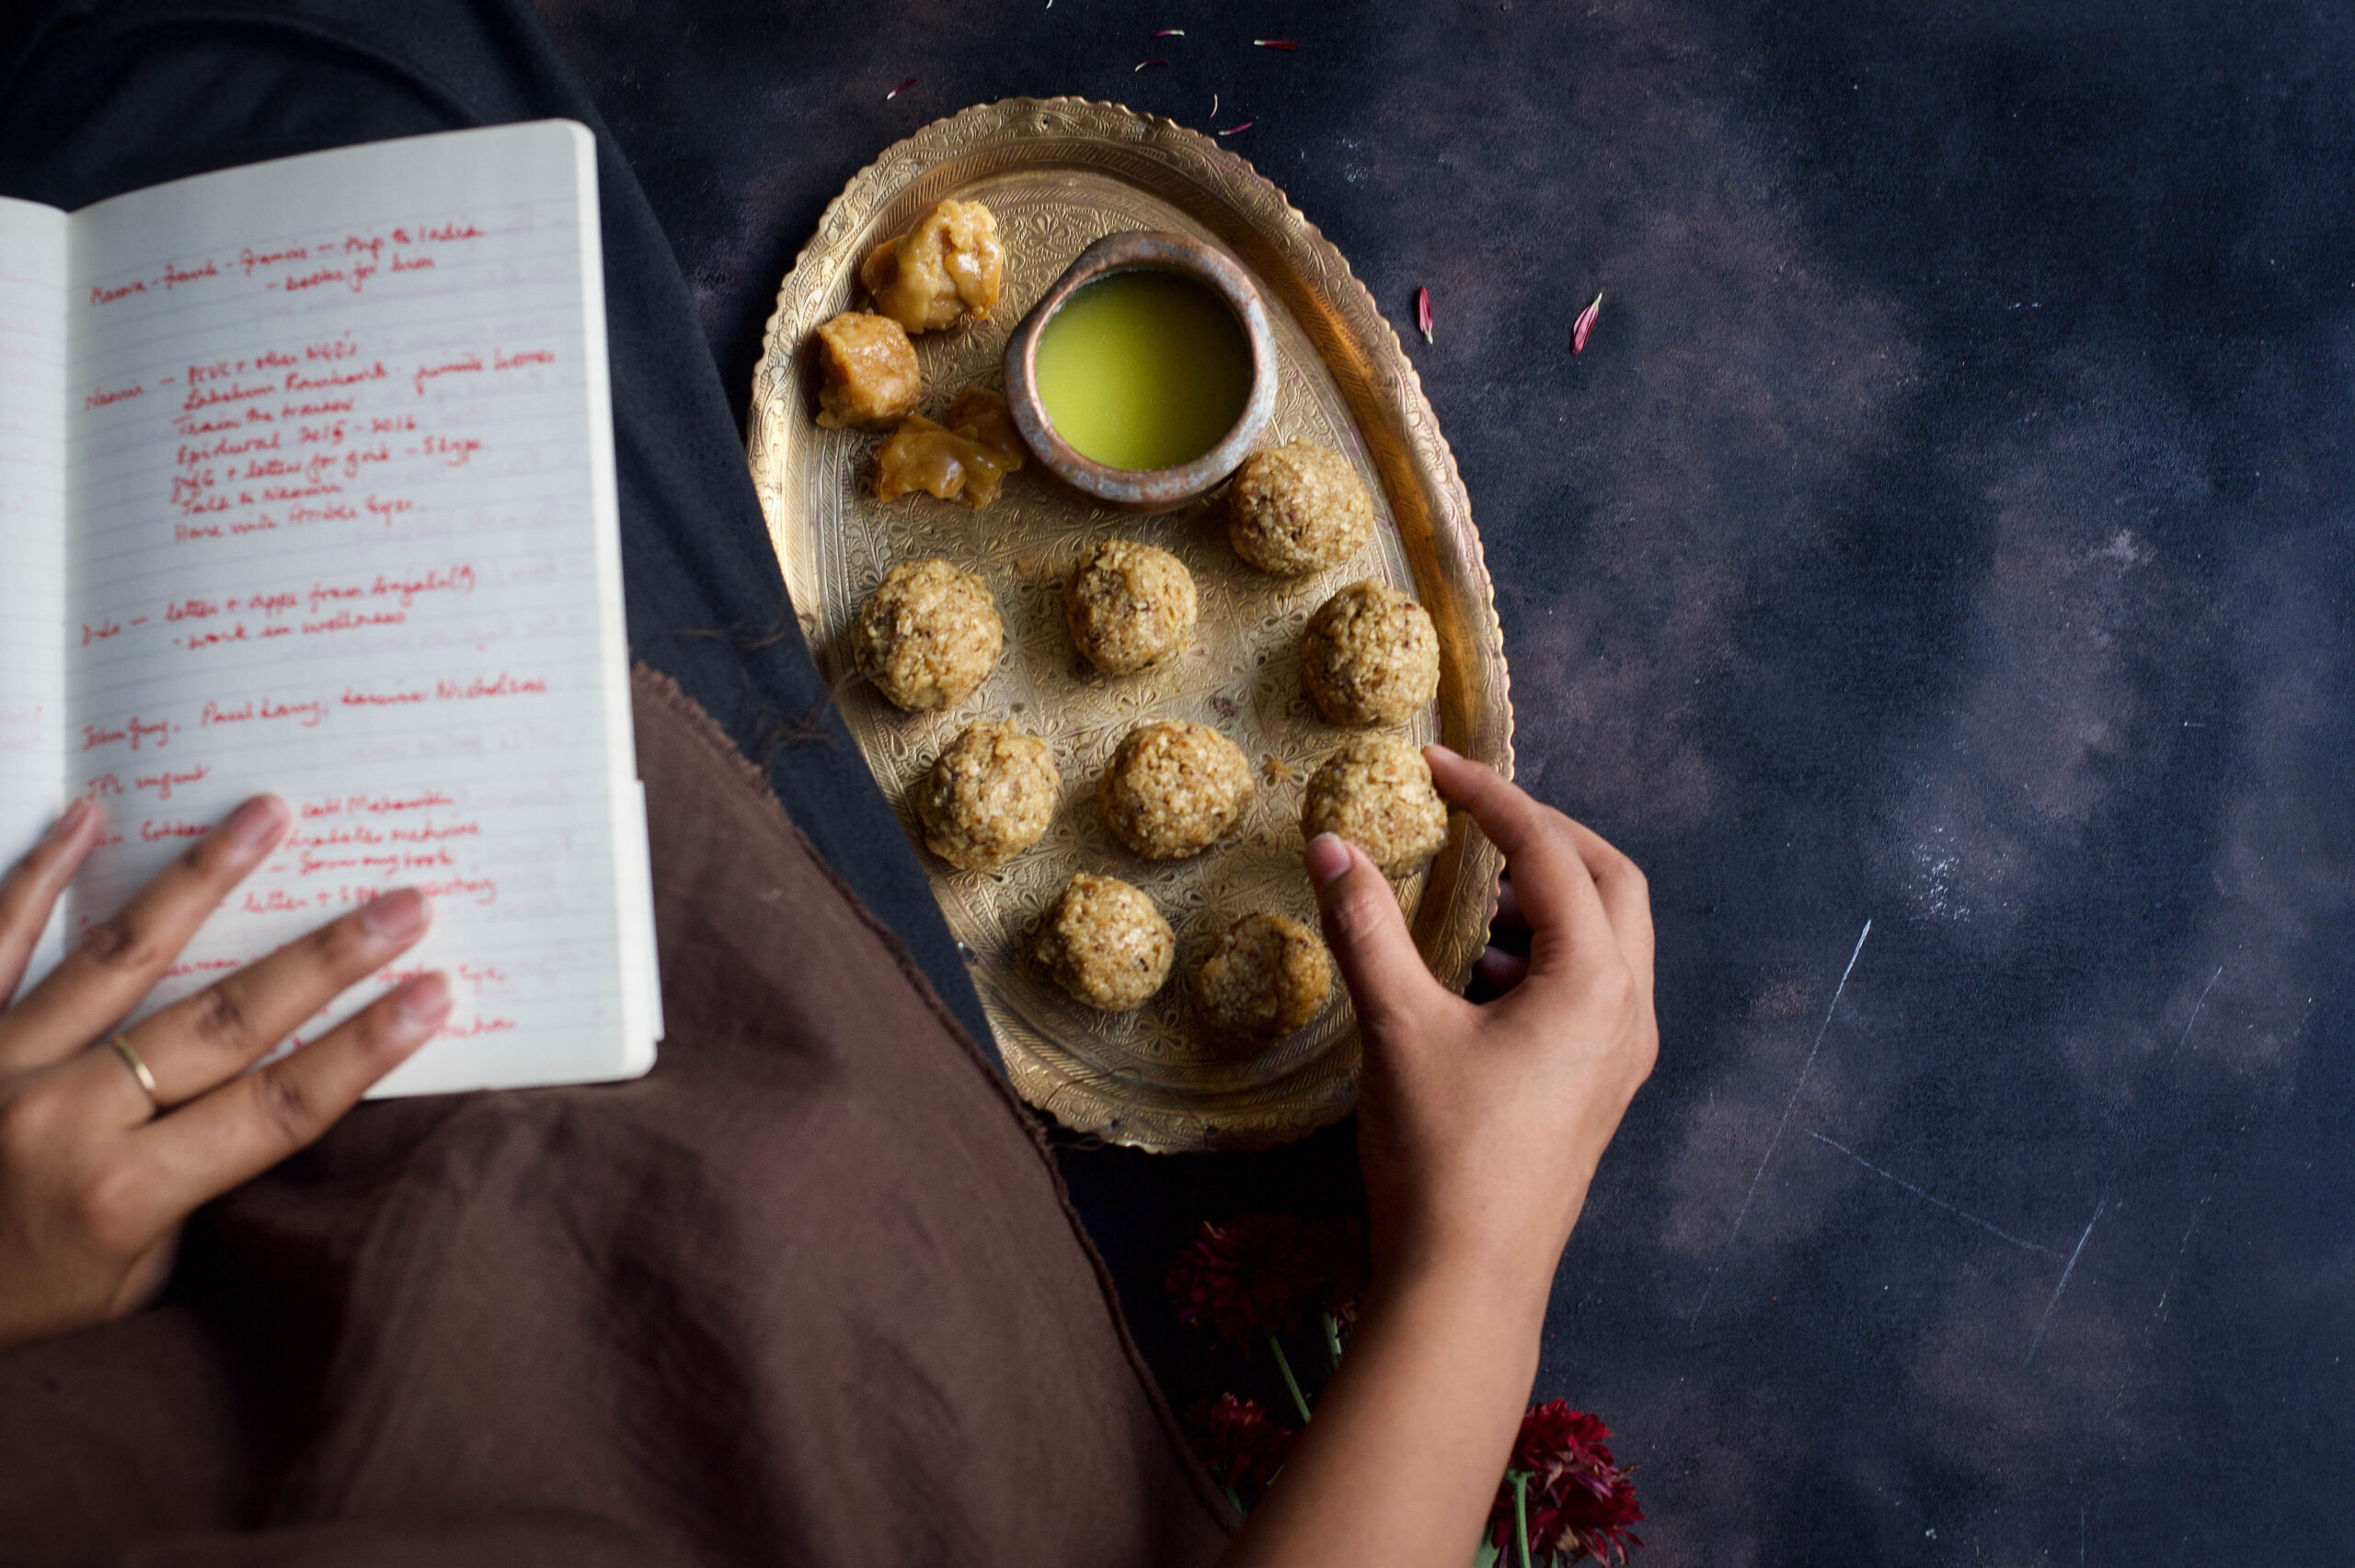
While I was growing up, my mother would often cook a little extra dal and rotli in the morning. Some of it would go into the lunch thali, and some of that would go into the evening’s dal dhokli. And she often found a way to make sure that there was just a little extra rotli to be turned into a wonderful after-school treat: rotli na ladoo.

Just as leftover-based dishes developed to fulfil practical needs like conserving supplies, snacks were often made at home because inexpensive candies and savouries were not freely available like they are now. The Chennai of my childhood wasn’t as developed as it is now, and we didn’t have the chips and junk food that the kids of today enjoy. But I consider myself all the more fortunate for it. From an early age, I was exposed to a culinary ethic that has kept me in good stead. Some of its features include: never wasting food as it is precious, using healthy and nourishing ingredients, and not tasting food while it is being cooked as it is first an offering to god (this trained me to be able to read a dish using sight and smell).

Today, my mother has difficulties with her eyesight but still cooks for herself and her family, using her hands and trusting the fragrances. There is so much wisdom in her kitchen, and when I visit her I still learn new things – and moreover, there are certain dishes, like her sabudana khichdi, that never taste quite the same to me when anyone else makes it. My daughter today makes those same demands of me, for things that taste of my heart and my love.

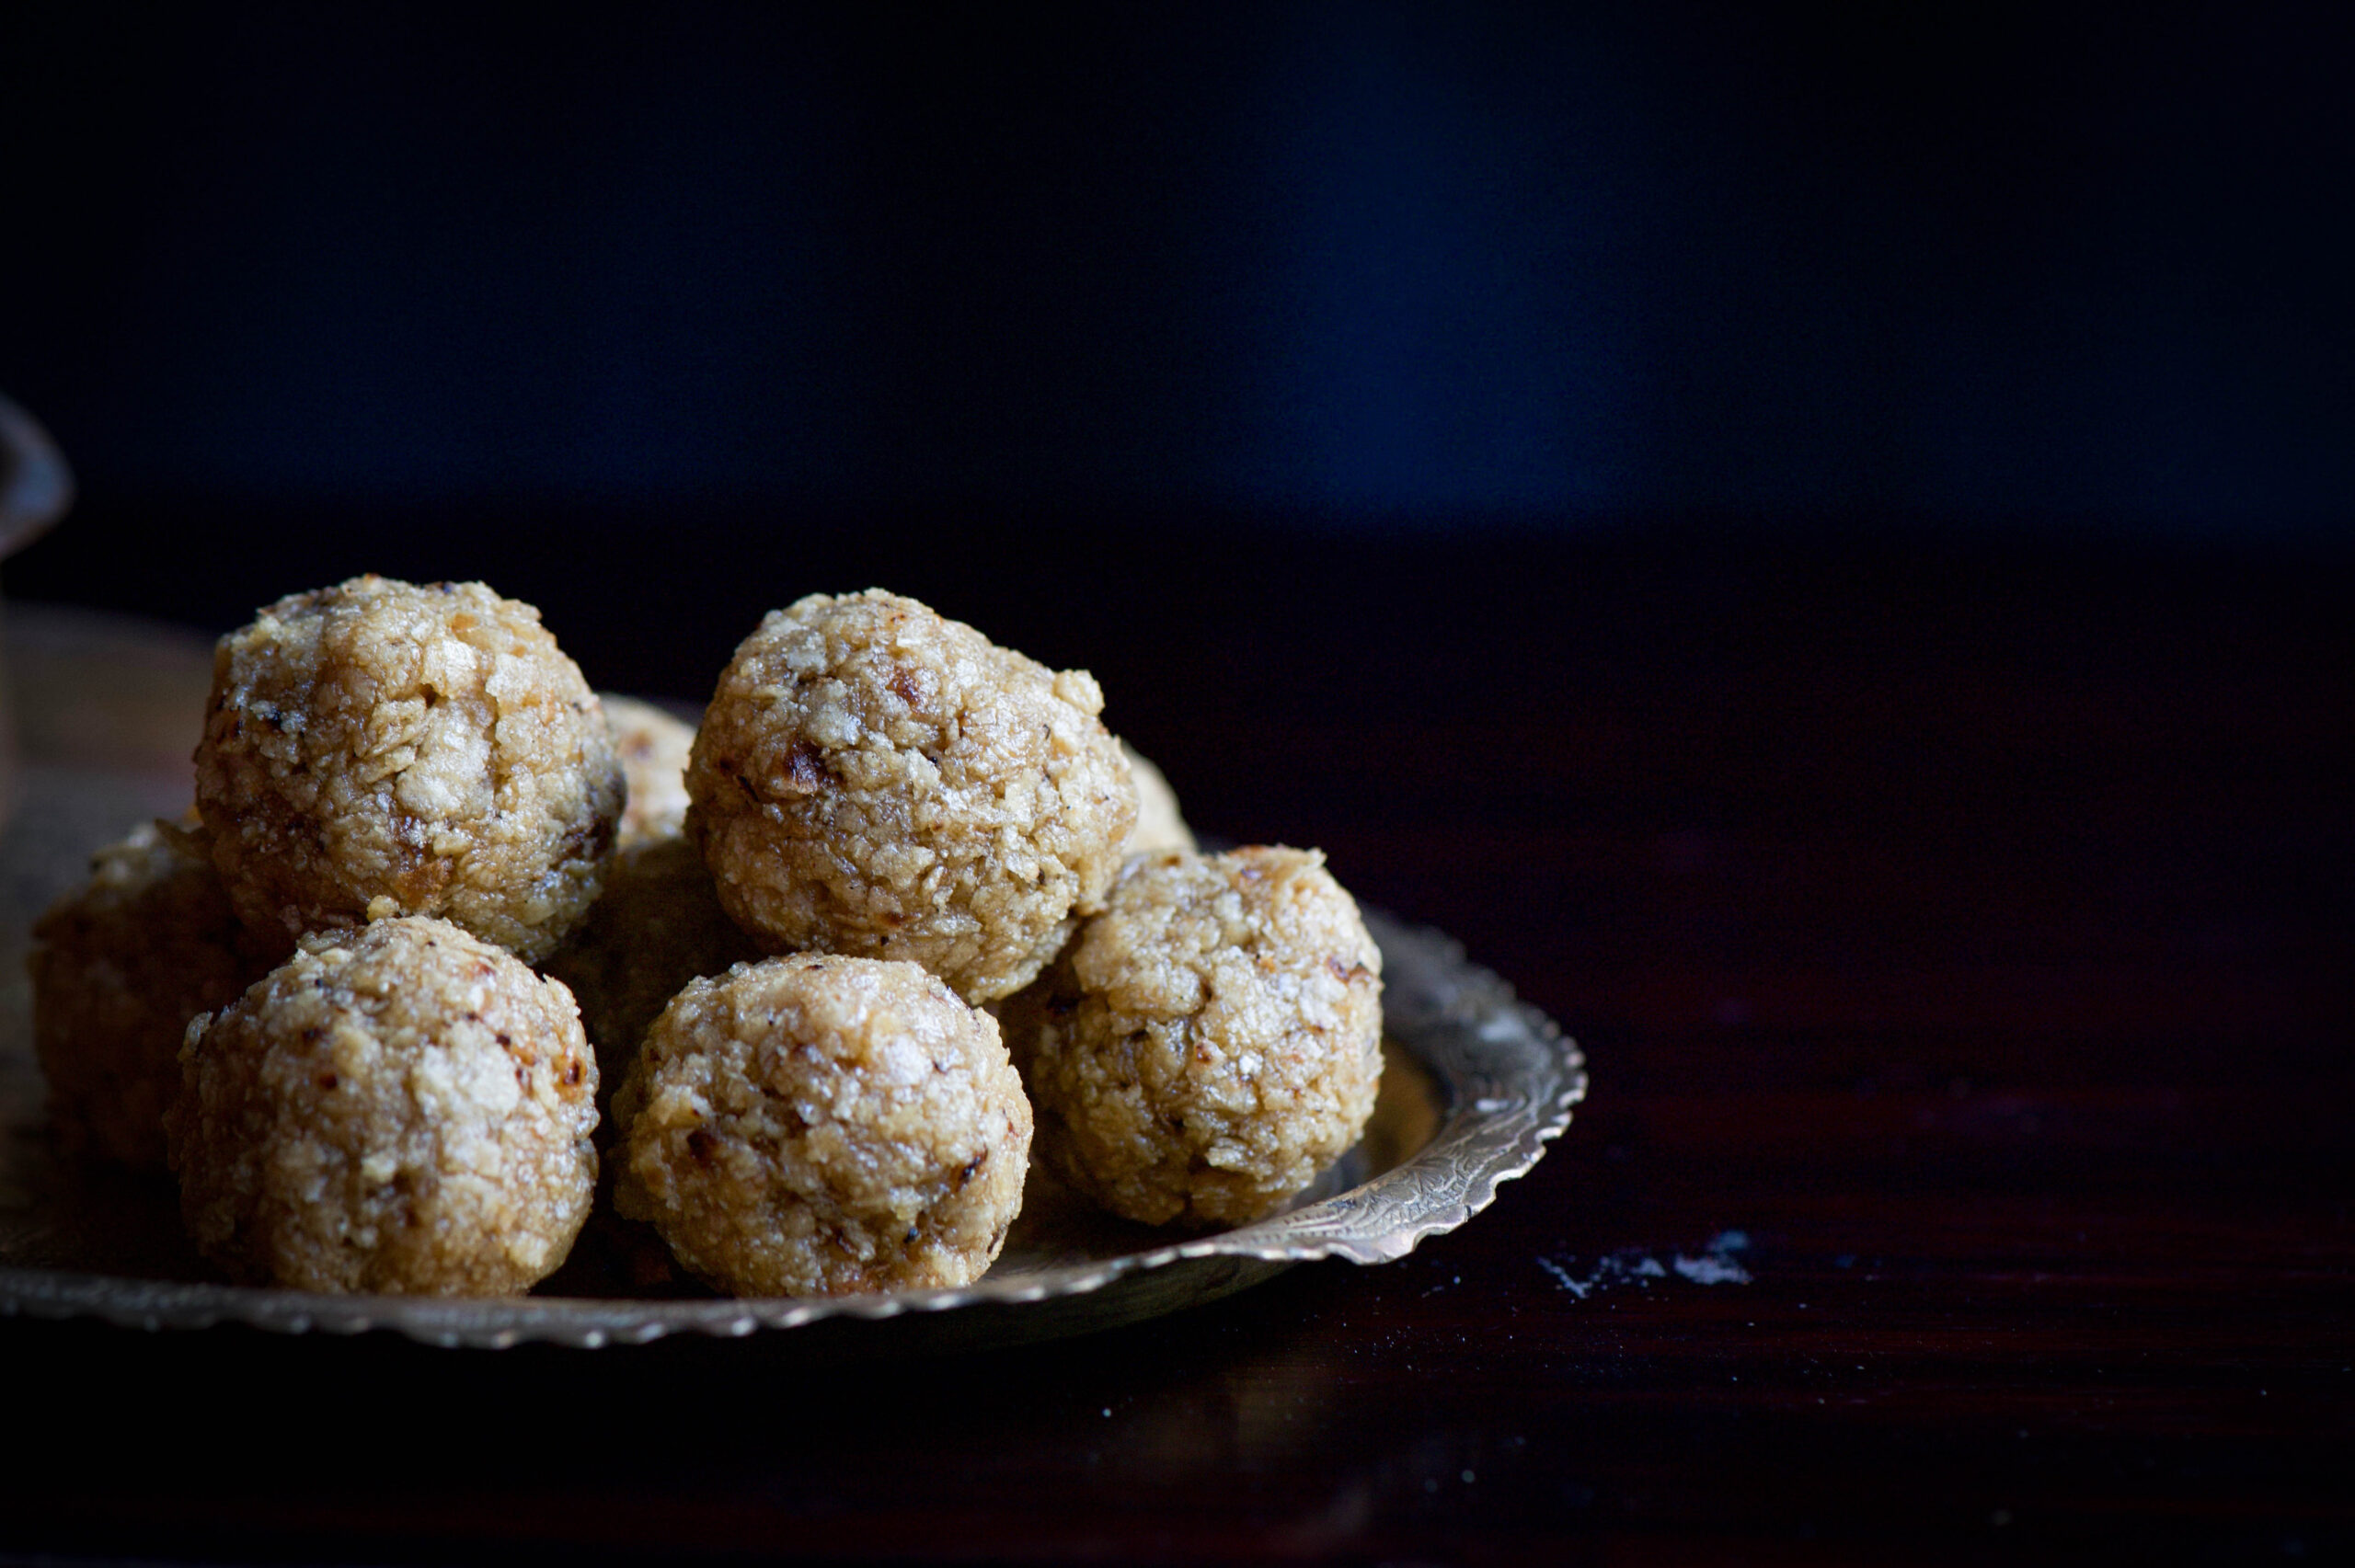
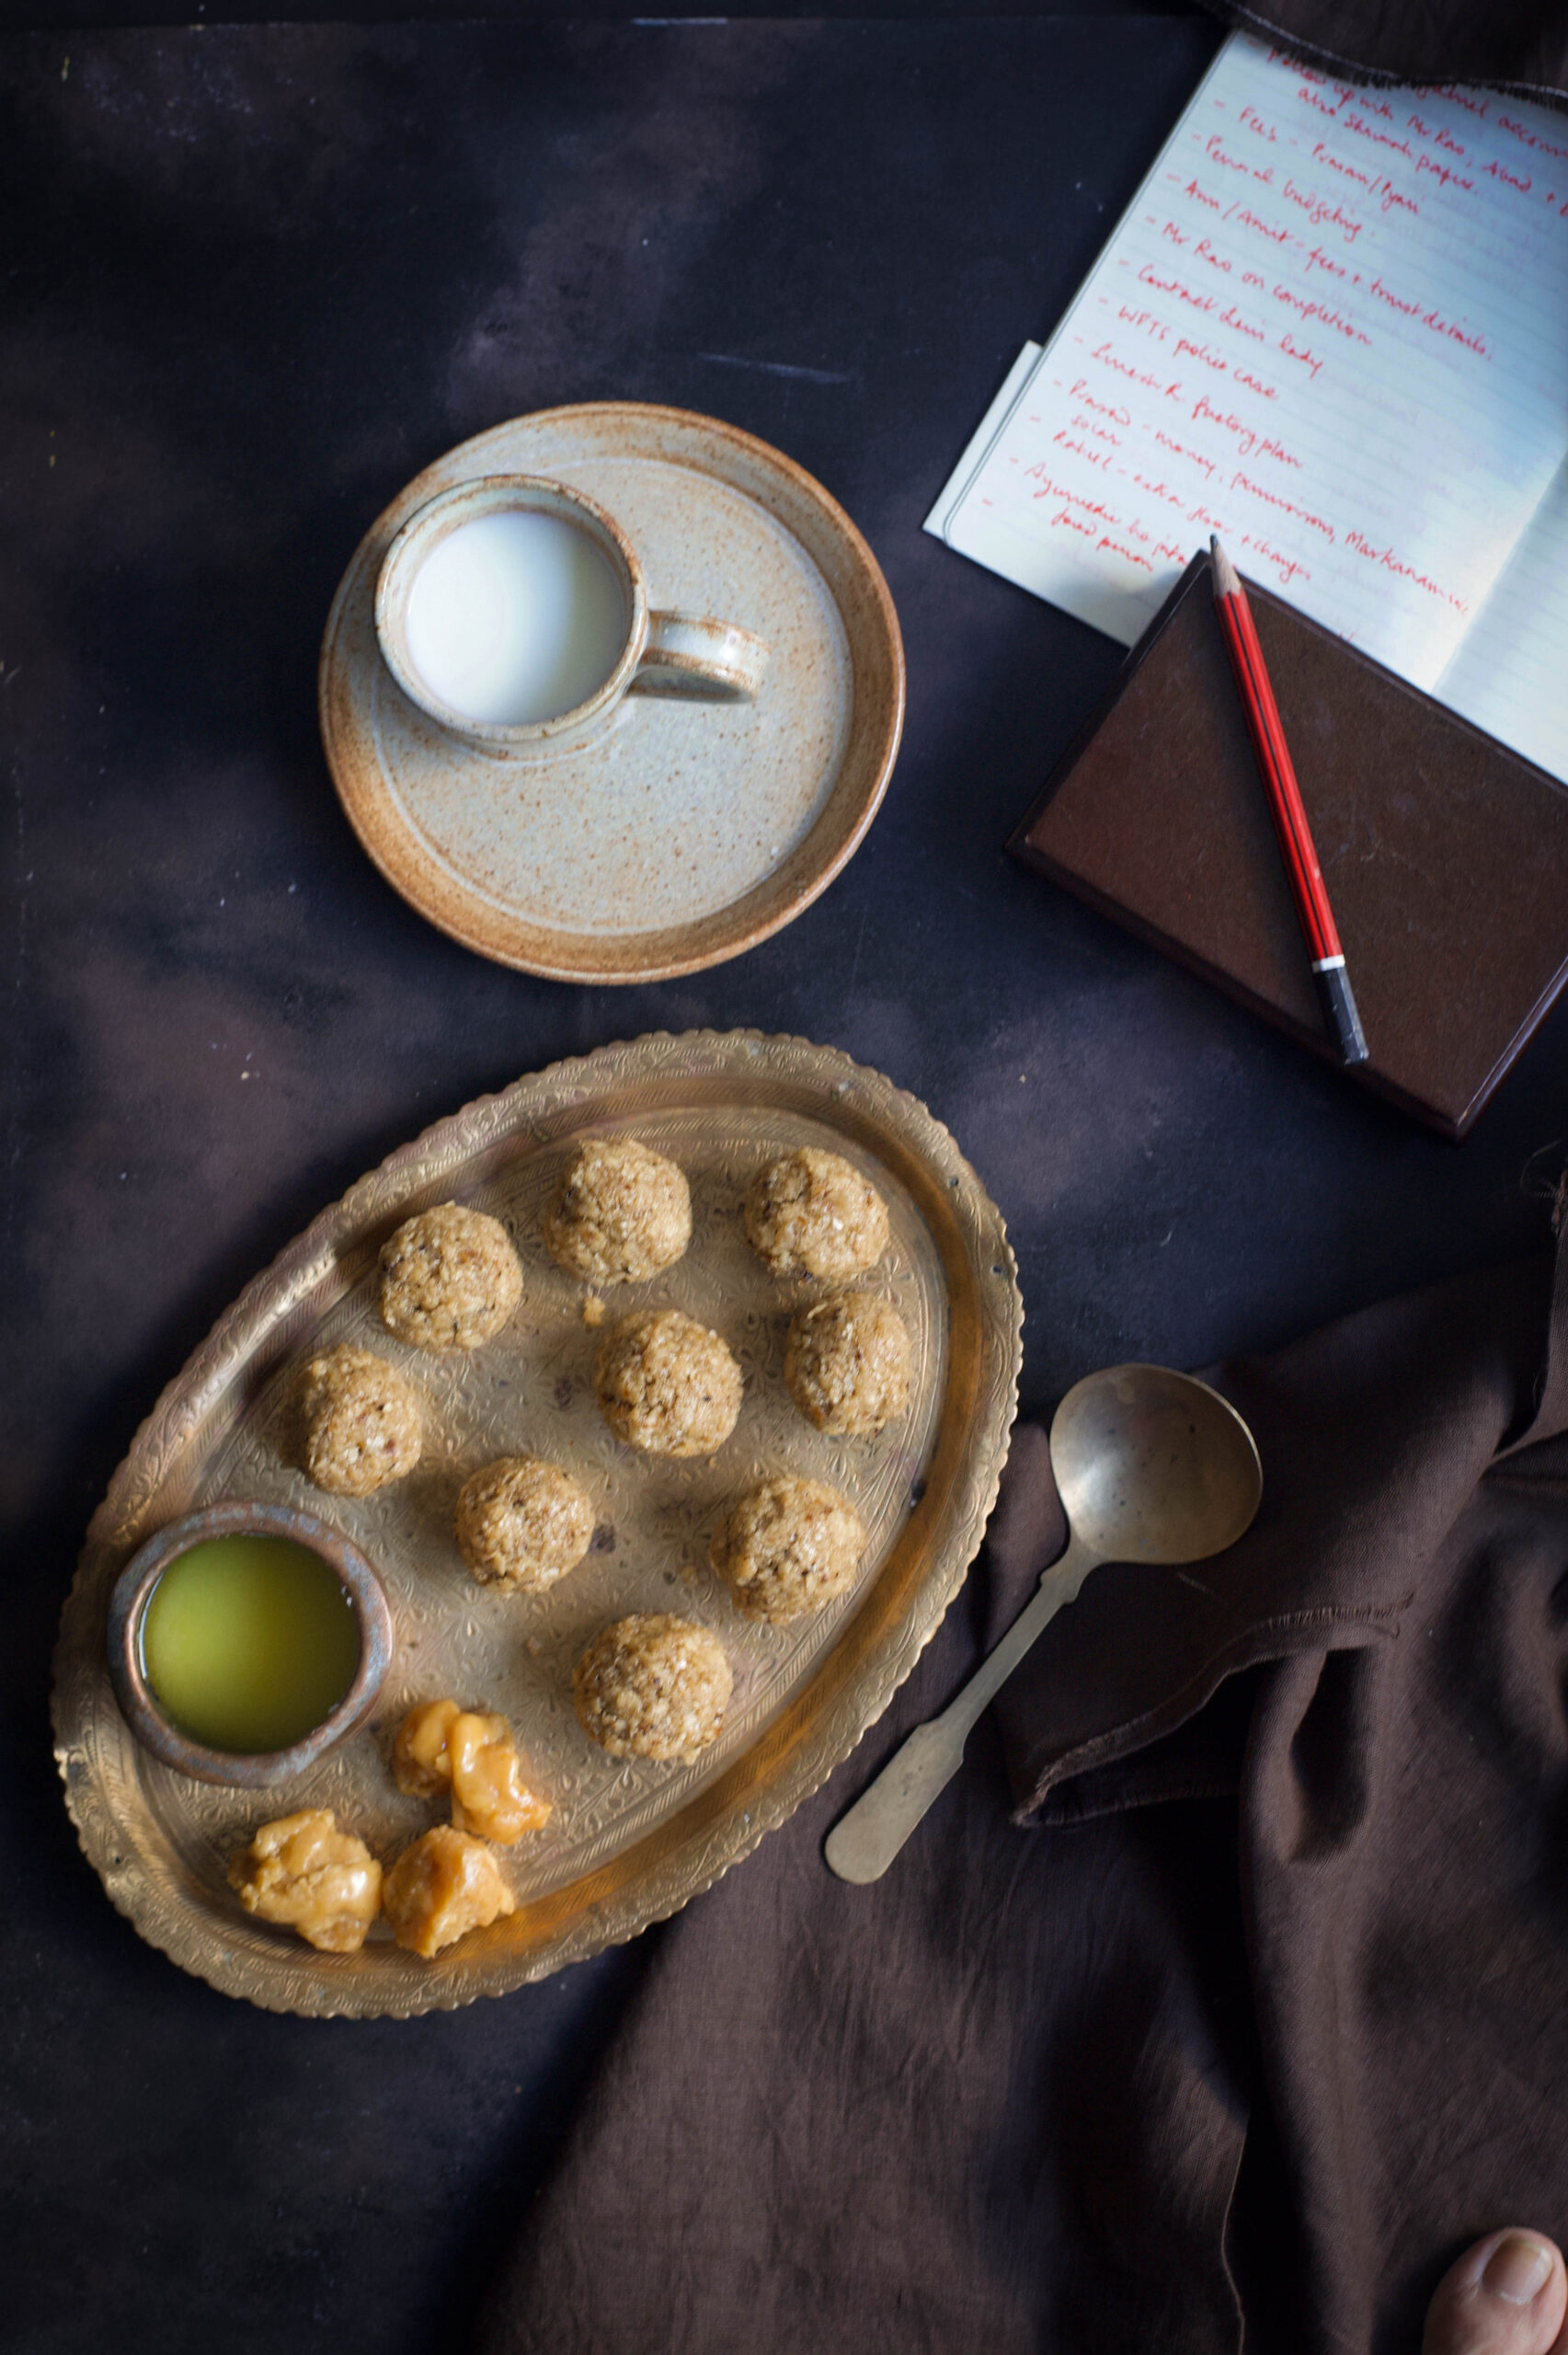
My very resourceful mother even attended a baking class when I was kid, a rarity in Chennai at the time. So our homemade snacks and sweets included some rather exotic treats occasionally, but the rotli na ladoo holds a place in my heart like no other. There are only three ingredients, and it takes all of three minutes to make it. Well, there is a fourth, secret ingredient. And you can guess what that is.


Rotli Na Ladoo

(Yield: approximately 10 pieces)

Ingredients

2 cups rotli (torn into tiny pieces or coarsely blended)

1/3 cup jaggery

1 tablespoon ghee

In a pan, add the ghee. Once it has warmed, add the jaggery. Allow it to melt, stirring continuously on a medium-low flame, making sure it doesn’t get burnt. When it starts to bubble after a few minutes, add the rotli bits and turn off the flame.

Once you’ve added the rotli pieces, mix everything properly. Now, it’s time to use your hands. Grease your palms and bind a handful of the hot rotli mixture together. Gently press between your palms to shape into a somewhat rounded shape, then very gently roll it. Be careful, as it may crumble. It’s as simple as that, but if you’re having trouble shaping the balls, you can eat the well-blended mixture in a bowl. It will taste the same, but will require utensils! Allow to cool, and enjoy.

The above three-ingredient method is assuming that you already have rotlis prepared. If you don’t, and are making them from scratch, the ingredients and method are below. Rotlis are essentially theplas without the masala and yoghurt, so if you’ve tried your hand at the recipes in this post on Gujarati breads, you should find this easy.

Don’t forget that if you have lots of leftovers from the method below, you can always make yourself some delicious traditional dal dhokli, or eat it with lavender shrikhand. The possibilities for breads are endless!


Rotli

Ingredients

(Yields: 12)

1 cup whole wheat flour

A pinch of salt

1 tablespoon sunflower oil

100 ml water or less

In a mixing bowl, blend the flour and salt. Now add the 1 tablespoon of oil. Slowly add water and continue mixing, until you feel the mixture is slightly tougher to the touch than bread dough. You do not need to use the entire 100ml. Allow to sit for half an hour.

Make small lemon-sized balls. Dust both sides of the ball with flour. Now, dusting more flour as you do, roll out the dough into discs. Make them as thin as you can.

On a heated iron pan, place the rotli on a medium flame for 30-40 seconds. Then turn it to the other side. Now increase the flame, lift the pan, remove the rotli using tongs and place it directly on the flame. Allow it to fluff or rise. Flip over so it cooks on both sides. Set aside and spread ghee over it. Repeat until all the rotlis are made.

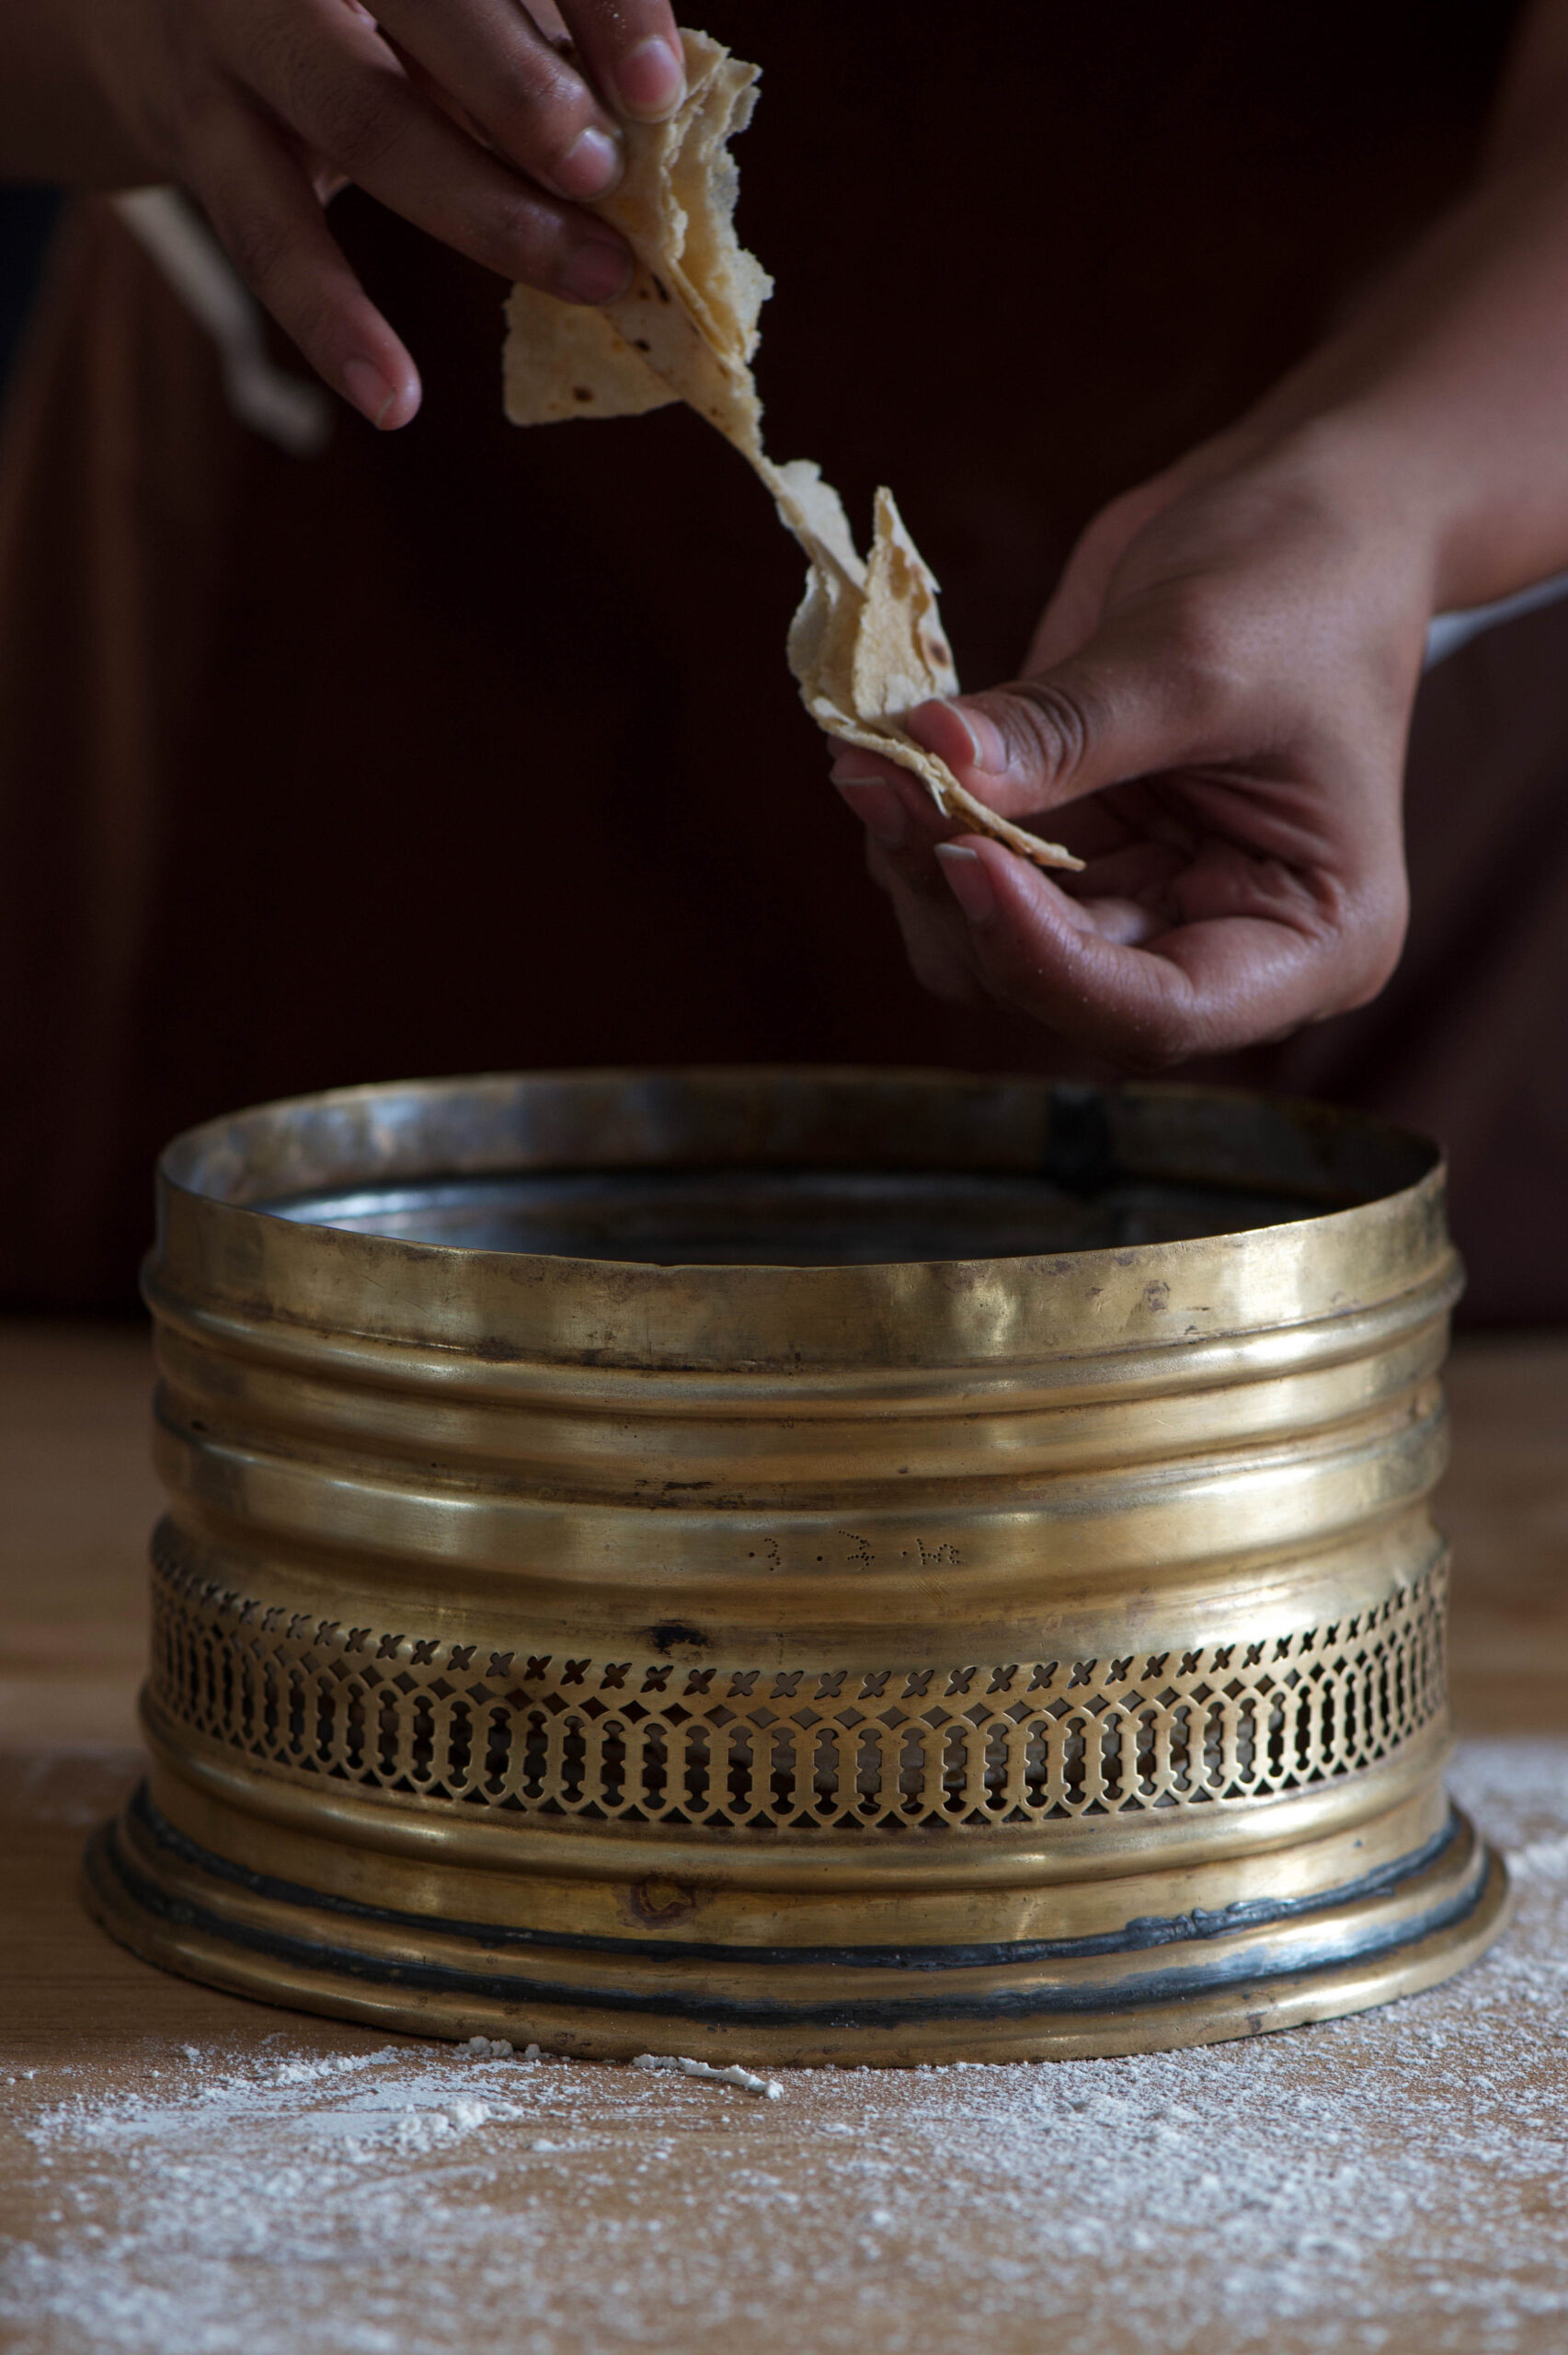
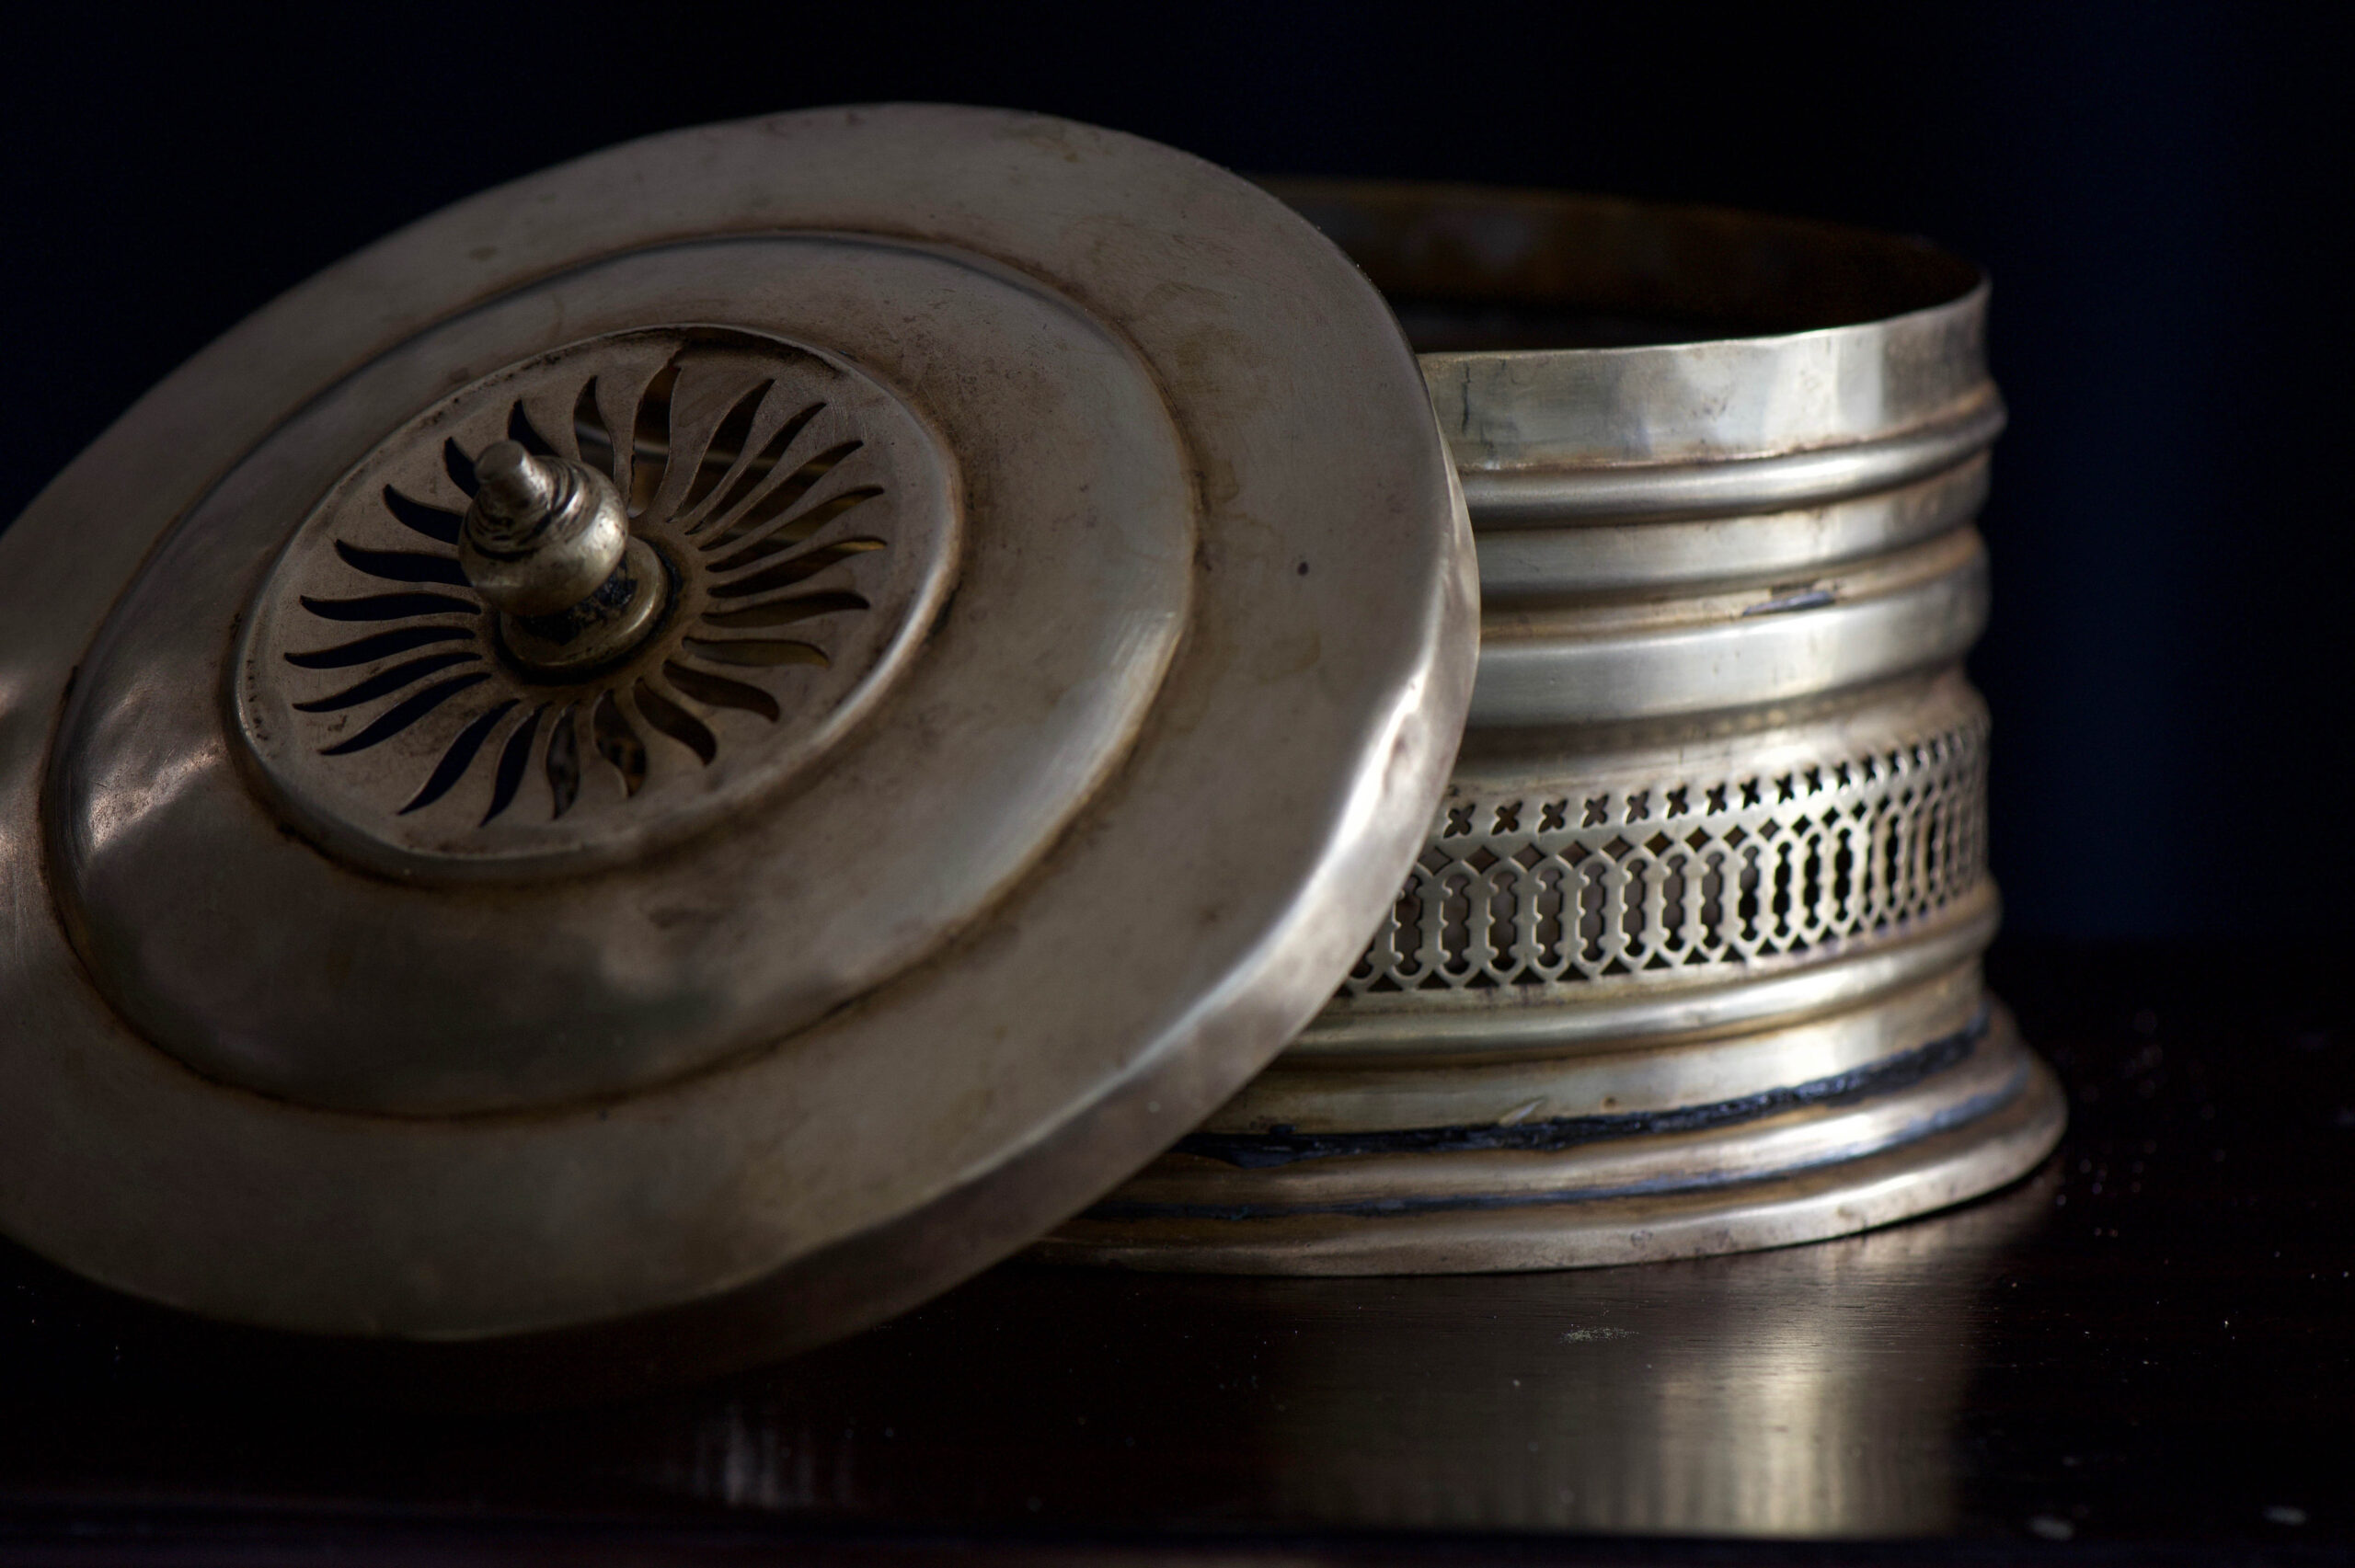
I like storing these ladoos in a “rotli no dabbo”, a traditional box used for breads. It looks beautiful, but also serves a practical purpose. Notice the intricate “jali” work that rings the box. This is a form of ventilation that cools the rotli and removes moisture.


I have fond memories of eating rotli na ladoos in the afternoons, after returning home from school. They are so perfect with a glass of milk or a cup of tea after an exhausting day! It’s funny how torn pieces of bread can be turned into a delicious snack with a little jaggery, a little heat – and a pair of hands that make everything with love.

Do stay tuned for the third and final part of this Second Helpings series. Any guesses on what it might be?


We don’t believe in wasting food in India. What had once been a pragmatic necessity – there could be no leftovers, because there were no fridges! – has settled into cultural practice. Respect for food is also an important part of our culture, so you’ll find that most families, regardless of economic background, will try their best to never let a meal go to waste. From practical concerns like the lack of cold storage or having to be sparing with expenses, a whole sub-genre of cuisines was developed. Dishes that exist because of other dishes – and which some say taste even better in the second round.

The traditional Gujarati lunch is known as a thaali, and comprises of rice, rotli, dal and a vegetable. This is the basic variant – to this, some may add a sweet or a second vegetable as a staple. If there was a sufficient amount of dal and rotli left over from lunch, you could be sure that dinner that evening would be dal dhokli.

Dal dhokli is a meal in a bowl, a stew-like dish. To make it using leftovers, simply tear the rotli into pieces, add it to the daal and heat them up. What I’d like to share with you today, however, is a from-scratch variation on the classic.

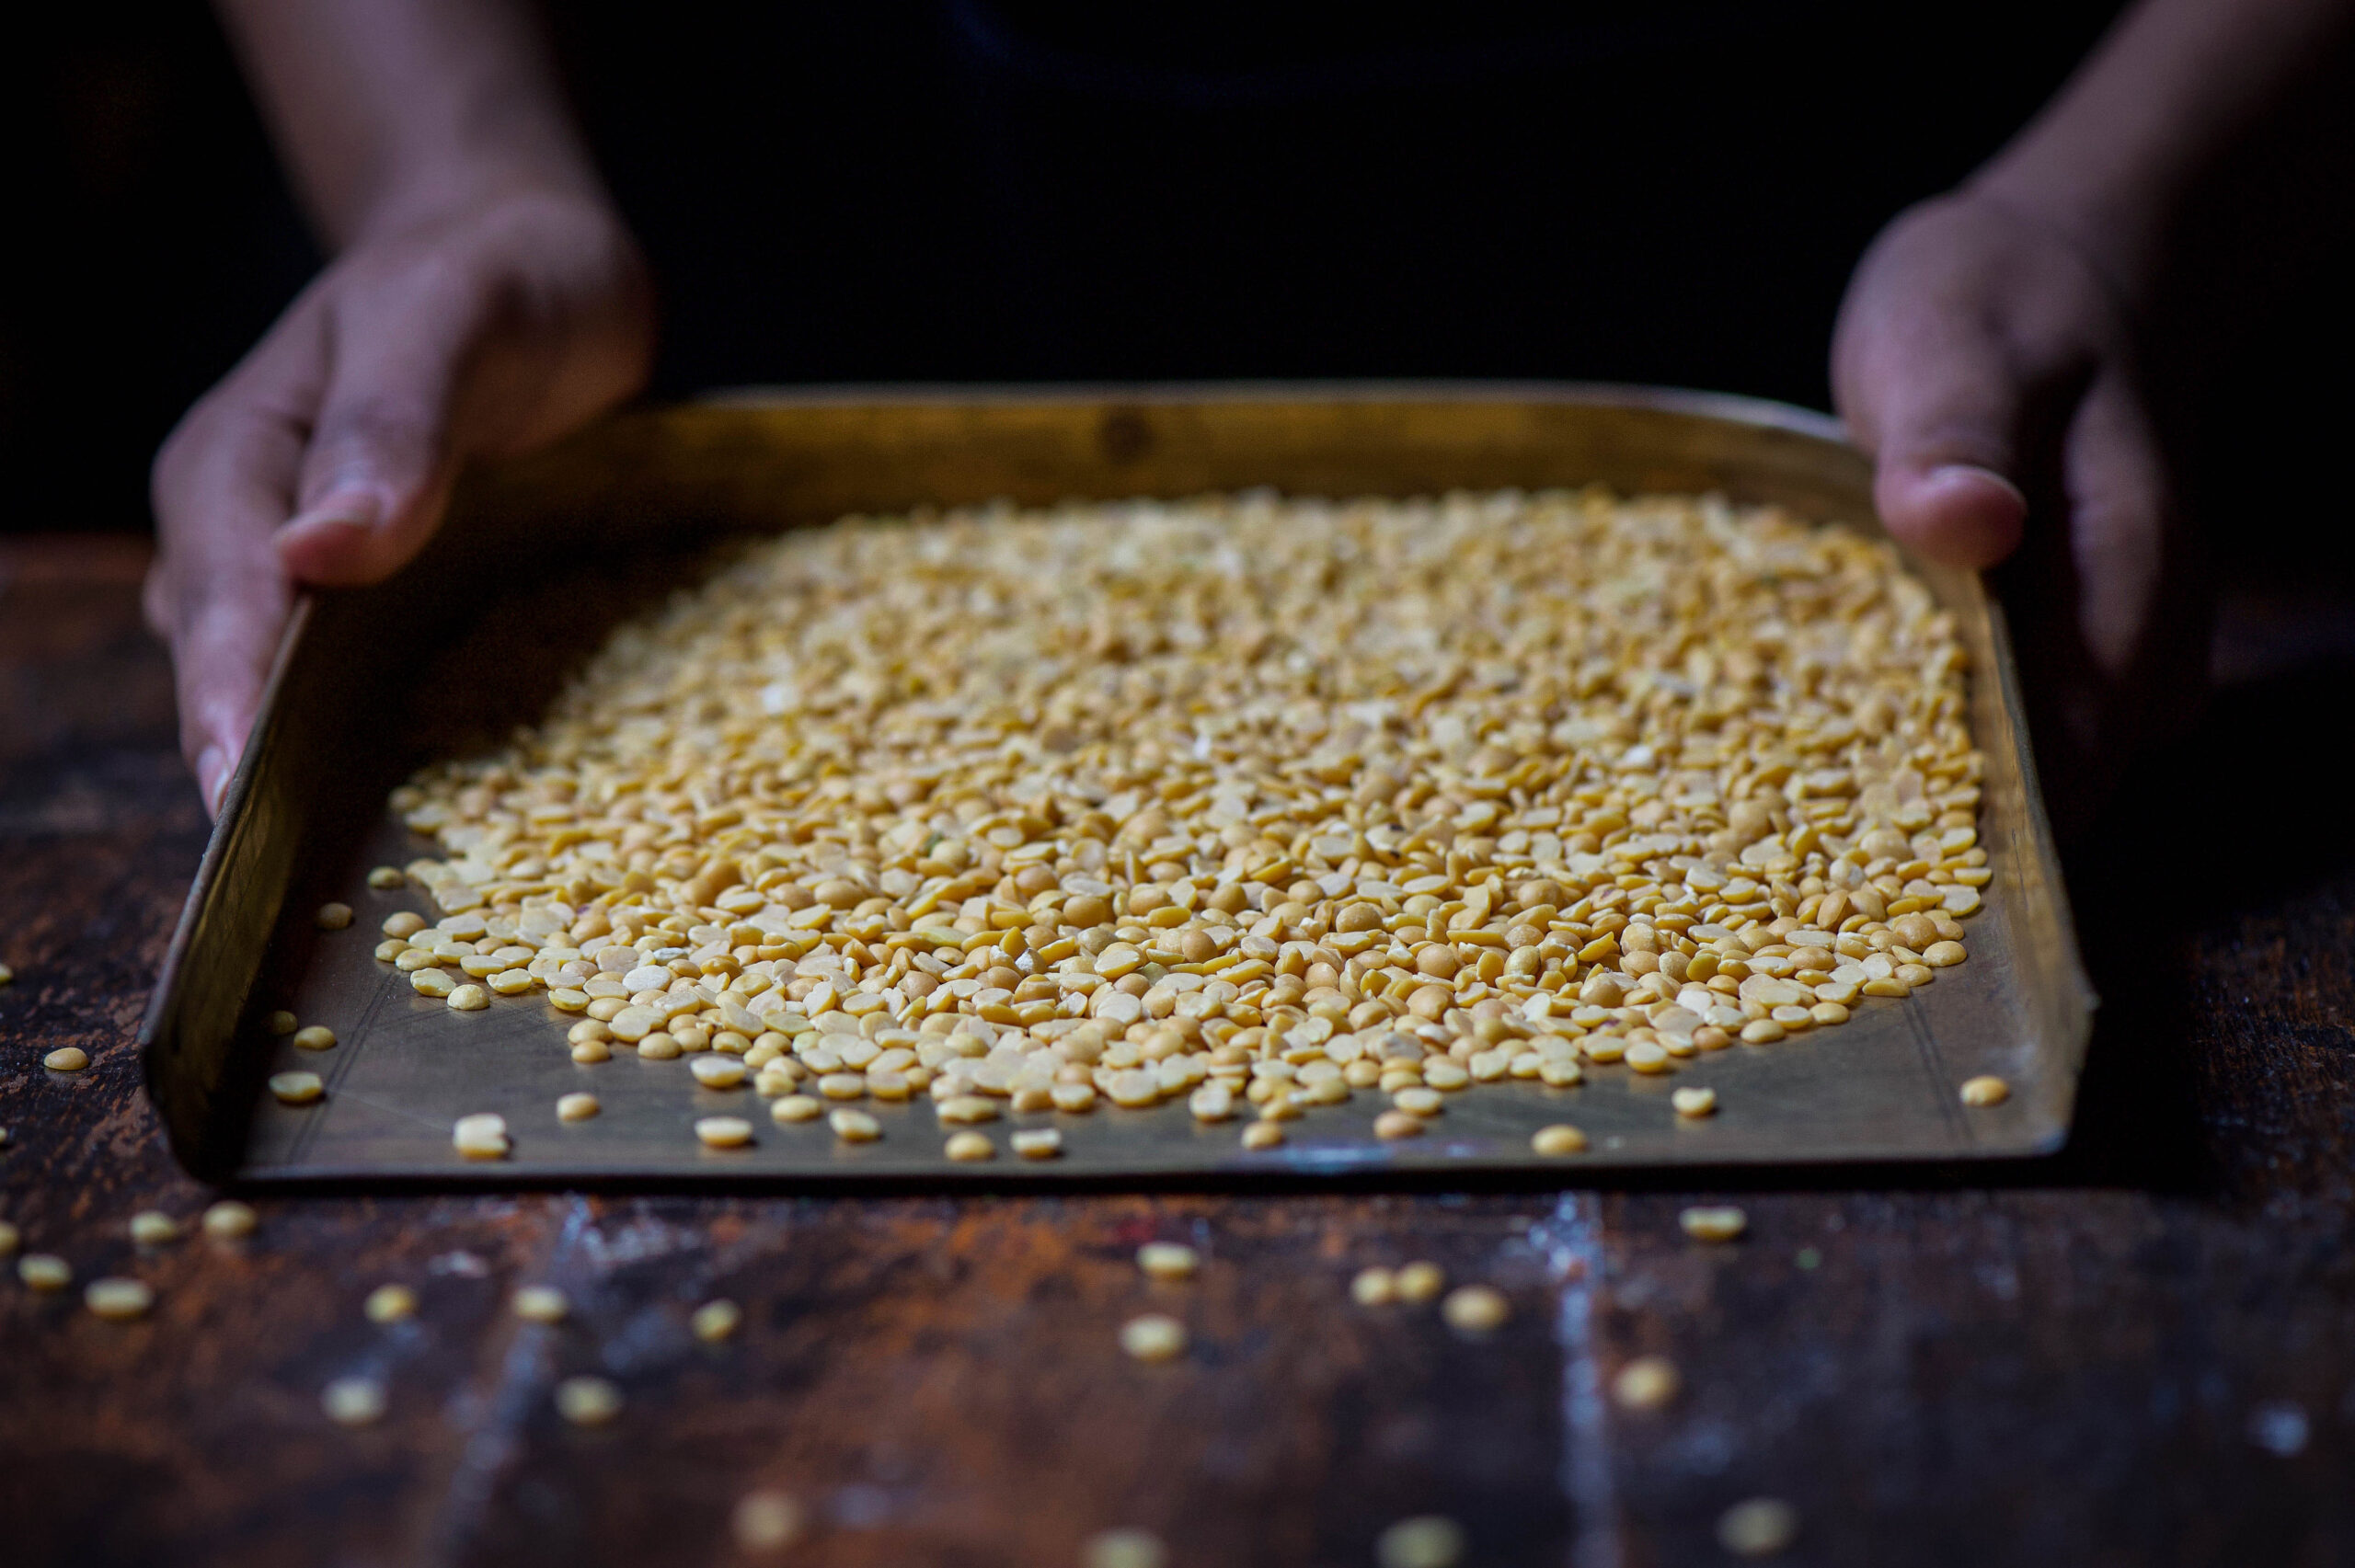
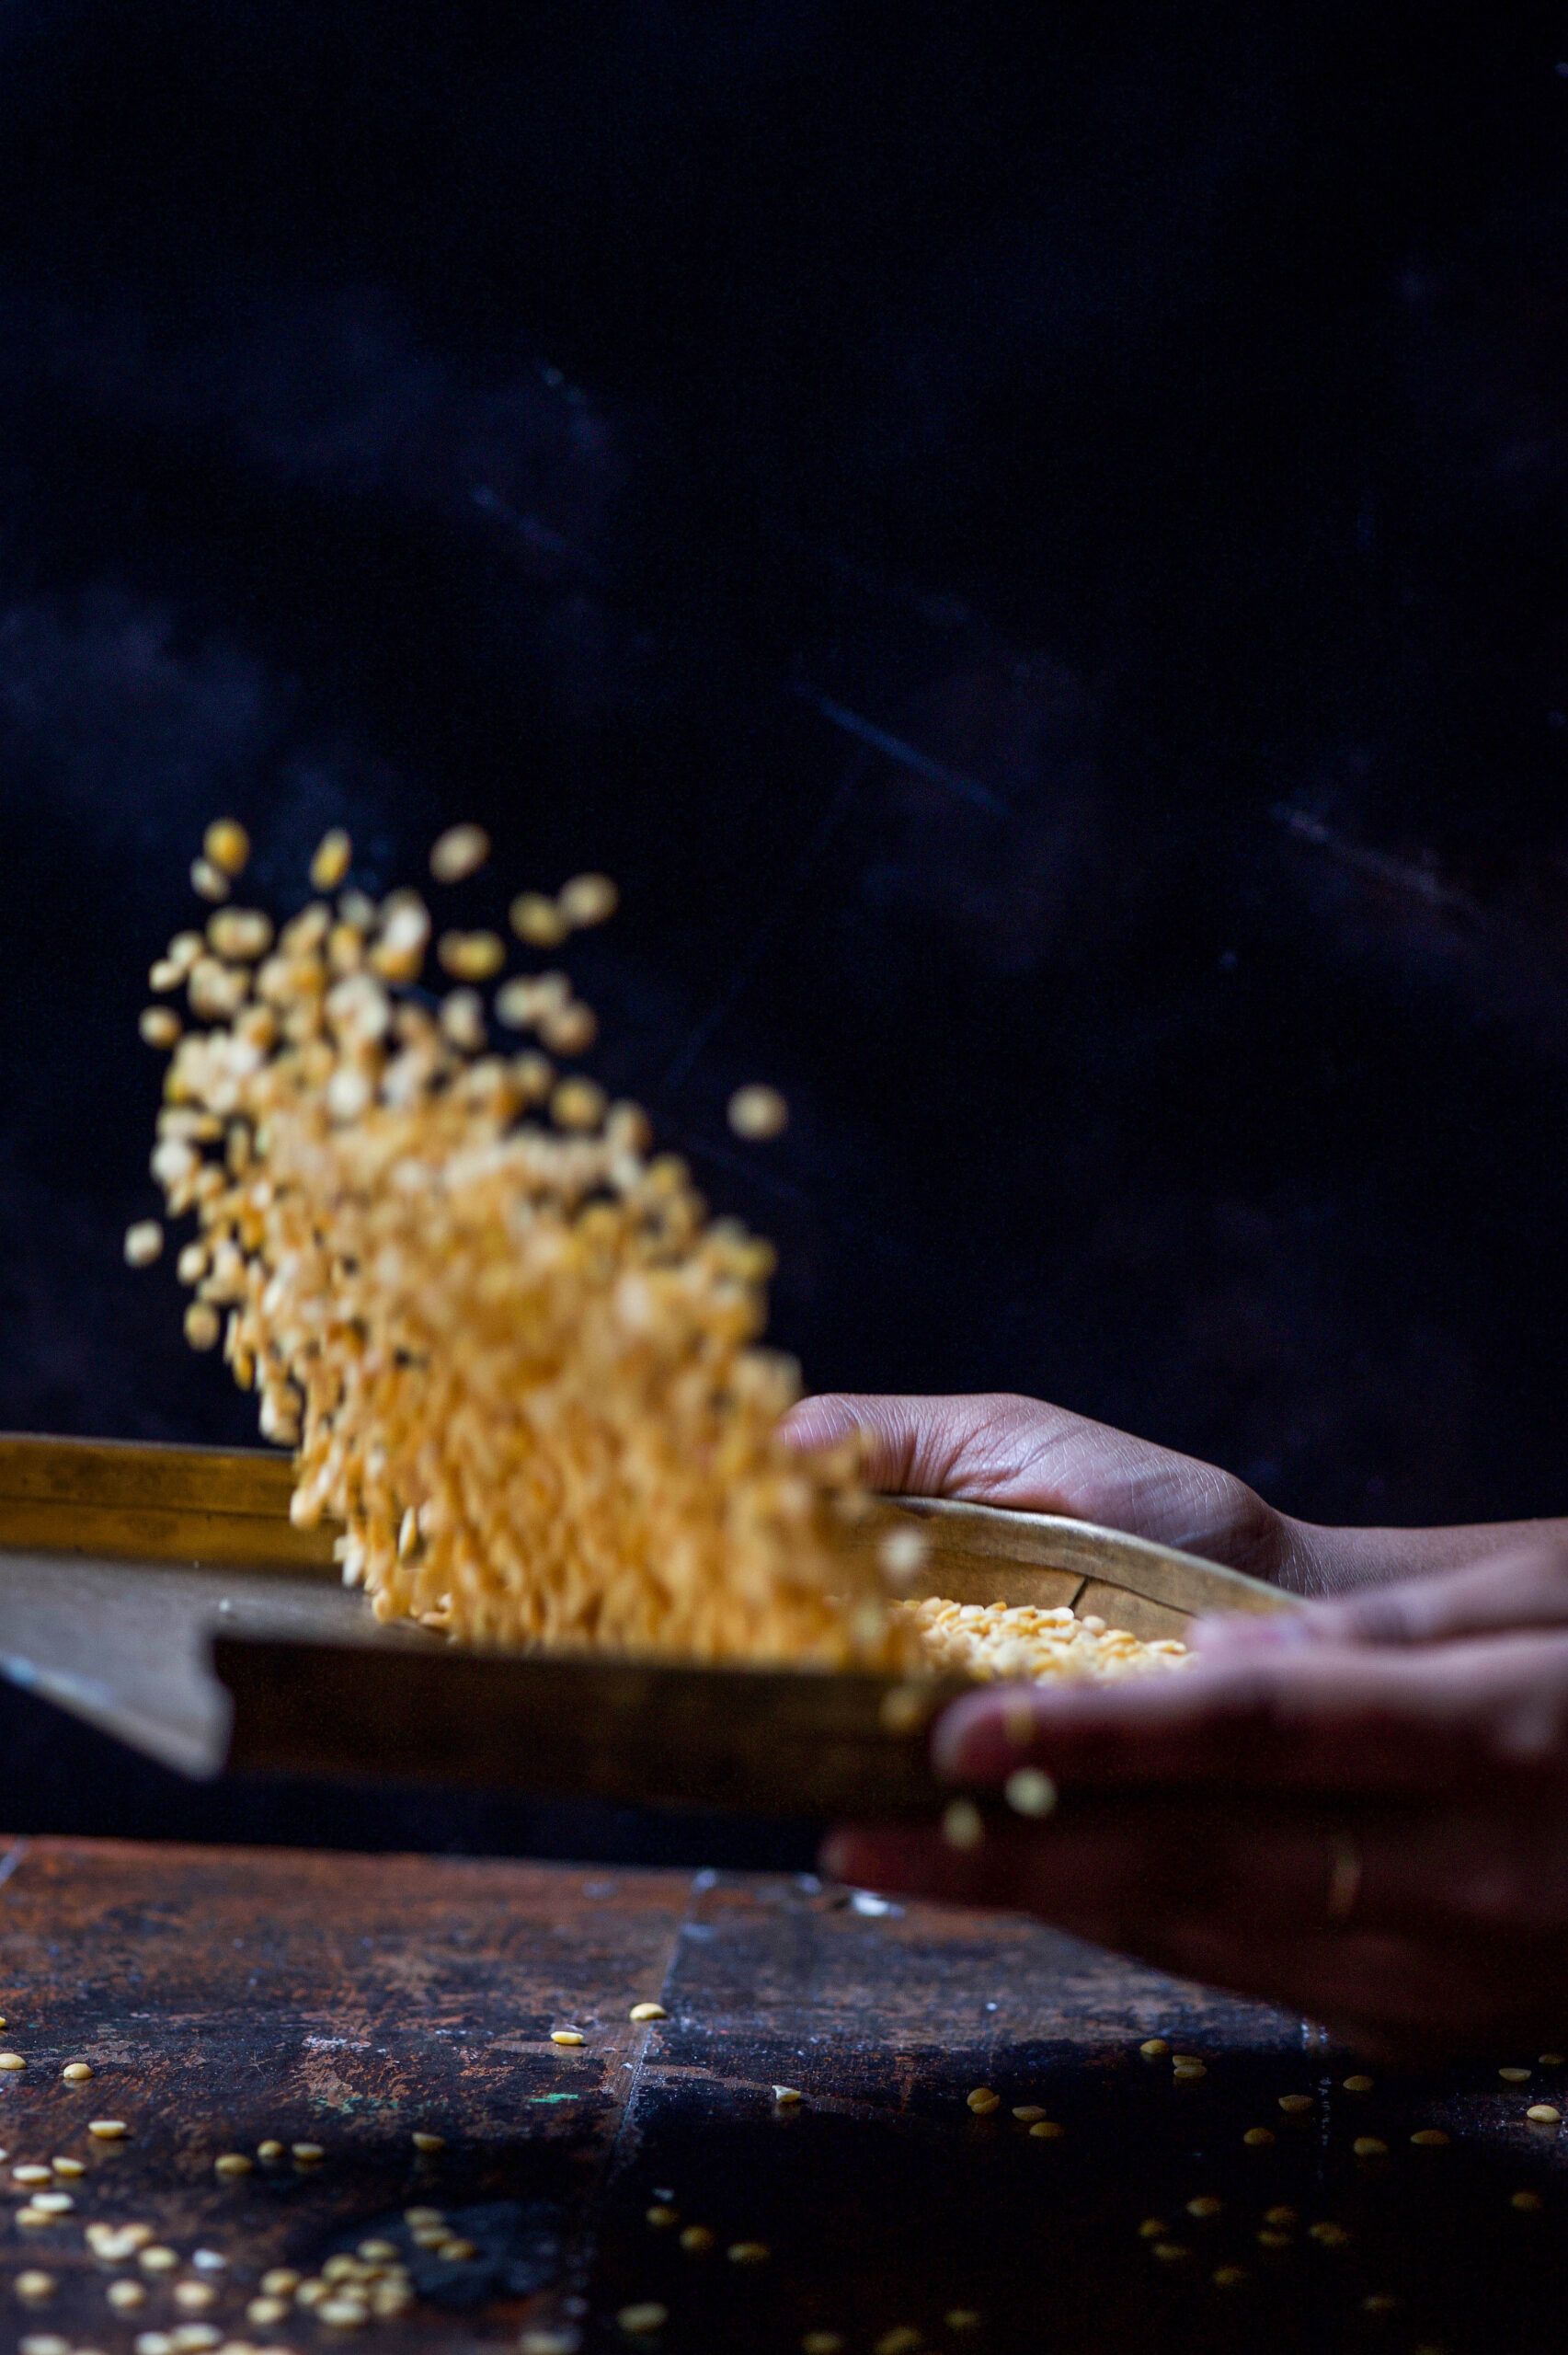
“Dal” (or “daal”/”dhal” if you prefer) is a catch-all term for split pulses, which are notably protein-rich and therefore a vital part of vegetarian diets in India. Lentils and legumes have made several appearances on this blog, such as rajma in this vegan chilli recipe and  green moong in this street food-inspired chaat recipe. For this re:store style dal dhokli recipe, the dal I’ve used is the popular toor dal, also known as pigeon pea. Toor dal is available year-round, while some other dals are eaten seasonally, such as the heavier channa and urad dals in winter. It’s the main ingredient of sambar, which makes it a staple in South Indian kitchens, and is known as thuvaram paruppu in Tamil.

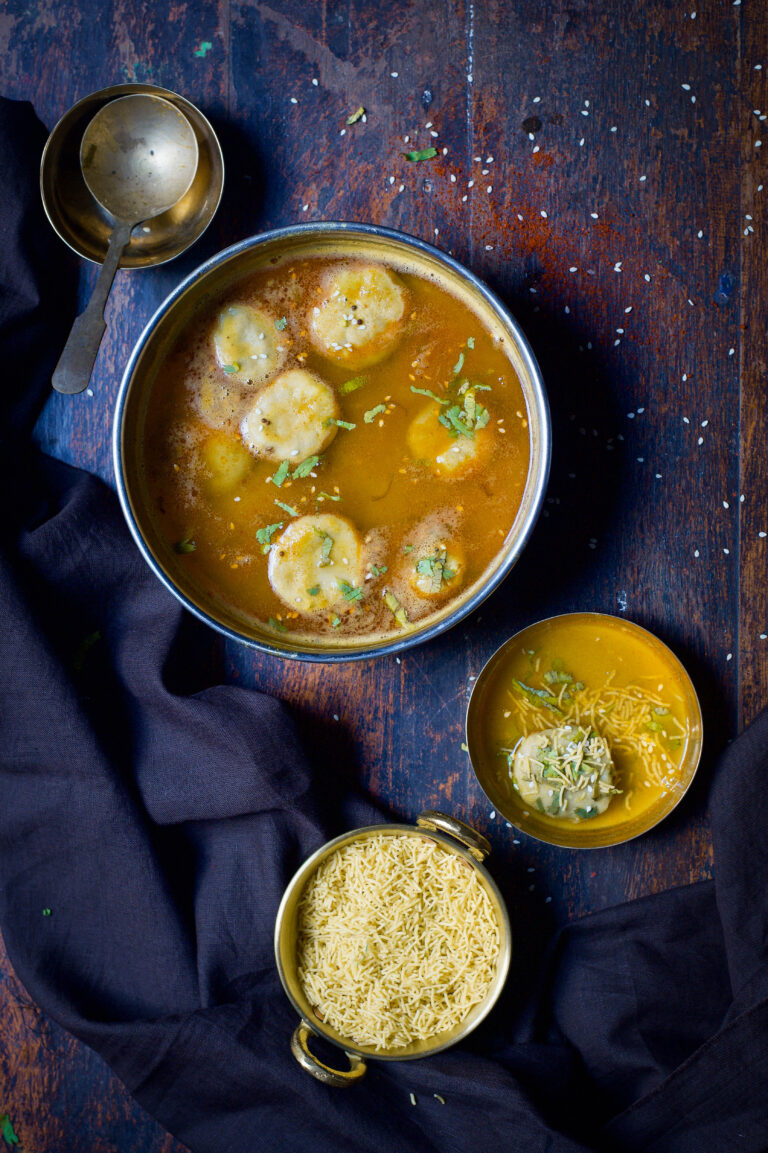
My version of dal dhokli, made fresh and with a stuffing, is what my sister calls “Indian ravioli”. Despite this chic comparison, it is made of the simplest ingredients – accessible, affordable and always familiar.


Dal Dhokli

(Yield: 3-5 servings)

Ingredients

Dal

¼  cup dal
4-5 cups water
2 teaspoon cumin powder
¼ teaspoon turmeric powder
1 teaspoon coriander powder
½ teaspoon cumin seeds
Approximately 1 tablespoon jaggery
Juice of 1 lemon
Finely chopped coriander leaves
2 tablespoons peanuts
1 tablespoon ghee
¼ teaspoon mustard seeds
A pinch of asafoetida
Salt to taste


Wheat flour dough

½ cup wheat flour
1 tablespoon oil
2-4 tablespoons water
A pinch of salt


Green peas filling

1 cup green peas
1 teaspoon oil
1 tablespoon grated coconut
¼ teaspoon garam masala
Salt to taste


Cooking my ravioli-style daal dhokli requires the preparation of three items – dal, pastry dough and pea stuffing – followed by their assembly. Please note the separate ingredients for each part, above.

Make a dough with all ingredients listed for the same. It will be a little tight to the touch and smooth. Keep aside.

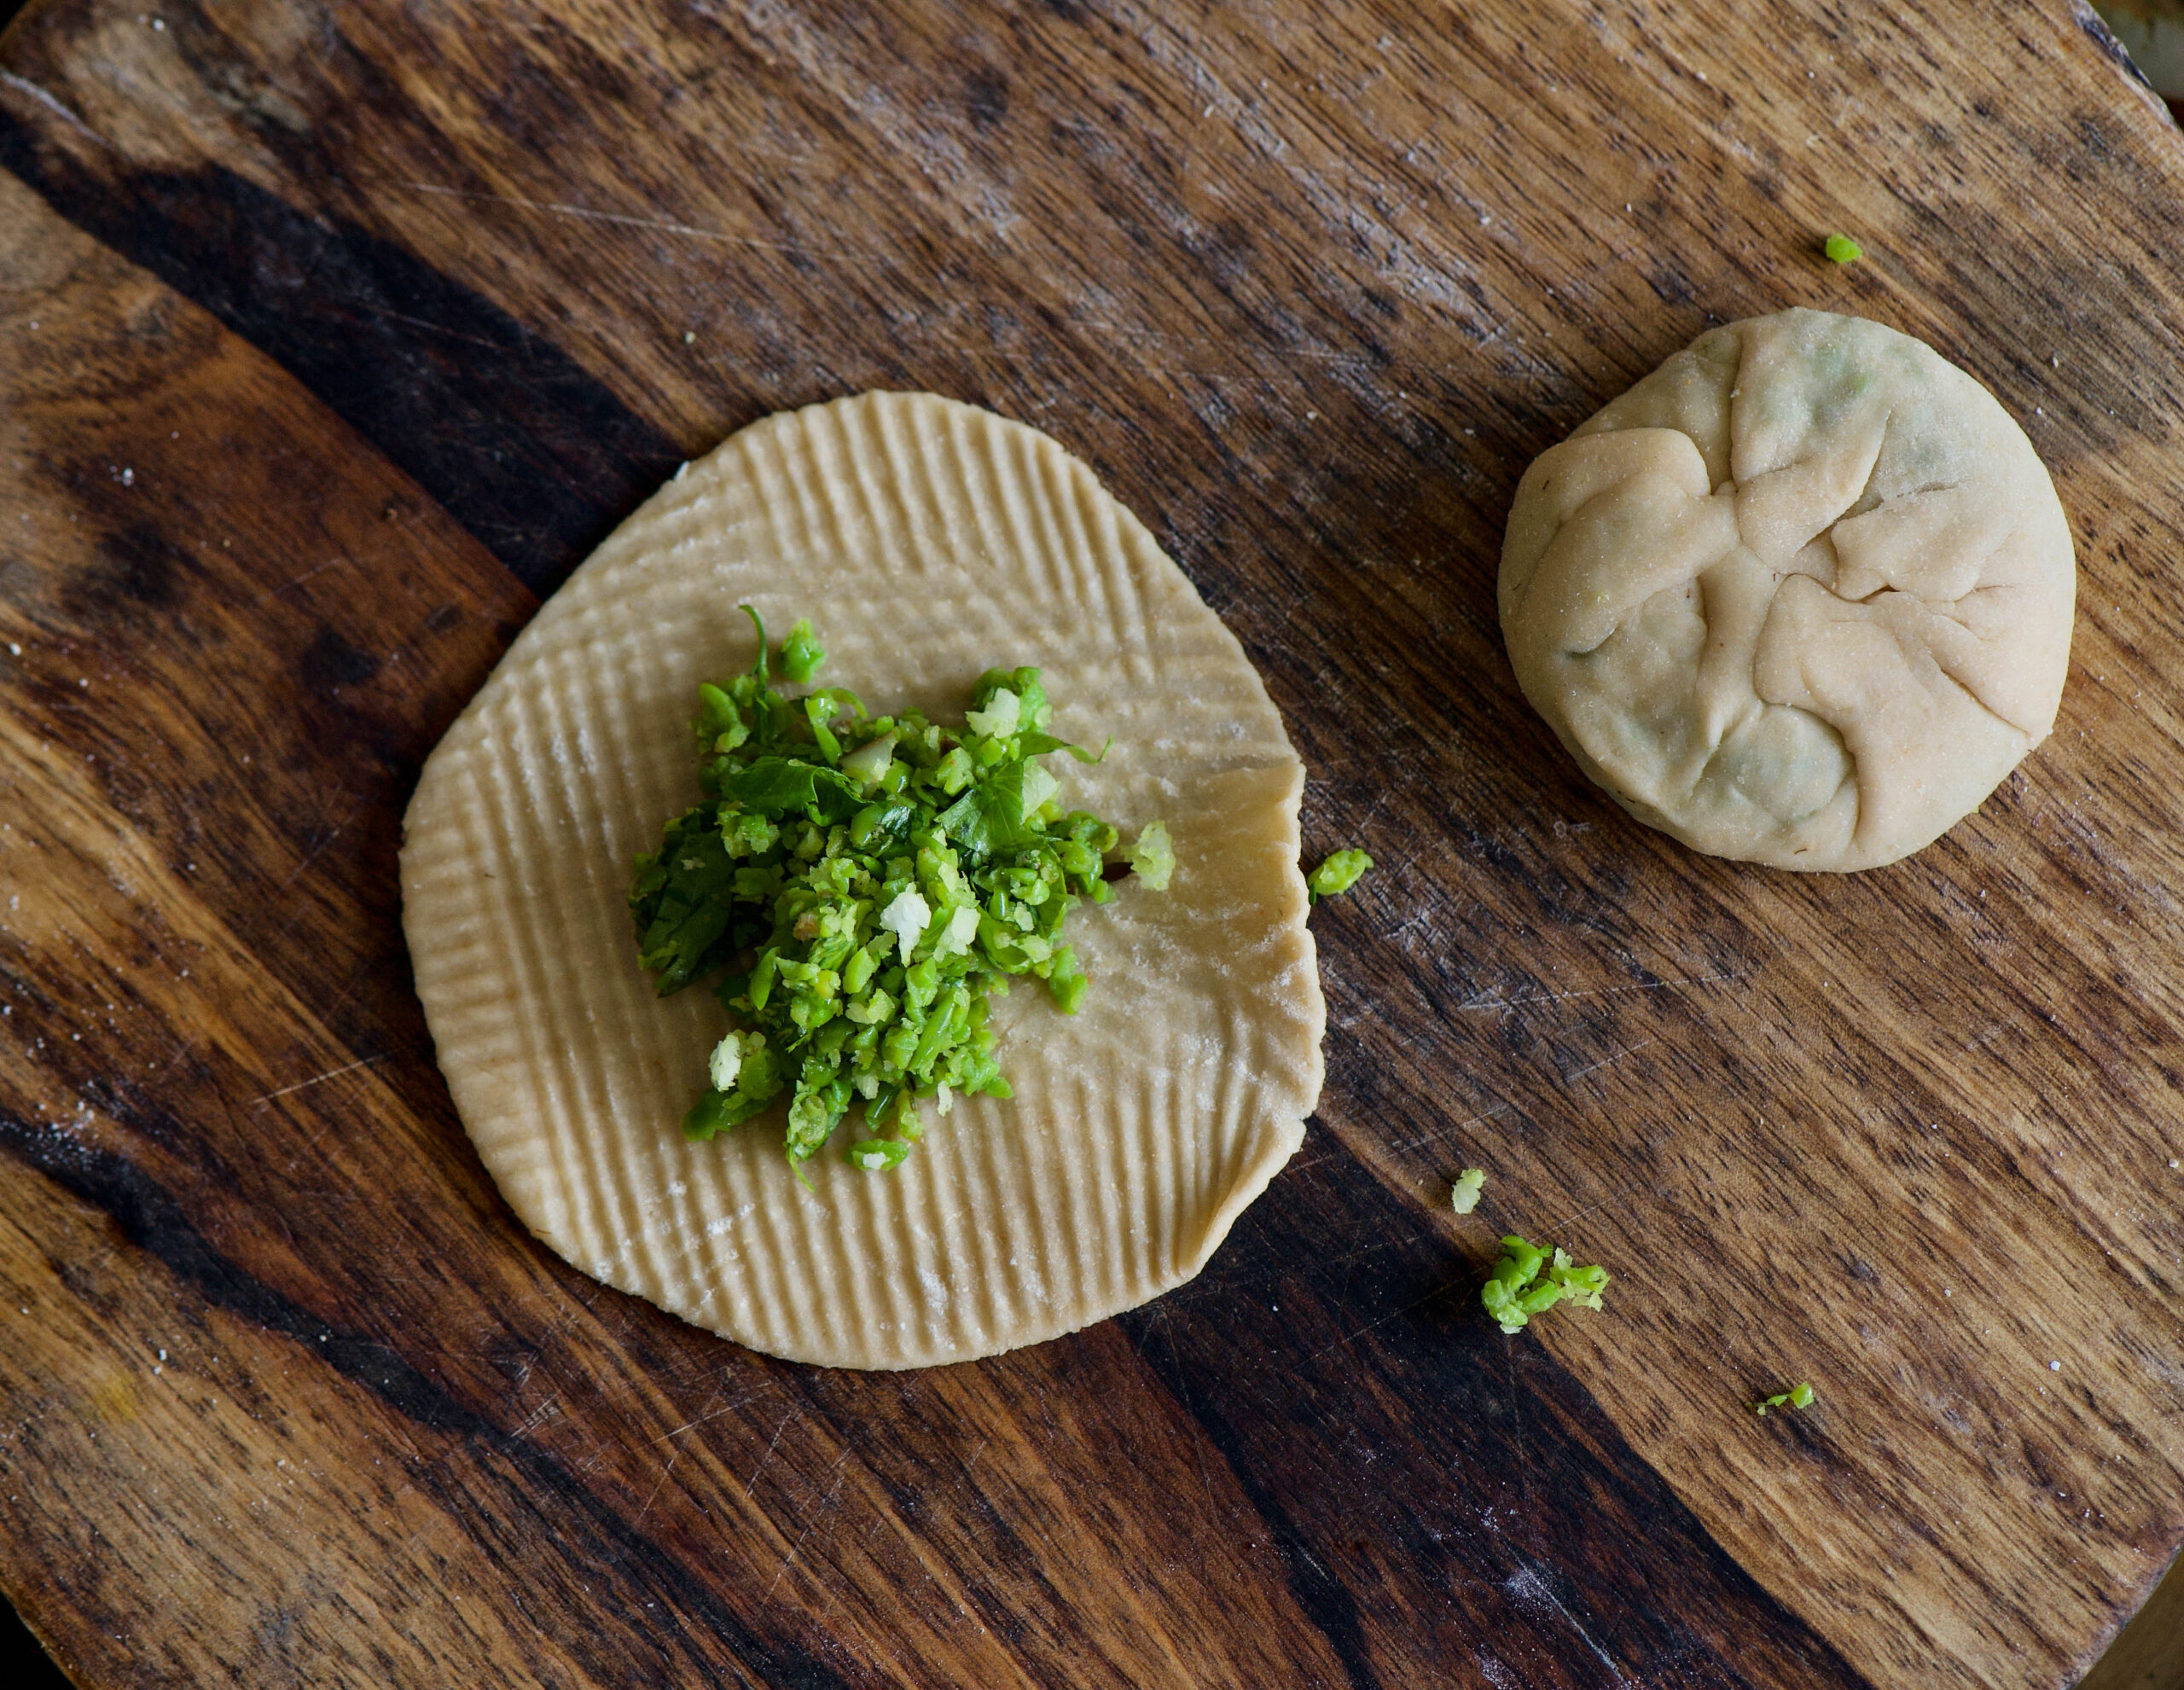
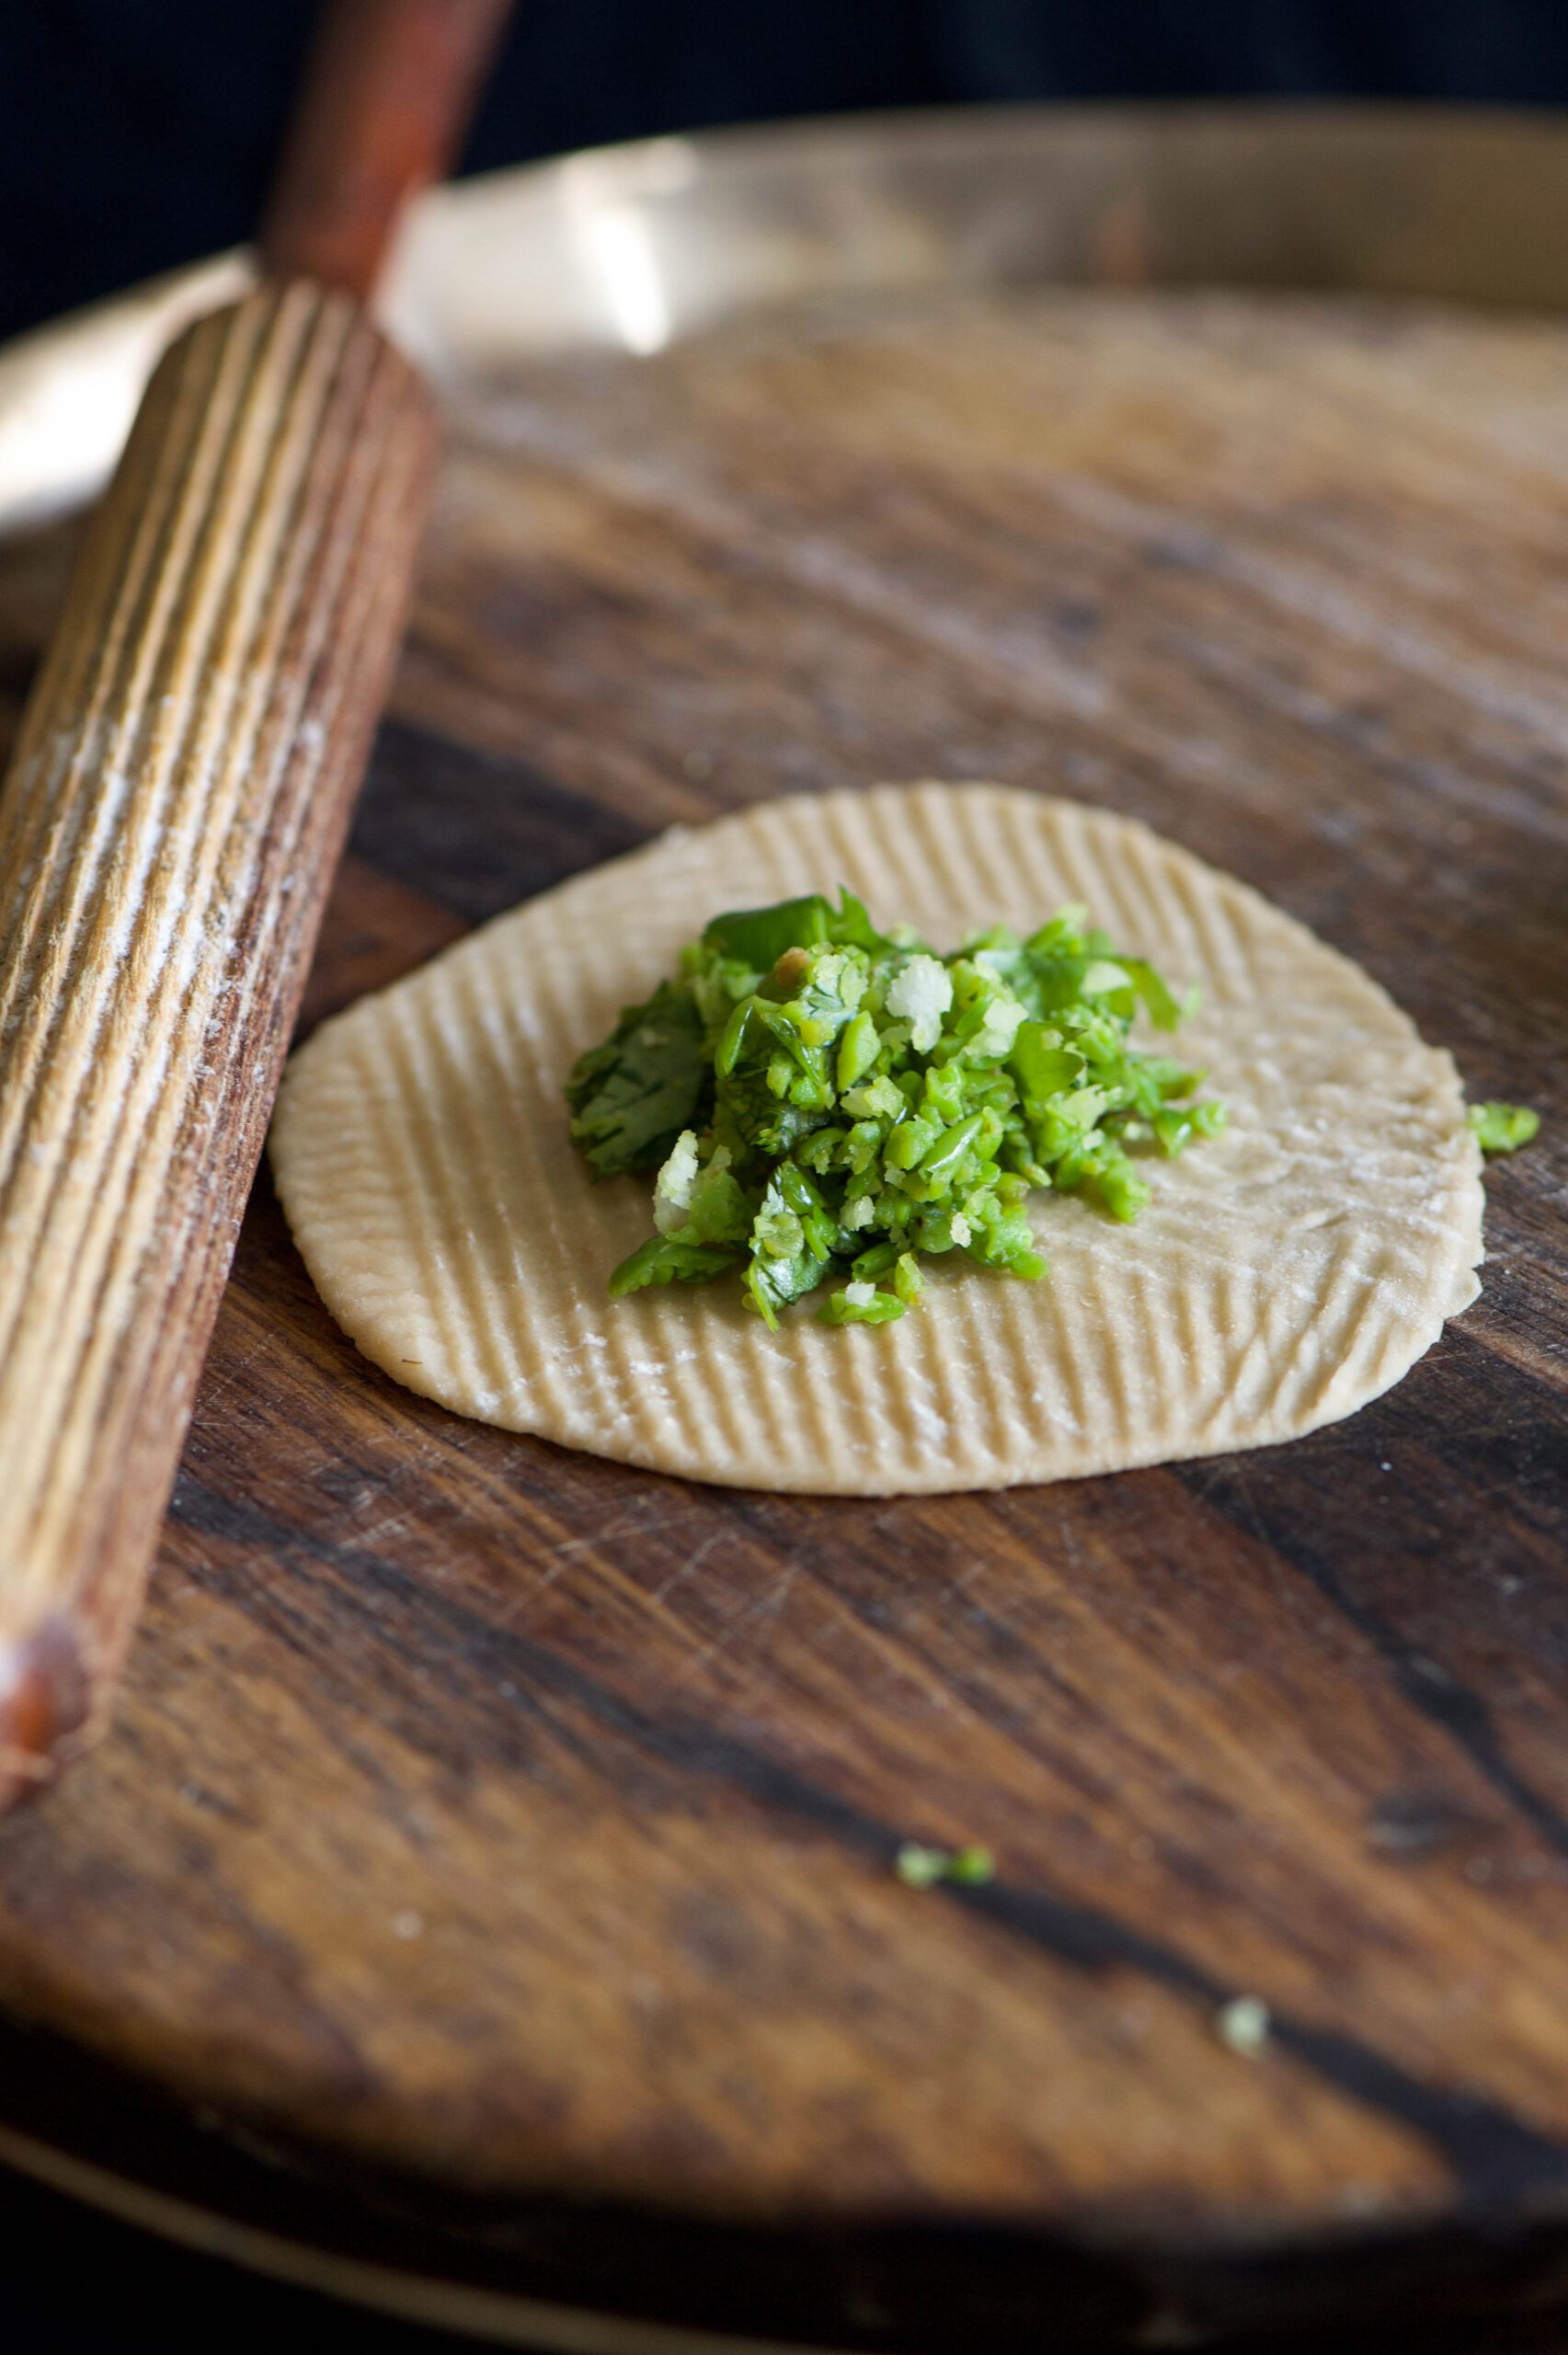
Crush the green peas partially. In a hot pan, pour the oil then add the crushed green peas. Stir the peas on a medium flame so that they do not stick to the bottom. Add the salt and masala and stir for 3-4 minutes. Now switch off the flame and finally add the coconut. Stir gently and keep aside to cool.

Roll out the dough into small discs. Do not make them too thin as they may tear while cooking. Take a spoonful of the green peas filling and place it at the centre of the disc. Join the edges together and once sealed, roll it gently into a flat round. Essentially, what you’re making is a kachori, a South Asian fried pastry. For a more detailed explanation about how to fold this pastry, with a video demo, see my earlier post here. Prepare all the kachoris and set them aside.

To make the dal, add the lentils and 2 cups of water in the pressure cooker and boil until soft. Allow to cool, then mash the dal. Now add 2 cups of water as well as the cumin powder, coriander powder, turmeric powder and salt to the dal. Allow to boil for approximately 5 minutes. Then add the jaggery and peanuts, letting the flavours blend, simmering on a medium flame. Stir occasionally.

As you do this, add ghee or oil to a small pan to lightly fry the mustard and cumin seeds. Once they start to splutter, add the asafoetida and immediately pour the sauté into the dal and stir.

The dal will be boiling by now. Make sure the flame remains on medium, and begin to gently introduce the kachoris into the dal. Once they are added, carefully stir. Allow to cook for 10-15 minutes.

Turn off the flame. Garnish with coriander leaves. You may also wish to add a sprinkling of something crunchy, such as finely chopped nuts. Serve while hot, as it is best enjoyed that way.

Many of you may have grown up eating dal dhokli at home, and I’d love to hear what you think of this modern twist, re:store style and ravioli inspired!

This post is the first of a three-part series on Gujarati dishes that are traditionally made from leftovers. Stay tuned for a sweet follow-up in a fortnight…