Tag

savoury

Browsing

Indians don’t have soups per se in our traditional cuisines, as far as I know. Instead, we have broths such as the thin South Indian rasam and the thick, sweet Gujarati raab. The rasam subsequently became known as mulligatawny soup in the West, but here it is eaten as a side dish, not an appetizer. In fact, that reminds me of how our staple dals are repackaged abroad and even in high-end restaurants here as “lentil soup”! In India, we have no such category as “soup”, but it goes to show how it’s all a matter of perspective. The soup, by any name, is really a universal dish, made with different, seasonal ingredients in cultures around the world.

For many of my generation, we were introduced to soups at clubs and restaurants. My own first memory of any soup was not Western at all, but Chinese (or rather, Indo-Chinese). While growing up, my friends and I would head to a restaurant called Nanking whenever we had something to celebrate. All of our birthdays would find us there, straight from classes in our school uniforms and pigtails, delighted to be spending our pocket money on a shared meal. The meal would invariably begin with an order of the delicious sweet corn soup for everyone at the table

The Nanking sweet corn soup was thickened with cornflour, loaded with MSG and had no more than a couple of kernels of corn floating in the white liquid but regardless it was always a special treat. It tasted fantastic to us, and till today reminds me of some of our fondest times growing up. When I think of it, I’m reminded of how much my kids say they miss their school canteen’s food! Perhaps the meals we share with our friends as we grow up simply create such vivid impressions on us that we associate them with the dishes themselves. What I would give to go back to Nanking, which has since closed down, and enjoy those memories all over again!

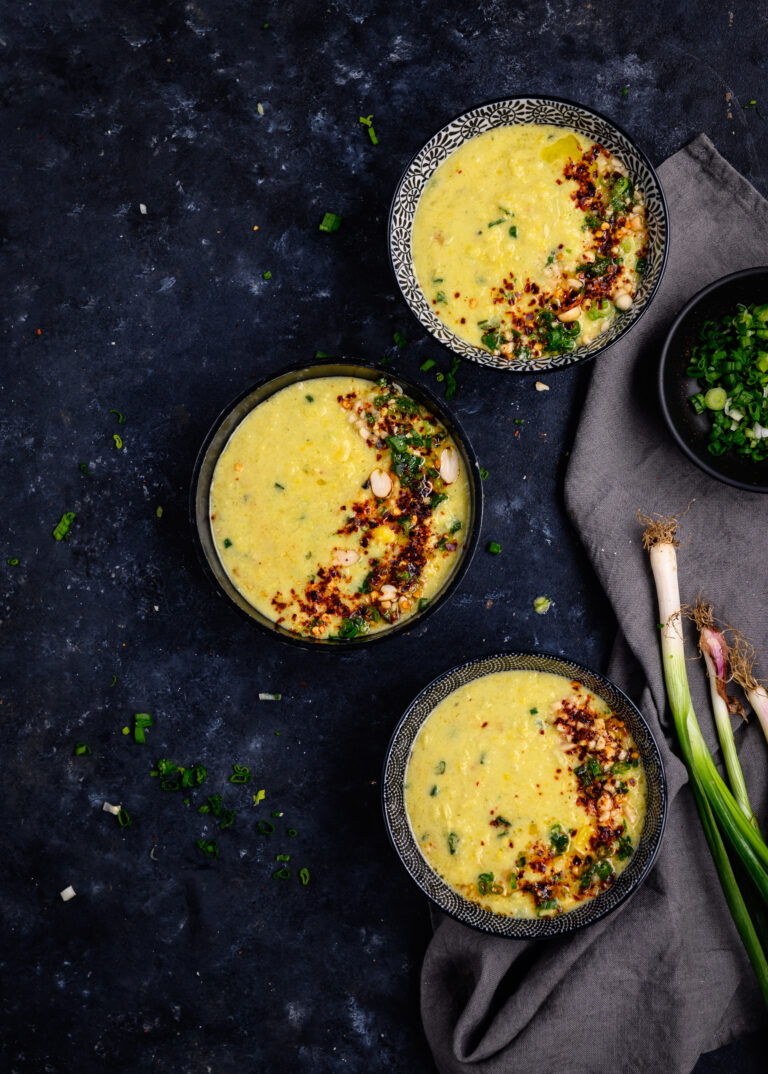
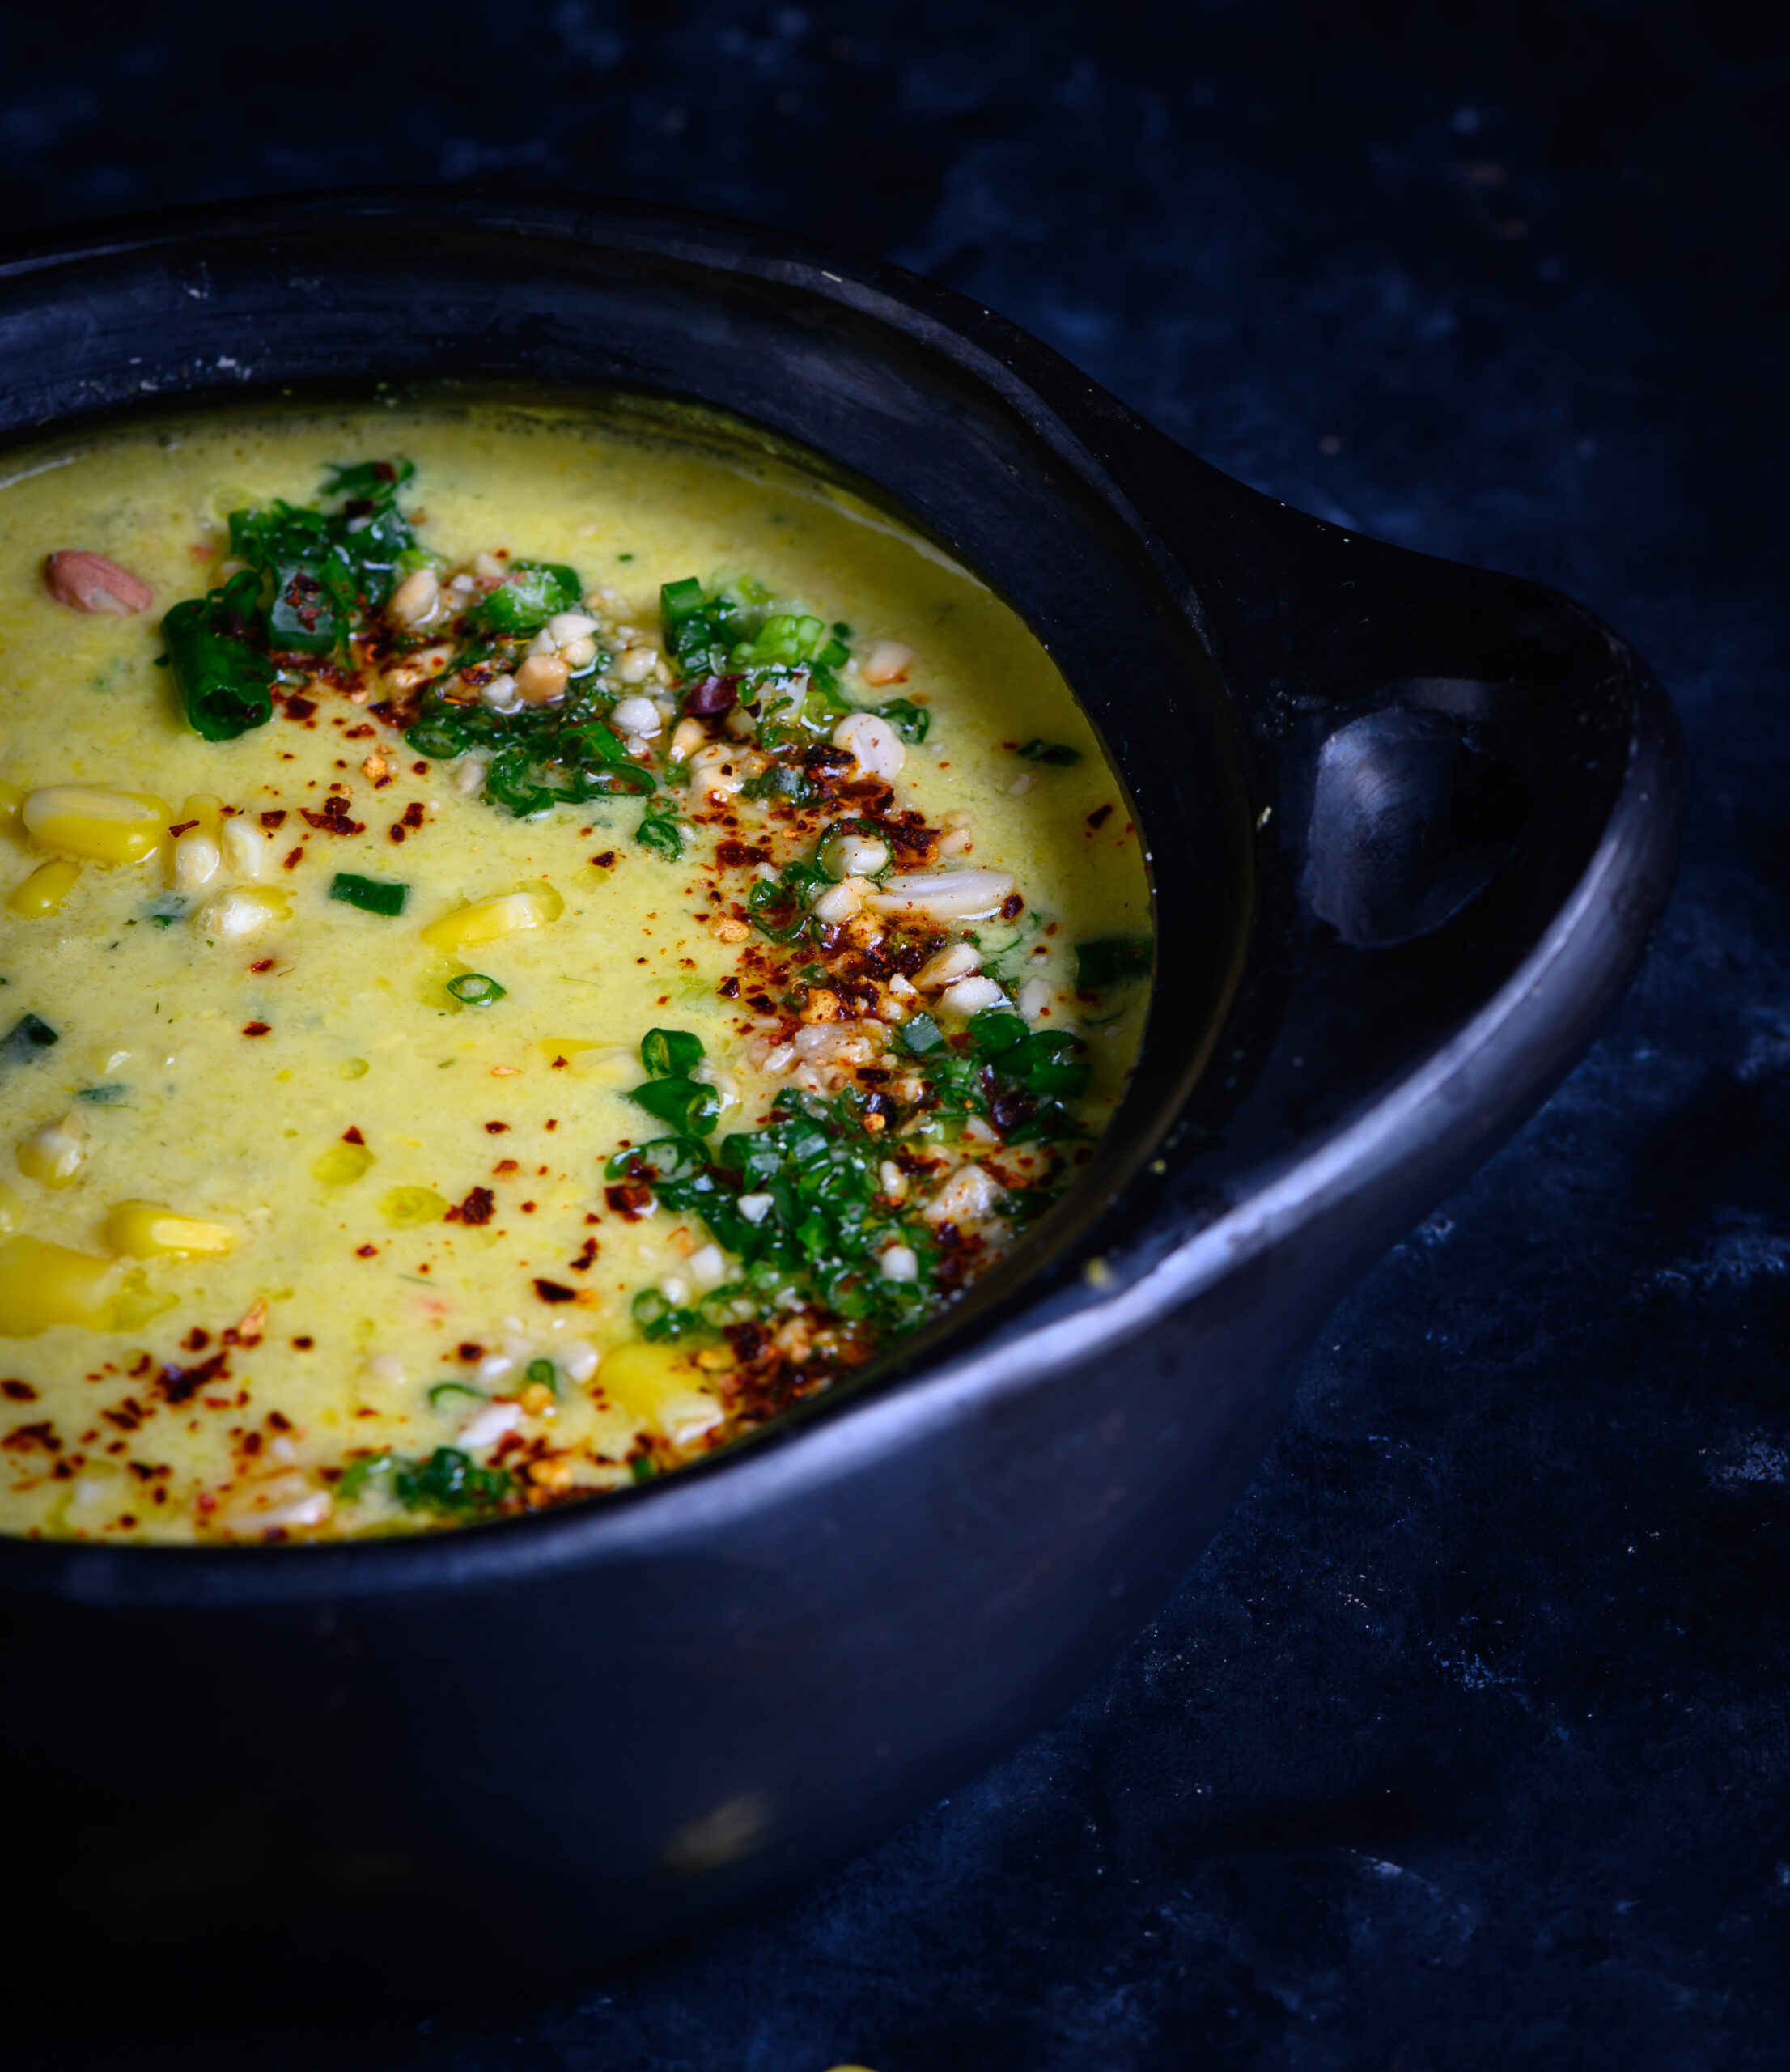
Nostalgia for Nanking drove me to the kitchen, to whip up my own version of sweet corn soup, or rather, a vegan whole corn and lemongrass soup. This recipe avoids the cornflour and the MSG and has some of those re:store twists in the form of aromatic lemongrass and spicy green chilli.

.
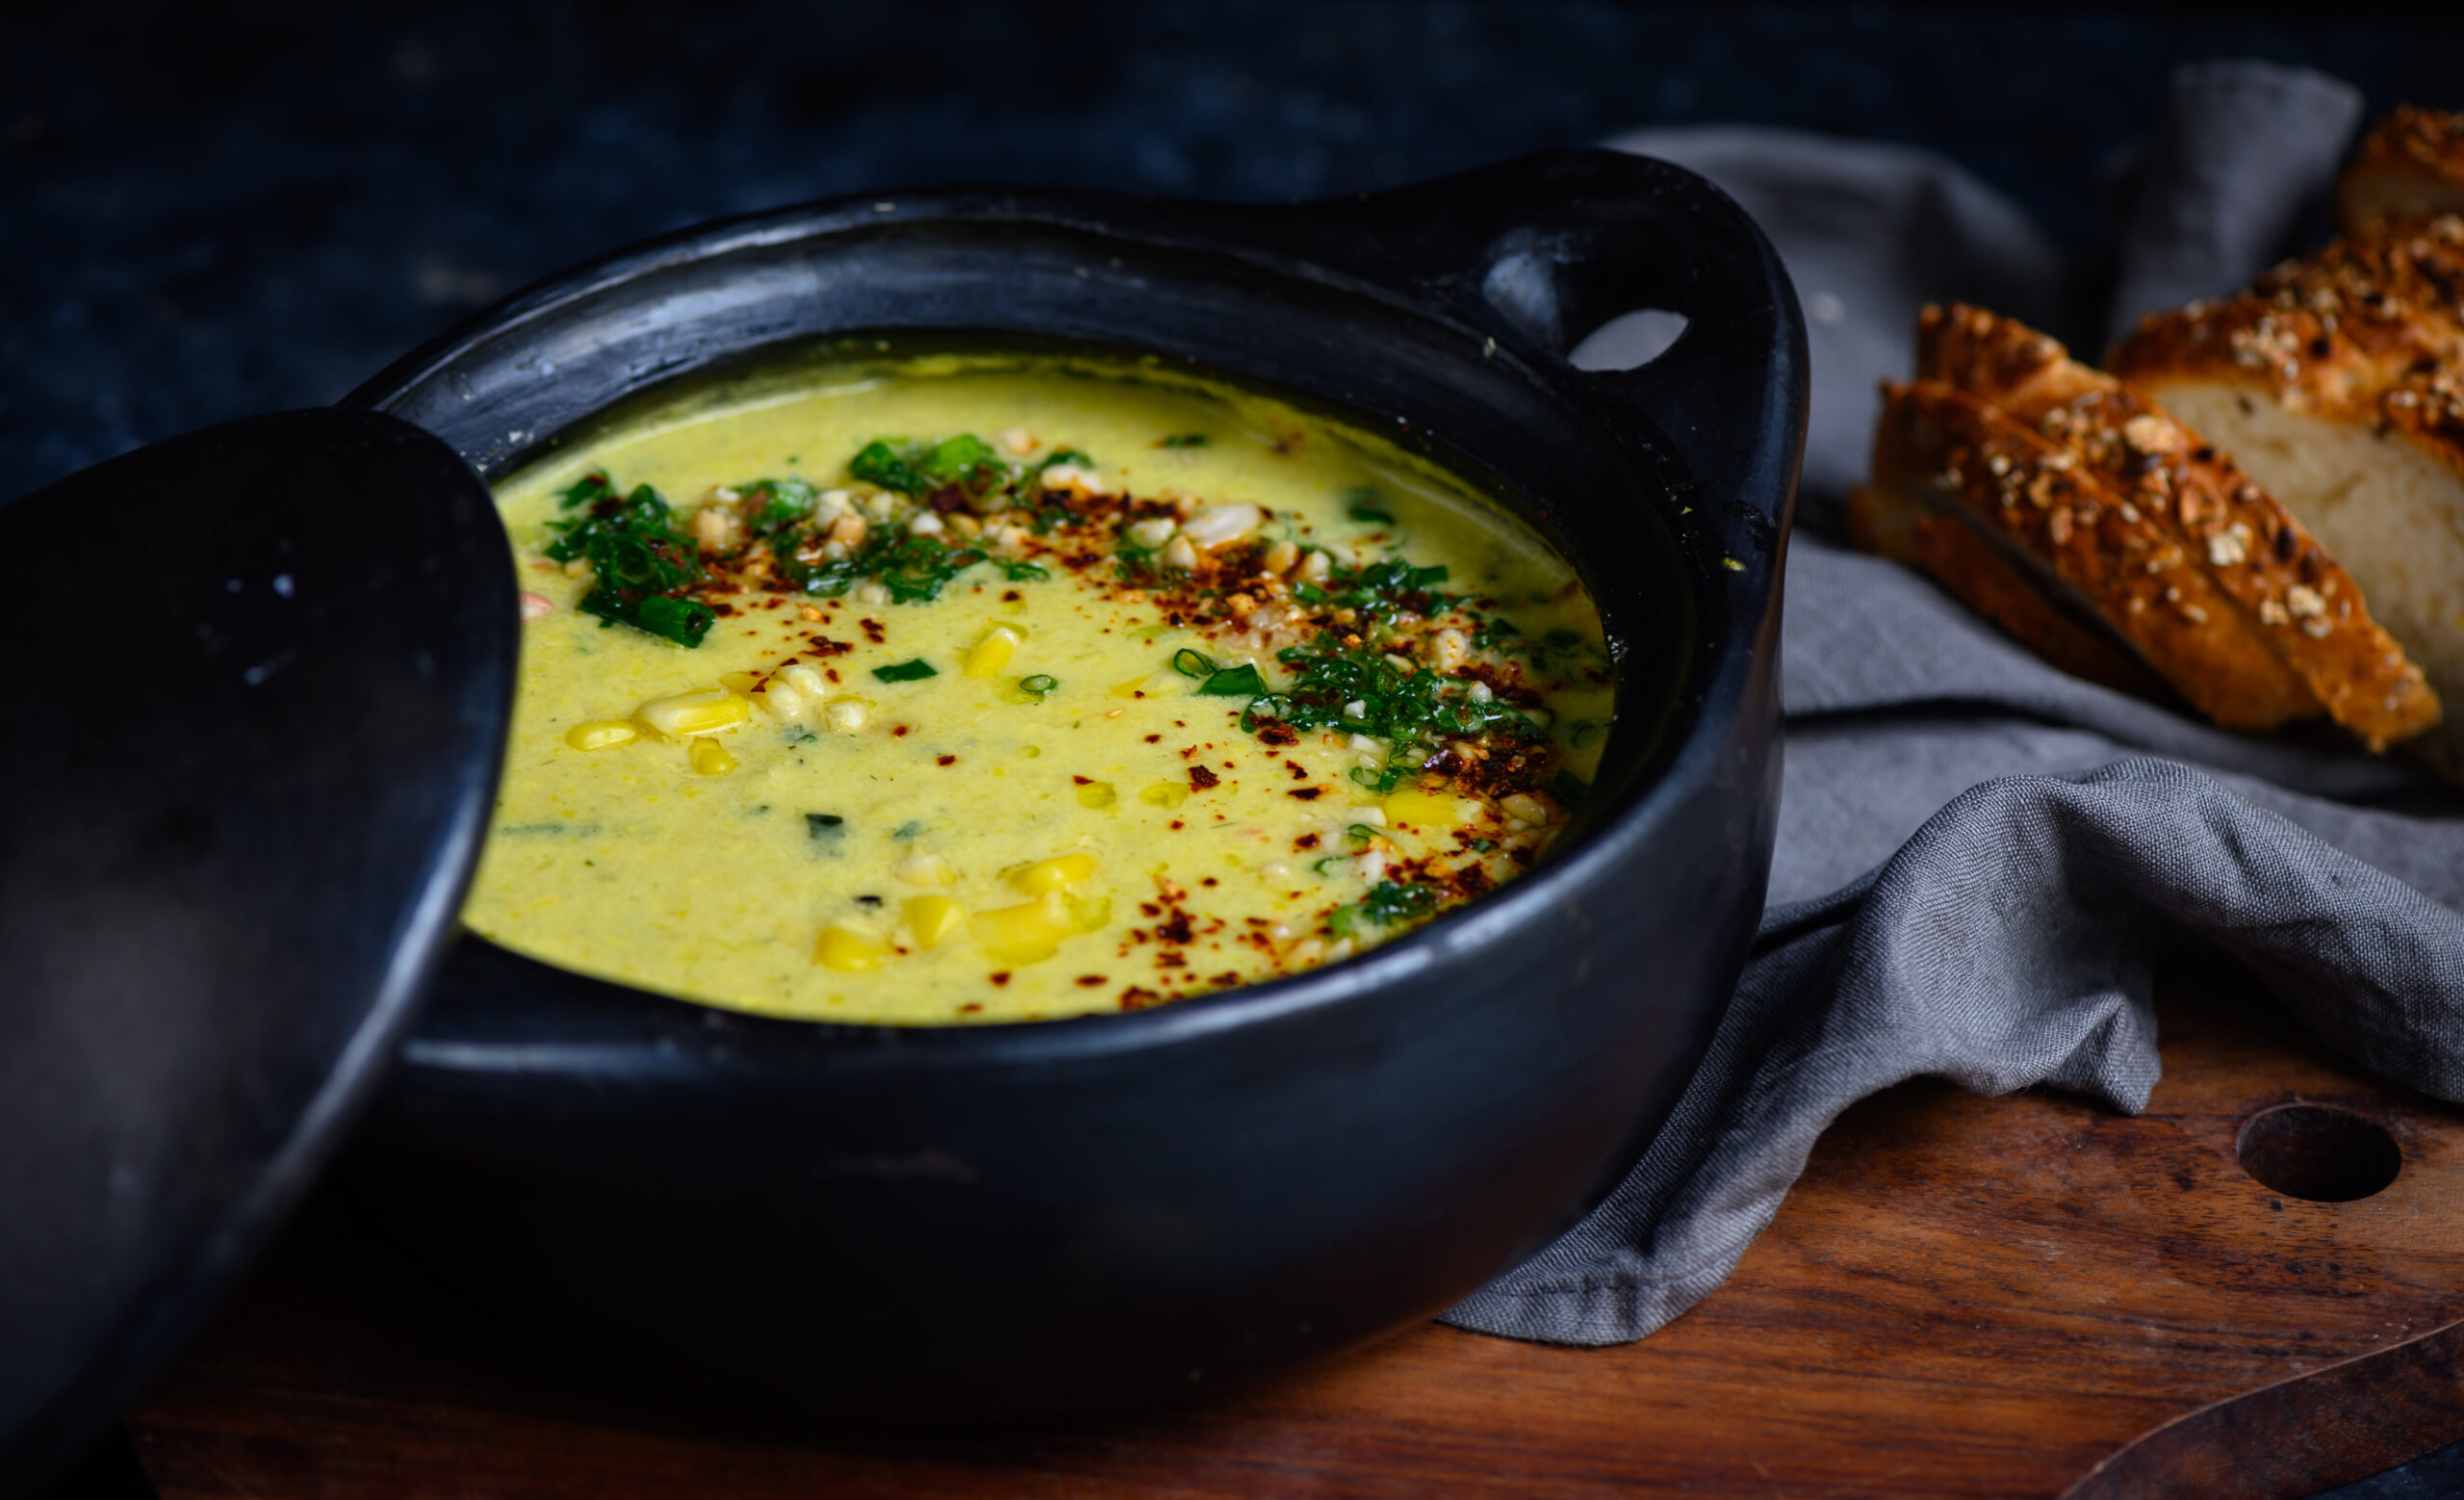
I enjoy the flavour of lemongrass and I think it livens up this soup very much. If you prefer not to use it, some good substitutes are coriander or a hint of mint. Corn has a strong flavour in itself, and my version of the soup is generous with it, so it needs to be balanced well. If you’re a fan of corn , you may also enjoy this makkai khichdi recipe that I shared recently. I use green chilli here for its spiciness, but you can try it with jalapeños too (they are also fast becoming a favourite of mine, and may find themselves in future recipes I’ll share).

Another way in which I’ve tried to recreate this nostalgic dish is with coconut milk. This not only gives it that distinctively South Indian essence, but also evokes many South East Asian delicacies. All in all, this corn and lemongrass soup is a satisfying, filling meal-in-a-bowl that reminds me of my teenage years and of some of my travels, thanks to the blend of flavours.

Speaking of traveling, I just returned from beautiful Colombia, where I heard about the 9-day fast observed by Catholics known as the ‘novena’. It reminded me so much of the 9-day Navaratri followed by Hindus and the 9-day Paryushan followed by the Jains, and got me thinking once again about how we are all so deeply connected. I wish we understood this instead of thinking along the lines of “This is mine, this is yours, my land, my country”, and other such divisions. The oneness and wholeness of humanity is a concept that cannot be lost; whether it be our festivals, our food or our sense of family, ultimately we are all the same and the more I travel, the more this concept is solidified.

Another thought that’s been on my mind a great deal is the famous Native American proverb that goes as follows: “When the last tree has been cut down, the last fish caught, the last river poisoned, only then will we realize that one cannot eat money.” It resonates so much right now. We should all be more aware of what we are doing and thinking. We should look not only at what we are creating, but also at what we are destroying in the process. These are some reflections that I’ve been having as we enter 2020. But first – how about a bowl of warm, crunchy, savoury soup?
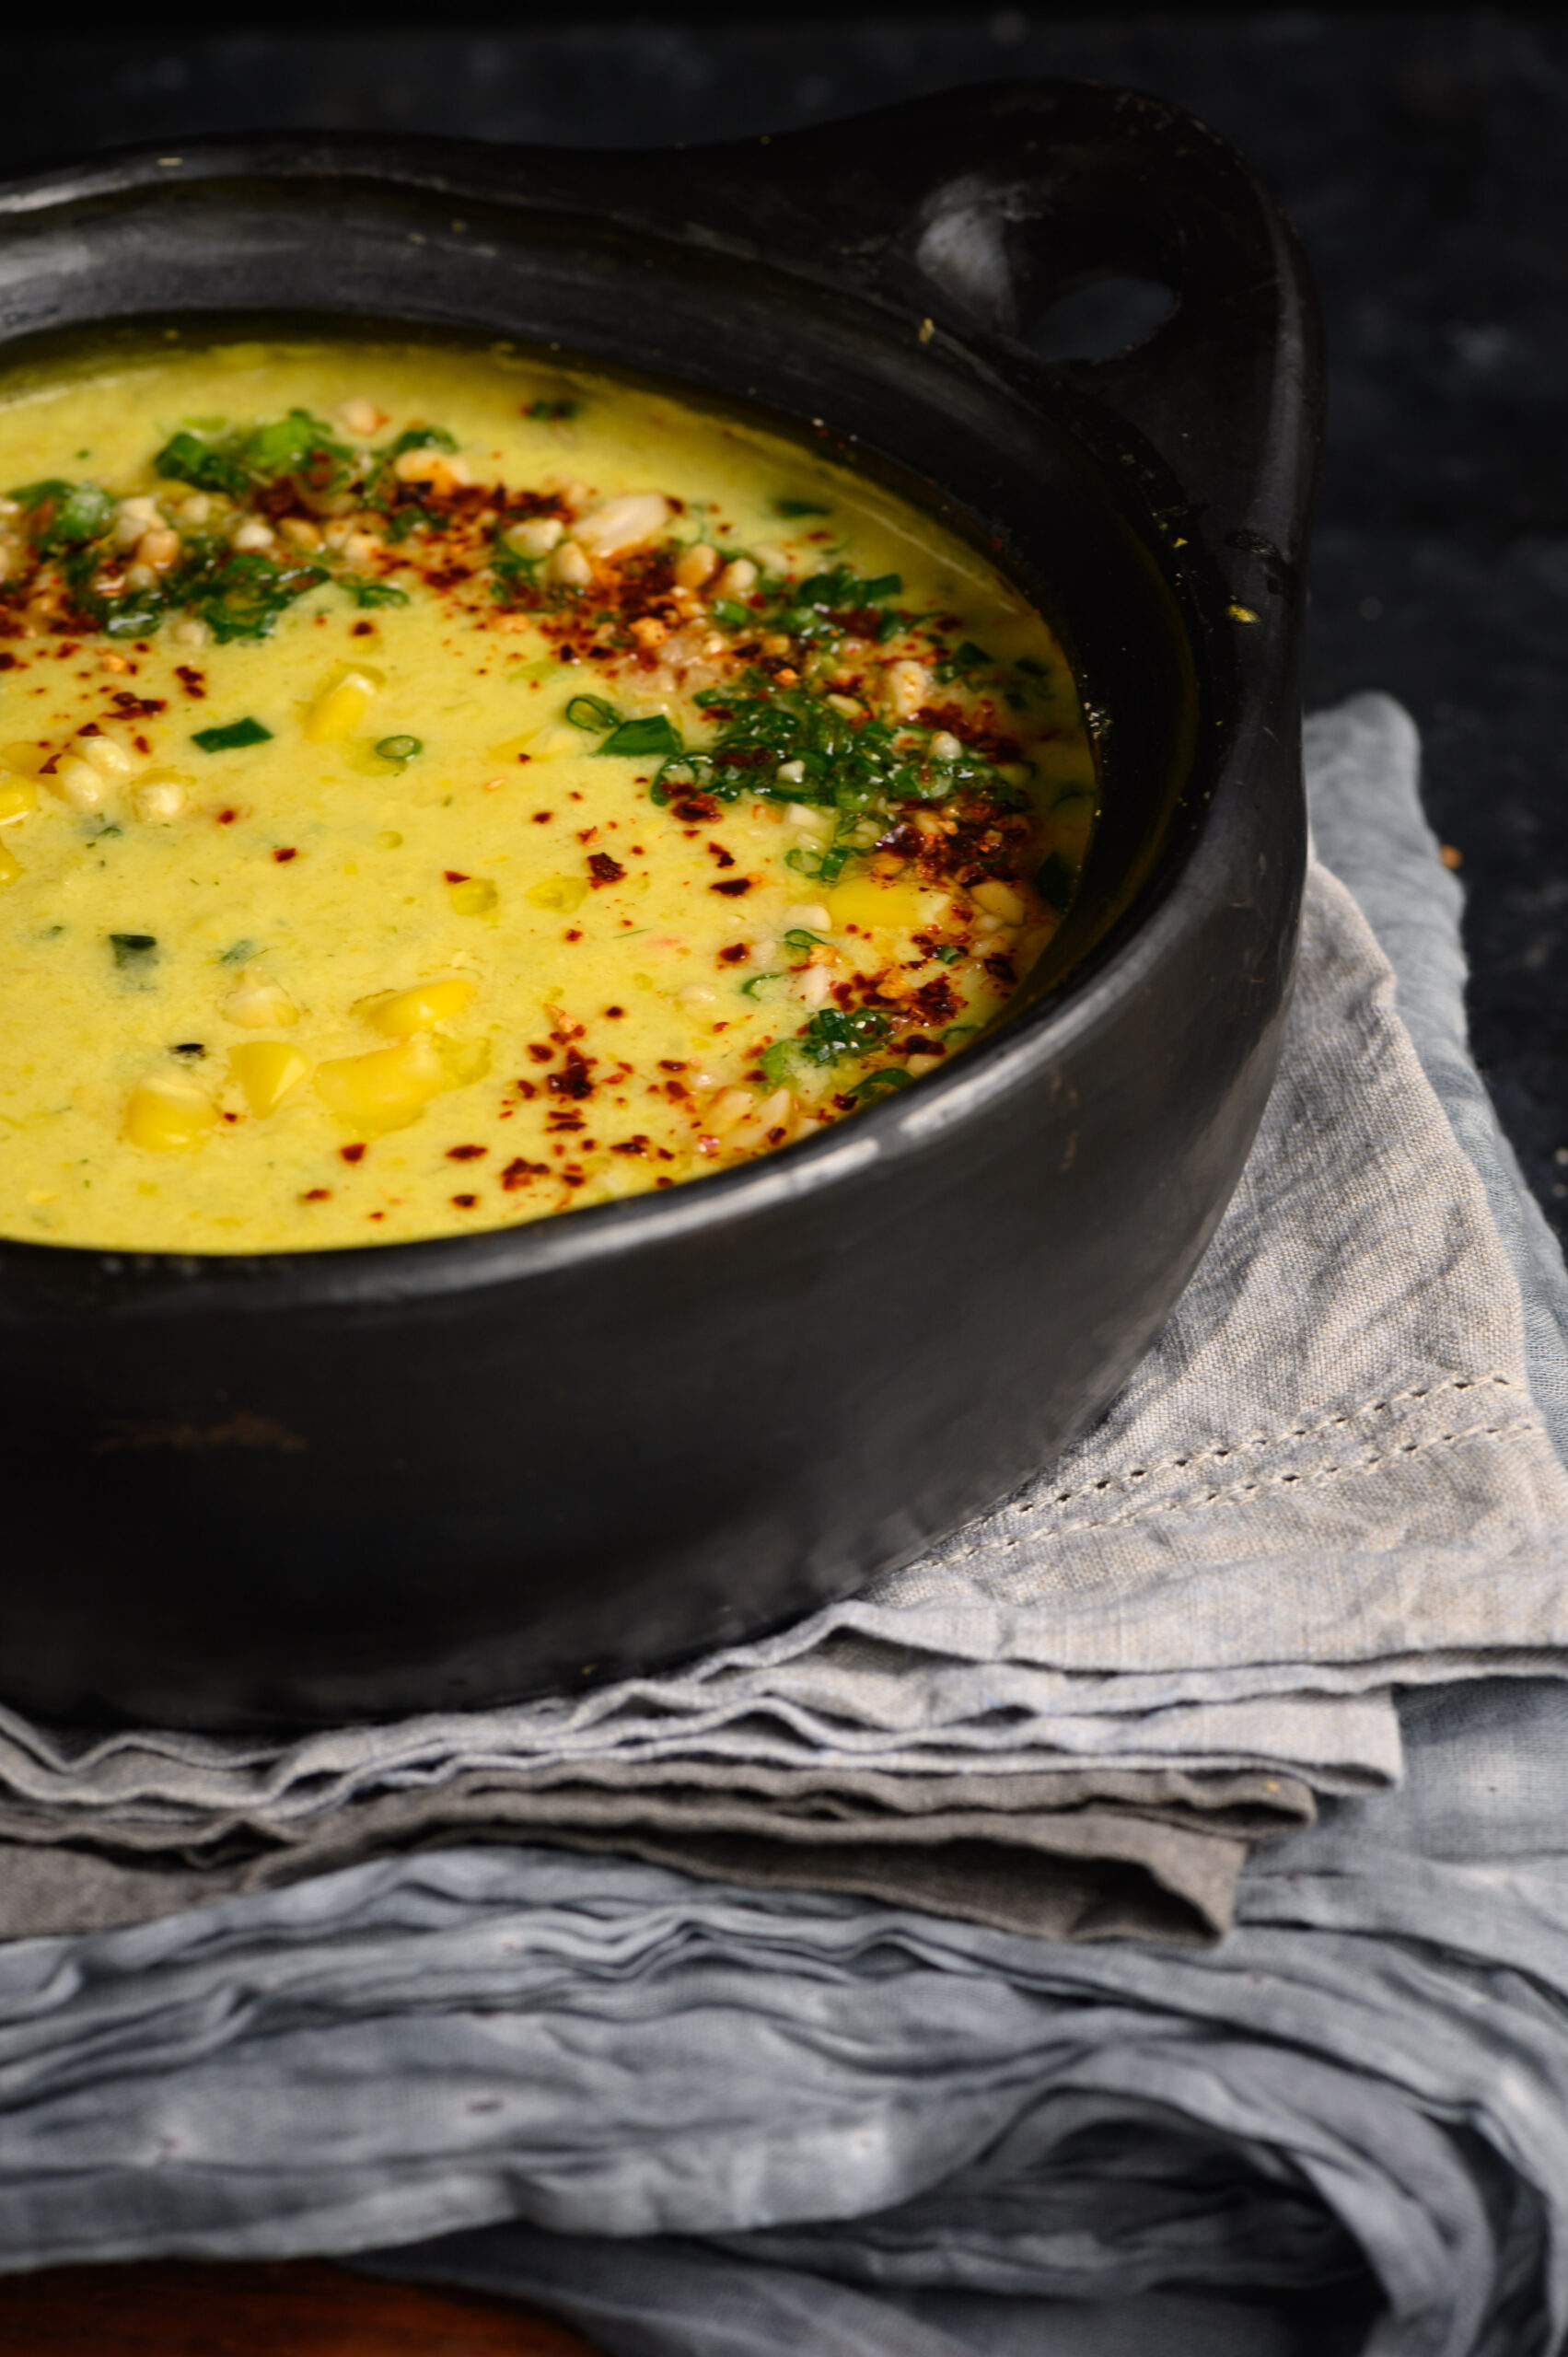
 

Vegan Whole Corn & Lemongrass Soup

(Yield: 6-8 cups)

2 cobs of corn

½ teaspoon grated ginger

2-3 lemongrass stems

2 tablespoons olive oil/ butter

2 cups vegetable stock

2 tablespoons spring onion

1 green chilli/jalapeño

1 cup coconut milk

Salt to taste


Garnish:

2 tablespoons peanuts

Finely chopped spring onion

Finely chopped coriander leaves

Red chili flakes

1 teaspoon olive oil


Grate the corn from the cobs and keep aside.

In a blender, process the lemongrass, ginger and green chilli using 2 tablespoons of water, until coarse.

In a separate pan, add the olive oil and sauté the onions for a few minutes until they are tender. Now, add the grated corn along with its juices. I like to bite into pieces of corn, so in addition to the grated kernels I kept aside a ½ cup of whole kernels, which I add at this point as well. You may do so if you enjoy the texture of corn like I do. Once the mixture turns soft and tender, add the warm vegetable stock and then add the strained juices from the blender.

Gently simmer until the flavours all become one. Add salt to taste. Finally, add the coconut milk. Once heated, remove the pan from the flame.

For the garnish, warm the olive oil gently and stir the remaining ingredients in it.

Spoon the soup into bowls and add the garnish, topping with a spoonful just before serving.

What I do quite frequently nowadays is to make a large quantity of the soup during the day, and whoever wants some just warms up a portion for themselves at any time, just as I do when I find myself hungry for dinner by 6pm or 7pm. I’ve found that it keeps well for up to a couple of days.
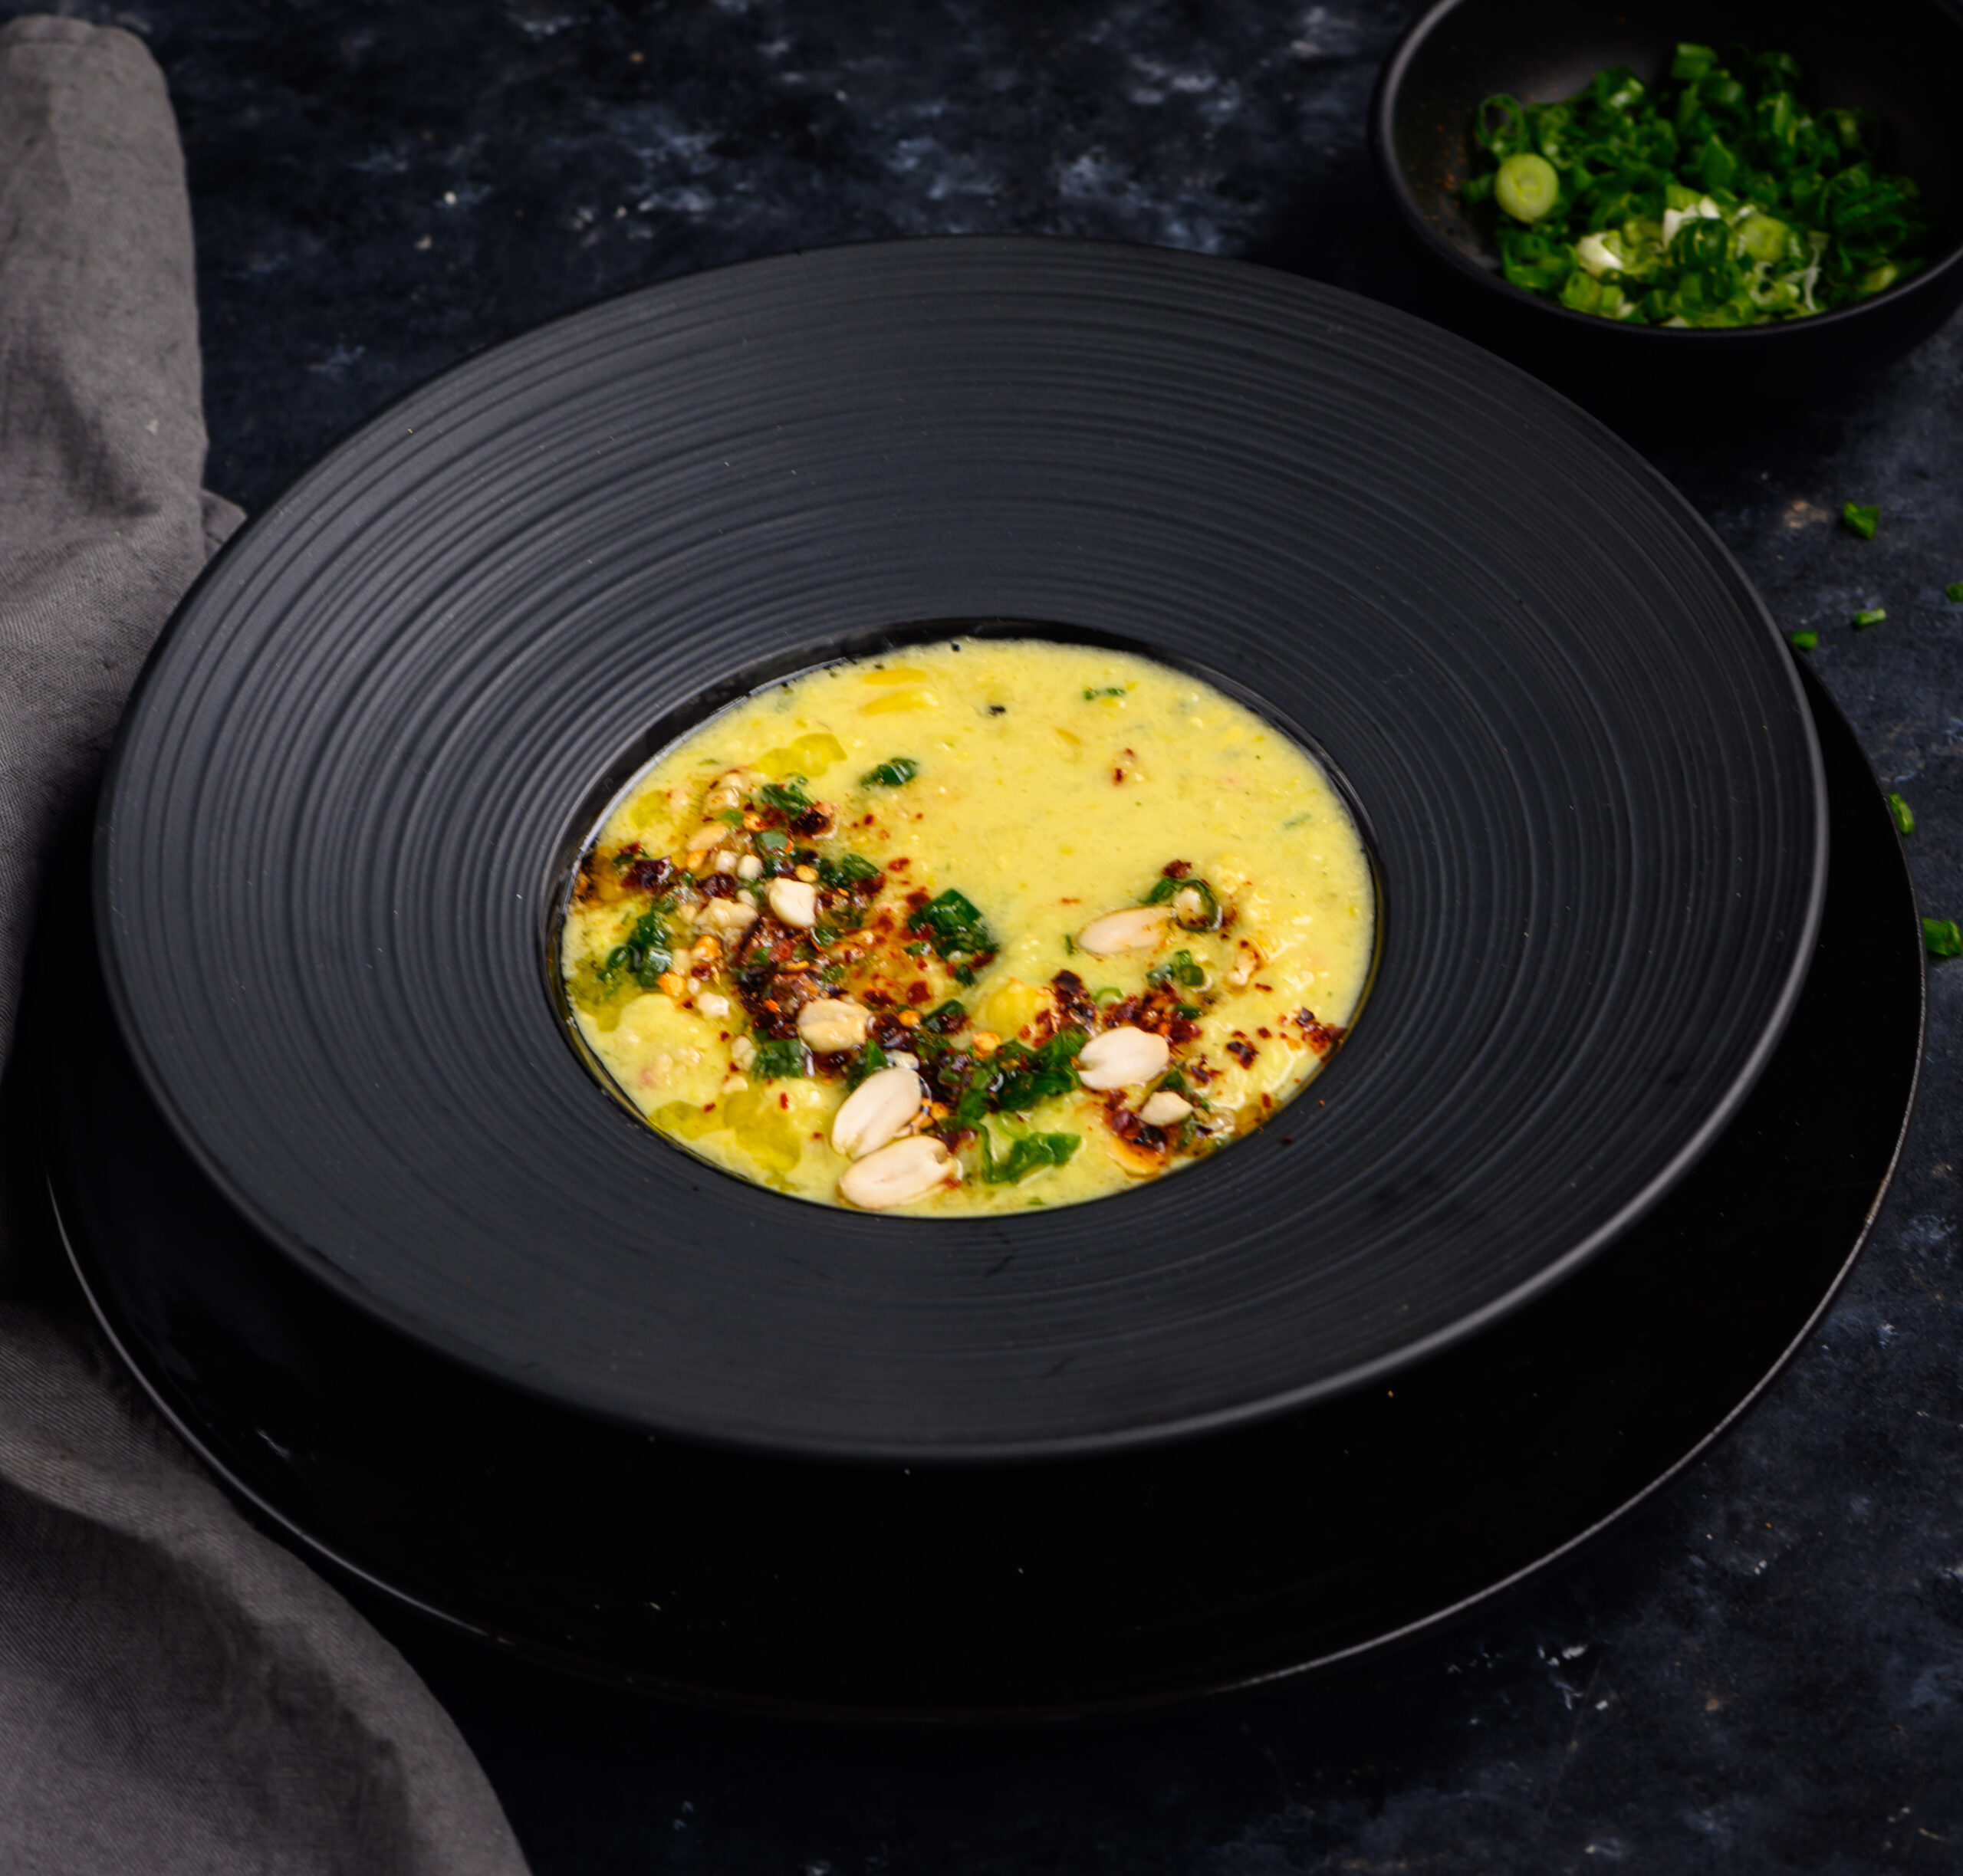
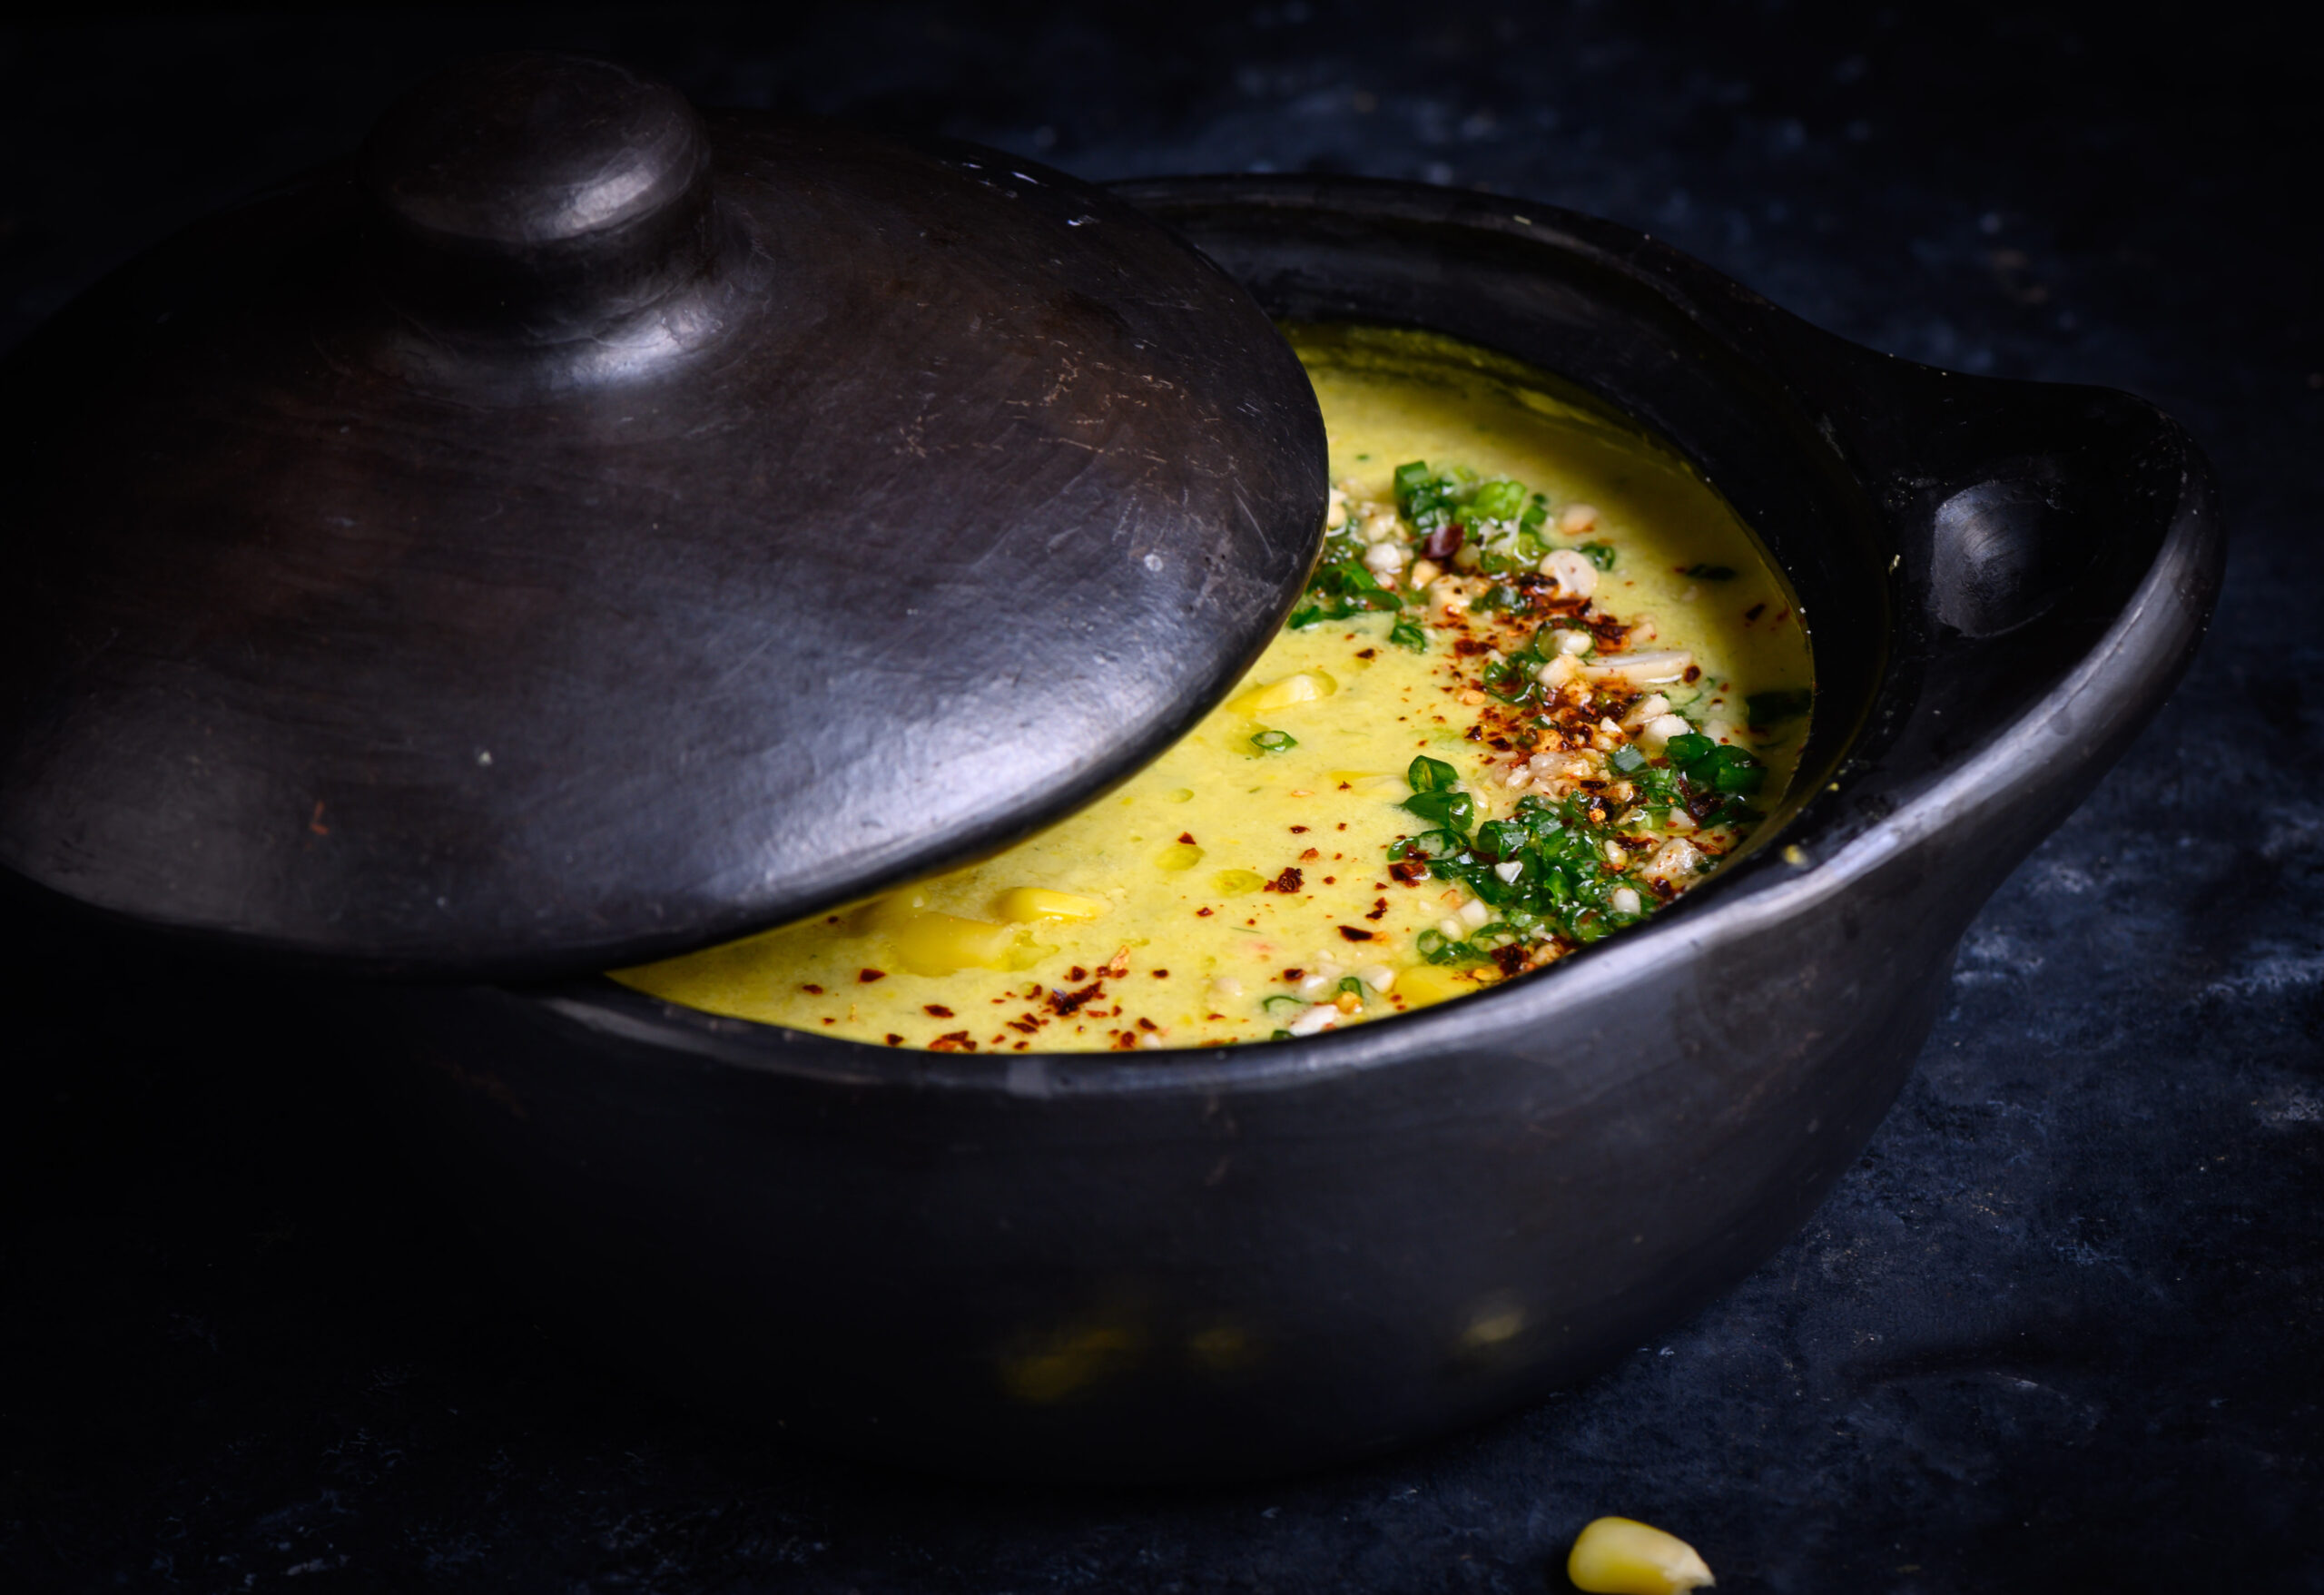
In these photos, you may notice the beautiful bowls I’ve used to serve my soup in. I’m always looking for props for my photo and utensils for my kitchen, and when I discovered that blackened earthenware is made in Colombia, I just had to pick some up. I wish I could have carried an entire dinner set back with me from across the continents, but perhaps having to bring these treasures item by item will just mean more visits to that amazing place…

You may also be wondering whether starting the year off on a soup, when so many of us would have set health-related resolutions, was intentional. Actually, it was not. I feel we should eat mindfully all year round, and that we should see nutritious dishes as being a natural part of our diets, not an obligation. This beautiful vegan whole corn and lemongrass soup is exactly the kind of dish that fits into such a repertoire. It’s loaded with healthy ingredients, from corn to nuts and more, and tastes so very delicious. I’d love to know what you think of it if you give this recipe a try!
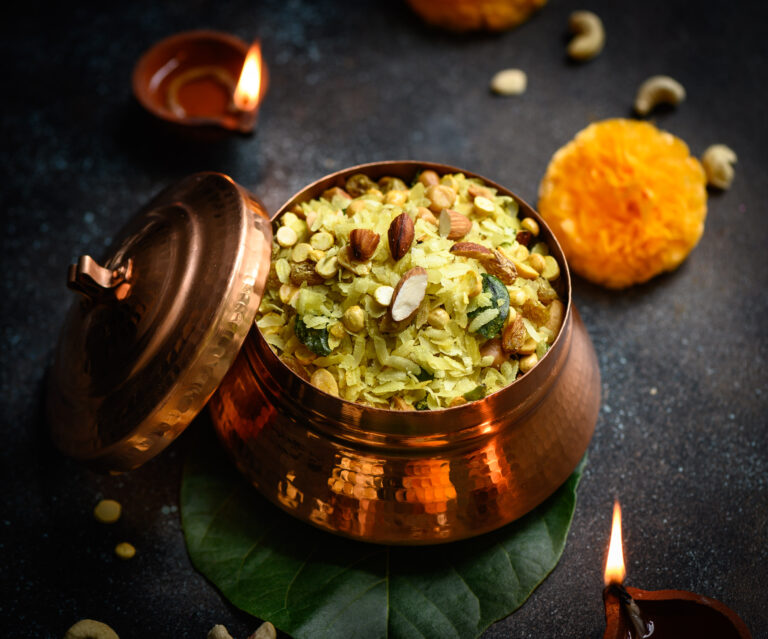
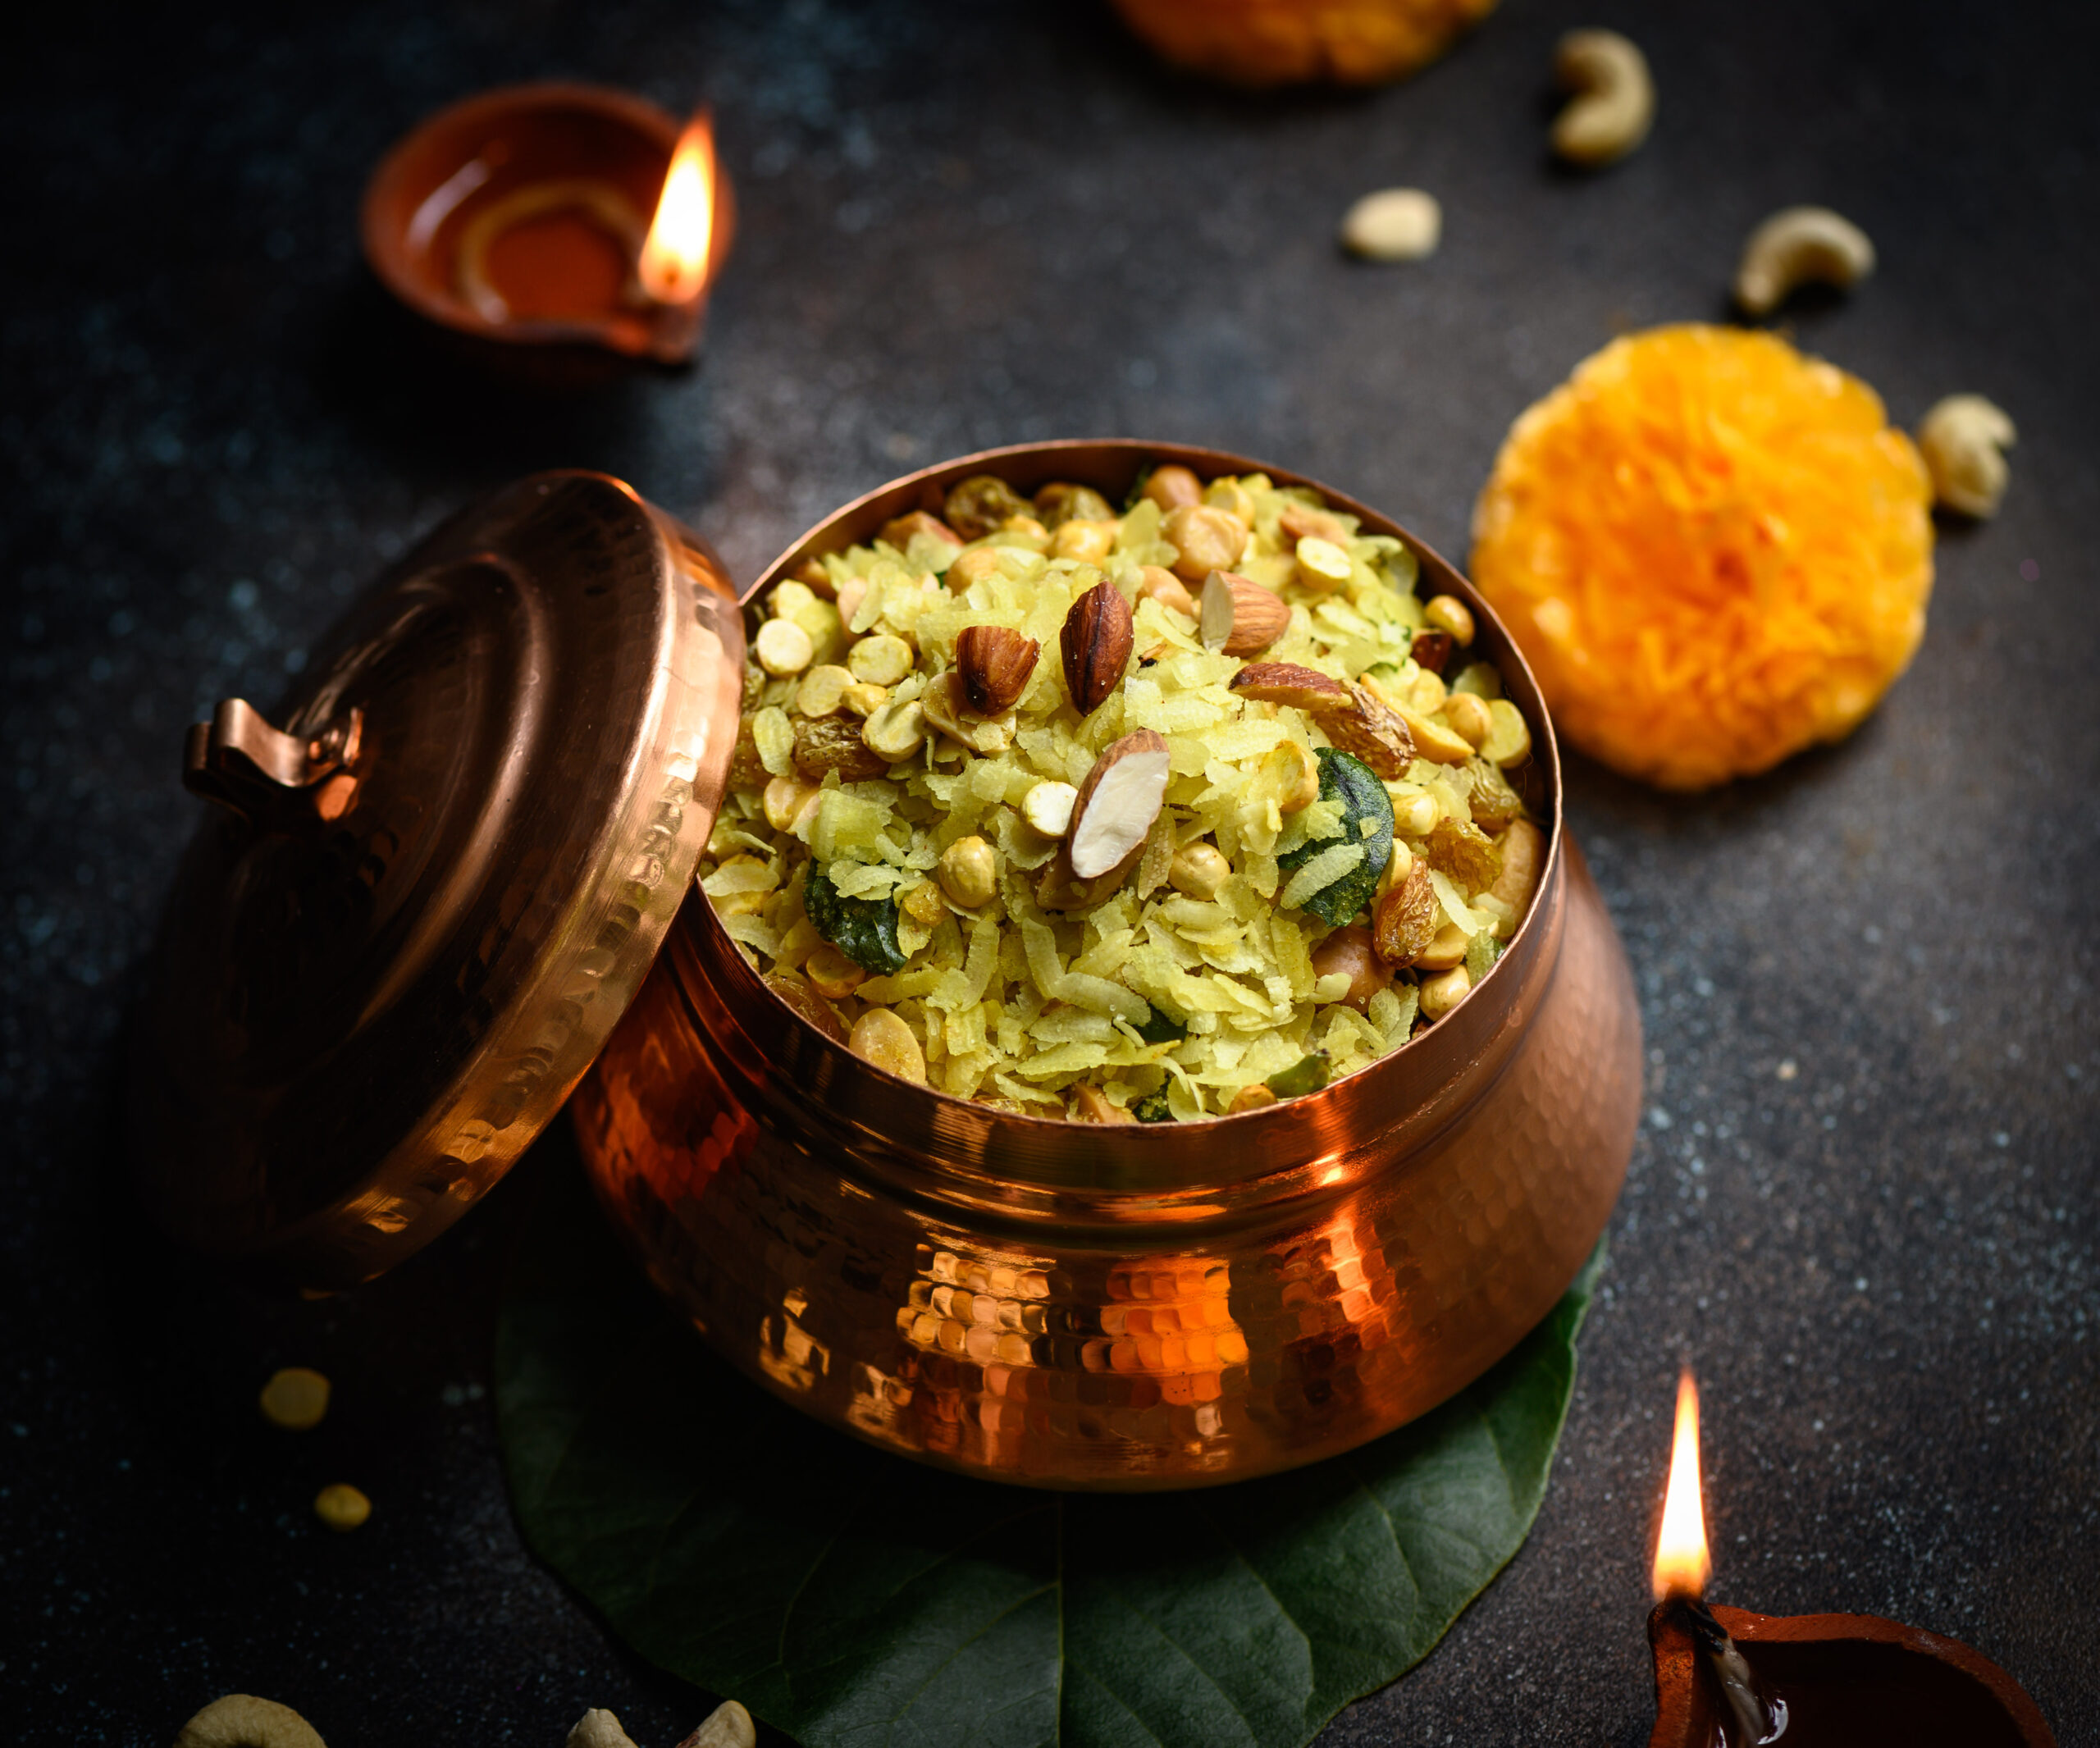
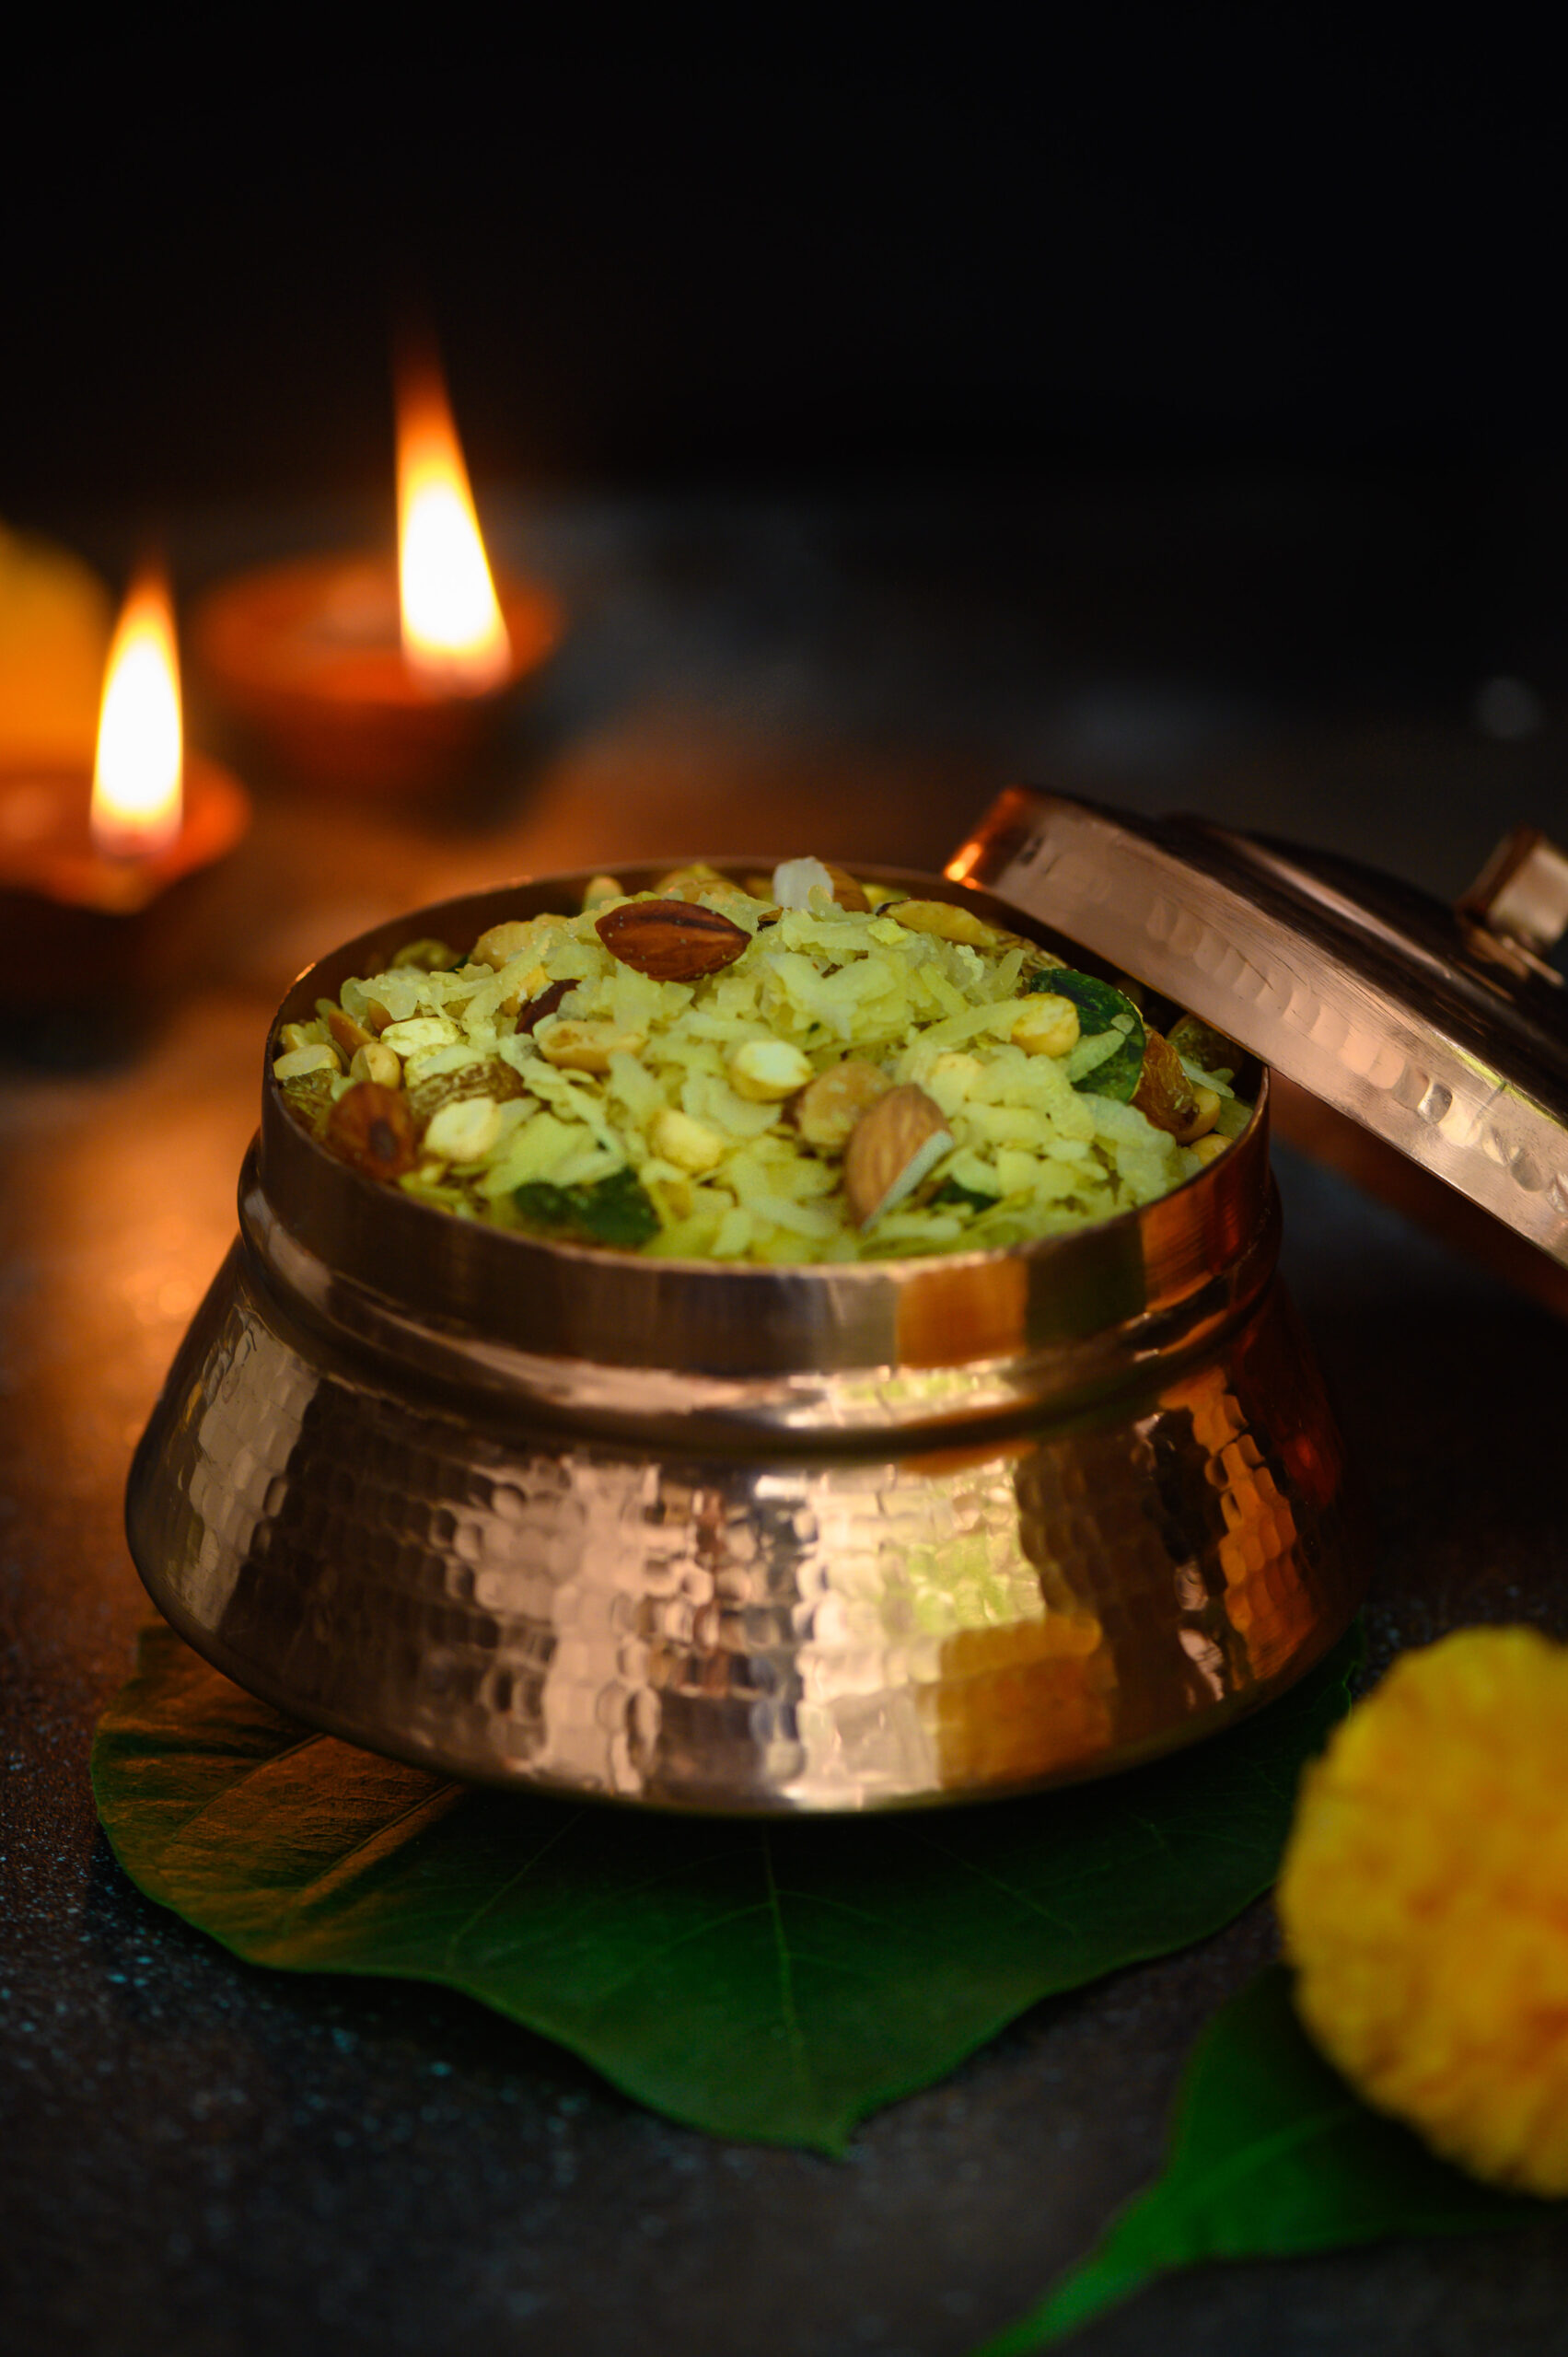
When I was growing up, middle class culture in India was all about eating what was cooked at home. Fresh food was prepared for every meal, every day. When there were leftovers, they were always put to good use. Eating out was a rare occasion, and we didn’t have the luxury of junk food. Even snacks were made at home, and this poha roast mix – what we Gujaratis call chevdo – was one of them.

This is a snack to be consumed by the handful, with a fun mix of nuts and seasoning. The basic ingredient is poha, or flattened rice, which most Indian communities use in some way or another. My own earliest memories of it are in the form of the dudh-poha which my mother would make to take with us to the beach on Sharad Purnima nights, as well as this poha roast mix – the recipe for which I am sharing today.

In those days, this simple but addictive snack was one of my mother’s Diwali staples. I remember how she would usually make it a few days before the festival, in the evenings, after all the duties with us kids were done and we had finished our homework. But sometimes, when we were at school, she would meet with her friends and they would make everyone’s festive batches together. Nowadays, this might be called a community cooking type of get-together. To the mothers of that generation, who did not have home staff, it was so much more easy and convenient to join hands and cook. It was also a way to socialize. Occasionally, if the joint cooking happened on a weekend or at a time when the kids were at home, we would also get a chance to hang out with our own friends, and this was always fun.

The mothers learned from each other in this way. They would just be a group of 3 or 4 women, but each with her own expertise. I recall how my mother would say, for example, “This aunty’s mithai turns out very well, so this year I want to make some with her.” The homes they convened in depended on practical considerations like space or utensils. Who had the big kadai? Whose house was less crowded that day? These gatherings happened mostly around festive occasions, and I think of them as an early version of our blogs today. This is one reason why I treasure my mum’s cookbook so much. It contains all these different recipes that she learned from her friends, collected over the years through interacting with each person who shared the best from her personal repertoire.

As Gujaratis in Tamil Nadu, I think they also wanted a sense of community. Although we never felt alienated by Tamils or their culture, and grew up in our Tamil neighbours’ homes too, there was something meaningful about these gatherings. Meeting a few times a year to celebrate auspicious events in our traditional ways allowed us children to connect with language, cuisine and other aspects of the culture which were reminiscent of our parents’ and grandparents’ own upbringings.

Diwali is all about exchanging sweets and savouries, and back then there were no fancy delicacies to be ordered in bulk, either. Everything was homemade and non-commercial. Everything was simple and there was a spirit of sharing – “I give you a Diwali treat in my box, and you give me a Diwali treat in your box.”. When this group of women got together and cooked, they made enough for each family to take home, as well as to give away.

Some traditions you just have to keep. Which is why, even though Gujaratis are inventive when it comes to mixtures (and you know how much I love doing something unique to any recipe I try!), this chevdo / poha roast mix is a basic, traditional recipe. The one difference is that it is roasted, not fried. You can replace some of the ingredients based on your preference, but I recommend that you leave a hint of the sweetness in as it goes well with the crunch.

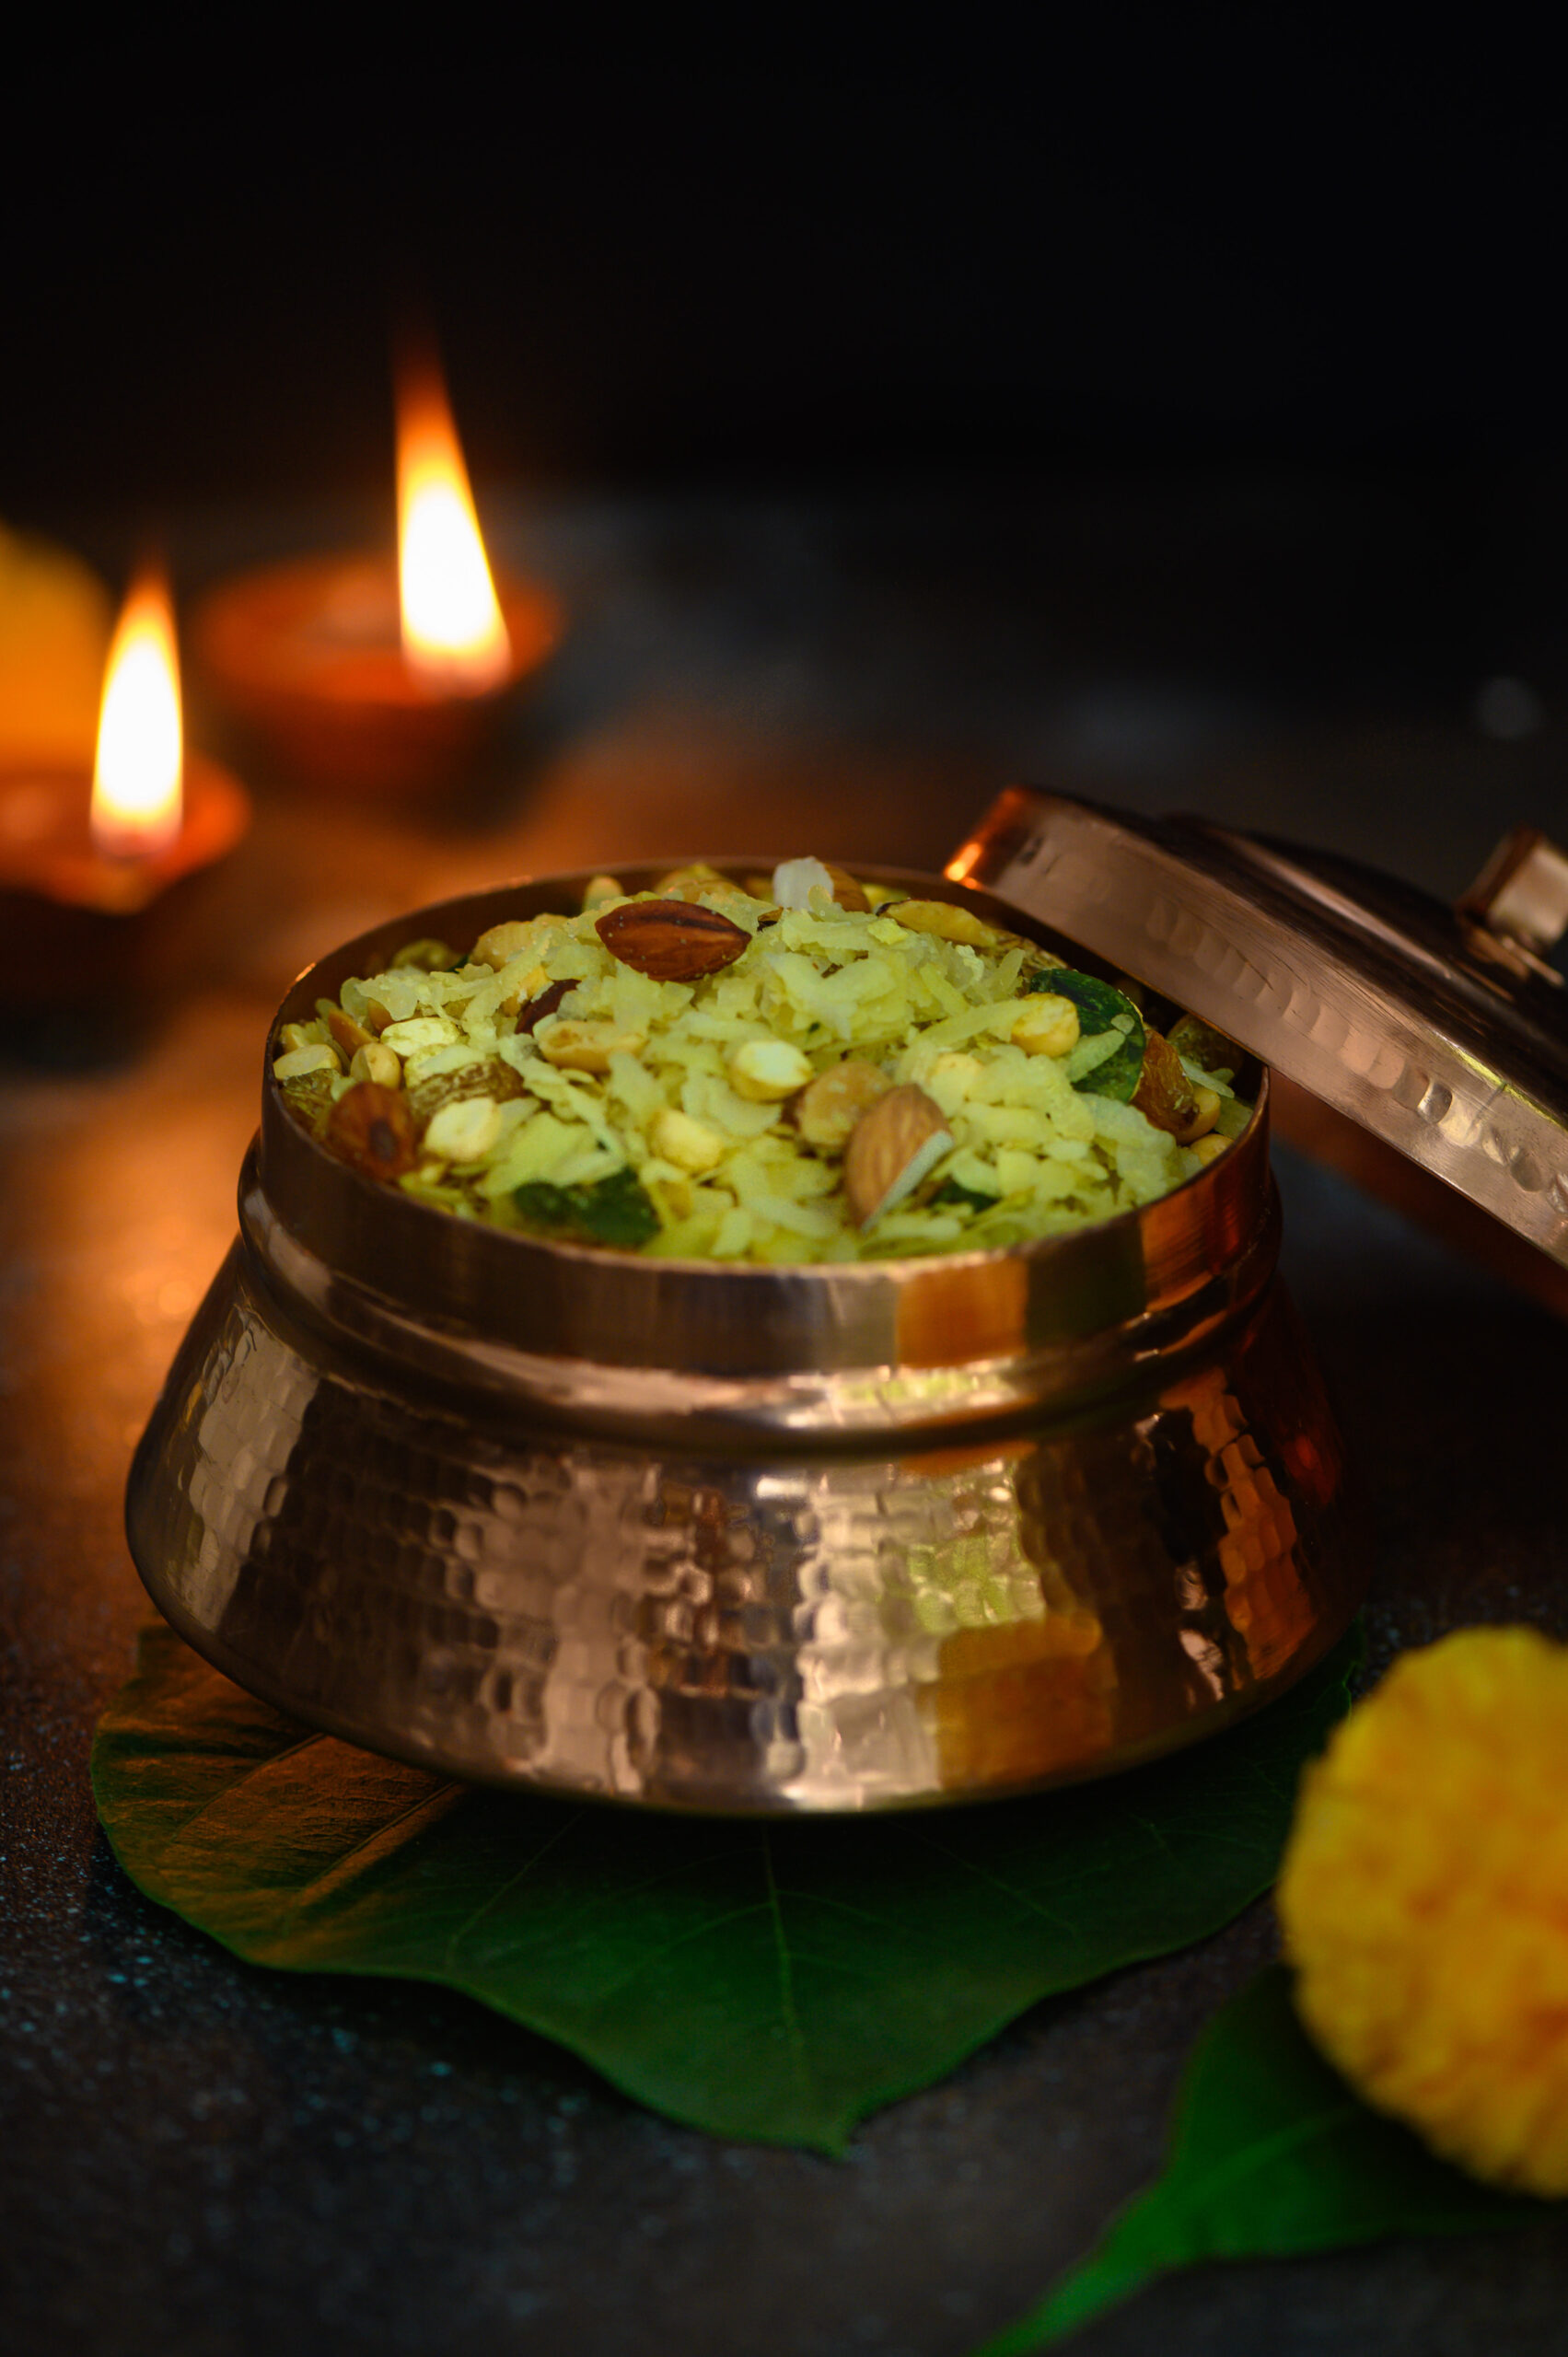
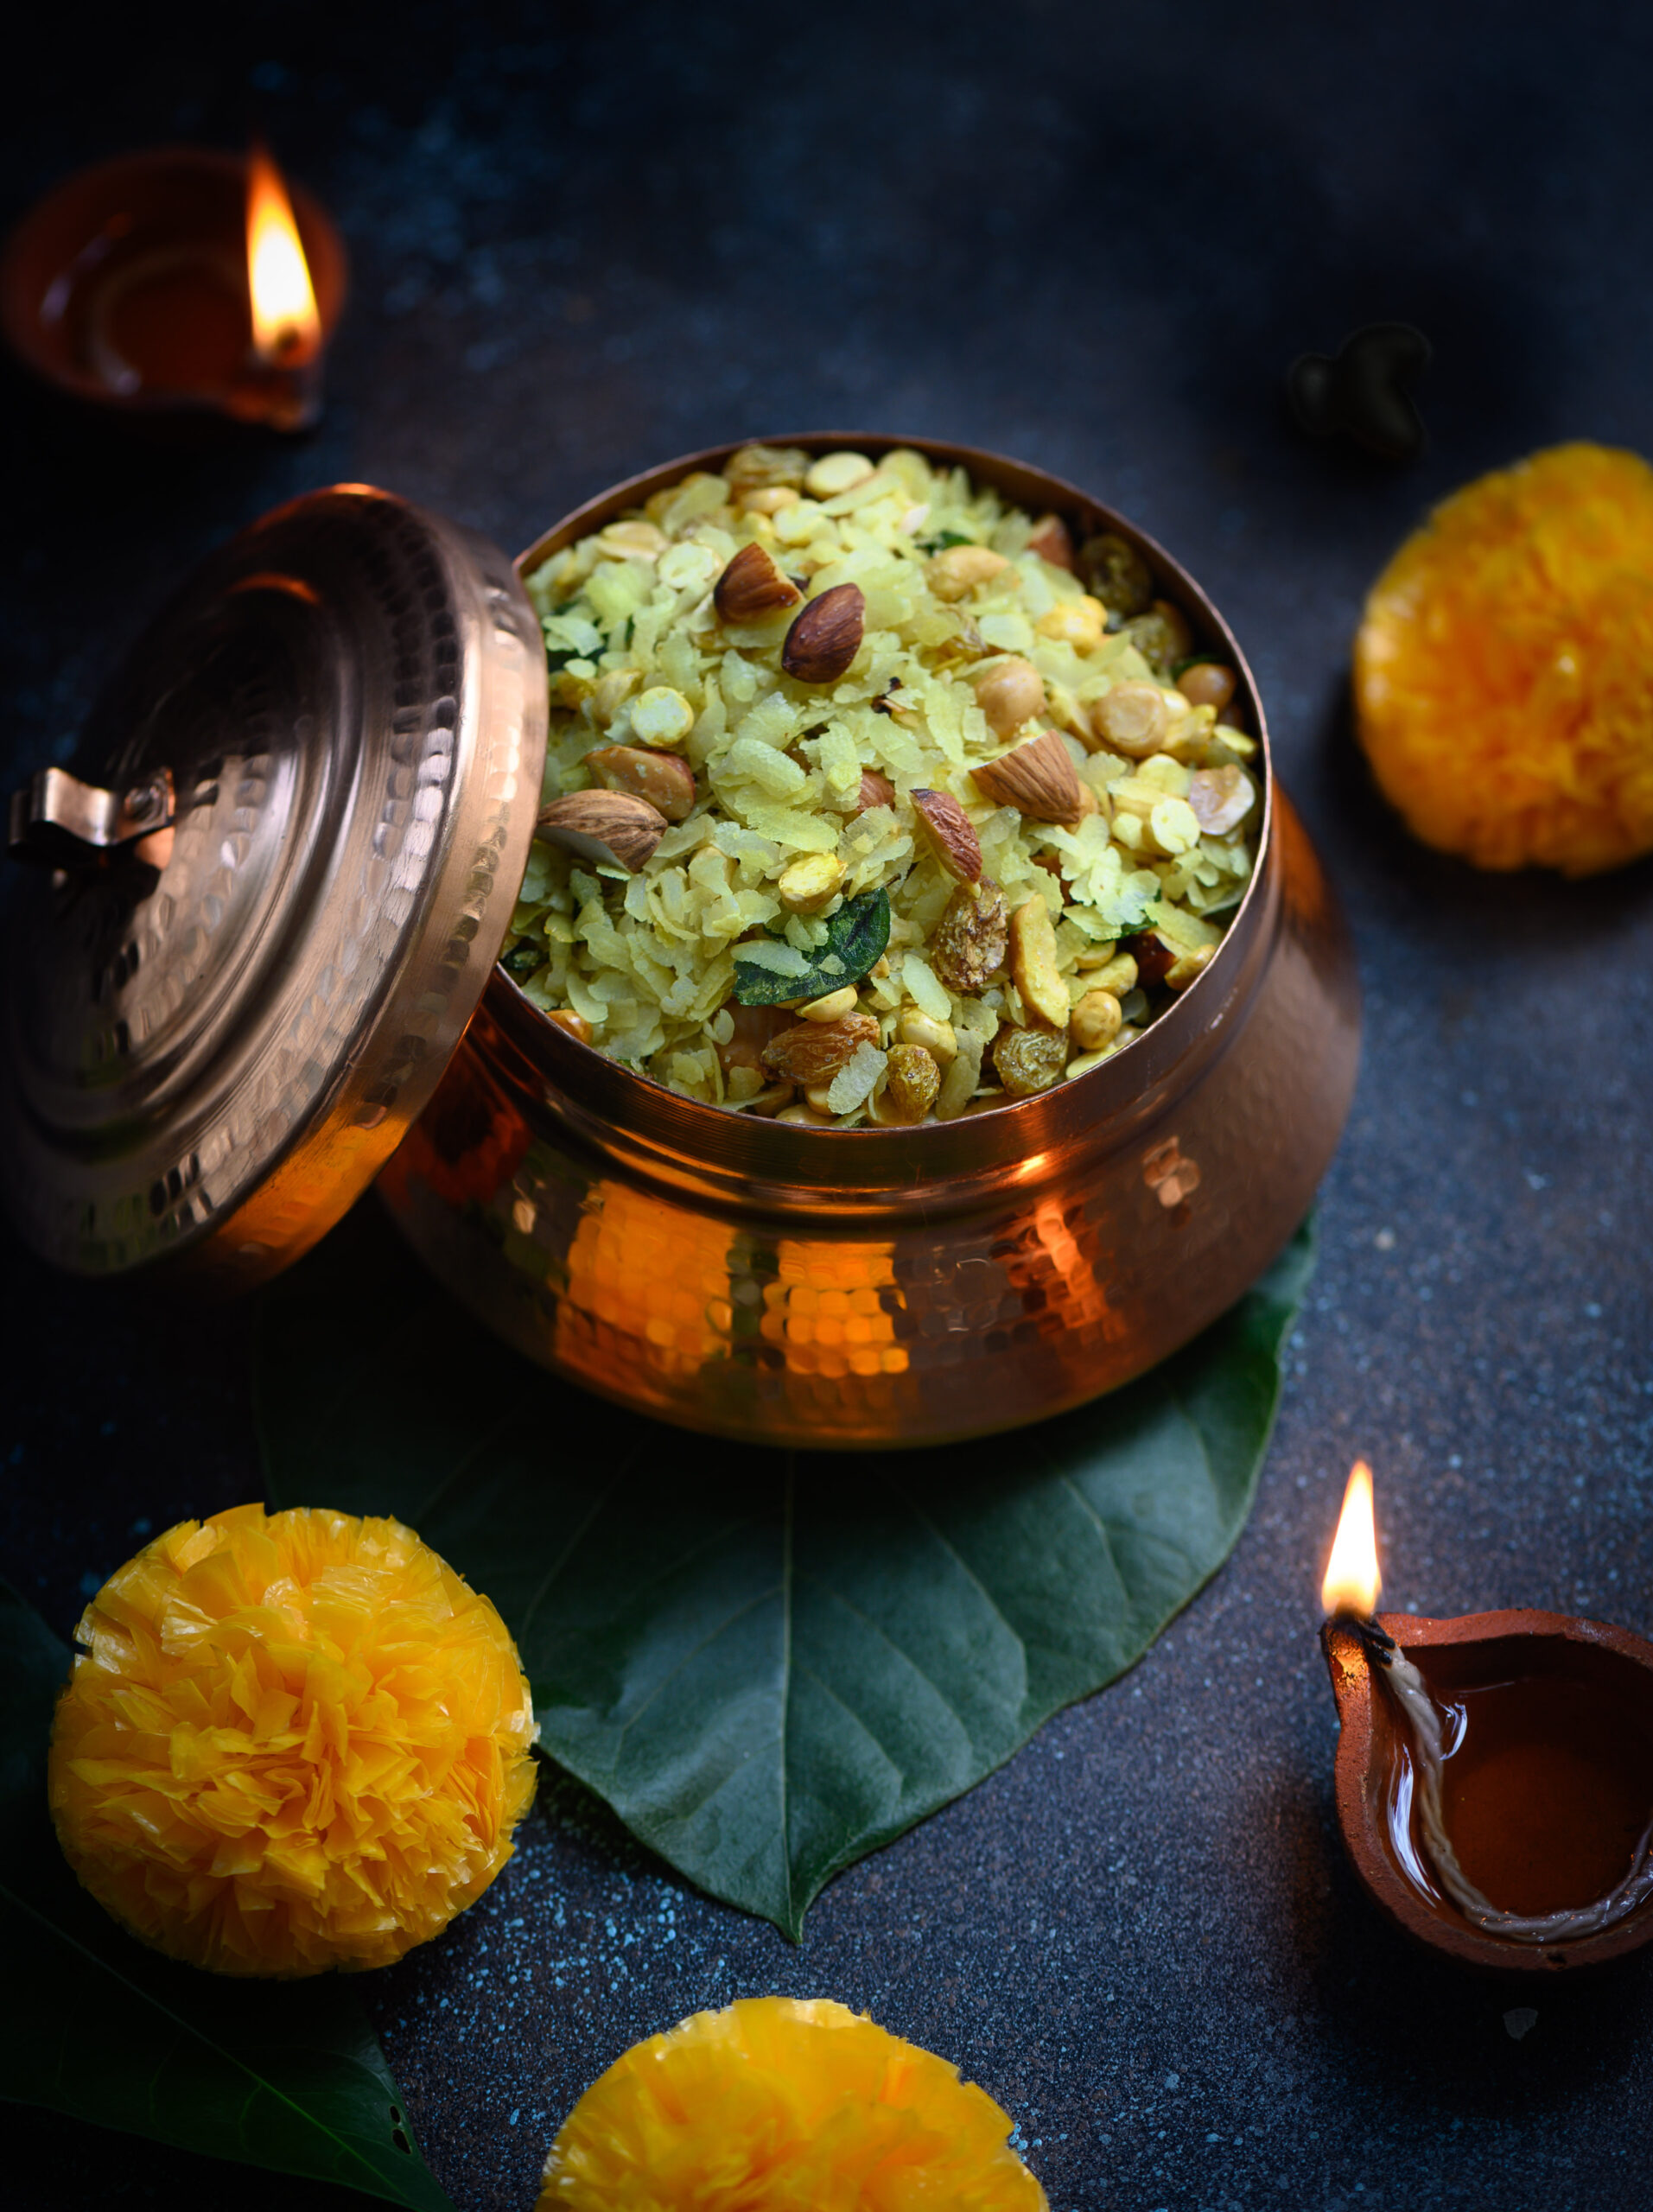
Diwali Chevdo / Poha Roast Mix

(Yield: approximately 400 grams)

150 grams poha

60 grams peanuts

60 grams roasted gram

50 grams almonds

50 grams raisins

50 grams cashew

¼ teaspoon turmeric

1 tablespoon heaped powdered sugar

⅓ cup oil + ½ tablespoon oil

1 tsp salt or as per taste

2 green chillies

A handful of curry leaves


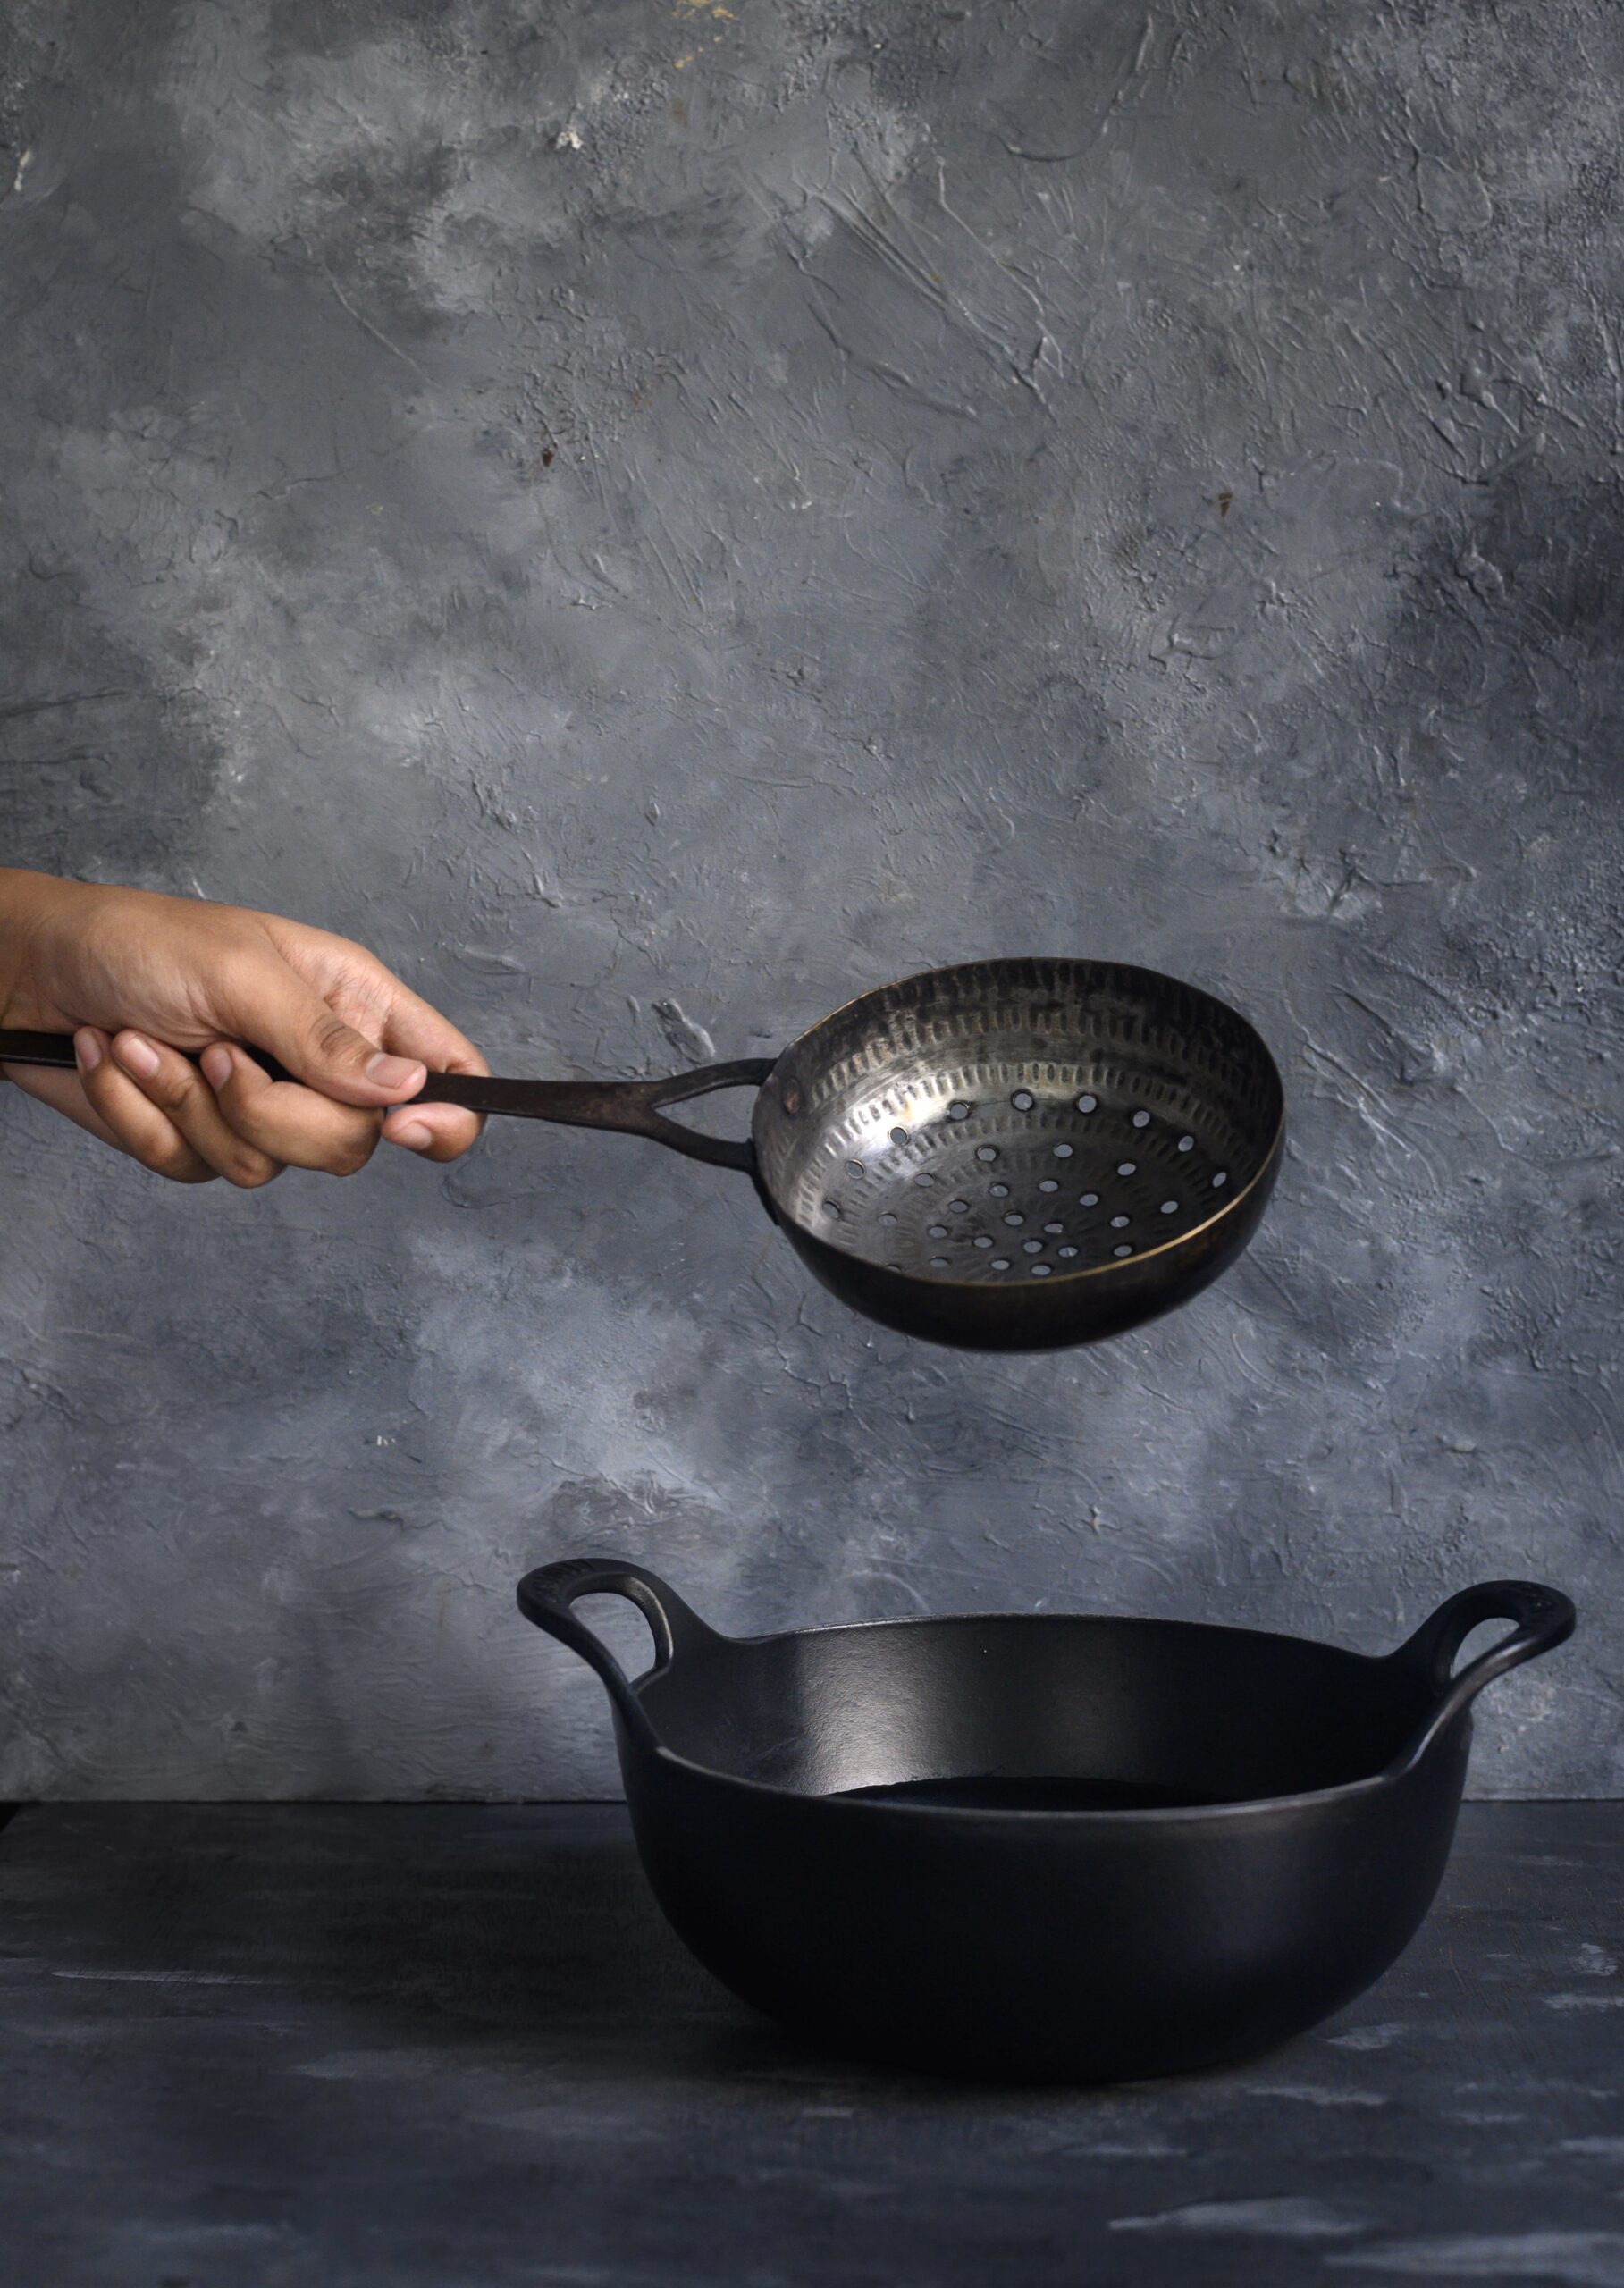
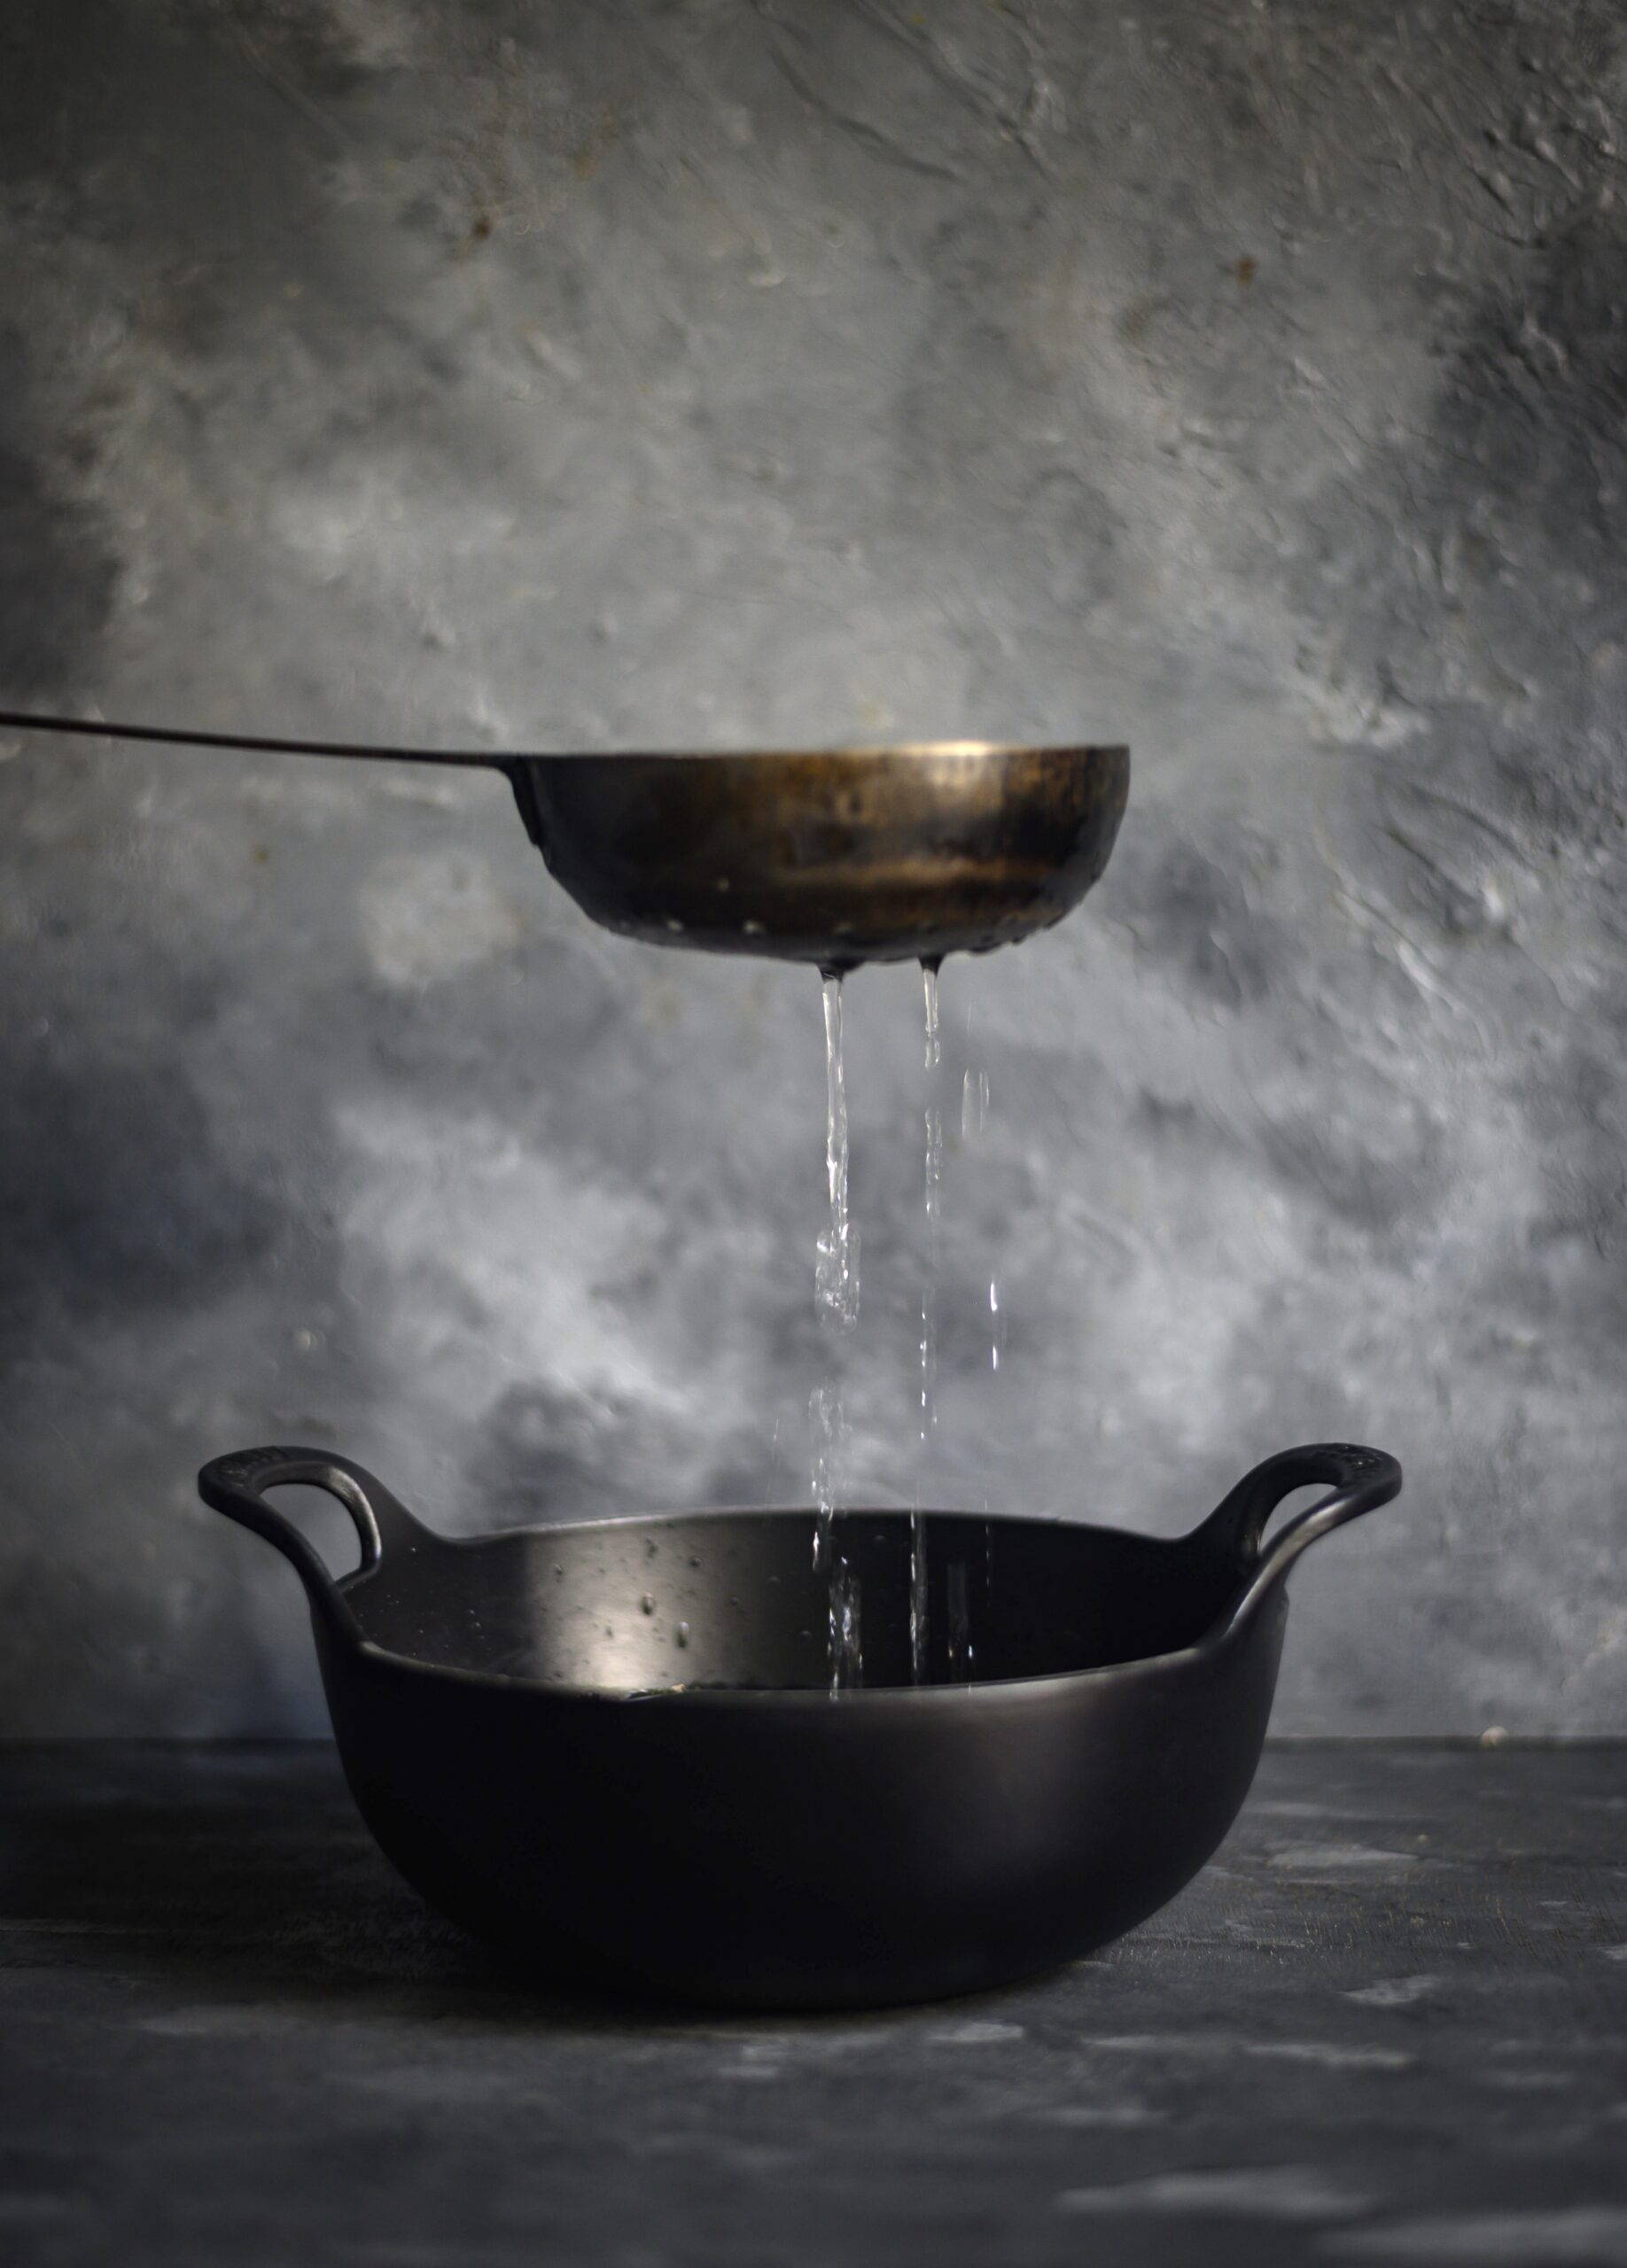
The truth is that fried poha tastes fantastic, but I am giving you a roasted poha version in order to keep up with the times. With the pollution in the environment today, we must make an effort to eat healthier. This method below is completely different from the fried kind, but if you do want to try a fried variant, do try to get your hands on a special utensil which will make the process easier and less messy – a cup-shaped ladle with draining holes, into which you put small batches of the ingredients in at a time.

In a wide bottom pan, roast the poha on a low flame, making sure it does not turn brown. Avoid using a spatula to stir as this will only cause the brittle poha to break into tiny pieces. I picked up the pan and swirled it around gently, and used my hands to turn the poha around. Keep the poha moving frequently. The roasting takes approximately 15-20 minutes. Once the poha is roasted, set it aside.

In another pan, add the ⅓ cup of oil and allow it to heat. Now, add the roasted gram. On a medium flame, stir using a ladle. Once the roasted gram is golden, drain well and place on an absorbent paper.

Next, add the peanuts and repeat the roasting. Do the same to the cashew nuts and almonds, separately, as well.

Lastly, roast the golden raisins. Be careful as they will burn easily. At this point, lower the flame and once they fluff up, drain and remove them.

Now all the ingredients are ready to be assembled. On a low flame, add the ½ tablespoon of oil to a pan. Add the green chillies and some curry leaves. Once the chillies turn colour slightly, add salt, sugar and turmeric. Immediately after, add all the roasted ingredients – poha, peanuts, cashew nuts and raisins – turn by turn and mix gently. Make sure all the spices are incorporated well and coat all the ingredients. Ensure that the spices do not get burnt. This can be done by keeping a low flame and stirring the ingredients constantly as you add them.

Allow to cool on the pan. Do not cover as this may cause moisture to fall into the crispy chevdo.

Your Gujarati Diwali chevdo / poha roast mix is now ready, and it tastes especially yummy with chai. It’s my husband’s and daughter’s most favourite snack, which is why I’ve got a headstart on making it for this Diwali. I hope you’ll enjoy it, and make it a part of your festivities too. I’d love to know what you think of this delicious mixture, the recipe for which could be as much my mother’s, or her friend’s, but is now mine and yours!

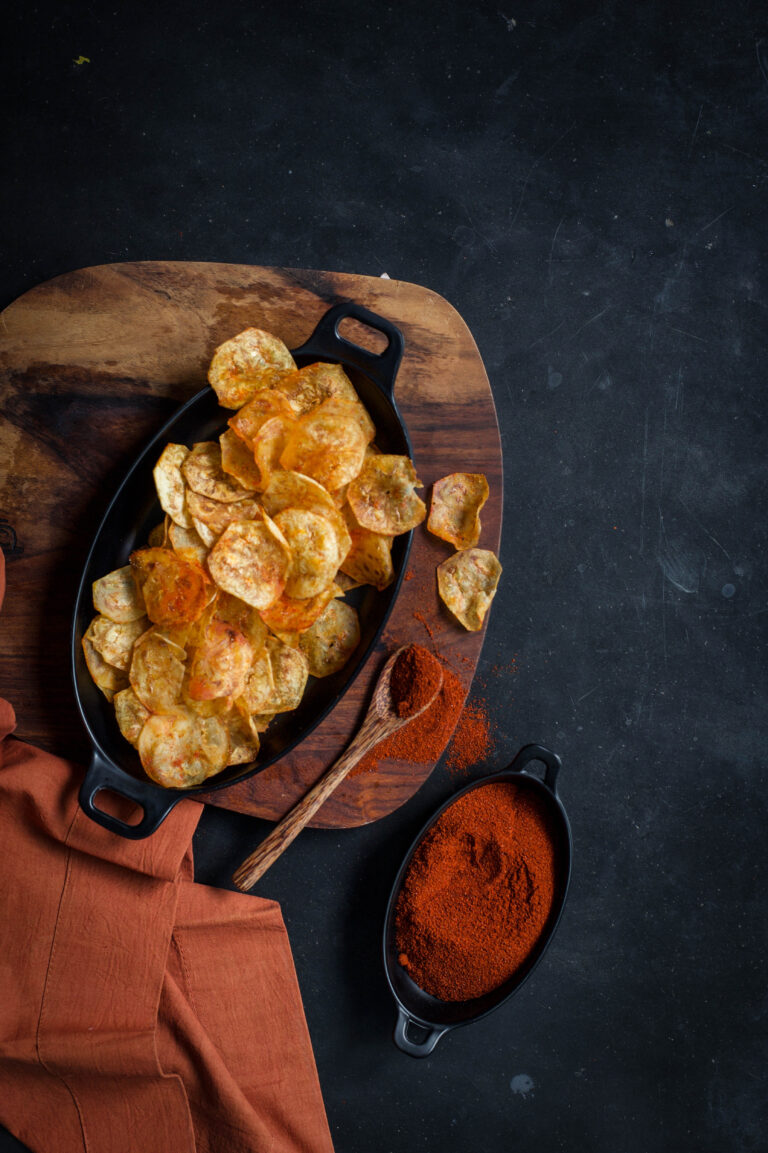
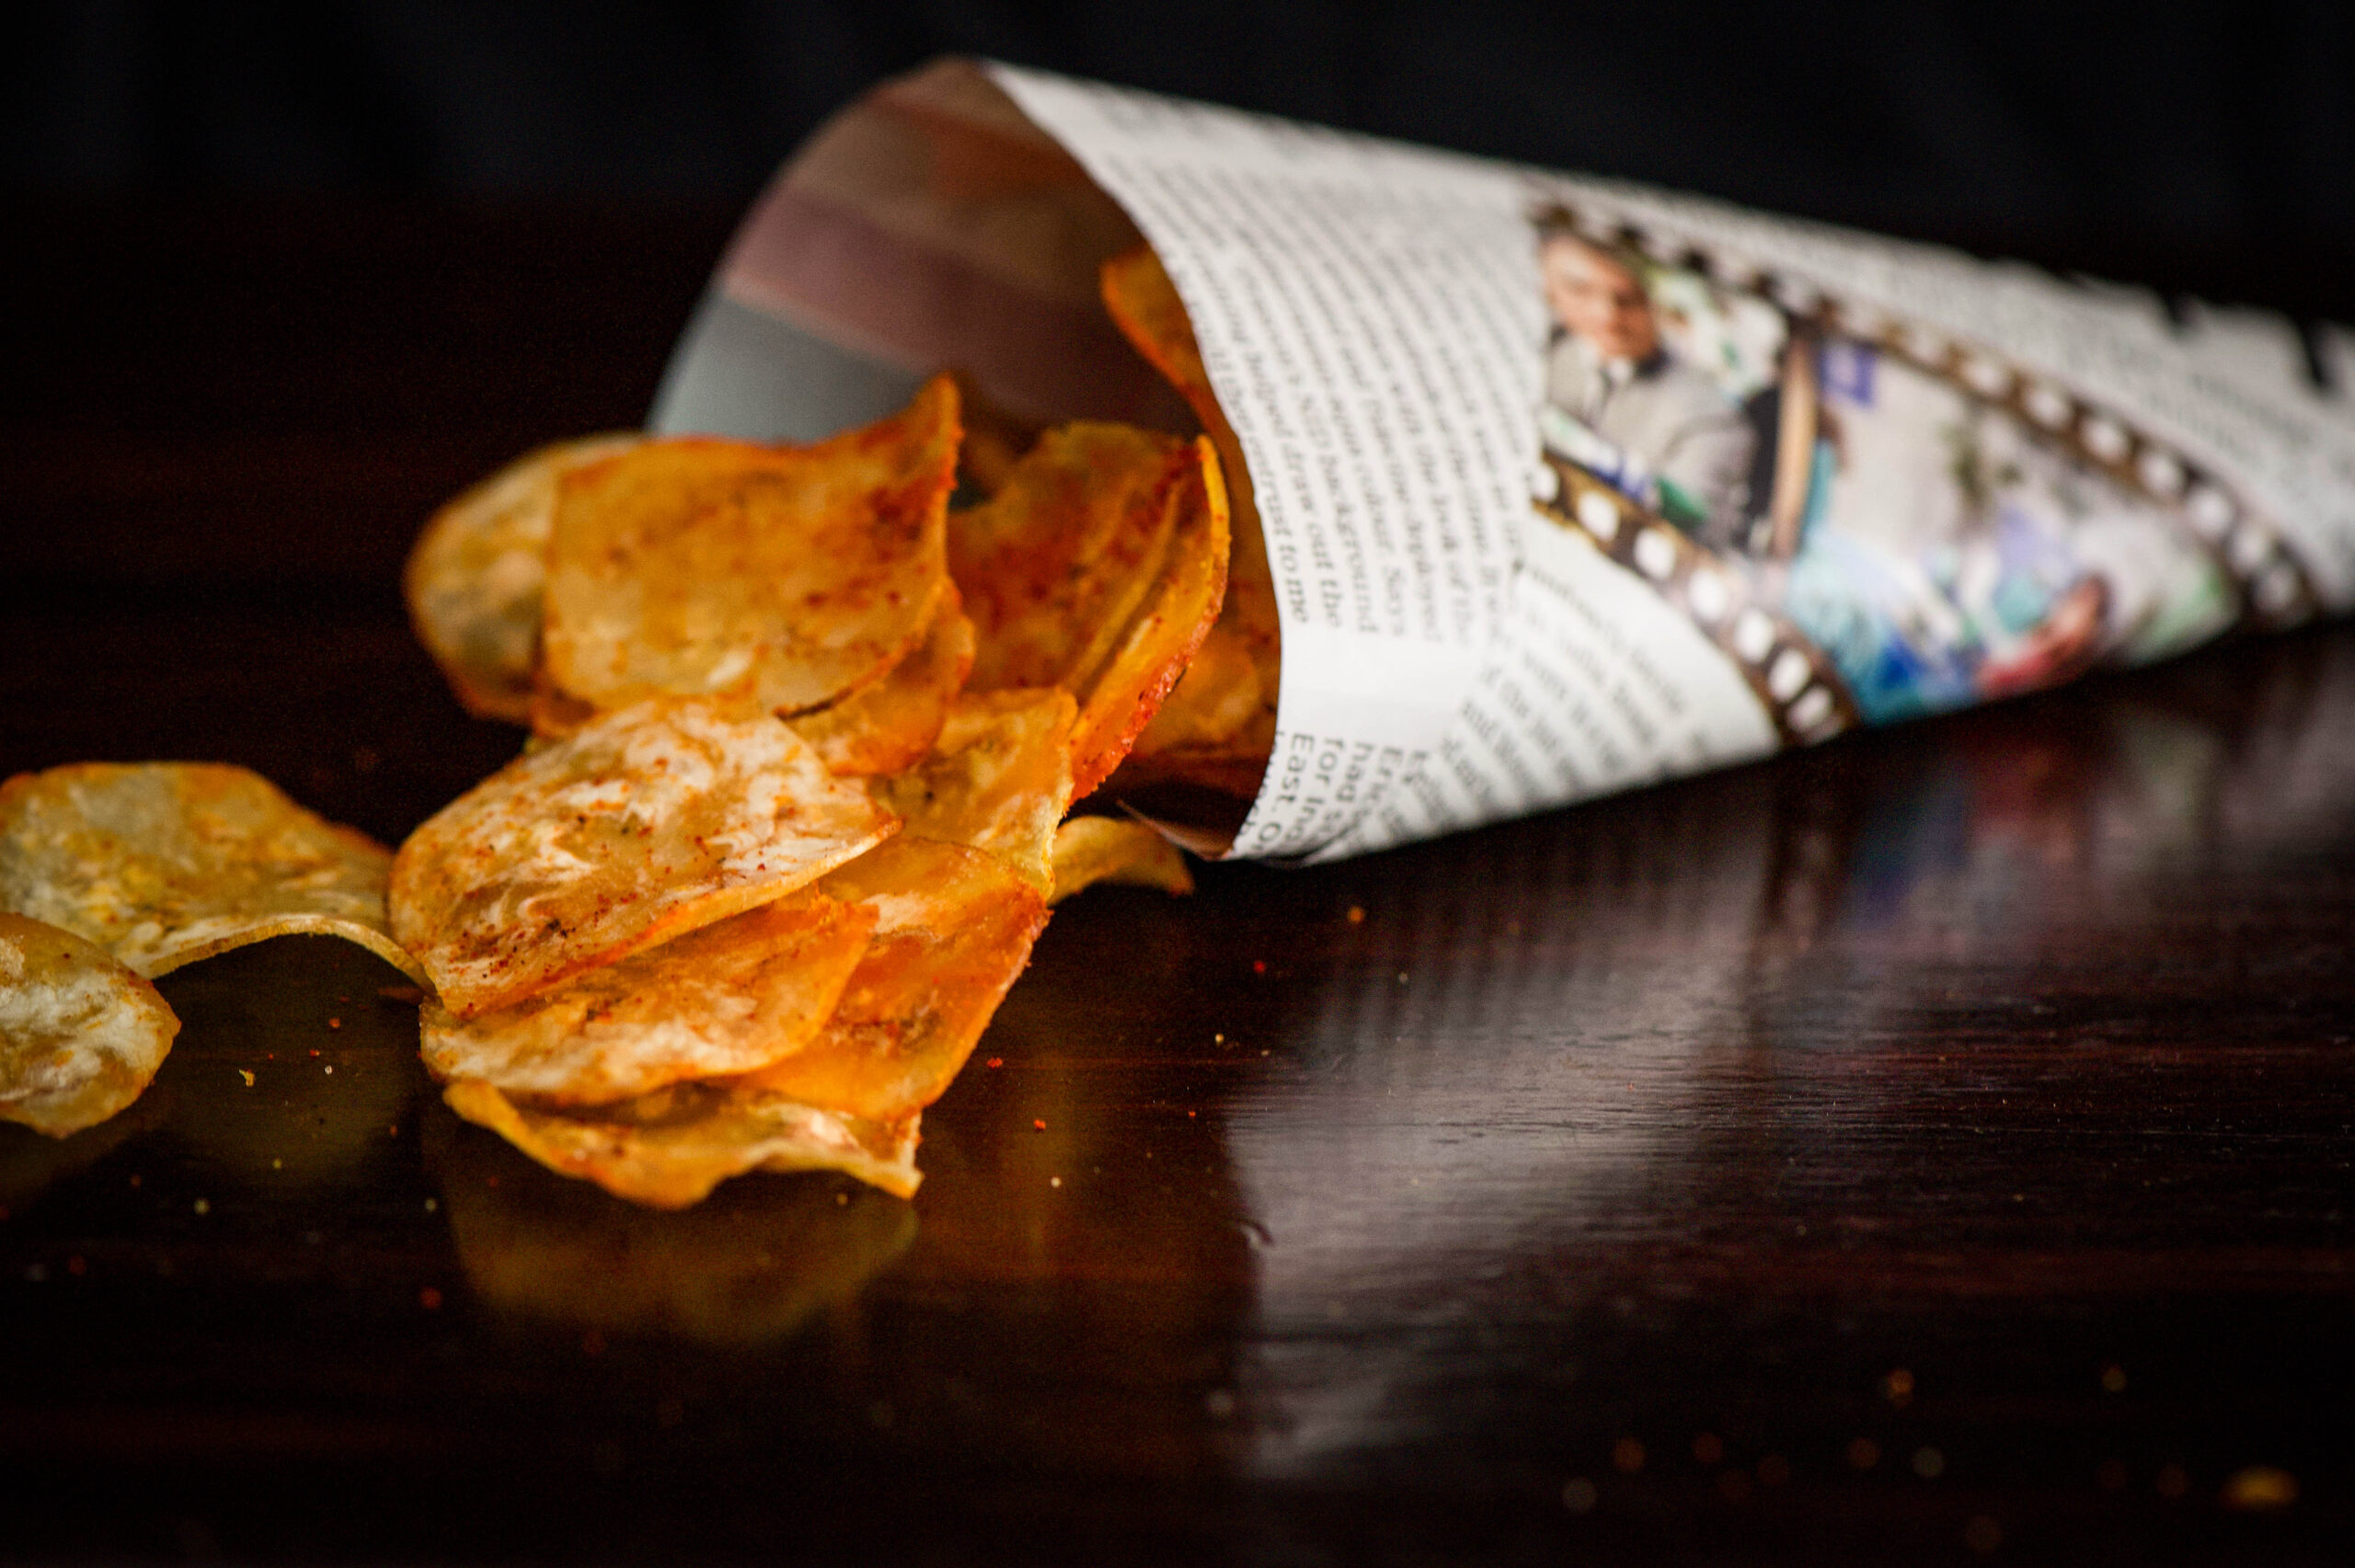
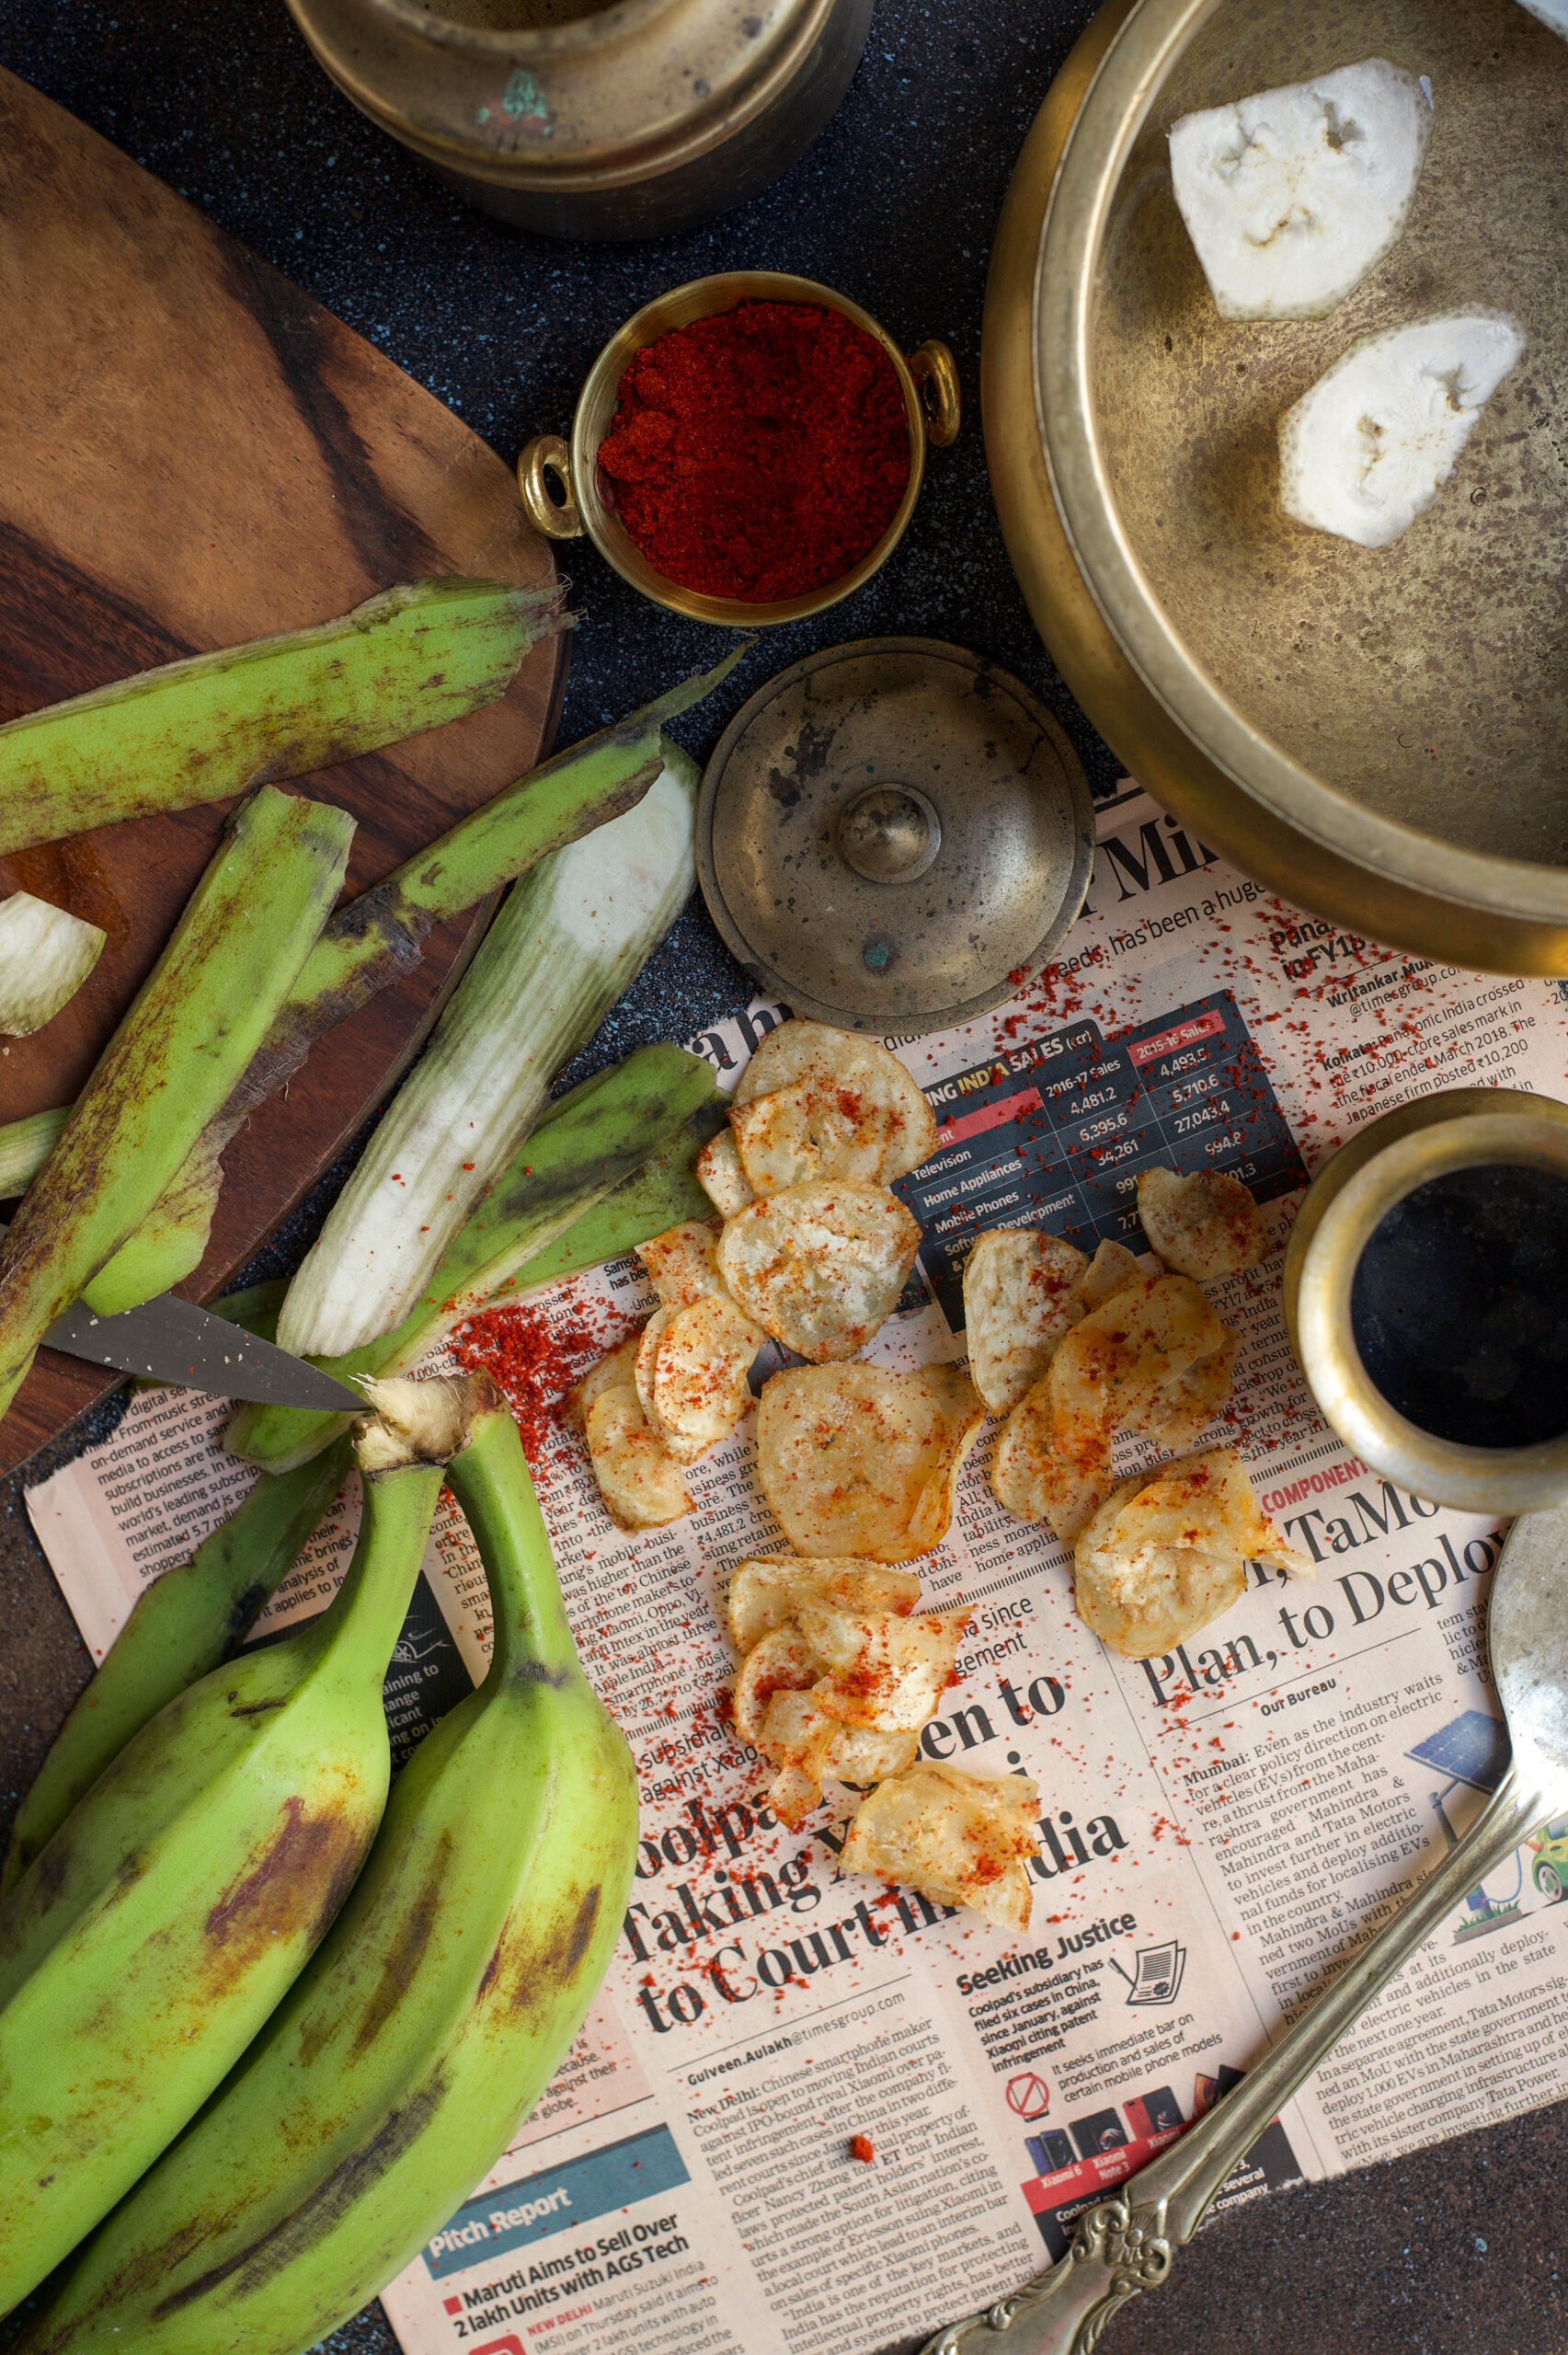
For someone who grew up disliking bananas, I’ve simply not been able to get enough of them this month! I hope you enjoyed my previous recipe for banana bread. There’s been a windfall of plantains on my farm, and so the fruit has found its way into several more dishes I’ve made lately. The recipe I’m sharing today adds a bit of crispiness to my traditional lunch thaalis. It’s so easy to make, and so difficult to resist. I really have gone bananas for these banana chips!

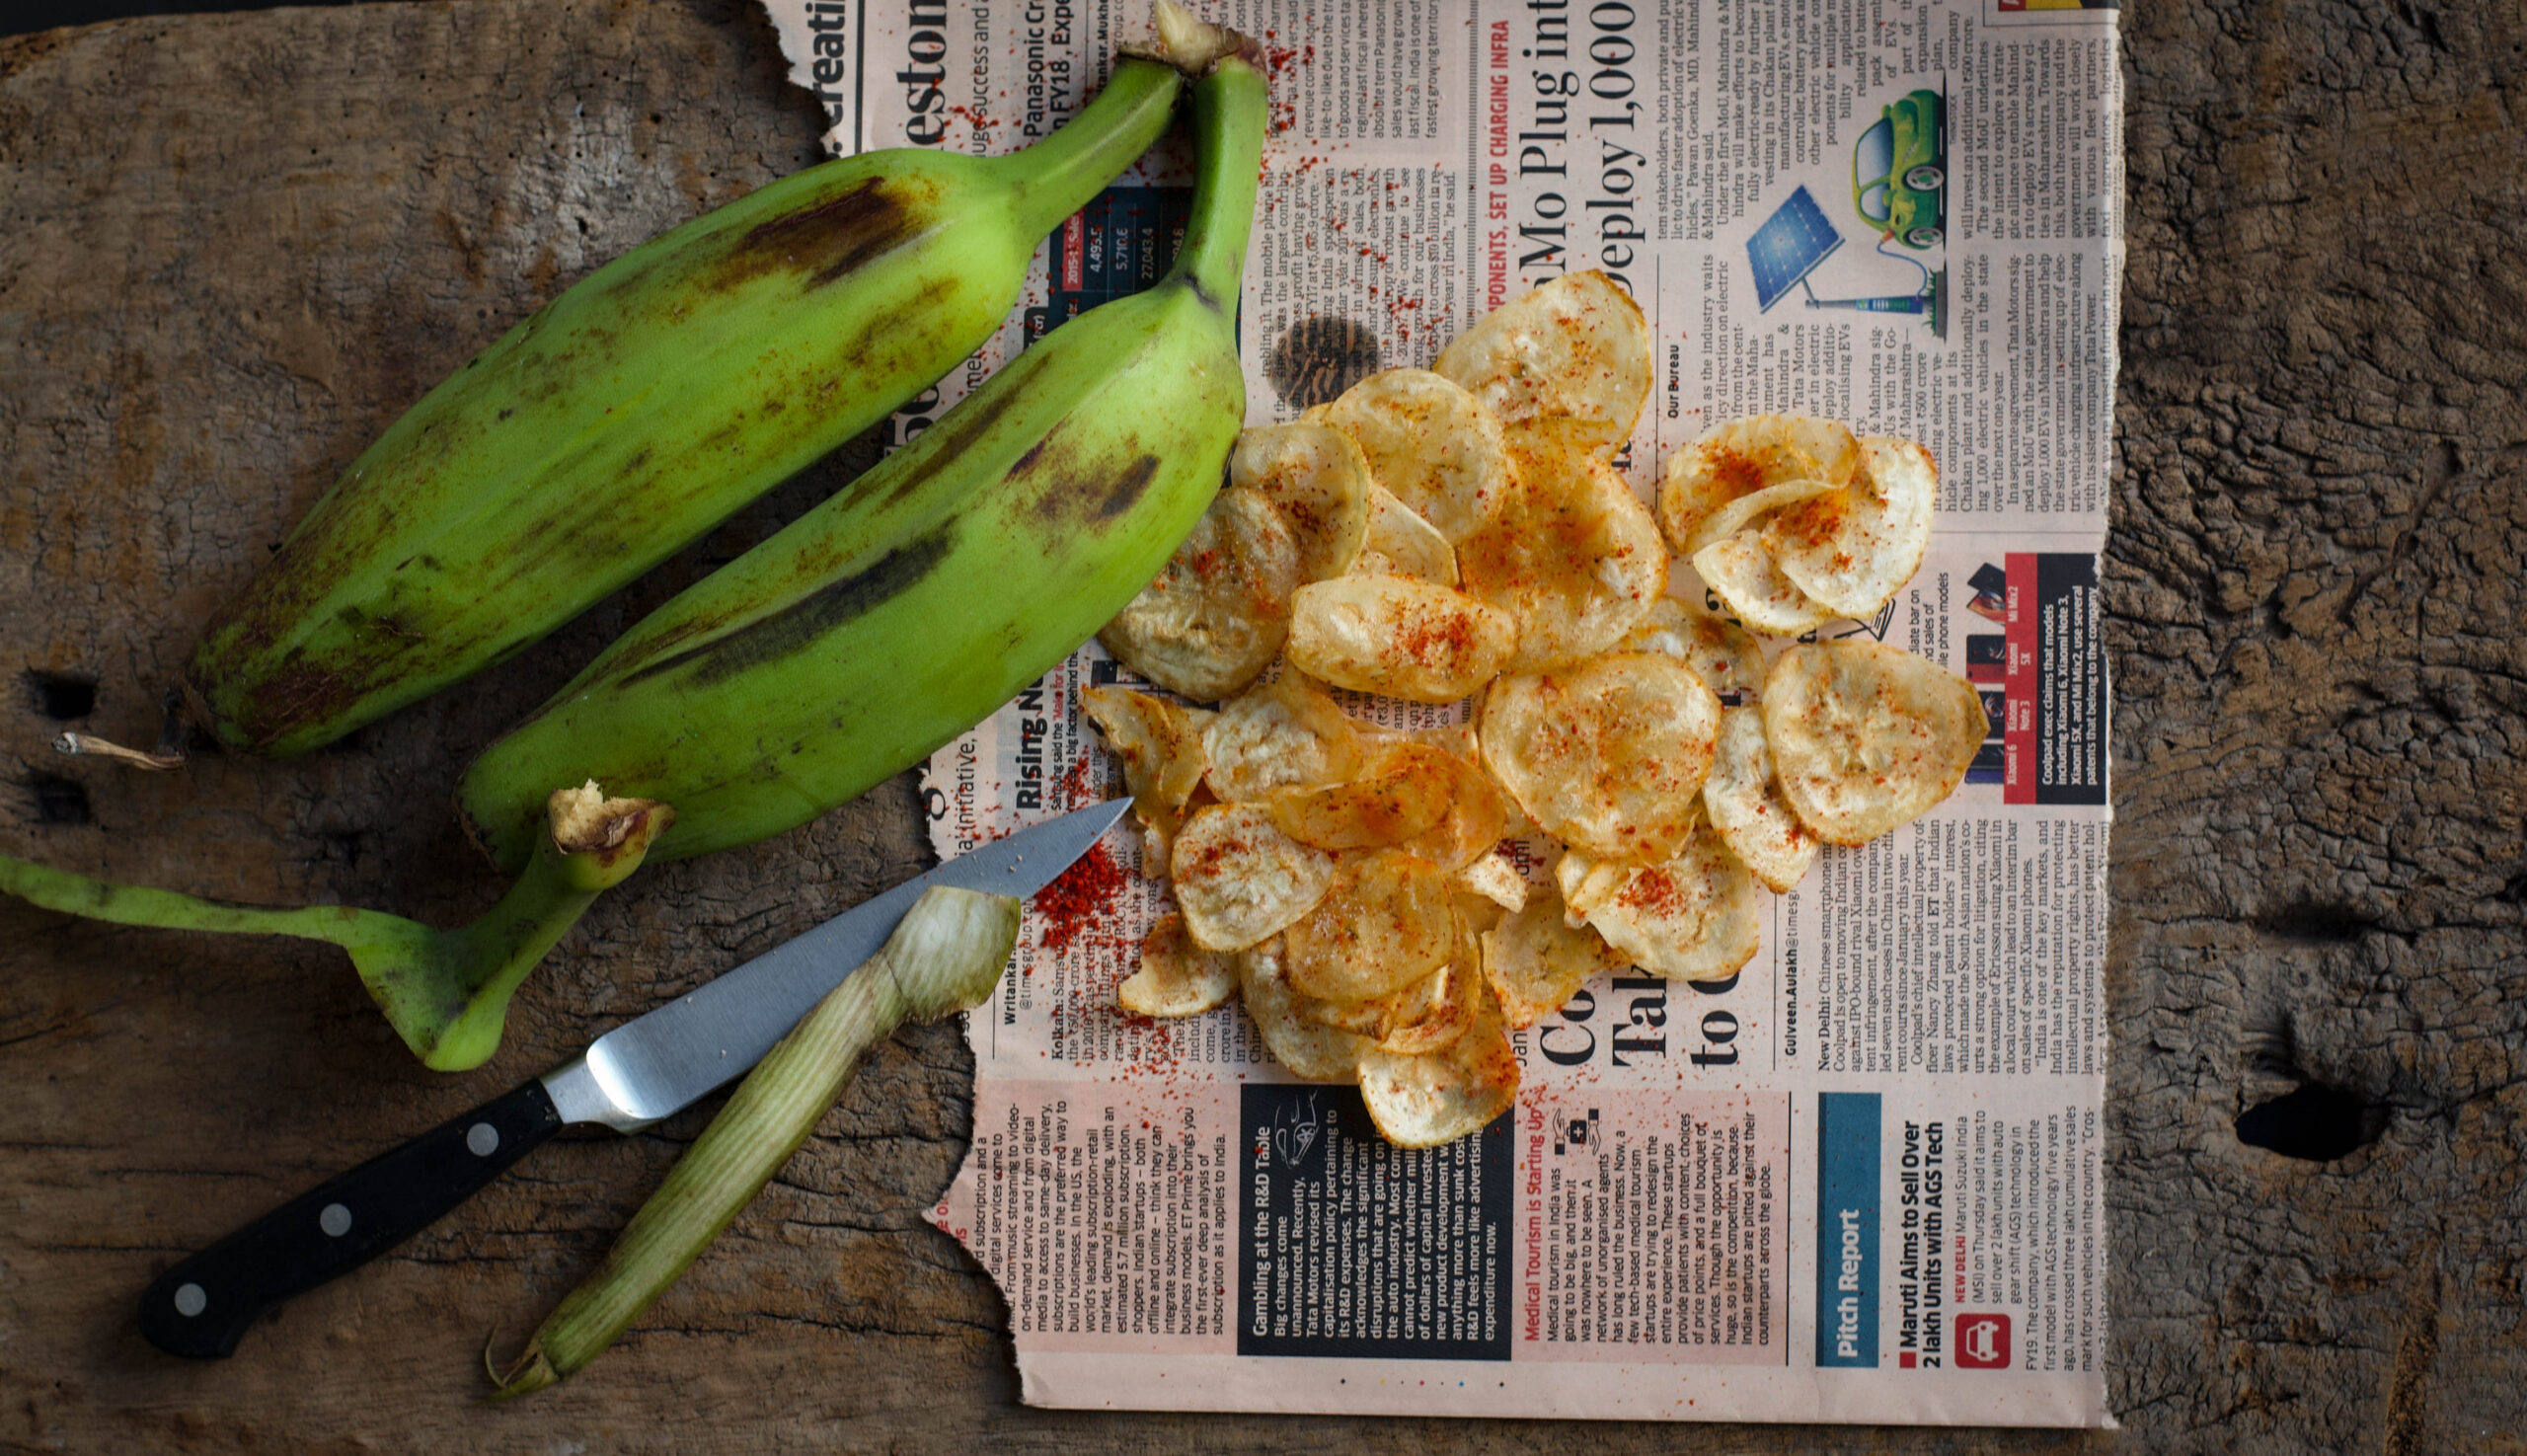
These chips don’t use the ripe bananas that we peel and eat when in need of a portable snack. Instead, they use unripe green plantains of the Monthan variety, which fruit in the 8th or 9th month after planting. They are not sweet, unlike ripe ones, but are edible both raw and cooked. Rich in potassium, iron and several vitamins, they are used in cuisines in Polynesia, Jamaica, and here in India of course. The banana tree itself is considered sacred in Hinduism, and is worshipped in some sects and used in wedding ceremonies. Not only the fruit but the flower too can be consumed, and food is traditionally eaten on a banana leaf itself.

I have a new gadget in my kitchen that I picked up on one of my travels – a nifty slicer that lets me quickly slice the banana directly over hot oil, so I was quite excited to use it when my sister taught me how easy these chips are to make.

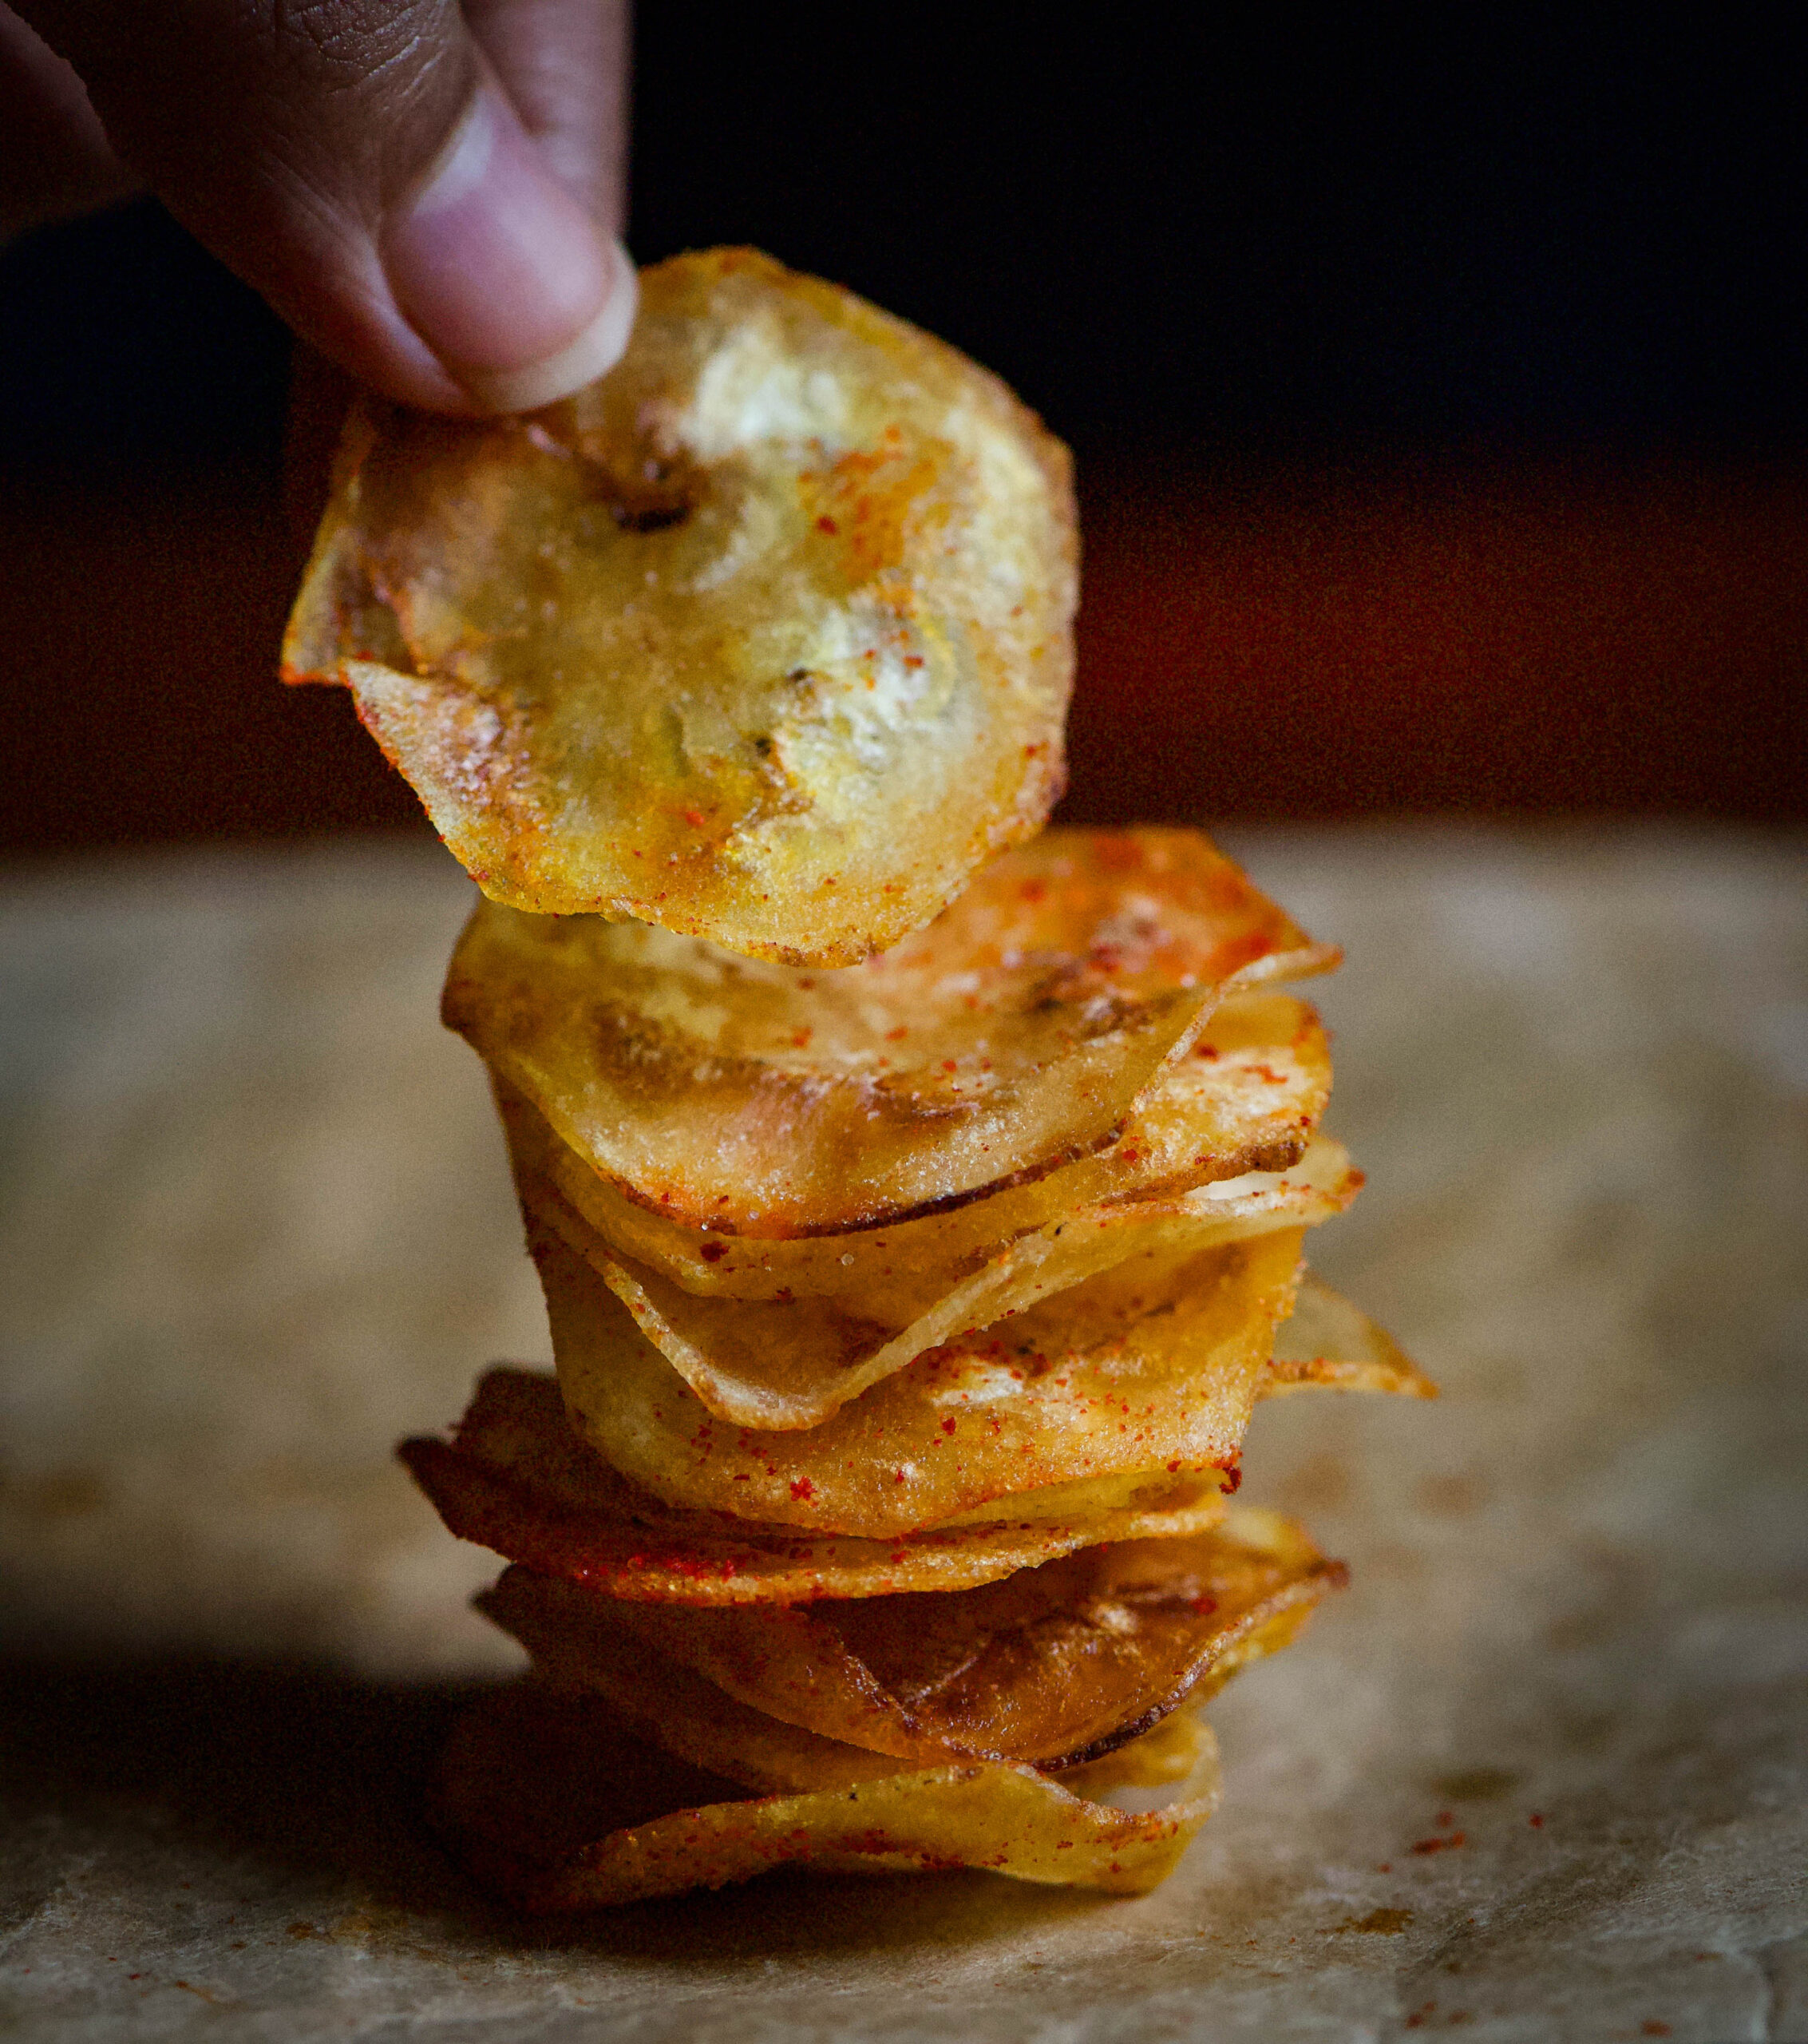
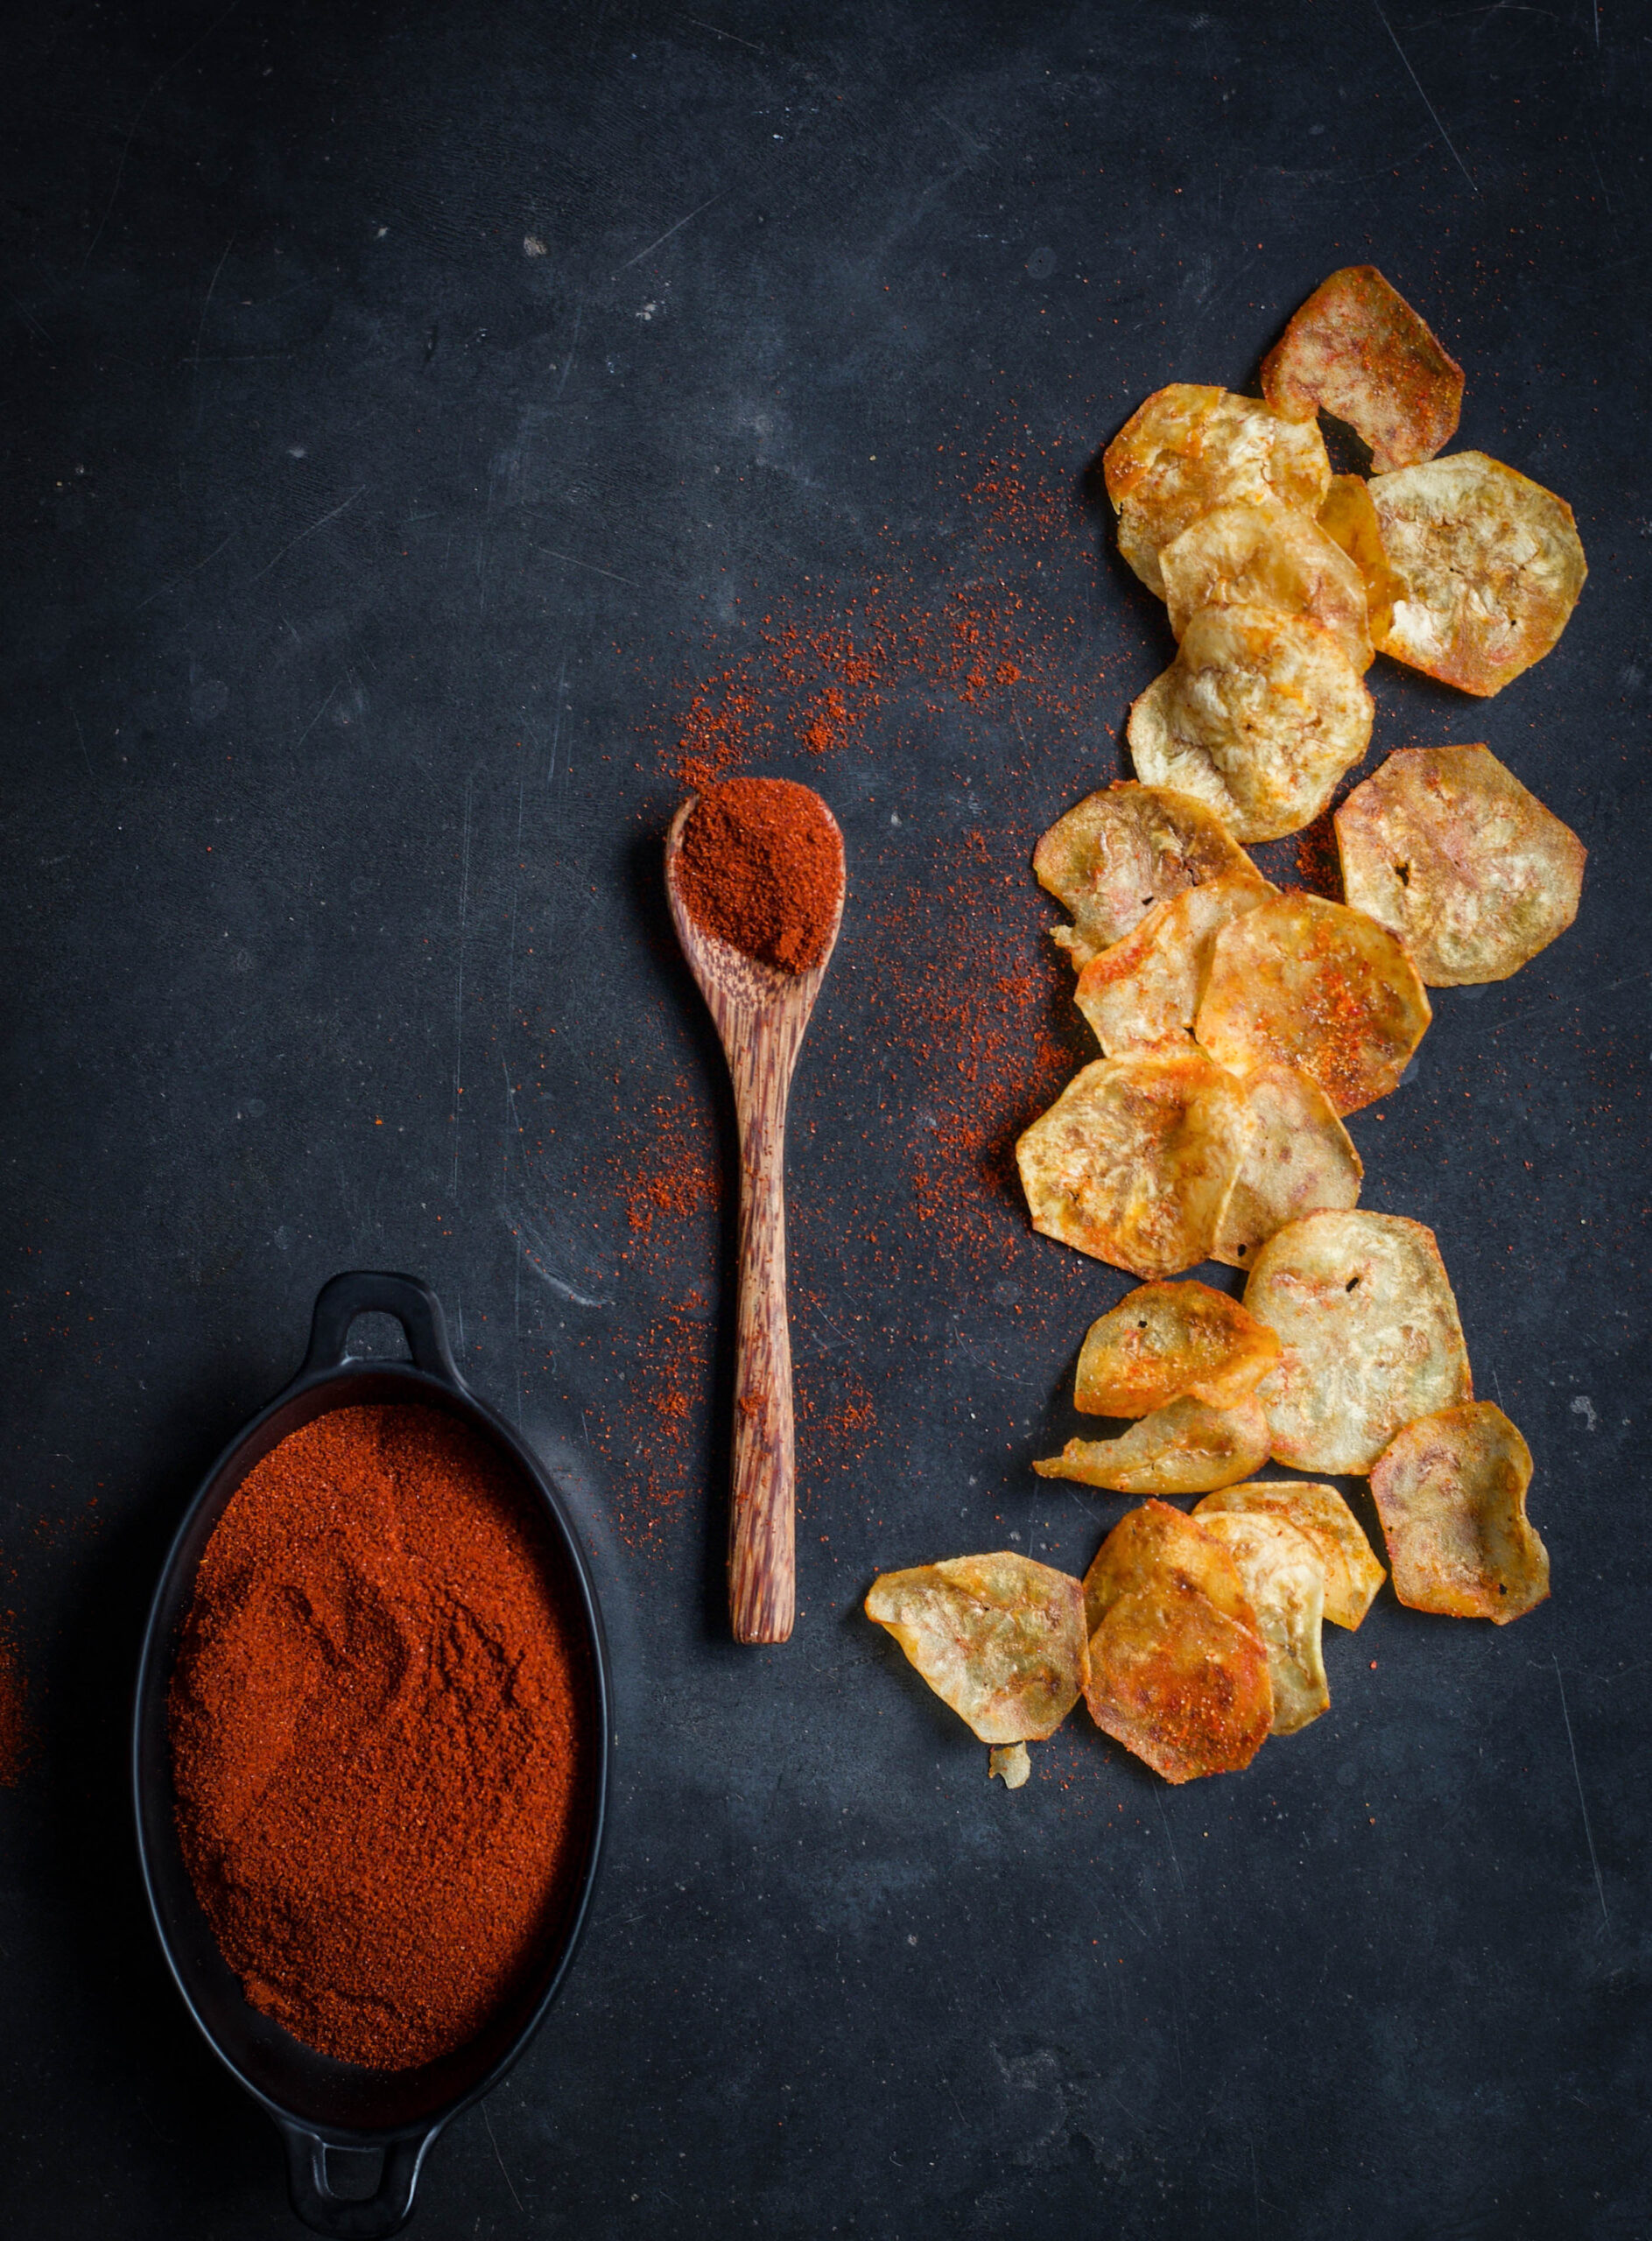
Banana chips are made all over India, but they differ from state to state. The famous Kerala ones, for instance, are cut thicker and are bright yellow. These Gujarati-style ones are thin and reddish-coloured because of the spices used. They are called “kudkudiyas” – a bit of onomatopoeia, because of the “kud kud” crunch sound. They remind me of all my visits to Ahmedabad, and in fact my husband (aka The Dark Prince!) is so partial to them that I order them for him all the way from that city. Fortunately, everyone at home loves my banana chips too, so they can now have them fresh and not imported!

Gujarati-Style Banana Chips

(Yield: Approximately 1 bowl)

Ingredients

1 large raw plantain

Salt to taste

¼ teaspoon chili powder (or to taste)

¼ teaspoon powdered sugar

2 cups oil (for deep frying)

Heat the oil in a frying pan. Peel the plantain and wash it. Be watchful as it may be a bit sticky to the touch.

Slice the plantain and immediately drop the slices into the hot oil. If you use a gadget like I do, you can slice them directly over the pan.

Now reduce the flame to medium. Turn the slices around a few times until they turn golden.

Remove them from the oil, placing them onto an absorbent paper. Immediately sprinkle the salt, chili powder and sugar. Make them your way by adding spices of your choice, such as pepper or chaat masala. The trick is to add the spices as soon as they’re off the oil because this is the only way the spices will stick to the chips. Also remember that the thinner the slice, the crispier and tastier they’ll be. Store in an air tight jar. Enjoy the crunch!


This exact same recipe can also be used for sweet potato chips, if you prefer them to green bananas or find them more readily available.

I prefer using these homemade banana chips instead of any store-bought snack to add crispiness to our lunch thaalis at home. They are cleaner and healthier, and I know exactly what’s going into our mouths, so I don’t mind that they are deep fried.

Even though these banana chips are made in a popular and easy style, you will surely agree that every dish tastes different depending on the cook. Each home and each hand has its own flavour, despite the recipe being exactly the same. Even something as simple as banana chips will have a unique taste. When you try this recipe, be sure to let me know how yours tastes!

What’s the go-to dish in your home when you don’t want to think about what to make? For me it is the chilla, and it was also my mother’s staple dish. Once I began to cook, I saw that it was not a lack of inspiration but ease that makes certain dishes a part of cooking-on-default mode. Whether the dish in question is idli, upma, macaroni – or in my case, chilla – it’s something you’re so good at that you don’t even have to spend a moment mulling it.

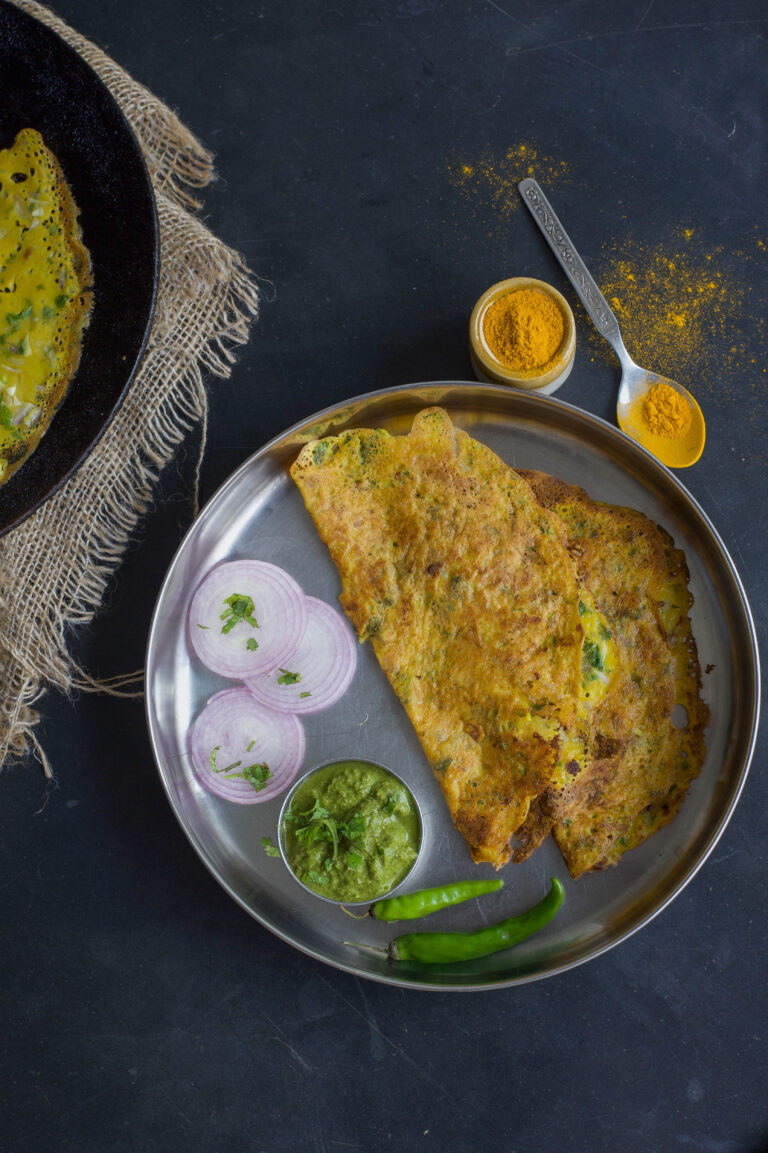
Chilla was what we had for dinner whenever my mother was busy or tired, or if we were in a post-festive feasting slump. Chilla is a kind of crepe, made with powdered pulses and flavoured with vegetables and spices. Like all staples, each cook will have her own variations – and her family will definitely grow up on the same. My mother made two: a moong dal chilla and a sweetened variant. The deal was that only if I ate the savoury one would I be given the sweet one – which itself was quite healthy, considering it was made of jaggery and whole wheat.

Instead of moong dal, which is most often used, I prefer to make savoury chillas using chickpea flour, also known as besan. I love chickpeas because they are so versatile and so easily accessible – they’re found everywhere from Mexico to Lebanon (hummus!) to right here in India, and have been cultivated by humans for at least 7,500 years. The many names this humble and popular legume has attests to this fact: Bengal gram, garbanzo bean, channa and Egyptian pea are but some. Did you know that in the 1700s, a German writer brewed them to drink instead of coffee, and Germany cultivated them for the same purpose during World War 1?

Chickpeas are widely loved as a healthy ingredient, for they are rich in protein, which is one reason why they are so popular with vegans.

In Indian cuisine, chickpeas are eaten whole in dishes such as sundal, a fun salad that is popular on Chennai’s beaches, and in dough form to make the pastry for fried goodies like fritters, among other variations. The ingredient works perfectly in both sweet and savoury items, and is also a thickening agent like cornflour or agar-agar.

I now have great respect for the humble chickpea, but it must be said: growing up, I’d argue with my mother about having to eat it. My reasoning was that: since I used powdered chickpea to wash my face (it exfoliates the skin gently and is an ancient beauty treatment), I should not also have to consume it!

Of course, I love to have my ingredients be made or processed at home as much as possible, and by “home” in this case I mean Arumugam Chettiar’s quaint flour mill. Established in 1939, the mill uses a 10hp machine, with two grinding plates, that was imported from England by his grandfather. These machines are no longer available, and what you get now are pulverisers. But there’s nothing like old-fashioned, time-honoured methods when it comes to food. Along with chilli, ginger and other dry powders, I buy channa dal and have it ground to make chickpea powder.


I’m going to share both the recipes for savoury and sweet chilla with you, so that you can strike a version of my deal with my mother – whether that’s with your own kids, or just your diet plan!


Chilla – Savoury

(Yield – 4-5 crepes)

Ingredients
1 cup chickpea flour

2 cups water

½ teaspoon cumin powder

½ teaspoon grated ginger and garlic paste

½ cup finely chopped fenugreek (methi) leaves

½ teaspoon salt

Blend the water with the chickpea flour until there are no lumps. Add the salt, turmeric, cumin powder, grated ginger and garlic paste and fenugreek leaves, and mix the batter well. The consistency should be a little thicker than crepe batter.

Fenugreek in batter may remind you of theplas, one of the many types of Indian breads. A note about the ingredient: most people soak fenugreek leaves in water with salt, to remove the bitterness. This is something I don’t like to do because I don’t see why the flavour should be removed. With regards to these chillas especially, the taste of the savoury one is offset by the sweet one beautifully.

You may replace the fenugreek with another spinach available to you, or even with finely chopped vegetables like onions, grated carrots, bell peppers or coriander leaves.

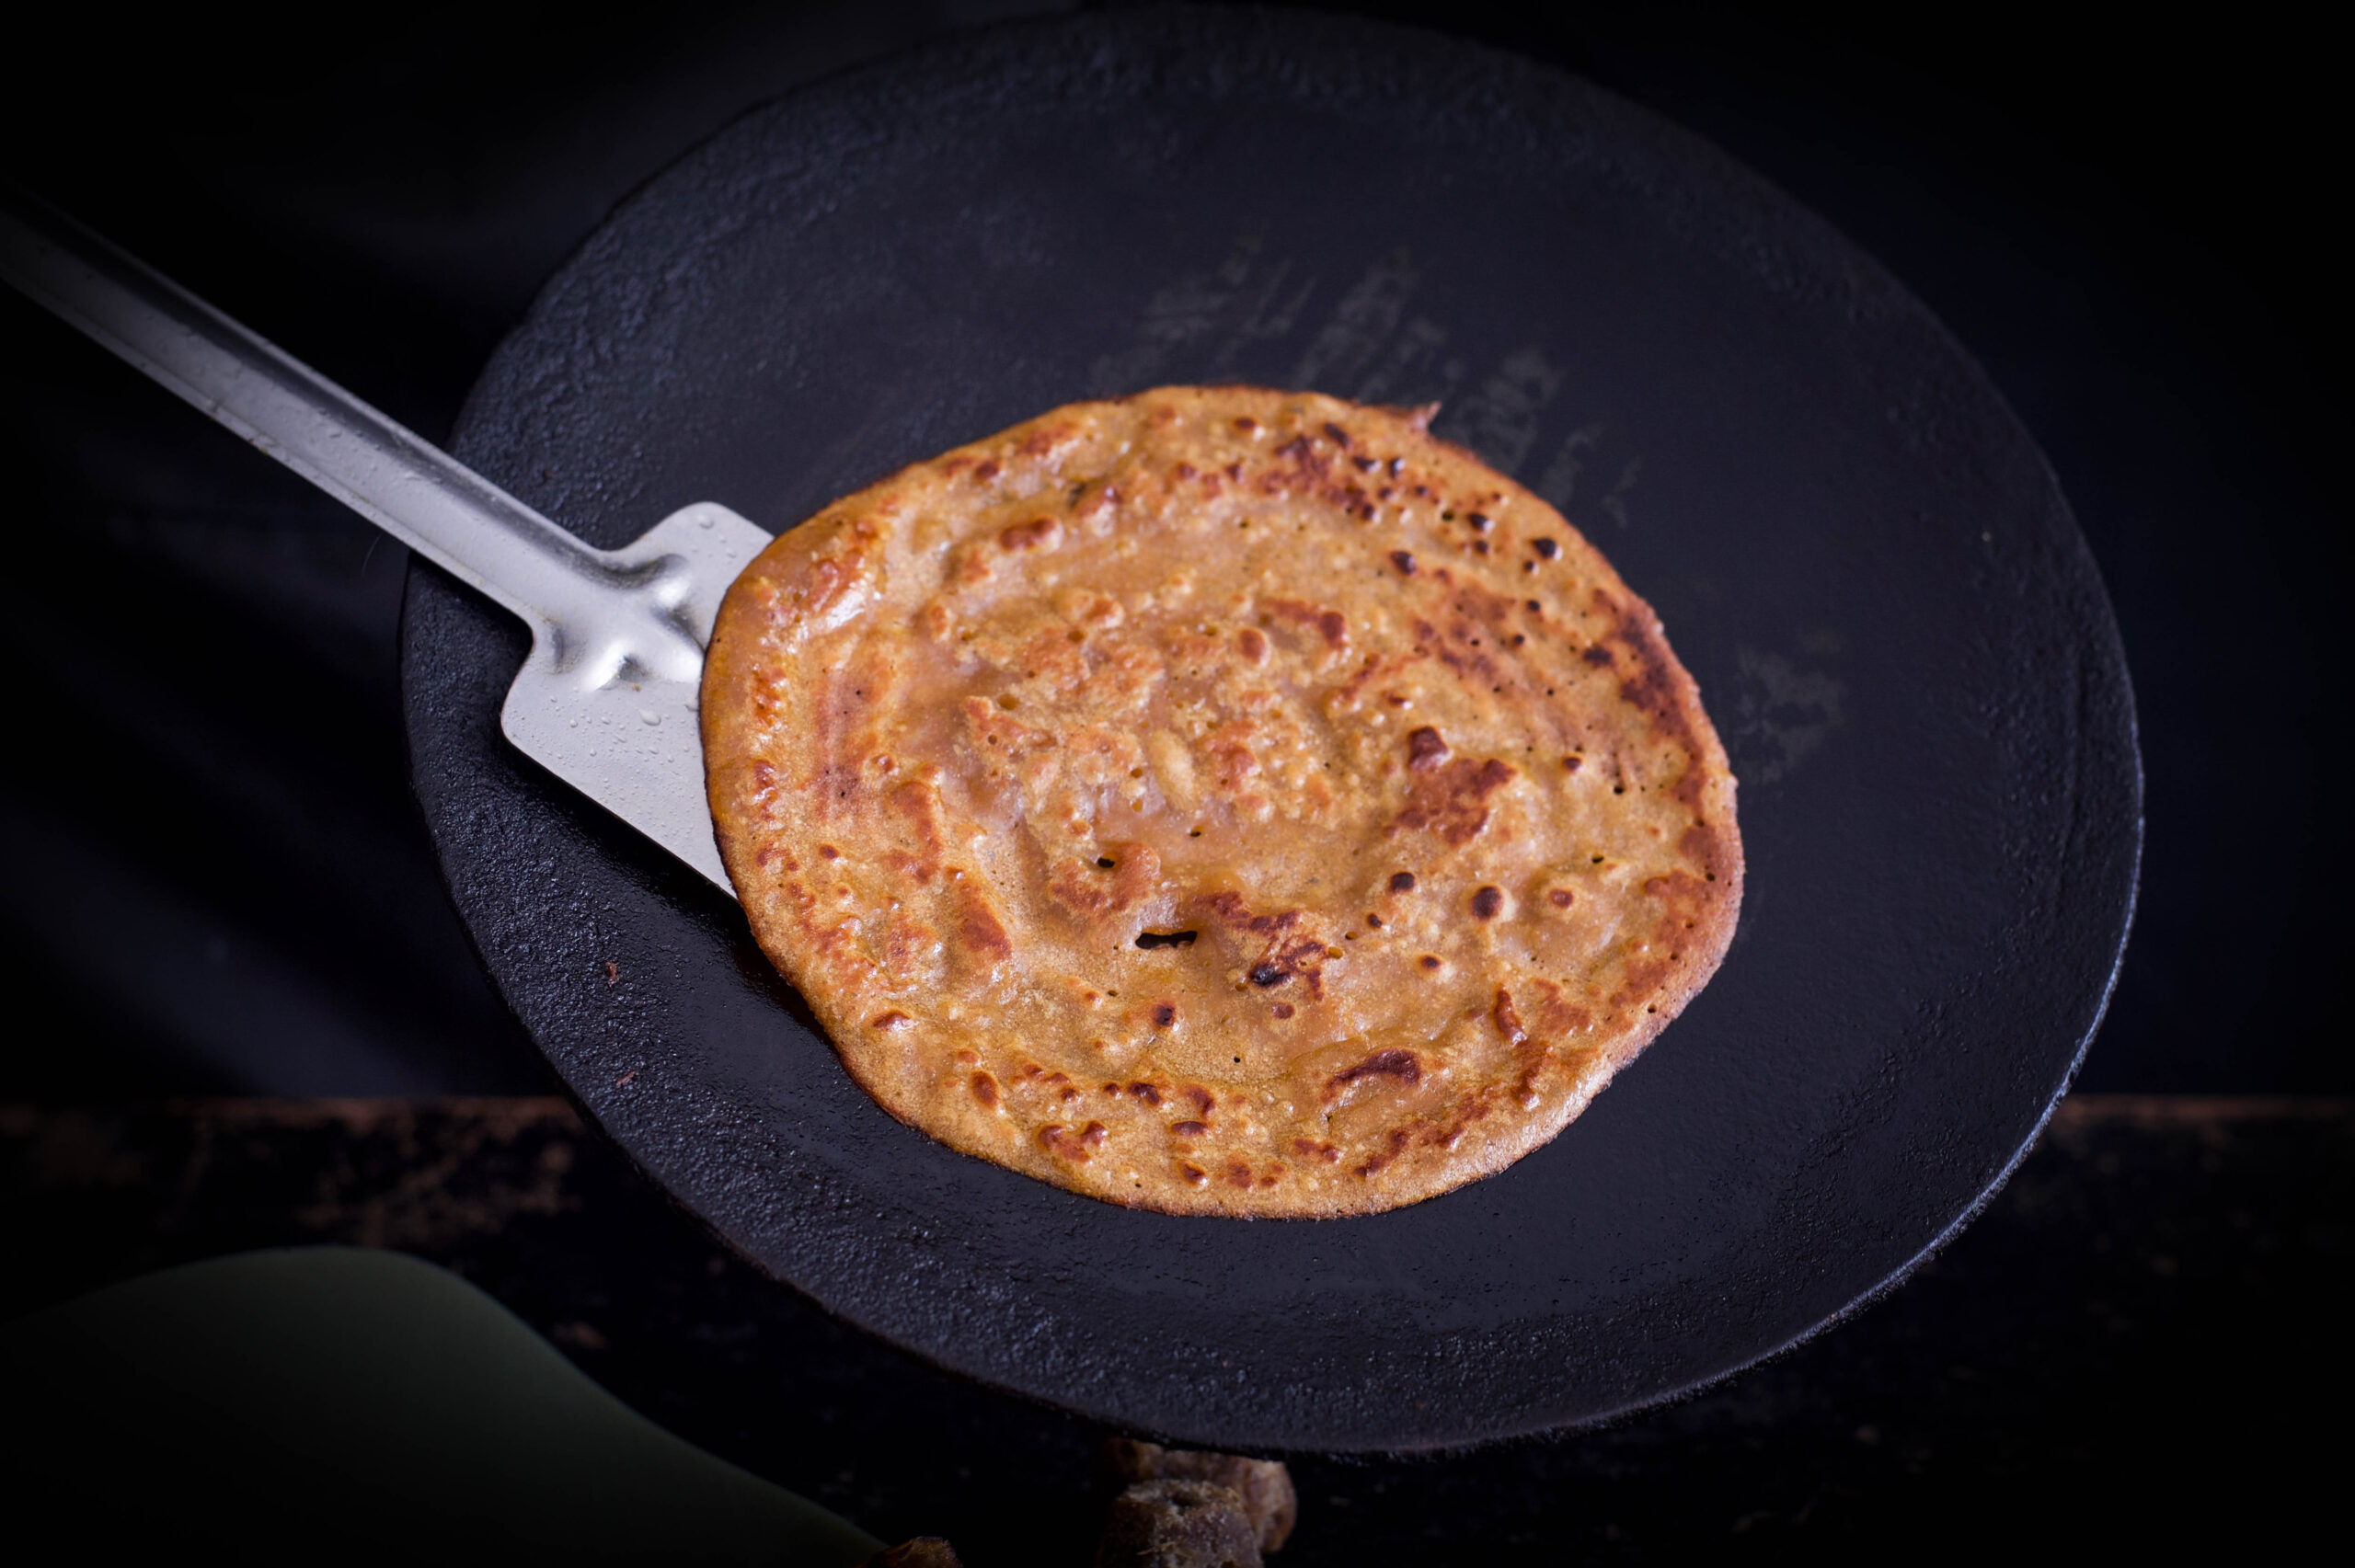
Heat an iron griddle or a non-stick skillet and pour a few drops of oil on it. I make both my savoury and sweet chillas on an iron pan. Mine is a seasoned one, hence it does not stick. But if you do not have one, use a non-stick vessel.

Wait till the skillet is hot, then turn the flame down. This is a delicate moment, because if the batter falls on a too-hot pan, it will spread unevenly. My trick for this is that when the skillet is very heated, I sprinkle a little water on it and allow it to sizzle. This cools it down just enough so that I can pour the batter.

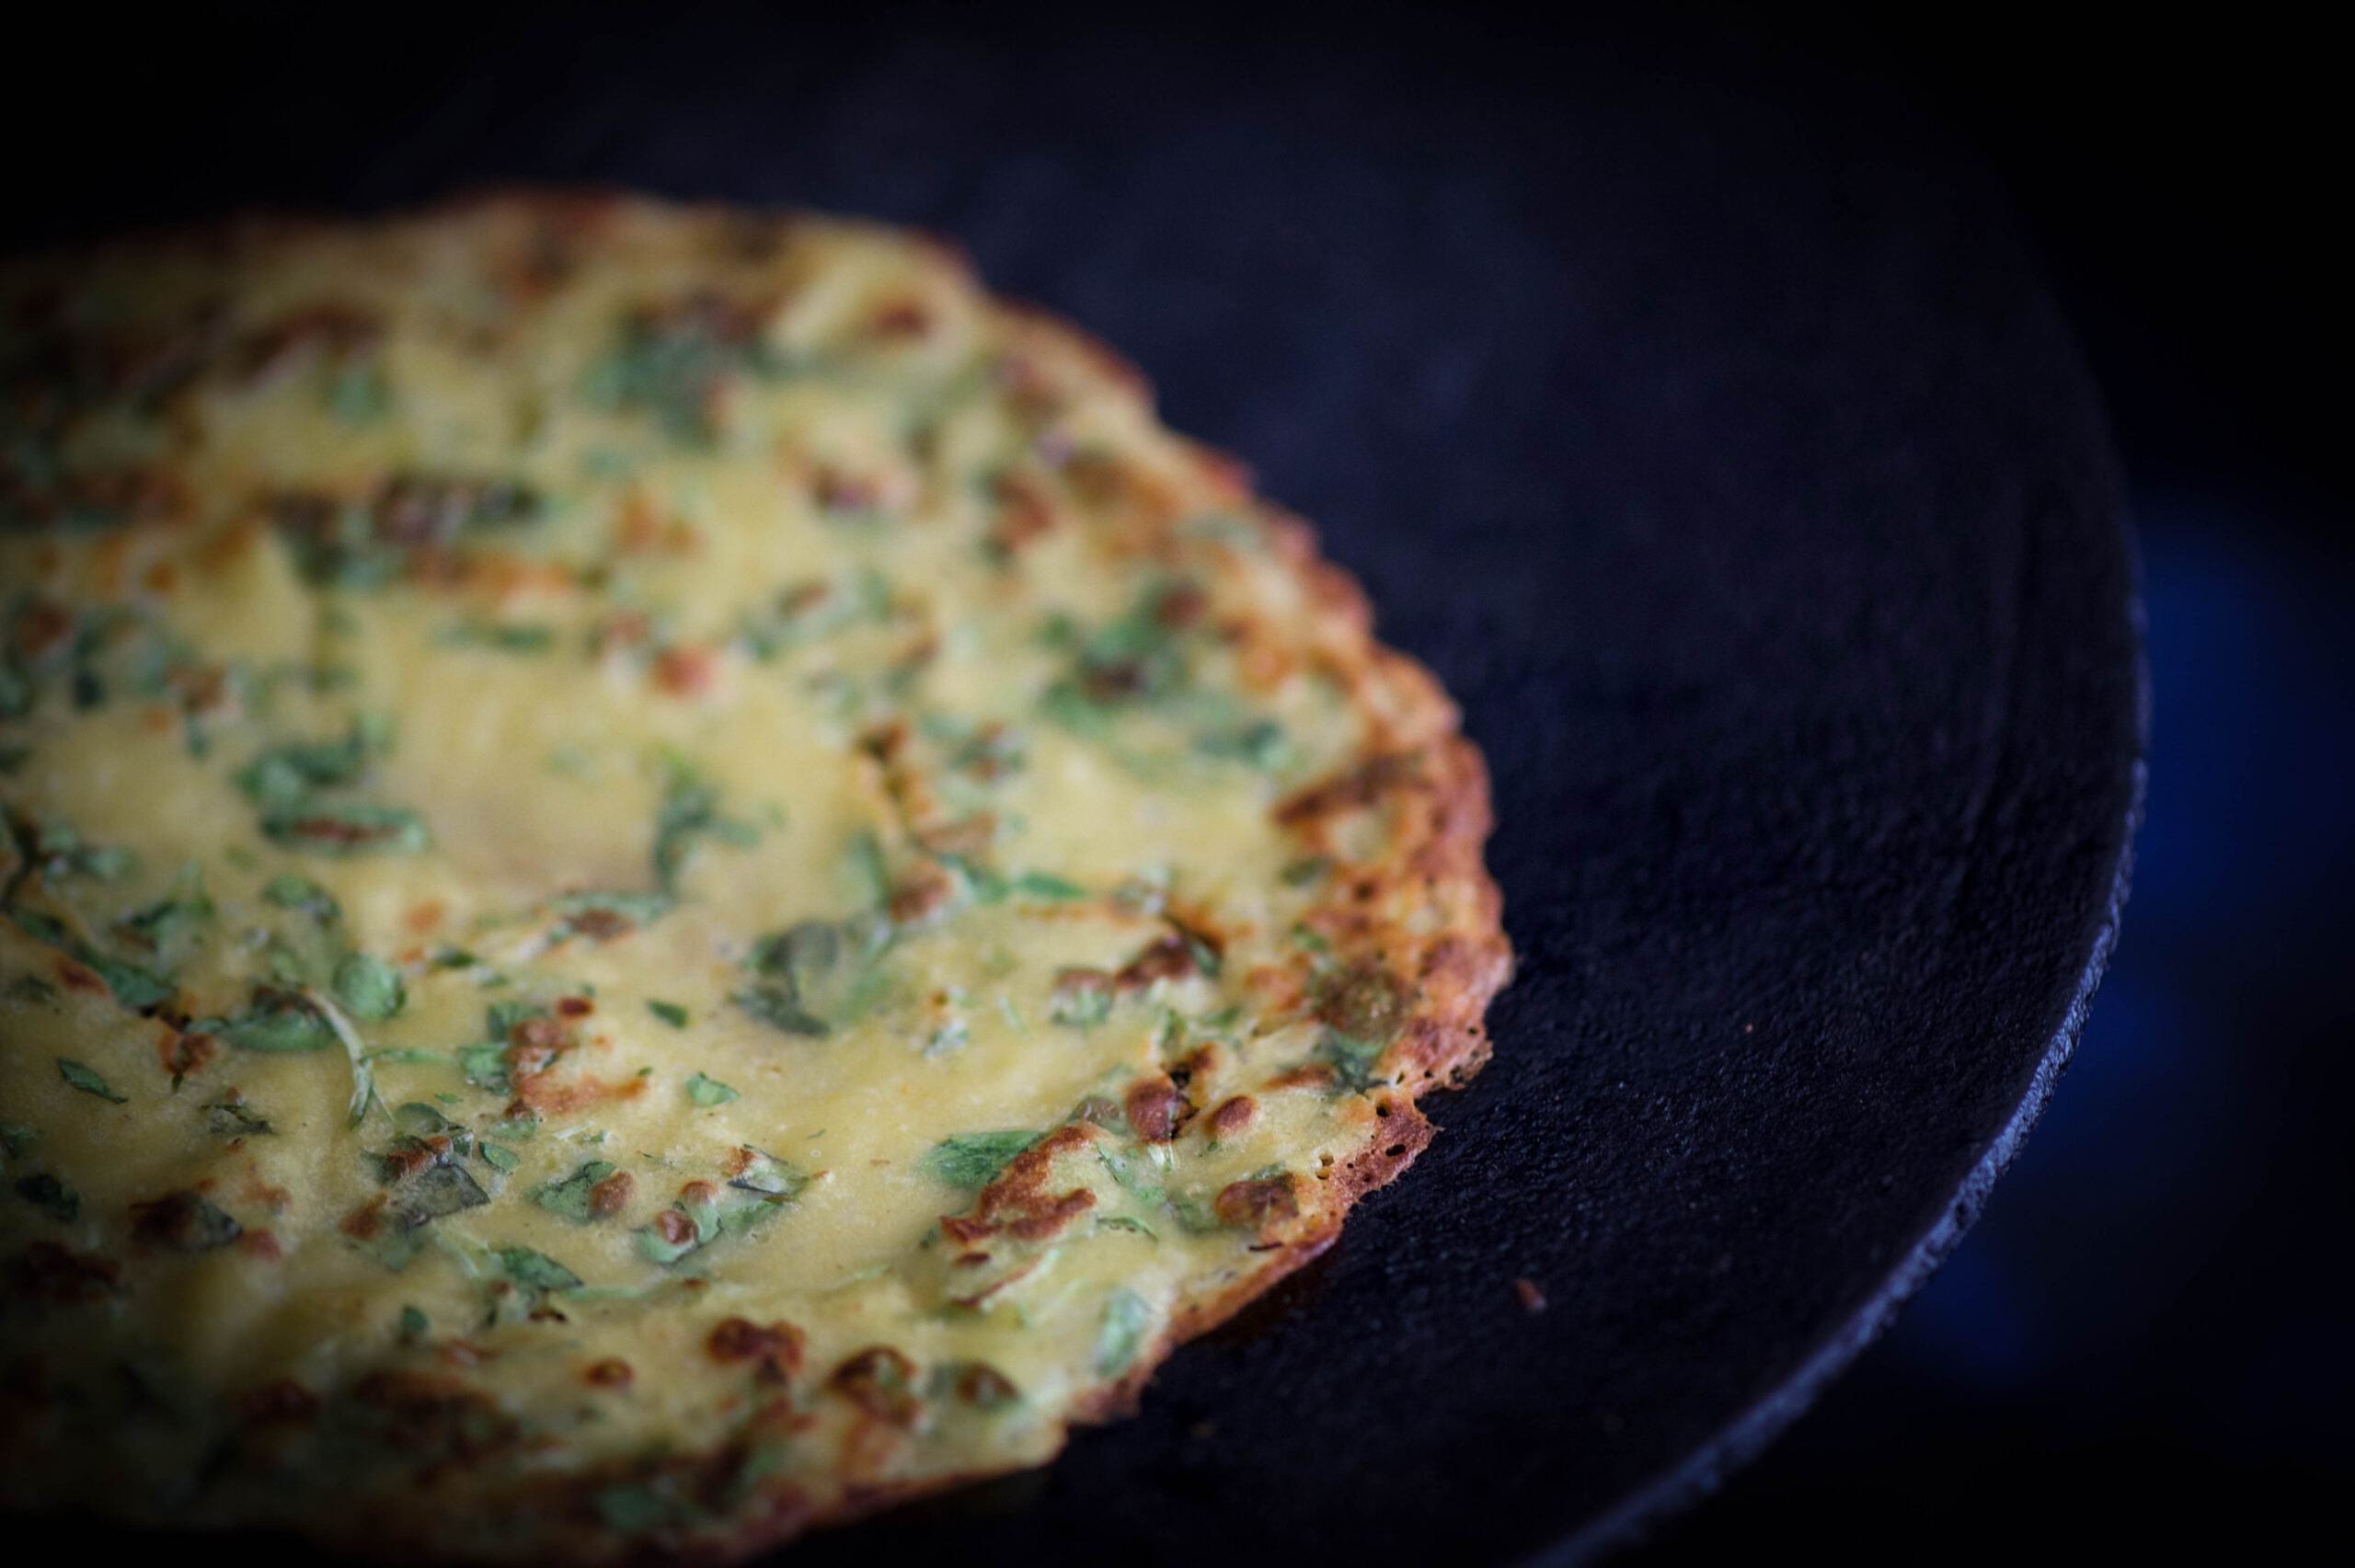
Spoon the batter onto the skillet. Spread it in a circular motion, much like you would a regular crepe. The video below gives you a look at the technique, if you’re unfamiliar with it. For those who make dosas, you will already be experts at this.

As the chilla fries, drizzle a few drops of oil around (not on) it, so that it can be removed easily. Increase the flame. You will know when it’s ready to be flipped when the edges begin to rise and turn golden. Do not attempt to flip the chilla earlier, as it will tear.

Using a spatula, flip the chilla and allow its other side to cook as well. Both sides should be a lovely golden colour before you take it off the skillet.

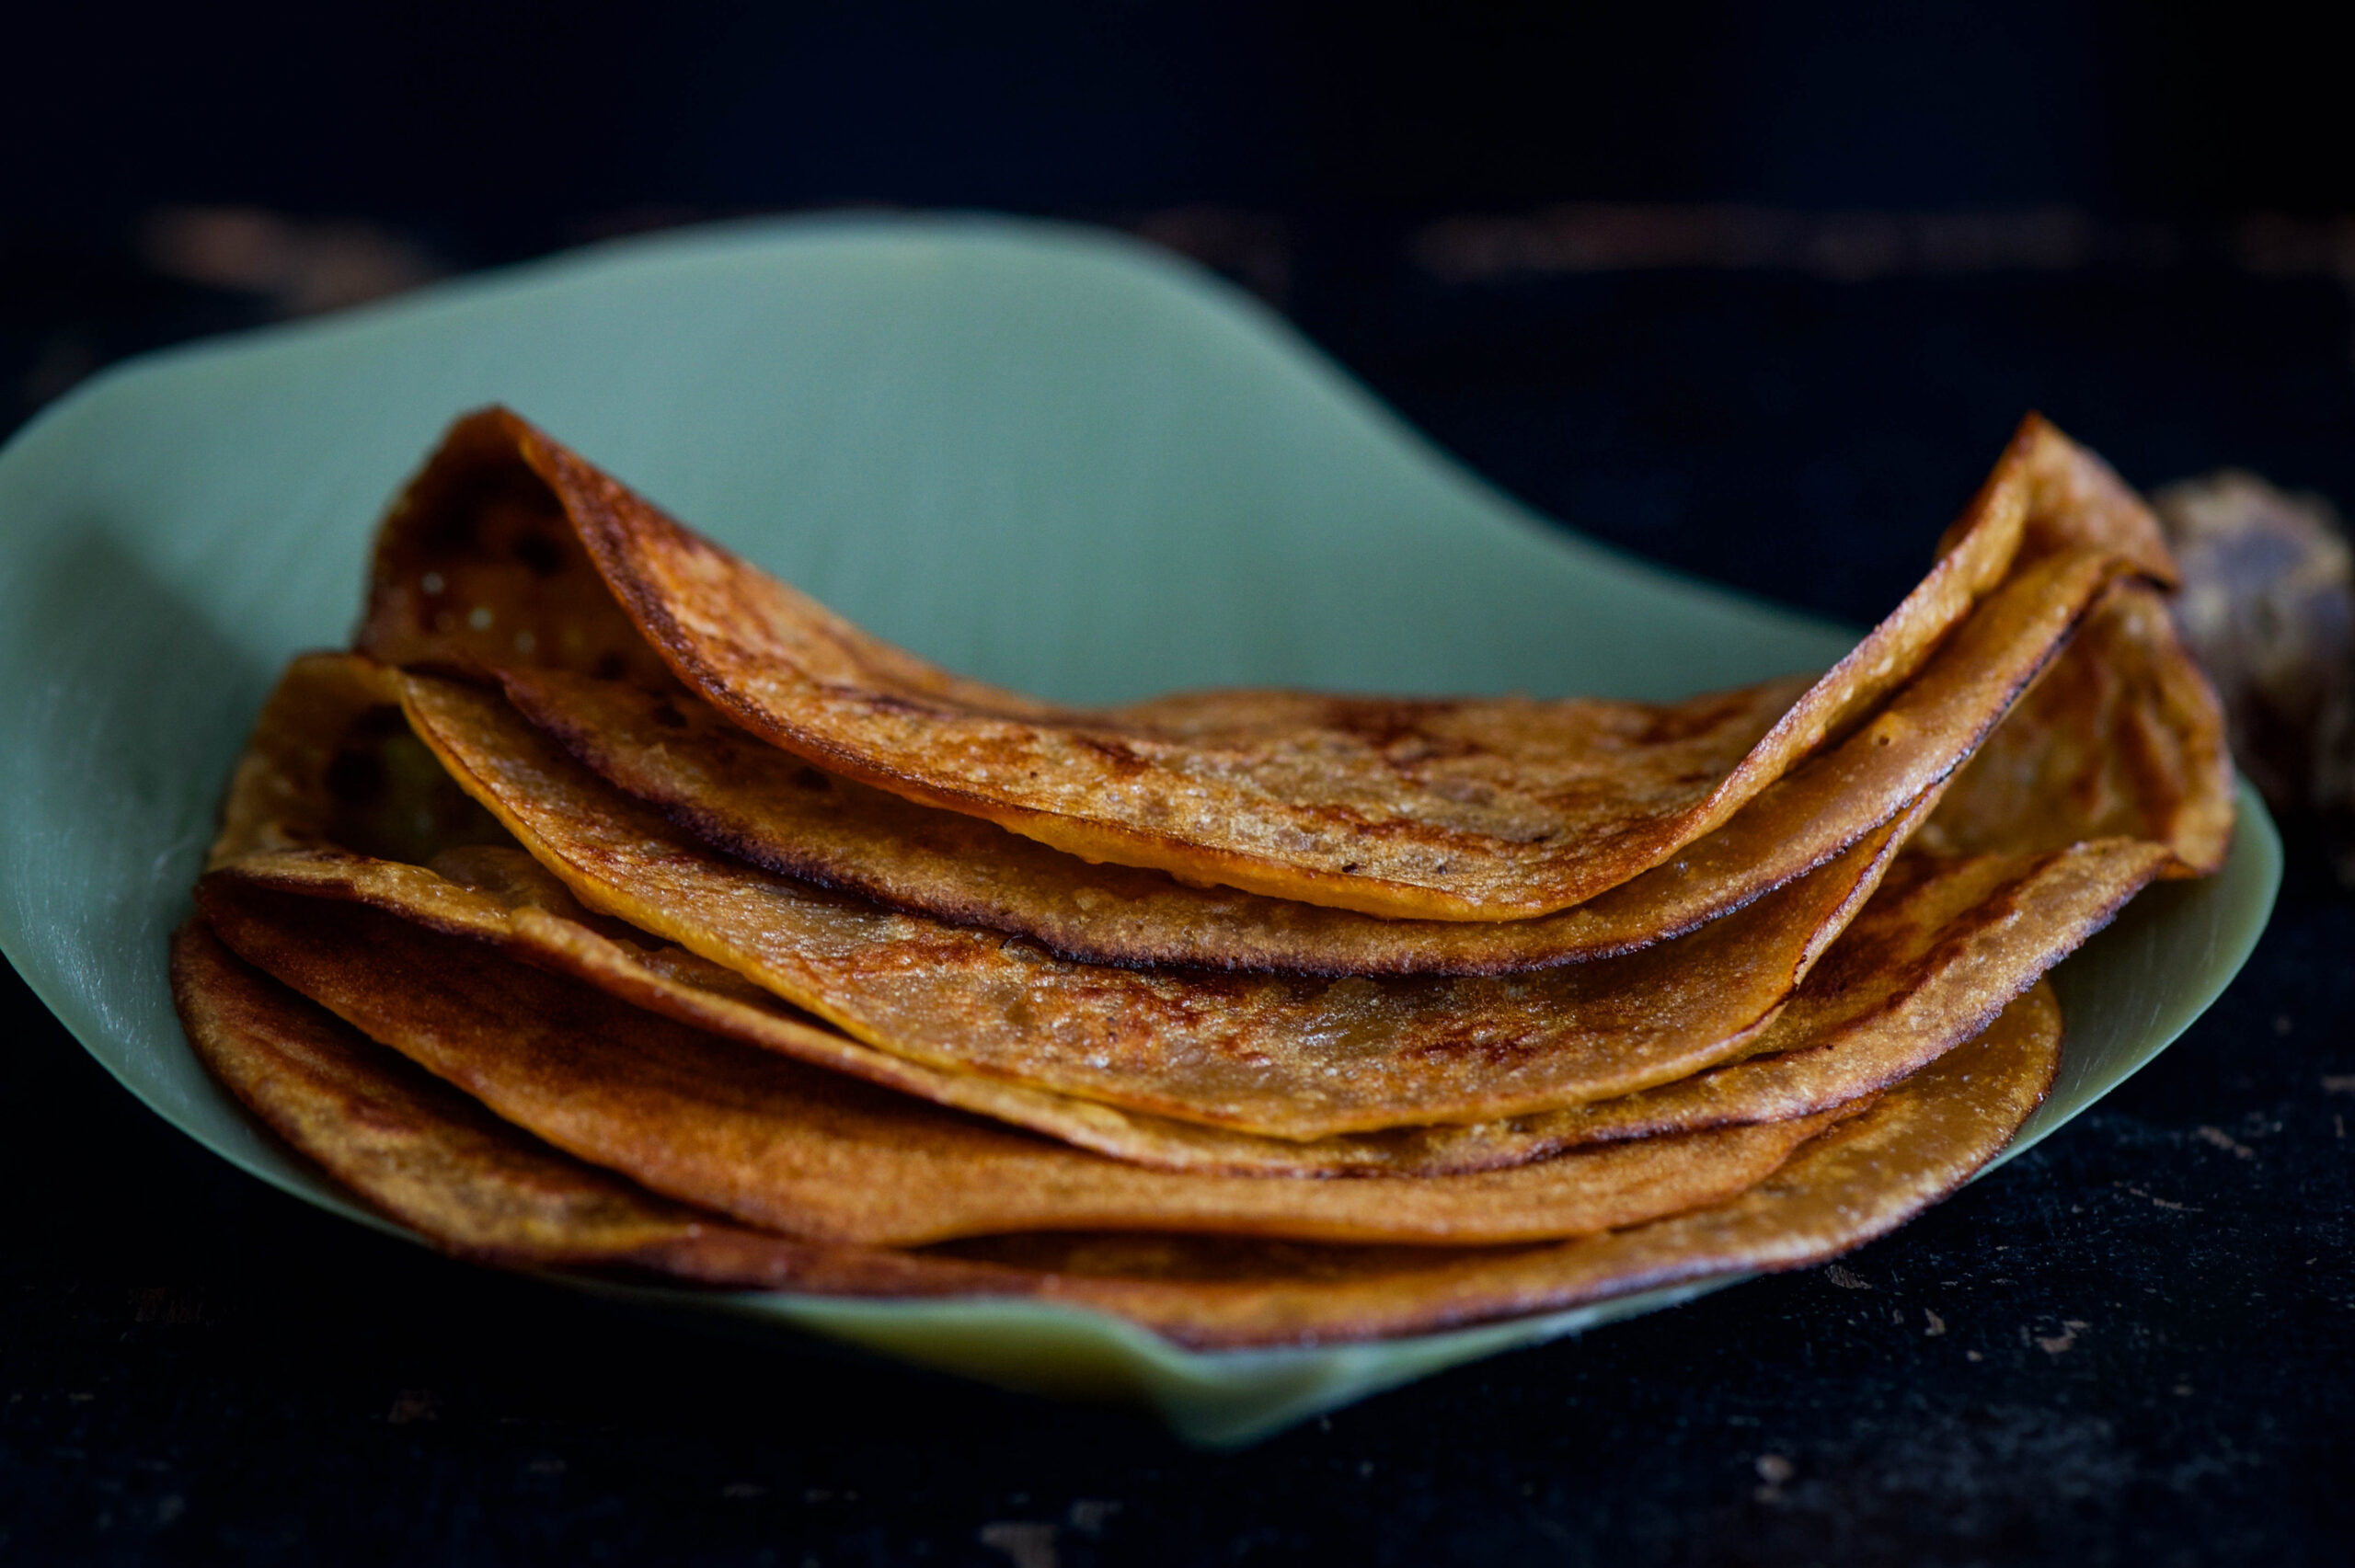
Then make the next one, and so on, until you have enough. Fold each chilla in half and serve with green chutney or date chutney, both of which I’ve shared recipes for earlier on this blog. I also top these savoury chillas with finely chopped vegetables, with gives the health factor an extra boost, and makes them even more filling. Just a couple will give you a light but complete meal – provided you’re able to stop eating them, that is!


Chilla – Sweet

(Yield – 5 small crepes)

Ingredients
1 cup whole wheat flour
½ cup jaggery
1 ½ cup water
1 teaspoon ghee per crepe (oil for a vegan option)

Warm the water a little and allow the jaggery to melt into it. Stir well until all the lumps are removed.

Wait till the jaggery-infused water has cooled, then strain it so the sediments are removed.

To this, add the whole wheat flour and blend it so it’s a little thicker than regular crepe batter. You may have to adjust the quantity of water added to make it just the right consistency.

Now, pour a drop of ghee or oil on a non-stick skillet. When it is hot, lower the flame. Start spooning out about half the batter onto the skillet, in small and well-spaced quantities. These sweet chillas are ideally dessert, so they are smaller than the savoury chillas.

Using a circular motion with the spoon, make small crepes on the skillet (as shown in the video above). Keep the flame on medium, so as to ensure that the chillas don’t burn. When one side has begun to turn golden, flip it over. Both sides will be thoroughly cooked in about 2-3 minutes.

The process of frying the sweet chilla is almost identical to making the savoury one, so do refer to the above recipe for more extensive notes and tips. They do not need to be served with an accompaniment.

These delicious chillas are very much comfort food to me, and I hope they find the same place in your cooking repertoire. The sweet ones are especially popular with kids, and as I said earlier – if they crave it, offer it to them as a reward for eating the savoury one!

I’ve come to understand that most Indian palates require something sweet and something savoury in order to feel satisfied. Life is all about both the sweet and the savoury isn’t it? And sometimes, like in the fenugreek-flavoured chilla, a hint of the bitter too. But that’s why the order of eating makes such sense: after everything else, one is always assured of sweetness.

When it comes to Indian street food, the first and last word is always “chaat”. Yes, the vendors of sundal and cotton candy on my beloved Marina Beach will put up a fight, but when it comes to tastes savoured throughout India, chaat wins hands down. Chaat is a catch-all term, and extends from fried breads like pav bhajji to pastries called puris, filled with everything from potato to spiced water. Among the popular ones is bhel, also known as bhel puri.

Bhel is usually made with puffed rice as the main ingredient. As I’m always trying to make all the food we enjoy healthier, without compromising on taste, I substituted the puffed rice for the humble and very nutritious mung bean, also known as green gram or moong.


Moong is a versatile legume, used extensively in Asian cuisines. It can be eaten sweetened as a filling in pastries like mooncakes, stir-fried with vegetables, soaked and softened into a dal, ground into paste for crepes like dosa, and even made into noodles once starched. Moong beans are high in protein, low in carbs as compared to other legumes and pulses, and rich in antioxidants, phytonutrients and fibre. Unlike various other kinds of beans, they are also easy to digest, meaning you won’t feel bloated after eating them.

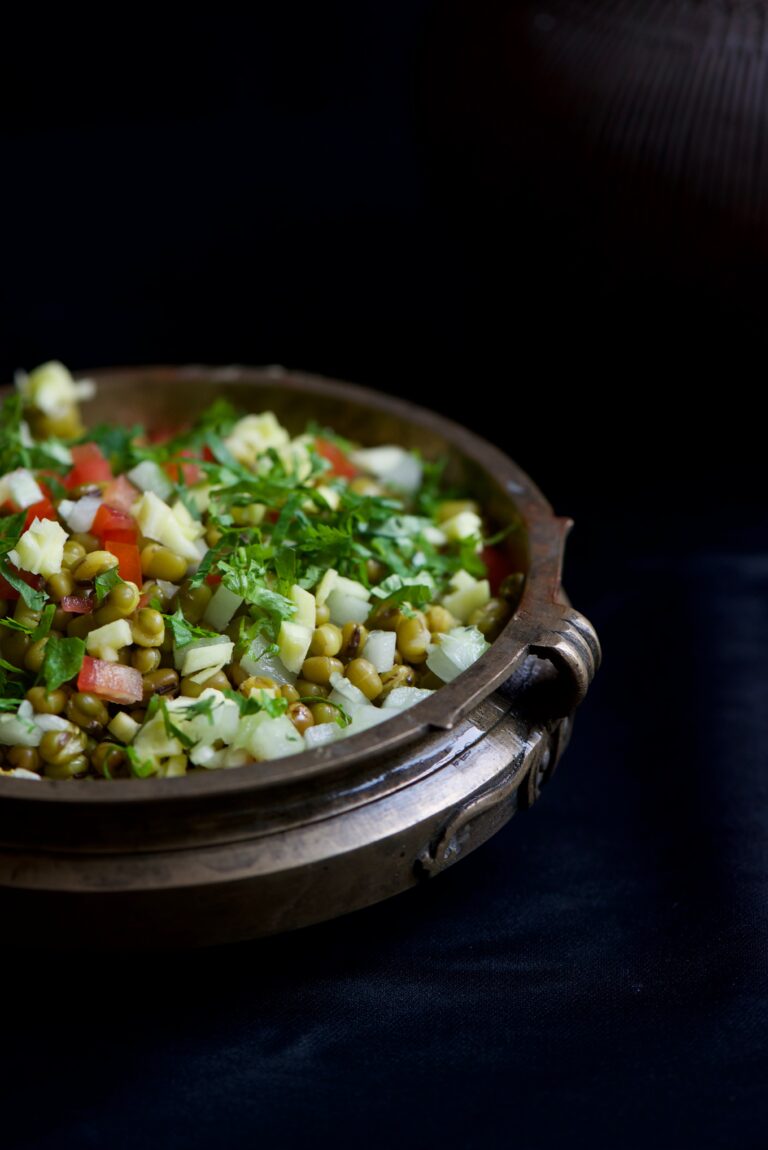
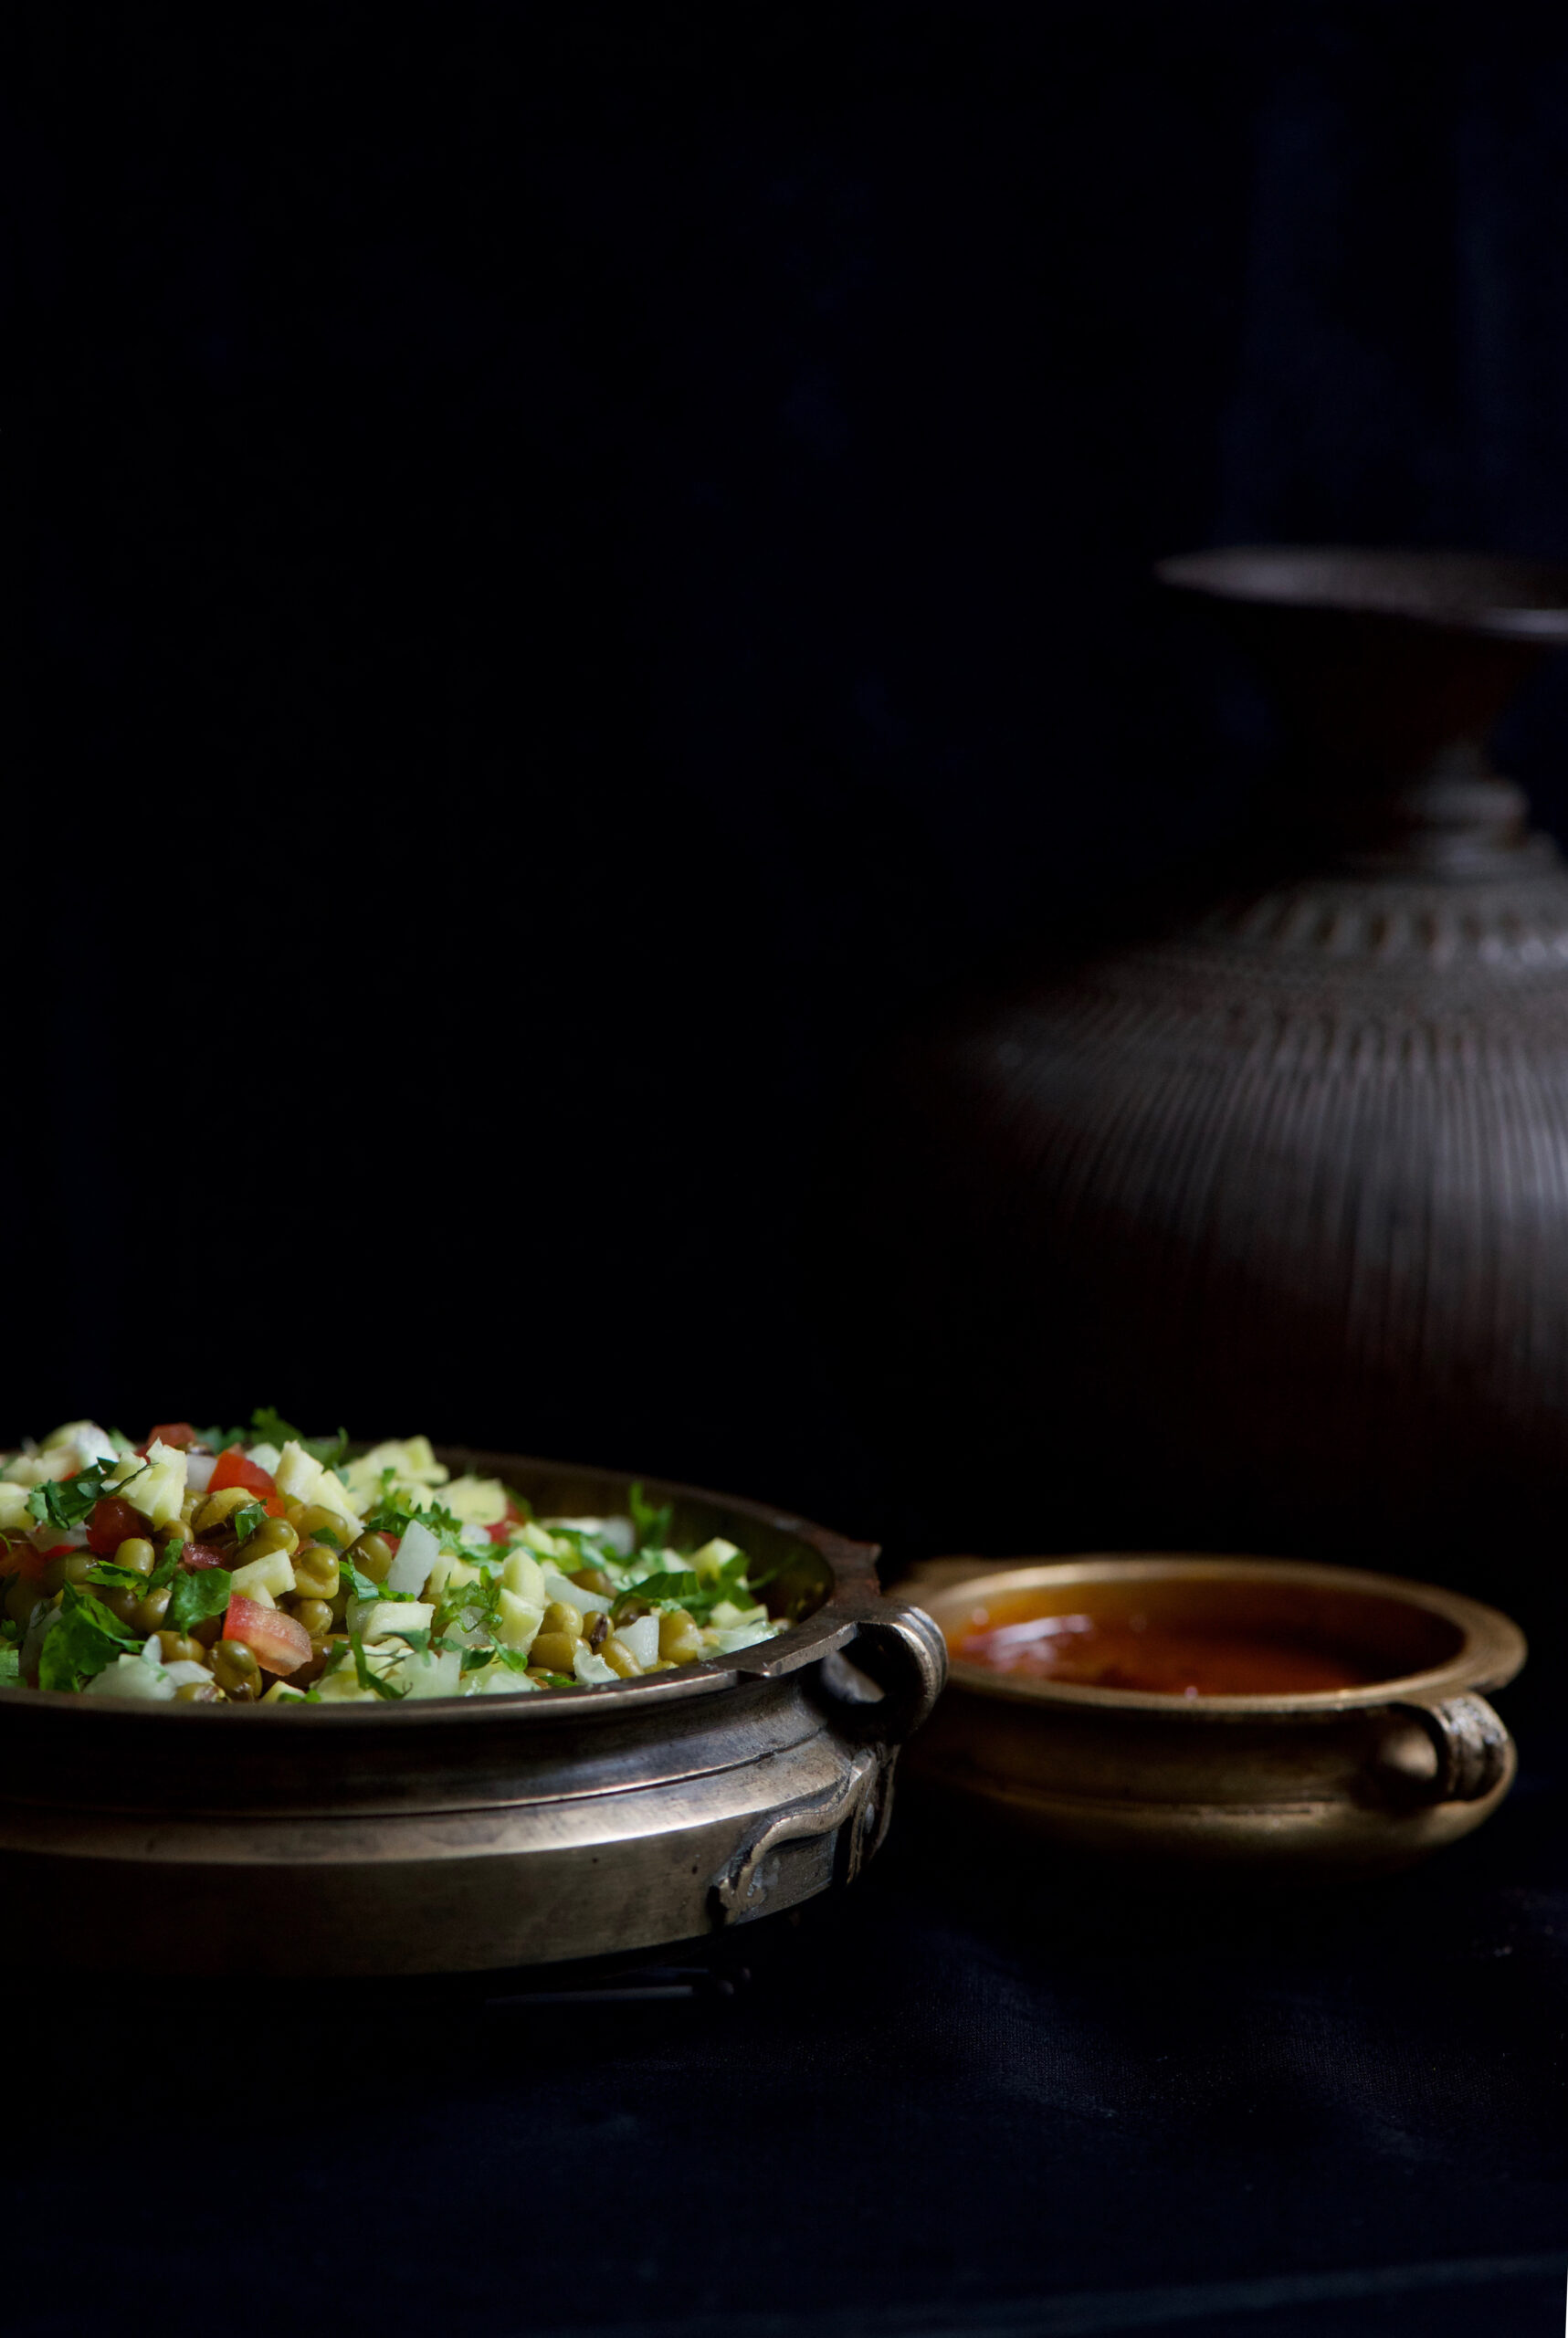
This Green Moong Bhel brings the tanginess of authentic streetside chaat, thanks to a blend of two chutneys, to the wholesomeness of mung beans. Like all chaat, it’s an anytime dish – and like all chaat, once you’ve enjoyed it, you’ll always have a craving for it.


Green Moong Bhel

Ingredients
Bhel (Yield – 4-5 small cups)

½ cup moong beans
½ cup finely cut cucumber
¼ cup finely cut onions
¼ cup cut tomatoes
¼ cup cut raw mango
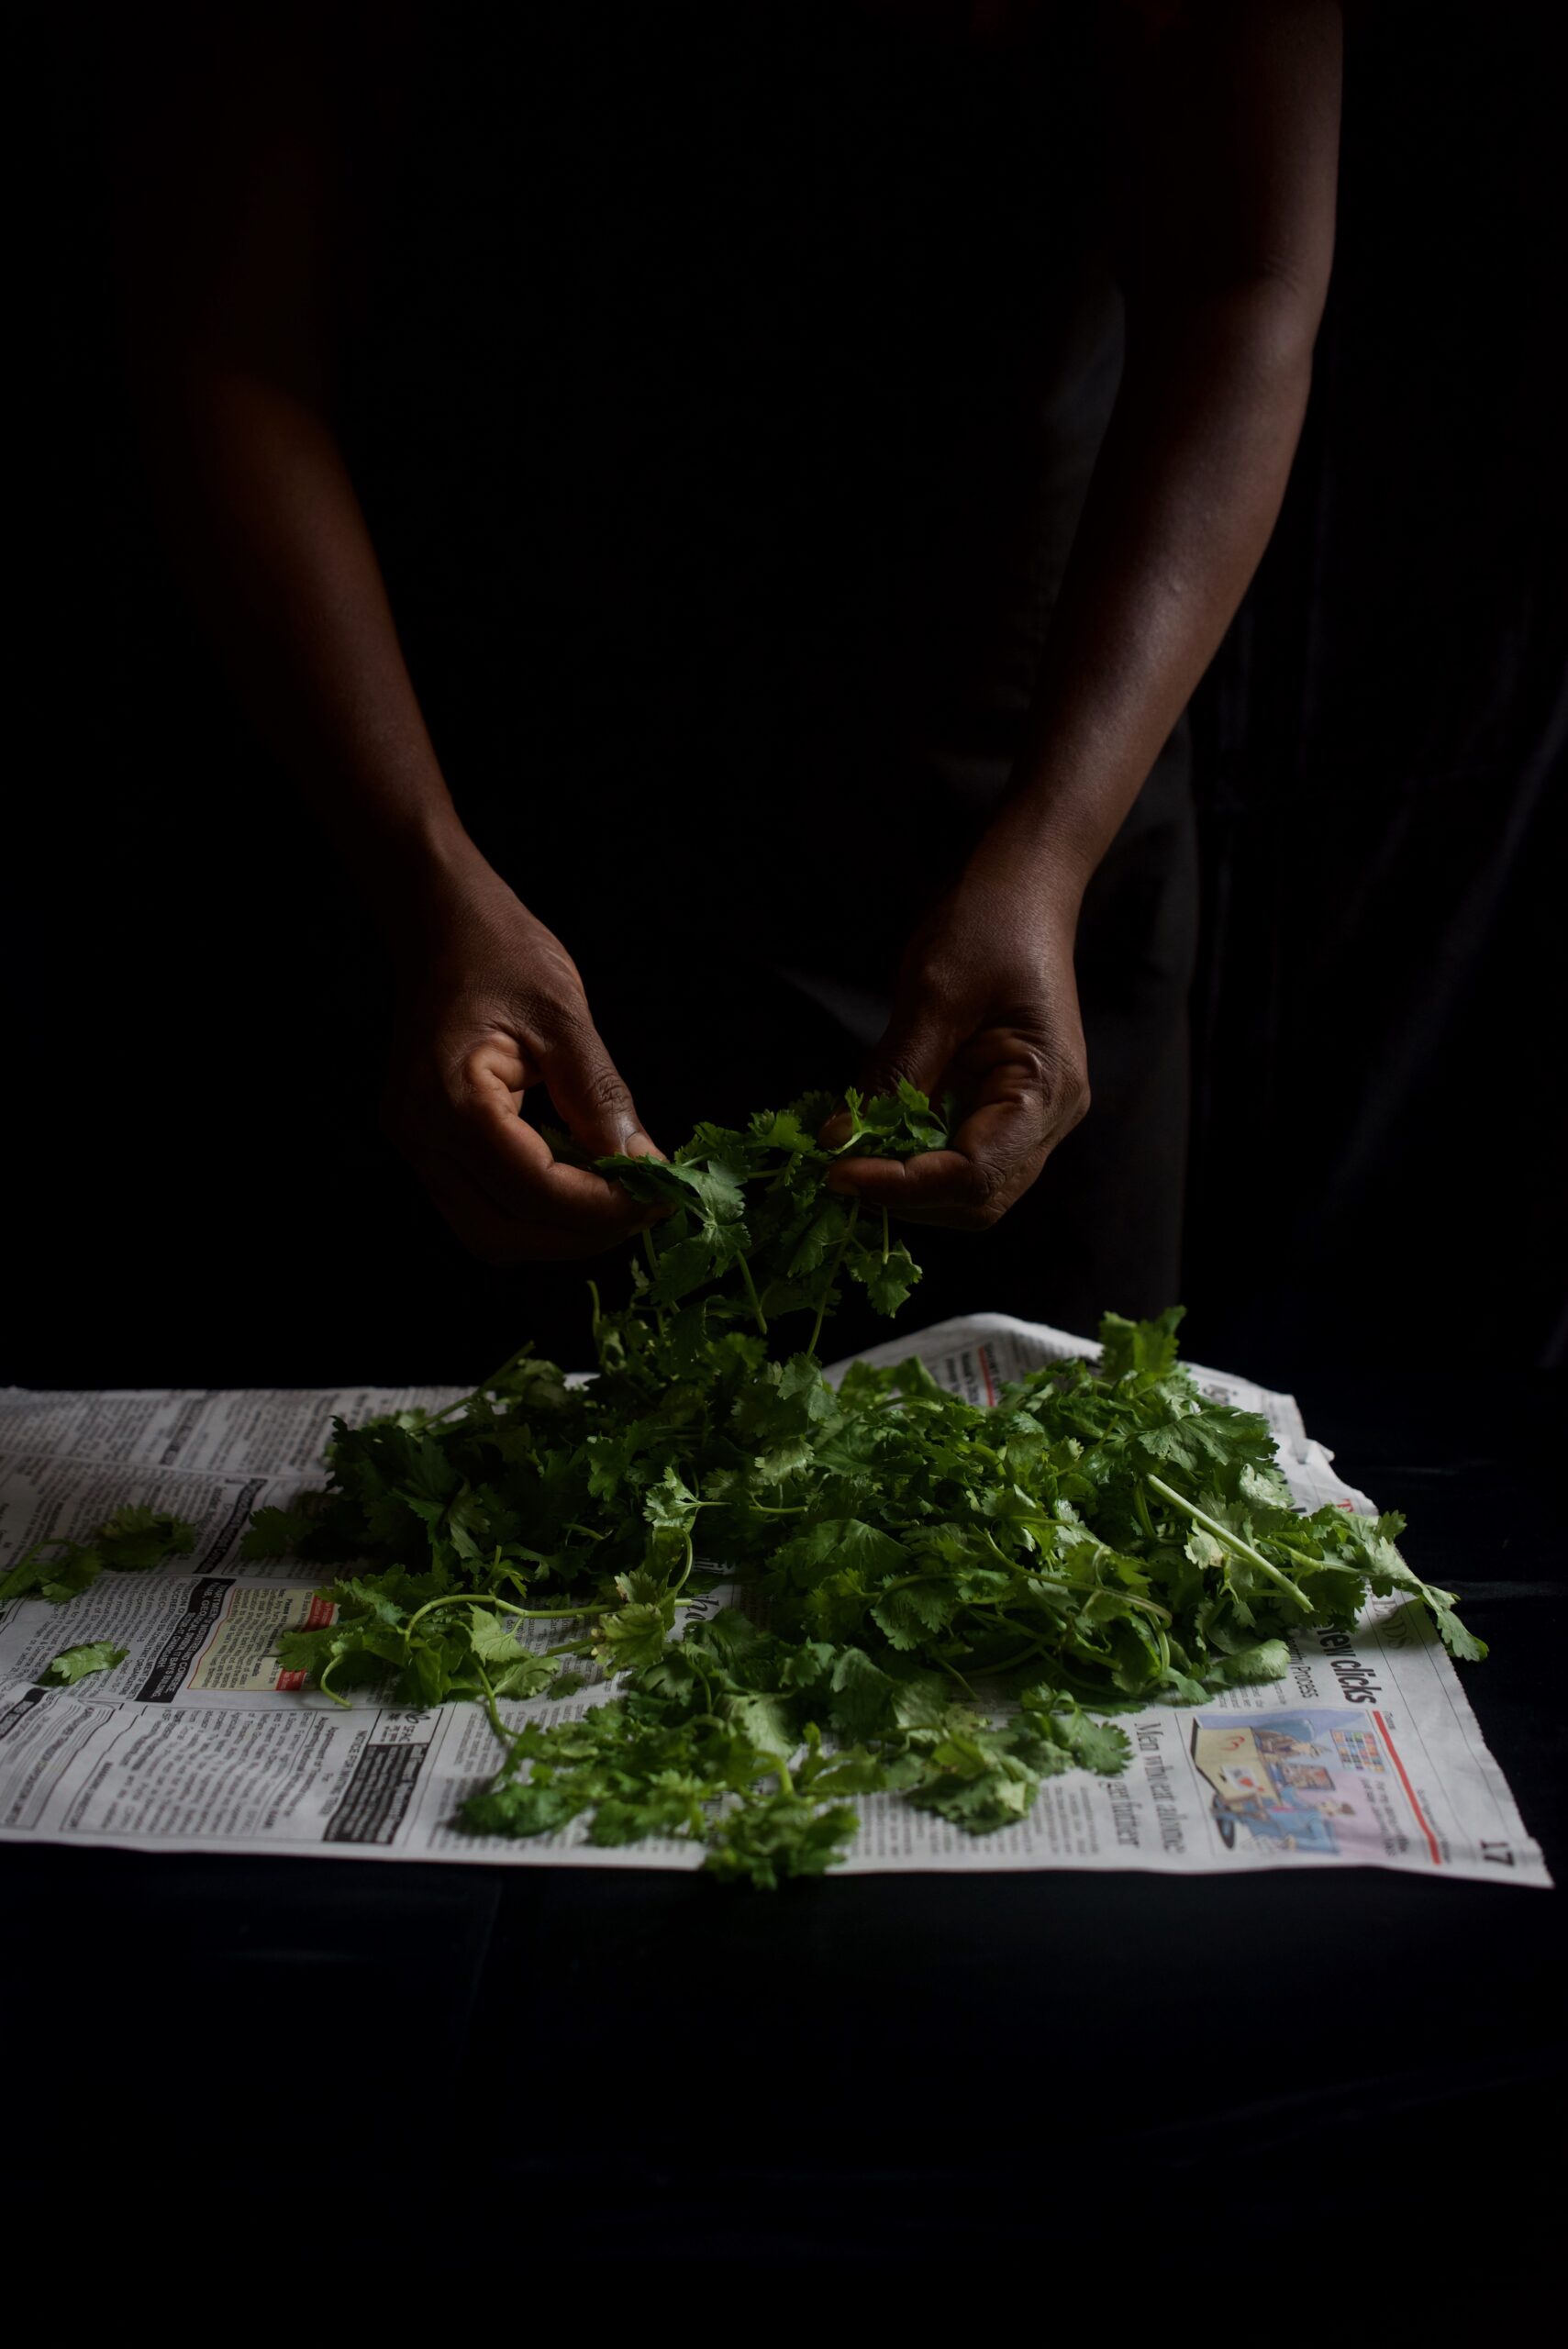
¼ cup finely chopped coriander leaves
¼ teaspoon roasted cumin powder
3 cups water
Salt to taste

Date Chutney (Yield: 3 Cups)

1 cup jaggery
1 cup chopped dates
1 cup tamarind
¼ cup sugar
1½ + 1 + 1 cups water
2 teaspoons roasted cumin powder
1 teaspoon black salt
¼ teaspoon chilli powder
Salt to taste

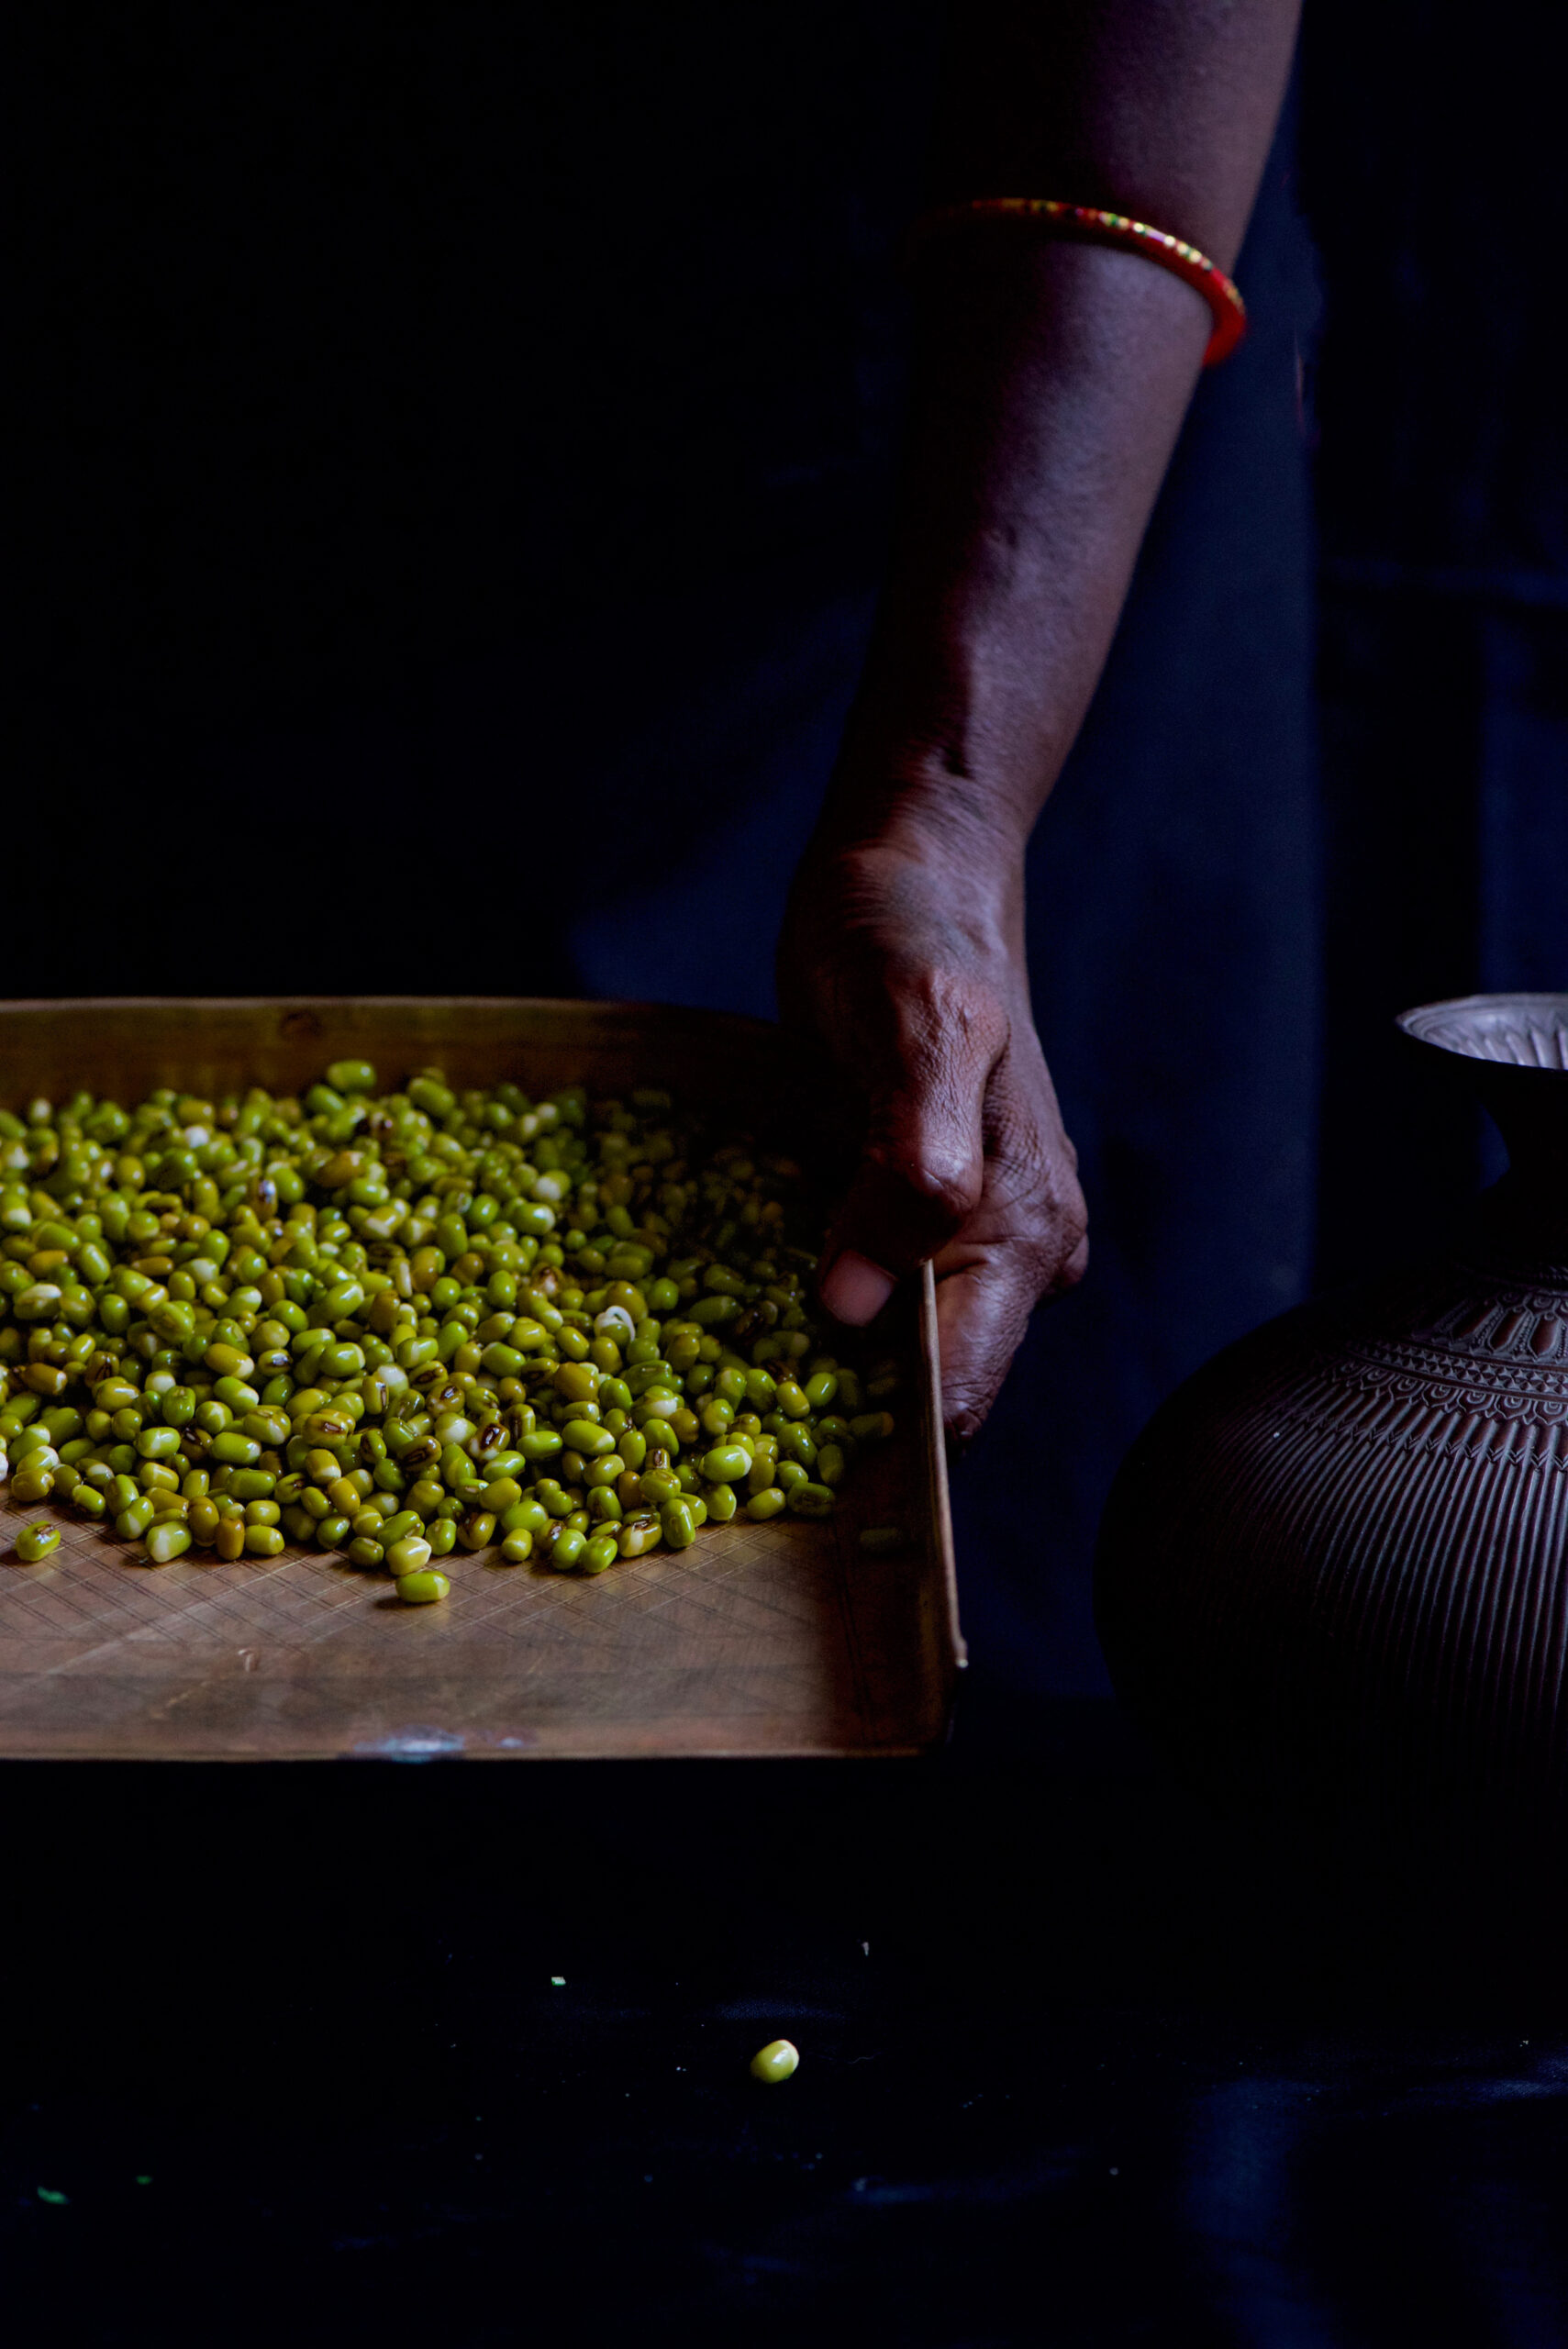
Soak the moong beans overnight, or for 6-8 hours. They will triple in size when they have been well-soaked.

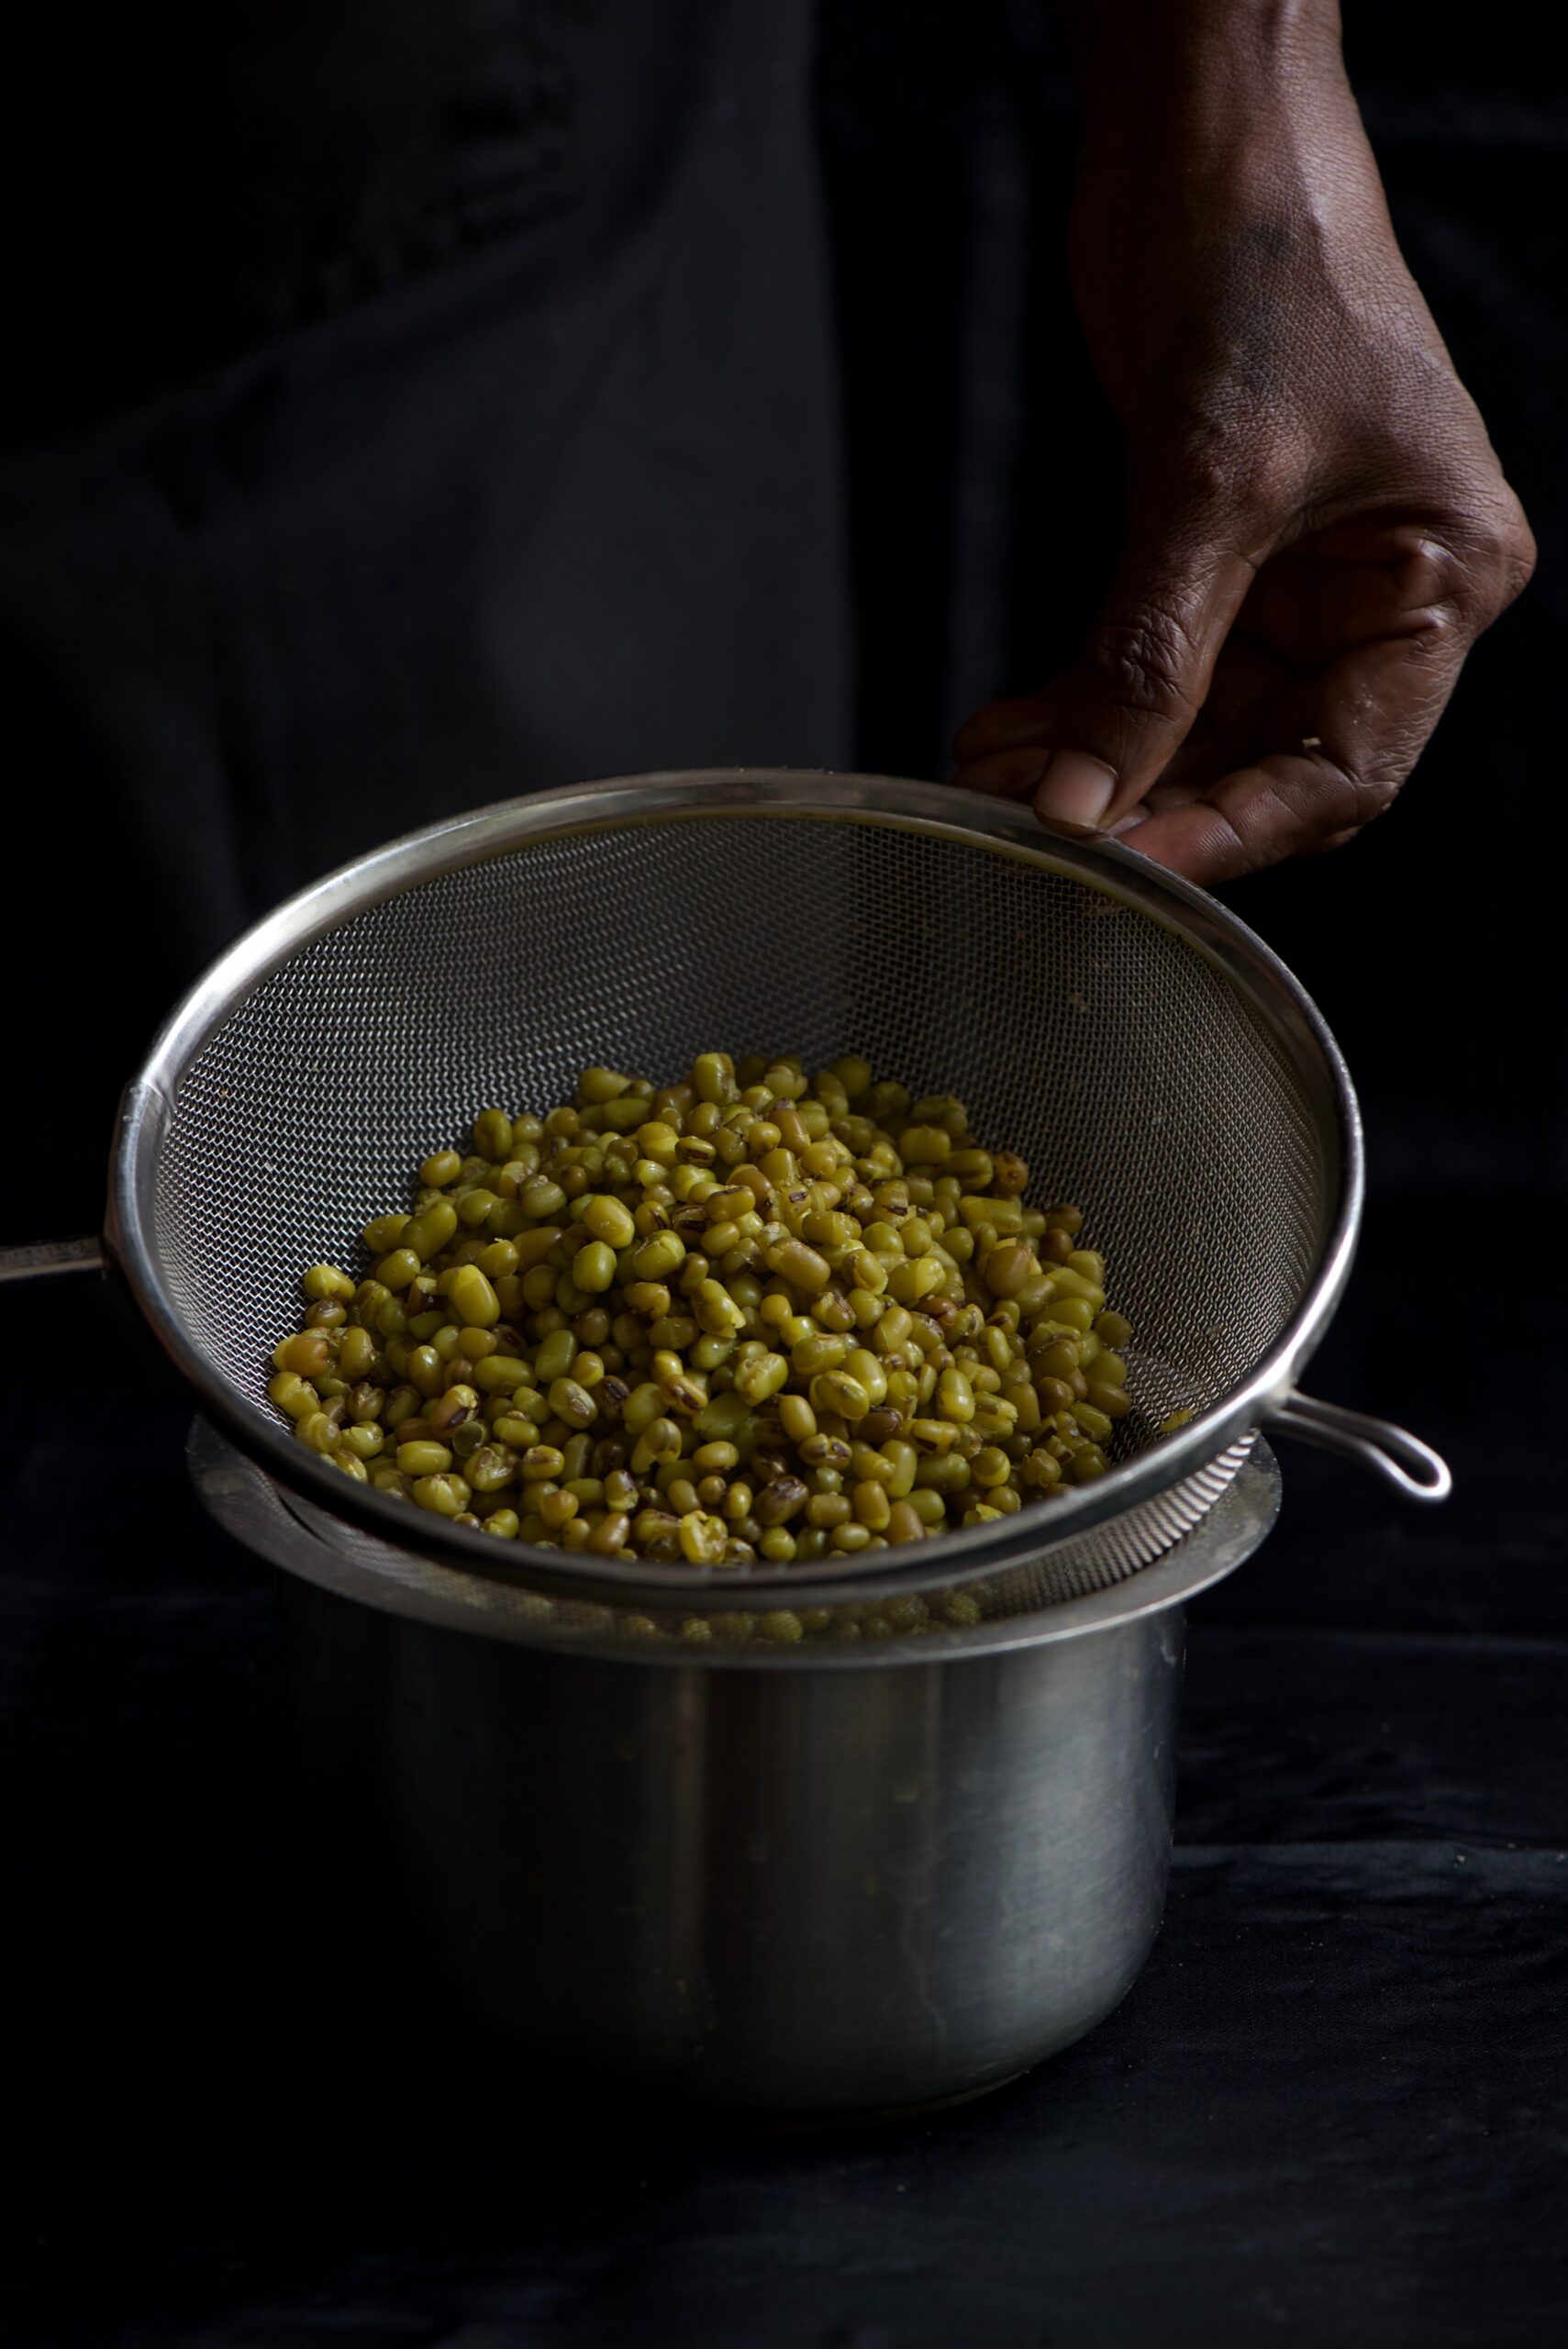
On a medium flame, add 3 cups of water, ¼ teaspoon of salt and a pinch of turmeric to the beans and allow to cook. This will take 15-20 minutes. The beans should be soft to the bite.


Strain the beans and allow them to cool.


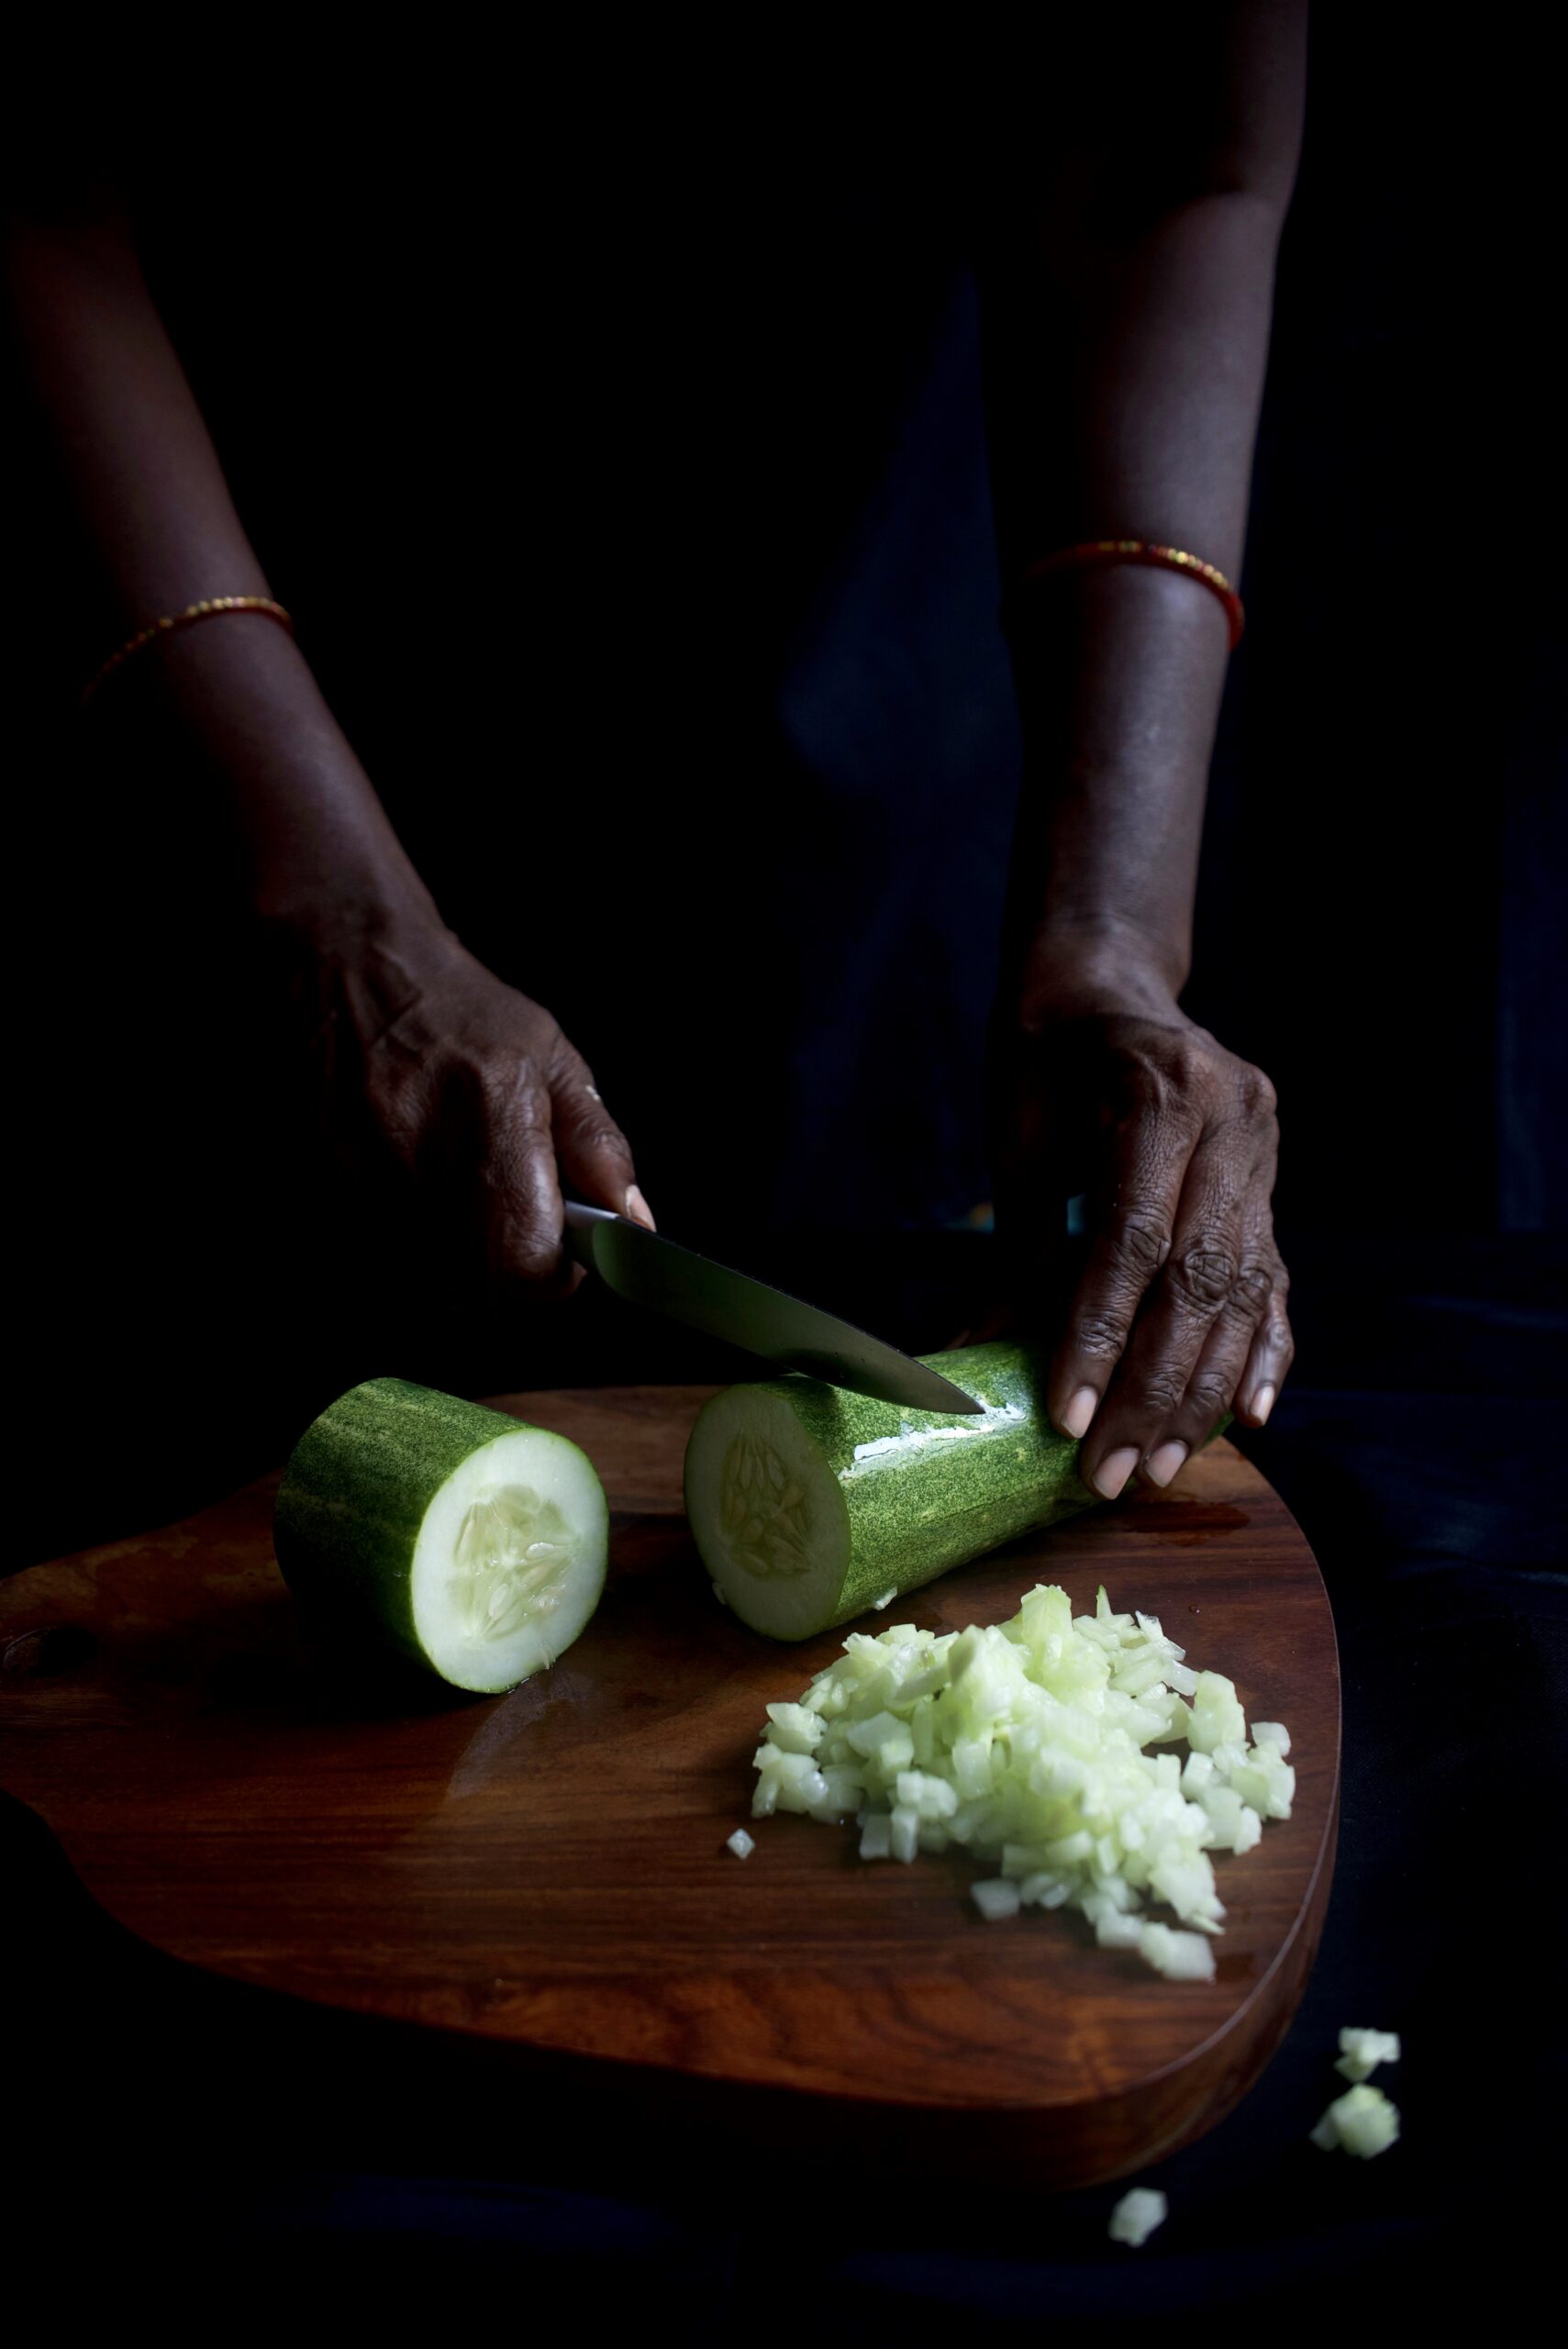
In the meantime, put all the cut vegetables and the raw mango into a bowl. You can add any vegetables of your choice, whatever you find handily available, and increase or decrease the quantities to your preference. My selection here is a very typically “chaat” selection of fresh, affordable local produce. Keep aside some coriander for garnishing.


To this bowl of vegetables and fruit, add two chutneys. You can find the green coriander chutney recipe here (if you’re on a health kick, try not to get distracted by the banana-methi fritters recipe!). It’s an extraordinary simple just-blend-it-chutney, and you can use it in versatile ways.

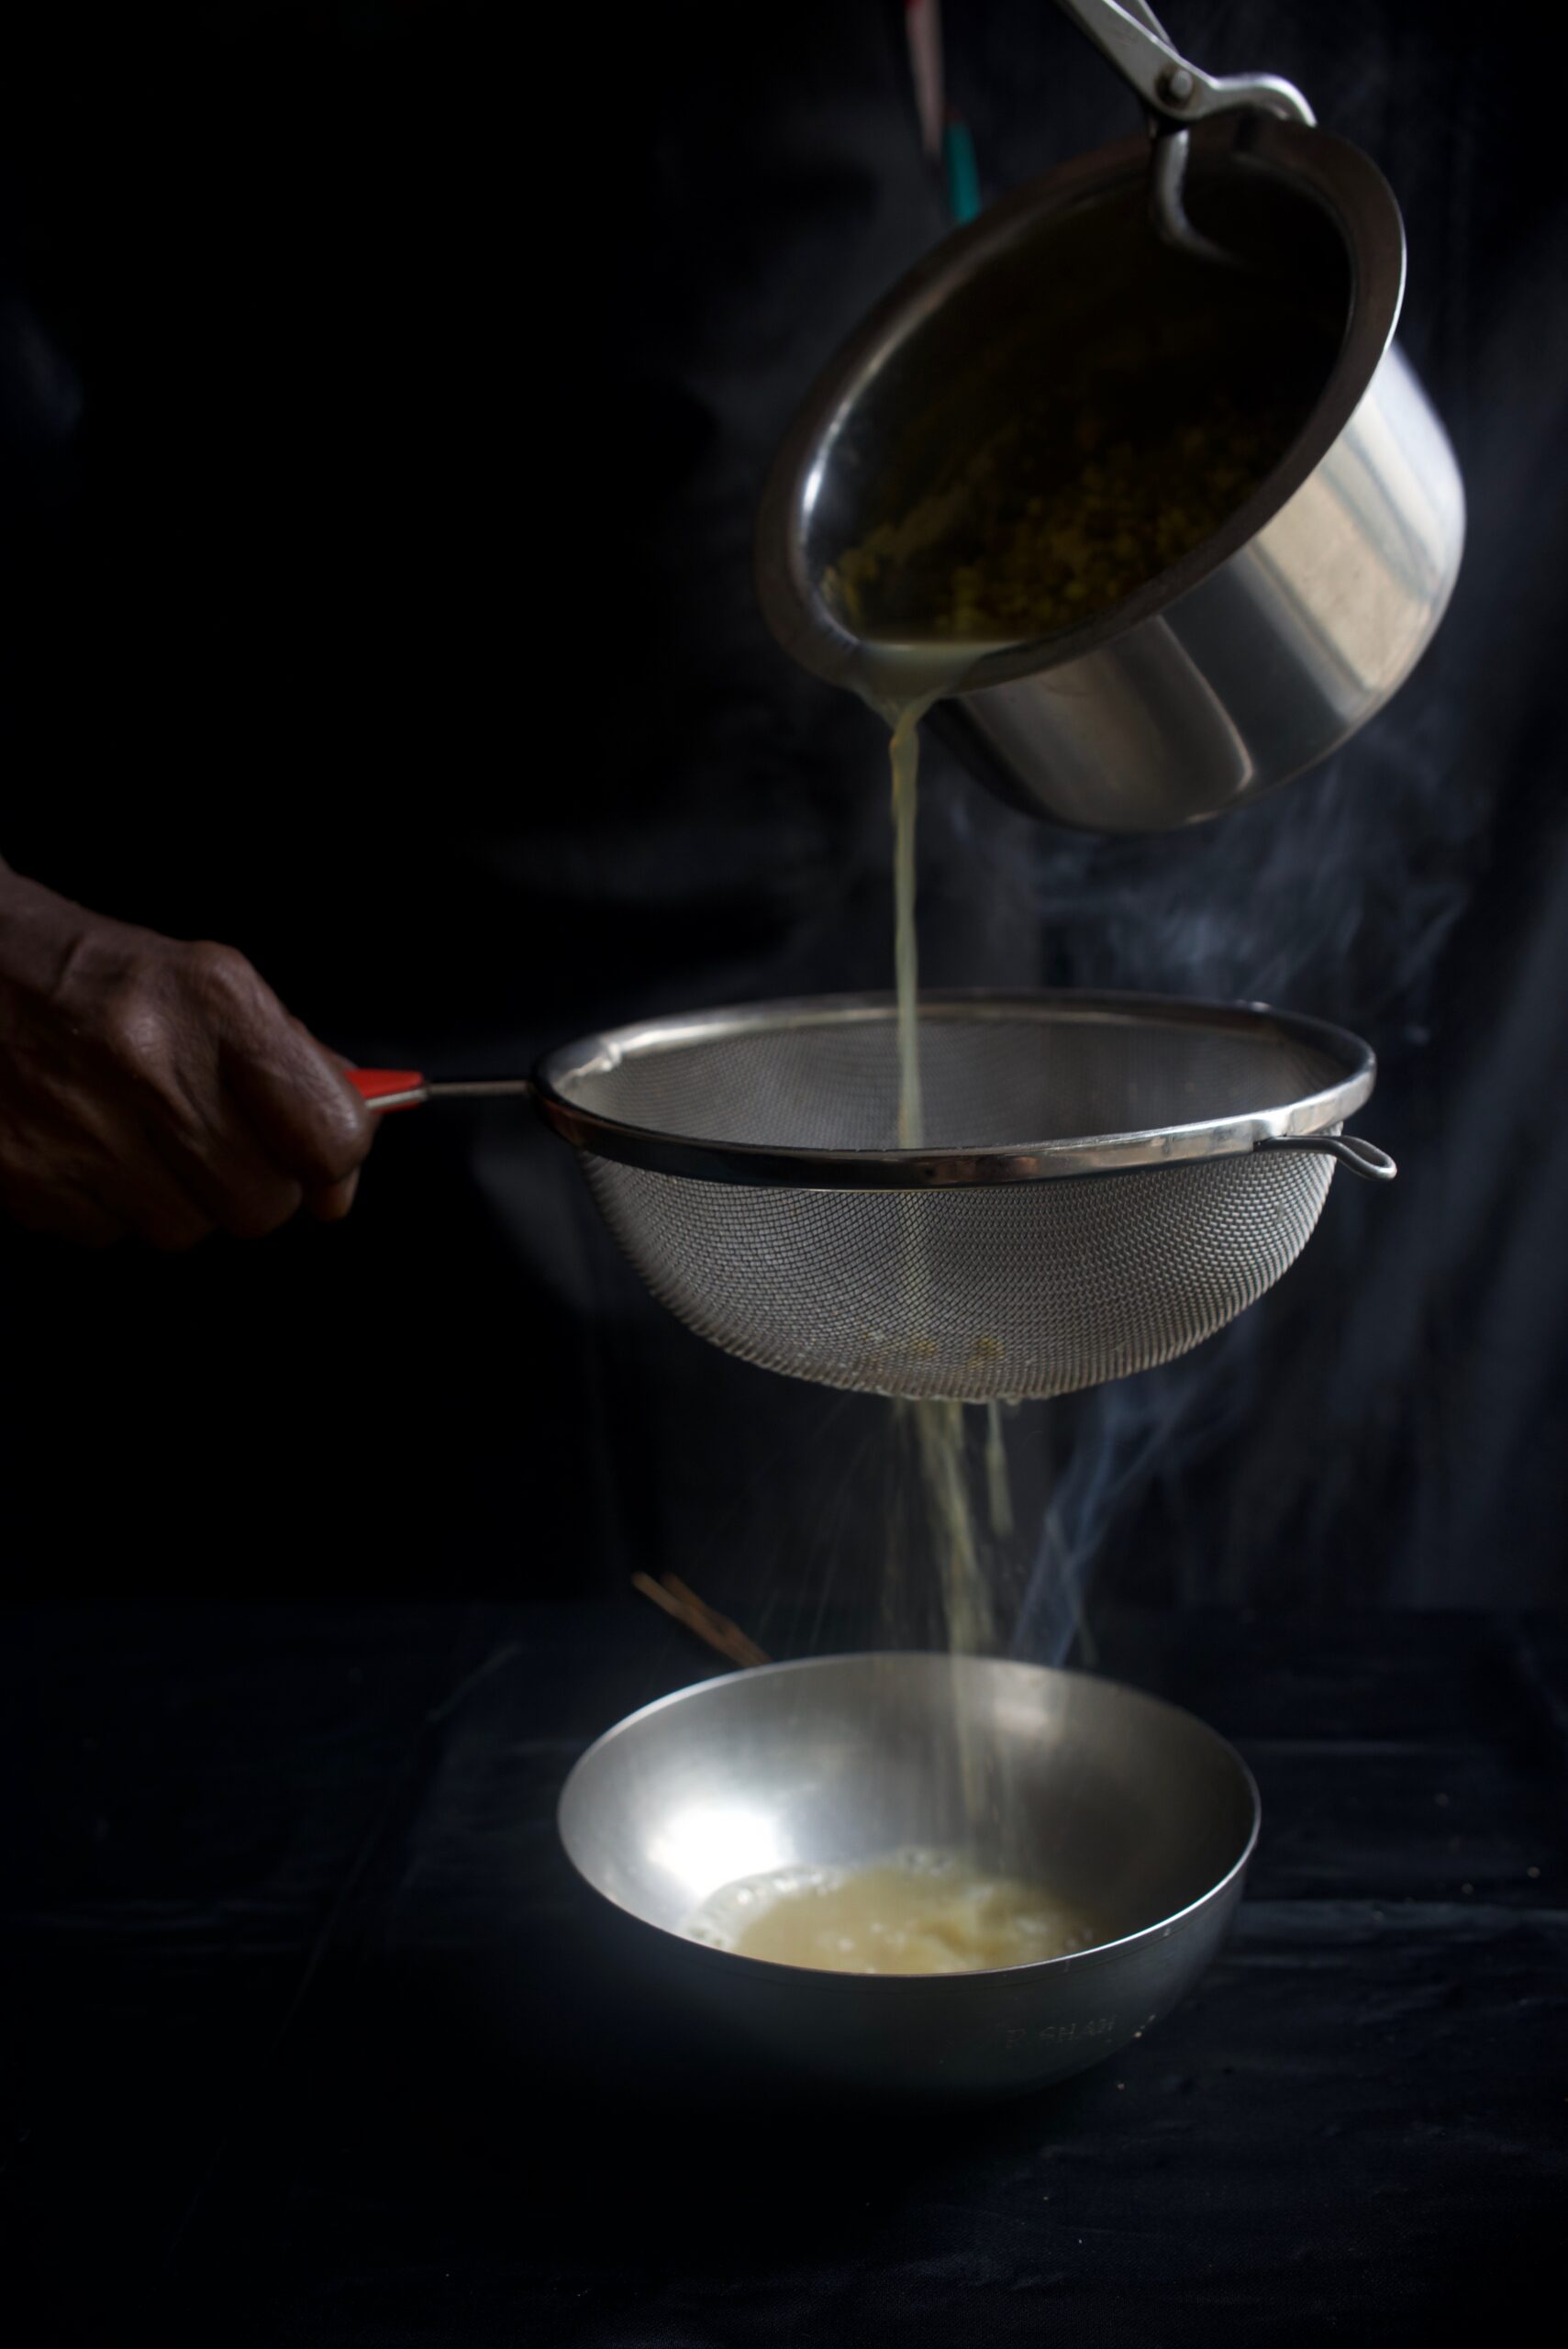
The date chutney requires just a few more steps. Soak the jaggery, chopped dates, tamarind and sugar in 1½ cups of water for at least half an hour. Then blend this very well with 1 cup of warm water. Sieve the mixture to remove any sediments. Now, add the roasted cumin powder, black salt, chili powder and salt, as well as an additional cup of water, and boil for approximately 15 minutes. You will notice the mixture thickening, and you can adjust this to the consistency you desire by adding more water. This recipe yields a generous three cups of date chutney. Use only as much as you need for the green moong bhel dish, then save the rest in the fridge.

Blend 2 teaspoons each of the two chutneys into the bowl of cut vegetables and raw mango. Then add all the spices as well as the cooled moong beans to the bowl. Mix all the ingredients together nicely, making sure the chutneys coat them well.

Now, serve the green moong bhel in smaller bowls, garnishing with the coriander leaves. I often like to add a bit of crunch on top too, such as crushed peanuts, pomegranate, fried crisps or the puffed rice that is reminiscent of traditional chaat.

You can put this healthy snack on the list along with sundal, pea-pomegranate kachoris, sweet ghugras and, of course, banana-methi fritters and enjoy it with some piping hot chai or coffee. Or have it as an alternative to salad or quinoa, and enjoy a big bowl as a full breakfast or a light lunch. As simple as the dish looks, it’s absolutely loaded with flavours. Healthy can taste so good, sometimes!


If you’ve been following my blog, you’d have noticed that despite my quintessentially Gujarati sweet tooth, my culinary adventures are often based on healthy eating. I hardly ever reach for a fried item first, but these banana-methi fritters are a part of our wide kitchen repertoire at home during Diwali. Perhaps one just can’t feel guilty about indulgence when it comes to special occasions! The festive season isn’t far away, so you may want to try your hand at these fritters and see if you’d like to share them with your friends and family too this year.

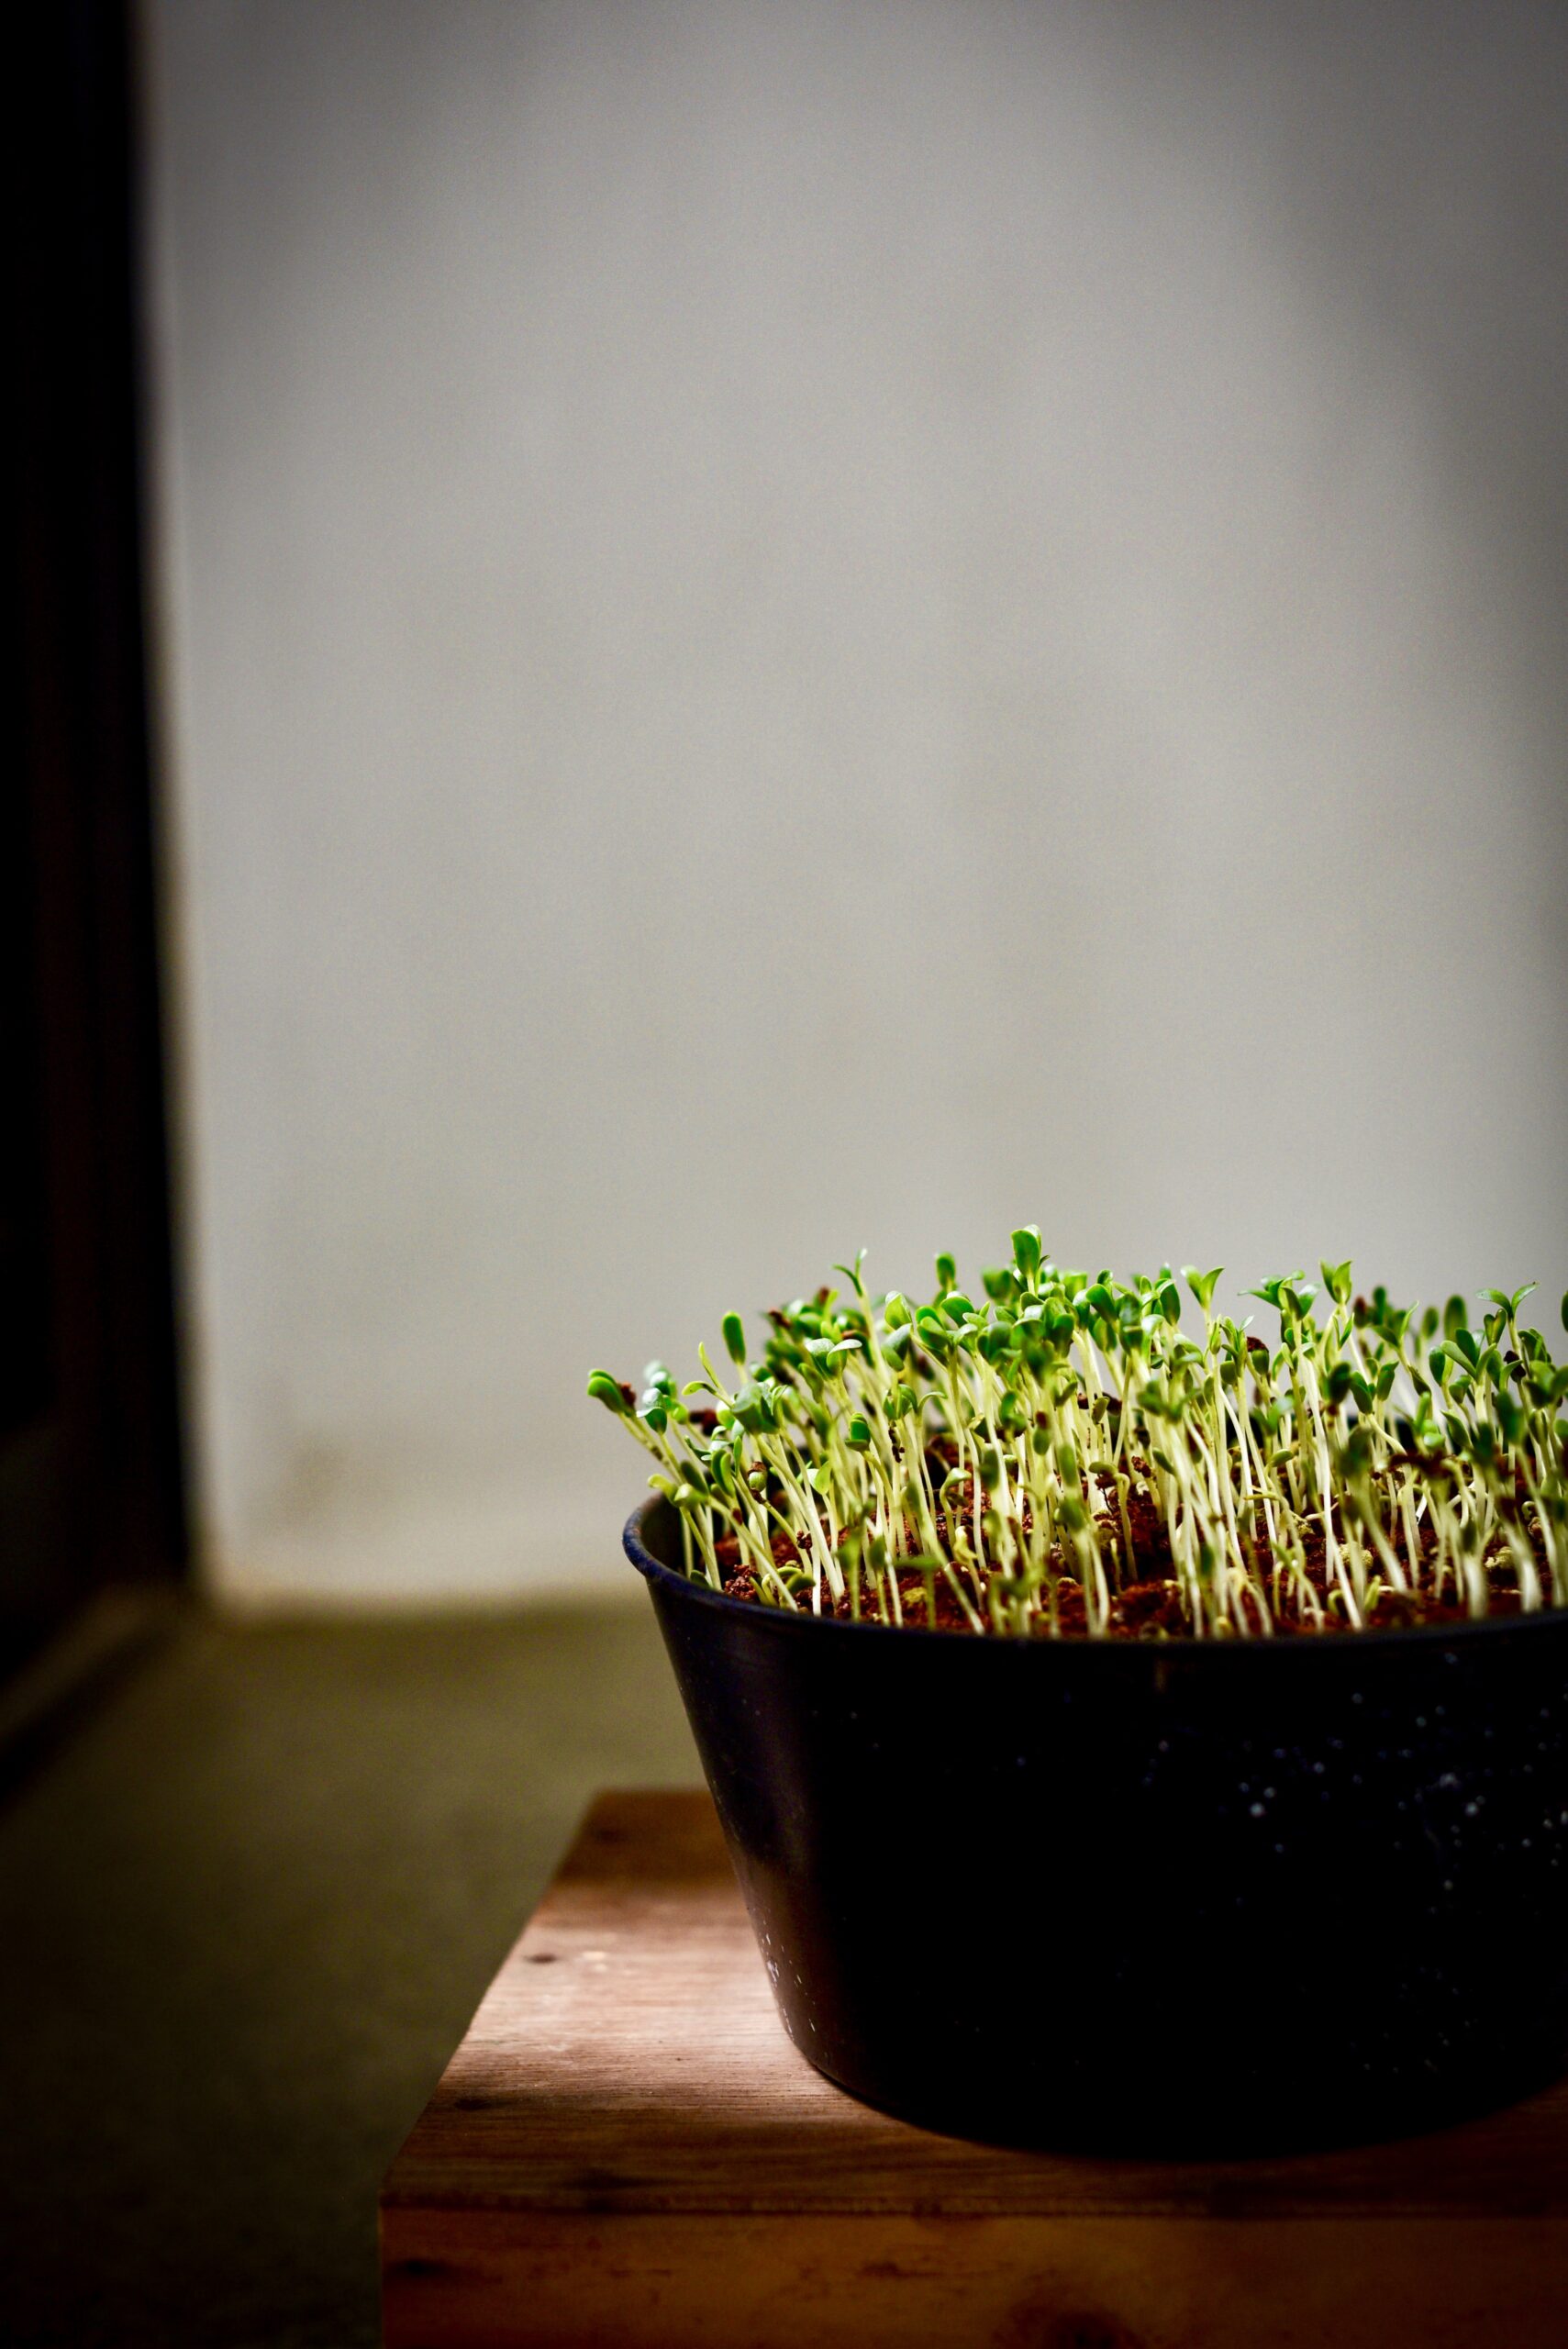
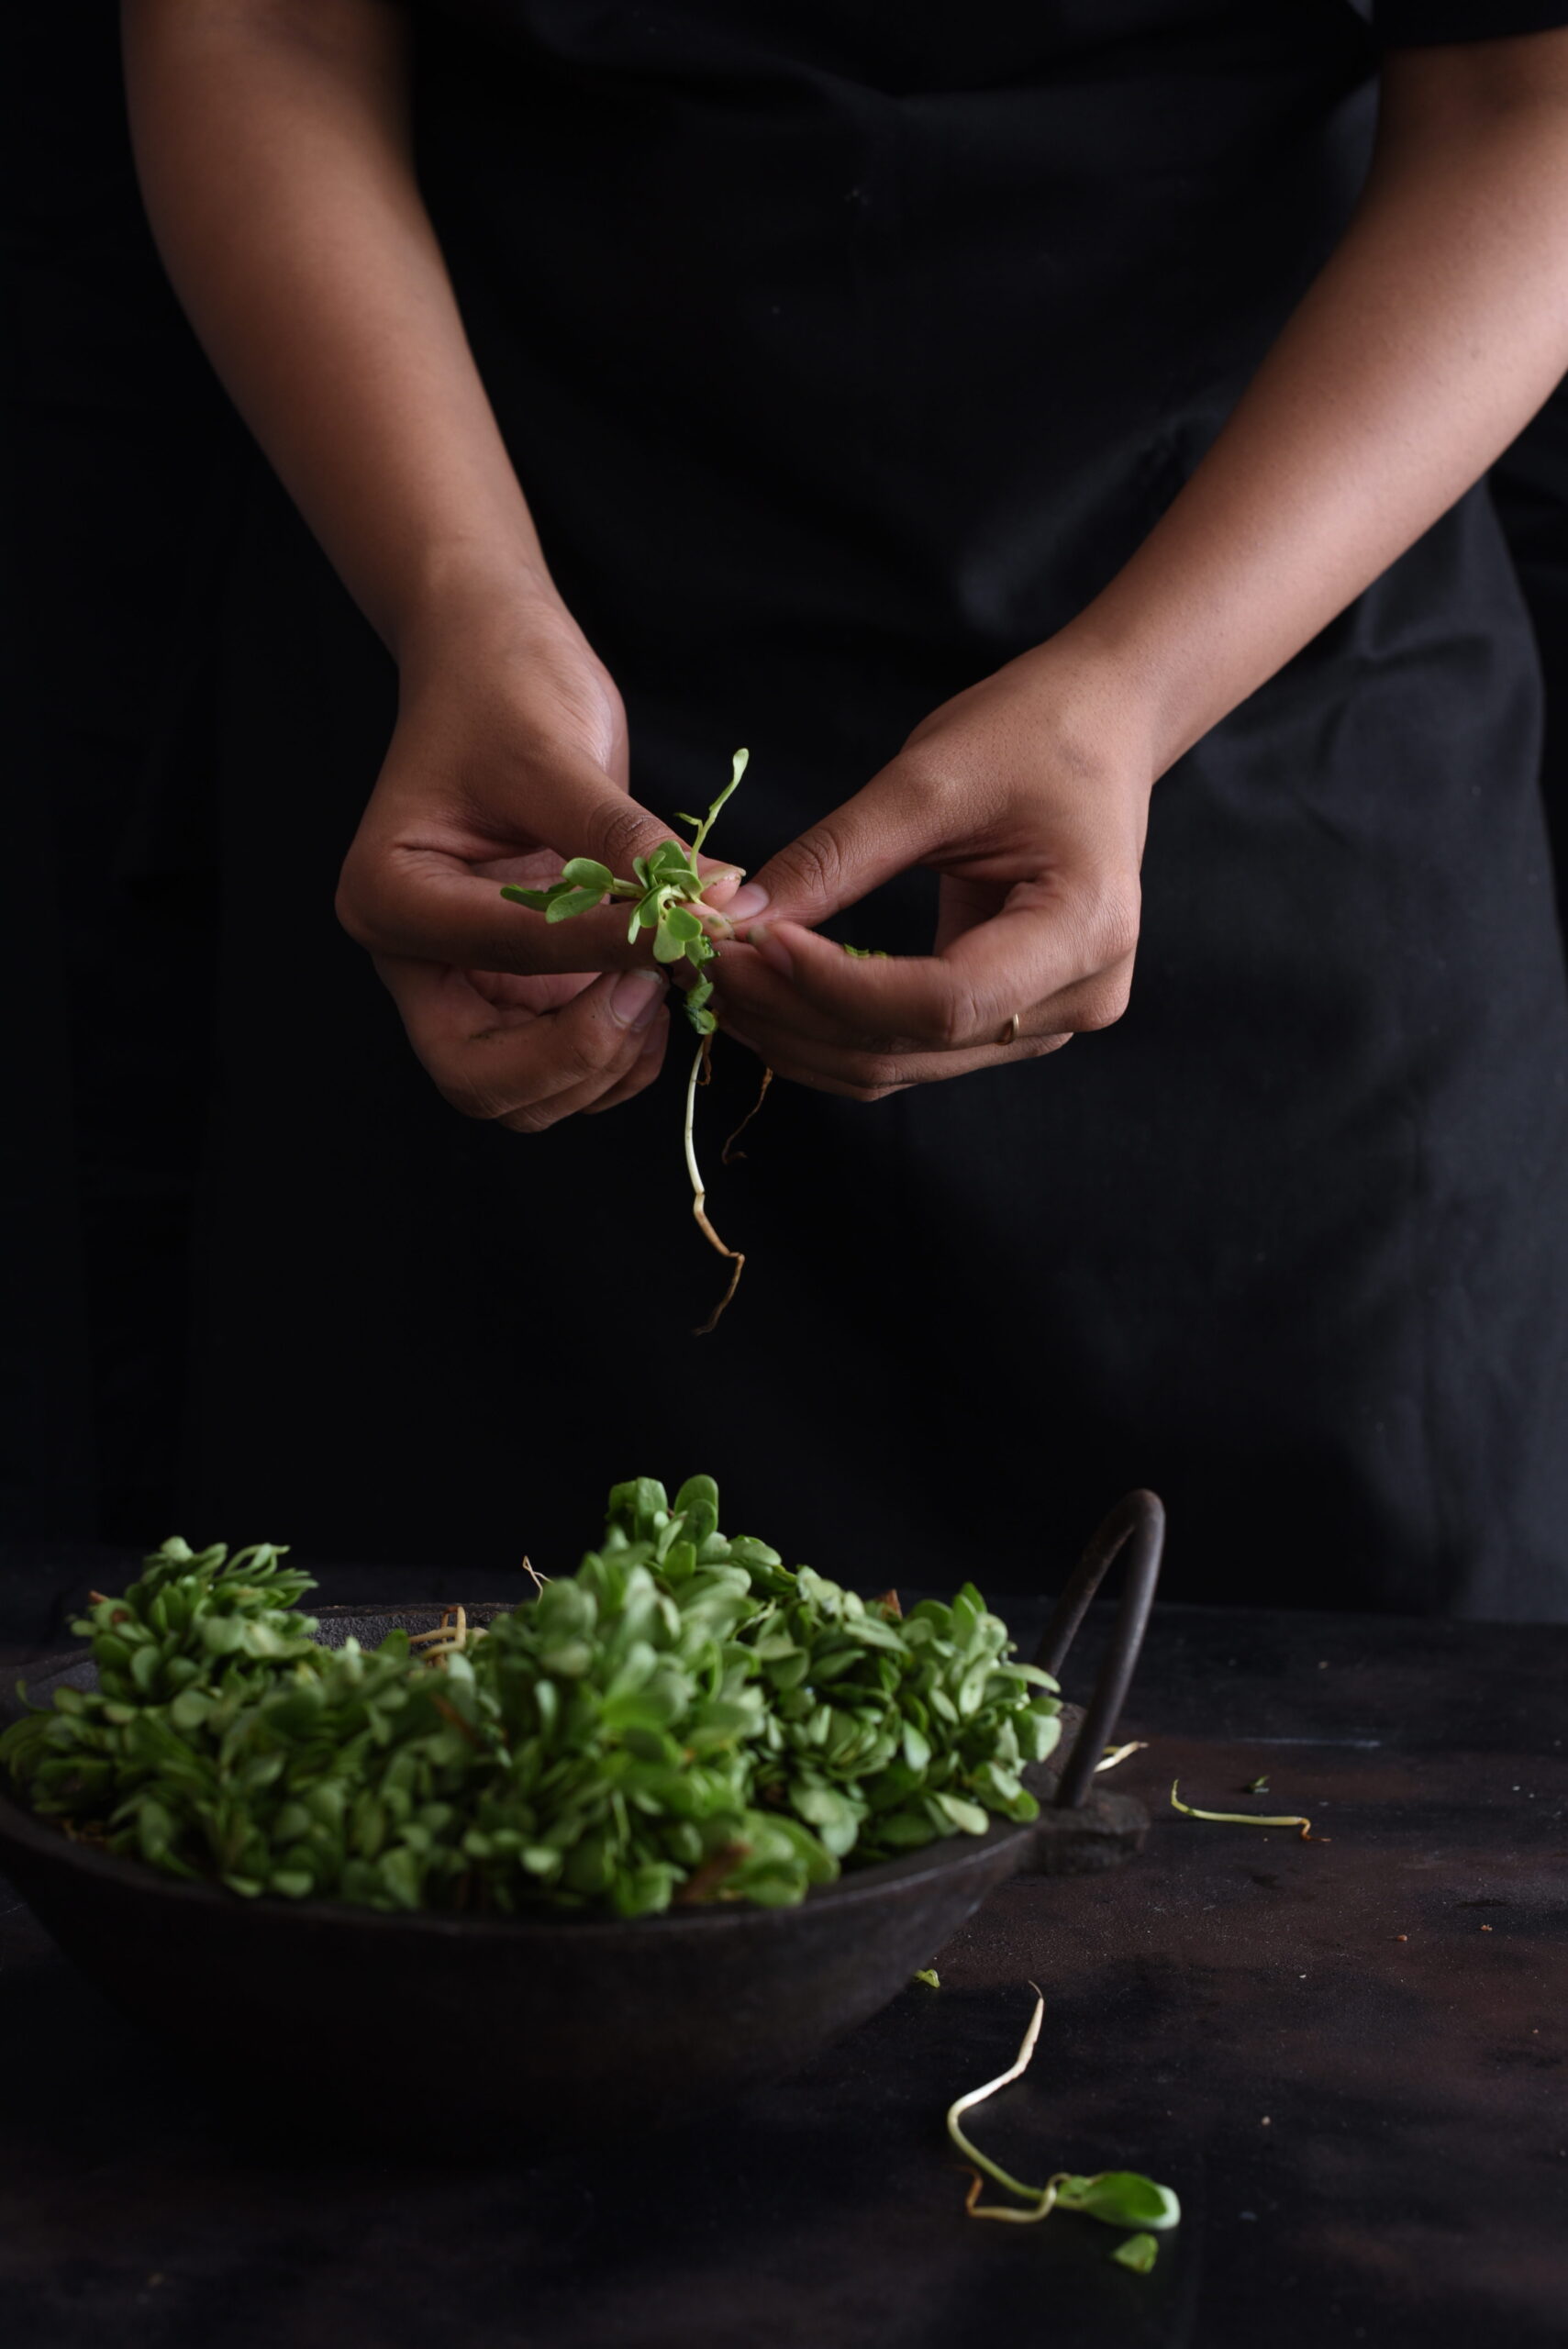
Growing methi (known in English as fenugreek, and in Tamil as vendeyakeerai for the leaves and vendeyam for the seeds) is as easy as throwing a few seeds in the soil and allowing them to sprout in a matter of days. This is why I can use freshly-plucked methi leaves for so many of my dishes. Alongside tulsi, lemongrass and numerous herbs, fruits and vegetables, it flourishes right in my home. Whether it’s a traditional Indian staple or a salad (Chennai’s weather makes fresh lettuce difficult to find in the city sometimes, and I love experimenting with healthy substitutes), these pretty greens are a familiar ingredient in the re:store kitchen.

Methi has an array of health benefits. Among them, it helps improve digestion, tackle respiratory allergies, cure anaemia, and lower cholesterol and blood sugar levels (which is why it is used in diabetes management). Due to its high estrogen content, it even helps lactating mothers in the production of milk – I remember being given lots of methi laddoos after giving birth. In addition to these benefits, methi is also known to have a beautifying effect on the hair and skin when used in a paste form as a mask or conditioner.

I’m telling you all this to put a healthy spin on the recipe below – which is a fried indulgence!

The other ingredient in this spicy, crispy snack I’m about to share with you hardly needs to be promoted on the basis of health, because it is so very sweet and tasty. That filling, versatile, portable and very nutritious fruit – the banana! It just so happens that bananas are rich in potassium, fibre, antioxidants and share blood sugar-lowering, cholesterol-management and overall wellness-boosting benefits with methi.

Hundreds of banana varieties are grown in India through the year, and with Tamil Nadu being the source of 23% of the country’s supply, we really have our pick of the fruit here. In fact, the banana tree is auspicious in many Indian cultures, and has a place in wedding and fertility rituals. Similar to the coconut, its various parts have many uses. The banana flower, known as vazhaipoo, is diced and eaten in Tamil cuisine – and traditionally, South Indian food is always served on a banana leaf.

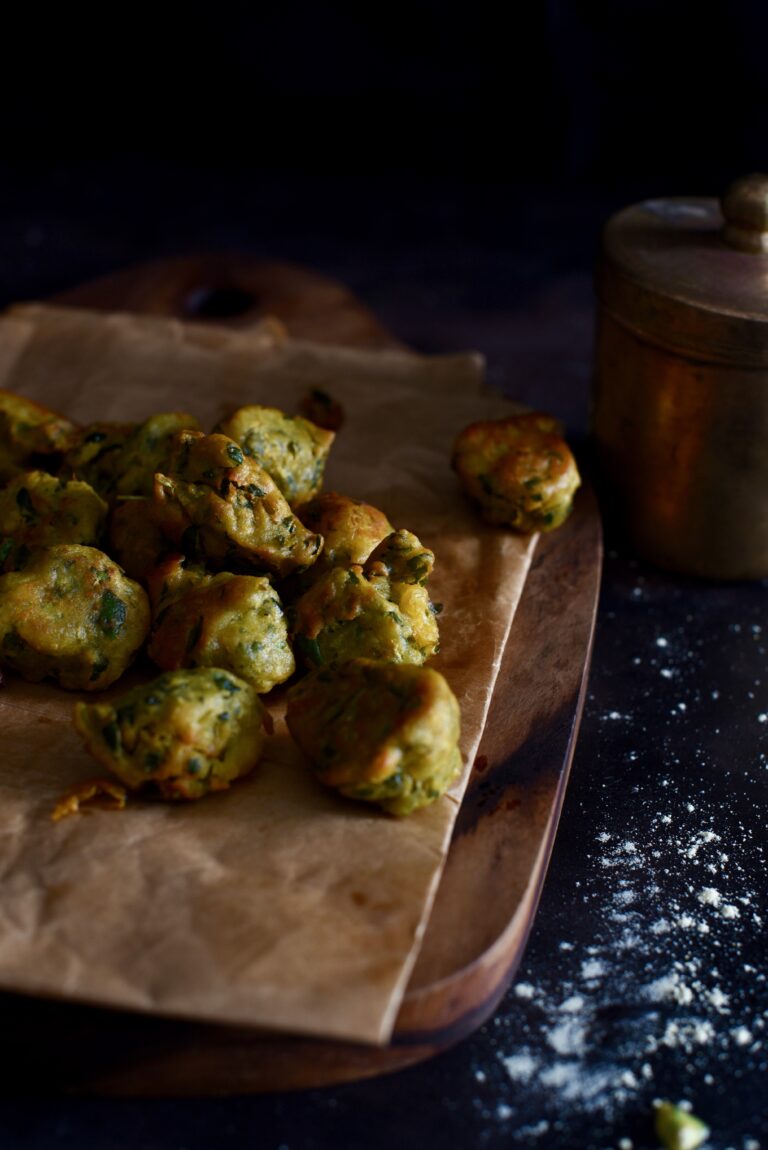
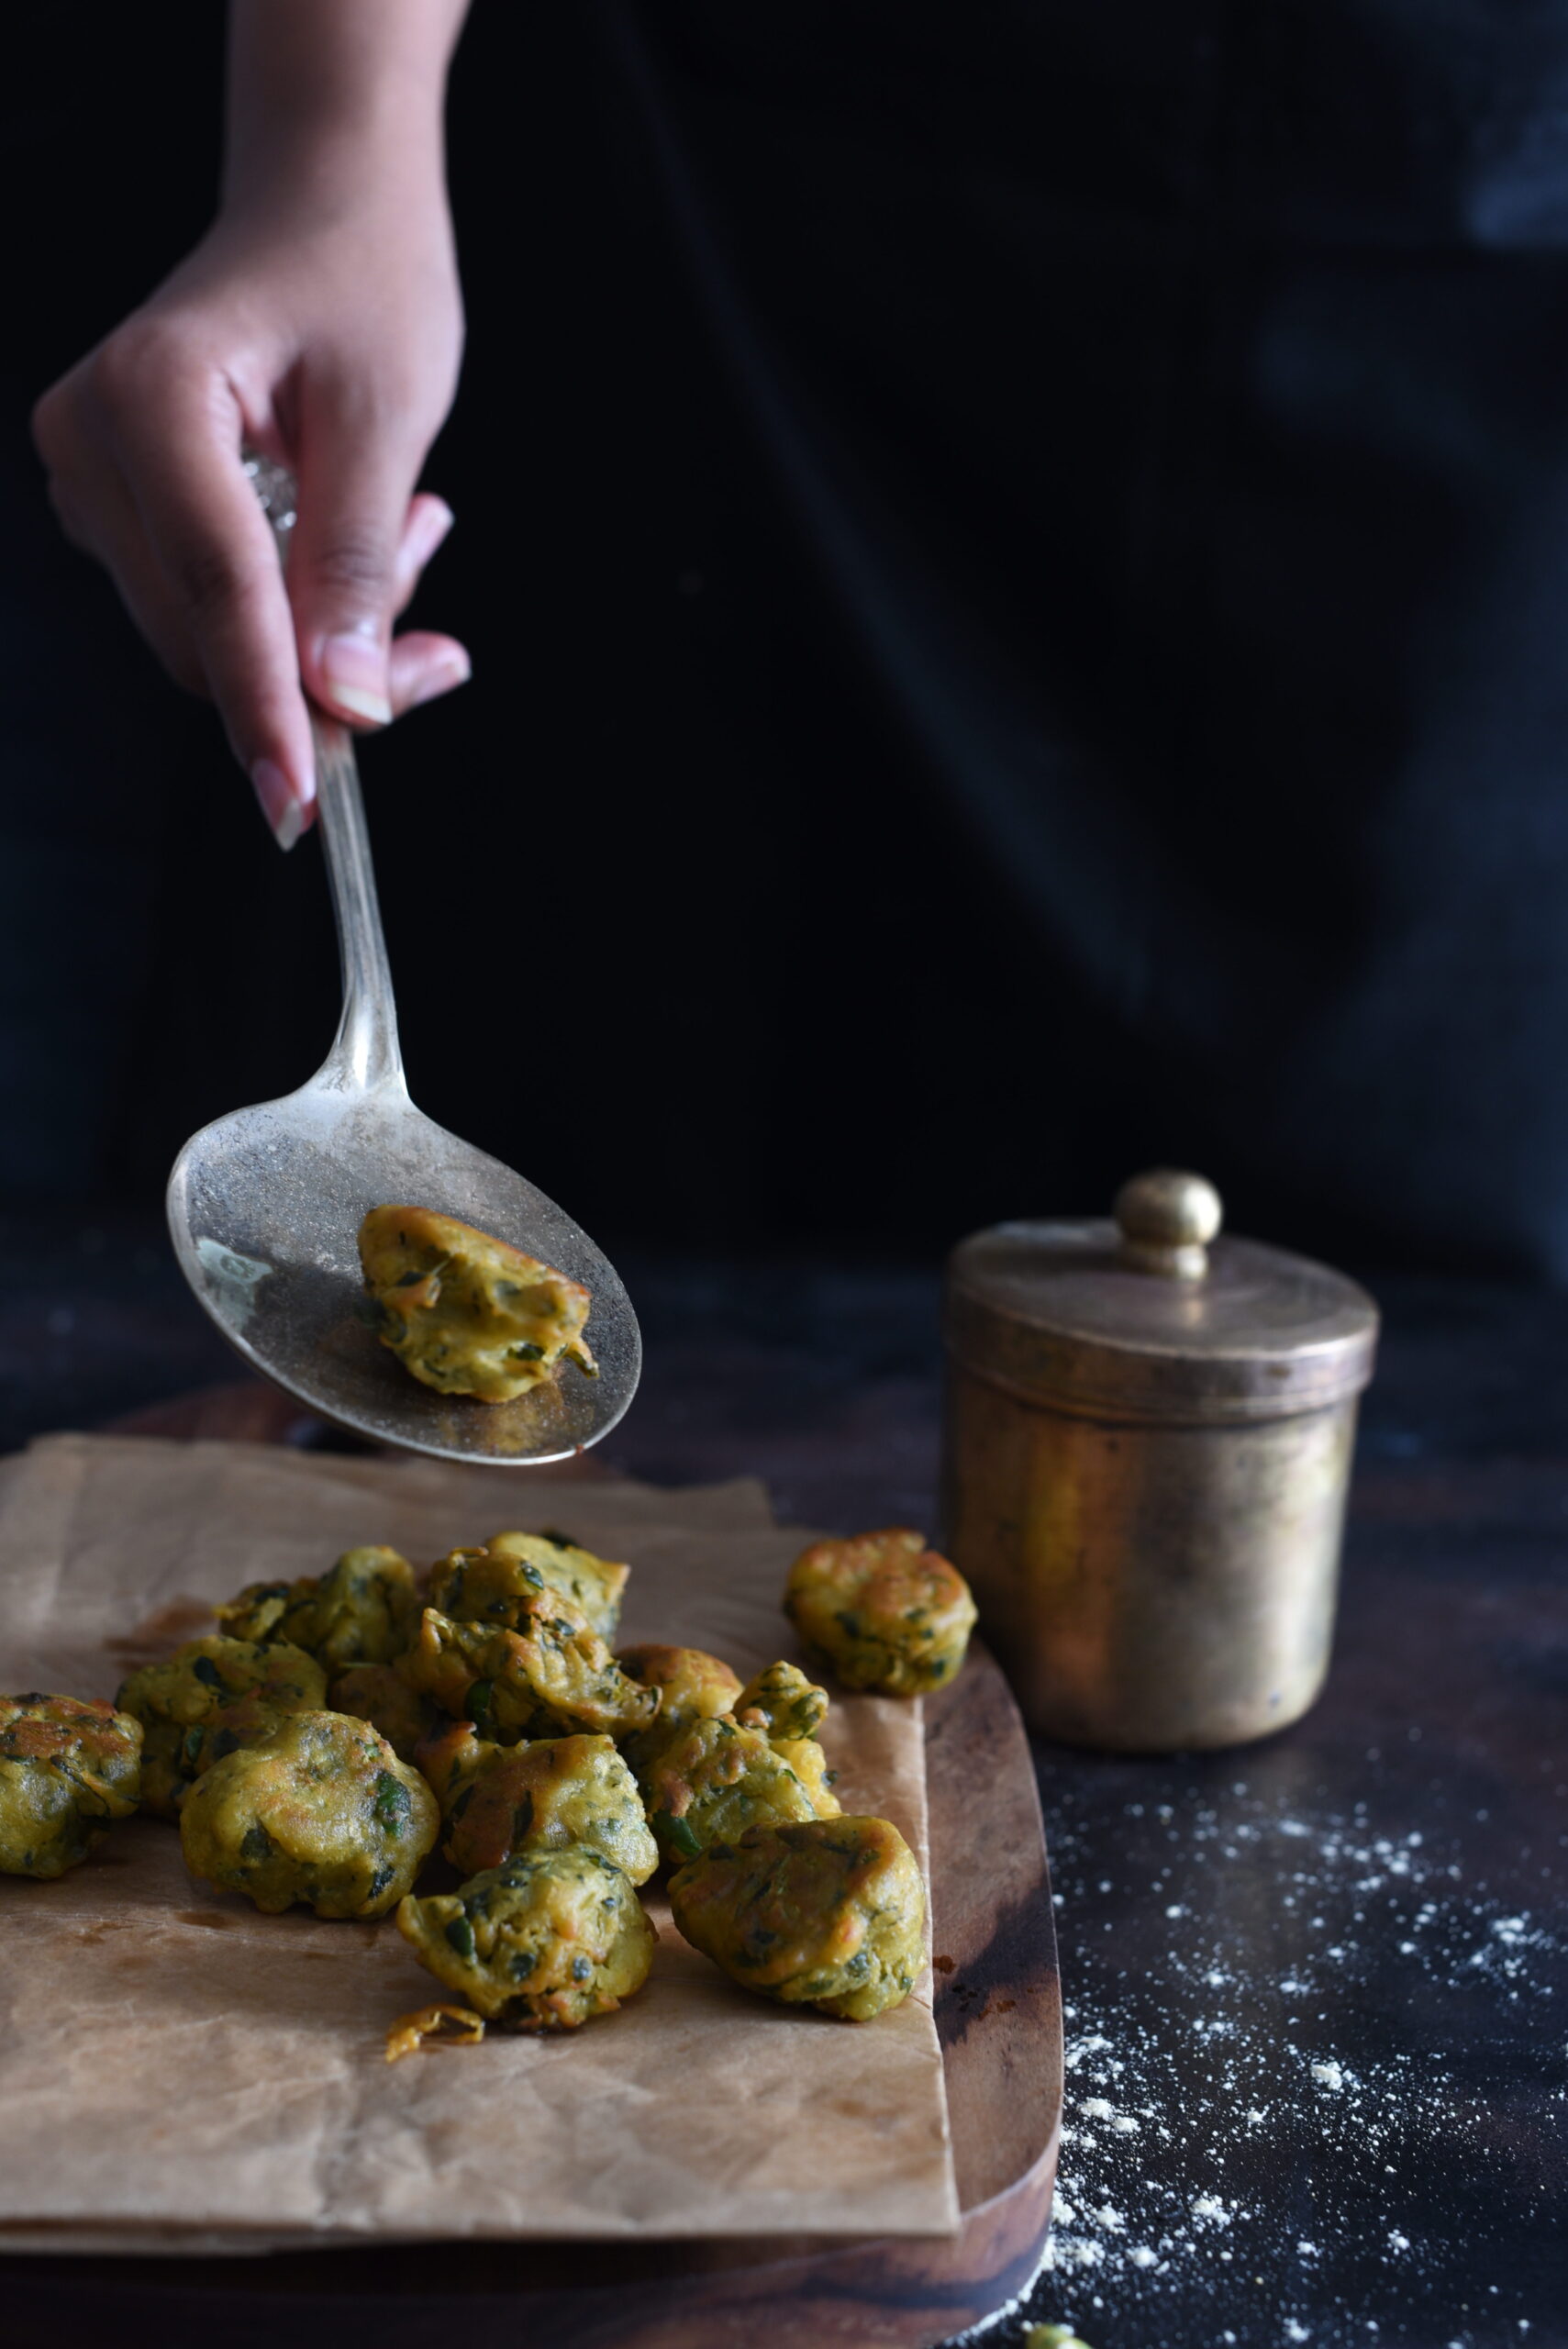
So we have here two key ingredients so nourishing that you can forget you’re chomping on fried deliciousness. Without further ado, here are my banana-methi fritters, served with a green coriander chutney.


Banana-Methi Fritters With Green Coriander Chutney

(Yield: 20-25 small fritters)

Fritters
¾ cup chickpea flour
¾ teaspoon salt
¼ teaspoon turmeric
½ teaspoon cumin powder
1 teaspoon grated ginger
1 finely chopped green chilli or 1 teaspoon chilli ginger paste
¾ cup methi leaves, washed and finely chopped
½ cup ripe banana, pulped or finely chopped
2 cups of oil + 1 tablespoon hot oil
¼ cup water

Chutney

1 cup coriander leaves, washed and finely chopped
1 green chilli
1 tablespoon peanuts
1 teaspoon lemon juice
2-3 tablespoons water
1 generous slice raw mango (optional)
Salt to taste

In a mixing bowl, add the flour, salt, turmeric, cumin, grated ginger and green chilli and mix. To this, add the banana and the methi leaves. Mix them well with your hands, adding enough water to make a paste-like consistency. Allow this batter to sit for a minimum of half an hour.

Heat the 2 cups of oil. Add 1 tablespoon of hot oil to the batter. The hot oil in the batter helps make the fritters soft. Blend well with your hands.

The remaining oil should be in a pan on the stove, and you can check its heat by adding just a drop of the batter into the oil to see if it sputters. If it does, the oil is ready. Lower the flame and add small spoonfuls of batter into the oil.

Keep the flame low and allow the fritters to fry well. Once the fritters have cooked on one side, flip them over using a butter knife. At this point, you may increase the flame slightly then lower it again, ensuring that the oil doesn’t get so hot that the fritters burn and blacken. You want them to be fried to a golden colour on both sides. Once this colour is achieved, remove the fritters from the stove and drop them onto an absorbent paper to remove excess oil.

Serve hot. I like to complement these crispy banana-methi fritters with a green coriander-based chutney. For this, I use coriander, green chilli, ginger, peanuts, salt, lemon juice and water, usually with a generous slice of raw mango. Simply blend all the ingredients together well in a mixer-grinder. The result is a flavourful chutney that perfectly accompanies the fried fritters.

Between the sweetness of the banana, the bitterness of the methi and the tangy kick of the chutney, you won’t be able to stop at just one! Try it for yourself and see. Let me know what you think in the comments.

What is the most descriptive collective noun for coconuts? A cluster? A clump? A crowd? None of them quite sufficed for the copious numbers I found myself with! With five thriving trees in my garden, dangerously dropping their heavy drupes at any given moment, I responded to this abundance in the best way I know how: by bringing them into my kitchen.

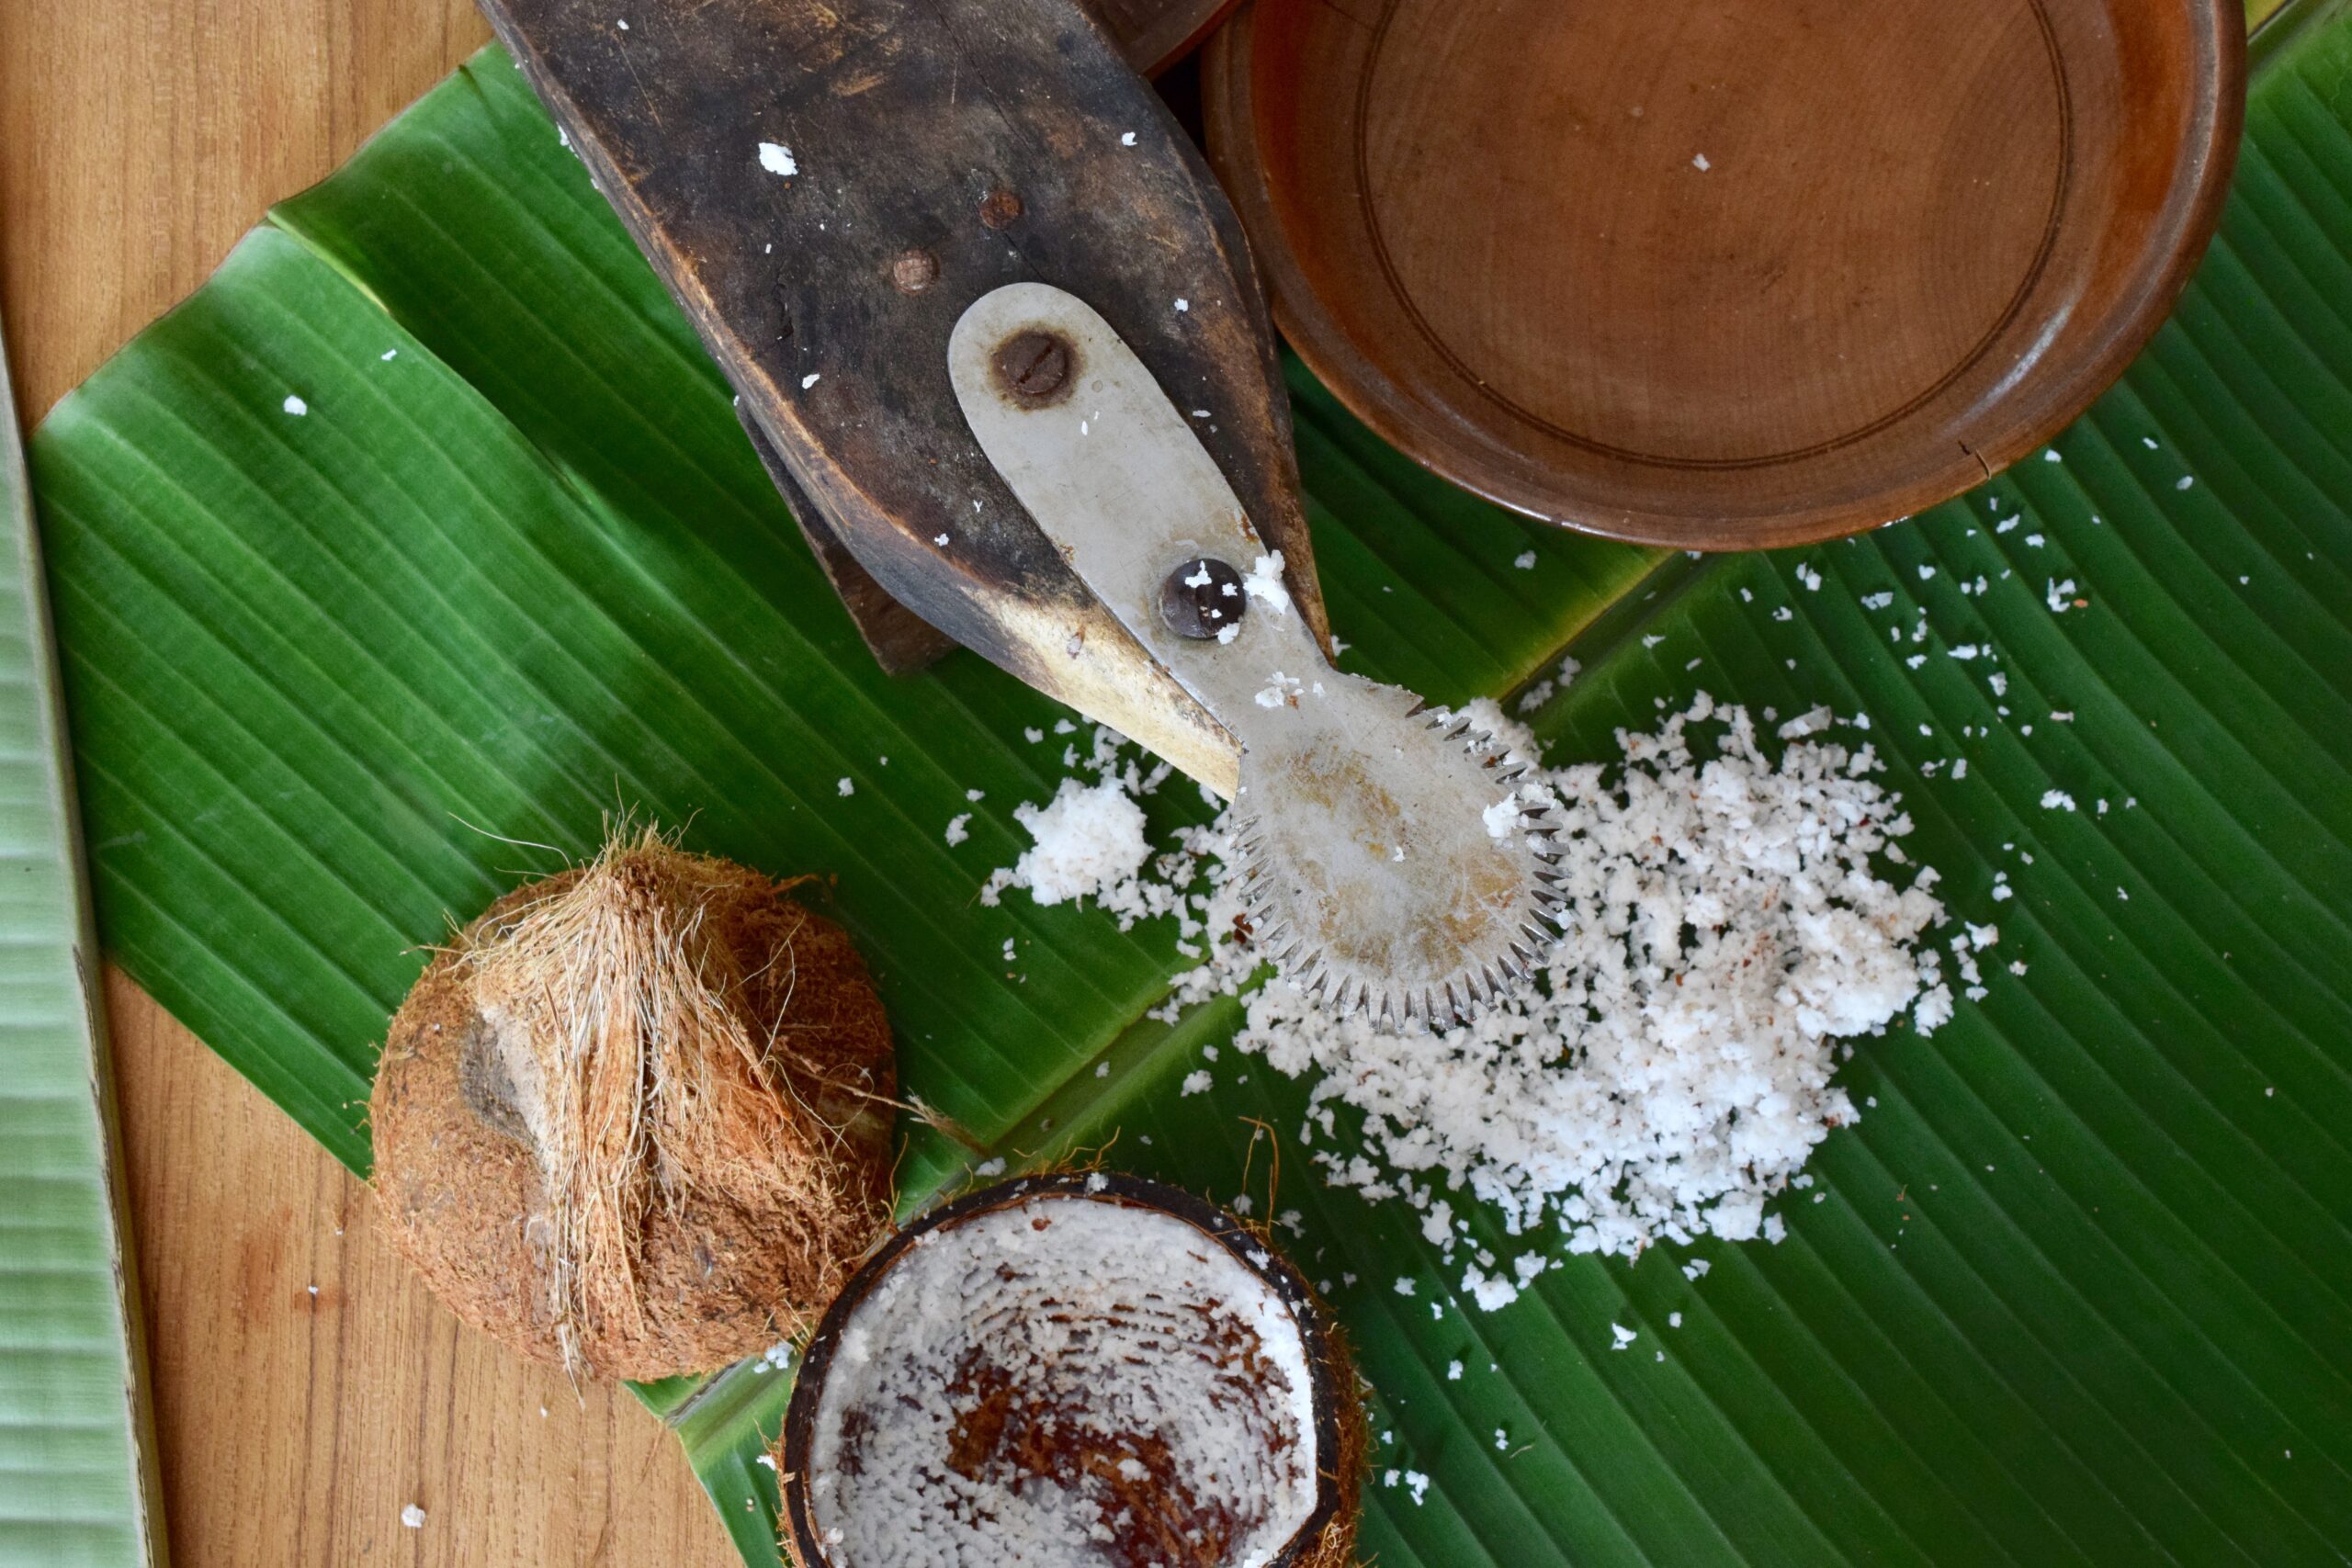
So I hired a nimble man to climb up the trees to cut most of the coconuts down, and then we segregated them into tender ones, which yielded nutritious coconut water, and ripe ones with flesh that could be shaved. One of my coconut trees is also the site of an experiment of mine. I have a little basket on a lovely pulley system which takes pieces of papaya up to a nice altitude for the parrots that often flit about. It took a while to convince them that this odd contraption was actually a friendly gesture, but as with people and animals both – at the end of the day, appetite always wins!

restore shaved coconut

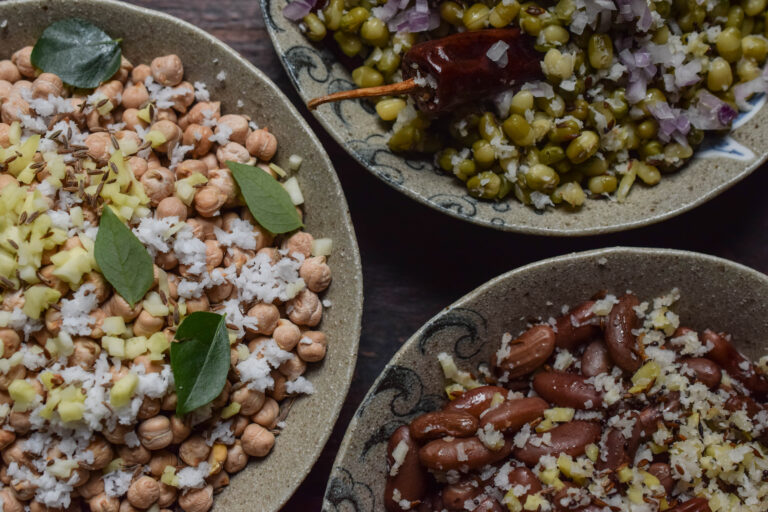
The shaved coconuts found themselves in many of my recipes: from coconut rose cupcakes (which you can order here if you’re in Chennai) to sweet-savoury kachoris (which you can make in your own kitchen, with my recipe here) and more. And in the late afternoons, those pristine white shavings of coconut were perfect for a local lentil dish: sundal.

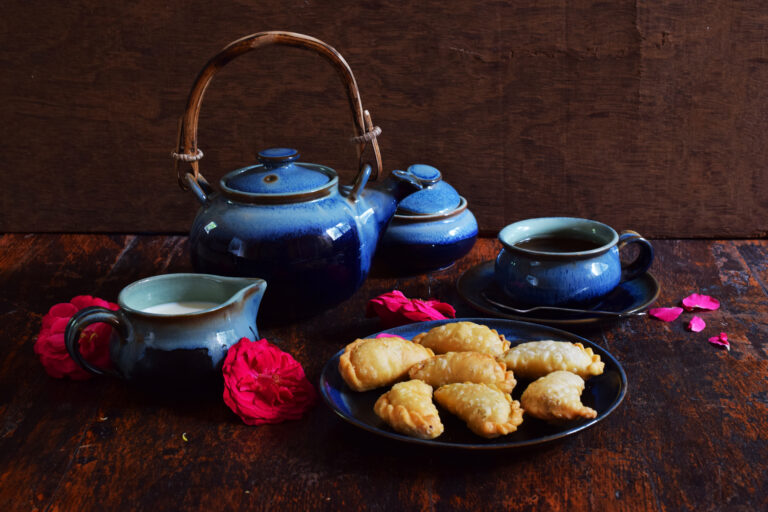
There are always beautiful things that we learn from our parents, grandparents and in-laws. The kitchen is one such space of knowledge shared and passed on. When I got married into the family (in India, due to the joint family system – one marries families, not individuals!) I had the chance to learn more than I had imagined. My mother-in-law is an educated woman who enjoys cooking, and coming from different regions of the country, she and I had different styles and methods. We would often argue about how my family would make a dish a particular way, while she would insist that her family’s recipe was better. So it was with her kachoris, a delicious regional variant of the internationally-ubiquitous samosa.