Tag

savoury

Browsing

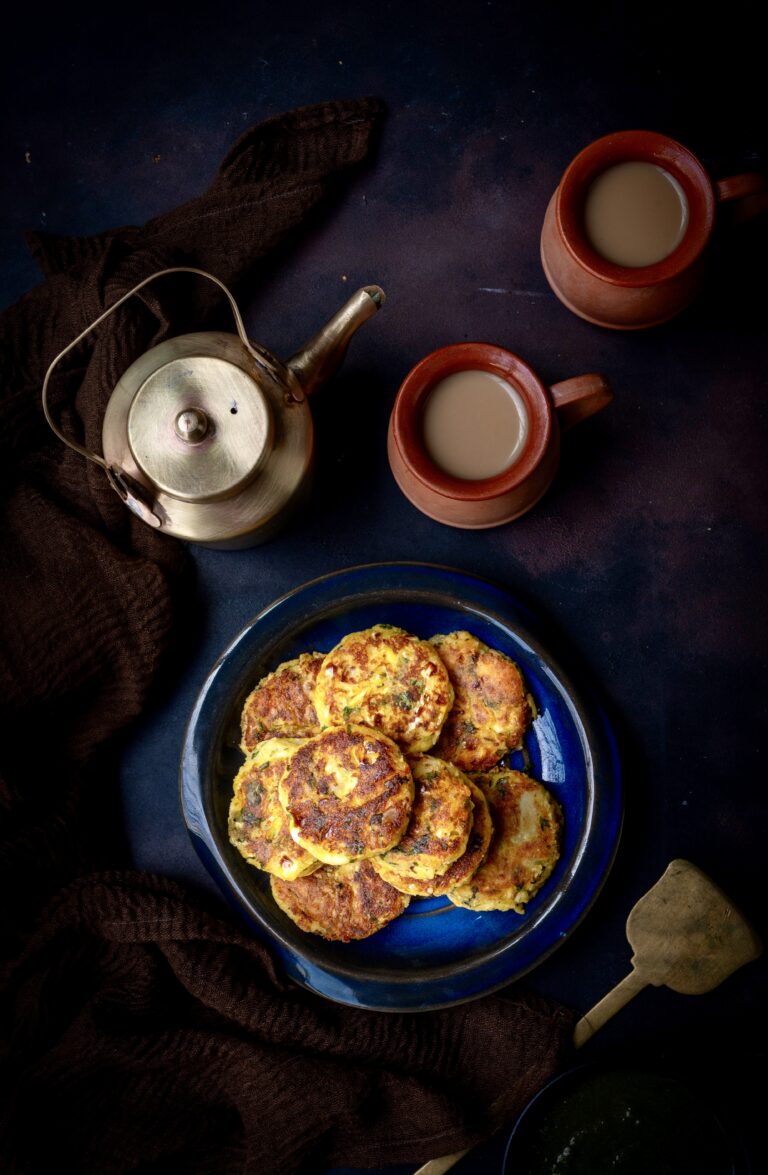
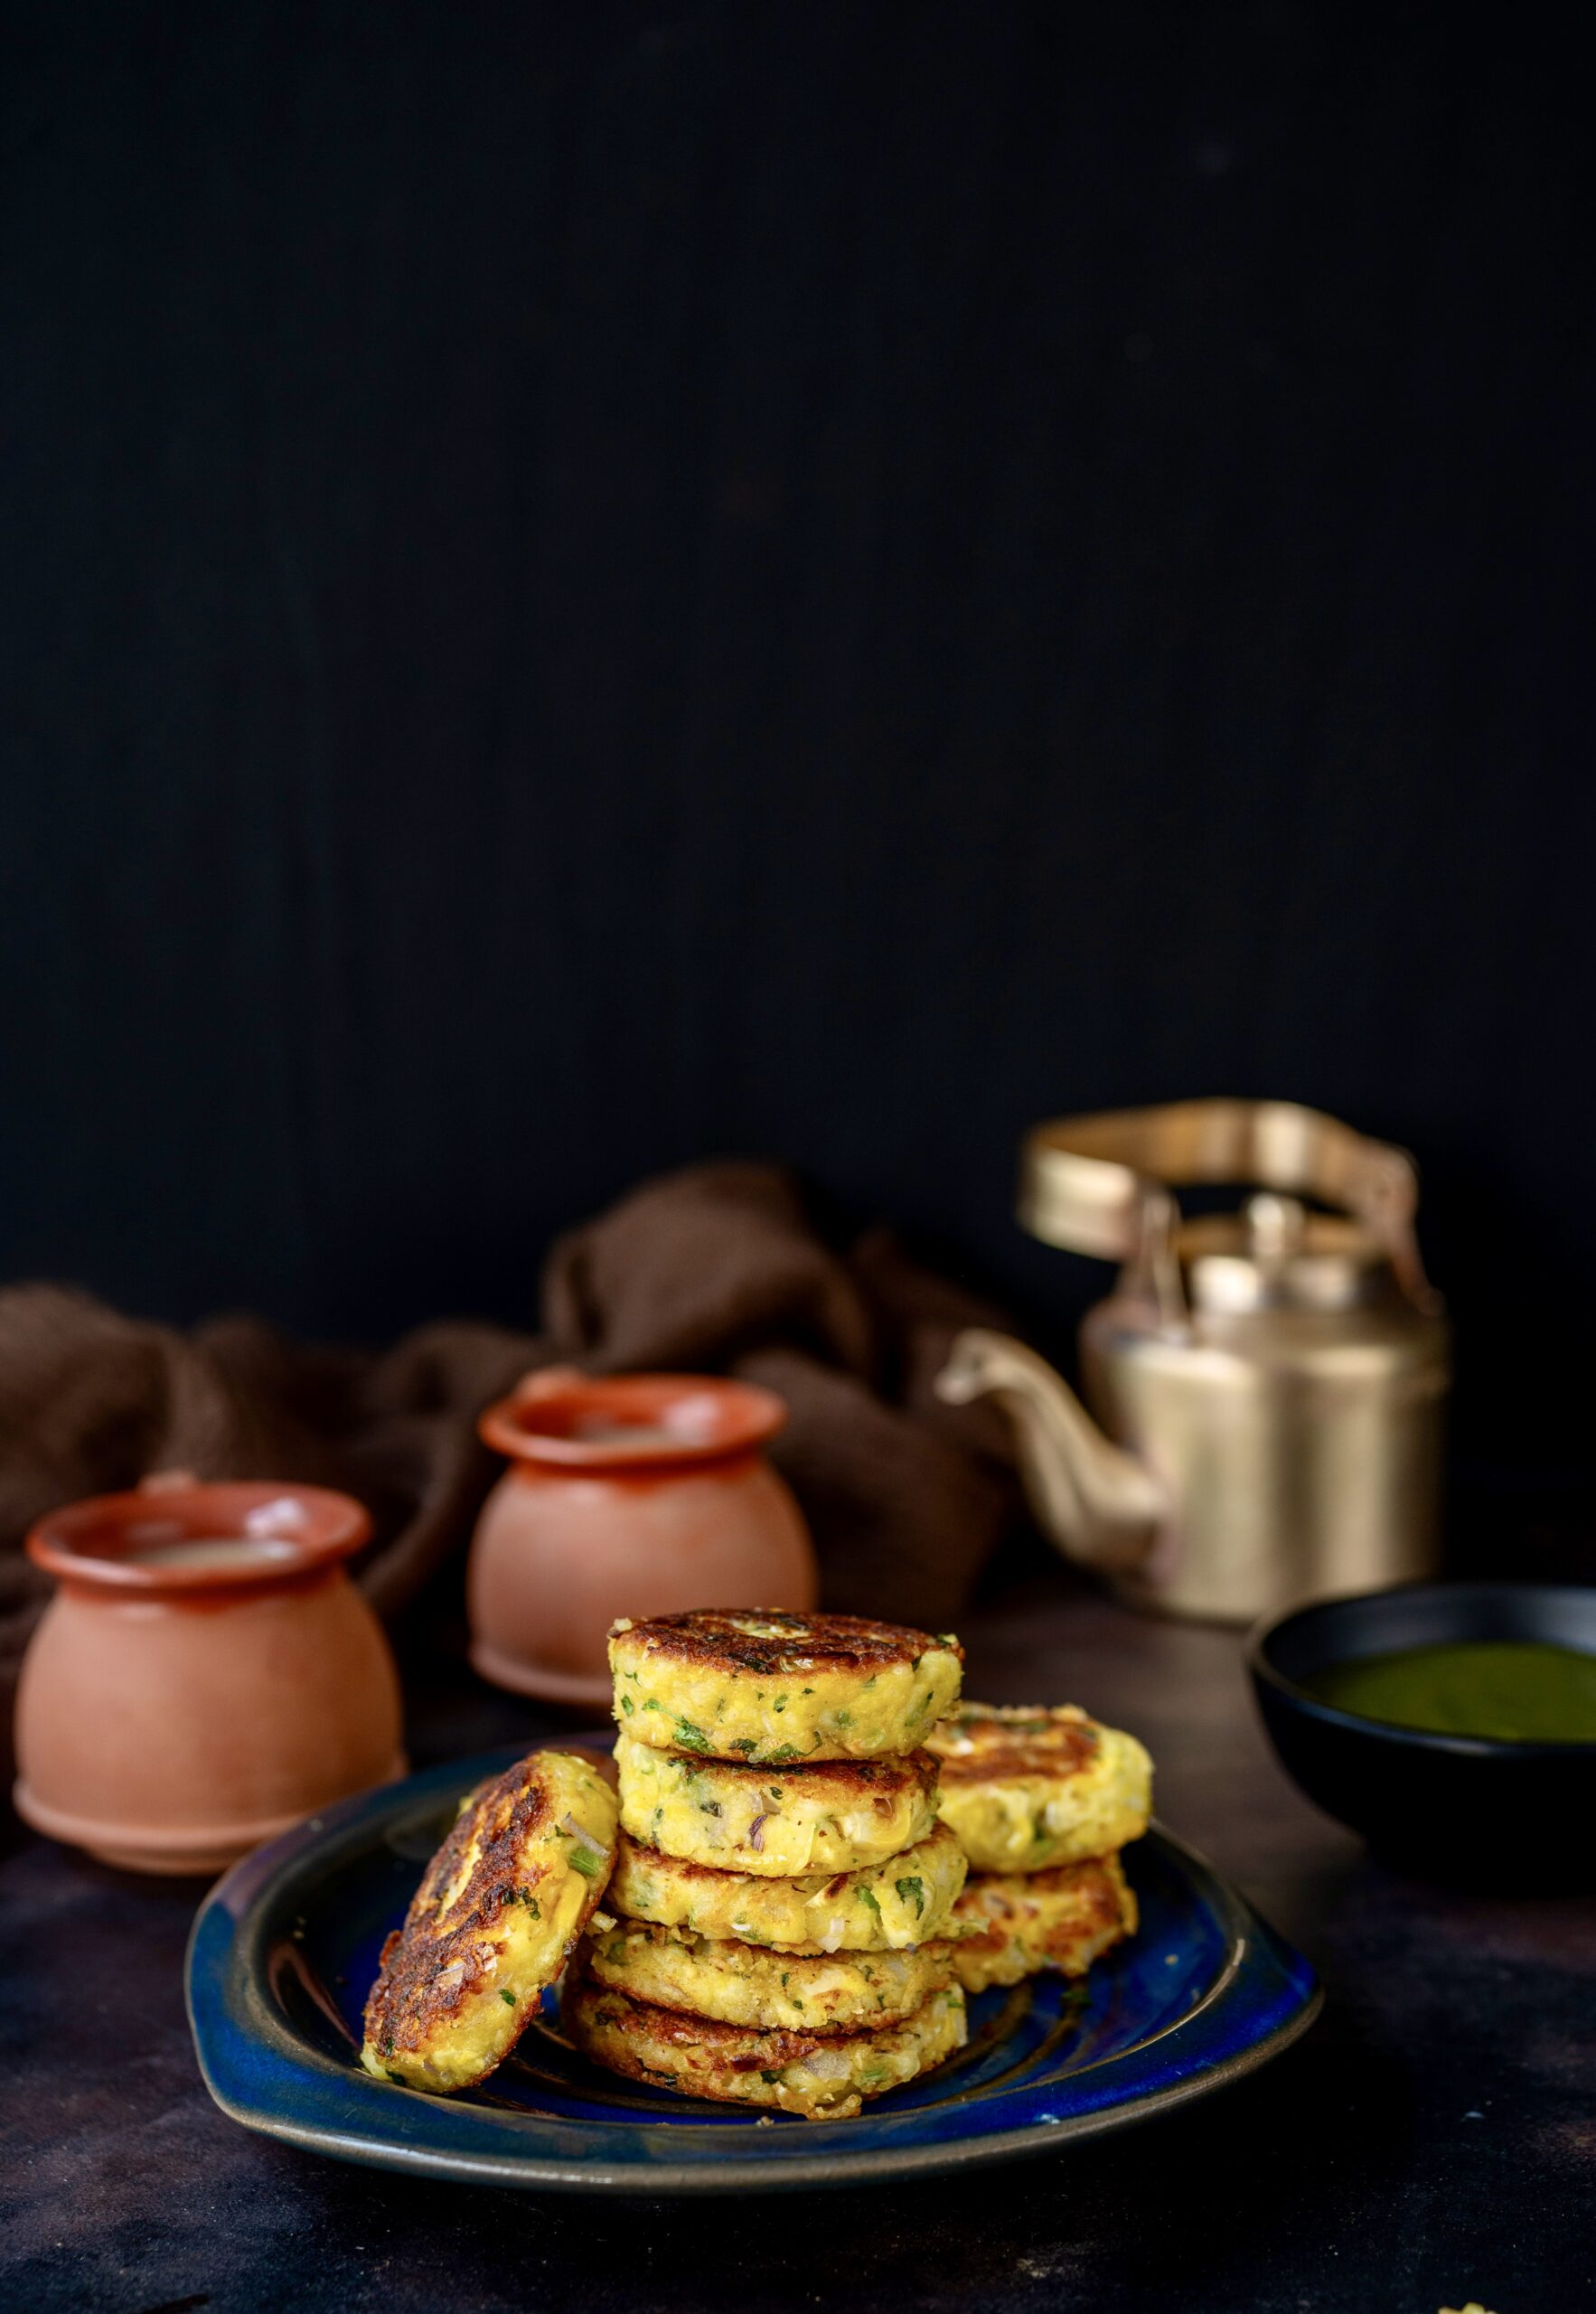
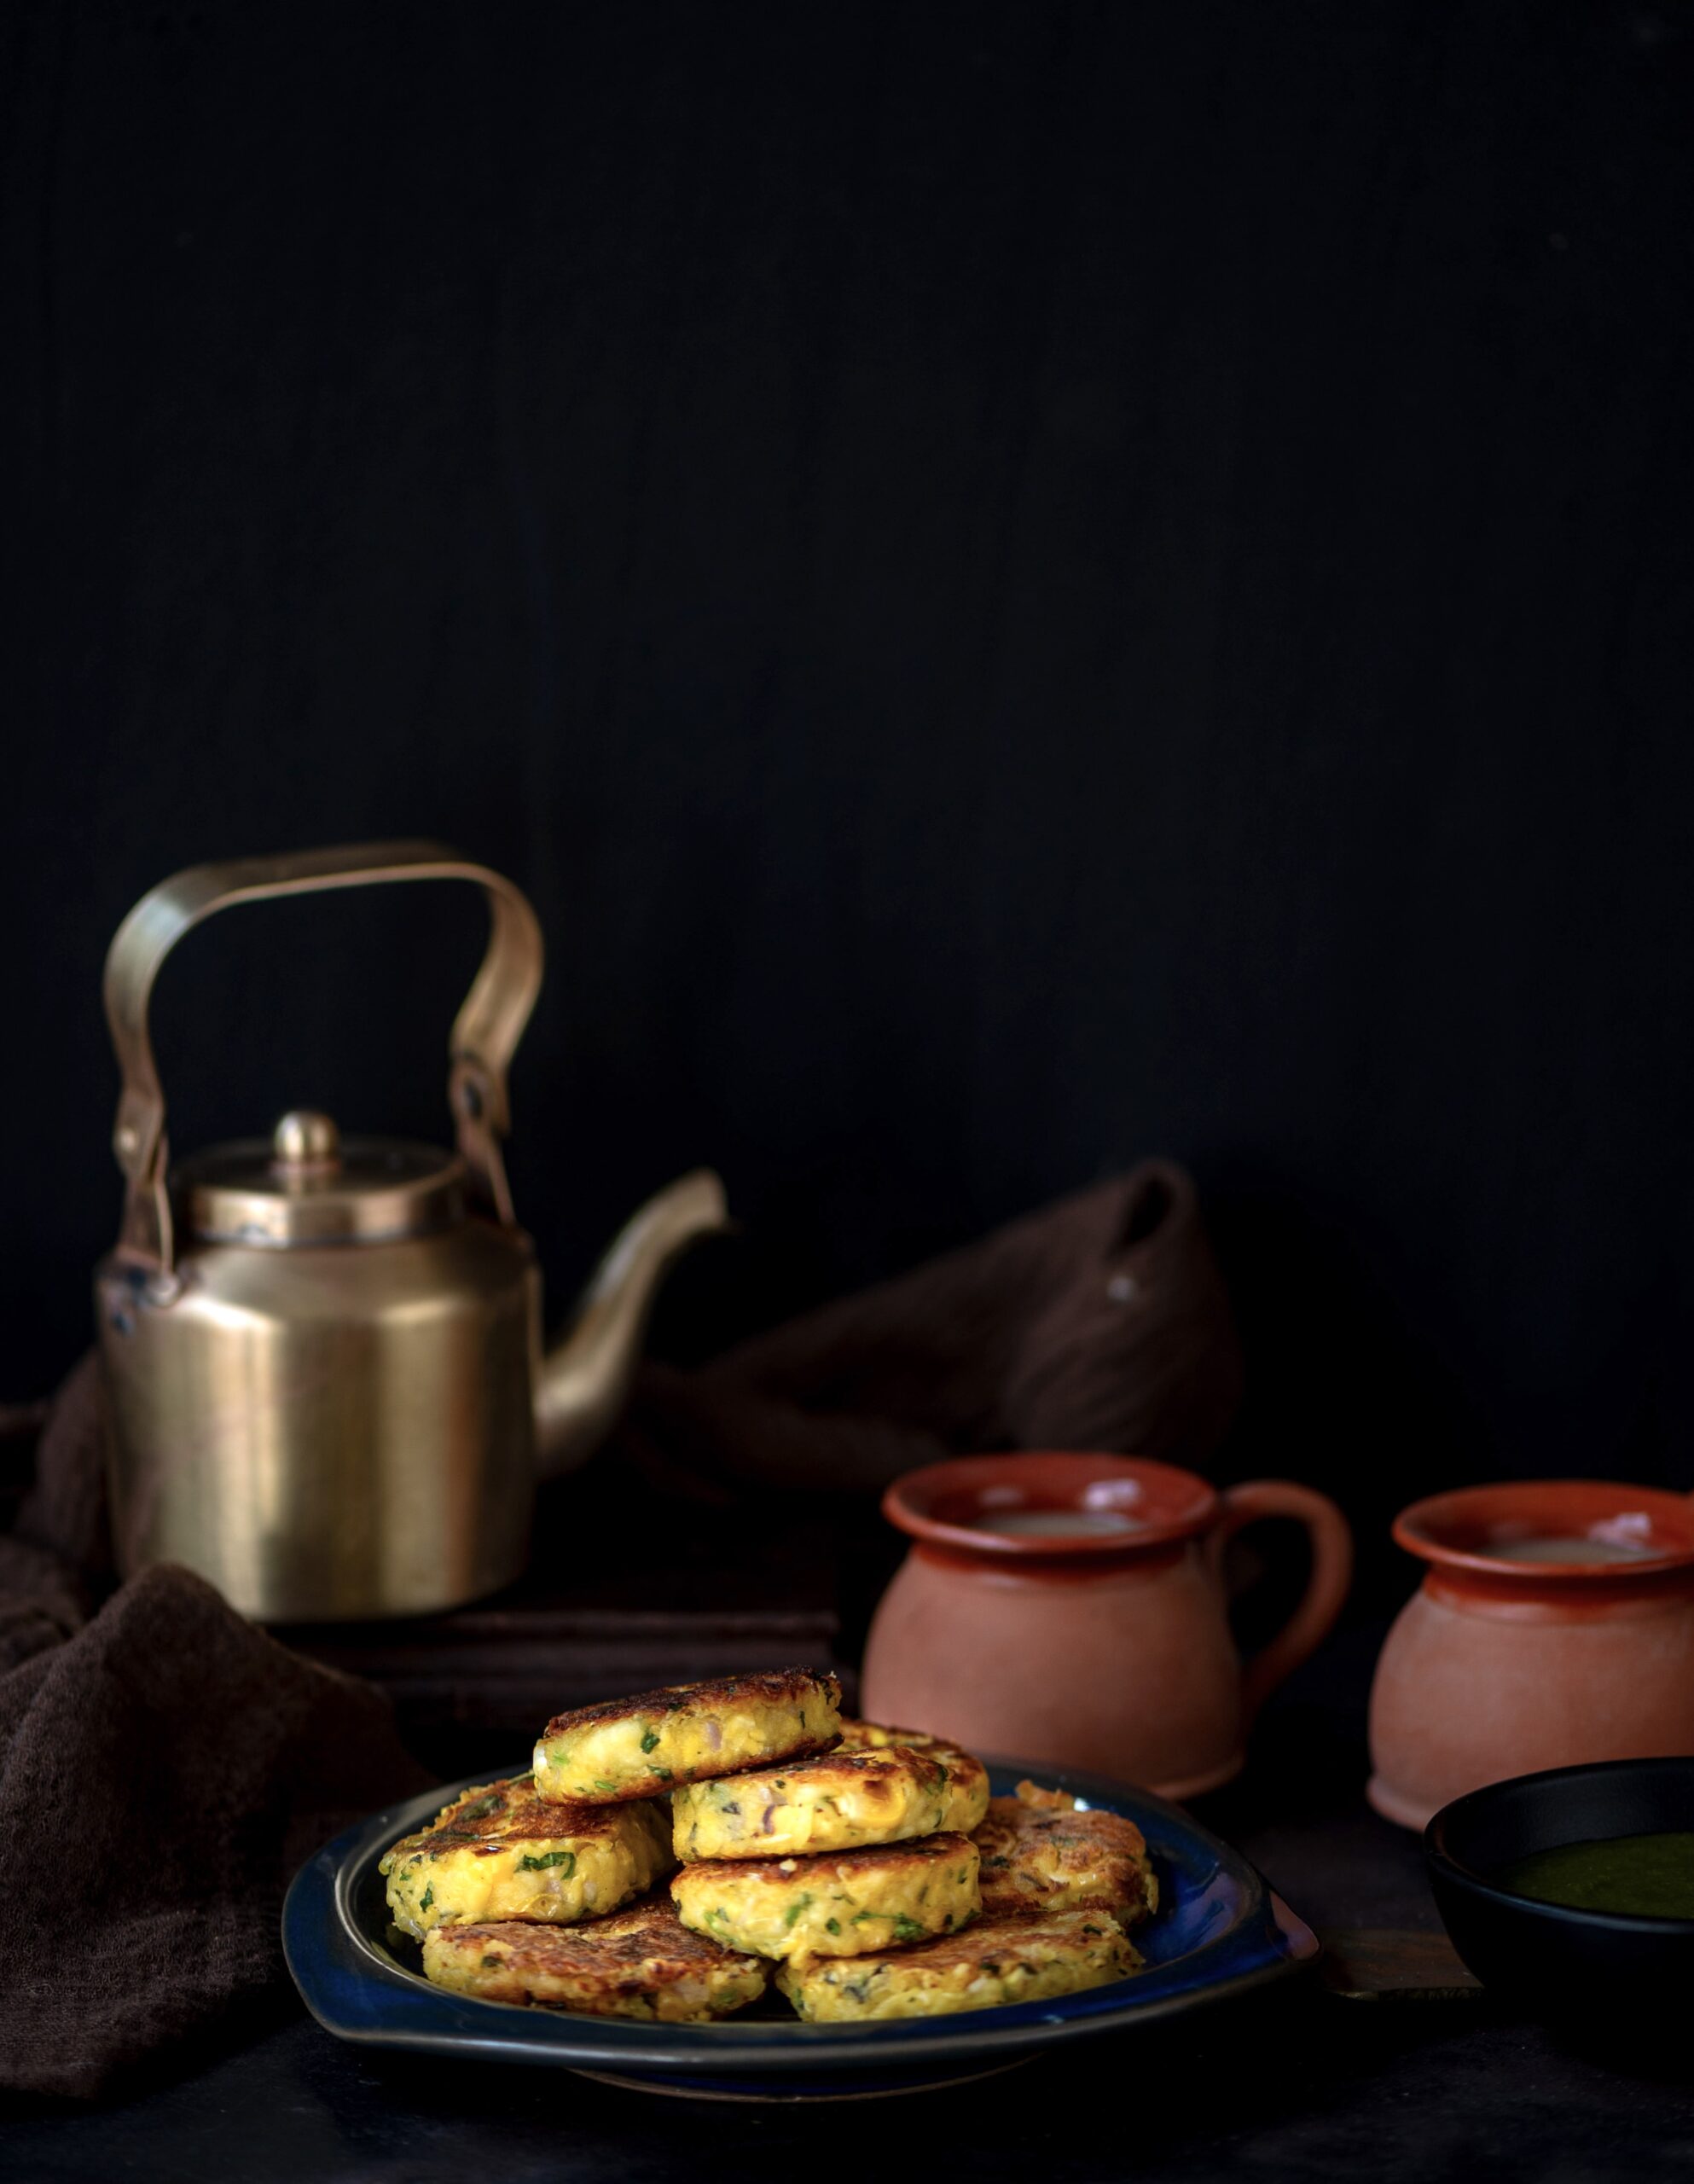
I am among a lovely group of friends who make it a point to carve out time from our respective schedules and meet often. We are always there to entertain one another, to lend an ear during times of trouble, and to celebrate birthdays and other special occasions. At least once a month, we get together just to catch up – sometimes these are wine evenings, and yes, sometimes these are “whine” evenings too, but all said and done we just love to have fun! A part of having fun means taking the pressure off any individual to cater and host, so we usually have potlucks. We come from different backgrounds and have different culinary skills and styles, so we wind up enjoying an eclectic spread. My forte is homemade cakes and desserts, although I’ll occasionally bring a salad along. One particular friend in this group is famous for her paneer and corn cutlets, and in the spirit of creating even more fun, here is the recipe for it.

Whenever she brings her cutlets to our gatherings, we simply swoop down on them as they are amazing. We never tire of eating these, and she was generous with the recipe so that we could all have them more often too. For me, they called to mind my mom’s cutlets, which utilized potatoes rather than paneer. I made some tweaks, as I usually do, and this recipe is a combination of both of theirs.

This is a bit different from the usual cutlets that have only a single main ingredient. You can choose to substitute either the paneer or the corn with a filling of your choice. For some inspiration, you can check out some of my cutlet recipes from earlier too.

I chose to use paneer as I try to avoid using gelling agents like potato, cornflour and breadcrumbs in my cutlets to make them healthier. You can certainly use these if you prefer, especially as you will get a firm and thick cutlet with a proper shape if you do. Mine are softer, and cooking them in a flat pan can be a bit more difficult. I use a non-stick pan with very little oil and cook each cutlet on both sides. I don’t deep-fry them, so that they make for a somewhat more nutritious snack or starter.

Aside from my girly gang, my family also love these corn paneer cutlets, so I try to use them in versatile ways. Aside from being served with a dip or chutney, they also work well as patties. The large ones can even be served as the main part of a meal when you are avoiding grains. To make them bigger, you’ll need to dip them in egg and breadcrumbs, in that order, and pan-fry them. Then, layer them with vegetables and bread and have them as burgers or sandwiches. The mini ones can be turned into sliders too.

Corn & Paneer Cutlet

(Yield: 6-10 pieces)

1 cup grated paneer

½ cup whole corn (finely chopped)

1 teaspoon ginger green chili paste

1 teaspoon garam masala

1 teaspoon chaat masala

2 tablespoons coriander leaves (finely chopped)

Salt to taste

2 tablespoons oil

In a bowl, mix all the above ingredients using your fingertips.

Now, make small discs. Press them well so that they do not split while cooking and are slightly flat.

Add some oil to a heated pan and place the flattened discs on it.

Do not move them too much or flip them too quickly. Allow to cook on one side and only then gently flip them. Let them turn a golden colour on both sides.

Remove them and serve hot with a chutney of your choice.

Personally, I love making them bite-sized and popping them into my mouth with green chutney. As with many things, these corn and paneer cutlets are even better in the right company! I hope these make their way into your potlucks and parties too.
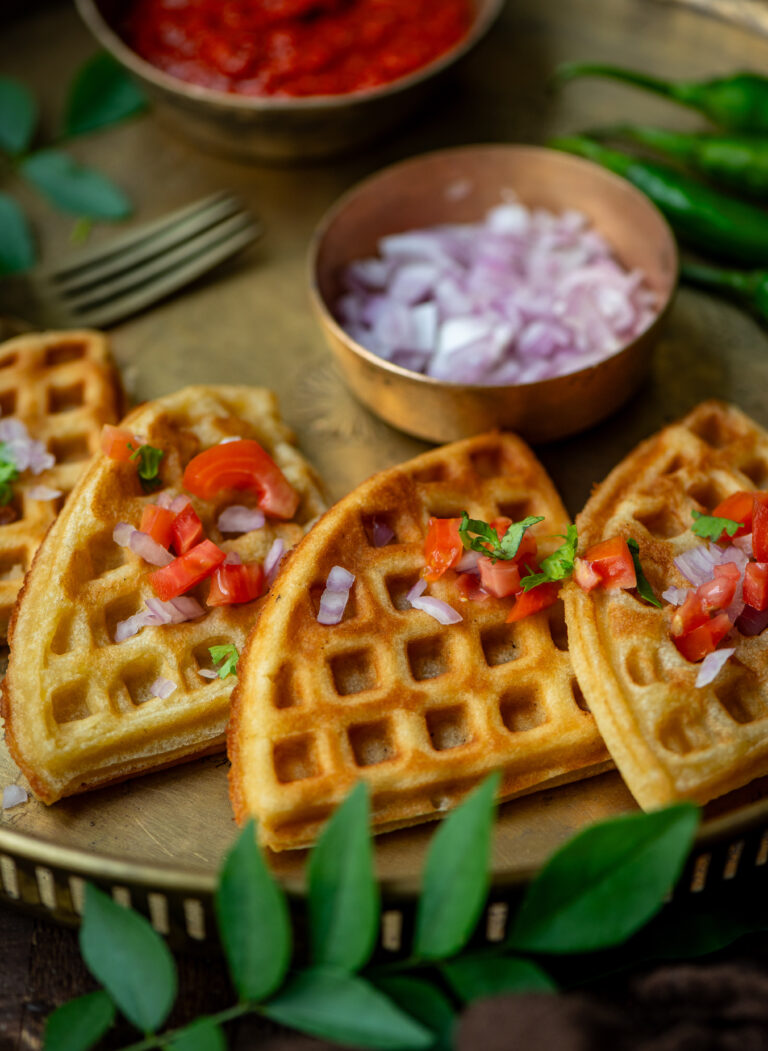
We entertain very often at home, or at least we used to – especially when our kids were growing up. With three kids, some friend or the other of theirs would invariably always be around, and I was constantly thinking of what to put on the table that would entice them all to eat well. Some idly and dosa batter, made from scratch as I shared in my previous post, would always be in the fridge, and I discovered many years ago that I could use it innovatively. Most children are attracted to waffles because of their aesthetic, and I found that presenting a dosa with veggies in this form was quite appealing to them. While it was not the sweet treat they were used to, they enjoyed the presentation itself – and dosas of course are always tasty, too.

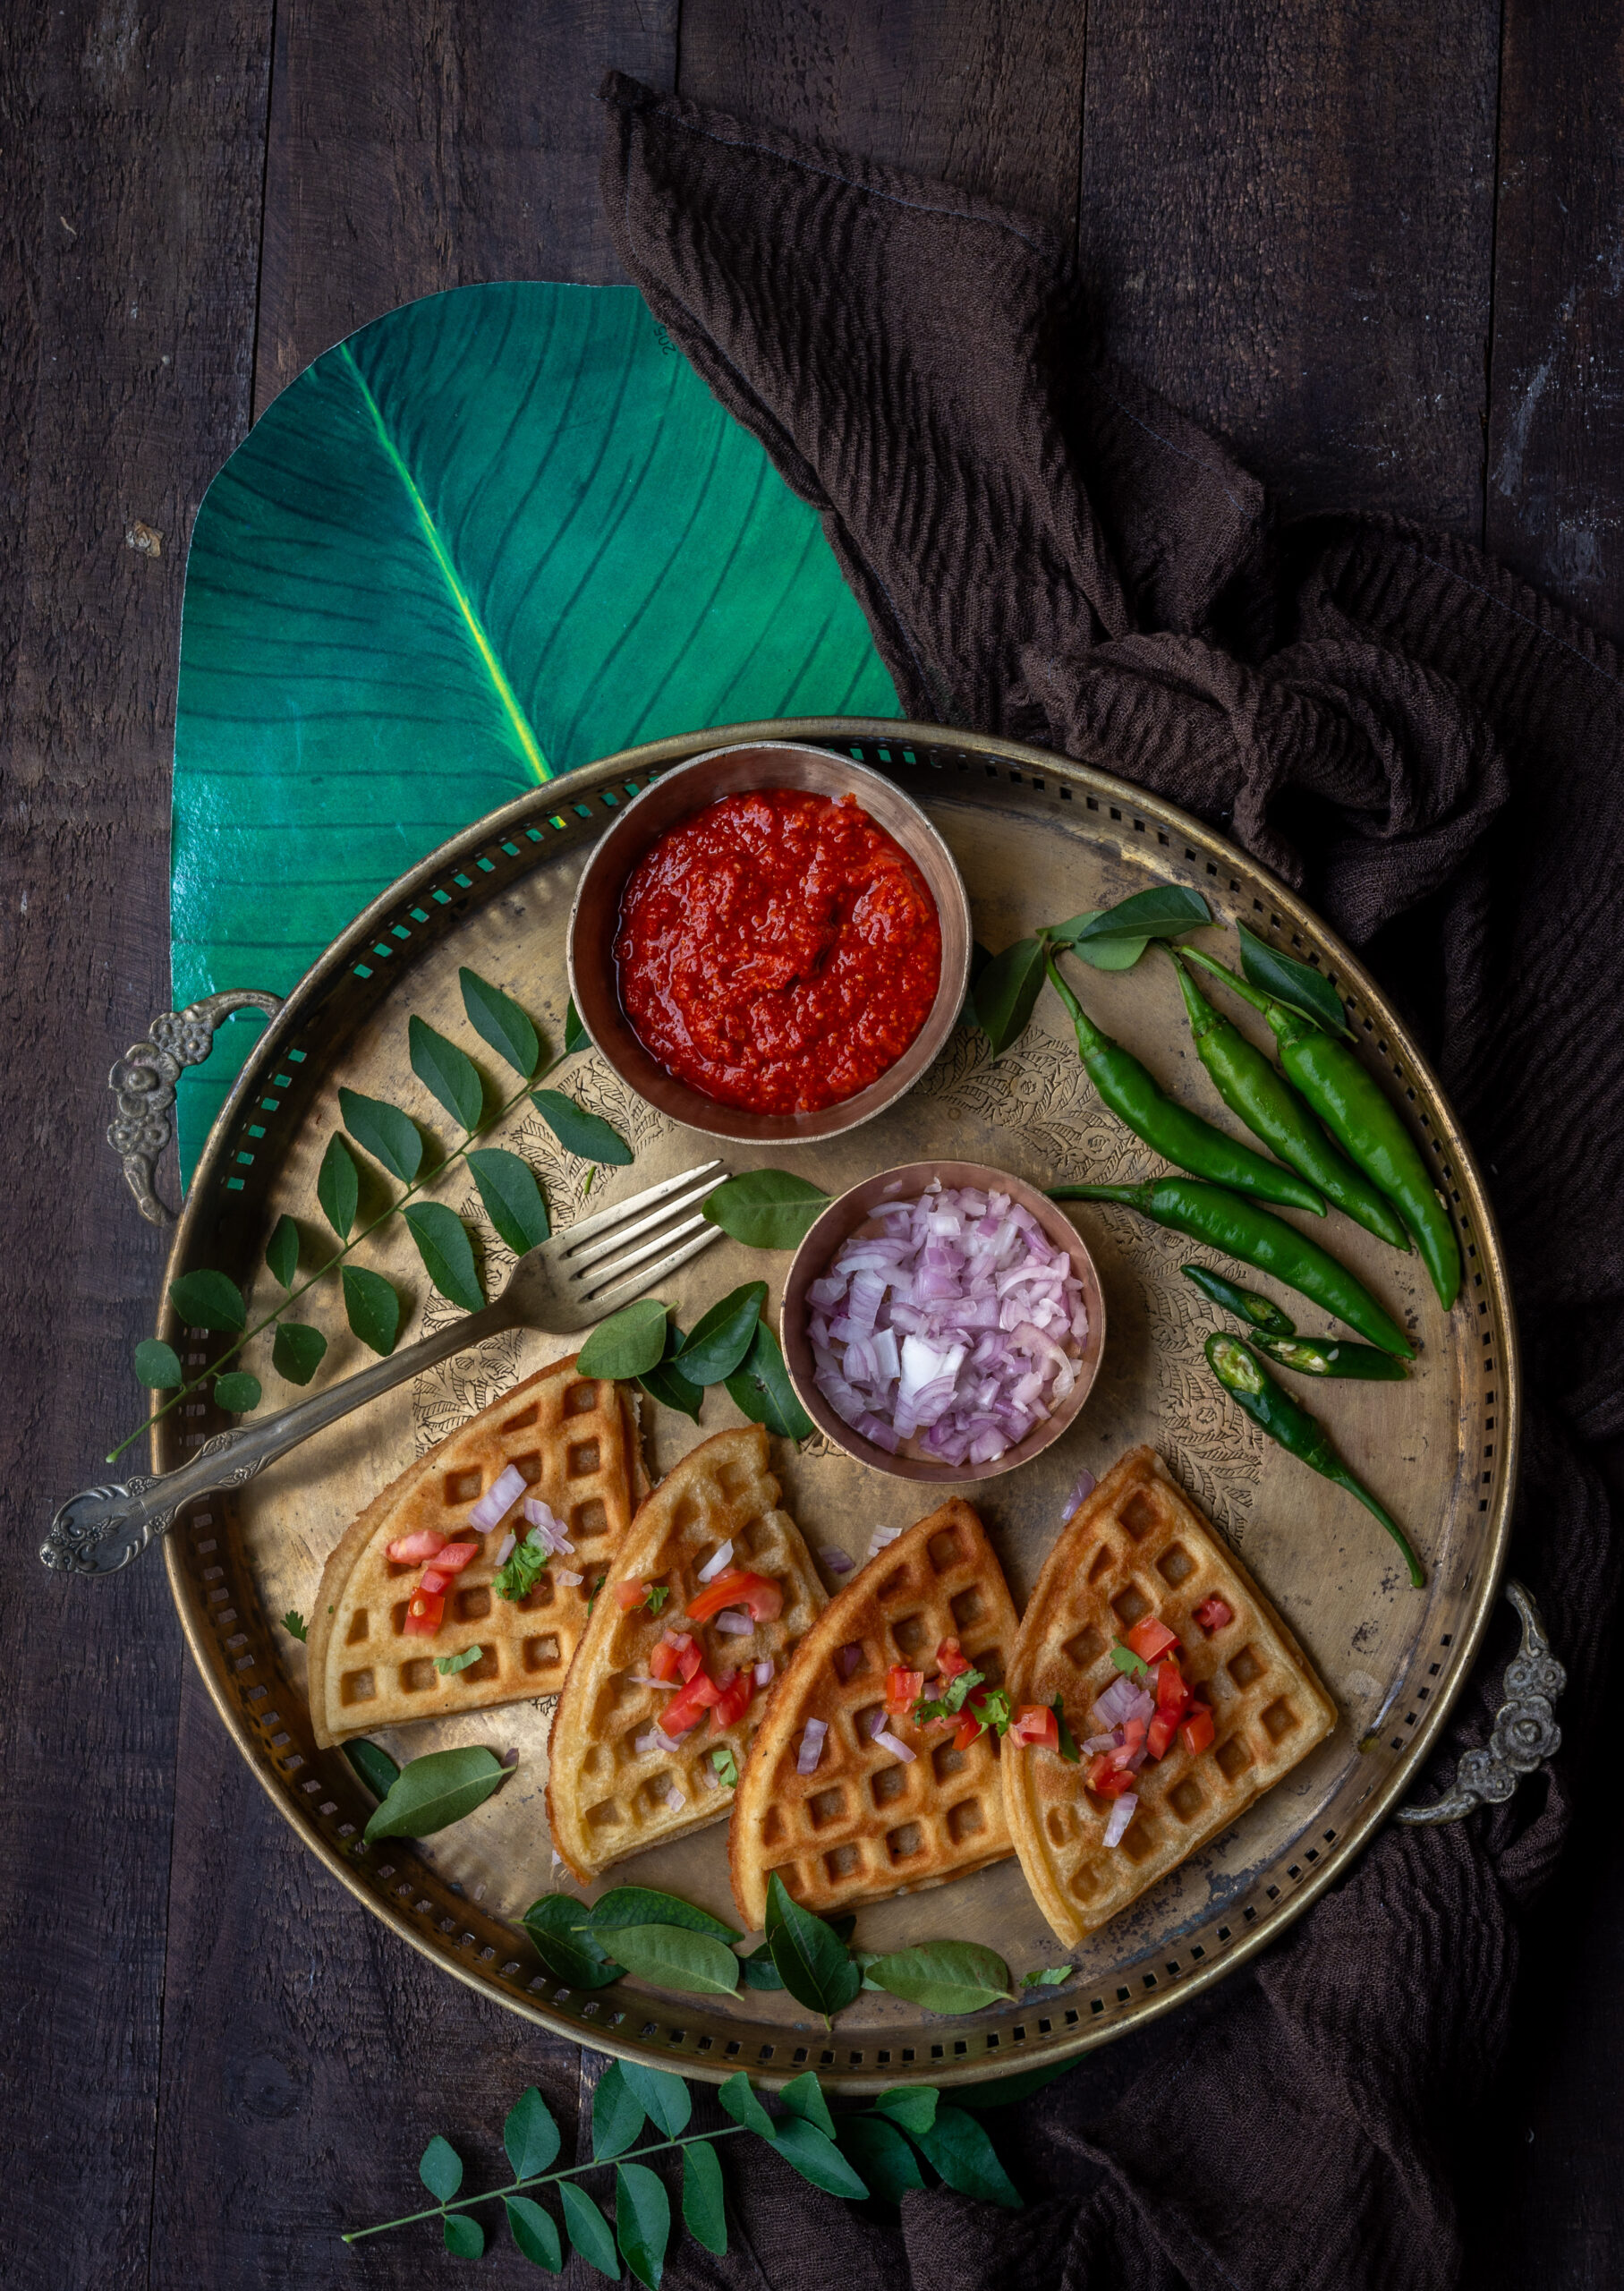
My last batch of dosa batter, which I prepared for my photoshoot for the previous recipe, inspired me to take my waffle iron out and return to this nostalgic favourite of the family’s. I recalled having made handvo with this device in the past too. I am sure that parents all over the world have similar recipes and tricks to keep their kids intrigued by food, while also eating nutritiously. I have always loaded my dosa waffles up with carrots, coriander and bell peppers, so that there is more goodness in every bite, and still do. They pair with any type of chutney that you would usually consume a regular dosa with, and I have quite a few options among those for you to explore on this blog as well.

I too enjoy how these dosa waffles present themselves, in attractive shapes that are just as good for a bit of novelty for your guests or for yourselves as they are to serve to children. They have started to become a dinner dish for us nowadays too, just for fun.

Speaking of fun, I must confess that I have a weakness for buying gadgets for the kitchen, and often have to control myself when it comes to these appliances. My latest affection has been for a Cuisinart food processor. I may have too many such items, but occasionally one of my now grown-up children will drop by and say “Hey, cool gadget”. Then, I’m happy to give them the device and downsize, knowing that I’ll be contributing to their own kitchens and culinary memories.  I fondly recall how the time when I first acquired a waffle iron was very exciting for me, and I enjoyed how it also doubles up as a sandwich maker. Then, I learnt it can make quirky dosas too!
While I share below a simple recipe for how I make dosa waffles, remember that you can experiment with ingredients of your choice. I think that if they are spiced right, they can even replace teatime sandwiches. They’re just as good for breakfast. And of course, I know for a fact that they are perfect to put in children’s lunchboxes to send them off to school with!

Dosa Waffles

(Serves 5)

4 cups dosa batter

½ cup grated carrots

2 tablespoons coriander leaves (finely chopped)

¼ cup chopped onions

A pinch of salt

1 green chilli (finely cut)

2 tablespoons green bell peppers (finely cut)

1 tablespoon oil

In a bowl, add all the ingredients and mix well.

Heat a waffle iron and drop a ladle full of batter in each section. The batter will spread. Use the waffle iron as per manufacturer instructions. Close gently.

Cook until golden. Serve your dosa waffles hot, with a chutney of your choice.

I hope the look of the waffles brings novelty to your mealtimes and brings a dash of innovation to your daily dosas!

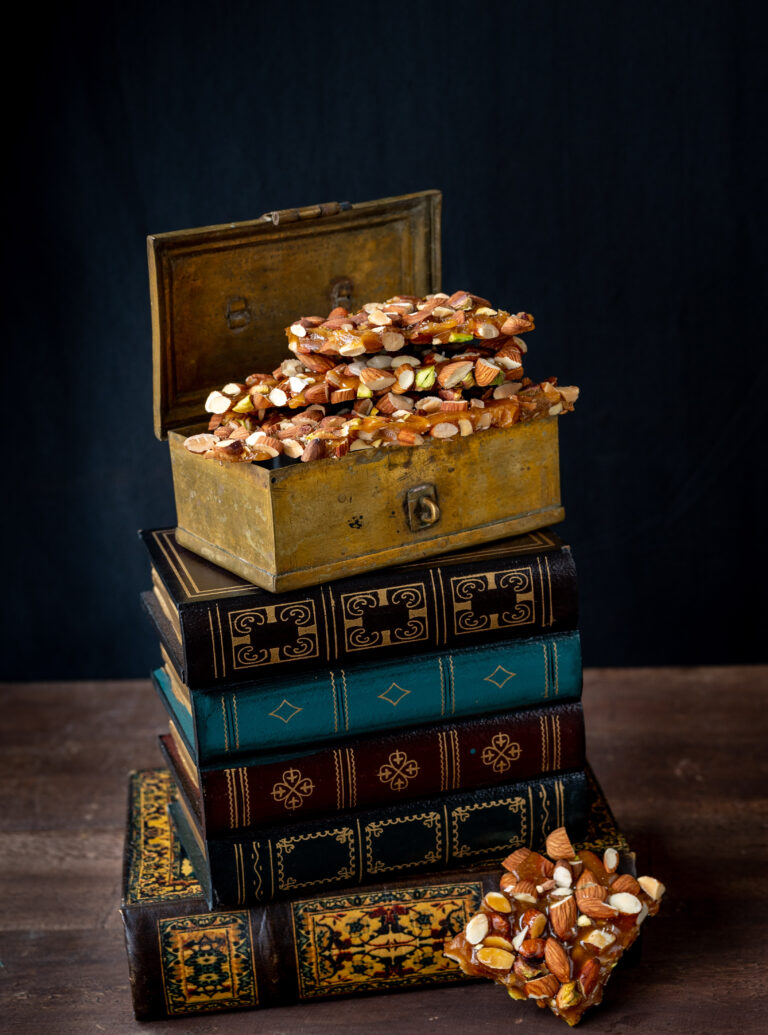
(above: re:store’s almond brittle)

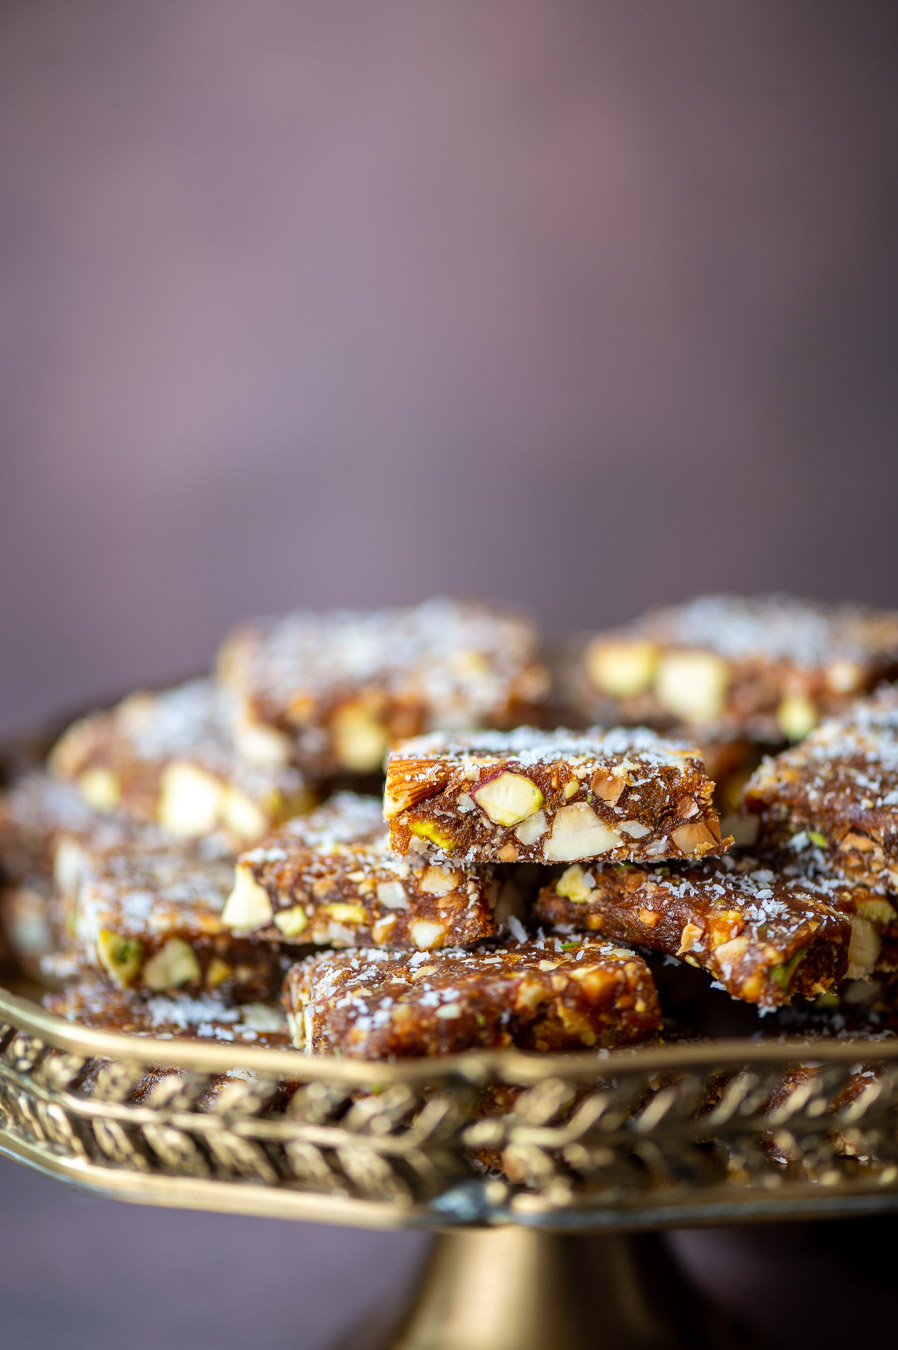
(above: re:store’s date squares)

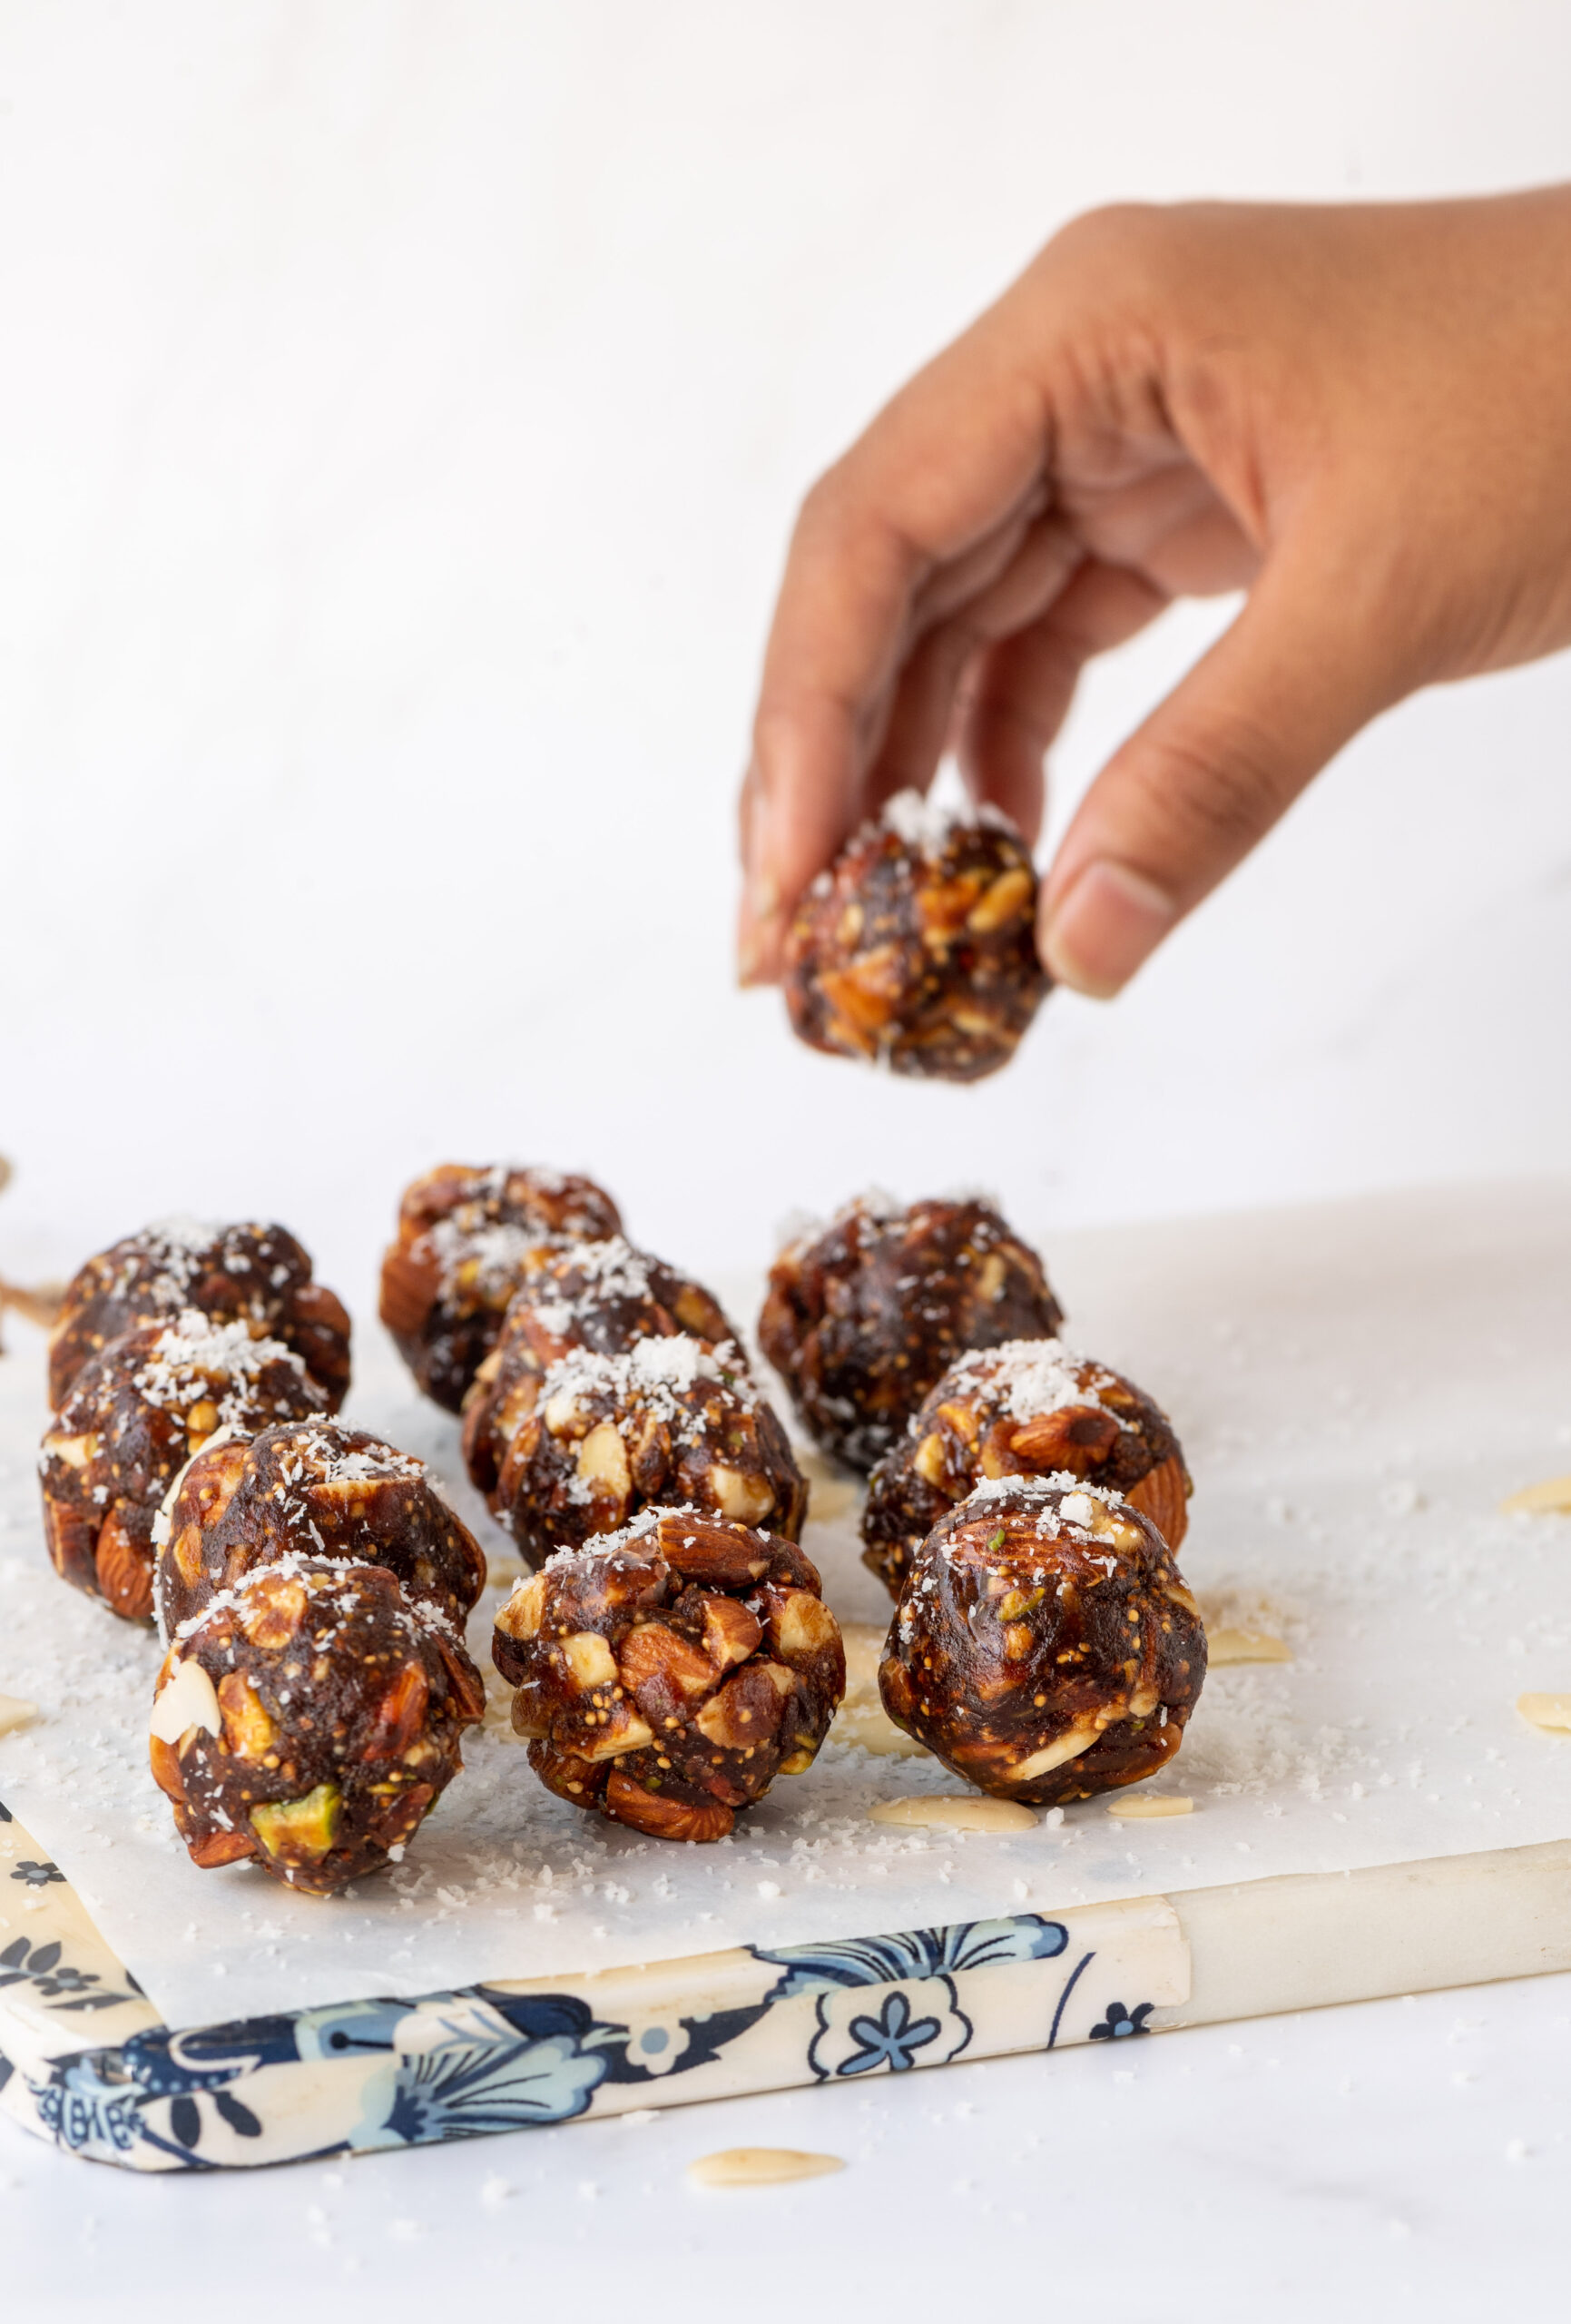
(above: re:store’s fig rolls)

(above: re:store’s chocolate cupcake)

Maintaining a standard of quality that is always up to the mark is very important to us at re:store.

Everything that is prepared in the re:store kitchen is exactly what my own family eats, and I put the same amount of care and effort into preparing it. In fact, when one of my kids comes home to visit, I always pack them a parcel of re:store goodies (sugar-free, as well as some with sugar) when they go back. The date squares, almond brittle and fig rolls are perfect for this, as they are travel-friendly and keep for a while. And when my kids are here at home, they regularly enjoy many of the re:store cake varieties too.

Before I introduce any new product, I put in a lot of research, conduct several trials, and get as much feedback as I can from friends and family. Only after that will I offer it to my clients. You can see the current product list here. I really look forward to your orders in the coming year and beyond.

As I said, quality is everything at re:store, as it is with everything else in life too. That’s the thought I am going into 2023 with.

My wish for us all is for good health. I can see that ever since the pandemic began, food has become a major focus for many. People have come to accept that what we consume can be the cause or the prevention of many illnesses. That said, let us not body-shame or take medications to change our bodies. Let us instead reflect on how food can be the source of our overall well-being. Let us also consider traditional and seasonal ways of eating, as passed down in one’s community or location. Let food be what helps us resolve issues.

I’m not denying that we need our indulgences, yet I believe – especially through the creation of my baked goods and confectionery at re:store – that even these can be nourishing and clean.

Wishing us all a healthy and delicious year ahead!

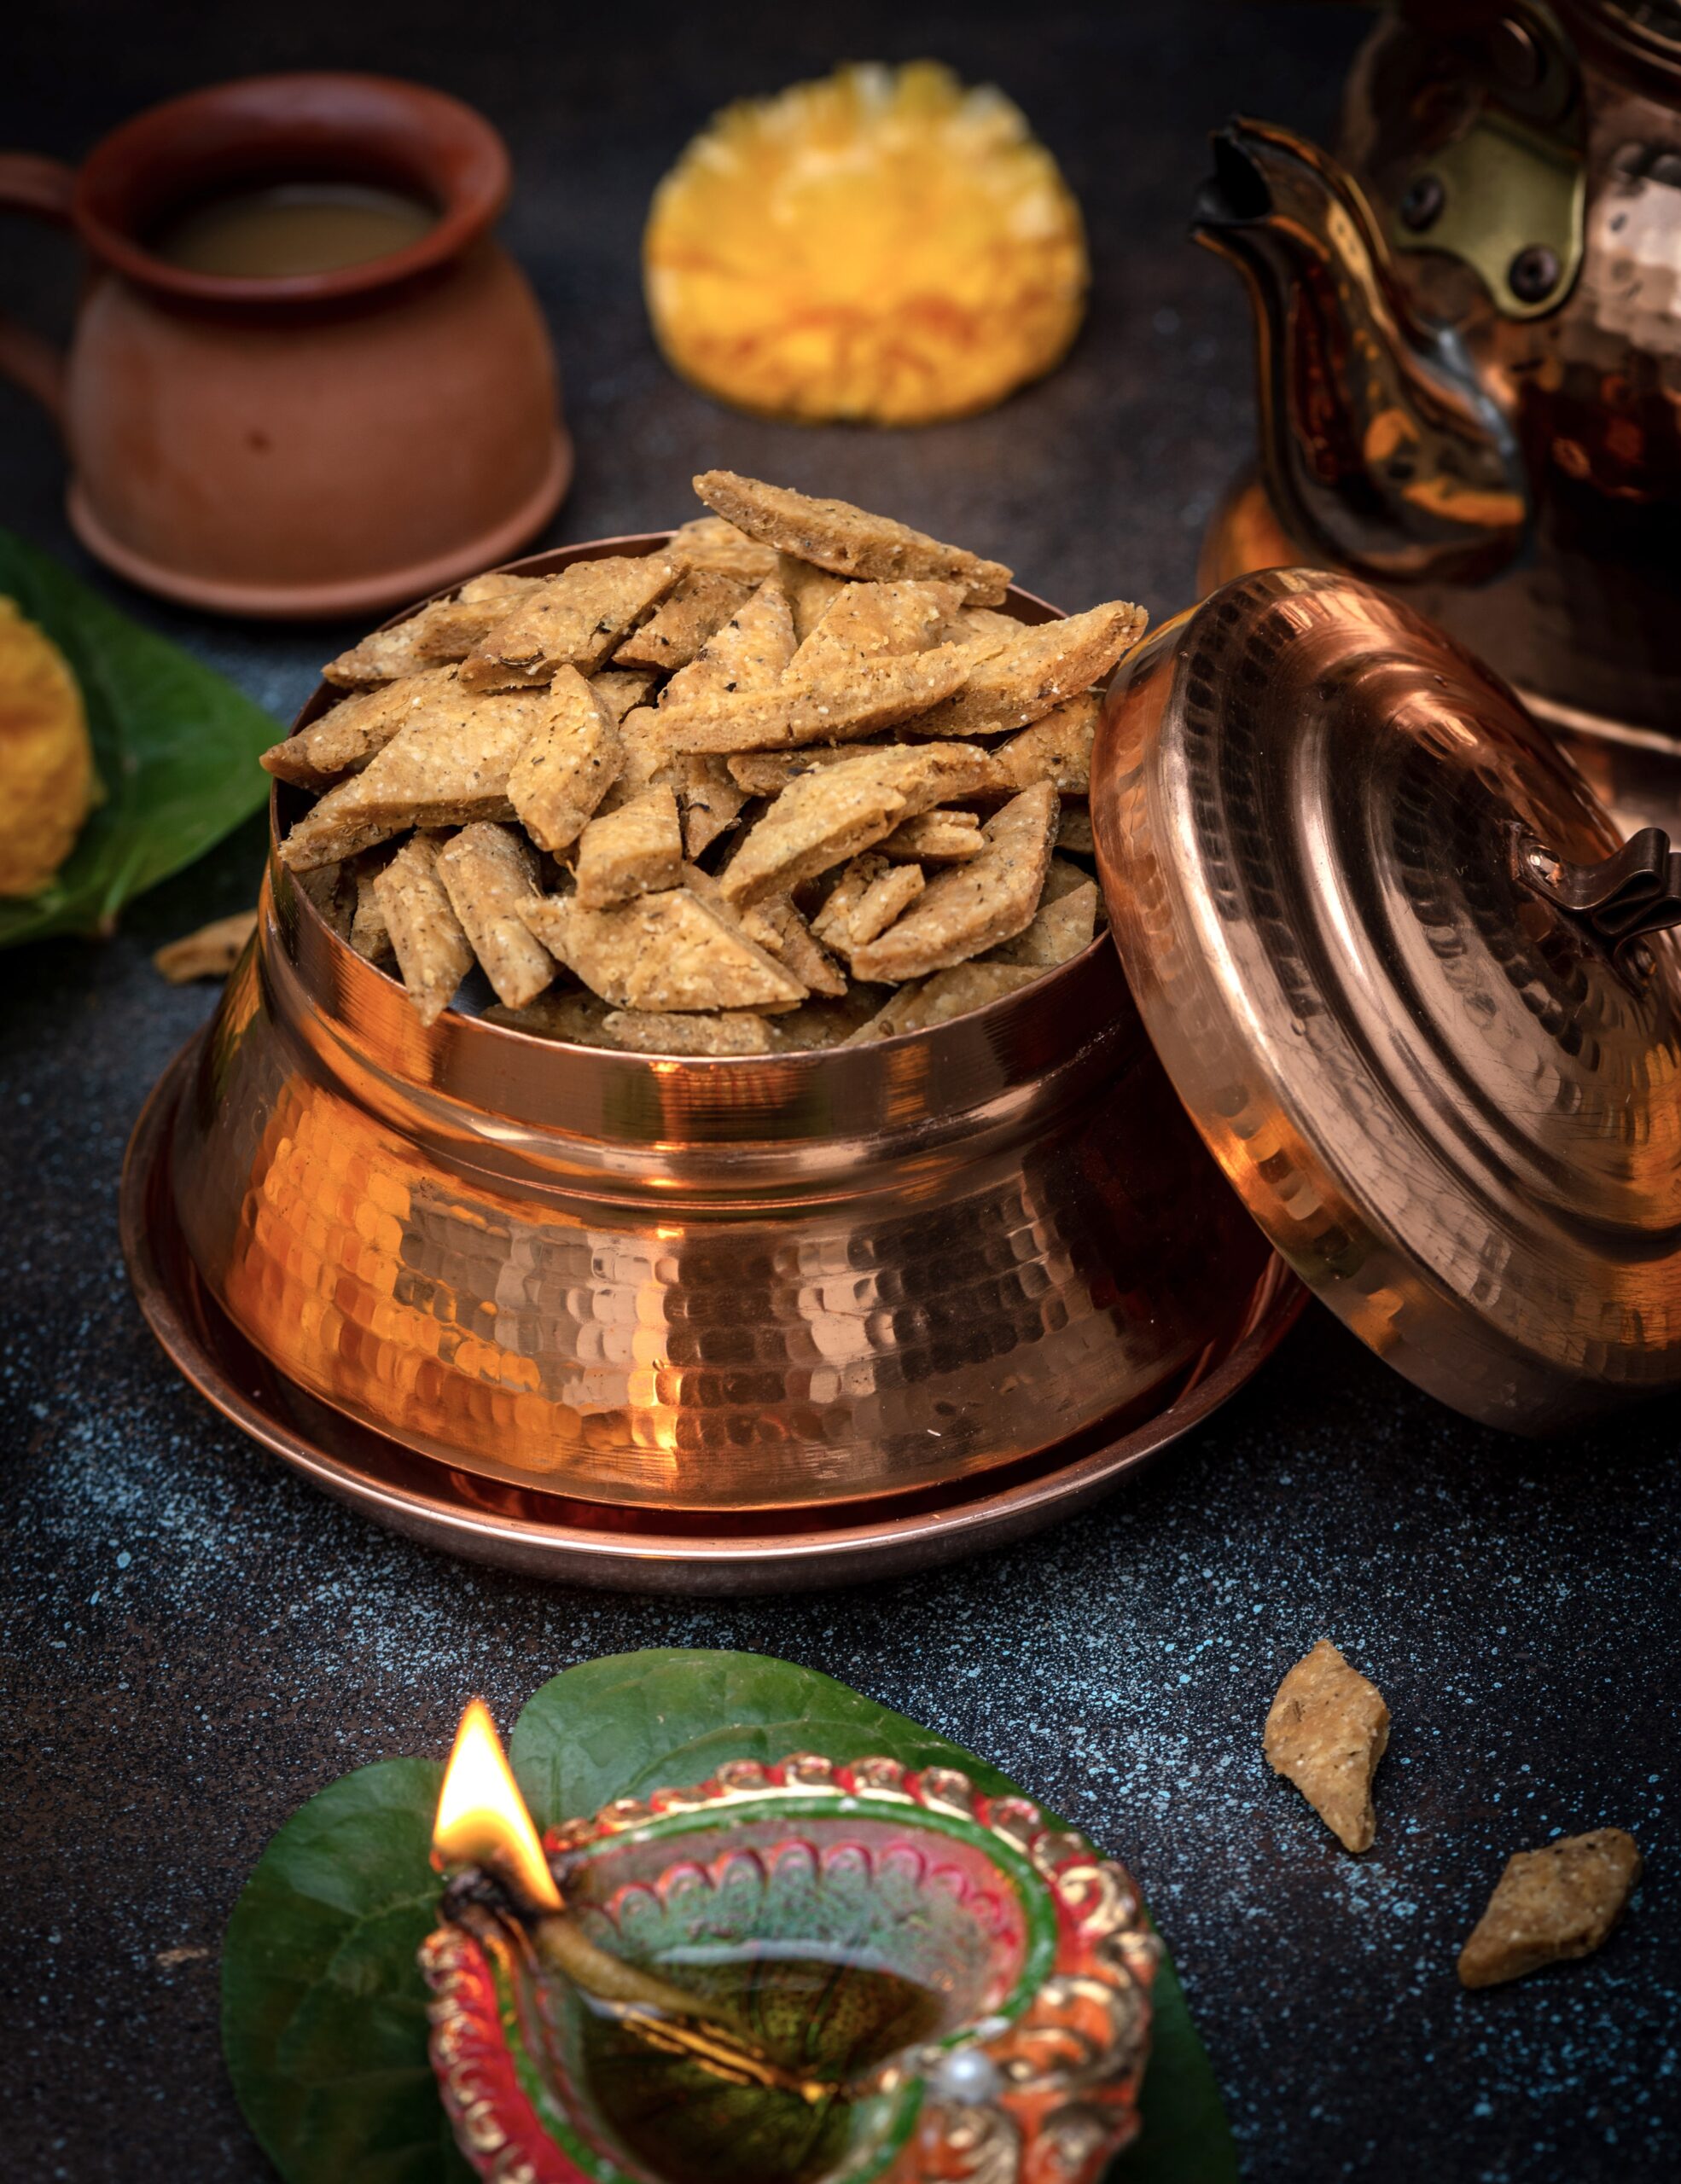
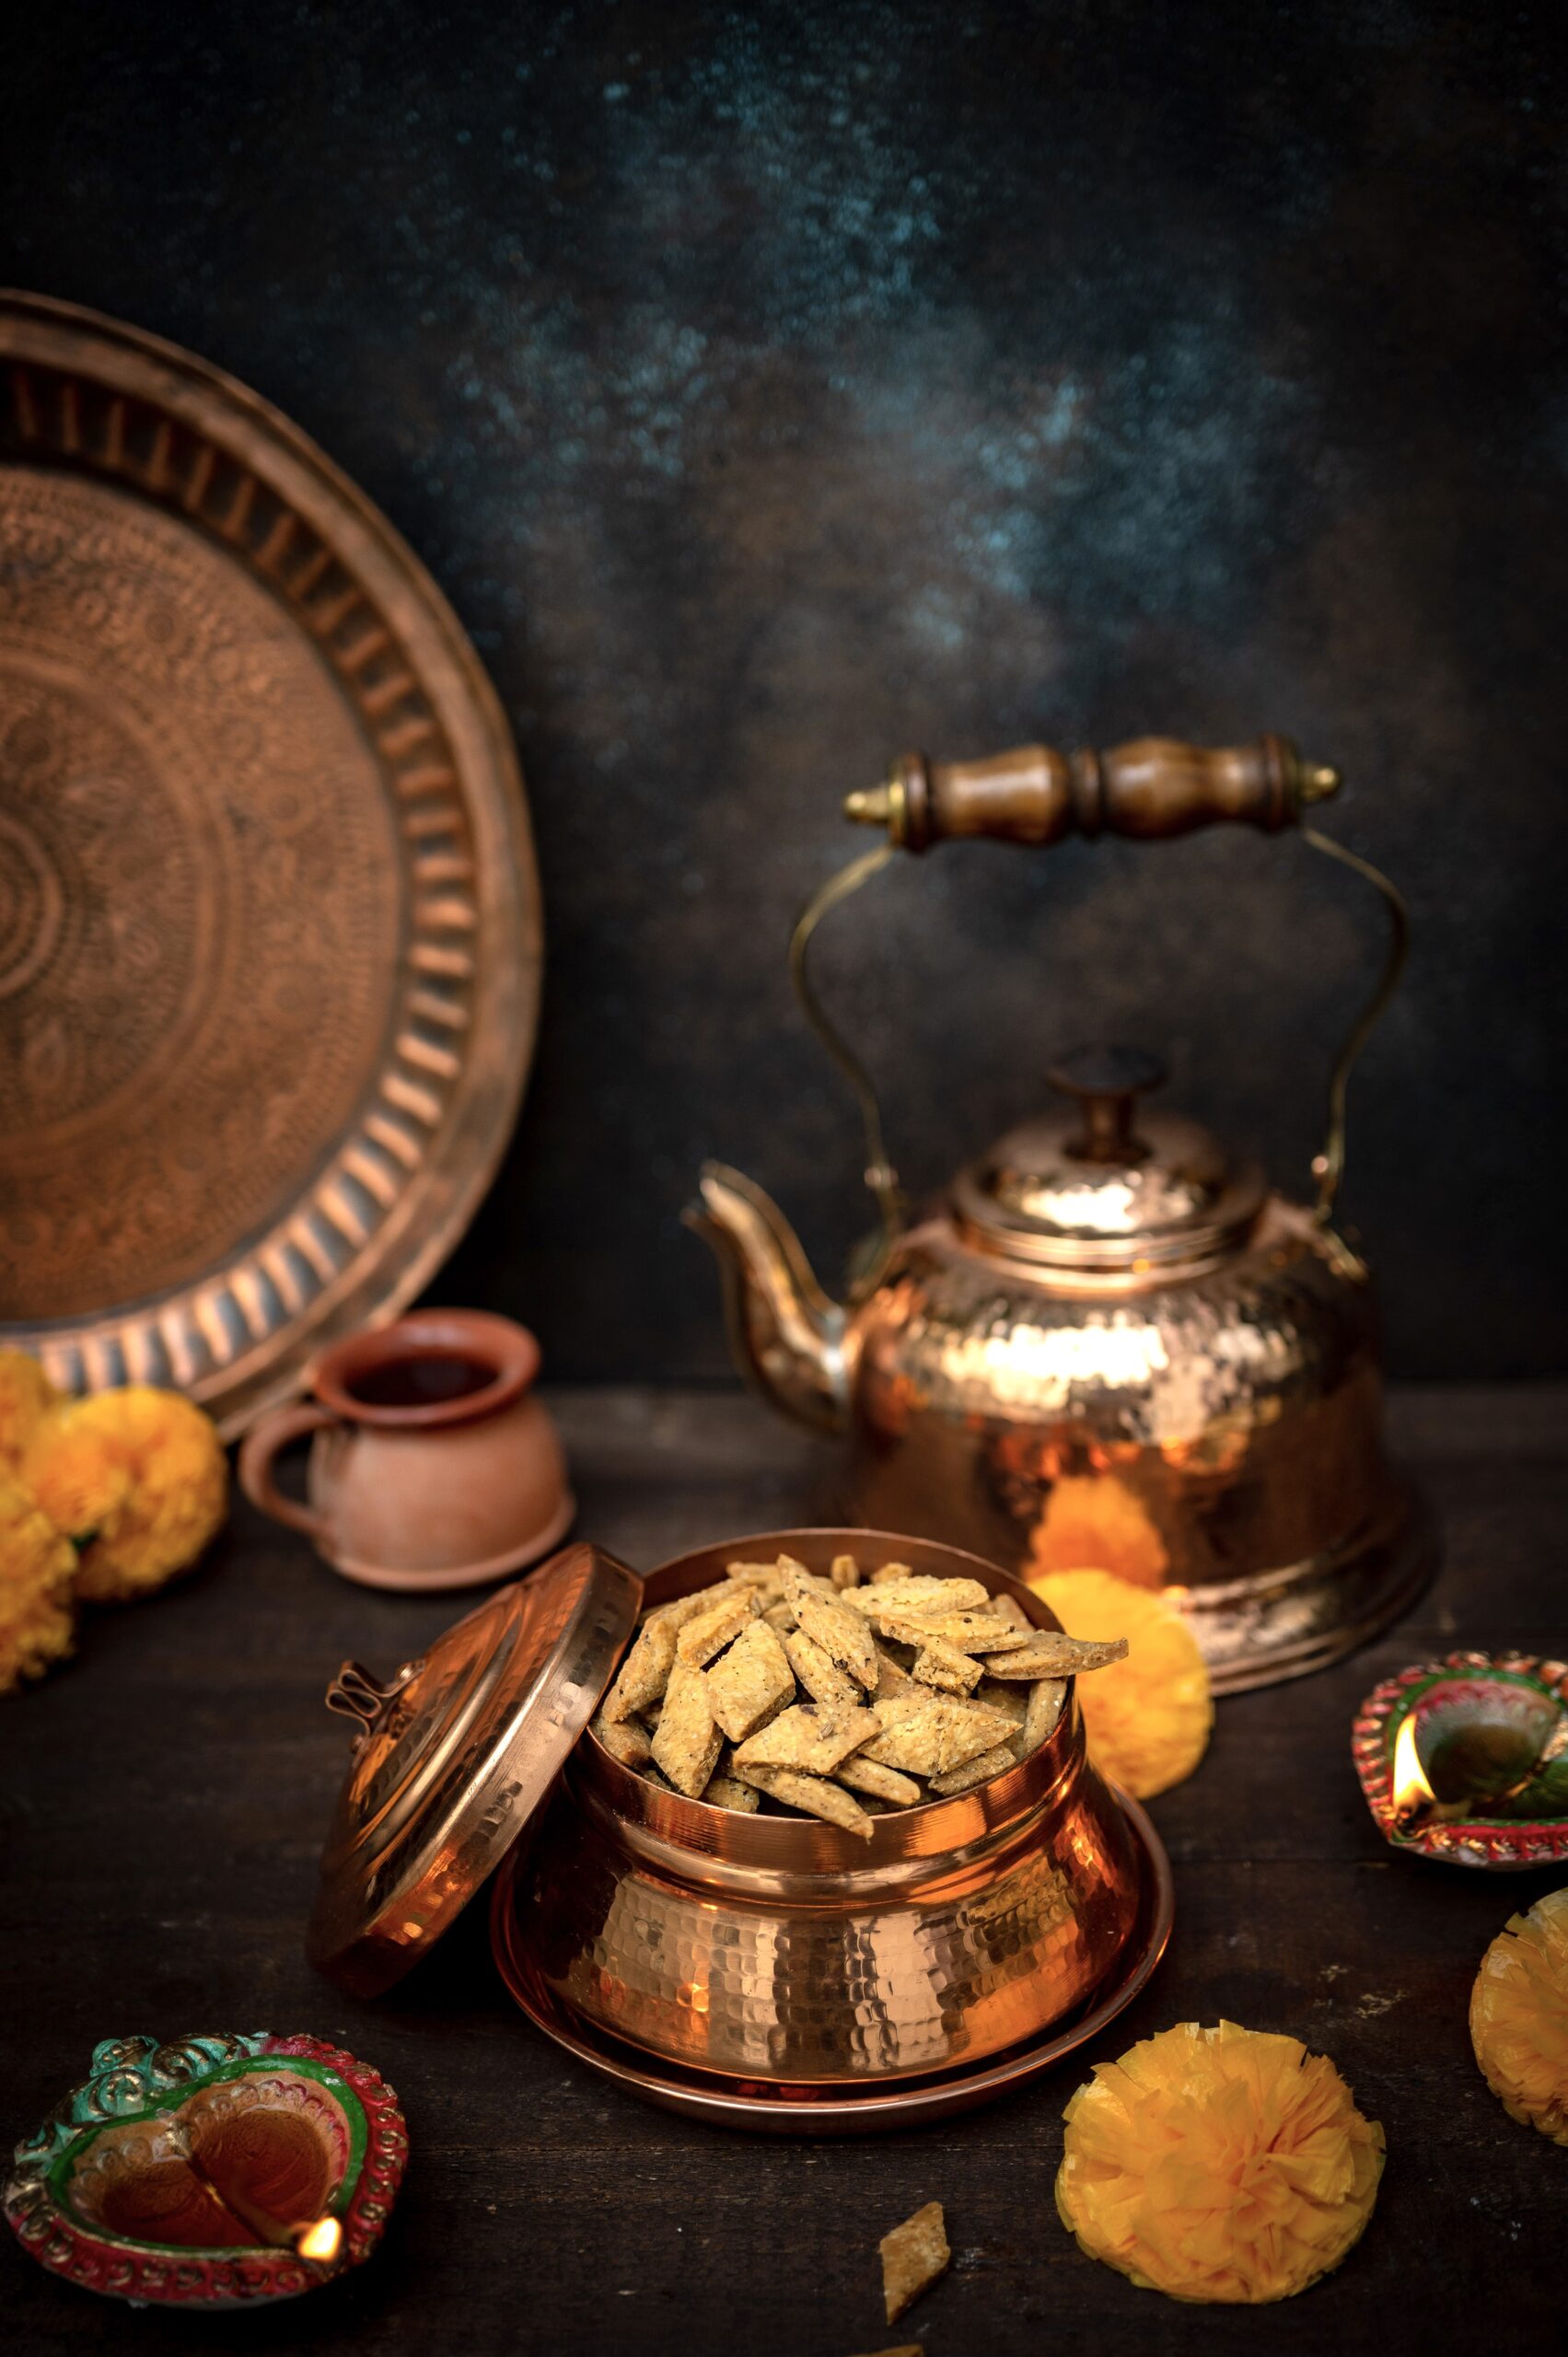
The re:store kitchen has been abuzz with orders this festive season and amidst all the delight of preparing your favourites for you, I’ve been taking some time to make some goodies for my family too. Among these is namakpara, a snack that is a type of Indian biscuit. The sweet version is called shakarpara (“shakar” means “jaggery” and “namak” means “salt”). I thought I would share the savoury version with you as it deliciously counterbalances the taste of the many desserts that you’ll no doubt also be enjoying during this indulgent month!

My absolute fondest memories from childhood have to do with the big festival of Diwali. All of us kids looked forward to it, not only for the special treats and new clothes but also because there was such a cheerful atmosphere around us. For me, the essential memory is all about fragrance: of waking up in the days preceding Diwali and on the day itself to the tantalising smell of the yummy savouries and sweets being fried at home.

Our mother would be busy making them early in the mornings, and the culinary preparations would happen over the course of several sessions. As I have mentioned in earlier festive posts, she and a few friends of hers would get together and cook communally. They would help each other out, making enough for everyone’s families and sharing recipes and techniques. There was a great sense of camaraderie in our homes, as well as mouth-watering anticipation among us kids. Of course, our mother would keep everything she fried in tins up on a high shelf out of our reach!

Each day, we looked forward to her giving us our share of those goodies. It would be a small portion every day. We relished the whole experience so much.

These days there’s such abundance and such accessibility – just make a call, open an app, pay online, have it home-delivered. That didn’t happen back in those days. Everyone had to make their treats on their own. Even gifting consisted of homemade goodies. We would send something made in our kitchen, and they would send something made in theirs. It was all unlike festive celebrations of today, when we can take things for granted.

There was a simplicity to our lives, and I miss it. I don’t know if it’s possible today, but I want my children to experience it too. So I do the next best thing: I continue to make the sweets and savouries I learned to make from my mom. And we observe a rule at home that no matter where they are in the world or how busy they are in their own lives, all of my kids must come home for certain occasions. Diwali, naturally, is one of them. I really believe that we must take a pause sometimes and understand the importance of family, and make time for friends who are like family. This is a great time to do that.

I hope this namakpara will be relished at your gatherings this Diwali too. If you’re looking for more recipes that are perfect for the festive season, I hope you’ll explore my blog archives. There are six years’ worth of wonderful sweets and savouries here, as well as a host of other dishes – from nutritious to decadent. Here’s to many more to come! Thank you for being with me on this journey.

Namakpara


1 cup maida

2 tablespoon ghee

1 teaspoon rawa

Salt to taste

¼ teaspoon turmeric

1 teaspoon ginger green chili paste

1 teaspoon kasuri methi powder (or fresh fenugreek leaves)

Water as required

Oil for deep frying


In a bowl, add the maida, ghee, rawa, kasuri methi powder (or fresh fenugreek leaves, if you have access to them), turmeric and ginger chili paste, along with salt to taste. Mix with your fingertips.

Add water as required, using a tablespoon so that it’s not over saturated. It needs to be sufficient to make a tight dough.

Mix well. Grease your palms and knead the dough until it is smooth.

Now, roll out the dough. Using a knife, cut it into diamond shapes or any shape you desire. The number of pieces in the yield quantity will depend on the size you choose (I have made mine small, as they look pretty). Meanwhile, heat the oil.

Deep fry the cut namakpara on a slow flame, occasionally turning up the heat for a few seconds or so. Fry until golden brown. Drain onto a paper. Once cooled, store in an airtight tin.

You may have noticed the unusual green tinge of this snack in the photographs. That shade comes from the use of fenugreek (methi). I like to add fresh leaves. They are supposed to be in season now, but the rain has made the supply irregular where I live. So what I do is dry the leaves when I can get them, then powder and use them. You can also purchase this powder, known as kasuri methi.

It will also add a slight hint of bitterness to the flavour of the namakpara, which I personally like as it balances the intense sweetness of festive desserts that may be consumed at the same time. I also sprinkle my fenugreek powder into dough, batter, salads and more, so that I can incorporate its benefits into more meals. I’m a fan, but you can skip it altogether if you prefer.

Isn’t it funny how fenugreek is in season right now – during a time of indulgent feasting? Balance is clearly one of the laws of nature. It’s a good law to observe when it comes to food too.

Enjoy this with anything else sweet, savoury or festive – or just make it as a teatime snack at another time of year, to add some pep to an ordinary day.

Tell me: what are you preparing for the festive season this year? As always, I love hearing from you!

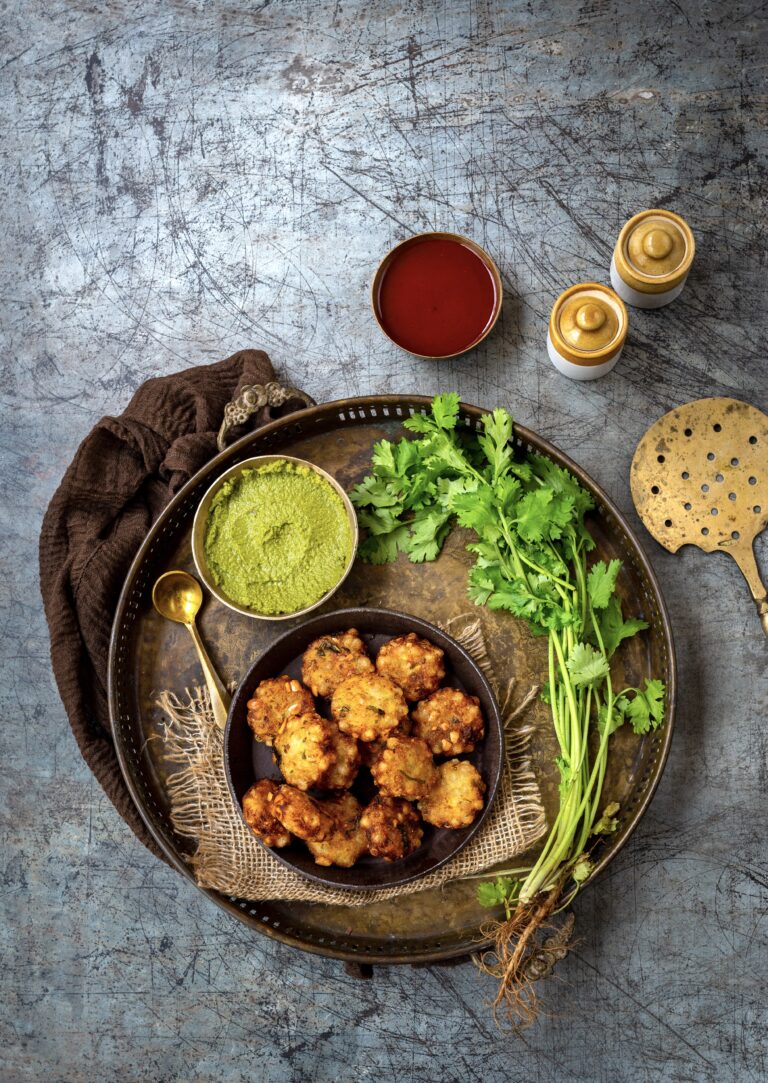
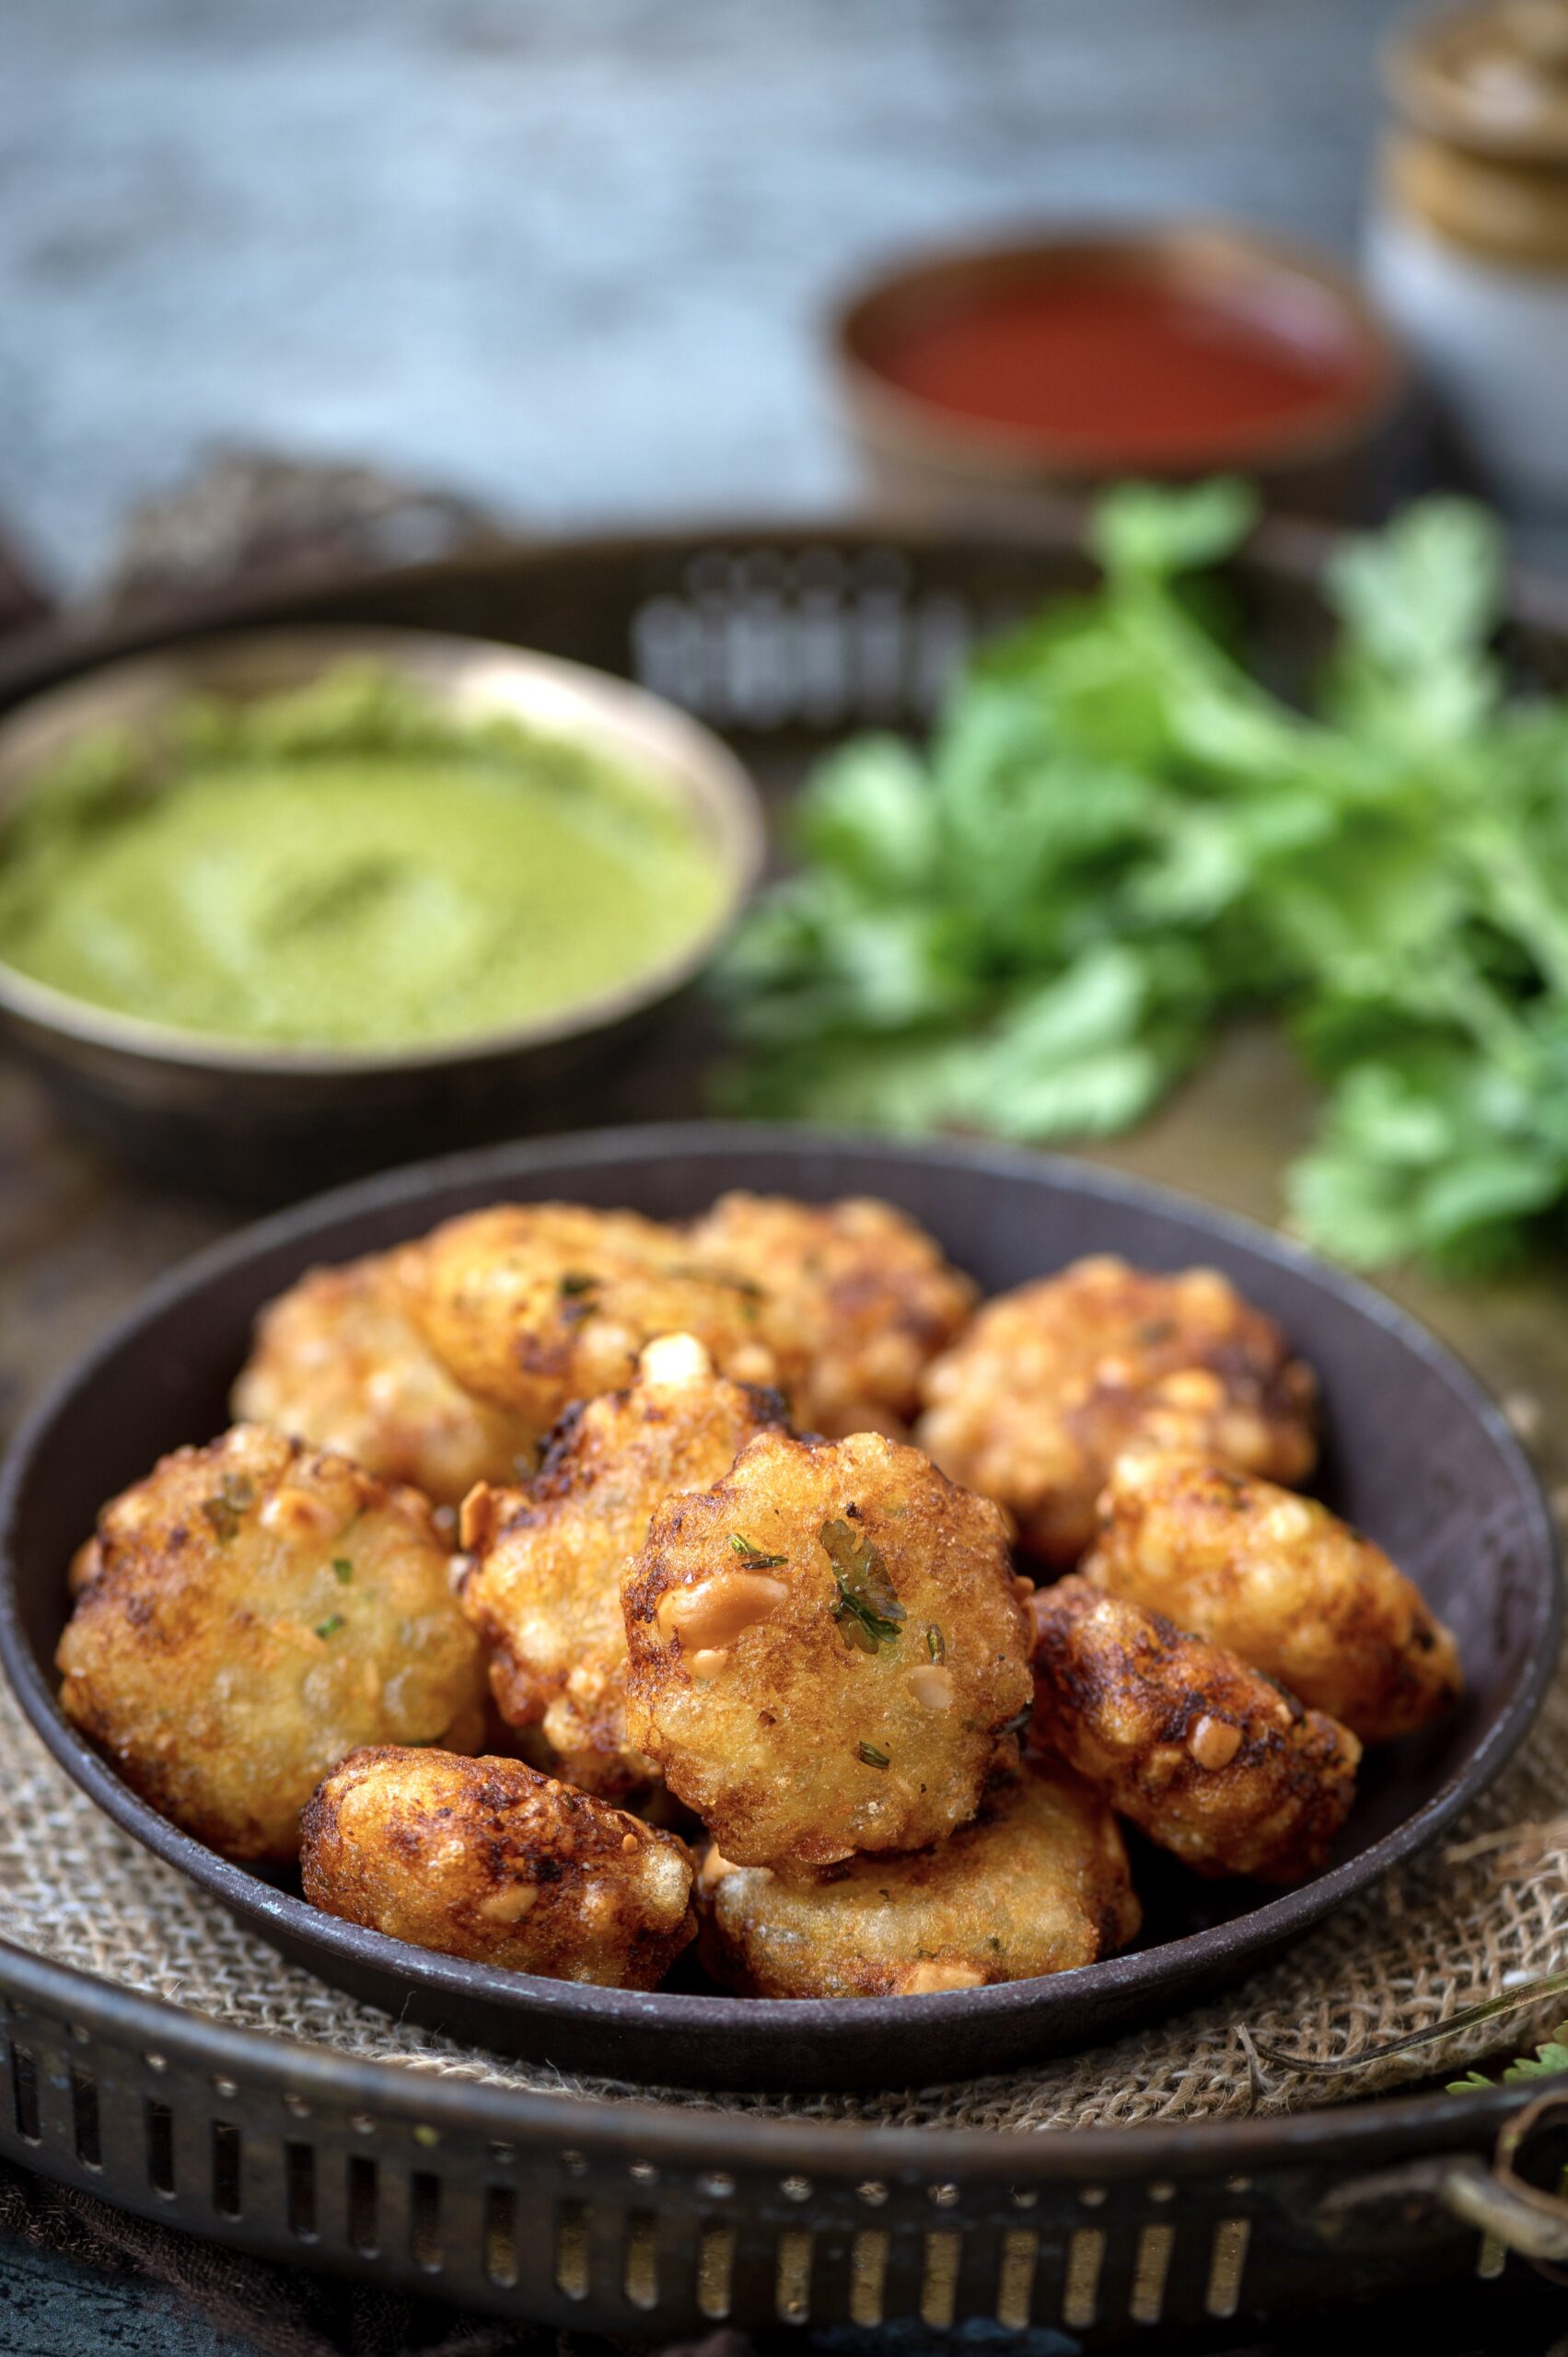
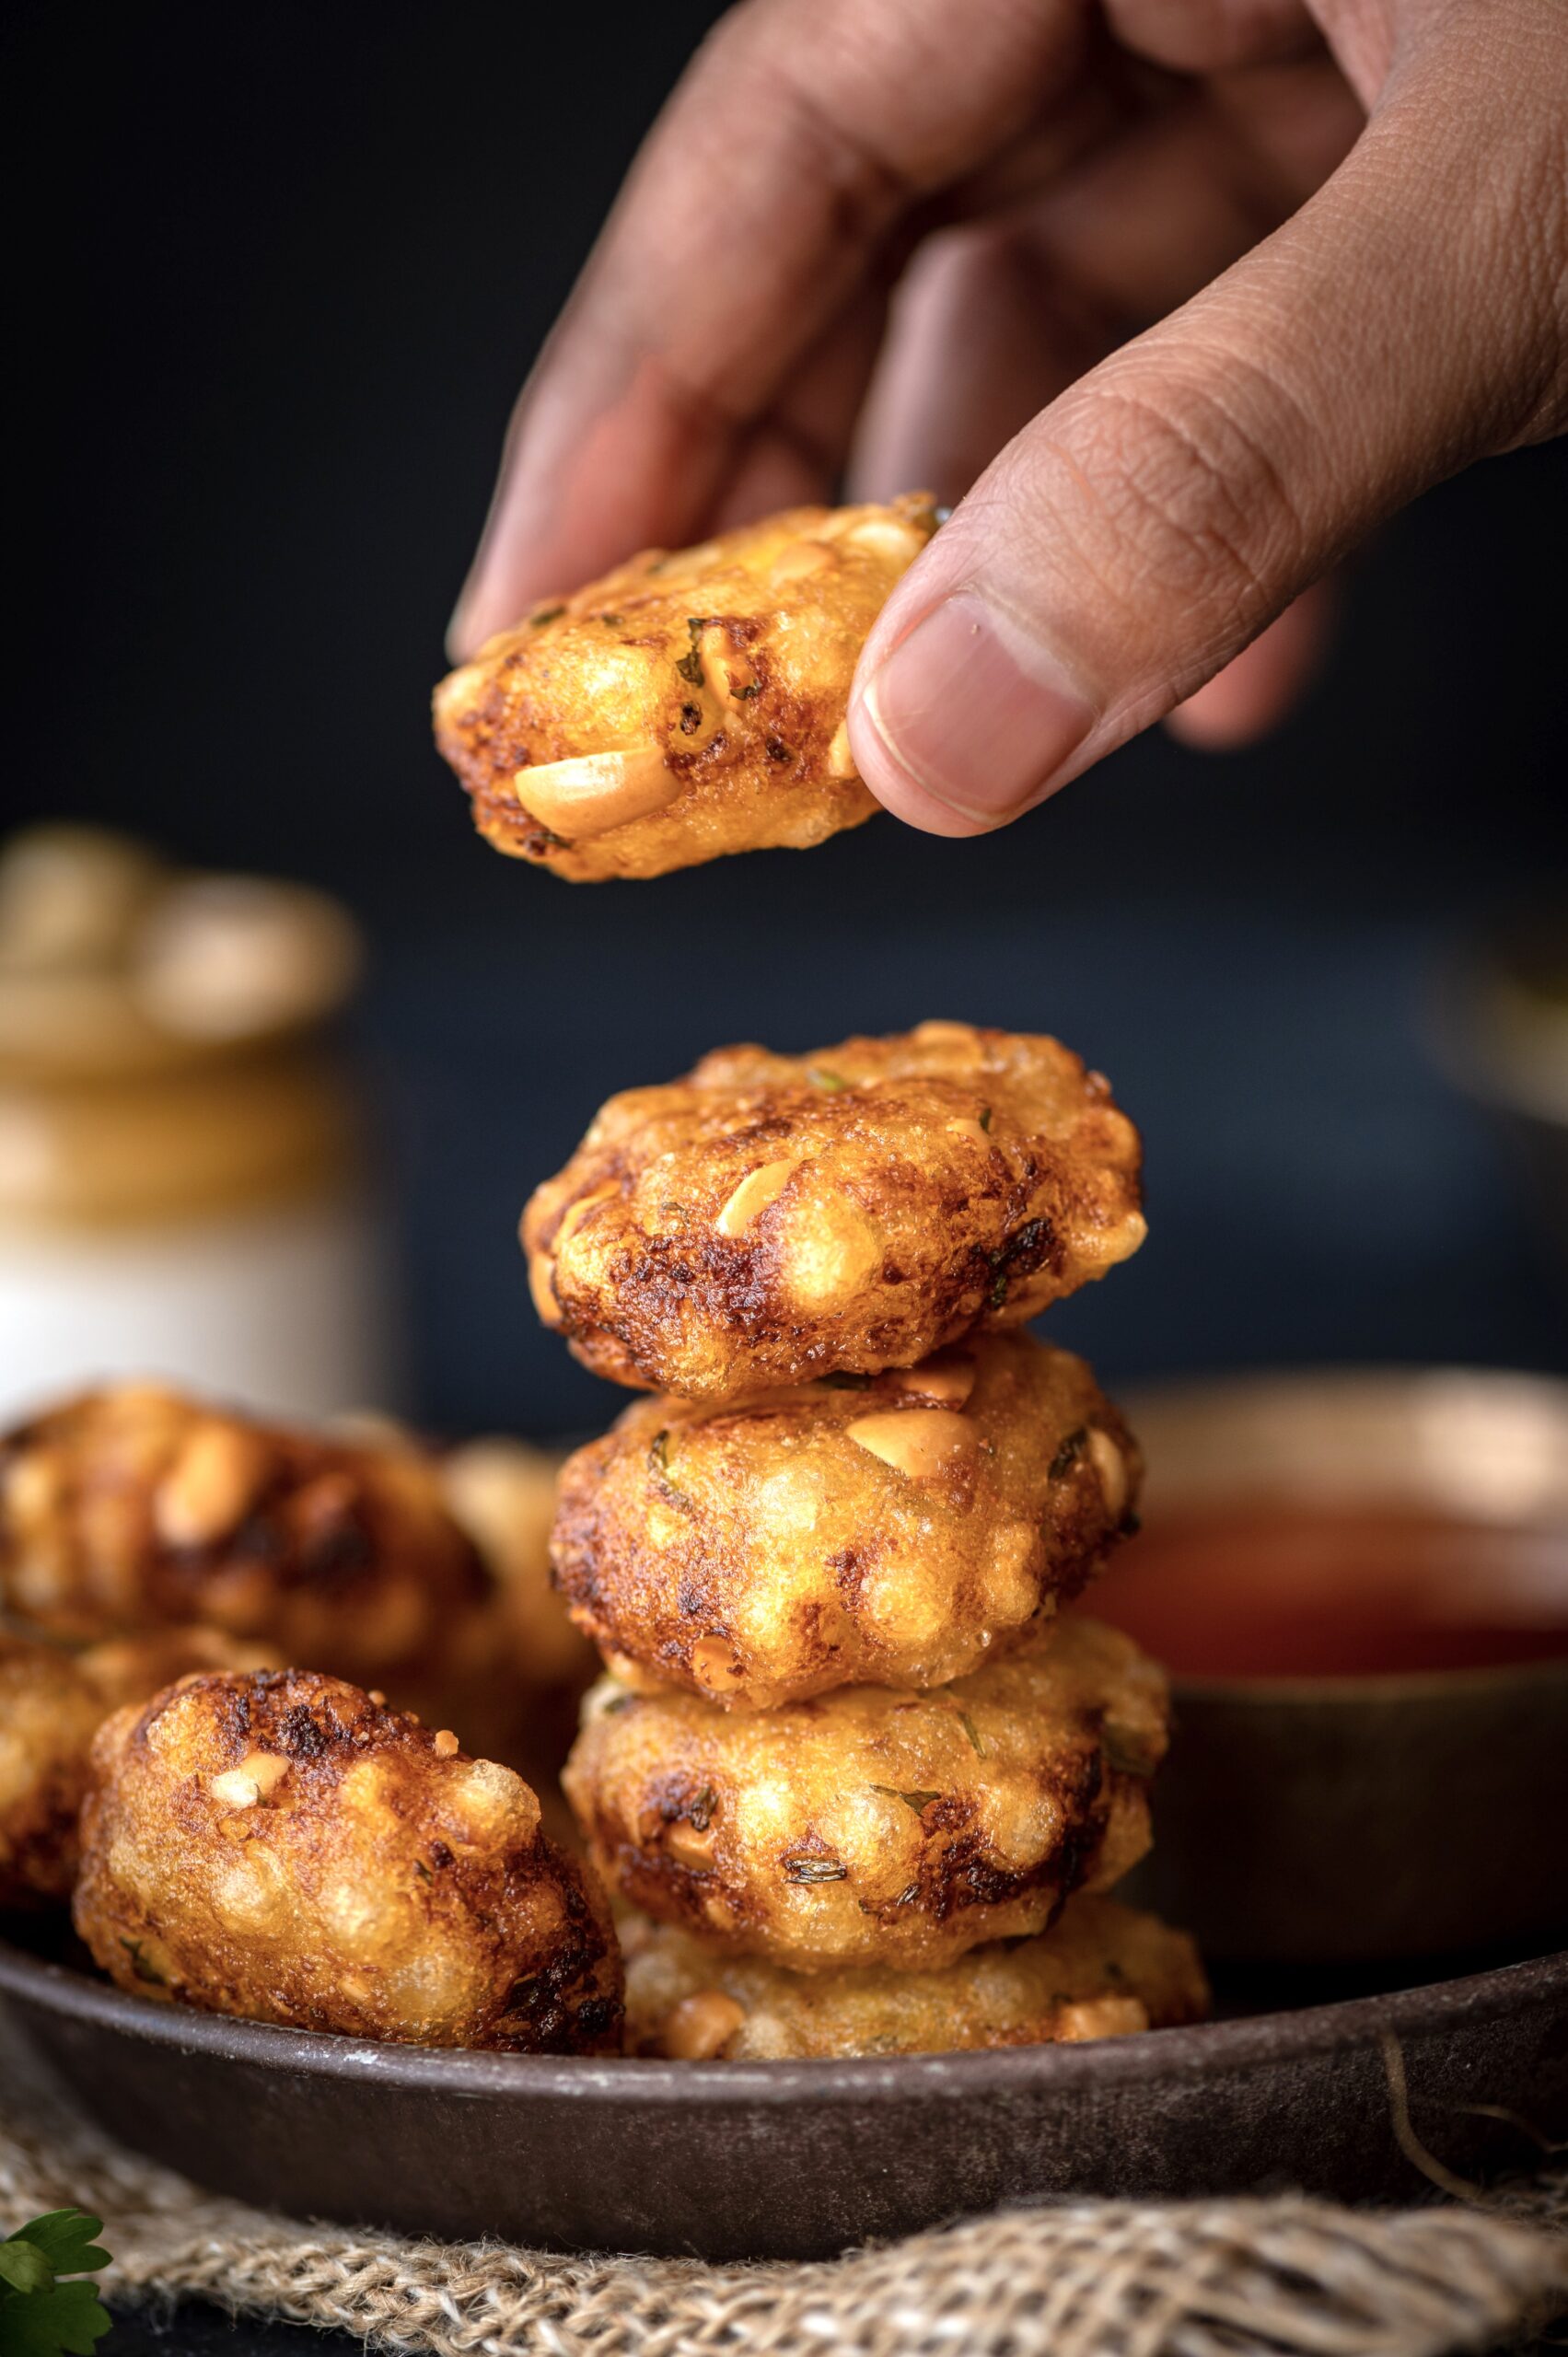
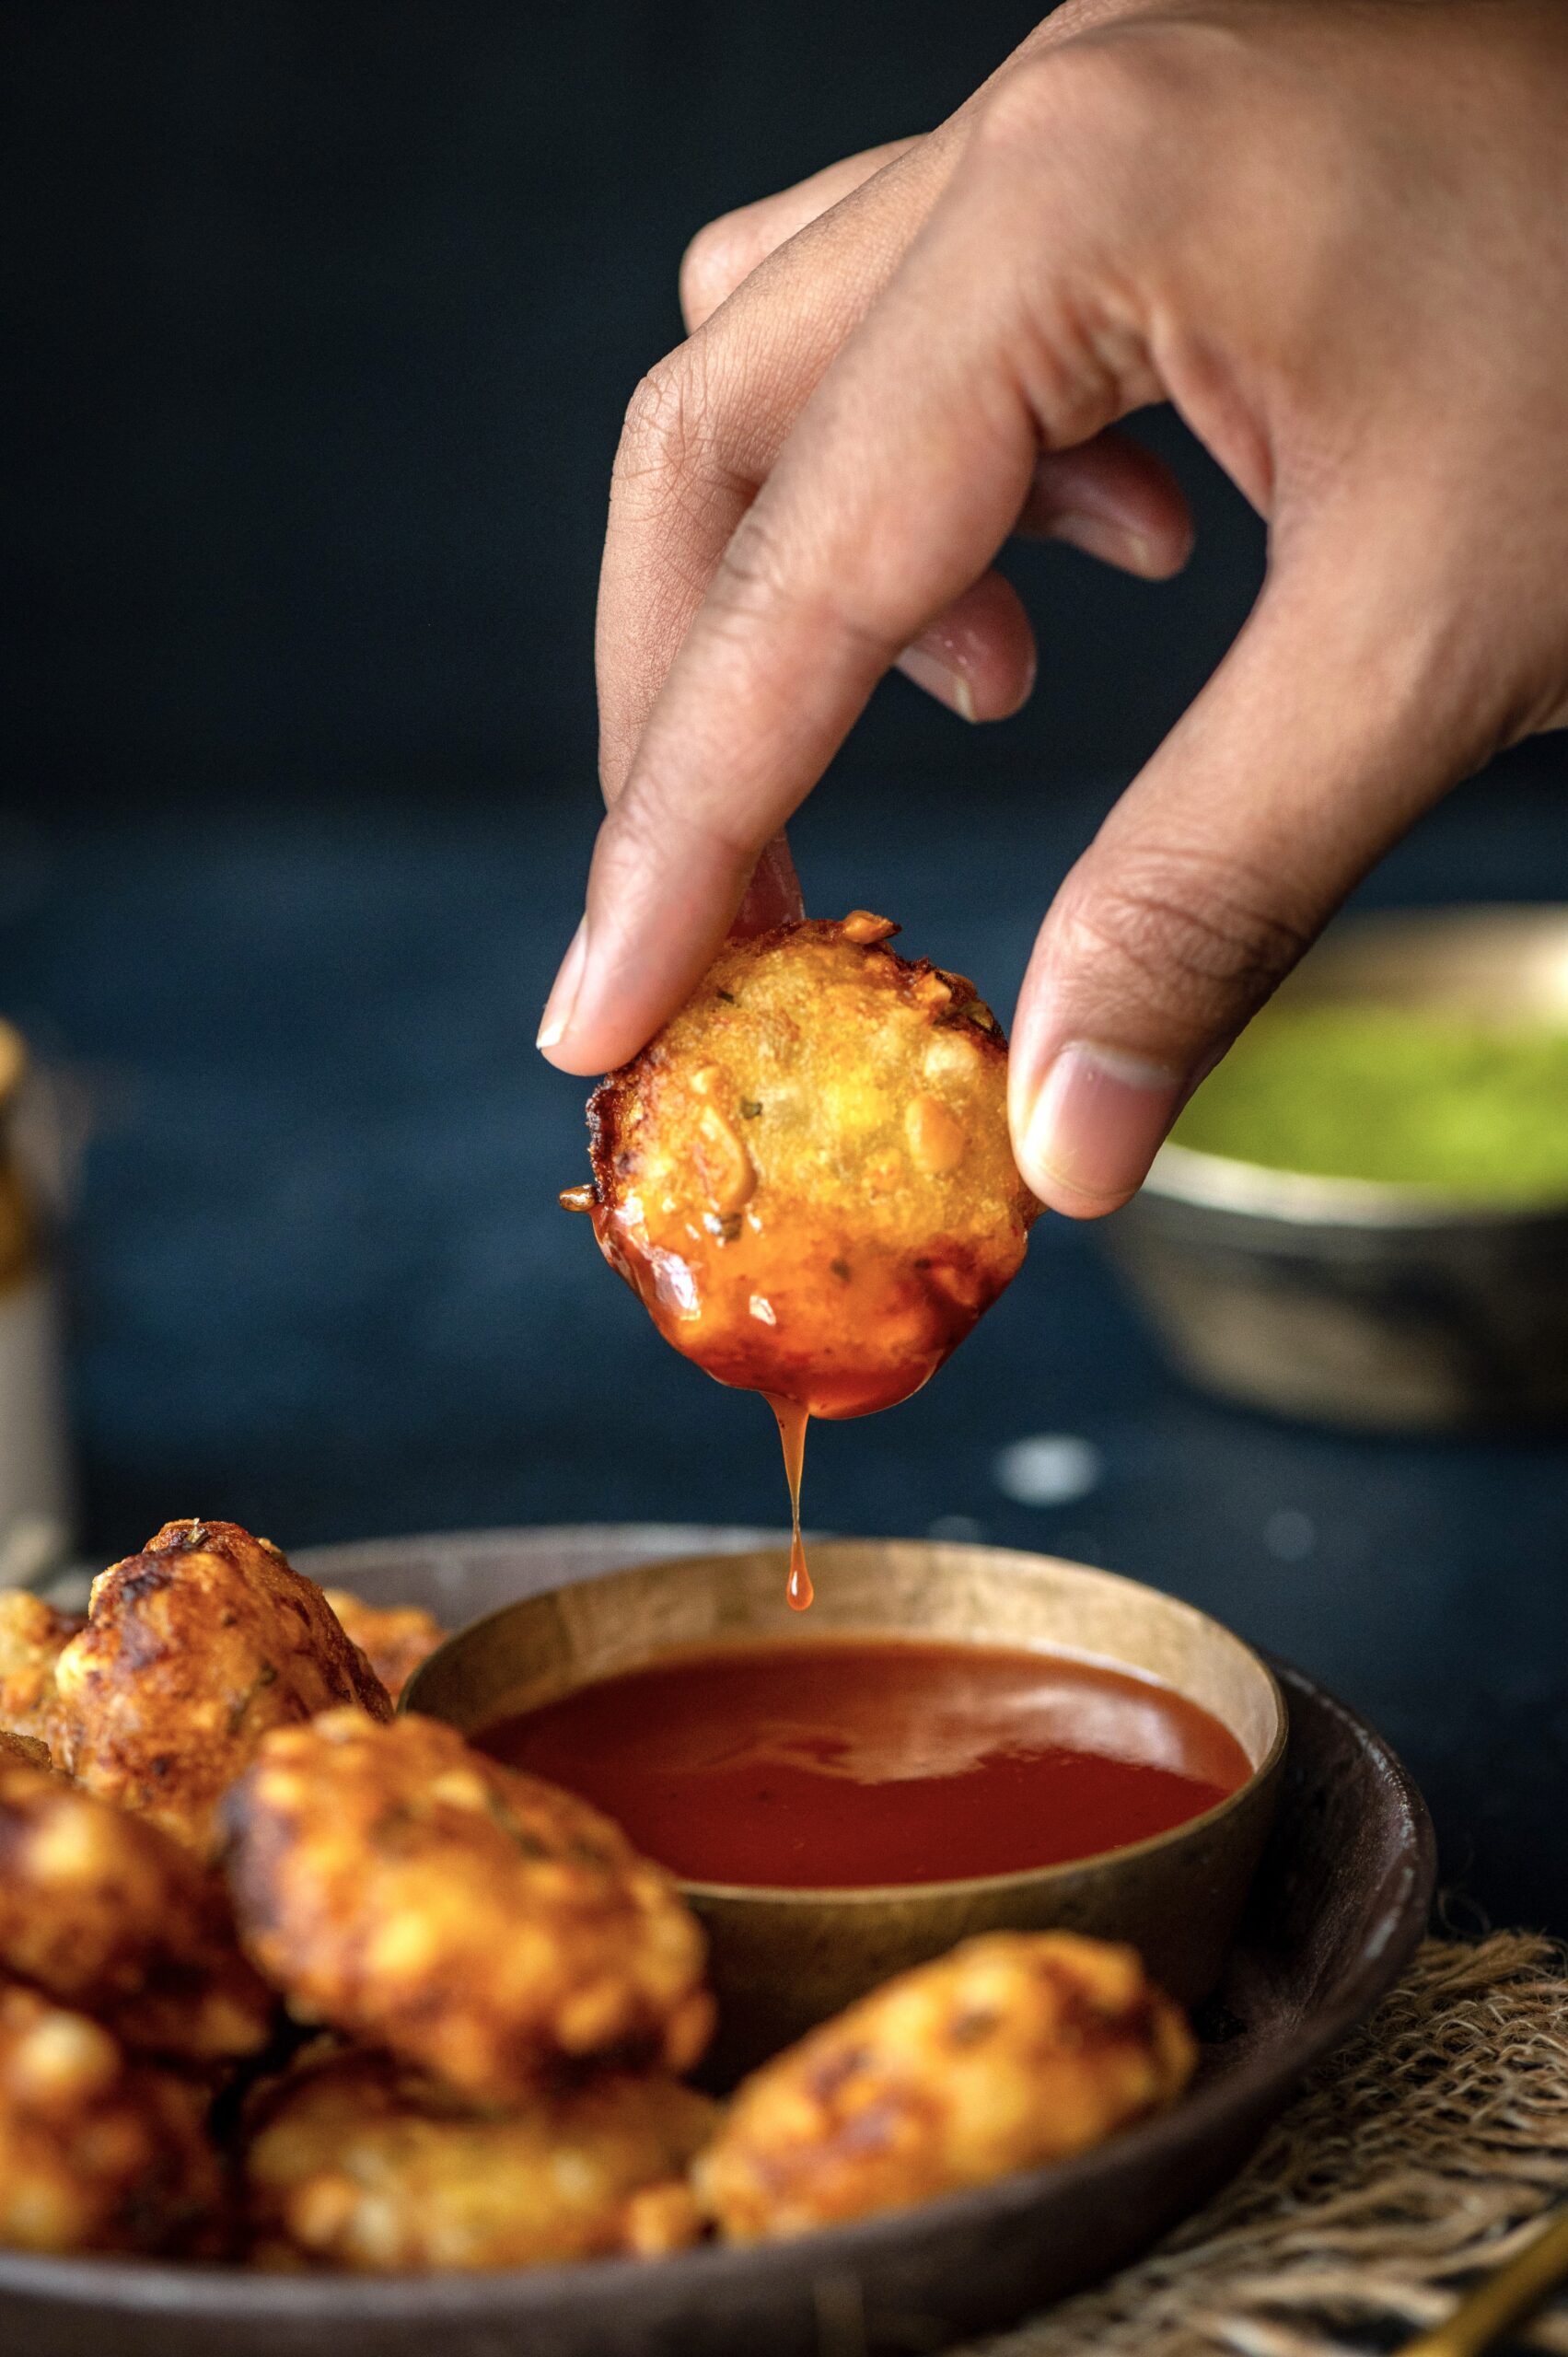
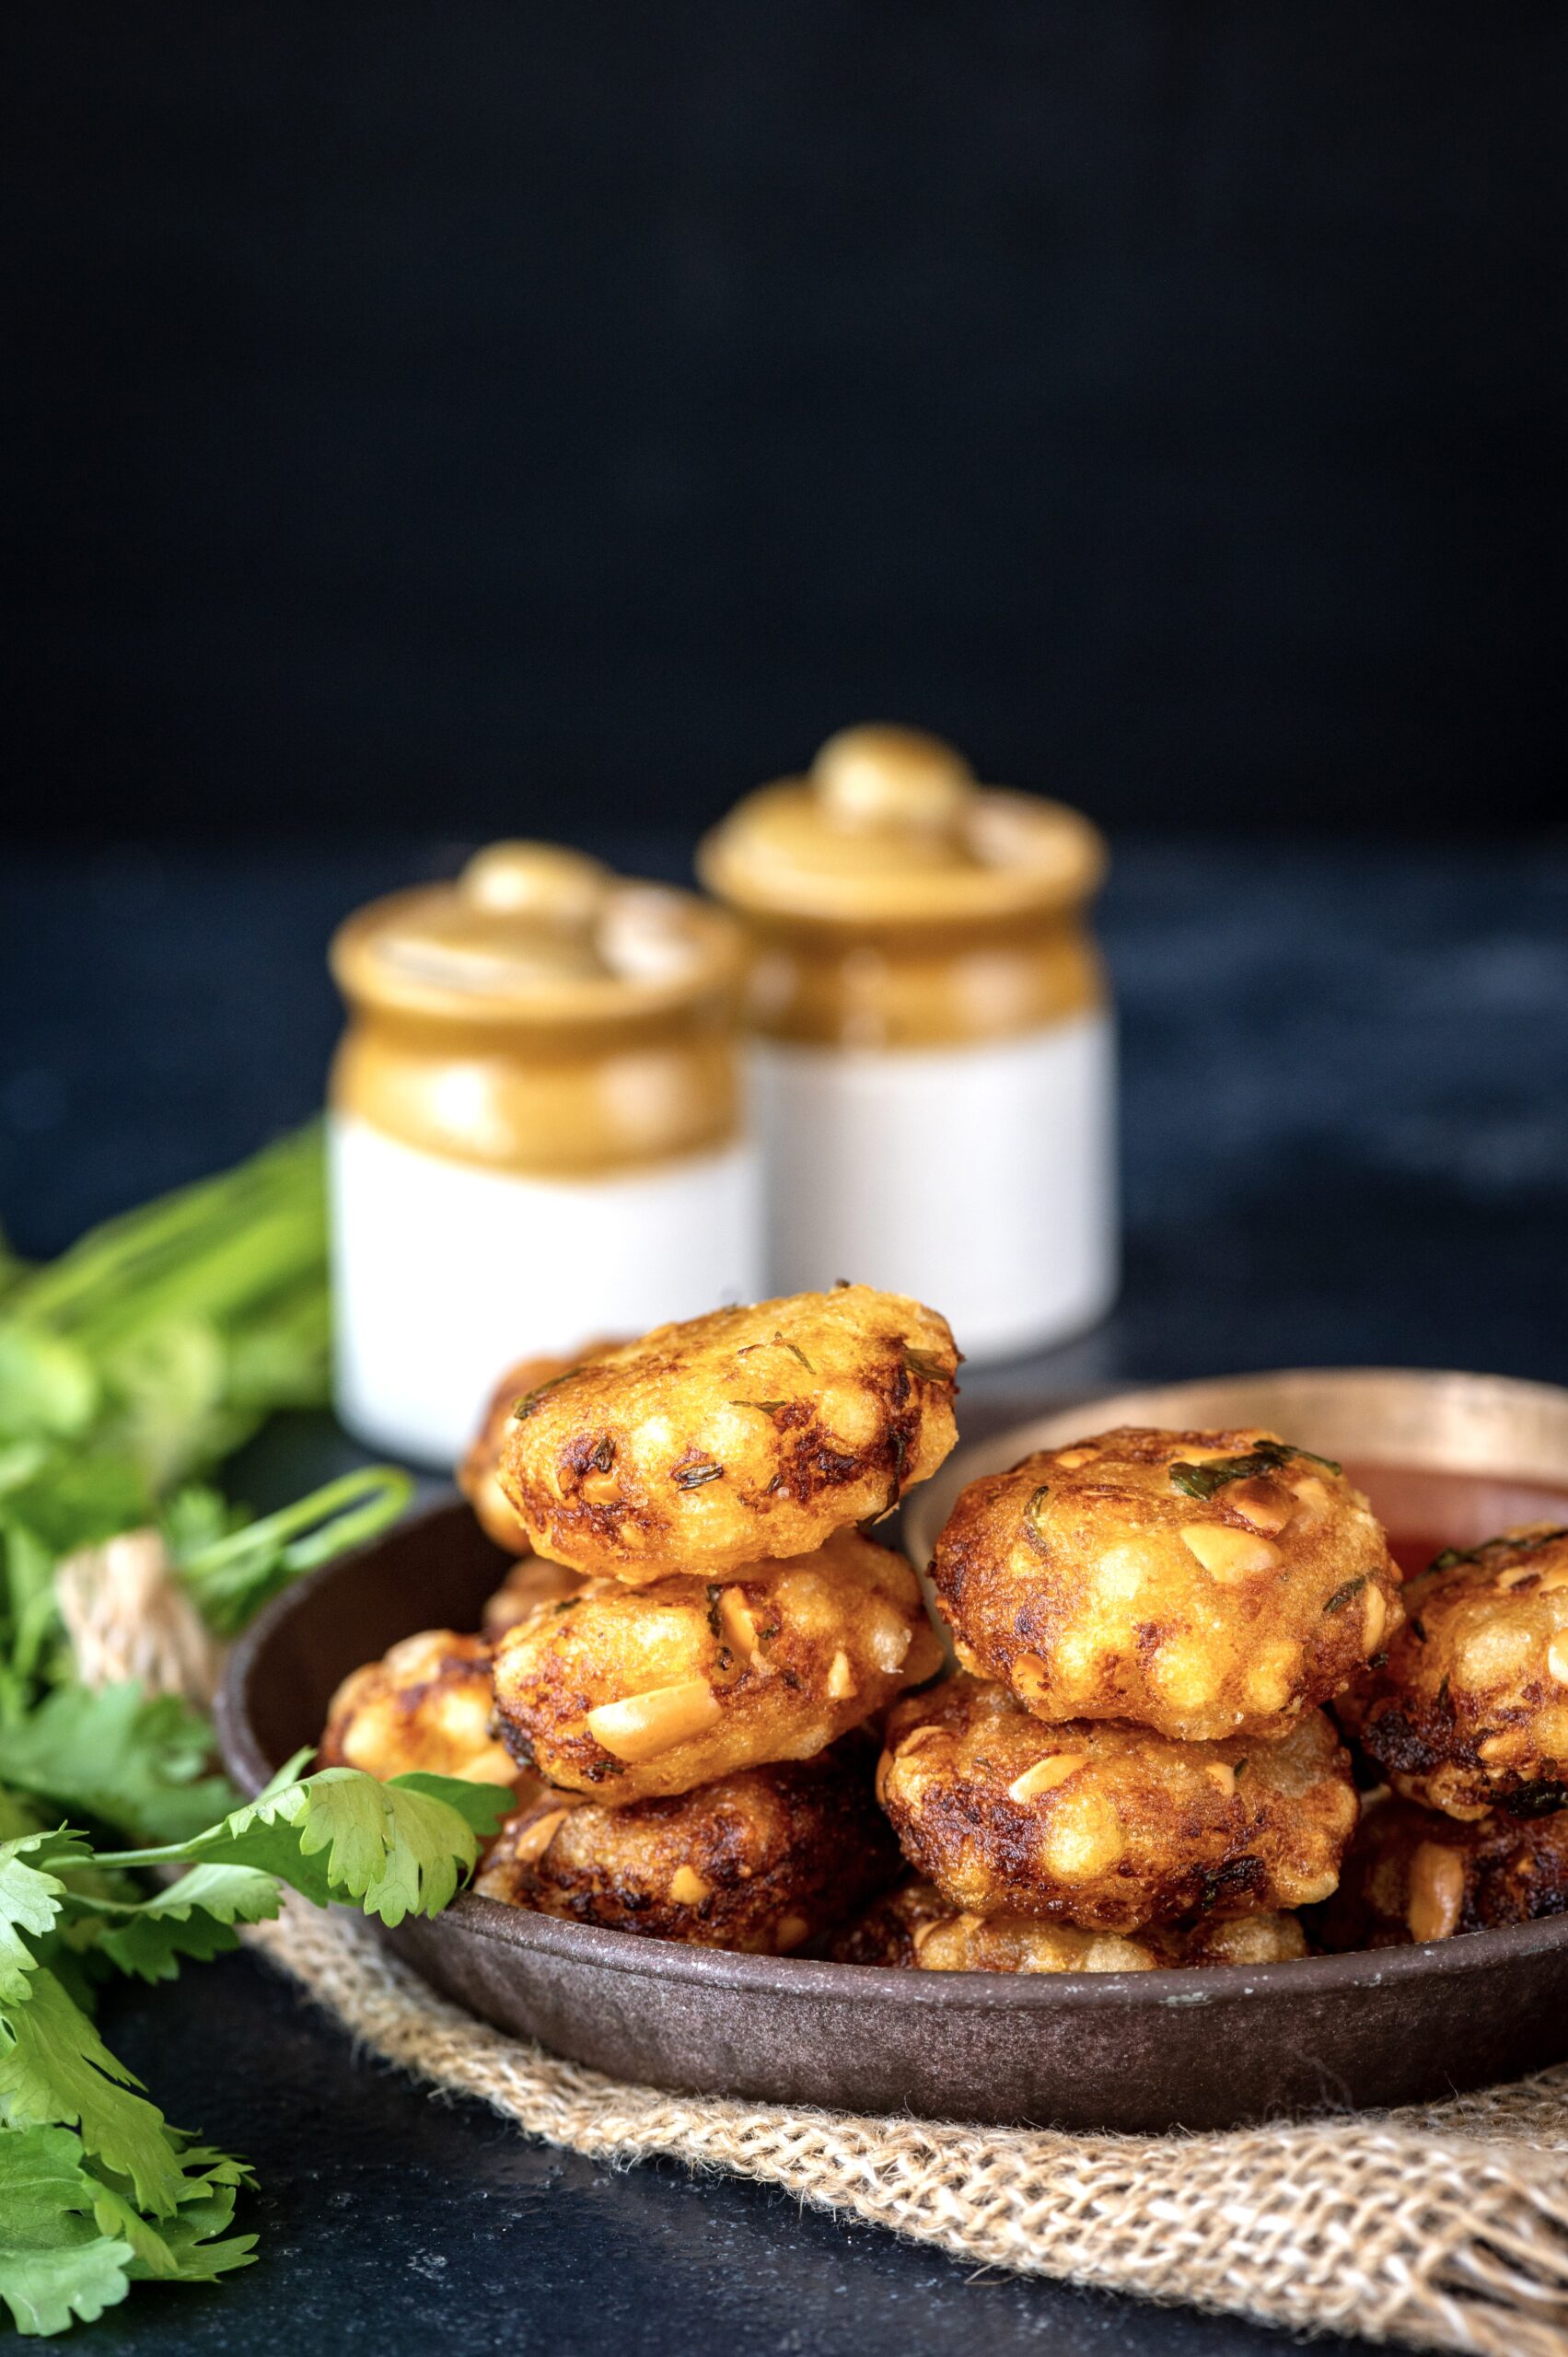
I don’t know whether sabudana wada, a savoury snack made of mashed potatoes with a coating of tapioca pearls, is a typically Maharashtrian dish or a typically Gujarati dish – but that to me is the beauty of India. Cultures blend and co-exist, respectfully. That is who we as a country really are, and we should not forget this.

I grew up in that kind of India, and while I was growing up I knew sabudana wada as not just a Gujarati dish but one specific to the Vaishnav community. This was because it was among the items that my mother, who observed fasts called Farali in which grains were not permitted, prepared during those times. What to my mother was a religious observance was an opportunity for tasty delights to me, as a child. As a fried dish, sabudana wada was logically delicious.  Other things that we ate during Farali were yam, potato and sweet potato preparations, some of which I will share with you soon.

While the dishes themselves were something I always appreciated and looked forward to, it is only with maturity and hindsight that I am able to see just how important those traditions were to my mother culturally. But more than that, I am able to appreciate how broad-minded she was in the way she raised us. She had come from a conservative family, and we lived in a joint family with our grandfather (who was with us up to the age of 89). He fasted devoutly, and so did she – but never did she impose the various fasts they both kept through the calendar on my siblings and I. Despite not having a formal education, she understood intrinsically that it was wrong to force her beliefs on us.

Interestingly, her leniency meant that by seeing and admiring her example, the traditions she held dear actually became imbued in us. I can see them live on in my daily life now, in the rituals I observe and the food I consume. The next generation, my children, who were raised quite liberally, similarly learn about culture from my example. They see how it is a part of who I am, and it becomes a part of them too.

When I think about my upbringing and that of my peer group, I feel as though we were all raised in a much more harmonious and open way, even though what was common in our generation was that parents and families tended to make all the big choices on their children’s behalf. From education to career to marriage and more, these decisions were not usually in our own hands (I rebelled on a few counts to chart my own path, but the norm was always to respect one’s parents’ wishes). But our so-called conservative parents had such a natural affinity for cross-cultural exchange.

My sister and I were sent to a convent school as it had the best curriculum in the city, and I remember well how I would pray at the chapel with all my heart – and then go home to eat authentic Vaishnav Gujarati meals and pray in my family’s altar too. I had a burqa-wearing friend at that same convent school too, and she is but one example of the mix of communities, languages and backgrounds that we grew up with. At school, it didn’t matter to anyone at all whether you wore a bindi or a hijab, as long as your shoes were polished and your uniform was pressed and your nails were tidily cut.

We had so many perspectives to open our minds. We played together, studied together and broke bread together without thinking of the differences between us – because where it really mattered, there were none.

That was the India I grew up in, one in which diversity was celebrated and not considered unusual in the least. If you are of my generation, I have little doubt that that was the India you grew up in too. Let’s not forget where we came from. Personally, I see food as going a long way in restoring that harmony.

On that note, let us return to the topic of sabudana wada – a lovely Indian snack for everyone to enjoy, background no bar. Just bring your appetite and a warm, open heart.

Sabudana Wada

(Yield: Approximately 10)


½ cup raw tapioca pearls (will become 1 cup)

2 tablespoons crushed peanuts

1 cup boiled and mashed potato

1 teaspoon ginger green chilli paste

Salt to taste

2 tablespoons coriander leaves (finely chopped)

1 teaspoon sugar

3-5 drops lemon juice

Oil for frying

Clean and wash the tapioca pearls and then soak them for 4-5 hours. Strain the water. Make sure it is strained well. The pearls need to be dry to the touch. If needed, you can spread them over a thin cloth and allow them to dry a little.

Next, boil the potatoes until tender. Peel and mash the potatoes well while they are hot and set aside.

Now, add all the remaining ingredients together and mix well. Massage with the palms of your hands until you form a dough. Divide the dough into small discs. Sabudana wadas are ideally dainty, small and pretty, although you are welcome to make bigger-sized ones if you prefer.

In a pan on a medium flame, add oil. Heat the oil and drop the wadas and fry until they are golden and crisp on both sides.

They are now ready to be served. Enjoy with green chutney or ketchup.

Sabudana wada goes perfectly with a cup of chai. These lovely little snacks are ideal for a rainy day evening. We enjoy them very much at home, and I hope you will too.


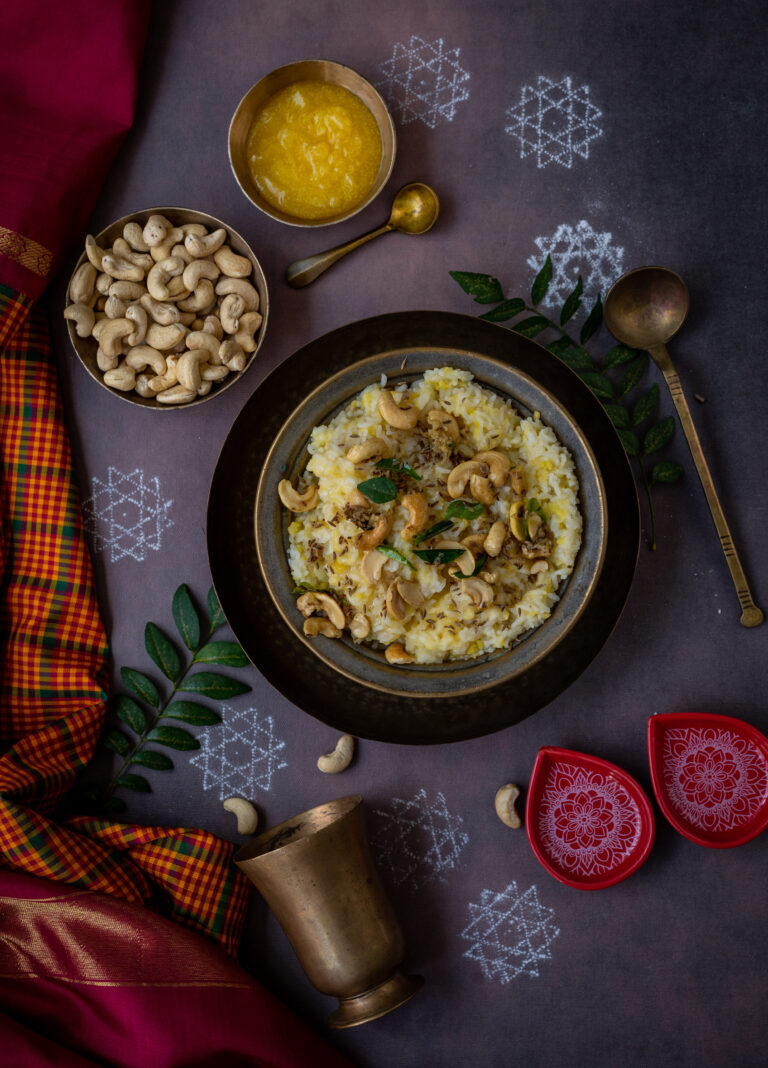
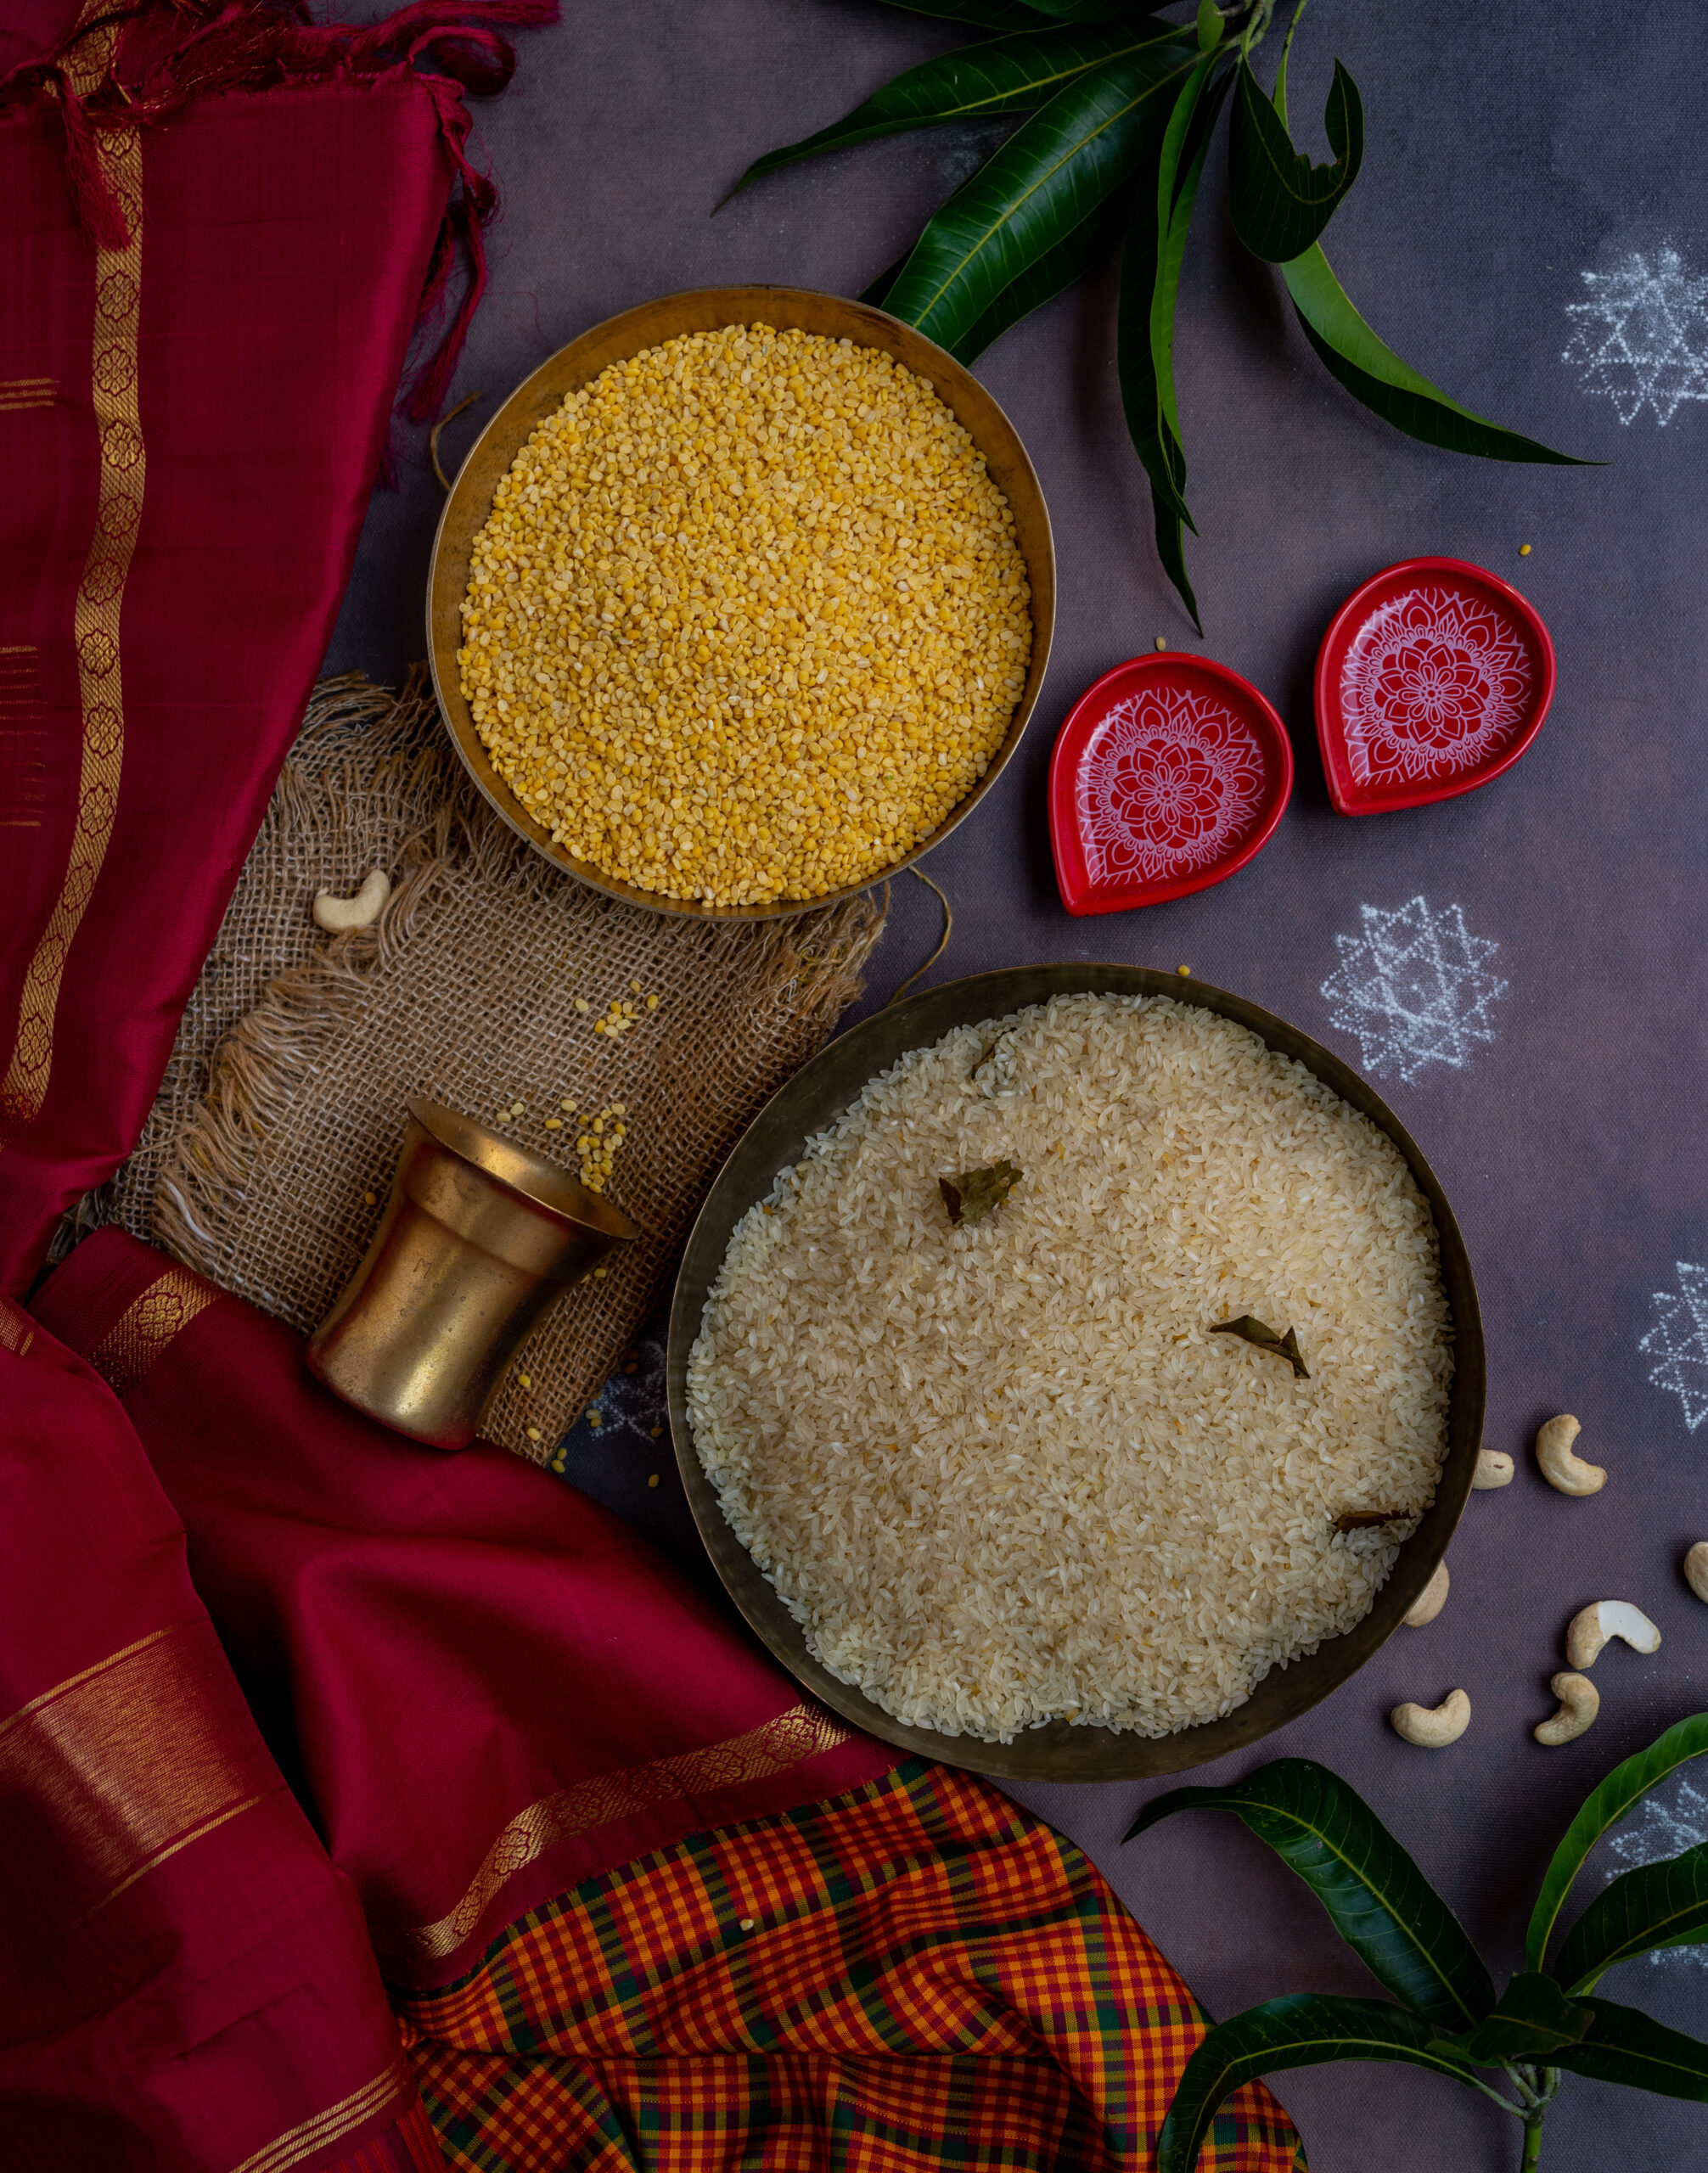
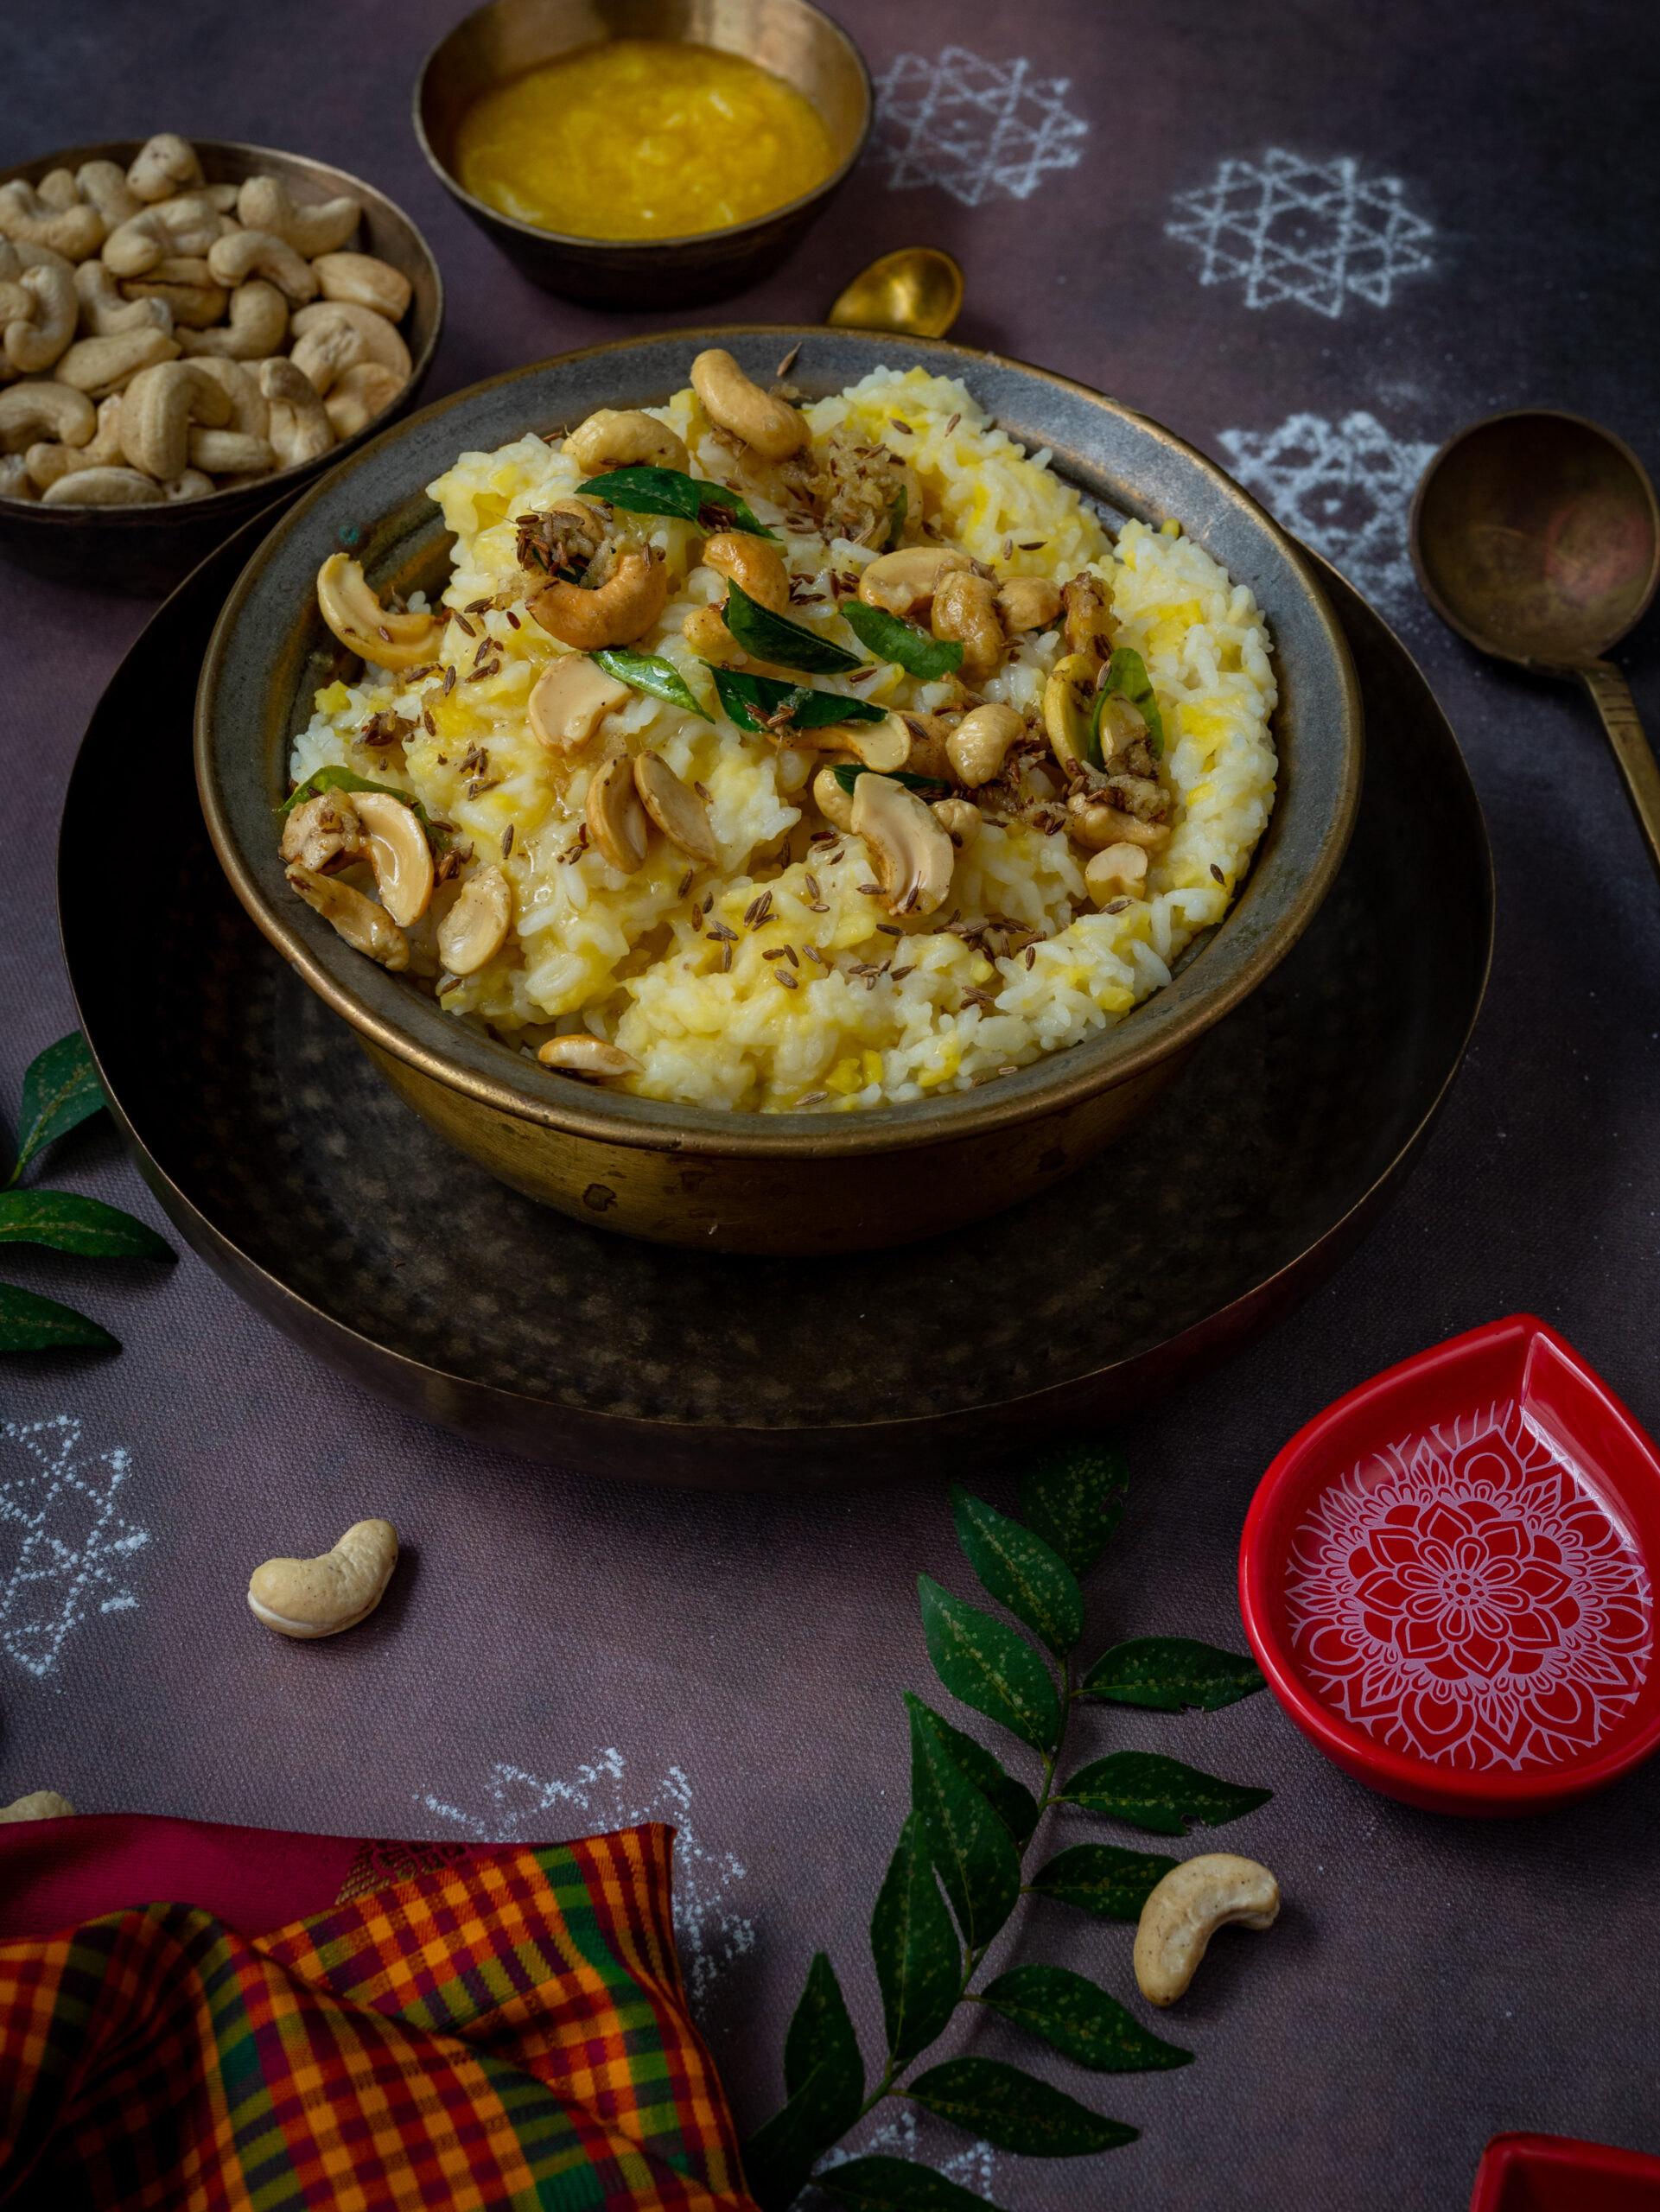
Here in Tamil Nadu, the harvest festival of Pongal has begun, and all over the state families are celebrating the occasion. Delicious, piping hot chakkara pongal is customarily consumed, but alongside it ven pongal (white pongal, made with freshly harvested rice) is also made. Oh, and let’s not forget certain creative yet authentic pongal renditions that are out there, such as this red rice and jaggery pongal. As you can see, there are many kinds of pongal, and this year, I thought I’d share with you a lovely savoury one.

Ven pongal is a traditional breakfast, one of my own favourites. It is a part of regular temple offerings too. This ven pongal is similar to a khichdi, which is a basic mixture of dal and rice. Unlike khichdi, it’s to be eaten with chutney or sambar. While khichdi is normally eaten for lunch or dinner but seldom for breakfast, with pongal it’s the reverse. As I mentioned, it’s a breakfast dish, and is rarely seen at other times of the day or night – except when it’s eaten for tiffin, which is what we call a late afternoon meal in this region.

Whenever I have breakfast while out and about in Chennai or elsewhere in Tamil Nadu, I always reach for the ven pongal. To me, it takes pride of place on the restaurant menu alongside its more famous counterparts, idli and dosa. The latter two are the “safe choices” that most people usually stick to, but I love ven pongal for breakfast and find it just as reliably made across the state. It’s very refreshing, filling, satisfying and healthy – and sees me through the day up until a hearty lunch.

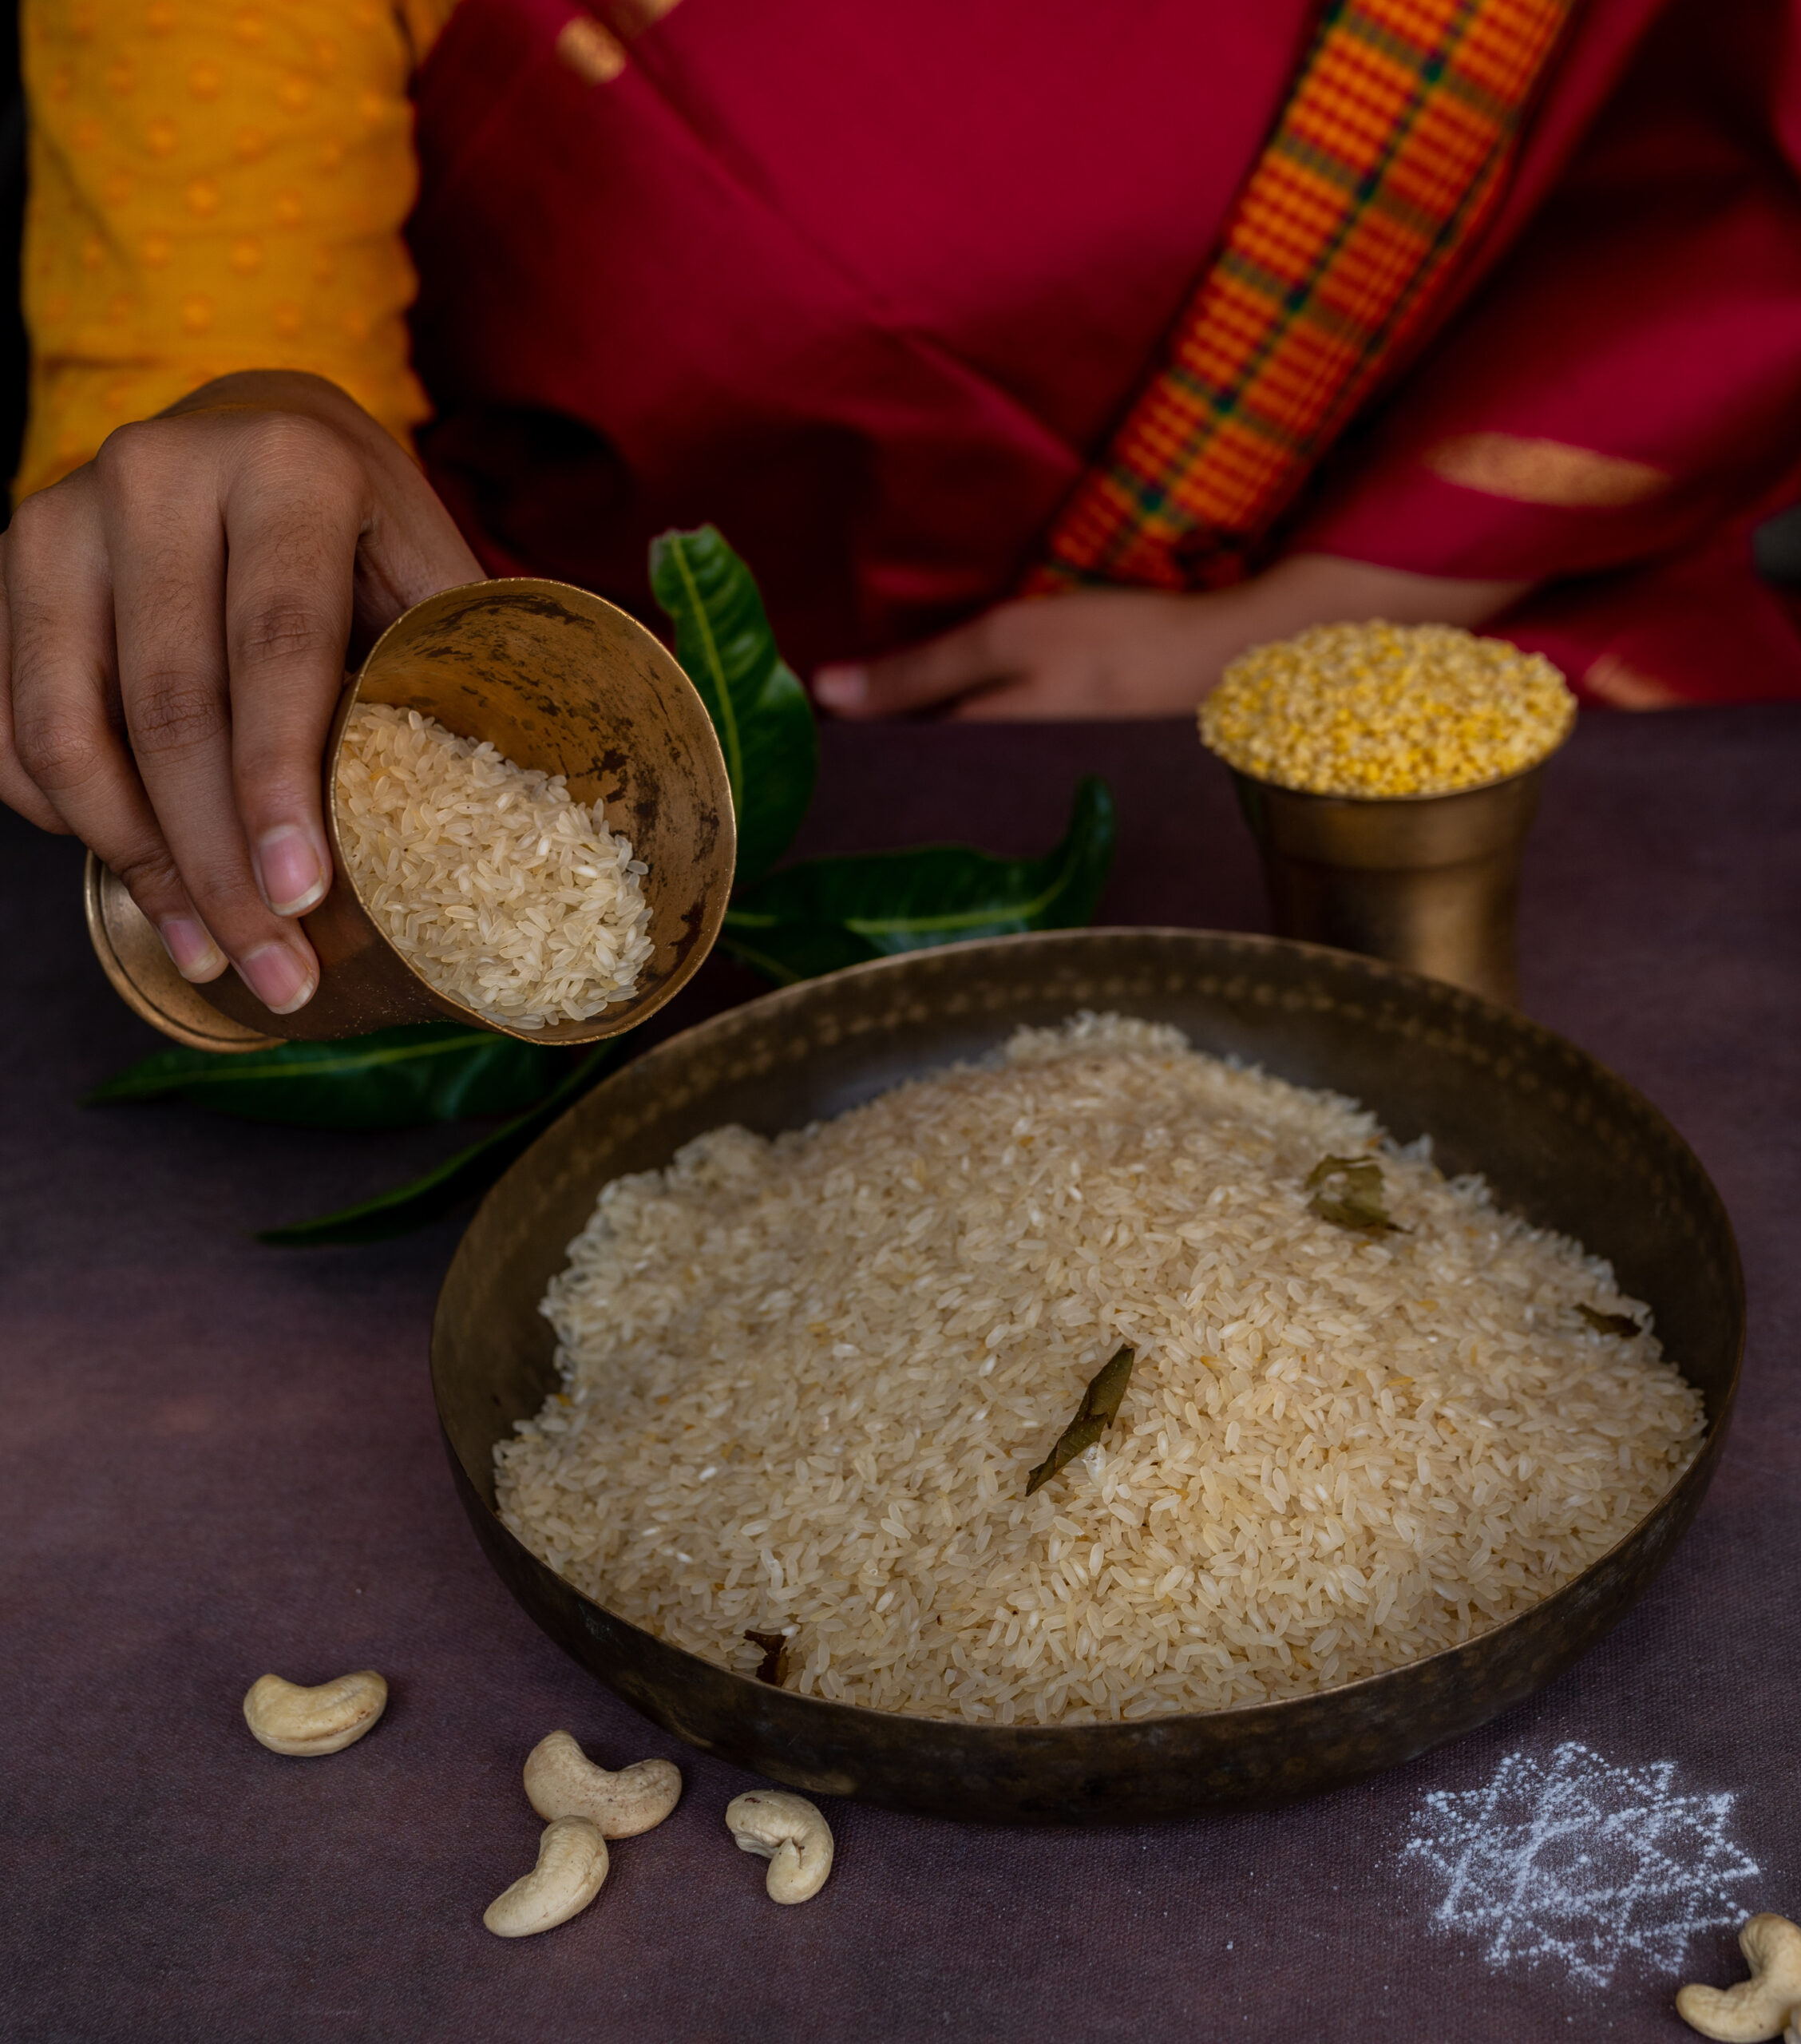
The rice that I use in the pongal made on Pongal comes from our farm, and I observe a local tradition on this day. As is custom, this is when I store rice for the household for the whole year. The older it gets, the better it tastes. It is preserved well through a natural method: the raw rice is dampened with castor oil, and neem leaves are layered on it as I fill the storage barrels. This ensures that bugs stay away, given the humidity and the climate of this region. This raw rice is eaten throughout the year. When it is rinsed before use, the castor oil goes way, and any residue left is healthy for the body in any case. You can see a part of the process in the photograph below.

My love for this dish started in childhood. We had many Tamilian friends in our neighbourhood, so my familiarity with South Indian flavours and cooking began early. The house beside ours had girls of my age, and so we used to hang out together all the time. In those days, there were no TVs, computers or other electronic devices to keep us distracted indoors, so our hobbies were to run around, climb trees (eating fruits from them and being bitten by hairy caterpillars, as I’ve recounted on this blog before), play fun games that kids no longer seem to do and generally make a racket.

With these particular neighbours, we often spent the late afternoon together. I would go to their house at around 3.30pm, right in time for tiffin. We would sit on their front porch, enjoying leisure time together. My friends’ grandmother would oil, comb and braid their long hair and decorate it with jasmine. As she did, she would tell stories. I would watch their grooming ritual, listen to their Paati’s tales and enjoy the snack of the day. Very often, it was vada (savoury fried dough) or ven pongal, like the recipe I’m sharing with you today.

While I was growing up, my mother would sometimes make this too. This was because I would bring recipes back and forth between the different homes in our neighbourhood. Pre-blog and even pre-Internet, I already loved the exchange of kitchen techniques and secrets! South Indian families we grew up with also ate quite a bit of Gujarati food as a result. Of course, festivals meant gathering together and sharing meals too. It’s funny how connected we all were in that time before cellphones. I had such a lovely, inter-cultural upbringing – it contained food, heritage, granny tales and so much more from my family and well beyond. I feel like my children missed out on those simpler times, since technology began to dominate when they were little. I wonder how the generation of today fares, with even more at their disposal, and perhaps with even more disconnection in the world. What are your thoughts on all this?

Ven Pongal

(Yield: serves 3-4)


½ cup split mung dal

½ cup raw rice

3½ cups water to cook

2 tablespoons ghee

1 tablespoon cumin seeds

1 teaspoon whole black pepper

3 tablespoon split cashews

2 teaspoons finely minced ginger

Salt to taste

A handful of curry leaves


Mix the dal and rice together and rinse well. Heat a pan and add the mixed rice and dal to it. Sauté until they release an aroma. Do not allow the grains to turn colour.

Now, add the water, salt and 1 tablespoon of ghee. Pressure cook until tender. This will take approximately 20-25 minutes.

In another pan, add the remaining ghee. Once it has heated, add the cumin seeds and pepper. Next, add the curry leaves and ginger. Finally, add the cashews. Once this tempering has turned golden, add it to the steaming hot rice mixture.

Mix well and serve warm. It can be eaten on its own, or with sambar or chutney.

Whether you’re having this as a festive dish, or just snacking on it at tiffin or breakfast, I hope that you find it as delicious as I do. If you happen to enjoy it while sitting on your porch or balcony with dear friends, as I used to as a child, I’d especially love it if you could paint me a picture of those special moments in the comments! Food is such an intrinsic part of bonding, is it not?

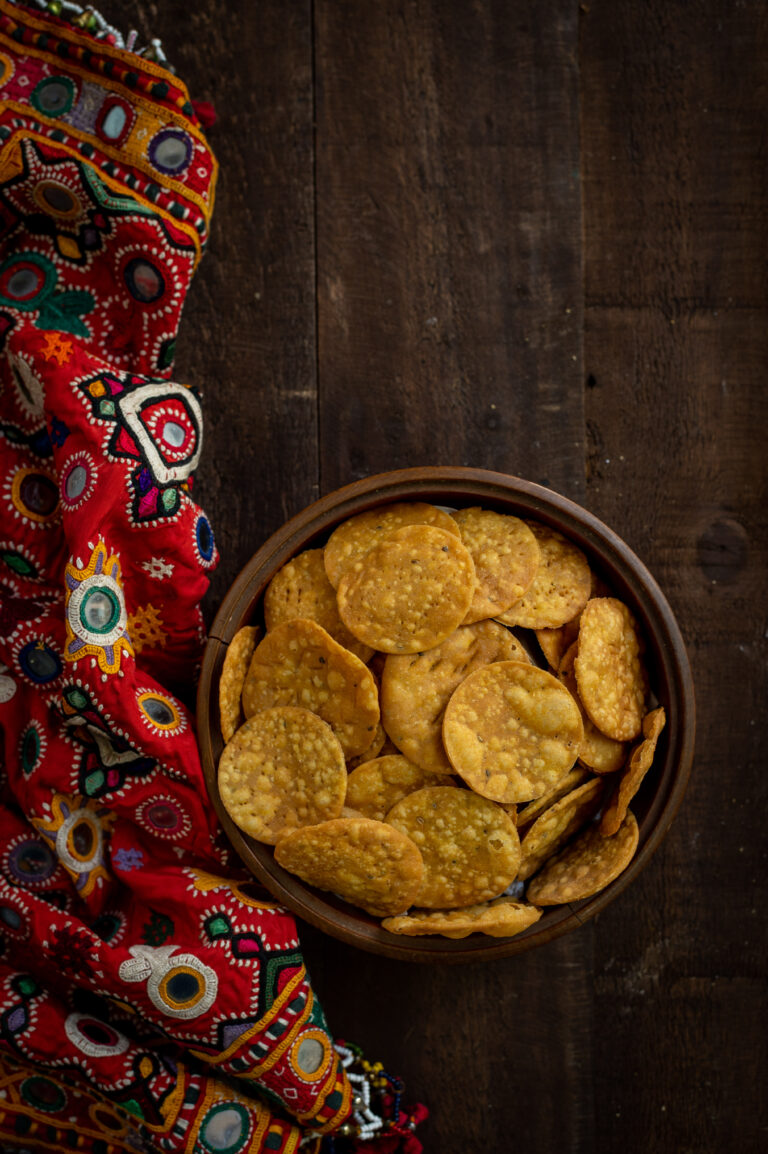
Masala khari poori is a staple in Gujarati households, not just during the festive season but often as a daily pleasure. A morning snack comprised of chai and ghantia (tea and a fried savoury) is how many families traditionally begin their days. This combination is then repeated at tea-time as well. The pairing has a nostalgic quality even for the younger generation of today. I know this because whenever my daughter, who works in Mumbai, comes back for a visit, one of the first things she asks for is sweet chai with an accompaniment of spicy, fried khari poori. Gujaratis do love our savoury fried snacks, and we love them every day, even though my family tends to veer towards more health-conscious items. But with the festive season in full swing and everyone enjoying their indulgences more than usual, there’s no better time than now to share the recipe for this very satisfying masala khari poori.

My mother would fry up big batches of this treat during Diwali in particular, so they are also a part of celebratory memories of mine. She would make small discs, rolled out individually. What I’ve done instead is to roll out a big chunk of dough and then use a cookie cutter to make the small individual discs. When my kids were little, I would use fancy shapes, like flowers and so on, to make the dish all the more interesting to them. They are tiny bites. Pop one into your mouth and eight or ten are gone before you realise it.

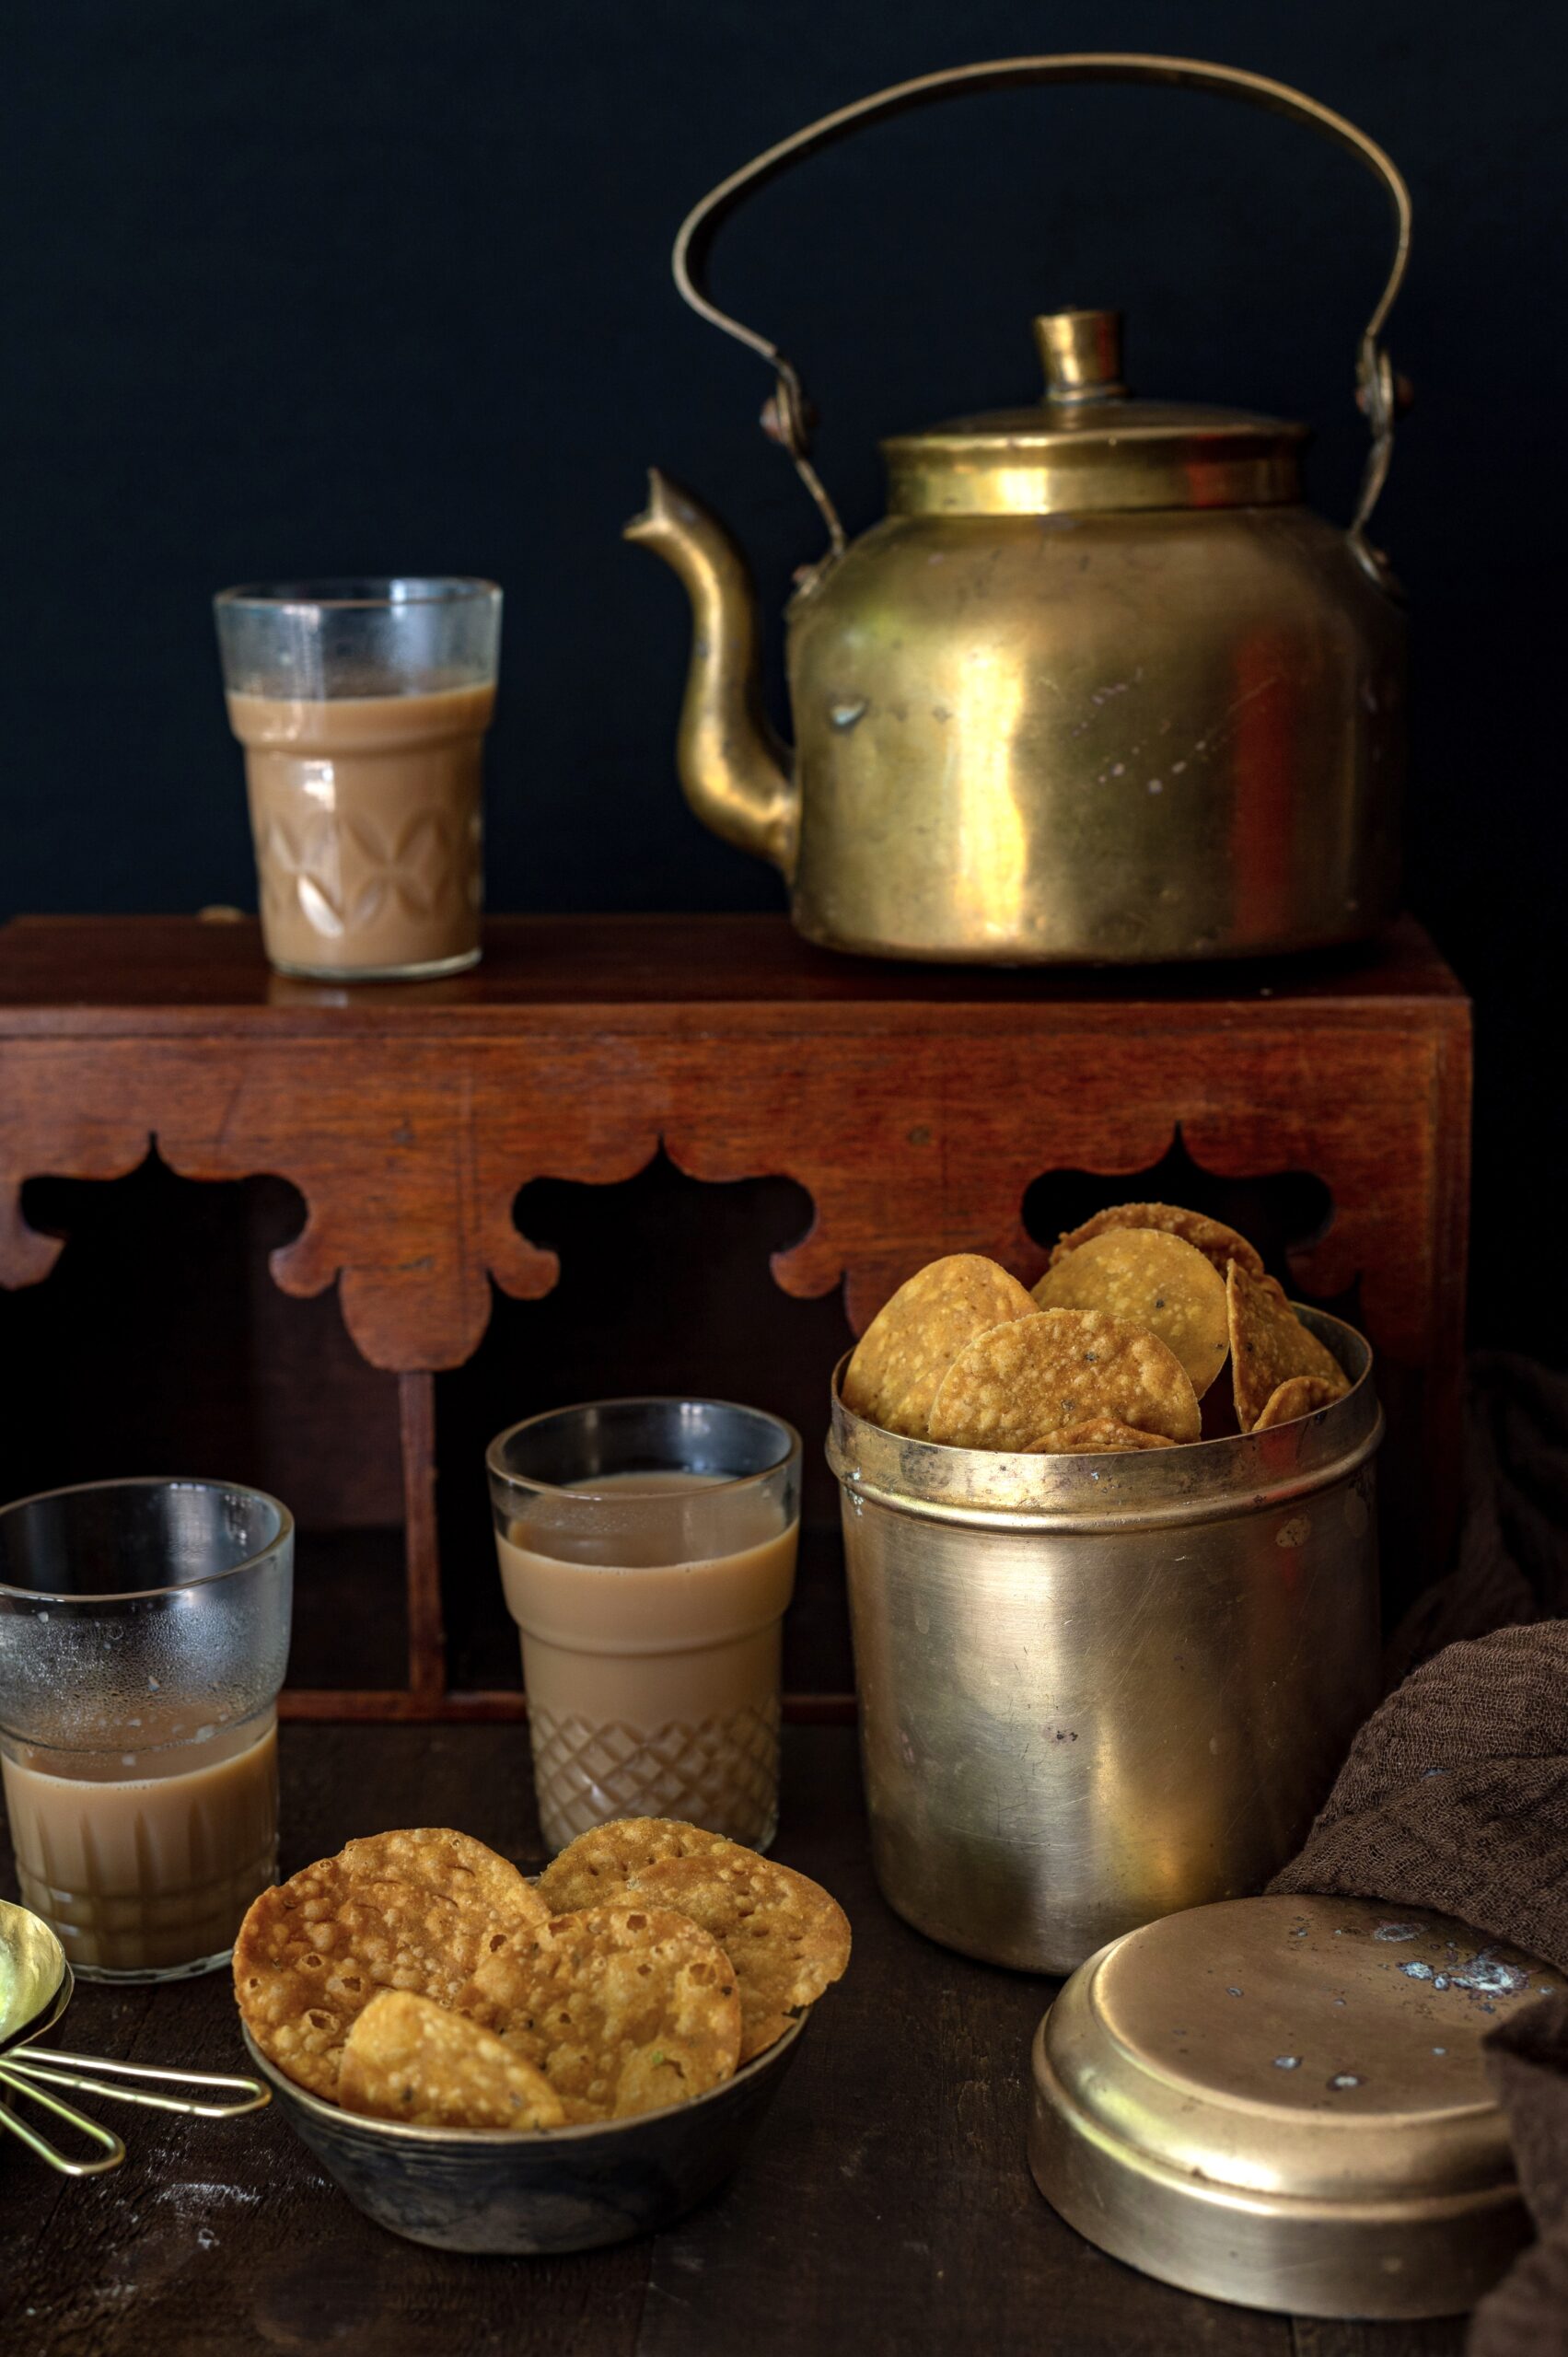
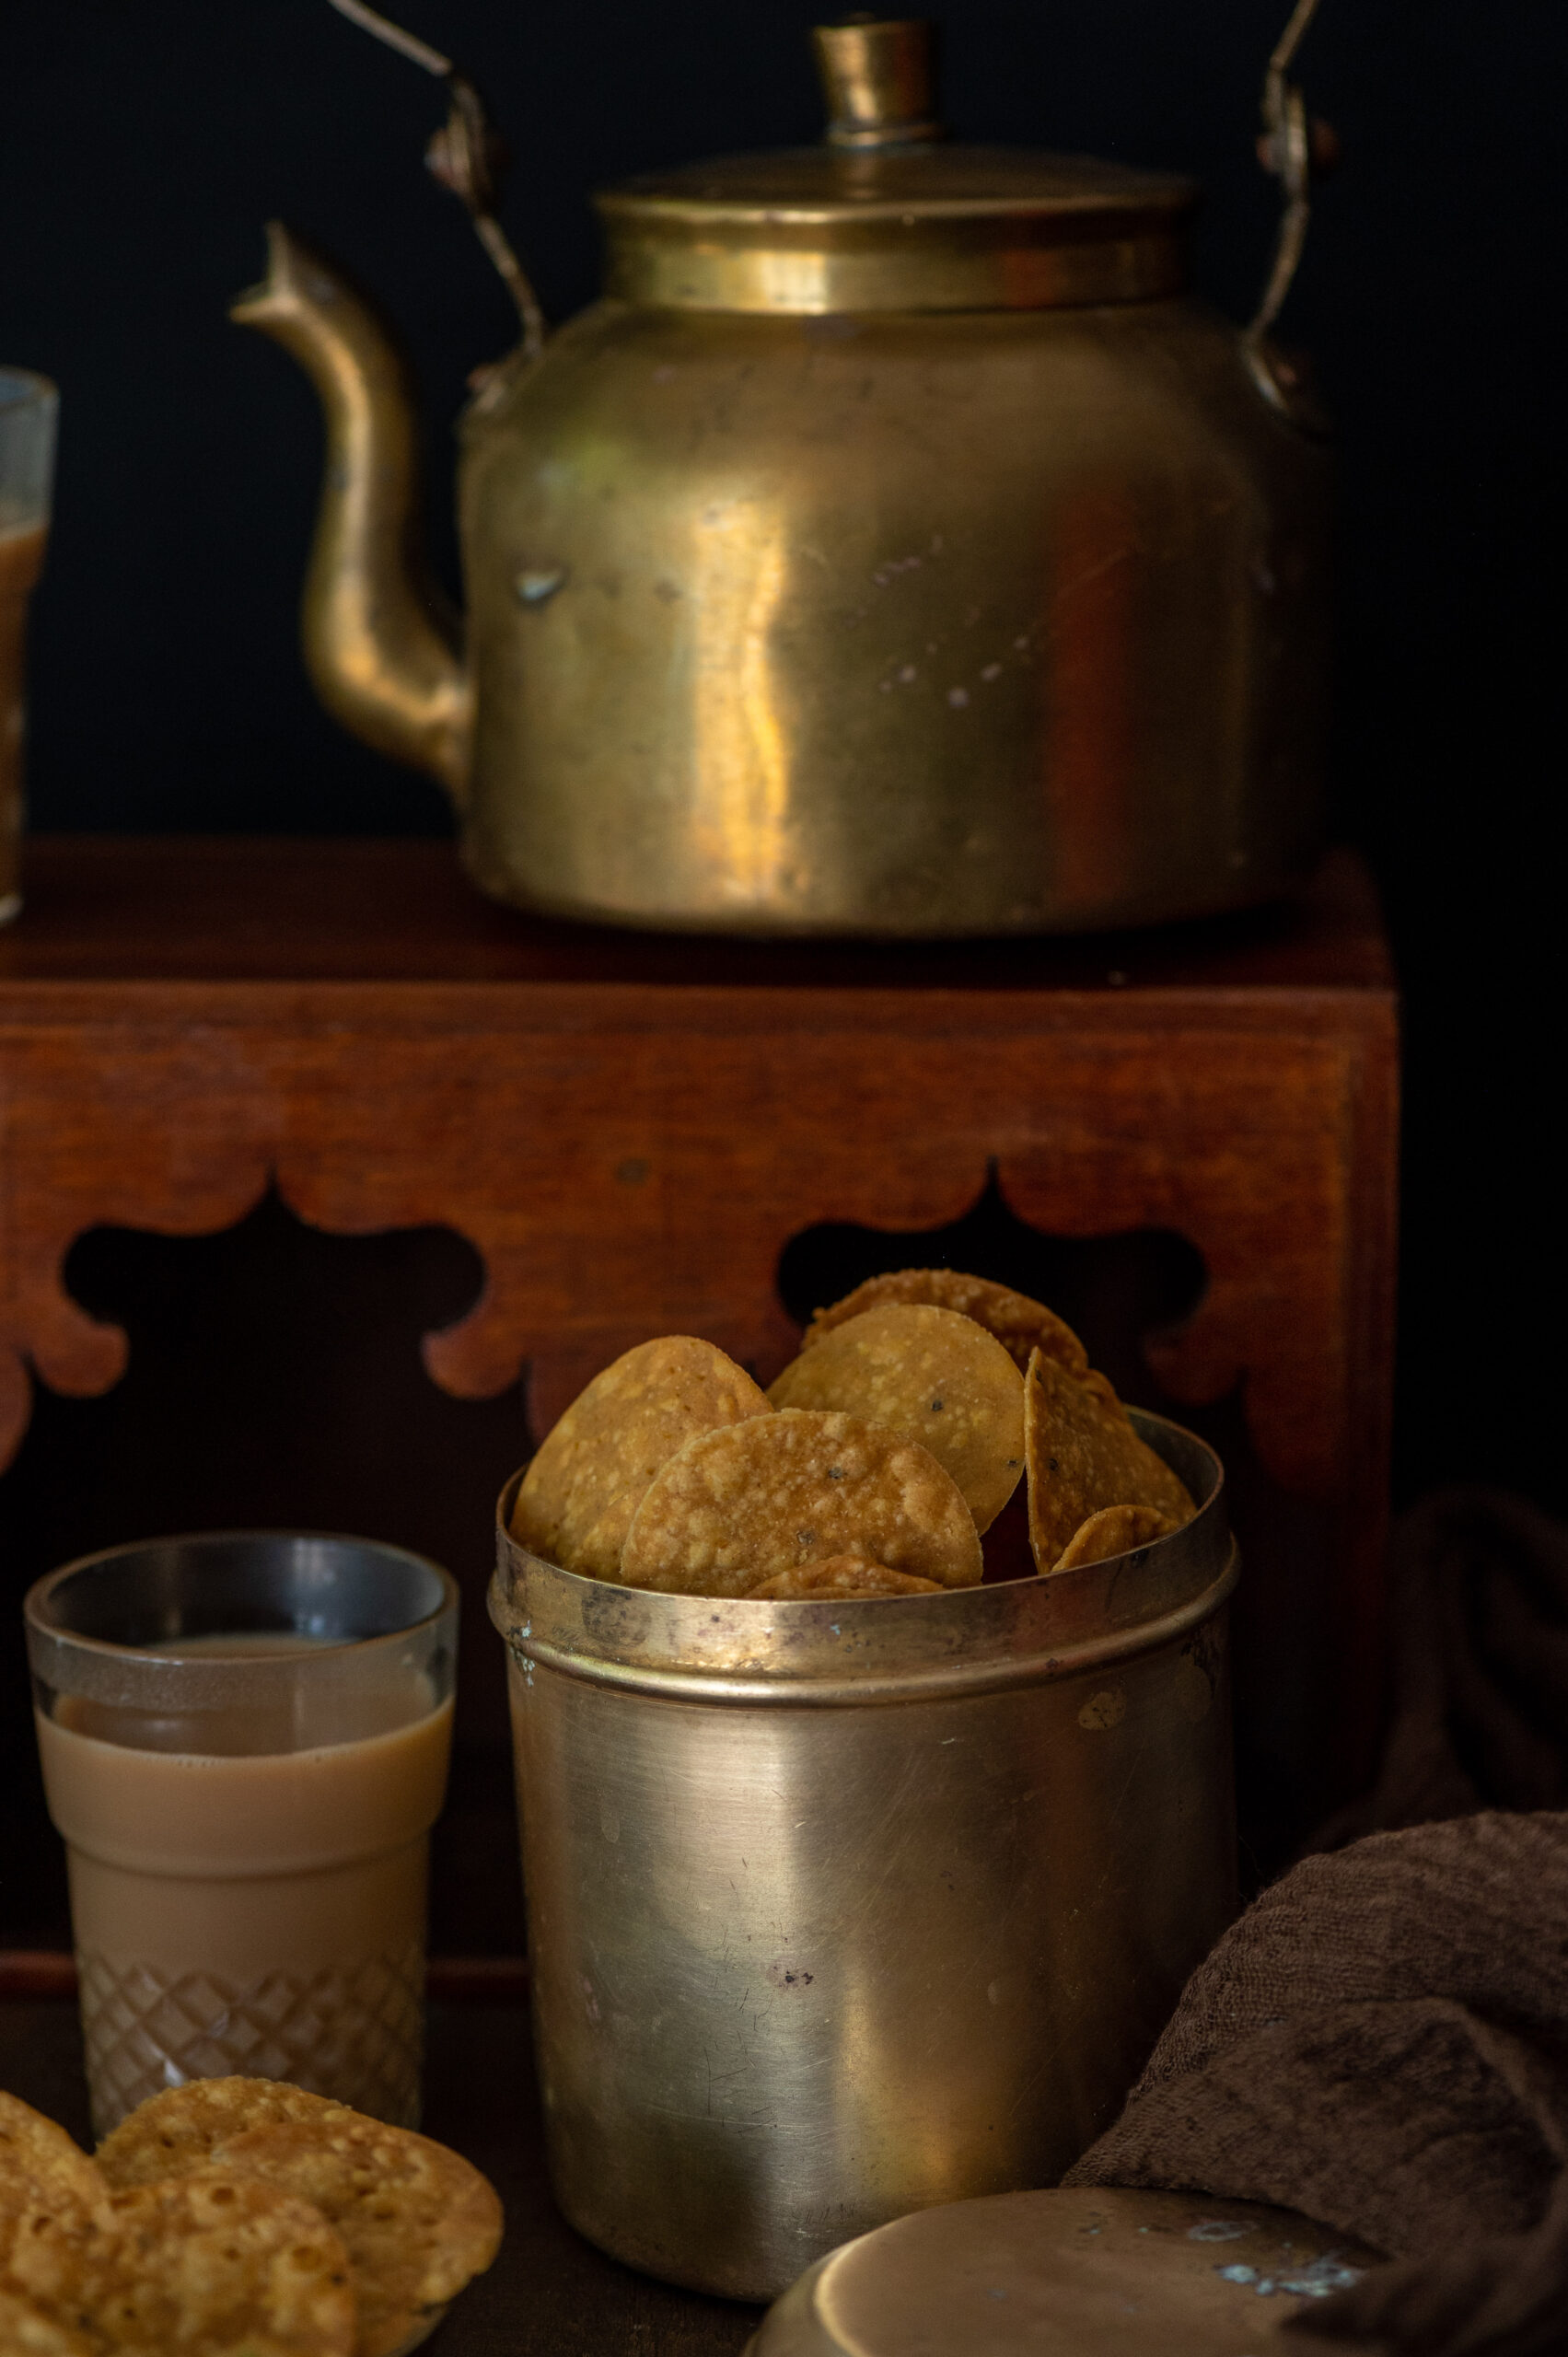
The amazing thing about khari poori is that it travels very well, and can easily last for up to four weeks (hypothetically speaking, of course – there’s no chance a jar of such deliciousness will go unfinished that long in most households). This means that whenever we take long car journeys, I fill up a nice flask of hot chai and pack some khari poori for the road. I send my kids off with a parcel of it whenever they head back after a visit. My daughter tells me that she loves to munch on it when she gets a breather from her busy days in the courtroom, so it’s a nice snack to carry into a workplace too. Most of all, it works as the perfect charm when you’re away and are a week or ten days into being somewhere else, and you suddenly crave the taste of home. I remember being in Paris once and munching some homemade khari poori, safely conveyed in my luggage all the way from India, while admiring the beauty of the Eiffel Tower. This delicious little snack has travelled all over the world, literally!

Khari poori is also perfect for when you come home, as I mentioned earlier, but even if you haven’t been travelling or living away, it rounds out a tiring day. When you return late from work or are still hungry after a lousy dinner outside, reaching out for some khari poori and a glass of milk just settles something in the belly and the mind and lets one fall asleep. It’s an all-rounder kind of snack that way: ideal for festive feasts, holiday treats and as a comfort food.

Masala Khari Poori

(Yield: 30+ pieces)

1 cup whole wheat flour

¼ teaspoon turmeric powder

1 teaspoon ginger green chilli paste

½ teaspoon cumin powder

½ teaspoon coriander powder

2 tablespoons oil + for frying

½ teaspoon ajwain seeds (carom seeds)

A pinch of sugar (optional)

⅓ cup water (depends upon the flour)


Make a tight dough with all the ingredients. A lot of kneading helps it become smooth, which will make for crispy pooris.

Heat the oil for frying in a kadai. Meanwhile, make small balls of the dough and set aside.

Now start rolling them out into small discs, or else use my cookie cutter method.

Once the oil is ready, start deep frying the individual pooris.

Drop a few at a time or as many as will fit into the oil. Now, lower the flame as a high heat will burn them and make them turn brown while also being undercooked.

Flip them at intervals and patiently allow them to cook until golden. At intervals you may increase the heat, depending on how they appear.

Remove onto paper and allow to cool. Fry all your discs and allow to cool before storing them in an airtight tin.

Crispy, festive, spicy – these masala khari pooris will add a boost of delight to your day, whether that’s a special day or simply an ordinary day on which to enjoy the simple good things in life. In my home, we tend to not purchase snacks since I make quite an array of them: this khari poori, obviously, but also butter biscuits, pistachio-rose nan khatai, sukha bhel, banana-methi fritters and much more. We enjoy one or the other on any given day, always with a piping hot kettle full of this delicious masala chai. Try them out and let me know: what’s your own favourite combo?

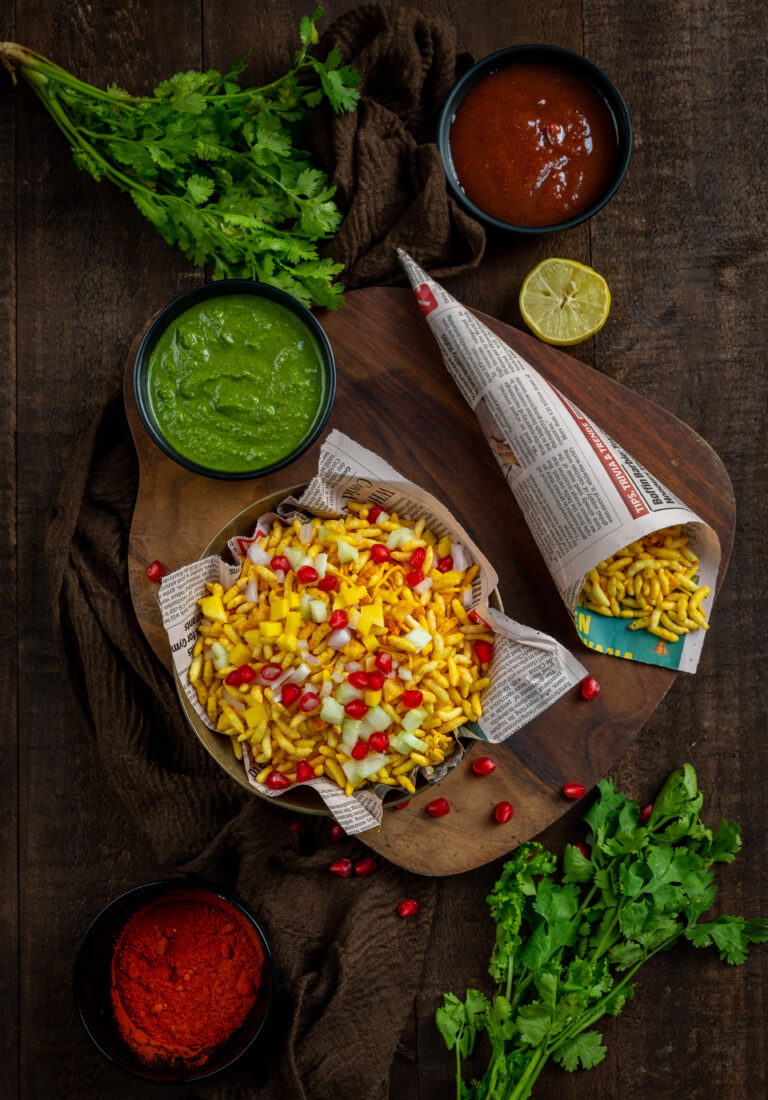
Bhel is a popular Indian savoury snack, from the chaat or street food category, that is served dressed up in a number of ways. Sukha bhel, or dry bhel, is a simple way to have it. With a puffed rice base and some flavourings, it makes for a filling dish between meals. Many who enjoy this snack will have their own versions. So this is a sukha bhel, Nandi style. Lately, we have been having it at home with tea daily, so of course I wanted to share the same with you!

My husband has a habit of getting into one dish and becoming obsessed with it for about a year or so, during which he needs to eat it every single day (and then, eventually tiring of it, having had his fill and then some!). His current penchant is for this sukha bhel, and since it’s now a regular at our table, I try to make it as healthy as possible. You can take the nutritious route even with items that are conventionally regarded as unhealthy, such as most street foods. In fact, I have shared a green moong bhel in the past that was even healthier than this one, and I hope you’ll try that out too.

So if by chance you land up at my home between 5pm and 6pm on any given day, you’ll be served a nice helping of this sukha bhel. There will invariably be a tea cake from the re:store kitchen to accompany it, and maybe even the crispy butter cookies you read about last weekend. Of course, this special masala chai will waft its lovely aromas over the table too. Tempting, no? The best part is, whether you can drop by or not, you can prepare the entire tea time feast from scratch yourself. Every recipe I’ve mentioned is right here on this blog, for your own enjoyment.

There have been times when I watched what I eat like a hawk and felt guilty about every little thing that went into my mouth. Slowly, I recognised how unhealthy this habit was, and how it negated the supposed healthiness of trying to stick to any particular diet. So now and then, I say, “To hell with it!” and have a slice of cake with my bhel too. I know it won’t do me any harm, especially if I make adjustments at dinner time with portions and dish choices. Do you do anything similar, to ensure that you don’t miss out on the good stuff but also don’t compromise on sensible dietary choices?

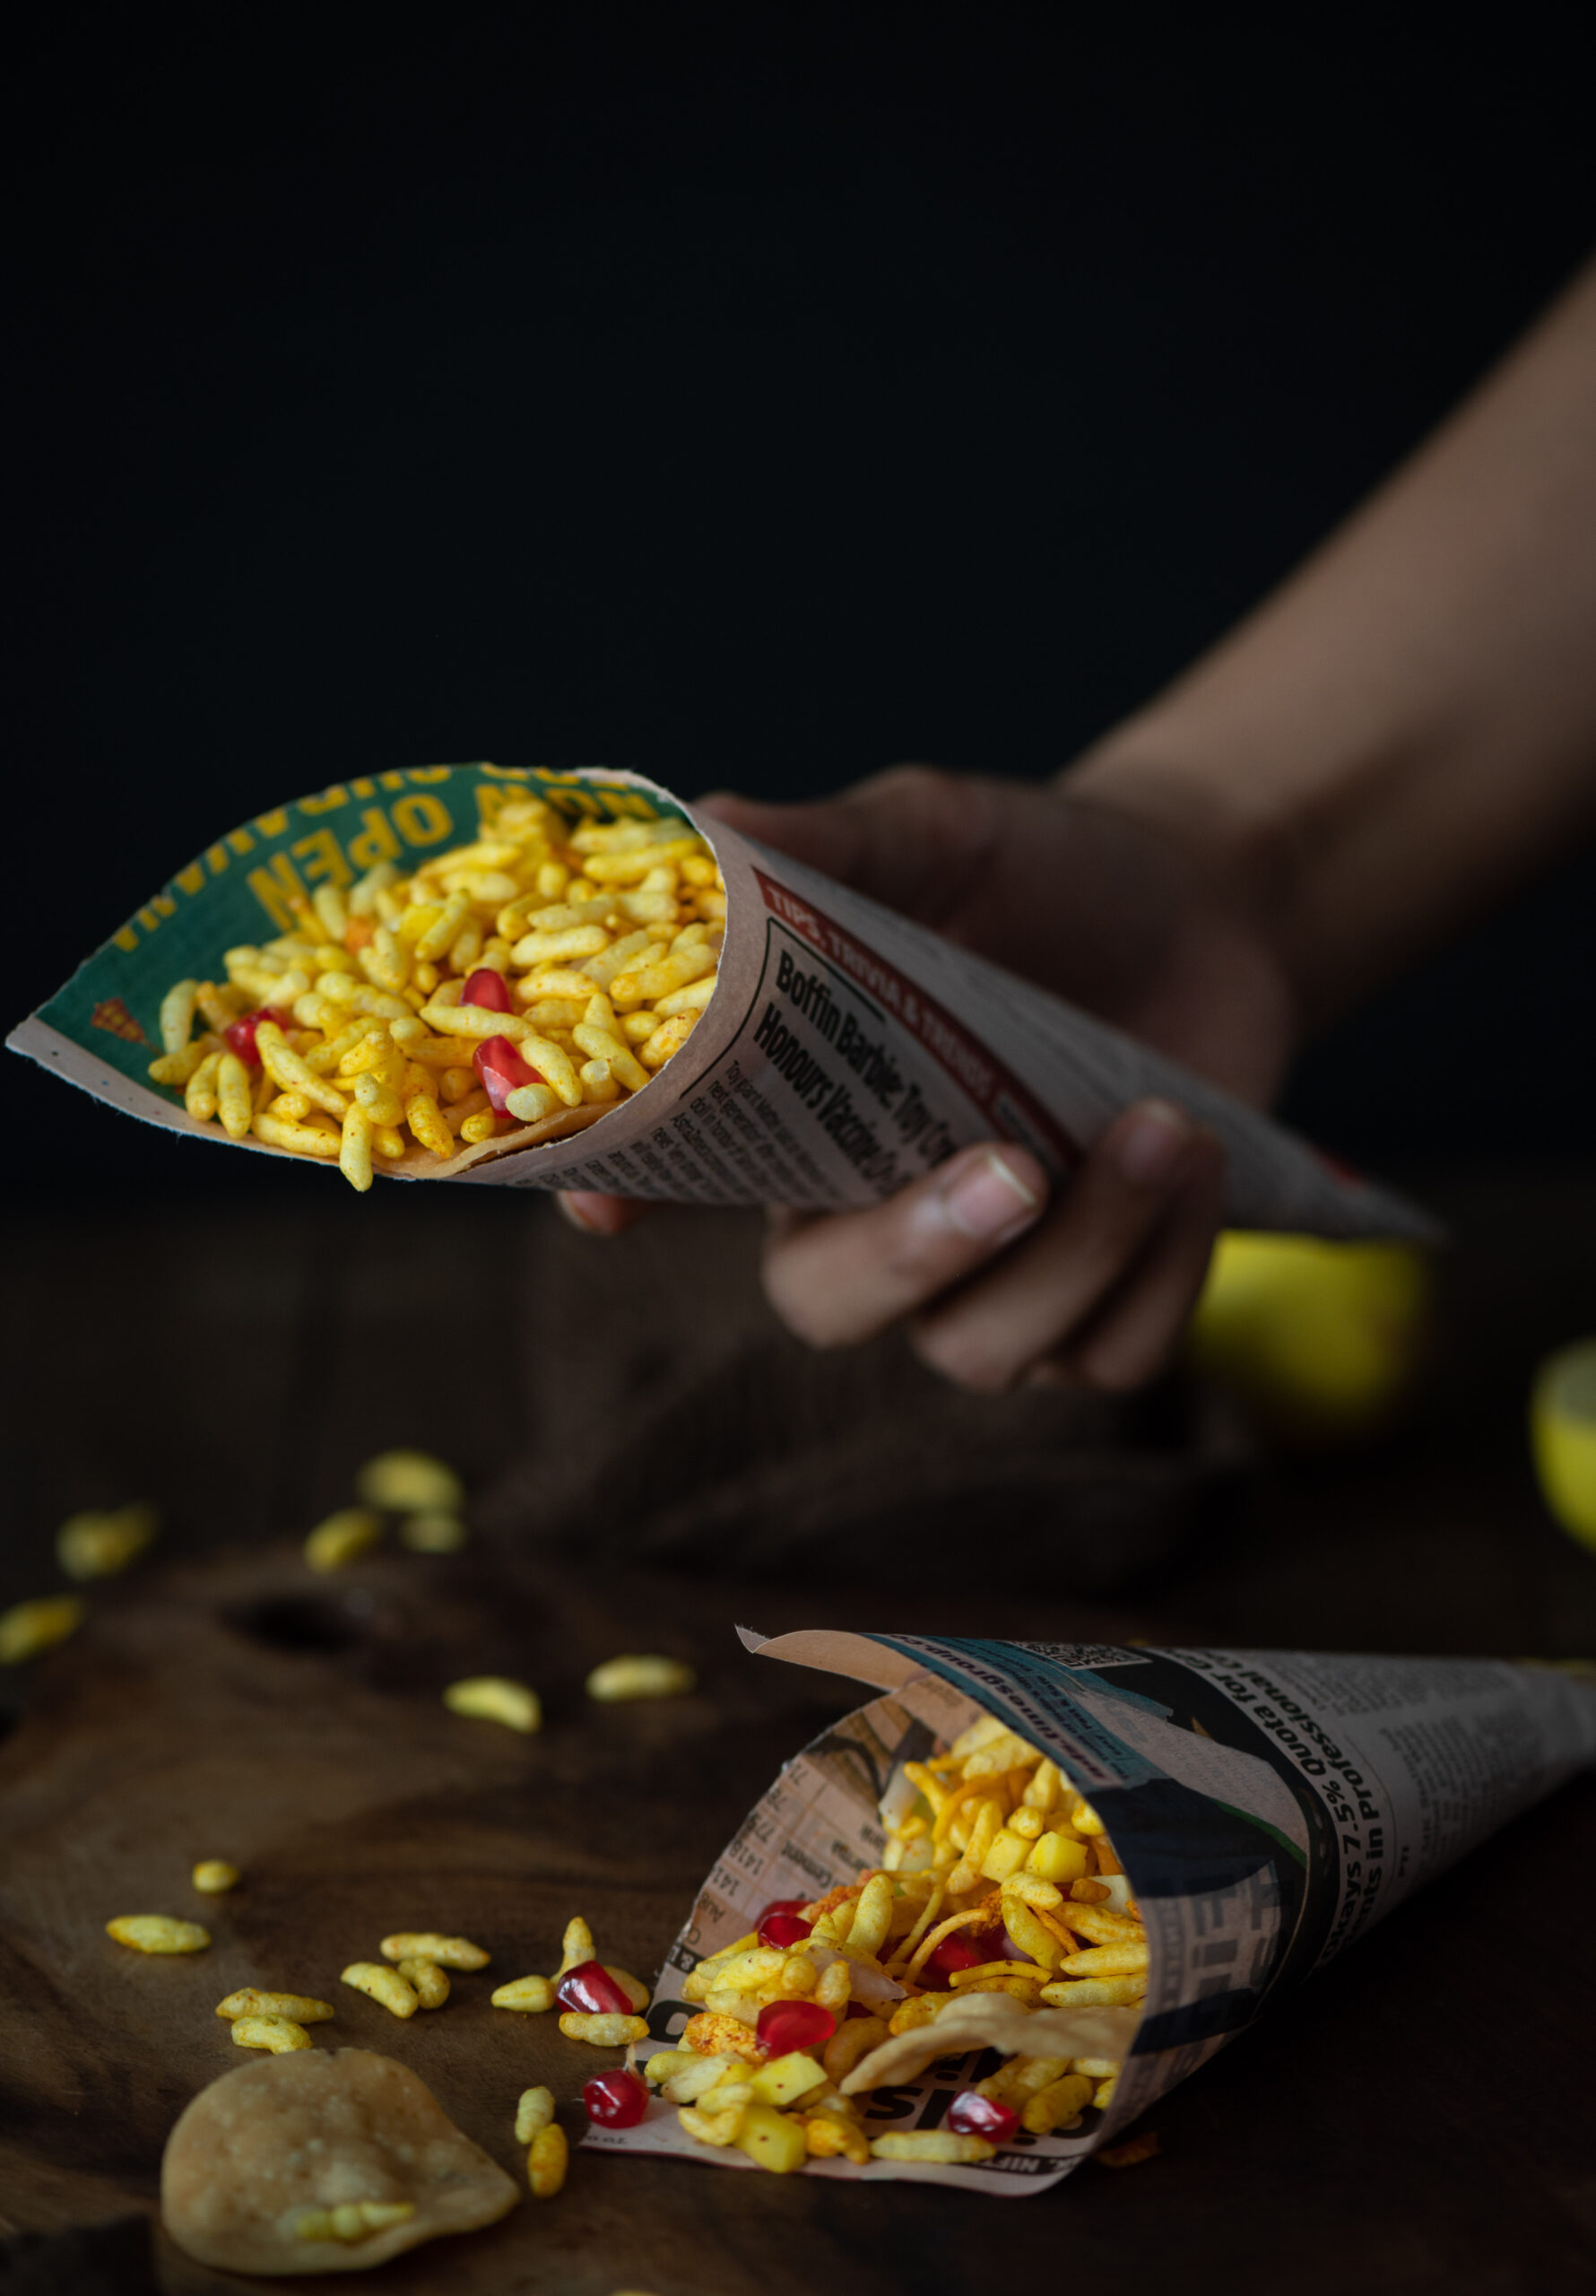
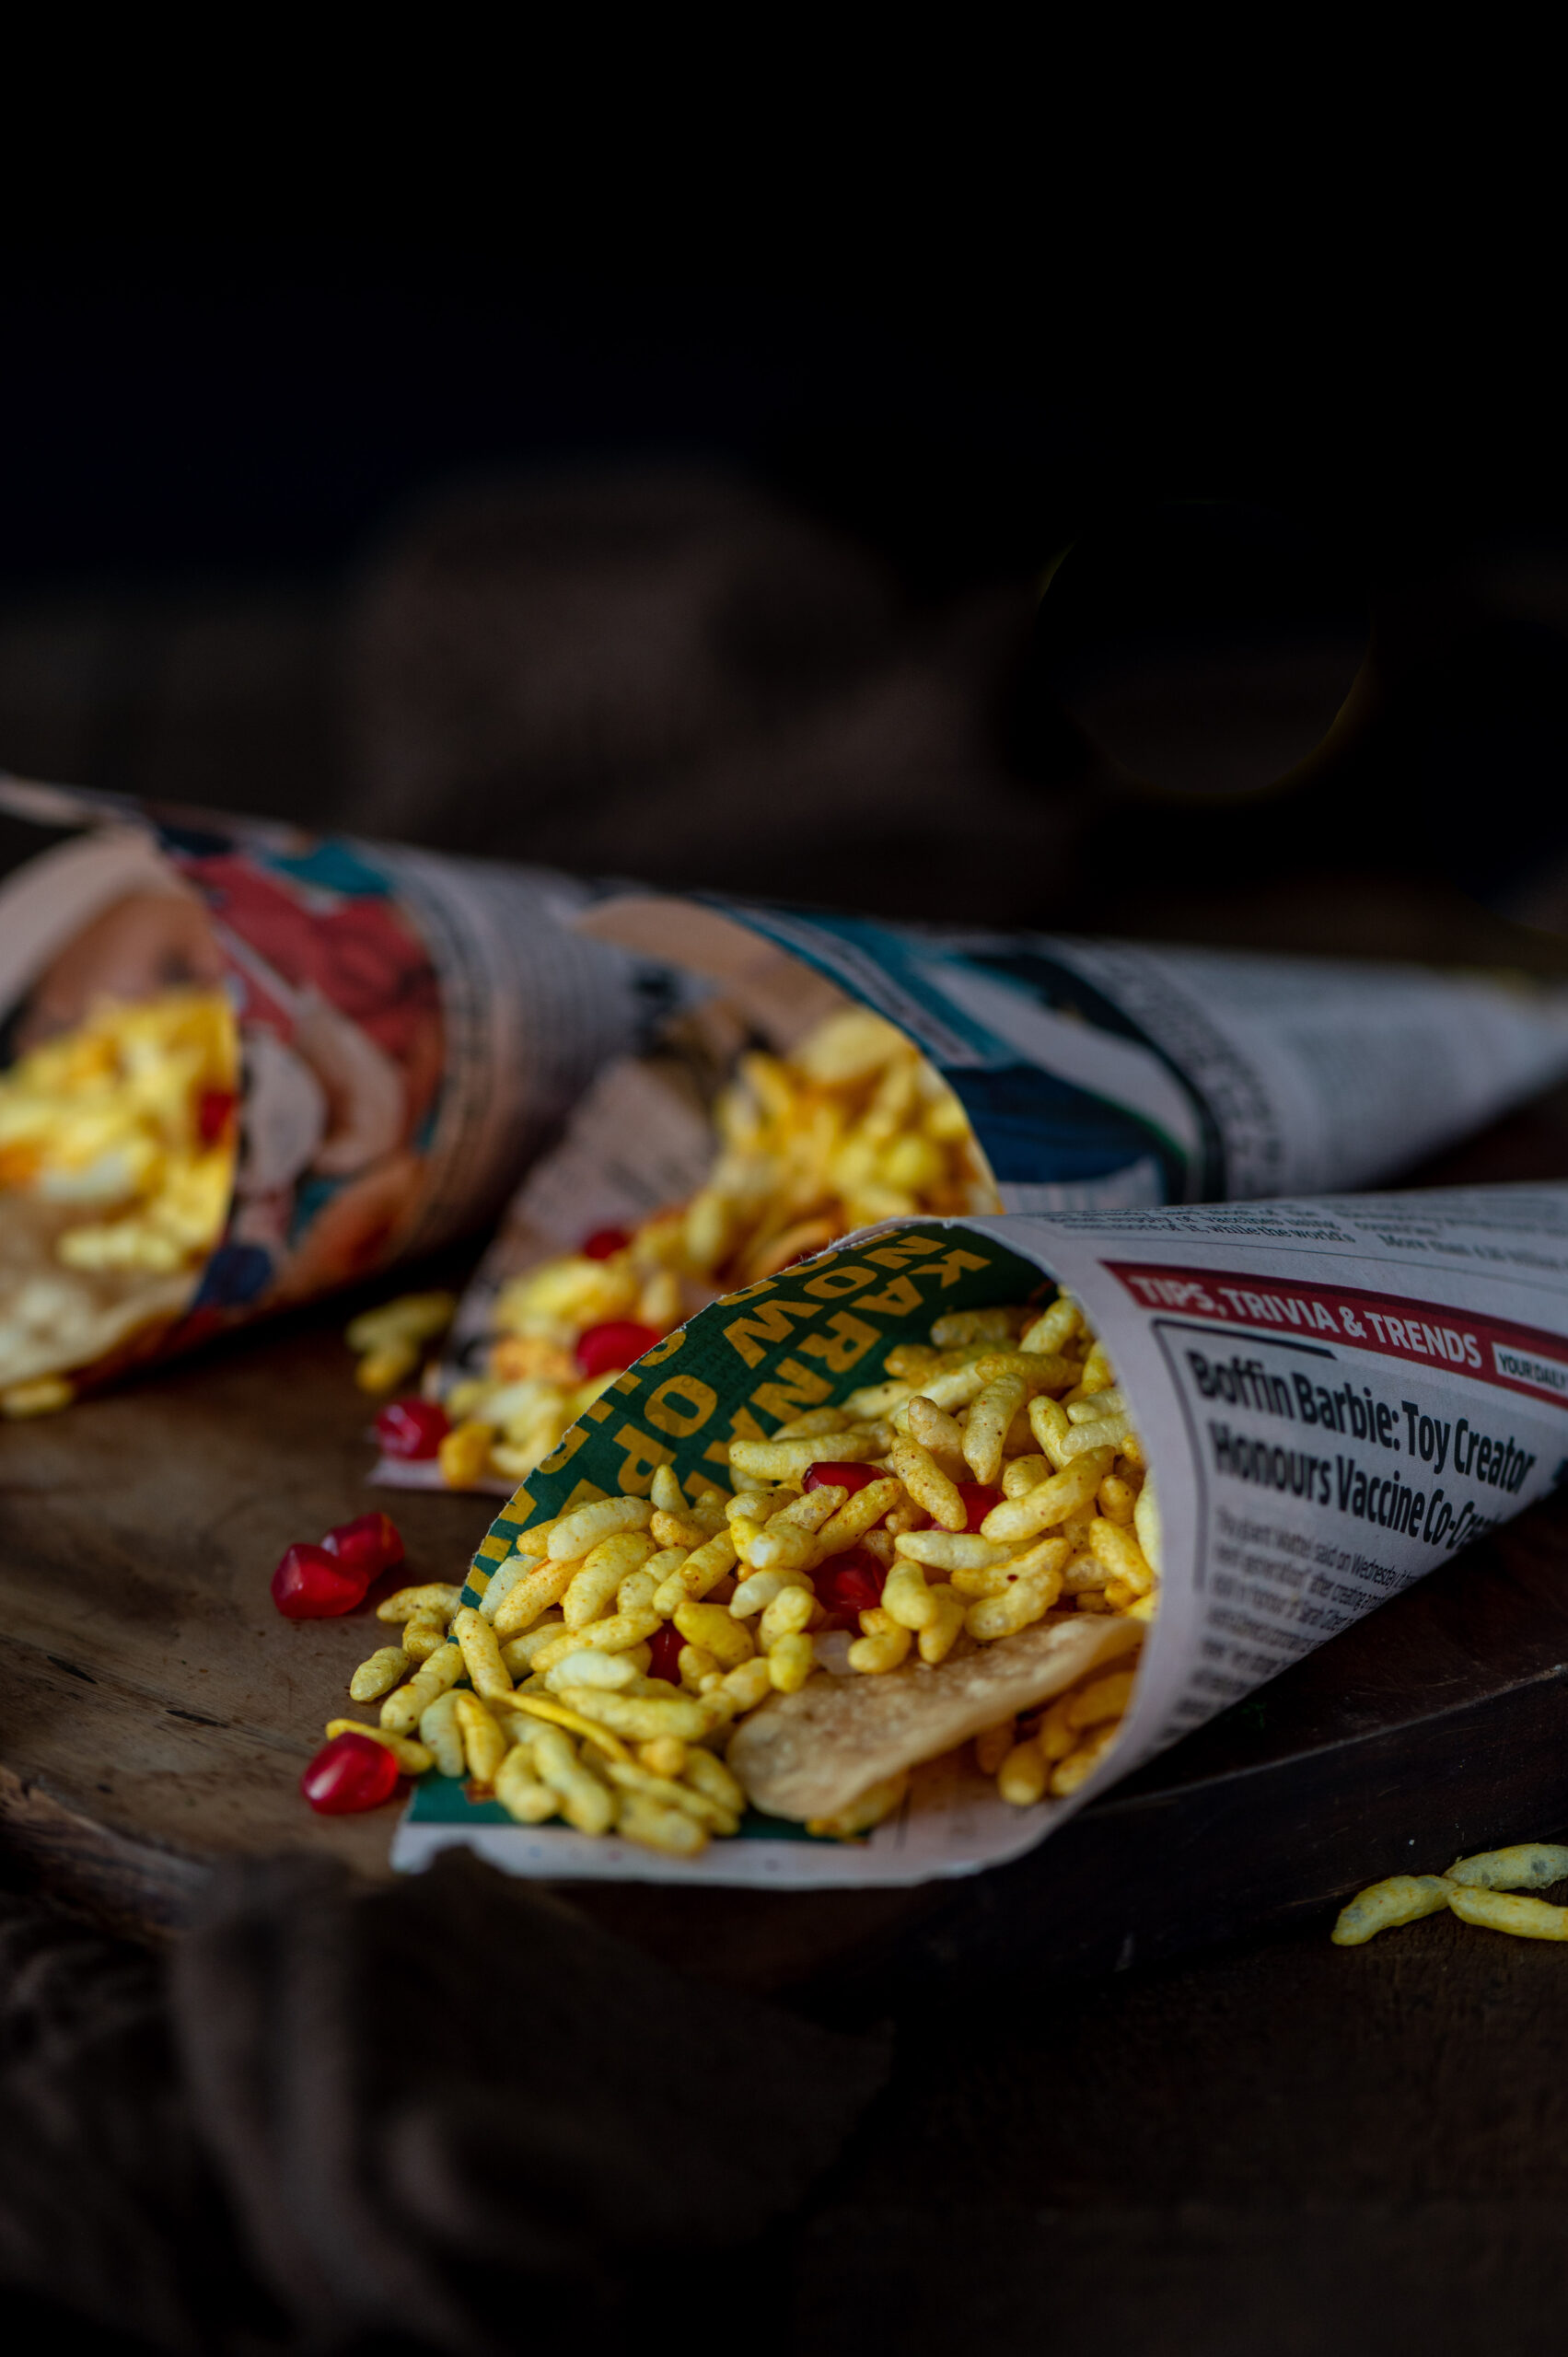
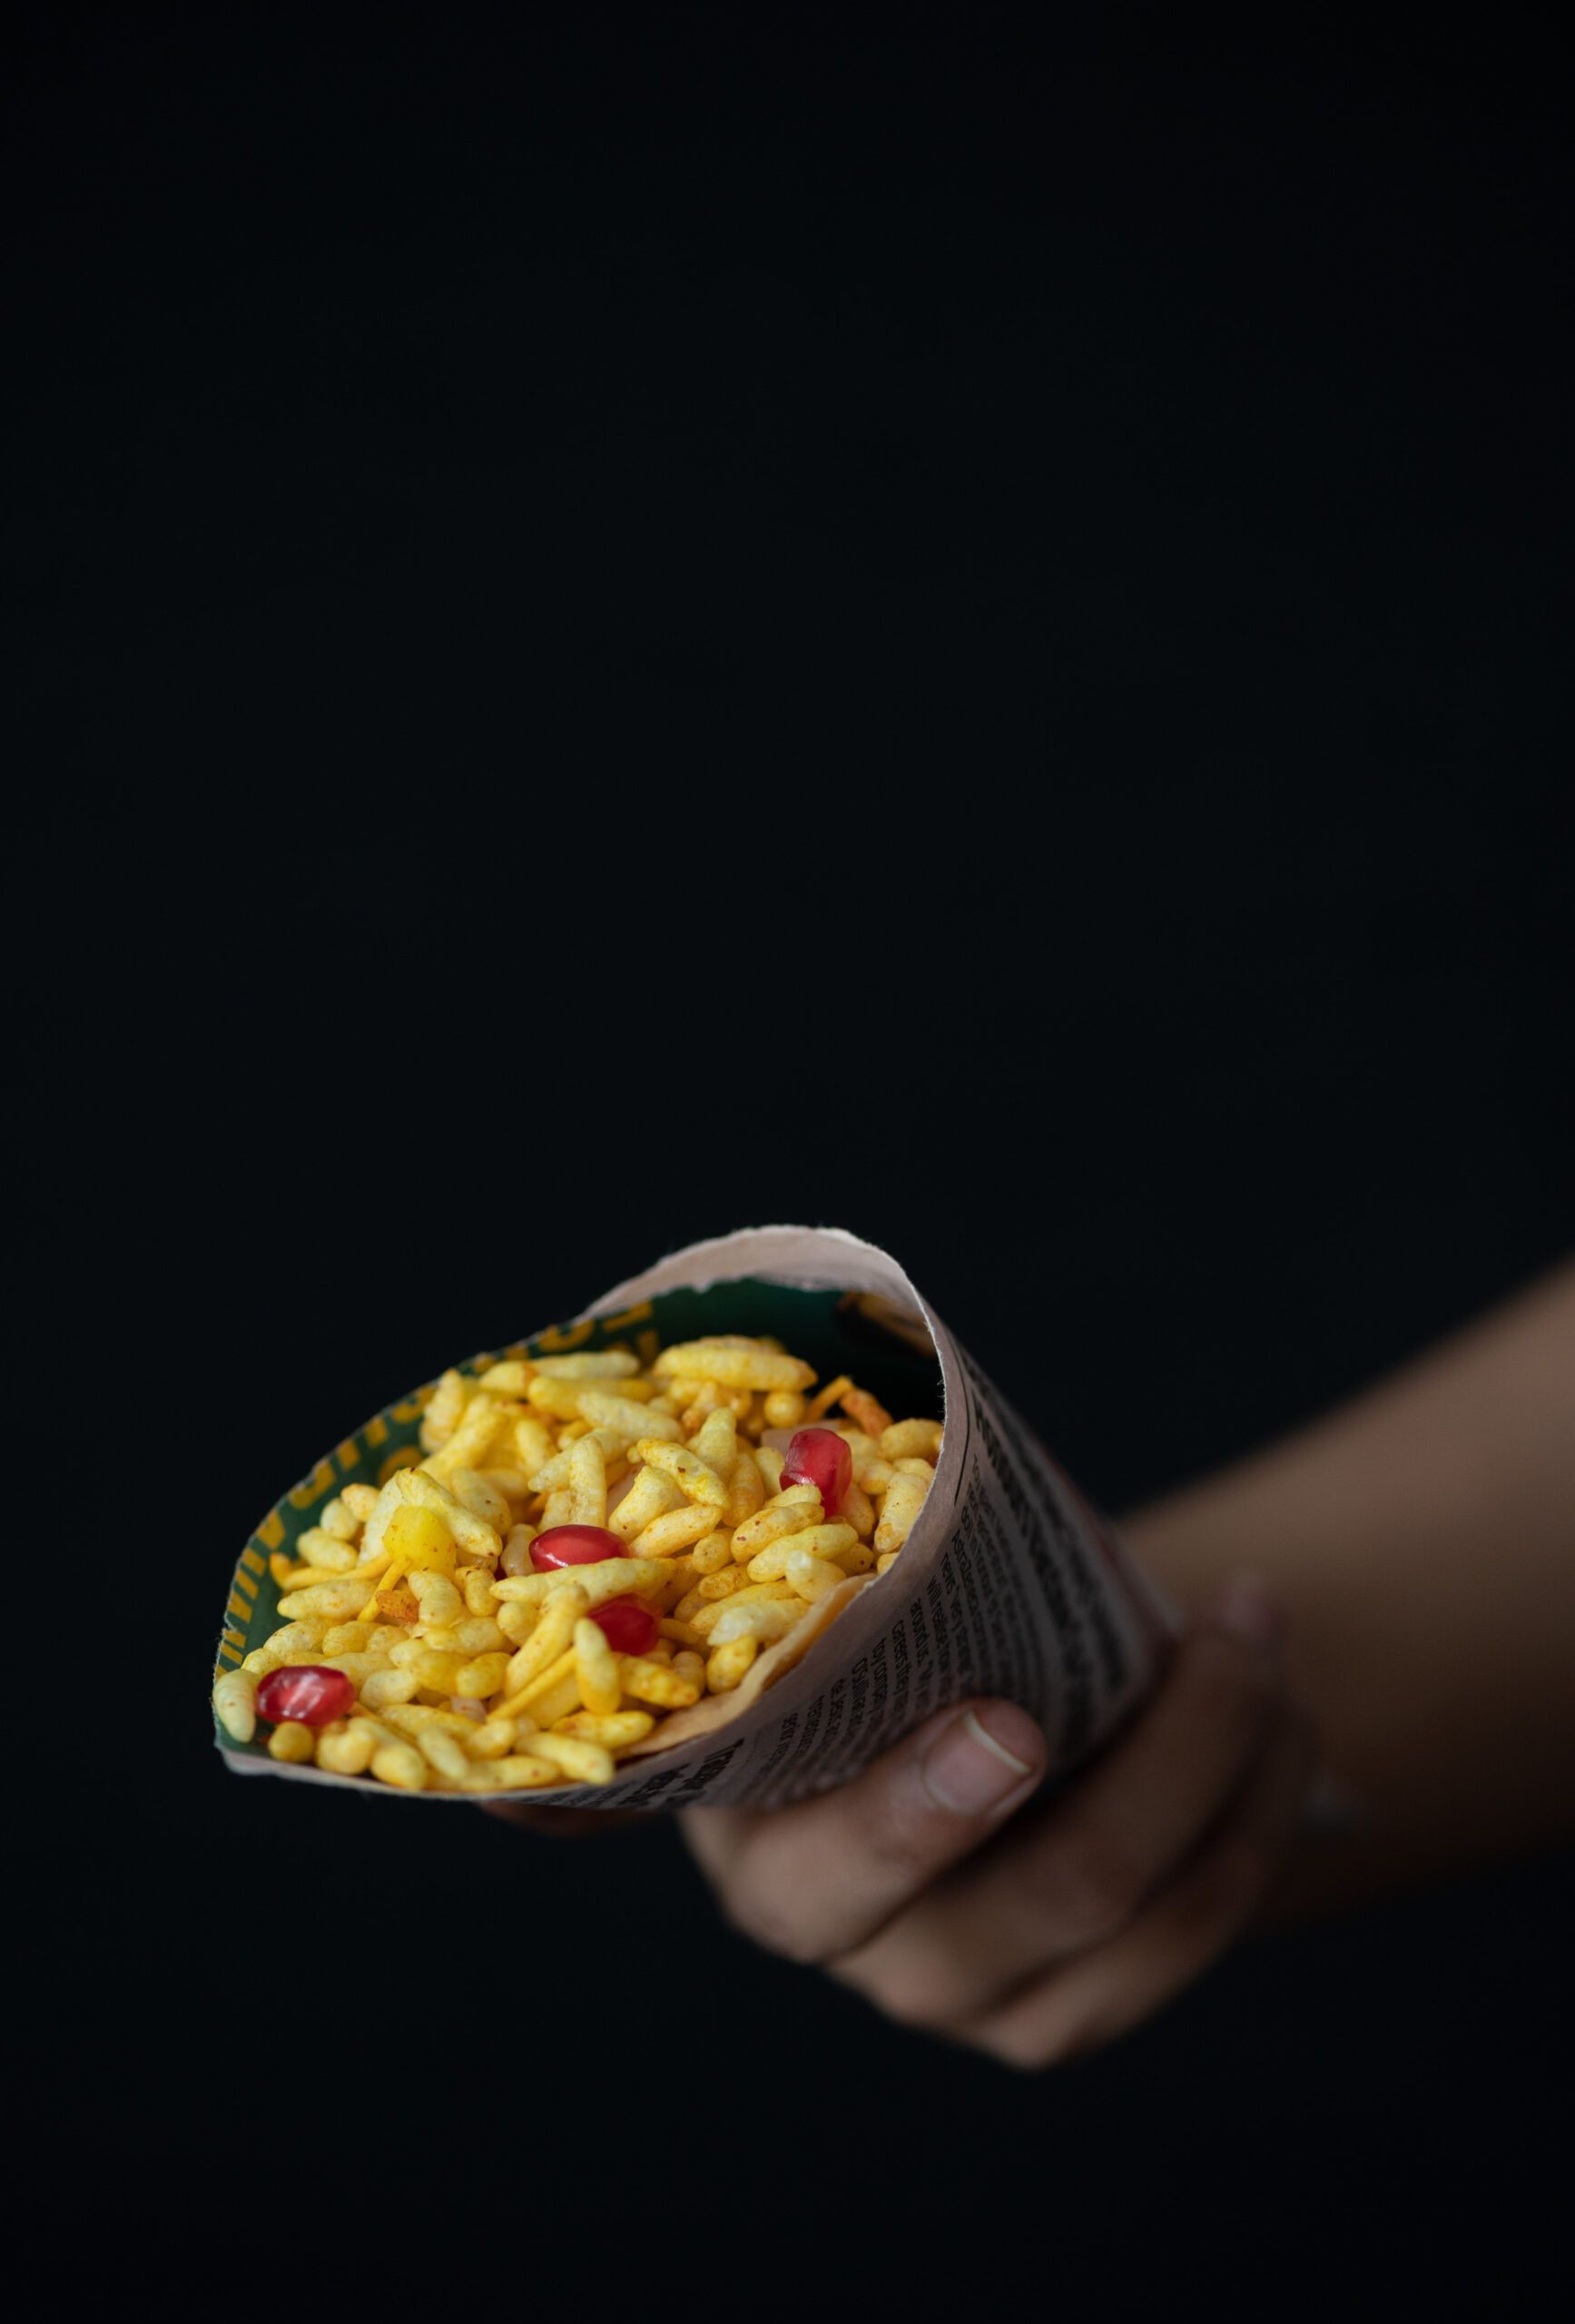
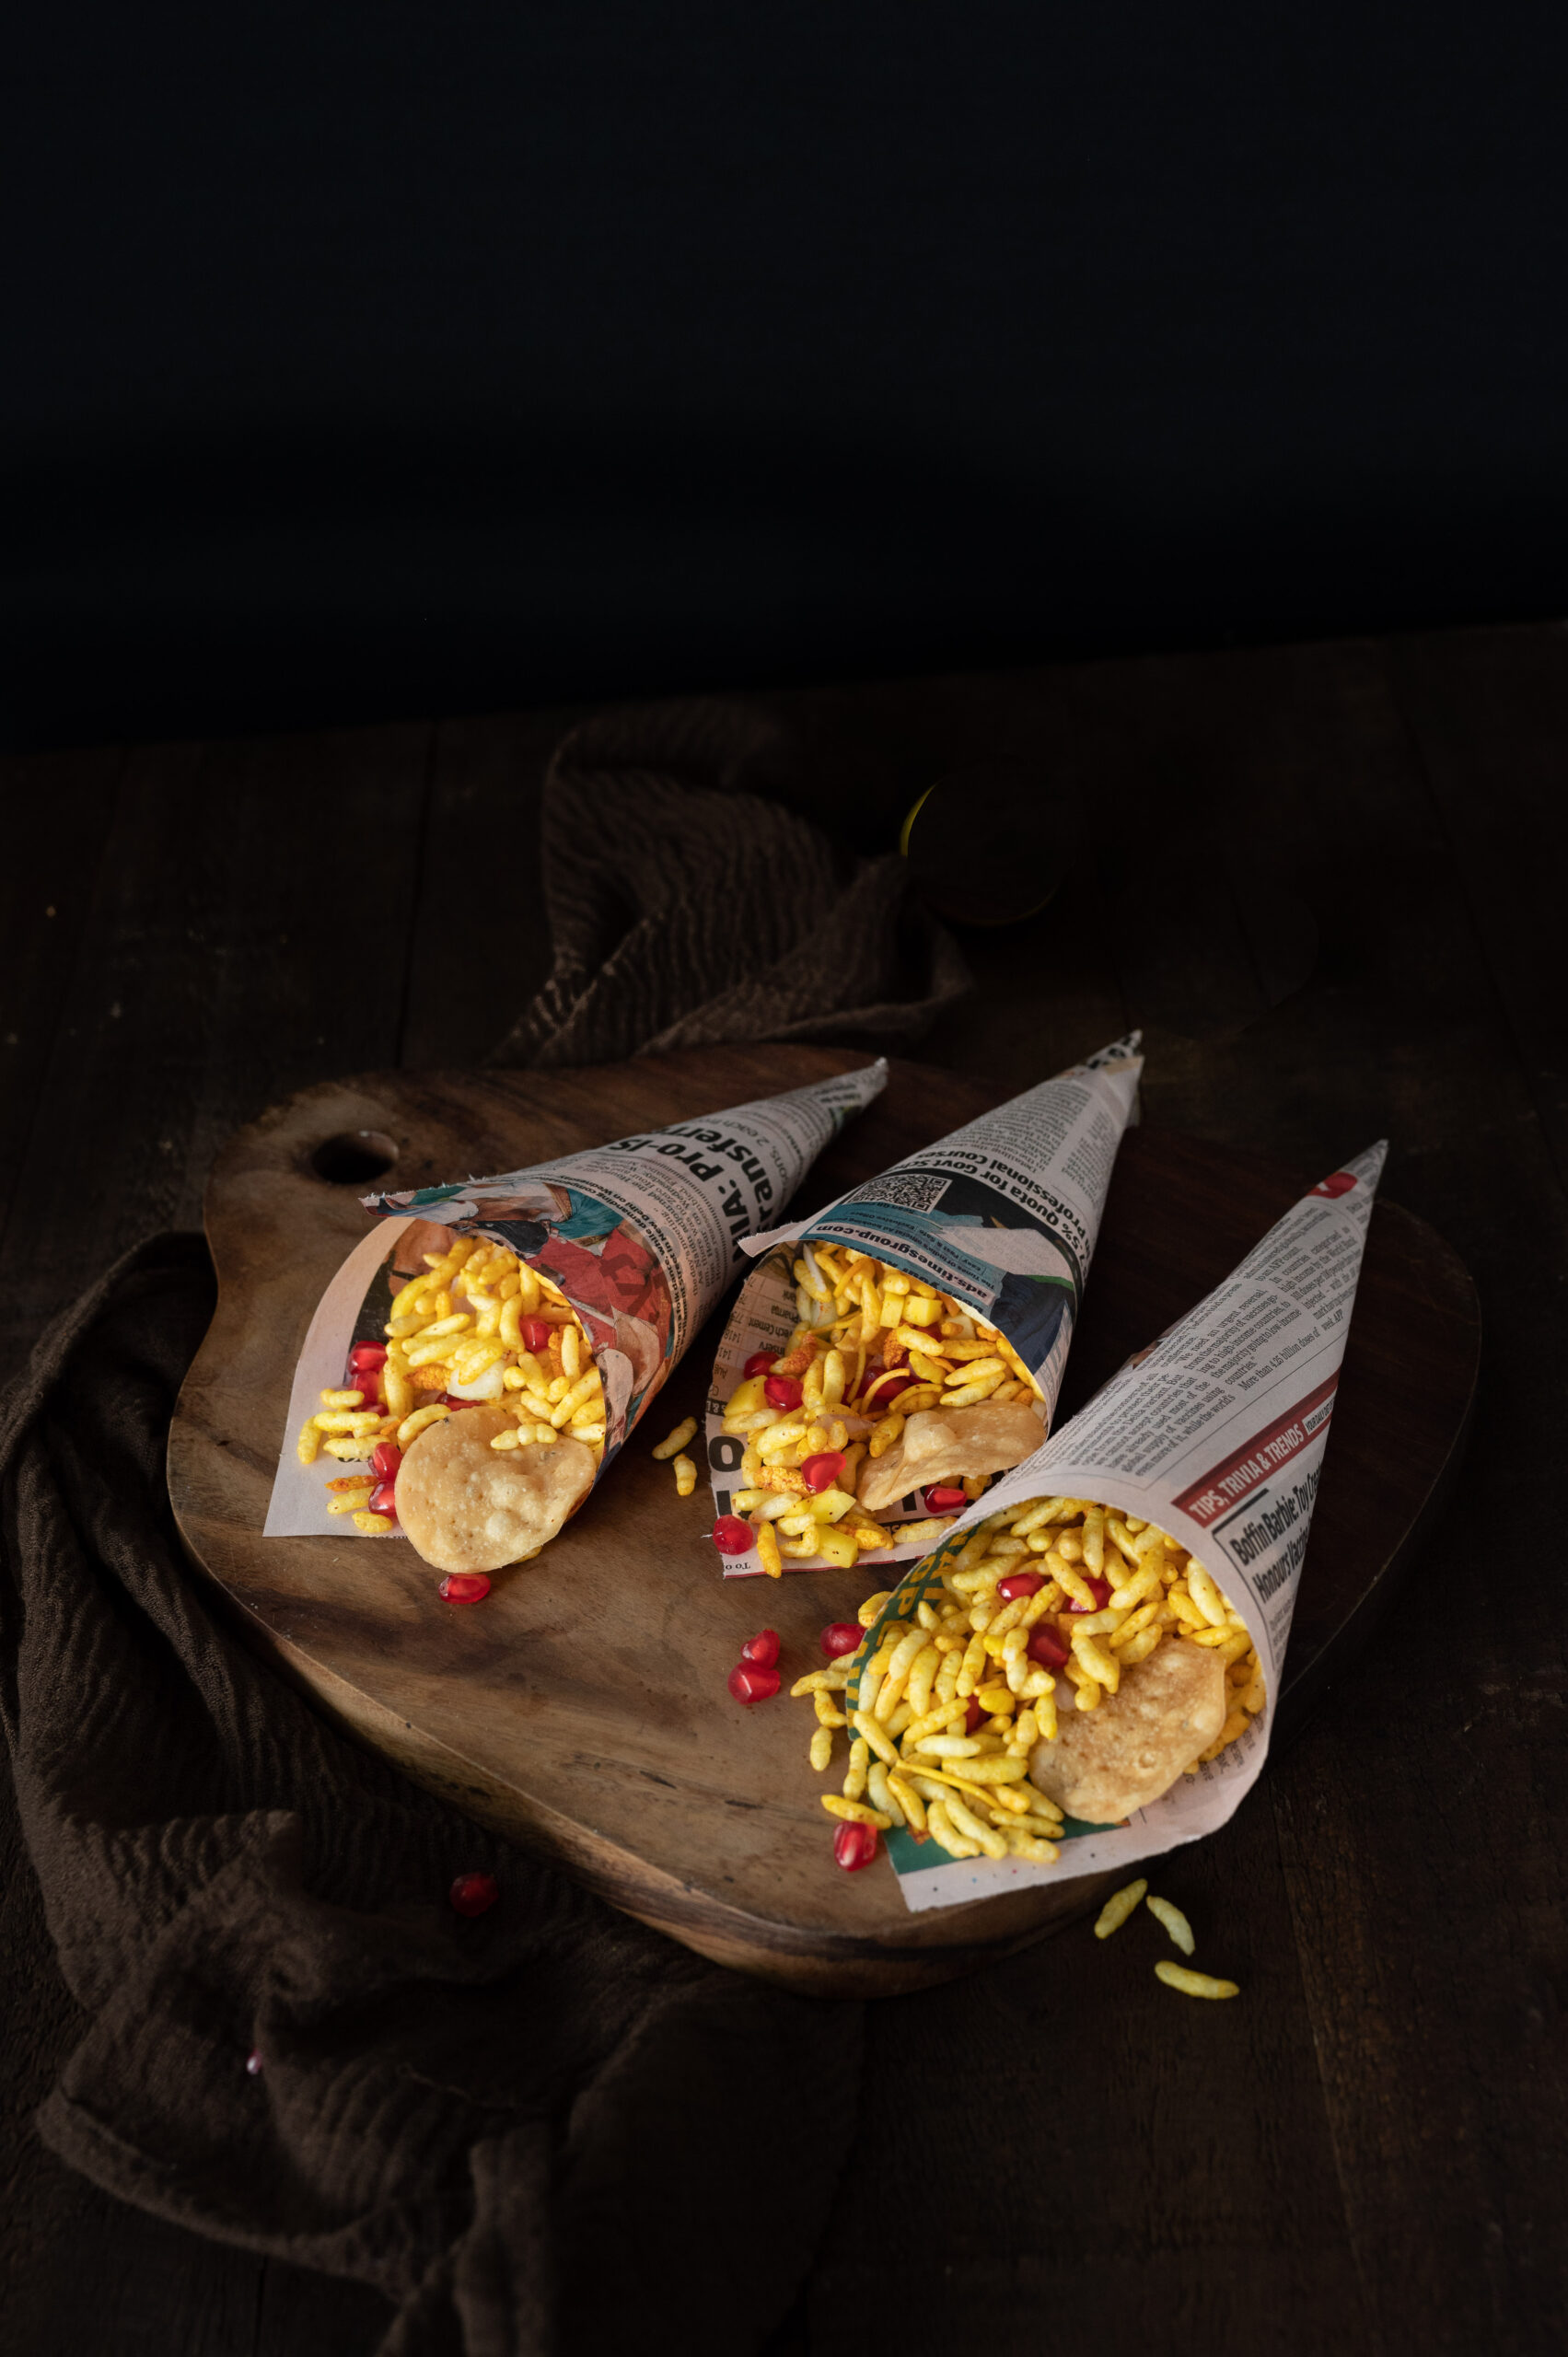
Now, even though my husband craves this sukha bhel daily, I must admit that it is only in the second-best standing for him. The very best is the street-side bhel you find in Bombay, and I will concede that it tops mine. It’s my own favourite too. When I visit the city and am on my way to my sister’s home from the airport, I always stop and pick up an order along the way, and will have finished eating it before I’ve even arrived at her door! Simply wrapped in a piece of newspaper, with a puri in place of a spoon to scoop up the bhel, it really is unbeatable. I relish the very last bite, when I get to eat the “spoon” as well. That’s the best part, and this tantalizing mix of flavours is how every trip to Bombay begins for me.

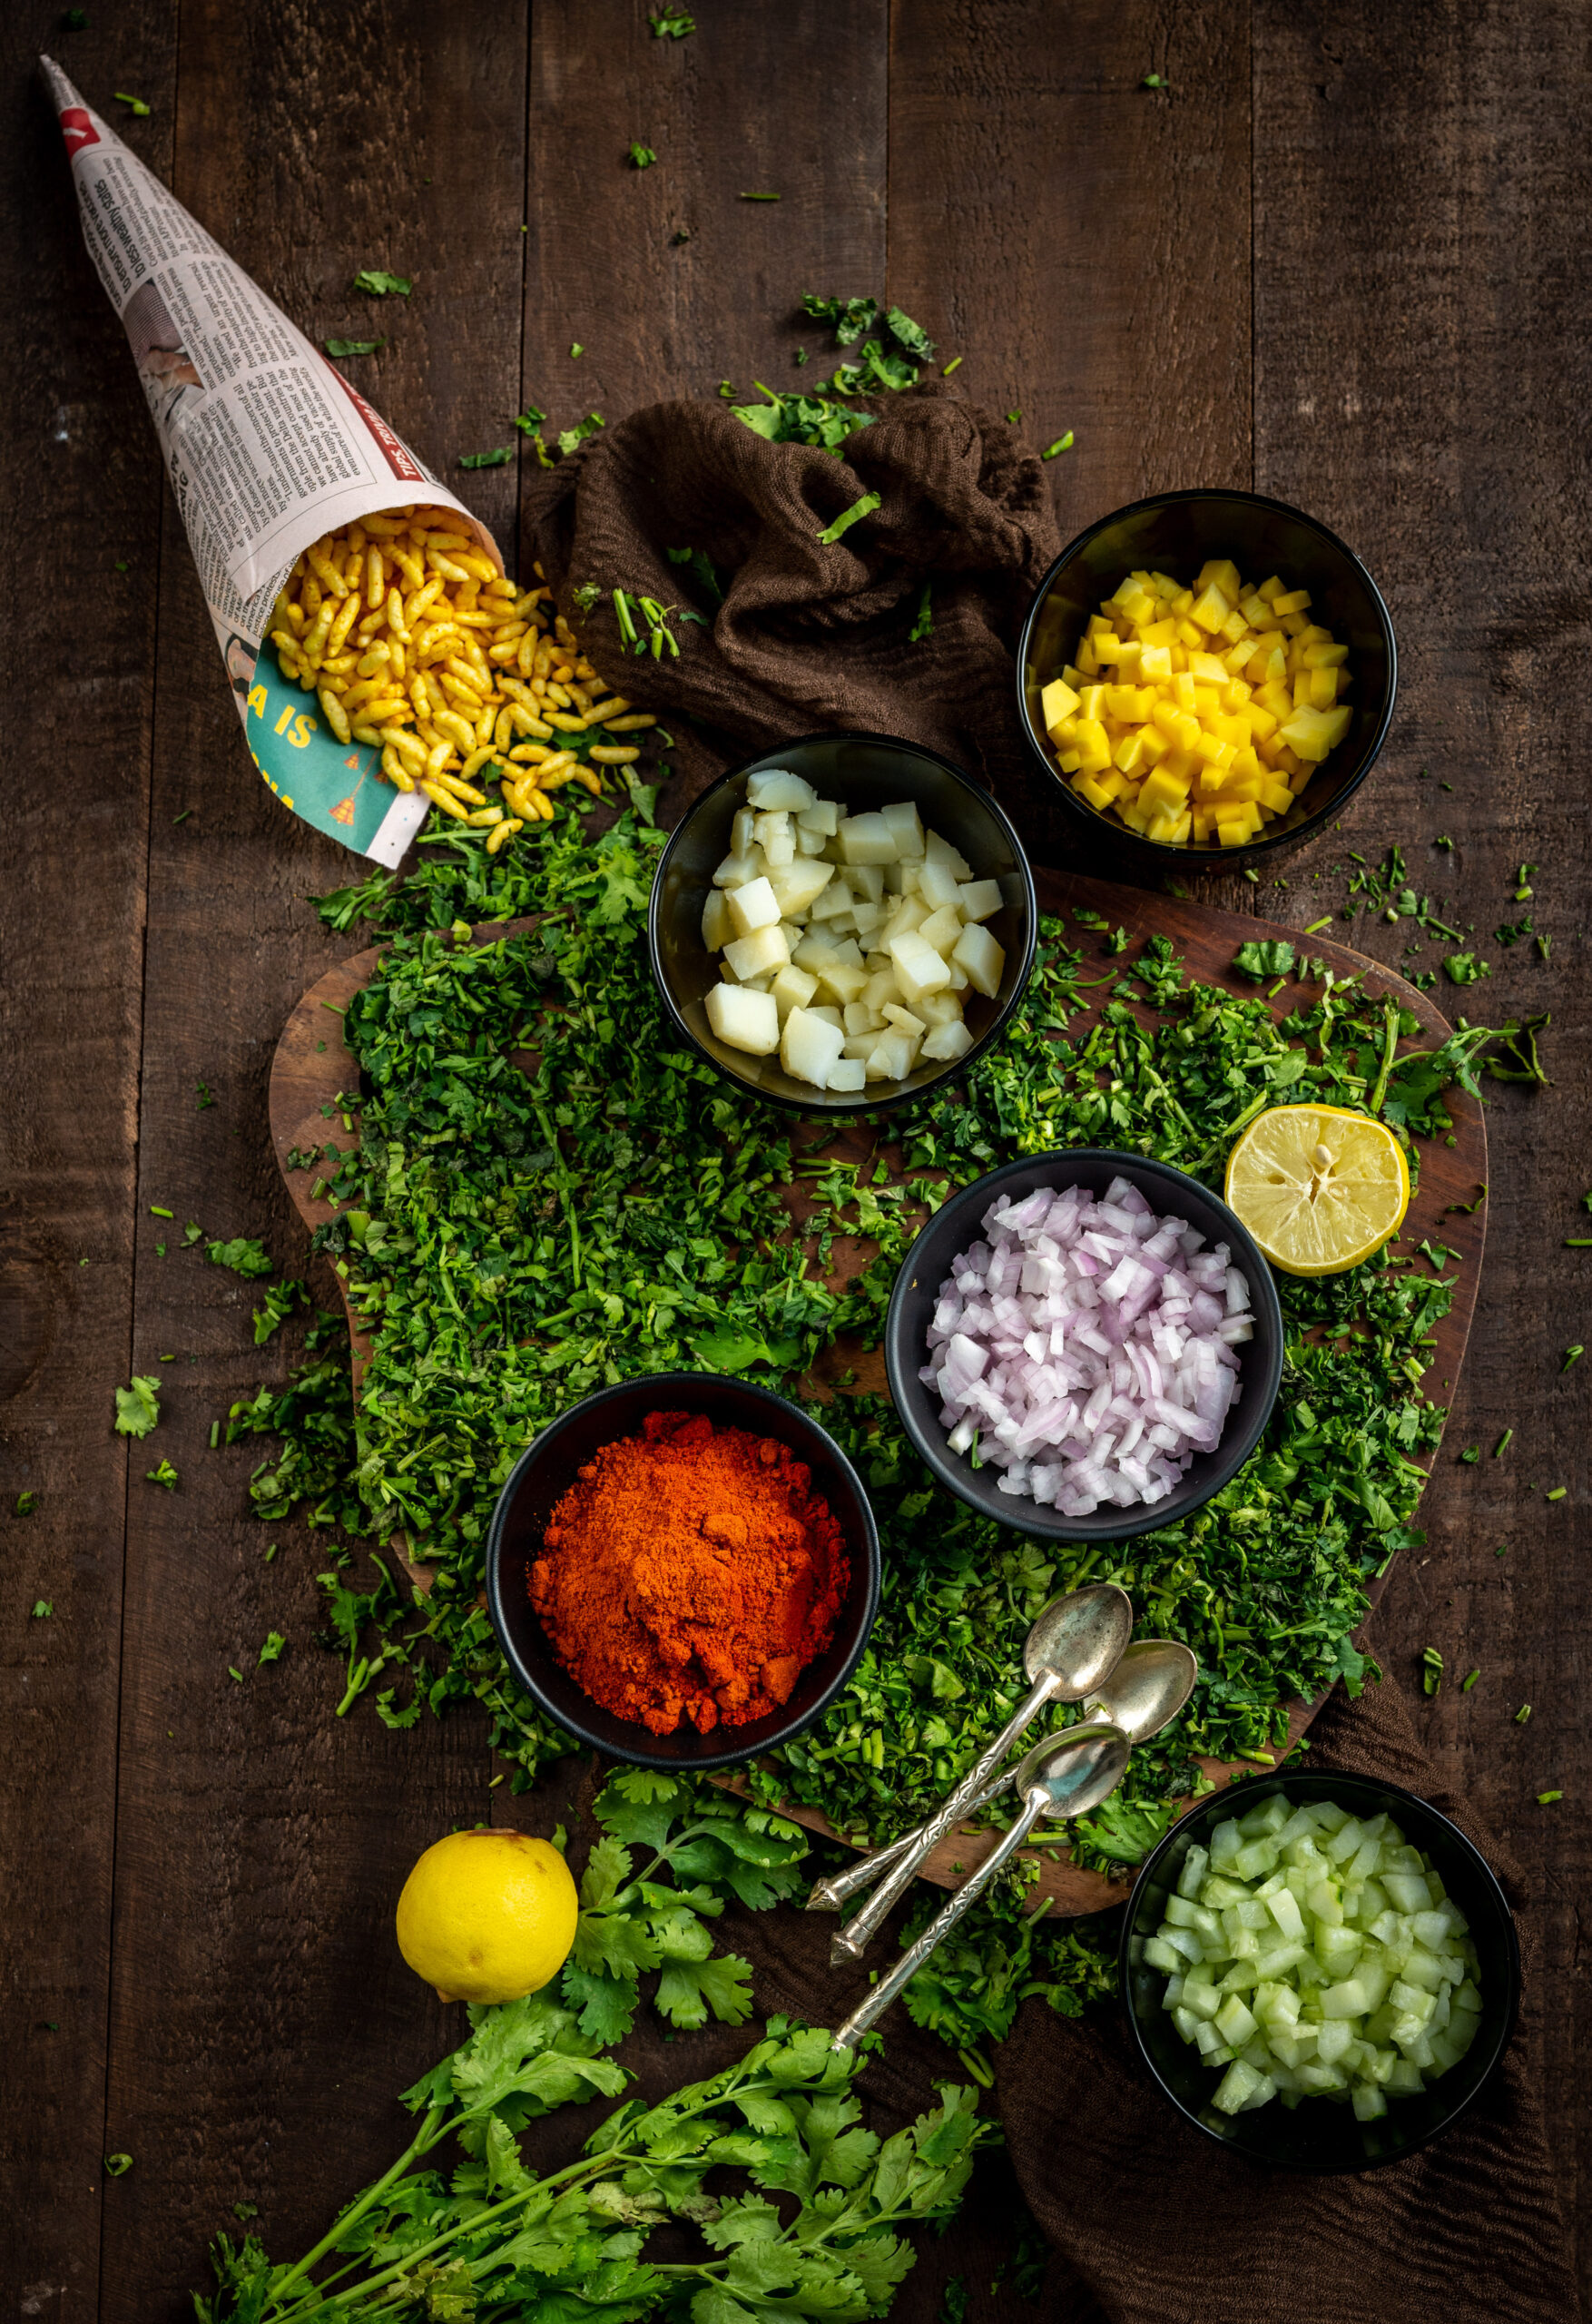
Since this is a homemade sukha bhel, I load it up with vegetables. I also make a drier version than what you get outside, although the chutneys that give it its deliciousness are still key elements. A sweet chutney, a spicy one and a dash of lemon bring together all the ingredients that are detailed in the recipe below. The chutneys are staples in my refrigerator, and I’ve shared the recipes for both in prior posts as well, as you can see in the links below.

Sukha Bhel

(Serves 2-3)


½ cup chopped cucumber

½ cup chopped boiled potatoes

¼ cup finely chopped onions

¼ cup chopped mango

A squeeze of lemon

1½ cups bhel mix or roasted puffed rice

Black salt to taste

½ teaspoon roasted cumin powder

1 tablespoon tamarind/date chutney

½ teaspoon garlic chutney (optional)

Pomegranate arils for garnishing

Coriander leaves for garnishing

Small crispy puris


In a bowl, add all the cut vegetables. To this, add cumin powder, black salt, the chutneys and the lemon juice. Mix well.

Finally, add the bhel or puffed rice. Mix again. Garnish and serve immediately, else the bhel will get soggy.

I love to use finely cut raw mango in this sukha bhel for a tang, and this is an ingredient that we get pretty much all year round. I also use boiled potatoes, and decorate the dish with pomegranate arils for a hint of sweetness. Use the same if you wish to, or substitute as preferred. Similarly for the use of onions if you prefer. In lieu of regular salt, I use either black or pink salt, which gives the dish a distinct flavour. Add more bhel or puris for more of a crunch, if you like that. The fun in the preparation is really all about increasing or decreasing quantities, or adding or removing ingredients, based on your personal taste. The bhel and the chutneys are the base – the rest is up to you.

As for my personal taste, as well as my husband’s, this particular recipe is the one that hits the spot. The second-best sukha bhel – and the best outside of Bombay! I hope you’ll find it just as satisfying, and that it will be your own favourite after the Bombay chaatwallas’ too!

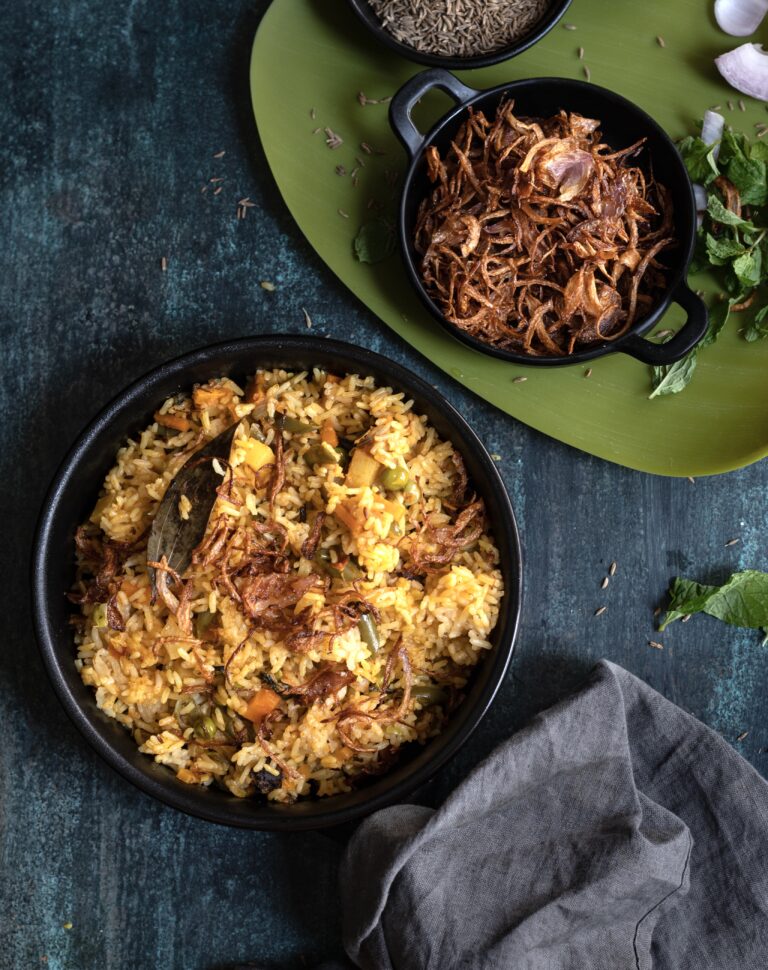
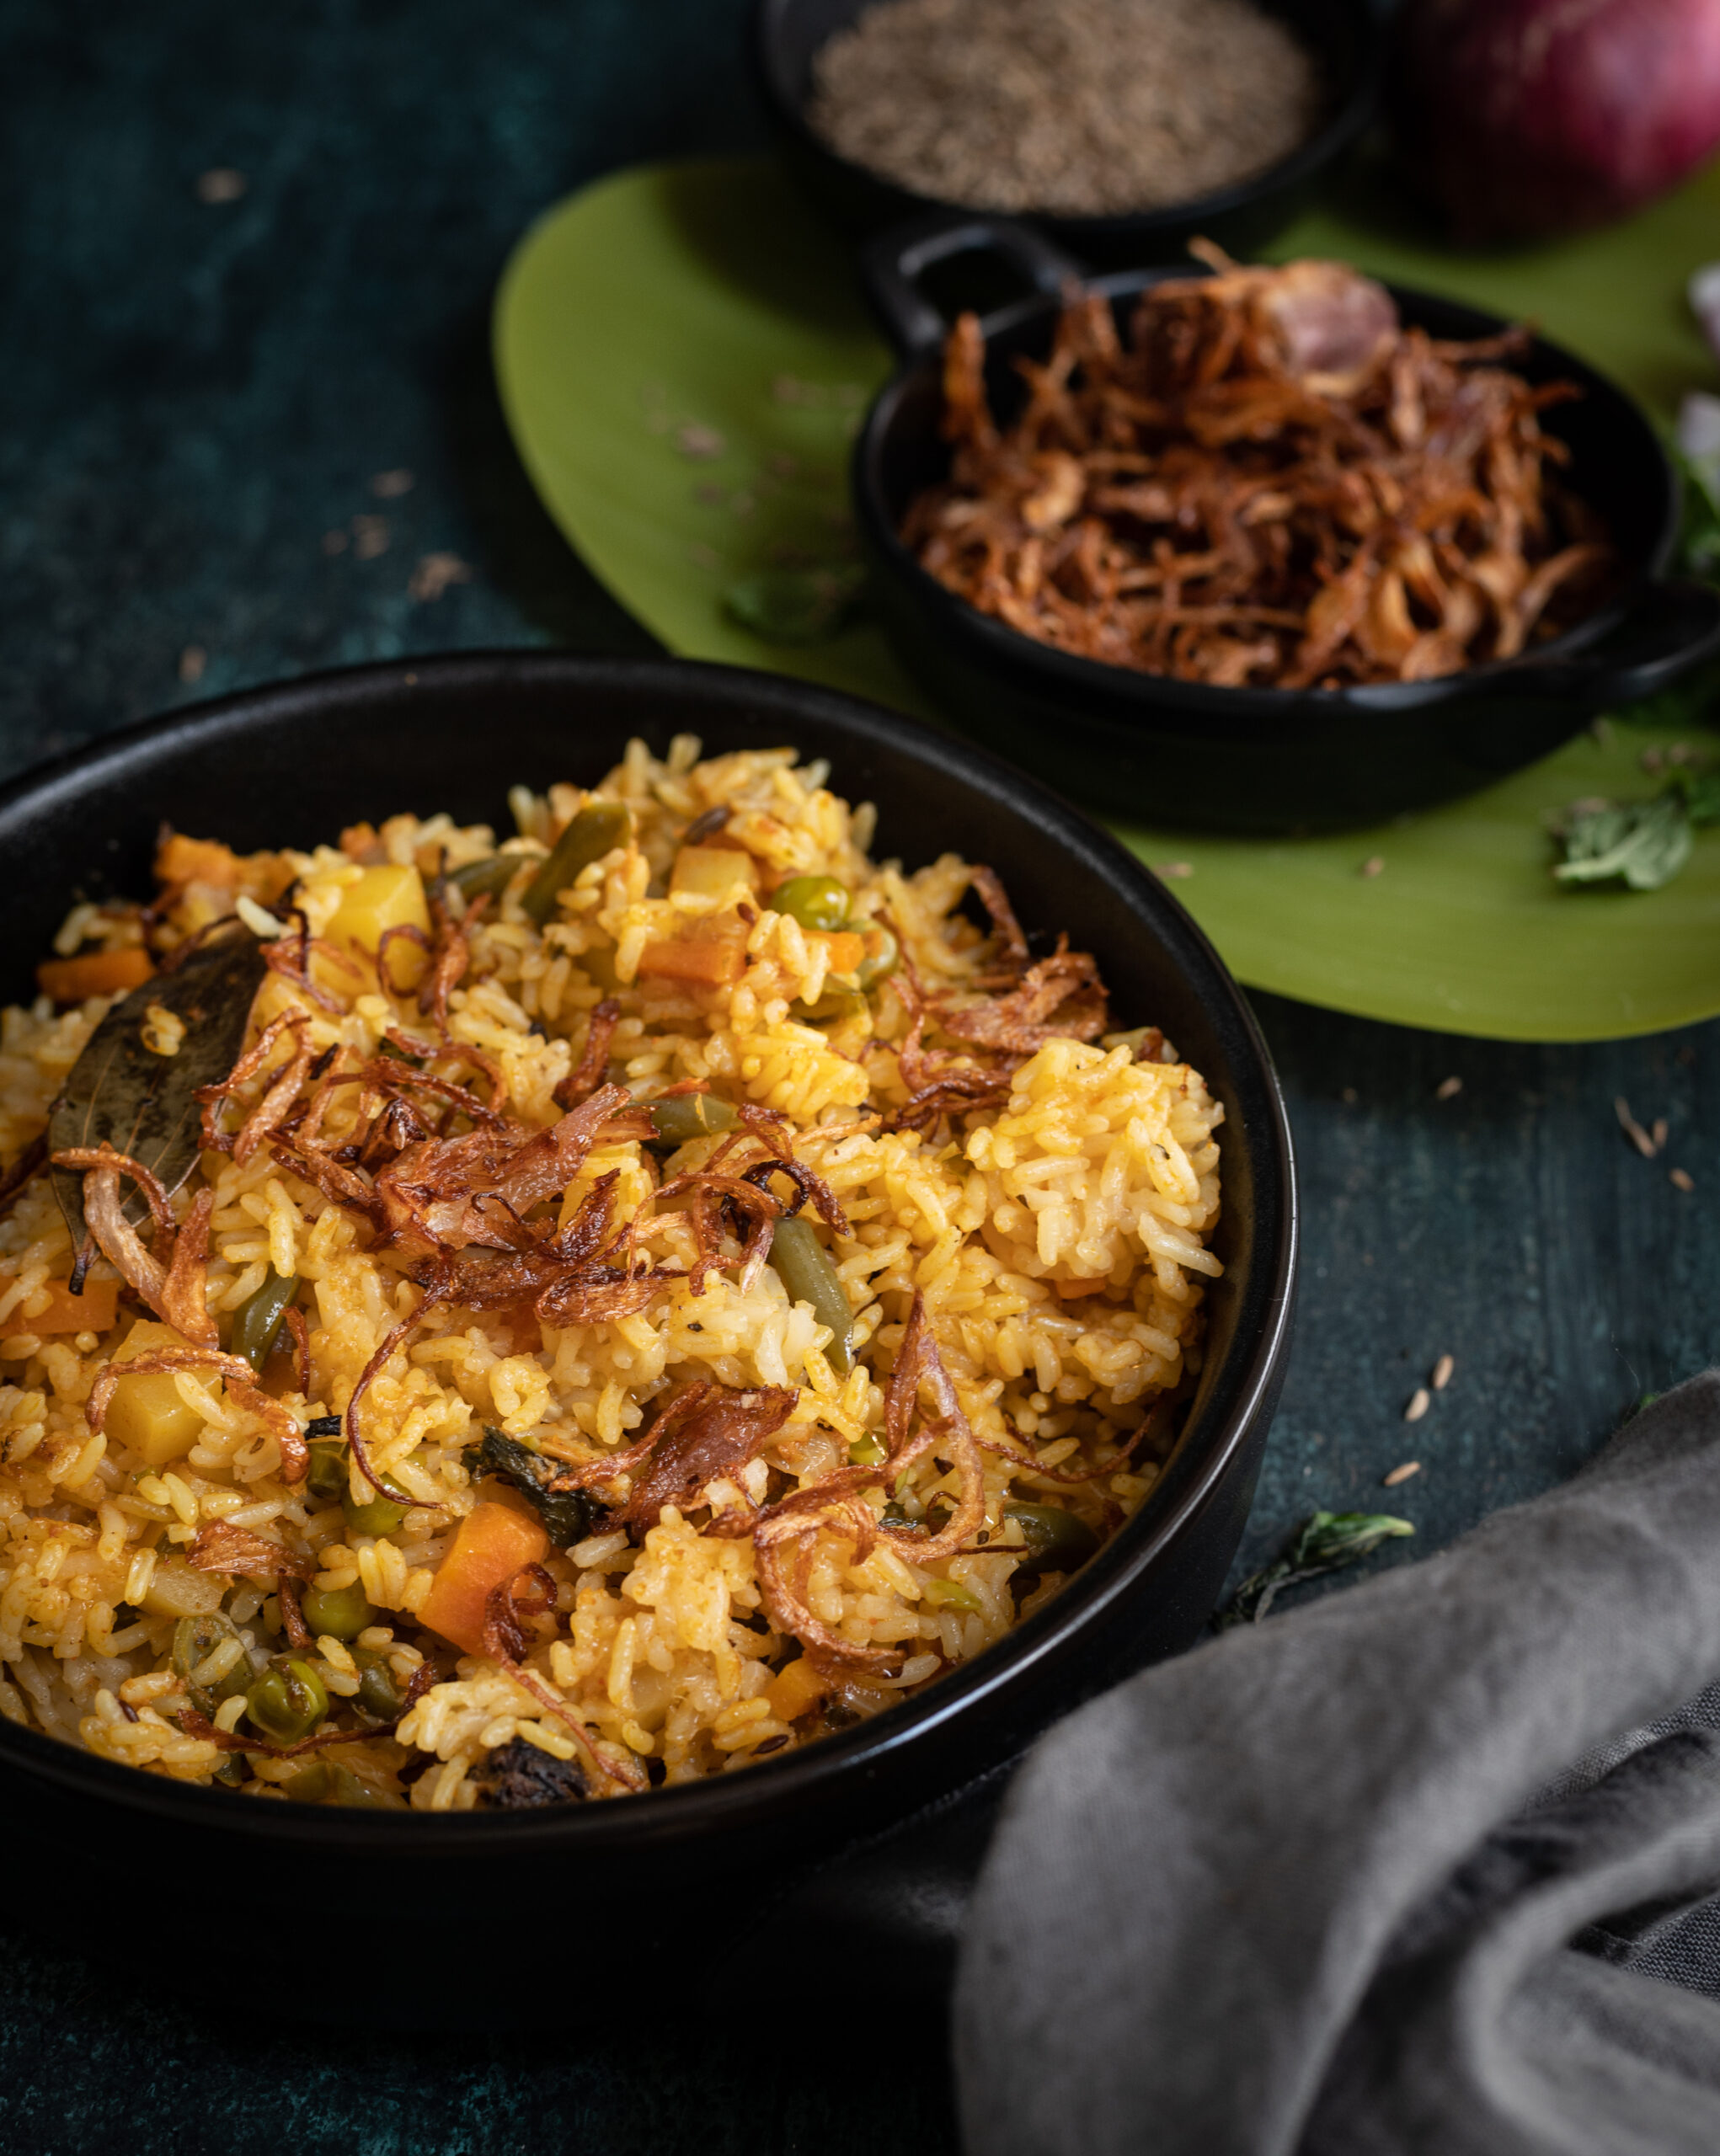
My children are at home through this lockdown, and I’ve been striving to make their favourite dishes for them while being mindful about how to make every ingredient go the extra mile. As we’ve discussed many times before on this blog, Indians have a knack for being resourceful in the kitchen, whether that’s through reusing leftovers creatively or coming up with innovative ways to cook with less. I believe that we should not neglect our nutrition or our taste buds, even now, and I’ve been thinking of how to share recipes with you that can be made with what you already have on hand in the fridge, but which don’t compromise on deliciousness. This vegetable biryani is a perfect example – flavourful, comforting, and made from just the staples.

The great part about this dish is that you can throw in any vegetable you like, which is especially useful at a time like this. It’s a very easy recipe for young adults who are just stepping out and learning to cook on their own, as well as for beginners in the kitchen. If you have a pressure cooker and follow the recipe to a T, you’ll soon be able to enjoy homemade biryanis on the regular.

Biryani is a savoury rice dish from the Mughal empire of India, and variations are made throughout the country. It is often prepared with long-grained basmati rice. In South India, we tend not to grow this variant, so different locations are famous for using their own rice types and methods. Popular regional biryanis include Dindigul, Hyderabad, Ambur and more. Meat is a common ingredient, but I’ll share a vegetarian recipe for the benefit of a wider number of readers.

That said, even the vegetables in this recipe are optional, although of course I don’t recommend that you leave them out for nutrition’s sake. But if you are short of groceries right now, be assured that the rice will be just as flavourful even without them. The subtle tastes and fragrances of the many spices used amply make up for them.

When my children were still little, and like many children disliked eating vegetables, they were absolutely delighted by a discovery made on a holiday. My brother had taken us to Dubai, to a restaurant that made a wonderful selection of biryanis. My kids were kicked to see that the restaurant offered a vegetarian version with no vegetables! I guess you could call it the kids’ option. That’s where they got the idea of having this flavourful rice with no vegetables at all, and got me to start making it for them that way too.

Like many of you, if not all of you, there have been some disruptions for us due to the current situation. We had been renovating our house, and had temporarily shifted to a smaller flat, where we now find ourselves until this crisis passes. Living in apartments, you can get the smells of cooking from different homes wafting into yours. This piques my curiosity delightfully. Sometimes I wonder: I think she’s making biryani, and that smells like this masala or that spice; perhaps I can incorporate it next time… Biryanis vary not just regionally, but also  between communities, and from family to family. No one can really replicate another’s, yet they are all fragrant – and tasty! I am certain yours will be too.

I have many other memories of biryani as a dish that encouraged bonding, and these go back to my childhood. At the time, the beach was the only place of outing for us in Chennai. We went there whether it was for a special occasion, like Sharad Purnima, or just as a treat. Most of us have lovely recollections of time spent there. On summer evenings, my extended family would head there with a big pot of biryani. We’d enjoy dinner on the beach along with the light, cooling sea breeze. People would also bring accompaniments, including a sweet, raita, drinks, crispies like appalams and so on, so it became a potluck. We would tuck into a feast as we enjoyed one another’s company as well as the beauty of nature. I so look forward to doing that again one day, when it becomes possible to. A simple picnic with loved ones, in the beautiful outdoors, with a basket or two of delicious food…


Vegetable Biryani

(Yield: Serves 4)

Ingredients:

2 tablespoons ghee

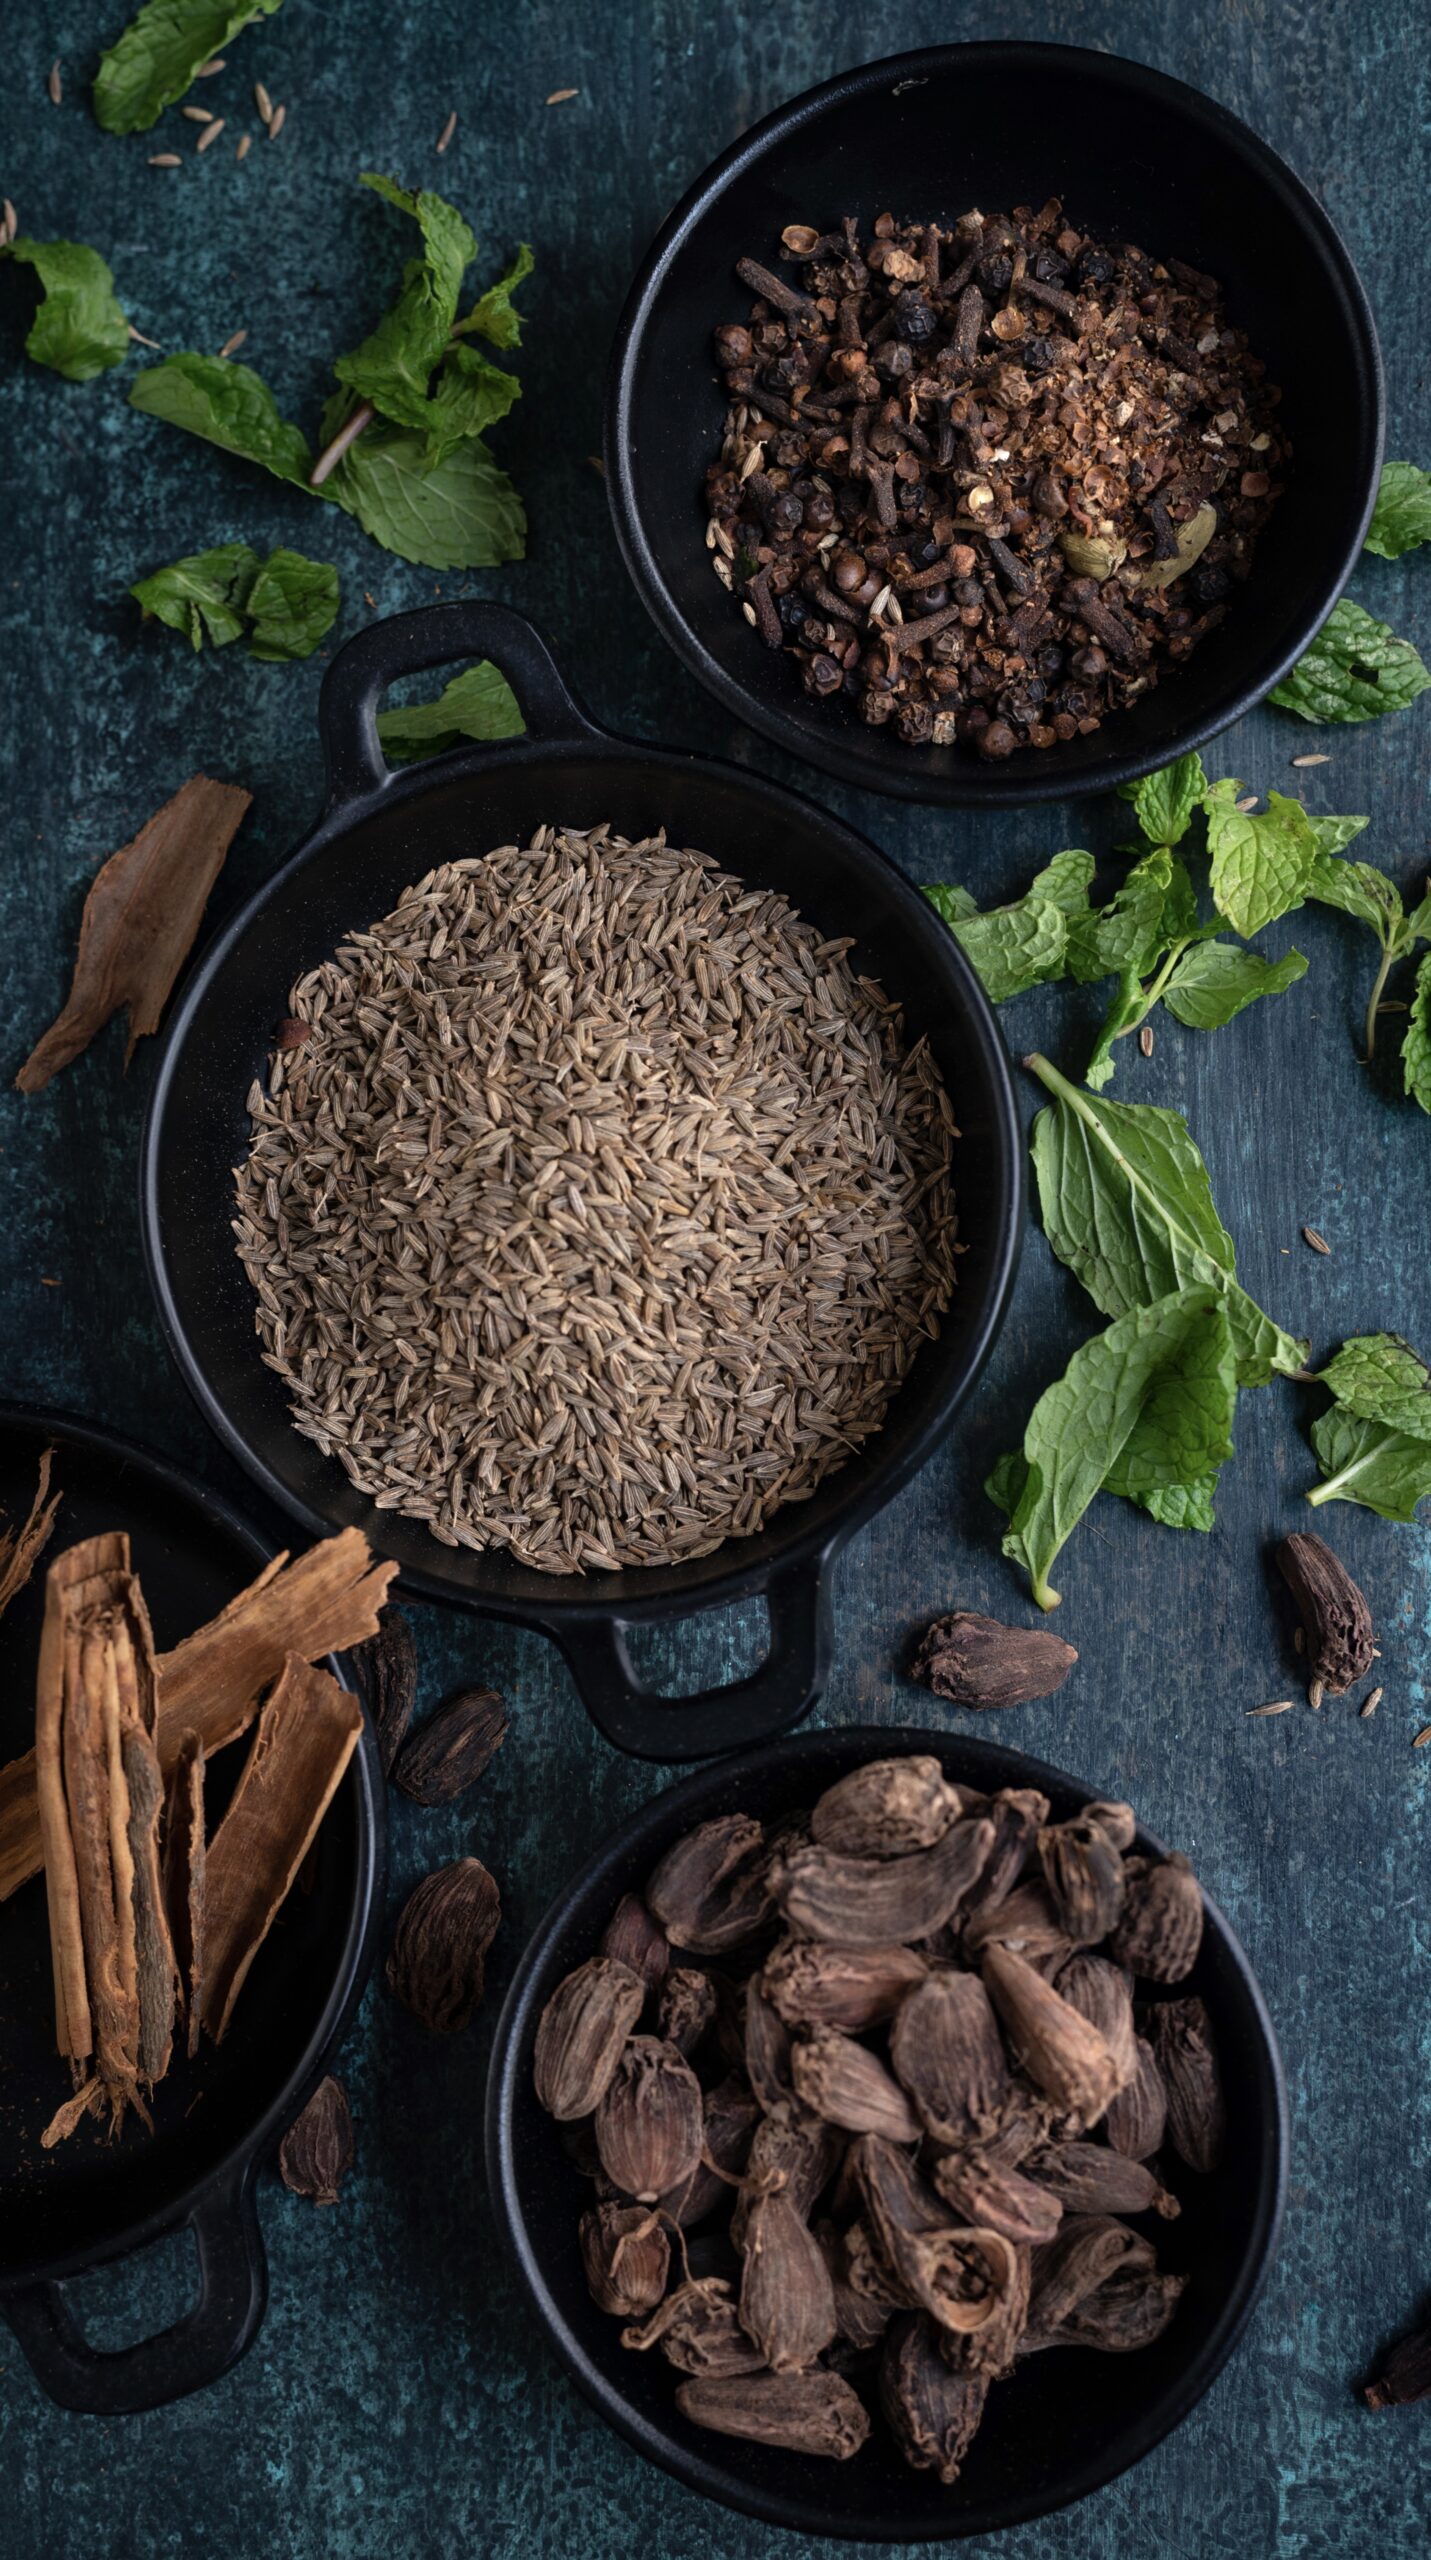
2 teaspoons cumin seeds

1 teaspoon saunf

2 bay leaves

1 long cinnamon stick

2-3 cloves

2 cardamom pods

1 star anise

200 grams rice (approximately 1¼ cups)

200 grams cut vegetables (beans, carrots, small potatoes, peas)

100 grams finely cut onions

1 tablespoon tomato purée

1 green chilli

A few mint leaves

1 tablespoon finely cut coriander leaves

1 tablespoon yoghurt

2 cups water


Masala:

½ teaspoon turmeric powder

Salt to taste

1 teaspoon cumin powder


Raita:

1½ cups yoghurt

½ cup onions

Salt to taste

1 teaspoon roasted cumin powder

First, prepare the raita, so it’s ready when you serve the biryani. Add the yoghurt in a bowl, then add the salt and the cumin powder. Mix well. Now, add the onions and stir. Store in the refrigerator.

Pick, rinse and soak the rice in water for about ½ an hour. I have used rice from our farm as we prefer that at home. However, if you prefer basmati, then use that by all means. It’s possible that the water content may change, so adjust accordingly.

In a pressure cooker, add the ghee. Once it becomes hot, add the cumin seeds and saunf, followed quickly by the spices (cardamom, cinnamon stick, bay leaf, cloves, star anise). You can substitute the ghee for oil, especially if you are vegan.

Sauté for less than a minute or until the flavours come together in the ghee.

Next, add the finely cut onions and sauté until transparent. Once it turns golden, add the tomatoes and the green chilli. I have used a homemade tomato purée, the recipe for which was shared recently. But feel free to use fresh tomatoes, diced.

Now, add the masala and stir well. Once that is mixed thoroughly, add all the vegetables along with the mint and coriander leaves. You may use any vegetables that are available to you. Fortunately, my usual method for this biryani requires simple ones that I still have on hand easily – beans, carrots, small potatoes and peas.

Next, add the yoghurt. Blend everything well. Discard the soaking water and add the rice.

Now, add 2 more cups of water to the rice mixture. Cover the pressure pan and allow 1 whistle. Then, lower the flame and allow to cook for another 5 minutes.

Turn off the flame and allow to cool in the cooker until it is ready to open.

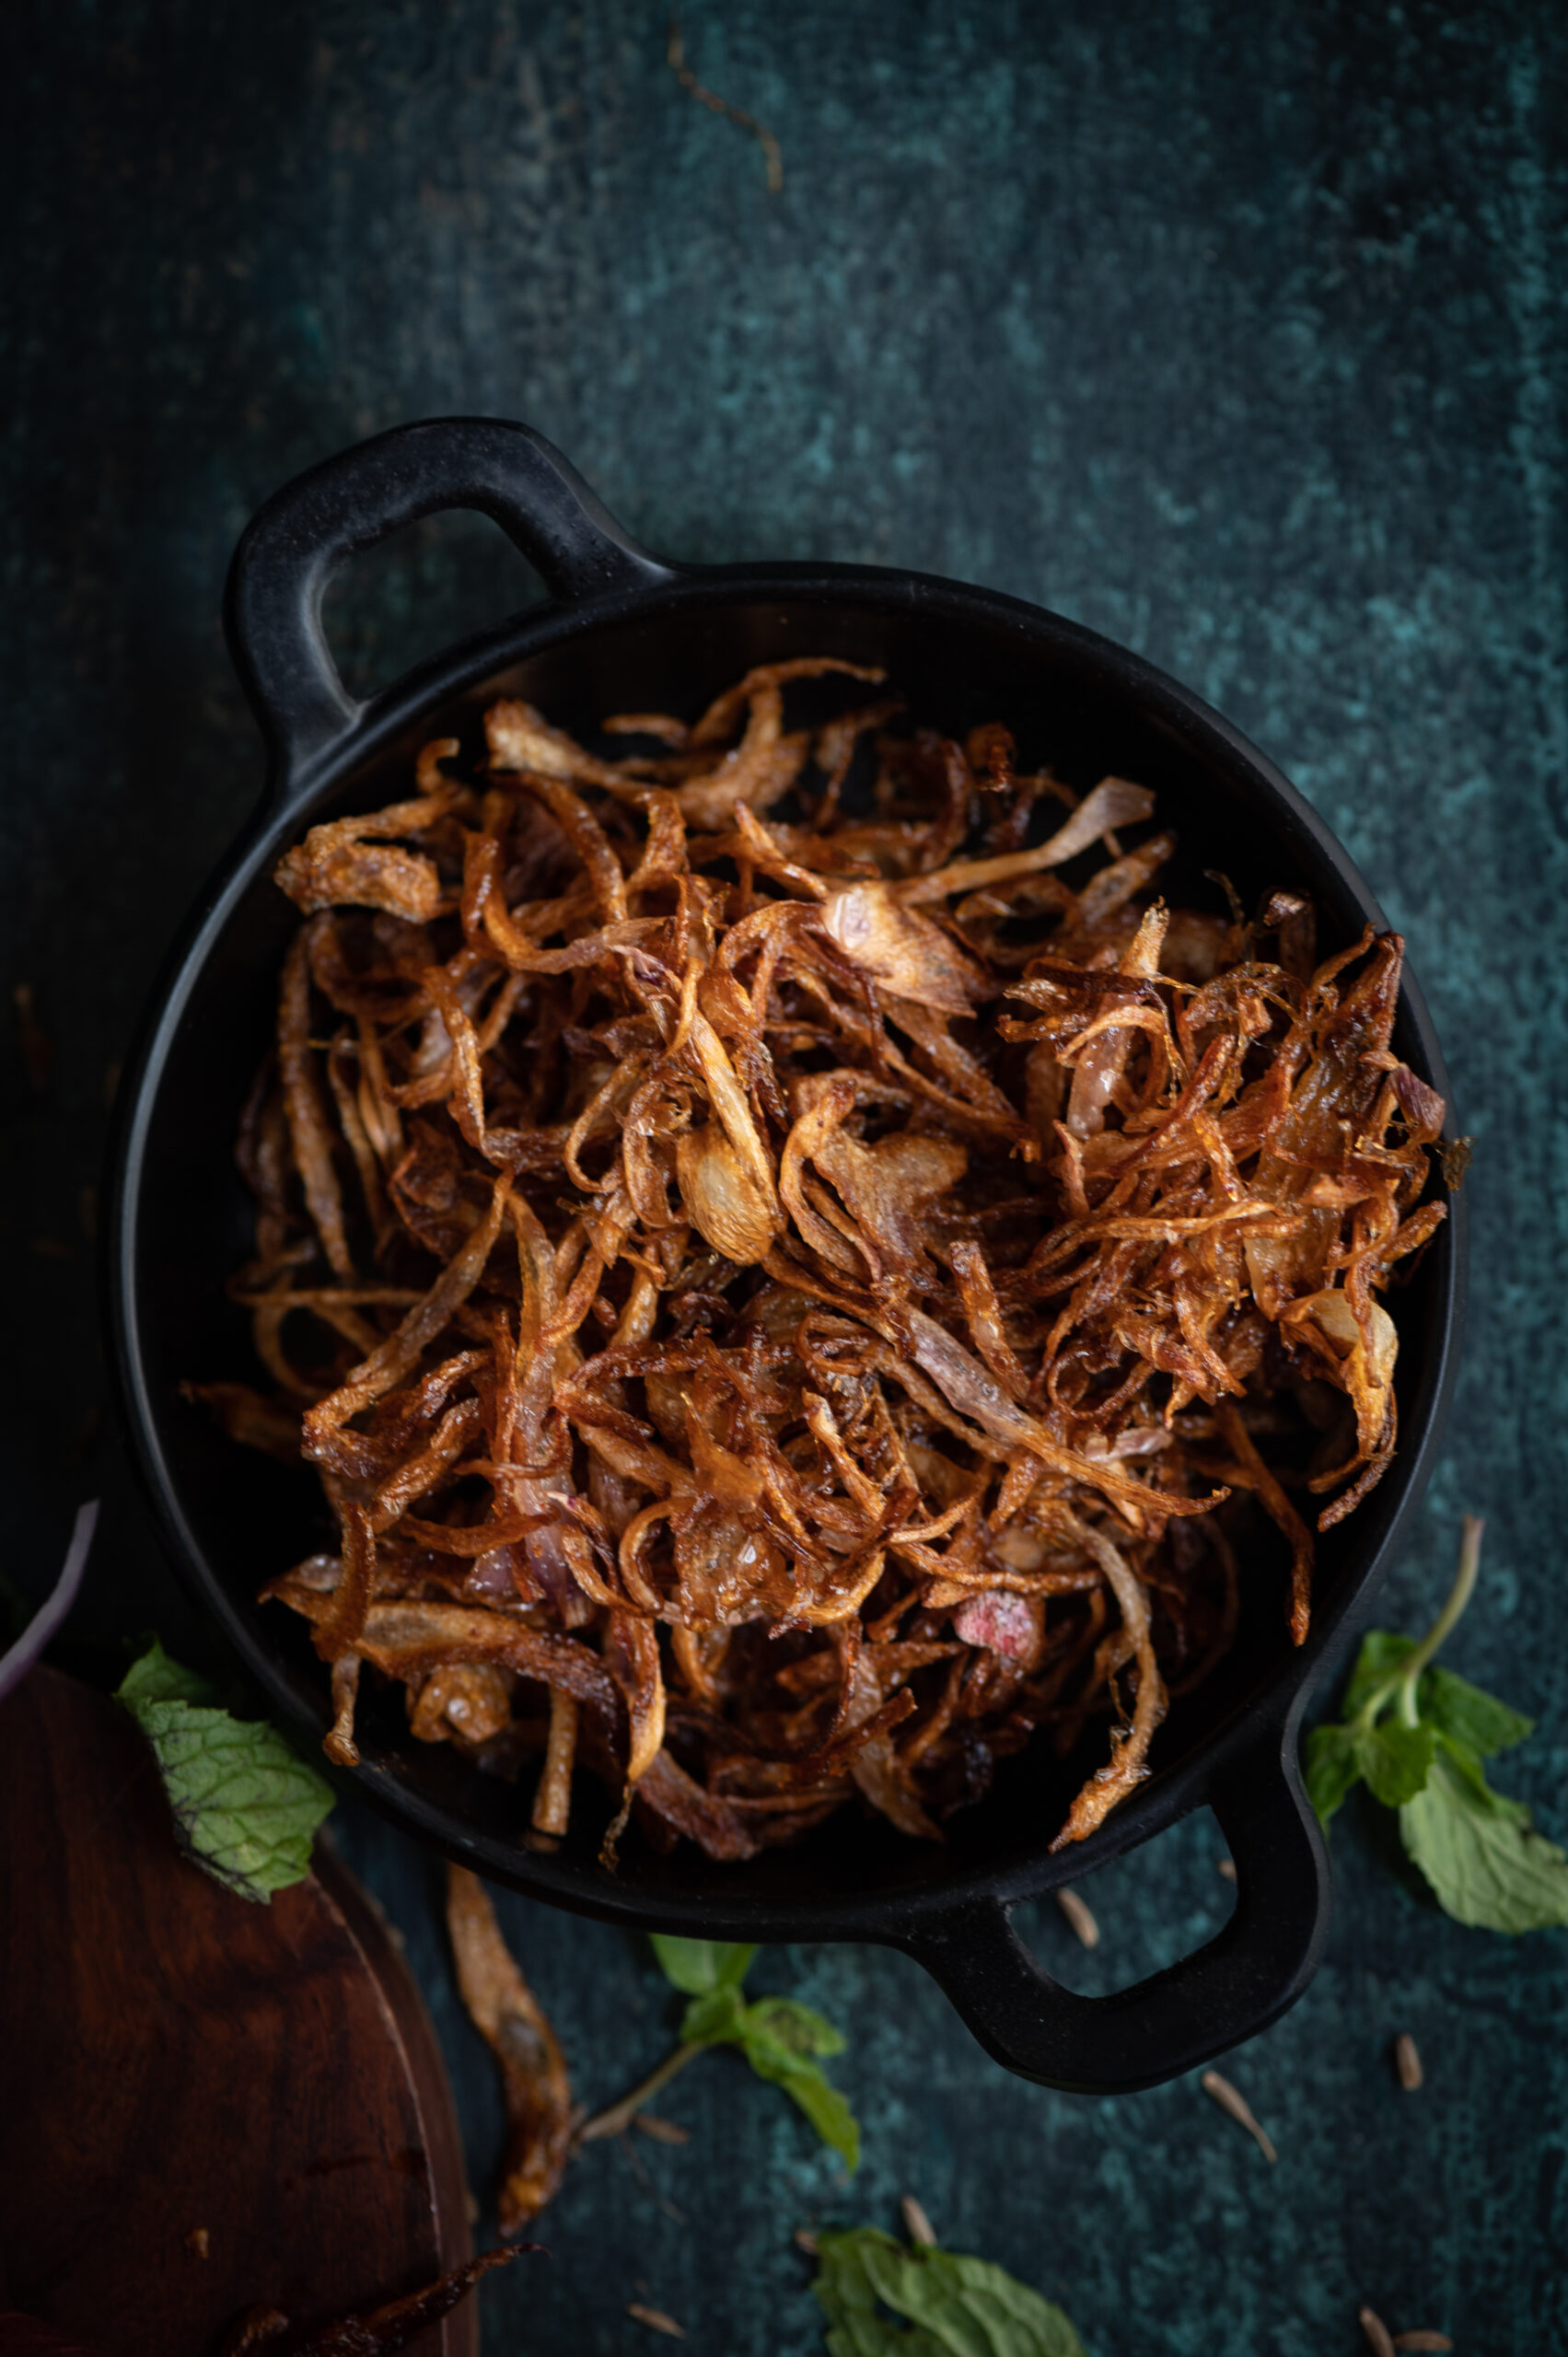
Once open, mix gently and serve with the onion raita. I garnish the biryani with a sprinkling of golden burnt onion slices.

And there you have it – a recipe from the royal kitchens, adapted for our lives today. I hope this simple vegetable biryani will bring you some joy in this surreal time. I’ll keep sharing more recipes in the next few weeks which I hope will also do the same.

If “biryani” has been considered a fancy dish in your mind till date, I encourage you to drop the notion. Let’s return once more to the fact that there are numerous kinds of biryanis – with meat, without meat, with vegetables, without vegetables, with some kinds of rice or with some other kinds of spices. This is why I want to say with confidence – give it a try! I am sure it will be great, and I would love to hear about your own variant in the comments.

My husband is from Mumbai and if you asked him what the one thing he misses the most about the city is, he would probably say that it’s a type of street food available on practically every corner there. Its presence is so ubiquitous that it is even named the Bombay sandwich. Every visit back will find him at a sandwich stall, buying his favourite food and devouring it immediately by the side of the road. Even back home in Chennai, whenever we frequent neighbourhoods like Sowcarpet and Vepery, which have migrant populations who brought their cuisines with them, he simply has to make a stop for a snack. For myself, however, I’ve always preferred a homemade Bombay toast instead.

Bombay toast is essentially the toasted version of the Bombay sandwich. Whereas the soft sandwich is flavoured with a spiced chutney, the crispy toast has the spices mixed into the potato filling. Although peas, paneer and other ingredients may be used instead, potato is the most popular as it’s a binding agent. Arguably, it’s also the most delicious filling. Street vendors will ask you whether you want the Bombay sandwich or the Bombay toast, and prepare your order on the spot. Slices of cucumber and tomato are used in both, and they’ll top it all up with a red sauce. While it looks like ketchup, it is in fact a pumpkin-based condiment that’s cheaper to produce or buy.

During my own childhood visits to Mumbai, it was chaat that was always more interesting to me, whereas Bombay toast was something that tasted better when enjoyed at home. It’s said that there’s an attractive quality to street food that makes it seem like no matter what higher quality ingredient you use at home, you just can’t replicate the taste. This just doesn’t hold true for me when it comes to Bombay toast, however. Whether it’s on a street corner in Mumbai or at a stall in Chennai’s Gee Gee Minar, what I’ve tasted has never come close to what my mother would make at home. It was a frequent after-school snack for us because it’s a perfect leftovers-based recipe. Whenever there was some potato remaining from a meal, it could go right into this simple dish. It was as equally relished then as the fresh ones I make today are.

When I was growing up, many homes had a handheld sandwich toaster. You simply placed a slice of bread on one side, added your toppings, covered the first slice with a second thickly-buttered one, and turned the toaster on. It was incredibly easy to prepare these sandwiches quickly, and I loved them eating hot and crispy. I still like to use these old toasters, making sandwiches with a variety of chutneys and cheeses. I like that old world charm of using an appliance that is hardly around anymore. Also, not only is it faster than the new electrical toasters, but you can also control the amount of heat used so that you achieve the precise amount of crispiness you desire.

While customarily a snack, Bombay toast also makes for a good, filling breakfast. I often load a platter these days with an assortment of toppings so that my family can make their own versions of it. Still, nostalgia for this dish as my mother would prepare it makes me want to share her simple, no-frills version, using a spicy potato and peas mash. As it happens, peas are currently in season. And who doesn’t love potatoes, right? Bombay toast fulfills the criteria of providing a carb boost, satisfying a quick craving, and even helping fulfill some of your daily quota of vegetables.

Bombay Toast

(Yield: 3-4 sandwiches)


Mint chutney

1 cup coriander leaves

½ cup mint leaves

2 tablespoons dry roasted chickpeas

1 green chilli

Salt to taste

2 teaspoons lemon juice

2 tablespoons water


Potato filling

1 cup boiled mashed potato

¼ cup finely chopped coriander leaves

2 tablespoons finely sliced onions

Salt to taste

A pinch of turmeric

½ teaspoon chaat masala

½ teaspoon aamchur powder


Slices of tomato

6 slices of bread

Grated cheese

Butter to grease


For the mint chutney, mix all the ingredients together in a blender. Use enough water to make sure the mixture is of a paste-like consistency. Set aside.

In a bowl, add all the ingredients for the potato filling. Mash them all together by hand until all the spices have blended in and you have a coarse mixture. This filling can also be used to make samosas and kachoris.

Following this, you are ready to assemble and then toast the sandwiches.

Place the slices of bread on a board. On half of the slices, apply the mint chutney. On the remaining slices, evenly spread the potato mixture, making sure it reaches all the corners. Now, place the tomato slices over the slices containing the potato mixture. Add the grated cheese as desired. This is a straightforward recipe, but you can play with different variants. For example, you may add sliced onions, cucumber or jalapeños onto the toast, depending on your taste. Bell peppers will also add more spice. You may also wish to make it a healthier snack by adding finely chopped broccoli or other green vegetables.

Once you’ve spread out the filling and topped it, cover it with the other slice, which contains only the mint chutney. Grease both outer sides of this covered sandwich.

Place each sandwich separately in the toaster and allow to cook until golden or well done.

Loaded with flavours and textures, your Bombay toast is ready to be served hot, and I’m sure you’ll find that it hits just the spot. If you’re a fan of street food and want to make more of it yourself, you may also enjoy my recipes for green moong bhel and sundal. I’m curious to know: do you find that street food is unbeatable in its natural environment, or are some street food classics even better when made and relished at home? Let me know in the comments!