Tag

Sankranti

Browsing

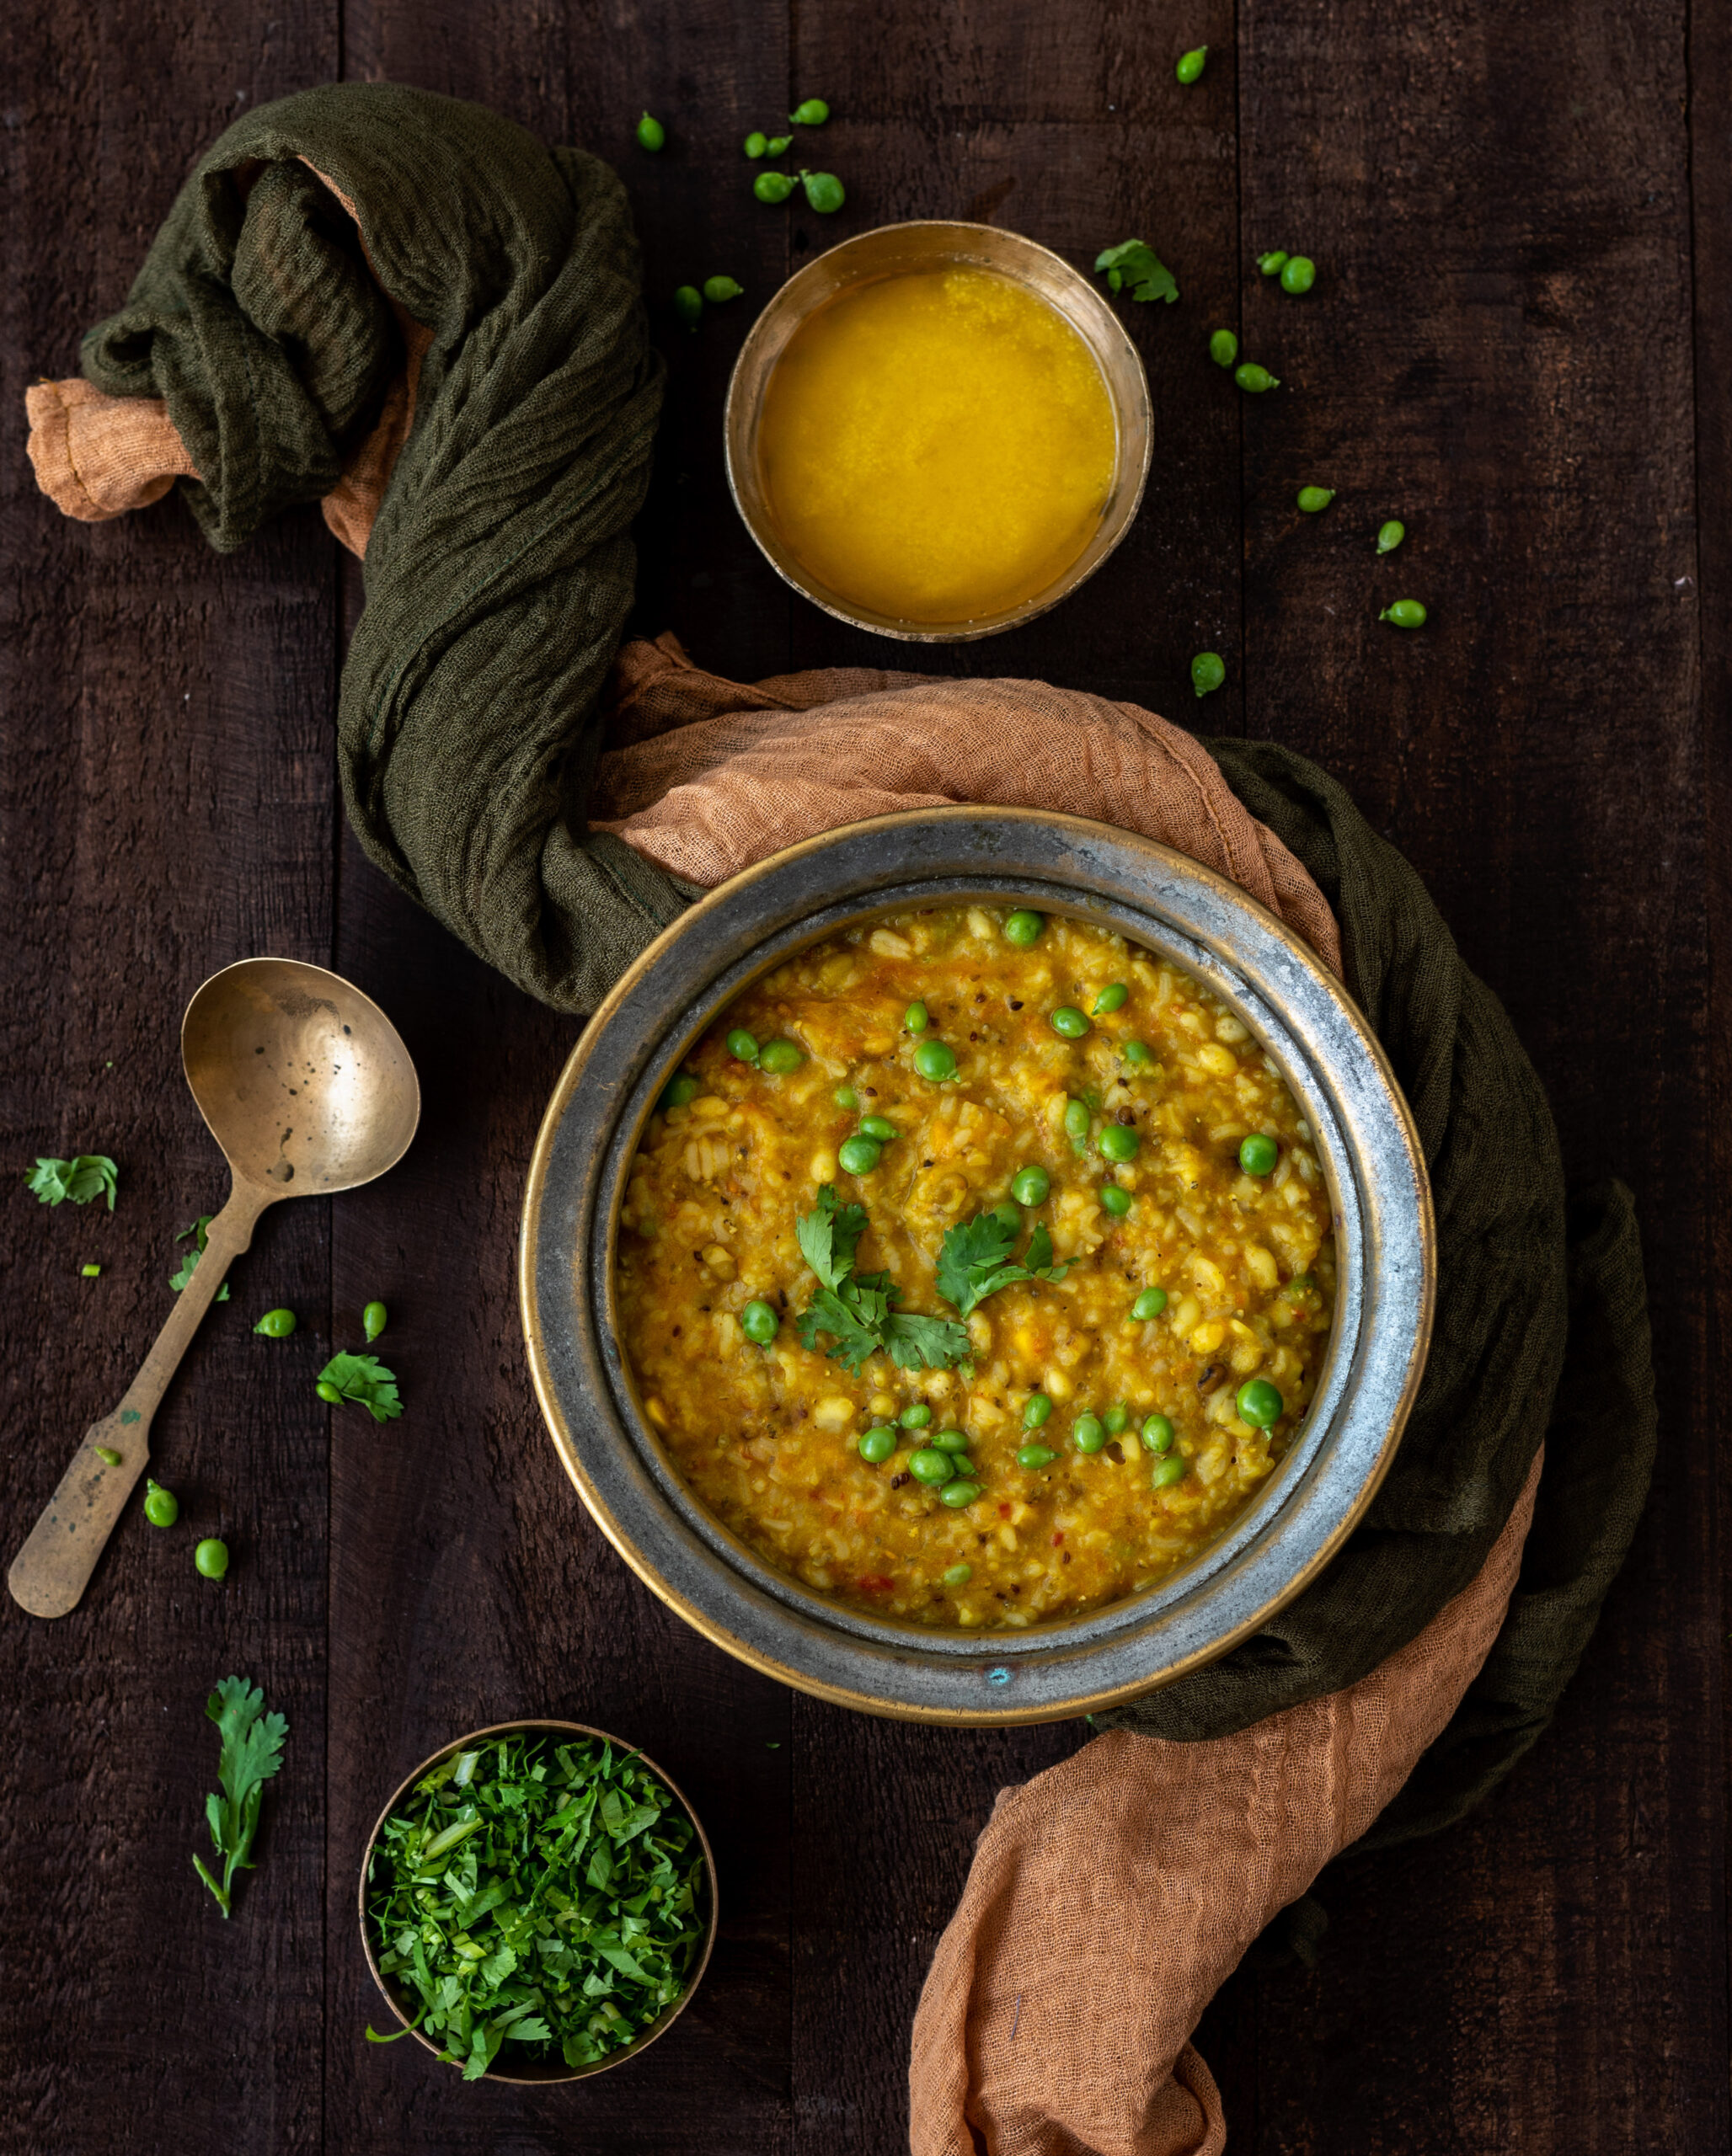
For centuries, Gujaratis observed the harvest season of Sankranti (which takes place in January) with a special dish, a seven-grain khichdo which celebrated the bounty of the earth. It was originally made with fresh, still green grains, and cooked for many hours in a large brass pot on coal. It would be prepared right before the harvest itself, when the grains would be ripe and tender. What constituted the seven key ingredients of the recipe depended on what was being grown, and some ingredients that we may think of as being legumes or lentils also qualified. It was also sometimes made with fewer. It was called “saat dhaan” – “seven grain” – when made with all the staples, and “paanch dhaan” – “five grain” – when a couple were eliminated for reasons of convenience, availability or taste. Pearl millet (bajra), wheat, rice, split pigeon peas (toor dal), sorghum (jowar) and green gram (moong dal) were among the traditional staples used. Over time, changes in agriculture and culinary life have allowed us to enjoy this wonderful dish whenever we please.

Even still, it’s a dish with a long preparation and cooking time, so I think of it as a Sunday dish – the kind that you begin working on as soon as you wake, and which is hot and ready just in time for lunch with the whole family. This was exactly how I used to see it being prepared in my sister’s home when I would visit her when she first got married. Her mother-in-law made an amazing seven-grain khichdo, and I would observe as she soaked each ingredient separately early in the morning, then as she literally pulled out the big old brass pot and coal in order to cook it in the time-honoured way. I had the good fortune of experiencing this whole process, just as I used to watch my own mother make Navaratri handvo authentically. Biting into the piping hot khichdo when she served it at lunch after having worked on it since the crack of dawn was unimaginably beautiful. My sister and I now make this khichdo in our own ways, with our modern appliances, but of course it’s her mother-in-law’s recipe that inspired us to keep this time-consuming (but so rewarding) dish in our own repertoires.

Another significant change that has come with urbanisation is that while certain ingredients began to become available year-round, access to fresh ingredients became limited. Thus, a contemporary saat dhaan khichdo will be more likely to use dried ingredients. Here, too, availability determines what you can use. For instance, in Gujarat and Maharashtra you can get readymade chaffed wheat, with the skin removed. I haven’t been able to procure the same in Chennai, so I have to pound the grain gently, to remove the outer covering.

Hand-pounding each grain individually is an important part of the process when using dried ingredients. Each one needs a different type of pressure. Bajra and jowar can be pounded very coarsely, for example, whereas wheat breaks when you do so. Of course, if you happen to have the tender green grains, there’s no pounding required.

Then there’s the individual soaking too, with each grain requiring a different duration. Wheat, bajra and jowar take the longest, whereas rice can be soaked a few hours after the overall preparation has started. As you will likely be making this khichdo with a mix of readymade, hand-pounded or fresh grains that you have available, do use your familiarity with the ingredients to determine the preparation time you need. In addition to the grains mentioned earlier, some I have used or heard of being used in this khichdo include black-eyed peas and green chickpeas too. It just comes down to availability, but the trick is to strike a balance between heavy grains and the lighter variants.

That is because this seven-grain khichdo is itself a very filling dish. While it was a part of Sankranti traditions that honoured the harvest, there is also a science as to why it was made this way. Mid-January would still be winter in Gujarat, and a heavy dish like this made of up whole grains would take a long time to digest. It would increase the metabolism and keep the body warm through the day. It is meant to be enjoyed at lunch, served hot and without need for accompaniments, except some pickled green chilli and kadhi (which is similar to more kolumbu) if you have it.

In terms of spices, the authentic version of this dish required no sautéing and very minimal spices. Everything just went into the large brass pot and cooked away for hours. The flavours of the grains would be allowed to dominate, with just a bit of ajwain (which aids digestion), and the two quintessentials of turmeric and salt being added. That and ghee – a couple of dollops of glorious ghee are an important part of this khichdo.

My sister’s mother-in-law would include a bit of dhaniya-jeera (coriander-cumin) powder, while my sister chooses to add curry leaves and garam masala. I don’t use any of these, but I do use tomato. Play around as you wish to as well, until you hit on the seasonings you most enjoy.
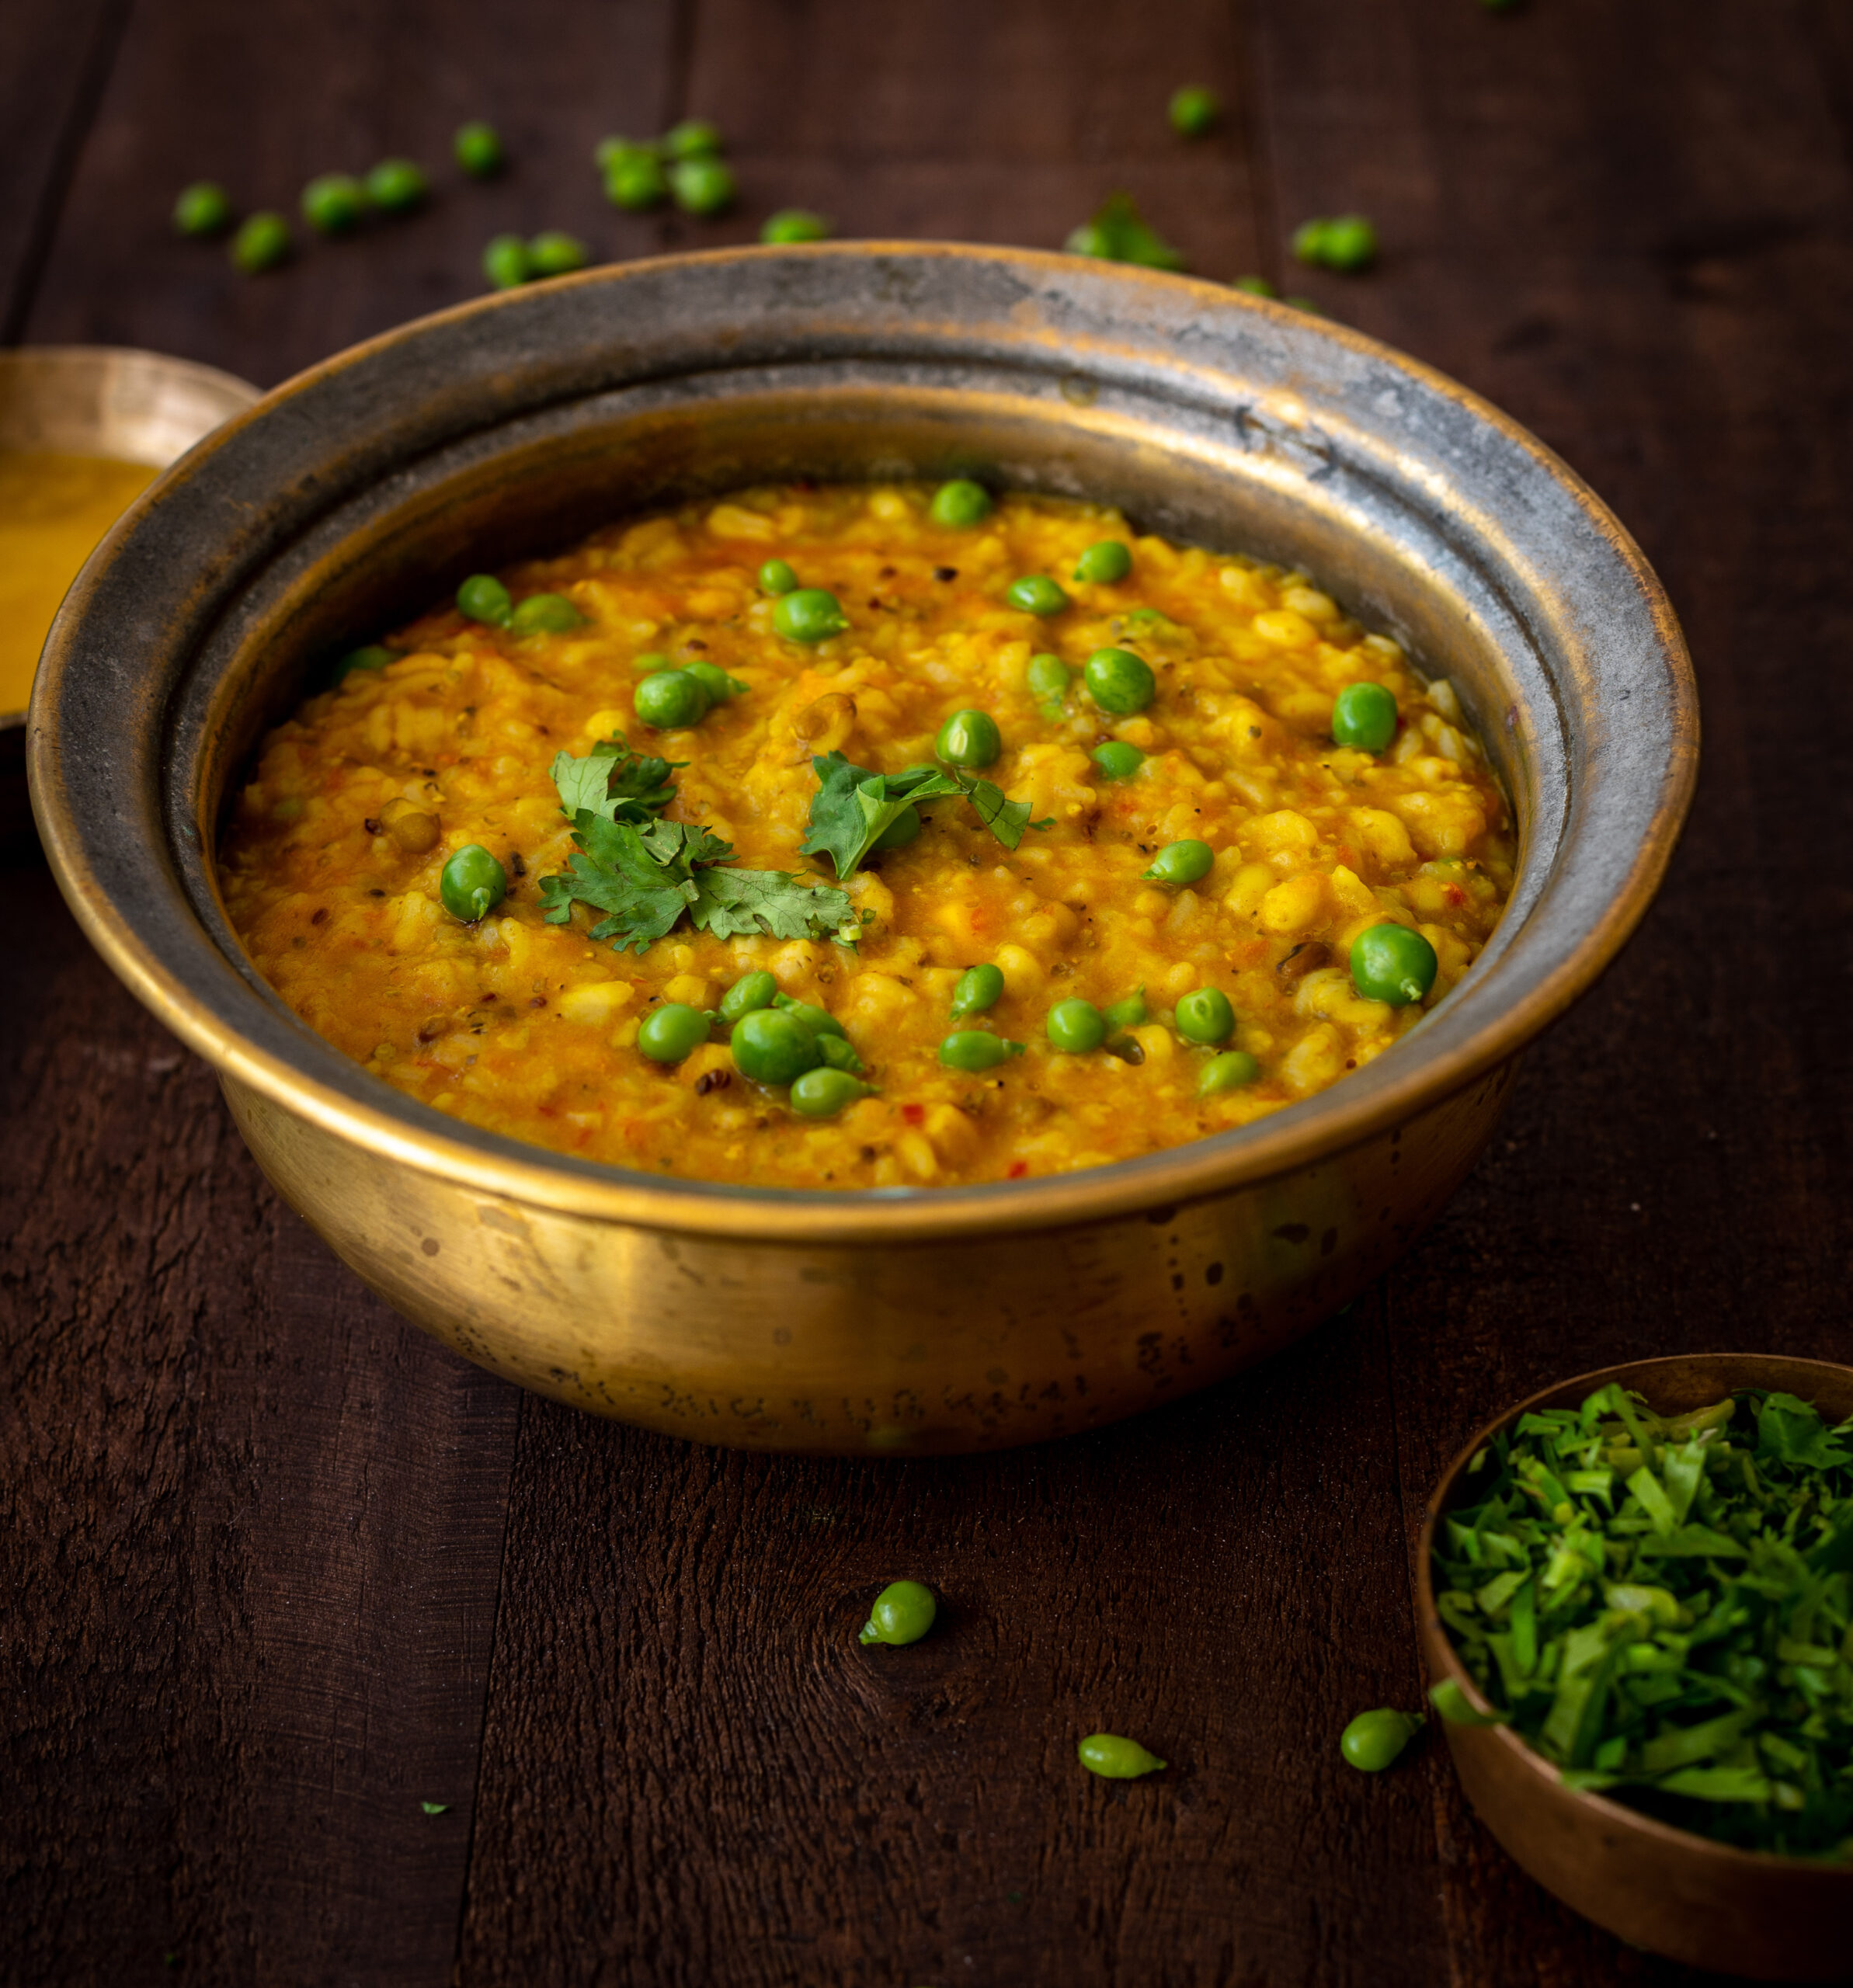
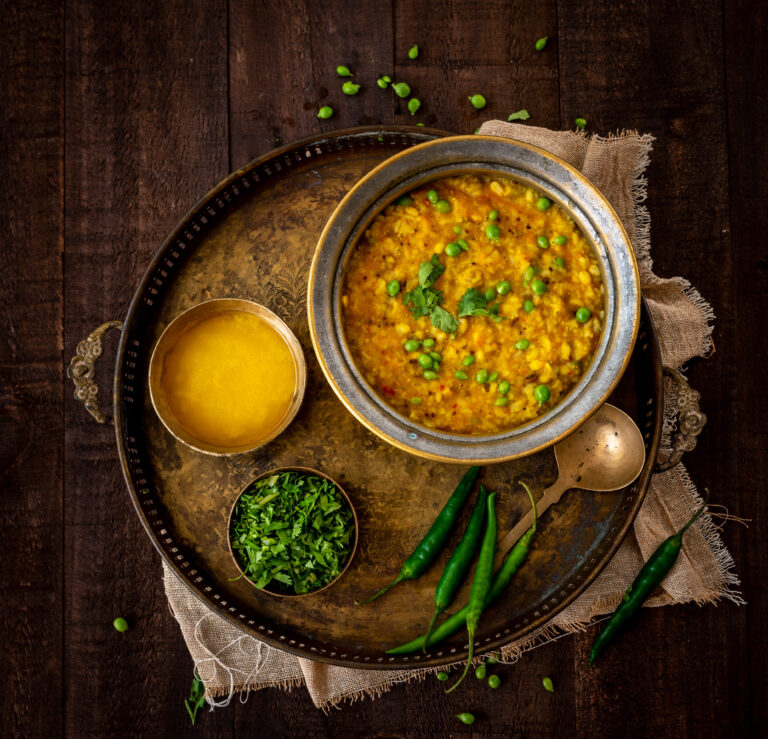
Seven-Grain Khichdo

(Yield: 2-3 persons)

25 grams whole wheat (chaffed)

15 grams broken bajra

50 grams rice

15 grams green whole mung

15 grams yellow split mung dal

¼ cup green peas

¼ cup fresh green pigeon peas

Water to cook

2 tablespoons ghee

½ teaspoon ajwain (carom seeds)

¼ teaspoon asafoetida

1 crushed tomato

¼ teaspoon turmeric

Salt to taste

1 – 2 cups hot water

Soak the grains individually until they are tender to touch, in water about an inch higher than the level of the grains.

When cooking, add 2½ times water to the quantity of grain.

You may pressure cook the bajra and wheat together as it takes a longer time to cook these grains. Set aside.

Next, pressure cook the rice and green whole mung and yellow split mung dal together. Set aside.

In a kadai, add ghee and once it becomes hot, add the ajwain first and then the asafoetida. Next, add the crushed tomato and then all the spices.

Now, add all the grains together to the hot, spiced ghee in the kadai. Stir on a medium to low flame.

Keep stirring. Add some hot water if required, especially if you like the khichdo to be soft as I do.

Once cooked, serve hot along with a garnish of green chili and coriander leaves.

The long preparation and cooking processes that go into a good seven-grain, or even five-grain, khichdo mean that it’s really meant to be a feast, just as it originally was during Sankranti. I recall how whenever my sister’s mother-in-law prepared it, she would distribute it to their neighbours as well. It is a meal in itself, meant to be shared, and meant to be consumed immediately after the many hours that the cook would have spent putting it together.

As with all tasty things that are best shared, I hope you’ll whip up a nice big batch the next time that you have half a day to linger over putting a meal together. Then, I hope you’ll gather your favourite people around the table, and enjoy this traditional Gujarati khichdo, with all the joy that the farmers of yore would have felt as they feasted with their loved ones right before the big harvest.
 

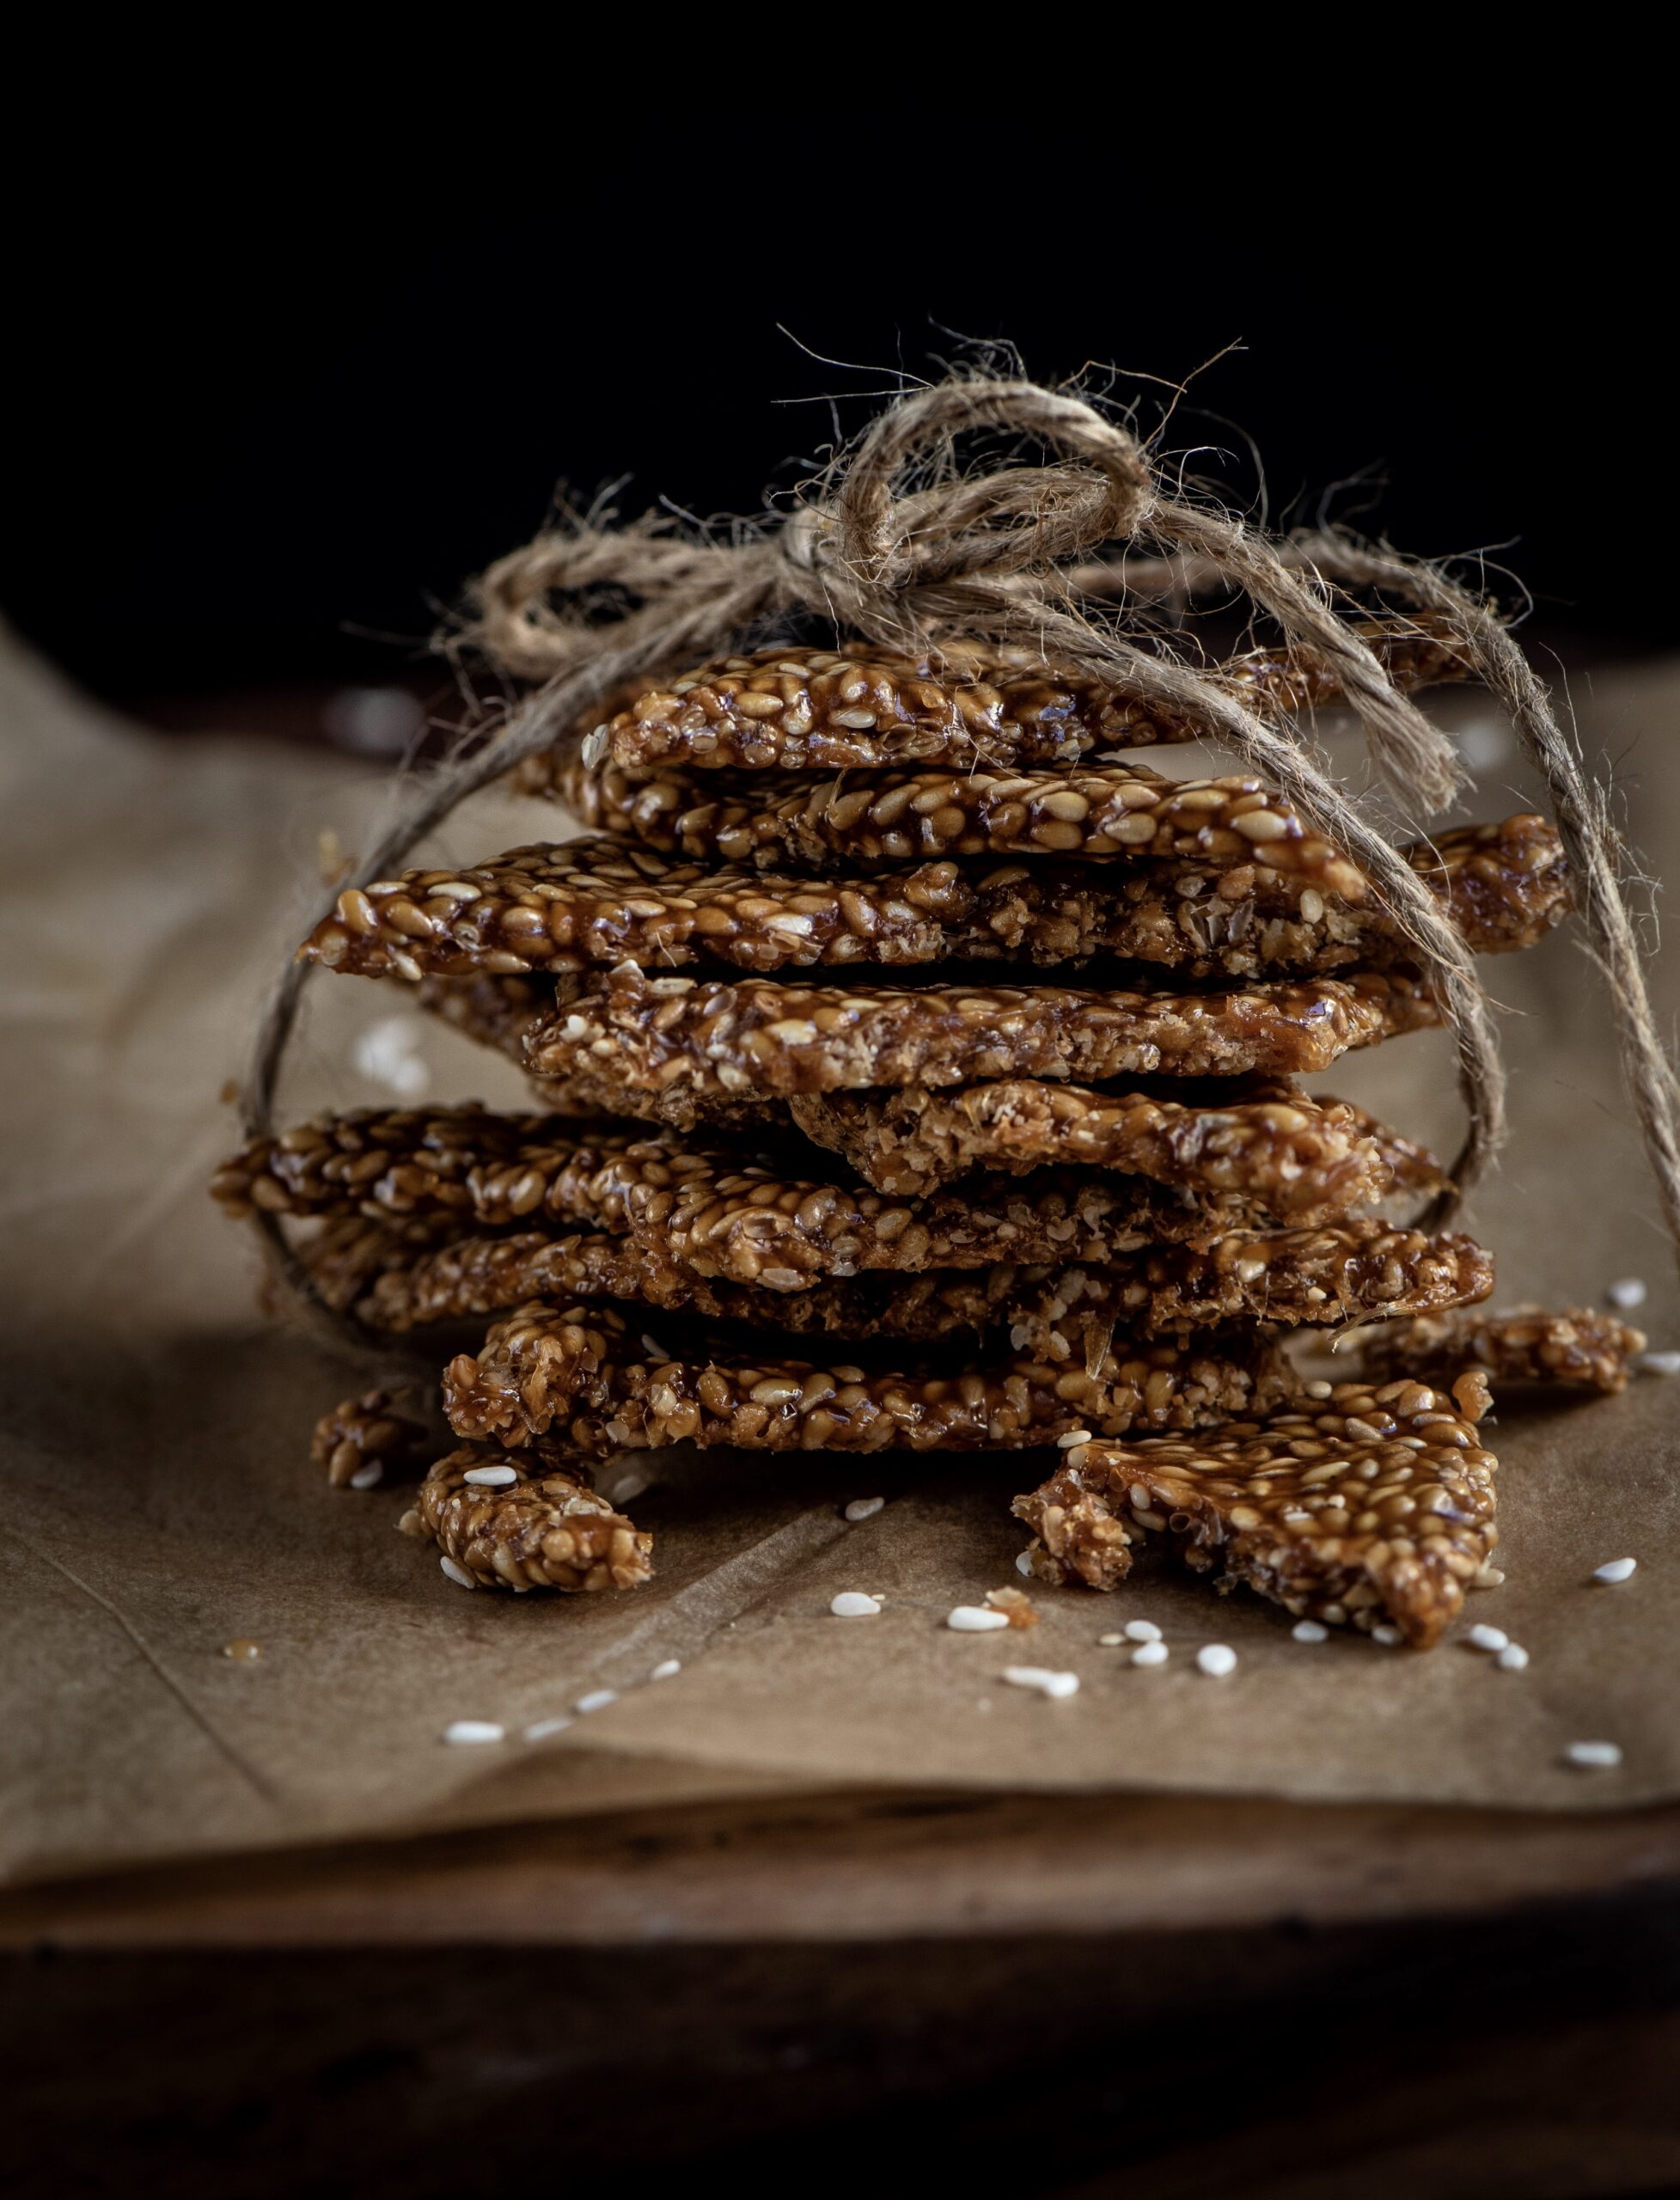
Sankranti, the harvest festival, is here and as we celebrate by giving thanks for the crops we eat daily, it’s til-ka-chikki that strikes me as a perfect dish for the occasion. The chief ingredient of this crunchy sweet is sesame, which is believed to have been cultivated in India for over 5500 years. As a form of produce that can grow with relatively little supervision, and in less than ideal conditions, there is no doubt to me that many of our ancestors would have considered it a perfect if not vital part of their Sankranti. Sankranti is known by various names throughout the country – it is also observed as Pongal, Bihu, Maghi and by other names depending on region. No matter where, it falls in mid-January and is a time when the sun is worshipped for its life-giving properties.

“Til” is the Gujarati word for sesame, as well as in other languages including Hindi and Punjabi. The English word “sesame” is from the Arabic “semsem”, indicating oil or liquid fat. This is because it is an oilseed produce. It’s an excellent digestive aid as it’s full of fiber, and also has high copper, manganese and calcium content, in addition to other vitamins and minerals.

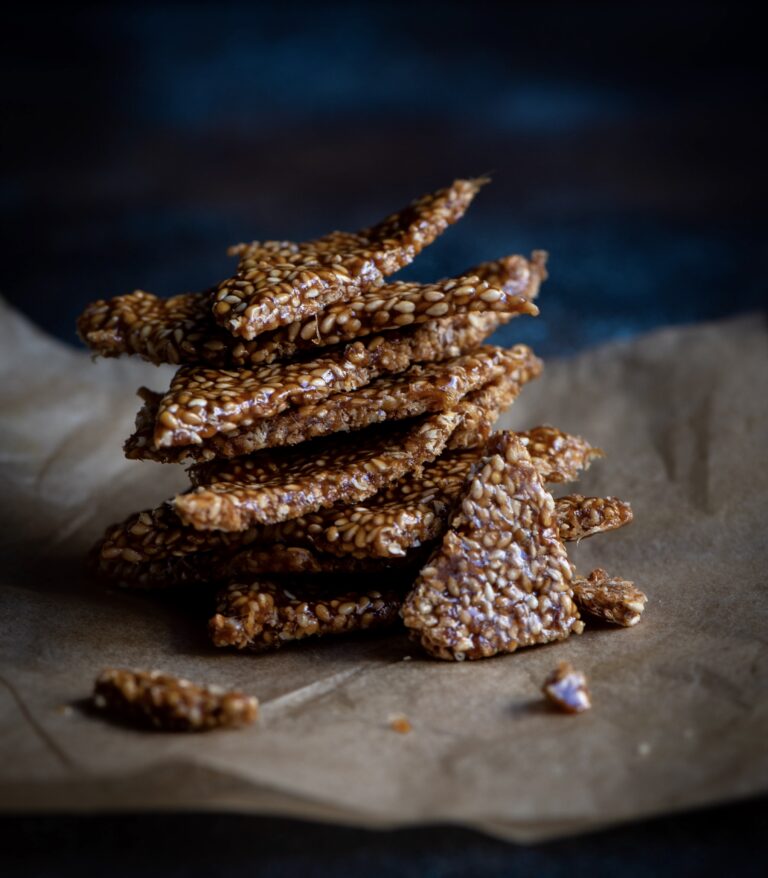
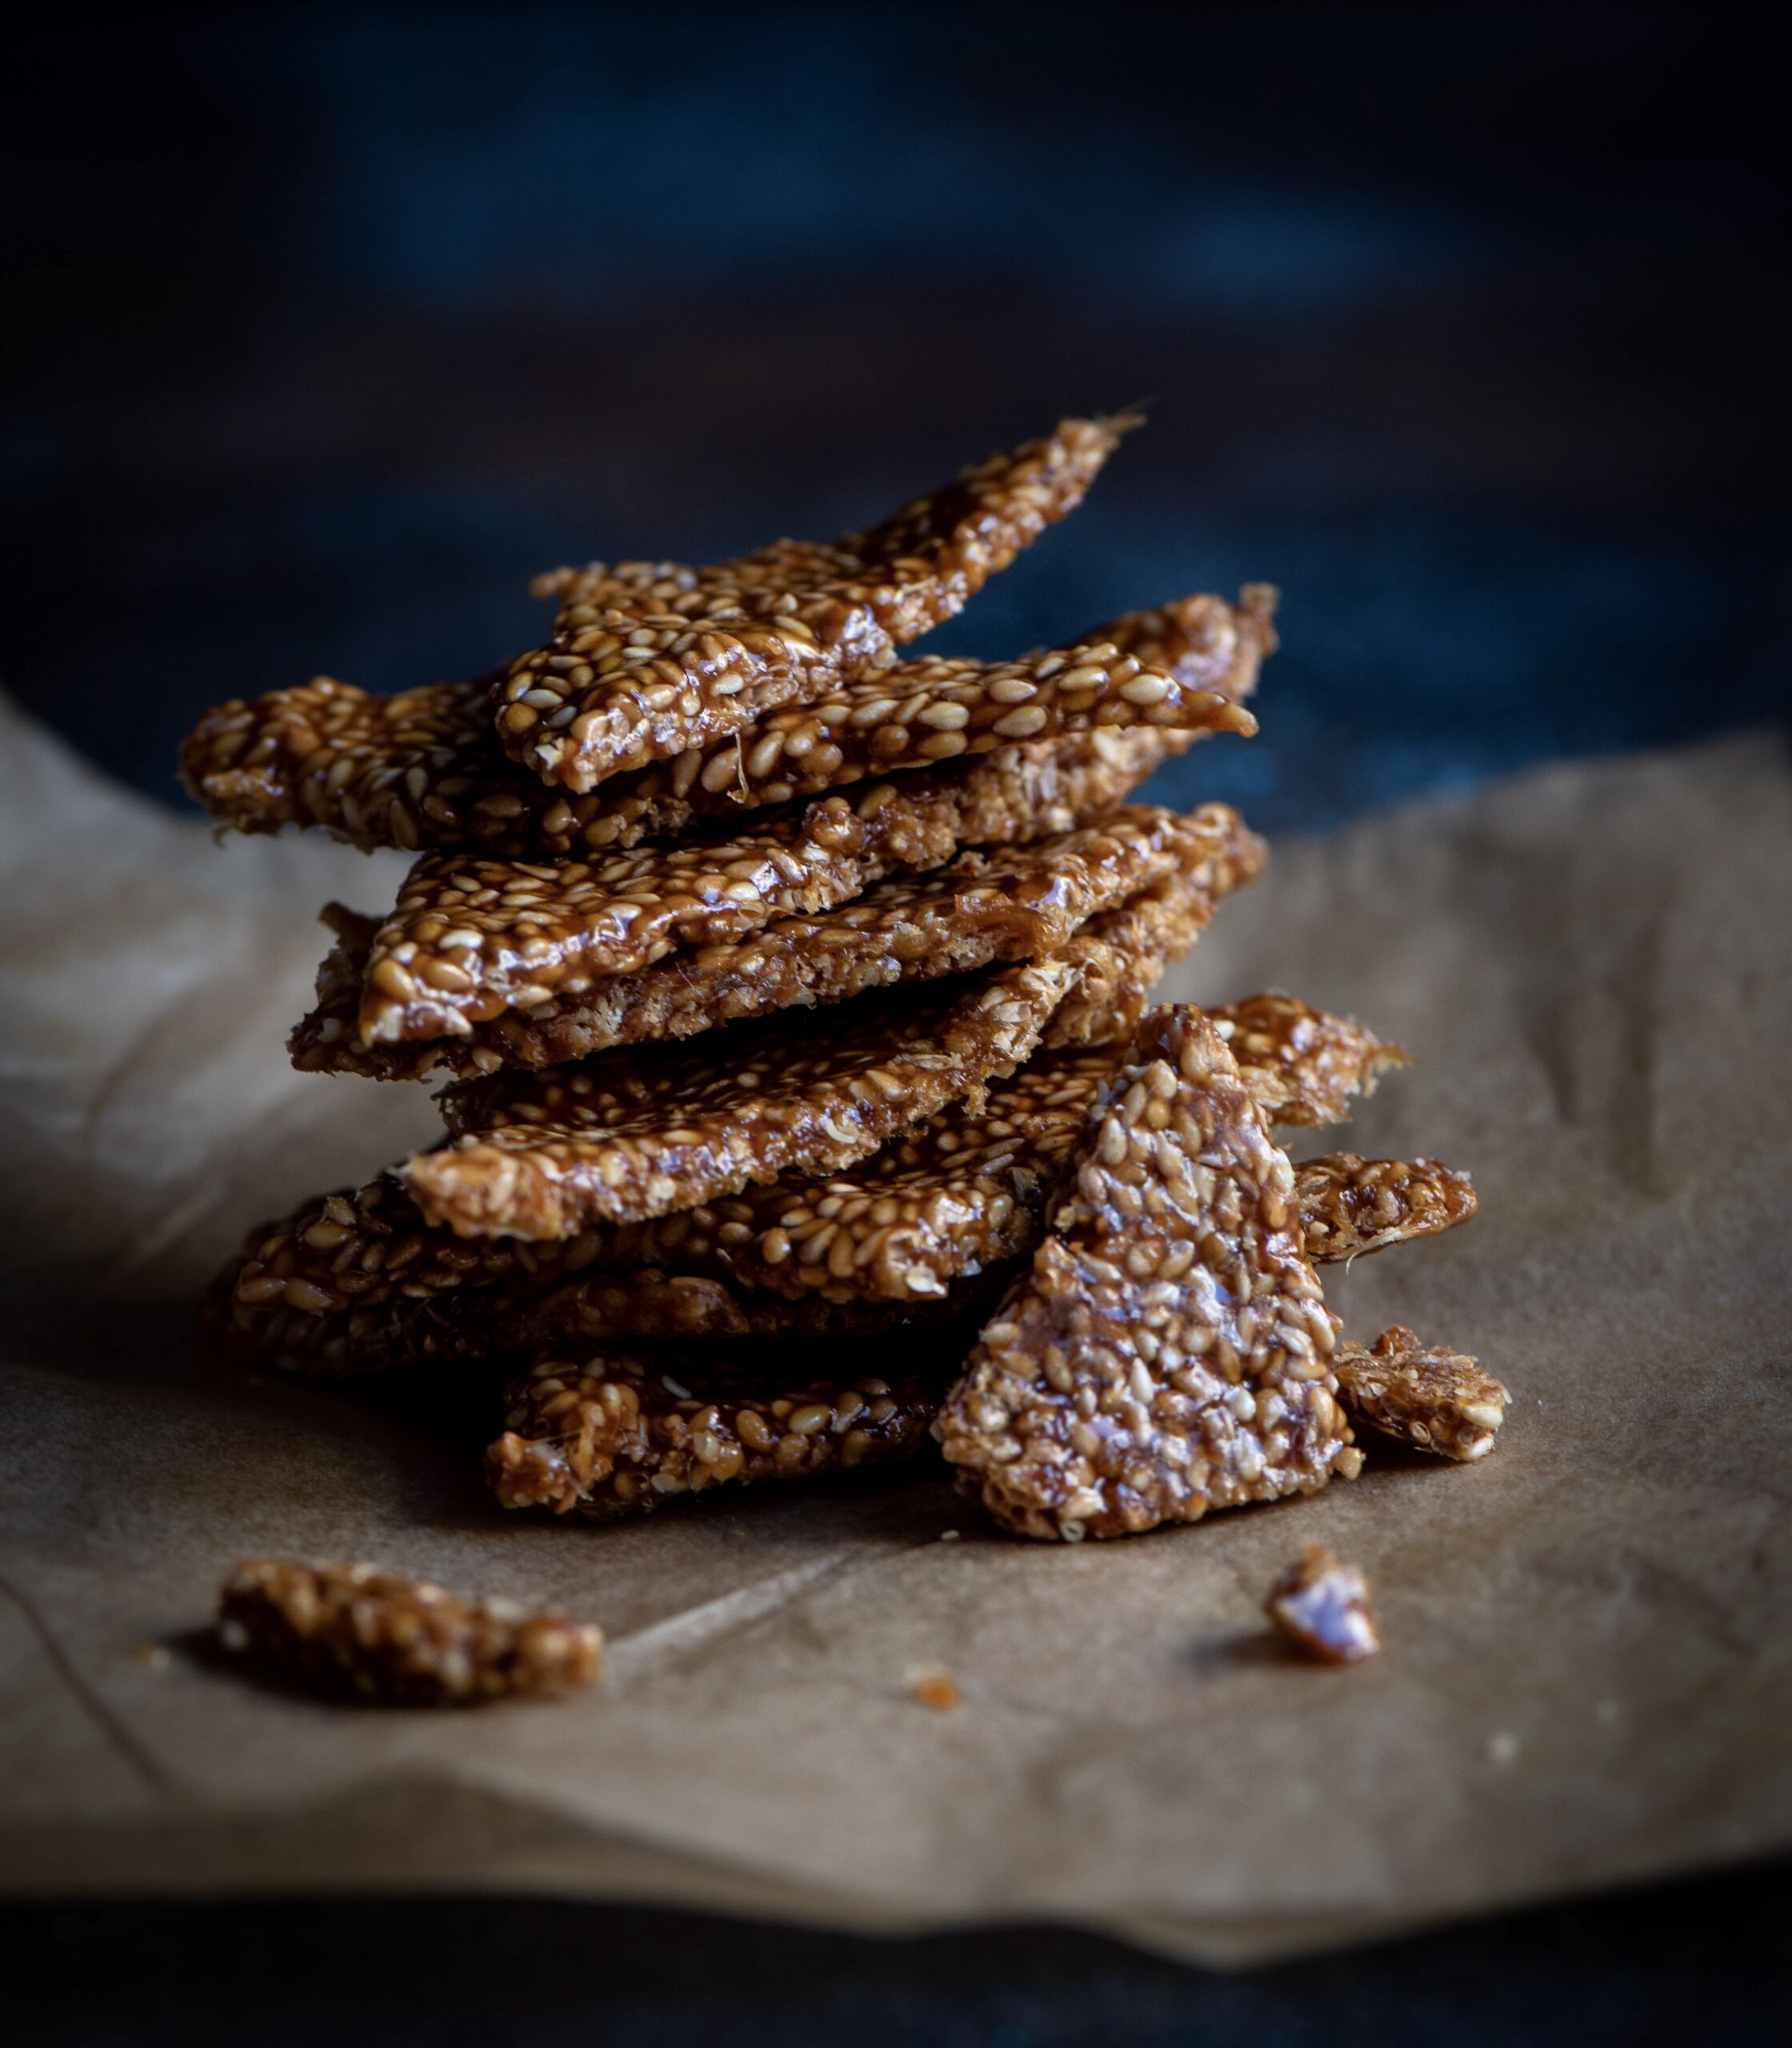
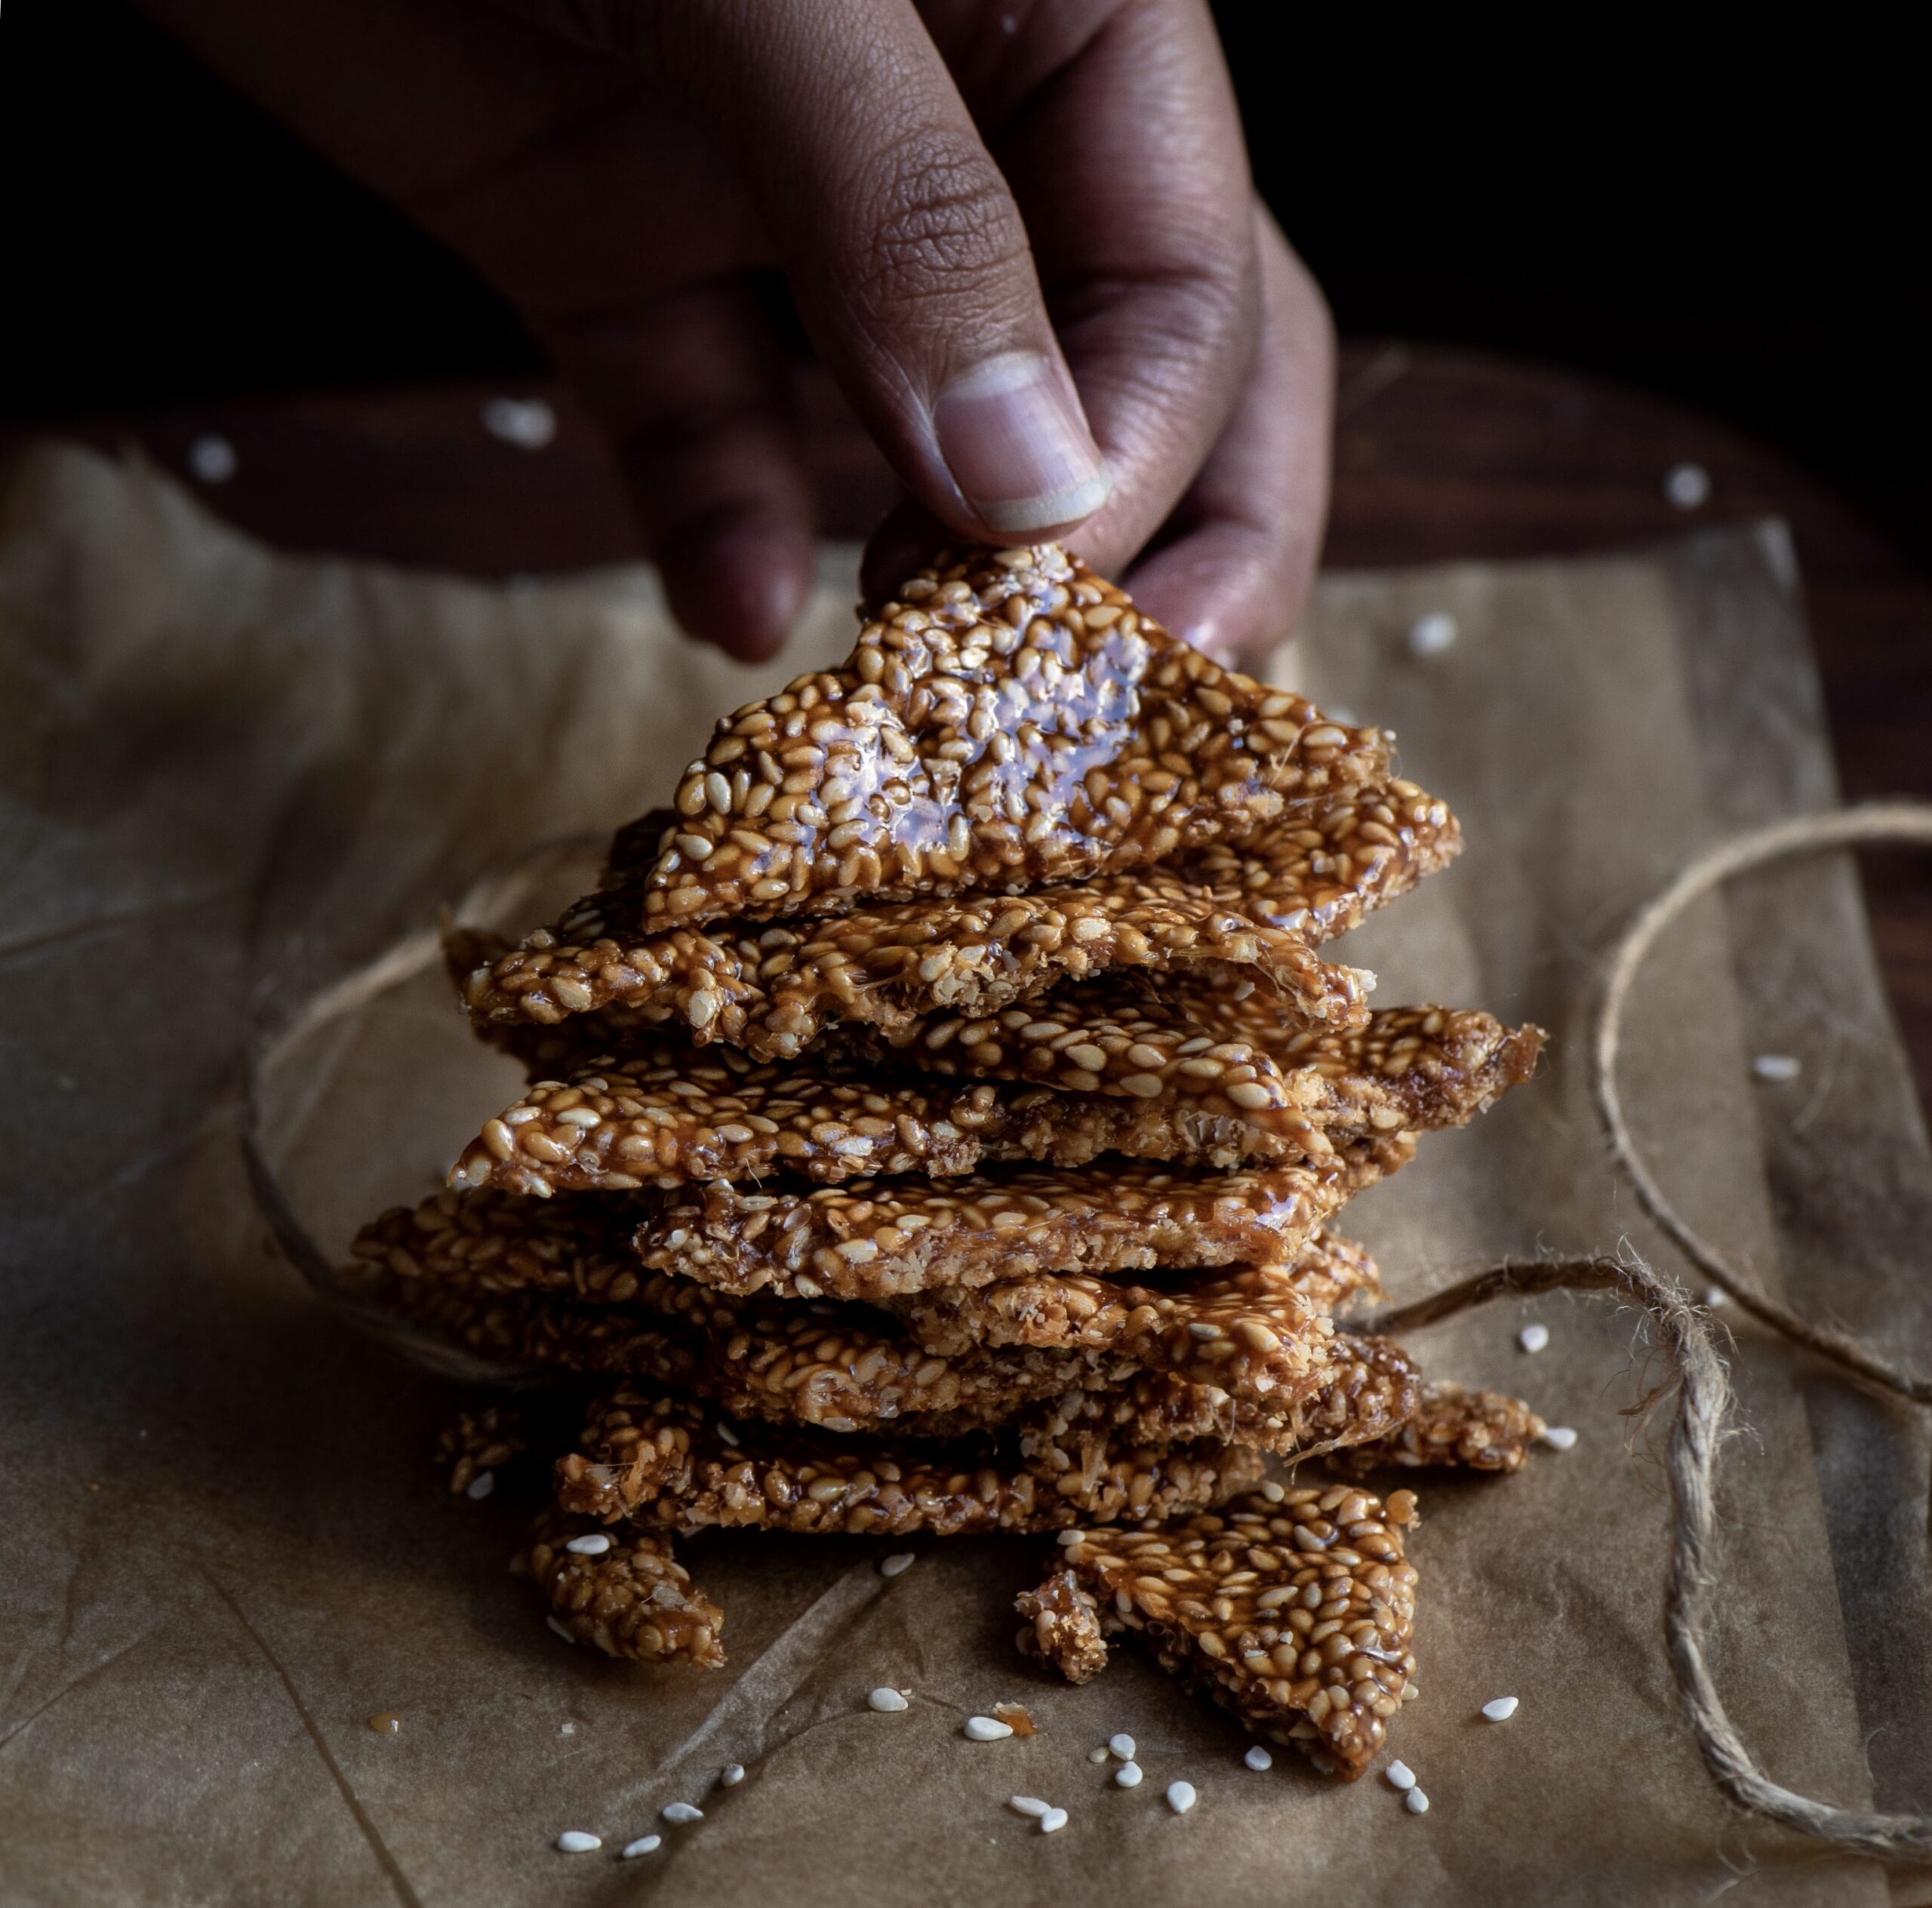
Chikkis are a whole category of snacks, usually sweet thanks to the sticky jaggery that holds them together. We also make them with groundnuts, puffed rice (mora mora) and other variations, depending on the season. You can make them either in bars or in balls, and they also make a great ice cream topping when crushed. Til-ka-chikki is basically a sesame brittle, and today I’ll share the method to make them into bars.

I used to have a huge mental block about til-ka-chikki as I simply hadn’t known how to make it. My sister got married when she was just out of college, and she hadn’t learned how to cook yet. She went to her mother-in-law’s house, where she learned how to make the most beautiful traditional Gujarati dishes. I was still in high school at the time, and am still envious to this day about the culinary skills she picked up back then. Meanwhile, in my mother’s house, I was still studying but also began to slowly pick up recipes and techniques in the kitchen. I was probably inspired by my sister’s newfound talents, and our mother started me off on the basics, like rotli. Over time, I began to regard not only my mother and my own mother-in-law as my culinary teachers, but my older sister as well. My sister’s repertoire is vast. Even to this day, each time I visit her, I insist that she teaches me an entirely new dish  every time.

I overcame my mental block when I finally learned how to make this til-ka-chikki a couple of years ago, with her guidance. And I’ll admit that I am still learning. I don’t quite have the confidence to make it on my own yet, but every experiment has ended in happy mouths and sticky fingers. It would be great if you could learn it together alongside me. We could master it together, just as my sister has.

As with most traditional Gujarati sweets and snacks, this too requires only three ingredients. In this case, they are jaggery, sesame and ghee. If you’d like a vegan version, replace the ghee with a flavourless oil of your choice. Til-ka-chikki is also offered as a prasad, so while it is a simple dish it can also be a part of prayers for festive and special occasions. For Sankranti, of course, it’s a beautiful way to honour the sun that gave us this ancient and nutritious crop.


Til-Ka-Chikki (Sesame Brittle)

(Yield: 10-15 pieces)


Ingredients

½ cup sesame seeds

½ cup jaggery

1 tablespoon ghee

Grease an overturned steel plate and a rolling pin and keep these ready. Next, in a wok or kadai, roast the sesame seeds on a low flame. Occasionally increase to a medium flame for short spans. The sesame will take about 7 minutes to roast. Keep stirring until the colour changes.

Once roasted, transfer to a plate and allow to cool. Once cooled, taste a few seeds to check if they have a crunch to it. This means they are ready.

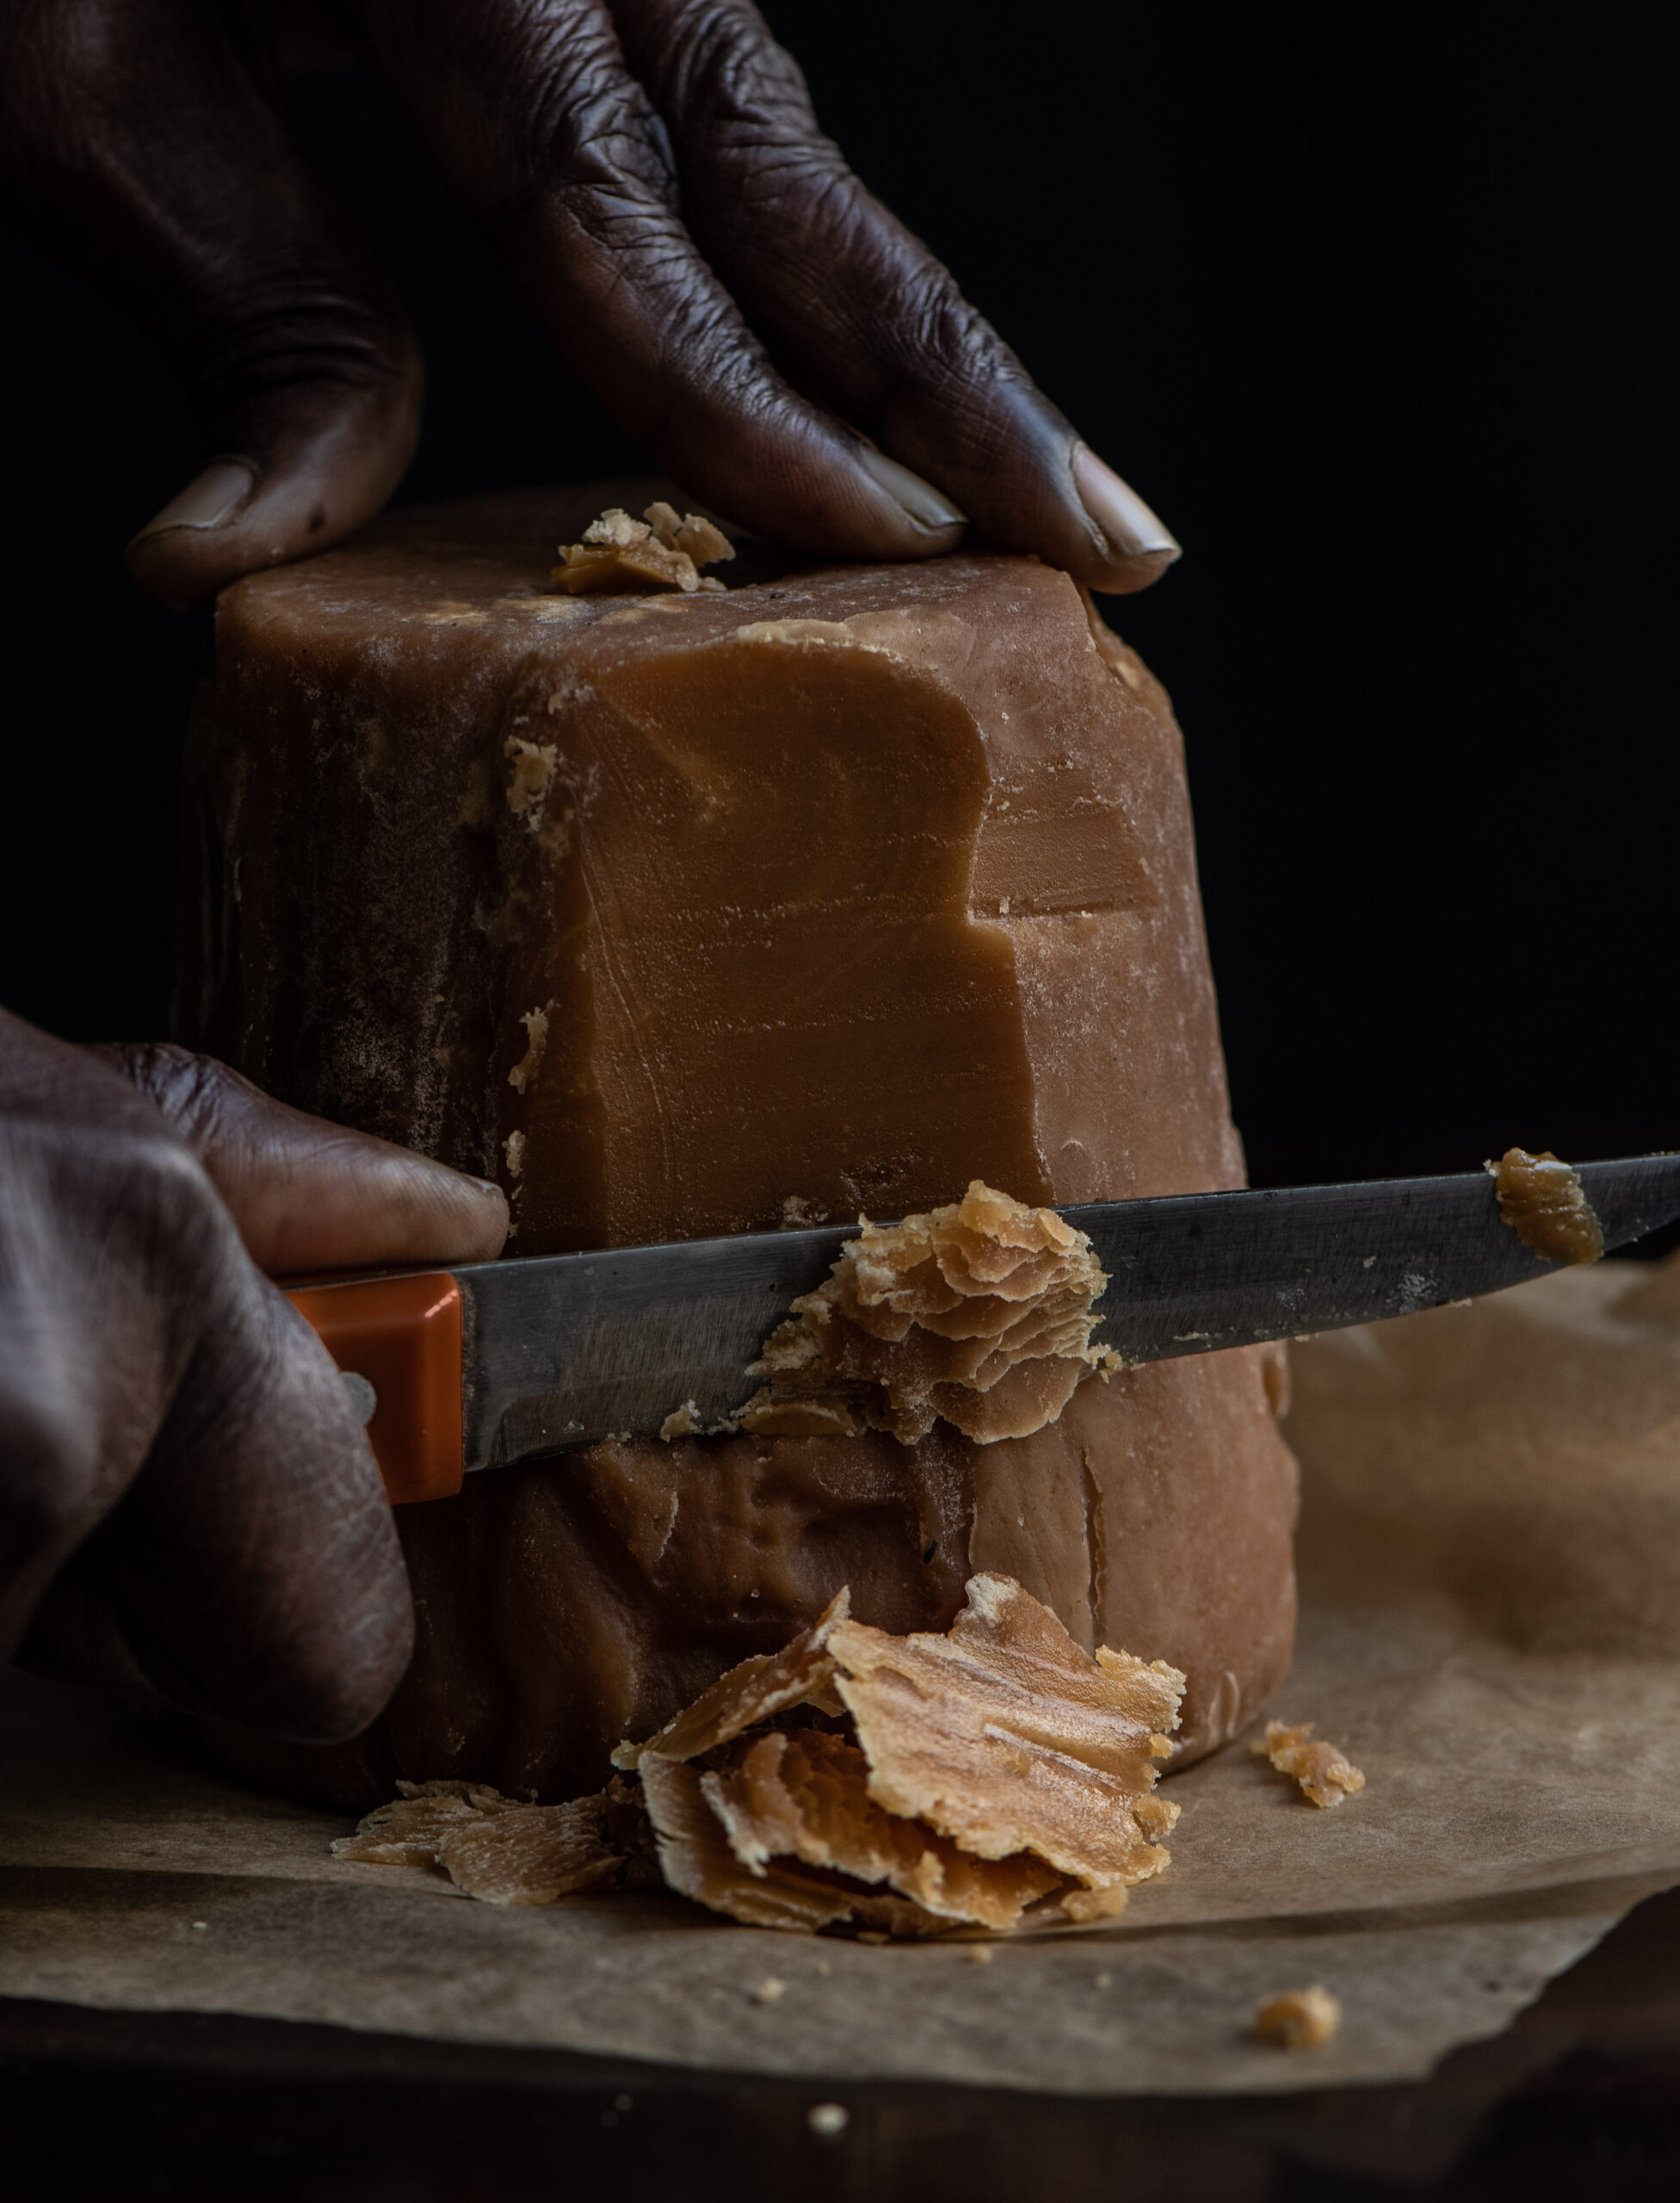
In the same wok or kadai, add the ghee. Then, add the jaggery and stir constantly on a low flame. As with the roasting of the sesame seeds, you may occasionally increase the flame to a medium for short spans, then immediately reduce it to a low again. Take care that the jaggery does not burn. Do see this video for reference: re:store sesame brittle video – 1

Mine took approximately 9 minutes to turn into a reddish colour. Once this happens, turn off the flame. Add the sesame seeds and stir well.

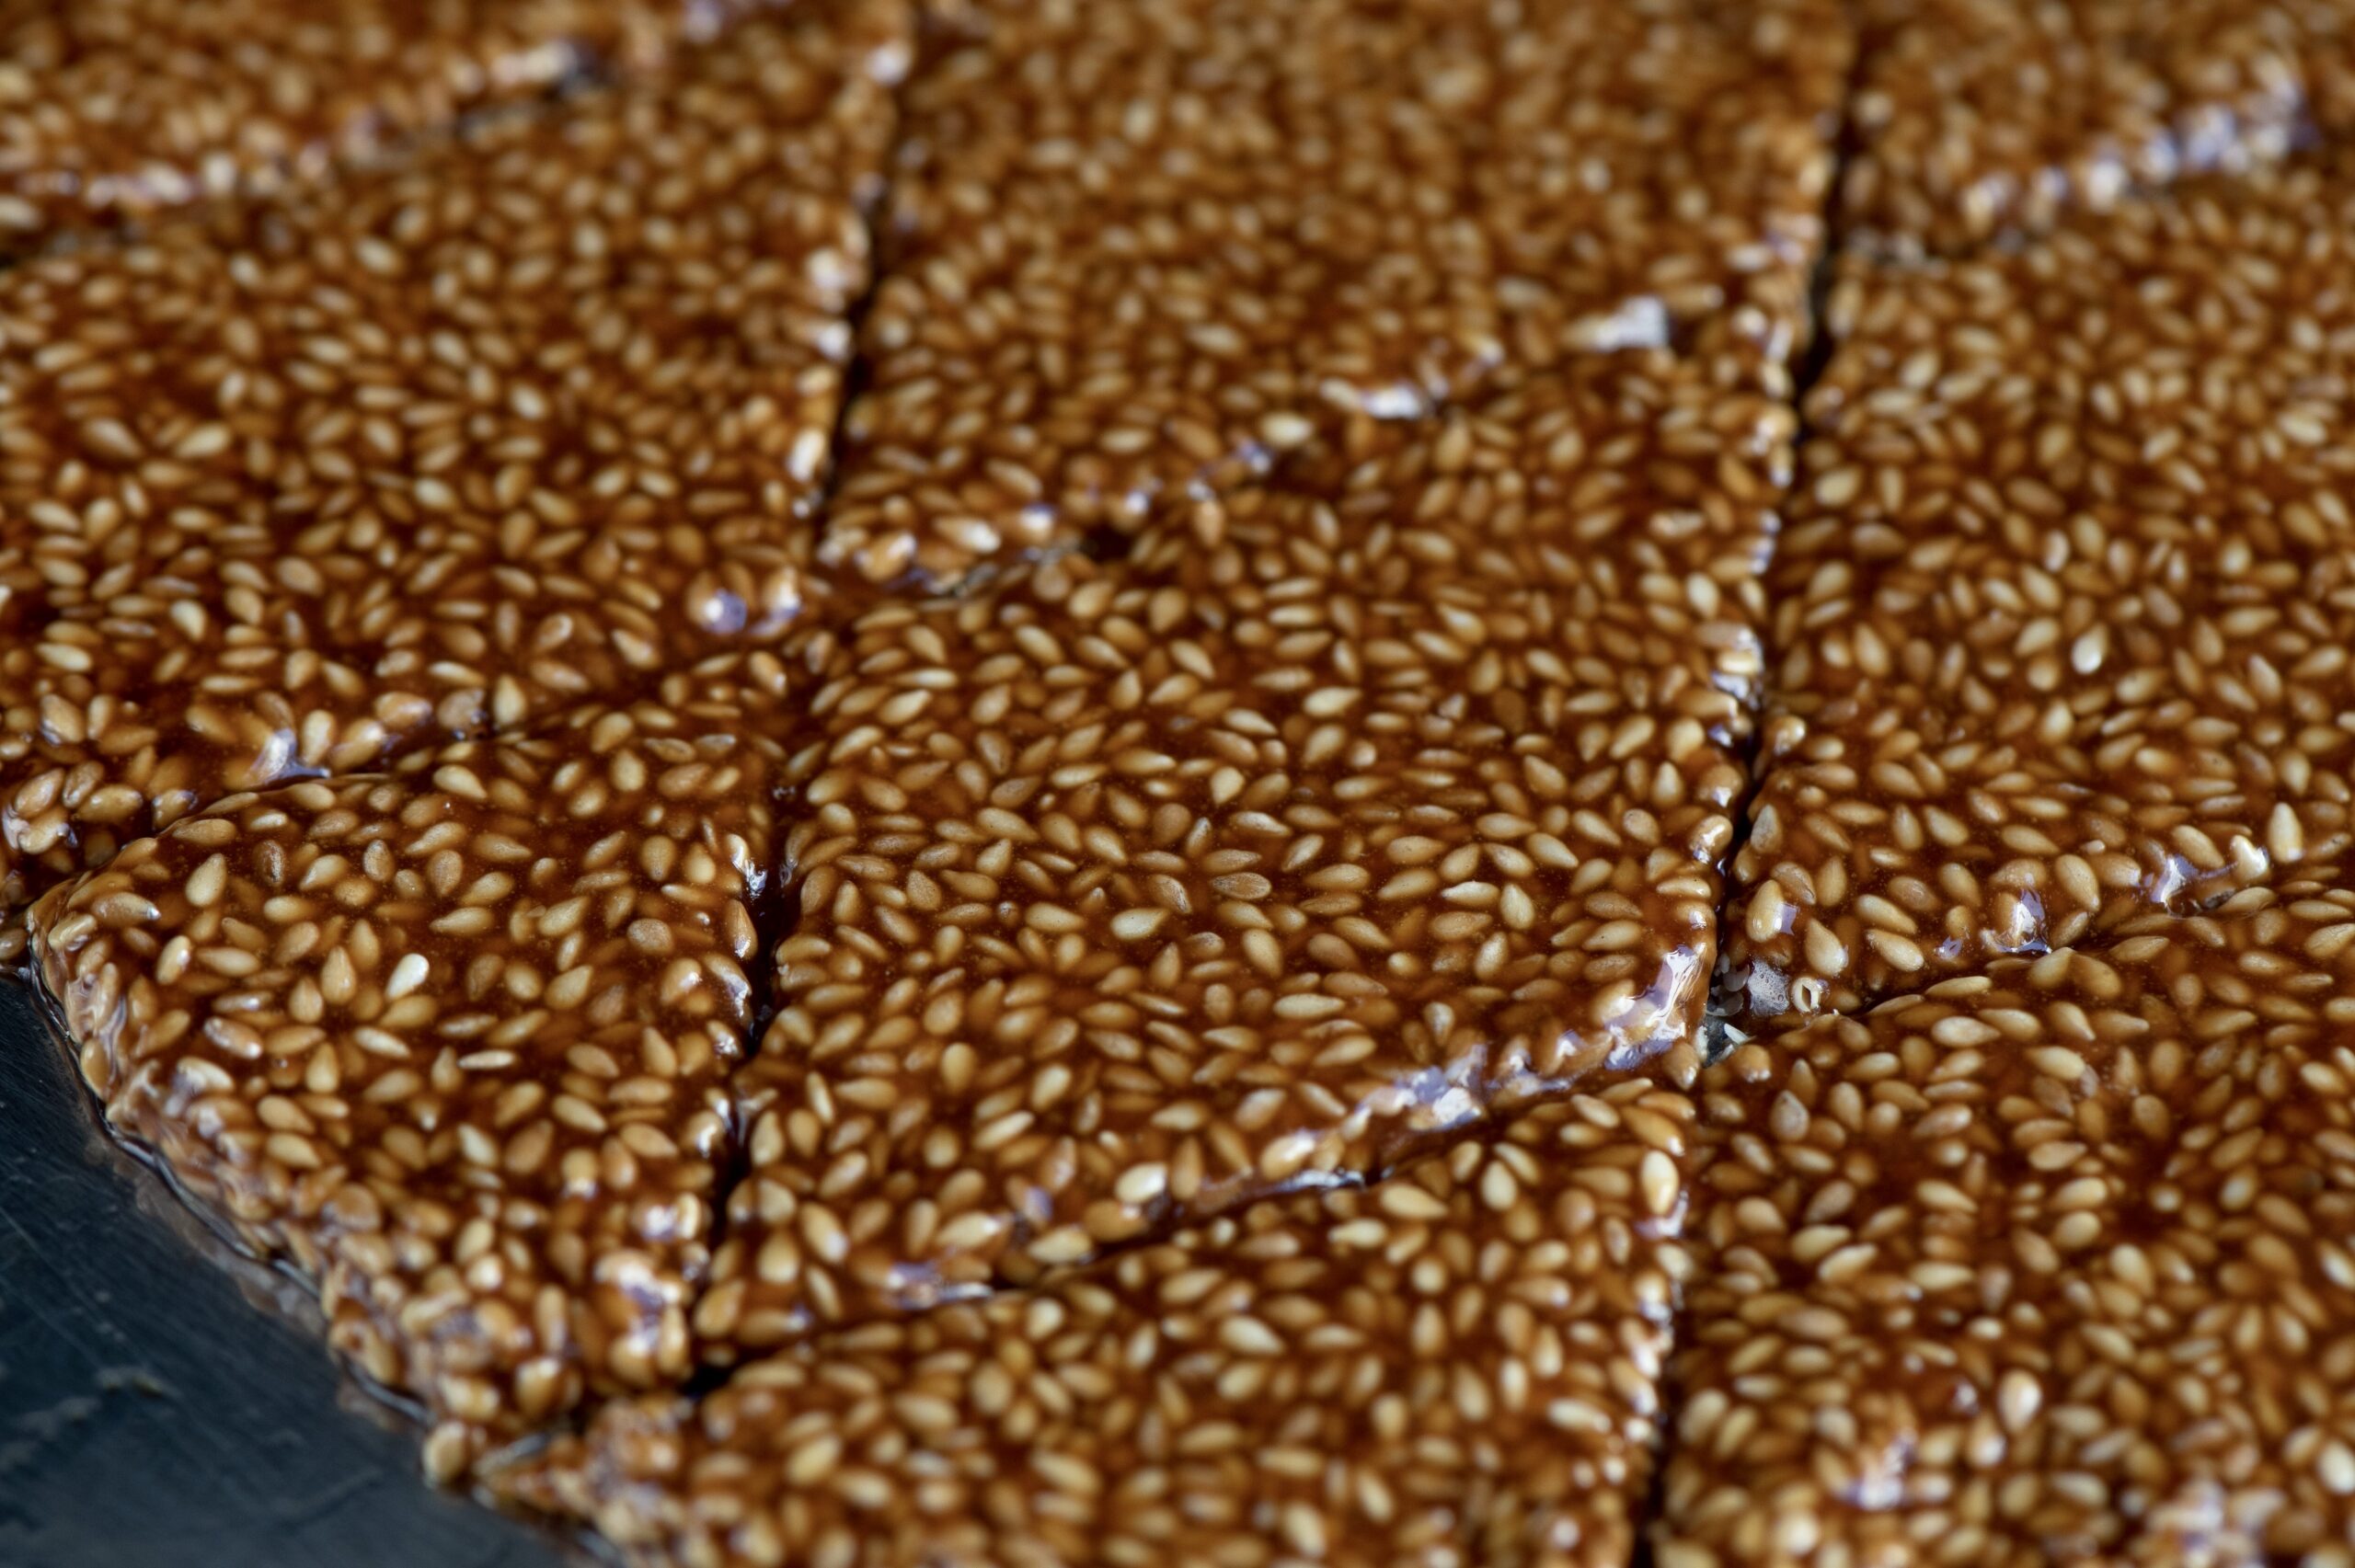
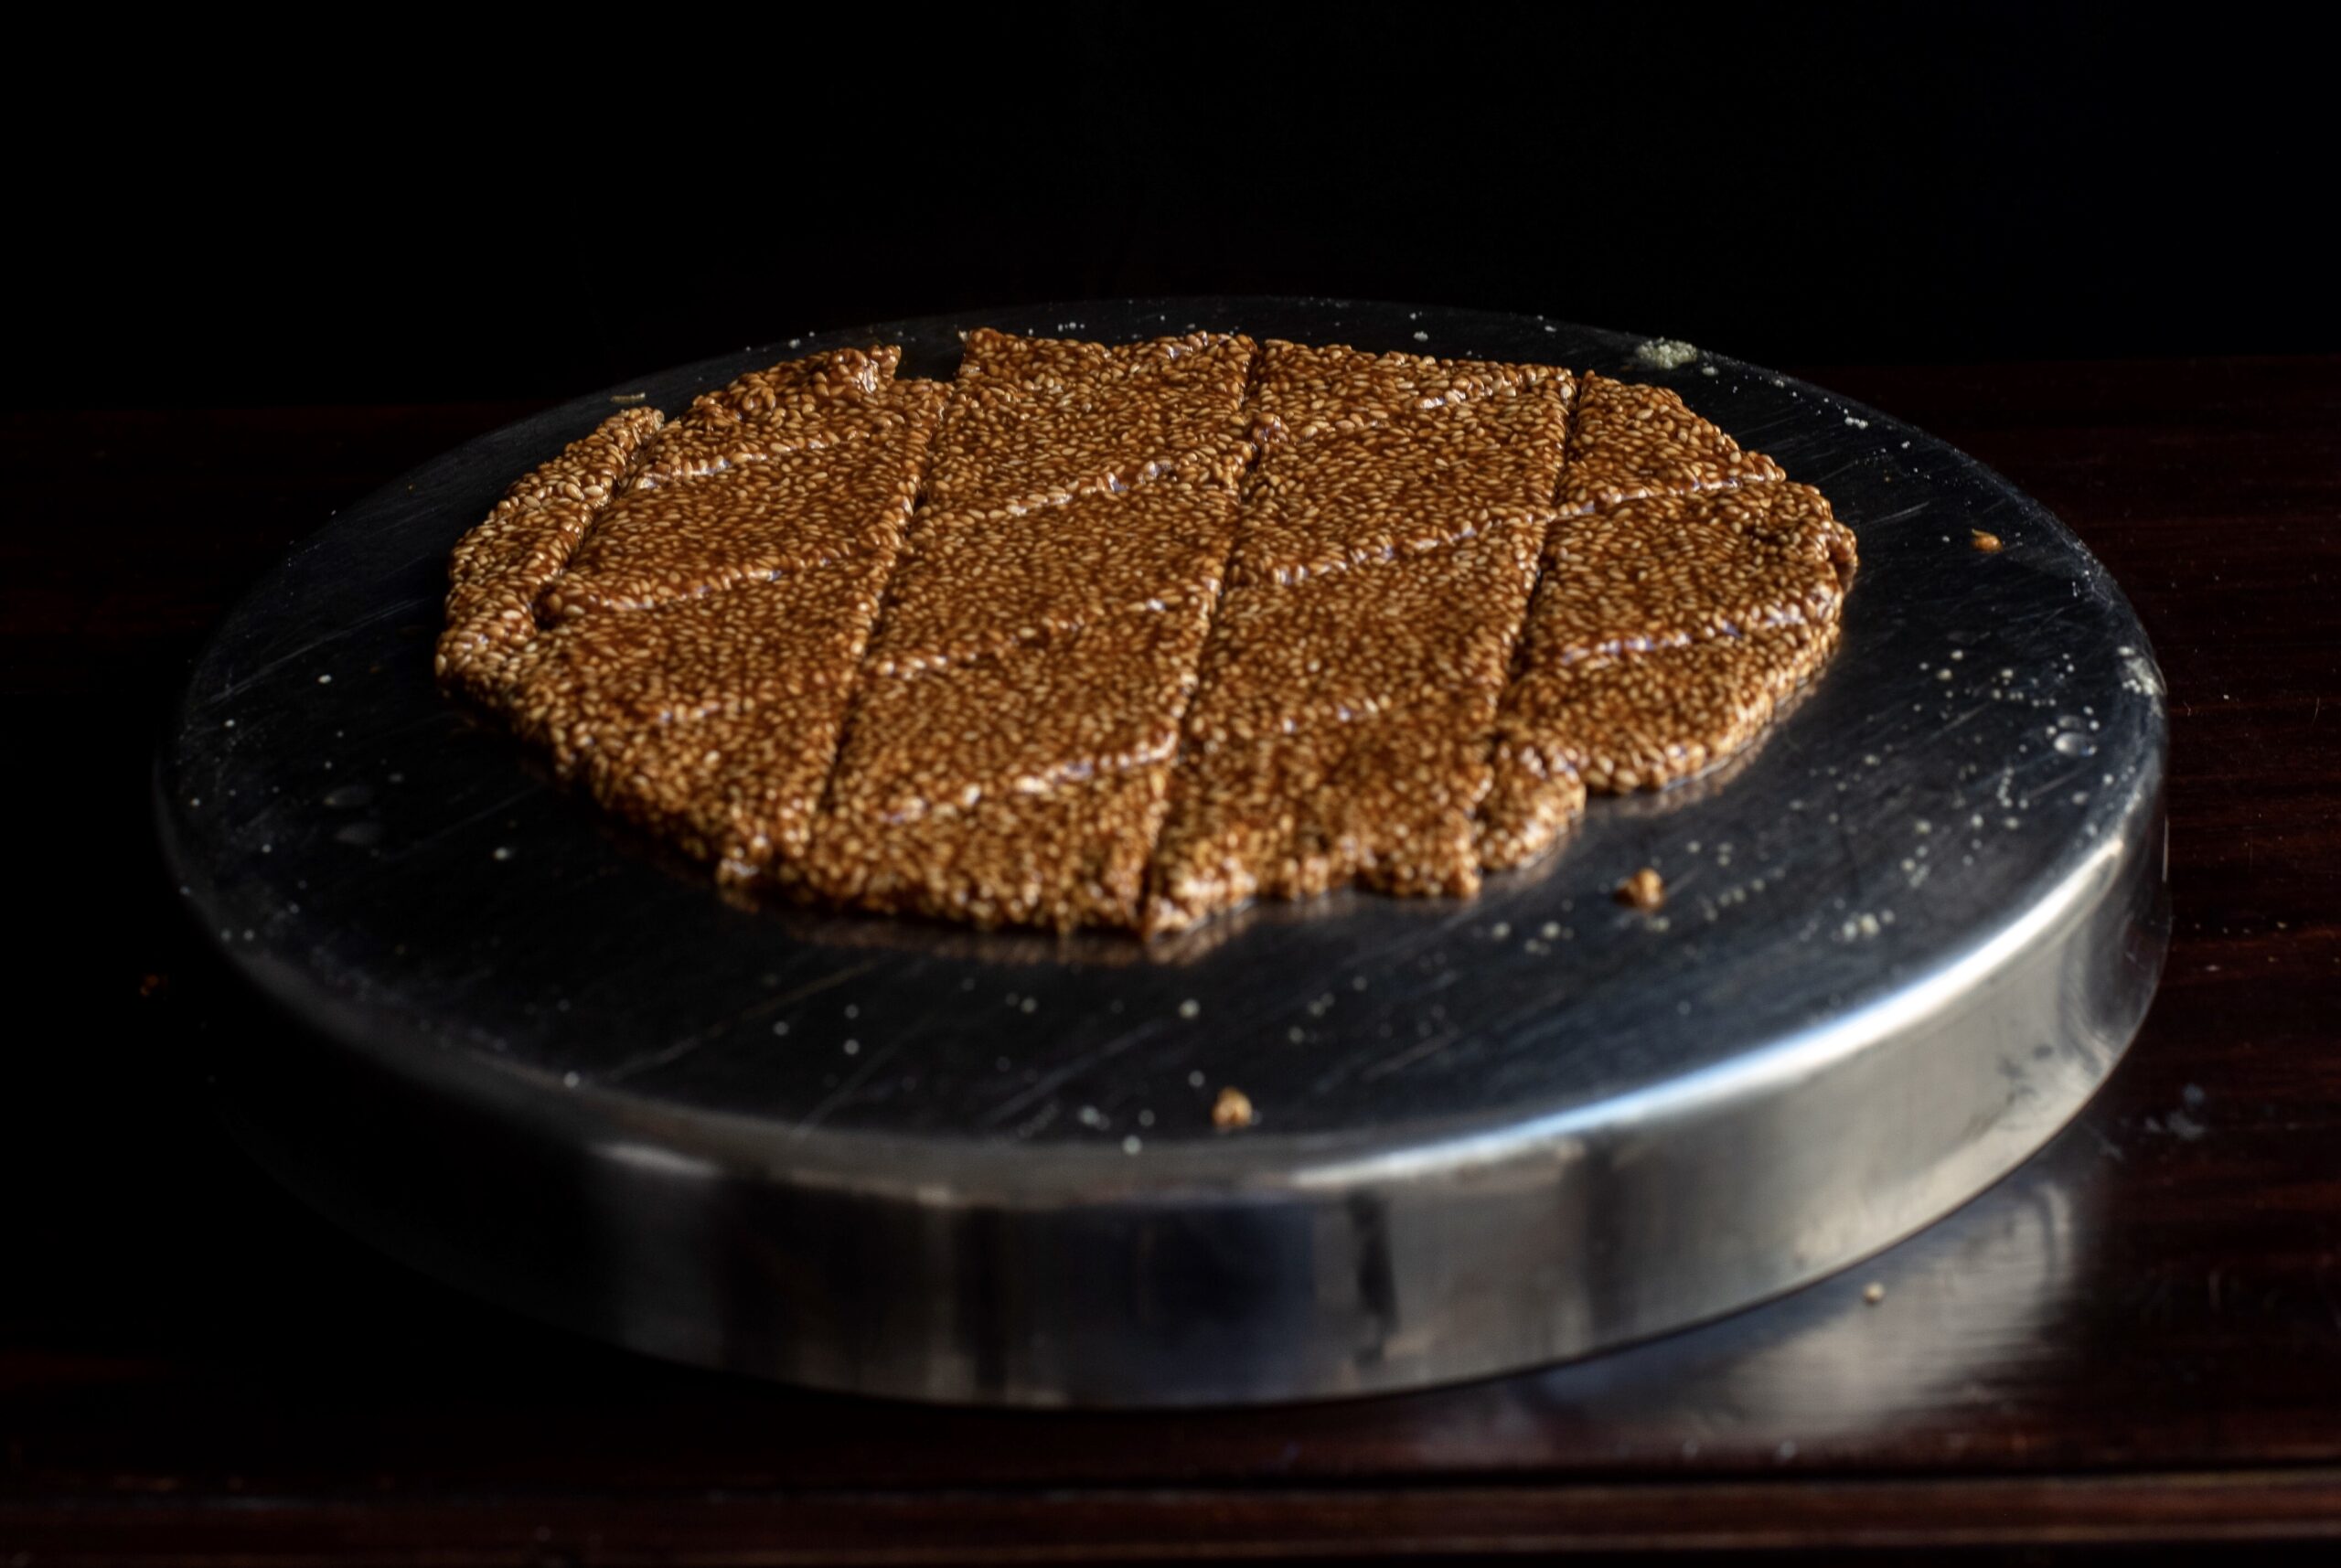
Drop the mixture onto the greased, overturned plate and immediately start to spread it out as thin as possible. You may need to use your fingers (dipped in water), while the rolling pin is coated with ghee. With this combination, try and spread it out in such a way that you mark lines for the pieces later.

Allow the spread mixture, striped with lines to form bars, to cool. Once it has completely cooled, place the plate on the stove and warm from below. The entire piece will come out as a whole. Break it along the marked lines. Store in an airtight container.


Here’s another process video: re:store sesame brittle video – 2

I want to say that this til-ka-chikki is easy to make, but I’ve already told you honestly that it’s not. But I love a challenge in the kitchen, and try again and again to better then perfect my dishes. Even with my photoshoots, it’s the same. When the end result comes out well, it’s all the more delicious when I know the effort that’s gone into it! Tell me how it goes when you try your hand at this dish. Wishing you and your loved ones a happy Sankranti!


Here in Tamil Nadu, while the Tamil New Year is still months away in April, we celebrate a festival full of joy, renewal and fresh possibilities – just like how the turning of the new calendar year feels. Two weeks into every calendar year, beginning on January 14, Tamil households everywhere observe a series of rituals. Like any Indian special occasion, food and bonding play a huge part of this festival.

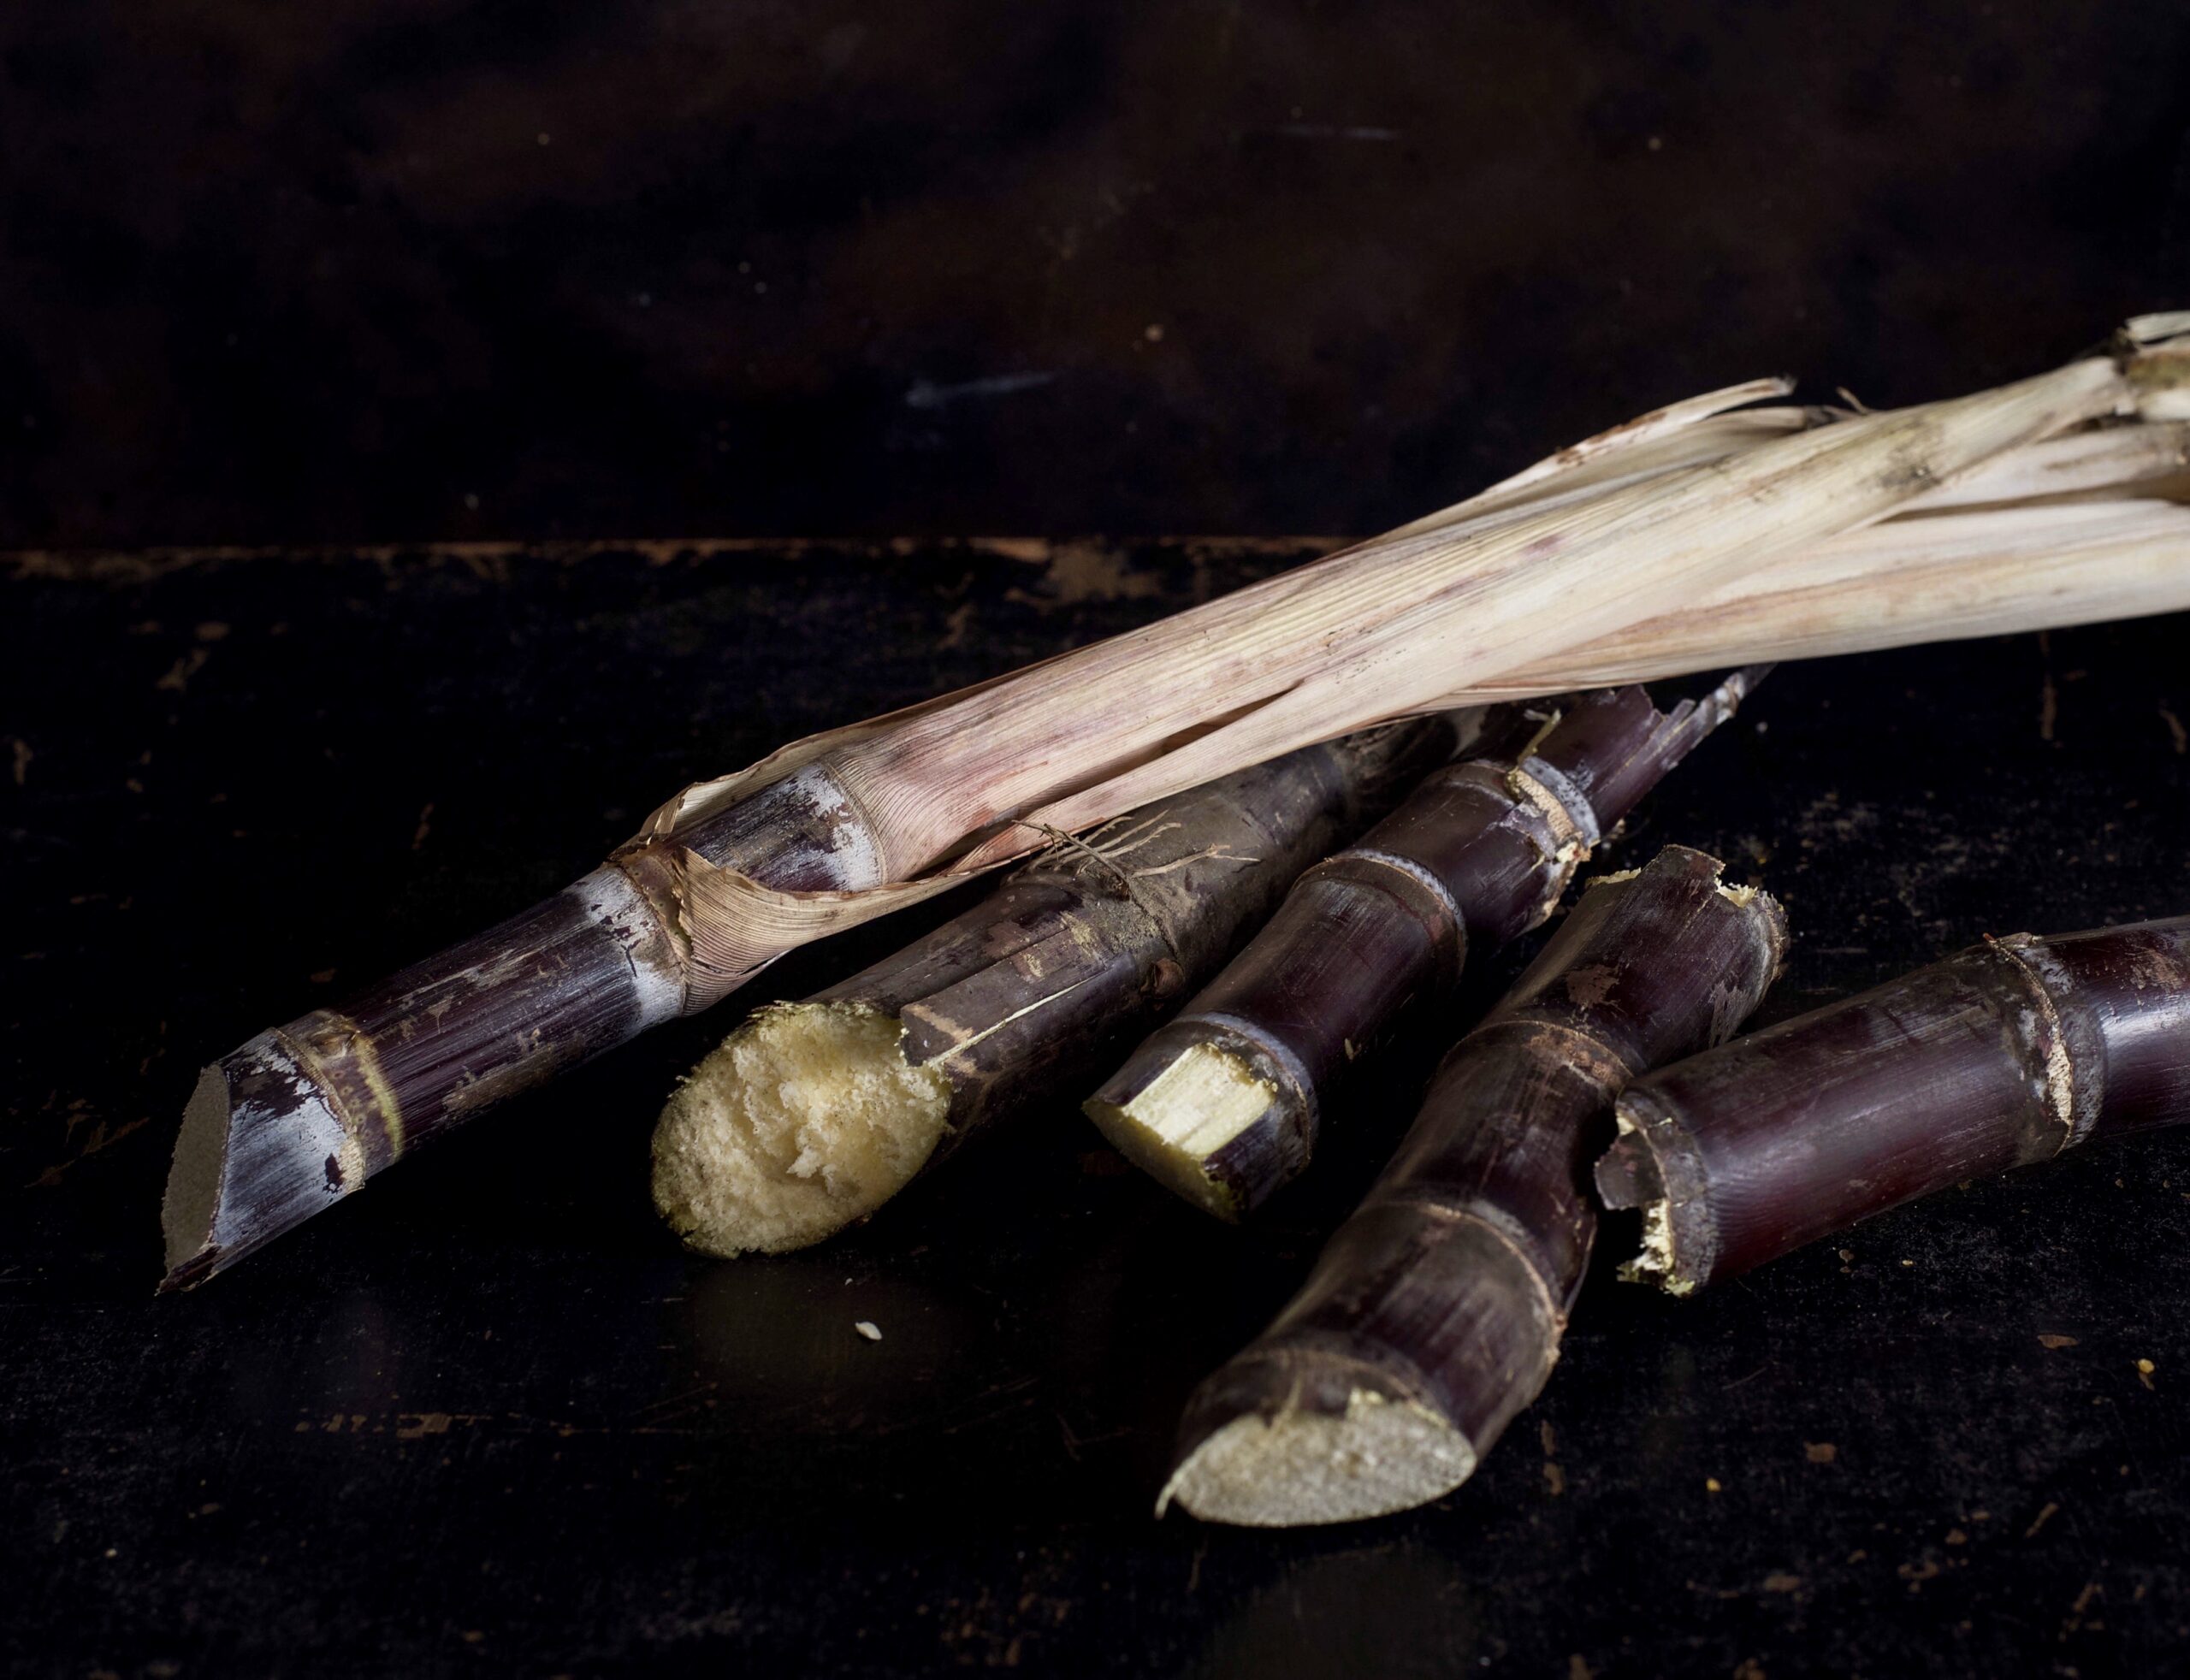
Pongal is spread over four days, which when we were growing up meant… school holidays! Despite being a Gujarati family, our neighbours and friends would observe the festival with delight, which meant we too participated. For me, Pongal always brings to mind sugarcane. As a harvest festival, sugarcane is an important part of the décor at this time – but it is also exactly the kind of thing a child loves to eat! My mother encouraged this, as she said that eating sugarcane made the teeth stronger. Those of you who remember those simpler times will know just what I mean. There’s a technique to it. You peel the cane sideways with your teeth, then scrape the sweet juice from it. I loved the fleshier parts between the joints of the cane.

As this is the season to give thanks for the harvest all over India, similar festivals include Lohri and Sankranti. If we happened to visit Ahmedabad at this time of year, the lasting image I have of the celebrations is of seeing the skies fill with kites on the occasion of Uttaran, as people on terrace rooftops would battle to bring the others’ down, in order to be the owner of the sole reigning kite of Gujarat.

“Pongal” literally means “the boiling over”, and the festival is all about the spirit of abundance. The pivotal moment of the day is when a pot of milk, into which every family member puts three handfuls of rice, boils over. The milk spilling over the brim of the vessel is taken as a sign of auspiciousness. As this happens, the family shouts, “Pongal-o-Pongal”!

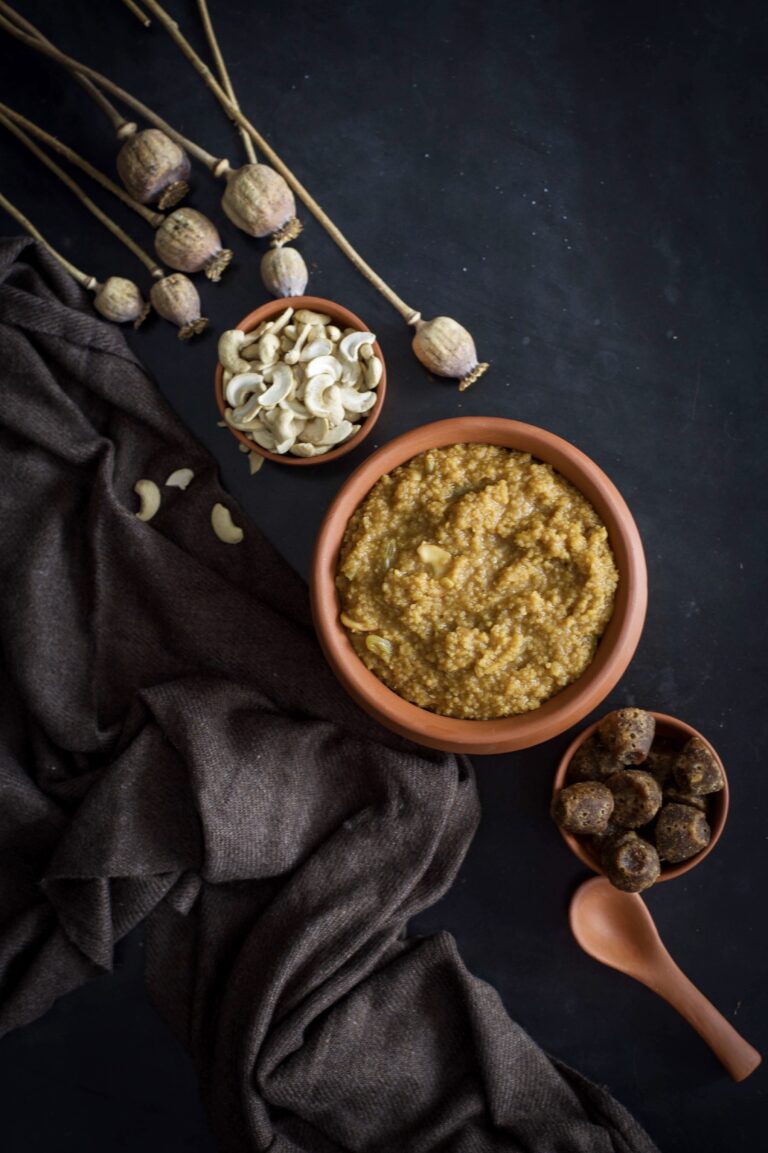
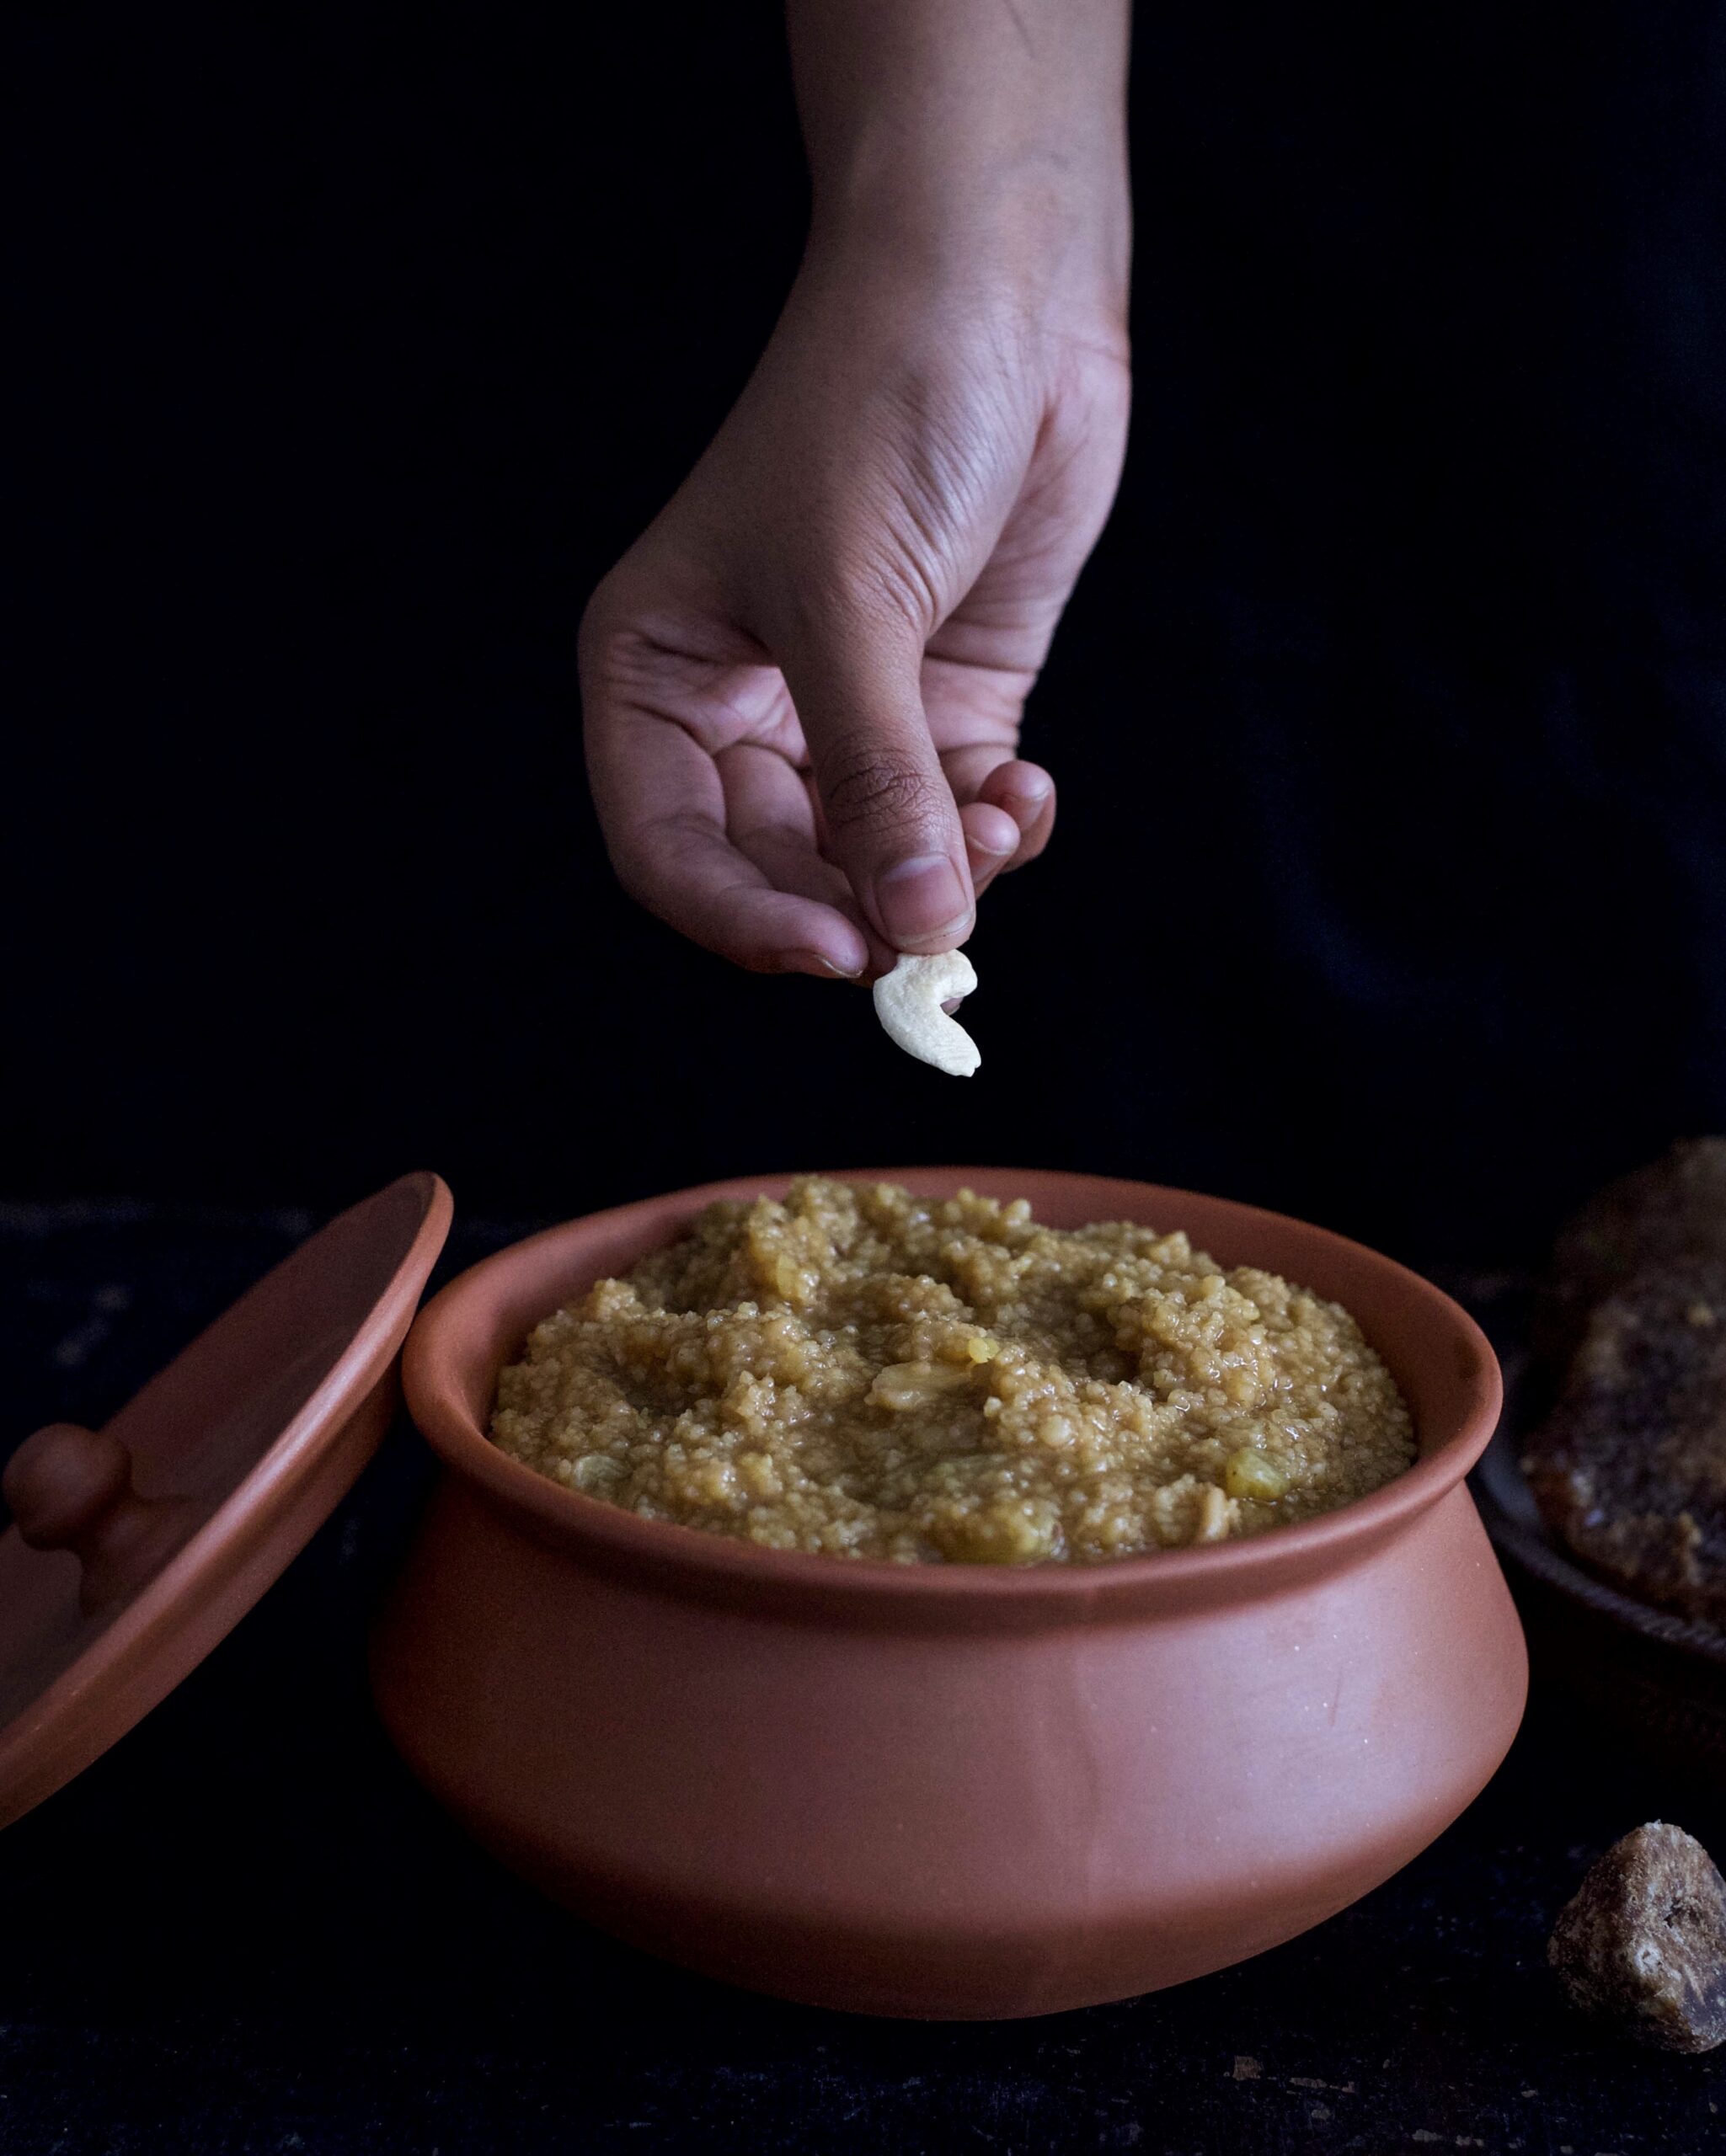
During Pongal, a dish bearing its name is also eaten. Chakkara pongal literally means “sugar pongal”, but it is jaggery that is used – and which gives the dish its rich colour. Chakkara pongal is also popular year-round as a prasadam  in temples, which is offered to the gods and then eaten by devotees. And the sweetest, tastiest chakkara pongal I’ve ever eaten has always been served on a banana leaf at a temple.

Chakkara pongal will taste different at each temple, and each home, that you eat it in. Like all traditional staples, it will contain the memories and idiosyncrasies of the hands that made it. How is tradition formed? One ancestor would have done something a particular way, and generations to follow then say, “Our family does this”. Whenever I cook something that carries cultural attachments, I wonder: if I don’t do it, will my kids?

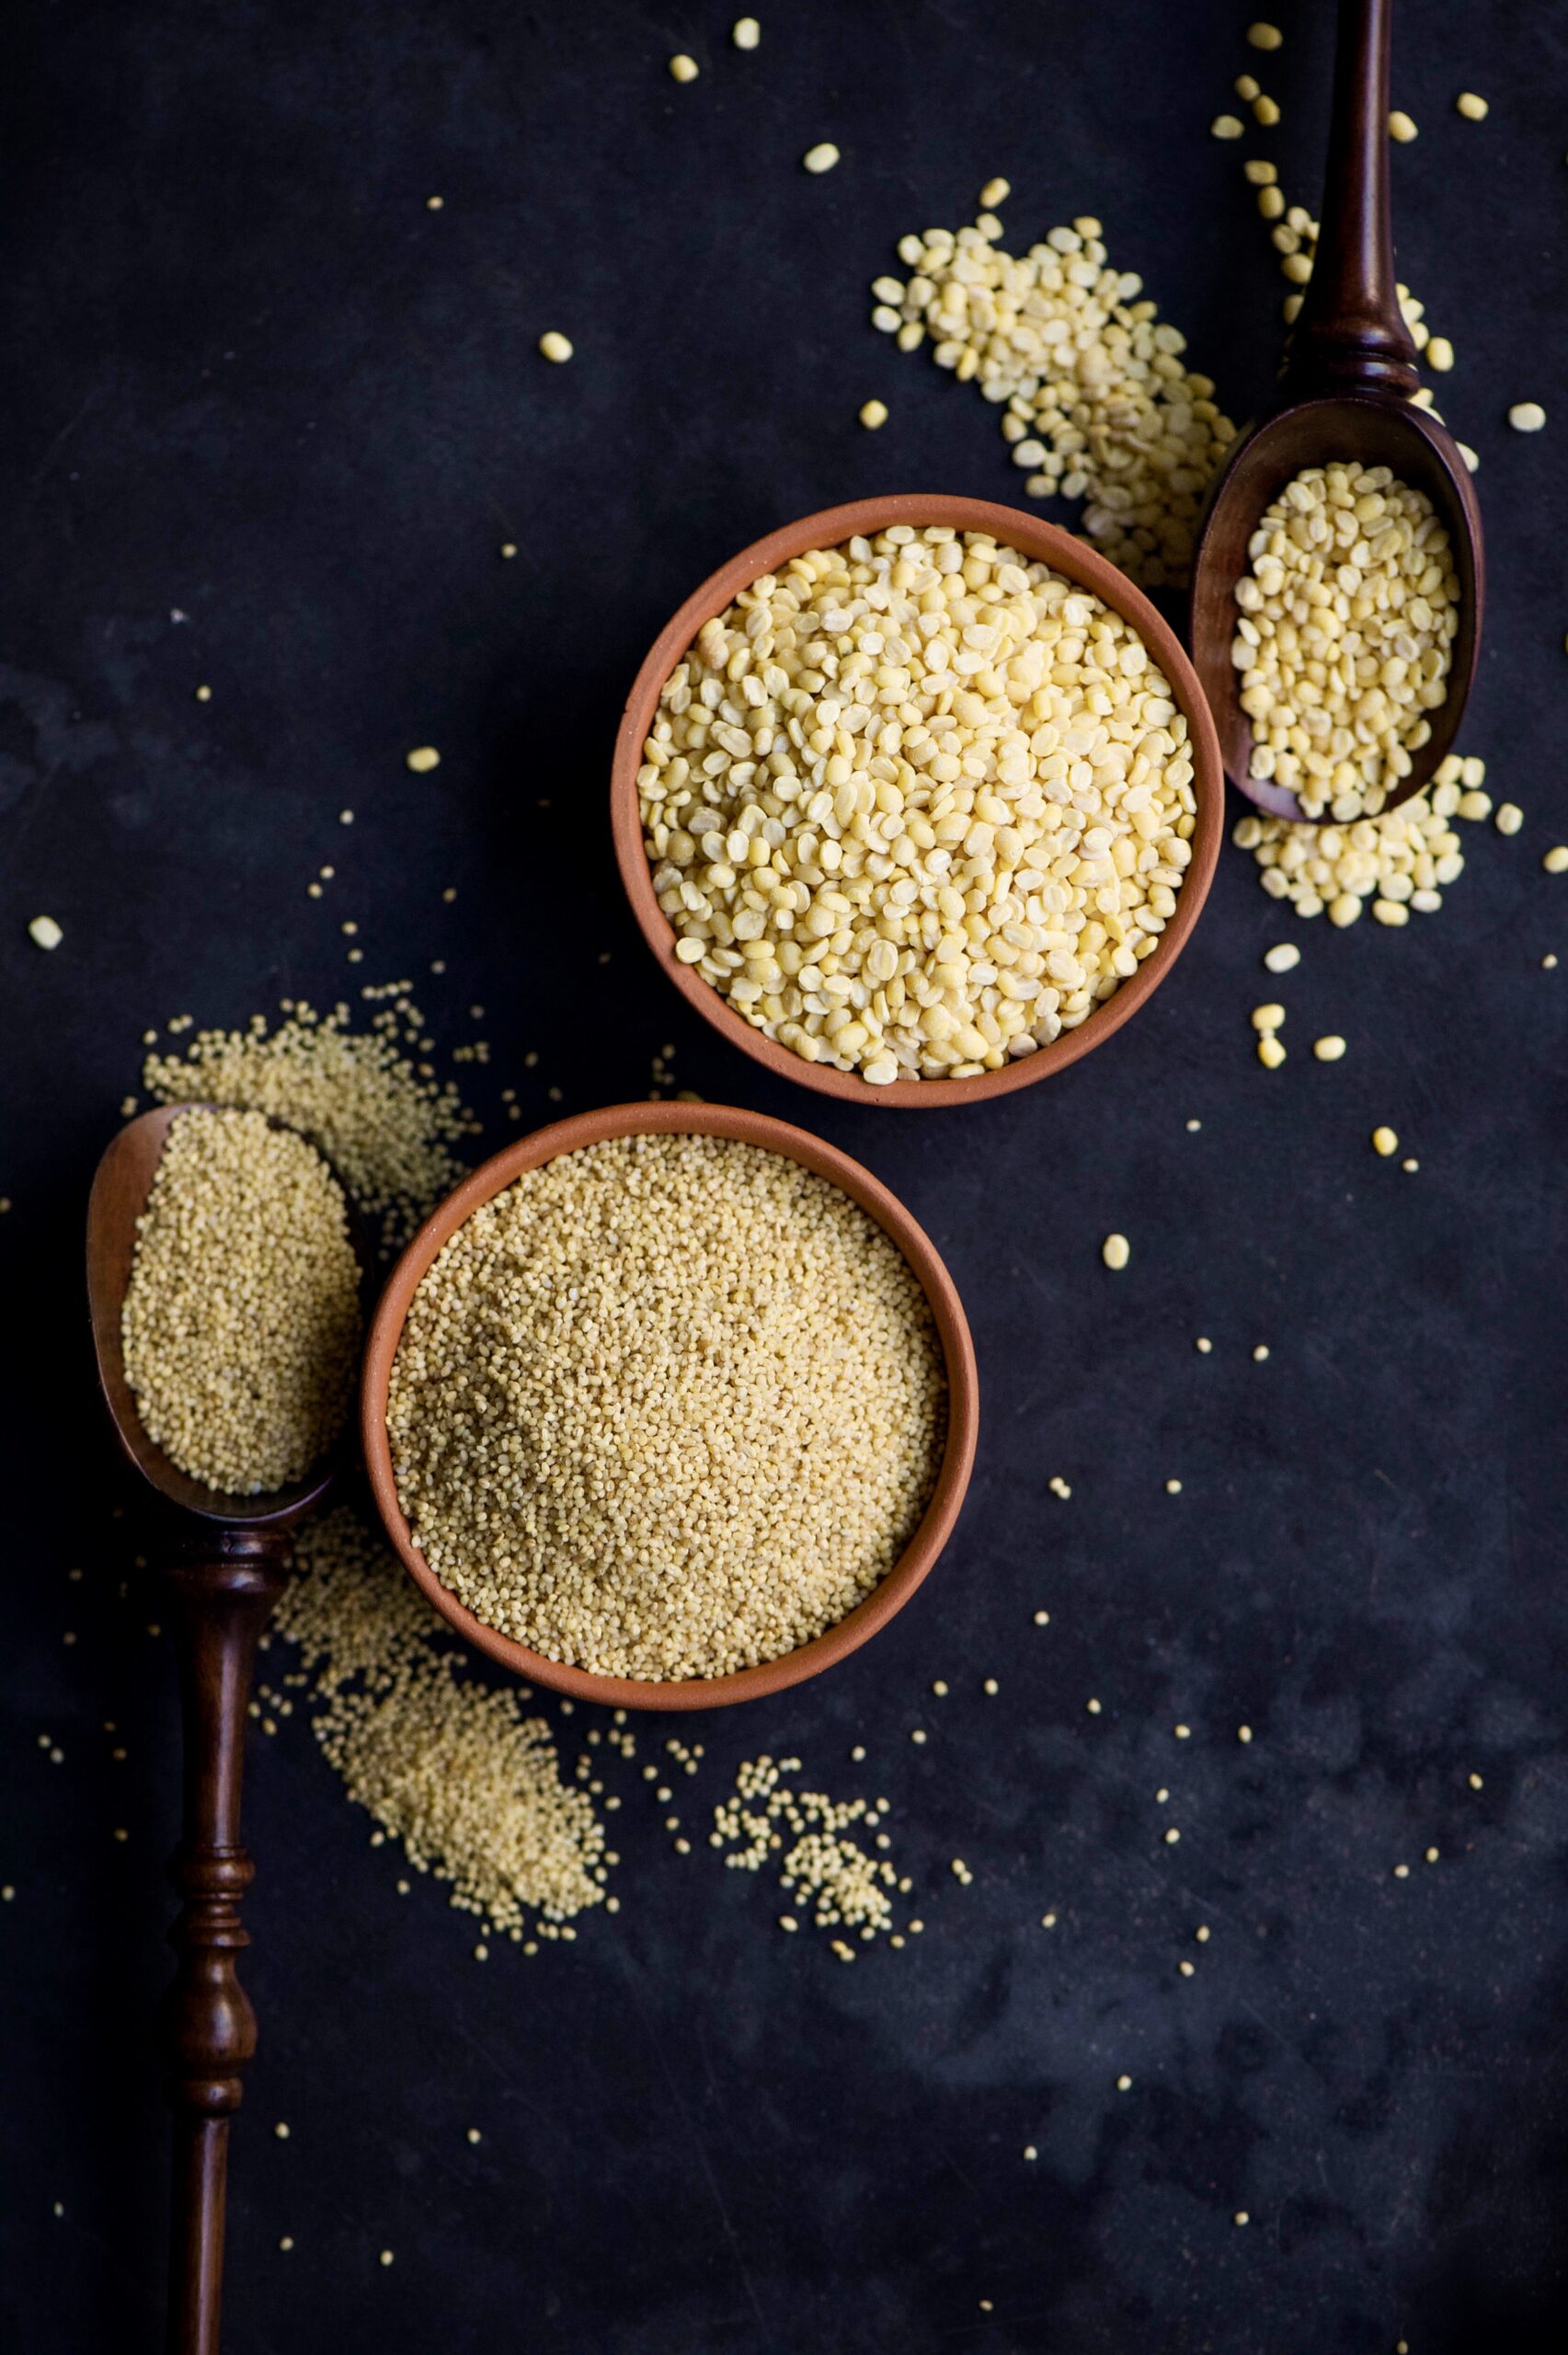
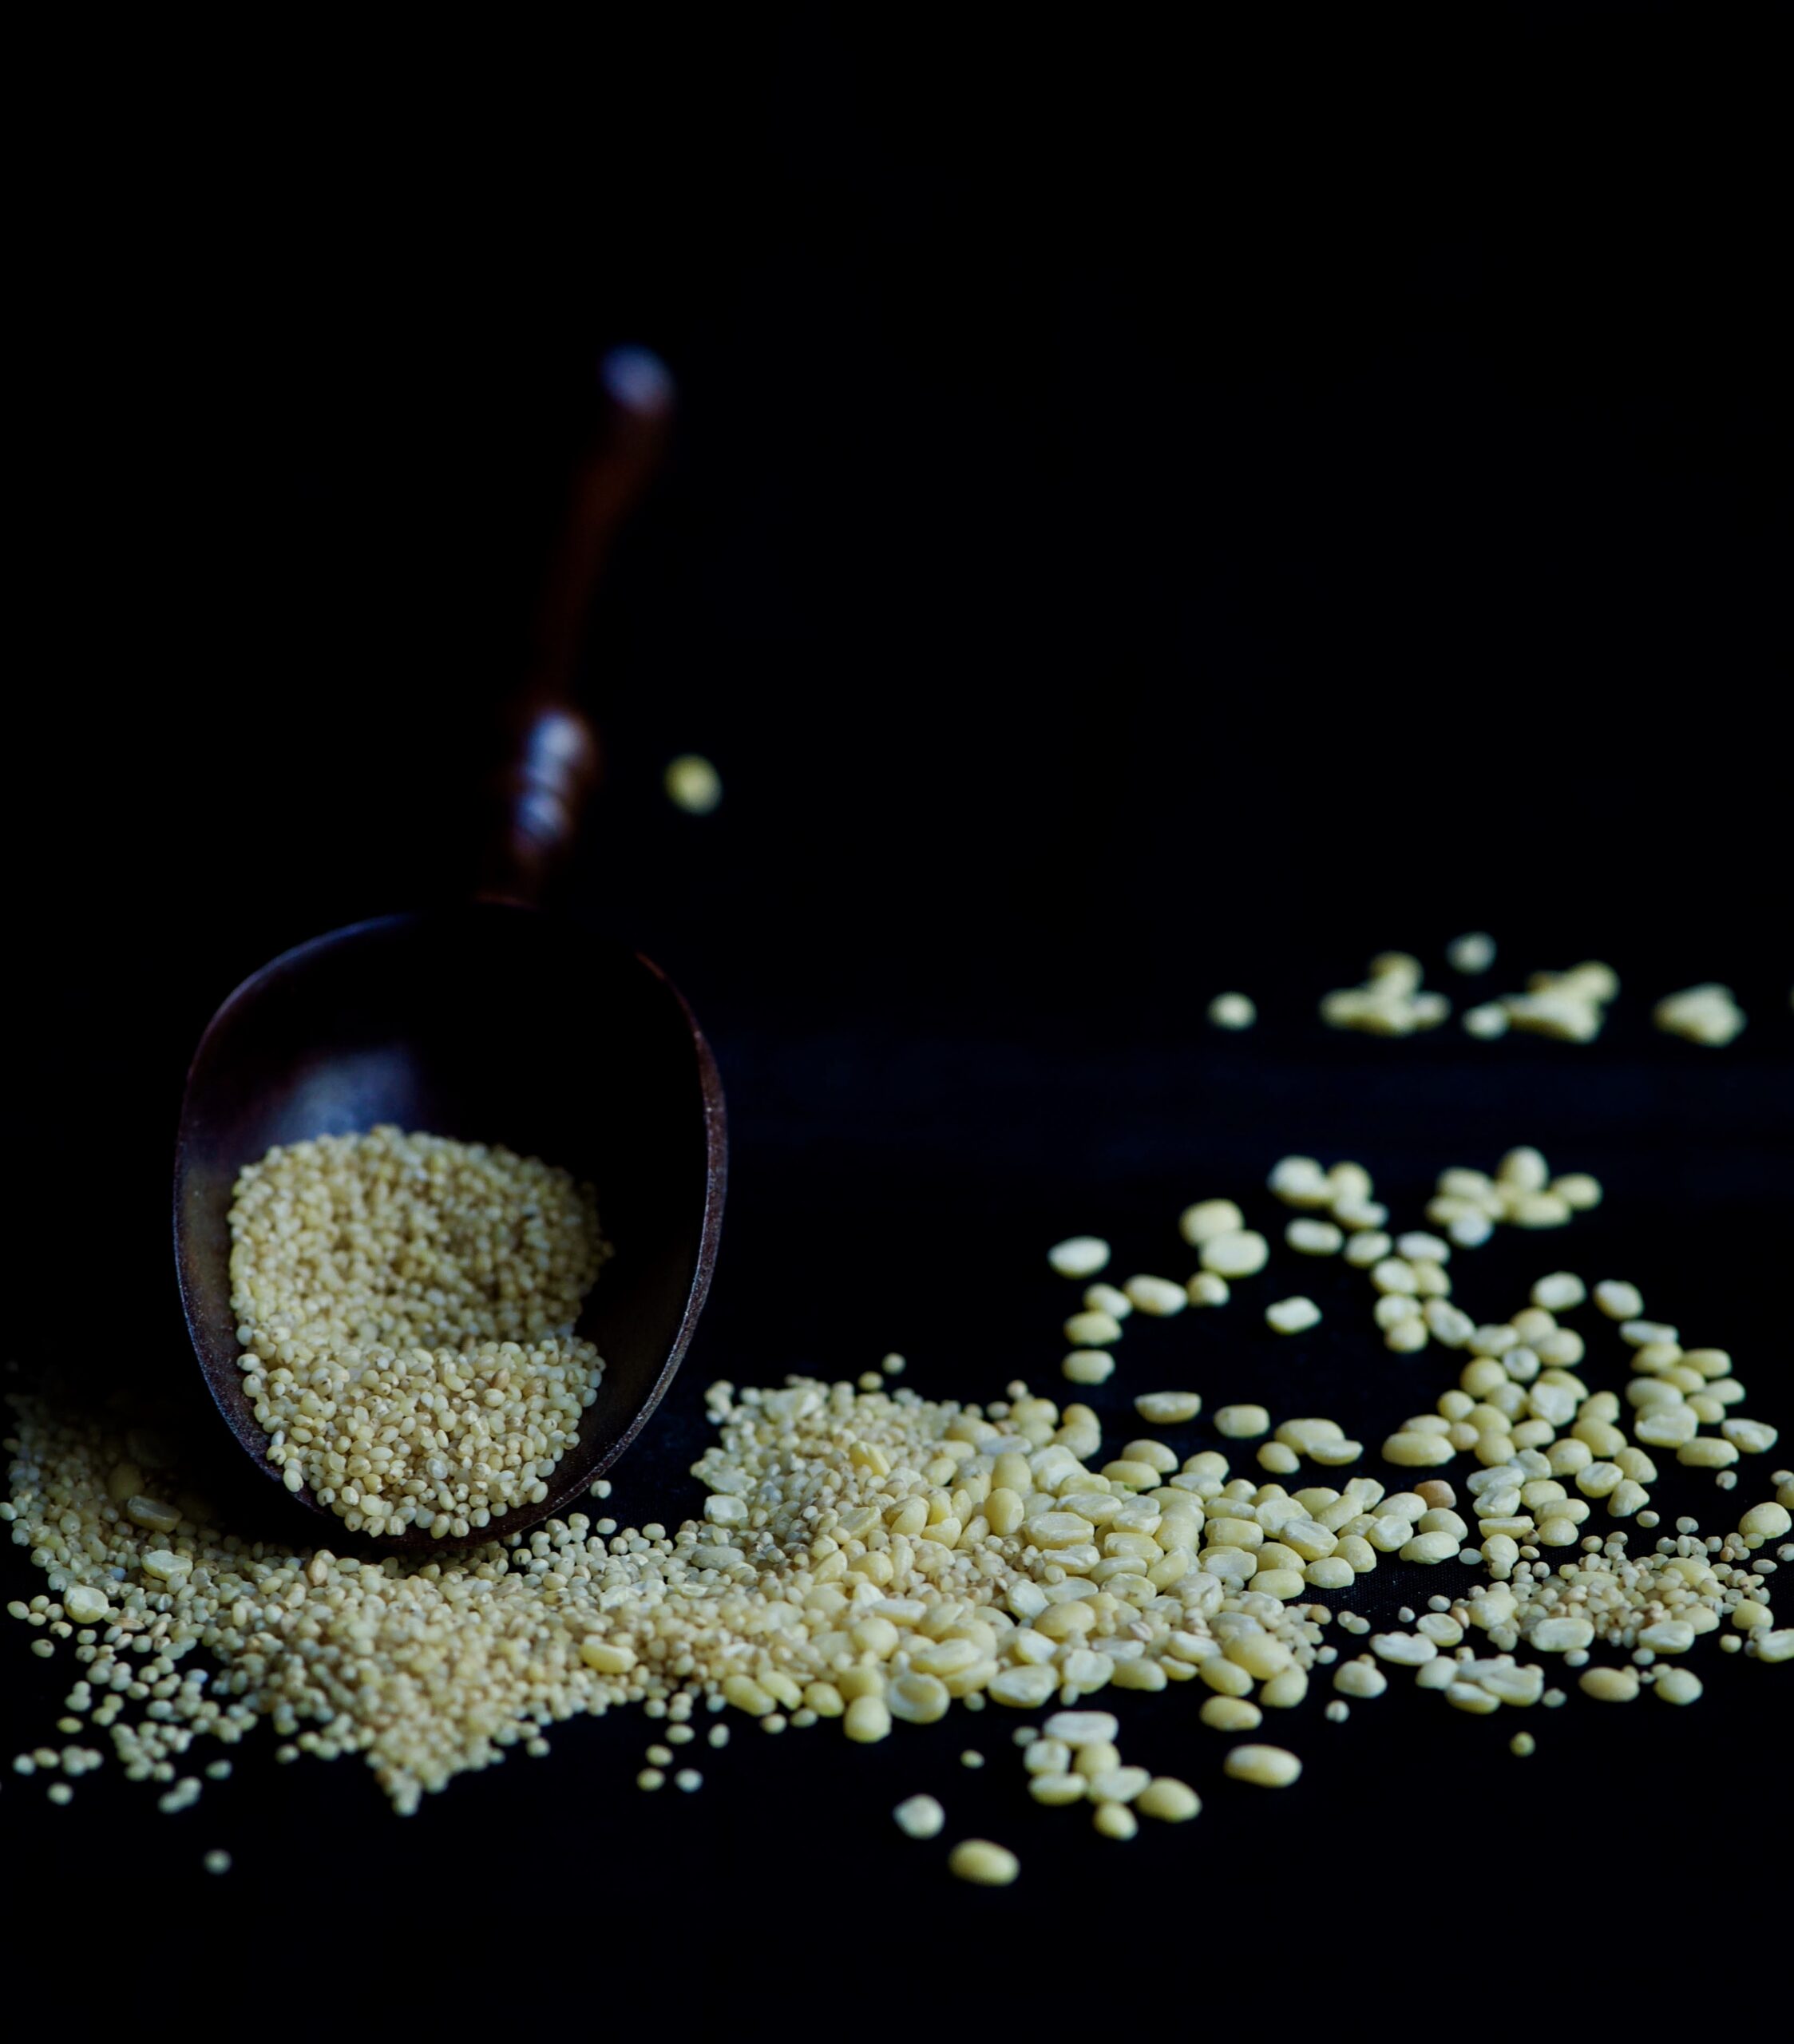
As you may know from following this blog, millets and not rice are the original (and Macrobiotic) staples of this region. This is why a millet known as varugu, which you may know as kodo, is the main ingredient in my variation of chakkara pongal. Varugu is rich in protein and polyphenol antioxidants, and is a better source of fibre than both rice and wheat. It is also gluten-free, which makes it suitable for those with dietary sensitivities. Like all millets, its list of health benefits is long. But make no mistake, as wholesome as its ingredients are, this chakkara pongal is a sweet and sublime dessert.


Chakkara Pongal

(Yield – 5-6 servings)

Ingredients
3-4 tablespoons moong dal
½ cup varugu (kodo millet)
3-4 cups water
½ cup jaggery
1 tablespoon ghee
1 tablespoon cashew nuts
1 tablespoon raisins

The secret to chakkara pongal is simply allowing it to cook properly, with the occasional stir. It is a boiled dessert that is so easy to make that you’ll be preparing it from memory in no time!

Soak the moong dal for about half an hour. Meanwhile, wash the millets well and keep aside,

Add 2 cups of water to the dal and cook until par boiled. Now, add the millets and allow both to cook completely. This will take approximately 15-20 minutes. The boiled dal and millets will become and remain soft.

In a pan, roast the cashew nuts and raisins in ghee. For a vegan variant, substitute ghee with oil. Once roasted, add the jaggery, along with a ¼ cup of water. This will help the jaggery melt, releasing its flavours quickly into the pan.

Once the jaggery has melted into the concoction, add the soft mixture of millets and dal and stir well. Add some more water to loosen the consistency as you prefer. Pongal generally is not meant to be in too liquid a state. What you’re aiming for is a congealed texture. Serve hot as soon as it’s ready.

Glistening with ghee, sprinkled with cashews, glittering with raisins, and with a rich dark colour full of the goodness of jaggery… So simple to make, so good to eat. I hope you’ll enjoy a small bowl or two of re:store style, millet-based chakkara pongal with your family this weekend. As you do, just imagine us here in Tamil Nadu, doing exactly the same. Pongal-o-Pongal!