Tag

recipe

Browsing

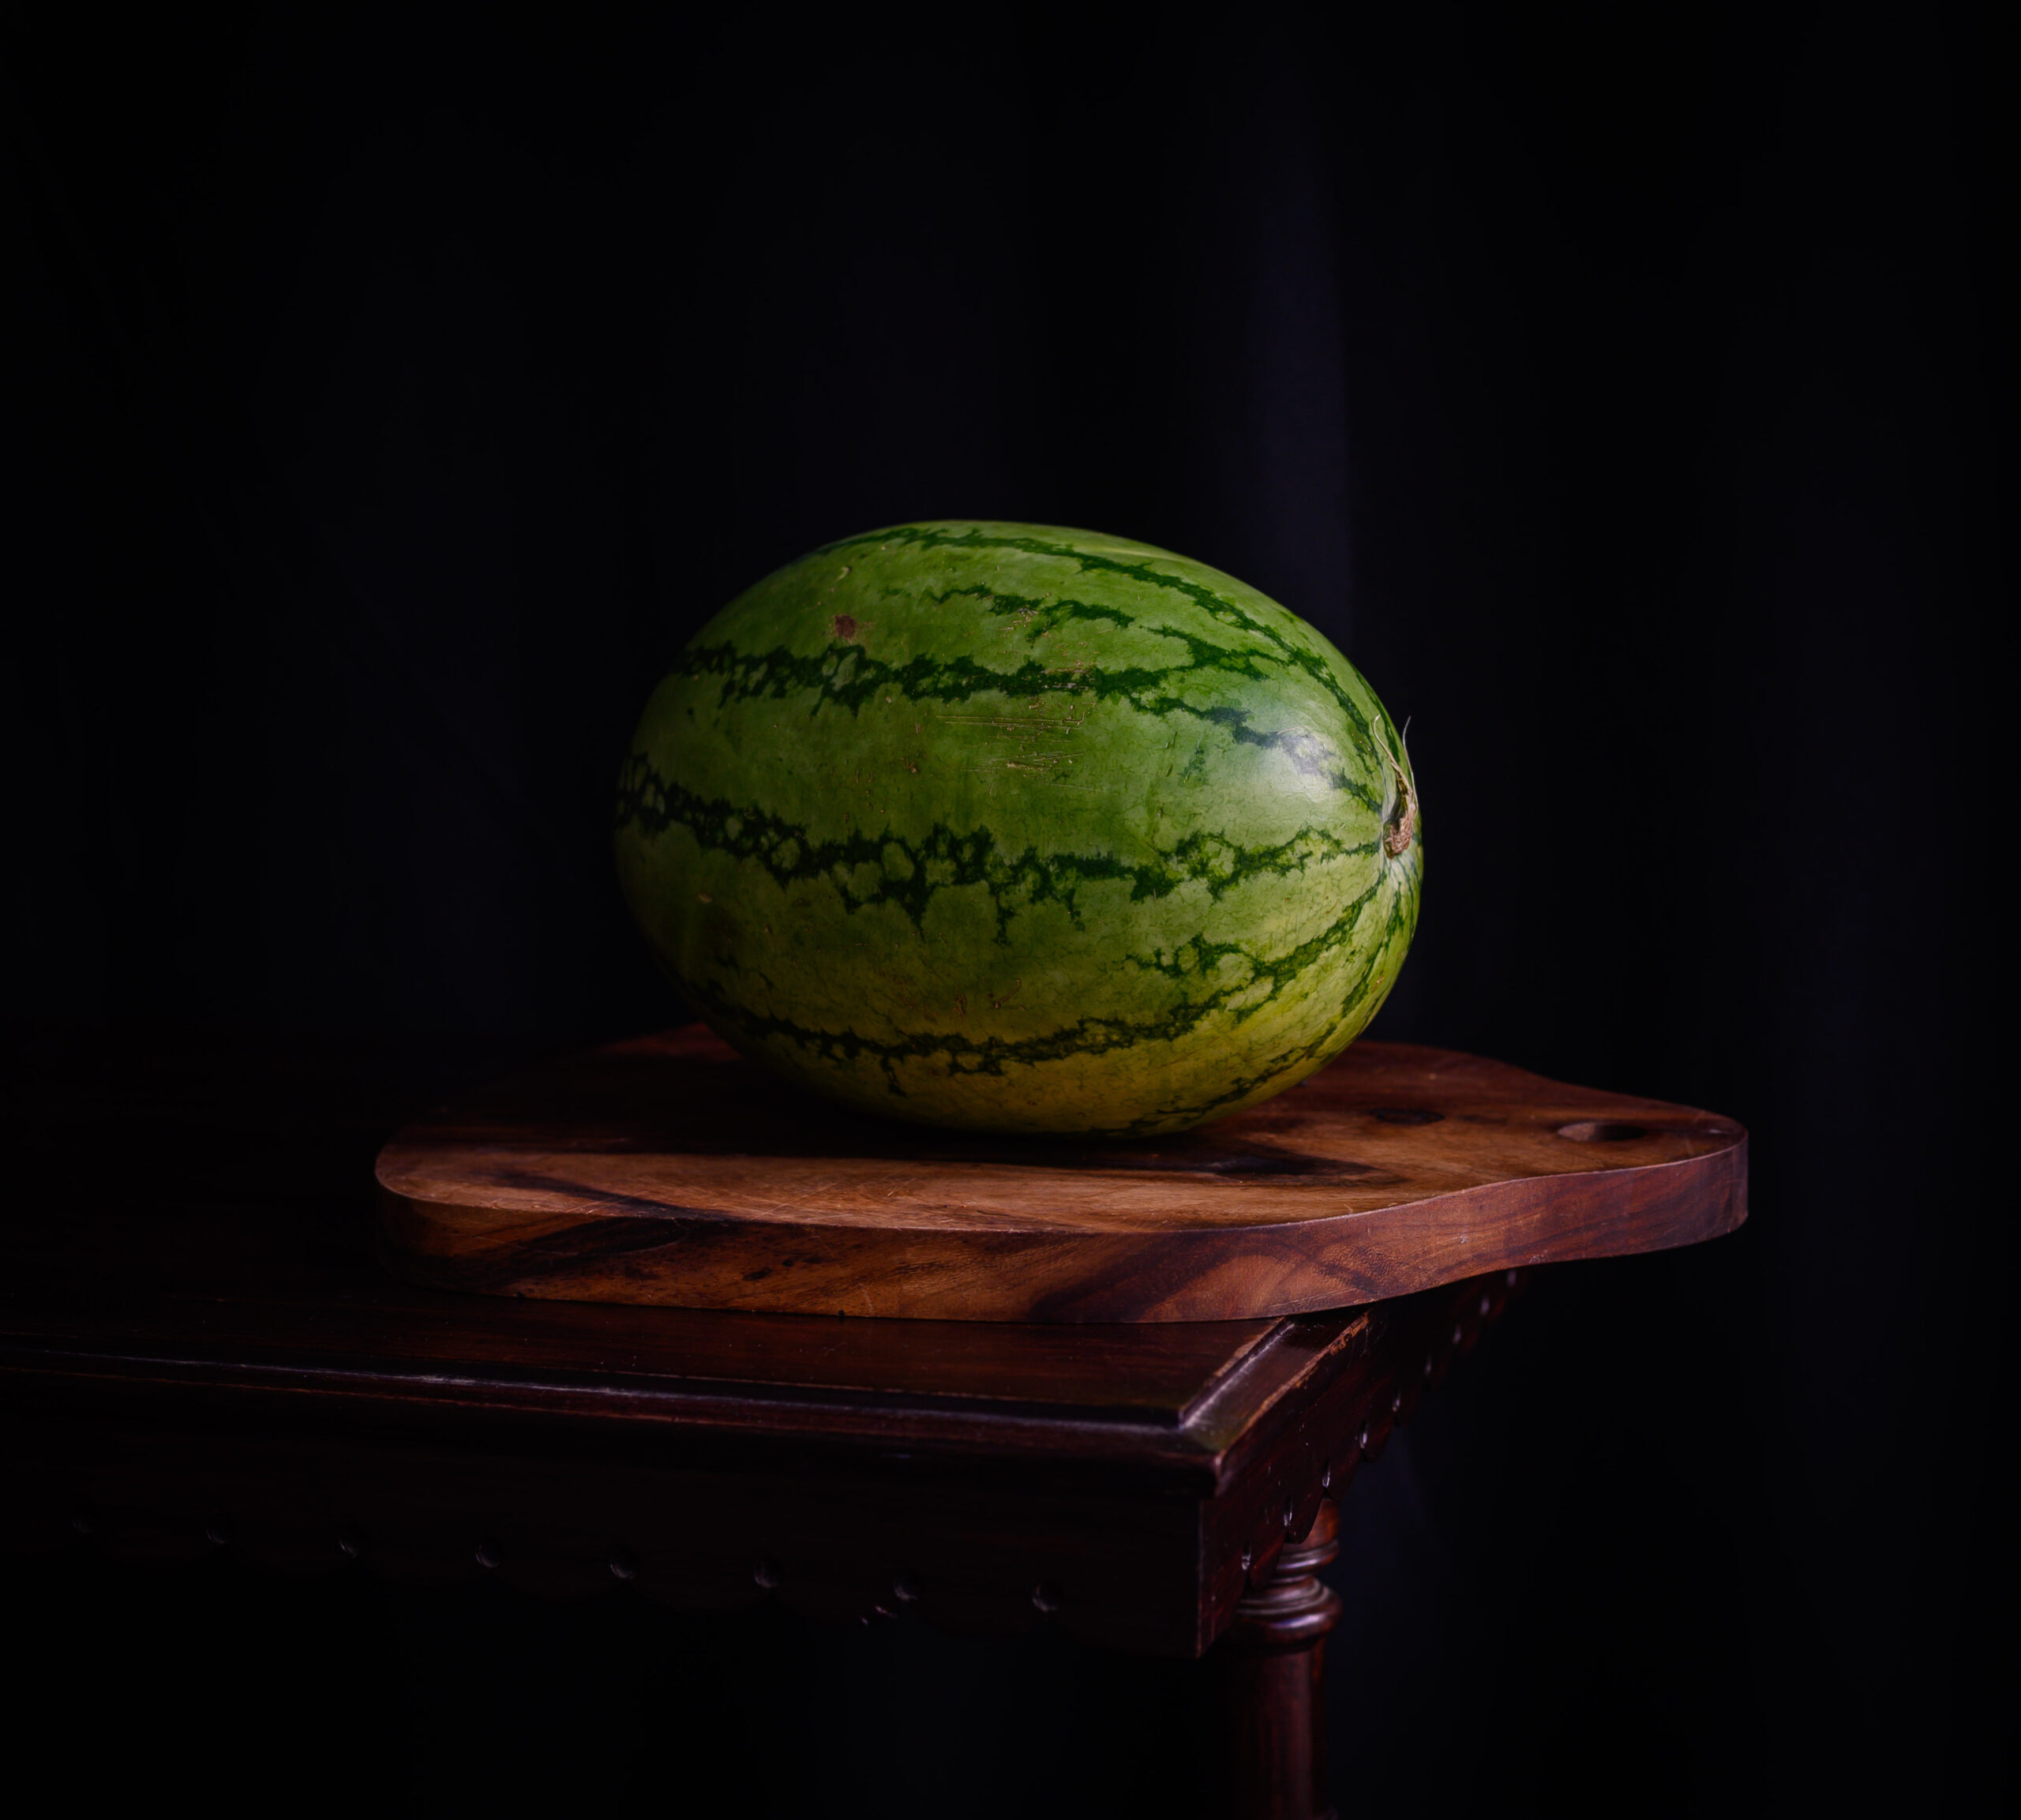
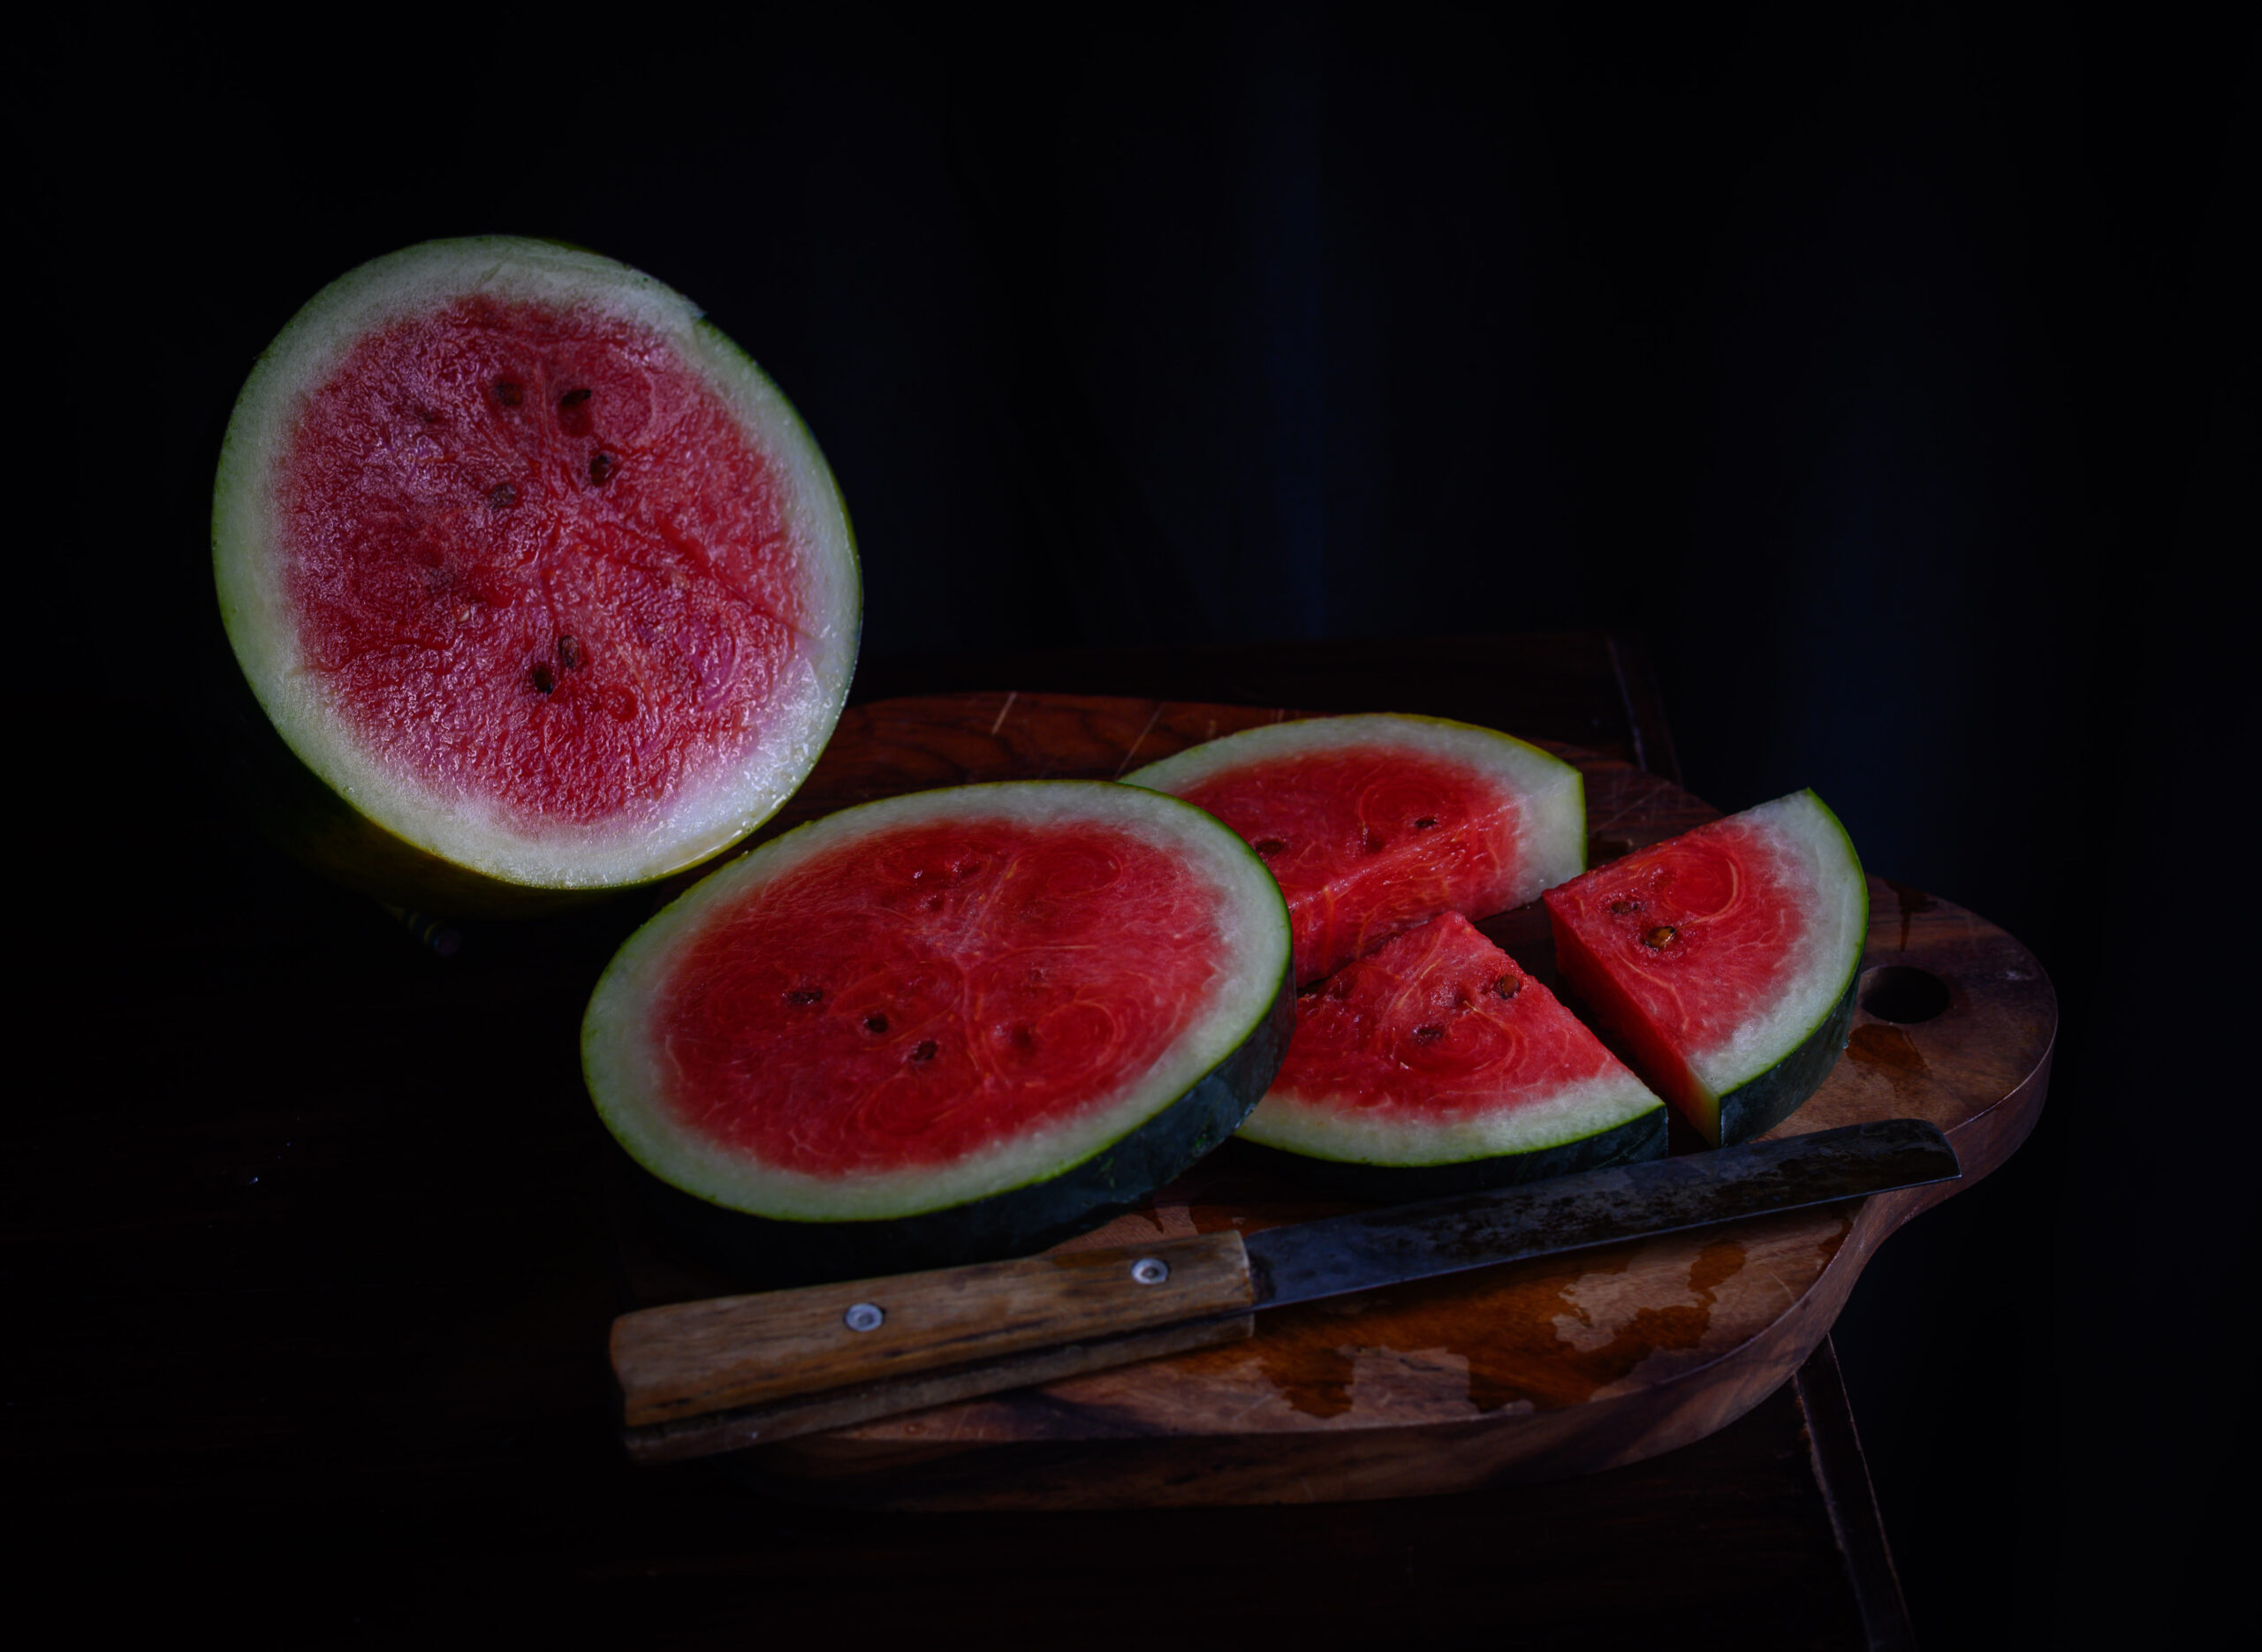
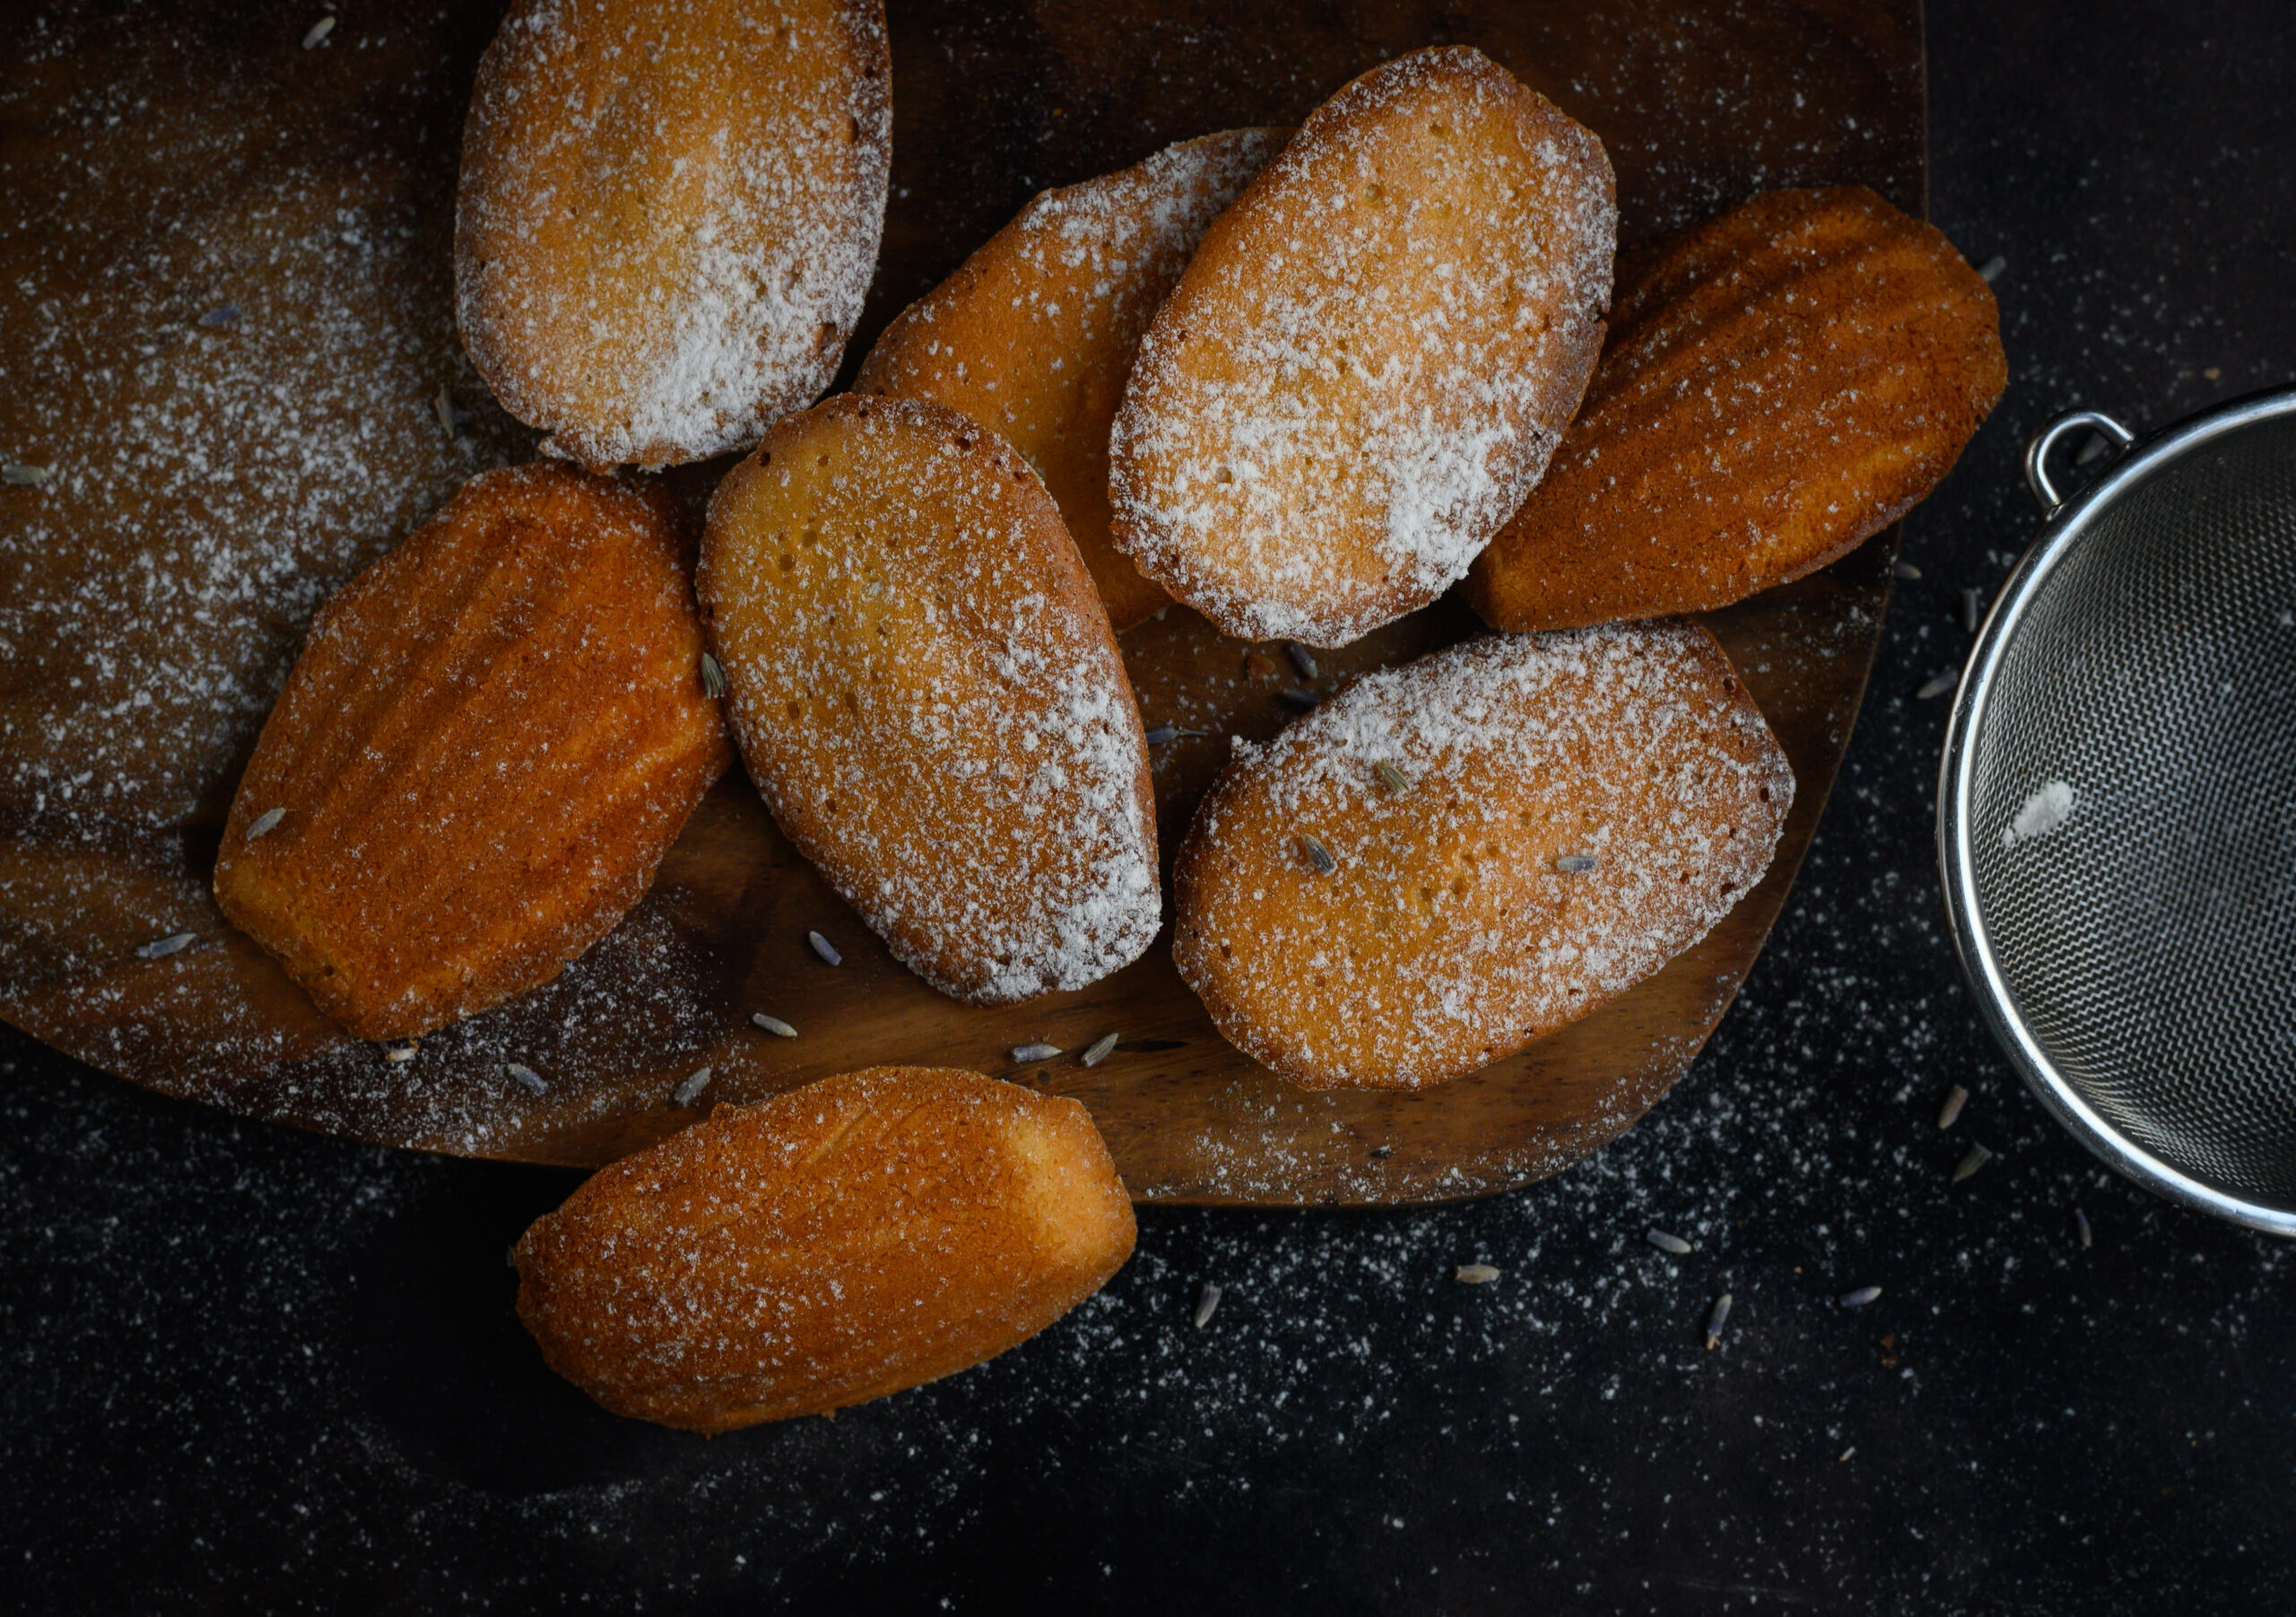
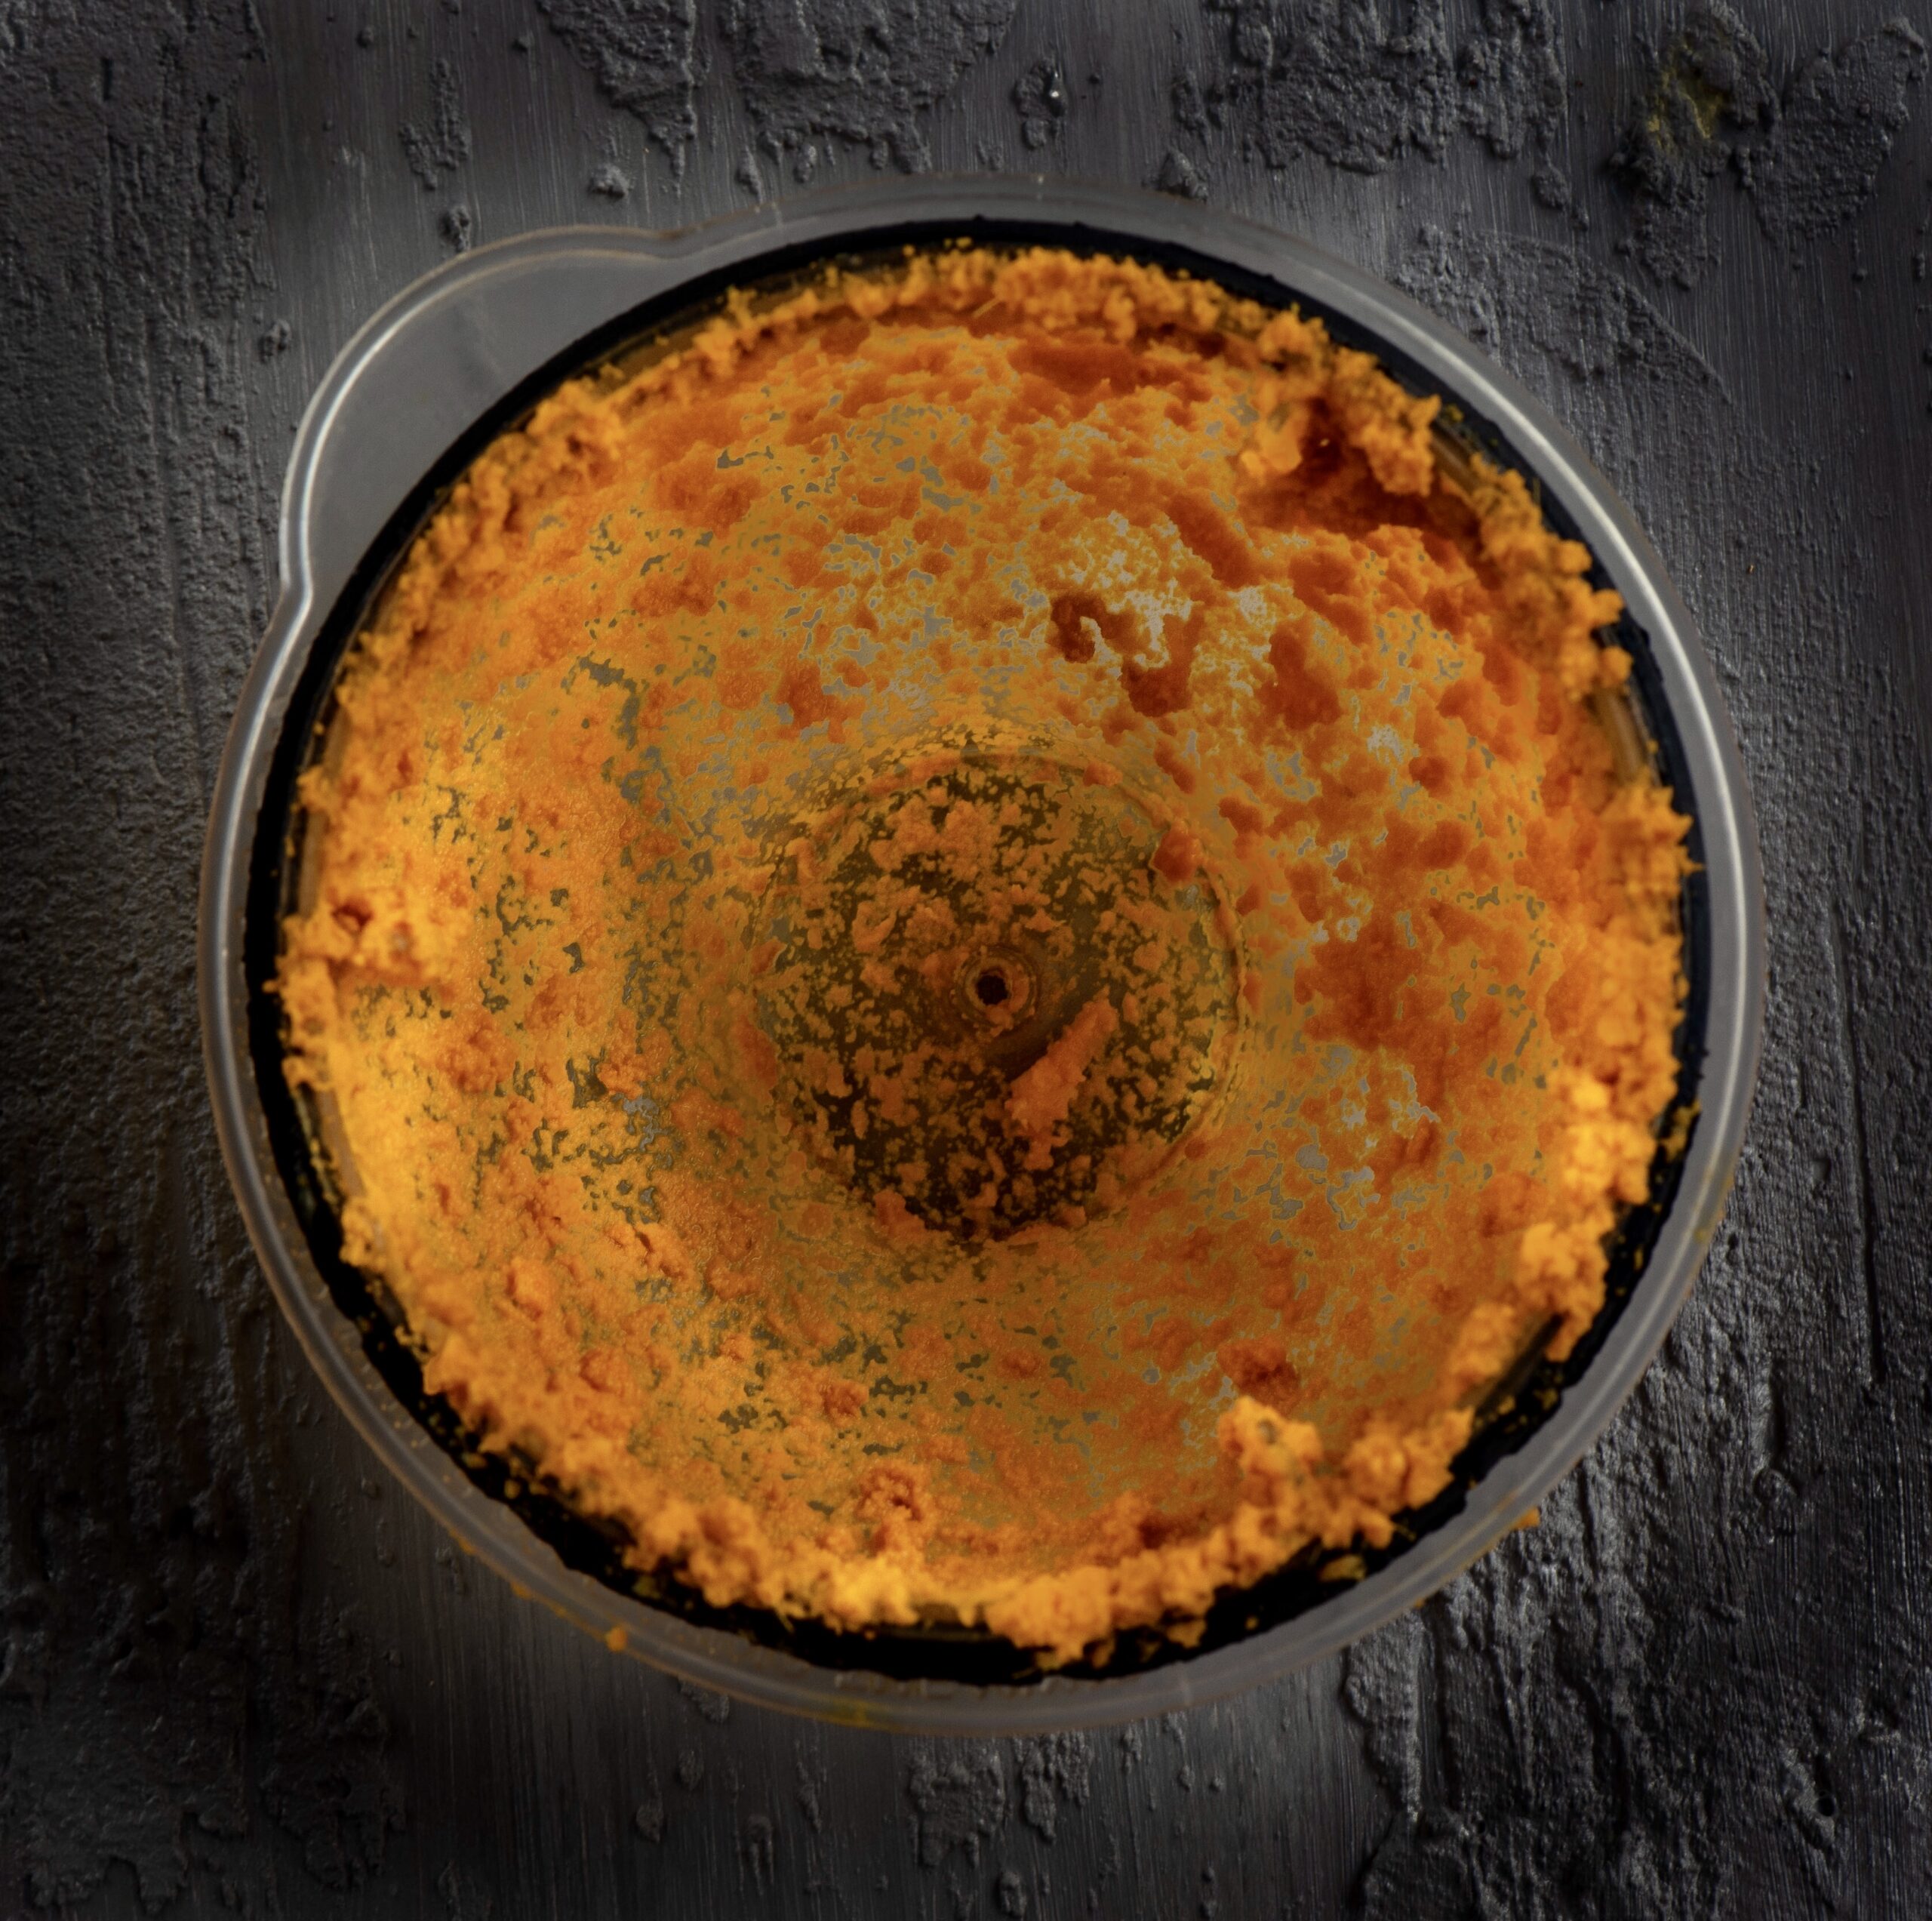
Every day, I wake up thinking: “What shall I bake today?” My work schedule begins with this question. By the time I walk into my kitchen, I am already excited about conducting a new trial of some kind. Whether on a whim, because of excitement over an item freshly in season or gifted to me by a friend, or thanks to setting a challenge for myself, I’m looking forward to an experiment. Often, I’ll already be thinking of how the finished dish can be styled for a shoot, even before I make it. These culinary experiments are a great source of pleasure and learning for me. In this way, the re:store repertoire constantly grows.

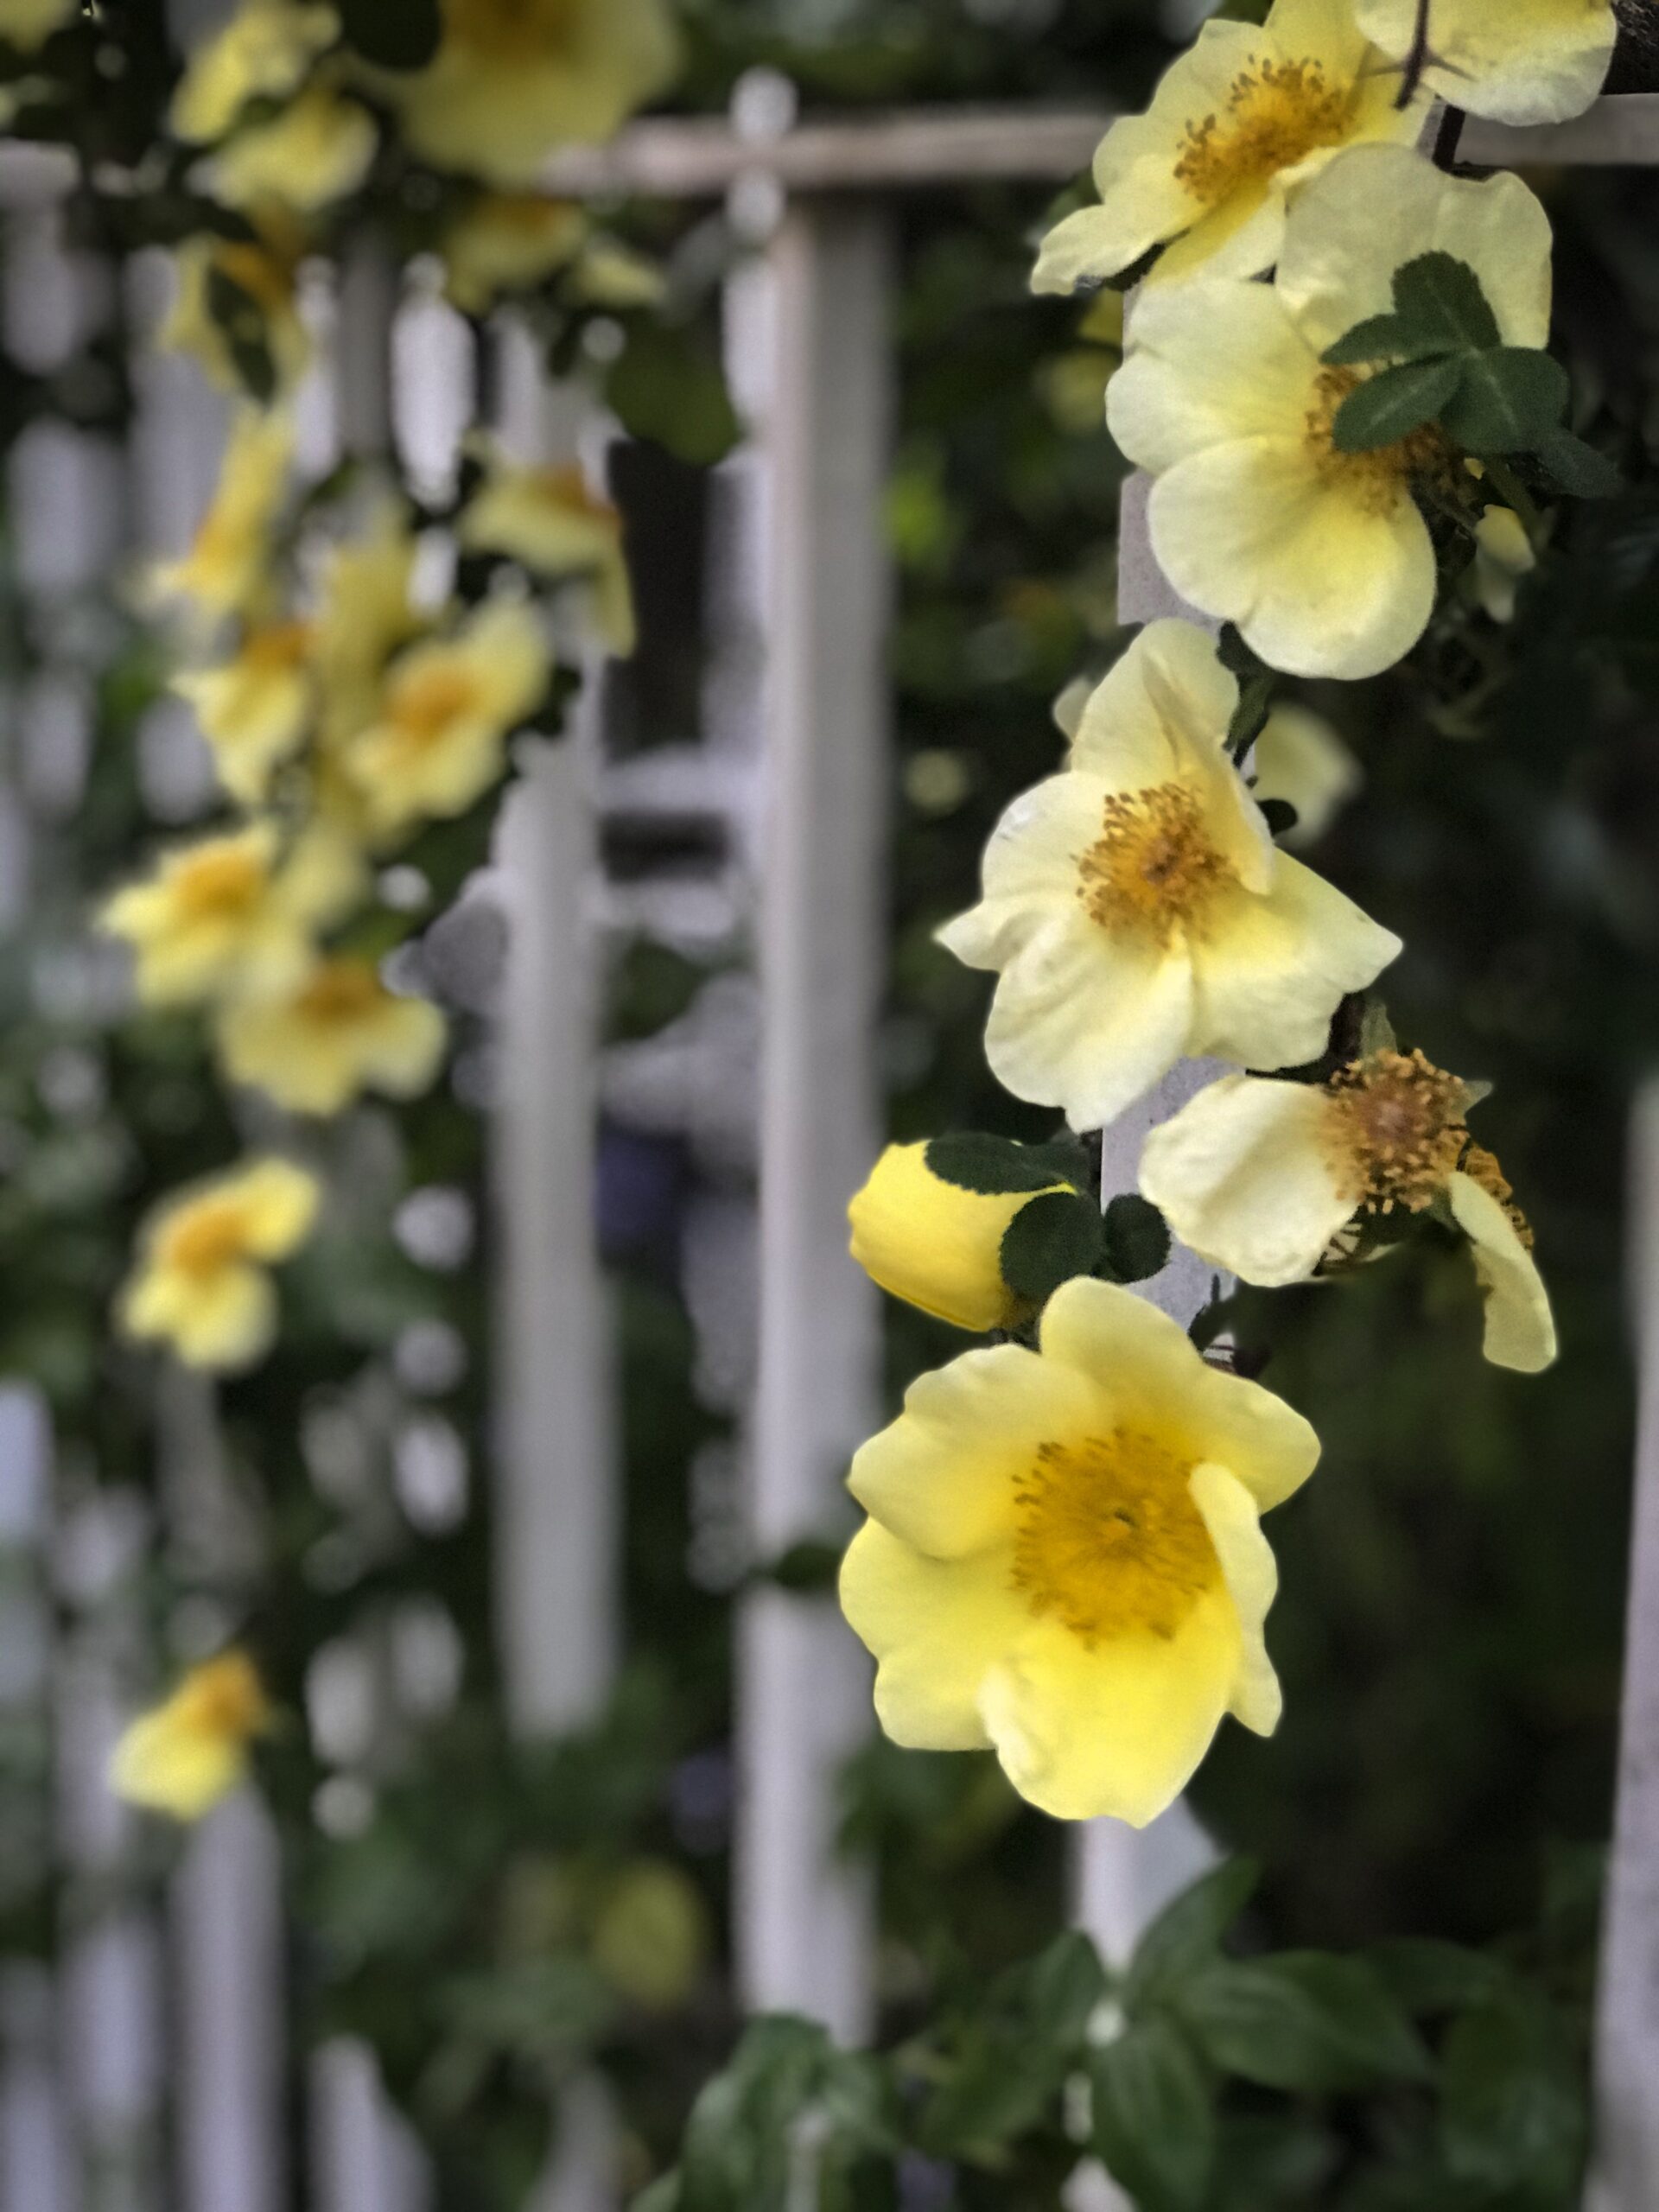
When the day is not cluttered with a hundred things to do, I can bake especially peacefully. I pull out cookbooks and pore over them. Sometimes it’s the beauty of the photographs that pulls me in. Sometimes it’s a single ingredient, either something exotic or a familiar one that I want to use in a special way. Most mornings, it’s something new. Something different. Even the beauty of a book on architecture or on art can excite me, reminding me of my travels and my memories. Or it could be words from a poem. Or even the colours worn by a group of people I may have seen on the street on the previous day. Something will make me reach for certain ingredients or search for certain recipes. It doesn’t always work, but even then, I enjoy the challenge of going, “Damn, what went wrong?” and finding a way around the snag during the next trial.

As I was raised in a household which observed the tradition of never eating food before it was offered to God (which meant that there was no dipping a spoon or a finger into the pot as we cooked), I learned early on how to tell on sight if a dish is ready. I can gauge if it will taste good, or otherwise. So I usually have a strong sense of how an experiment will turn out even as I’m in the midst of it. Of course, there are occasional dull moments when I feel like I’m dragging my feet, and I think something is doomed to fail, and that’s exactly when it doesn’t work at all. I’ve come to understand that space and mood are vital components for these culinary experiments. And when I get it right, I want to share the results immediately – with everyone! My friends and family get the first slices, scoops and sips. And then, there is this blog…

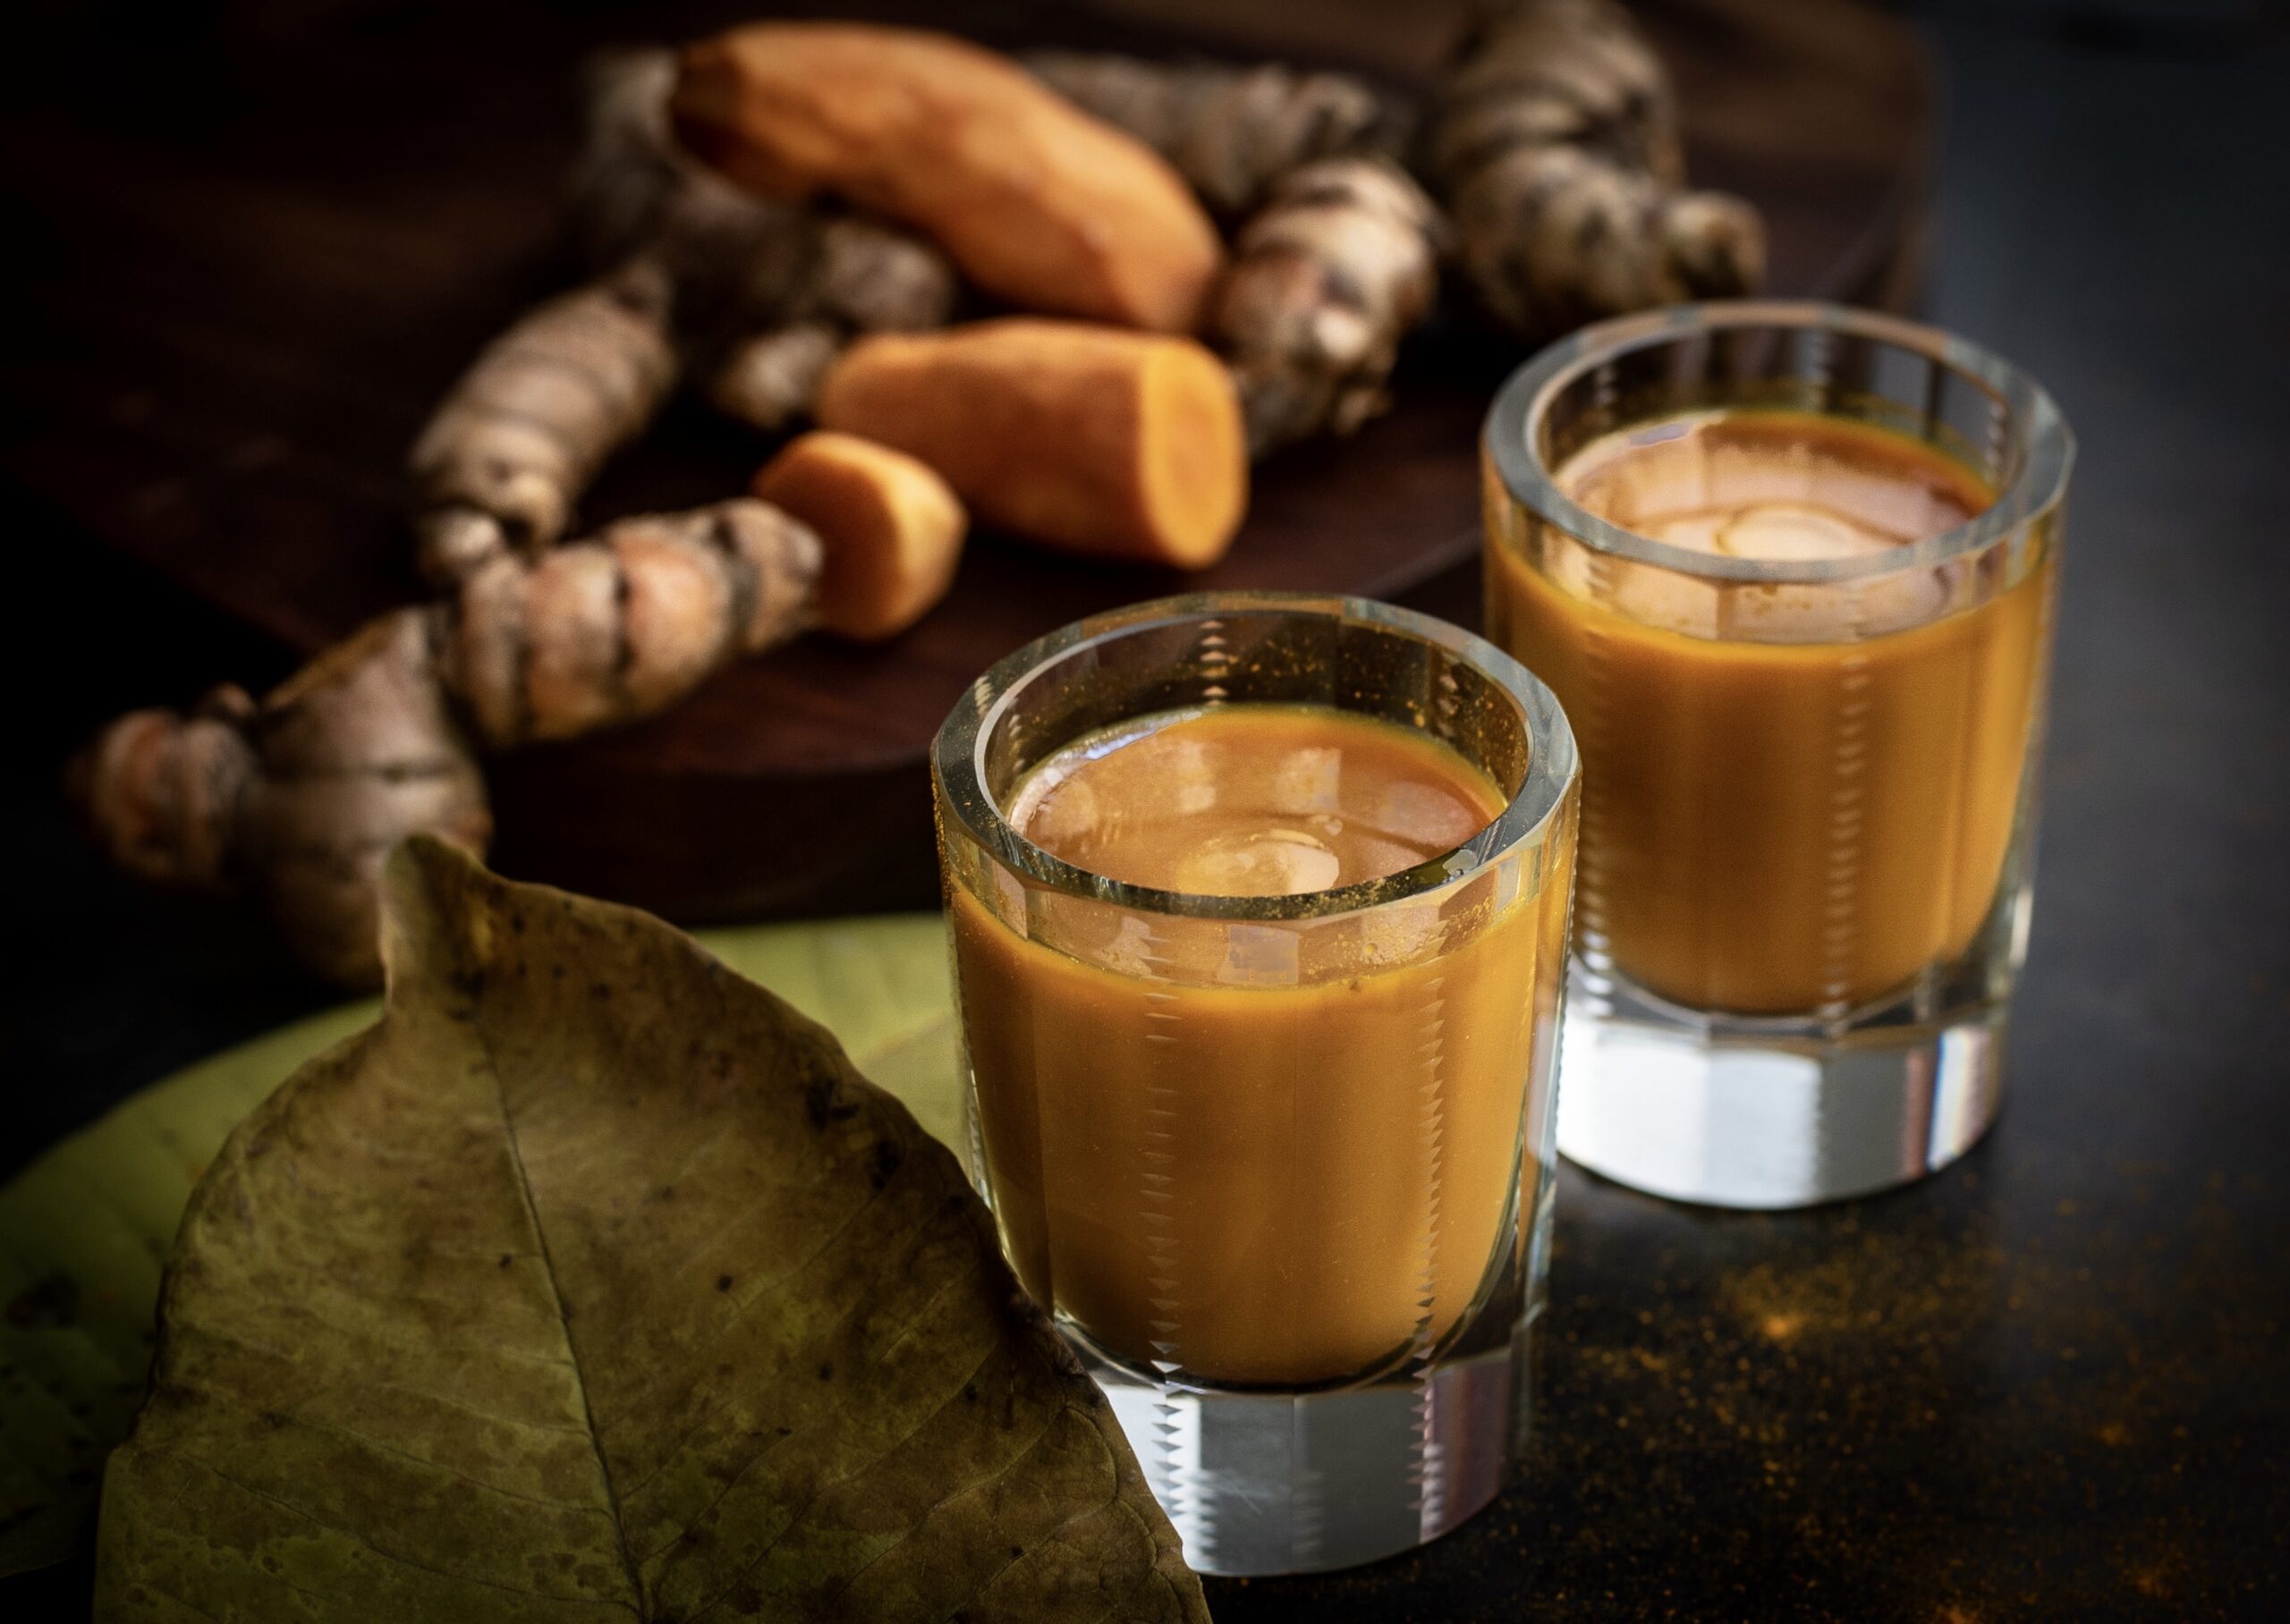
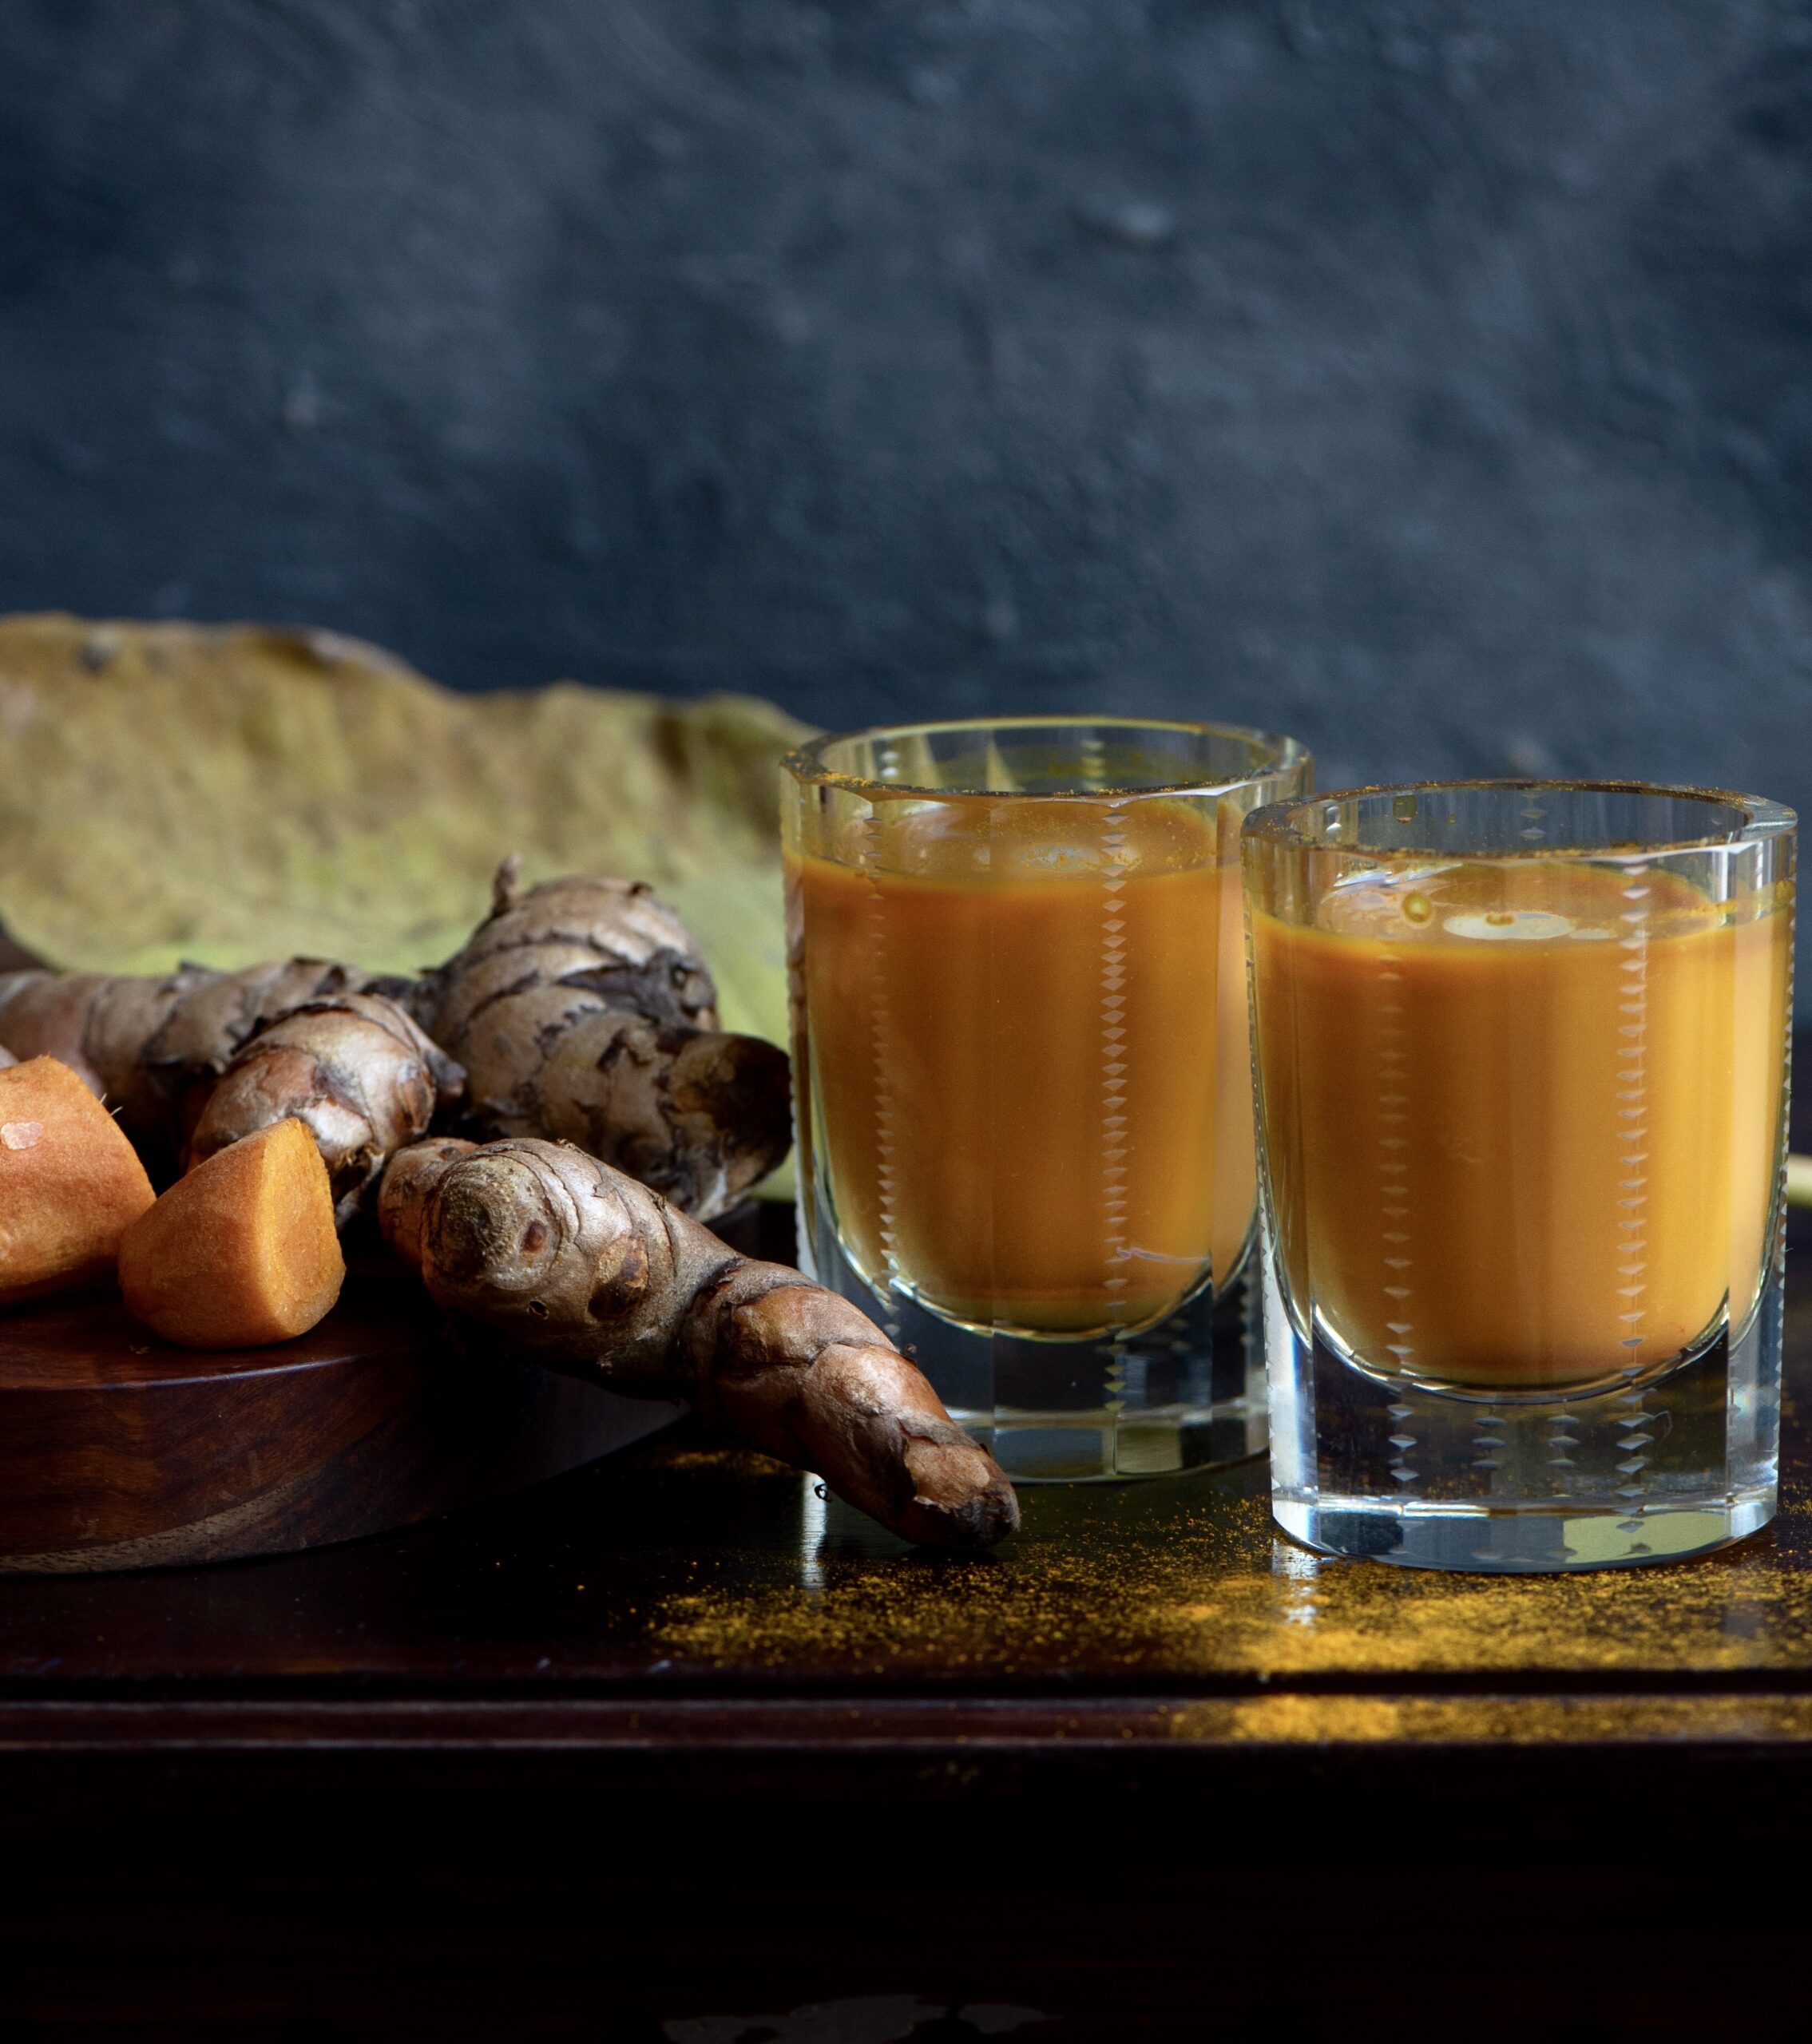
In addition to books, photos and memories, a well-stocked kitchen is often the beginning of inspiration for me. Many Indians love almonds, also known as badam, both for their taste and for their nutrition benefits (which include skincare, lowered cholesterol, weight management, improved eyesight and much more). In my case, there’s always almond meal or almond flour in my house, and it’s an ingredient I reach for liberally. As I’ve said so often, a belief in the goodness of homemade food is at the heart of everything at re:store. Most of the flours and powders I use in my kitchen – from turmeric to chillies to chickpeas and more – are sent to be ground in small batches at a trusted mill. The same goes for almond flour and all the others that I use in my baking.

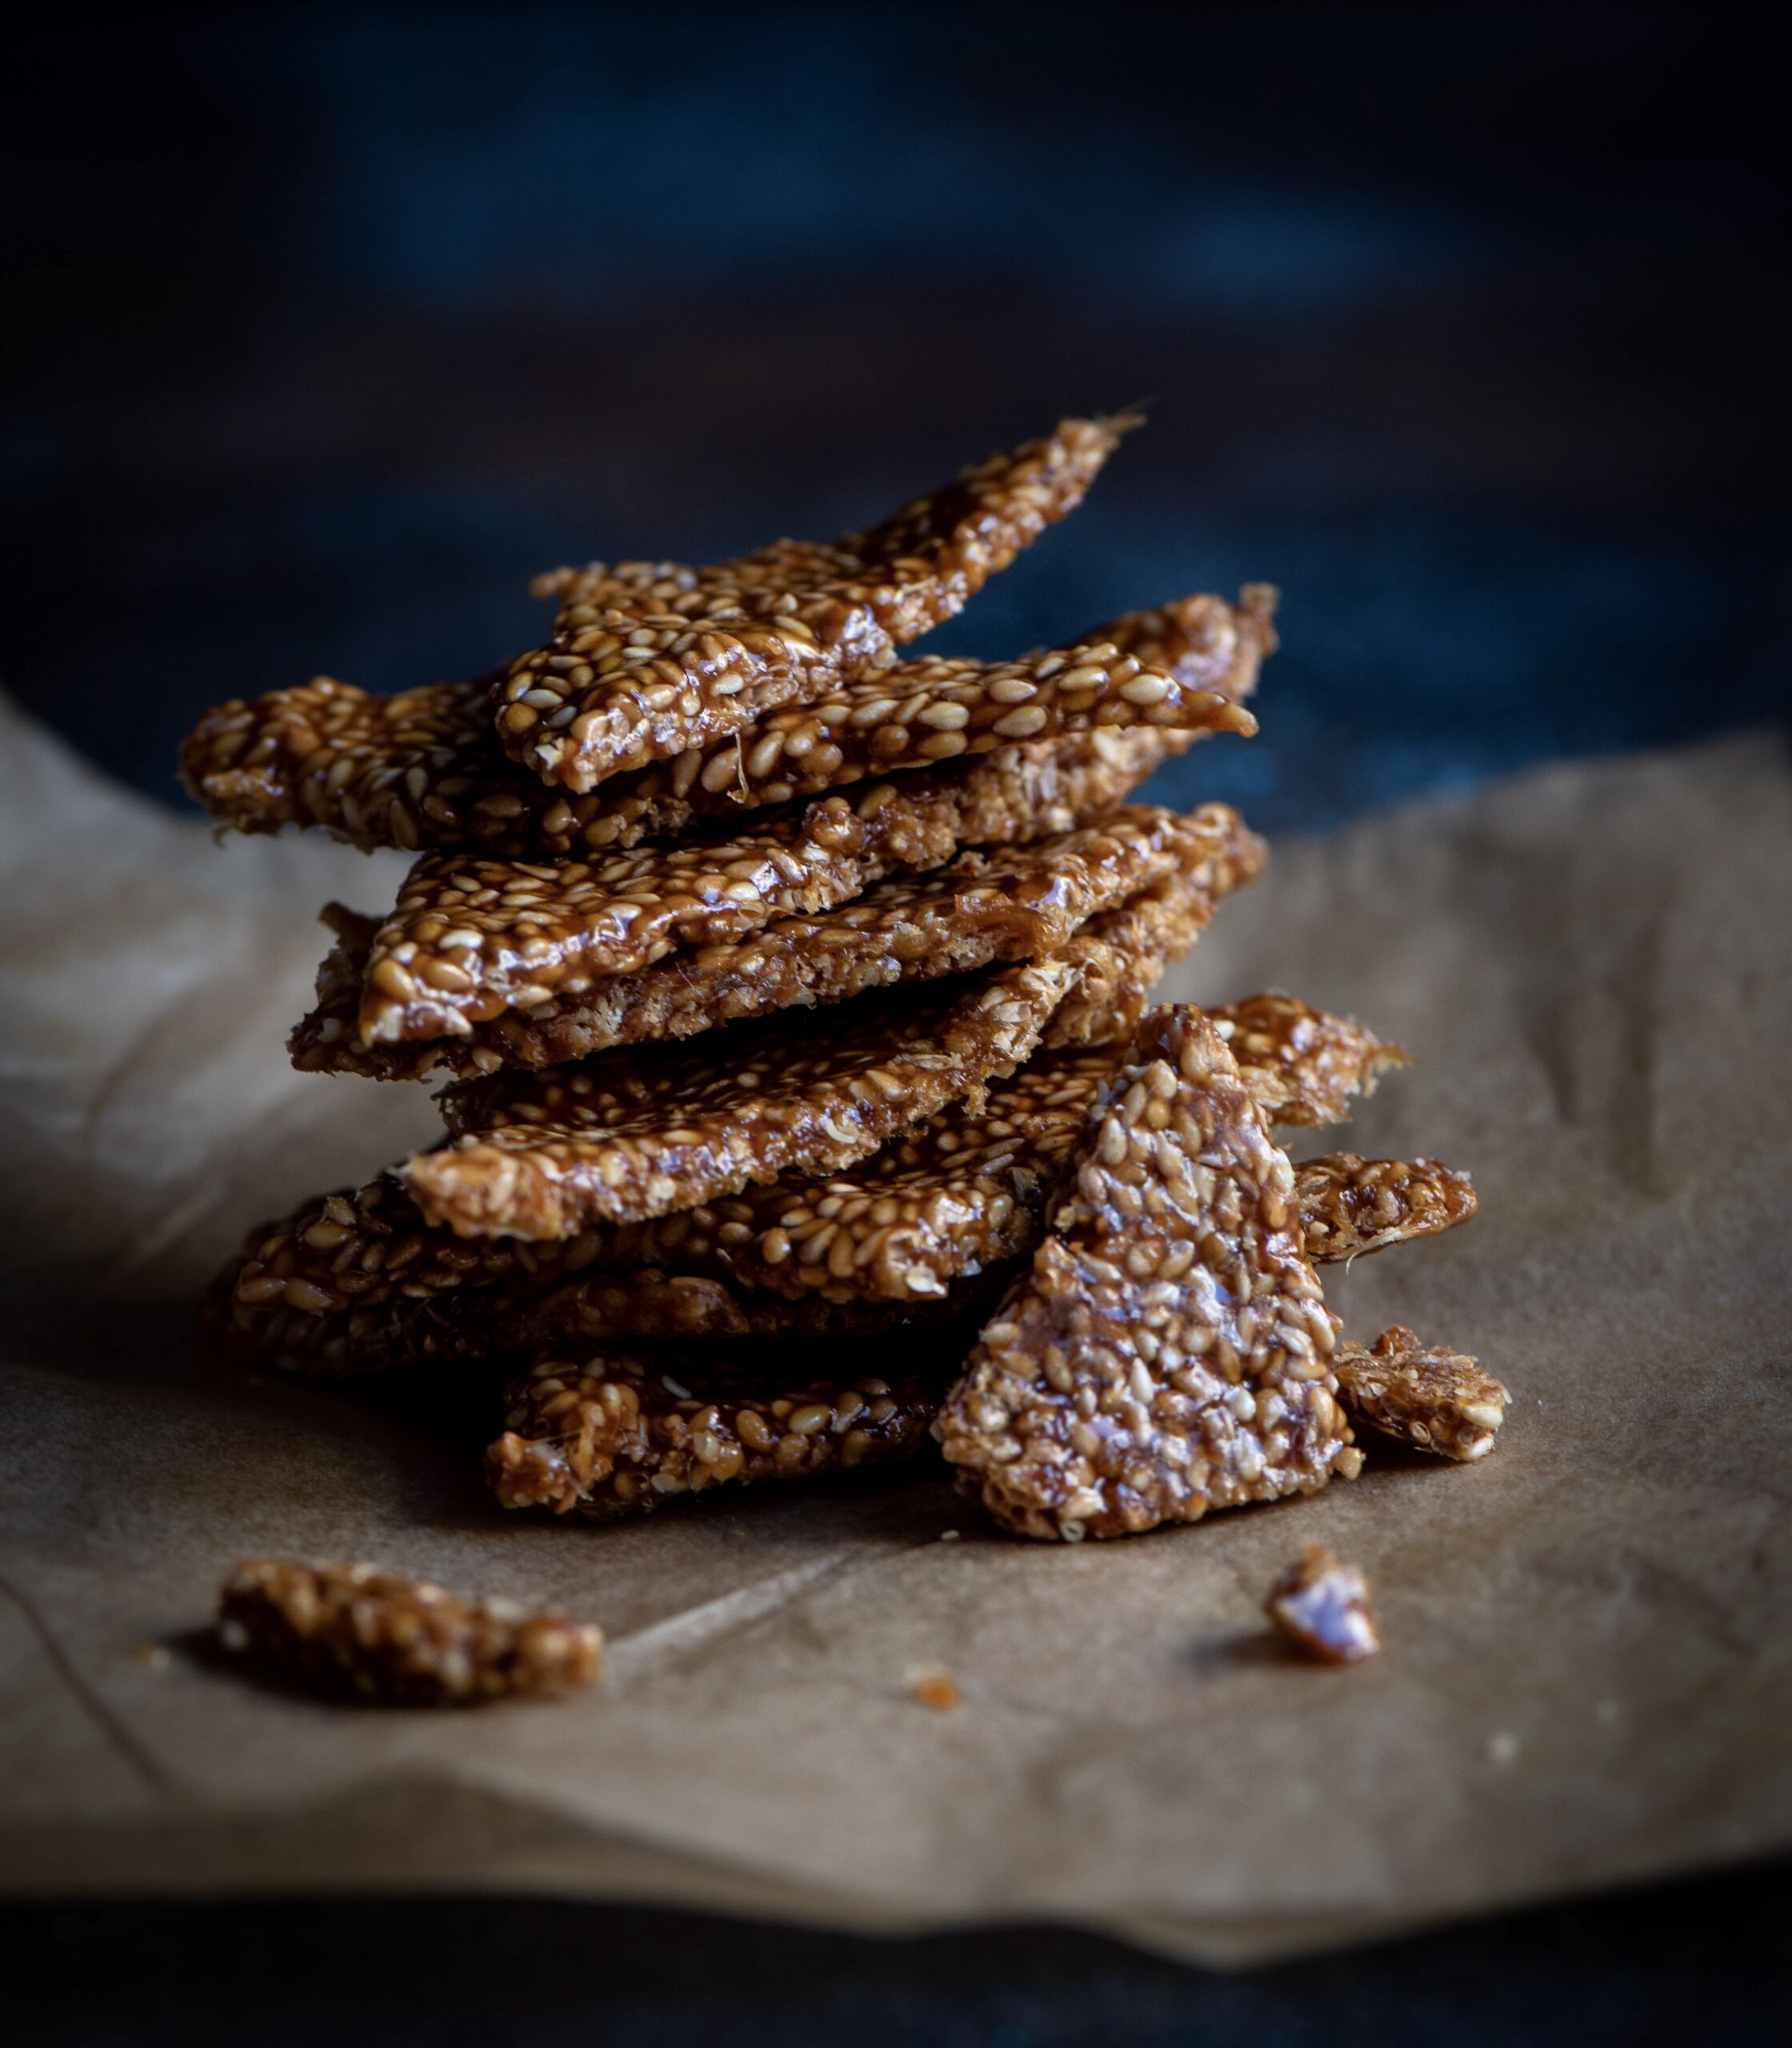
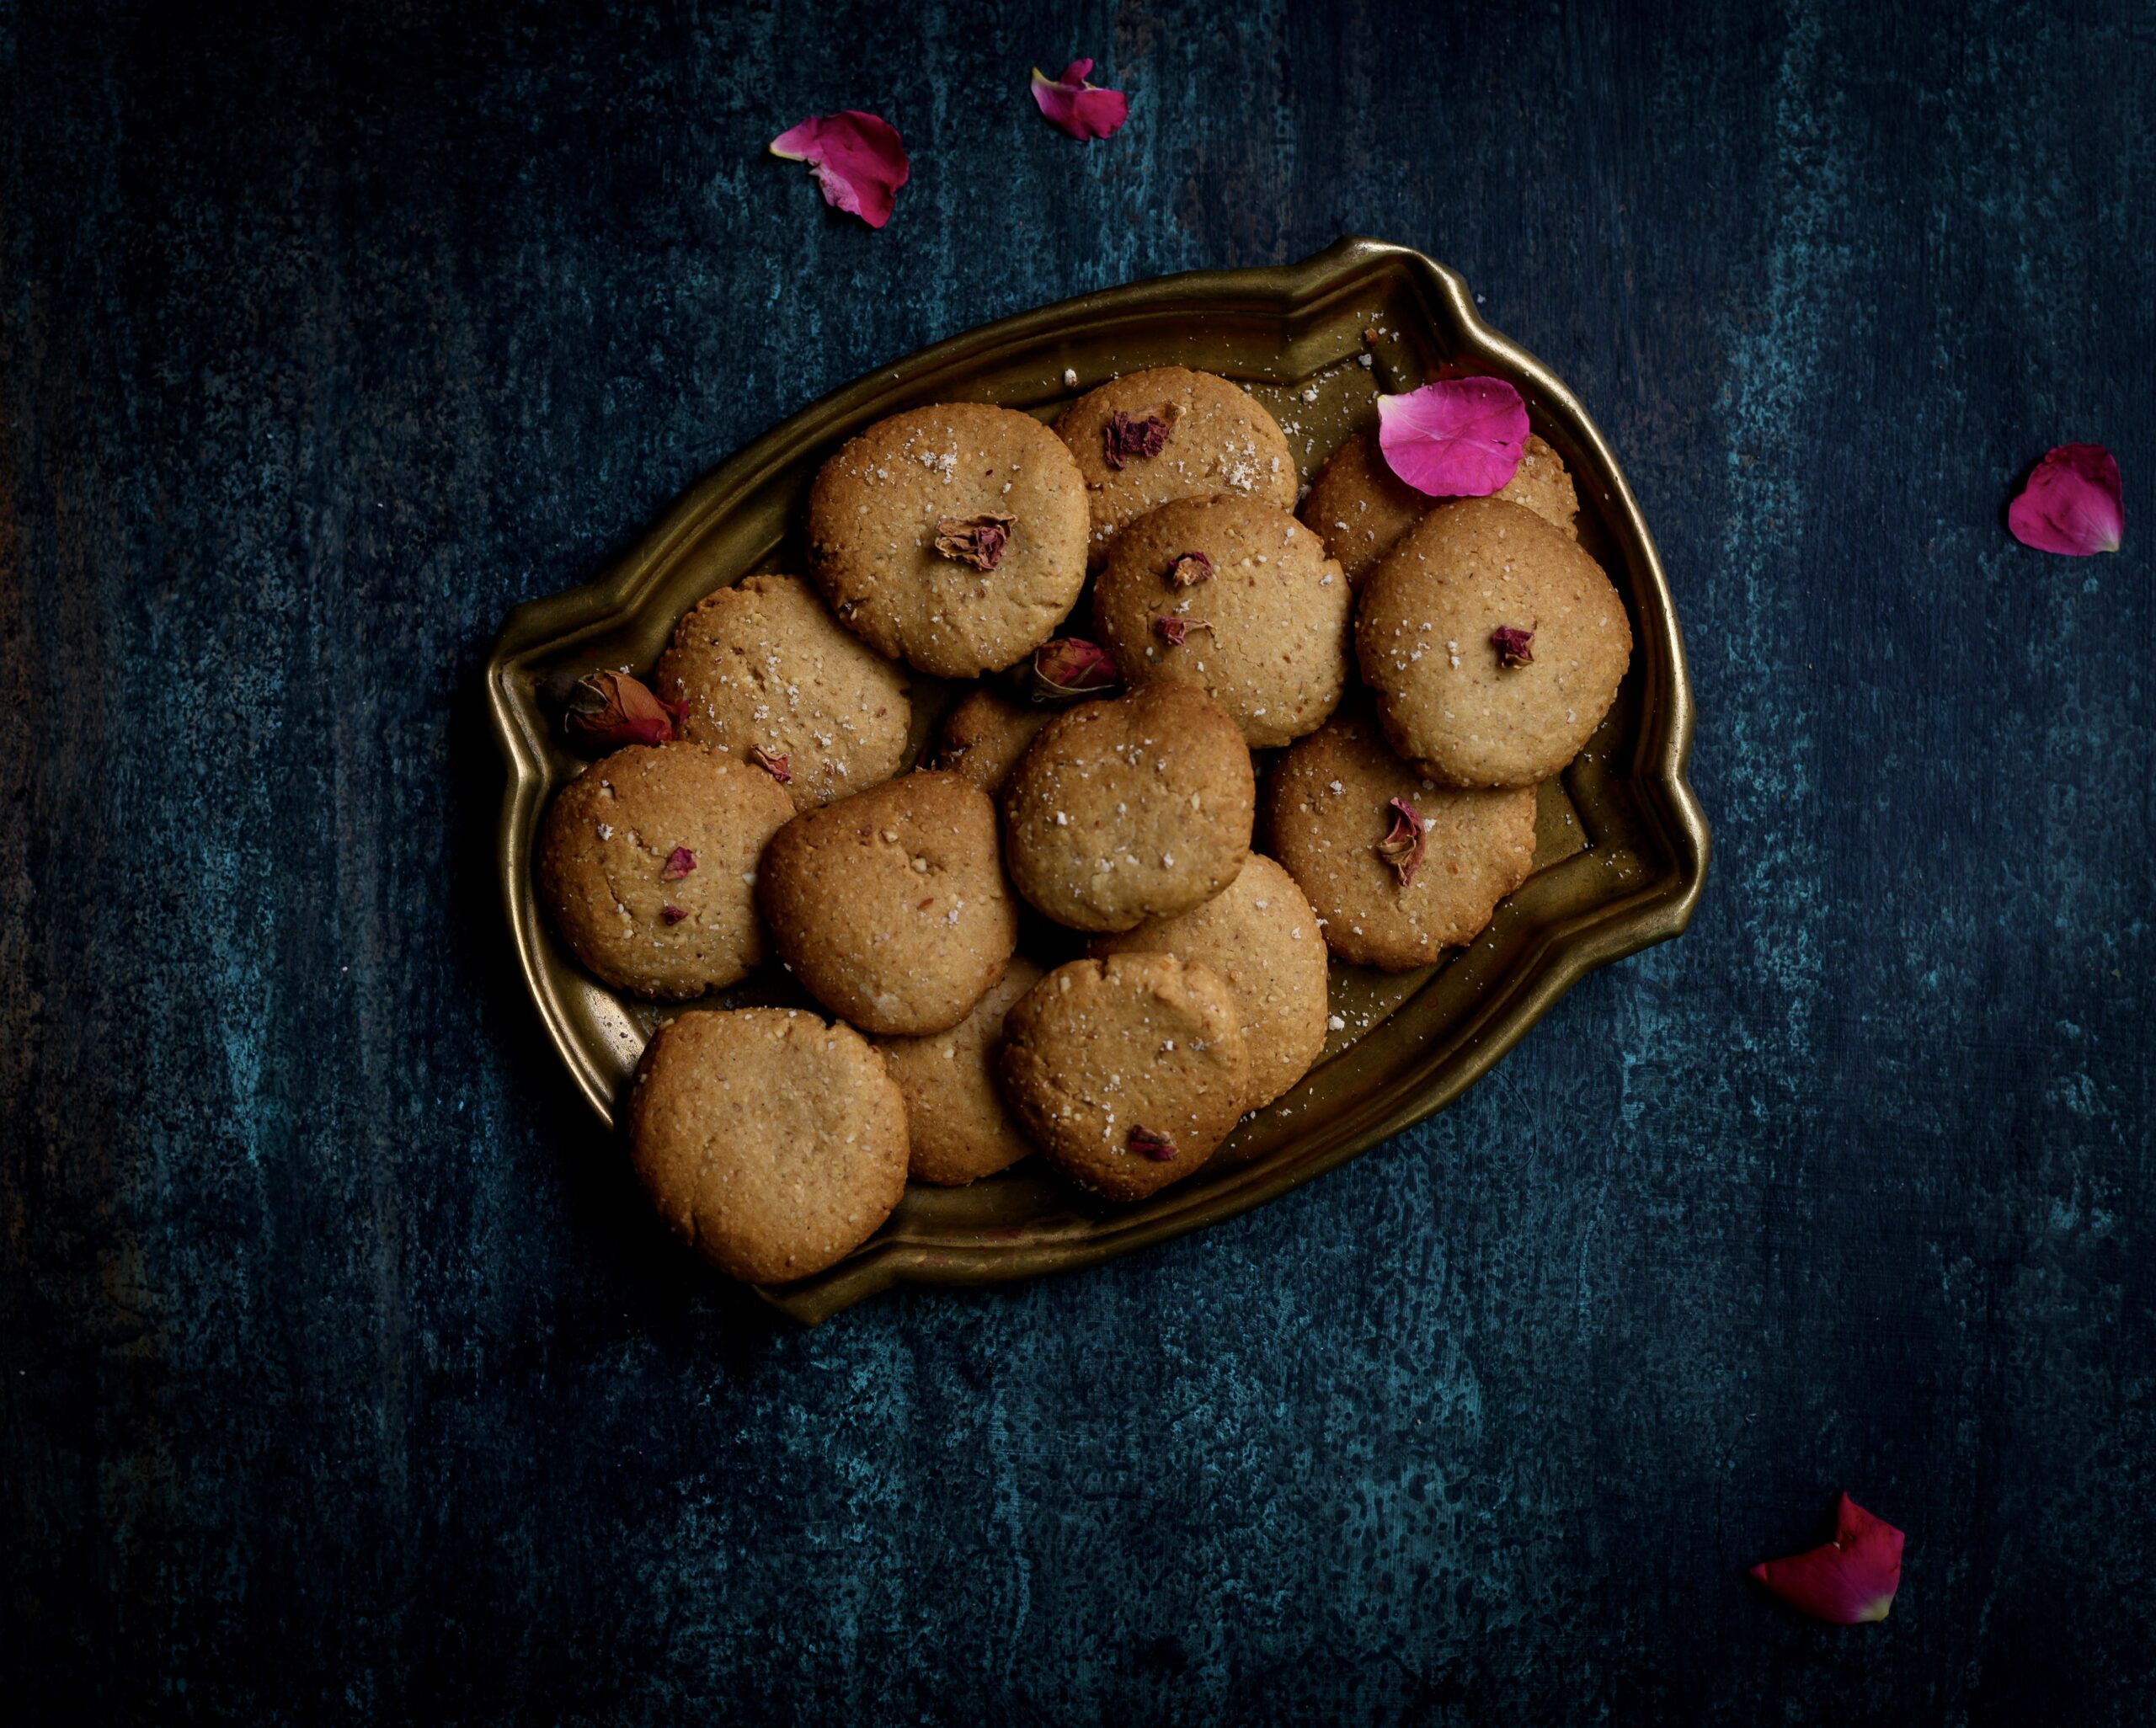
One recent morning, my brainwave was to conduct a trial for a sugar-free version of the almond cookies that are a staple in my home. As we get older, we have to be more watchful of our food intake both in terms of quantity as well as where problematic ingredients are concerned. Sugar is a big culprit when it comes to health issues, and often the first thing that experts recommend eliminating or cutting down. Ever conscientious of eating well, I find myself increasingly attracted to desserts which use other natural sweeteners. These include maple syrup, coconut sugar, barley malt, honey and jaggery. That famous Gujarati sweet tooth can’t resist temptation. These days, I try to make sure that when my cravings hit, the treats within reach are sugar-free.


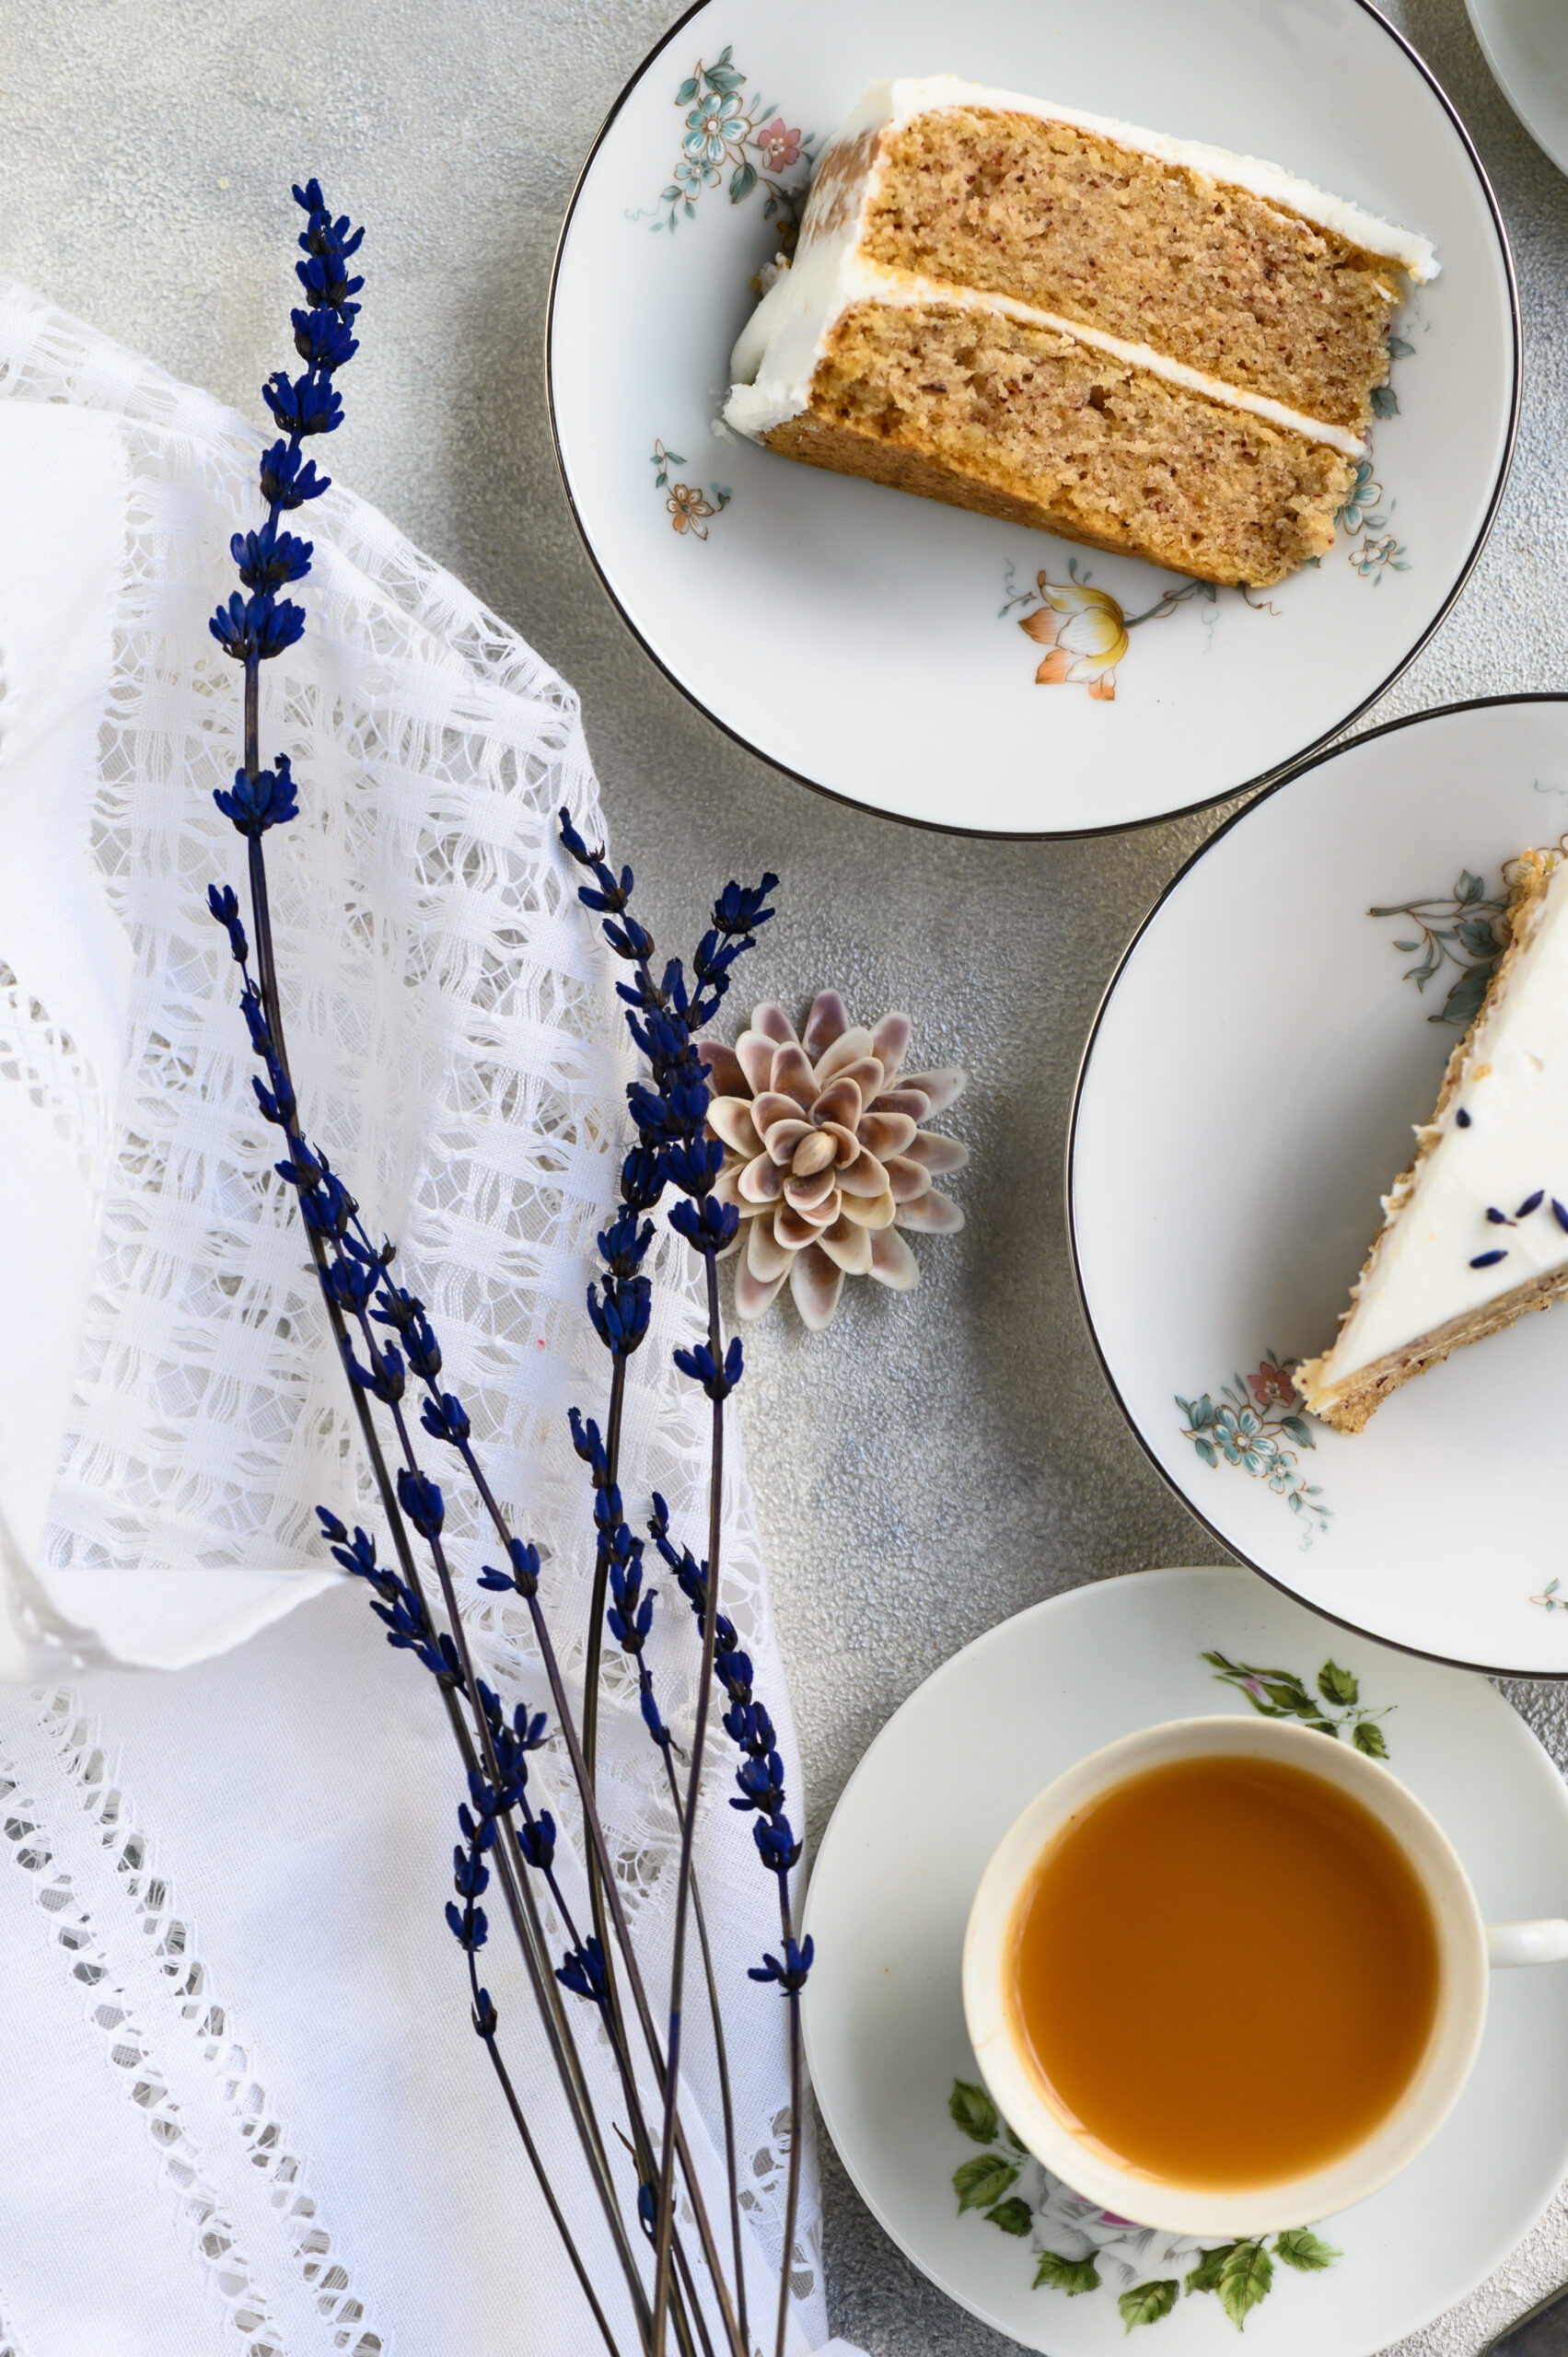
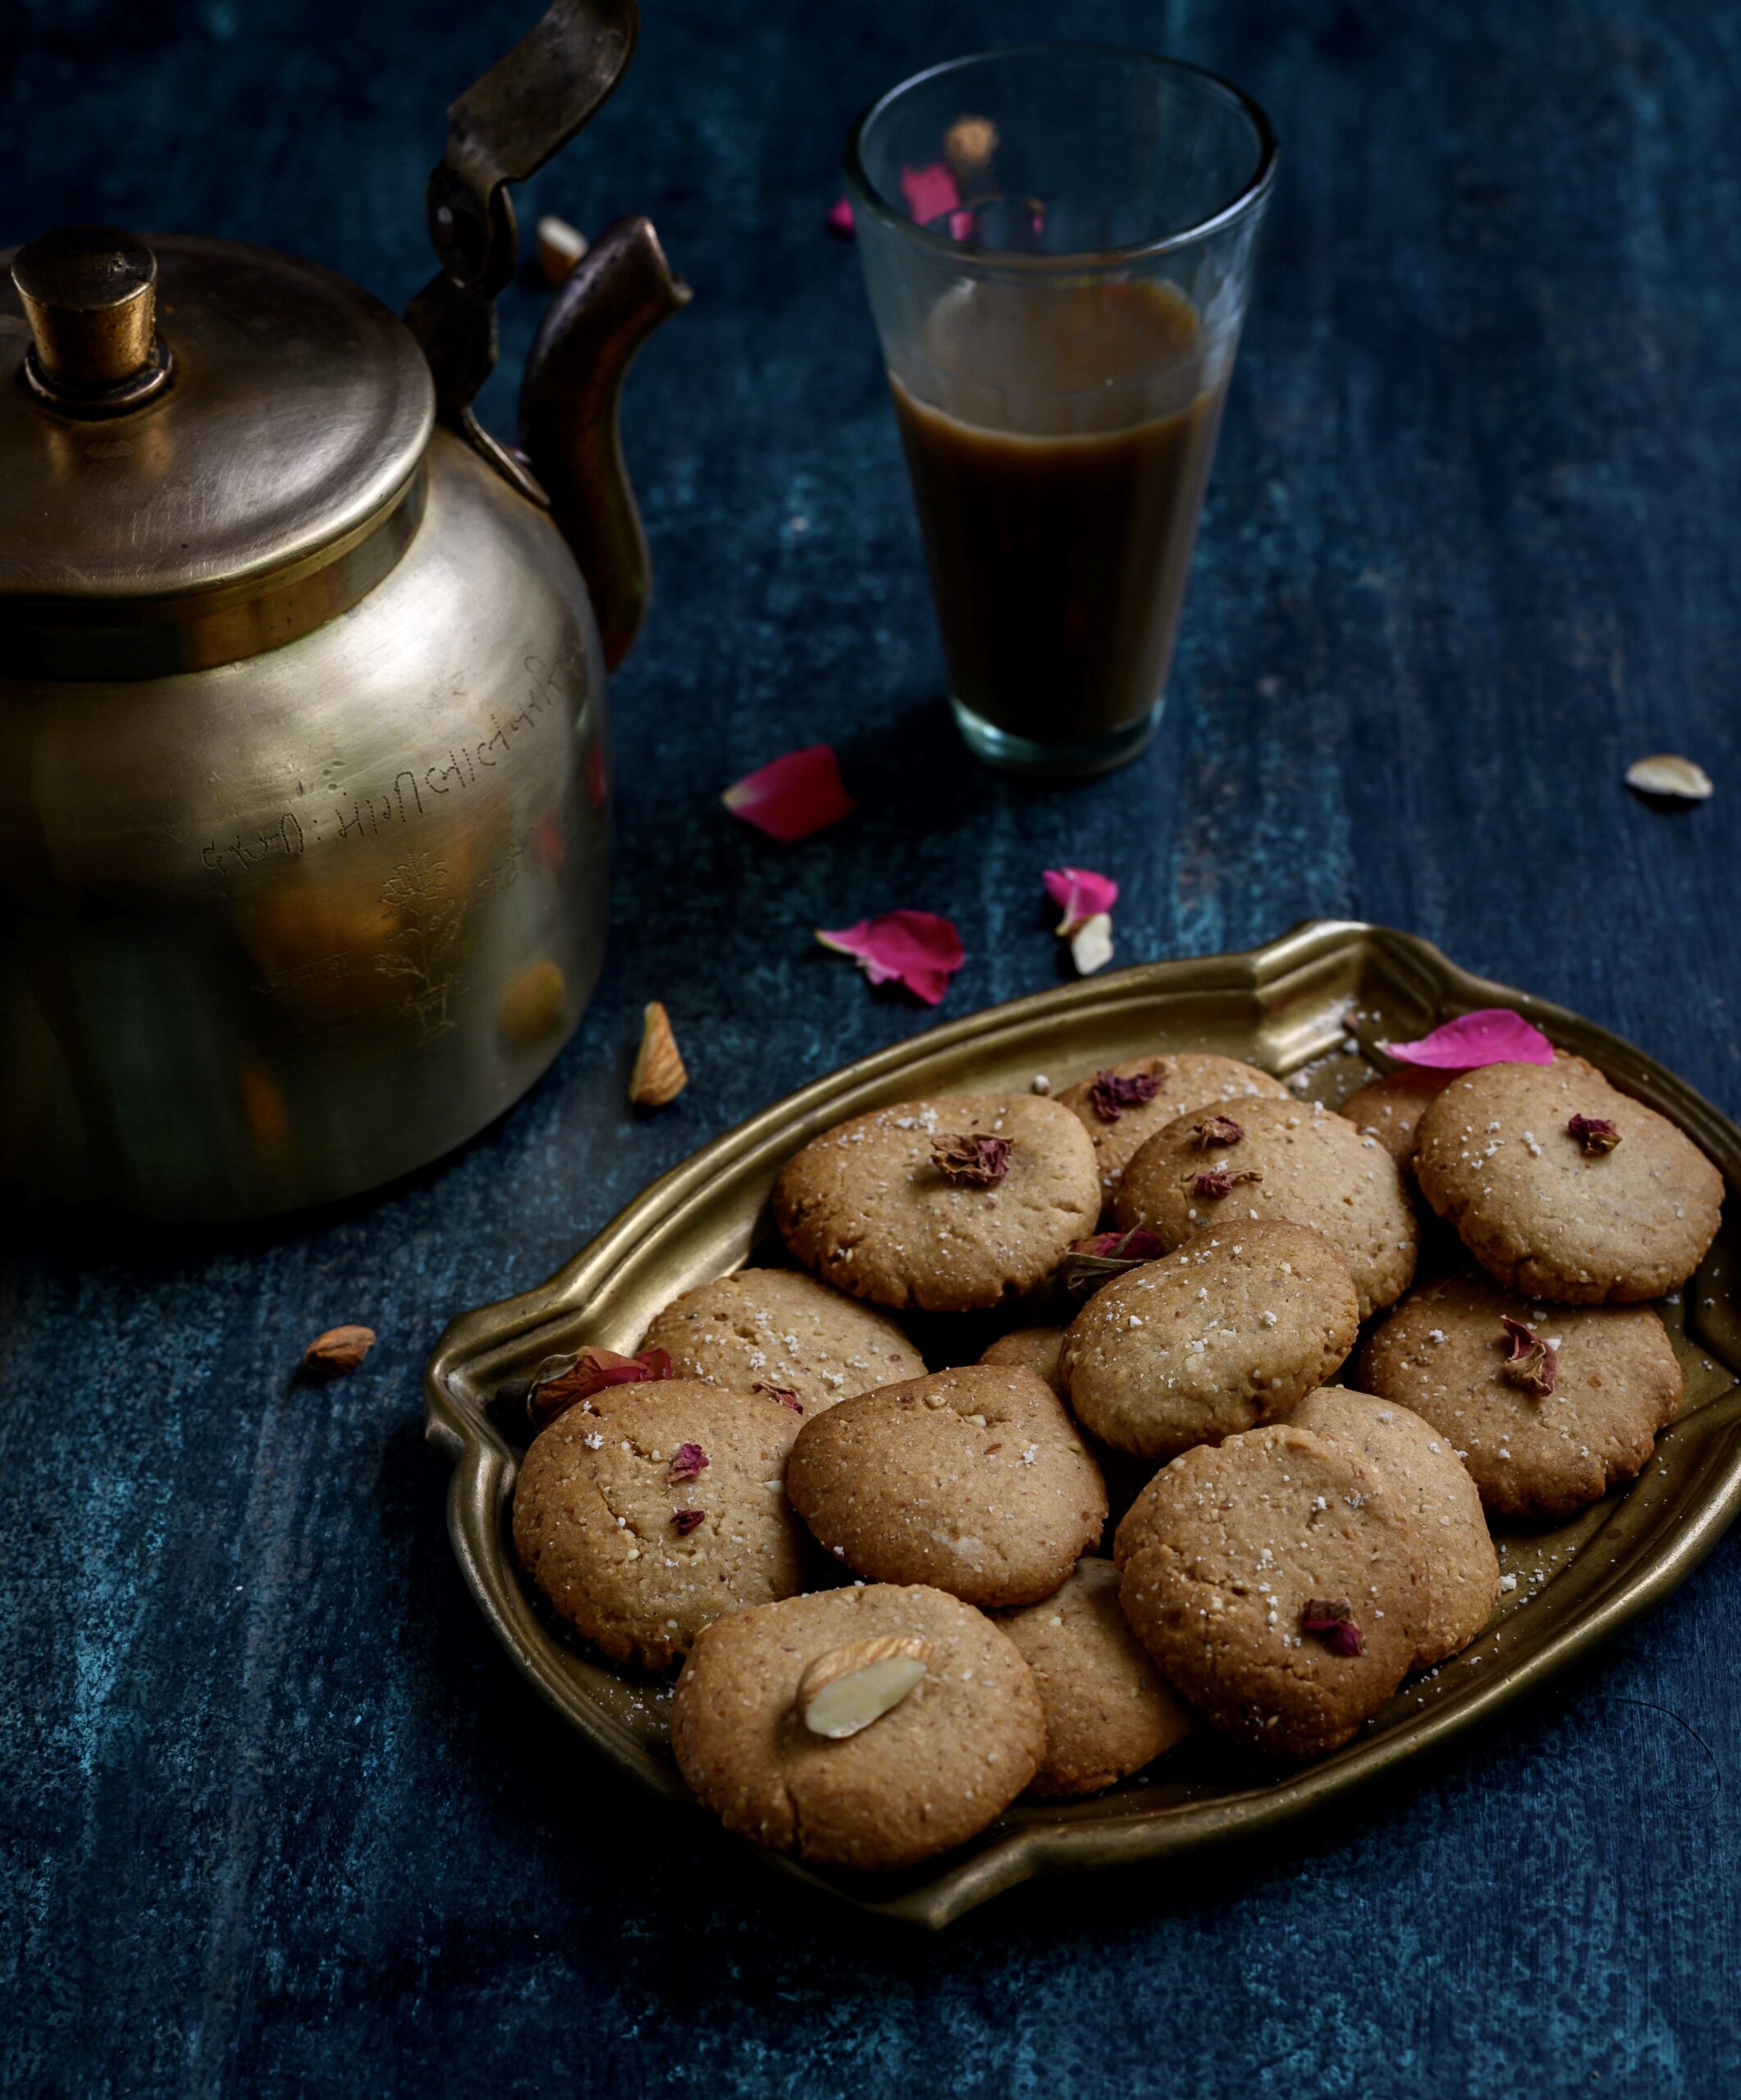
You know how much I love my tea-times and simply must have a crunchy bite to go with my hot drink. This is true not just for me, but equally so for my Max. The moment he sees the cup in my hand, he comes bounding up, salivating for his own biscuit.

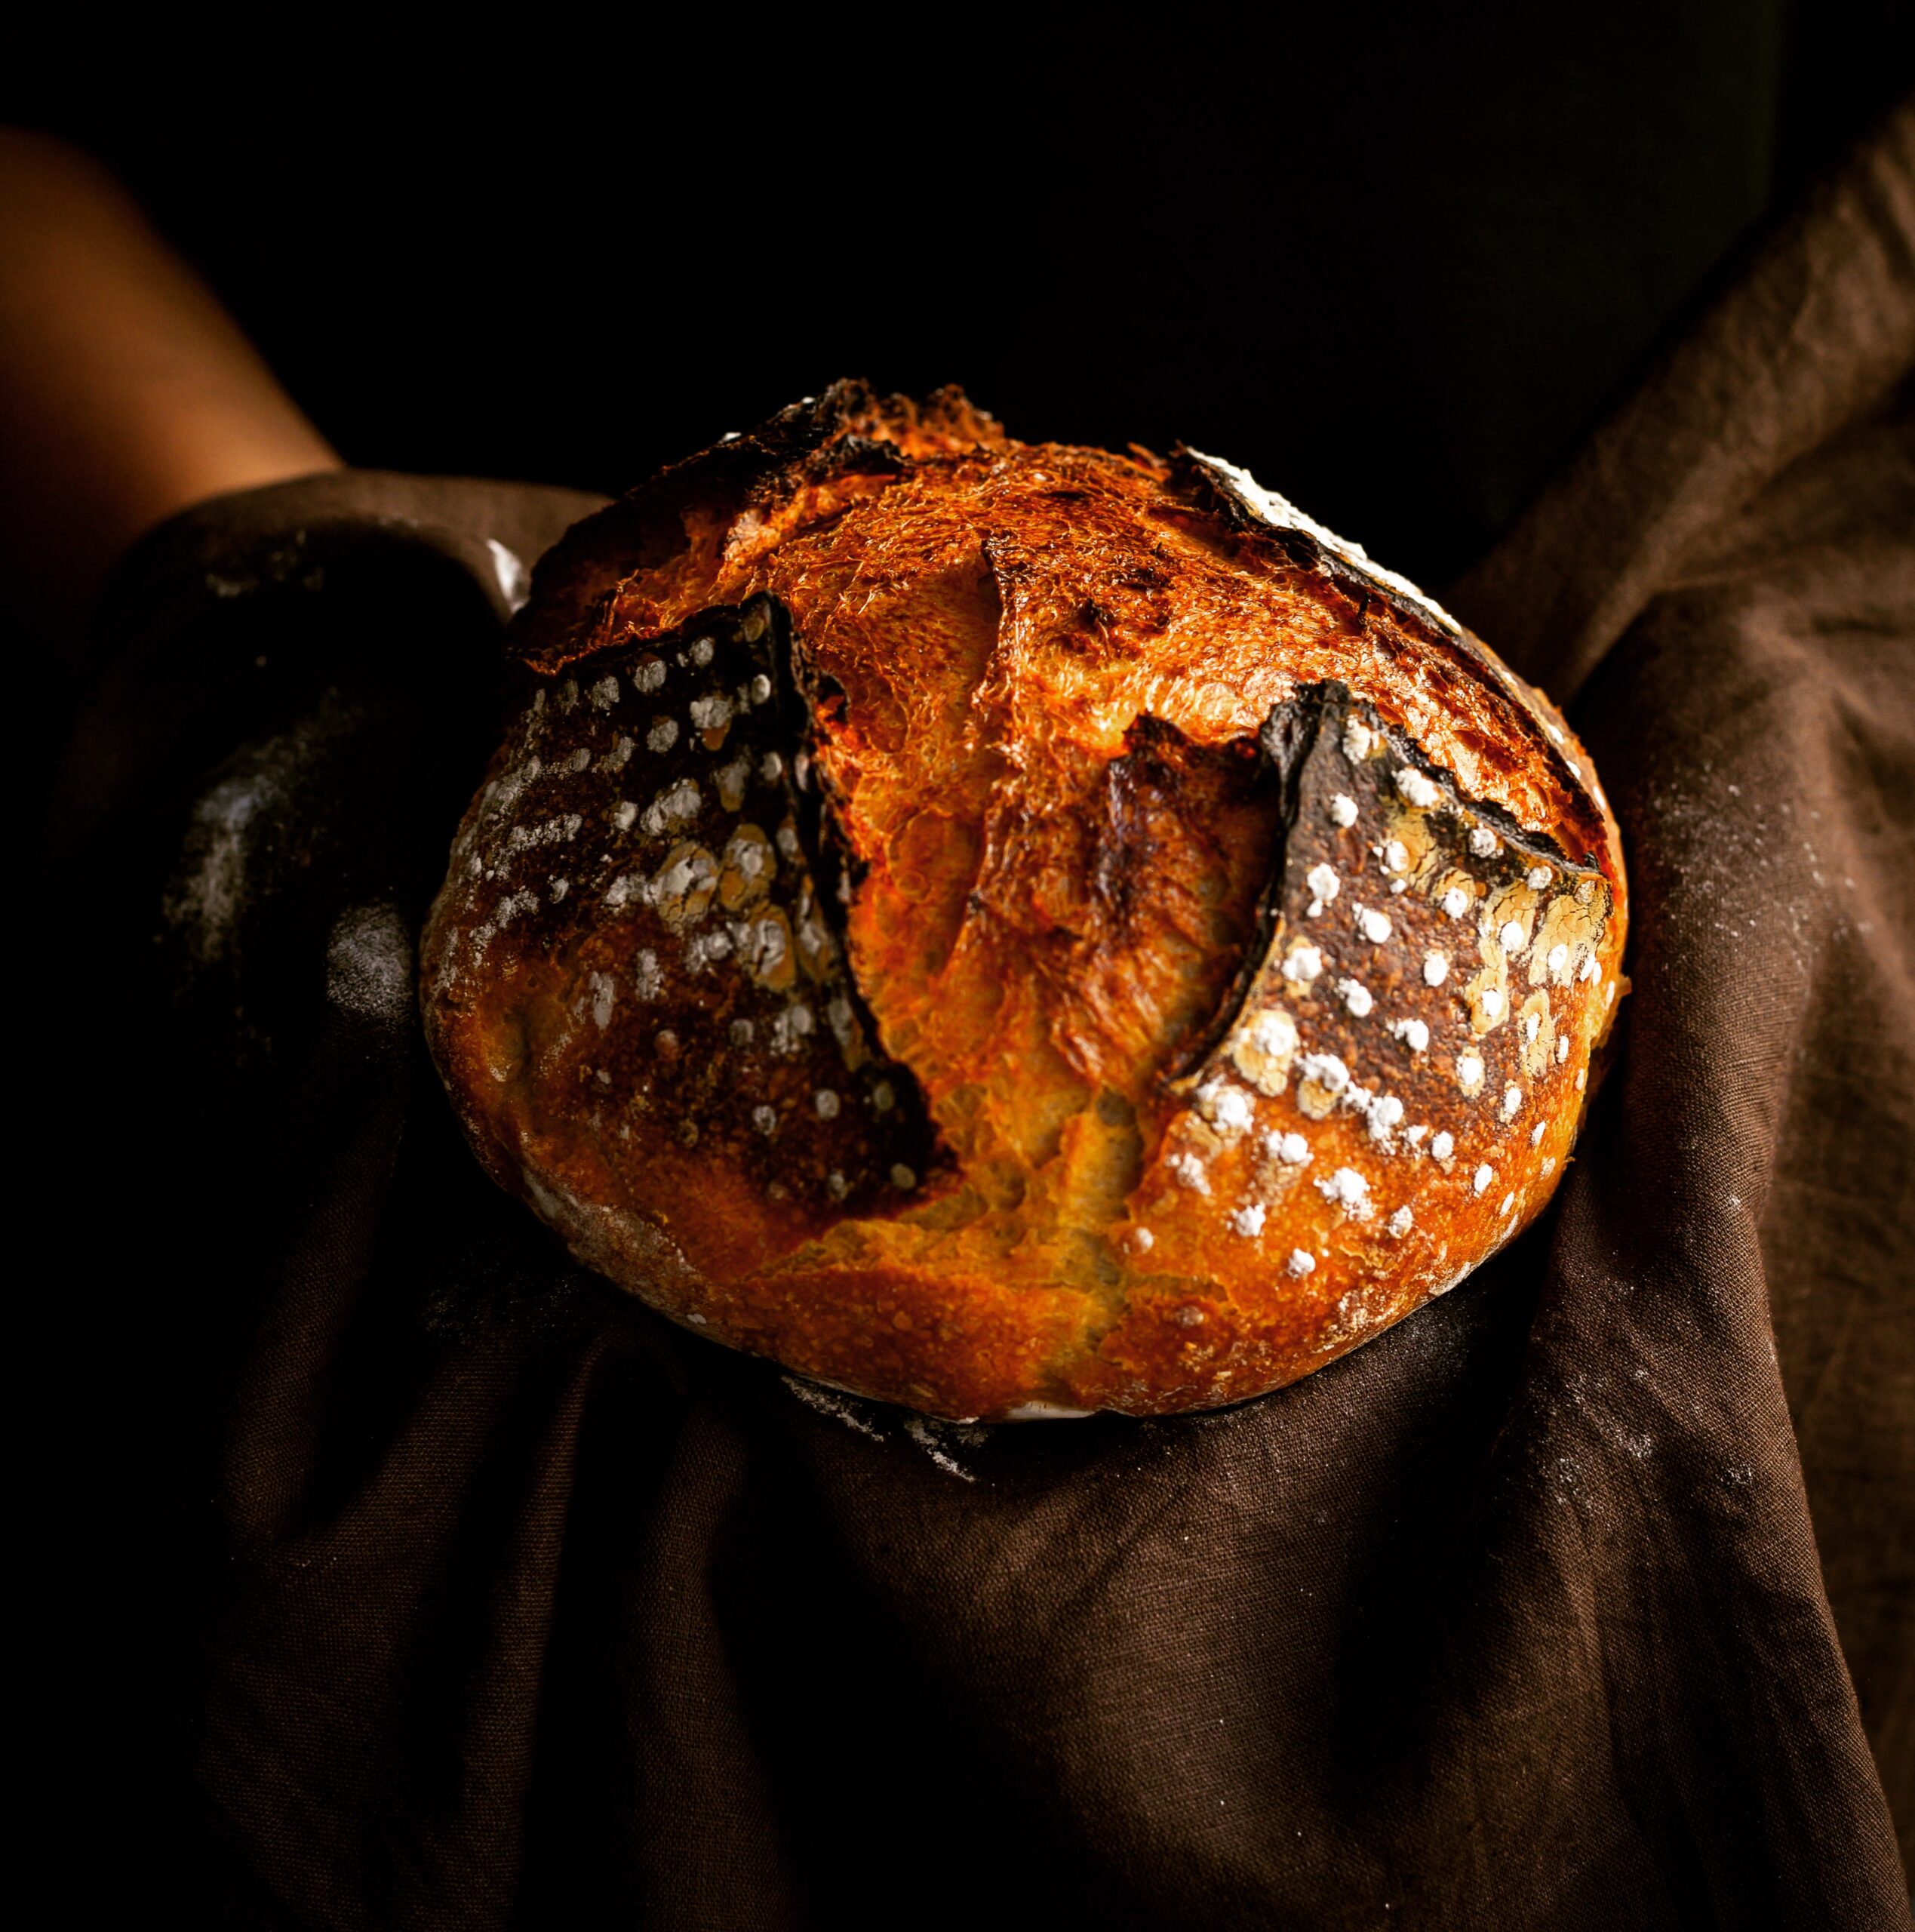
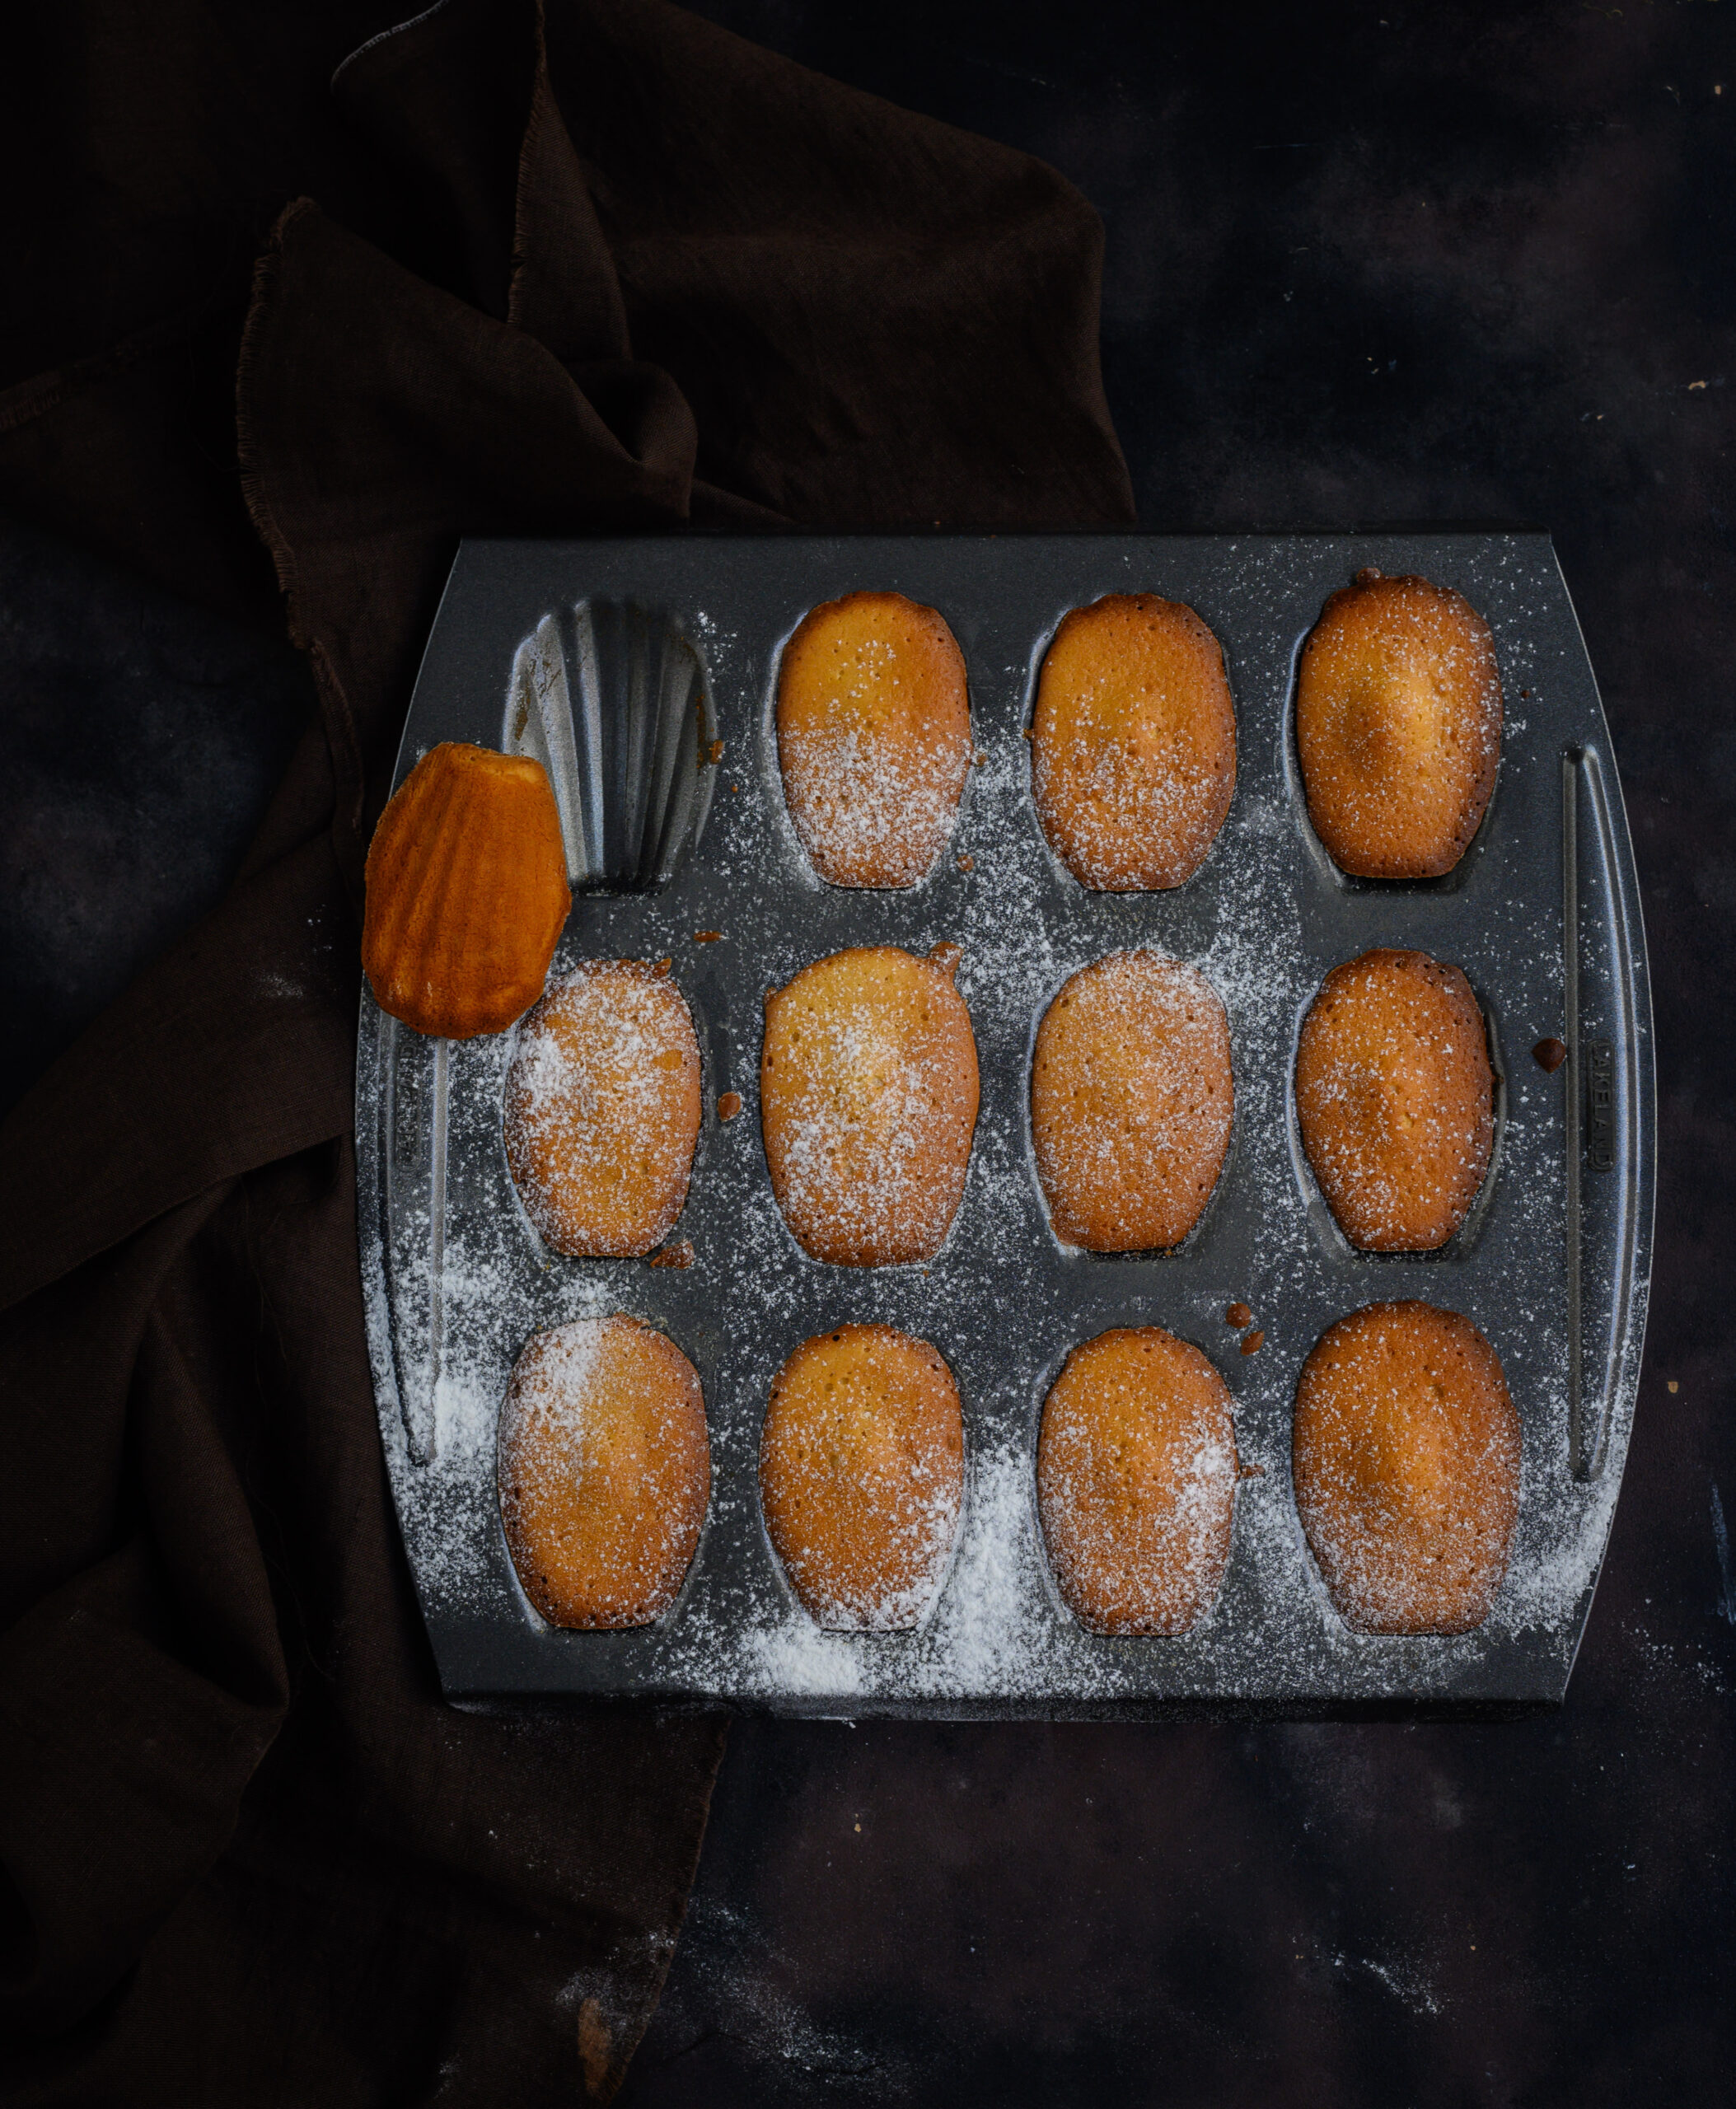
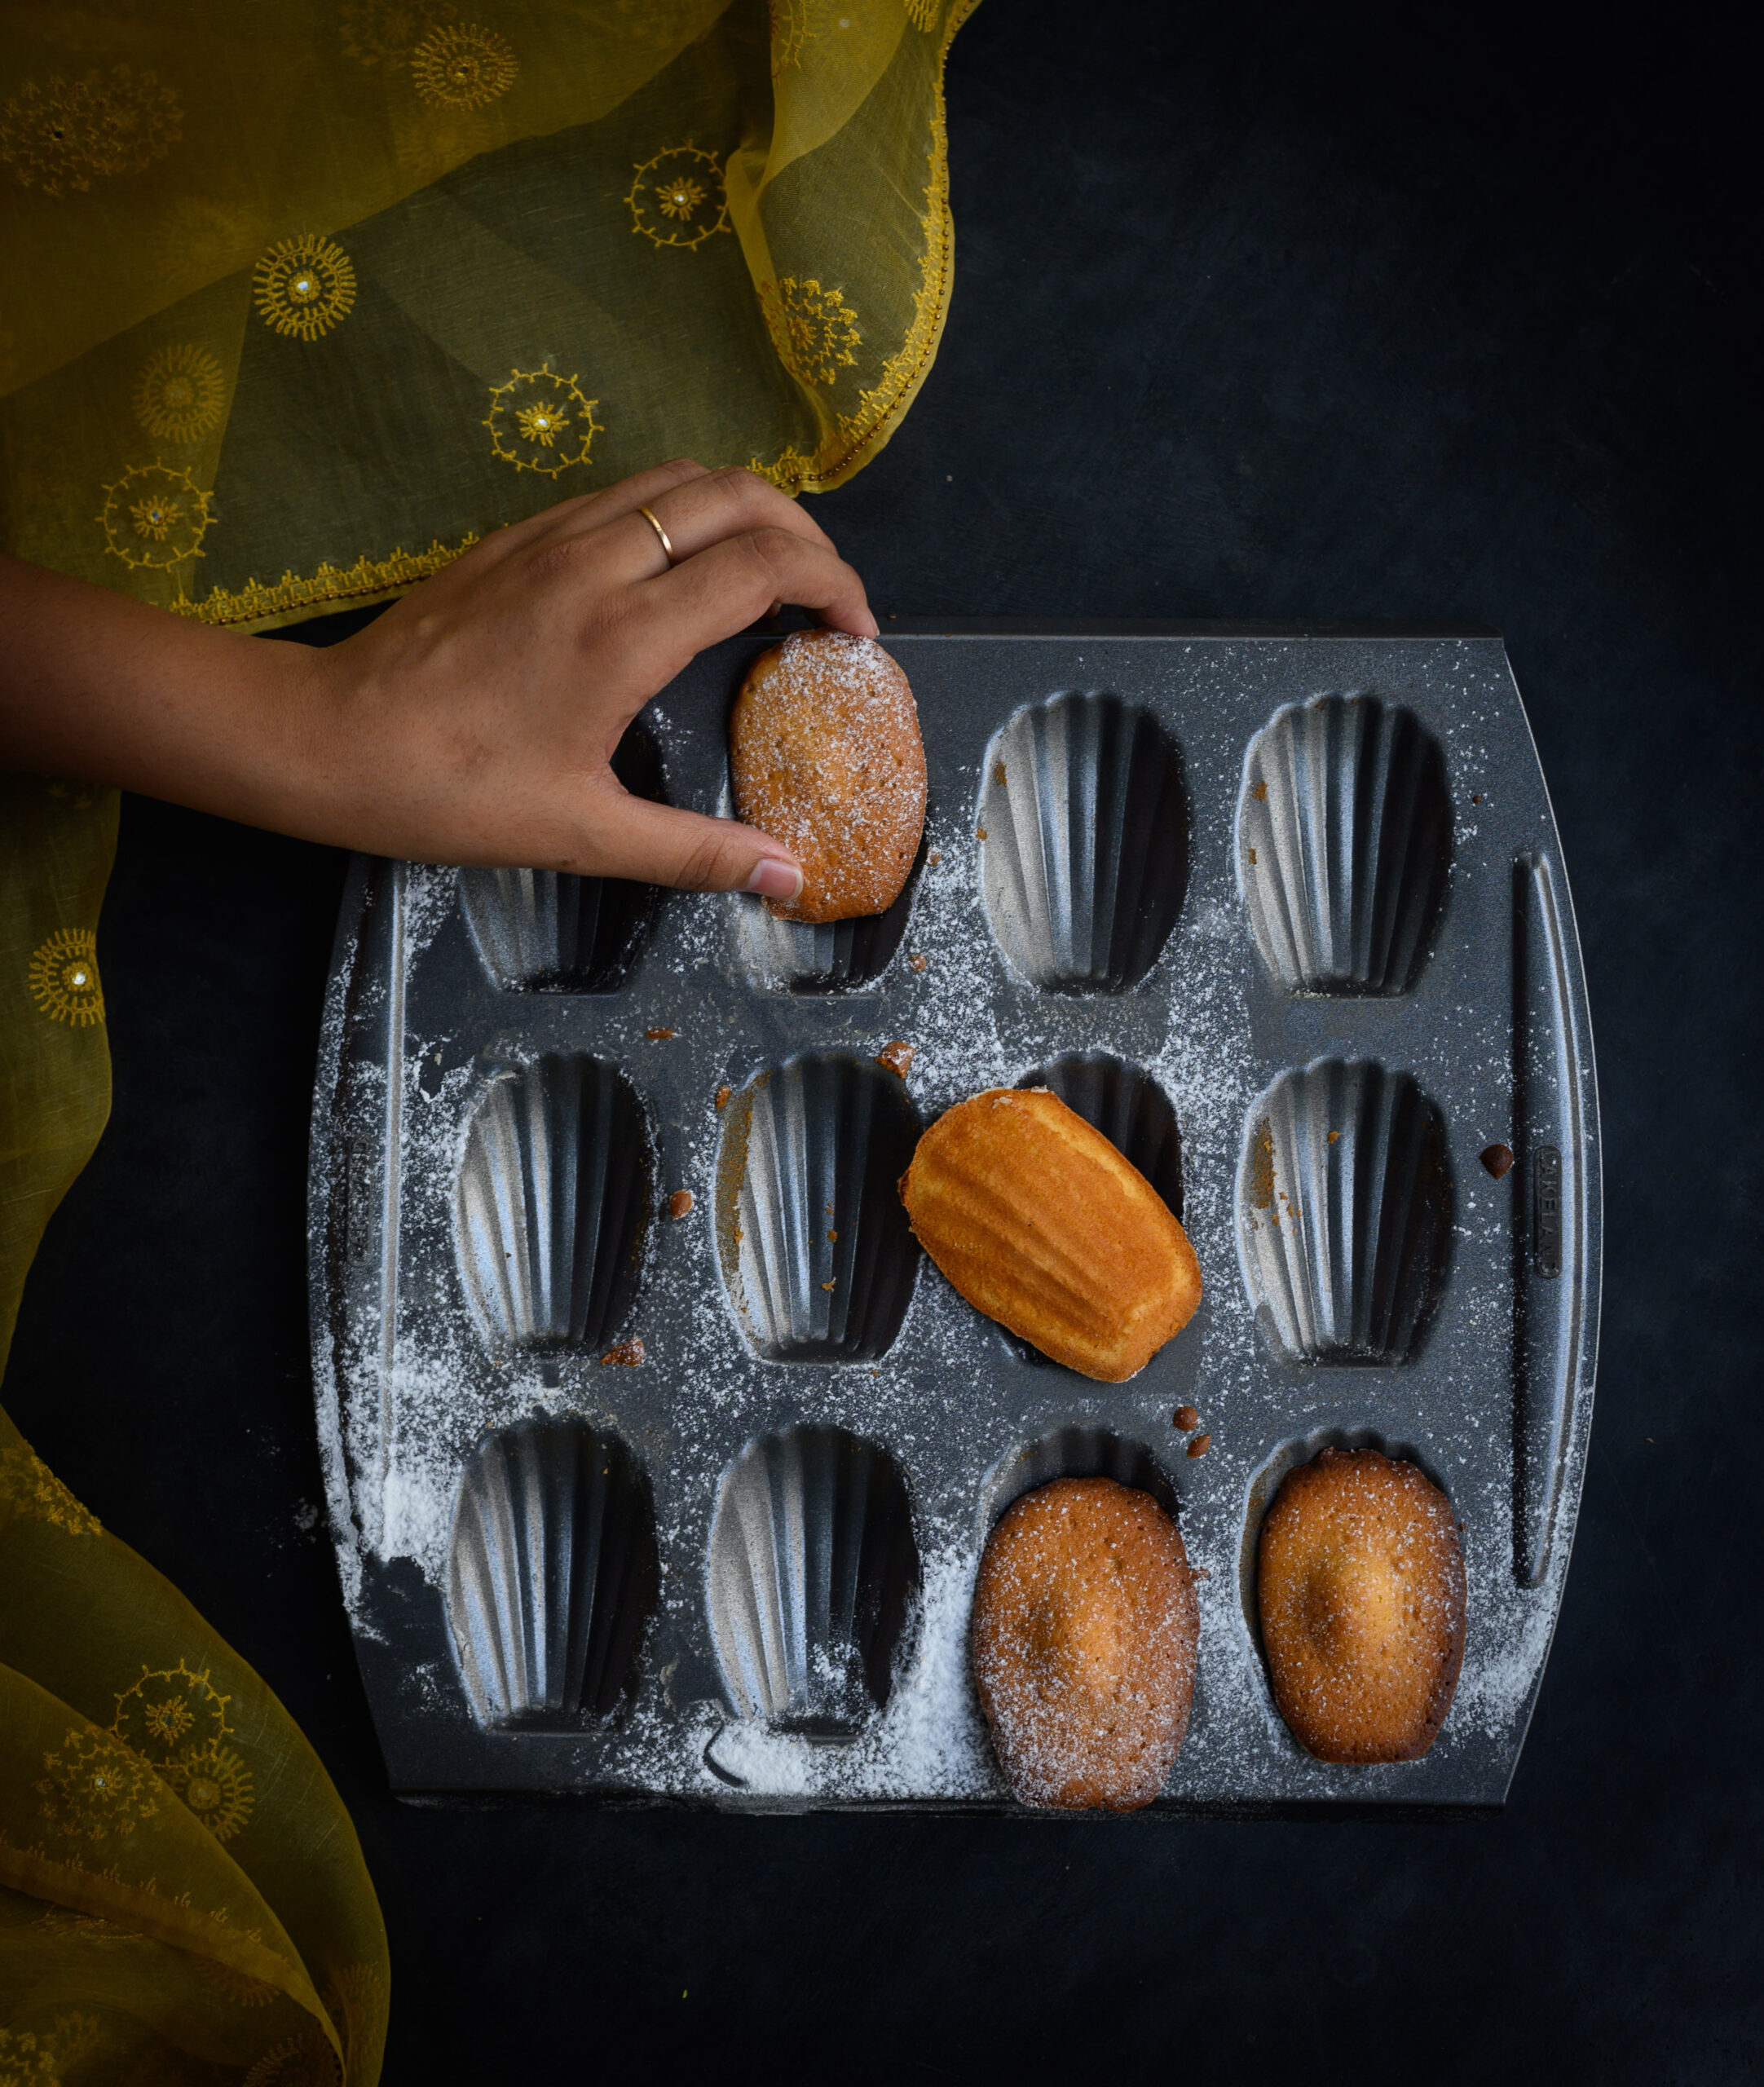
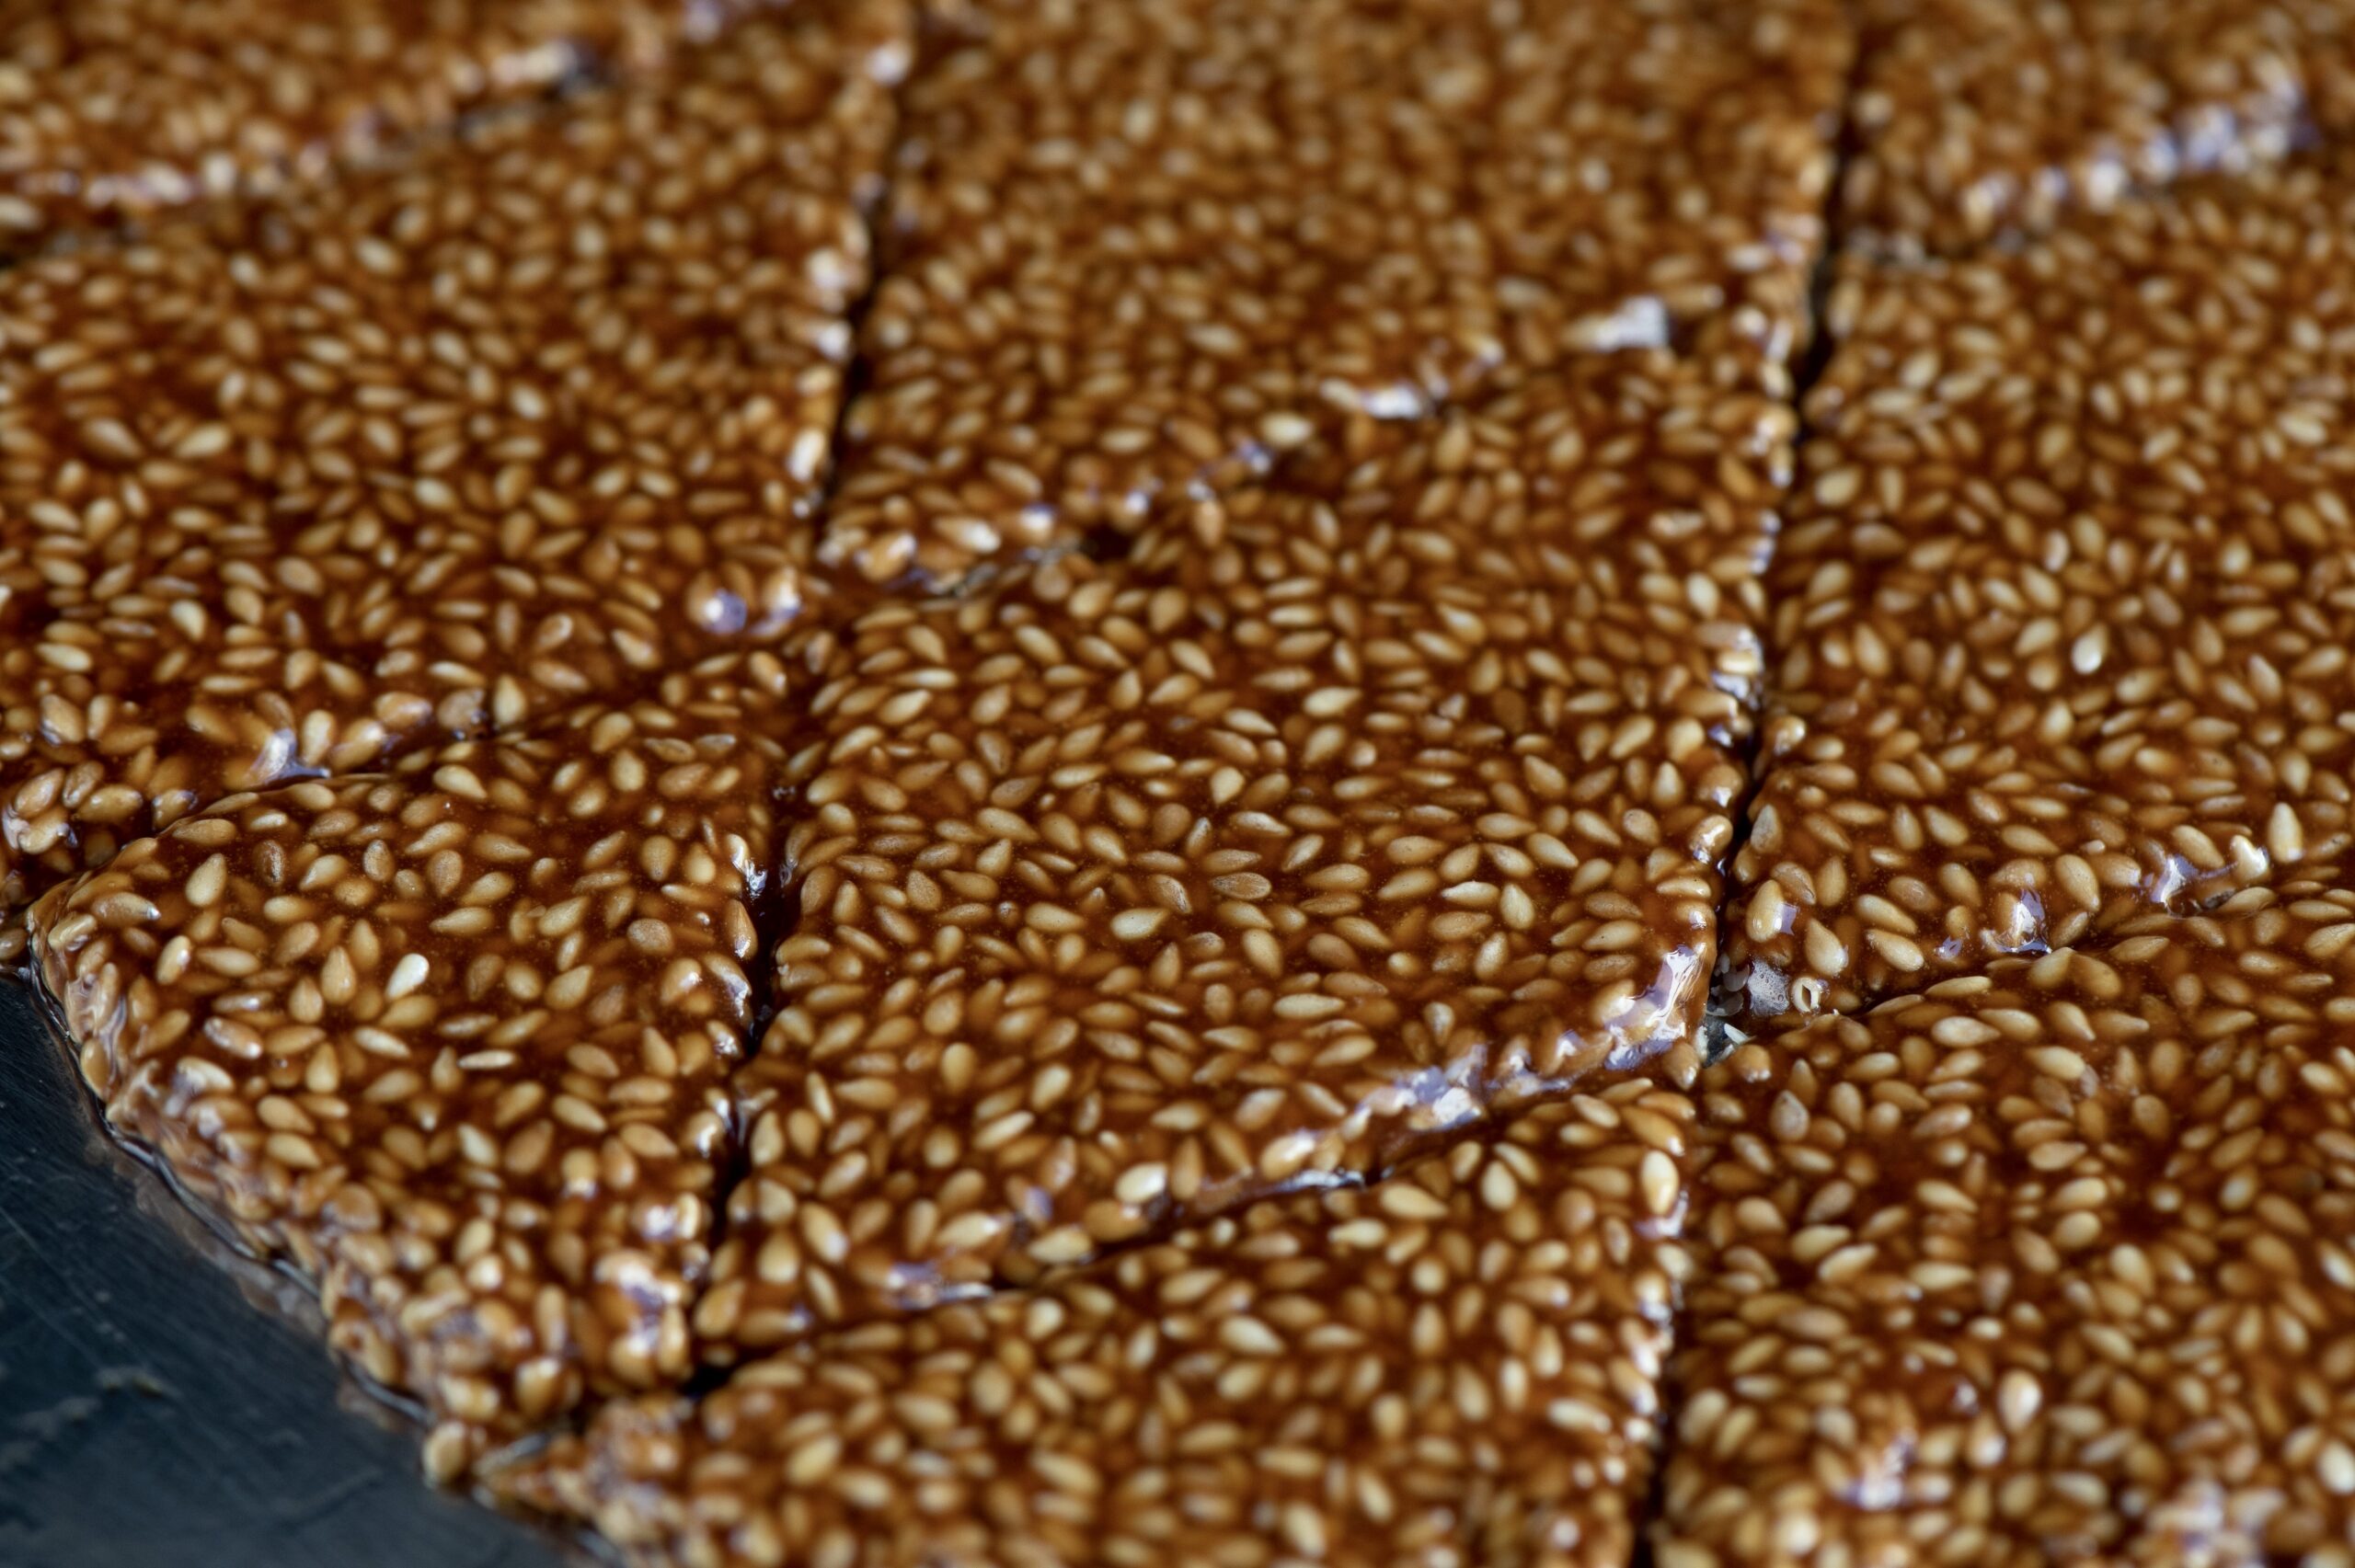
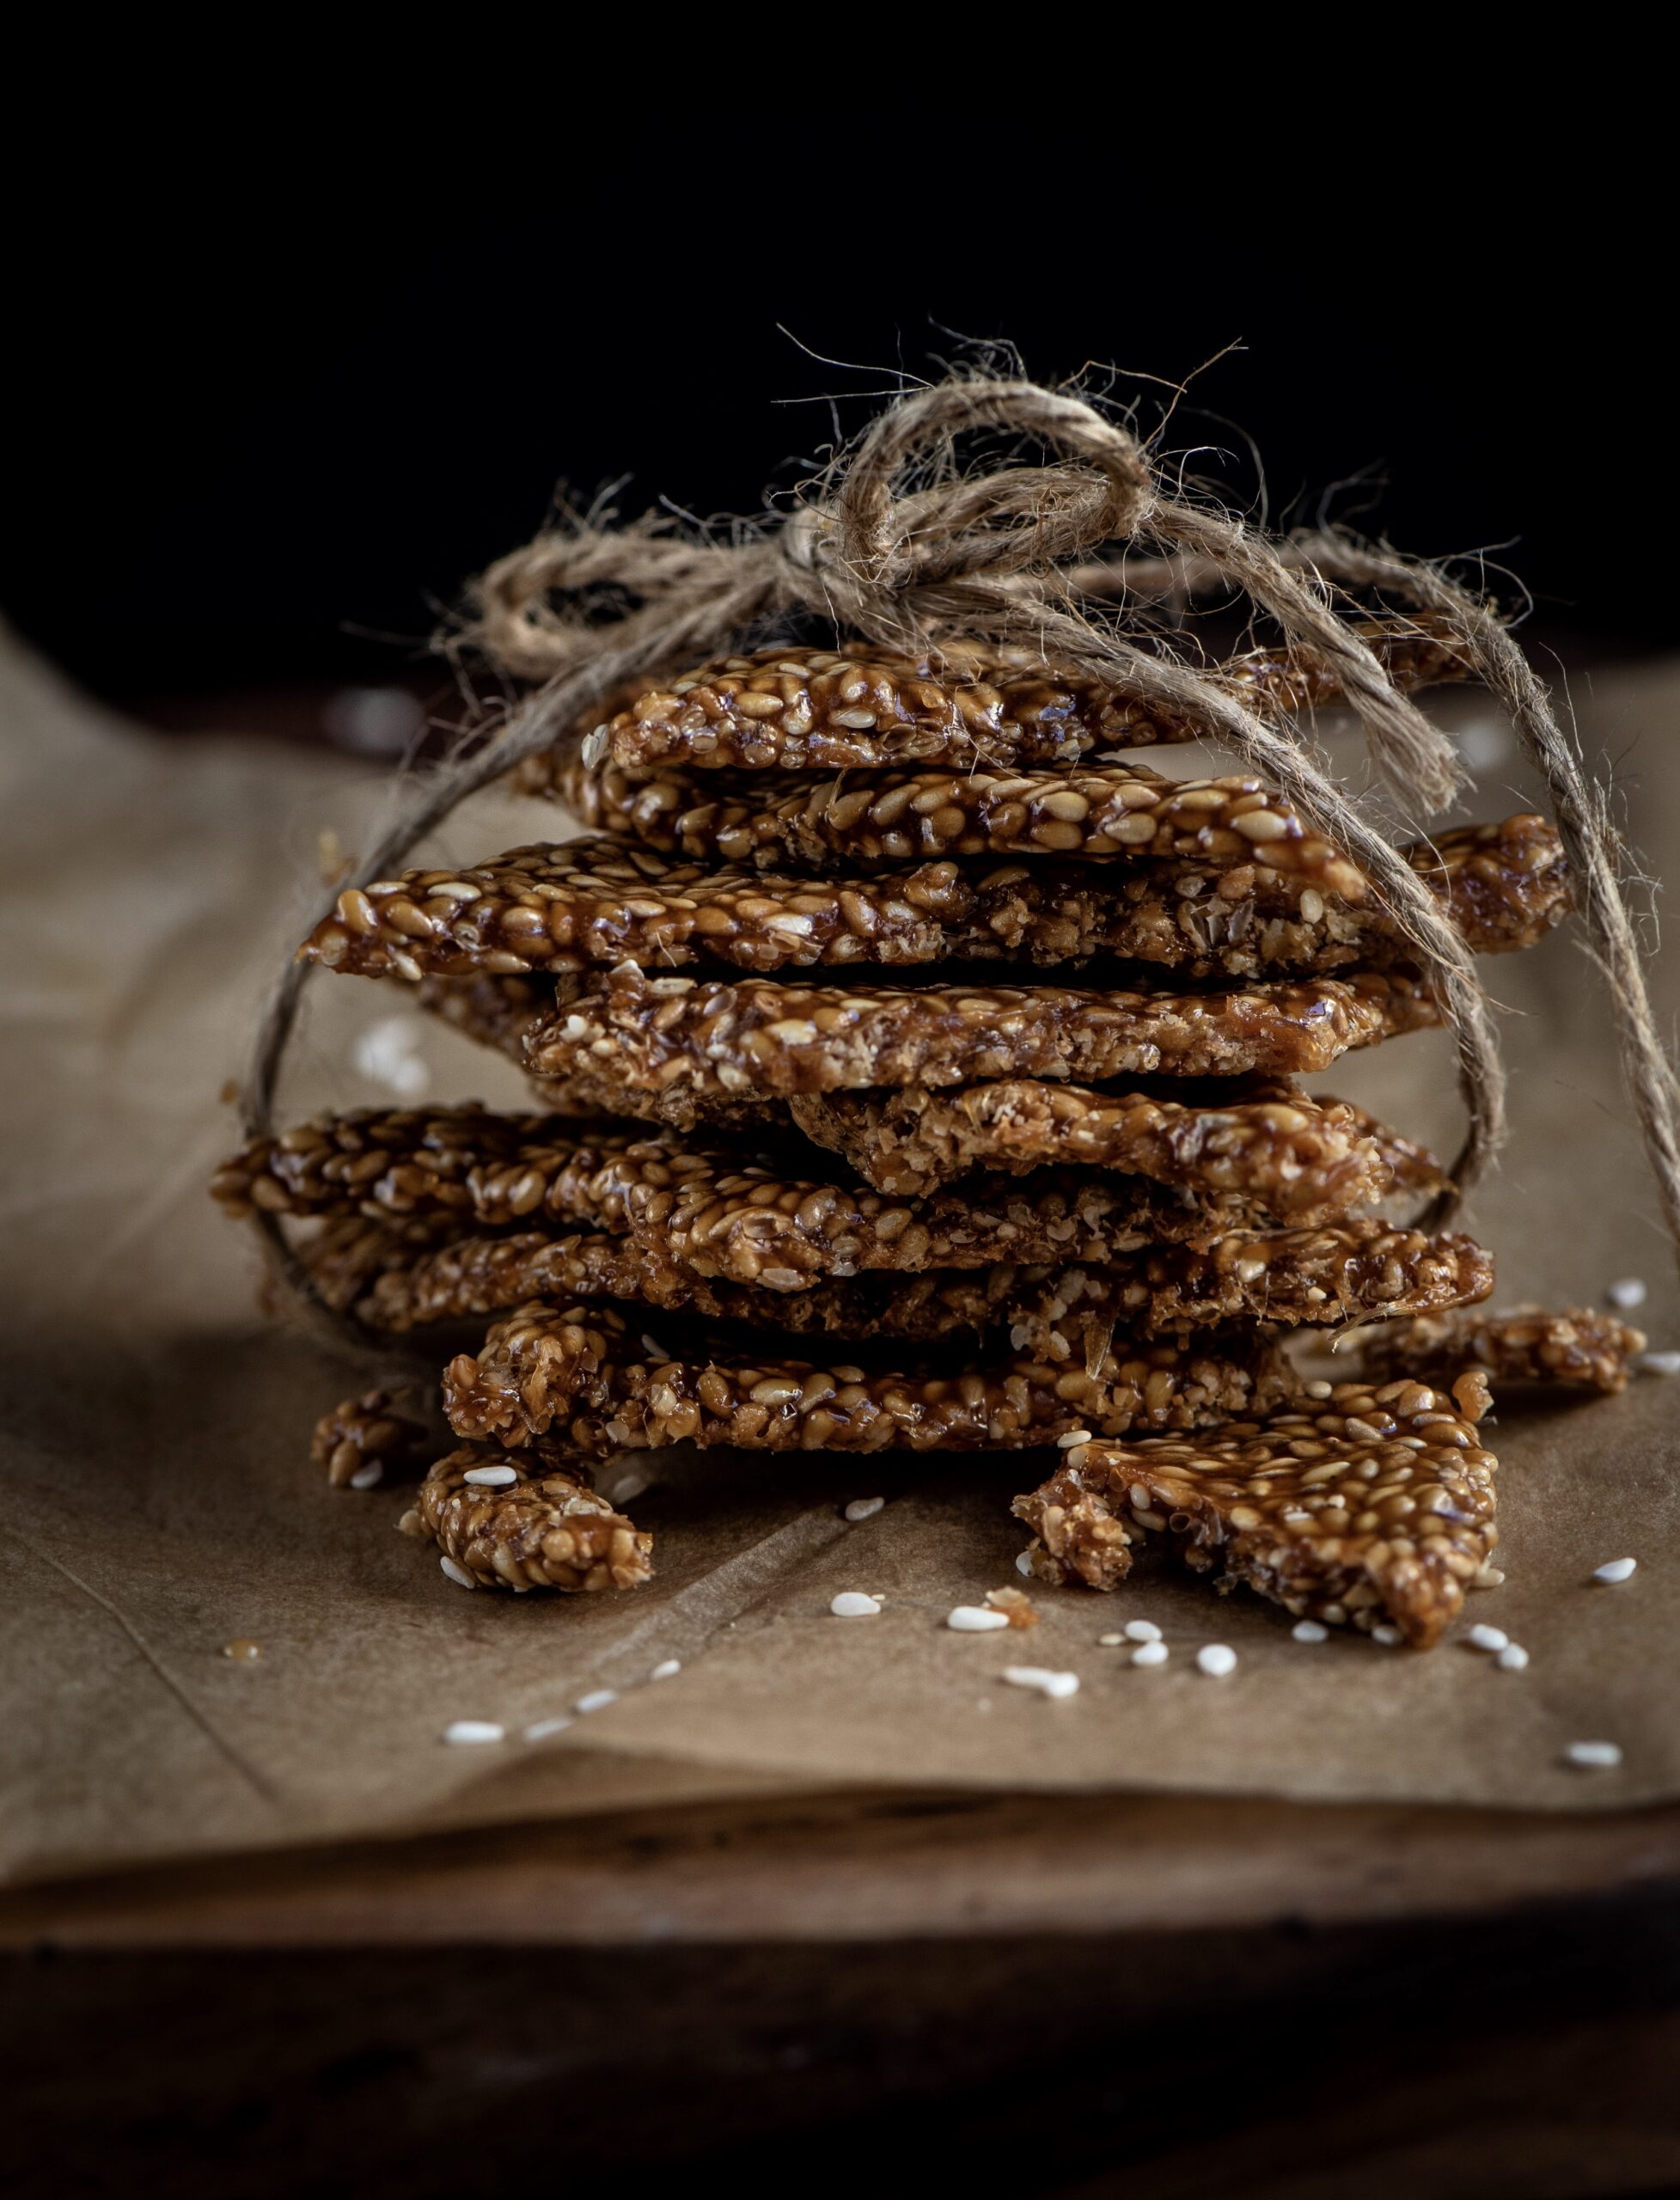
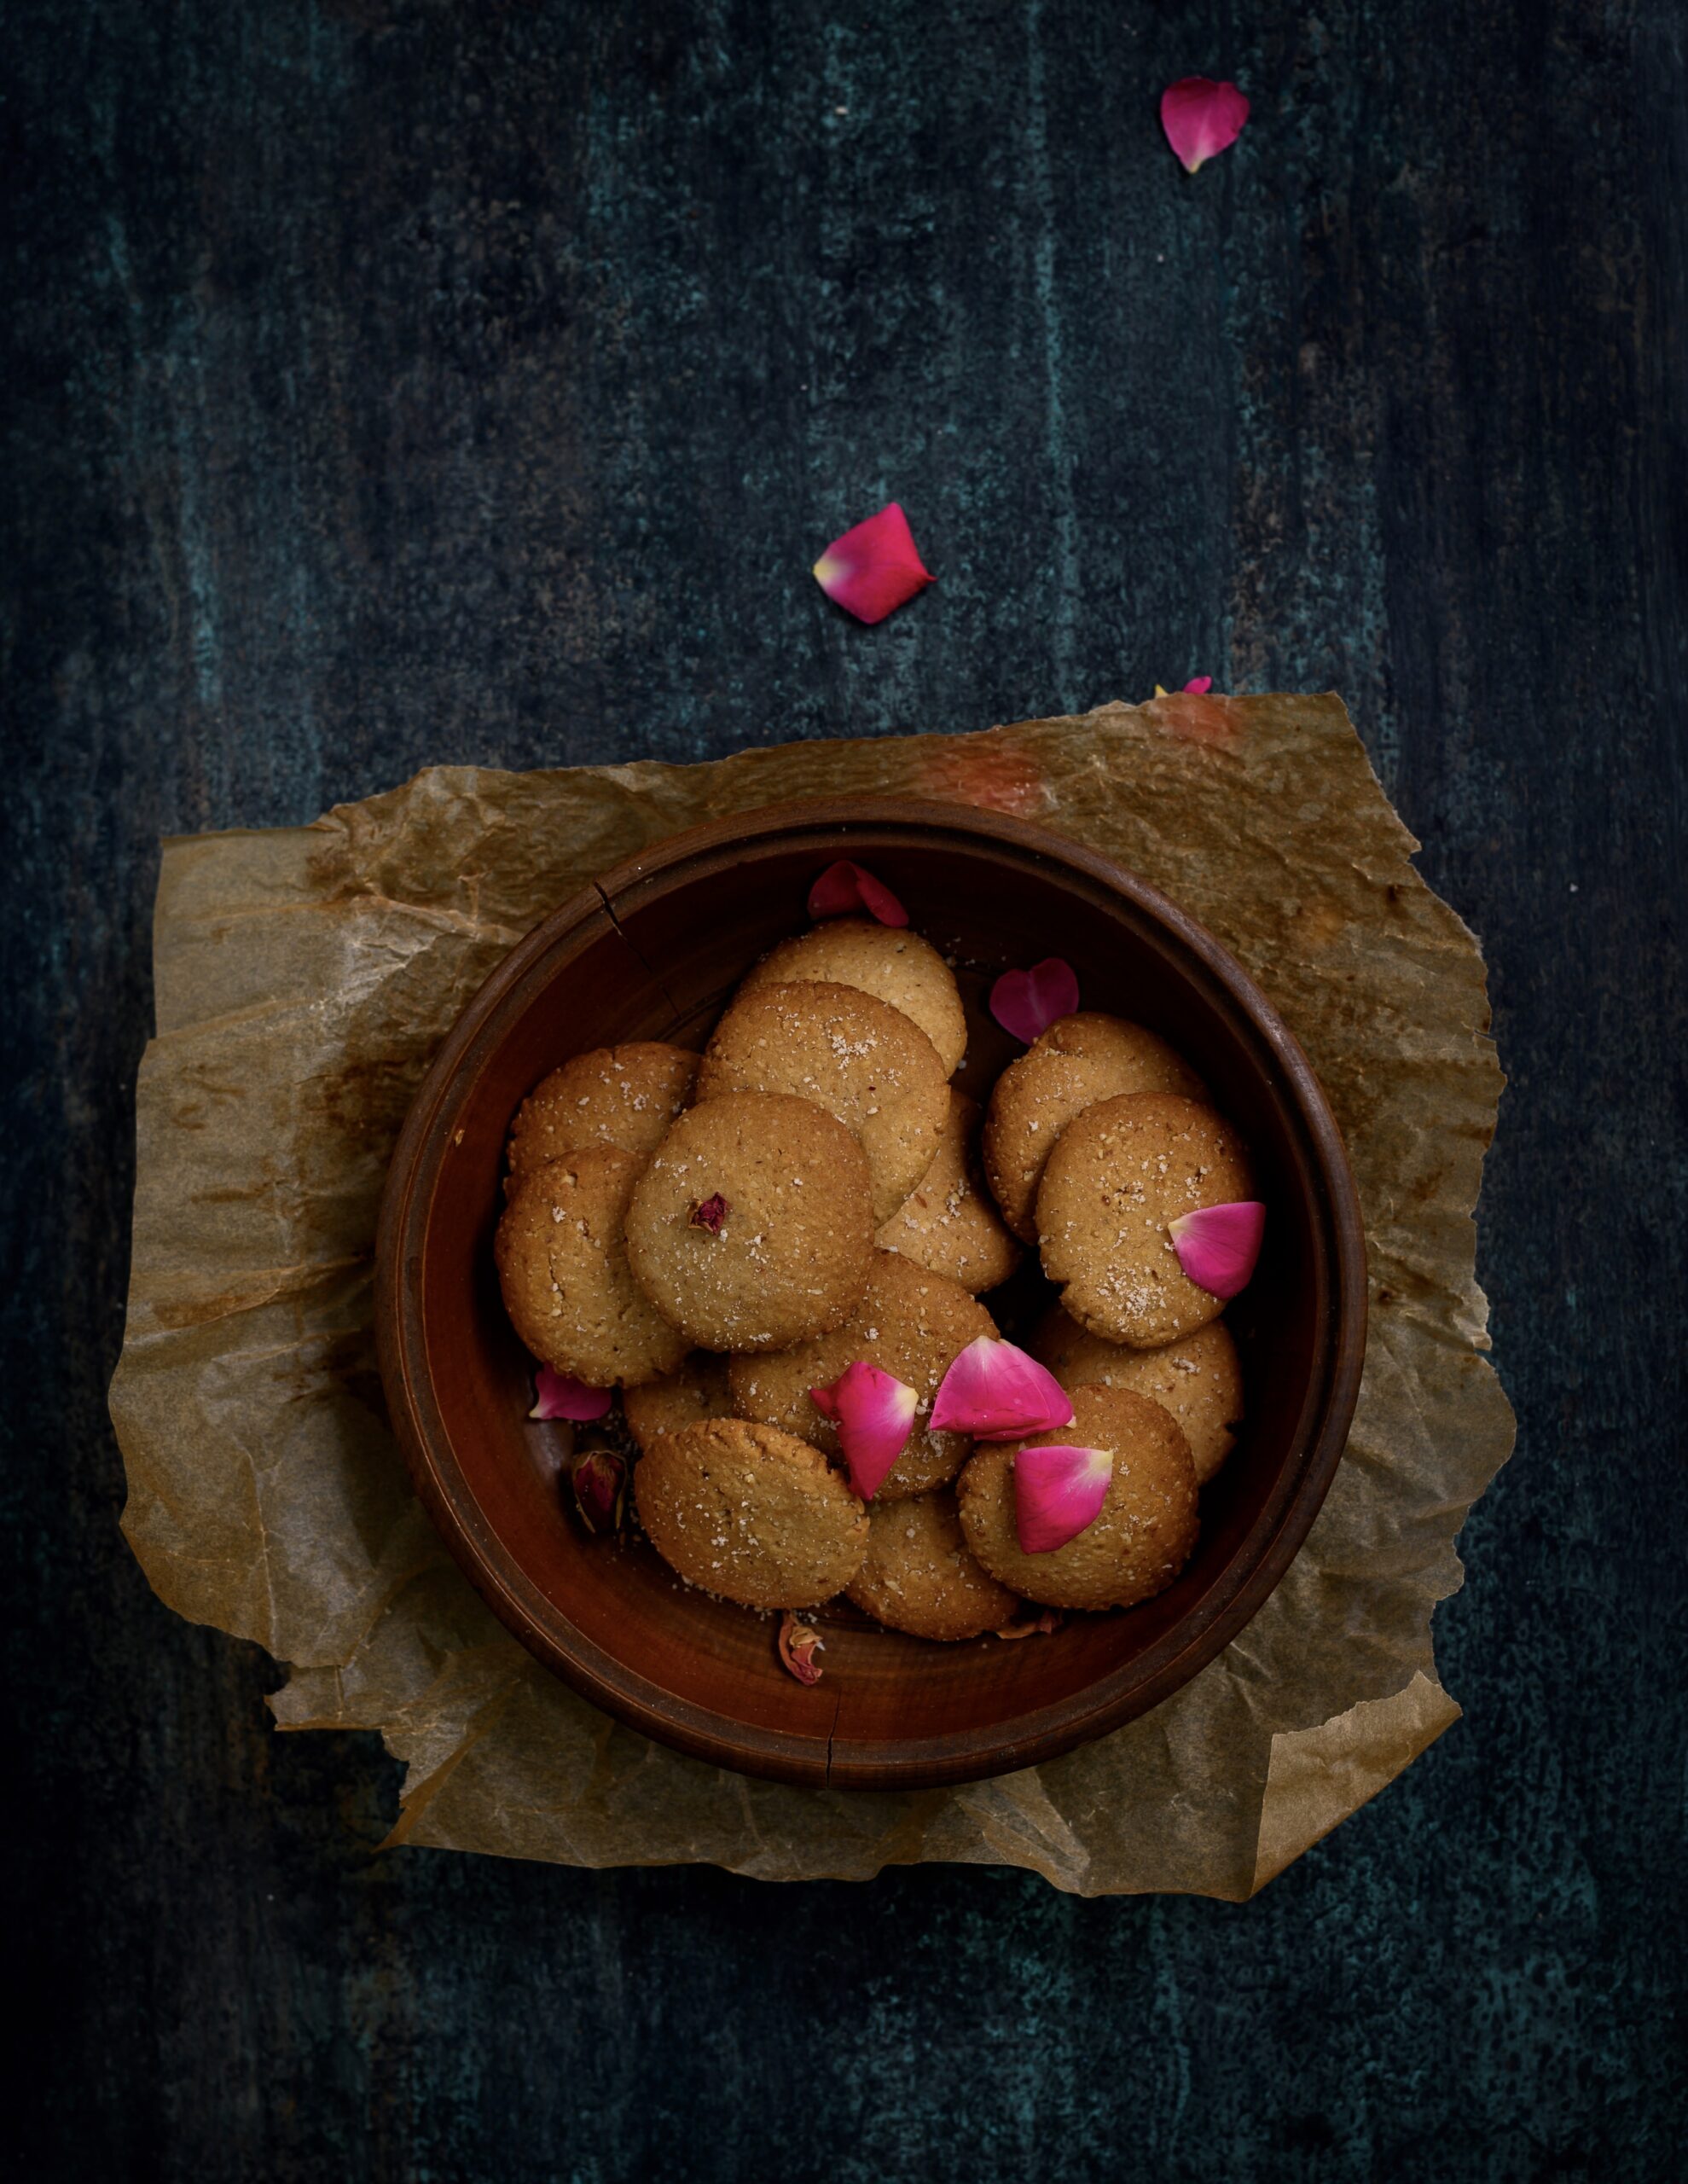
This is what we’ve been enjoying over the past few days. An almond cookie is a classic – and this sugar-free, eggless version is one that will capture a lot of hearts. And I can assure you that it comes with Max’s stamp of approval!


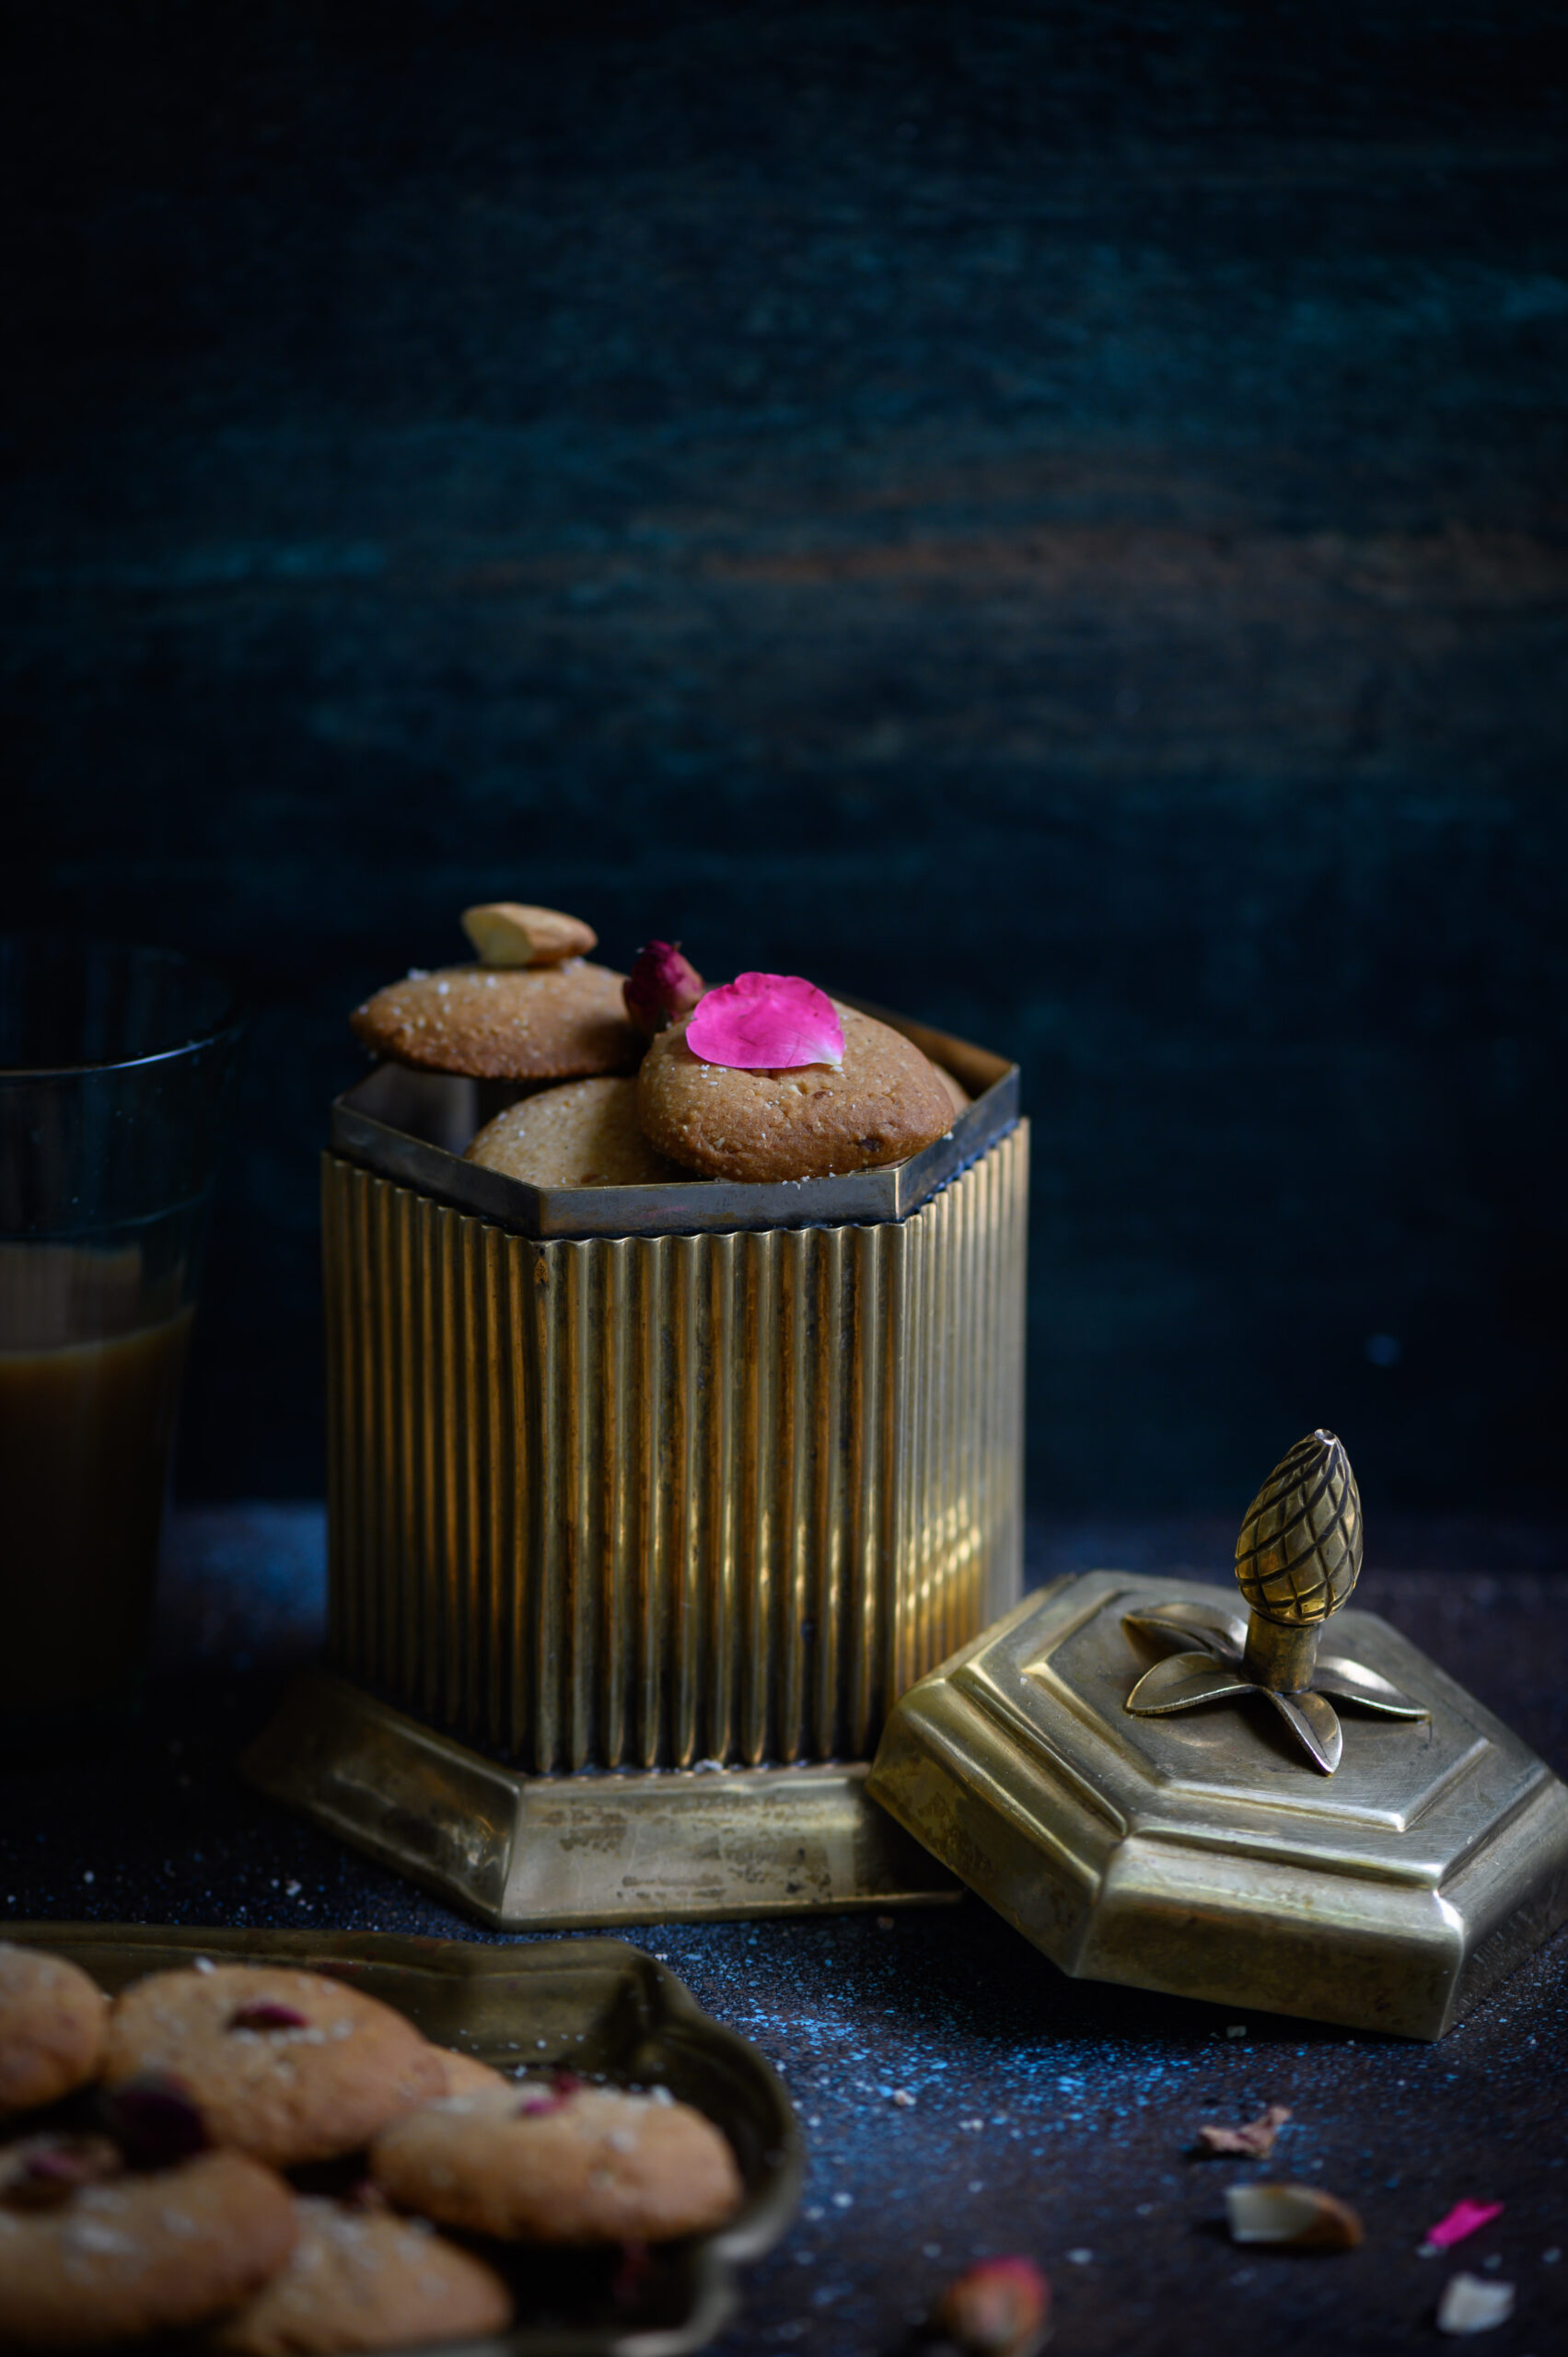
Sugar-Free Almond Cookies

(Yield: 15-20 cookies)


1½ cups oats flour

¾ cup whole wheat flour

¾ cup maida

1 cup almond flour

1 teaspoon baking powder

½ teaspoon salt

½ cup oil

½ cup honey

½ teaspoon vanilla extract

¼ teaspoon rose extract

¼ teaspoon rose water

Preheat the oven to 150°C. Prepare a baking tray and keep it ready.

In a mixing bowl, add all the dry ingredients and whisk well. Then, slowly add all the wet ingredients into the dry ingredients. Mix them all together with your hands gently until they become one whole mass of dough.

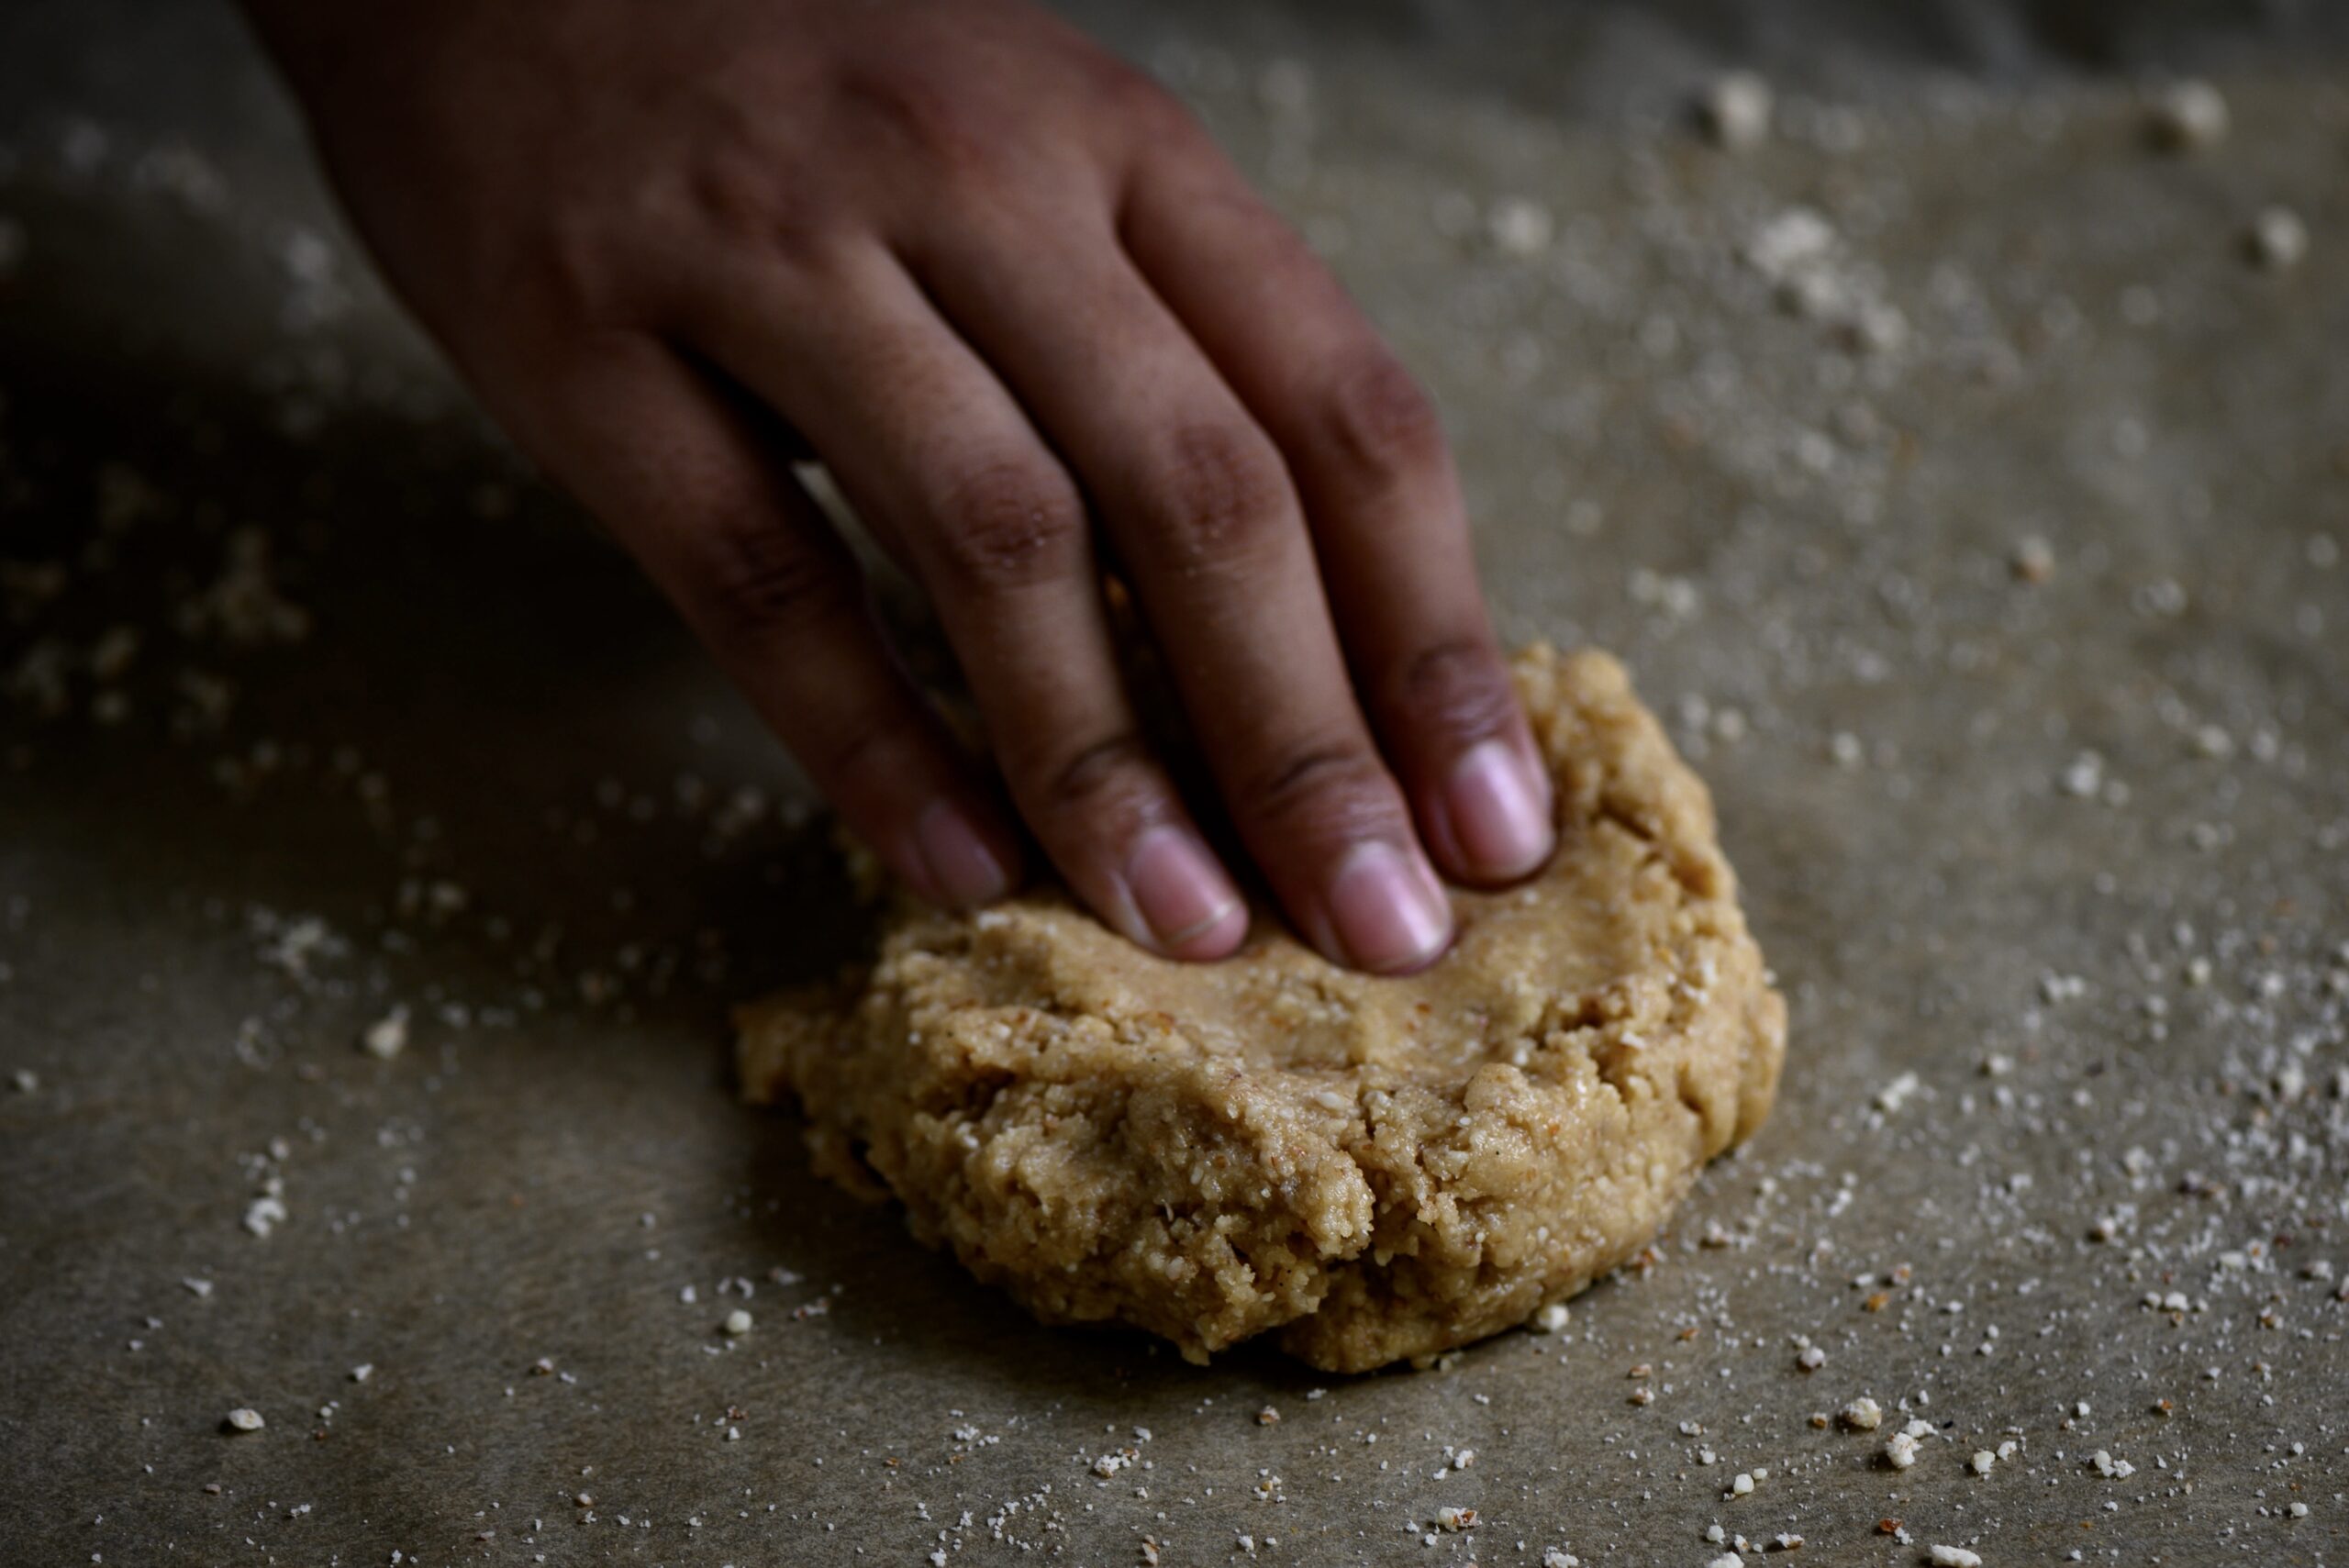
Now, make small flat discs and place them in rows on the baking tray. Bake in the oven for 10-12 minutes or until they turn golden on the edges. Remove and allow to cool on tray for about 5 minutes. Remove them onto a cooling rack.

They are ready to serve, and if you wish to, you can decorate them with any toppings or icing of your choice.

On one of my recent Instagram posts, you would have seen another one of my successful latest experiments: pista-rose cookies, which combined two of the more popular flavours on the re:store menu. The next time I make it, I’m going to try and adapt this recipe to do so, replacing almond meal or almond flour with pistachio meal or pistachio flour.

With the kinds of cravings for sweetness that I have, finding and incorporating sugar-free desserts into my meals is a necessary, healthier choice. These sugar-free almond cookies are also eggless, as you may have noticed, which makes them the perfect choice for vegetarians. Vegans may opt to substitute honey with a sweetener of their choice. As I said earlier, this recipe came about through a process of experimentation. What next? As I write this, I’m already wondering: what about an almond kachori? Innovative uses of readily available ingredients are practically a daily adventure for me now.

Since I’m not giving up the crunchiness that I need with my cup of tea anytime soon, I’m delighted to have these sugar-free almond cookies around. After all, they are not only free of sugar, but in being so, also free of guilt!

In my recent recipe for a barley lime drink, I mentioned how my sister and I were anaemic while growing up, and how we were subjected to a range of homemade remedies to improve our condition. When she and I reminisce about the good old days now, we often laugh about all those horrible tonics and preparations, and very fondly remember one we actually loved. In fact, many children would, because of its delicious sweetness. The “medicine” in question was the raisin kalkand (crystal sugar) syrup, a simple health-boosting tonic our mother often prepared for us.

We would be given this first thing in the morning during the summers because it’s a highly cooling drink, in addition to its strengthening properties. Dehydration is something we’ve all become mindful of given this heat. But it’s also important to consume foods and beverages which have a cooling effect on the body. The science of Ayurveda has helped us identify many of these. As I’ve said before, I don’t know how much of it was science and how much of it was intuition, but my mother had an amazing skill when it came to knowing the heating and cooling properties of various ingredients. So she made sure that the raisin kalkand syrup was a summertime drink for us. It’s cooling both in terms of what’s in it and how it’s made.

Life was so different back then, when we were growing up. We were all so dependent on natural remedies, avoiding pills, and were no less healthy for it. These are ways of life which are being forgotten. Do you remember growing up in that time, in which mothers and grandmothers always seemed to know what to reach for in the kitchen to not just treat but even cure all kinds of common ailments?

In retrospect, I appreciate those kinds of healing methodologies and natural sciences all the more. They followed traditional customs, had seasonal logic, and maintained health in the family and community. I have become a big believer in these remedies, and many trips down memory lane have helped me bring some of them back into my life. This health-boosting turmeric shot and this herbal tonic for sniffles are but two examples of how a handful of common ingredients can make you feel all better.

Still, I must admit that I struggle sometimes to maintain and share the old ways of healing, especially when it comes to my children and how fast-paced their lifestyles now are. But that’s partly why I feel it’s so important to revive and invest in these methods. They counter the demands of the world through their time-honoured and proven usage. They were not passed down through so many generations for nothing. For small complaints, they often work like a charm.

And as far as charms go, this raisin kalkand syrup is a particularly sweet one. Literally! You’d be hard-pressed to find a child who will reject a shot of it.

Like so many old recipes, the secret to this one lies in its simplicity. Fennel seeds are a source of iron, histidine and folic acid, zinc, magnesium, potassium, Vitamins C and K and essential minerals. Black raisins too are full of iron, thus increasing haemoglobin levels, and are also good for bone strength, immunity and a host of other needs of growing children.

Furthermore, there is a process of soaking which brings out the nutrients in the raisins and the fennel. This takes place in a terracotta pot, an ancient cooling method that continues to be a part of Indian kitchens. This amazing, energy-efficient refrigeration technique is also great for curd, water and so many items which are best served cooled in the hot summers. Adapted for both adults and children as a sort of raisin and fennel juice, this syrup that I liked to gulp in a shot from my childhood is an ideal drink to cool down in the heat.

You may be wondering how sugar, which so many nutrition-conscious people regard as a big no-no, could be such a major part of a home remedy. Its presence in this recipe is neither for reducing bitterness nor for making it more palatable for children, especially since delicious raisins don’t need to be (literally) sugar-coated like certain other nourishing ingredients. The use of kalkand here is only for a cooling effect, just like the terracotta pot. A substitute like jaggery would have a heating effect, and is better avoided.

This raisin kalkand syrup is best taken in the summer months, and joins an ever-growing list of heat-fighting drinks on this blog, including rose sherbet and spiced buttermilk.

Raisin Kalkand Syrup

(Yield: 1 cup)

¼ cup black raisins

1 lump crystal sugar (optional)

2 tablespoons fennel seeds

1 cup water


A terracotta pot was always considered a must by my mother when making this cooling syrup, so it’s still a part of my own method. Put all the ingredients in a small terracotta pot, including the water. Soak overnight or for a minimum of 6-8 hours.

Please note that the sugar quantity is really a question of personal preference. If you have been advised to cut down on it, you may use less or omit it from the recipe.

Once the soaking process is complete, blend the soaked ingredients with more water.

The beauty of how this drink was made was that it was lovingly crushed by our mother’s hands, because we didn’t have a blender around yet. Now of course, I blend it but then strain it with a muslin cloth just as she did. She would use an old saree of hers which had been worn to tatters. Ever resourceful, she would cut pieces from used clothing and keep it for such purposes.

Using a fine muslin cloth, strain the blended mixture well. Squeeze the liquid into a glass. As children, we loved drinking it like a shot, although you may prefer to sip it. Enjoy at room temperature and preferably fresh. This recipe serves one. Increase quantities as desired to serve more.

With all the bitter remedies that we were forced to spoon down growing up, this raisin kalkand syrup was not only a tasty respite, but also a beautiful metaphor on balance. It served to teach us something important about life itself, and finding ways to make it sweeter. And that’s the lesson that comes to mind as I share it with you today.

The beauty that we see all around us, we take for granted. This is why I love flower exhibitions, which put that beauty at the centre and let us appreciate it fully. Flowers represent inner peace to me. Amongst other things, the Chelsea Flower Show, was on my wishlist. And I recently had that dream fulfilled. It was like the experience of so many flower market visits, multiplied.

One of my favourite things to do in London is to wake up early and go to the flower market, which I enjoy just as much as I do a flea market or an antique market. It was a dear friend who first took me to the Columbia Street Market, which soon became one of my favourite London experiences. It begins with a coffee at any of the quaint shops alongside the flower sellers, sipping leisurely while watching them set up their stalls. They bring their fresh flowers in and I watch them at work while I have my coffee, which is always so lovely and which sets off the mood. I could sit there all day, between the taste of the coffee and the sight of the blossoms.

Amidst the abundance of peonies and a variety of English greens, I was taken aback to see a jasmine plant in a pot. It was simply laden with flowers which reminded me of the oosi malli back home. I was surprised to see it blossoming when the climate was not conducive for it, and it gave me fresh inspiration to continue working in my own gardens. I was reminded of my own home and the manoranjithas I’m trying to revive. The dedication of those London florists, and the sheer variety of flowers they cultivate, are lessons to inspire us to look at the diversity and beauty that exists around us.


Sitting in one such market not long ago, taking impromptu images on my iPhone camera, my eyes were wandering around looking for those flowers which were dried, so I could carry them back with me. This was when this exquisite batch of lavender caught my attention. Since I brought this beautiful lavender back with me, my entire home is carrying its fragrance and I’d do anything to keep it lasting. If there was a way I could capture its fragrance, I’d easily share it with you. But since I can’t, this vegan lavender cake with coconut icing is the next best thing.

As you may know, lavender is one of the flowers/ingredients that most inspires me, and you may have enjoyed several of my previous recipes featuring it. Some of my experiments have yielded such delights as this lavender shrikand and this vegan lavender panna cotta.

This cake is made for the vegan palette. Veganism is becoming increasingly popular, and rightly so. Among other reasons, the treatment of animals to procure ingredients for non-vegan meals is a big factor as to why people choose it. I am increasingly becoming aware of veganism and trying to include it in my food journey, and you can see several of my recipes here.

Vegan Lavender Cake

Cake:

190 grams flour

30 grams desiccated coconut

200 grams sugar

1 teaspoon baking soda

¼ teaspoon salt

1 cup coconut milk

2 teaspoons vanilla extract

80ml sunflower oil

1 tablespoon apple cider vinegar

½ teaspoon lavender


Icing:

400 grams icing sugar

40 grams vegan butter or margarine

2 teaspoons coconut milk

1 teaspoon vanilla extract


Decoration:

¼ cup desiccated coconut

I’ve talked so often about the pleasure of baking that whenever I share a recipe like this – something from the re:store menu – it makes me happy to know that you can have that same experience of the joy of preparation, not just the satisfaction of the final product!


Preheat the oven to 160°C. Grease and dust two 7’ cake tins and line them.

Sift the flour.

Add all the dry ingredients – flour, desiccated coconut, lavender, baking soda and salt – into a bowl and whisk. Now add the sugar. Keep aside.

Now, put all the wet ingredients – coconut milk, oil, vanilla extract and vinegar – in a separate bowl, blend, then add these to the dry mixture.

Whisk the wet and dry ingredients together gently. Once you have a batter, divide it equally between the 2 cake tins.

Bake both tins for approximately 30 minutes or until a tooth pick comes out clean.

Allow to cool for 10 minutes before removing the cakes onto a cooling rack. Once they have cooled completely, they are ready to be decorated with icing. So it’s best to make this as they cool.

This vegan lavender cake is garnished with a coconut milk icing. In a mixer, add the butter, vanilla extract and sugar. Beat on a low speed. Slowly, increase the speed and add the coconut milk carefully. Add only as much as required, and make sure that the mixture is spreadable. Adjust the coconut milk or sugar quantities as required to ensure this.

Place one of the cakes on a base and apply half the icing on top of it. Sprinkle 1 tablespoon of the desiccated coconut, then place the second cake on top of this to form a layer.

Ice the top generously and sprinkle the remaining desiccated coconut. Decorate as desired. A good presentation makes for a tasty cake too. As I always say, the eye tastes before the mouth does, and using attractive serving ware and garnishings can really enhance the experience.

As is most often the case, I decided on this recipe based on the ingredients I had on-hand and how they inspire me. Lavender and coconut were the flavours I chiefly wanted to bring out, and vanilla is of course a baker’s best friend. Together, for me they evoke the way it feels to sit at a café and watch a flower market being set up. When you try out this recipe, please let me know what these scents and tastes evoke for you!

With the summer being as harsh as it is, keeping hydrated should be at the top of our list of nutrition priorities. While water goes a long way, imbibing different beverages with beneficial properties both gives us our required quota, and also keeps things creative in the kitchen! In my quest for new recipes, I often find myself turning to older ones, especially ones I took for granted while growing up. This barley lime drink is one such.

I’m a great believer in “grandmother’s remedies”, those old forms of healing that some people just have a great sense for. My mother always just knew what was good for us. She could simply look at an ingredient and know whether it was cooling or heating, or what its healing uses were. Her intuition was similar to the system of Ayurveda, which uses as one of its main principles the idea that some foods are cooling for the body, and some are heating.

During the summer months, we often drank barley lime. I later learned that one reason for this was because we used to run around climbing the neighbours’ trees, getting our knees scraped, plucking and eating the mangoes. Mangoes are famous for having a heating effect on the body, so barley lime was served to counter and balance this, since our mother knew we were having mangoes in excess every summer! You may be interested to know that raw mango, on the contrary, is cooling. Which is why it was the star of this post a couple of summers ago.

The goodness of barley was something I never thought about, except when I remembered how often our mother would feed my sister and I glasses of barley lime, even beyond the summers. The two of us were considered weaklings. Because she was worried that no one would marry us eventually, sometimes it was like our mother’s goal in life was to fatten us up. Interestingly, barley is actually good for weight loss. The intent behind this drink was good health, translated simply into putting on weight for scrawny kids, when in fact what it does is to provide a range of impressive benefits. These include: lowering cholesterol, balancing blood sugar and gut bacteria and helping to heal asthma and anaemia and numerous other common conditions (cue: “weaklings!”). Because I work so often with millets and organic produce, it was no surprise to learn about the bevy of benefits barley gives us. Barley is a cereal, and was one of the first domesticated grains, with a history that can be traced to the Nile region. North and Northwest India are huge producers of it, and it is known as “jau” in Hindi.

The other chief ingredient in this drink is the wonderfully versatile citrus fruit known as the lime. While a barley lemon drink is what you may be familiar with in many parts of the world, here in South India we usually reach for the ubiquitous lime as a substitute for all recipes that call for lemon. So much so that we often call the fruit itself “lemon”! Lime is a vital part of our cuisines, and also important in religious ceremonies. It has a powerful tangy flavour as well as a pleasing aroma, which influence any dish it’s used in. Lime is very good for digestion, thanks to its high acidity, and it complements barley’s beneficial properties such as improved respiratory function and weight management.

Both barley water and lime water are considered easily affordable, nutrient-rich beverages. So imagine what a super-boost combining the two provides. In these months of constant dehydration, a glass of barley lime makes me feel so thankful for my mother’s wisdom in the kitchen, which has kept my energy going to this day.

Barley Lime Drink

(Yield: 4-5 glasses)


½ cup barley

2 teaspoons sugar or honey

A pinch of salt

2 tablespoons lime juice

A few sprigs mint leaves


Pick and rinse the barley. Place it in a pot and add 6 cups of water. Allow to boil for about 12 minutes. Strain the water and discard the barley.

Allow the barley water to cool, and simply add the remaining ingredients. You may adjust the quantity of the ingredients to suit your taste. If you prefer it to be sweeter, you may add more sugar or increase the quantity of honey.

Keep the barley lime drink in the refrigerator. Serve chilled, garnished with mint leaves, and with extra ice if you prefer.

This anti-weakness, health-boosting beverage from my childhood has now become an elegant refreshment which I serve to my guests during this hot summer. I also frequently make a range of other chilled drinks, such as spiced buttermilk with homemade yoghurt, rose sherbet, and of course, my curry leaf and raw mango cooler. How are you keeping cool? I’d love to know in the comments.

Perhaps the combination of the sweltering Chennai summer and the memories evoked by my last post, on travels through Spain, were what made me crave this Andalusian dish. Gazpacho is a kind of cold soup, not soup gone cold but rather soup which has never been heated. Tomato is often the base, but I took the element of cooling a step further and used a fruit that is a staple for us during this time of year: juicy, ripe, sweet watermelon.

Chennai being hot through most of the year, gazpacho is always welcomed in my home. But the summer demands extra cooling, so first I tried my hand at a yoghurt-based soup with mint. But it ended up tasting a bit like raita and was quickly dismissed from my dining table. That’s when the burst of seasonal fruit at Namma Suvai  – a place I like both for their honest and open policy of having back end (farmers) and front end operations meet, as well as for their superb organic range – gave me a brainwave. I picked up the watermelons, which grow best in warm climates and provide a much needed hydrating and cooling effect to the body. I had not eaten watermelon gazpacho before, even though I knew it existed, and so was all the more excited to try it.

Gazpacho is exceedingly easy to make, just a simple puree, and as I prepared it, I recalled how I used to try to get the kids to eat healthy when they were younger. It’s quite a task, as all moms know, and most of you will be familiar with the technique of disguising (or as the kids say “disgust-ing!”) soups with all kinds of vegetables. I would add locally grown, water-based vegetables like bottle gourd or ridge gourd along with carrots and onions to the basic tomato – all while making sure the red colour of the tomato, the vegetable most popular to their palate, remained. Needless to say, I’d feed it to them quickly, before they noticed their red soup was full of green goodness! As they grew older, they caught on to the trick and refused to eat soup unless it was made to their taste and preferred proportions. Sometimes, they would eat it just to please me, but then say “Ma, did you think we didn’t know?” Fortunately, their tastes became refined once they saw their own friends beginning to enjoy soups socially. Of course, no matter what age the kids are, a parent is still a parent, and those of us who are parents never stop trying to ensure that they are eating well.

Even though I no longer needed to disguise this soup so it looked like tomato, maybe a little of that old desire to make my dishes as attractive for my kids as possible was still in me, so I wanted this gazpacho to be not just tasty but also vibrant both visually and on the tastebuds. So I added garlic, some colourful bell peppers and a hint of tomato to it. Raw chopped mango brought some tangy Indian-ness too, and a hint of chaat masala added familiar spice. The garnishing was meant to catch the eye, and so it did. Not only did the kids reach for it, but we had a surprise guest for dinner, and she thoroughly enjoyed my watermelon gazpacho along with my homemade sourdough.

As those of you who have followed my Instagram Stories for a while know, sourdough was something I worked at every day, entirely convinced I would eventually get the hang of it, and I did. It’s a very long and cumbersome process, but one every baker should experiment with. Sourdough is a way to make bread without yeast, allowing the natural bacteria to ferment in the air. I now make it so often that I have so much bread that I end up making accompaniments to it instead of the other way round.

One such accompaniment, of course, is this bright and flavour-rich watermelon gazpacho, which brings together sweetness, spice and some much-needed summer cooling.

Watermelon Gazpacho

(Yield: 5-6 cups)

2 ½ cups watermelon – deseeded

¼ cup tomato

¼ cup chopped red capsicum

¼ cup spring onions

3-4 cloves garlic

2 tablespoon olive oil

5 basil leaves

2 teaspoons any good vinegar/red wine/sherry or a big squeeze of lemon

3 small slices jalapeño

2 tablespoons finely chopped raw mango

¼ teaspoon chaat masala

Salt to taste (I used Himalayan pink)

Toppings:

Finely sliced avocado

¼ cup finely sliced red capsicum

2 tablespoons finely sliced spring onion

2 tablespoons olive oil

The method to make this watermelon gazpacho is extremely simple. Just keep the toppings aside and put all the other ingredients into a blender. Blend, but let the mixture remain coarse.

Pour into pretty serving glasses or bowls and garnish with the toppings. Gazpacho is meant to be served cold, and whether your guests will enjoy it as a soup or as a crunchy beverage is up to how you serve it!

This watermelon gazpacho is truly a mélange of flavours: from spicy chaat masala to sweet watermelon, and the textures of soft avocado and crisp raw mango in between. You may think so many ingredients wouldn’t go well together, but believe me – they do. I so enjoyed having this gazpacho with sourdough slices, a light and healthy combination that formed a perfectly filling (and very satisfying!) dinner. Do give it a try while watermelons are in season, and let me know what you think!

I’ve spoken often of how, just a few years ago, my daughter baked a chocolate cake for the family which was a turning point in my life. It was the best cake I had ever eaten, and I remember watching her as she made it. She was in good spirits, and hummed and sang while she was gathering the ingredients and lining them up in front of her. Then, she happily pulled out a recipe and began with such lightness and joy. Watching her, I thought to myself: “I’ve tried baking for so many years. I must try again with the same spirit my daughter has.” The first bite of the cake that came out of the oven was the last push of encouragement I needed. I set my mind to it: I would learn to bake with joy. I spent the next month baking the exact same cake every single day, tweaking the method and learning with each effort, until I too fell into a happy, humming rhythm. And the rest, as they say, was history…

My daughter is a big part of the recipe I am sharing today, but it’s not just because of that life-changing chocolate cake (which you can order right here if you are in Chennai). Rather, it’s because of one of the many dishes she introduced me to when she was studying for her Bachelor’s in Boston. Whenever I would visit her, she would always take me to interesting new places to try out delicious cuisines and treats that never failed to inspire me. It was in one such café that I tasted madeleines for the first time. They were pistachio ones, and you know I love pistachio (of course, a pistachio cake also sits prettily on the re:store product list).

Madeleines are a kind of basic sponge cake which are made in a shell-like shape (you can find trays for this in most baking stores). They are widely regarded as being of French origin, and an English version with jam, desiccated coconut and cherries is also popular. But to me, it’s the Spanish madeleine that captured my heart. You see, some time before being introduced to the sweet treat in Boston, we had gone to Spain, where I first heard of the little sponge cake. It was the loveliness of the trip itself which gave its local version a sentimental value for me, even though it wasn’t until later that I got a chance to eat it.

It was an experience of a lifetime to be in Santiago de Compostela, in Spain’s Galician region, on the holy day of Palm Sunday. We had been delayed and had missed our connecting flight, so we were surprised to find we had made it in time for the services. And even better, we had somehow wound up in the front row. Here, we had a wonderful view of a special ritual that only takes place on special occasions. Enormous incense holders known as botafumeiro are swung across the expanse of the church and back, filling the environment with scent, smoke and a feeling of divine grace.  The effect of the smoke in that beautiful cathedral, amidst the chants and prayers, was surreal.

Heading back to the exquisite Hostal dos Reis Católicos, which dates back to 1486 and is thought to be the most beautiful hotel in Europe, I gathered these new memories together. Somewhere on this trip was where I learned how the humble madeleine is related to the grandeur of a Spanish cathedral, and that’s how I think of it, no matter where I eat it. You see, Santiago de Compostela is the culminating point of the Camino de Santiago pilgrimage route. In the Spanish origin story of the recipe I am sharing today, a medieval chef named Madeleine used to make these little shell-shaped delights to feed the pilgrims there. The treats took on her name.

Short or long, pilgrimages are all metaphors for our own life as we pursue our dreams and life’s mission. To me, my own pilgrimage is a journey of delighting people through food which appeals to every sense. From the tastebuds to the memory centres, and everything in between. These sweet madeleines are a perfect example – and yes, they are made with joy!

Madeleines

(Yield: 12 madeleines)

90 grams flour

¾ teaspoon baking powder

100 grams unsalted butter

65 grams sugar

2 eggs

1 teaspoon vanilla extract

½ teaspoon lavender seeds

2 teaspoons maple syrup

2 teaspoons milk

Powdered sugar for dusting

The basic madeleine recipe is simple and elegant and I have done little to change it but sweeten it further using maple syrup. I also added a little re:store flourish in the form of one of my favourite ingredients – lavender, the subtle hint of which always lightens up my mood.

Prepare a madeleine pan by buttering and dusting it.

Whisk all the dry ingredients together. Carefully melt the butter in a pan, on a medium flame, until it turns brown.

Place the sugar in a bowl and mix it. Add the eggs one at a time and beat well.

Now, add the vanilla extract, the lavender seeds and the maple syrup. Whisk well until the mixture is perfectly blended.

Now, add the remaining dry ingredients. Once all the ingredients are well incorporated, add the butter in slowly, using just a small quantity at a time. Then, stir in the milk.

Now that you have made the batter, divide it into the moulds of the madeleine tray and allow it to cool in the refrigerator for 15 minutes. In the meantime, preheat the oven at 160 °C.

Remove the tray from the refrigerator and place it directly into the oven. Depending on what kind of oven you use, bake for 10-15 minutes.

Once the baking is done, remove the tray from the oven. Upturn it and watch as the beautiful madeleines fall out. Dust them with powdered sugar and store in a dry container. That is, if you don’t serve them immediately. Chances are, you won’t be able to resist.

These delicious madeleines are a perfect tea-time snack, so brew yourself a pot of your favourite as you enjoy the scent of baking still lingering in your kitchen.

I love ruminating over tea, as I sit with Max and enjoy a little me-time. It was on one such day that I dreamt up this post as well. And I especially like having a little sweet treat to go with my beverage. How about you? Please be sure to let me know what tasting these madeleines inspires in you!

Every summer during my childhood, my family would drive up to Ooty to get away from the heat in Chennai. There we’d be, little children in our little Fiat car, excited to reach the hills. The drive would take anywhere between 8 and 12 hours, and since our car didn’t have an AC, it would be sweltering for most of the ride. So we’d stick our heads out of the windows and enjoy the drive. There were no eateries along the way, so we’d pack picnics for the journey. This was a ritual for many families we knew, who would escape the summer weather during the school vacations, in favour of the refreshingly cool climate of the hills.

As we came closer to our destination, not only would the air and the temperature become more and more pleasing, but the curling streets and by-lanes winding up to Ooty would be lined with the stalls of farmers, selling fresh produce like carrots and green peas, and a variety of fruits and other vegetables which grow well in that climate. Green peas would be sold by the name “English vegetable”. Even today, if you go to the local produce markets in Chennai and other places, “English vegetable” is the term that is used. Strangely, there is evidence that suggests it could be found in India some two thousand years ago, but no doubt it was the British who cultivated it properly. And who introduced it from their own cuisine into ours.

Green peas are not actually vegetables, but legumes. They are rich in antioxidants and fibre, have a high protein content (four times that of carrots) and also contain vitamins, manganese, folate and other beneficial elements. Like most green things that farmers grow, they are good for you.

Indians are very innovative when it comes to the kitchen. So all over India, the “English vegetable” was quickly welcomed into the family like they would a good daughter-in-law. Indianised and masalafied recipes featuring the ingredient became popular. We are big foodies in this country, and always find intelligent ways to incorporate new culinary elements into our own styles. Green peas are versatile, so you can make everything from a rice dish like a green peas pulao to so much more. The most bizarre dish I’ve heard of was a green pea halwa, a kind of sticky sweet – any chance you’ve tasted it? From this end to that, once it became popularised by the British, people made interesting dishes using this exotic “English vegetable”. Somewhere in the North, the availability of the green pea gave rise to a dish known as harra bhara kebab.

Kebabs in India originated from Mughal cuisine, from the palace kitchens of the Sultans. Although traditionally made of meat, today we make kebabs out of everything, even quinoa or paneer. The closest English equivalent, since we are using the “English vegetable” today after all, would be a patty or cutlet. Kebabs are sometimes cooked on a skewer, though not always served on one.  The harra bhara kebab is a great hit at parties because it’s a fabulous vegetarian snack, especially for those who’d like to try a kebab but want to avoid the meat ones. The word harra bhara itself is a Hindi term – “harra” meaning “green” and “bhara” meaning “stuffed”.

While cooking this dish, the challenge is to add spices in such a way that the green peas and vegetables retain their colour. This is because the way it looks adds to your experience of eating it, and most cooks want to convey the freshness of the ingredients visually. Some add baking soda or other condiments to keep this so, but I always prefer to keep things natural.

There’s an abundance of green peas in the markets right now, so I decided to make harra bhara kebabs. And as the weather is slowly turning hotter, memories of those summer vacations and those calls of “English vegetable” in the street markets have come flooding back…


Harra Bhara Kebab

(Yield: 8-10 kebabs)

1 ½ cups green peas

¼ teaspoon cumin seeds

3 tablespoons oil

1 finely chopped green chili

½ cup finely chopped onions

½ teaspoon ginger garlic paste

½ teaspoon garam masala

½ teaspoon aamchur powder

¼ teaspoon sugar

½ cup coriander leaves

½ cup mashed potatoes

Salt to taste

In a pan, add 1 tablespoon oil and the cumin seeds. Once the cumin seeds turn golden, add the onions. Sauté for 2 minutes and then add the ginger garlic paste. Sauté some more till the colour turns.

Now, add the green peas and green chili. On a medium flame, stir well, making sure it doesn’t stick to the bottom. Then, cover the pan with a lid so the peas soften a little bit.

Once the green pea mixture has softened slightly, add the salt, aamchur powder, garam masala, sugar and coriander leaves. Mix well and allow to cool completely.

Grind the peas mixture coarsely. Blend this with the mashed potatoes, using your fingers. Then, make small patties with your palms.

In a flat pan, add the remaining oil. Once the pan is heated, place the kebabs gently on the oil. Keep the flame between low to medium and turn them over gently. Make sure they’re done well on both sides. Remove from the pan.

These harra bhara kebabs are ideal for sharing and are a perfect finger food, especially for parties where you want to add a few exciting vegetarian options to the menu. Serve them with a dip of your choice. I like them with a green coriander chutney, which you may remember from this earlier snack recipe for banana methi fritters. A tamarind chutney will also go very well. I’d love to know what dip accompaniment you like best for these harra bhara kebabs when you try them out. Looking forward to your comments!

When we were young, our mother used to give us a bitter herbal drink, made of a powder called sudarshan churna, which was effective in deworming and improving immunity. Every Sunday, we would have to stand in a row, and would be made to gulp down that horrible liquid. But it worked. Later on, I tried to make my own kids do the same but I could not convince them. Perhaps one day they too will learn the value of these healing home remedies, just as I eventually did. I was thinking about some of them from my childhood as I prepared some herbal medicines for a chest congestion I’m recovering from. There’s the sniffle season drink, of course, which you may remember. But of equal importance is a shot of turmeric that I have daily, which has been coming to my rescue.

There are so many reasons why I so lovingly made this essential ingredient the logo for re:store (the bright stamp you see in the header above is it, and you’ll see it on the packaging when you put in orders as well). Turmeric is a powerhouse, which is why it is a vital ingredient in many traditional healing systems. Siddha, Ayurveda and Unani medicine treat it as crucial. Surprisingly, it is not believed to be native to India. But its usage here is so extensive that it can be said to be ubiquitously Indian. Not only are the edible variants used widely in cooking and healing, but the “kasturi manjal”, as it is known in Tamil, is prized as a beauty enhancer. In South Indian aesthetics, applying it on the face and leaving it on the skin is appreciated. You still see women everywhere with positively yellow, glowing faces. It’s very much a part of our landscape and sense of beauty. Turmeric is also auspicious in Indian culture. You see the stalks being used in the Pongal rituals in Tamil Nadu (which is the time during which it is harvested; Pongal was in mid-January, and turmeric is currently in season. And you also see it being given as a blessing gift by Gujaratis.

Turmeric is best-known for its antioxidant, antibiotic and antiseptic properties. To boost immunity, and assist in recovering from infections, there’s nothing like turmeric. Its usage is so simple – for instance, if we had a cough when we were kids, our mother would just give us a tablespoon or even a finger of turmeric power mixed with honey before bedtime. It would ease the severity of the cough as we slept. Even today, when I cut myself in the kitchen, which I do often, I just take a pinch of turmeric and place it over the cut. It always heals quickly.

This recipe would literally be a single-ingredient one if it wasn’t for one more addition. Ghee, also known as clarified butter. Ghee is fat-soluble, and I use a small drop of it here so that the body can absorb the turmeric better. It’s often used in Ayurvedic medicines for the same reason. It’s optional (vegans may avoid it), but I also feel it slightly improves the taste.

But the turmeric is really the main thing, a star among ingredients for healing remedies. And that’s why I keep talking about it, and why it’s the symbol of re:store. To me, it is the epitome of good health and represents it in every shape and form. Wherever it originally came from, it belongs to India now, and you can grow it in your own backyard. I’m all for ingredients that can be homegrown, so you know just what goes into your body, and even my turmeric powder is homemade. Whether it goes into a drink like this or into a curry, it’s wonderful to know exactly where our food comes from.

Health-Boosting Turmeric Shot

(Yield: 1 cup / 2 shots)

Ingredients

Turmeric (fresh or powdered)

A drop of ghee


This might be the simplest recipe I have ever shared on this blog. But believe me, it is also one of the most effective. Once you see how much it helps you fight off small infections, allowing you to not have to resort to antibiotics, I have no doubt you will make it for yourself and your family frequently.

You can make it with either fresh or powdered turmeric, depending on what’s on hand. If using the former: wash, cut and remove the skin from the fresh turmeric root. You will get about a ½ cup’s worth. Now, finely chop it, then grind it in a blender, adding a tablespoon of water to help it blend properly. Once the turmeric root has been well crushed, sieve the juice through a fine muslin cloth or cheese cloth. Pour into a glass and add a drop of ghee or melted butter.

When I do not have fresh turmeric available, I do use powdered turmeric. For this recipe, blend a ½ teaspoon of turmeric powder with 1 cup of water. Once blended, add a drop of ghee.

You require no more than a ½ cup of the drink for each dosage. Have it once a day, in addition to any other remedies you may be taking. You will find that it boosts your immunity, and helps clear any infection more quickly.

And finally, even though it’s a herbal medicine – it’s also such a beautiful drink to look at! That vivid colour is so uplifting. Simply put, it stands for health, home and happiness to me.

If you’ve been following my blog for a while, you may not be surprised to hear me say that green moong is my favourite among lentils (you may know it as mung bean, green gram or pachai payiru). As you’d have seen, I’m so in love with its versatility that it’s found a place in recipes as diverse as this crunchy teatime snack and in this deeply filling meal-in-a-bowl. With Republic Day this weekend, honouring the Indian constitution, I thought of how to best honour a different kind of Indian constitution – and once again, the humble yet power-packed mung bean was what came to mind.

Green is one of the three stripes of the tricolour and greenness is something that I think we need and must celebrate in this country. It’s a colour that evokes fecundity, growth and serenity. In my previous post, I talked about the harvest festival Sankranti. As a farm-owner, and someone very invested in using the goods of my garden in my kitchen, “green” is a way of life for me. I hope that this year will be good for farms and farmers everywhere, for political calmness, and for harmony and oneness with nature.

The recipe I am sharing today is for green moong dhokla – a healthy, fermented, steamed dish that can be eaten as a main course, a snack or an accompaniment. Soft and flavourful, a dhokla is so ubiquitously Gujarati that it’s a stereotype. I’ve literally heard people say “Dhokla!” when they hear what my ethnicity is. We have so many varieties, and my personal favourite is actually the buckwheat kind which is eaten on Agyaras, the eleventh day of each month which is traditionally observed by Gujarati Vaishnavites as a relaxed fast during which no grains or salt are consumed, but buckwheat, fruits, yams, potatoes and the like are allowed. I’m not one for fasting, but I always look forward to having some dhokla when I’m around someone who is!

Once again, it was my sister who taught me how to make this – one more classic item from the Gujarati cuisine that she learnt after getting married, just like this til-ka-chikki. She has a knack for making it in practically a snap of the fingers – often, I’d ask for a plate of green moong dhokla, go downstairs for a bit, and come up to see it was already prepared.

This green moong dhokla is eye-catching thanks to its colour, which is always a great way to get kids to eat something that’s good for them. As you may remember from earlier posts, moong is extremely nutritious. It is a great source of fibre, potassium, manganese, folate and various vitamins and minerals. They are also an excellent source of protein, and I would say crucial to a vegetarian or vegan diet. They are known to lower blood pressure and sugar levels, prevent heat stroke, aid digestion, reduce the risk of cardiac disease, and possibly assist in weight loss.

A dhokla could be described as a kind of savoury sponge cake, steamed rather than baked. Every kind of dhokla is delicious, in my opinion. But as a Gujarati, I’m biased. Why don’t you try this version and tell me what you think?

Green Moong Dhokla

(Yield: 15-20 pieces)

1 cup green moong (mung beans)

½ teaspoon ground green chilli paste

1 teaspoon ginger paste

2+2 tablespoons oil

1 teaspoon lemon juice

1 cup coriander leaves

½ cup capsicum

½ teaspoon sugar

½ teaspoon eno powder

½ teaspoon mustard seeds

½ teaspoon cumin seeds

A few curry leaves

Salt to taste

Grated coconut (optional)


Soak the green moong overnight. In the morning, rinse the moong, remove the water and put the beans in a blender along with salt, coriander leaves, ginger paste and green chilli paste. You may need to add approximately a ½ cup of water to allow it to grind well. The The consistency of the batter needs to be a little thicker than that of pancake, or in other words, like idly batter.

Now, add 2 tablespoons of oil, and the lemon juice and finely cut capsicum to the batter.

Grease a plate and keep ready. Now, add eno fruit salt to the batter and mix gently. Pour the batter onto the greased plate, cover it and steam for 15 minutes. Below, you can see a traditional Gujarati dhokla cooker which my mom gave to me. I believed it was a part of her own wedding gifts. I’d forgotten that I’d had it and could use it. It’s still in perfect condition, and so compact and ideal. You can also see how it allows for cooking in layers.

Once steamed, remove the plate and allow the dhokla to cool. Cut into a desired shape. Square or rectangular pieces are the standard. I’ve done diamonds here.

In a small pan, add the remaining oil and the cumin and mustard seeds and wait for them to splutter. Once they start to splutter, add the curry leaves. Then, pour these over the cut dhokla. Garnish with coriander leaves and some grated coconut.

The green moong dhokla is now ready to serve. Spongy, spicy, and so very nice on the eyes with that gorgeous matcha cake colour. Like I said: have a piece as a snack, a couple as a side dish, or polish off the plate and call it a full meal. But honestly, I’d be surprised if you can stop at just one. These light, fluffy but very flavourful dhoklas demand to be devoured!


Sankranti, the harvest festival, is here and as we celebrate by giving thanks for the crops we eat daily, it’s til-ka-chikki that strikes me as a perfect dish for the occasion. The chief ingredient of this crunchy sweet is sesame, which is believed to have been cultivated in India for over 5500 years. As a form of produce that can grow with relatively little supervision, and in less than ideal conditions, there is no doubt to me that many of our ancestors would have considered it a perfect if not vital part of their Sankranti. Sankranti is known by various names throughout the country – it is also observed as Pongal, Bihu, Maghi and by other names depending on region. No matter where, it falls in mid-January and is a time when the sun is worshipped for its life-giving properties.

“Til” is the Gujarati word for sesame, as well as in other languages including Hindi and Punjabi. The English word “sesame” is from the Arabic “semsem”, indicating oil or liquid fat. This is because it is an oilseed produce. It’s an excellent digestive aid as it’s full of fiber, and also has high copper, manganese and calcium content, in addition to other vitamins and minerals.

Chikkis are a whole category of snacks, usually sweet thanks to the sticky jaggery that holds them together. We also make them with groundnuts, puffed rice (mora mora) and other variations, depending on the season. You can make them either in bars or in balls, and they also make a great ice cream topping when crushed. Til-ka-chikki is basically a sesame brittle, and today I’ll share the method to make them into bars.

I used to have a huge mental block about til-ka-chikki as I simply hadn’t known how to make it. My sister got married when she was just out of college, and she hadn’t learned how to cook yet. She went to her mother-in-law’s house, where she learned how to make the most beautiful traditional Gujarati dishes. I was still in high school at the time, and am still envious to this day about the culinary skills she picked up back then. Meanwhile, in my mother’s house, I was still studying but also began to slowly pick up recipes and techniques in the kitchen. I was probably inspired by my sister’s newfound talents, and our mother started me off on the basics, like rotli. Over time, I began to regard not only my mother and my own mother-in-law as my culinary teachers, but my older sister as well. My sister’s repertoire is vast. Even to this day, each time I visit her, I insist that she teaches me an entirely new dish  every time.

I overcame my mental block when I finally learned how to make this til-ka-chikki a couple of years ago, with her guidance. And I’ll admit that I am still learning. I don’t quite have the confidence to make it on my own yet, but every experiment has ended in happy mouths and sticky fingers. It would be great if you could learn it together alongside me. We could master it together, just as my sister has.

As with most traditional Gujarati sweets and snacks, this too requires only three ingredients. In this case, they are jaggery, sesame and ghee. If you’d like a vegan version, replace the ghee with a flavourless oil of your choice. Til-ka-chikki is also offered as a prasad, so while it is a simple dish it can also be a part of prayers for festive and special occasions. For Sankranti, of course, it’s a beautiful way to honour the sun that gave us this ancient and nutritious crop.


Til-Ka-Chikki (Sesame Brittle)

(Yield: 10-15 pieces)


Ingredients

½ cup sesame seeds

½ cup jaggery

1 tablespoon ghee

Grease an overturned steel plate and a rolling pin and keep these ready. Next, in a wok or kadai, roast the sesame seeds on a low flame. Occasionally increase to a medium flame for short spans. The sesame will take about 7 minutes to roast. Keep stirring until the colour changes.

Once roasted, transfer to a plate and allow to cool. Once cooled, taste a few seeds to check if they have a crunch to it. This means they are ready.

In the same wok or kadai, add the ghee. Then, add the jaggery and stir constantly on a low flame. As with the roasting of the sesame seeds, you may occasionally increase the flame to a medium for short spans, then immediately reduce it to a low again. Take care that the jaggery does not burn. Do see this video for reference: re:store sesame brittle video – 1

Mine took approximately 9 minutes to turn into a reddish colour. Once this happens, turn off the flame. Add the sesame seeds and stir well.

Drop the mixture onto the greased, overturned plate and immediately start to spread it out as thin as possible. You may need to use your fingers (dipped in water), while the rolling pin is coated with ghee. With this combination, try and spread it out in such a way that you mark lines for the pieces later.

Allow the spread mixture, striped with lines to form bars, to cool. Once it has completely cooled, place the plate on the stove and warm from below. The entire piece will come out as a whole. Break it along the marked lines. Store in an airtight container.


Here’s another process video: re:store sesame brittle video – 2

I want to say that this til-ka-chikki is easy to make, but I’ve already told you honestly that it’s not. But I love a challenge in the kitchen, and try again and again to better then perfect my dishes. Even with my photoshoots, it’s the same. When the end result comes out well, it’s all the more delicious when I know the effort that’s gone into it! Tell me how it goes when you try your hand at this dish. Wishing you and your loved ones a happy Sankranti!