Tag

potato

Browsing

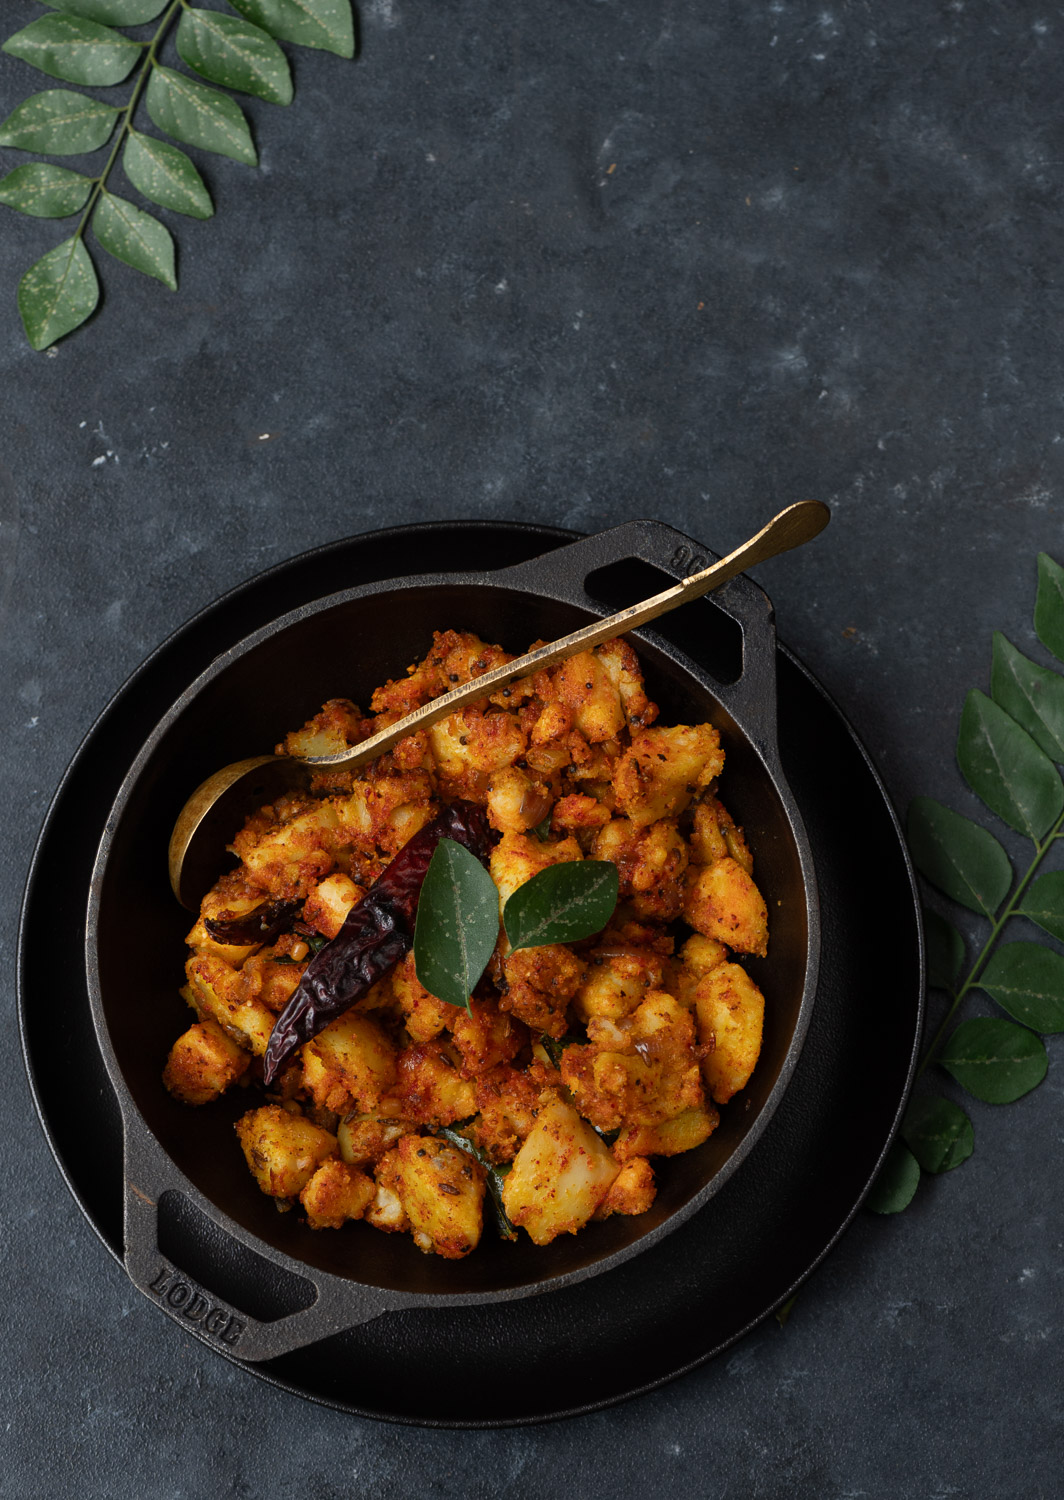
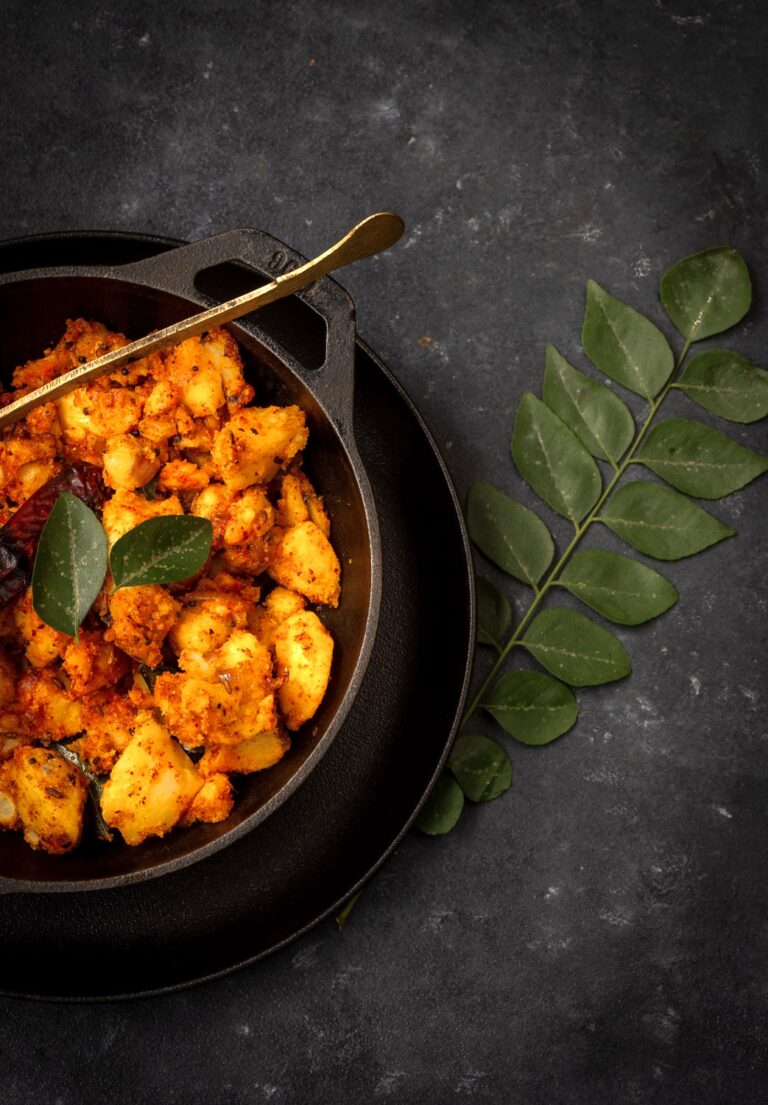
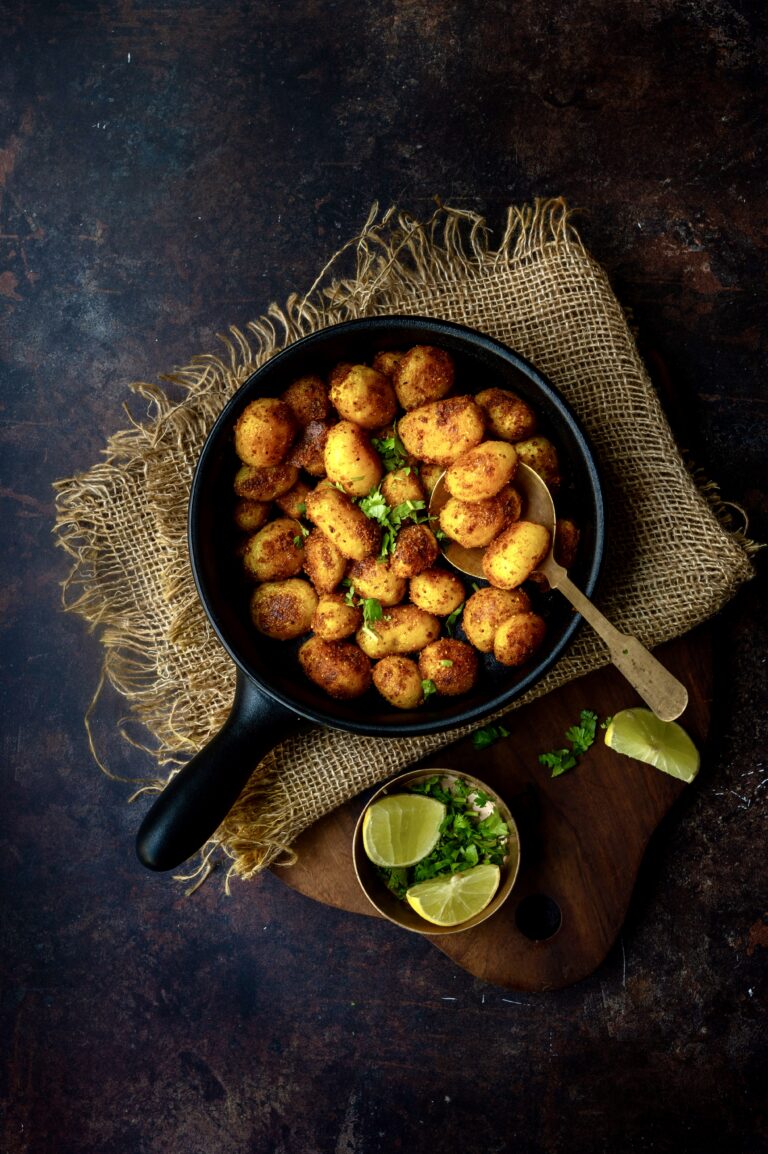
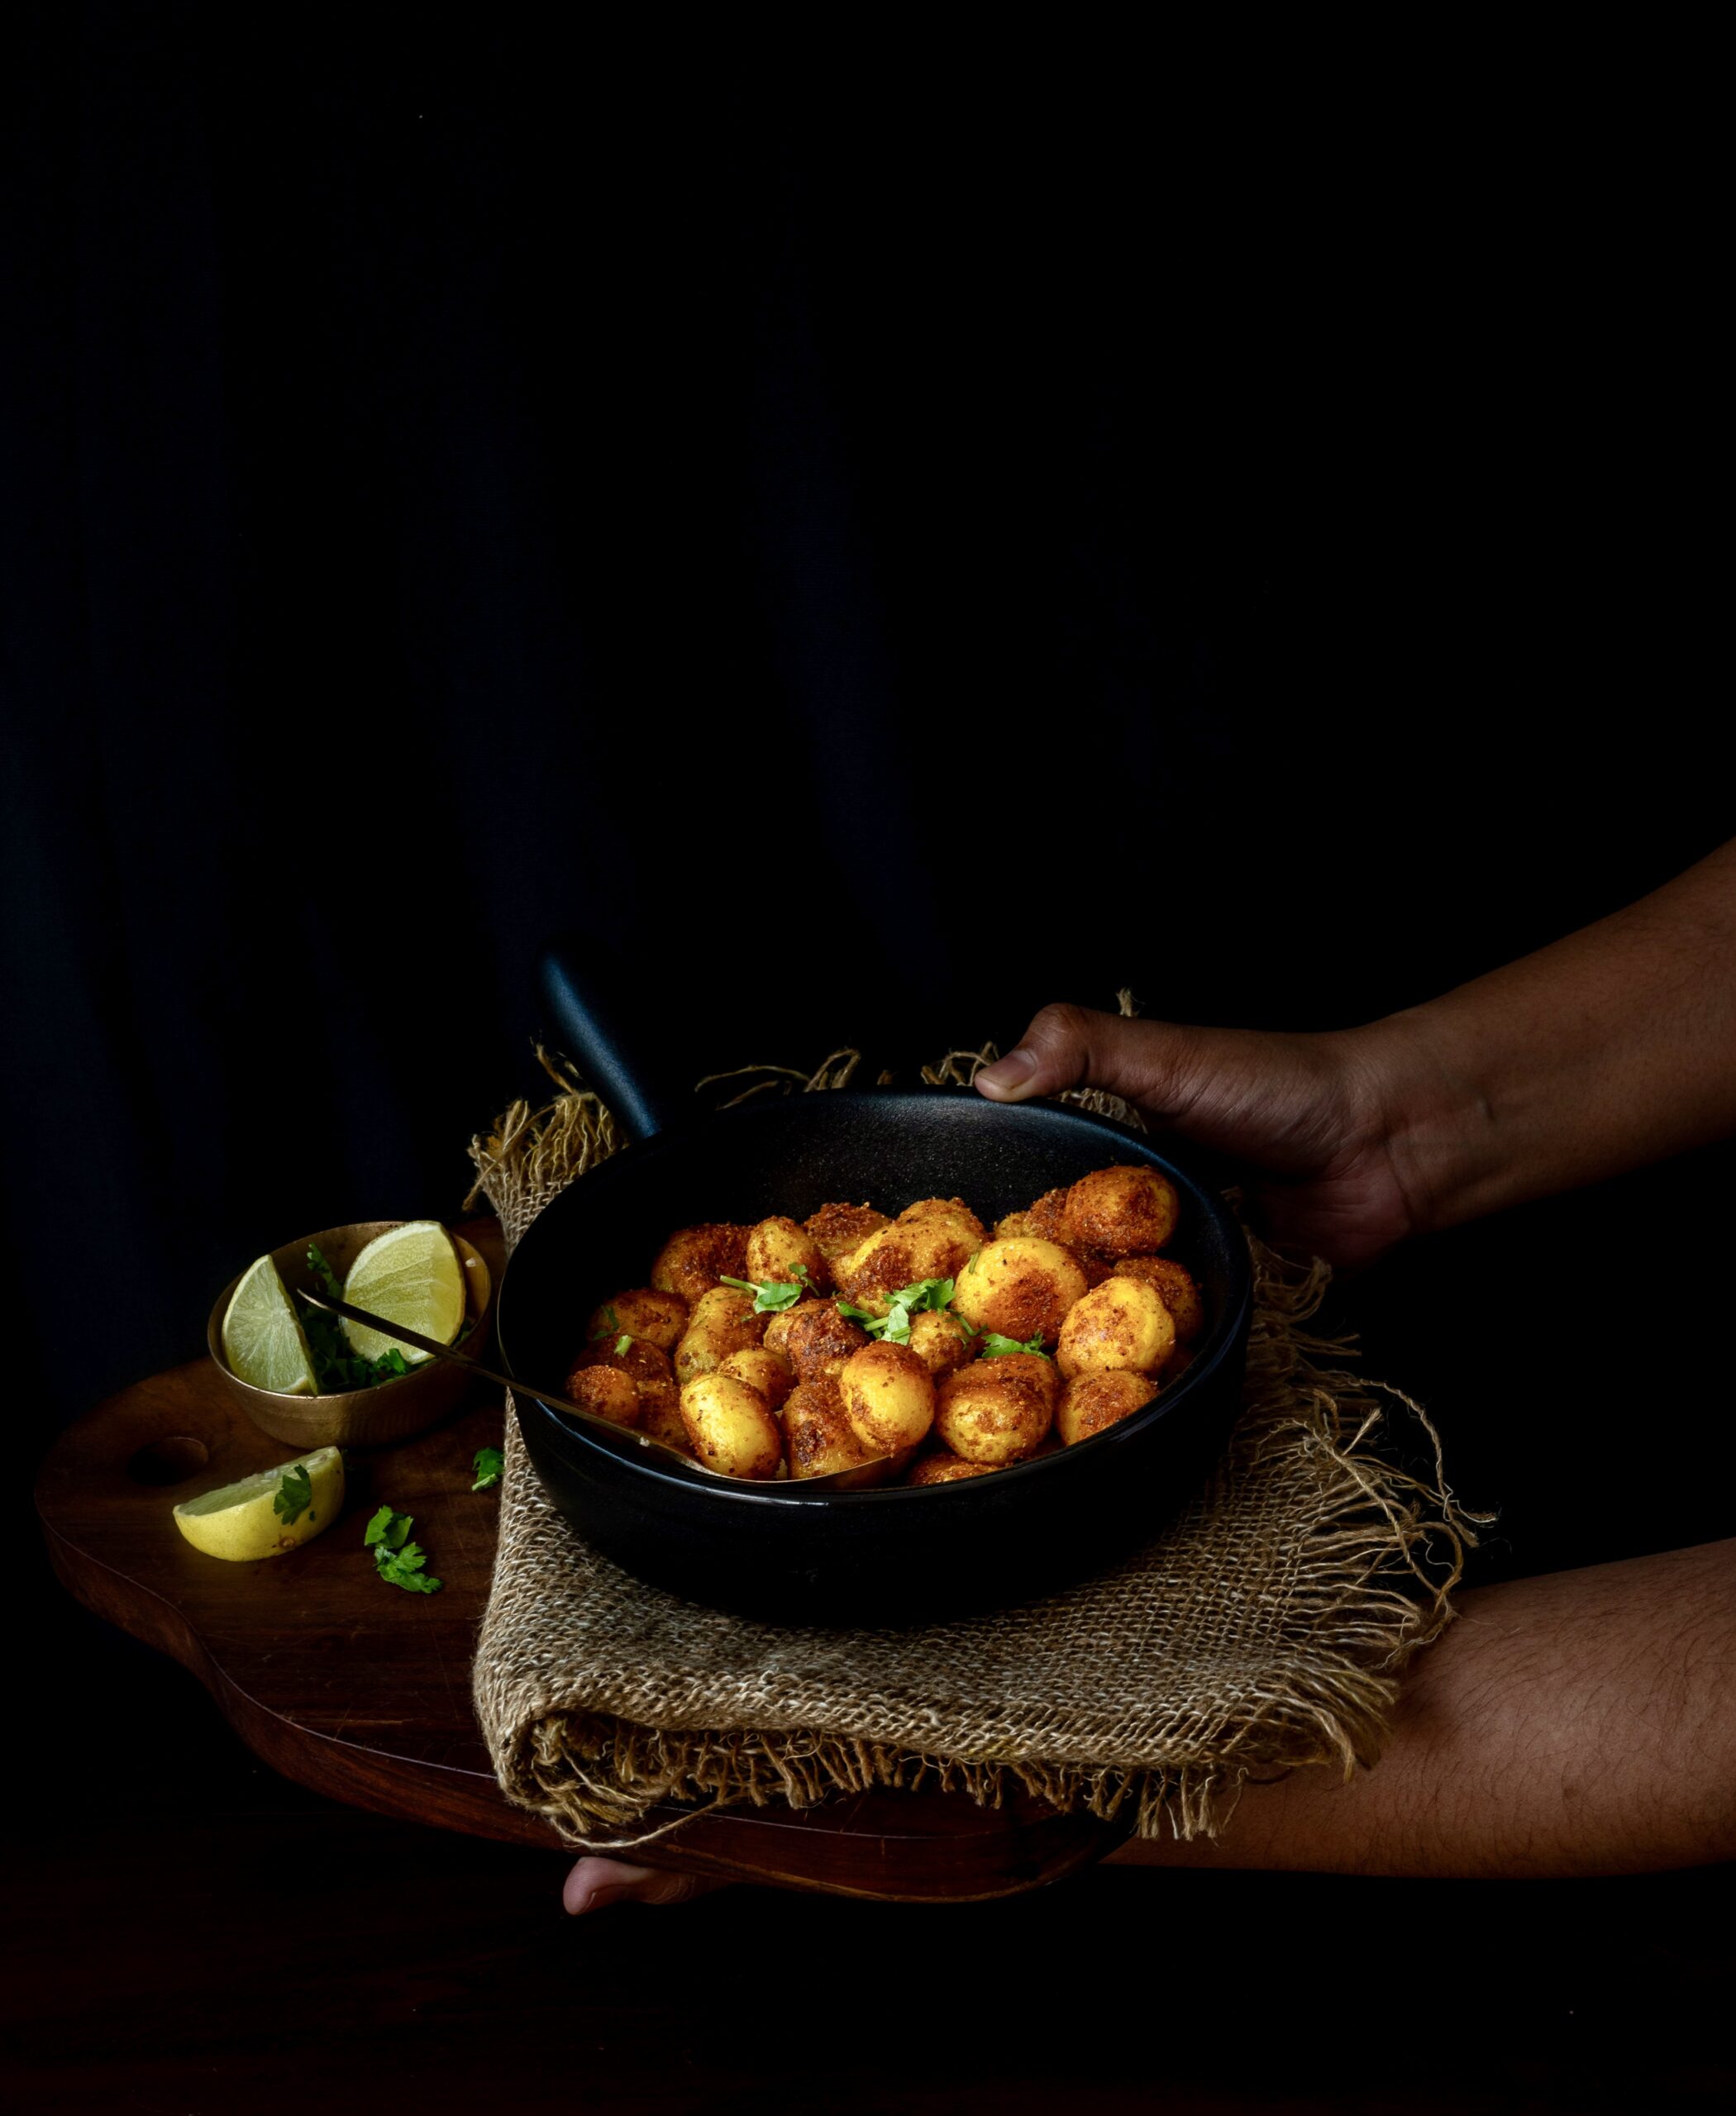
Potatoes have made many appearances on this blog, both as a starring ingredient as well as used alongside various others. They may be the main part of the dish, they may be a thickening agent, or they may be served on the side. They are very versatile, as well as so tasty no matter how they have been cooked. Baby potatoes are in season here right now, and I’ve used them here. This is a very simple but satisfying way to prepare roast potatoes.

Of course, I cannot neglect to note that potatoes are looked at in a negative light by nutritionists and dieticians the world over, and that as a result, many do shy away from eating them despite their deliciousness. I suspect that French fries and chips, as well as a whole host of restaurant-made goodies, are what are behind this bad reputation, but my take is that “everything in moderation” is a good motto to eat well by. That’s why I try to bring in as wide a selection of recipe categories as I can through this blog: from sweets to salads, from traditional to fusion. I want for every single one of you to discover recipes here that please your palate. This roast potato recipe is one that I am confident will bring joy to many – even if you choose to take a smaller helping, on your healthcare professional’s orders!

These potatoes are not deep-fried, which is why there is no further disclaimer from me about eating them! I have gone easy on the oil, but you may add as much as you wish to, and the more you use, the crisper they will come out. I find that they make a great component in a more elaborate meal, alongside greens and dals, especially when you are having guests over and want to serve more options. People will naturally reach out for them, because it’s hard to say No to potatoes, but the overall plate will still contain a good balance between nutritious and more indulgent dishes.  Speaking of plates: these lovely spice-coated baby roast potatoes also look great, which always helps when it comes to plating an attractive meal.

Roast Potatoes

(Serves 4)

½ kilogram small potatoes (boiled)

½ teaspoon turmeric

2 teaspoons coriander (dhaniya) powder

1 teaspoon cumin (jeera) powder

1½ teaspoons garam masala

1 teaspoon dried mango powder

1 teaspoon chilli powder

Salt to taste

2 tablespoons chickpea flour

Coriander leaves

3 tablespoons oil

Boil and peel the potatoes and place them on a plate. Now add salt, turmeric, garam masala, jeera powder, dhaniya powder, mango powder, chilli powder and chickpea flour. Mix and coat the potatoes well. Allow to rest for about 30 minutes.

Heat a flat pan and add oil. Now, add the spiced potatoes. Allow to cook on a medium flame until they are golden and crisp on all sides.

Serve hot, garnished with coriander leaves.

The first time that I had these roast potatoes was at a very dear friend’s home, and after my customary tweaks, it became a staple in my home as well. I have used Indian spices so as to complement the rest of the meal, as I serve these often in my lunch thalis. You can feel free to try other variations – perhaps a rosemary, salt and garlic mix for a Continental result, or else some other spice mix that suits you. How ever you choose to flavour the roast potatoes, the easiness of this method is sure to make this recipe a regular feature at your home too. It goes without saying that the tastiness will also be a good reason to make it often!

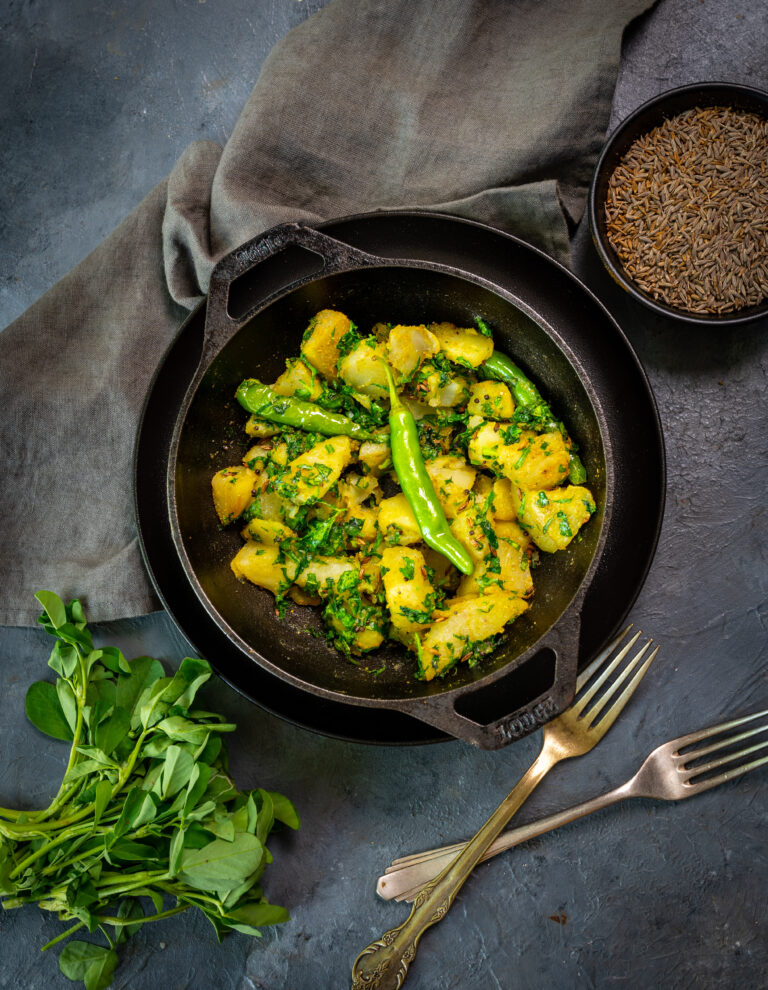
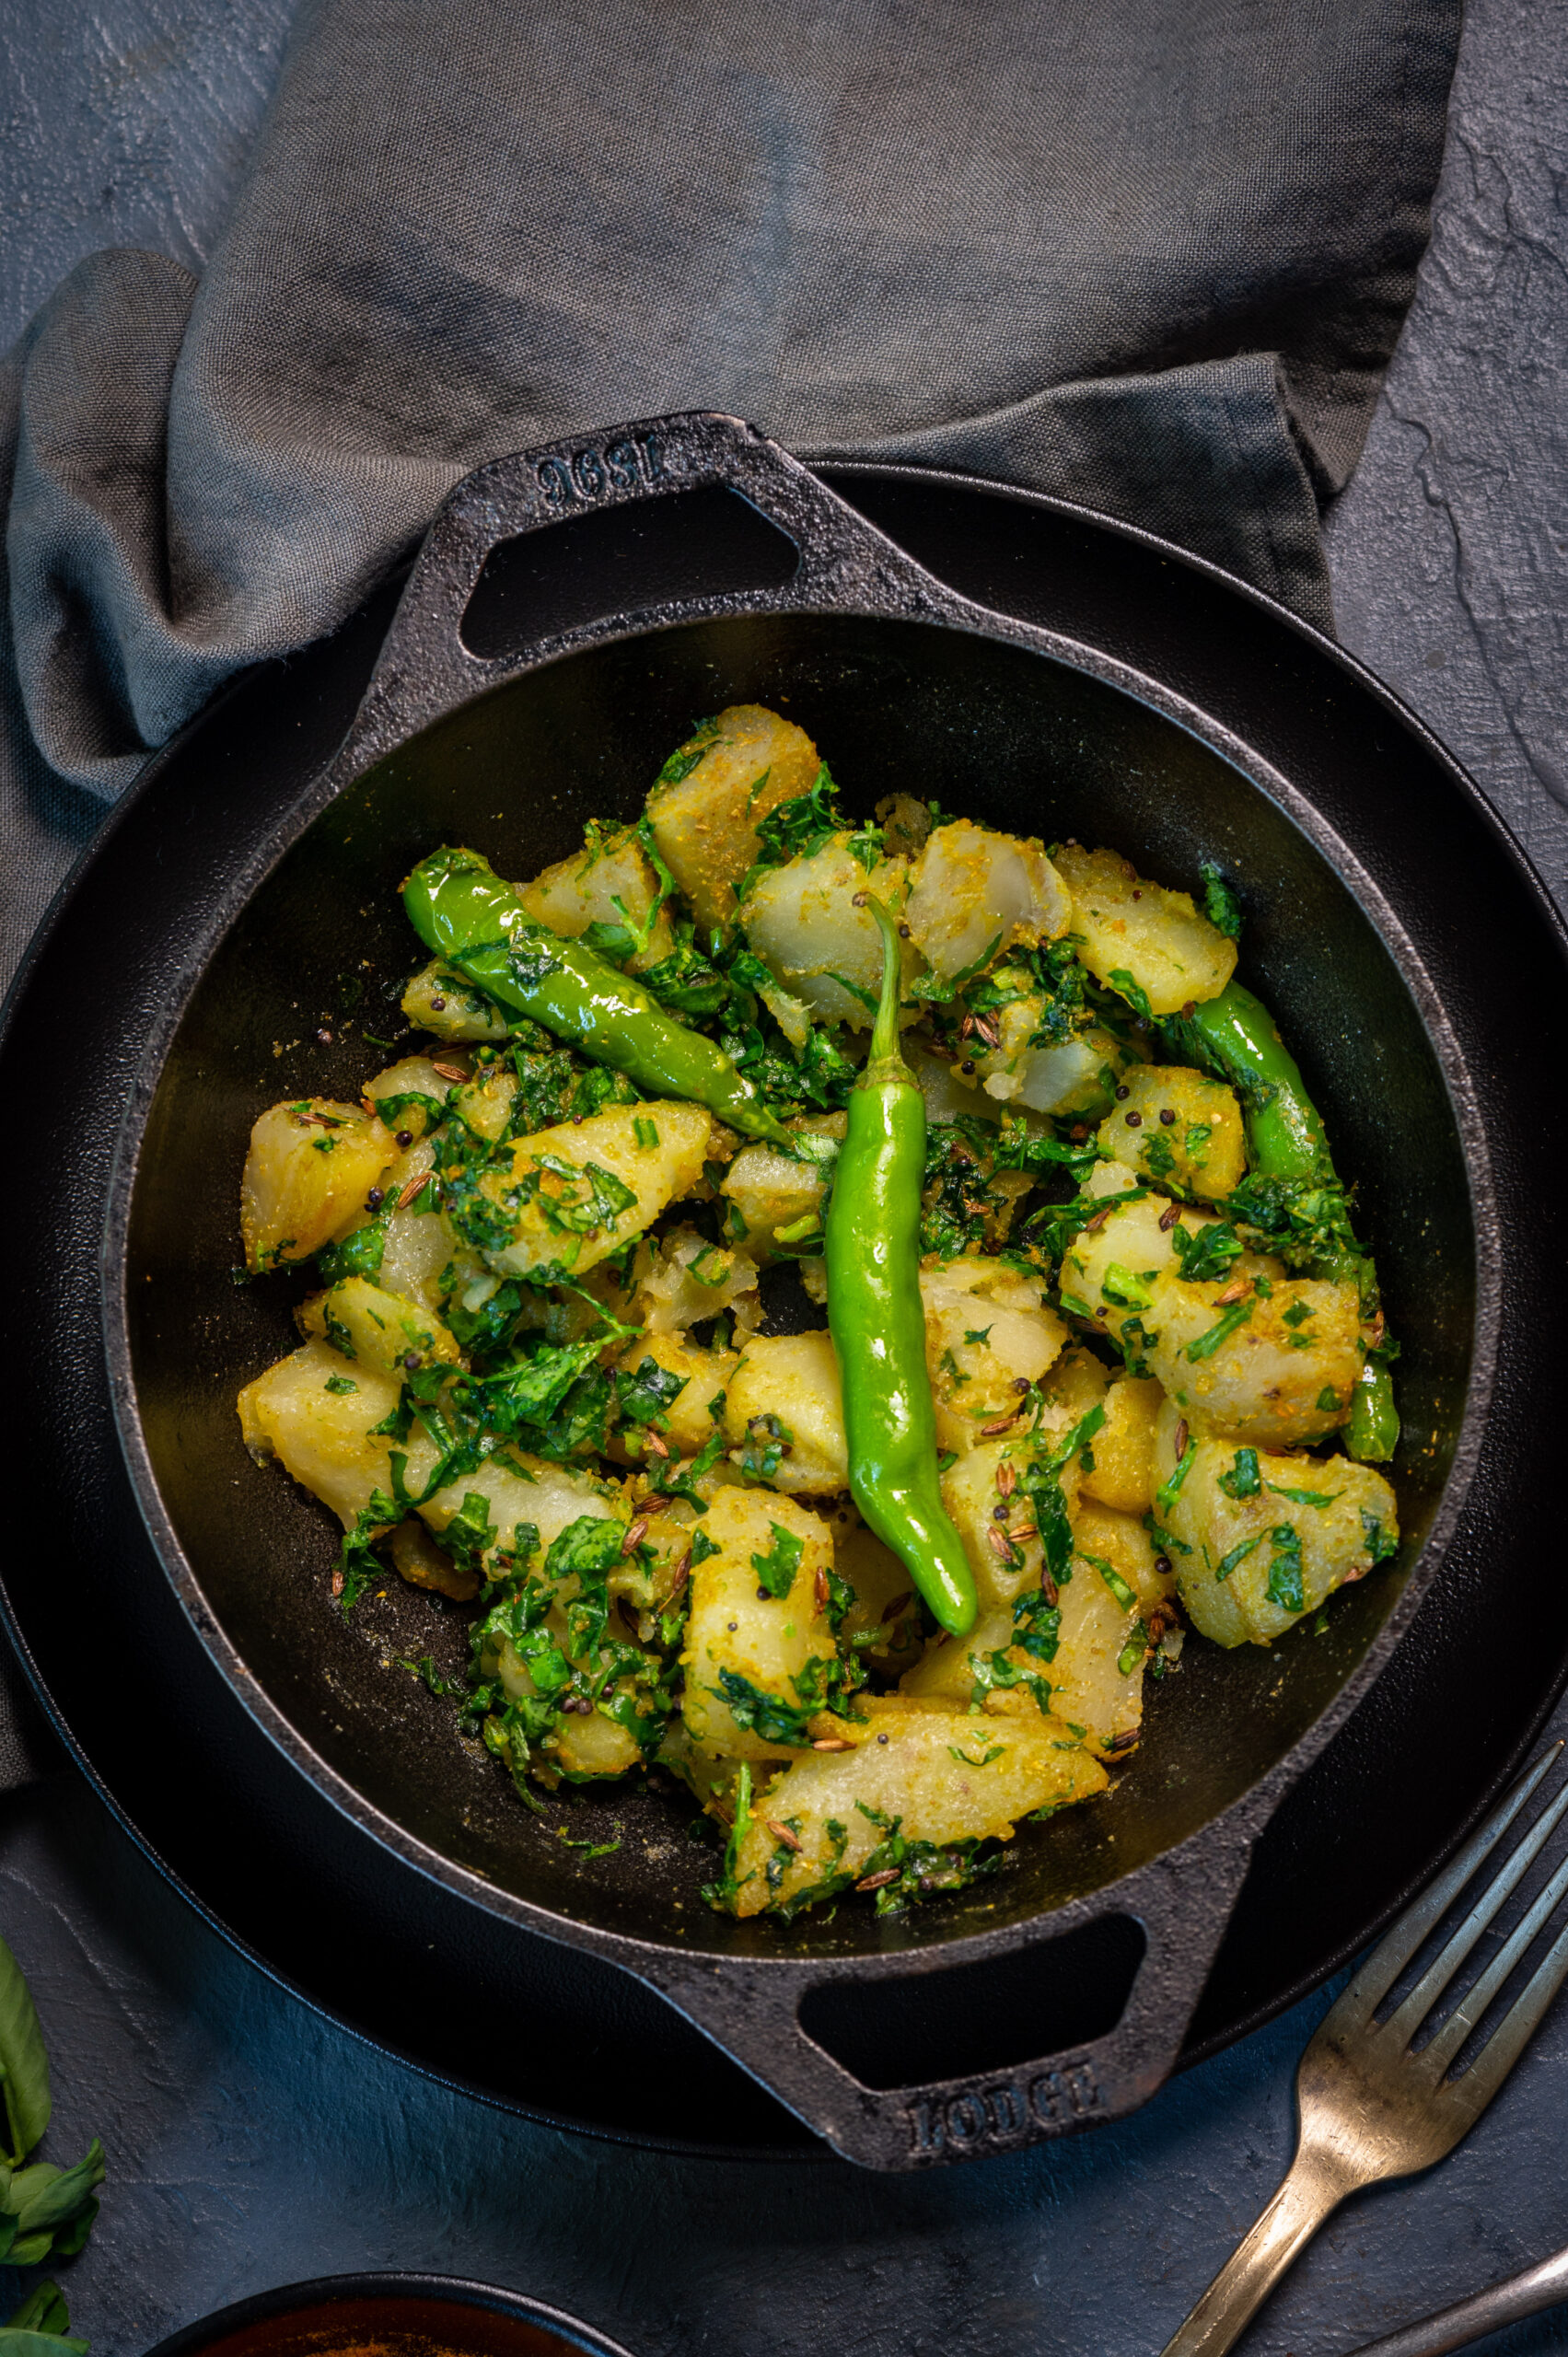
In my previous post on bottle gourd thepla, a Gujarati flatbread variation, I mentioned that aloo methi sabzi is a perfect accompaniment. Aloo methi sabzi – or potato roast with fenugreek leaves – is very quick to make and tastes simply delicious. Besides – who doesn’t love potatoes?

I always seem to have some boiled potatoes ready in the kitchen, because I use them extensively. In Indian cuisine, this may be in the form of chaats, aloo tikkis, stuffed aloo parathas or more. They are just as useful for dishes from other cuisines, as potatoes really are enjoyed all around the world. Drop me a message or a comment if you’d like the recipes for any of the dishes I’ve named, or if there’s something more creative you’d like to explore together.

They really are such a versatile vegetable, and I like keeping them handy. When they are just lying around and I suspect they may go bad soon, I usually just boil them up and whip up some aloo methi sabzi. It’s the kind of dish that doesn’t ever go to waste in my house.

As it takes little time to prepare, as long as the potatoes have already been boiled, this is also my go-to recipe on days when my husband wakes up and says “Okay, I have to carry lunch to work today – it looks like I can’t come home in between”. With such short notice, sautéing this dish and putting some theplas in his tiffin box are the best way to make sure he gets a fulfilling lunch, made fast and fuss-free.

It’s so true that whatever one is most used to in the kitchen comes together effortlessly, and this recipe is in that category for me. The thepla part comes so easy too – I could make them blindfolded! But as a cook and as a person, I enjoy the challenge of learning new things. Right now, I am hungry for more skills that take me out of my comfort zone, or help me improve. I’m back to my sloka chanting classes after a break, and I am also restarting learning to speak Spanish. I mentioned recently how much I want to study Italian cuisine, and the thought of learning about authentic pasta and gelato has fired my imagination. I’d love to do an exchange programme with an Italian chef – perhaps they could teach me their recipes, and I could teach them some from my part of the world.

All that said, amidst such exciting pursuits, comfort food that doesn’t require thought and energy is much cherished. This aloo methi sabzi isn’t just an easy, tasty dish for me, but it also carries with it many childhood memories. Quite unusually for our generation, my brother was very interested in cooking. As the oldest child, he was put in charge of meals while our mother was travelling. I can still recall sitting on the kitchen floor with my sister, both of us literally and figuratively looking up at him as he worked, the smell of aloo methi sabzi wafting around us. This simple dish, paired with a standard thepla, was obviously his go-to as well. So my favourite memories of aloo methi sabzi are also memories of him.

When I think about it, I recognise just how much of a hub of activity the kitchen was when we were growing up. The boys and men did not keep out, as was the norm at the time. While my father didn’t cook, he chose to be in charge of groceries, not because he could go out more freely as a man, but because he was very interested in and wanted to contribute to the workings of a kitchen. It was quite wonderful, and very rare, for that time: a brother who cooked and a father who knew all about groceries.


Aloo Methi Sabzi

(Yield: Serves 2)


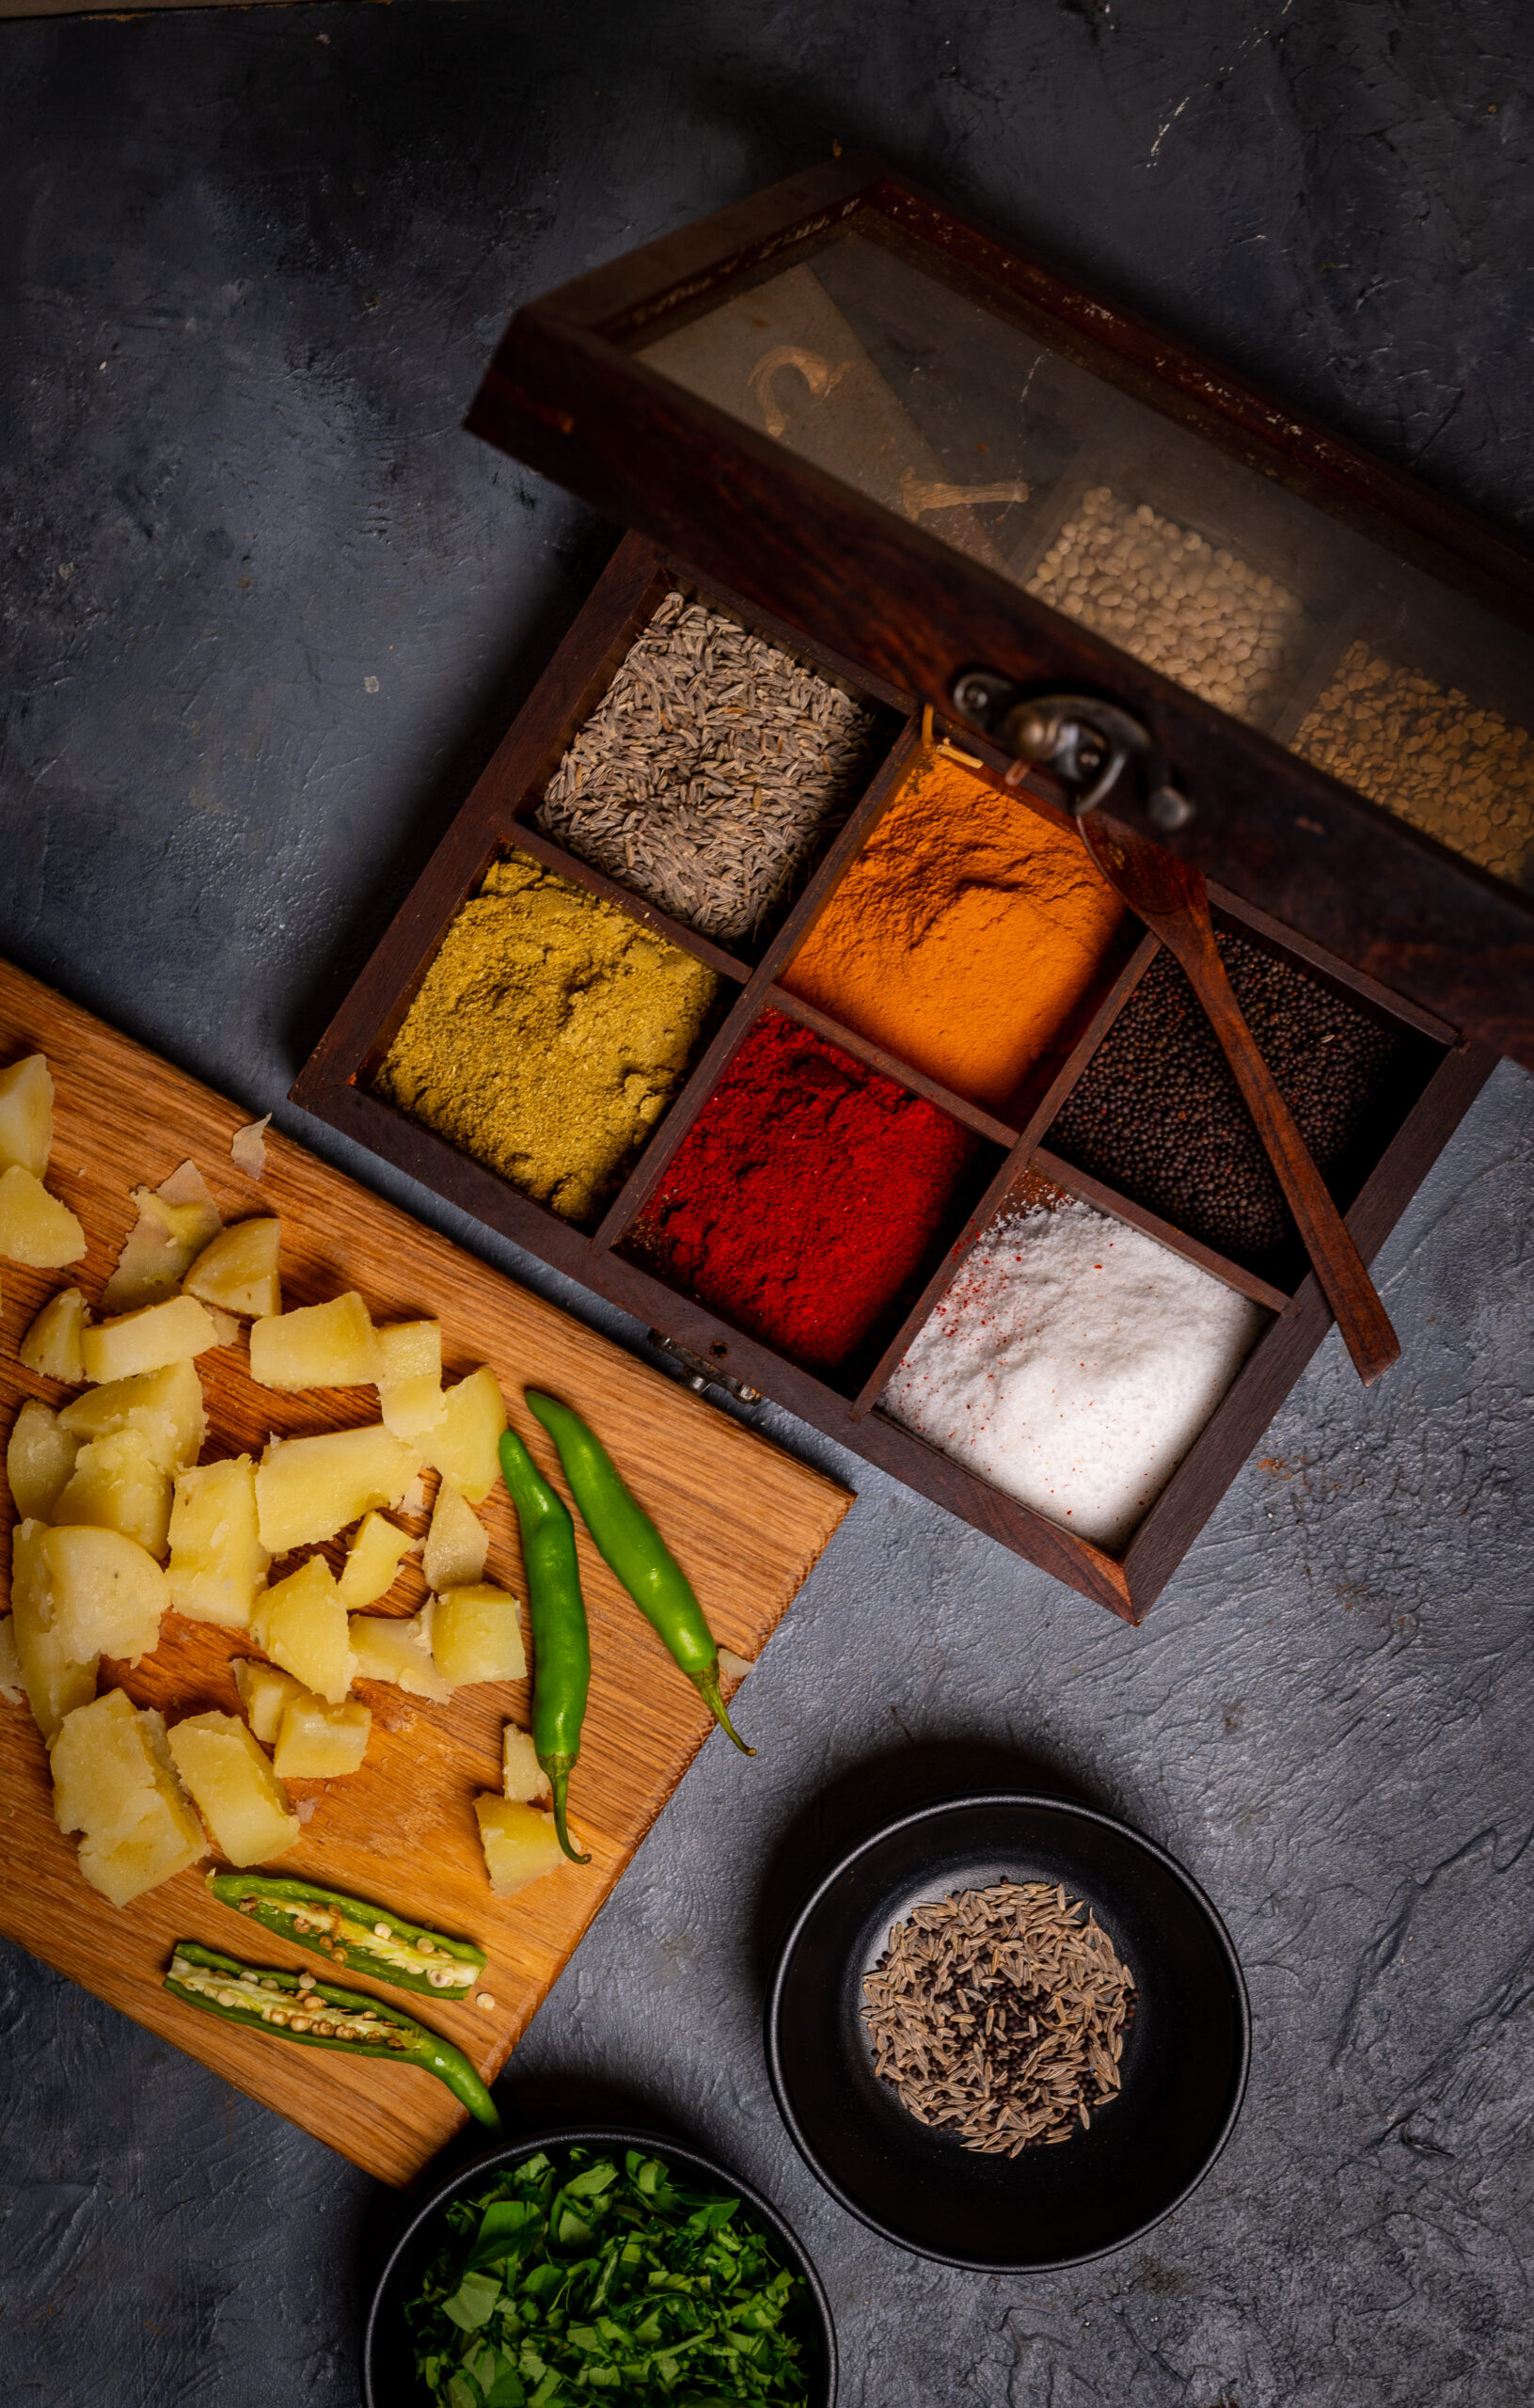
3 medium sized potatoes

1 cup finely chopped methi (fenugreek) leaves

Salt to taste

2 tablespoons oil

¼ teaspoon turmeric

1 teaspoon cumin seeds

1 green chilli (split length-wise)

1½ teaspoons cumin-coriander powder


Heat the oil in a kadai. Once it is hot, add the cumin seeds. When they splutter, add the split green chilli. Then, add the chopped potatoes. I sometimes add spinach as well, to make it even healthier.

Following this, add the methi leaves and all the masala. Stir all the ingredients together well and allow to cook.

As I said – the method for aloo methi sabzi is quite simple. Once the dish has cooked, serve hot alongside theplas, other flatbreads or rice. Or put it in a lunch box, and enjoy a home-cooked meal a few hours later.

Here are a couple more of my favourite potato preparations: a Gujarati potato brinjal curry that is close to my heart and also evokes my childhood, and spicy patatas bravas from Spain that always inspire me to keep exploring the world. As I said before, everyone seems to love potatoes, so I’m curious to know: what are some of your own favourites?

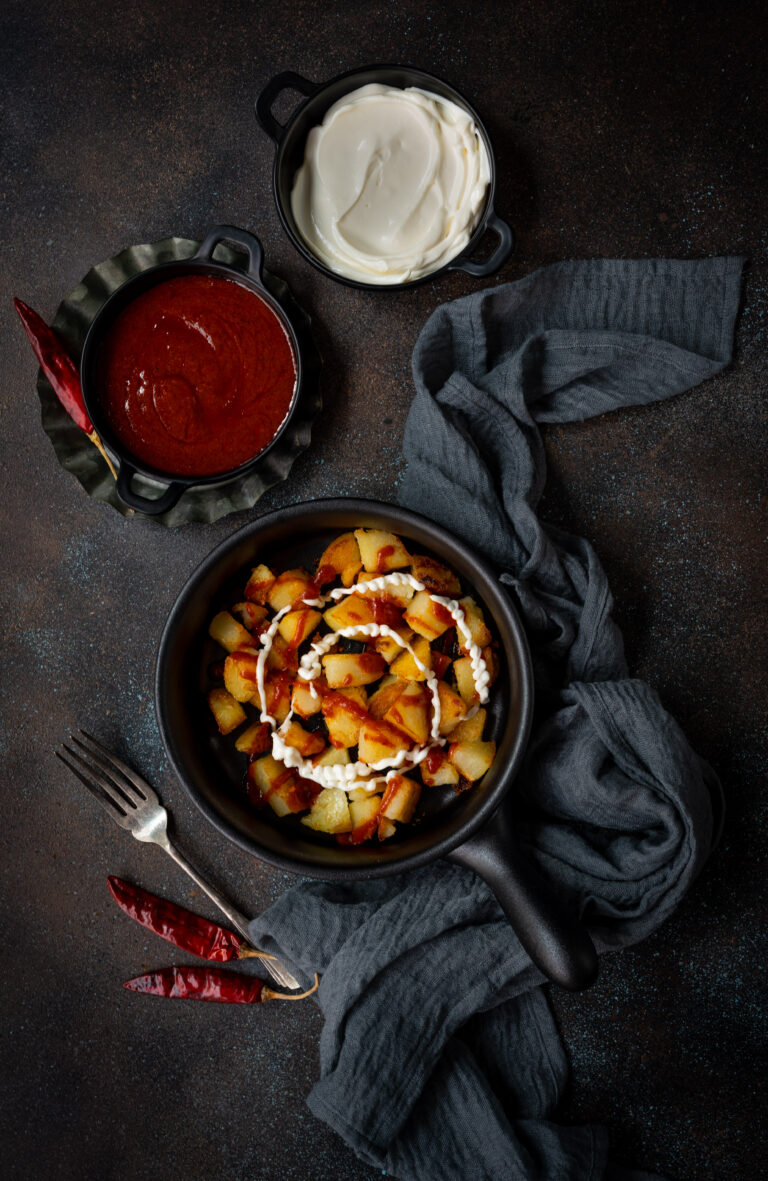
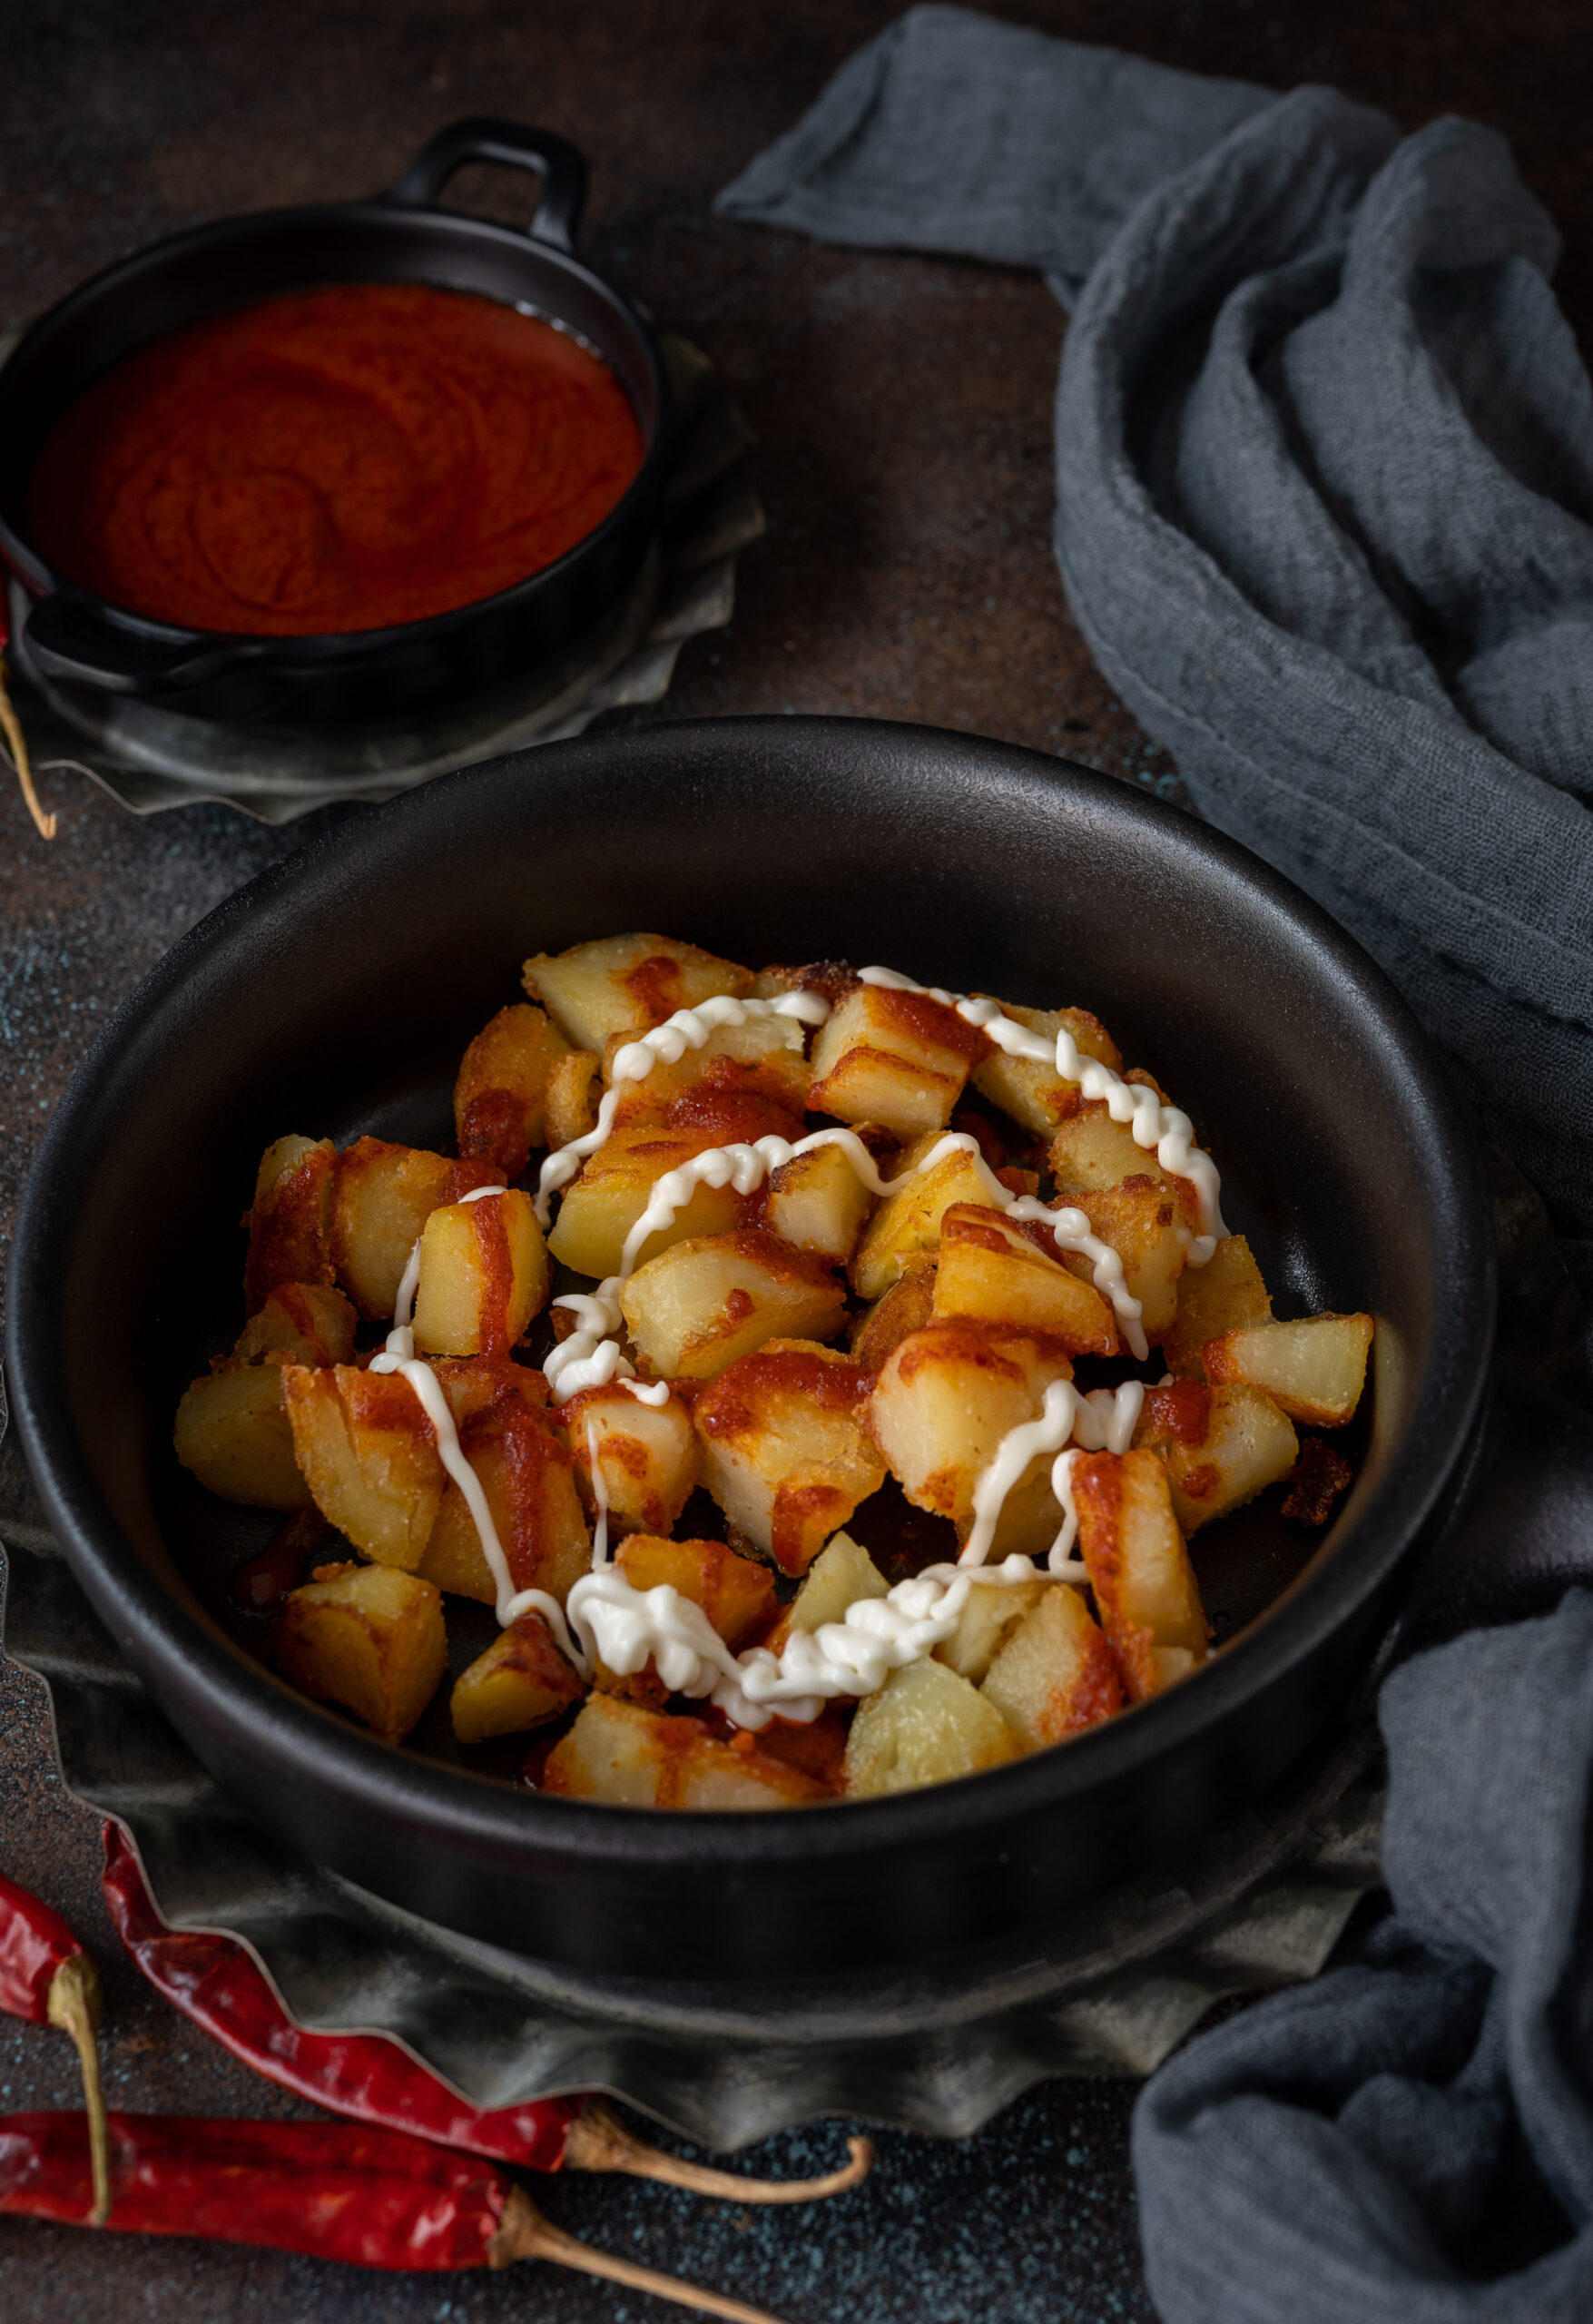
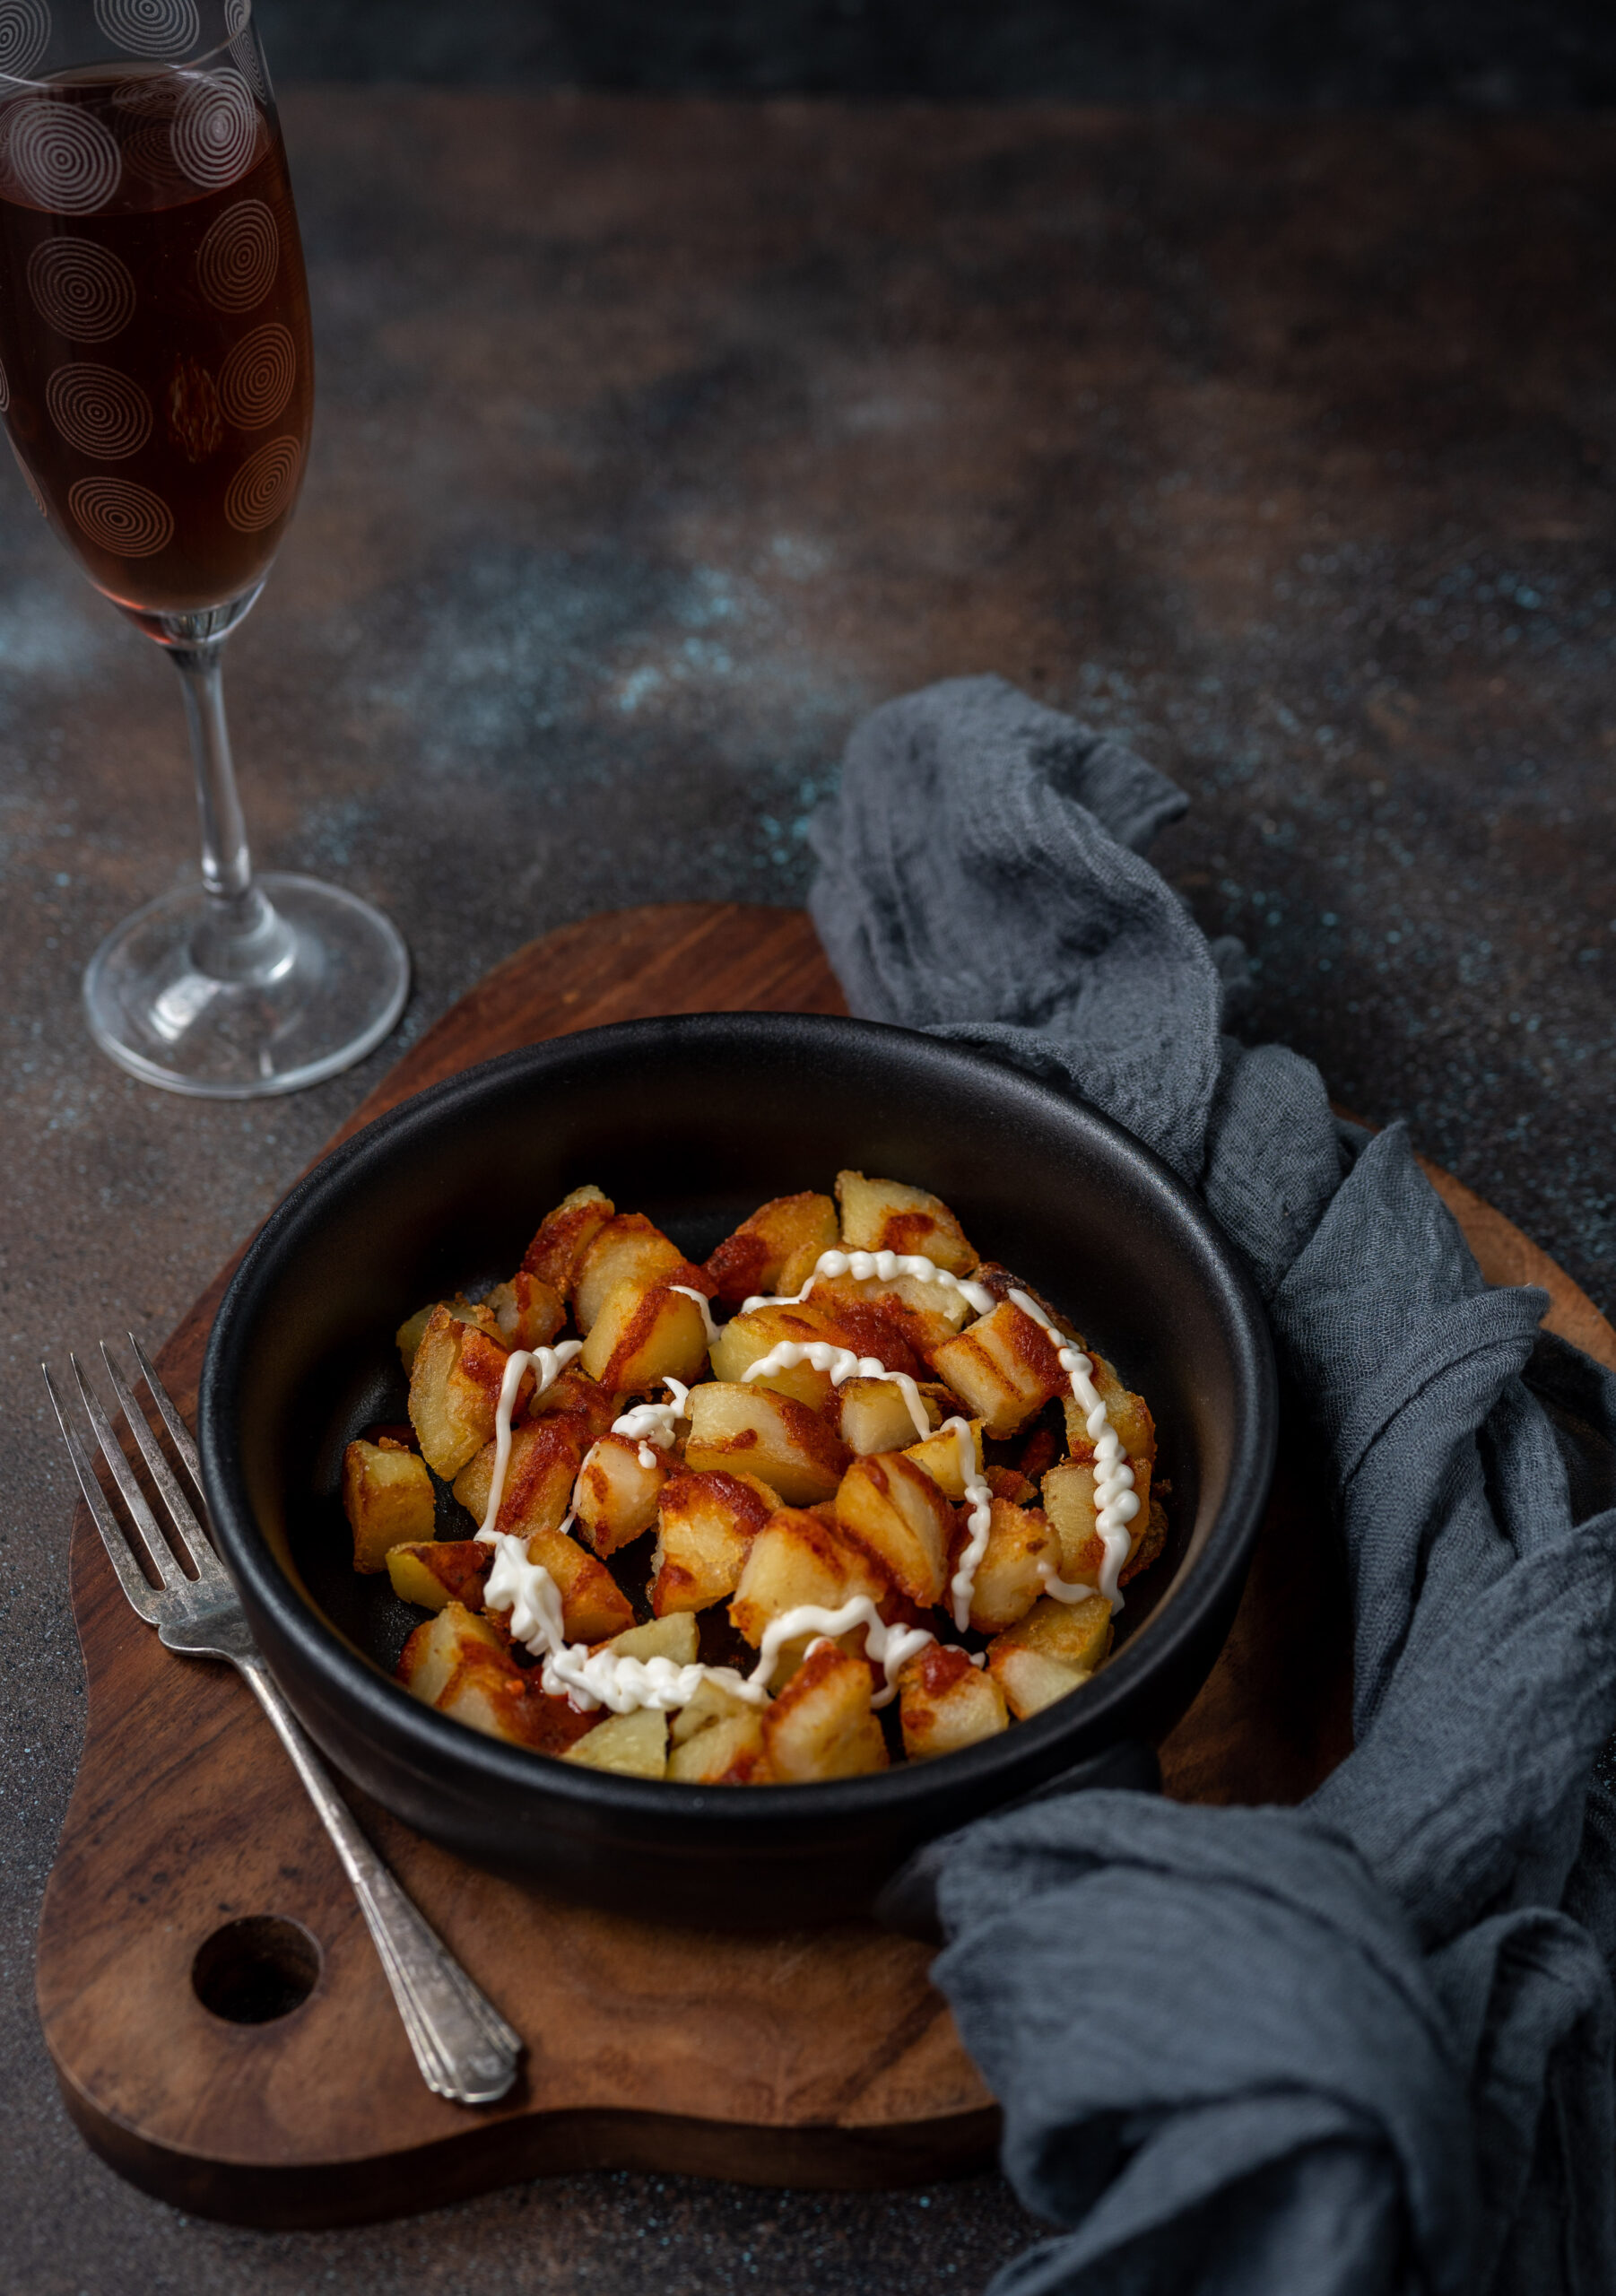
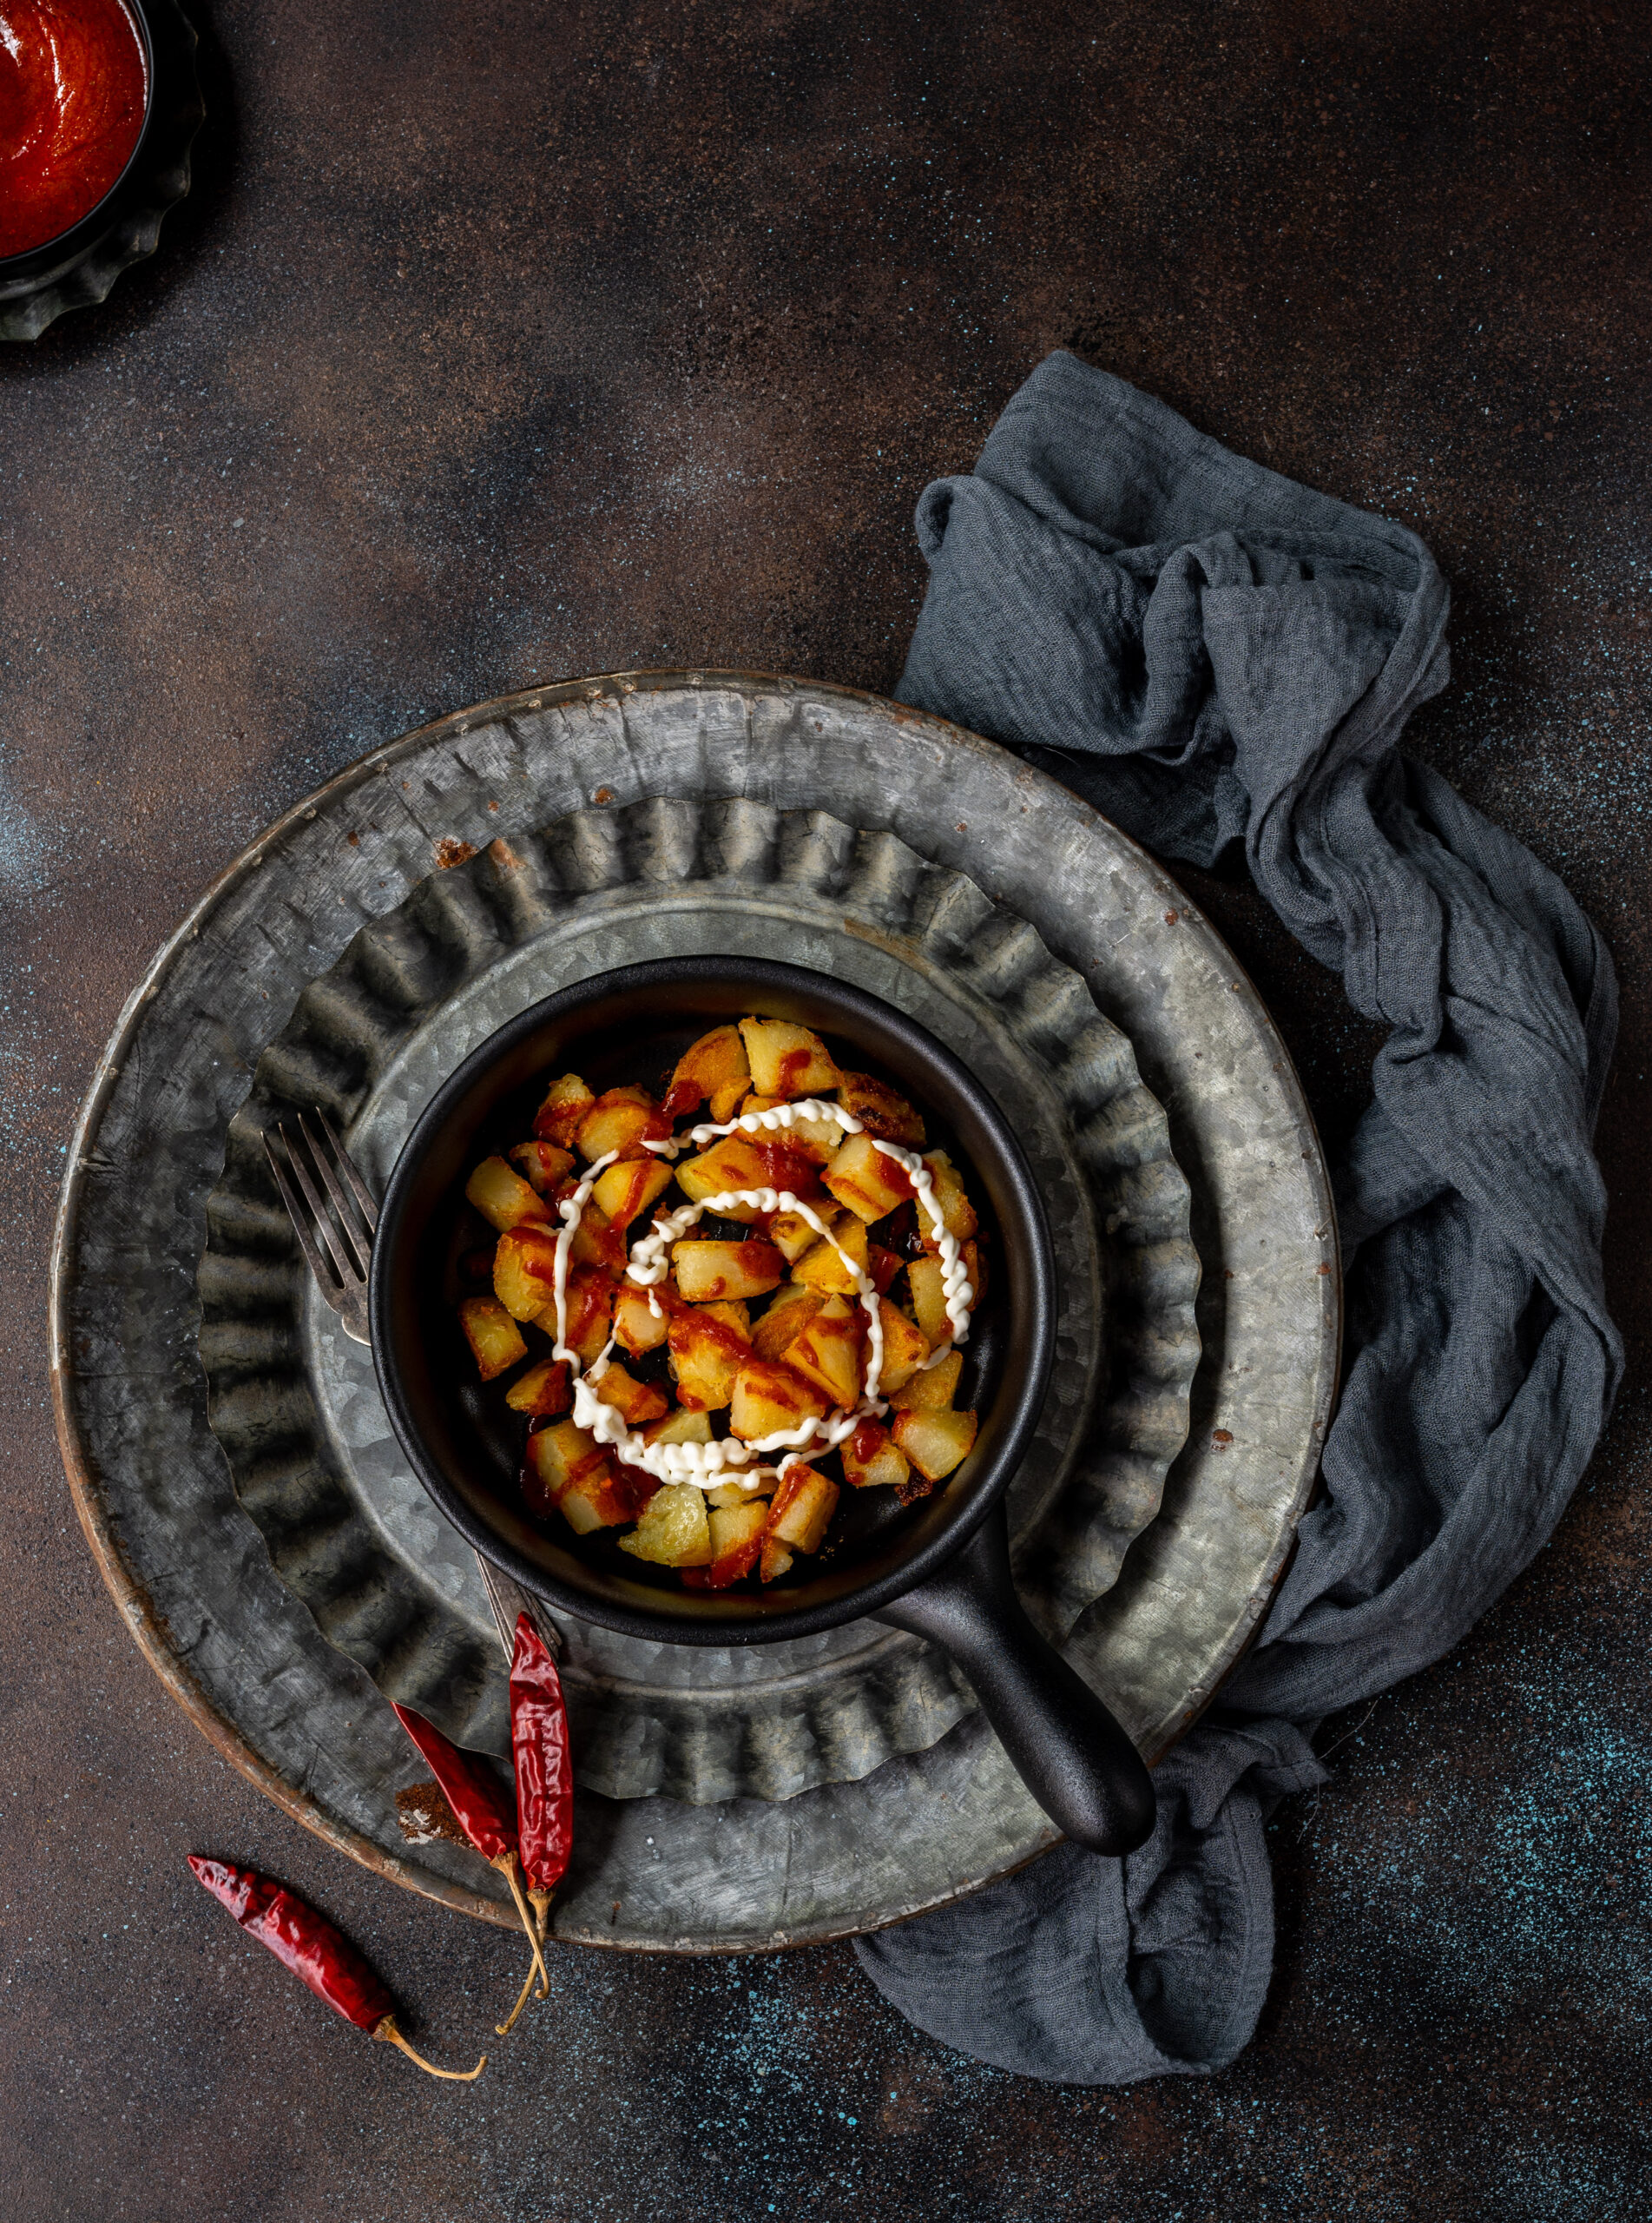
Last week, I shared the recipe for a saffron crème brûlée, a close rendition of my favourite dessert, crema catalana. Nostalgia for the vibrant city of Barcelona and for all the delicious food I’ve enjoyed there also made me fondly recall how I love patatas bravas too. It’s a typical Spanish dish, with a name that translates to “spicy potatoes”, and I’m so happy to share this recipe with you too.

Patatas bravas fall into the category of tapas or small plates dishes, and can be found delicious and cheap all over Spain. The best I’ve had was at a small and nondescript place, popular with the locals, that a friend took me to. They originated in Madrid, but I first enjoyed them in beautiful Barcelona, naturally. My husband used to export garments and I would accompany him on business trips to the city. We would often end the busy days with a plate of spectacularly-made Spanish potatoes. No trip, however short it may have been, was complete without some patatas bravas.

Intriguingly, I learnt that the Europeans did not consider the potato an edible item when it was first brought there from the Americas. It was looked down on by the elite as food that was only for labourers, who needed its energy benefits. The Spanish armies did consume it for this reason, however. When famines hit in the 18th century, the durable potato finally found pride of place in the European palate. Imagine: they deprived themselves of such deliciousness earlier!

Now, of course, the potato is hardly seen as humble. At El Tomás de Sarrià, the Barcelona restaurant that is most famous for the patatas bravas, their preparation of the dish is so renowned that the son-in-law of the King of Spain, numerous famous football and handball players and other celebrities have been known to frequent it.

But really, who doesn’t love potatoes? At home, we consume them in any form. Fried, sautéed, mashed, you name it. As much as I personally love them too, I do try to avoid eating them because I know how addictive they are. Once I start on just one wedge, I can’t stop myself from reaching out for more. Funnily enough, this is the same complaint – or compliment, rather – that I receive about my almond brittle. It happens quite often that a customer will call me up and say, “I couldn’t stop munching on them and have finished the batch you sent already! Do you have more?”.

These cherished “demands”, that I so gladly fulfil, also come from my family. For instance, whenever I make shakshouka, the family wants potatoes on the side. I discovered that patatas bravas are a brilliant accompaniment to that egg-based dish, and this multi-continental medley is much enjoyed at home. Every time I up my game a little bit, such as by substituting some plain vegetable dish for something more exciting like patatas bravas, the family decides that that’s the combo that they want ever onward. Do you ever find this happening – as your repertoire expands, the meals you prepare become more elaborate because the people you cook for begin to ask for specific dishes more frequently?

Our potato obsession at home is so intense that my husband even went so far as to buy an air fryer so as to eat healthier and feel less guilty about his consumption. But I personally feel that it’s better to have the oil-fried version occasionally than to use the air fryer every day. So that machine has been shelved for now, gathering dust in some poor corner. In the meanwhile, we are enjoying our almost-authentic patatas bravas, made with oil and love and lots of other good stuff!

Patatas Bravas

(Yield portion: 1, serves 2)


2-3 cups diced potatoes

2 cups oil for frying

Salt to taste


Alioli

2 garlic pods crushed

¼ cup mayonnaise


Bravas sauce

¼ cup olive oil

1 tablespoon paprika

1 teaspoon chili powder

Salt to taste

1½ teaspoons corn flour

1 cup vegetable broth


Patatas bravas are easy to make, and you begin with the potatoes and prepare the two sauces while they are frying.

Heat up the oil in a pan and deep fry the potatoes until they are golden. Drain them on a paper and then place them in a wide bowl.

Prepare the aioli sauce by crushing the garlic well and mixing it into the mayonnaise. Stir until well incorporated.

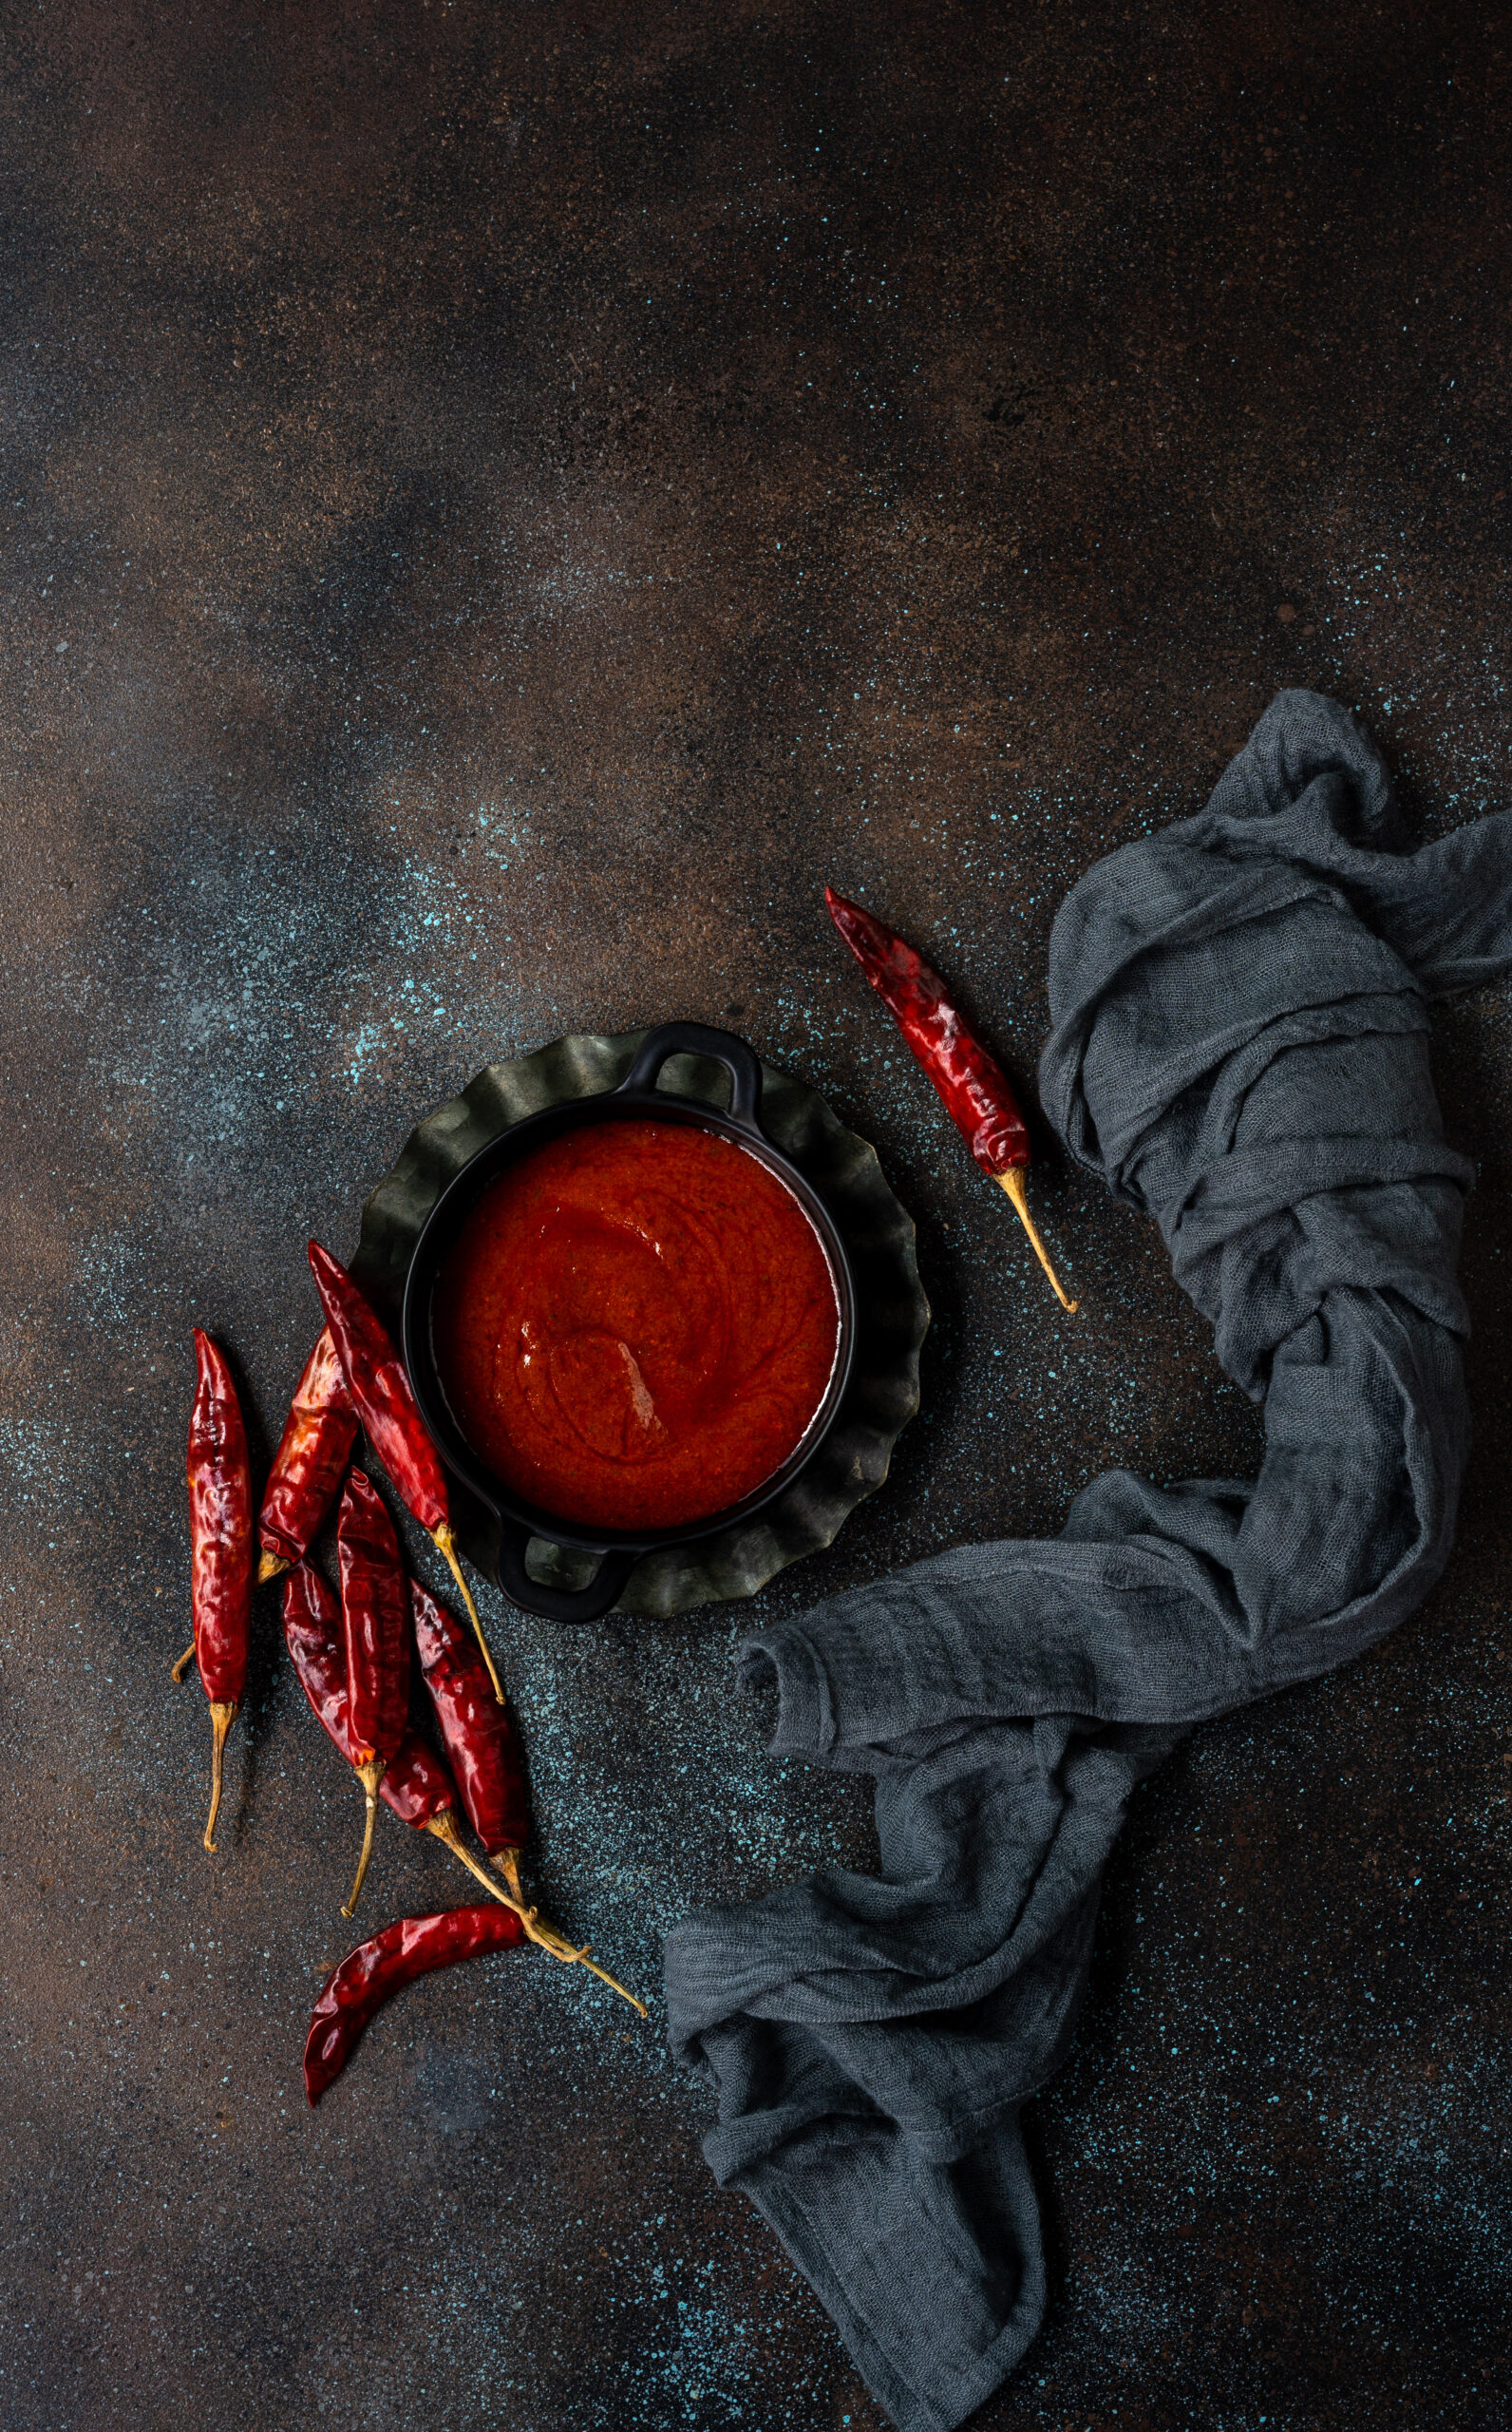
Prepare the bravas sauce by first adding the oil to a saucepan. Once it has heated, add the chili powders and flour. Stir till toasty. Then, add the vegetable broth gently and stir till emulsified. Boil on a low flame until the sauce thickens (this will take approximately 3-5 minutes). The sauce should have a consistency that can be drizzled.

To assemble the dish, simply drizzle the two sauces, aioli and bravas, over the fried potatoes and serve hot. You can also add some mayonnaise or sour cream, if you prefer.

I wonder what these patatas bravas will taste like if I swap the regular potatoes out for sweet potatoes. I’m definitely going to give that experiment a try…

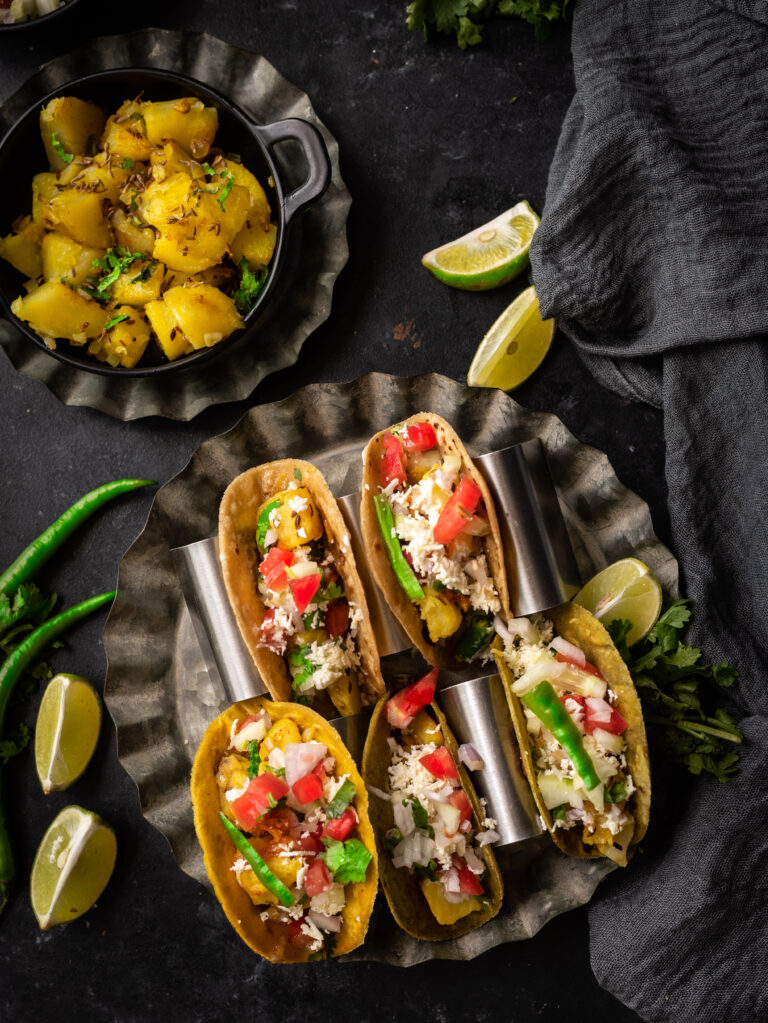
If you’ve been following this blog even for a short while, you’ll know that we are huge fans of Mexican cuisine in my home – both authentic and Indianised, or should I say re:store-ised, versions. This Mexican-inspired Buddha bowl is one example of how these flavours are enjoyed by my family. I’m very happy in my own world of fusion tastes, and am always on the lookout for how to make simple meals more enticing. I happened to come across a photo of Indian-style tacos, but without a recipe, and this inspired me to come up with my own. One day, I had some leftover roti dough, and had the brainwave of putting them to use in this way. The soft taco shells were therefore made by hand, and the entire recipe was made from scratch.

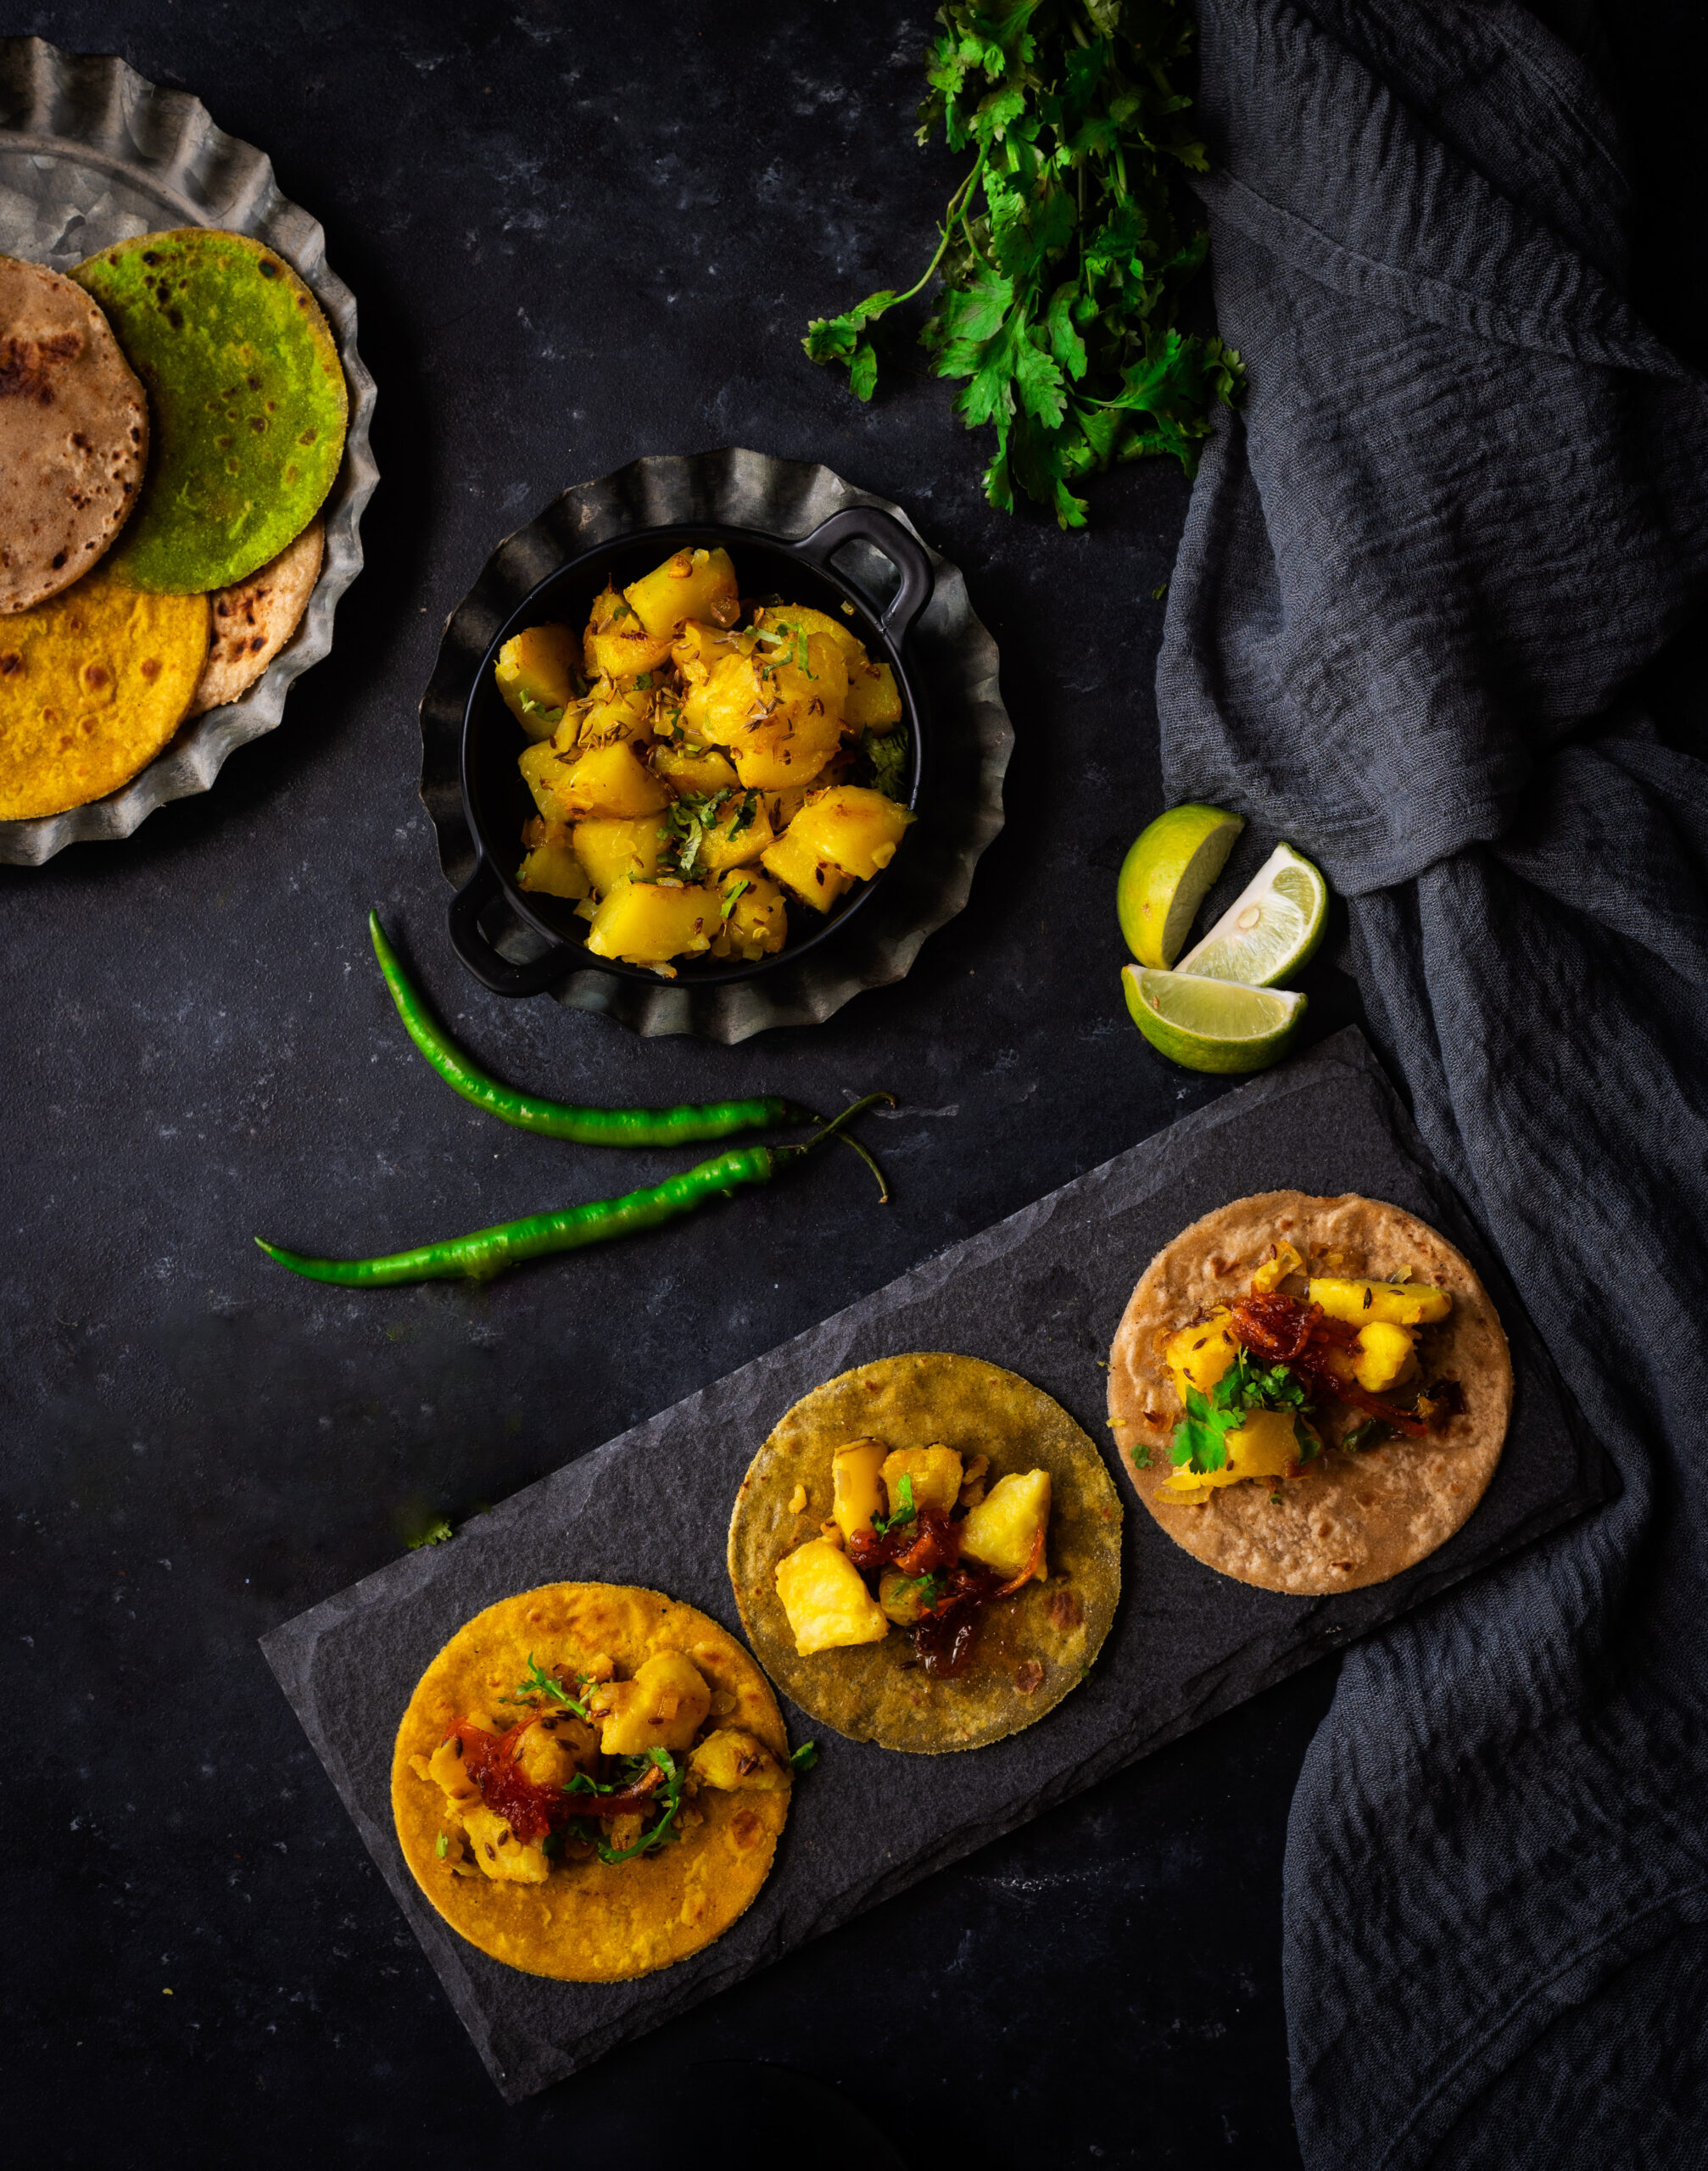
If you think about it, there are already plenty of versions of Indian tacos out there. The kati rolls that are a very popular form of street food fit the bill. They’re perfect for eating on the go, and fit easily into office and school lunch packs. While those are rolled, these tacos are open-faced. I’ve chosen to fill them with two Gujarati staples: potato sabzi, and a salad called kachumber. Where Mexican tacos use red bean paste, I’ve opted for a sweet mango pickle. The overall effect is a fun, international twist on simple Indian cooking.

This is a recipe that lends itself to variety. Replace the pickle with another that you prefer. You may want a spicy or tangy one, if you don’t have a sweet tooth. Substitute the potatoes for a different filling of your choice. Make a Jain version without potatoes or onions. Eliminate the Greek yoghurt dressing and make it vegan. Simply consider the recipe below as a base for your own versatile experiments.

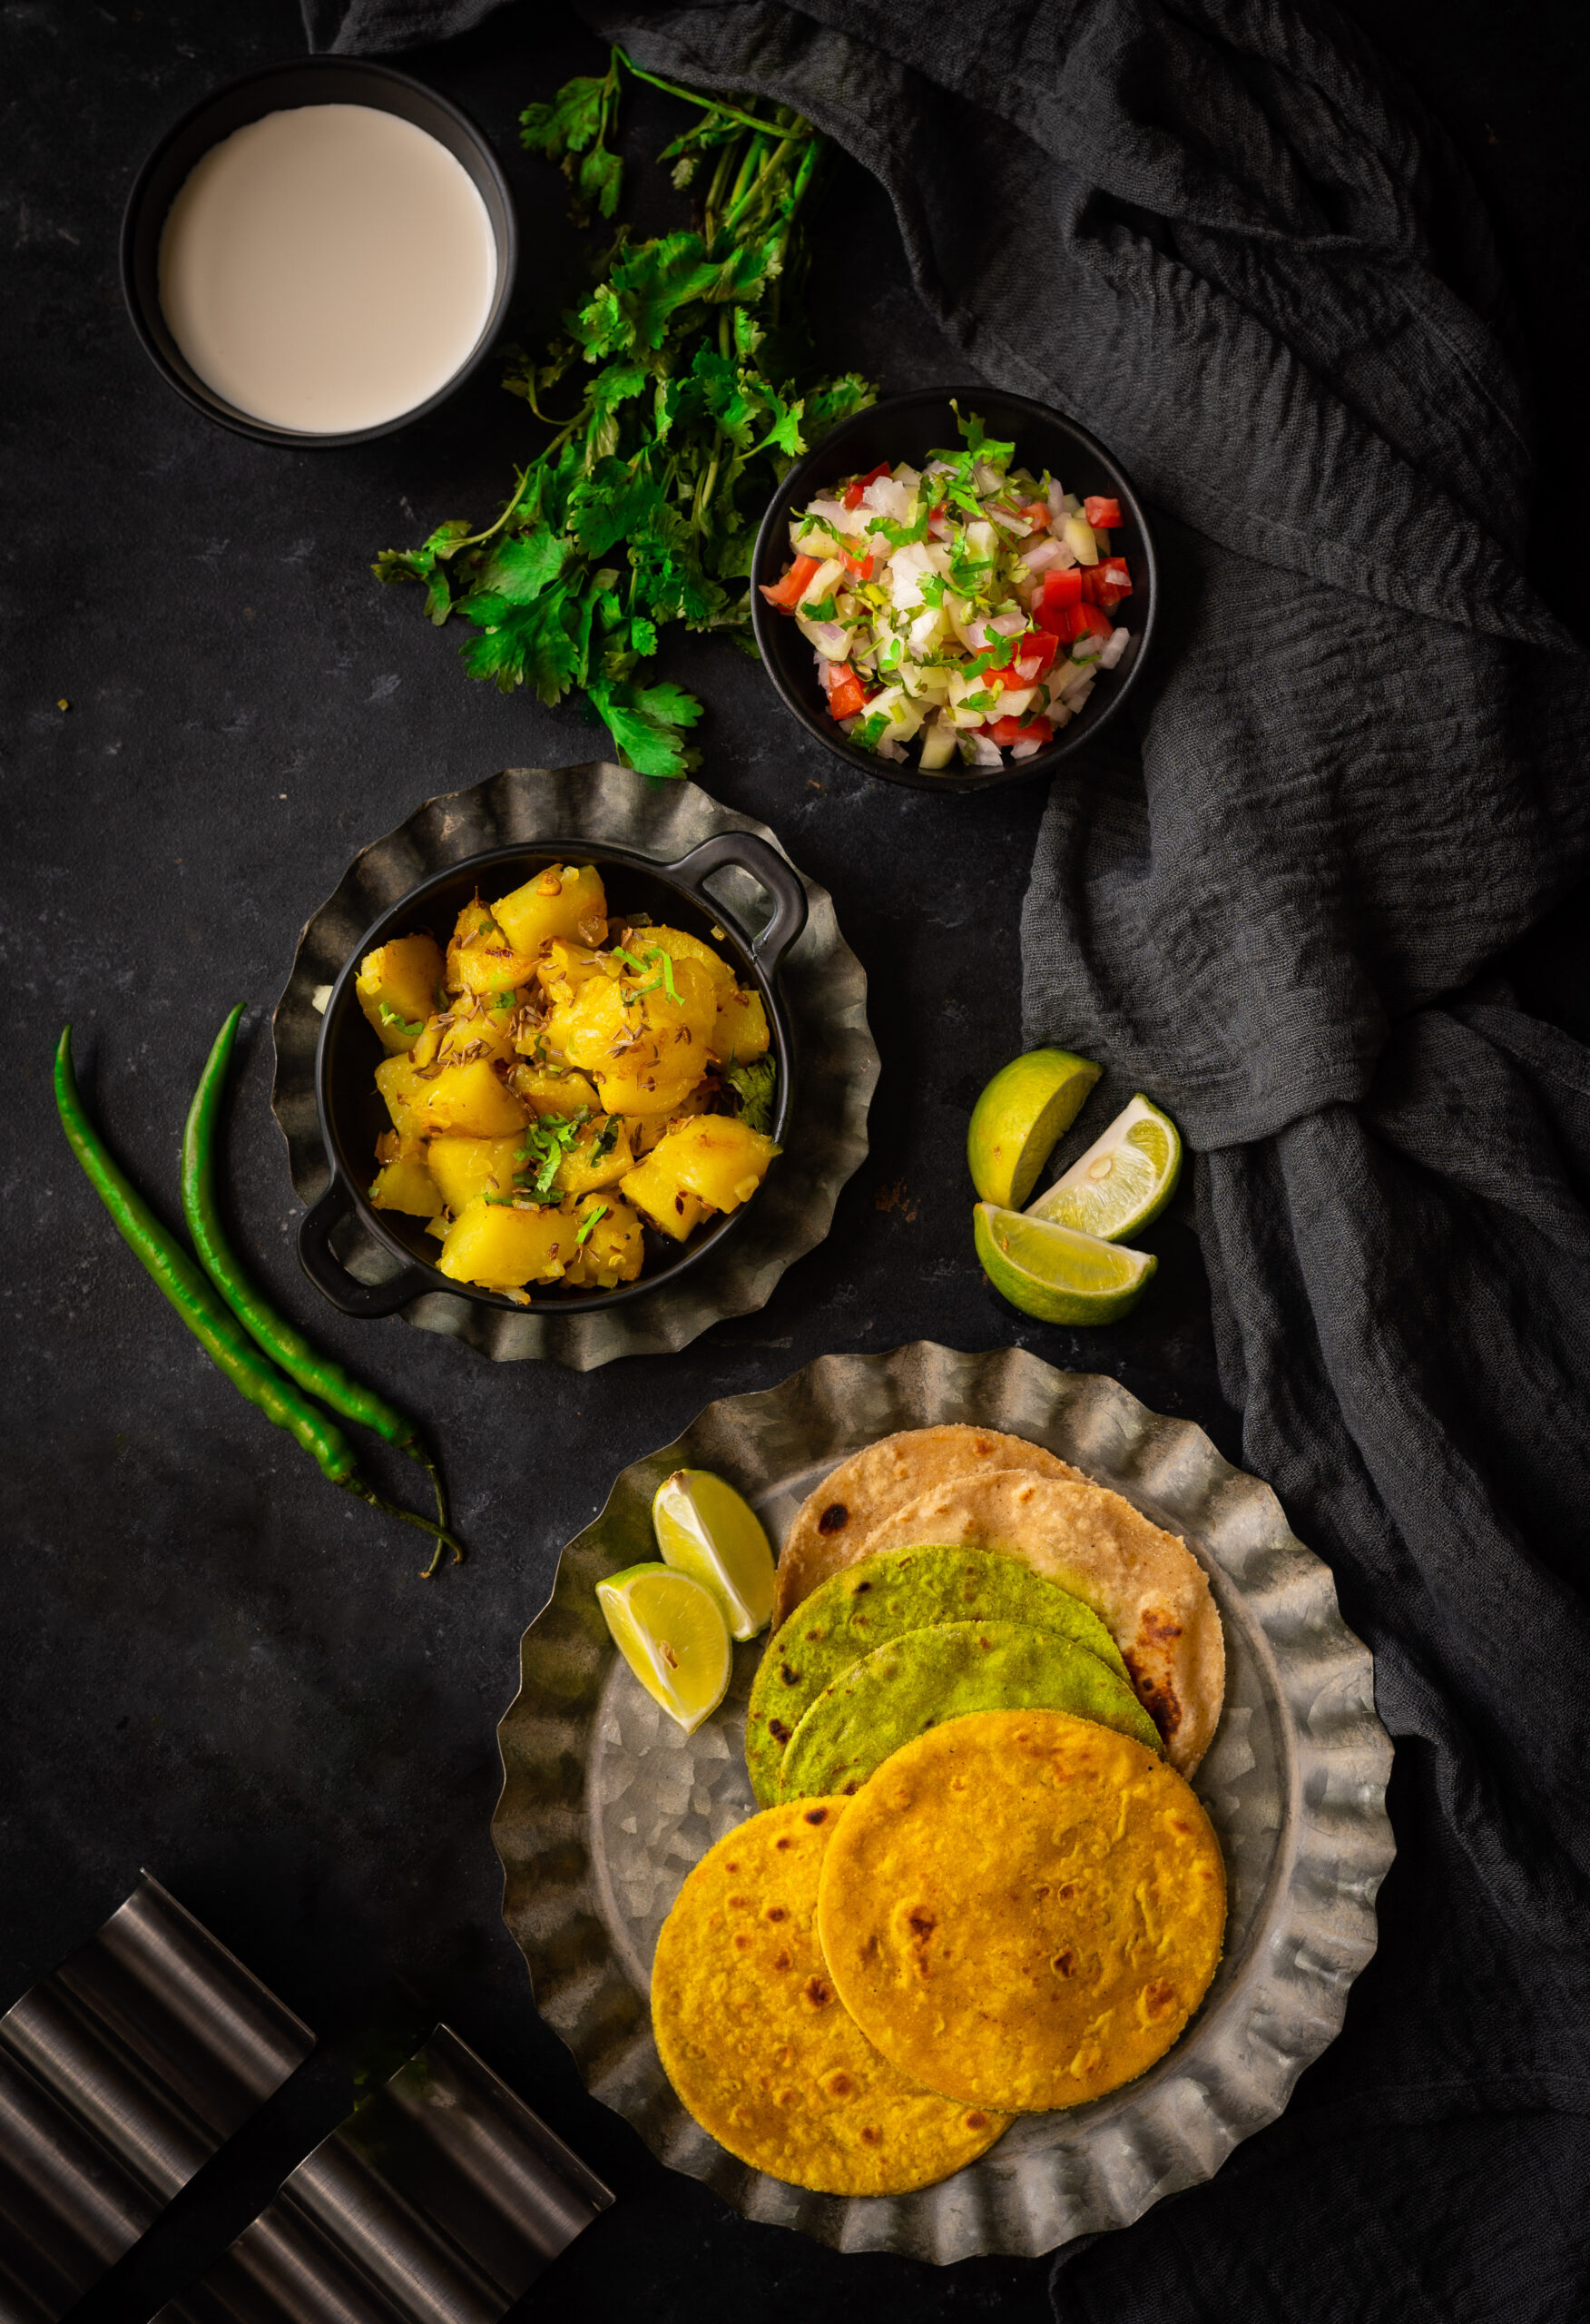
I’ll let you in on a secret… We have a Mexican dinner night every week at home, with crispy tacos and other dishes that veer towards the slightly more authentic (although, as I explained in my Buddha bowl series, authenticity isn’t what I aspire to as much as sheer enjoyment is). I thought that this soft shell version would be a great way to serve a traditional Gujarati meal without anyone thinking that it’s boring. It’s so very delicious no matter if you eat it in a taco or a thali, but the appeal of food so often comes down to presentation. This is why, in addition to the plain rotis and the yellow theplas, I also tried out a roti made with spinach purée for an attractive green appearance. We all need a burst of colour now and then to get us going, and for me, cooking has always been something that fulfills this need – beautifully!

Indian Tacos

(Yield: 6-8 tacos)


Taco Shell

Theplas or rotis (recipes here)

Pickle of your choice (I like to use a sweet grated mango pickle), or a sauce of your choice


Potato filling

200 grams boiled potatoes

3 tablespoons oil

3-4 cloves of garlic

2 tablespoons finely chopped onions

½ teaspoon cumin seeds

¼ teaspoon turmeric powder

1 teaspoon cumin powder

1 finely chopped green chilli

Salt to taste


Kachumber

¾ cup finely chopped onions

1 cup finely chopped tomatoes

1 cup finely chopped cucumber

2 tablespoons finely cut coriander leaves

1 teaspoon roasted cumin powder

2 tablespoons lemon juice

1 finely chopped green chilli

Salt to taste


Greek yoghurt

1 cup yoghurt

2 cloves finely crushed garlic

6-8 finely cut mint leaves

Salt to taste


Paneer

½ cup grated paneer


Mash the boiled potatoes coarsely with your hand while they are still warm.

Heat a pan and add the oil. Once the oil is heated, add the cumin seeds. Allow them to splutter. Then, add the garlic and the potatoes. Allow the potatoes to become crisp, then add the onions. Add the remaining spices and stir well. Allow to sauté and turn golden slightly. Remove from the flame and set aside.

As for the kachumber, simply put the ingredients together in a bowl and set them aside.

Then, whisk the ingredients of the Greek yogurt together until they are blended well.

To assemble the Indian tacos, place each soft roti or thepla in a taco holder. Use the recipes here, and just add some puréed spinach to the dough if you’d like to make the green ones in my photographs.

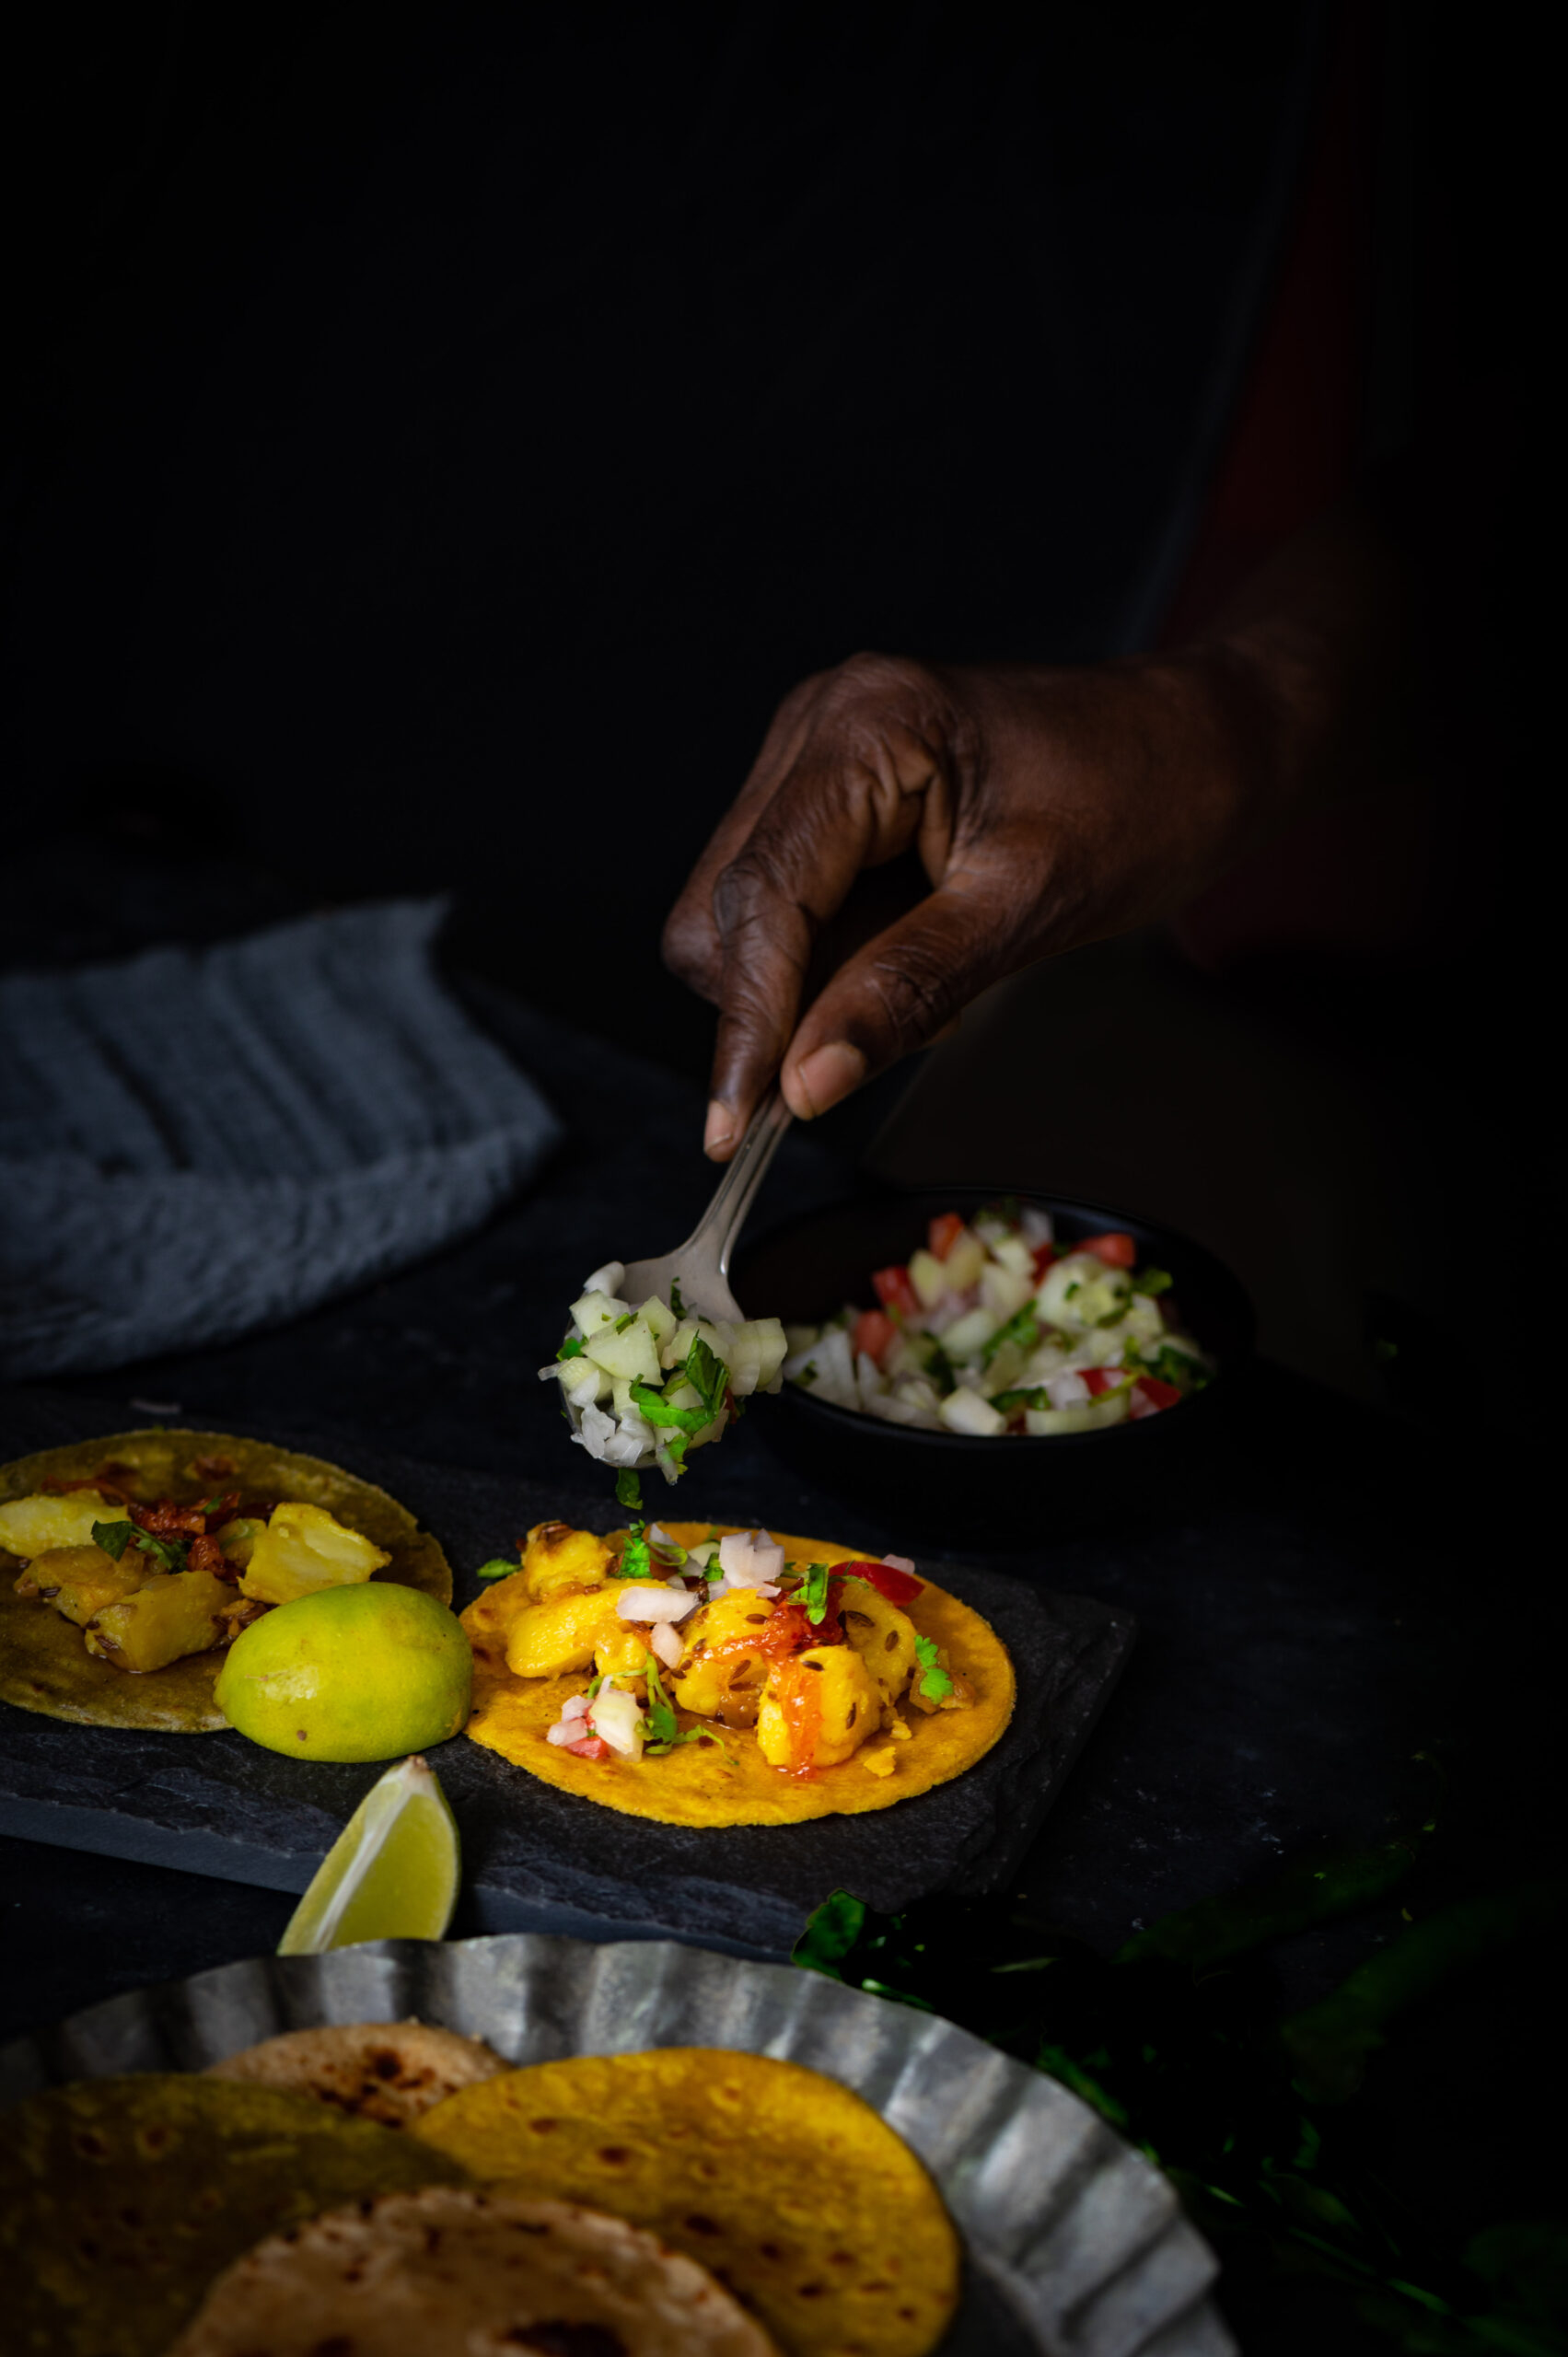
Spread a layer of the pickle or sauce of your choice onto the Indian taco shell. Then add a tablespoon or so of potatoes. Top this with the kachumber and the Greek yoghurt dressing. Add a squeeze of lime if you like, then sprinkle the grated paneer on top. Finally, a garnish of coriander leaves will finish the dish off perfectly.

These Indian tacos are a great way to pep things up a bit and get the family to eat more, even though each of the individual components is part of a fairly typical and simple Gujarati meal! It’s all about the presentation, and the taco style makes everything all the more attractive and adds a sense of novelty to the meal. I particularly like to make them in smaller sizes because there’s an irresistibility quotient to them, just like with cupcakes, and no one can stop at just one or two!

Here in lockdown mode, due to the global pandemic, I feel now more than ever that memories, bonding, love and food are what keep us going and make it possible to manage this difficult time. I sincerely hope that you and your families are keeping well, and that my recipes will offer you some comfort.

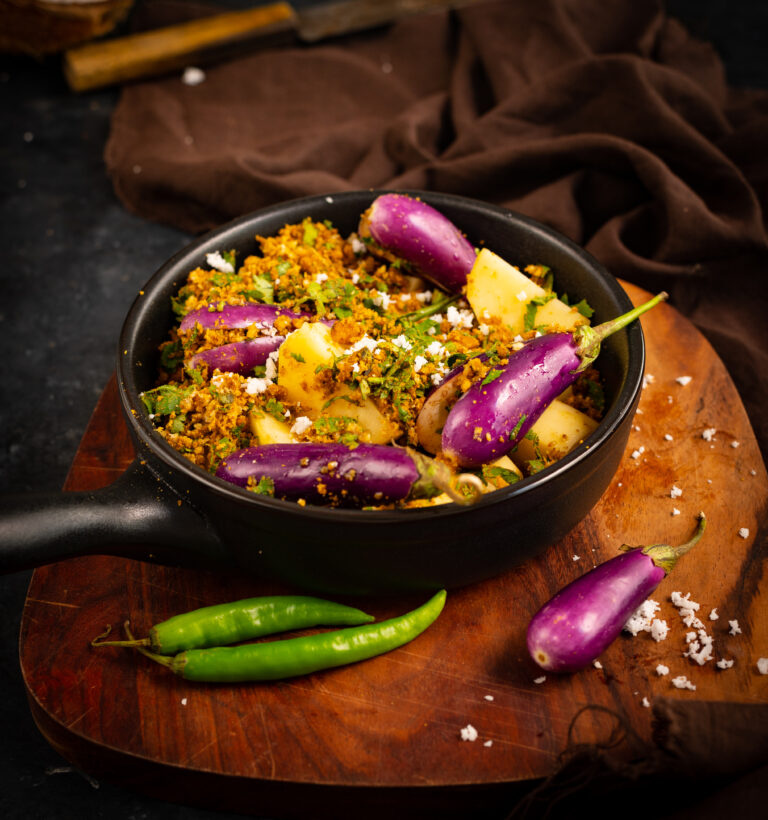
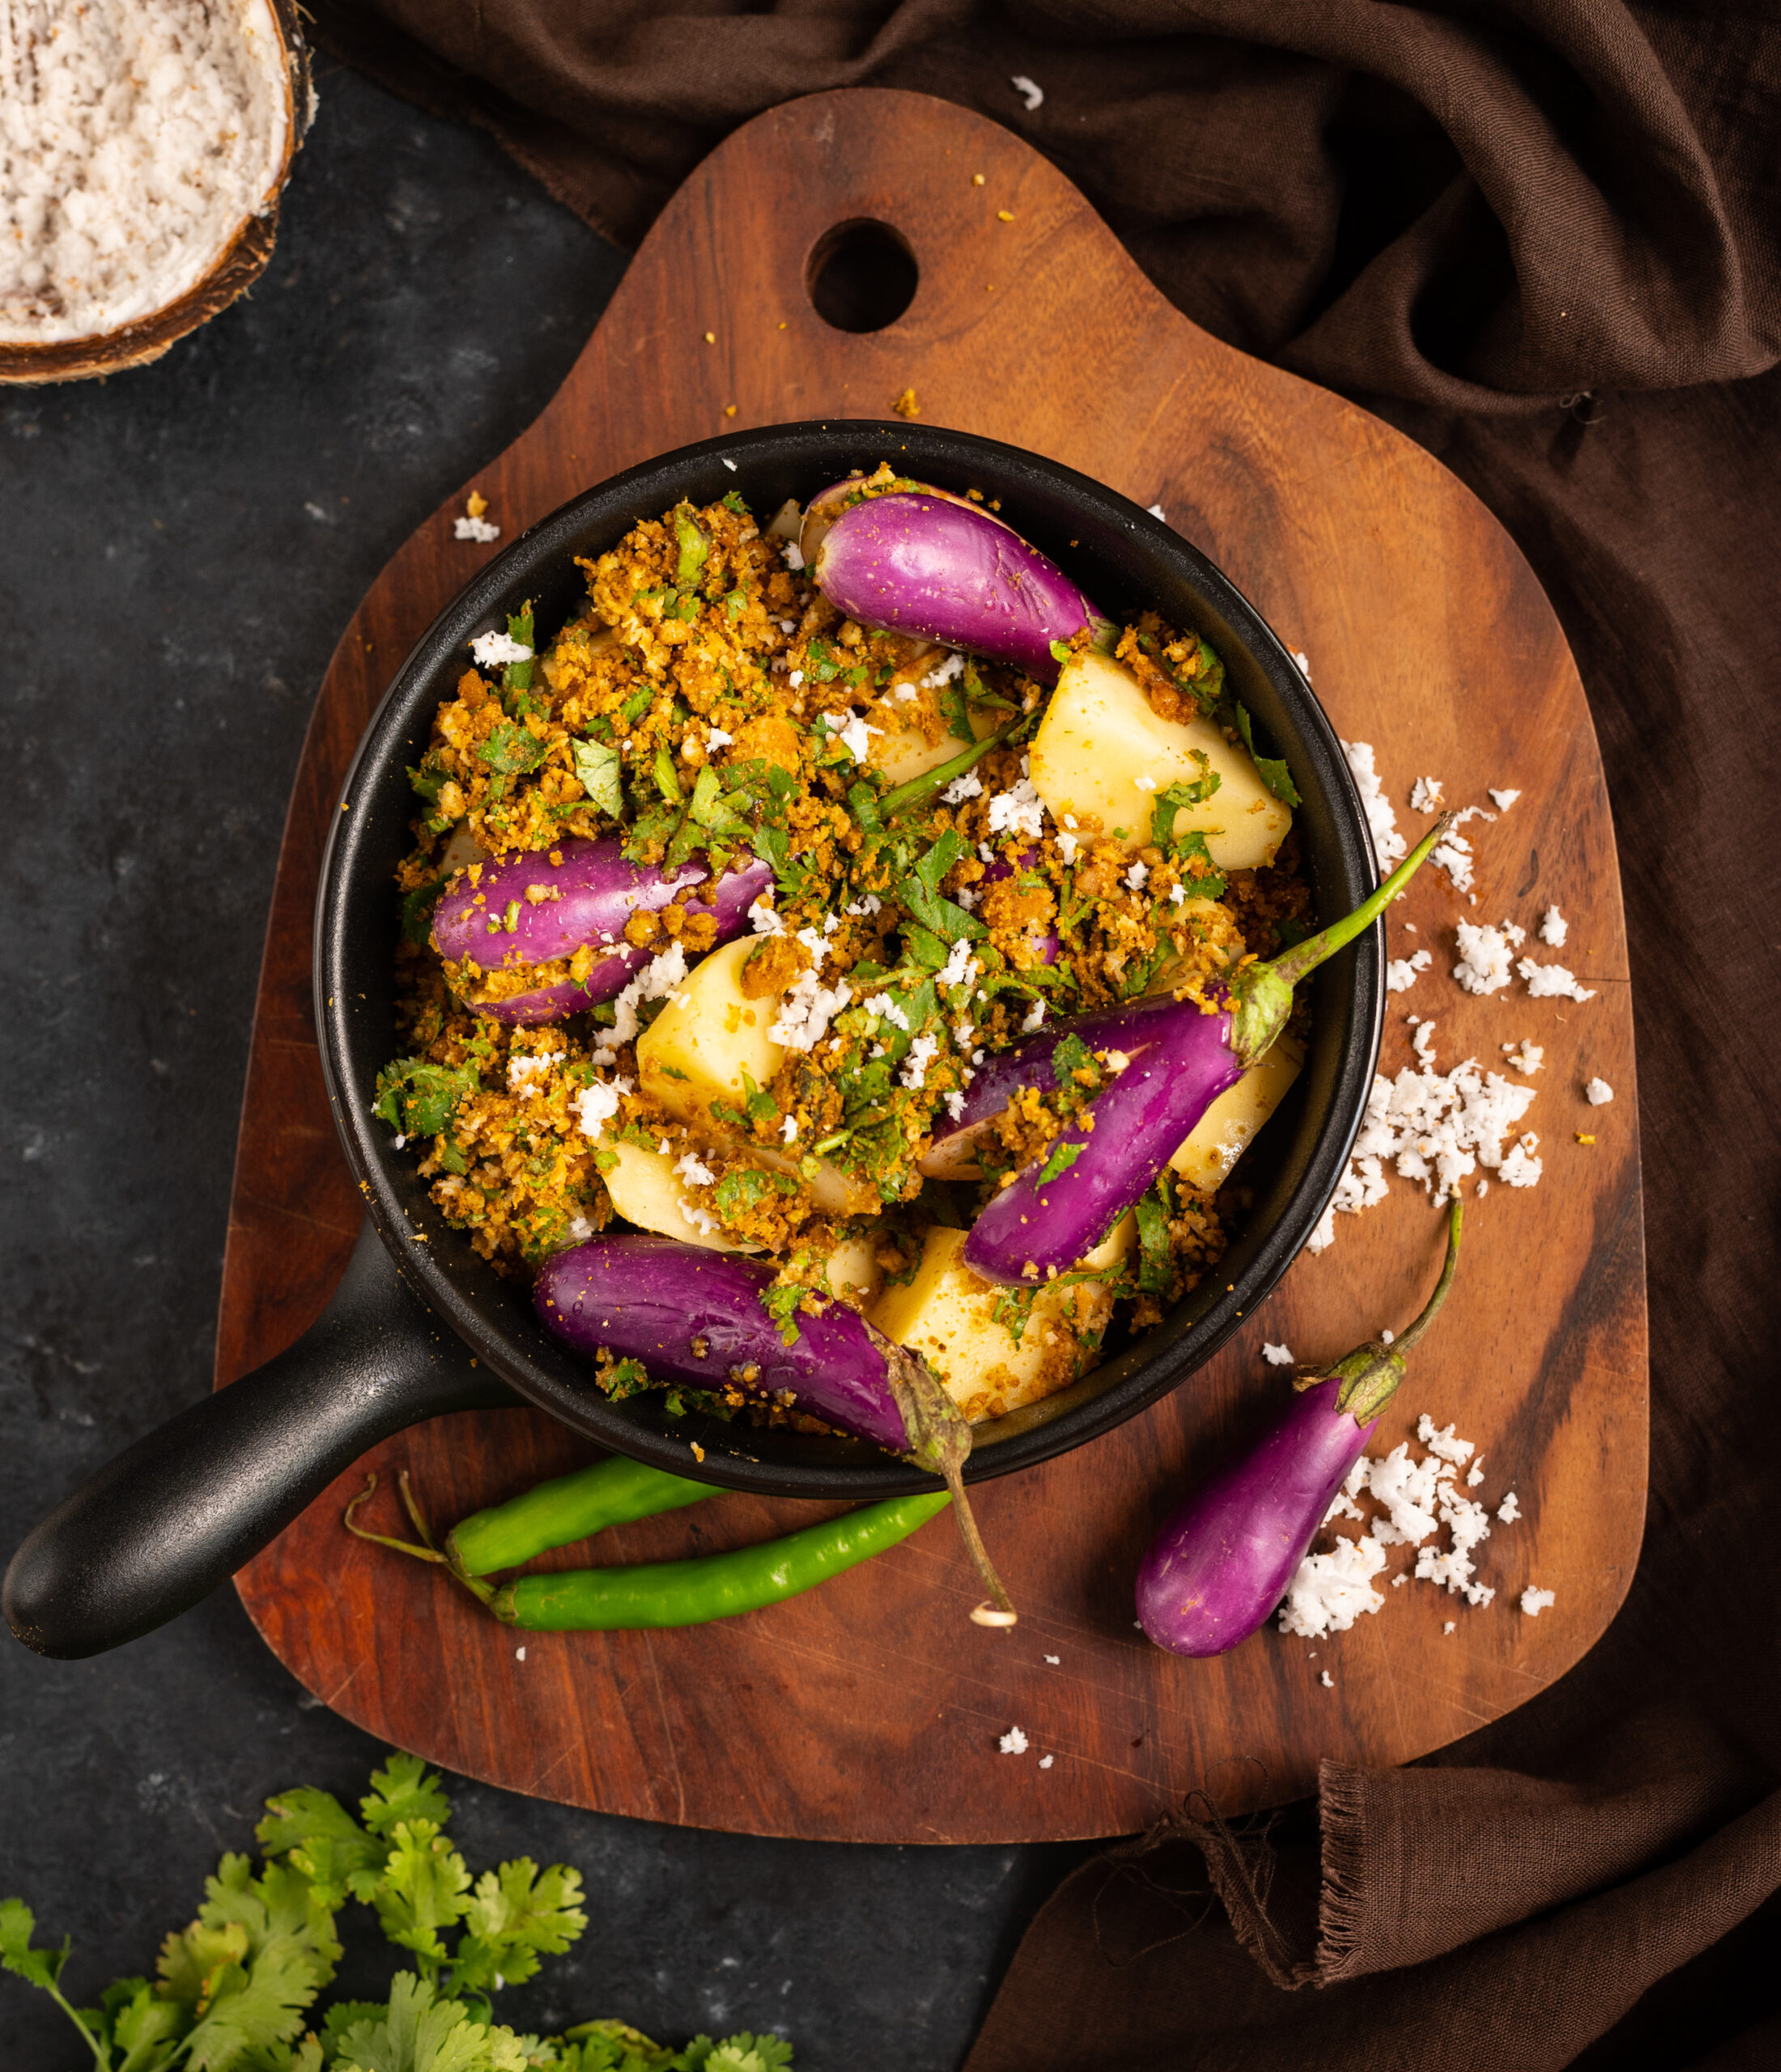
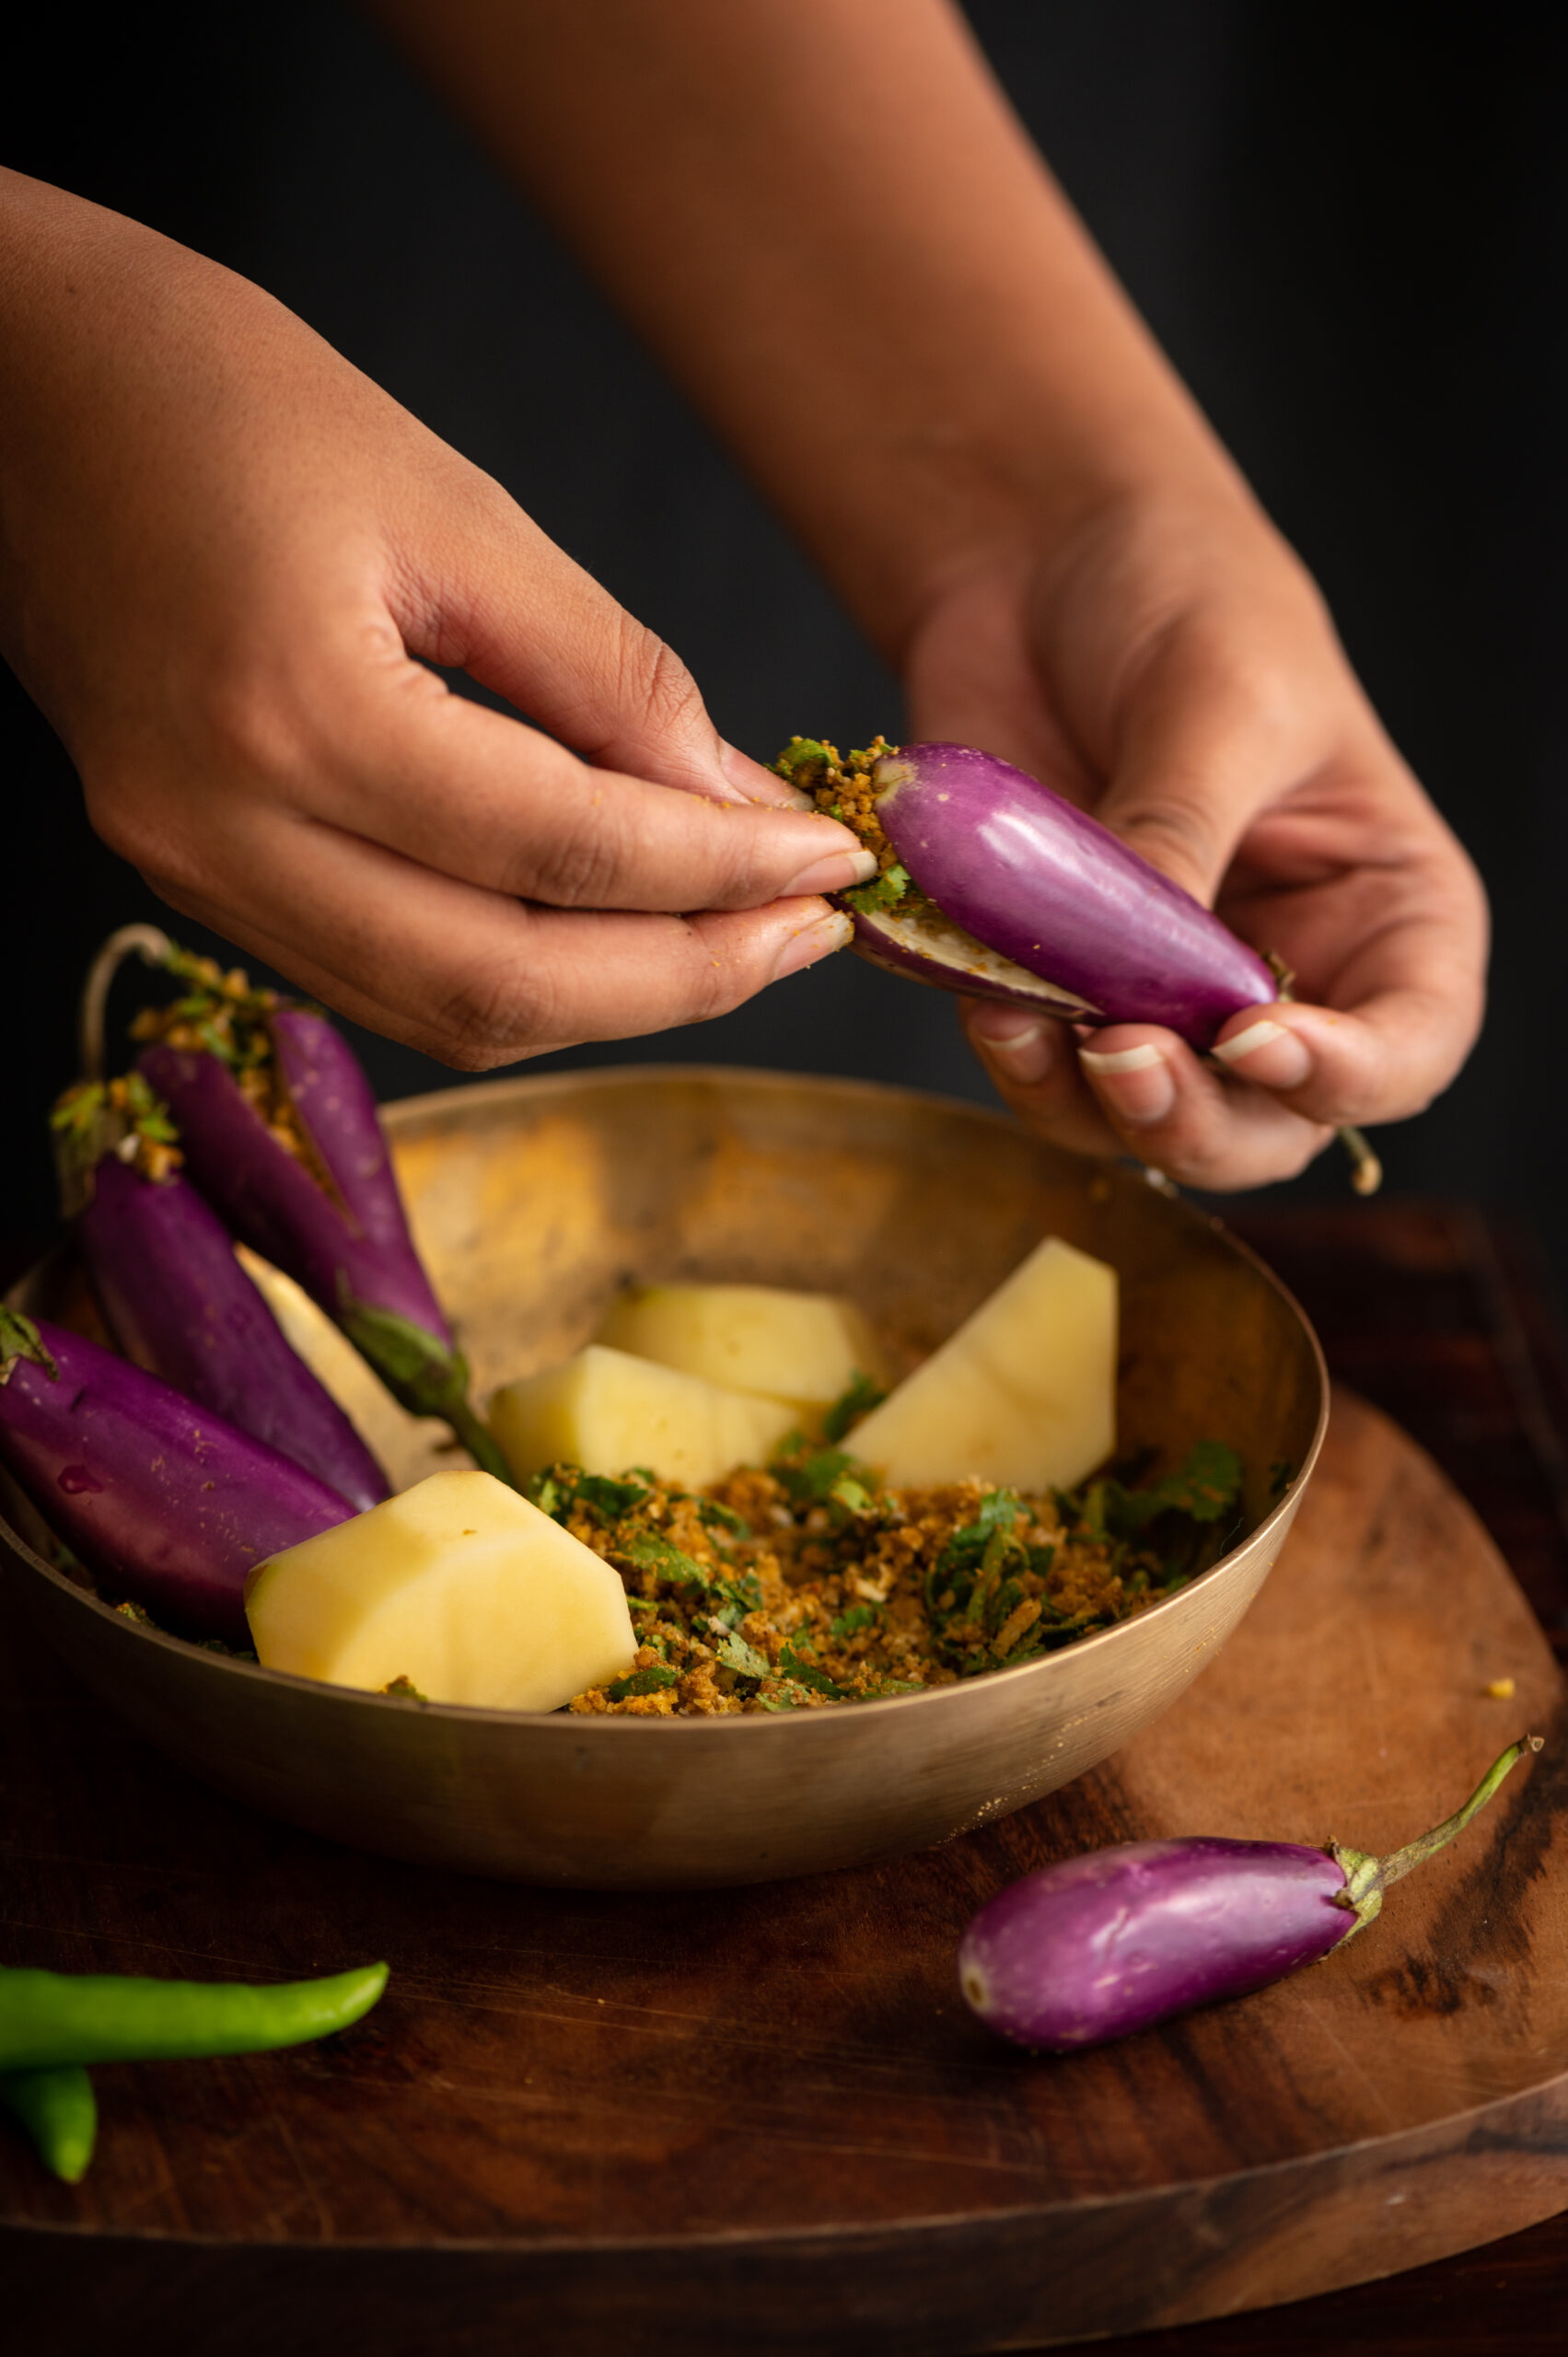
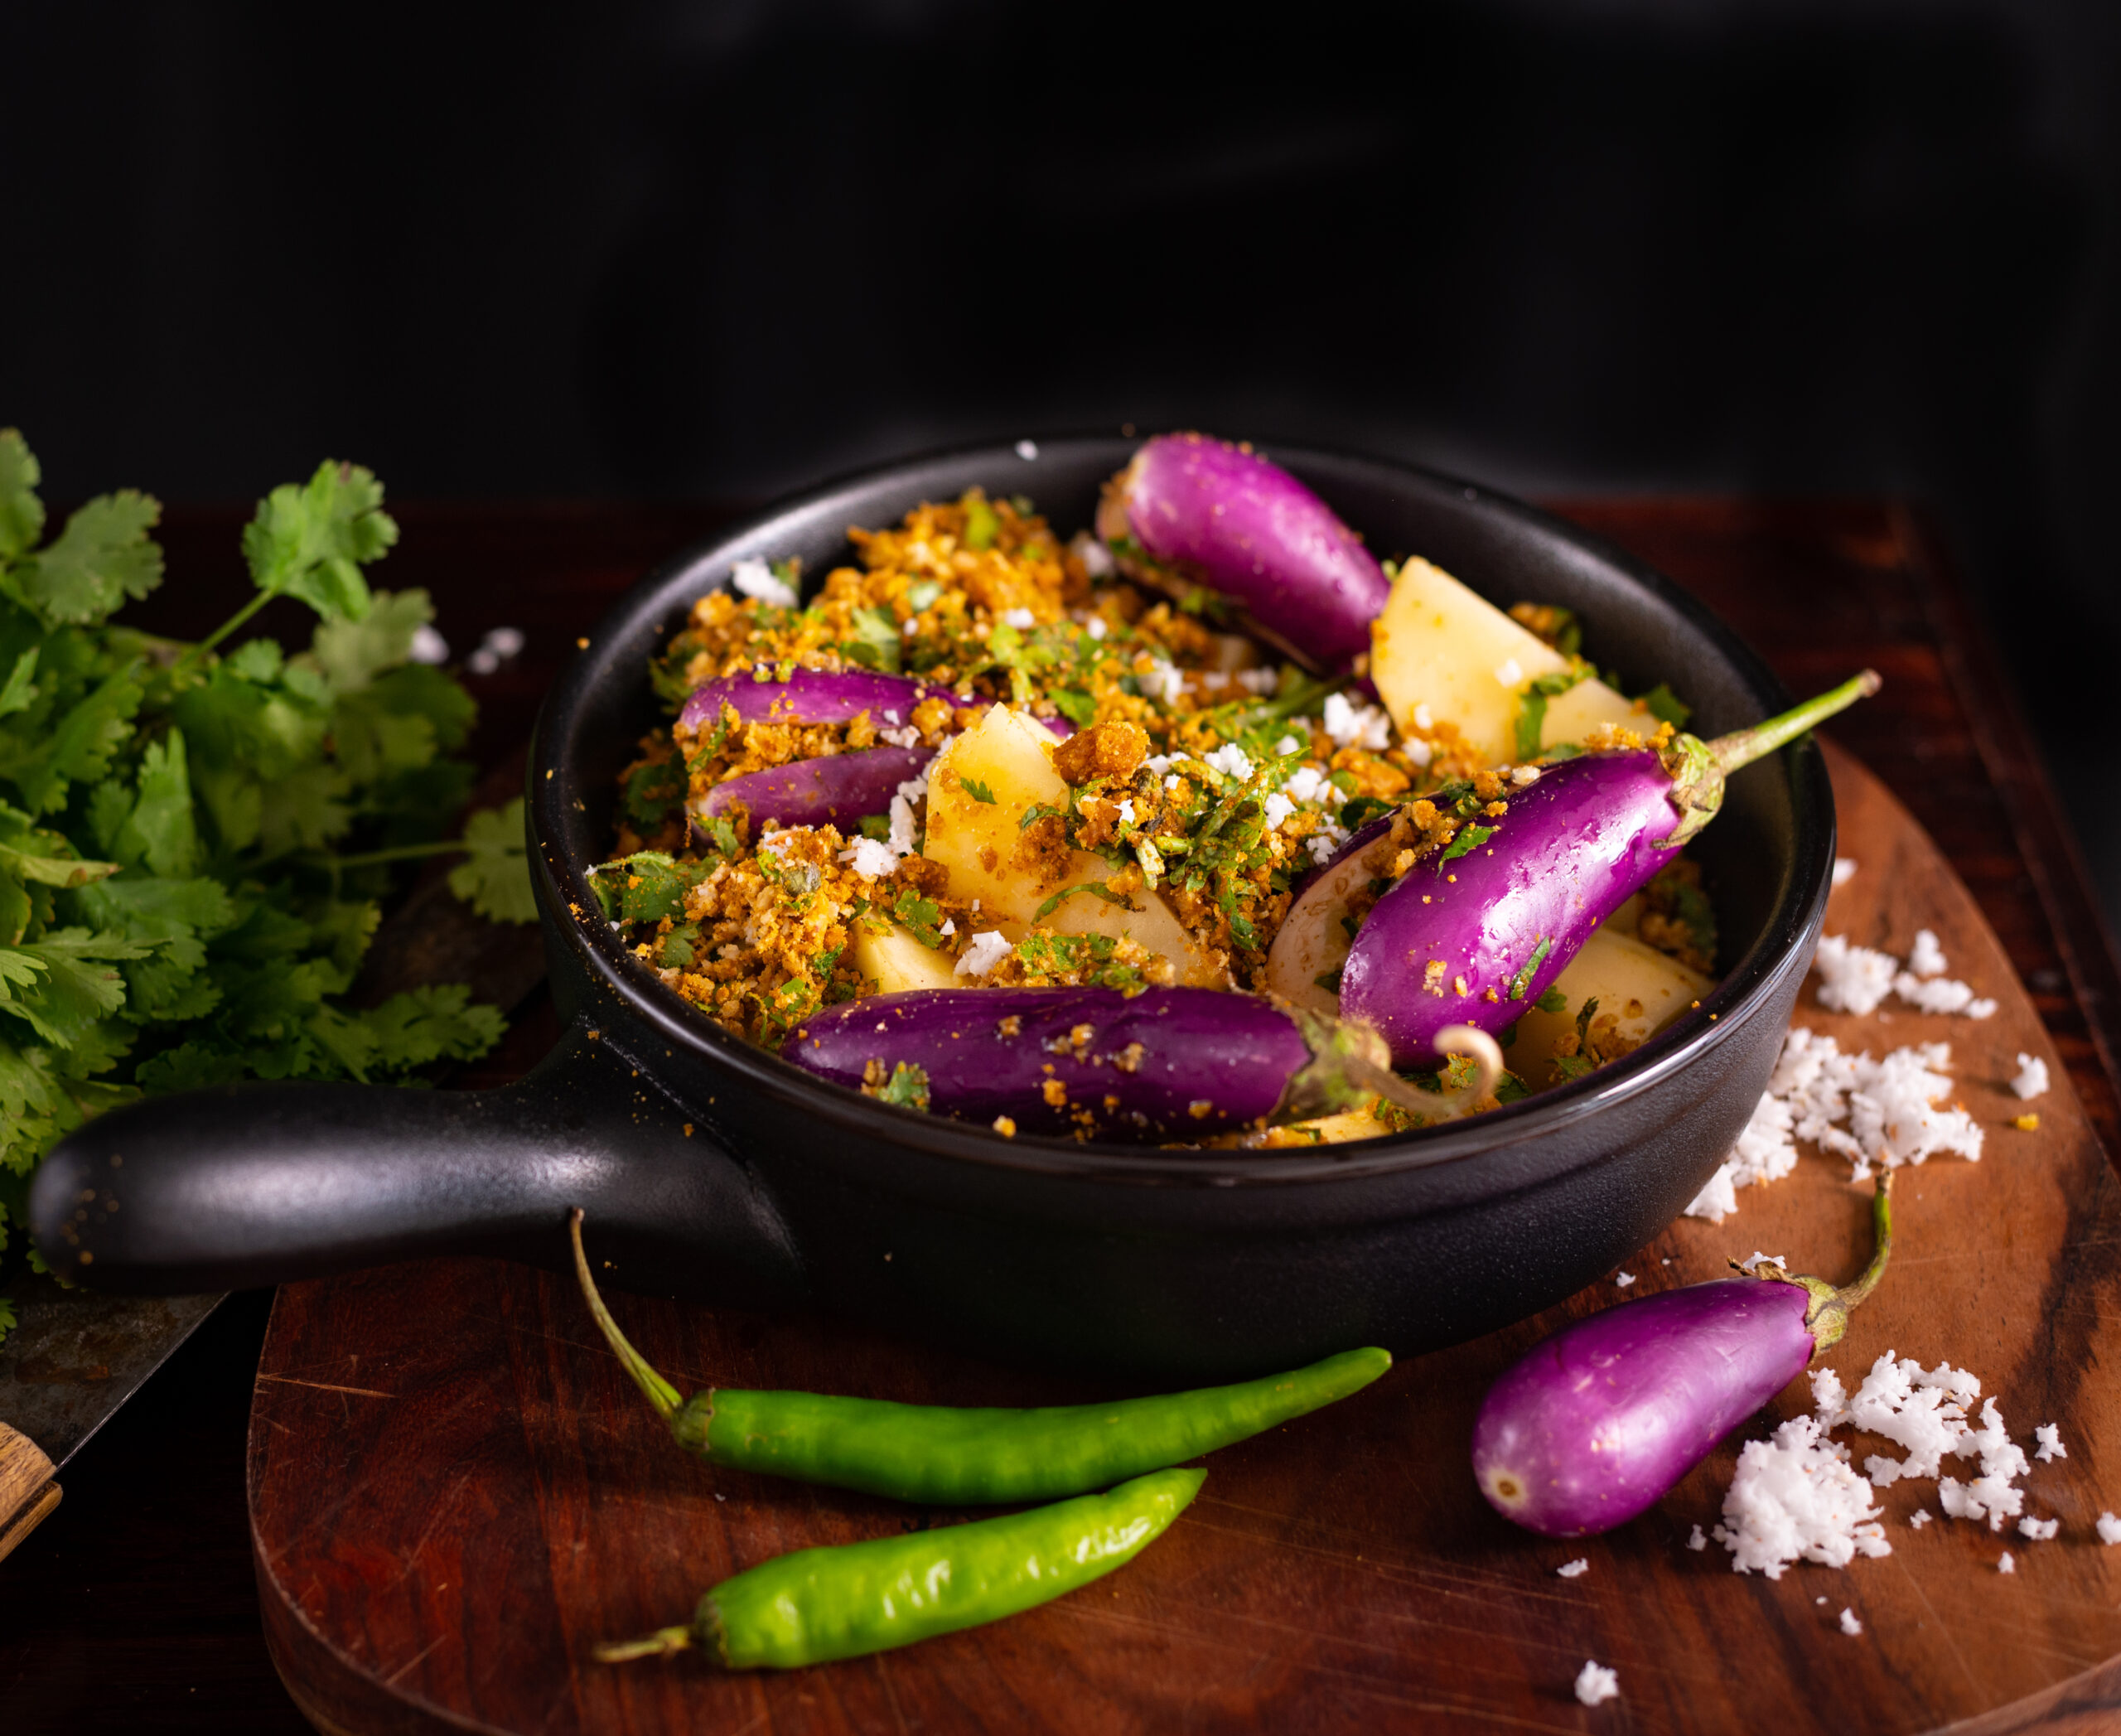
Ever since I can remember, this traditional stuffed vegetable dish has been a part of my life. It’s typically Gujarati, in the sense that every Gujarati household makes it. Some use onions and garlic, while for others these ingredients are not permitted religiously. Some use peanuts to add more texture. This dish is true to its region, so the taste and style you experience will also vary depending on where in the state the family originated from. No matter the variant, the base recipe for this Gujarati Potato & Brinjal Curry, which can be made either as a gravy or dry, is the same.

Needless to say, it’s a favourite and frequent dish in my home today, just as it was when I was growing up. It was a trademark preparation of my mother’s. When I first got married, she would speak to me often on the phone and if she sensed that I was feeling down, she would always say, “Come home for a meal. I made your favourite vegetable dish today.” Till she was 84 years old, she cooked this sabzi regularly for me. In that last year when she was unwell, it became my turn to. I would cook it and send it to her, made with all the love I have for her and the memories she had given me, and she would enjoy it just as much as I did.

And how many memories I have of this dish! Memories of eating it at home as a child, memories of making it for my own family once my kids were born, memories of visiting Gujarati relatives and friends for a meal and almost invariably being offered their own personal rendition of it. Perhaps there was something extra special about it to me always, and maybe this was the reason why my mother recognised that it was my favourite. That was because it was always served during our Sunday lunches when we were growing up. We would all be glad for the weekend, enjoying our leisure, and this delicious concoction of potato and stuffed brinjal would fill our tummies and become associated with the joy of a day of rest itself. Funnily, for such a quintessential and ubiquitious dish, Gujaratis don’t have a special name for it. We just call it “potato-brinjal curry” in our language too!

There are certain dishes which, even if one usually dislikes the main ingredient, the magic of the preparation always sways the eater to relish it. I’ve heard quite often that people who don’t enjoy eggplant in other ways do so when they have a bite of this. (People not liking potatoes is much rarer, of course!). Whether you call it brinjal, baingan, aubergine or eggplant, it’s a vegetable that has a host of benefits, and which can be made in delicious ways so that your family receives these. This Gujarati curry, for which I will provide both the gravy and the dry options in the method below, is the perfect way to bring the antioxidant-rich, fibre-rich, nutrient-rich vegetable into your regular diet.

Gujarati Potato & Brinjal Curry (Gravy/Dry)

(Yield: 1 bowl)

½ cup grated coconut

¼ teaspoon turmeric powder

2 tablespoons cumin/dhania (coriander) powder

1 teaspoon amchur (mango powder)

1 teaspoon garam masala

2 tablespoons jaggery

1 teaspoon chilli powder

Salt to taste

½ teaspoon grated ginger/green chili

½ cup finely chopped coriander leaves

2 tablespoons oil

6 baby eggplants

3 large potatoes

3-4 cups water

First, let me share the gravy version of this dish. The dry version is provided further below.

Wash the baby eggplants. Slit them lengthwise (so that they can be stuffed; be careful not to cut completely) and keep the slices in water.

Peel the potatoes and cut them into big pieces. Set aside.

In a plate, prepare the stuffing by adding together the coconut, salt, spices, coriander leaves, ginger chili paste, and jaggery. Mix it well with your fingertips and set aside. Now, take each eggplant and stuff it with this prepared masala. Keep aside.

Heat the oil in a pressure cooker and gently add potatoes, making sure the oil doesn’t splutter. Next, gently add the stuffed eggplants over the potatoes. You will find that there is a lot of masala left over. Sprinkle this over the vegetables, leaving just a little on the plate for later. Again, gentleness is key so that the stuffed eggplants don’t break.

Now, add the water and mix the concoction – again, gently! Cover the cooker and wait for three whistles. Allow to cool, then open the lid and add the remaining masala. Stir once again. Your gravy Gujarati Potato-Brinjal Curry is ready to serve.

If you prefer a dry version of the same, follow the first three steps as above: cleaning and preparing the eggplants for stuffing, cutting the potatoes, and preparing the masala.

Then, add the oil in a kadai. Once it has heated, add the potatoes. Stir them, then cover with a lid on a slow flame. Stir occasionally, making sure they do not stick to the bottom. Once the potatoes are slightly tender to the touch and not overcooked, open the lid and add the stuffed eggplants. Remember that potatoes take longer to cook than eggplants so gauge the time well.  Cover again.

If required, especially if the vegetables are sticking to the bottom of the pan, sprinkle some water and cover. Continue to allow the dish to cook until all the vegetables are well-done. Finally, add the masala and stir gently. Cover again and allow it to sit. The dry version of this dish is now ready to serve.

As you prepare the dish, adjust the spices as per your preference. If you don’t like the standard Gujarati-style touch of sweetness, don’t include jaggery. If you want to spice it up while maintaining colour, chopped green chillies will do the trick. Don’t forget the versions mentioned at the beginning, which incorporate peanuts, garlic or onions.

No matter which way you choose to make it, I hope this Gujarati Potato-Brinjal Curry brings as much comfort and deliciousness to your home as it does to mine. As with all Indian curries, it’s perfect with rice and a range of breads. It’s got the spiciness of our masala, is tummy-filling thanks to the potatoes, and just has such a feel-good effect on the heart. Trust me: generations of Gujaratis have been turning to this dish as nutritious comfort food!


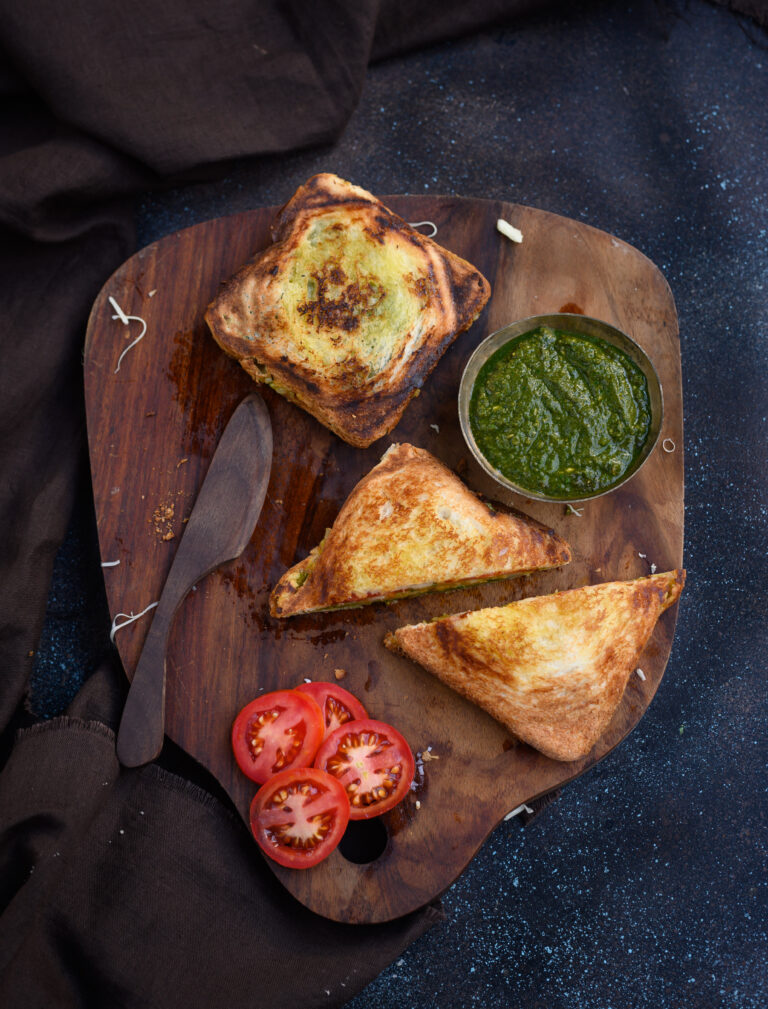
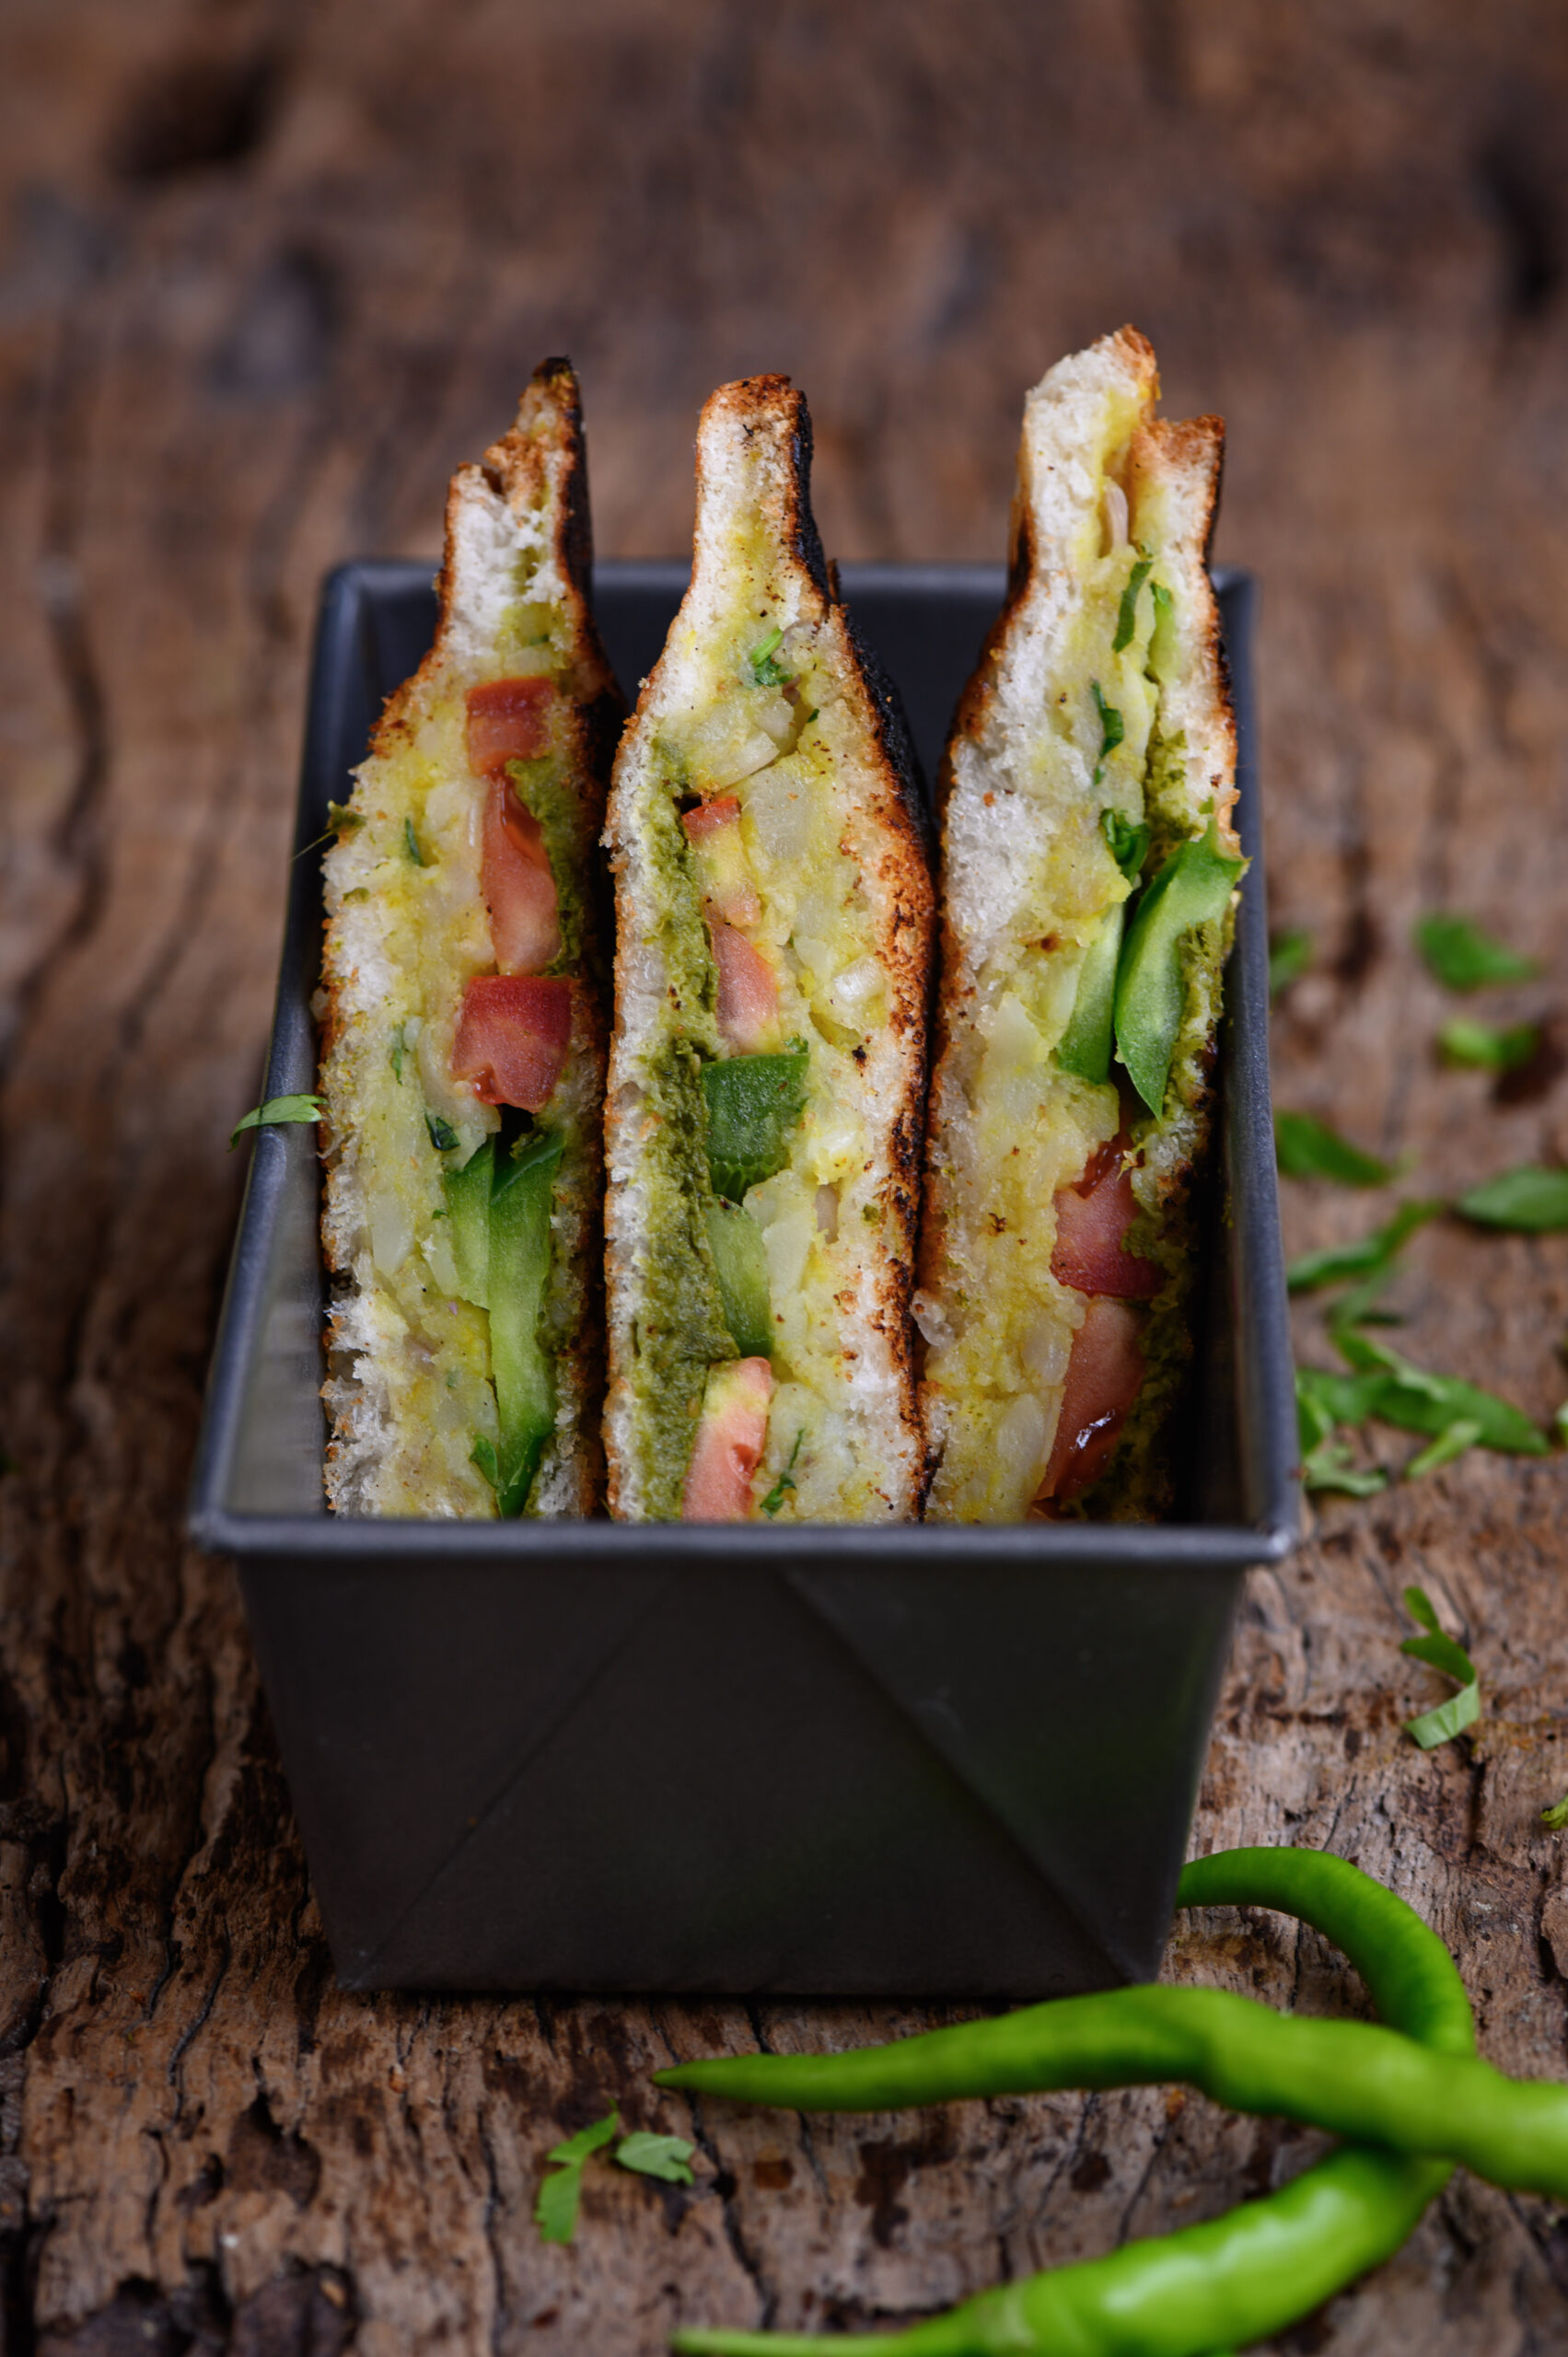
My husband is from Mumbai and if you asked him what the one thing he misses the most about the city is, he would probably say that it’s a type of street food available on practically every corner there. Its presence is so ubiquitous that it is even named the Bombay sandwich. Every visit back will find him at a sandwich stall, buying his favourite food and devouring it immediately by the side of the road. Even back home in Chennai, whenever we frequent neighbourhoods like Sowcarpet and Vepery, which have migrant populations who brought their cuisines with them, he simply has to make a stop for a snack. For myself, however, I’ve always preferred a homemade Bombay toast instead.

Bombay toast is essentially the toasted version of the Bombay sandwich. Whereas the soft sandwich is flavoured with a spiced chutney, the crispy toast has the spices mixed into the potato filling. Although peas, paneer and other ingredients may be used instead, potato is the most popular as it’s a binding agent. Arguably, it’s also the most delicious filling. Street vendors will ask you whether you want the Bombay sandwich or the Bombay toast, and prepare your order on the spot. Slices of cucumber and tomato are used in both, and they’ll top it all up with a red sauce. While it looks like ketchup, it is in fact a pumpkin-based condiment that’s cheaper to produce or buy.

During my own childhood visits to Mumbai, it was chaat that was always more interesting to me, whereas Bombay toast was something that tasted better when enjoyed at home. It’s said that there’s an attractive quality to street food that makes it seem like no matter what higher quality ingredient you use at home, you just can’t replicate the taste. This just doesn’t hold true for me when it comes to Bombay toast, however. Whether it’s on a street corner in Mumbai or at a stall in Chennai’s Gee Gee Minar, what I’ve tasted has never come close to what my mother would make at home. It was a frequent after-school snack for us because it’s a perfect leftovers-based recipe. Whenever there was some potato remaining from a meal, it could go right into this simple dish. It was as equally relished then as the fresh ones I make today are.

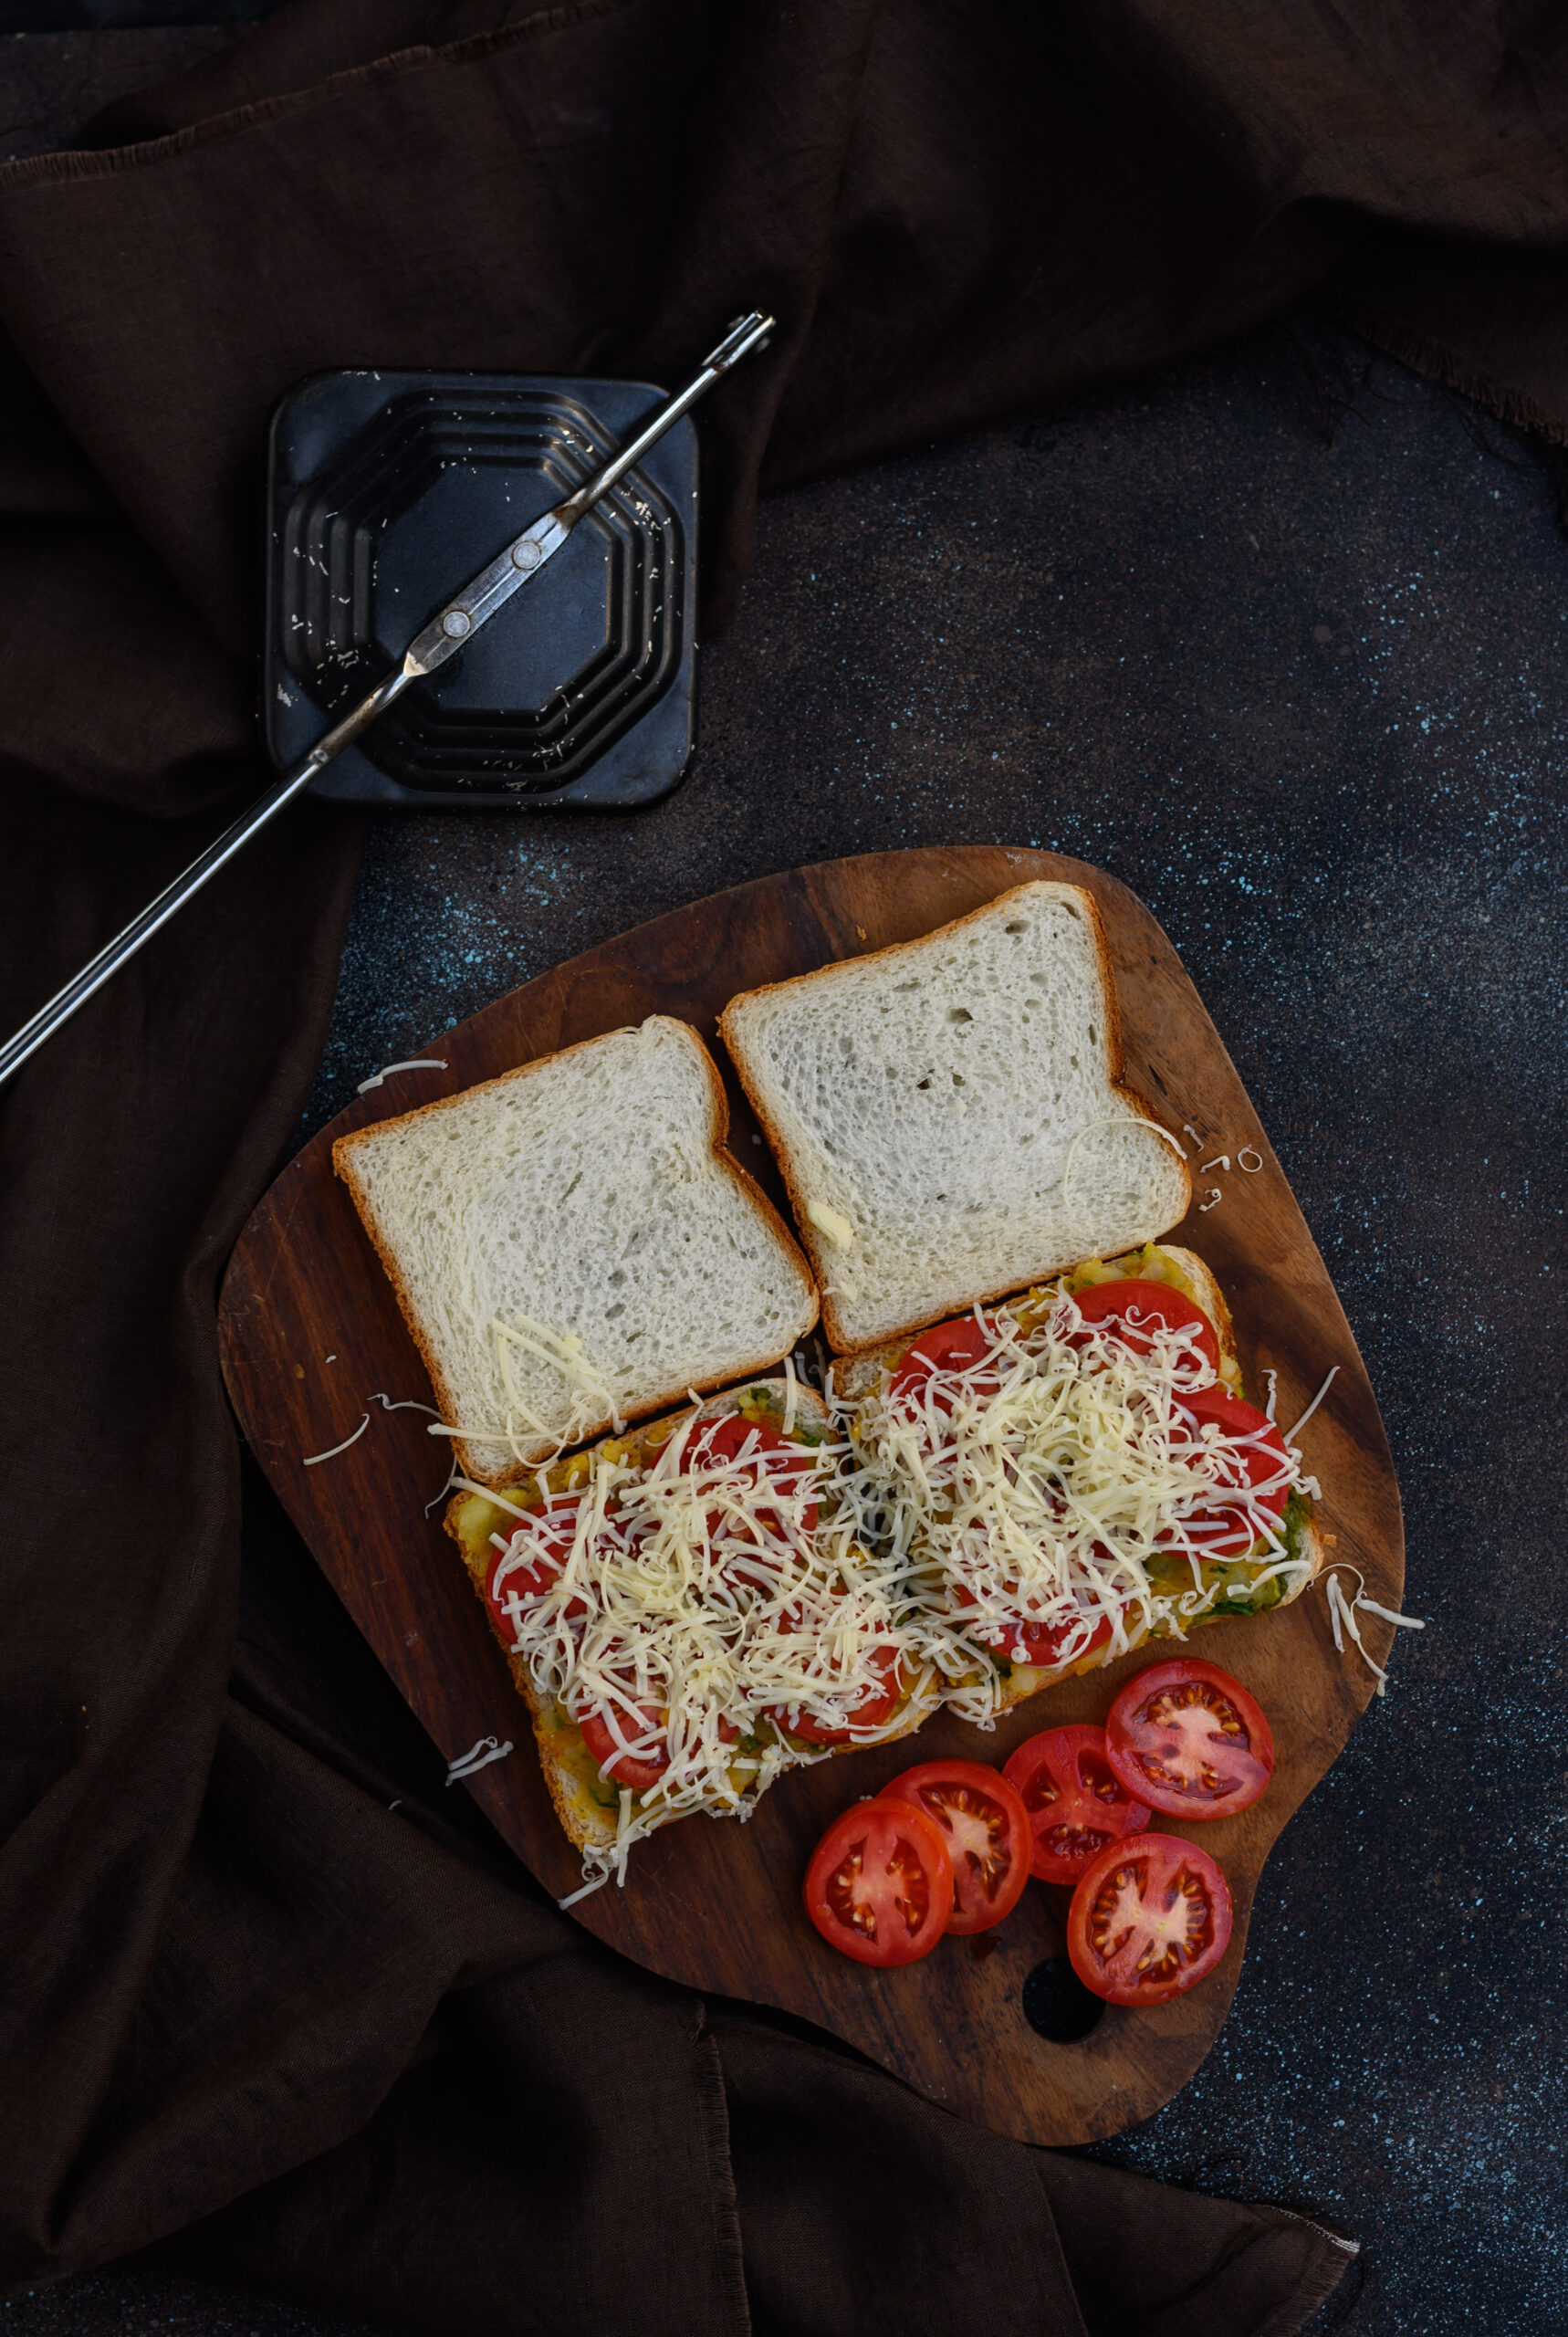
When I was growing up, many homes had a handheld sandwich toaster. You simply placed a slice of bread on one side, added your toppings, covered the first slice with a second thickly-buttered one, and turned the toaster on. It was incredibly easy to prepare these sandwiches quickly, and I loved them eating hot and crispy. I still like to use these old toasters, making sandwiches with a variety of chutneys and cheeses. I like that old world charm of using an appliance that is hardly around anymore. Also, not only is it faster than the new electrical toasters, but you can also control the amount of heat used so that you achieve the precise amount of crispiness you desire.

While customarily a snack, Bombay toast also makes for a good, filling breakfast. I often load a platter these days with an assortment of toppings so that my family can make their own versions of it. Still, nostalgia for this dish as my mother would prepare it makes me want to share her simple, no-frills version, using a spicy potato and peas mash. As it happens, peas are currently in season. And who doesn’t love potatoes, right? Bombay toast fulfills the criteria of providing a carb boost, satisfying a quick craving, and even helping fulfill some of your daily quota of vegetables.

Bombay Toast

(Yield: 3-4 sandwiches)


Mint chutney

1 cup coriander leaves

½ cup mint leaves

2 tablespoons dry roasted chickpeas

1 green chilli

Salt to taste

2 teaspoons lemon juice

2 tablespoons water


Potato filling

1 cup boiled mashed potato

¼ cup finely chopped coriander leaves

2 tablespoons finely sliced onions

Salt to taste

A pinch of turmeric

½ teaspoon chaat masala

½ teaspoon aamchur powder


Slices of tomato

6 slices of bread

Grated cheese

Butter to grease


For the mint chutney, mix all the ingredients together in a blender. Use enough water to make sure the mixture is of a paste-like consistency. Set aside.

In a bowl, add all the ingredients for the potato filling. Mash them all together by hand until all the spices have blended in and you have a coarse mixture. This filling can also be used to make samosas and kachoris.

Following this, you are ready to assemble and then toast the sandwiches.

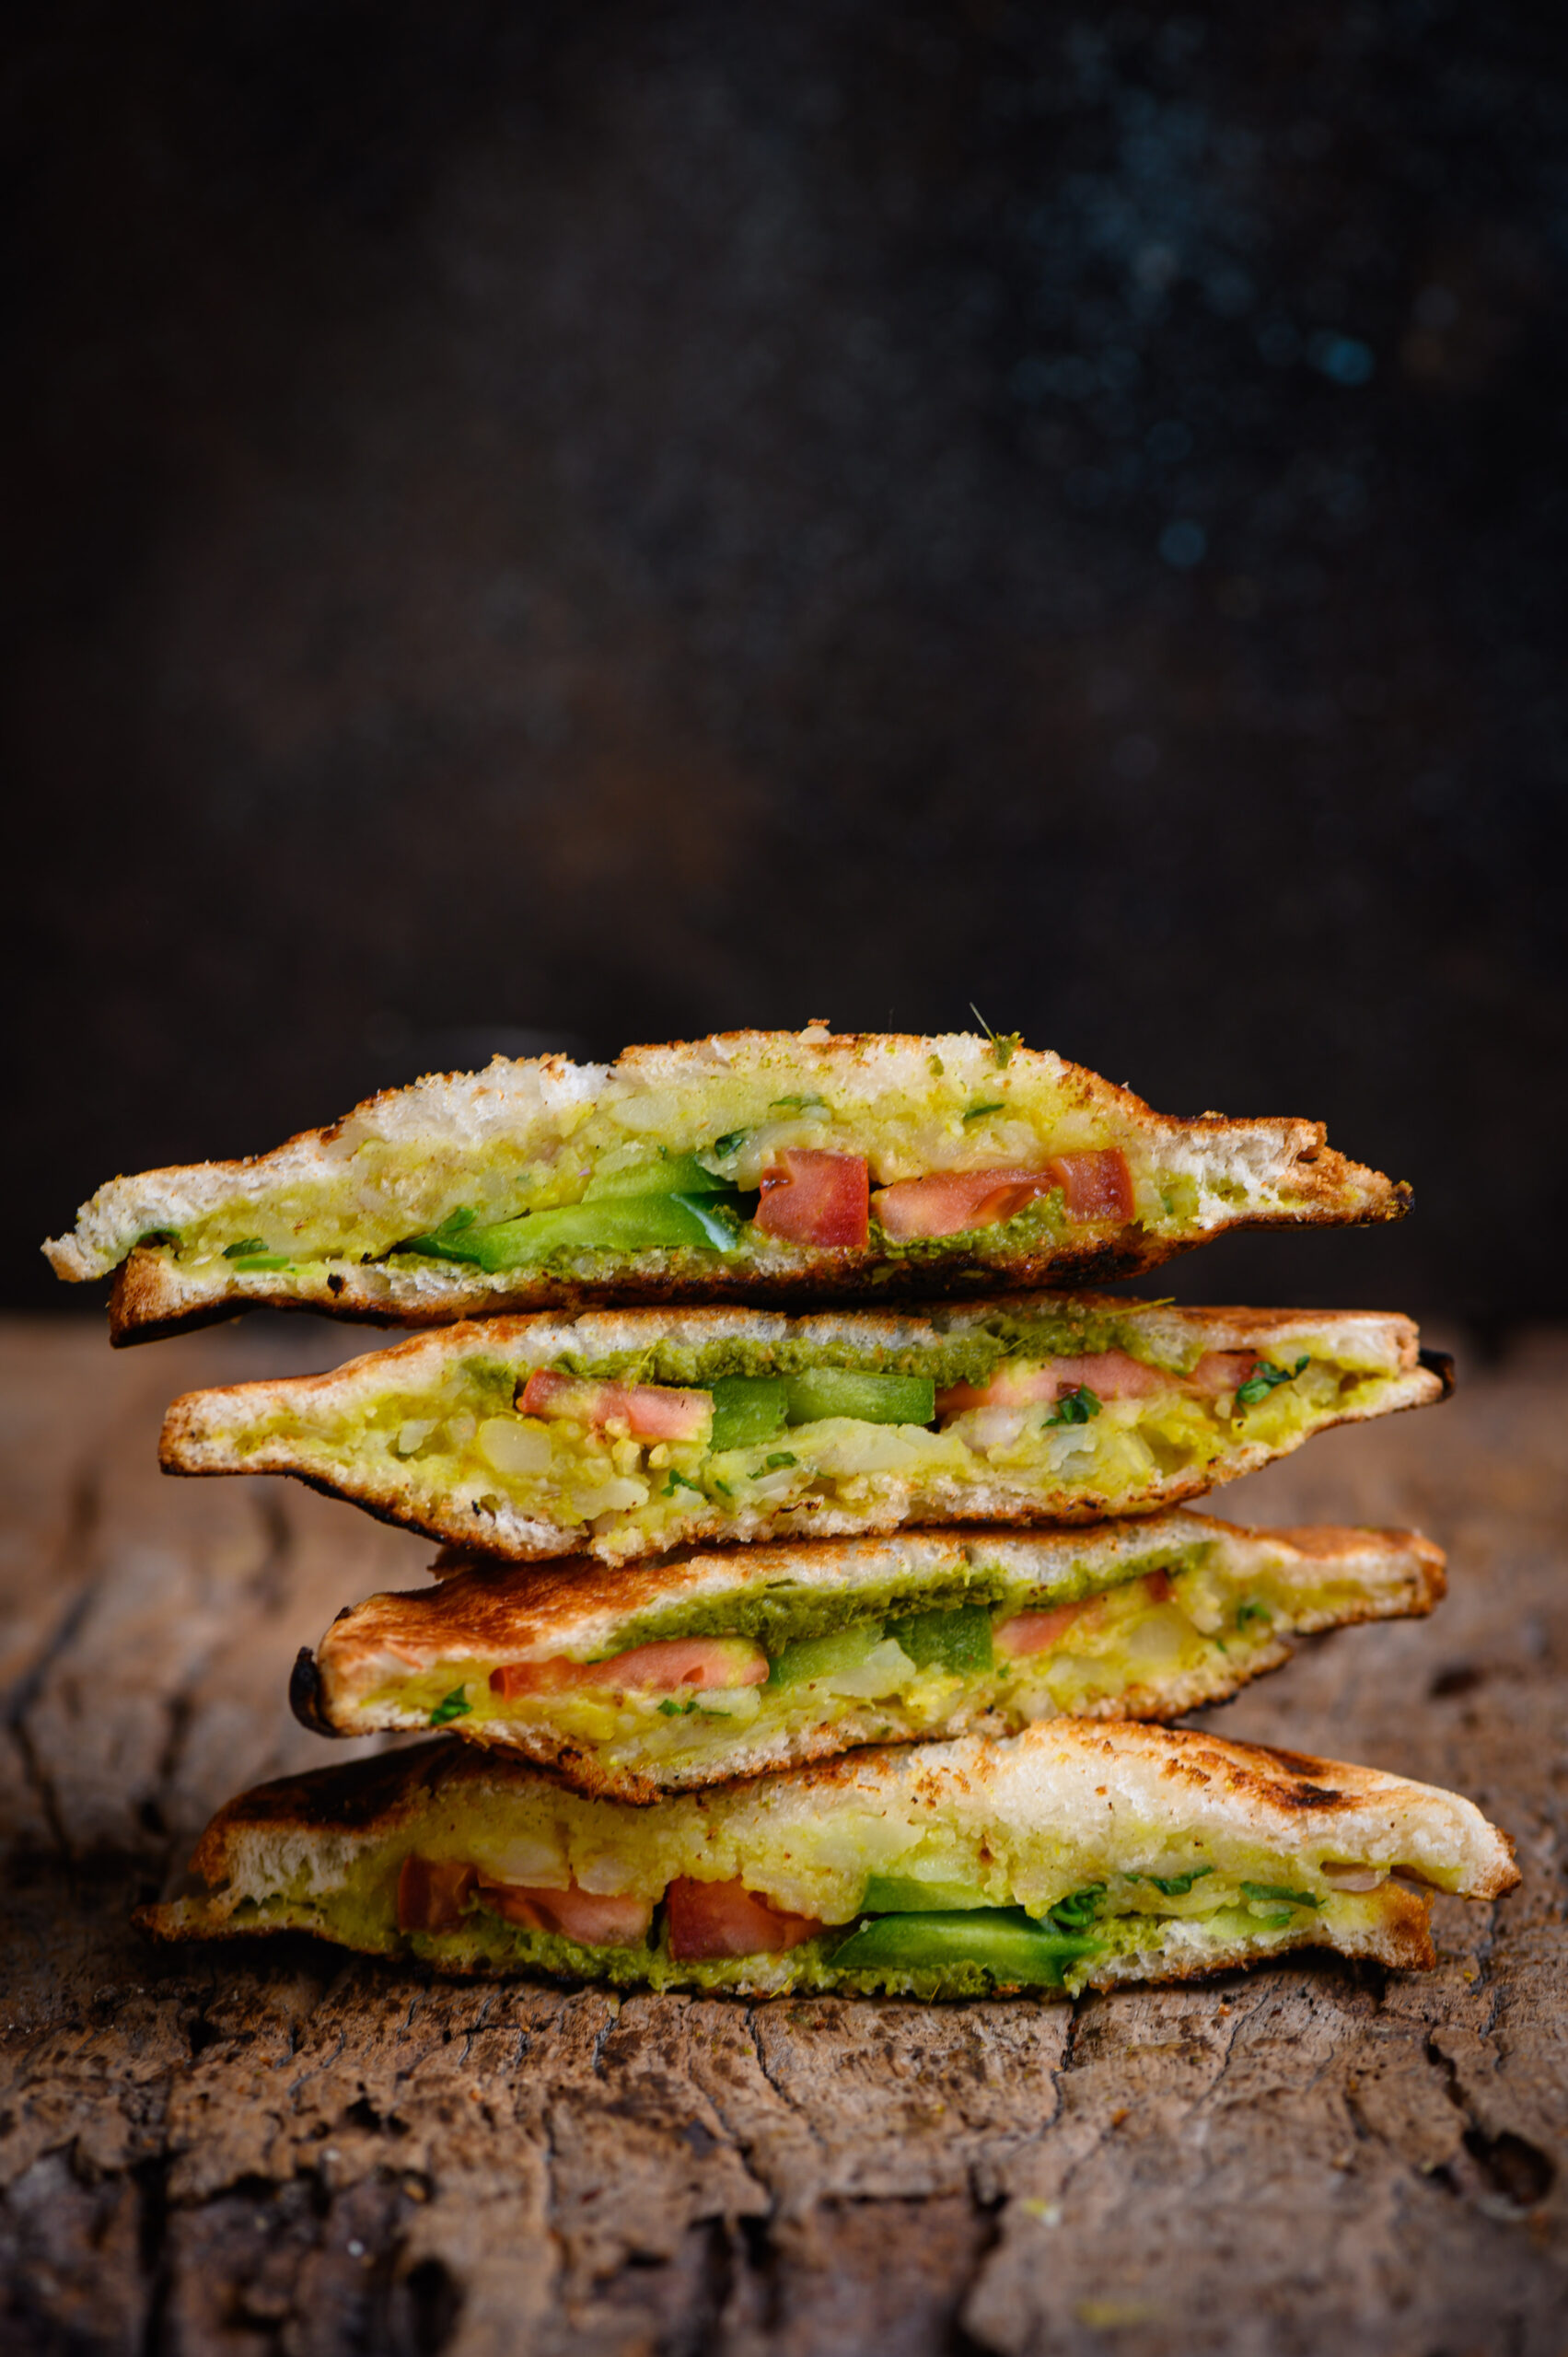
Place the slices of bread on a board. On half of the slices, apply the mint chutney. On the remaining slices, evenly spread the potato mixture, making sure it reaches all the corners. Now, place the tomato slices over the slices containing the potato mixture. Add the grated cheese as desired. This is a straightforward recipe, but you can play with different variants. For example, you may add sliced onions, cucumber or jalapeños onto the toast, depending on your taste. Bell peppers will also add more spice. You may also wish to make it a healthier snack by adding finely chopped broccoli or other green vegetables.

Once you’ve spread out the filling and topped it, cover it with the other slice, which contains only the mint chutney. Grease both outer sides of this covered sandwich.

Place each sandwich separately in the toaster and allow to cook until golden or well done.

Loaded with flavours and textures, your Bombay toast is ready to be served hot, and I’m sure you’ll find that it hits just the spot. If you’re a fan of street food and want to make more of it yourself, you may also enjoy my recipes for green moong bhel and sundal. I’m curious to know: do you find that street food is unbeatable in its natural environment, or are some street food classics even better when made and relished at home? Let me know in the comments!