Tag

memories

Browsing

Indians don’t have soups per se in our traditional cuisines, as far as I know. Instead, we have broths such as the thin South Indian rasam and the thick, sweet Gujarati raab. The rasam subsequently became known as mulligatawny soup in the West, but here it is eaten as a side dish, not an appetizer. In fact, that reminds me of how our staple dals are repackaged abroad and even in high-end restaurants here as “lentil soup”! In India, we have no such category as “soup”, but it goes to show how it’s all a matter of perspective. The soup, by any name, is really a universal dish, made with different, seasonal ingredients in cultures around the world.

For many of my generation, we were introduced to soups at clubs and restaurants. My own first memory of any soup was not Western at all, but Chinese (or rather, Indo-Chinese). While growing up, my friends and I would head to a restaurant called Nanking whenever we had something to celebrate. All of our birthdays would find us there, straight from classes in our school uniforms and pigtails, delighted to be spending our pocket money on a shared meal. The meal would invariably begin with an order of the delicious sweet corn soup for everyone at the table

The Nanking sweet corn soup was thickened with cornflour, loaded with MSG and had no more than a couple of kernels of corn floating in the white liquid but regardless it was always a special treat. It tasted fantastic to us, and till today reminds me of some of our fondest times growing up. When I think of it, I’m reminded of how much my kids say they miss their school canteen’s food! Perhaps the meals we share with our friends as we grow up simply create such vivid impressions on us that we associate them with the dishes themselves. What I would give to go back to Nanking, which has since closed down, and enjoy those memories all over again!

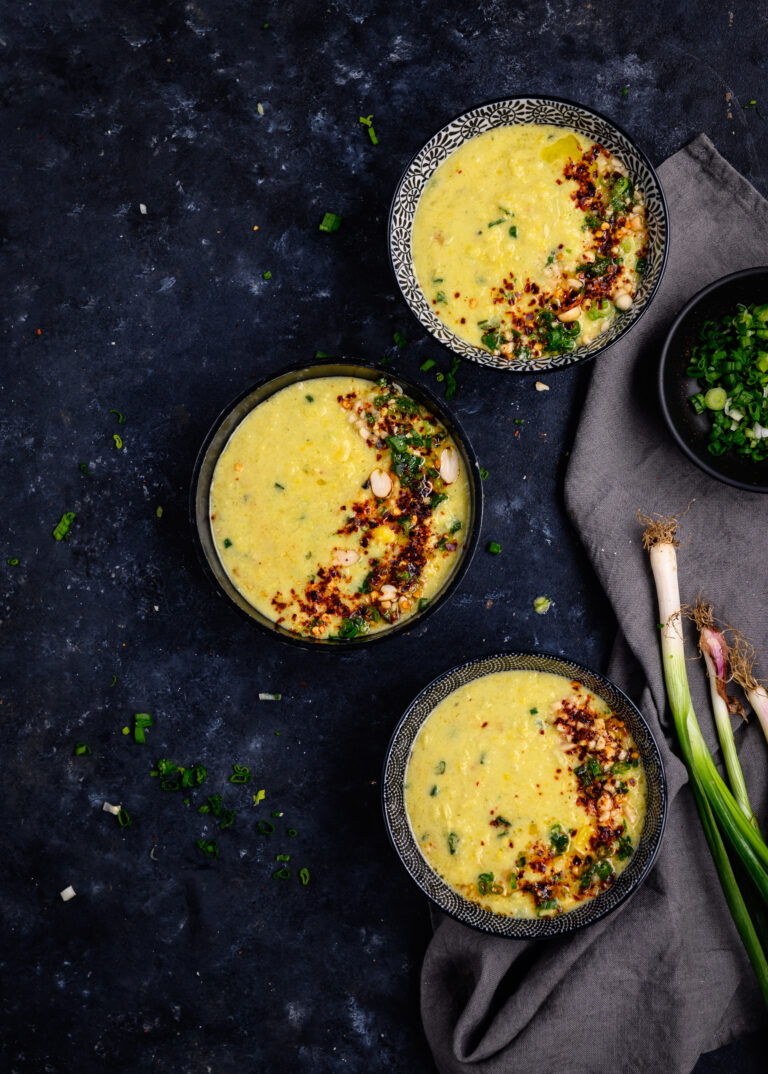
Nostalgia for Nanking drove me to the kitchen, to whip up my own version of sweet corn soup, or rather, a vegan whole corn and lemongrass soup. This recipe avoids the cornflour and the MSG and has some of those re:store twists in the form of aromatic lemongrass and spicy green chilli.

.
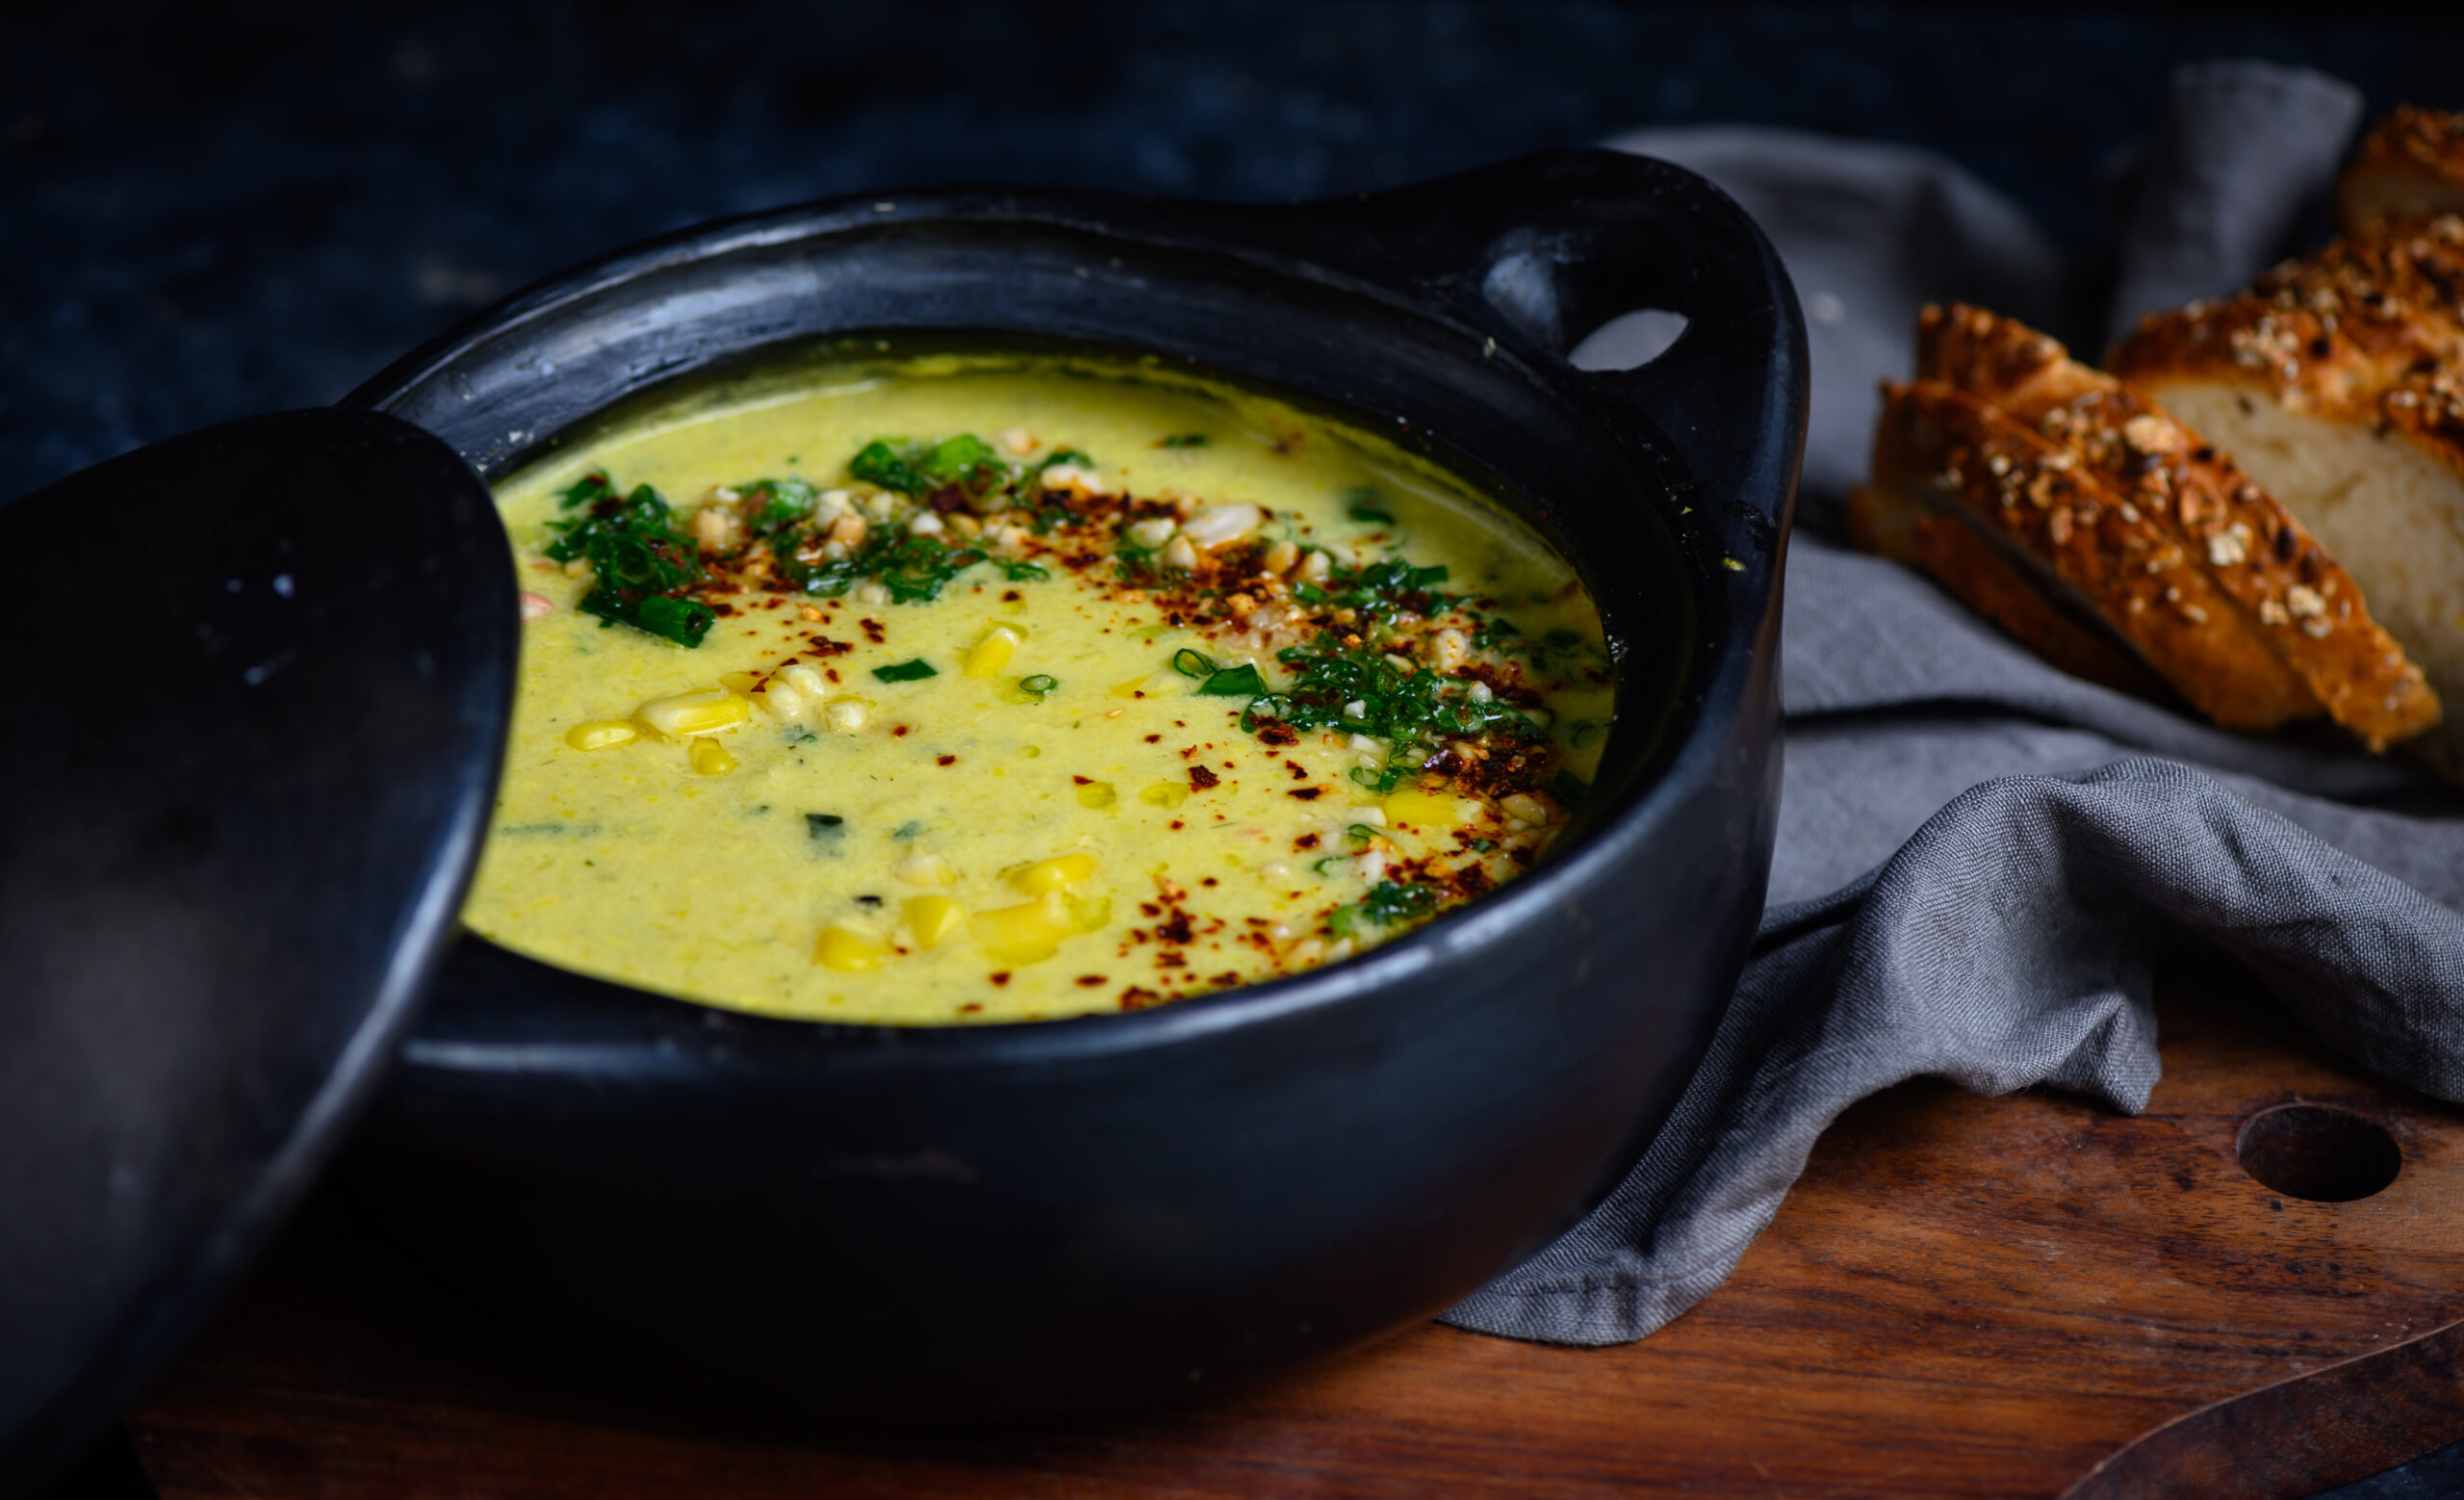
I enjoy the flavour of lemongrass and I think it livens up this soup very much. If you prefer not to use it, some good substitutes are coriander or a hint of mint. Corn has a strong flavour in itself, and my version of the soup is generous with it, so it needs to be balanced well. If you’re a fan of corn , you may also enjoy this makkai khichdi recipe that I shared recently. I use green chilli here for its spiciness, but you can try it with jalapeños too (they are also fast becoming a favourite of mine, and may find themselves in future recipes I’ll share).

Another way in which I’ve tried to recreate this nostalgic dish is with coconut milk. This not only gives it that distinctively South Indian essence, but also evokes many South East Asian delicacies. All in all, this corn and lemongrass soup is a satisfying, filling meal-in-a-bowl that reminds me of my teenage years and of some of my travels, thanks to the blend of flavours.

Speaking of traveling, I just returned from beautiful Colombia, where I heard about the 9-day fast observed by Catholics known as the ‘novena’. It reminded me so much of the 9-day Navaratri followed by Hindus and the 9-day Paryushan followed by the Jains, and got me thinking once again about how we are all so deeply connected. I wish we understood this instead of thinking along the lines of “This is mine, this is yours, my land, my country”, and other such divisions. The oneness and wholeness of humanity is a concept that cannot be lost; whether it be our festivals, our food or our sense of family, ultimately we are all the same and the more I travel, the more this concept is solidified.

Another thought that’s been on my mind a great deal is the famous Native American proverb that goes as follows: “When the last tree has been cut down, the last fish caught, the last river poisoned, only then will we realize that one cannot eat money.” It resonates so much right now. We should all be more aware of what we are doing and thinking. We should look not only at what we are creating, but also at what we are destroying in the process. These are some reflections that I’ve been having as we enter 2020. But first – how about a bowl of warm, crunchy, savoury soup?
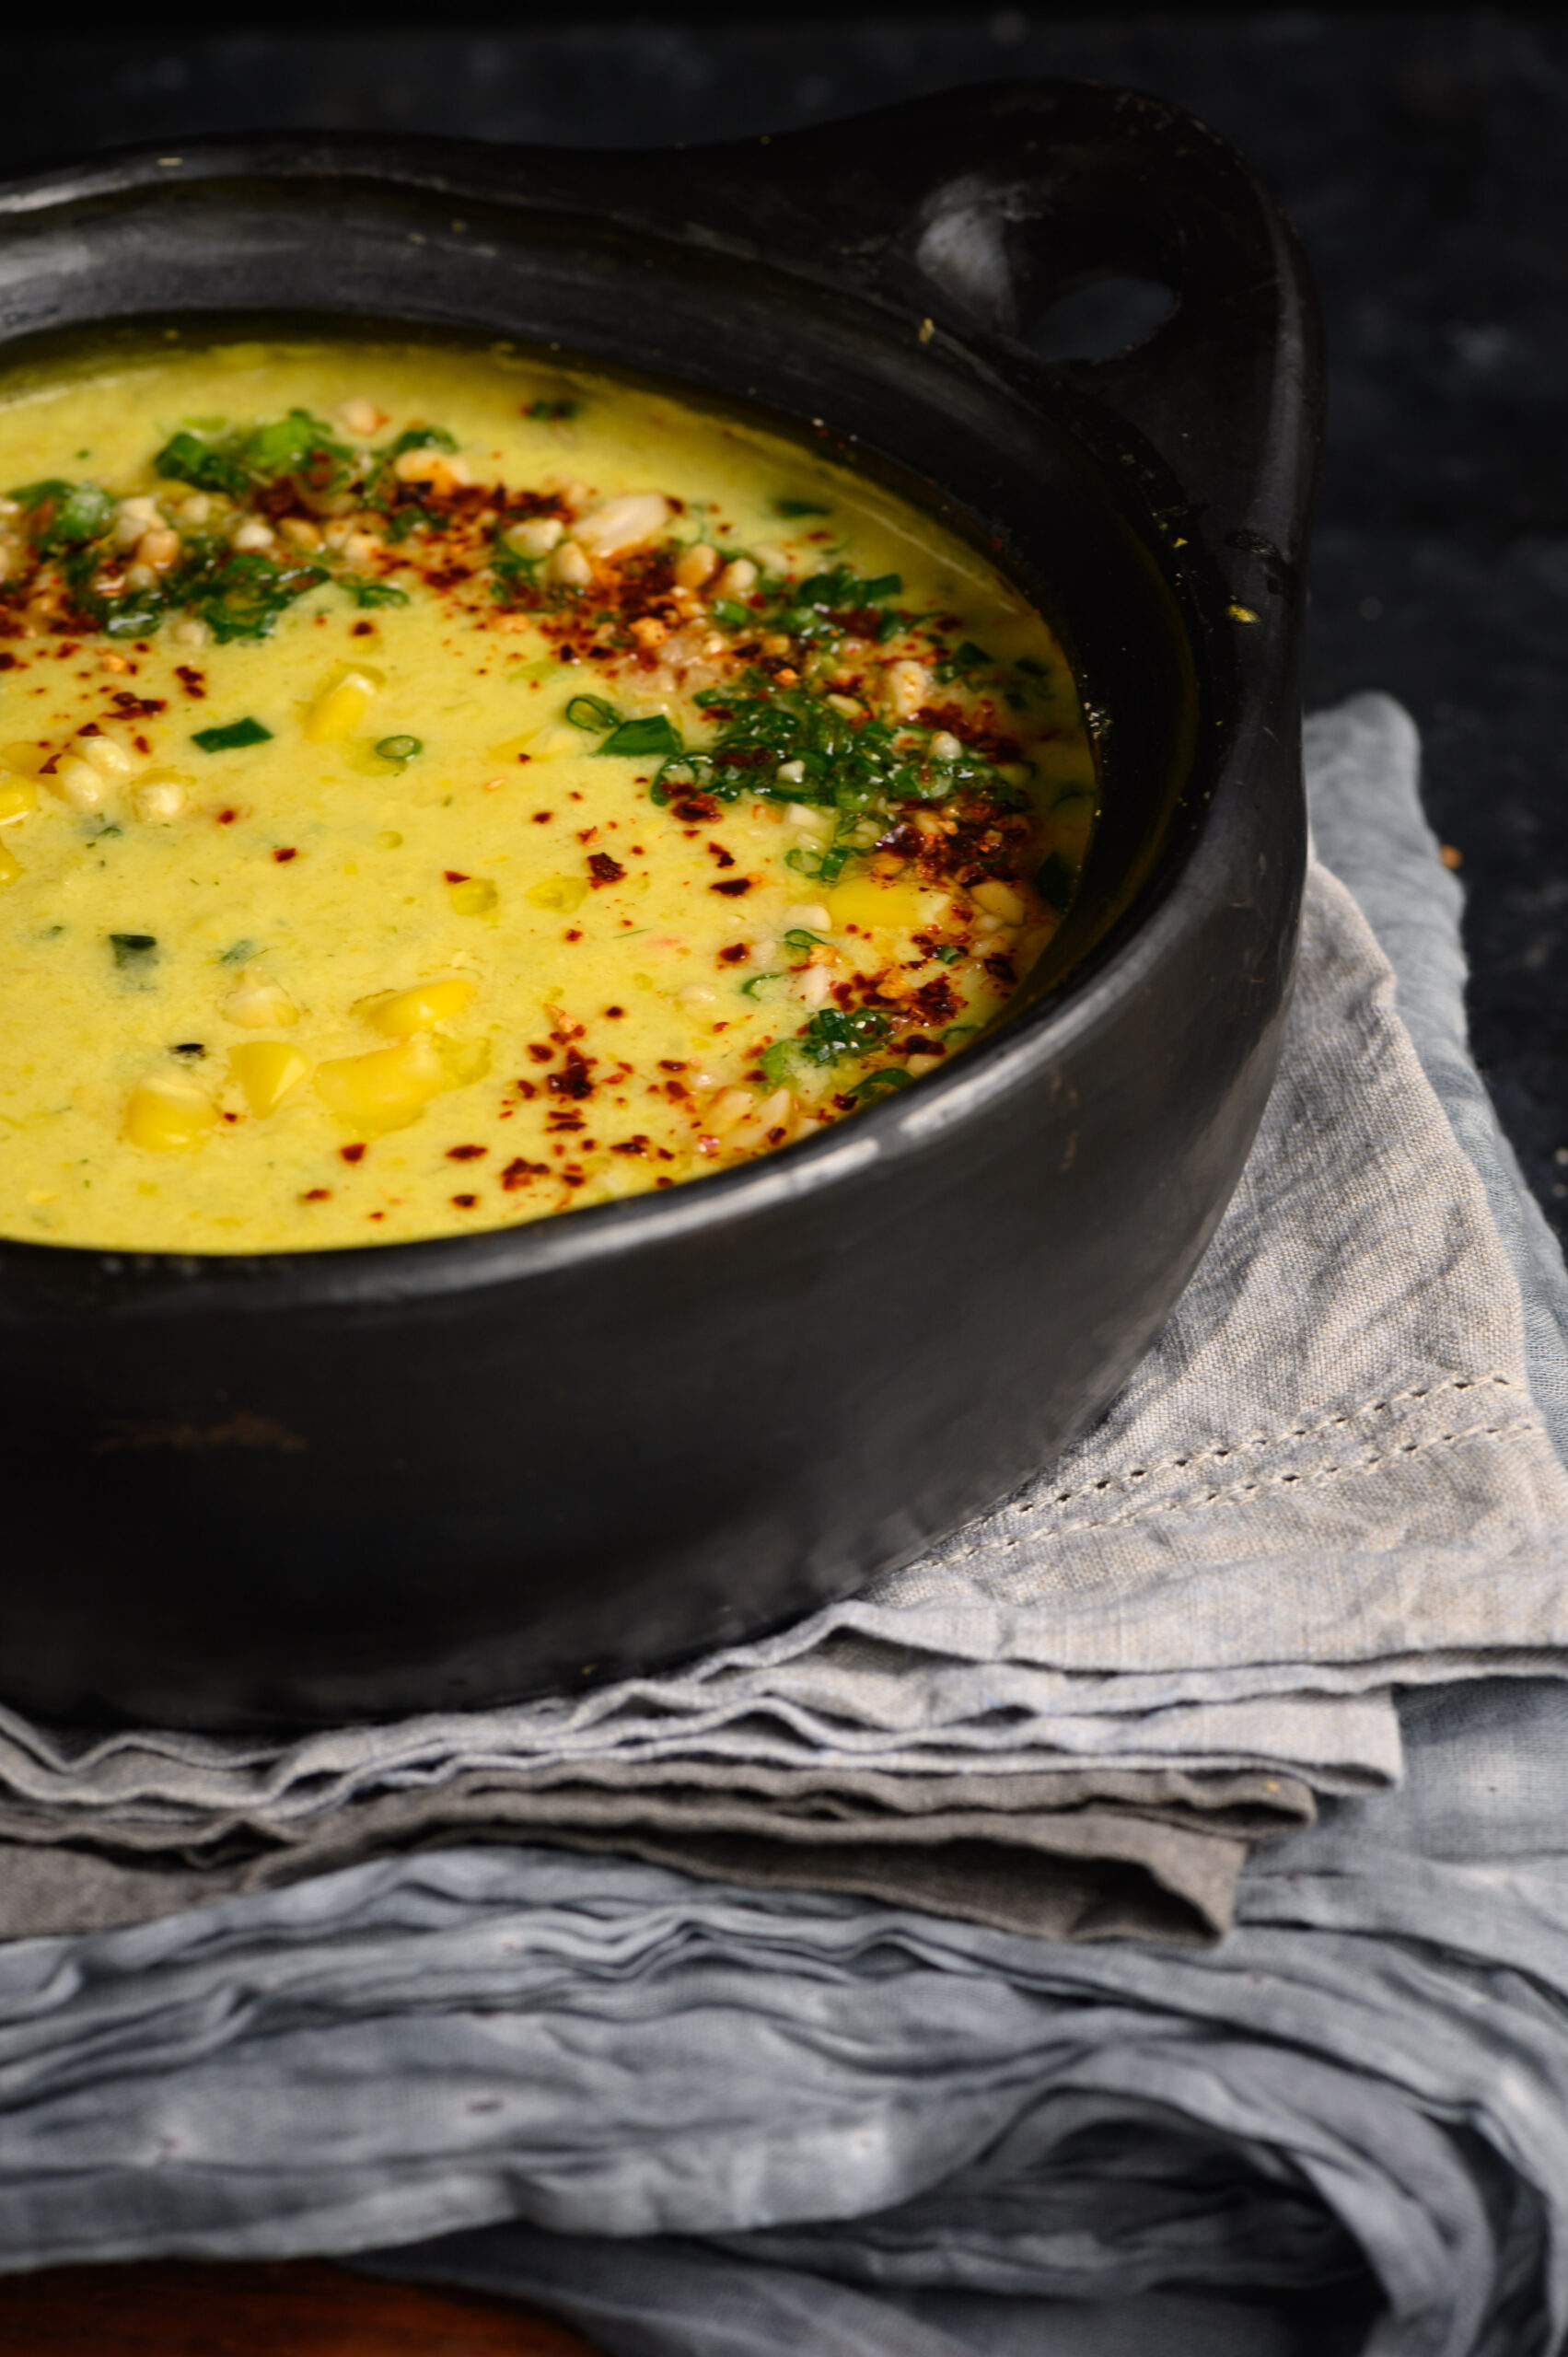
 

Vegan Whole Corn & Lemongrass Soup

(Yield: 6-8 cups)

2 cobs of corn

½ teaspoon grated ginger

2-3 lemongrass stems

2 tablespoons olive oil/ butter

2 cups vegetable stock

2 tablespoons spring onion

1 green chilli/jalapeño

1 cup coconut milk

Salt to taste


Garnish:

2 tablespoons peanuts

Finely chopped spring onion

Finely chopped coriander leaves

Red chili flakes

1 teaspoon olive oil


Grate the corn from the cobs and keep aside.

In a blender, process the lemongrass, ginger and green chilli using 2 tablespoons of water, until coarse.

In a separate pan, add the olive oil and sauté the onions for a few minutes until they are tender. Now, add the grated corn along with its juices. I like to bite into pieces of corn, so in addition to the grated kernels I kept aside a ½ cup of whole kernels, which I add at this point as well. You may do so if you enjoy the texture of corn like I do. Once the mixture turns soft and tender, add the warm vegetable stock and then add the strained juices from the blender.

Gently simmer until the flavours all become one. Add salt to taste. Finally, add the coconut milk. Once heated, remove the pan from the flame.

For the garnish, warm the olive oil gently and stir the remaining ingredients in it.

Spoon the soup into bowls and add the garnish, topping with a spoonful just before serving.

What I do quite frequently nowadays is to make a large quantity of the soup during the day, and whoever wants some just warms up a portion for themselves at any time, just as I do when I find myself hungry for dinner by 6pm or 7pm. I’ve found that it keeps well for up to a couple of days.
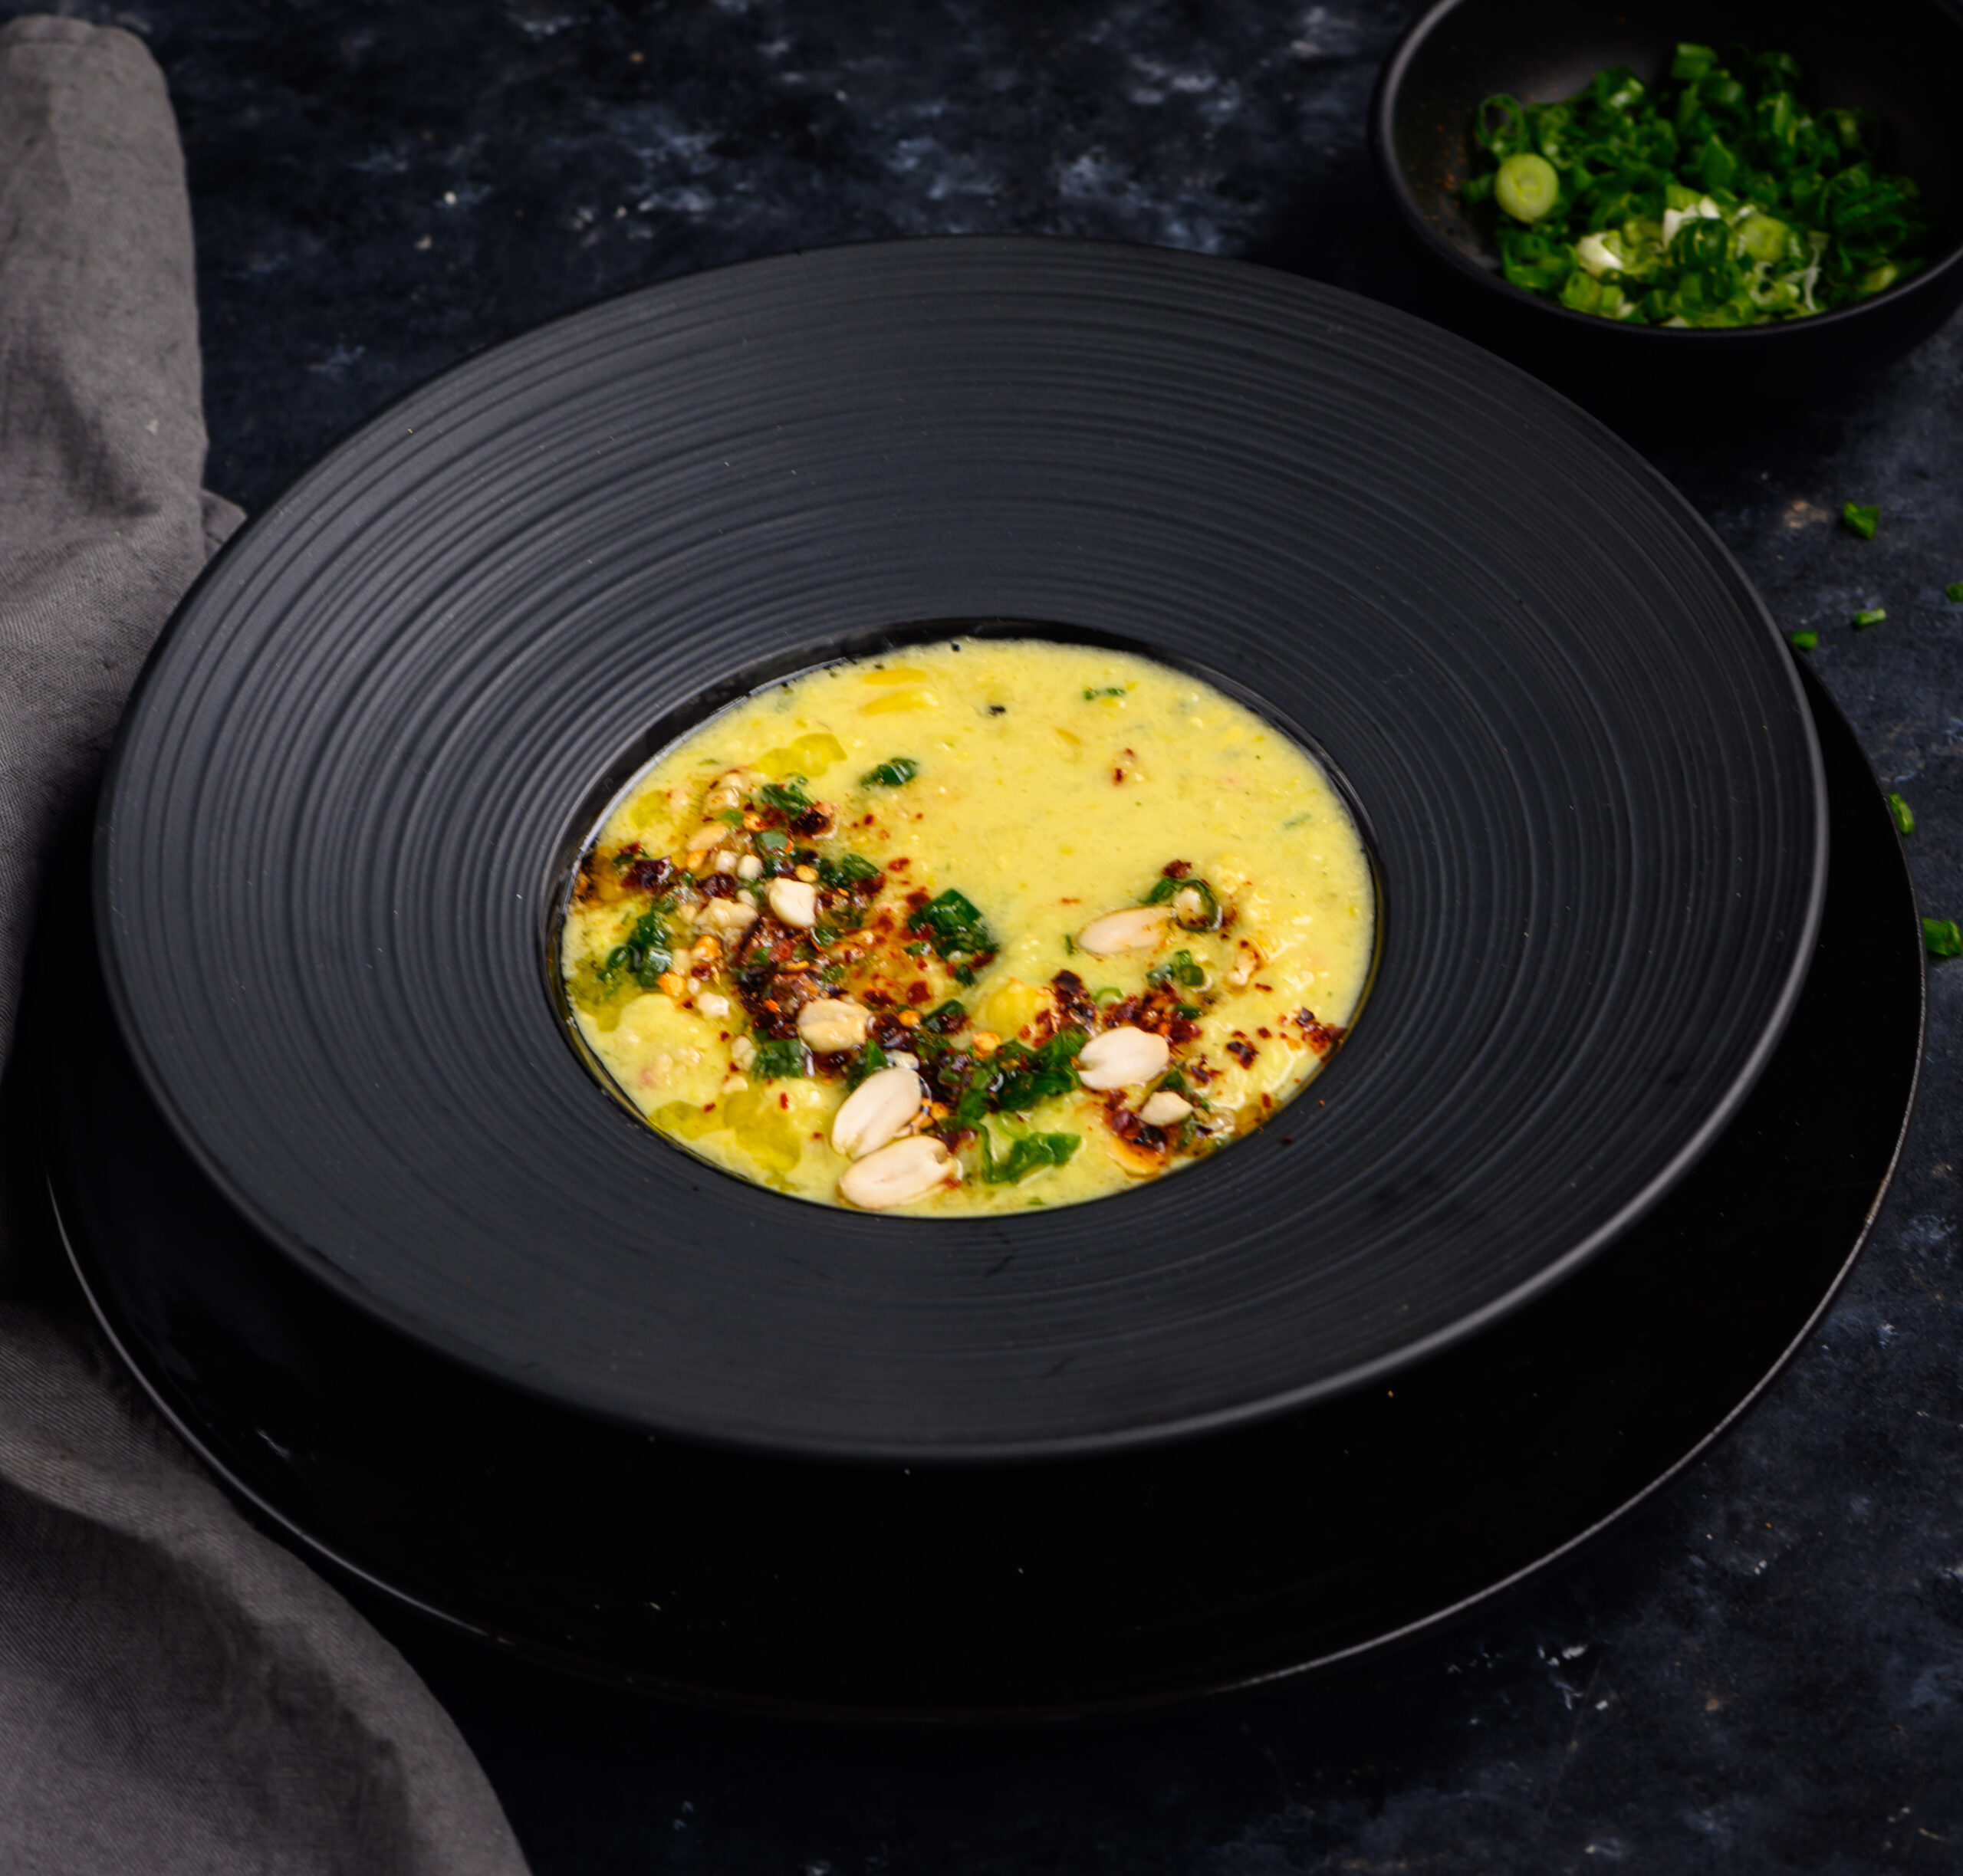
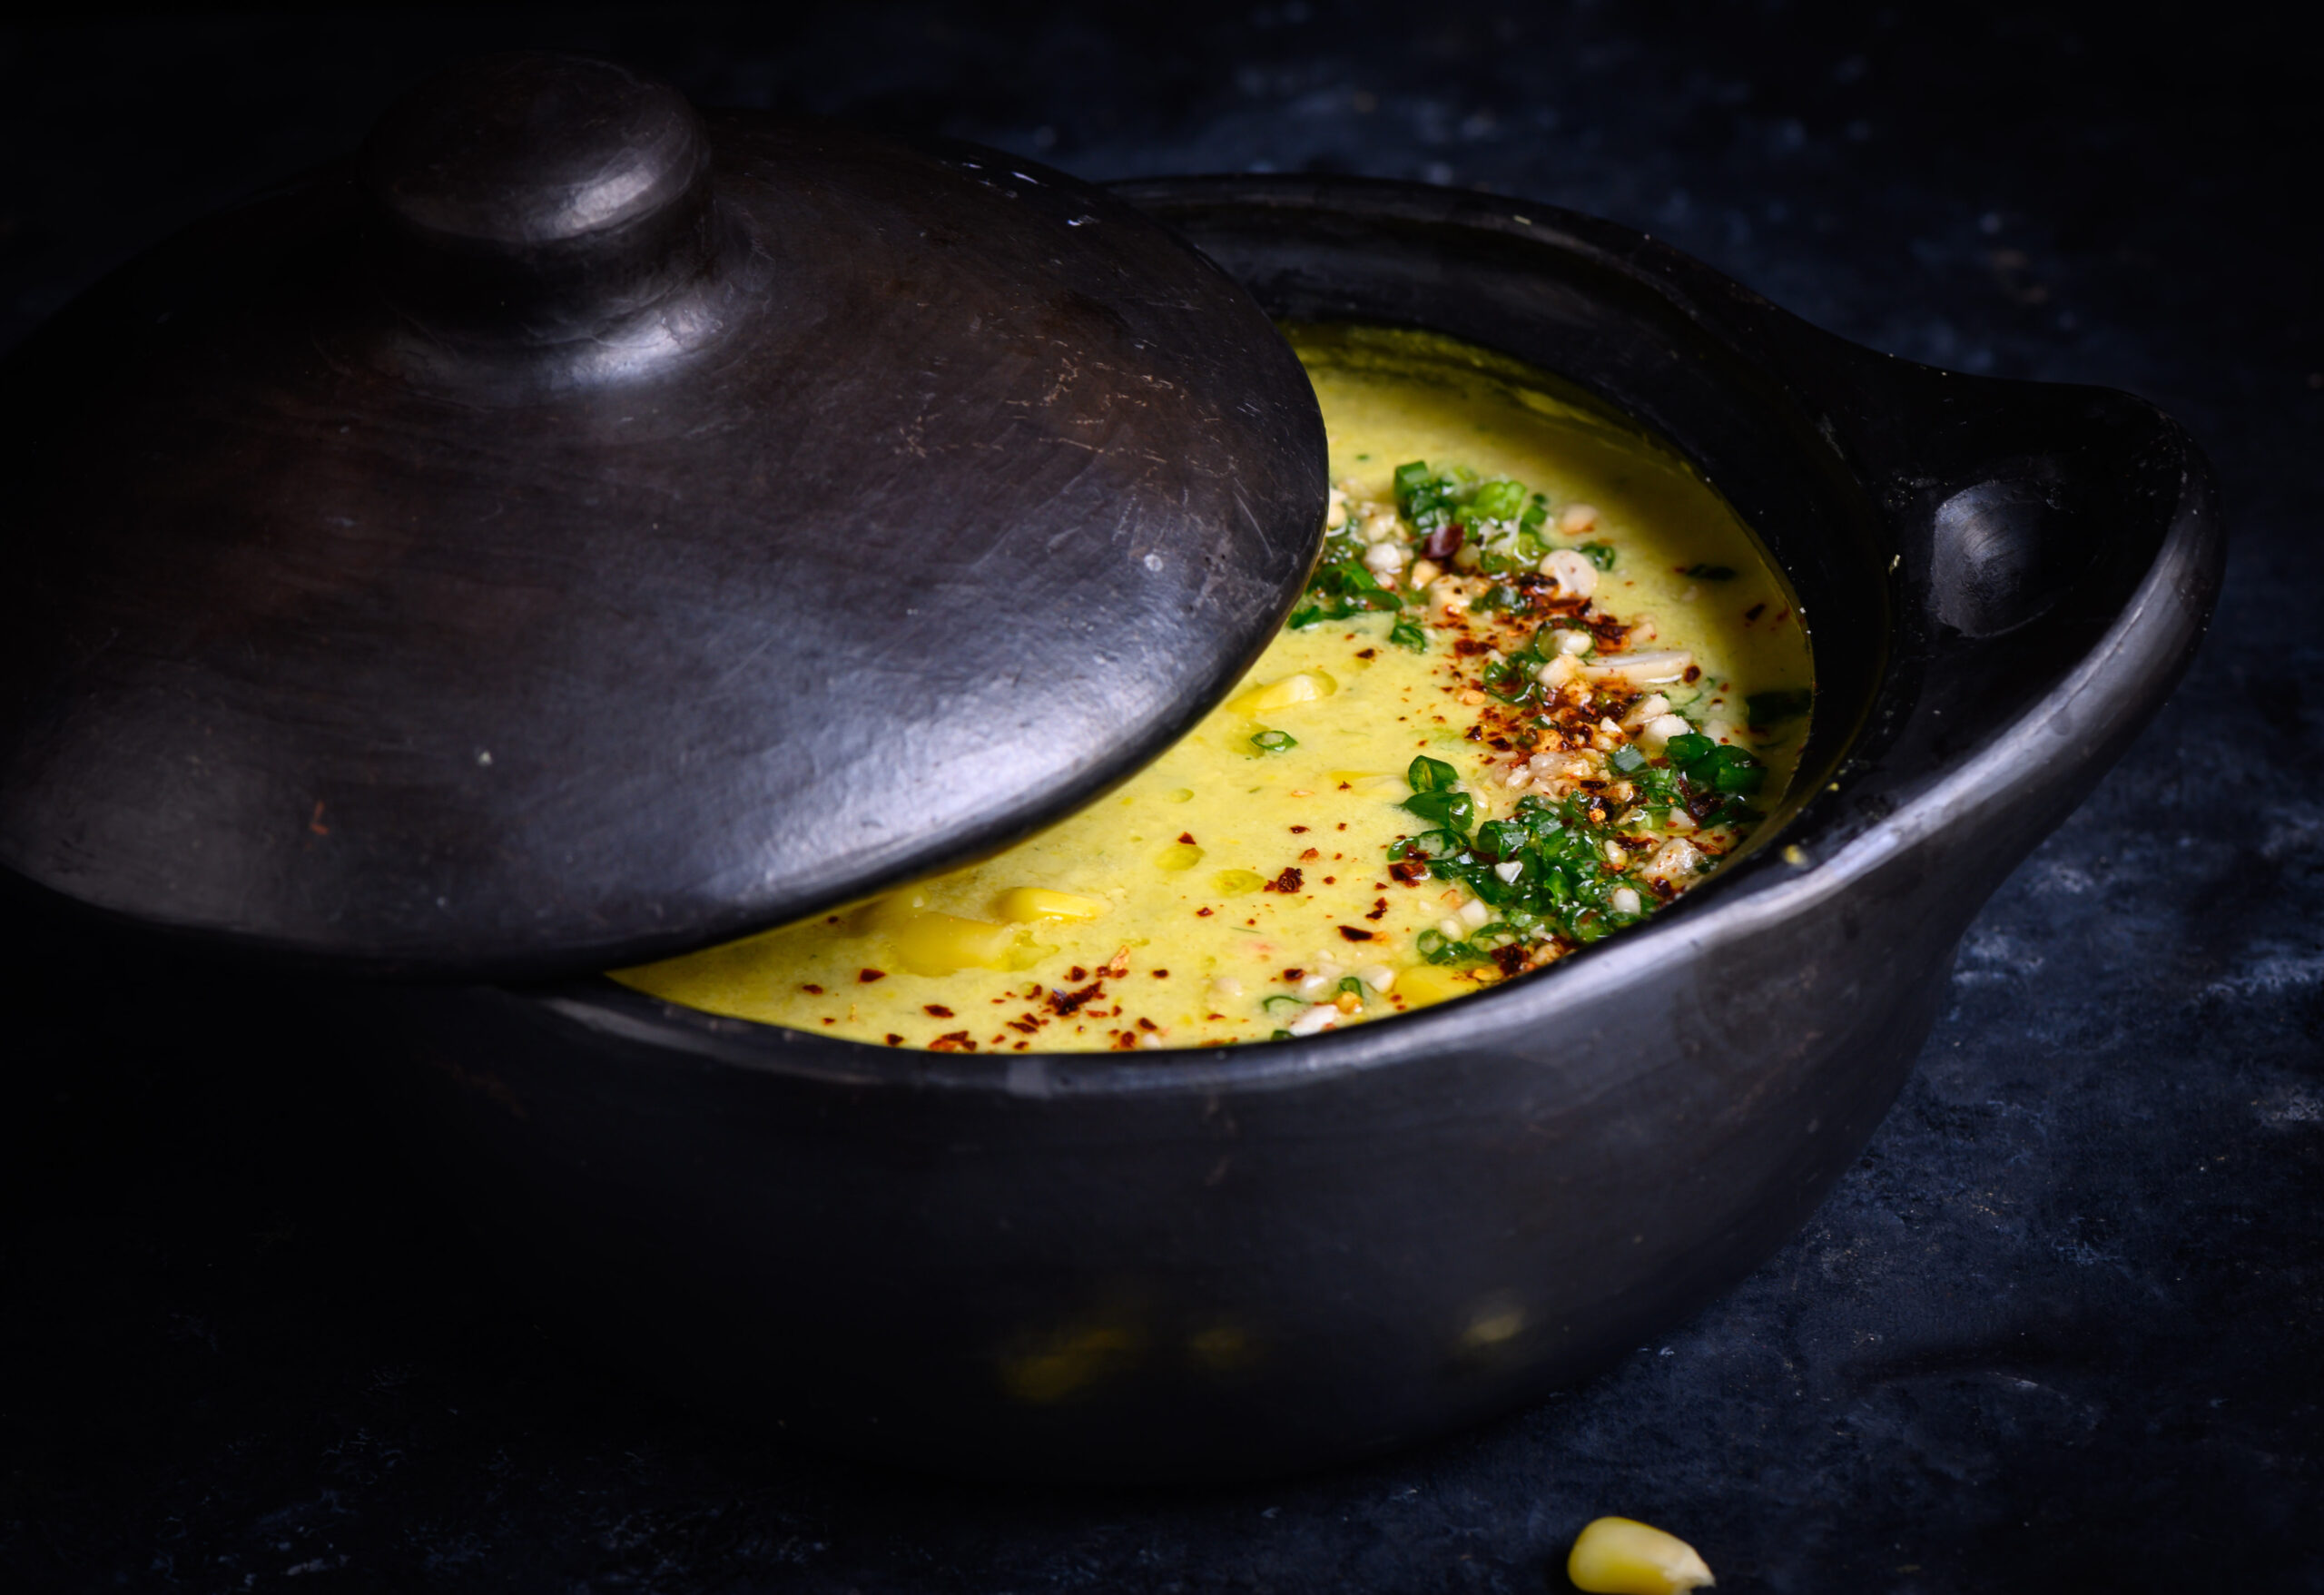
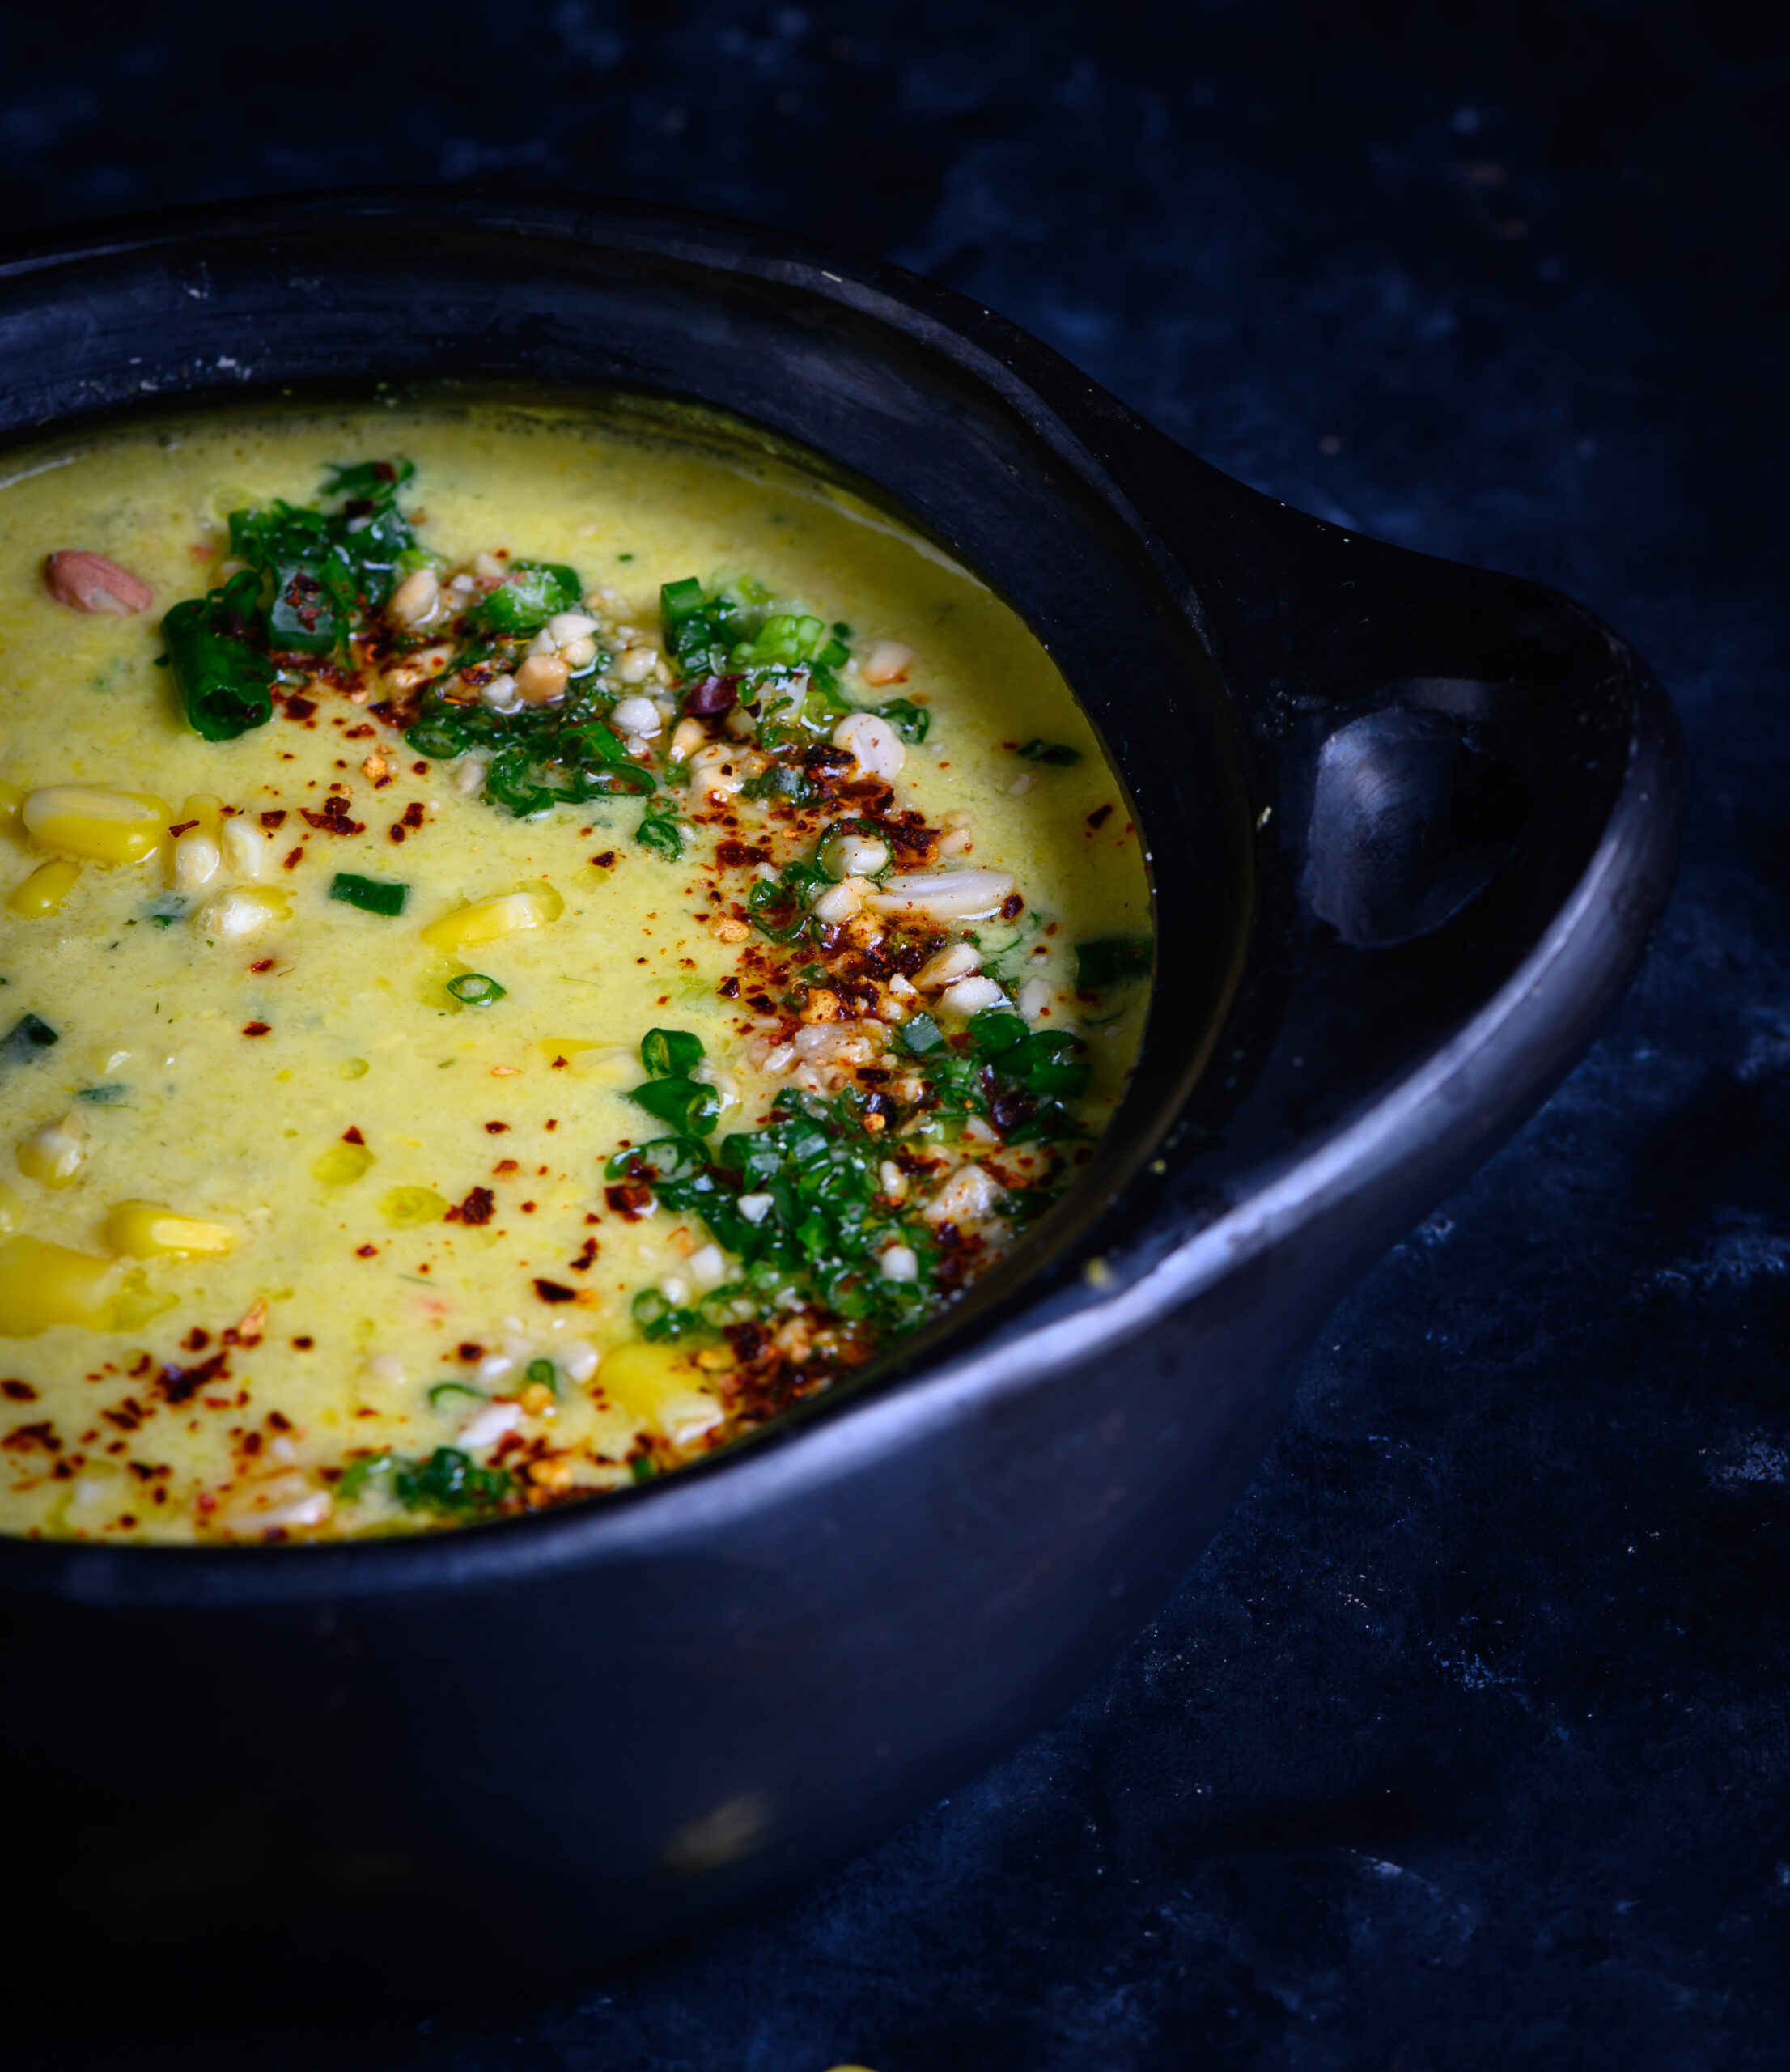
In these photos, you may notice the beautiful bowls I’ve used to serve my soup in. I’m always looking for props for my photo and utensils for my kitchen, and when I discovered that blackened earthenware is made in Colombia, I just had to pick some up. I wish I could have carried an entire dinner set back with me from across the continents, but perhaps having to bring these treasures item by item will just mean more visits to that amazing place…

You may also be wondering whether starting the year off on a soup, when so many of us would have set health-related resolutions, was intentional. Actually, it was not. I feel we should eat mindfully all year round, and that we should see nutritious dishes as being a natural part of our diets, not an obligation. This beautiful vegan whole corn and lemongrass soup is exactly the kind of dish that fits into such a repertoire. It’s loaded with healthy ingredients, from corn to nuts and more, and tastes so very delicious. I’d love to know what you think of it if you give this recipe a try!
When we were growing up, our mother once decided to take a Western baking class to expand her repertoire in the kitchen. As children, we adored the pastries, cakes and short eats our mother learned to bake there. In those days, embarking on such a class was considered quite unusual and therefore very progressive in Chennai, and in other parts of India. In the hill stations, there would always be families who had learned recipes from the British chefs, so they knew how to bake. In the cities, Western food was available only at clubs, and made by chefs who themselves would have studied under foreigners. For an average homemaker to go out and educate herself in Western cooking was a rare thing. Now, thinking back on how uncommon it was, I admire her all the more.

Mum was always very curious. She always wanted to know how food had been prepared, and never felt any embarrassment about enquiring on the same. She would just ask nicely, and people were often forthcoming about how a particular dish was made. In this way, she picked up a wide range of recipes, and became a master in the kitchen. I’m sure that this trait is something I’ve inherited from her, and I am always eager to keep learning, just as she did.

Our mother attending this baking course opened up so many snacking and celebration possibilities for us. There, she learned not only Western-style cakes and pastries, but various other types of baked goods as well. Among them was nan khatai, a kind of shortbread biscuit that originated in the Indian subcontinent. Nan khatai has an especially interesting story behind it. It is believed that a Dutch couple ran a bakery in 16th century Surat, a Gujarati seaport which had many traders and expats. This establishment was inherited by a Parsi gentleman when the Dutch left the country, but he found no takers for their cakes and bakes. To his surprise, the locals seemed to enjoy the dried, old bread most of all. The legend is that he decided to simply sell dried bread, which gave rise to this particular recipe. A similar biscuit is eaten in Afghanistan and Iran, where it is known as kulcha-e-khatai.

I remember carrying boxes of nan khatai on the train whenever I visited cousins or relatives, homemade gifts from my mother. I enjoy continuing the tradition of taking homemade dishes as gifts when I visit friends nowadays.

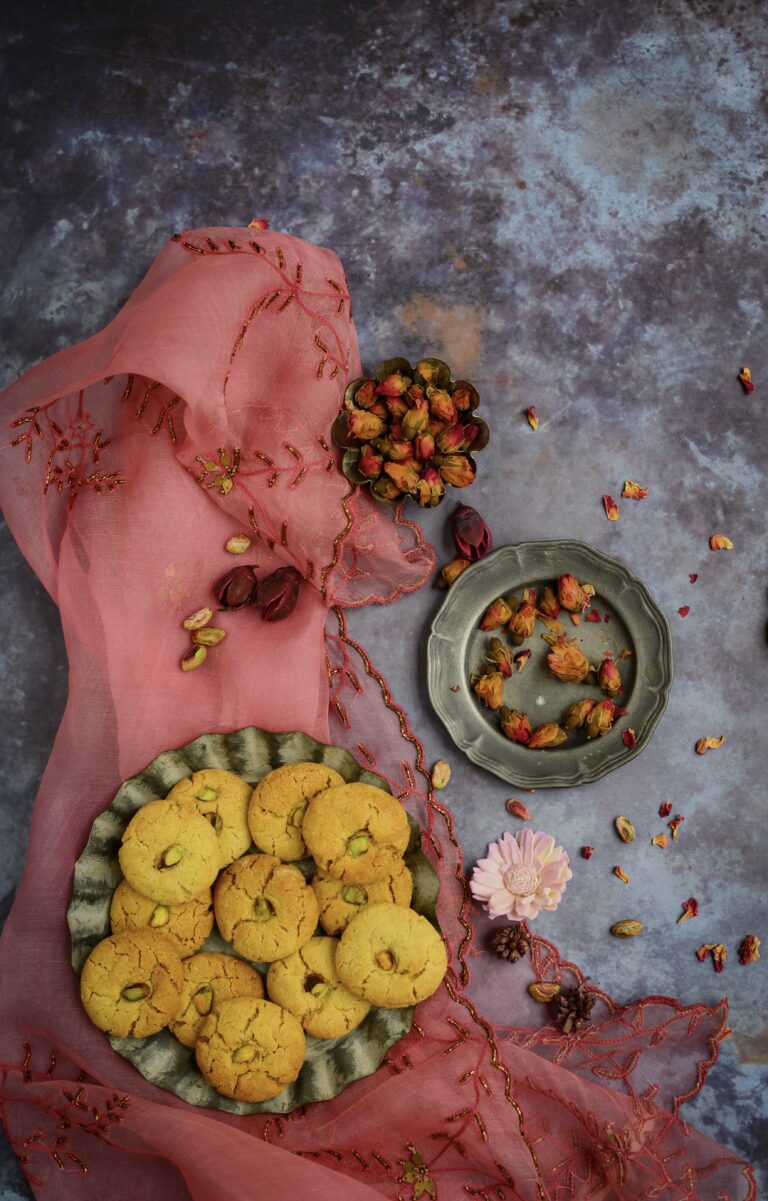
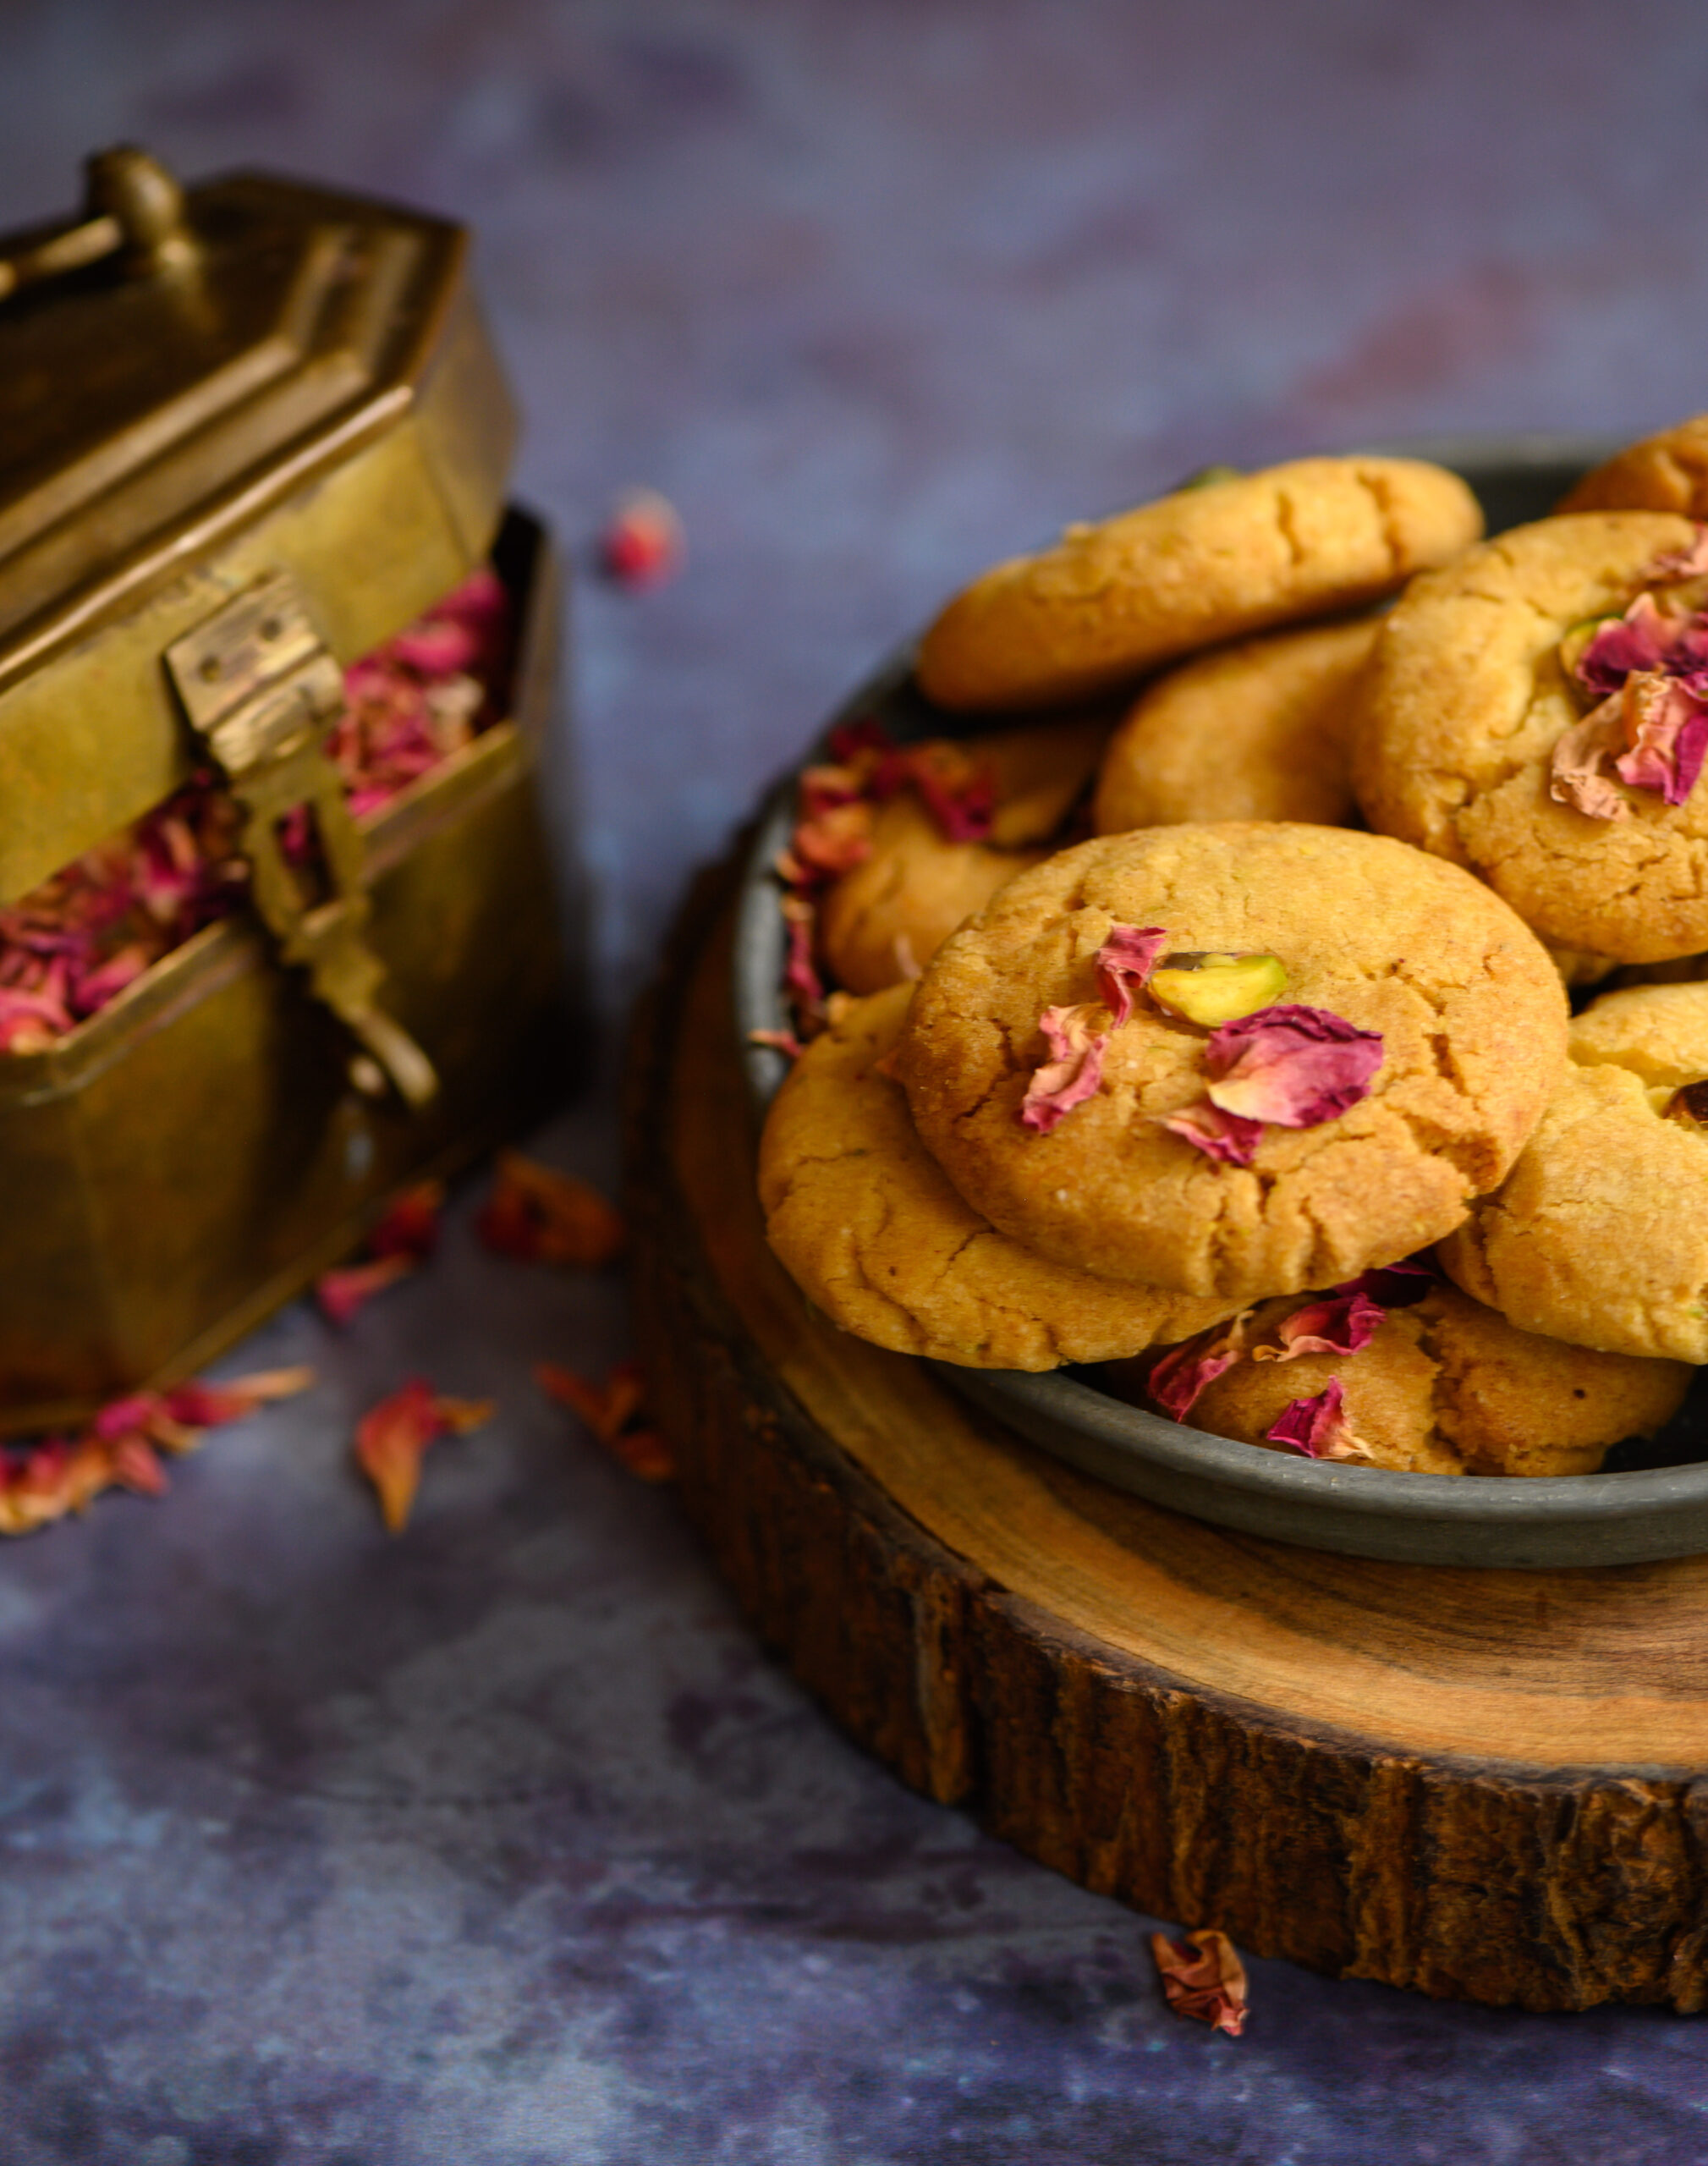
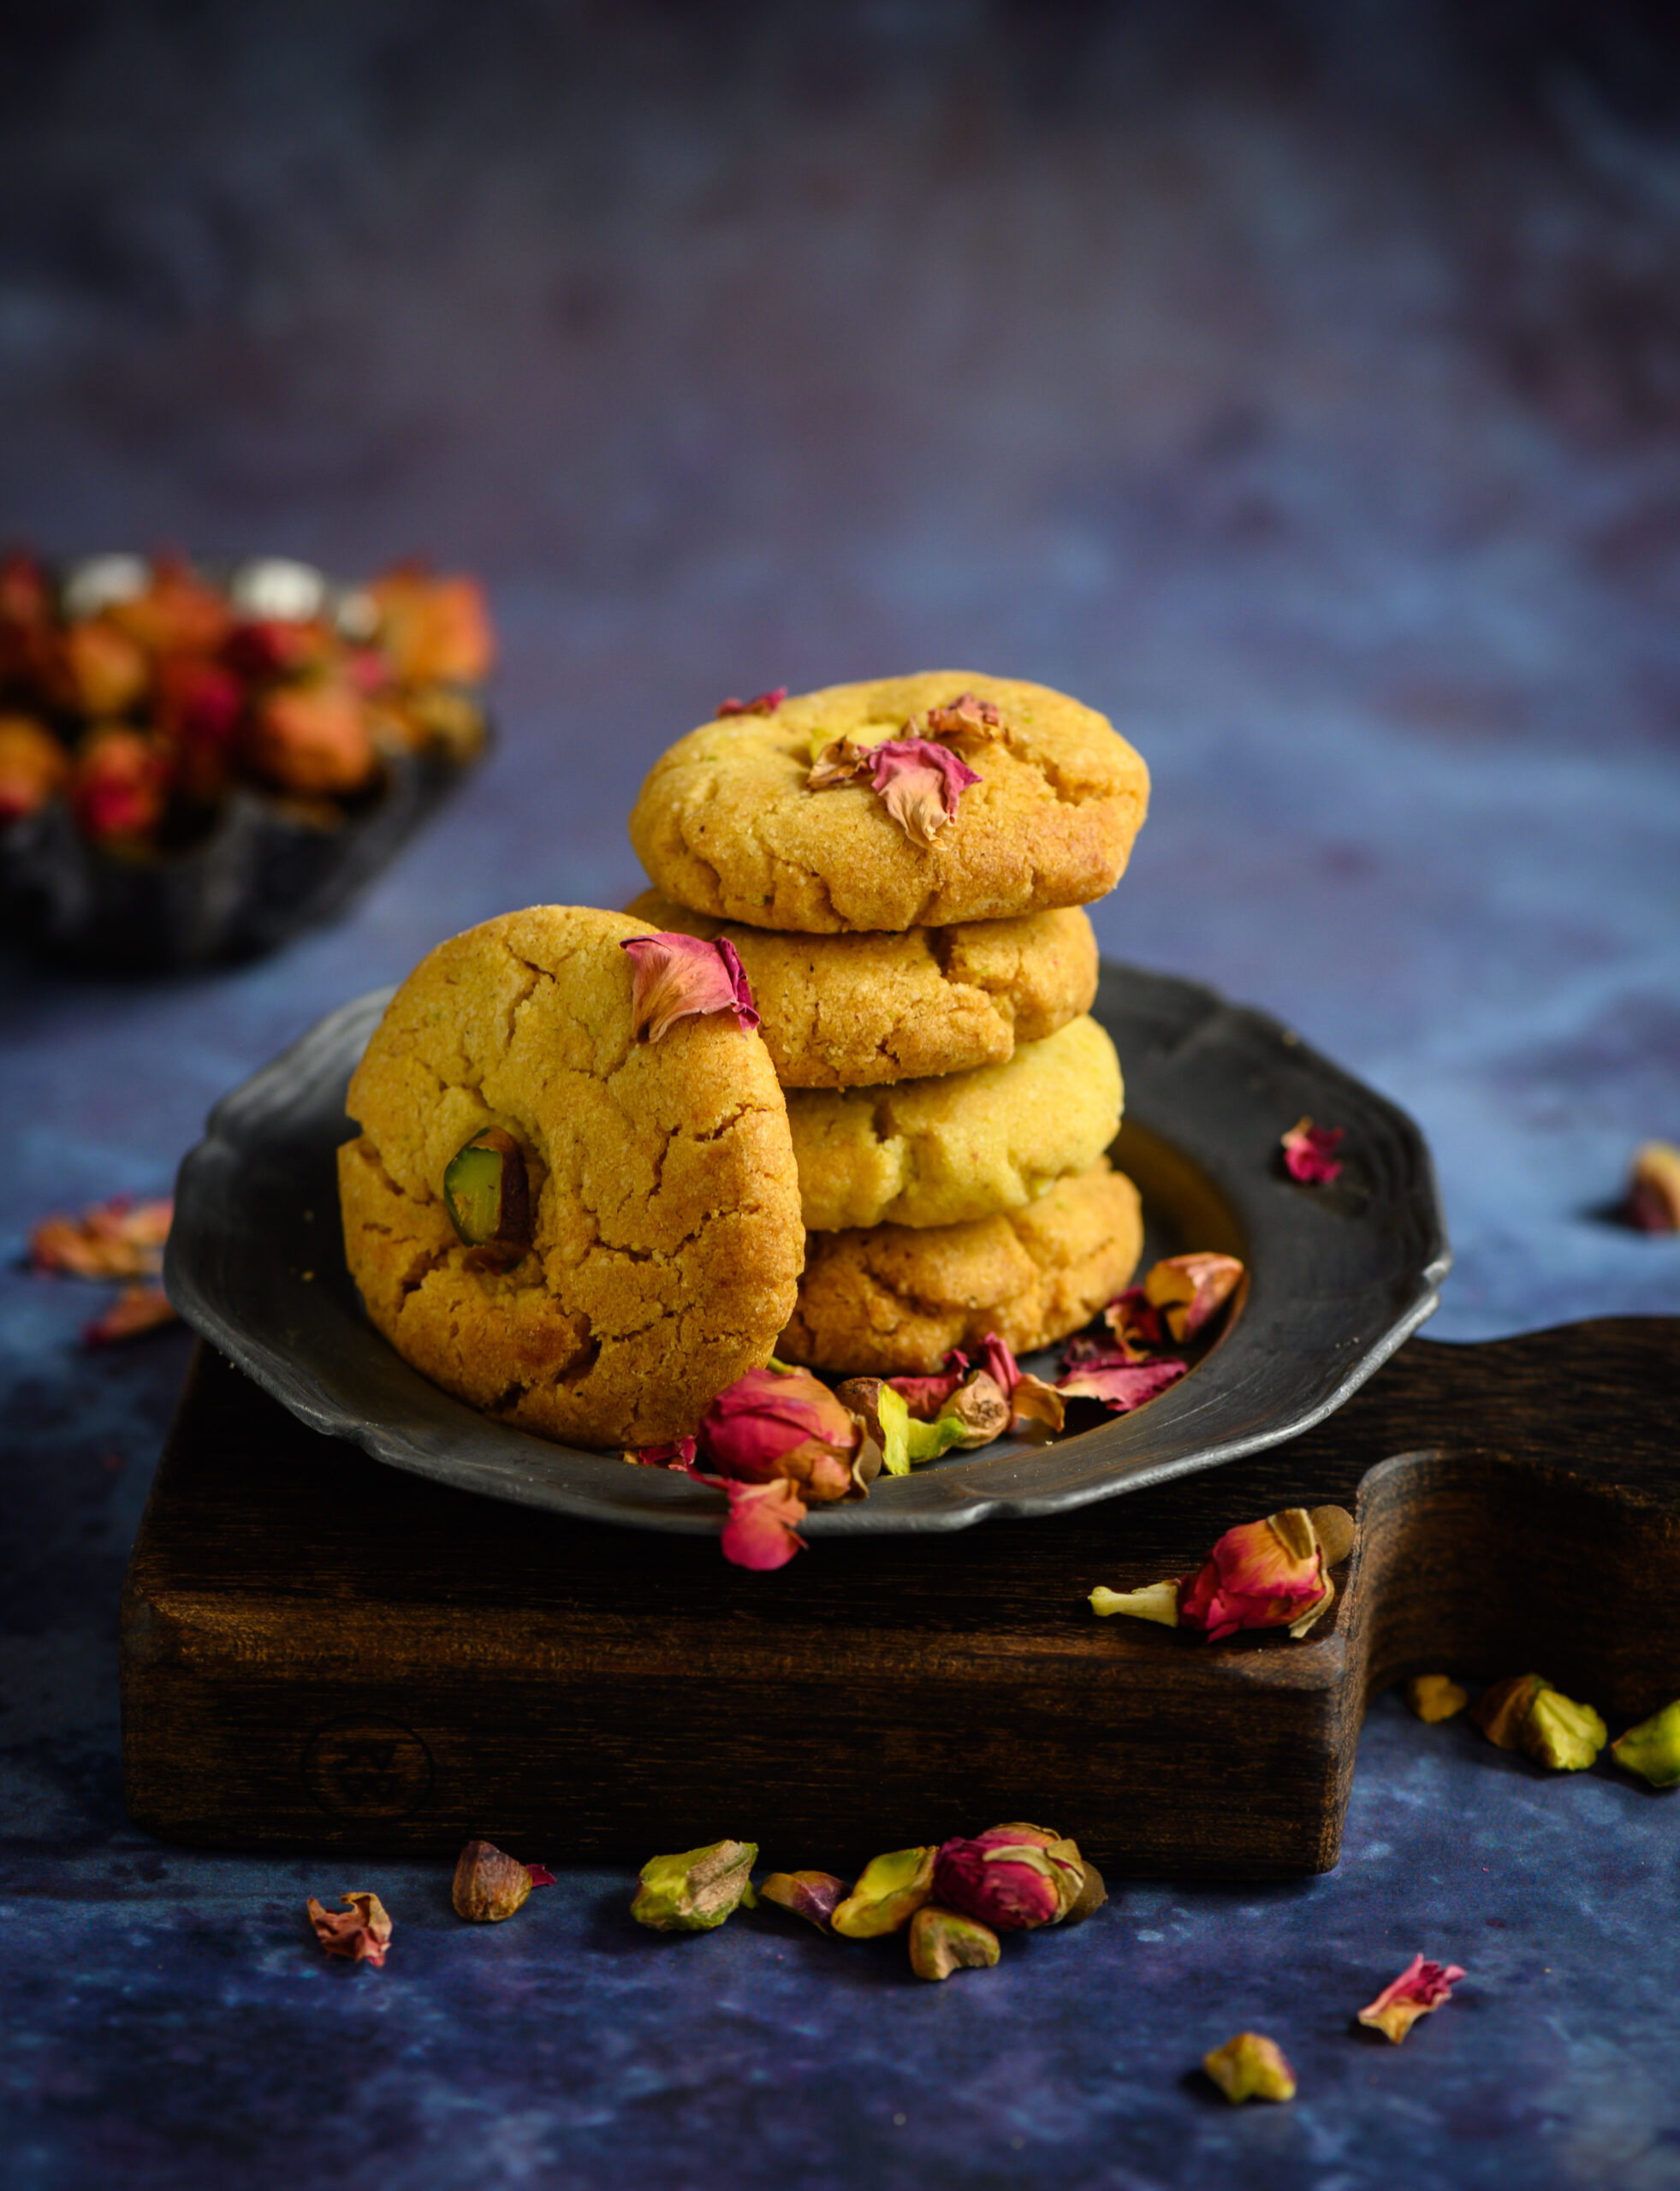
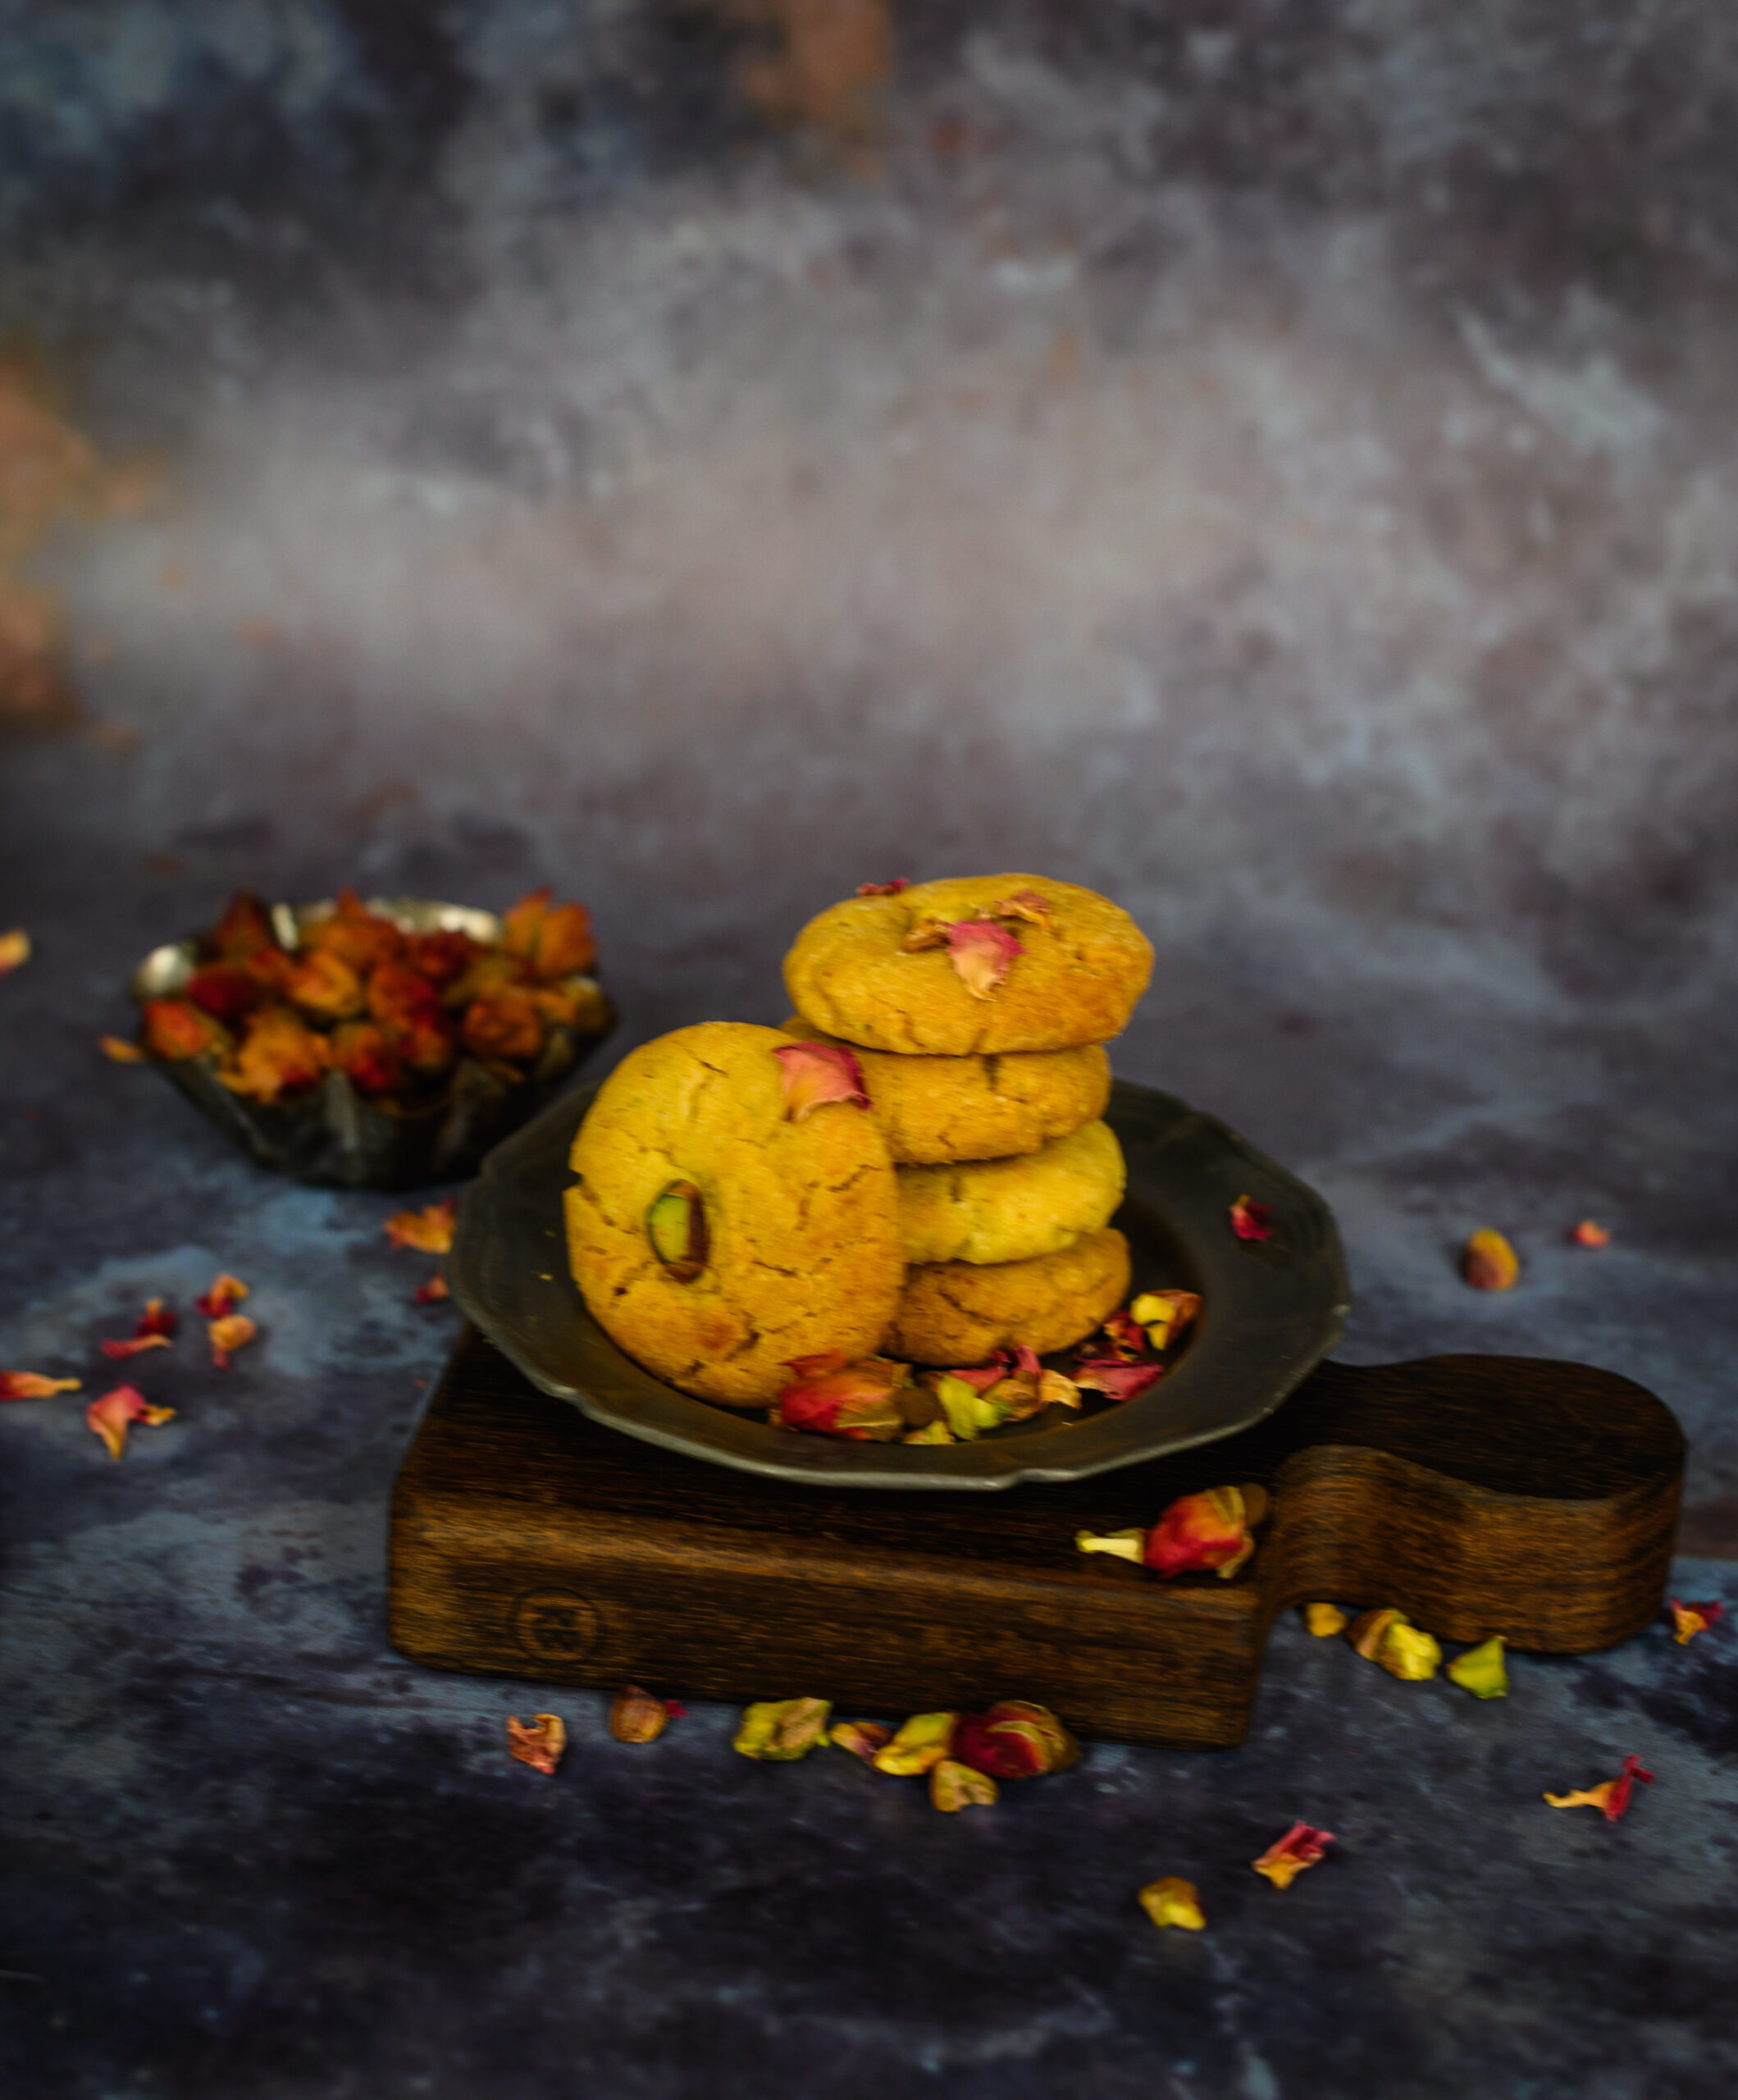
This nan khatai is neither Surat-style, nor what my mother was taught at her baking class, nor her own improvisation (the original uses wheat flour; she added a bit of besan or chickpea to hers). It is, of course, re:store-style – loaded with delicious flavours I love to use in the kitchen. Soft and crisp at the same time, this pistachio and rose nan khatai a real treat. Its fusion of cultures and influences makes me feel it’s ideal for an Indian Christmas. As an eggless baked treat, it’s also perfect for vegetarians.


Pistachio & Rose Nan Khatai

(Yield: 25 pieces)

100 grams powdered sugar

80 grams ghee (clarified butter) at room temperature

100 grams maida

25 grams pistachio meal

½ teaspoon baking soda

1 teaspoon baking powder

2 tablespoons semolina

60 grams chickpea flour (besan)

½ teaspoon cardamom powder

A few strands of saffron, soaked in 1 teaspoon rose water

2 teaspoons yoghurt

½ teaspoon pistachio extract

Rose water (if required)


Pre-heat the oven to 160°C.

Add all the dry ingredients together, sift and set aside.

With a hand blender, beat the ghee and sugar together until the mixture is light and fluffy. Now add the yoghurt, pistachio extract and saffron. Mix gently.

Next, add the dry ingredients to the mixture. Use your hands to bring it all together. It will be a soft dough. If required, add 1 teaspoon of rose water to bind it better.

In a baking tray, lay out small rolls of the dough and top each with a slice of pistachio. Make sure there is space between the rolls to give them room to bloom. Bake for approximately 15 minutes, depending on the oven type.

Remove from the oven and allow to cool.

Your re:store-style nan khatai is ready to serve, just in time for the year-end festivities! This Western-but-Asian biscuit is delightful with tea. Isn’t it amazing how much history and how many cultures one little biscuit can contain? Aromatic thanks to the rose water and extra crunchy thanks to the pistachio, I am sure you’ll find it as addictive as I do. Here’s wishing you and your family a wonderful Christmas. I hope a batch of pistachio and rose nan khatai will be baking in your oven soon – let me know what you think of it!

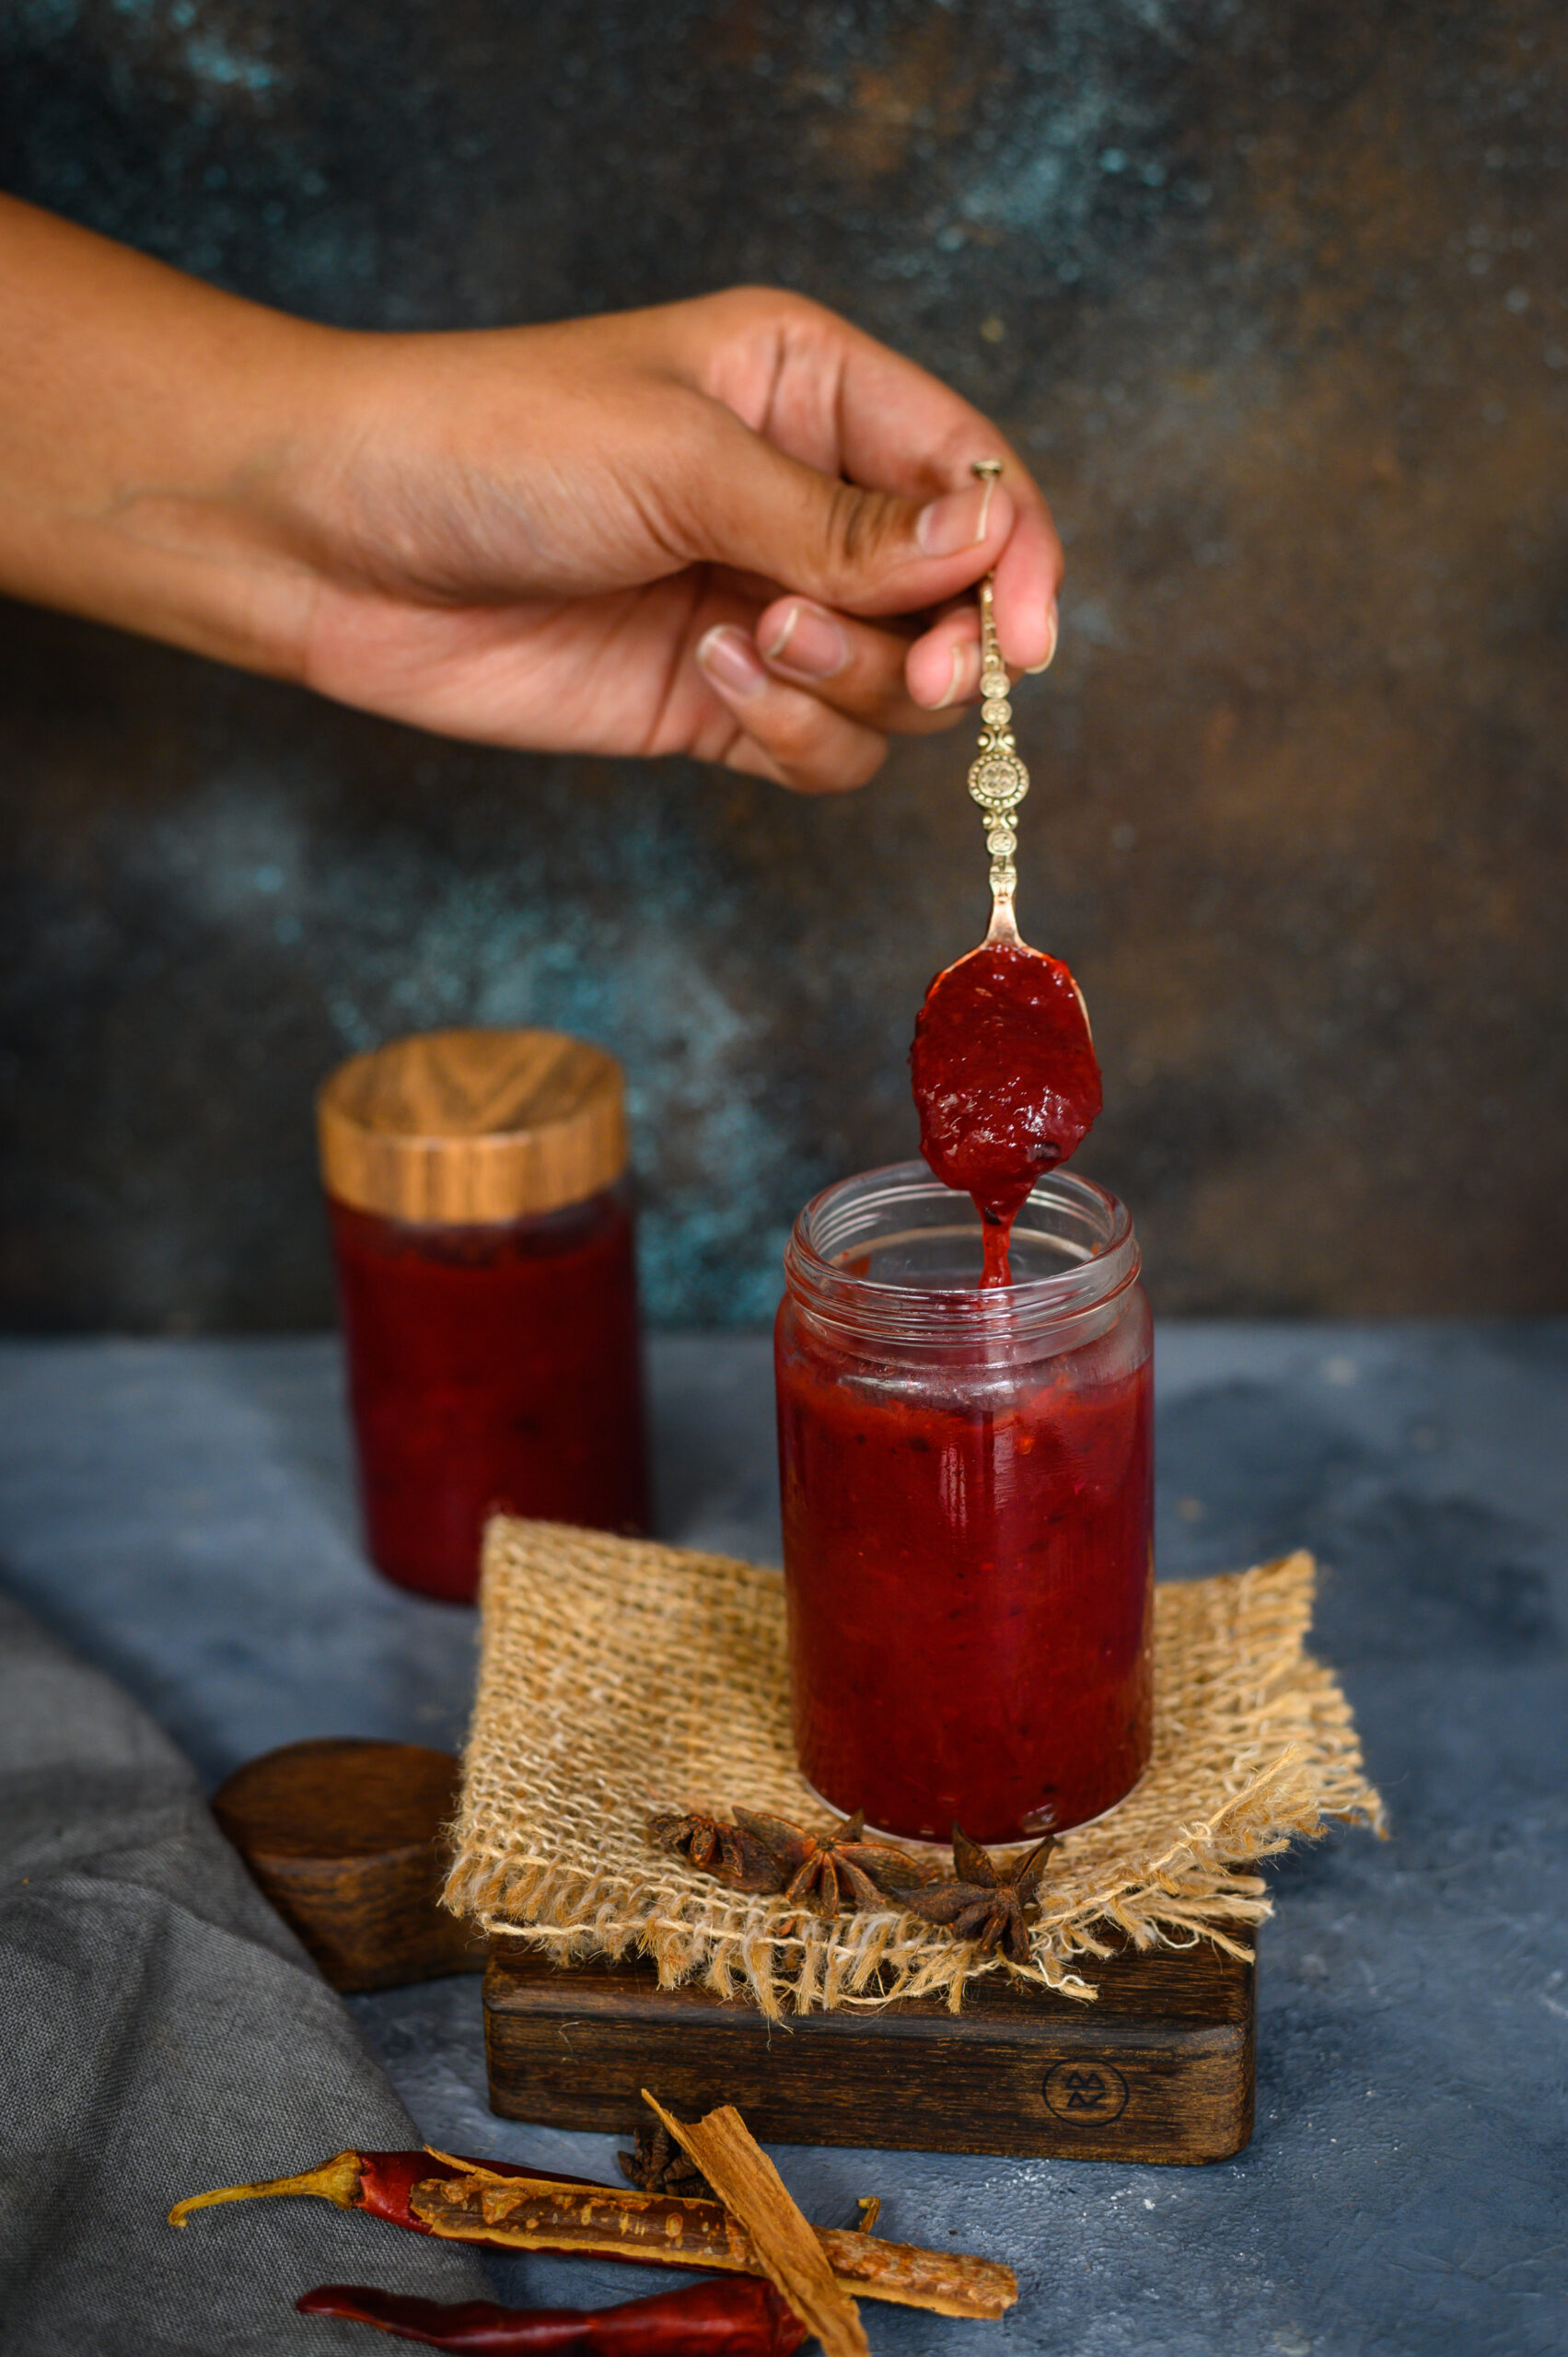
When I began to imagine this post, it was with the idea that there was not much of a memory storyline behind the recipe I am sharing today. All that had come to mind when a friend gifted me a basket of plums, and I wondered what I could make with them, was that I would pluck the tiny, country variety from trees in Ooty during our summertime holidays when I was growing up… And then, before I knew it, an abundance of recollections came flooding back – of reaching with my own hands for something to eat, raw and delicious and freshly-plucked. Before I get carried away with those reminiscences, let me just say that the recent occasion of Thanksgiving, which is important to my American friends and family, as well as the upcoming Christmas season also gave me inspiration. The plum relish that is traditionally enjoyed during those festivities has been Indianised in my home as plum chutney, and that’s the recipe that this trip down memory lane will culminate in.

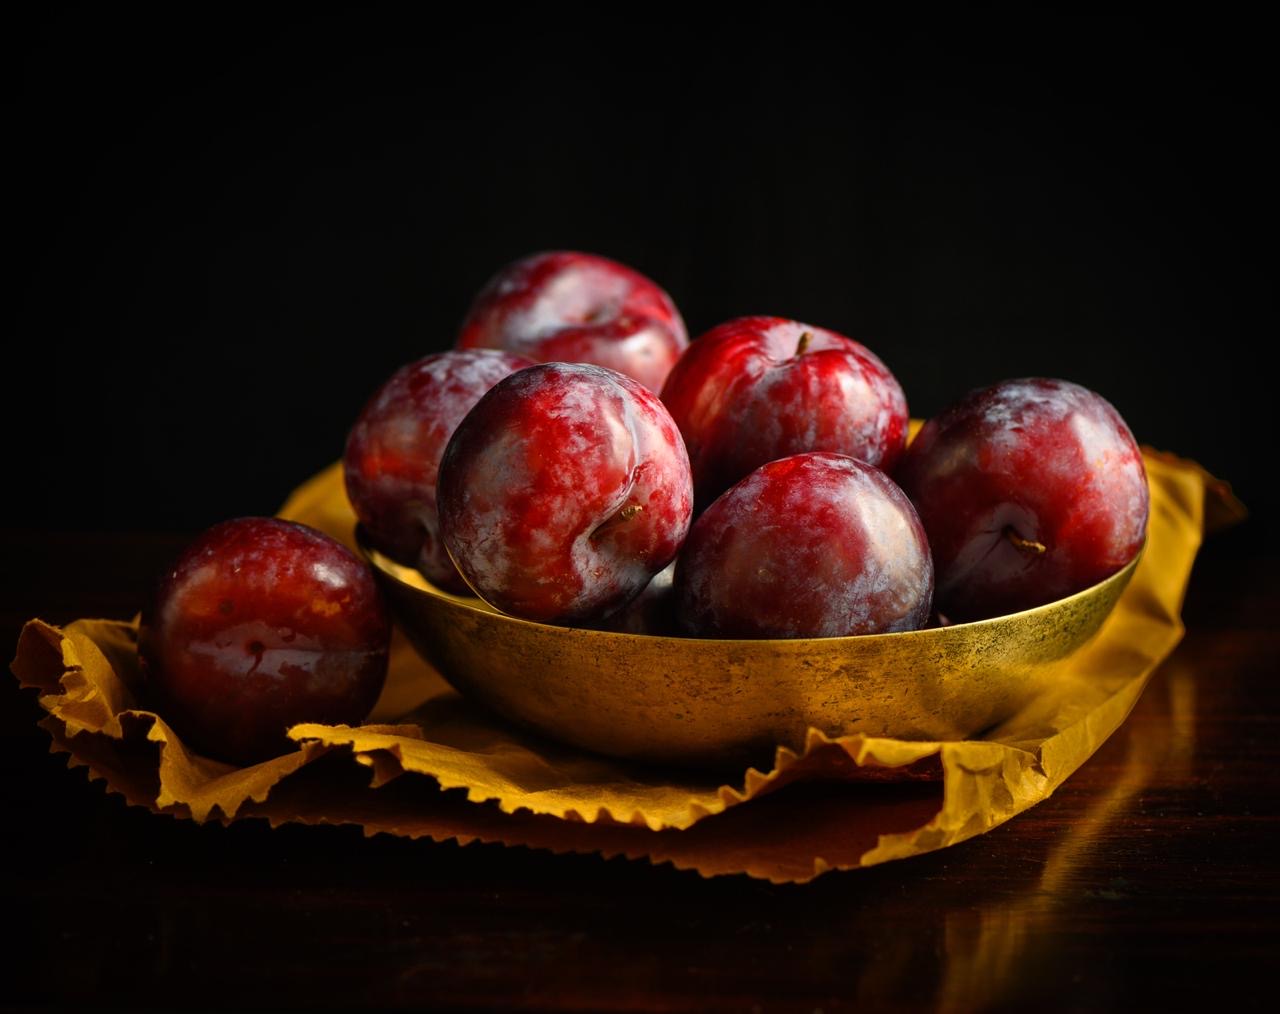
The gift basket I received contained what I call “the millennial plum”, a delicious hybrid cultivar which is large and has a deep maroon colour. It usually tastes sweet. The country plums of my childhood, by contrast, were sour and tangy. They came in an orangeish shade and were relatively tiny. Still, as little children, my siblings, cousins, friends and I absolutely delighted in them. There was just a certain immense joy in picking fruits right off a branch and eating them unwashed. There was a rawness to the experience that brought us closer to Nature. Even the sourest fruit was enjoyed in this way.

Fruit-picking was always a thrilling activity for us, both with and without permission. When we had the chance to go abroad for holidays with our aunt, she would give us baskets of our own and take us to strawberry farms, where we would spend the day indulging this hobby of ours to the fullest. We would cherish and guard those baskets full of fresh, ripe fruit. Every last berry was special, plucked with our own hands, and tasted all the more delicious for this reason.

Back home, far from the hills of Tamil Nadu or the strawberry farms of Europe, we still pursued our fruit-gathering in earnest. We would run loose in our neighbourhood and steal mangoes from the trees, as I think I’ve mentioned a number of times on this blog before. It was certainly one of our favourite past-times, even if scoldings were a natural consequence!

The fruit-bearing local naatu cherry tree and the nellika or gooseberry tree were two that I grew up under, and to this day the sight of either of these can make me feel a bit emotional. The gooseberry tree in our garden was laden with kambilipoochis (hairy caterpillars), which would invariably leave a hair or two on me when I reached up to grab those fruits, and I would have to go crying to my mother to get her to remove those caterpillar hairs! Those naatu (country) cherries weren’t the beautiful, glossy-looking ones that top my cakes today, but a small, orange-coloured variety with a tiny, grain-like seed inside. There was also a black-coloured berry, sour and with a high Vitamin C content, with a name that slips my mind. These local, edible fruits were so plentiful in Chennai in those days, available to anyone who knew how to climb a tree.

I’ve spoken before of how much I long to revive different varieties of plants and flowers in our little farmland. I really believe that some of our green wealth is disappearing, and it hurts to find proof of it, as I did when I went looking for wood-apple recently. I dream of planting the trees of some of the fruits I plucked and ate in childhood. I’ve started the process by asking everyone I know for cuttings. Would you have some – of any kind of fruit, flower or plant that seems to be scarce in and around Chennai these days, but which you remember from before? I only specify Chennai because the cutting needs to be suitable to our climate.

The more time I spent reminiscing, the more I remembered: not only did we love eating freshly plucked (and sometimes stolen) fruit, but we even foraged for plants and flowers! The three leaf clover that grows like a weed was one of these. We’d just pop one into our mouths and enjoy its sour, earthy taste. There were also certain flowers, like the gorgeous orange trumpet flower, which we would suck the nectar out of after removing the stem. Did you do any of these activities growing up, when it seemed like we played in the outdoors so much more than the children of today do?

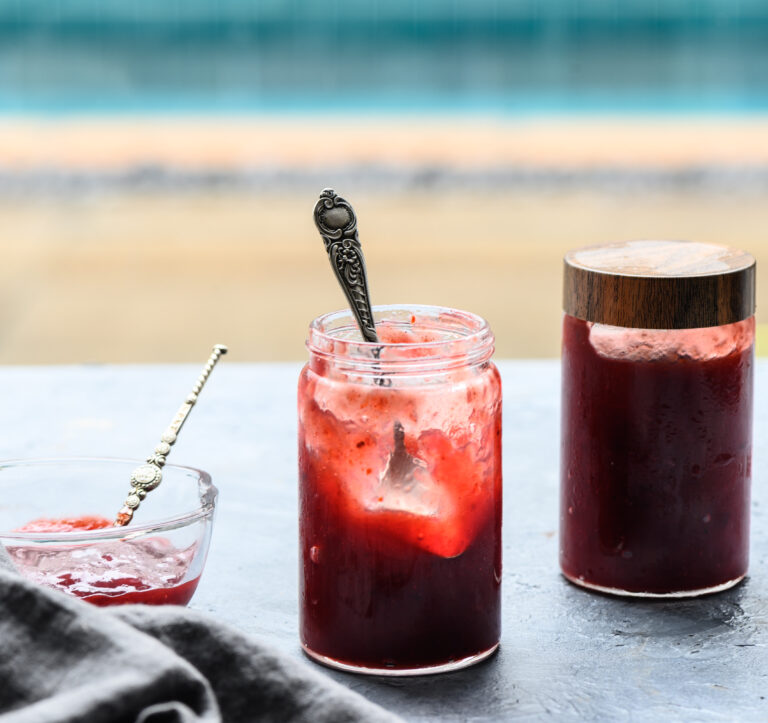
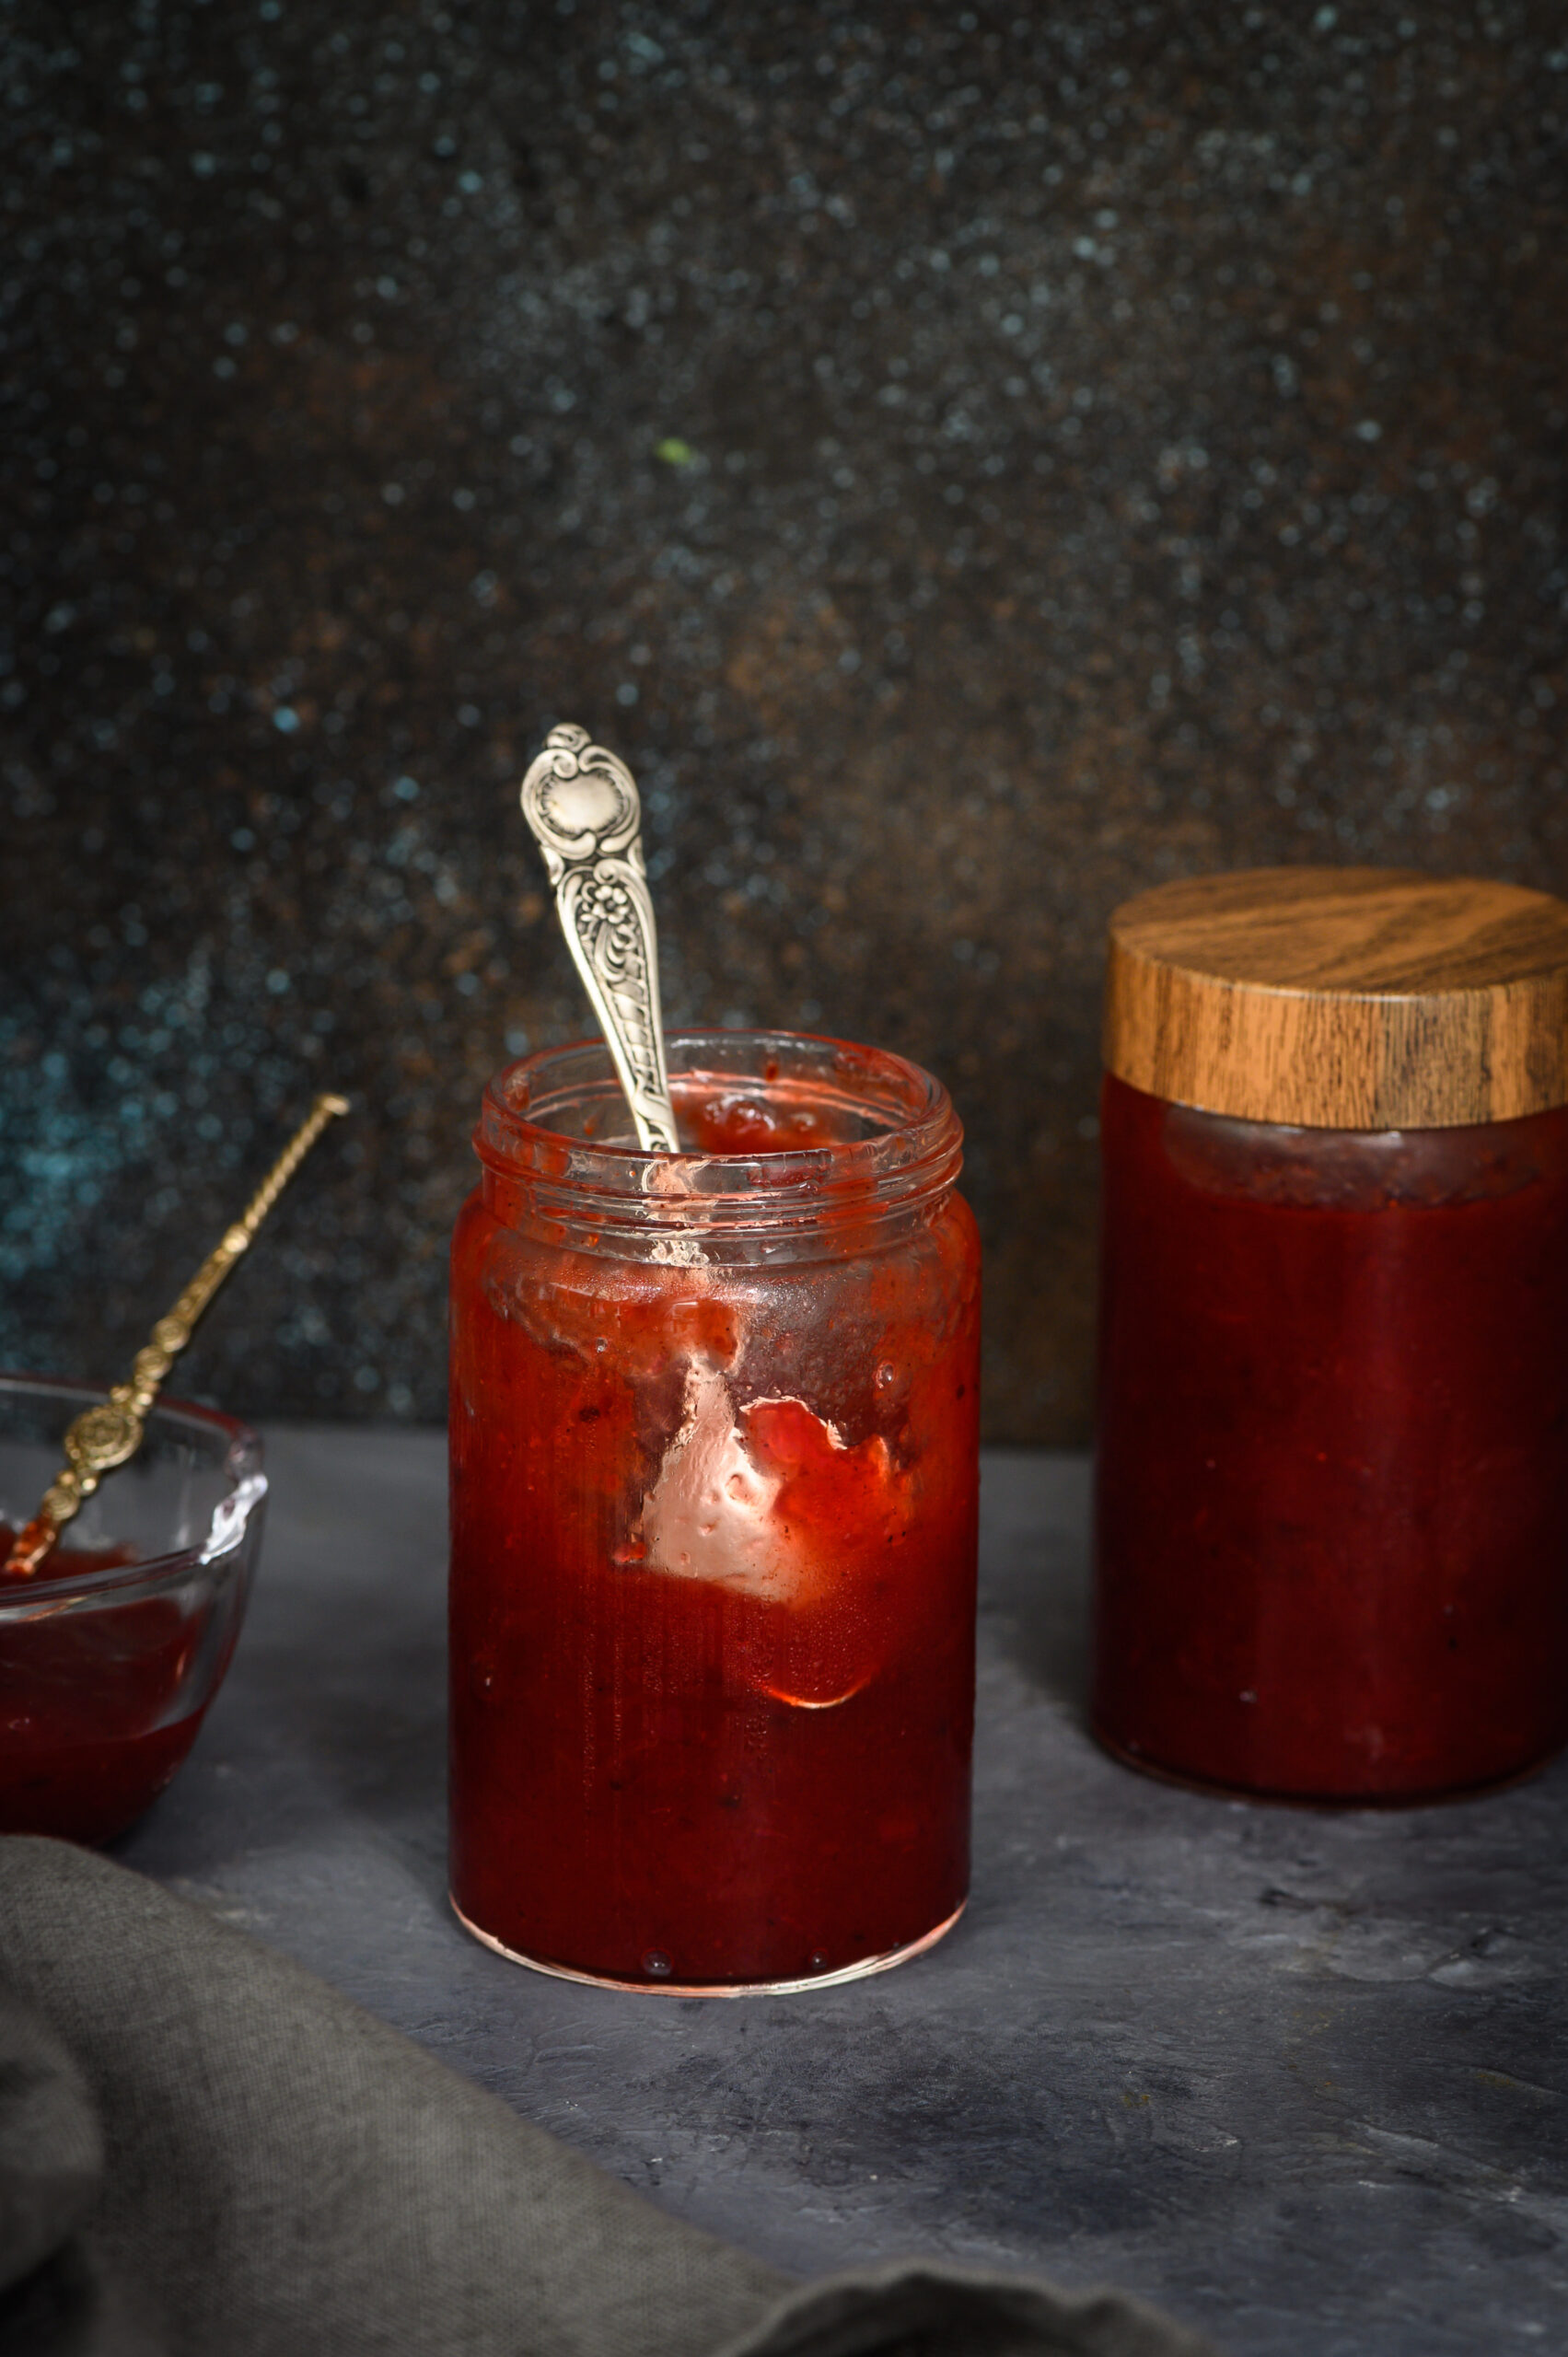
Let me bring this little trip down memory lane, lined with fruit-bearing trees, full circle by coming back to the gift of plums. In India, you can make a chutney with pretty much anything, and I was curious to try out this fruity one. My husband is a big fan of chutneys, and will even have some on the side with a pasta, so I know for a fact that this plum chutney is very versatile. You can also roll it up in a chapatti for a tiffin box, or spread it on toast. It has a sweet, spicy flavour that lends itself as an accompaniment to many dishes.


Plum Chutney

(Yield: 350 grams)

500 grams plums

150 grams sugar

1 small onion

⅛ teaspoon ginger powder

1 star anise

Salt to taste

2 teaspoons dry chili flakes

2 tablespoons apple cider vinegar

Lemon zest


Plums are a succulent fruit with a vast number of health benefits, from improving cardiovascular health to reducing the risk of osteoporosis to promoting skin health. They are packed with Vitamin C and Vitamin A, as well as antioxidants and minerals. They have been grown since ancient times, and the hybrid types we get today thrive in various places in India – which means we are fortunate that the market is abundantly flooded with them too.

This plum chutney is very simple to prepare, but requires one step of overnight prep. Chop the plums and discard the seeds. Add sugar to the fruit pieces, and cover with a lid. Allow to soak and refrigerate overnight, as this will reduce the cooking time.

The following day, add all the remaining ingredients to the sugar-soaked fruit. Boil on a medium flame. I lightly blended the mixture with a hand blender to break down and bring the flavours together.

Allow to simmer until the chutney thickens. Then, allow to cool.

With a clean spoon, transfer the plum chutney into a clean jar and refrigerate. As long as dry spoons are used and the container is refrigerated, a batch can be kept for up to a couple of weeks.

You may serve it with cheese as they do in the West, or with chapatti as I do at home, but either way, I hope a jar of it finds a place at your table this Christmas – and I hope you’ll simply relish it!

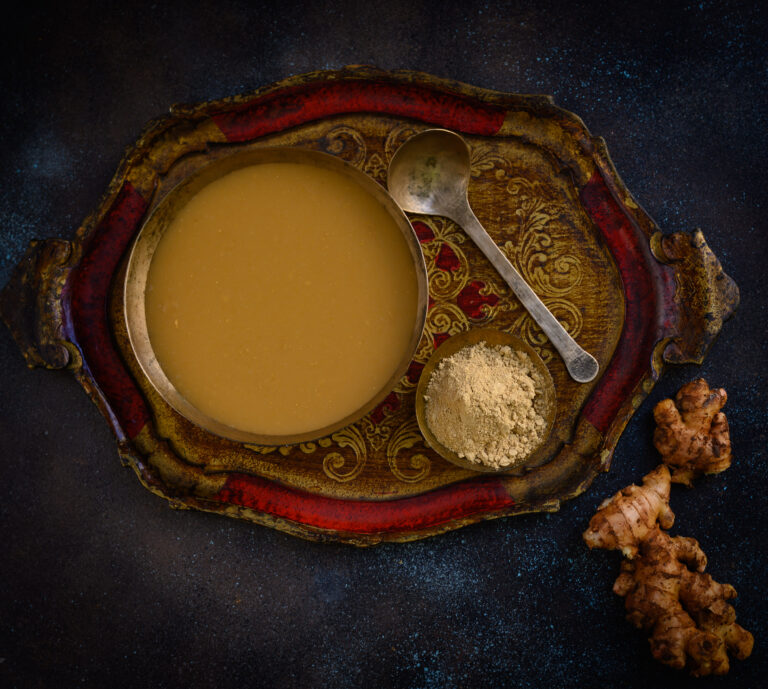
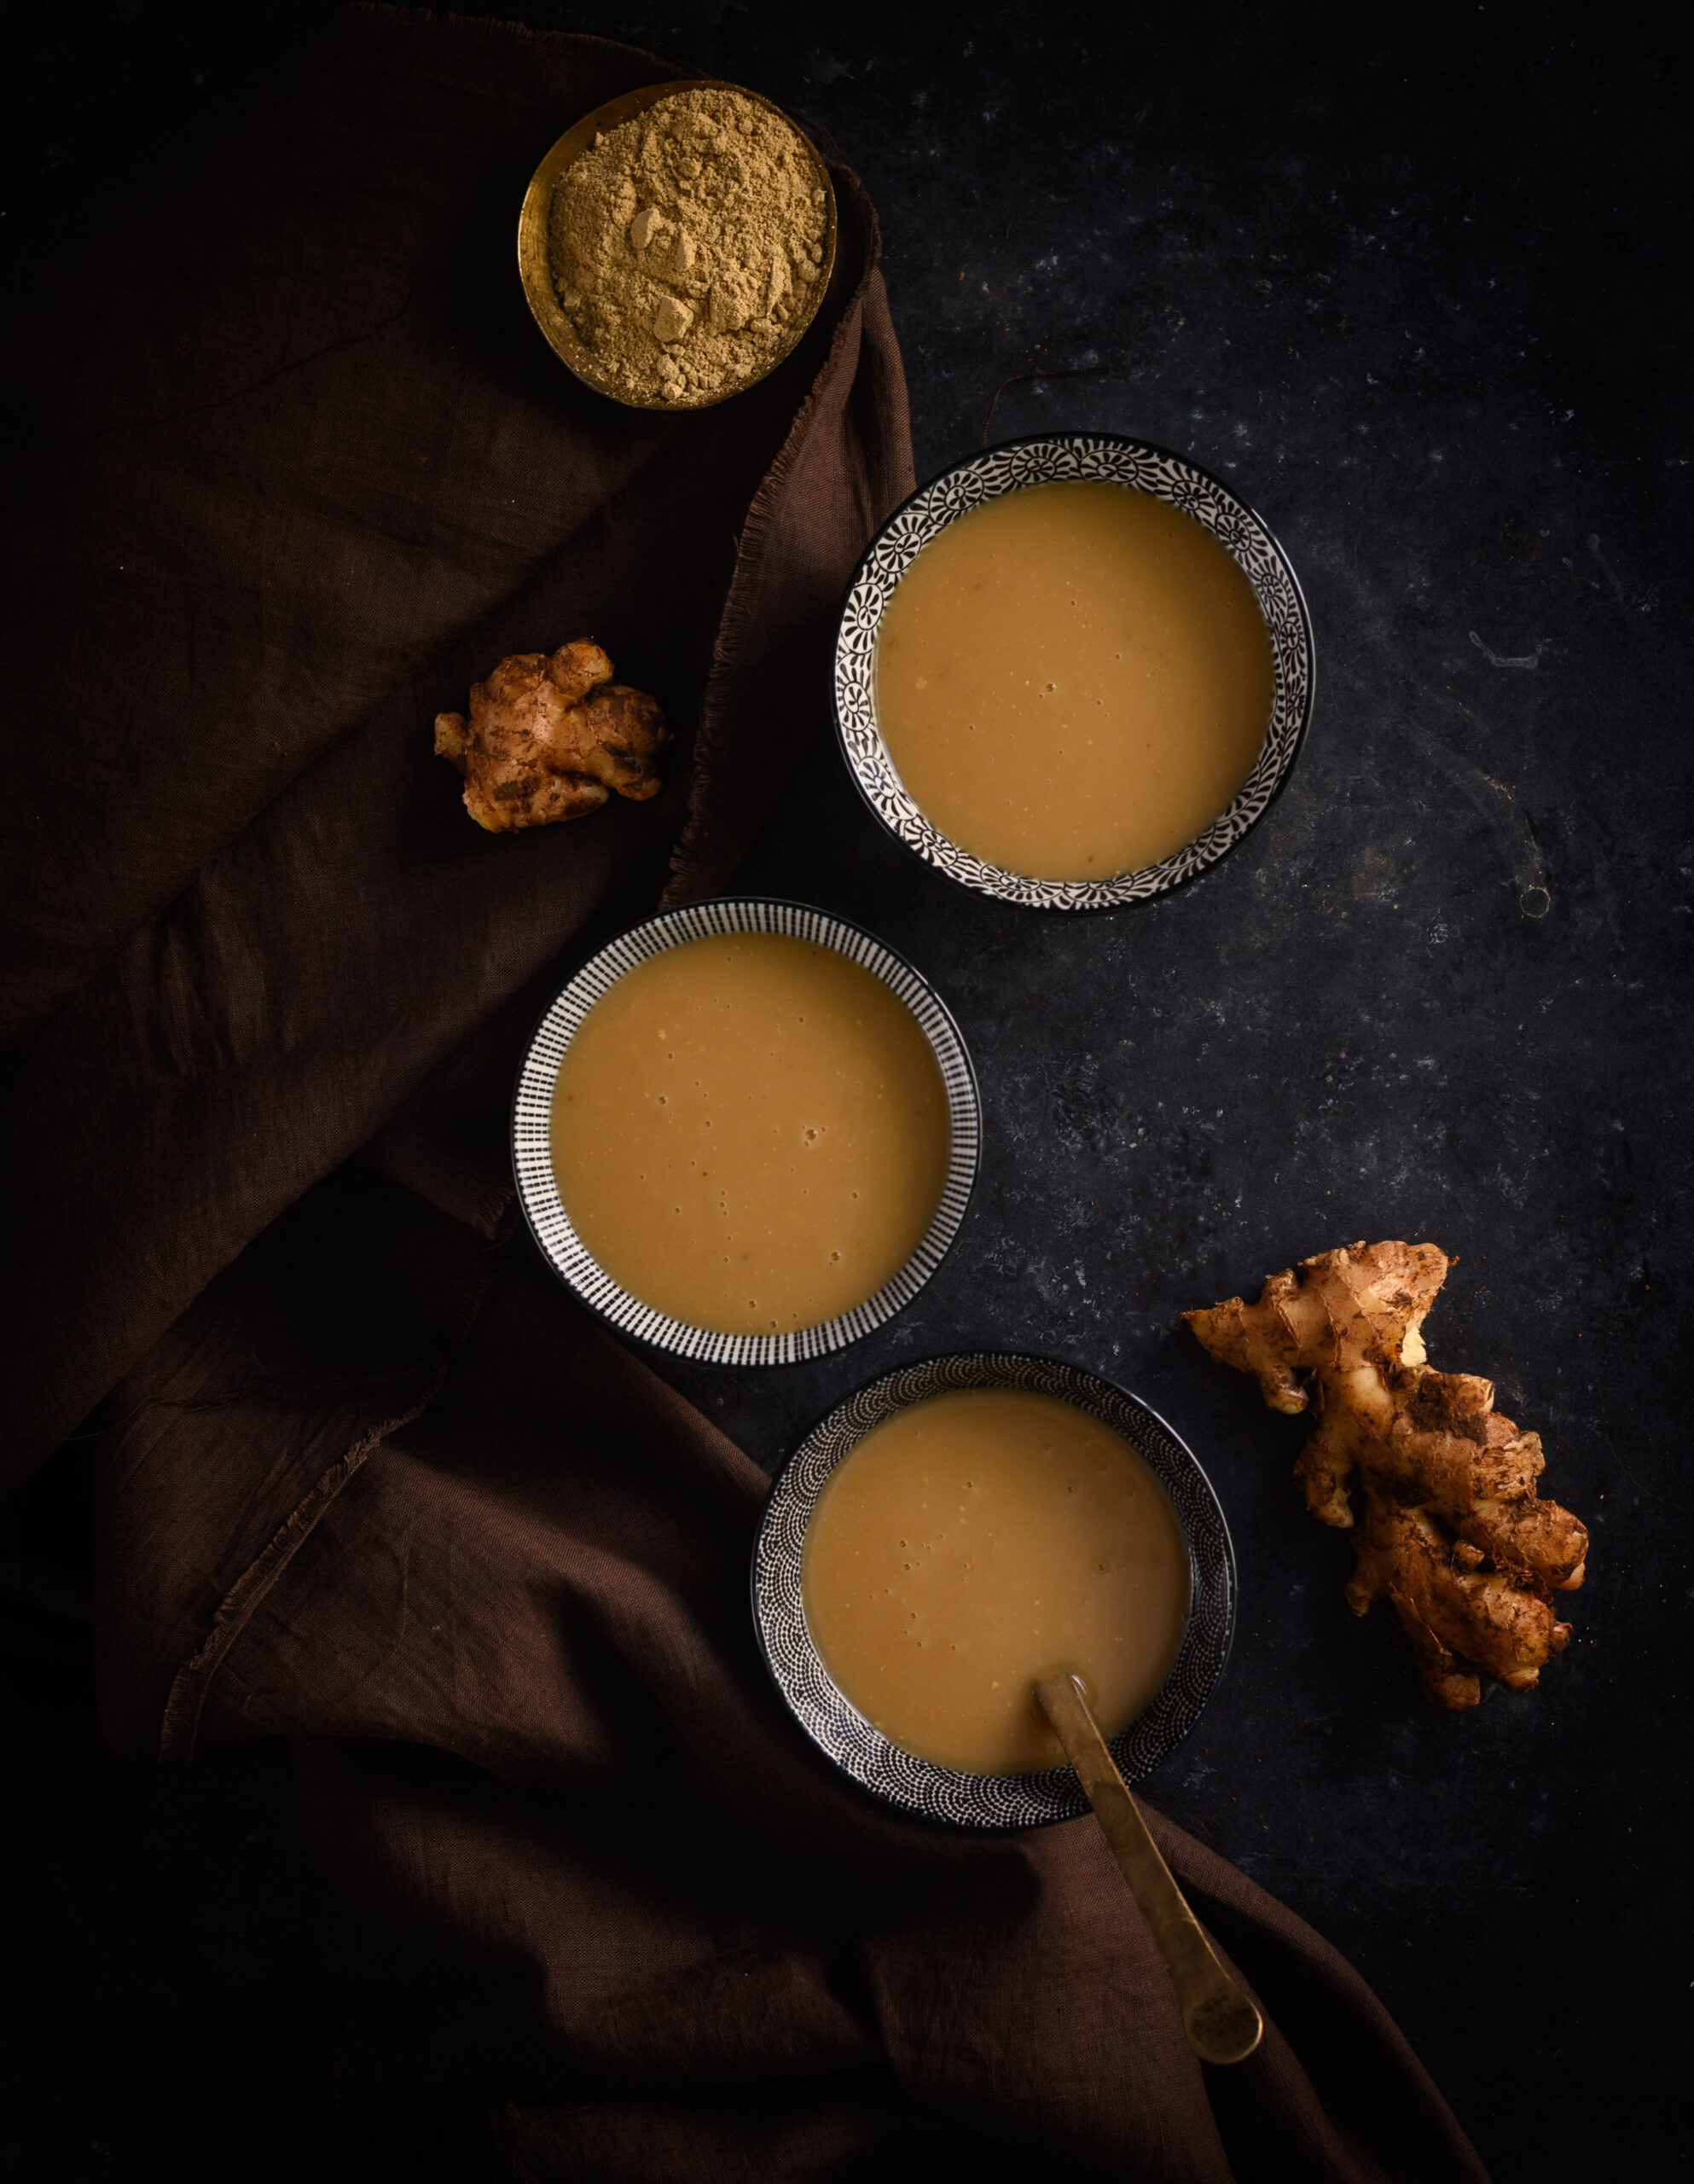
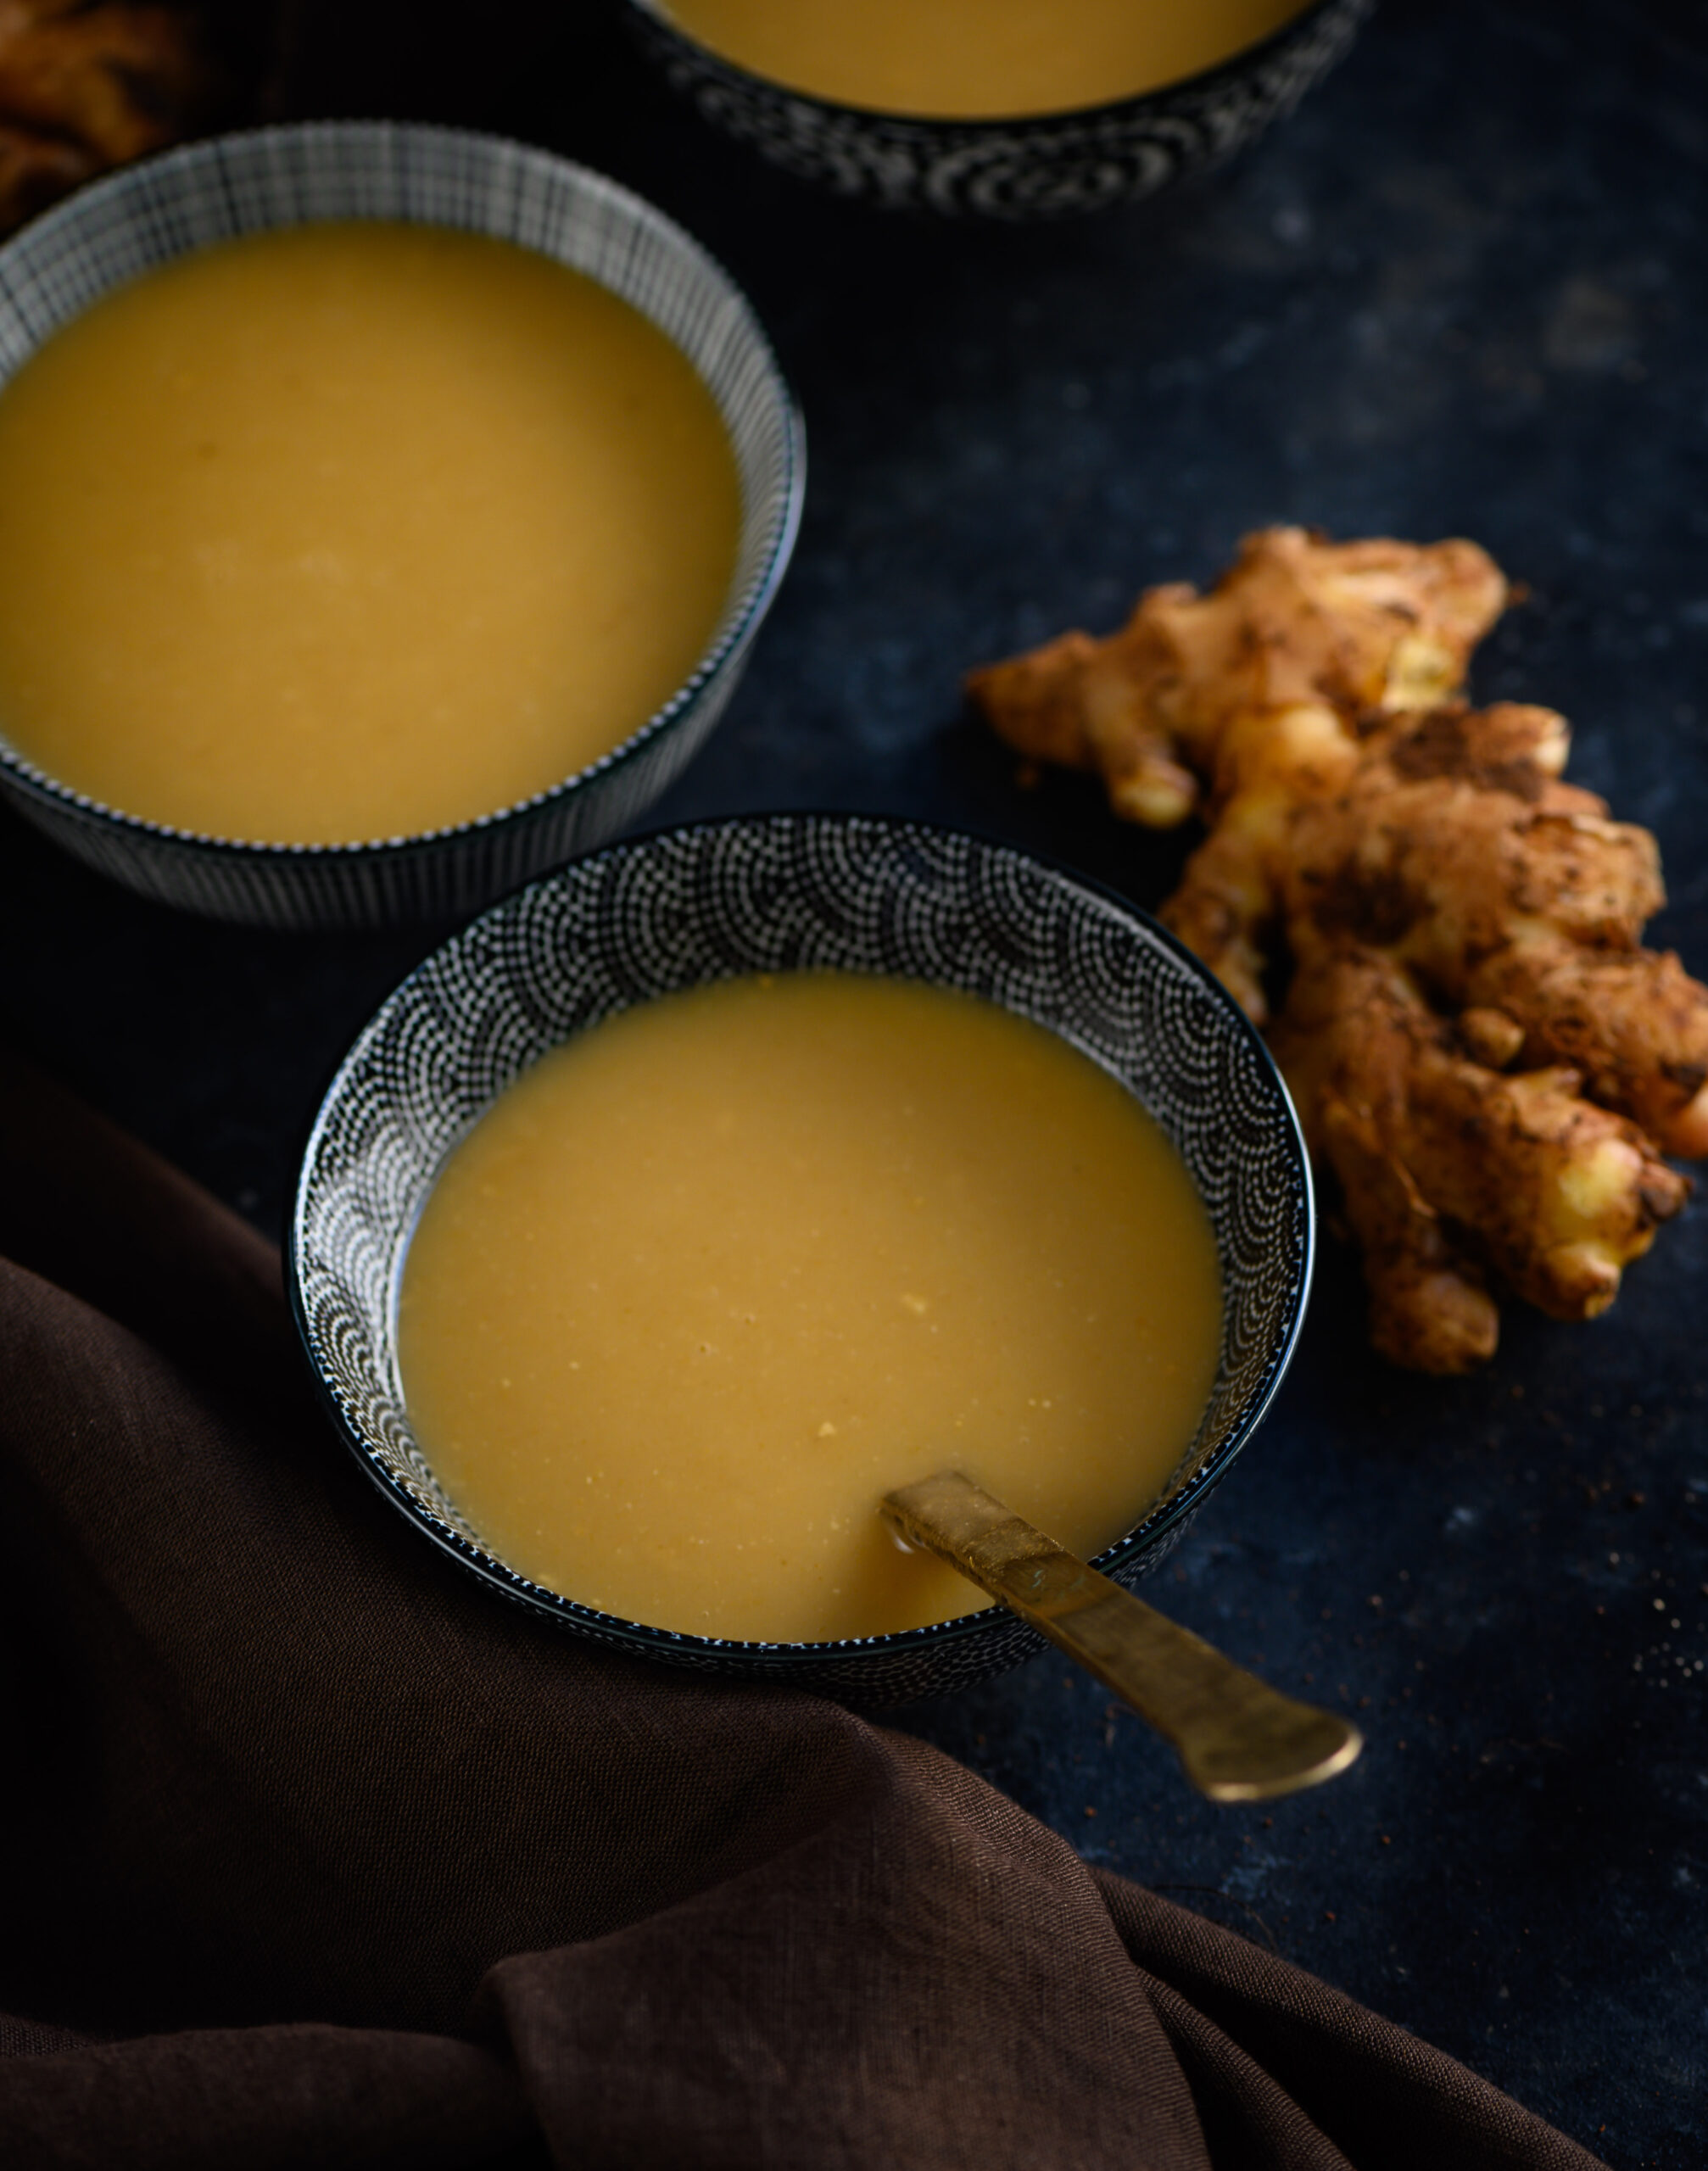
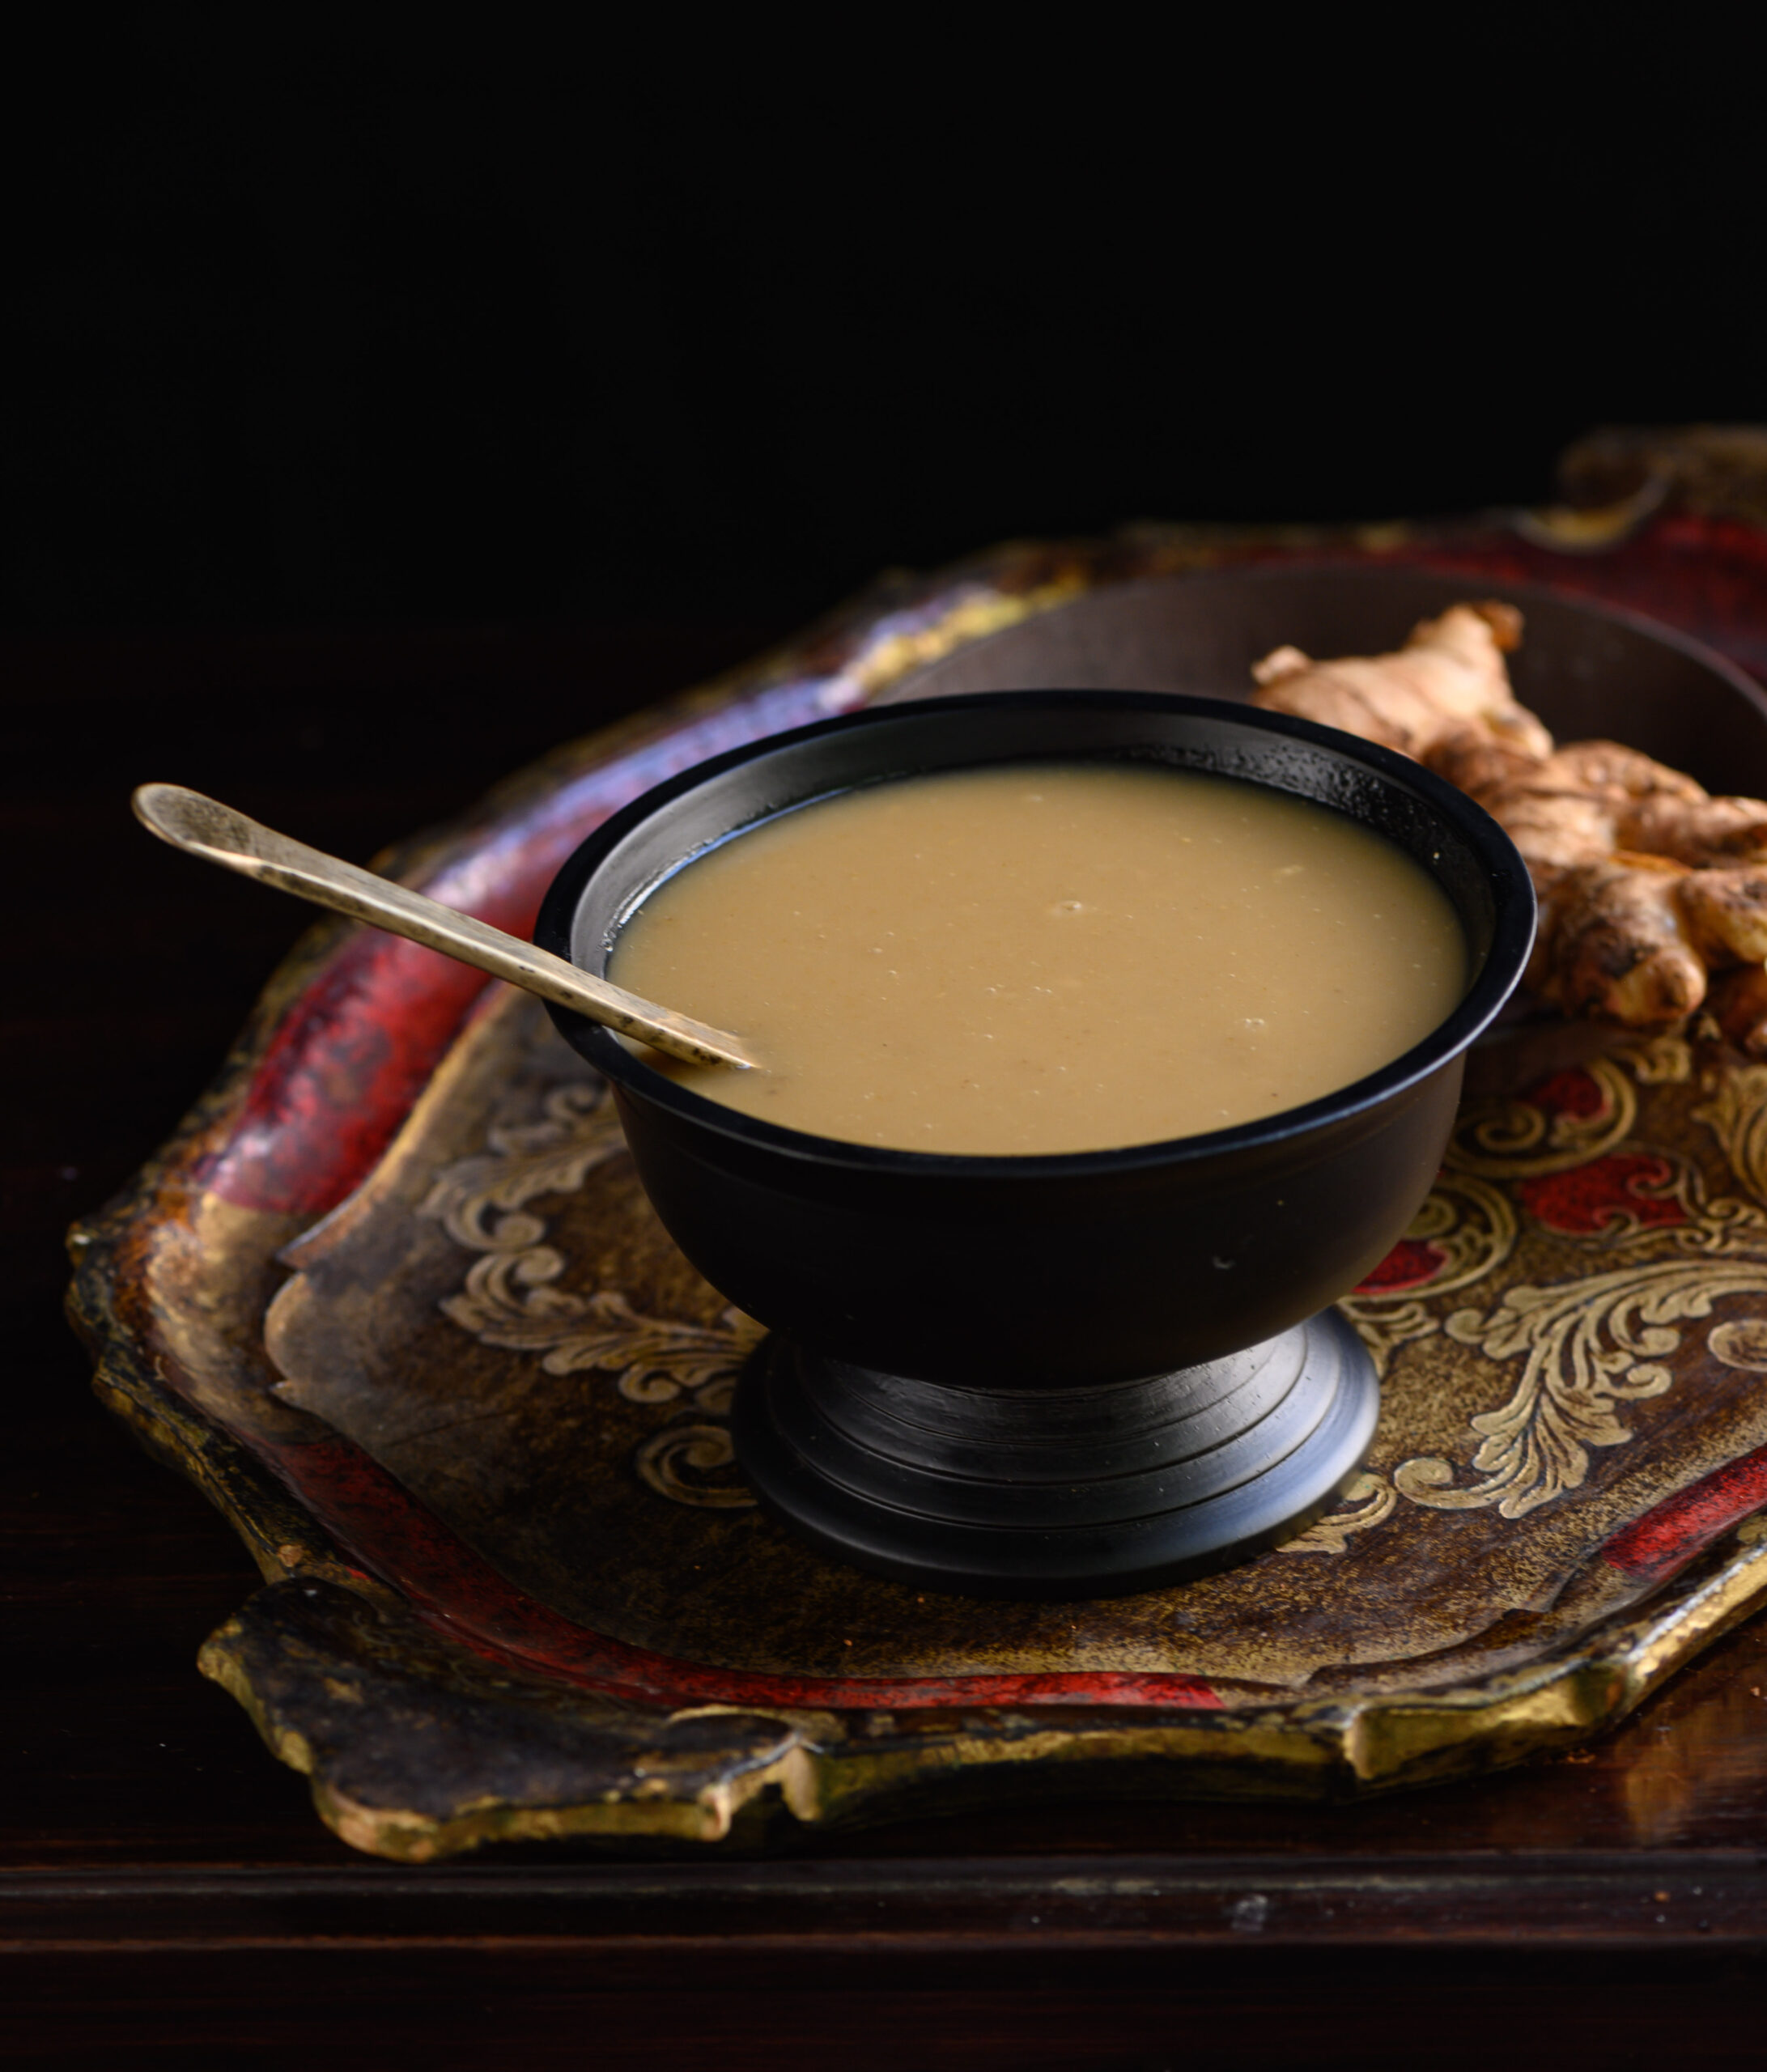
The seasons are changing and the usual respiratory illnesses are going around as we adjust to the weather, worsened of course by pollution and the busy modern lifestyle. A few years ago, I shared this remedy from my childhood, and many of you told me that you found it effective and refreshing. Now, I’ll share a complementary dish, a warm and nourishing porridge that I absolutely loved while growing up. This raab is like chicken broth for the Gujarati soul, and is one of my most favourite comfort foods of all.

Raab was my mother’s go-to fixer for colds, sore throats, coughs and so on. It coats the throat well, alleviating any itchiness there. New mothers are often fed raab, due to its fortifying properties. I think of it as a dish to simply warm the soul, when you’re feeling down and need a hug. It’s a light meal for whenever you’re feeling under the weather.

Raab falls into the category of “accessible medicine”, something which anyone can make, especially when a pharmacy is out of reach. It is comprised of very basic and affordable ingredients that can be found in any Gujarati kitchen: ghee, bajra (pearl millet) or wheat flour, ginger powder (soont) and edible gum resin (gond). Most communities will have some version of such a dish, made of elements which are at hand for all members of society.

Bajra or pearl millet is usually had during the winter months or during the wet, cold seasons. My aunt, an expert in Gujarati cooking, and from whom I learnt a lot during my many summer holidays with her, explained that bajra and ajwain (carom seeds) are used during winters as they warm the body. In the summers, wheat flour is substituted for the millet. The ginger powder also has a warming effect, in addition to adding taste. I’m still trying to find out exactly why dry ginger powder is used rather than freshly grated ginger, and have arrived at my own conclusion. My theory is this: dry ginger is a ‘yang’ ingredient, hence positively affects the deeper organs in the body like our bones. It is also stronger than hydrated fresh ginger.

My aunt would also also say, “Don’t forget to add the gond.” It has numerous health benefits, including aiding the digestion. I saw this lady in Patdi, Gujarat, selling the resin, which she told me she collected herself from the bark of trees in her village. I couldn’t resist buying some from her.

With so many healthy ingredients, you would imagine that children would need a lot of convincing before they ate this porridge, but that’s not true. Whenever my siblings or I fell ill when we were growing up, I would ask for a bowl of raab as I absolutely loved it. The reason for this is that this remedy is… sweet! This is thanks to the jaggery, of course, which has its own host of benefits, as regular readers of this blog will be familiar with. Raab tastes so delicious that you’d never believe it was good for the body, but the proof is in how healed and nourished you feel after you’ve had some.

If I wasn’t unwell, my mother always said No to my request, and this has created a powerful memory link for me. She never treated raab as an anytime dish, as a result of which I too refrain from doing the same. There is also something to the charm of having it when under the weather, and feeling soothed by it in those times, and I feel this would disappear if I began to enjoy it as an ordinary meal. Today of course, my dearest mother is gone and when I make it for myself, I associate it with being soothing both to my throat and to my heart because it was she who would make it for me…

In that sense, raab is sentimental for me in the same way that laapsi, a sweet I only ever make on Diwali, is. No one is going to stop me from making it at some other time of the year, but I consider it sacred in some way, just as I do the raab.

Raab

(Yield: 1 bowl)

⅛ cup bajra (pearl millet) flour

⅛ cup jaggery

1½ tablespoons ghee

2 cups water

1 teaspoon dry ginger powder

½ teaspoon ajwain

In a pan, add the ghee and the flour. Stir them together on a low-medium flame until the mixture looks like a roux. Keep stirring, making sure it does not stick to the bottom of the pan, until it turns a golden colour.

At the same time, in another pot, add the jaggery and the water. Heat until the jaggery melts, stirring occasionally.

Once the roux is golden, add the ginger powder, the ajwain and the powdered gond resin. The gond will make the mixture bubble and fluff up at this point. Finally, add the warm jaggery water. Stir well and carefully, so the mixture does not start to coagulate and get lumpy.

Once it is completely smooth, it is ready to be served. Raab is best enjoyed hot.

As explained above, bajra is especially good for the winters and monsoons, as is ragi. In the summer months, you can replace it with whole wheat flour or any seasonal flour of your choice. If you don’t have much of a sweet tooth, you can also reduce the quantity of jaggery in this dish.

I wish you and your family good health as the season changes, and I am glad to share this simple and satisfying dish that will help with the sniffles and fatigue that are customary at this time. Such recipes have been treasured for generations, and it’s up to us to keep these healing traditions going in the time to come. Here are a few more home remedies: soothing syrup, raisin kalkand syrup and turmeric shot. Each of them boosts the health – and, as I personally find, the mood too! They take me on a trip down memory lane that always reminds me that food is a form of love.

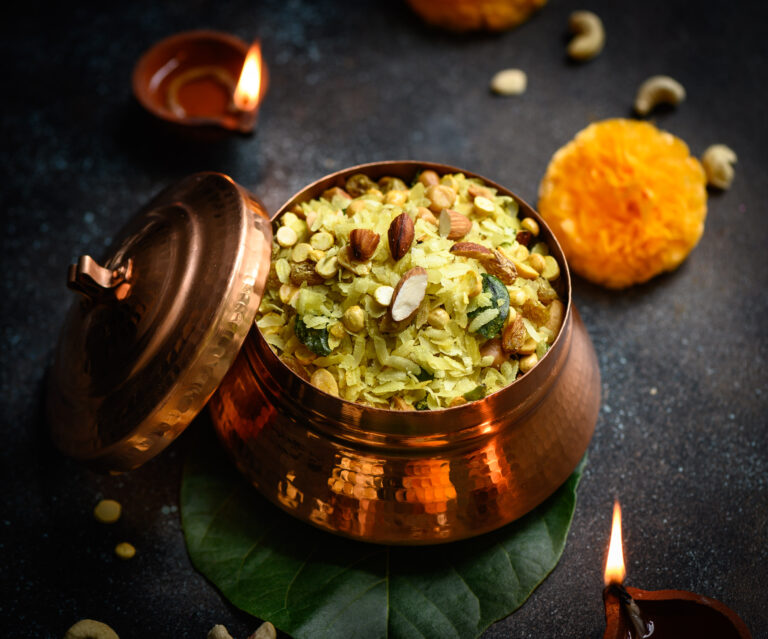
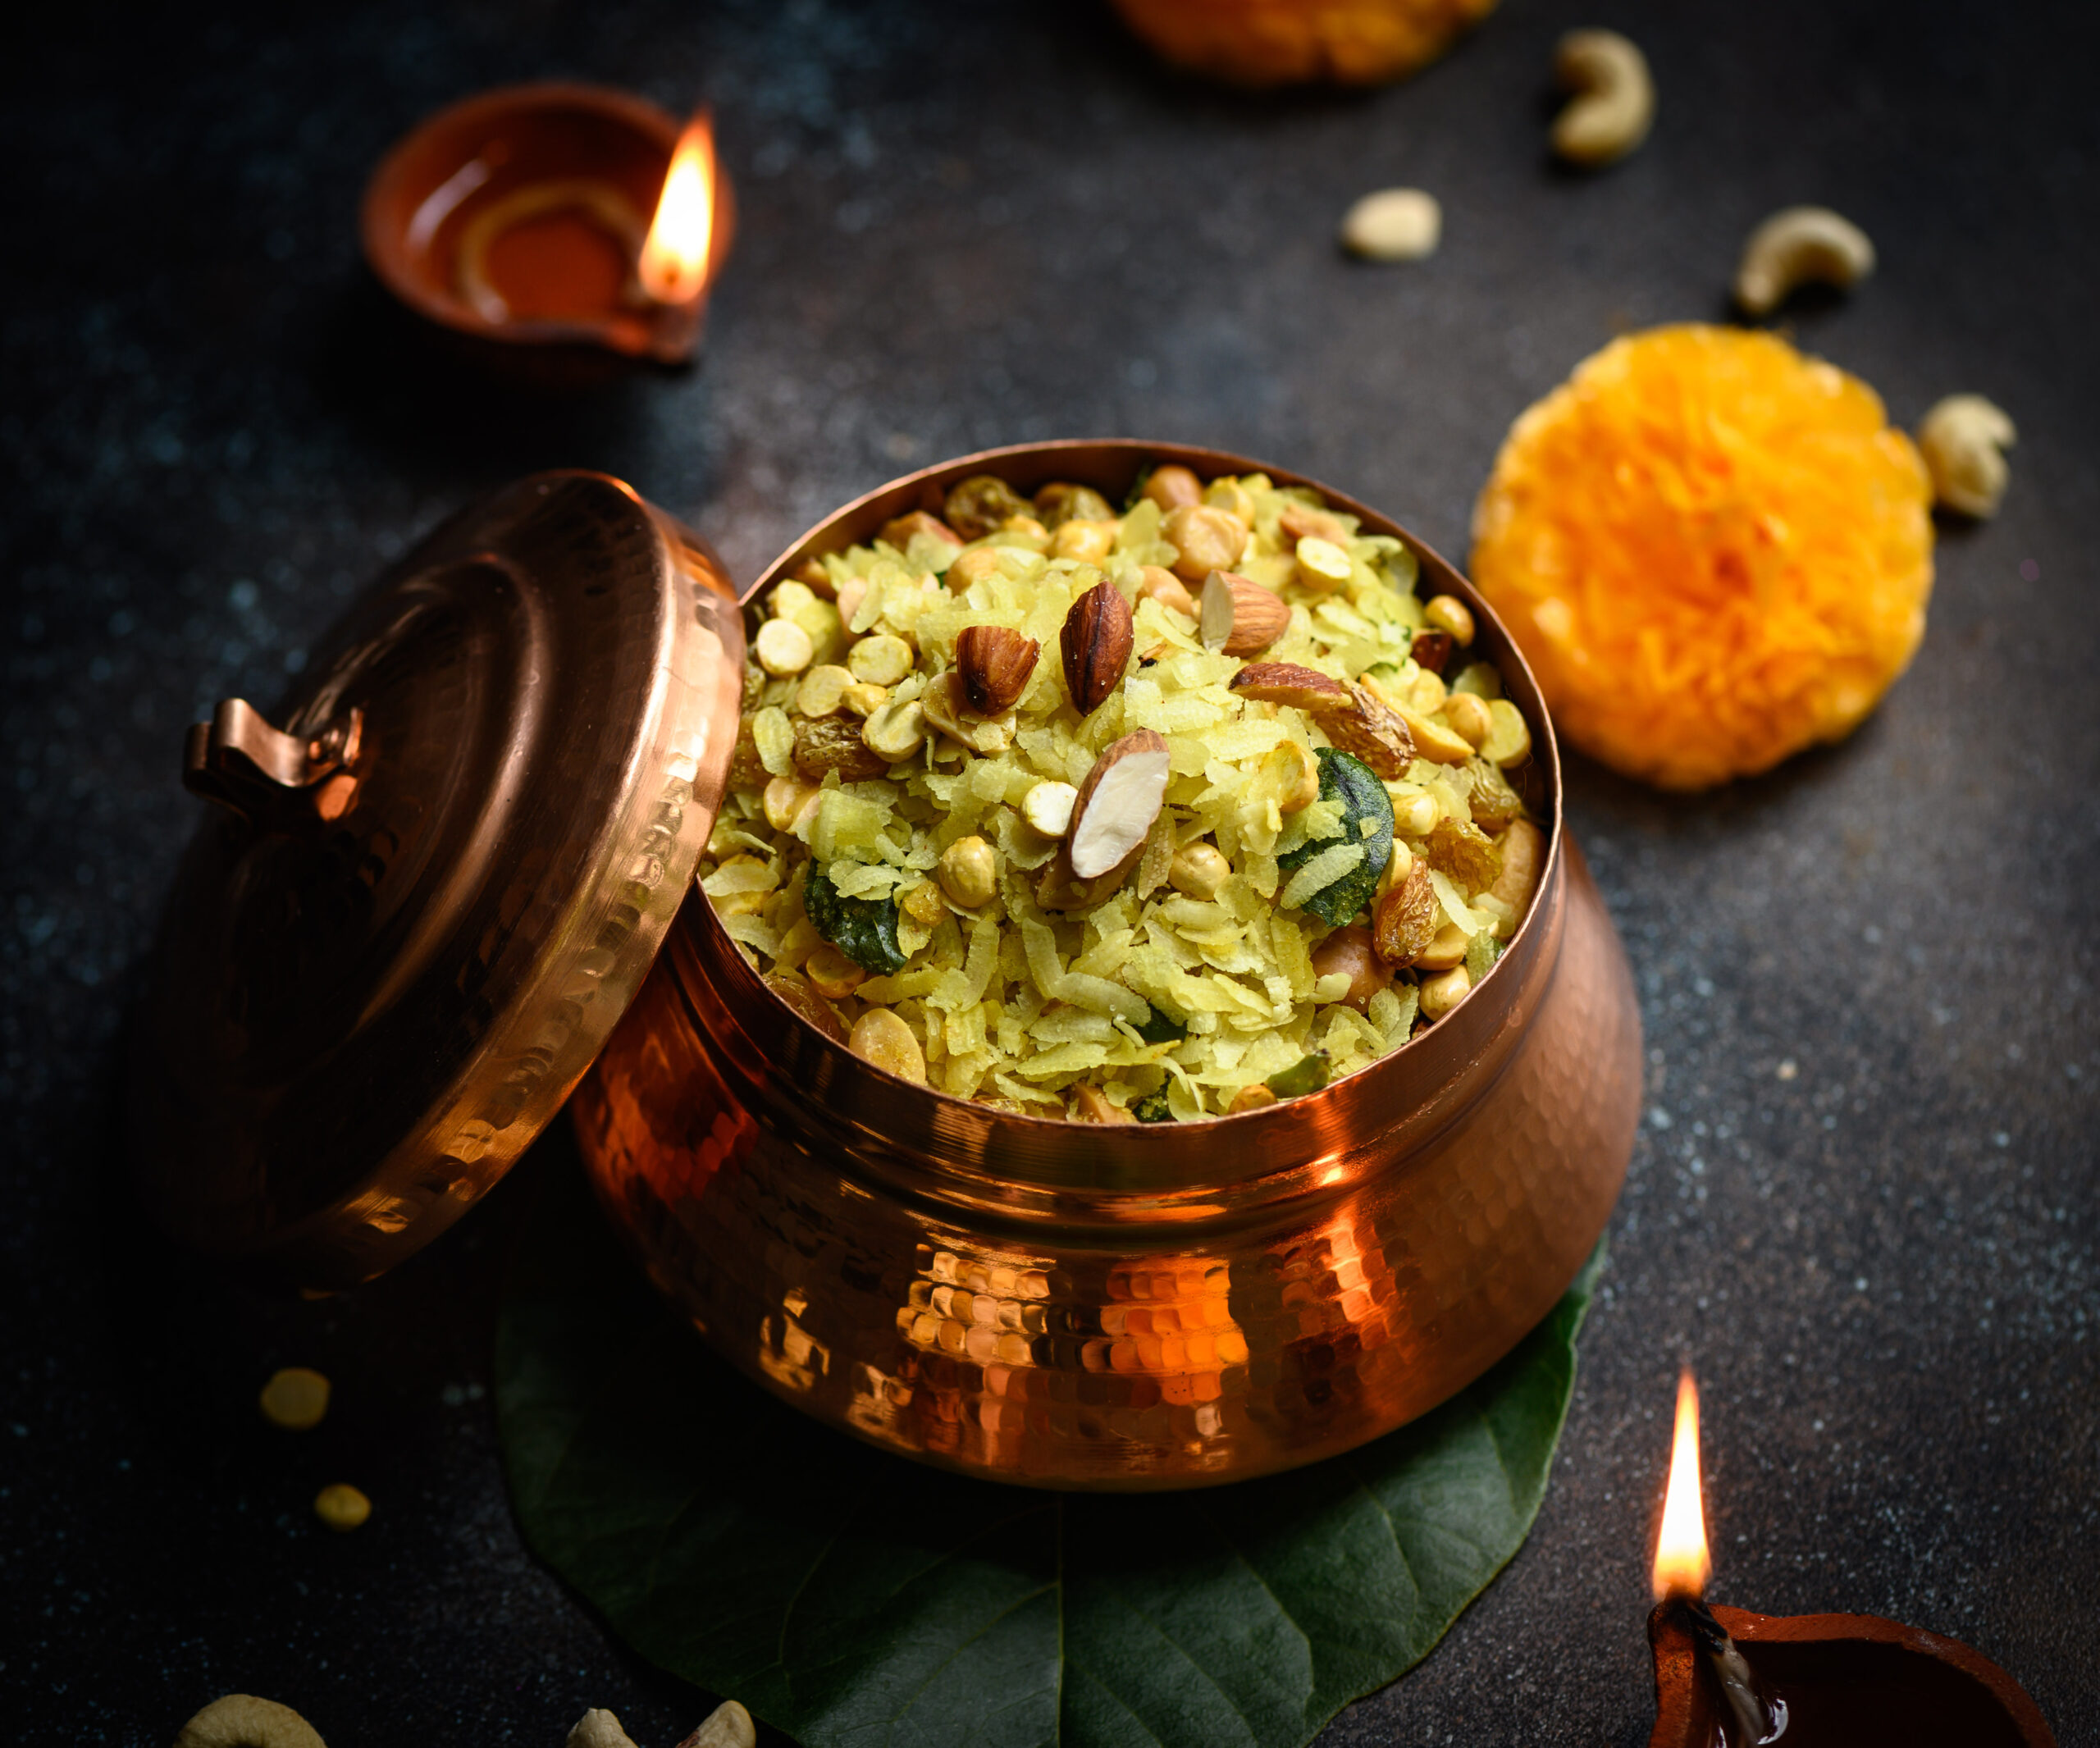
When I was growing up, middle class culture in India was all about eating what was cooked at home. Fresh food was prepared for every meal, every day. When there were leftovers, they were always put to good use. Eating out was a rare occasion, and we didn’t have the luxury of junk food. Even snacks were made at home, and this poha roast mix – what we Gujaratis call chevdo – was one of them.

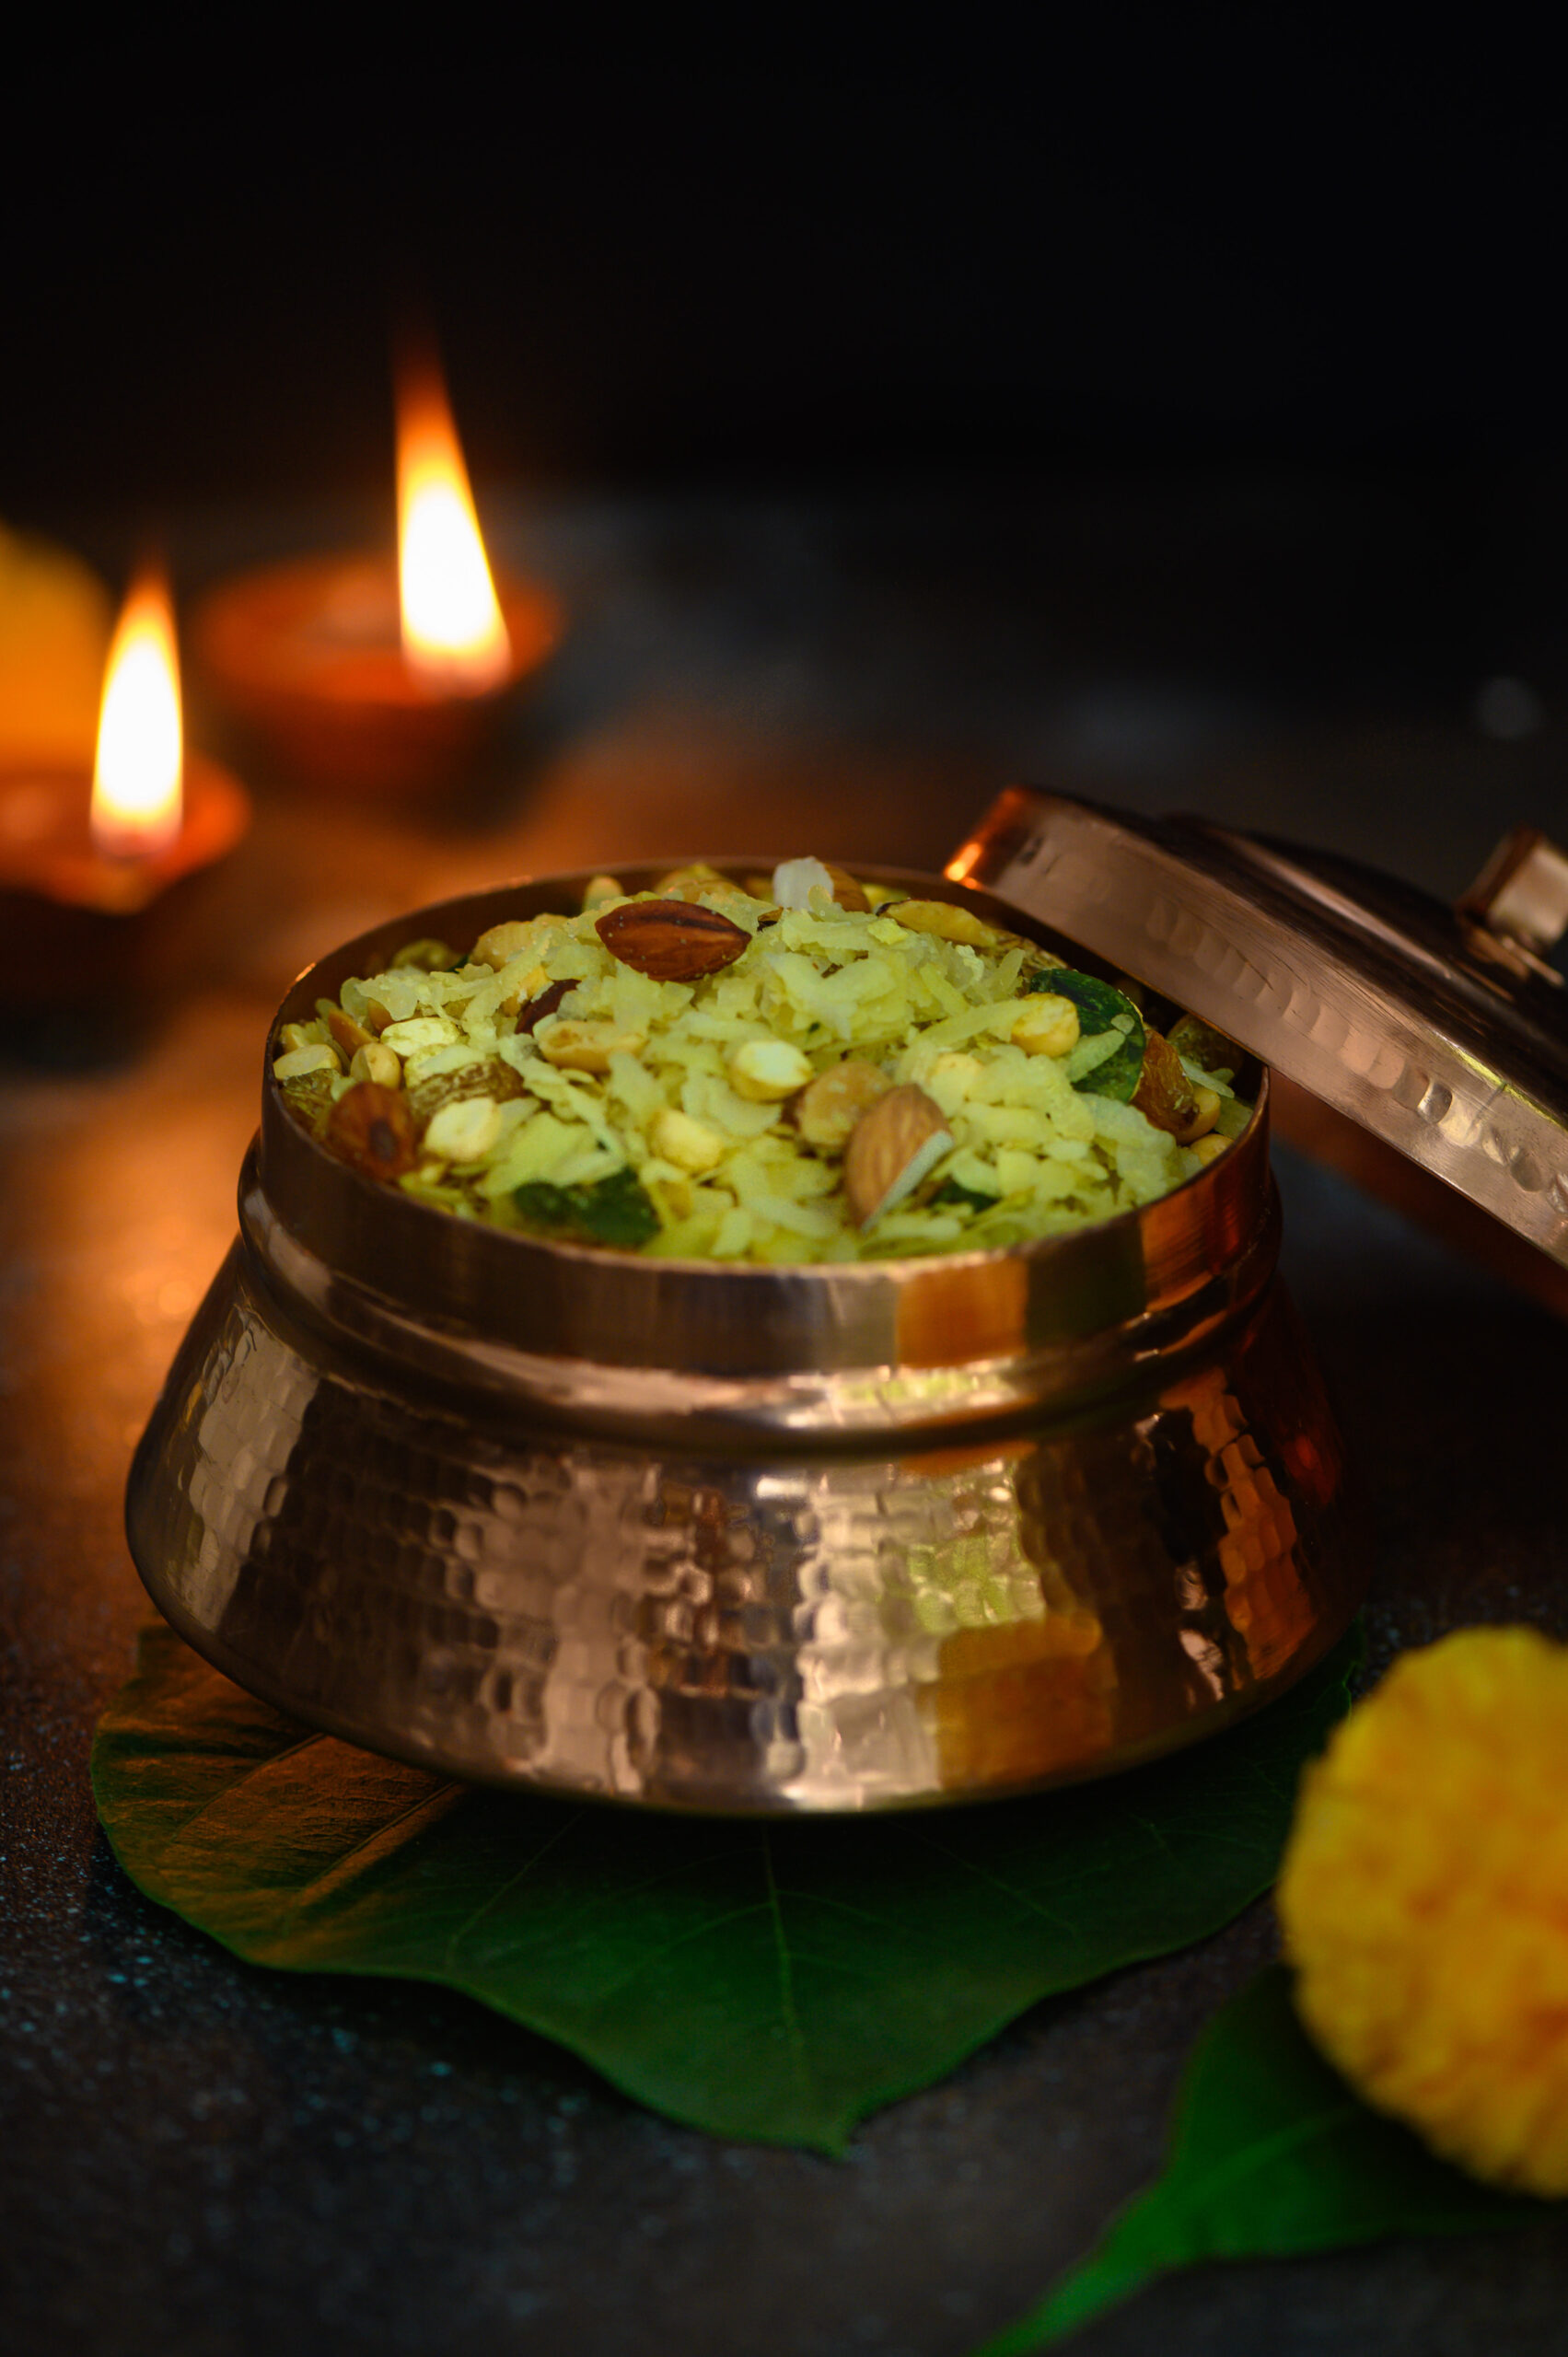
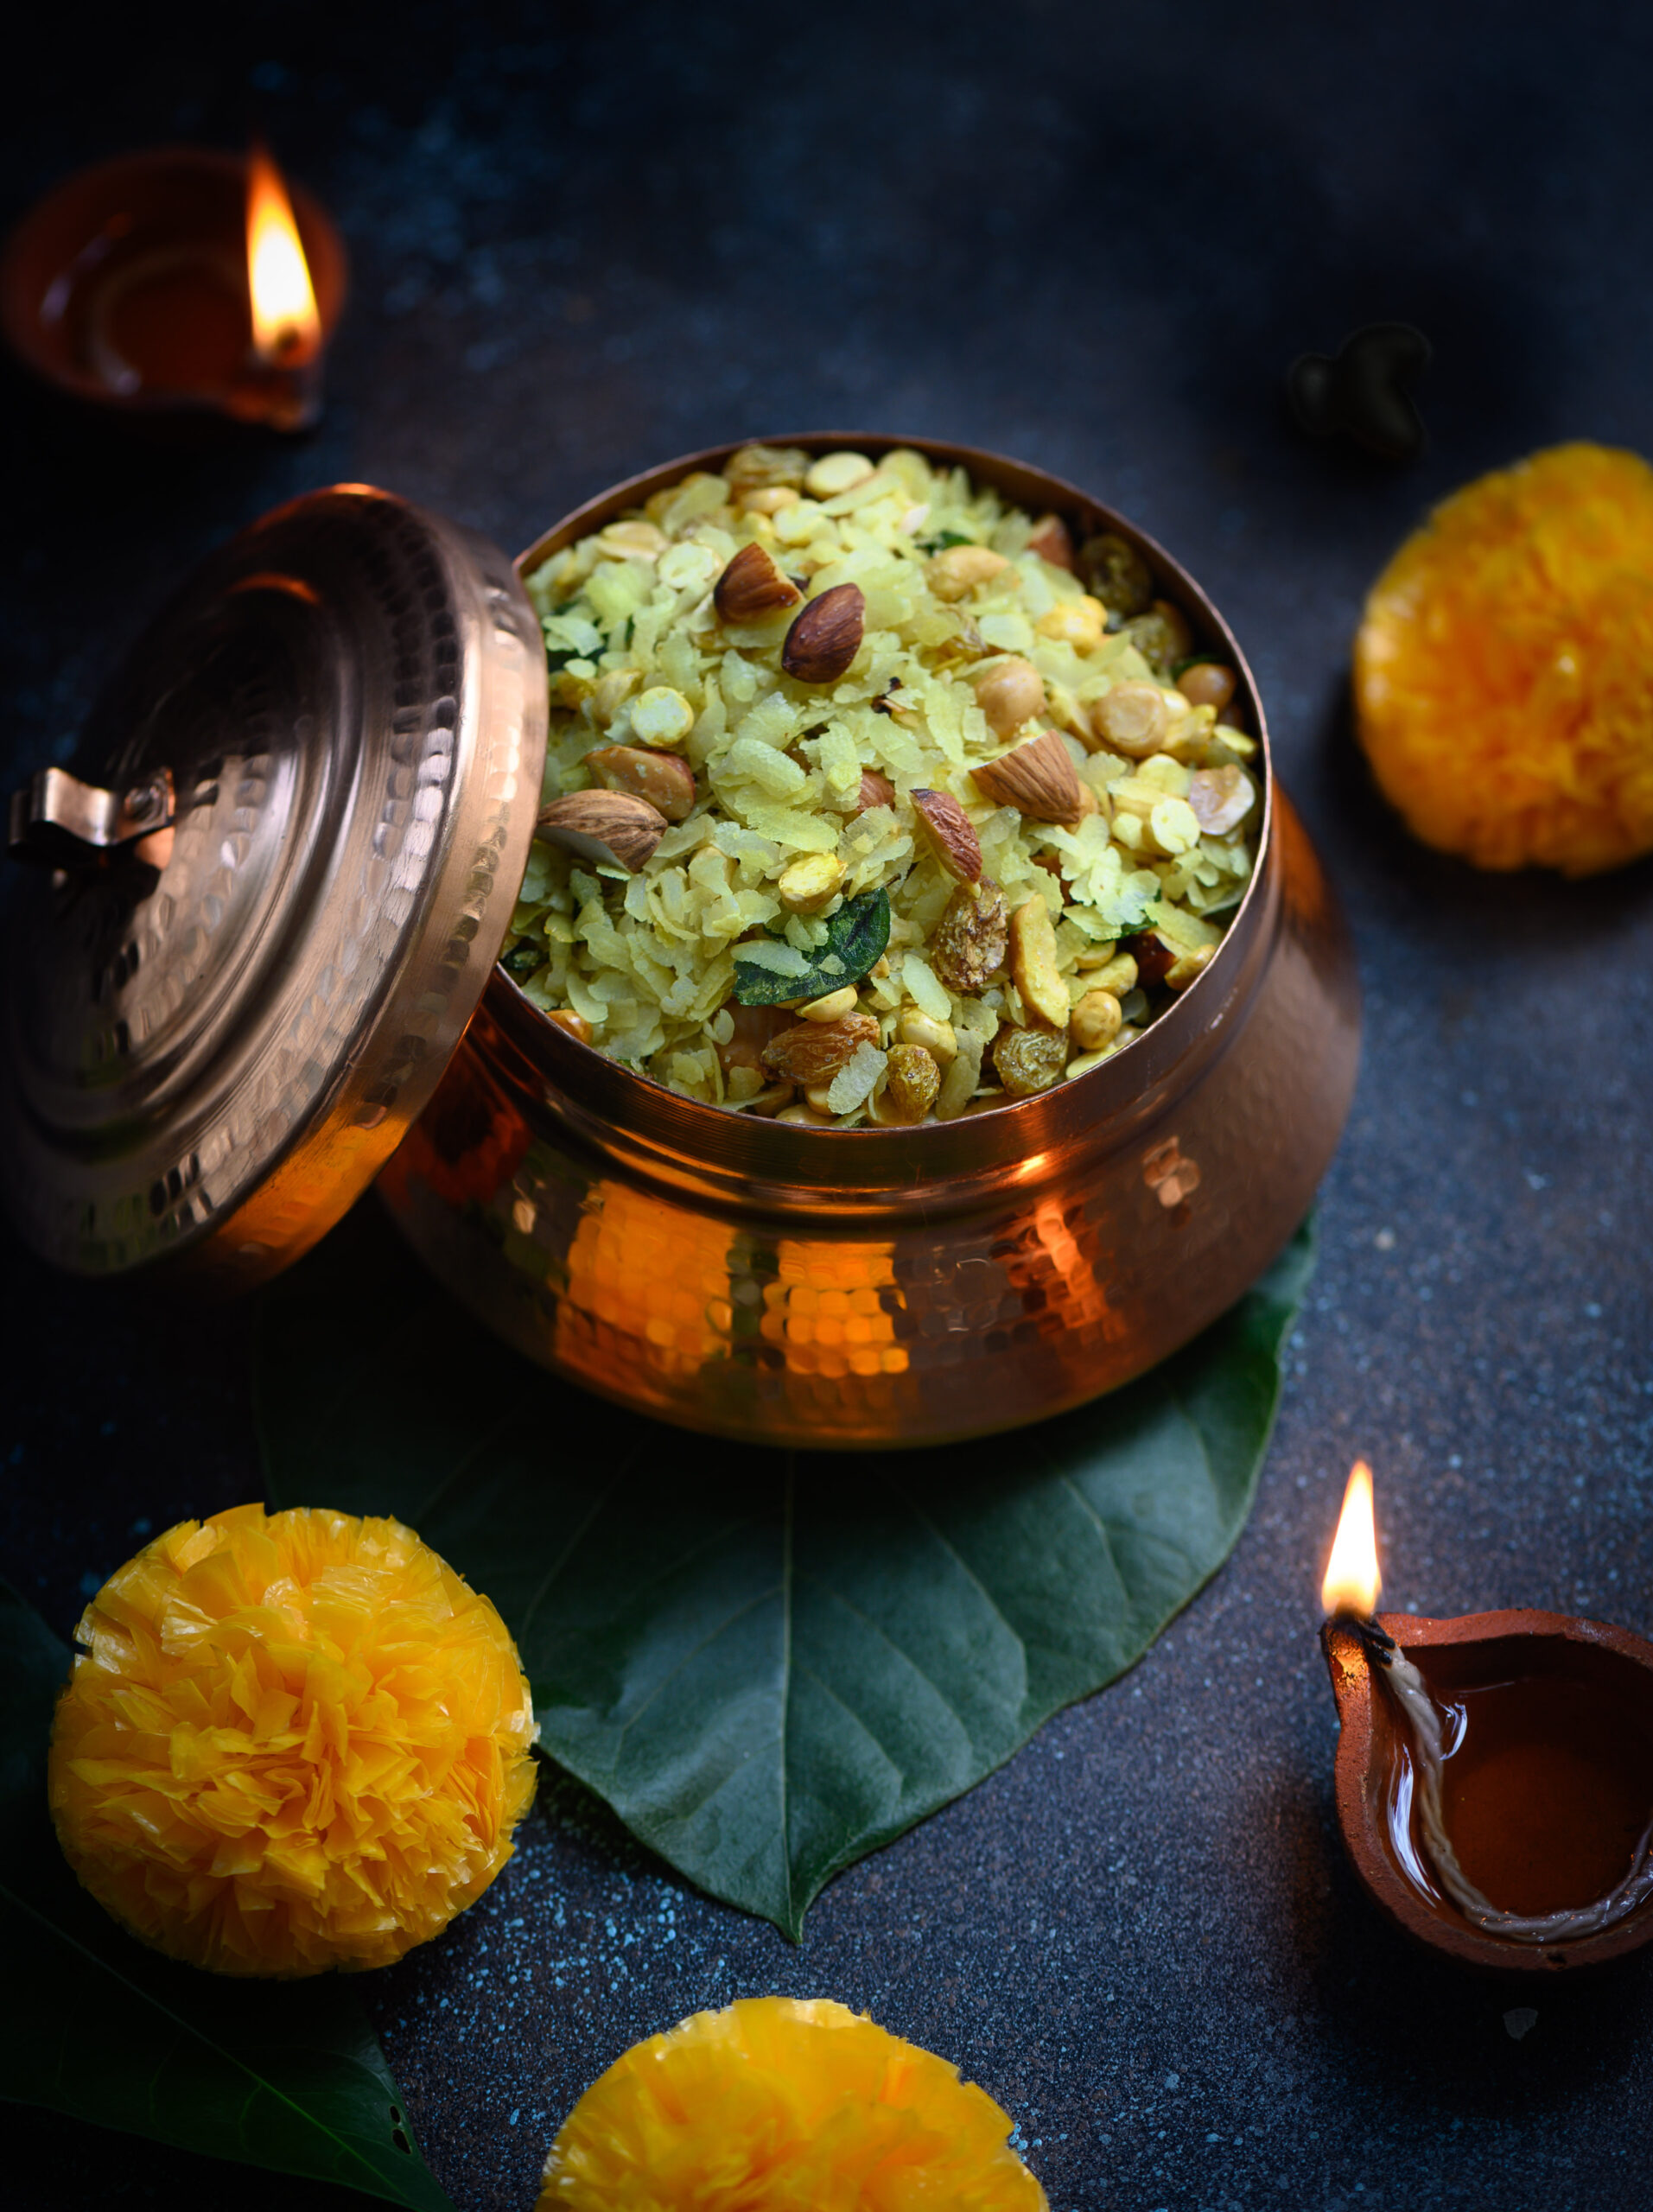
This is a snack to be consumed by the handful, with a fun mix of nuts and seasoning. The basic ingredient is poha, or flattened rice, which most Indian communities use in some way or another. My own earliest memories of it are in the form of the dudh-poha which my mother would make to take with us to the beach on Sharad Purnima nights, as well as this poha roast mix – the recipe for which I am sharing today.

In those days, this simple but addictive snack was one of my mother’s Diwali staples. I remember how she would usually make it a few days before the festival, in the evenings, after all the duties with us kids were done and we had finished our homework. But sometimes, when we were at school, she would meet with her friends and they would make everyone’s festive batches together. Nowadays, this might be called a community cooking type of get-together. To the mothers of that generation, who did not have home staff, it was so much more easy and convenient to join hands and cook. It was also a way to socialize. Occasionally, if the joint cooking happened on a weekend or at a time when the kids were at home, we would also get a chance to hang out with our own friends, and this was always fun.

The mothers learned from each other in this way. They would just be a group of 3 or 4 women, but each with her own expertise. I recall how my mother would say, for example, “This aunty’s mithai turns out very well, so this year I want to make some with her.” The homes they convened in depended on practical considerations like space or utensils. Who had the big kadai? Whose house was less crowded that day? These gatherings happened mostly around festive occasions, and I think of them as an early version of our blogs today. This is one reason why I treasure my mum’s cookbook so much. It contains all these different recipes that she learned from her friends, collected over the years through interacting with each person who shared the best from her personal repertoire.

As Gujaratis in Tamil Nadu, I think they also wanted a sense of community. Although we never felt alienated by Tamils or their culture, and grew up in our Tamil neighbours’ homes too, there was something meaningful about these gatherings. Meeting a few times a year to celebrate auspicious events in our traditional ways allowed us children to connect with language, cuisine and other aspects of the culture which were reminiscent of our parents’ and grandparents’ own upbringings.

Diwali is all about exchanging sweets and savouries, and back then there were no fancy delicacies to be ordered in bulk, either. Everything was homemade and non-commercial. Everything was simple and there was a spirit of sharing – “I give you a Diwali treat in my box, and you give me a Diwali treat in your box.”. When this group of women got together and cooked, they made enough for each family to take home, as well as to give away.

Some traditions you just have to keep. Which is why, even though Gujaratis are inventive when it comes to mixtures (and you know how much I love doing something unique to any recipe I try!), this chevdo / poha roast mix is a basic, traditional recipe. The one difference is that it is roasted, not fried. You can replace some of the ingredients based on your preference, but I recommend that you leave a hint of the sweetness in as it goes well with the crunch.

Diwali Chevdo / Poha Roast Mix

(Yield: approximately 400 grams)

150 grams poha

60 grams peanuts

60 grams roasted gram

50 grams almonds

50 grams raisins

50 grams cashew

¼ teaspoon turmeric

1 tablespoon heaped powdered sugar

⅓ cup oil + ½ tablespoon oil

1 tsp salt or as per taste

2 green chillies

A handful of curry leaves


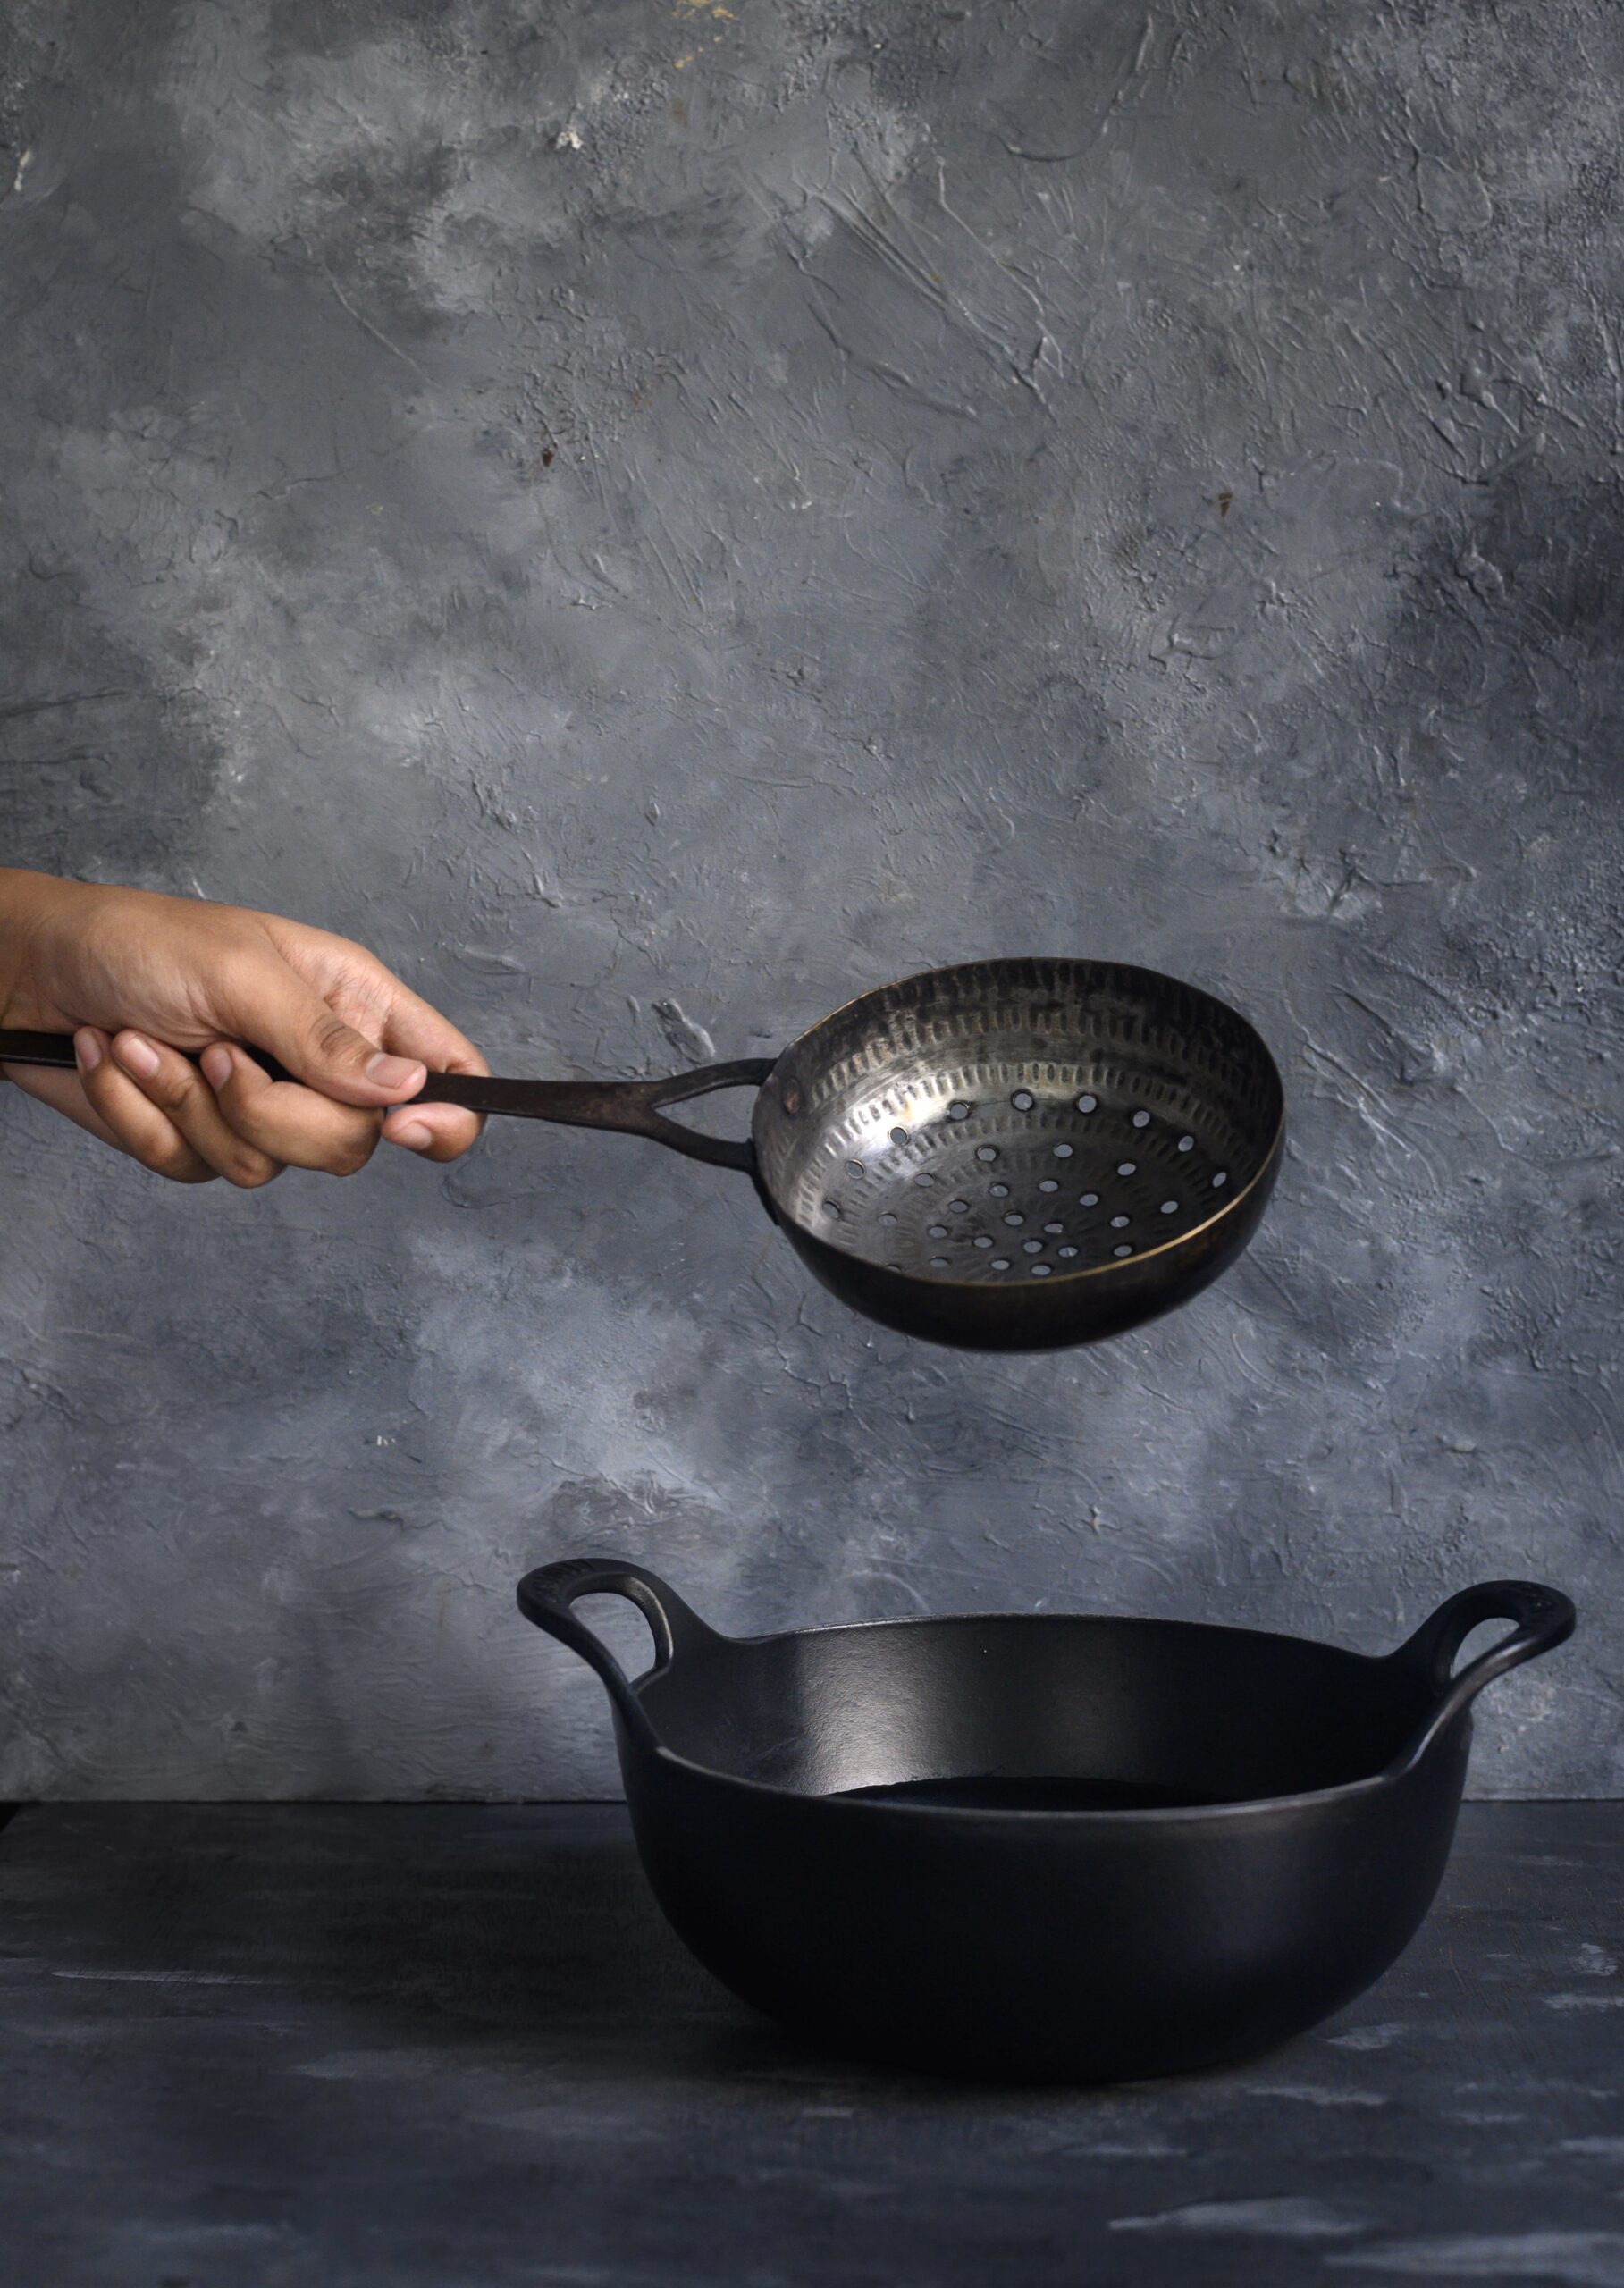
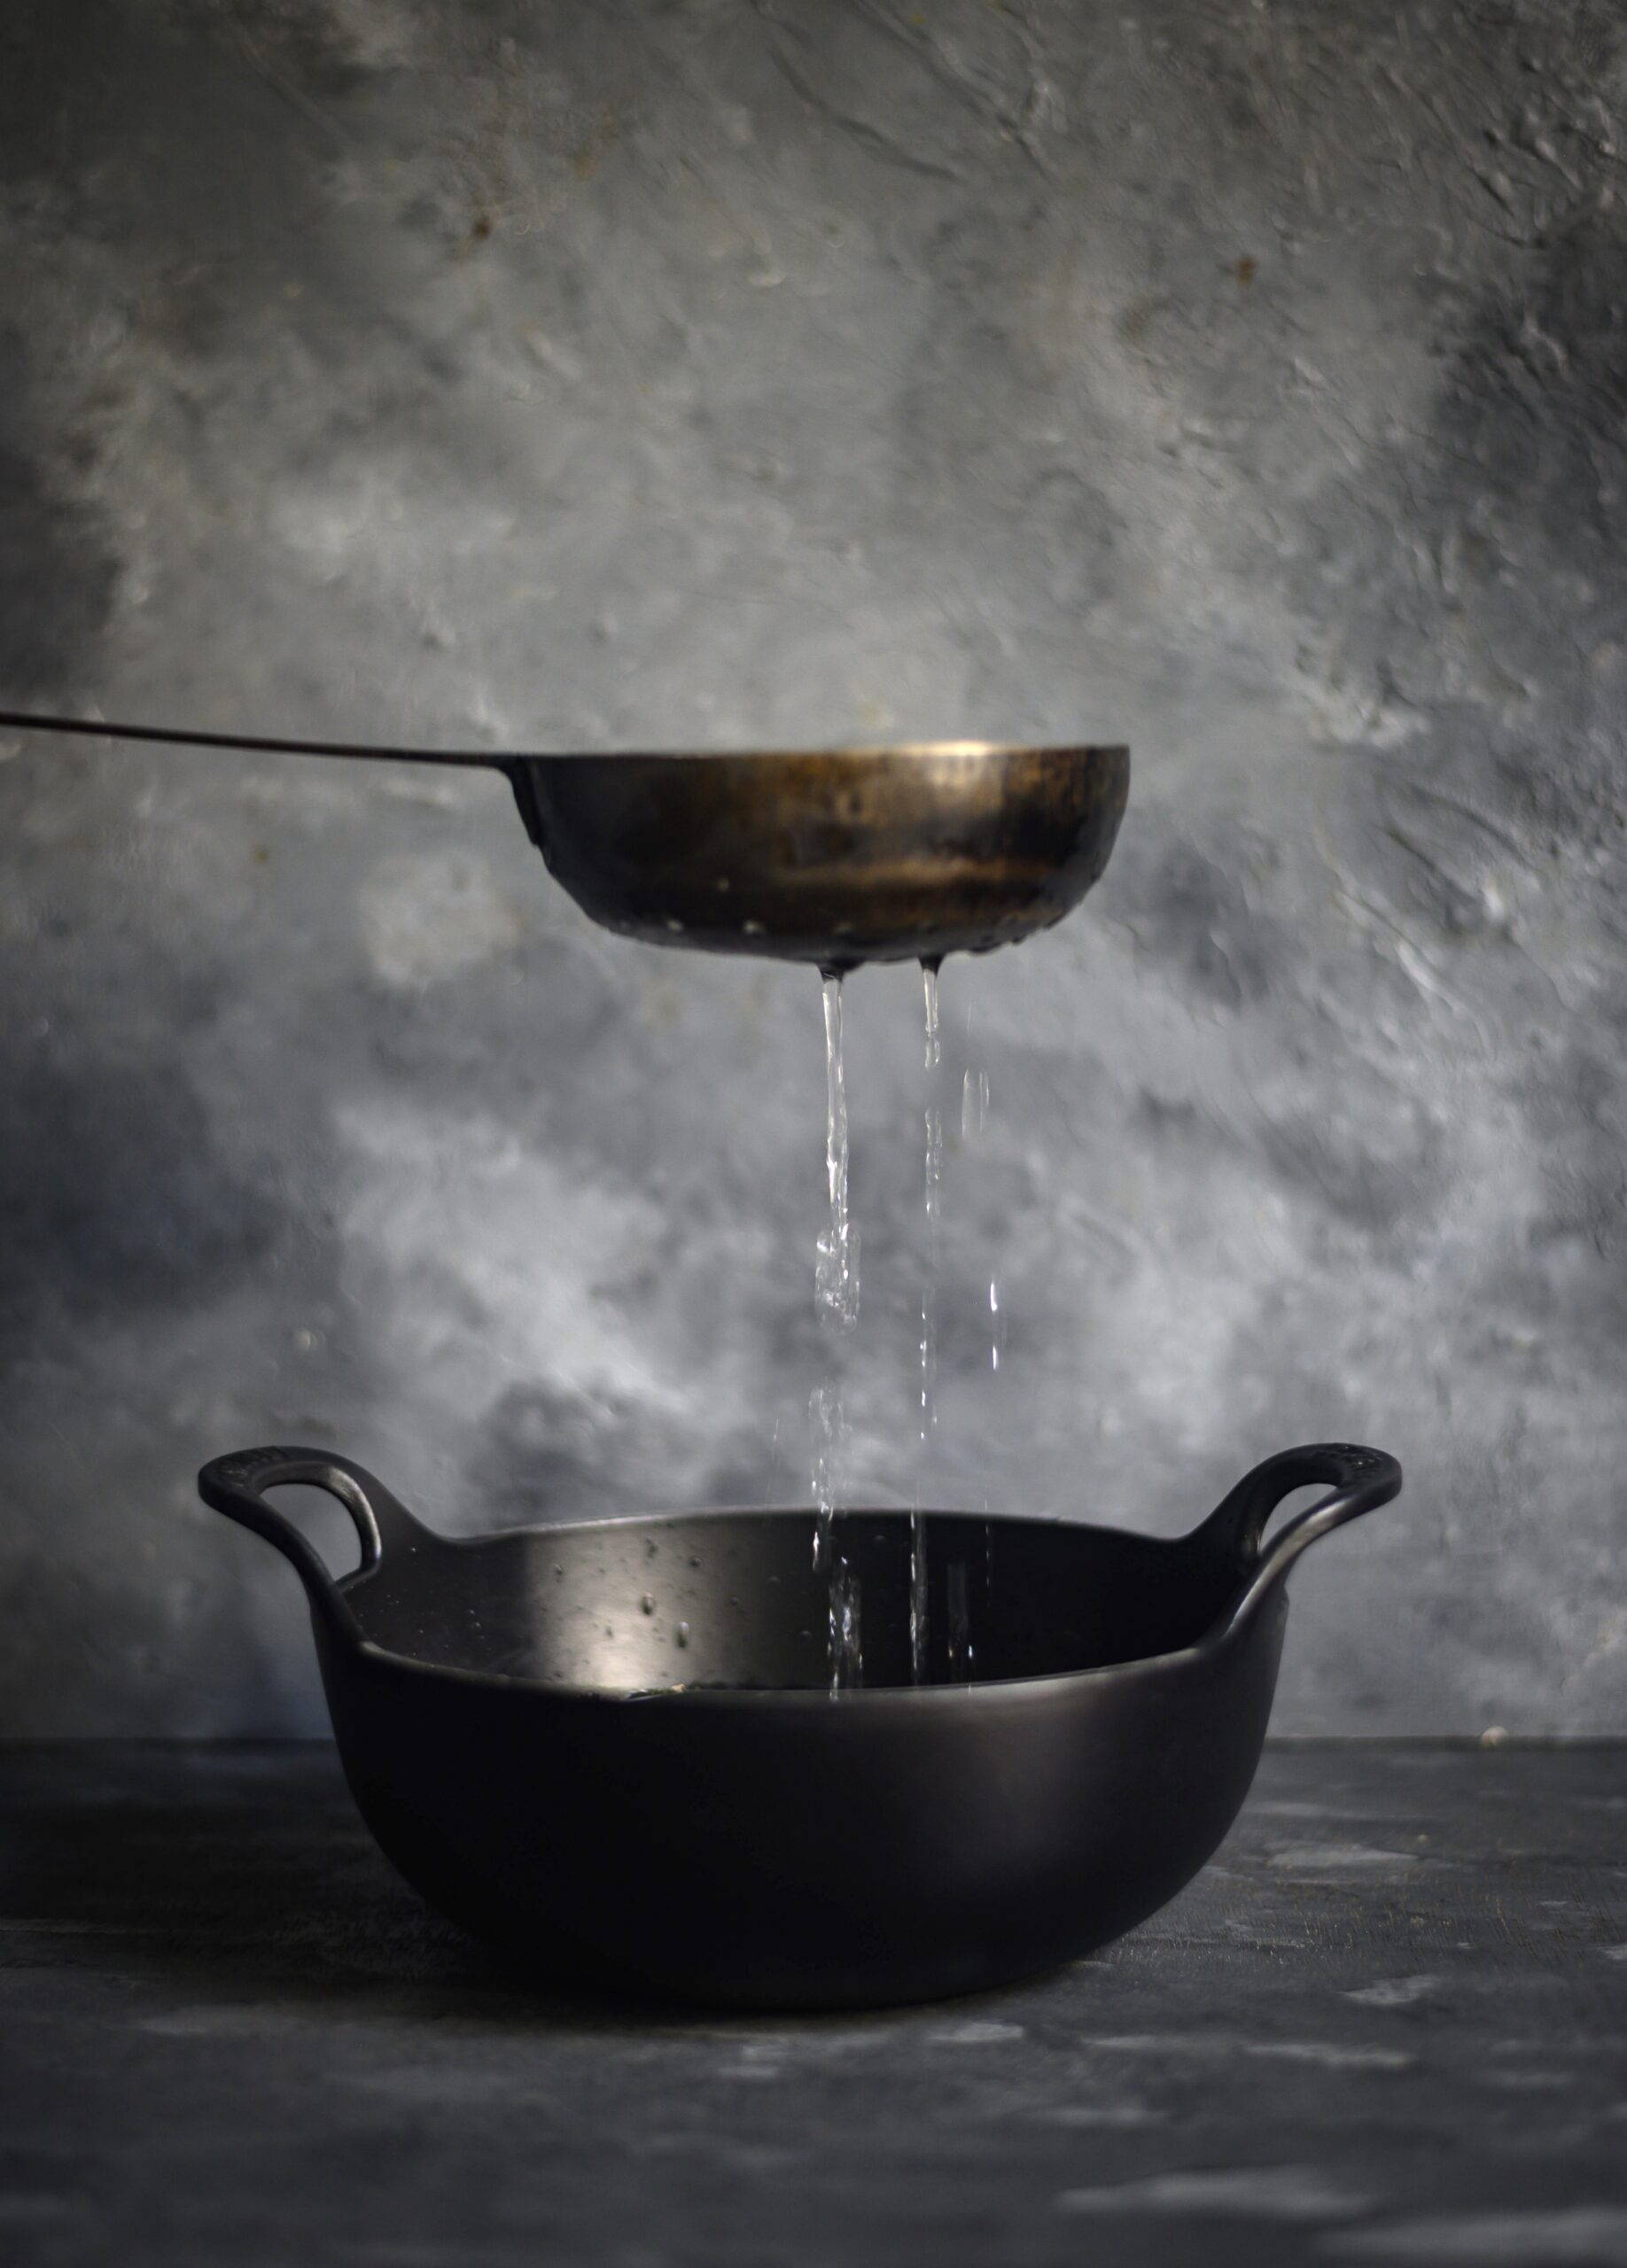
The truth is that fried poha tastes fantastic, but I am giving you a roasted poha version in order to keep up with the times. With the pollution in the environment today, we must make an effort to eat healthier. This method below is completely different from the fried kind, but if you do want to try a fried variant, do try to get your hands on a special utensil which will make the process easier and less messy – a cup-shaped ladle with draining holes, into which you put small batches of the ingredients in at a time.

In a wide bottom pan, roast the poha on a low flame, making sure it does not turn brown. Avoid using a spatula to stir as this will only cause the brittle poha to break into tiny pieces. I picked up the pan and swirled it around gently, and used my hands to turn the poha around. Keep the poha moving frequently. The roasting takes approximately 15-20 minutes. Once the poha is roasted, set it aside.

In another pan, add the ⅓ cup of oil and allow it to heat. Now, add the roasted gram. On a medium flame, stir using a ladle. Once the roasted gram is golden, drain well and place on an absorbent paper.

Next, add the peanuts and repeat the roasting. Do the same to the cashew nuts and almonds, separately, as well.

Lastly, roast the golden raisins. Be careful as they will burn easily. At this point, lower the flame and once they fluff up, drain and remove them.

Now all the ingredients are ready to be assembled. On a low flame, add the ½ tablespoon of oil to a pan. Add the green chillies and some curry leaves. Once the chillies turn colour slightly, add salt, sugar and turmeric. Immediately after, add all the roasted ingredients – poha, peanuts, cashew nuts and raisins – turn by turn and mix gently. Make sure all the spices are incorporated well and coat all the ingredients. Ensure that the spices do not get burnt. This can be done by keeping a low flame and stirring the ingredients constantly as you add them.

Allow to cool on the pan. Do not cover as this may cause moisture to fall into the crispy chevdo.

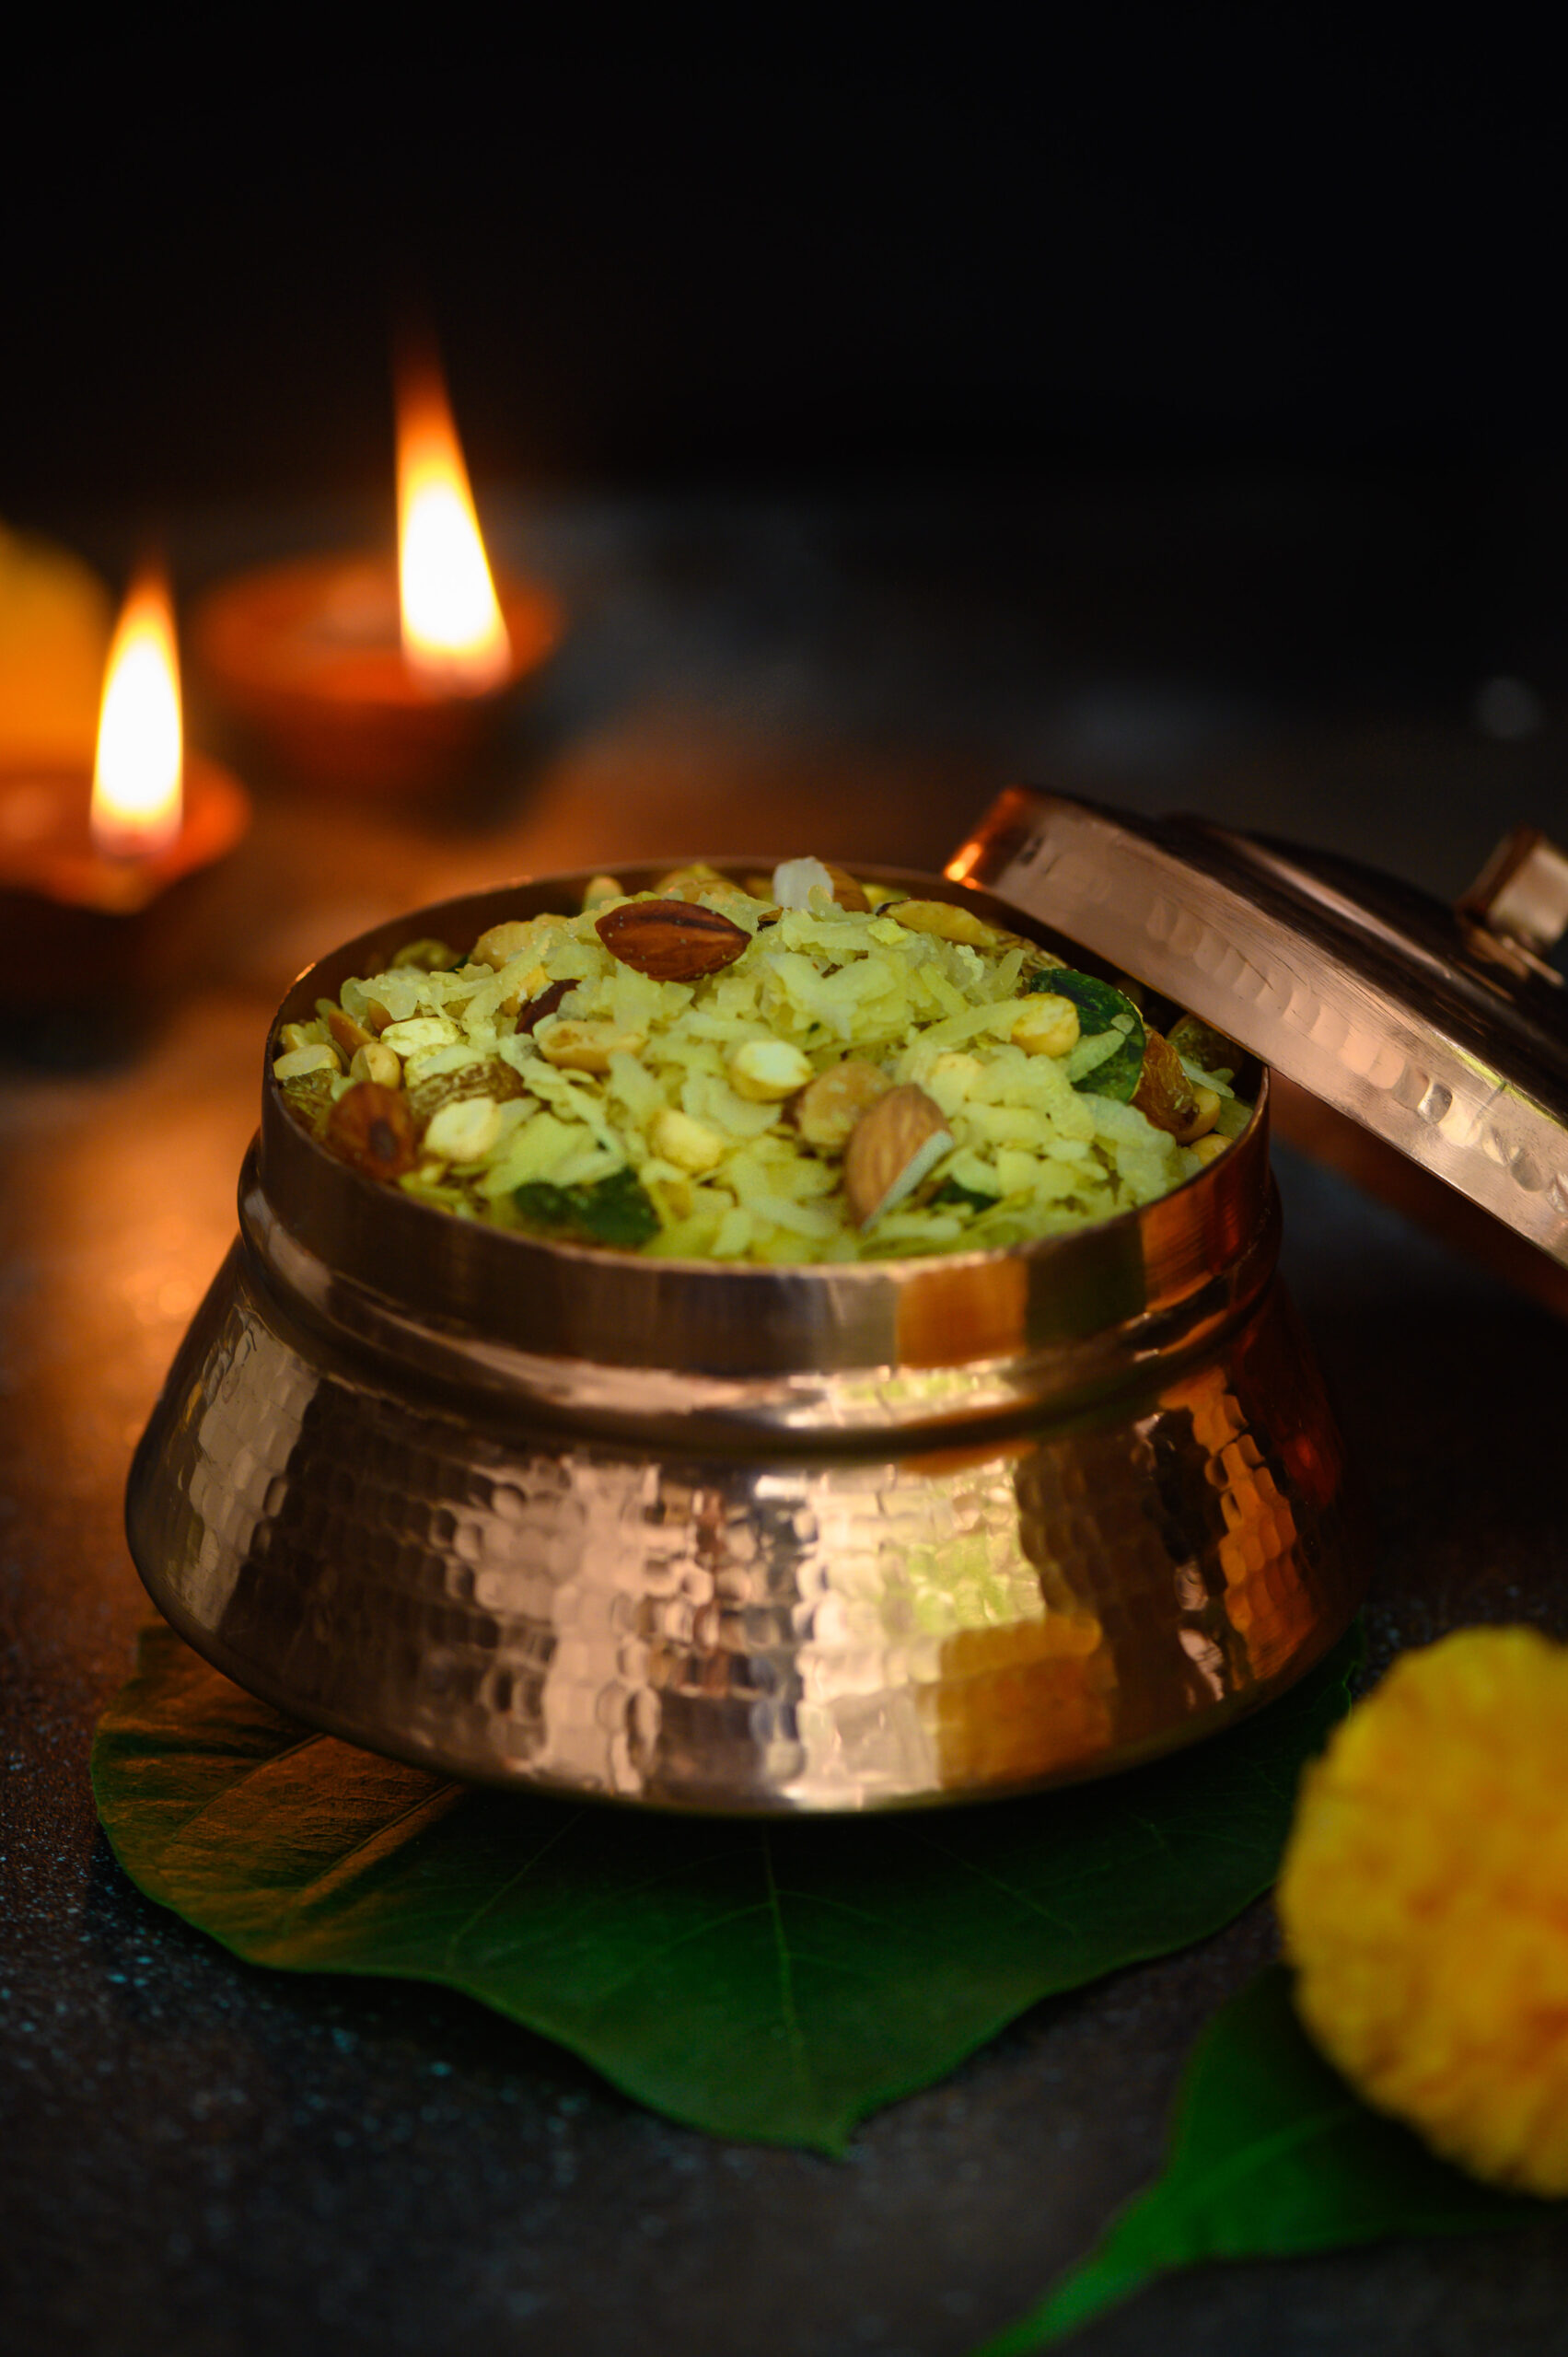
Your Gujarati Diwali chevdo / poha roast mix is now ready, and it tastes especially yummy with chai. It’s my husband’s and daughter’s most favourite snack, which is why I’ve got a headstart on making it for this Diwali. I hope you’ll enjoy it, and make it a part of your festivities too. I’d love to know what you think of this delicious mixture, the recipe for which could be as much my mother’s, or her friend’s, but is now mine and yours!

It was Raksha Bandhan a few days ago, and my home was reverberating with boisterous laughter and shouting, filled with the joy and commotion of having all three of my children visiting. This was no coincidence, as Raksha Bandhan is one of the special occasions on which I enforce a very strict rule: no matter where they are in the world, they must return to Chennai to be with their parents and each other.

Raksha Bandhan is doubly special as it is in honour of their relationships to one another. This North Indian festival is a unique one that celebrates one of the most important bonds of all, the one between a sister and her brother. My daughter is fortunate to have two loving elder brothers, and the older they all get, the more precious this day has become to my family. It’s a delight for me as a mother to have them all come home at the same time, as well as a wonderful opportunity for me to fully express my “love language” – cooking!

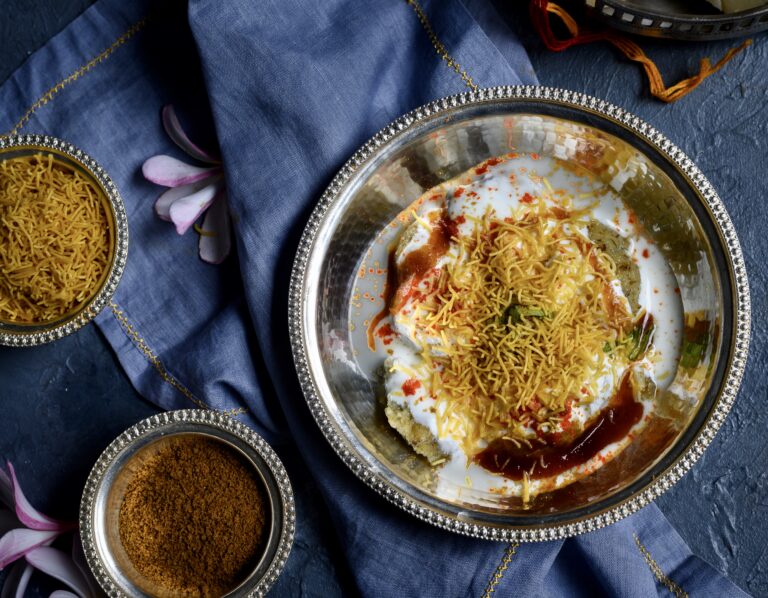
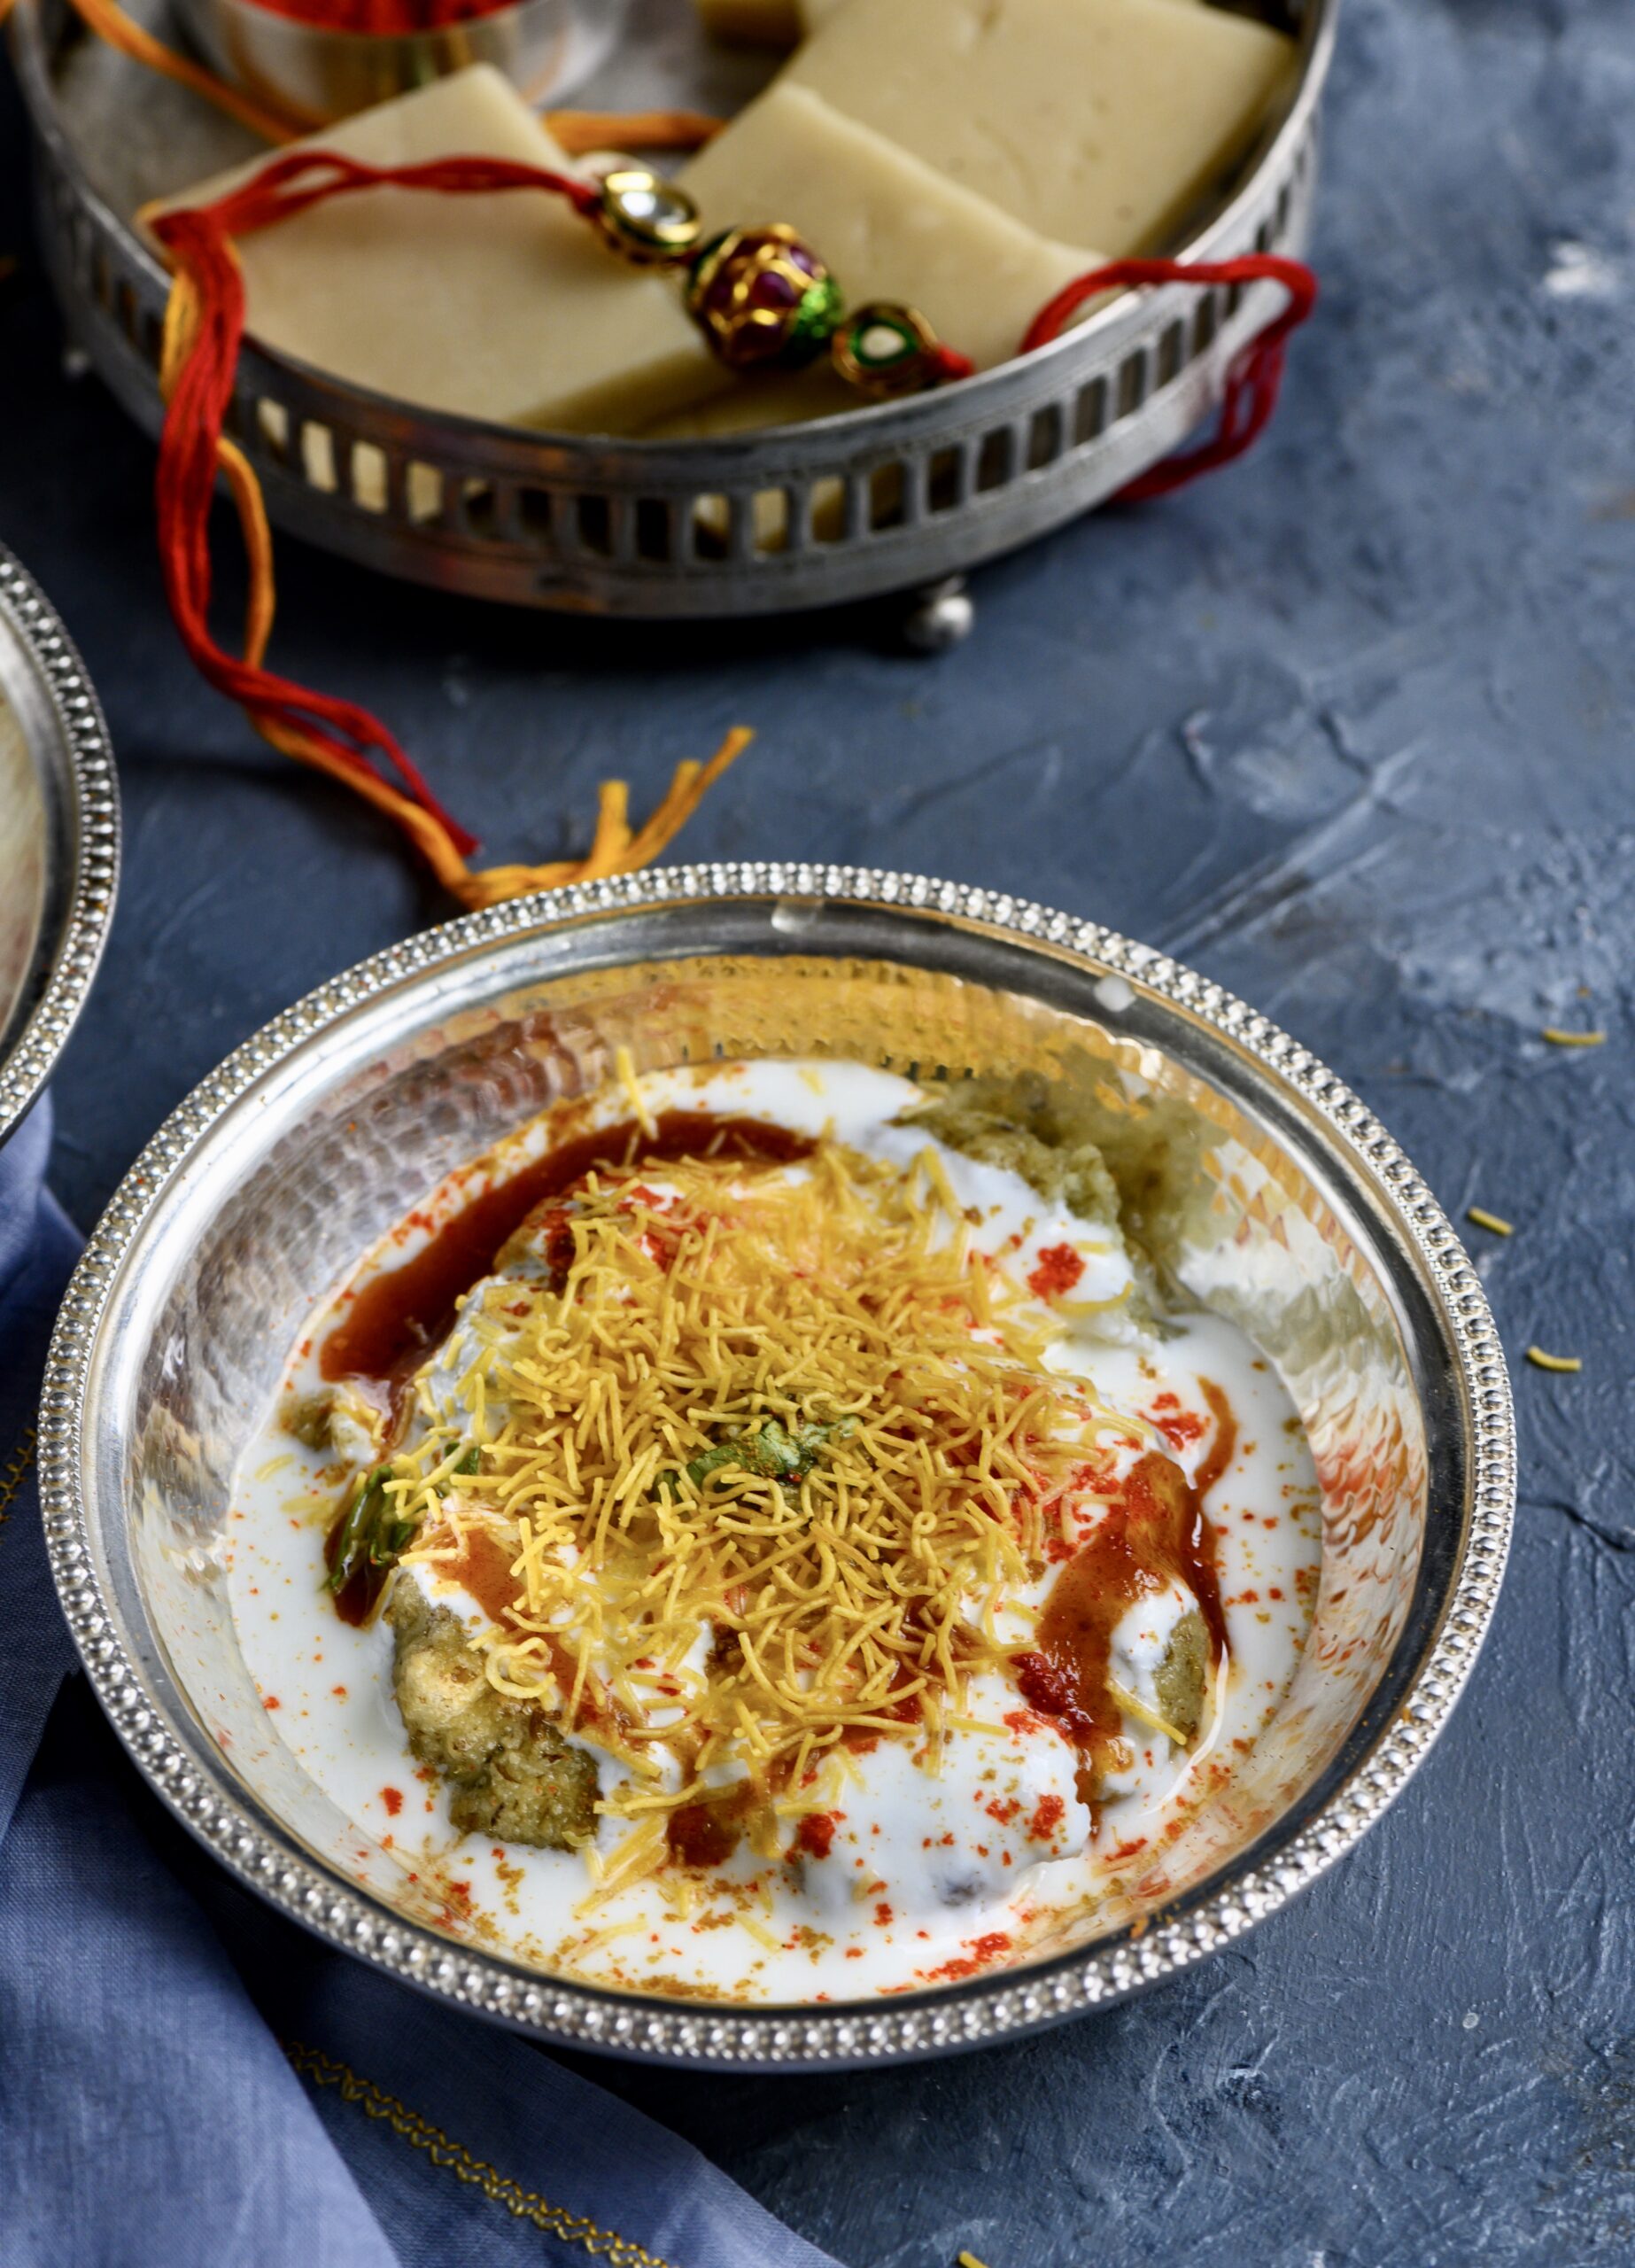
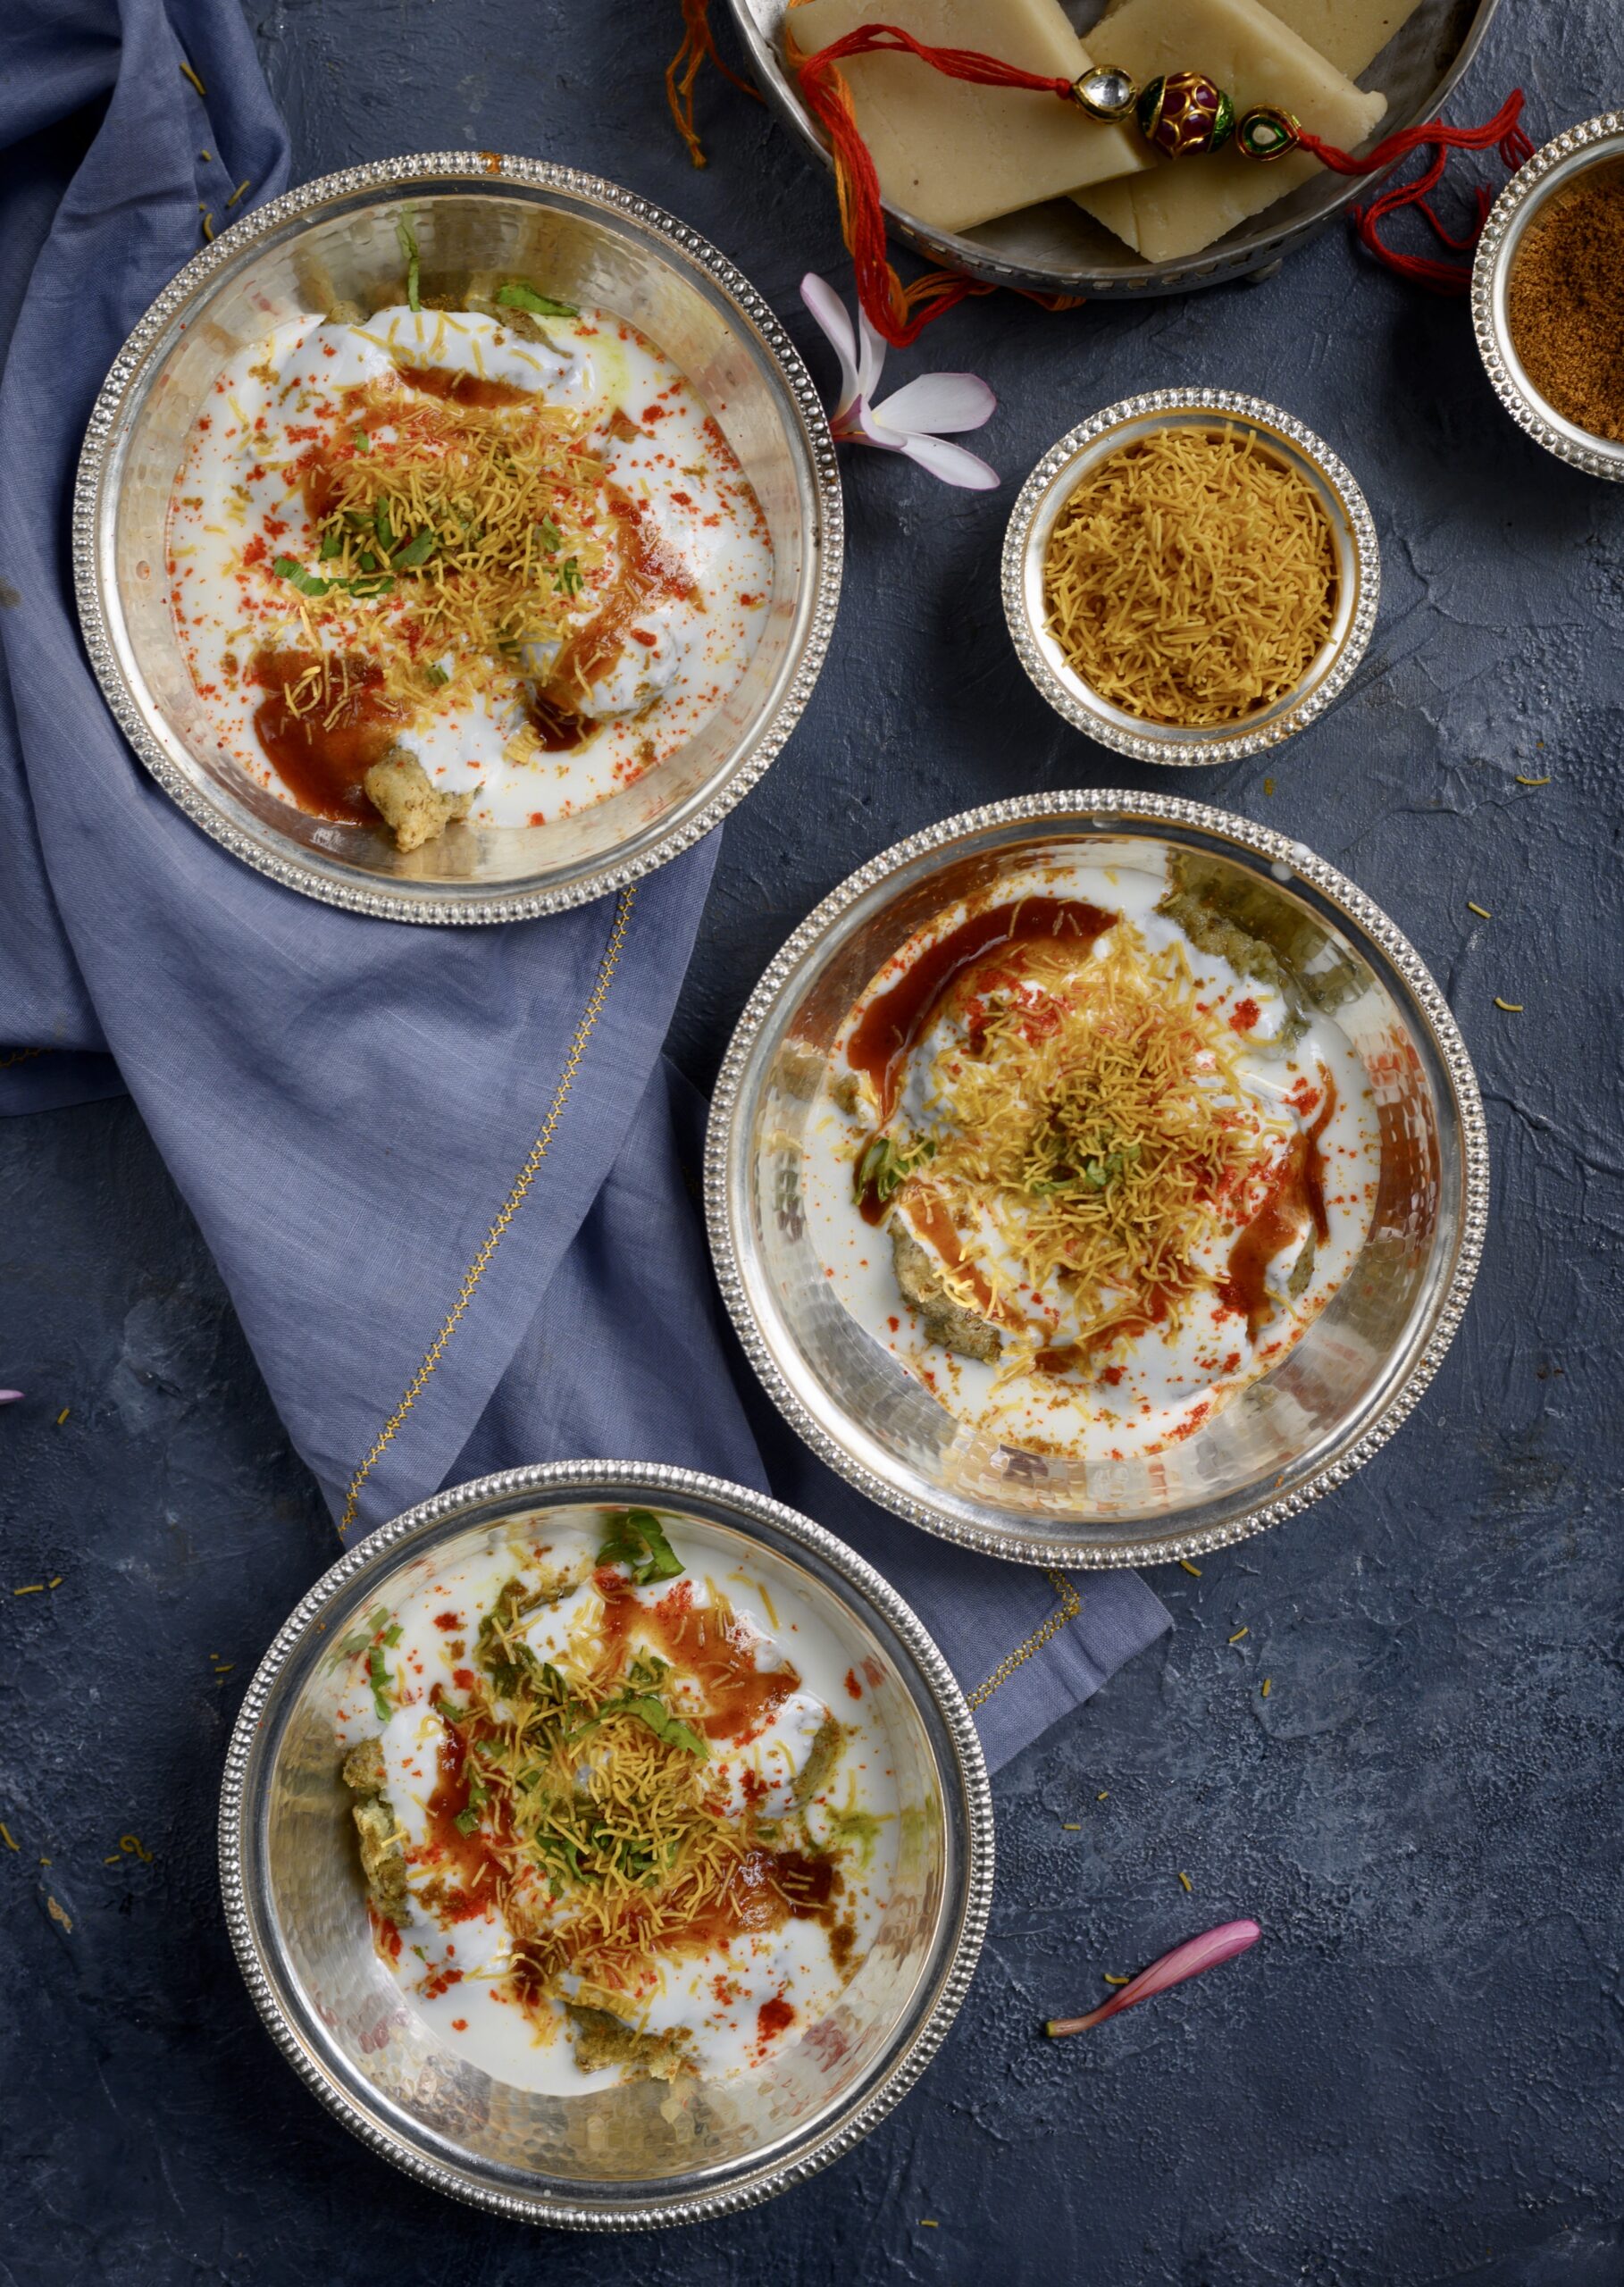
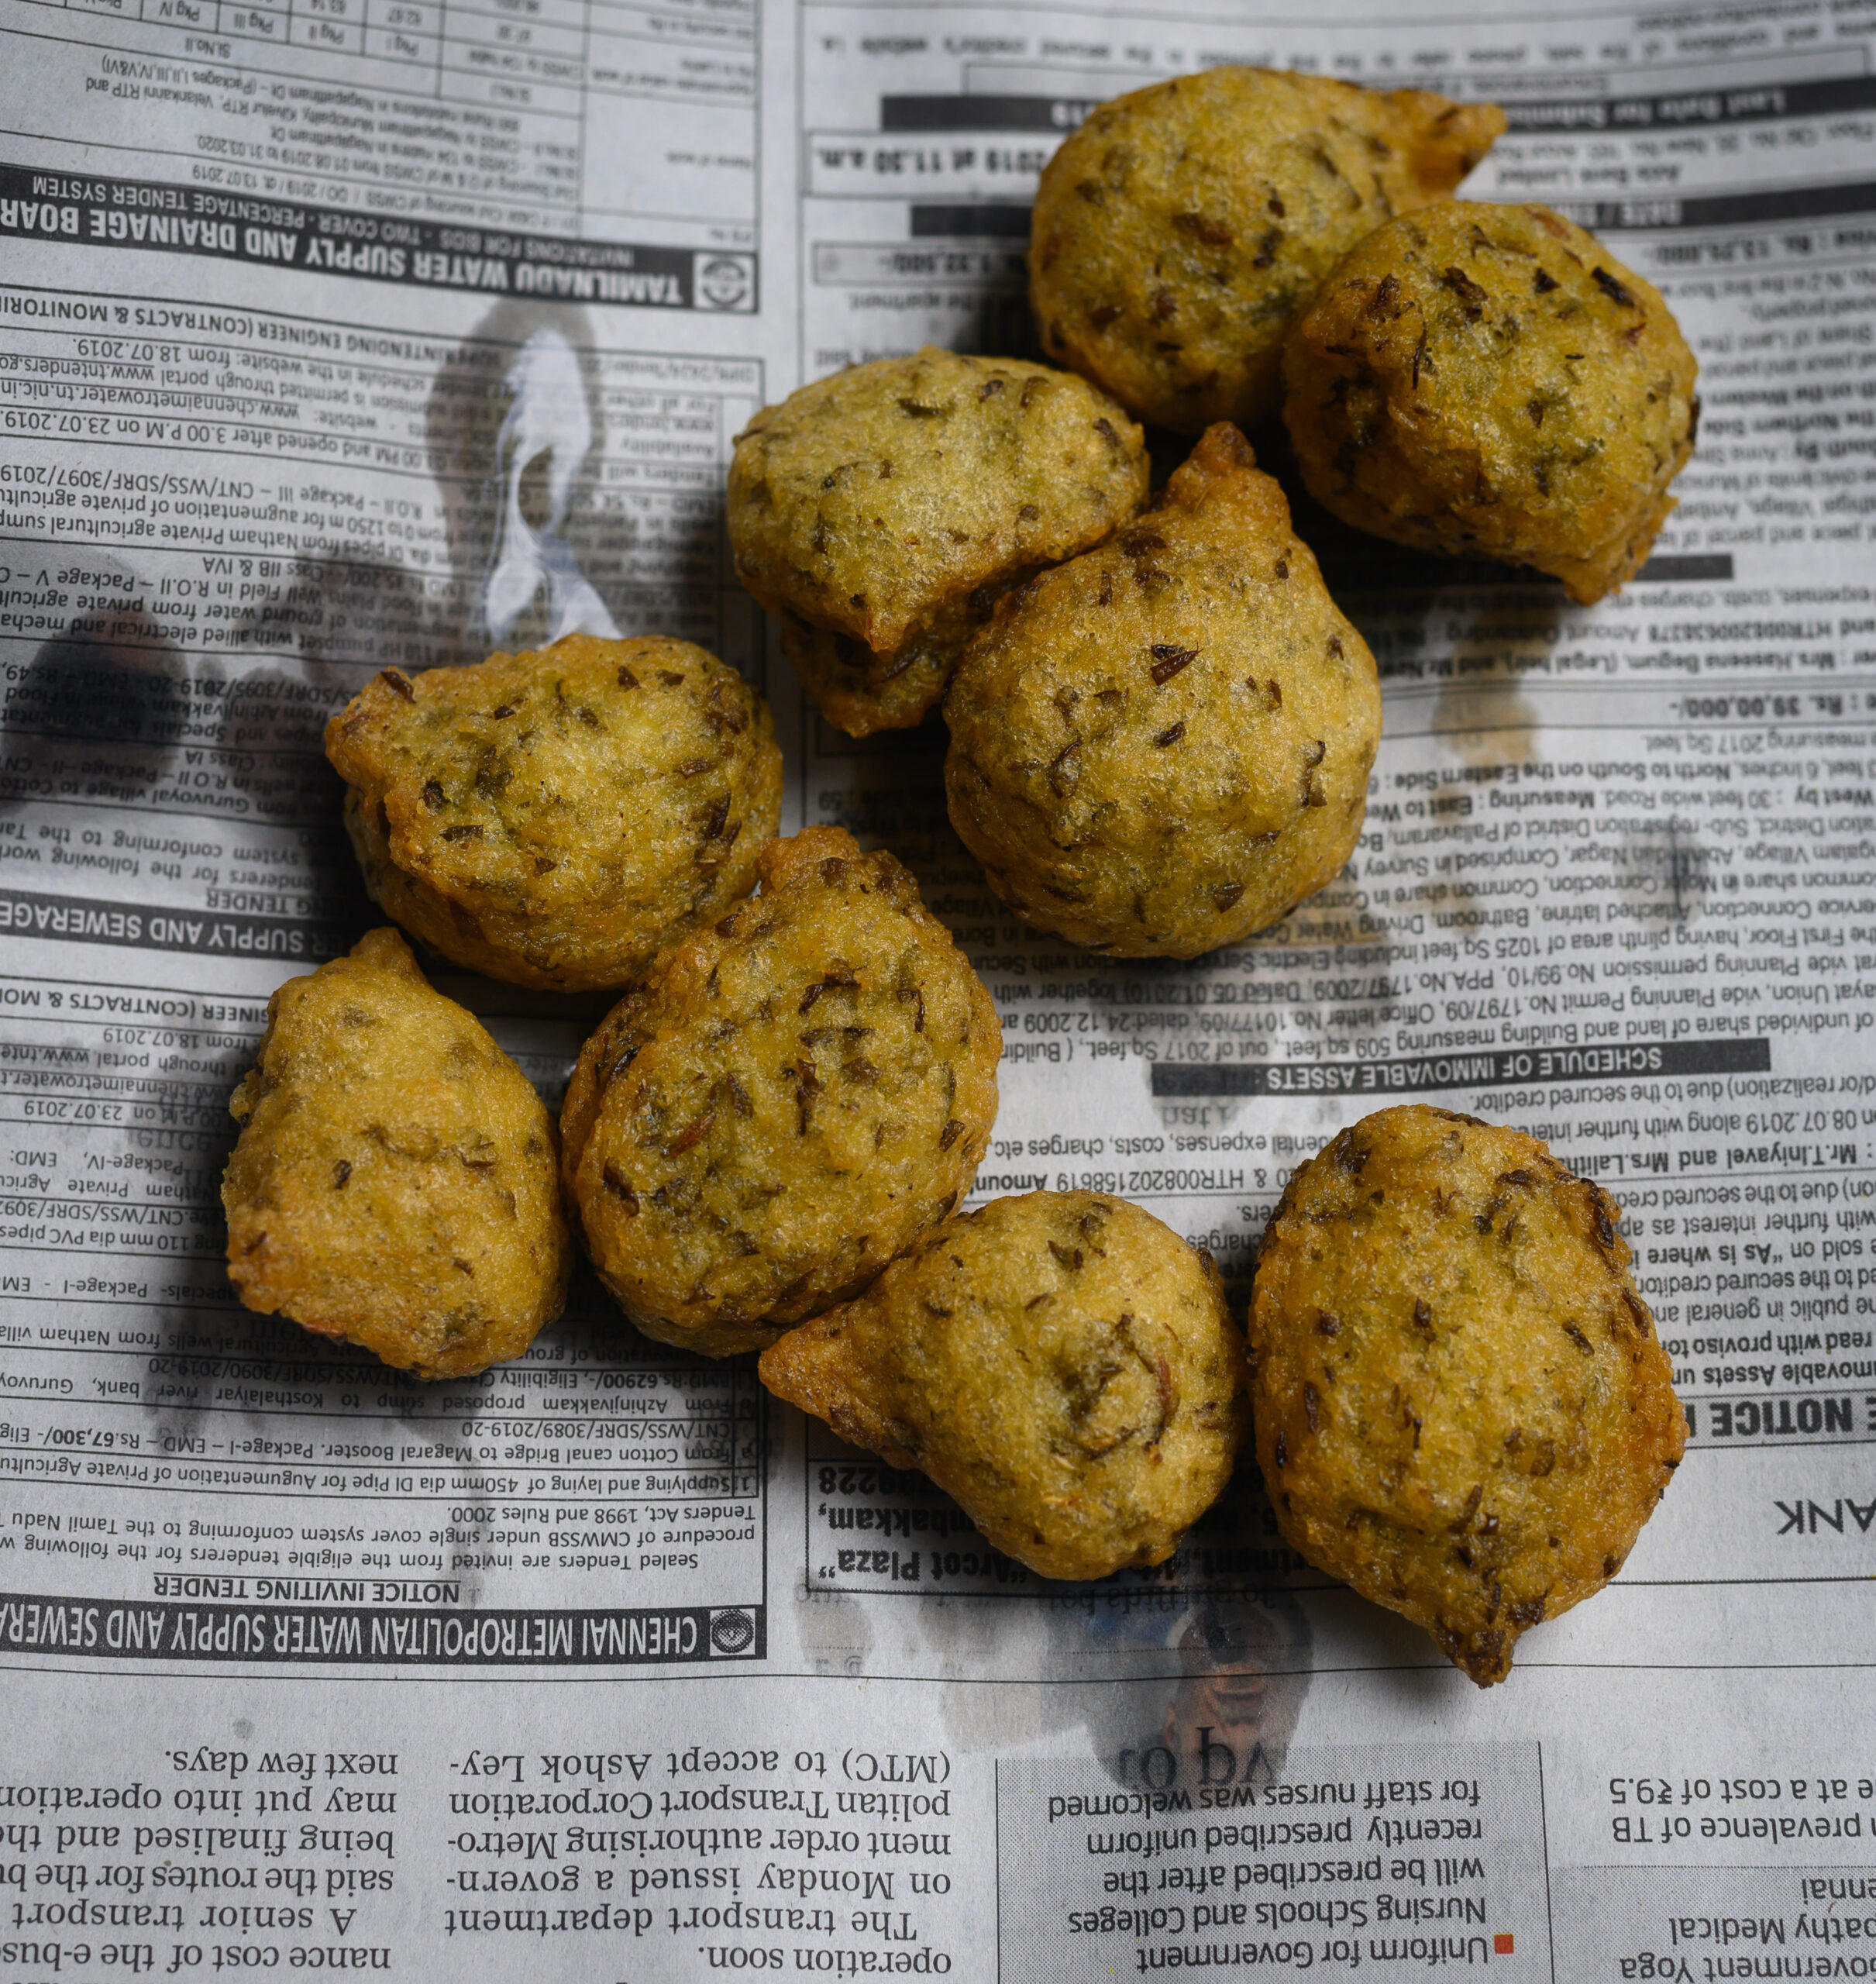
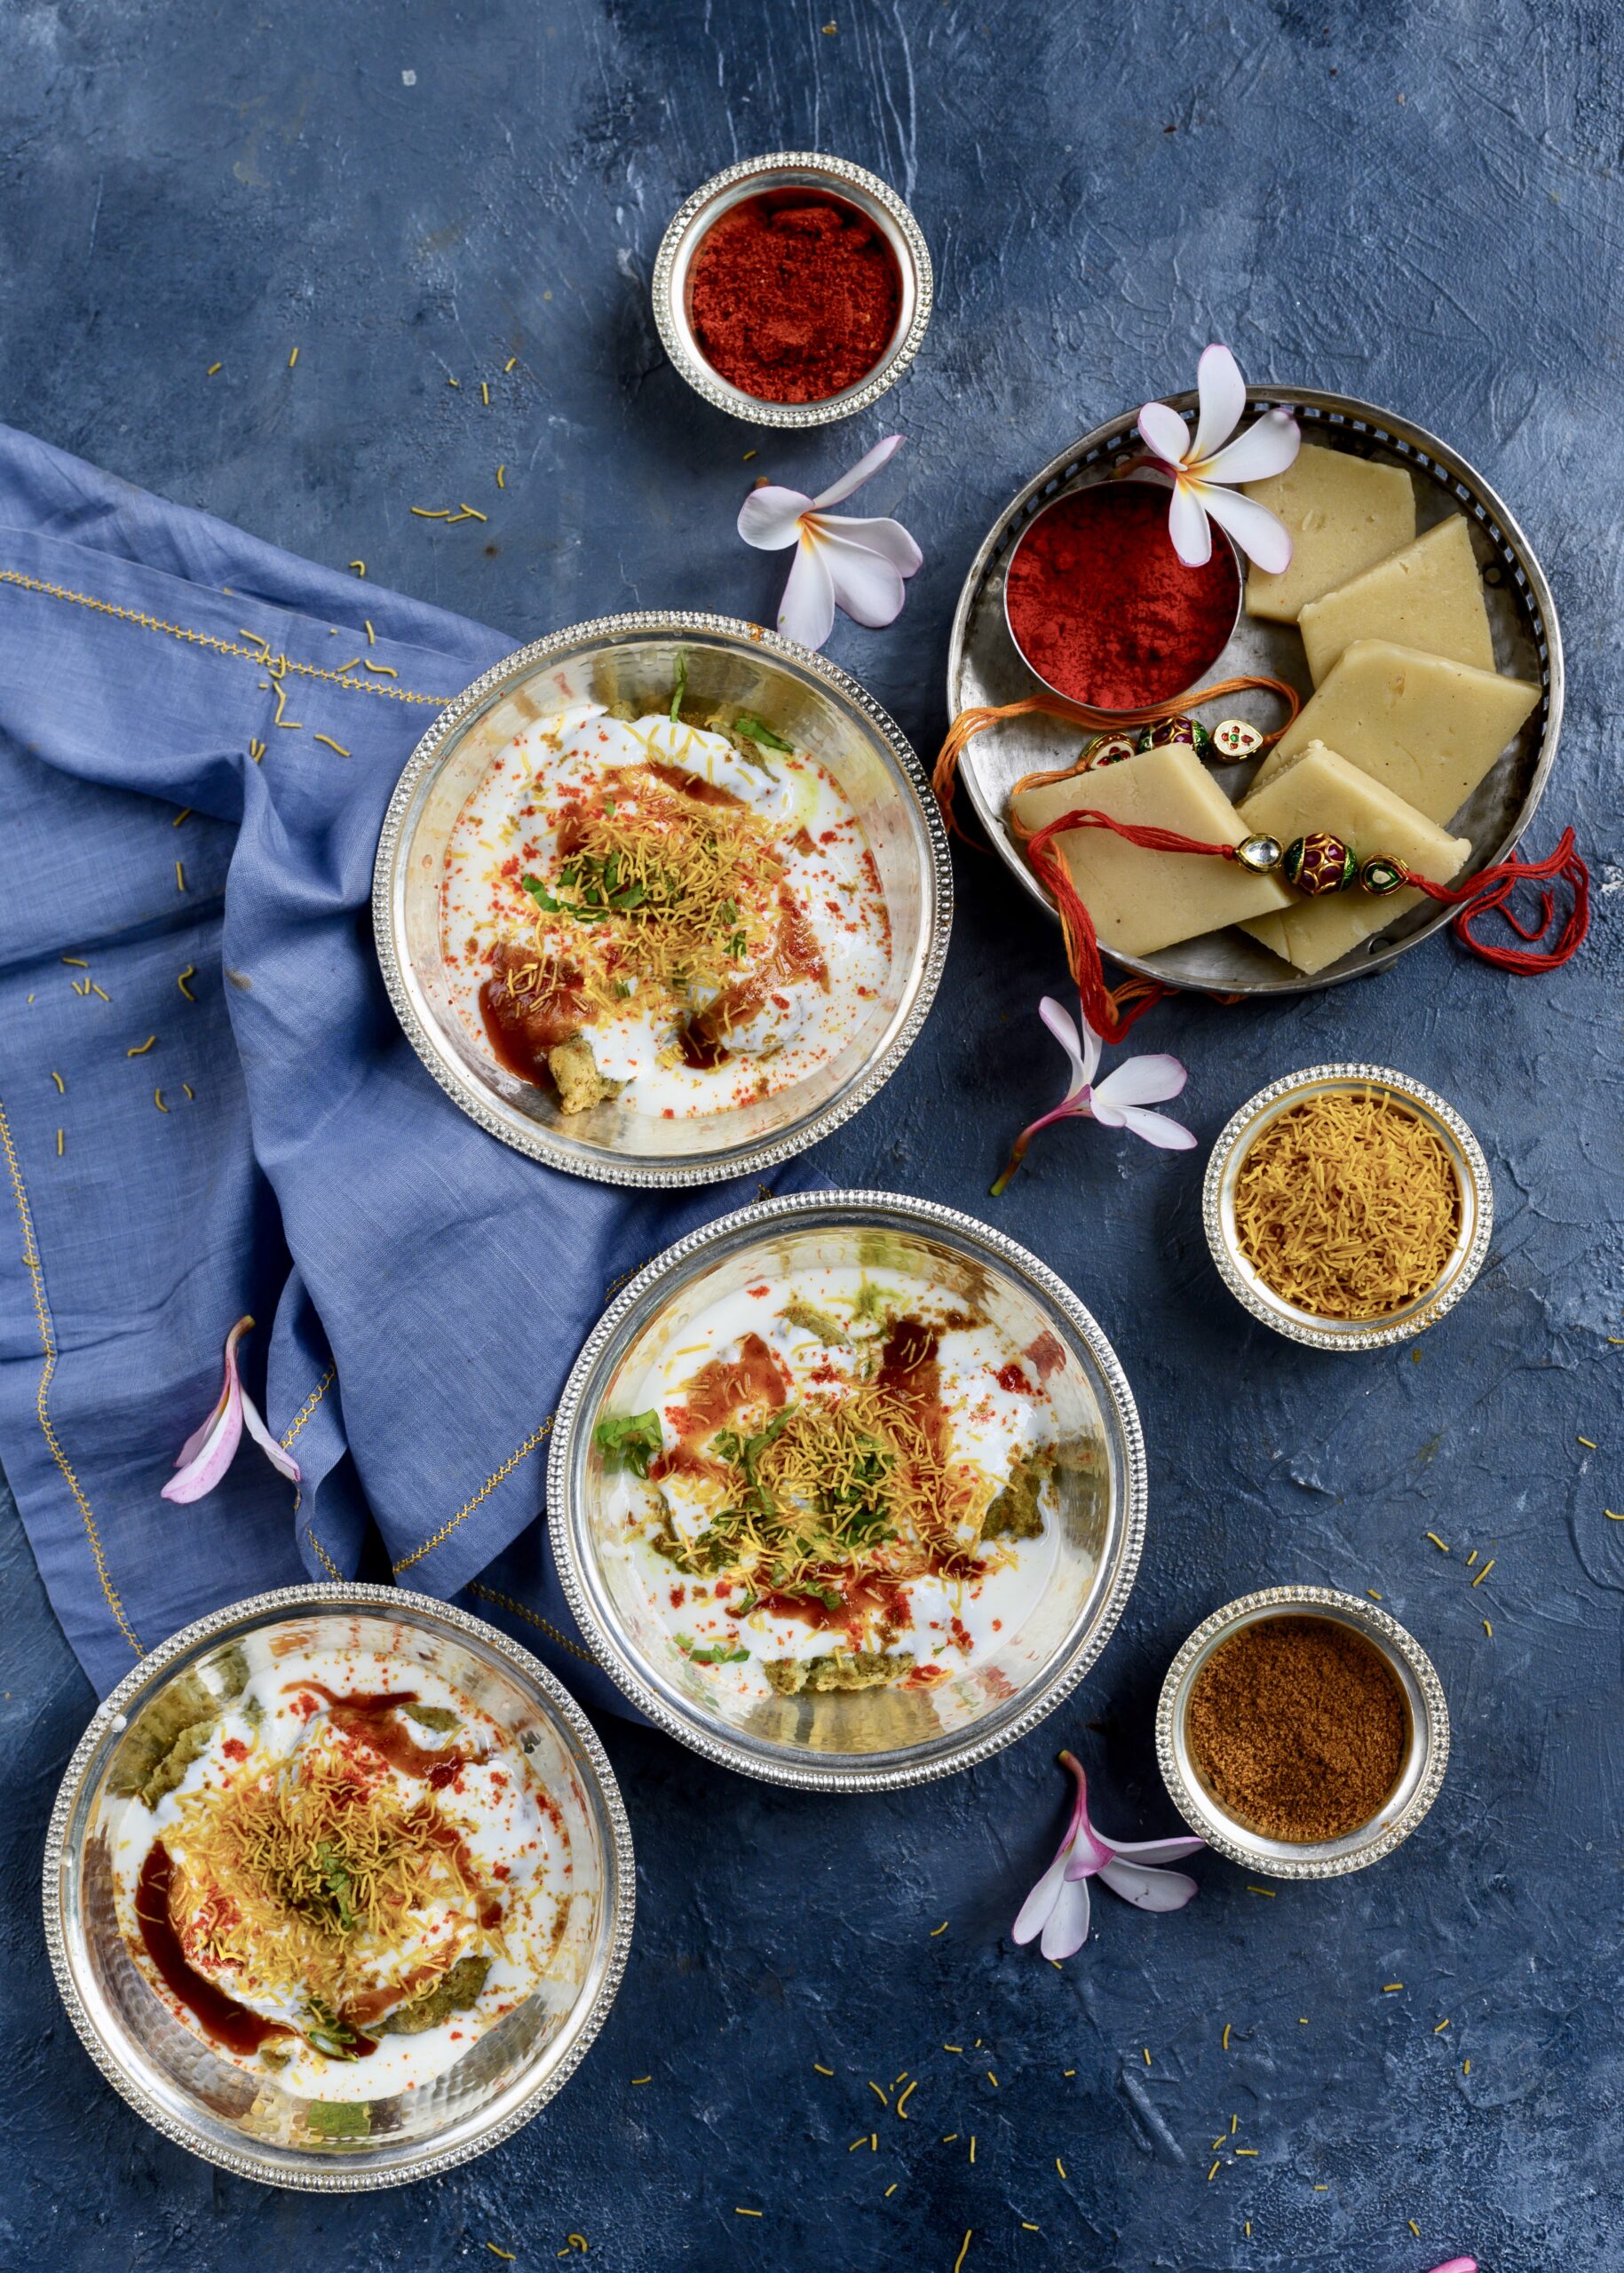
This time, I chose to make dahi vada, a simple yet important traditional dish. A vada is a kind of deep-fried doughnut or dumpling, made from ground lentils (sago or potato may be used in some varieties). You may remember that vadas have ritual symbolism to Gujaratis during our new year.  Dahi vada is made by soaking the plain vada in yoghurt (“dahi”) and serving it with light toppings ranging from basic curry leaves to more elaborate garnishings like pomegranate.  There are innumerable versions of the dish varying from state to state, community to community, and kitchen to kitchen. In Tamil Nadu, it’s the popular snack item known as “thayir vadai”. The Gujarati variant is made in an exciting way, almost like a chaat, with an added tangy flavour thanks to the use of date or tamarind chutney. It is one of my favourites to prepare on auspicious occasions.

On Raksha Bandhan, the traditional ritual is for the sister to place a sweet in her brother’s mouth so that his life will be blessed. In turn, he promises to protect her and take care of her for the rest of his life, and she ties an amulet called a “rakhi” around his wrist to seal this. At home, we love renewing this vow annually. There is a cheerful feel in the air, and we enjoy catching up over the delicious feast that I always prepare. But more than that, it’s the kind of vow which I take very seriously. I know that my children, who are young and full of ambition and who crib about having to shuffle their schedules around to be here, will some day understand why I insist on observing this occasion. I tell my daughter that I don’t care if she has to take the last flight out after her tough day as a law student, and ensure that both my sons (especially the one who must come from abroad) have planned their schedules around the dates that I insist that they spend here together. I am confident that they will carry this ceremony forward even decades into the future, and will continue to meet across continents to celebrate special occasions.

The recipe I am sharing today is from my own sister, who loves to spoil me every time I visit her in Mumbai by making these traditional dishes that I so enjoy. In exchange, she asks me to bake some kind of bread or to teach her how to make an eggless cake, and in this way we deepen our bond and expand our culinary repertoires too.

I hope this recipe below is also a healthier version of the usual vada, as it uses split mung, also known as moong beans, instead of urad dal or black grams. I prefer this lentil for its many nutritious benefits, especially its richness in minerals, vitamins, fibre and protein.

Although dahi vada is commonly seen as a snack or side dish, we love it so much at home that with enough servings, it simply becomes our dinner. As it uses ingredients which are always on-hand in the Indian kitchen, and combines two basic staples (vadas and yoghurt), it’s a great dish to serve to unexpected guests and as a light festive dish for upcoming occasions like Ganesh Chathurthi and Diwali. It’s also ideal for those who have senior citizens at home, as it’s soft to chew and yoghurt always has a soothing effect. Given the mix of ages in my household, especially during festivals, I find it works very well to please everyone. The young ones find it tasty and chatpata (tangy and flavourful), while the older people enjoy it as a type of comfort food.

Dahi Vada

(Yield: approximately 15 vadas)

For the vada

1 cup split mung

½ teaspoon asafoetida

Salt to taste

1 teaspoon cumin seeds

½ teaspoon green chili paste

Other ingredients

4 cups water

Oil for deep frying

3-4 cups yoghurt

Coriander leaves

Green chutney

Sweet date chutney

Roasted cumin powder


Wash the split mung and soak it in water for 4-6 hours until tender.

Rinse and then grind the soaked mung coarsely, without adding water, in the idly grinder.

Then, beat the batter in a bowl. Make sure that it is nice and frothy. This will ensure the fluffiness of the vada.

I like to add all the spices and other ingredients in the last whiz of the batter and fry the vadas immediately after.

In a wok, heat the oil and make small vadas by shaping and then dropping the batter into the hot oil. These vadas are dumpling-shaped, and you can make them in your palm.

Once golden, remove the fried vadas and sink them in the 4 cups of water. This will ensure they become softer. Once all the vadas are fried and soaked, remove them individually. Gently squeeze out the water and arrange them on the plate for serving. I like to serve individual portions.

In the meantime, beat the curd, adding the salt and roasted cumin powder and mix thoroughly. Many Indian families eat homemade yoghurt, and the recipe to make the same is here. You can use store-bought curd as well. If you have access to coconut yoghurt or soy yoghurt, feel free to substitute accordingly. In India, these innovative items have yet to hit the market, so I’m afraid this is very much a dairy post, with apologies to my local vegan readers!

Pour the curd over the vadas, just enough to cover them.

Finally, top the curd with the green coriander chutney and sweet date chutney. Sprinkle some more roasted cumin powder and garnish the dish with some finely-cut coriander leaves.

When the weekend after Raksha Bandhan ends, my house will slowly quieten down as one by one, each of my children return to the places where they are establishing their own lives. Eventually, if they get married or have kids, I will look forward to them all coming home with their families. I can already imagine how Raksha Bandhan and Diwali will be exuberant get-togethers of the entire clan, giving us a chance to rekindle our bonds as well as get to know new members. There is already so much warmth and love between the five of us now, and I only want it to keep growing.

This warmth and love is something that we strive to build and to keep, and we never take it for granted. You have to learn how to tide over difficulties and manage practical struggles like living far apart. This is a choice. I believe that families with close ties exist because someone chose to take on the responsibility of creating and maintaining those ties. In mine, I am that person. My grandfather used to call me “the Lady of the House” for this reason. He would say that the entire family bond was in my hands, because I take my role as the one who holds it together seriously. Many women of my generation do, and I am sure you may feel the same way. We hold the bond together through tradition, love – and always – food. Here’s to all the joyous feasts in my home and in yours, right now and far into the future…

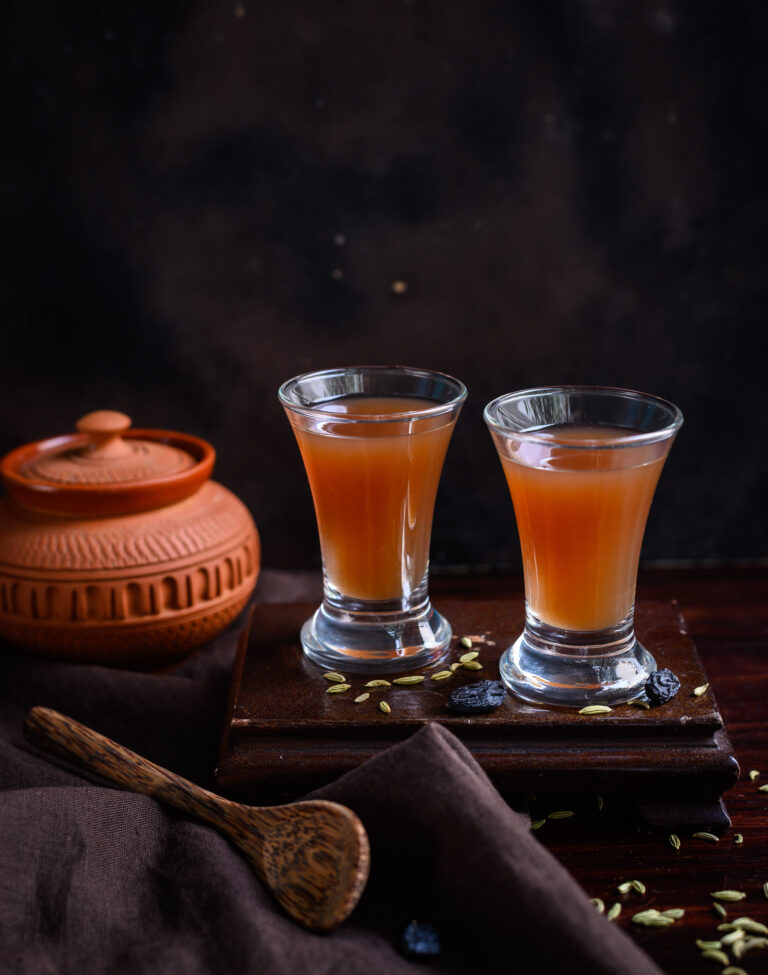
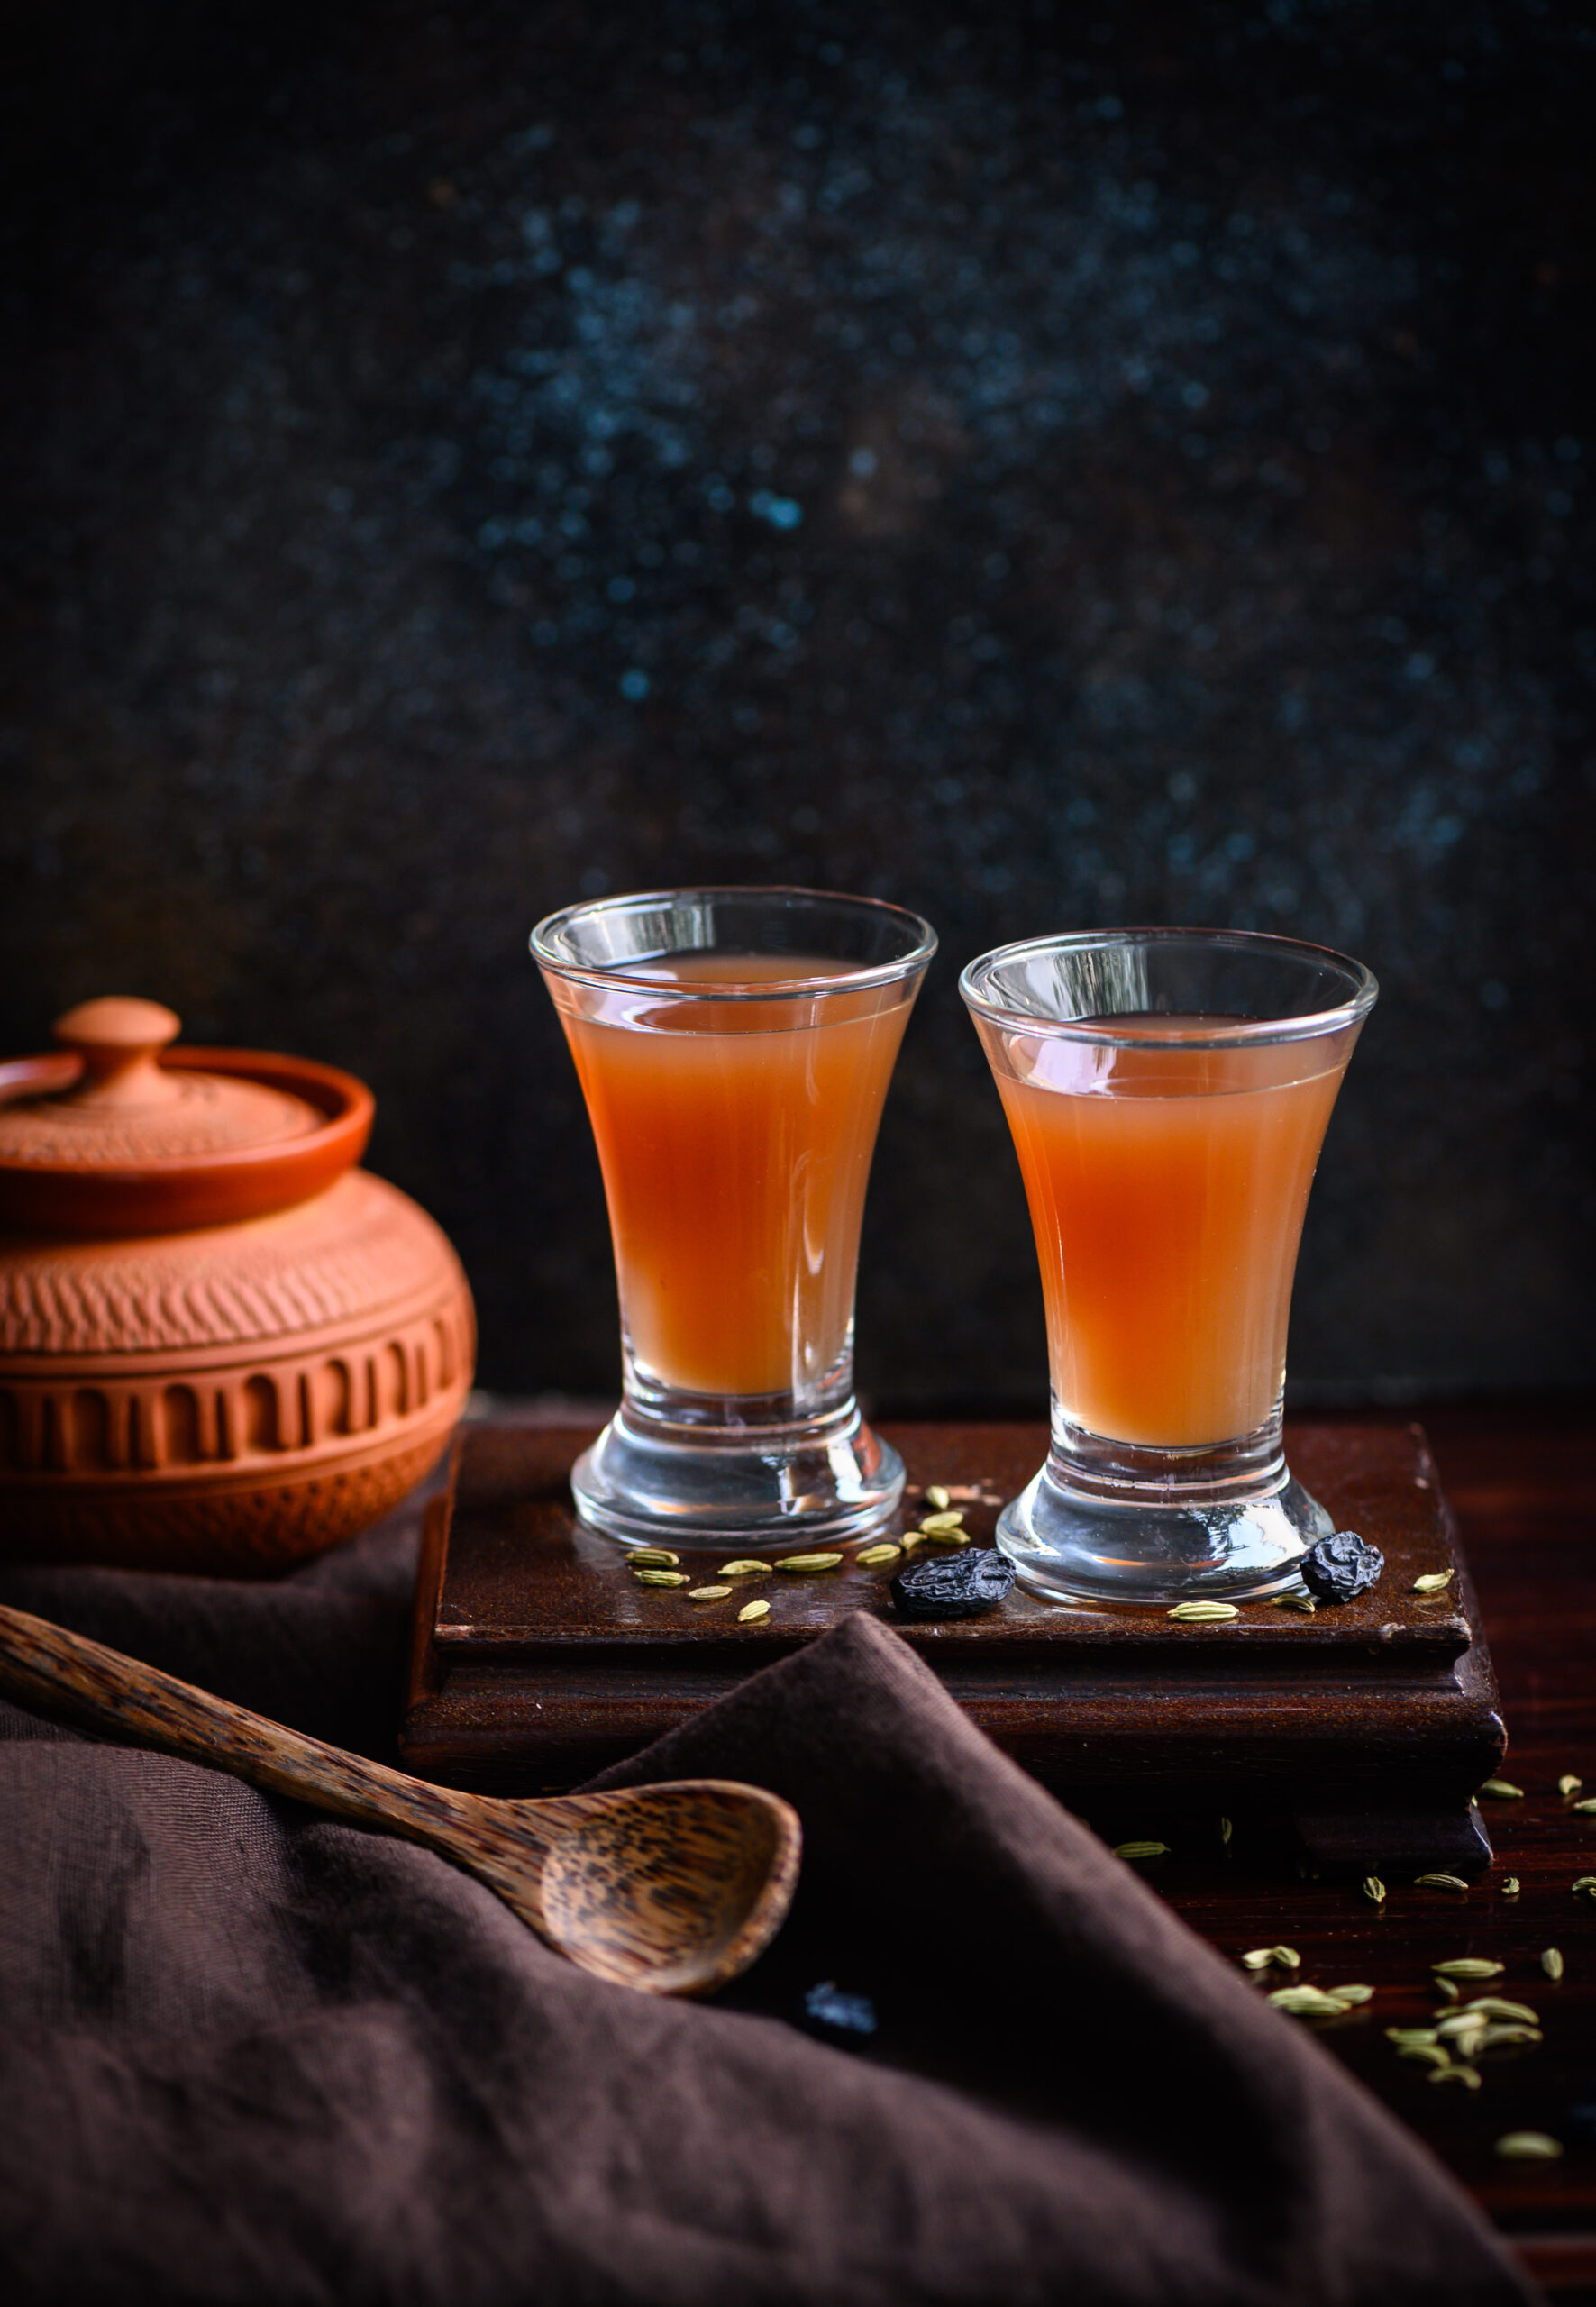
In my recent recipe for a barley lime drink, I mentioned how my sister and I were anaemic while growing up, and how we were subjected to a range of homemade remedies to improve our condition. When she and I reminisce about the good old days now, we often laugh about all those horrible tonics and preparations, and very fondly remember one we actually loved. In fact, many children would, because of its delicious sweetness. The “medicine” in question was the raisin kalkand (crystal sugar) syrup, a simple health-boosting tonic our mother often prepared for us.

We would be given this first thing in the morning during the summers because it’s a highly cooling drink, in addition to its strengthening properties. Dehydration is something we’ve all become mindful of given this heat. But it’s also important to consume foods and beverages which have a cooling effect on the body. The science of Ayurveda has helped us identify many of these. As I’ve said before, I don’t know how much of it was science and how much of it was intuition, but my mother had an amazing skill when it came to knowing the heating and cooling properties of various ingredients. So she made sure that the raisin kalkand syrup was a summertime drink for us. It’s cooling both in terms of what’s in it and how it’s made.

Life was so different back then, when we were growing up. We were all so dependent on natural remedies, avoiding pills, and were no less healthy for it. These are ways of life which are being forgotten. Do you remember growing up in that time, in which mothers and grandmothers always seemed to know what to reach for in the kitchen to not just treat but even cure all kinds of common ailments?

In retrospect, I appreciate those kinds of healing methodologies and natural sciences all the more. They followed traditional customs, had seasonal logic, and maintained health in the family and community. I have become a big believer in these remedies, and many trips down memory lane have helped me bring some of them back into my life. This health-boosting turmeric shot and this herbal tonic for sniffles are but two examples of how a handful of common ingredients can make you feel all better.

Still, I must admit that I struggle sometimes to maintain and share the old ways of healing, especially when it comes to my children and how fast-paced their lifestyles now are. But that’s partly why I feel it’s so important to revive and invest in these methods. They counter the demands of the world through their time-honoured and proven usage. They were not passed down through so many generations for nothing. For small complaints, they often work like a charm.

And as far as charms go, this raisin kalkand syrup is a particularly sweet one. Literally! You’d be hard-pressed to find a child who will reject a shot of it.

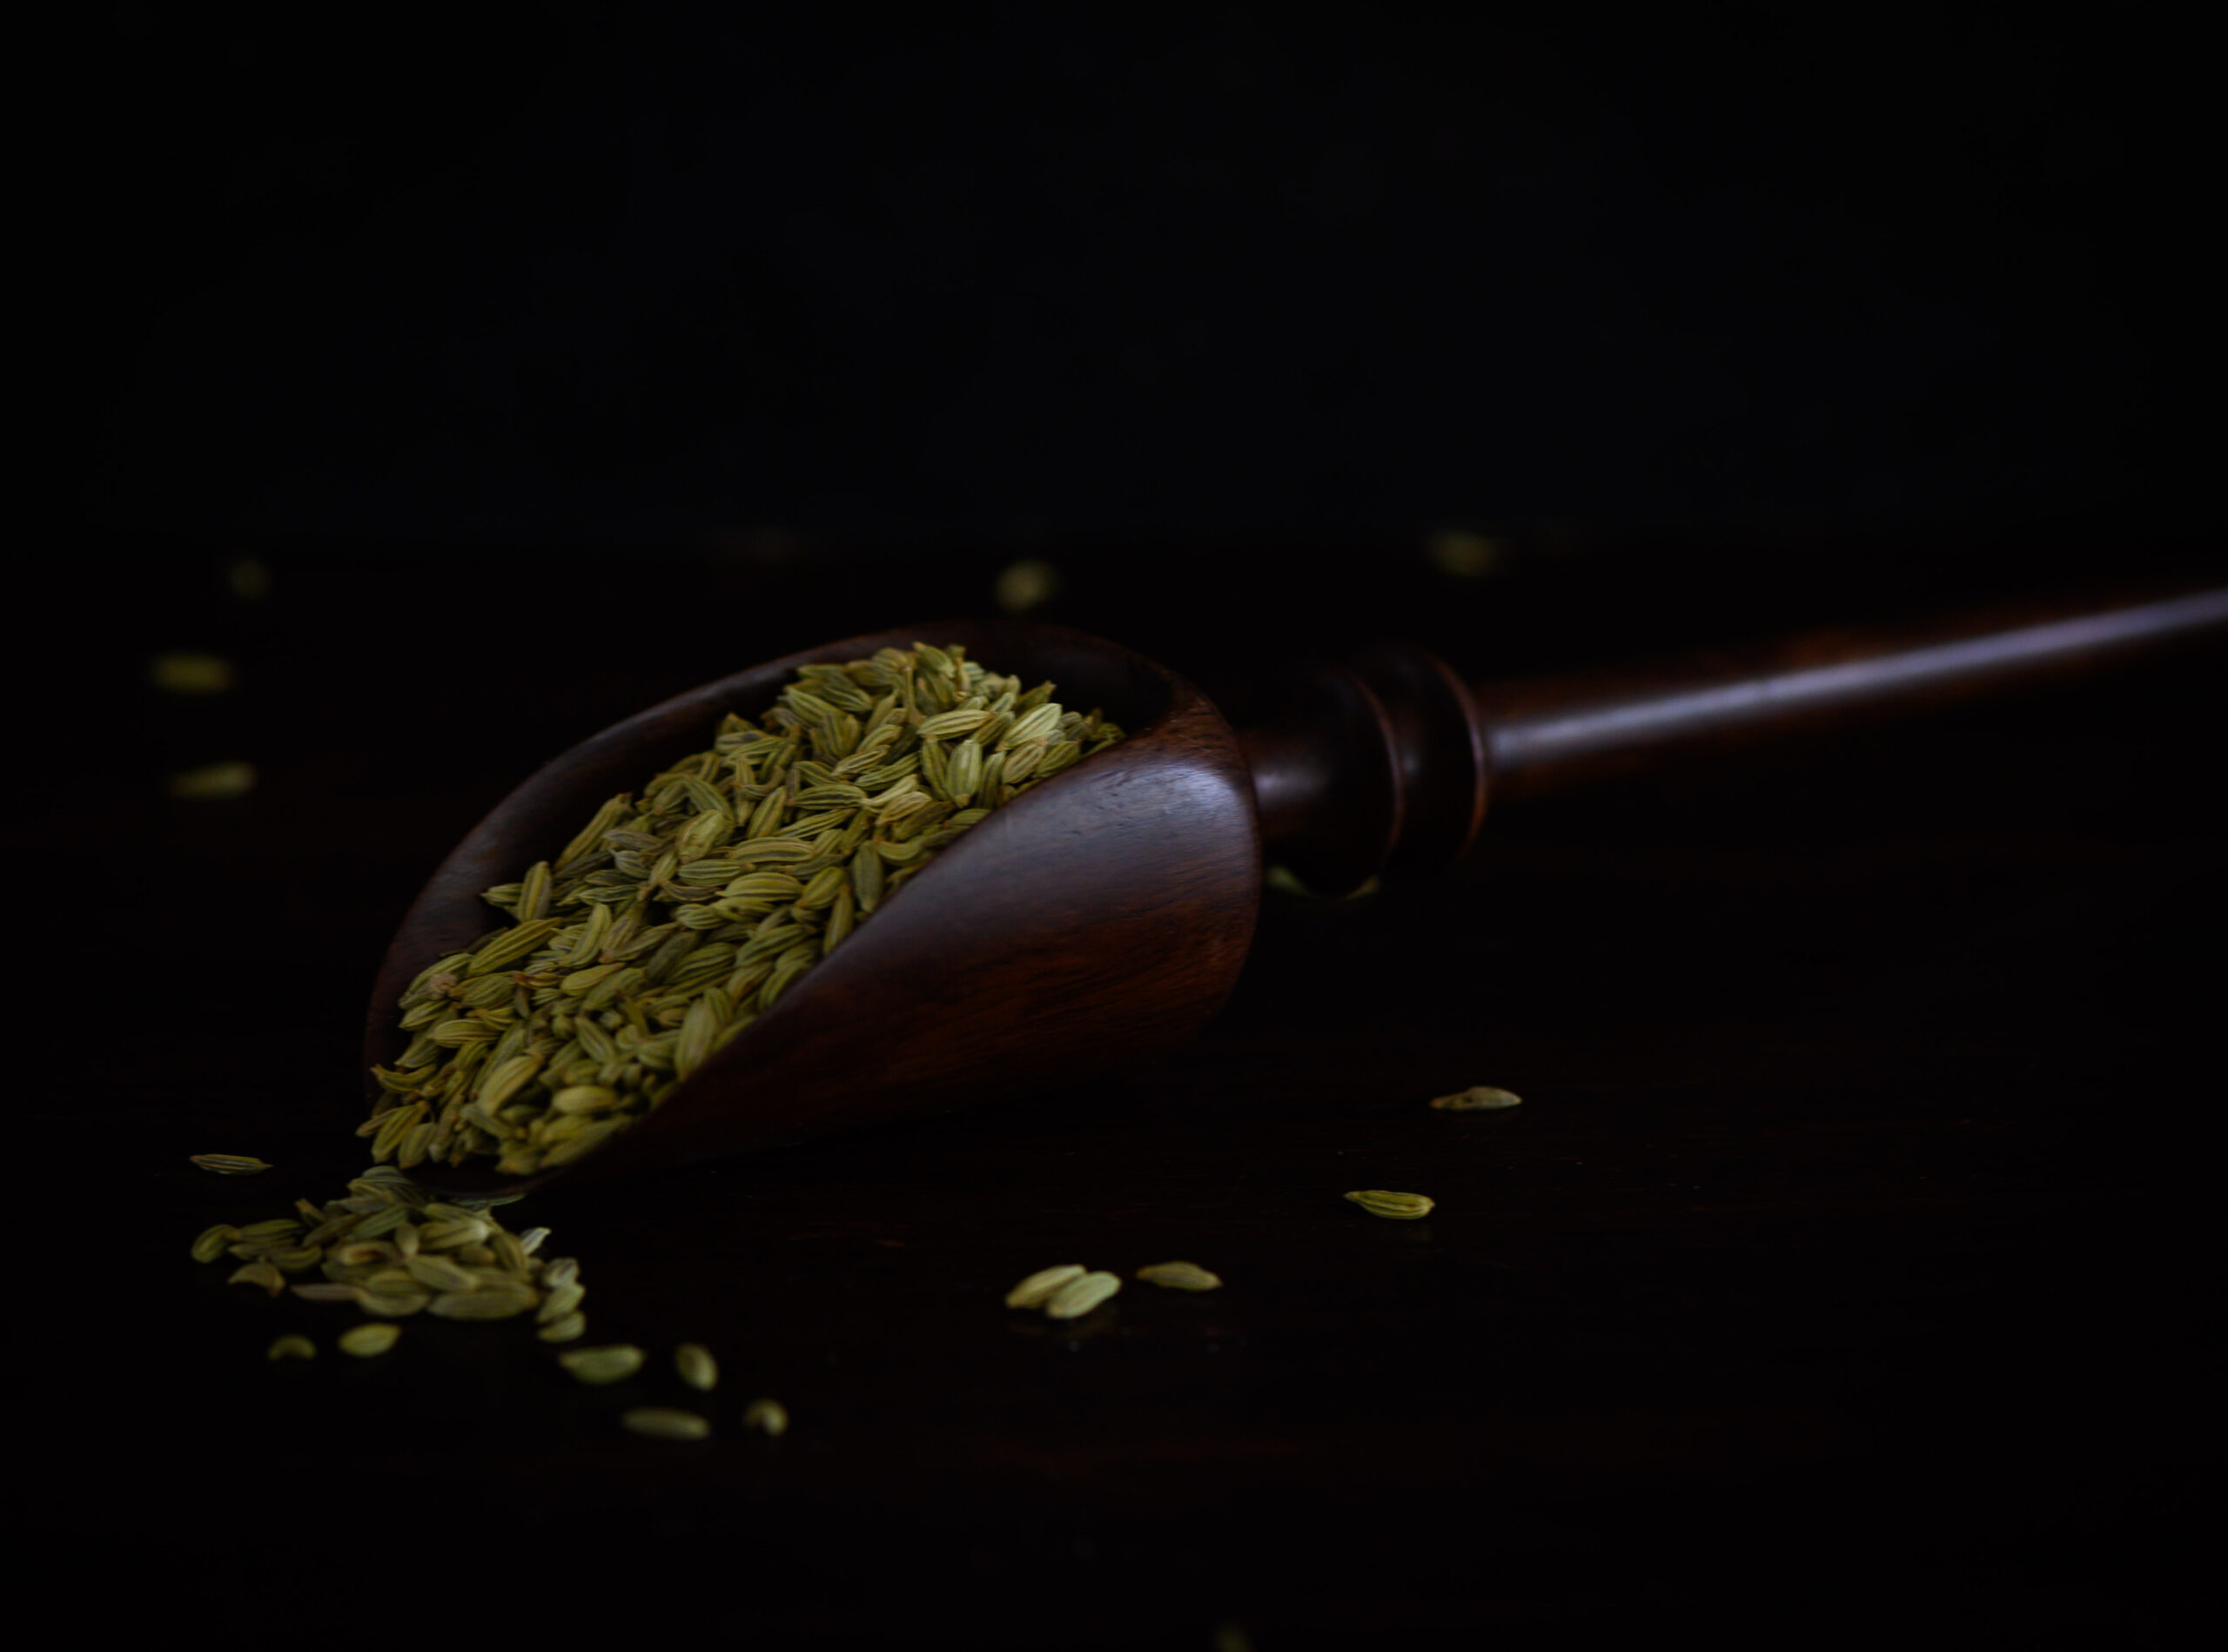
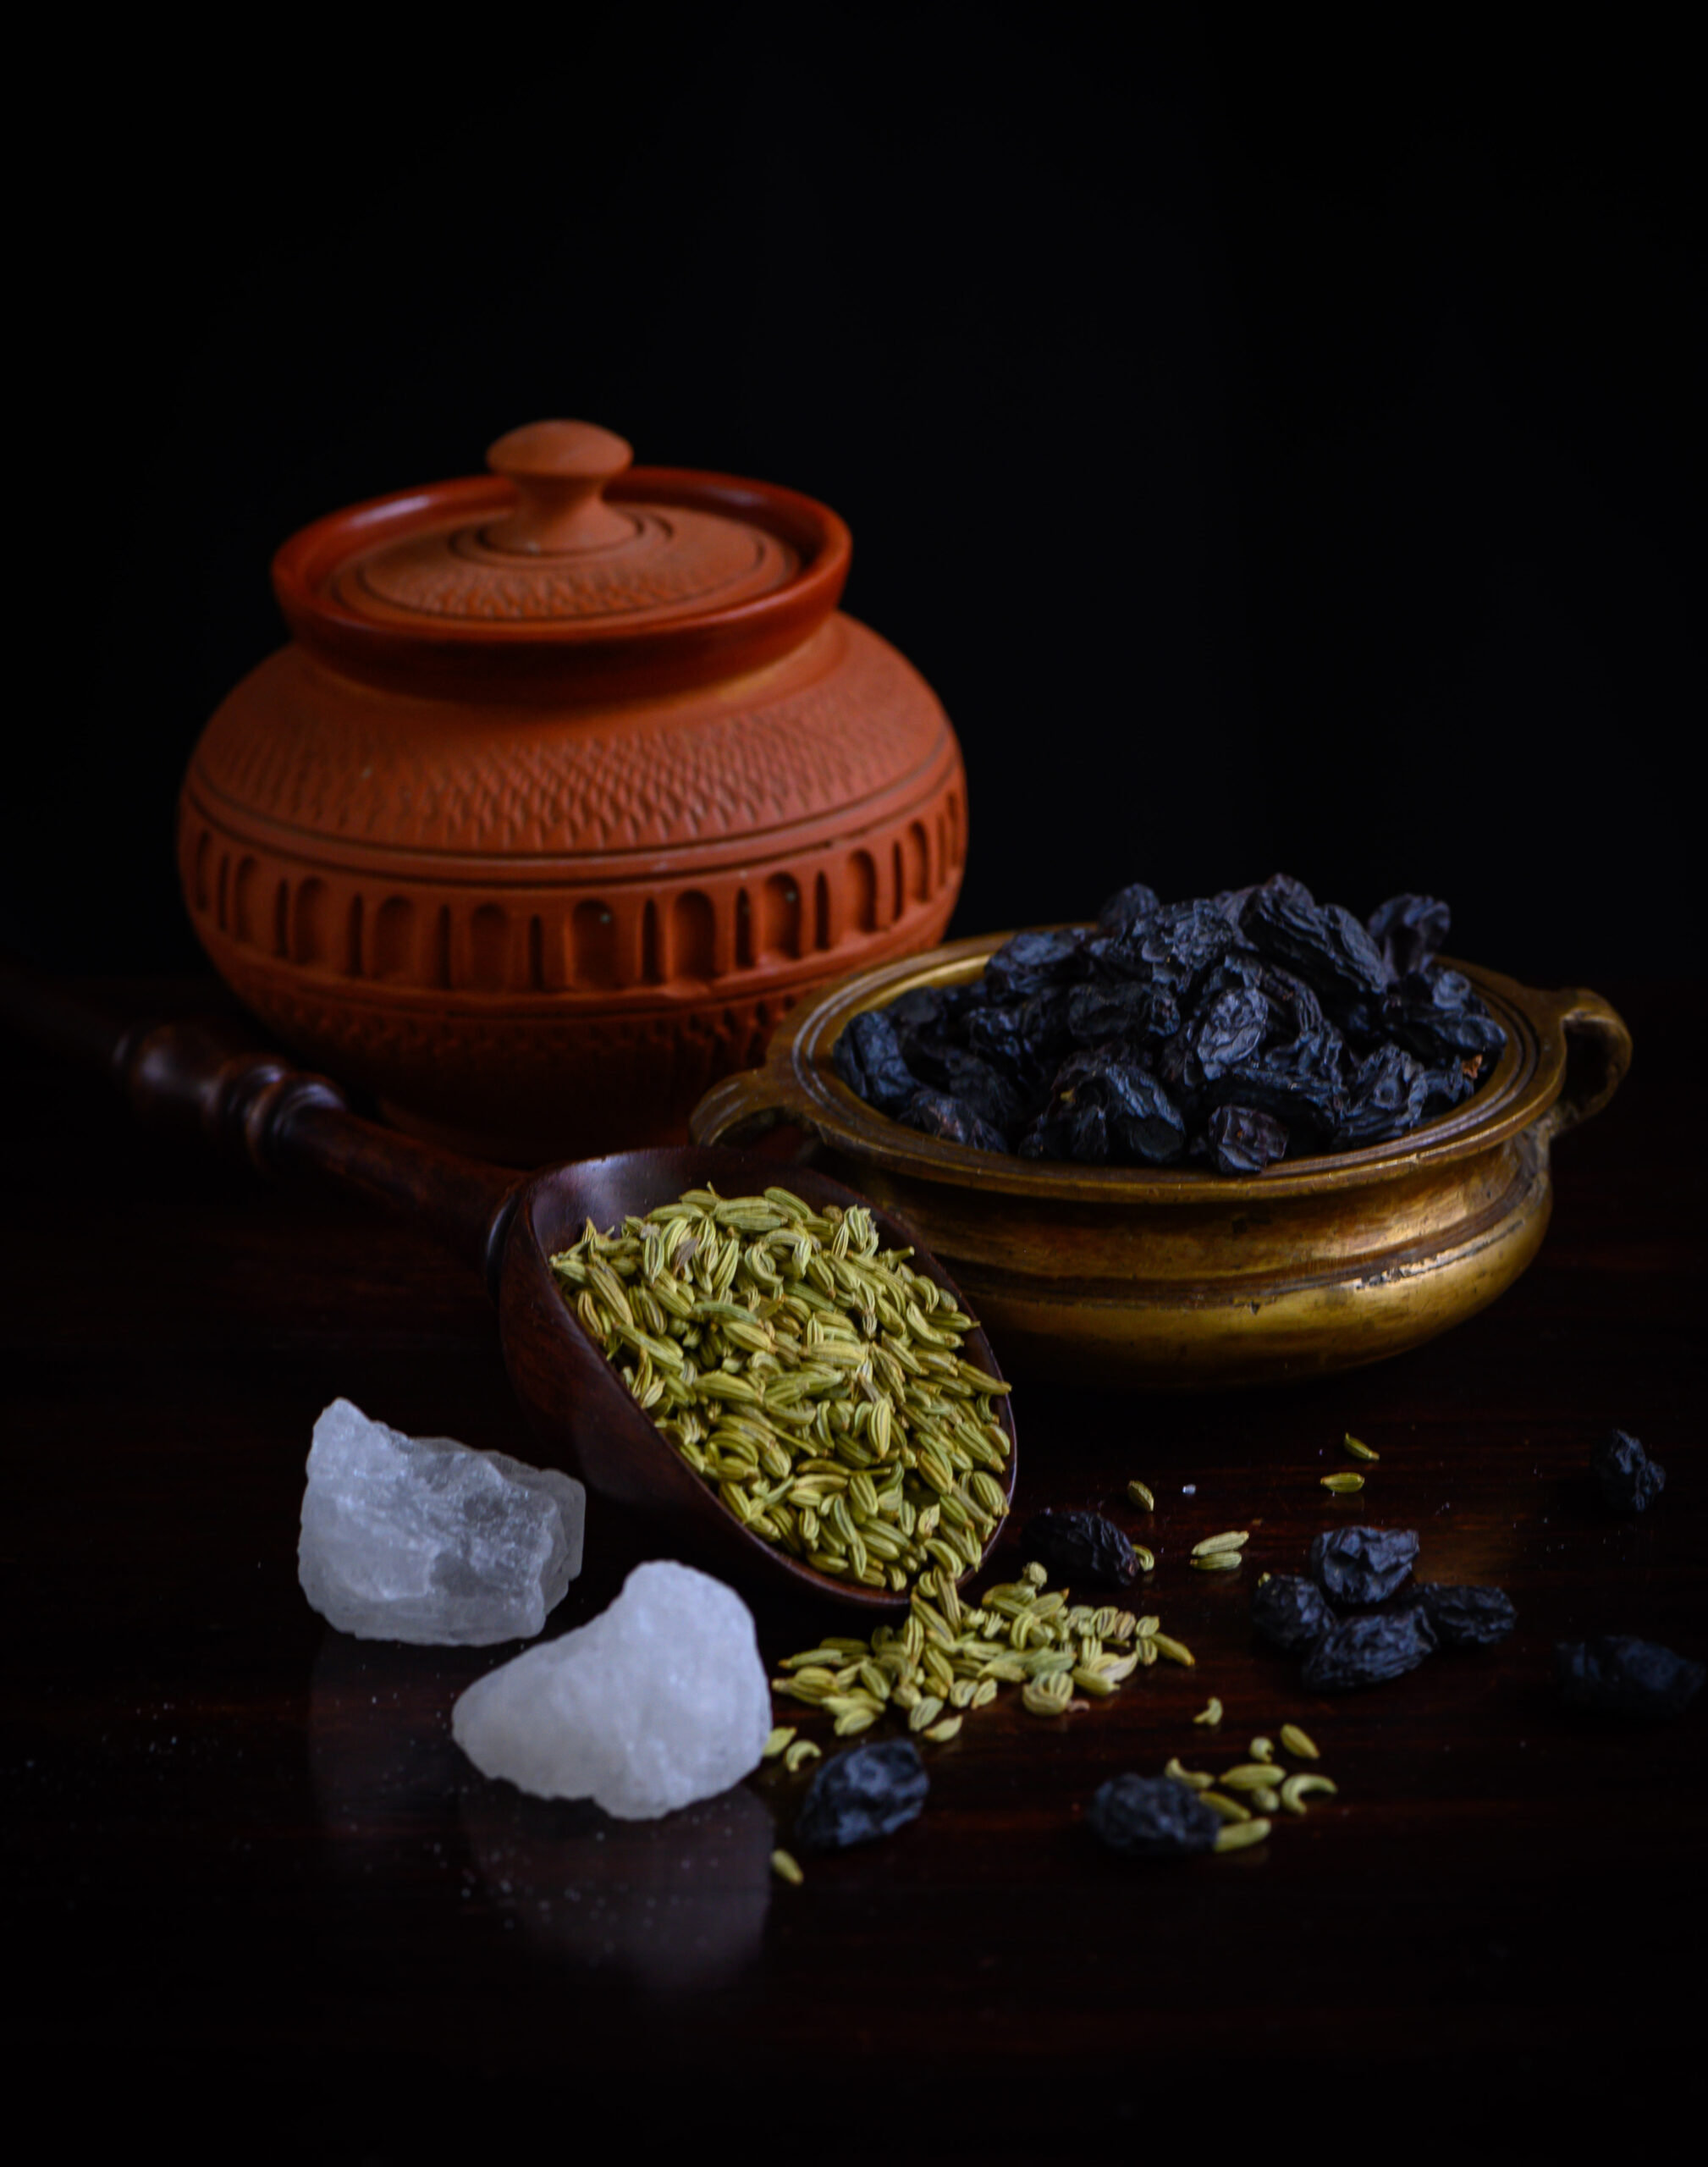
Like so many old recipes, the secret to this one lies in its simplicity. Fennel seeds are a source of iron, histidine and folic acid, zinc, magnesium, potassium, Vitamins C and K and essential minerals. Black raisins too are full of iron, thus increasing haemoglobin levels, and are also good for bone strength, immunity and a host of other needs of growing children.

Furthermore, there is a process of soaking which brings out the nutrients in the raisins and the fennel. This takes place in a terracotta pot, an ancient cooling method that continues to be a part of Indian kitchens. This amazing, energy-efficient refrigeration technique is also great for curd, water and so many items which are best served cooled in the hot summers. Adapted for both adults and children as a sort of raisin and fennel juice, this syrup that I liked to gulp in a shot from my childhood is an ideal drink to cool down in the heat.

You may be wondering how sugar, which so many nutrition-conscious people regard as a big no-no, could be such a major part of a home remedy. Its presence in this recipe is neither for reducing bitterness nor for making it more palatable for children, especially since delicious raisins don’t need to be (literally) sugar-coated like certain other nourishing ingredients. The use of kalkand here is only for a cooling effect, just like the terracotta pot. A substitute like jaggery would have a heating effect, and is better avoided.

This raisin kalkand syrup is best taken in the summer months, and joins an ever-growing list of heat-fighting drinks on this blog, including rose sherbet and spiced buttermilk.

Raisin Kalkand Syrup

(Yield: 1 cup)

¼ cup black raisins

1 lump crystal sugar (optional)

2 tablespoons fennel seeds

1 cup water


A terracotta pot was always considered a must by my mother when making this cooling syrup, so it’s still a part of my own method. Put all the ingredients in a small terracotta pot, including the water. Soak overnight or for a minimum of 6-8 hours.

Please note that the sugar quantity is really a question of personal preference. If you have been advised to cut down on it, you may use less or omit it from the recipe.

Once the soaking process is complete, blend the soaked ingredients with more water.

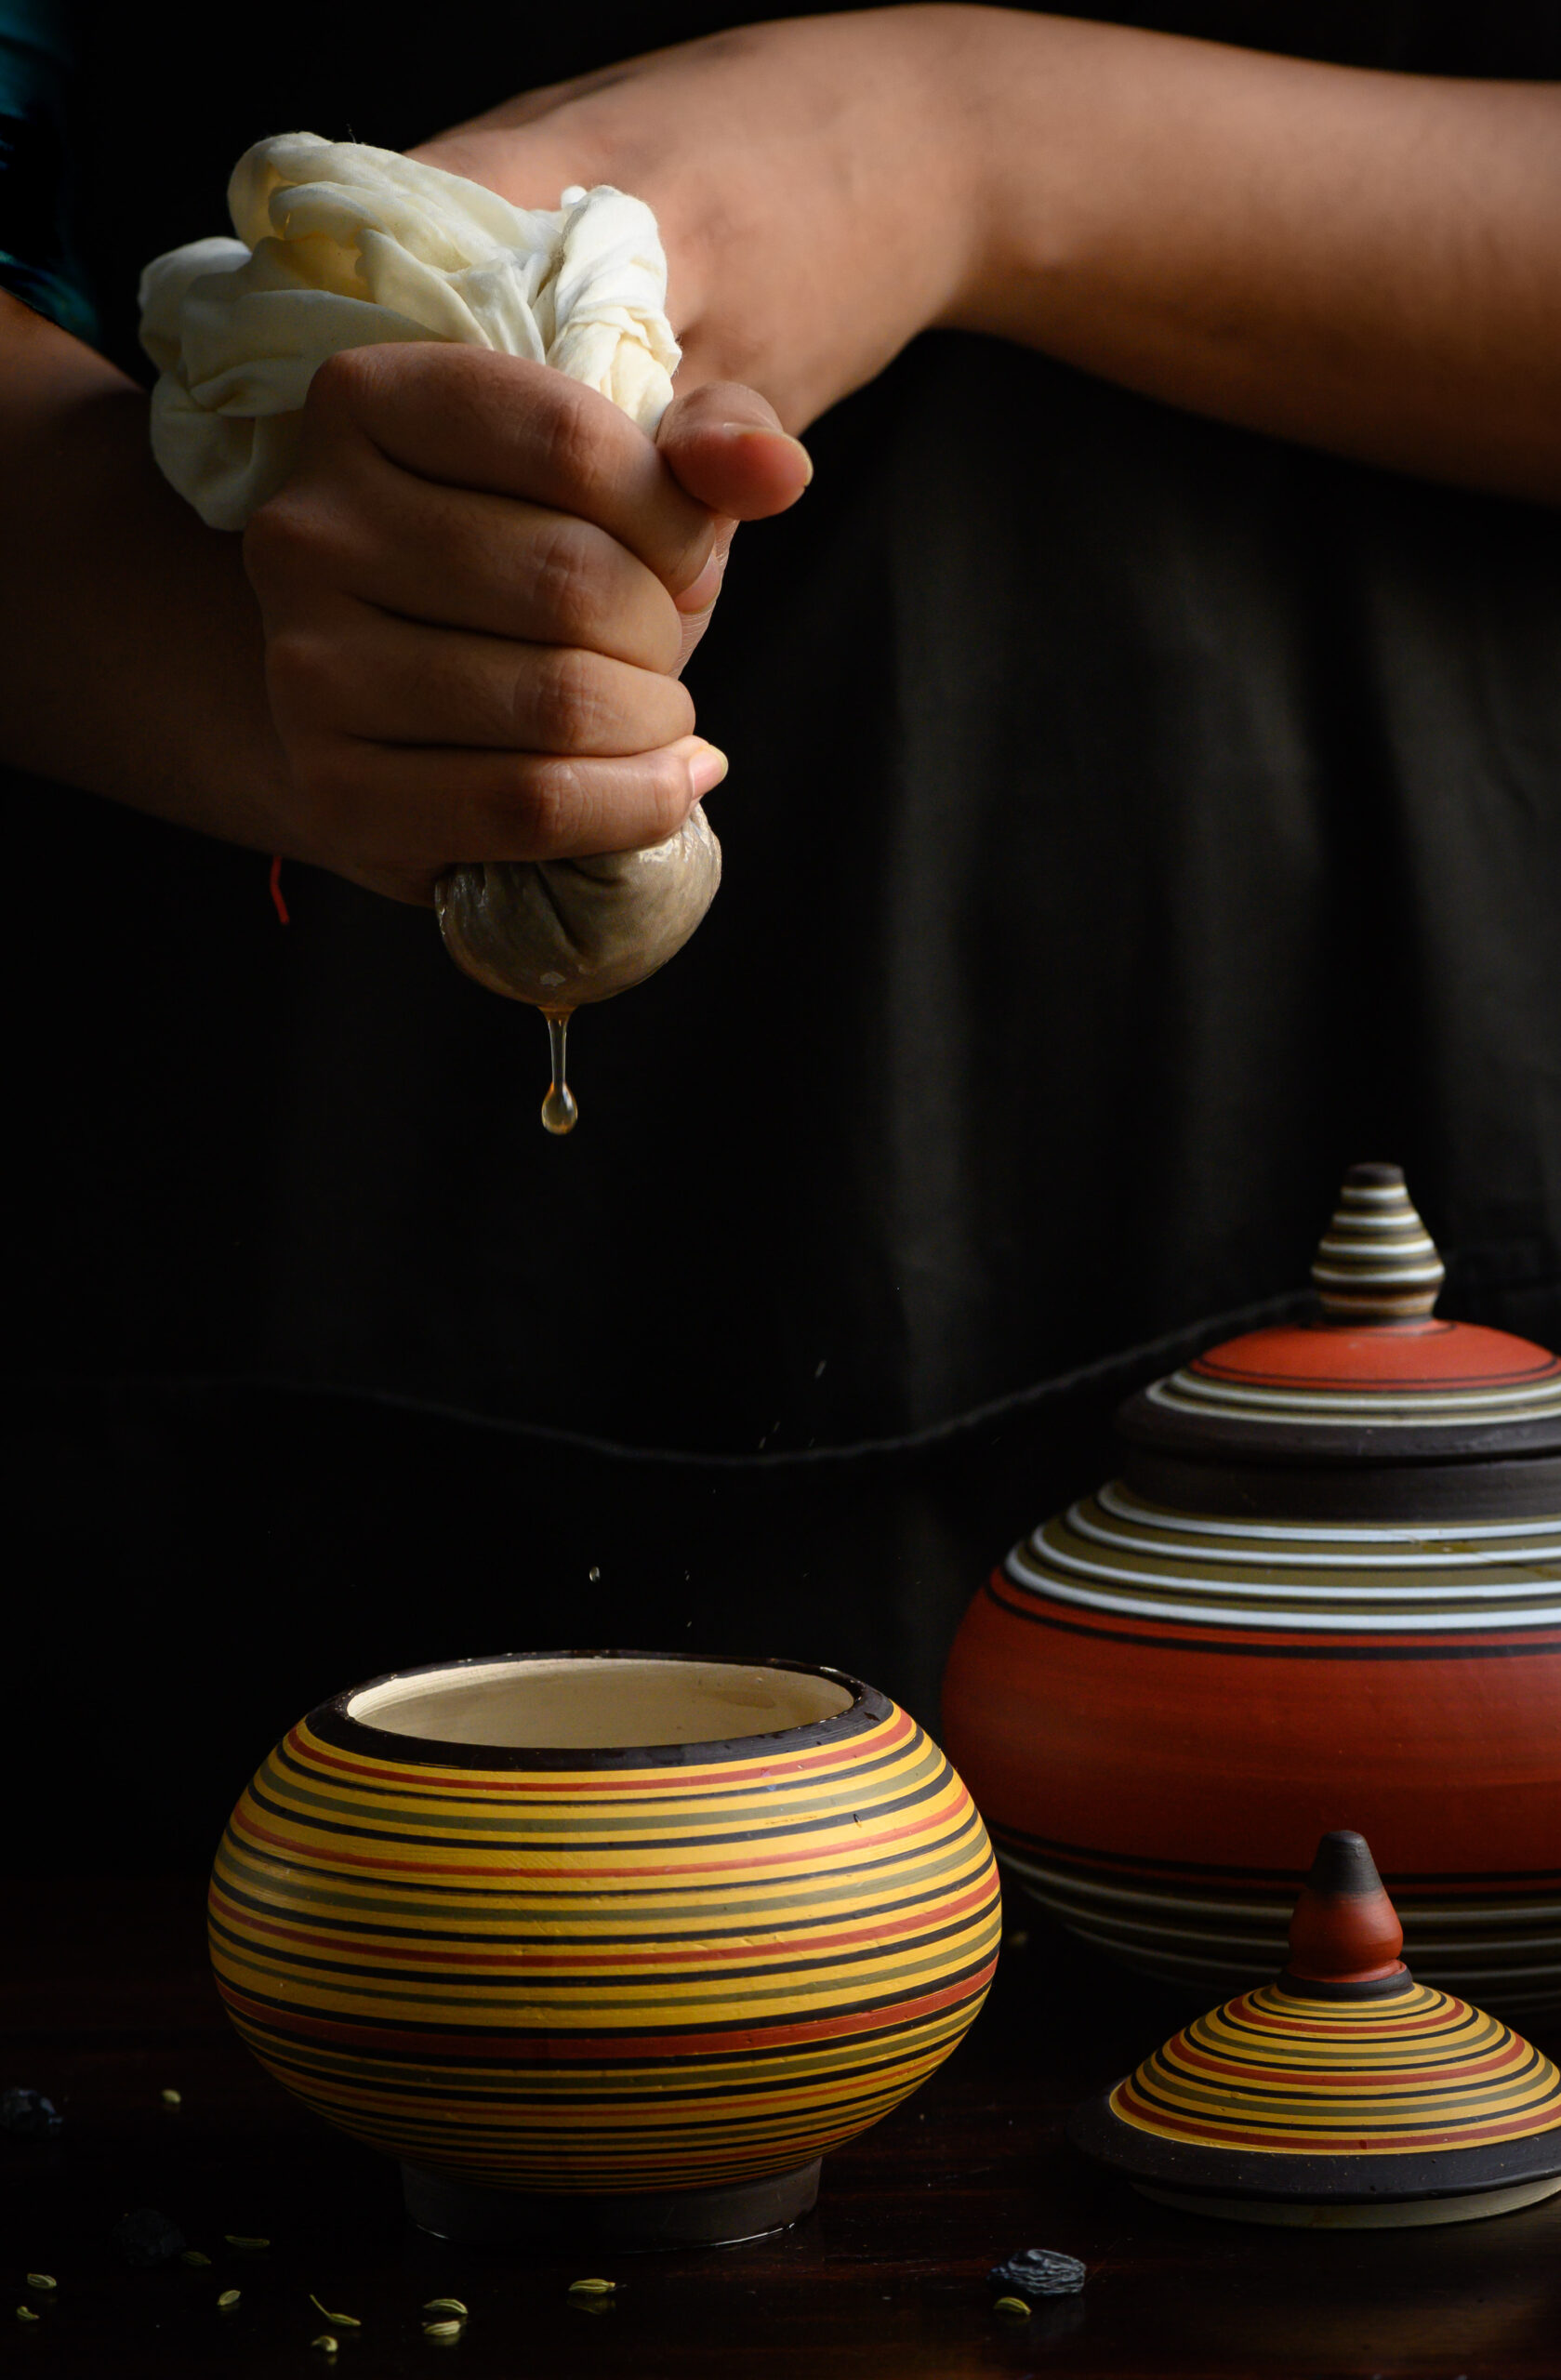
The beauty of how this drink was made was that it was lovingly crushed by our mother’s hands, because we didn’t have a blender around yet. Now of course, I blend it but then strain it with a muslin cloth just as she did. She would use an old saree of hers which had been worn to tatters. Ever resourceful, she would cut pieces from used clothing and keep it for such purposes.

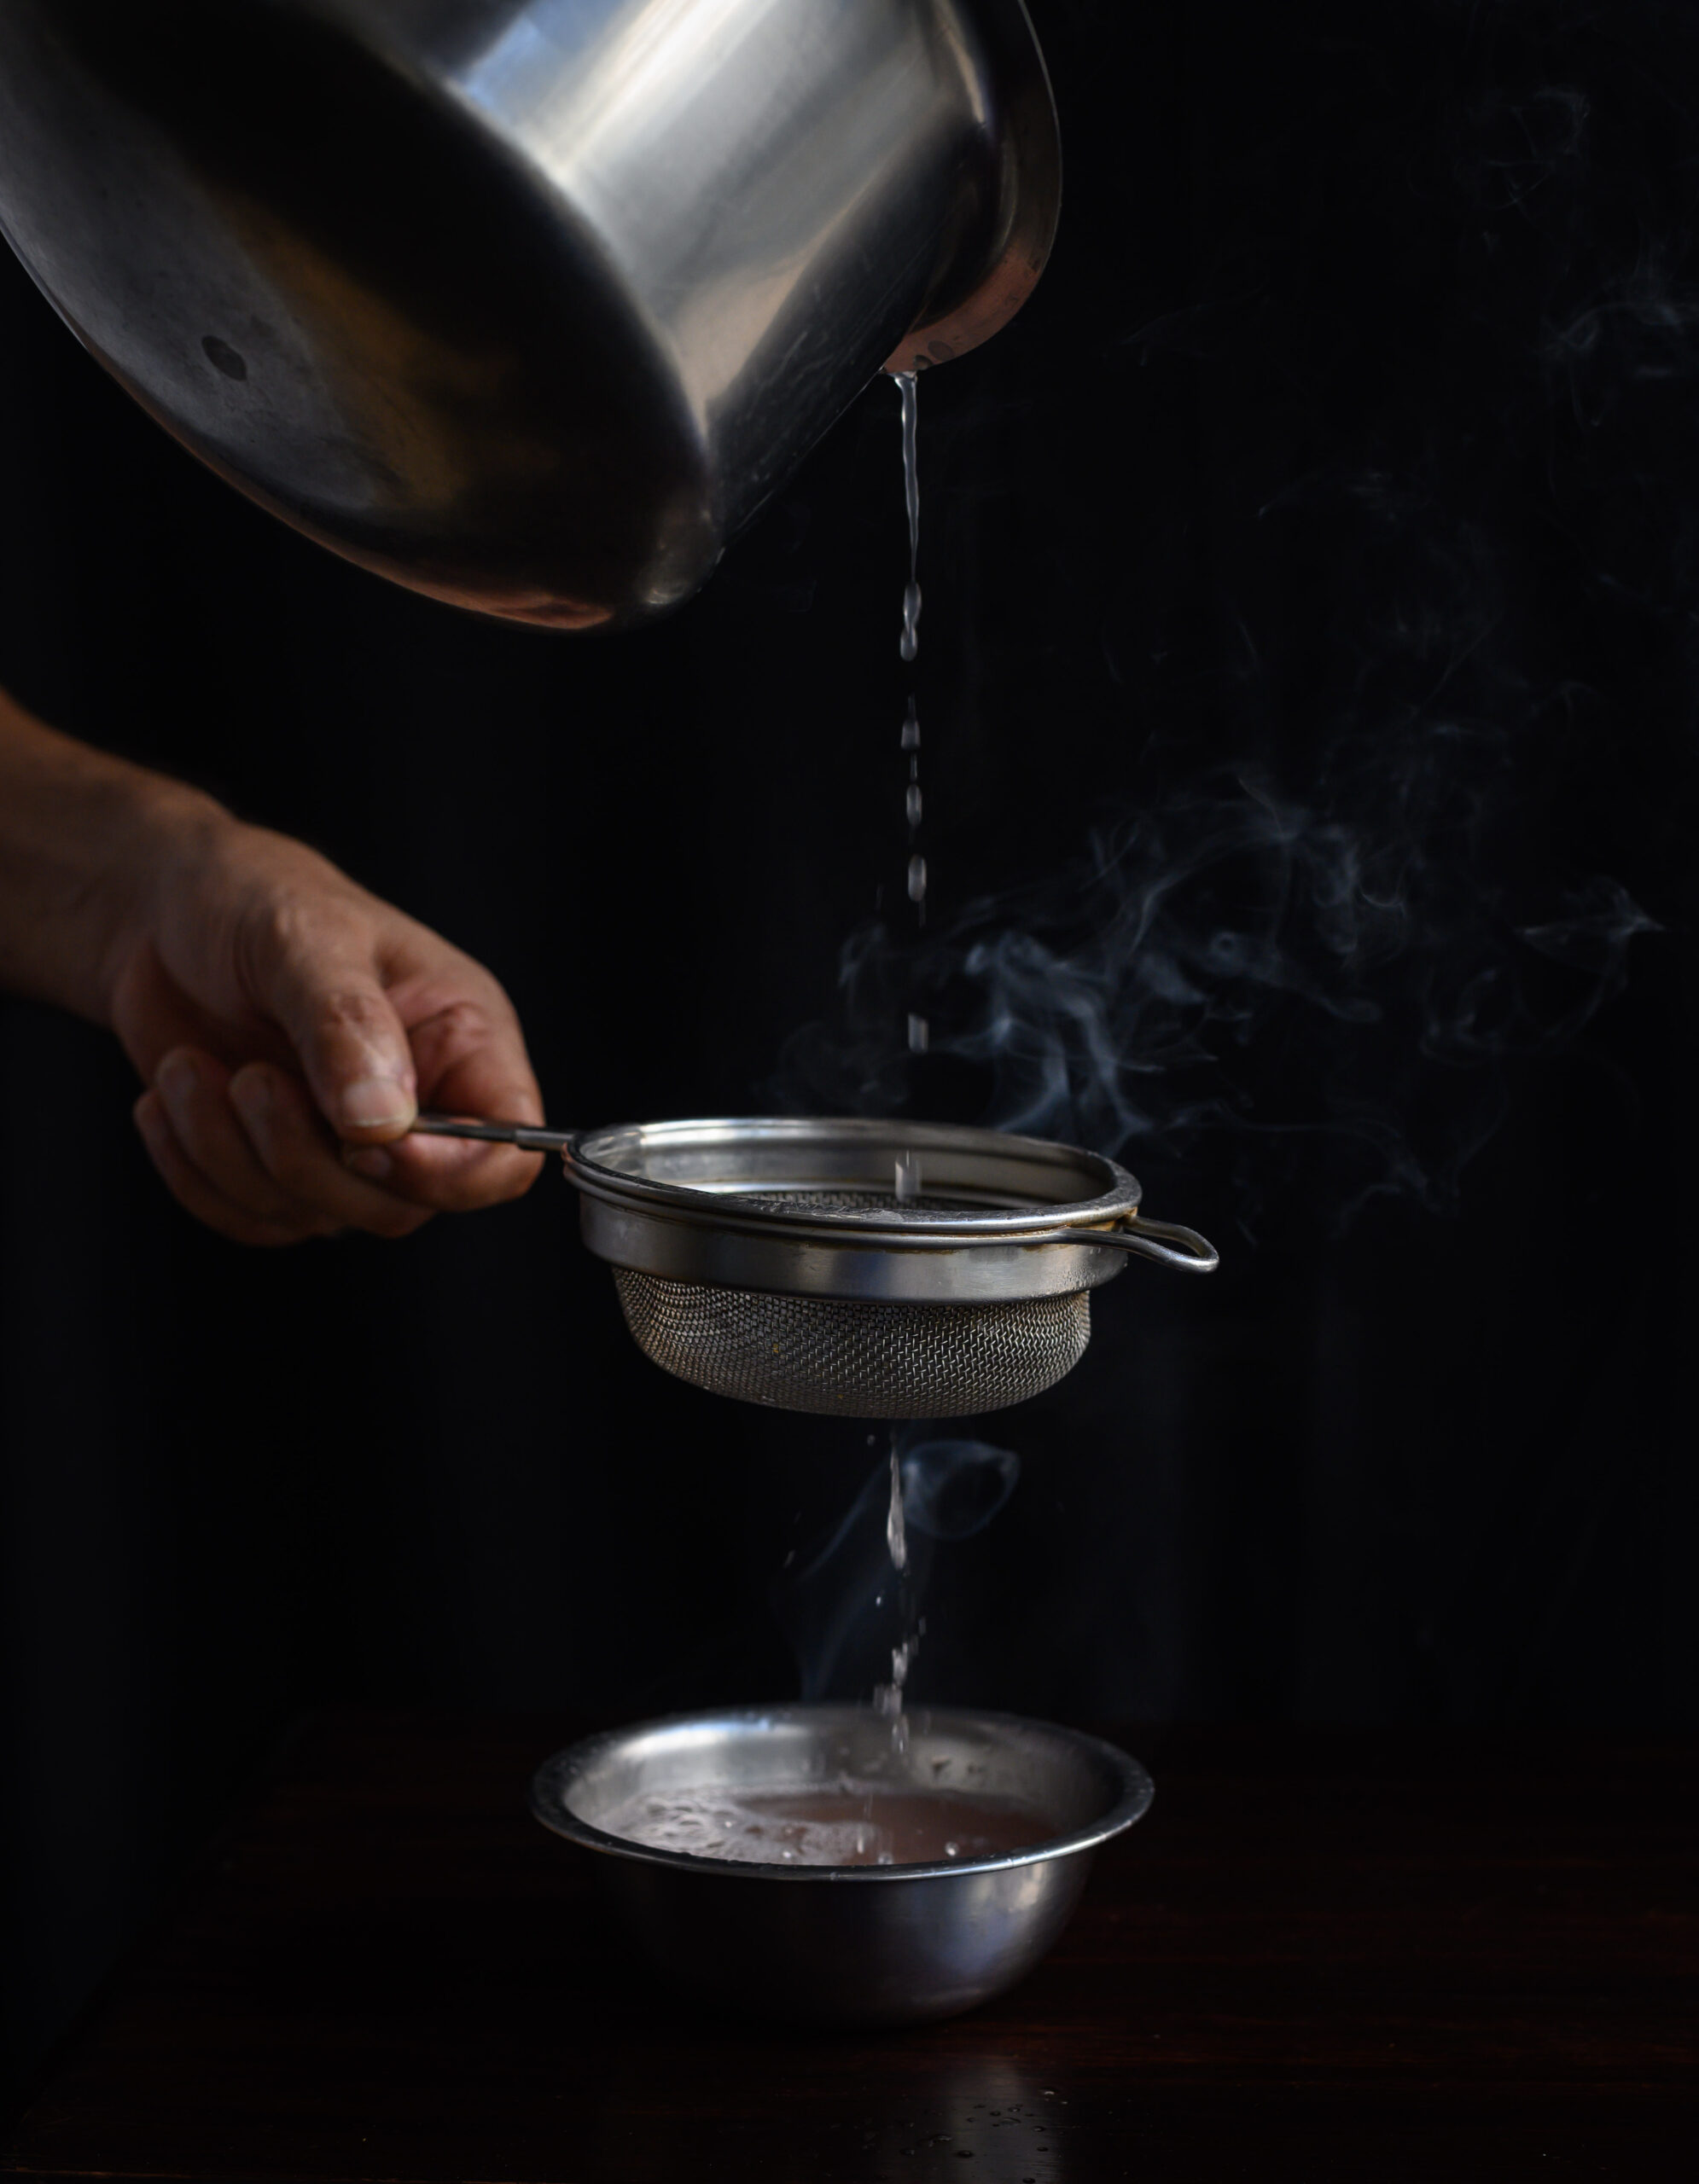
Using a fine muslin cloth, strain the blended mixture well. Squeeze the liquid into a glass. As children, we loved drinking it like a shot, although you may prefer to sip it. Enjoy at room temperature and preferably fresh. This recipe serves one. Increase quantities as desired to serve more.

With all the bitter remedies that we were forced to spoon down growing up, this raisin kalkand syrup was not only a tasty respite, but also a beautiful metaphor on balance. It served to teach us something important about life itself, and finding ways to make it sweeter. And that’s the lesson that comes to mind as I share it with you today.

The beauty that we see all around us, we take for granted. This is why I love flower exhibitions, which put that beauty at the centre and let us appreciate it fully. Flowers represent inner peace to me. Amongst other things, the Chelsea Flower Show, was on my wishlist. And I recently had that dream fulfilled. It was like the experience of so many flower market visits, multiplied.

One of my favourite things to do in London is to wake up early and go to the flower market, which I enjoy just as much as I do a flea market or an antique market. It was a dear friend who first took me to the Columbia Street Market, which soon became one of my favourite London experiences. It begins with a coffee at any of the quaint shops alongside the flower sellers, sipping leisurely while watching them set up their stalls. They bring their fresh flowers in and I watch them at work while I have my coffee, which is always so lovely and which sets off the mood. I could sit there all day, between the taste of the coffee and the sight of the blossoms.

Amidst the abundance of peonies and a variety of English greens, I was taken aback to see a jasmine plant in a pot. It was simply laden with flowers which reminded me of the oosi malli back home. I was surprised to see it blossoming when the climate was not conducive for it, and it gave me fresh inspiration to continue working in my own gardens. I was reminded of my own home and the manoranjithas I’m trying to revive. The dedication of those London florists, and the sheer variety of flowers they cultivate, are lessons to inspire us to look at the diversity and beauty that exists around us.


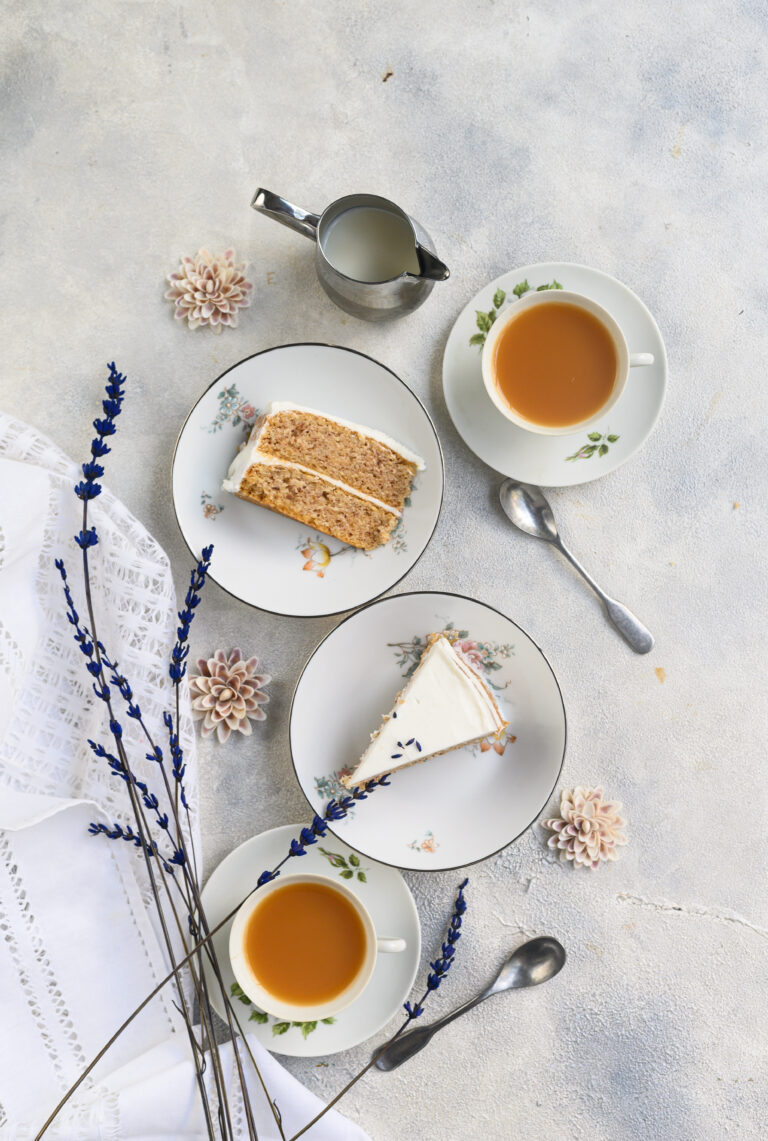
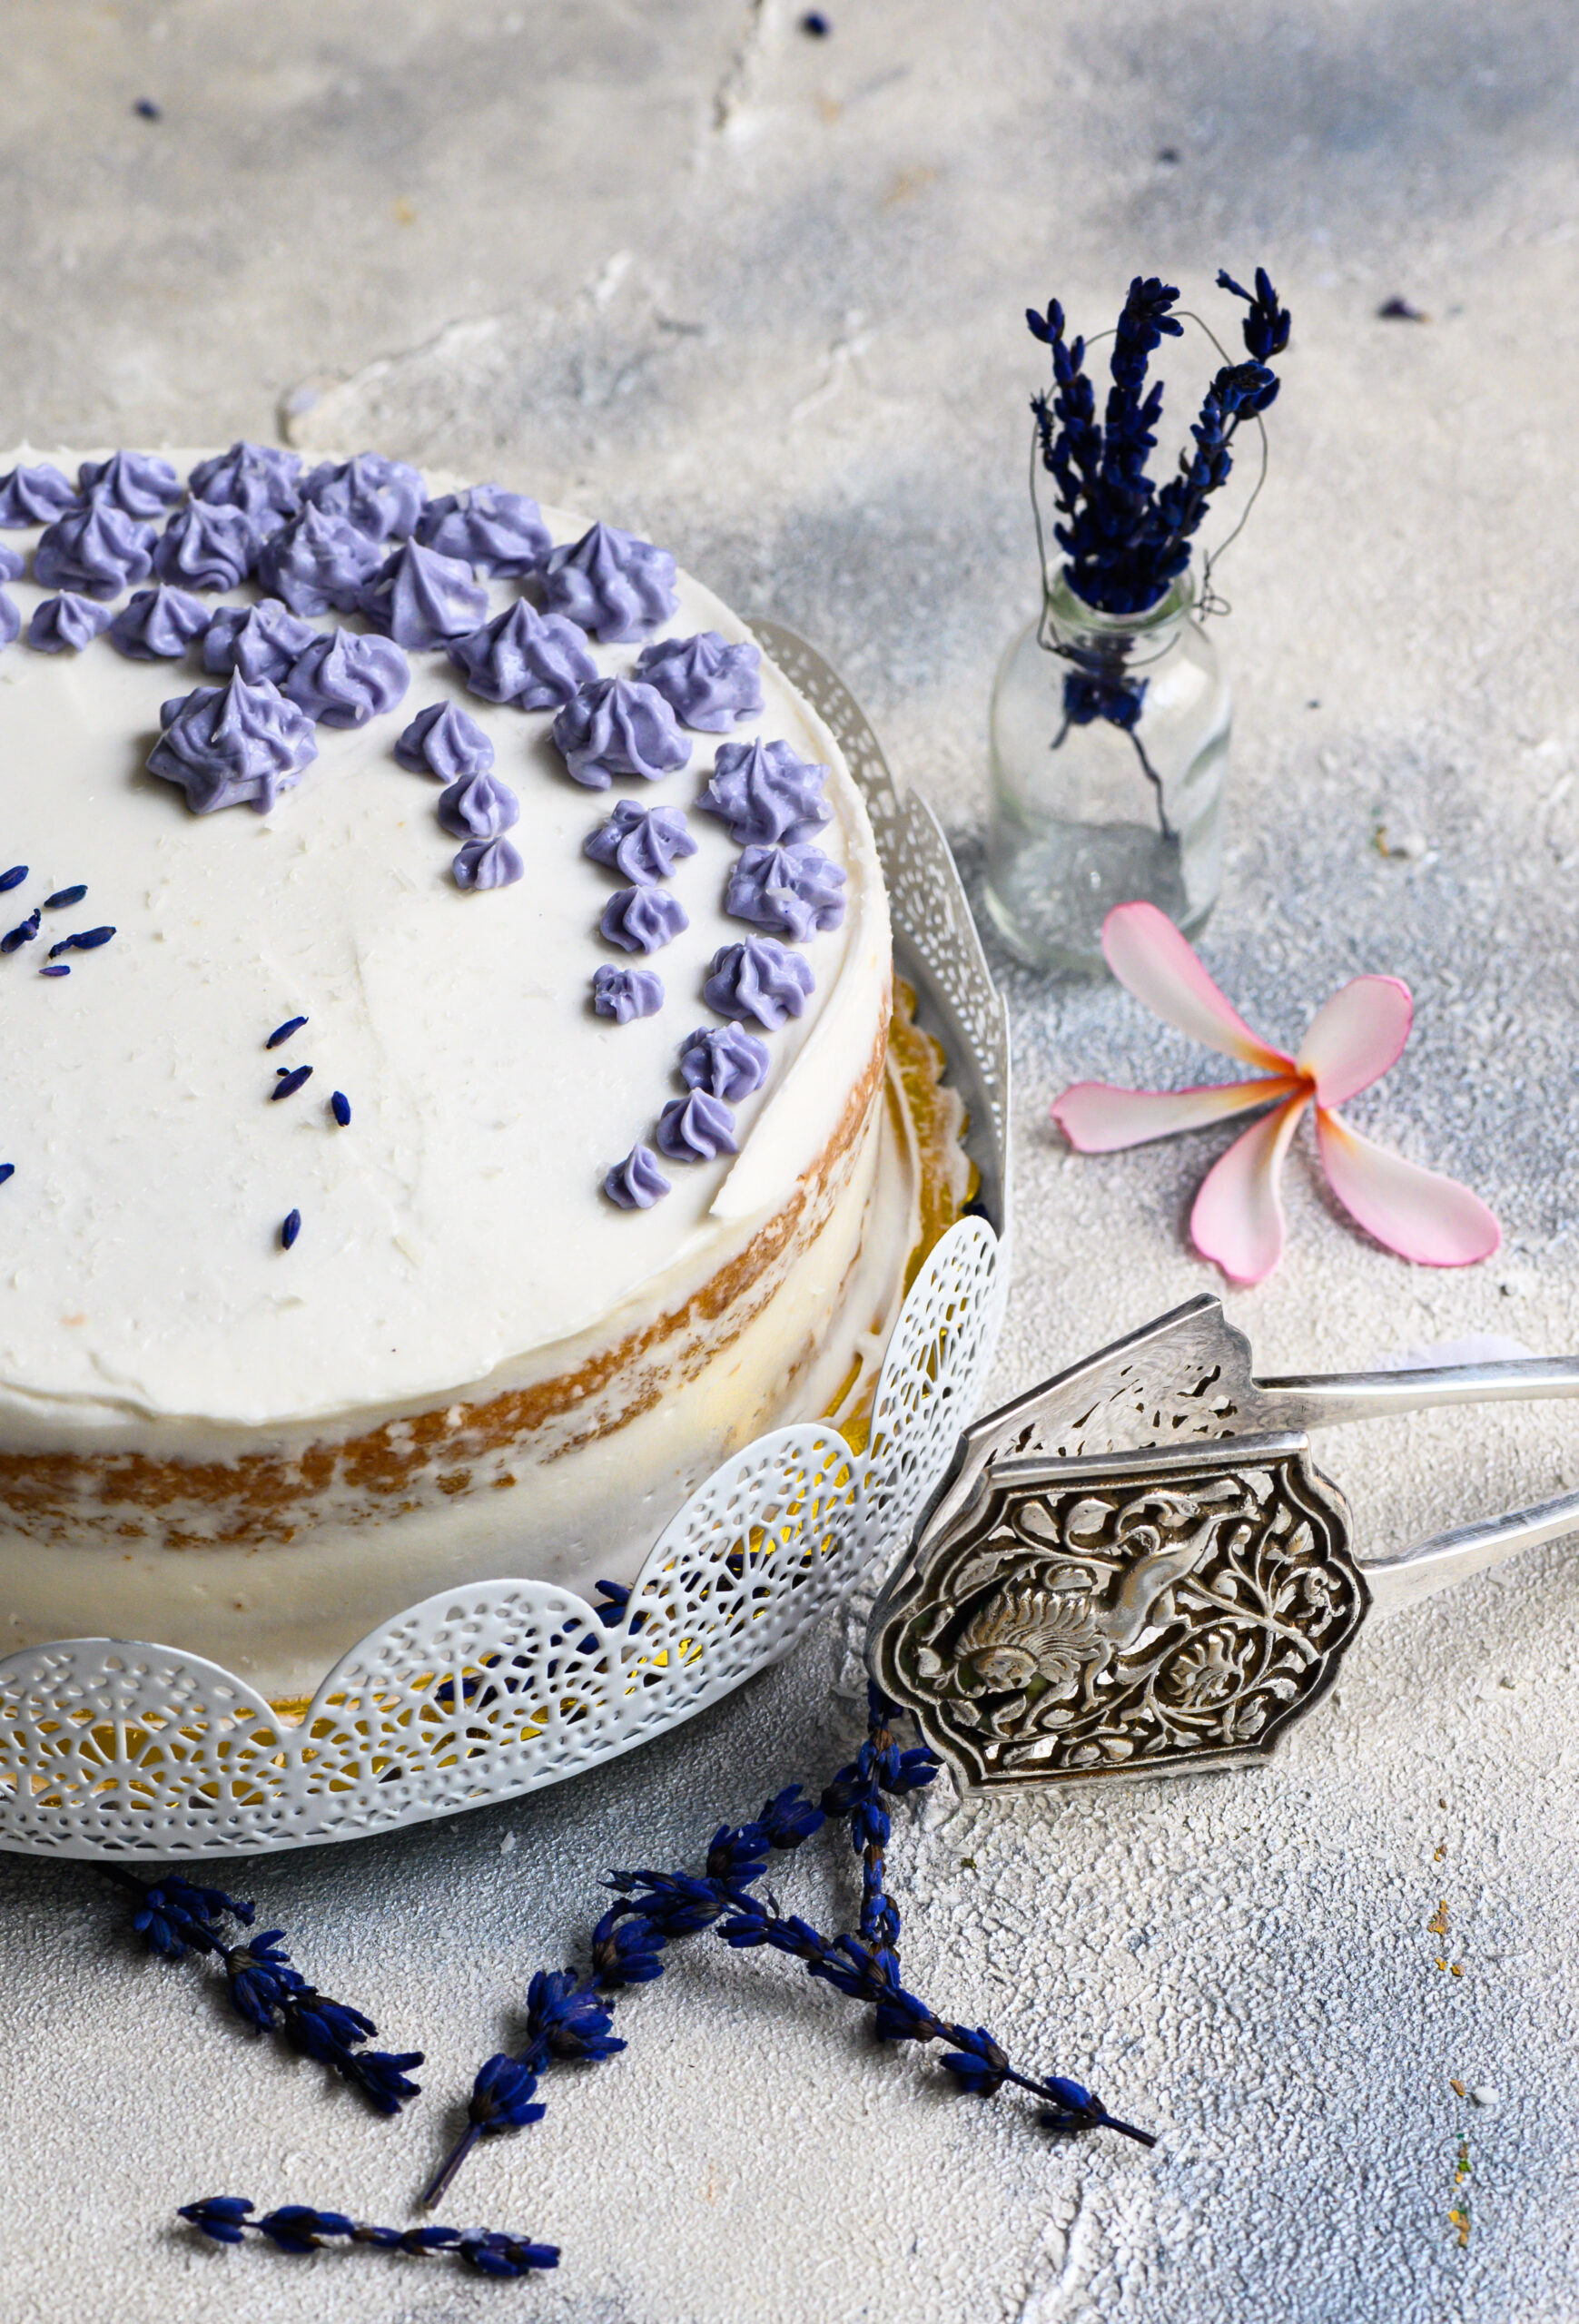
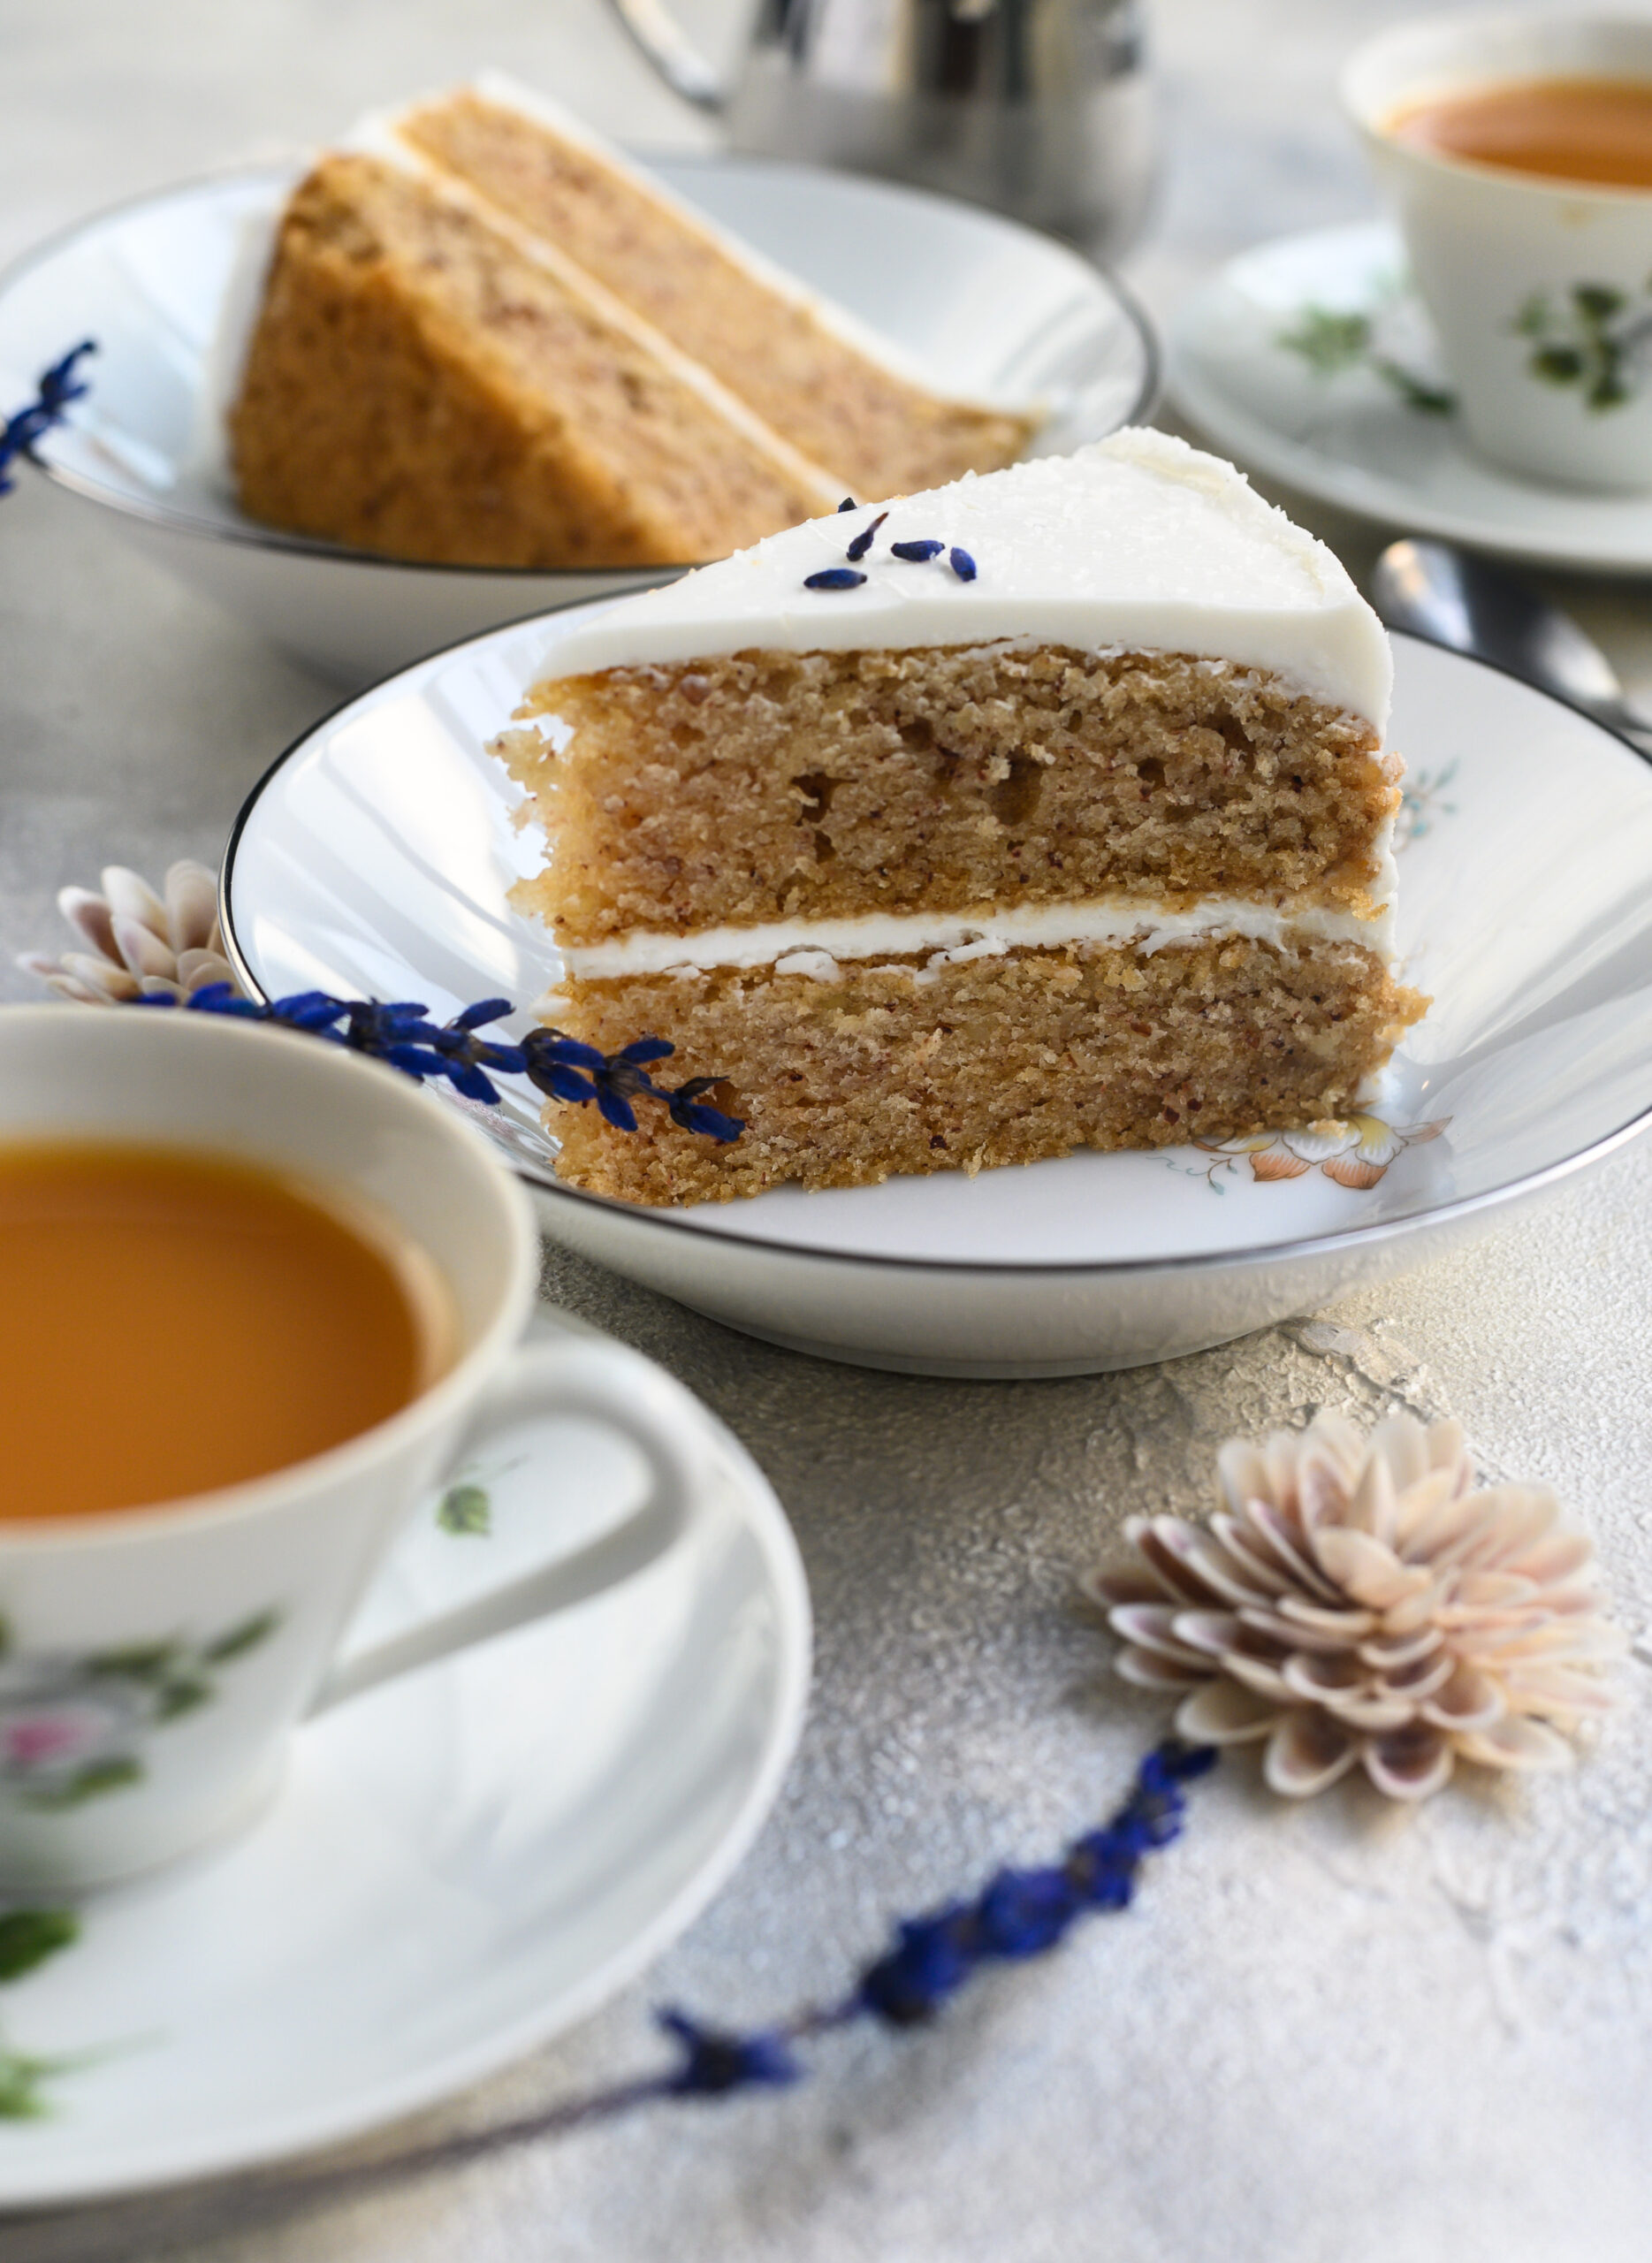
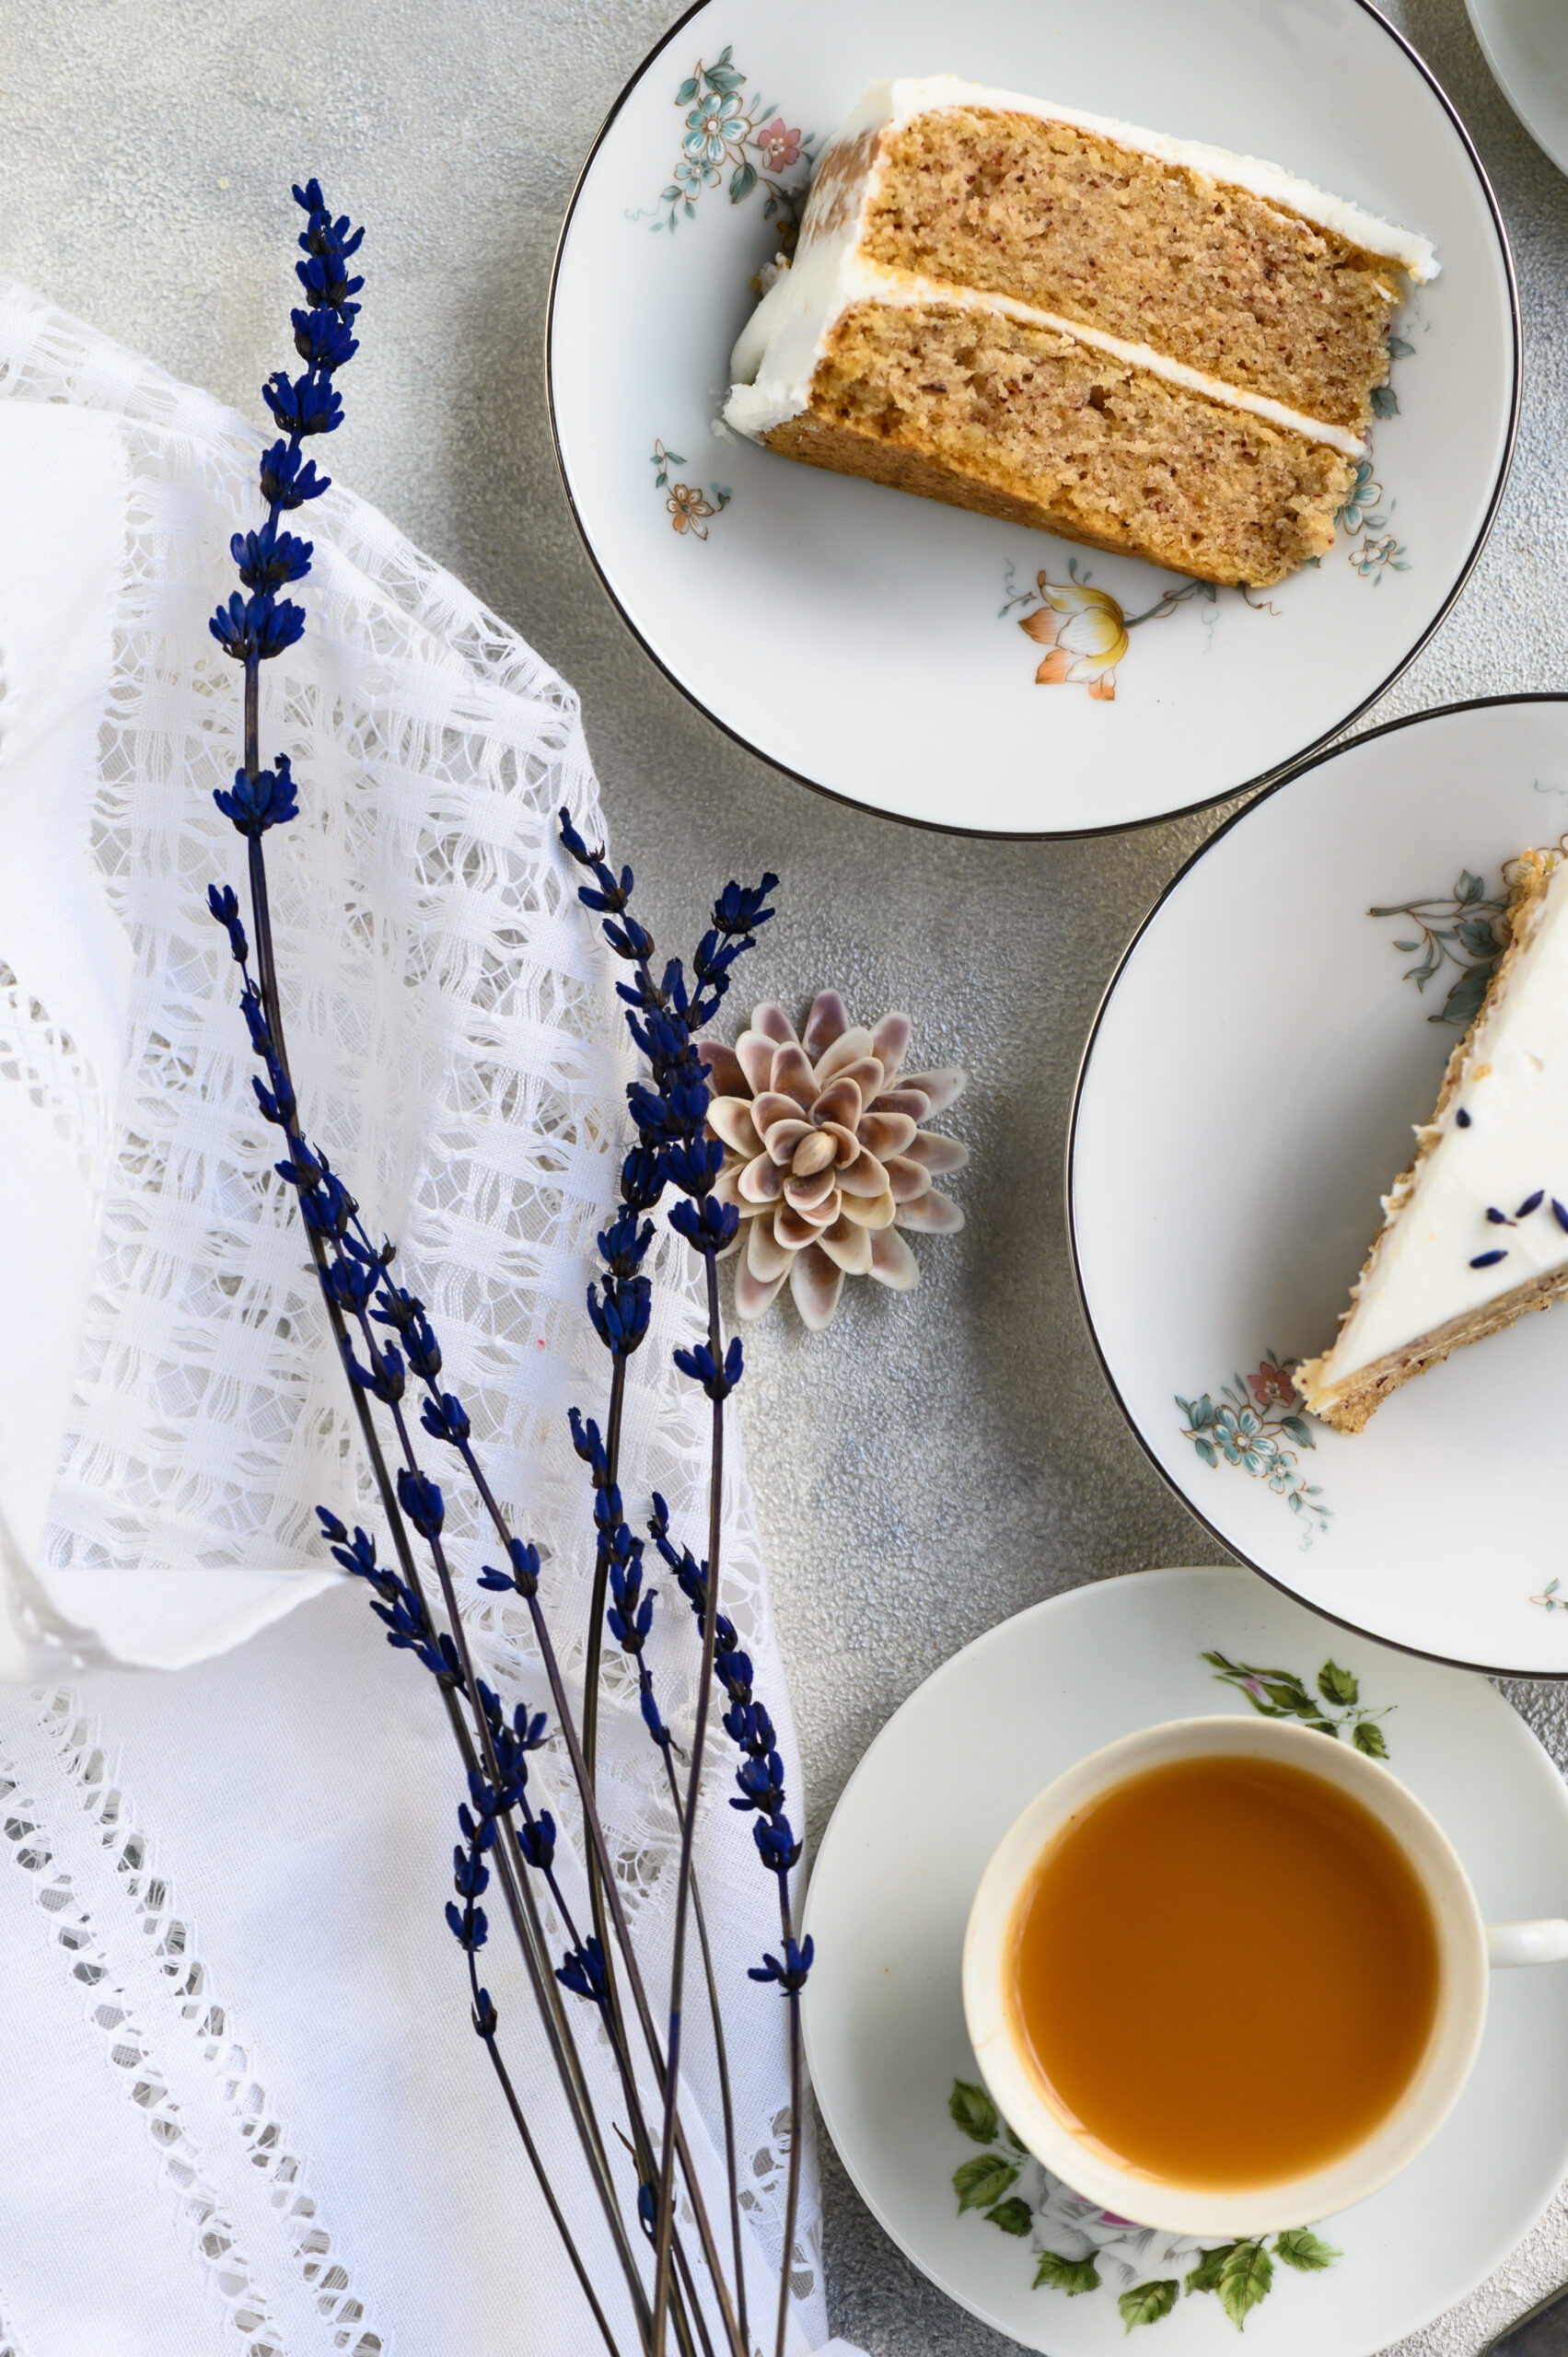
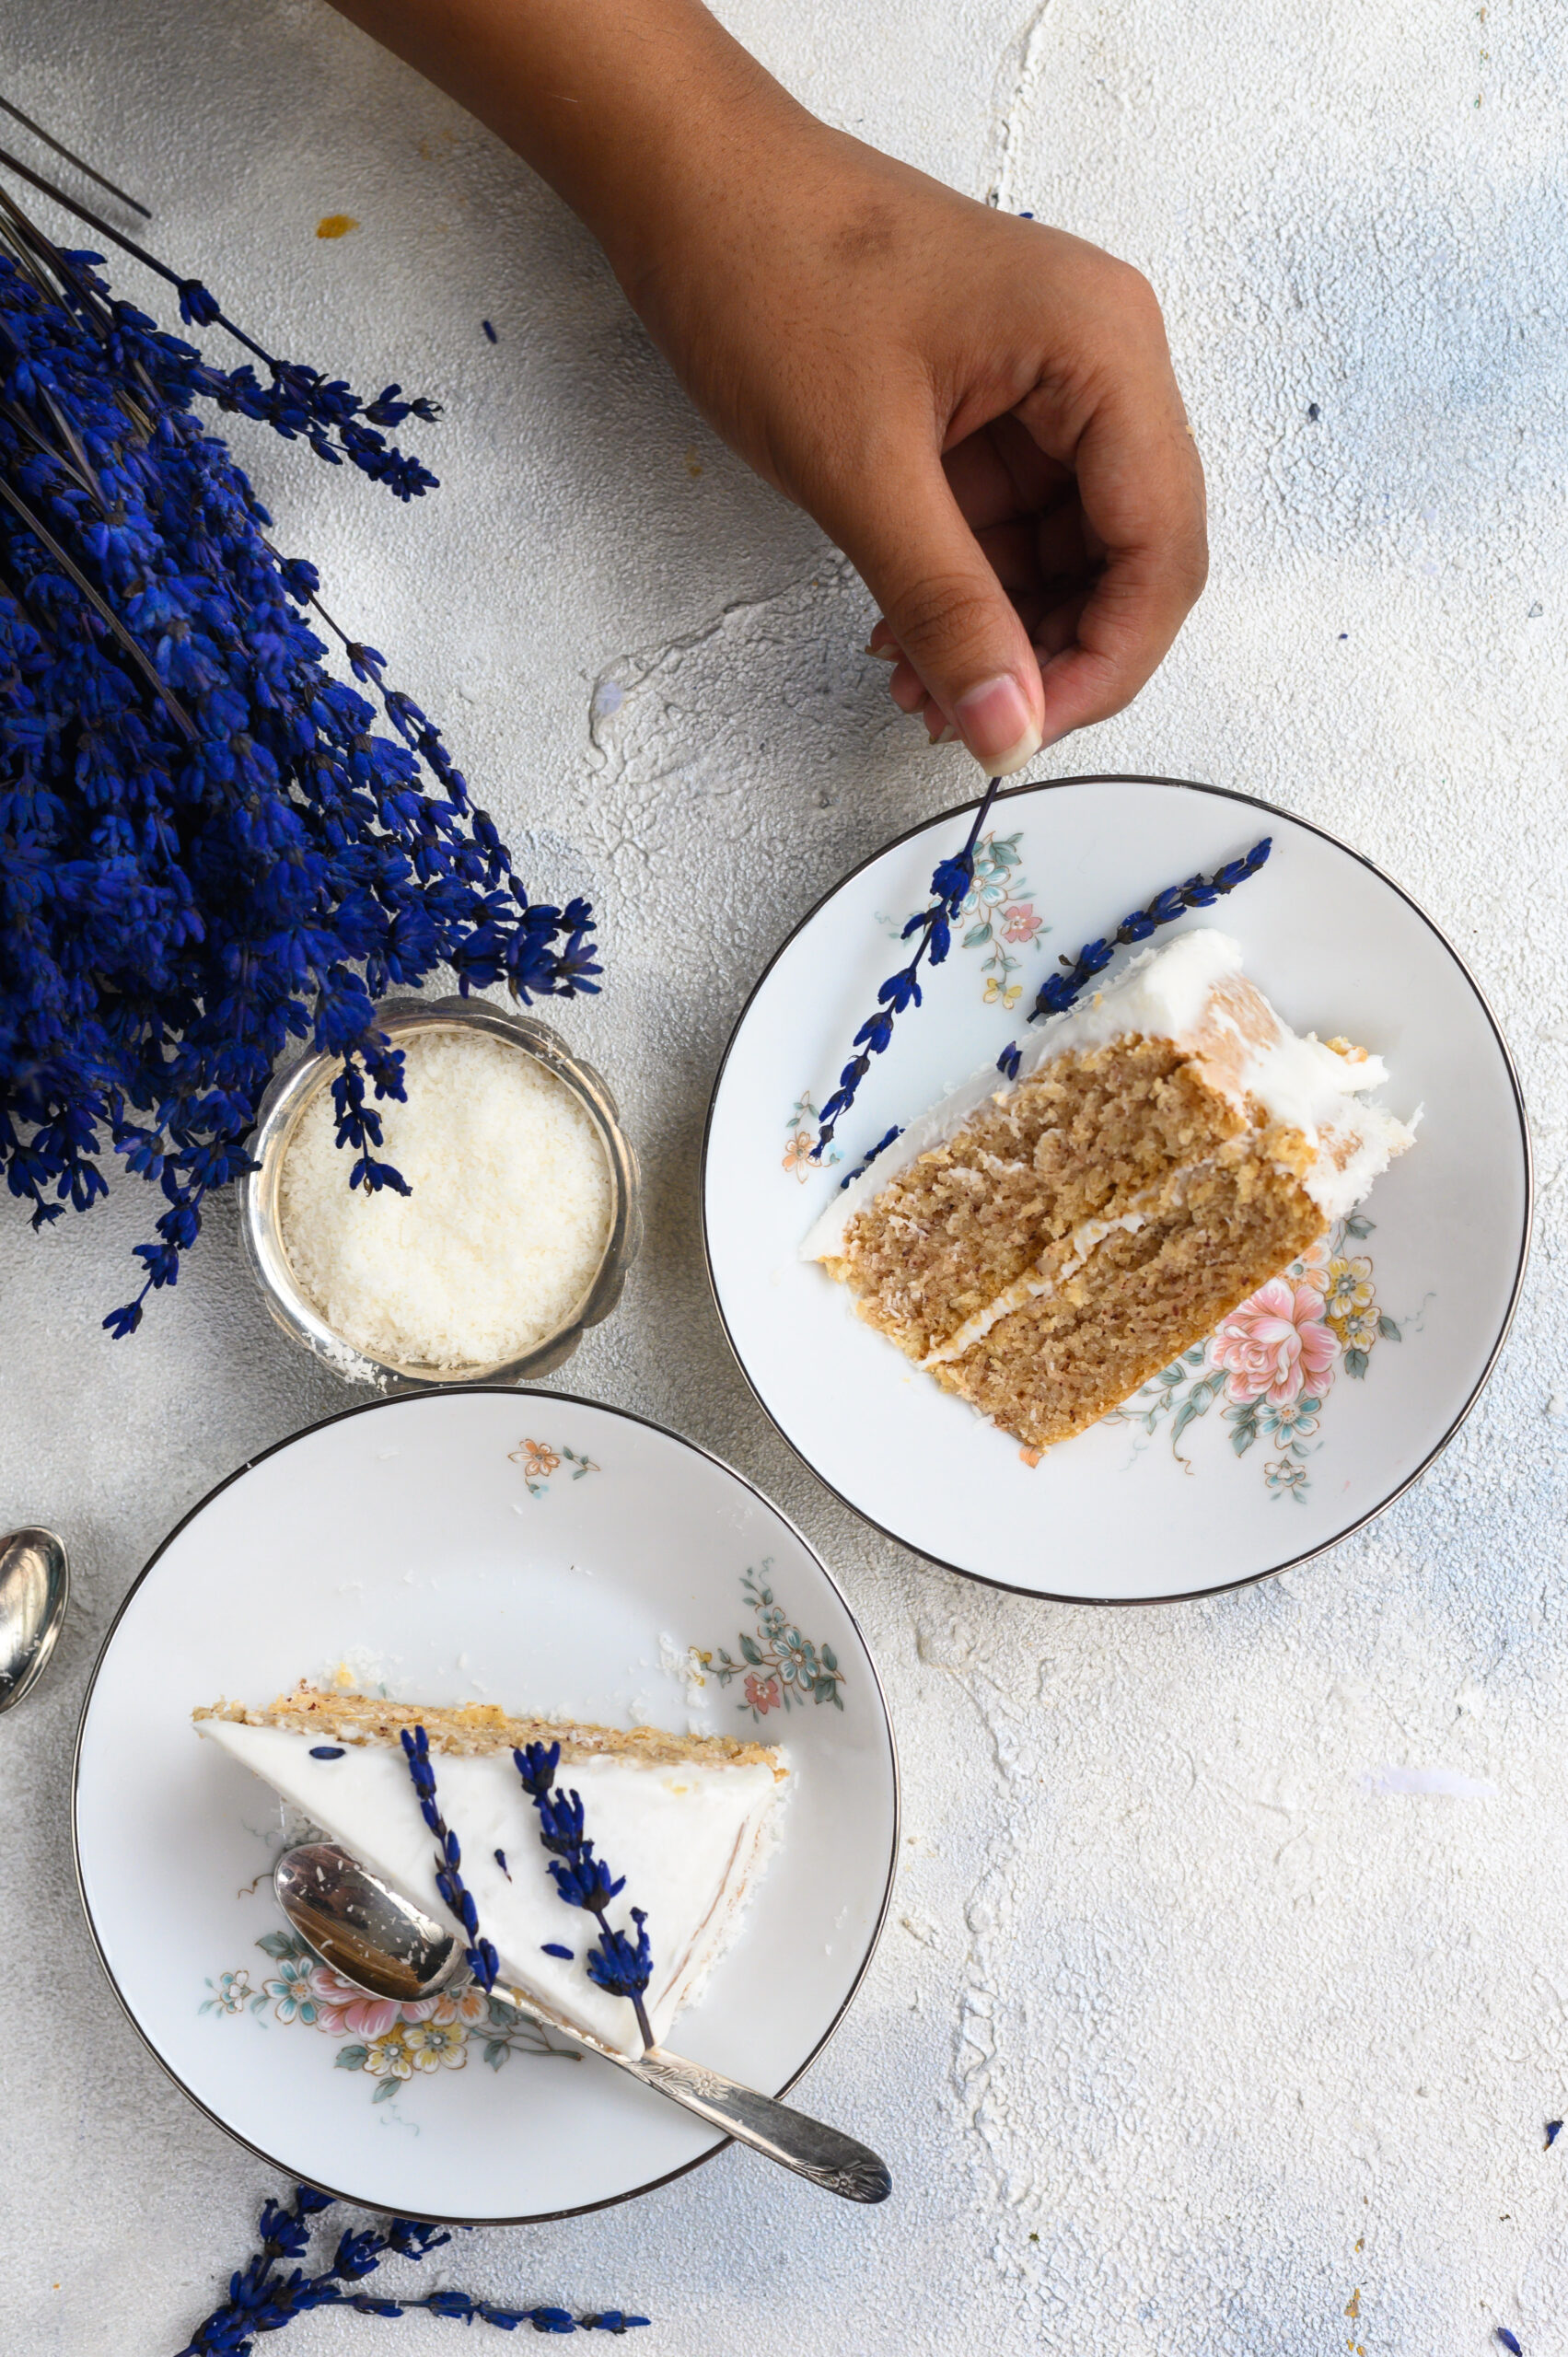
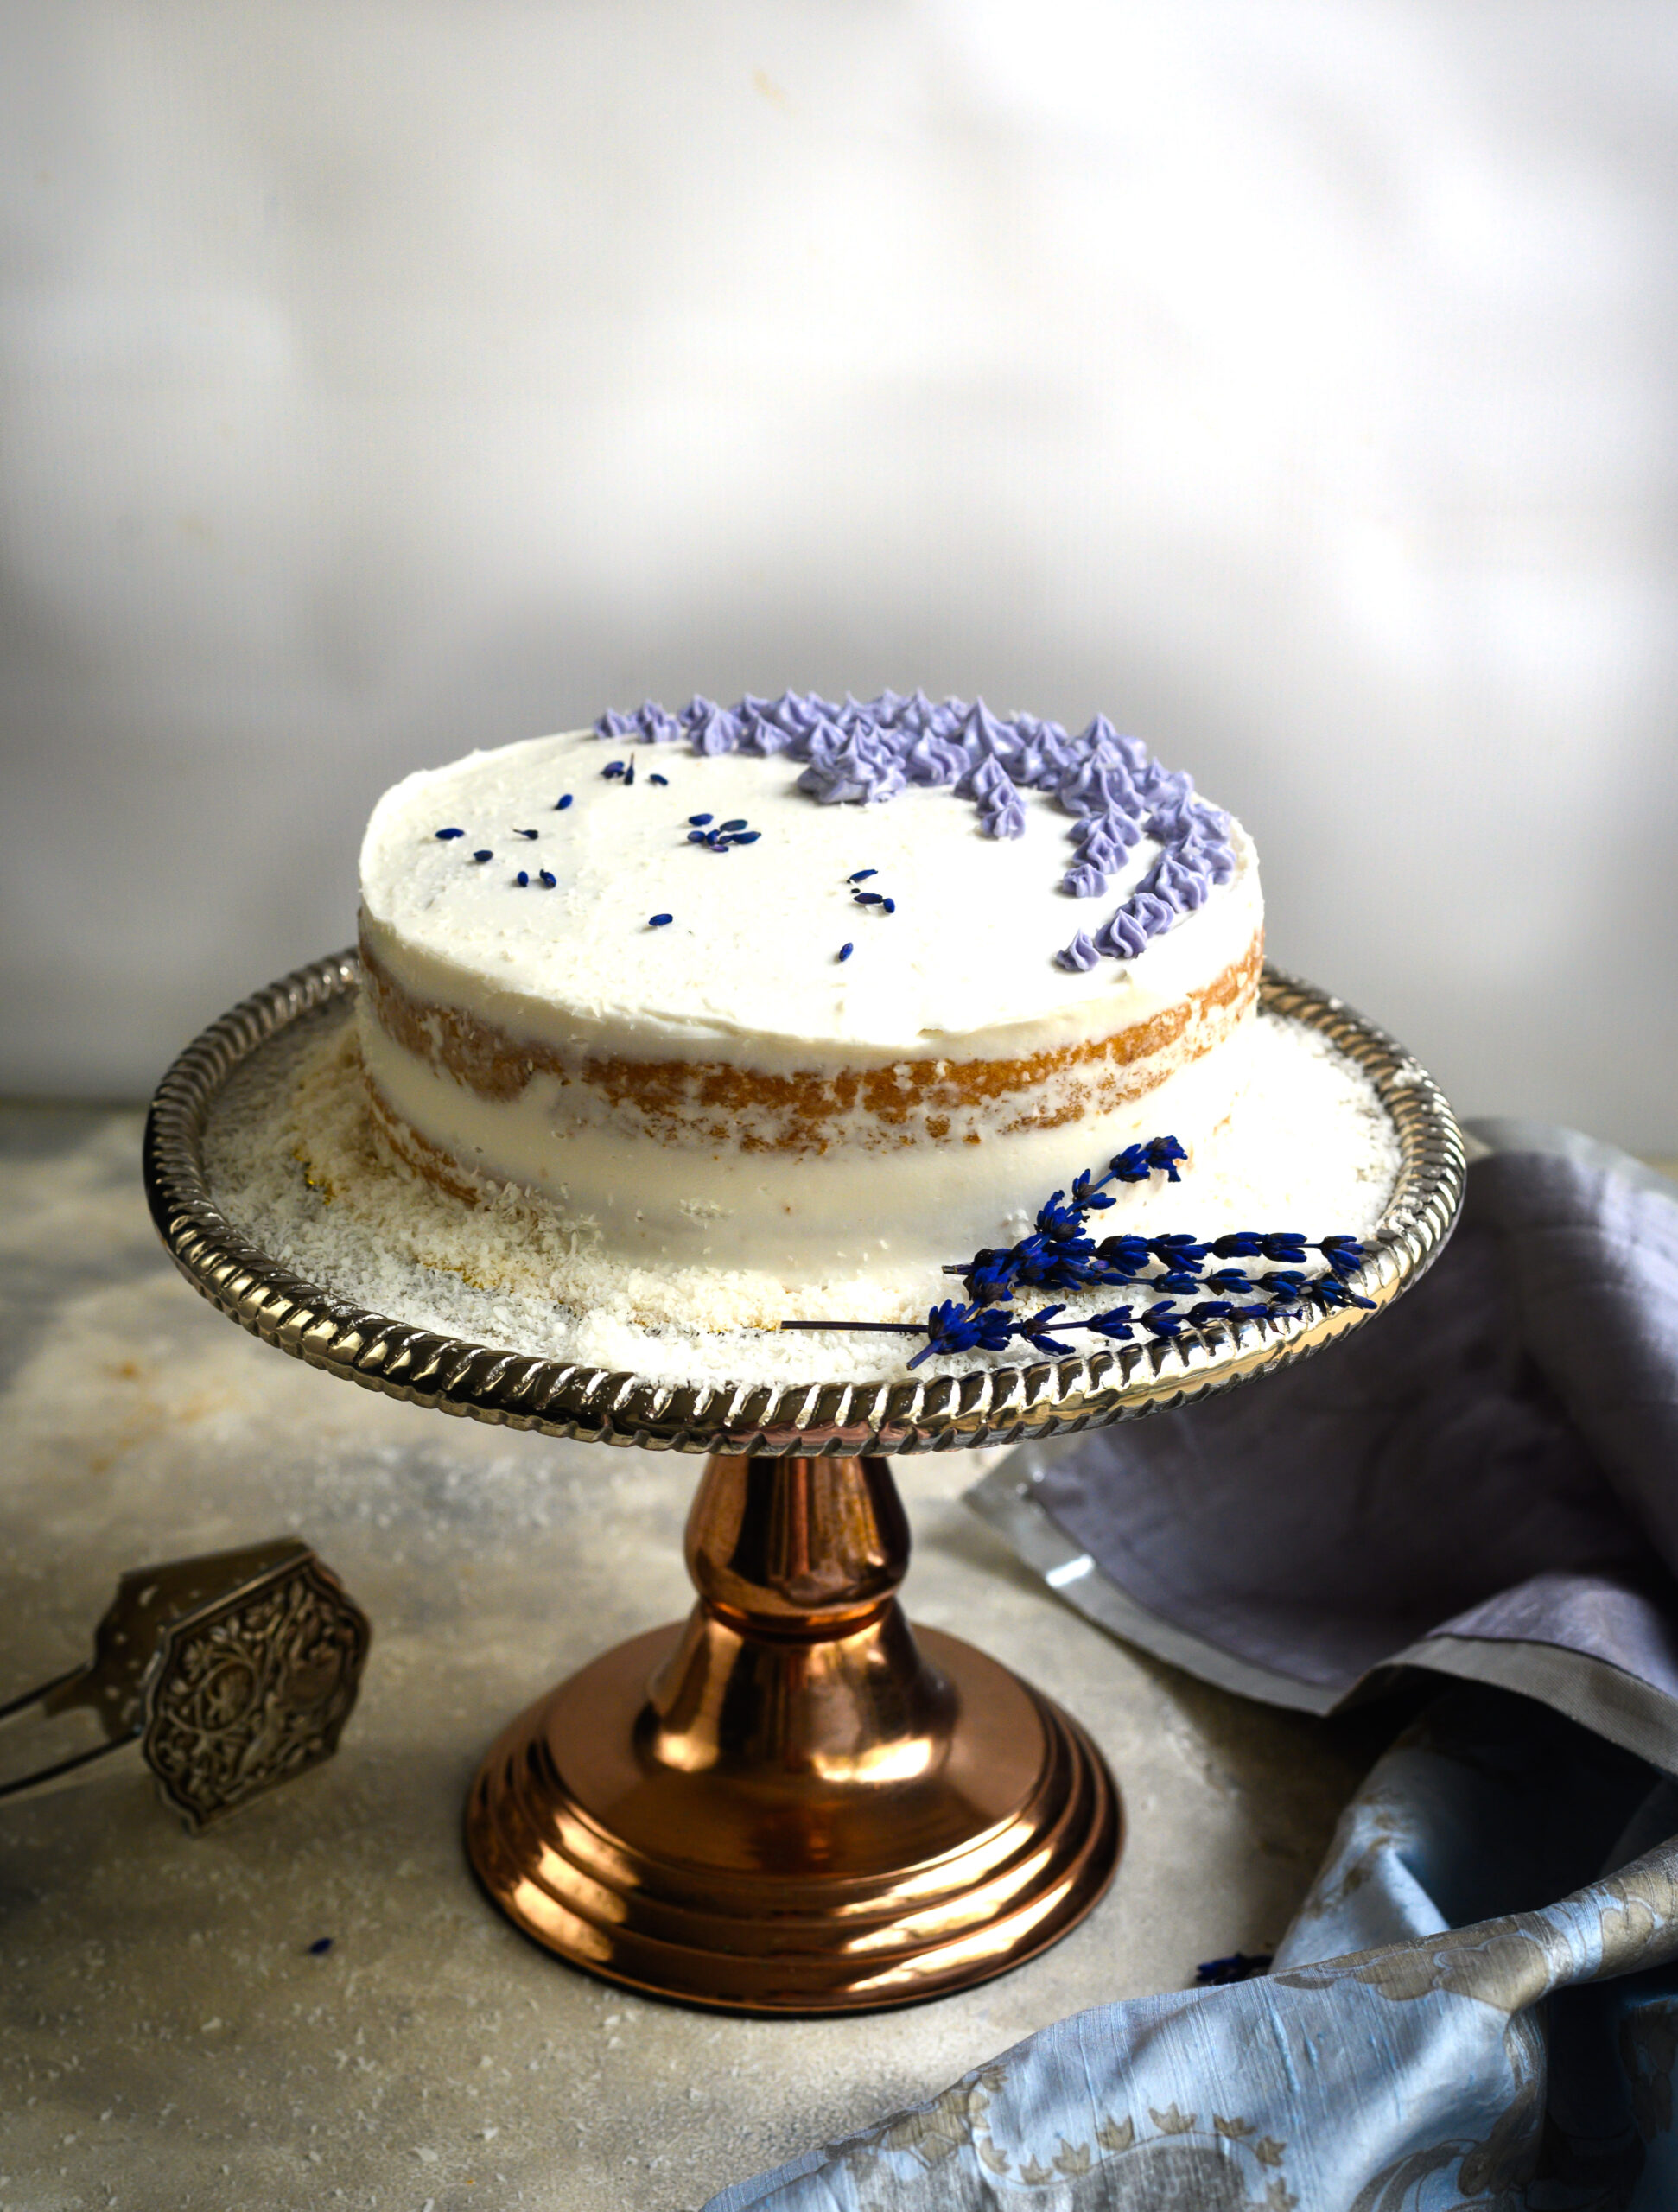
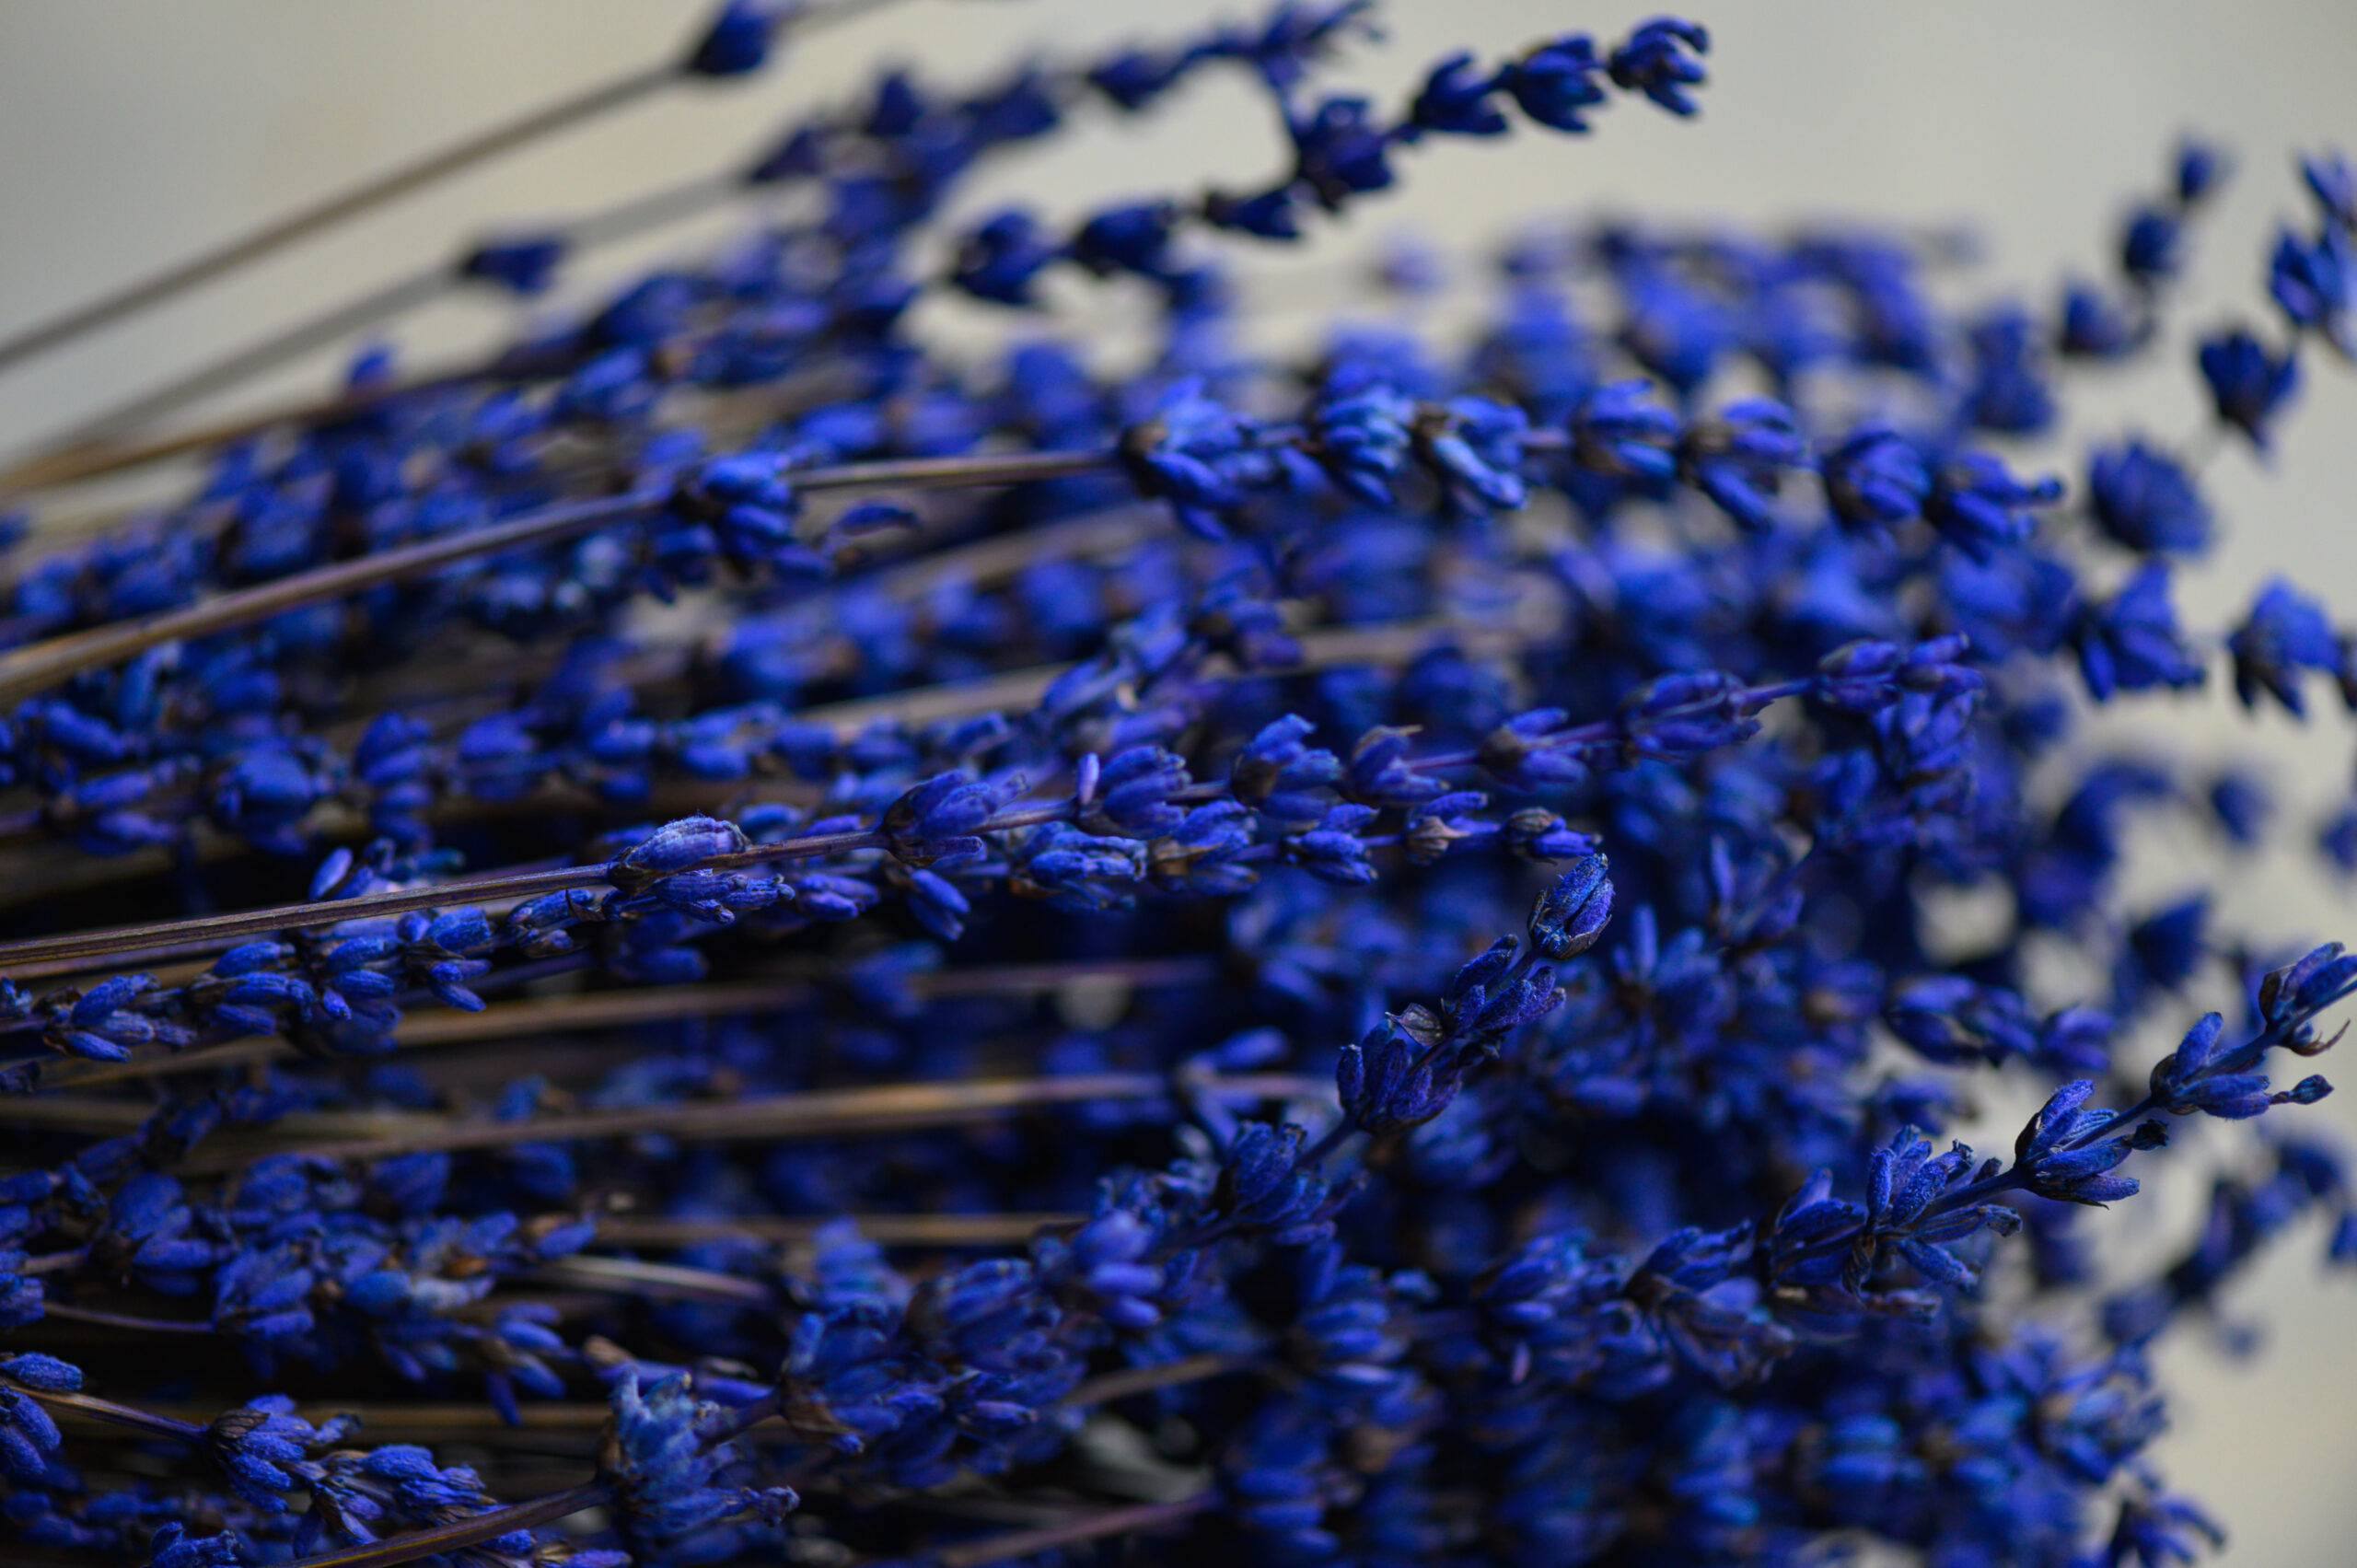
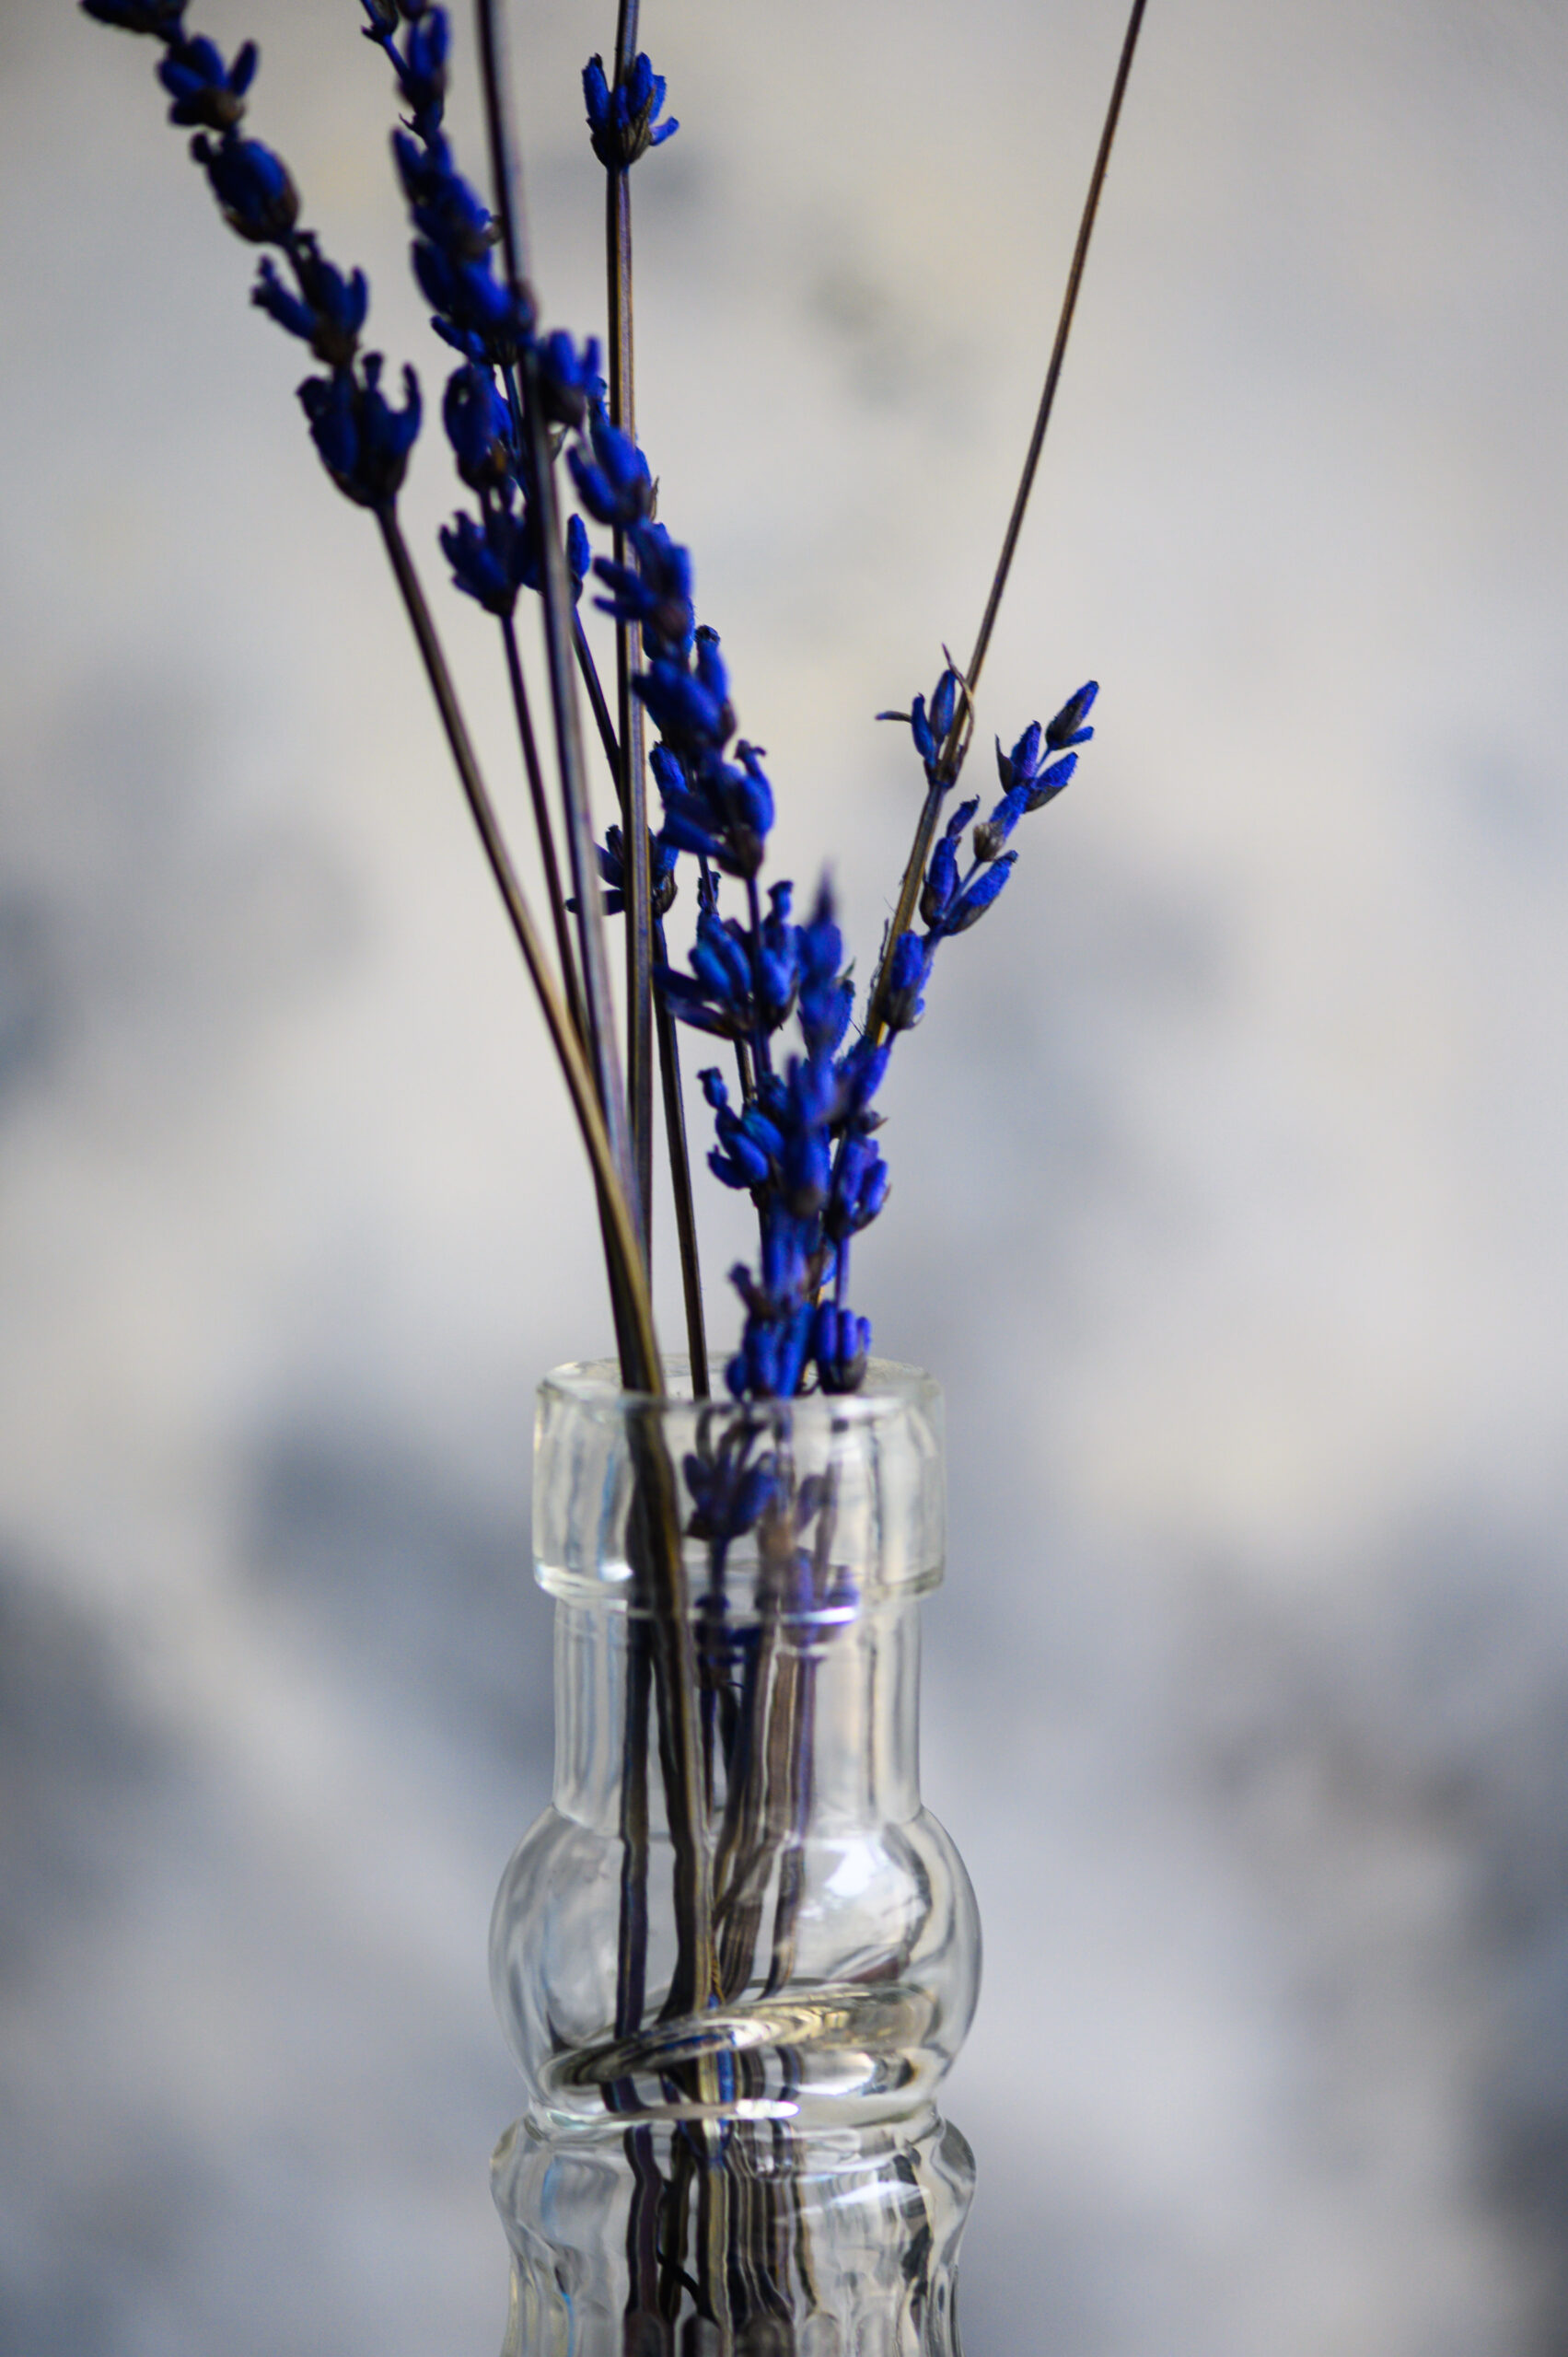
Sitting in one such market not long ago, taking impromptu images on my iPhone camera, my eyes were wandering around looking for those flowers which were dried, so I could carry them back with me. This was when this exquisite batch of lavender caught my attention. Since I brought this beautiful lavender back with me, my entire home is carrying its fragrance and I’d do anything to keep it lasting. If there was a way I could capture its fragrance, I’d easily share it with you. But since I can’t, this vegan lavender cake with coconut icing is the next best thing.

As you may know, lavender is one of the flowers/ingredients that most inspires me, and you may have enjoyed several of my previous recipes featuring it. Some of my experiments have yielded such delights as this lavender shrikand and this vegan lavender panna cotta.

This cake is made for the vegan palette. Veganism is becoming increasingly popular, and rightly so. Among other reasons, the treatment of animals to procure ingredients for non-vegan meals is a big factor as to why people choose it. I am increasingly becoming aware of veganism and trying to include it in my food journey, and you can see several of my recipes here.

Vegan Lavender Cake

Cake:

190 grams flour

30 grams desiccated coconut

200 grams sugar

1 teaspoon baking soda

¼ teaspoon salt

1 cup coconut milk

2 teaspoons vanilla extract

80ml sunflower oil

1 tablespoon apple cider vinegar

½ teaspoon lavender


Icing:

400 grams icing sugar

40 grams vegan butter or margarine

2 teaspoons coconut milk

1 teaspoon vanilla extract


Decoration:

¼ cup desiccated coconut

I’ve talked so often about the pleasure of baking that whenever I share a recipe like this – something from the re:store menu – it makes me happy to know that you can have that same experience of the joy of preparation, not just the satisfaction of the final product!
 

Preheat the oven to 160°C. Grease and dust two 7’ cake tins and line them.

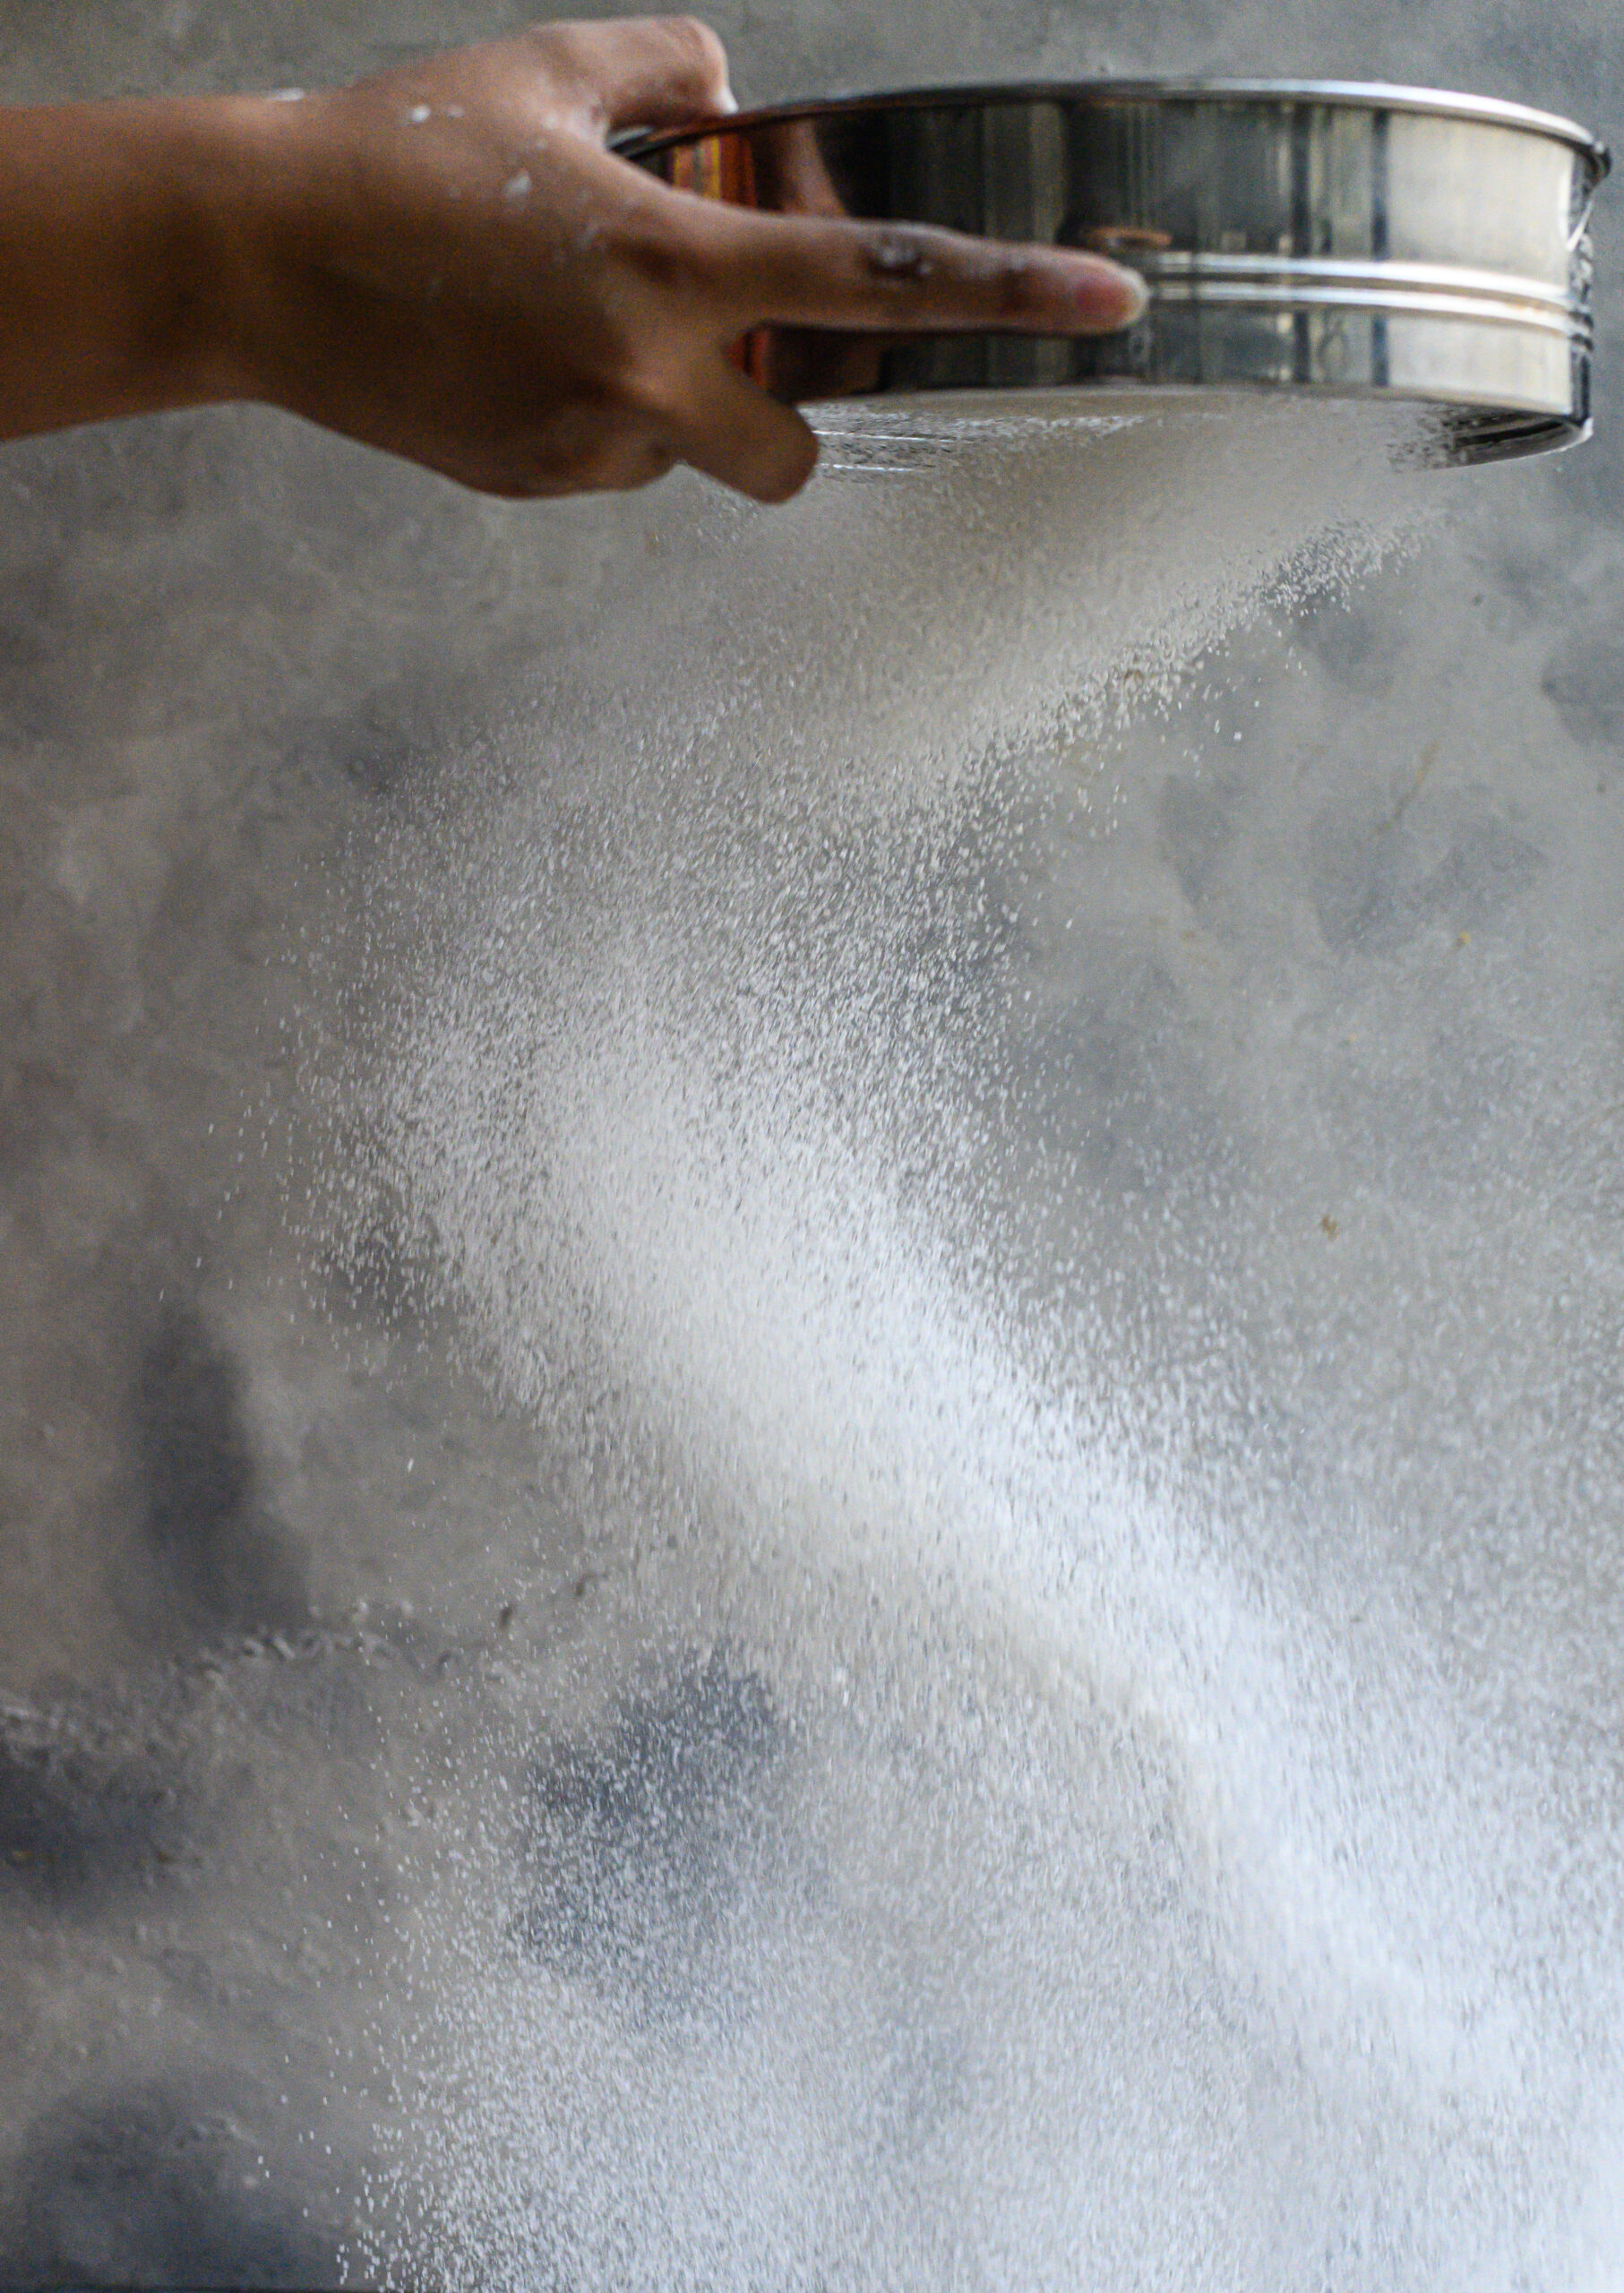
Sift the flour.

Add all the dry ingredients – flour, desiccated coconut, lavender, baking soda and salt – into a bowl and whisk. Now add the sugar. Keep aside.

Now, put all the wet ingredients – coconut milk, oil, vanilla extract and vinegar – in a separate bowl, blend, then add these to the dry mixture.

Whisk the wet and dry ingredients together gently. Once you have a batter, divide it equally between the 2 cake tins.

Bake both tins for approximately 30 minutes or until a tooth pick comes out clean.

Allow to cool for 10 minutes before removing the cakes onto a cooling rack. Once they have cooled completely, they are ready to be decorated with icing. So it’s best to make this as they cool.

This vegan lavender cake is garnished with a coconut milk icing. In a mixer, add the butter, vanilla extract and sugar. Beat on a low speed. Slowly, increase the speed and add the coconut milk carefully. Add only as much as required, and make sure that the mixture is spreadable. Adjust the coconut milk or sugar quantities as required to ensure this.

Place one of the cakes on a base and apply half the icing on top of it. Sprinkle 1 tablespoon of the desiccated coconut, then place the second cake on top of this to form a layer.

Ice the top generously and sprinkle the remaining desiccated coconut. Decorate as desired. A good presentation makes for a tasty cake too. As I always say, the eye tastes before the mouth does, and using attractive serving ware and garnishings can really enhance the experience.

As is most often the case, I decided on this recipe based on the ingredients I had on-hand and how they inspire me. Lavender and coconut were the flavours I chiefly wanted to bring out, and vanilla is of course a baker’s best friend. Together, for me they evoke the way it feels to sit at a café and watch a flower market being set up. When you try out this recipe, please let me know what these scents and tastes evoke for you!

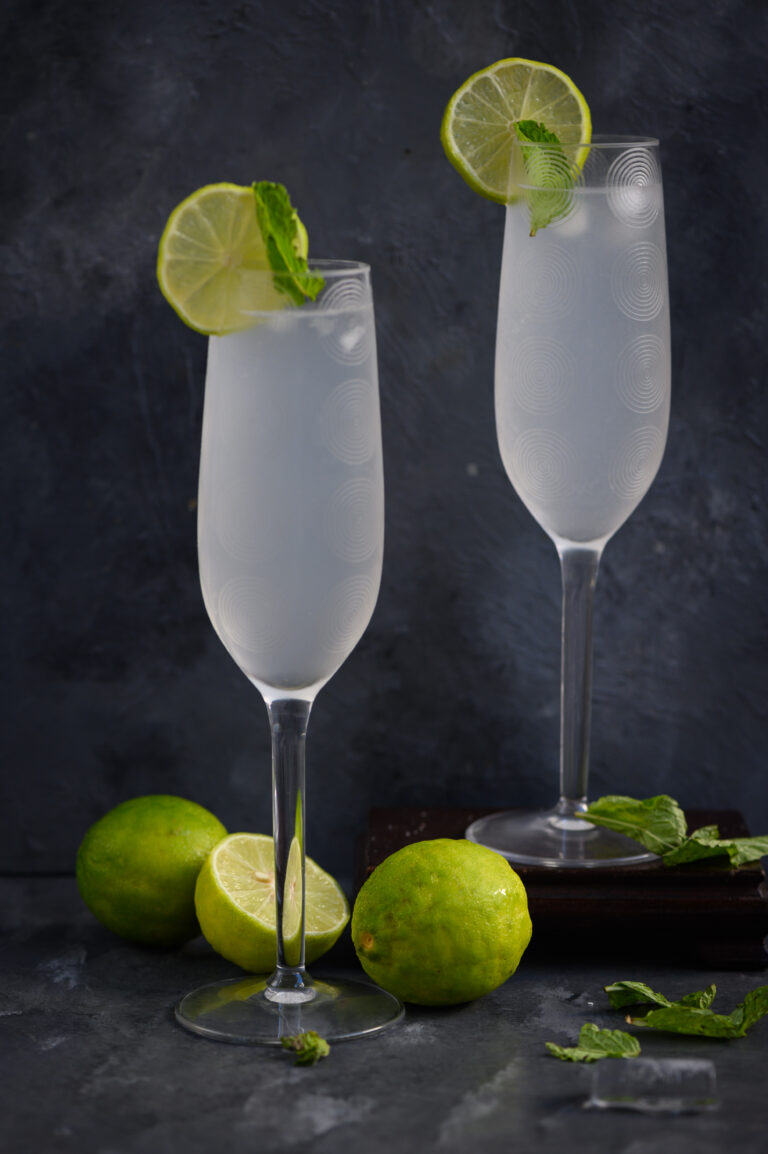
With the summer being as harsh as it is, keeping hydrated should be at the top of our list of nutrition priorities. While water goes a long way, imbibing different beverages with beneficial properties both gives us our required quota, and also keeps things creative in the kitchen! In my quest for new recipes, I often find myself turning to older ones, especially ones I took for granted while growing up. This barley lime drink is one such.

I’m a great believer in “grandmother’s remedies”, those old forms of healing that some people just have a great sense for. My mother always just knew what was good for us. She could simply look at an ingredient and know whether it was cooling or heating, or what its healing uses were. Her intuition was similar to the system of Ayurveda, which uses as one of its main principles the idea that some foods are cooling for the body, and some are heating.

During the summer months, we often drank barley lime. I later learned that one reason for this was because we used to run around climbing the neighbours’ trees, getting our knees scraped, plucking and eating the mangoes. Mangoes are famous for having a heating effect on the body, so barley lime was served to counter and balance this, since our mother knew we were having mangoes in excess every summer! You may be interested to know that raw mango, on the contrary, is cooling. Which is why it was the star of this post a couple of summers ago.

The goodness of barley was something I never thought about, except when I remembered how often our mother would feed my sister and I glasses of barley lime, even beyond the summers. The two of us were considered weaklings. Because she was worried that no one would marry us eventually, sometimes it was like our mother’s goal in life was to fatten us up. Interestingly, barley is actually good for weight loss. The intent behind this drink was good health, translated simply into putting on weight for scrawny kids, when in fact what it does is to provide a range of impressive benefits. These include: lowering cholesterol, balancing blood sugar and gut bacteria and helping to heal asthma and anaemia and numerous other common conditions (cue: “weaklings!”). Because I work so often with millets and organic produce, it was no surprise to learn about the bevy of benefits barley gives us. Barley is a cereal, and was one of the first domesticated grains, with a history that can be traced to the Nile region. North and Northwest India are huge producers of it, and it is known as “jau” in Hindi.

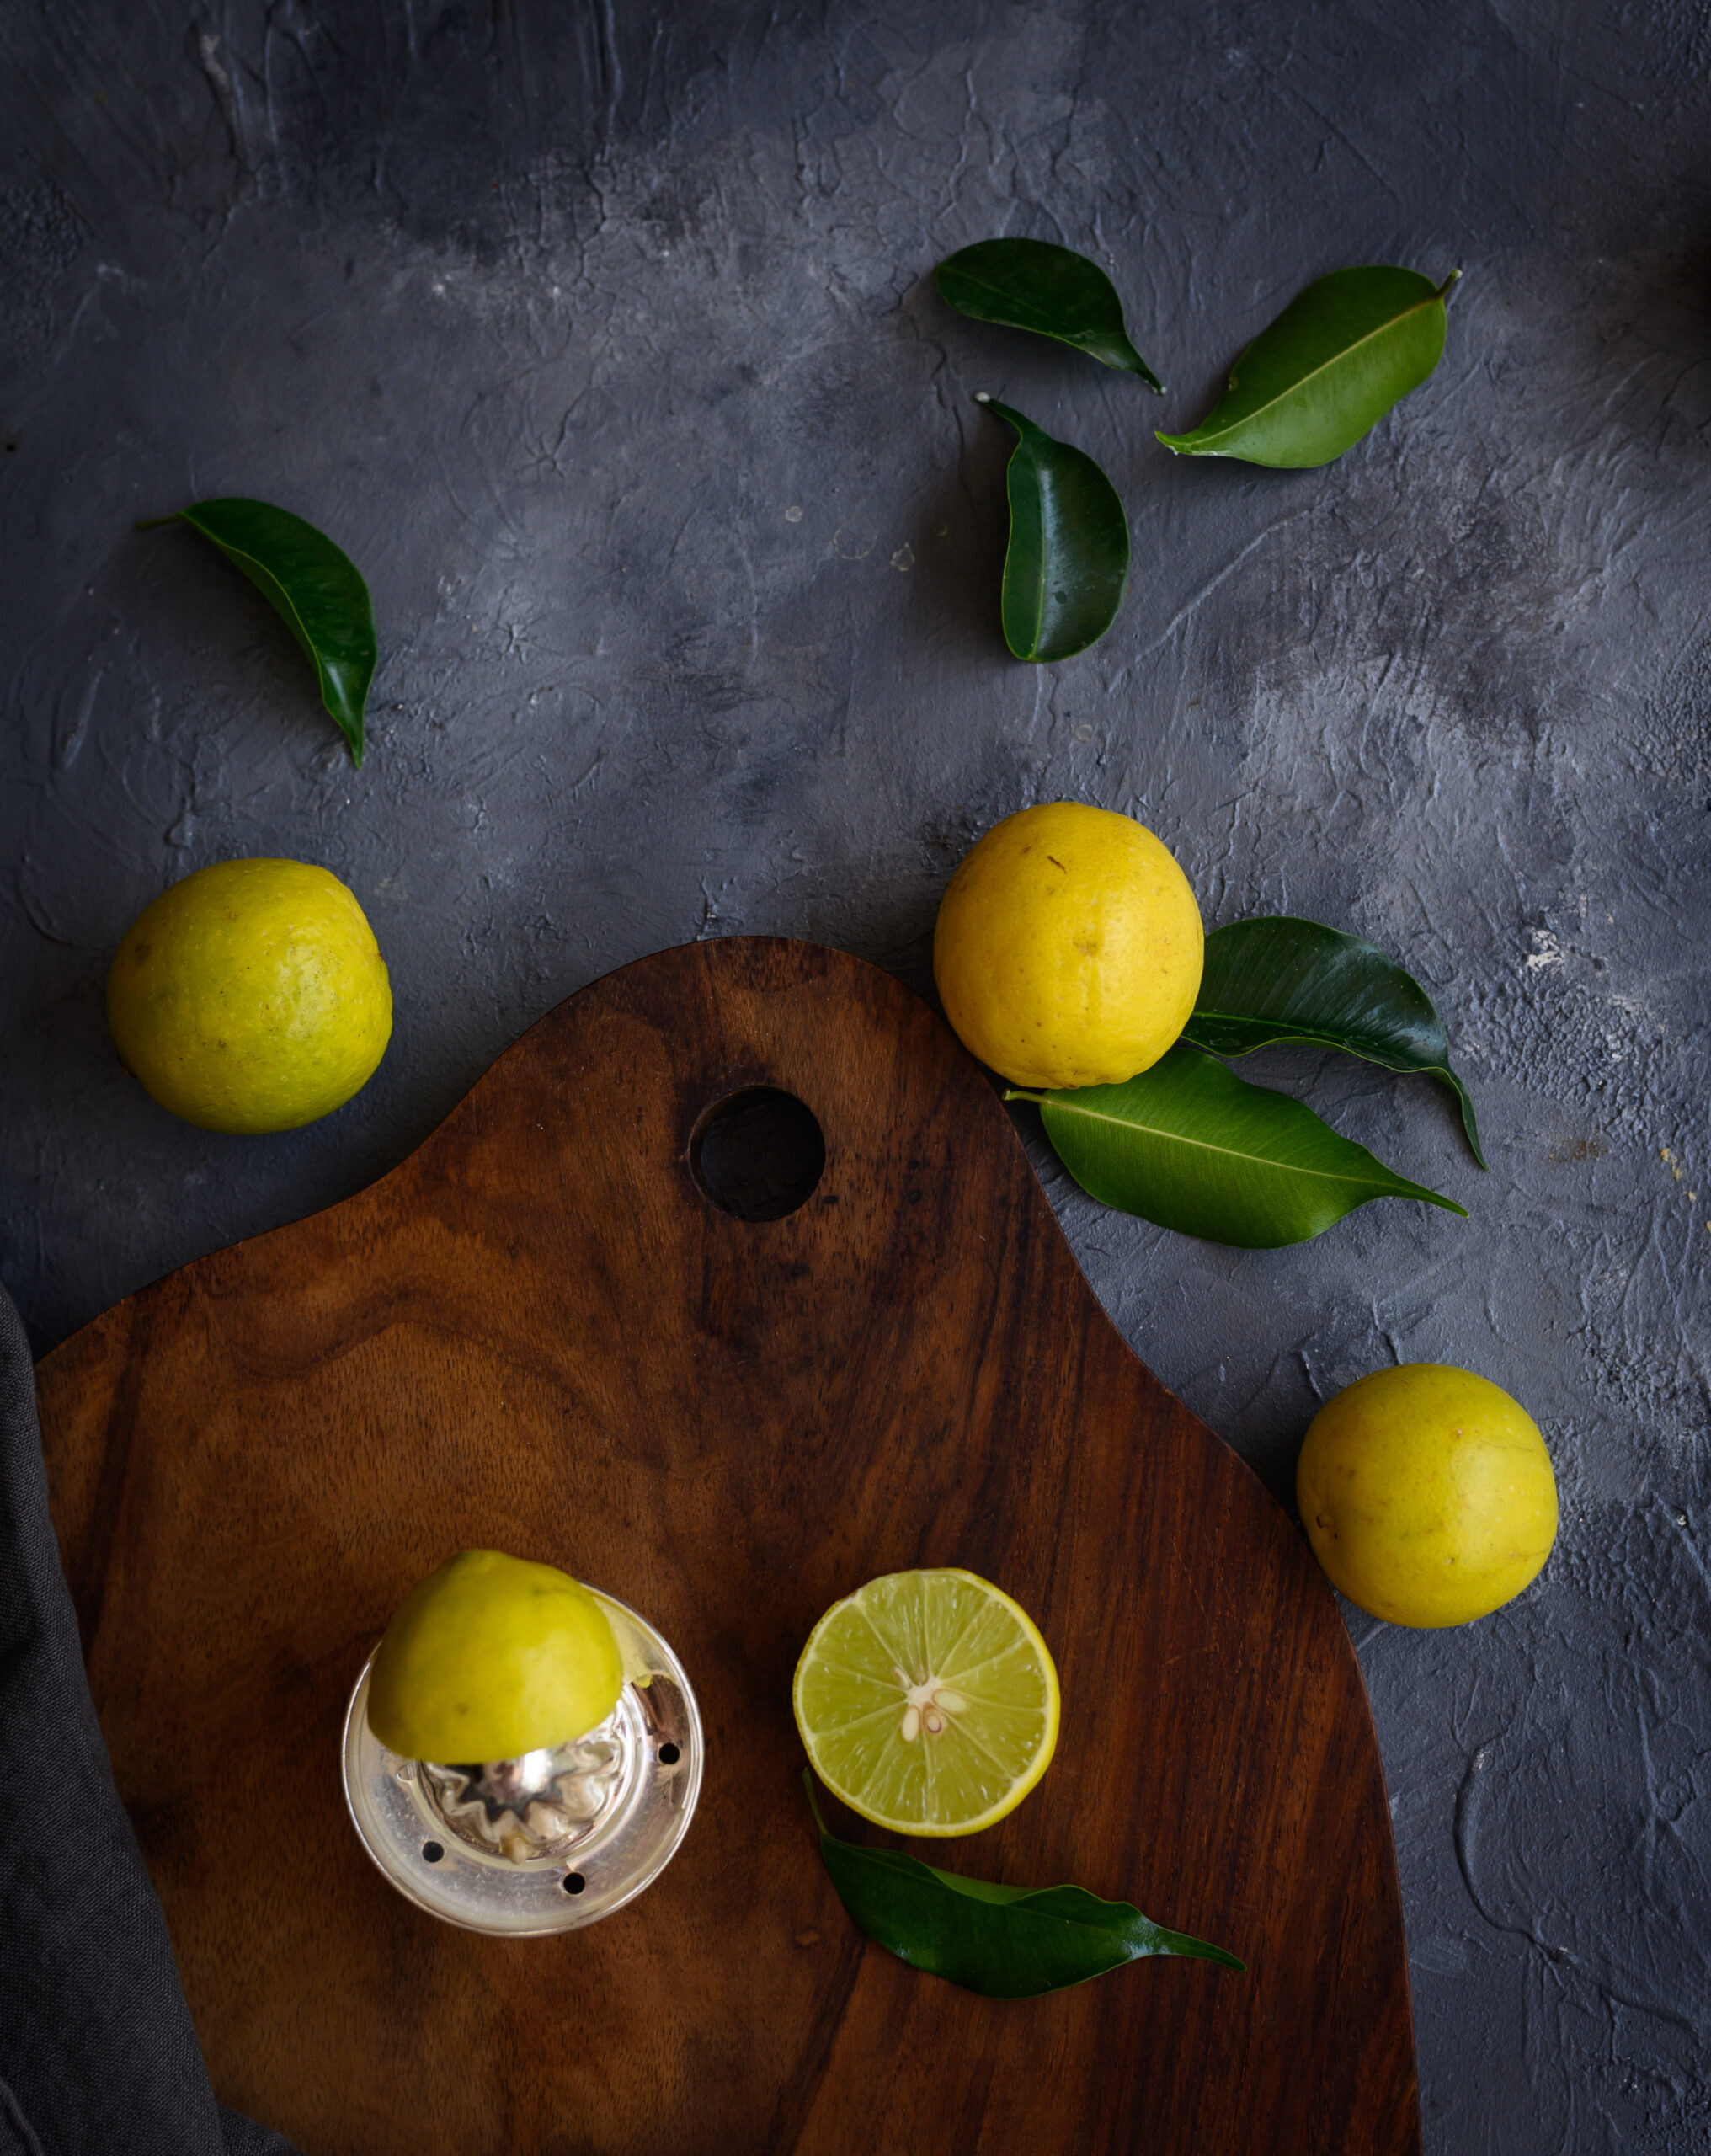
The other chief ingredient in this drink is the wonderfully versatile citrus fruit known as the lime. While a barley lemon drink is what you may be familiar with in many parts of the world, here in South India we usually reach for the ubiquitous lime as a substitute for all recipes that call for lemon. So much so that we often call the fruit itself “lemon”! Lime is a vital part of our cuisines, and also important in religious ceremonies. It has a powerful tangy flavour as well as a pleasing aroma, which influence any dish it’s used in. Lime is very good for digestion, thanks to its high acidity, and it complements barley’s beneficial properties such as improved respiratory function and weight management.

Both barley water and lime water are considered easily affordable, nutrient-rich beverages. So imagine what a super-boost combining the two provides. In these months of constant dehydration, a glass of barley lime makes me feel so thankful for my mother’s wisdom in the kitchen, which has kept my energy going to this day.

Barley Lime Drink

(Yield: 4-5 glasses)


½ cup barley

2 teaspoons sugar or honey

A pinch of salt

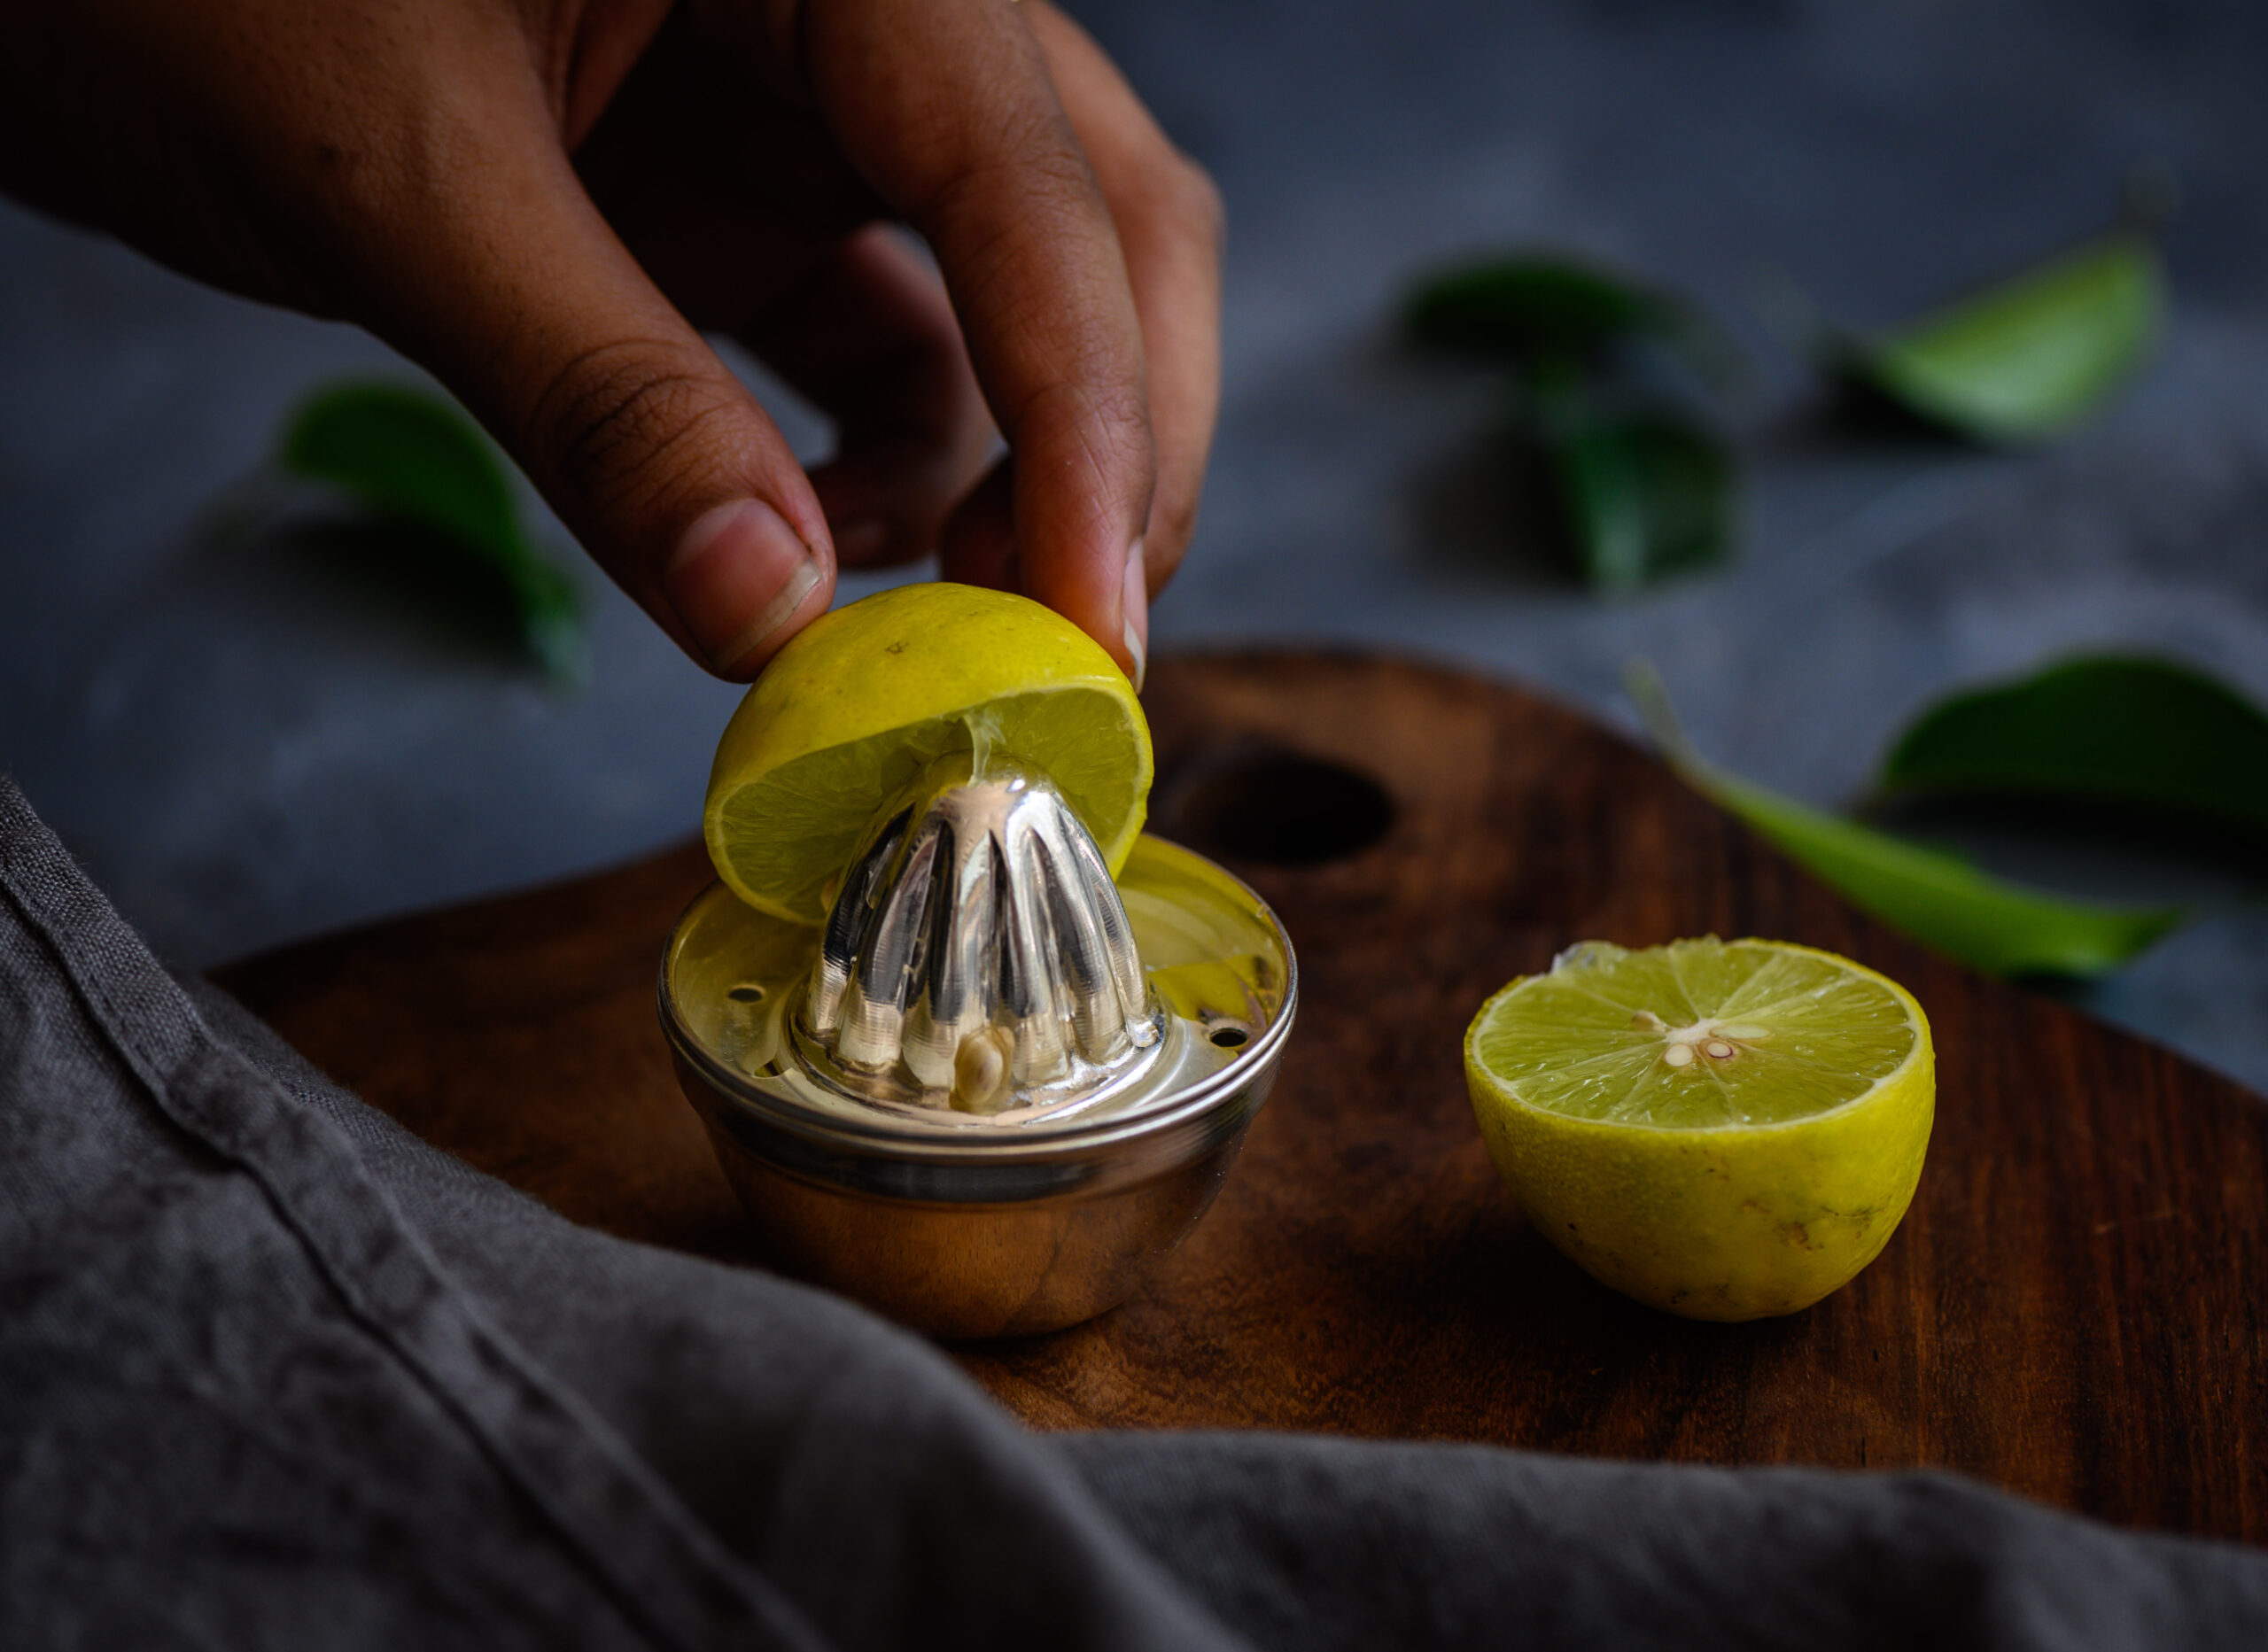
2 tablespoons lime juice

A few sprigs mint leaves


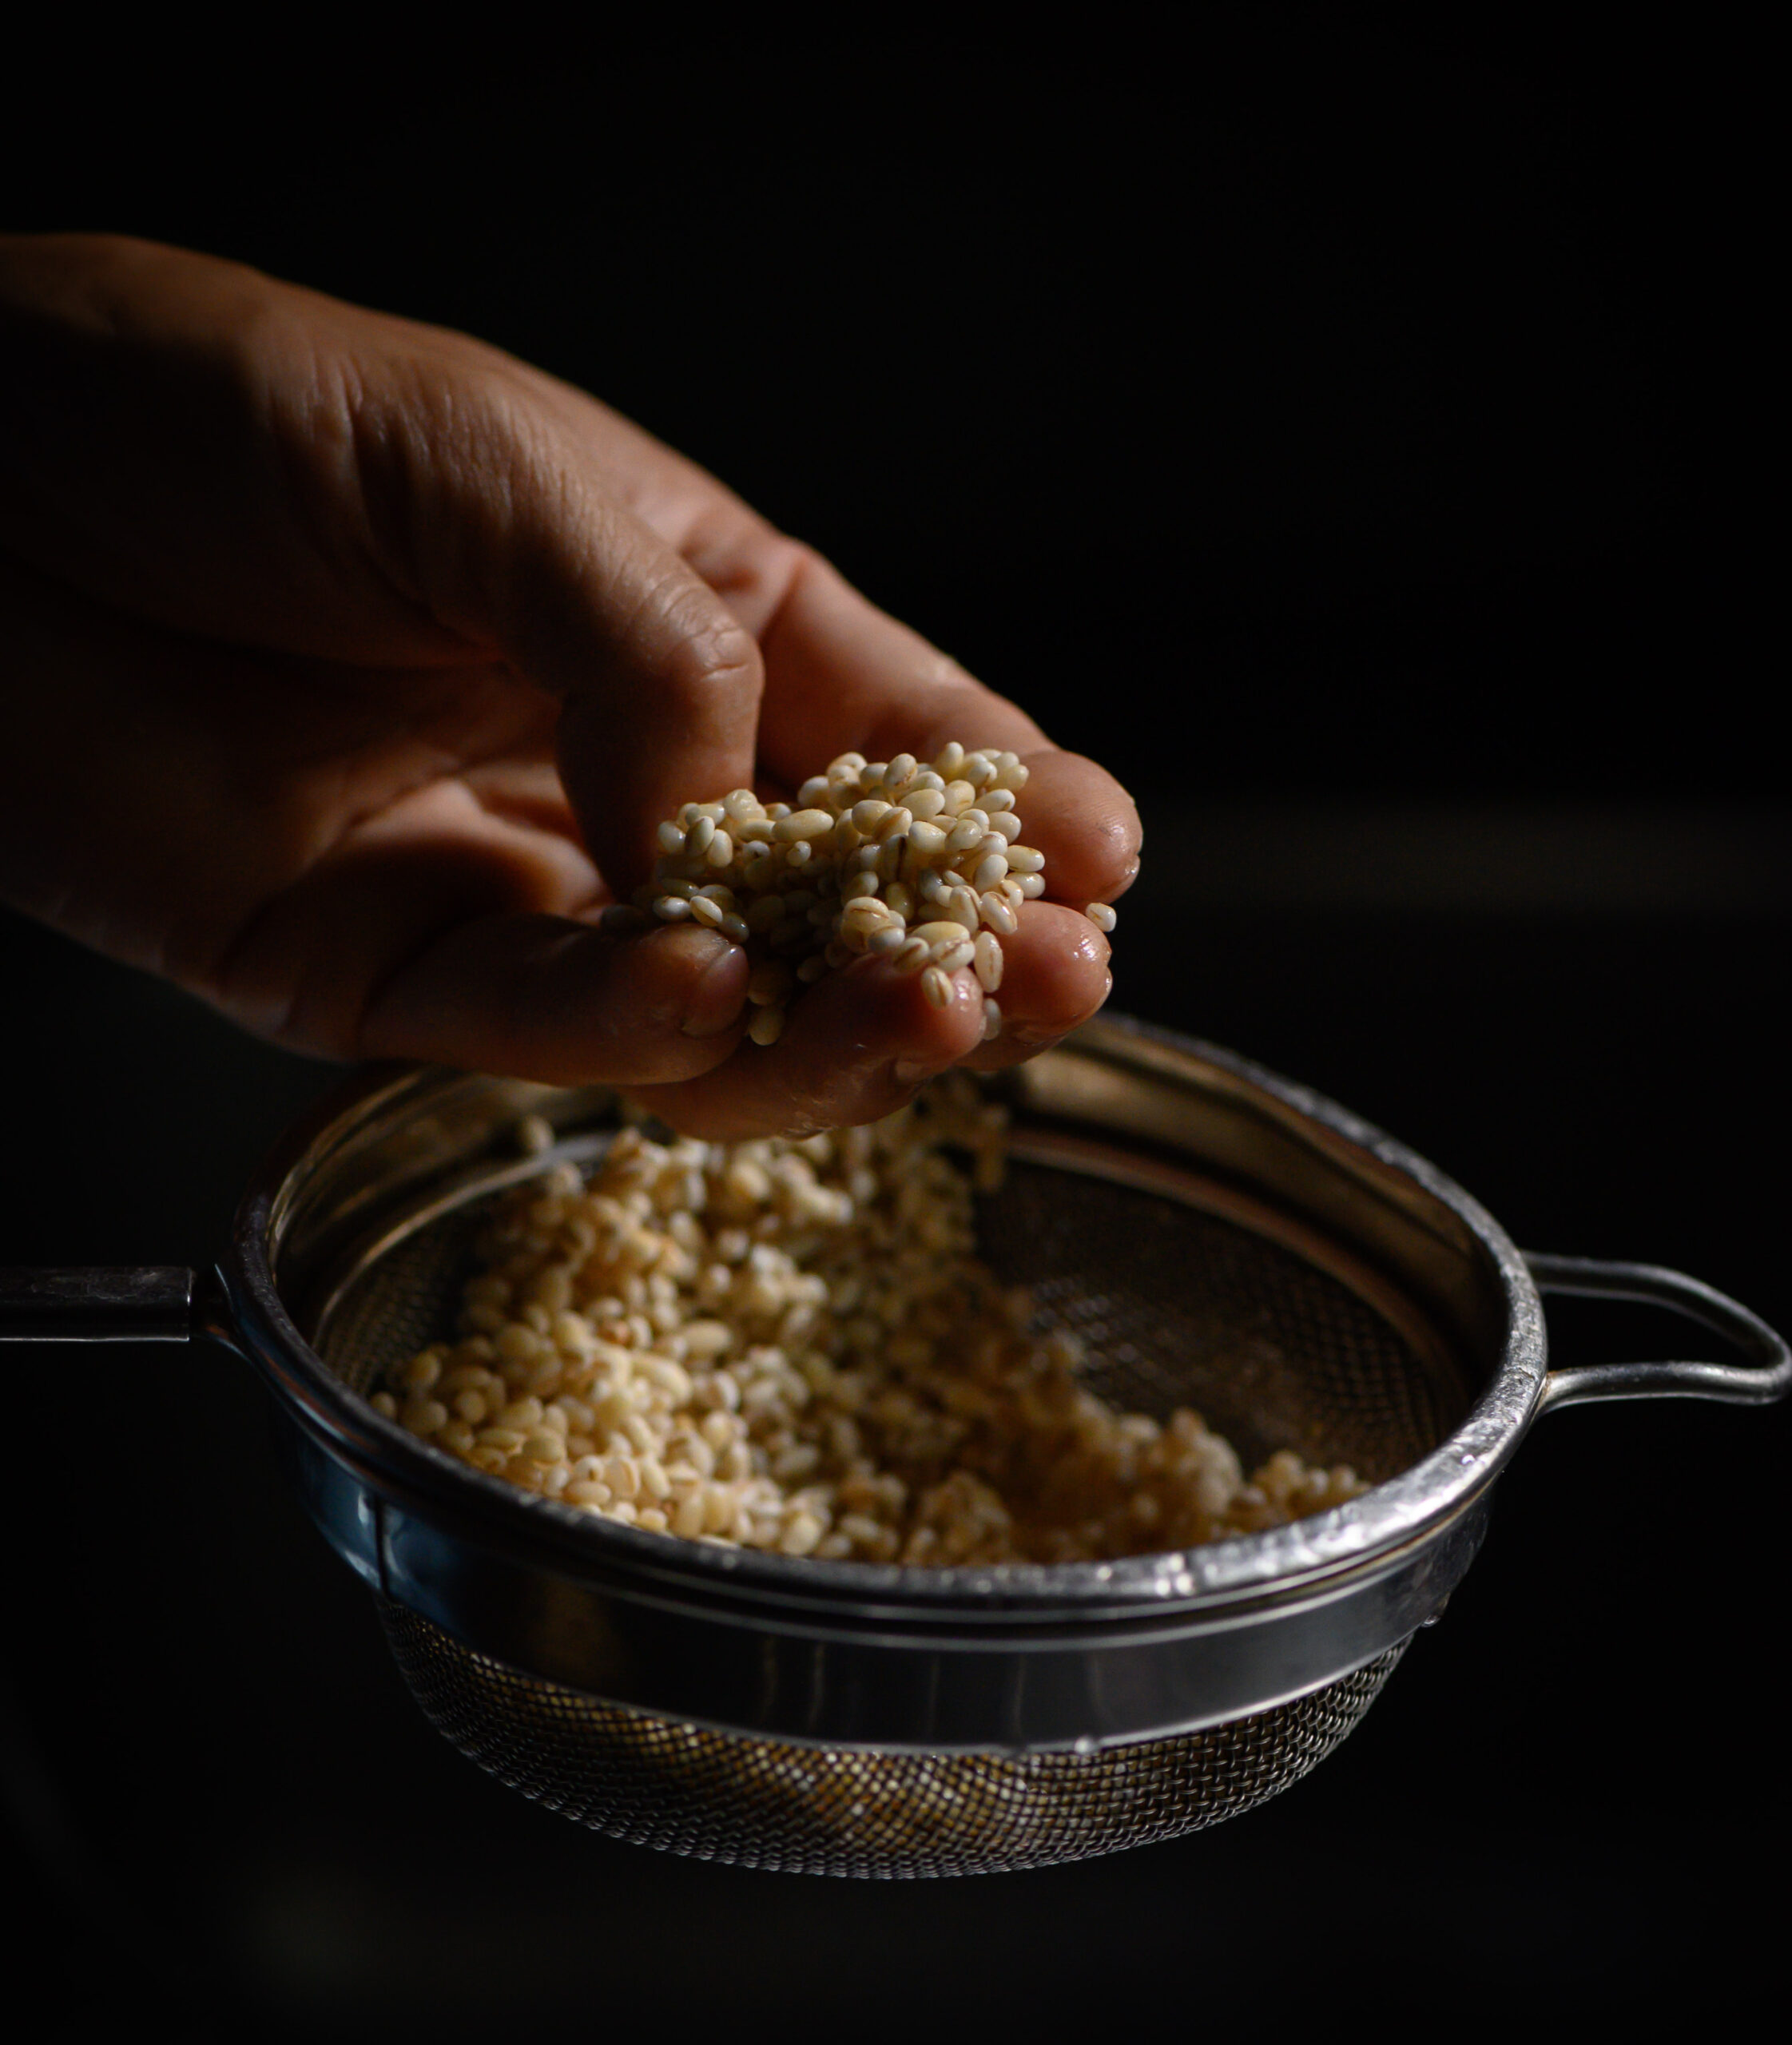
Pick and rinse the barley. Place it in a pot and add 6 cups of water. Allow to boil for about 12 minutes. Strain the water and discard the barley.

Allow the barley water to cool, and simply add the remaining ingredients. You may adjust the quantity of the ingredients to suit your taste. If you prefer it to be sweeter, you may add more sugar or increase the quantity of honey.

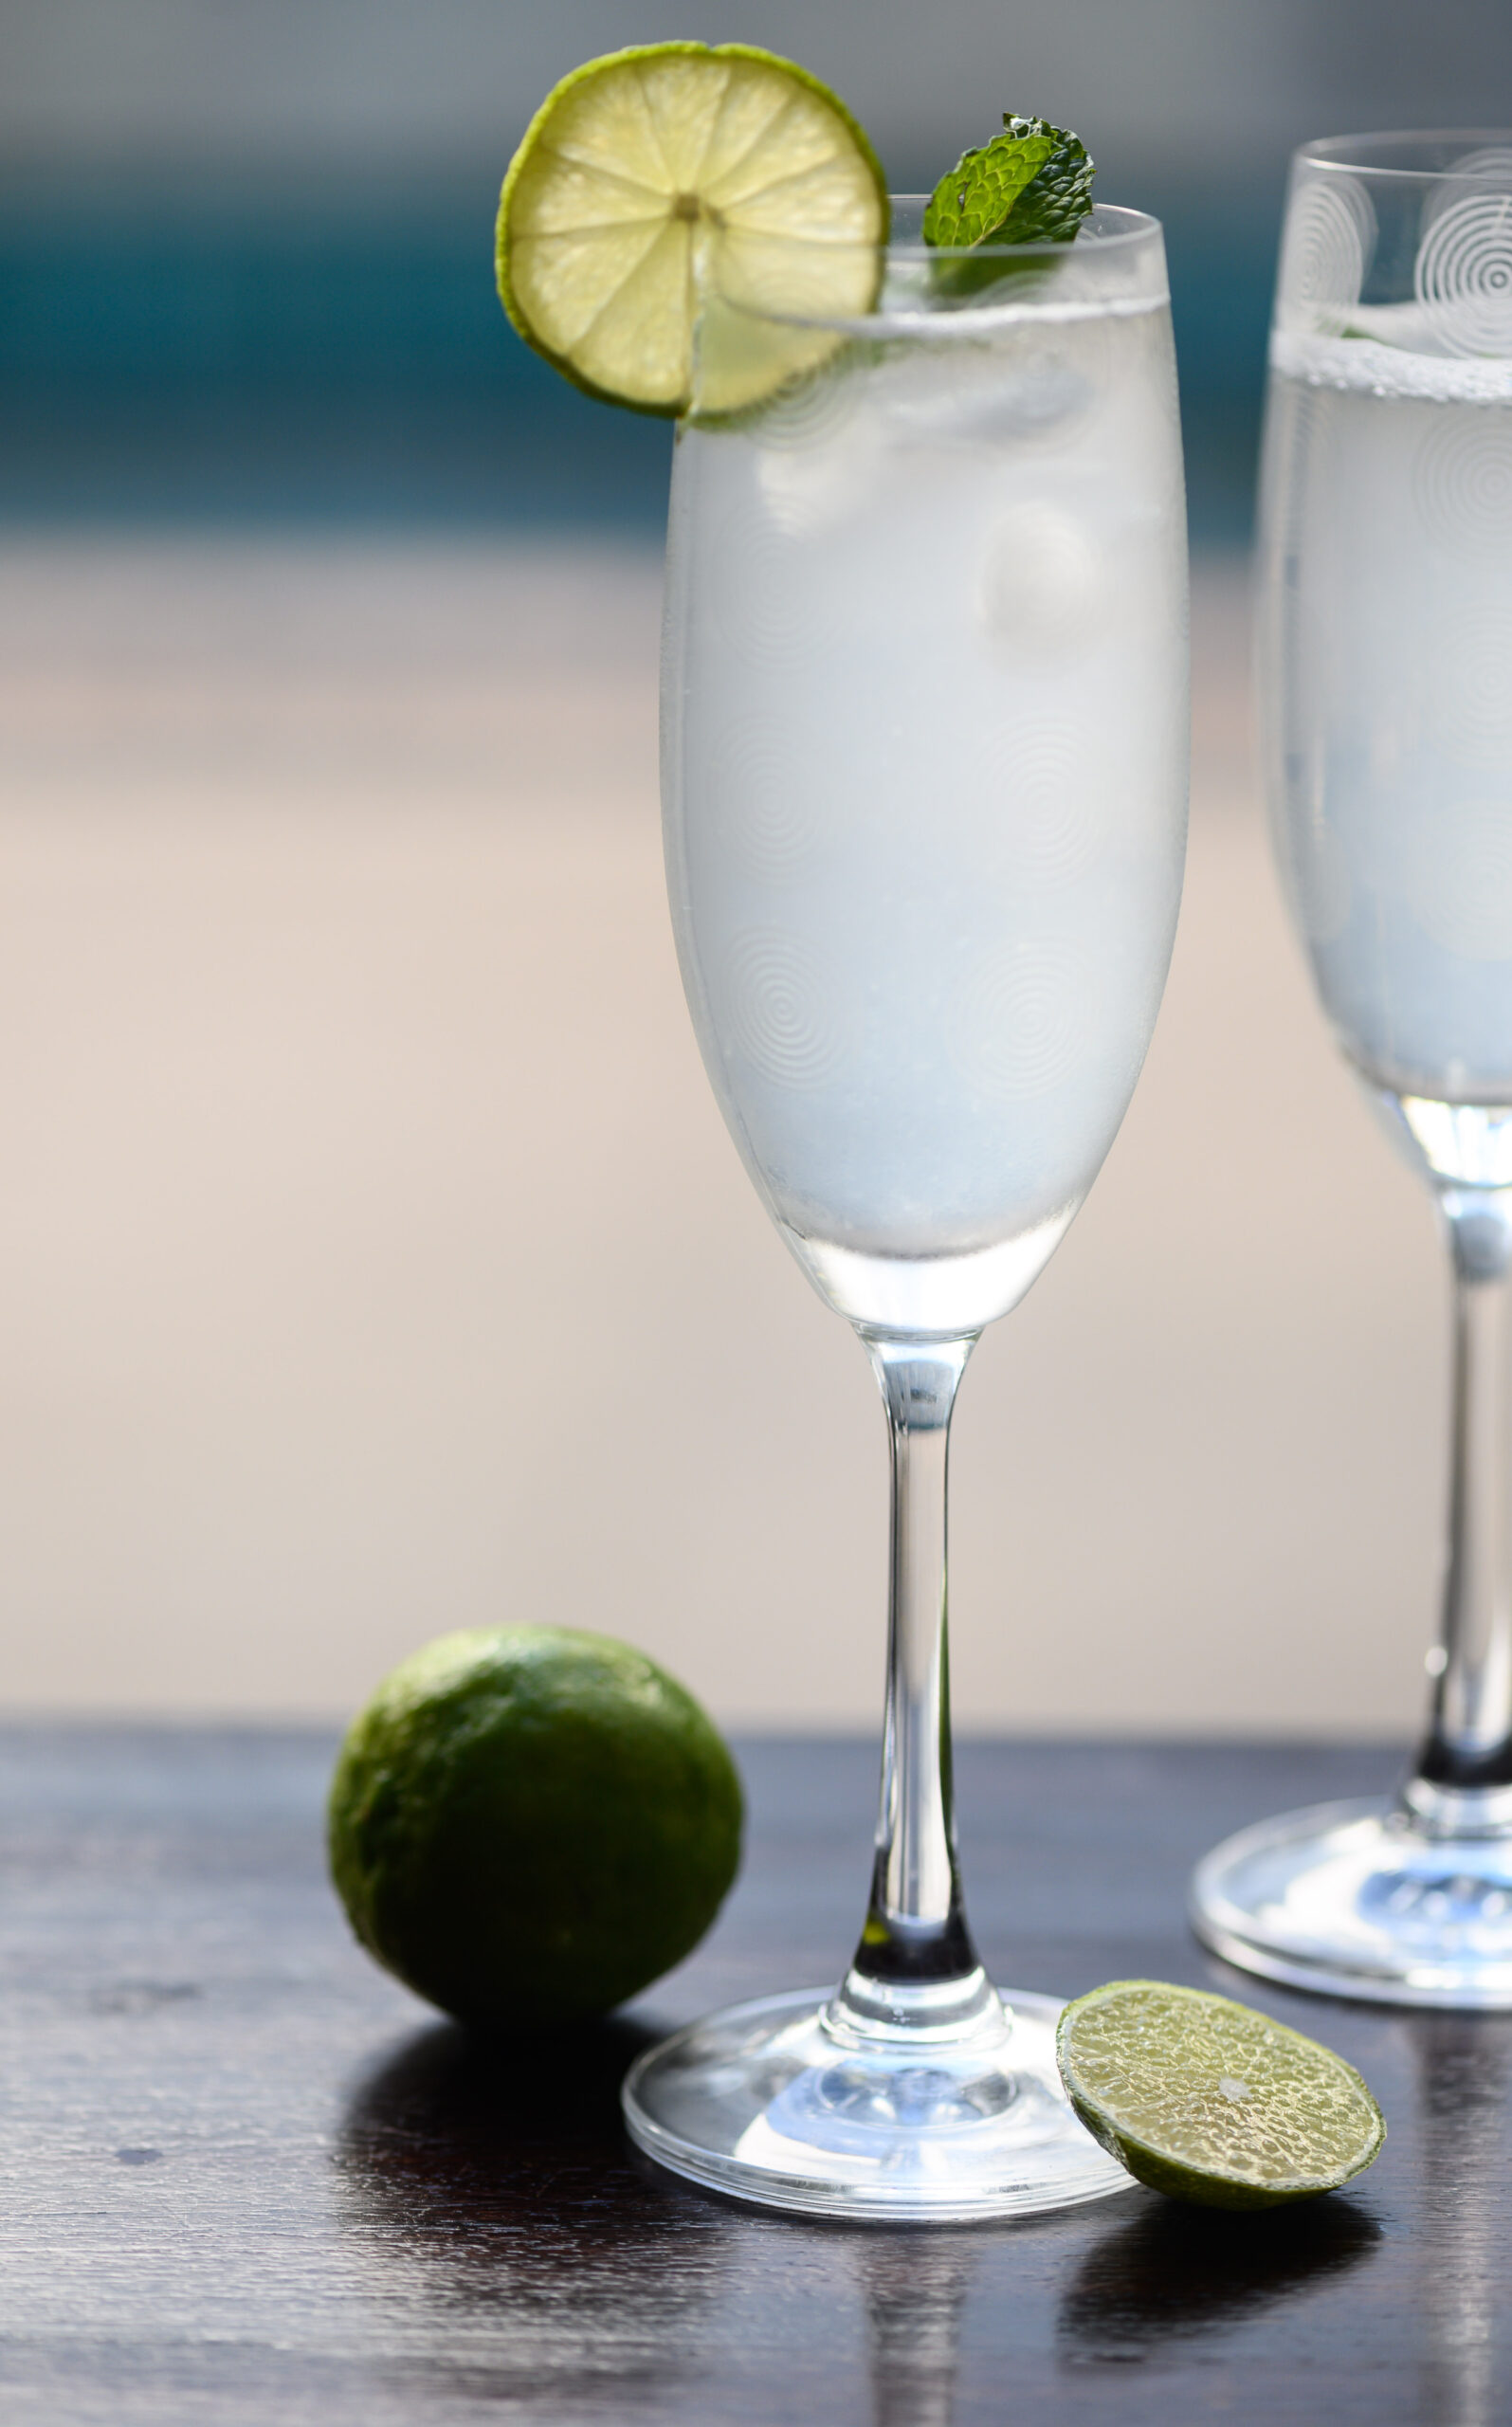
Keep the barley lime drink in the refrigerator. Serve chilled, garnished with mint leaves, and with extra ice if you prefer.

This anti-weakness, health-boosting beverage from my childhood has now become an elegant refreshment which I serve to my guests during this hot summer. I also frequently make a range of other chilled drinks, such as spiced buttermilk with homemade yoghurt, rose sherbet, and of course, my curry leaf and raw mango cooler. How are you keeping cool? I’d love to know in the comments.


In my Gujarati household, we have always had a deep and old association with Parsees. The Dark Prince’s best friend, Sohrab, is a Parsee, and so was his grandfather’s best friend, Bachu Foi, in Ahmedabad. When we got married and his grandfather also became mine, so too did Bachu Foi. “Foi” means “paternal aunt”, and Bachu Foi was the gentlest, kindest soul I’ve ever known. When I met her, she was well into her 70s and happily single, and always seemed to be around when we visited our grandparents. In those years, I would arrive with my gaggle of toddlers who kept my hands full. Bachu Foi always knew when I was coming, and would move in with me for the duration of my visit. And she would make the best-I’ve-ever-had guava jelly. Well, I’d never had guava jelly before hers, but it set my taste for life.

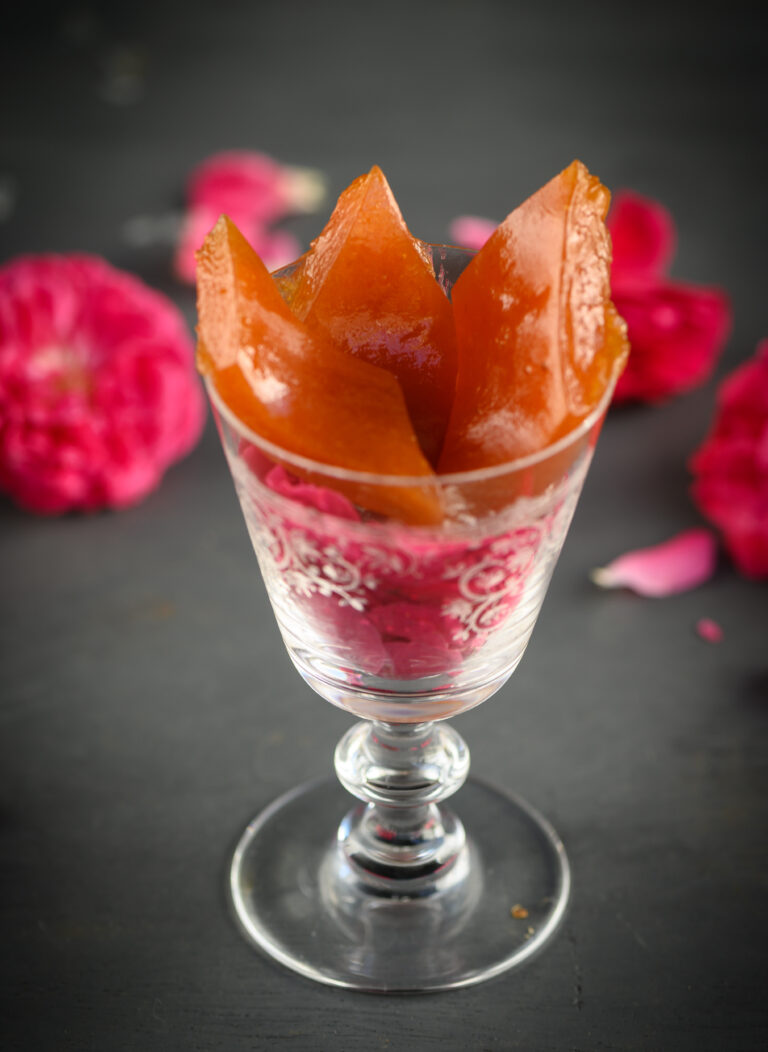
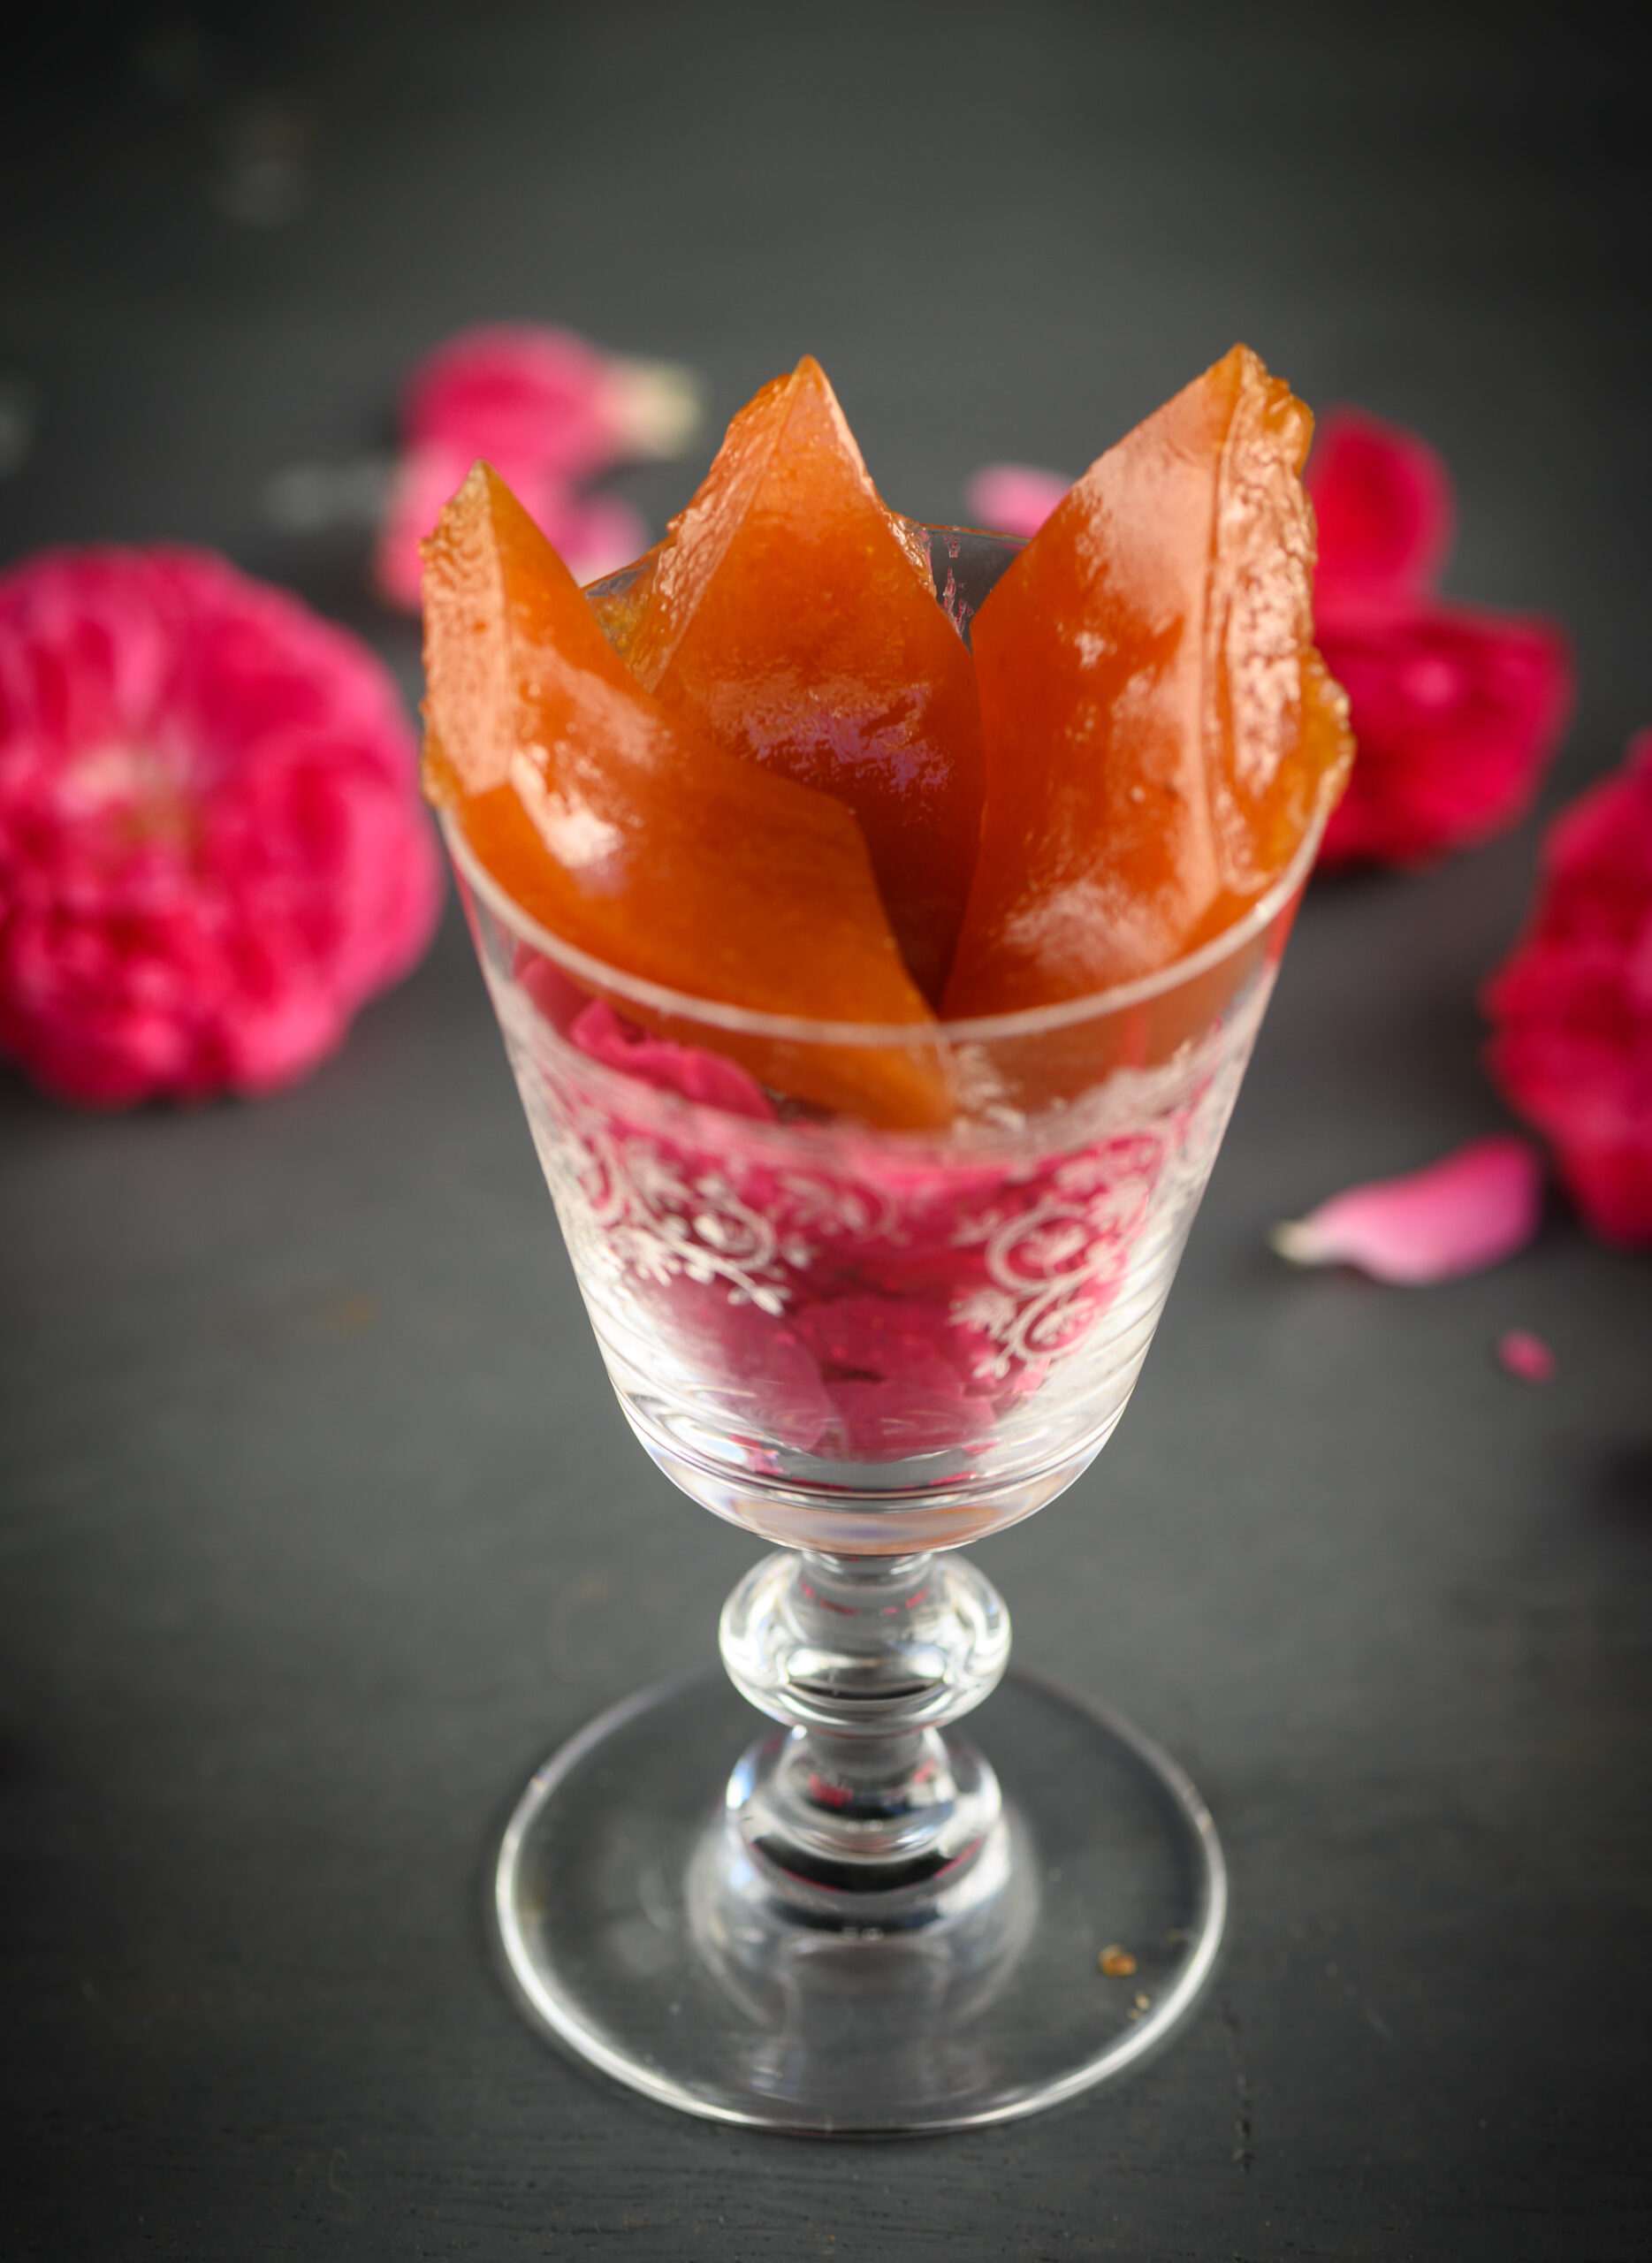
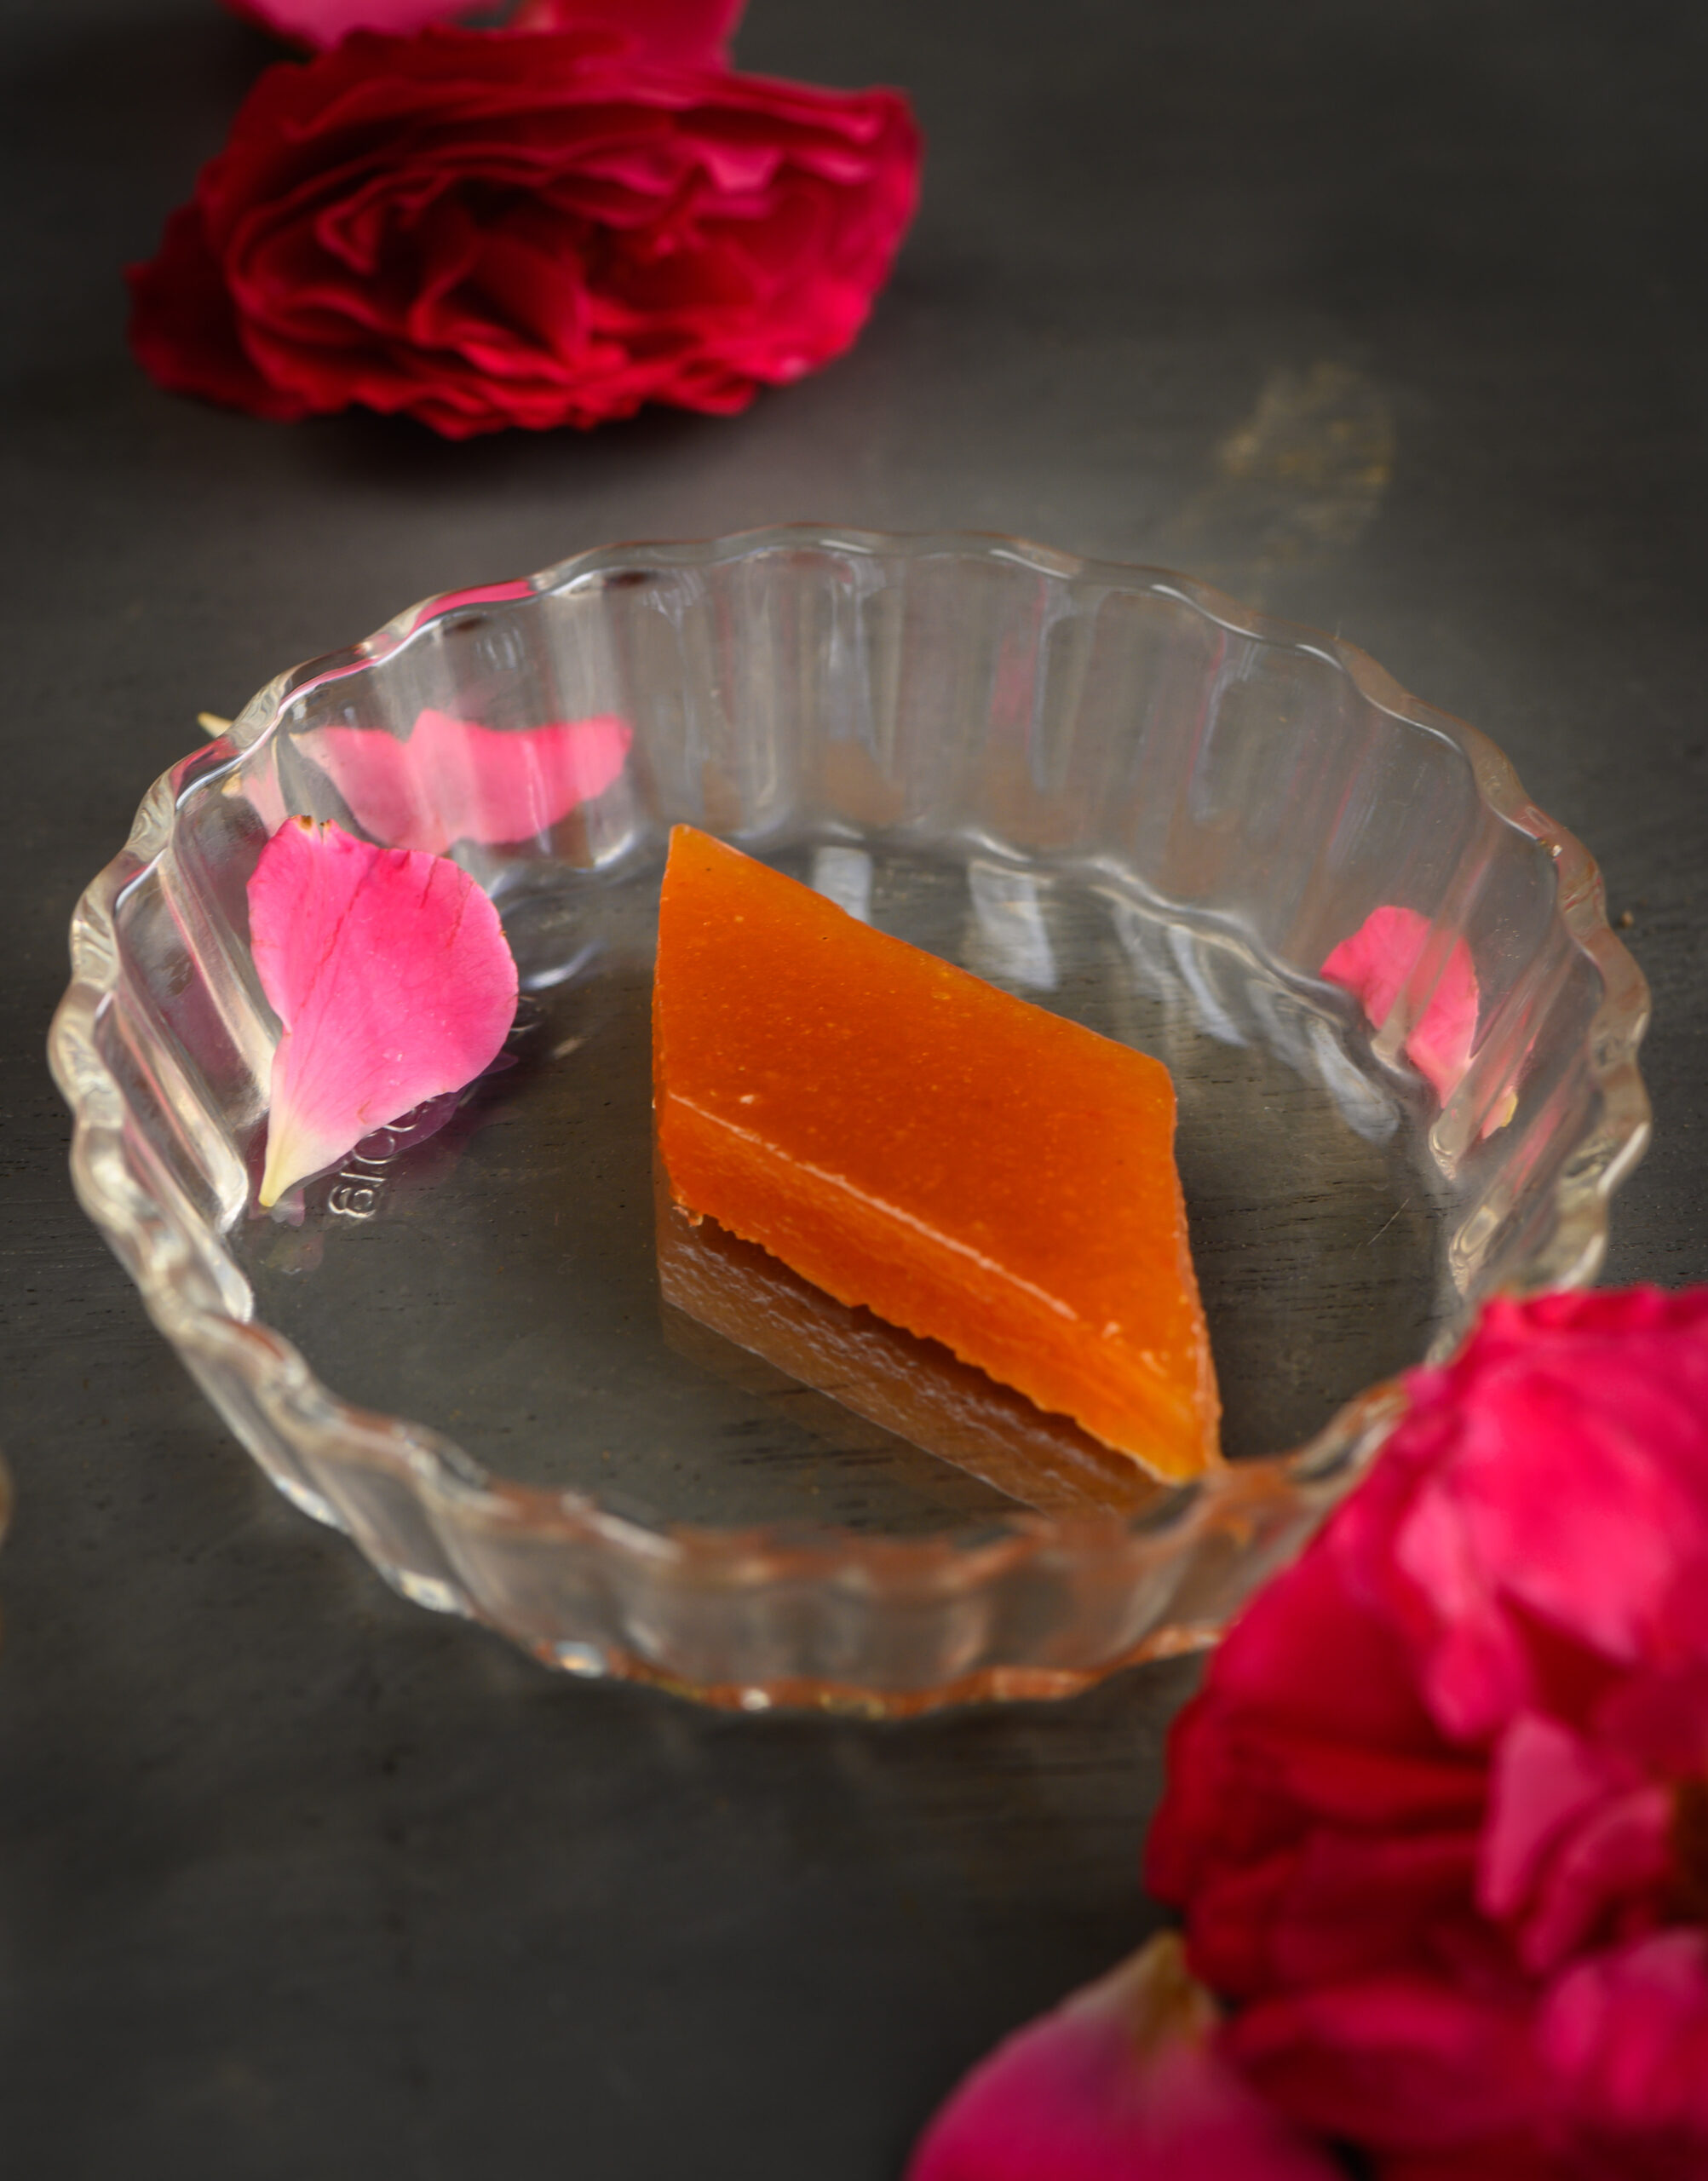
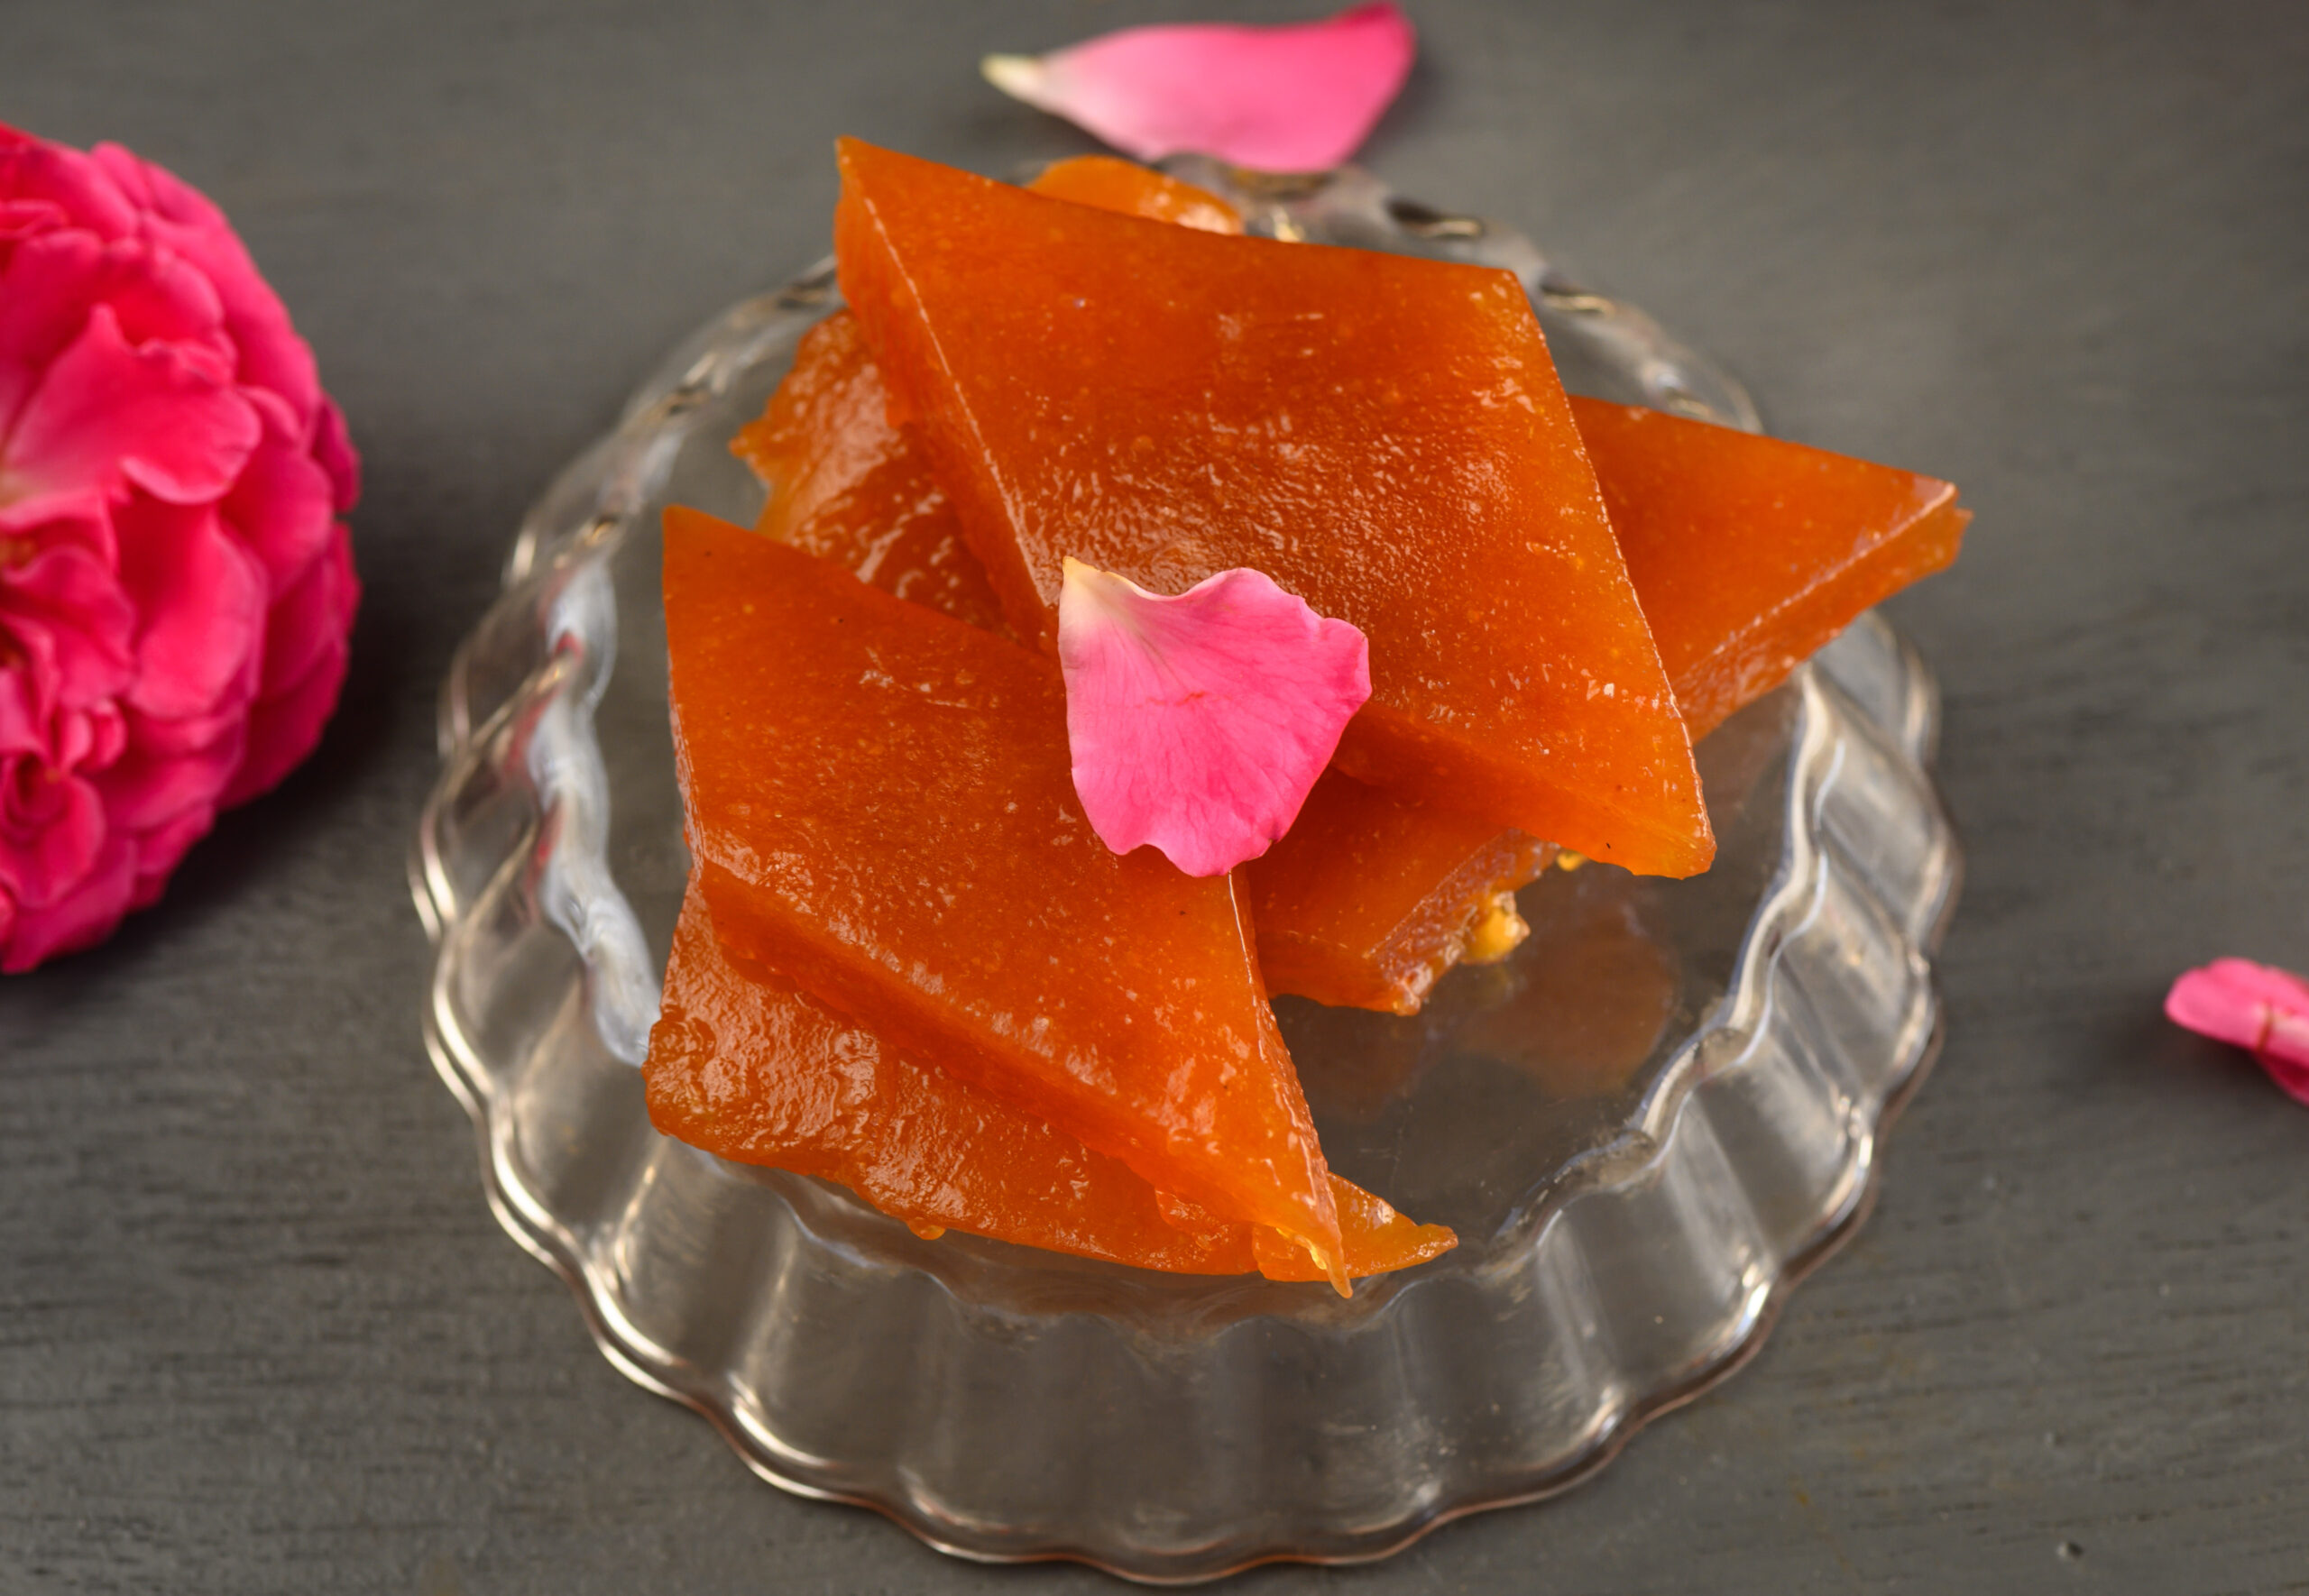
Pink, sweet, luscious, diamond-shaped guava jelly. I treasured it not only because it was sweet, but because it was made by my very sweet Bachu Foi. The truth is that at the time, I was too involved with my little children to spare the time to patiently learn the recipe from her, but how I wish I had. As my culinary skills grew, over time I experimented and finally arrived at my own version. I would say it comes pretty close to what Bachu Foi used to make. After all, we both use the same basic ingredient: love.

I was not only busy with my kids, but also highly involved with trying to stay in the good books of my strict, disciplinarian grandfather. And Bachu Foi was ever on the lookout, ready to bail me out and take my side. These memories came flooding back to me on a recent trip to Ahmedabad for a book I am working on (ssshhh…). There, I met a relative of hers, an old gent who exclaimed, “Ah yes, I knew your grandpa – Bachu Foi was his girlfriend!”

I was quick to argue with him, “No, she was never his girlfriend!” Then I realised how futile it was to explain that they just shared such a beautiful friendship. I thought about how my grandmother, who was just as wonderful a person, was always around too. She was divinity personified, calm and chilled out, and not in the least threatened by Bachu Foi!

In my previous post, in which I shared a mood-uplifting Gujarati curry using the favourite fruit of my childhood, I’d mentioned that one other way in which I like to enjoy guavas is in jelly form, with a platter of crackers and a glass of wine. The combination of salty and sweet makes for a lovely treat. This was something I picked up in Cuba, during the only other time that I’ve experienced guava jelly close to Bachu Foi’s sublime creation. I was surprised to see guavas there then, not knowing their history, and brought back a big chunk of guava jelly. I later realized that they were the perfect substitute there for fig jam, which is usually served with wine, and it’s the same here. Our familiar, affordable guavas are perfect for the job.

The previous post is full of information about the goodness of guavas (they are loaded with Vitamin C), but let me be honest – this one is very, very indulgent! It is dedicated, with much love, to the memory of my Bachu Foi.

Guava Jelly

(Yield: approximately 15 pieces)

½ kilo guavas
6 cups water
¼ cup butter
1 teaspoon lemon juice
1 teaspoon rosewater
Sugar to measure


As I experimented with guava jelly recipes, I hit on what would make this one unique. One of re:store’s signature ingredients: rosewater. It adds a divine aroma to an already divine dessert. You may also know this dish by another name – sweet guava cheese.

Wash the guavas and place them in boiling water, and allow the water to bubble until the guavas turn soft. Then, remove them carefully and keep the water aside. Allow the guavas to cool slightly, then remove the skin. Next, remove the seeds from the fruit and keep them aside.

Add the seeds to 2 cups of the same water that was used to boil the guavas and allow them to cook for some more time. Cool.

Blend the flesh of the guavas and strain, along with the water containing the seeds. Collect the pulp in a pot and boil. Within a few minutes, add a quantity of sugar equivalent to the pulp. When I was making this recipe, I found that I added 3 cups. You may adjust the sugar quantity depending on the sweetness of the guavas and your own preferences.

Allow the mixture to boil, stirring constantly. This took me approximately 20-25 minutes. You will notice the pulp becoming thicker. Now, add the butter and lemon juice. Cook some more until the pulp starts to leave the edges of the pot. If you scrape to see, you should notice a dry pot.

Drop a glob of the pulp in cold water to check if it forms into a hard lump. Allow to cook some more.

Finally, add the rosewater. Stir well, and pour the thick pulp onto a greased plate. Remember that the quantity of the pulp will reduce as it cools, which you must allow it to do at room temperature for 3 hours.

Then, cut into shapes and remove gently. I use the diamond shape, just like Bachu Foi – that gem of a person – did.

You’ll find the guava jelly to be chewy, sticky and sweet. I’ve used approximate quantities in the recipe above, so do experiment and see what suits you. As I mentioned, I don’t really know how to make Bachu Foi’s exact recipe, and so I also want to share the method as to how I arrived at mine. I did it by reading at least 20 different recipes from various sources, adjusting according to my culinary sense and taste. So here’s a big Thank You to all the other food bloggers out there, especially on Instagram, who generously share their recipes too! Here’s adding mine to the collection, with love for Bachu Foi…