Tag

meal-in-a-bowl

Browsing

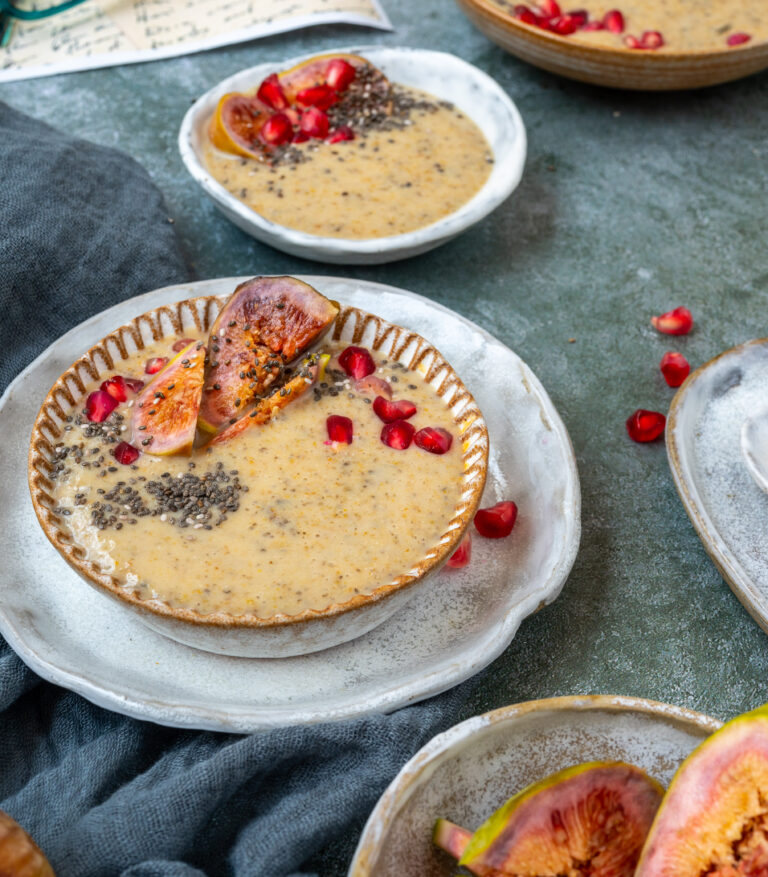
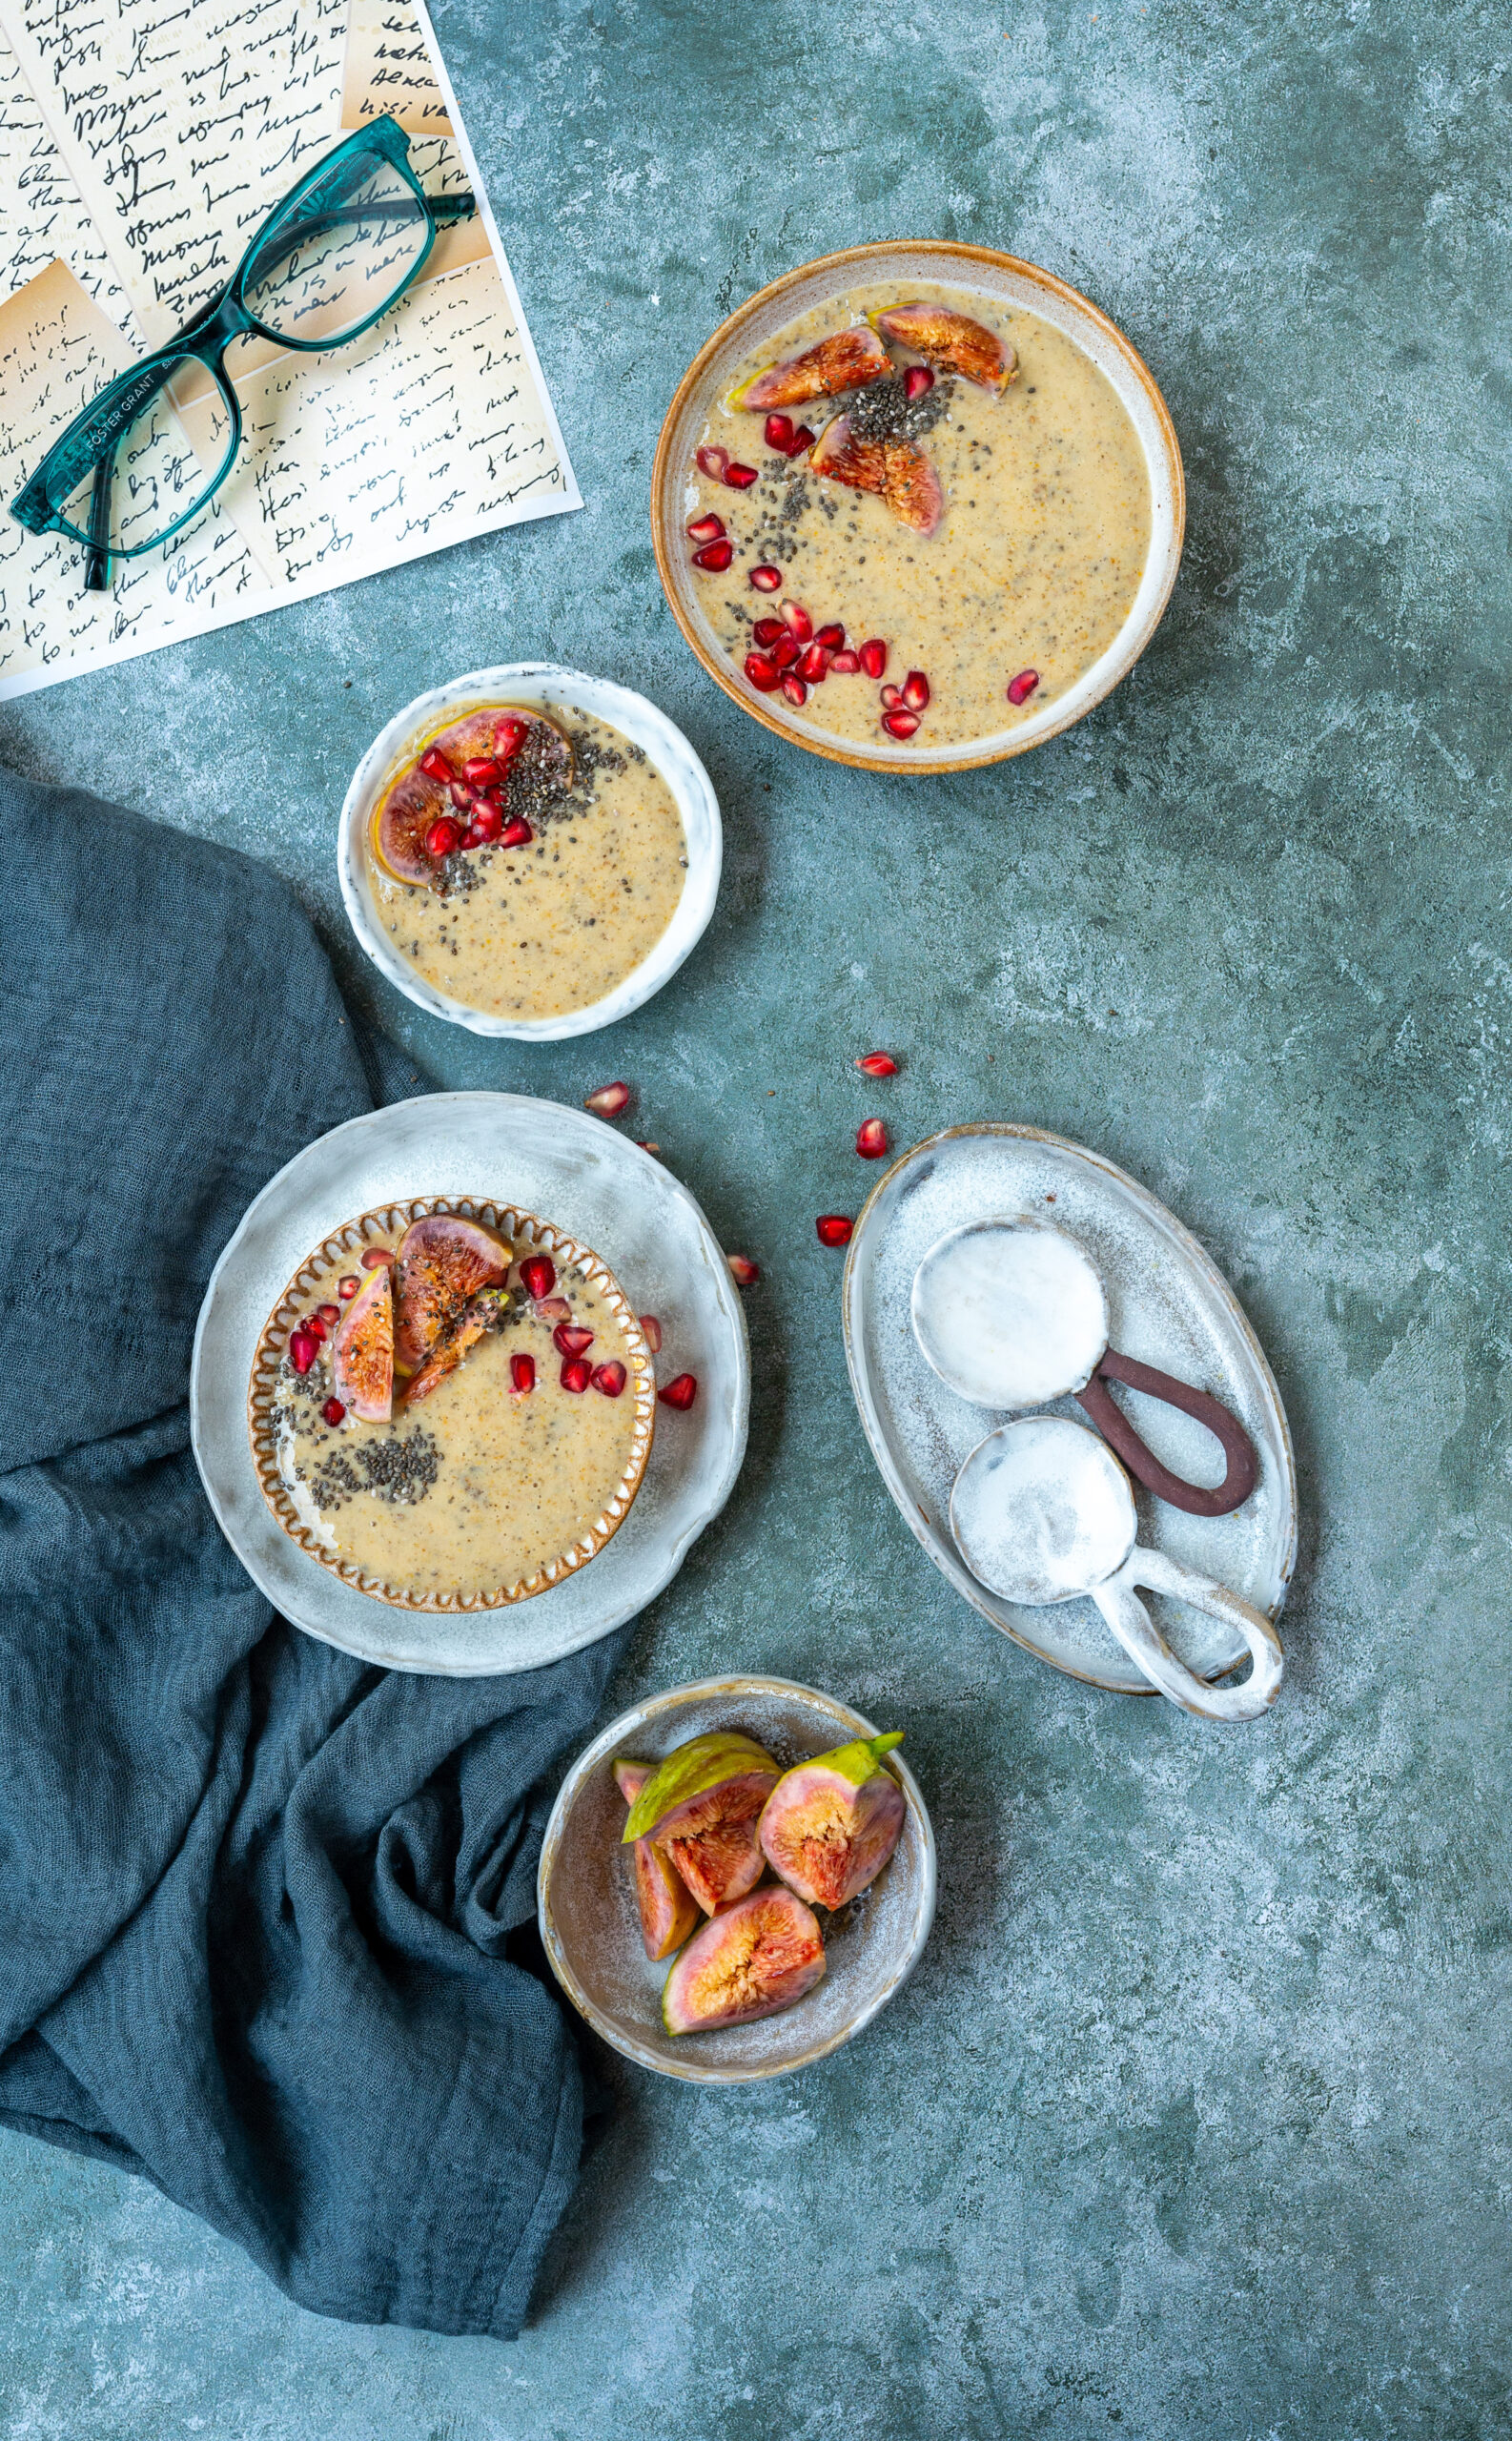
My ongoing sad saga is that I am trying to avoid carbs. I say “saga” because you’d have heard me repeat this time and time again on this blog over the last few months, as I sincerely share recipes that help me stick to my dietary plan. Truth be told, I probably say that I’m off carbs more often than I am actually off carbs, but to give myself due credit, I am constantly trying. The fruits of those efforts are recipes like this one, which indeed contains literal fruits! In addition to helping me in my anti-carb struggle, this vegan fig and chia smoothie bowl is also a great dish on my journey towards increased veganism. But the best part? Despite all these healthy-sounding proclamations, it’s simply delicious.

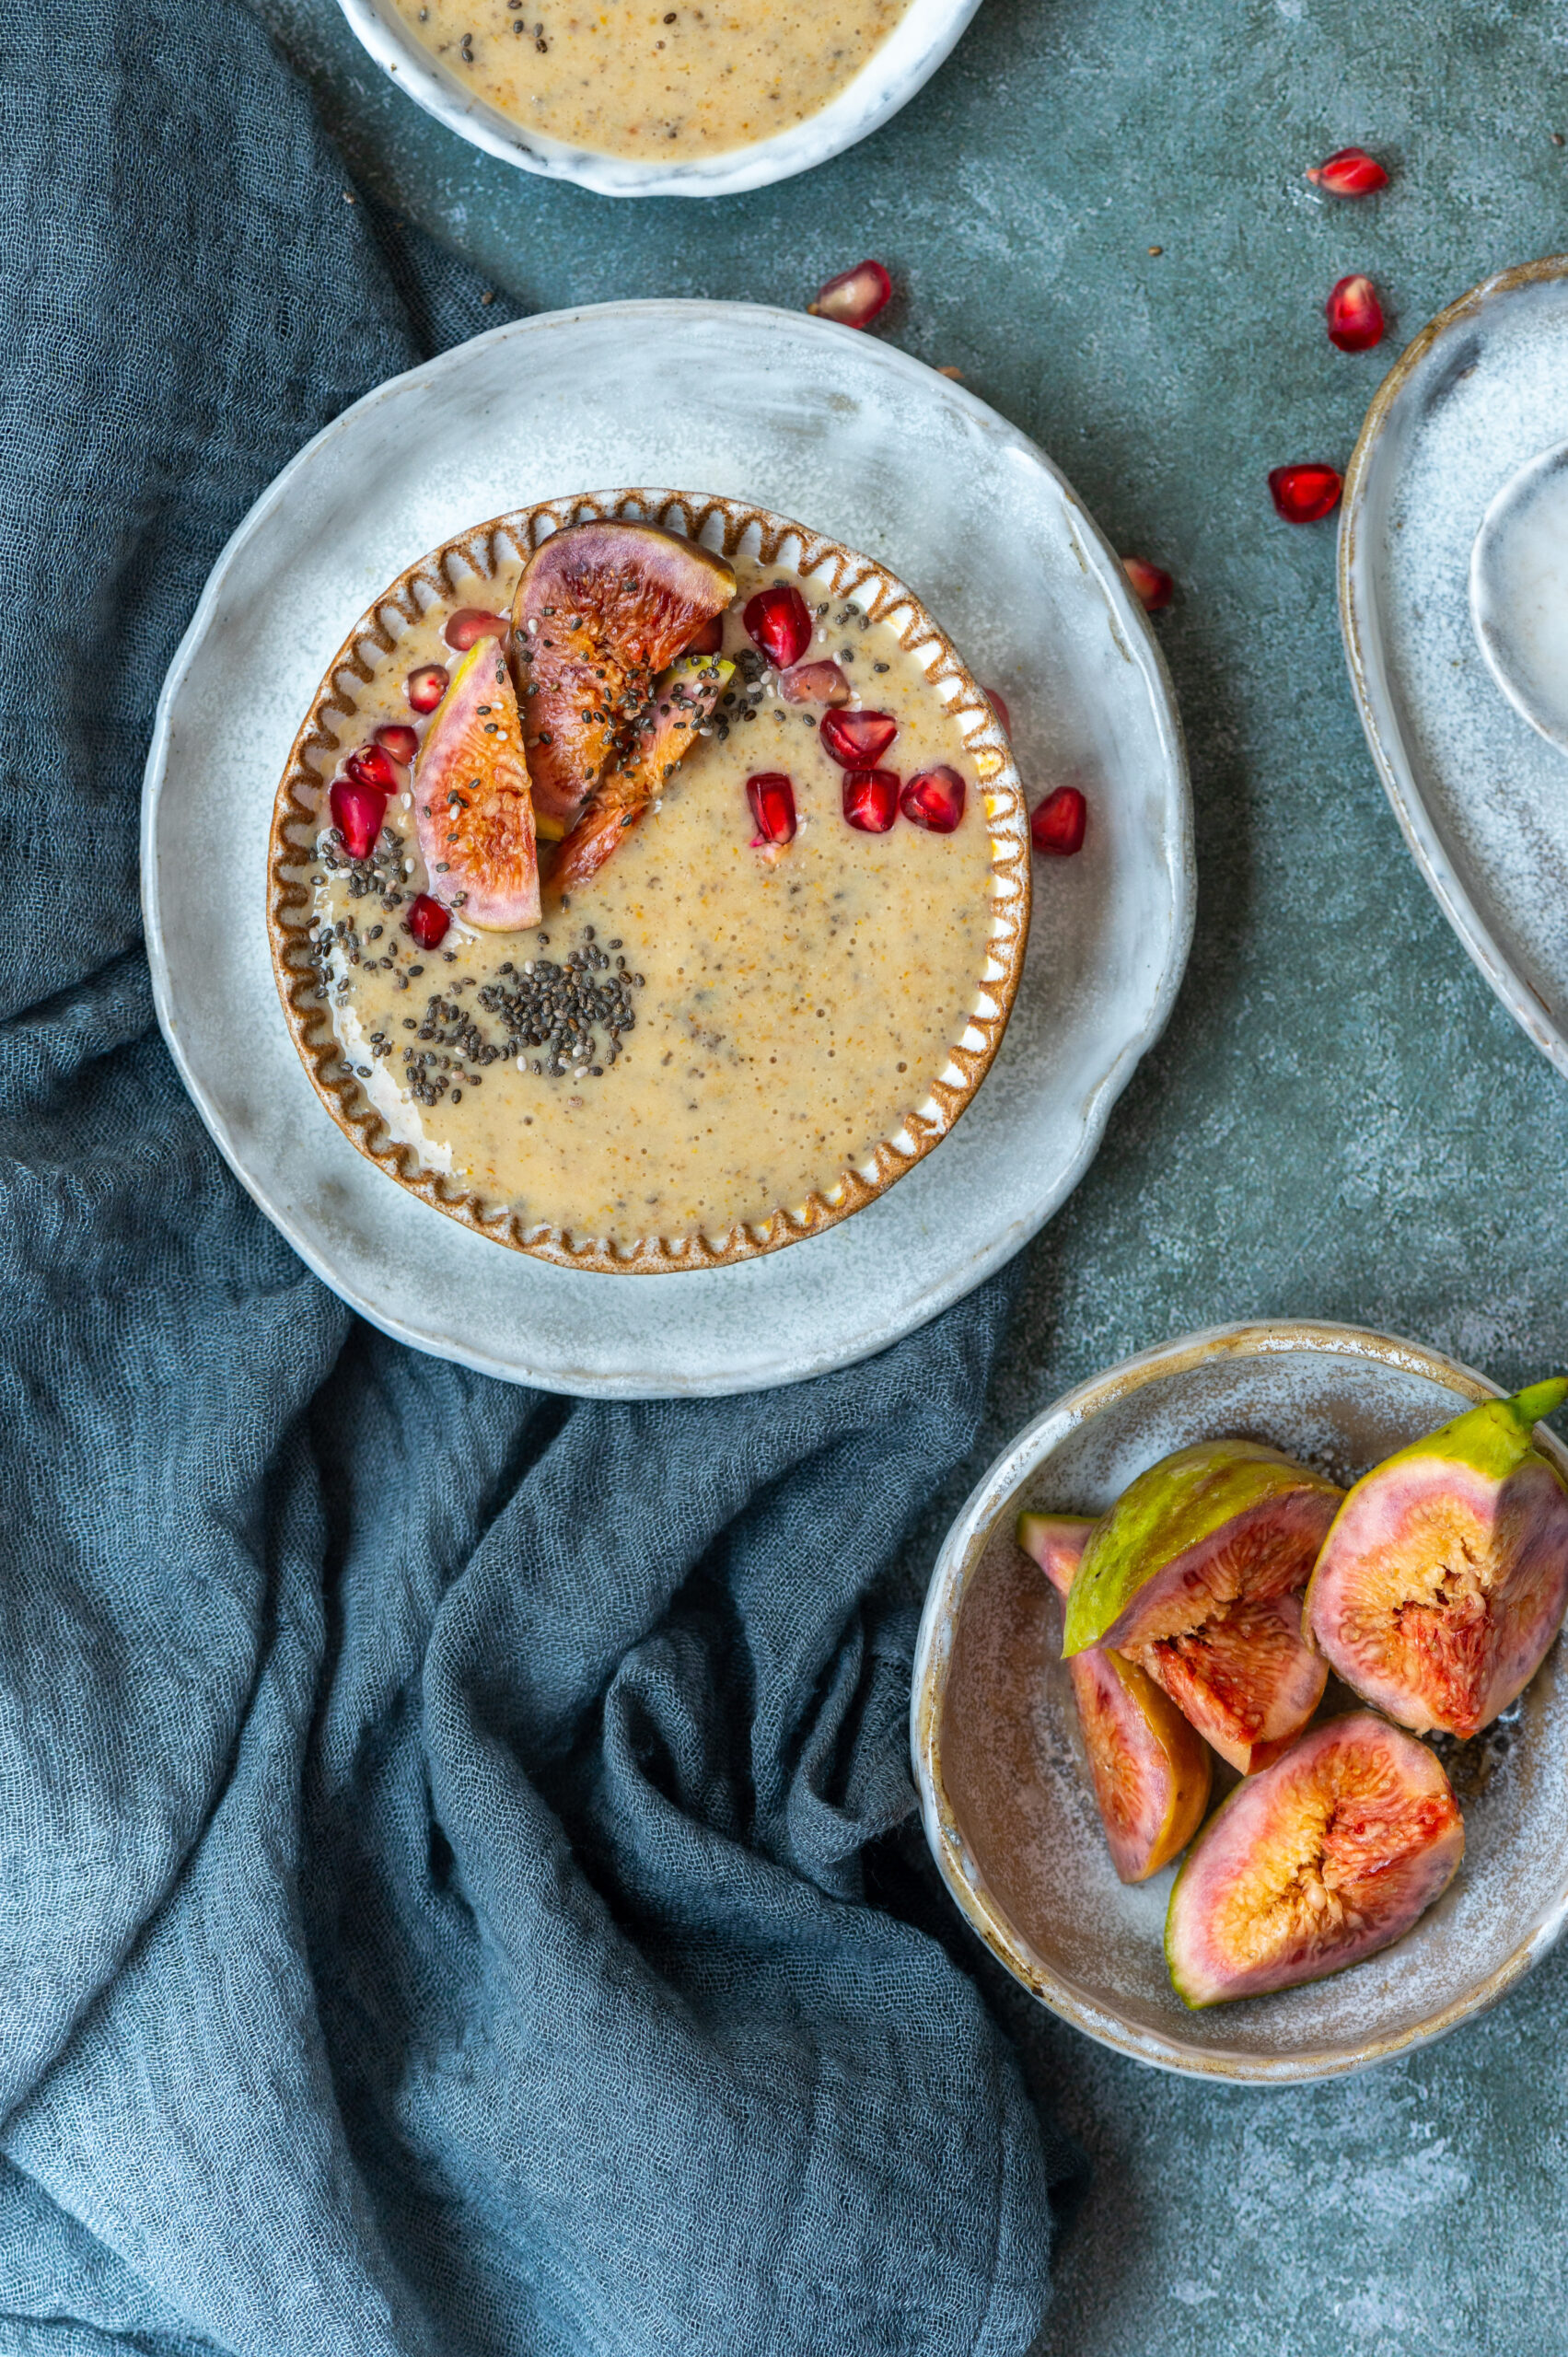
I have a mental block when it comes to smoothies: when I drink them, they don’t feel as filling as when I put them into a bowl. It’s a visual trick, convincing myself that this is indeed the full meal that it is. It also looks beautiful once you garnish it in a bowl setting. Whenever I prepare this for myself, some family member of mine inevitably walks by and says, “Hey, what’s that? It looks so good.” This reiterates the fact that presentation is key. We always eat with our eyes first.

The chia in this smoothie also makes it look and taste like a pudding, which dials down the feeling that one is consuming it only for its nutritional benefits. In addition to being a superfood, chia is a thickening agent, which is what provides that pudding feeling. Of course, this ingredient is also doing double duty as a superfood, being chock-full of antioxidants, omega-3 fatty acids, calcium fibre, magnesium, iron, Vitamin A and other very good things. One more advantage to it is that it has no flavour of its own, so it enhances the texture of whatever you put it into.

I tend to eat this fig chia smoothie bowl for dinner on days when I have had a very heavy lunch. Naturally, it will make an equally good breakfast. The versatility of this dish is fun to explore. This extends to the ingredients as well. Try your own variations with different flavours and garnishings, using the milk and chia base.
Vegan Fig & Chia Smoothie Bowl

(Serves 2-3)


5 dry figs

2 cups almond milk

A pinch of cinnamon powder

1 tablespoon chia seeds

Ice cubes (optional)
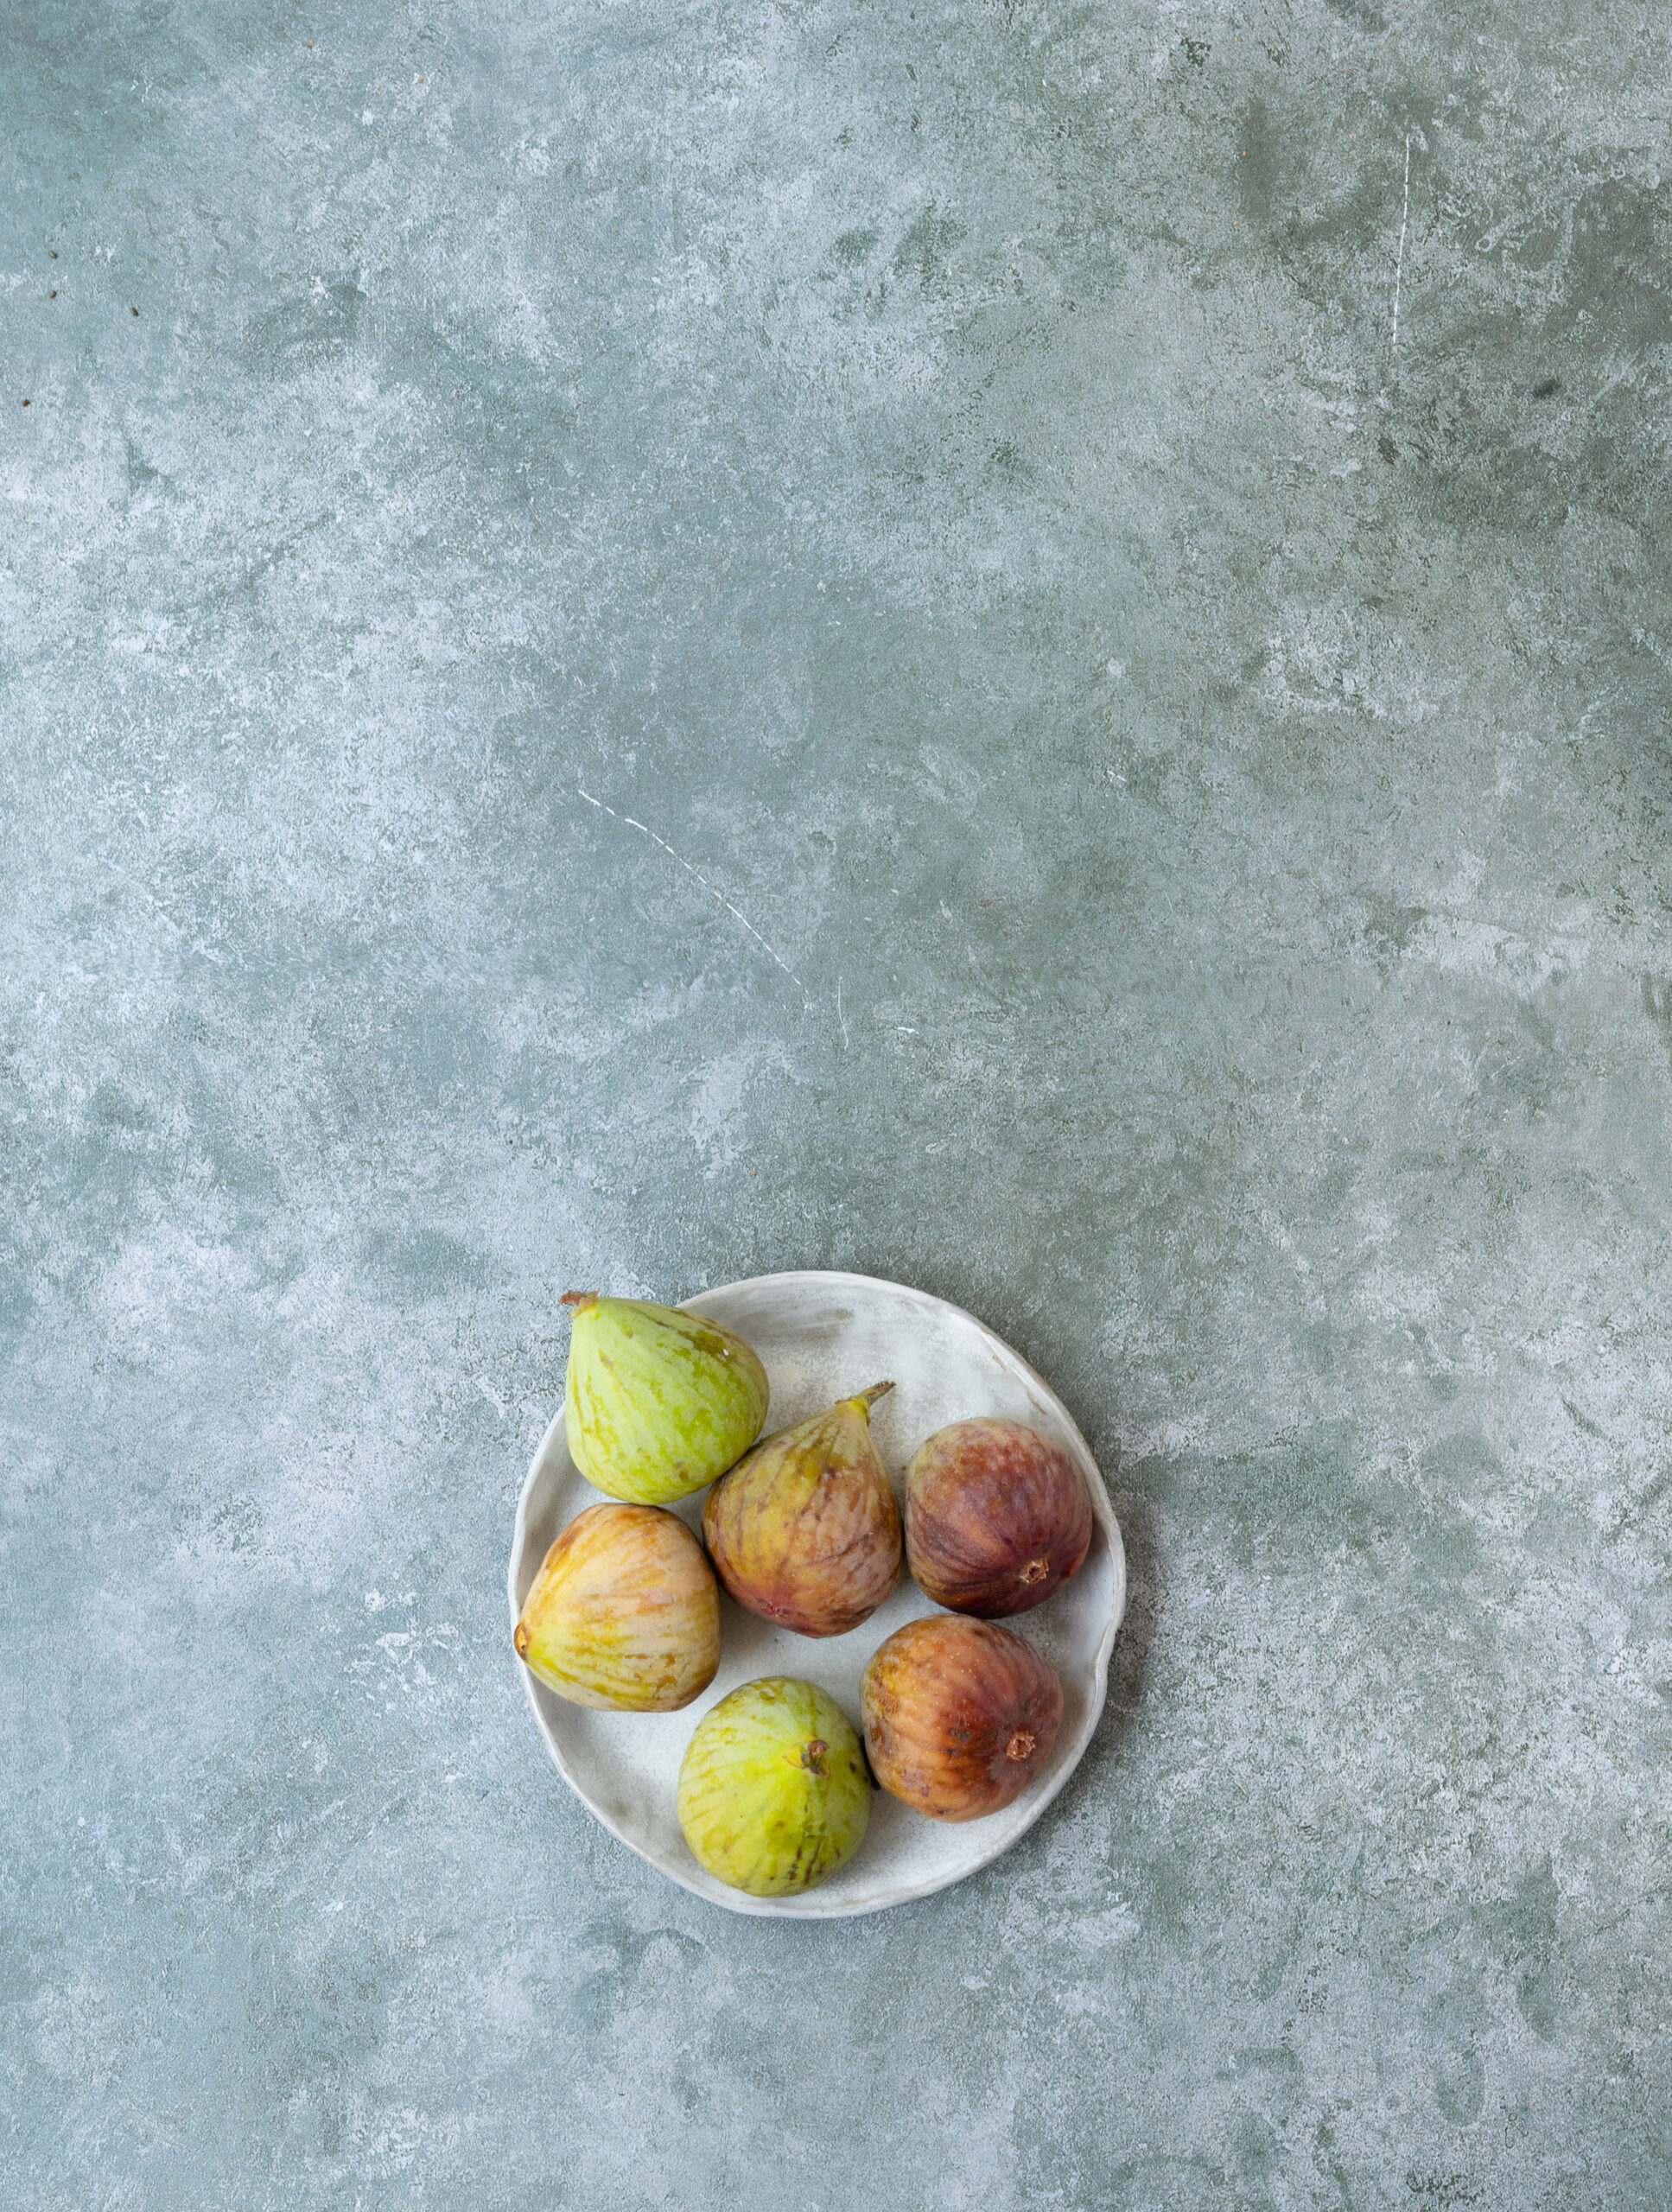
Soak the figs in enough water so that they are fully covered. Allow to soak for 2-4 hours.

In a blender, add the soaked figs, almond milk and chia seeds and blend until smooth and frothy.

Add the cinnamon powder and blend again lightly.

Pour into bowls, or into tall glasses, and add ice if you prefer. Top with any garnishings of your choice. Serve chilled.

As mentioned earlier, you can scoop this up as I do, with a spoon from a bowl, or you can drink it from a tall glass. You can also replace almond milk with dairy. It all depends on your dietary needs or preferences, as well as whether you enjoy experiencing this dish as a smoothie or as a smoothie bowl.

For instance, I’ve used a pinch of cinnamon powder as I find that refreshing; you may wish to eliminate this and replace it with another refreshing ingredient such as chopped apples. While I’ve used dried figs in the smoothie blend, I’ve used fresh ones to decorate the bowl. You can use either, based on seasonal availability. I’ve also added pomegranates in the garnishing for some colour. Nuts will boost nutrition as well as add more texture and flavour.

This fig and chia smoothie bowl is naturally slightly sweet due to the fruits it contains, so it does not need additional sweetening. However, if you’d like to increase that taste, I would recommend going with honey, maple syrup or jaggery rather than refined sugar. There are wonderful ways to indulge one’s sweet tooth without having to use unhealthy ingredients.

Another showcase of its versatility is that this fig and chia smoothie bowl could indeed work as a dessert replacement. Although if that’s what you’re looking for, let me suggest some summer-friendly chia-based recipes, such as this chia-vetiver coconut pudding or this strawberry smoothie.

What will you have it as: breakfast, lunch, dinner or in lieu of dessert? Try it out and let me know!
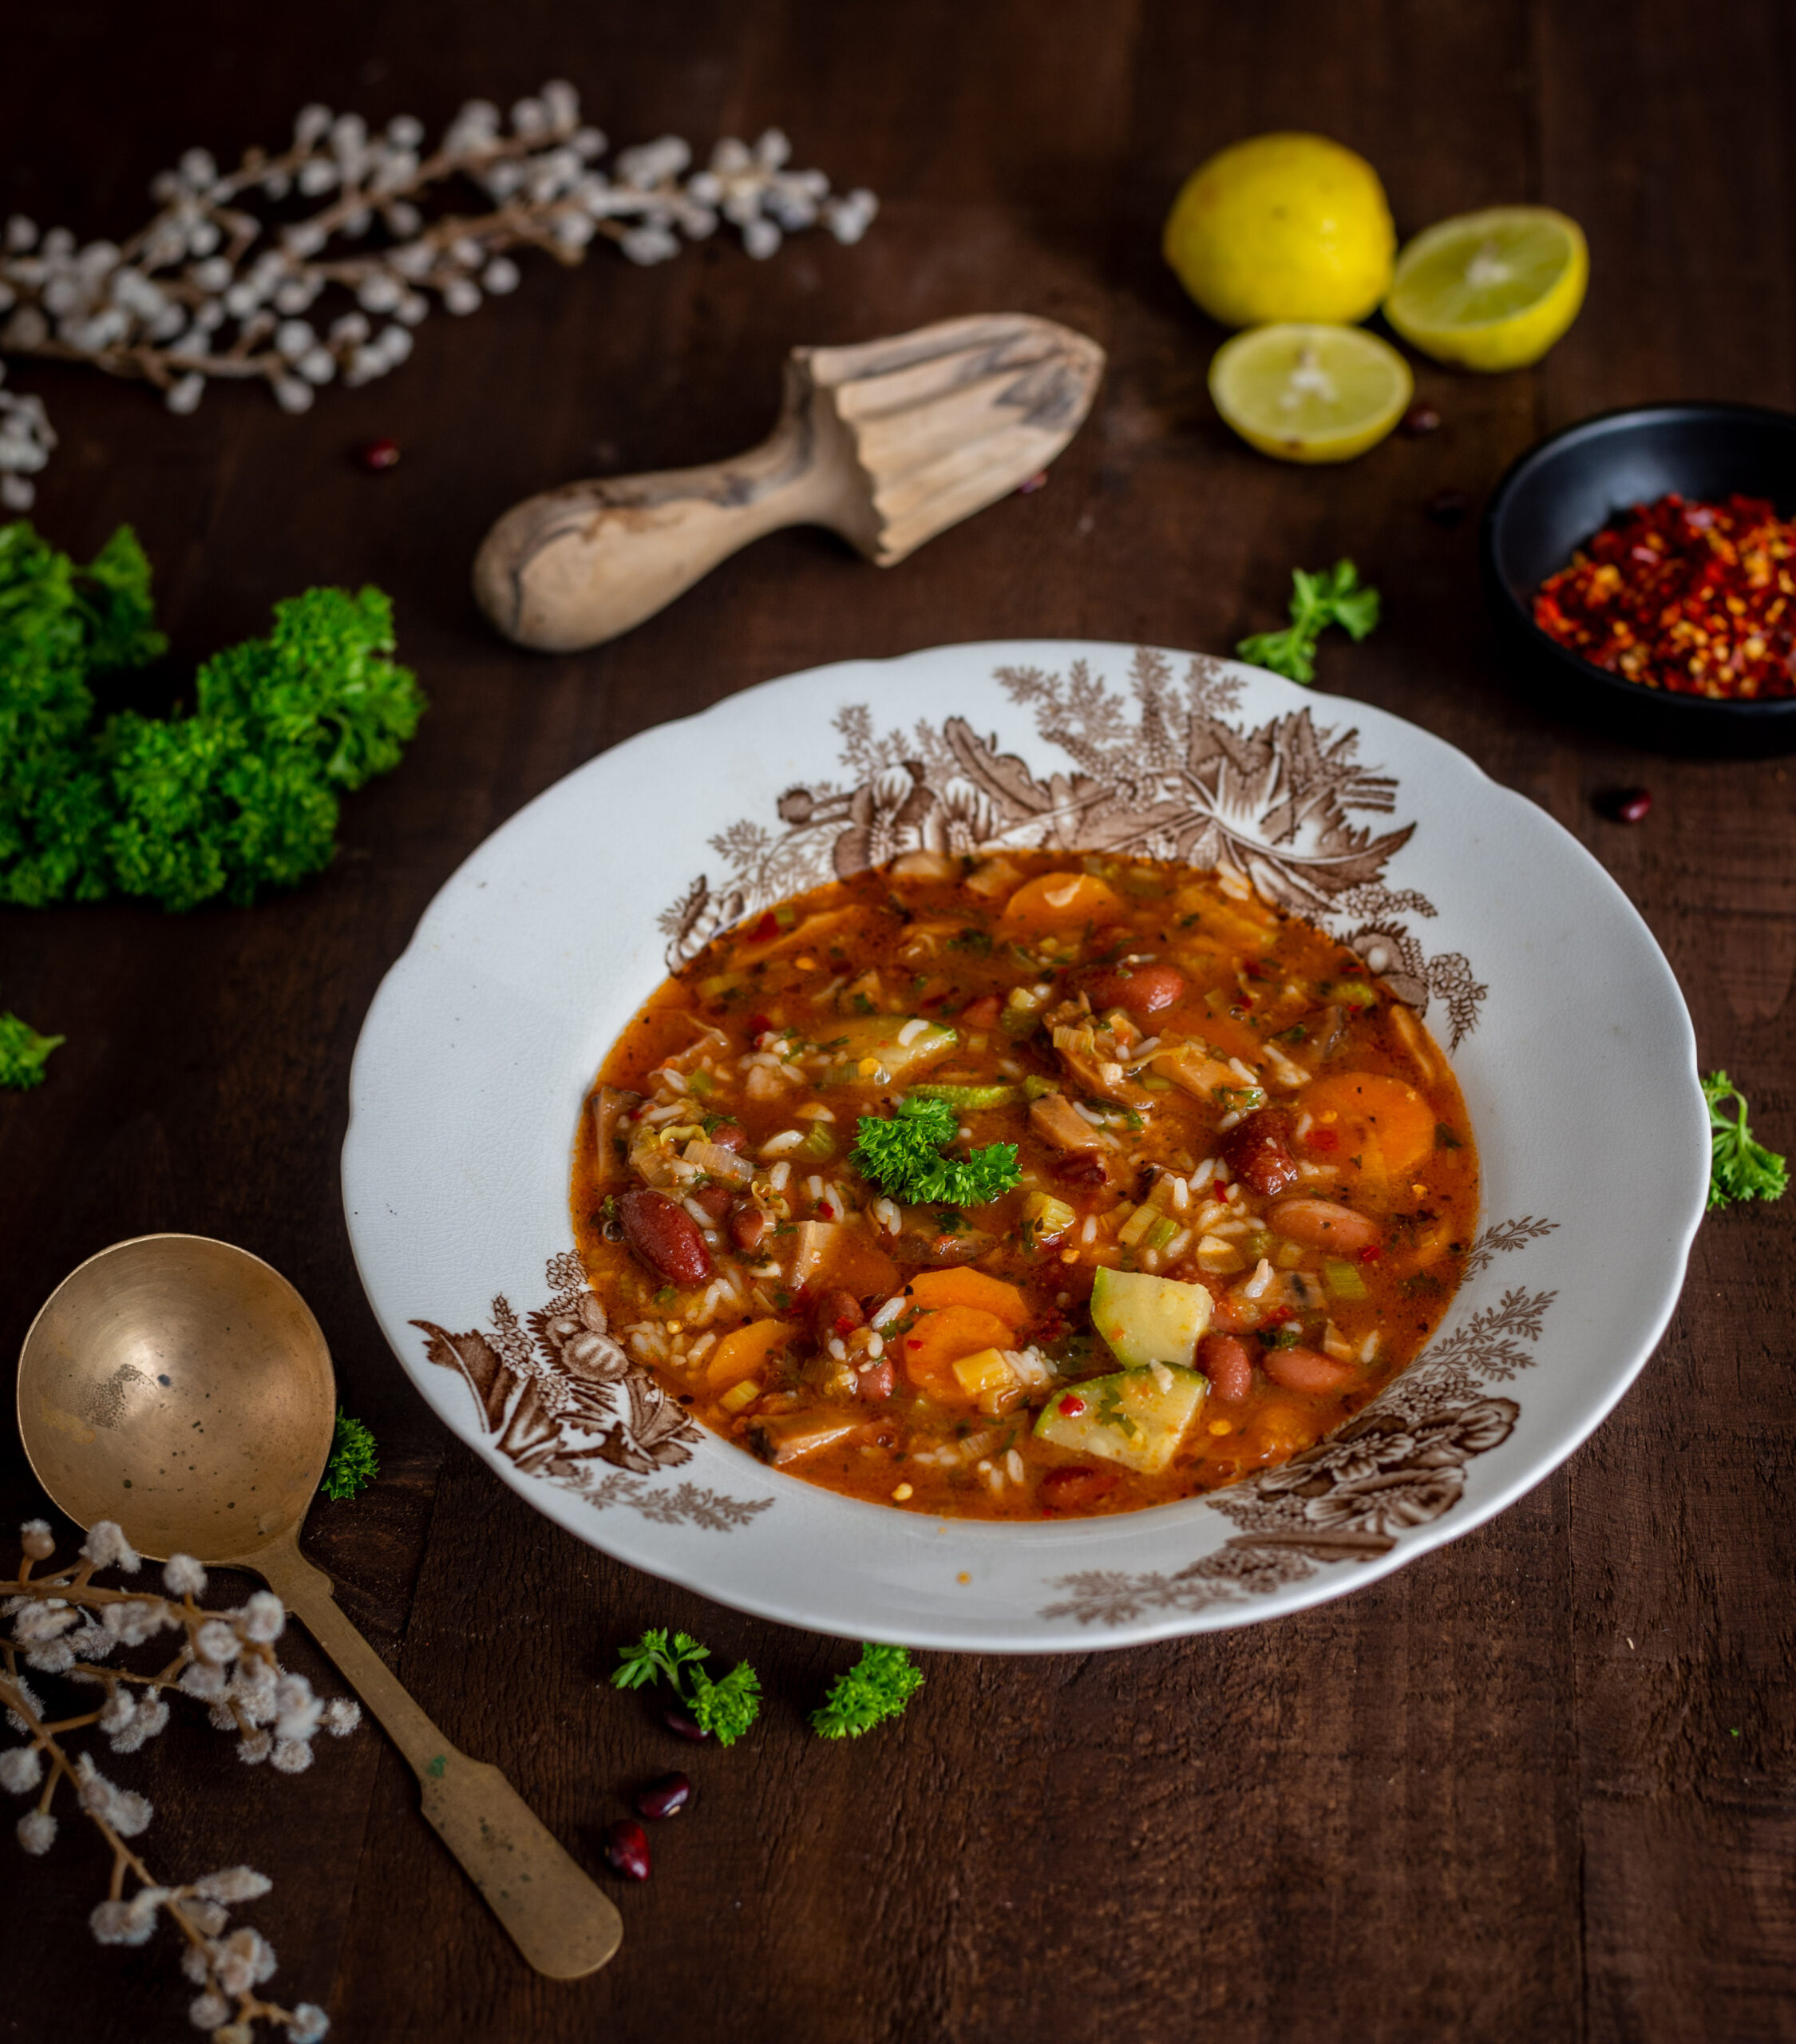
Minestrone is one of my favourite soups of all time, and the recipe was promised to you not once but twice, when I shared this sourdough toast post and this all-purpose tomato purée post some months ago. I think this is the perfect time to give you this one too, as the weather has turned cold even here in Chennai and we could all use a little more warmth.

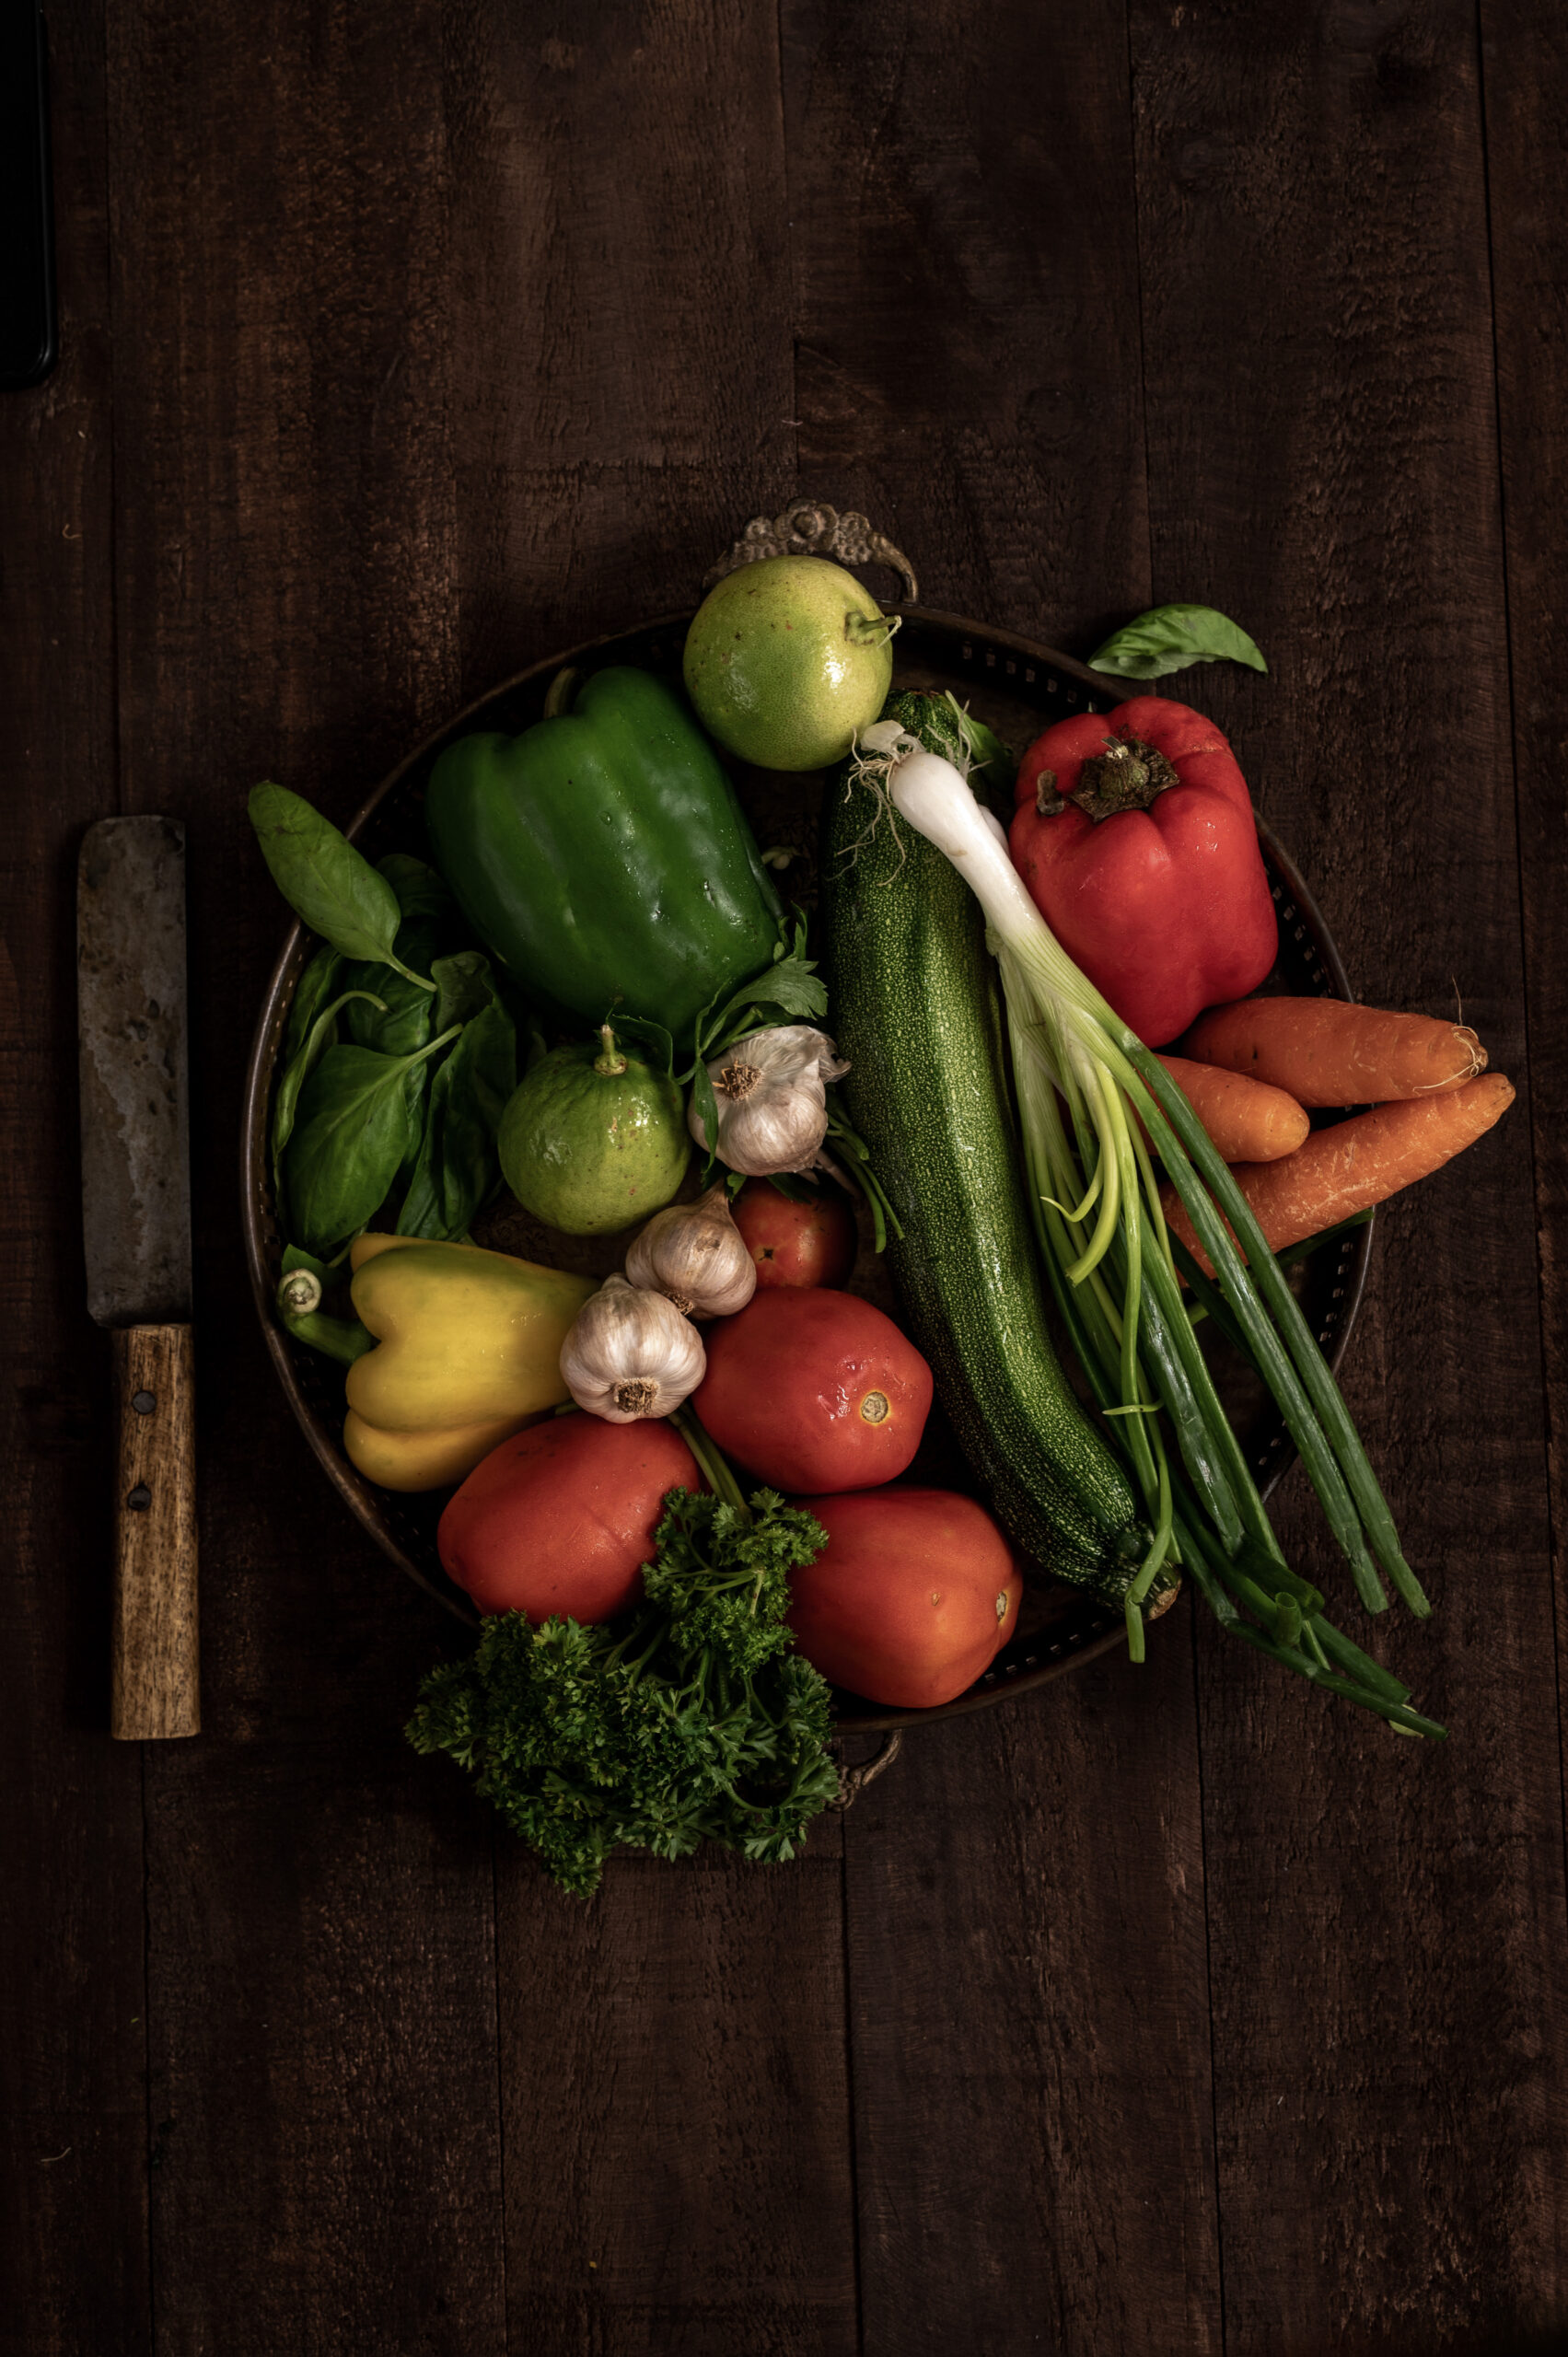
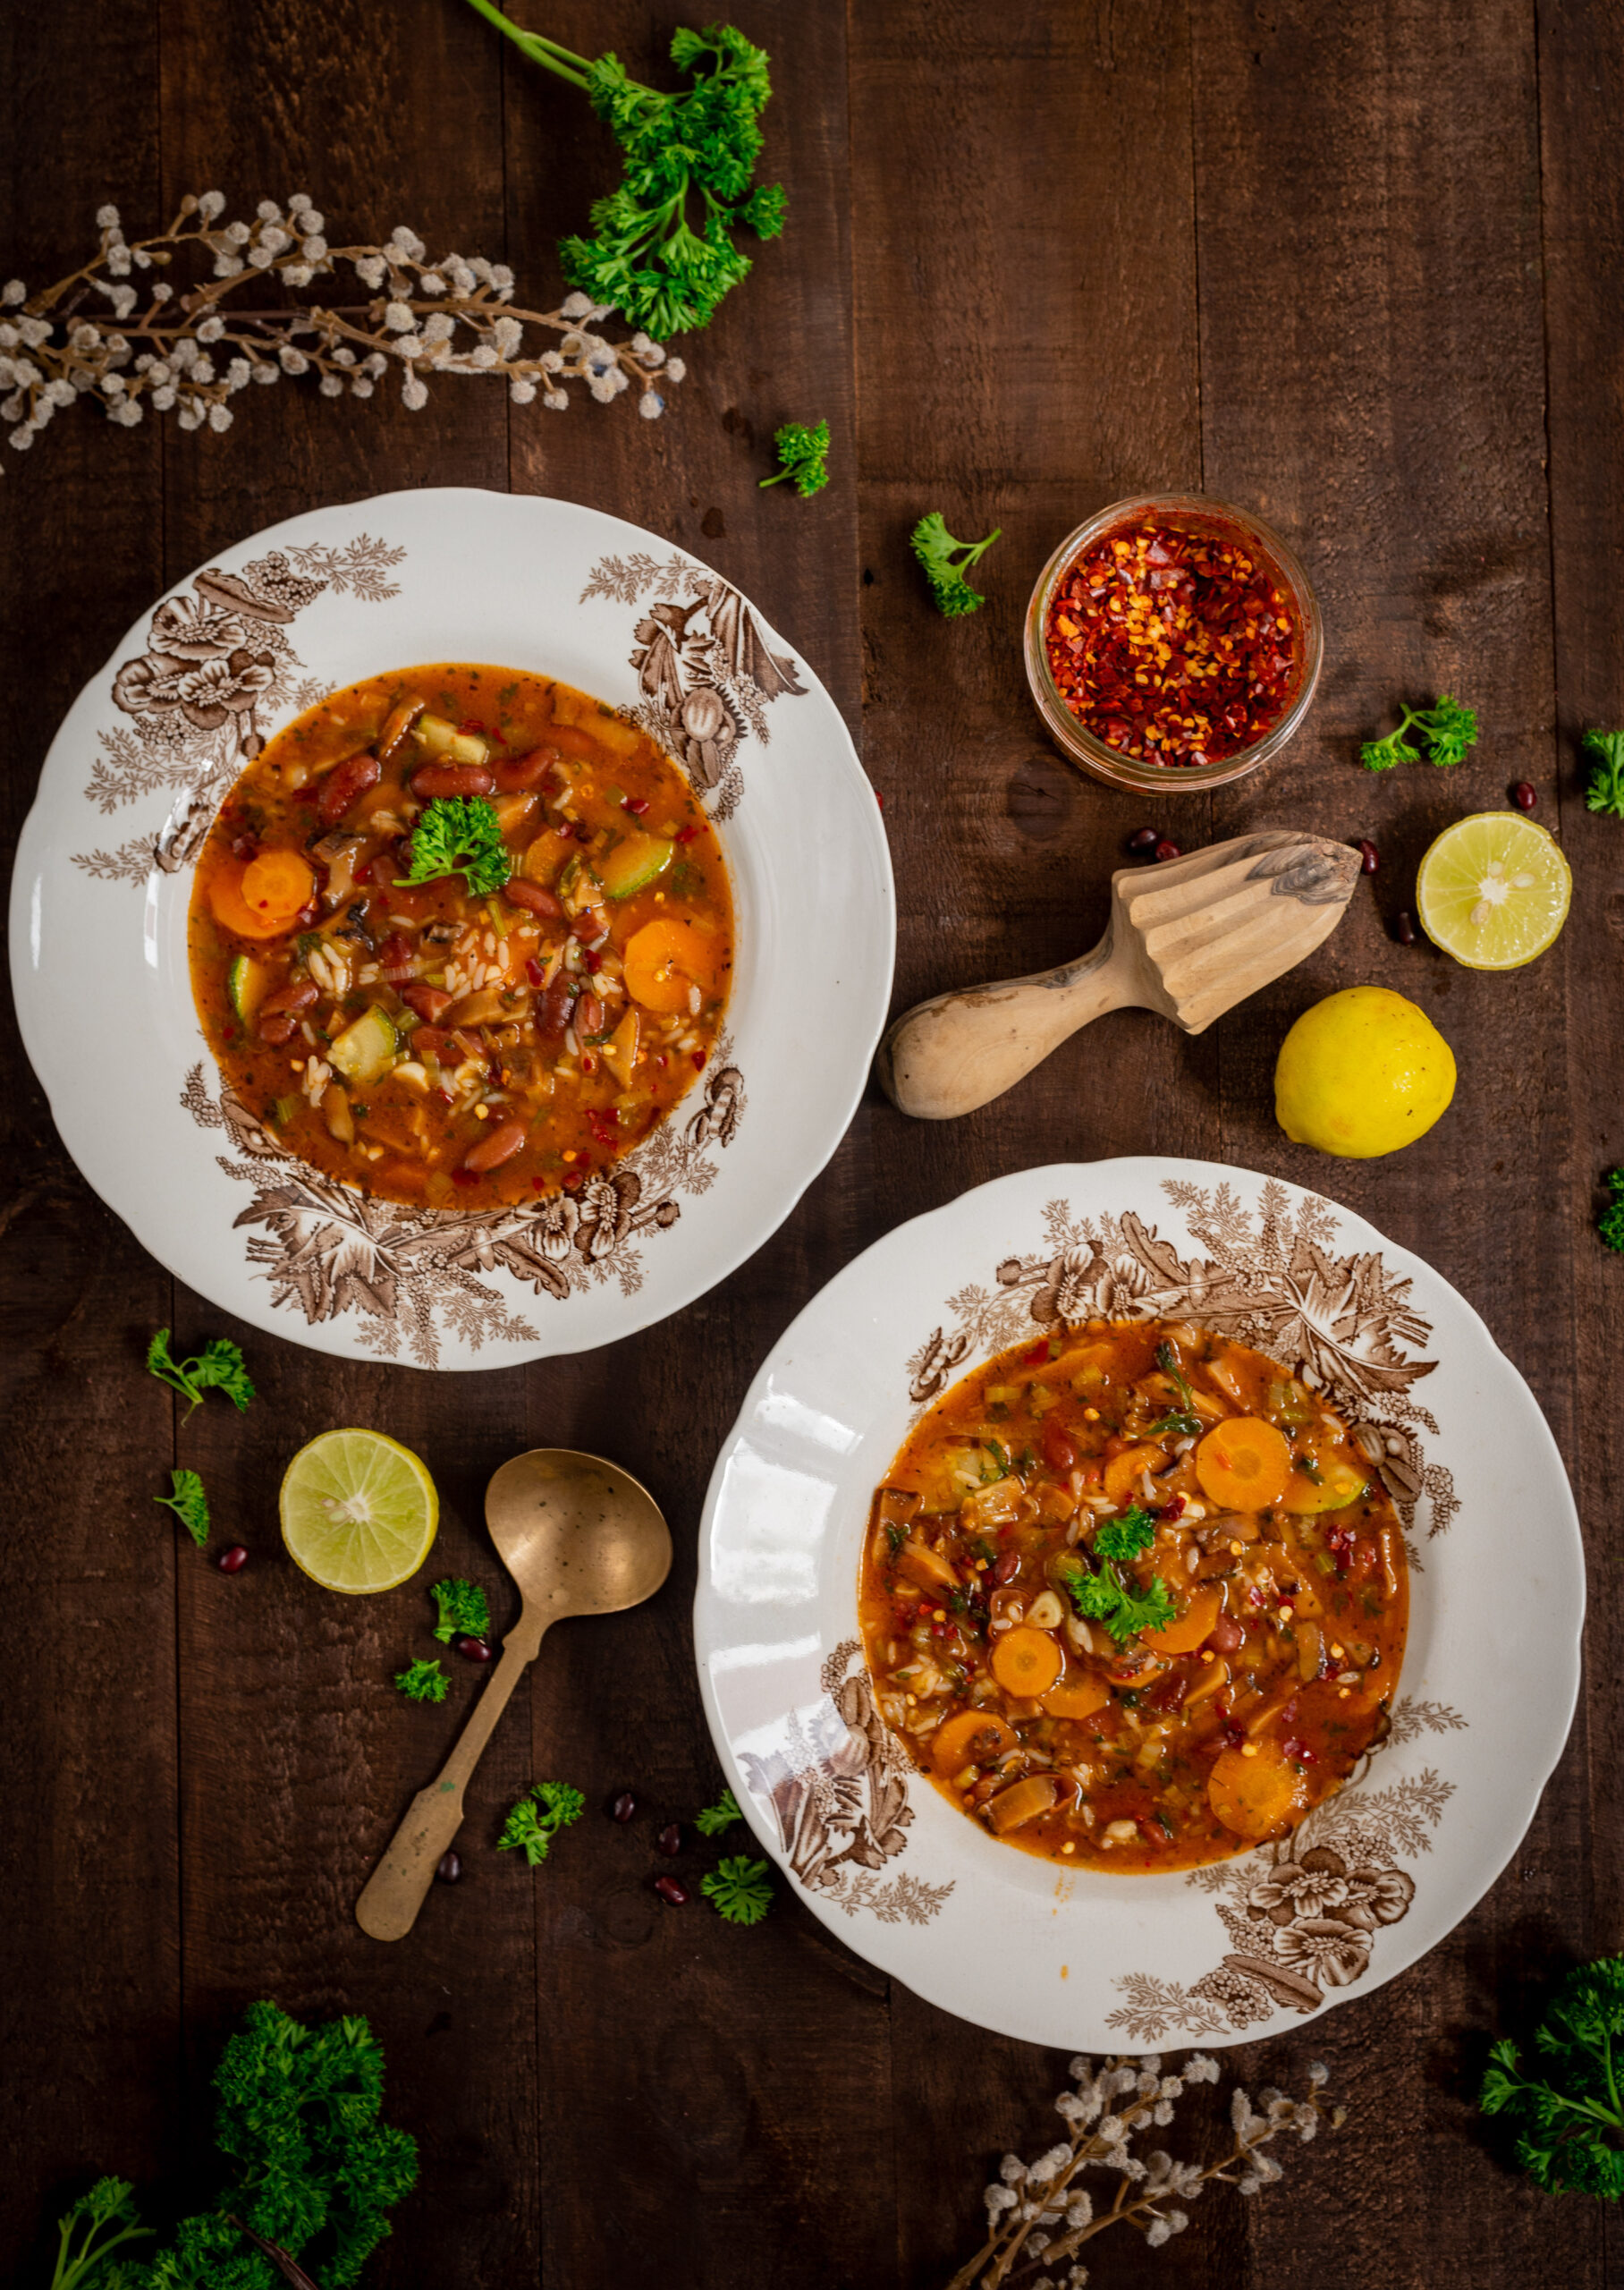
This simple and nourishing soup is an Italian dish, but one which has changed through the centuries. It is believed that it has ancient origins, from before the Roman empire came into being, and that various trade influences led to more ingredients being incorporated to the base. Knowing that there is no one version of a strictly traditional minestrone makes me confident about sharing my version. It was a dish that I used to enjoy when I travelled abroad, but later started making at home too – a combination of wanting to be more self-sufficient, missing my travel experiences during lockdown, and a little bit of culinary FOMO. I now make it once or twice a week at home. Not only is it a very healthy dish, but it also helps to clear out excess vegetables in the fridge. This means it’s a great way to get the family to eat better. A big bowl of veggie-rich minestrone with some freshly-baked bread is a complete meal in itself. You can make it even more filling by adding quinoa, brown rice or pasta too.

Most minestrones that you may eat in Europe will contain borlotti beans (also known as cranberry beans) as their base, but these were in fact first cultivated in South America. This tells you that they must have been a later addition to the popular recipe, brought in during colonial times. This being the case, I am personally very happy to use any bean I have on hand. Here in India, we have a great variety. At home, we eat a different kind of bean daily – moong, channa and so on – as it suits our mostly vegetarian diets. For this recipe, I’ve chosen to use kidney beans as they are widely available everywhere. You can substitute them for your preferred local bean.

The secret to a great minestrone is in allowing a bit of the rind from Parmesan cheese to simmer in the soup as it cooks, which gives it a nice, nutty flavour. This plus the measured use of white wine retain the European-ness of the dish. Another ingredient that elevates it for me is my homemade tomato purée. A dollop of it makes a huge difference.

I’ve shared this recipe with various friends before, all of whom seem to love it just as much as we do at home. I hope that you will too. It’s very healthy, very tasty, and while it’s no ordinary vegetable soup, it’s just as easy to make.

Minestrone

(Yield: 2 large bowls/2 persons)


20 grams leek

25 grams celery

25 grams spring onions

100 grams zucchini, carrot, mushroom

4 cloves garlic

2 tablespoons olive oil

3 tablespoons fresh chopped parsley

2 tablespoons fresh chopped basil

2 tablespoons tomato purée

75 grams boiled kidney beans

1 cube/2 cups vegetable stock (i.e. 2 cups of boiling hot water added to one organic cube)

2-3 tablespoons white wine

1 or 2-inch Parmesan rind

Pasta/brown rice/quinoa (optional)


Sauté the garlic cloves, leek, celery, spring onions, zucchini, carrot and mushroom for a few minutes.

Add the tomato purée to this and stir well.

Next, if you are using pasta or brown rice in this soup, add that as well.

Add the kidney beans and the freshly chopped herbs. Then, pour in the vegetable stock. Freshly-made stock is always best, but cubes will work well too. After this, add the Parmesan rind to the pot and let it impart its flavour to the soup.

Add the white wine and salt to taste. Be careful with the quantities of both. Just a little more wine than you need, and the whole soup is spoiled. The tomato purée already contains salt so you will need less of it than you think.

Finally, add some chilli flakes, and garnish with chopped parsley and spring onions, and a squeeze of lemon. Remove the Parmesan rind before serving.

Serve warm. This soup works beautifully as a side, and if you have added brown rice or pasta, it can become its own meal-in-a-bowl too. I often bake a garlic pull-apart roll to go with this. My kids are tempted as soon as they see that soft, fluffy pastry, straight from the oven and tantalizing them on the table, and it draws them to sit down with a freshly-made bowl of soup too.

I hope this lovely minestrone brings you much deliciousness this December, as this year winds down and we take stock (no pun intended) of all it has contained. I wouldn’t be surprised if it becomes prepared as often in your home as it is in mine. Try it, and tell me if that’s the case! As always, I love hearing from you.
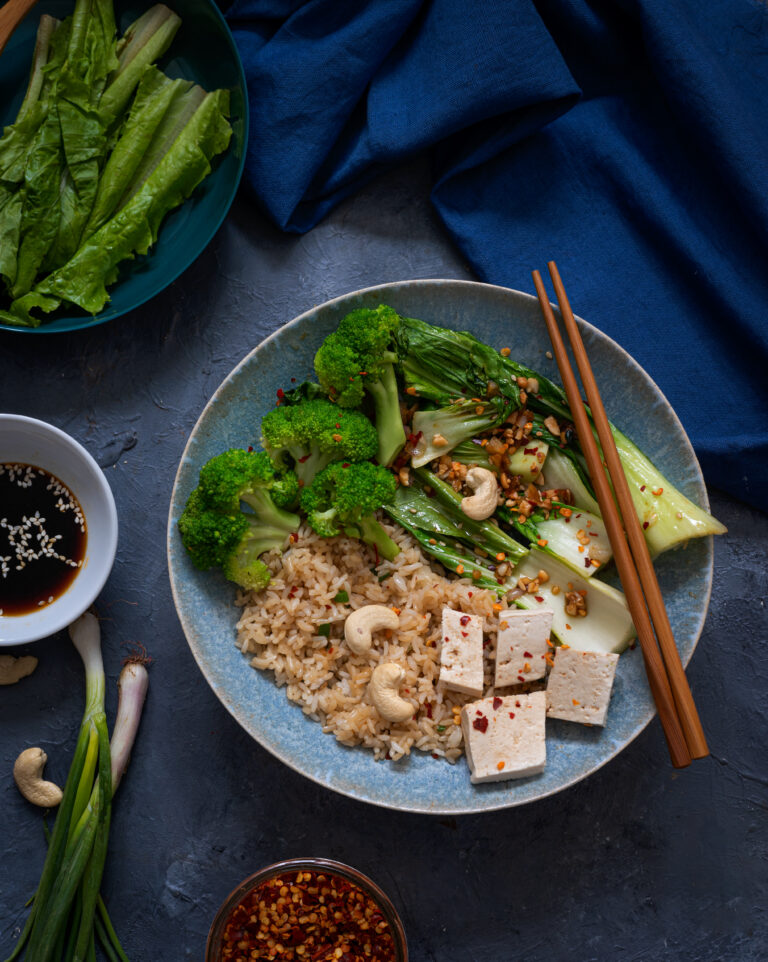
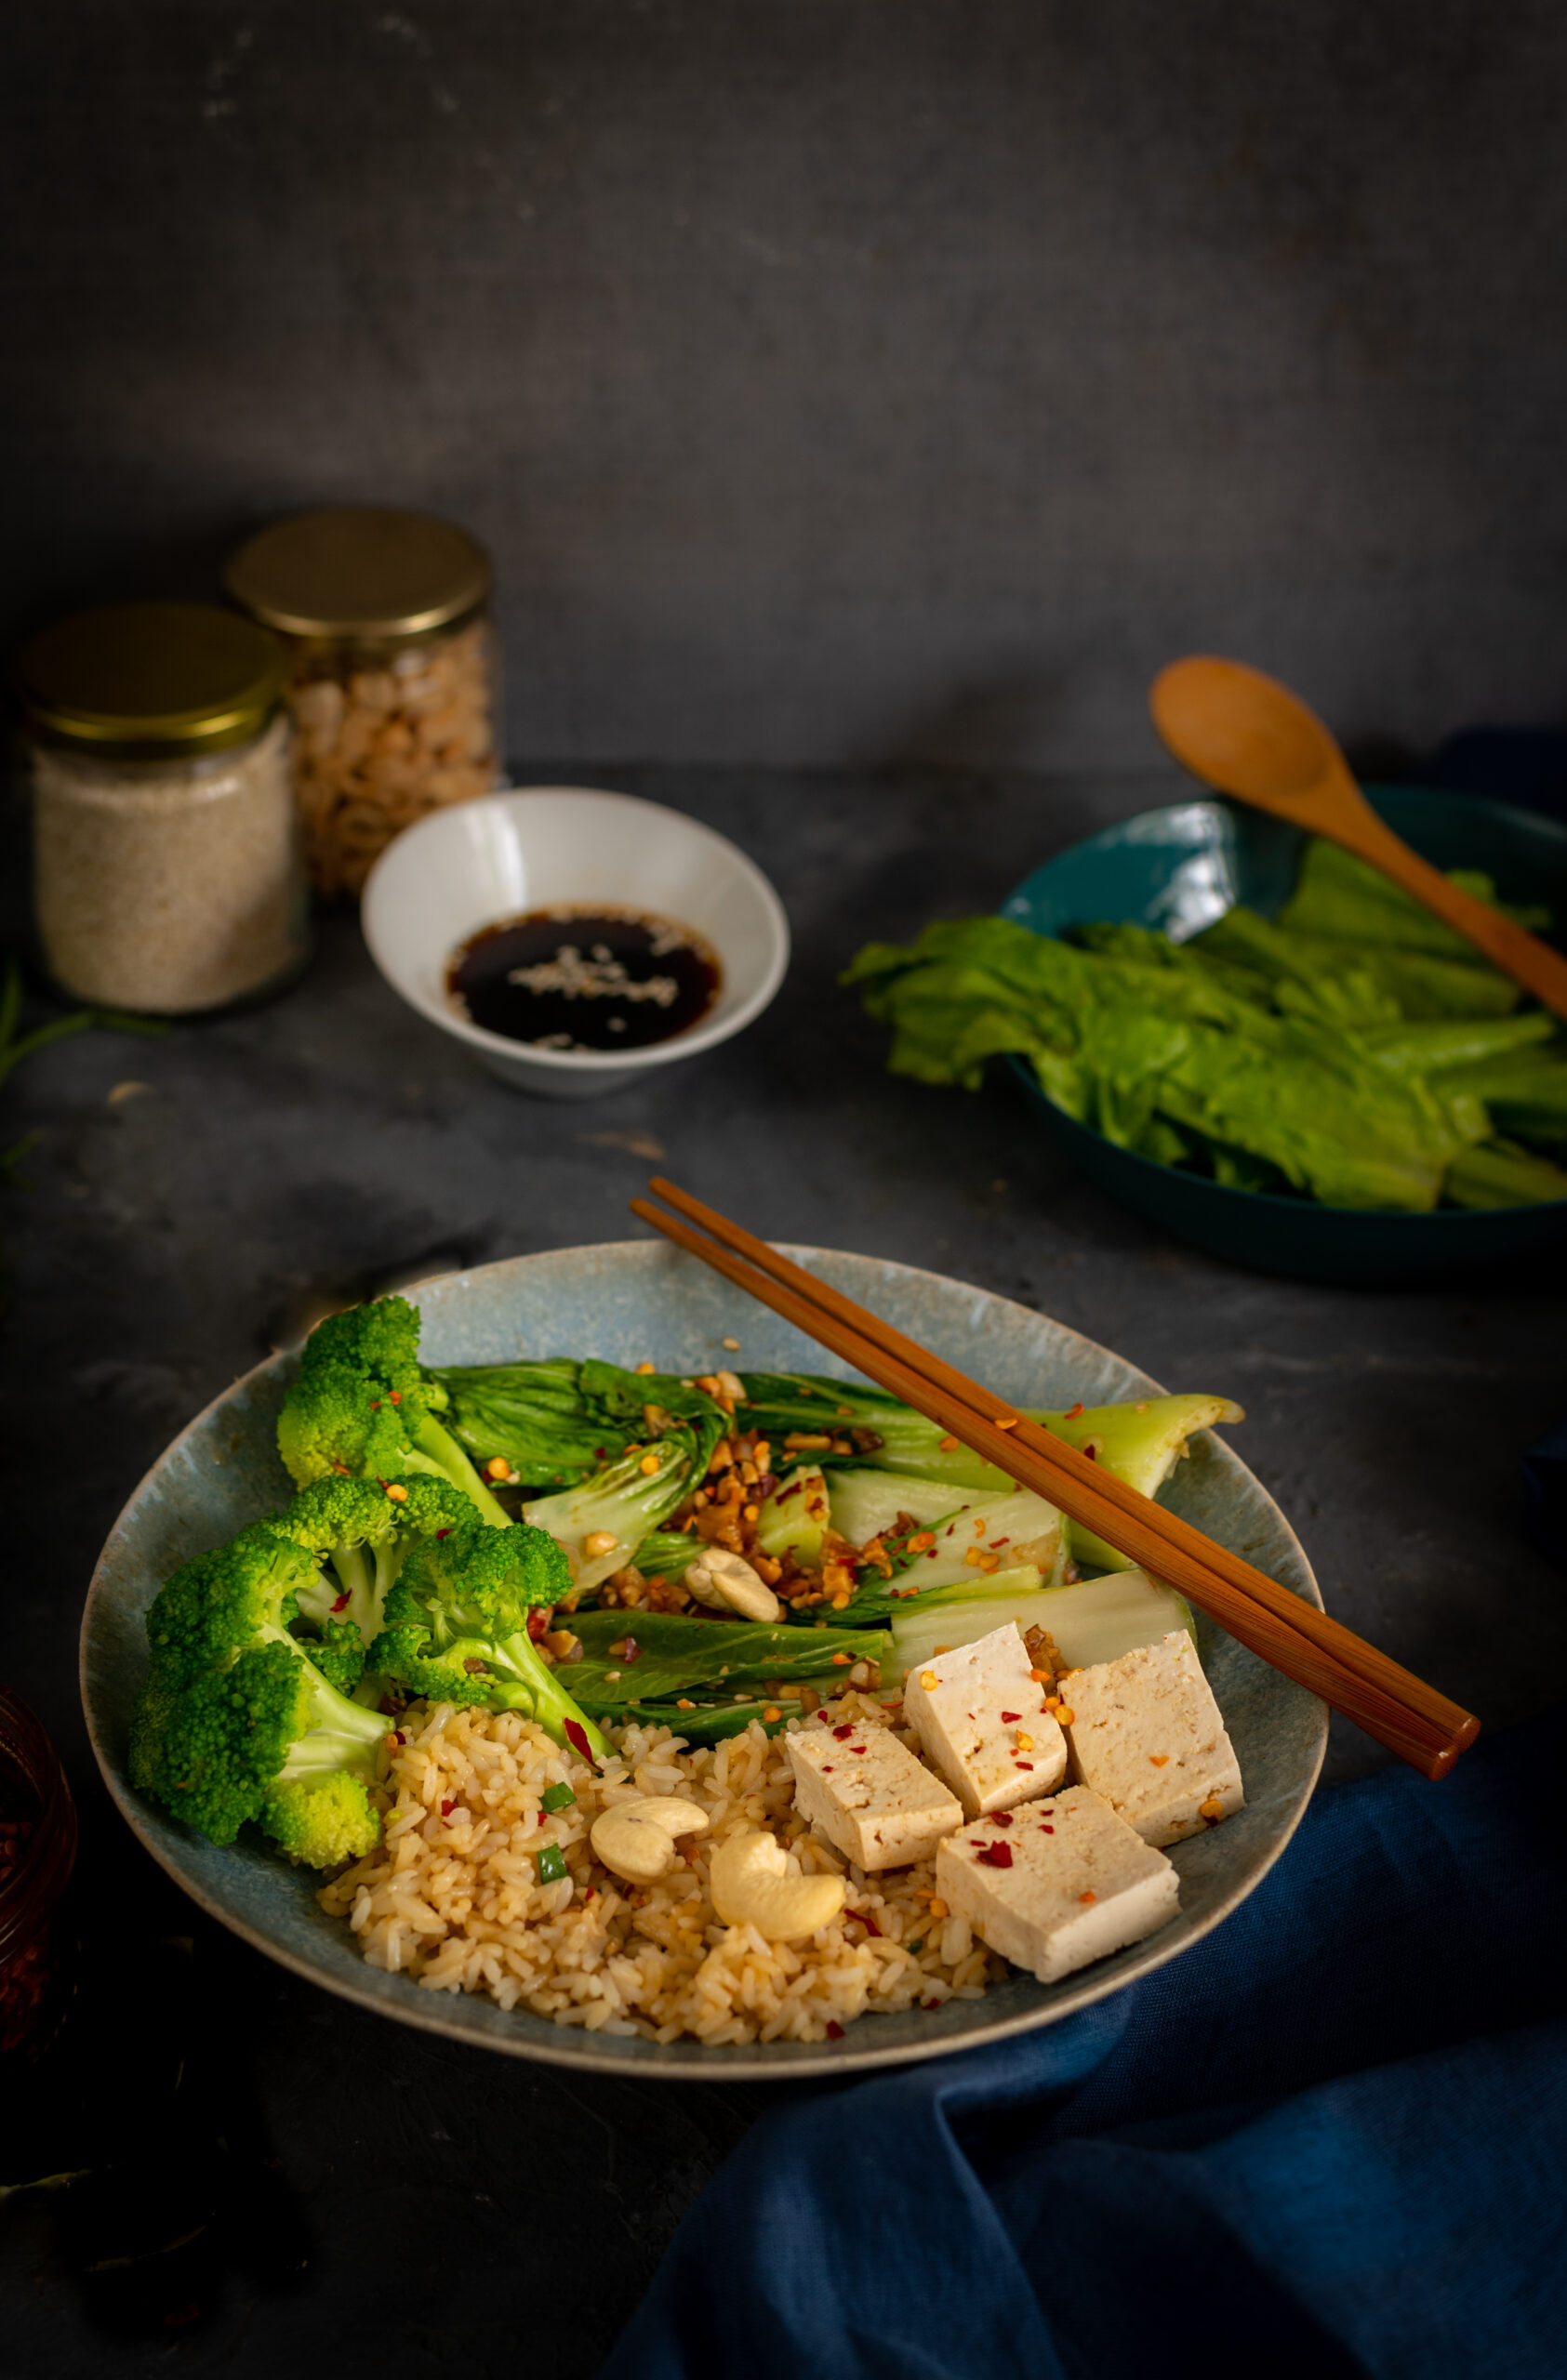
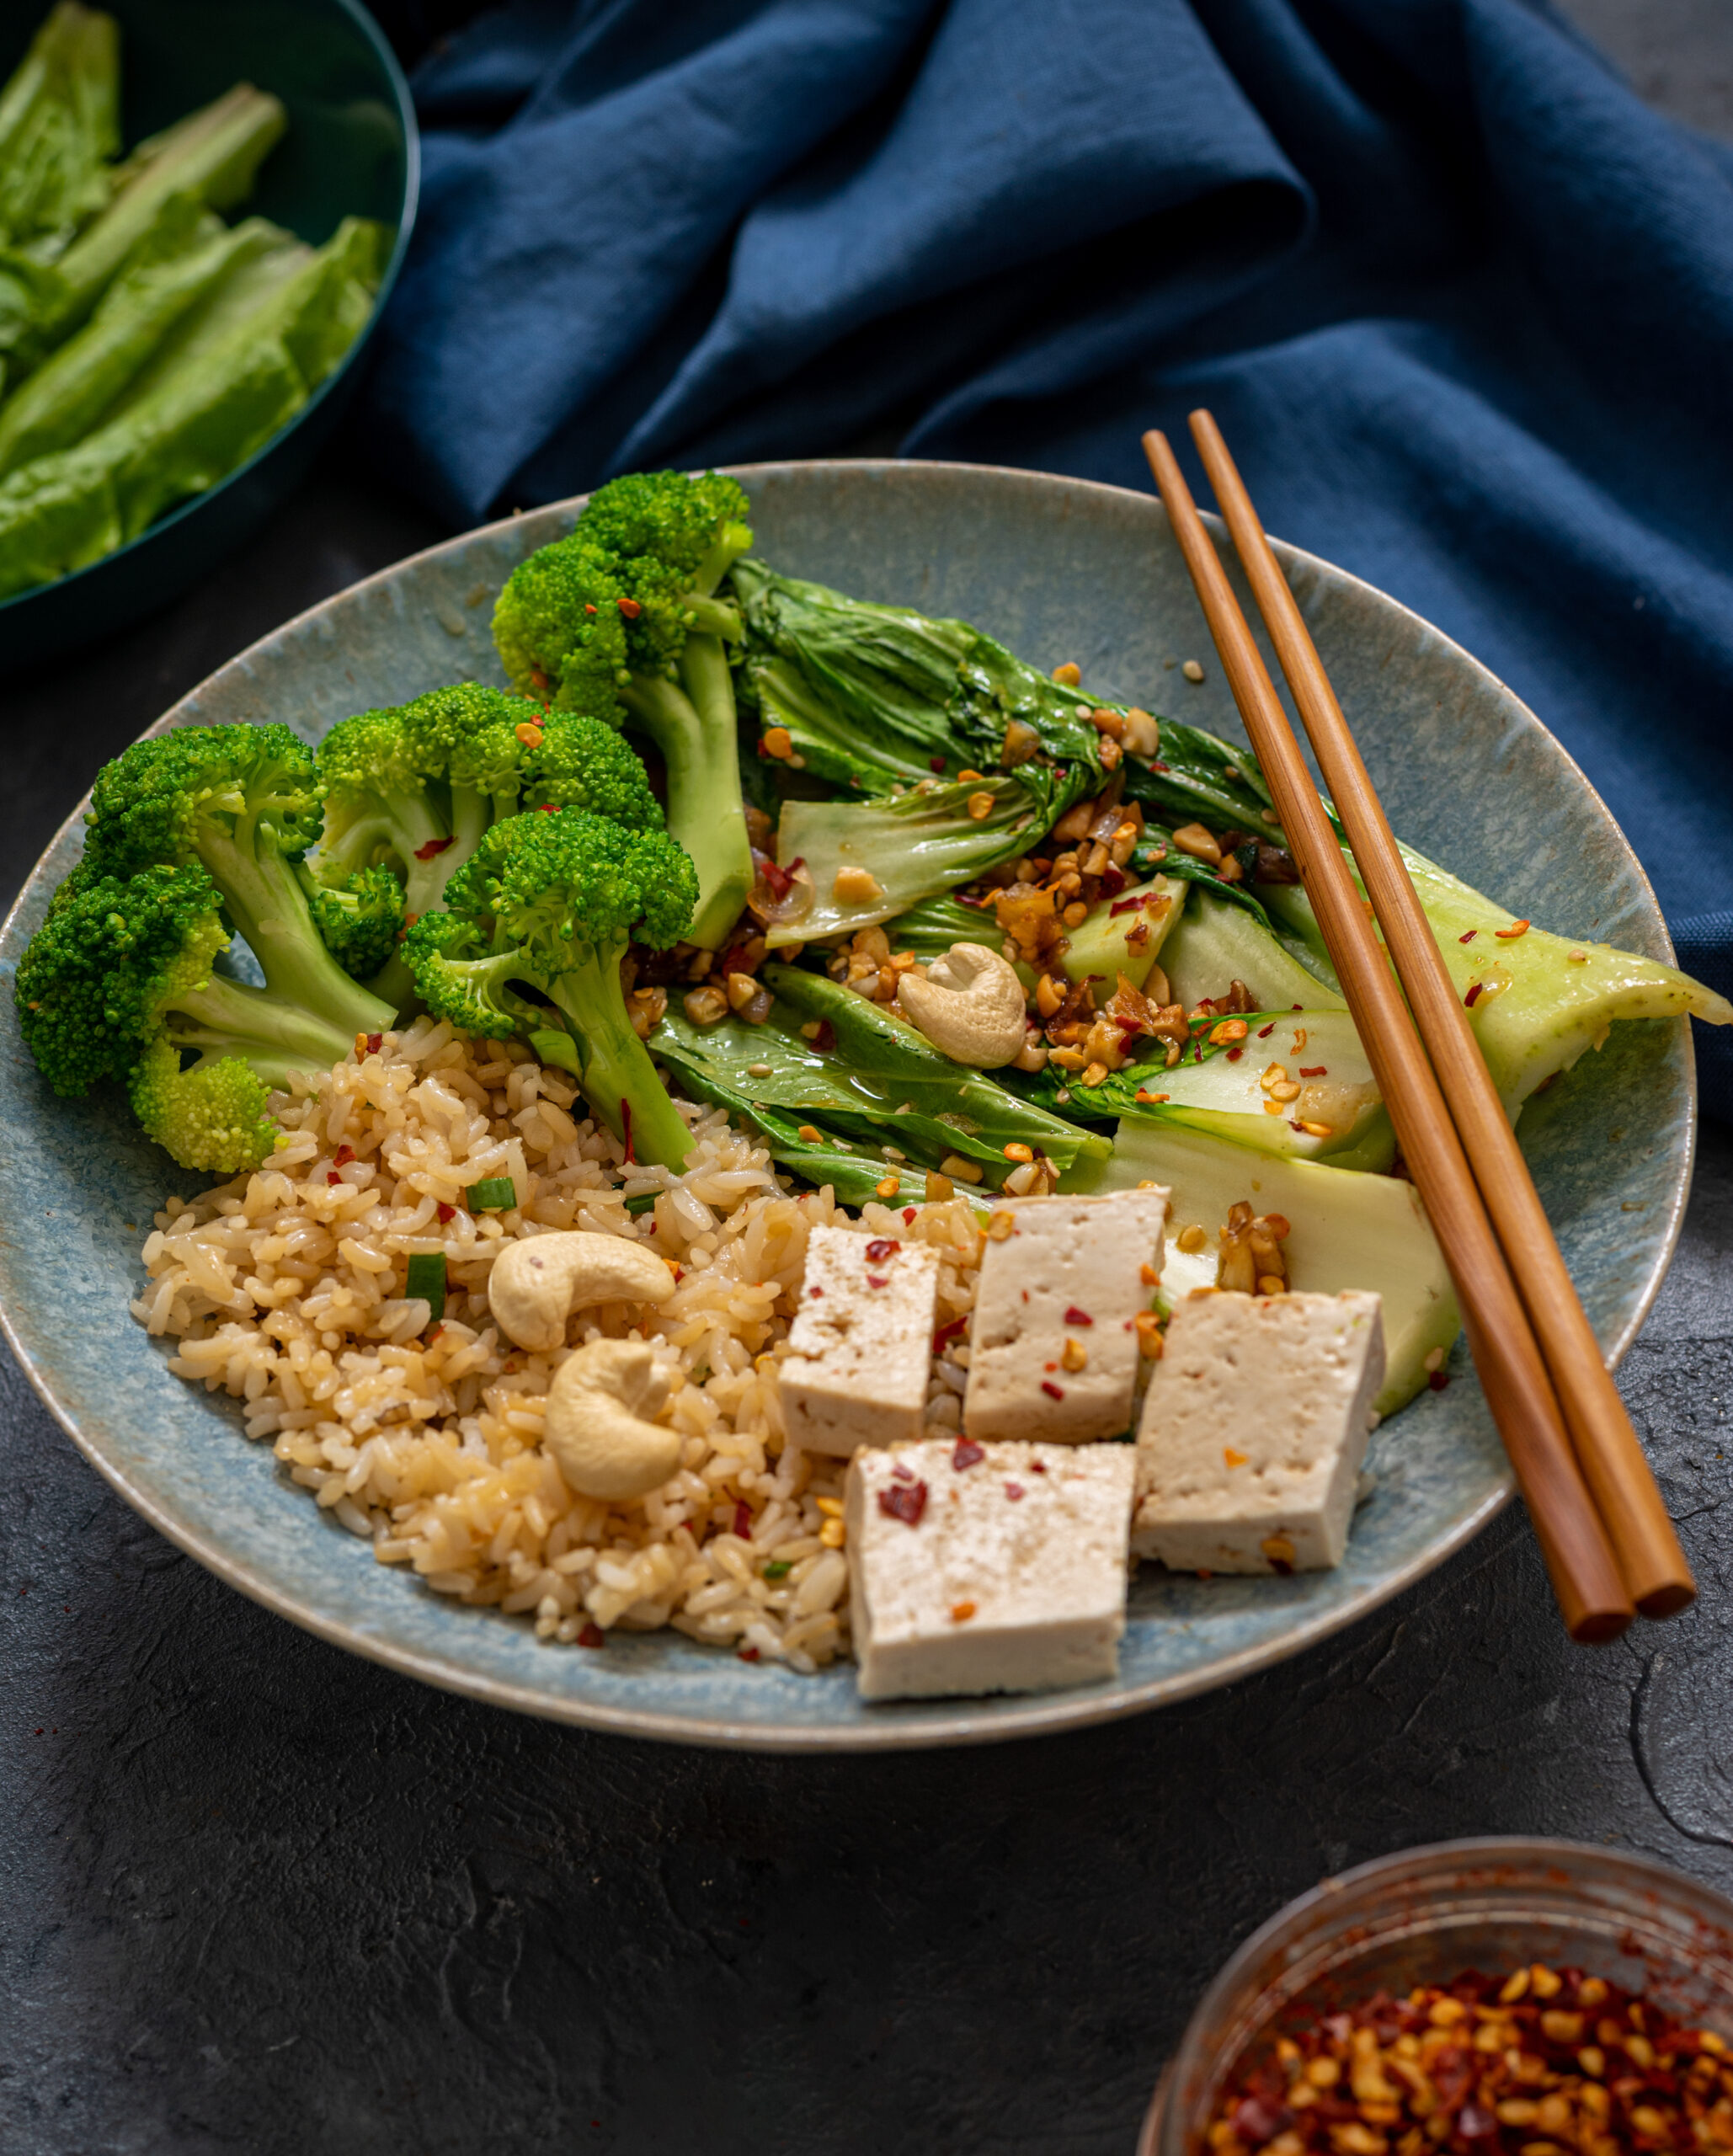
Having travelled through the tastebuds from right here in South India to Mexico and the Middle East and North Africa, the internationally-inspired Buddha bowl series on this blog arrives at its final destination: back on this continent. As I’ve said earlier, every one of these dishes qualifies as fusion cuisine, a tribute influenced by foreign flavours but by no means authentic. The same goes for this delicious, garlic-infused bowl of goodness, reminiscent of cooking from East Asia.

Indians have been very fond of Asian cuisines for the longest time, and what we eat here is really its own sub-cuisine, commonly known as Indo-Chinese food. While I’ve loved ordering these dishes while dining out, I had always been under the impression that Asian cooking involved too many ingredients or prep and that it somehow wouldn’t work for me. All this changed with the lockdown, which has had my daughter living here with us for the past few months. It’s a joy to have her safely here, rather than alone in Mumbai during the pandemic, and what she’s brought along with her is her love for Asian-inspired recipes. They are her own cooking go-to. Somehow, these dishes seem to come together rather naturally for her, and they taste fabulous. Due to her influence, I’ve been leaning towards (and learning how to make) this cuisine more and more, and enjoying the homemade versions, which tend to be healthier.

Fortunately for us, the ingredients are easily available and fresh. The recipes my daughter and I make together are all vegetarian or vegan, which suits us both. We have lunch together daily, and it’s wonderful to share dishes that I’d always only associated with the restaurant experience. I belong to a generation for whom Indo-Chinese food usually had something to do with a social or celebratory occasion, as I described here, so some of those special memories are also evoked at home now too. Nowadays, due to the large expat population in Chennai, we are lucky to also have a proliferation of Korean and Japanese restaurants, giving diners lots more wonderful variety when it comes to international food. My Asian-influenced and daughter-inspired Buddha bowl below, however, takes its cues from the Indo-Chinese restaurants that I was first exposed to. As a relative newbie to recipes like this one, I can assure you that this one is so easy and so tasty to make that you’ll be whipping it up in no time too!

Asian-Style Buddha Bowl

(Serves 2)

Garlic Rice

2 cups cooked rice

2 tablespoons finely sliced spring onions

2 tablespoons finely chopped garlic

1 tablespoon sesame oil

½ tablespoon light soy sauce

Salt to taste

Garlic Bok Choy

1 tablespoon crushed peanuts

½ tablespoon sesame oil

1 bunch cleaned and dried bok choy

½ tablespoon sliced garlic

½ teaspoon grated ginger

2-3 finely cut shallots

¼ teaspoon honey

Salt to taste

A pinch of chili flakes

A dash of lemon

Tofu

6 – 8 slices tofu

1½ tablespoons light soy sauce

1 tablespoon hot water

A pinch of sesame seeds

¼ teaspoon honey

¼ teaspoon sesame oil

Broccoli

1 cup sliced broccoli

Salt to taste

Garnish

Cilantro (finely chopped)

Spring onions (finely chopped)

Chili flakes


As with all Buddha bowls, each component must be made separately and brought together only when you are ready to serve the meal. Begin by preparing the garlic rice. In a pan, heat the oil. Add the garlic and allow it to sauté until it is golden and aromatic. Now, add the rice. Stir. Add the salt, soy sauce and spring onions. Mix well and set aside.

Then, prepare the garlic bok choy. Heat the oil in a pan. Once it is hot, add the garlic, ginger and peanuts. Stir them together. Now, add the bok choy and the honey, allowing the flavours in the pan to coat the leaves well. Sprinkle salt, add the dash of lemon and stir. Set aside.

I prefer the leaves to be a bit raw and crunchy. However, if you like them cooked well and wilted you may make them this way. You may also replace the peanuts with cashew nuts. If you have a nut intolerance, you can avoid the nuts altogether.

To prepare the tofu, first stir all the ingredients except the tofu together in a cup to make a sauce. Set this aside. Now, sauté the tofu lightly in oil.

To prepare the broccoli, drop the sliced vegetable in hot water for a few minutes. If you prefer to, you may sauté it next, or leave it as is. Remove and sprinkle with some salt.

Start assembling the bowl by plating the rice, followed by the boy choy and the broccoli. Finish these off by adding the tofu, which you can top with a teaspoon of the prepared sauce. Place the remaining sauce near the bowl to use as a dip for the tofu and even for the vegetables, if you like them crunchy like I do.

Before serving, garnish the bowl with the cilantro, spring onions and red chilli flakes. As I said right at the start of this series, a beautiful bowl allows the eyes to feast first, and I encourage you to pick one out that elevates your experience of the meal.

I hope you’ve enjoyed these Buddha bowl recipes, which pay tribute to different cuisines that I have loved. For other meal-in-a-bowl dishes, do click on the link and see some of the recipes I’ve shared over the years that fit the bill. Some of my favourites include two Indian classics, the dal dhokli and khatta mung, as well as another Asian-style dish, a stir-fry. I hope you’ll check them out!

Ever since the lockdown began several months ago, I have been coming up with different ways to keep our meals at home interesting, since we cannot dine out. This has meant celebrations in our own garden, as well as creating new trends to look forward to. This Sunday breakfast bowl is one of them.

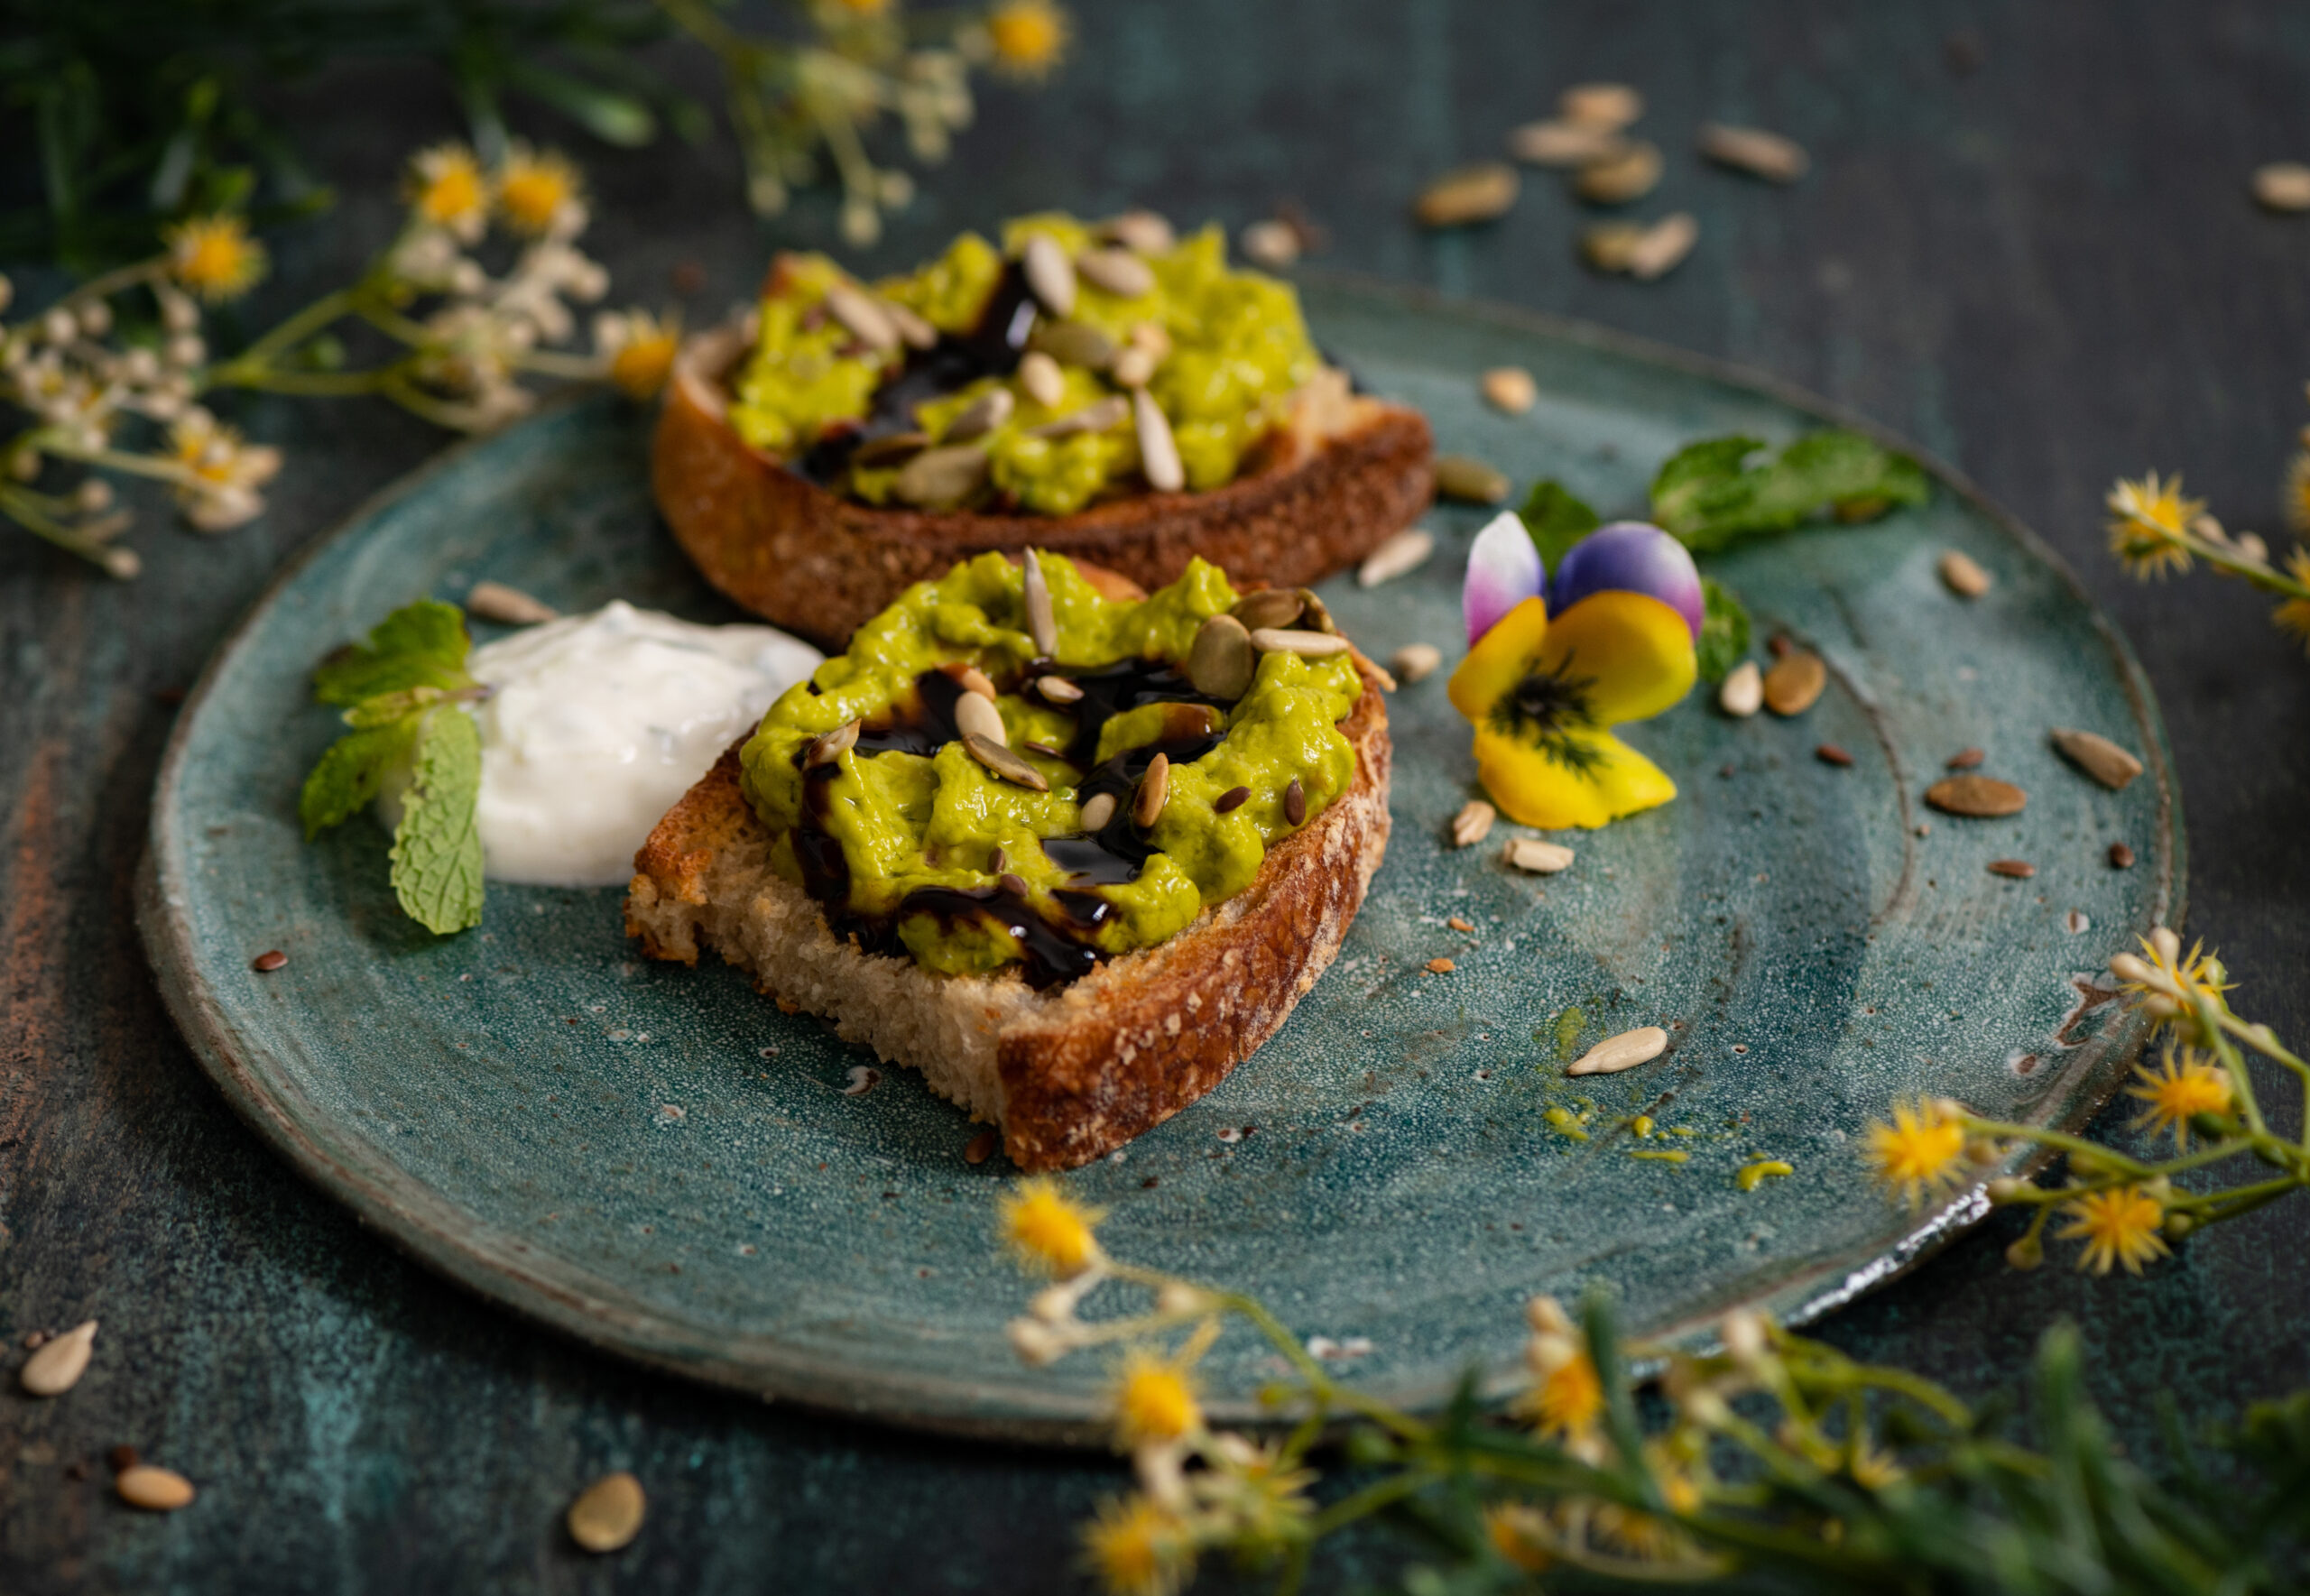
Our Sunday brunches contain lots of variety to suit everyone’s tastes – my son always wants waffles or pancakes, others have a craving for avocado toast, and so on. I found that the best way to get everyone to try out different components of the spread I wind up serving is to make a brunch bowl, with a little of everything. I strike a deal with my kids: not only do they eat the sweet waffles, but they also get some protein from eggs, plus a boost of avocado.

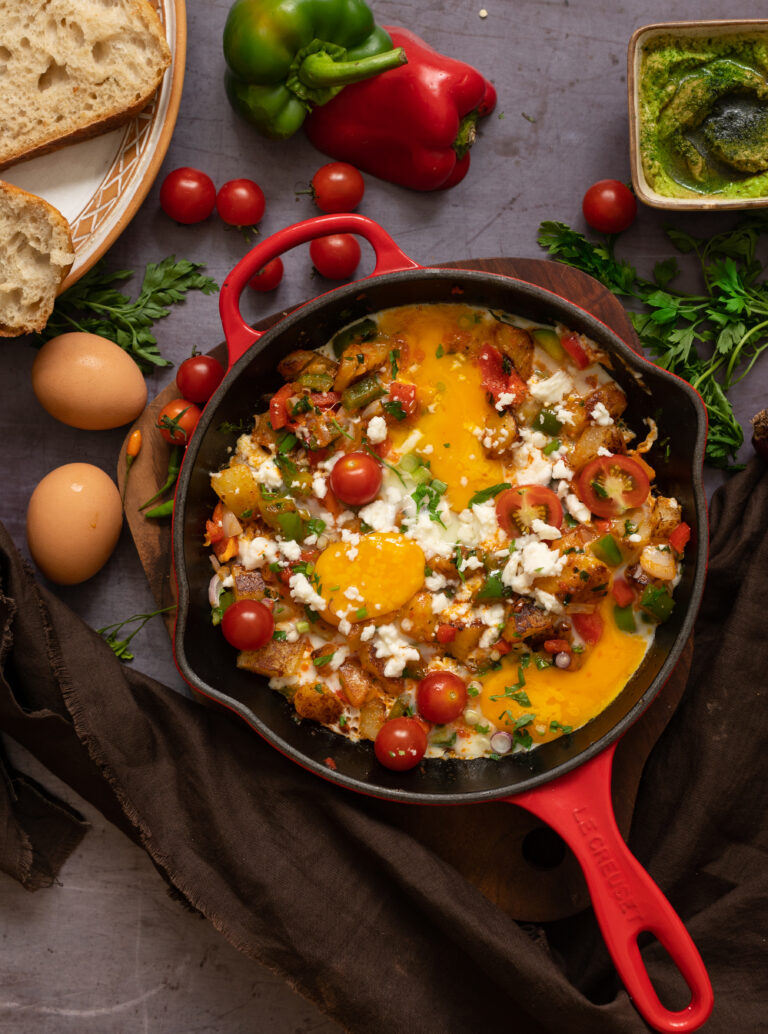
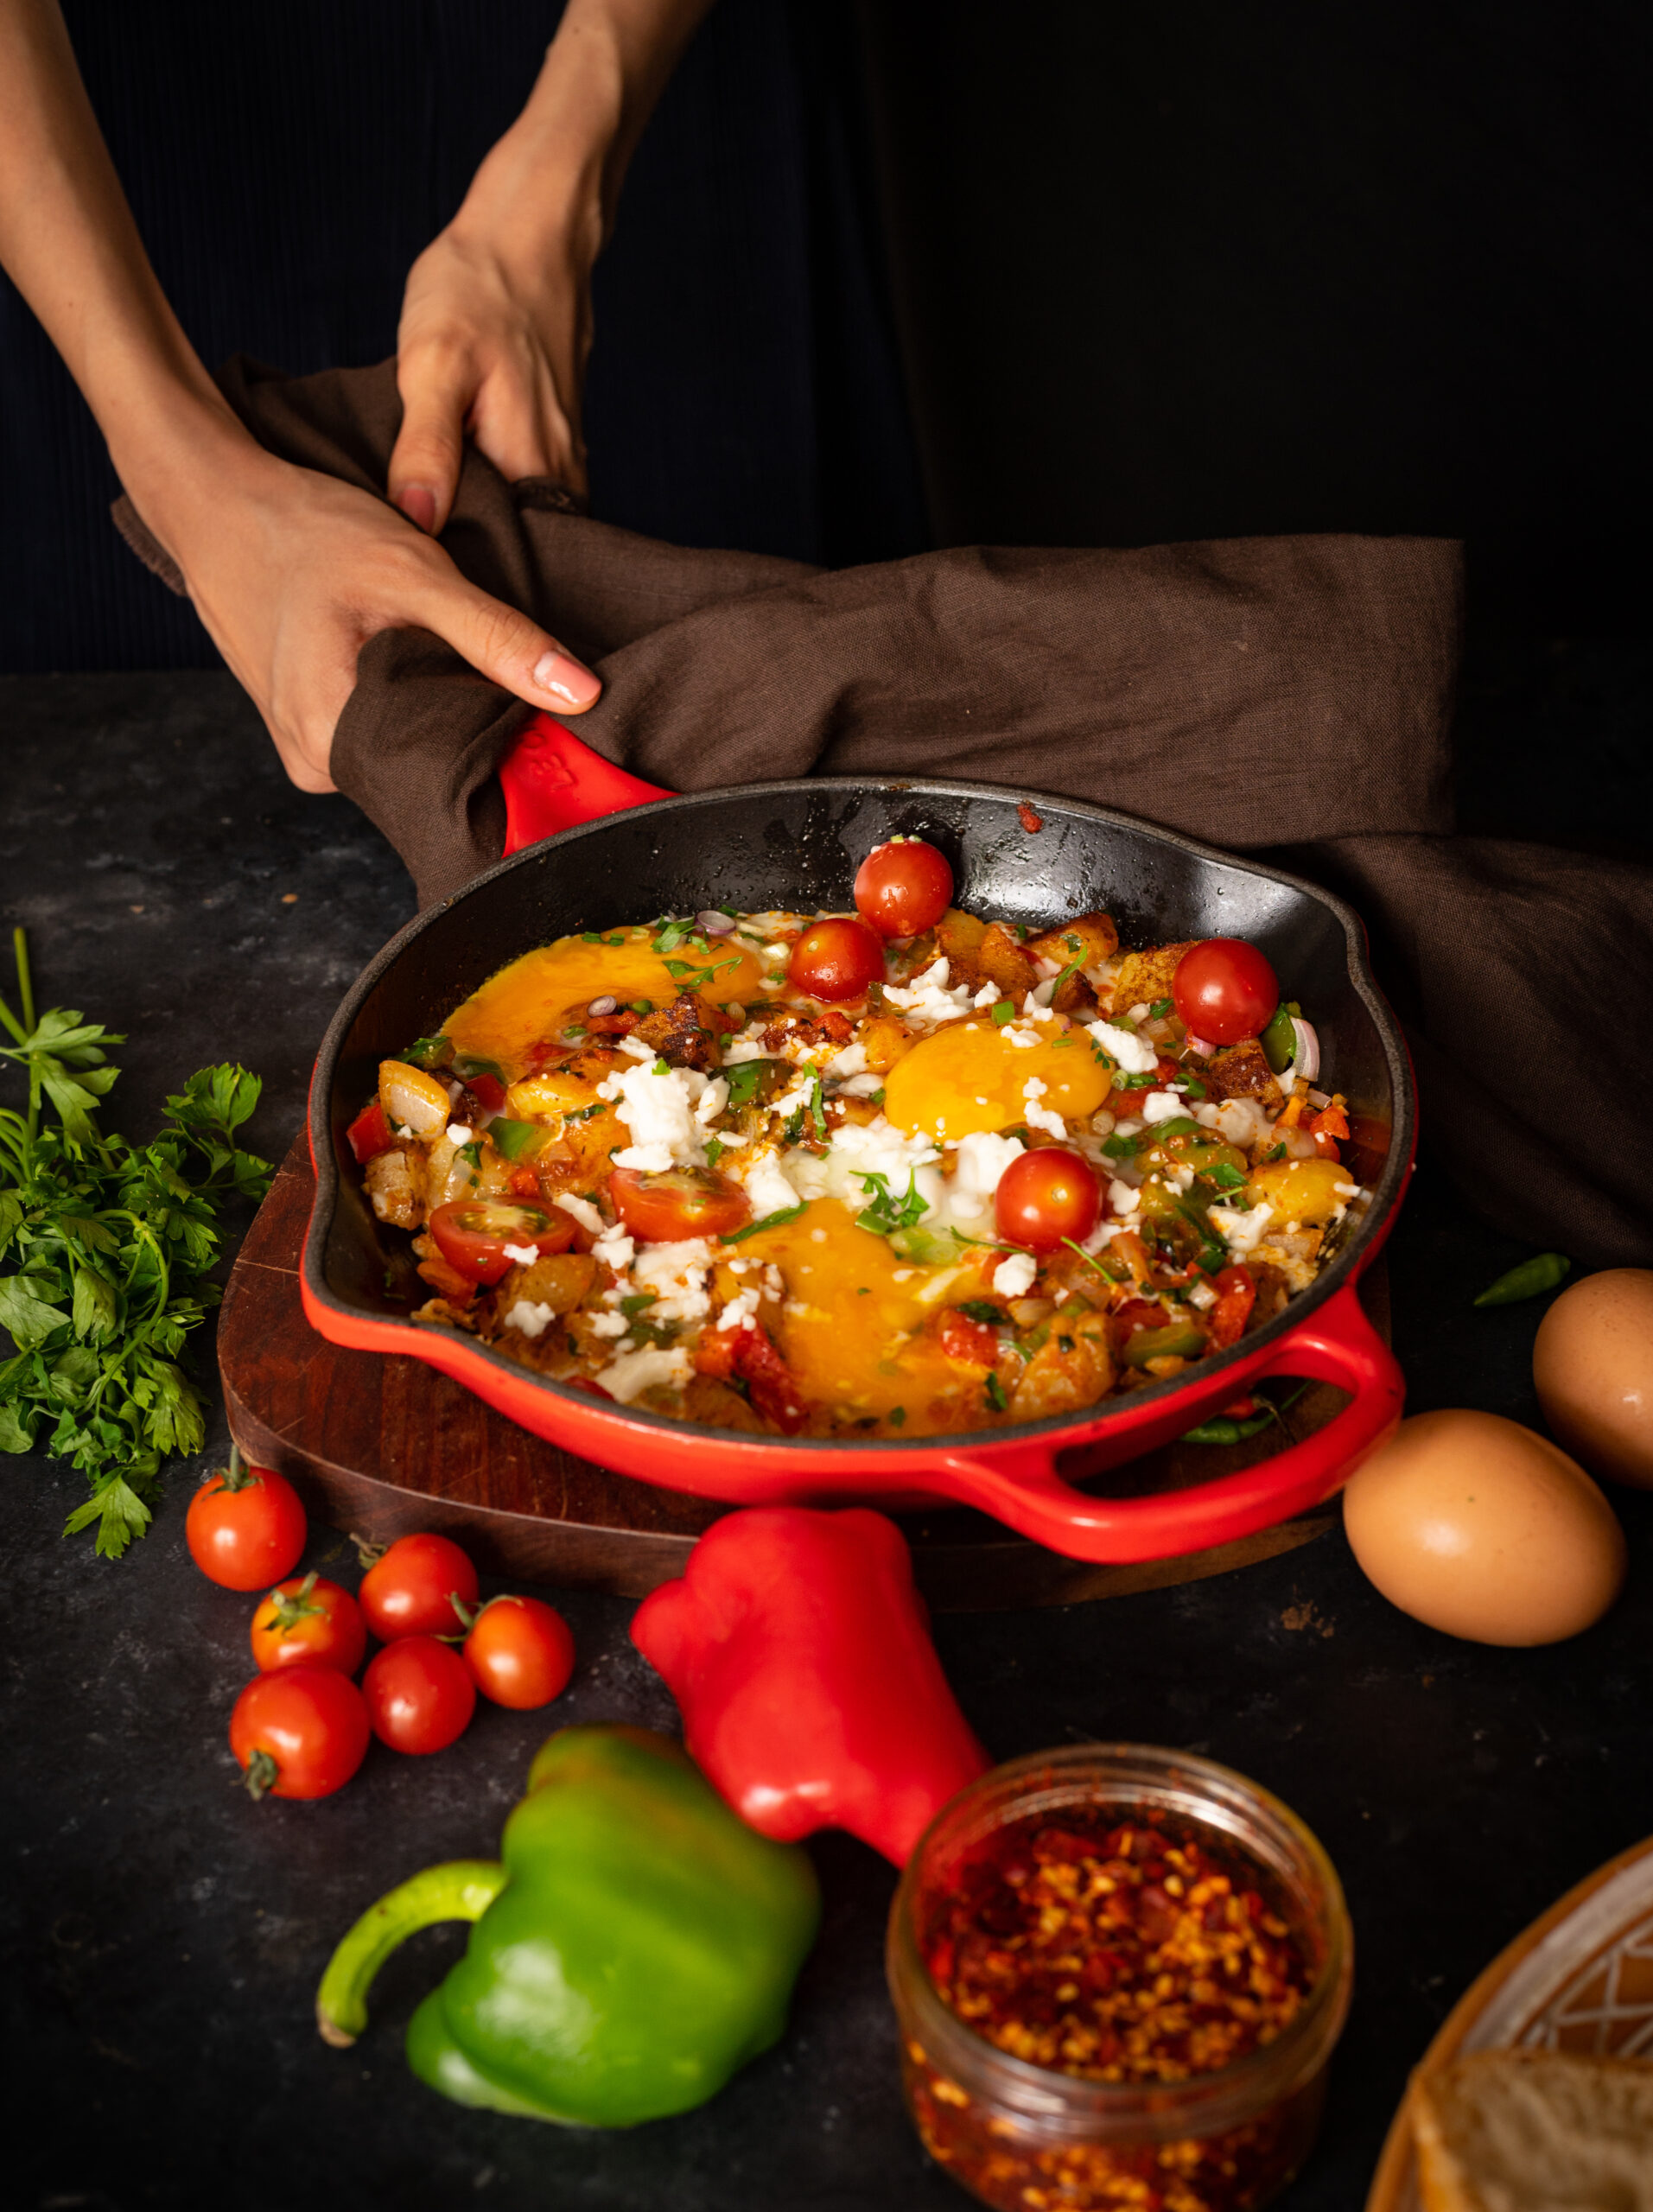
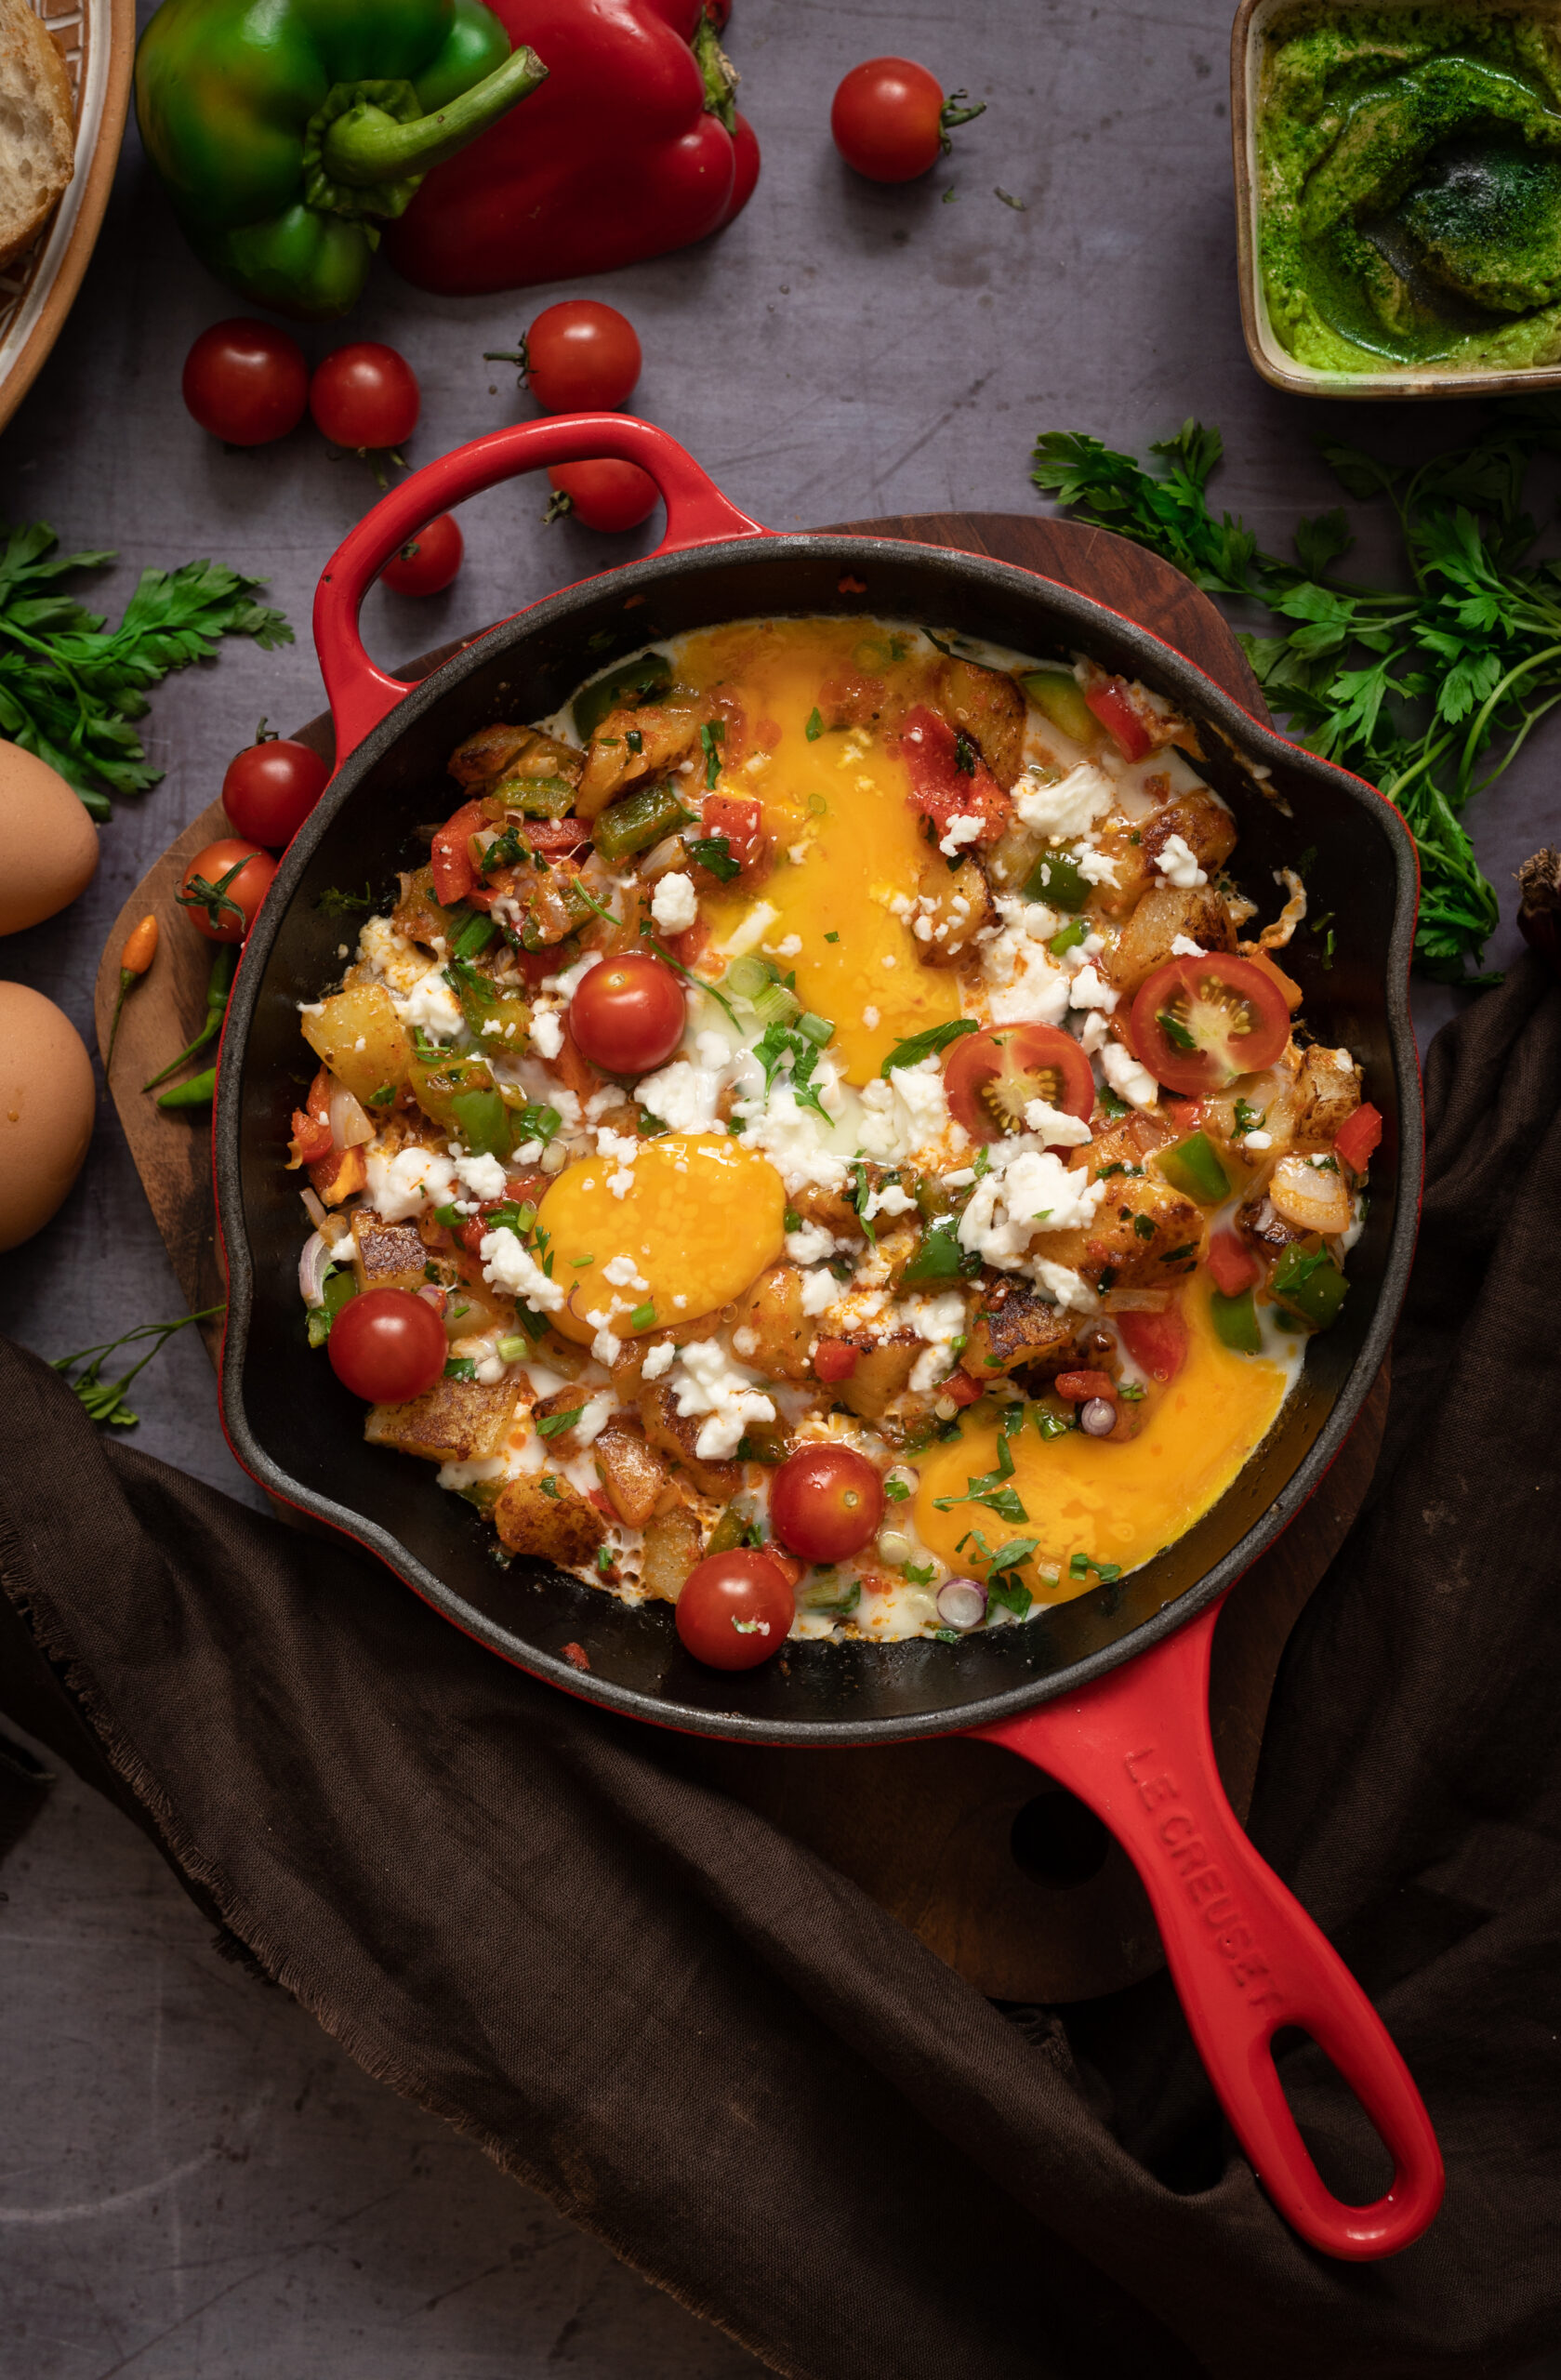
The star of our meal is the shakshouka, an egg-based dish from the Middle East and North Africa, which I personally encountered in Turkey first. Continuing the Buddha bowl series (previous instalments here and here, and more to come), it’s one of the items from our Sunday spread that everyone in the family agrees on, and wants second helpings of. It’s so popular at home that we call it the “Shah-shouka”.

As I always say with fusion food, we can only make interpretations. My “Shah-shouka” is truly my own, rich with the flavours and style that are unique to my kitchen, just as yours will be your own too. The best part of this for me is that it’s one of the many dishes that gets a dollop of my homemade all-purpose tomato puree, which I also use in my Mexican-influenced Buddha bowl. It’s amazing how versatile it is and how it goes into everything. My version of this dish is Indianised, of course, along with certain ingredients like olive oil that I just have a preference for. You could use rosemary or thyme instead of cumin, if that’s your taste, and make your own interpretation.

If you don’t eat eggs, you can turn this dish into one that is not just vegetarian but vegan, simply by substituting them for tofu slices. They will give you the same protein quotient that eggs do. There’s always a simple solution to everything when it comes to improvising in the kitchen.

“Shah”-shouka

(Serves 2)

2 tablespoons olive oil

2 cups seeded and diced colourful bell peppers

2-3 spring onions

3-4 cloves garlic

2 tablespoons cilantro

2 tablespoons parsley

1 cup boiled potatoes

½ teaspoon roasted cumin powder

½ teaspoon paprika (adjust to your taste)

2 tablespoons re:store tomato purée

4 eggs

1 tablespoon feta cheese

Salt to taste

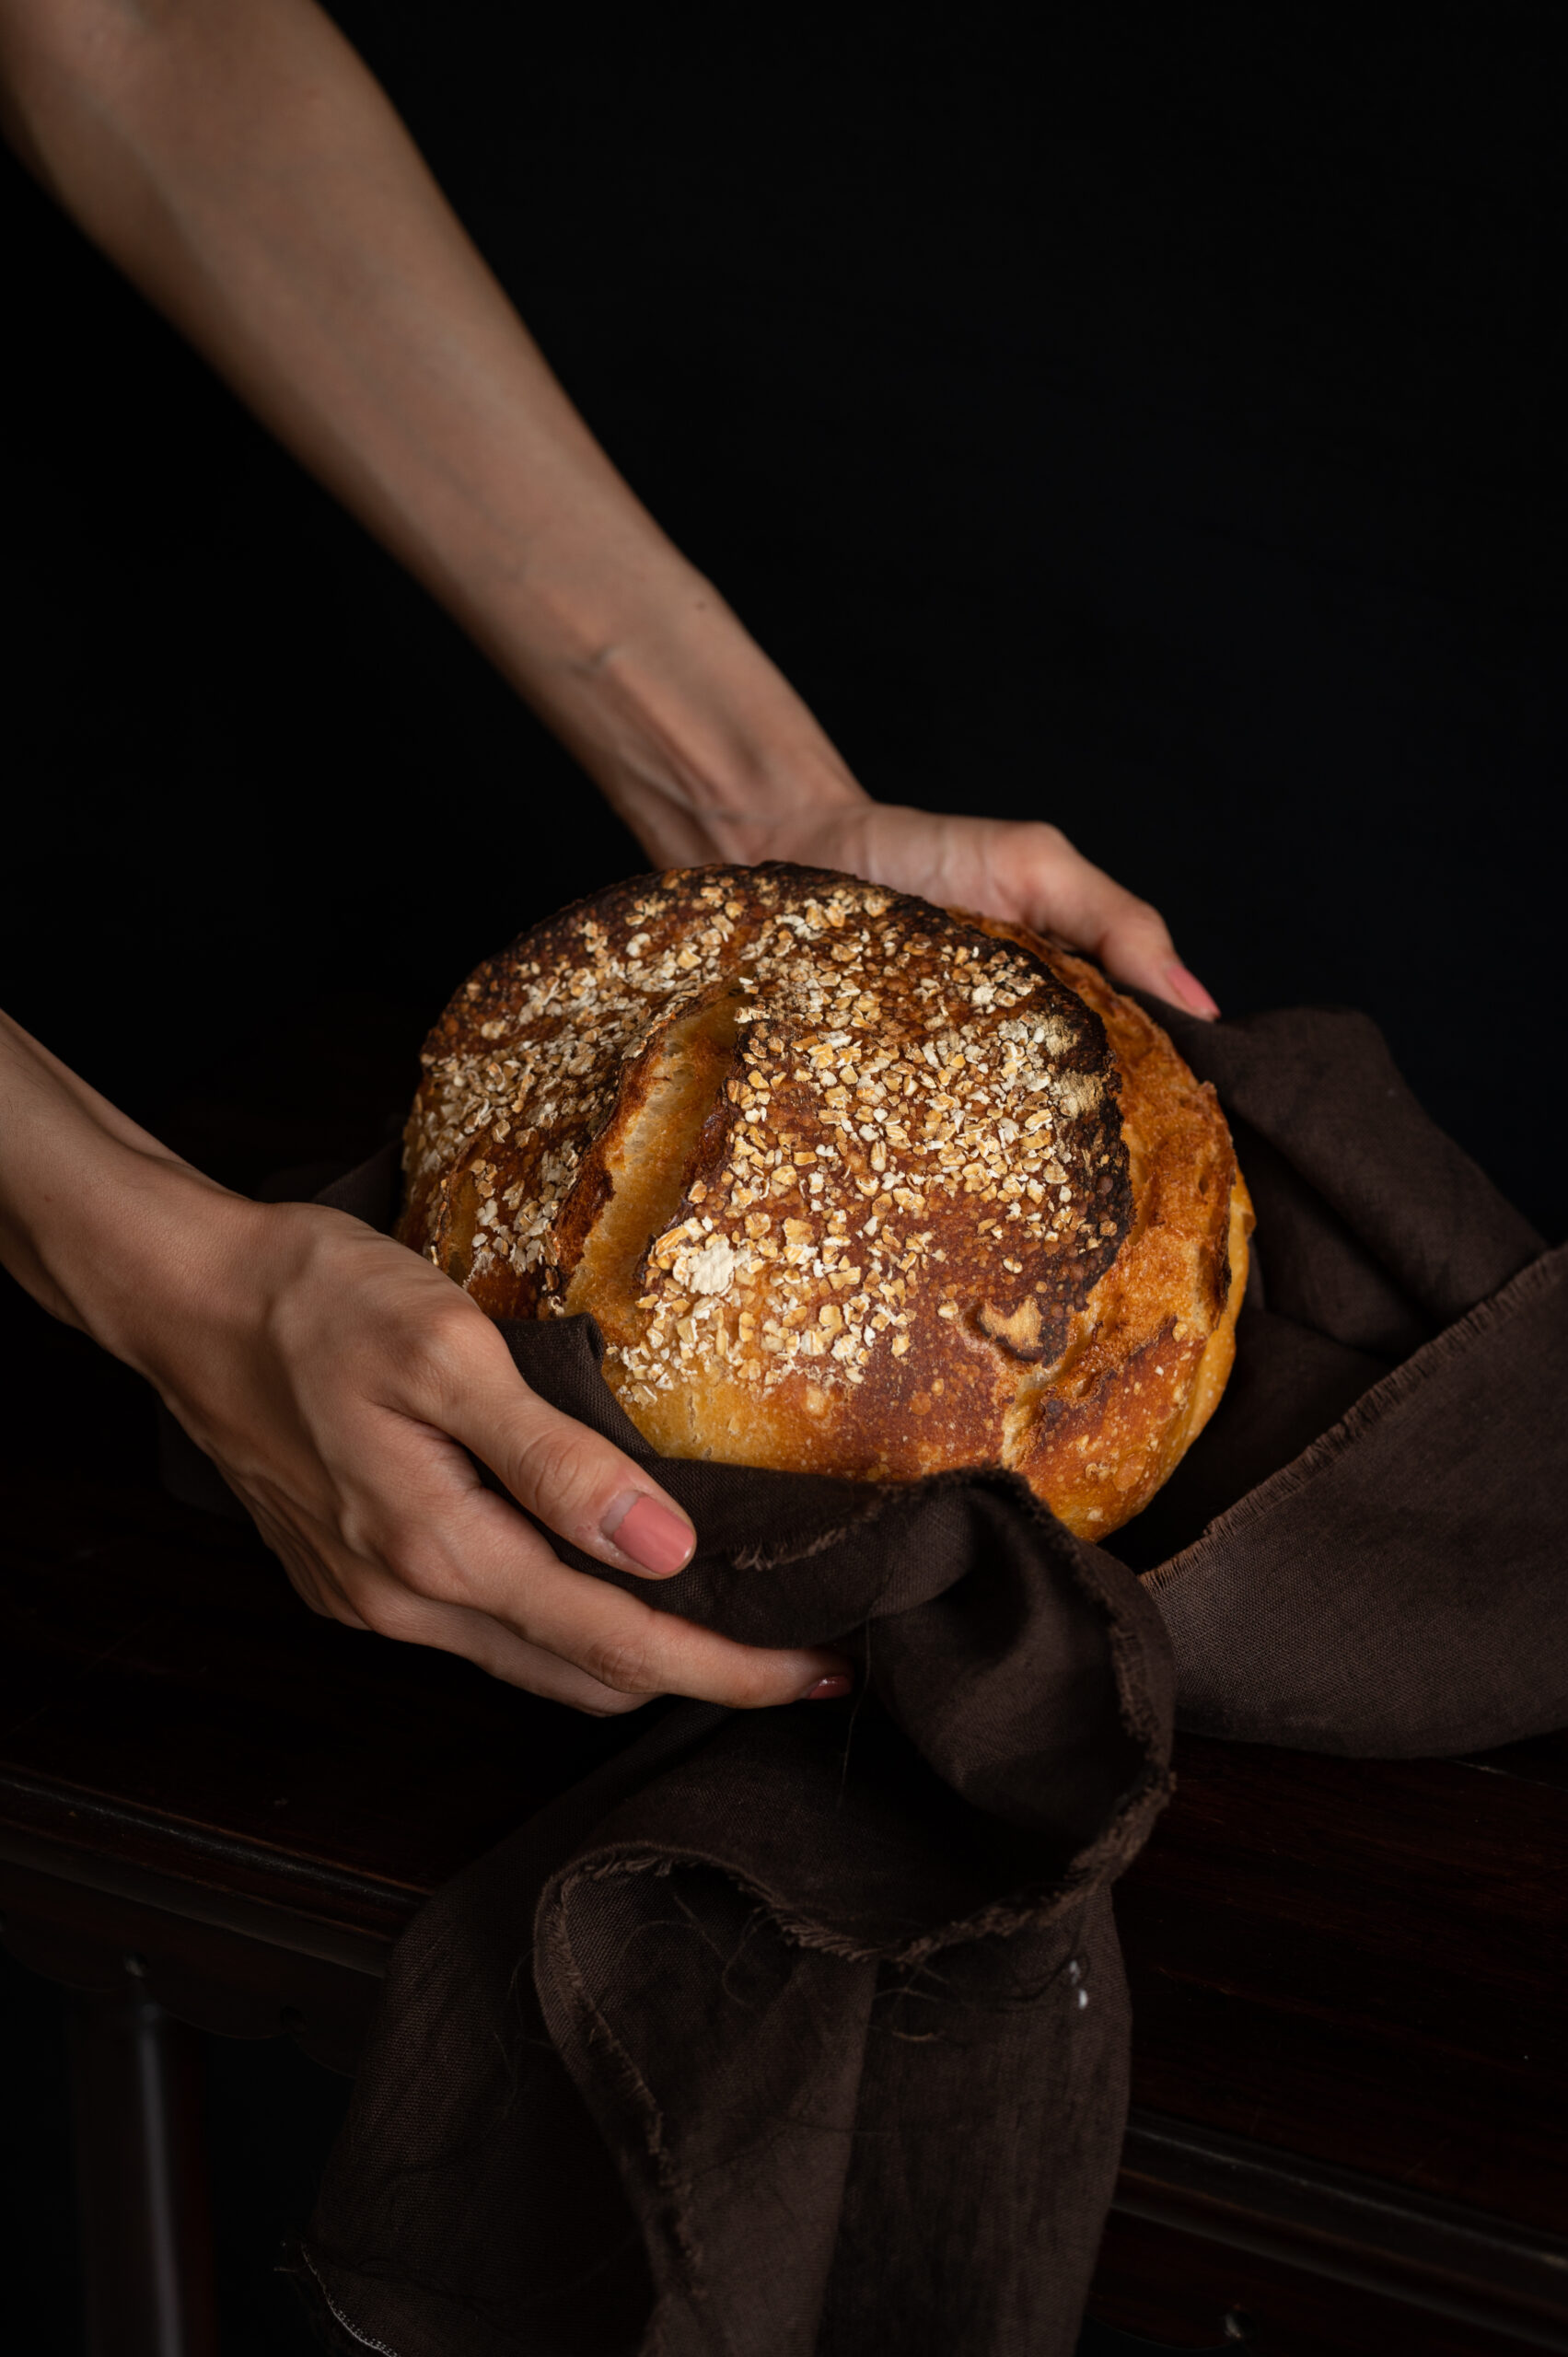
Slices of sourdough and avocados while serving

Heat the oil over a cast iron skillet. Add the onions, garlic, bell peppers and potatoes. Stir on a high flame until they are brown. This will take about 5 minutes.

Reduce the heat and add the spices. Once they have come together, add the tomato purée.

Make sure that all the vegetables are well-coated with the purée and the spices.

Once the mixture is hot, make 4 indentations and pour the eggs into each of them. Allow the eggs to cook to your liking, and season them with salt and pepper. Sprinkle the cilantro and crumble the feta cheese over everything. You may add some cherry tomatoes if you’d like the dish to look dramatic.

Here at home, we serve our “Shah-shouka” with the works: sourdough slices, waffles and lots of fresh avocados. Adding these sides to our individual servings indeed turns this egg dish into a Buddha bowl. This hearty and filling dish is a great way to relax over a meal as a family. I hope you’ll make this a part of your brunch this weekend, too. The portions above serve two, but a larger pan and doubled ingredients will let you serve four. However you choose to have it, tell me how you like your shakshouka. Do stay tuned for another meal-in-a-bowl soon, from yet another part of the world.

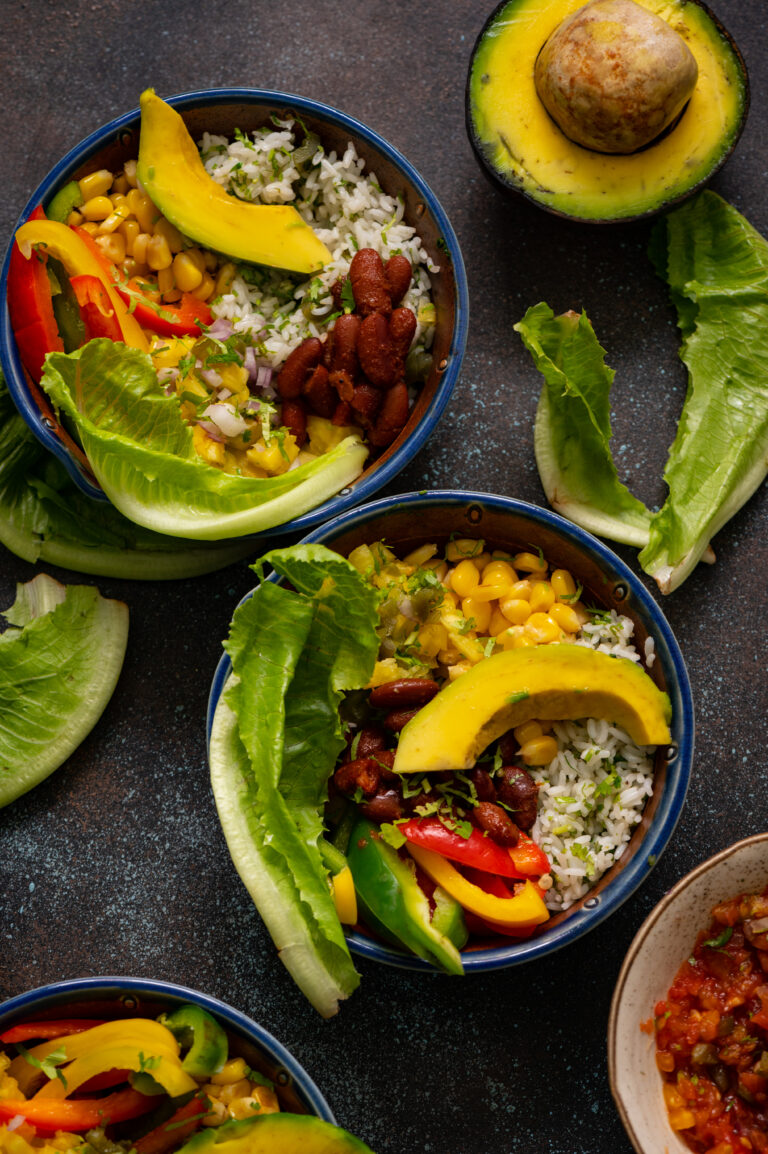
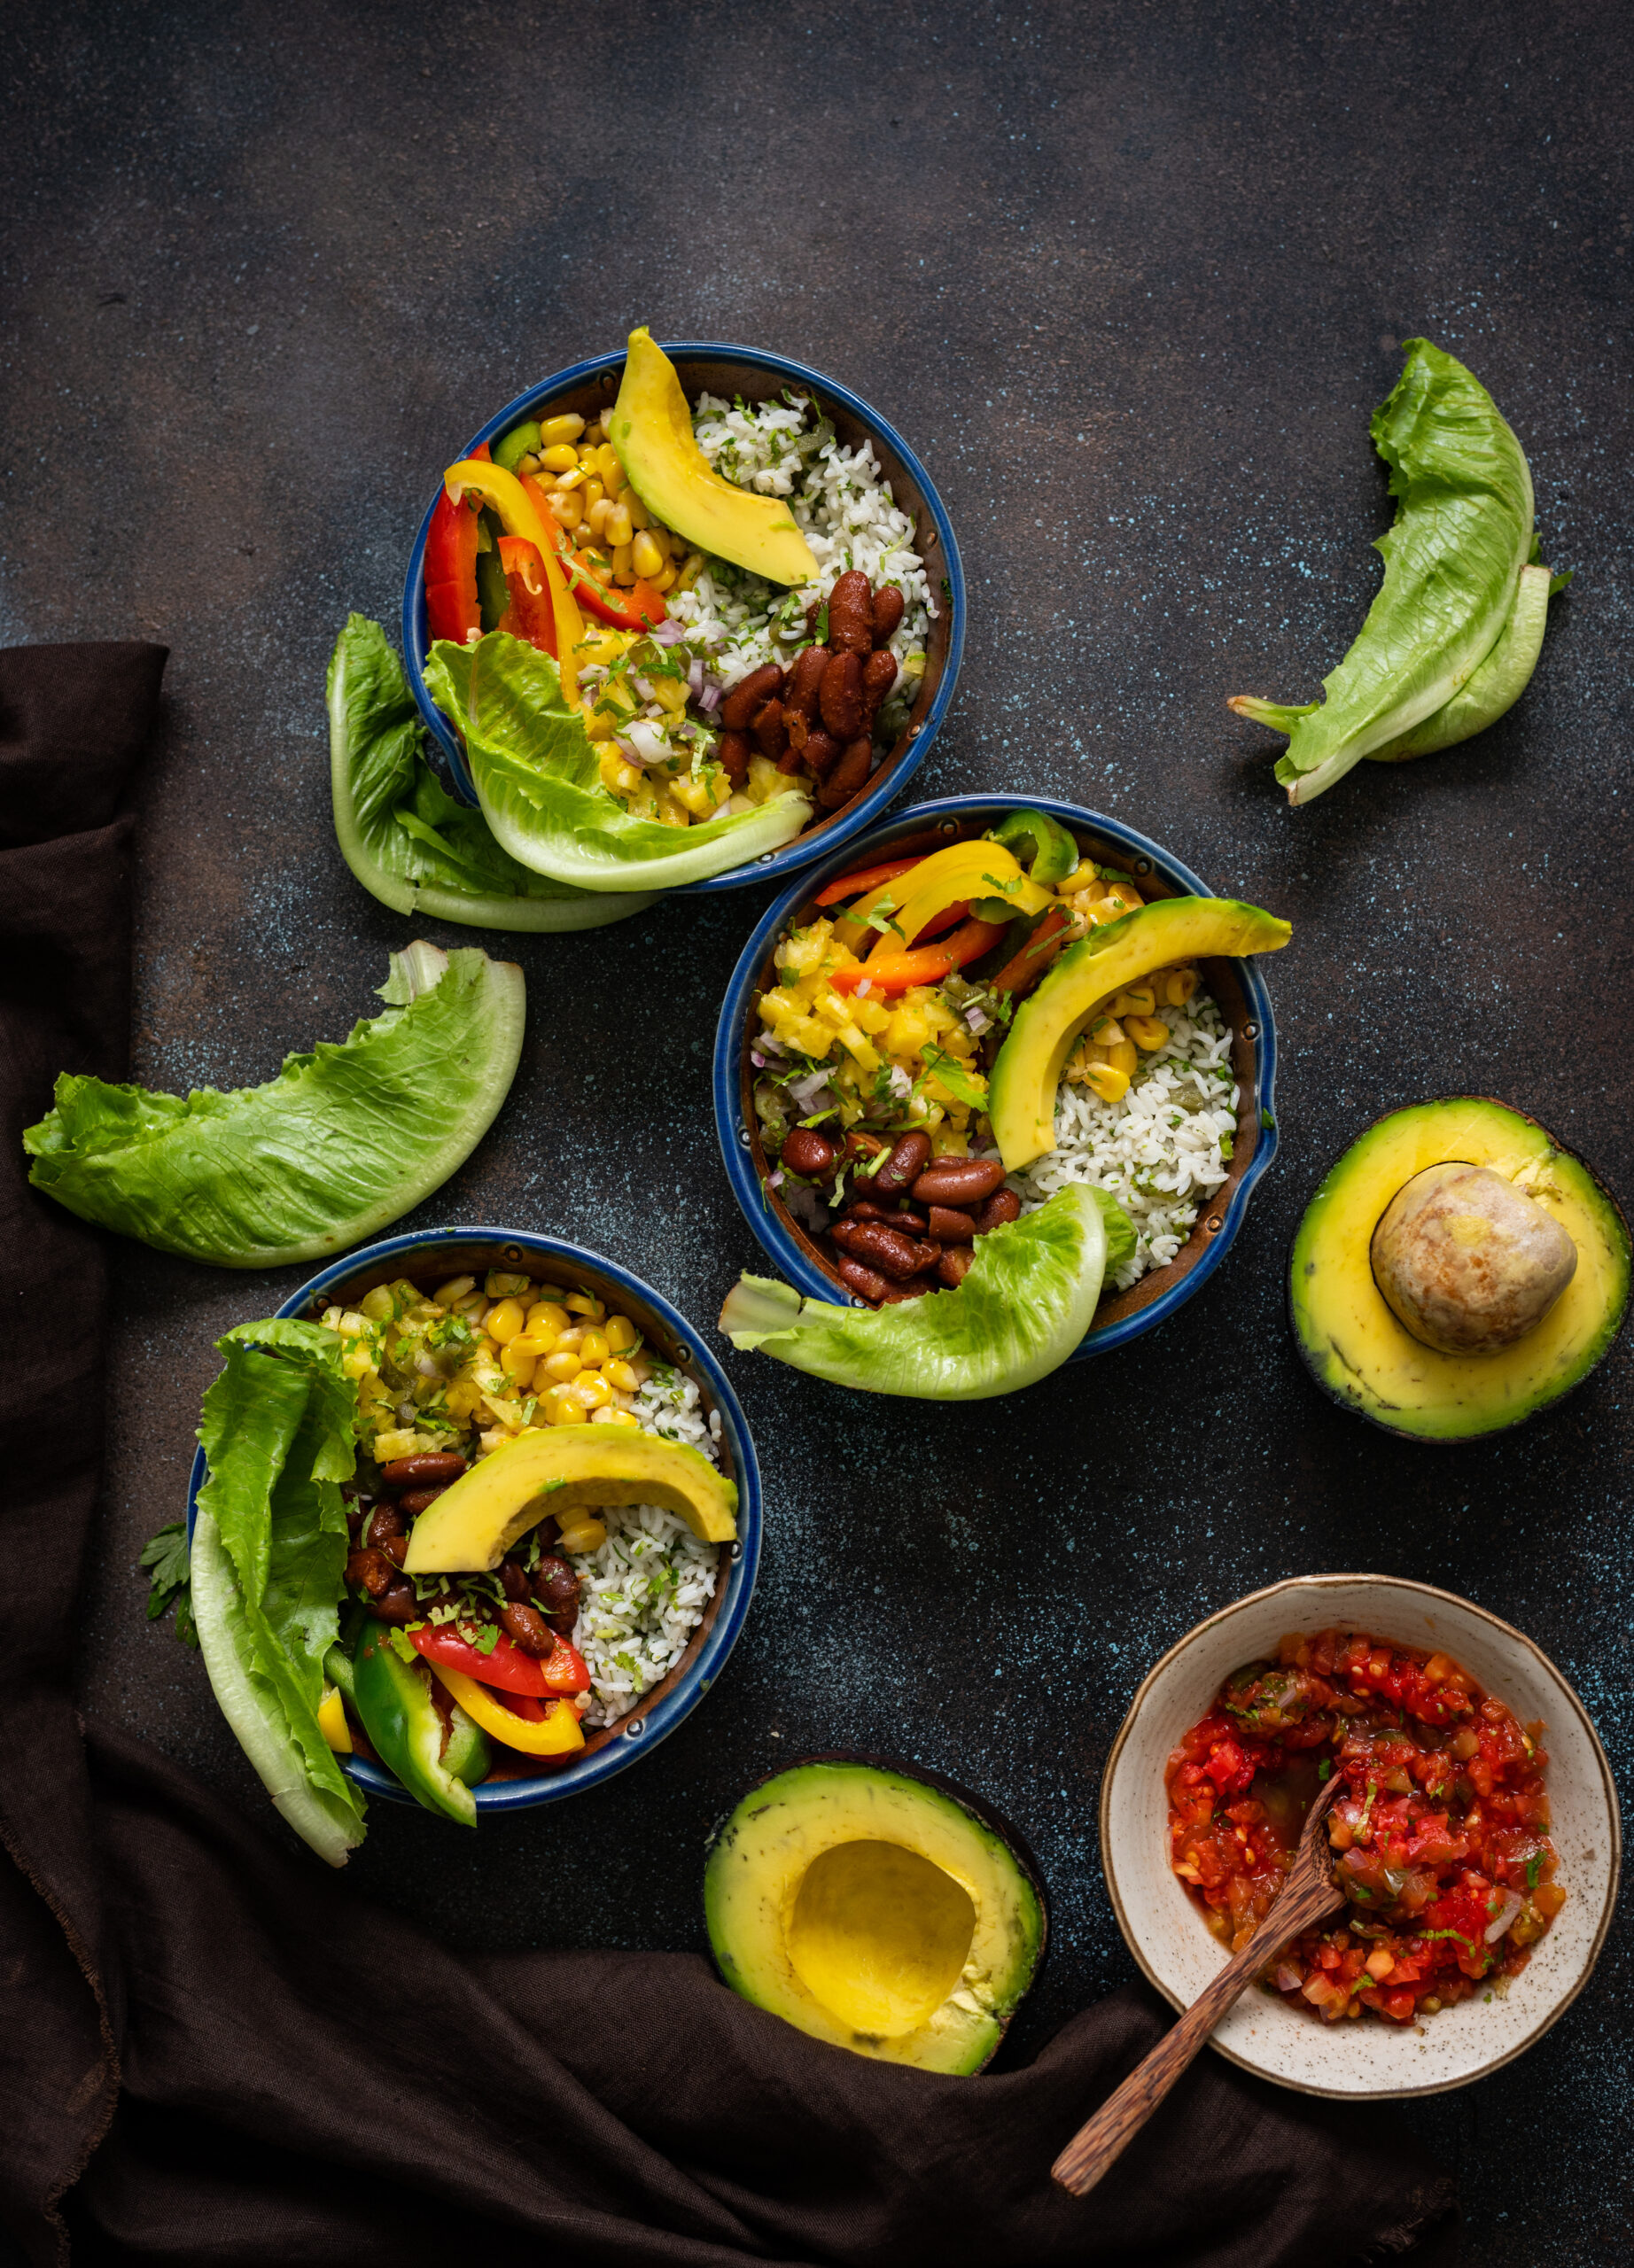
As promised, the Buddha bowl series now goes international, after the comfortingly familiar South Indian Buddha bowl. This is a Mexican-influenced Buddha bowl, and I’m making sure that you notice that I emphasise the word influenced.  My family enjoys Mexican-style cuisine very much, and I always end up making the more popular dishes, such as tacos, salsa, nachos and even my vegan take on chili, which you may remember from awhile back (this is a vegan recipe too). But over the years, whenever Mexican friends have visited my home, as much as they relish the meals I put together for them, they also tease me by saying that my style is Indian-Mexican, not authentic. I’m proud of this though. To me, fusion cuisine is all about feeling inspired and bringing different worlds together.

I’ve only spent one night in Mexico, en route to Cuba several years ago. That night, my family and I enjoyed dinner at a really nice restaurant, where we ordered a delicacy featuring black ants as a key ingredient. While I didn’t have a bite, my kids found the dish crunchy and tangy and very exciting. What to us was an adventurous dish was just local cuisine in another part of the world. Most of the Mexican food we had tried before was in the USA, and that too must have been one degree removed from authenticity. So to return to today’s Buddha bowl, let’s just say that it has a hint of Mexico, my culinary interpretation.

I often make this Mexican-influenced recipe for lunch, and the current abundance of avocados on the market is all the more reason to do so. These come from Karnataka, where the climate is conducive for their growth. Perhaps it’s because of my Macrobiotics background, but I feel that when all the ingredients in a dish are locally sourced, they tend to go together better. Aside from the fruit, the bowl contains cilantro rice, beans, vegetables and two types of salsa.

I was thinking about the term “Buddha bowl”, and although I know it’s a recently coined term, I believe I can imagine the thought process behind it. Could it be that it was because the Buddha carried a bowl for alms, and as he went from home to home, always received a motley combination of foods, just like the different components of this modern dish?

Carrying a bowl to seek food alms also exists in the Jain community, which many members of my family belong to. My sister, who lives in Mumbai, frequently has saintly women and men come to her home. They carry a bowl, called “patra”, and are supposed to graciously accept whatever is offered to them, although they can request a preferred quantity so that there is no wastage. The alms they receive are called “bhiksha”. Their arrival is considered a blessing, and whatever has been cooked at home that day will be shared with the monks, who are known as “Mahasatiji”. In the Stanakvasi sect of the Jain Shwetambari tradition, there is no idol worship, so the preaching of these monks is sacred and so is their presence. Whenever a Mahasatiji has come by while I’ve visited my sister, I’ve noticed that it feels like a special occasion. There is some protocol involved: the person offering alms needs to have bathed, there is some chanting, and then the Mahasatiji will bless the home before moving on to the next one, where the next person offering alms will look into the bowl and determine what to offer. If my sister had offered roti, for example, they will ensure they offer something that goes with it.

The Mahasatijis also ask for a teaspoon of chickpea flour, which they use to dry wash their patras. They won’t even waste this, as they will let this dry and eat it as well. They do not use soap due to the chemicals, and refrain from electricity too, so they take the stairs up six floors to my sister’s house. The tradition has many principles based on nature and doing no harm.

The patras themselves are made of natural wood, with lacquer, and I have seen them being sold as antiques as well. Perhaps I noticed this because I am always looking for interesting crockery and props for my photoshoots. What kind of vessels do you serve your Buddha bowls in? I’d love to know, as you try out more of this series.

Mexican-Influenced Buddha Bowl

(Serves 2)


Beans

½ cup beans (soaked overnight)

2 tablespoons tomato purée (find my recipe here)

Salt to taste

1 tablespoon olive oil

1 tablespoon chipotle cooking paste


Tomato salsa

2 tomatoes

Salt to taste

3 slices jalapeño

1 tablespoon cilantro

1 tablespoon finely chopped onion

1 tablespoon olive oil


Pineapple salsa

2 cups finely chopped pineapple

2 tablespoons finely cut jalapeño

2 tablespoons cilantro

2 tablespoons finely cut onion

Salt to taste

Spicy red sauce


Cilantro Rice

1½ cups cooked rice

1 tablespoon oil

¼ cup finely cut cilantro

½ lemon

2 slices jalapeños

Salt to taste


Vegetables

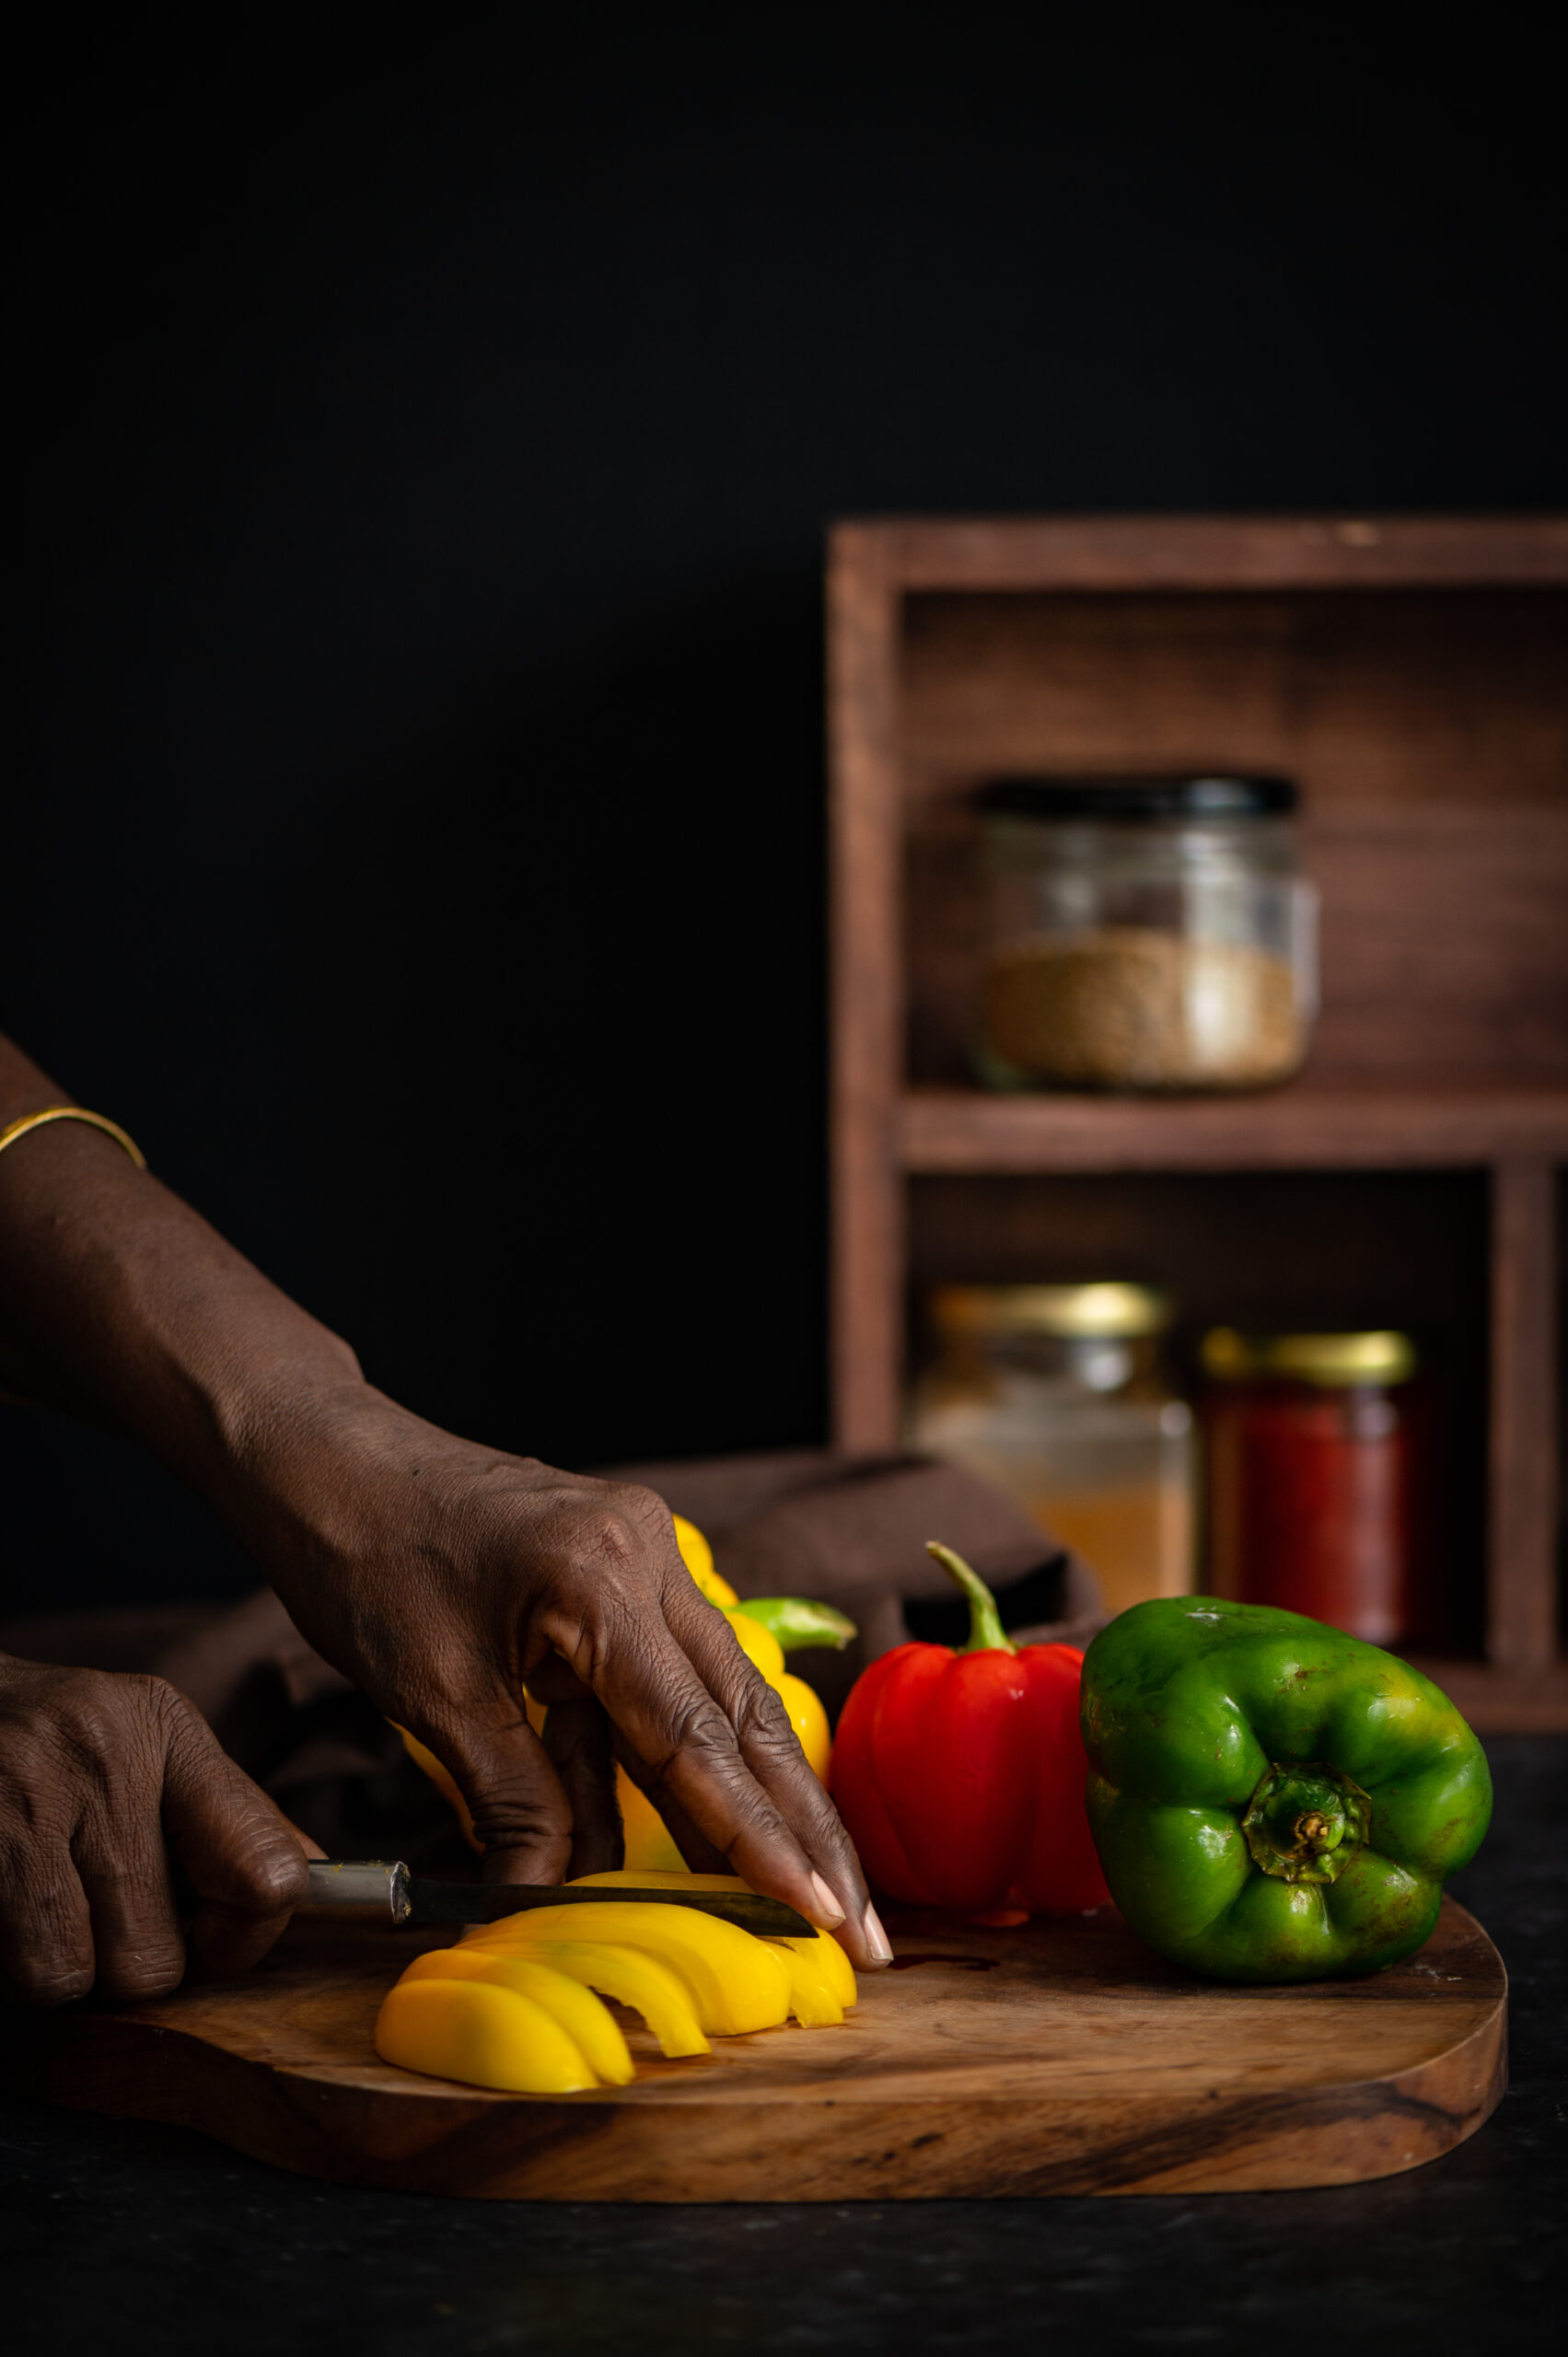
2 cups sliced bell peppers

1 cup whole corn

1 teaspoon oil

Salt to taste

Pinch pepper


Topping

1 avocado

Salt to taste

Olive oil to drizzle

A squeeze of lemon

Prepare each component, and keep them separate until you are ready to assemble and serve the bowl. Here is the method for the beans. First, pressure cook the beans in water. In a pan, add the oil. Now, add the purée, chipotle paste and salt. I used my fabulous all-purpose tomato puree, which you will surely find convenient to have on hand for many recipes too. Stir. Finally, add the beans. In order to make it in a slightly more gravy style, I added some of the water that I had kept aside.

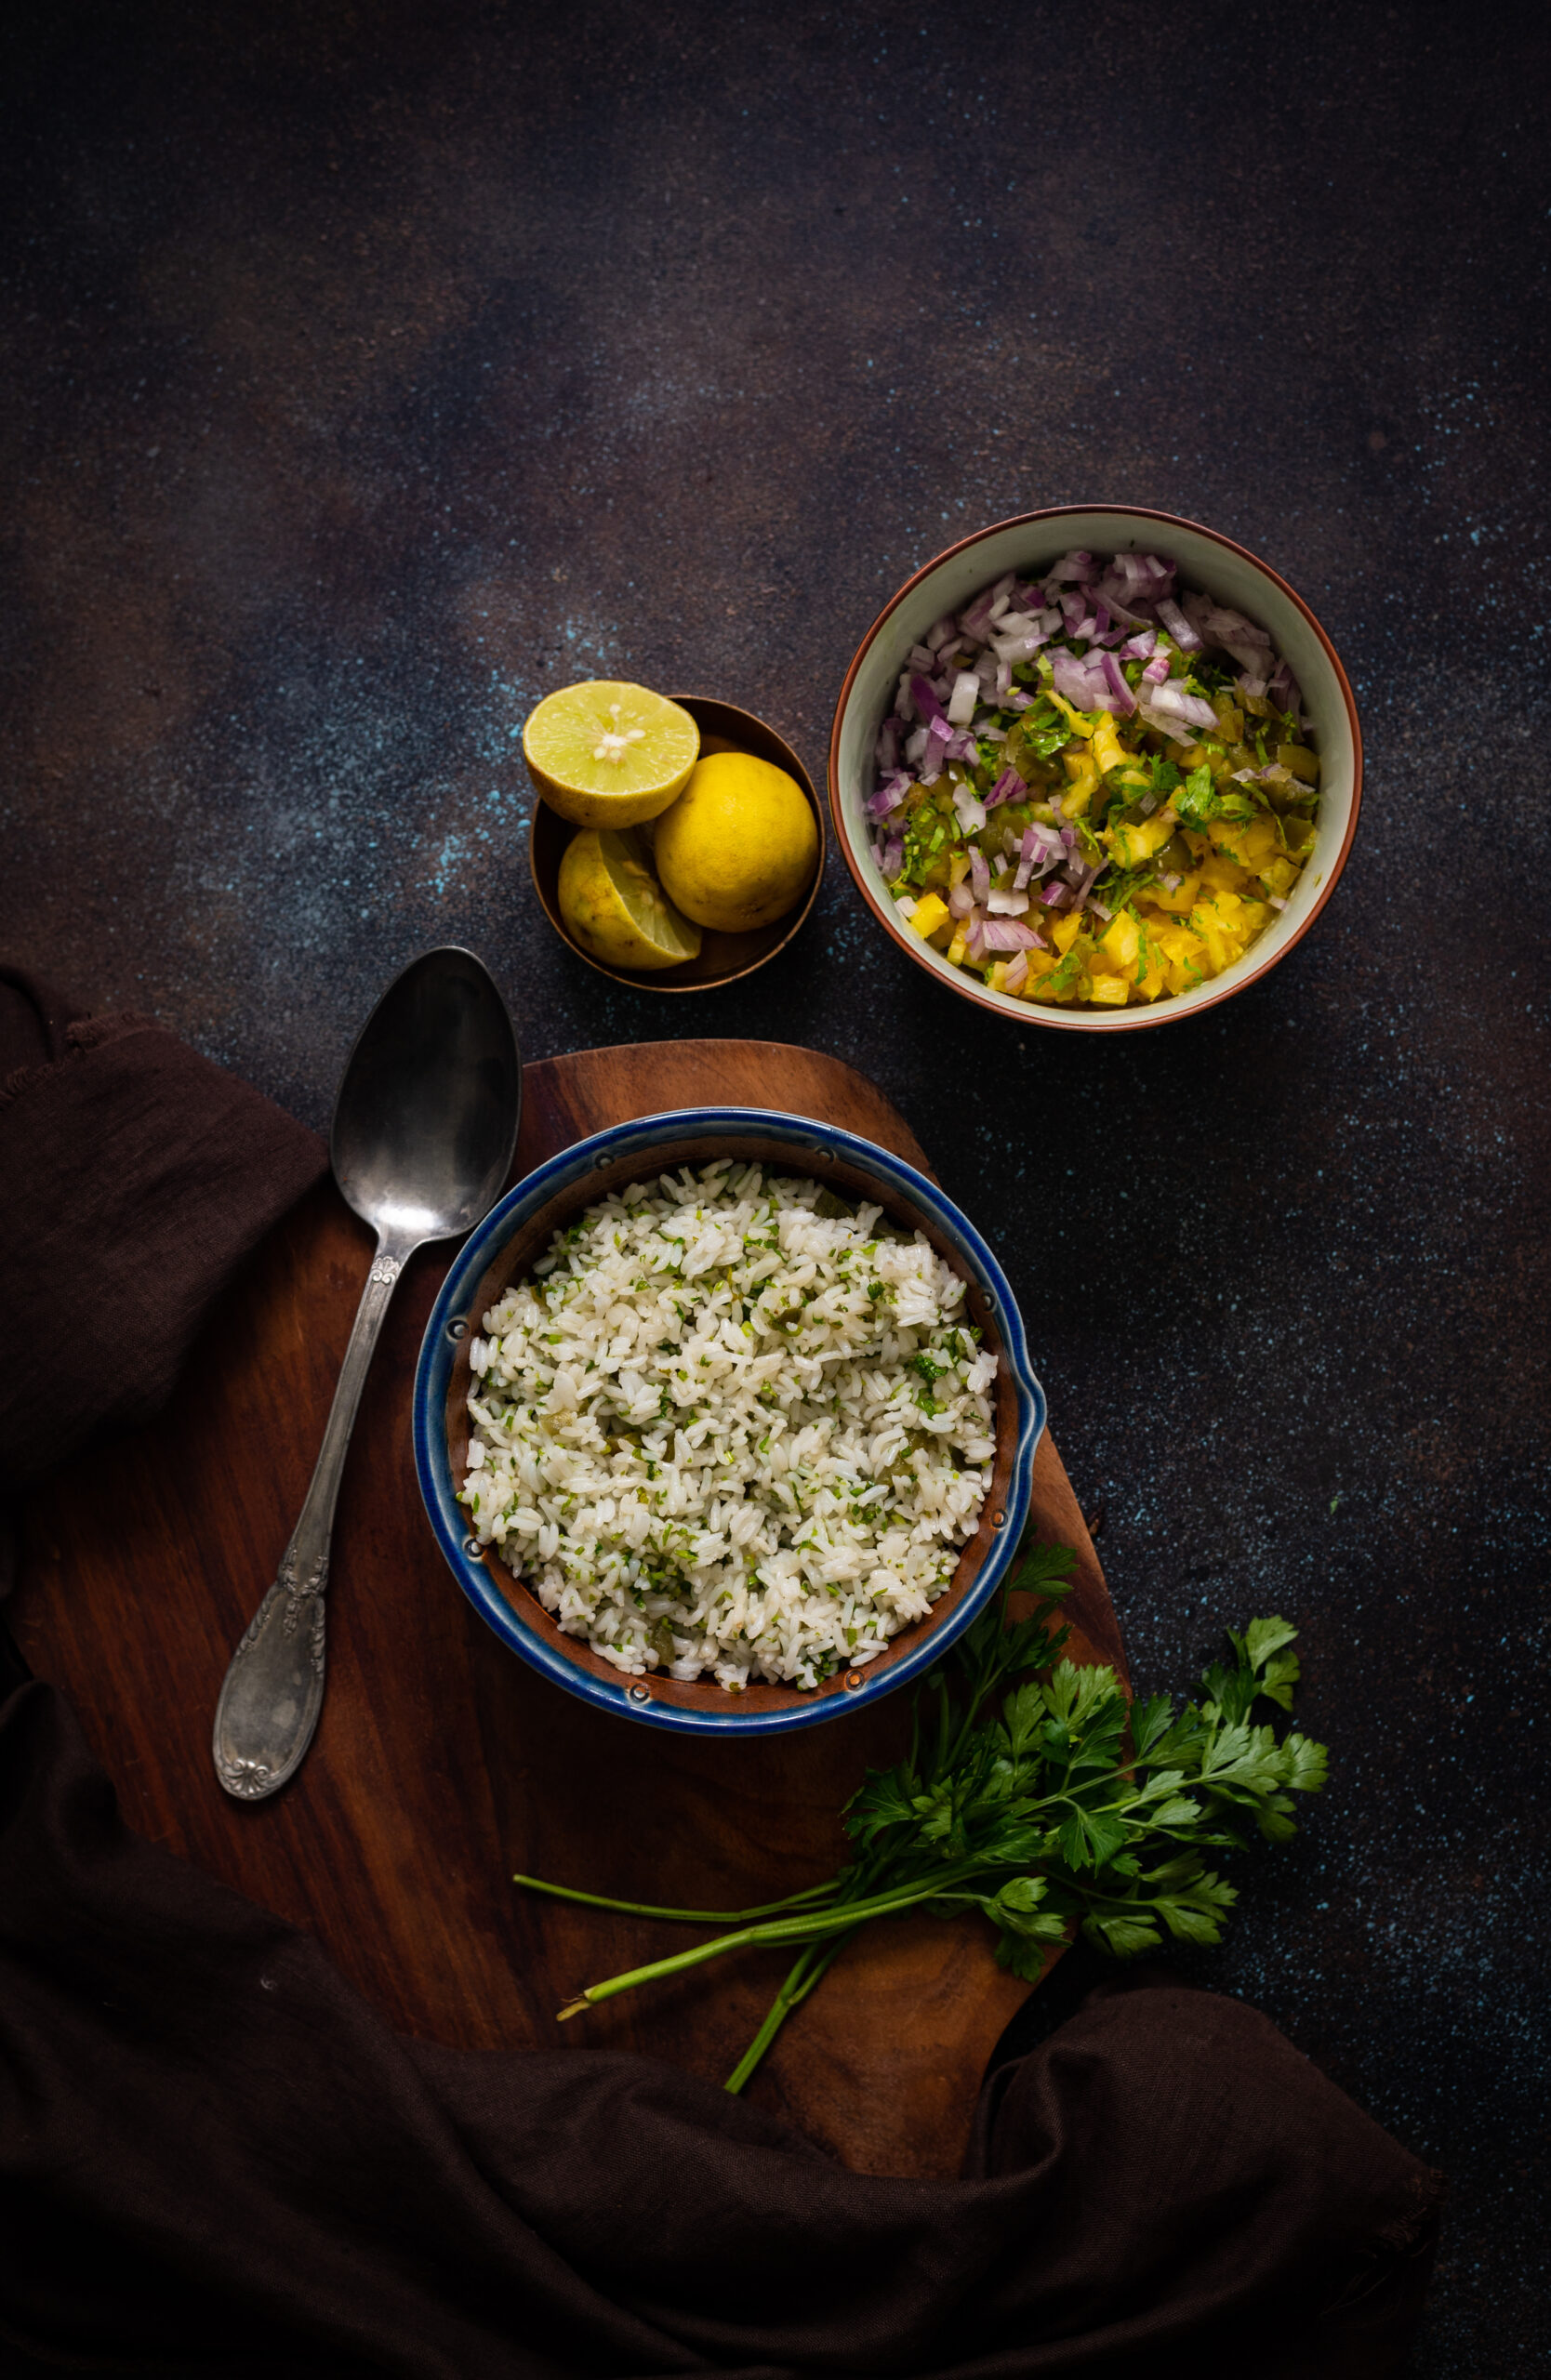
Next, here are the methods for the two salsas. For the tomato salsa, begin by roasting the tomatoes directly in a low flame until the skins are charred. Peel the charred skins and chop finely. Combine all the ingredients together in a bowl. Mix well and refrigerate until use. For the pineapple salsa, simply combine all the ingredients in a bowl and mix well. Refrigerate until use as well.

Now, onto the cilantro rice. In a pan, sauté the rice in oil. Add all the other ingredients and stir on high until it all comes together. You can replace the rice with any grain of your choice.

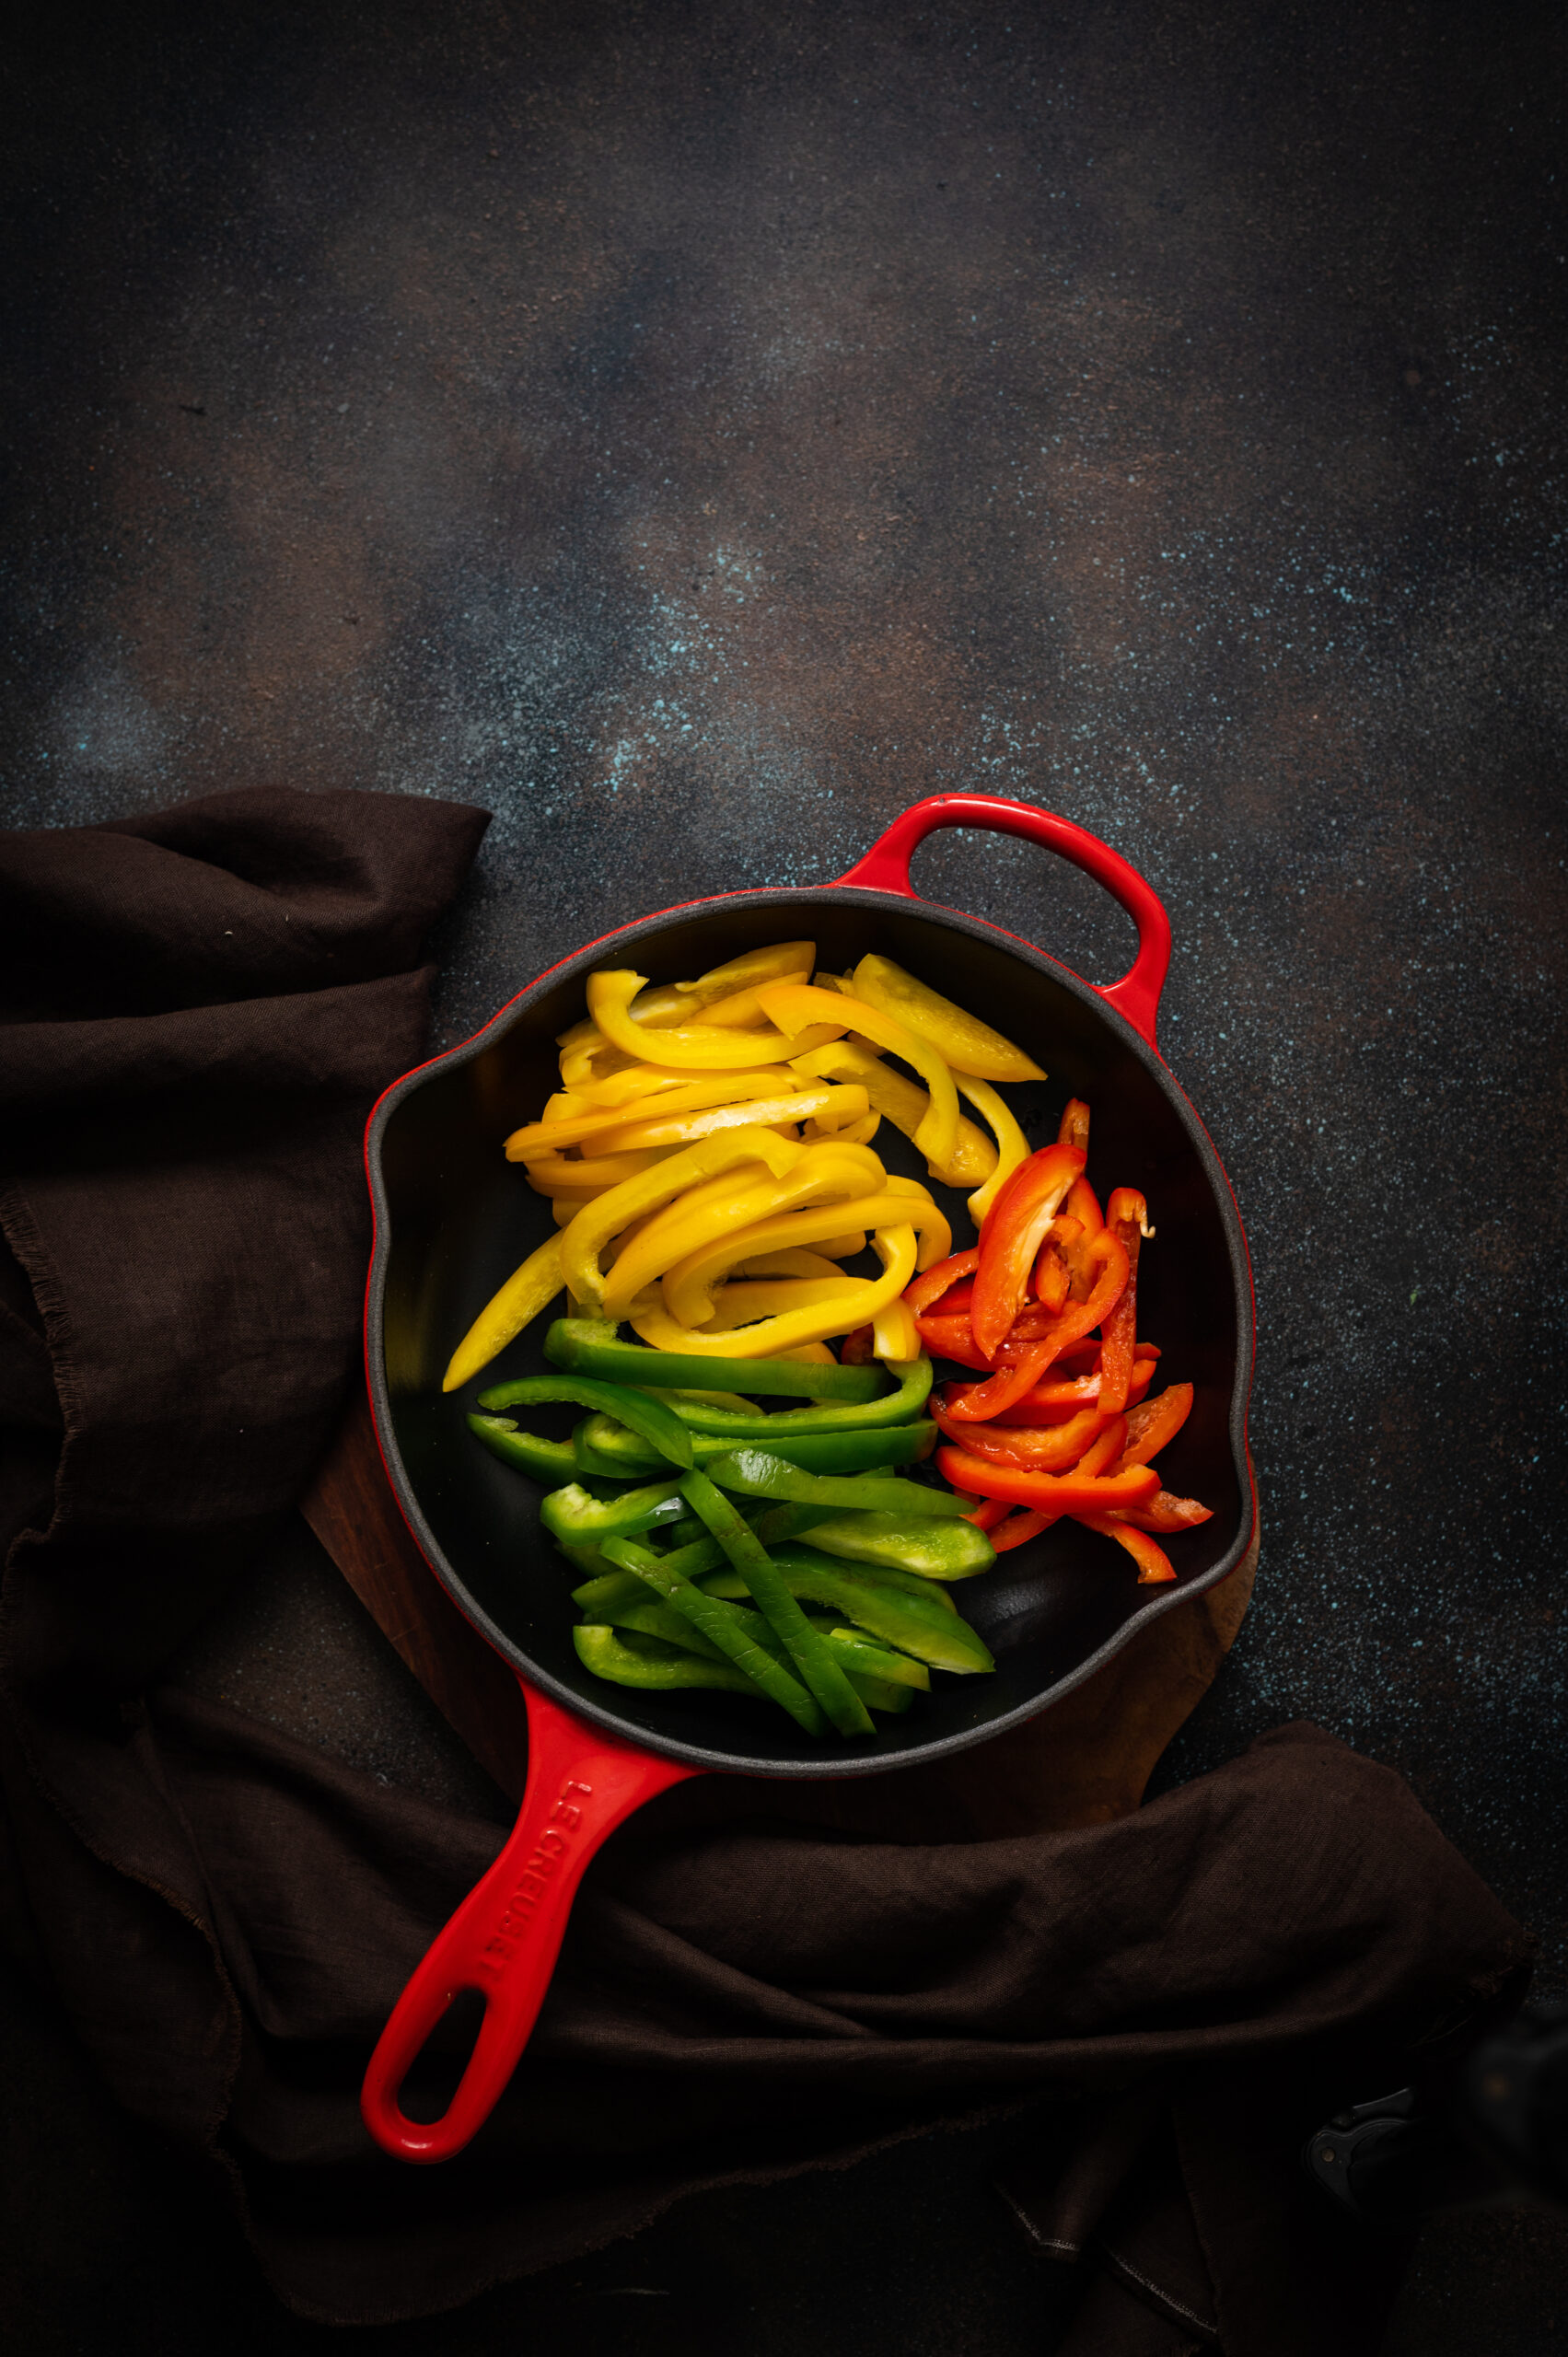
The vegetables should be sautéed in oil on a pan, and seasoned with salt and pepper as you stir.

Assemble the different components in two medium-sized bowls and add the toppings. Make sure you slice the avocado just before serving, or it will lose colour. Remember what I said in the previous Buddha bowl post about the aesthetics of this serving style and feasting with the eyes first. This dish is best enjoyed warm. You may wish to sprinkle some crushed nacho chips on top for texture too, and I think my kids wouldn’t mind some authentic, crunchy black ants either, if we could find that recipe! As you can see, I’ve also added a bit of green salad on top, as I do love my veggies.

I mentioned earlier that there are avocados galore on the market now, so be sure to come back for the next post, where they will be a starring ingredient…

There are one-pot meals and meal-in-a-bowls to be found in cuisines all over the world, even though distinguishing them as a category is a relatively new idea. They’ve gained popularity among diners everywhere thanks to the Buddha bowl trend, which are comprised of a medley of attractively arranged (and usually nutritious) food items in a single bowl. I’ve had quite a few versions of these on my travels, and they’ve always motivated me to make them a regular part of my lifestyle. Now that we’ve all been at home for months, I’ve been bringing as many of these inspirations into my day-to-day cooking as possible. The Buddha bowl is among my favourites for its aesthetic appeal, health quotient and convenience. I’ve been making variants focused on different cuisines, and will share a few of them in the coming weeks. Let’s begin today with my South Indian-style Buddha bowl.

The Buddha bowl concept itself is a great one, and is based on putting together a compact and even portable meal which packs in lots of flavours and textures. You may be wondering what makes a Buddha bowl different from the thaalis we enjoy in India, in which a wide variety of dishes are served in their own separate containers, arranged around the central eating space of the plate. The answer is in the portion sizes. With thaalis, there’s a lot more space, and you tend to fill up that space and thus consume what you’ve filled it with too. A Buddha bowl is just one vessel, usually a bowl as per the name, but a plate will do as well. Thaalis are indulgent, whereas Buddha bowls take a minimalistic approach. The latter are closely tied to fitness for this reason. These days, with the necessity of watching what I eat in a smarter way as I grow older, I reach for them very often in the interest of health. I can attest that eating a Buddha bowl keeps you light on your feet. Whenever I have one for lunch, I feel active for the rest of the day. There is a bounce in my step and I feel revitalised, and find myself doing my photoshoots with more energy.

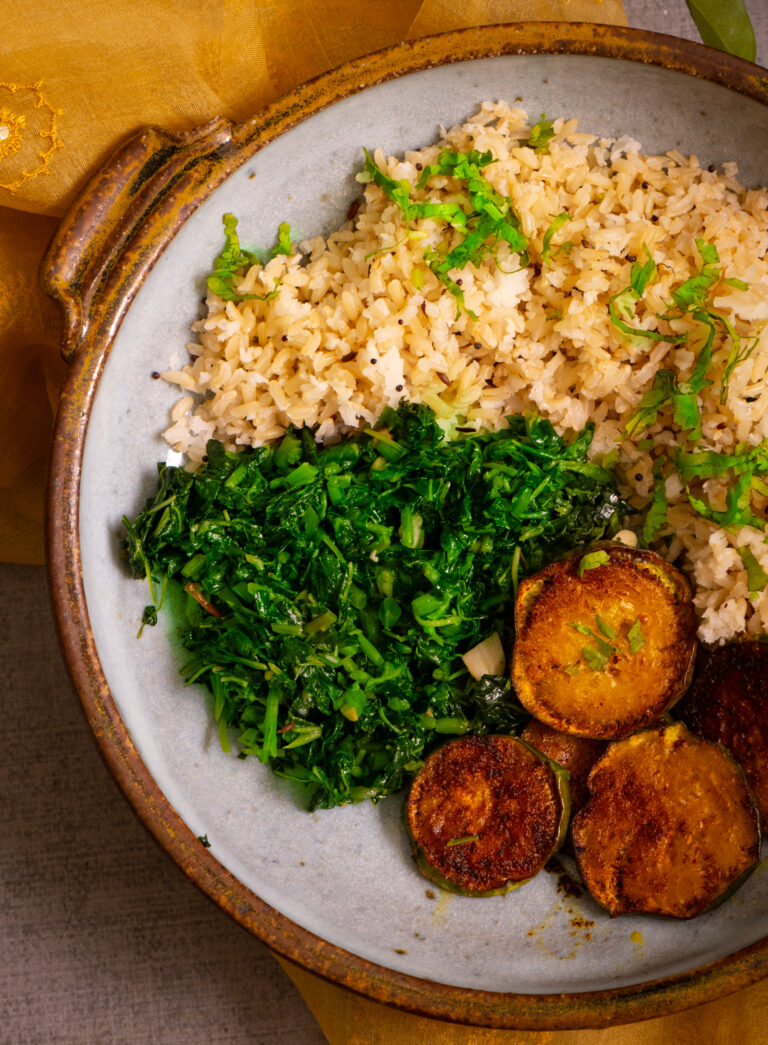
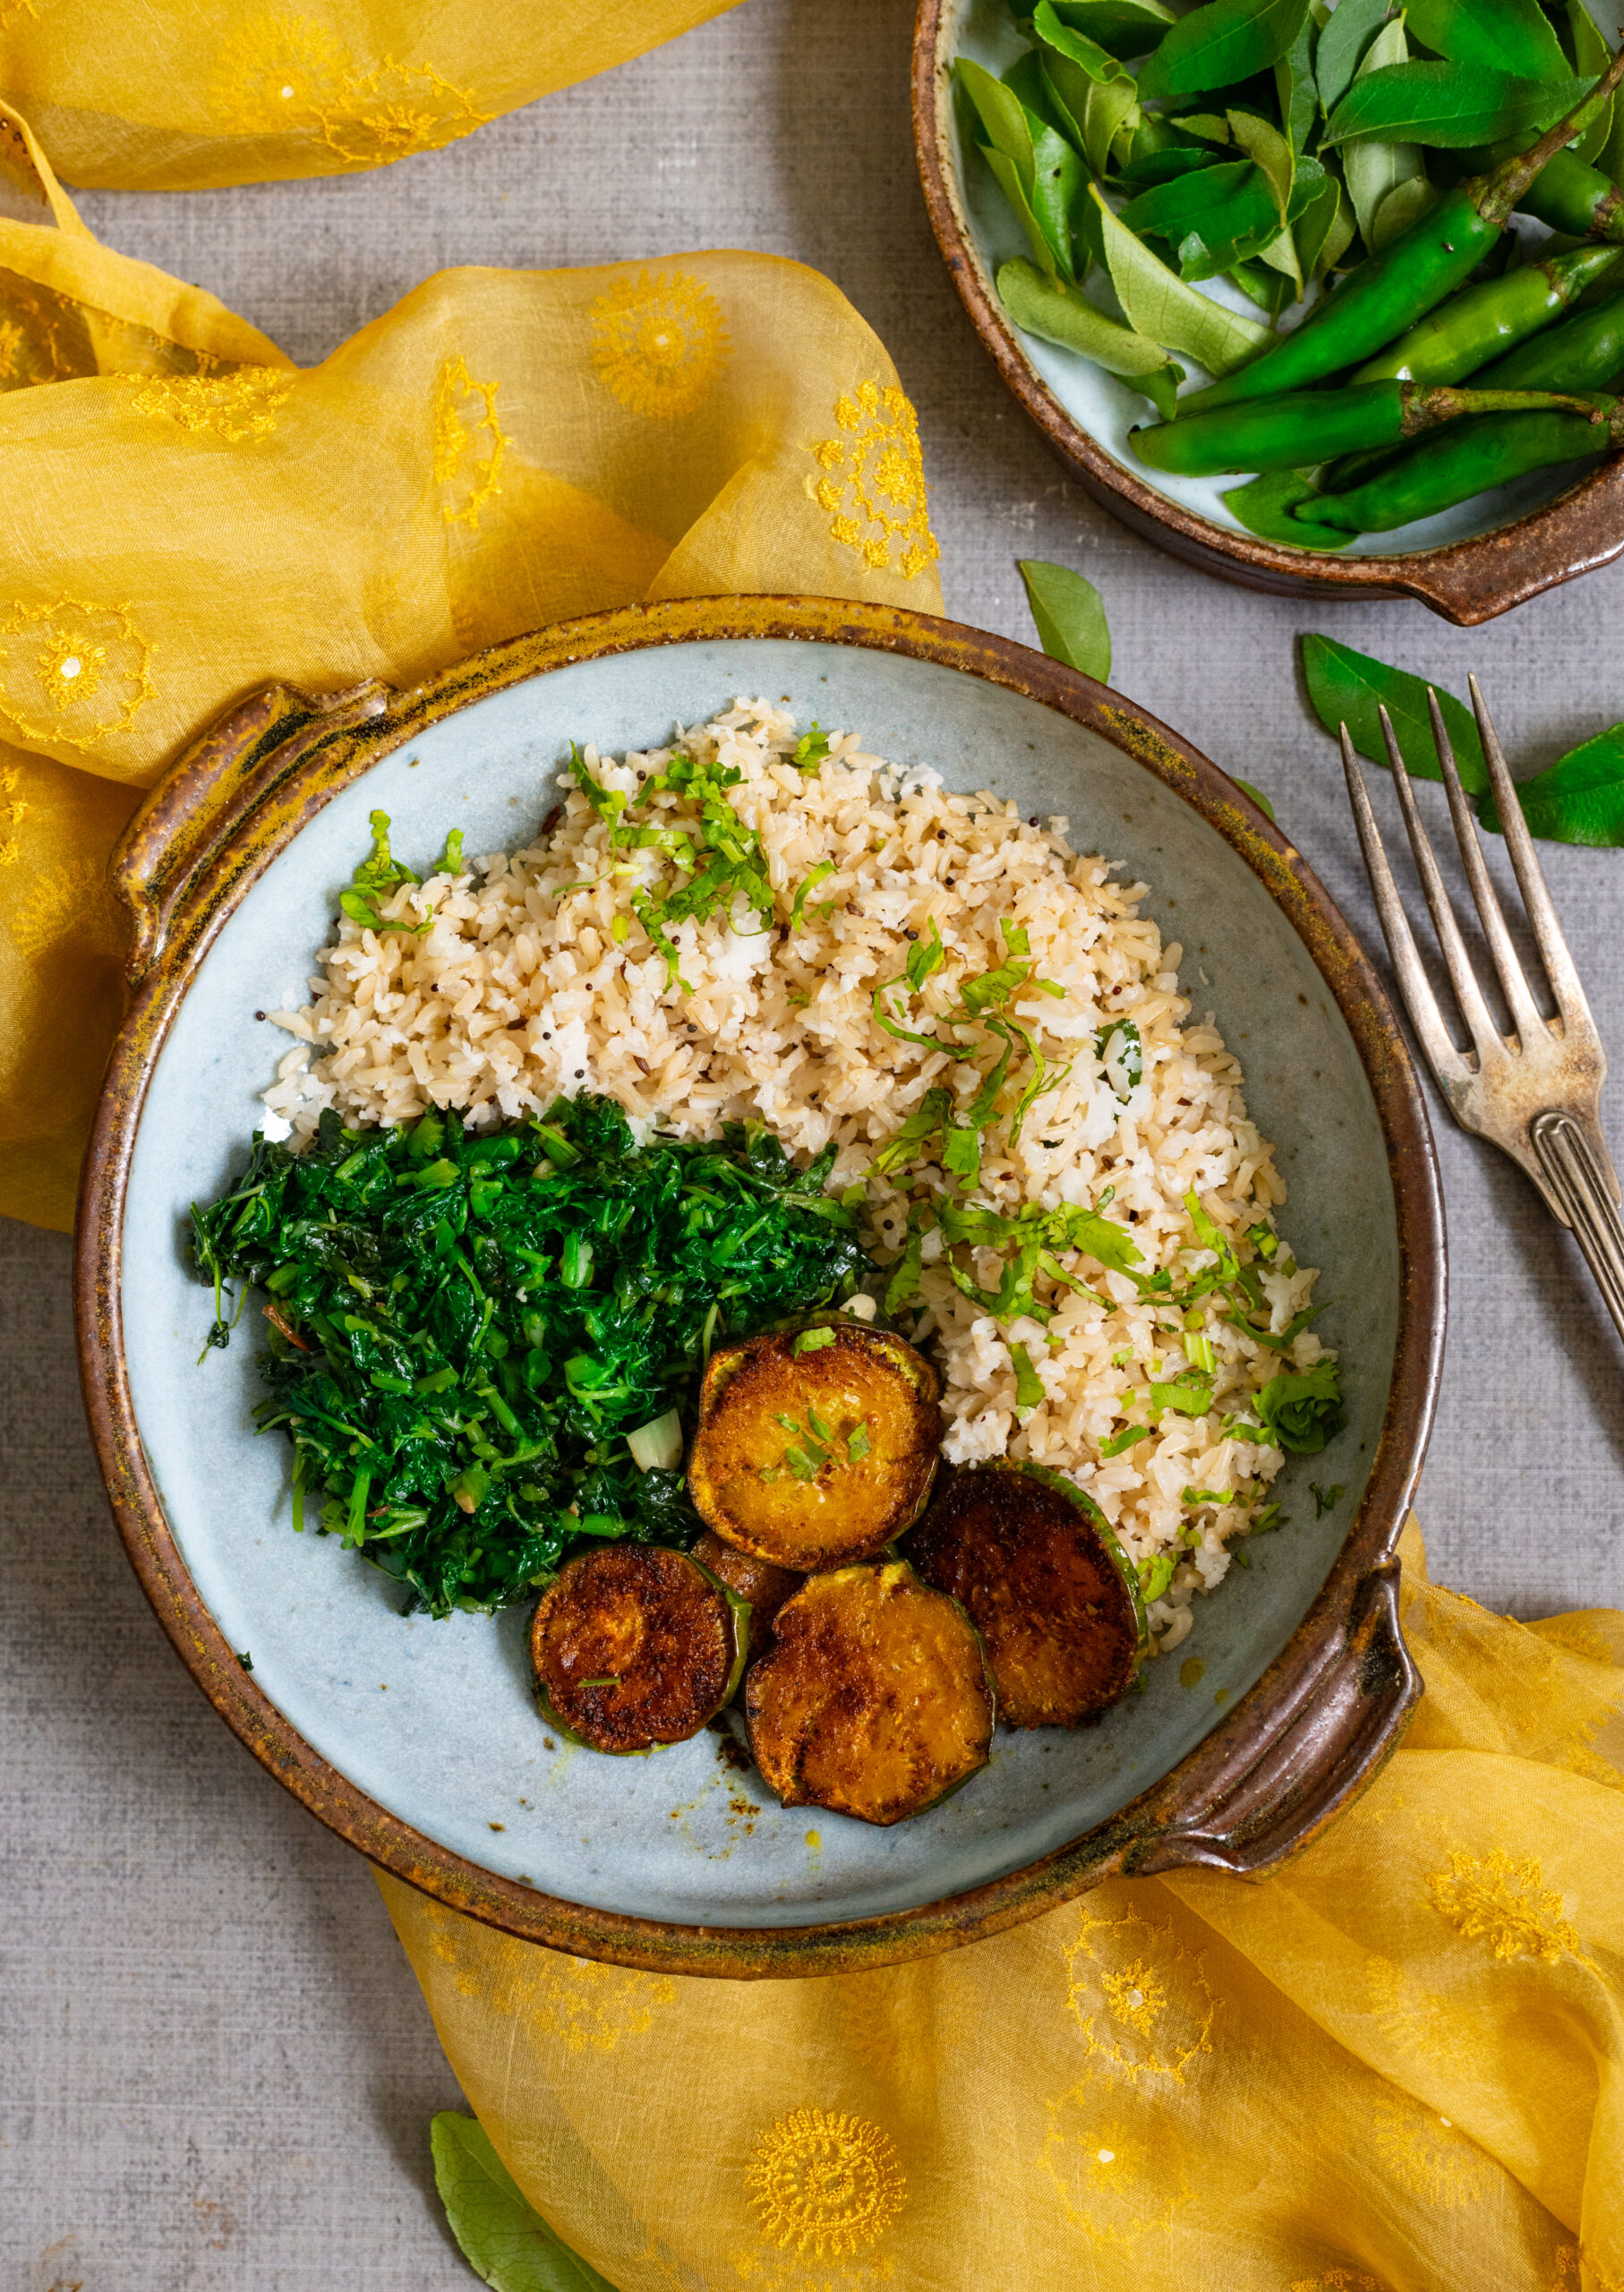
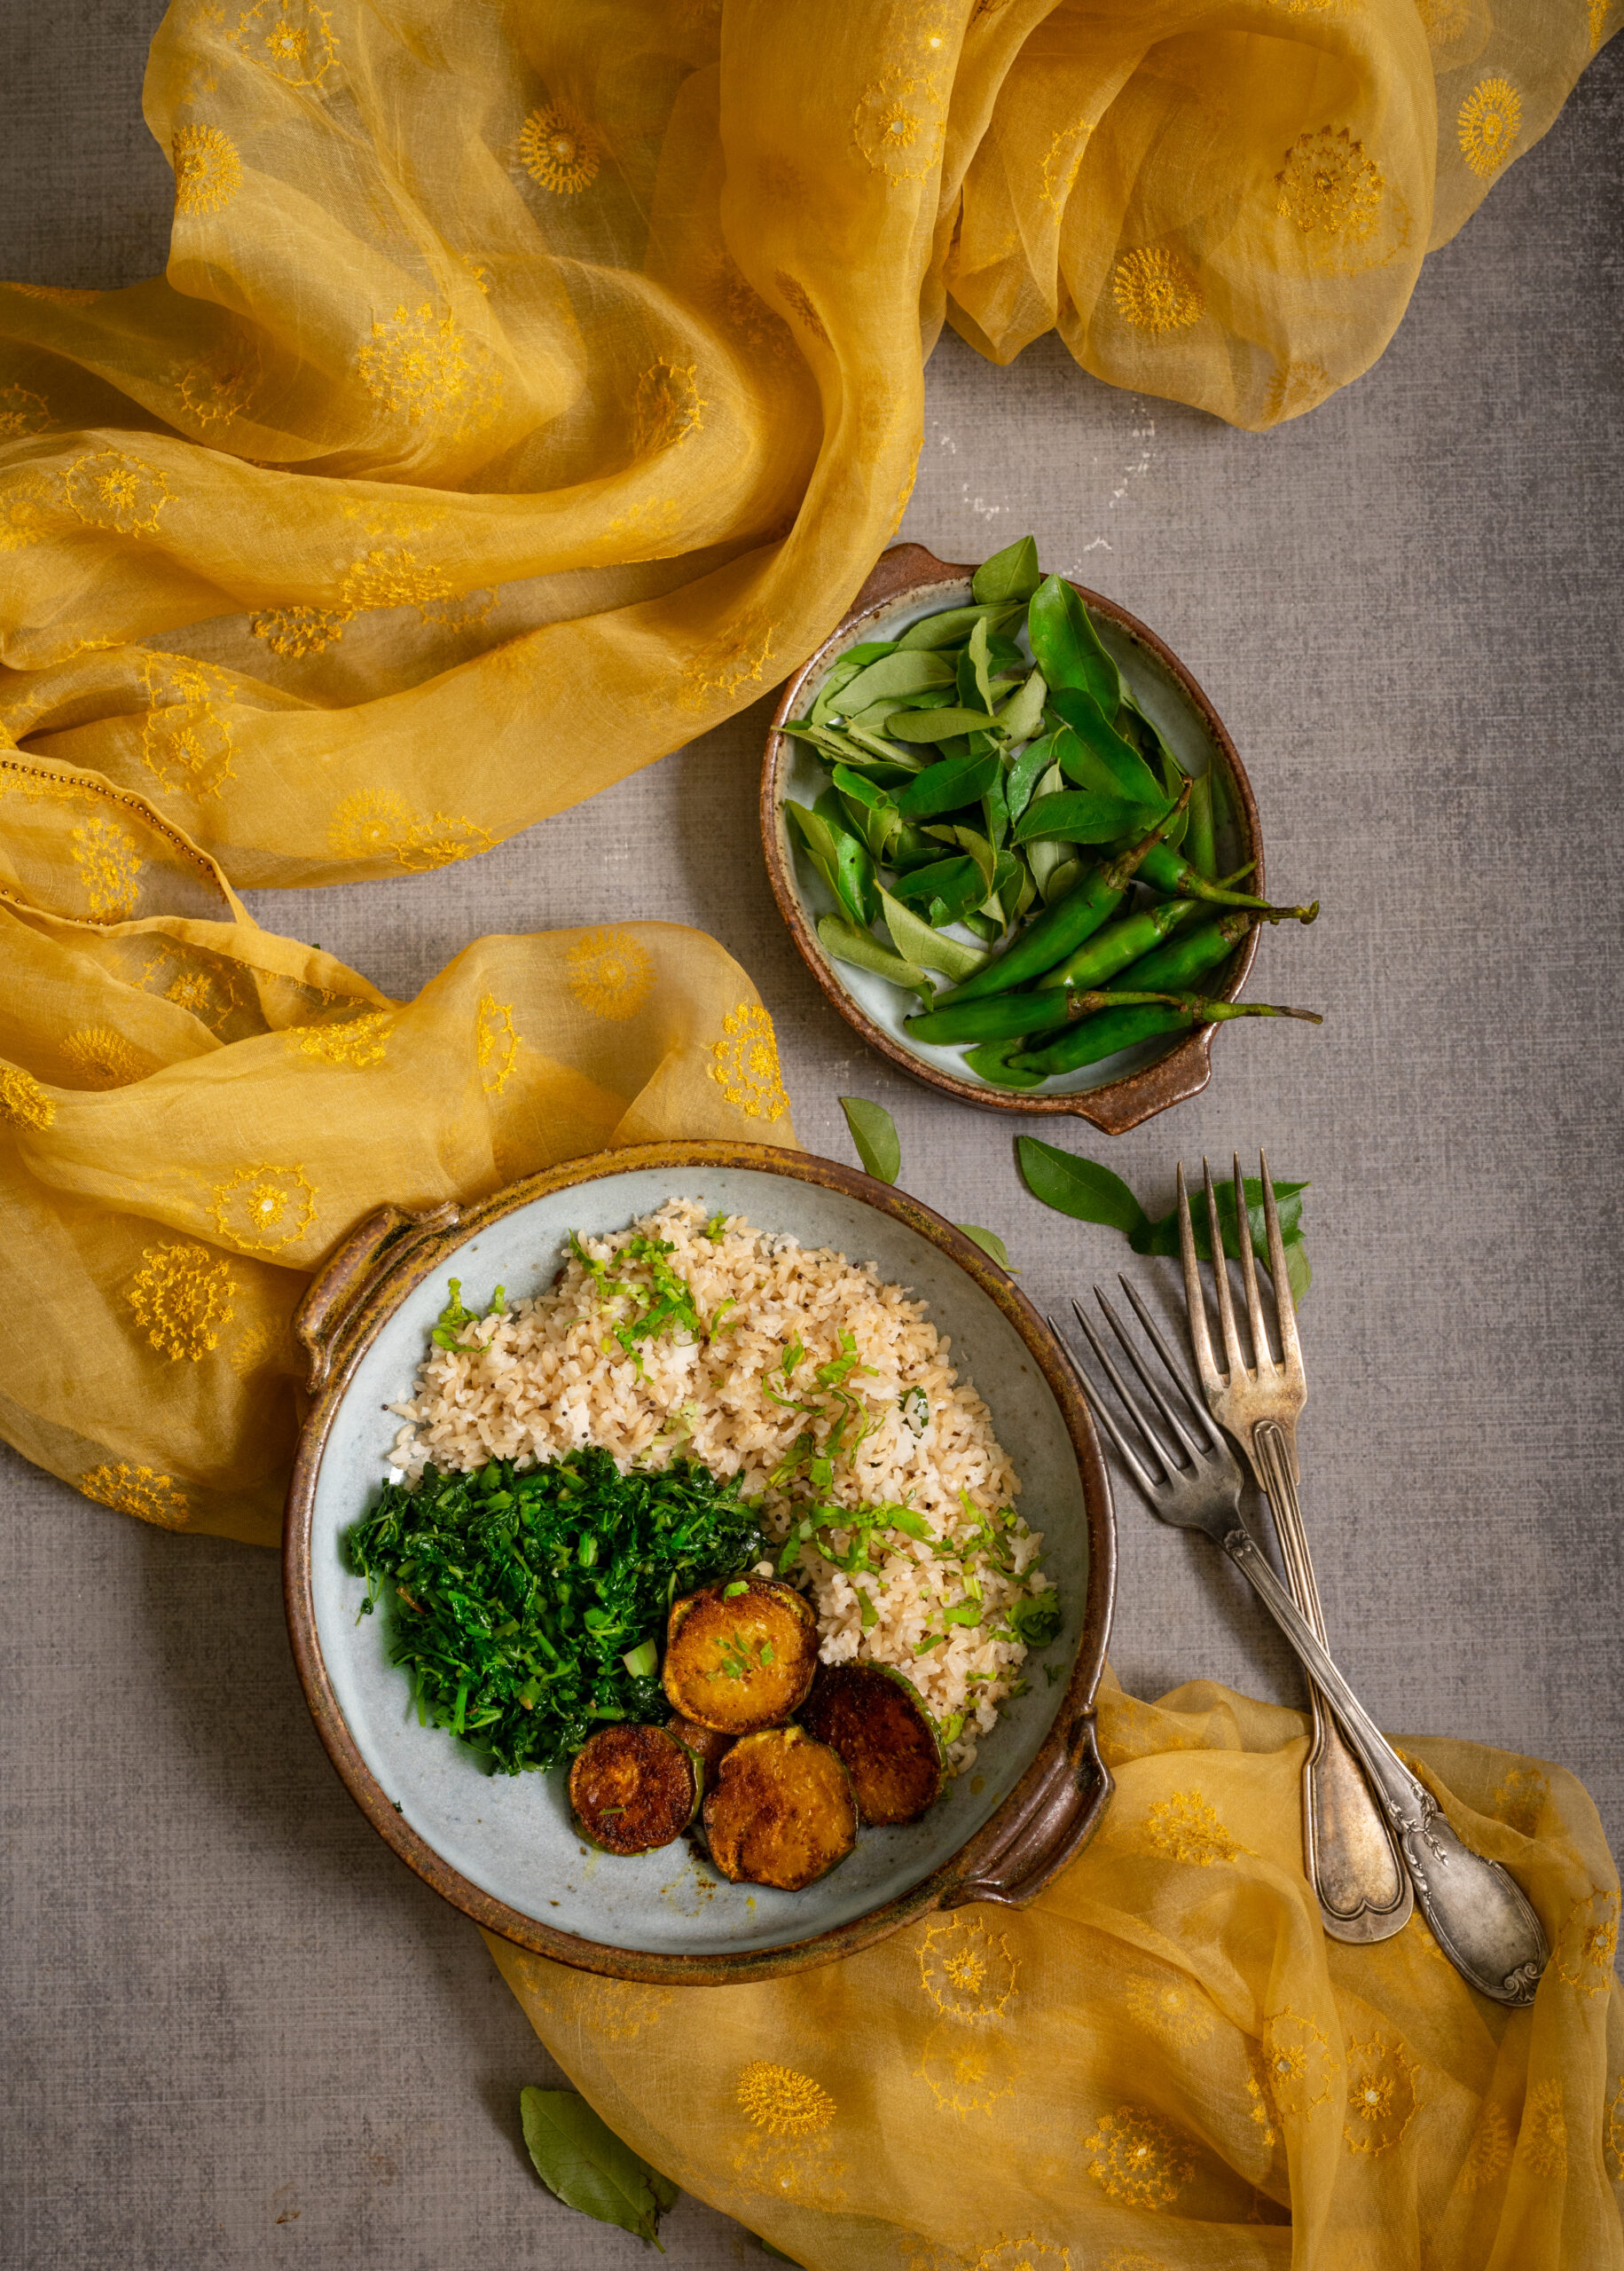
You can make carb-free variants if you like, but for me it’s simply about cutting down on the quantity of them while still getting the boost they give to my energy. Offsetting the carbs with a delicious load of greens is also key. This South Indian Buddha bowl contains the perfect combination of crispy eggplant, flavourful rice and nourishing, lightly-spiced greens. Every single dish-within-the-dish tastes wonderful, and they come together beautifully with their richness of textures and flavours.

I am a fan of healthy grains options, so I’ve used brown rice in this recipe. You can substitute this with white rice, if you prefer. As for the greens, here in South India we enjoy an incredible variety of spinach, including vendaya keerai, moringa, mollaraikeerai, sirikeerai and more. I have some kind or another every single day, and just happened to use mullakeerai in this recipe. It’s just very lightly seasoned with garlic, salt and dry red chilli and is very flavourful when eaten almost plain this way. We also get a variety of eggplants, from thin and long green ones to fat and purple ones, and while I don’t know all their names, you can use any that are available too. One of the beautiful things about this recipe is that it requires just the staples.

I always say that you eat with your eyes first, and the aesthetics of serving are very important to me not only as a photographer but equally as a culinary enthusiast. When you serve these diverse portions in a beautiful and well-proportioned bowl, the vessel looks full and the moment you see it, you get a sense of “Wow, I’m going to have a big meal.” You truly do feel satiated at the end of it, because your eyes have convinced your brain before your belly begins its work! Making a Buddha bowl as colourfully as possible also has health advantages, as you may remember from my post on eating the rainbow.

Speaking of what the eyes take in, initially, I had planned a photoshoot using South Indian brass crockery and props. I ultimately decided to go with an international look instead, to celebrate the global popularity of the Buddha bowl. As I discovered, there’s also another trick of the eye in this. You see, my daughter doesn’t always enjoy South Indian cuisine, but if I present it this way, she tucks in enthusiastically. It’s all about presentation, and how good you can make a dish look so that it will please the person who is going to eat it even before they’ve had a bite. Personally, I would also love eating this very same meal off of a banana leaf (yela saapad), as is tradition. That would change the experience of having it totally as well. But for now, I need the shot of energy that a Buddha bowl puts into my day, and I’ll carry on having it this way for a while!

South Indian Buddha Bowl

(Yield: 1 bowl)


Coconut rice

200 grams (approximately 2 cups) cooked brown or white rice

30 grams (2 tablespoons) grated coconut

4 curry leaves

1 tablespoon coconut oil

¼ teaspoon cumin seeds

¼ teaspoon mustard seeds

1 green chilli

Salt to taste


Greens

2 cups chopped and cleaned greens

1 teaspoon oil

2-3 garlic cloves

1 dry red chilli (optional, can be replaced with green chilli)

Salt to taste


Eggplant

10-12 slices of small eggplants

Salt to taste

¼ teaspoon turmeric

1 teaspoon coriander powder

¼ teaspoon cumin powder

1 tablespoon chickpea flour

2-3 tablespoons oil


Prepare each of the components separately. I’ll begin by sharing the method for the coconut rice. In a pan, add the coconut oil. Once it’s heated, add the cumin and mustard seeds. When the seeds splutter, add the curry leaves and green chilli. Next, add the freshly grated coconut. Sauté them all together for a few minutes and finally add the rice and salt. Stir until combined.

The following is the method for the pan-fried eggplant. On a plate, place the eggplant slices and sprinkle all the masala (including the chickpea flour) onto them, and gently massage them in by using your fingers. Allow the coated slices to sit for ½ an hour or more. If letting the tray sit for longer, then refrigerate it so that the eggplant doesn’t begin to give out water.

When you are ready to fry the eggplant, add the oil in a pan. Allow it to heat up, then gently place the round eggplant slices onto the hot oil. Allow them to turn golden on both sides on a medium flame, then cool.

Finally, here is the method to prepare the greens. Heat a kadai and add the oil to it. Once it’s hot, add the garlic and stir fry until the cloves change colour slightly. Now, add the chilli and then finally add the greens. Keep the flame at a medium level and sauté for a few minutes or until the greens turn a little tender. Do not overcook, as they release water and will change colour. Add the salt and stir well.

My daughter felt that this bowl was a little dry, and if you think so too, you can either add some yoghurt to it as a fourth component or make the spinach in a more gravy-like style if you prefer.

With all the components of the dish prepared, it now comes down to the assembly. Pick out a beautiful bowl and arrange the coconut rice, sautéed greens and pan-fried eggplant on it. Let your eyes feast first. Enjoy!

You may have noticed that my blog is also a kind of Buddha bowl, a mix-and-match that I put together from across categories. This is deliberate, because I want people from across age groups and from all over the world to enjoy my recipes. I always try to balance the traditional and the modern, and bring in all my varied experiences and learning – be they through travel, my training such as in Macrobiotics, my memories, or my experiments. I strive to keep up with the times, and I also strive to keep challenging myself. Thank you for coming along with me on my journey! There are a few more Buddha bowls in the next couple of stops. Any guesses where they might be inspired from?

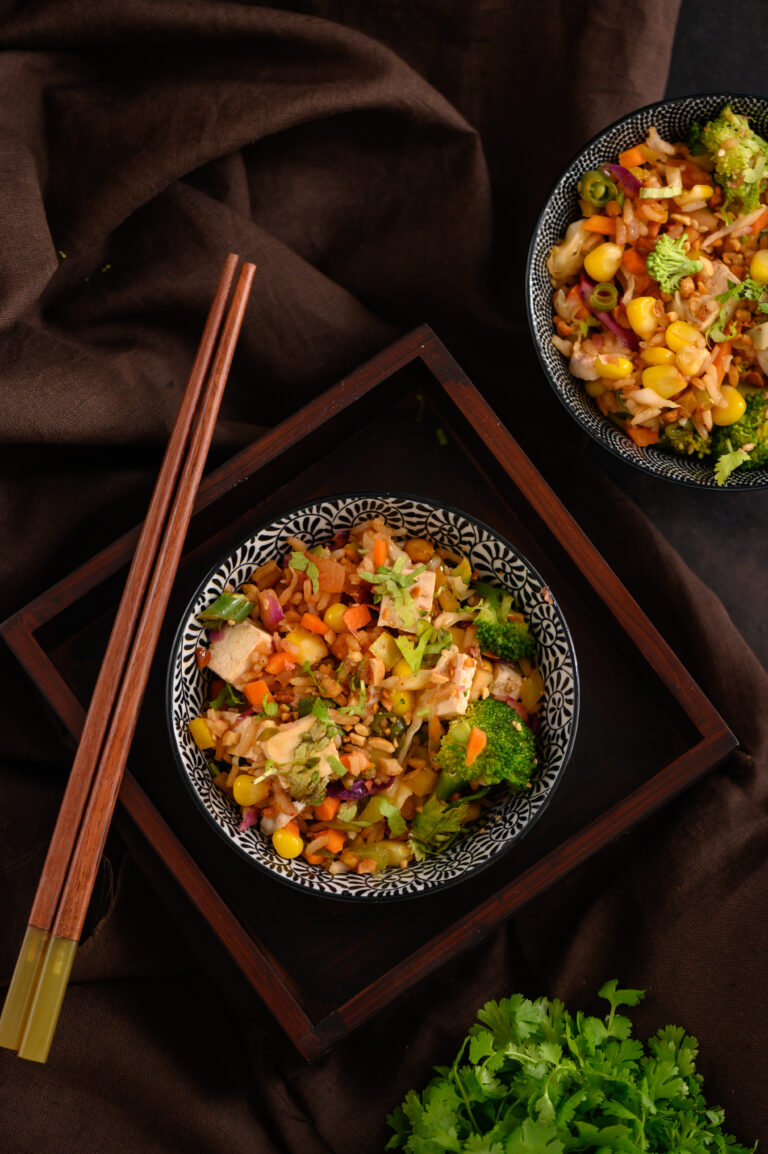
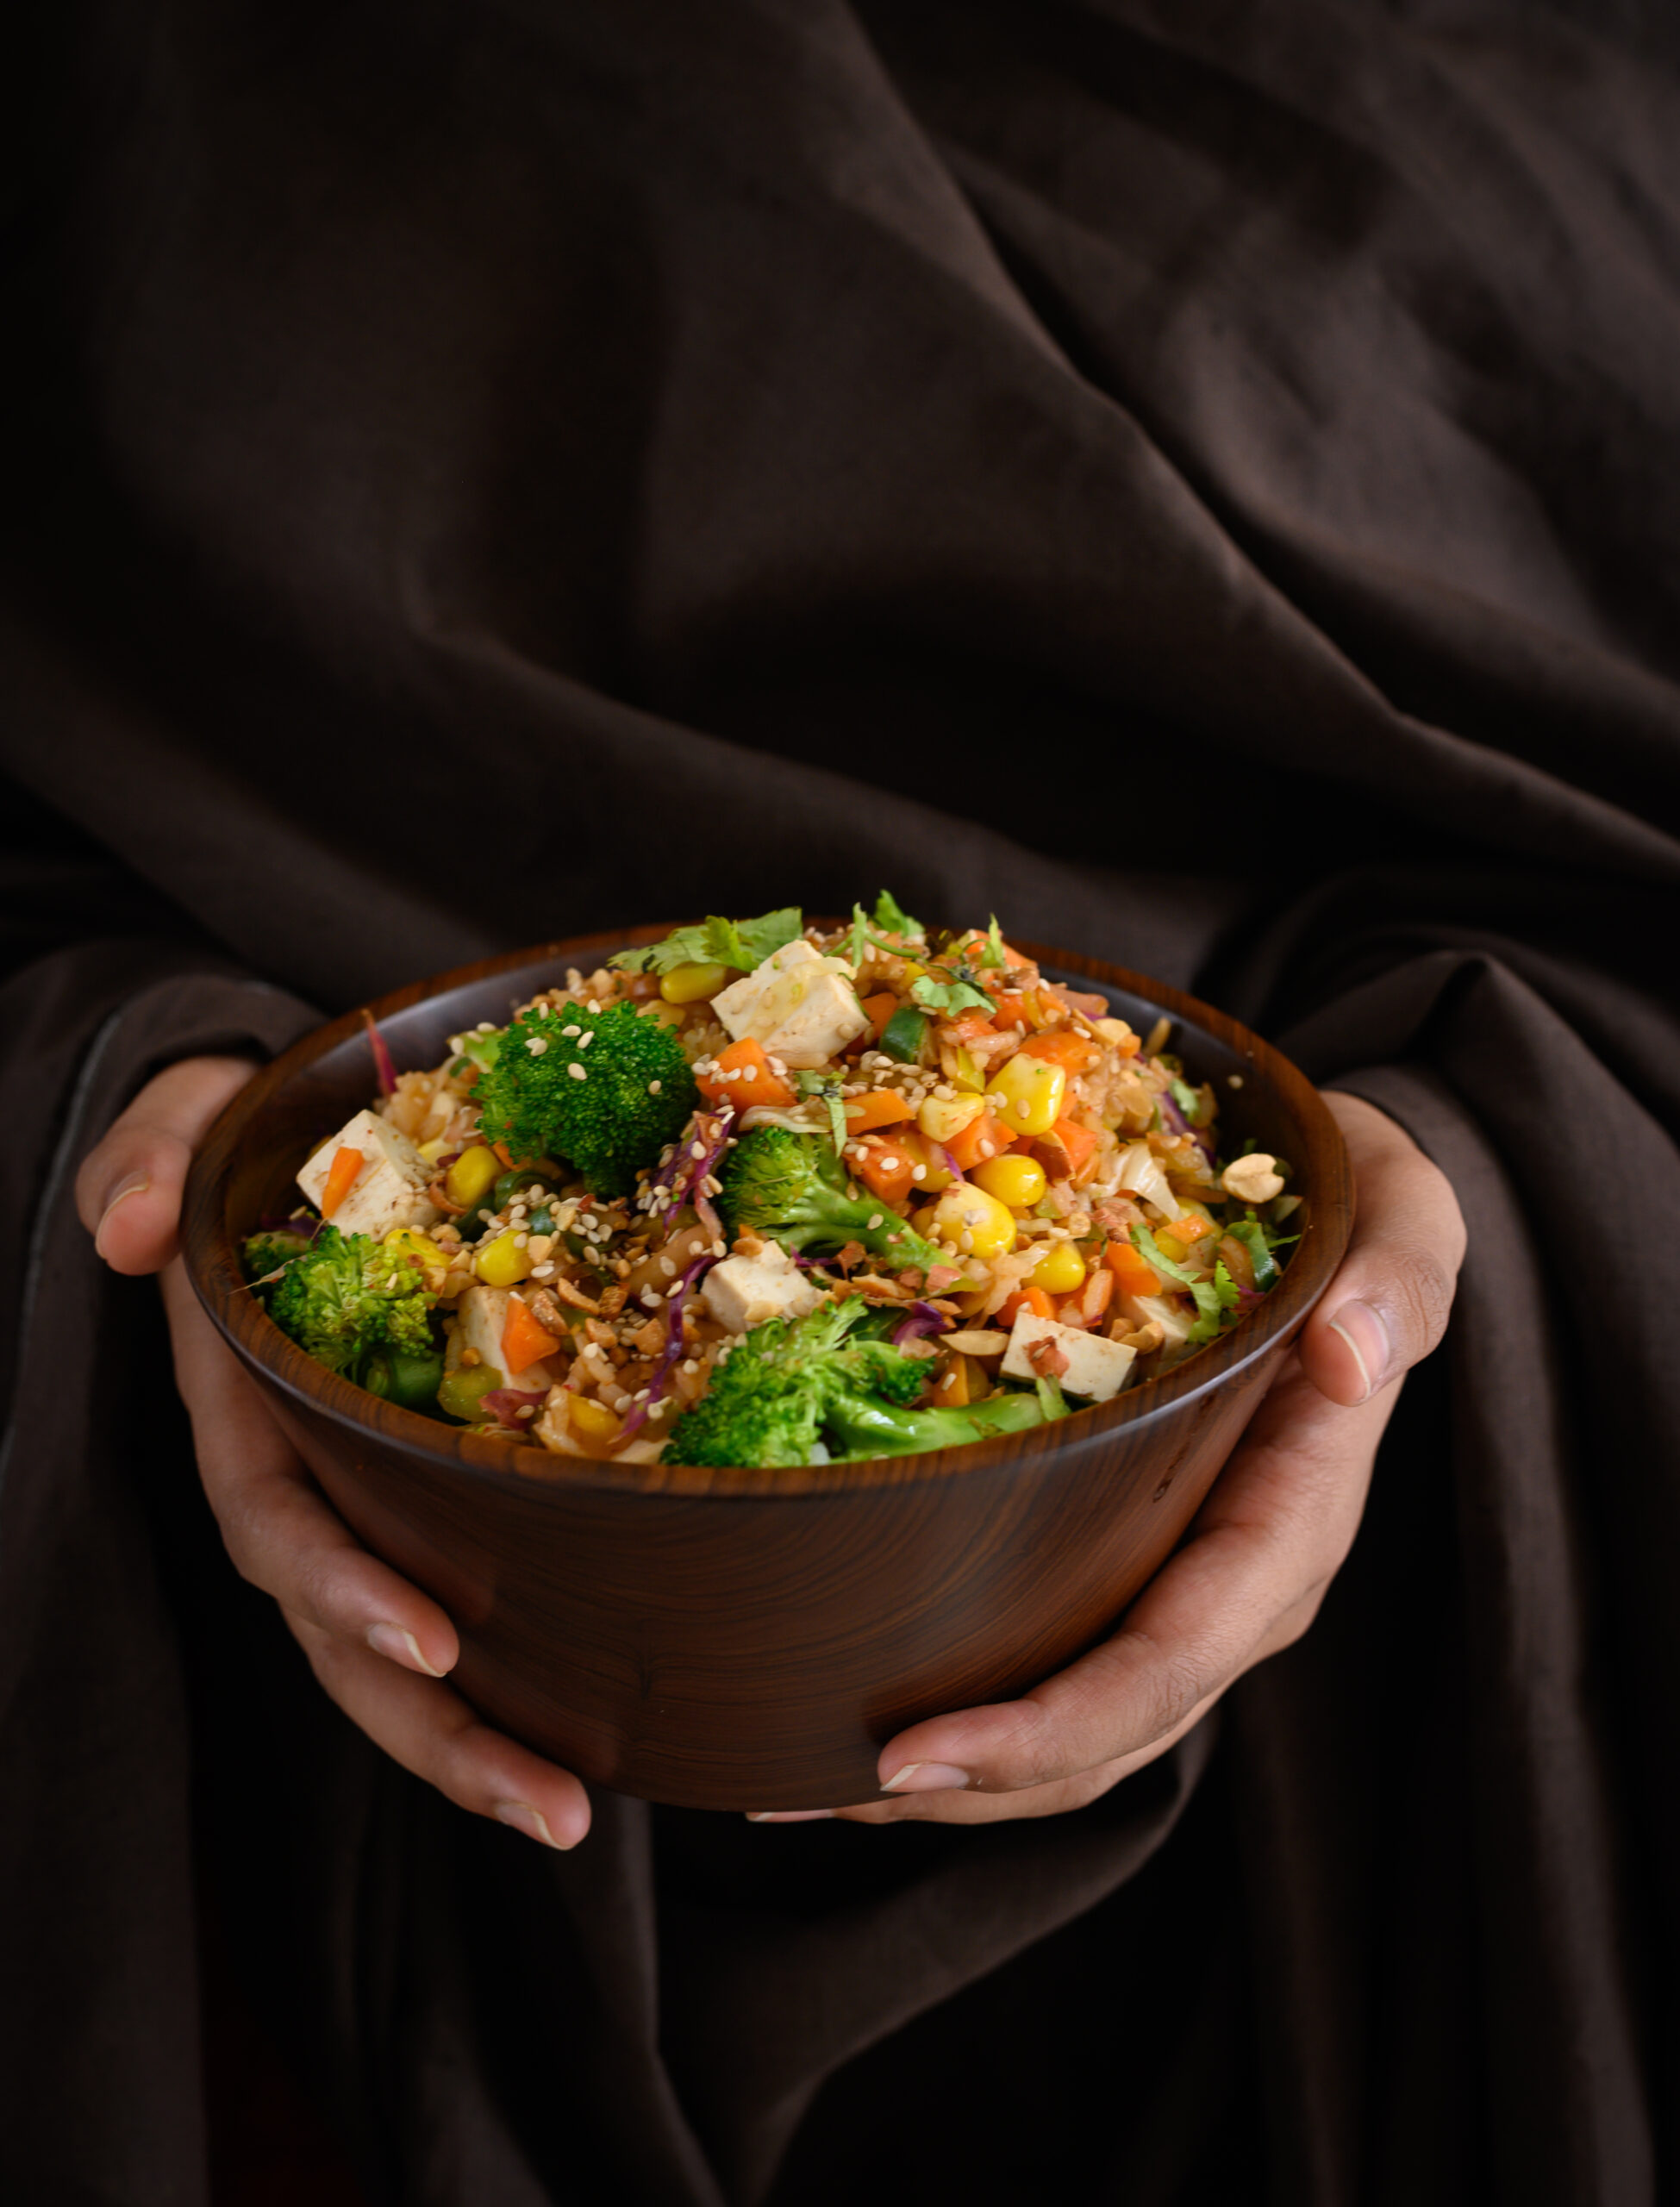
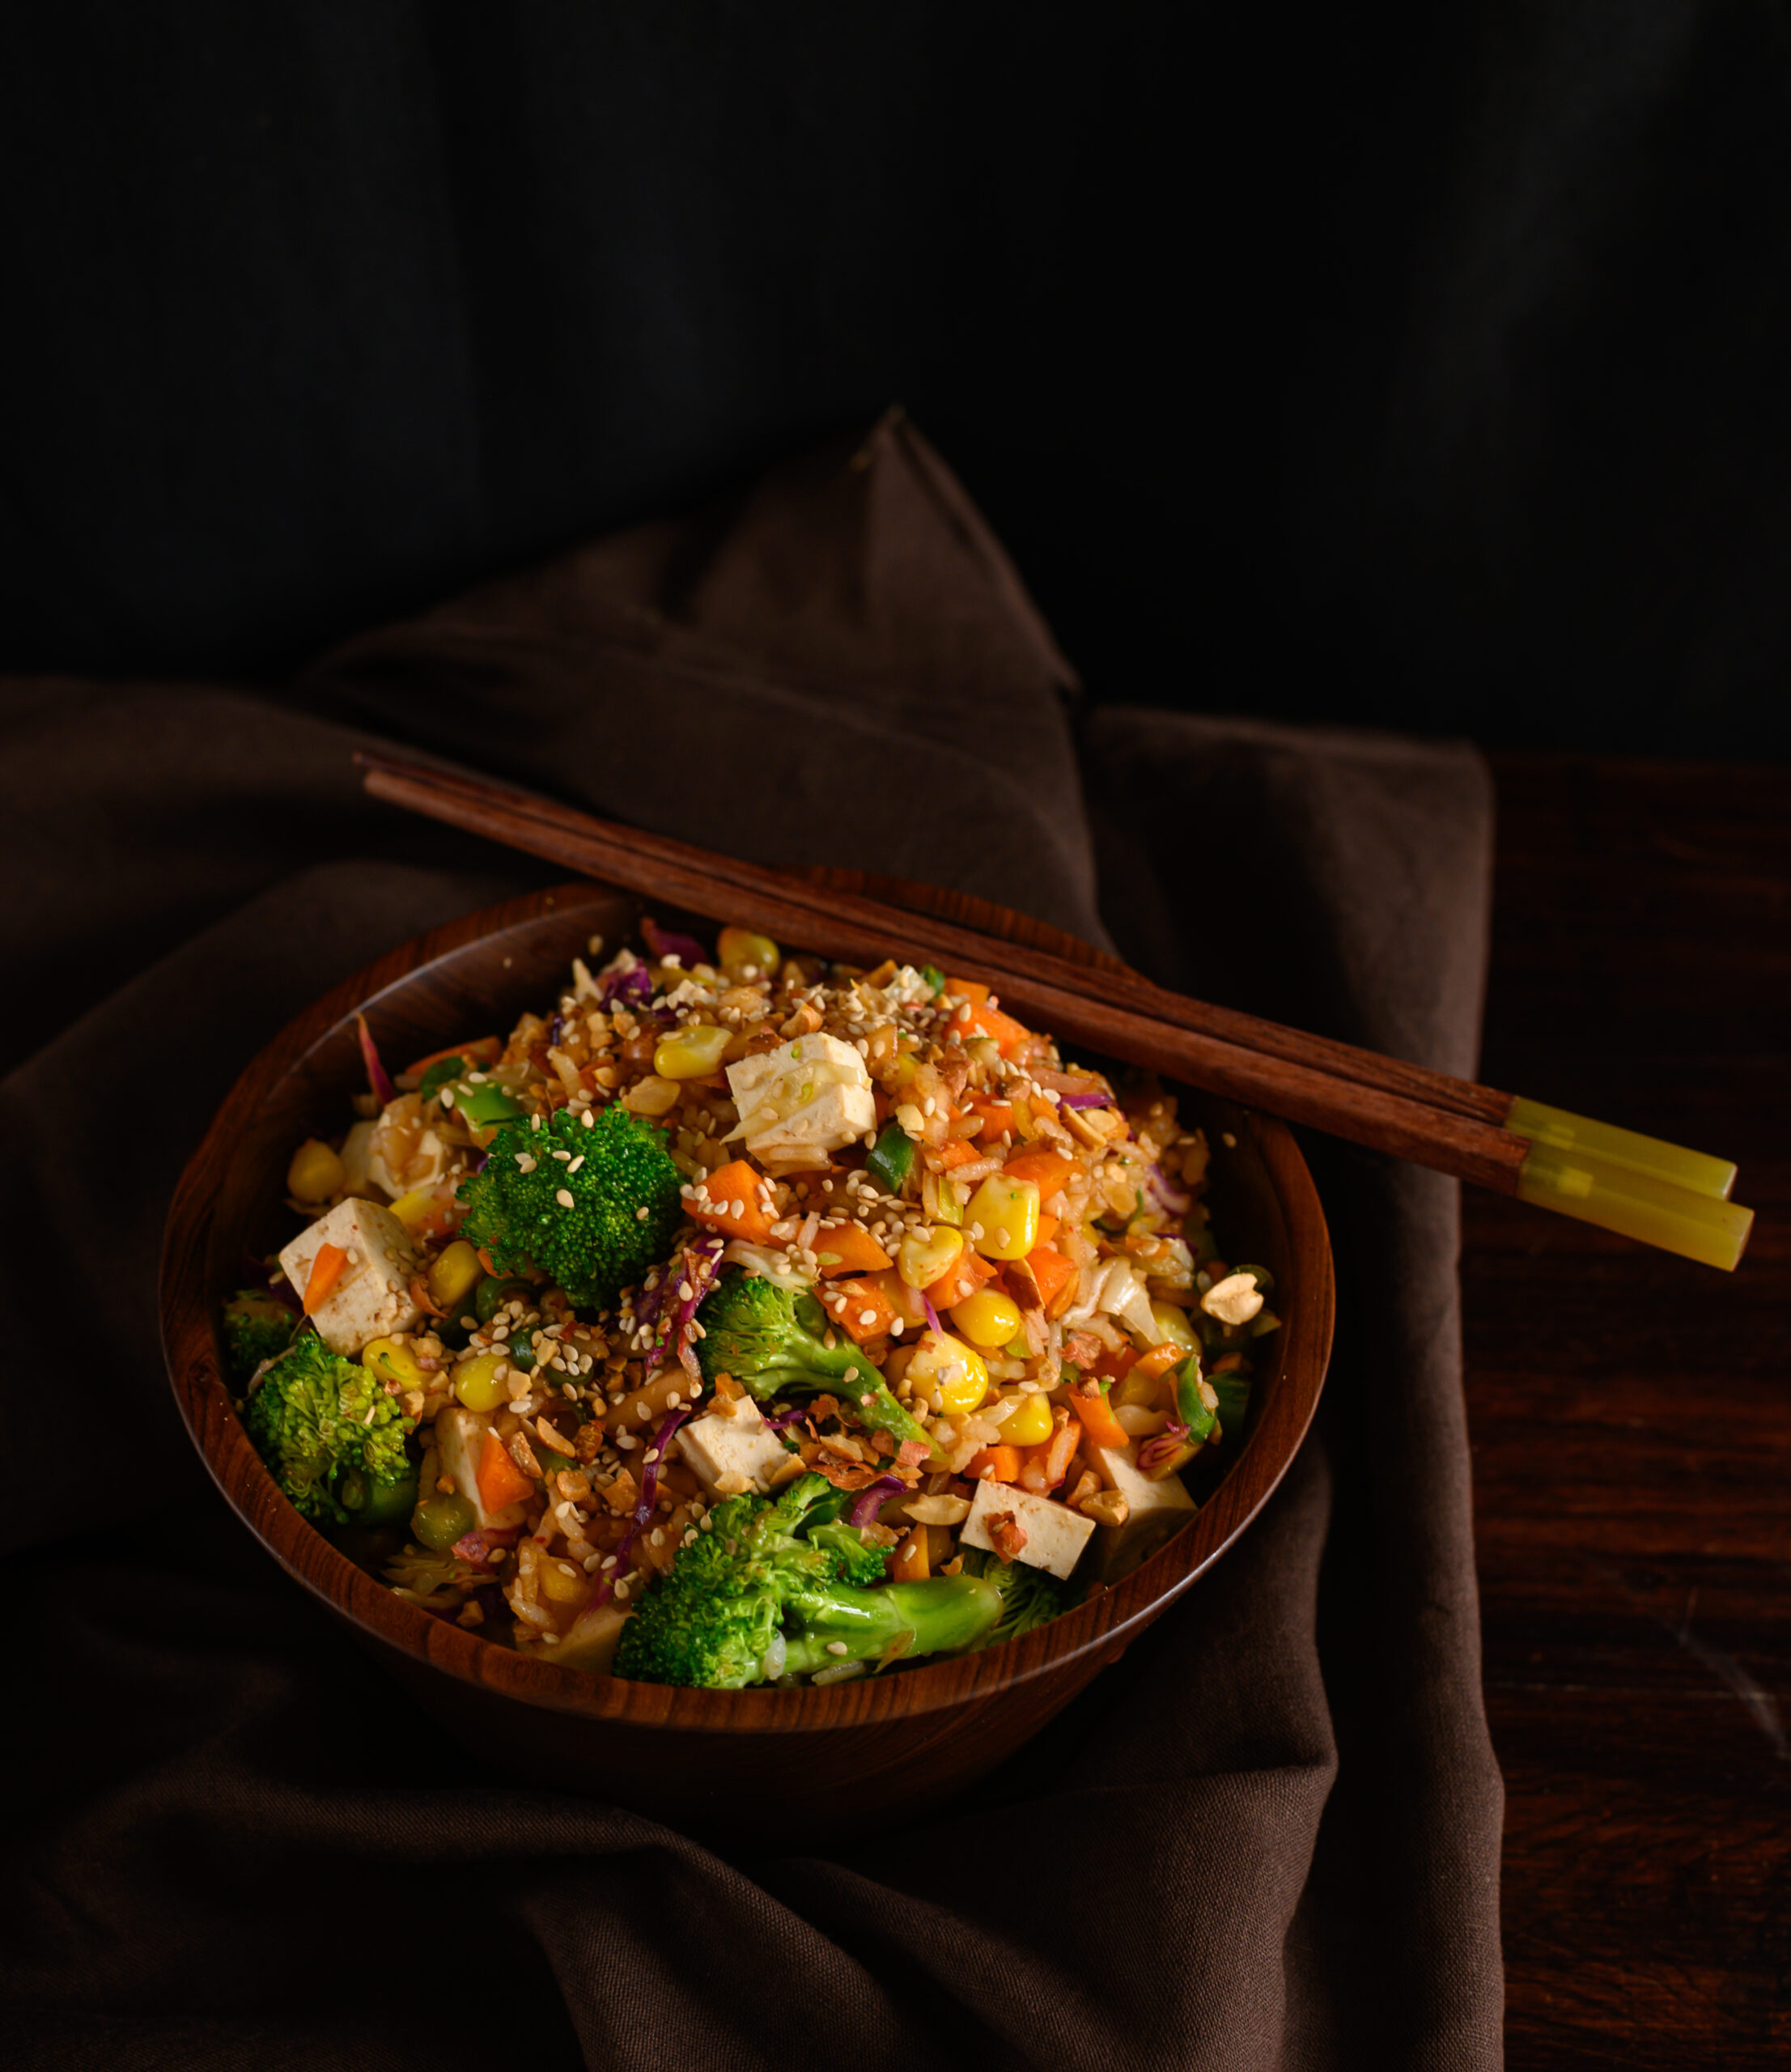
I love, love, love stir-fry and could eat it every day, and some weeks I think I actually do, making different versions of it as per my craving or mood. A stir-fry is more of a category than a dish, of versatile meals-in-a-bowl that cater to any kind of dietary restrictions, lifestyles or personal taste. My boys love theirs with meat, so I regularly add chicken or prawns to theirs. Vegan versions are protein-rich with tofu. When it comes to stir-fries, to each their own.

The simplicity of my preferred version of a stir-fry, replete with healthy ingredients and subtly flavoured, is something I arrived at after sampling numerous versions in many places. For a long time, I would gravitate towards stir-fries in restaurants, which would be made in an elaborate way with different additives and sauces. Then, I encountered them again when I was studying Macrobiotics at the Kushi Institute, where we ate a lot of steamed and sautéed vegetables. Realising how adaptable this dish was, and how it could be cooked to suit a diverse range of diets, made me introduce it into my repertoire frequently.

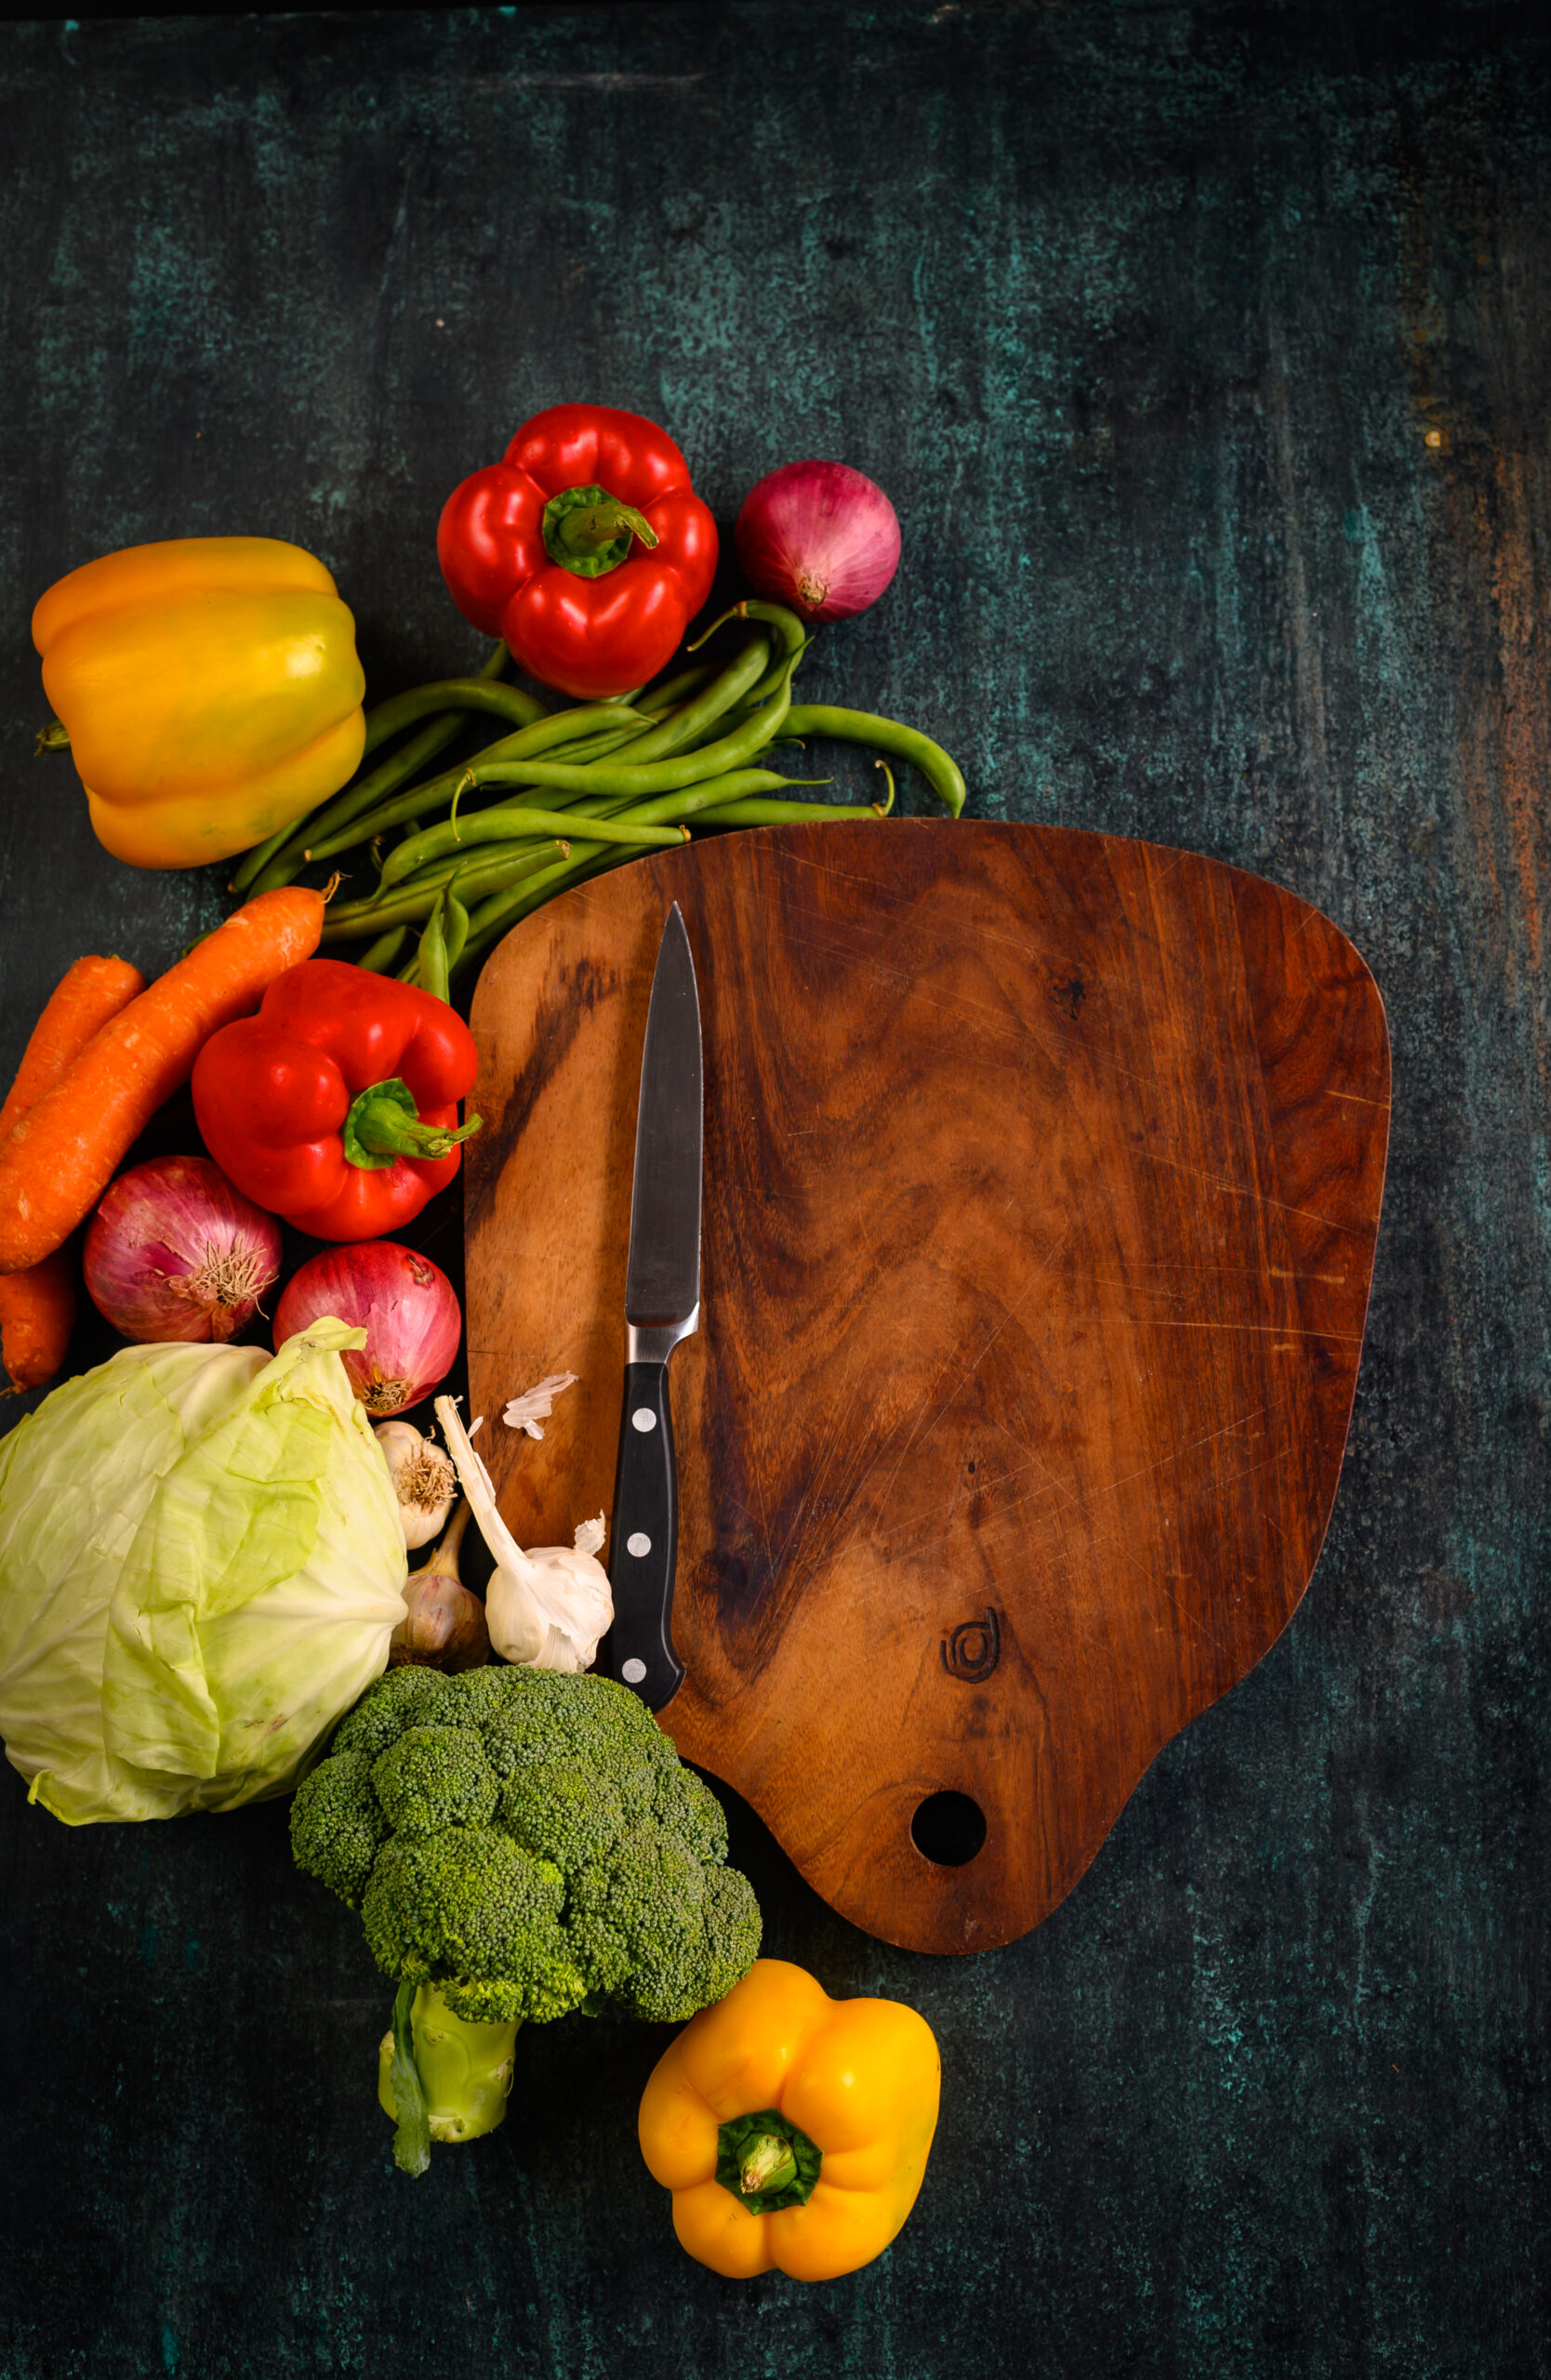
Stir-fries are built through a checklist of choices: pick a protein, some vegetables, the oil you’re using, nuts or seeds for texture if you like them, and an optional carb. They can literally be made with whatever basic produce you have available at home on any given day. For me, the vegetables are the star ingredients and I have certain time-tested preferences about which ones are good when cooked in this style. I prefer to avoid water-based vegetables as the stir-fry technique works best for firmer, crisper ones. Baby corn, aubergine, bok choy, spinach and kale are among my favourites.

When I want my meal-in-a-bowl stir-fry to be extra filling, I add a carb to it. This can range from red rice, white rice, millets and pasta, depending entirely on what I already have on hand. All these carbs work well when layered with the other ingredients. Without them, a stir-fry can be enjoyed as a hearty salad. When I am including a carb, I tend to avoid starchy vegetables such as potatoes, so as to keep the dish light. You may also choose to avoid sugary vegetables like peas and baby corn if you’re being strict with what you’re consuming. See what works for you. Ultimately, I still feel that vegetables are vegetables and you can’t really go wrong with them. Sometimes, it’s about using your own intelligence. For instance, in Macrobiotics, nightshades such as tomatoes are believed to not be good for you. That doesn’t mean that you have to eliminate them completely. Instead, you balance them by using a smaller portion and adding extra leafy greens as a counter.

I enjoy the crunchiness and slight rawness of the vegetables so much, as well as the feel-good factor to eating them. At the Kushi Institute, I also learned that chewing is absolutely essential. In fact, at mealtimes we sometimes actually counted the number of times that we chewed one mouthful. The maximum I got to was 25! With the slightly undercooked vegetables, you have to be sure to chew them well. To keep the focus on their natural tastes and textures, I ensure that the spices I use are minimal.

The trick is to incorporate all the colours of the rainbow within the dish, which specialists say will cover a broad spectrum of your nutritional needs in a single meal. Here is a convenient list that explains how and why. I try my best to do this when putting together a stir-fry. Visually too, there’s something so beautiful and appealing about this method. It really does make me feel like I am eating a bowl of sunshine.

Not only is this perfect meal-in-a-bowl versatile in terms of the ingredients you can use, but it can work for any time of the day. Aside from lunch and dinner, I find that a portion of it with a couple of boiled eggs makes for a superb, energy-boosting breakfast. The best part is that it takes all of fifteen minutes to put a bowl together, right from chopping to serving. Sometimes, when my son says he won’t be coming home for lunch but then suddenly shows up because a meeting got cancelled, all I have to do is throw together a few fresh vegetables with a bit of chicken, the way he likes it. Within minutes, not only does he get a delicious home-cooked meal, but he is also fully fortified to get back to work.


Meal-In-A-Bowl Stir-Fry

(Yield: 1 bowl)


2 cups vegetables of your choice

½ cup cooked rice

1 tablespoon groundnut oil

¾ teaspoon ginger/garlic paste

3 tablespoons cut tofu

2 tablespoons soya sauce

1 tablespoon lemon juice

½ teaspoon honey

1 teaspoon white sesame seeds

1 teaspoon chili paste

2 tablespoons coarsely crushed peanuts

Coriander leaves to garnish

Salt to taste


Add the groundnut oil in a wok. Once it’s hot, add the sesame seeds and allow them to lightly change colour.

Next, add the garlic/ginger paste. Stir for a minute.

Now, add the vegetables and stir them on a high flame. Do this for about 3 minutes. I like my vegetables to be a bit crunchy so I don’t allow them to cook until tender. Be careful not to burn or singe the ingredients at the bottom of the pan, as this will reduce their nutritional value.

I often use carrots, bell peppers, beans, broccoli, spring onions, raw mango for a bit of tang, and some corn. If you decide to follow the same choices, make sure that the carrots and beans go first as they take a while longer than the others to cook, even slightly.

If you are including a carb, add the cooked rice now. I prefer organic rice varieties, and you can also use millets or orzo pasta. Then, add the tofu.

Finally, add the salt and the remaining ingredients, substituting peanuts and sesame seeds for cashew nuts or walnuts if you prefer. In terms of flavours, some of the best ones are soya sauce, lemon juice, honey glaze and chili sauce/paste. Stir fry for a few minutes on a high flame. Serve hot, garnished with coriander.

There is no single recipe for stir-fry, but this is my favourite. I like the mix of East Asian seasonings with familiar local flavours like raw mango and peanuts, and I find they blend together beautifully. Remember that you can substitute any ingredient for another in its own category; protein, veggies, oil, nuts/seeds and carbs. And most importantly: remember the rainbow, and let green reign!

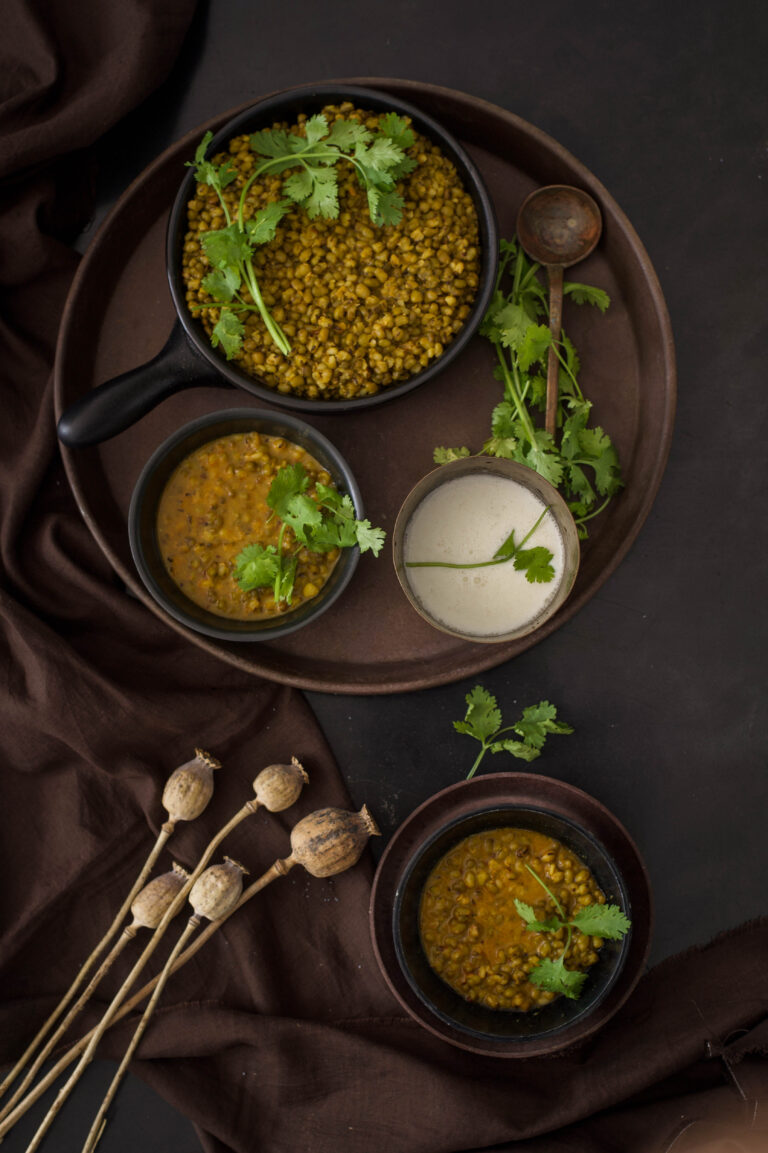
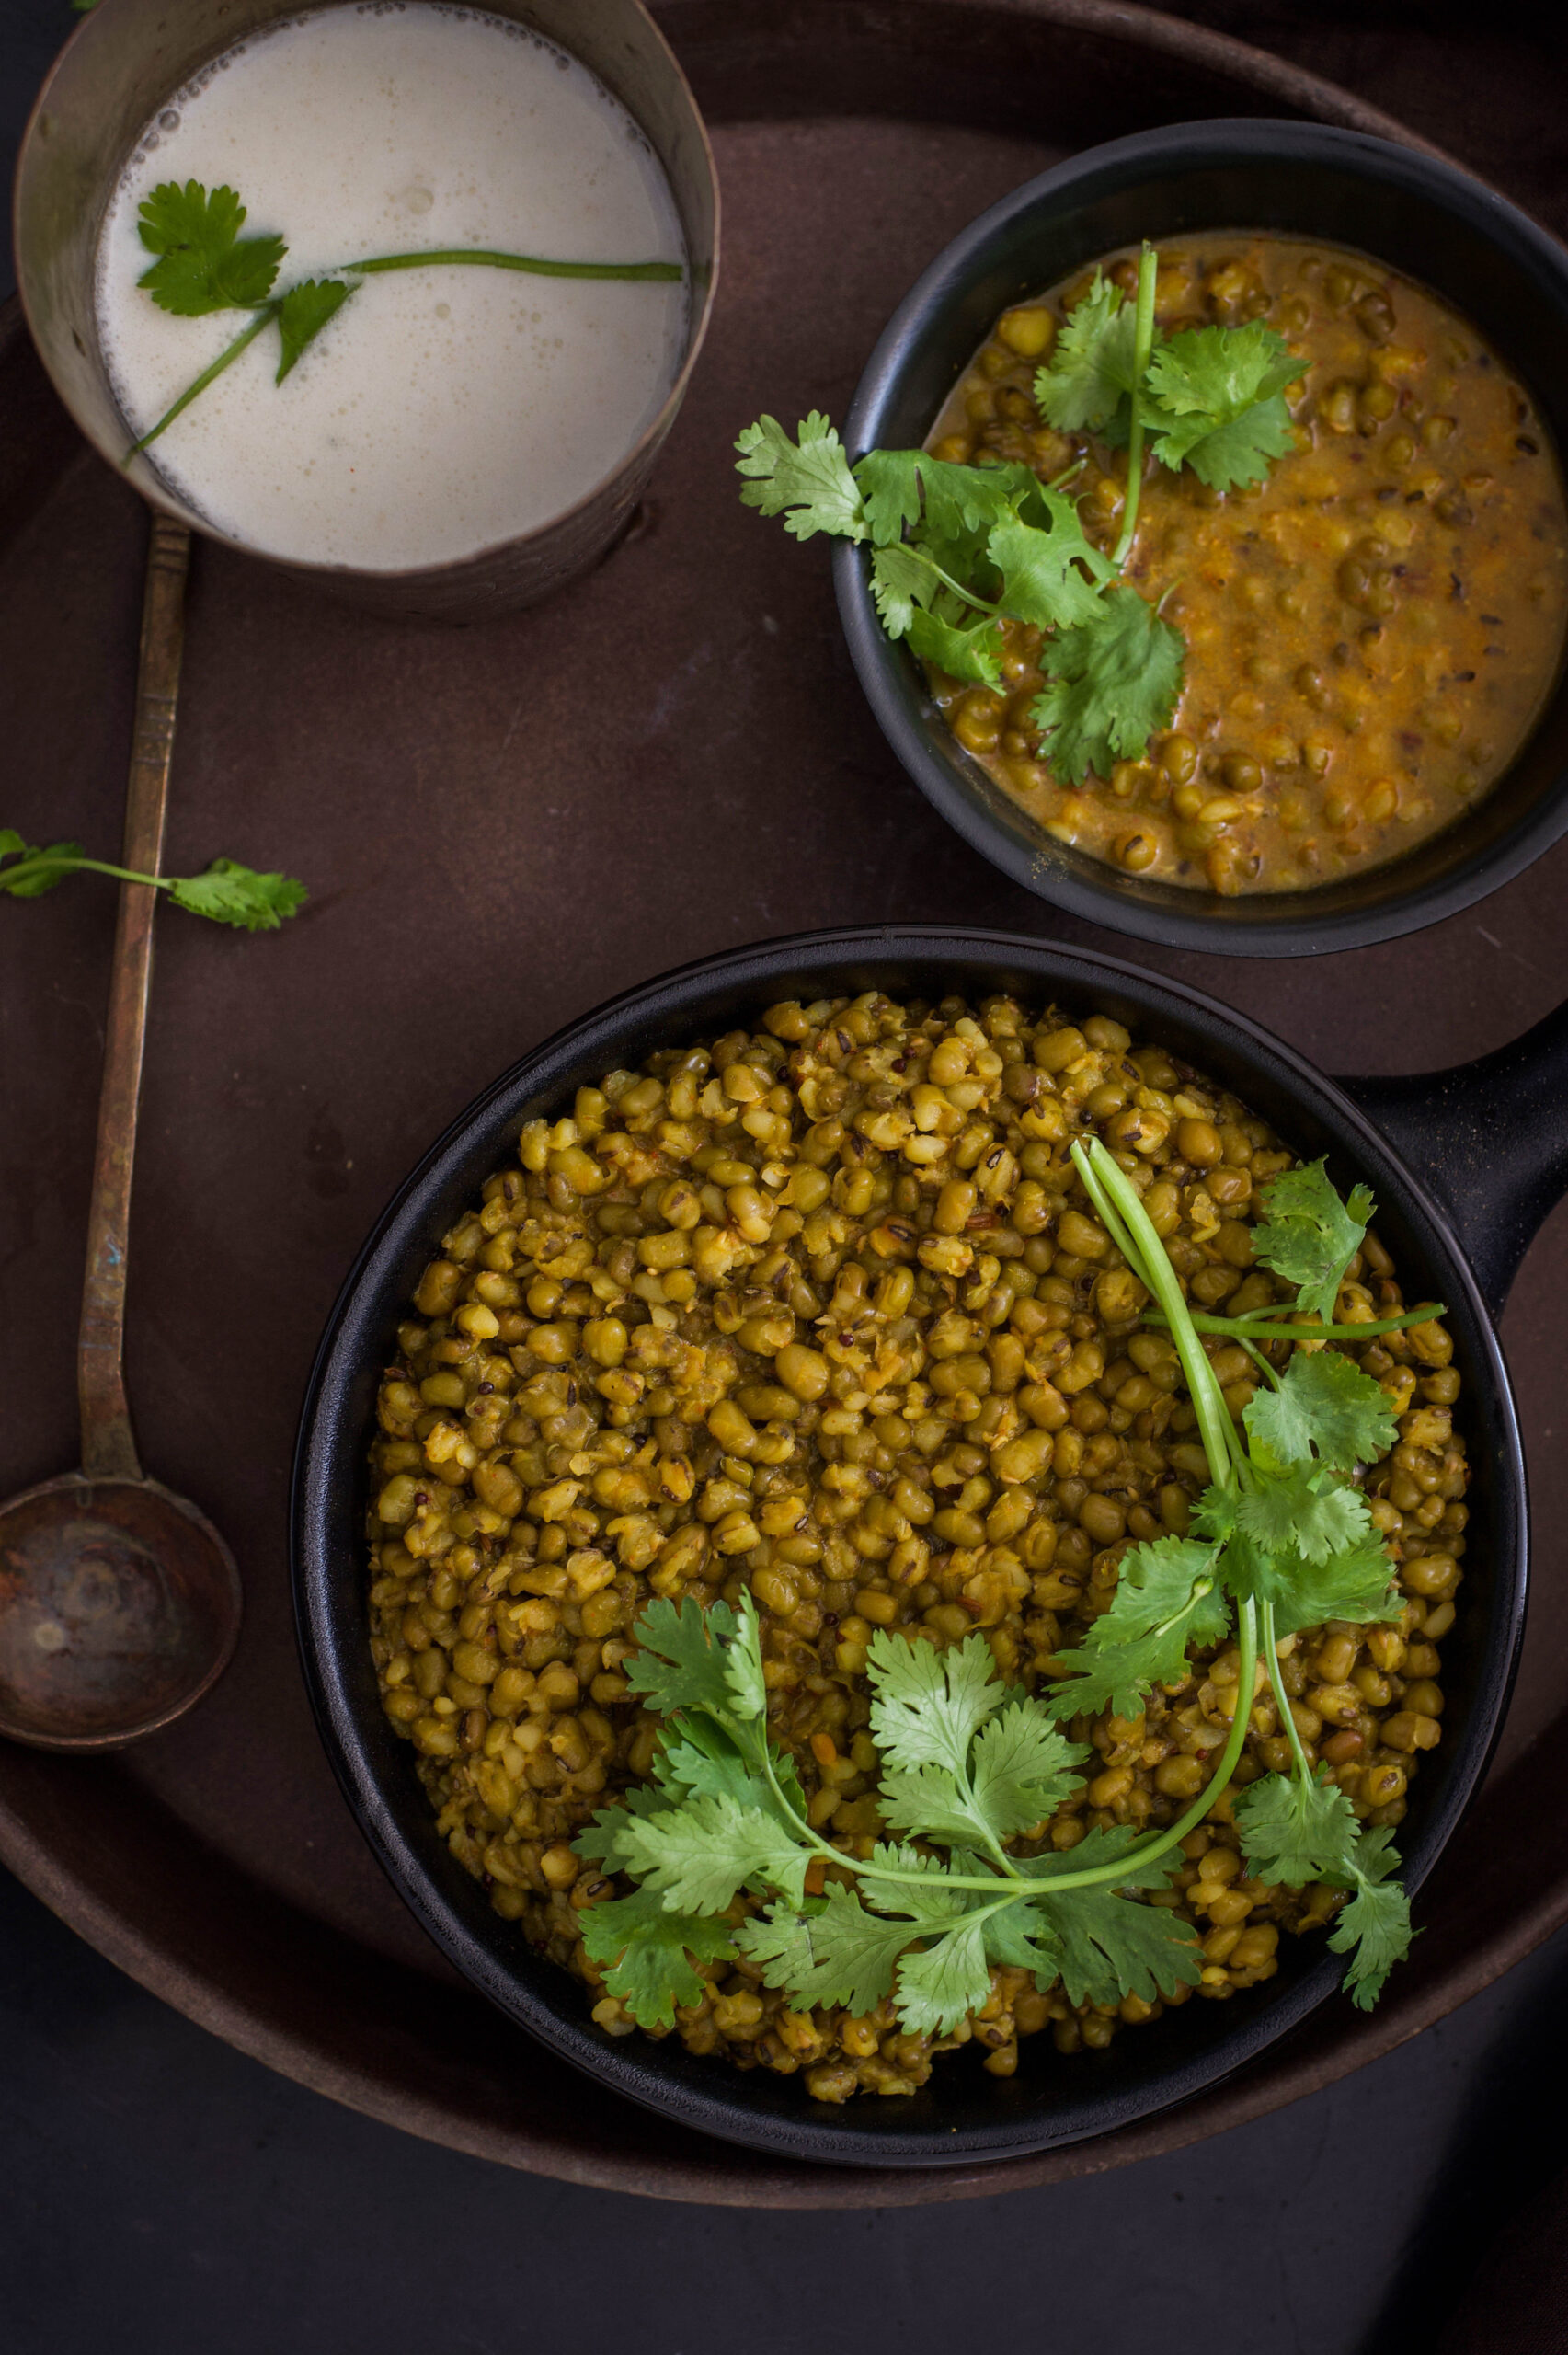
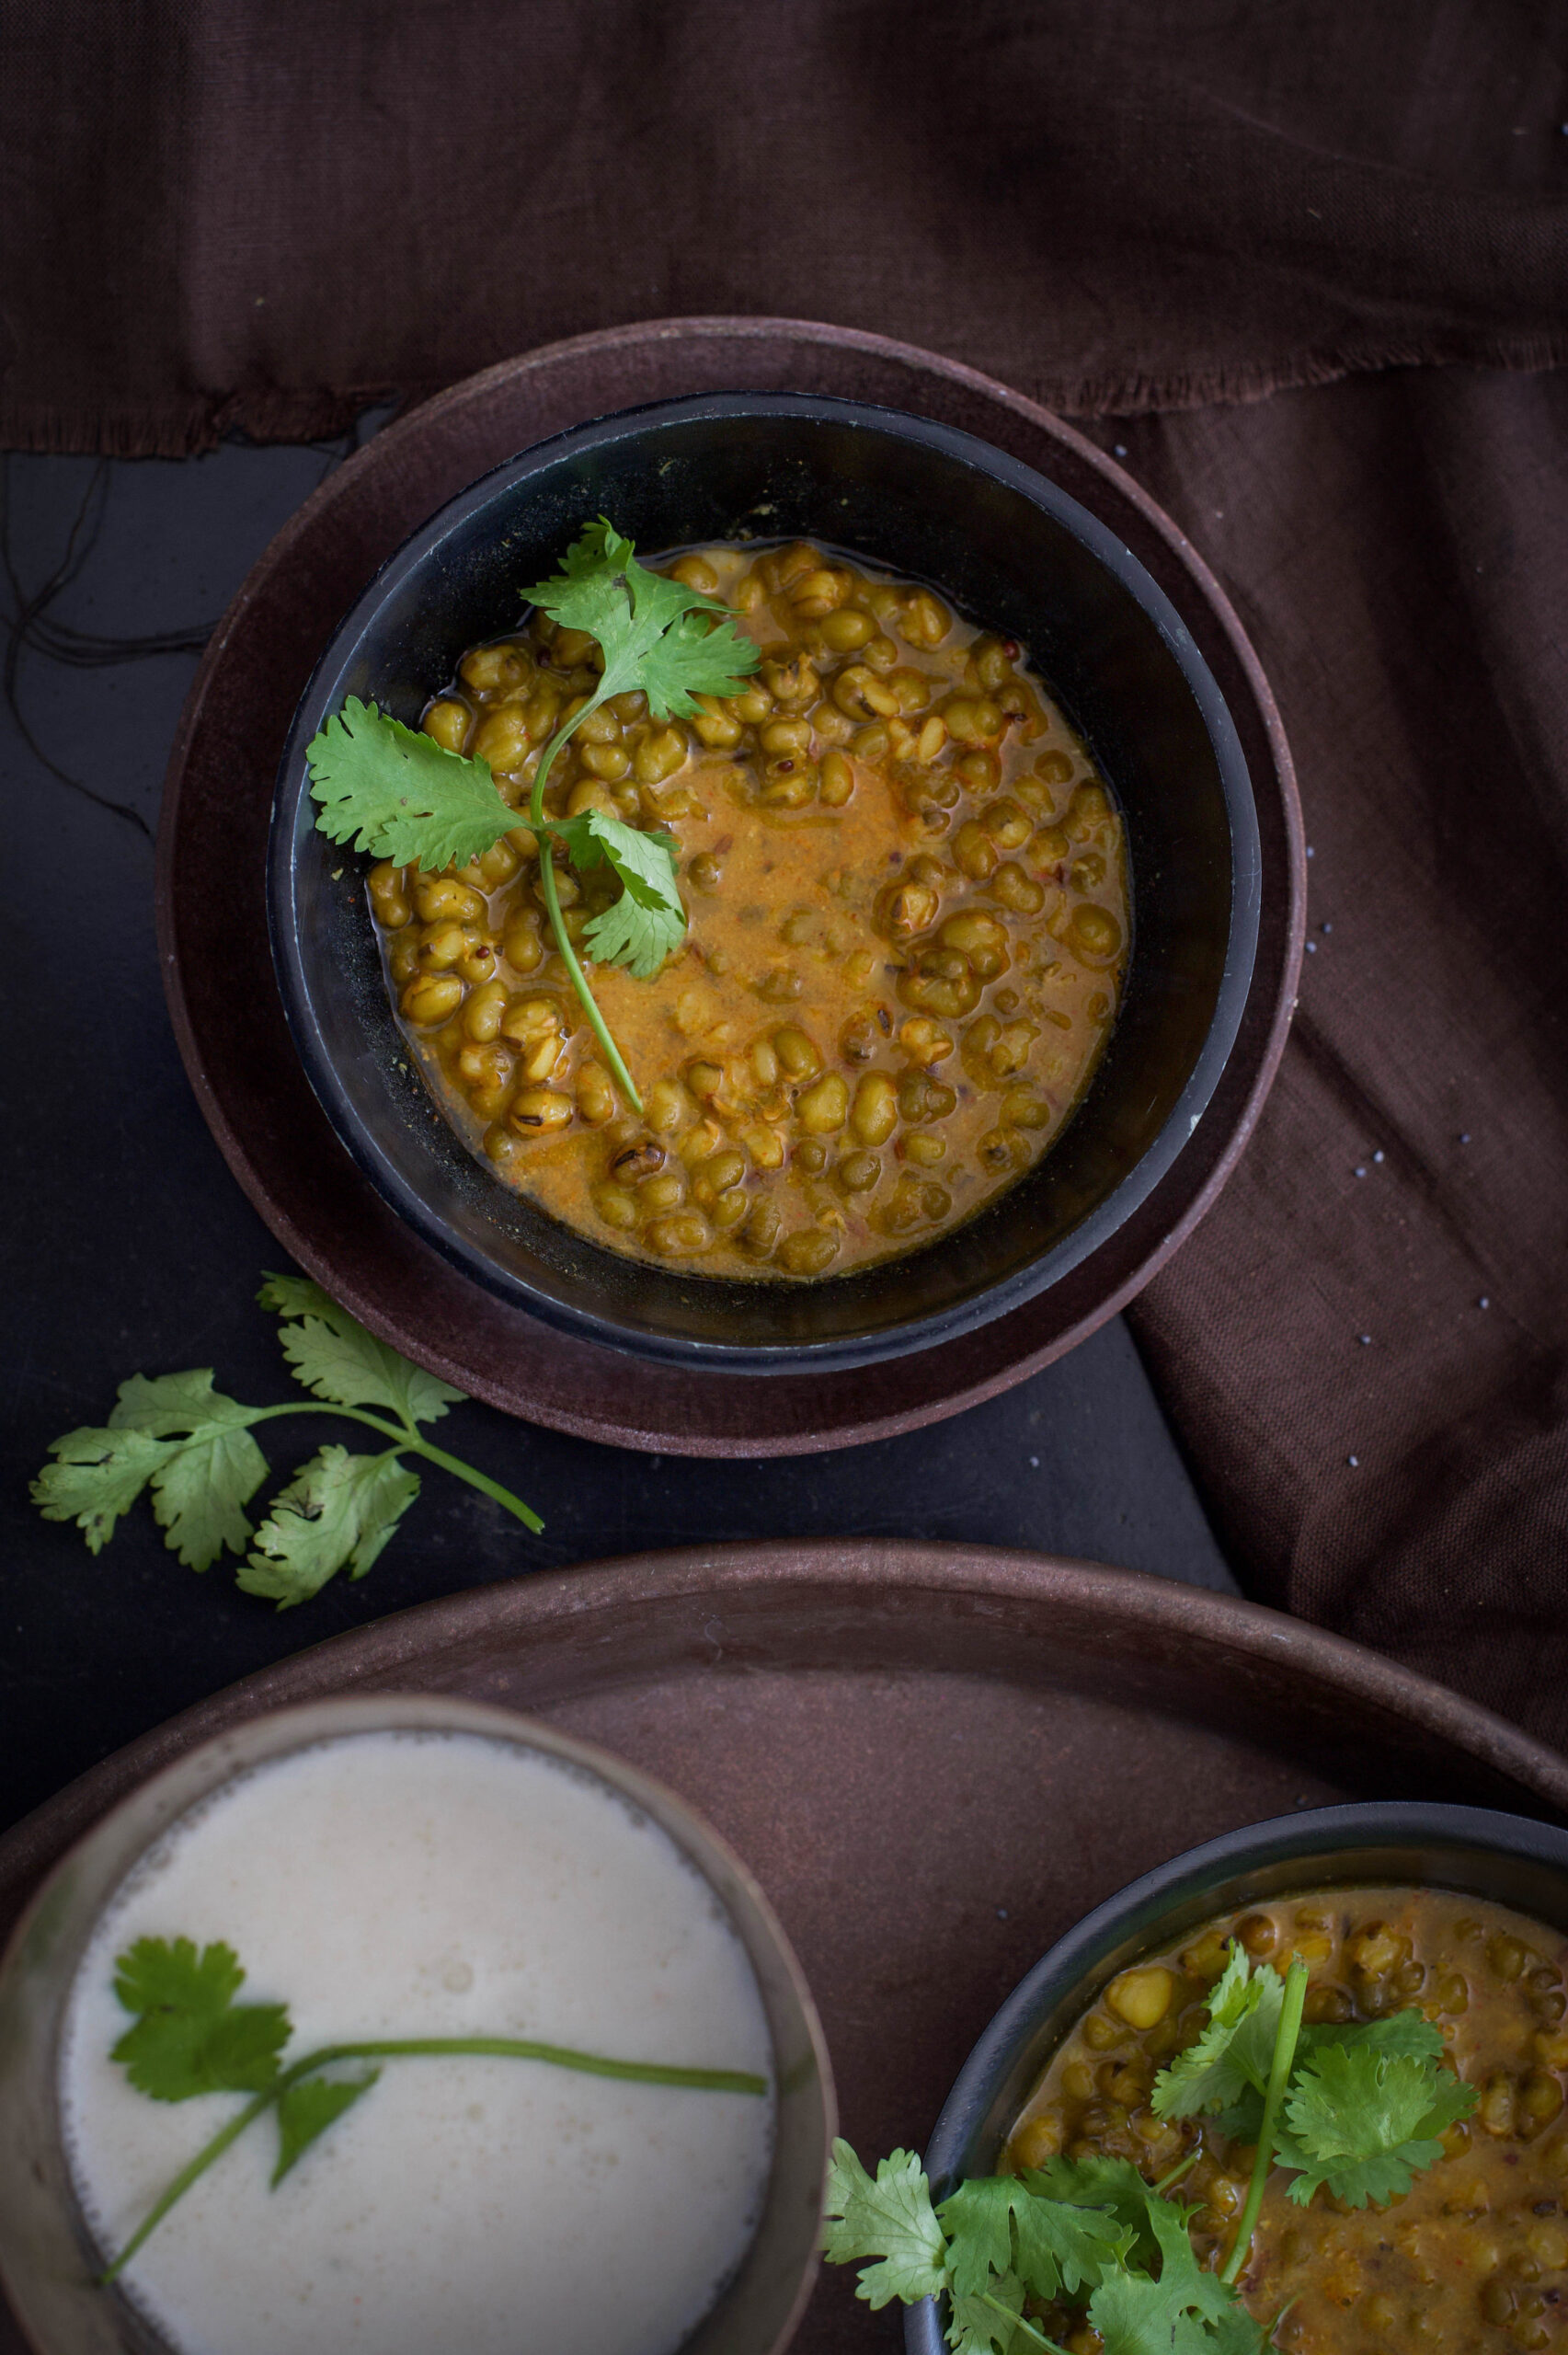
The lovely, versatile mung bean (also known as moong and green gram) found pride of place in one of my recent recipes for a street food-inspired snack, green moong bhel. If you tried your hand at that, its taste will be familiar to you even if you didn’t grow up eating it. The beauty of mung is that it can be in everything from a simple Sri Lankan breakfast to creamy desserts relished in South East Asia. Here in India, a Gujarati staple known as khatta mung is something I make quite often. It’s a particular go-to dish when I feel like I need to keep my weight in check, or to just bring a healthier balance into my meals. While it’s traditionally enjoyed with rotis or rice, I like to have it as a meal-in-a-bowl. Think of it as one more variant of an Indian salad, perhaps inspired by a more flavourful compact meal.

There’s a particular reason why khatta mung and other mung-based dishes are Gujarati staples. That’s because the humble mung bean is regarded as auspicious in my culture, and is even used in housewarming and other special ceremonies. It is a symbol of health, but is also affordable and accessible – so any family can have it. It is also of importance to Jainism, especially when devotees break their nine-day fasts. The very first thing that they consume upon doing so is a sip of mung water. Not only is it high in protein and energy-restoring, it also does not shock the stomach after the fasting period. You could think of mung as a traditional protein powder, accomplishing what modern glucose drinks do. Mung, both whole and split, is also consumed widely for every day meals, and some other classic dishes include mung dhokla (wholesome, steamed savoury cakes) and pesseretta (which is a crepe like a dosa).

“Khatta” literally means “sour”, and indicates the use of yoghurt in the dish. Yoghurt can be removed from the ingredients if you wish to make it vegan-style. There will not be much difference in the taste, especially if you add a twist of lemon for the tang. As with all Gujarati dishes, there is an interplay of sweetness and sourness in khatta mung, so I always add a hint of jaggery too. It lifts the saltiness of the dal and improves the flavours overall. Some people add garlic, onions and various condiments, but I personally feel that the more basic the dish is, the better it tastes. You’ll find that the spices remain the same for most dishes, but palates differ from family to family. I prefer simplicity, so that the original flavours are maintained and not doused with additives. Have you noticed how people today seek out cookbooks on how to simple eating and healthy cuisines, without recognising that that’s what was happening in their own kitchens growing up? As always, the unfussiness of my mother’s cooking style is what inspires my own work, although I am always curious and glad to learn – and always, to share what I learn as well.


Khatta Mung

(Yield: 3-5 cups)

Ingredients

½ cup whole moong dal

2+2 cups water

Salt to taste

1 teaspoon cumin powder

1 teaspoon dhaniya powder

¼ teaspoon turmeric

1 teaspoon jaggery

½ teaspoon chili powder

1 teaspoon ghee

¼ teaspoon mustard seeds

¼ teaspoon cumin seeds

2 tablespoons yoghurt

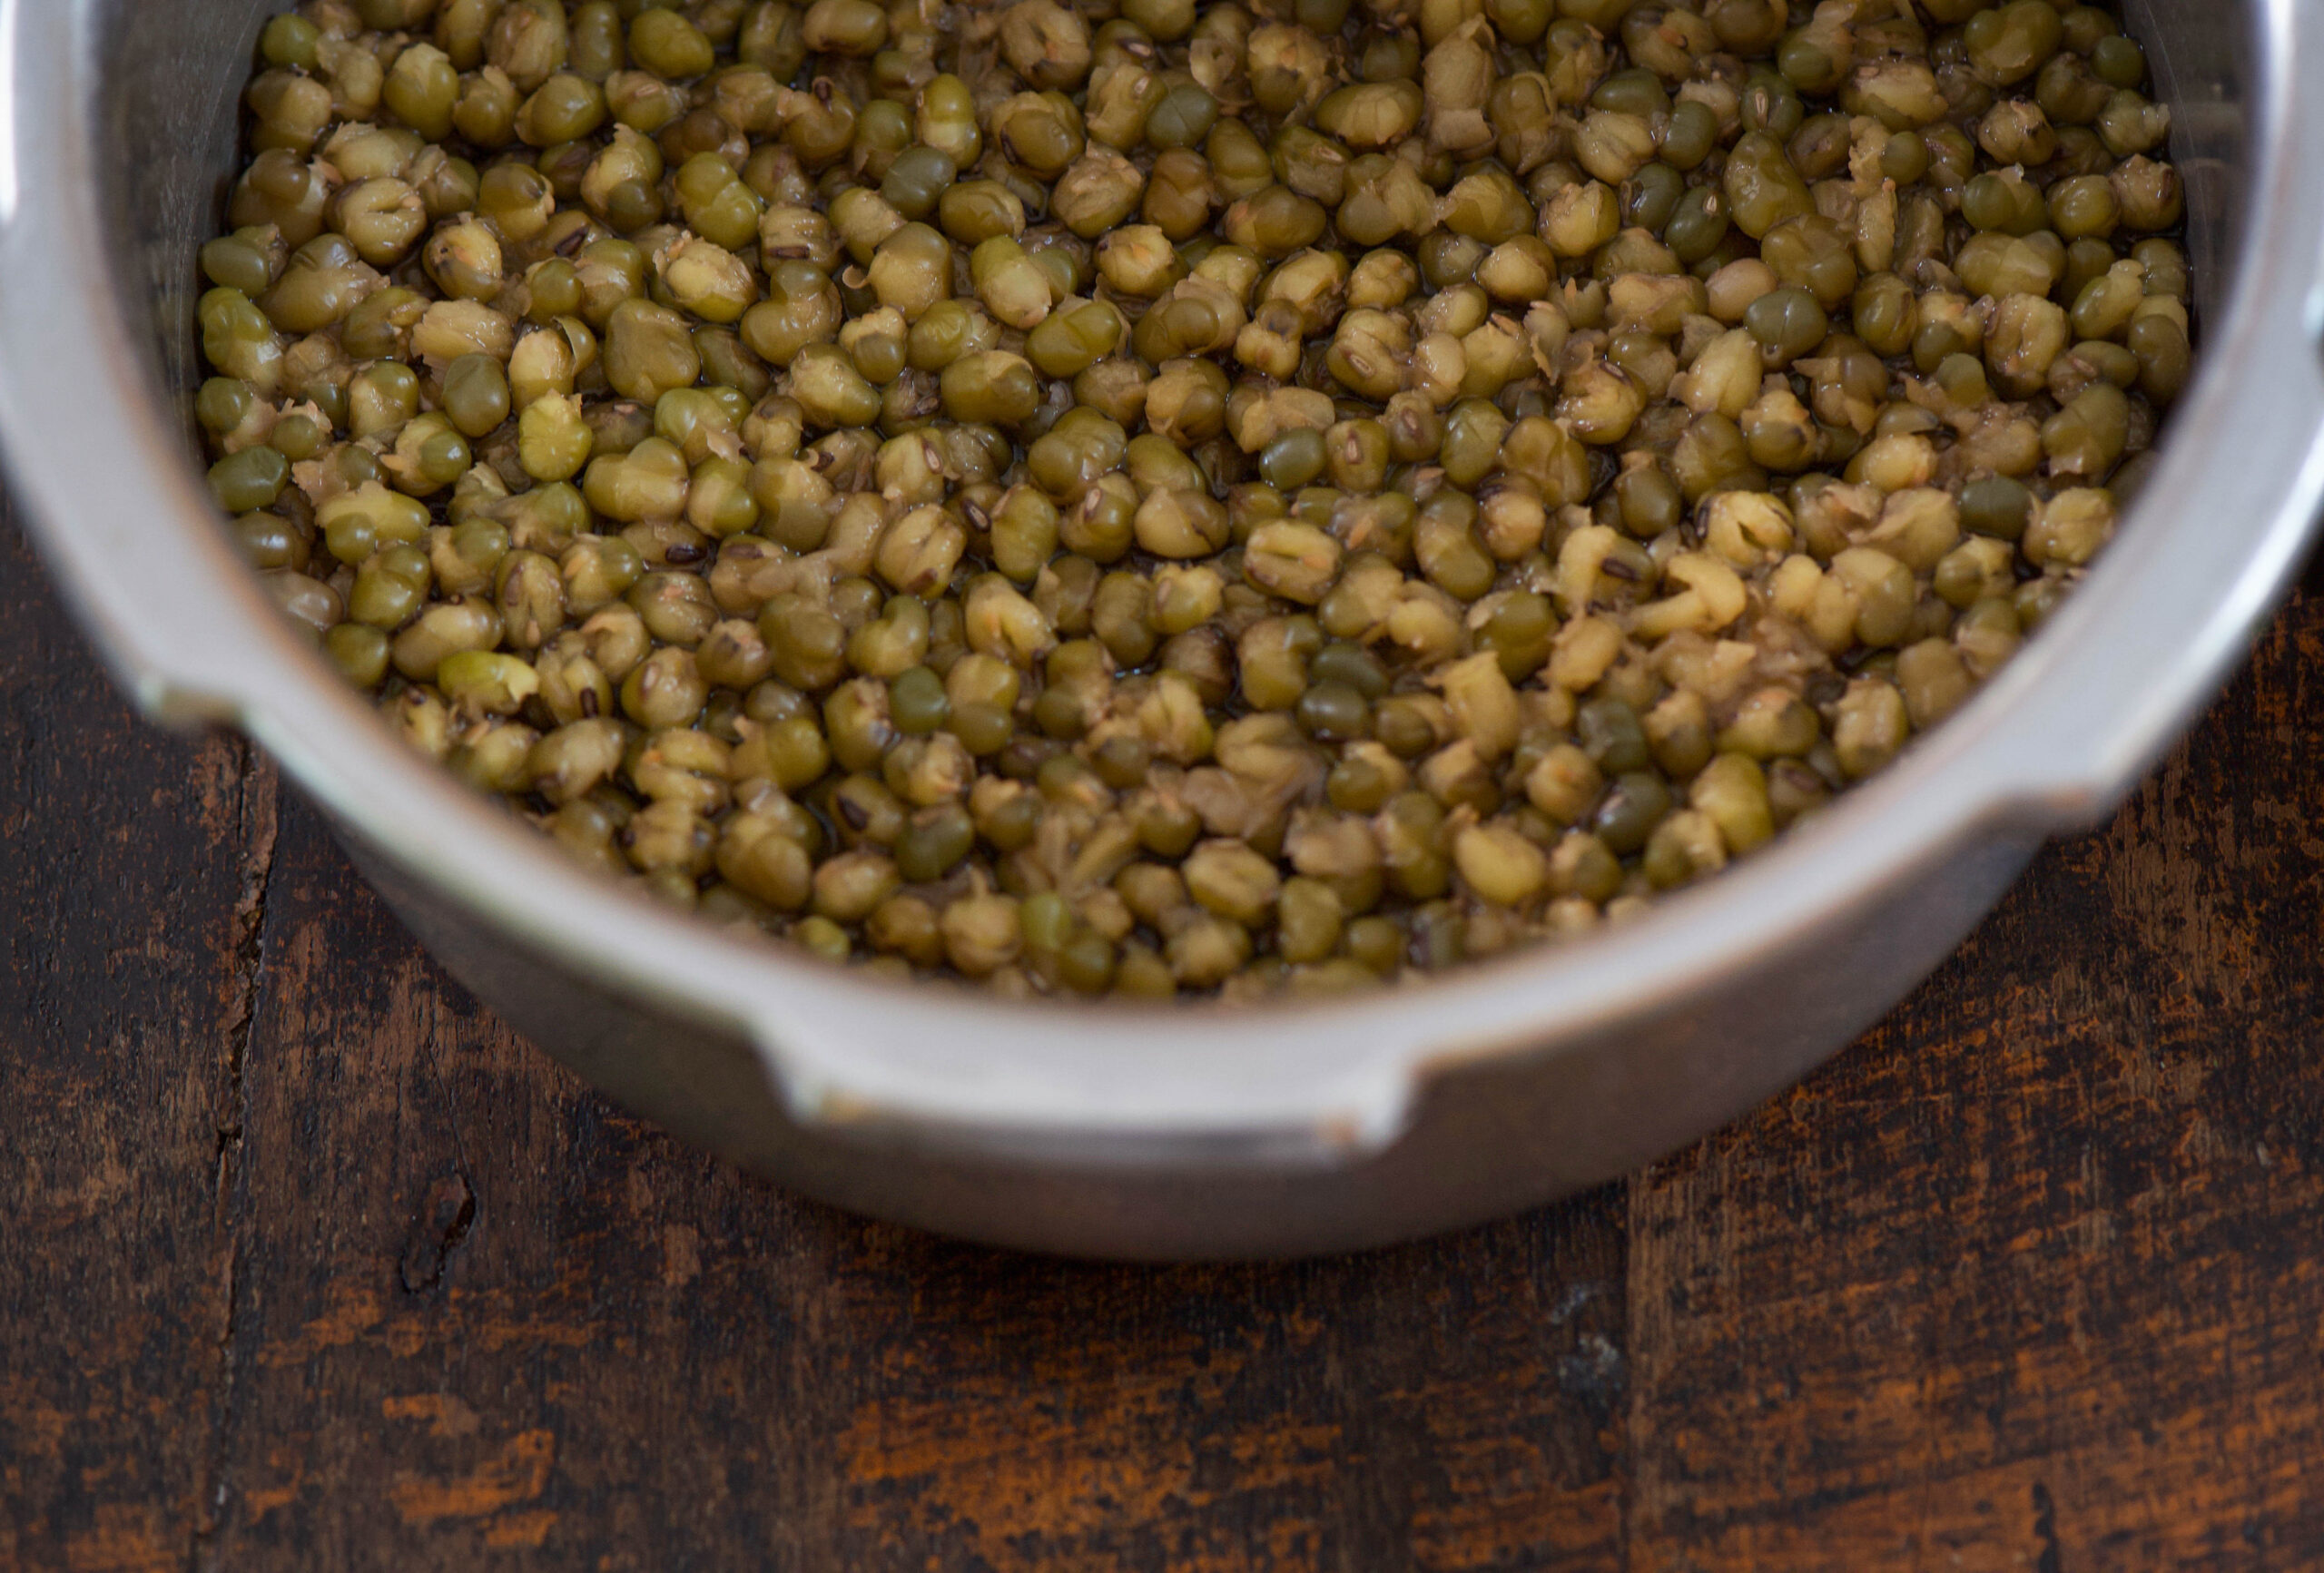
Soak the moong dal in water for an hour. Then, pressure cook the dal with 2 cups of water until the lentils are soft to the touch. Meanwhile, beat the yoghurt until it resembles a fine paste.

Empty the cooked dal into a pot and add the turmeric, water, salt, jaggery, yoghurt, cumin powder and dhaniya powder. Now, allow to boil for 7-10 minutes until all the flavours blend well.

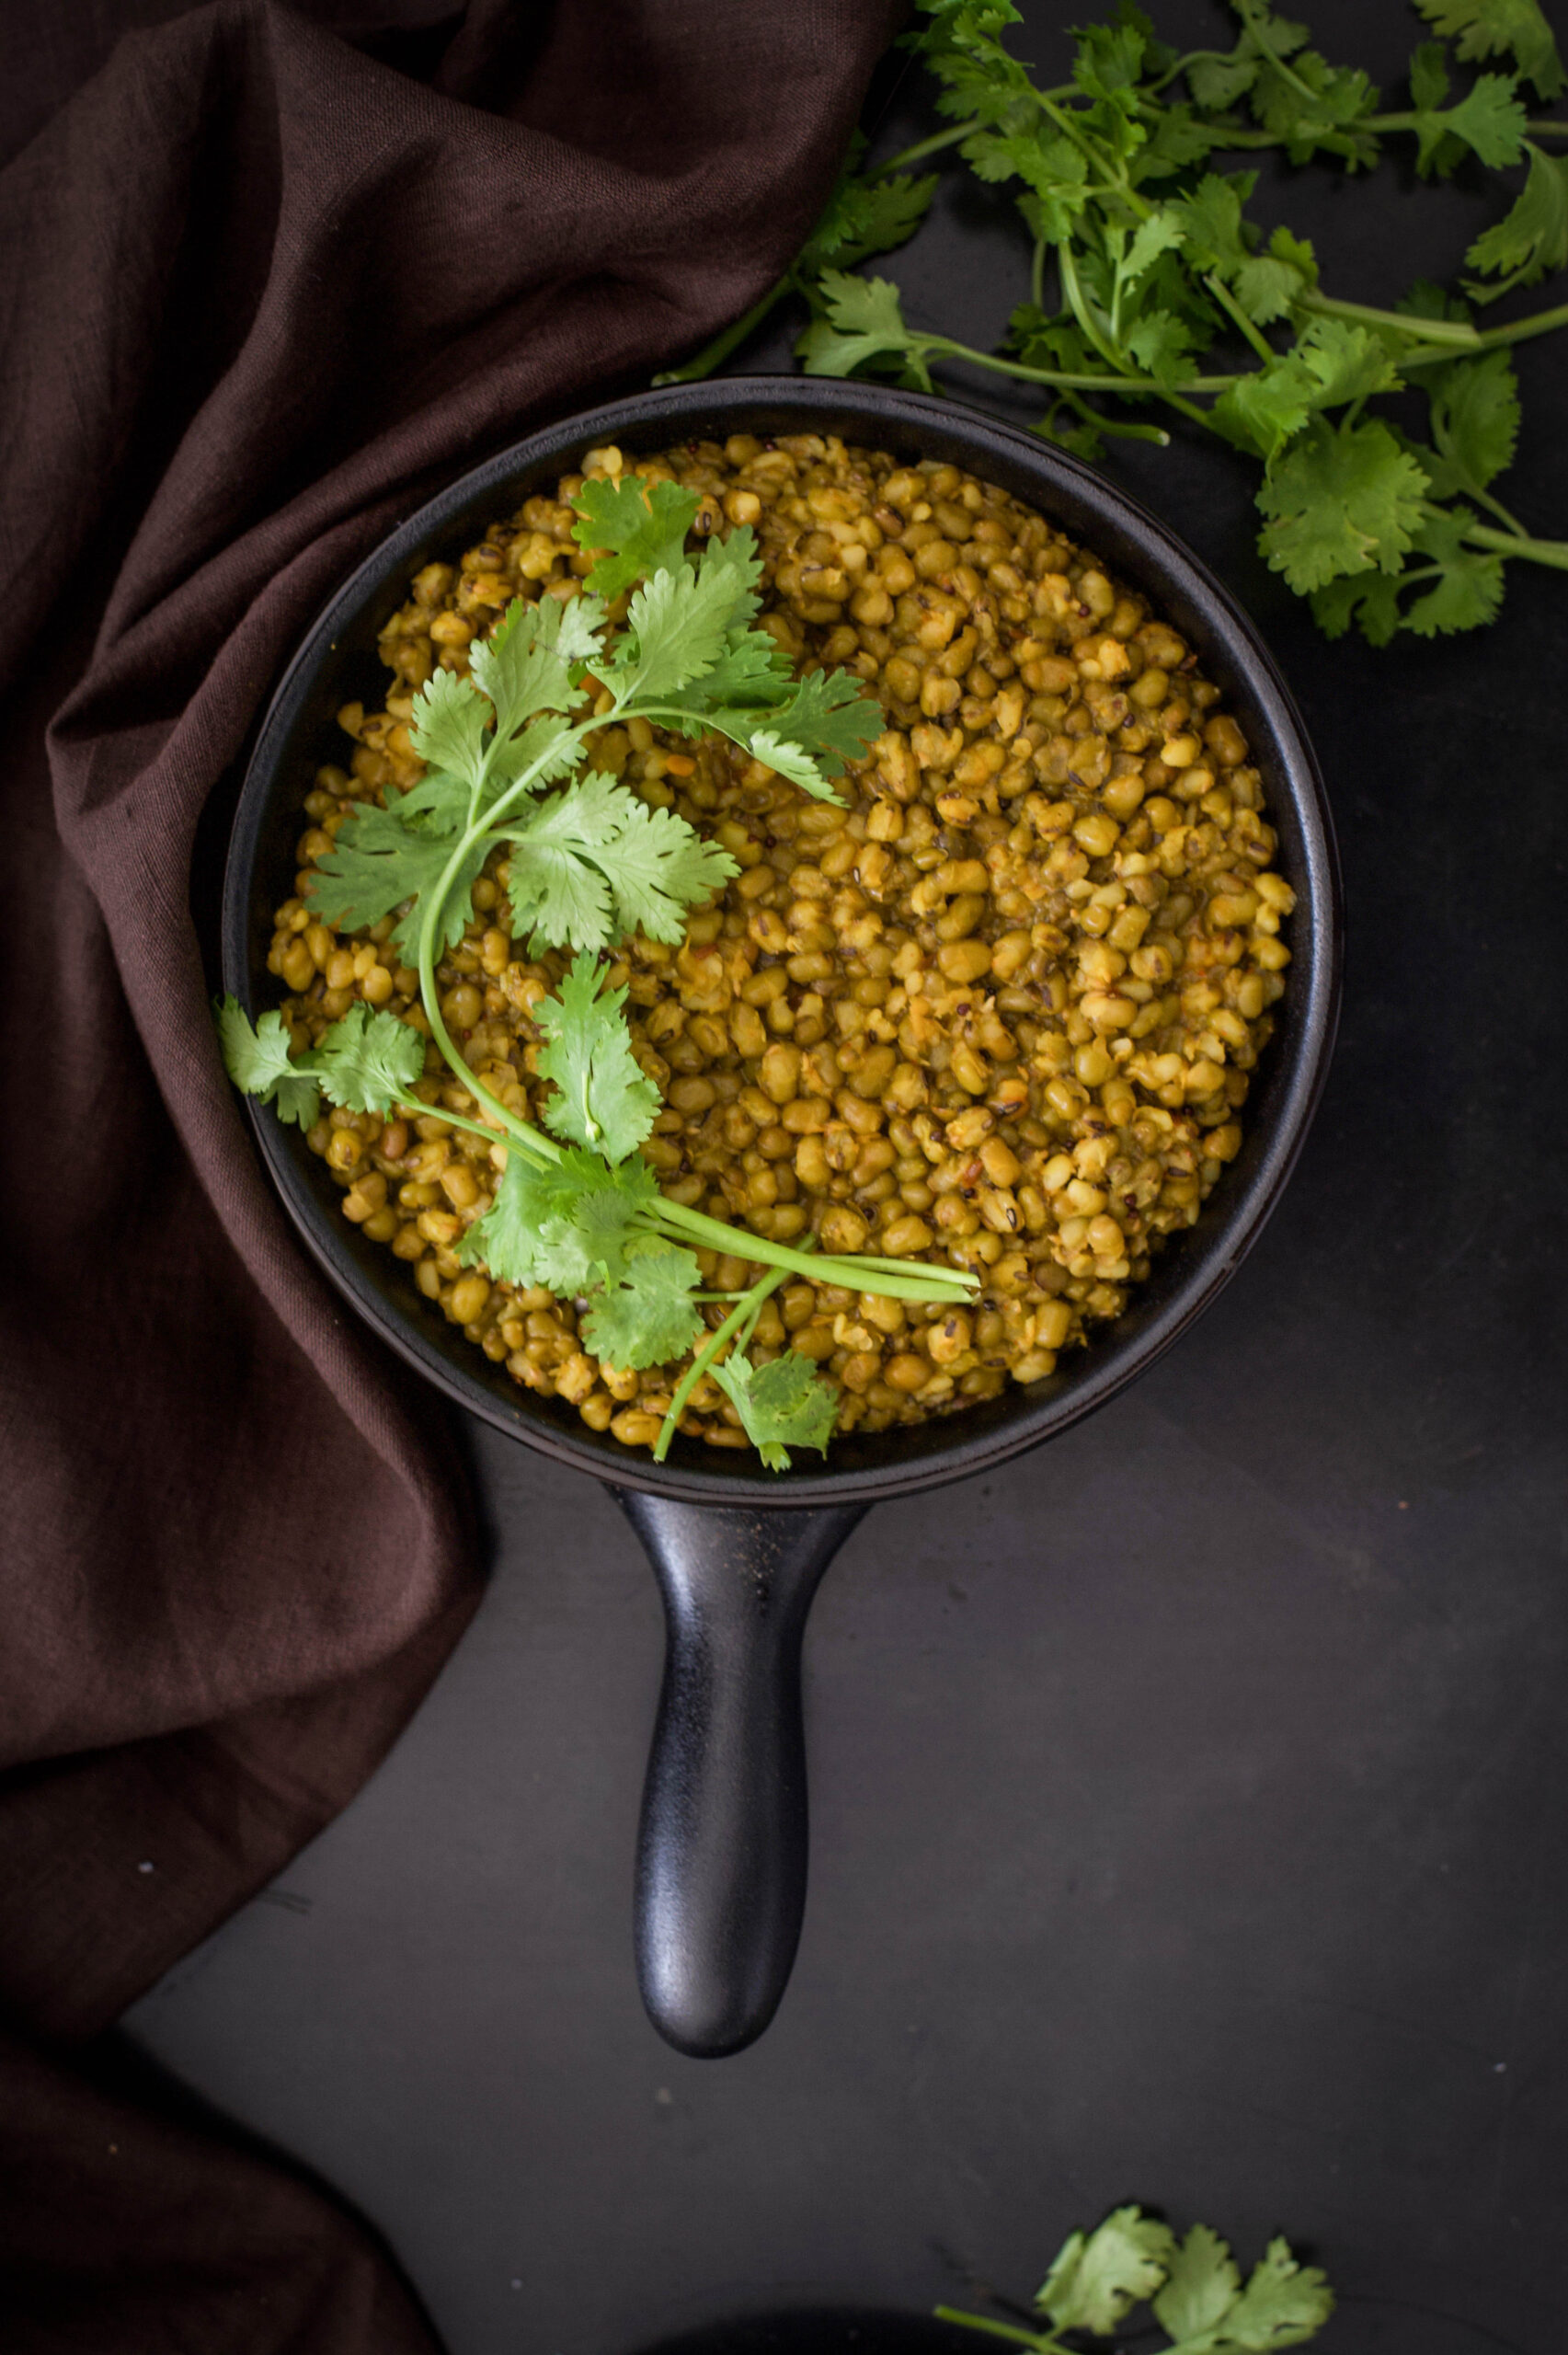
In a small tempering pan, add the ghee. Once the ghee is hot, add the whole cumin and mustard seeds. They will splutter. Add the chilli powder and stir. Immediately, pour the sizzling tempering into the mung dal. Garnish with finely chopped coriander leaves. It is now ready to serve. You may eat it with rice, rotis and other kinds of breads – or even just by itself, a delicious and filling meal-in-a-bowl.

I like this spiced up version of the standard healthy meal-in-a-bowl which is usually comprised of millets, grains or legumes because it is flavourful without compromising on nutrition. And in true Gujju style, the hint of sweetness from the jaggery makes the whole pot irresistible! I like to finish mine off with a glass of fresh buttermilk… So filling, so heartening.

We don’t believe in wasting food in India. What had once been a pragmatic necessity – there could be no leftovers, because there were no fridges! – has settled into cultural practice. Respect for food is also an important part of our culture, so you’ll find that most families, regardless of economic background, will try their best to never let a meal go to waste. From practical concerns like the lack of cold storage or having to be sparing with expenses, a whole sub-genre of cuisines was developed. Dishes that exist because of other dishes – and which some say taste even better in the second round.

The traditional Gujarati lunch is known as a thaali, and comprises of rice, rotli, dal and a vegetable. This is the basic variant – to this, some may add a sweet or a second vegetable as a staple. If there was a sufficient amount of dal and rotli left over from lunch, you could be sure that dinner that evening would be dal dhokli.

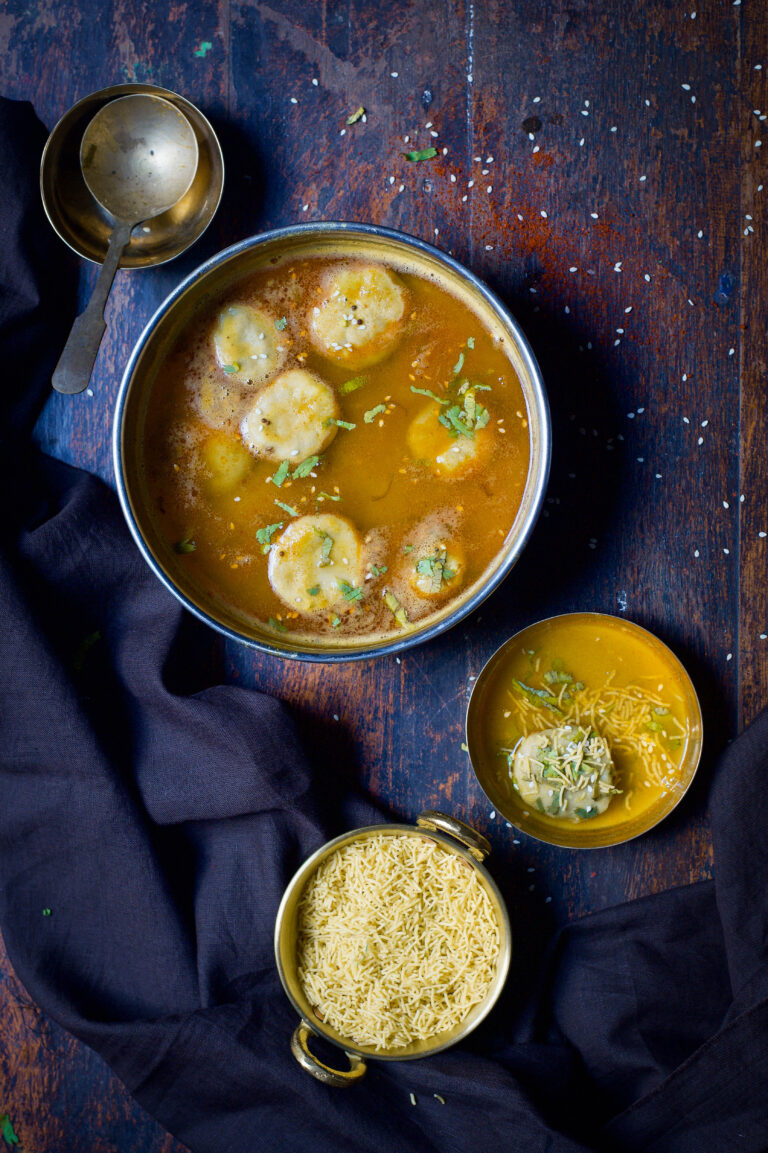
Dal dhokli is a meal in a bowl, a stew-like dish. To make it using leftovers, simply tear the rotli into pieces, add it to the daal and heat them up. What I’d like to share with you today, however, is a from-scratch variation on the classic.

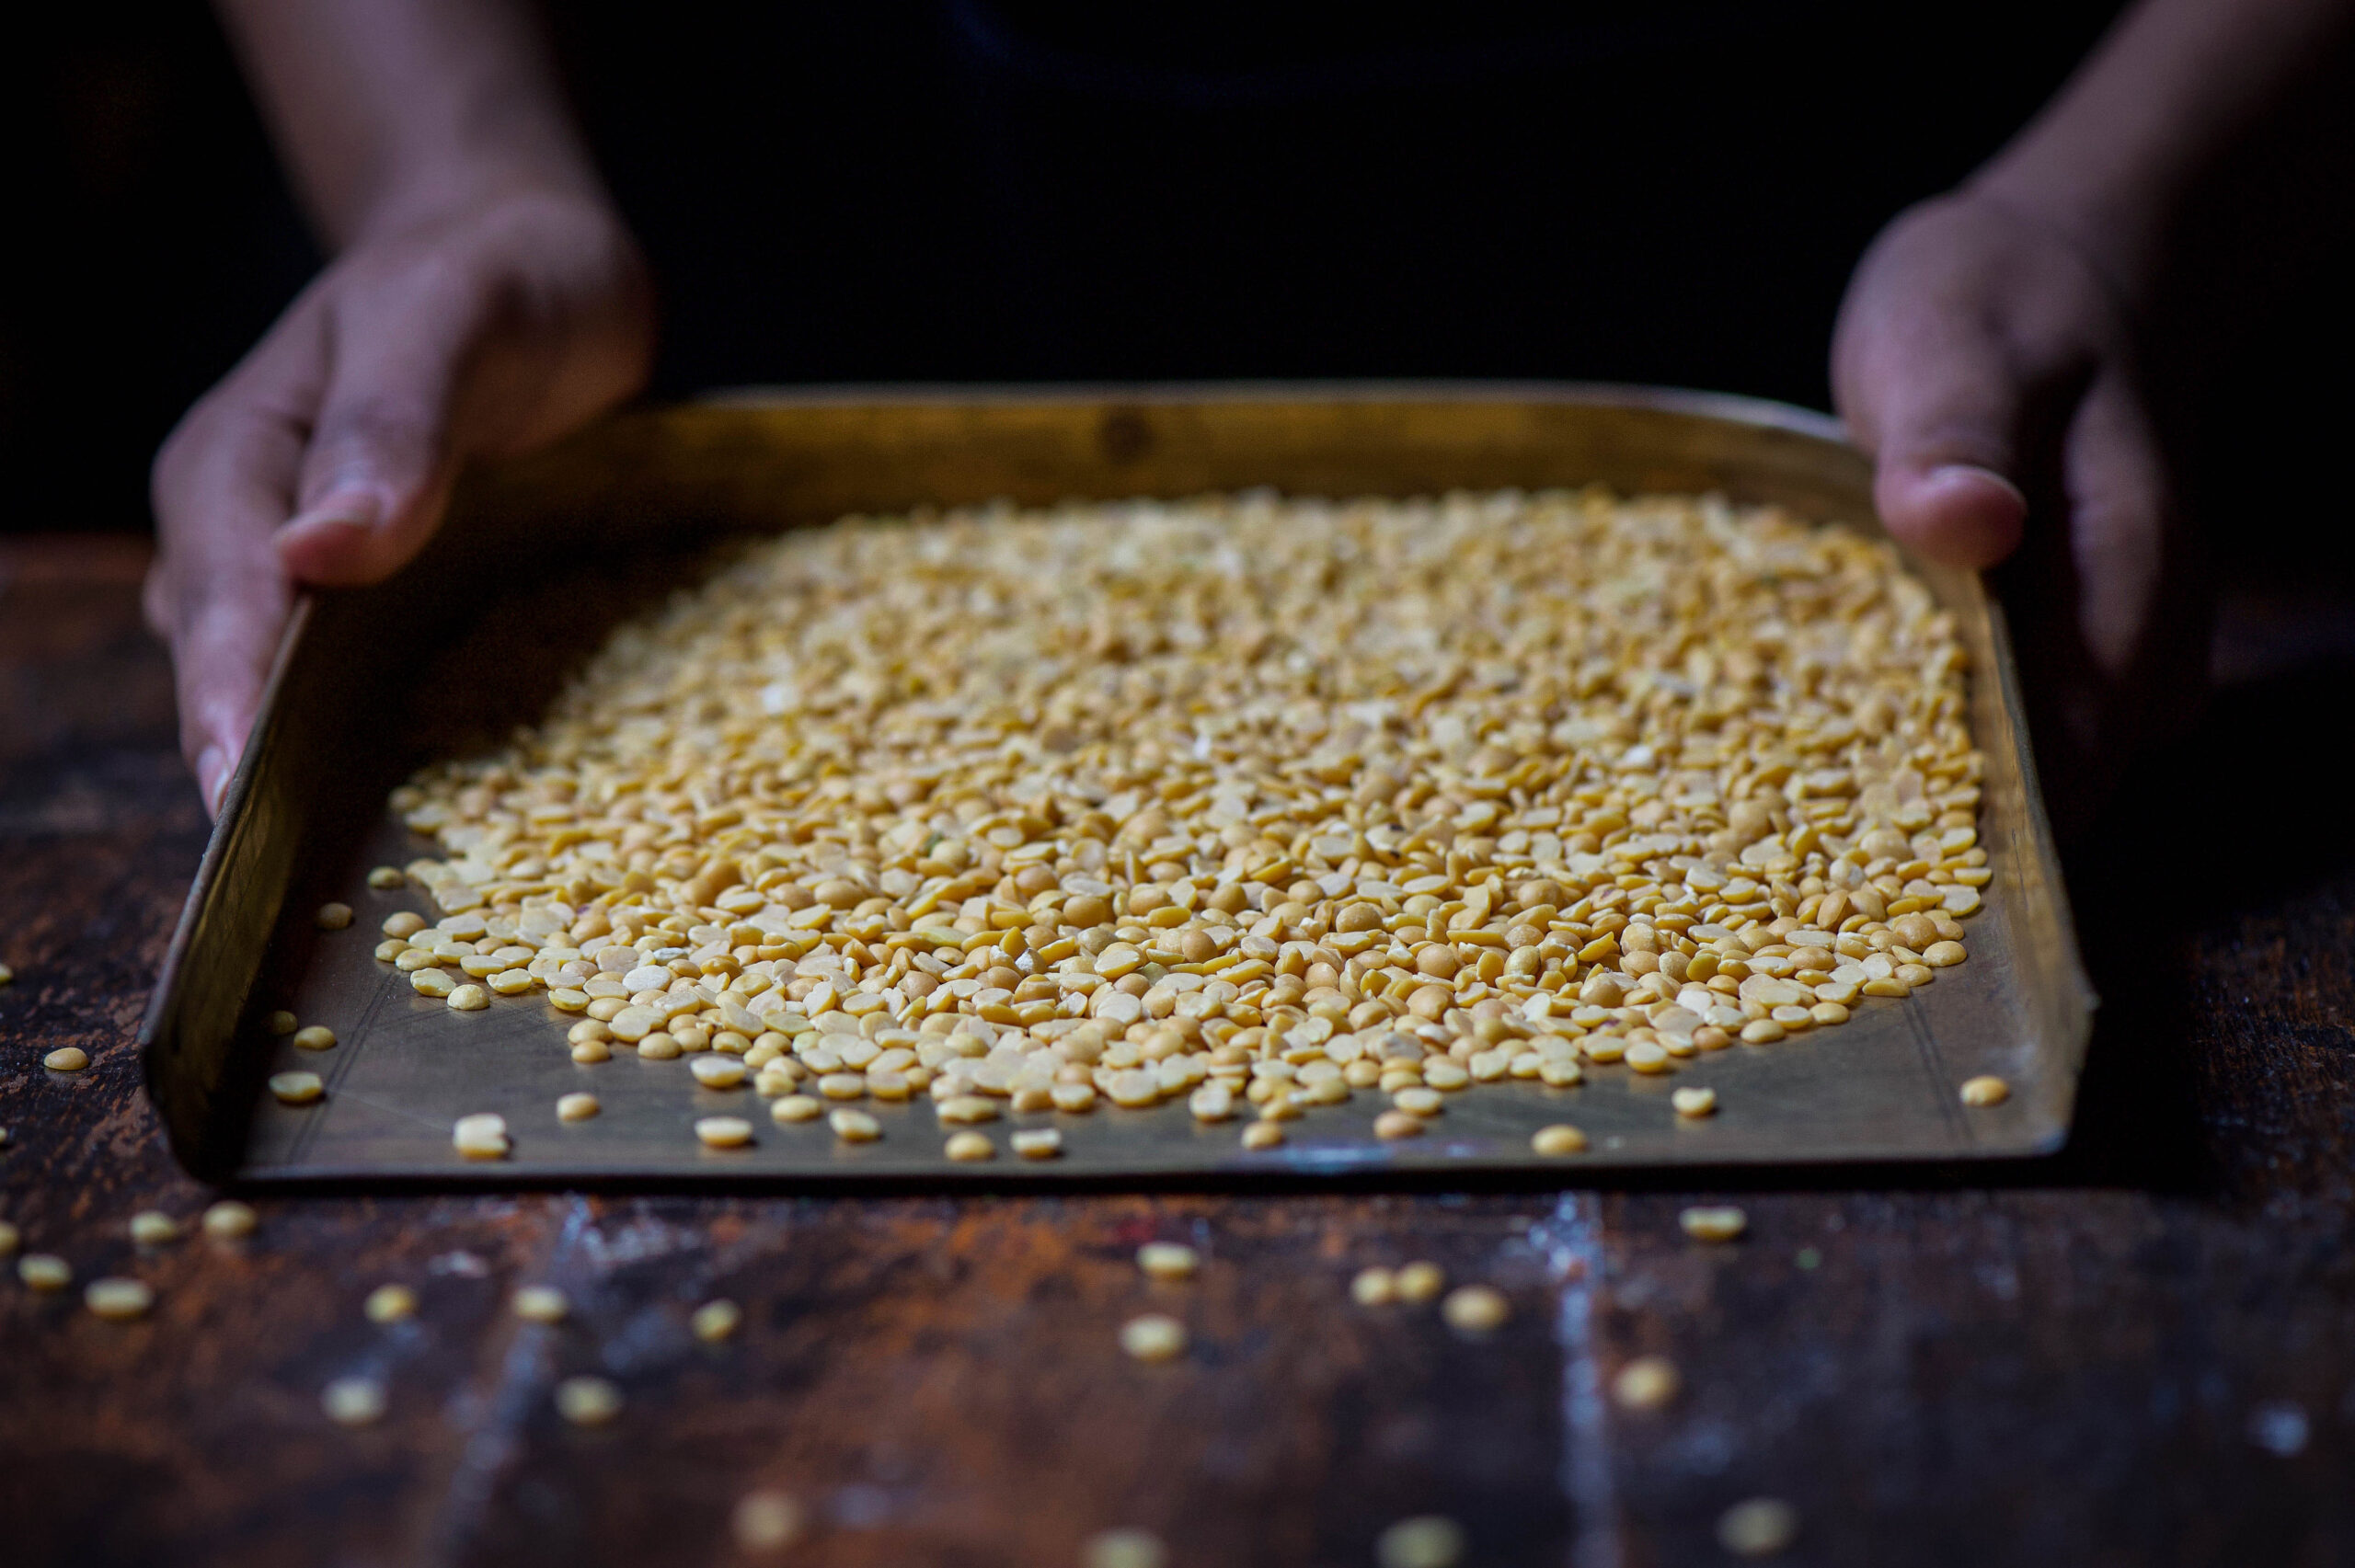
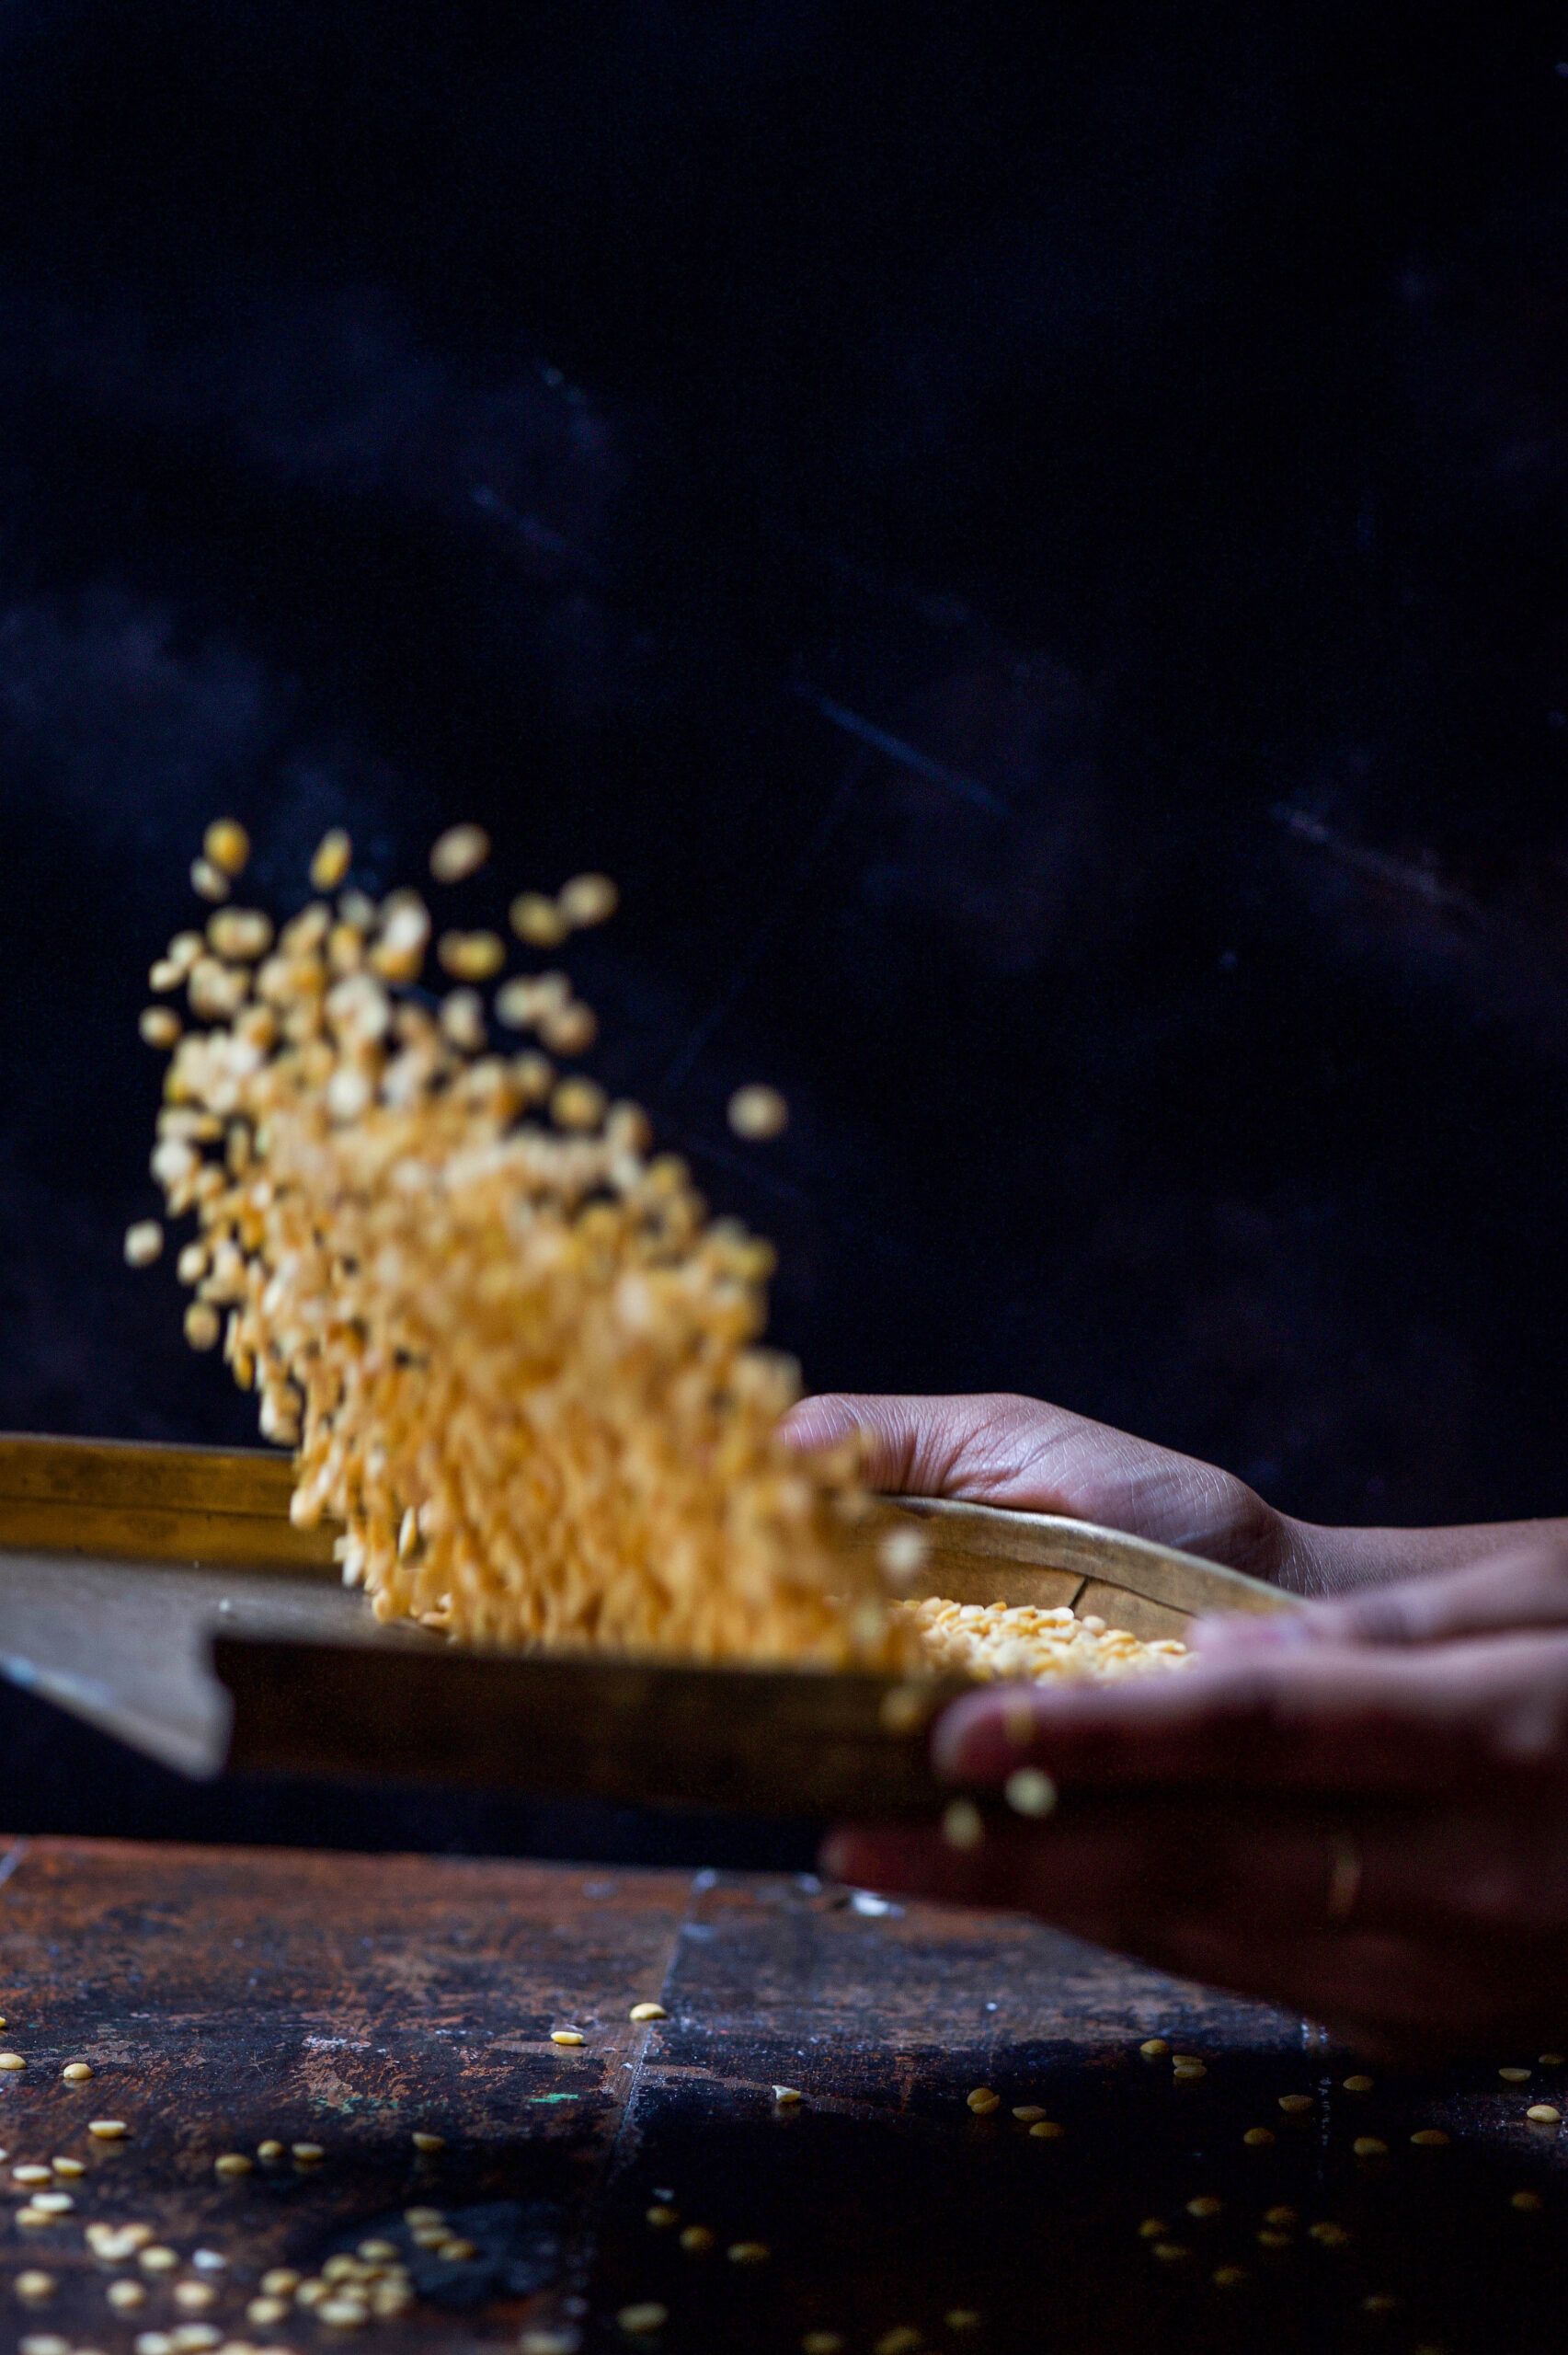
“Dal” (or “daal”/”dhal” if you prefer) is a catch-all term for split pulses, which are notably protein-rich and therefore a vital part of vegetarian diets in India. Lentils and legumes have made several appearances on this blog, such as rajma in this vegan chilli recipe and  green moong in this street food-inspired chaat recipe. For this re:store style dal dhokli recipe, the dal I’ve used is the popular toor dal, also known as pigeon pea. Toor dal is available year-round, while some other dals are eaten seasonally, such as the heavier channa and urad dals in winter. It’s the main ingredient of sambar, which makes it a staple in South Indian kitchens, and is known as thuvaram paruppu in Tamil.

My version of dal dhokli, made fresh and with a stuffing, is what my sister calls “Indian ravioli”. Despite this chic comparison, it is made of the simplest ingredients – accessible, affordable and always familiar.


Dal Dhokli

(Yield: 3-5 servings)

Ingredients

Dal

¼  cup dal
4-5 cups water
2 teaspoon cumin powder
¼ teaspoon turmeric powder
1 teaspoon coriander powder
½ teaspoon cumin seeds
Approximately 1 tablespoon jaggery
Juice of 1 lemon
Finely chopped coriander leaves
2 tablespoons peanuts
1 tablespoon ghee
¼ teaspoon mustard seeds
A pinch of asafoetida
Salt to taste


Wheat flour dough

½ cup wheat flour
1 tablespoon oil
2-4 tablespoons water
A pinch of salt


Green peas filling

1 cup green peas
1 teaspoon oil
1 tablespoon grated coconut
¼ teaspoon garam masala
Salt to taste


Cooking my ravioli-style daal dhokli requires the preparation of three items – dal, pastry dough and pea stuffing – followed by their assembly. Please note the separate ingredients for each part, above.

Make a dough with all ingredients listed for the same. It will be a little tight to the touch and smooth. Keep aside.

Crush the green peas partially. In a hot pan, pour the oil then add the crushed green peas. Stir the peas on a medium flame so that they do not stick to the bottom. Add the salt and masala and stir for 3-4 minutes. Now switch off the flame and finally add the coconut. Stir gently and keep aside to cool.

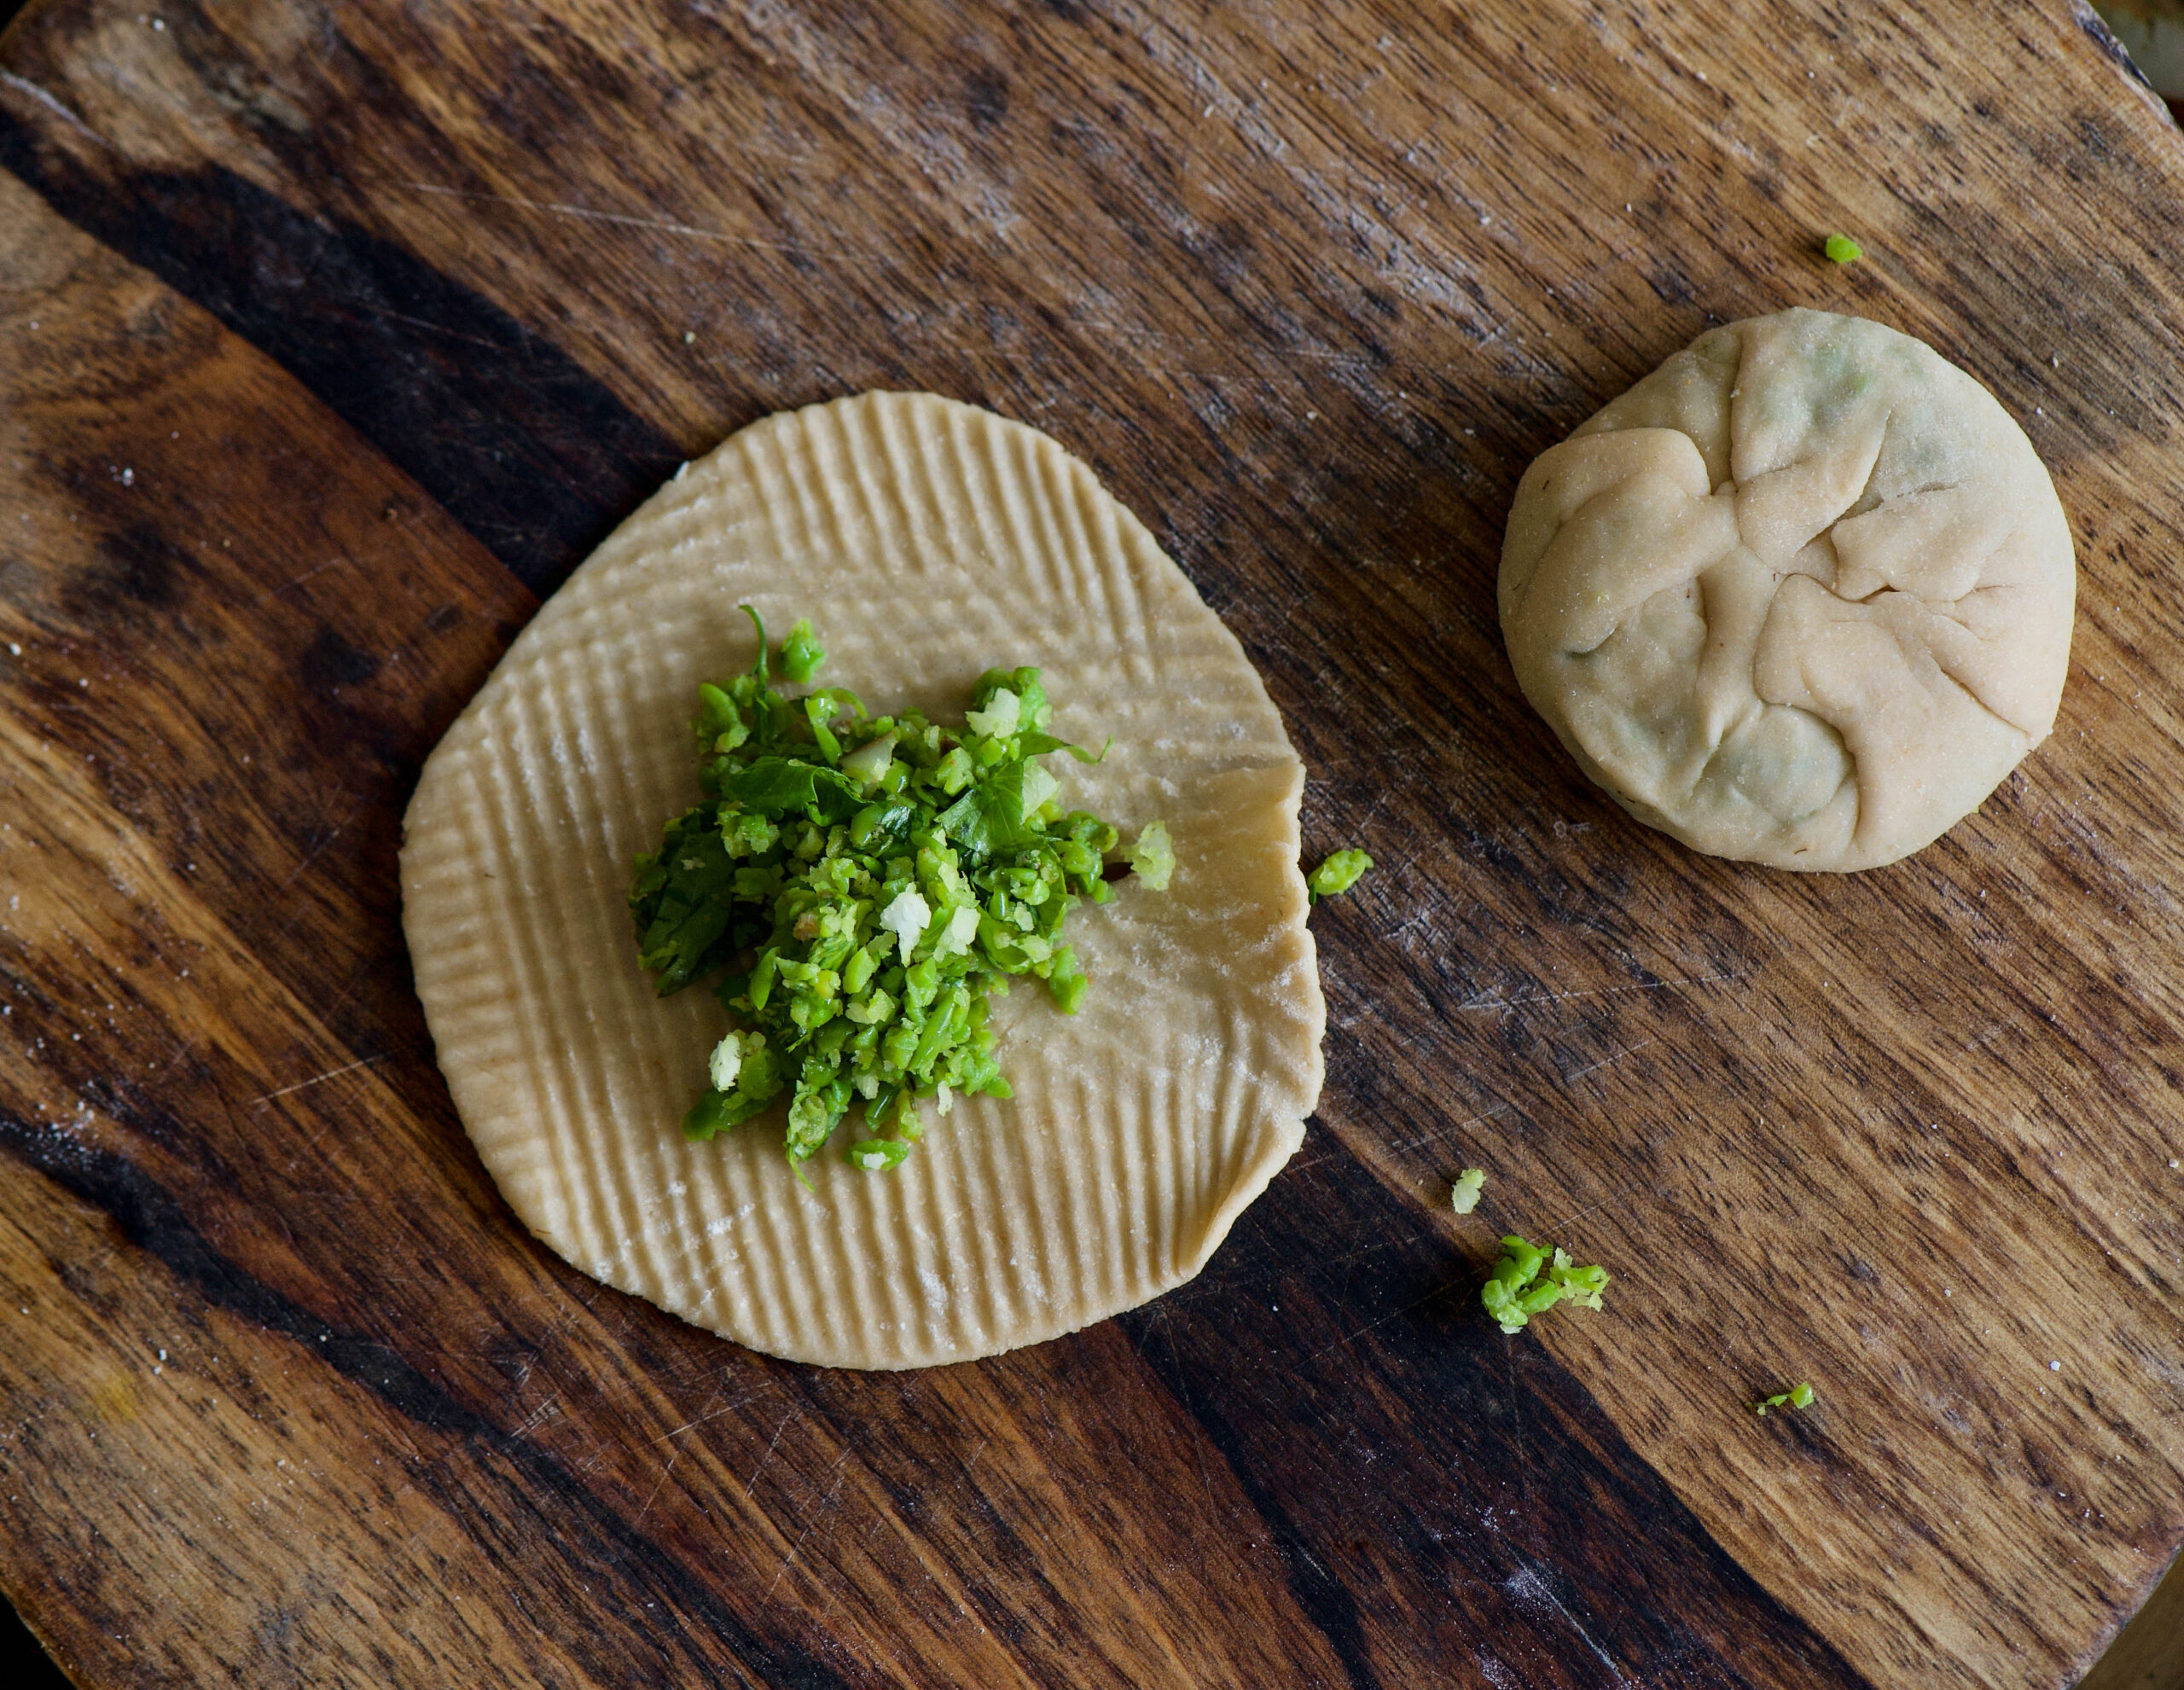
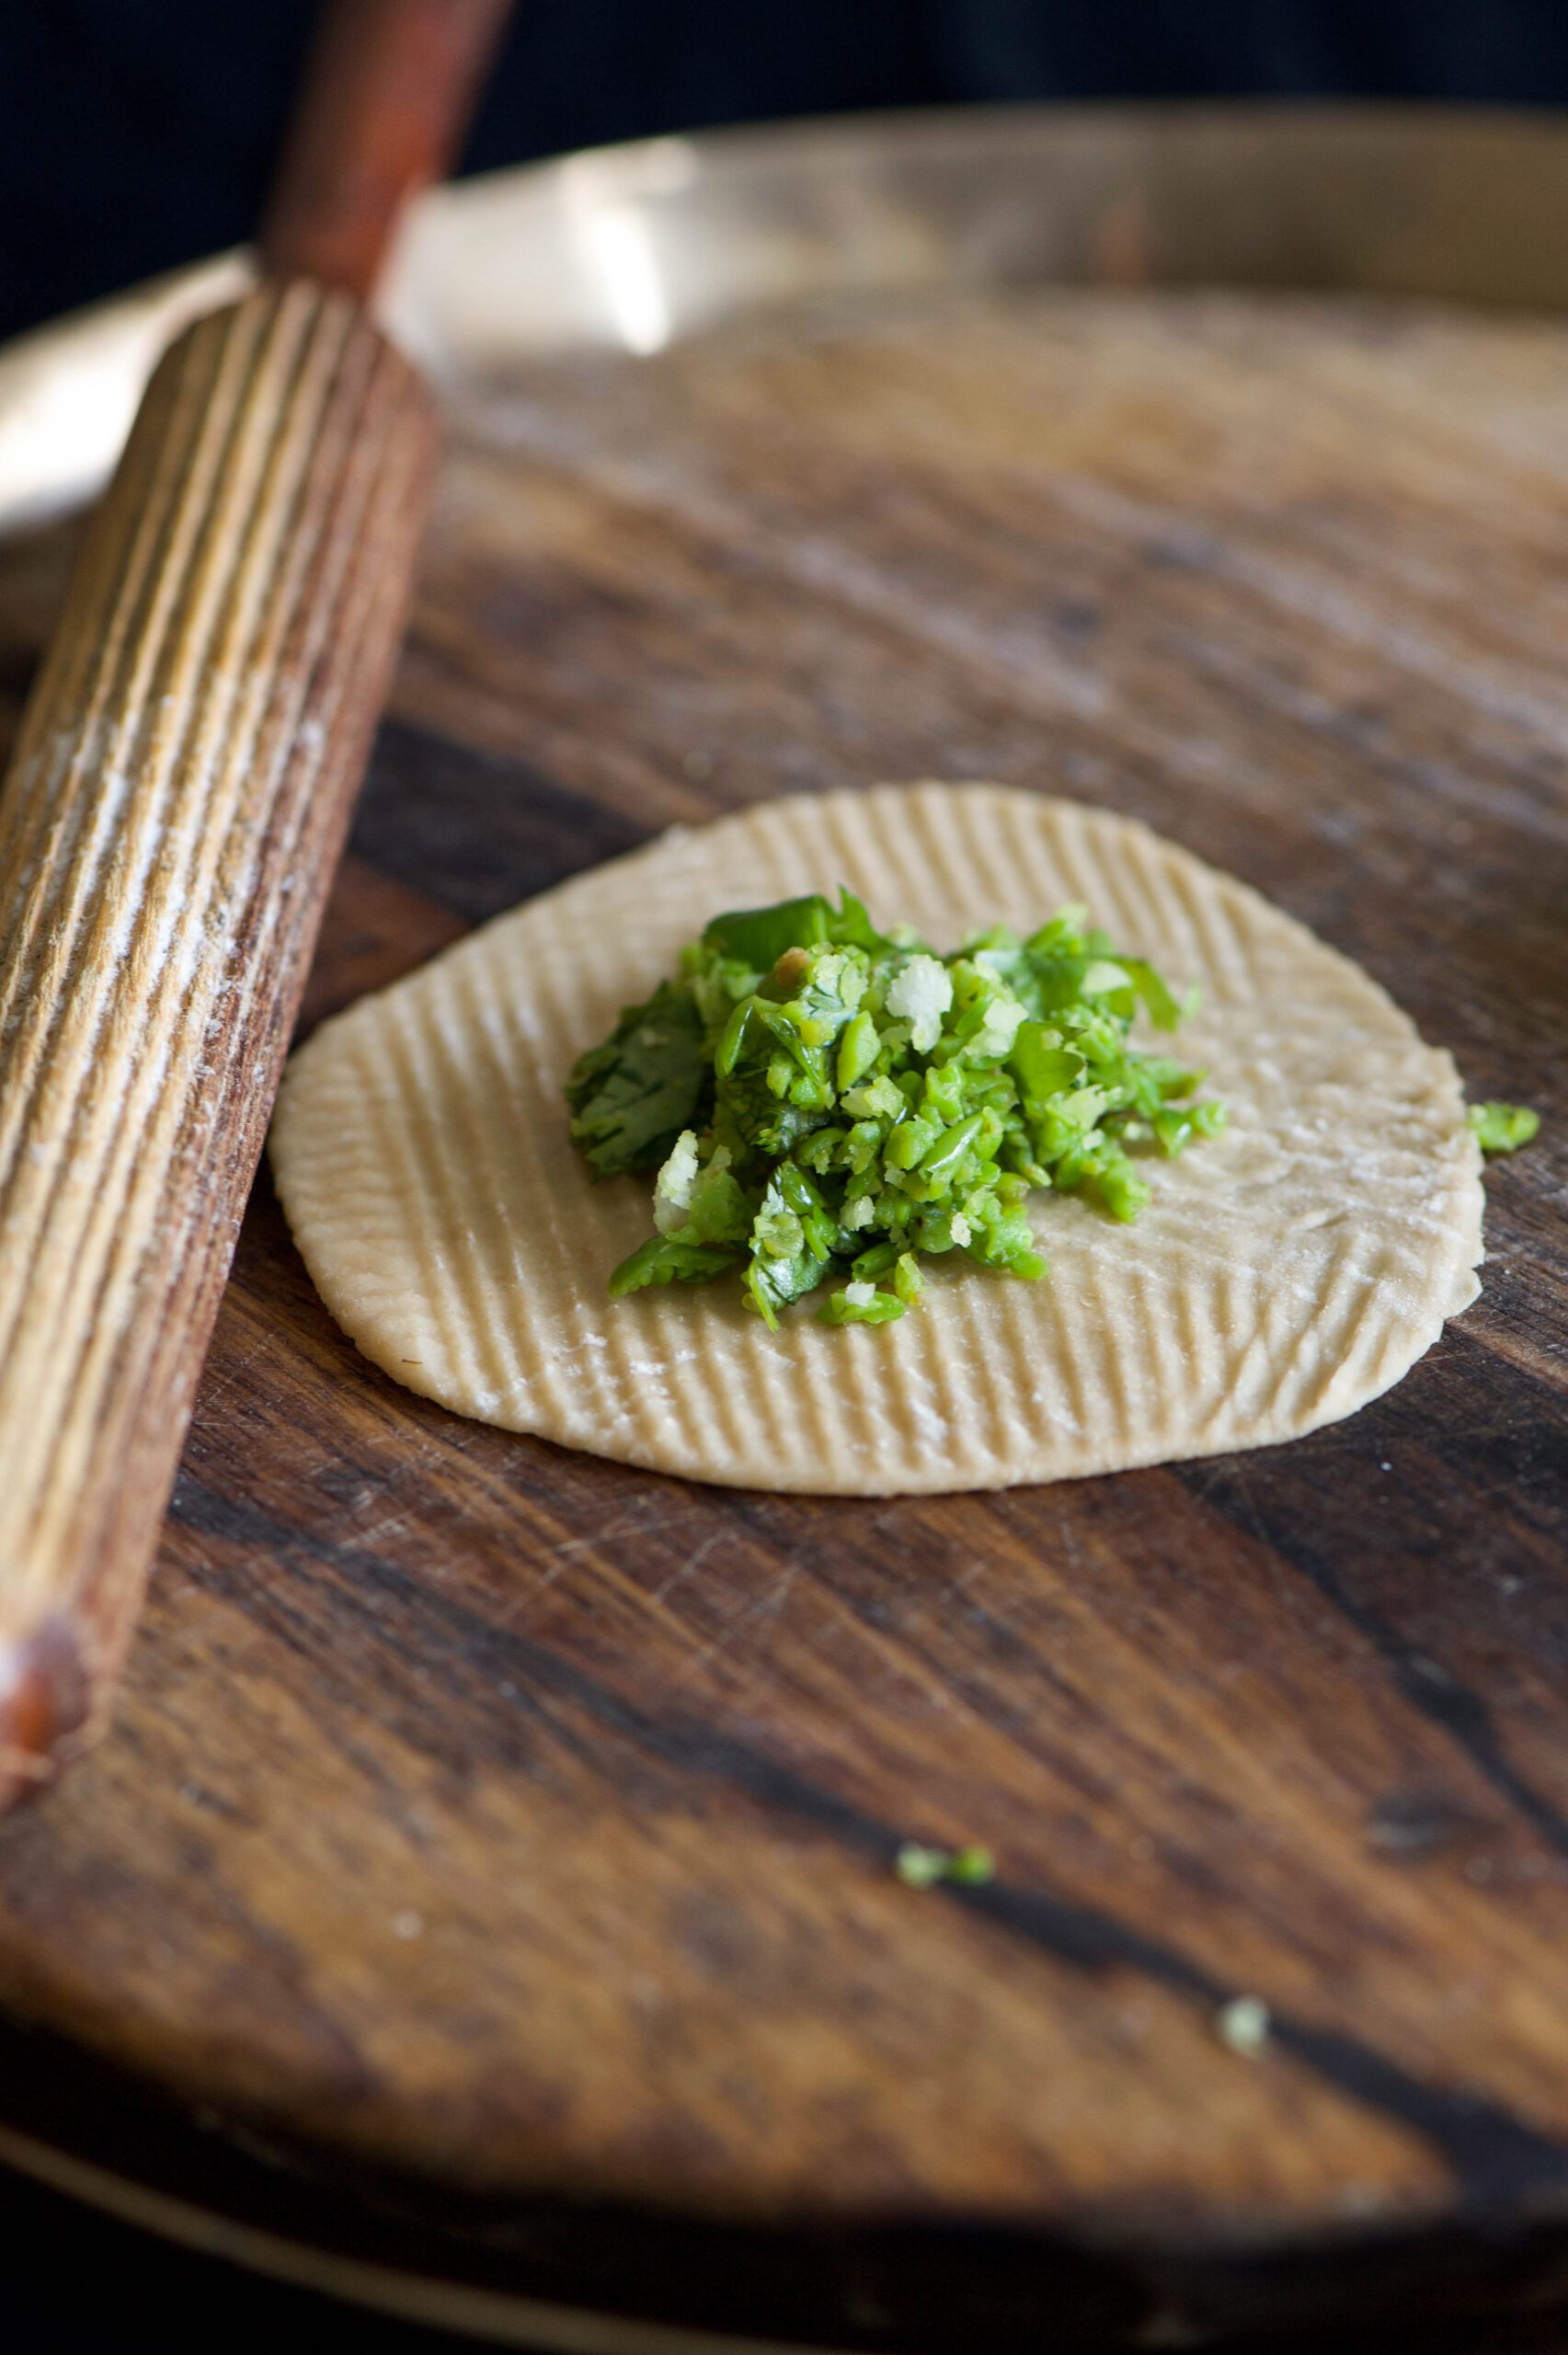
Roll out the dough into small discs. Do not make them too thin as they may tear while cooking. Take a spoonful of the green peas filling and place it at the centre of the disc. Join the edges together and once sealed, roll it gently into a flat round. Essentially, what you’re making is a kachori, a South Asian fried pastry. For a more detailed explanation about how to fold this pastry, with a video demo, see my earlier post here. Prepare all the kachoris and set them aside.

To make the dal, add the lentils and 2 cups of water in the pressure cooker and boil until soft. Allow to cool, then mash the dal. Now add 2 cups of water as well as the cumin powder, coriander powder, turmeric powder and salt to the dal. Allow to boil for approximately 5 minutes. Then add the jaggery and peanuts, letting the flavours blend, simmering on a medium flame. Stir occasionally.

As you do this, add ghee or oil to a small pan to lightly fry the mustard and cumin seeds. Once they start to splutter, add the asafoetida and immediately pour the sauté into the dal and stir.

The dal will be boiling by now. Make sure the flame remains on medium, and begin to gently introduce the kachoris into the dal. Once they are added, carefully stir. Allow to cook for 10-15 minutes.

Turn off the flame. Garnish with coriander leaves. You may also wish to add a sprinkling of something crunchy, such as finely chopped nuts. Serve while hot, as it is best enjoyed that way.

Many of you may have grown up eating dal dhokli at home, and I’d love to hear what you think of this modern twist, re:store style and ravioli inspired!

This post is the first of a three-part series on Gujarati dishes that are traditionally made from leftovers. Stay tuned for a sweet follow-up in a fortnight…

Once upon a time, before I decided to turn completely vegetarian again, I used to enjoy the very occasional meat dish. And more often than not, the particular dish that would kickstart my cravings was the chili bowl I discovered in L.A. some decades ago while pregnant. A rich, spicy stew with Tex-Mex origins, it’s a quintessential part of the cuisine of the southern American border regions – and something which reminded me of Indian food whenever I was homesick or longing for comfort food while travelling in the States.

Chili is a meal-in-a-bowl, although you can eat it with tortillas, rice, nachos, fries or other accompaniments if you like. Did you know that the Nahuatl (indigenous Mexican) word chīlli is what gives the chilli pepper its English name too? The dish too takes its name from this most vital ingredient. If you’re interested in a history of the dish, do read this comprehensive article with various legends and records.

Chilli fruits – yes, fruits! – were cultivated in ancient Mexico, and were introduced to the rest of the world through European colonists and traders. Then, based on different climactic conditions, certain places grew famous for particular cultivars: e.g. bhut jolokia (or “ghost peppers”) in India and Malawian kambuzi. In fact, the chilli powder I use to make my chili (yup, the spelling of the two words is close but not exact!) is a ground Hungarian spice known as paprika, made of sweet bell peppers and occasionally cayenne peppers. Each cultivar varies in pungency and intensity, and chillies are eaten in red, green, dried or capsicum/pepper variants. I also use capsicums in this dish.

The festive season has found me inundated with cupcake orders. Despite seeing so many in my kitchen every day now, I haven’t grown tired of stealing one now and again – all under the claim of checking the sugar level of course! Between some recent travel abroad and the sugar buzz around me now, I’ve missed the flavours and smells of Indian spices. Inspired equally by the memory of those long-ago chili bowls and my ongoing delving into the super-foods and smart-foods in our own Indian fields and forests, I decided to make a vegan millet-based chili. I tried and tested this recipe a few times before perfecting it. Fusion food can sometimes be a blunder, and sometimes be a wonder. I’d love to know what you think of this!


Vegan Chili Bowl

Ingredients:

1 tablespoon oil

1 teaspoon cumin

¾ cup carrots (chopped)

½ cup rajma/kidney beans (soaked)

½ cup onions (finely chopped)

½ cup capsicum (finely chopped)

½ cup green beans (finely chopped)

2 medium size tomatoes blended into a puree (approximately 1 cup)

3 pods garlic (grated)

1 piece ginger (grated)

¾ cup kodo millet

½ cup corn niblets and/or peas

Salt

Paprika

1 tablespoon lemon juice

4 cups of hot water

Chili may be Tex-Mex in origin, but the ingredients of my Vegan Chili Bowl are all easily available and highly affordable in India and elsewhere.

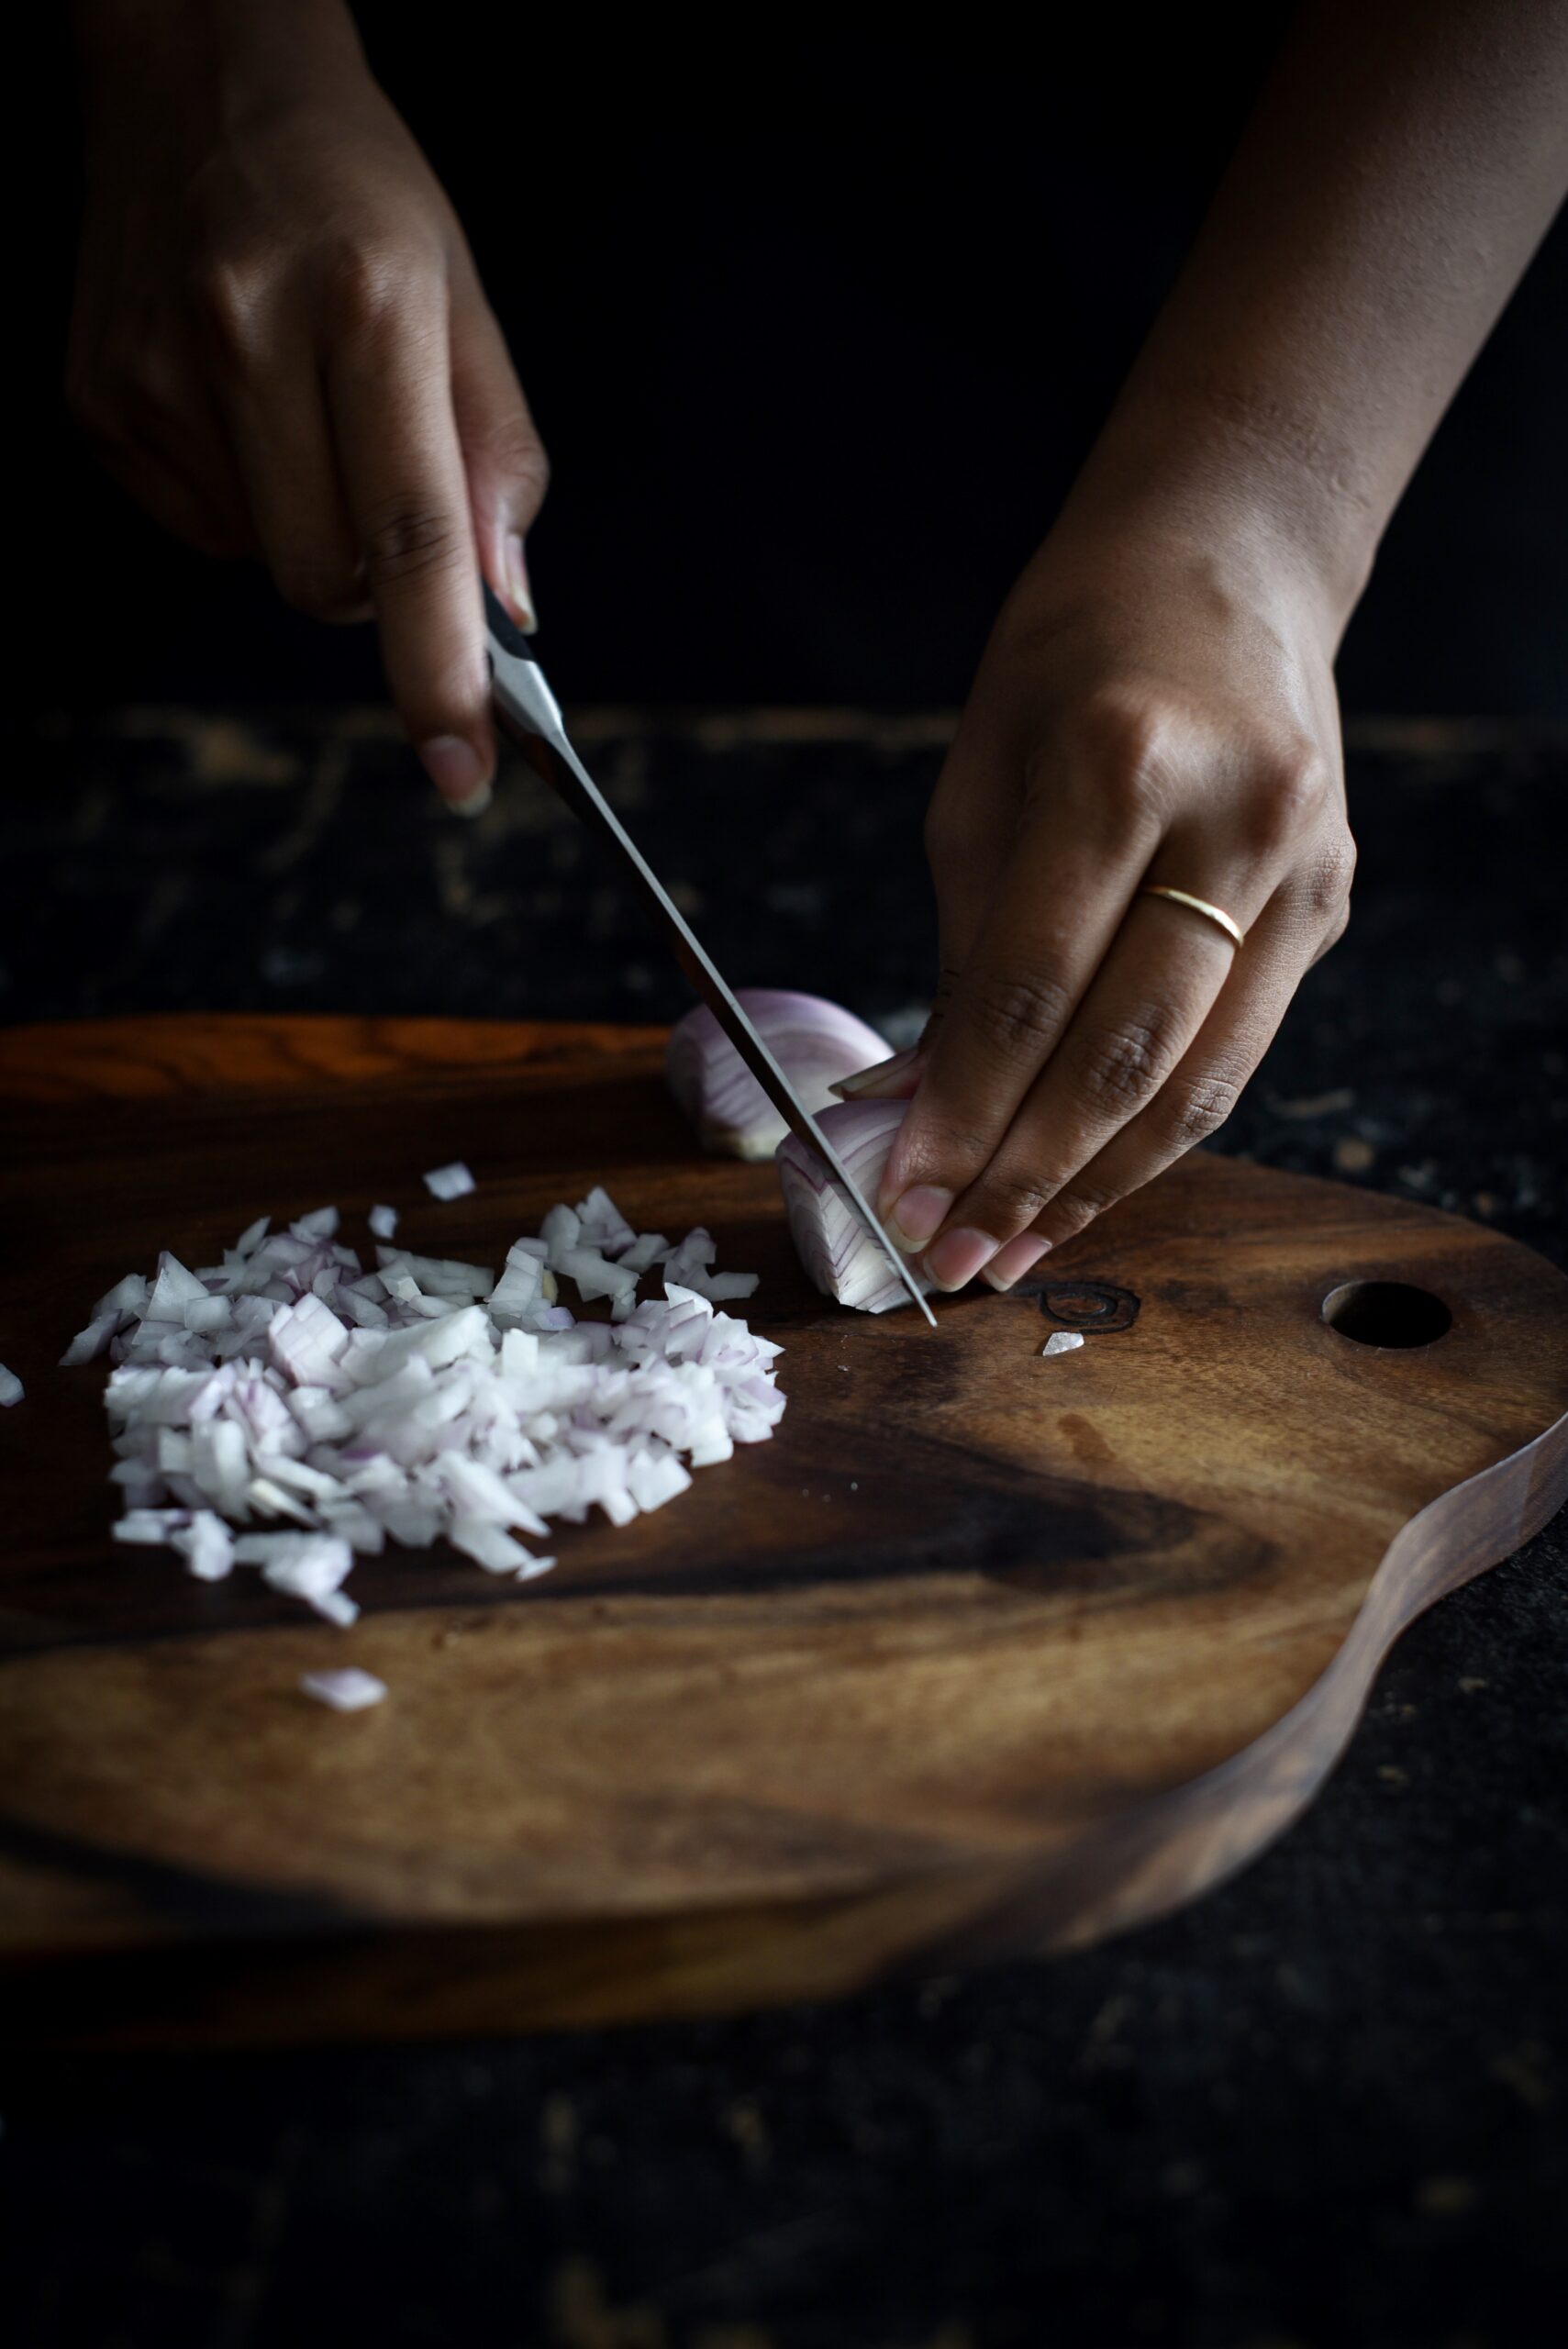
Take a pot and add oil to it. Once it is hot, add the cumin, followed by the grated garlic, ginger and onions. Sauté till golden brown.

Boil the green beans, peas and carrots and strain these. Keep the water aside.

Kidney beans take longer to cook so pressure cook or par-boil them before adding them to the pot. You may substitute the kidney beans for a lentil of your choice. Please note cooking time will differ based on which ingredient you use.

Add all the cooked vegetables to the onions along with the tomato puree, corn, capsicum (I used green capsicum, but you can use yellow or red too), millets, paprika and salt.

Now, add the strained water (approximately one cup) and the cooking water to the above ingredients. Cover with a lid and lower the flame. Allow this to cook for 20-25 minutes, stirring occasionally. I have used kodo millets, known in Tamil as varagu, which like all local millets has an extensive range of health benefits when eaten regularly. You can just as well substitute this with broken rice or wheat if you have them on hand, if you prefer. However, the cooking time will depend on the grain you’ve used.

Also remember that you can add all sorts of leftover vegetables to this chili – don’t feel restricted by the list I’ve suggested. They will only enhance the flavour and health quotient.

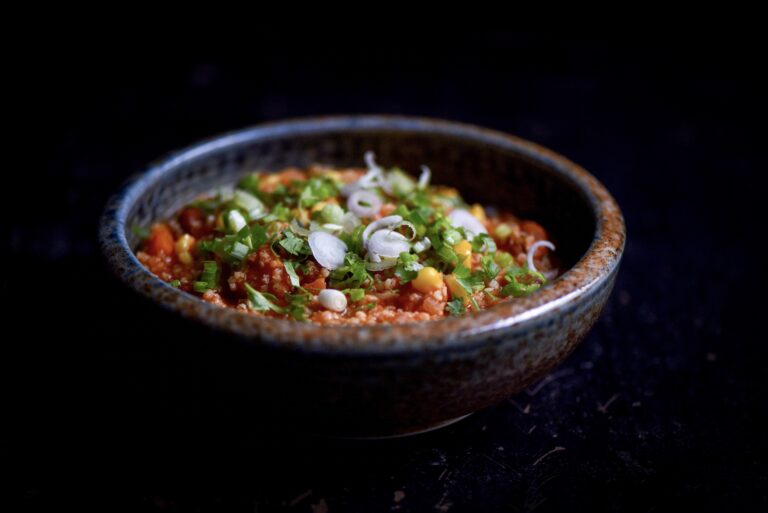
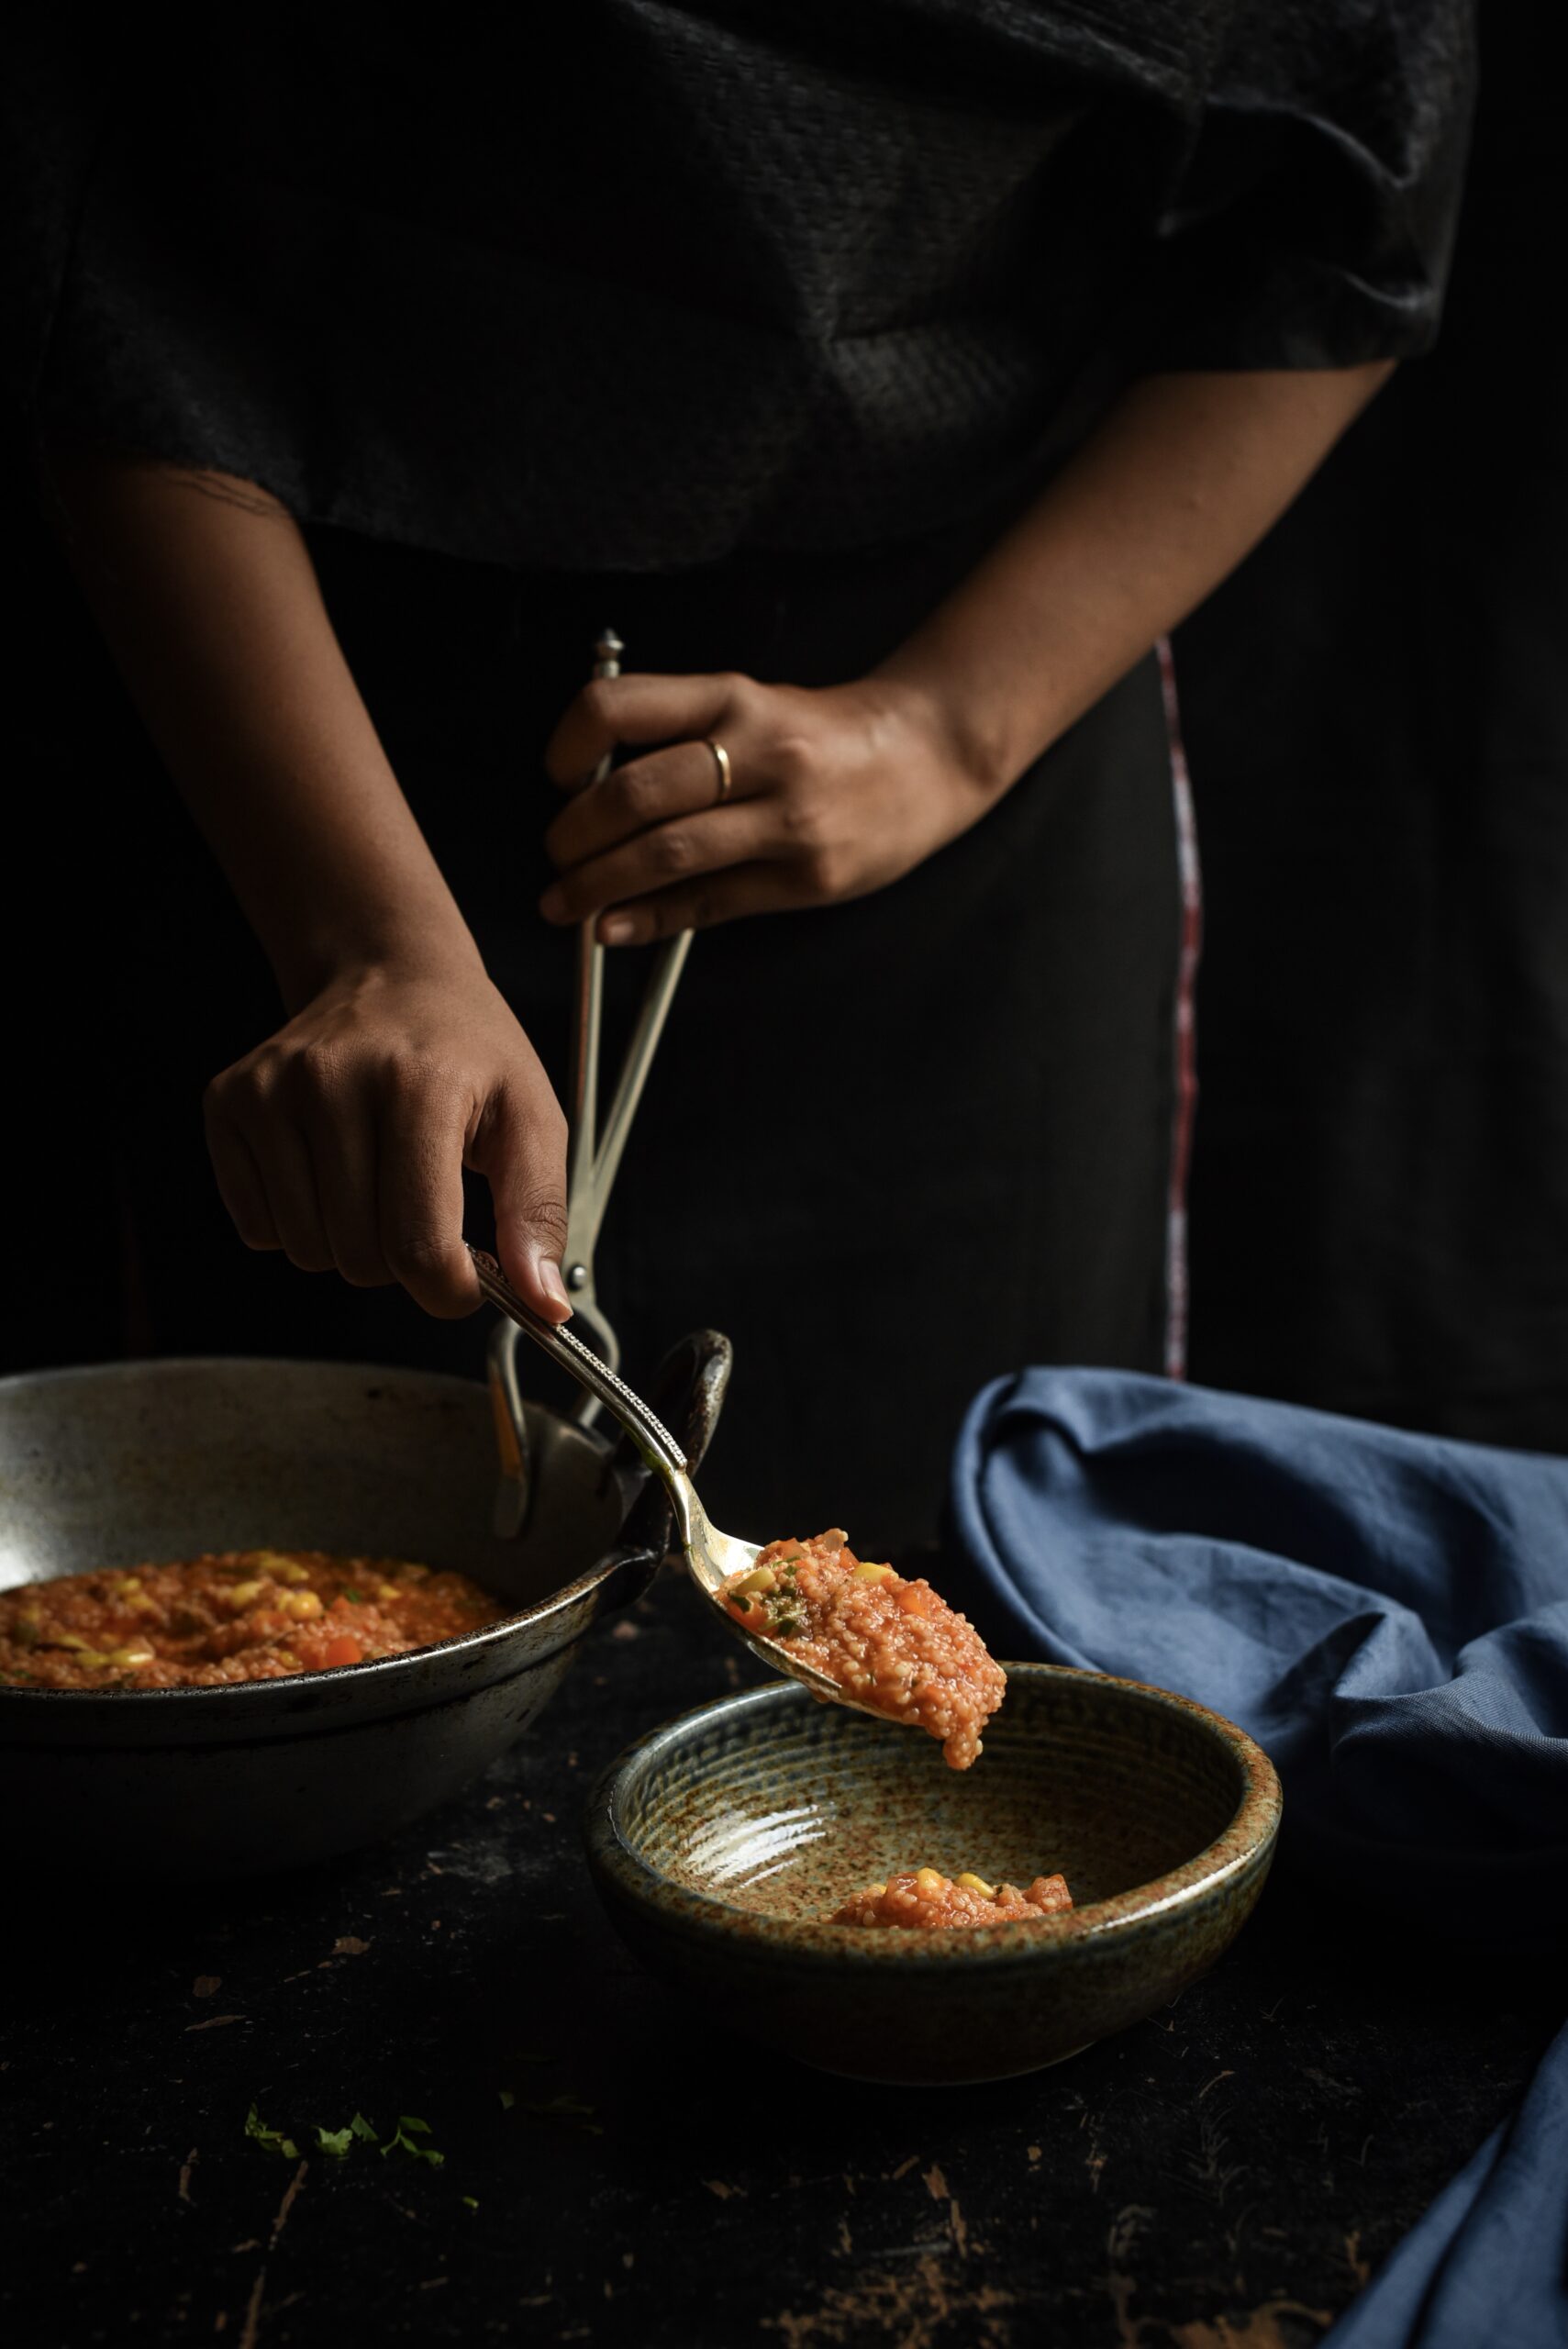
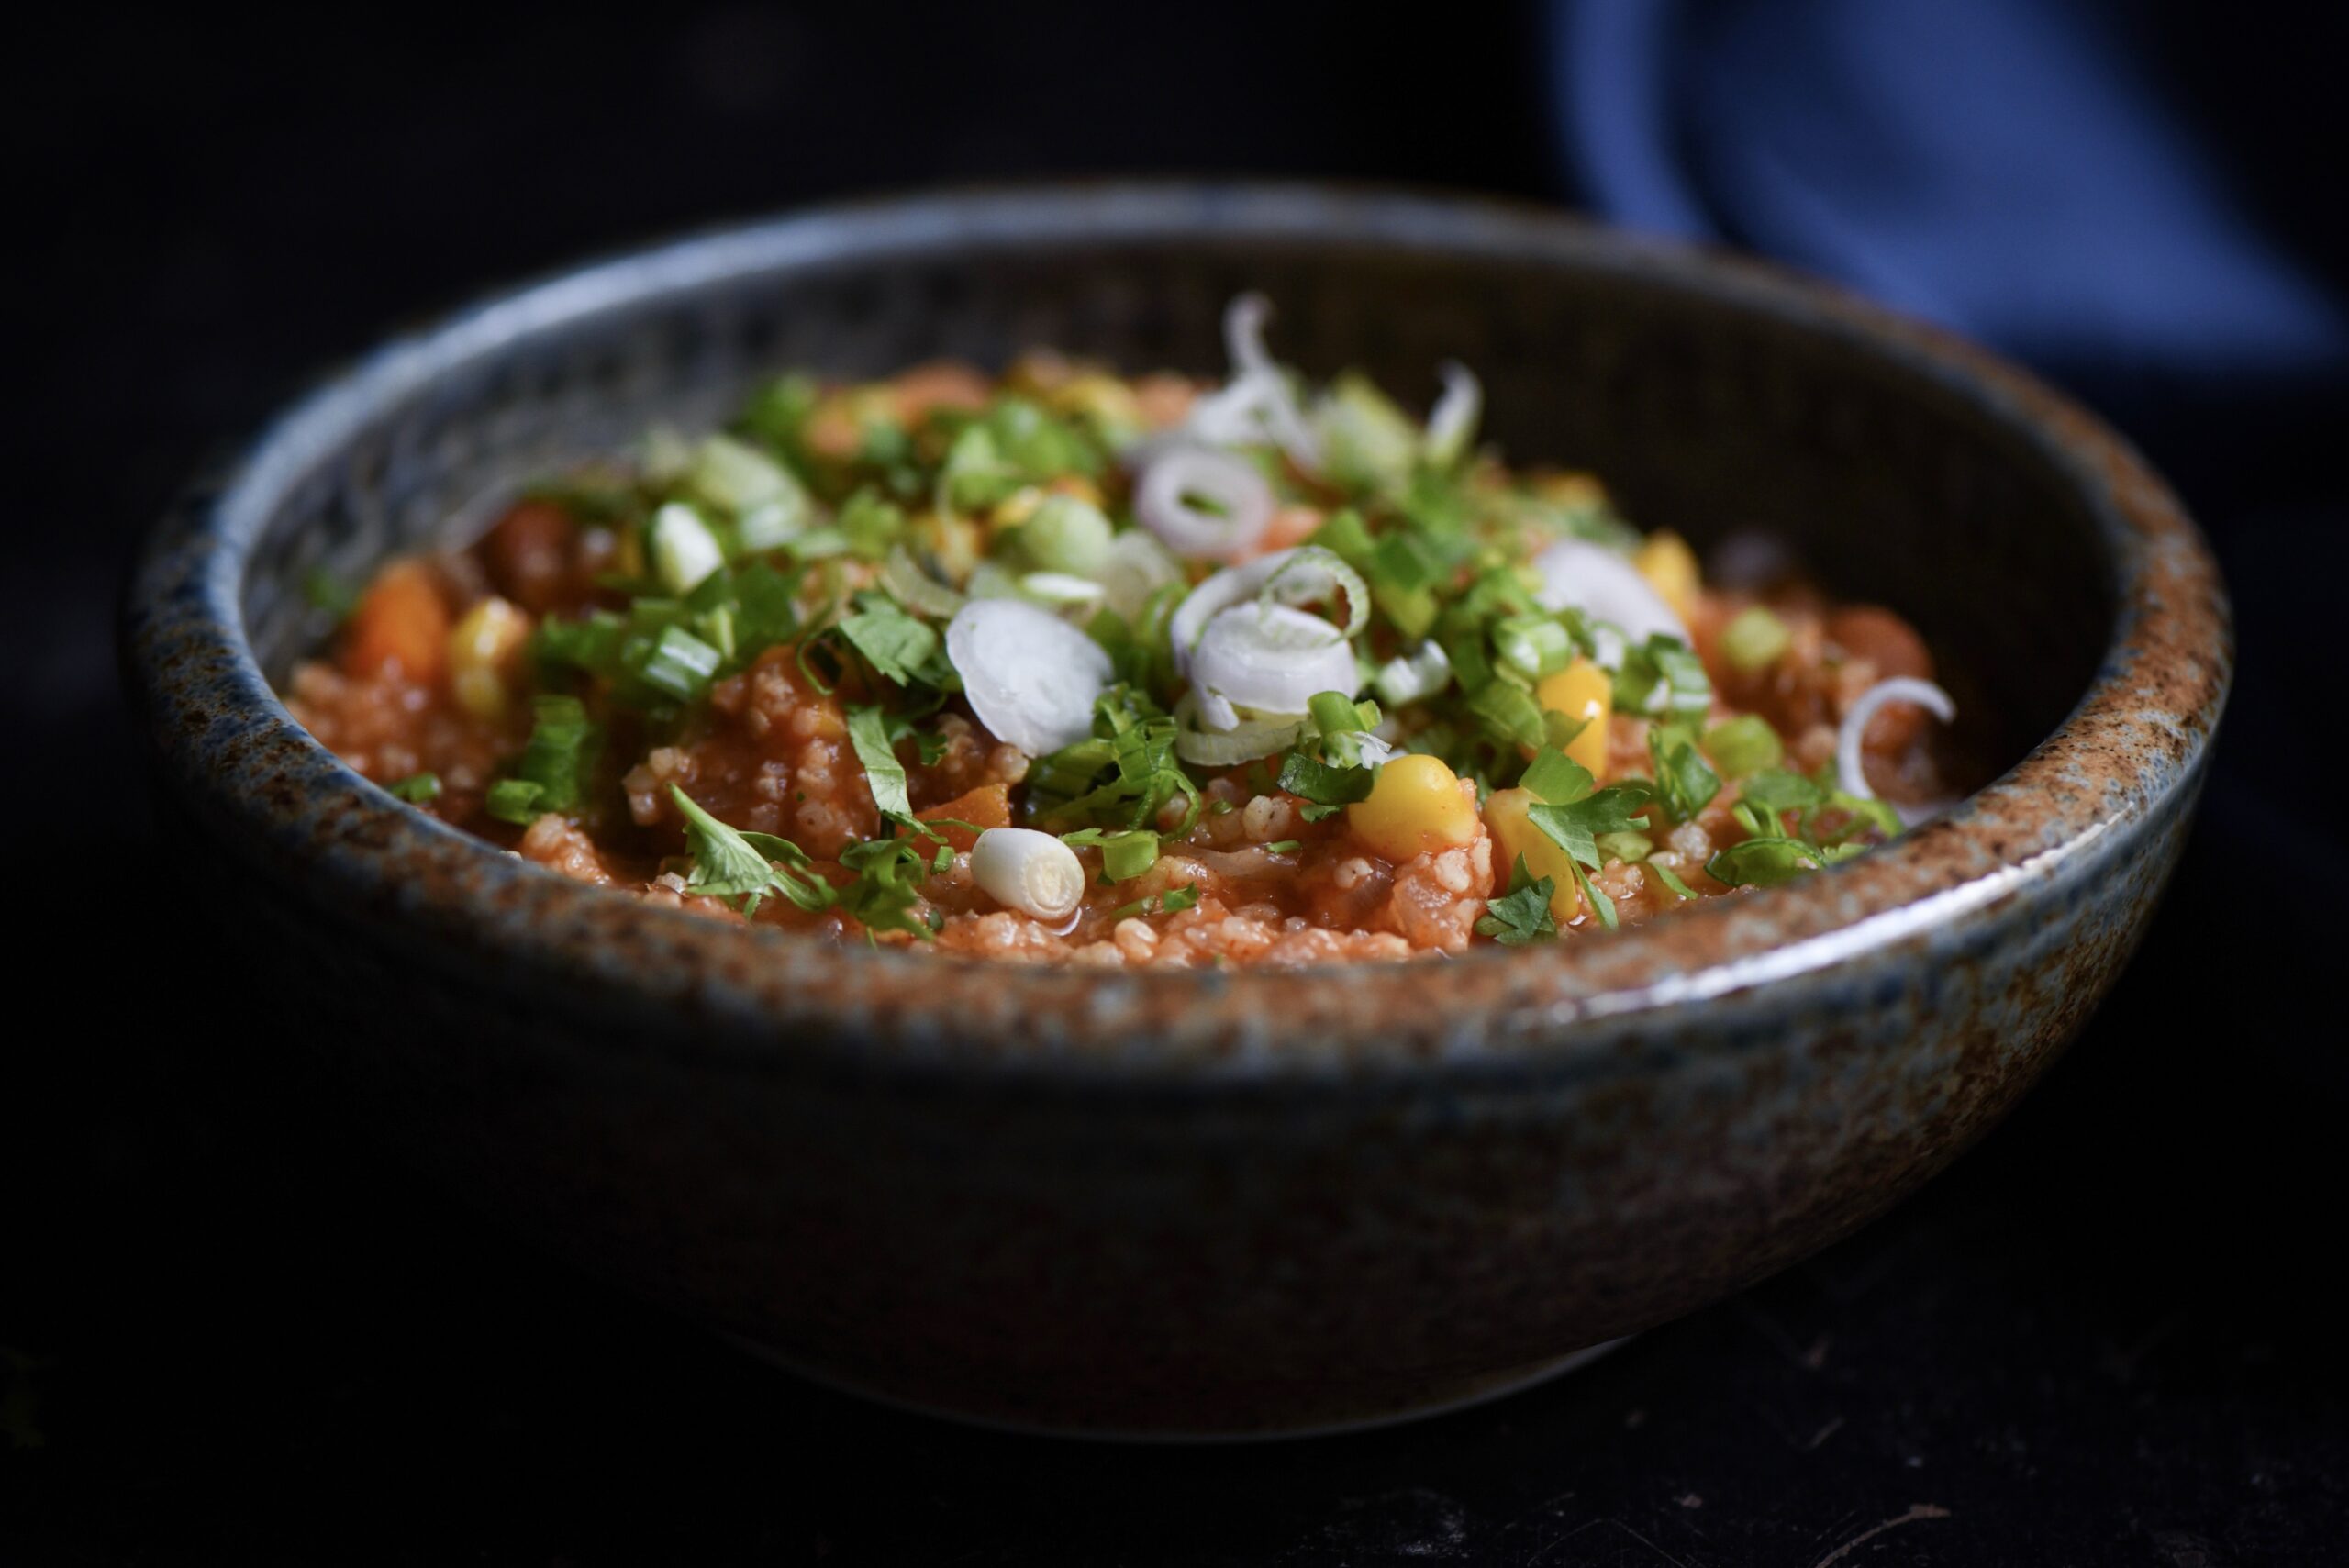
Once the grains are cooked well and tender, add the lemon juice and stir. Then, transfer the hot chili to small bowls and serve with some freshly chopped coriander leaves, fine slices of spring onions and other garnishings like roasted garlic or a handful of nuts. Chili is best eaten warm and fresh.

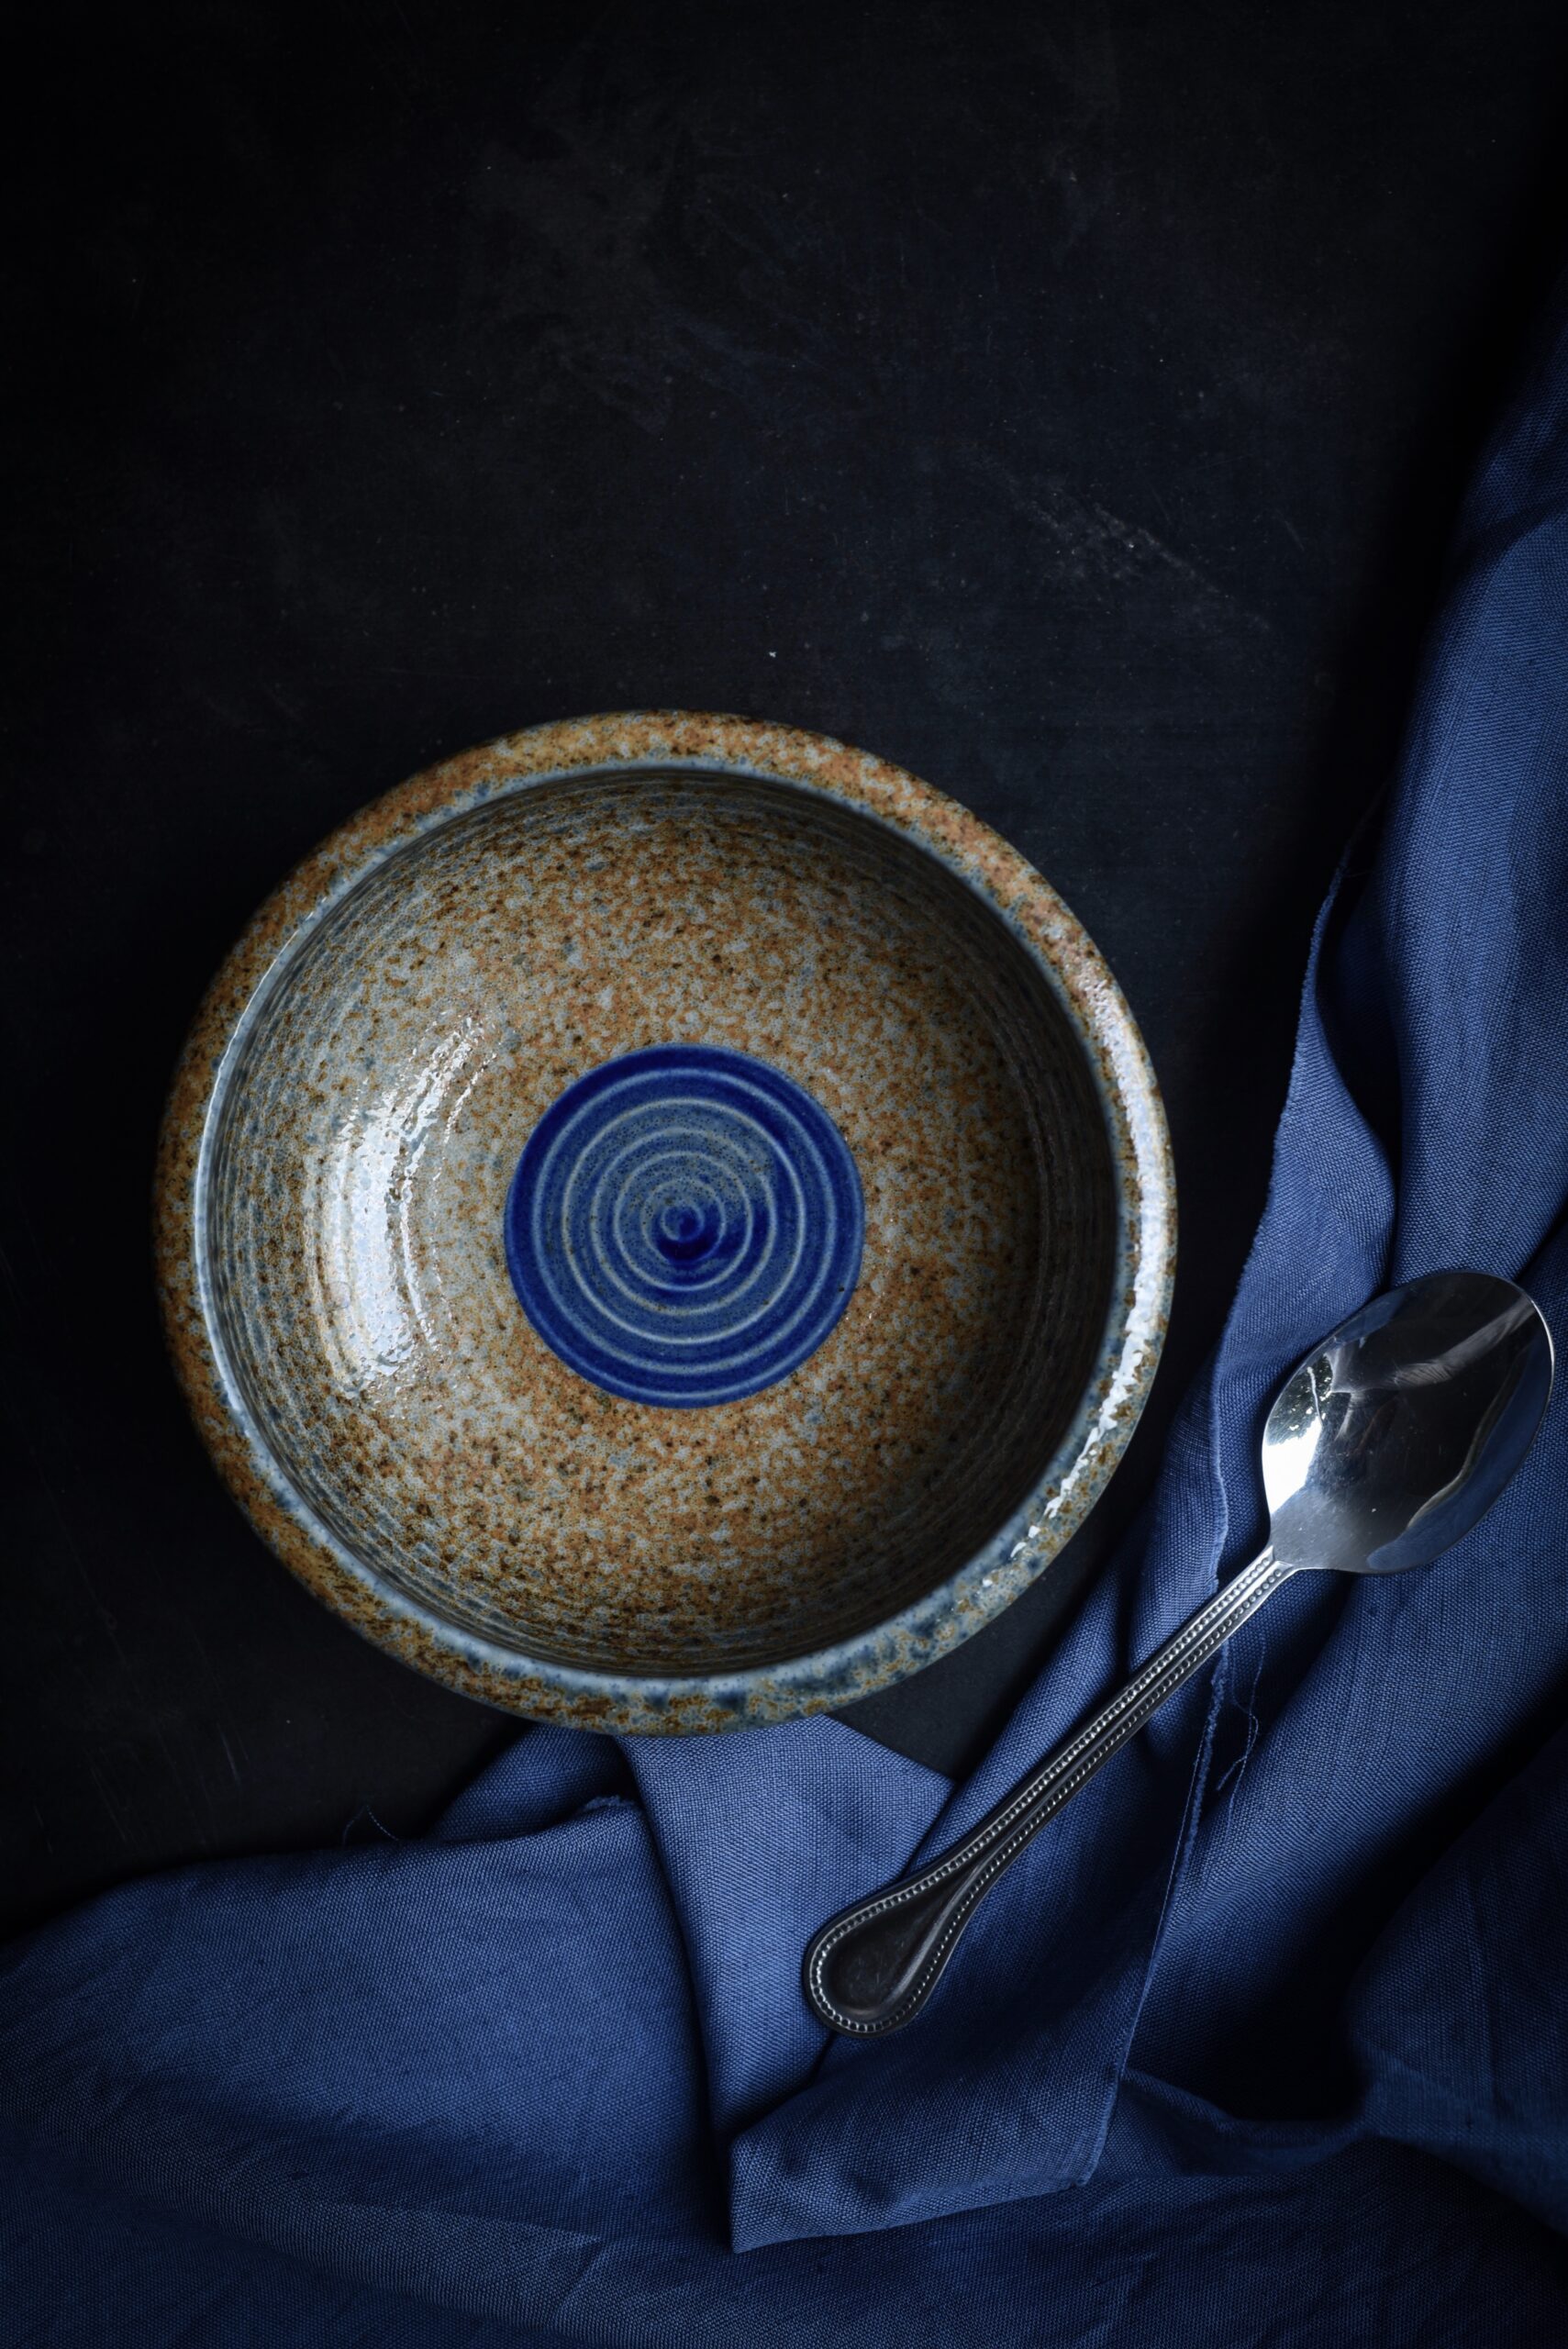
I love collecting beautiful crockery, and considering that this is a meal-in-a-bowl, I always take a little extra moment to choose the bowl itself well. When I made this the other day, I chose this pretty one with concentric blue circles on the bottom. It’s always a compliment to the cook when something is relished to the very last spoonful, and a nice design on the tableware is revealed.

As more people explore healthy or ethical dining options like turning vegan, our kitchen repertoires should also expand beyond serving and eating obvious items. This Vegan Chili Bowl is just the kind of unexpected dish that will make a vegan guest feel welcomed by your thoughtfulness. They are sure to enjoy it far more than picking at an ordinary salad or an unimaginative dressed-down version of the main course. The best part is that as it is a meal-in-a-bowl, you can be assured that they will be fully satisfied.