I have often been attracted to making sugarless desserts for two reasons. First and foremost, for myself, as I have an incredibly sweet tooth that I can’t seem to control, and I hope to satisfy it without making as steep a health compromise. I try to convince myself that when a dessert is sugarless or sugar-free I can also eat it guiltlessly, or guilt-free! I know this isn’t true, of course. Natural sweeteners and the sweetness that is intrinsic in certain ingredients like fruits do contain sugar, and anything sweet will spike your glucose levels even if you don’t add processed sugars to it. Still, I know that so many of you struggle with the same concern, which is why a treat like this sugarless date payasam can still make a difference in our dessert indulgences.
The other reason why I learned how to make more sugarless desserts was that my father-in-law used to put me up to the challenge of inventing ones for him. He was diabetic, and he would always say, “Just add Splenda or aspartame!” I would always refuse to, knowing that these have other side-effects. I would instead reach out for natural sweeteners like coconut sugar or dates, as their glycemic index is lower than that of refined white sugar. While my father-in-law is no longer around, the dishes I learned or came up with for him remain in my repertoire, and so does the habit of cutting down sugar content as far as I can.
Awareness of the dangers of too much sugar consumption is of extreme importance in India, which has one of the largest percentage of diabetics in the world. I often have diabetic visitors, which doesn’t surprise me at all given the prevalence of the disease in our country, and I ensure that I serve sugarfree desserts when they come over. There are also sugarless options on the re:store product menu. Whether or not my guests or family members are diabetic, I do keep an eye on balancing out our sweet consumption in multiple ways. Making dishes like these is one such way, and a necessary concession since giving desserts up completely is quite a big ask!
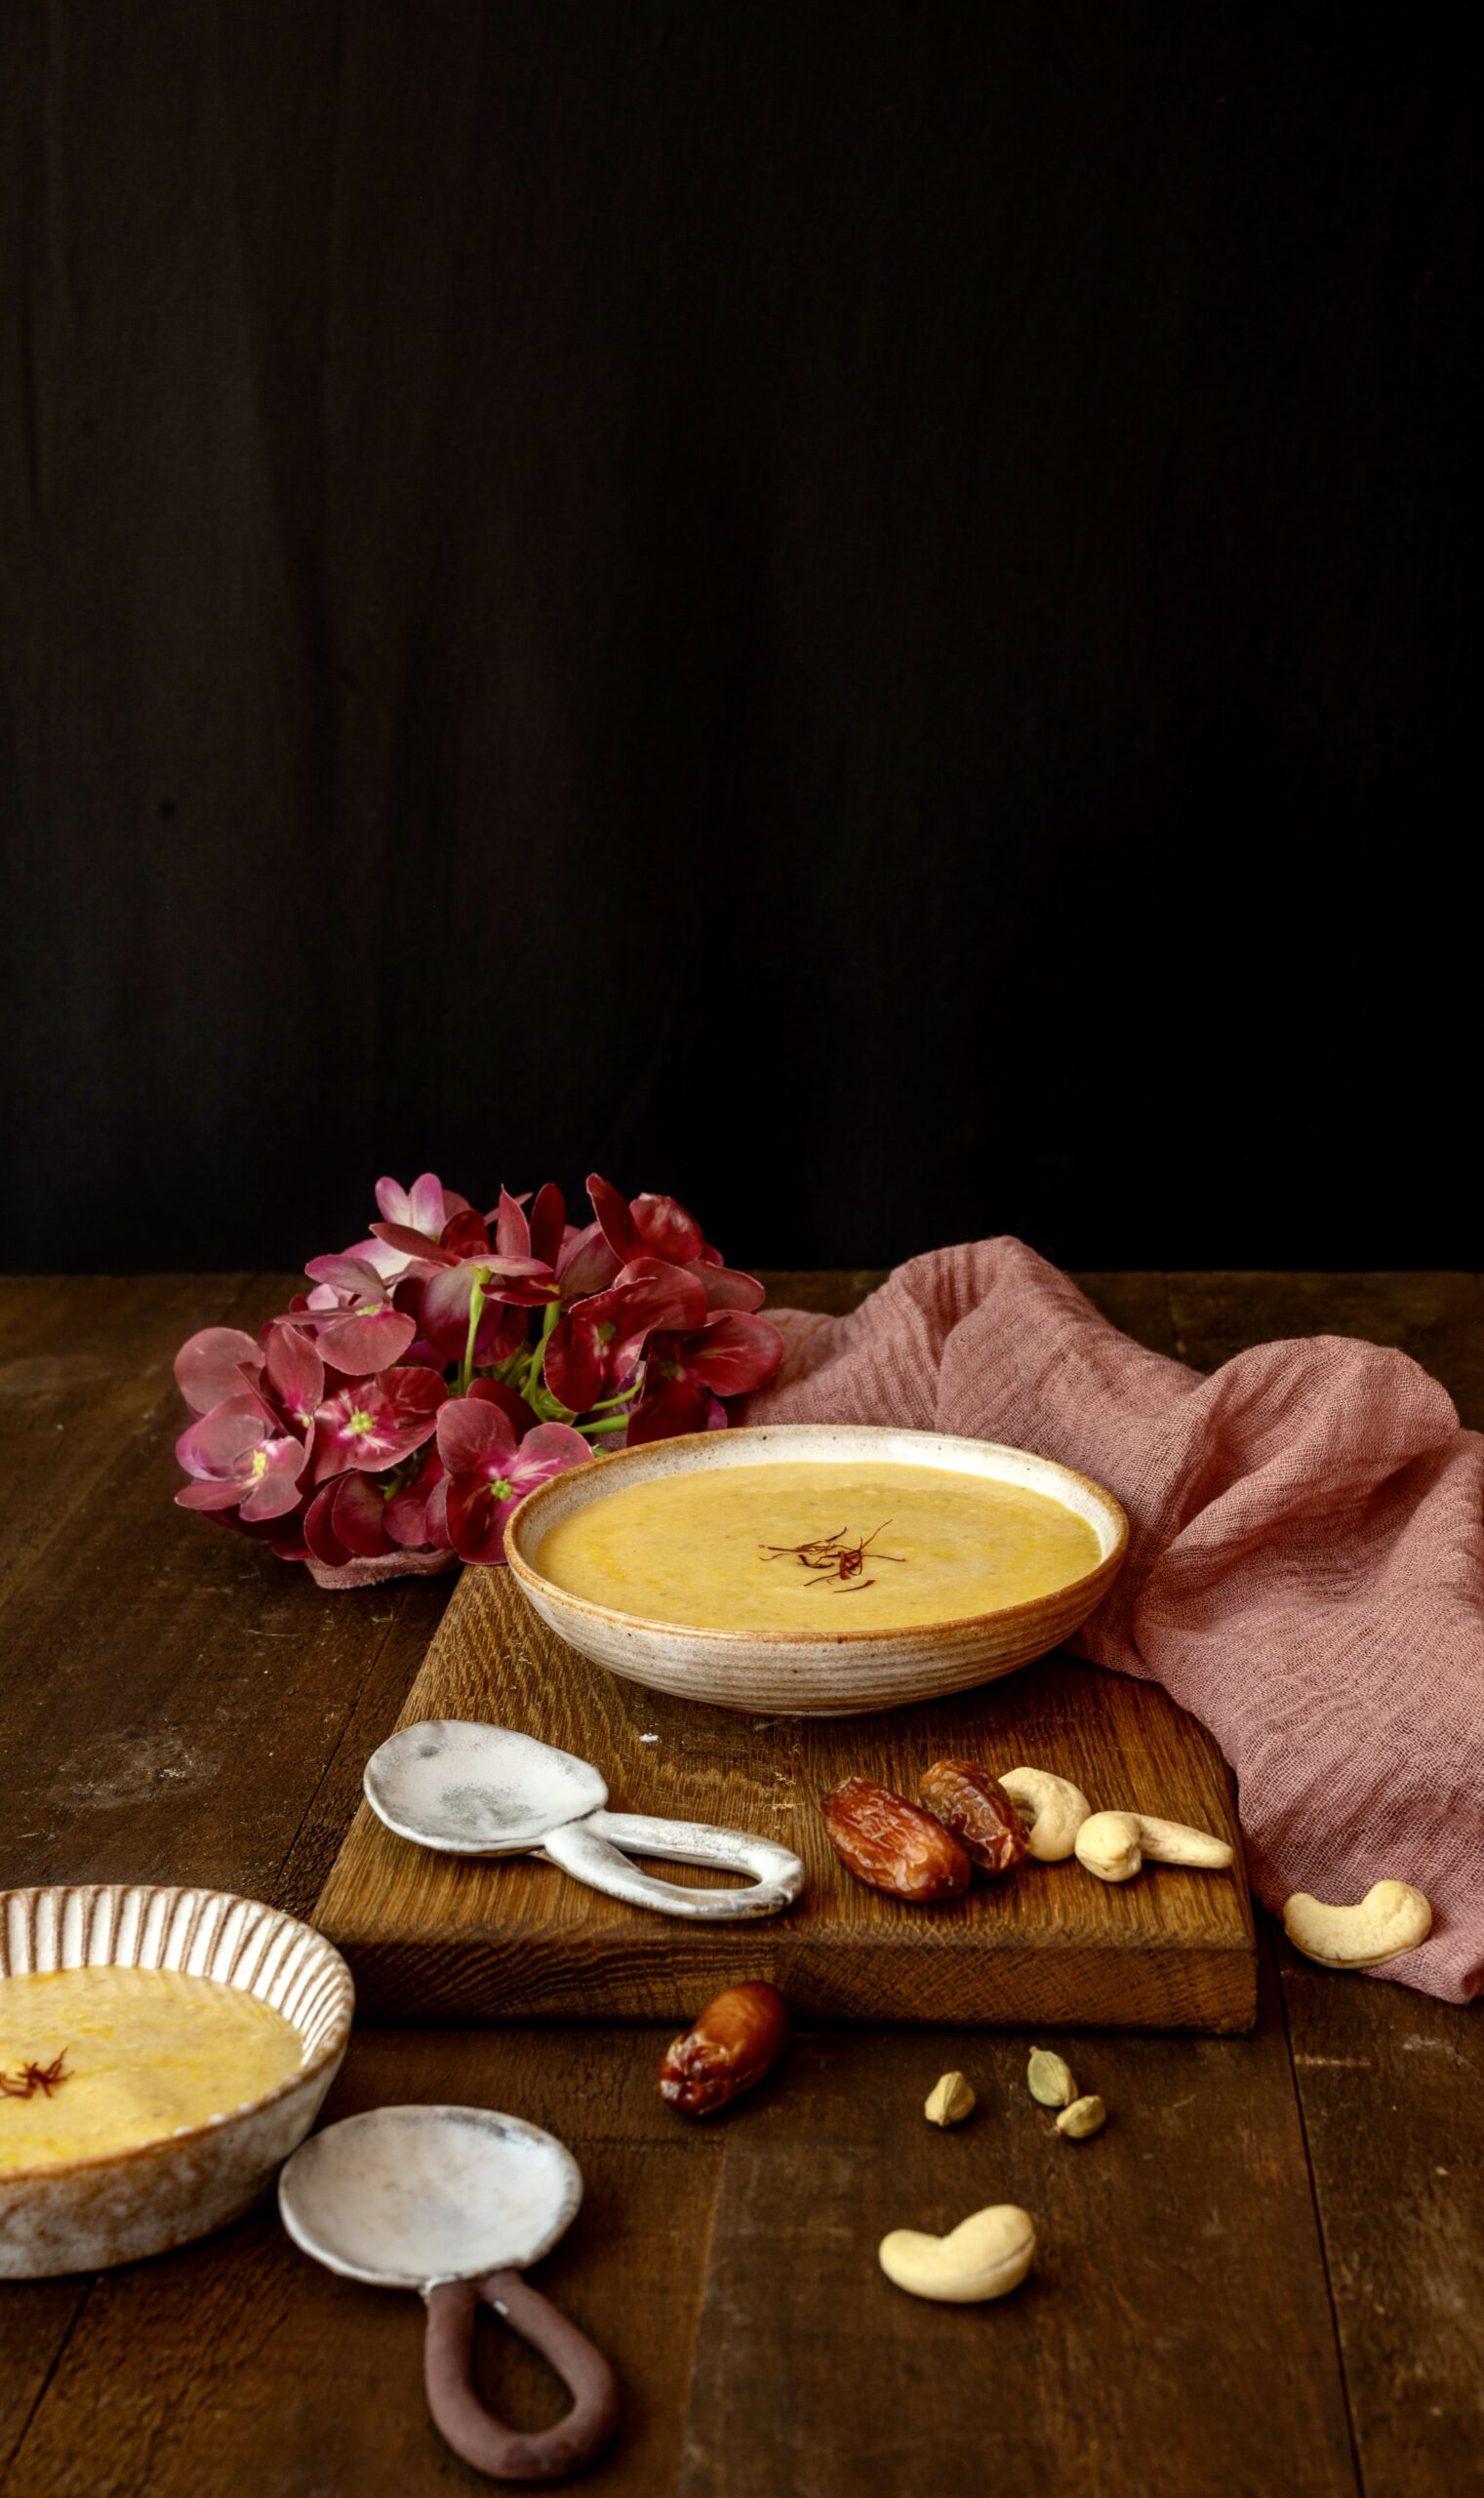
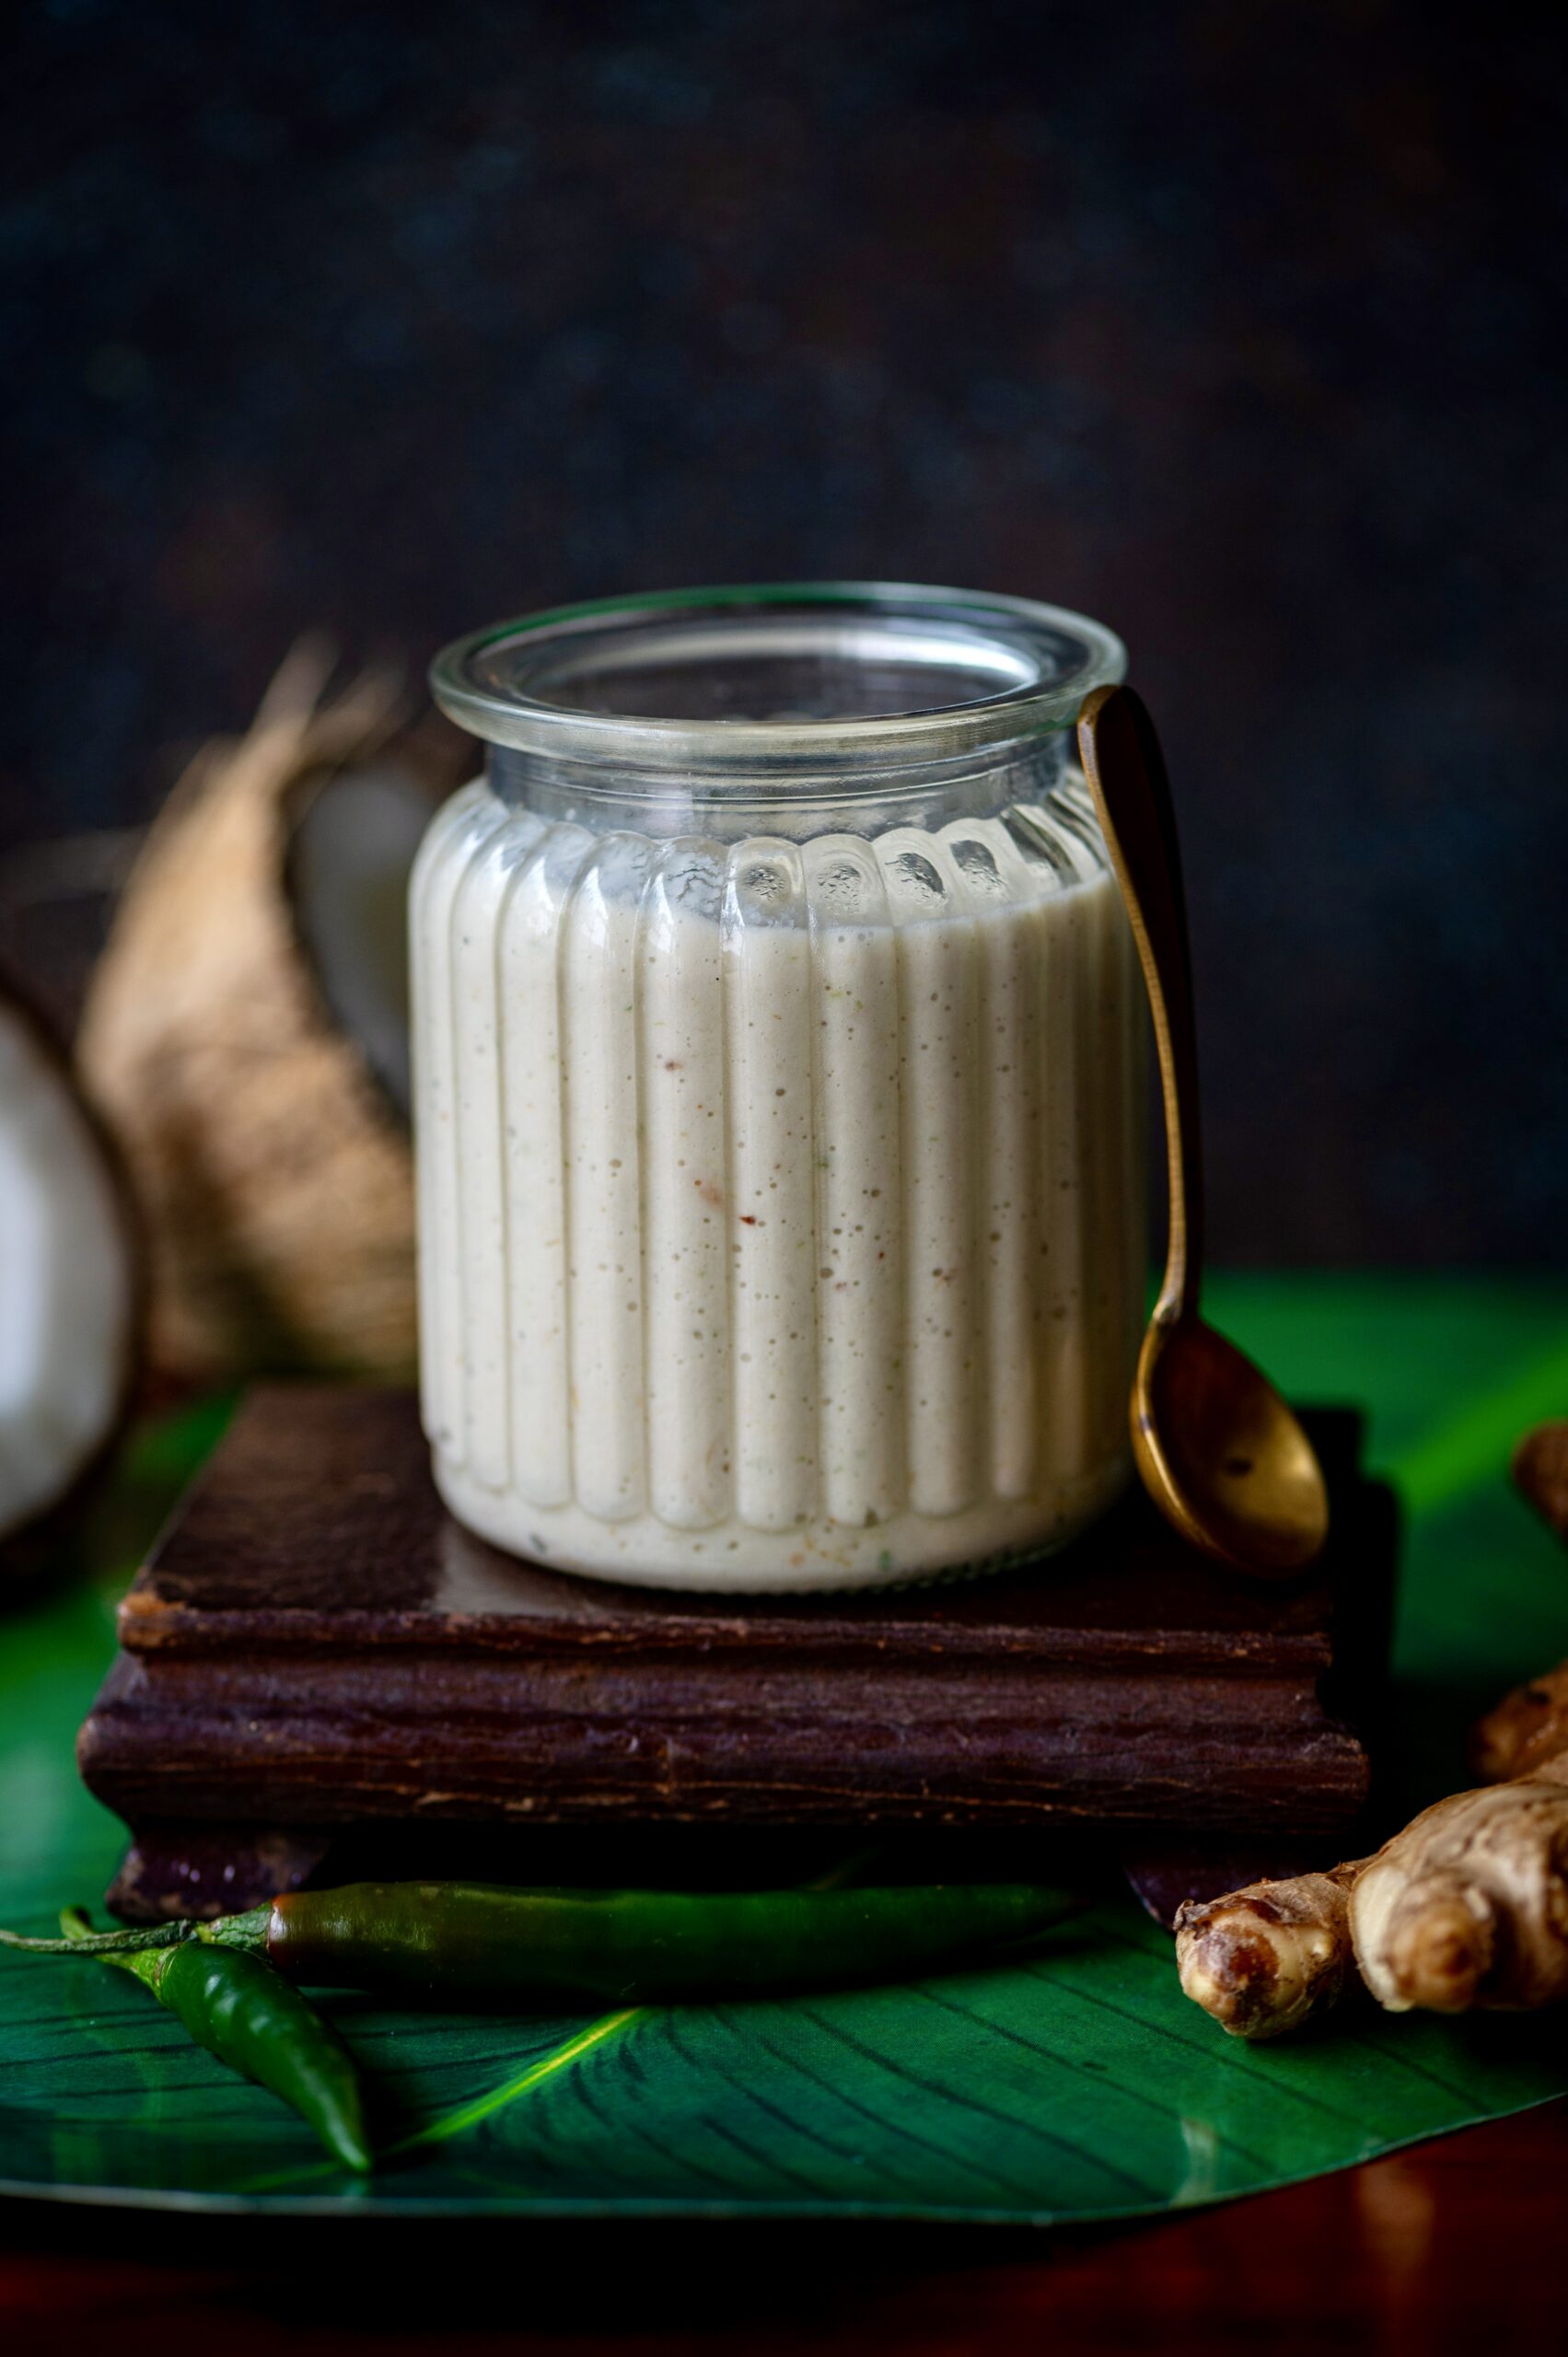
This particular sugarless date payasam is one that I learned from my dear friend Girija. I hadn’t heard of it before she served it to me, and I was wary of trying out the recipe, but I am very glad that I did. It is utterly delicious. For those who haven’t heard of it, a payasam is essentially a South Indian milk pudding, and I am thrilled to have a version of it that doesn’t require, let alone rely on, sugar or even jaggery. All it needs is the sheer sweetness of dates.
Sugarless Date Payasam
(Serves 6)
2 cups deseeded and chopped dates
1 cup cashew nuts
Water (for soaking)
2 cups milk
3-5 strands saffron
¼ teaspoon cardamom powder
Soak the dates and cashews separately in fresh drinking water for an hour.
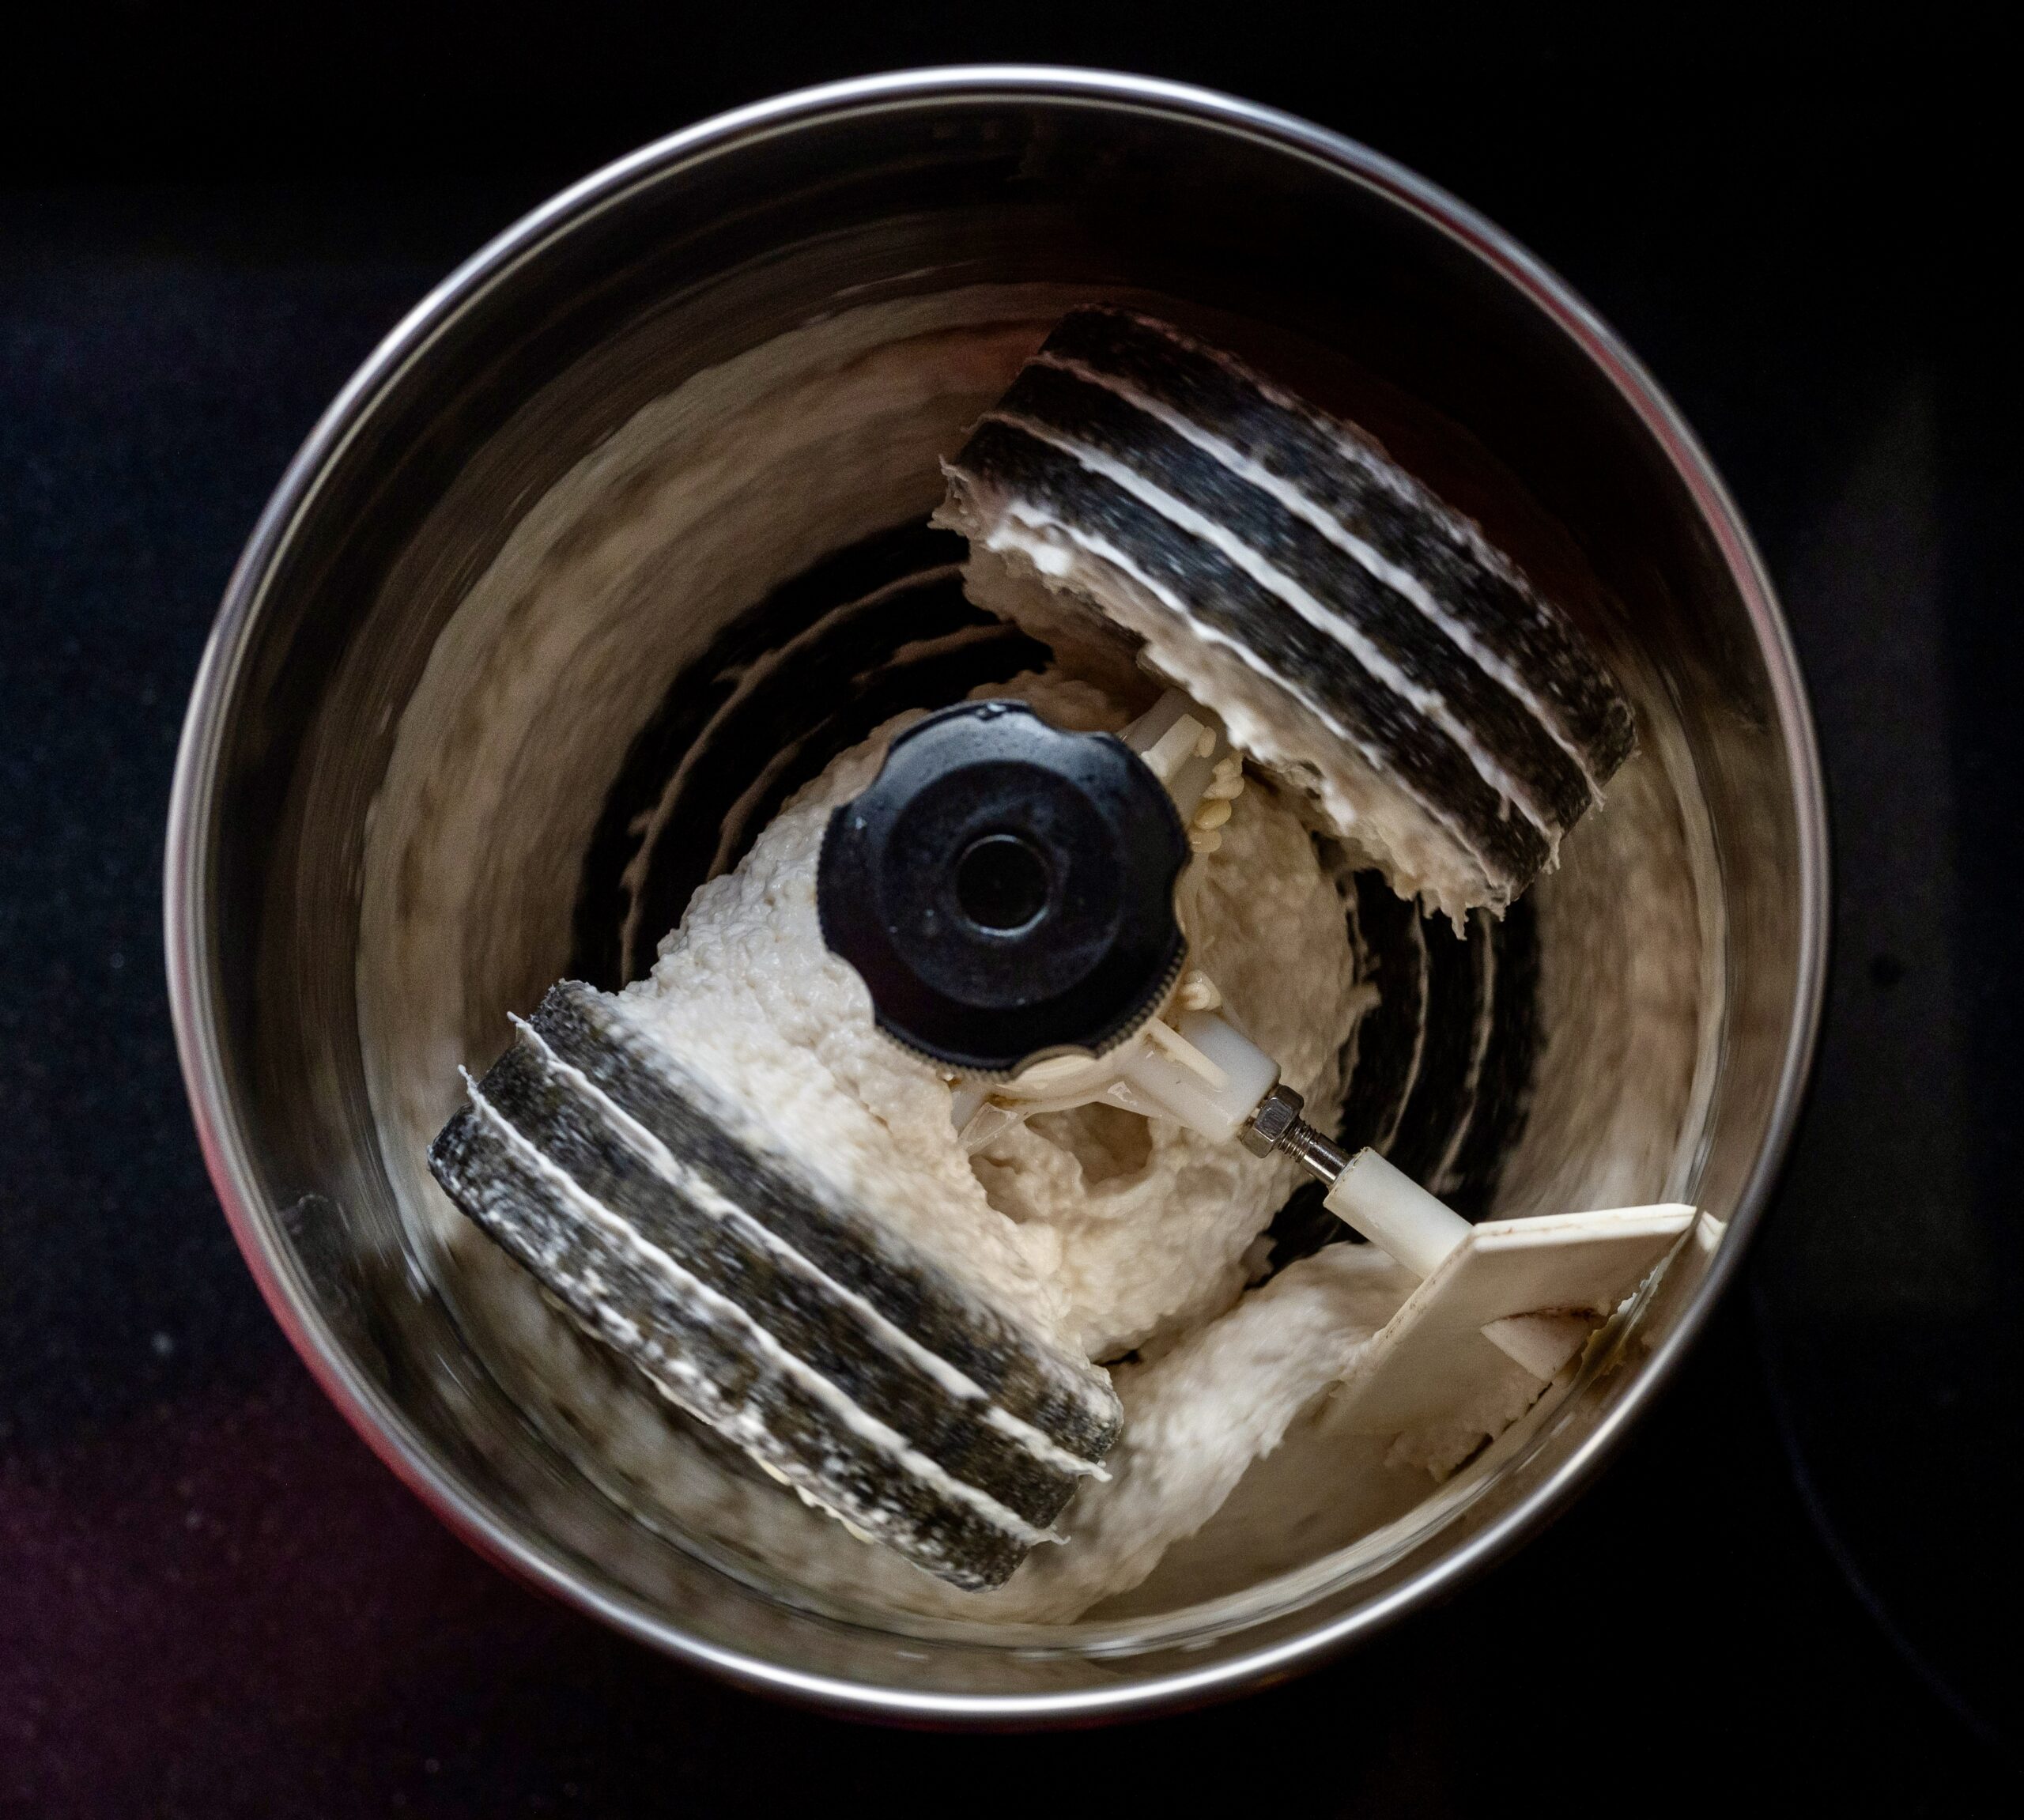
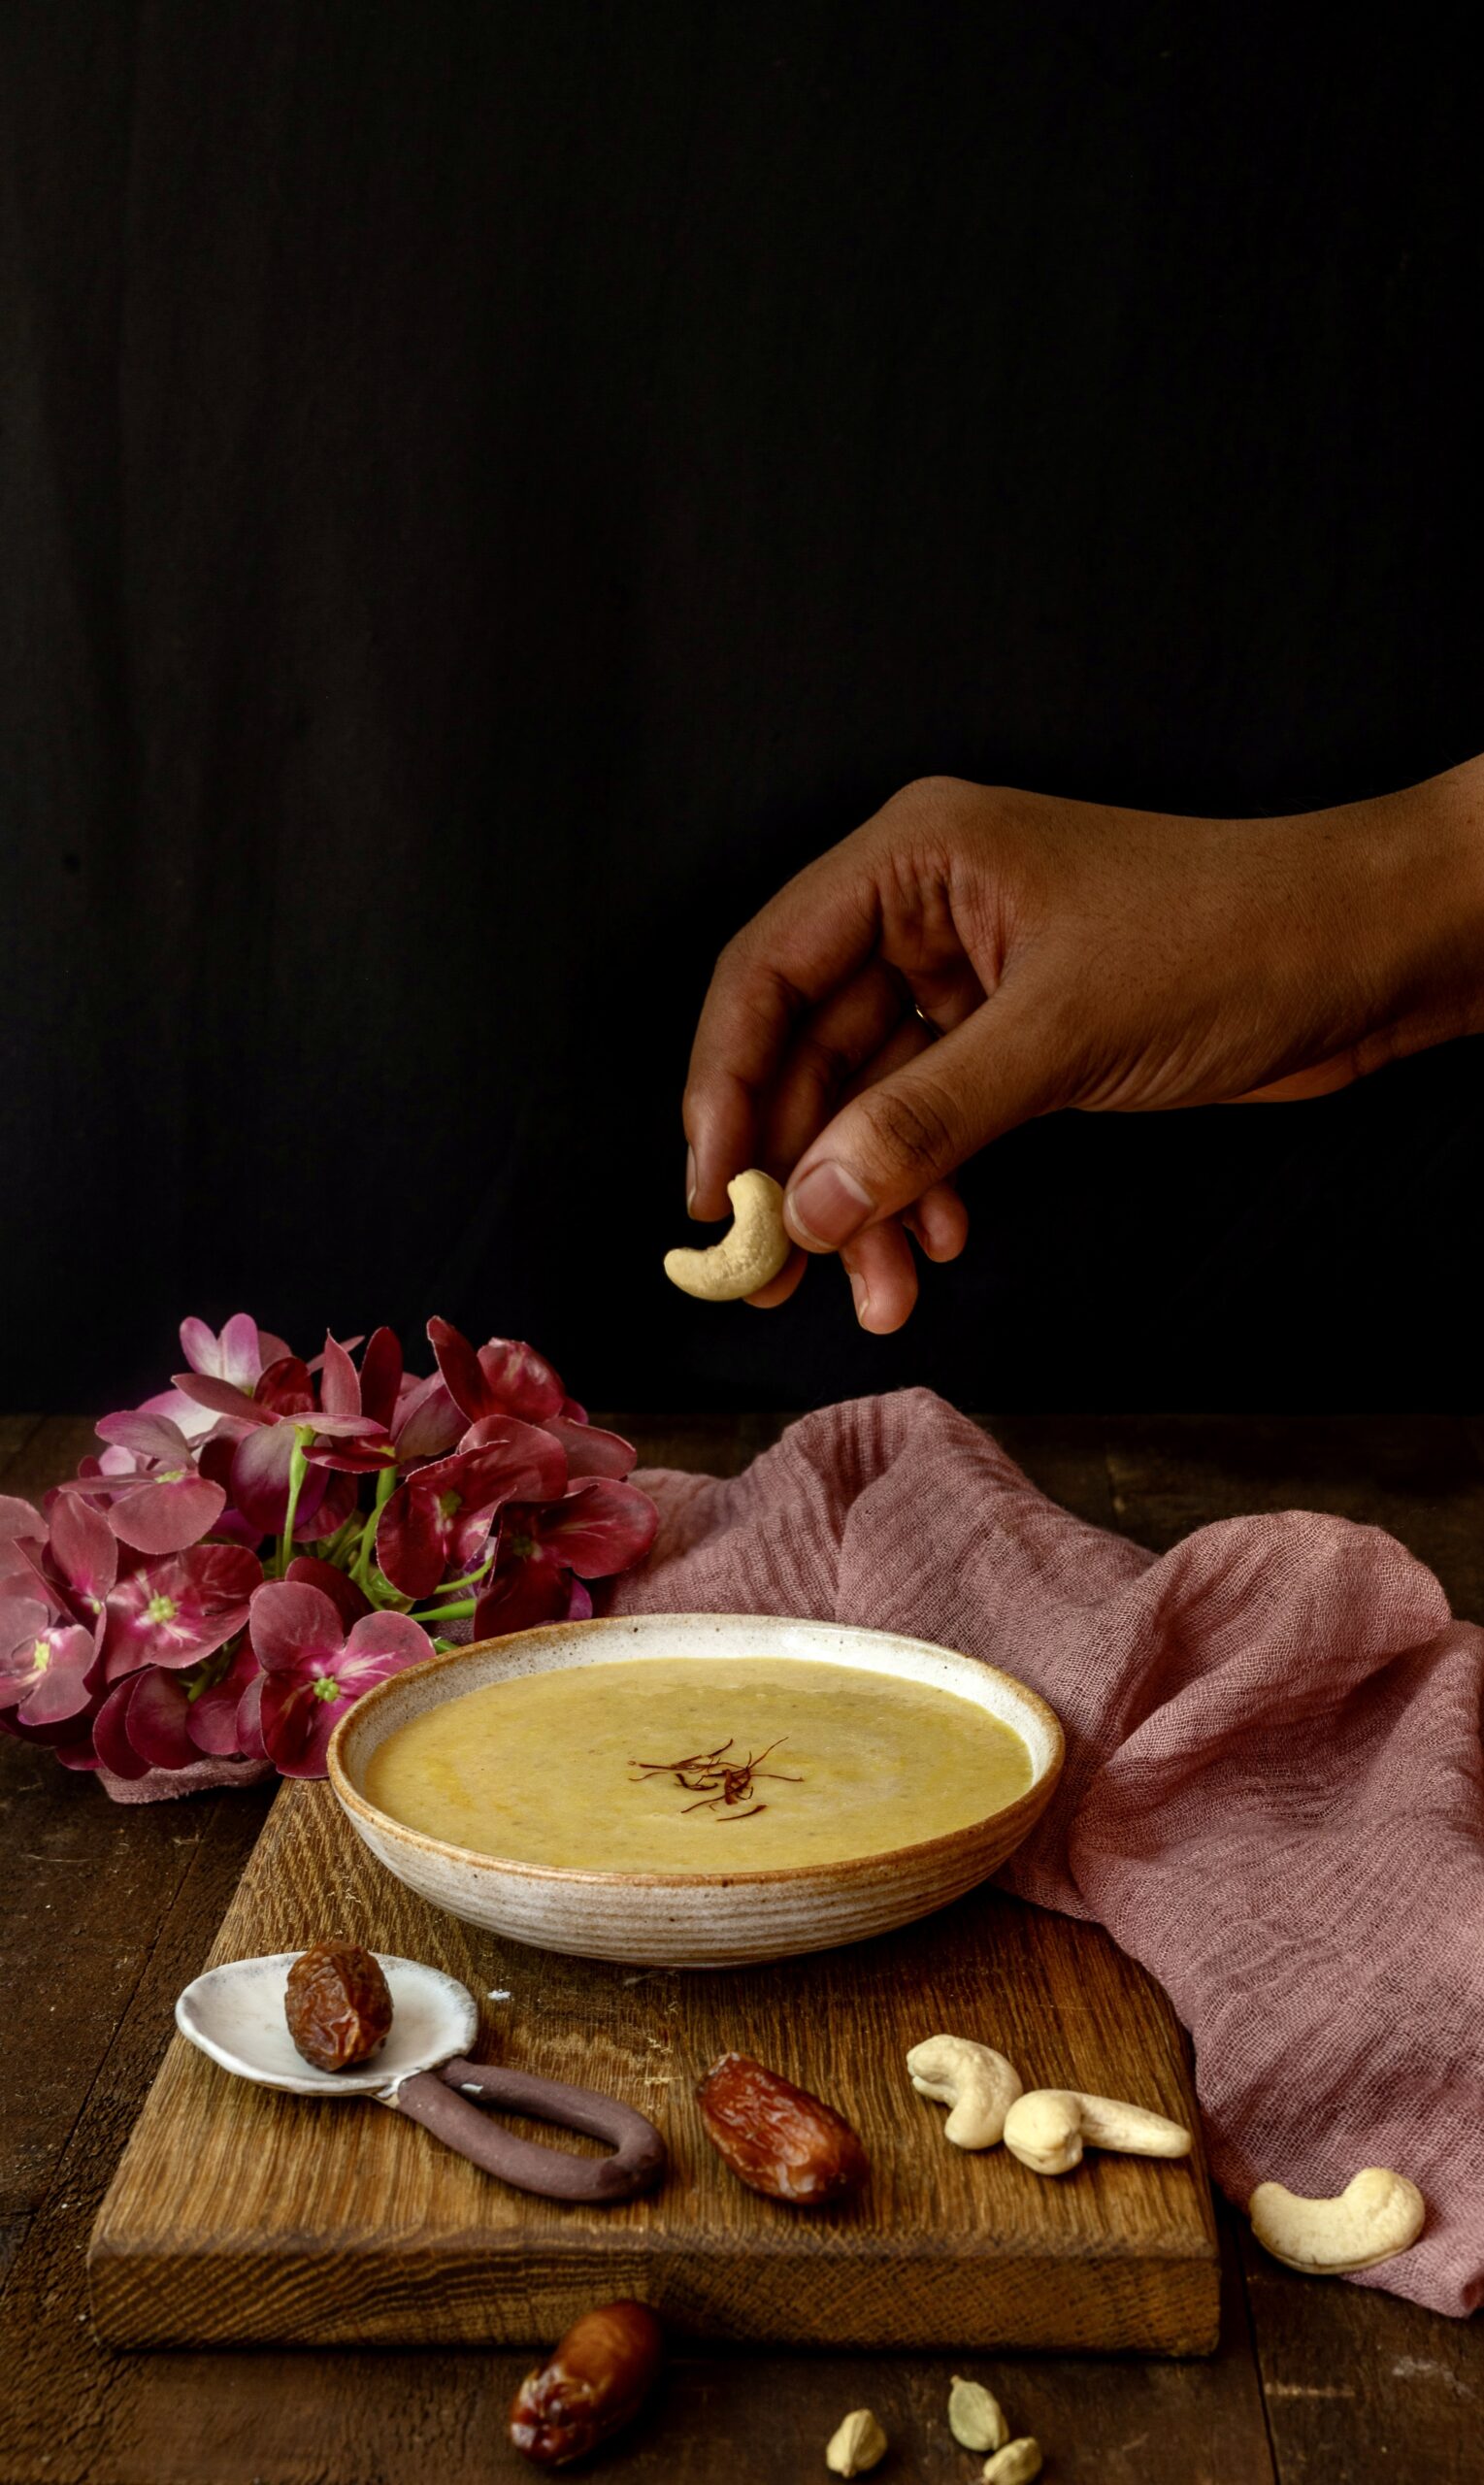
Then, grind the cashews with the water that was used for soaking. Once the paste is smooth, add the dates. Grind once more until the paste is smooth again. Add the cardamom powder and saffron strands. Place the mixture in a pot and refrigerate until cool.
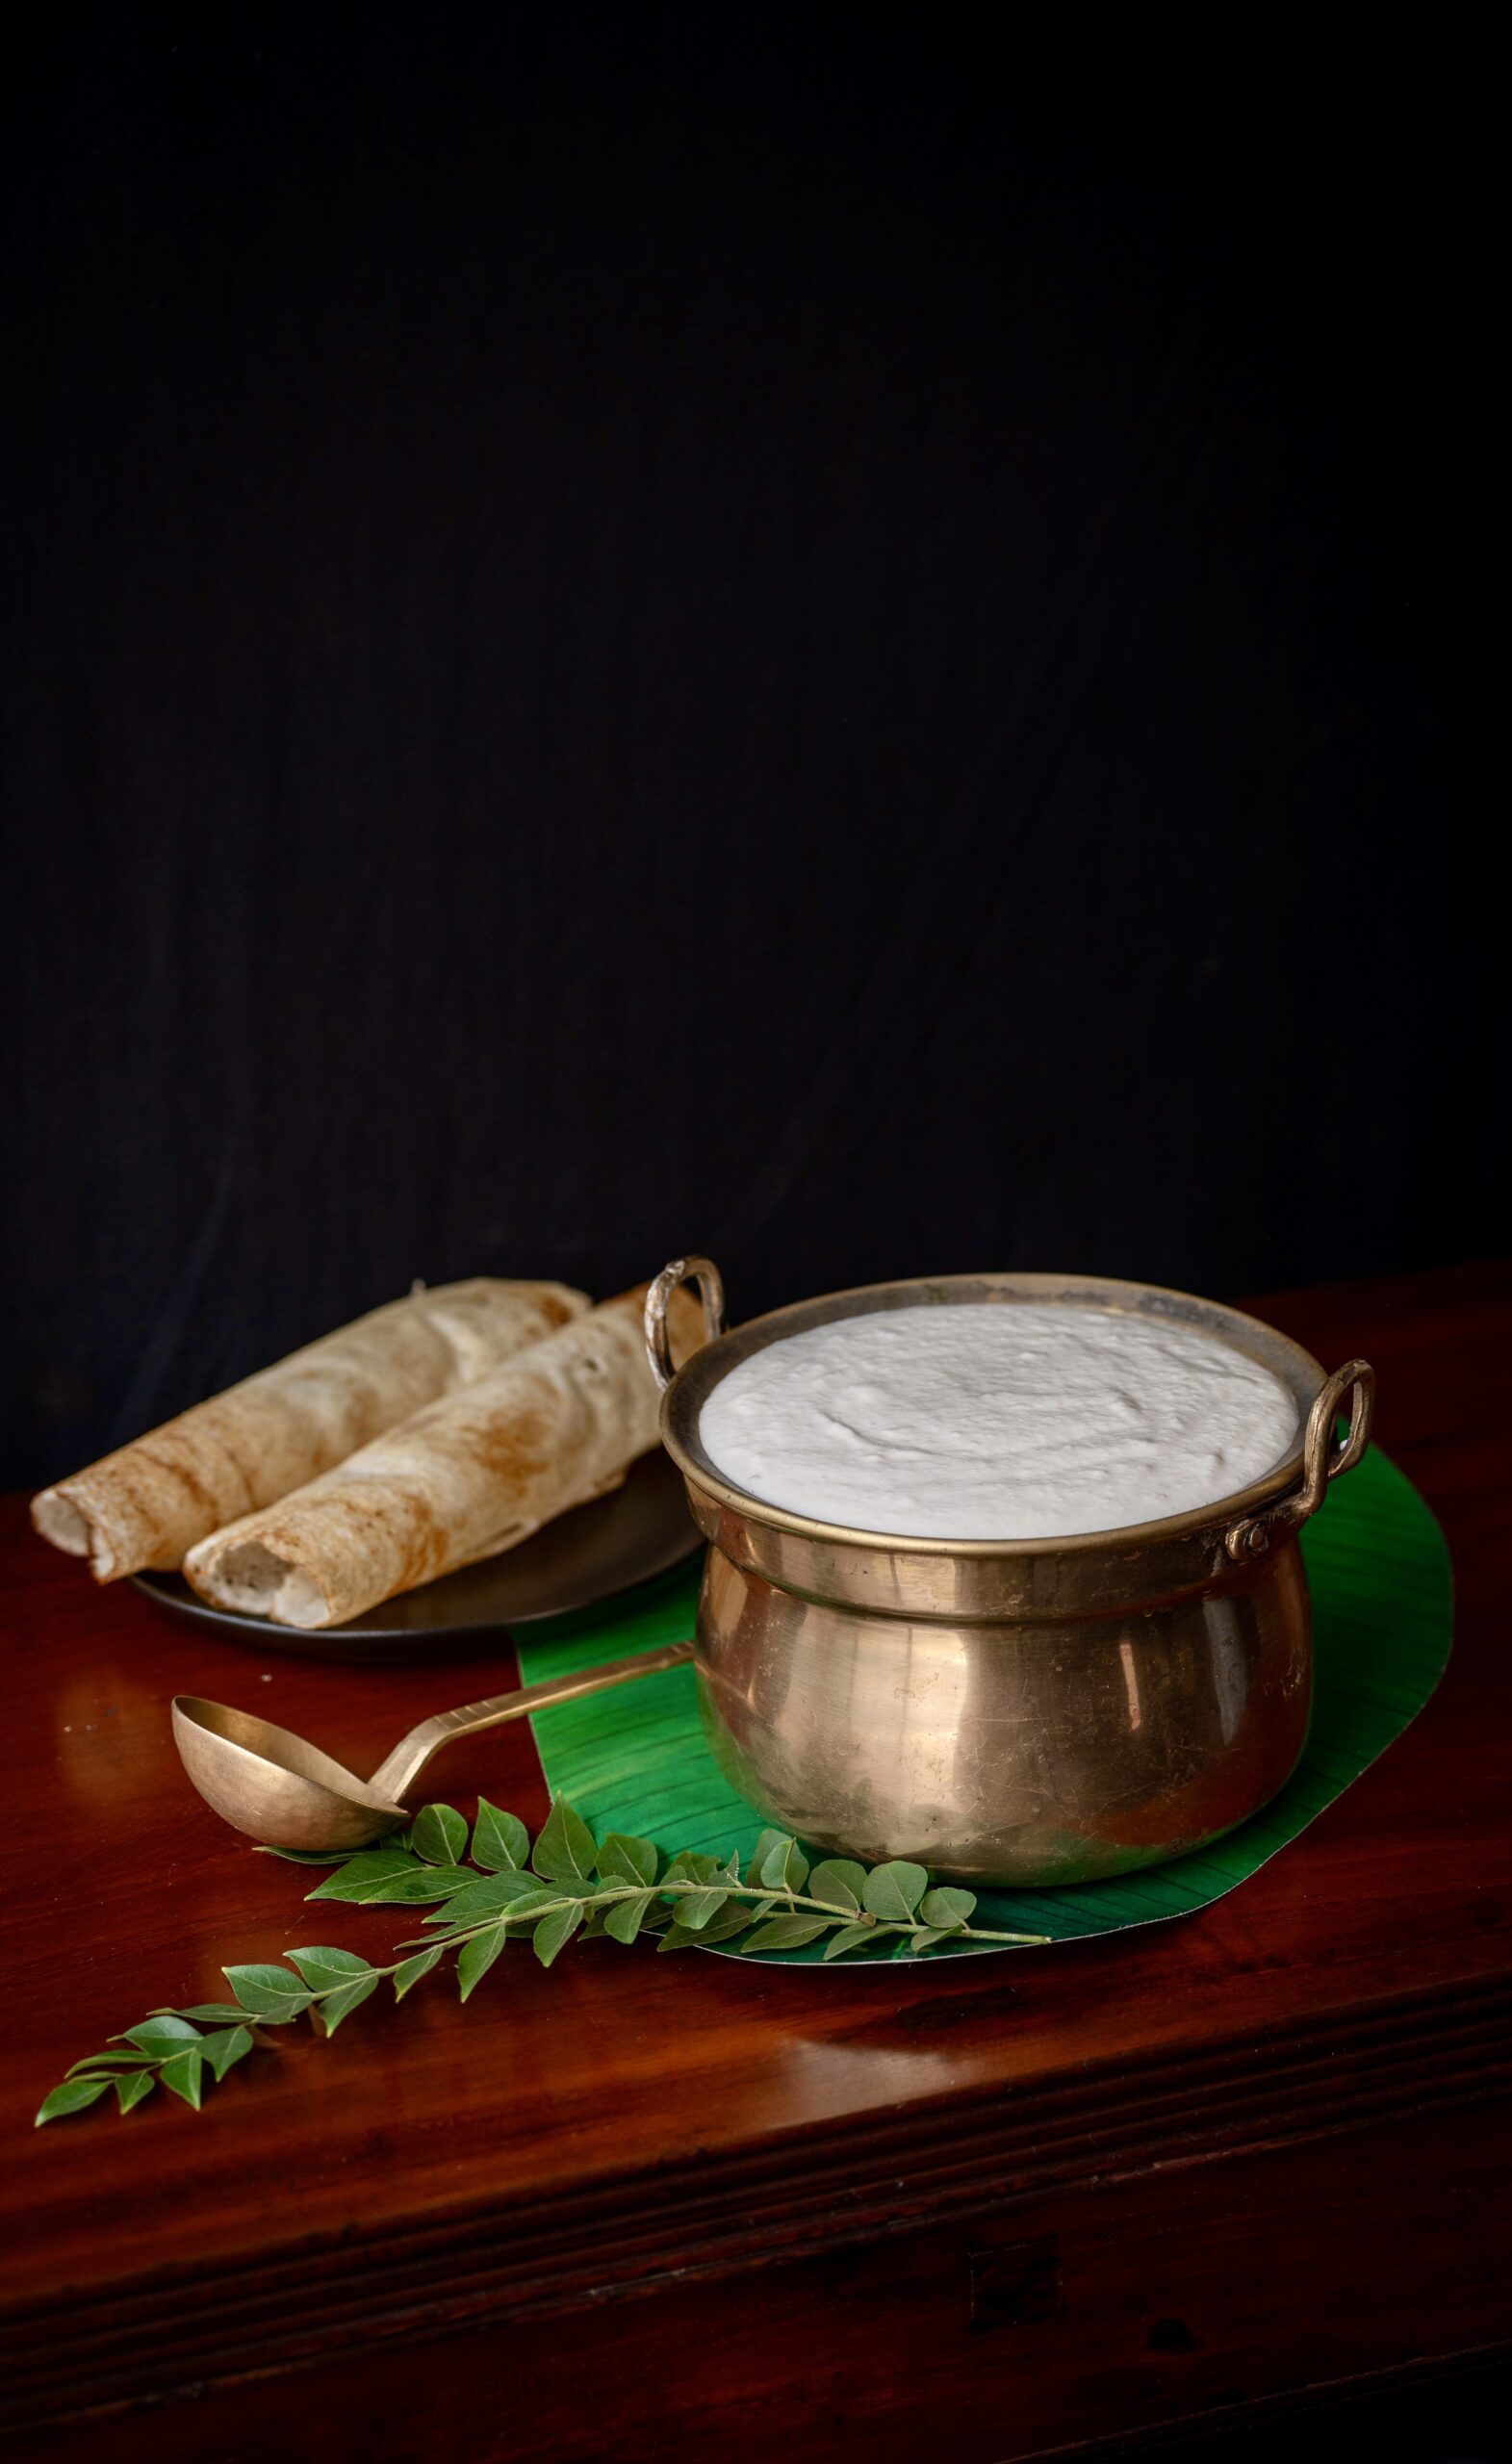
Once it has cooled, add the milk and stir well until it all comes together nicely. Adjust the milk quantity to your preference. I like it to be a little thick. Return to the refrigerator and let it cool again.
Serve very chilled. This is a perfect dessert for these hot summer months. As you can see, this delicious sugarless date payasam requires only grinding and mixing, which also makes it an easy dessert that even beginner cooks can prepare.
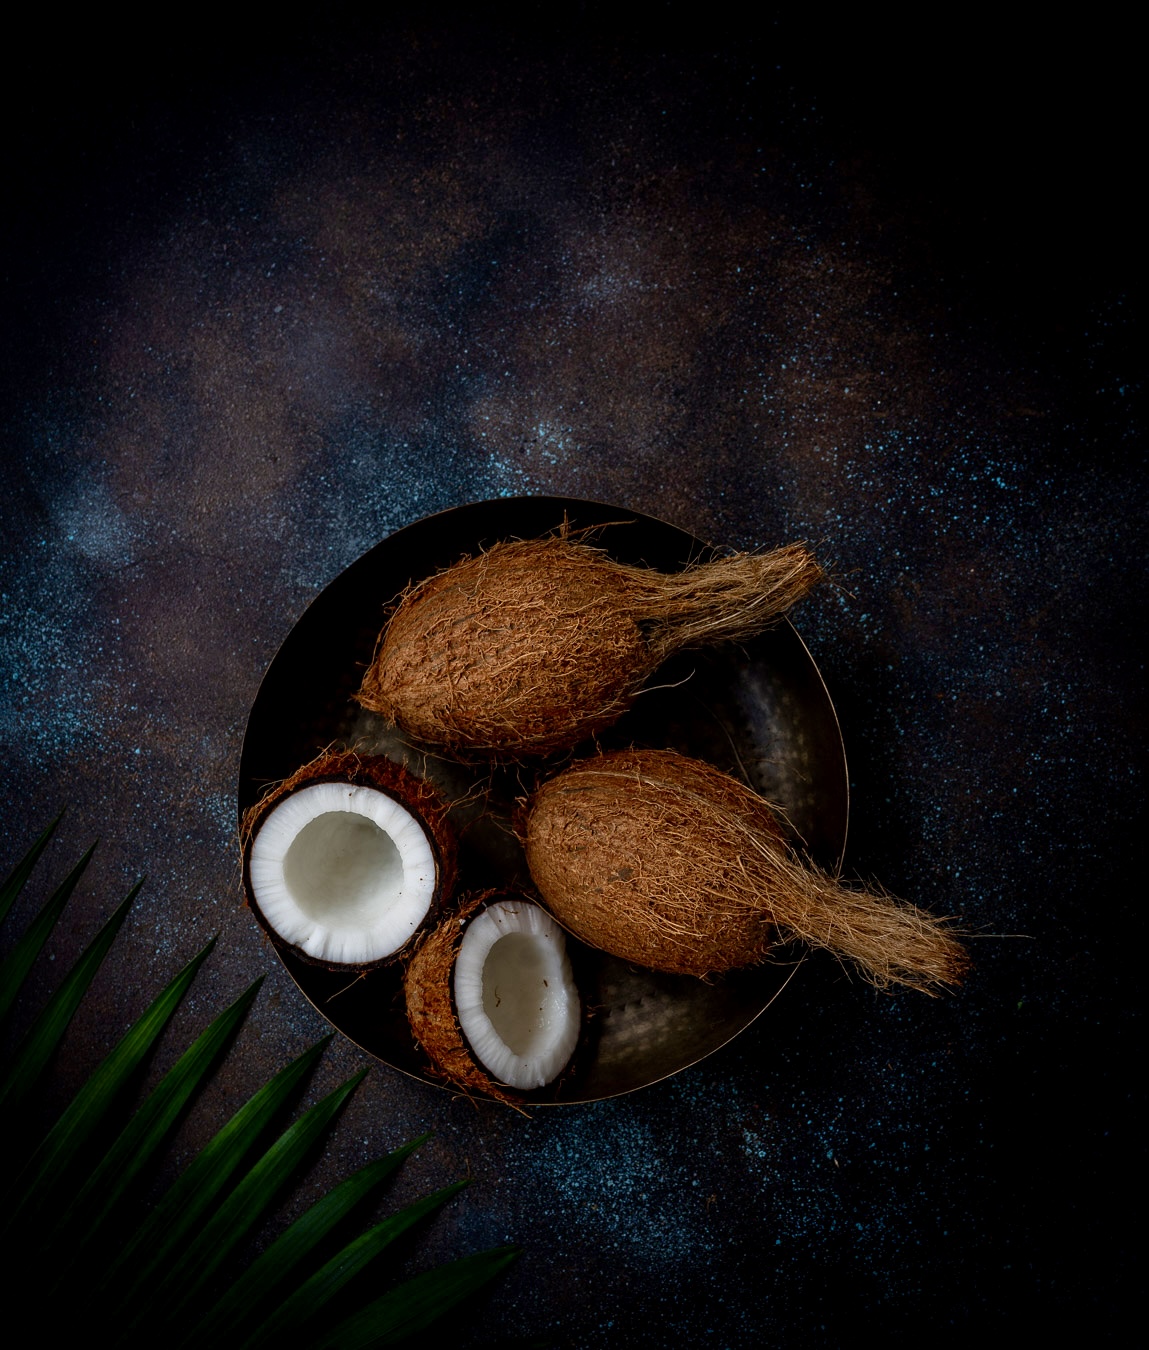
I have used cashews as I enjoy the rich flavour the nuts provide, but you can substitute them for another kind if you prefer. I also feel that the cashews sort of tone down the sweetness of the dates, which can be intense.
Ultimately, the payasam is both rich and sweet, which means that it is best in smaller portions.
Here is a suggested tweak to this recipe: add a handful of cooked rice to the milk, and then add then to the ground cashewnut-date paste and mix. This will give the dessert more substance, and more of a mouthful in each serving. The sweetness quotient will also further reduce. This preparation may technically turn it into a kheer rather than a payasam, but I have little doubt that anyone will complain! It will turn out delicious both ways, and while my father-in-law is not here to enjoy this dish in either variation, the rest of my family certainly does. As for me, my sweet tooth is sated, with a spoonful or two less of… guilt!