Mango is, as cliché as it sounds, truly the king of fruits – in India at least, if not the world.
It’s amazing how many recipes each person, not just each community or state, but each individual, can come up with using mango. Whether raw, ripe, or dried, this core ingredient can be used in countless ways. I recently mentioned aam ki launji, a Marwari condiment that is neither a pickle nor a chutney but is almost both, and I am happy to share a recipe for this today.
I’ve mentioned in the past how we have a tradition of exchanging mangoes during the season. Between friends, they travel lovingly – from my farm to yours, or my backyard to yours. During these trades, I have been inspired by learning about varieties of the fruit that were unknown to me. For instance, a friend of ours has around 20 mango trees in his garden in Kerala. When we visited him recently, he brought out some fruits called “mallika”. He grows them organically, without the use of any chemical sprays.
The mallika is such a lovely mango. It is so flavourful, and simply beautiful to look at. Its peel is a deep orange colour, and its shape is long and striking. It’s such a big mango — one that demands to be shared.
He gave me one to take home – a raw fruit that ripened slowly, which I was able to enjoy alongside the memories of the trip itself. I really treasured eating that mango, and now that season draws to a close, I am certain that it was one of this year’s mango highlights for me. I hope you too have had a particular mango, or many mangoes, that you especially cherished this year.
Returning now to aam ki launji after that dreamy interlude with organic Kerala mallikas, this dish is dear to me because it was taught to me by a beloved aunt of mine. Her name was Pushpa Agarwal, and she also happened to be a neighbour a long time ago when my children were little. In many ways, she played the role of a mother-in-law to me, guiding me and supporting me. Every time that I had any issues with my kids, she would come running to help me, or I would go running to her. She taught me a lot about child care, but she also taught me certain recipes. For instance, she made the best pani puri ever – it even beat streetside chaat stalls!
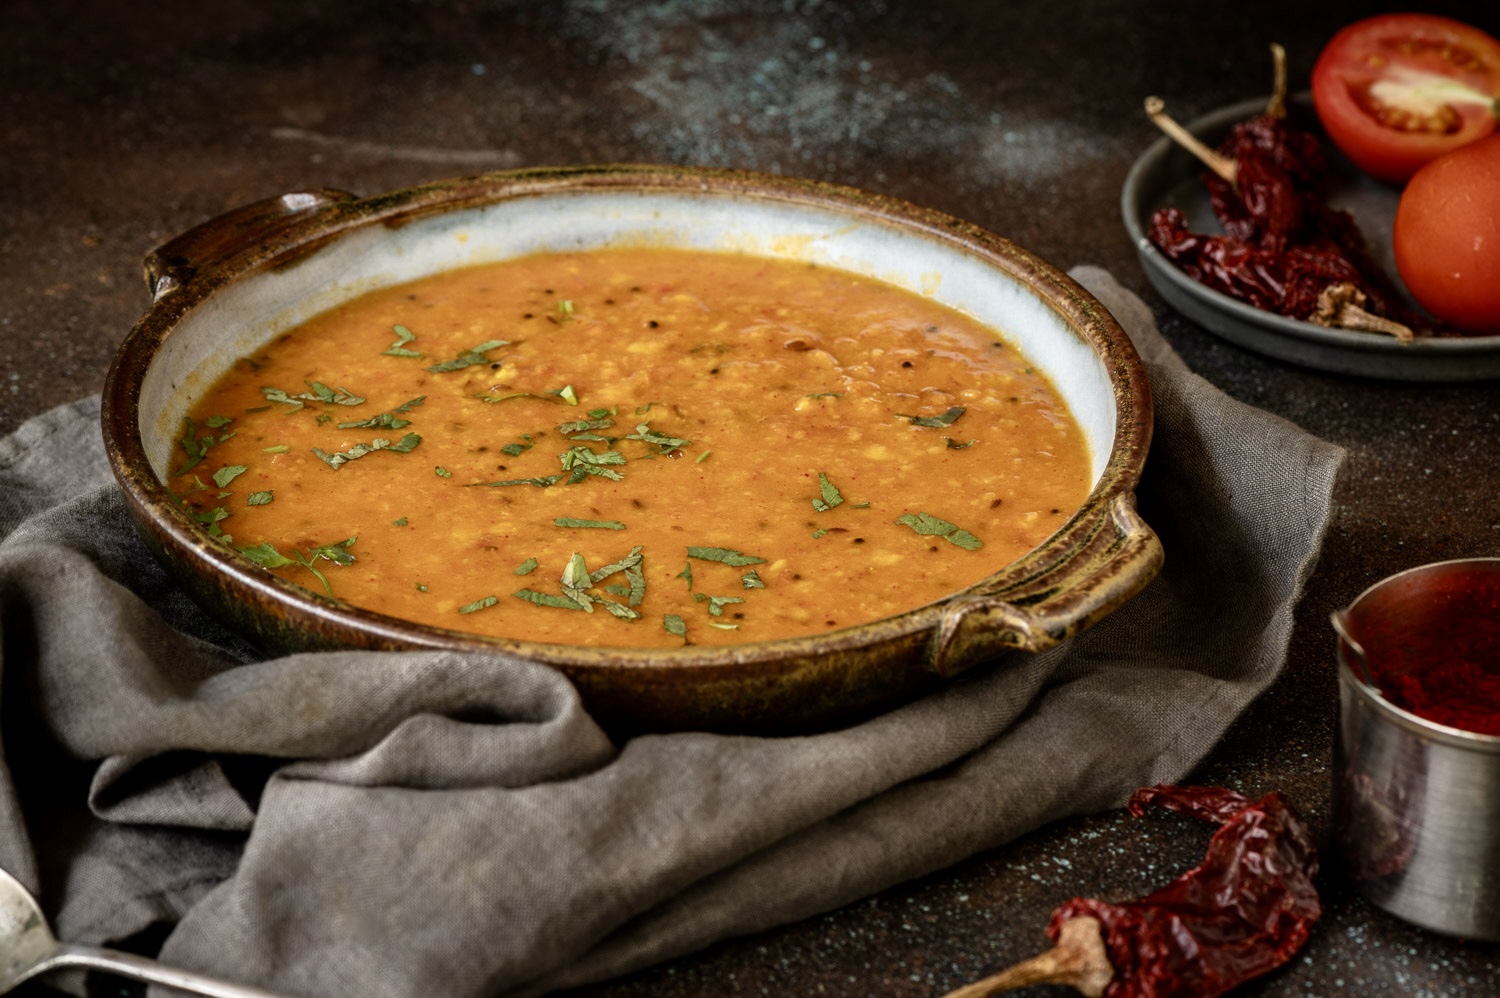
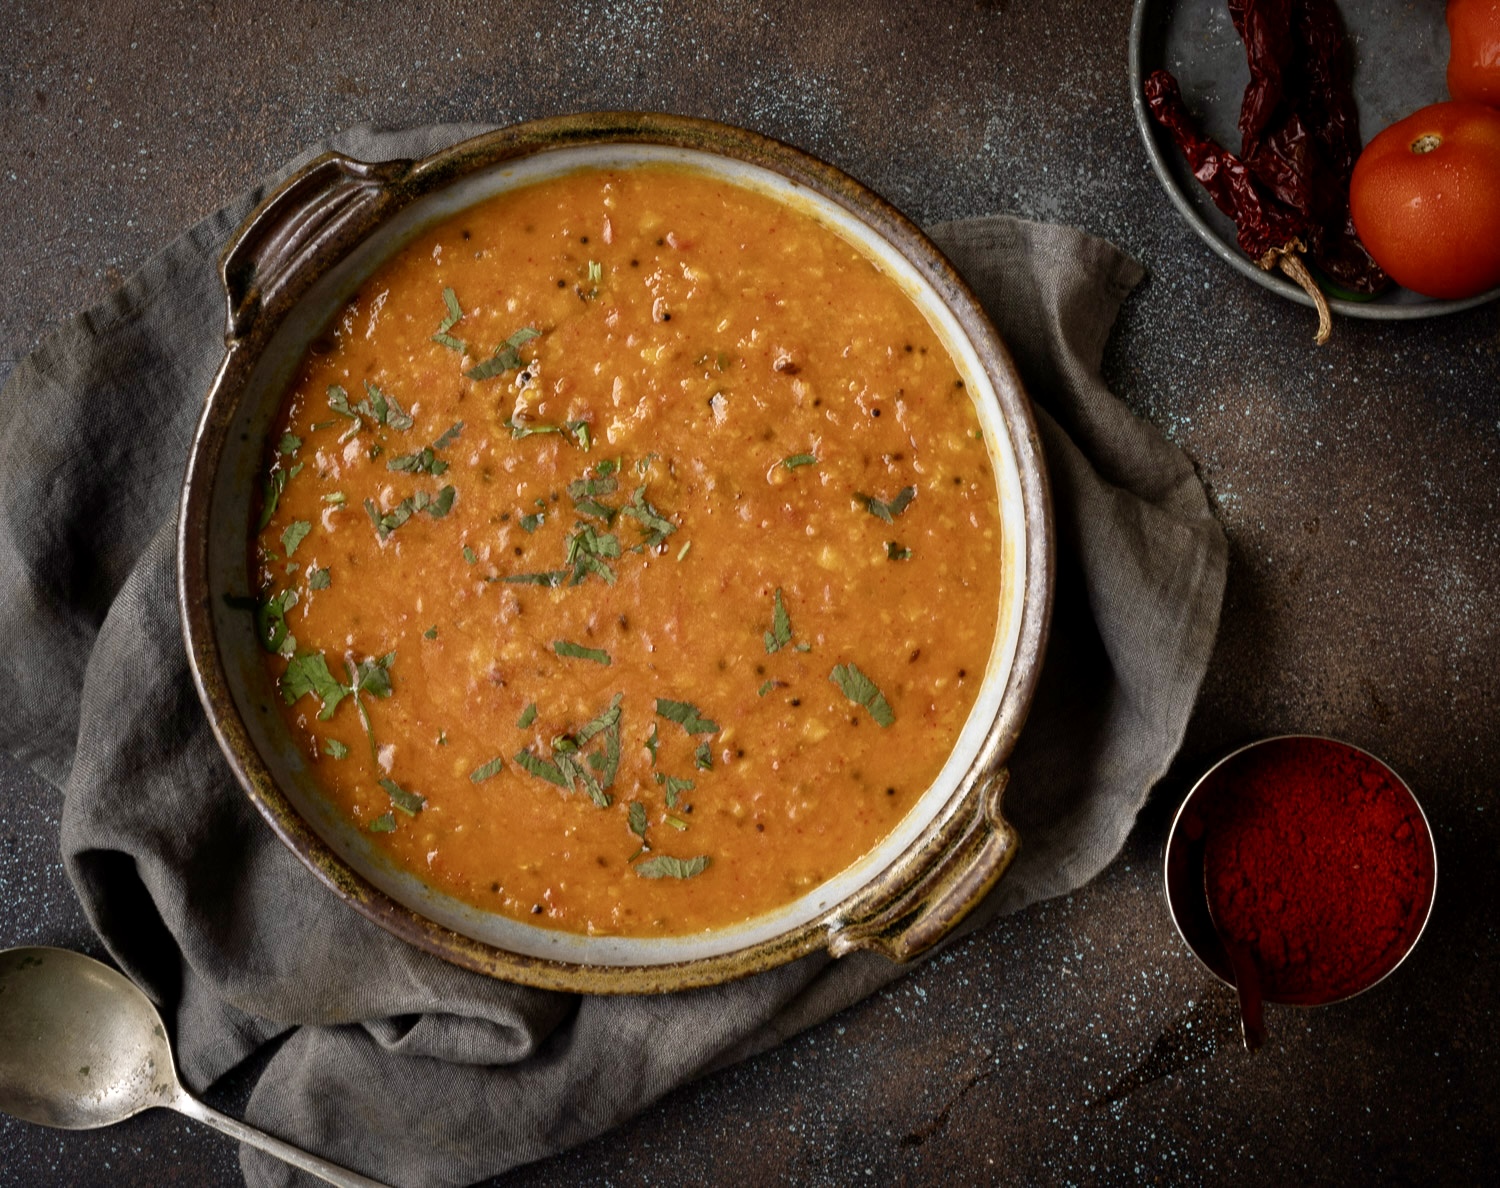
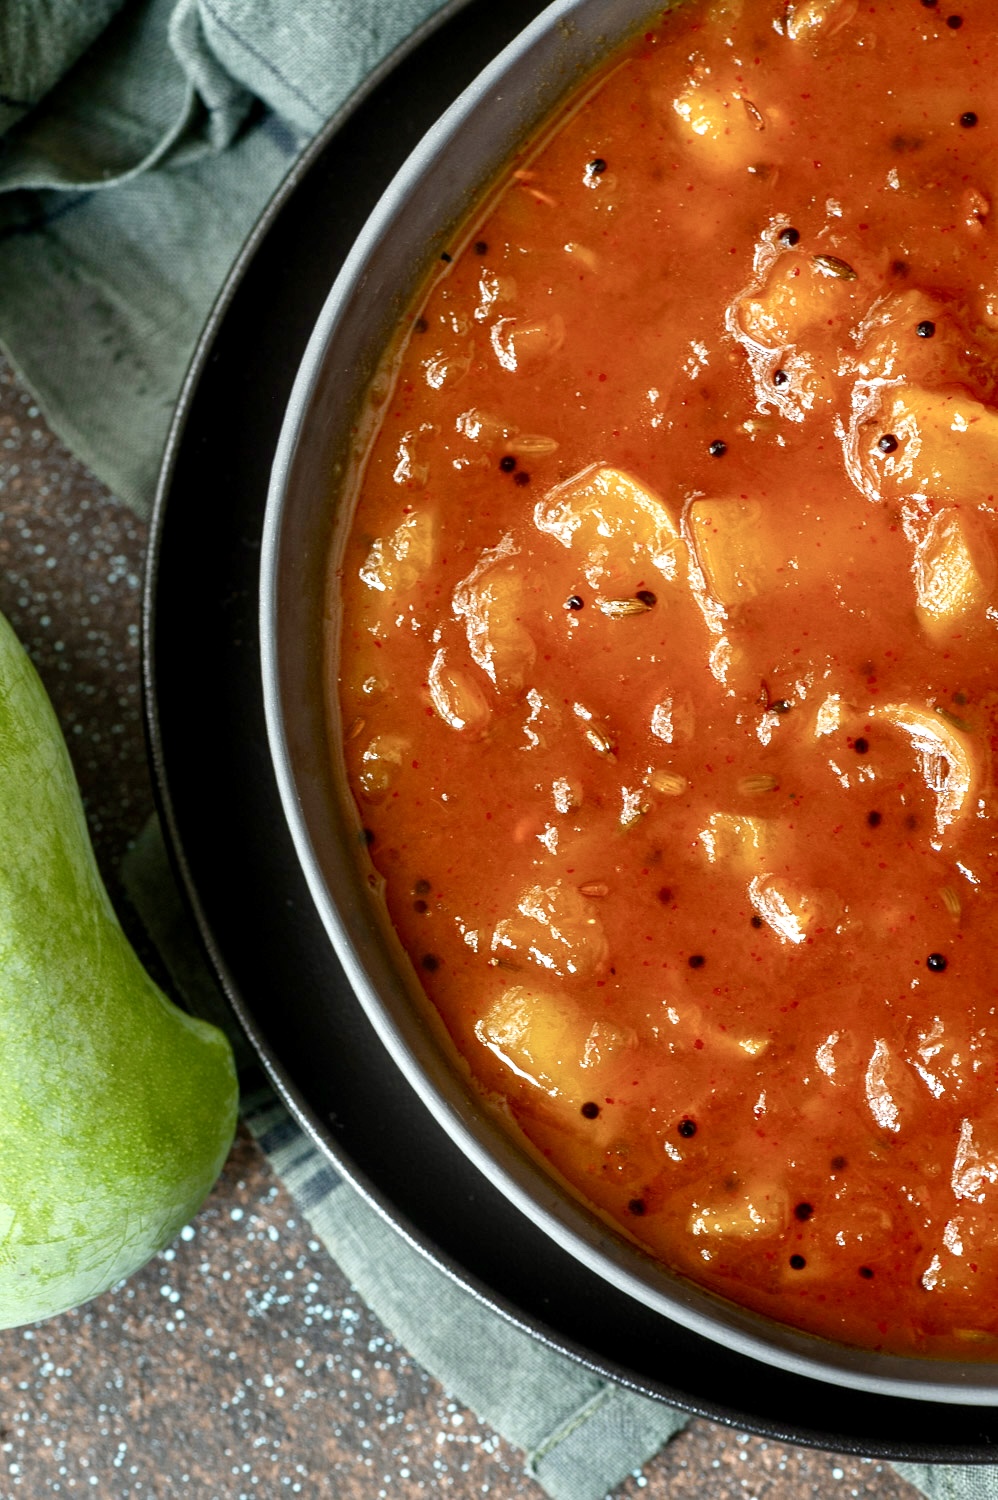
Aam ki launji, of course, was one of my inheritances from her. Since our palate at home is largely Gujarati and Tamil, this Marwari dish makes an appearance only because of Pushpa Aunty. You will see from the method below that the spices are different from the kinds of recipes that typically appear on this blog, as it’s from a cuisine range that I haven’t worked with here before. That said, some form of this dish is made pan-India. I’ve come across similar condiments in Kerala and Tamil Nadu too, though it goes by other names of course. At its core, it’s a blend of mango and jaggery, but the spices used vary from place to place.
My husband loves foods that are both sweet and tangy, so this aam ki launji is naturally one of his favourites. This means we usually have a batch in the fridge. It keeps well for about two weeks, although it gets finished off much sooner at my house. It goes really well with theplas and other flatbreads.
As I said, I am sharing this at the close of the mango season, when sweet, ripe mangoes can be replaced with something like a pickle, a daily condiment – one that is made with raw mango. Something I notice is that my body also craves foods in a seasonal way. My hankering for mangoes is dissipating as the weather changes. The need to have a nice, fresh, juicy mango to rival the heat is gone. I have noticed this happen in other years too, and I believe that our bodies adapt and that it’s not just a case of repetitively consuming to the point of boredom. Personally, I don’t even attempt freezing mangoes for the winter because I know I won’t want them then.
So, at the tail end of May, a last taste: aam ki launji.
Aam Ki Launji
(Yield: 2 cups)
500 grams raw mango
2 tablespoons sesame oil
1 teaspoon mustard seeds
1 teaspoon cumin seeds
½ teaspoon nigella seeds
¼ teaspoon methi seeds (fenugreek)
¼ teaspoon asafoetida
150 grams jaggery
Salt to taste
¼ teaspoon turmeric powder
1 heaped teaspoon Kashmiri chilli powder
½ cup water
Wash, peel and cut the mangoes. Set aside.
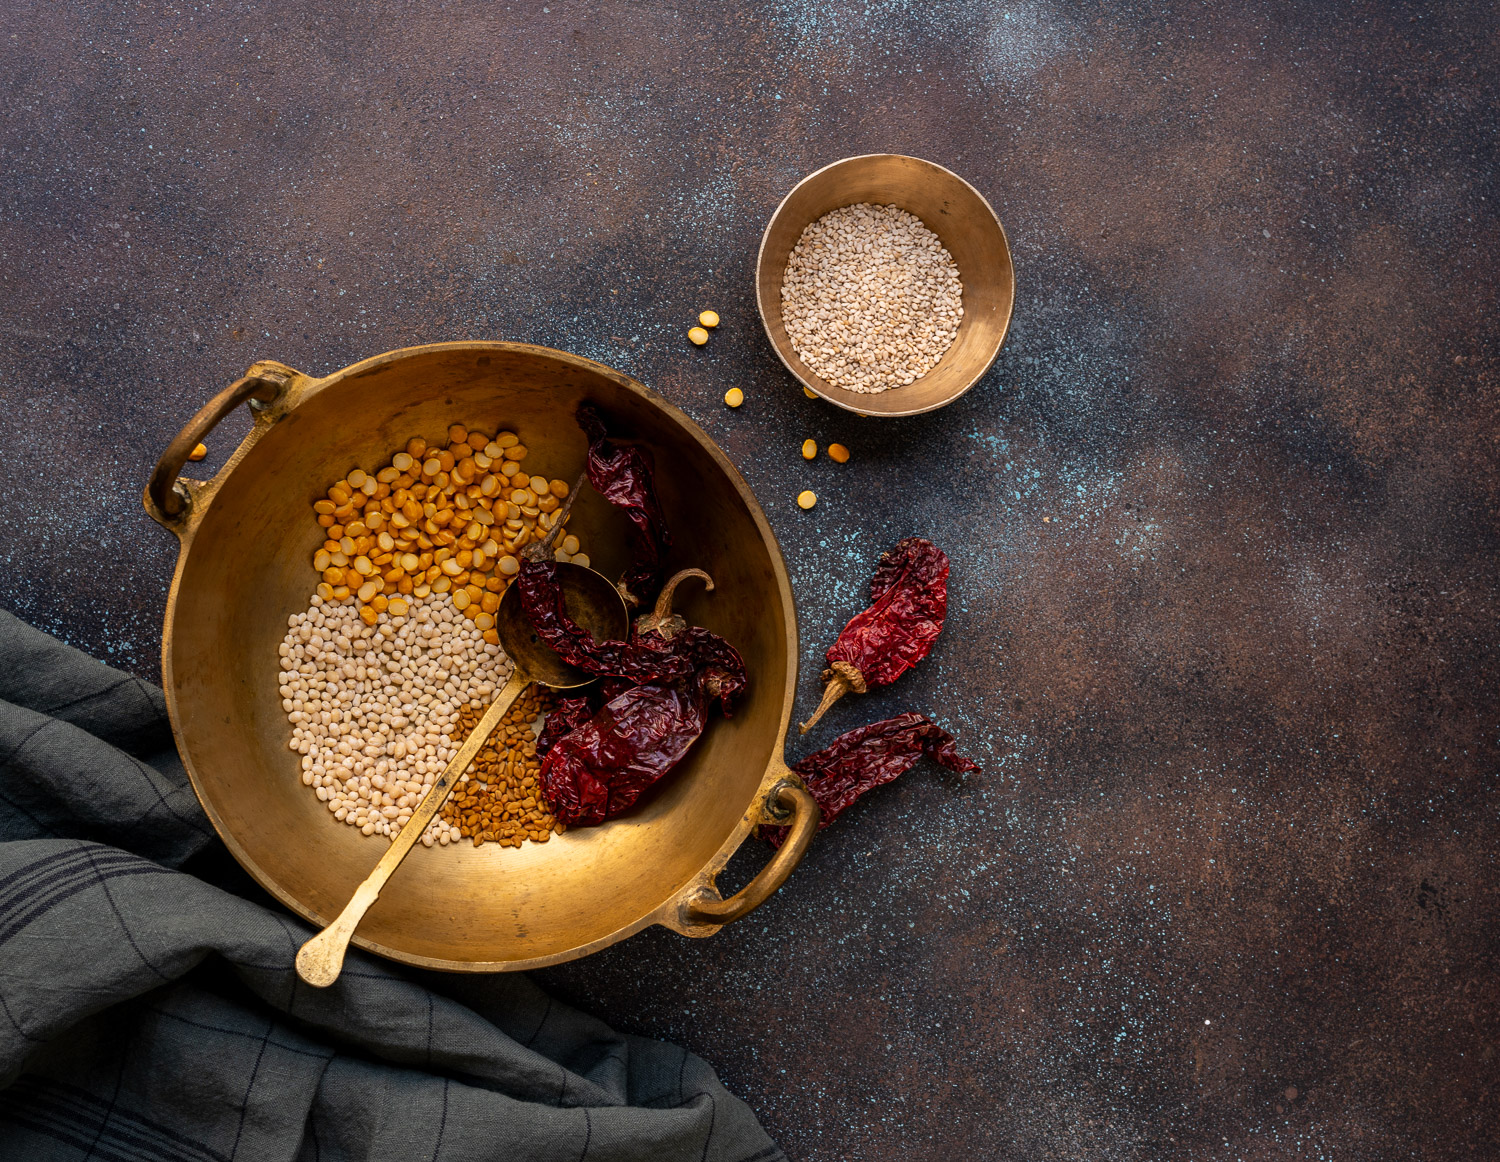
Heat a kadai and add the oil. Now add the mustard seeds, cumin seeds, nigella seeds and methi. Once the seeds splutter, add the asafoetida.
Now, add the mangoes and sprinkle some water. Cover and allow to cook until mangoes are slightly tender. Open the lid and add salt and turmeric. Mix and then add the jaggery. Add water and chilli powder.
Stir and cover with lid until the water thickens. Your aam ki launji is now ready.
Enjoy it with flatbreads, rice or in any way you’d like to. As I said, it’s a special kind of condiment: not quite a pickle, not quite a chutney, not quite a gravy. It tastes just great, and accompanies many main courses beautifully. I do hope you’ll use your last chance to make the most of mangoes this season by preparing some aam ki launji to bring joy for a couple of weeks of the monsoon!