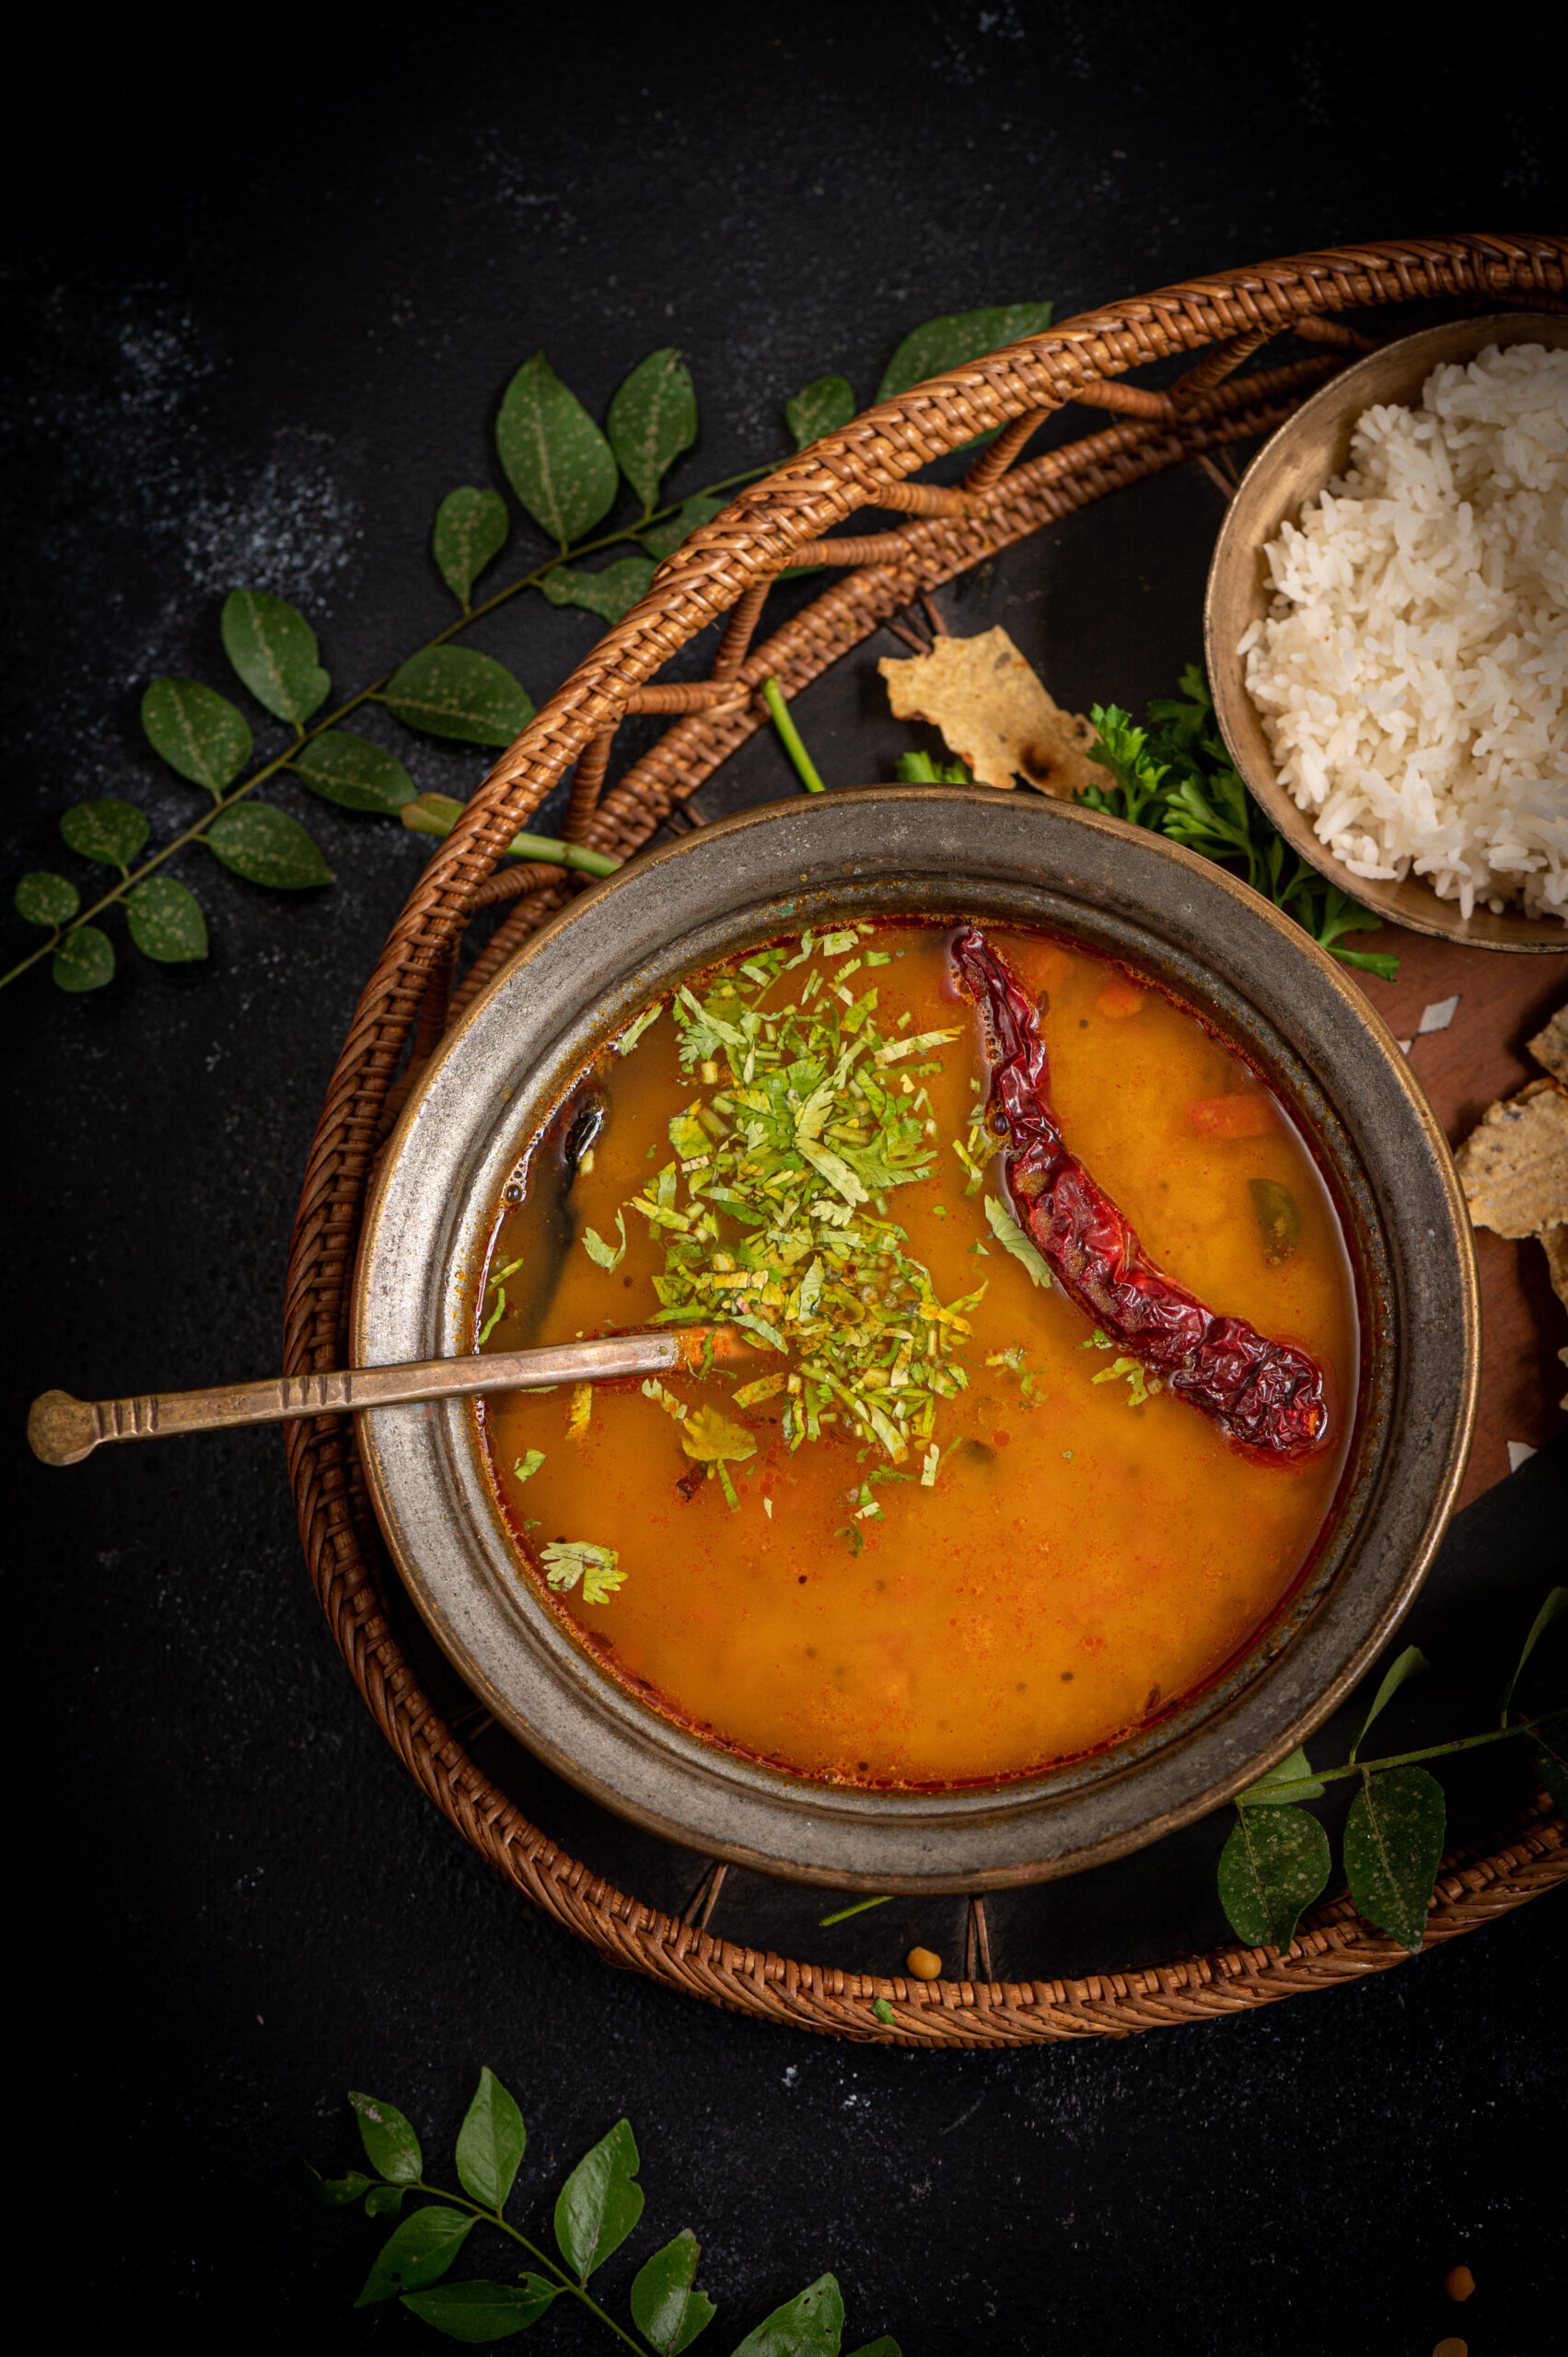
Thayirsadam is a typically Tamil dish, and translates literally to “curd rice”. It is exquisitely simple and accessible food, which is why it is eaten here on practically a daily basis at households of every background. Even though we are Gujaratis, as lifelong Chennaiites, it is also a go-to in our home. It’s among the comfort foods we reach for whenever we feel down, or when we come back tired from a long trip. It’s also ideal for the day after late night parties, when not much has been prepped for the day’s meals, other than the homemade yoghurt that we ensure is made nightly without fail.
I’ve spoken many times of my deep love for yoghurt ever since childhood, and of how I used to consume it even by mixing it into upma and in other unconventional combinations. My love for it is something I brought into my new home when I got married, and I made it a staple in this household too. It truly is the ingredient that I find most difficult to give up even as we as a family make further inroads into a vegan lifestyle. For a variety of reasons, ranging from wanting to eating healthier to having doubts about the quality and purity of store-bought milk to being moved by the plight of mistreated dairy cows, we have all been veering towards the vegan way. My struggle to at least consume less yoghurt, even if I can’t quite give it up, has made me explore healthy and conscious alternatives. It’s such an integral part of Indian cuisine that it’s not a matter of finding a simple substitute for one or two recipes. I have to match each replacement to the dish, and see how it fares in that unique combination.
I have also been trying to make vegan yoghurt at home. Many of my experiments have failed, but a few attempts have brought me some degree of success. However, as I have yet to perfect a recipe that I feel I can confidently share with you, I won’t do so for now. My fingers are crossed that a vegan homemade yoghurt recipe will one day be featured on this blog.
So for now, we will stick to store-bought vegan yoghurt. Coconut yoghurt is my preferred one for this dish. I love the flavour: simple, versatile and a little sweet. Coconut also takes on the flavour of whatever you add it to, while retaining its own standalone taste. I add a dash of lemon to it so as to evoke the slight sourness of dairy yoghurt.
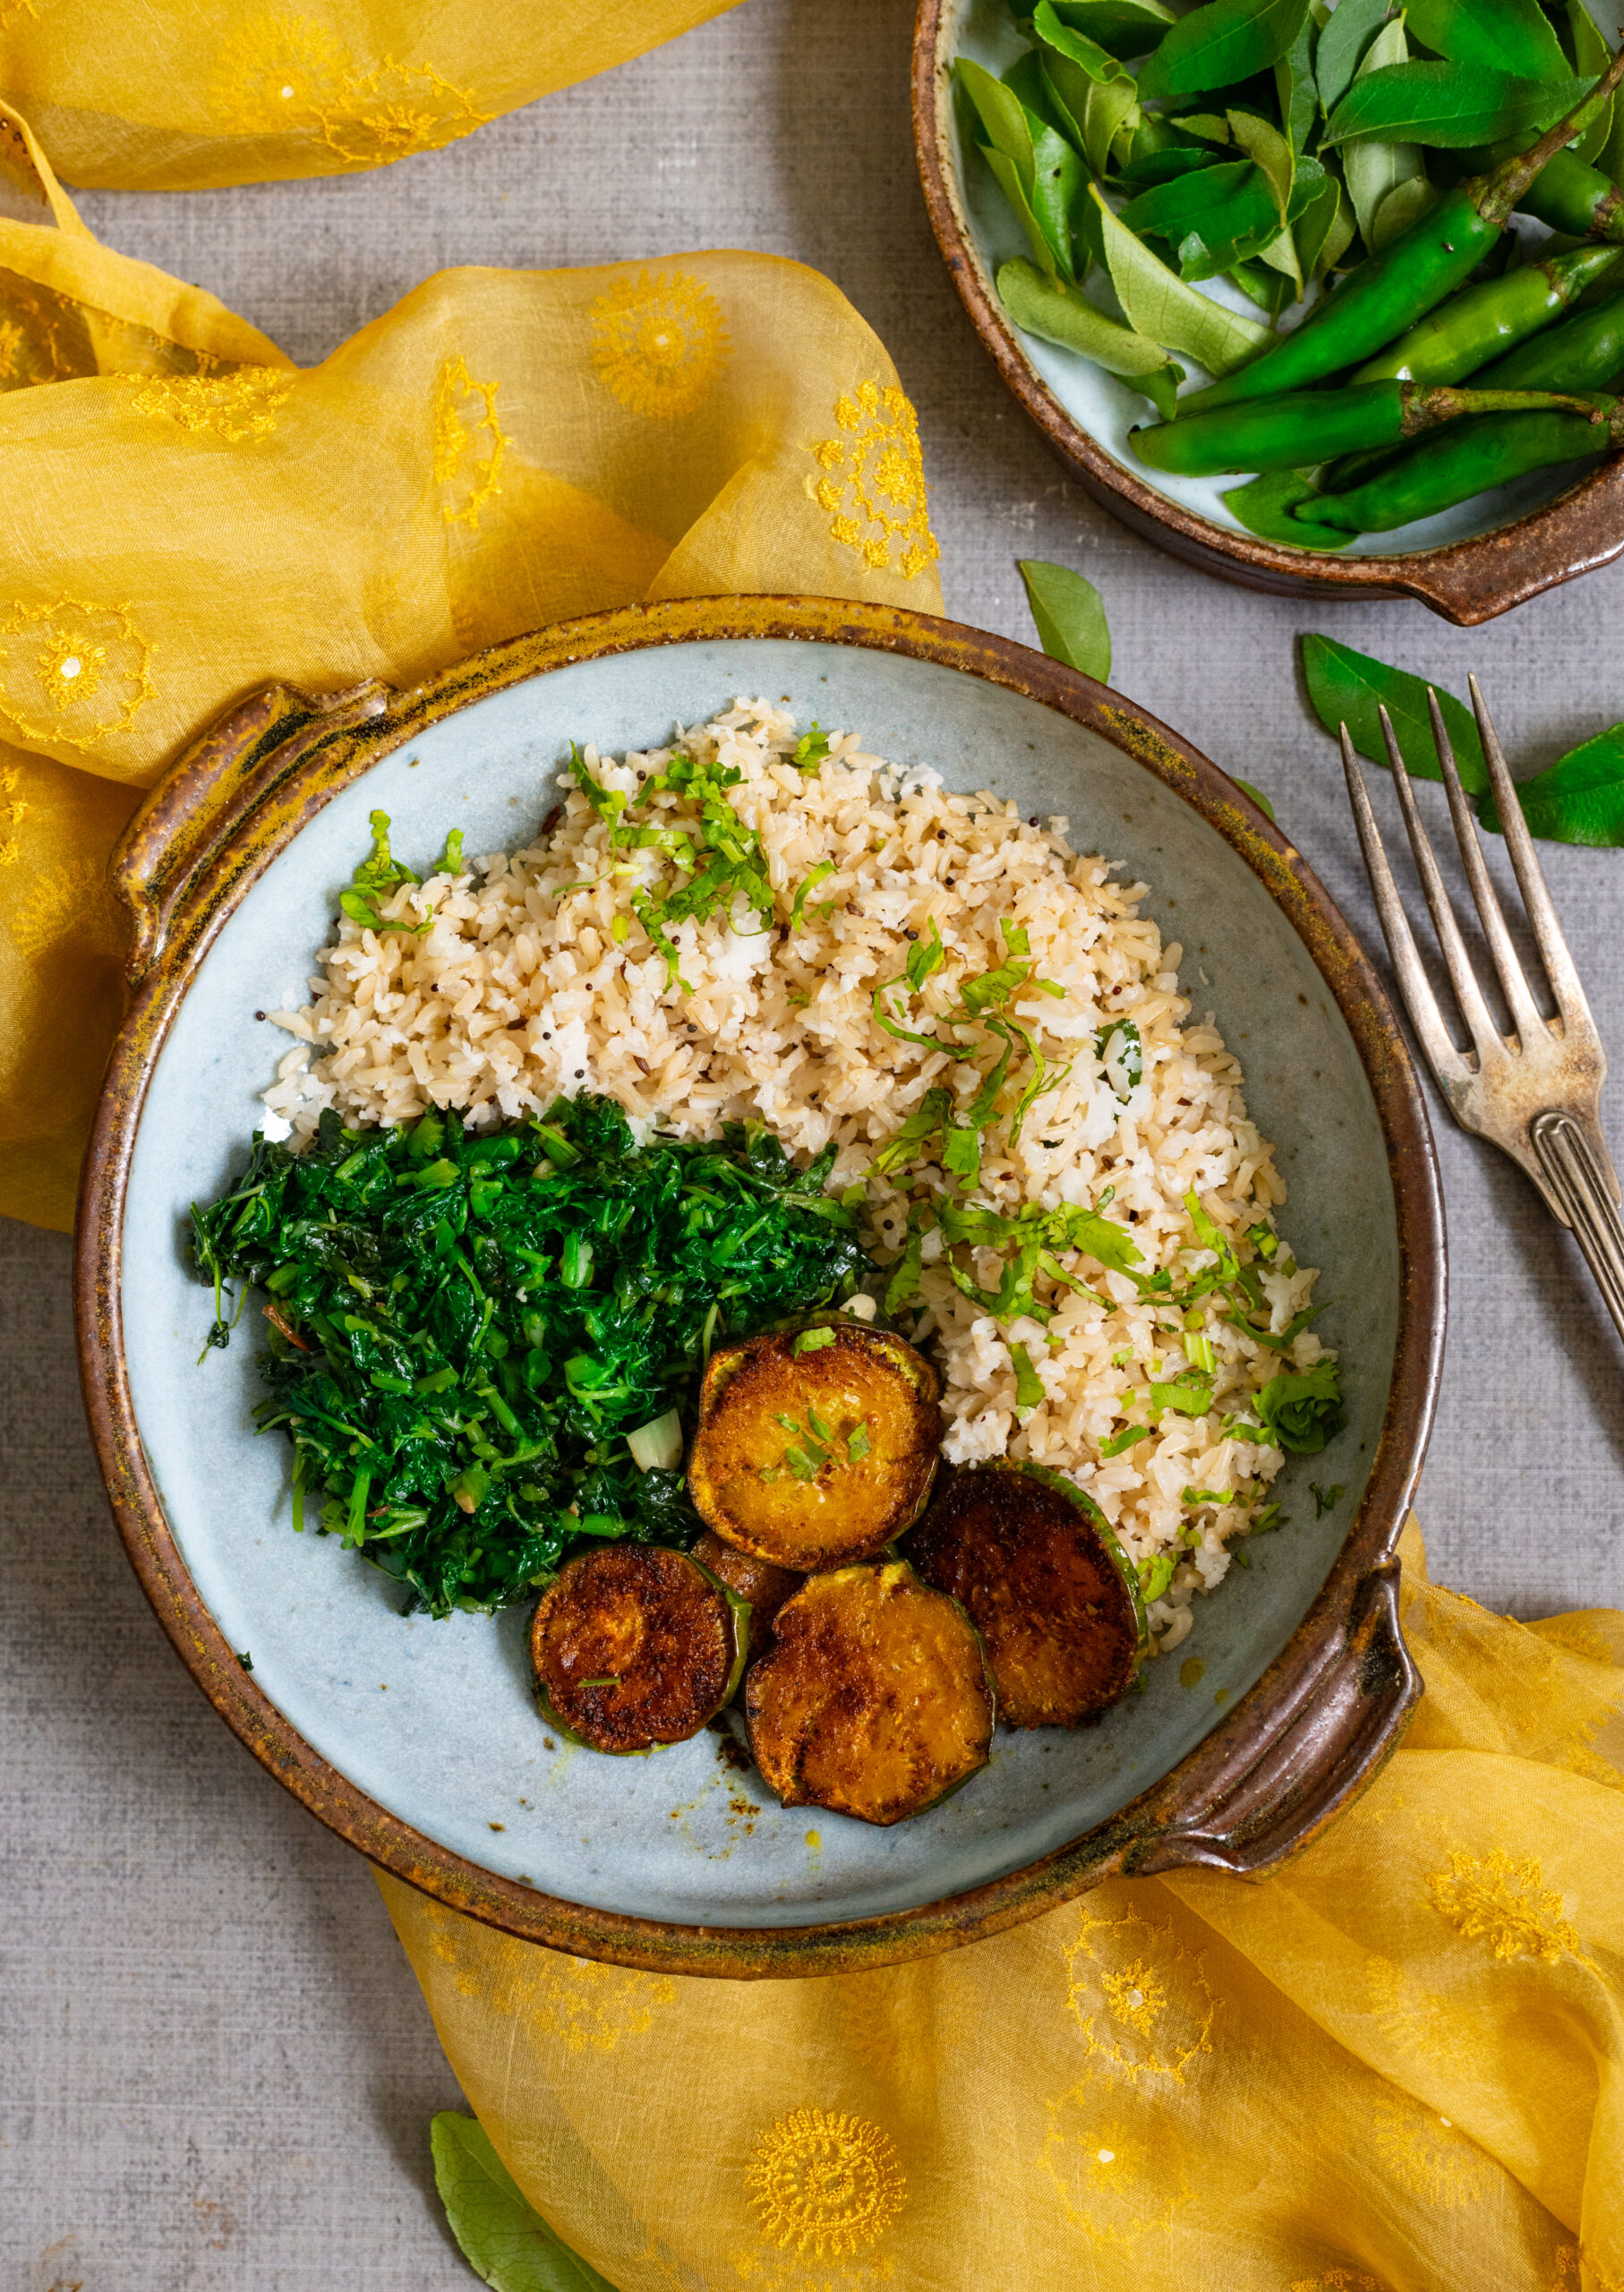
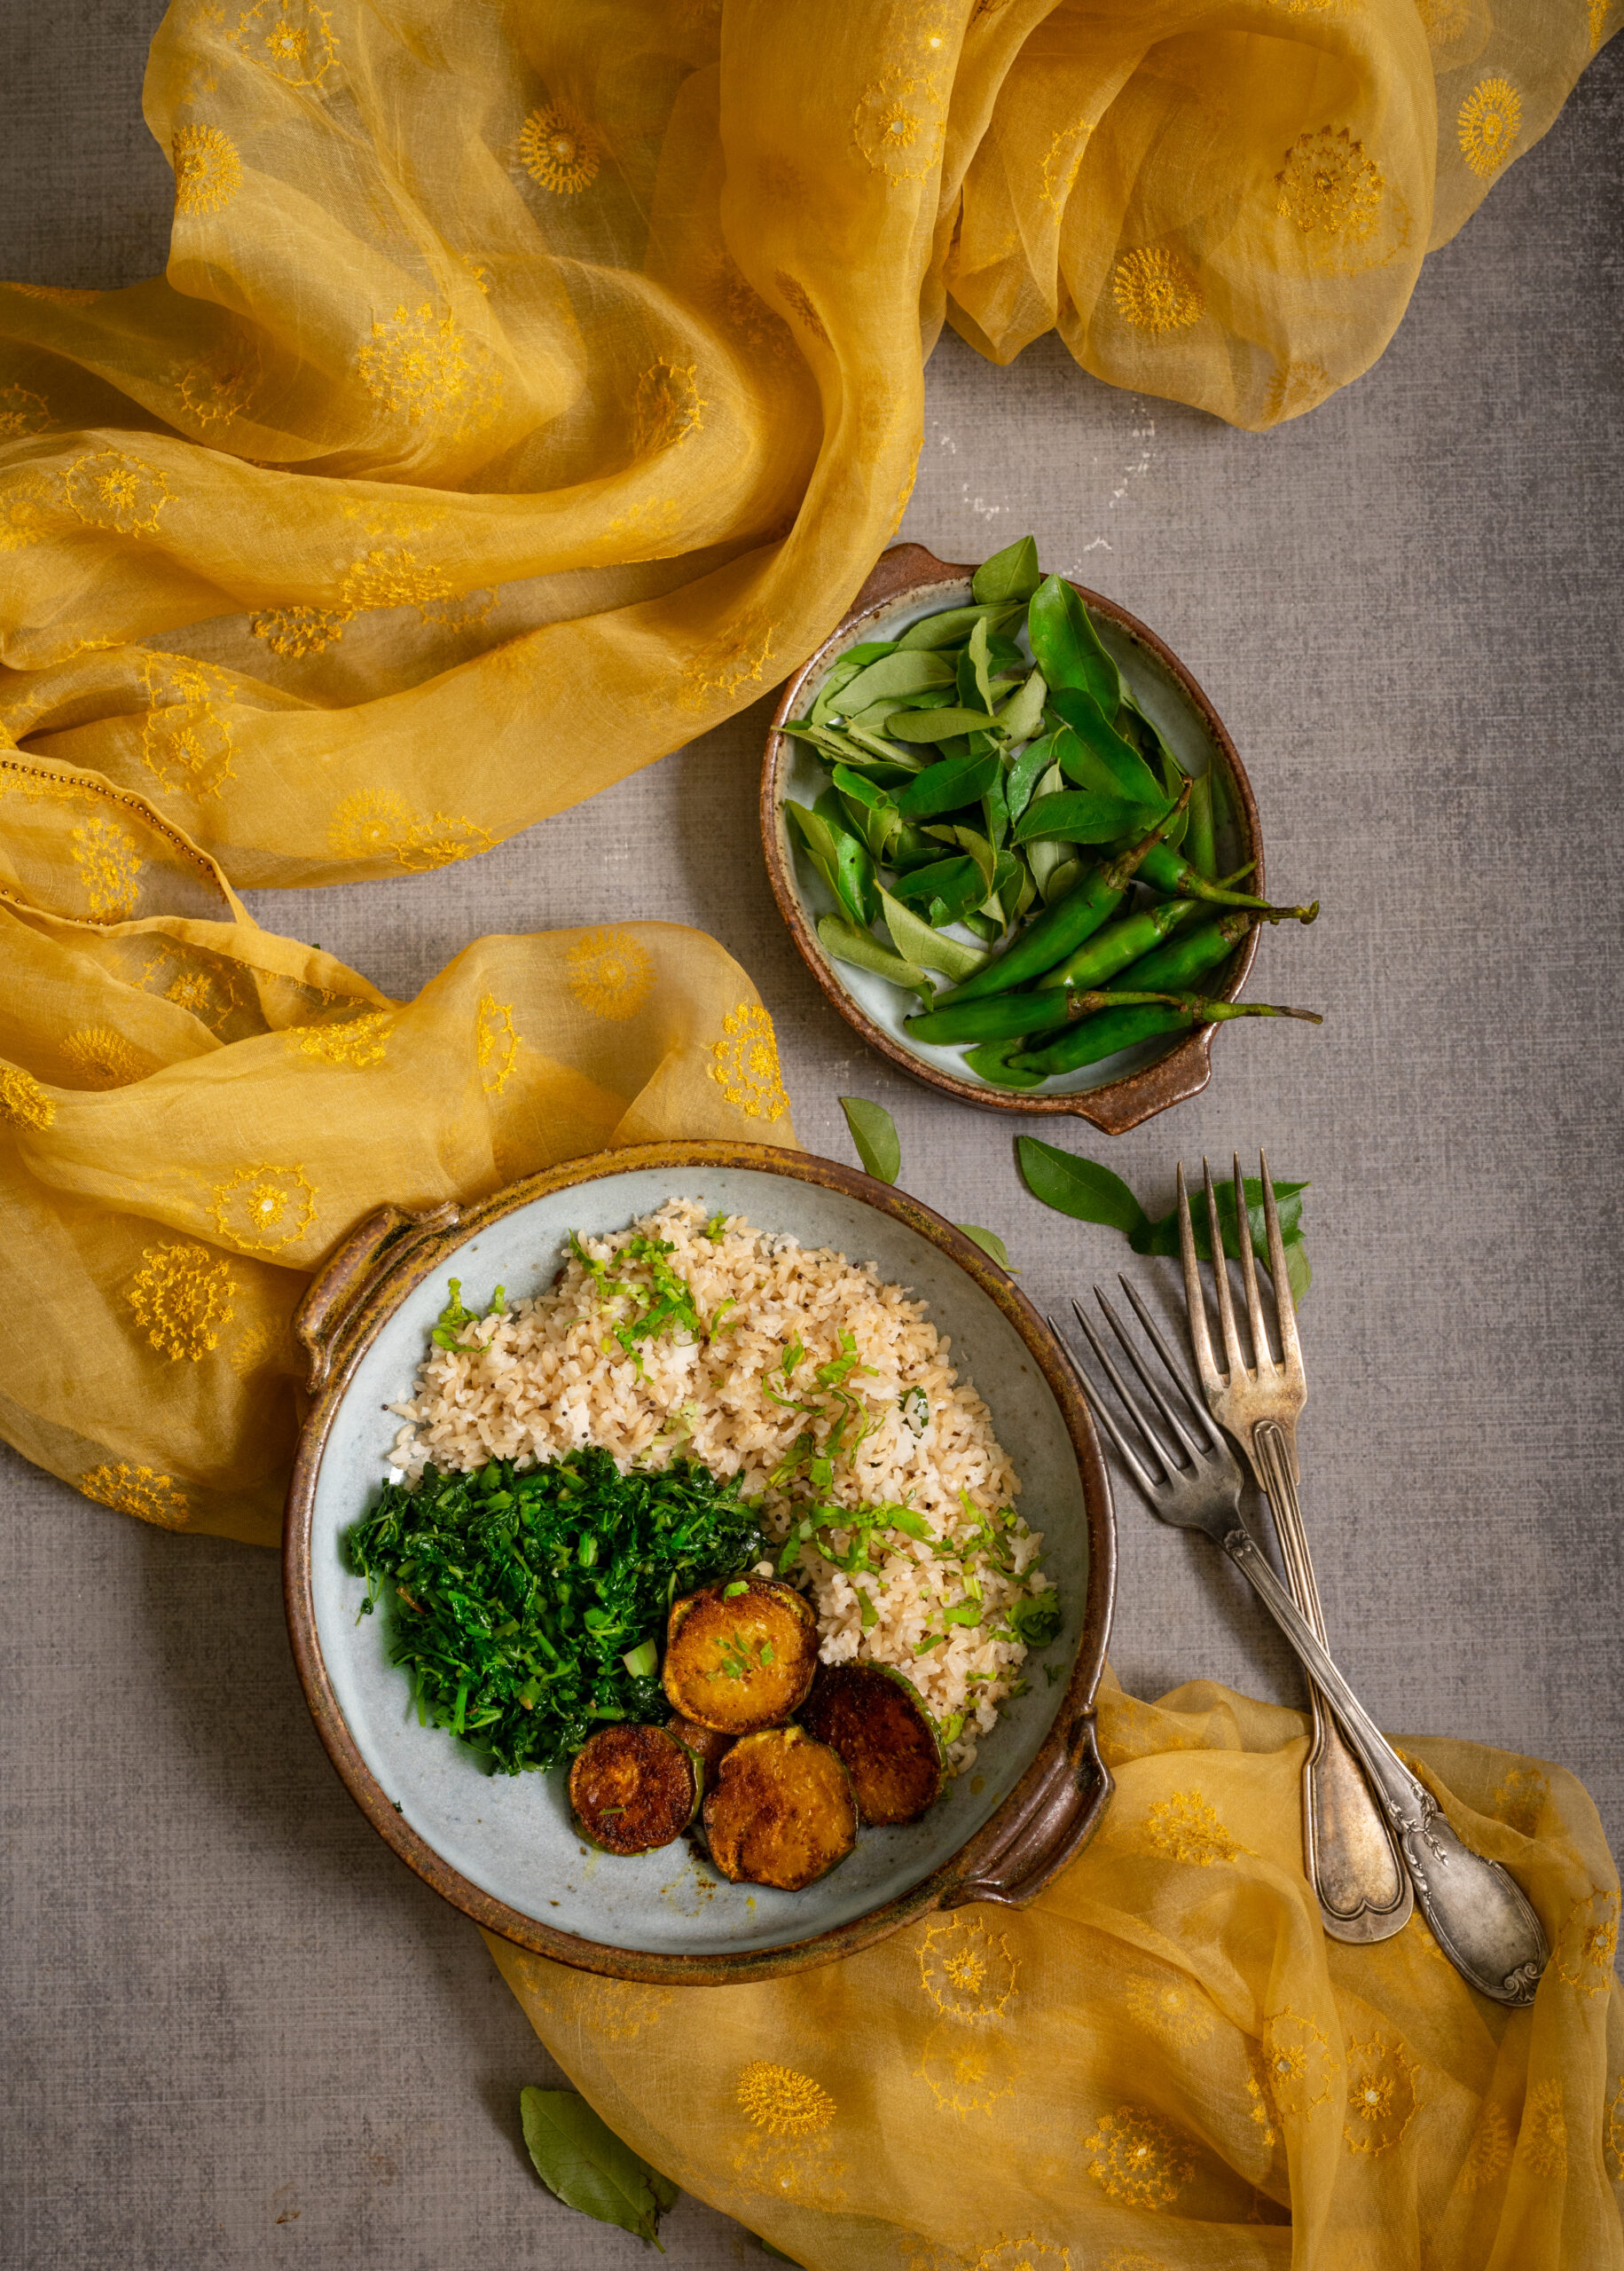
In addition to trying to eat vegan more often, I am also going through a phase where I am cutting down carbs, which means white rice is something I avoid. This leads me back to a food category that I’m passionate about: millets. Millets have made many appearances on this blog due to my belief in their importance in terms of good health and eco-sustainability. If you haven’t already enjoyed the following recipes, I hope you’ll check out: my vegan chilli bowl starring kodo millet, Indian vegetable salad starring foxtail millet or some authentic local dishes that showcase how millets have always been eaten in this region, such as chakkara pongal and ragi kanji.
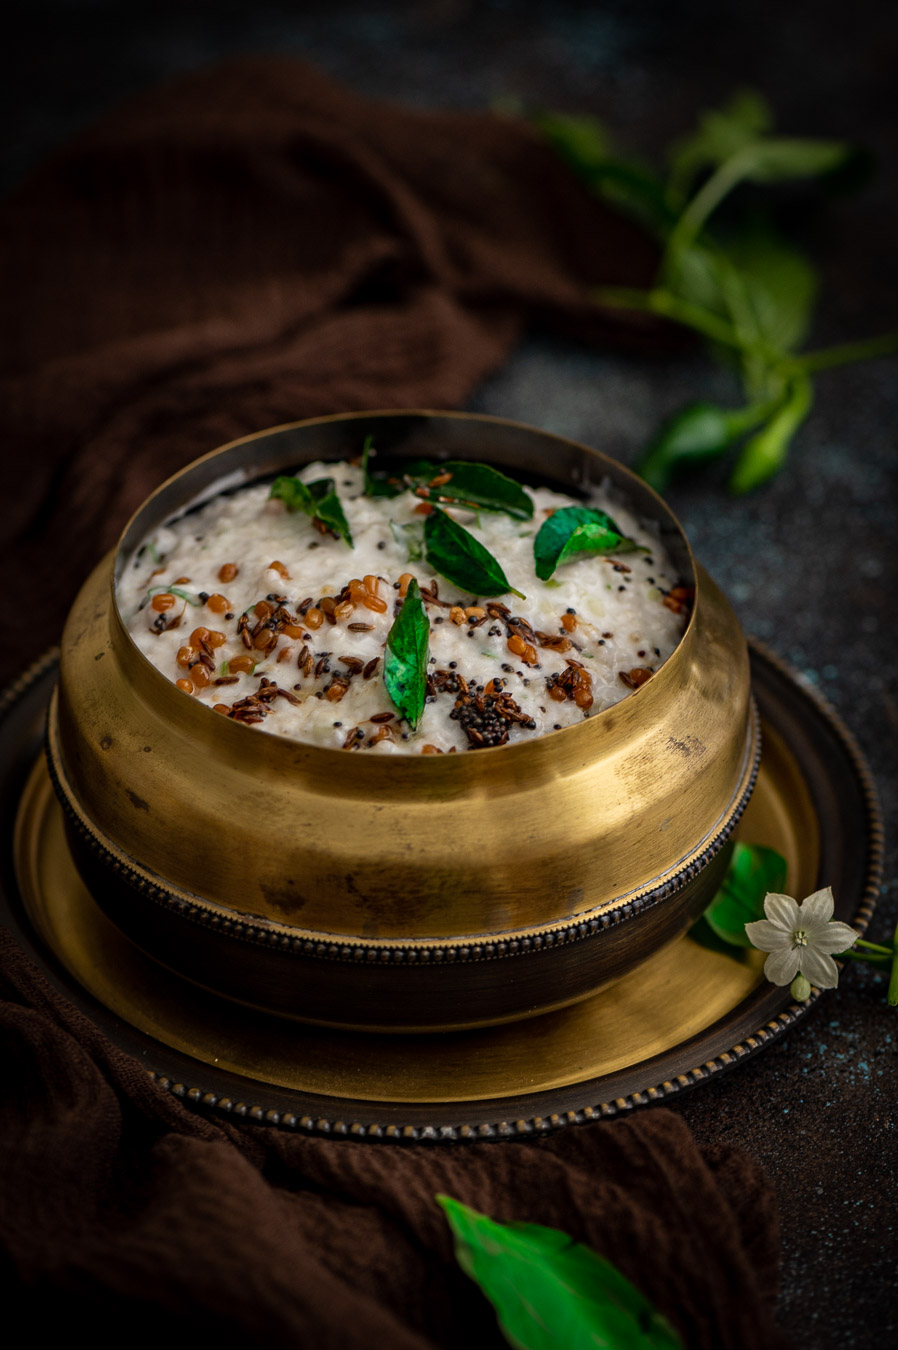
In this dish, I have used kodo millet, also known as “varugu” in Tamil. Millets are fibre-rich, which makes them more filling, as well as good for your digestive system. Kodo millet is a gluten-free alternative to rice that I enjoy as much for its taste as for its benefits in regulating blood sugar and cholesterol levels, and the boost in antioxidants that it gives too. For me, veganism is about healthy eating, and that remains the impetus behind many of my food choices.
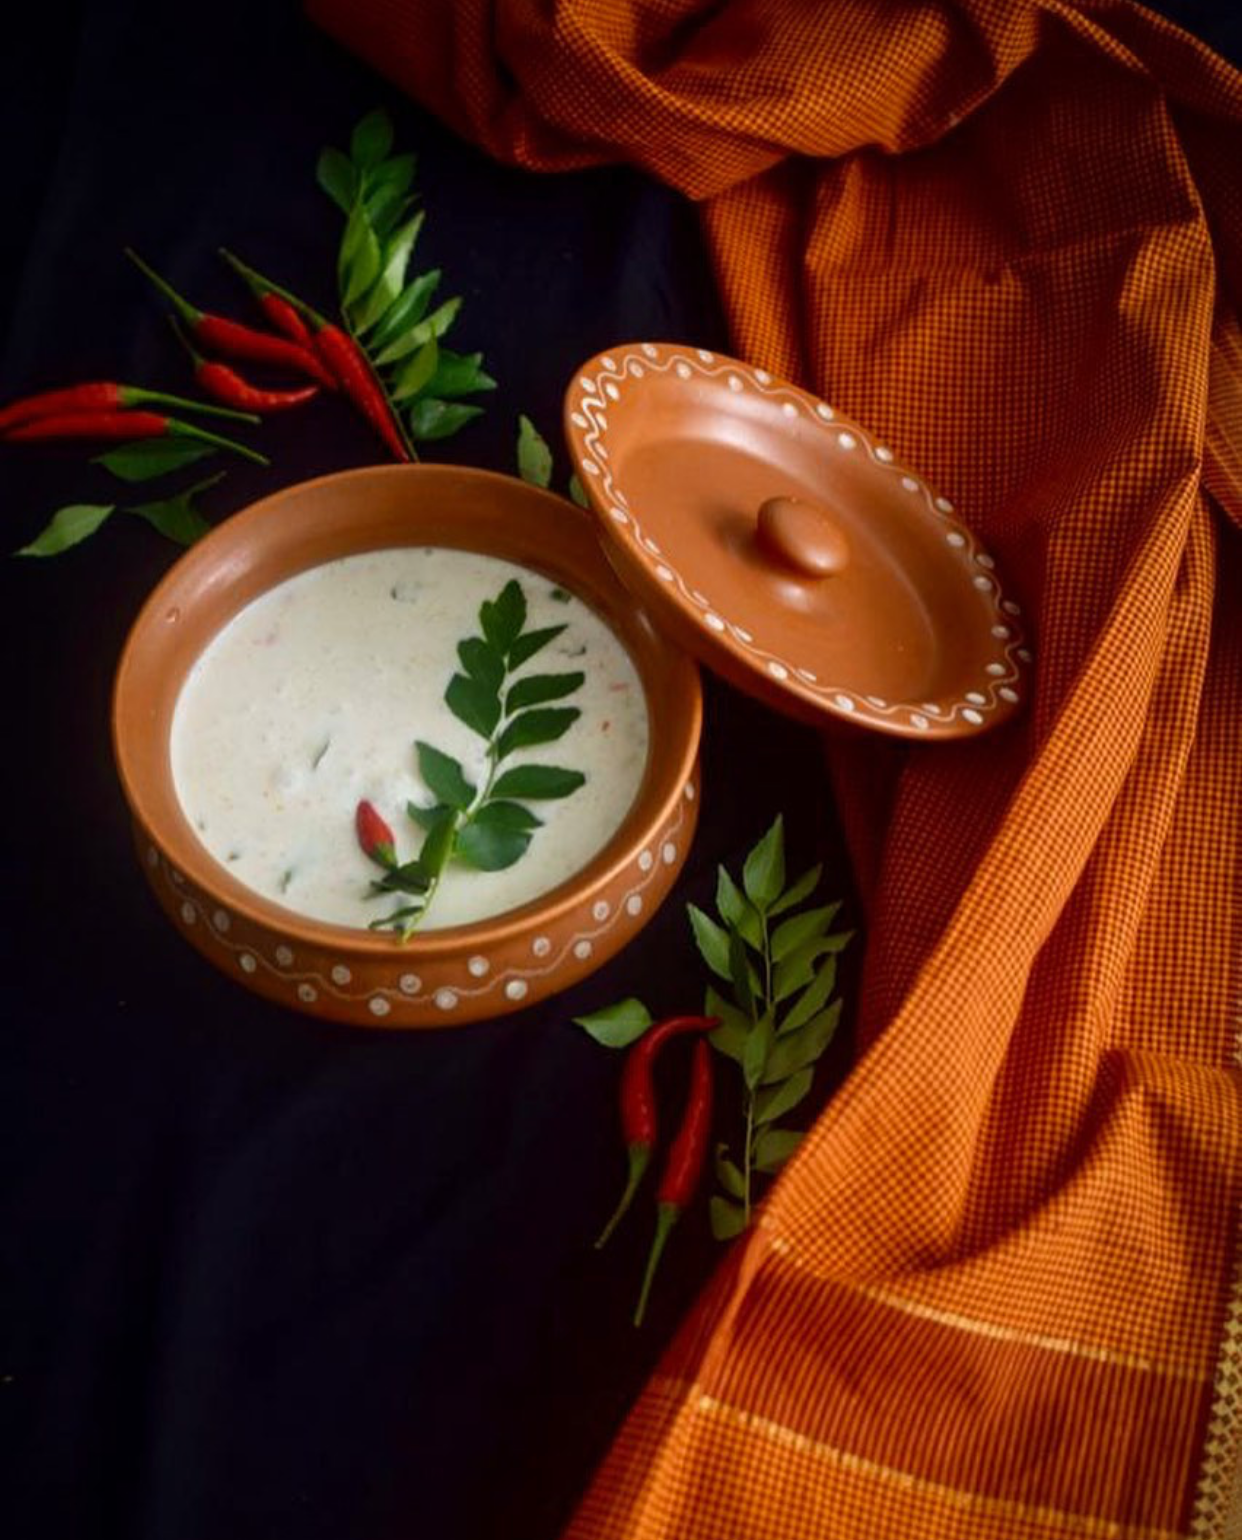
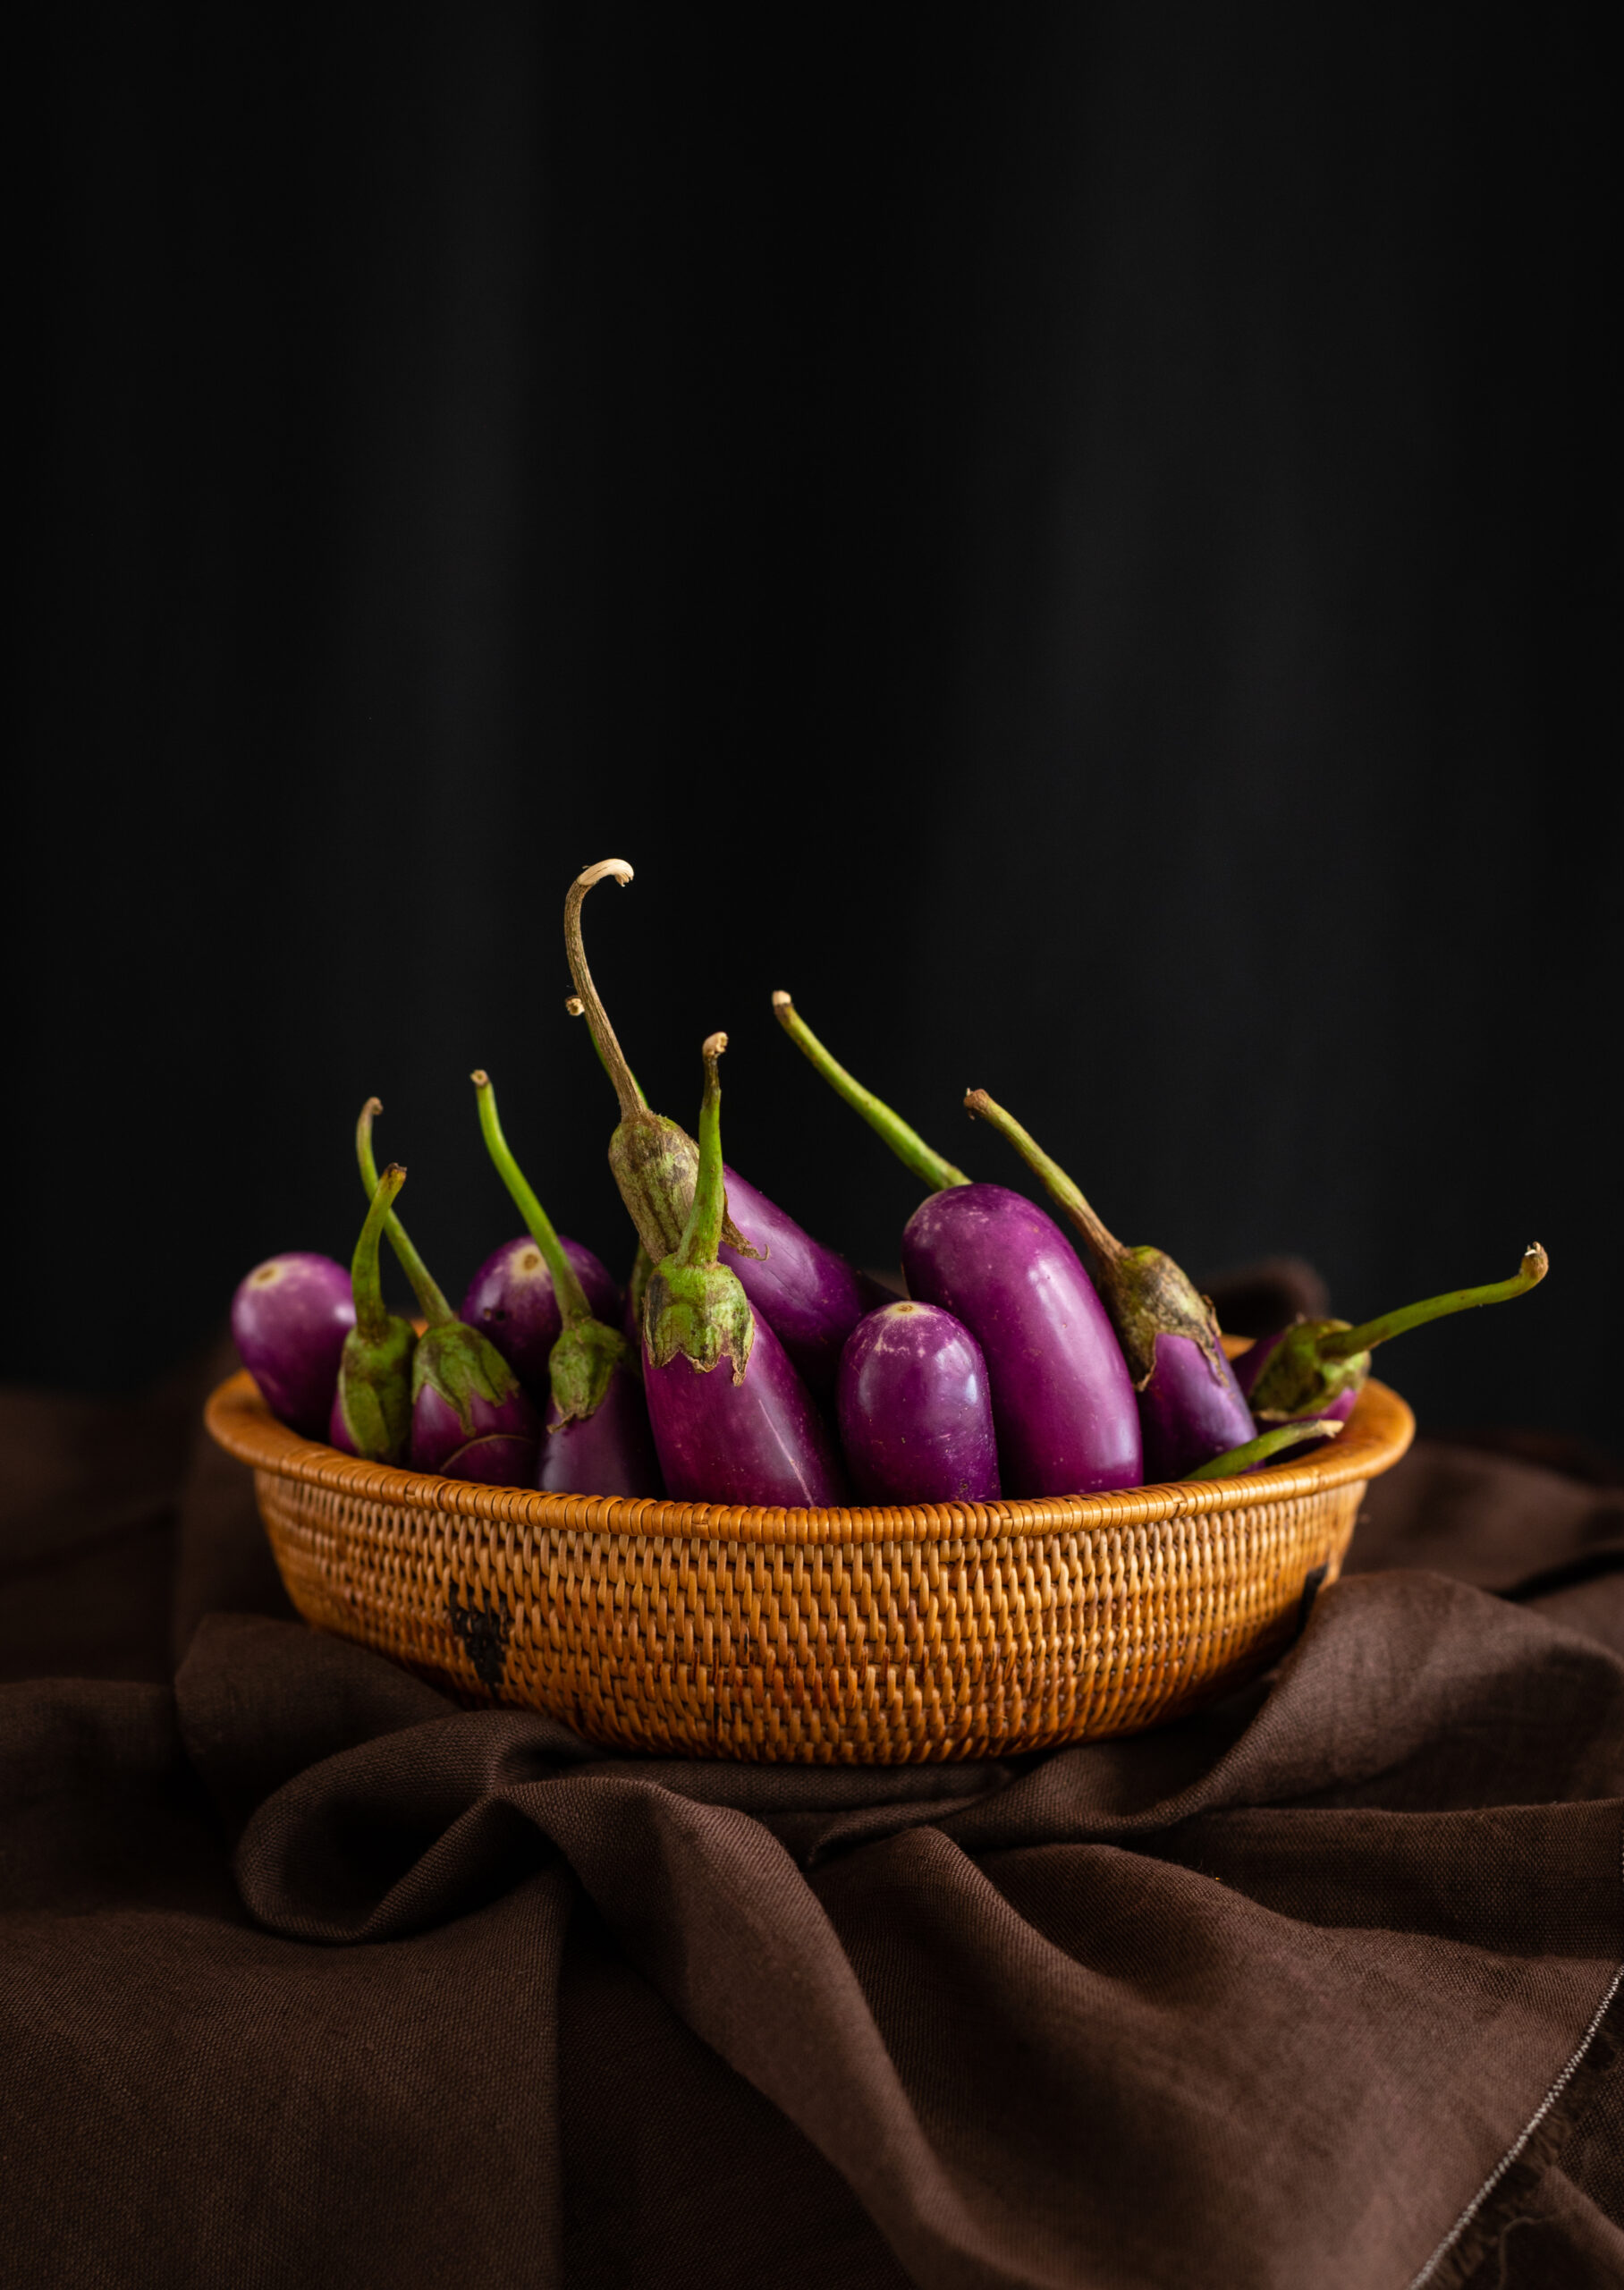
I’ve always seen food as a vital component of living in alignment with nature. Many of you know that I also maintain a home garden with various daily ingredients, from lemongrass to coconuts to tomatoes. Green chillies are among them, and as I stepped out of my kitchen to pluck a fresh one for this vegan millet “thayirsadam”, some pretty white flowers on the plant caught my eye. I paused to admire them, and I loved being able to include them in the styling for my photoshoot. How special and gratifying it was, to have my abiding love for all things culinary, my intensifying passion for photography, and my reverent love for nature come together…
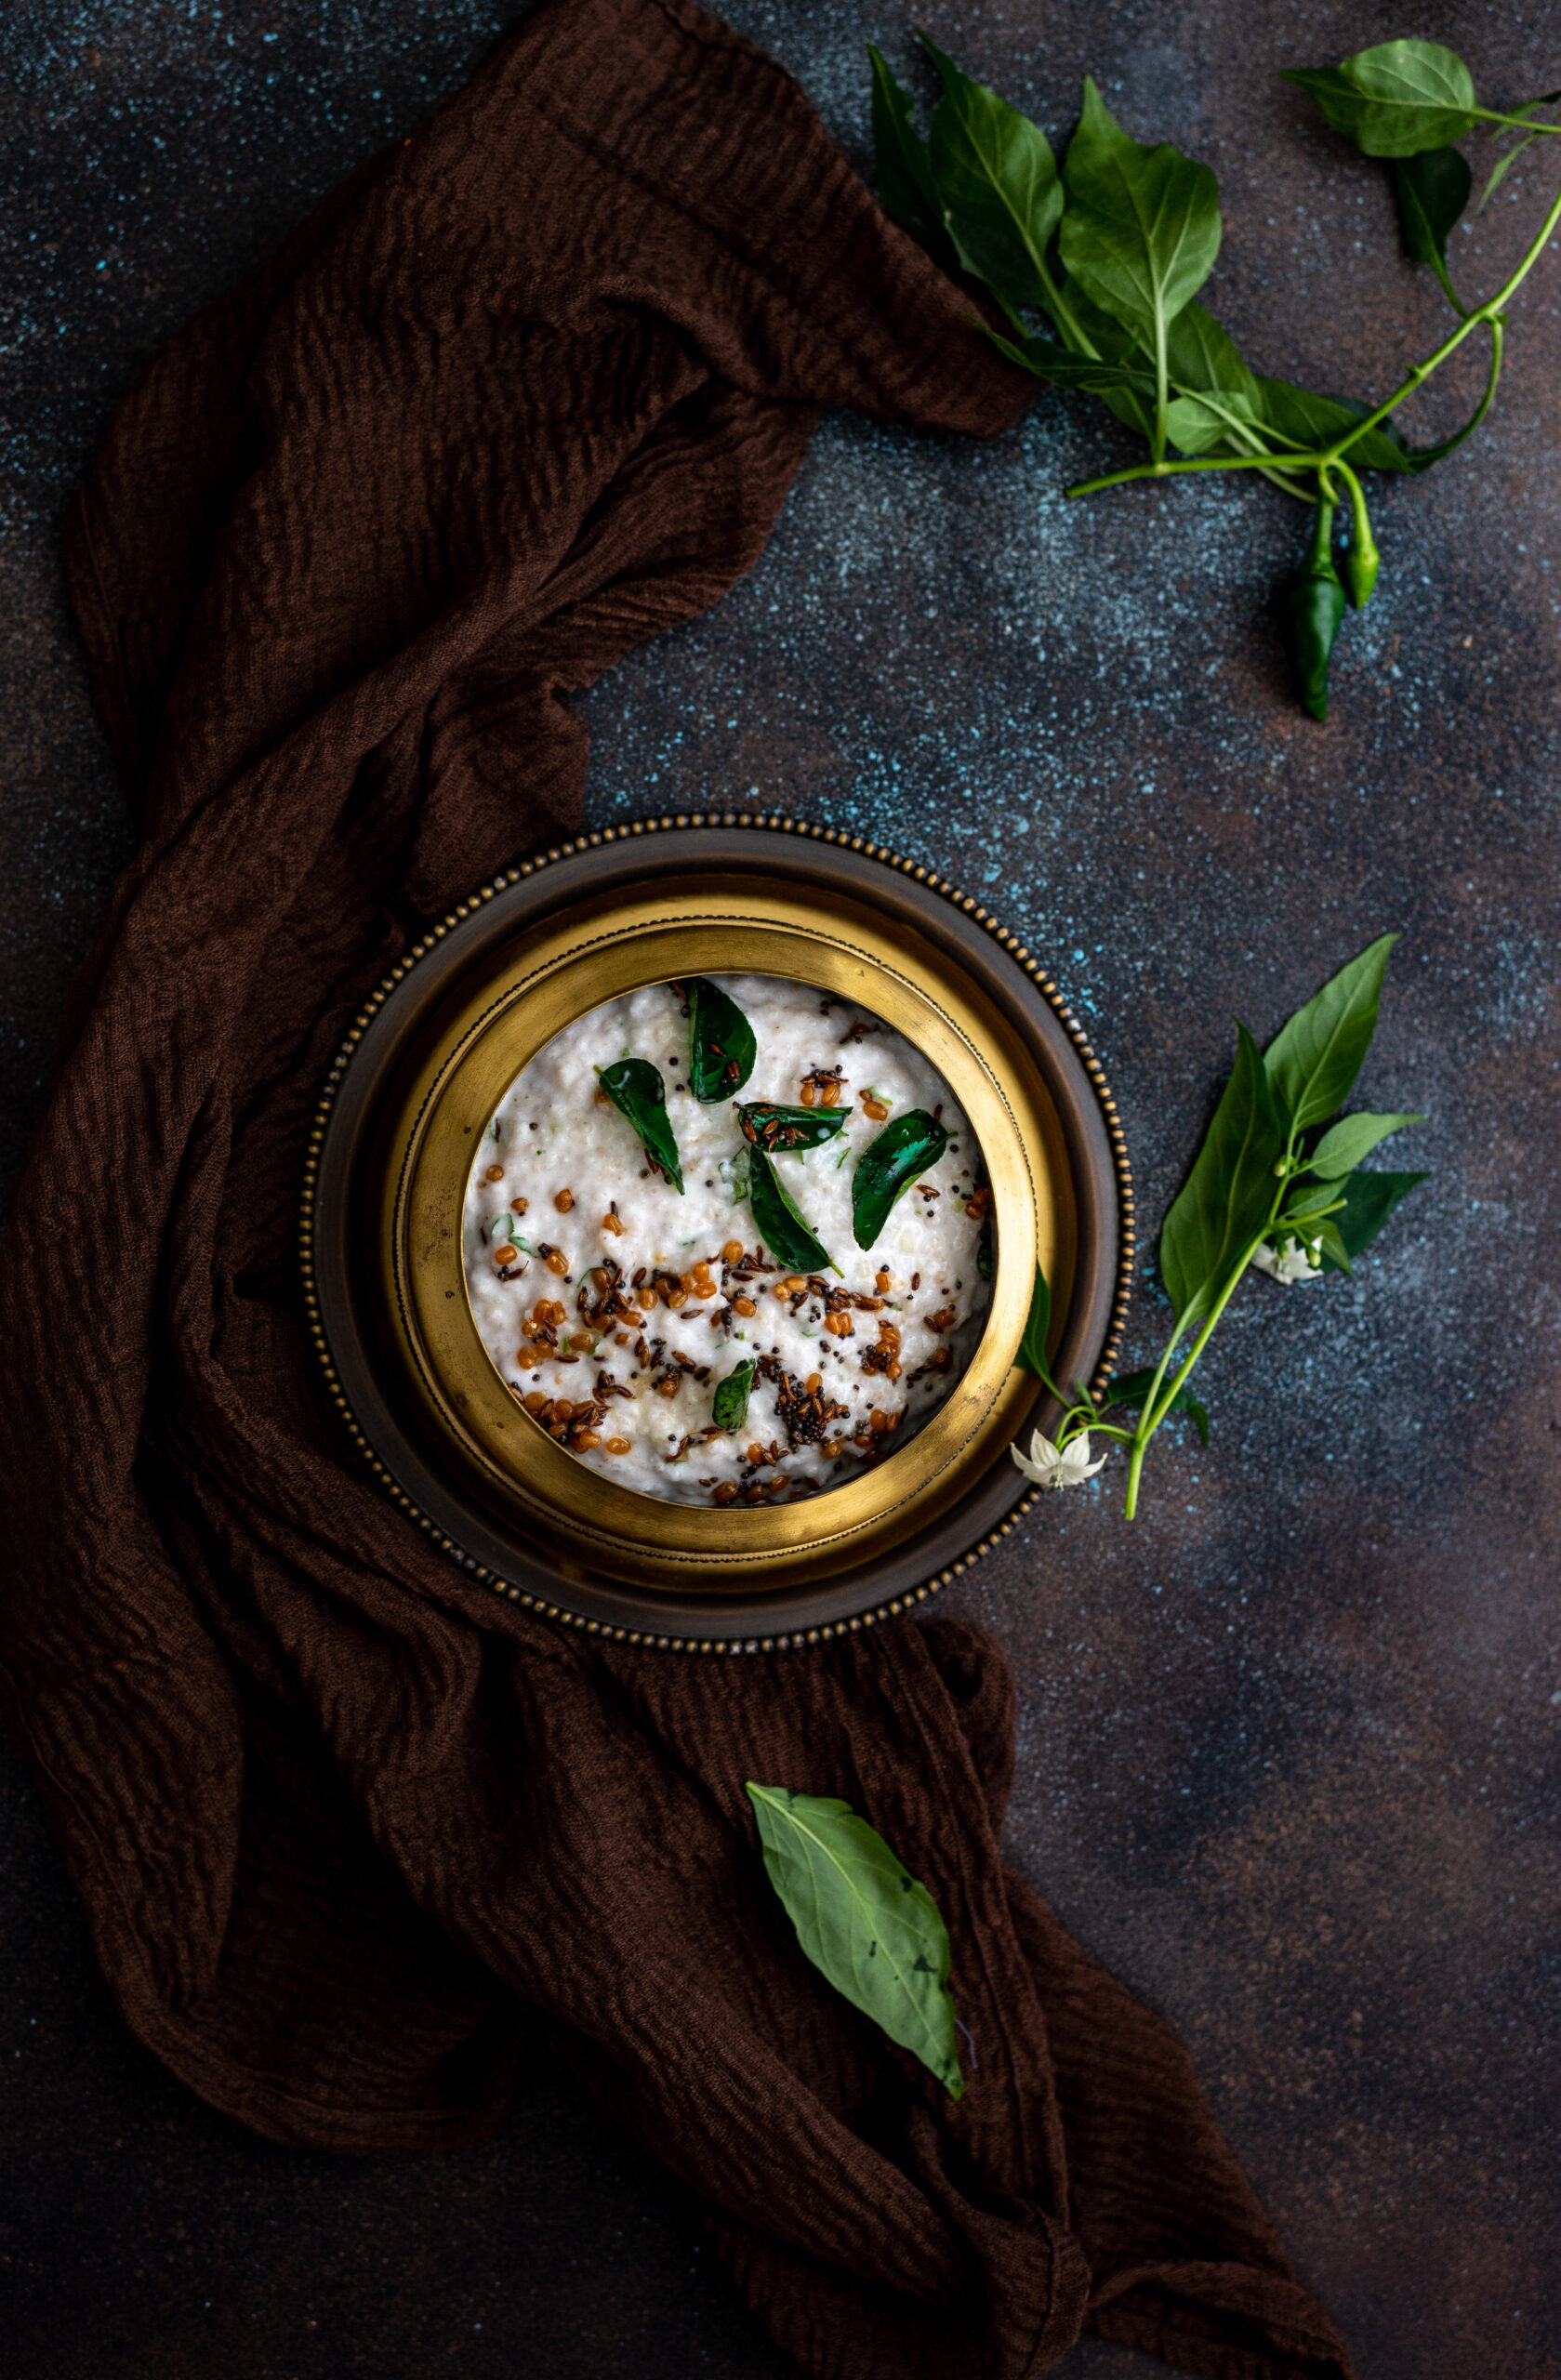
Vegan Millet “Thayirsadam”
(Yield: 3-5 cups)
50 grams kodo millet
160 grams coconut yoghurt
¼ cup water
2-3 tablespoons raw mango
1 tablespoon coriander leaves
1 tablespoon chopped cucumber
Salt to taste
A dash of lemon
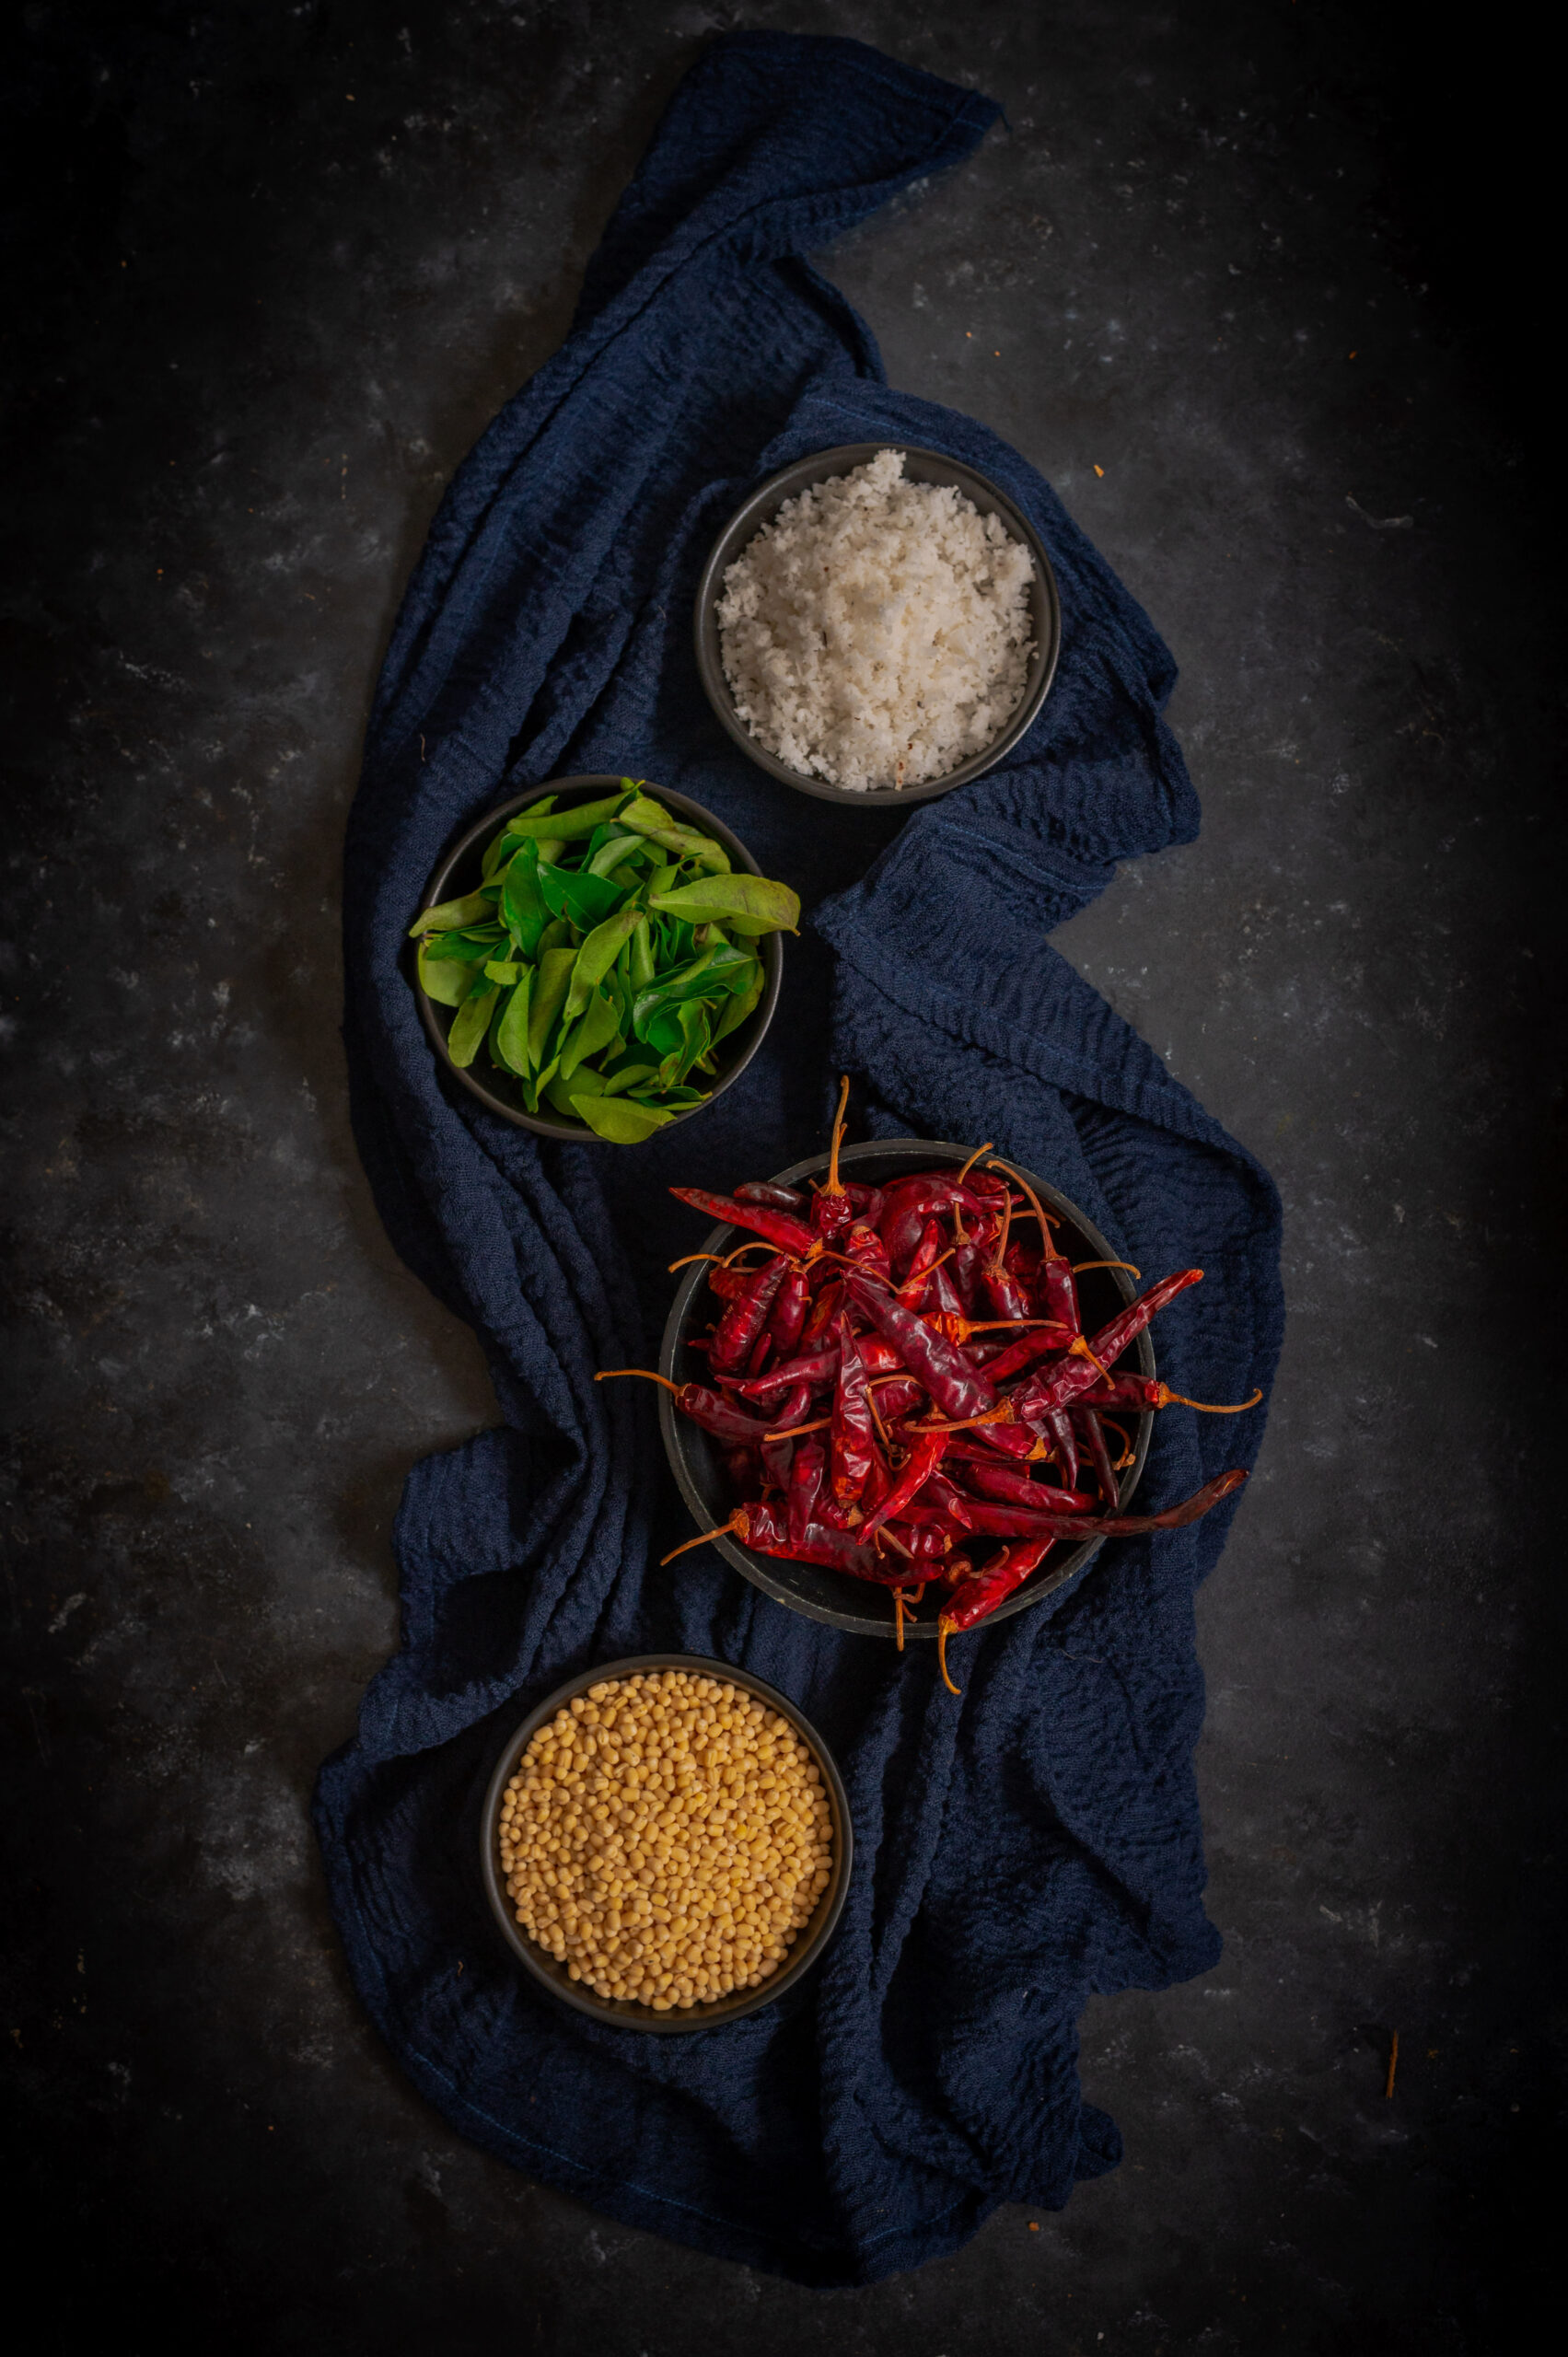
Tempering:
1 tablespoon oil
¼ teaspoon mustard seeds
¼ teaspoon cumin seeds
1 green chilli finely chopped (optional)
A few curry leaves
Rinse and cook the kodo millet in 3-4 cups of water. This will take about 15 minutes. Allow to cool.
Once cooled, transfer the millet into a bowl. Add the coconut yoghurt, salt and water. Mix thoroughly. Next, add the cucumber, raw mango and coriander leaves. You may include your choice of crunchy ingredients to add more texture and taste to the dish. Sometimes I use pomegranates or grated carrots, either as a substitute for cucumber or along with it.
Now, add the dash of lemon. Set aside.
For the tempering, heat the oil and then add the mustard and cumin seeds. Once they splutter, add the green chilli and curry leaves and immediately pour over the millet-yoghurt that was set aside.
Stir gently and refrigerate. Serve once slightly cooled again.
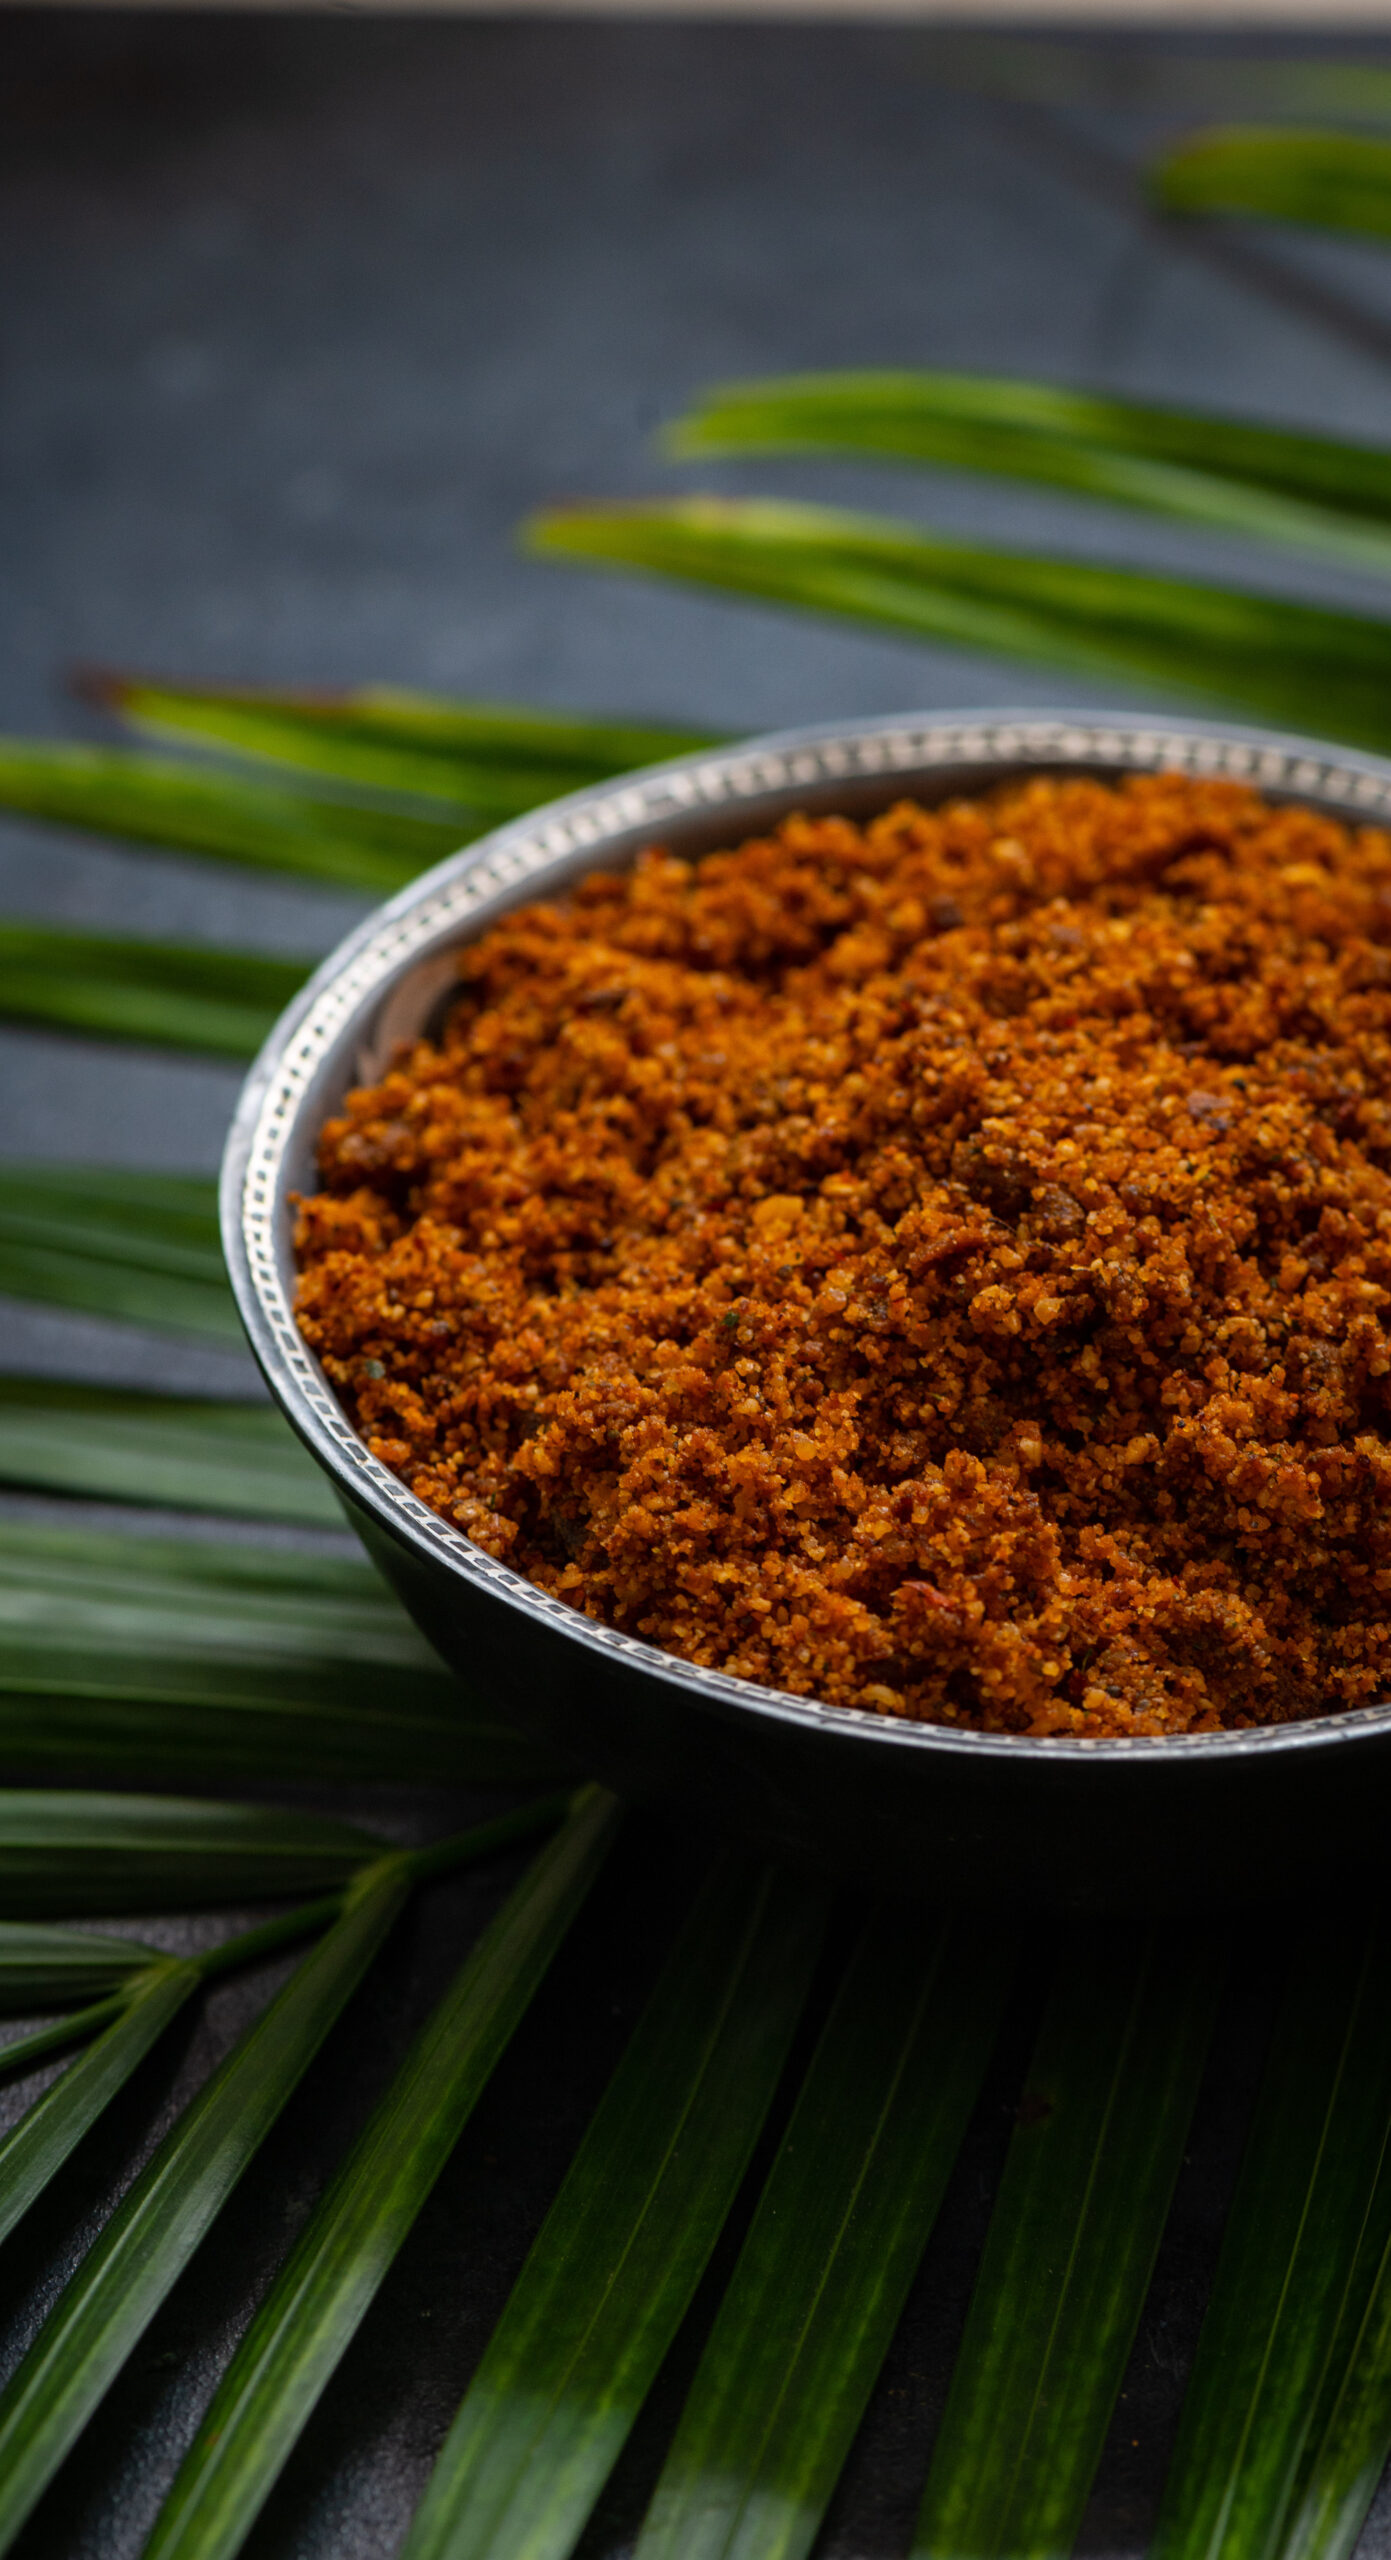
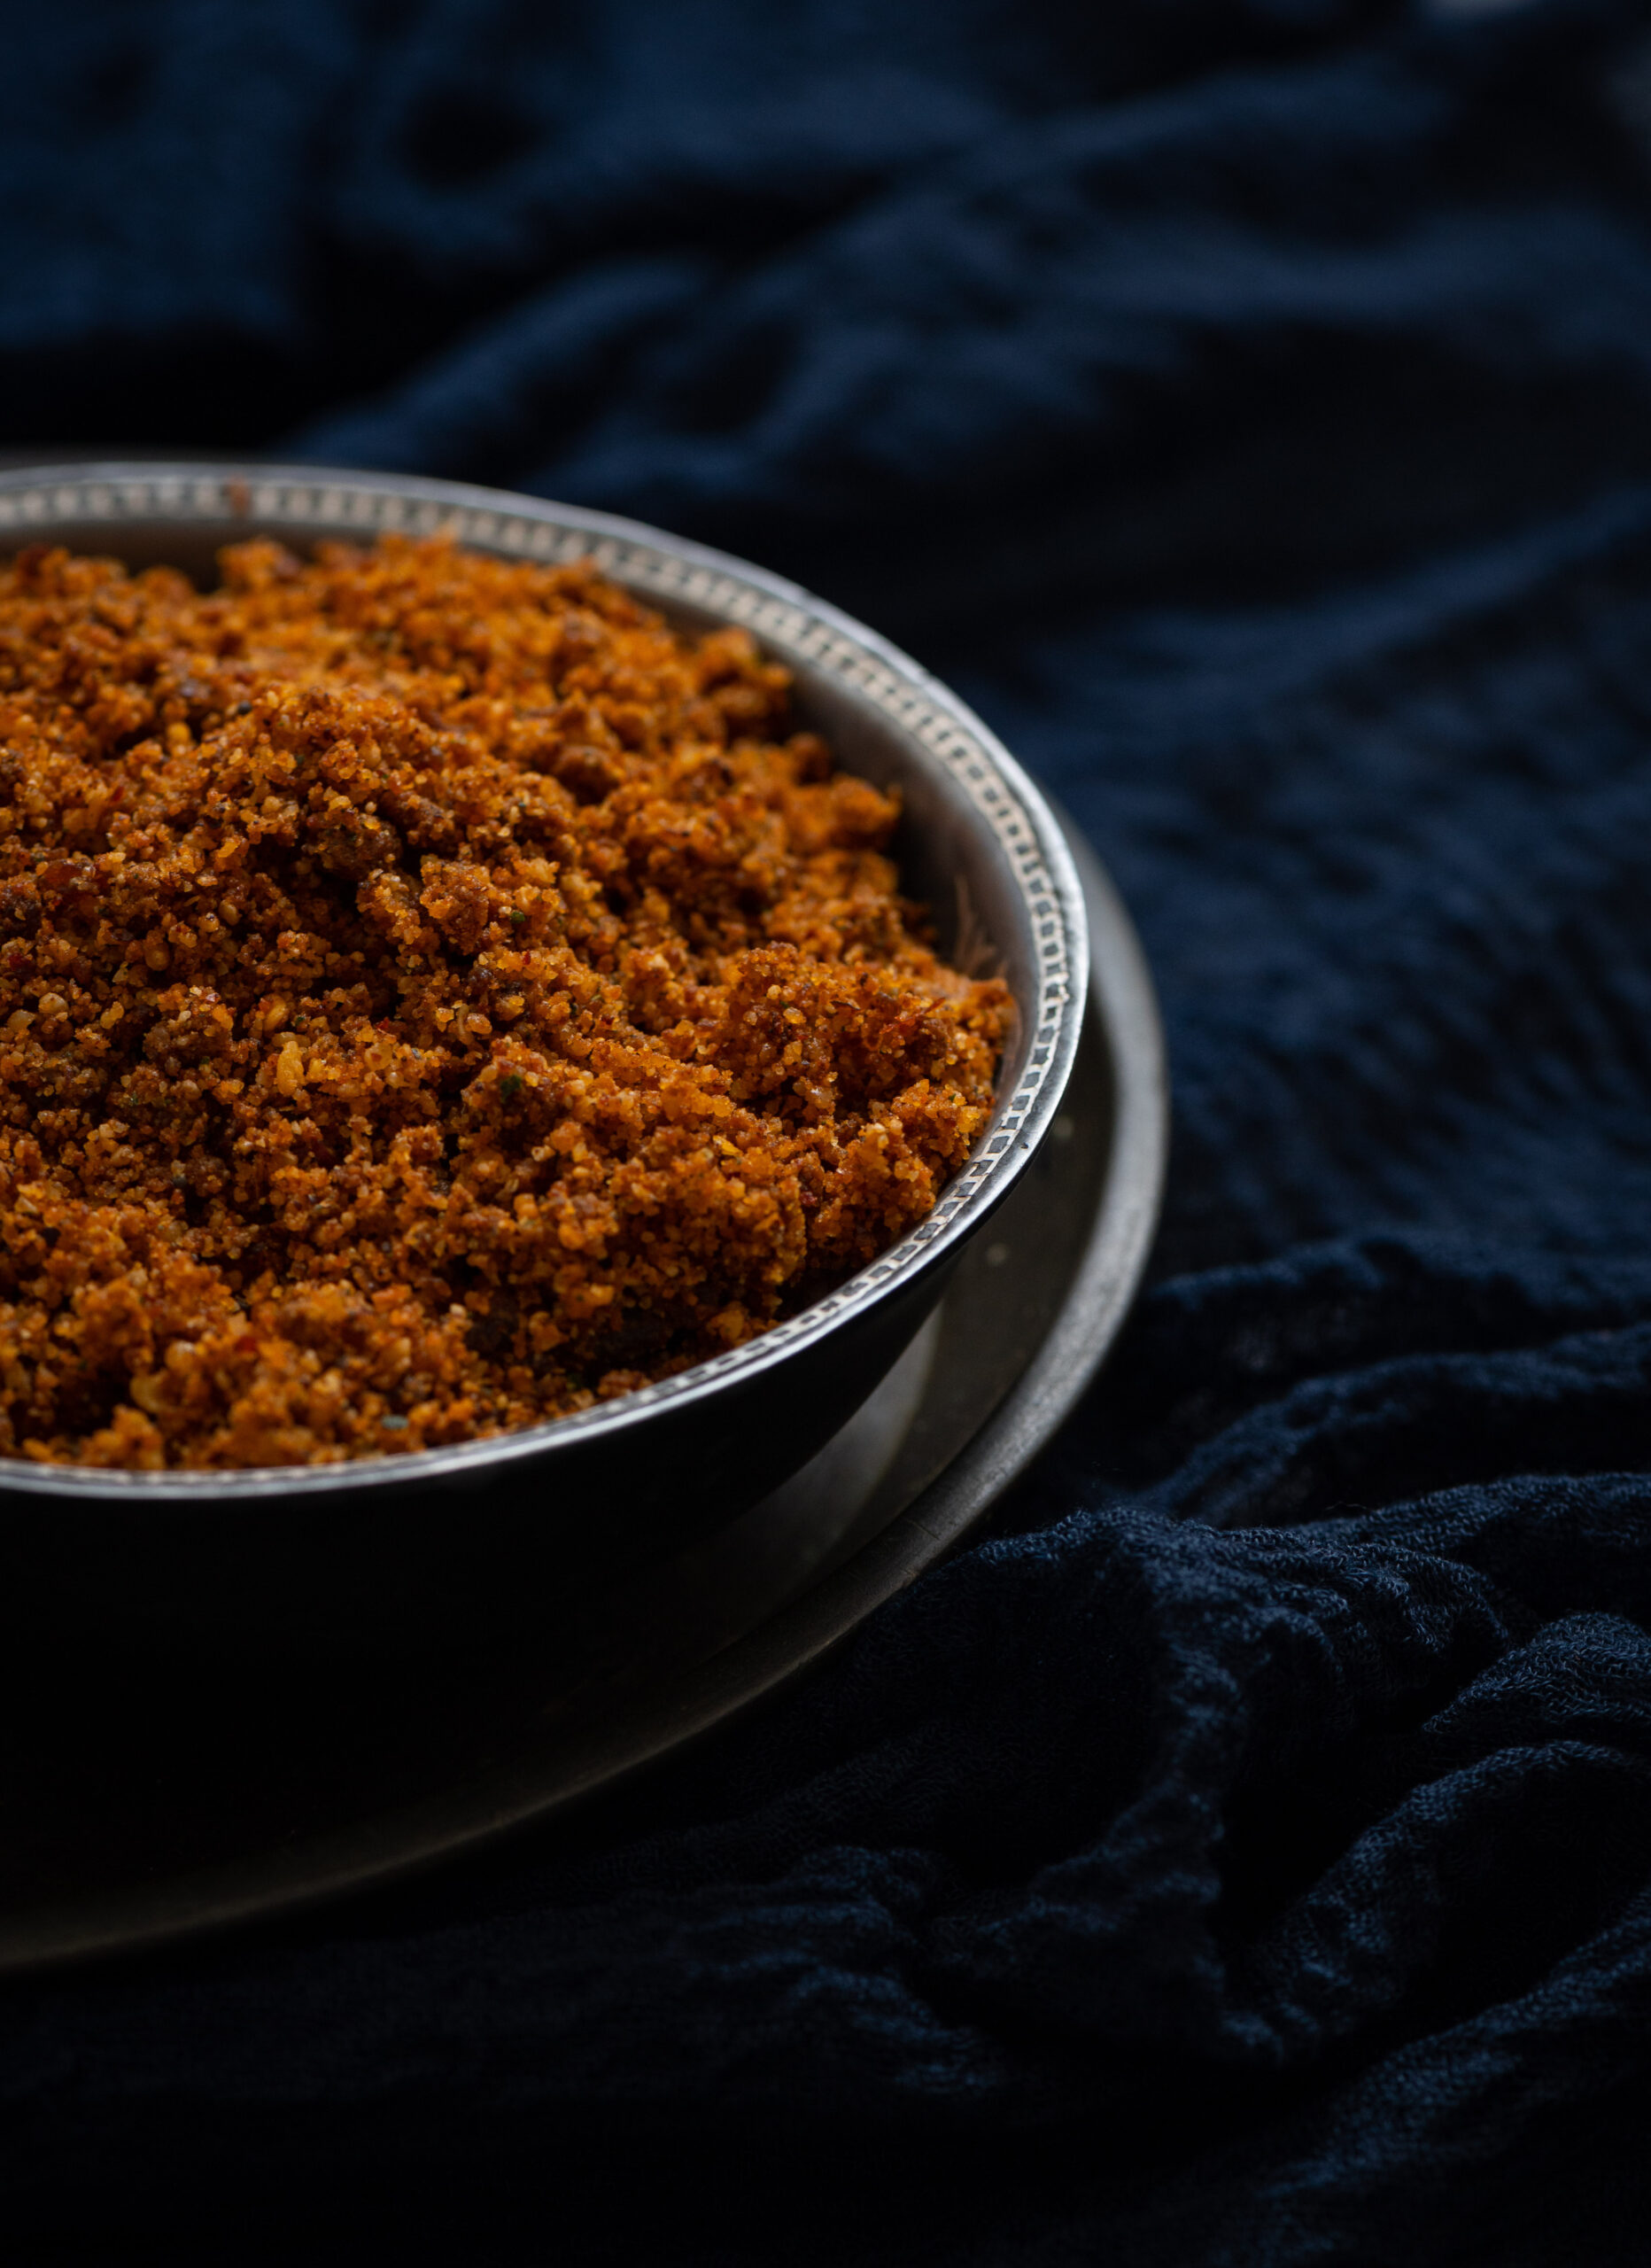
And there you have it: thayirsadam with neither thayir (curd) nor sadam (rice)! This vegan curd millet dish truly becomes a filling meal-in-a-bowl once you scoop in a spoonful of pickle on the side, and add a handful of some delicious, crispy banana chips to add more variety to your meal.
By the way, if you are a fan of curd rice in general, may I suggest that you also try my recipe for Gujarati masala curd rice? And if you’re a vegan who is looking for dairy-like but dairy-free desserts, my take on another Gujarati speciality, in the form of this vegan passion fruit shrikand, may be right up your alley!